


billgtp
Member
-
Joined
-
Last visited
Everything posted by billgtp
-
I would replace clutch if I was doing a trans swap. Only because you are there.
Thank you 26th-z That was the big thing the reinforcement plate. Like your Gurney for president button. Got to meet him at the shop in Santa ana . Great person and driver
I dont remember thats way Im asking. Could not find it again on the net.
My 8/71 240z has its original oil pan which is in good shape. I just got my hands on a early oil pan which is supposed to have more capacity. Is this true? I think I read somewhere they had issues with the oil pans
Ownallday you got me thinking that is high. Pulled my receipt out on sensor. It comes on at 200f and off at 180f
He put on what looked like pep boys stuff with the screw clamps. If it was earls or russel with correct fittings I would leave them on.
It could be a little cooler. But I will try this and see what happens this summer. I like my engines to run warm.
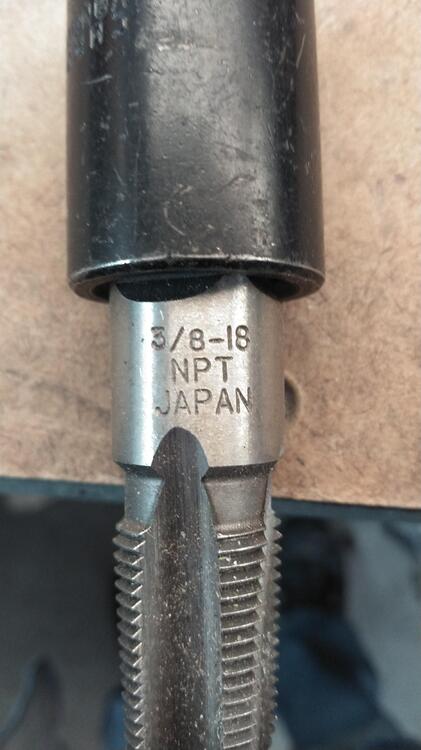
I used a 3/8-12 tape
 3 hole carbs. Photo of what he put on. I will give Ztherapy a call Monday thanks
.thumb.JPG.1ed93a3406f0272d34a3584042f50310.JPG) I have the twin fans on my 71 240. I used a thermostat housing from 280z to mount a sensor for my fans. Fans come on at 180 and off at 220. Also hooked to relays so they come on when a/c is turned on. You have webers on your car so your thermostat housing should work fine. I purchased a temp sensor and taped the housing for the threads. Lower sensor is for fans.
I have the twin fans on my 71 240. I used a thermostat housing from 280z to mount a sensor for my fans. Fans come on at 180 and off at 220. Also hooked to relays so they come on when a/c is turned on. You have webers on your car so your thermostat housing should work fine. I purchased a temp sensor and taped the housing for the threads. Lower sensor is for fans..thumb.JPG.bed887c48a4fb82e2249b9c16a0c7494.JPG) The PO removed the banjo and fuel inlet fittings to the Su carbs on my 71 240z and put on some funny looking braided hose junk. I would like to know if anyone supplies the original ones. Been looking but have had no luck
View Advert Right door latch Looking for right door latch mechanism for a 1971 240z Advertiser billgtp Date 11/22/2021 Price Category Parts Wanted Year 1971 Model 240z
I see a inside lock,latch assy. Do you have one for the right door? Thanks Bill
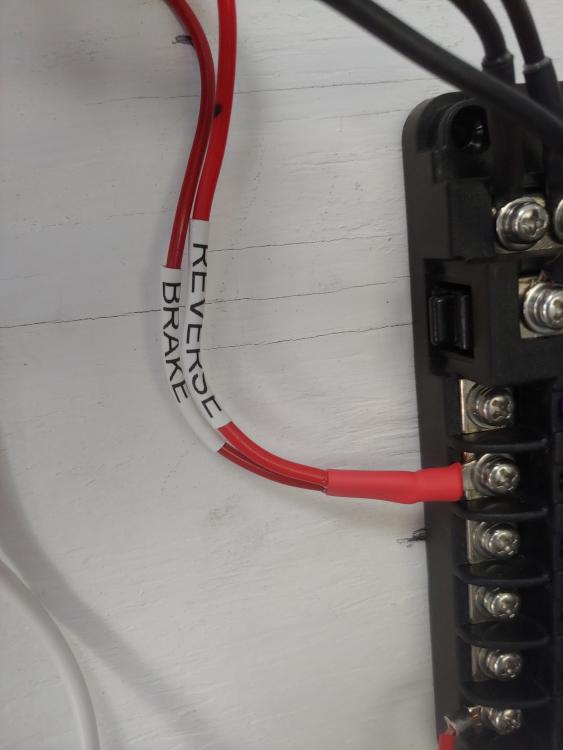
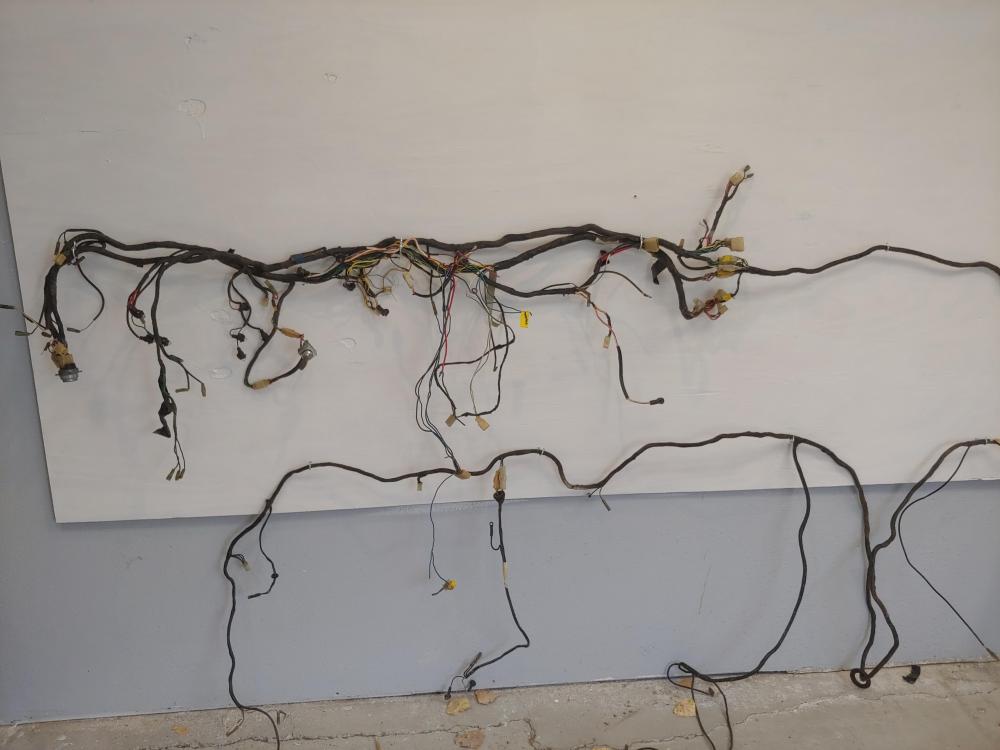
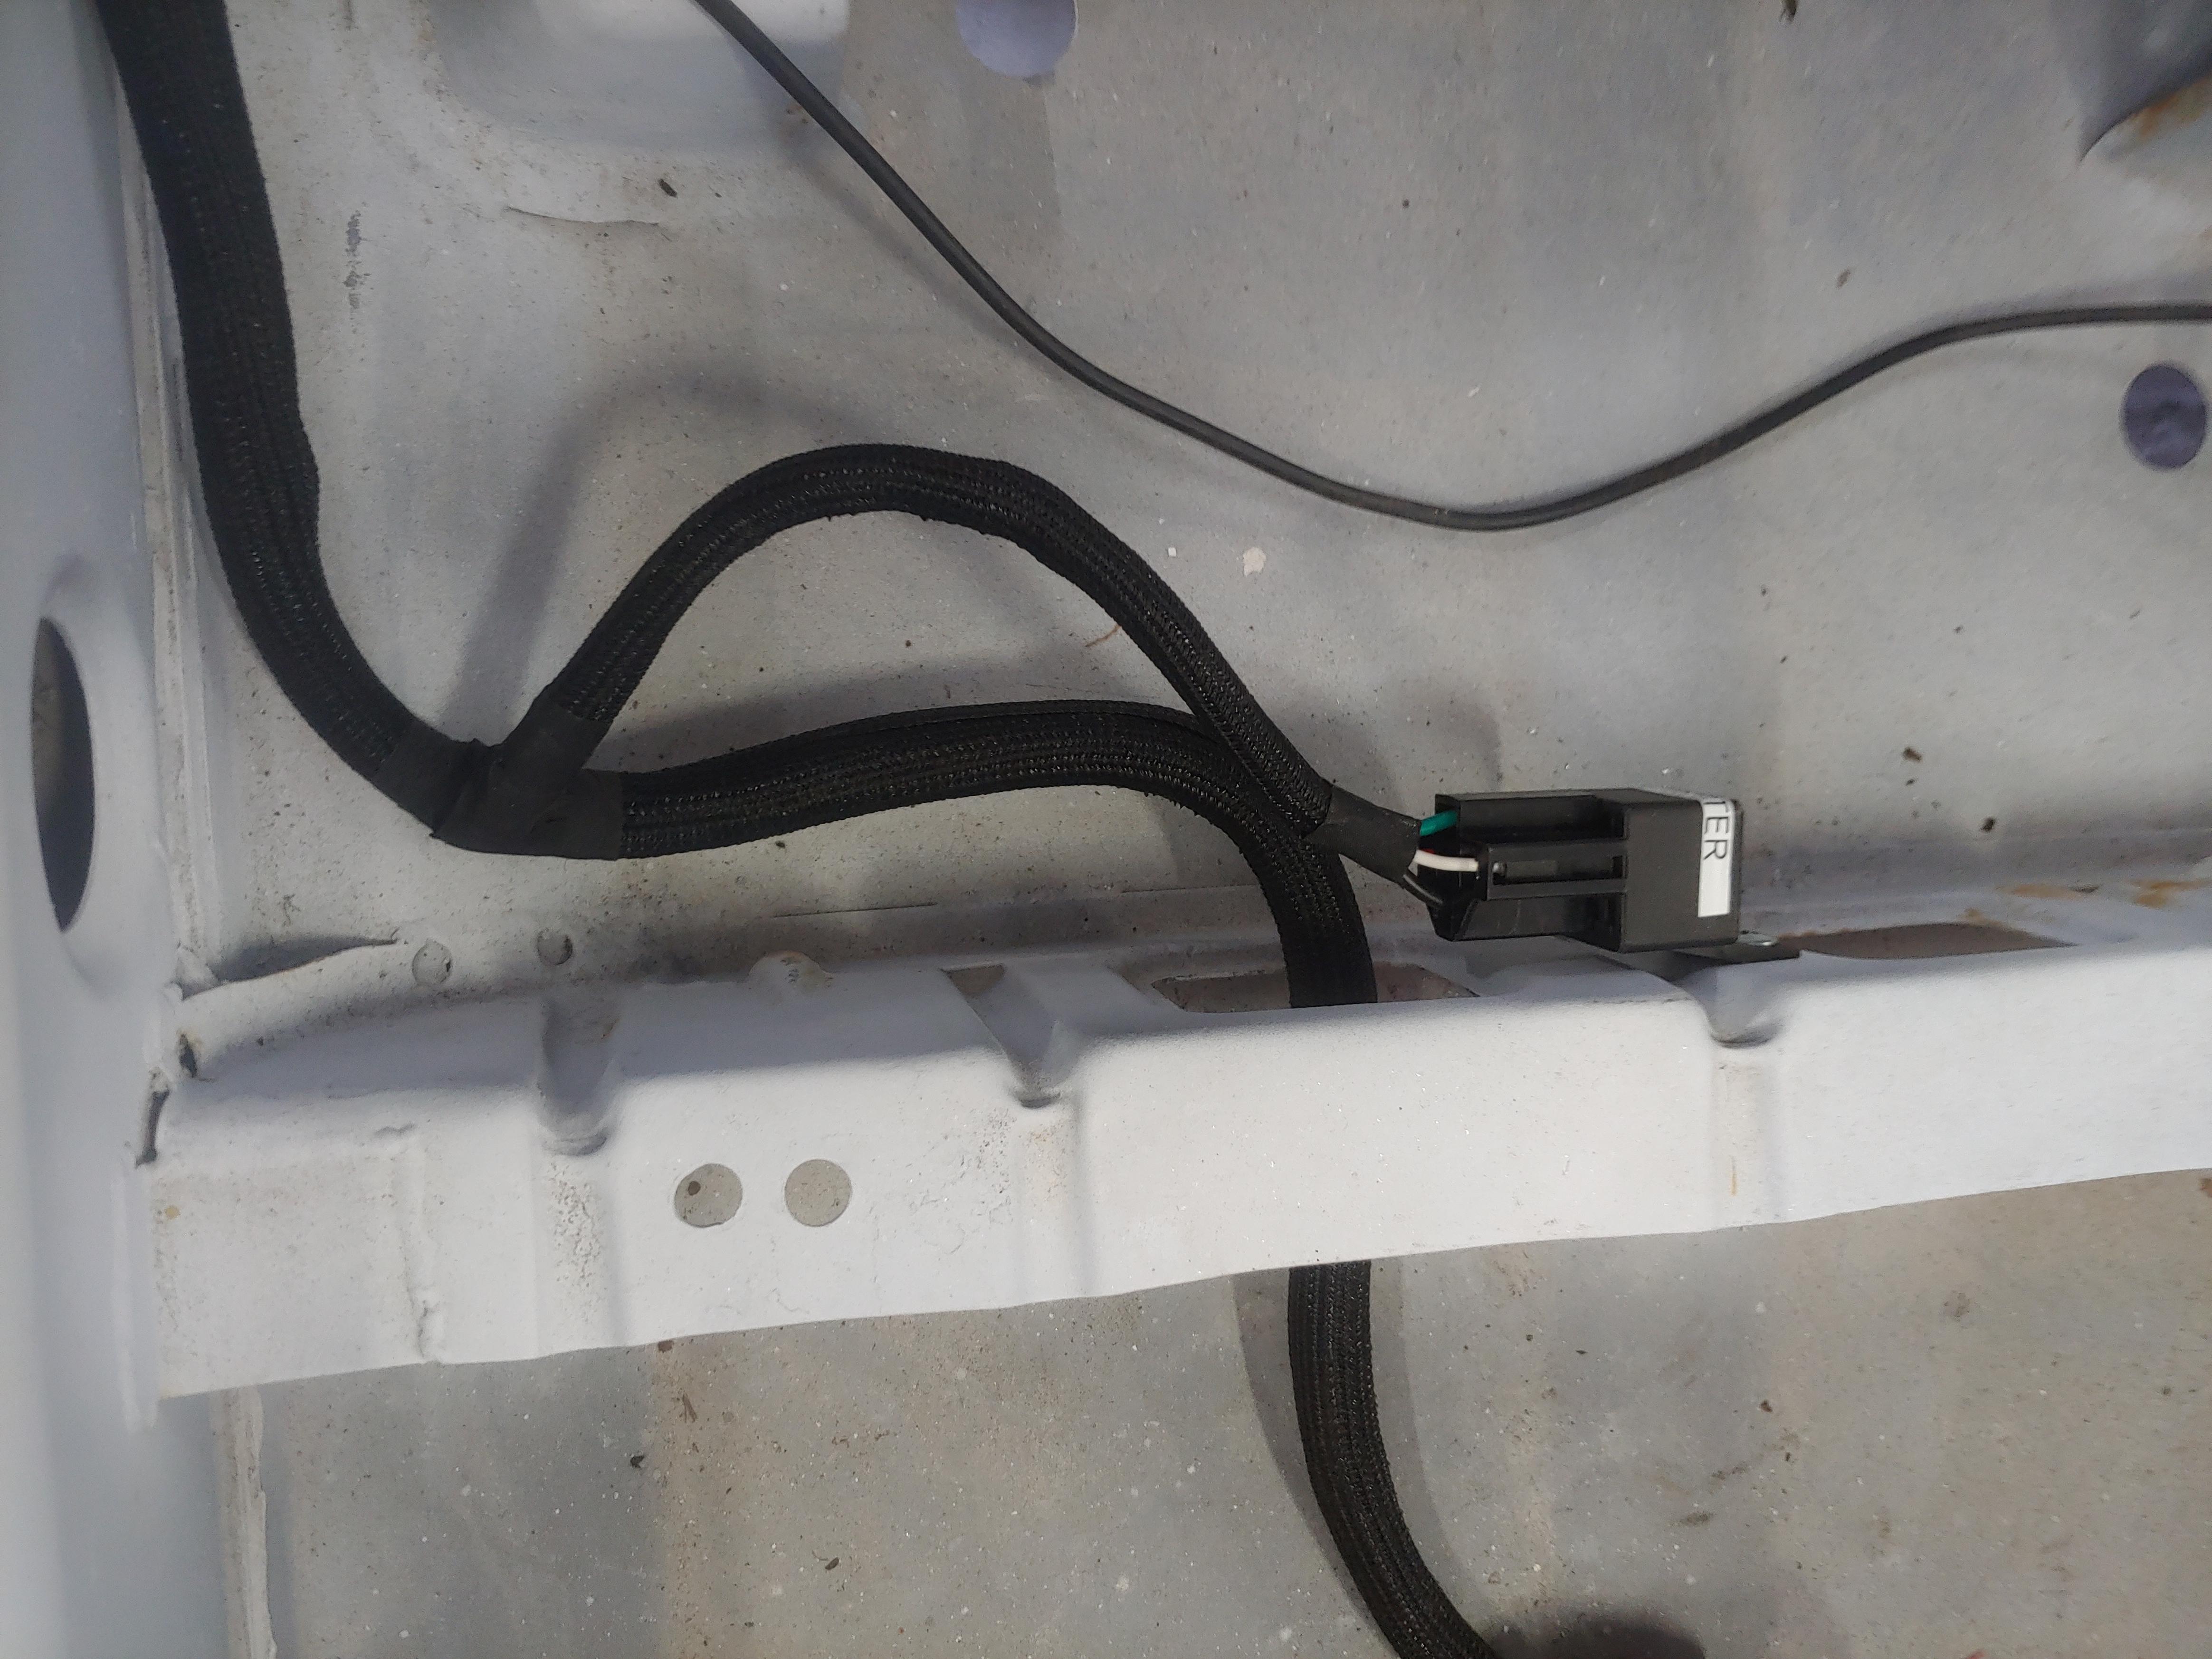
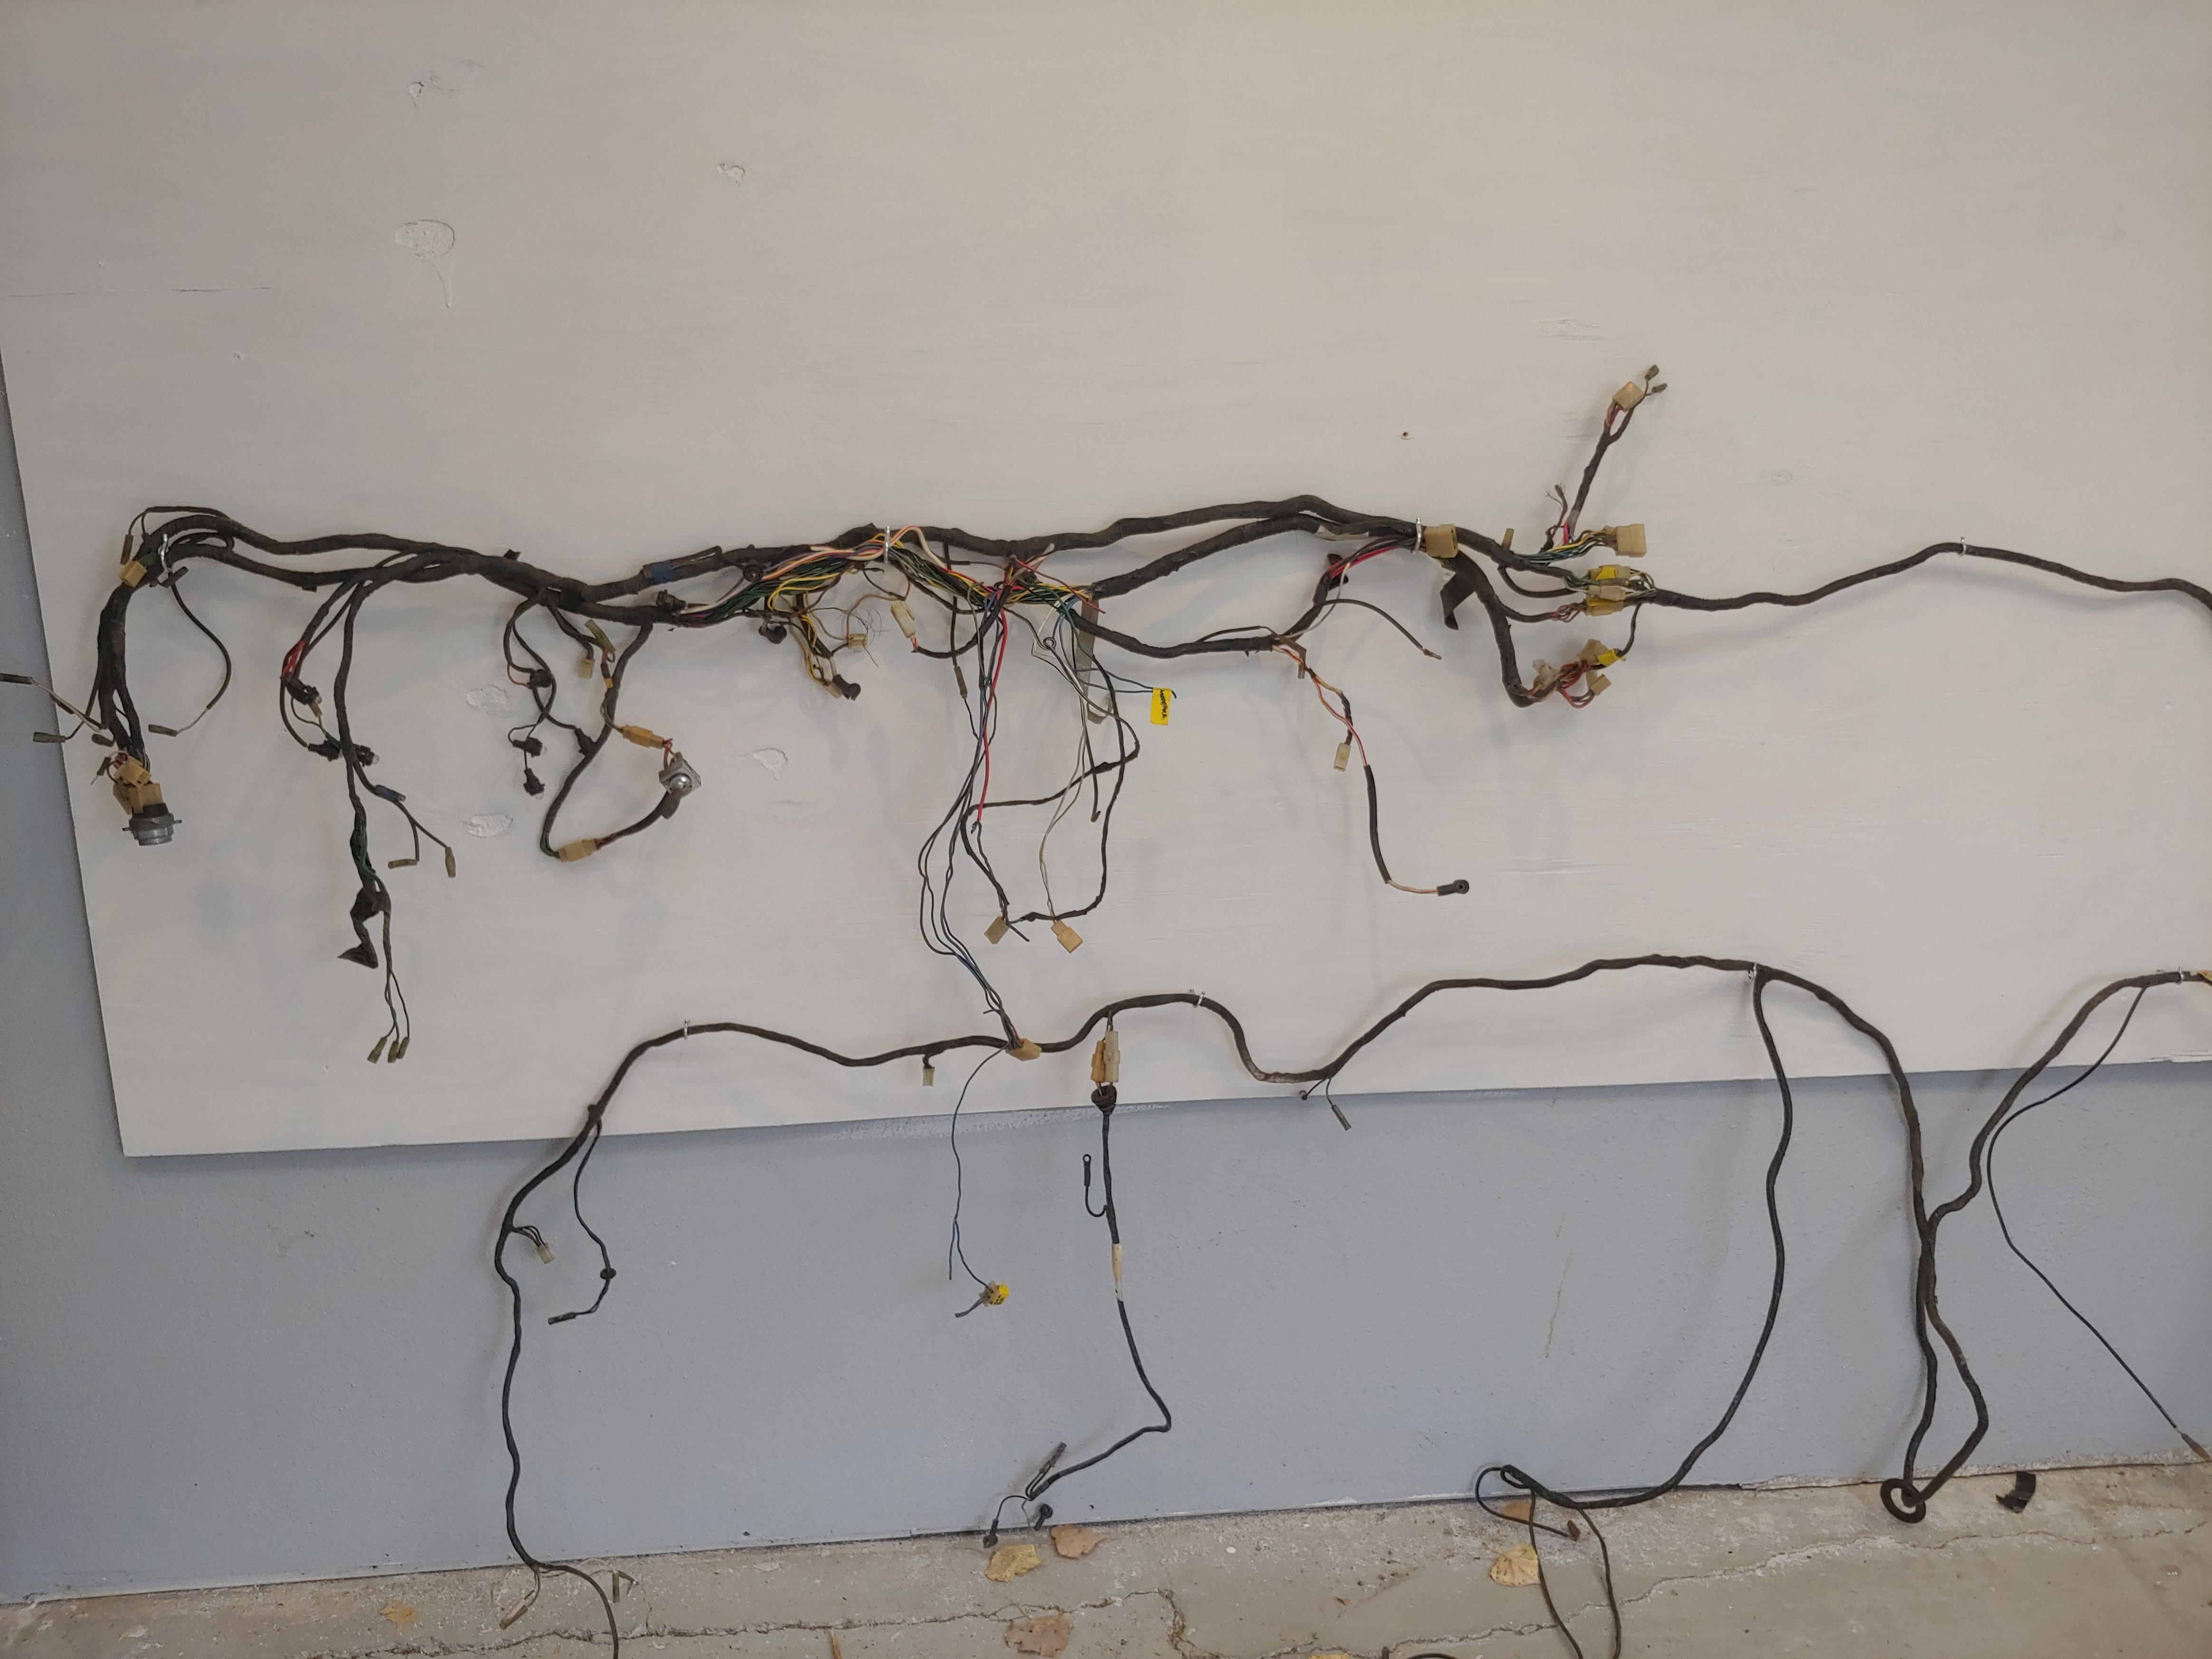
A little update. Tail harness is completed . I removed the Datsun relay for the rear window defogger and installed a borsch relay but moved to under passenger seat. Removed the 4 connectors Datsun used to connect harness to dash harness with 1 15 pin molek connector. I combined the 2 dash harnesses into on and removed all high amp wires and about 4 feet of wire. Like there was 18 inches of wire doubled over for the turn signal flasher. I the one 10 gauge ground that was fried and 3 14 gauge. One goes to each gauge unit. Because of all the rust in the dash I want good clean grounds. Cleaned and test all gauges and wired harness up for volt meter from a 1978 280. A nice tool I just purchased is a Dymo Rhino 4200 label printer. It will do heat shrink tube which is great to label wires
The PO removed the banjo and fuel inlet fittings to the Su carbs on my 71 240z and put on some funny looking braided hose junk. I would like to know if anyone supplies the original ones. Been looking but have had no luck
View Advert Right door latch Looking for right door latch mechanism for a 1971 240z Advertiser billgtp Date 11/22/2021 Price Category Parts Wanted Year 1971 Model 240z
I see a inside lock,latch assy. Do you have one for the right door? Thanks Bill
A little update. Tail harness is completed . I removed the Datsun relay for the rear window defogger and installed a borsch relay but moved to under passenger seat. Removed the 4 connectors Datsun used to connect harness to dash harness with 1 15 pin molek connector. I combined the 2 dash harnesses into on and removed all high amp wires and about 4 feet of wire. Like there was 18 inches of wire doubled over for the turn signal flasher. I the one 10 gauge ground that was fried and 3 14 gauge. One goes to each gauge unit. Because of all the rust in the dash I want good clean grounds. Cleaned and test all gauges and wired harness up for volt meter from a 1978 280. A nice tool I just purchased is a Dymo Rhino 4200 label printer. It will do heat shrink tube which is great to label wires


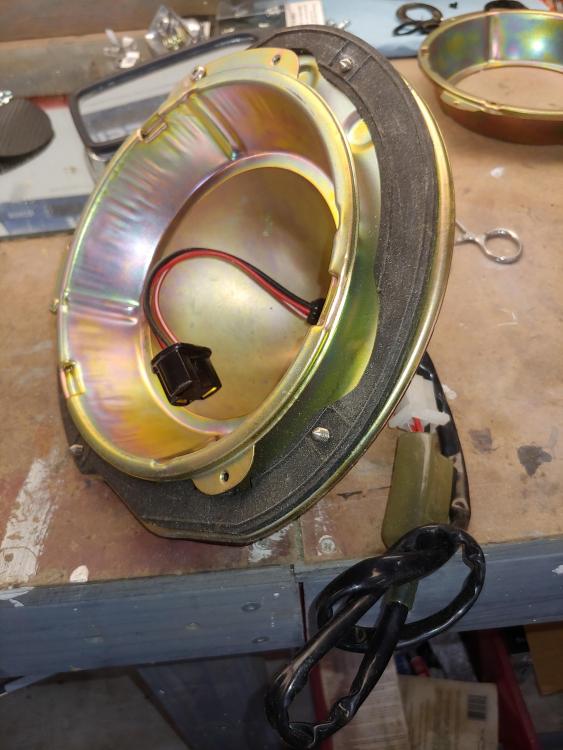
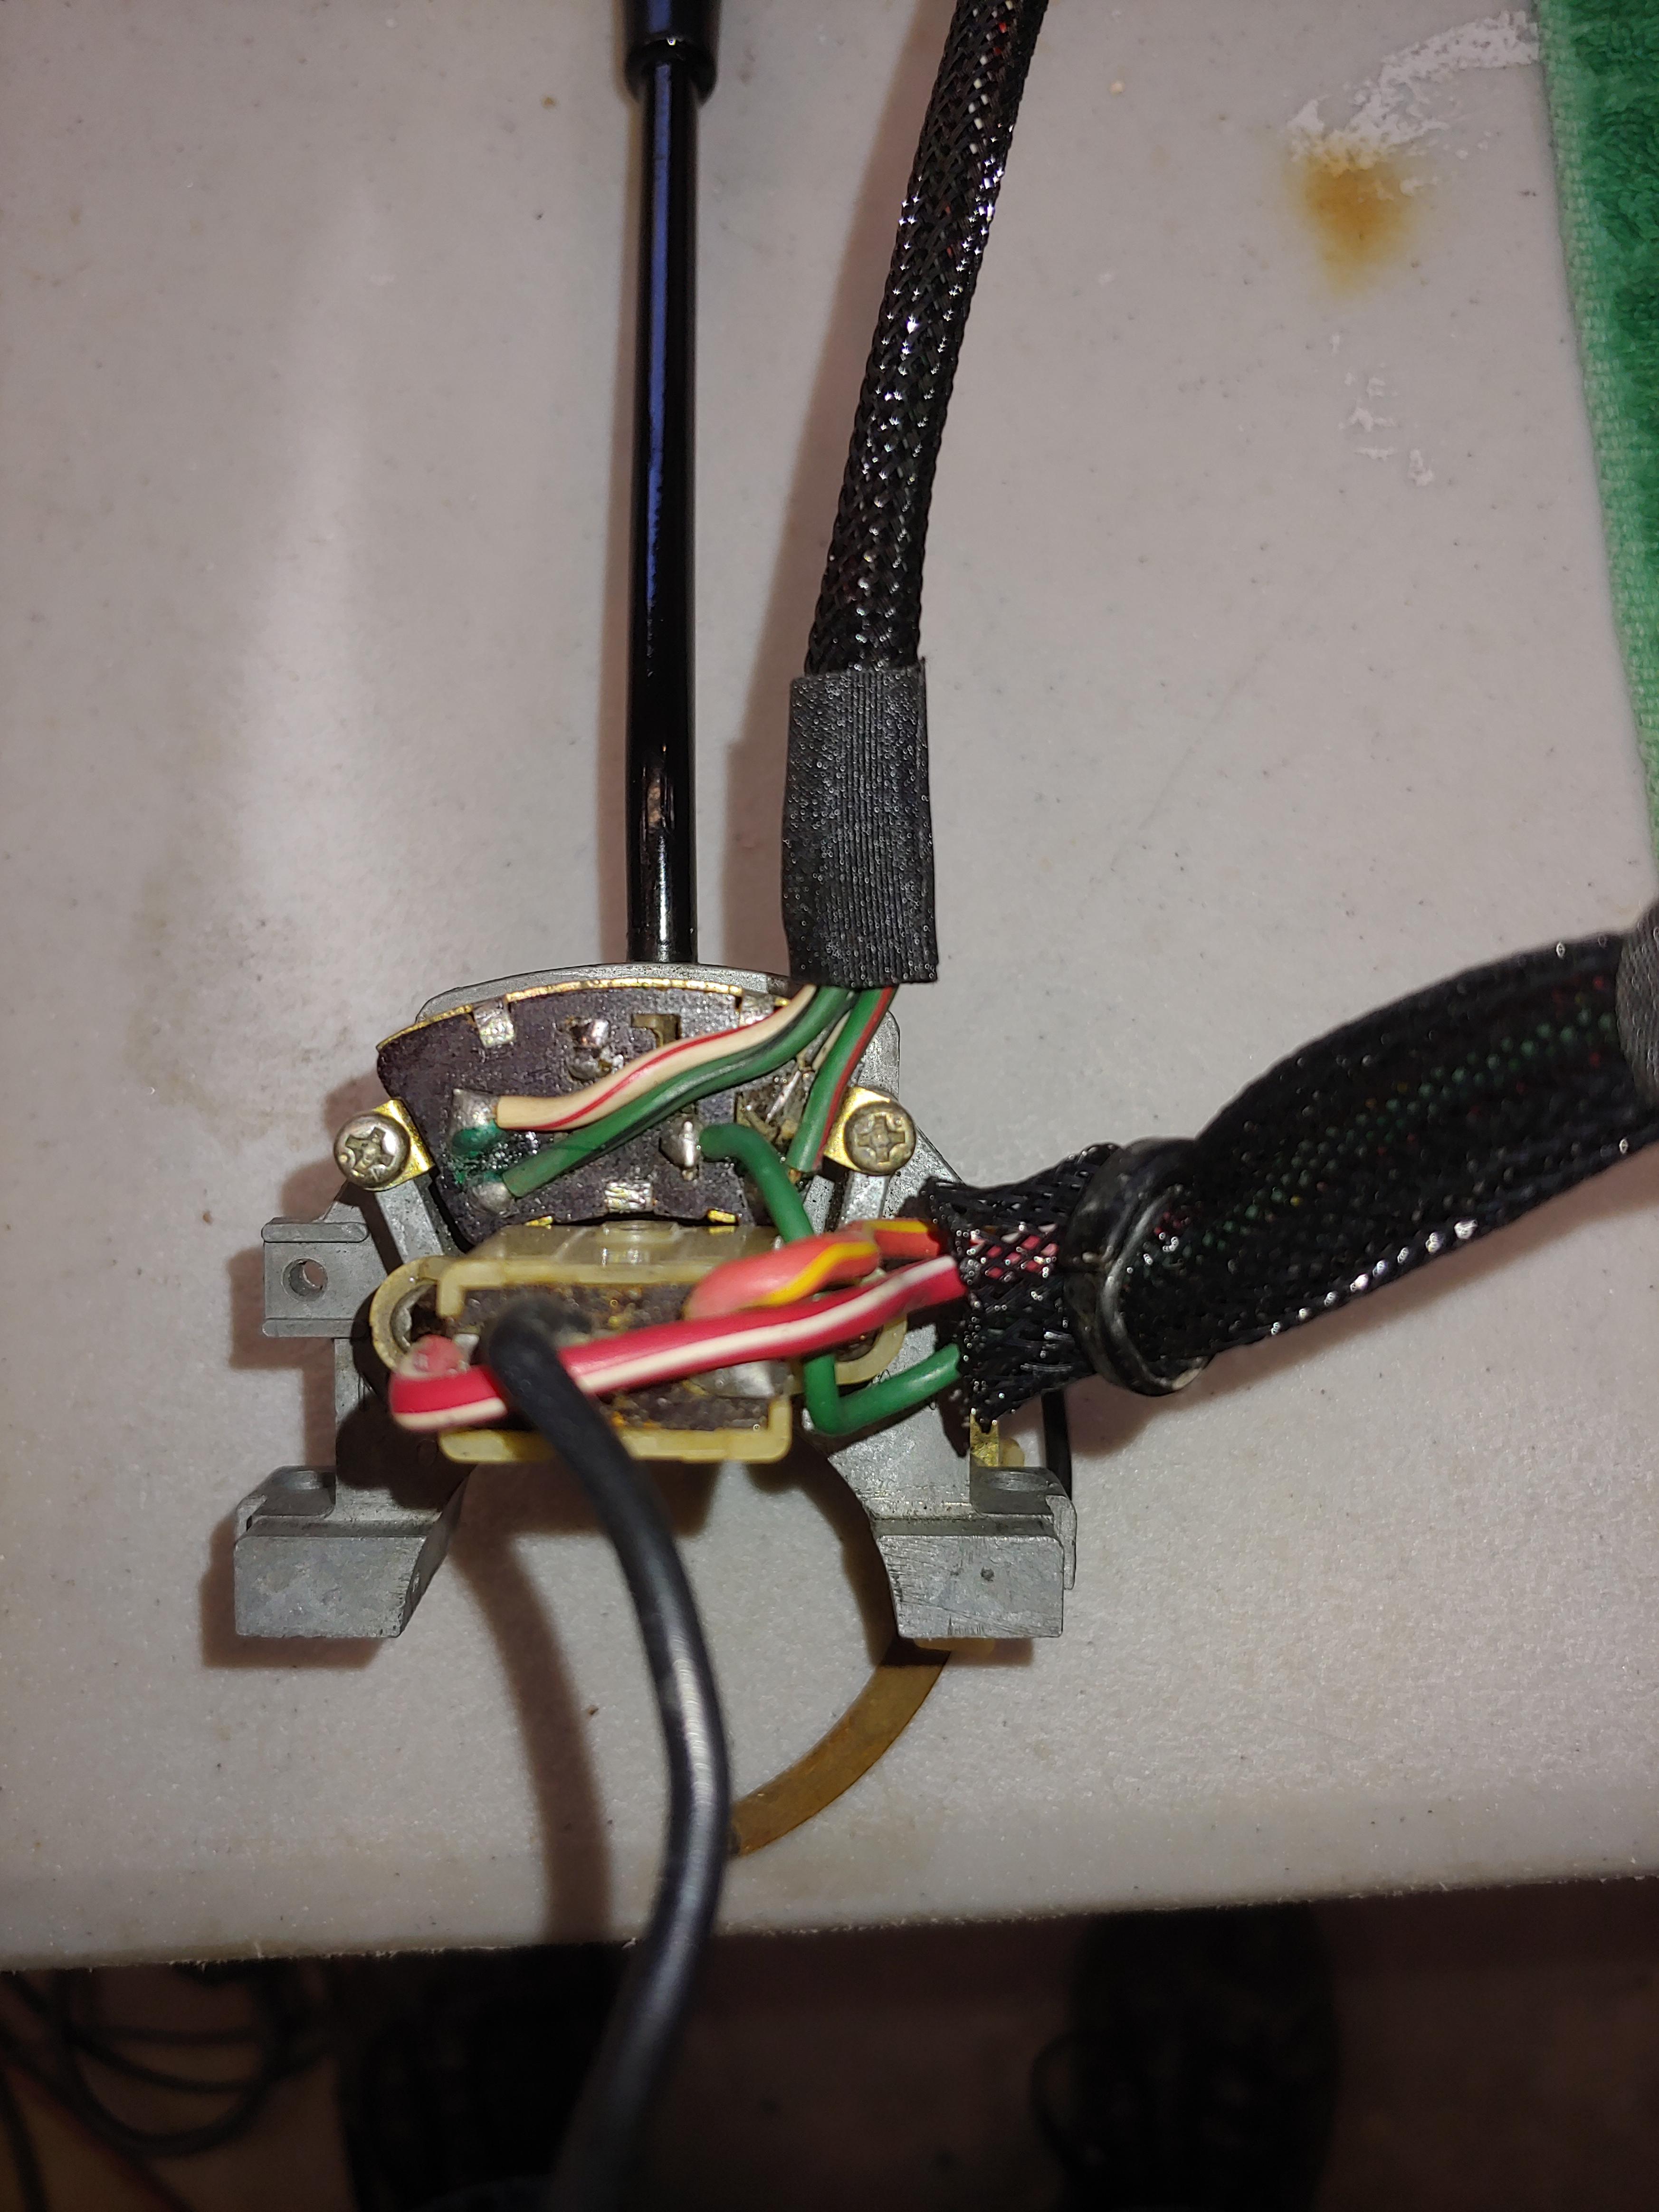
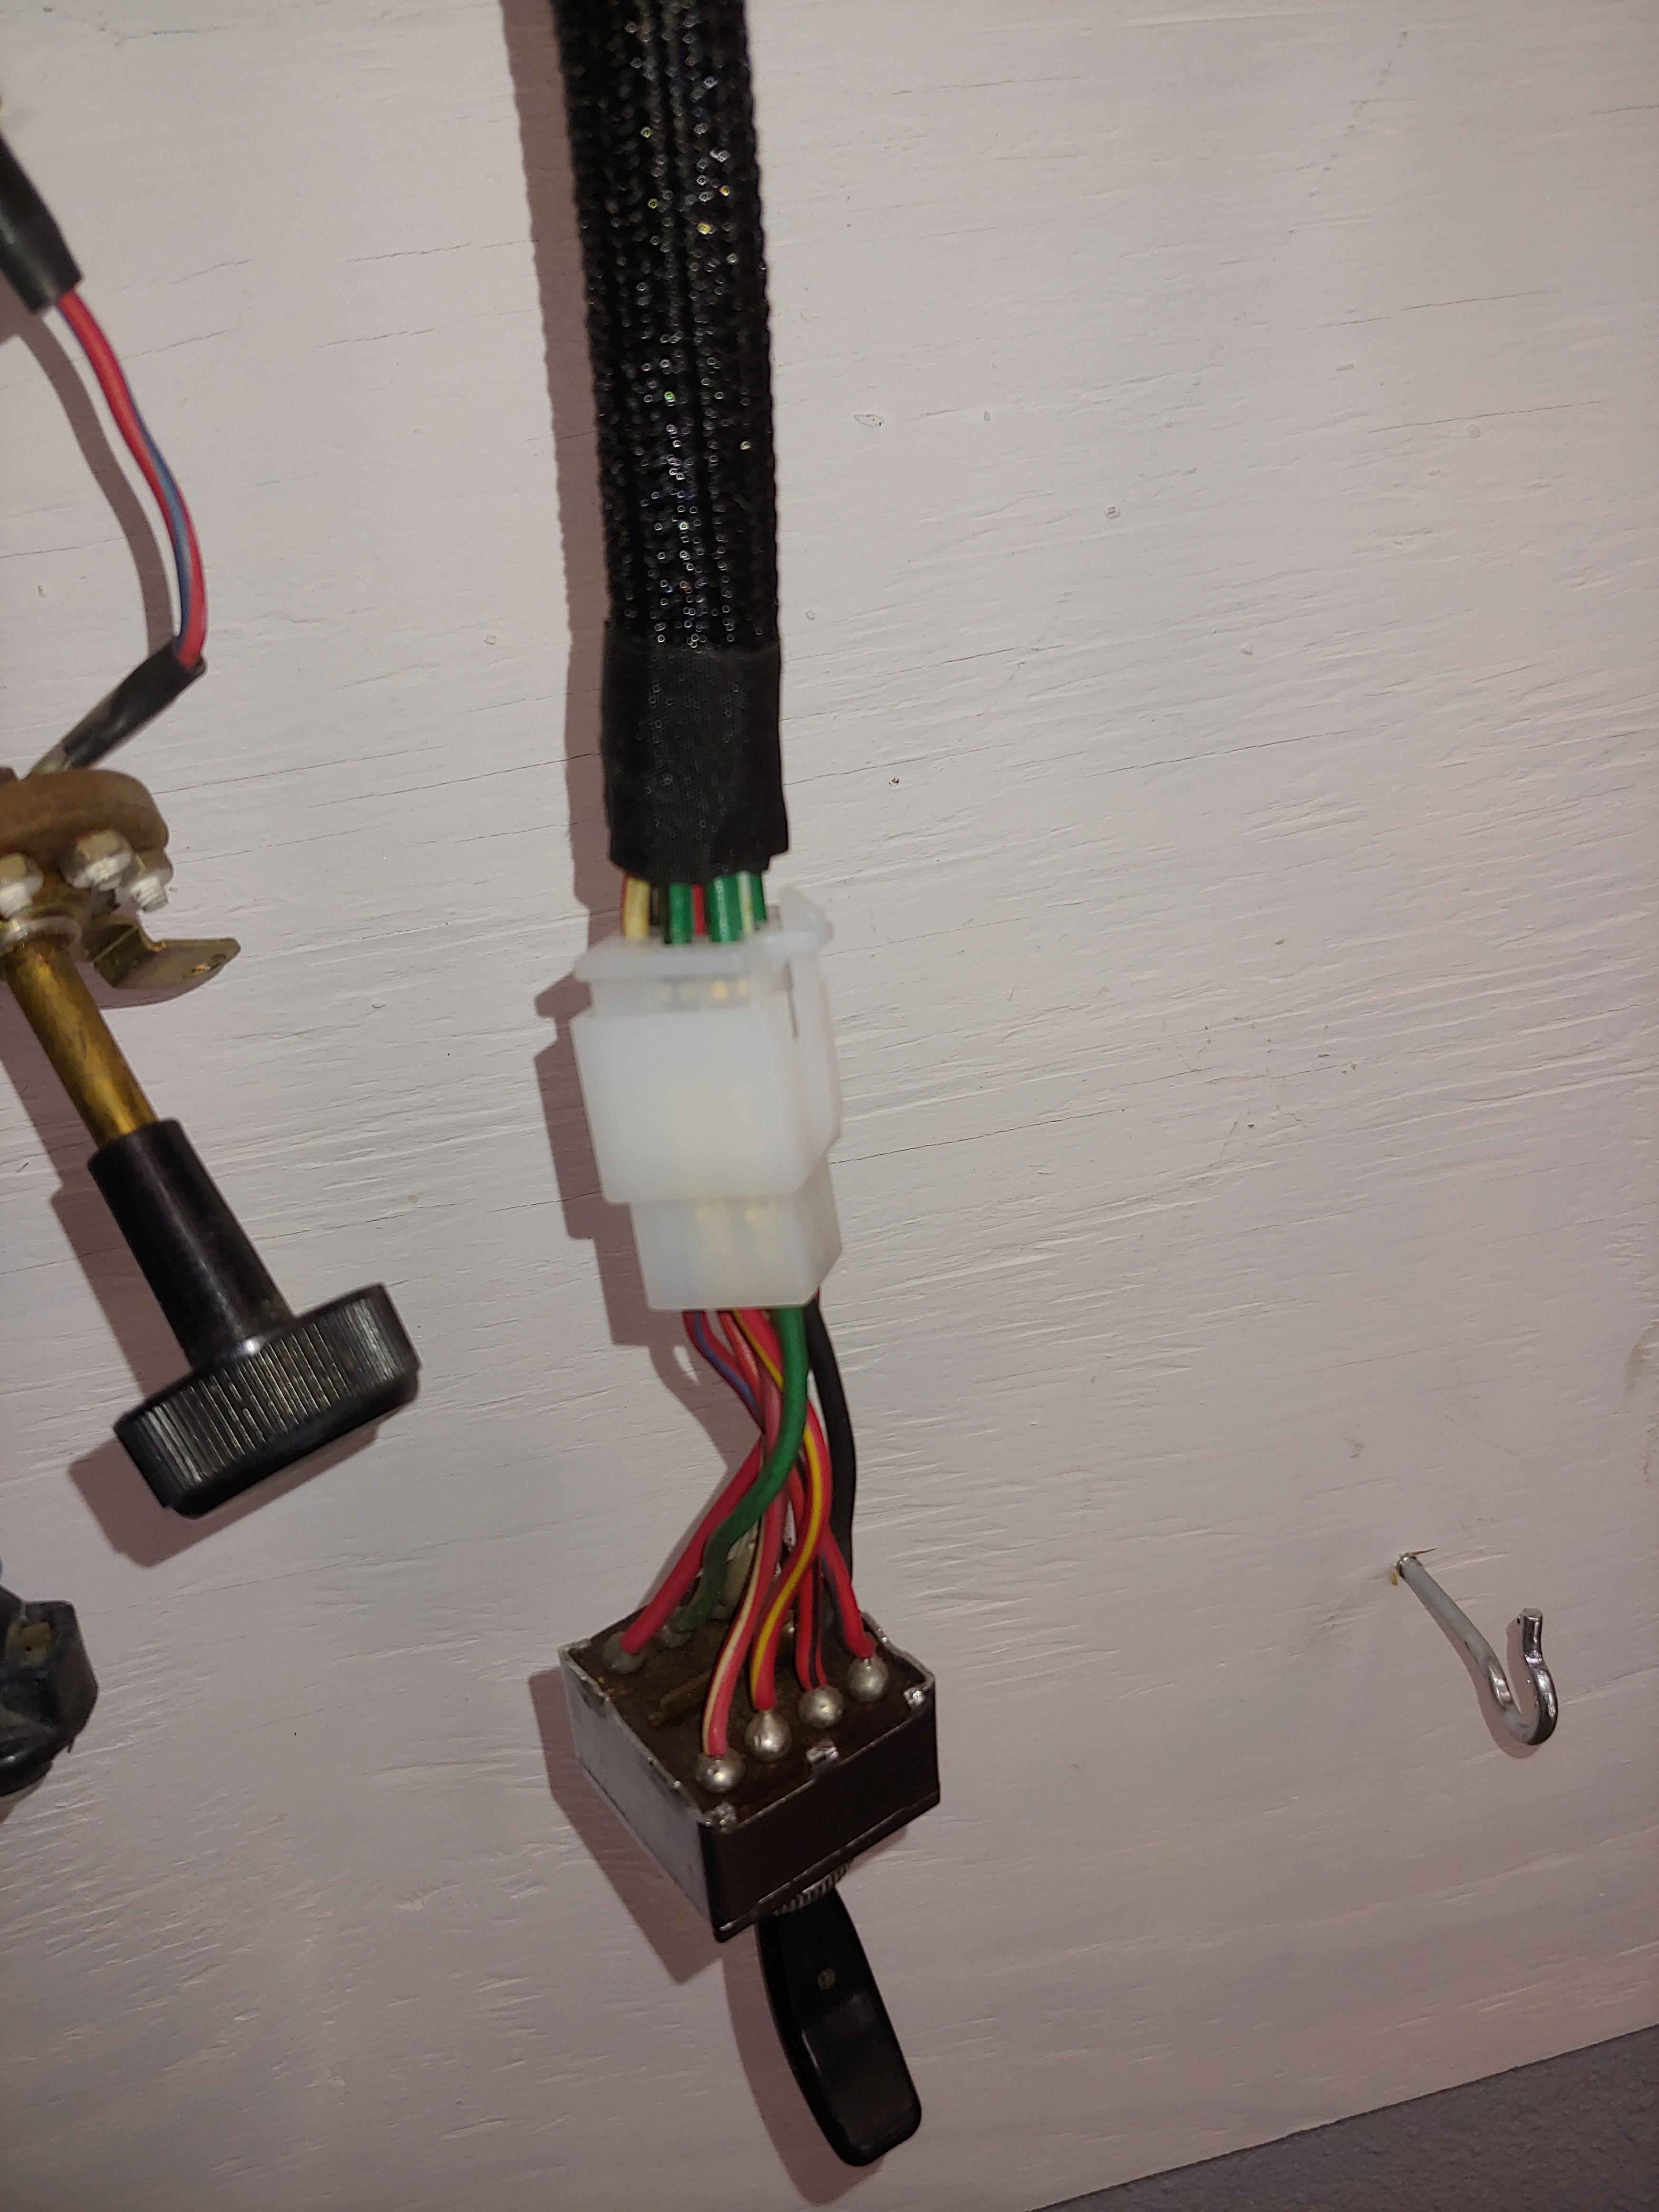
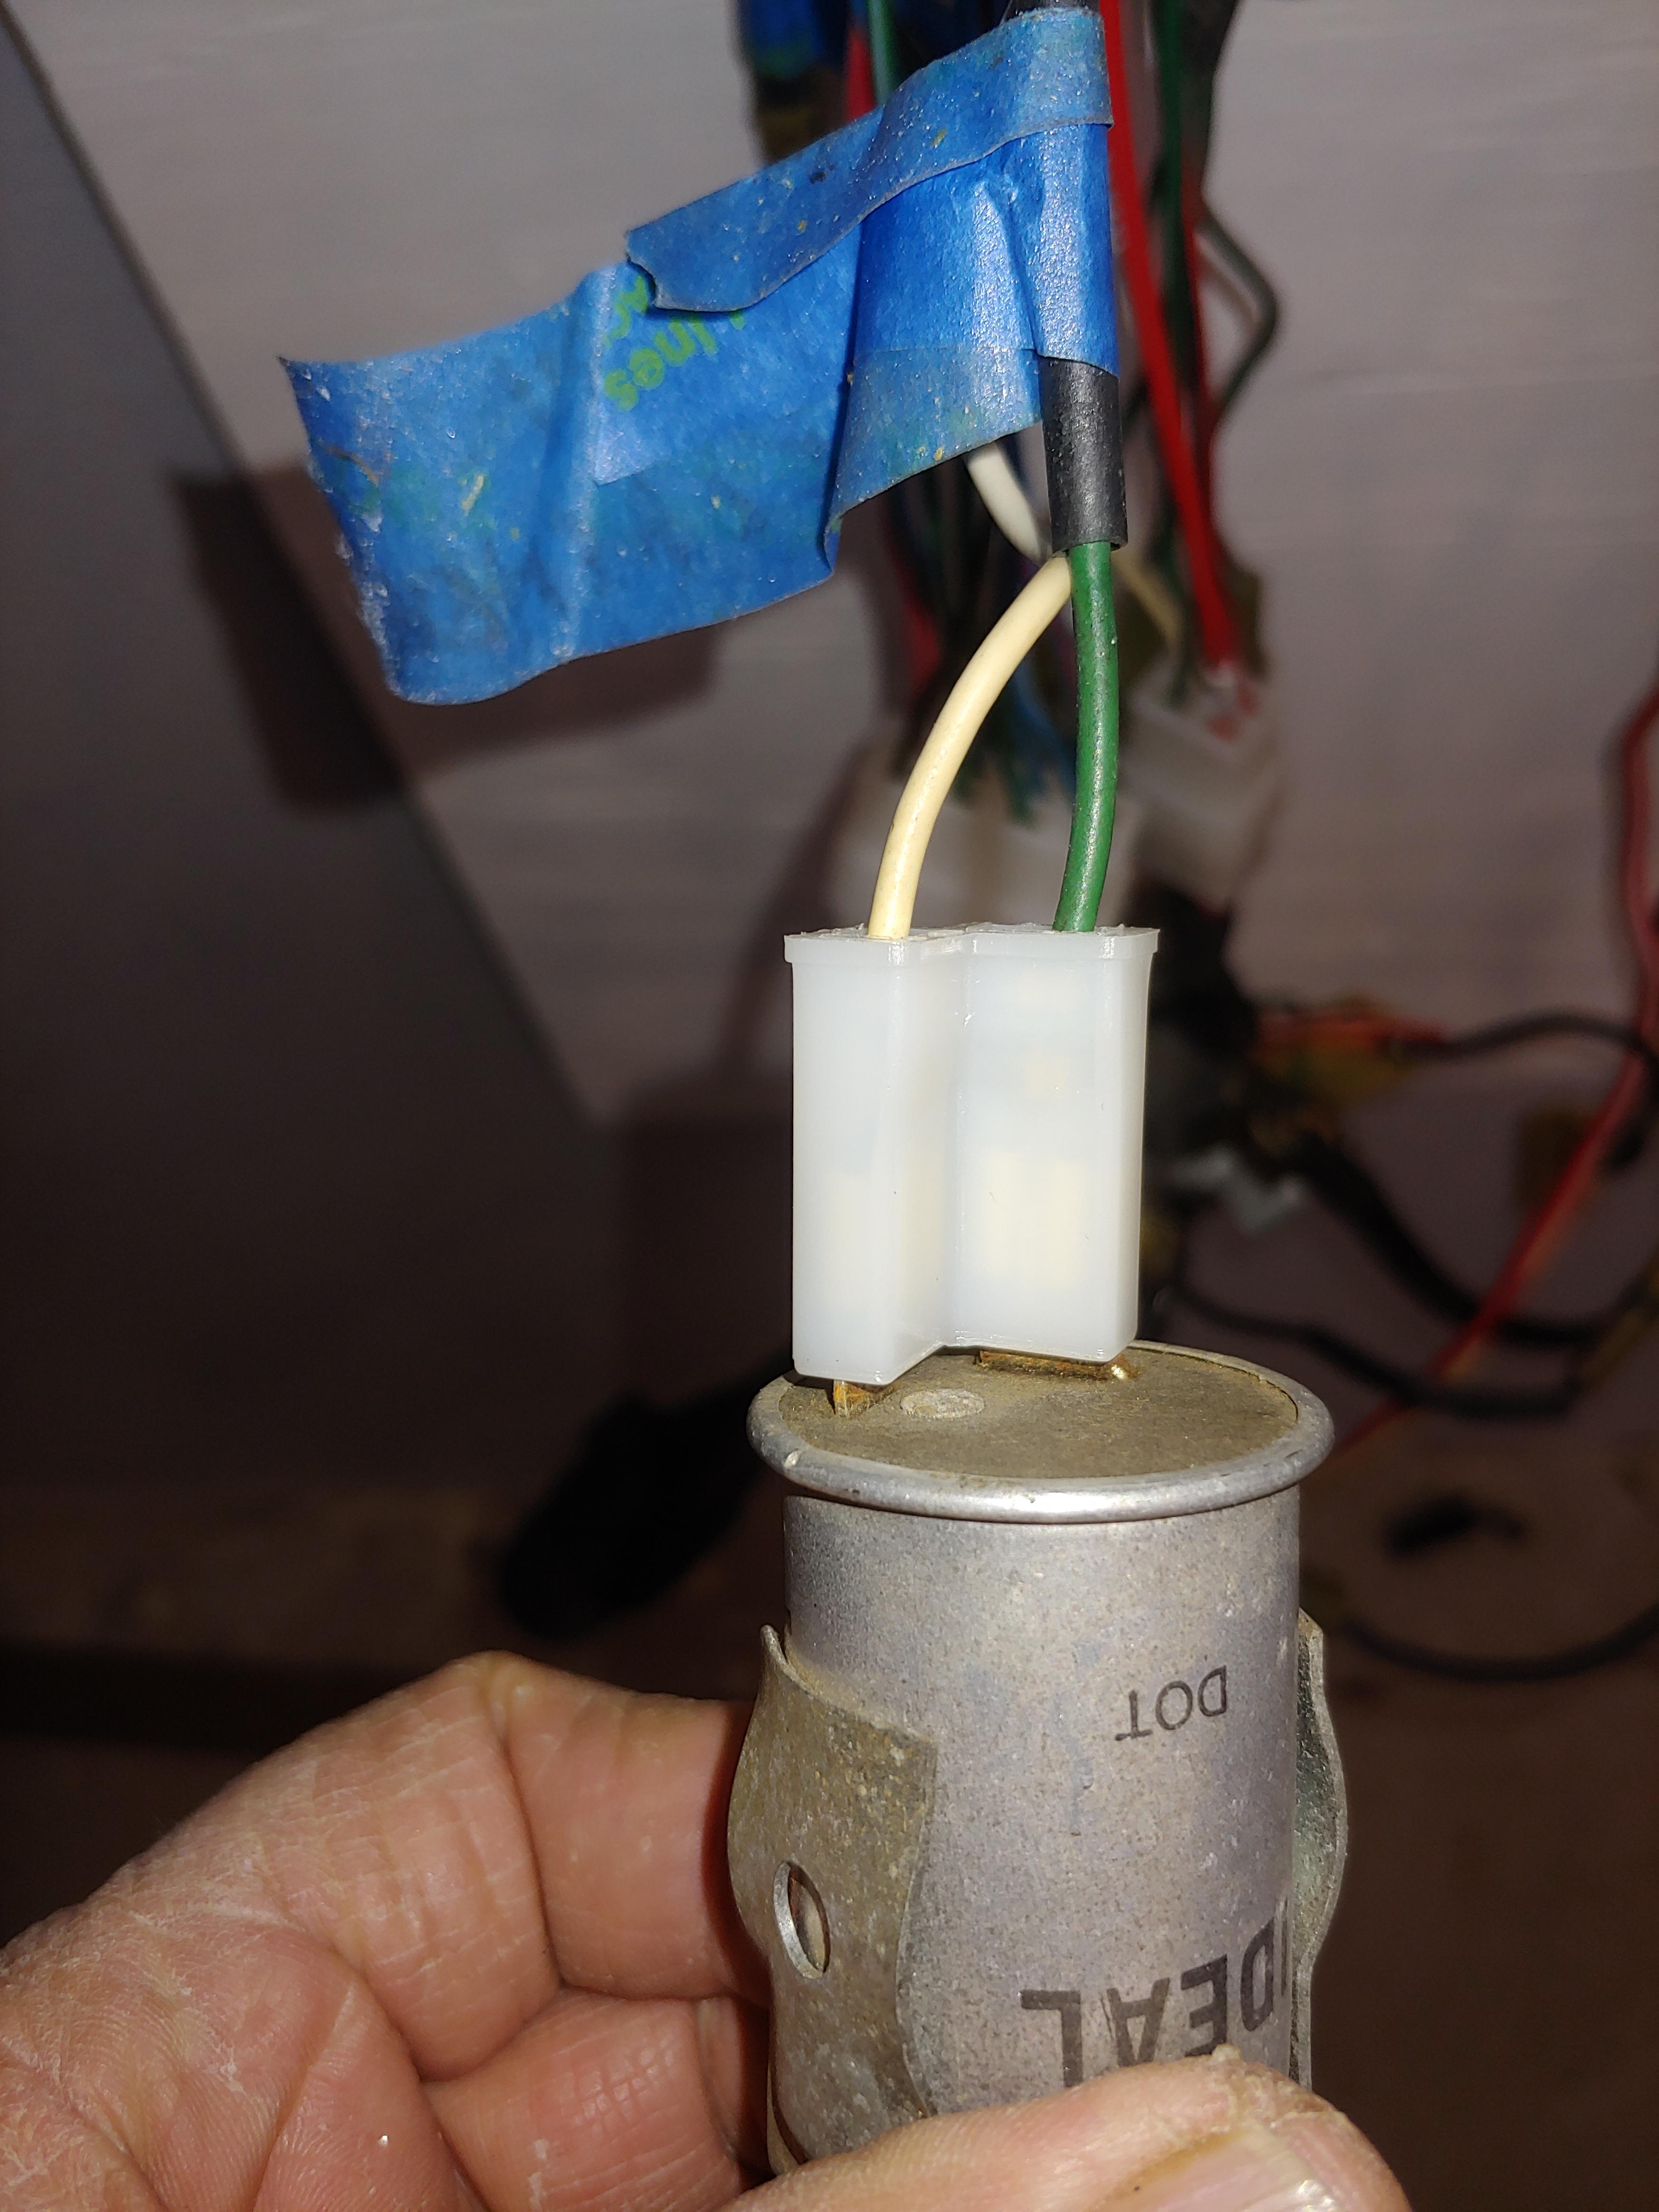
 I Disassembled headlight switch,turn signal switch and hazard switch to give them a nice cleaning and a little lube. Removed the wire connectors and replaced them. When I replaced connectors I moved the spade connectors for like the flasher and moved it into the new connector. I feel this makes things a little cleaner. I also removed all brake light wires from switches. installed new headlight connectors and sealed them with 3 to 1 shrink warp. I scored with a new left headlamp assy. I also order flasher connectors from Vintage connections. I think this makes it nice.If you do this make sure you have the power on the correct side in case you go to led flashers.
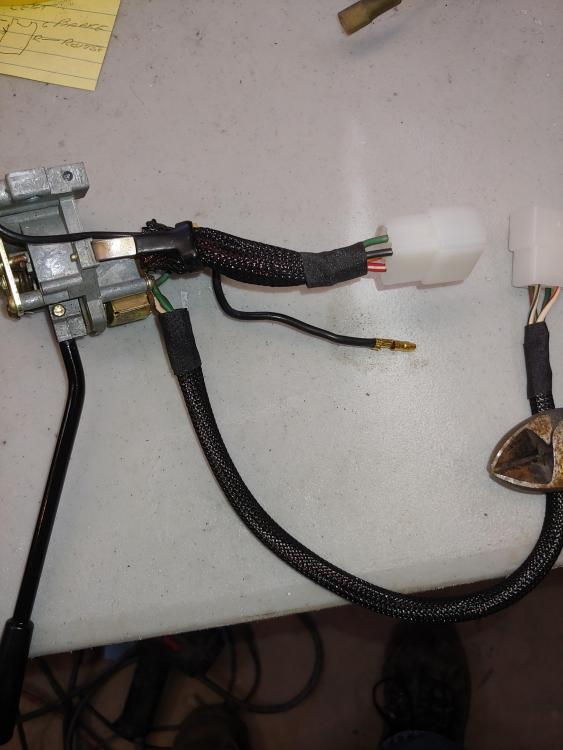


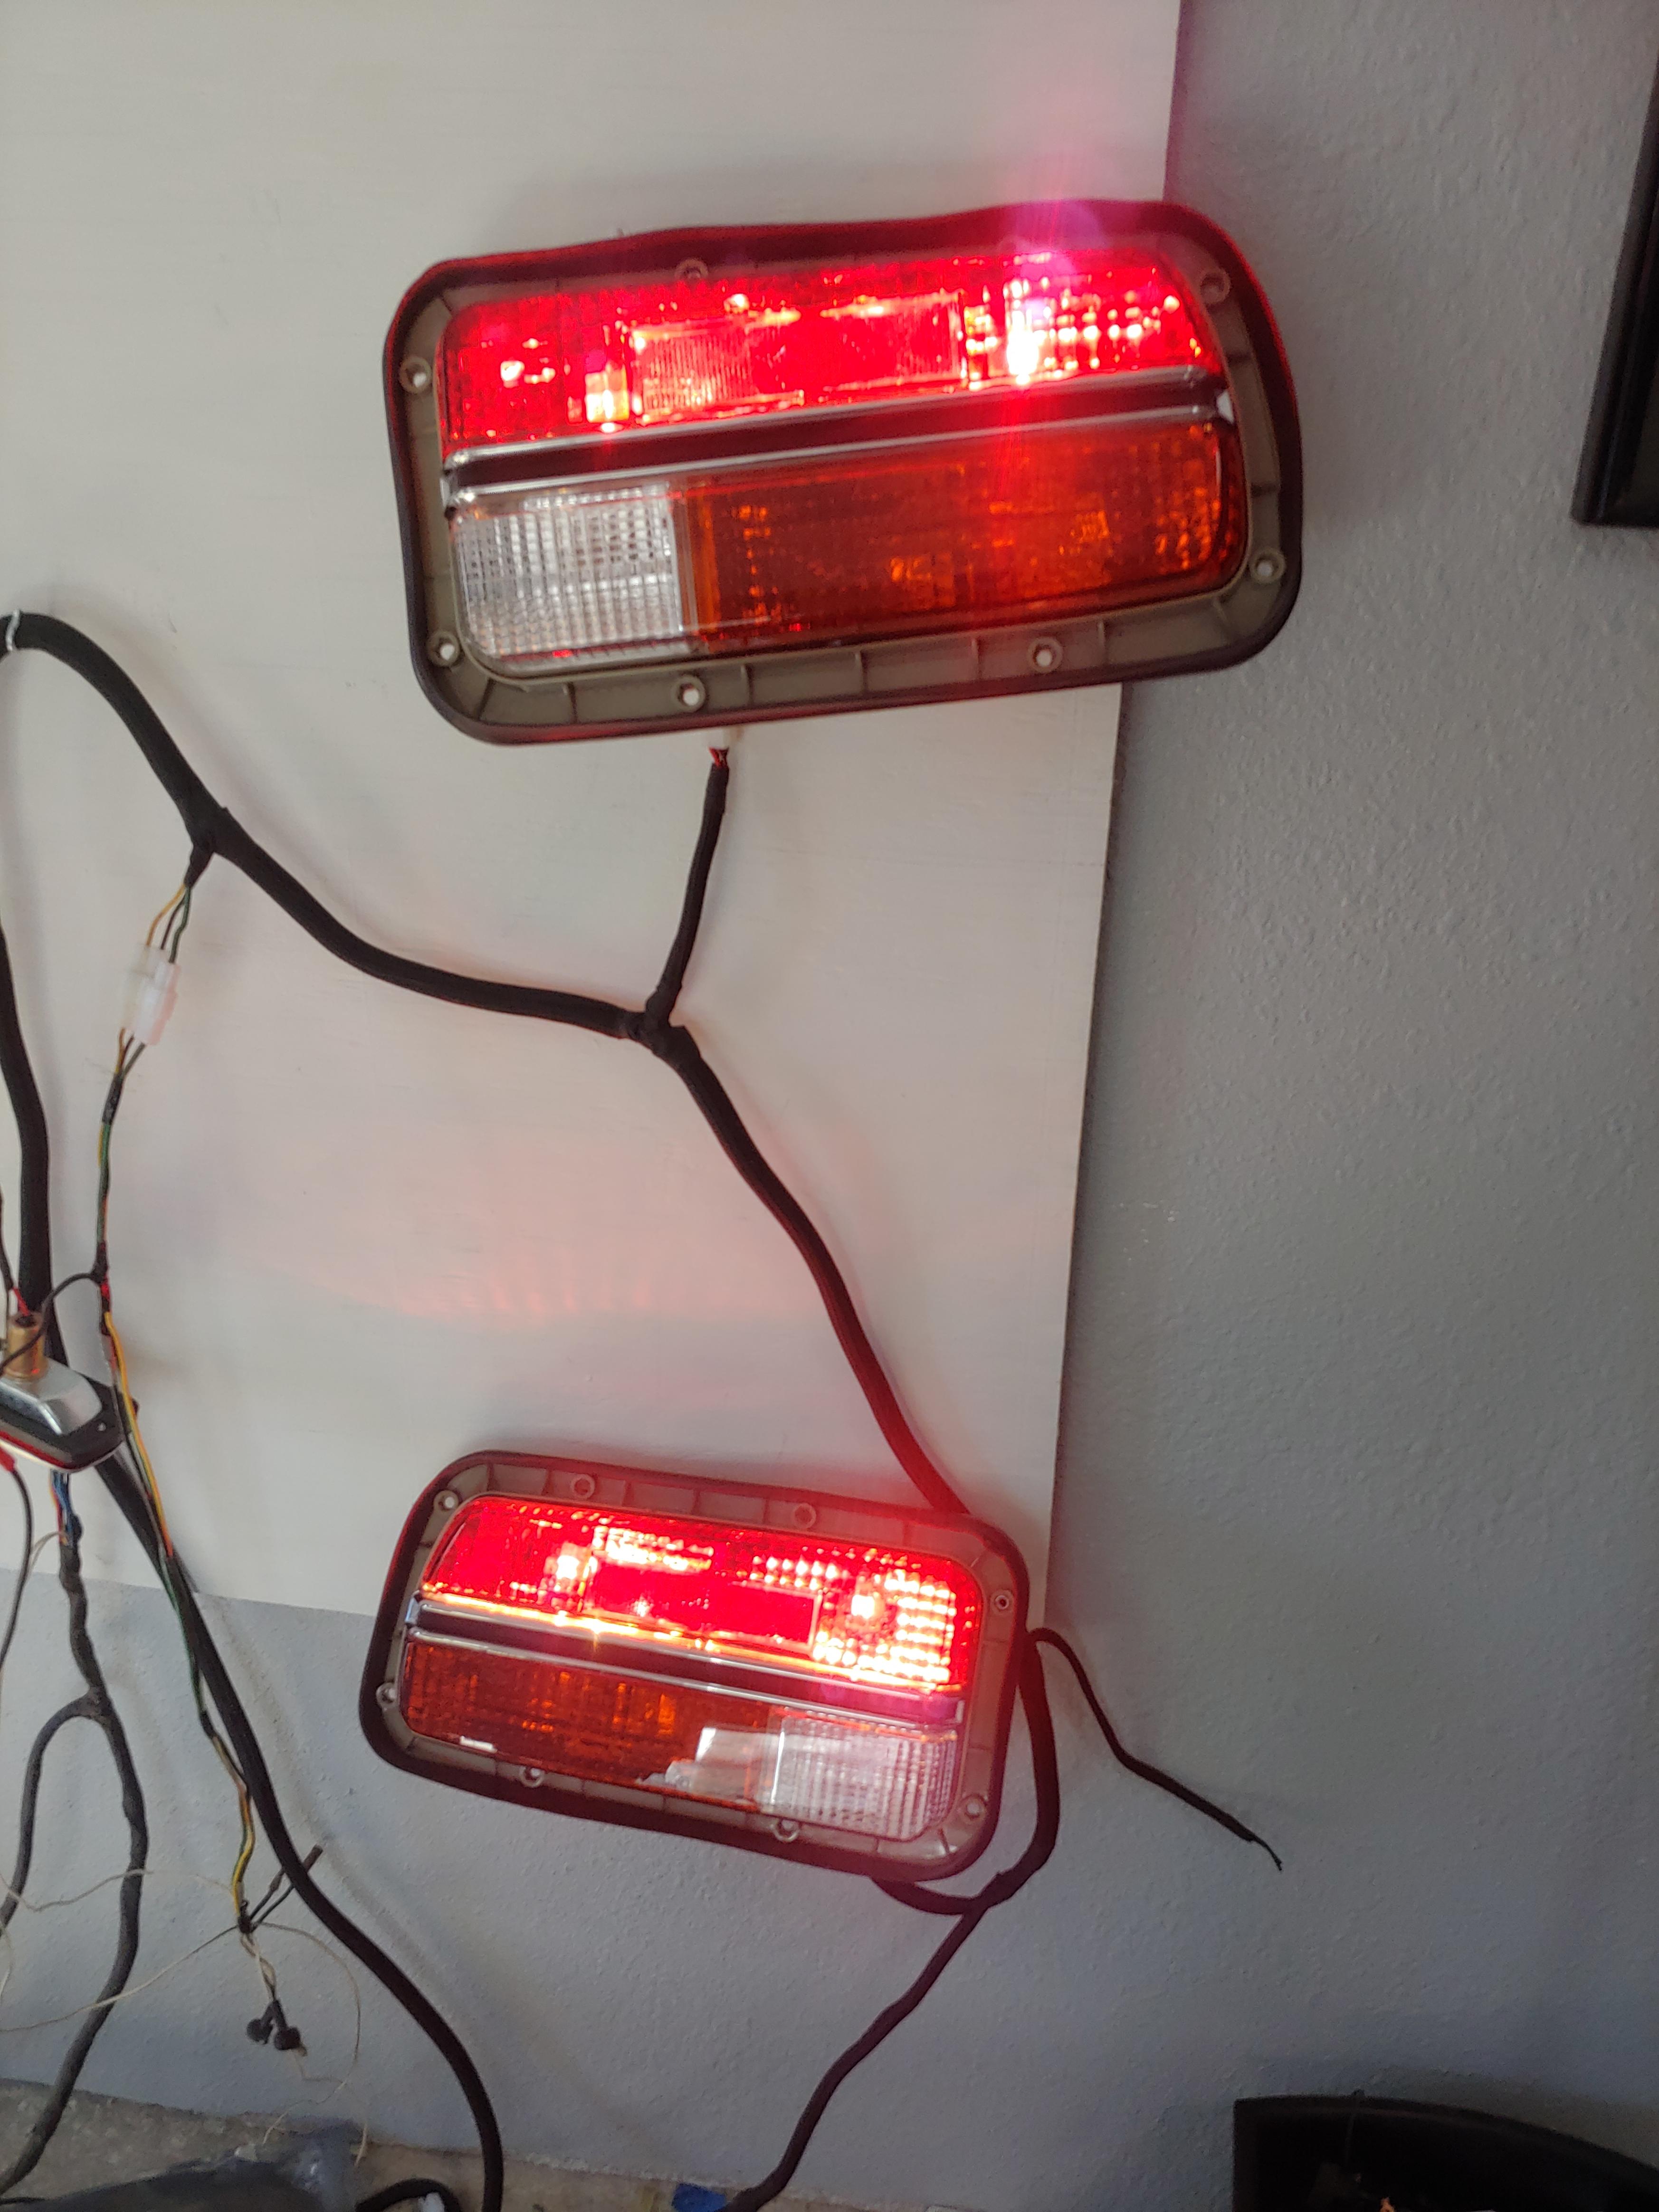
 Its pretty easy. If you look up JDM tail lights you should be able to find a really good article Arne ( in classiczcars forum) wrote on the JDM lights a long with some nice pictures. This pic is from his article and how I did my lights. I ran a new wire from lights to the brake light switch and a wire from fuse box to brake light switch
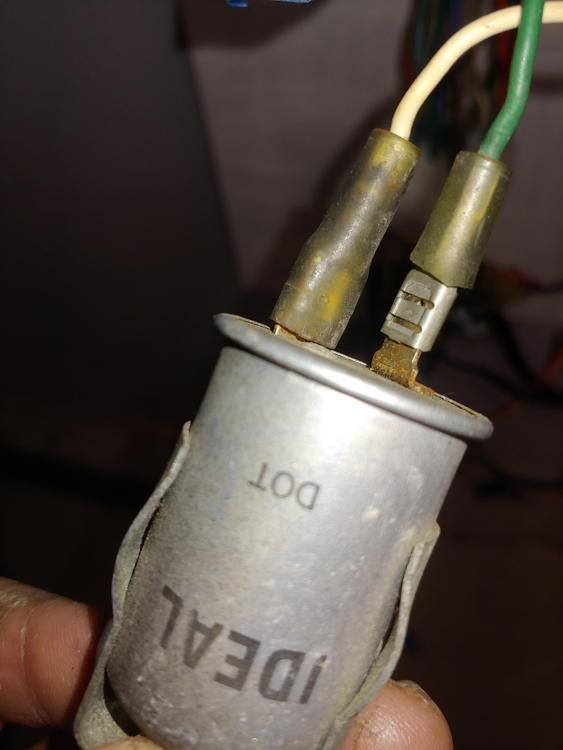
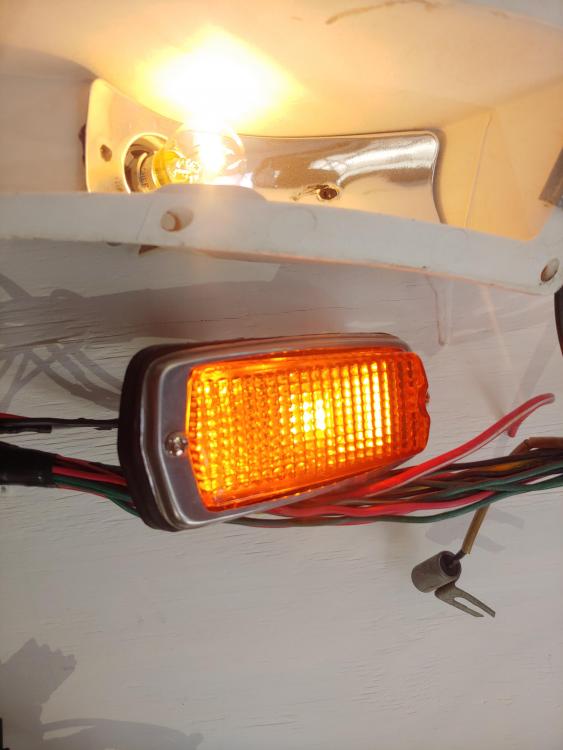
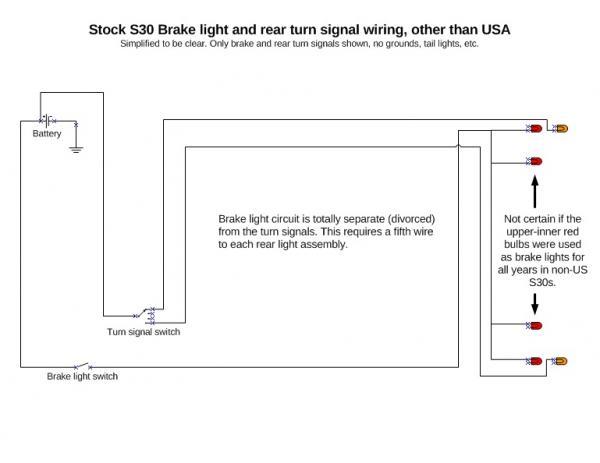 Yes I have a real problem with the Romeo. I worked 31years for Richard Romero so I do that all the time. I purchase a connector kit from Vintage connectors , a spade connector kit from cycle terminals and delphi connectors for outside connectors. Would have liked the deutsch connectors but did not want to purchase another crimp tool. A kit of shrink warp, plus 3-1, 2-1 shrink warp. Started with the brake,turn signal and running lights. Im installing the JDM taillights so I removed the brake switch from the turn signal circuit. Also I installed another 1157 socket on the top row of taillights of the JDM lights. This gives a much better brake light. The front marker lights I removed the 1156 sockets and installed 1157 and ran them into the front turn signals.Pretty easy to do. Next will be the headlights.

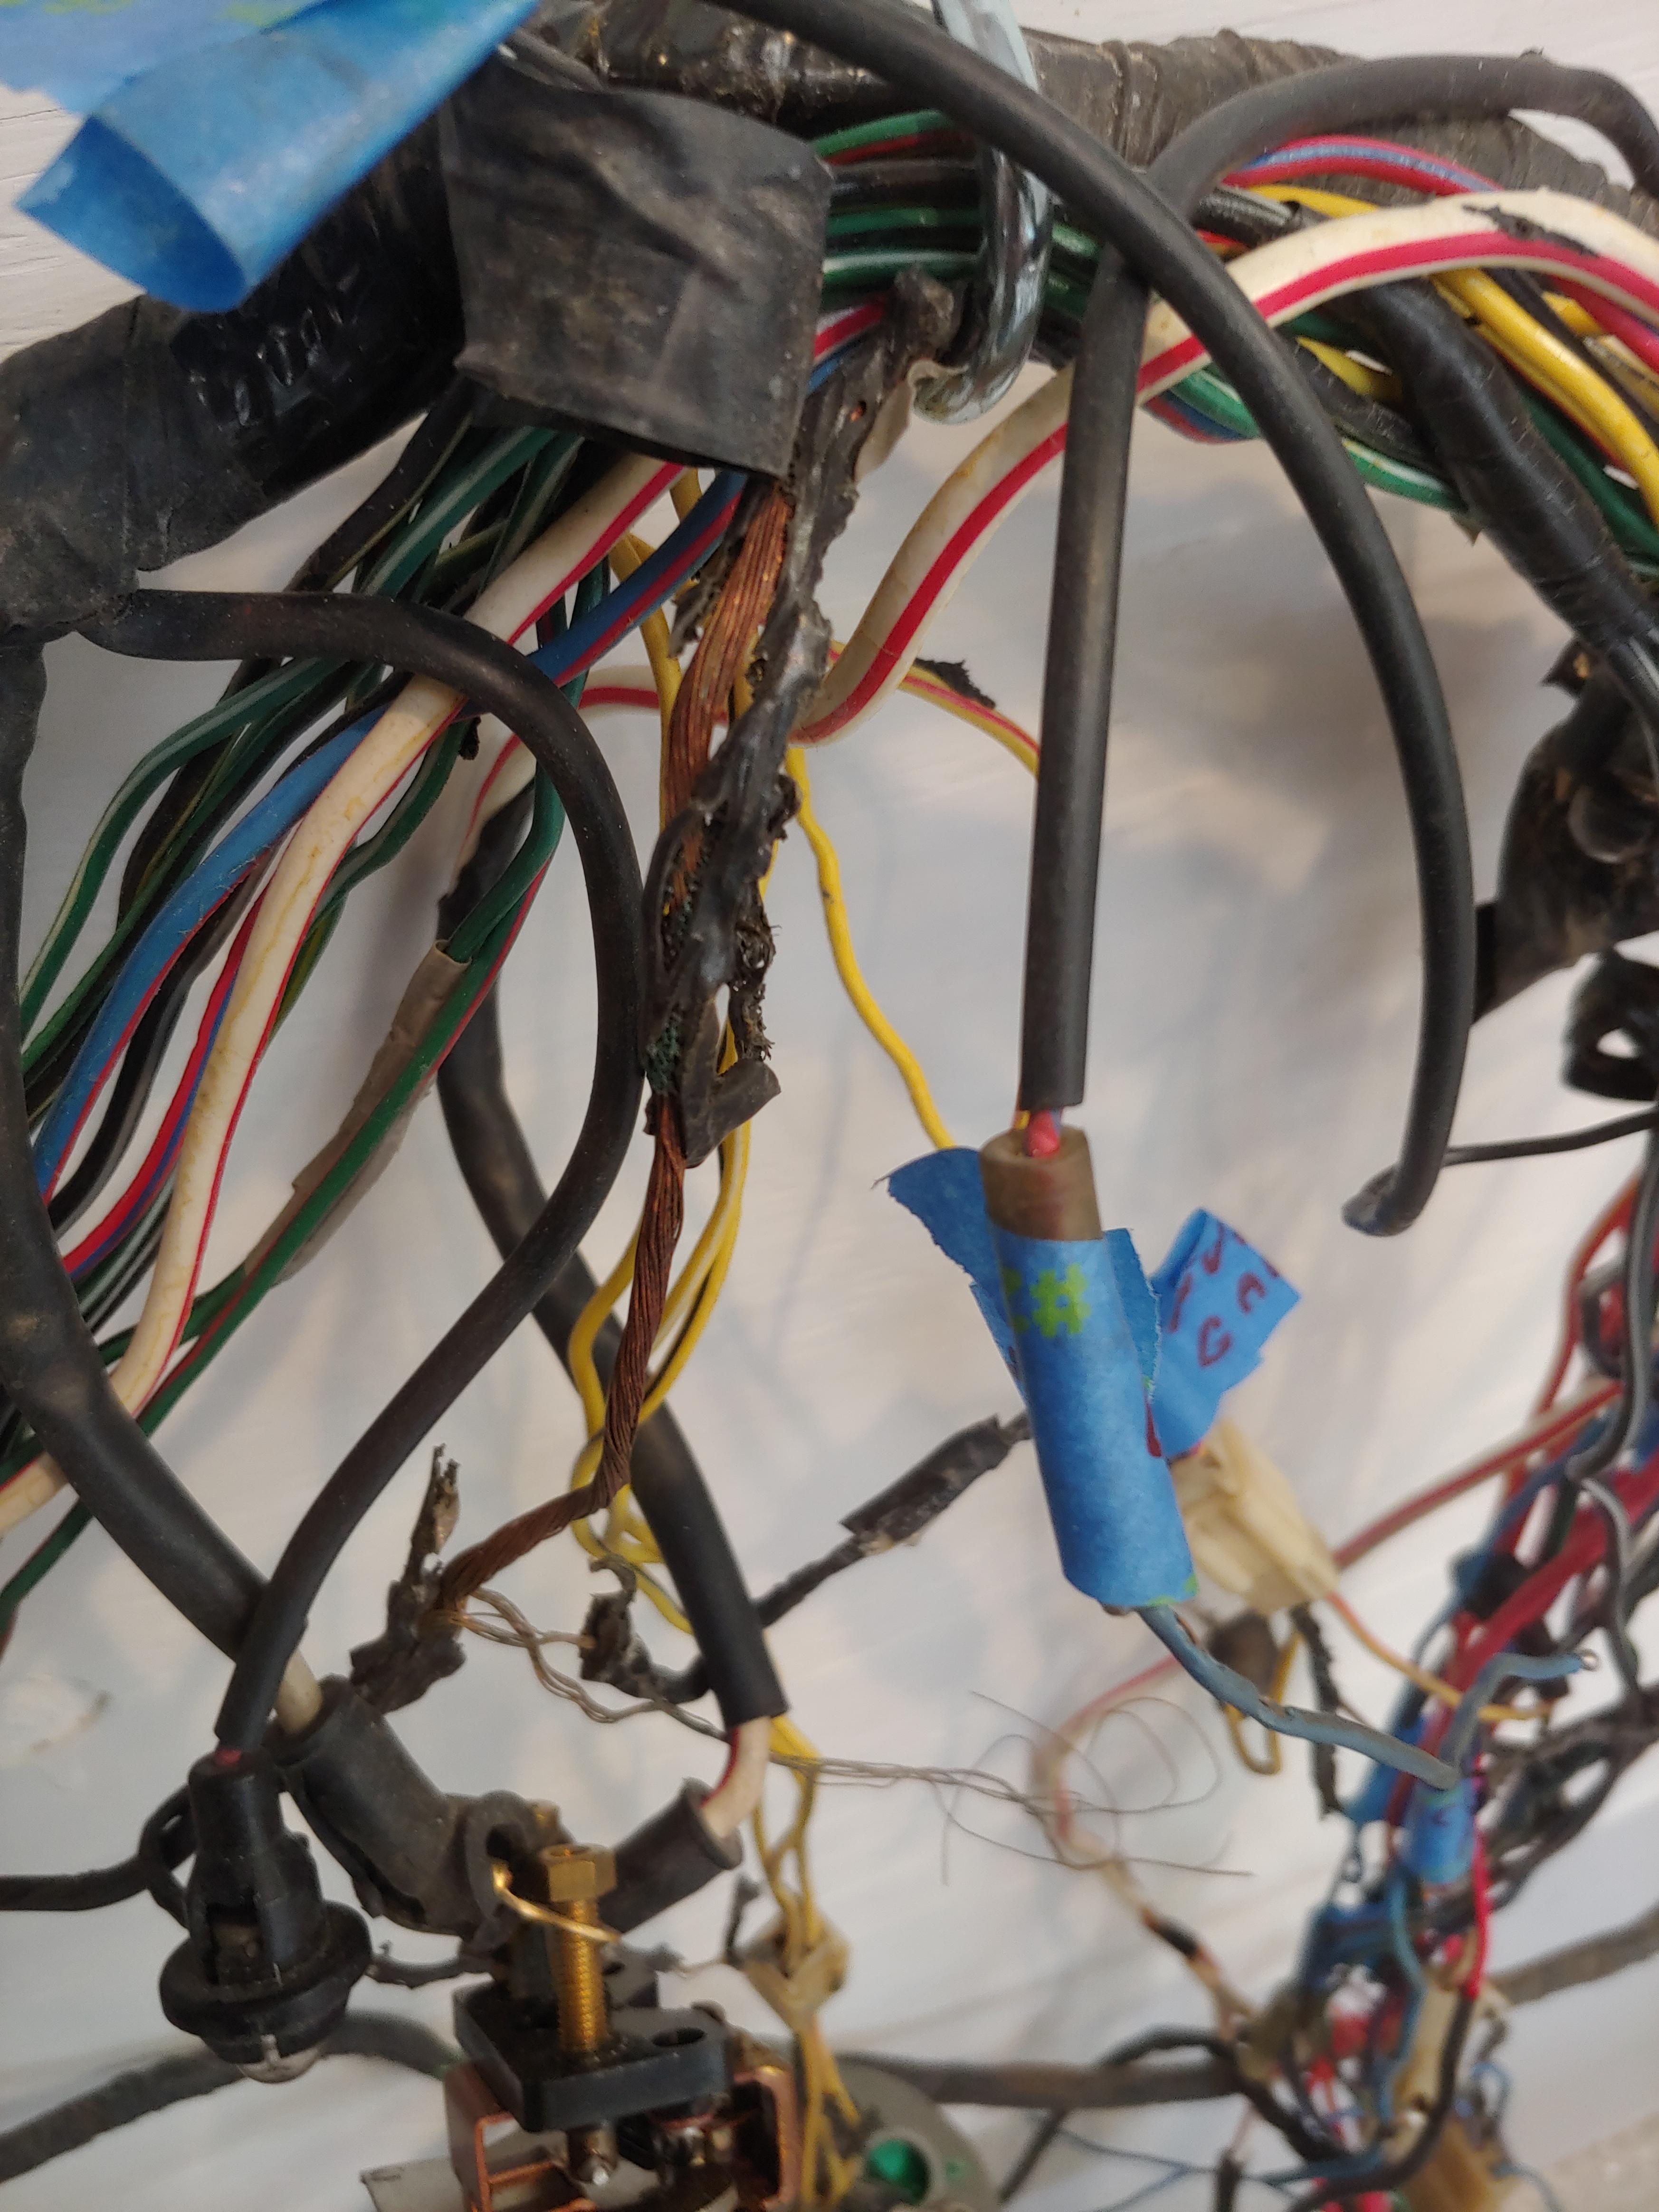
 I forgot. Need to add that this is a late 1971 mfg date 8/71 car. I have 4 wire diagram 1970.1971,1971 late and 1972. None of these match the car complete. Turn signals in car are g/r and g/b not w/r or w/b. The circuits really need to tested with a good volt ohm meter. The gauges in wire diagrams show a y/r wire power feed from a green wire to fuse box. I found a yellow wire from oil pressure and yellow red from temp gauge going to red and blue wire to fuse box. This is not uncommon with older cars. I have found this in chevys,fords and my alfa romero.
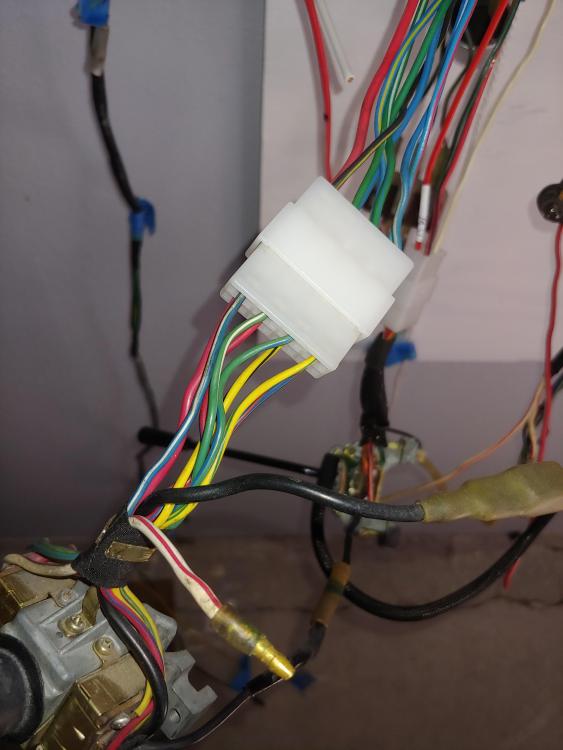
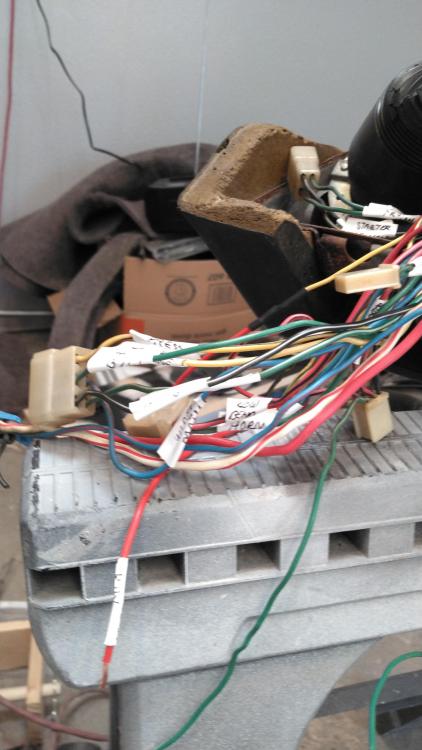
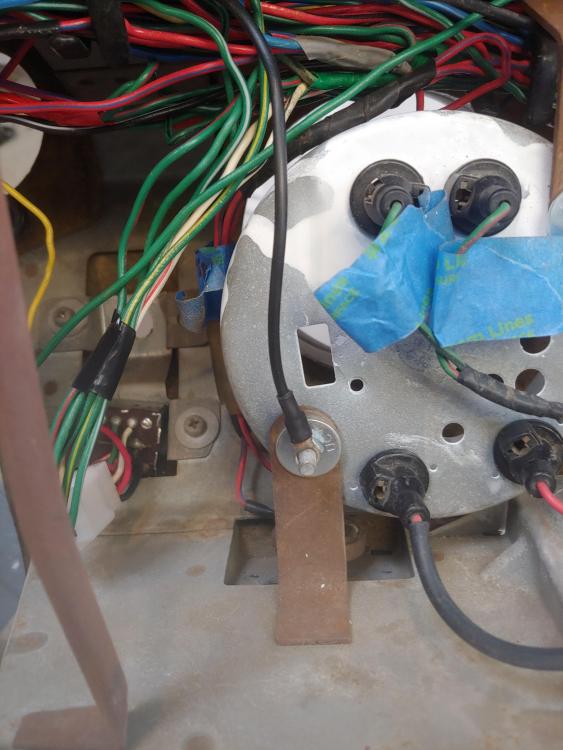
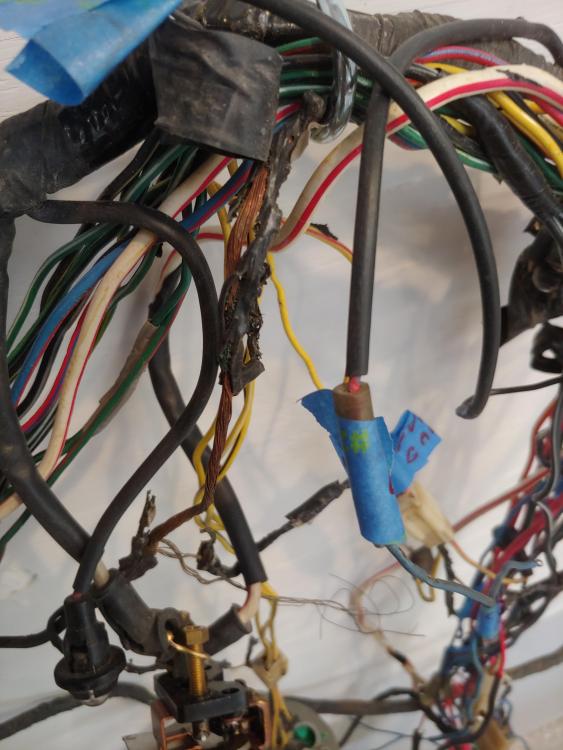
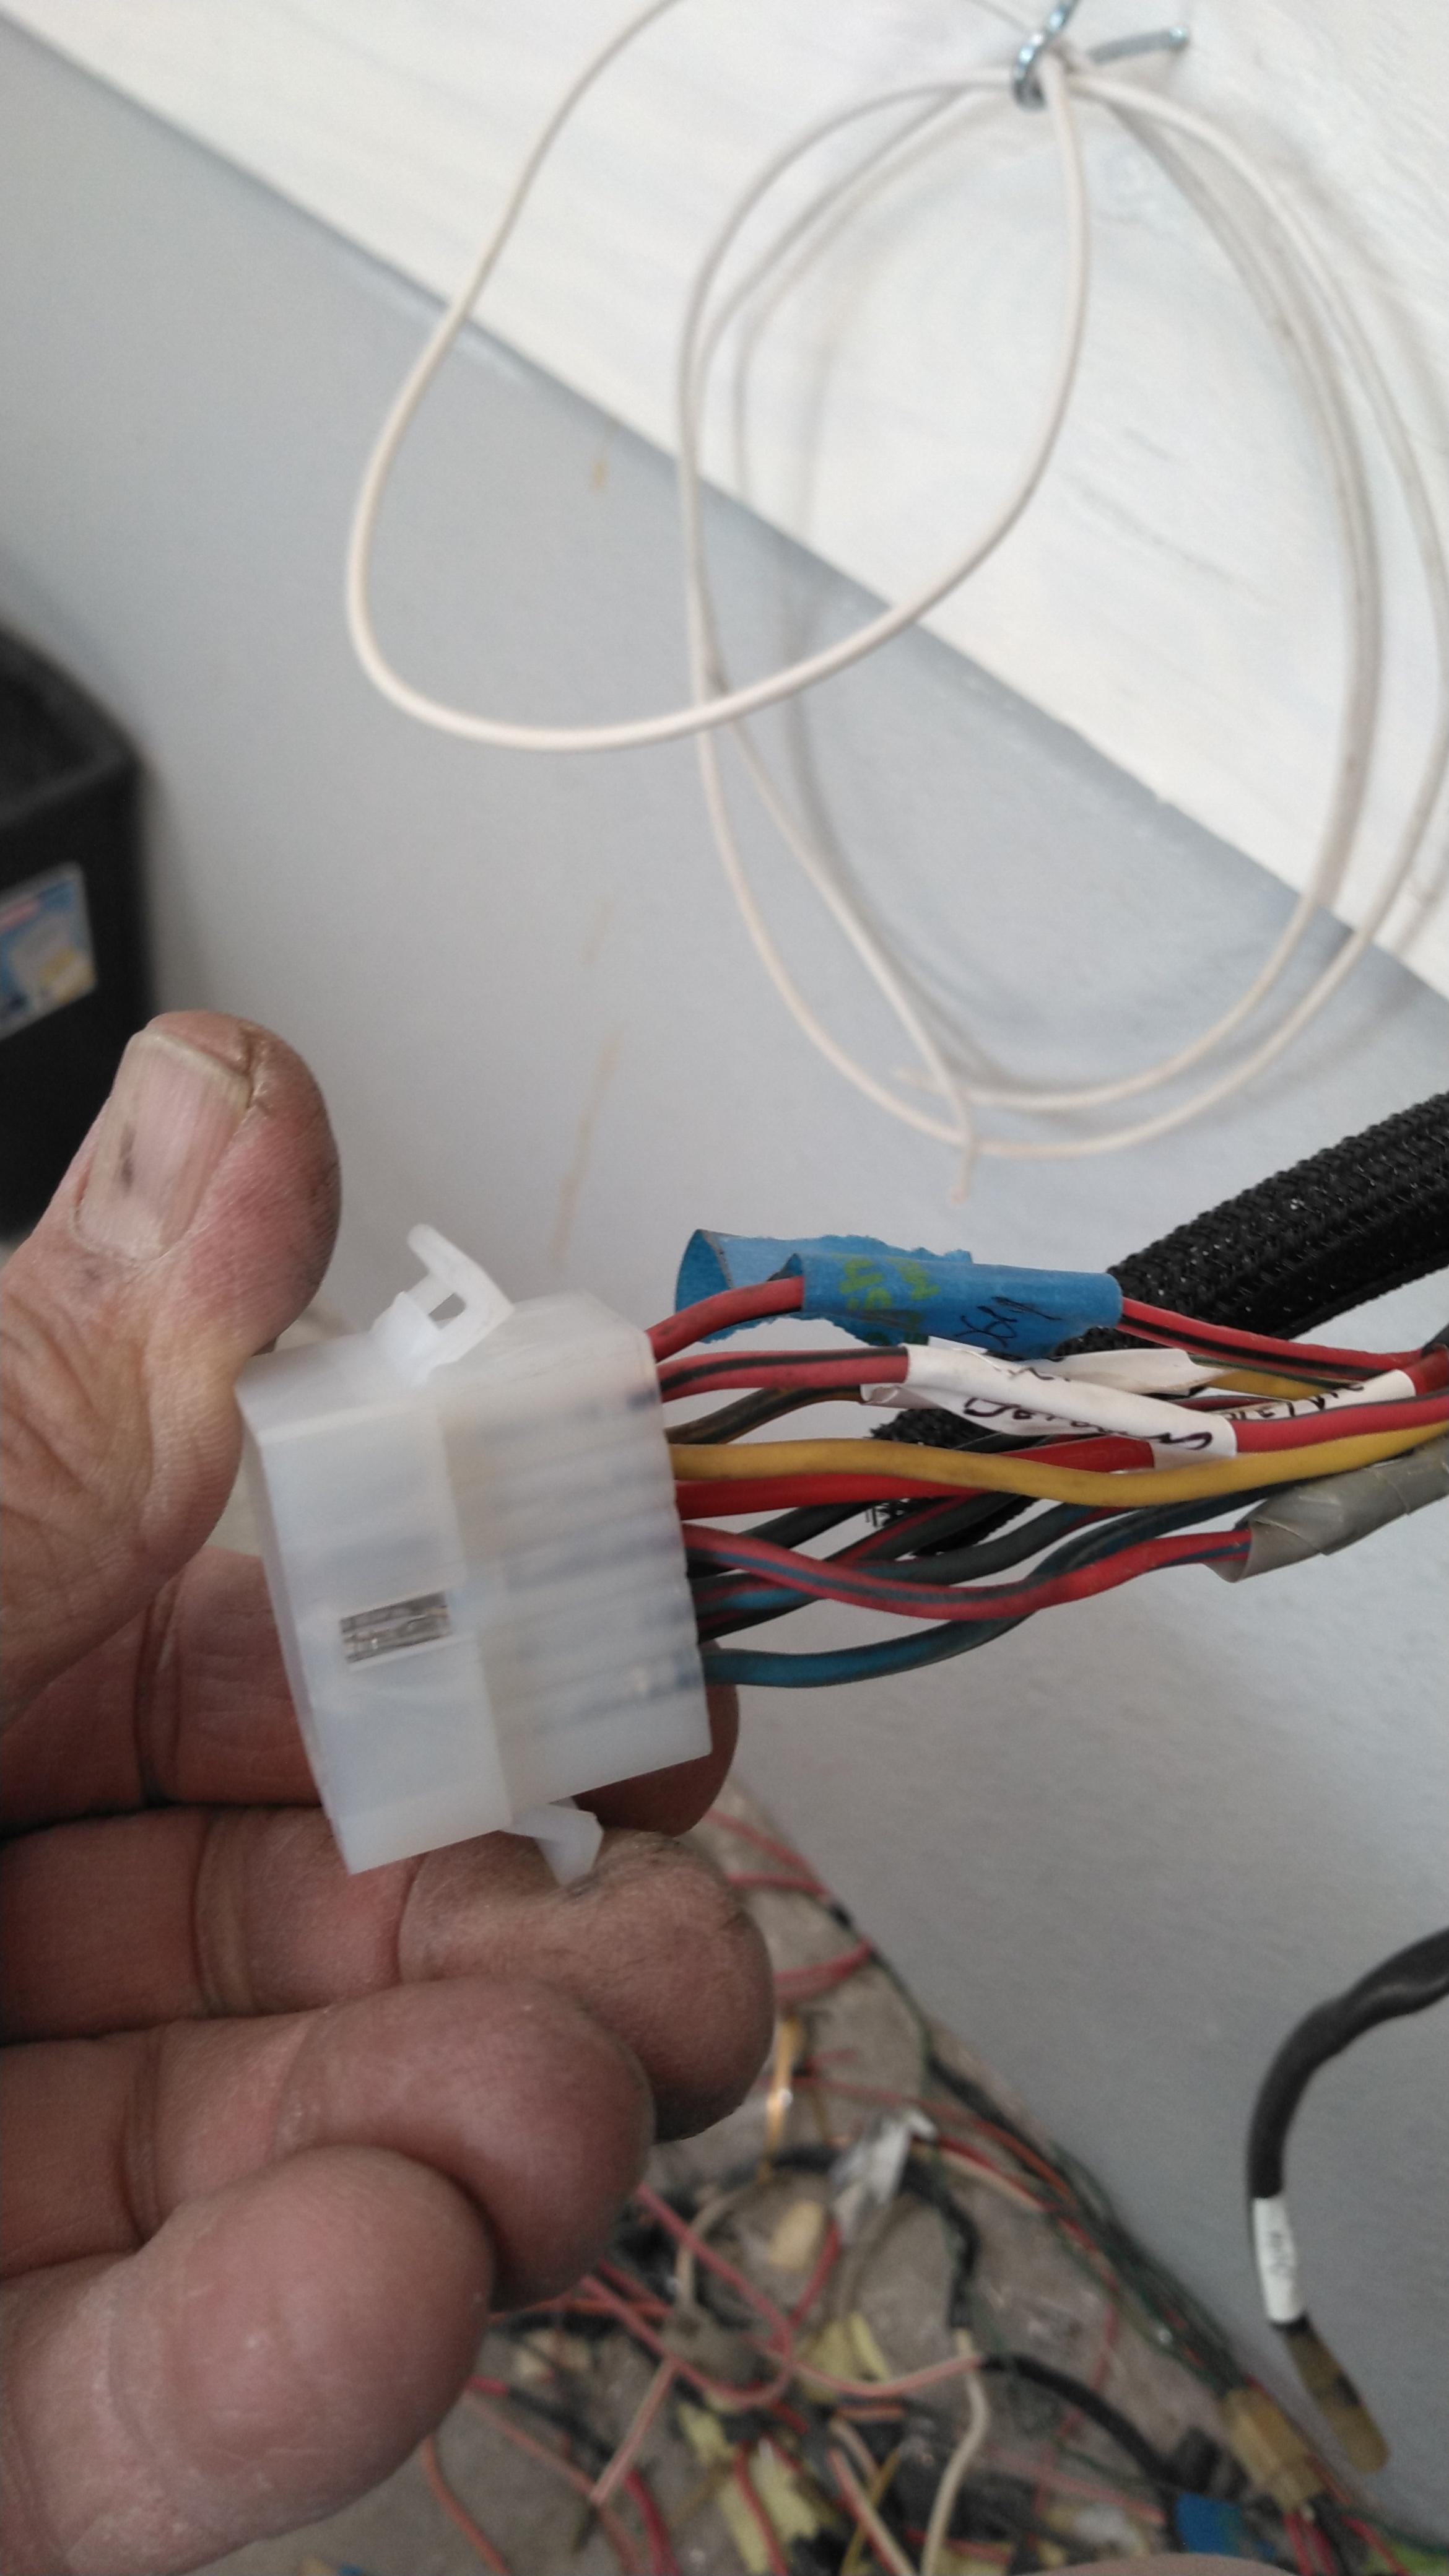
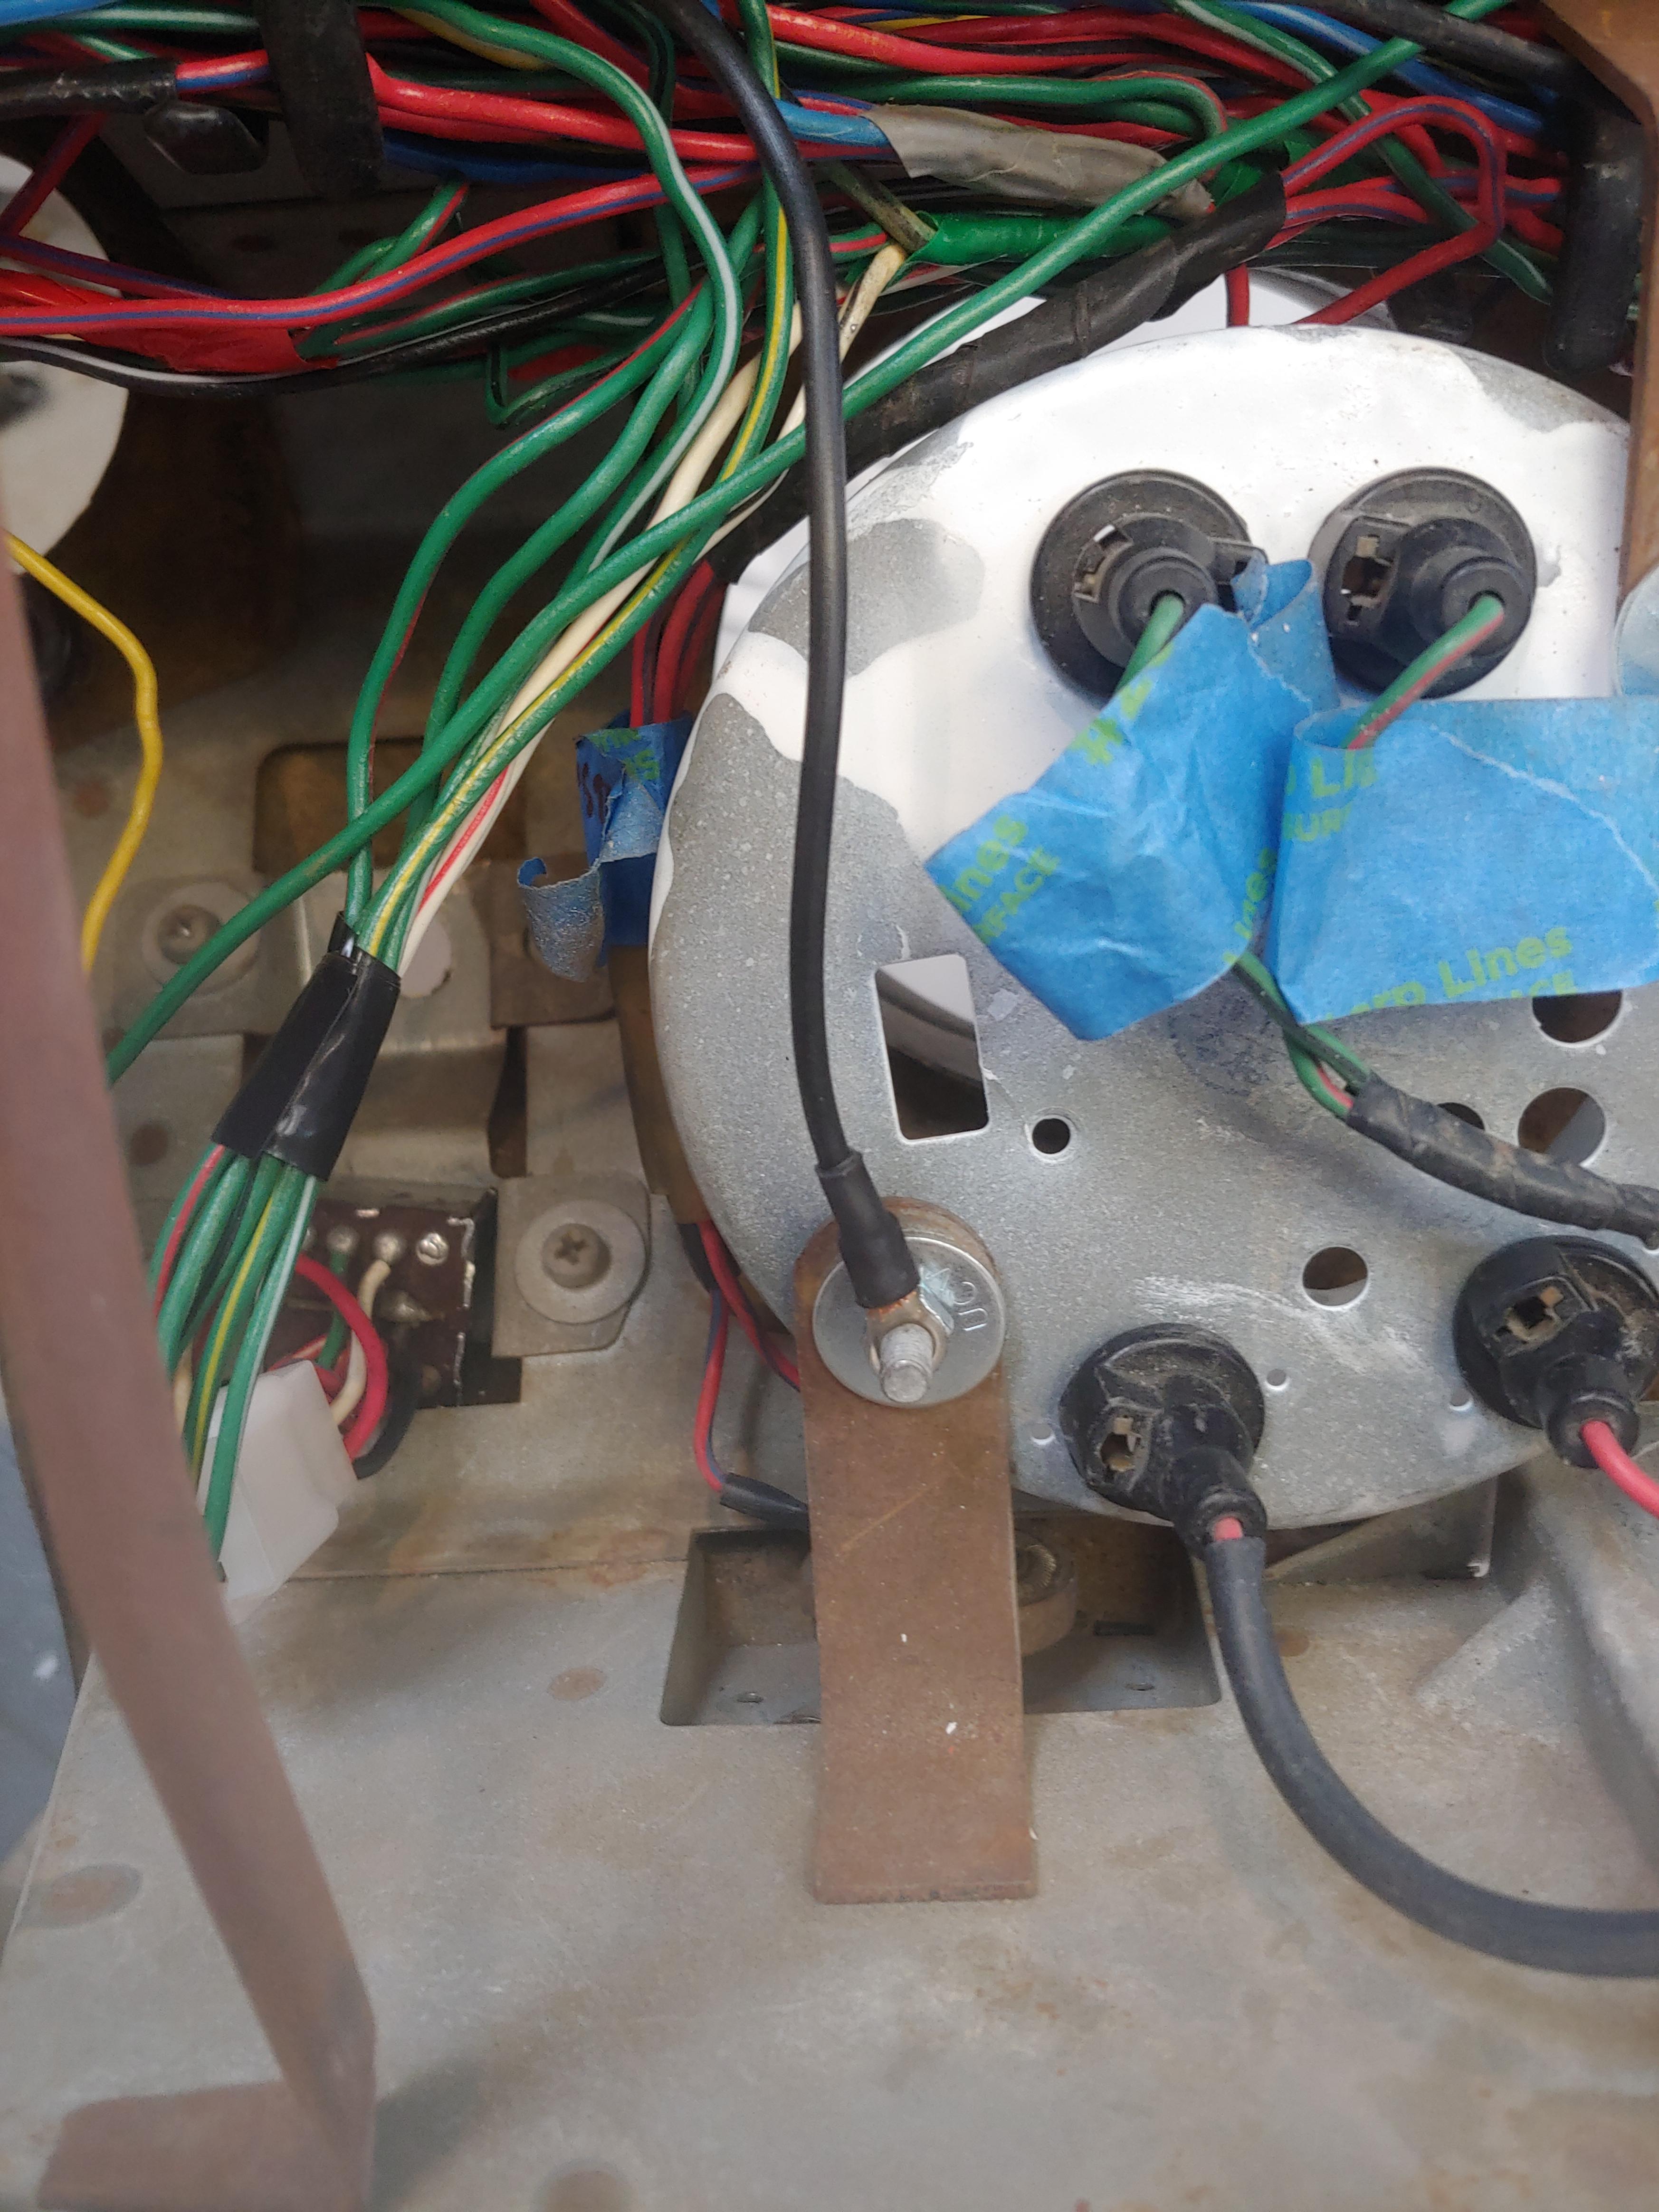
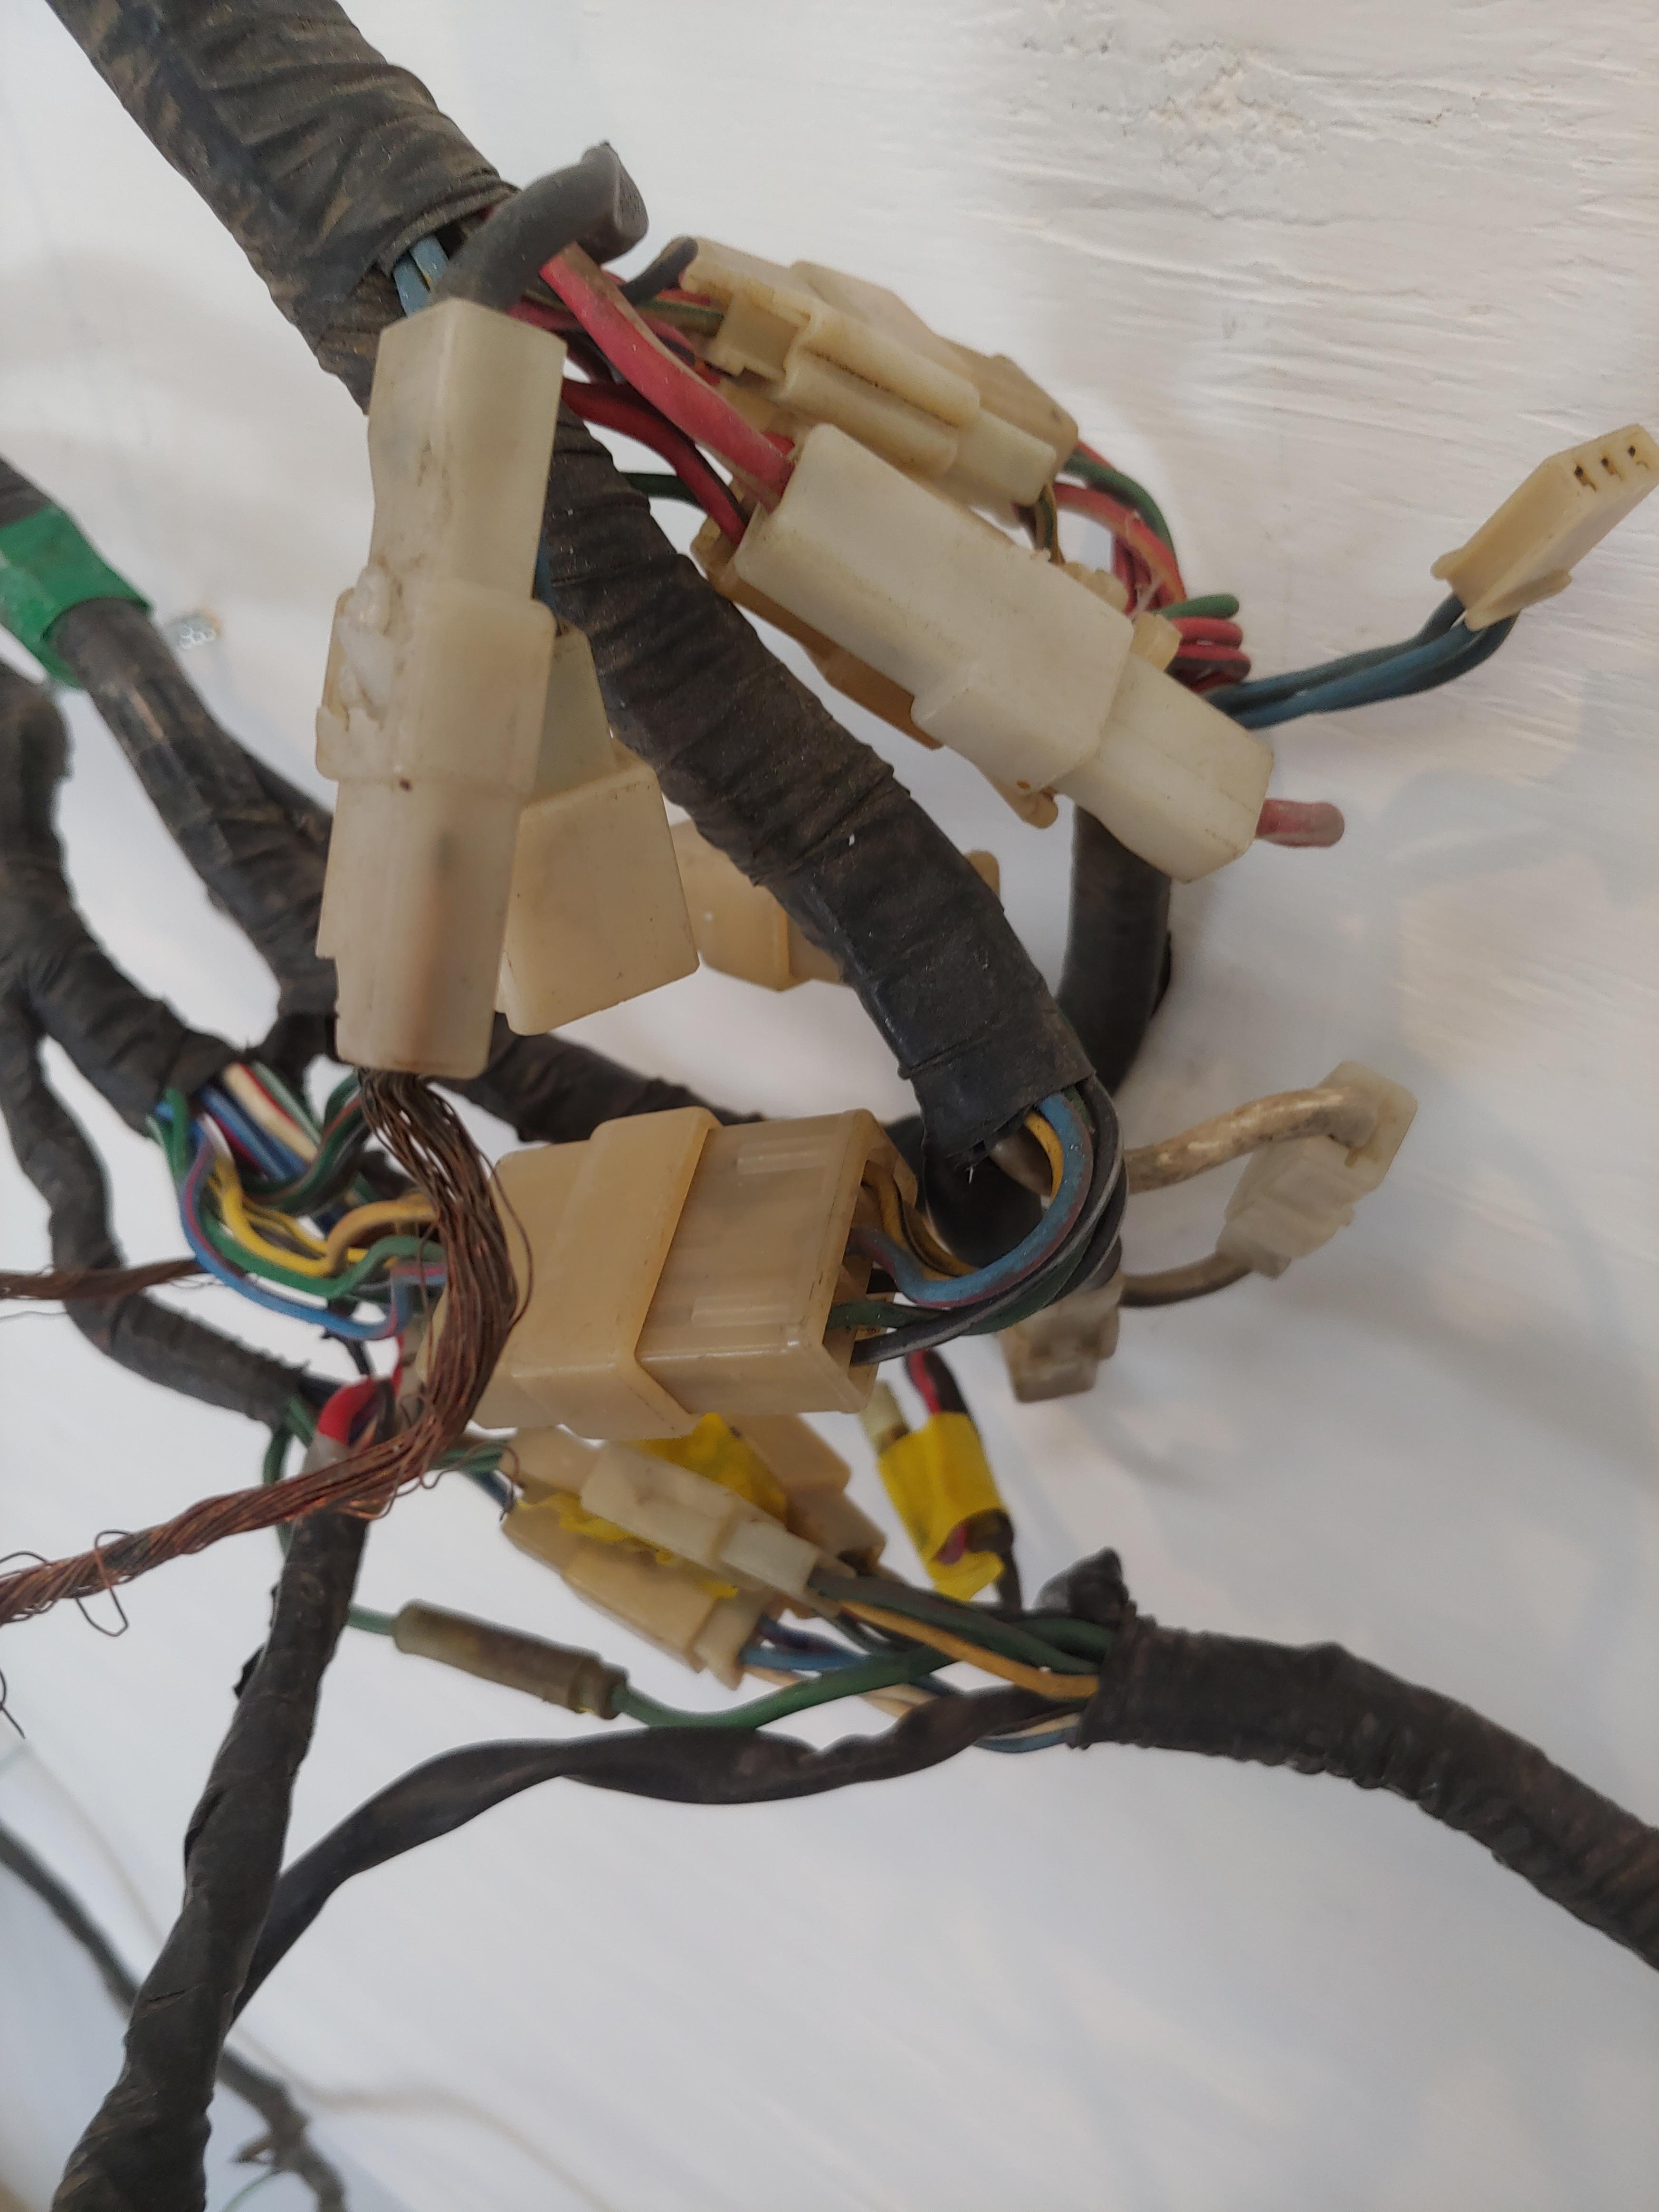
POs had done some wiring for radios and amps. Melt down for main ground engine and dash harness. They preferred wire nuts to terminals. Fusible links to starter and alternator where removed and wires put back with wire nuts. I cannot believe datsun used all those plugs for the three harnesses to come together. That me will cause a problem,to much resistance. Made a harness board to make it easy to work on. 1. is going though all the wires with my fluke meter to check for damage and the locations of switches etc.Tagging the connectors with blue tape 2. making a power relay station for engine compartment. 3. removing all those connections 4. I may go to a bulkhead fitting for engine to body harness 5. Fuse box was total junk so installing a blue sea unit maybe in right kick panel I can post more as I build this harness if you would like
I forgot. Need to add that this is a late 1971 mfg date 8/71 car. I have 4 wire diagram 1970.1971,1971 late and 1972. None of these match the car complete. Turn signals in car are g/r and g/b not w/r or w/b. The circuits really need to tested with a good volt ohm meter. The gauges in wire diagrams show a y/r wire power feed from a green wire to fuse box. I found a yellow wire from oil pressure and yellow red from temp gauge going to red and blue wire to fuse box. This is not uncommon with older cars. I have found this in chevys,fords and my alfa romero.
POs had done some wiring for radios and amps. Melt down for main ground engine and dash harness. They preferred wire nuts to terminals. Fusible links to starter and alternator where removed and wires put back with wire nuts. I cannot believe datsun used all those plugs for the three harnesses to come together. That me will cause a problem,to much resistance. Made a harness board to make it easy to work on. 1. is going though all the wires with my fluke meter to check for damage and the locations of switches etc.Tagging the connectors with blue tape 2. making a power relay station for engine compartment. 3. removing all those connections 4. I may go to a bulkhead fitting for engine to body harness 5. Fuse box was total junk so installing a blue sea unit maybe in right kick panel I can post more as I build this harness if you would like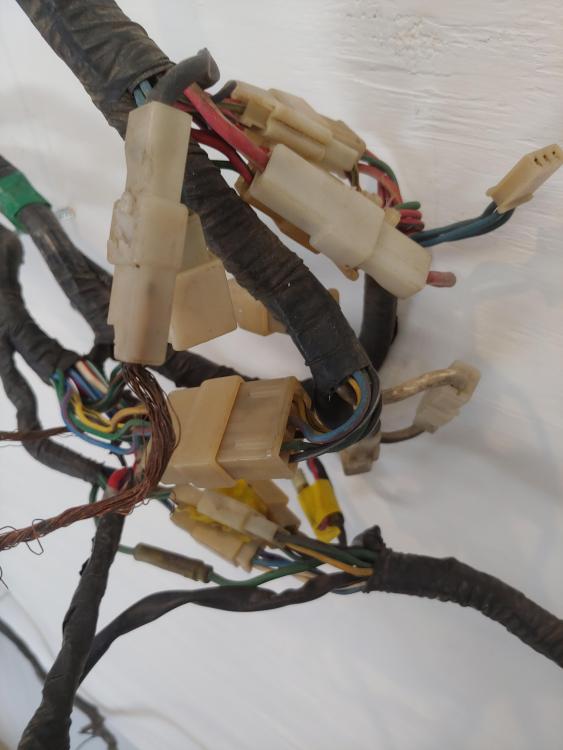

 After 2 trucks, 2 pathfinders Nissan has no thing for me. None own a 2018 Jeep wrangler
It appears 5spd trans is from a 77 or 78 280.The passenger floor was rusted though so I had both floors replaced. The drug addict I purchased car from could give me no info on car other then it was given to him by a lady that he did yard clean up for.
Cylinder head is a e88.
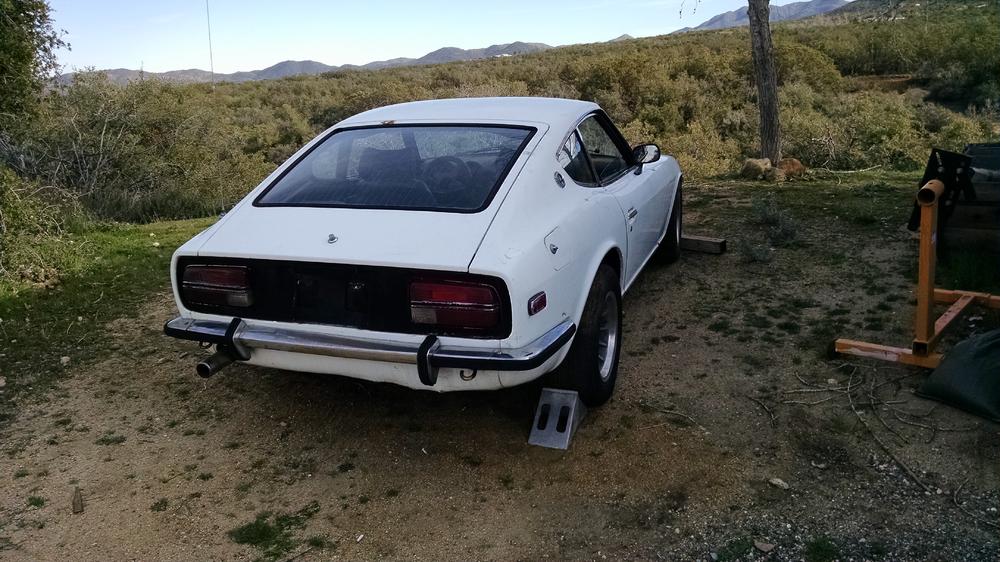
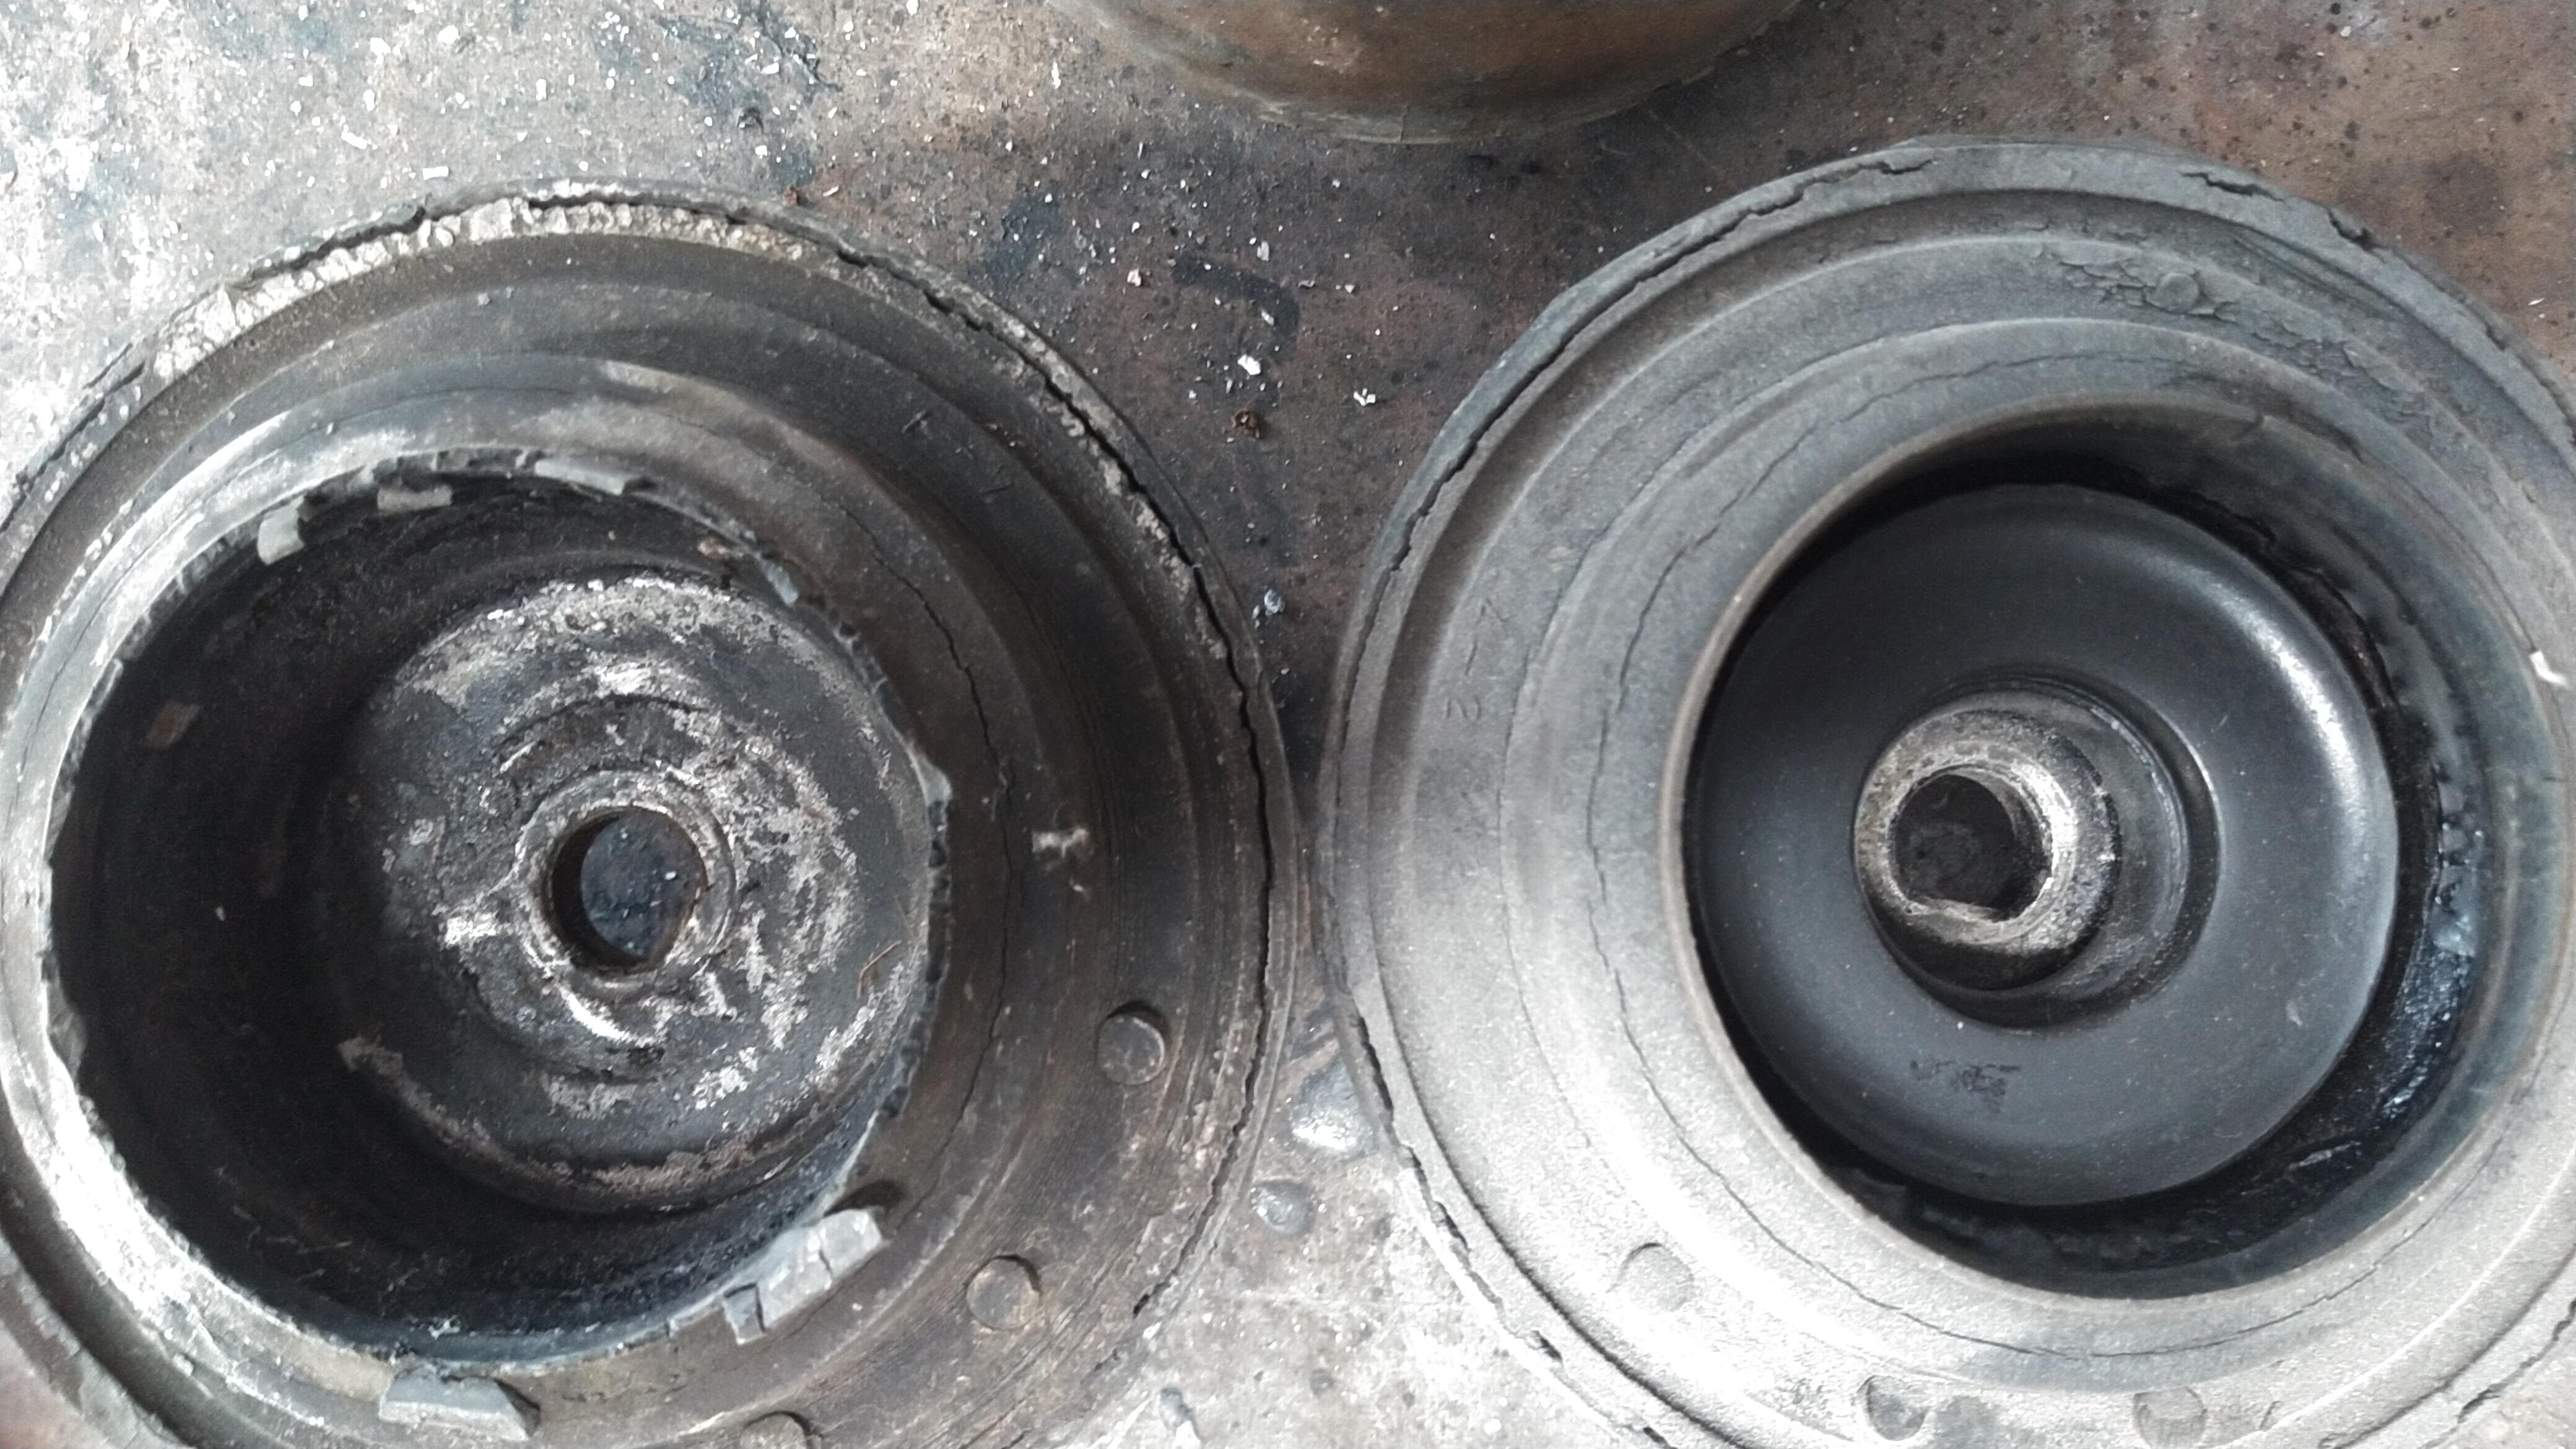
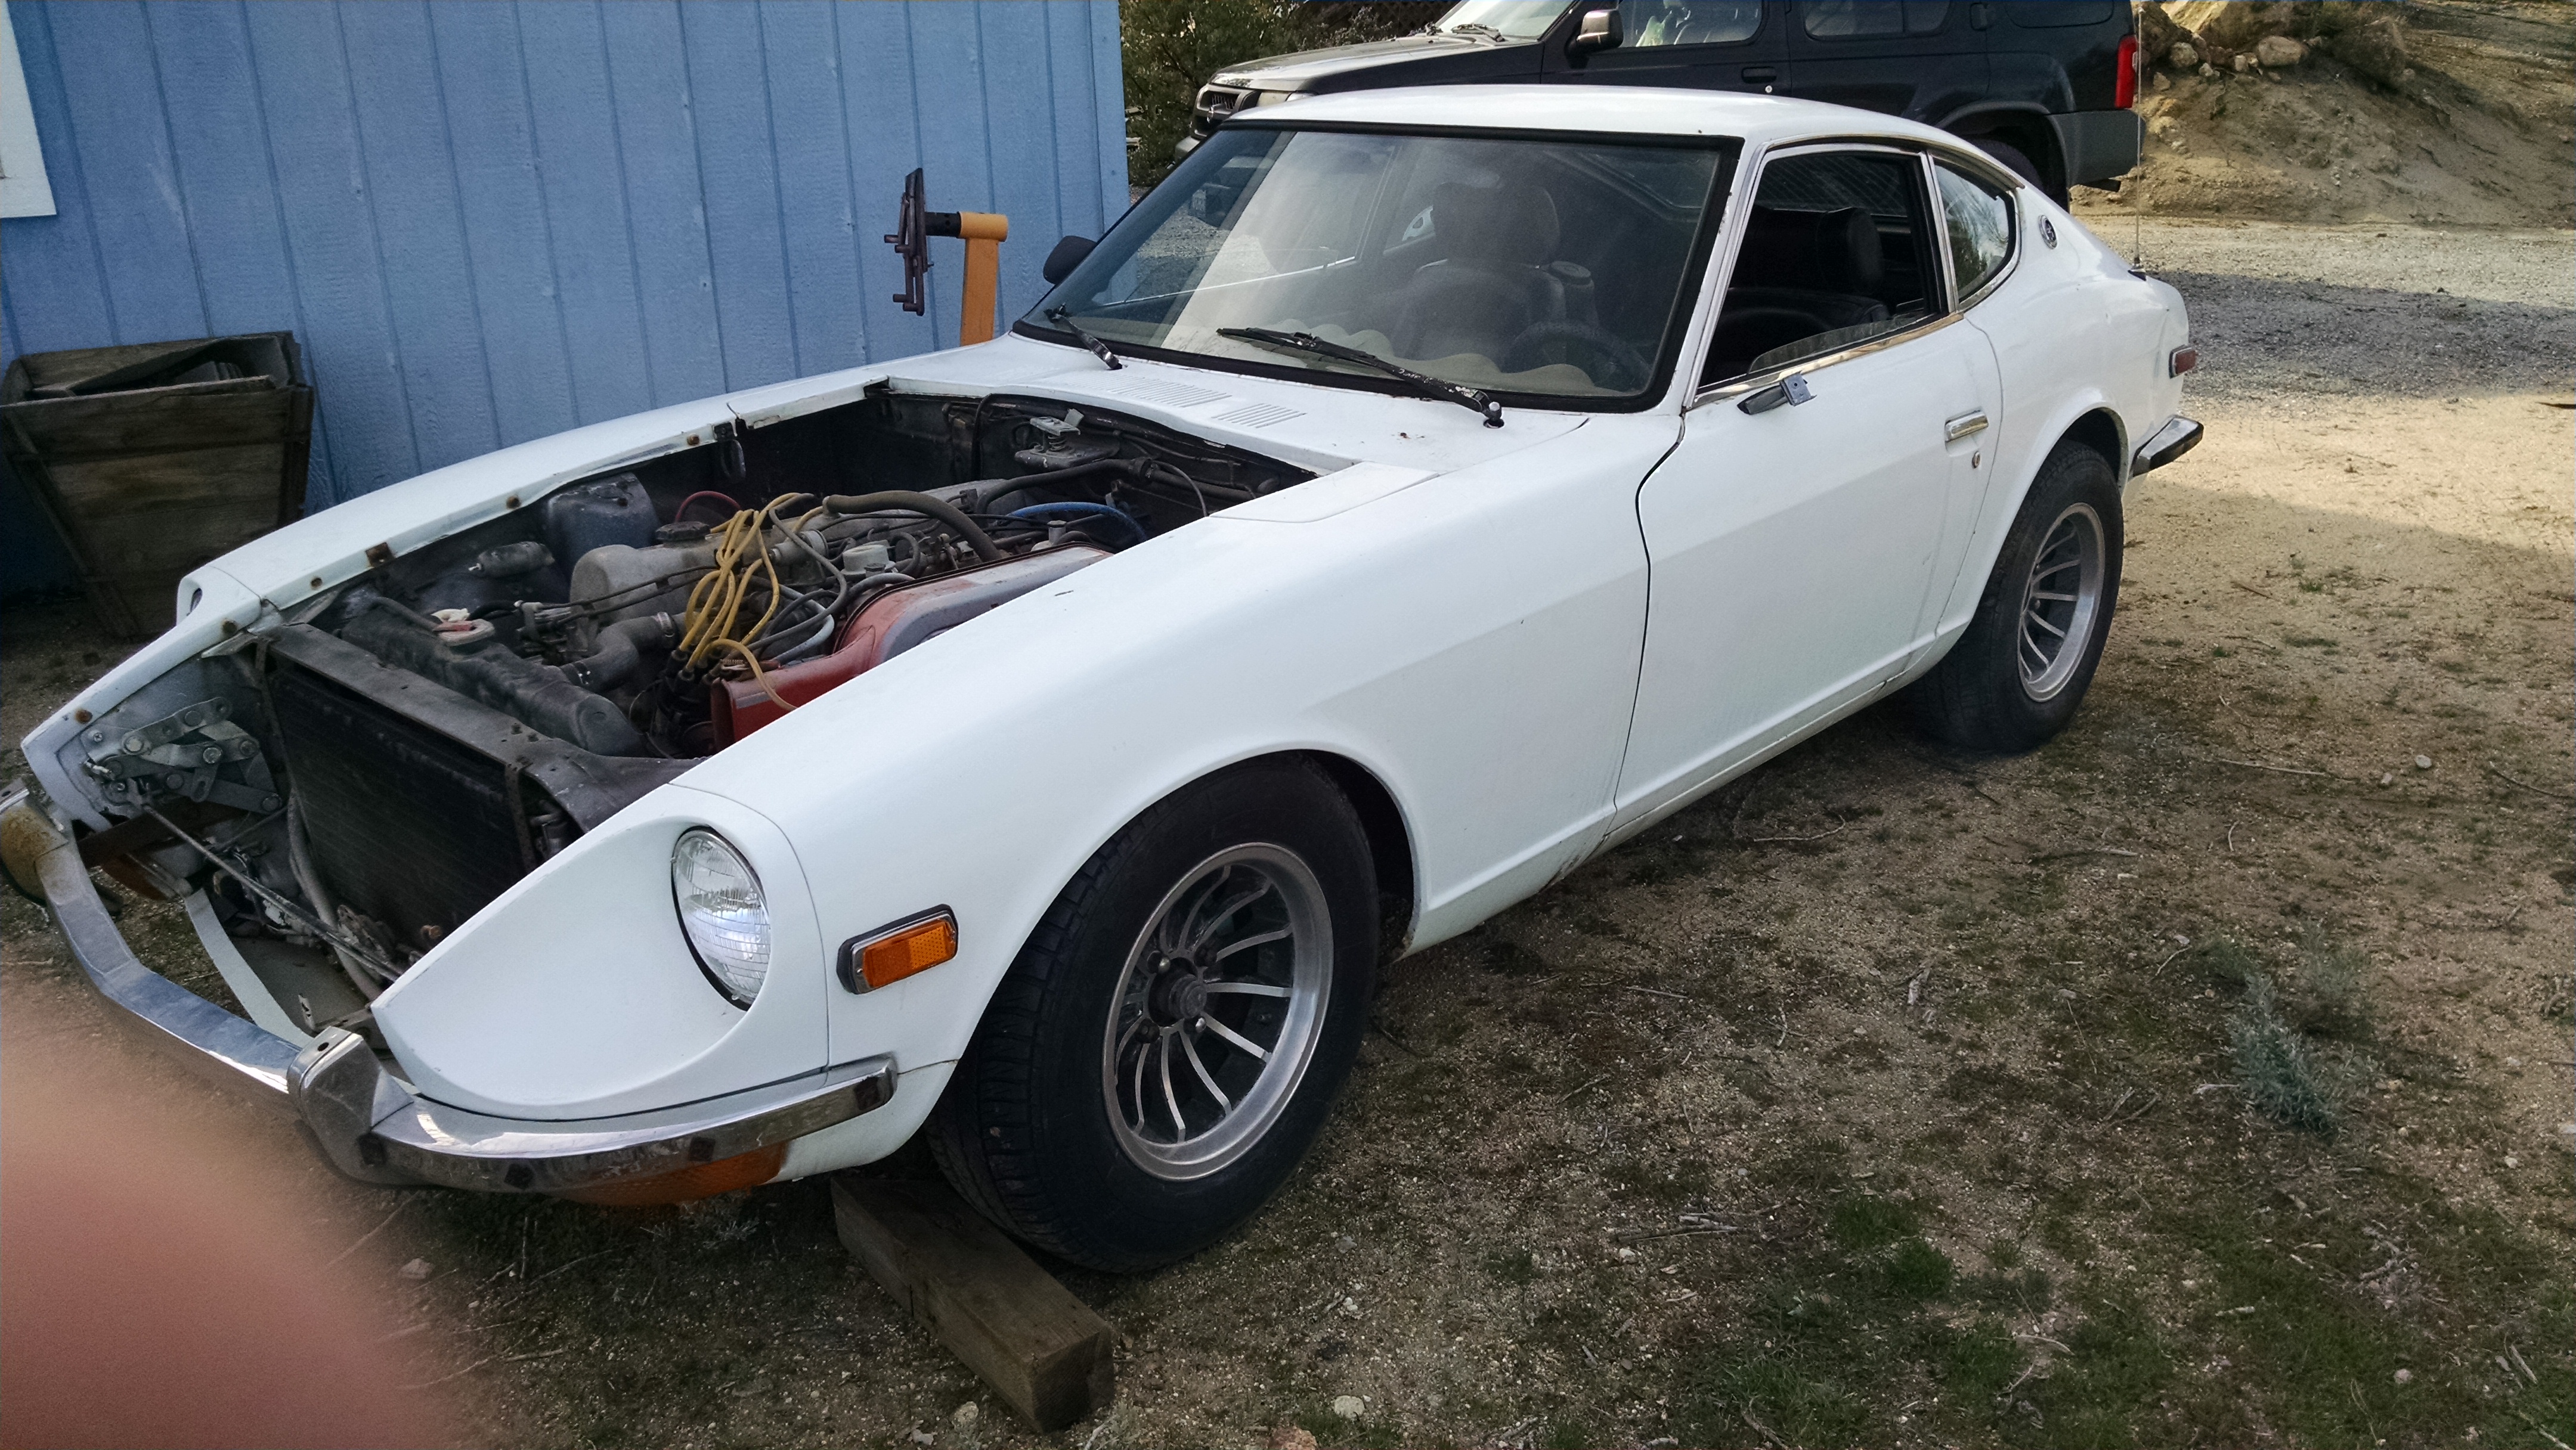
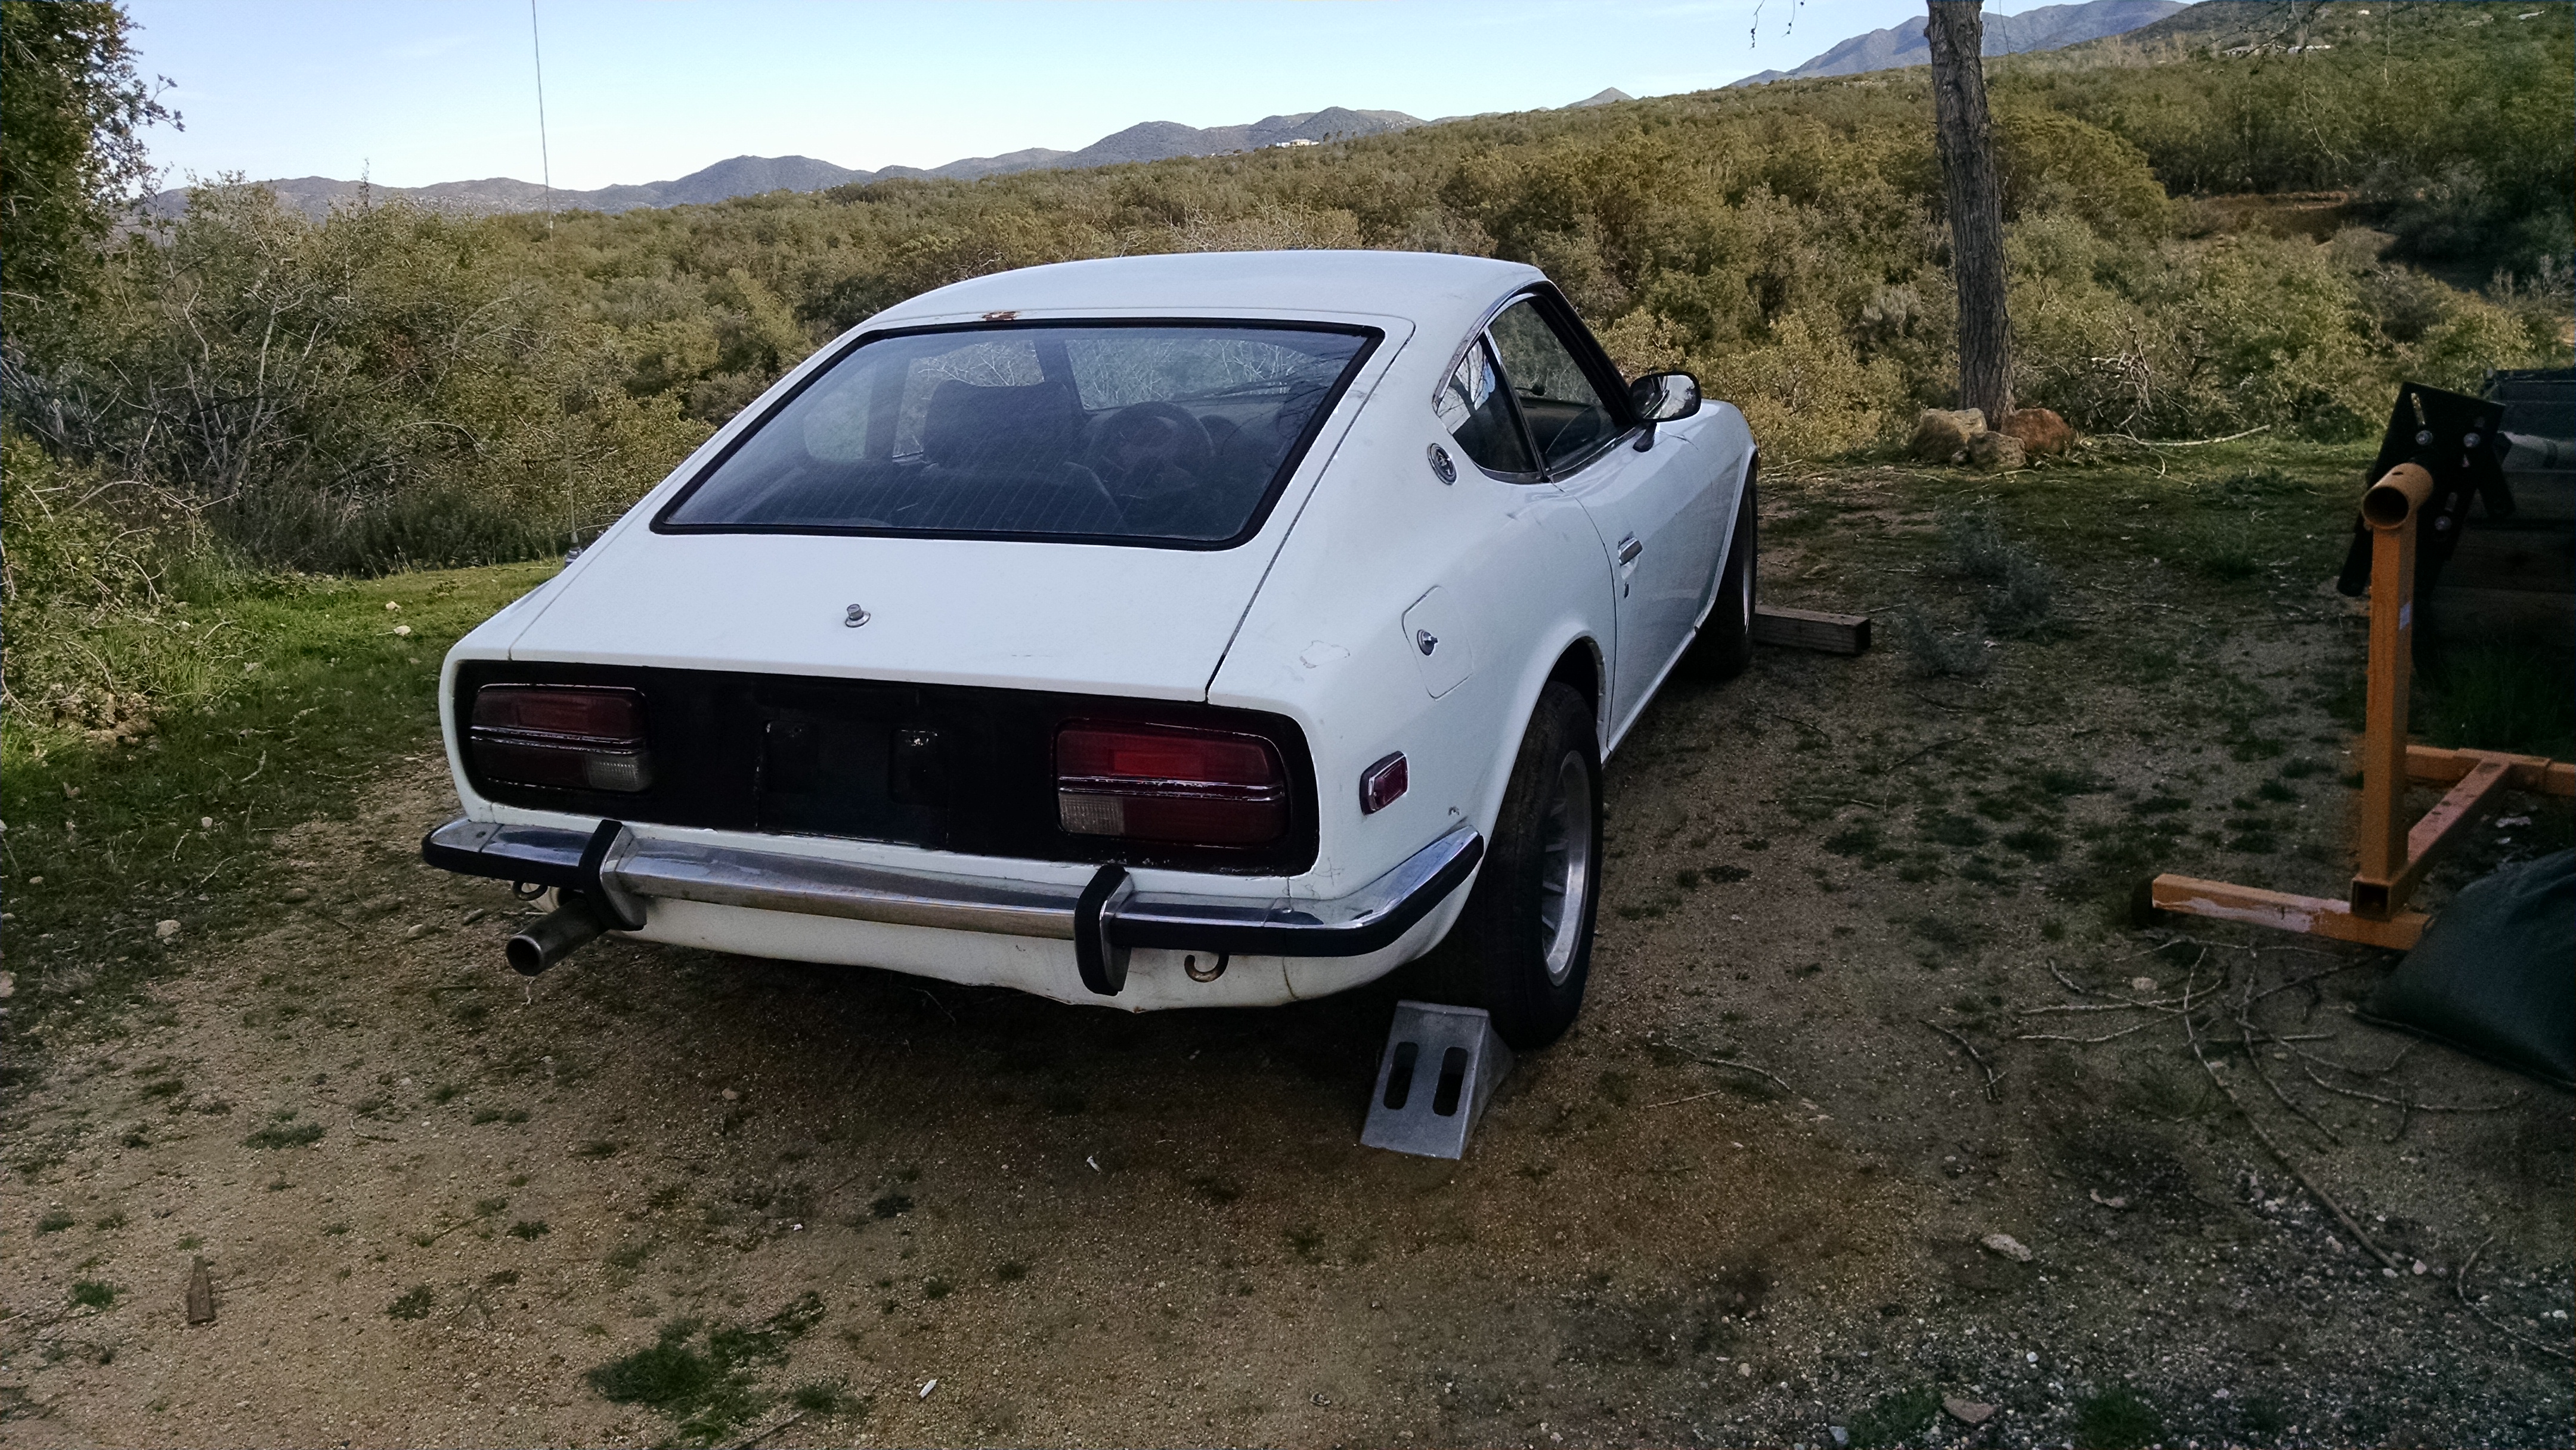
This 240z was setting in a field for about 7 years {with the windows down}next to my brother in laws. The first time I looked at car I saw the floors rusted out and that the sway bar had been ripped from the frame and offer the owner $500. He said no way but about 6 months later he asked my in law if I would still buy car. So for $500 I purchased a 240Z With car in my home pulled fenders off looking for more rust. Other then the floors no rust in car. But noticed where the emblems where the holes had been welded. All the emblems on car had been removed. Also a 5 speed transmission installed. Schell seats where installed. I order Mad Dog frame rails,sway bar stiffens and floors and off to a fab shop with the Z I pulled the valve cover to inspect the camshaft and lash pads for wear. None. But it has a spray bar and oil holes in camshaft and aluminum retainers on valve springs. Also on the side of cylinder head is a stamp, Slovers porting SV. I pulled cylinder head and measured Valves Make this short it has 280 valves, piston and crankshaft. Its been balanced etc.Yes it is the L24 that came in the car
After 2 trucks, 2 pathfinders Nissan has no thing for me. None own a 2018 Jeep wrangler
It appears 5spd trans is from a 77 or 78 280.The passenger floor was rusted though so I had both floors replaced. The drug addict I purchased car from could give me no info on car other then it was given to him by a lady that he did yard clean up for.
Cylinder head is a e88.
This 240z was setting in a field for about 7 years {with the windows down}next to my brother in laws. The first time I looked at car I saw the floors rusted out and that the sway bar had been ripped from the frame and offer the owner $500. He said no way but about 6 months later he asked my in law if I would still buy car. So for $500 I purchased a 240Z With car in my home pulled fenders off looking for more rust. Other then the floors no rust in car. But noticed where the emblems where the holes had been welded. All the emblems on car had been removed. Also a 5 speed transmission installed. Schell seats where installed. I order Mad Dog frame rails,sway bar stiffens and floors and off to a fab shop with the Z I pulled the valve cover to inspect the camshaft and lash pads for wear. None. But it has a spray bar and oil holes in camshaft and aluminum retainers on valve springs. Also on the side of cylinder head is a stamp, Slovers porting SV. I pulled cylinder head and measured Valves Make this short it has 280 valves, piston and crankshaft. Its been balanced etc.Yes it is the L24 that came in the car


.JPG.8faf63f47b9bd0ef55f59533e78d527b.JPG)
.JPG.2732af701c3ac05b720fbd4beb78f87c.JPG)


Important Information
By using this site, you agree to our Privacy Policy and Guidelines. We have placed cookies on your device to help make this website better. You can adjust your cookie settings, otherwise we'll assume you're okay to continue.