


Racer X
Free Member
-
Joined
-
Last visited
Everything posted by Racer X
-
 Getting an early start on Saturday night this week.
The homeowner's policy might also require an appraisal for each car too.
Not to mention how to seal the water passage where the sleeve passes trough the block from the deck to the crankcase. Diesel engines have provisions for sealing (o-rings) but the cylinder block is designed to have drop in cylinders. An inframe can be done with a kit that includes a crank, postons and rods, and sleeves. Pull the head and send it to the cylinder head shop. Swap out all the other stuff, and by then the head is back. Drop it on, put all the accessories back on, fill it with oil and coolant and fire it up. The block never comes out or sees a machine shop.
On the outside it should hold up OK. The heat there isn't very high, and there shouldn't be any fuel washing across the outer parts. Beeswax is pretty stiff and durable. If you have stone countertops in your kitchen, you could try that. Be sure and clean up so your wife doesn't get upset. Or, stop by the local tradesmen who do stone countertops, see f they have a scrap piece you can have. I snagged leftover bits when I built my house.
I would try a shallow pan, i.e. a cookie sheet (I snag them at garage sales for work in the shop so Mrs. Racer doesn’t scalp me for stealing kitchen stuff). A paper shop towel laid down first should help keep the solvent where you want it, and reduce the minimal amount of evaporation that may occur.
When I build a bottom end for the E31 head I use on my race car I eyebrow the cylinders for valve clearance and to unshroud the valves at maximum lift. I do it before any bore honing or boring, so I can see how far down the bore the upper limits of the piston ring travel is ( you don’t want to go that far down). After I cut and polish the eyebrow, I assemble the crank, a piston, the head with cam and valves for that cylinder with clay on the piston top, to check my work. I don’t recall the measurements, but it is clear that with larger valves this work is required to prevent valve to cylinder contact and unshroud the valves adjacent to the cylinder walls. It also gives me an idea how close the valves come to the tops of the pistons.
I would sit at the back of the classroom and draw pictures of cars. Teachers would catch me, send me to the principals office, then my parents would get called in. Then my creativity was stifled. Instead of fostering my artistic talents, I was punished and forced to stay after school and do extra lessons. I still drew pictures of cars, sometimes in the margins of the lesson papers.
You're welcome, I hope it helps. You just need to break the edge so it isn't sharp. No more than a couple thousandths of an inch. It keeps the key from hanging up. In fact, if you take a close look at the key, you'll see the edges aren't sharp, but slightly rounded. And it is nearly perfectly smooth. Smooth is good. It should slip all the way on by hand. It shouldn't be loose, or move noticeably once fully seated, but you should be able to slide it off and on by hand. Try some emery cloth, concentrating at the outer third of the bore. Be sure to clean thoroughly before each test fit. Uf da!
Ah, I see. Some people get carried away and break out the prybars and hammers when a puller will do. Oh, well then, now your covered. The key that fell inside is likely in the oil pan, so no worries there. The oil pickup has a screen so it won't get sucked into the lubrucation system. It is too heavy to get sloshed into the rotating assembly. You may find it again at an oil change, in fact you may want to pour your used oil through a screen until you find it. I stole the strainer from Mrs. Racer's kitchen stuff for a similar job in the shop. Works great. She asked me recently if I had seen it. I didn't come clean. Her birthday was last Monday and she got a brand new one.
About the oil slinger. I have been inside a lot of engines over the years, and they all have had one. It serves a number of purposes. It keep excessive amounts of oil from splashing onto the oil seal. It doesn't stop it all, but reduces the amount. The seal needs a little lubrication, as the grease it gets packed with upon assembly doesn't last long, getting washed away by the detergents in the engine oil. It also "slings" oil around the inside of the cover, lubricating the timing gear, be it sprockets and chain(s), or gears (diesel engines, racing engines and exotic sports car engines). A manufacturer doesn't install anything on a car it doesn't need to, because stuff costs money and cuts into profits. I can't explain why Honsewetz has that line in his Datsun hot to book, especially because it conflicts with text elsewhere in the book. Maybe someone should look him up and ask why. ~~~~~~~~~~~~~~~~~~~~~~~~~~~~~~~~~~~~~~~~ On an other note, I was thinking about what seems like too many people struggling with woodruff keys lately. As I mentioned, I've lost count of how many engines I've had apart and assembled. Sure, those keys were tricky at first, but I learned tricks to make assembly easy and stress free. I mentioned the dab of grease to hold it in place. I've even found that putting some motor oil in the keyway (I keep an oilcan with a tapered spout in my shop with oil in it for all kinds of lube work, works perfect for this) will keep the key in place (the surface tension forms a strong shear resistant bond between the key and the keyway). Always have the keyway straight up, at 12 o'clock. Gravity helps. Set the key parallel to the shaft centerline, then drop the forward end slightly, no more than a few thousandths of an inch. Clean the inside of the hub bore with emery cloth, break the edges of the keyway, then take a jeweler's file and go over the edges of the keyway that faces the engine, chamfering a few thousandths of an inch. Make sure there are no rough areas after filing, clean up with emery cloth if needed. Smooth is important to prevent the possibility of a crack forming, which doesn't end well. Clean everything very well. Stoddard solvent is perfect. Dry it off and blow with shop air before putting some antisieze (sparingly, a film is enough) on the inside of the hub. Hold the damper with both hands, with the keyway at 12 o'clock, slide it on. Line it up with the key, and ease it on, watching the key until you can't see it. When the hub bottoms out, try to rotate it. If it doesn't rotate, you are ready for the bolt. Be sure the bolt and the threads in the crank snout are clean and dry. A couple drops of LocTite 242 blue, thread the bolt all the way in, and torque to spec.
What are all those nicks and gouges on the front cover? I see a toolmark on the edge of the seal bore that has displaced meta into the bore. Take a jeweler's file and smooth that back down to restore the radius of the bore before putting a new seal in. Use a shop vac while filing to suck the metal bits away from the crankcase. But you only need one.
Are you also eyebrow notching the cylinder block deck to unshroud the valves?
A dab of wheel bearing grease should keep it in place until you slide the damper on.
Told ya I was a rebel. I like the oem bolts, the binding head cap screws, with a smooth shank where they don’t need threads. Simple, effective. I just wish they could be had Allen head and stainless. For what it’s worth, these are on my 72.
Getting an early start on Saturday night this week.
The homeowner's policy might also require an appraisal for each car too.
Not to mention how to seal the water passage where the sleeve passes trough the block from the deck to the crankcase. Diesel engines have provisions for sealing (o-rings) but the cylinder block is designed to have drop in cylinders. An inframe can be done with a kit that includes a crank, postons and rods, and sleeves. Pull the head and send it to the cylinder head shop. Swap out all the other stuff, and by then the head is back. Drop it on, put all the accessories back on, fill it with oil and coolant and fire it up. The block never comes out or sees a machine shop.
On the outside it should hold up OK. The heat there isn't very high, and there shouldn't be any fuel washing across the outer parts. Beeswax is pretty stiff and durable. If you have stone countertops in your kitchen, you could try that. Be sure and clean up so your wife doesn't get upset. Or, stop by the local tradesmen who do stone countertops, see f they have a scrap piece you can have. I snagged leftover bits when I built my house.
I would try a shallow pan, i.e. a cookie sheet (I snag them at garage sales for work in the shop so Mrs. Racer doesn’t scalp me for stealing kitchen stuff). A paper shop towel laid down first should help keep the solvent where you want it, and reduce the minimal amount of evaporation that may occur.
When I build a bottom end for the E31 head I use on my race car I eyebrow the cylinders for valve clearance and to unshroud the valves at maximum lift. I do it before any bore honing or boring, so I can see how far down the bore the upper limits of the piston ring travel is ( you don’t want to go that far down). After I cut and polish the eyebrow, I assemble the crank, a piston, the head with cam and valves for that cylinder with clay on the piston top, to check my work. I don’t recall the measurements, but it is clear that with larger valves this work is required to prevent valve to cylinder contact and unshroud the valves adjacent to the cylinder walls. It also gives me an idea how close the valves come to the tops of the pistons.
I would sit at the back of the classroom and draw pictures of cars. Teachers would catch me, send me to the principals office, then my parents would get called in. Then my creativity was stifled. Instead of fostering my artistic talents, I was punished and forced to stay after school and do extra lessons. I still drew pictures of cars, sometimes in the margins of the lesson papers.
You're welcome, I hope it helps. You just need to break the edge so it isn't sharp. No more than a couple thousandths of an inch. It keeps the key from hanging up. In fact, if you take a close look at the key, you'll see the edges aren't sharp, but slightly rounded. And it is nearly perfectly smooth. Smooth is good. It should slip all the way on by hand. It shouldn't be loose, or move noticeably once fully seated, but you should be able to slide it off and on by hand. Try some emery cloth, concentrating at the outer third of the bore. Be sure to clean thoroughly before each test fit. Uf da!
Ah, I see. Some people get carried away and break out the prybars and hammers when a puller will do. Oh, well then, now your covered. The key that fell inside is likely in the oil pan, so no worries there. The oil pickup has a screen so it won't get sucked into the lubrucation system. It is too heavy to get sloshed into the rotating assembly. You may find it again at an oil change, in fact you may want to pour your used oil through a screen until you find it. I stole the strainer from Mrs. Racer's kitchen stuff for a similar job in the shop. Works great. She asked me recently if I had seen it. I didn't come clean. Her birthday was last Monday and she got a brand new one.
About the oil slinger. I have been inside a lot of engines over the years, and they all have had one. It serves a number of purposes. It keep excessive amounts of oil from splashing onto the oil seal. It doesn't stop it all, but reduces the amount. The seal needs a little lubrication, as the grease it gets packed with upon assembly doesn't last long, getting washed away by the detergents in the engine oil. It also "slings" oil around the inside of the cover, lubricating the timing gear, be it sprockets and chain(s), or gears (diesel engines, racing engines and exotic sports car engines). A manufacturer doesn't install anything on a car it doesn't need to, because stuff costs money and cuts into profits. I can't explain why Honsewetz has that line in his Datsun hot to book, especially because it conflicts with text elsewhere in the book. Maybe someone should look him up and ask why. ~~~~~~~~~~~~~~~~~~~~~~~~~~~~~~~~~~~~~~~~ On an other note, I was thinking about what seems like too many people struggling with woodruff keys lately. As I mentioned, I've lost count of how many engines I've had apart and assembled. Sure, those keys were tricky at first, but I learned tricks to make assembly easy and stress free. I mentioned the dab of grease to hold it in place. I've even found that putting some motor oil in the keyway (I keep an oilcan with a tapered spout in my shop with oil in it for all kinds of lube work, works perfect for this) will keep the key in place (the surface tension forms a strong shear resistant bond between the key and the keyway). Always have the keyway straight up, at 12 o'clock. Gravity helps. Set the key parallel to the shaft centerline, then drop the forward end slightly, no more than a few thousandths of an inch. Clean the inside of the hub bore with emery cloth, break the edges of the keyway, then take a jeweler's file and go over the edges of the keyway that faces the engine, chamfering a few thousandths of an inch. Make sure there are no rough areas after filing, clean up with emery cloth if needed. Smooth is important to prevent the possibility of a crack forming, which doesn't end well. Clean everything very well. Stoddard solvent is perfect. Dry it off and blow with shop air before putting some antisieze (sparingly, a film is enough) on the inside of the hub. Hold the damper with both hands, with the keyway at 12 o'clock, slide it on. Line it up with the key, and ease it on, watching the key until you can't see it. When the hub bottoms out, try to rotate it. If it doesn't rotate, you are ready for the bolt. Be sure the bolt and the threads in the crank snout are clean and dry. A couple drops of LocTite 242 blue, thread the bolt all the way in, and torque to spec.
What are all those nicks and gouges on the front cover? I see a toolmark on the edge of the seal bore that has displaced meta into the bore. Take a jeweler's file and smooth that back down to restore the radius of the bore before putting a new seal in. Use a shop vac while filing to suck the metal bits away from the crankcase. But you only need one.
Are you also eyebrow notching the cylinder block deck to unshroud the valves?
A dab of wheel bearing grease should keep it in place until you slide the damper on.
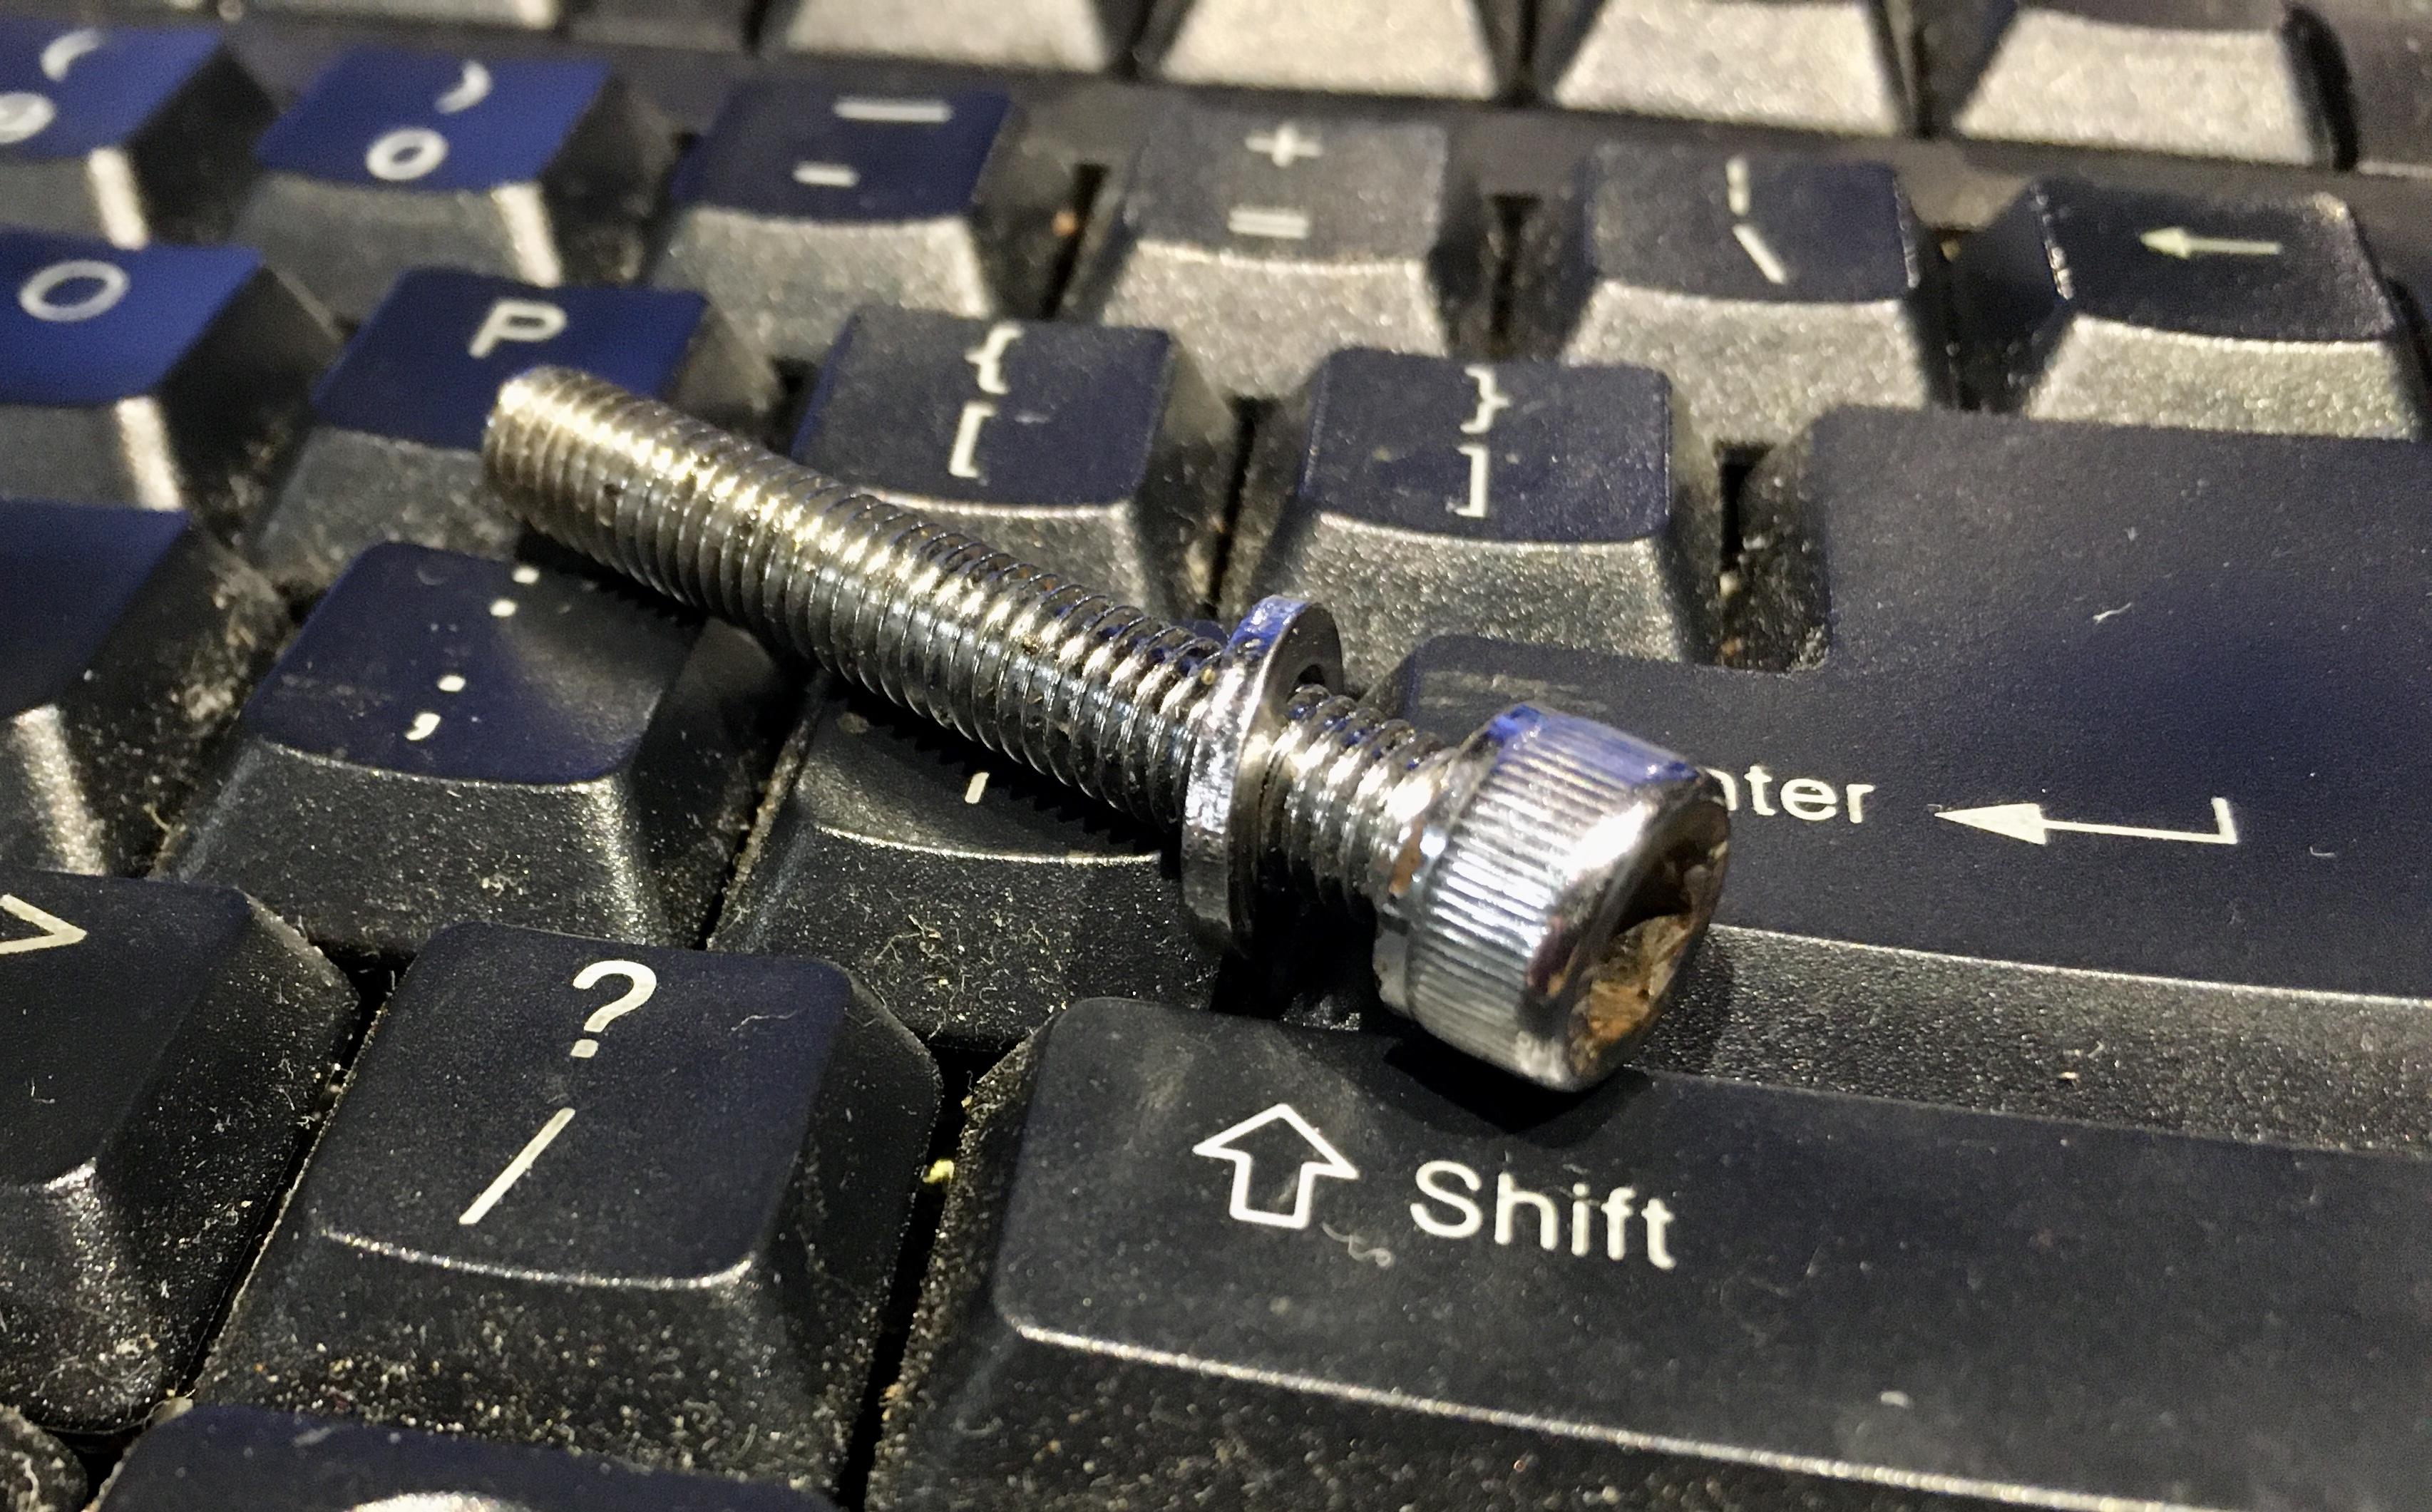
Told ya I was a rebel. I like the oem bolts, the binding head cap screws, with a smooth shank where they don’t need threads. Simple, effective. I just wish they could be had Allen head and stainless. For what it’s worth, these are on my 72.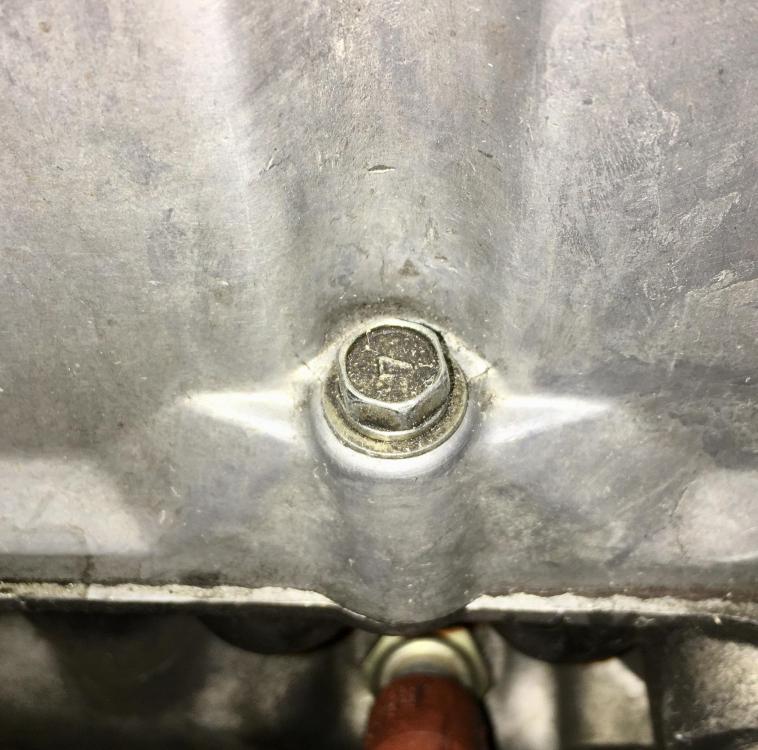 Call me a rebel. Allen head stainless, polished.
 I agree with Zed and Patcon, the cam cover is the most likely suspect in that area. Check the cover bolts for torque first.


Important Information
By using this site, you agree to our Privacy Policy and Guidelines. We have placed cookies on your device to help make this website better. You can adjust your cookie settings, otherwise we'll assume you're okay to continue.