Racer X
Free Member
-
Joined
-
Last visited
Everything posted by Racer X
-
 Probably has some aftermarket gimracks and geegaws that needed a place to interconnect.
 -
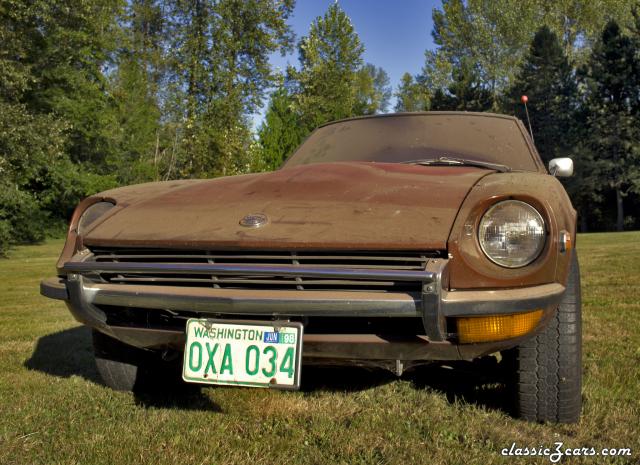
The airdam looks weird. The ends under the turn signals look bent up.
-
Sounds like a good plan. Be sure and check the flanges for straightness, and check the head surface too. I highly recommend the hardware pictured earlier. At the time I put it together the cost wasn't anymore than he kit from MSA, the quality is better, and I got it all locally. The hardware has been used on two cylinder heads, on four engines in my race car with no leaks. Use PB Blaster and some heat from a propane torch, the studs should come out without drama. It also helps to set a brass drift punch on the end of the studs and give a sharp rap with a 3lb drill hammer to break the corrosion on the threads. Don't forget the high temp antisieze on asembly.
-
That dog is about $3,240 too much. I've had better S30 cars given to me. People would offer me a car for $200, and I'd be like, "I'll haul it away for you if you have a title." They would whine some, I'd explain the tiny amount it would get at the scrap yard, their wife would give them an elbow in the ribs, they would fork over the title and help me load it up.
-
Sure, a competent fabricator might be able to modify it. But. It would be more work and expense than simply getting a header with flanges of the proper thickness. After welding then the header would need to be set up in a jig, and the flanges cut and ground true and straight.
-
I forgot to mention, check the header and manifold mating surfaces for flatness. Using a straightedge with a ground flat edge check that all surfaces are flat, and square. Anything more than .002” or .003” off will be difficult to get sealed and kept tight.
-
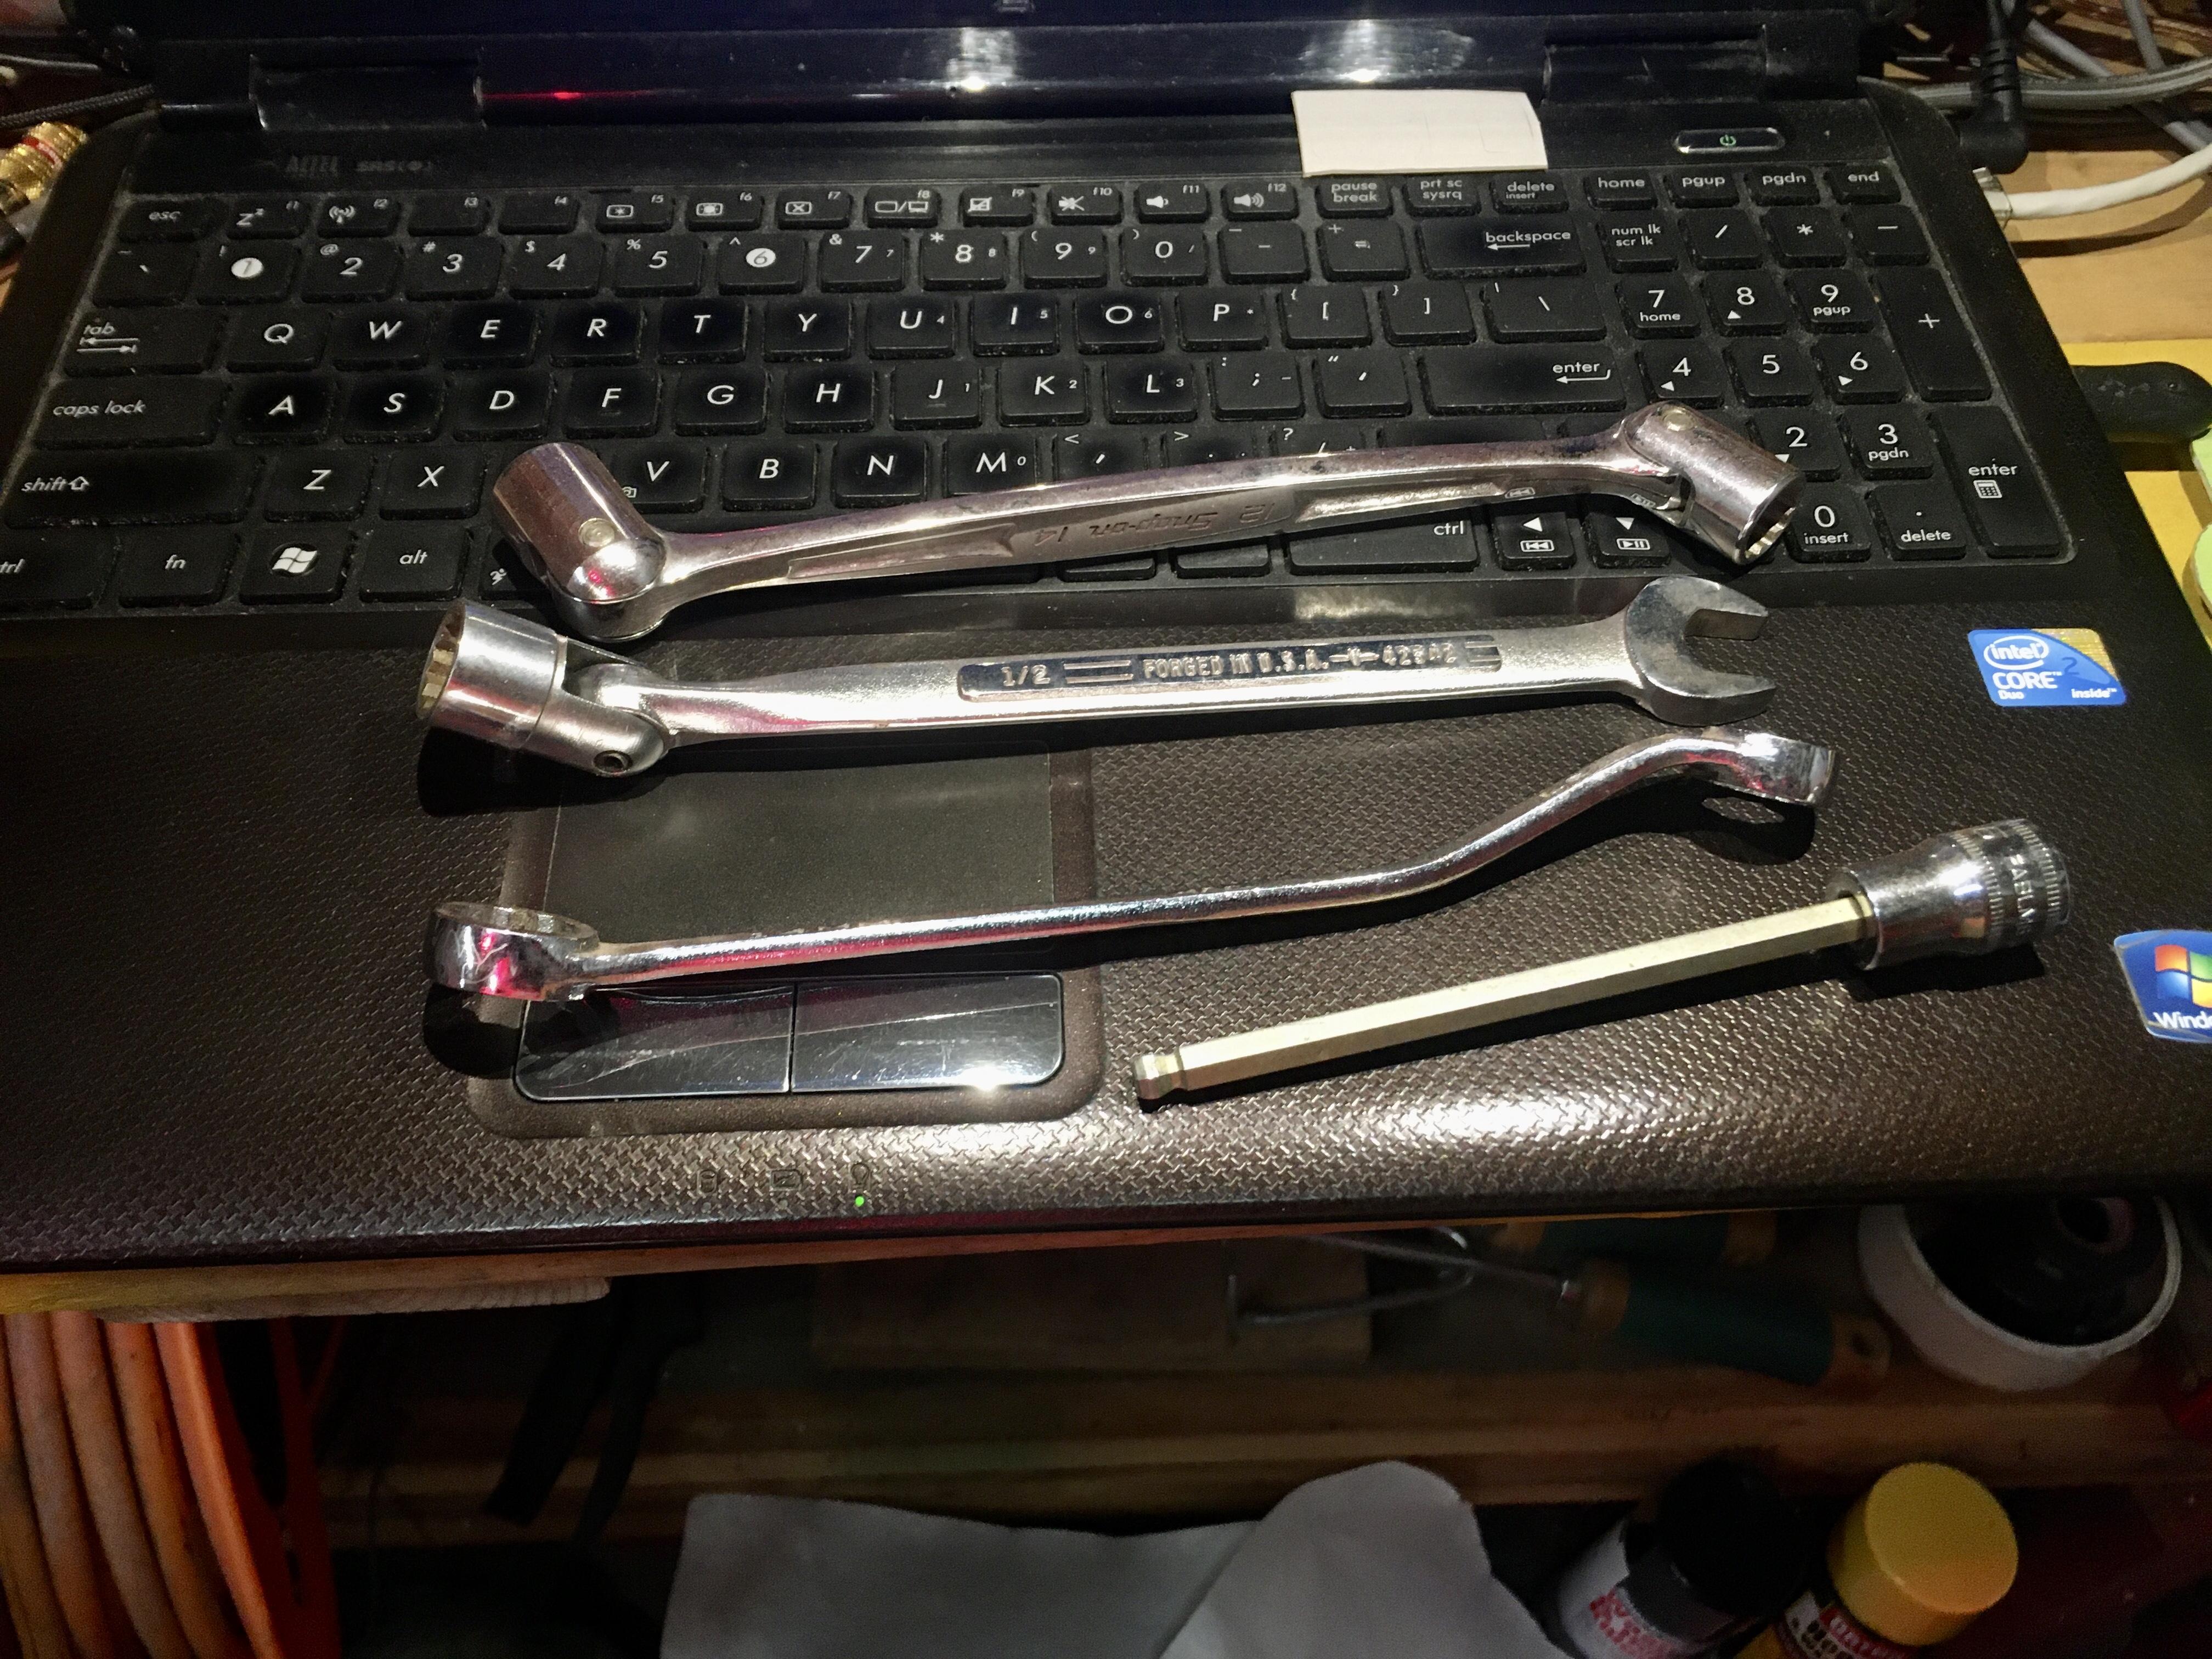
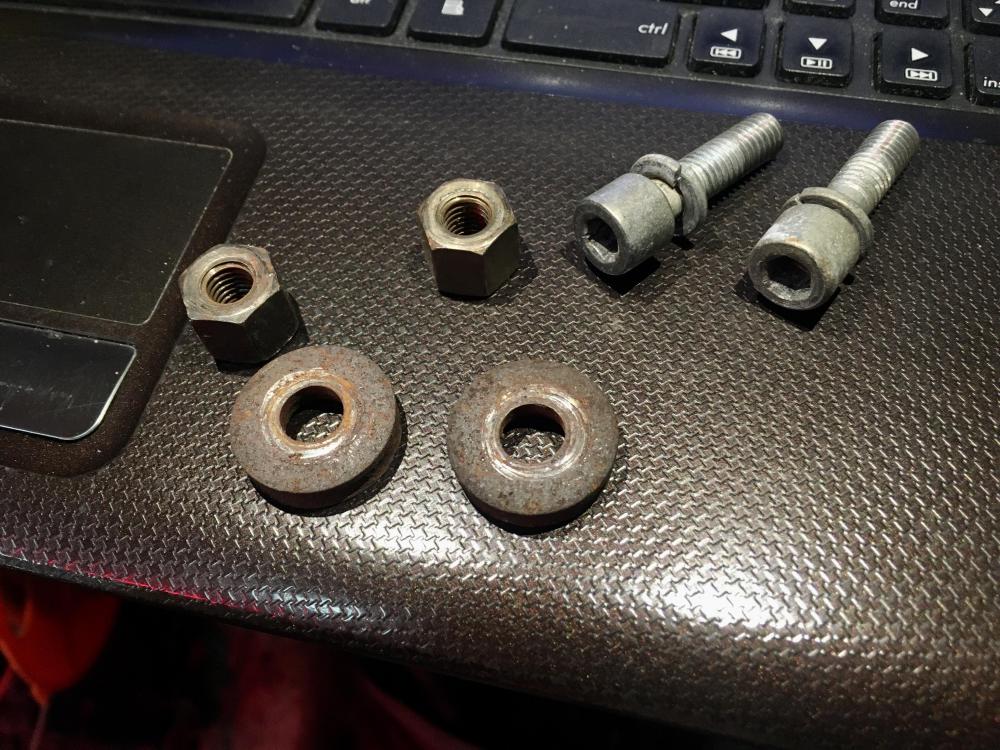
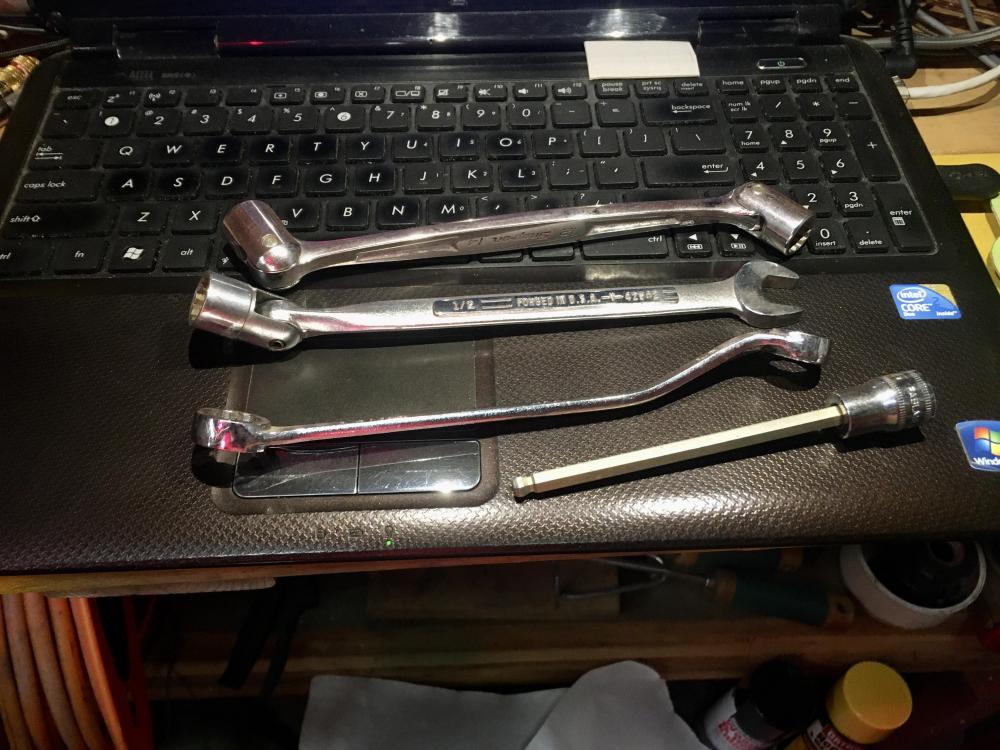
A couple of things that I see. The flange on the header is too thin. A good quality header will have a flange the same thickness as the intake manifold flange. The other thing I see is hardware. The nuts, bolts, studs, washers are all wrong. The OEM washers are the best option, especially for the studs that share the intake manifold and the header. Some of the ones I can see aren’t even clamping the header, and are doing a poor job of clamping the intake manifold. The stackup of flat washers isn't transferring enough clamping force through both parts to the head. One area where I diverge from stock hardware is I use brass nuts, made for exhaust assemblies. And I use high temp antisieze on all the threads so it will come apart when it is time to do so. As for the gasket orientation, I don't know if there is a right or a wrong way. I would think the side with the widest bit of steel around the openings would be better next to the head, as that is the first stop for the hot exhaust on its way out of the engine. I don't know if a copper gasket is available for the L series engines, or if it would work to seal the intake manifold side. But I had a Chevy 454 in a pickup that I used to tow the race car with that kept eating exhaust manifold (and header, I tried both) gaskets. I finally fixed it permanently with copper gaskets. Here is a picture of the setup I use. I use studs for all the fasteners except the six along the top that are only common to the intake manifold, which are Allen head with a lock washer. The OEM washers are for all the studs that share the clamping loads between the intake manifold and the header. The three studs that are only common to the header get a grade 8 flatwasher (get a high quality washer for this, that has a close fit to the stud, and is thick - a business that sells fastening hardware as their primary product is a great place to get all this stuff, not Lowes or Home Depot, even the chain auto parts stores suck). Get good hardware and a better quality header and you should be able to get the leaks fixed. Also, it takes me several different wrenches and an Allen socket to tighten all the nuts and bolts for the intake and exhaust.
-
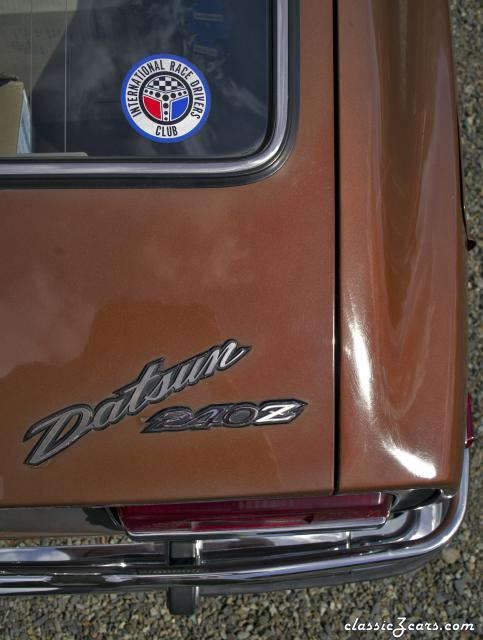
Notice that the right front tire is not touching the asphalt. Talk about hooked up.
-
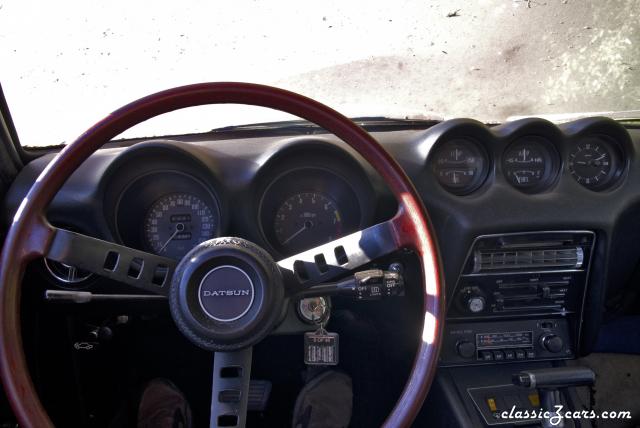
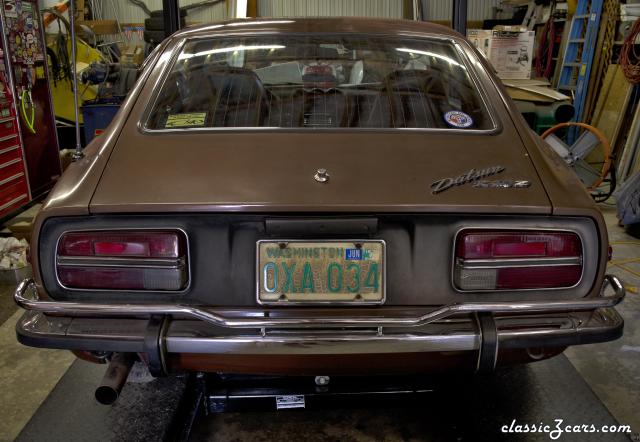
Since I don’t anticipate driving my Z’s in rainy weather, it doesn’t concern me if the defogger works or not. Still, it would be nice to have a workable solution. As for the glass having any film on it from the factory, no, it doesn’t. The tinting that is there is in the glass itself. Even late model cars with dark tinted windows have the tint applied as part of the glass formula. The only time you would see tinted film on glass would be when it was added after the car is manufactured.
-
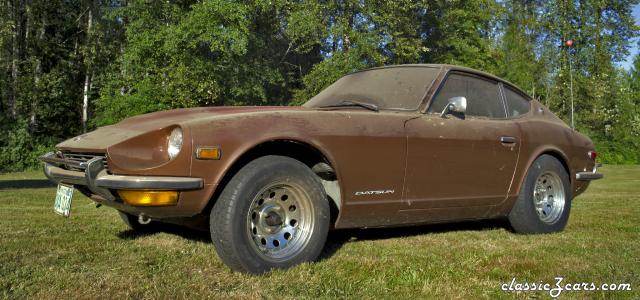
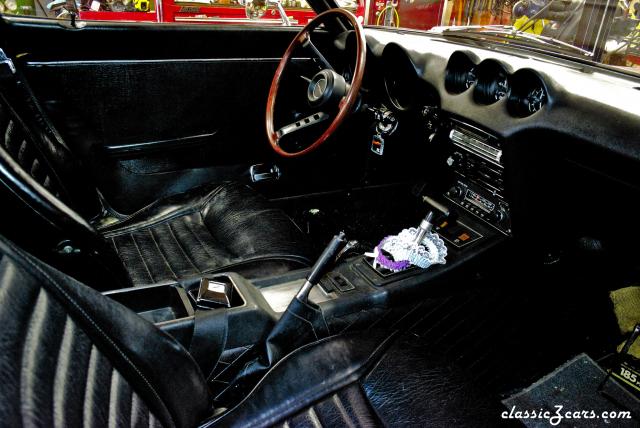
From the album: Z Garage
© Racer 2020
-
-
HLS3056539 1972 240Z 0020.jpg
-
 HLS3056539 1972 240Z 0006.jpg
-
 HLS3056539 1972 240Z 0053.jpg
-
 HLS3056539 1972 240Z 0052.jpg
-
 HLS3056539 1972 240Z 0051.jpg
-
 HLS3056539 1972 240Z 0050.jpg
-
 HLS3056539 1972 240Z 0049.jpg
-
 HLS3056539 1972 240Z 0048.jpg
-
 HLS3056539 1972 240Z 0047.jpg
-
 HLS3056539 1972 240Z 0046.jpg
-
 HLS3056539 1972 240Z 0045.jpg
-
 HLS3056539 1972 240Z 0044.jpg
-
 HLS3056539 1972 240Z 0043.jpg
-
 HLS3056539 1972 240Z 0042.jpg
-
 HLS3056539 1972 240Z 0041.jpg
-
 HLS3056539 1972 240Z 0040.jpg
-
 HLS3056539 1972 240Z 0039.jpg
-
 HLS3056539 1972 240Z 0038.jpg
-
 HLS3056539 1972 240Z 0037.jpg
-
 HLS3056539 1972 240Z 0036.jpg
-
-
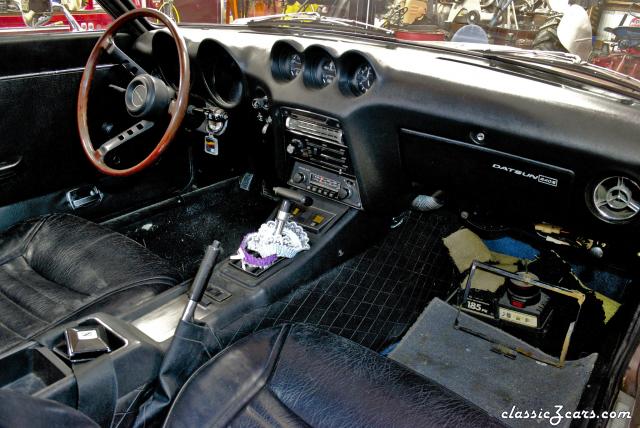
From the album: Z Garage
© Racer 2020
-
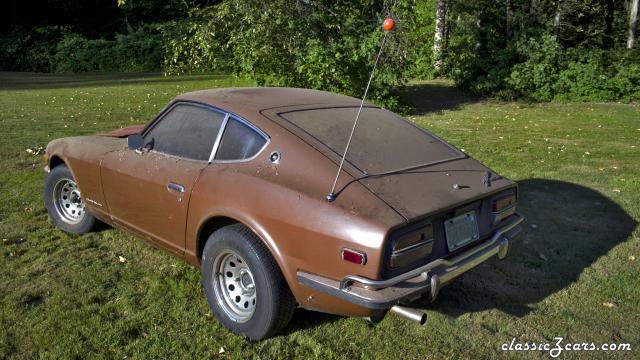
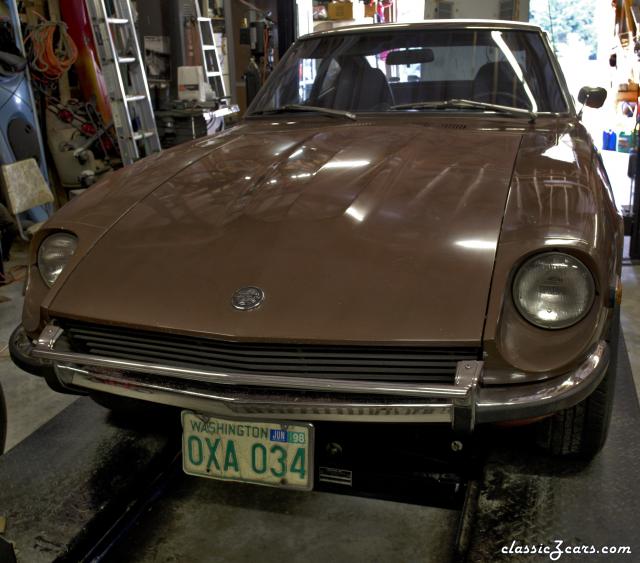
From the album: Z Garage
© Racer 2020
-
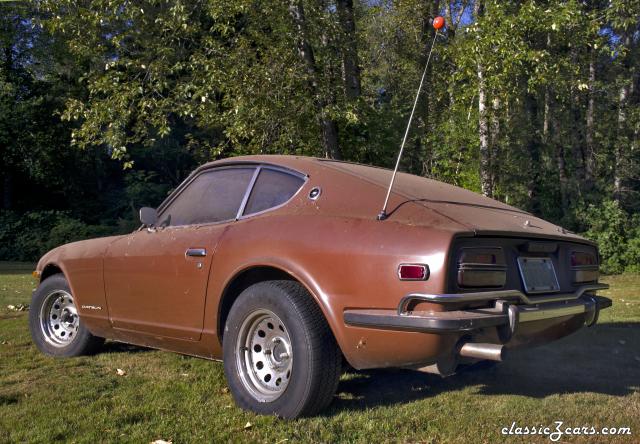
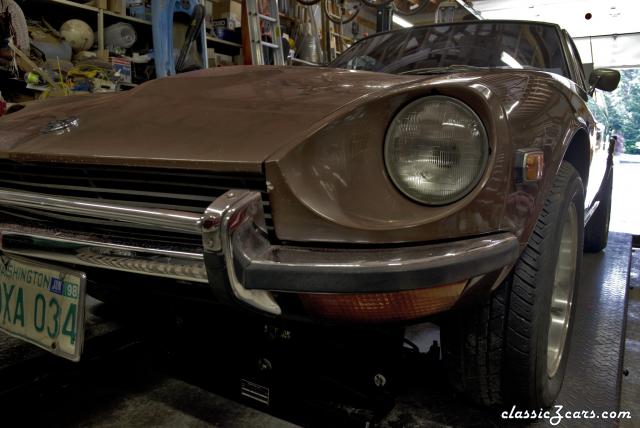
From the album: Z Garage
© Racer 2020
-
From the album: Z Garage
© Racer 2020
-
From the album: Z Garage
© Racer 2020
-
From the album: Z Garage
© Racer 2020
-
From the album: Z Garage
© Racer 2020
-
From the album: Z Garage
© Racer 2020
-
From the album: Z Garage
© Racer 2020
-
From the album: Z Garage
© Racer 2020
-
From the album: Z Garage
© Racer 2020
-
From the album: Z Garage
© Racer 2020
-
From the album: Z Garage
© Racer 2020
-
From the album: Z Garage
© Racer 2020