Racer X
-
Posts
1,877 -
Joined
-
Last visited
-
Days Won
33
Content Type
Profiles
Knowledge Base
Zcar Wiki
Forums
Gallery
Events
Downloads
Store
Blogs
Collections
Classifieds
Everything posted by Racer X
-
As long as the valve isn't prevented from being pushed open, the keepers will stay put. Assure the piston isn't close to TDC, so the valve won't hit it. You're only pushing the valve far enough to get extra room to lift it out. That's why I suggested positioning the cam near the base circle.the valve is nearly fully closed, so it is easier to compress the spring. If you try to remove the follower when the cam lobe is near full lift of the valve, the spring(s) are nearing full compression, so you don't get much room to compress further, and the spring requires more effort to push it further.
-
Everything but the very middle of the wipe area, which I've seen some deep wear before. But comparing the overall position of the pattern for sure, is easily seen looking at the right and left sides of the valvetrain.
-
That's how I learned to do it. But when I found the compressor tool tailor made for L series heads, I snagged it and never went back.
-
When was the last time you changed your oil? Looks dirty.
-
He isn't replacing stem seals, just wanted to have a look at the follower pads, so he doesn't want the valve to be restricted in movement.
-
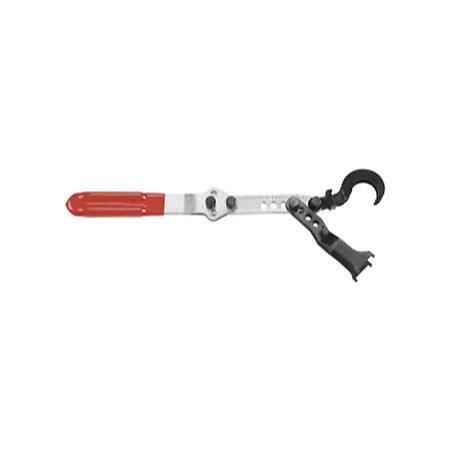
KD 2400 Valve Spring Compressor
-
If you have the right tool you can pop each rocker out one at a time to inspect them. With whatever rocker you wish to remove, rotate the engine until that rocker’s cam lobe is at the base circle of the lobe. Then use the tool to depress the corresponding valve until the follower can be lifted out. Inspect, make notations, then reinstall the follower, taking care to not dislodge the lash pad. The tool looks like this:
-
Sort of like this, but centered on the pad. The pattern is too close to the pivot. The pattern on the lash pad looks OK. The cam followers have three wear points, where the follower sits on the pivot ball, where the cam lobe rides on the middle of the follower, and where the follower rides on the lash pad (which sits on the valve stem). Look for a clean, smooth pattern, no grooves or excessive wear, and it should be centered on the pad.

-
It does seem to not be valve actuation sounds, but I still think it is related to the valve train/cam/chain/sprocket. The reason I suggested to rotate the cam back and forth is to examine the amount of wear on the sprocket, and the individual chain links. It is possible that wear of the pins and rollers on the chain is causing them to not pass over the sprockets cleanly, and the click is resulting from those worn pins and rollers binding.
-
Reminds me of the last page in a Cleaver Brooks (they made pressure vessels and other fabricate steel stuff) catalog. It had a number of tongue in cheek "standards". One was, "Cut to suit, beat to fit, paint to match." Also reminds me of an electronic engine controls class I was in during my apprenticeship. The instructor had a "road shock simulator", a two foot long piece of 1" wood dowel. Start the car, open the hood, and give various electronic devices a sharp whack. When you whack one, and the engine stumbles, dies or otherwise acts up, you've found the problem.
-
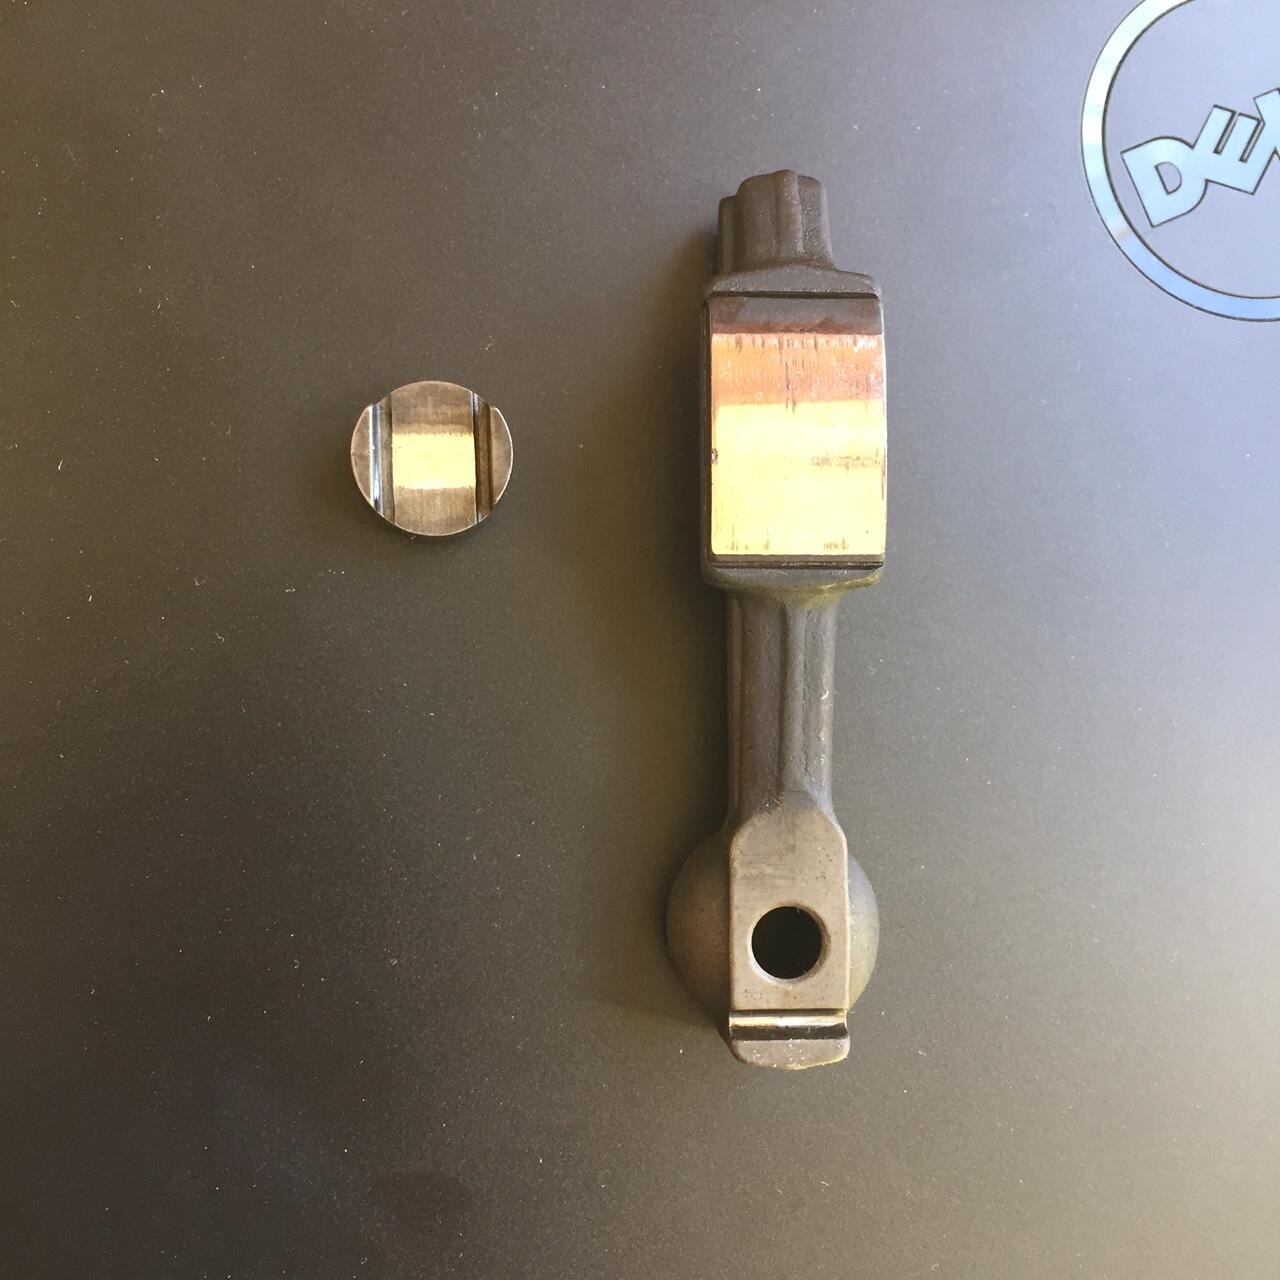
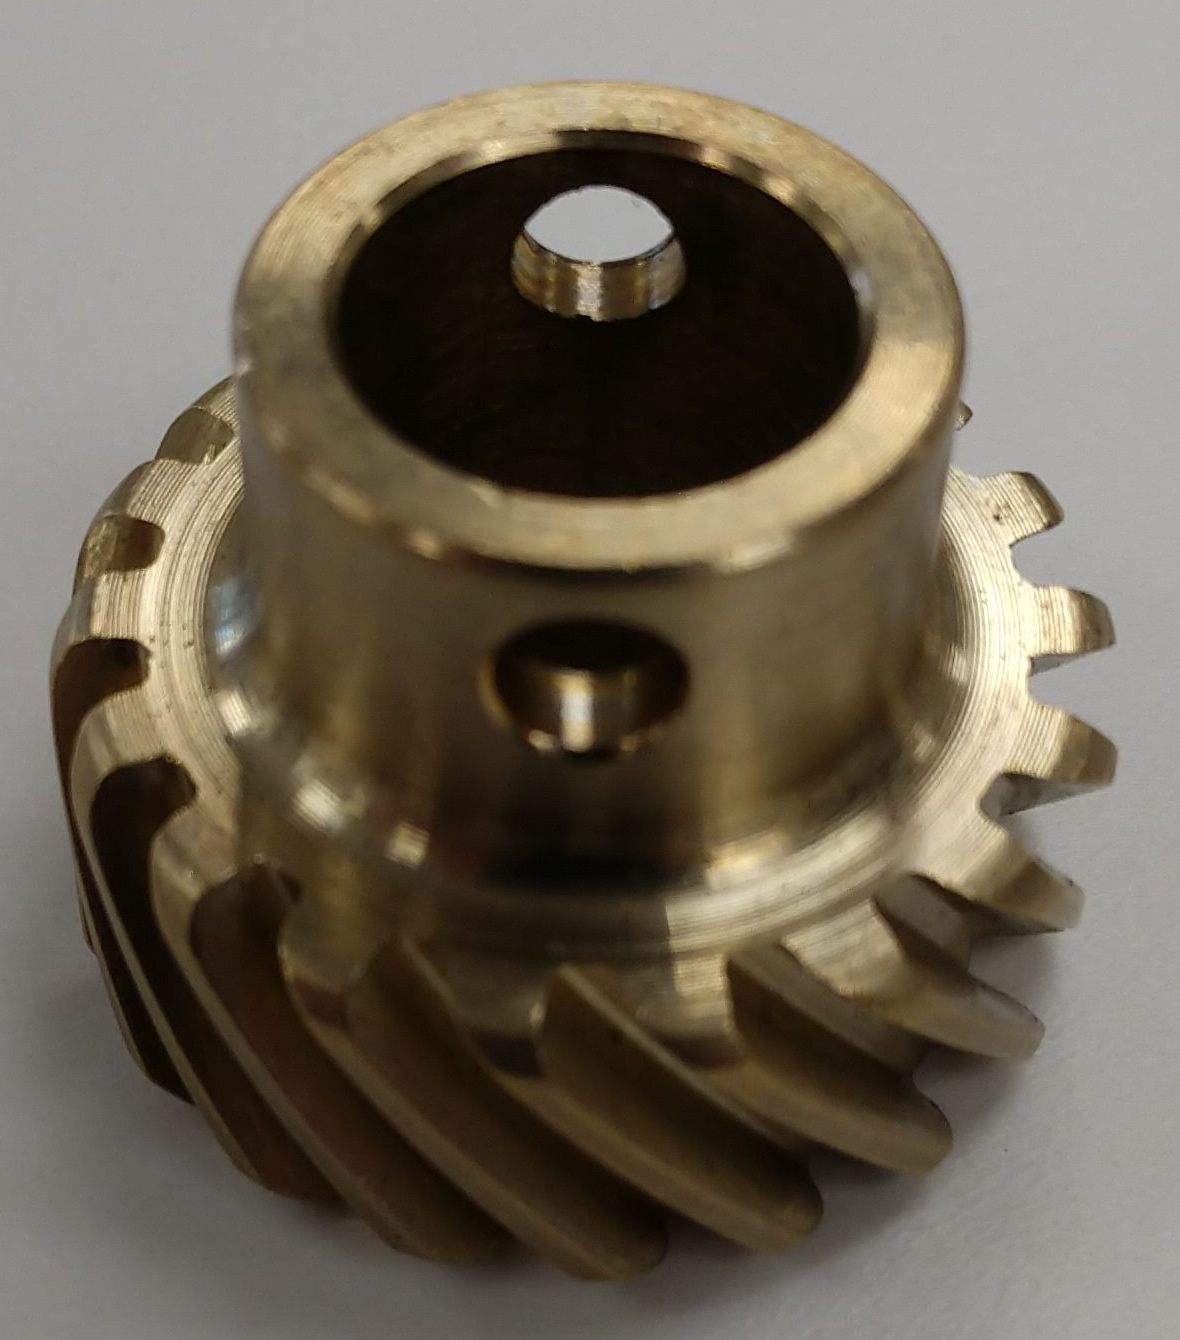
What about the oil pump/distributor drive spindle? I've seen the teeth shear off before, and found bits of metal that size. There are bronze gears available, and the pieces do look a little like bronze.

-
I asked earlier how many miles on the engine. It looks like it has quite a bit of time on it. You mention the PO used the car for racing, and that it has flat tops (carbs?). Most people ditch the flat tops, as they are emissions carbs that were so troublesome and difficult to tune. You also mentioned MS, which I assume is Mega Squirt. So I’m a bit confused. What does the Mega Squirt do if the engine has carburetors? One last comment. The L series six has a very long crankshaft, subject to torsional twisting. Even with the rotating assembly (crank, flywheel, clutch, damper) fully balanced, a vibration damper is absolutely required.
-
Use cord, not string. Sash cord, or clothesline, in a diameter just smaller than the diameter of the spark plug hole, about 1/4”. You look for visual signs of exhaust leaks, i.e. carbon coming out around connections and mating surfaces. With the engine running, listen. If you hear a leak, it can be pinpointed using a length of 1/2” heater hose (I have a piece hanging from the handle on my toolbox just for listening for exhaust and intake leaks, and other pesky noises).

-
We had a '92 Camry also. Mrs. Racer put several hundred thousand miles on it. I did all the maintenance except the timing belt. I despise front wheel drive cars, and despise working on them even more. But. A longtime friend is also a mechanic, and has worked at just about every Toyota dealership in the Puget Sound region, so he is well versed in them. After 25 years of beating his brains out doing the flat rate game he opened up a shop of his own. I asked if he wanted a timing belt job. Knowing we had the Camry, he eagerly agreed, $200, plus the belt. I asked if I needed to schedule it and drop the car off. He said just stop by early on a Saturday and he'd do it while I waited. I asked how long it would take, and he proudly proclaimed 20 minutes. Sure enough, I arrived early Saturday, pulled the car in, he went to work, and 20 minutes later he was starting the car to back it out the door. He changed the belt three more times before we gave the car to the son and his wife.
-
I see what you did there. 😁
-
Show us a picture of the damper and the timing marks. As for knowing where TDC is, the best way is to use a dial indicator and measure the top of the #1 piston. Trouble is, that pesky cylinder head is in the way. A trick is to use some clothesline cord, or sash cord, feed it into the #1 cylinder through the spark plug hole (do this when the piston is close to TDC on the compression stroke so the valves are closed, about an inch or so - you can shine a light into the hole and see the top of the piston), until you have a few inches of cord in, then rotate the crank until the cord compresses and you cannot turn the crank further. Mark the damper coincident with the zero on the timing scale on the front cover, with an art pencil of contrasting color. Back off the piston by turning the crank the opposite direction just enough to get the cord out, then rotate th crank up to, and just past TDC about as far as it was ahead when you shoved the cord in the first time. Then feed the same amount of cord in again, and move the crank so the piston goes back toward TDC, again until it stops. Again, make a mark on the damper, coincident with the pointer. Interpolate TDC on the damper, if it isn't correctly marked. Not as accurate as the dial indicator method, but it should get you pretty close, and confirm if your damper has spun or not.
-
How many miles on the engine? As a point of information, the timing chain doesn’t “stretch”. What happens is the pins and rollers wear, resulting in excess play at each pin and roller. Add that up over the dozens of pins and rollers, and the effective length of the chain increases. Also, the curved chain guide, and the guide on the tensioner plunger get grooves worn into them as the chain slides over them. The chain, guides and sprockets are many times better than timing belts and sprockets with regard to overall wear and longevity. An engine with a timing belt will need to have the belt replaced every 100,000 miles or so. And engine with chain driven cam(s) can conceivably go several hundred thousand miles, with little wear, and chains rarely fail like belts, provided proper maintenance is performed (oil changes). I have seen some very high mileage engines with chain driven camshafts where the wear and ultimate lengthening of the chain caused the chain to wear through the chain guides, and the front cover. It was the resulting oil leakage that brought attention to the problem with the chain. In your case, the only way to check the wear is to remove the front cover, and examine the curved guide and tensioner plunger. You can also use a pair of water pump pliers (the kind with curved jaws) to rotate the camshaft back and forth, not enough to rotate the crankshaft, just enough to observe how much play is present in all those pins and rollers on the chain.
-
Once upon a time, in a land far, far away, that time forgot, I had a basement, and an outbuilding, full of those. *sigh* It is little more than a memory now. I made a lot of money, but couldn't spend it on anything big, for fear of drawing the wrong kind of attention. But I did enjoy plenty of “the good things” in life, and I always tipped very generously.


-
I've never seen a "kit" for manual transmission rebuilds. Usually the gearbox is disassembled, cleaned and inspected. Out of spec and worn or damaged parts are replaced, and reassembly is done. You mention a grinding going into 2nd gear. That is indicative of a worn or damaged syncronizer. It should be obvious on inspection during the cleaning and inspection. If new components such as seals, syncros, gears or bearings are needed, some can be sourced as NOS, bearings and seals can be sourced at any bearing supply house (they don't have to be genuine Nissan, as Nissan usually buys from the same sources), and gaskets can be made easily by hand (or a thin film of RTV silicone used). As a last resort, sourcing used gears and syncros is a n alternative, or, have a machine shop make a replacement.
-
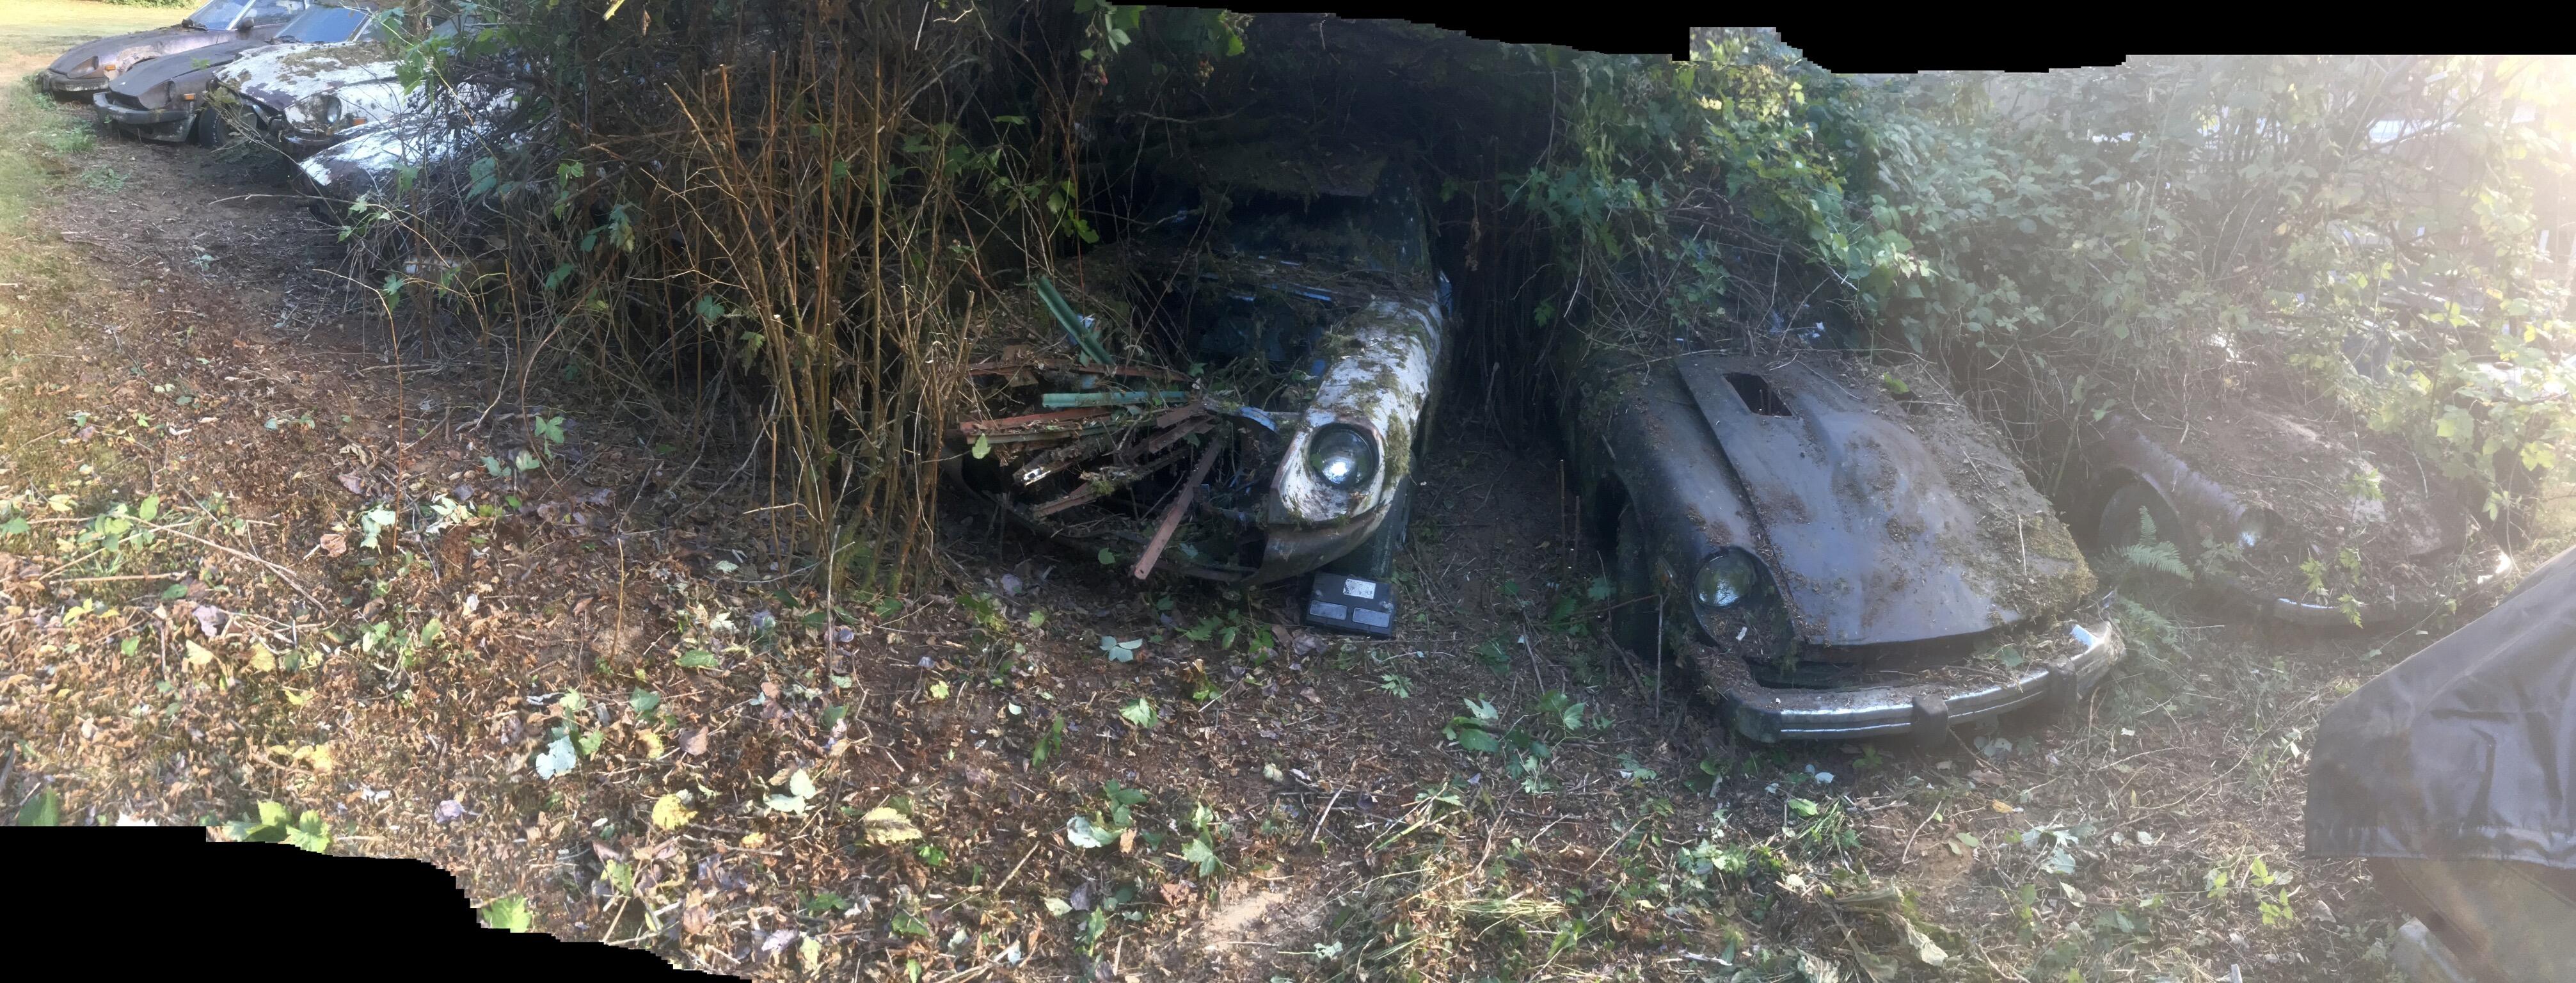
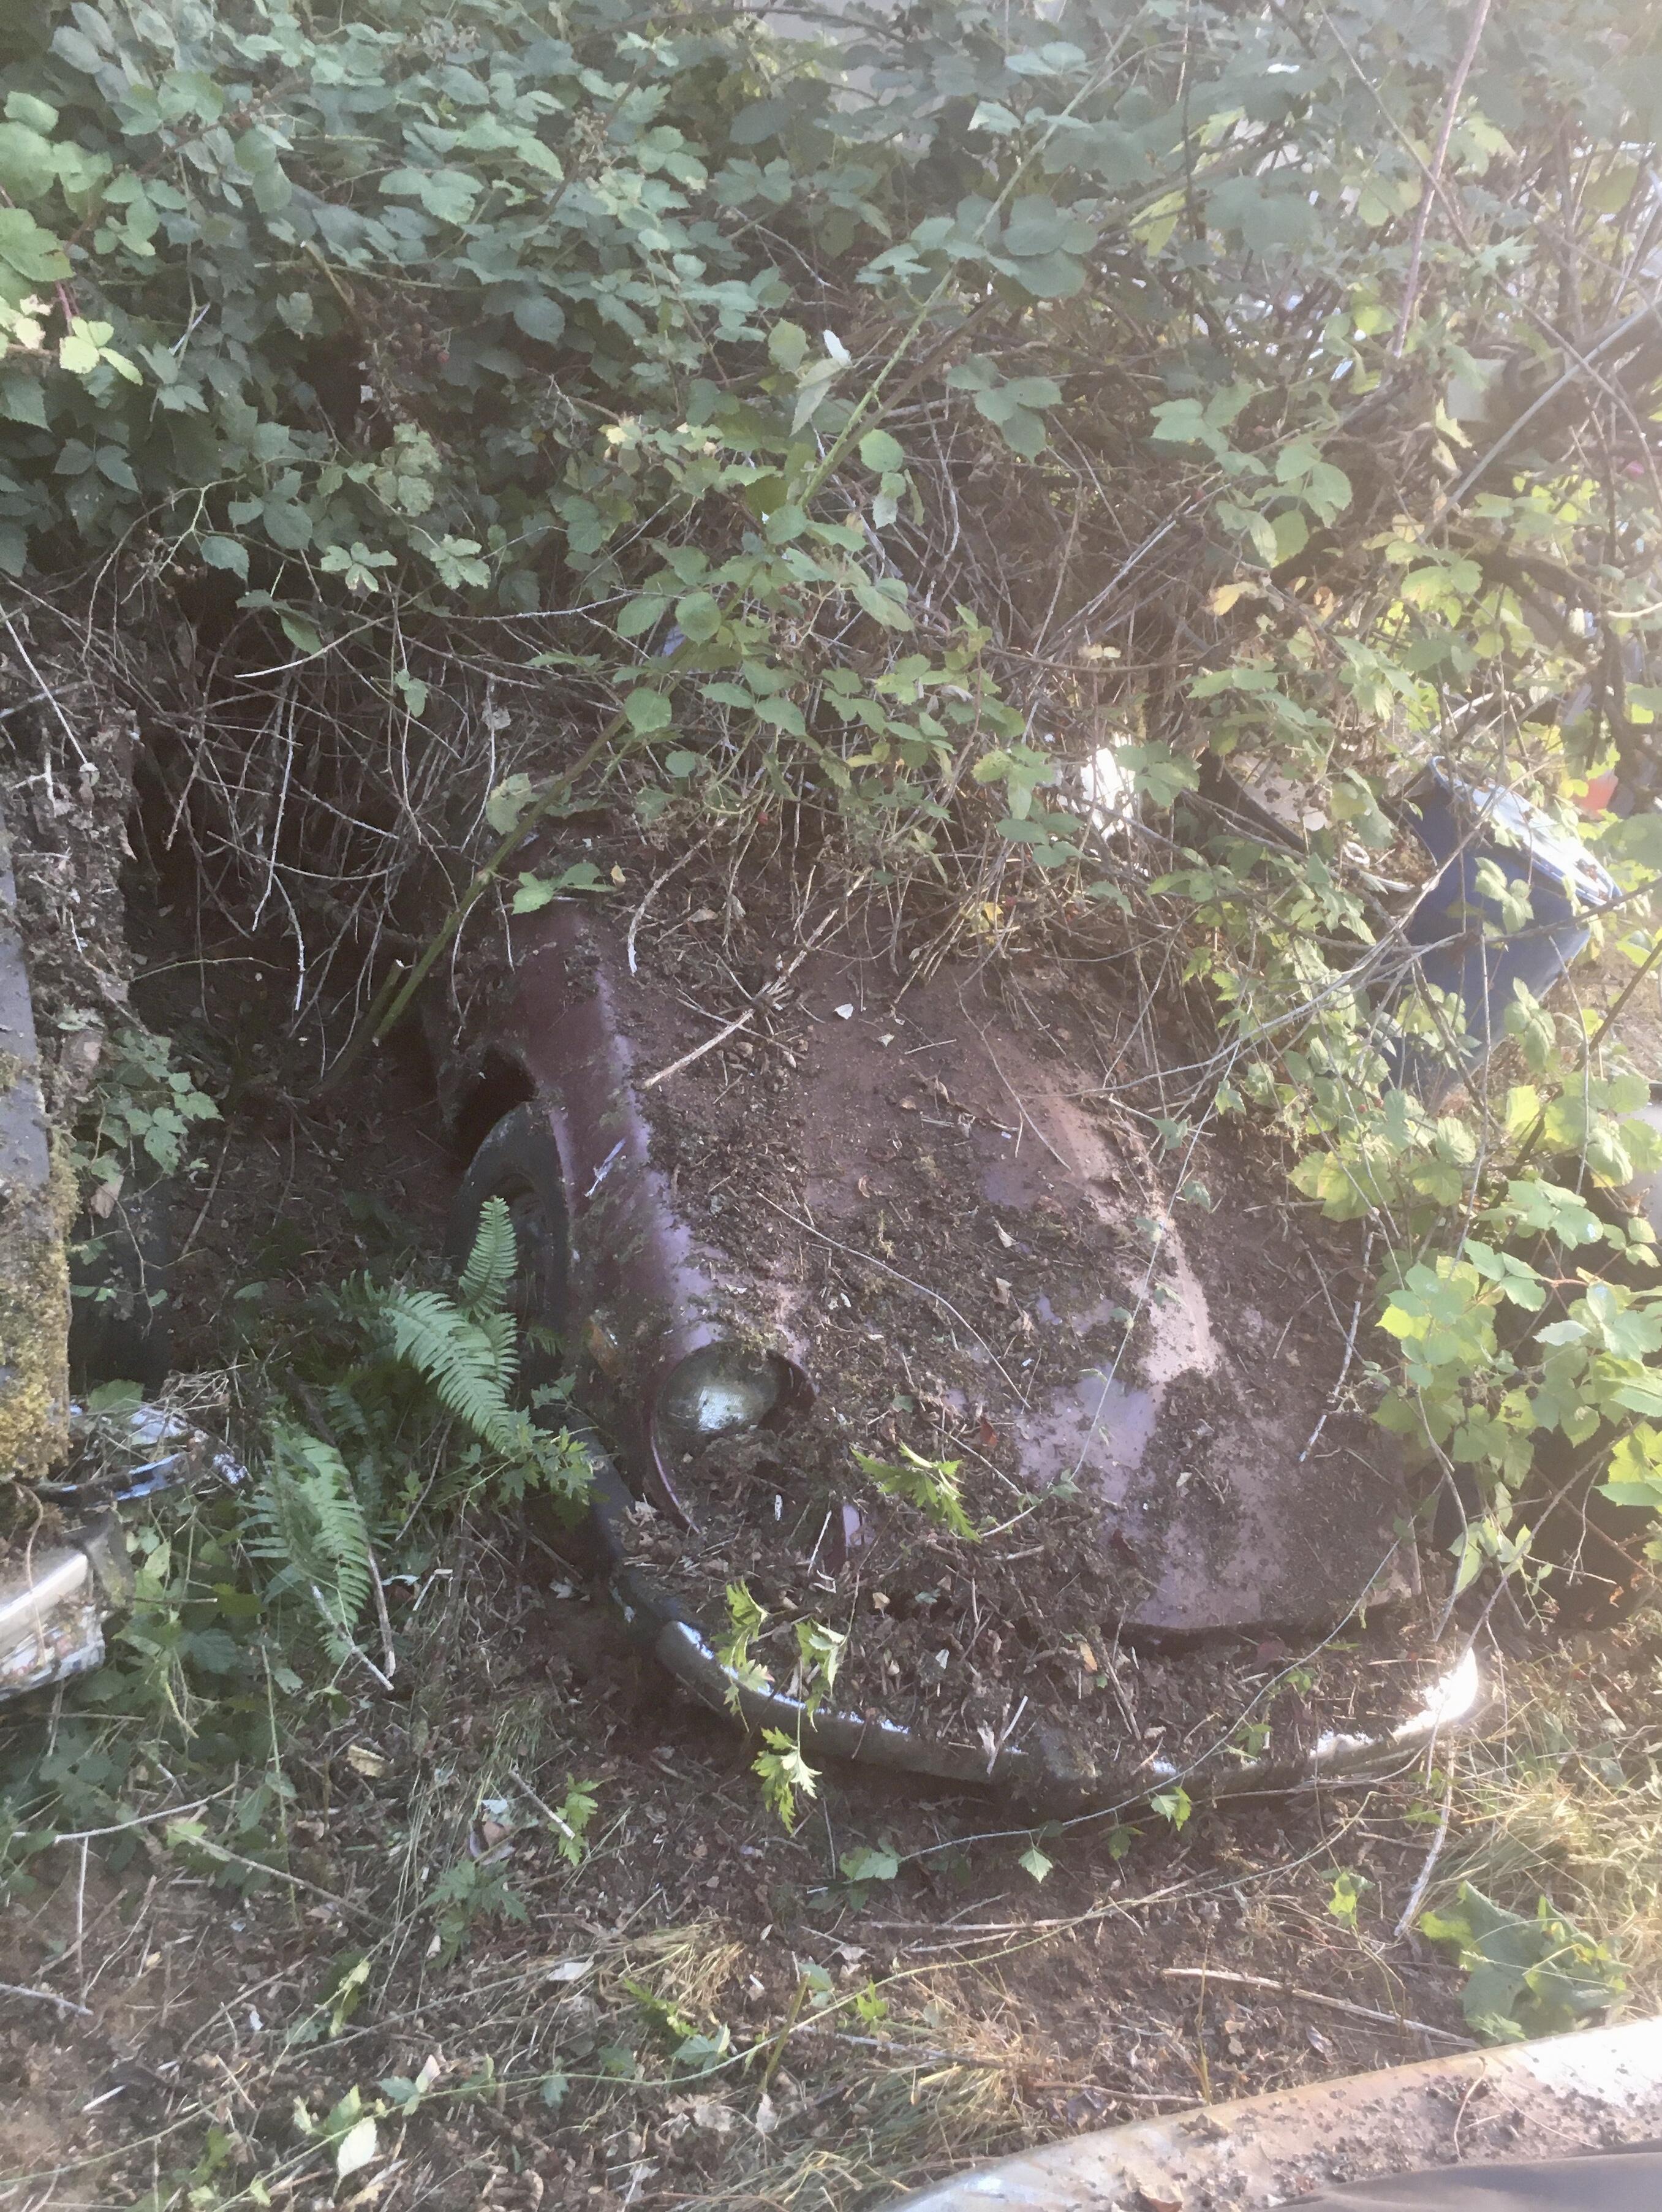
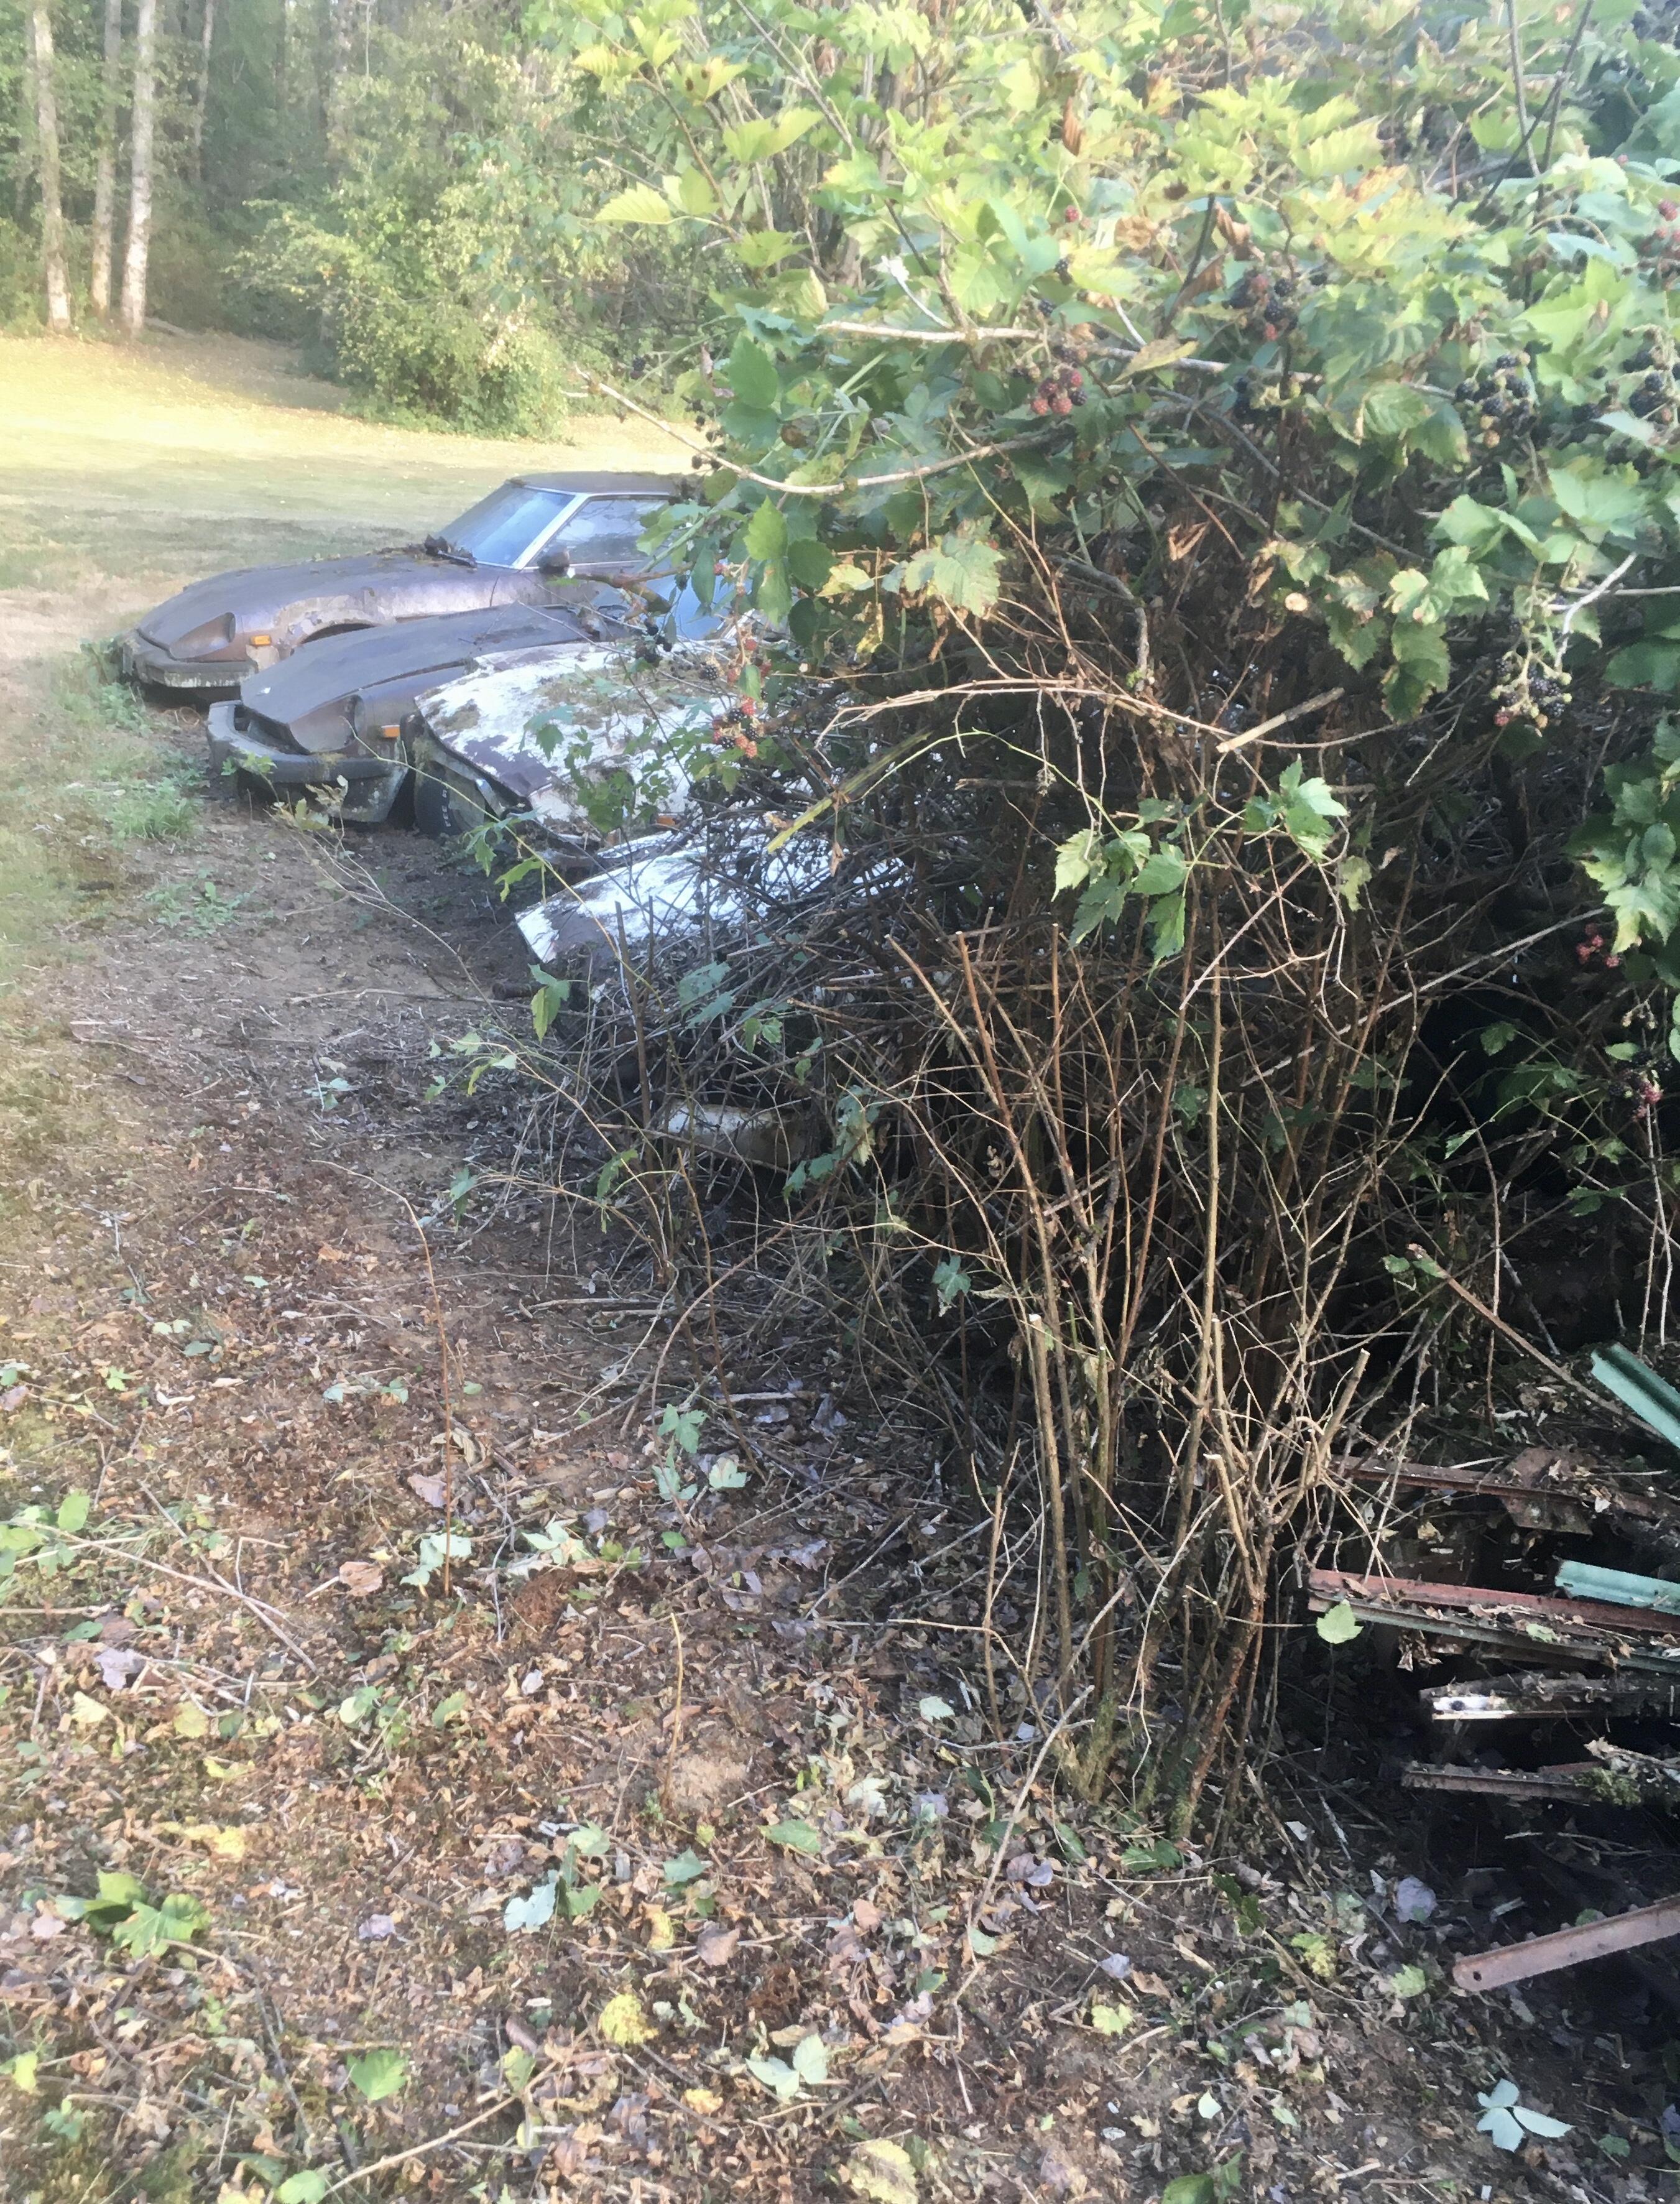
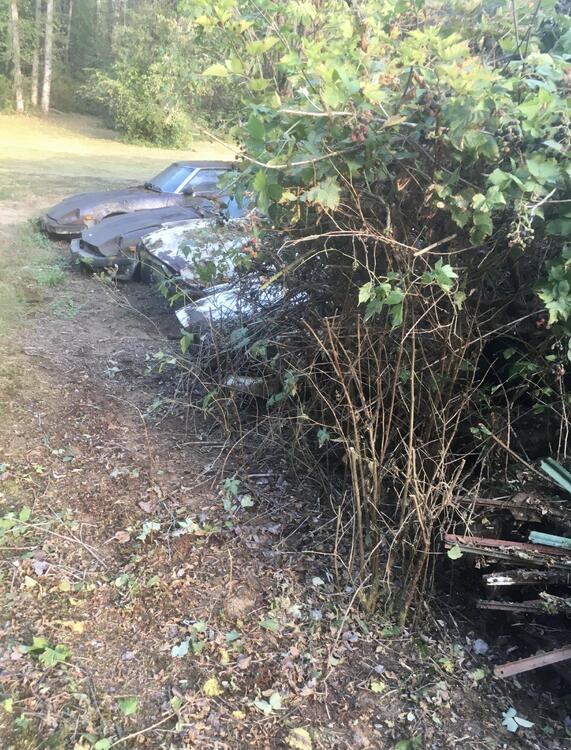
Forgive the correction, but it isn't a tree, it is a woody shrub. Pretty common around here, and this is about as big as they get.
-
Oh, I’ve got a few that should be in the sub $10K range.


-
I like it! This is how I imagined it was done. Having done considerable post processing and other photographic work in Photoshop I can see how it can come together. Now where did I leave that camera?
-
I do like the exploded view of the Ferrari race car. How do they do that?

-
I like Ferraris, some awesome cars. But. Did you happen to notice the brand and model of car this discussion group is focused on? Datsun, 240Z. Japanese cars. I doubt you will generate much business here, eh?
-
Odd, never seen one like that before. Oh, and the seller is mistaken, it is not a 240SX.