w3wilkes
Free Member
-
Joined
-
Last visited
Everything posted by w3wilkes
-
 I really like what you did with the graphics! Subtle, not too flashy, nice touch.
 -
Depends on what you call original. The wiring harness is prewired for an electric fuel pump. You've removed the evap tank and removed venting from the fuel tank, turned the remaining top vent in the tank 180 degrees. If you're an original purist you should probably stay with the mechanical pump. Here's a thread on rebuilding the original pump.
-
Thanks, this is helpful.
-
@KONI Lee Do you know how many turns from full soft to full hard?
-
Nice score on the hatch window louvers! I'd like to get some of those.
-
-
Ooooh, go for the Ranchero next to it also.
-
-
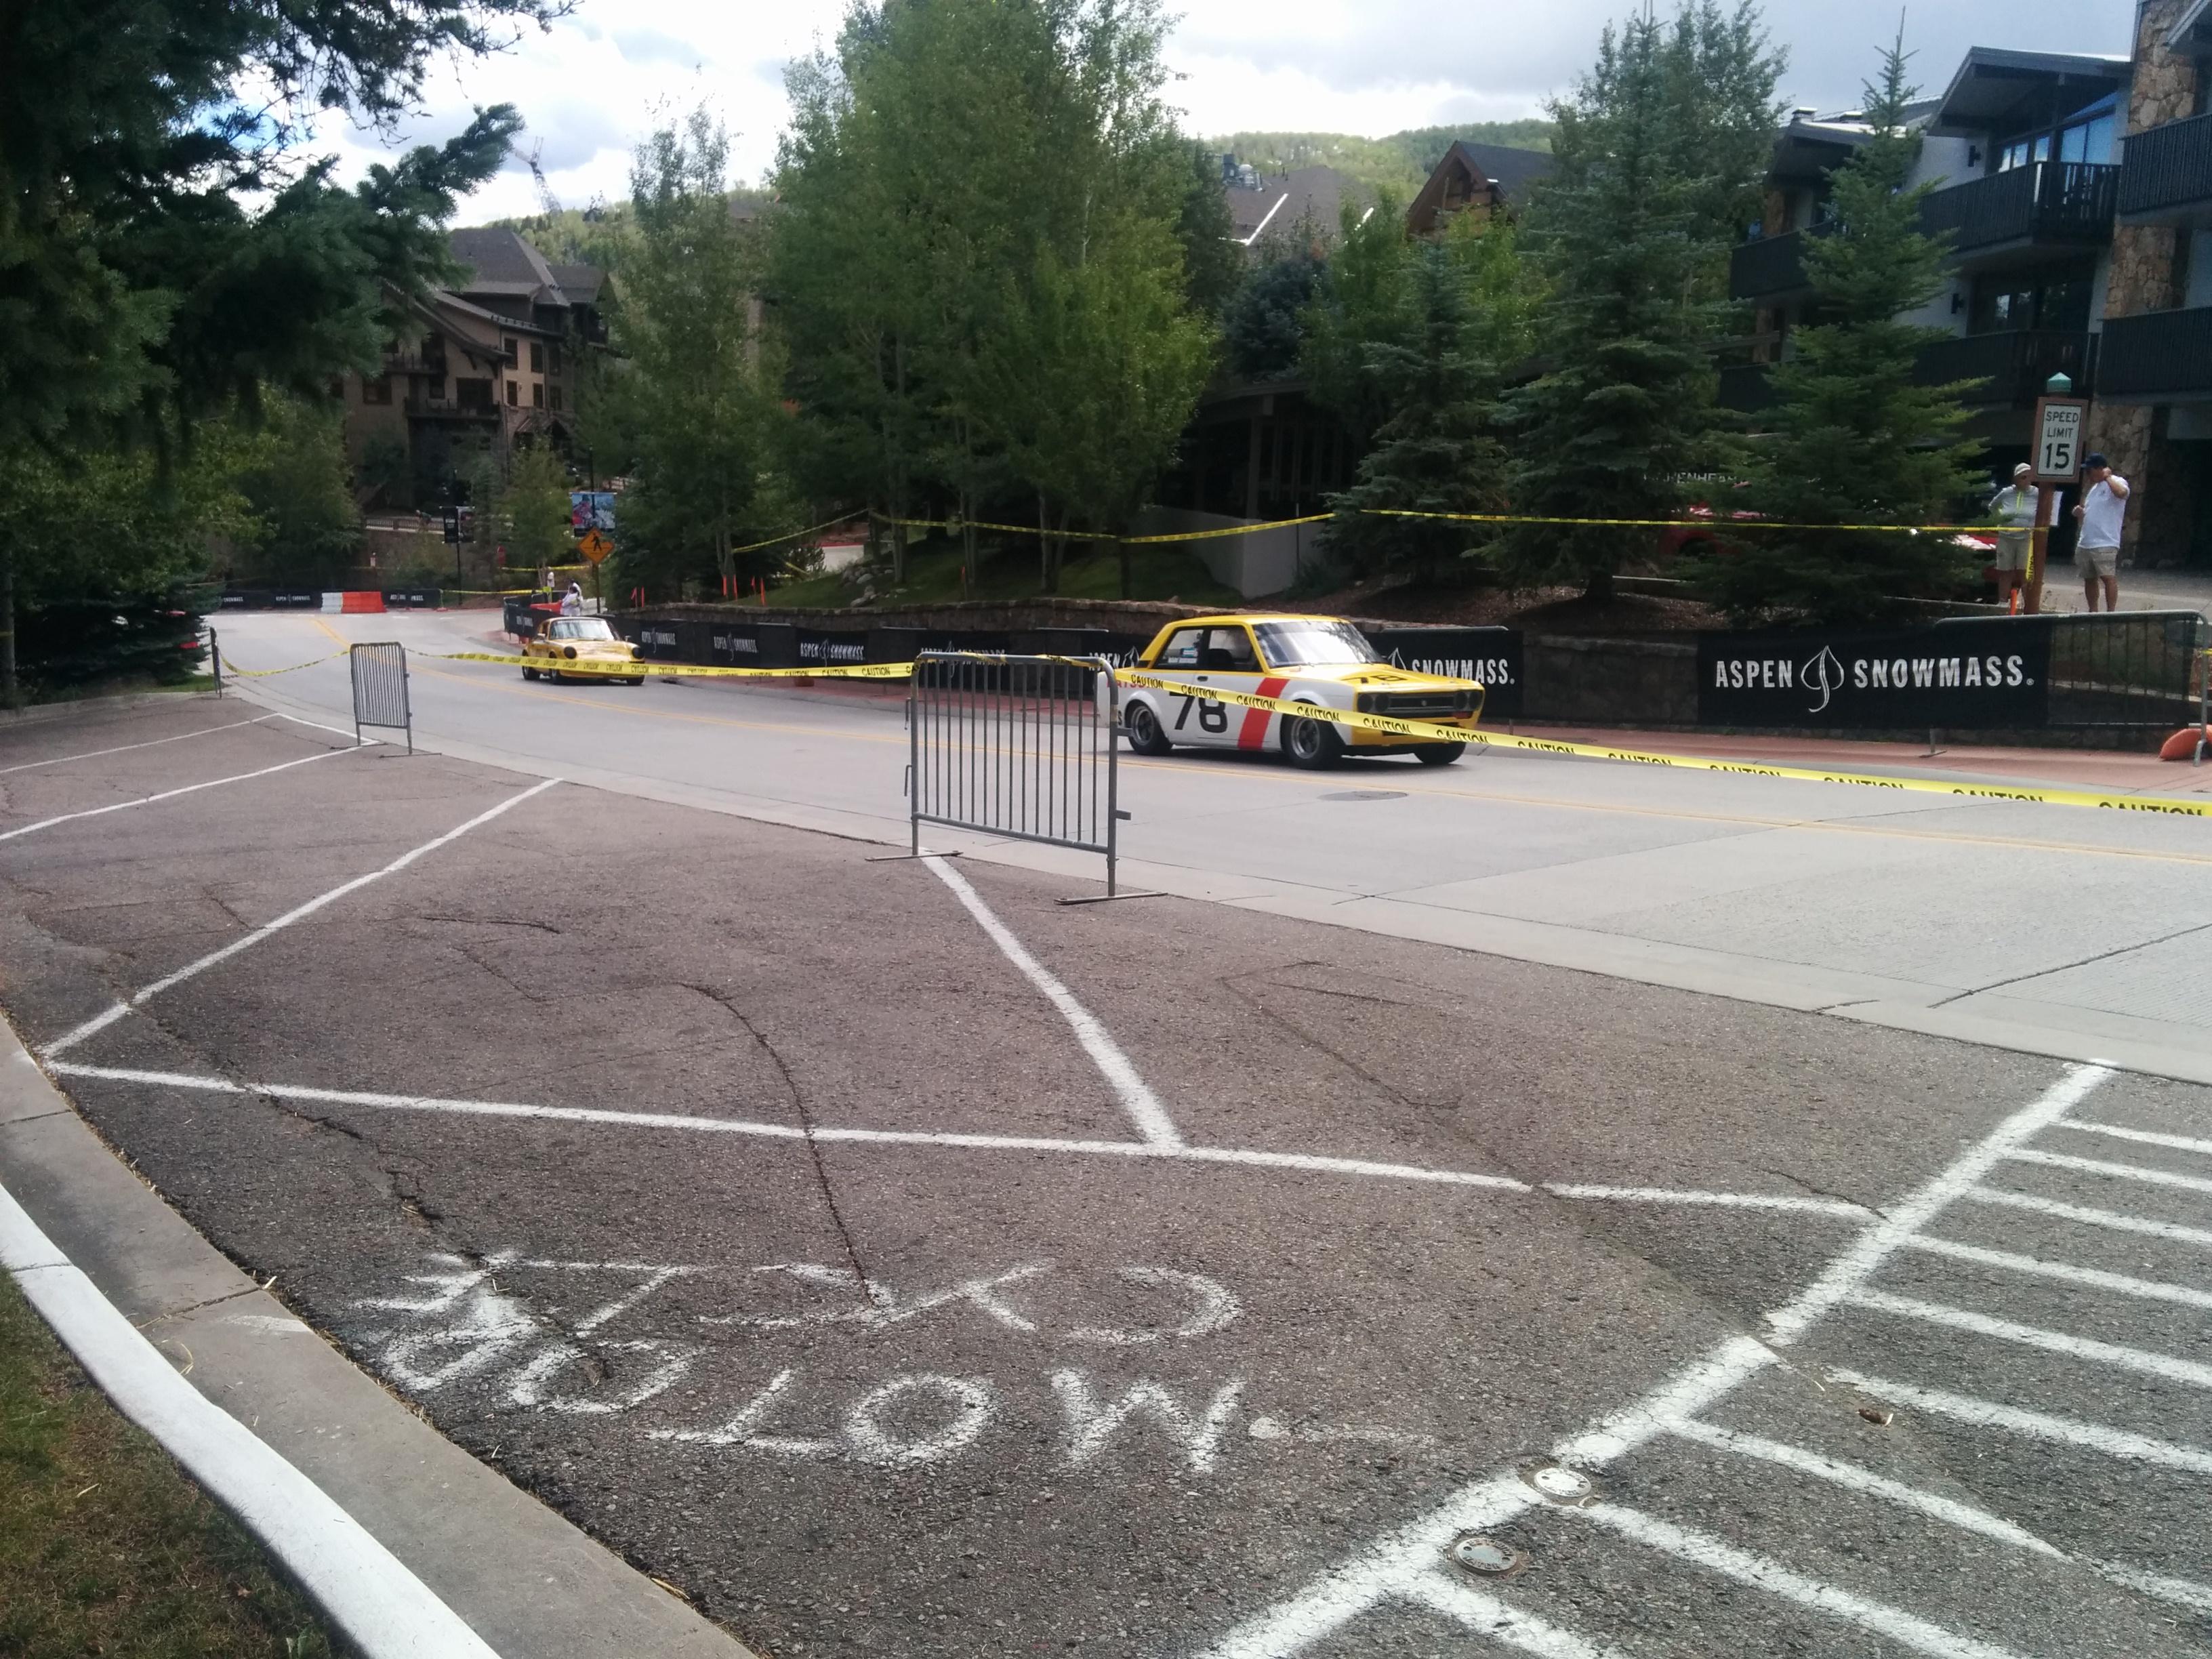
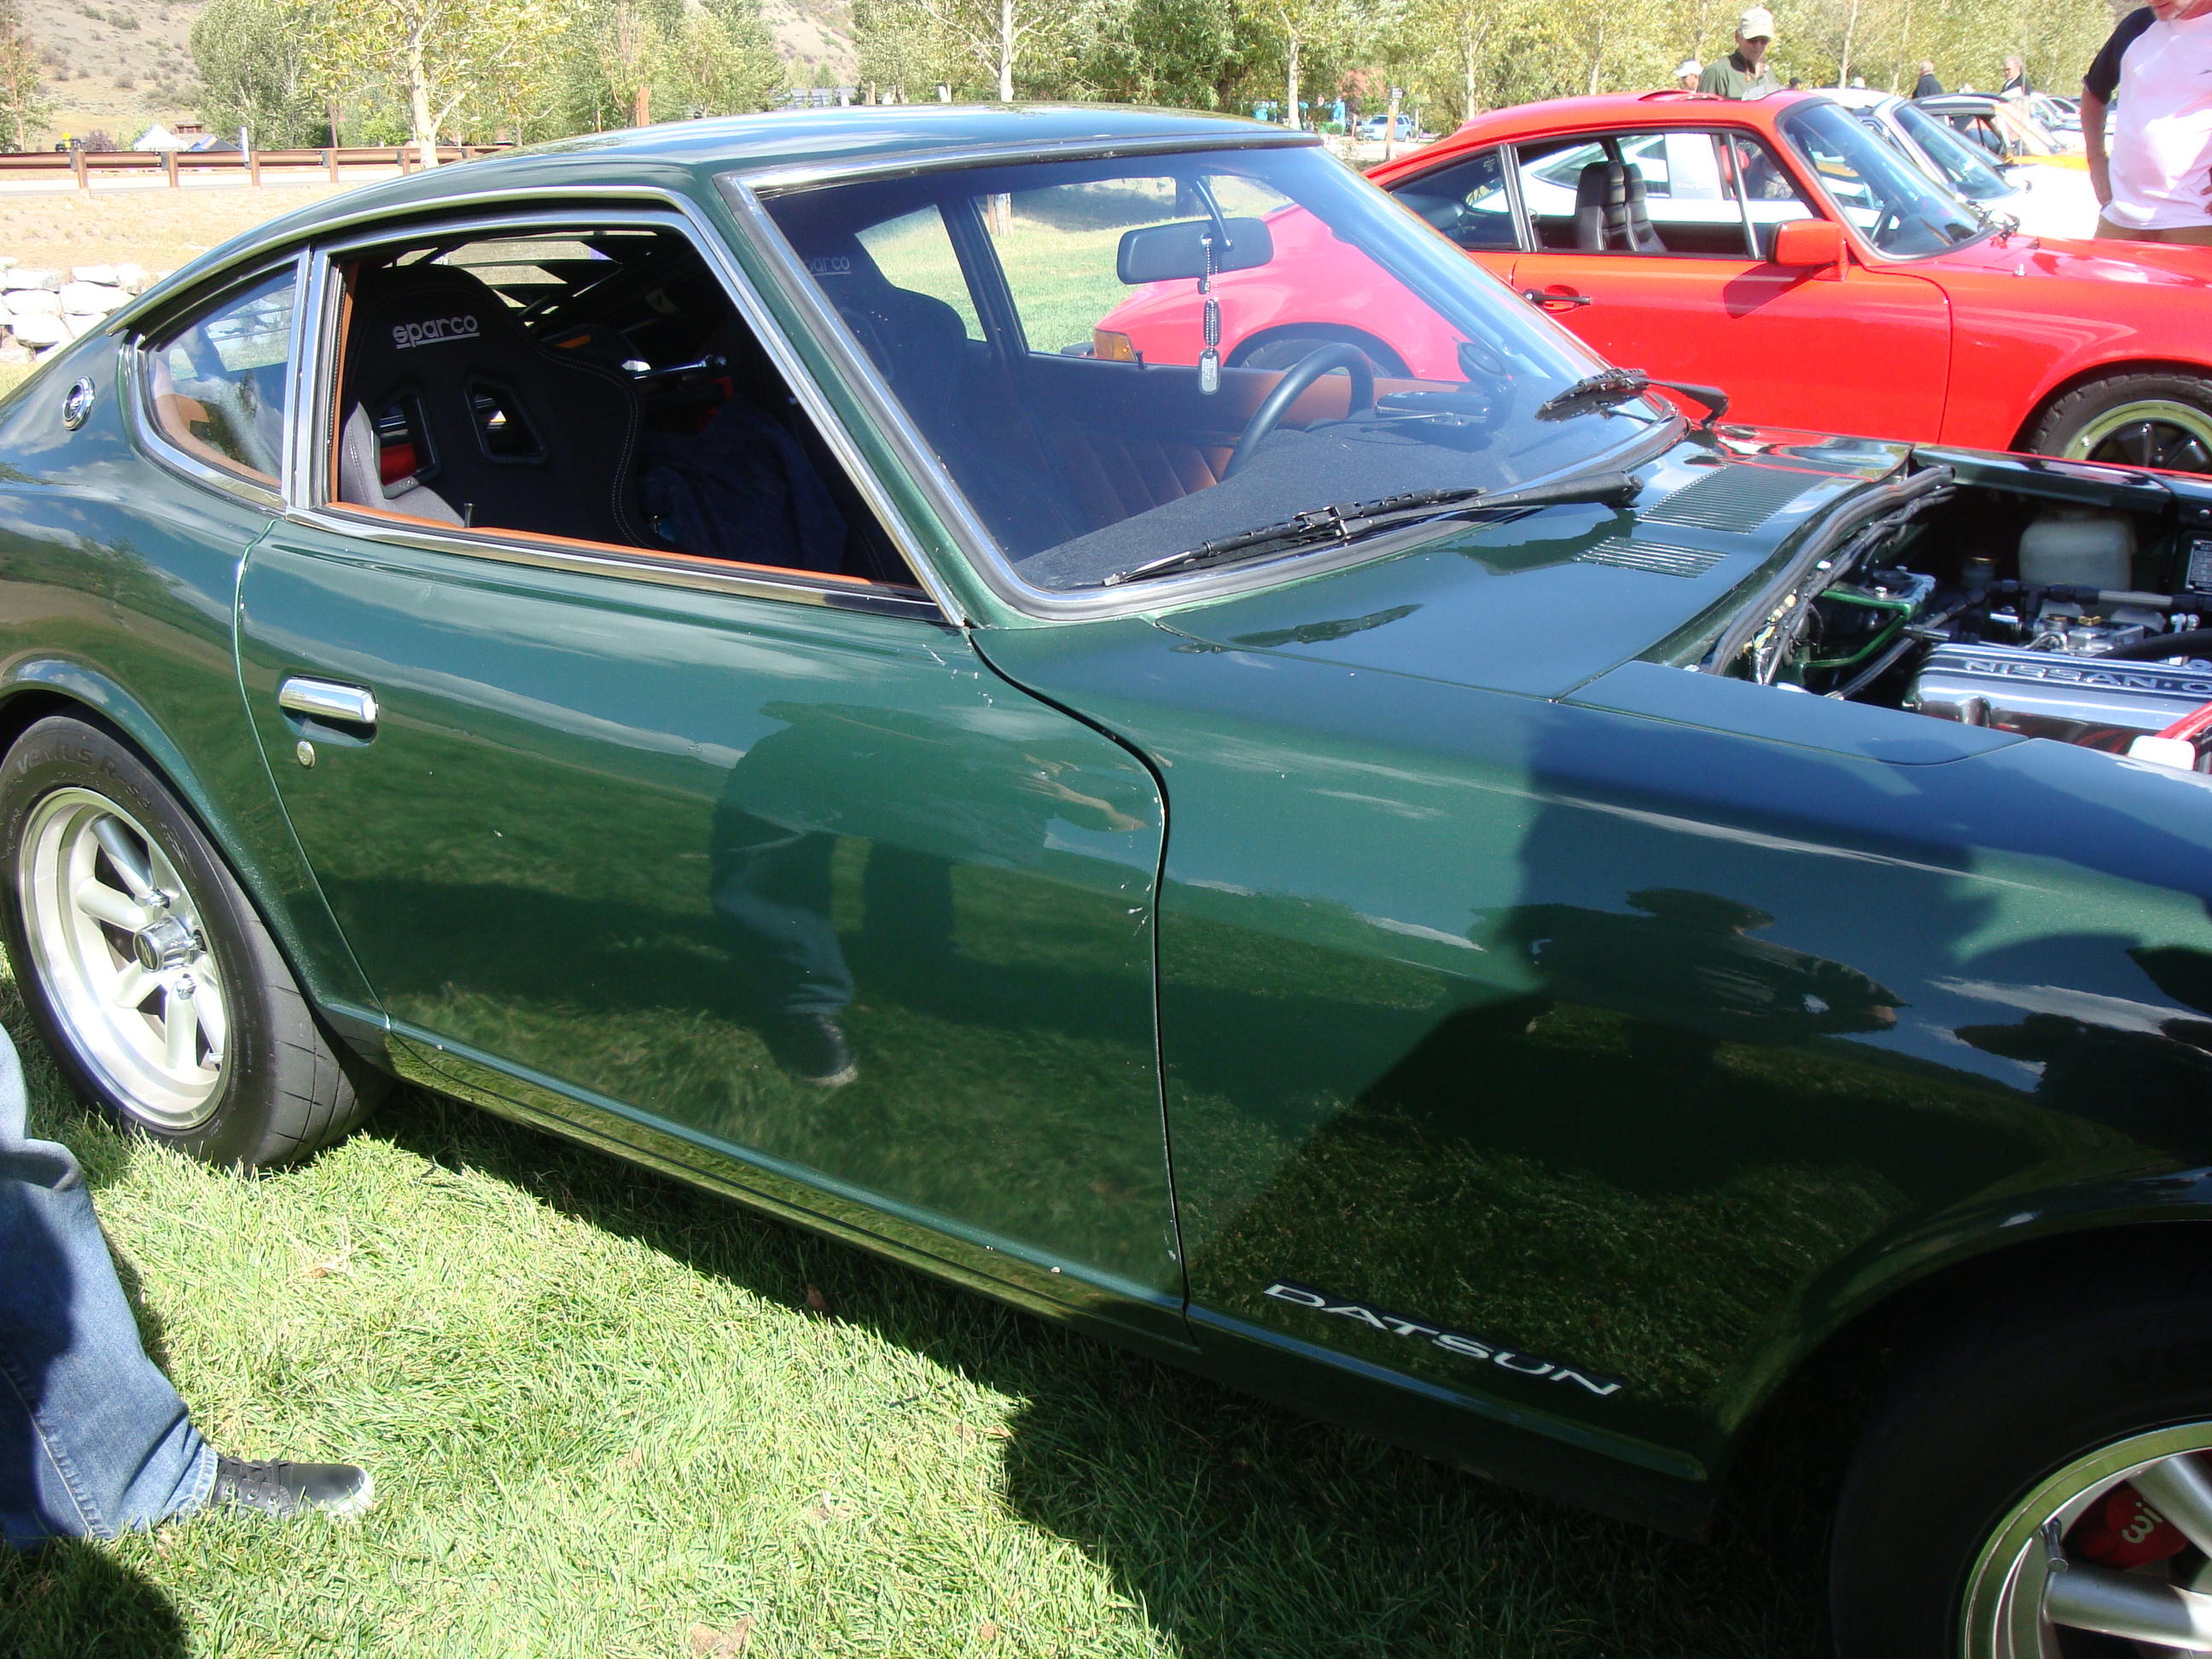
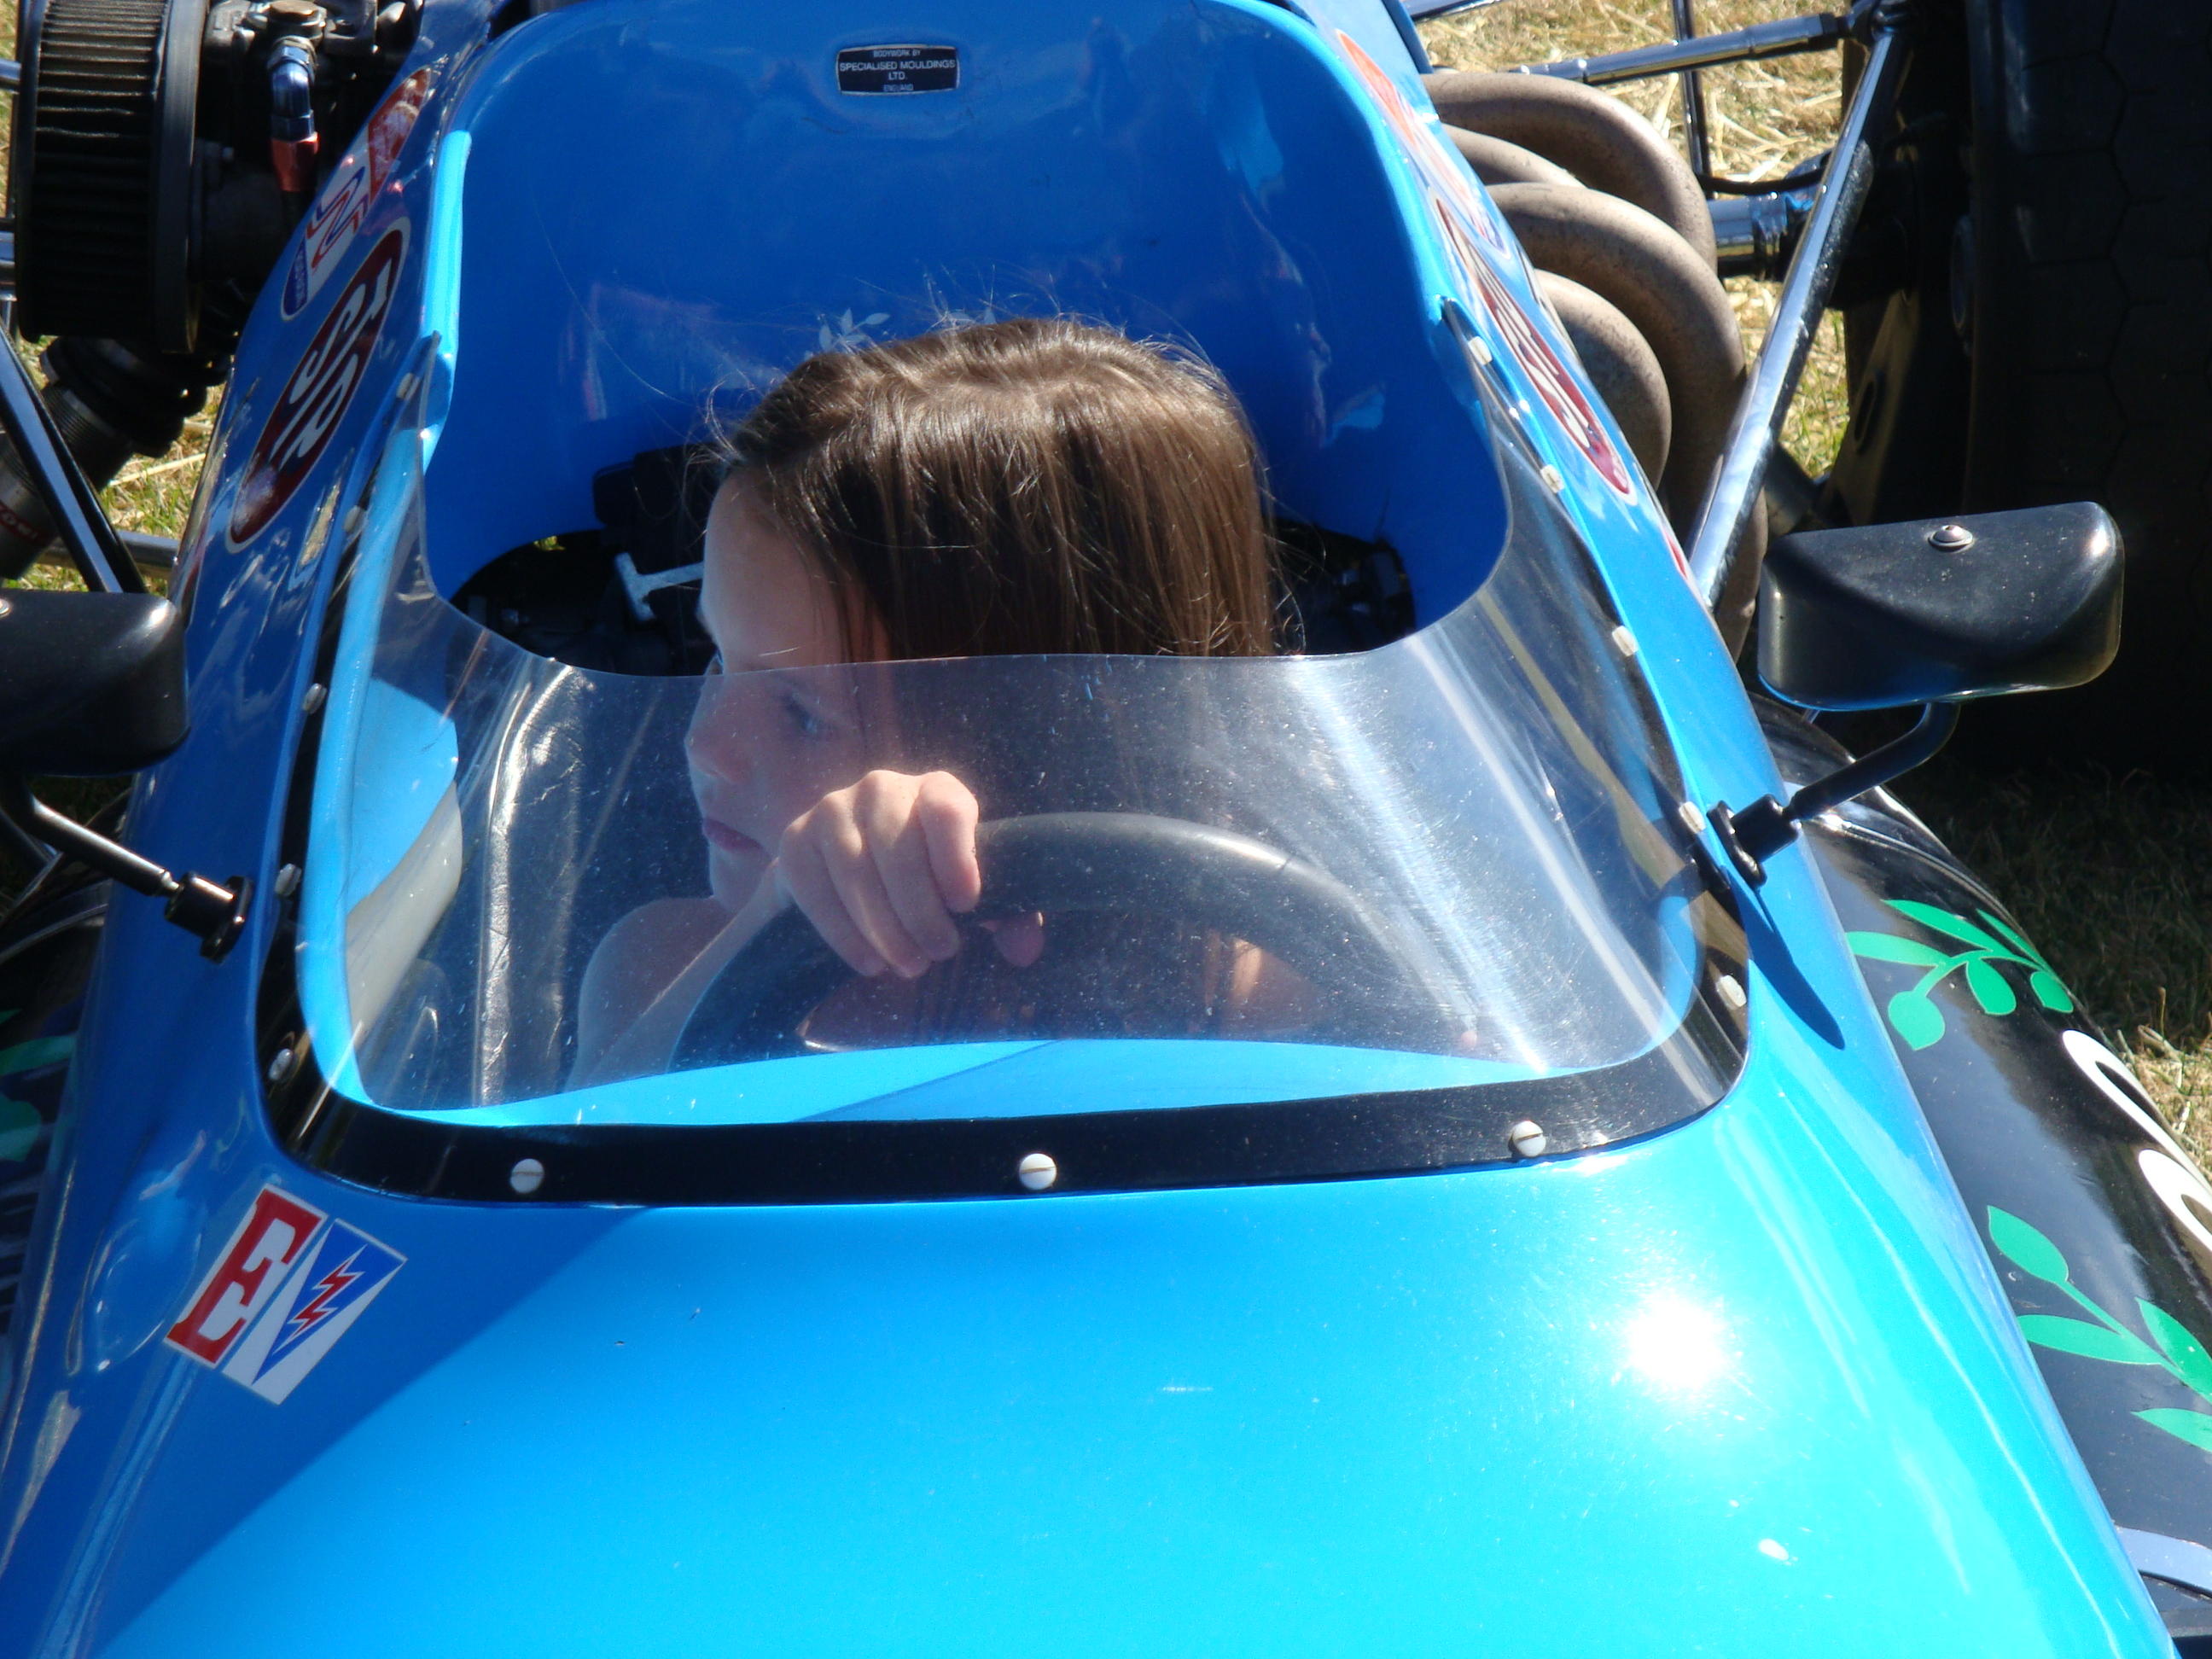
Thanks, that's the car alright. Come May when I go back north I'll post a picture of it in the concourse at Steamboat. Did you ever go to the races in Steamboat? RMVR got vintage street racing started back up after a 6 year hiatus in 2017 in Snowmass, CO the 2nd weekend following Labor Day. We went that year, but missed 2018. We hope to be back for 2019. We get a condo inside the track. The cars start practice runs at about 09:00 so that's when we mix up Bloody Mary's and walk outside to watch the cars run, what a blast! Here's a shot from the races, a 280 at the show that came up from Denver and my grandson and granddaughter being studly sitting in little formula cars at the show..


-
Thanks to both of you @Captain Obvious and @KONI Lee
-
Thanks for the clarity, I thought that's pretty much what I said about the shaft volume increasing in the strut is what compresses the gas. Since these new Koni's are adjustable, I'd guess that the adjustment is to what you refer to as the "damper valve(s)" which changes how easily the oil can move through the plate attached to the shaft. The more open the Damper valve(s), the softer the ride.
-
So in you diagram the plate (red arrows) inside the strut that the shaft is attached to has holes so the oil flows through the plate and it's the additional shaft volume inside the strut that compresses the gas. This plate is to keep the shaft centered in the strut. This does make sense to me.

-
Question, taxing your memory... When you went to ZCCA convention in CO was there a guy named Larry Hutfulls (probably misspelled) in the CO club? There used to be vintage cars races on the streets of Steamboat Springs and a concourse show over Labor Day weekend that my wife and I would go to from 91 through 2000 (last year they were held in Steamboat). In 91 or 92 there was a very nice 240Z in the show and I talked to the guy and he mentioned the Z car club in Denver and I thought that's what he said his name was. The car was like a dark purple, very nicely done.
-
Good point, I now realize that!
-
Thanks for grabbing the video! Nice car and music even though I can't understand the lyrics. Can't tell what year the car is, guessing somewhere between 74 - 78, Did those years keep the small bumpers in Japan?
-
Can't see the video here, say's it hasn't been made available in your country. If I can't see it, it didn't happen.
-
Yes, looks just like my series 1 car. If you go electric fuel pump the connector to jumper to get power back to the fuel pump wires is in that bundle of wires. The car has wiring for an electric pump already installed, that's the other pair of wires back at the fuel gauge sending unit back at the tank. It's a good idea to put an inertia switch in the jumper loop so the fuel pump would be shut off in a crash.
-
Just had a thought since you ordered the new tank straps from Skillard. These straps should have a rubber insulator between the strap and the tank. You can get them from ZCar depot https://zcardepot.com/products/fuel-tank-rubber-strap-isolators-240z-260z-280z?variant=19274419437681&gclid=CjwKCAiAqaTjBRAdEiwAOdx9xlj3VBstKlgn_BJhwBWrINtQJsFKckUXPAgKXU1fGLg1u9gI09QnxhoC5N0QAvD_BwE#
-
Thanks! I had not noticed that on ZHome before.
-
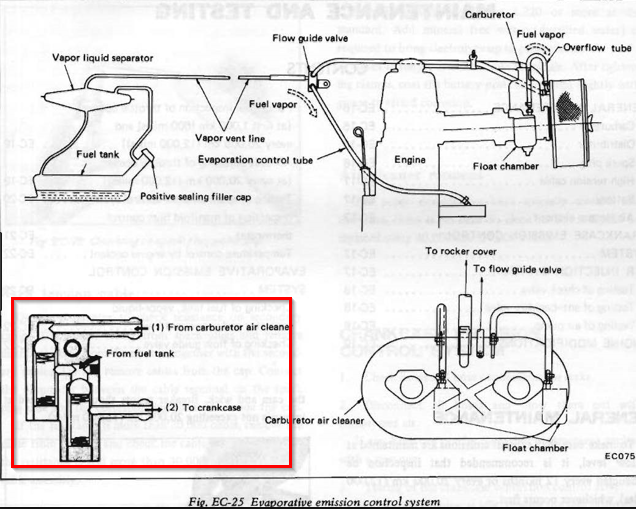
I think this is still used for the 1 remaining tank vent and the fuel filler line vent along with the line that goes to the Flow Guide Valve in the engine bay. Is this true @Carl Beck? My Fuel Guide valve still has the line from the vapor tank, is caped on the inlet from the air cleaner and just left open on the line to the crank case with the crank inlet plugged.
-
I won't take credit for the 100-120 amp, it was @wheee!. I went with the 60 amp from MSA on my 240Z.
-
Don't you still need the voltage regulator replacement adapter to go this route?
-
Another electrical upgrade that takes most of the headlight electrical load off the fuse box and multifunction headlight switch on the steering column is this headlight wiring mod. It also allows you to flexibility on headlight upgrades. https://www.thezstore.com/page/TZS/PROD/classic10l/12-4651
-
If you can't find an old 240Z voltage regulator that works or down the road you decide you need more power from your charging system you could go down this road that would allow you to go with a more modern electronic internally regulated alternator. https://www.thezstore.com/page/TZS/PROD/classic10b04/12-4067
-
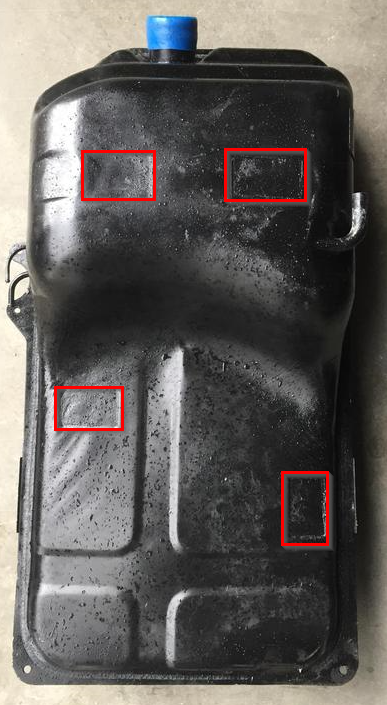
There are about 1/4" thick flat rubber pads that go in these red outlined indents. I think with these pads and the rubber lining on the tank straps the tank is electrically isolated from the rest of the car. I believe that's why the fuel gauge sending unit has a ground wire. When you mount the tank back in the car be sure that you have the wires for the sending unit and fuel pump where you can get them and don't bury them between the tank and body of the car or you'll have to lower the tank again. Ask me how I know this? Sure wish I'd known that I could've eliminated all those vents! Oh well...