Jeff Berk
Free Member
-
Joined
-
Last visited
Everything posted by Jeff Berk
-
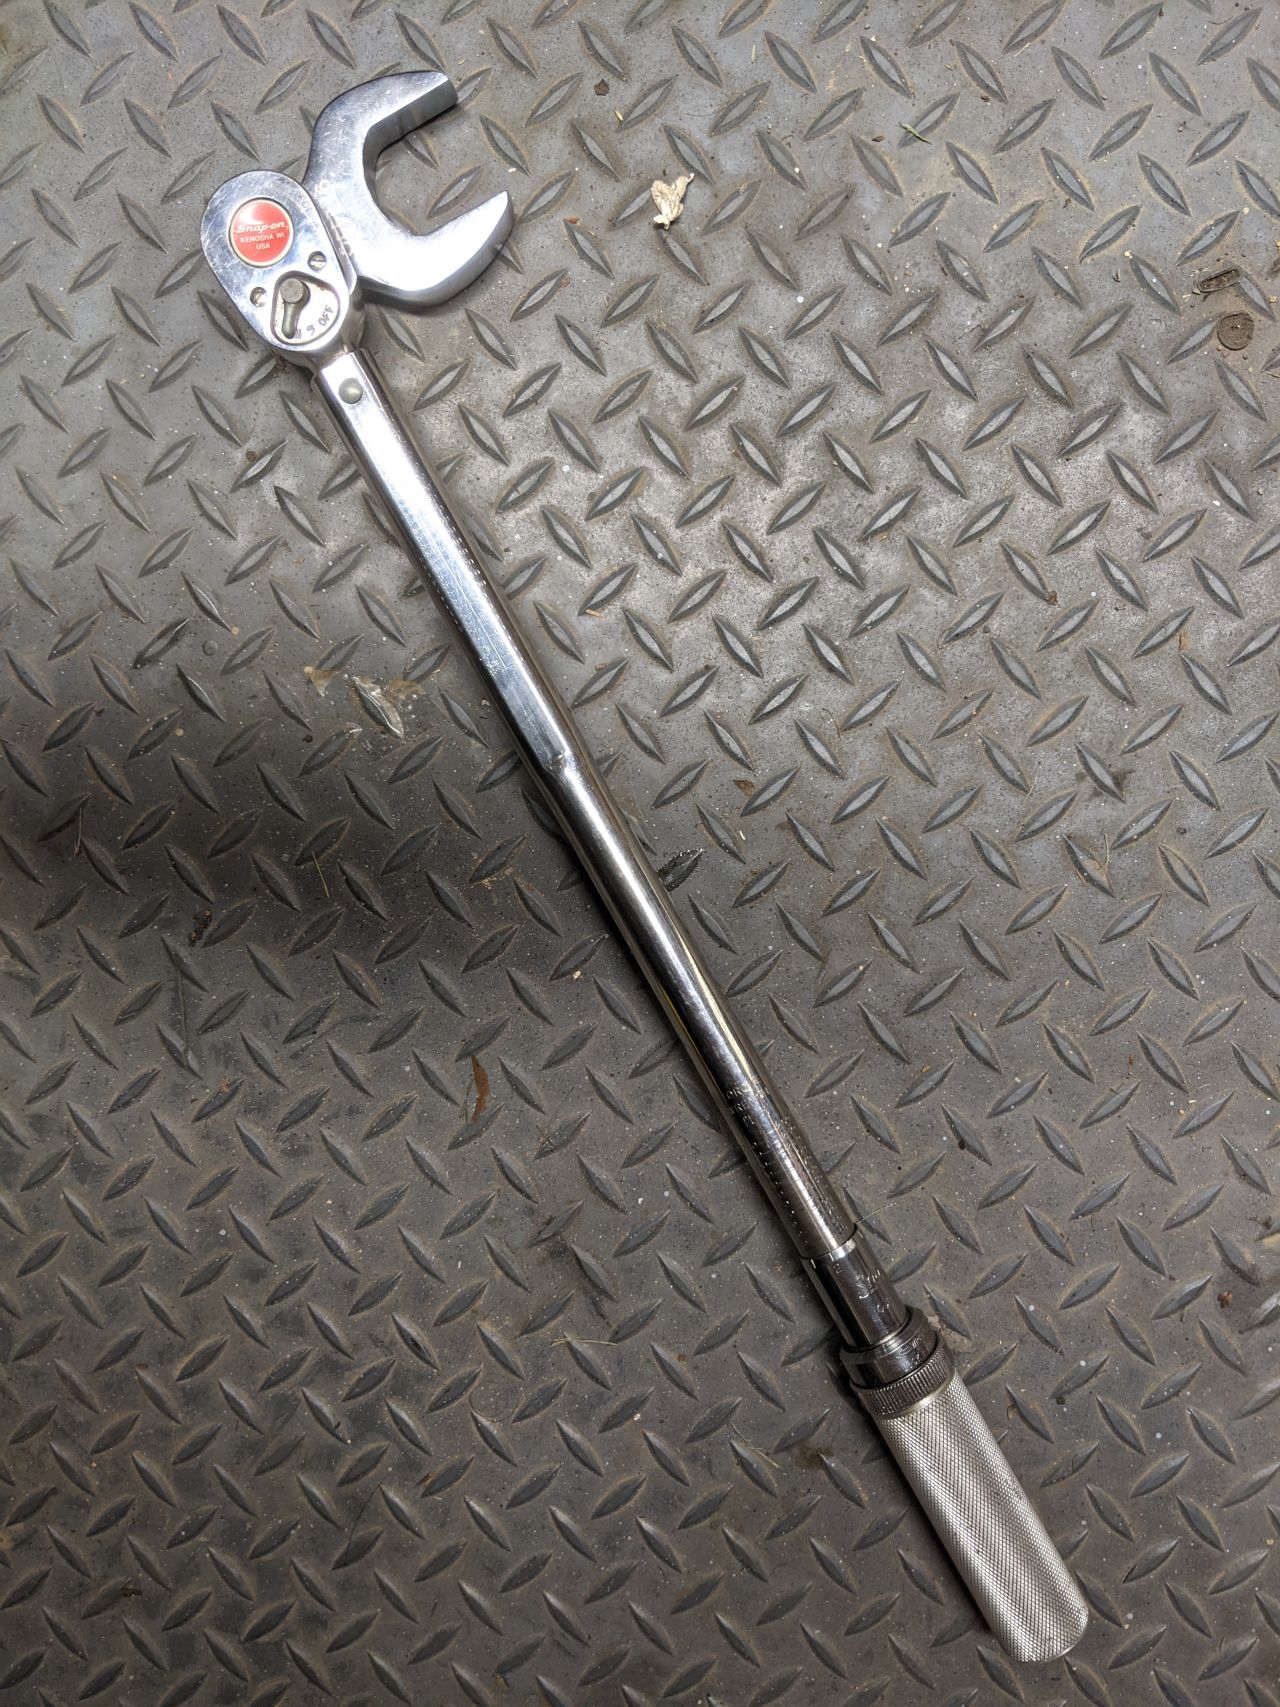
 I purchased a 1 1/2 inch crowsfoot wrench and attached it to my 1/2-inch torque wrench so that it was at right angles. This did not change the length of the torque wrench appreciably so the torque value I dialed in should be somewhat accurate. Maybe a little underestimating the torque if you consider the length from the center of the nut to the handle is slightly longer than the center of the wrench head to the handle. Lets see Pythagorean Theorem, a2+b2=c2, a 2 + b 2 = c 2 , can be used to find the length of any side of a right triangle.
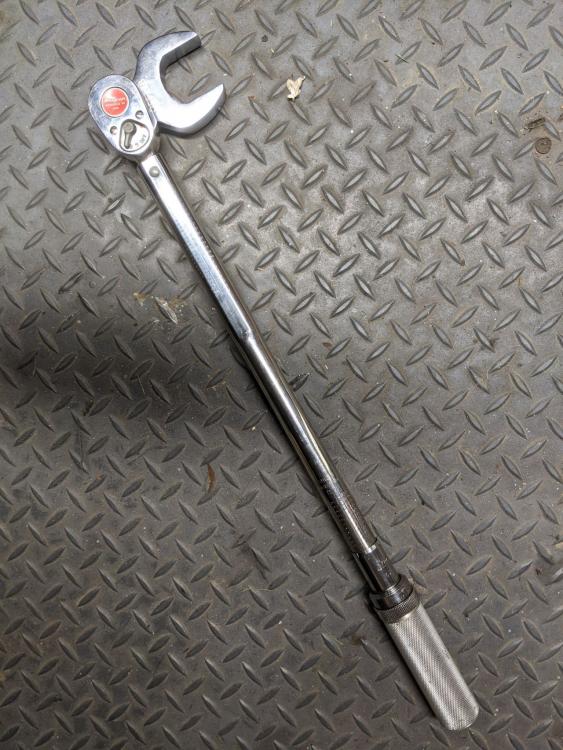
-
I don't have an engine hoist so this could be interesting. I can picture myself getting one nut on and dropping the second one several times. I'm going to be switching out my transmission as well so I hope that getting that out of the way will give me more room to slide it back.
-
I'm going to be replacing my oil pan gasket and in reading up on it, I found a set of instructions that said: Knock pan loose with rubber mallet. Then loosen the two 12mm bolts on the oil pickup. So, do I drop the oil pan a few mm's and reach in with a 12mm wrench and loosen two bolts? Is that so I have some wiggle room to get the pan off?
-
Thanks, that's a good start.
-
I'm looking for a R&P rebuilding or exchange service. I'm burned out from my transmission rebuild to do it myself. Can anyone offer a suggestion?
-
PXL_20210426_183301294.mp3I took it out for a slightly longer drive and recorded the sound in 2nd gear with acceleration and then deceleration. I've attached the audio file. I also noticed that it is slipping out of 5th when I let up on the gas so I'm assuming that means it's not being pushed fully into 5th gear. If all else fails, I have a 4-speed of unknown condition I could try. PXL_20210426_183301294.mp3
-
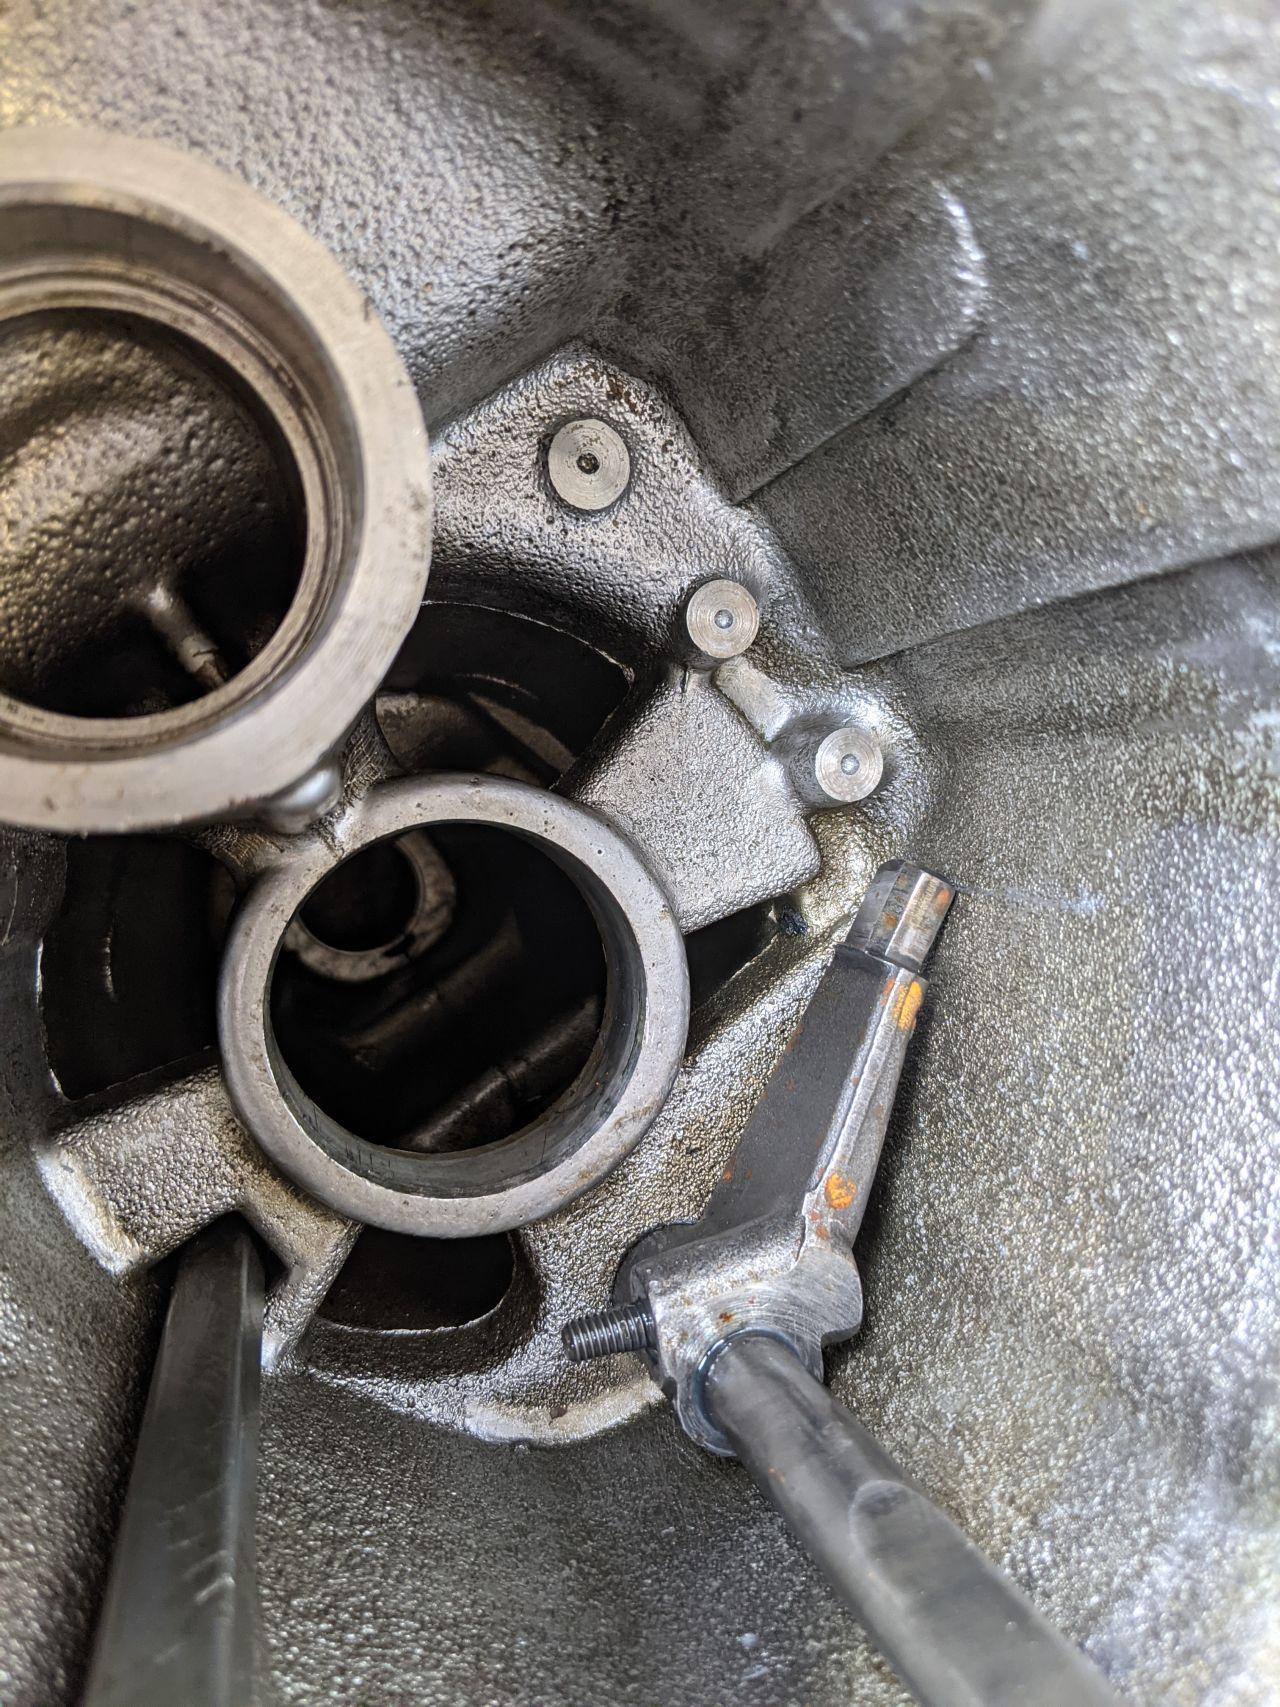
I only drove it a few minutes due to concern about the whine. I'm think that by dropping the transmission, if it landed on a countershaft end, damage the center countershaft bearing is reasonable. Next time I'll have my son tighten the vice while I'm holding the transmission while holding the aluminum vice jaws. I just ordered a replacement center bearing. I'll attempt to replace it without disturbing the main shaft. I'll drive it a few more times to see if I can get a little more information. Before starting this project, I purchased a transmission adapter for my jack. This really makes removing and installing the transmission relatively easy. I'm finding the hardest part is getting the four screws holding the drive shaft to the differential the hardest part. I gave up on using a torque wrench and had to borrow a crowfoot wrench to get to the differential side of the coupling. Does anyone have a suggestion?
-
Zed Head I just found this in my search: It agrees with your thoughts on the root cause of the noise. I have to admit that I dropped the transmission onto a rubber mat when I was trying to fit it into my vice. If it landed on the countershaft, that could of damaged the bearing.
-
Good point on the countershaft. I didn't know 4th was a direct drive. If it's an issue with one of the three countershaft bearings, is there a way to test them? They were all replaced so they should be fine but I installed and removed parts so often to fix errors, maybe I damaged one. Other than that should I check to see if gears are not properly matching? One issue I had with the countershaft was that I was unable to remove the countershaft drive gear. This required that I remove both the main and countershaft at the same time. After its removal, I tried a gear puller and an ultrasonic cleaner, but it wouldn't budge. I wonder if I moved the drive gear outward a little on the countershaft. There is a potential that I mixed up a couple of gears between the 3 transmissions I had open although I tried to keep them separate. The tooth count on the shafts are as follows from front to back: Main shaft 22, 28, 28, 33, [adapter plate], 36, and 19 Countershaft 29, 27, 19, 14, [adapter plate], 23, and 31
-
I installed the transmission and give it a try. I'm getting a bit of whine; however when I let the clutch out, even in neutral. For some reason, no whine in 4th gear but it reappears in 5th. I checked the fluid level and it is up to the fill hole. Gears 1-4 are out of a 4-speed transmission. transmission.mp4 I might of put the wrong throw-out bearing (I had 2 different ones sitting out) in since the noise is only present when the clutch is out. Any suggestions? The attached video has the whine.
-
I use https://smallpdf.com/unlock-pdf
-
EuroDat, I think you spotted the problem. I took a few measurements and couldn't see how the countershaft would NOT fit so I was wondering about the input shaft. Nissan must of put the kerf in the input shaft where they did just to see what fool they could fool. Thanks all for your help. Jeff
-
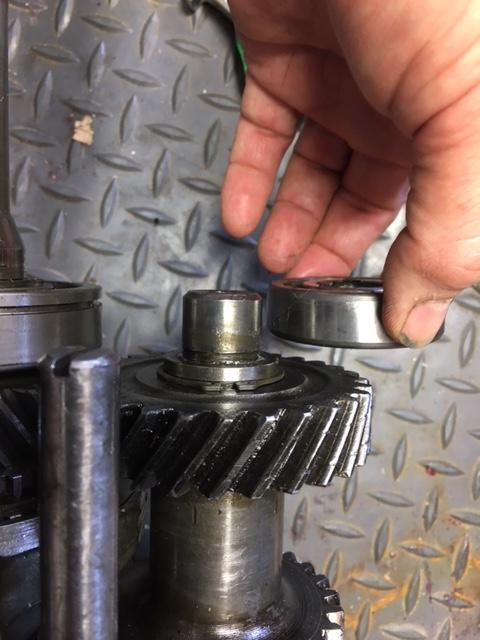
I'm not feeling a gap under the cover. I'm using a paper gasket without sealer. After disassembly again, and bumping the counter shaft in with a dead blow hammer, I got the following measurements of the protrusion of the bearings beyond the casting surface: Before hammering the difference between the protrusion of the main and countershaft bearings was 0.04 inches After hammering the difference between the protrusion of the main and countershaft bearings was 0.13 inches This extra 0.09 inches seemed to have helped although I'm feeling some resistance when I turn the input shaft by hand. I'm assuming I must use a countershaft shim. Is that correct? Should I use a fresh gasket maybe of thicker material to compensate for compression?
-
I cannot move it any further in on the counter shaft. That gap you pointed out is a step on the shaft. Maybe I need to force the entire counter shaft in a few tenths of an inch?
-
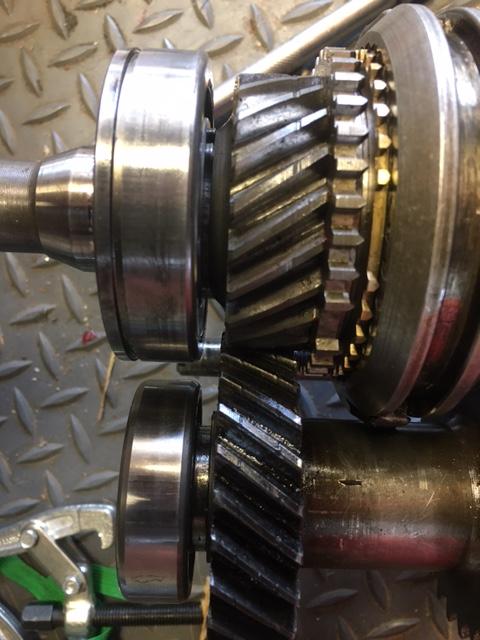
I've got up the nerve to install the transmission, that and my wife wants her half of the garage back so I had to move the transmission out of the way. I was just about to start the install when I tried to give the input shaft a spin and it wouldn't budge. I checked and I was in neutral so I started back tracking and pulled the front cover off and it moved freely again. I checked to make sure the spacer was in the counter shaft well and I reseated the main shaft seal so it was properly seated and tried again. As soon as I started to torque the bolts to about 13 ft/lb, the input shaft seized up again. I tried another front cover and had the same results. I noticed that both bearings seems to protrude above the transmission case, 0.21 and 0.17 inch for the main and counter shaft bearings, respectively. Should the countershaft bearing be recessed and a shim added to bring it flush? The input shaft bearing cannot move back any further that it is now because it needs to have a retaining ring installed. I removed the bellhousing and checked the bearing and it seems to be up against the countershaft drive gear. There is a C clip between the countershaft bearing and drive gear, but it is up against the drive gear so it should not be holding the countershaft bearing from where it should be. Anyone have any ideas? Jeff

-
I inserted an endoscope into the hole I drilled and realized that the striker was just short of engaging. I switch to another striker and this time it engaged and I was able to go through the gears. I could see the ends of the fork rods in the bell housing moving in and out as I shifted through the gears and the input shaft turned freely. Unfortunately, I need to disassemble the case since I didn't apply RTV to the adaptor plate yet but If it work once, it should work again. I've attached a photo from the endoscope showing the non-engaged striker. I knew that endoscope would come in handy some day. Sorry for the poor resolution.

-
Just so I understand, I need to put the transmission in gear (example 1st gear) by pushing the fork rod, then drop the adapter plate into the front case/bell housing while making sure the fork rods haven't moved, then put the transmission tail on with the shifter set to 1st gear?
-
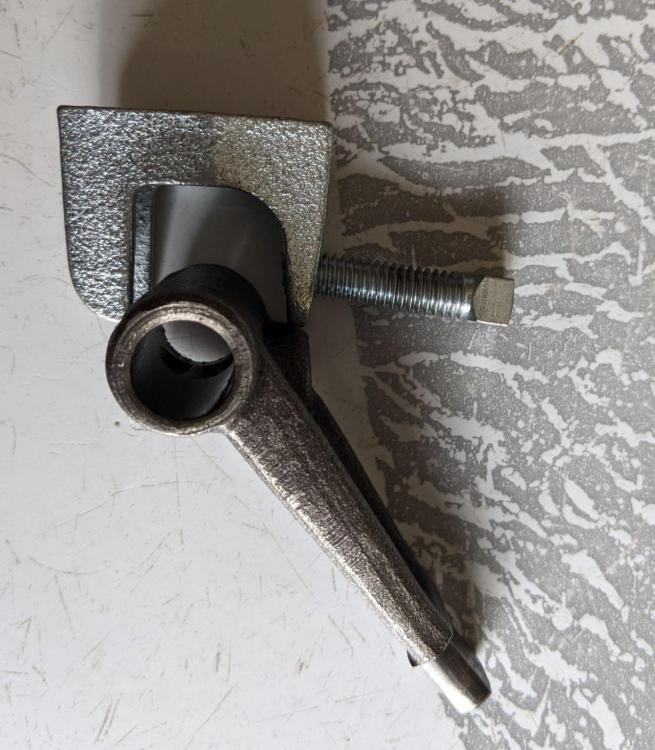
It's me again. I solved the issue with the wedge pin stuck in the striker, I took zKars' suggestion and drilled a hole in the side of the transmission so I could tap it out. I then taped the hole for 1/2-inch 13 threads and bought a short bolt. I figure with thread sealer and an O-ring, I should be able to seal it well enough. Dropping the transmission into the case has been a problem. I think I have it all together properly (see photos on google drive). I installed the shifter, bell housing, and tried dropping the tail in place. I tried different shifter positions, twisting the tail a little to the left when installing and when it all falls into place, the shifter seems to be stuck. I'm assuming the striker is not going where it's supposed to go. The transmission case and shifter are out of a wide ratio while the shift forks and and rods are out of a close ratio. Most of the hardware in front of the adaptor plate are from a 4-speed. Should I try the tail end from the close ratio? https://drive.google.com/drive/folders/1x7dBQ_c1fBdDtWOt89JVneSfF5rc69jQ?usp=sharing
-
zKars... I drilled a hole in one of my donner transmissions and was able to get the pin out of that one with a few hammer blows against a drift pin. I did that to get a better look at what I'm up against. I picked up an electrical conduit hanger at Lowes and I'm trying to come up with a tool to push out the pin by reshaping the hanger. Not much luck yet. As I said earlier, it's a very tight space.
-
I was thinking the same thing. When I regain access to the maker space I'm going to see if I can make one. I like a challenge, owning a vintage Z, that should be obvious.
-
Yarb... I removed the nut and tried to tap the screw out but it's kind of stuck. I threaded the nut back on a bit and tried to use a small hammer to tap it out to no avail. I'm assuming the striker needs to be removed to pull out the shifting bar. Jeff

-
If that's the rod connecting the shifter lever to the striking lever, I didn't think it was necessary so no. I think I would have to remove the striking lever to do that and with the close quarters, I wasn't sure how easy that would be. I'm going to test fit the case today and see if it shifts through the gears before I RTV the adaptor plate to the front and back transmission case. Is there anything else I should do before I reinstall to test the transmission? I've never rebuilt a transmission before so I'm a little concerned. Jeff
-
Is there anything I should do to check the function of the transmission before I mount it and fill it up with fluid? I got the replacement bearing (see previous post) and should be able to get it installed tomorrow.
-
Well, it's difficult to say what year my transmission is at this point. The 5th gear part is off a '82 worn out trany, most of the rest of the innards are out of a '78(?) 4 speed, and the shafts (except the input) are out of my 70 something transmission that a PO installed in the early 80's. Not sure how it's going to work once I get it together... kind of sounds like that old Johnny Cash song.
-
I could be wrong (keep in mind that I'm rebuilding my FS5W71B and keep having to undo what I put together) but I think you are missing a spacer (part 32624). Just wondering, I think I read that you bought a rebuilding kit from Rock Auto. Does the input shaft bearing in your kit have a retaining ring because mine did not and I'm waiting on a new bearing that has the clip.