
duffymahoney
Free Member
-
Joined
-
Last visited
Everything posted by duffymahoney
-
Taka or Mike Malone always have some, but get ready to spend some coin$. The mikuni facebook group is also great.
-
-
Driving a car is dangerous stuff. Probably the most dangerous thing we all do every day. Soon our cars will drive themselves and the death rates will be fractional of what they are now.
-
-
-
-
-
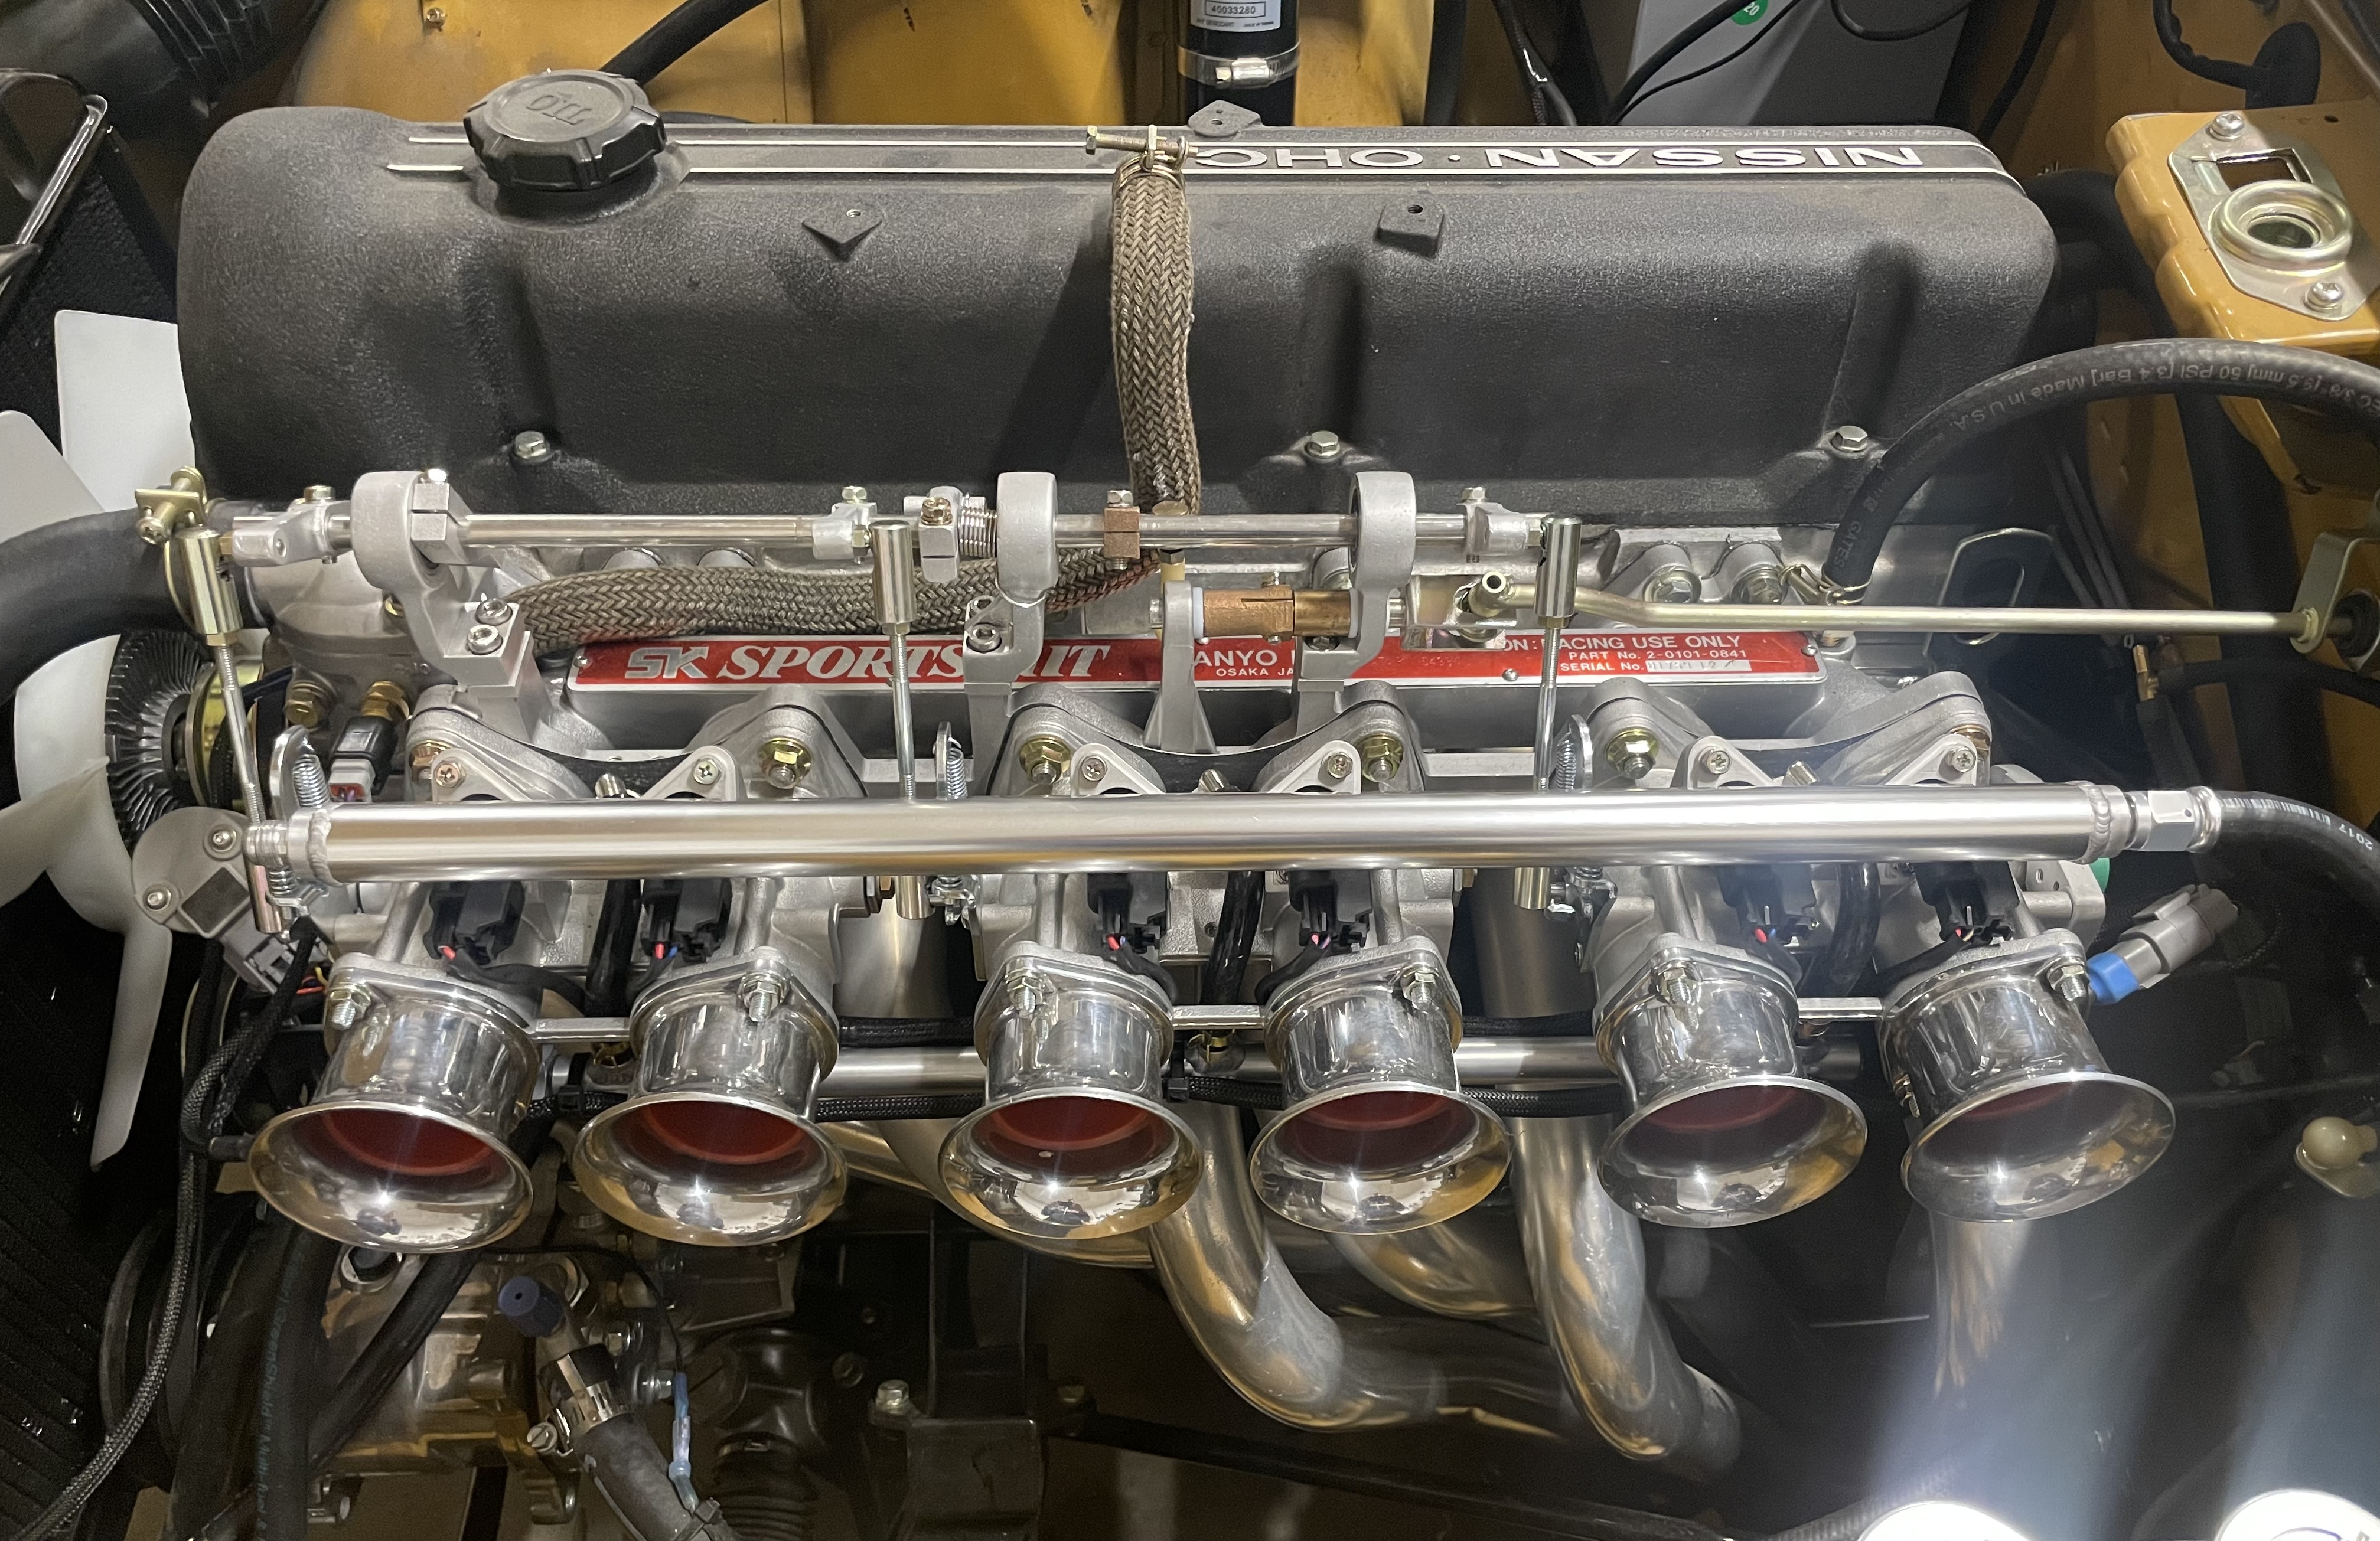
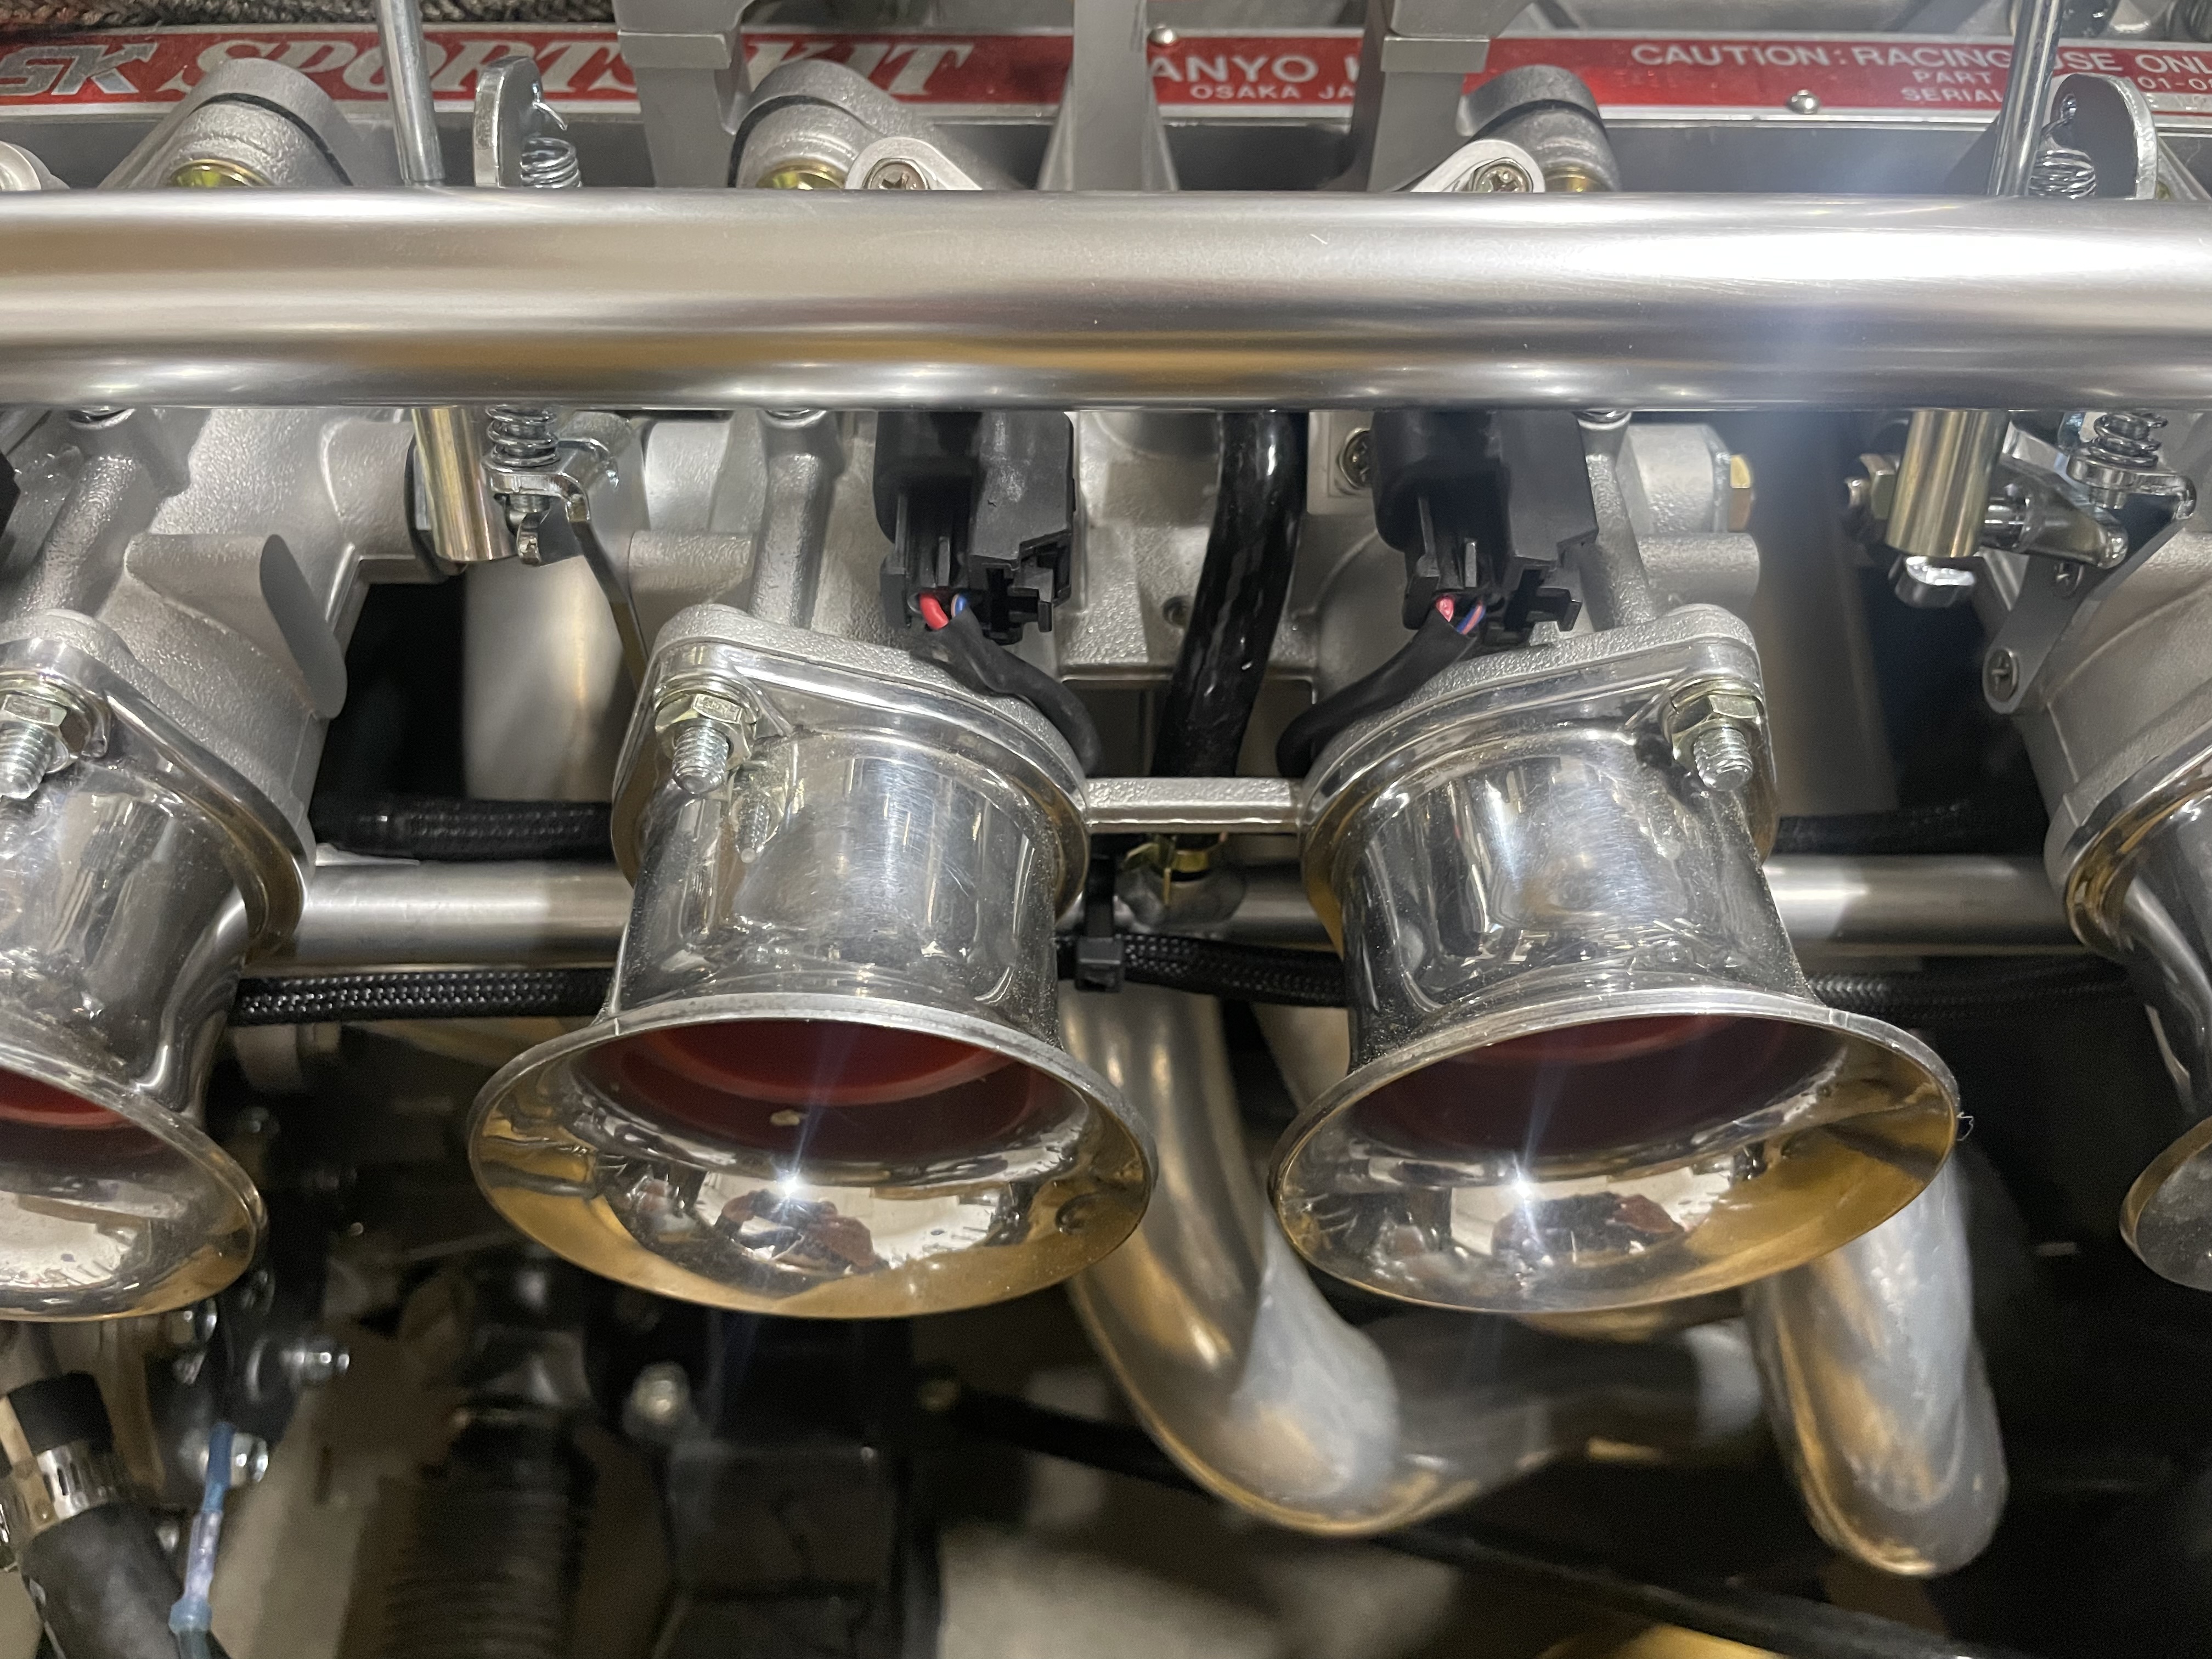
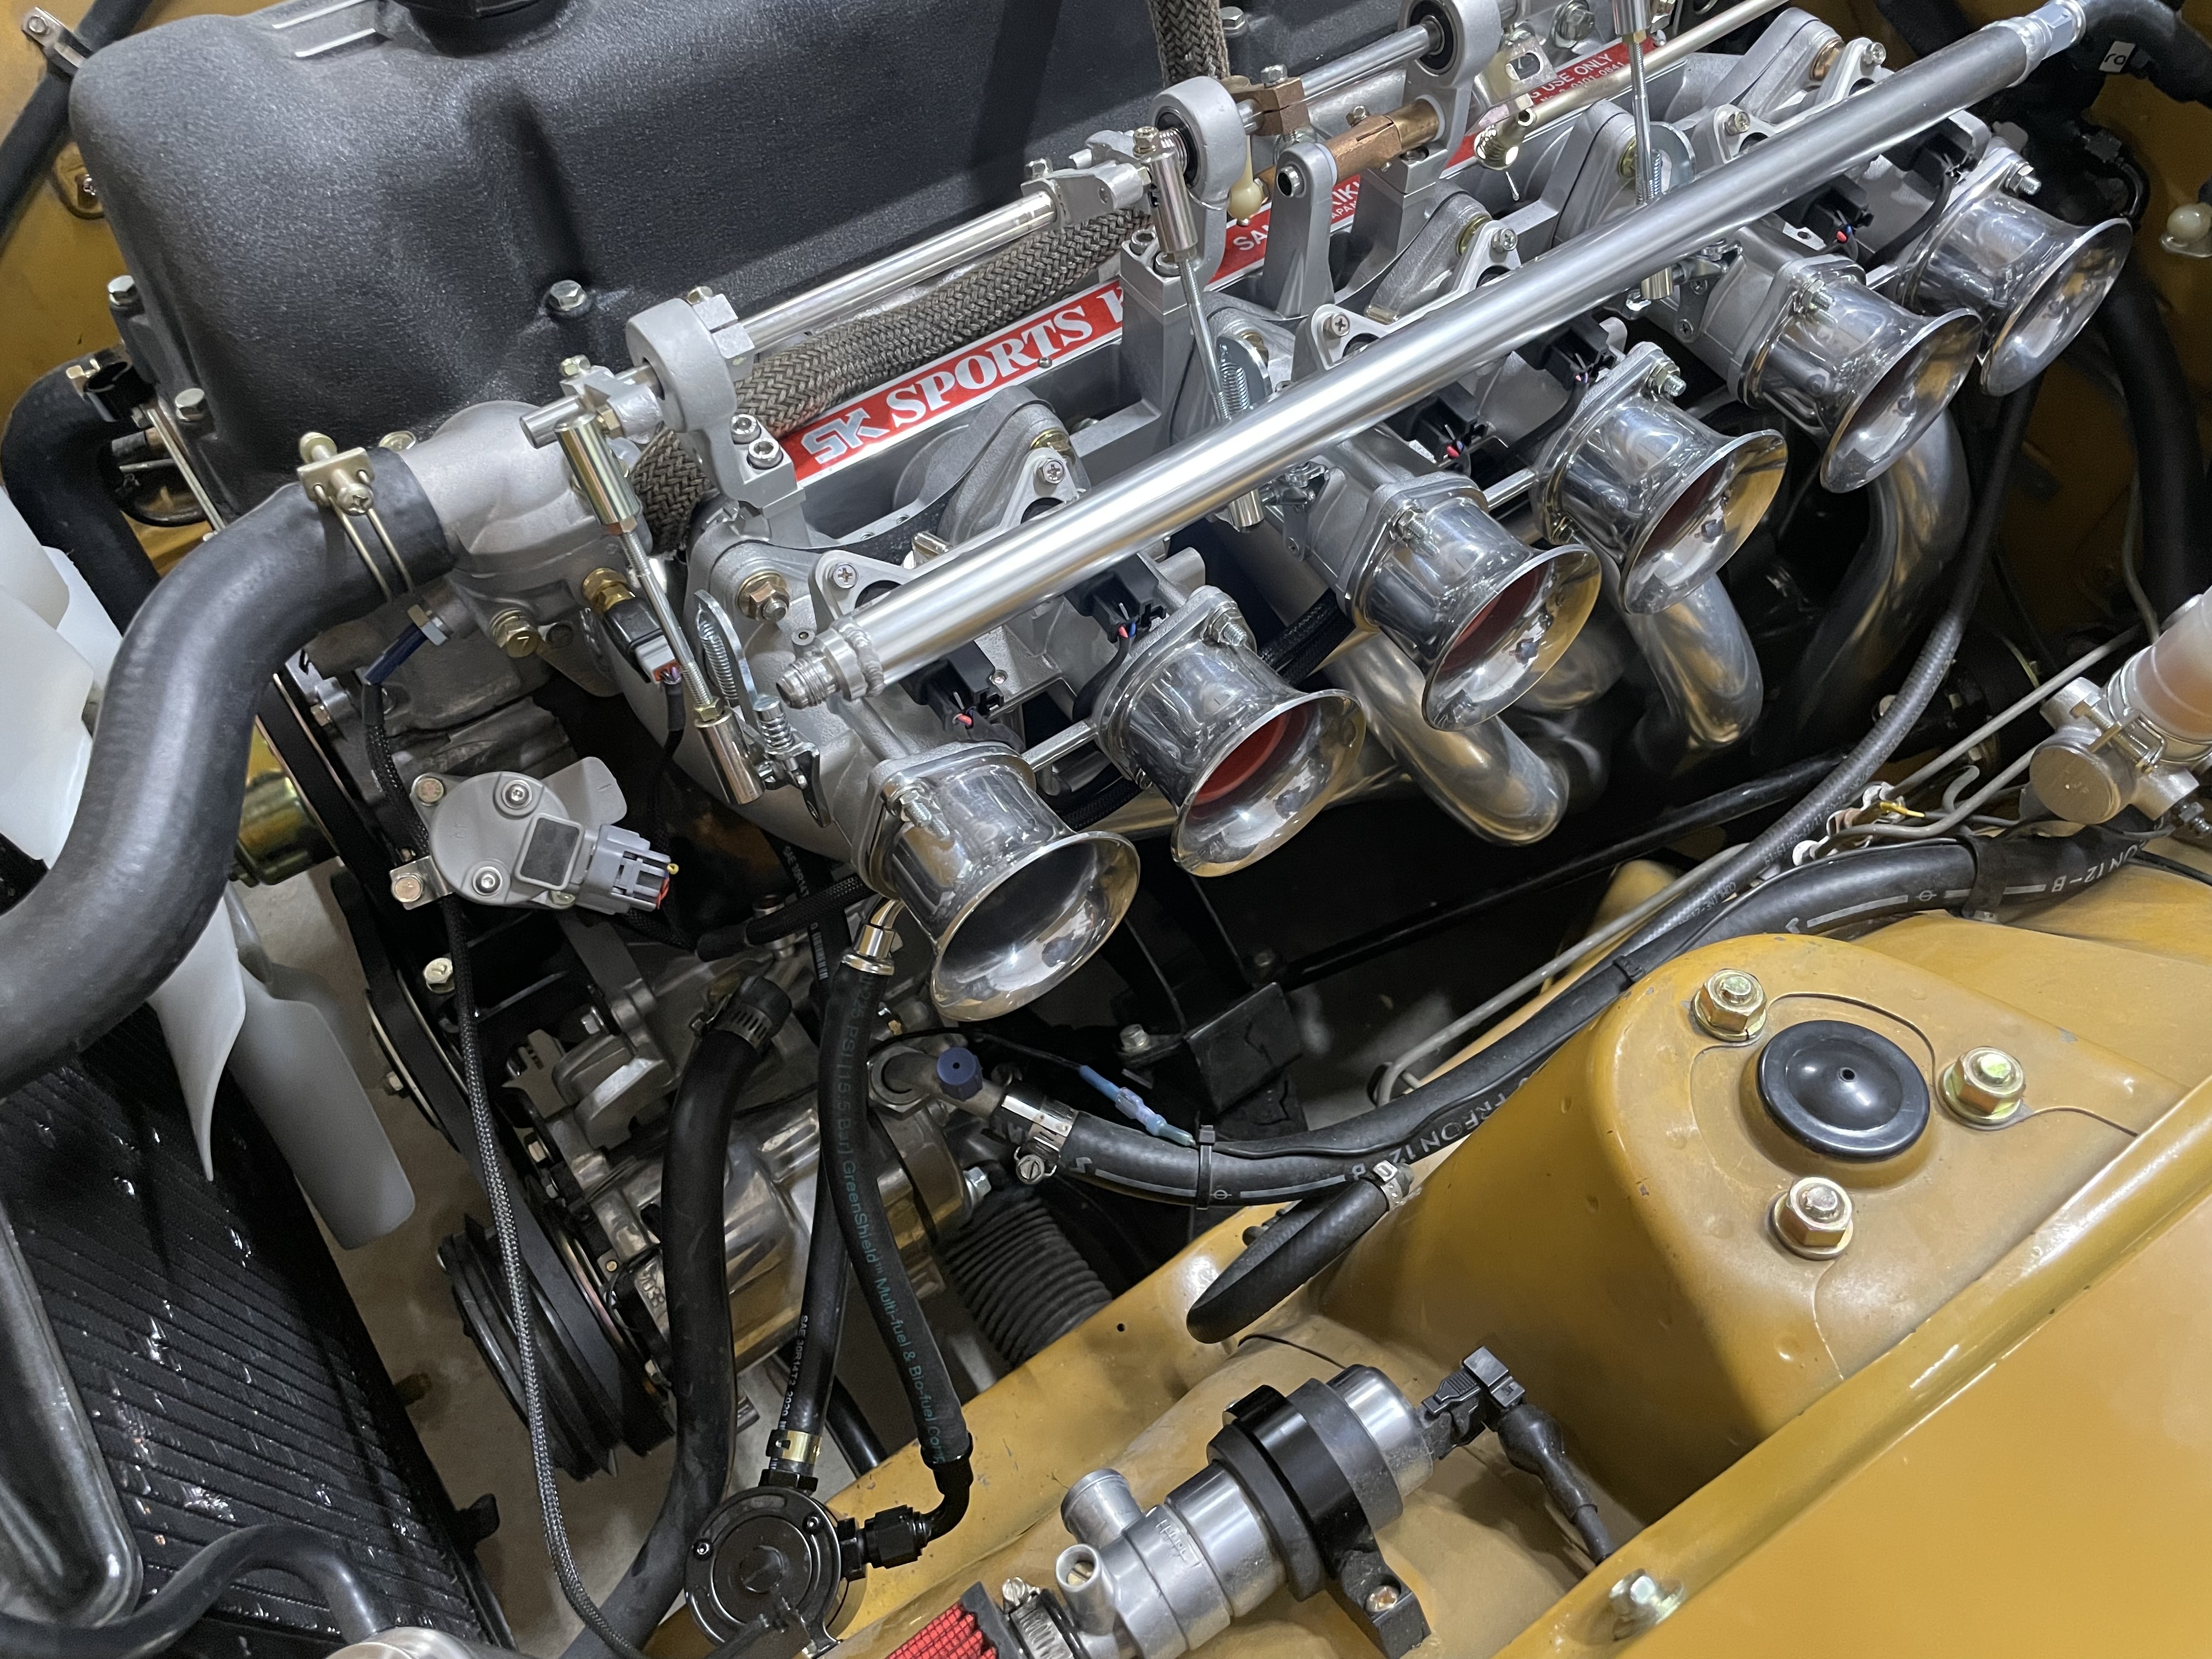
I figured out all my ITB issues. My fancy no contact tps sensor has this goofy huge 0 volt rest area. I had it clocked, but from 0-75% throttle the tps didn’t change at all. Then 75%-100% throttle it would move. Basically 0-1.1 volts at full throttle. So it would bounce .00-.15 volts and the ecu thought that was like 0-10% throttle. So clocked it 70 degrees. Starts around 2volts and goes to 4.3 volts. It’s super happy. Somehow this took forever to figure out. I can be so dumb. Now I can actually start to tune it. FullSizeRender.mov
-
I have 2 friends with DSI motors with the PCV port blocked. Glad he isn't doing that anymore.
-
I think it would just go out the valve cover? I have no clue.
-
Boggling that his answer is just leave the vapors in the block.
-
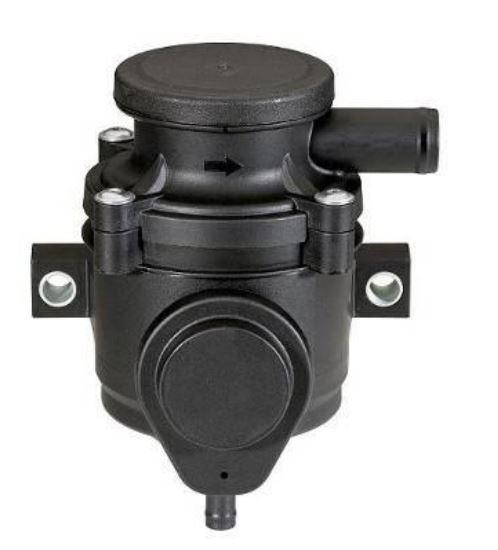
Stock PCV valve, and a grommet set from my local Napa. That's it. I bought all they had, I think like 3 boxes of random ones.
-
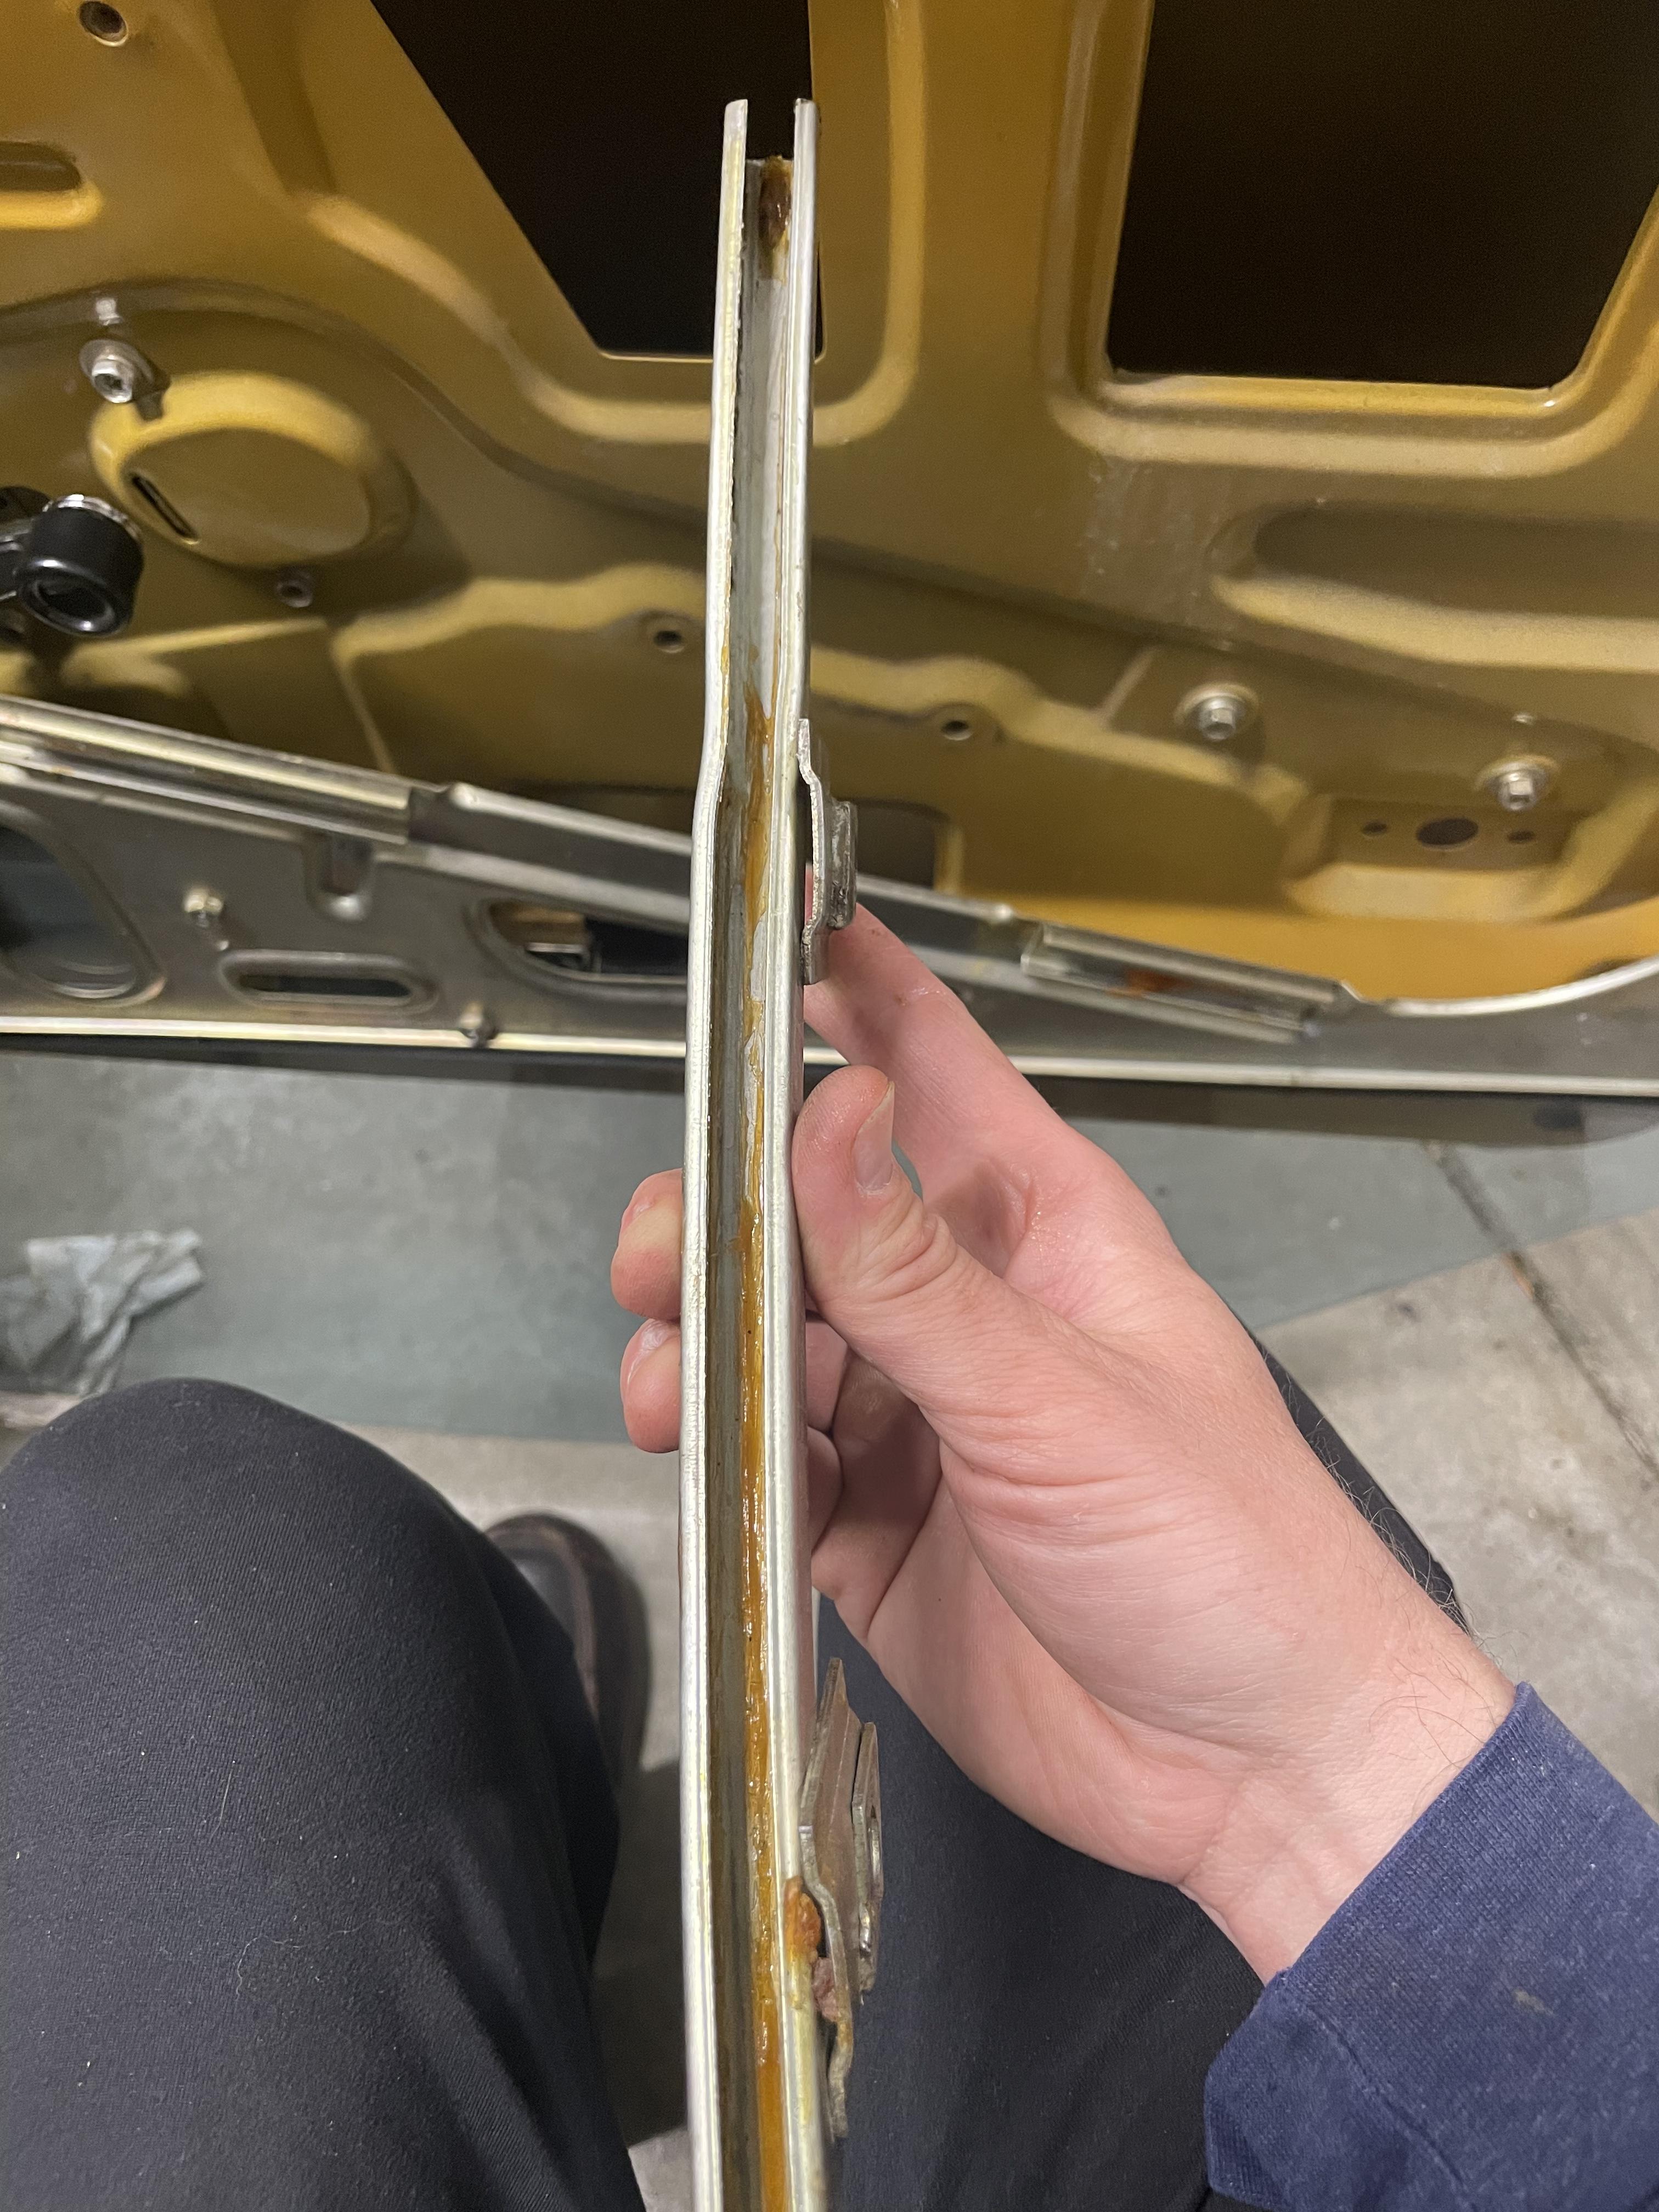
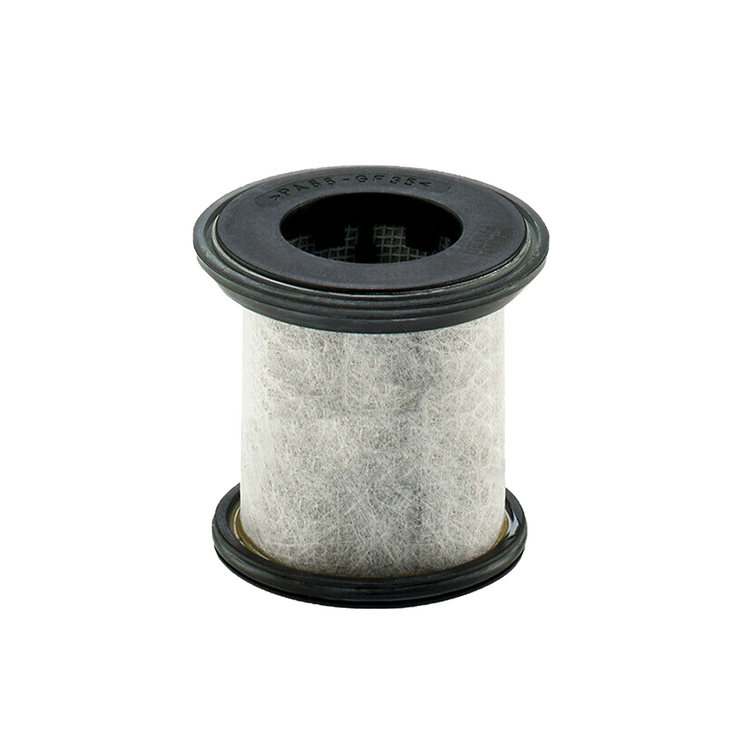
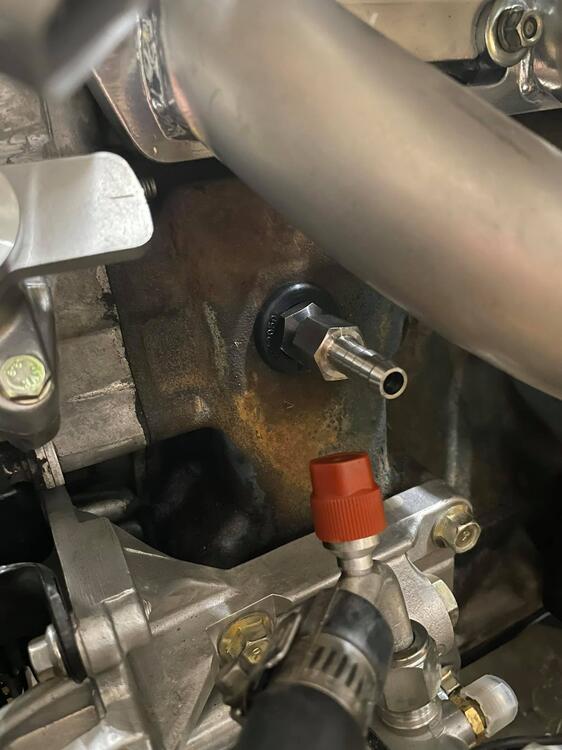
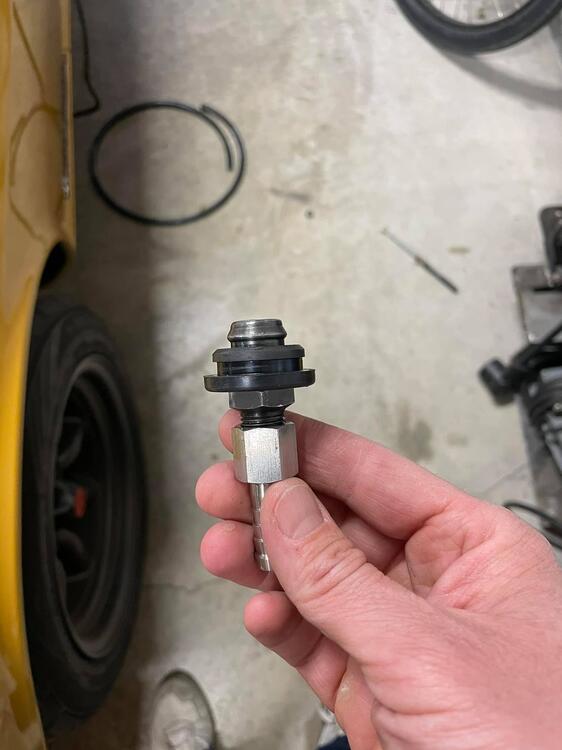
Ok, here is my plan. It's a bit complex. Some pcv grommet from a multi pack, fits the stock check valve and block perfectly. I might end up moving this upstream, I am a little afraid of it getting oil trapped in it. Then BSPT adapter to hose barb. Hose barb to a true air filtering catch can. Catch can will be a billet version of the mann provent 100 or 150. Filter media gets 93% of particles prior to hitting my intake. I plan to change the filter every 1-2 oil changes. It will mount to existing 240z holes on the fender. Then from the filtering catch can, to the intake. This is all just for the lower block PCV. I haven't decided what to do about the valve cover one.
-
-
-
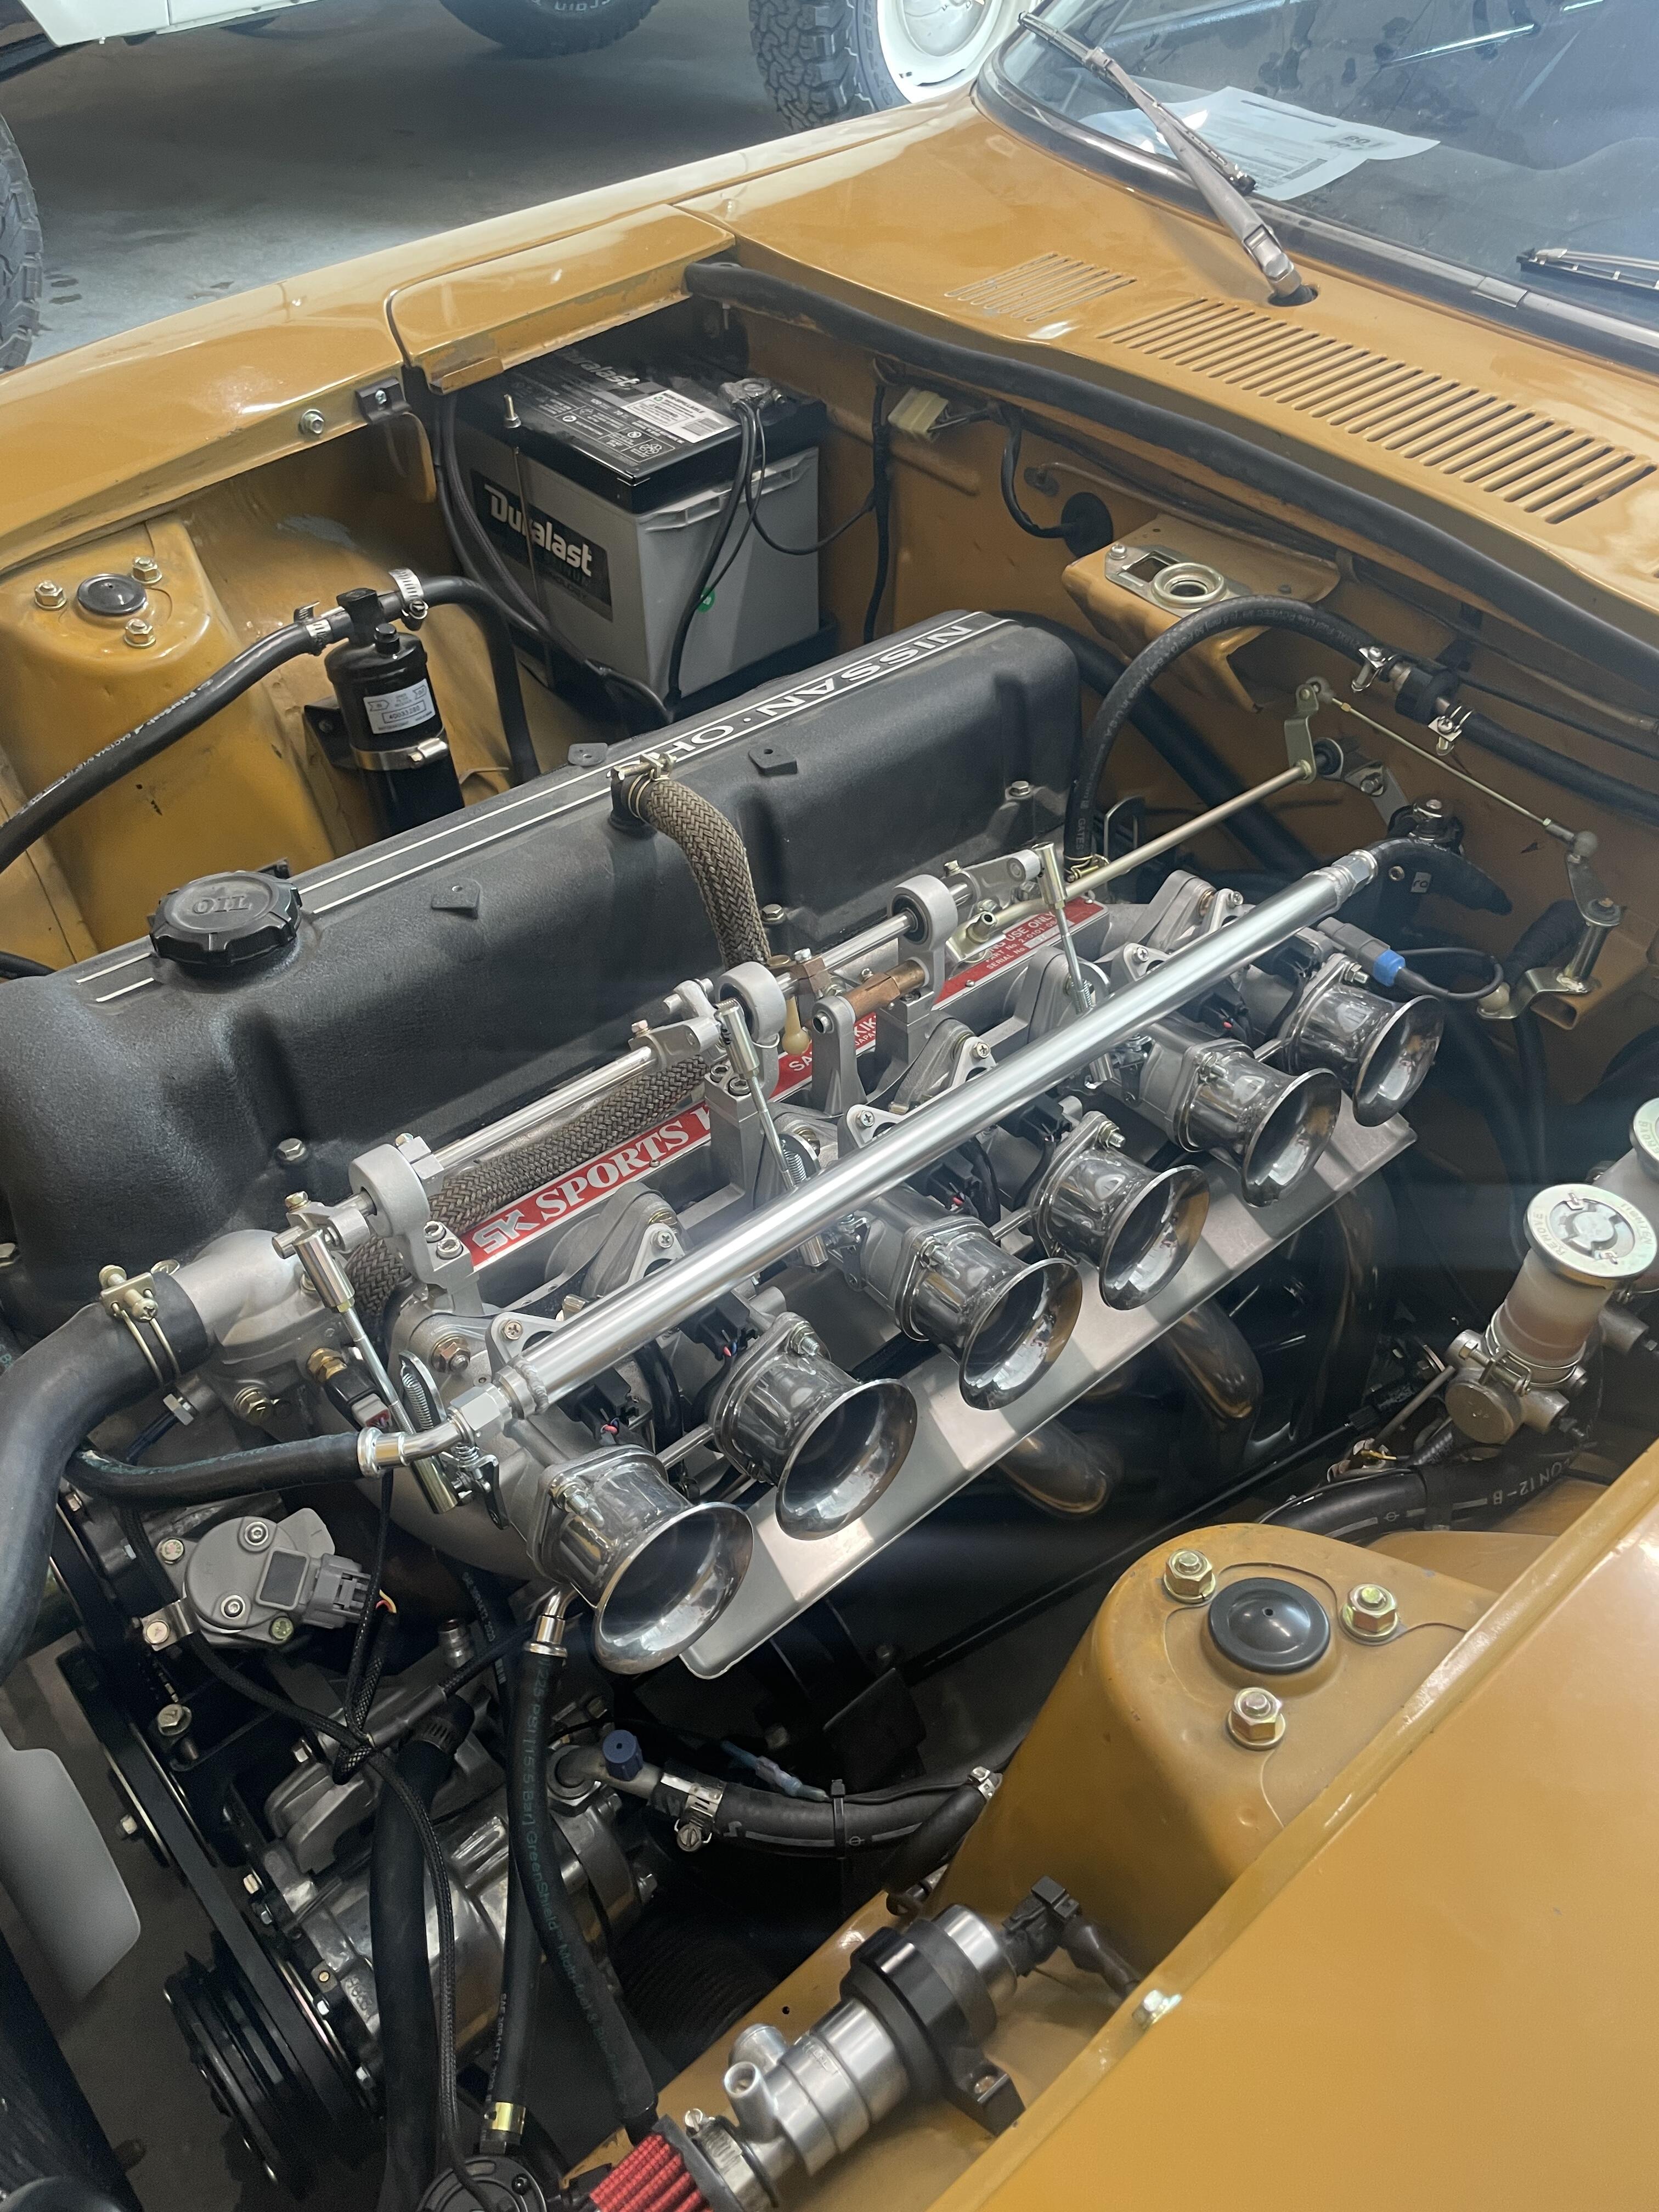
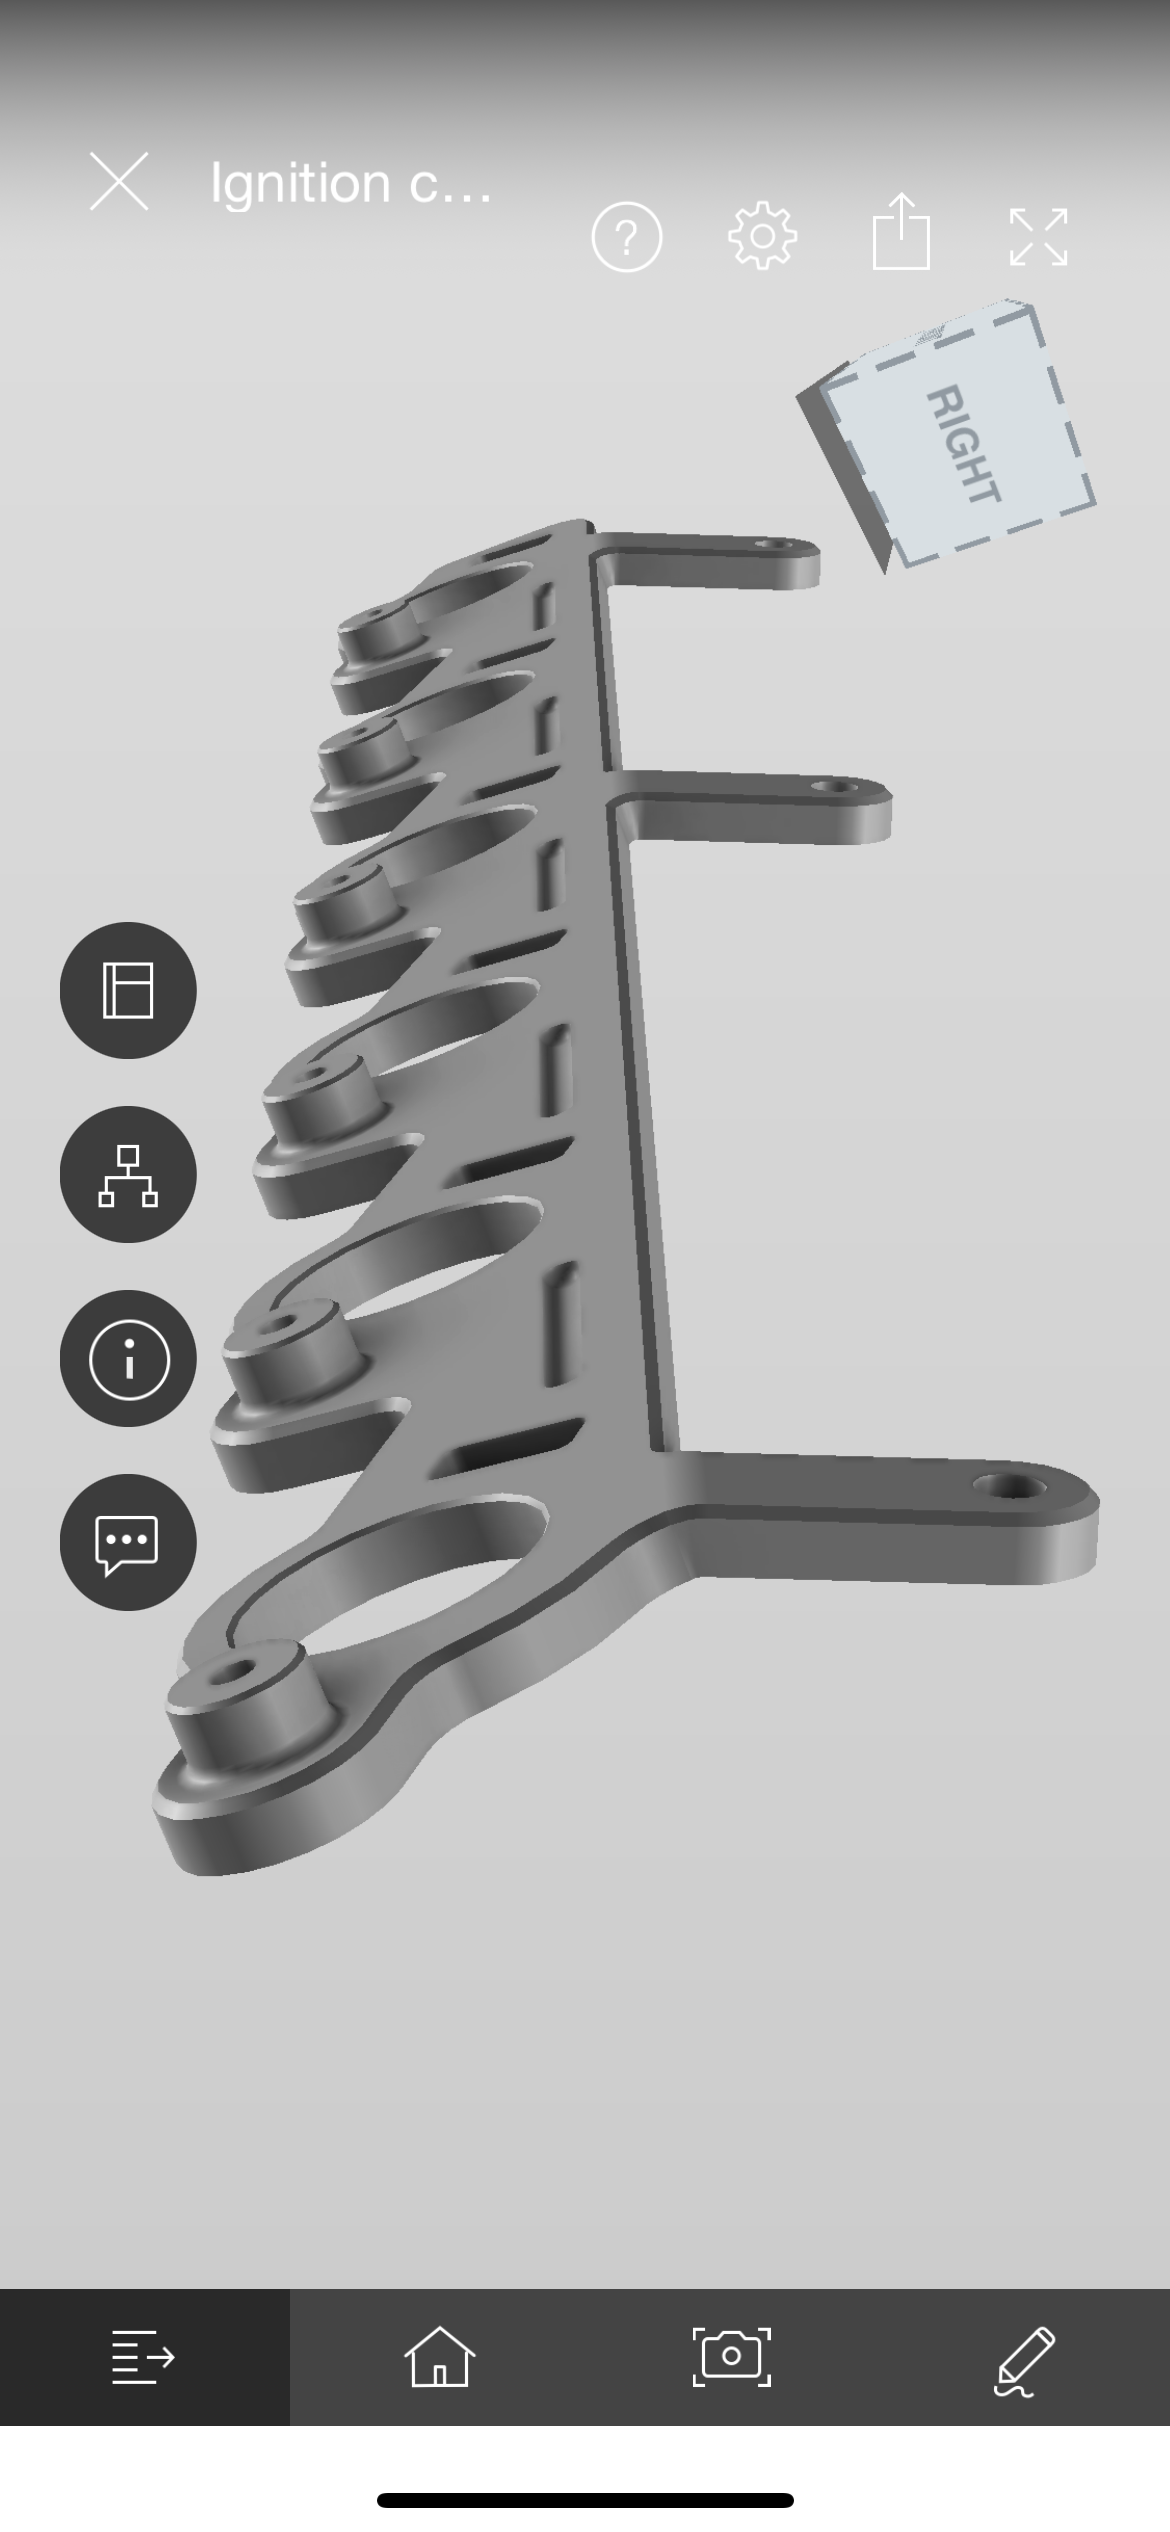
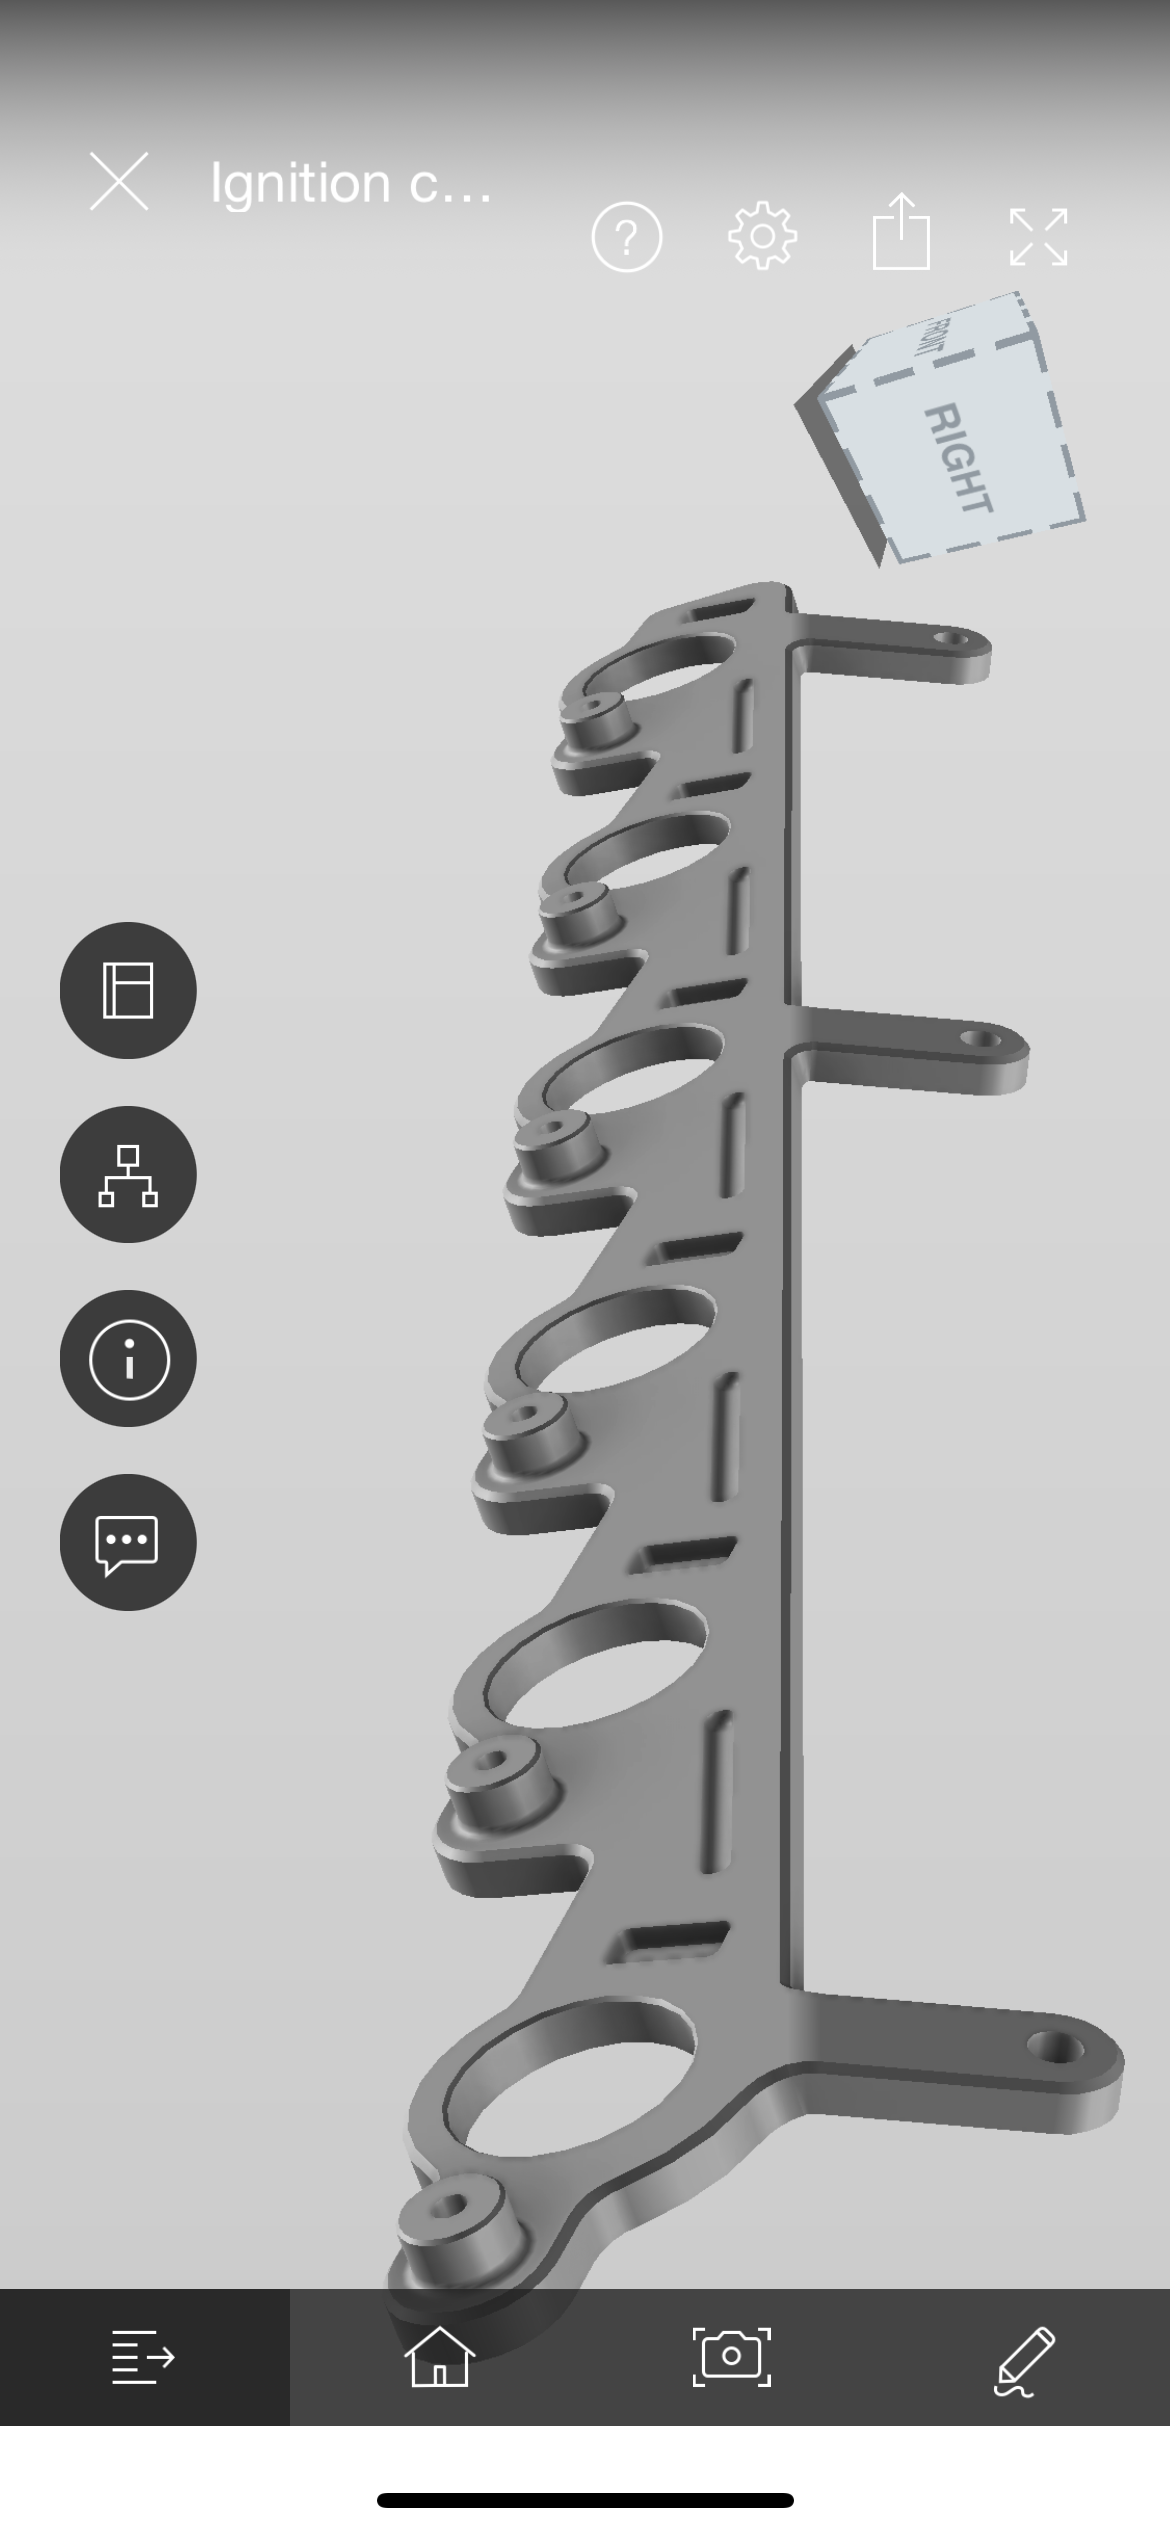
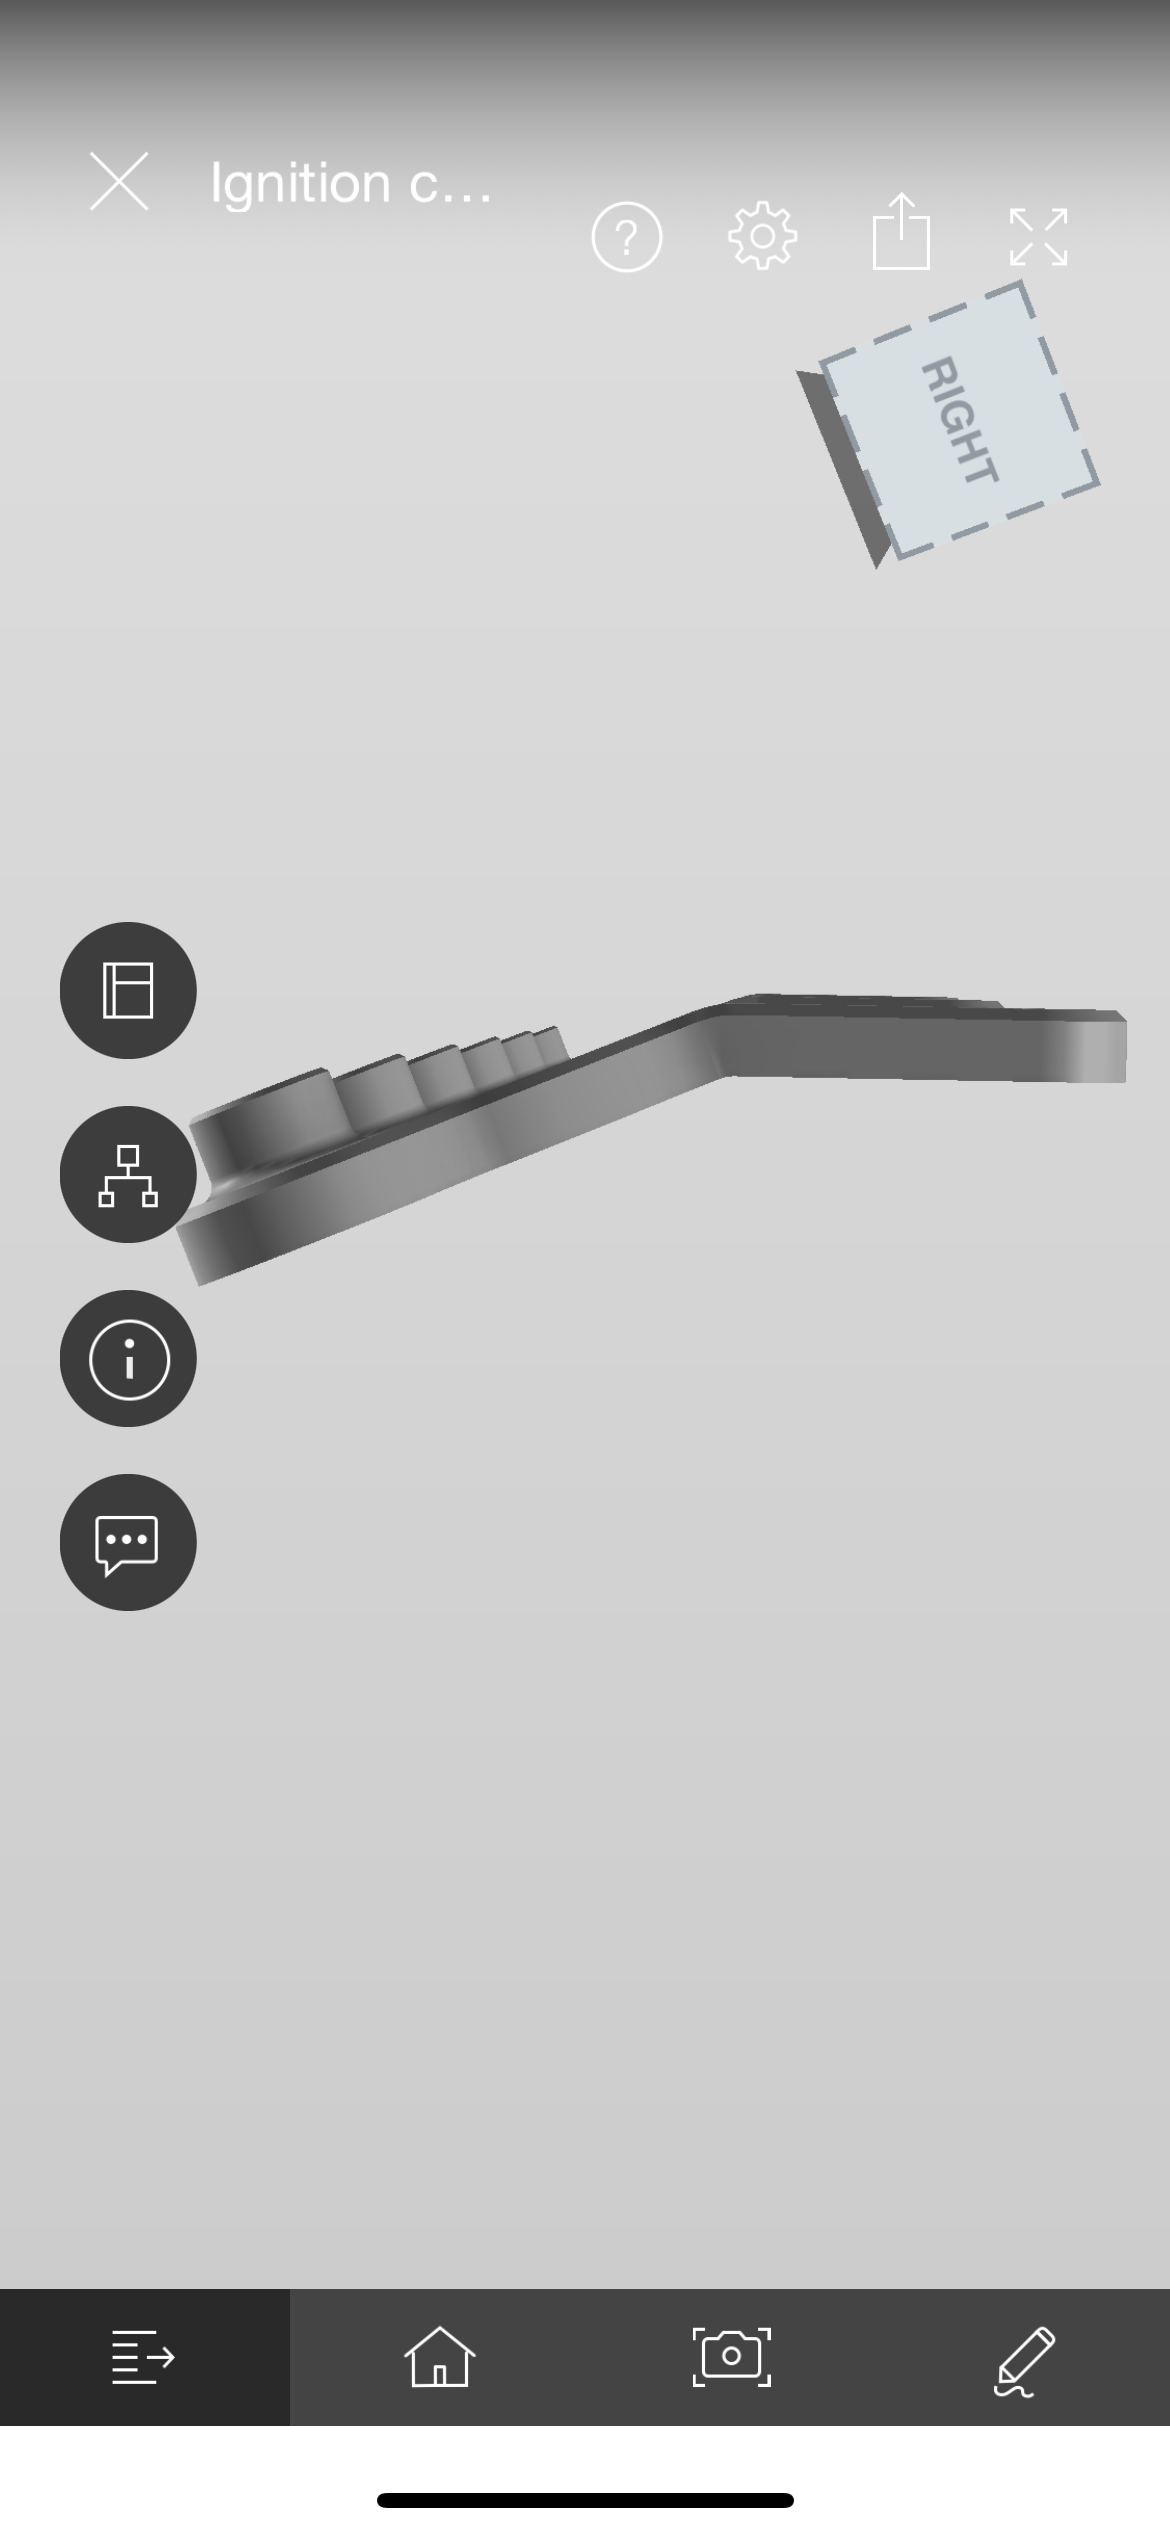
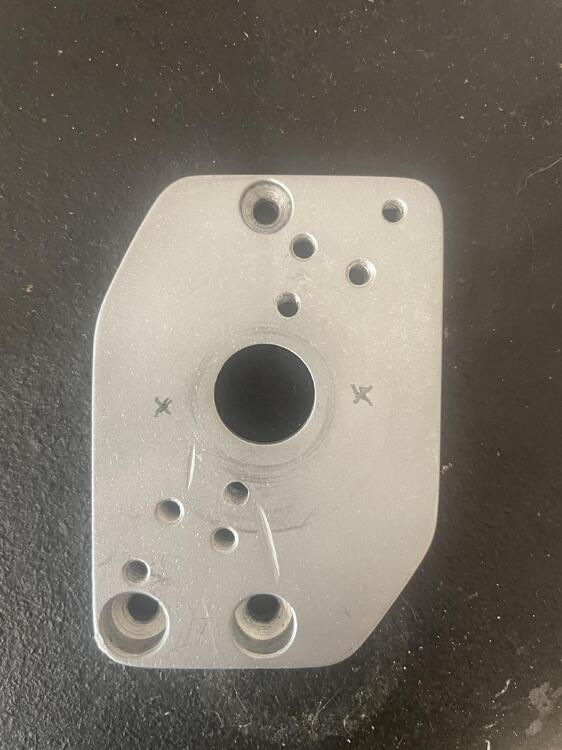
Final touches on this new R35 coil bracket design. Next is laser cutting for final test fitment. Joseph Monti did a great job with this design, the boot angle was all his idea. Previously the coil boots had a huge curve in them, which we both hated, this splits the difference (22.5 degrees). I also disliked the coil head angle I had originally decided on. This new coil head angle keeps the wiring nice and secured.


-
-
-
-
-
-
-
-
-
Dammit, that is a far simpler solution then I came up with.