


Kevin McSweeney
Free Member
-
Joined
-
Last visited
Everything posted by Kevin McSweeney
-
I didn't, but I know now. Thank you!
-
Thank you. That's really all I needed.
-
Thanks, I'll do that.
-
Sorry, yes, I should have clarified. I have a NOS center console, so it is essentially new; no damage. My question only pertains to the installation of the console, not repair. I no longer have any of the original hardware from when my console was removed. Nobody seems to sell the hardware separately and I haven't been able to locate it at a junkyard, etc., so I'm looking for specifications so I could potentially get it at a hardware store.
-
I have searched all over - so apologies if I missed it - but I'm looking for a write up on the installation of the center console, and particularly a description/specification of all of the hardware for it. During my restoration, the hardware has long since disappeared, and I'm having a very difficult time finding any. I'm hoping that most of it can be found at a hardware store, but I just can't find any detailed descriptions, photographs or videos of the removal or reinstallation of the hardware. My car is a 78 280z but I'm assuming they are all pretty similar in terms of the console. Thanks in advance.
-
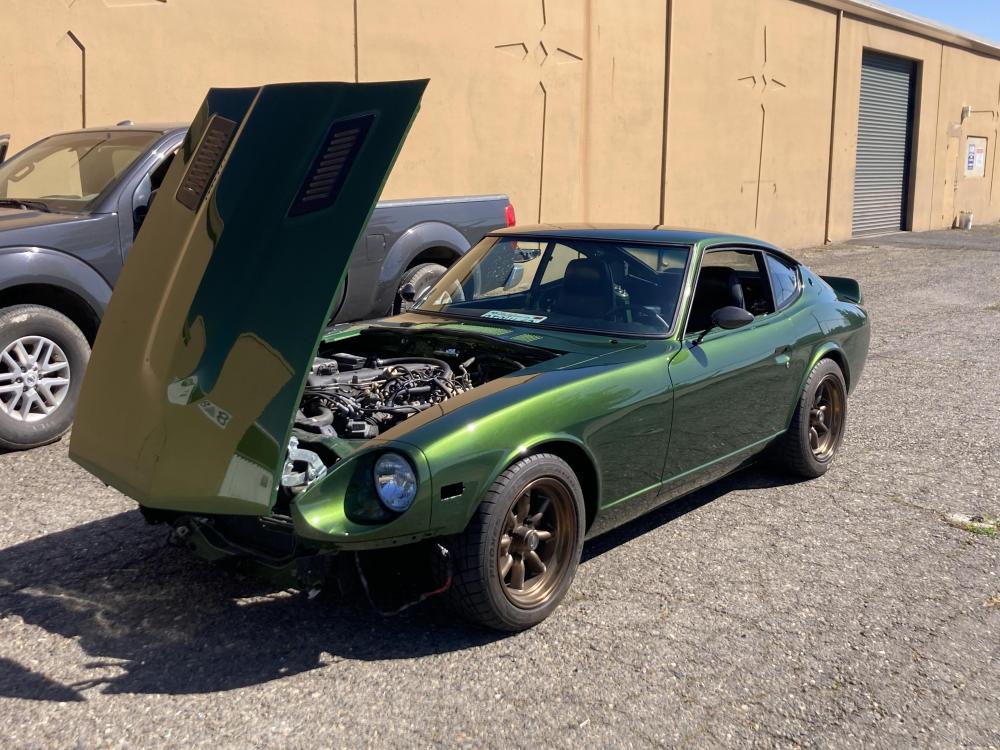
Lights are working, but I’m really starting to think my car doesn’t like me. Had some starting and overheating issues; replaced the starter and an fan clutch and all seemed to be going well. I noticed that a relay is clicking on and off when the ignition is off, draining the battery. Then today when I connected the battery and tried to start the engine I got a drop in voltage, a weird sound from the fuel pump, and no cranking. Last time the car was running I did notice an intermittent drop in voltage and the fuel pump seemed to drop off for a second and then come back on. Fuel pump was replaced early on in the resto but hasn’t run much in the couple of years since. Any thoughts? IMG_4487.MOV
-
Could you elaborate a bit? As I said, I'm a wiring dummy.
-
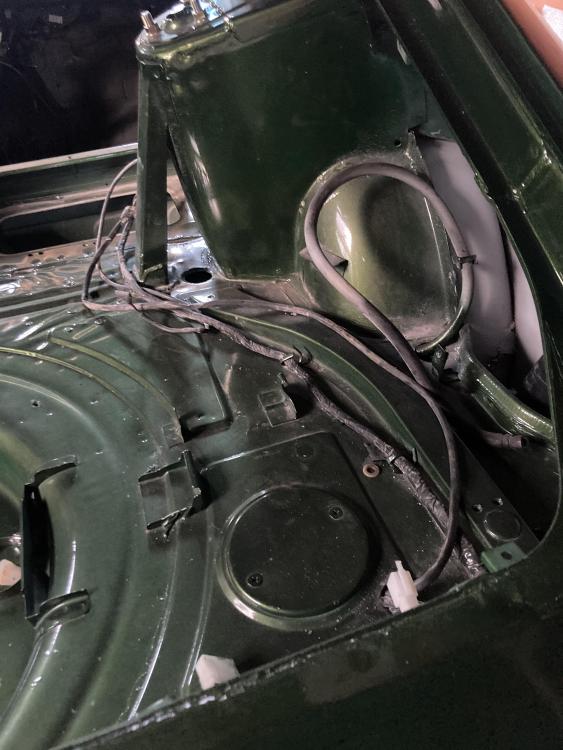
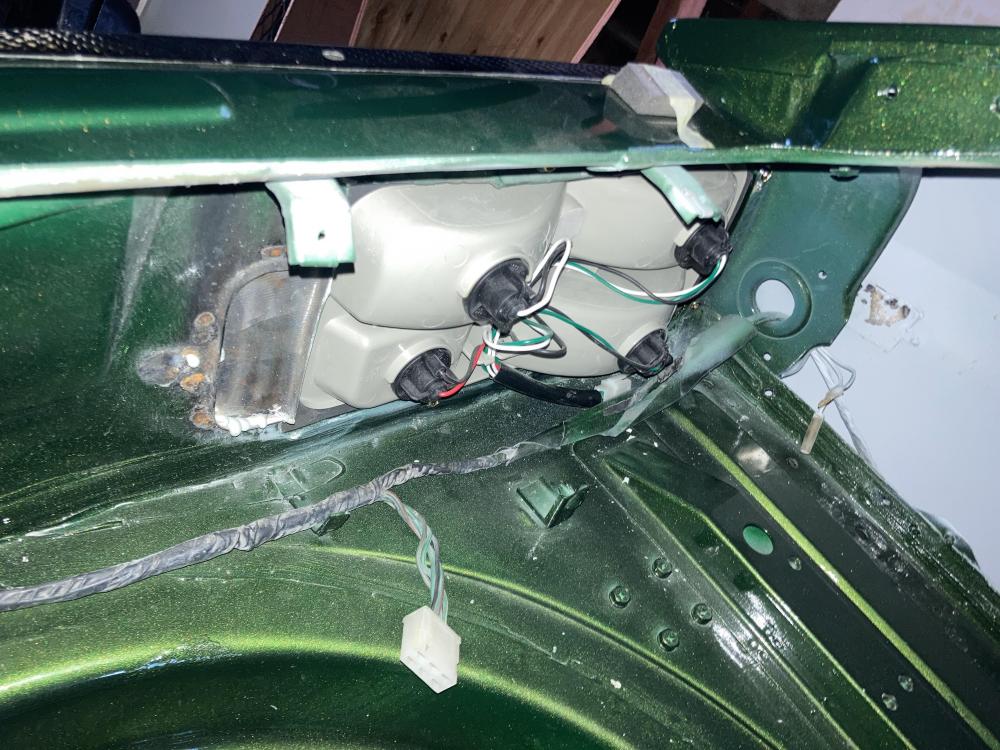
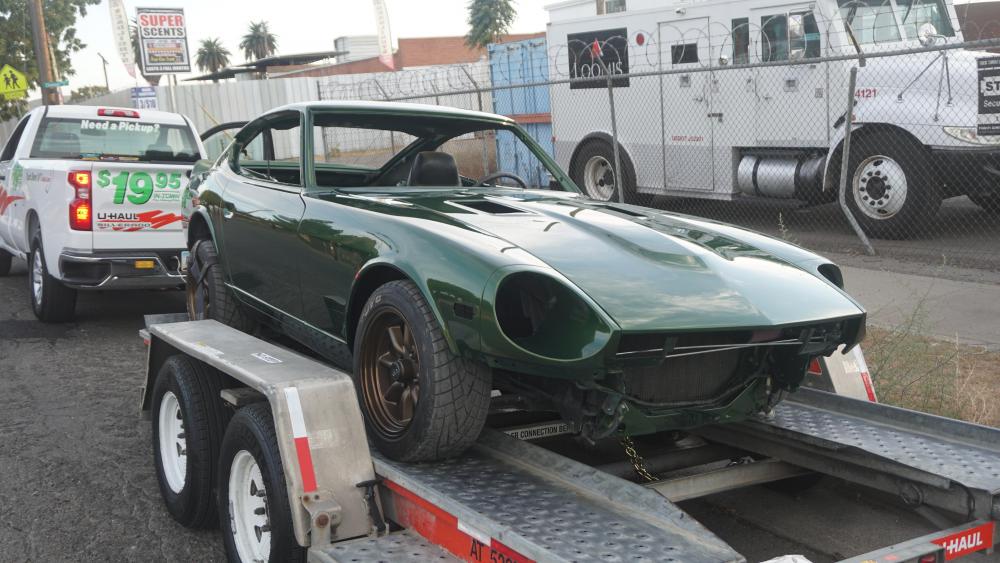
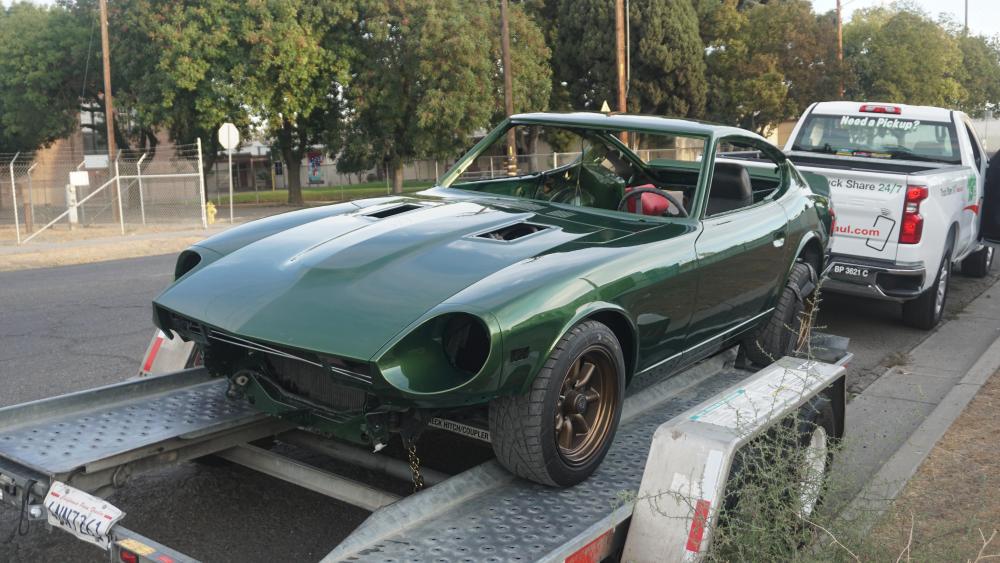
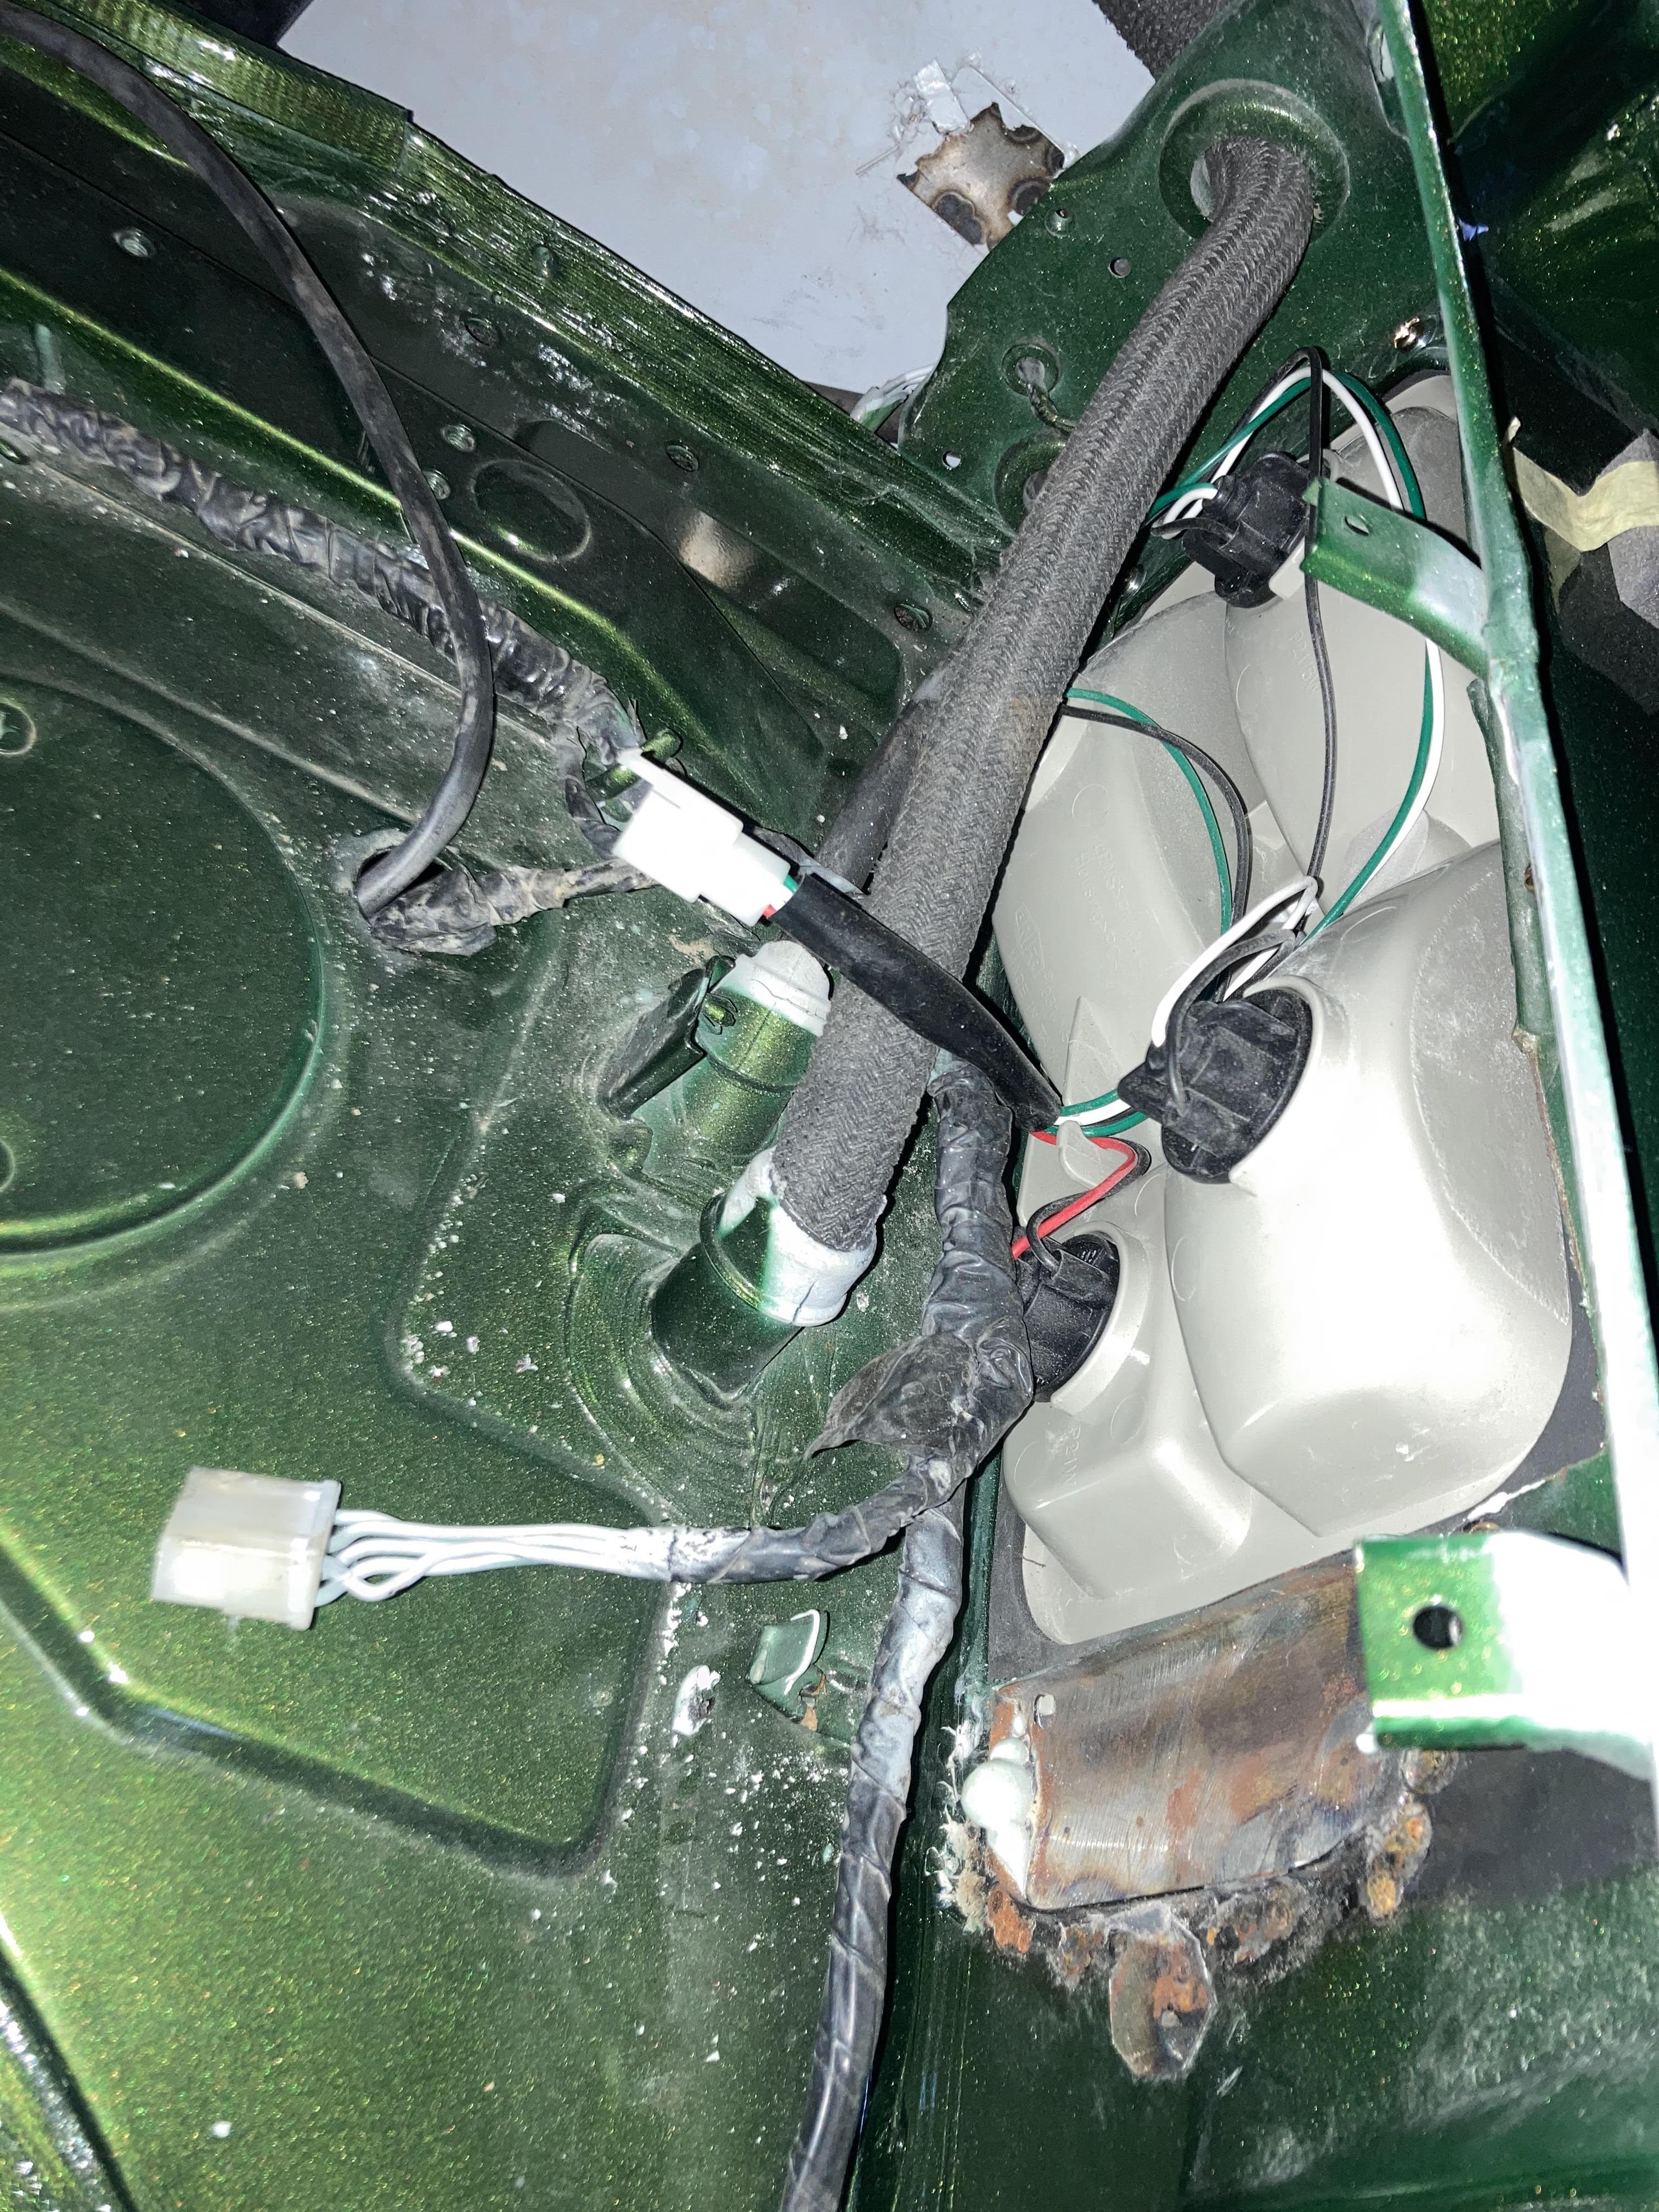
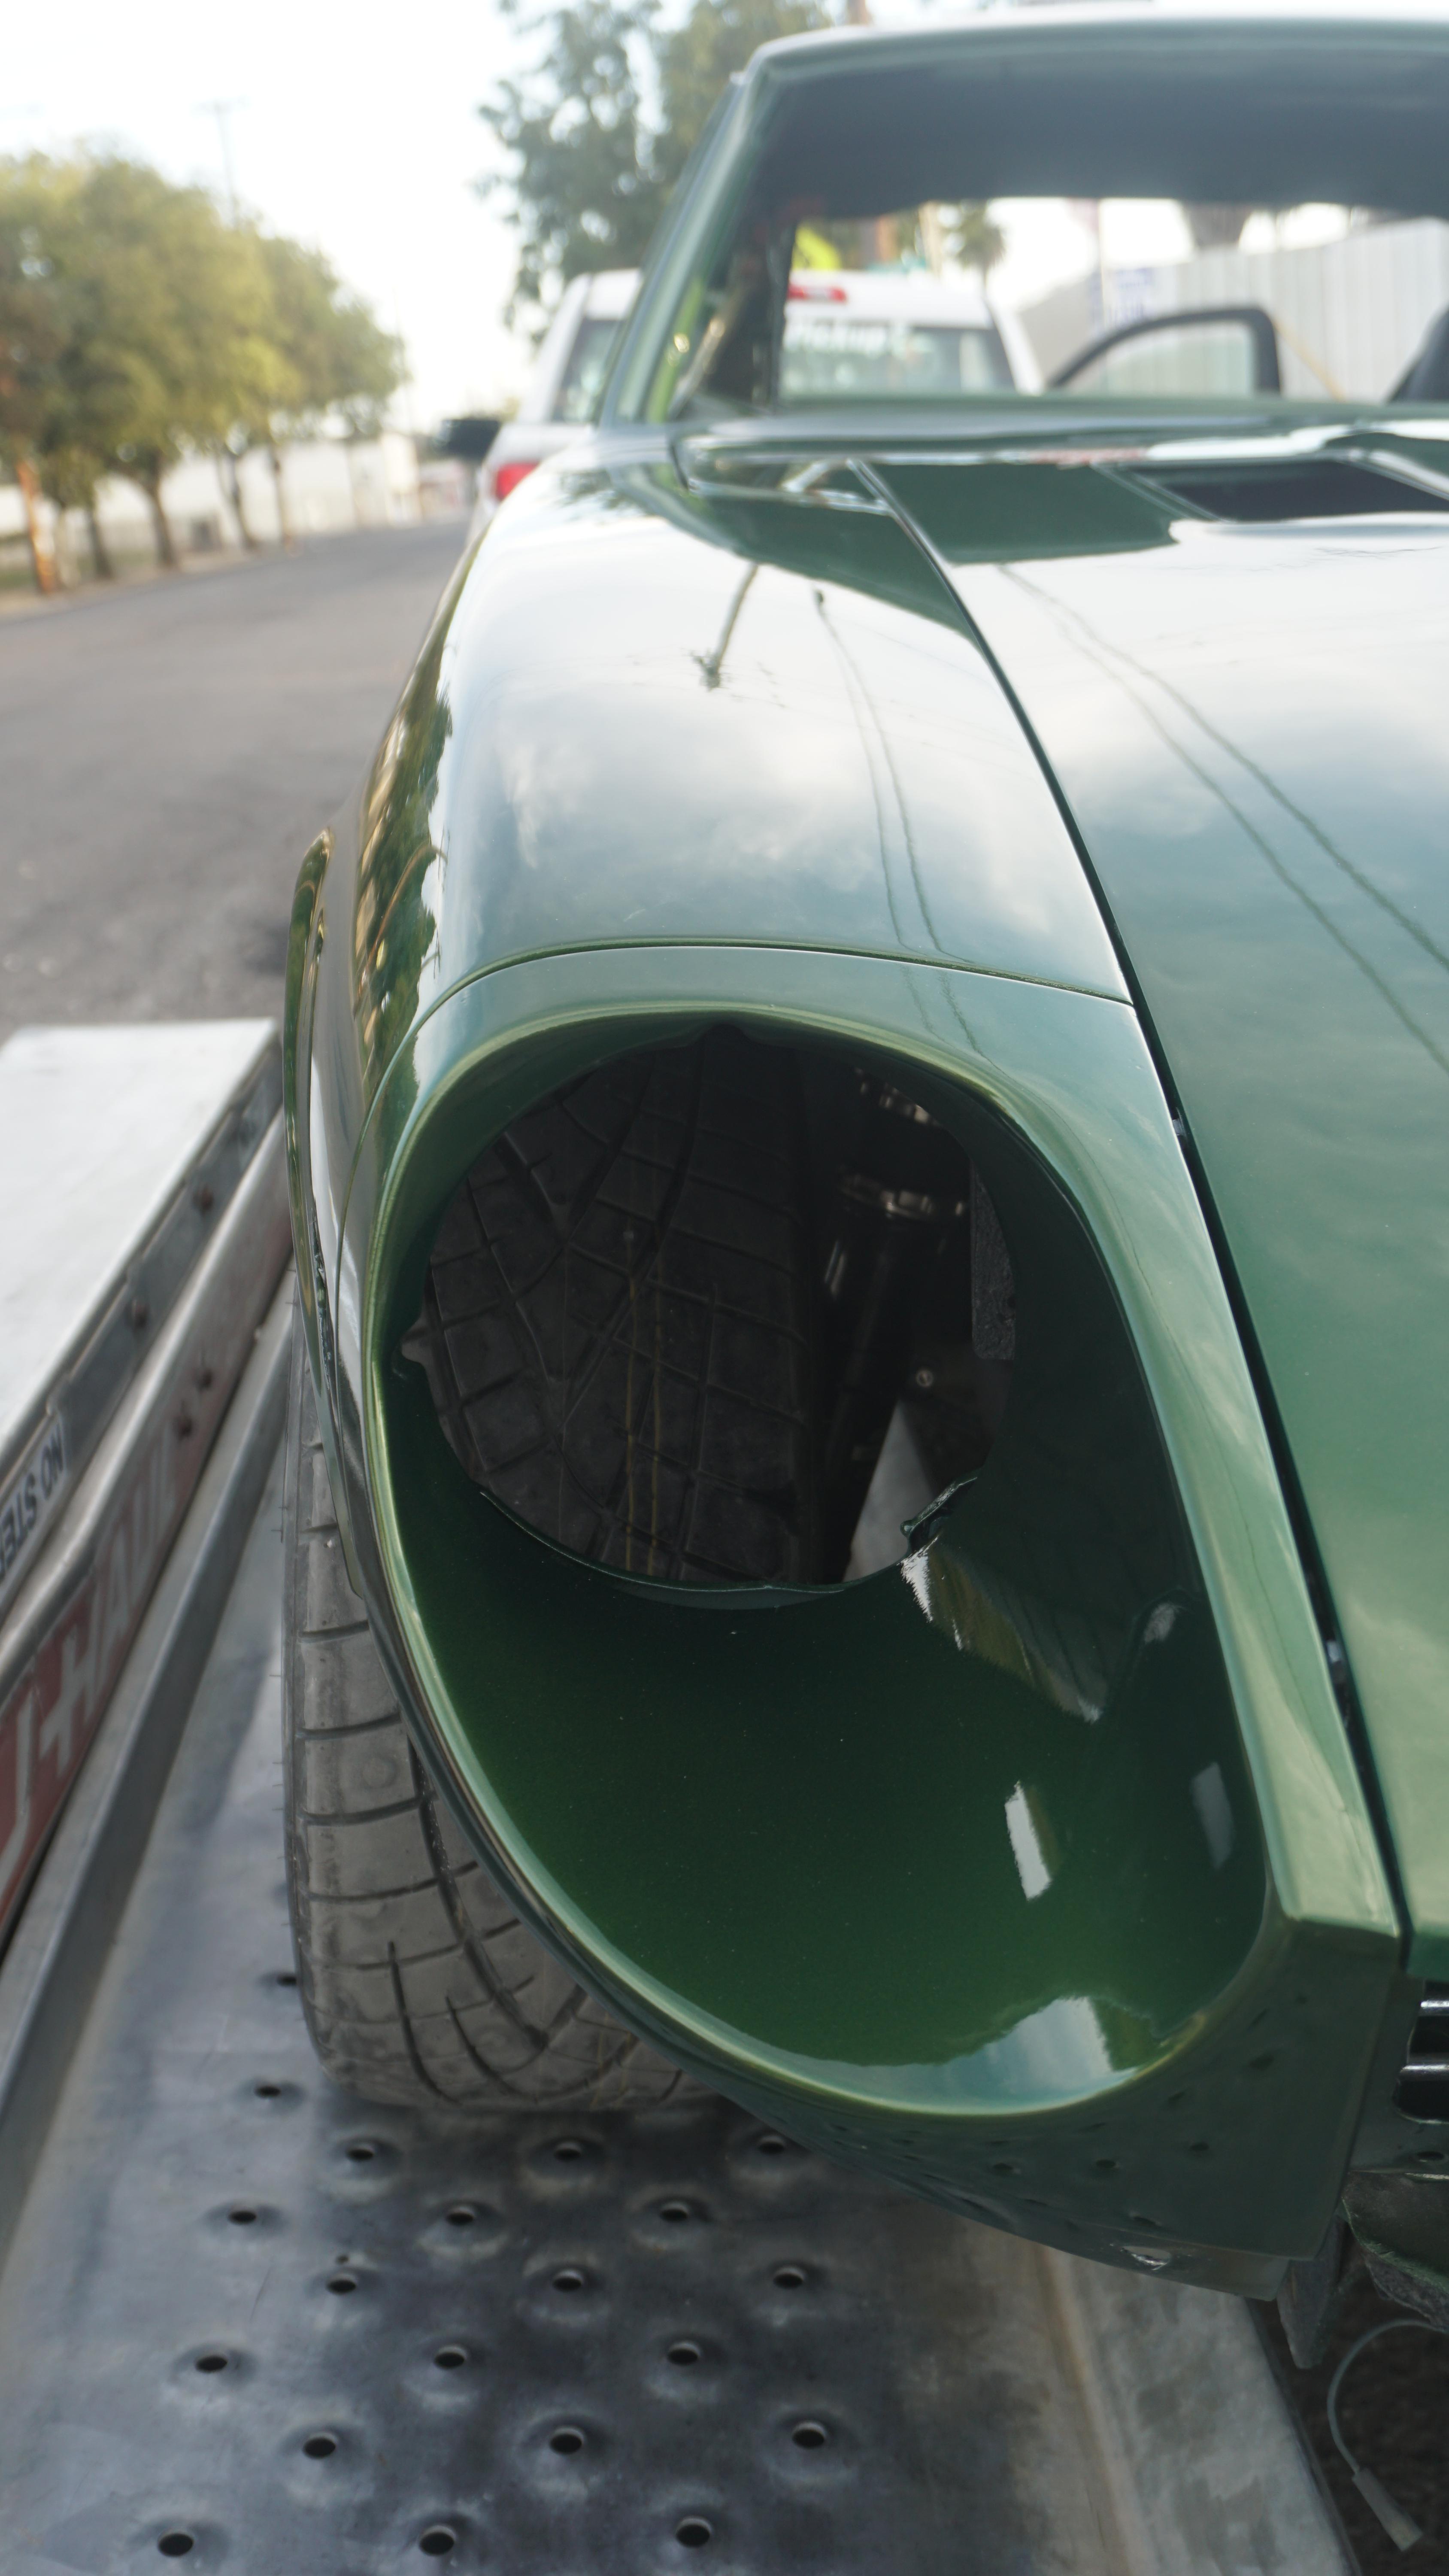
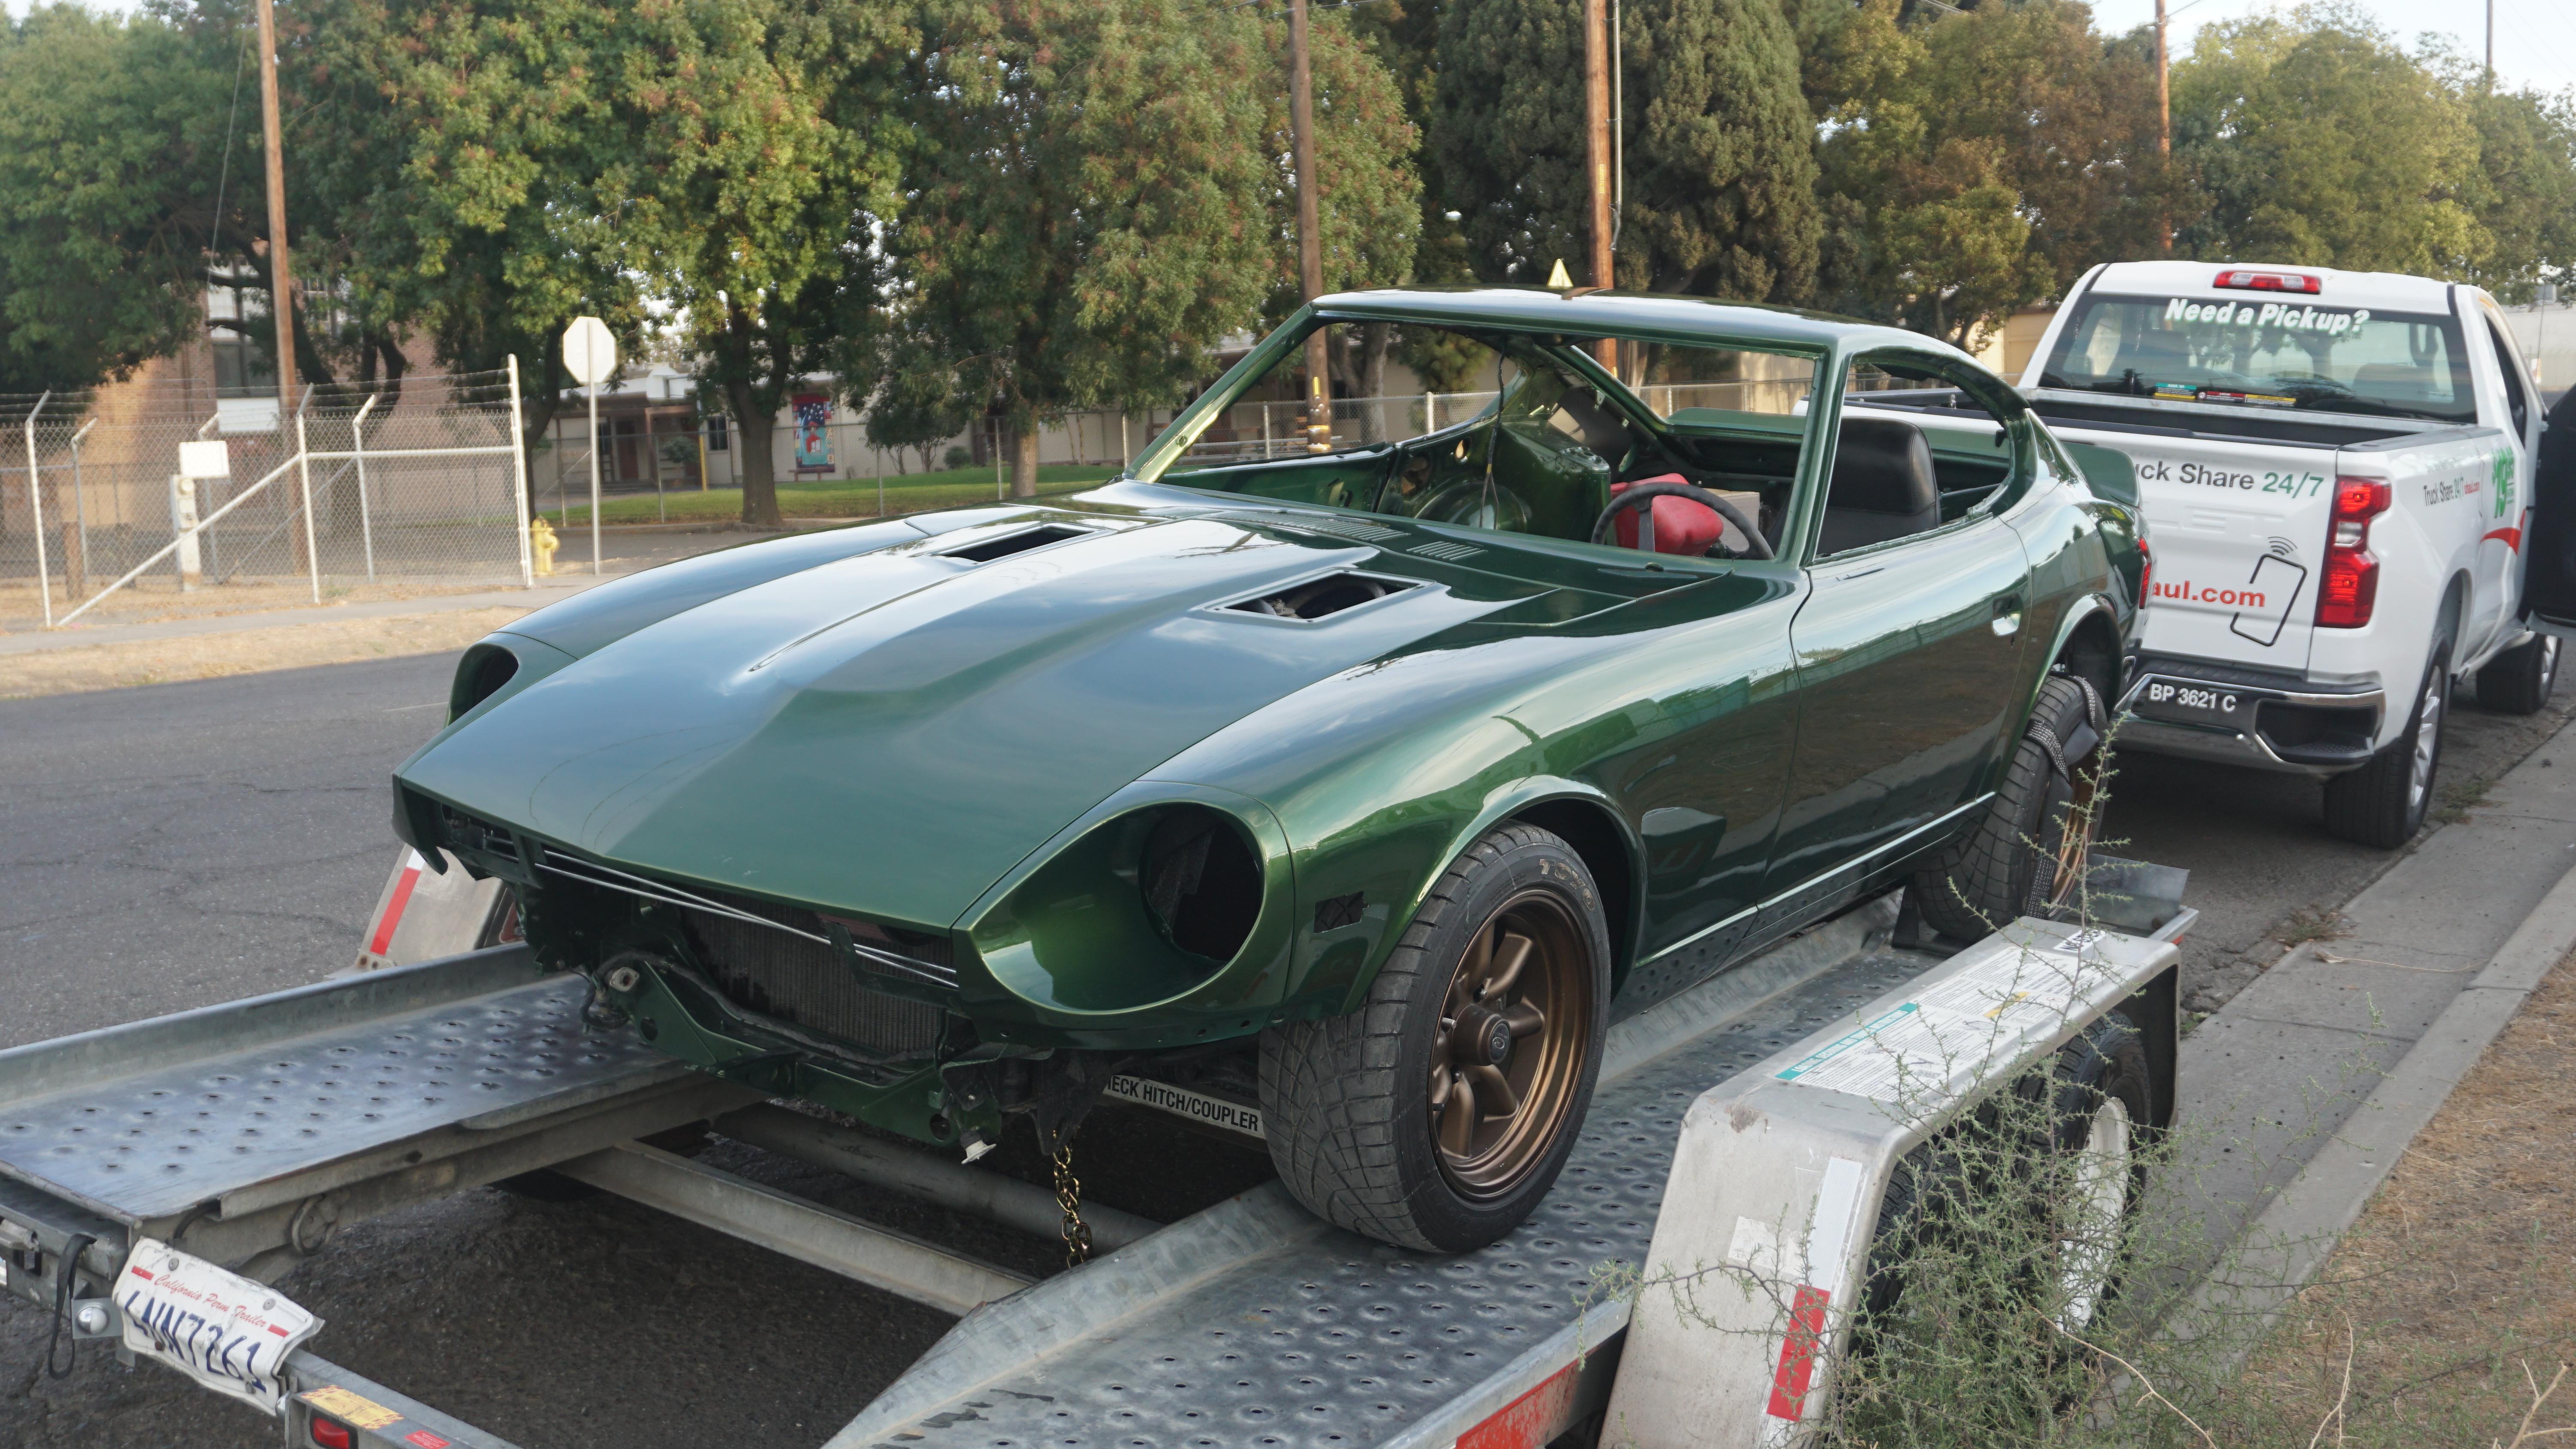
The next thing I need to get done is the wiring of the tail lights and license plate lights. As you can see I have swapped the 280z lights for JDM 240z lights. I have the original 280z tail light harnesses, and I need to get them wired and working correctly. I know there are several write ups on the physical conversion of the lights, but I can't find any on the wiring. Below are a couple of photographs of the current wiring situation. I'm not good at wiring, don't mind admitting it. So looking for some help here. Also for those wondering, yes I will be cleaning up and painting the patch panels that cover the opening for 280z reverse light and the side markers.

-
2 reasons: 1. Because that's how the JDM cars came and 2. Because I prefer how it looks without the rears.
-
I did, but I know the guy pretty well, so we talked a while about what I wanted. It's a wrinkle coat and we just masked up the lettering.
-
Thank you! Very happy with how she looks!
-
She's running good, but the temperature did start creeping up while idling for a while. Will need to run for a little longer each time before driving very far. 0f62388b02e749a7a8652b859a41b096.MOV
-
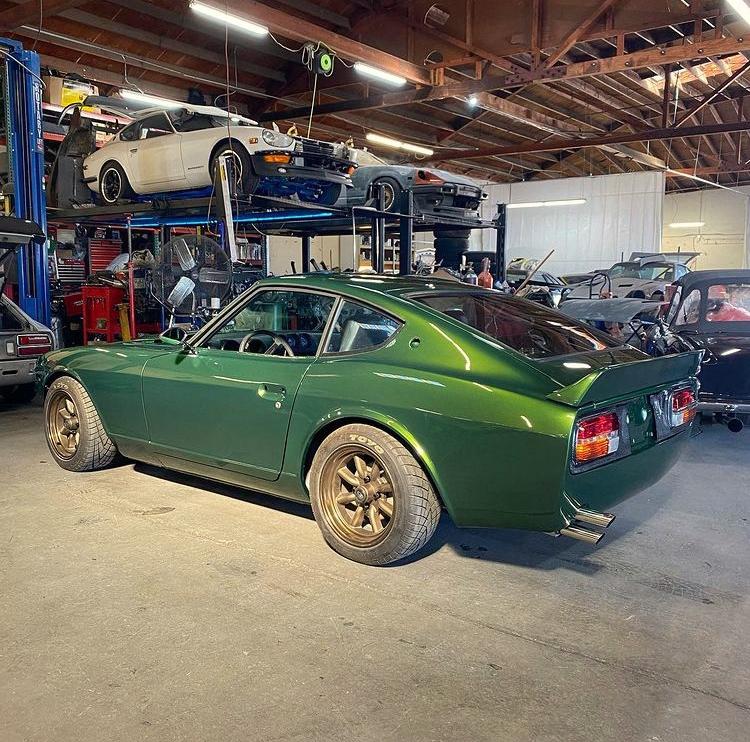
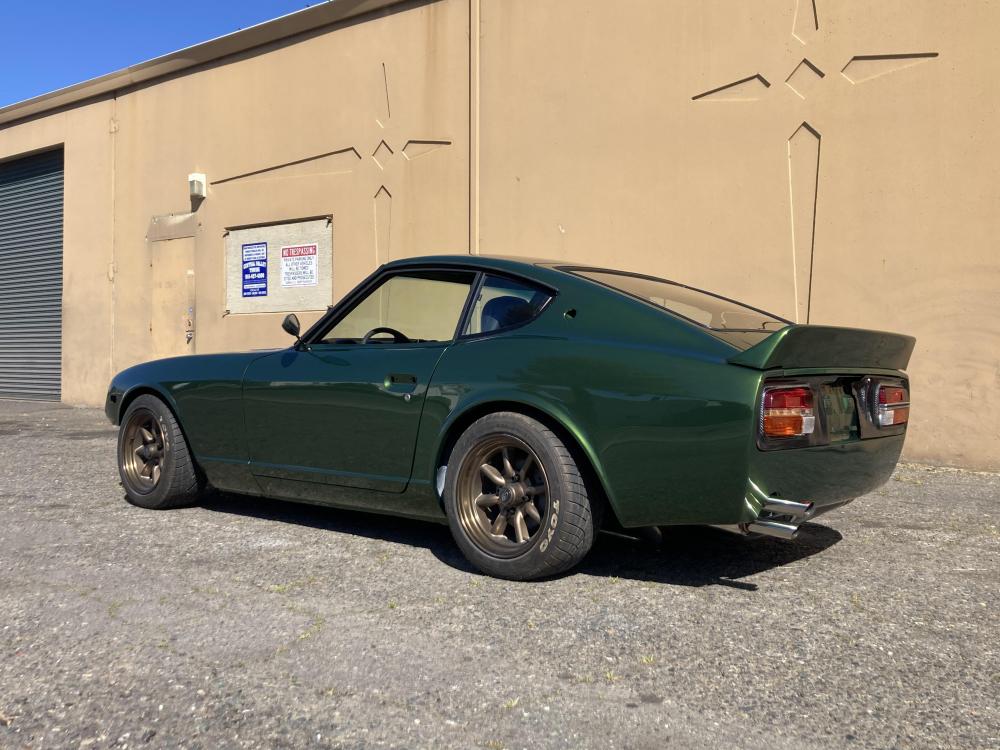
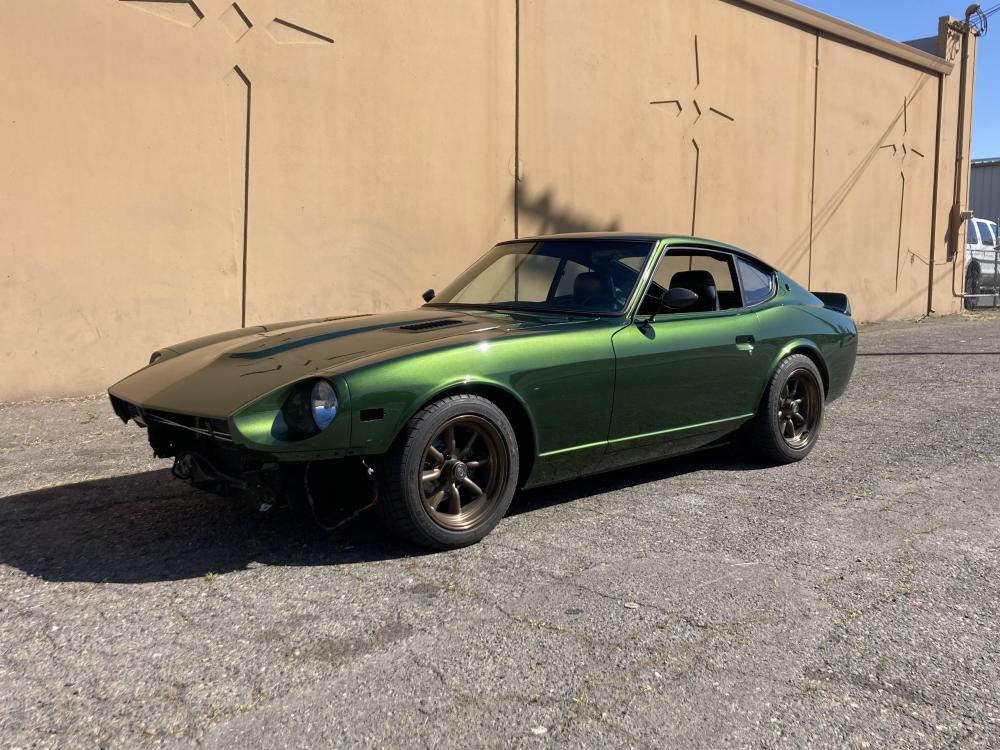
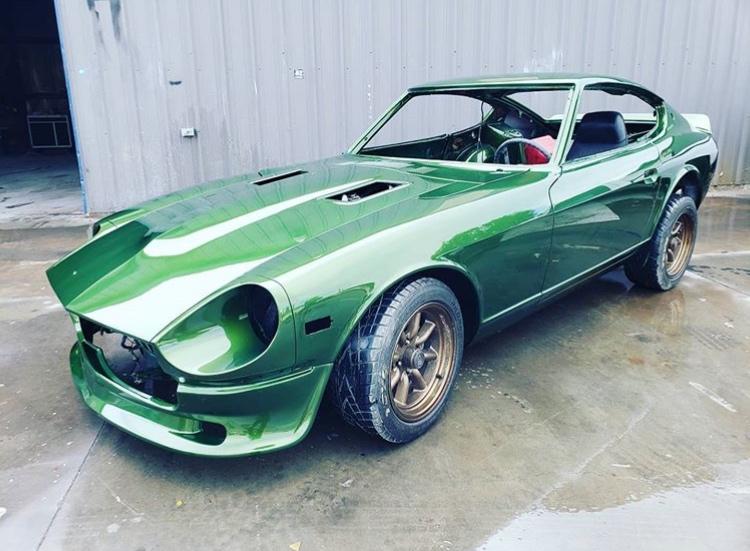
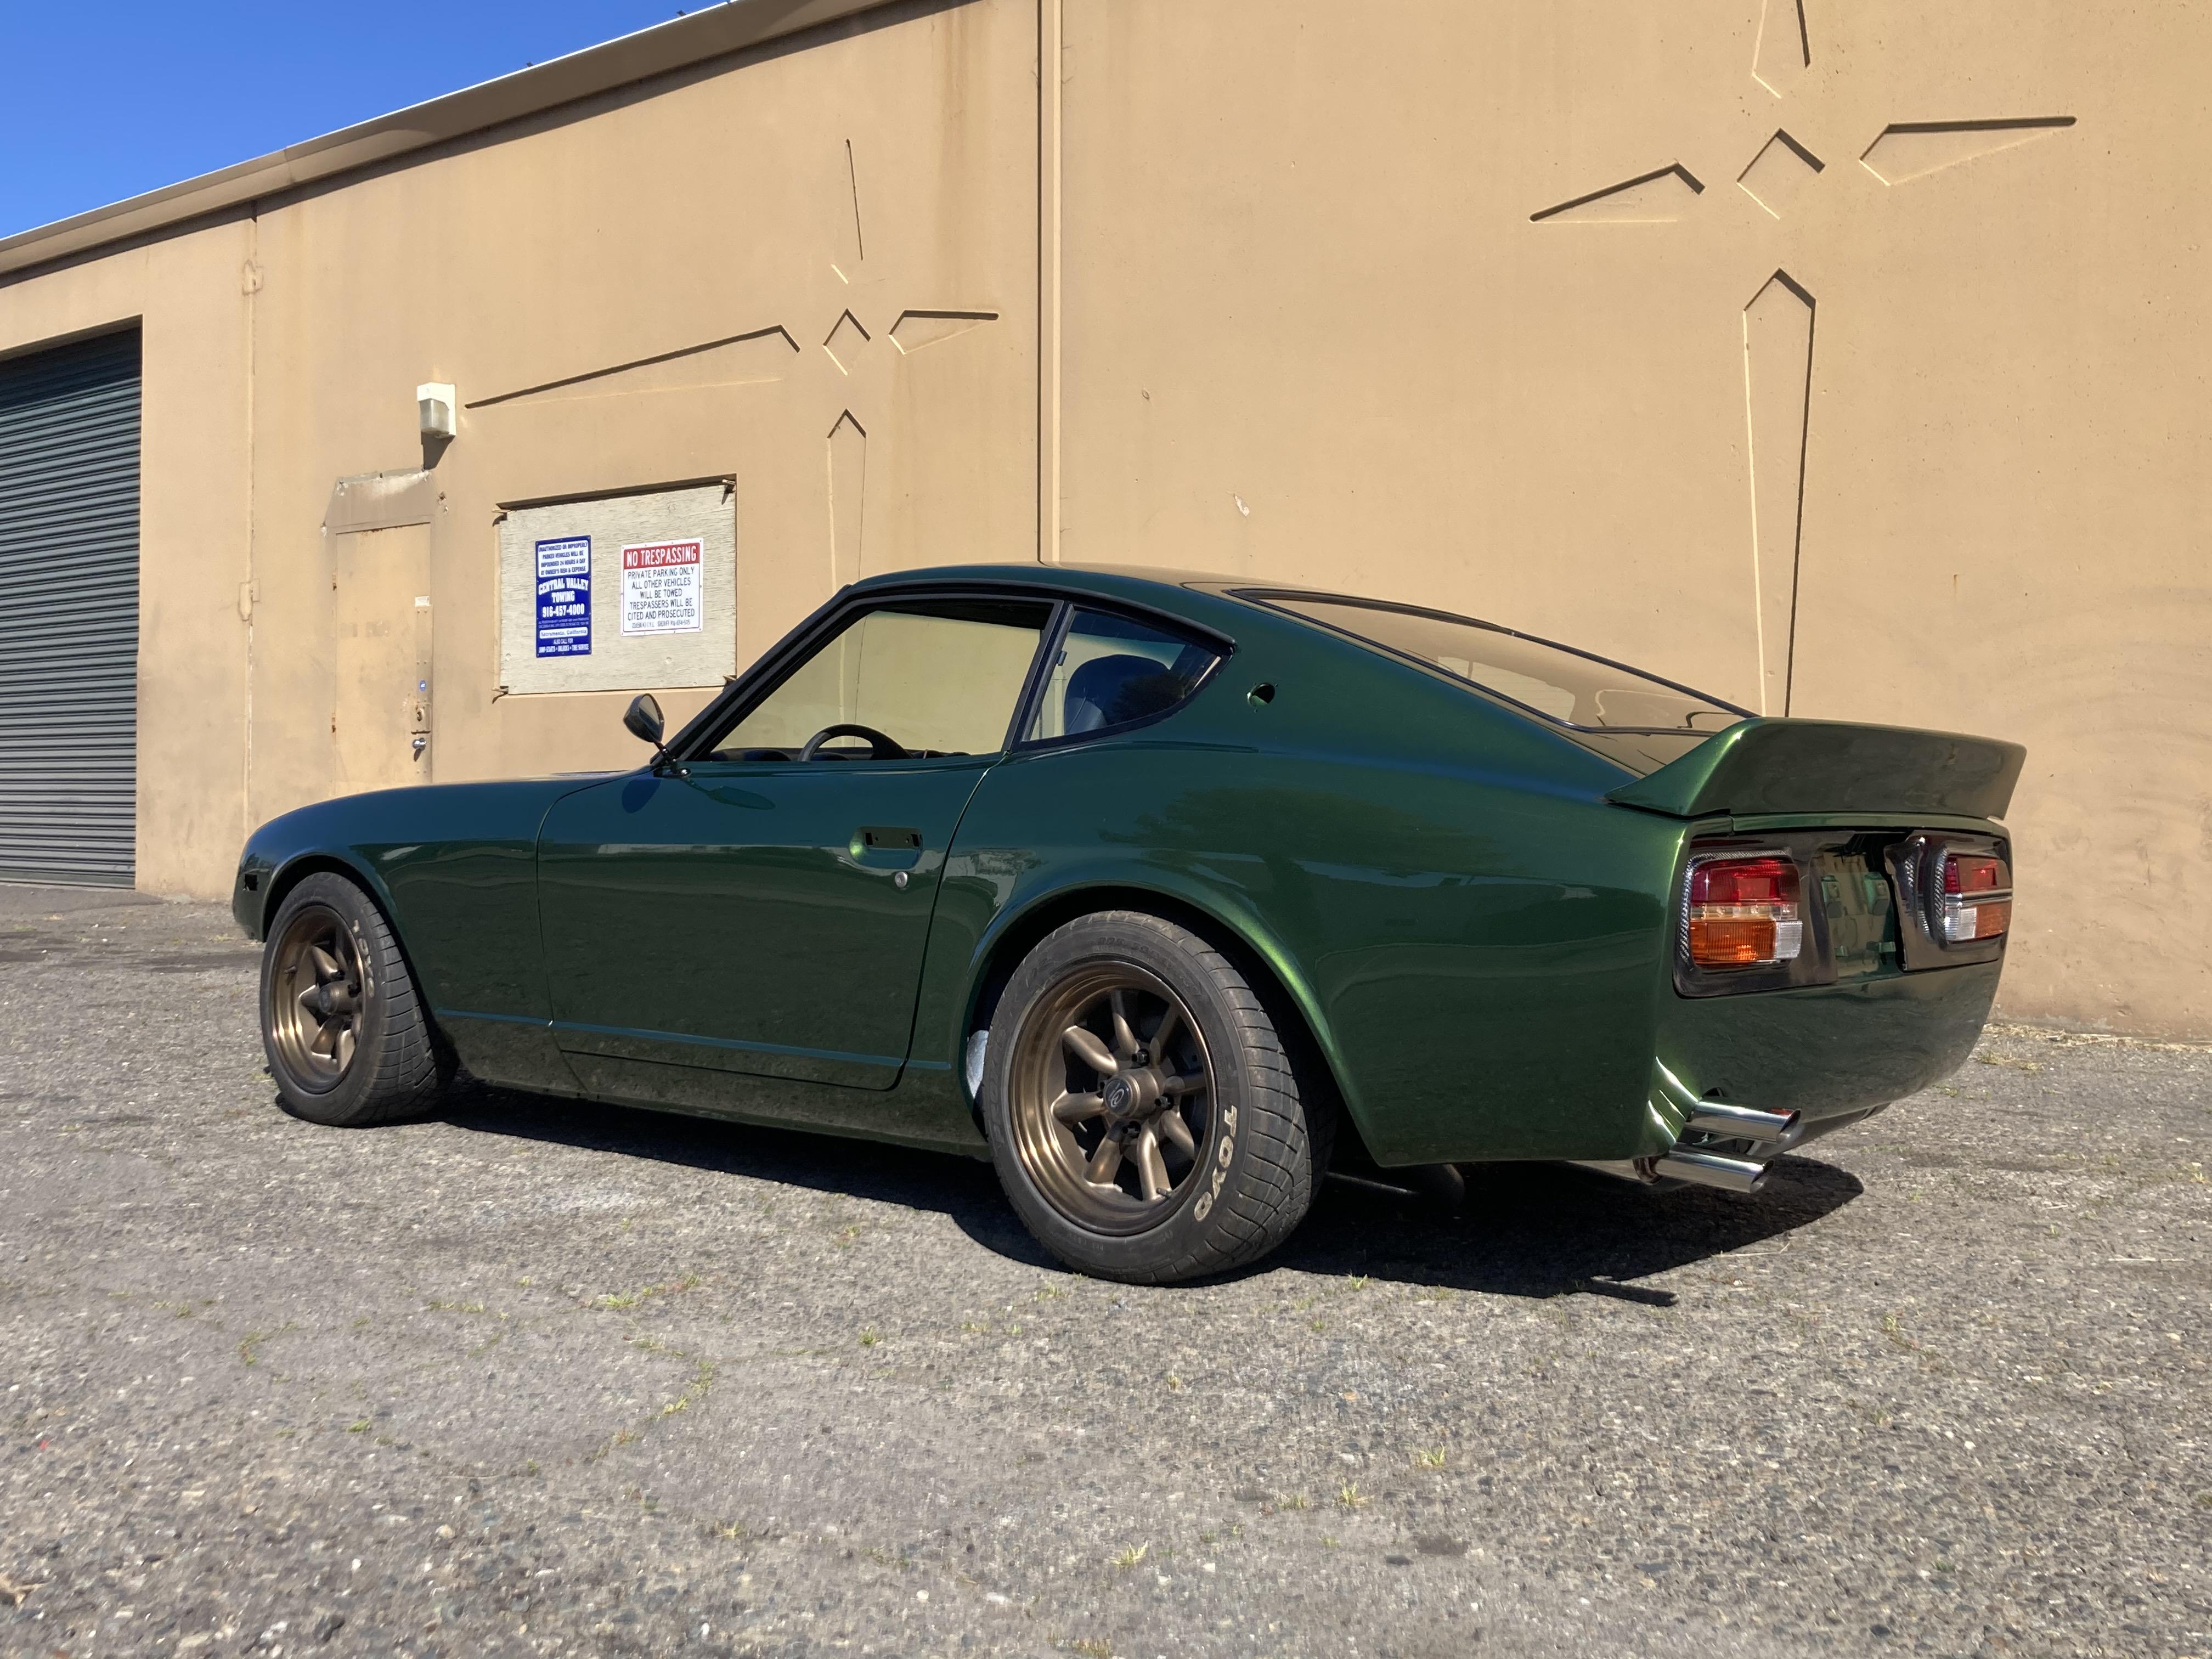
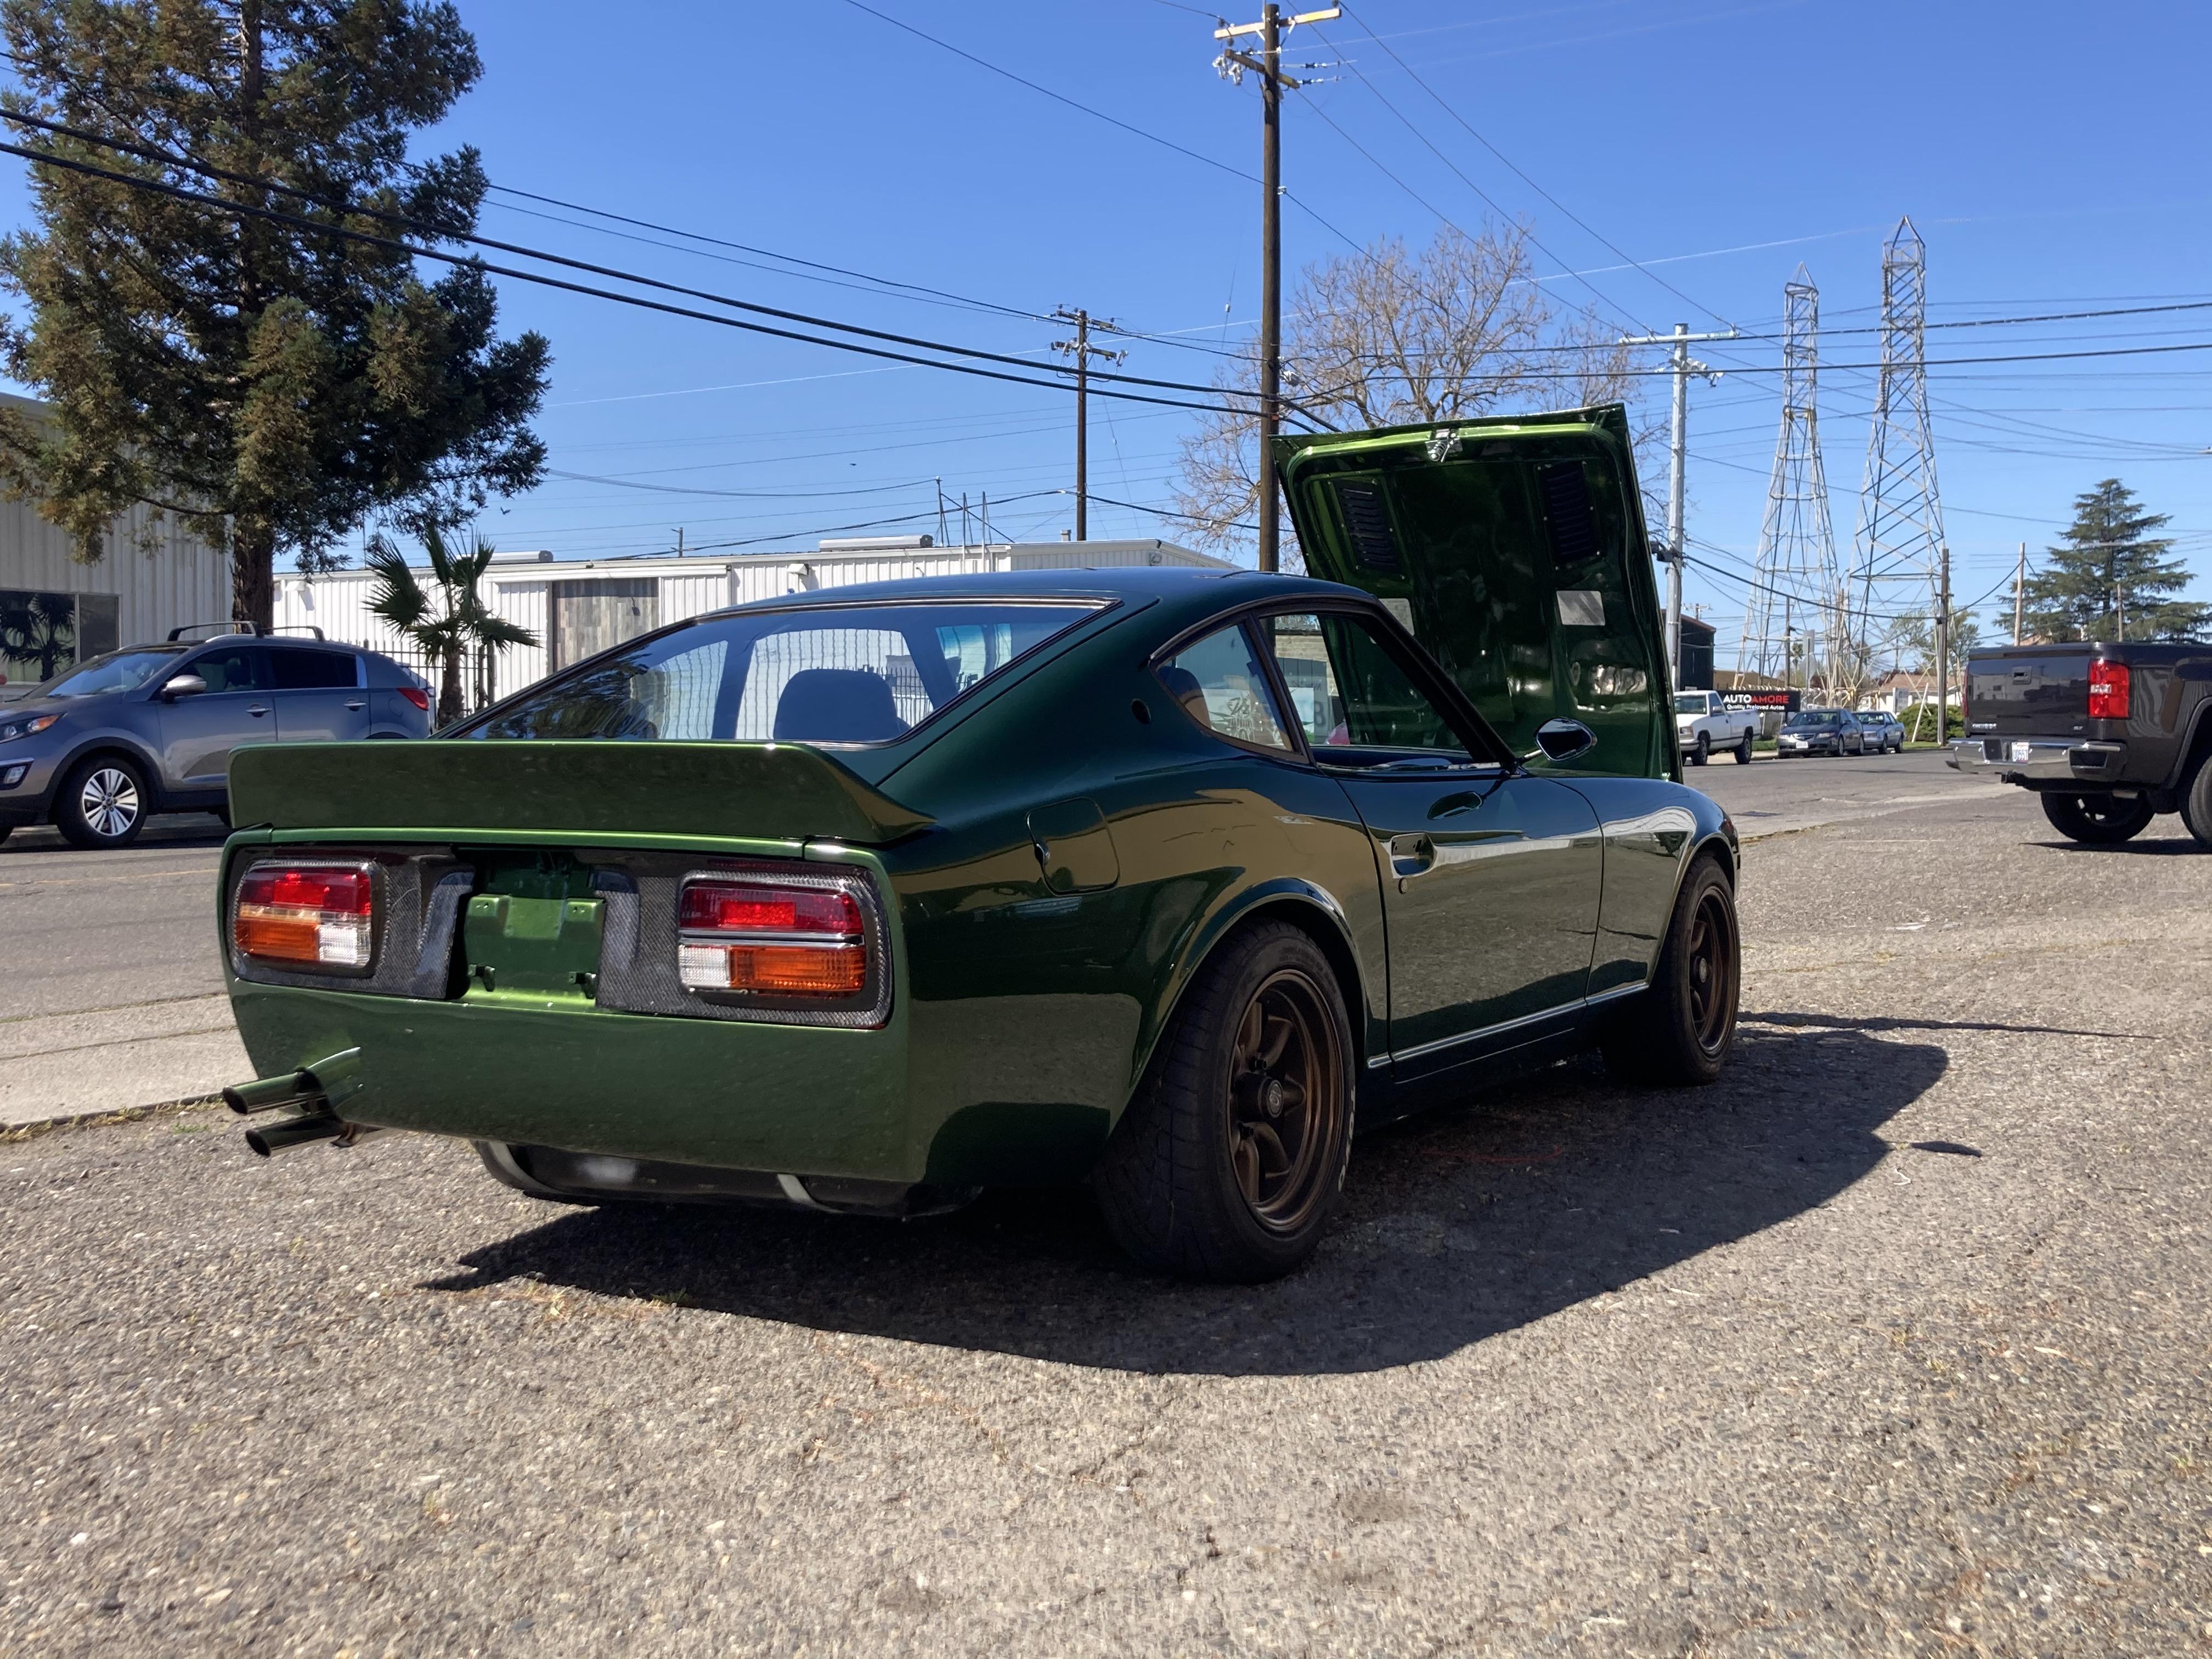
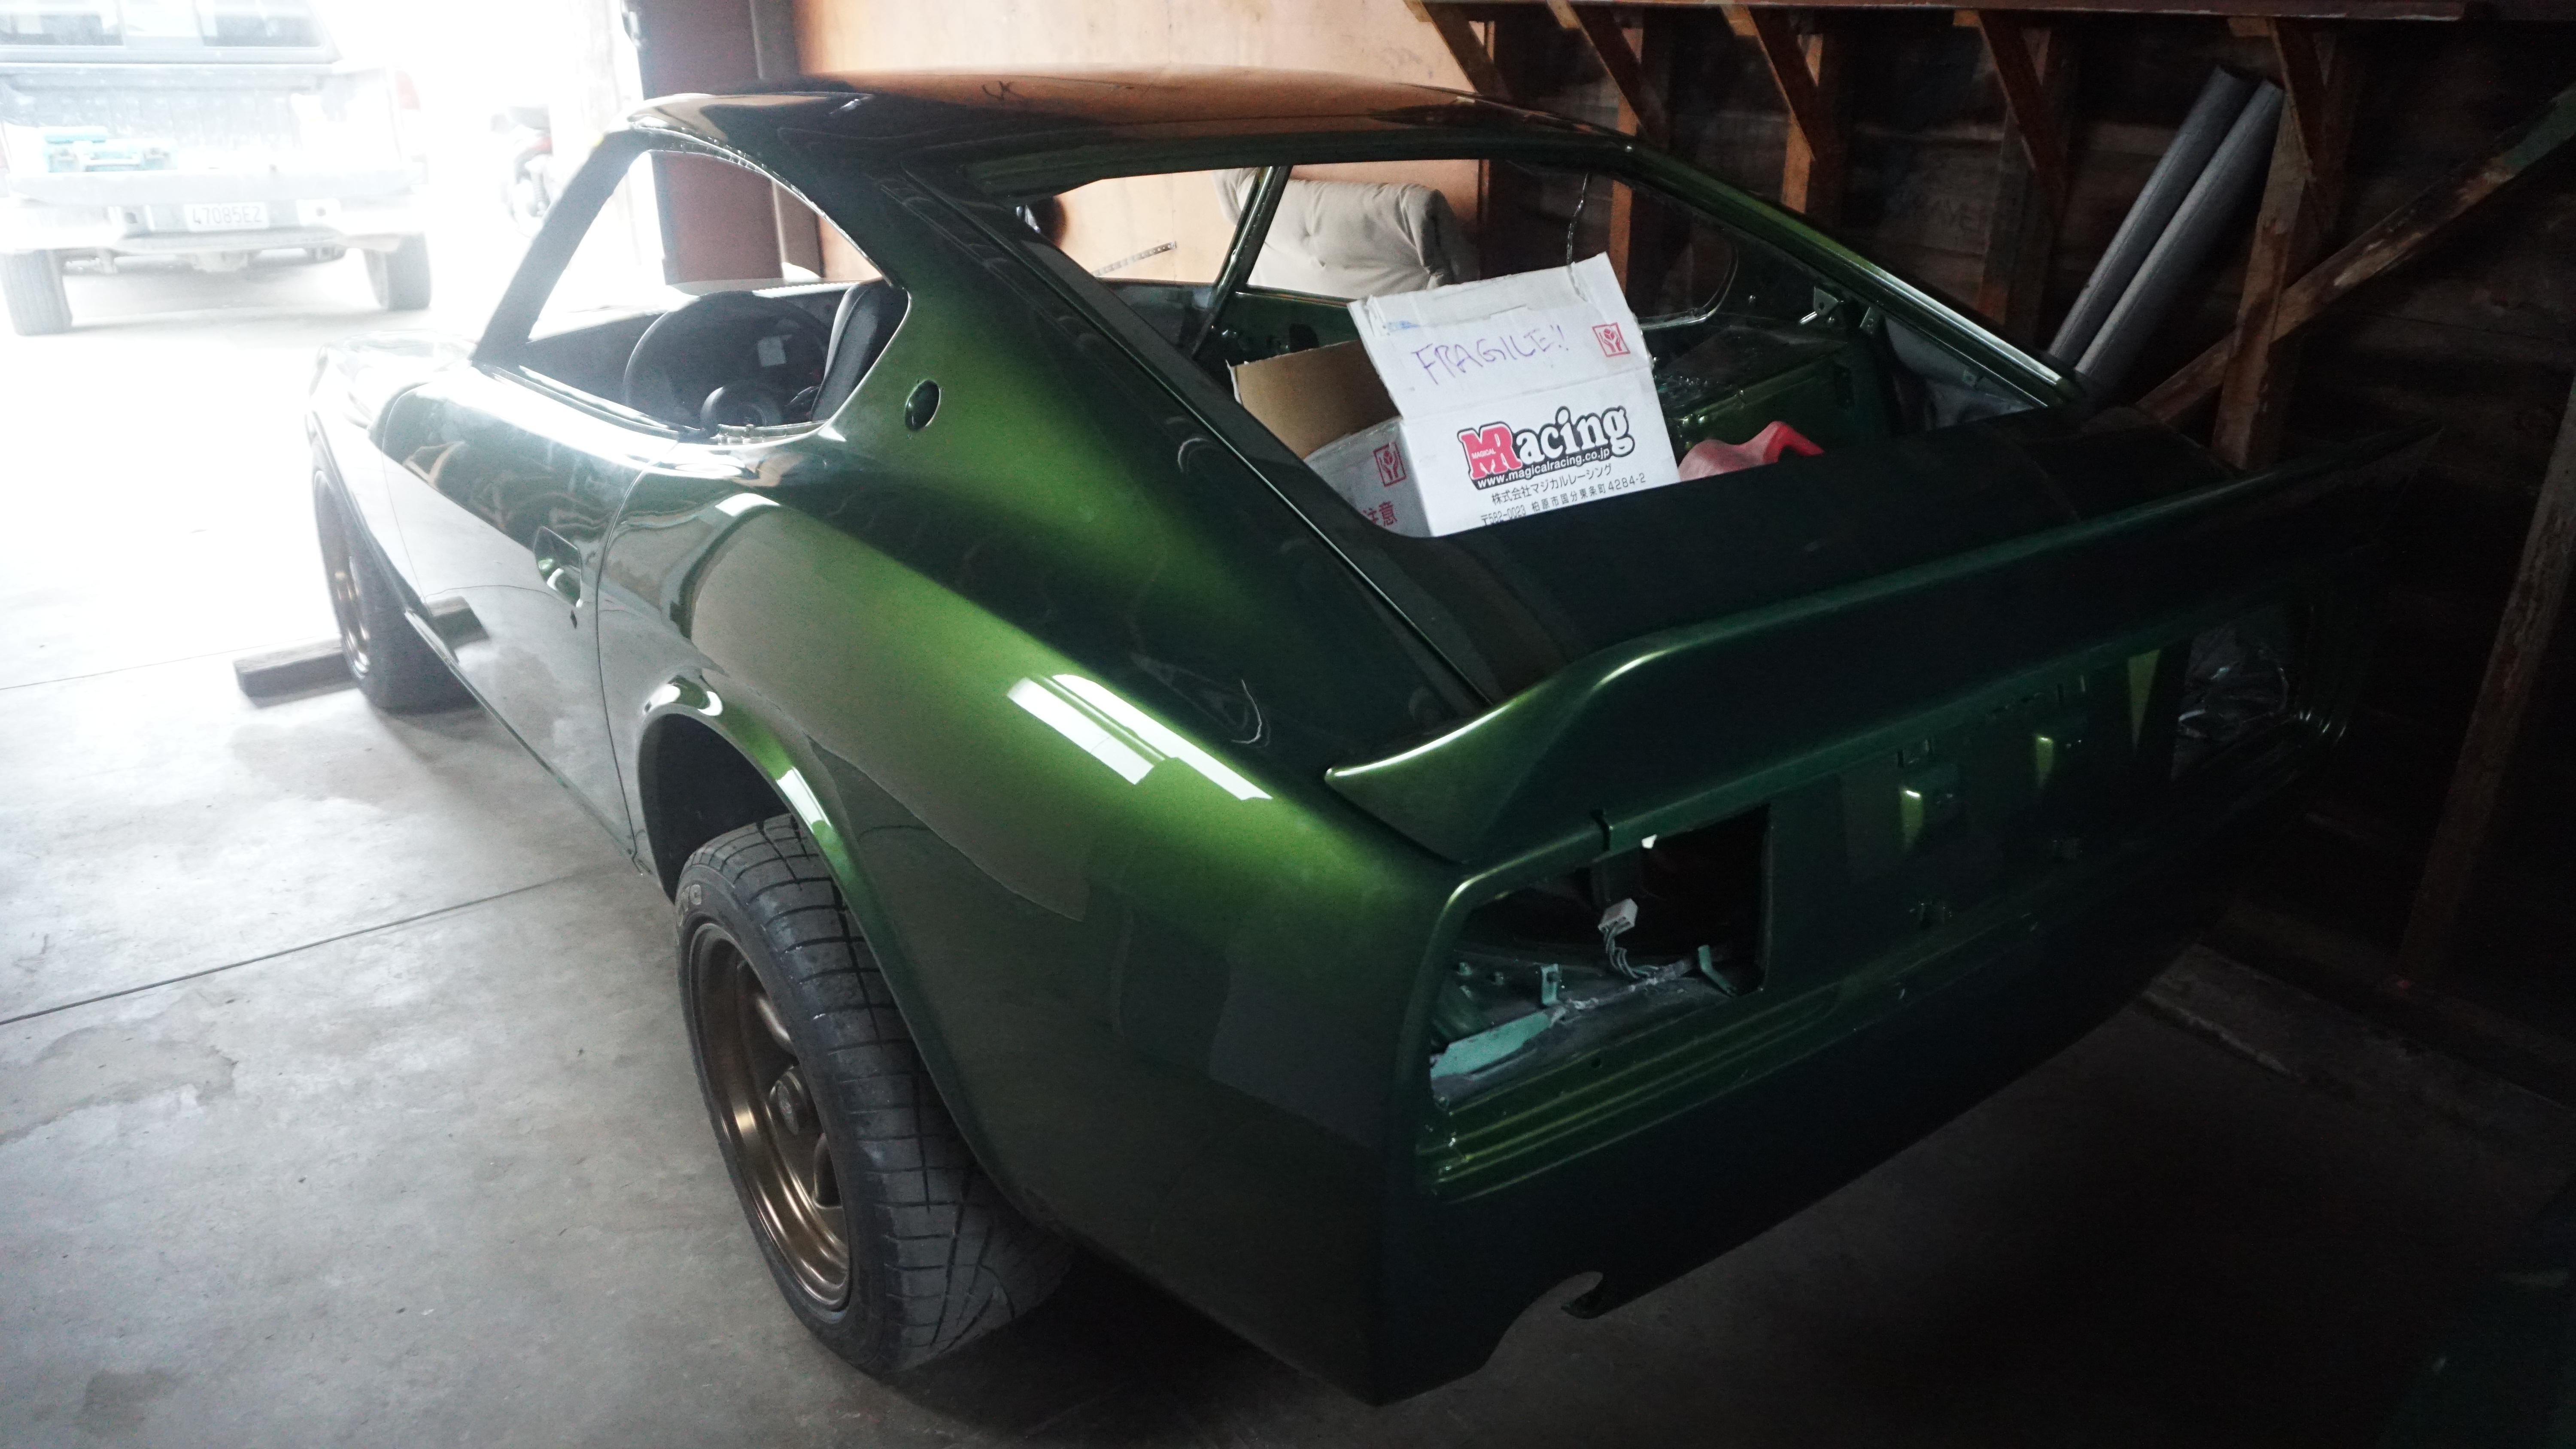
Car is almost there. Fuel system done, exhaust done, glass back in, rear coilovers fitted and ride height dialled in. Dash installed. Dapper Lighting headlights and JDM 240z taillights installed. Alignment done. New injectors, connectors and other misc. wiring under the hood to fix some rough running - cylinder 3 had an injector stuck open which flooded everything. Decided to replace all 6 for peace of mind.


-
Has anybody used these seat brackets? Looks like a good idea. I'm looking for some seats with more side bolstering but I do not want to cut or drill into my new floors. https://www.plantedtechnology.com/planted-seat-bracket-nissan-datsun-280z-1974-5-1978-flat-rear-tabs-driver-left.html
-
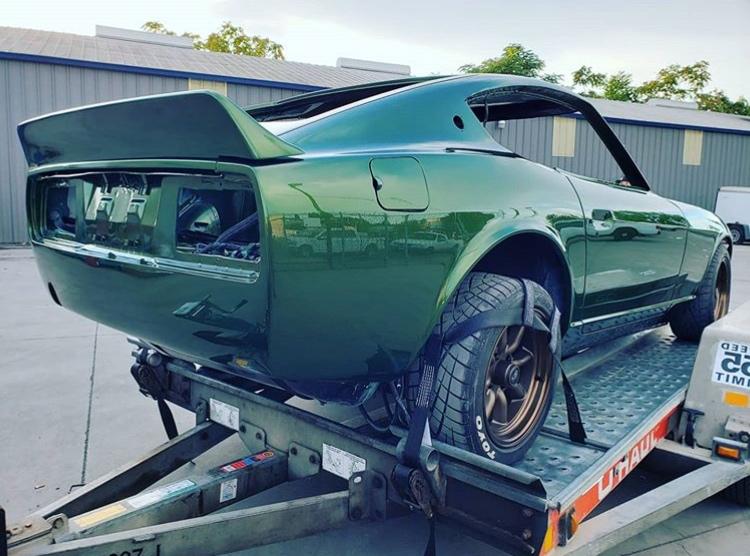
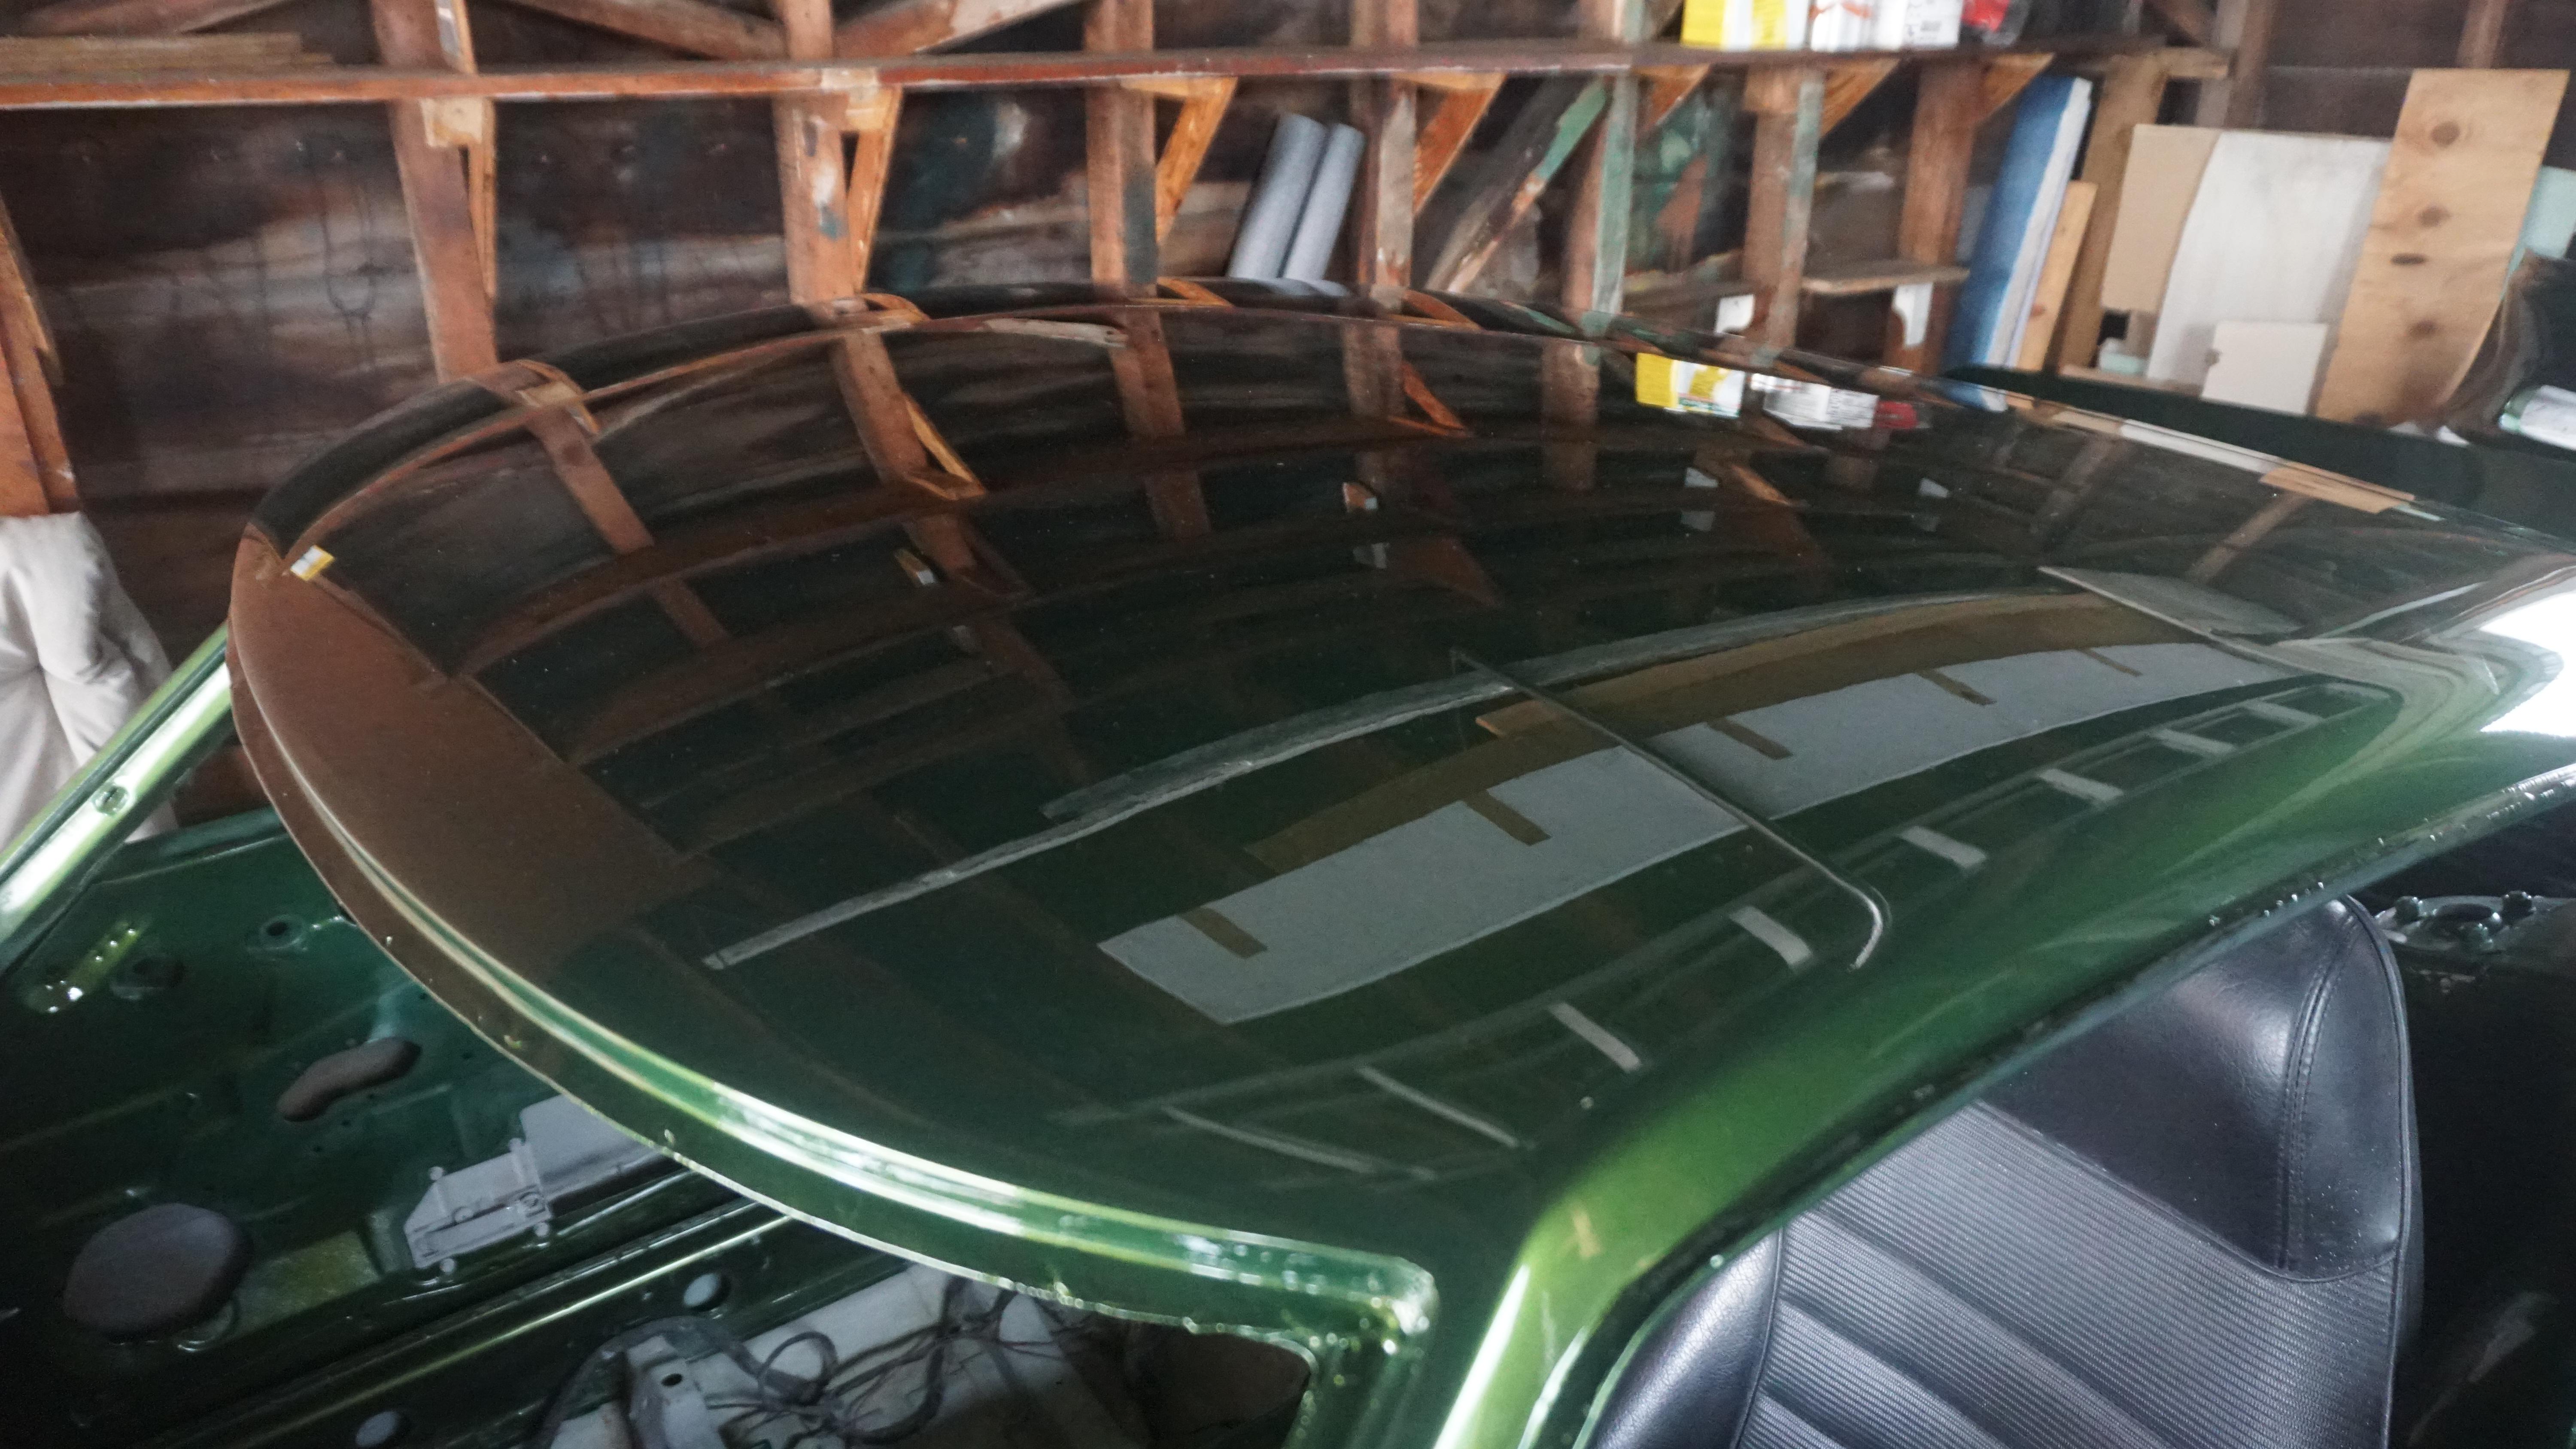
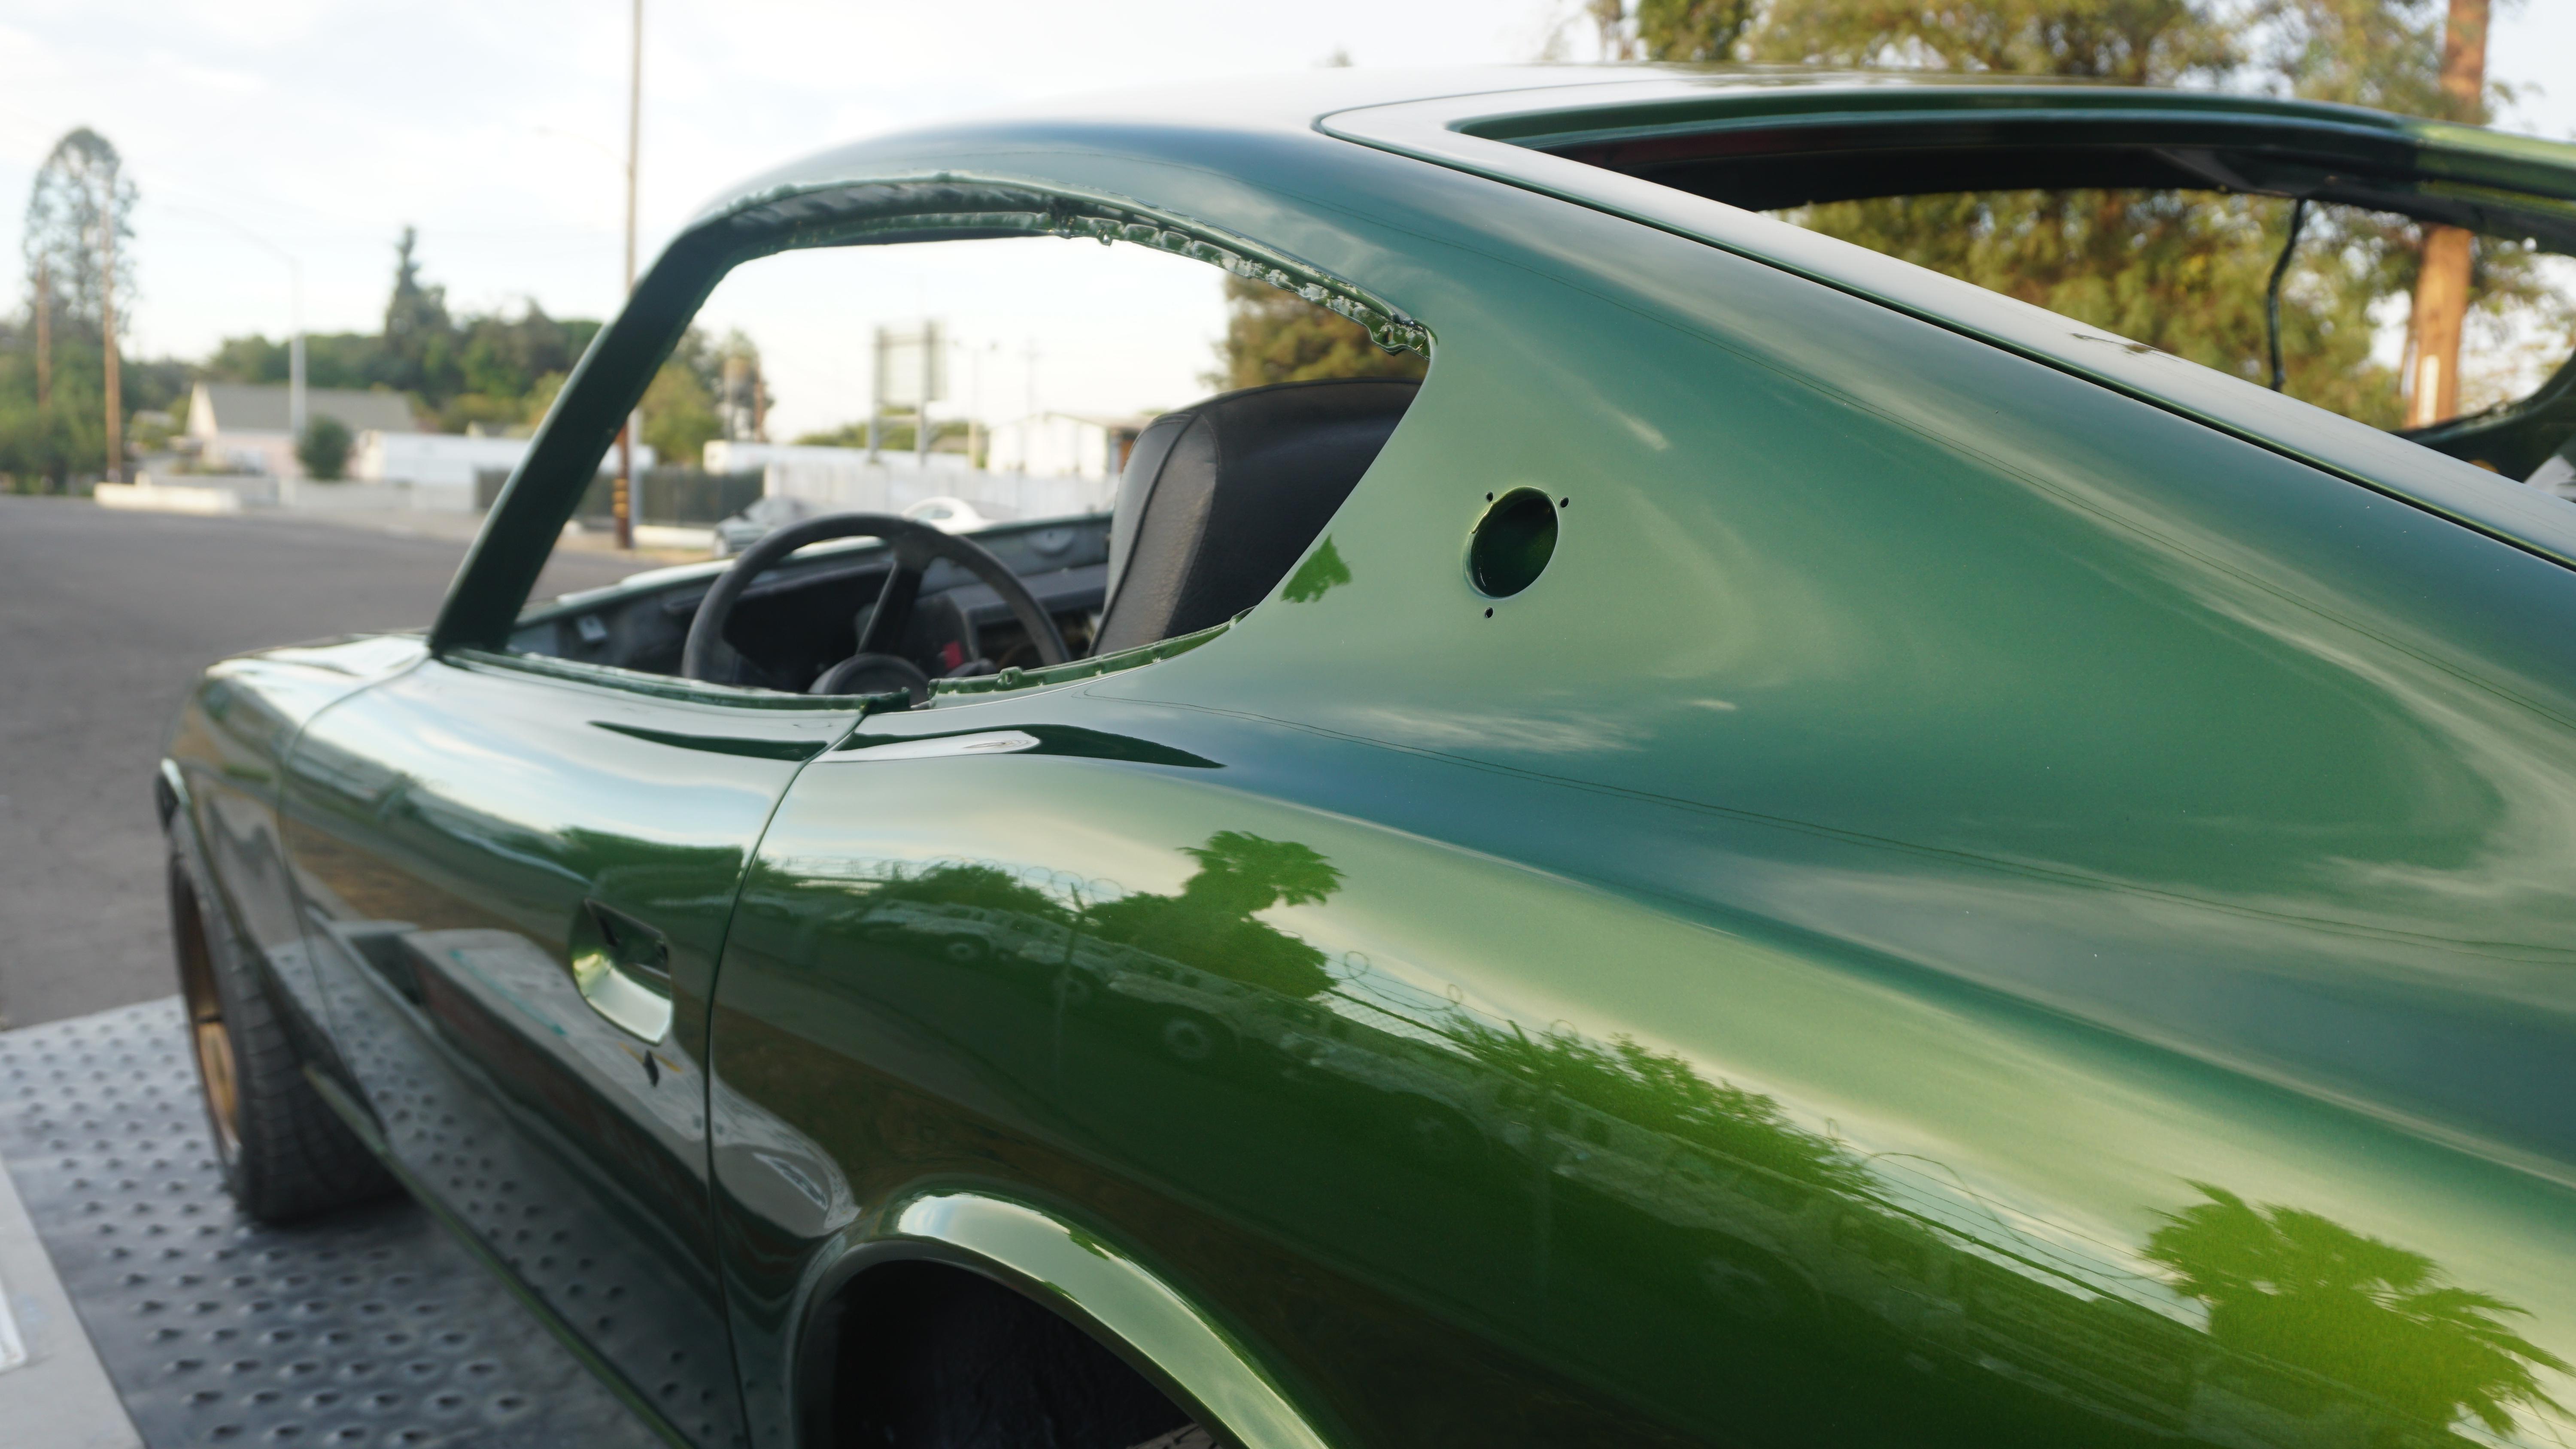
Thank you! Should be on the road within the next month. Just finishing up the glass, rubber and some misc. work!
-
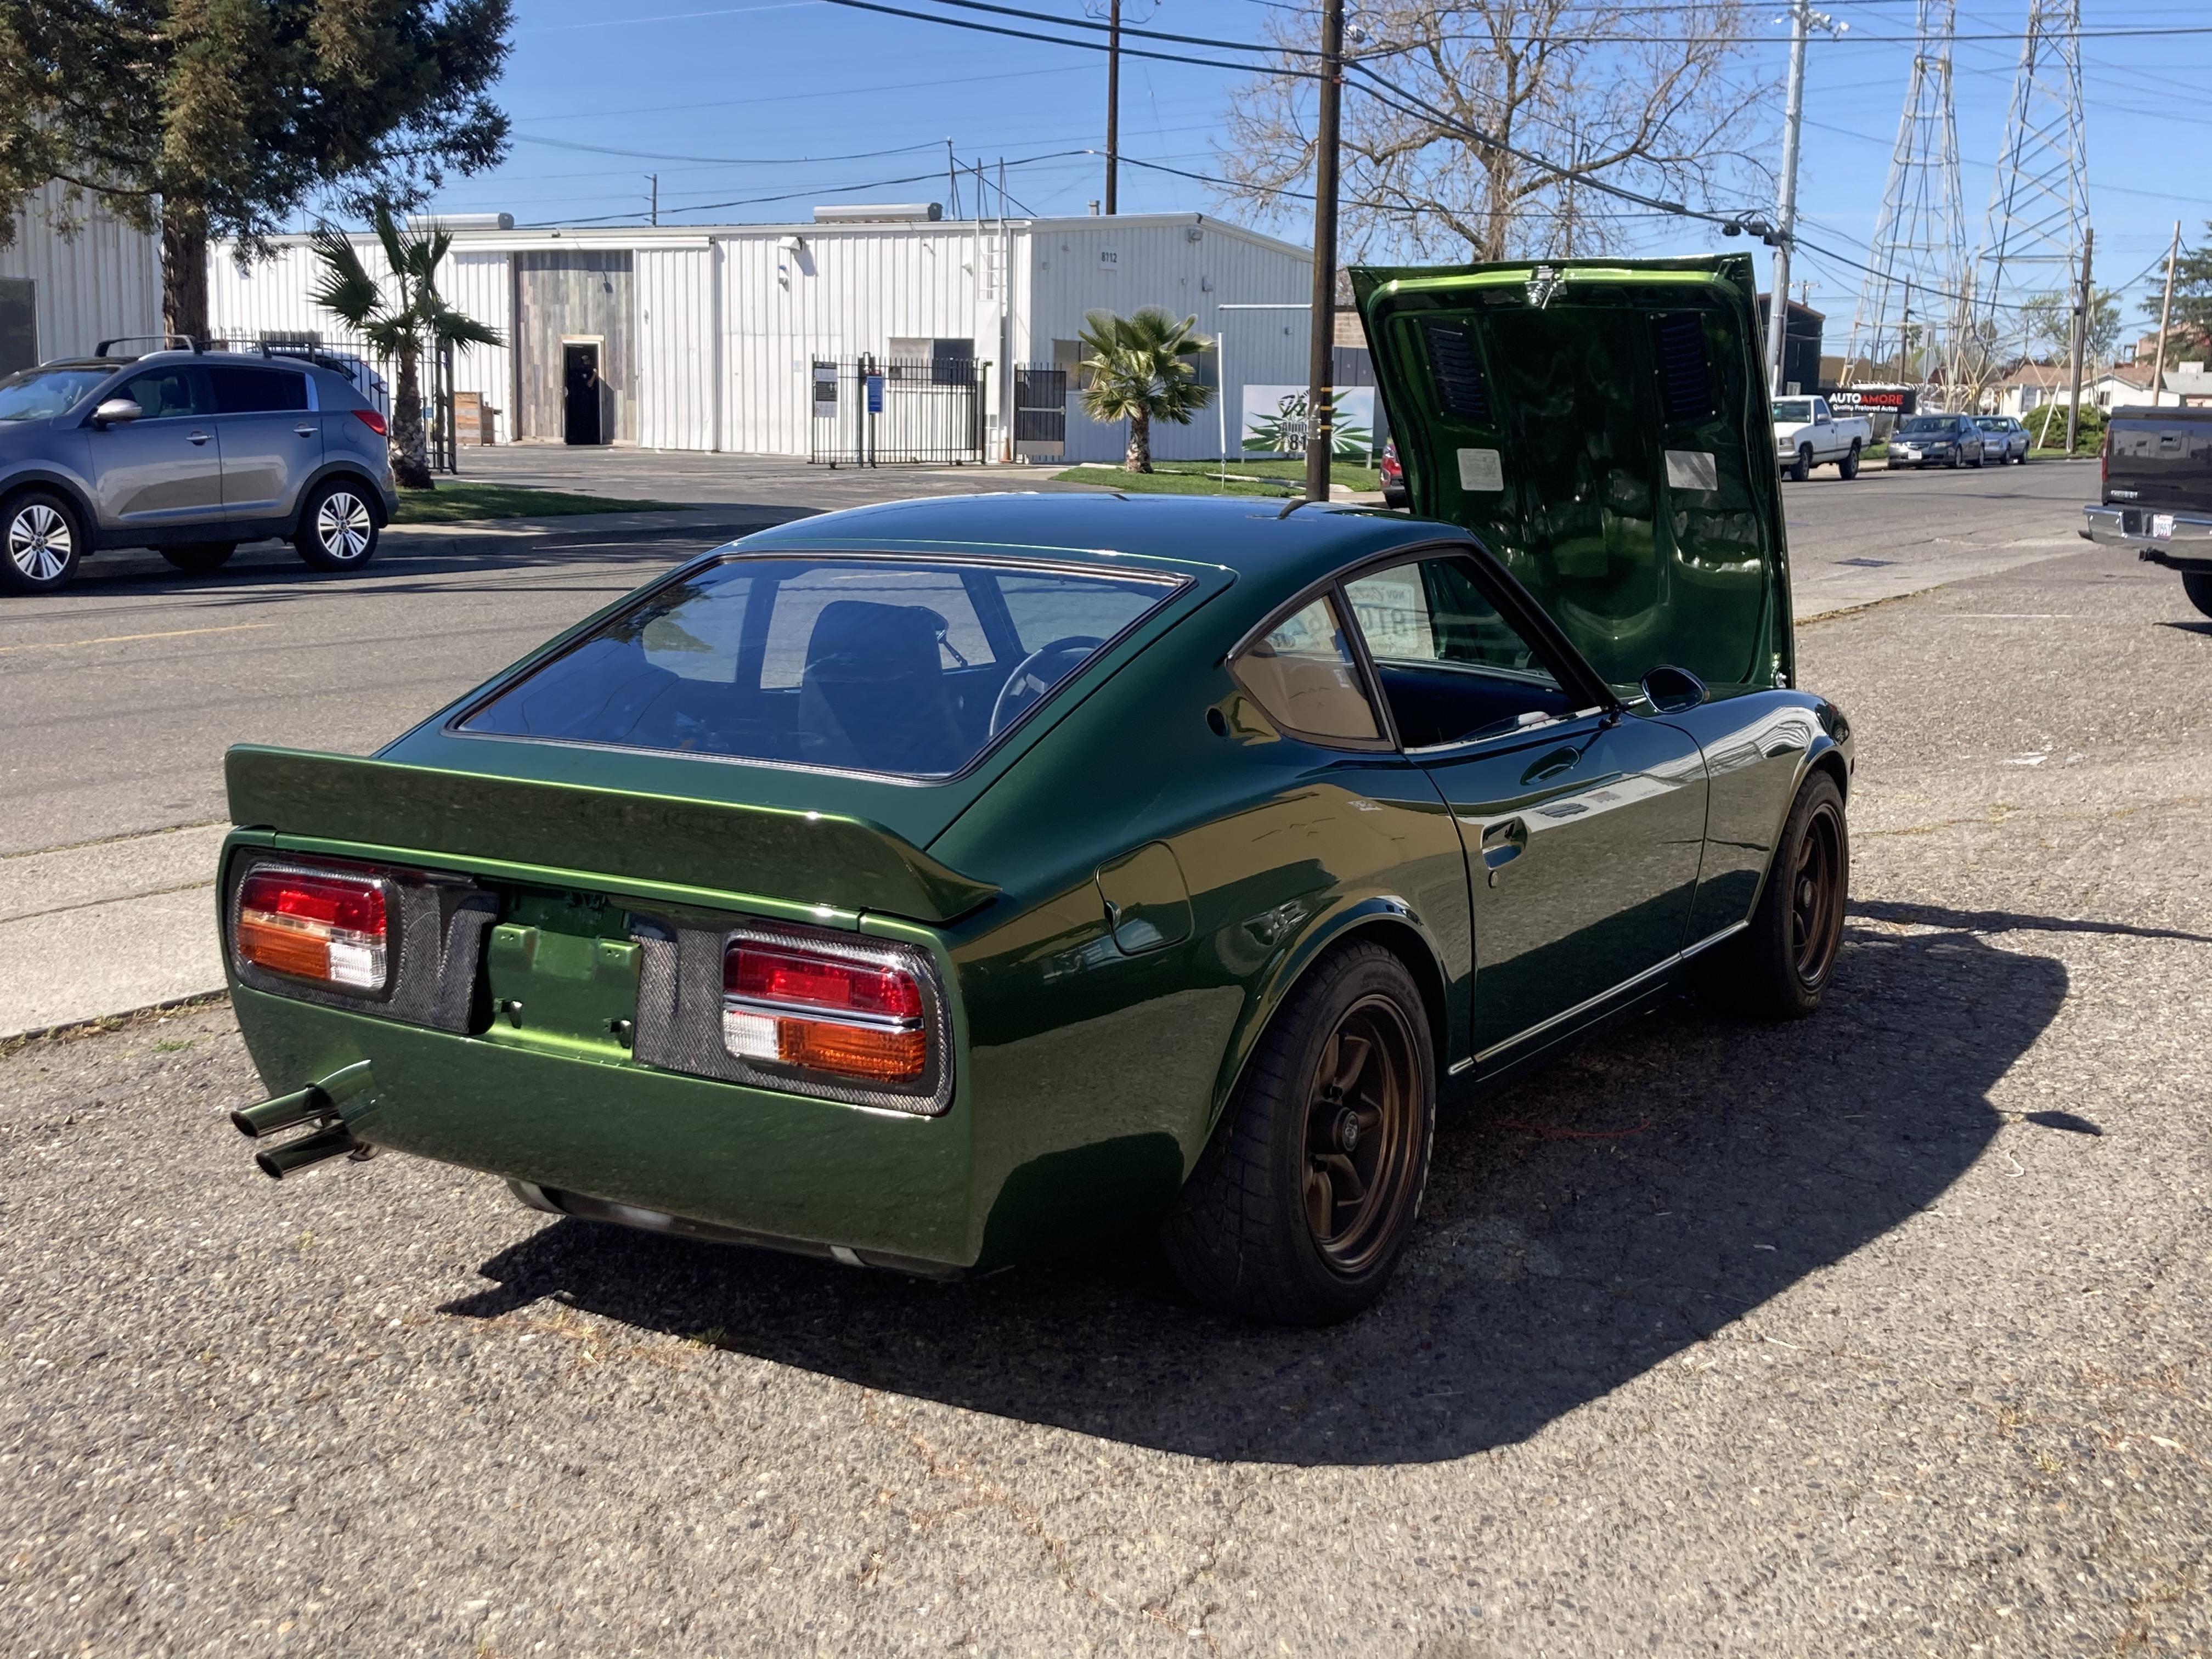
New windshield installed - courtesy of Hagerty.


-
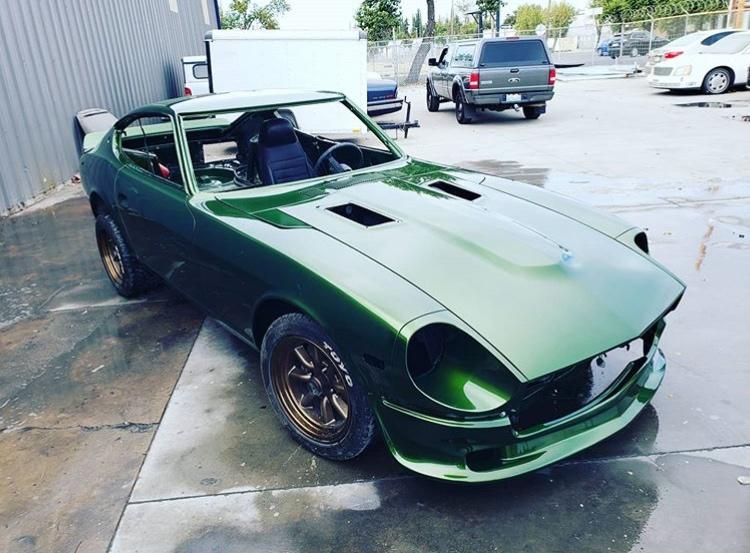
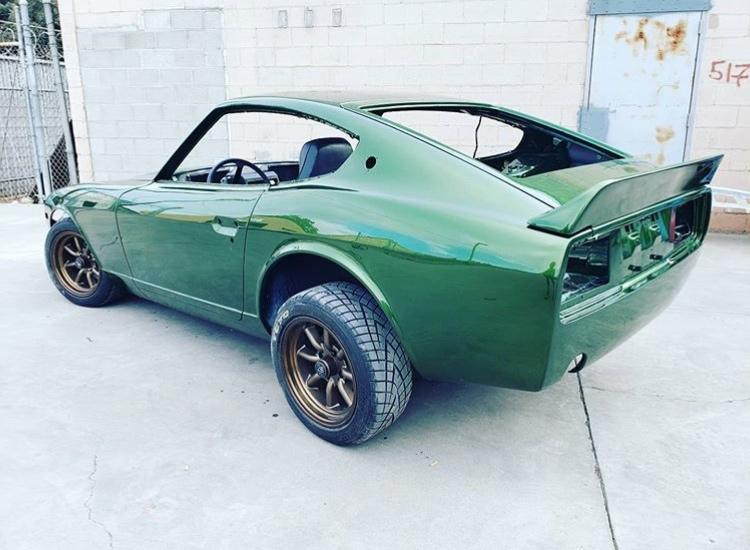
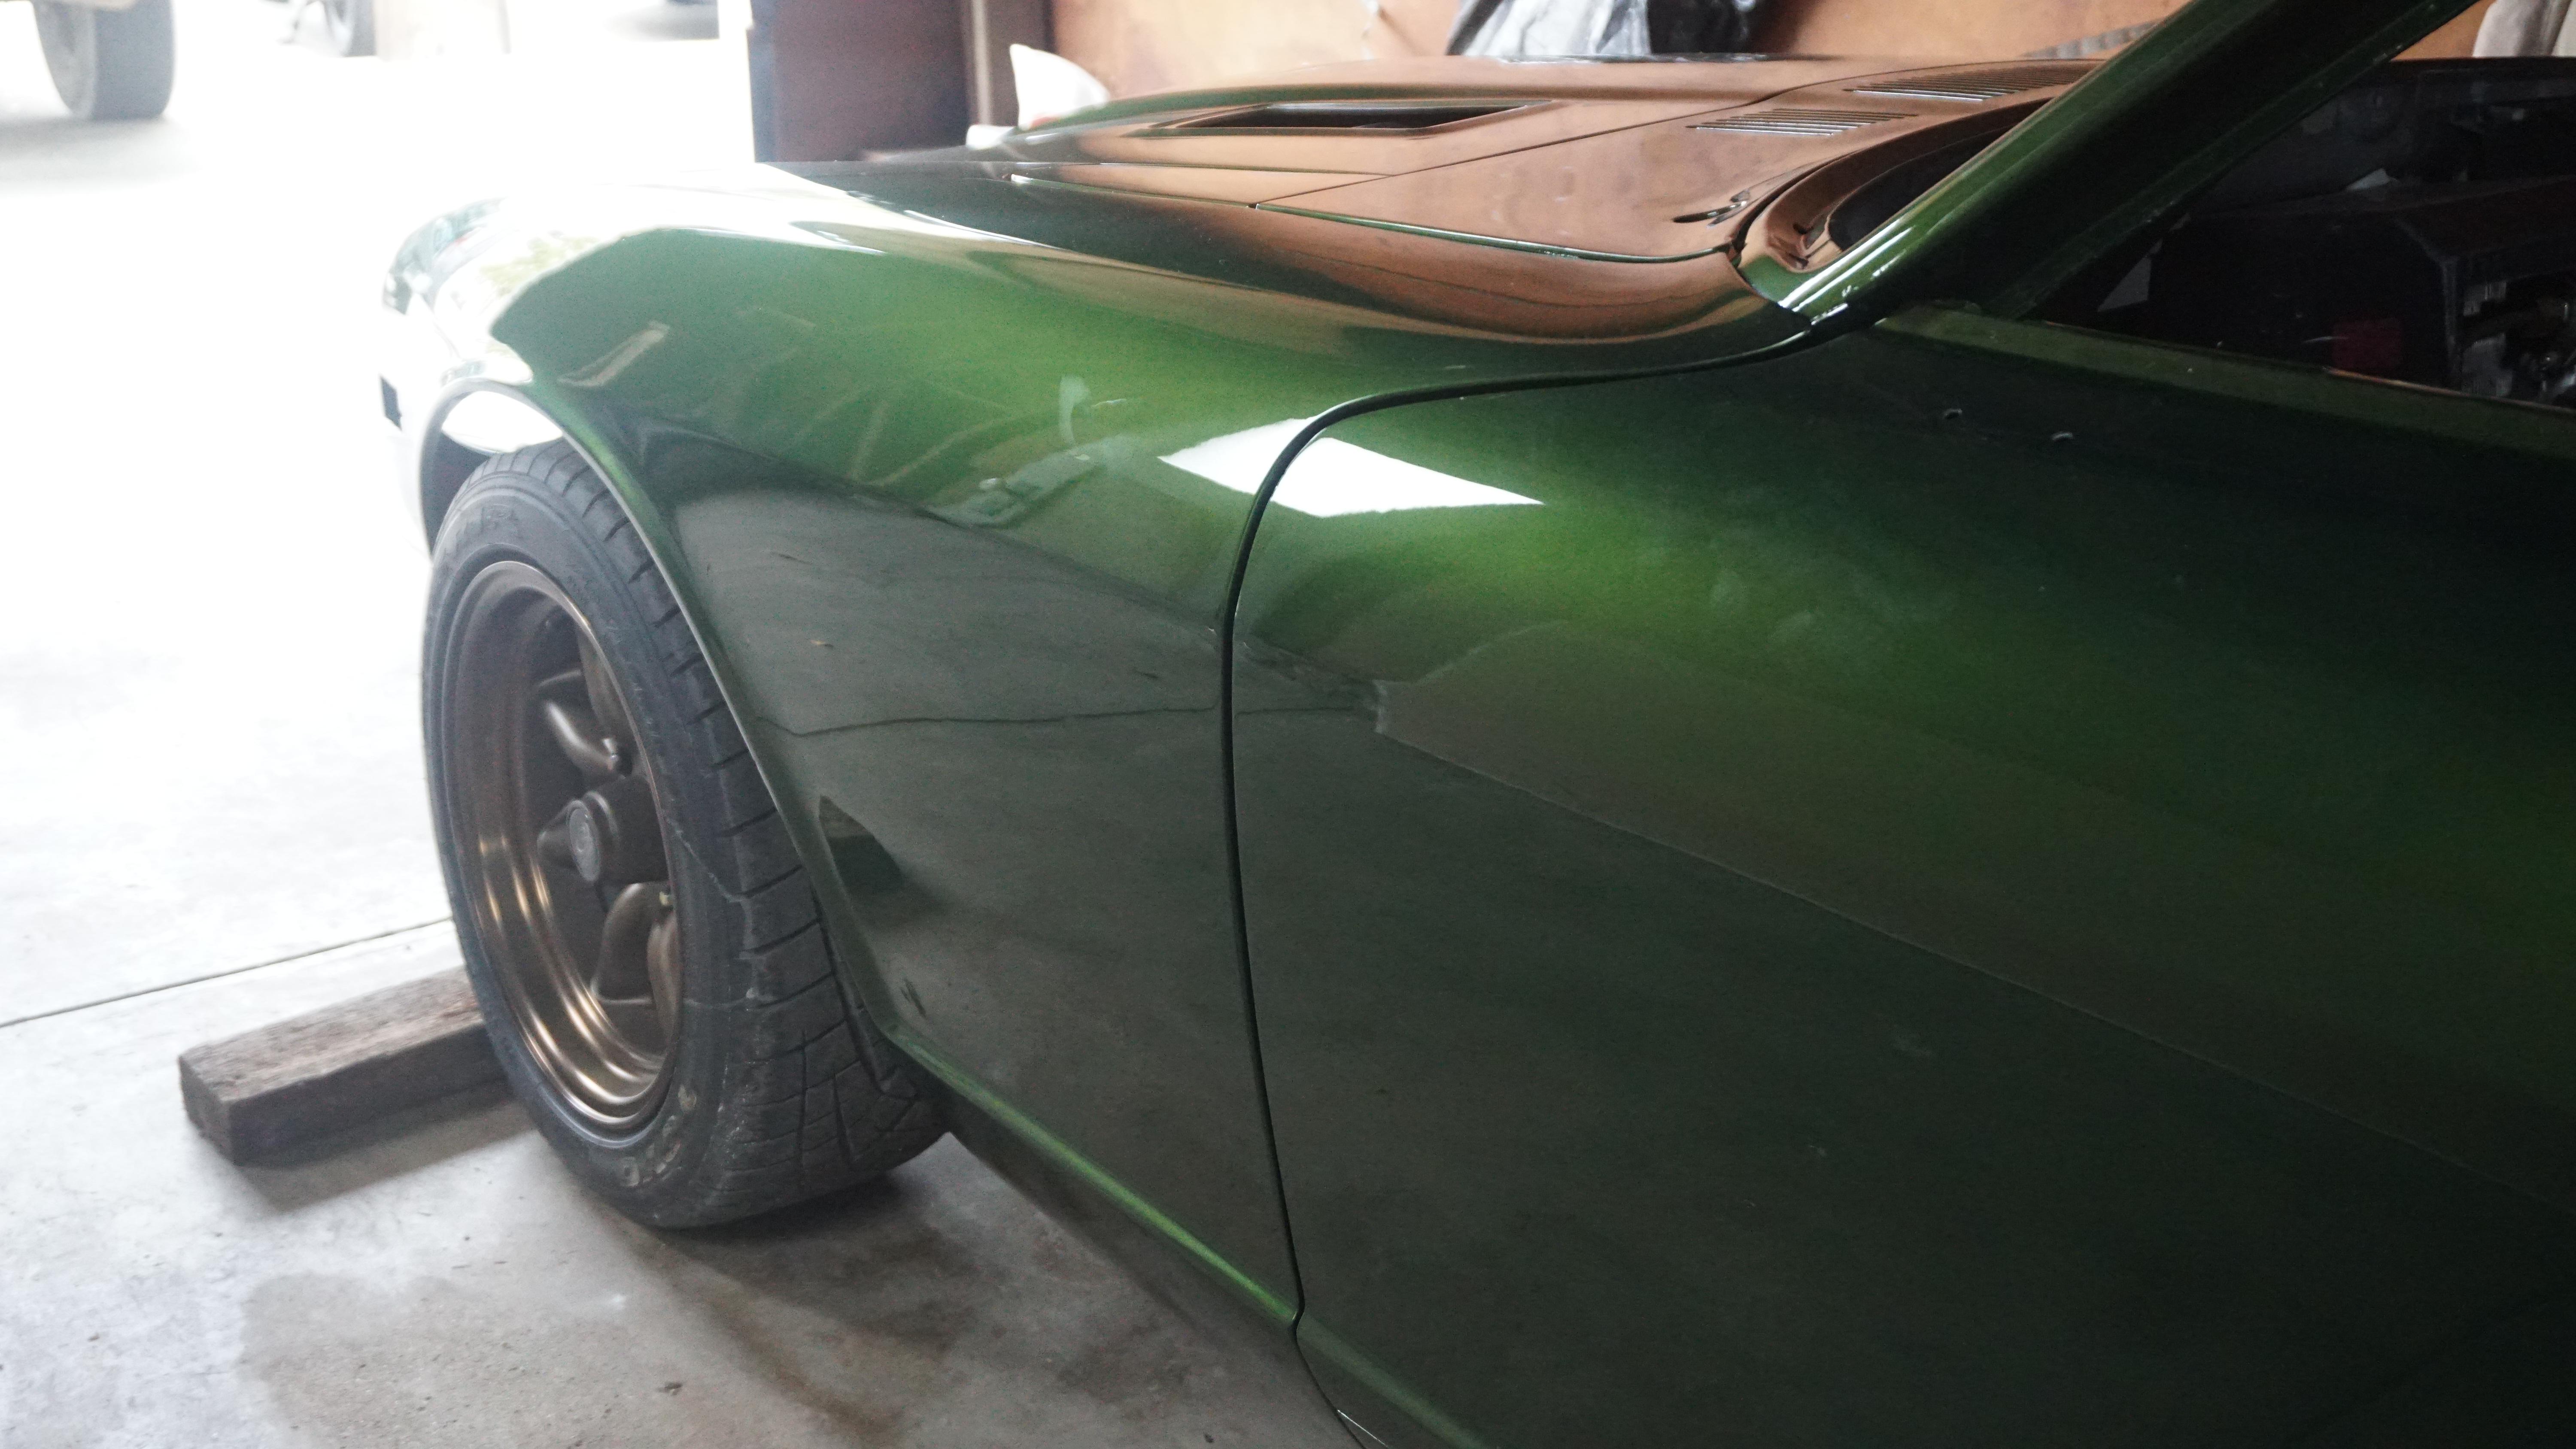
A few more because... why not! Looks pretty mean with the air dam installed. Ignore the rear ride height, the rear doesn't have coilovers installed yet.
-
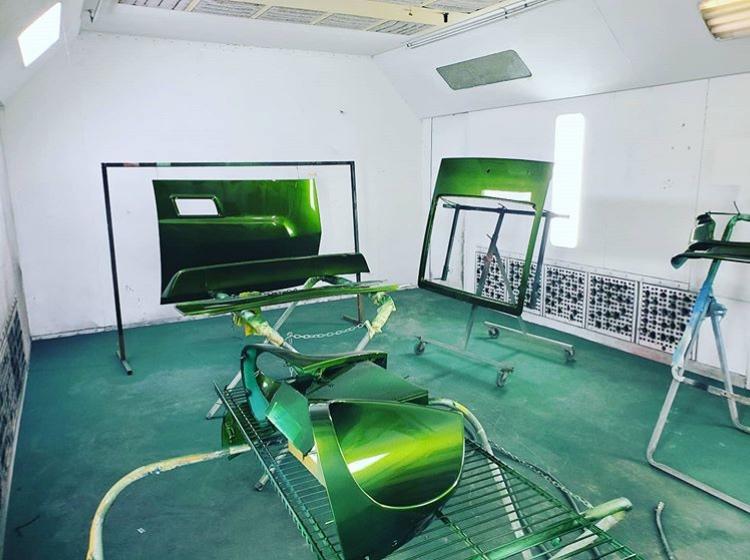
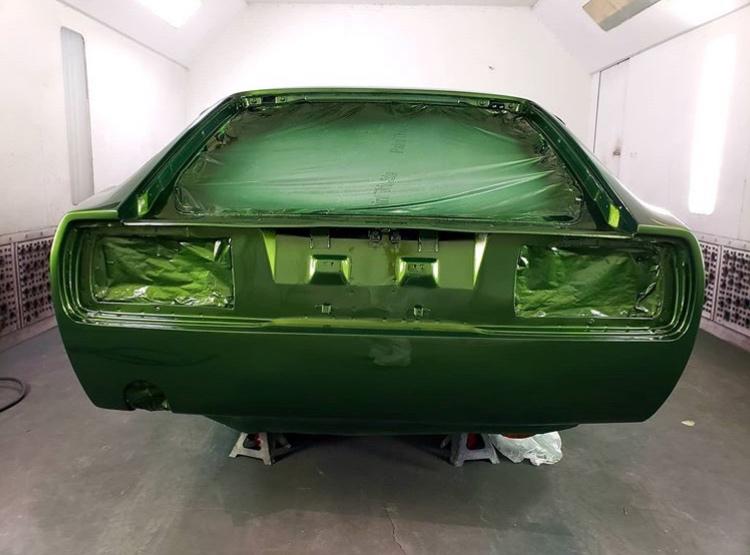
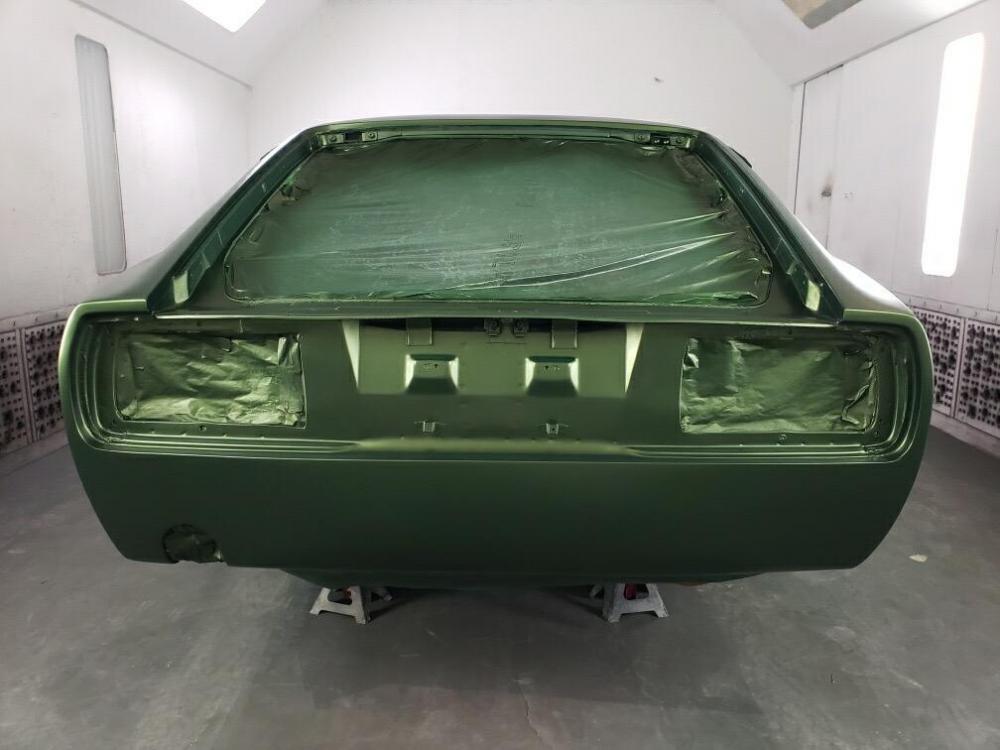
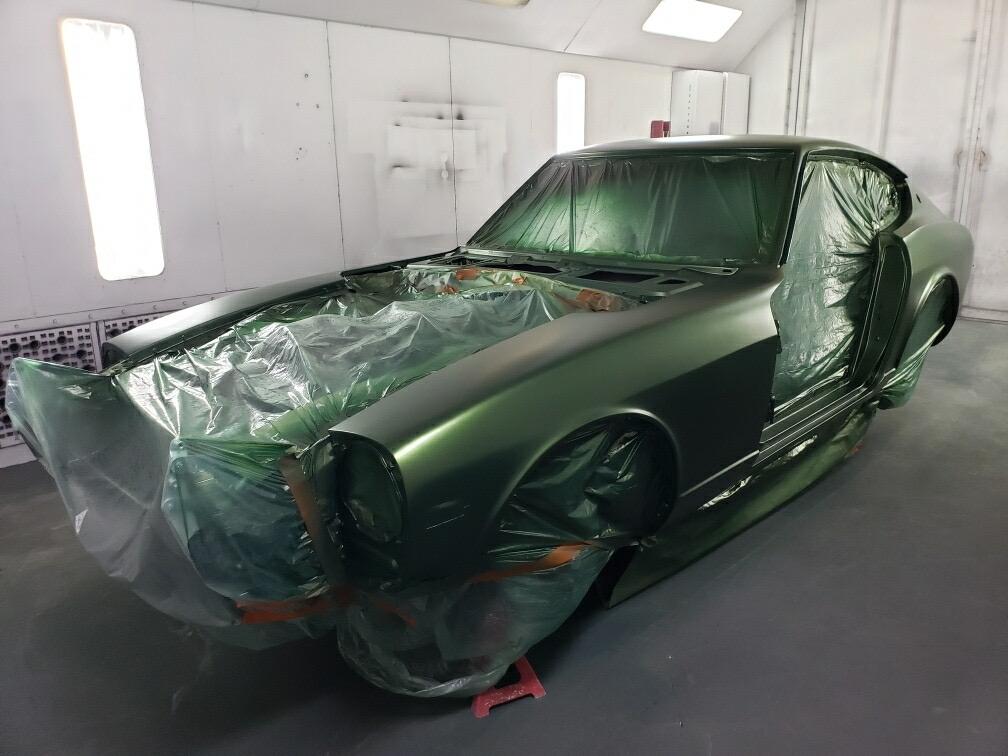
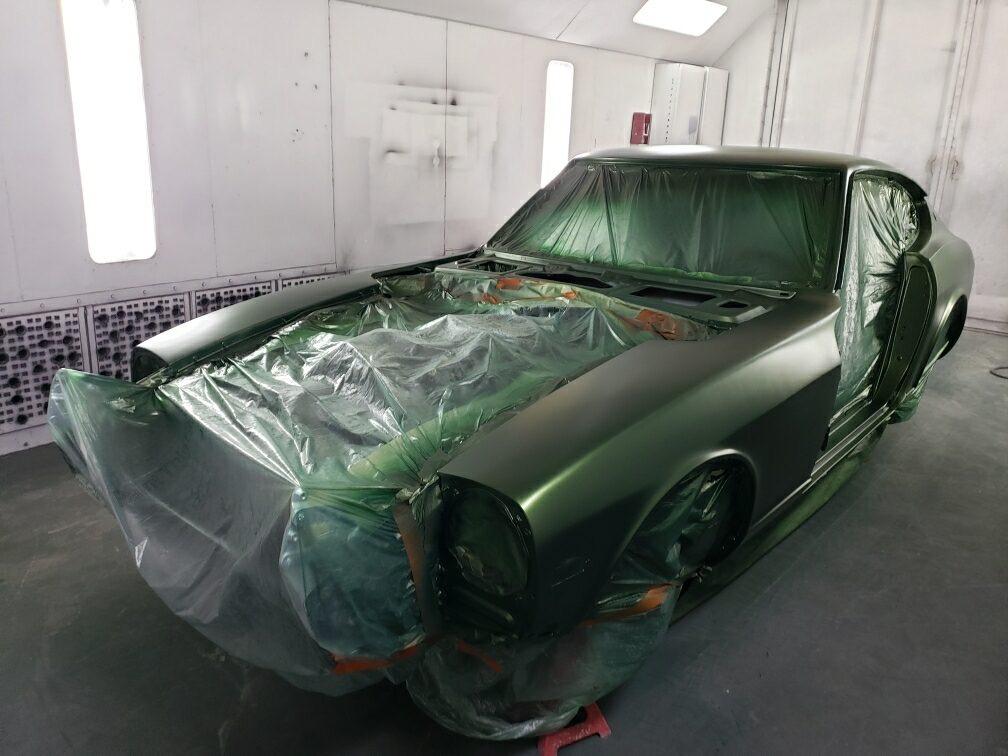
And a few more photos I had from the paint booth.
-
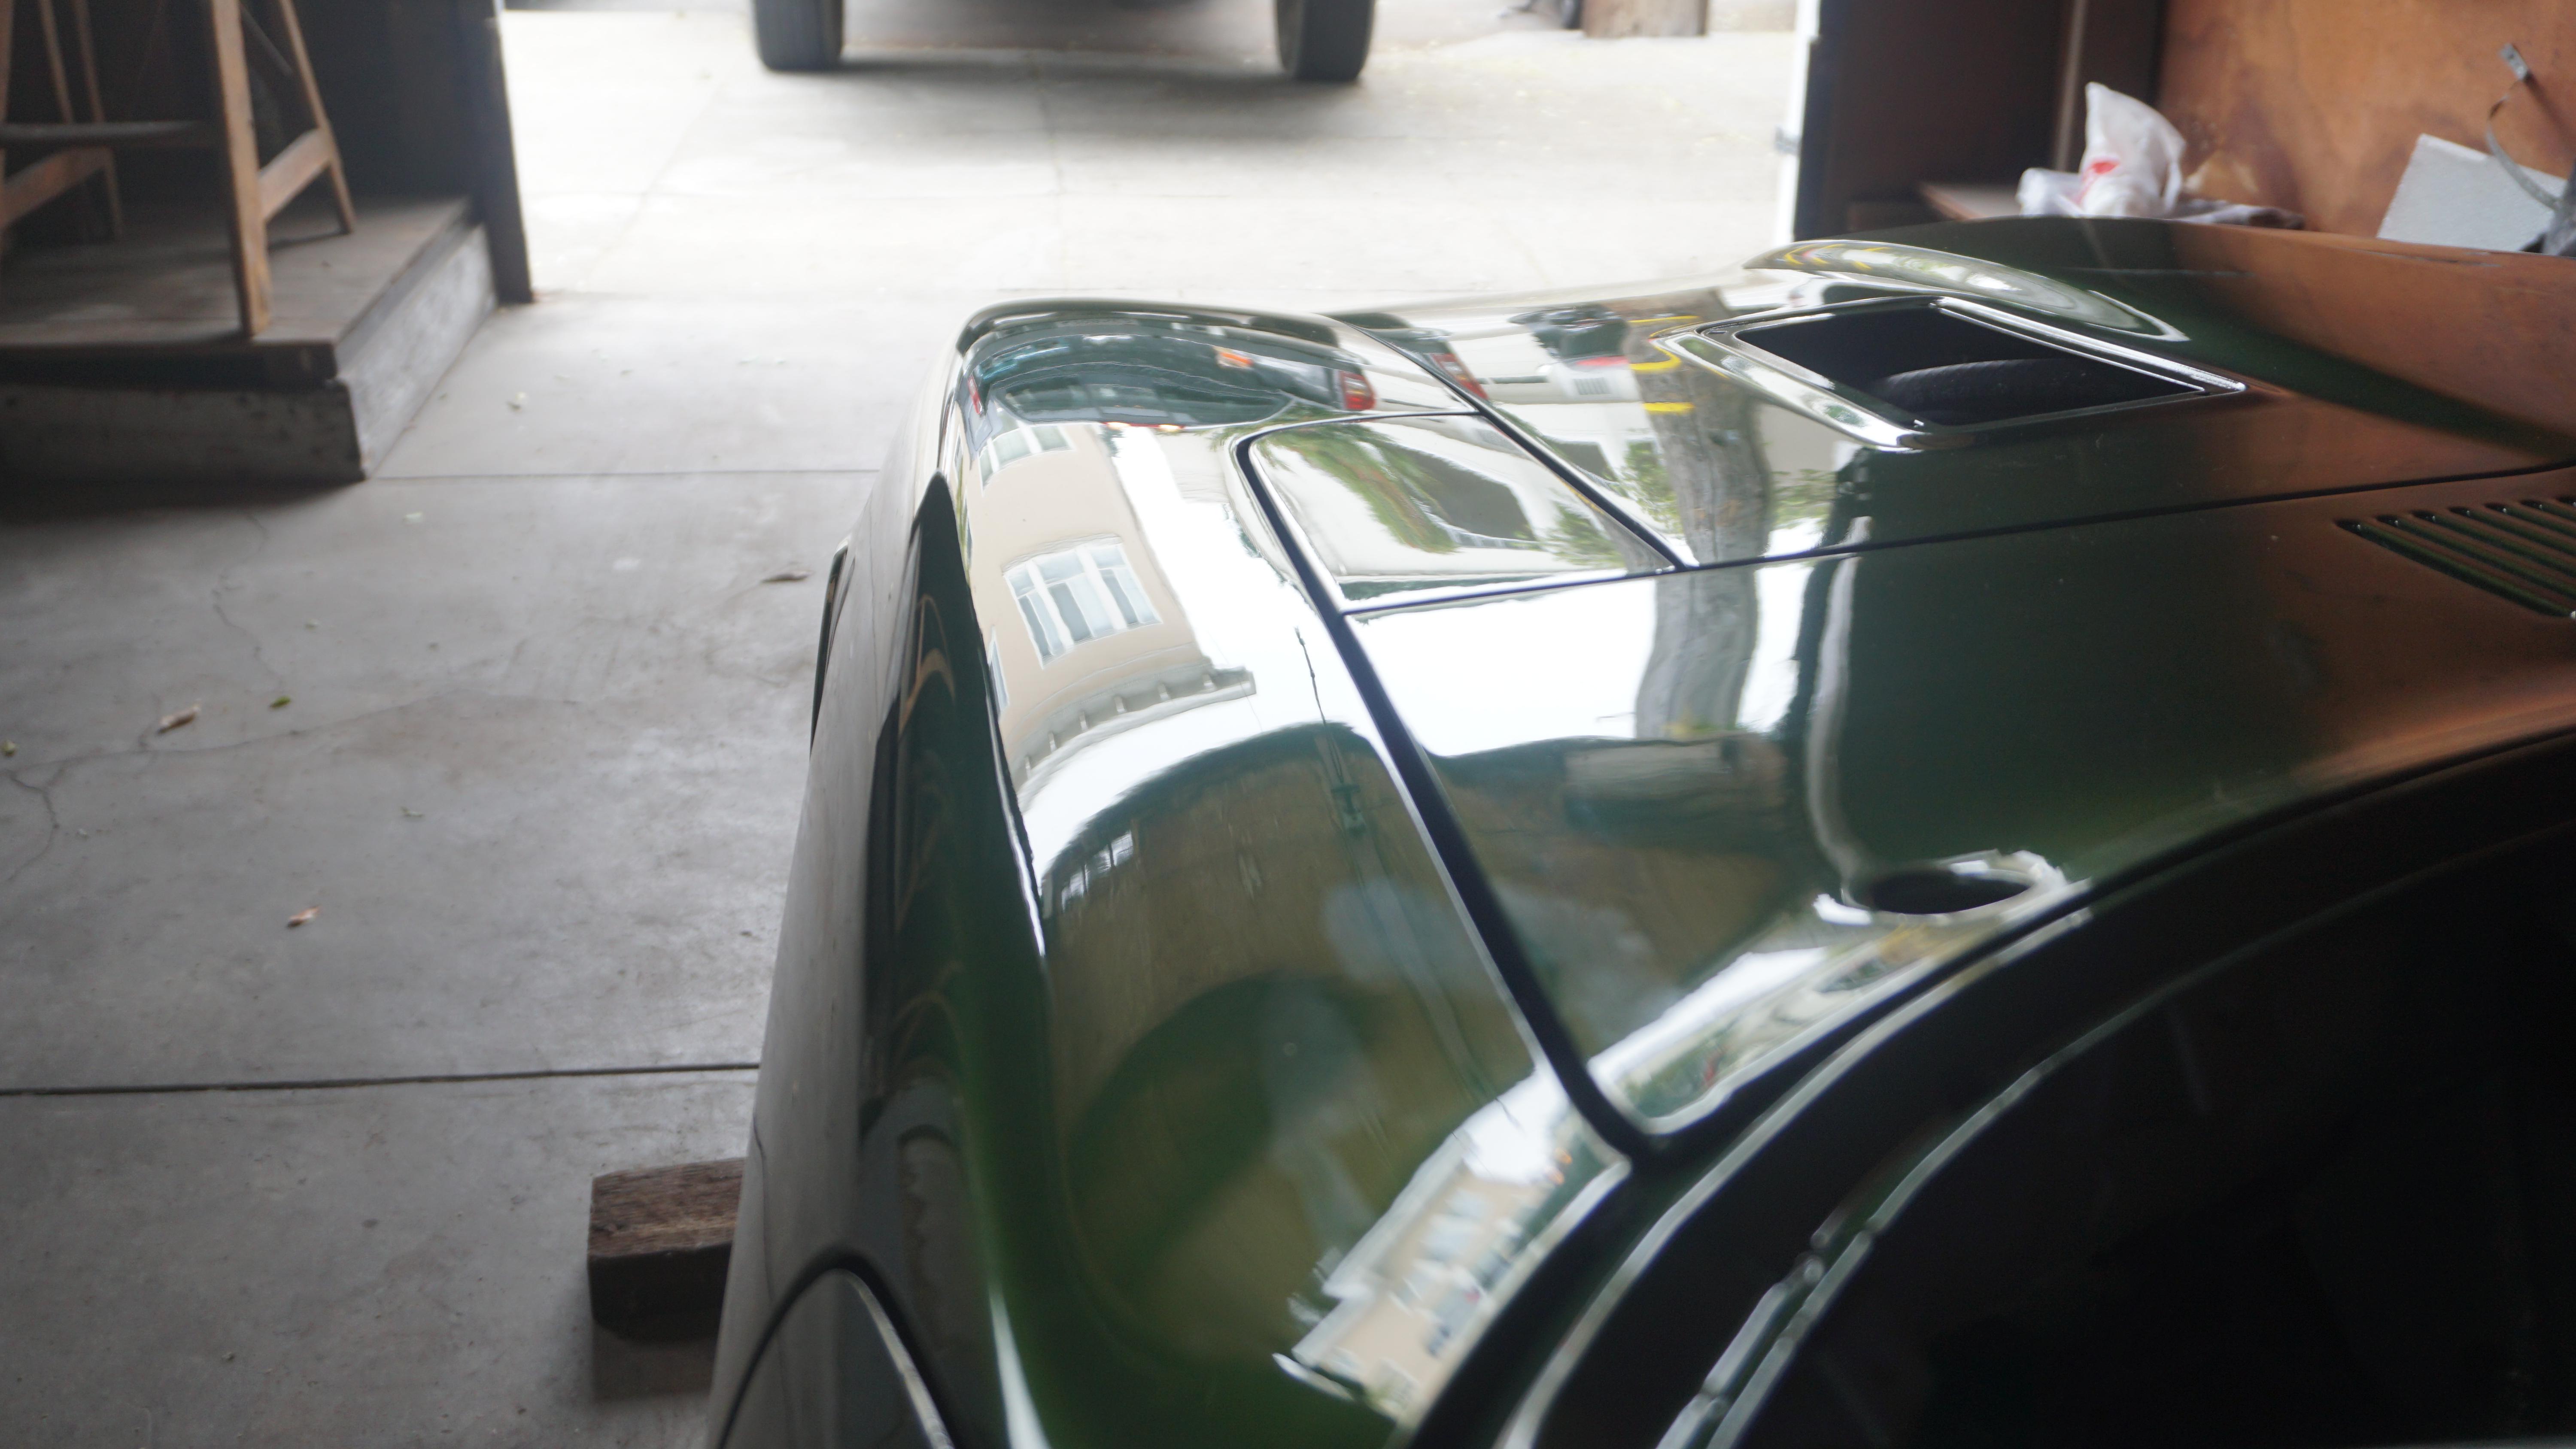
She's back home in the garage now, and very pleased with the paint job. Reassembly over the next few weeks and hopefully on the road in the next 4-6 weeks.


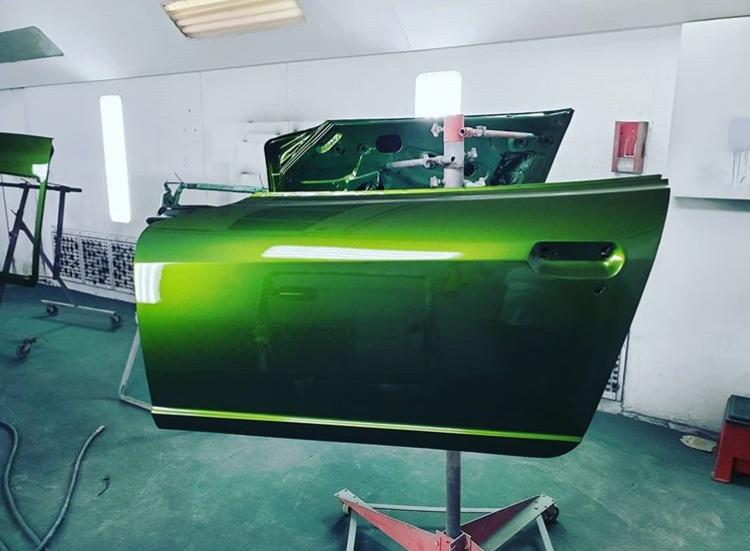
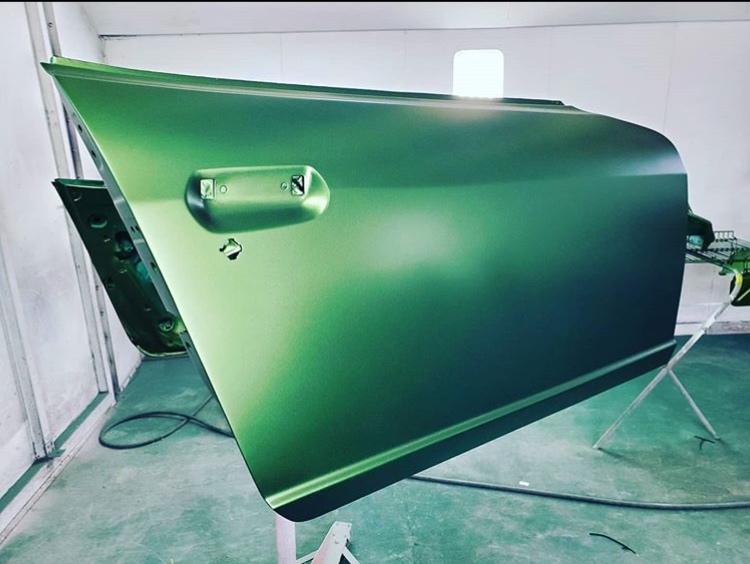
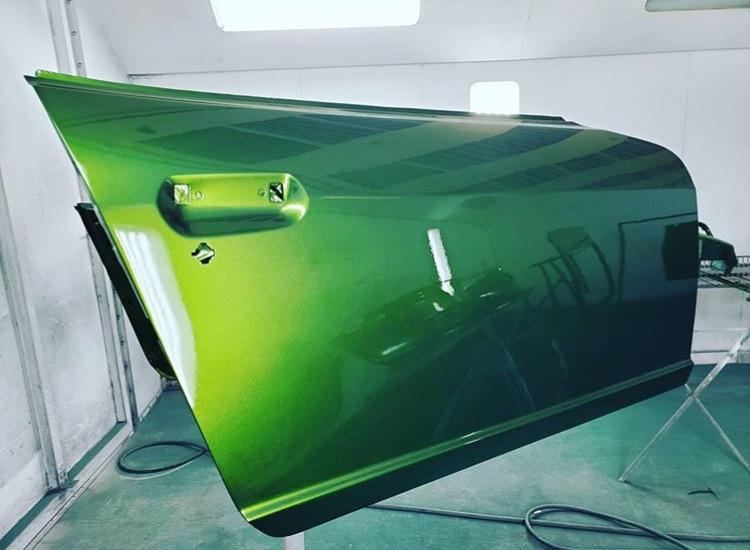
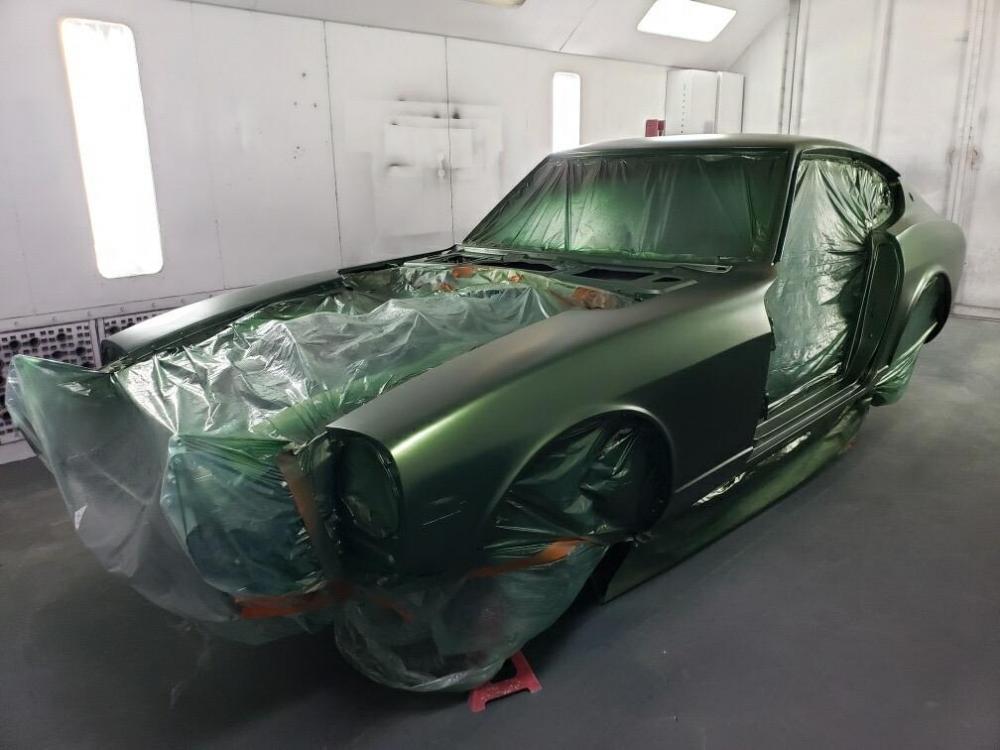
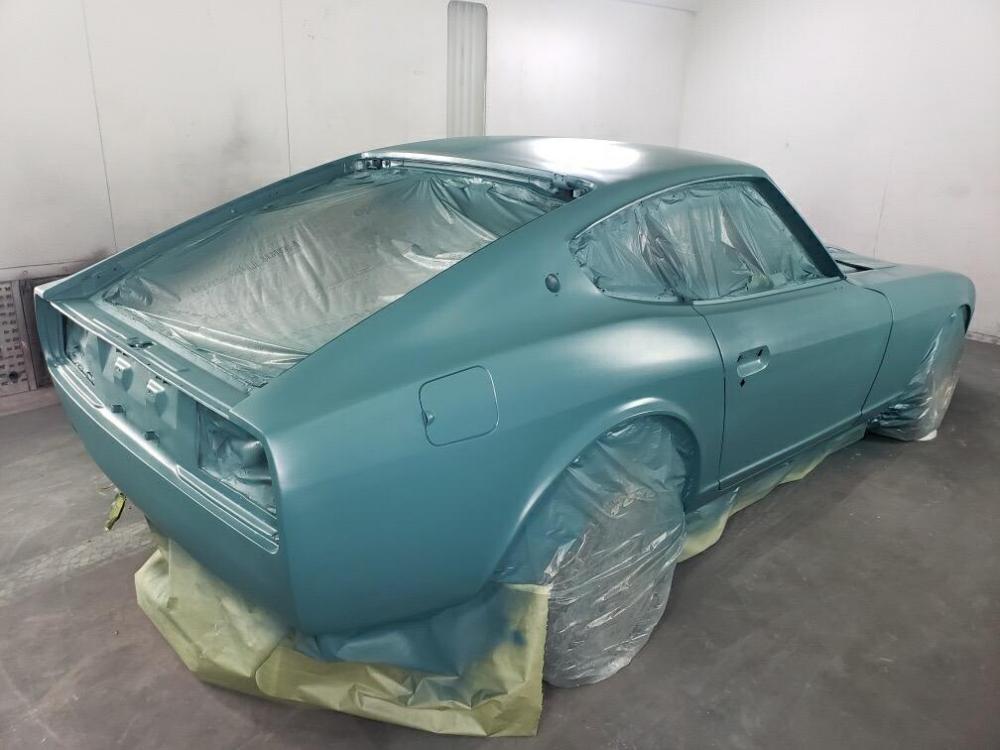
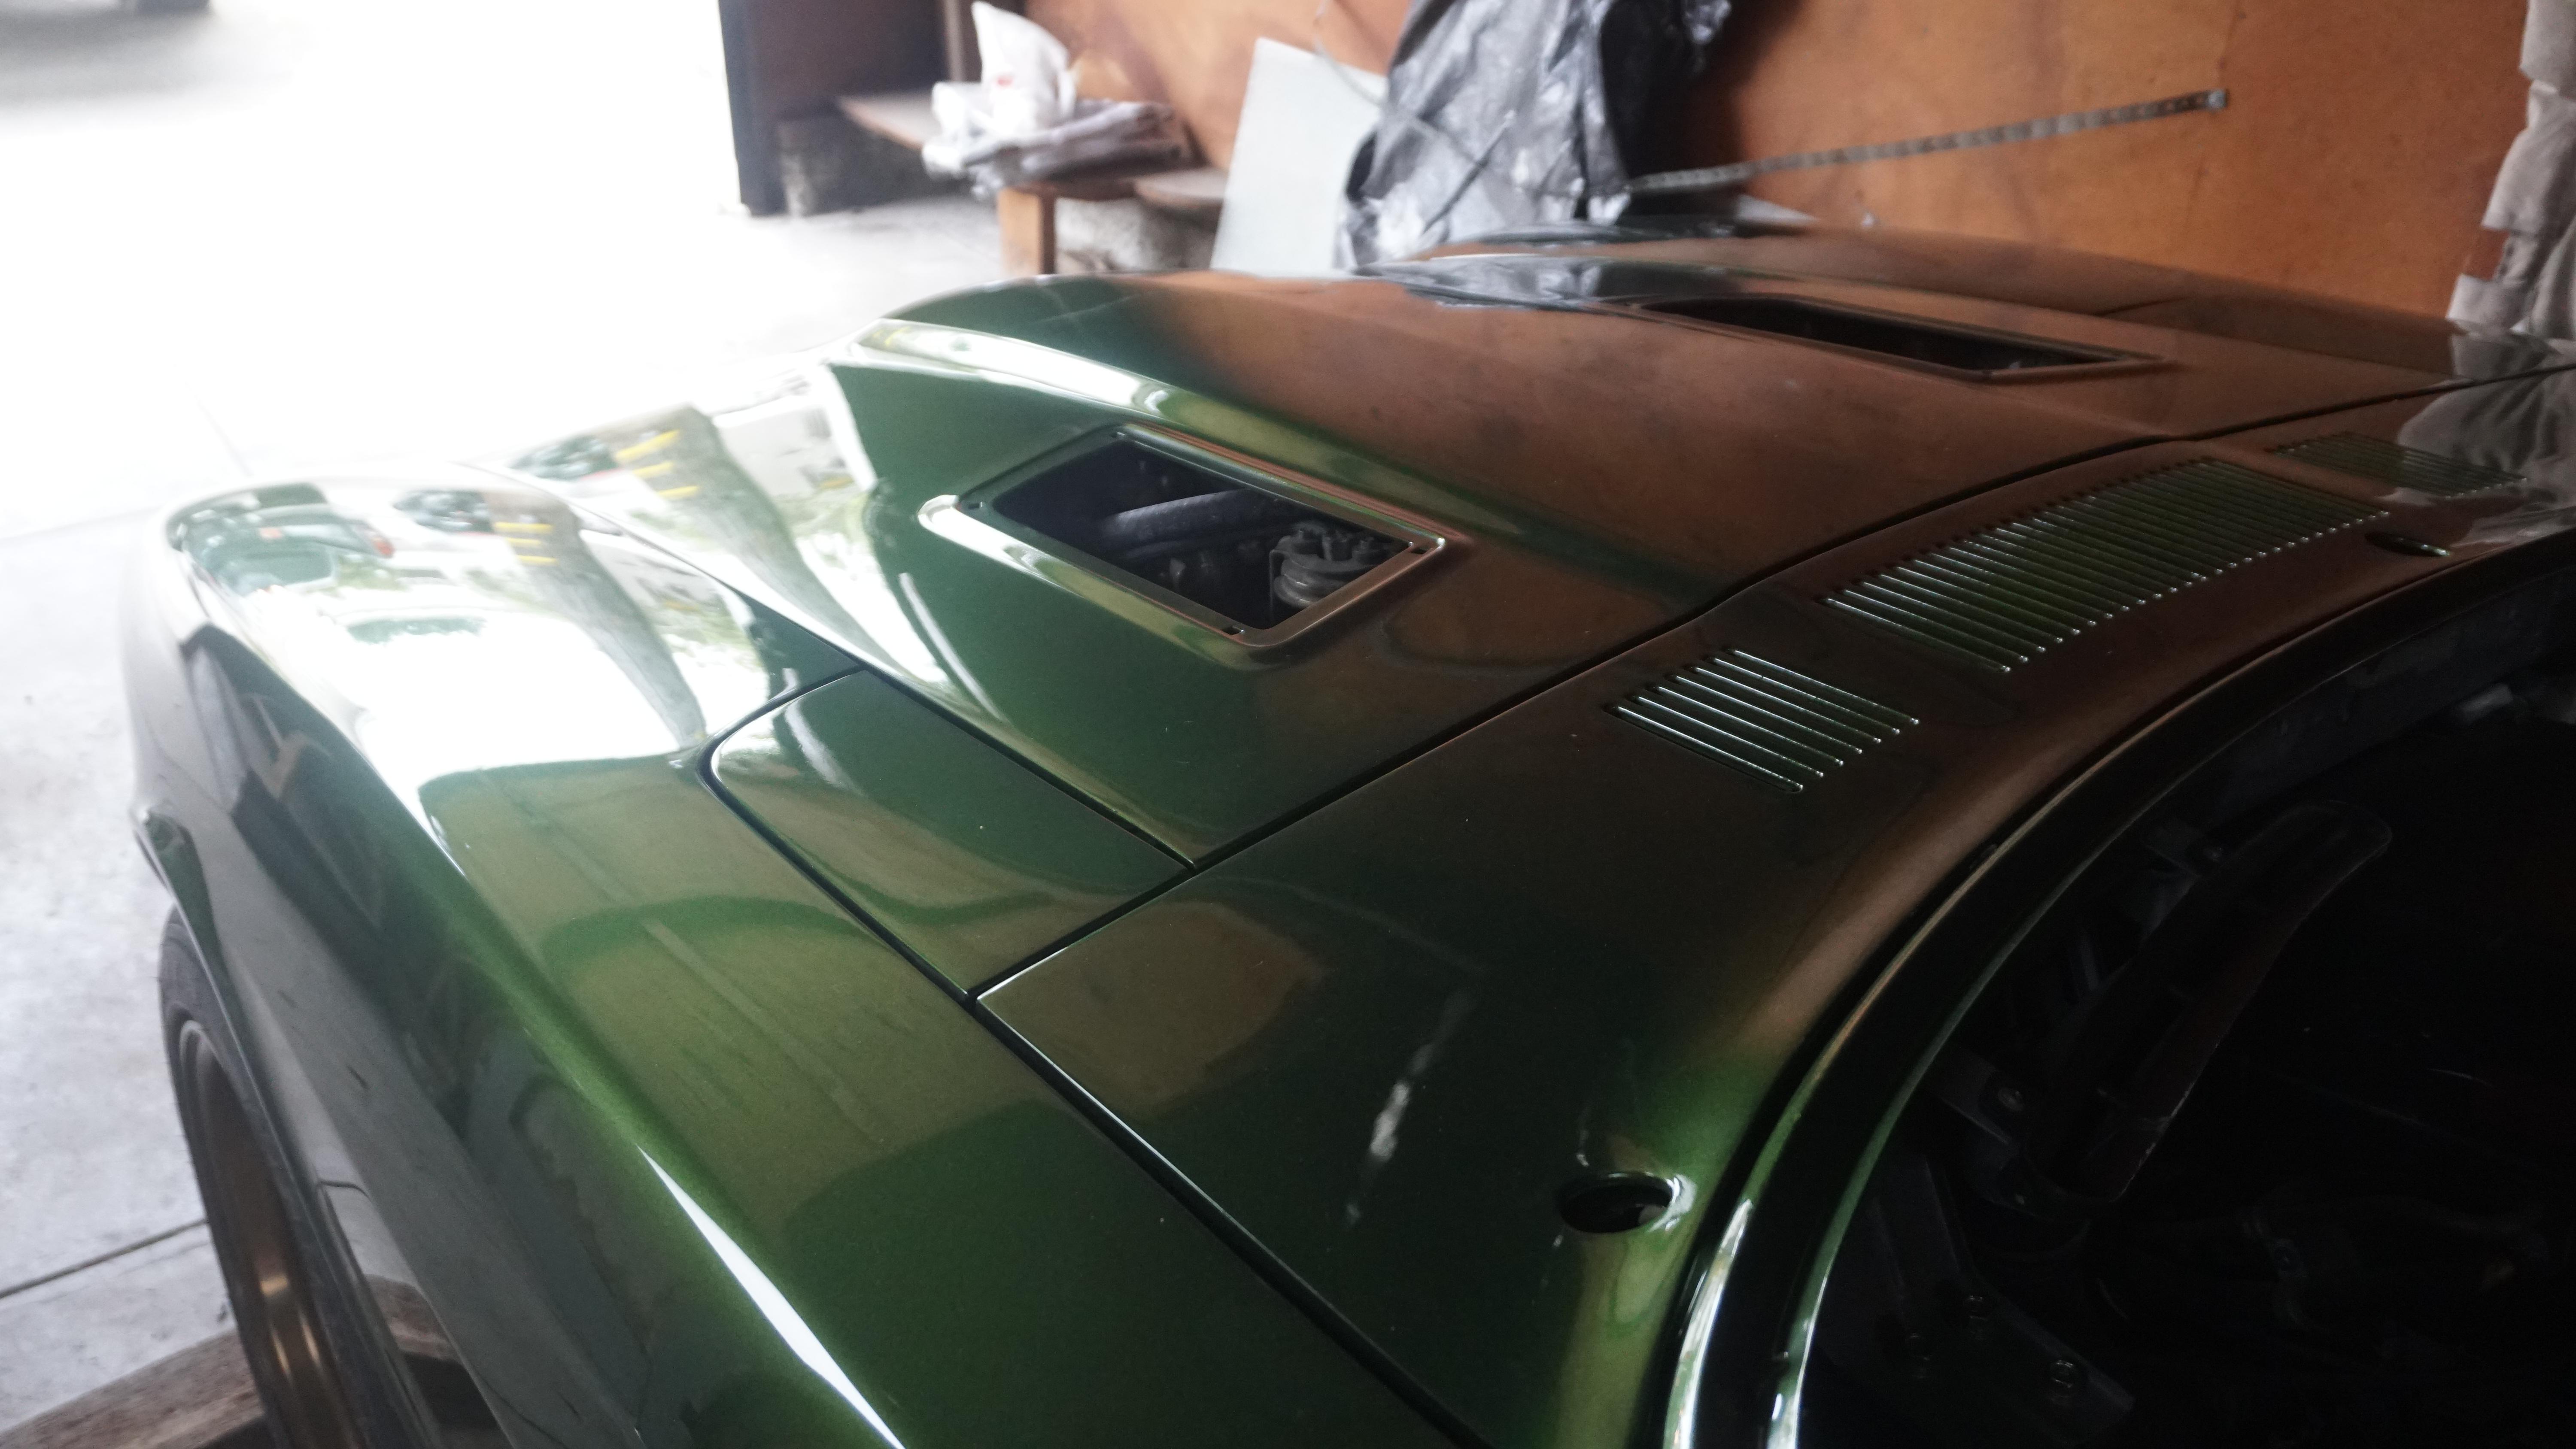
 Clear coat applied this morning. Extremely happy with the color choice. Hood, hatch, doors and other misc. parts will be painted tomorrow.
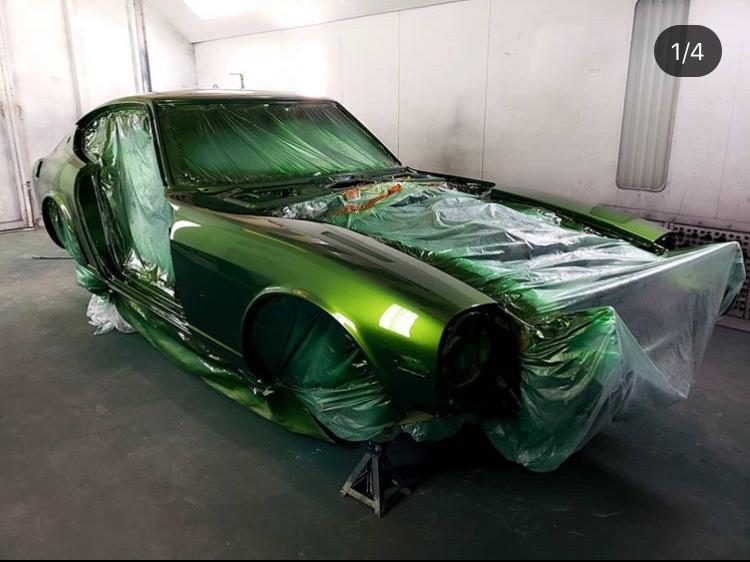
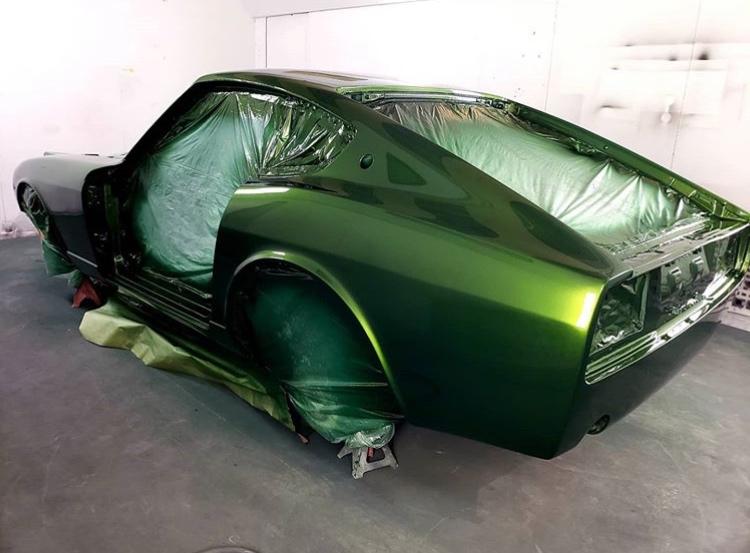
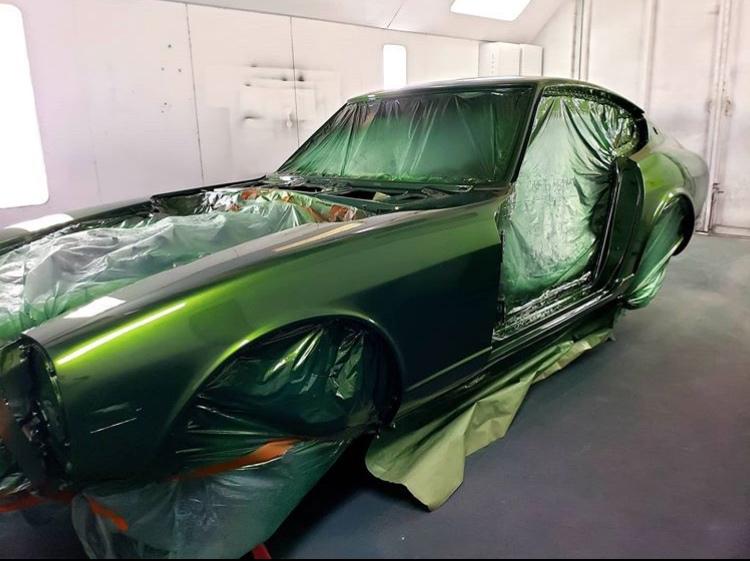
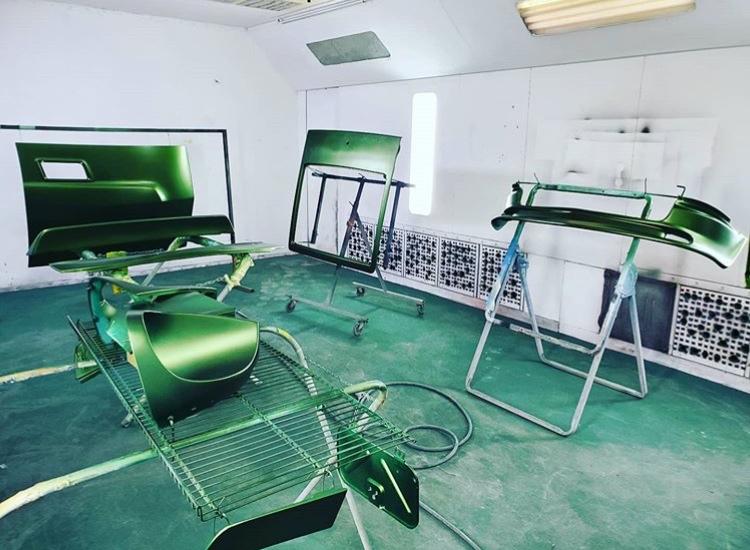
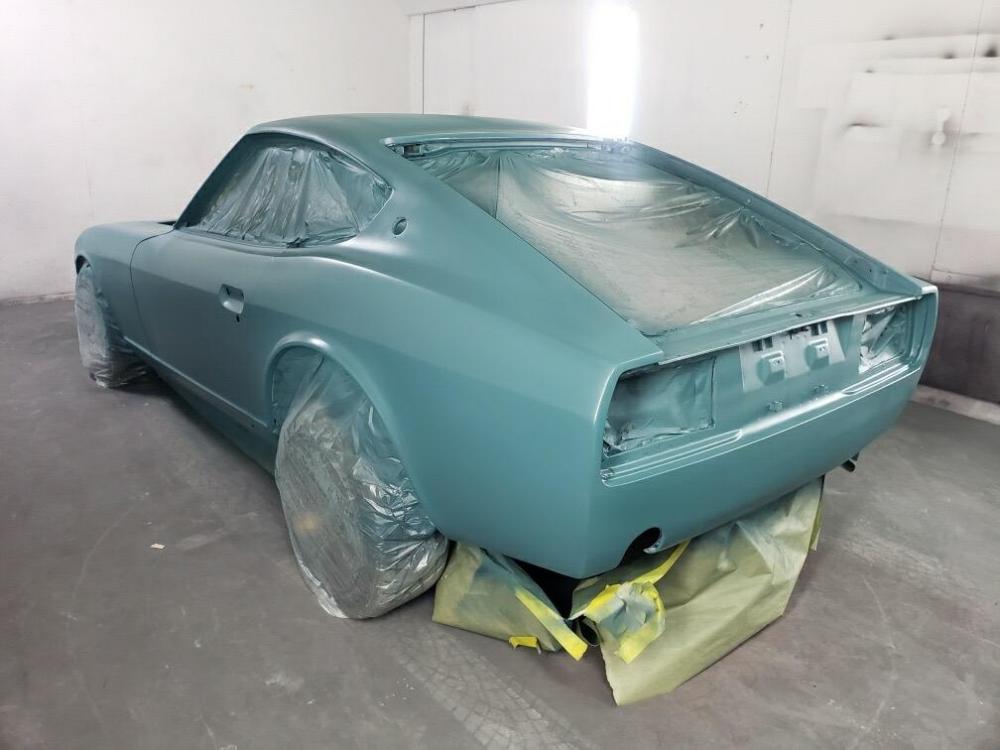
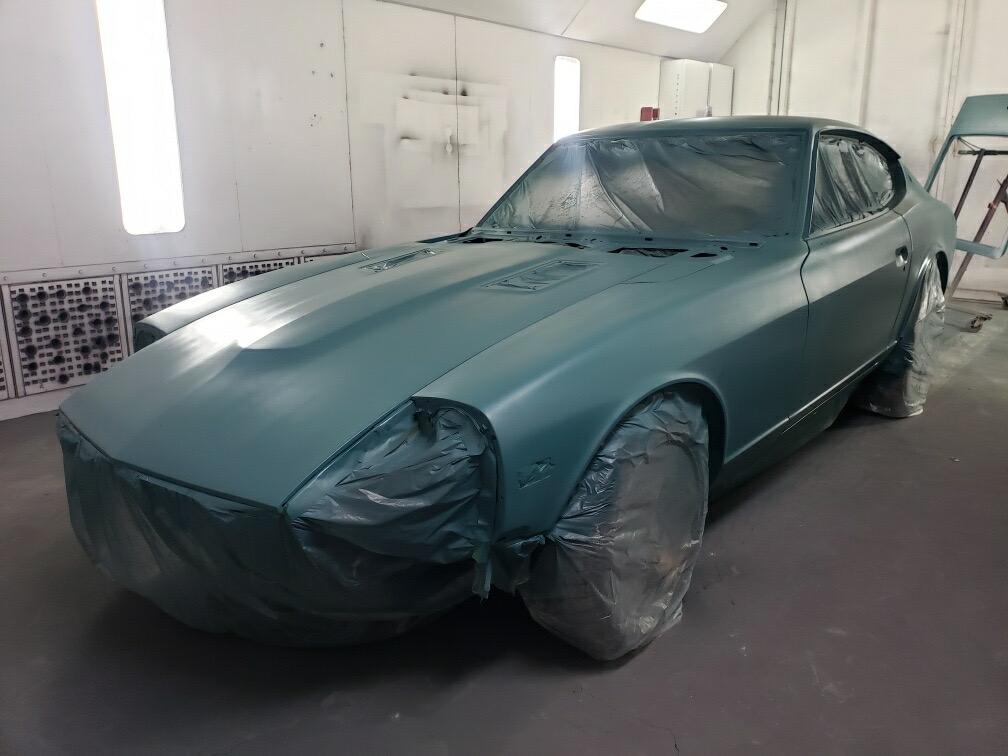
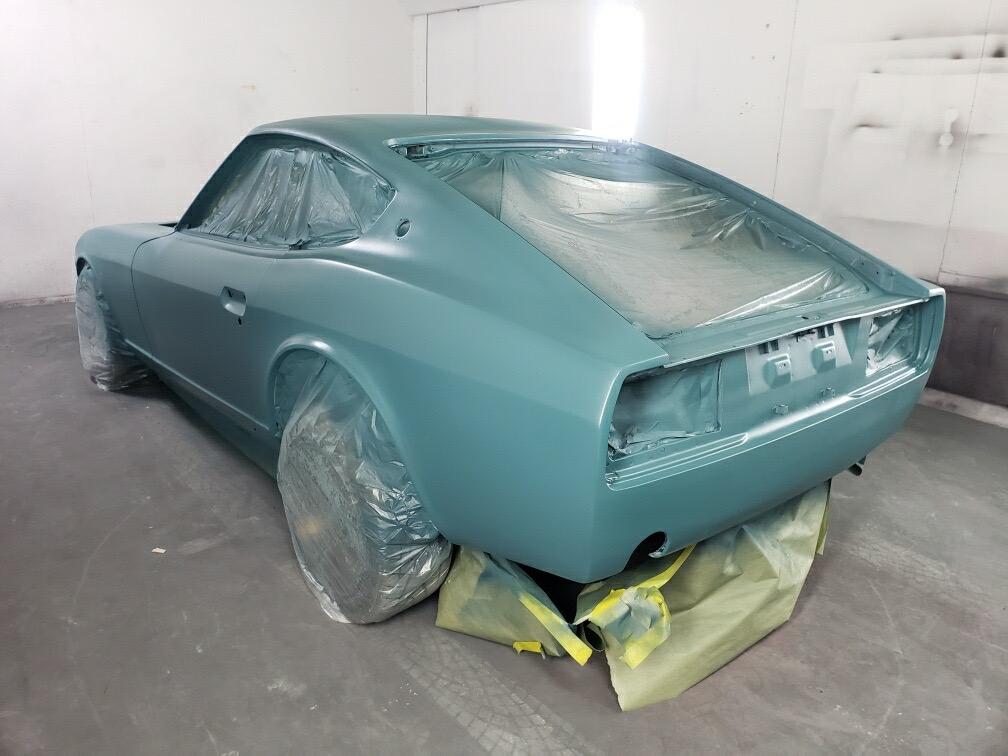
 Wet sanded all morning and then coated with green sealer. In booth and base coat applied. Leaving to dry over the weekend and then hit it with clear coat on Monday.

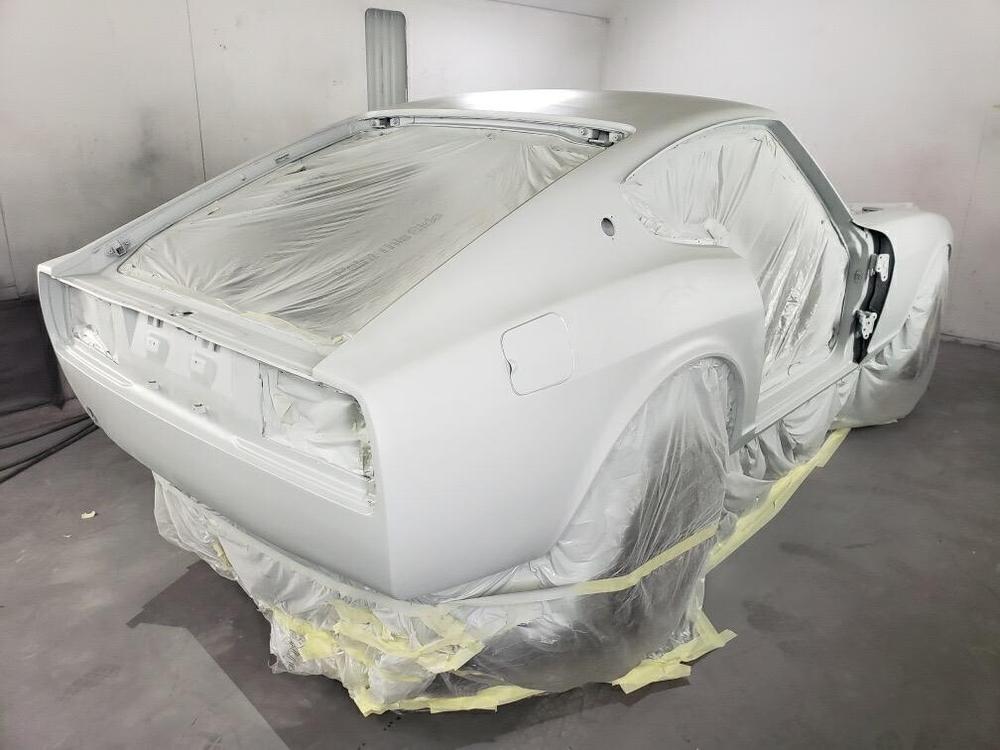
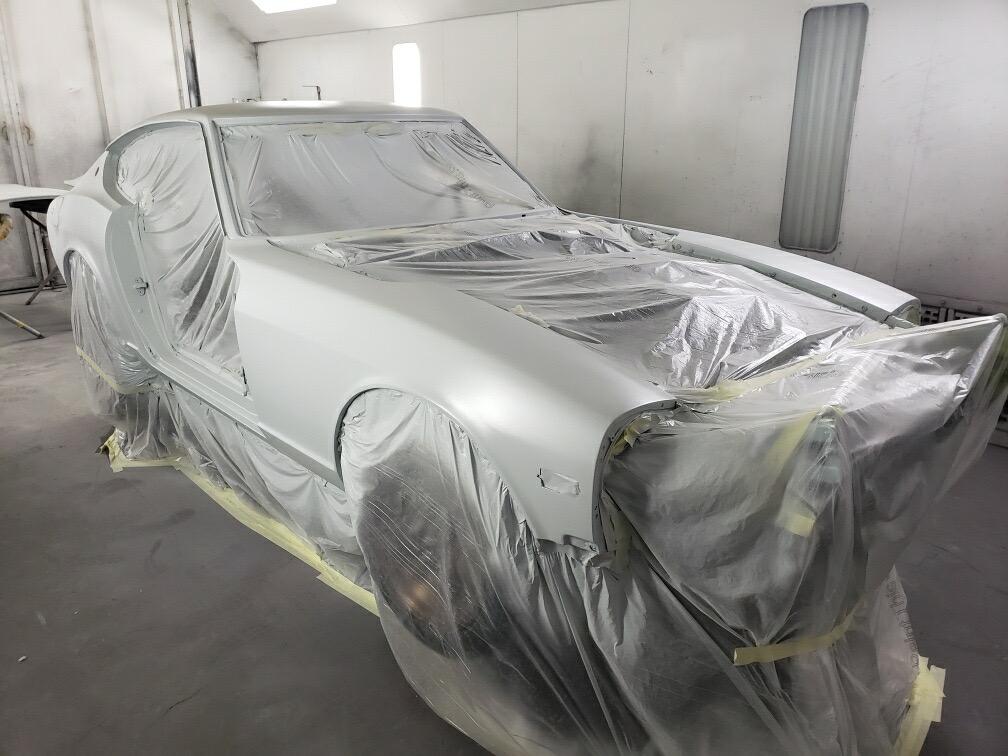
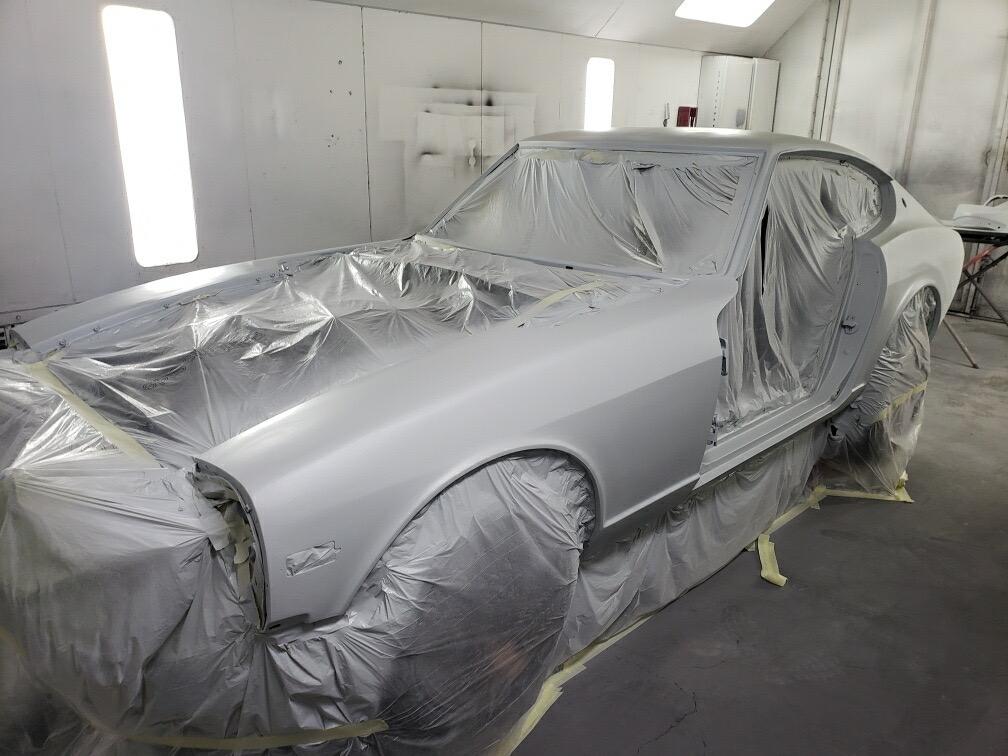
 Final tinted primer yesterday. Very happy with the result. Wet sanding today and hopefully painting over the weekend.
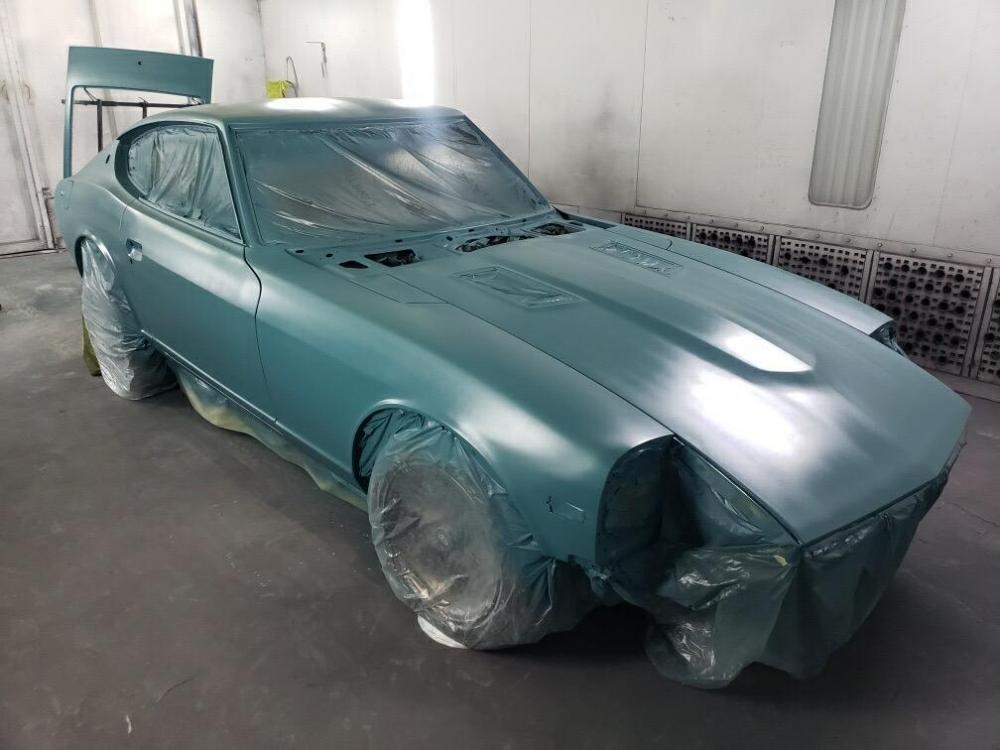

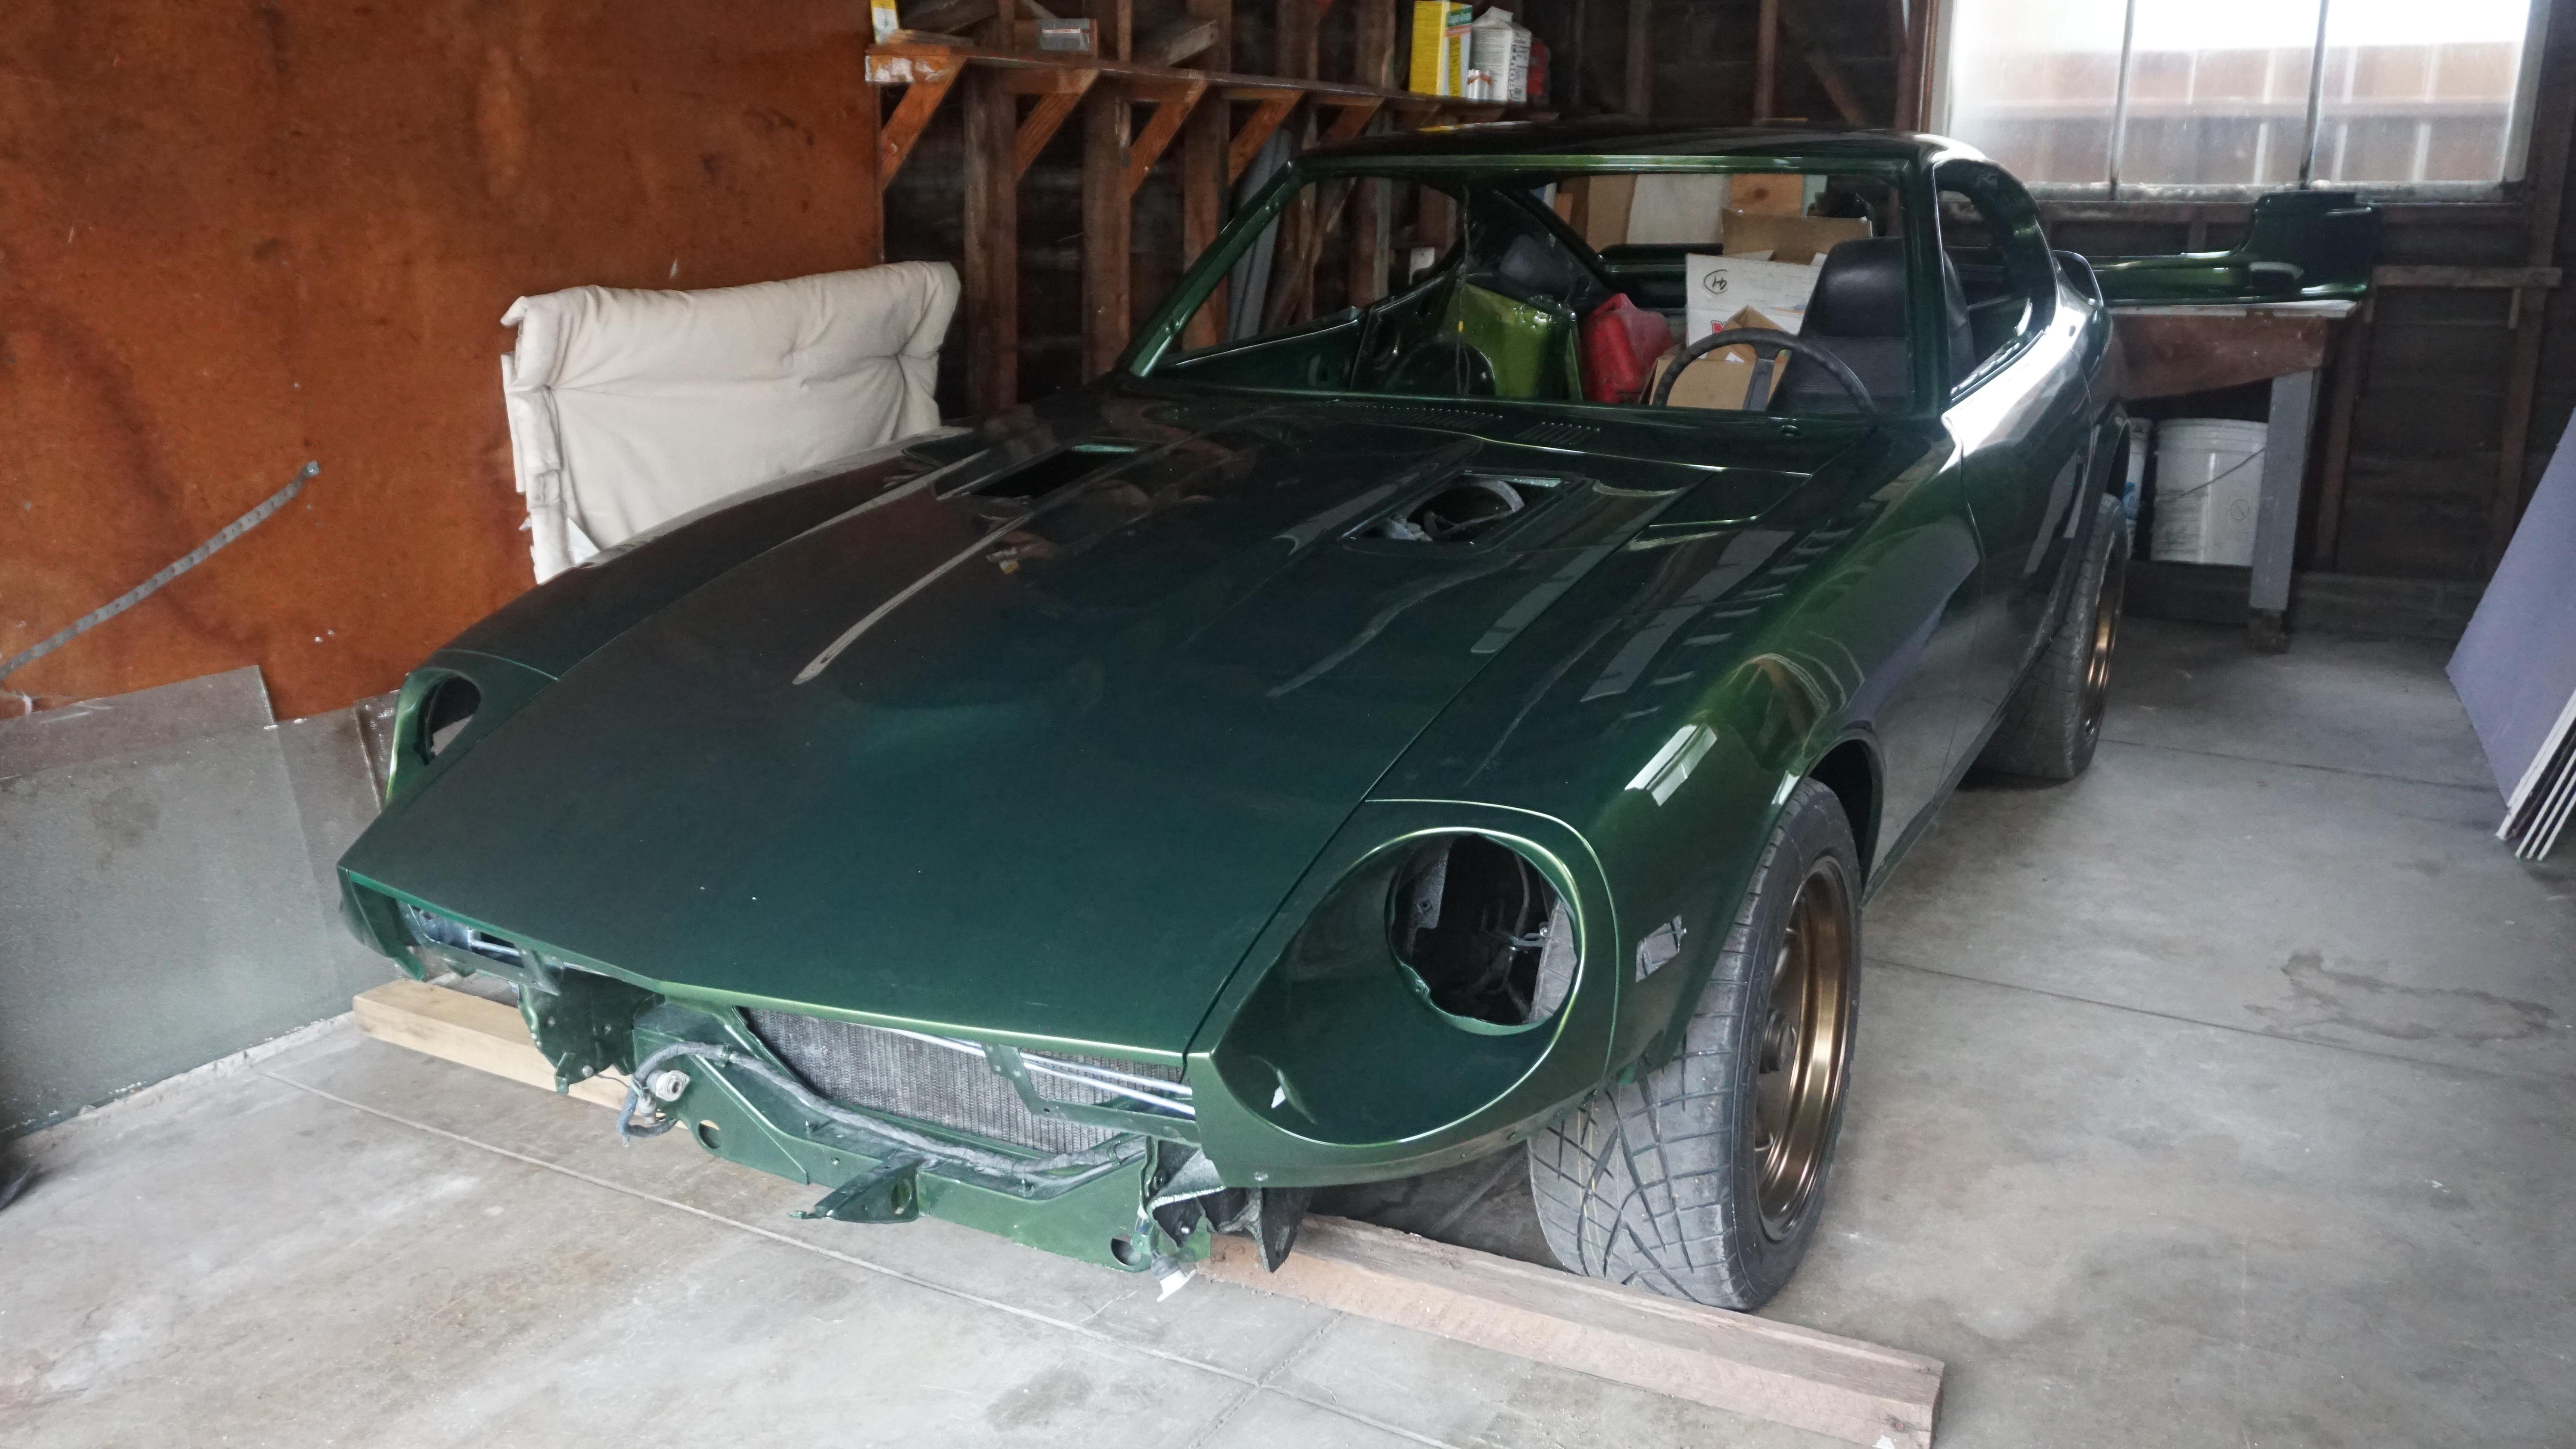
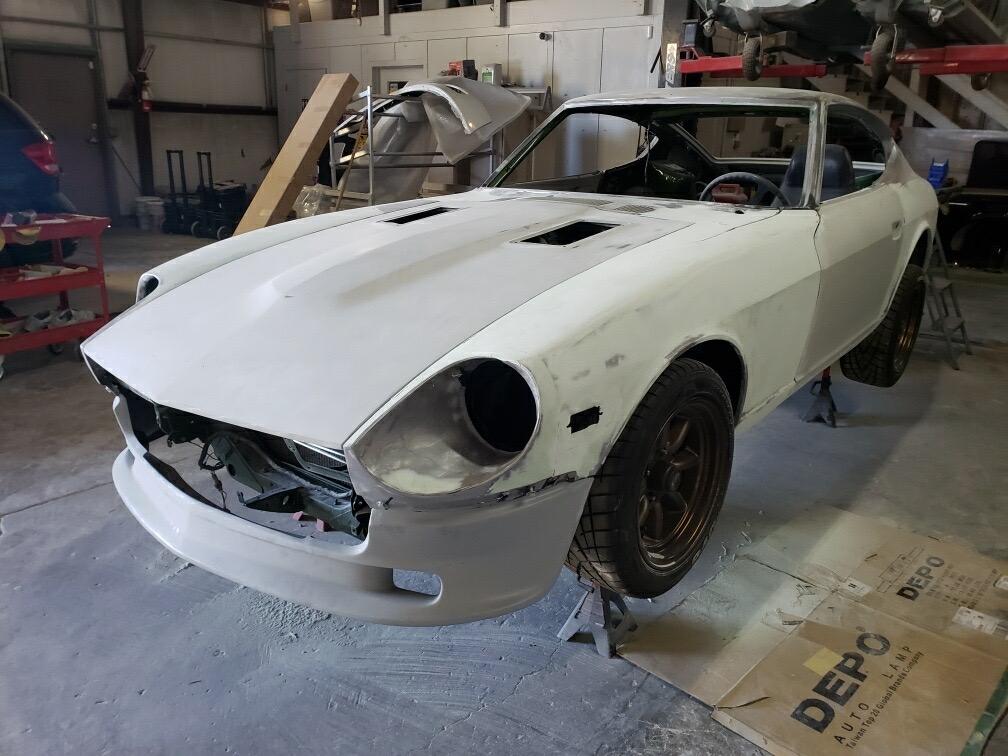
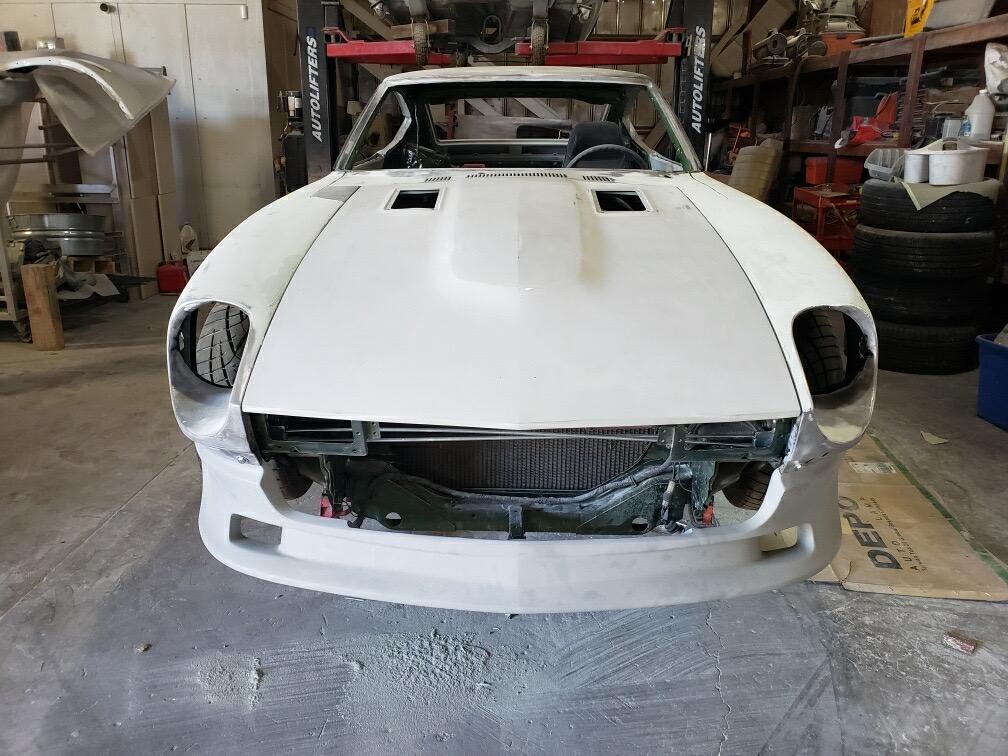
 More progress. Final primer of body. Paint next week. Happy with how bodywork turned out. Lots of hours spent on it.

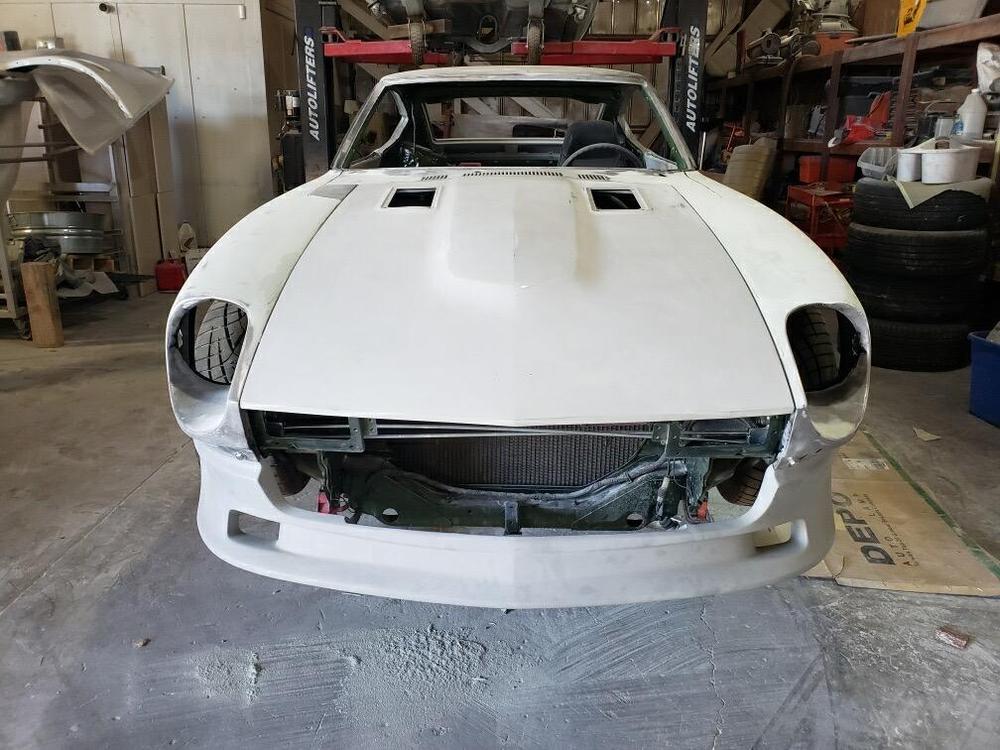
 Air dam installed. Getting closer.


Important Information
By using this site, you agree to our Privacy Policy and Guidelines. We have placed cookies on your device to help make this website better. You can adjust your cookie settings, otherwise we'll assume you're okay to continue.