BDJeff
Free Member
-
Joined
-
Last visited
Everything posted by BDJeff
-
-
-
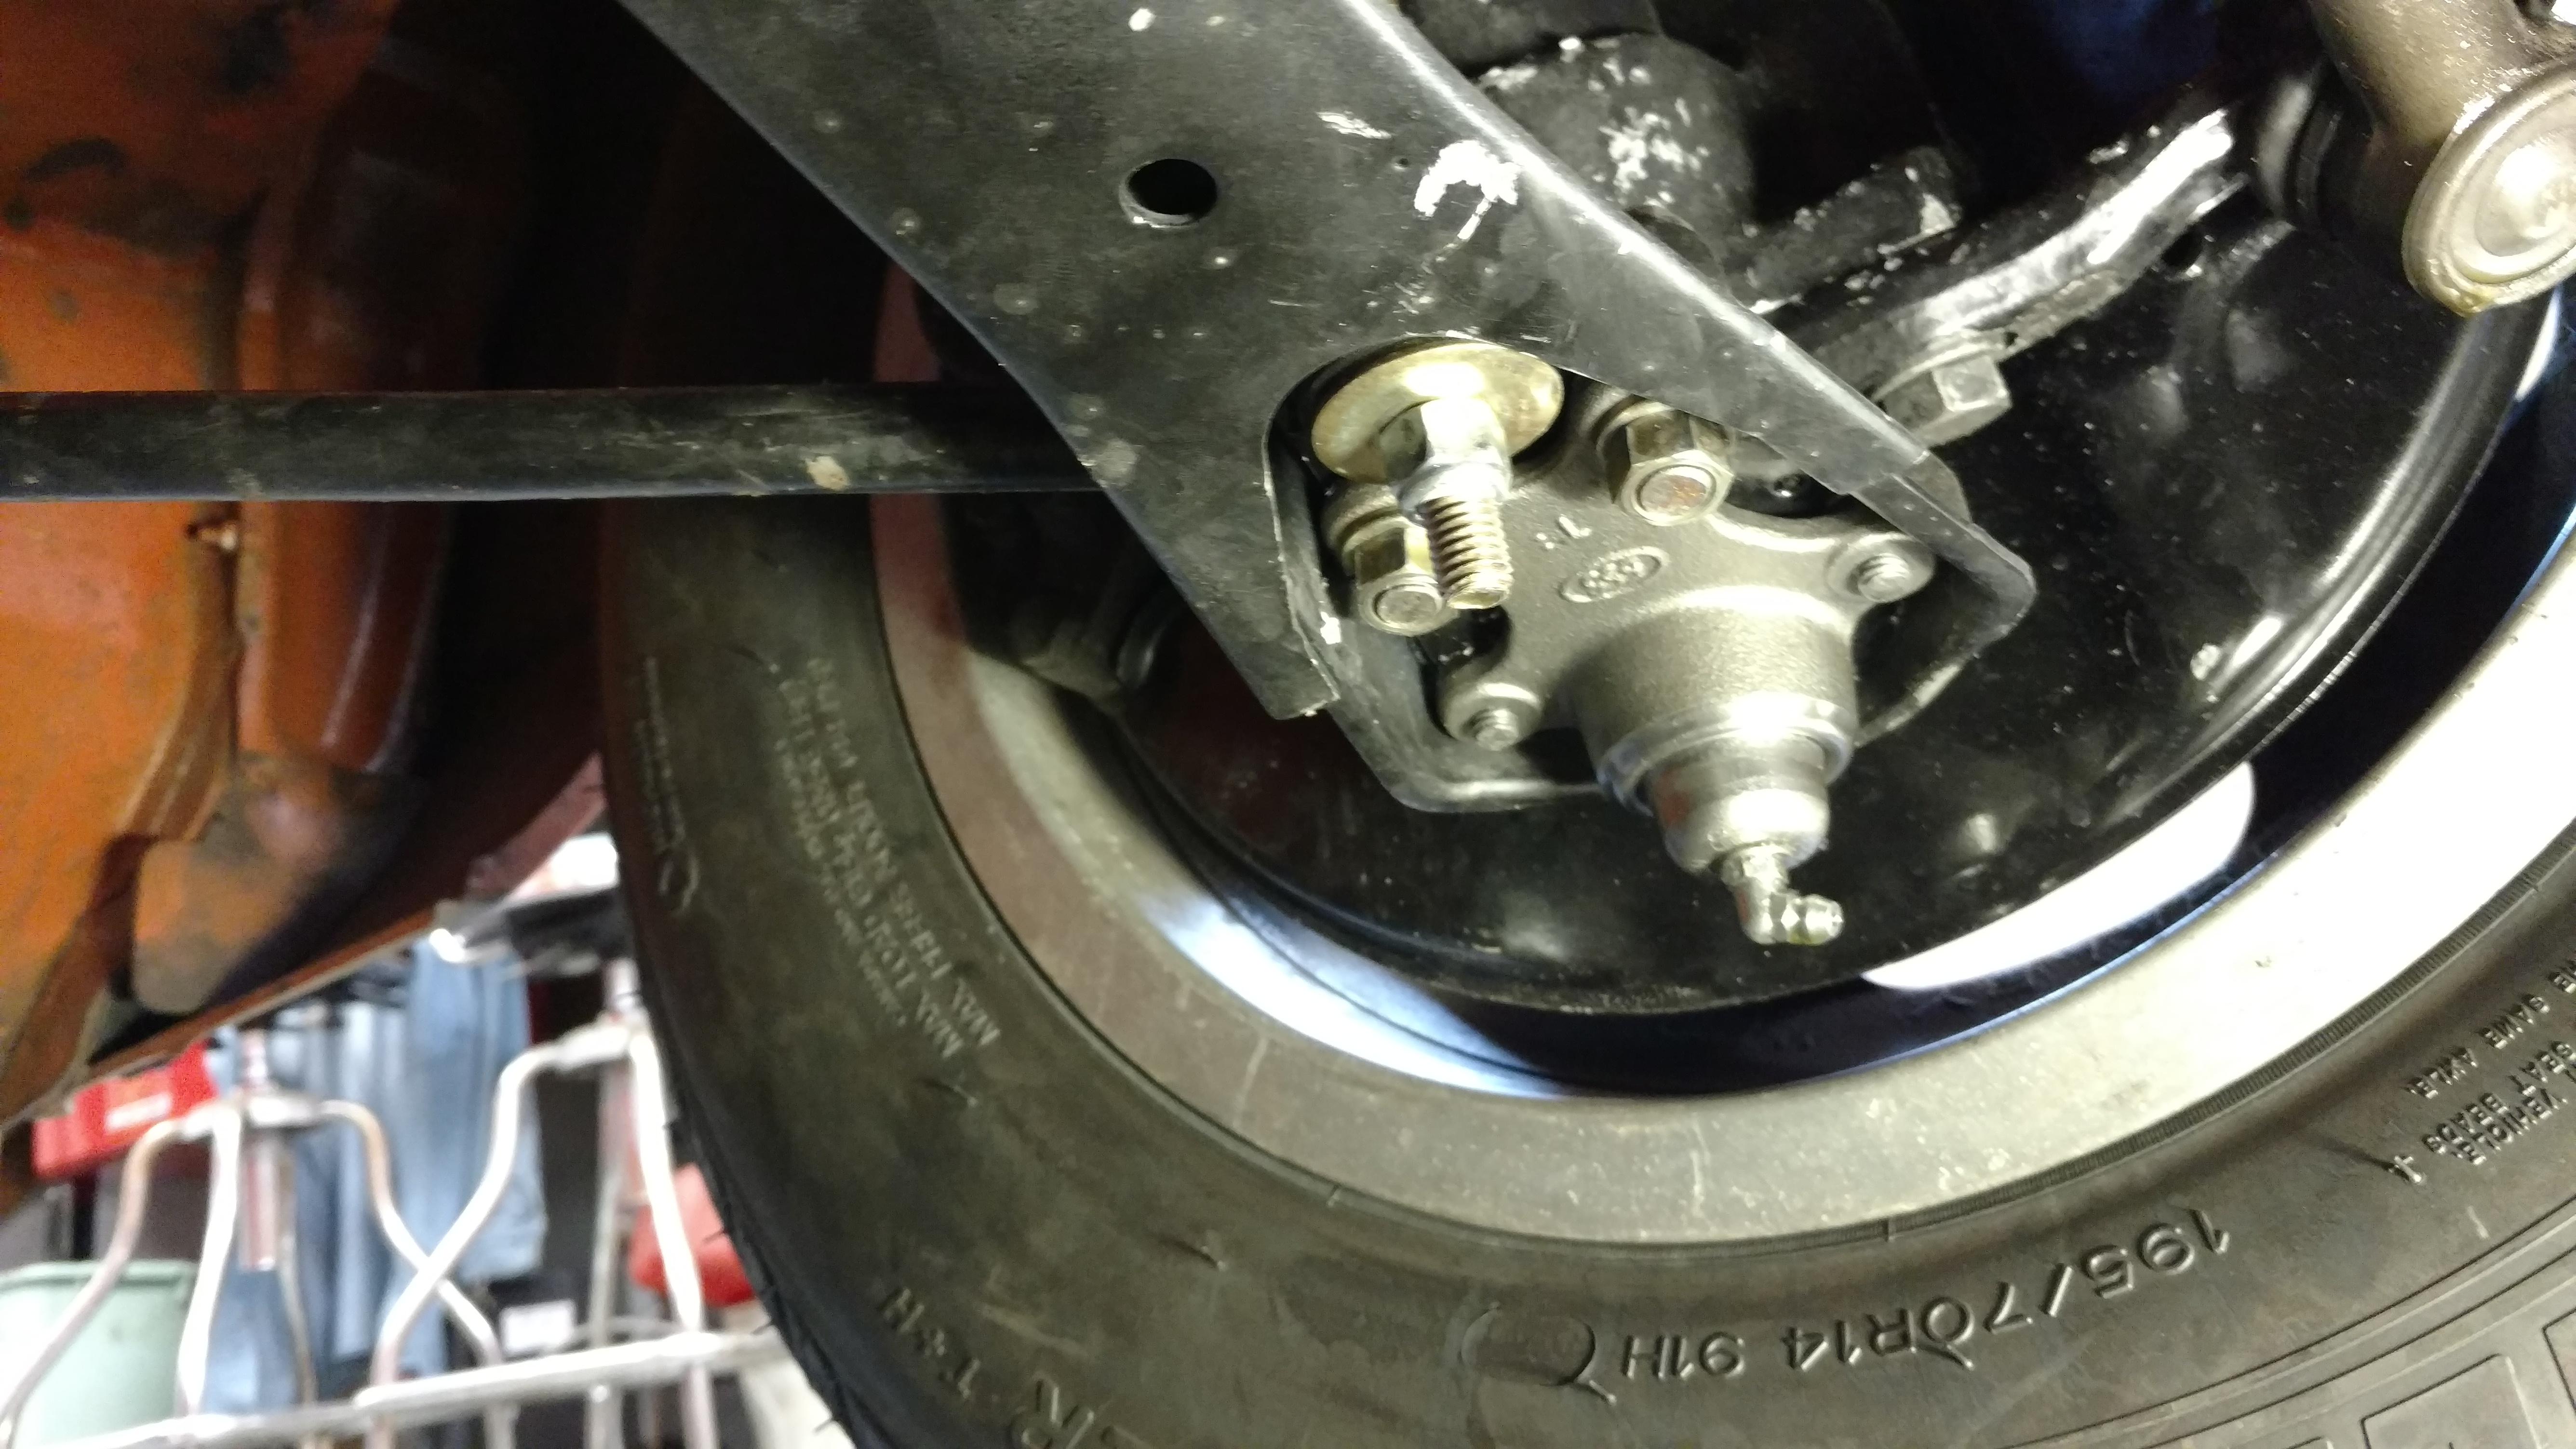
I'm back and have the answer. I think we should all be fired for not seeing this. Apparently I had the lower control swivel on the wrong side of the swing arm. Doh! It should be on the bottom, not the top. I still don't know why none of us saw this, it's obvious in the first post if you look carefully. And the drawing in post number 29 appears to be wrong even though it's from the FSM. The car tracks straight now.

-
-
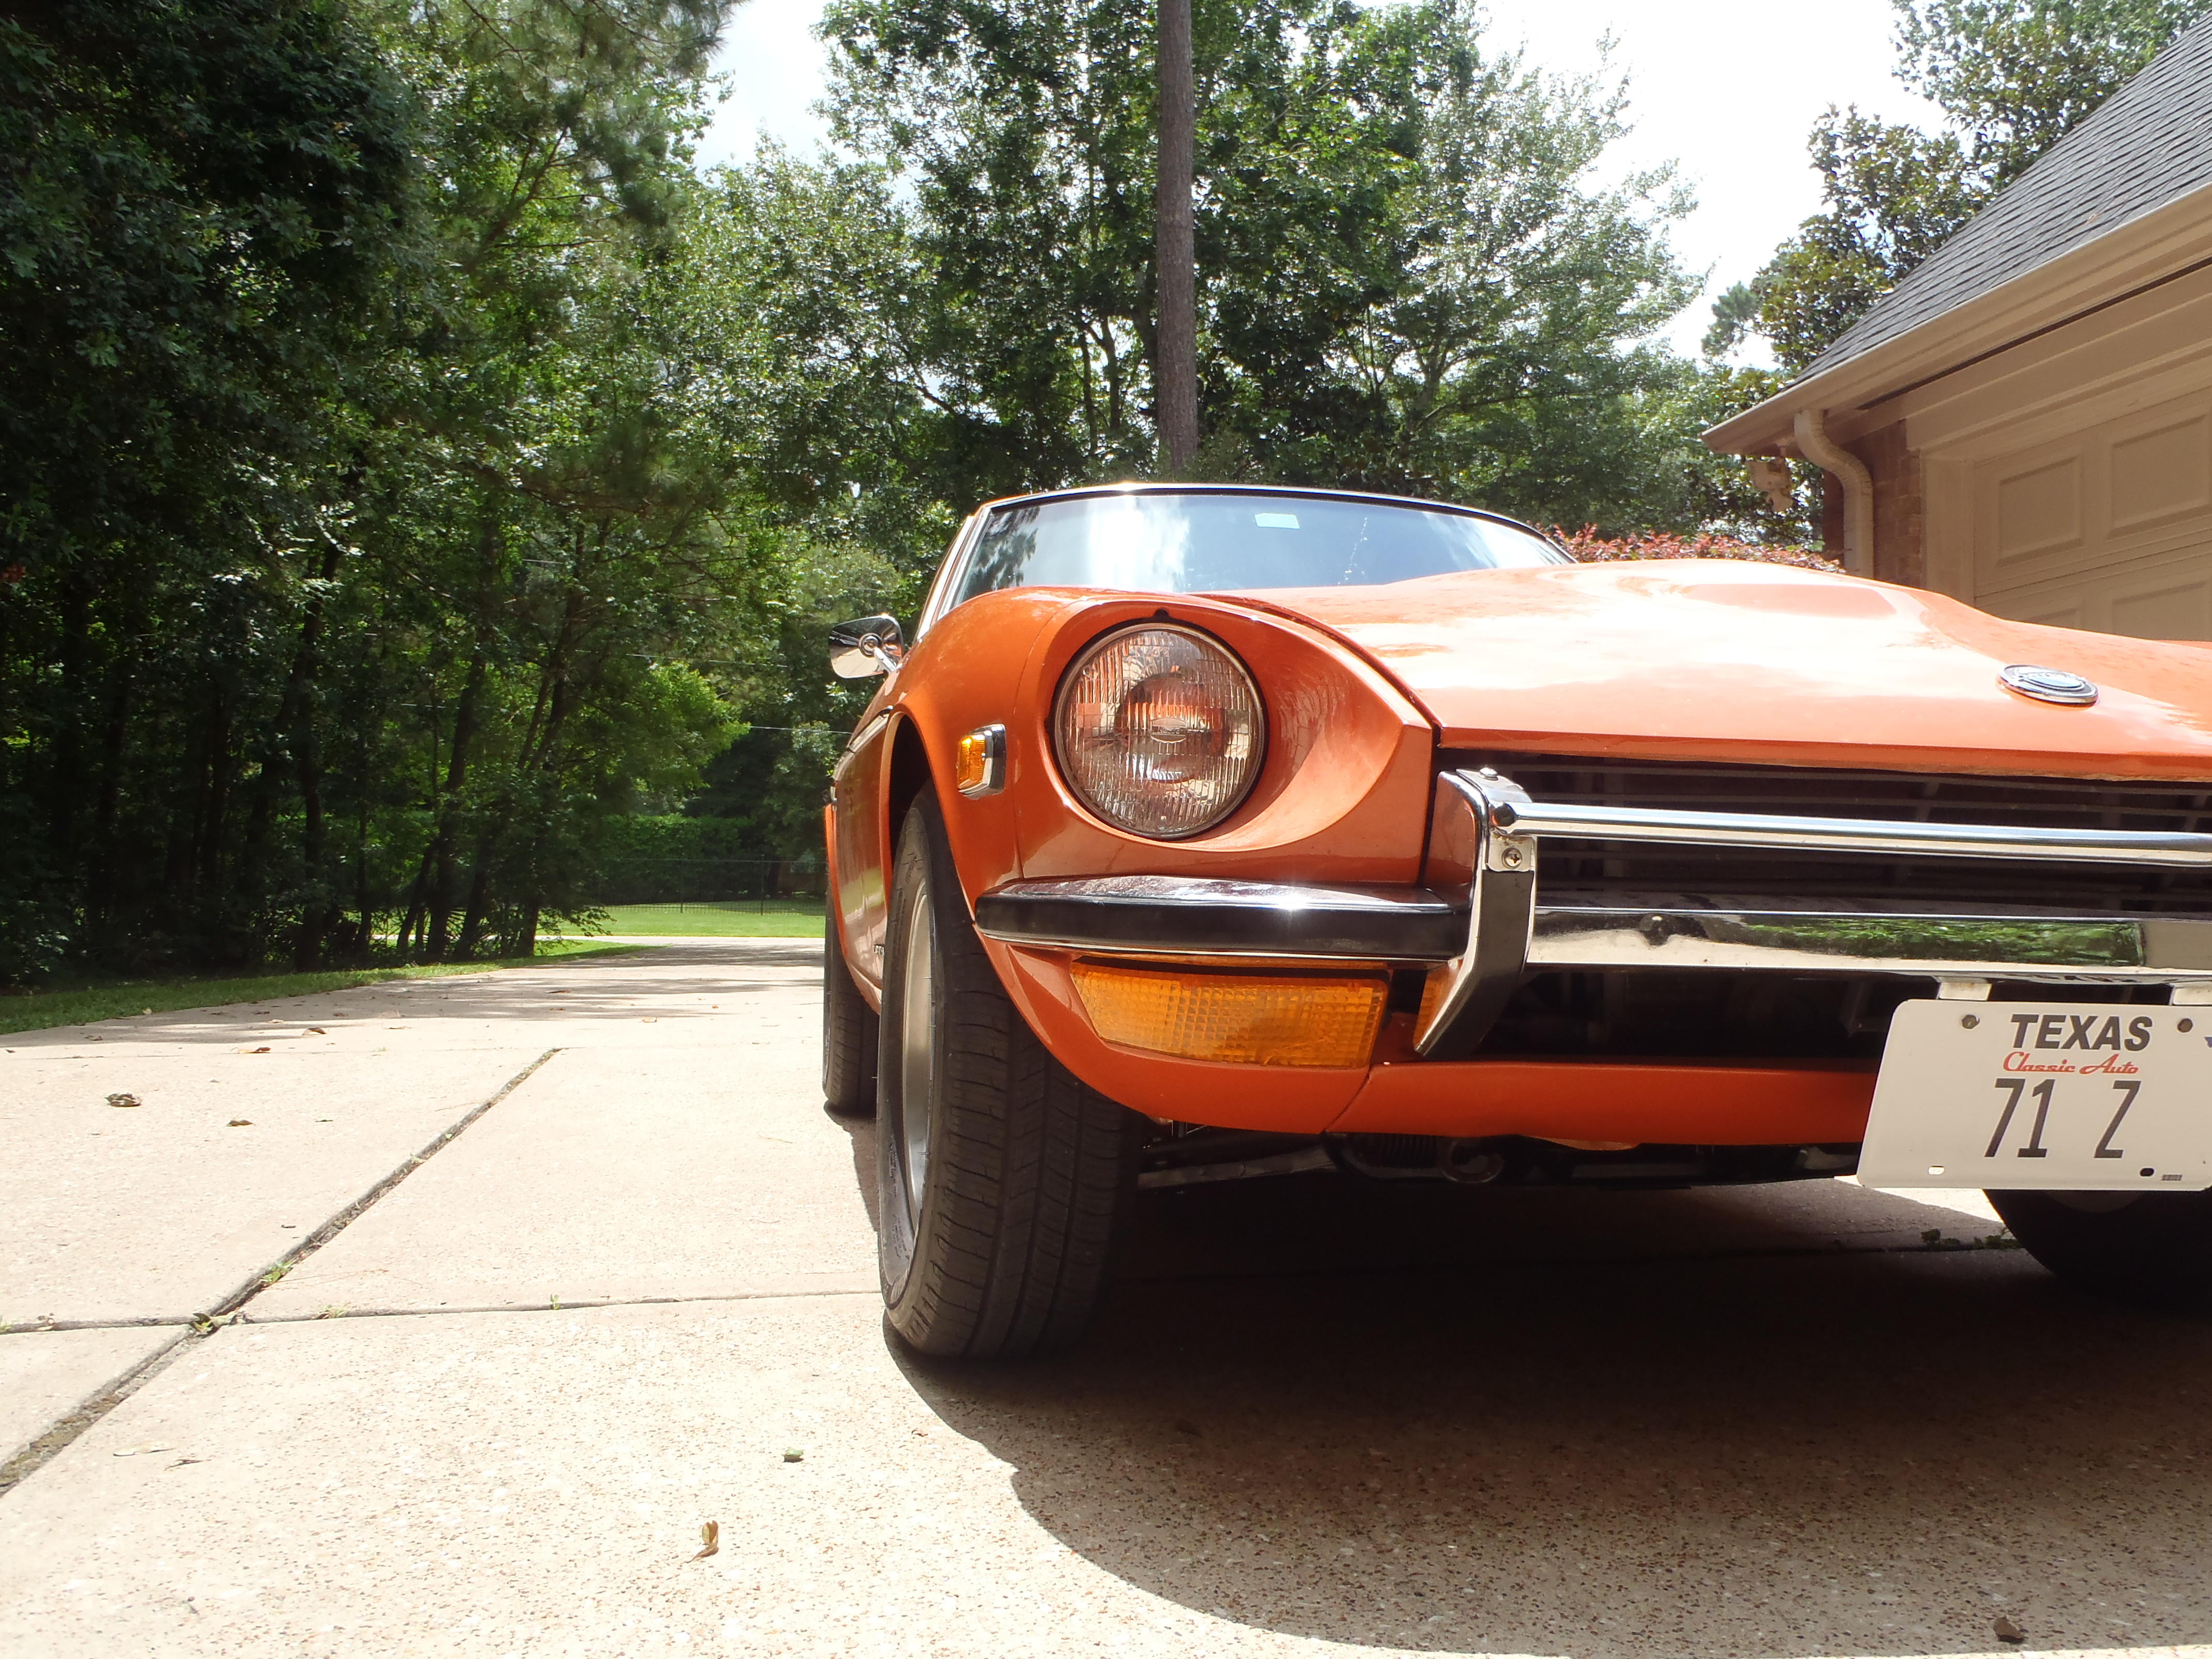
Yes, a Series II 1971 with the dealer A/C. I am looking for some documentation on it, instructions, pictures, and possibly specifications as I want to replace the York boat anchor with a Sanden rotary. Simple stuff like do I need to remove the dashboard to access the evaporator and vent controls? Just not a lot of info on it
-
Are there any factory instructions or diagrams of the dealer installed A/C evaporator unit? I've read most of the threads on A/C and there doesn't seem to be any reference in the FSM nor is there any photos of people removing/repairing the evaporator and fan. I did see a pretty good write up of how the controls move the flaps and valves around. I'm planning to revive my dealer installed A/C and don't know if I should rework it all or just go with a new Vintage Air unit. This is a pretty good write up but it's more than ten years old. Does the Vintage Air unit just bolt right in? It's difficult to tell. The A/C and heater controls don't seem to be well documented unless I just haven't found it. Vintage Air install
-
-
-
OK, I think I see what you're talking about. Do I possibly have these links reversed side to side? This is the piece that the steering arm connects to (the knuckle arm?), the top that the nut tightens against "slopes" toward the outside, i.e., inside higher than the outside. The pictures in my FSM are not clear enough to see which way it slopes.


-
-
I made a movie of my wife backing the car down the drive then driving back forward (aft to the fore? :-) ). Sure enough, the wheels clearly moved out then back in. I checked the ride height arbitrarily at the bumper and it changed from 18 3/8 to 17 5/8 or about 3/4". And it was consistent, we did it several times and got the same result. At 34M, I think the vid is too big to post unless the admins say otherwise. Is it possible that the toe-in is so severe that the car sort of rolls up on itself going forward then settles down when backed up as the wheels track outward? When I installed the new tie-rods, I had counted the number of turns taking off the old ones and matched the turns going back on with the new ones. I think it was 17 turns or so for each. And it drives pretty straight around the block so maybe the toe-in is equal? I guess I'll put the new struts back in first (pretty well proved they are not the problem) and take it in for an alignment and see what happens. I've got a local shop that's tuned in to "classic" cars so they should spot any problem right away.
-
-
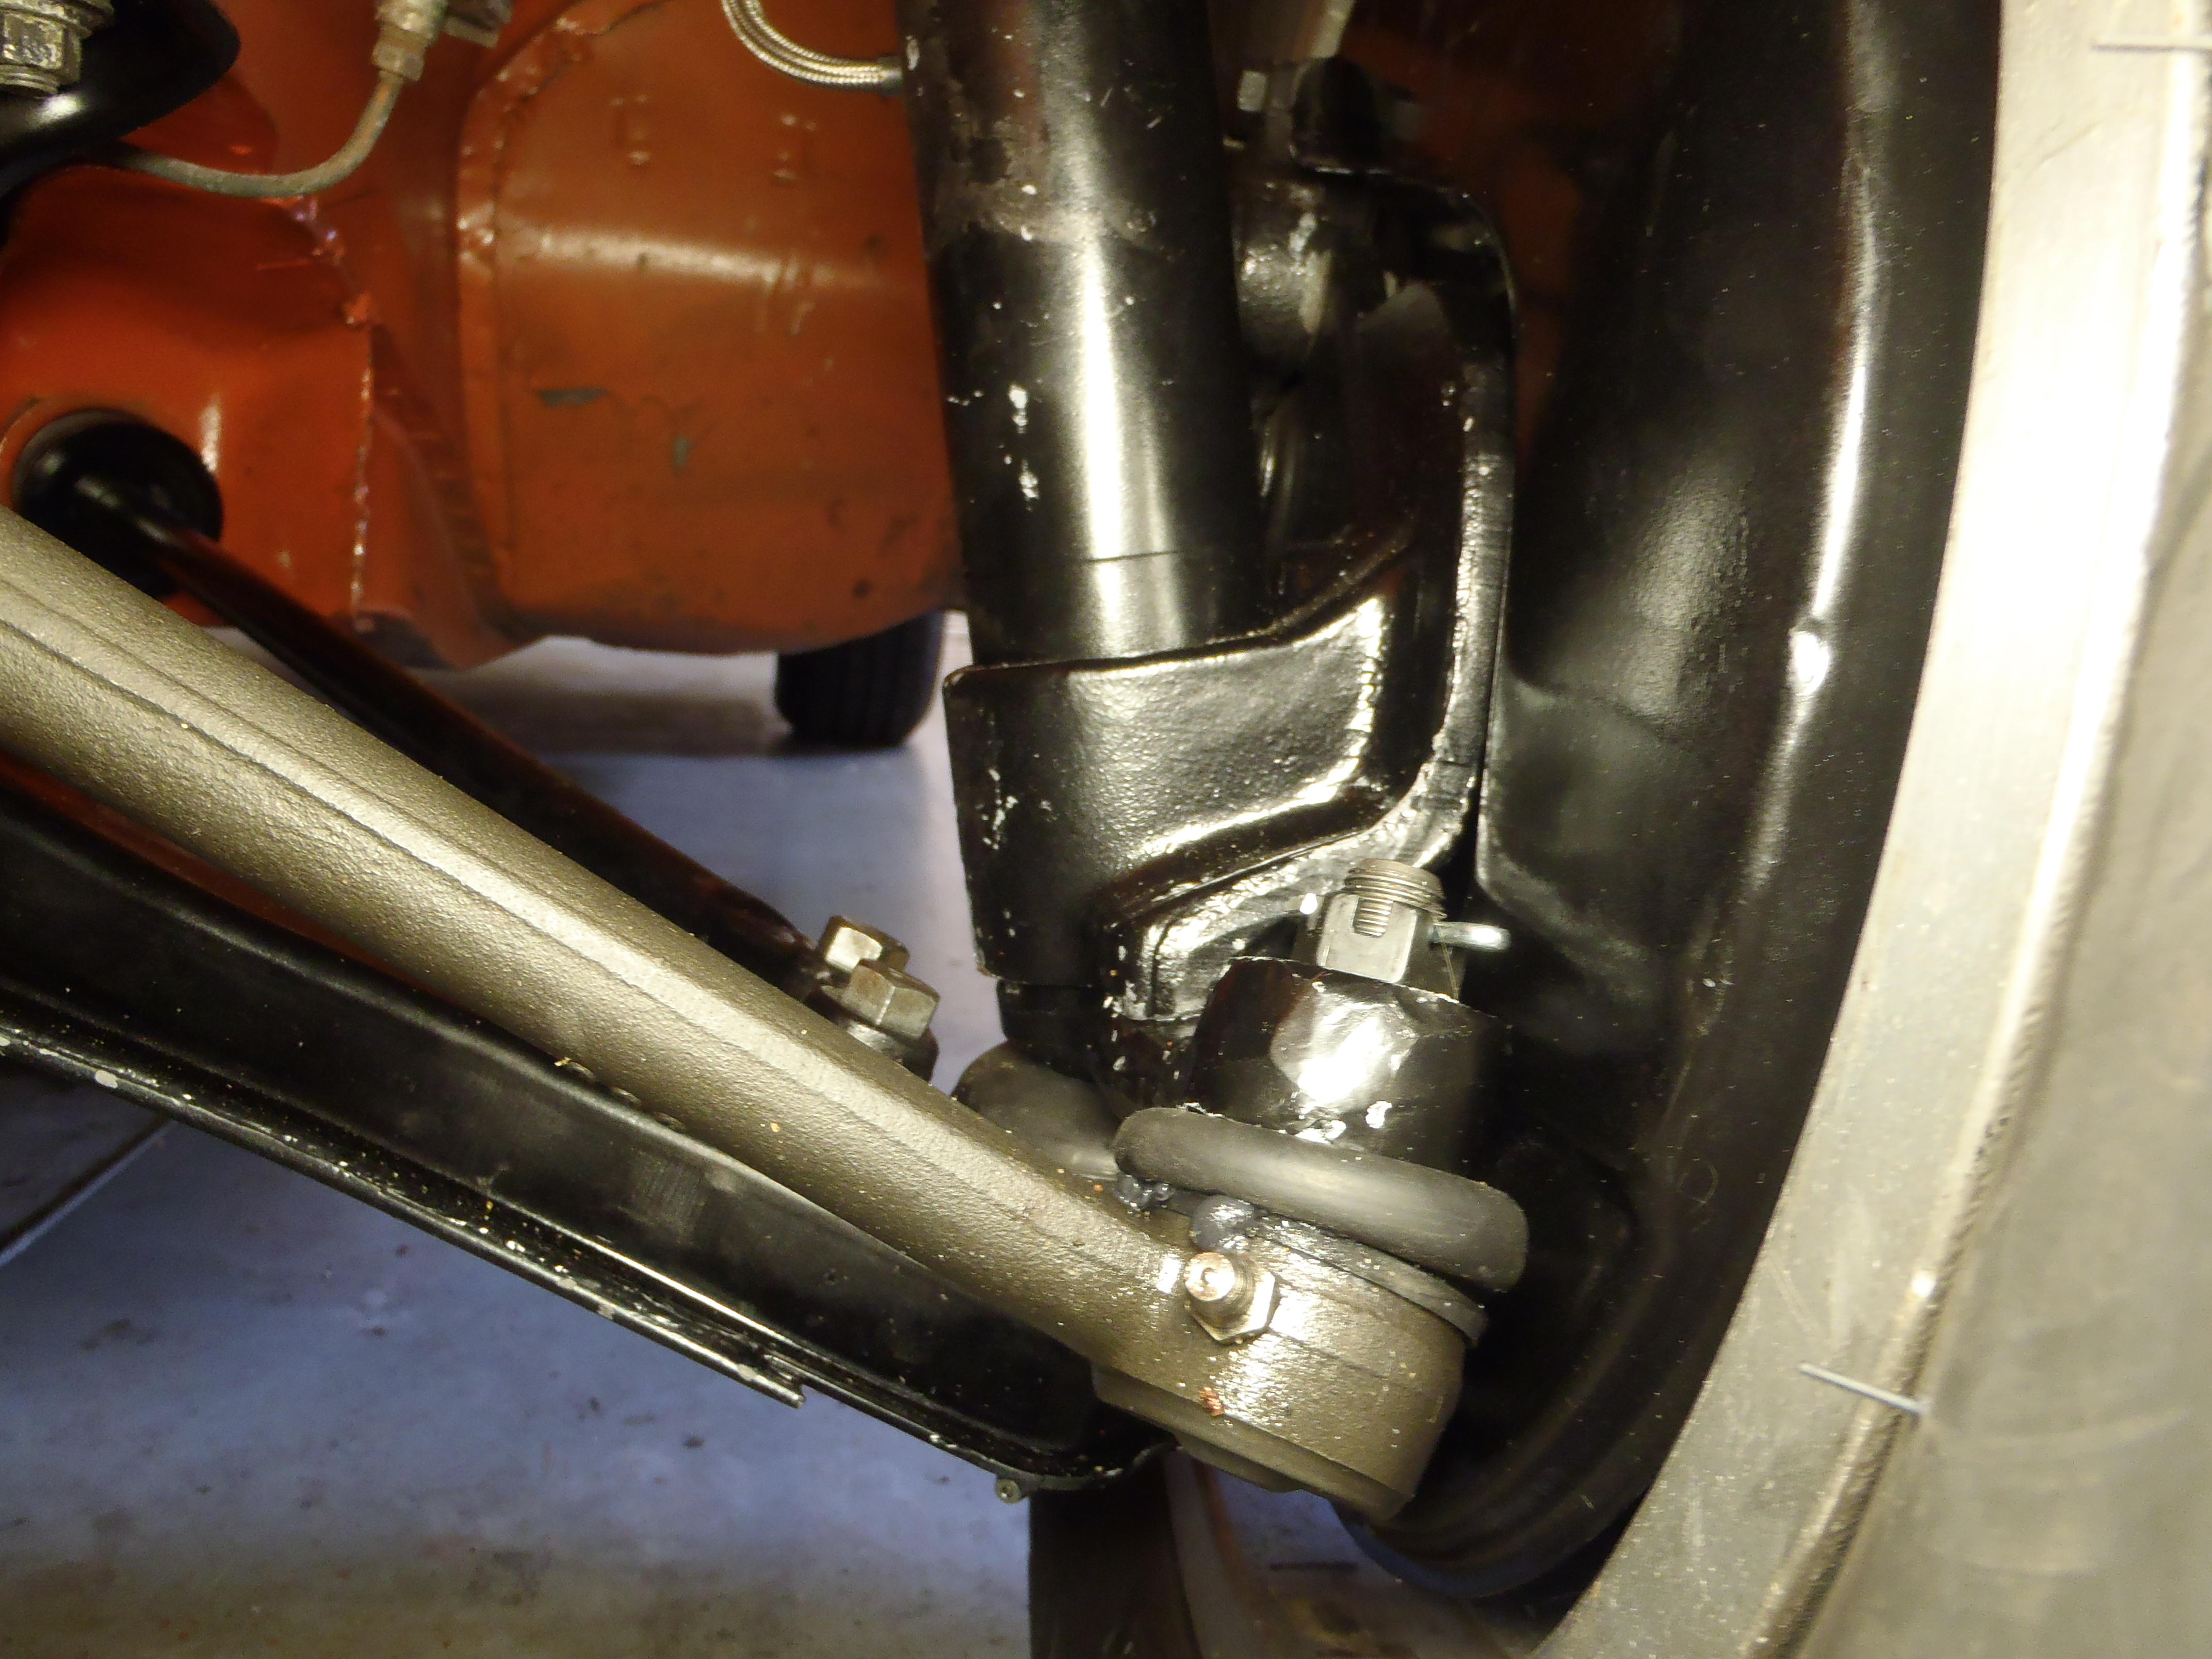
I've replaced all the suspension bushings and rubber parts, the upper bearings and rubber isolator, and all the ball joints. Basically replaced all wear parts in the front end. And I currently have removed the sway bar and have the old (original I think) struts in the tubes. I also compared the old vs. new upper rubber isolator dimensions and they are the same.
-
And now I don't think it's the control arm bushings. I loosened up the big nuts on the control arms and did the back up, drive forward thing again. Backing up the wheels angled out at the bottom, going forward they moved back to angled in at the bottom. So I backed up the length of the garage and the wheels angled out again so I tightened up the bolts with the wheels angled out. So now with the bushings tight, I backed down the driveway (wheels were angled out a the end), then drove back to the shop and the wheels angled in. So I have the same action whether the bushings are tight or not. What's going on here? Forward in, backward out? This actually means the ride height is changing because the control arms are swinging up and down (?) as the wheels actually move thru an arc.
-
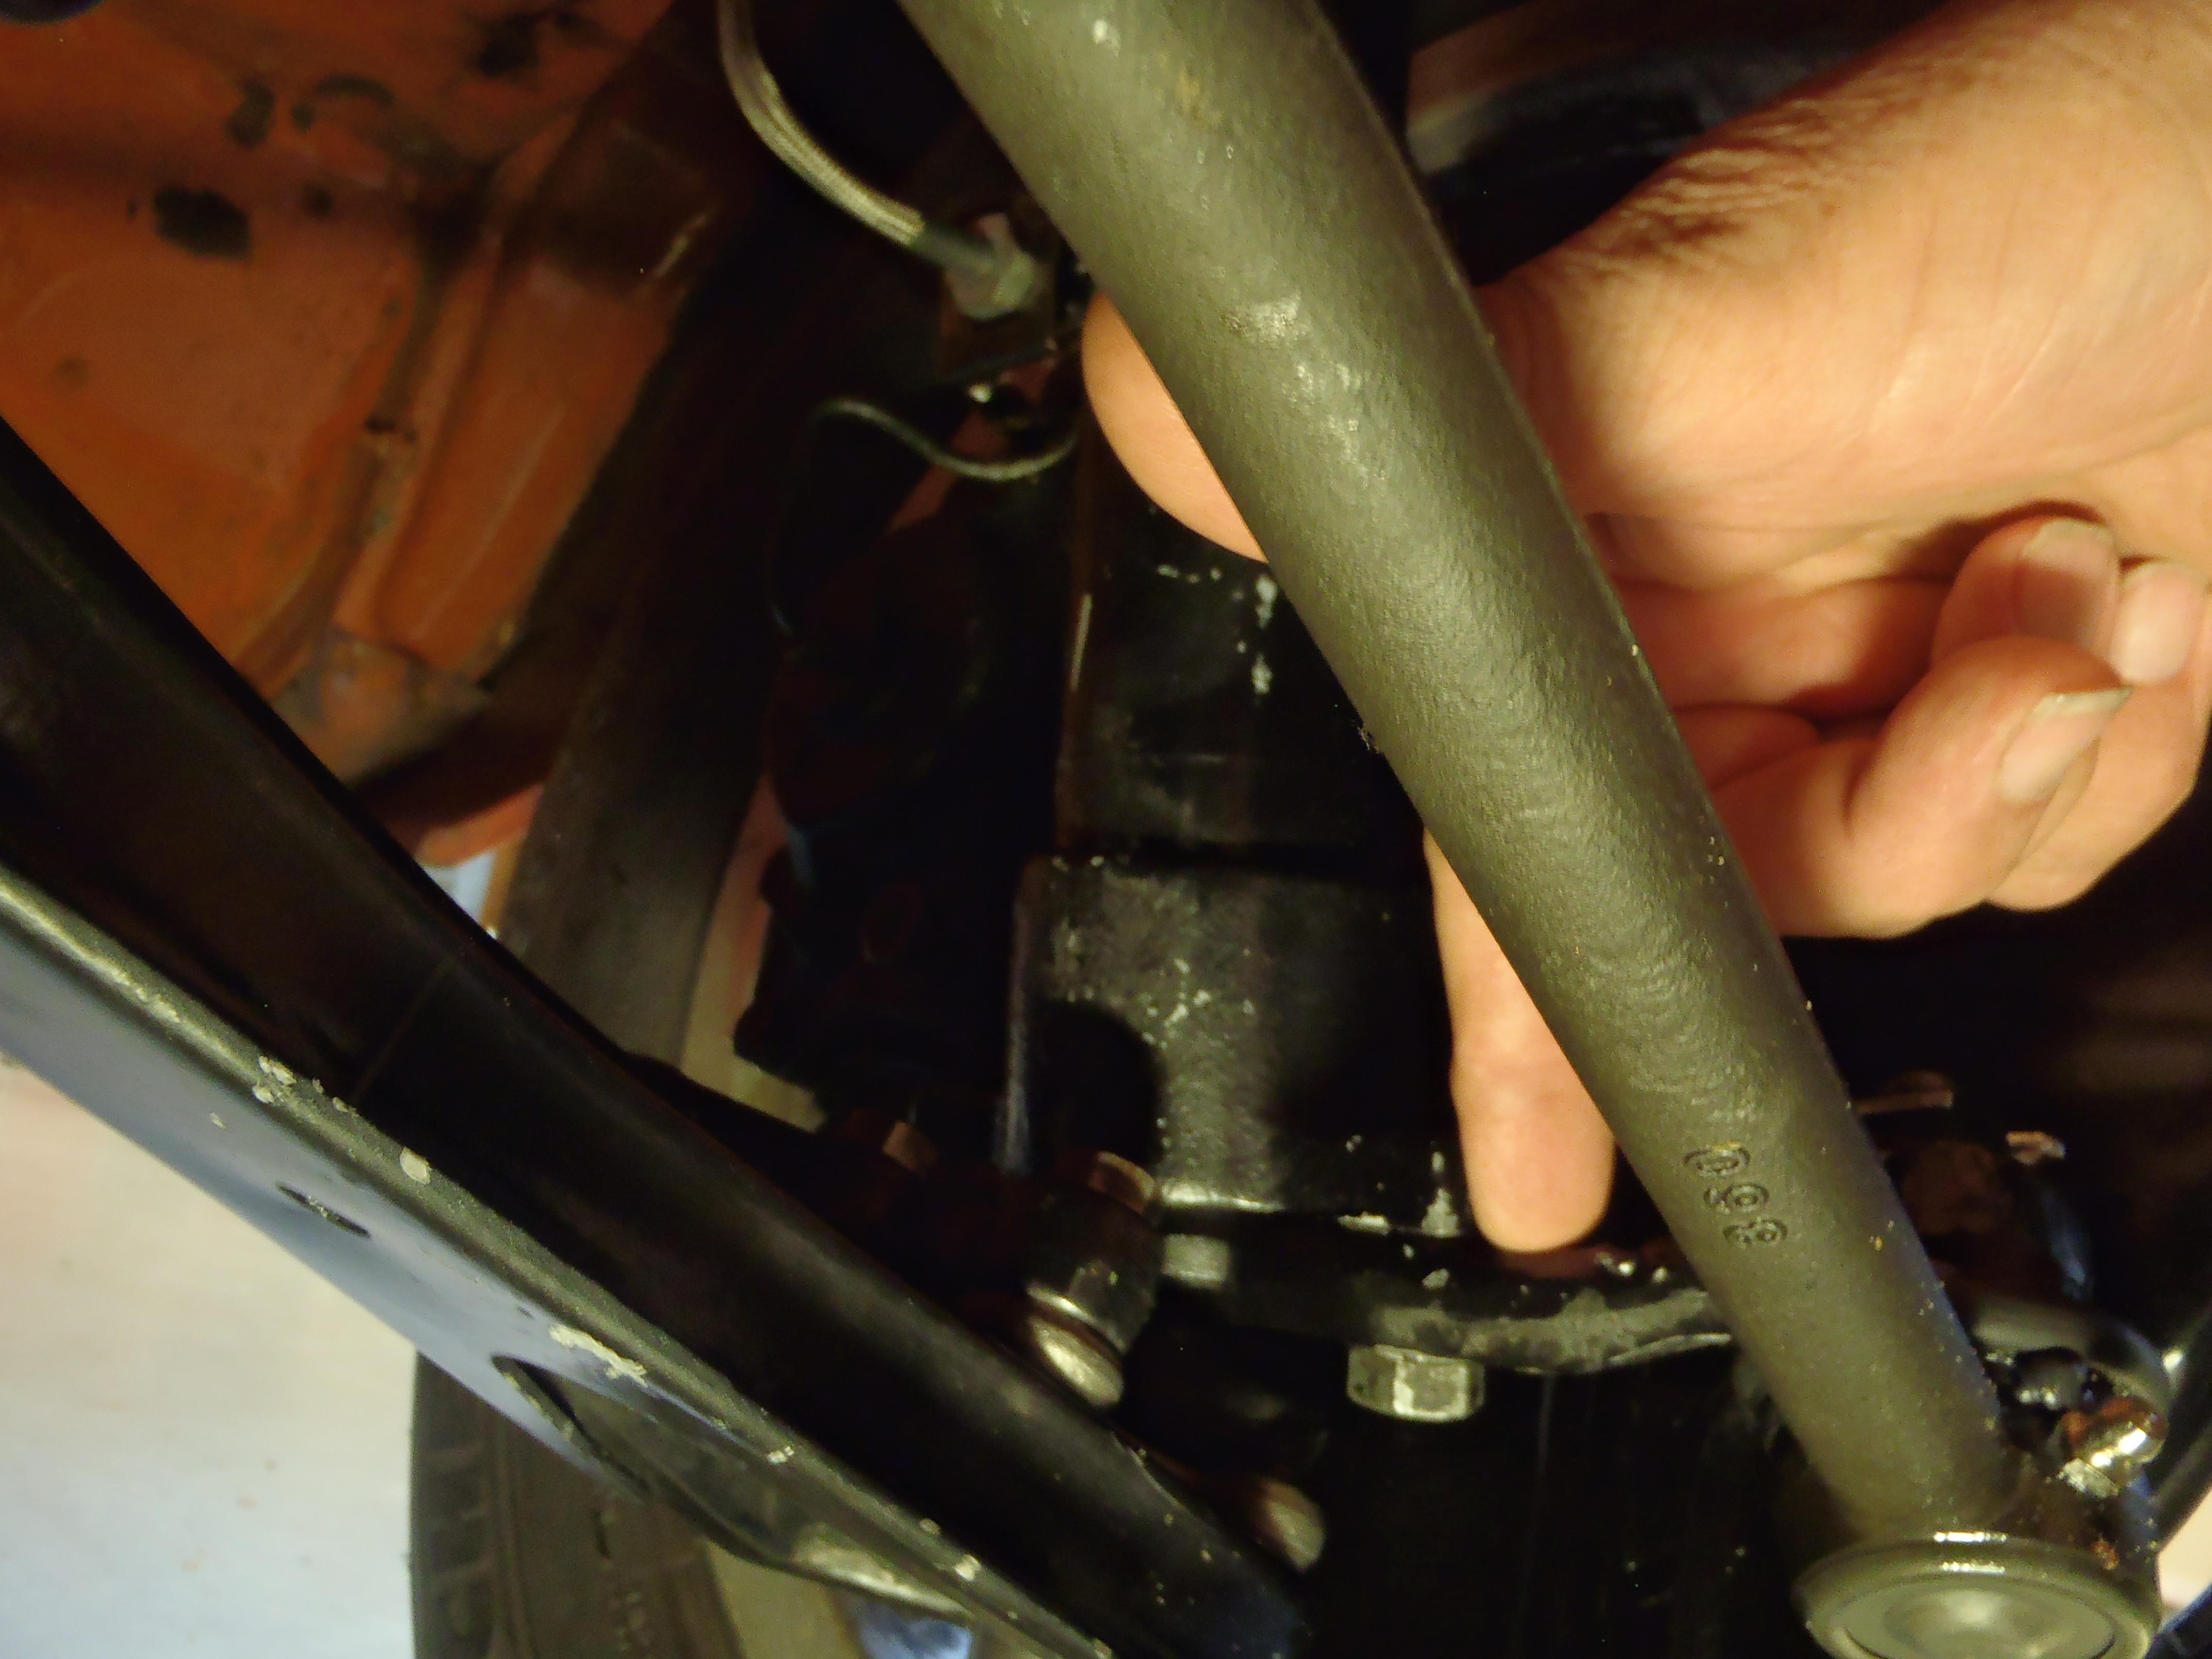
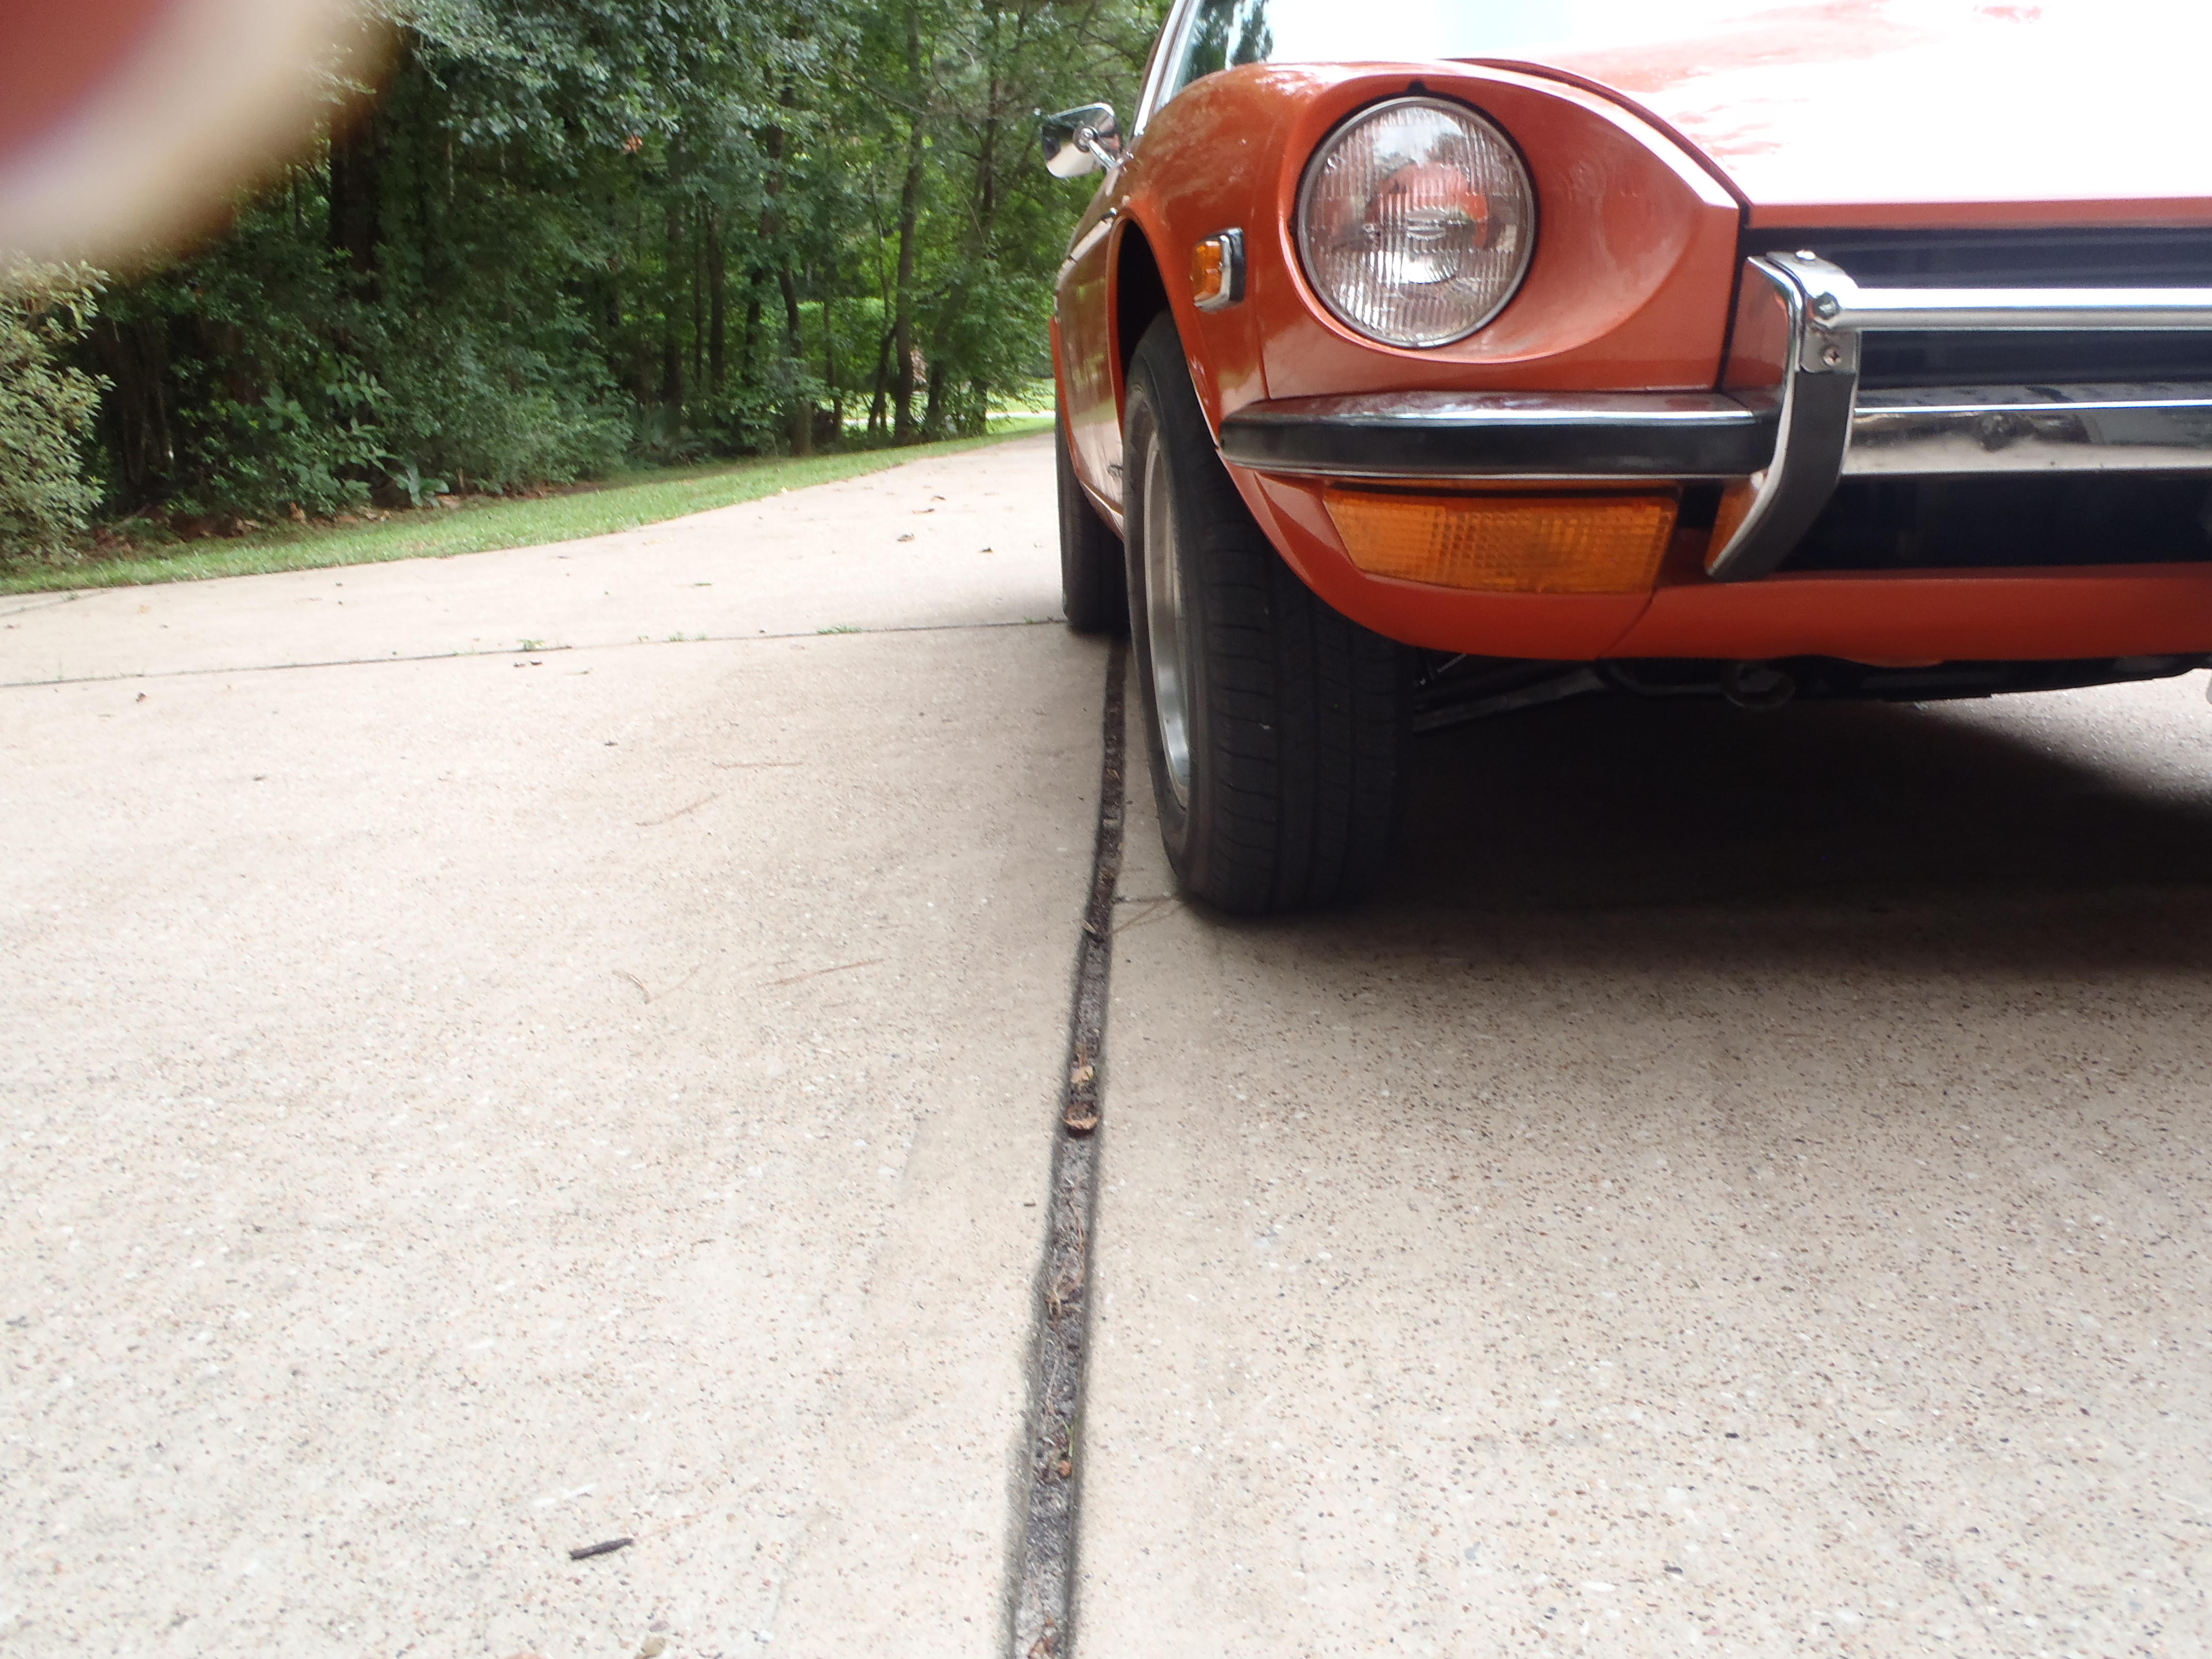
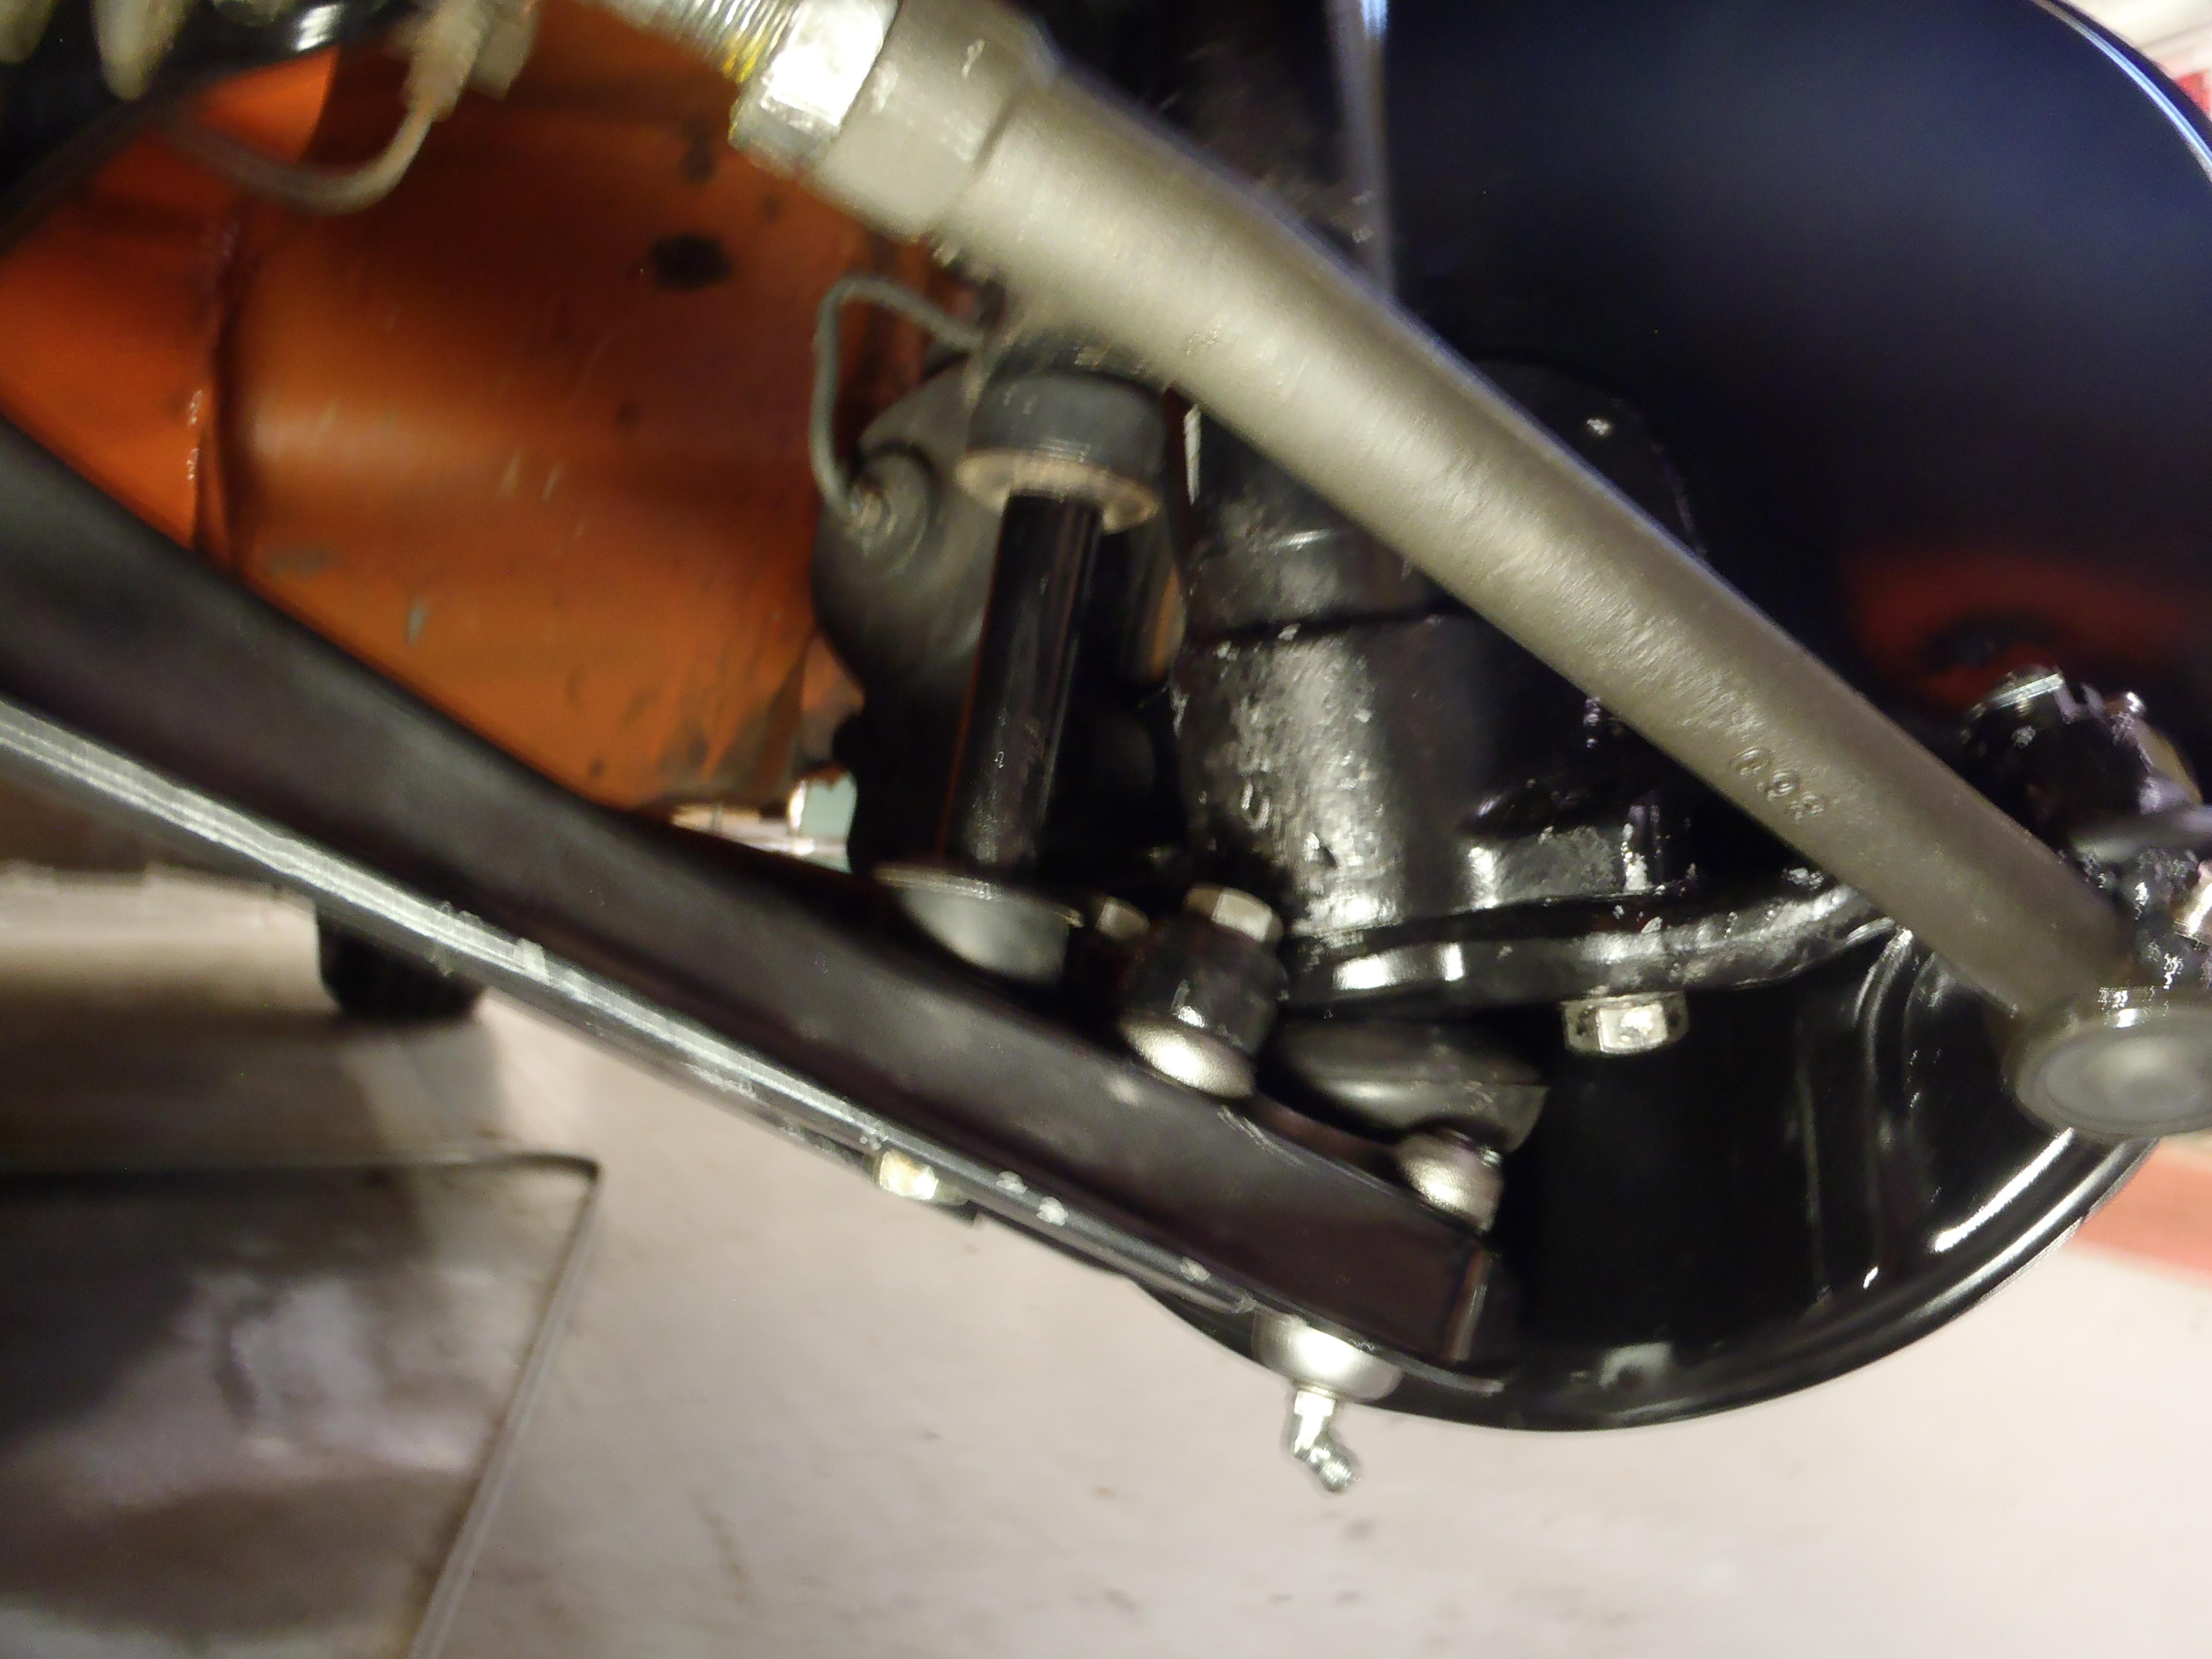
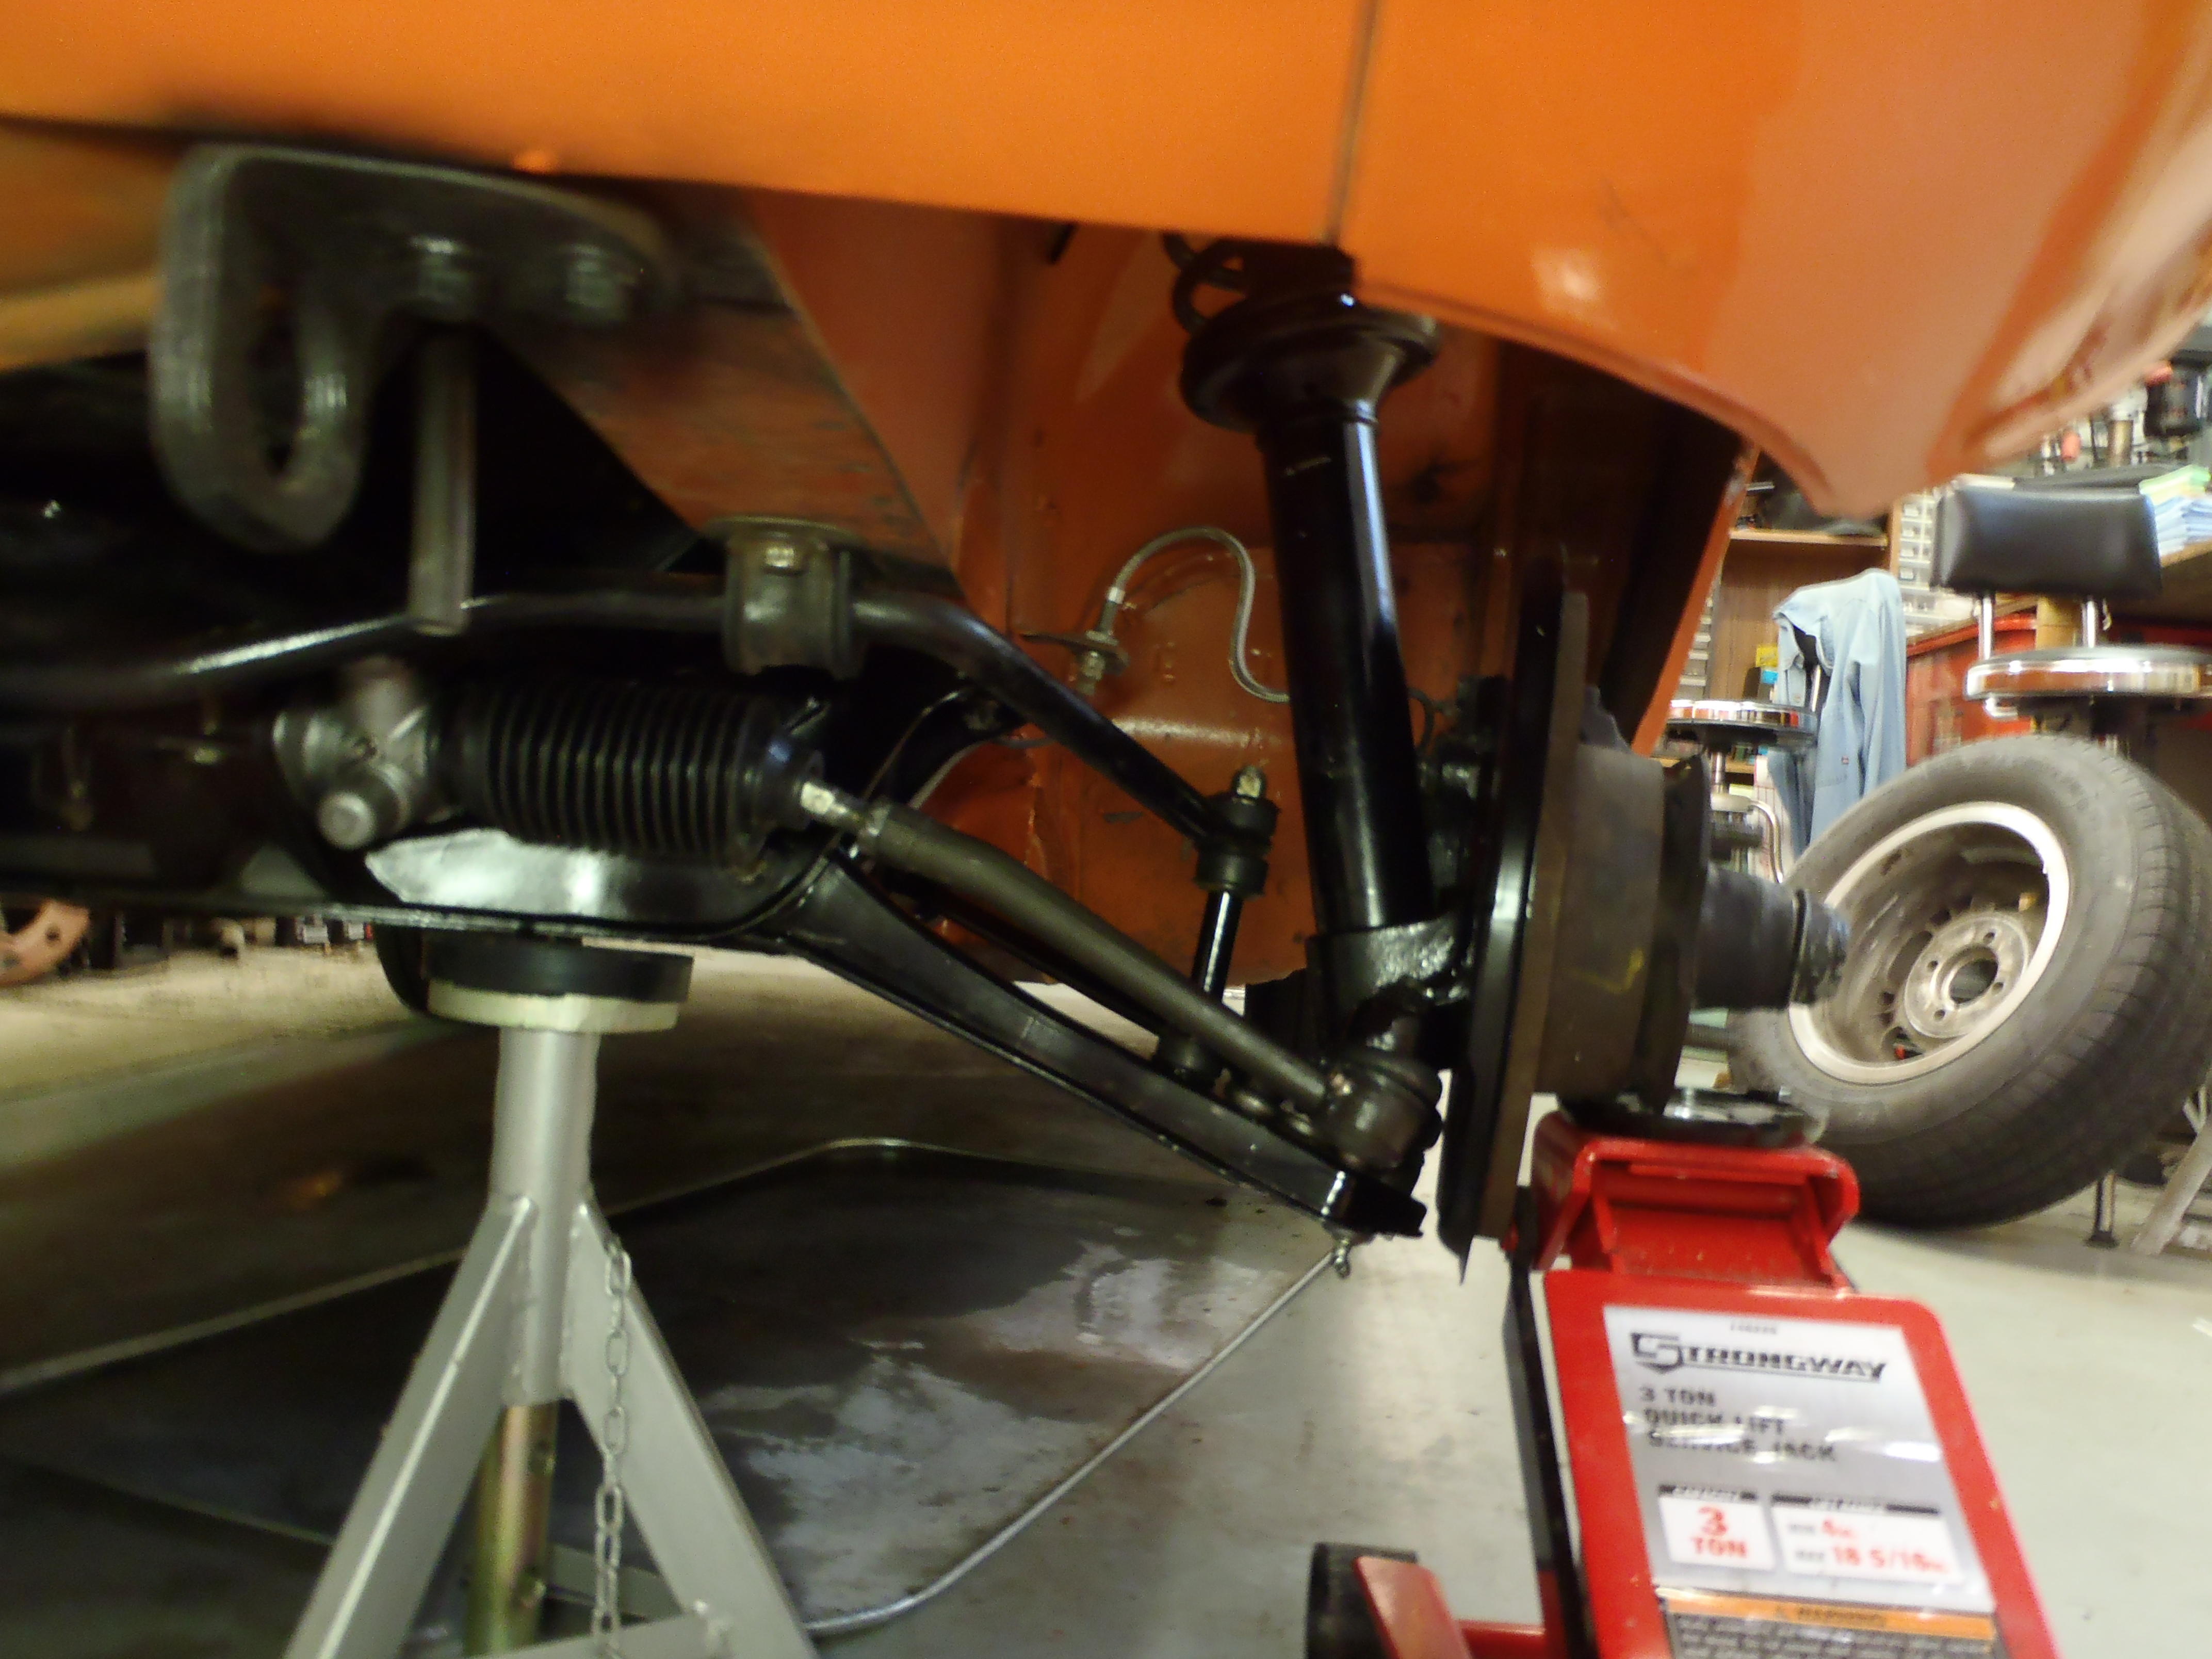
Sorry for the delay, back at it now. I had taken off the sway bar and it had zero effect. The wheels were still angled inward at the bottom. So I replaced the new Tokico struts with the original struts I removed at the beginning of this saga. And found a very strange effect. When I back out of the garage, over the slight drop at the door, the wheels are angled outward. When I drive around the block and pull in forward and park in the same position, the wheels are angled inward at the bottom (the original problem). So I drove into the garage, then backed out and stop in the same spot again. The wheels were again angled out at the bottom. I seem to have a binding problem that reacts to the last driving direction. And yes, I tightened the big lower control arm bolt when the car was fully weighted on the shop floor. First picture is parking after reversing, second picture is parking after moving forward. I'm thinking about loosing the lower control arm bolt and driving up and down the driveway a couple of times, just to see what happens.

-
Good link, thanks. Yes, I understood there are no springs in a strut, I was trying to make a comparison by using the word "spring". Poor wording. I took the old sway bar off last night, there was a recommendation above to try that. I'm installing a larger one anyway so no extra effort. I should have it back together tonight (not installing the new bar yet) so we'll see if it had anything to do with it.
-
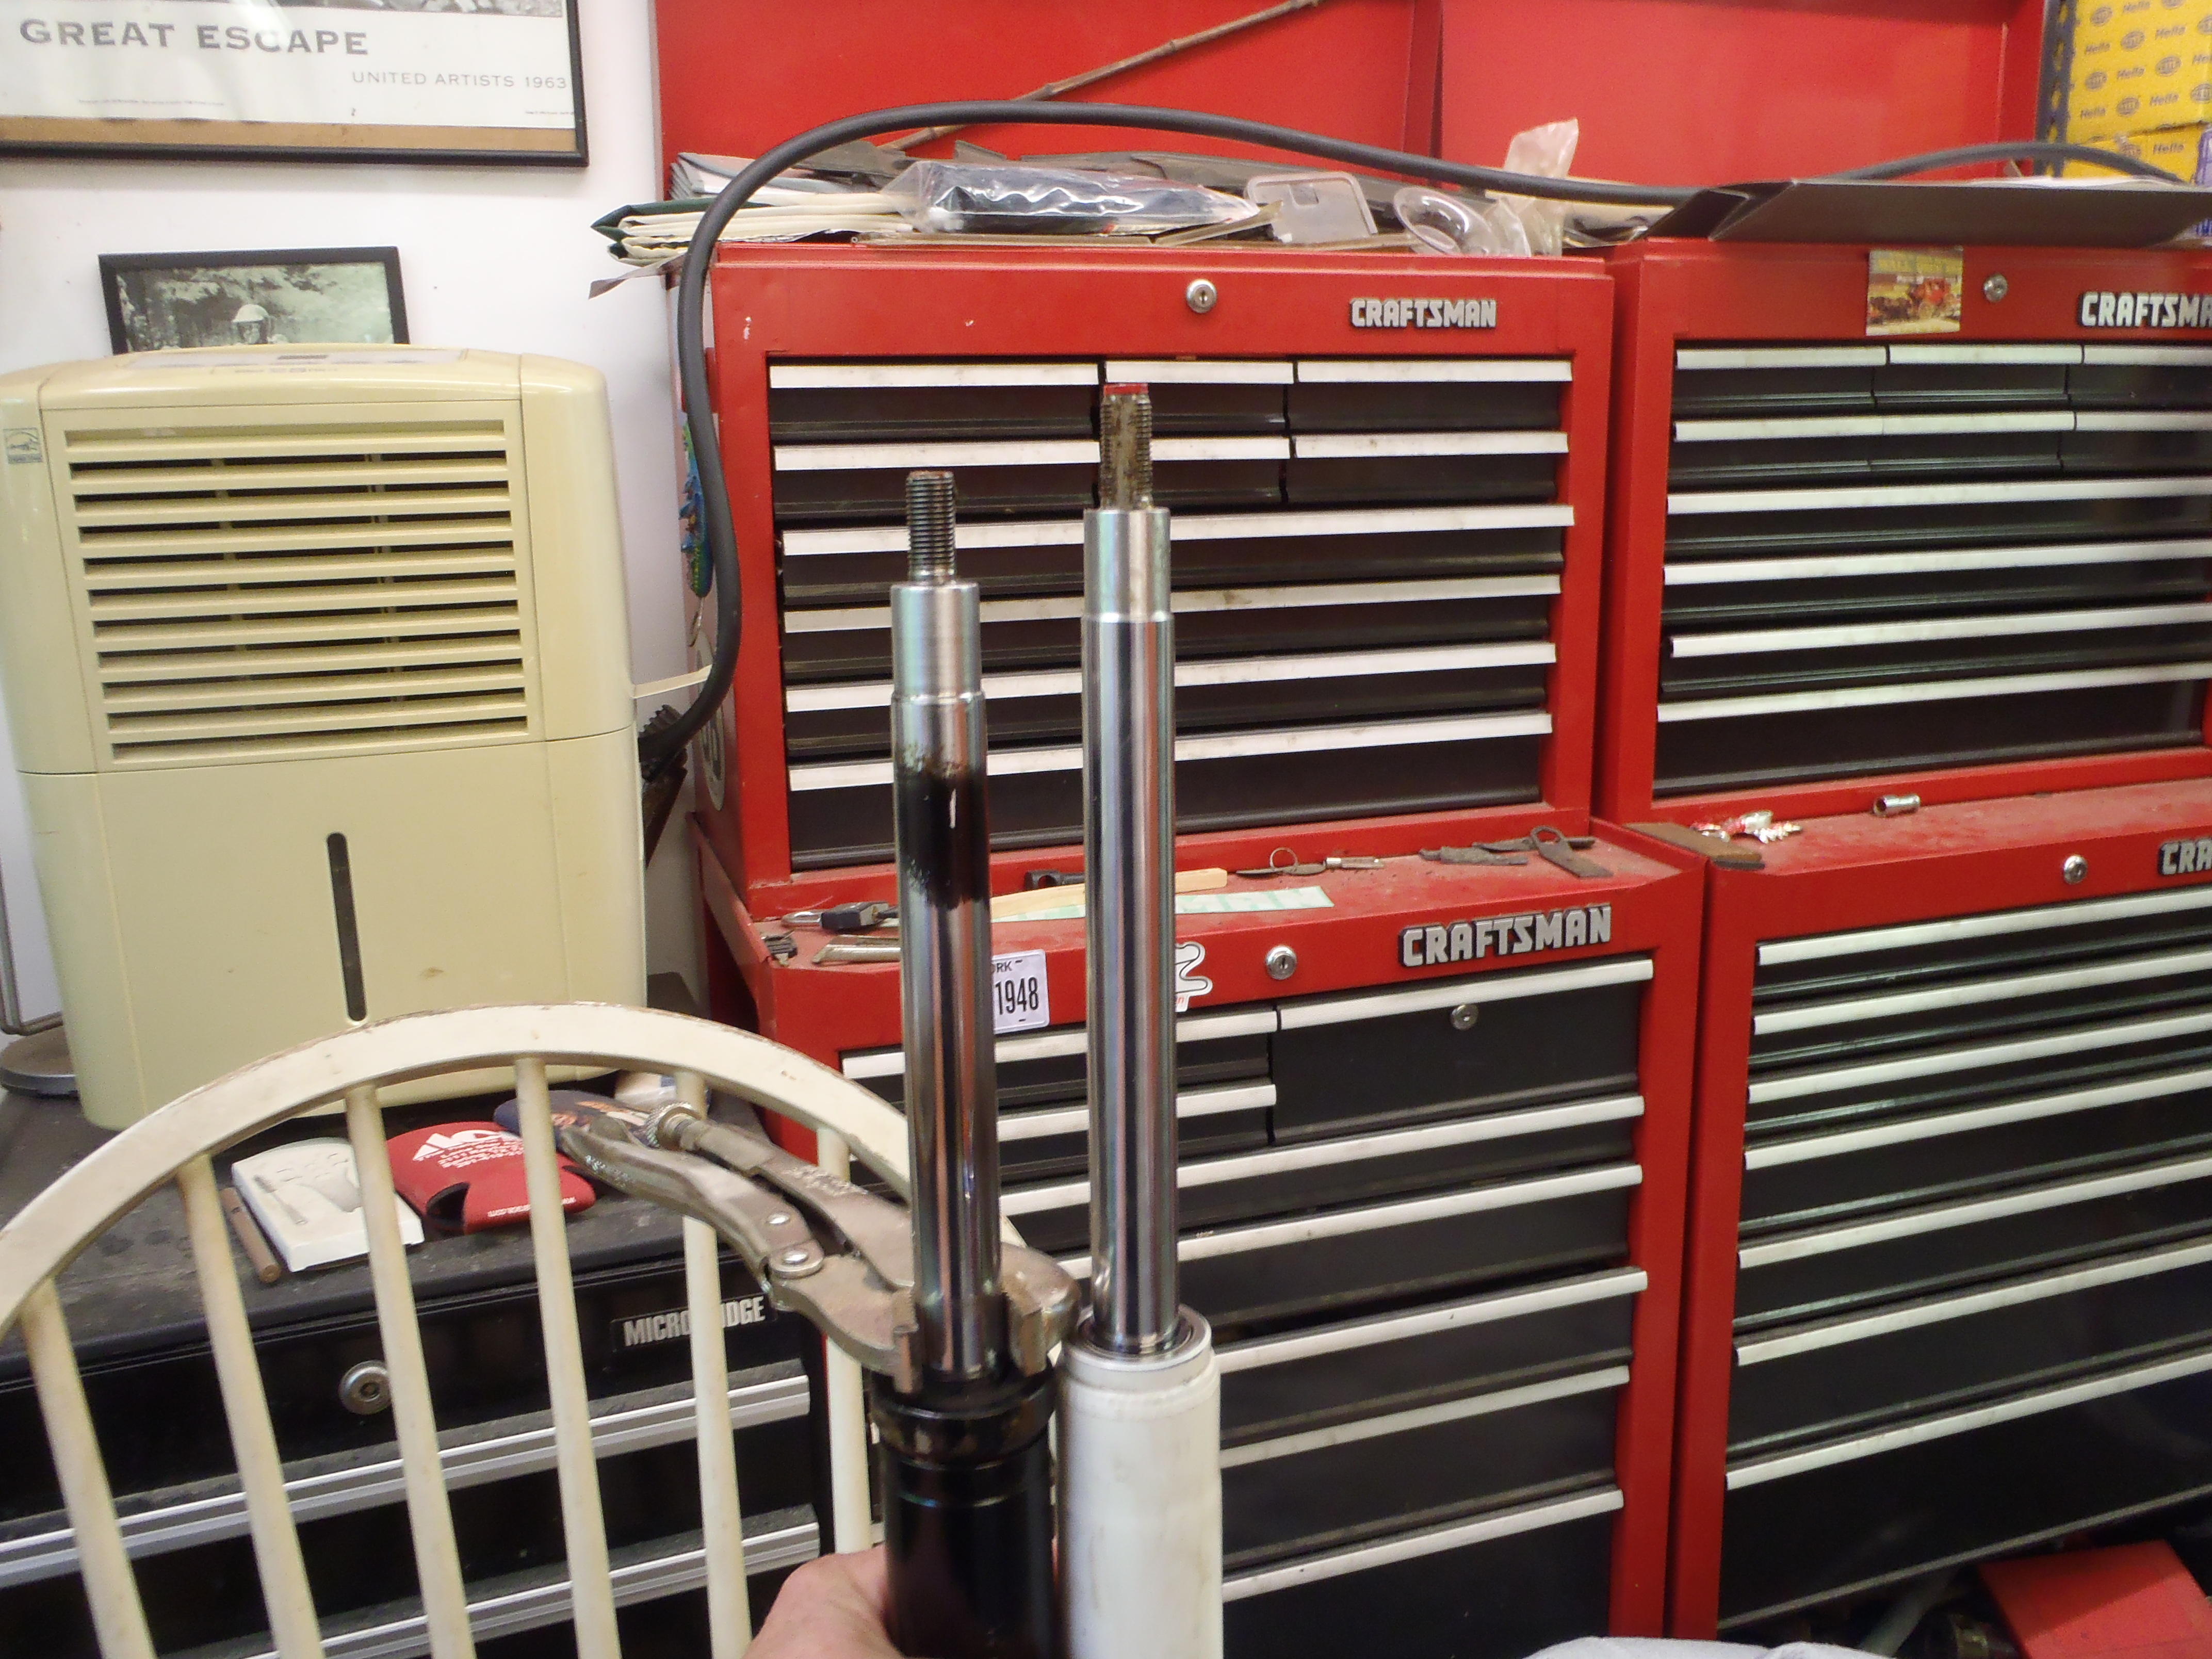
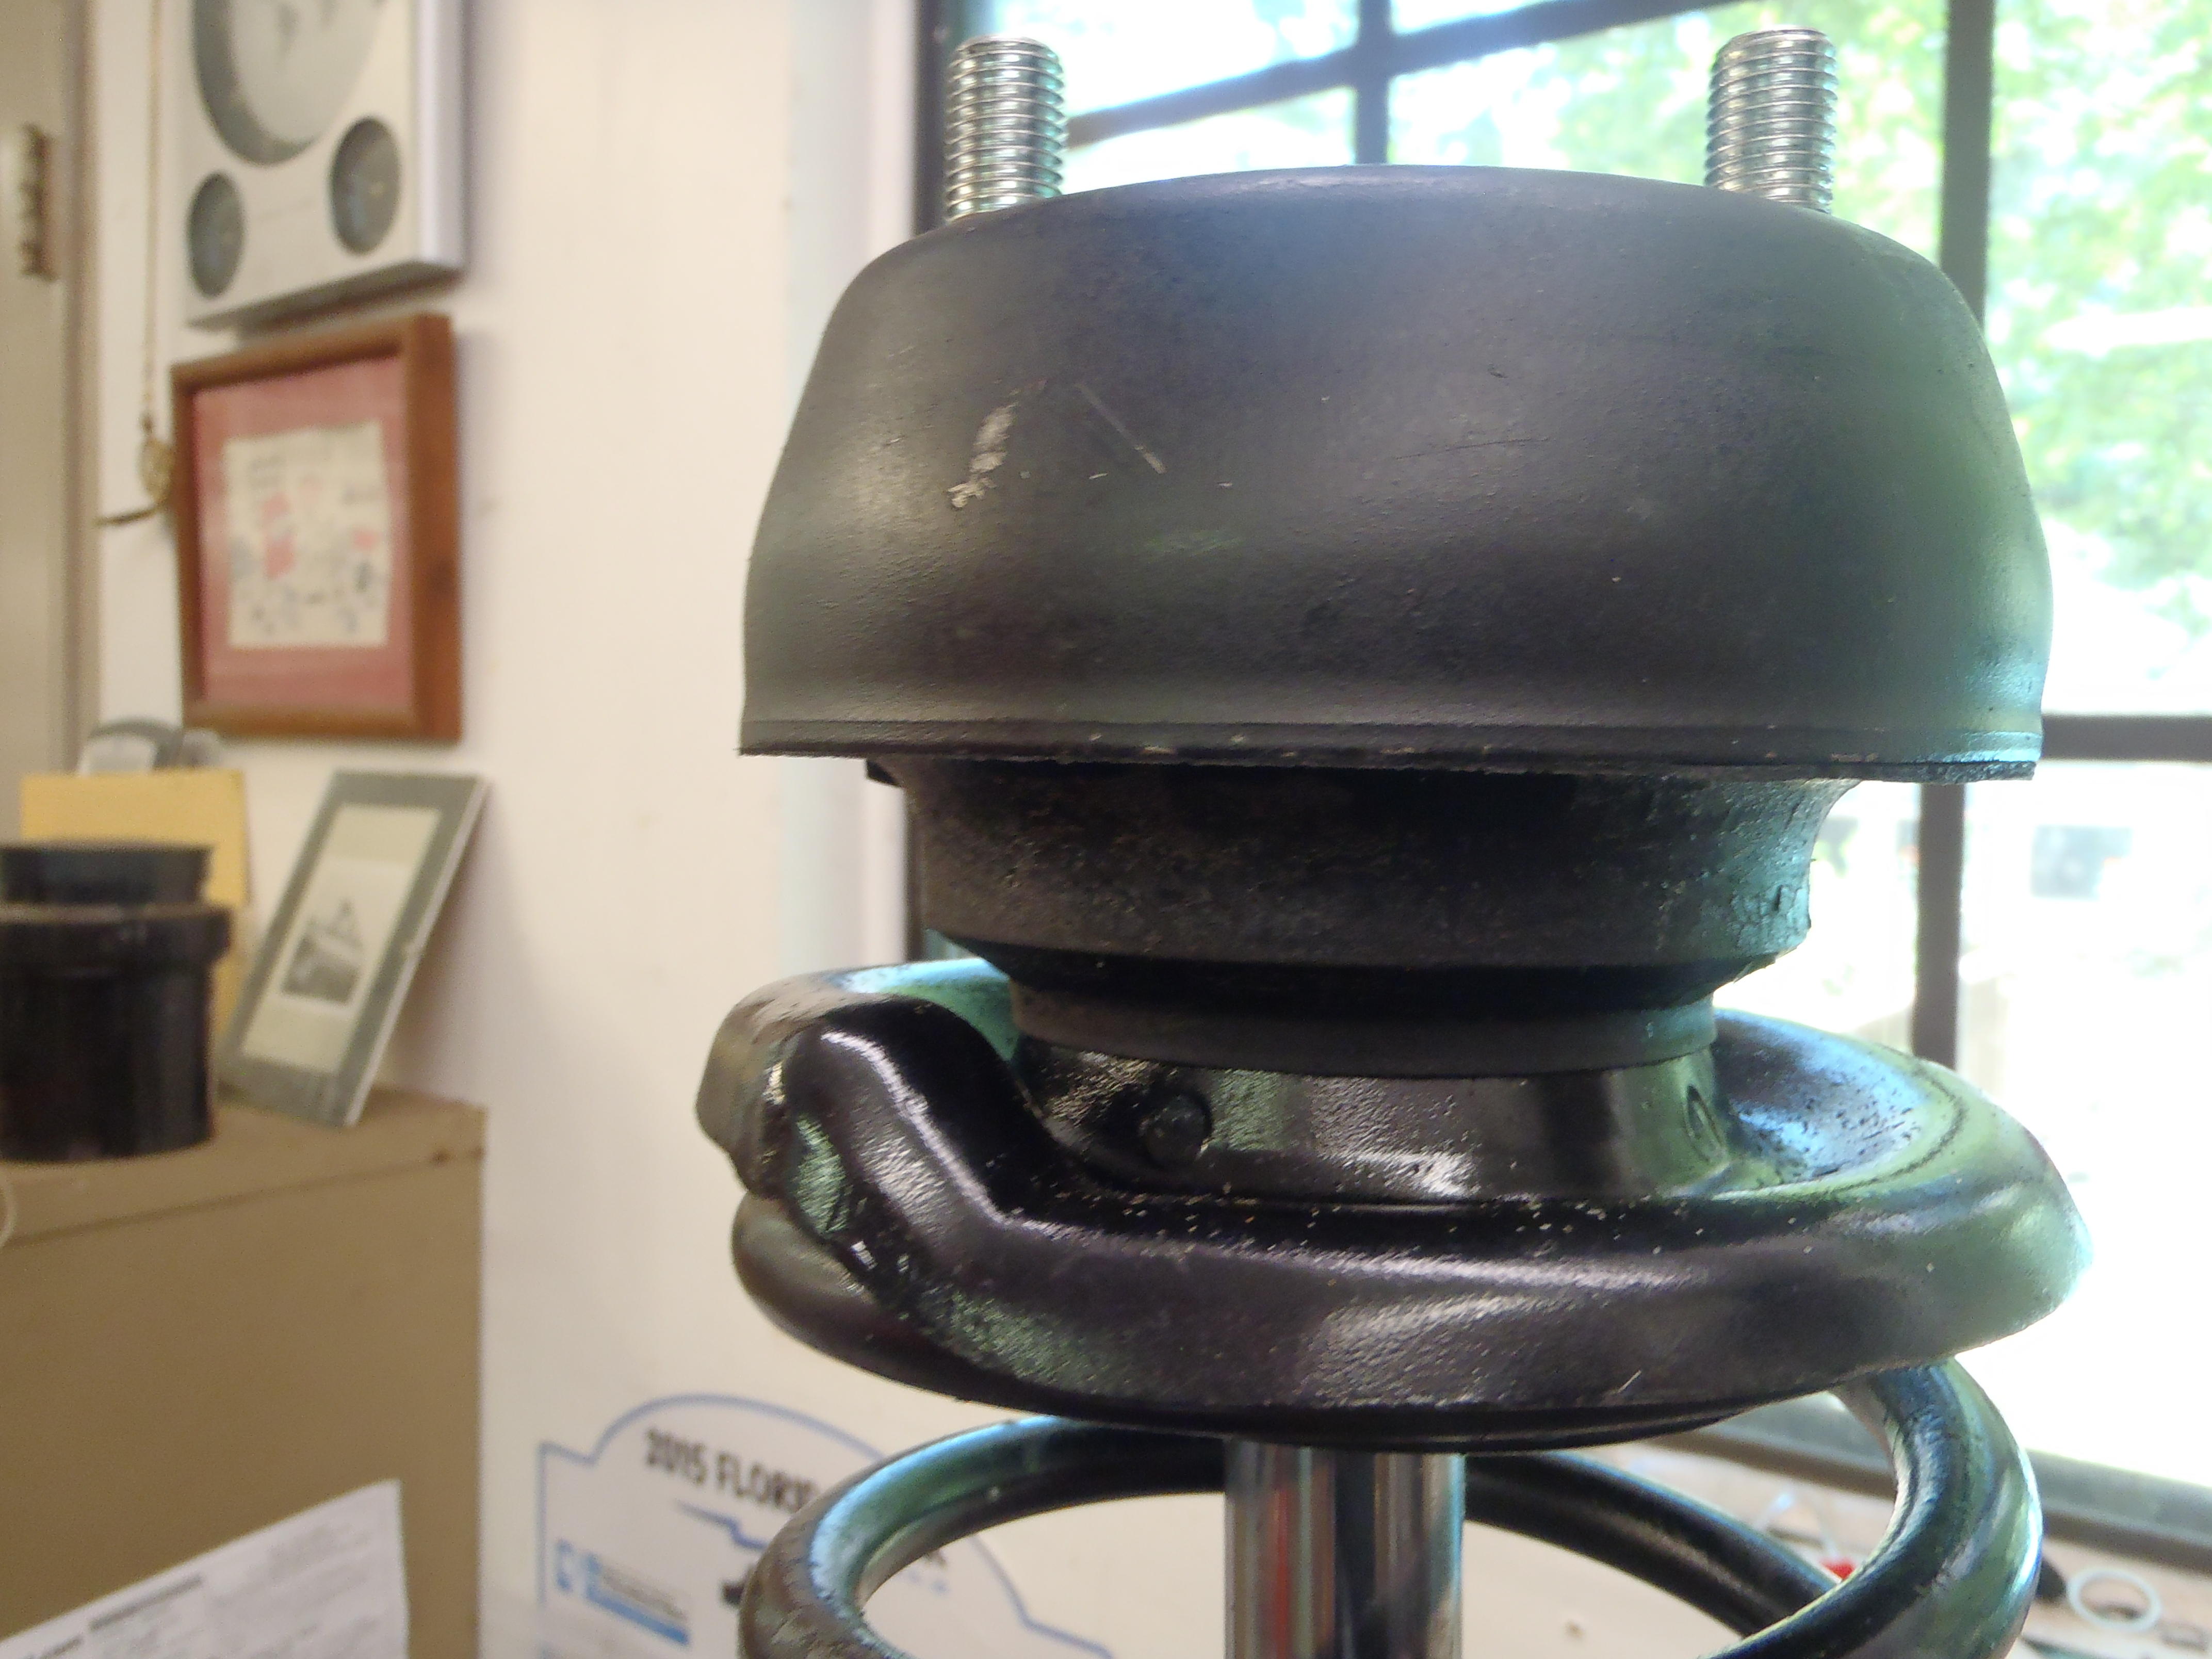
The strut is not binding, I can push it a little way in easily. But almost no way to compress it fully by hand, way too much spring/pressure. I can straight arm it and put almost all my not-so-minimal weight on it and it's difficult to make it to the bottom. No accessories with the strut. Only the collar nut and top nut. Collar nut screws down tight, strut tight in tube, no spacer needed. I'm liking TerrapinZ's suggestion about the different valving or gas charging in the same strut body. If this strut is for a 280 Z, that is a much heavier car and so would probably have a different/higher gas charge which would also explain my difficulty with pushing it in (smoothly). I can't be certain but I'm pretty sure the spring/strut assembly is at the top of it's travel when installed. That would explain the bottom inboard angle of the tires because, at full extension it is longer than the original configuration, the new strut is 15 mm longer (see pictures above) and so would make the lower control arm position a bit lower and so angle in the wheel. I could probably prove this by putting a lot of weight somehow in the front and get the strut assembly off of the upper stop and to more of a midrange position. I'm still going to call ZCarDepot tomorrow and see what they say about the P/N's gundee, thanks for the PM, I'll check it out.
-
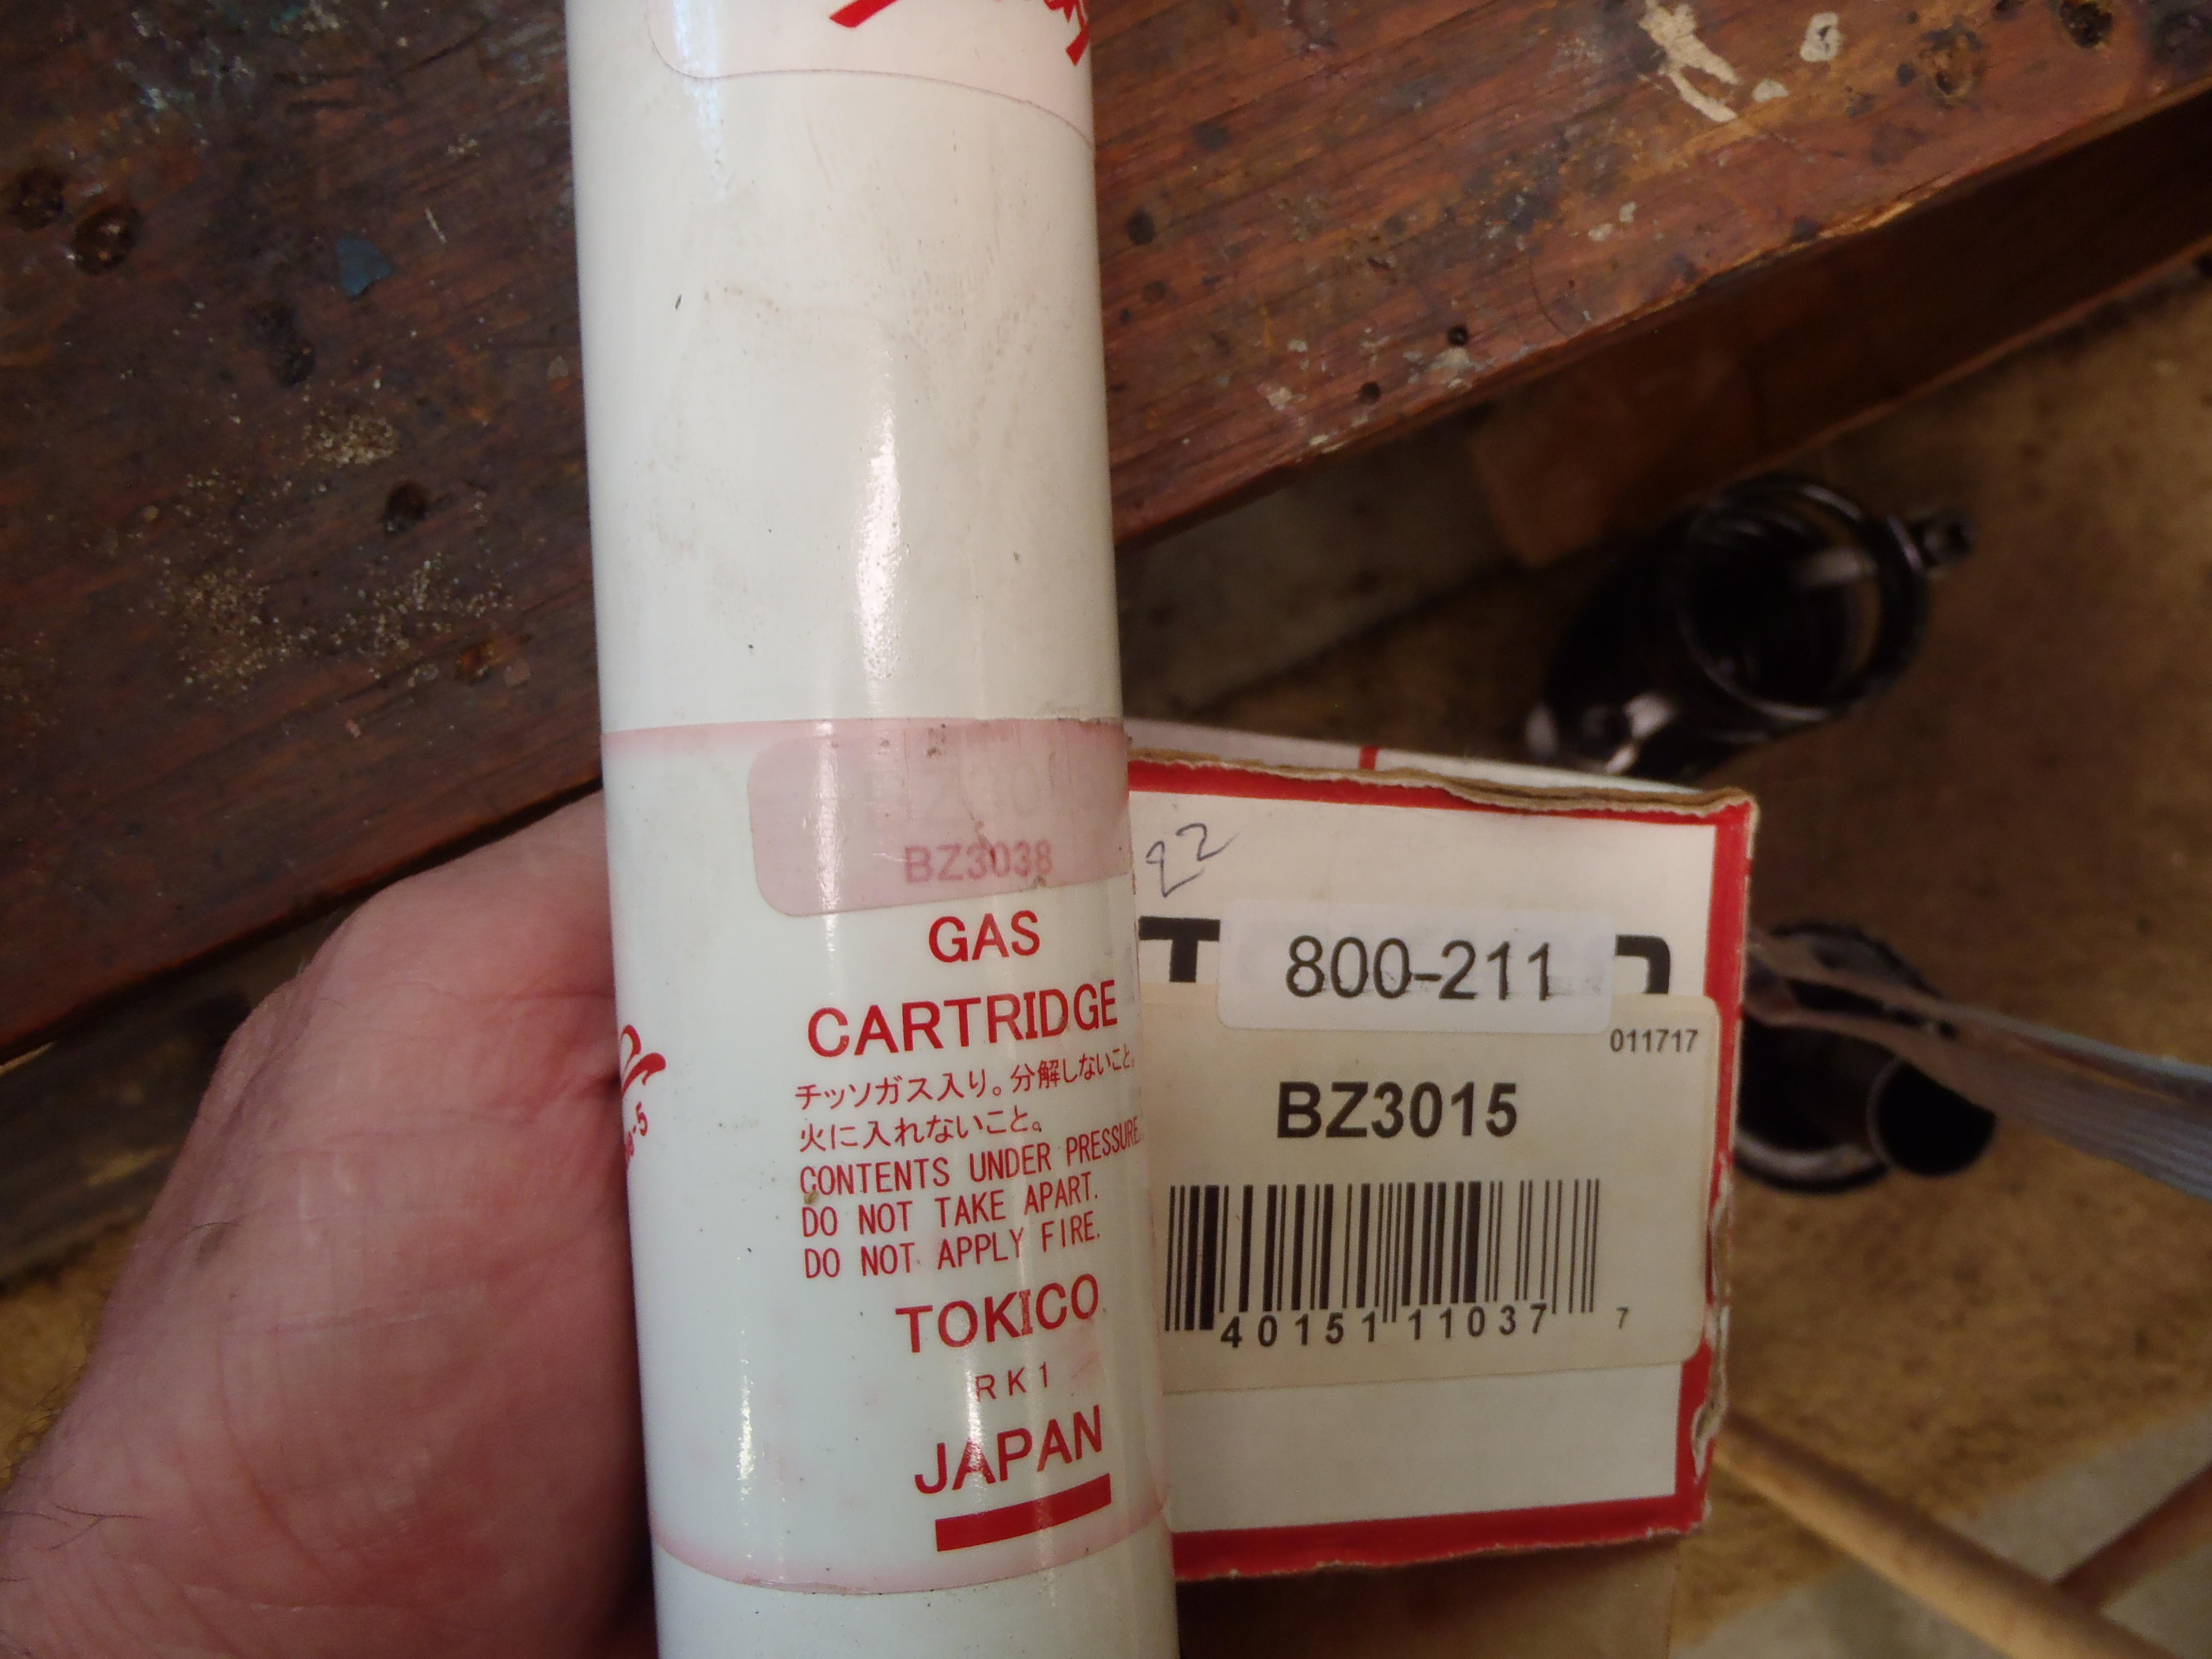
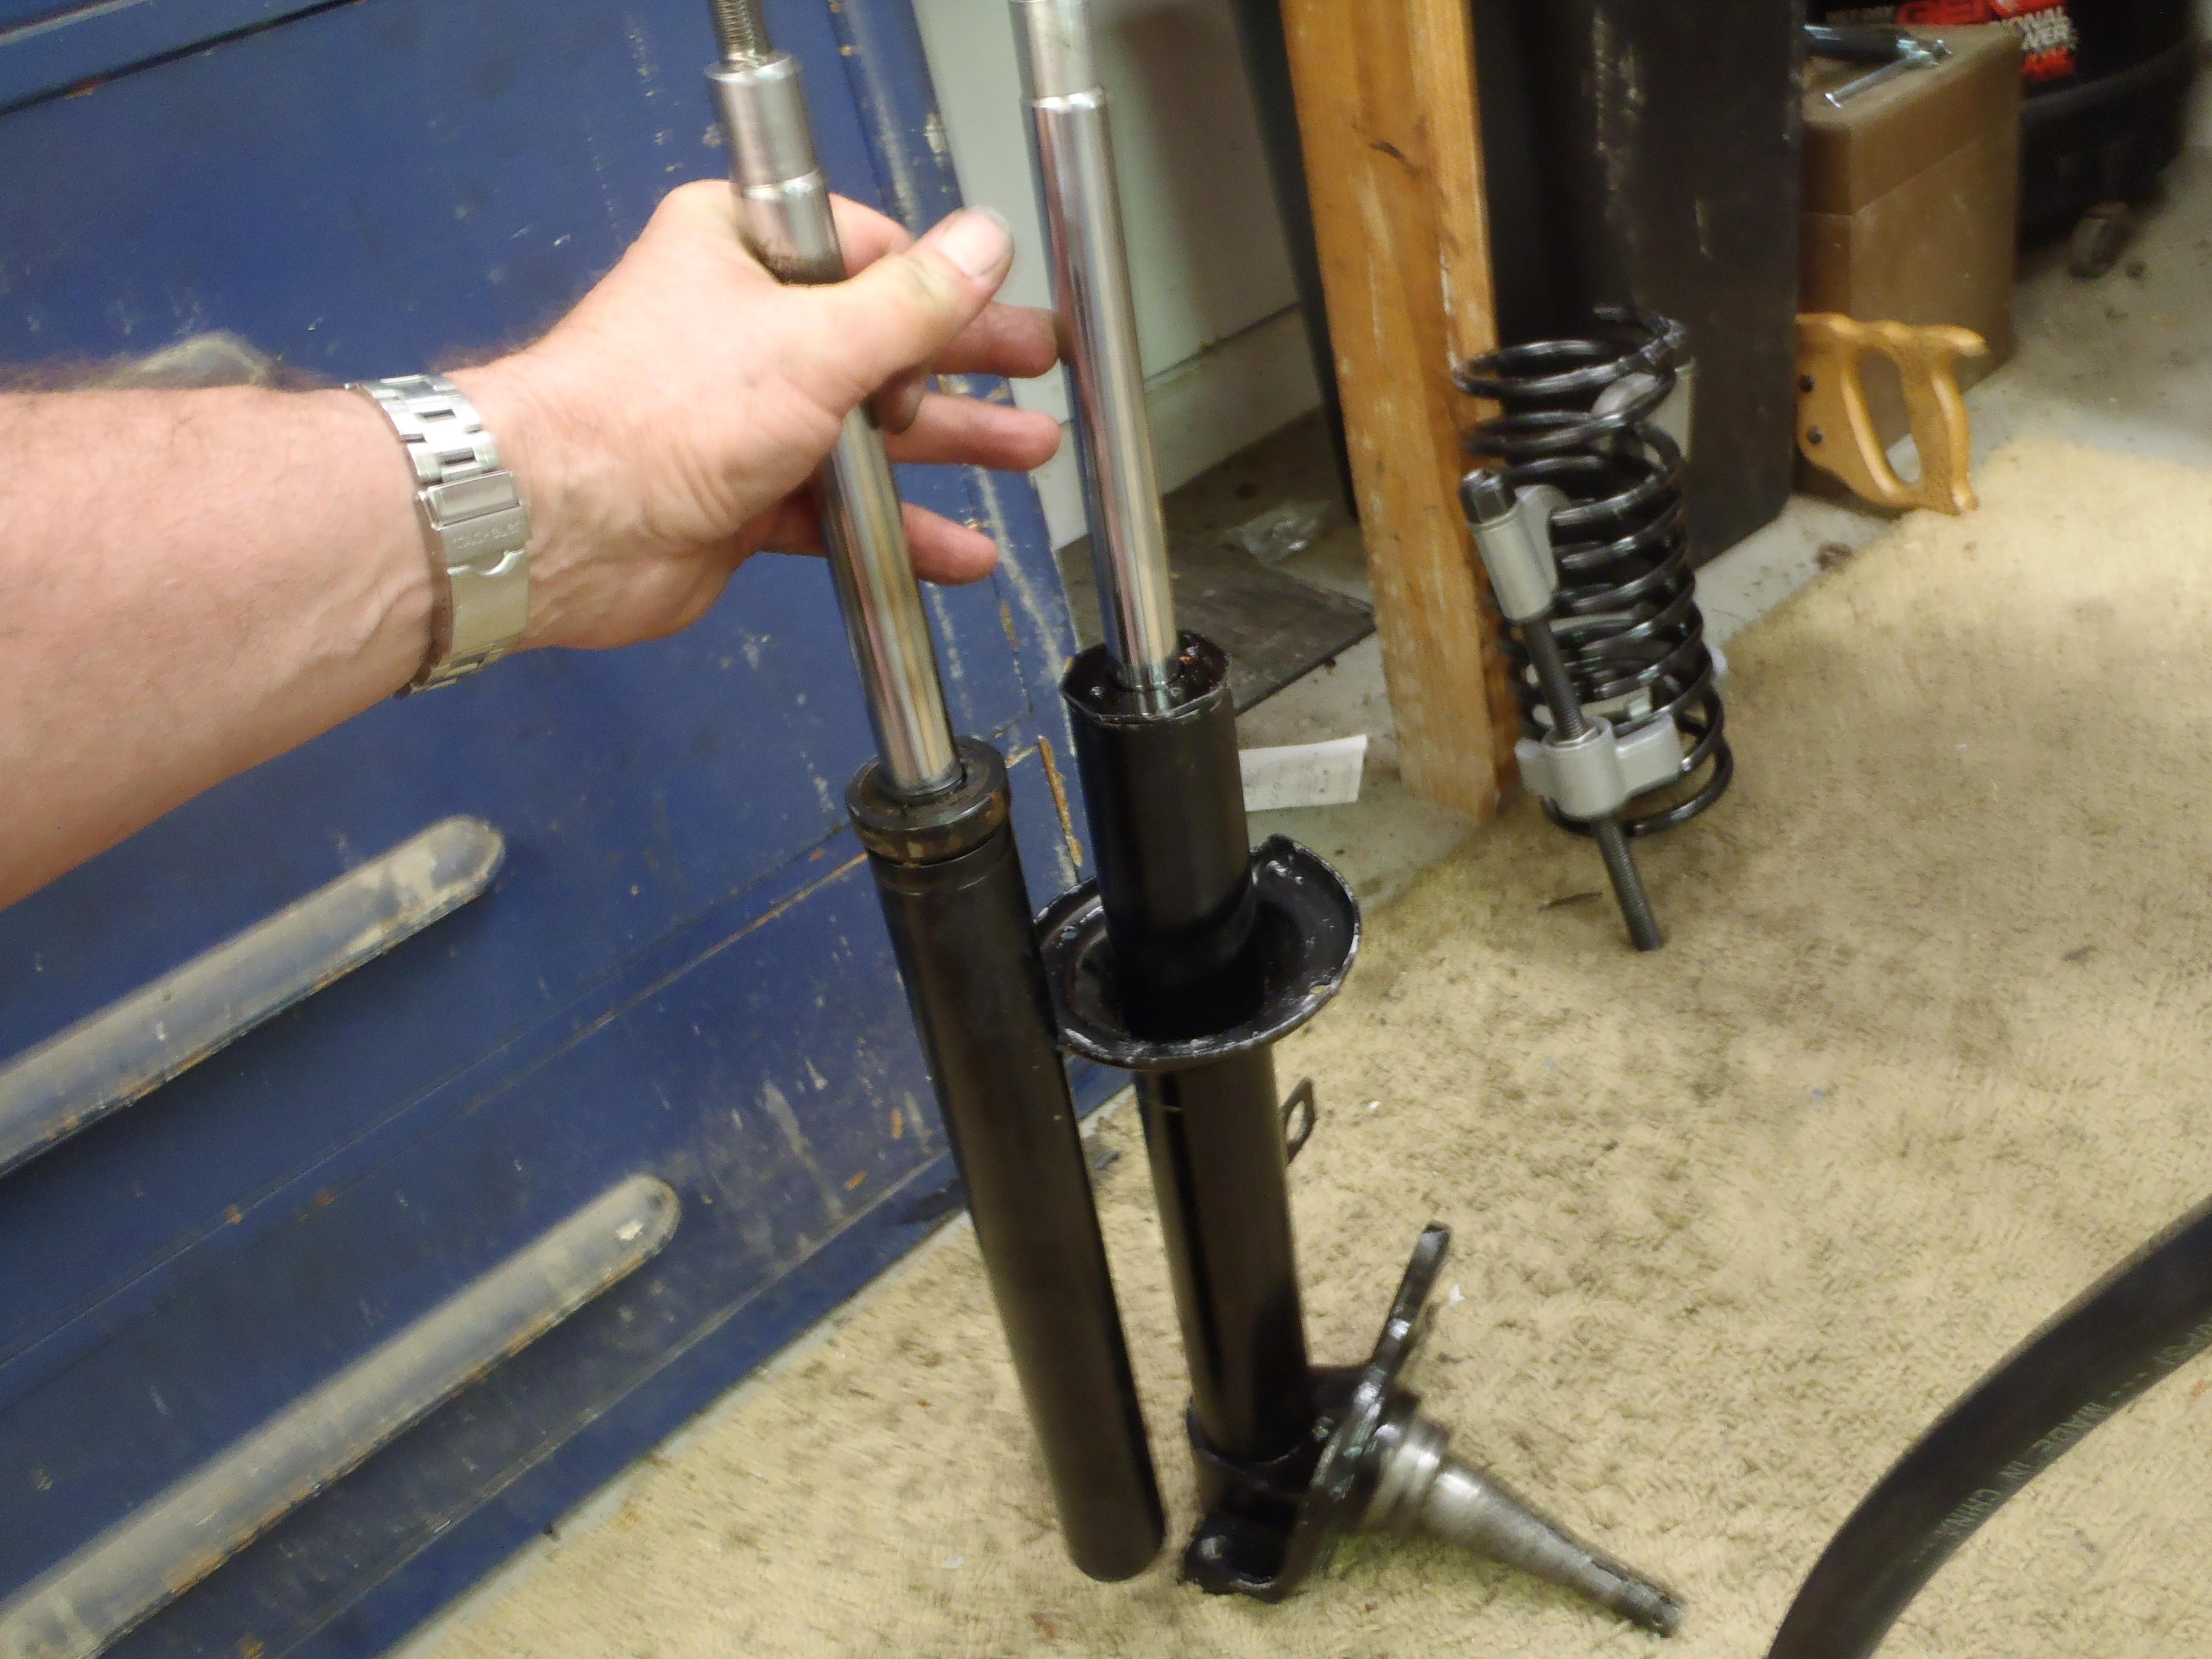
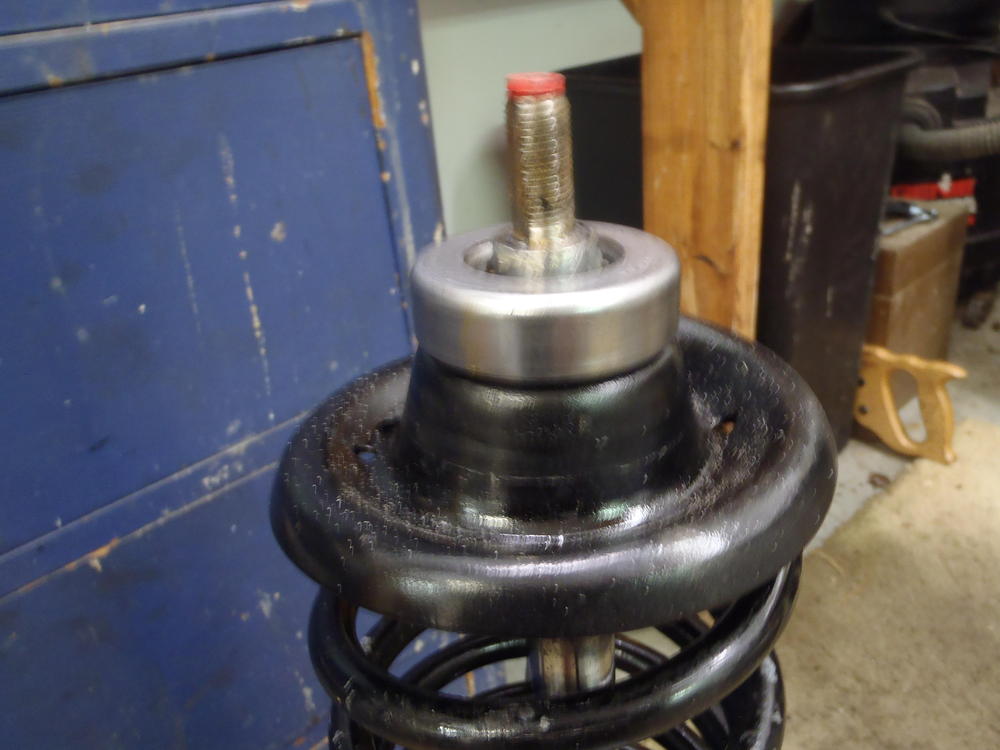
This is becoming a real saga, sorry! In the previous episode, you can see the two struts looked very similar but I was comparing the old one to the new one while it was still in the strut housing. I finally took the new strut out of the housing and compared them side by side on the bench! And look! They're different, further investigation shows I got a different shock than what was listed on the box. It's just long enough to make a difference. Is this a rear strut? It's a BZ3038 where the box shows it as a BZ3015. Just found it, looks like what I have is for a 280Z front.


-
-
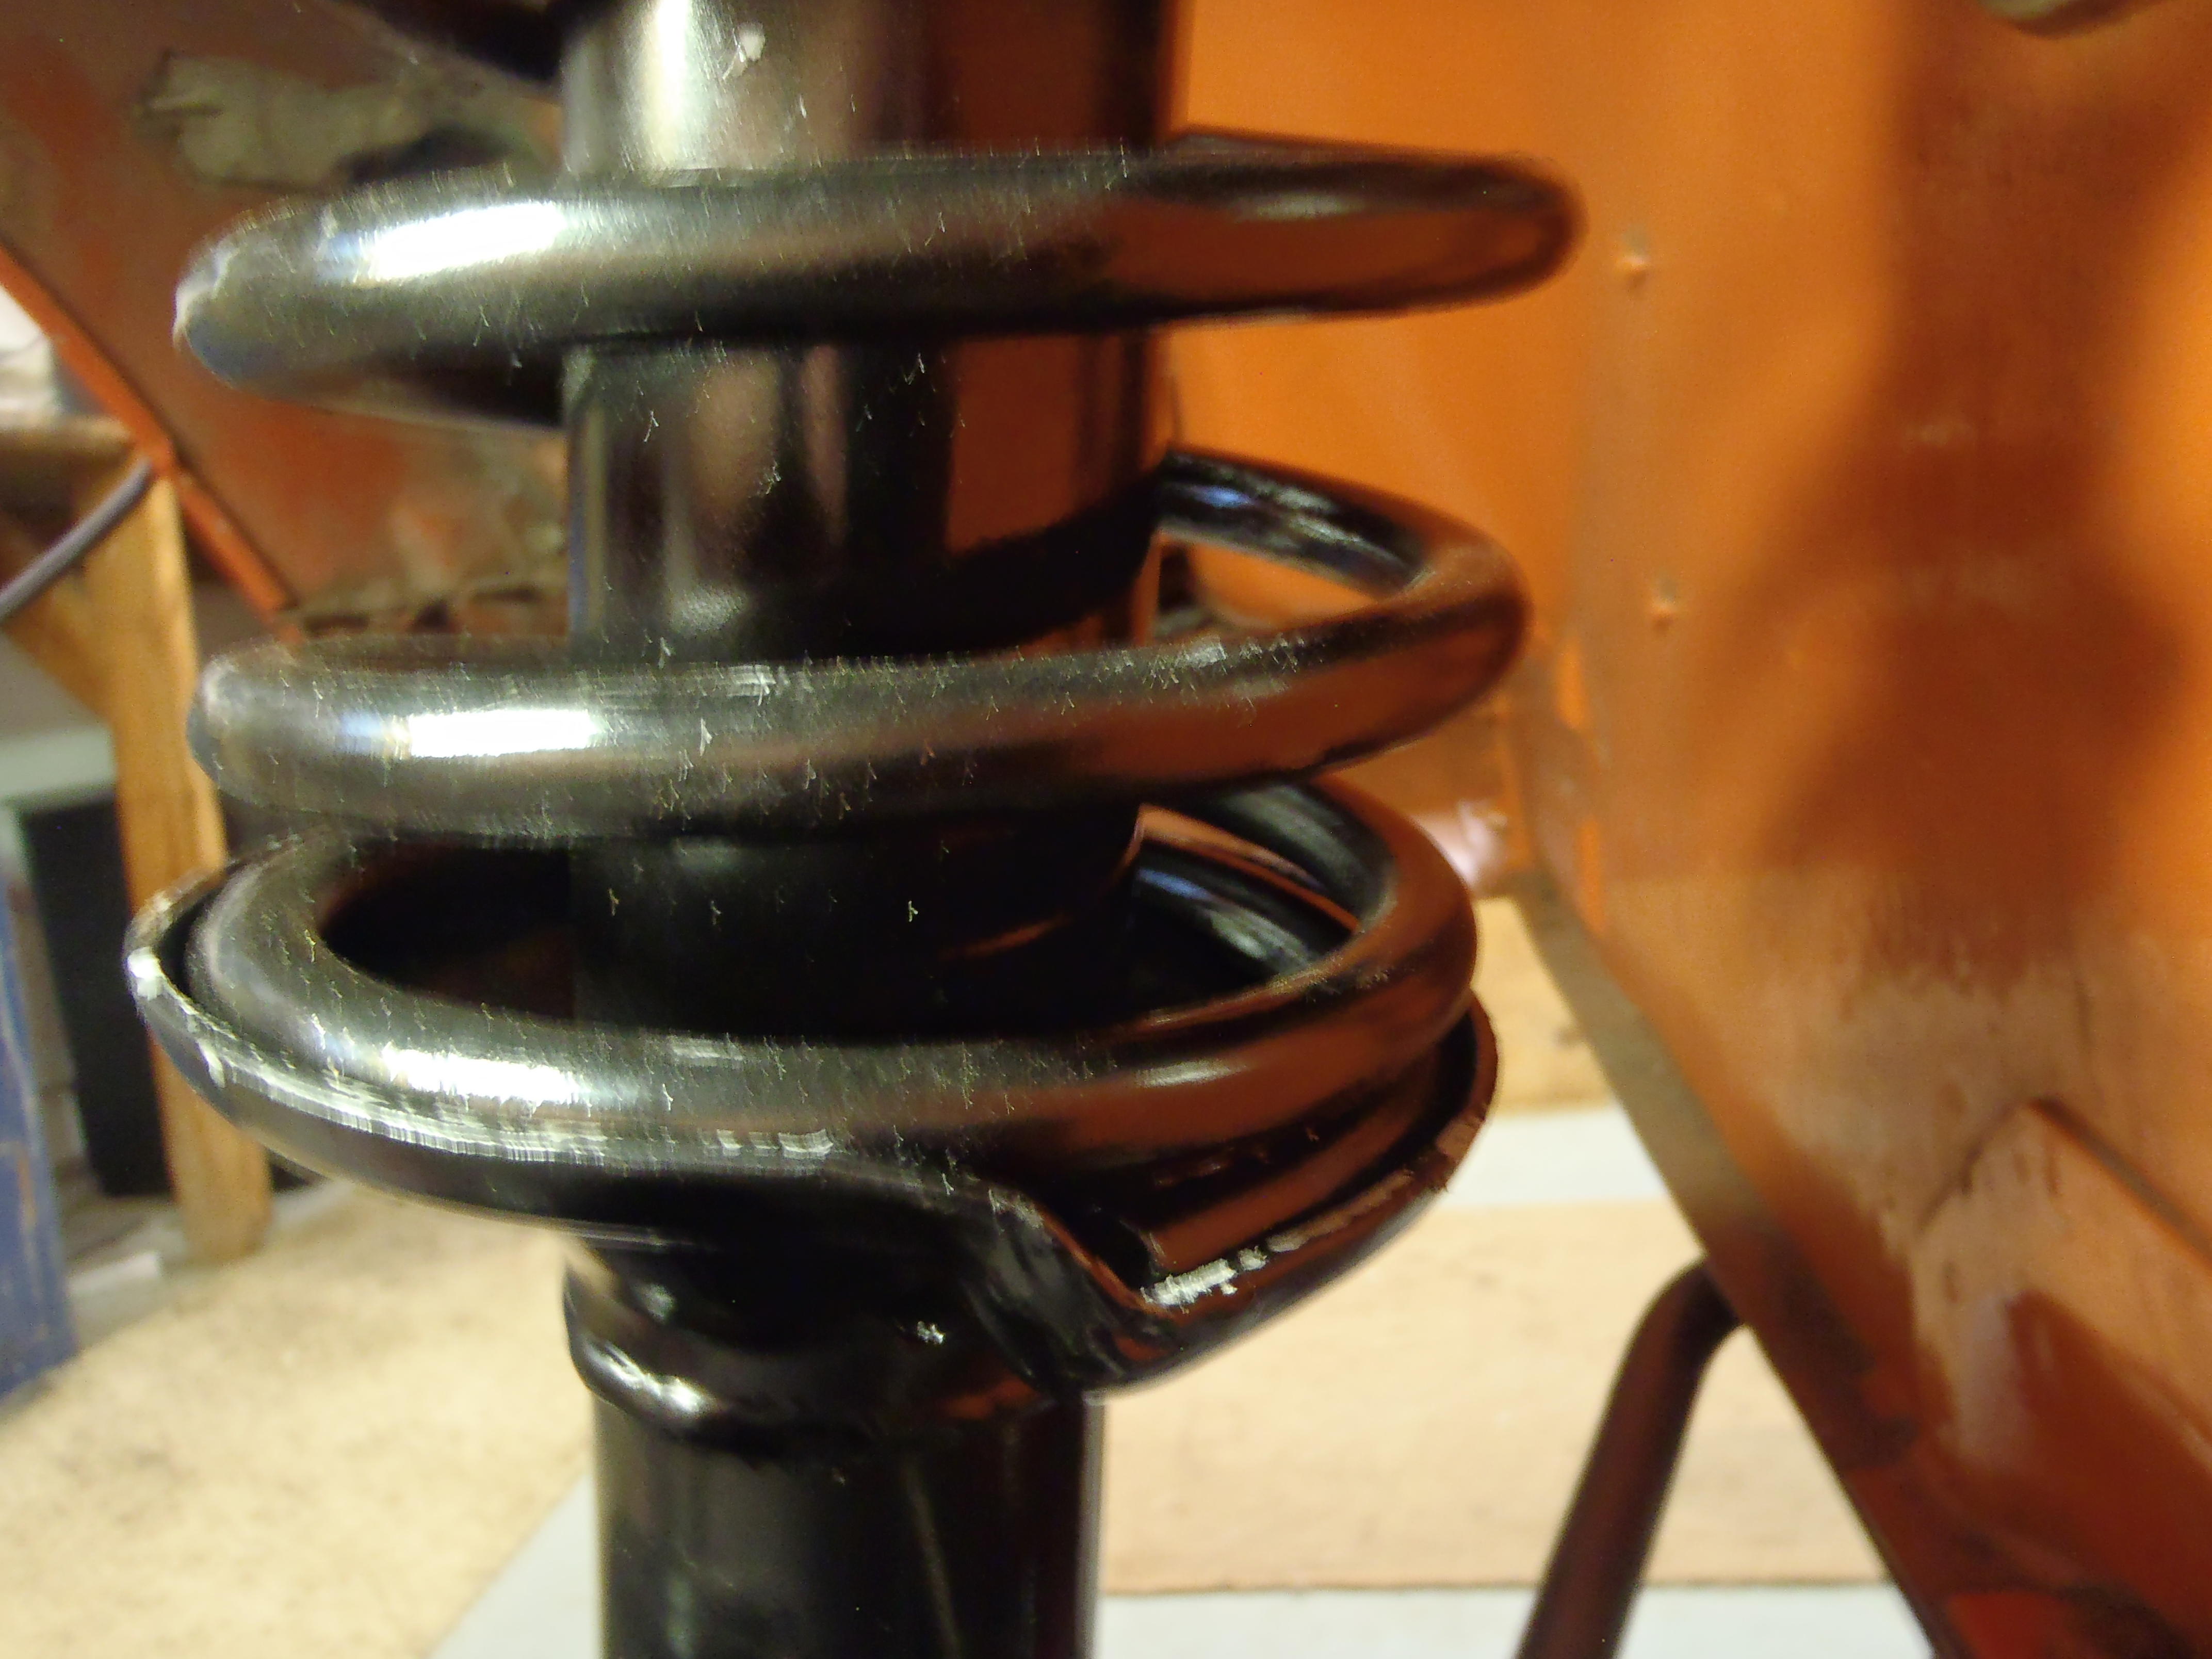
OK, so this is making me crazy. I fully expected to take it apart and find something amiss but it appears all is well. The spring ends are in their registers, the bearing is seated in the upper bushing and matches the load point at the top of the spring mount. And the struts are the same length. The only difference is the old strut sags back into itself but the new strut pushes out the whole length but the extended length is limited by the strut length. And the strut capture nut is fully screwed down so that's not off either.


-
Yes, another good suggestion but I checked this about a half dozen times before I re-assembled the rest of the suspension. The long part is towards the rear on my car. I separately released the sway bar and drove out to the street and back but no improvement. I then loosened the control arm bolts and drove out into the street and back, again with no improvement. So this weekend I'm going to disassemble the top of the strut assembly and see if I can compare the old strut with the new (correct, I double checked the P/N) strut. Also will check the assembly of the upper bearing. For some reason I thought the strut mounting insulator and strut mounting bearing may not be seated correctly. And these are the same springs that came out, I never worked on the rear suspension
-
I didn't do the rear suspension so there's zero chance of mixing springs. Yes, the struts are on the #1 (soft) setting. Good ideas about removing the sway bars and see what happens. I'm also going to try resetting the control arm bolt while it's on the ground in the driveway. Although I find it hard to imagine the rubber bushings in the control arm mount holding up the car but I've seen stranger things. Thanks for the input.
-
-
-
Thanks for all the suggestion guys. I sent the other car on it's way and now am back on this. I jacked up the lower control arm to the point the car just started to lift off the jack stands then tightened the control arm bolts. This should be pretty close to tightening them with the car sitting on the ground (minus the two people). I took it around the block again this morning and the wheels are still pointed in at the bottom. I'll take it apart tonight and post some more, better pictures tomorrow.