Av8ferg
-
Posts
1,538 -
Joined
-
Last visited
-
Days Won
45
Content Type
Profiles
Knowledge Base
Zcar Wiki
Forums
Gallery
Events
Downloads
Store
Blogs
Collections
Classifieds
Everything posted by Av8ferg
-
The block was only tanked and bores honed. I’m going to buy a dial indicator tomorrow and if its within tolerance then I won’t pull it apart. Sent from my iPhone using Tapatalk
-
Thanks. I am using the L28 rebuild book. I guess it’s better to be safe than sorry. I’m going to double back, check my work, pull it back off and try and get some measurements off this thrust bearing. Sent from my iPhone using Tapatalk
-
Well, I did that already. The block came back with the caps on. I reviewed my disassembly photos and noticed the arrows were the wrong way so fixed that when installed the bearings. Sent from my iPhone using Tapatalk
-
I’m was prying pretty hard, it wasn’t going to move, the big screwdriver was bending. I guess I’ll pull it all apart and try and shave those flanges a tad. Book says to measure them prior and then lightly sand. Thanks for the advice guys! Sent from my iPhone using Tapatalk
-
Here’s what the books says, but I need someone who’s done this before to tell if I need to pull this apart and do it again. Says to sand the thrust bearing edges with 320 sandpaper to get the clearance. Should be .002 but not more than .007. The crank won’t move laterally (float) at all when pry it as instructed using a long flat screwdriver. Sent from my iPhone using Tapatalk
-
Dave, I did not use plastigage because the journals measured almost perfect (well inside tolerances). i was there when he measured the journals and his comment was how surprised he was that there were exactly what the books specified and all nearly identical. He said that he doesn't see that often on domestic motors he works. This wasn't the first time he commented on the high quality of the motor vs what he normally sees. Also, I bought standard size OEM Nissan bearings, not aftermarket. I used Lucas Semi-synthetic high performance assembly lube. This stuff is pretty tacky. Its a bit messy, and leaves a long stringy mess, like snot but very slick.

-
Gents, So I thought I’d start a new thread on this since I’m now on the reassembly phase. I’ve had a few issues with the crank install albeit all self-induced. I’ve posted a video on the crankshaft install and my concerns and questions. Concerns: -How much free spin force is normal? -The shop has the caps in 180 out but in right location when I got the engine block back. -Did I damage a bearing when we accidentally torqued caps to 58 ft lbs? -Book says torque to 33-40 ft lbs, I set 36lbs. -Thrust bearing clearance, could not determine. Video capture all these concerns Thanks Sent from my iPhone using Tapatalk
-
Okay, hopefully I won’t have to redo the job but if I do I know what I’ll use next time. Dave, I’ll run this engine on a stand like you did and fully test it while the car is getting paint and body work. If she leaks, I’ll know before install. Sent from my iPhone using Tapatalk
-
Okay, thanks Cliff. They went in pretty tight and I lined the slots with Ultra Black Gasket Maker prior. Didn’t know they were imbedded. Sent from my iPhone using Tapatalk
-
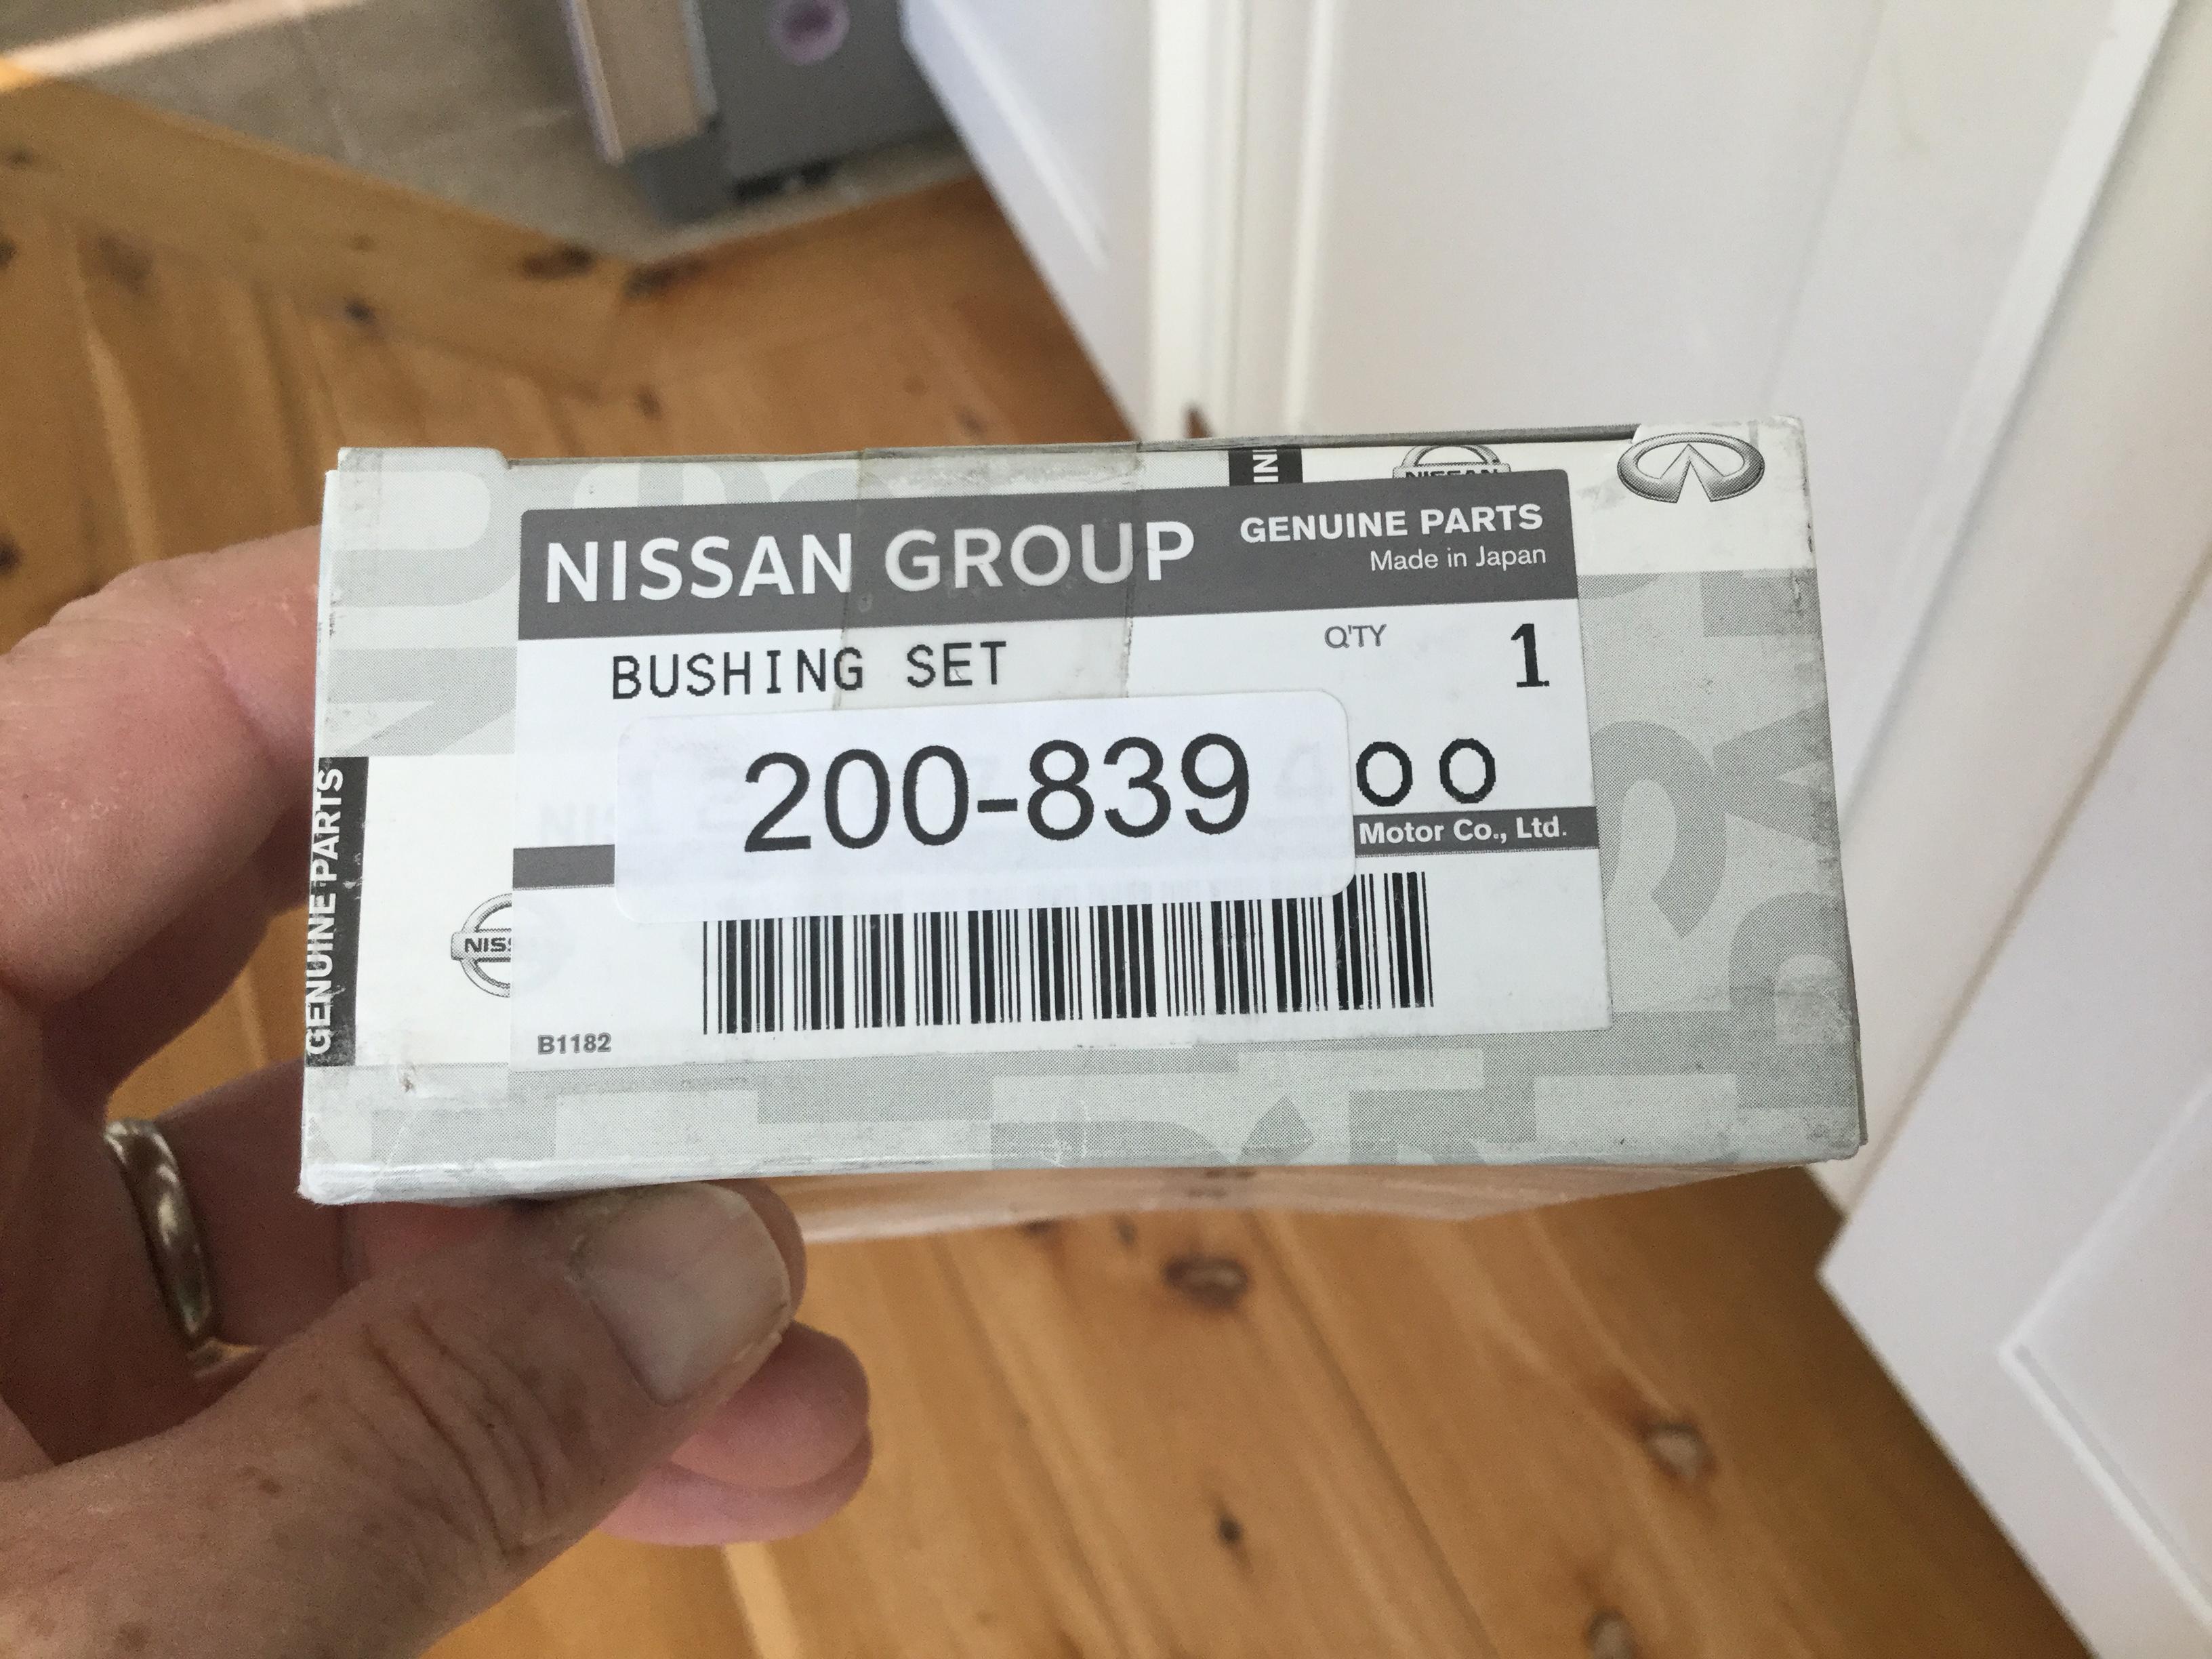
Question, I ordered my rear main seal from Zcardepot and it came with The main seal and two side seals but not side pins. This is supposed to be an OEM Nissan part (came in Nissan bag). It doesn’t come with The metal side pins. Do I need these? I’ve already set the rear main cap with seal and side seals and RTV in the corners and notches where side seal go. Do I need to redo this and add those metal shims in there? https://zcardepot.com/products/rear-main-seal-kit-engine-oem-240z-260z-280z?_pos=2&_sid=5908879bd&_ss=r Sent from my iPhone using Tapatalk
-
Thanks CO. I just noticed the site problem around the time you sent this. I’ll email them and see where it goes. Thanks again! Sent from my iPhone using Tapatalk
-
I agree. Would have been far worse if it happened later while driving passing 5000 RPM. Now I wonder if I should change the rod bolts too. I know it’s not as easy as new bolts. I recall CO saying there needs to be something done to at the shop level to make the fitment correct. Sent from my iPhone using Tapatalk
-
I had an “Oh Crap!” moment today installing the crankshaft. Was almost finished and torquing the main caps down. Followed the book exactly. While torquing cap #5 it happened. When the bolt goes from tight to loose all of a sudden. Yep, she broke. Torque wrench was set to 38 ft lbs. book says 33-40 ft lbs. I opted for something in the middle. Only good thing was there was enough threads sticking out after removing the cap that I was able to grab it with a vise grip and she came out easily. No tapping required. So, I’m at a work stoppage. I’ve lost confidence in the rest of the bolts so I’m ordering a new set. http://datnissparts.com/ld28-main-cap-bolts-set-of-14-for-datsun-l6-l24-l26-l28-240z-260z-280z-280zx-810-910-maxima-12293-v0700/ Planning on buying these. Yes, I confirmed the torque setting, wrench is new and high quality and I didn’t miss the break point inadvertently. Sent from my iPhone using Tapatalk
-
Ready for assembly... Got bearings, main seals and new head bolts. Waiting on my rings and head gasket. Reading trough the “ How to modify your Datsun OHC engine” last night he states that you only need to worry about shimming cam towers and chain slack when the head has be shave .0030 or more from stock. So I’m thinking I should be good with my .0014. Sent from my iPhone using Tapatalk
-
I’ve been researching the idea of Filling these holes. JB Weld, Devon Aluminum Epoxy and another product called Alvin Hi-Temp. They’re all similar product. I think I’ll try the JB Weld. I don’t think it would be a problem even if I left it alone because they are so minor. Sent from my iPhone using Tapatalk
-
Went to see how my head looked at the Machine Shop while dropping off the valve stem seals. Looks pretty good, all valve seats were redone and the one bad one replaced. Looks like he took another .009 off the head to get the surface to a place he thought was good. There is still some minor corrosion pits left but he thinks it will not be a problem and recommended this copper gasket spray to put on the gasket if I wanted better assurance of a perfect seal. Right now the head measures 4.241”. Stock I believe is 4.255” Here are the pics Sent from my iPhone using Tapatalk
-
Cliff, you need to keep your library more organized. The Dui Decimal System is outdated. Sent from my iPhone using Tapatalk
-
Okay, here she is. This paint is called Cast Coat Iron DE1651 by Duplicolor. I think it looks pretty awesome. Sent from my iPhone using Tapatalk
-
Ike this: Sent from my iPhone using Tapatalk
-
Well, after much consideration and debate with some car buffs in my neighborhood I think I’ve decided to depart from tradition. My car isn’t being brought back to stock anyway and I still have my stock block also that’s original. This car is not a Series 1, 240z where being 100% stock brings significant value to the car. The blue engine block is really an odd color and doesn’t match well with red (my car color is 110 Red). So I’m considering now painting the block a light graphite gray. It will go well with the blacks, aluminum and stainless parts. I’m not blinging out my engine. It will have black hoses and mostly a stock look except for an new fuel rail. I have a red powder coated valve cover already. Could look nice, but the blue would throw it all off (Superman colors red and blue) Here’s pic of my valve cover. I know Captain Obvious just threw up in shock for departing tradition...(“Gomenasia”). I promise it won’t be a gaudy rice burner look. Like I said if someday a run of the mill 77 actual is collectible (unlikely) then I break out the old motor and put it back in. That engine will remain a backup and tucked away in my garage in long term preservation. Waiting for the arrows coming my way! You can still change my mind. Sent from my iPhone using Tapatalk
-
Thanks Captain! I’ve decided that I’m not too concerned about getting exact stock engine color. My neighbor has an 82 ZX and the engine is 100% stock and it is probably closest to GM Blue. You can’t pick it up in the photos but it has a hint of green in it unlike Chrysler Blue which is all baby bluish. I need to get paint on this block before the rust attacks it. The POR-15 metal prep did a great job of getting the surface ready. It converted the micro rust in the pours of the casting to a polymer that is paintable. The humidity’s a bit high for painting but letting it sit too long is a worse option. I live 500 yards from the Atlantic Ocean and the salt air here is brutal on metal. I’ll post photos after. Any clue what that area that looks like someone filled a hole. Not sure if it was that or something rubbing from the junkyard or it’s transport. I don’t see any compromise in the metal or anything else. Just wondering if other engines have this too from the factory? Sent from my iPhone using Tapatalk
-
The head should be done mid week. He’s shaving it about .005 he said to clear the corrosion areas. I’m thinking the total off stock will be .010 to .012. Looks like it was resurfaced before. I also got Genuine Nissan valve stem seals and need to drop them off at the shop. I didn’t buy new valve springs, not sure if you really need new ones. Nissan Bearings, front and rear Seals came in this week . Goal is paint and install the crank tomorrow and Monday. I think you might be right on the color. GM Blue looks close too. See pic below. GM Blue in the right. Sent from my iPhone using Tapatalk
-
Engine Block is ready for paint. I bought the POR-15 Degreaser and Metal Prep. Worked really good. The block is ready for prime and paint in the morning. Wanted to let it completely dry over night. While cleaning and taping off I noticed an area on the block that almost looks like someone cut something off or filled a hole. See first couple pics. There is nothing on the inside of the block there that shows anything done. Looks like someone grinders the outdoes a bit. This is in the area where the oil screen goes. I also painted a metal bucket to test out the engine colors. You’ll see Chrysler Blue on the Left and Old Ford Blue in the Right. I also have GM Blue which I test on the bucket tomorrow. Sent from my iPhone using Tapatalk
-
You have options other than this car. All these are for sale in Ca. https://losangeles.craigslist.org/sfv/pts/d/atascadero-1971-datsun-240z/7002914024.html https://losangeles.craigslist.org/sfv/cto/d/tujunga-1975-datsun-280z-280-clean/7003377398.html https://fresno.craigslist.org/cto/d/fresno-price-reduced-z-two-owner-rust/6998401396.html Sent from my iPhone using Tapatalk
-
Nissan, has really been struggling for sometime in my opinion. It all started I think when they merged with Renault in 99’. They let sales supersede quality and the brand has taken a hit for it. The Nissan trucks used to be great....now they’re total garbage (Why but a Frontier when a Tacoma is far superior) . They make some of crappiest transmissions next to Chrysler/Fiat who’s really suck. Nissan has been eclipsed by all the major Japanese brands except Mitsubishi which sucks too now and go figure they are now a part of the Nissan-Renault Alliance as of 2017. I wouldn’t buy a Nissan today as there are much better cars for the money. Sad to say because I love the Z cars, and the old trucks. The current Z are way long in the tooth for an update. Nissan has some leadership issues. They need to reinvent themselves and soon!. Sent from my iPhone using Tapatalk