
SoCalJim
Member
-
Joined
-
Last visited
Everything posted by SoCalJim
-

-
I was going to order the paint from these folks when I’m ready to tackle the air box. http://www.zzxdatsun.com/cat280z.php last item on the page.
-
I'm going to be adding Miata seats to my '75 Z, and I'm going to have them reupholstered in cloth. Cooler, and hopefully my skinny butt won't slide when I'm pushing through the twisties. ?
-
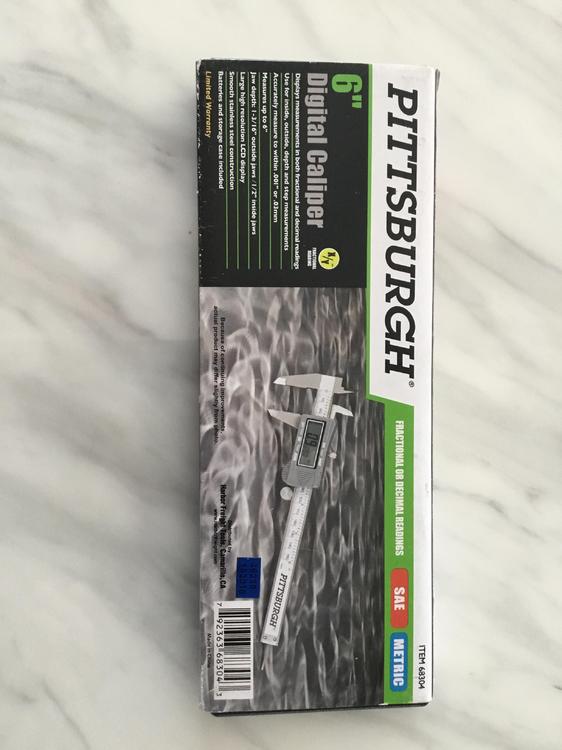
Perhaps you can pick up a cheap digital calipers from a place like Harbor Freight and measure what you have. That’s how I handled it.
-
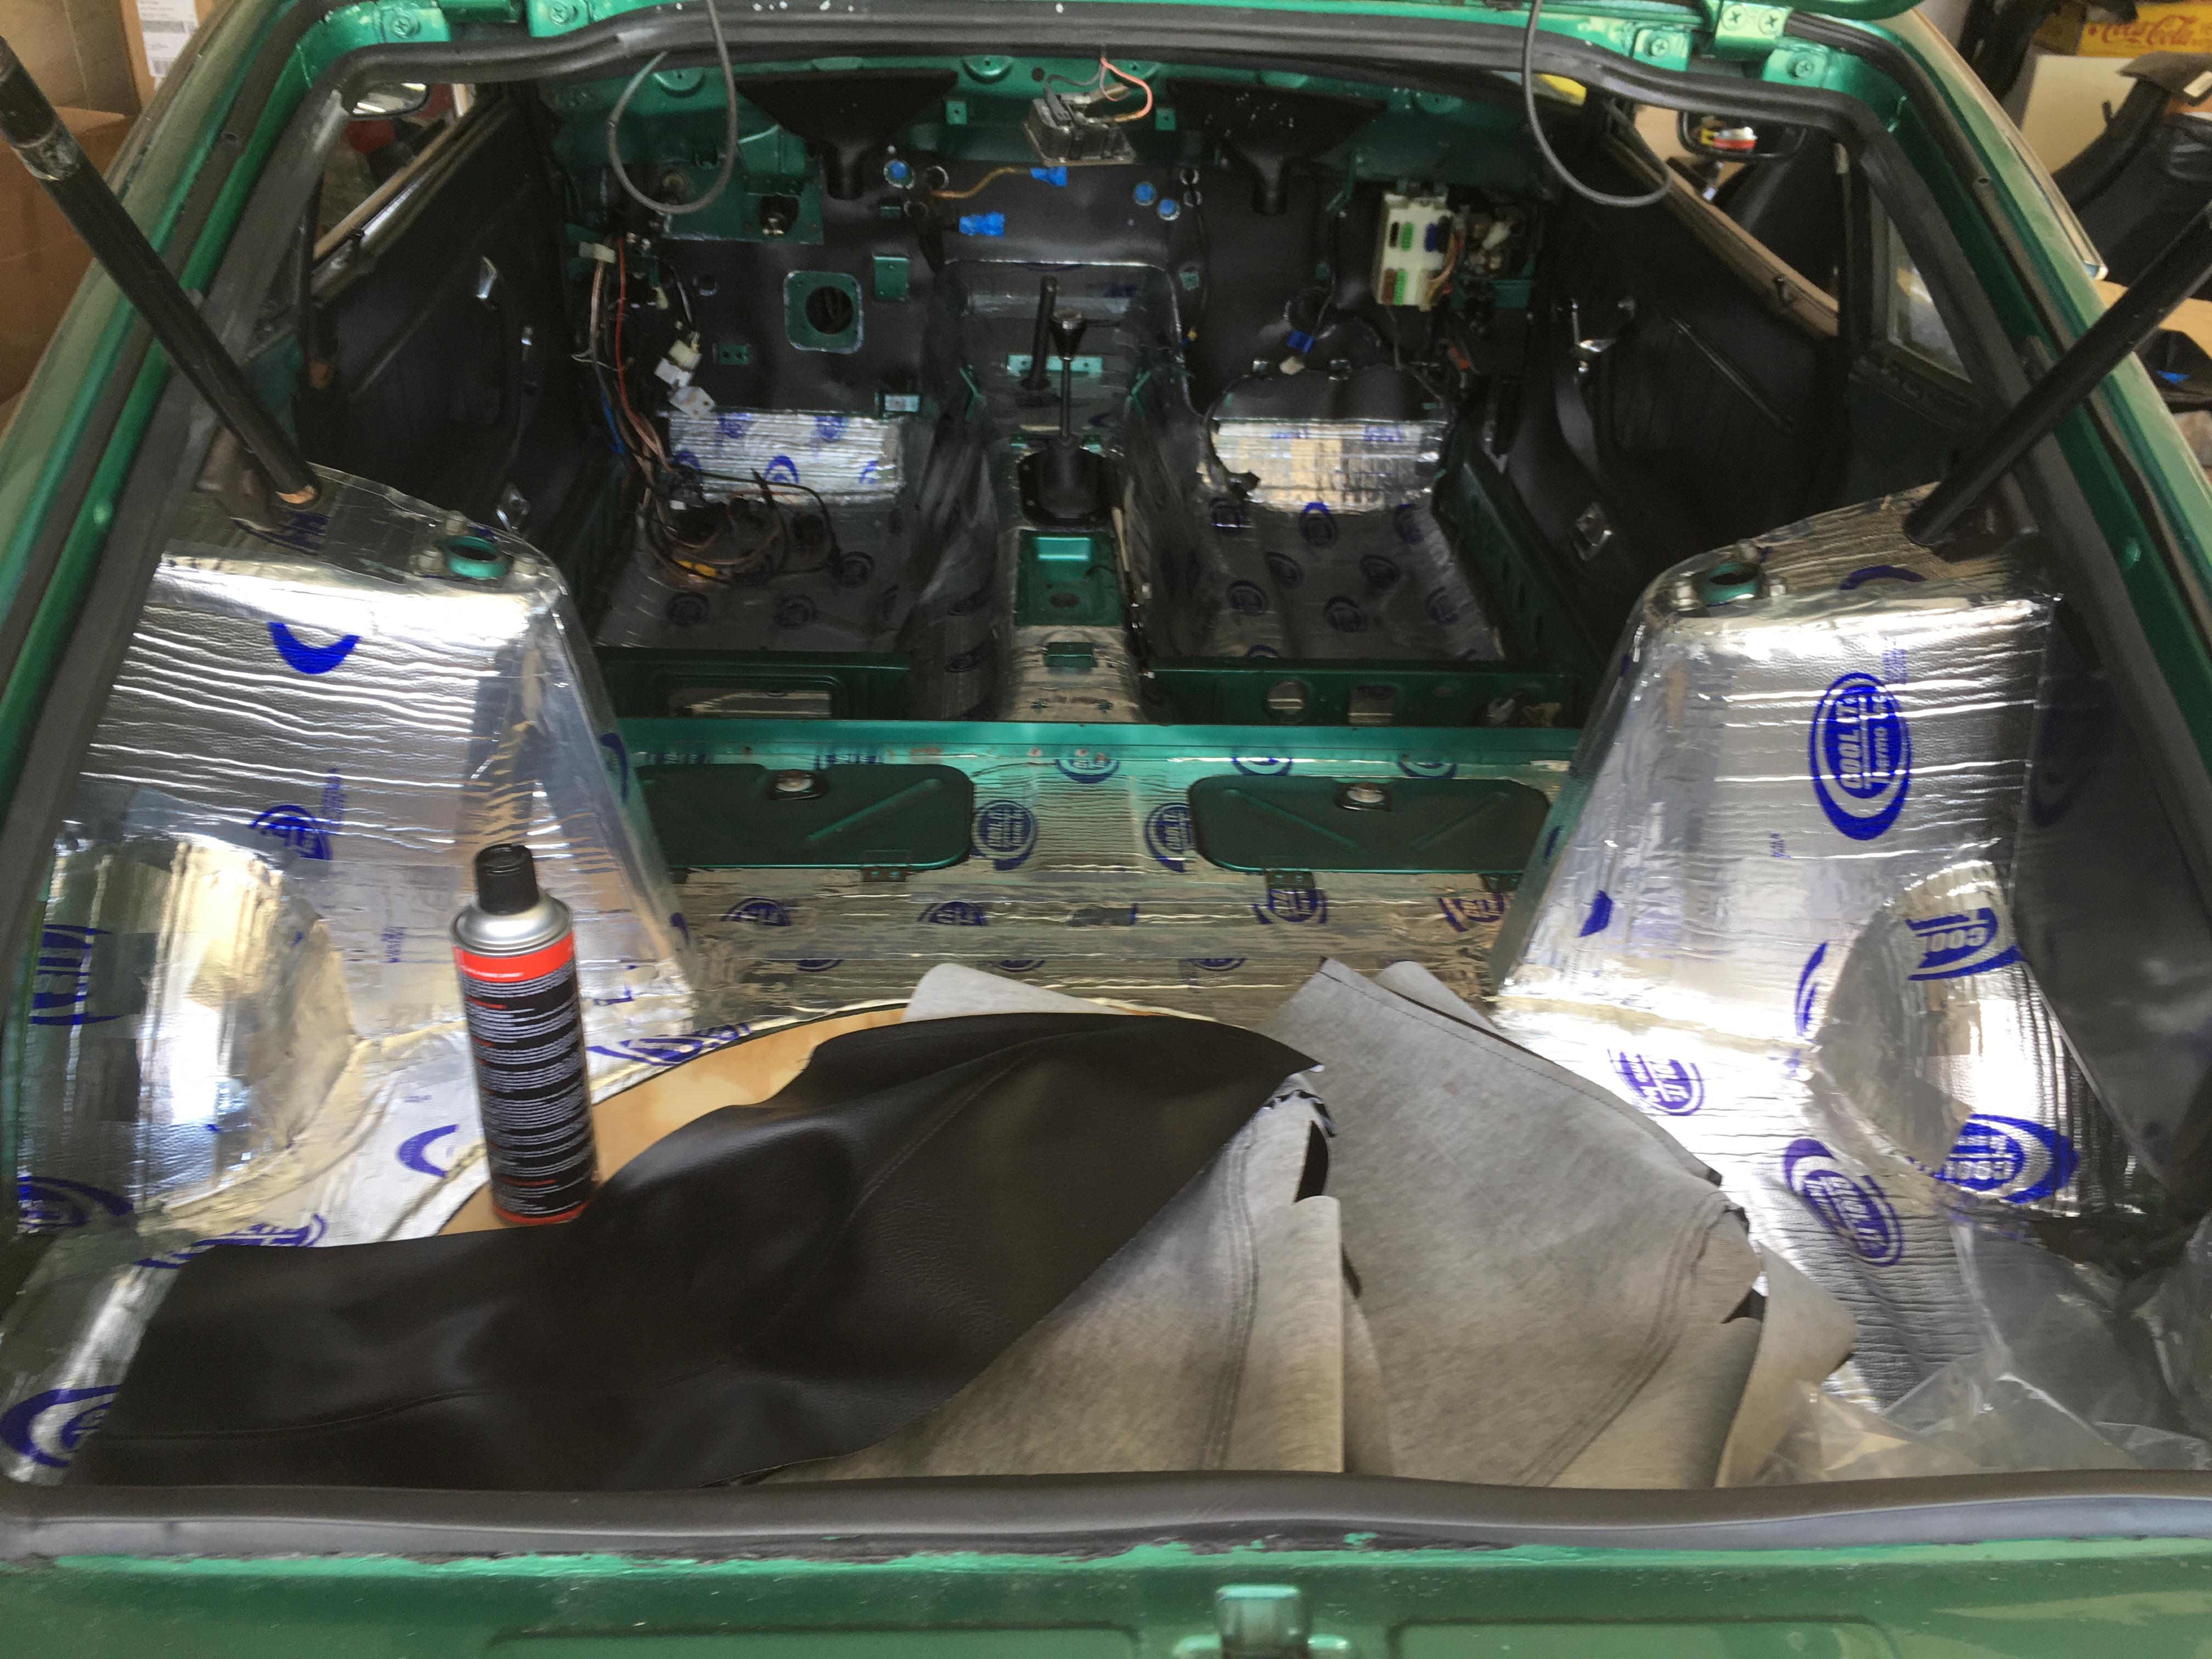
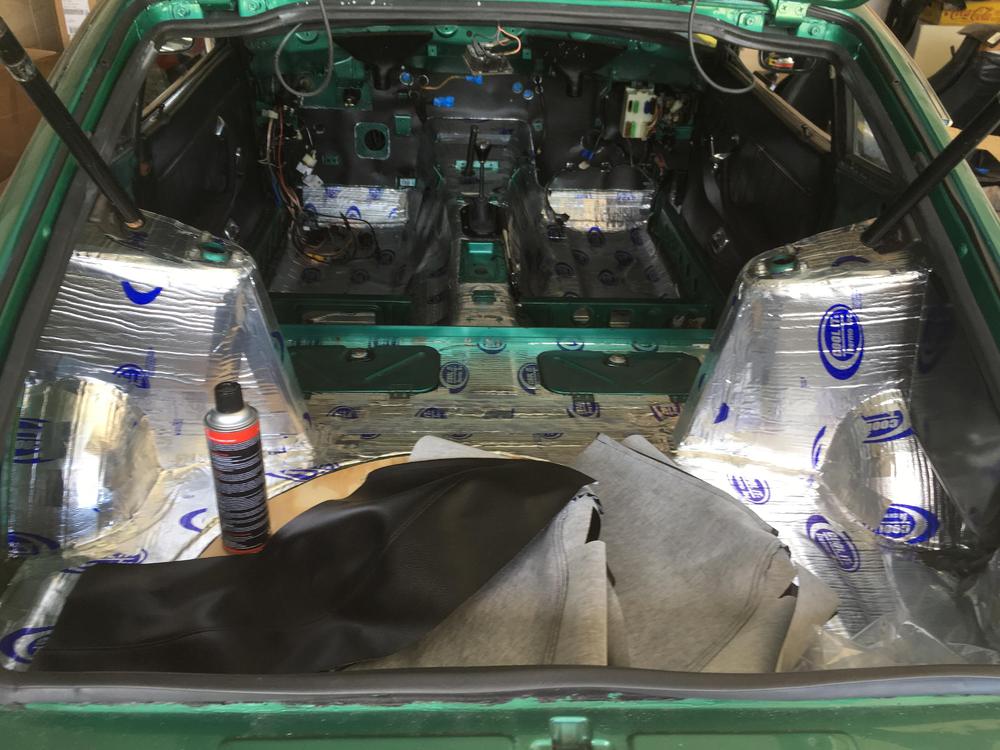
I went a bit further with my sound deadening replacement.

-
1. I had some surface rust under my original sound deadening matting. So, I think removing at least around the driver/passenger floor areas is advisable. 2. I recently replaced mine. I used 44mm, 24mm, and 20mm floor pan grommets from Z Car Source of Arizona.
-
Great color (the yellow bits)!
-
-
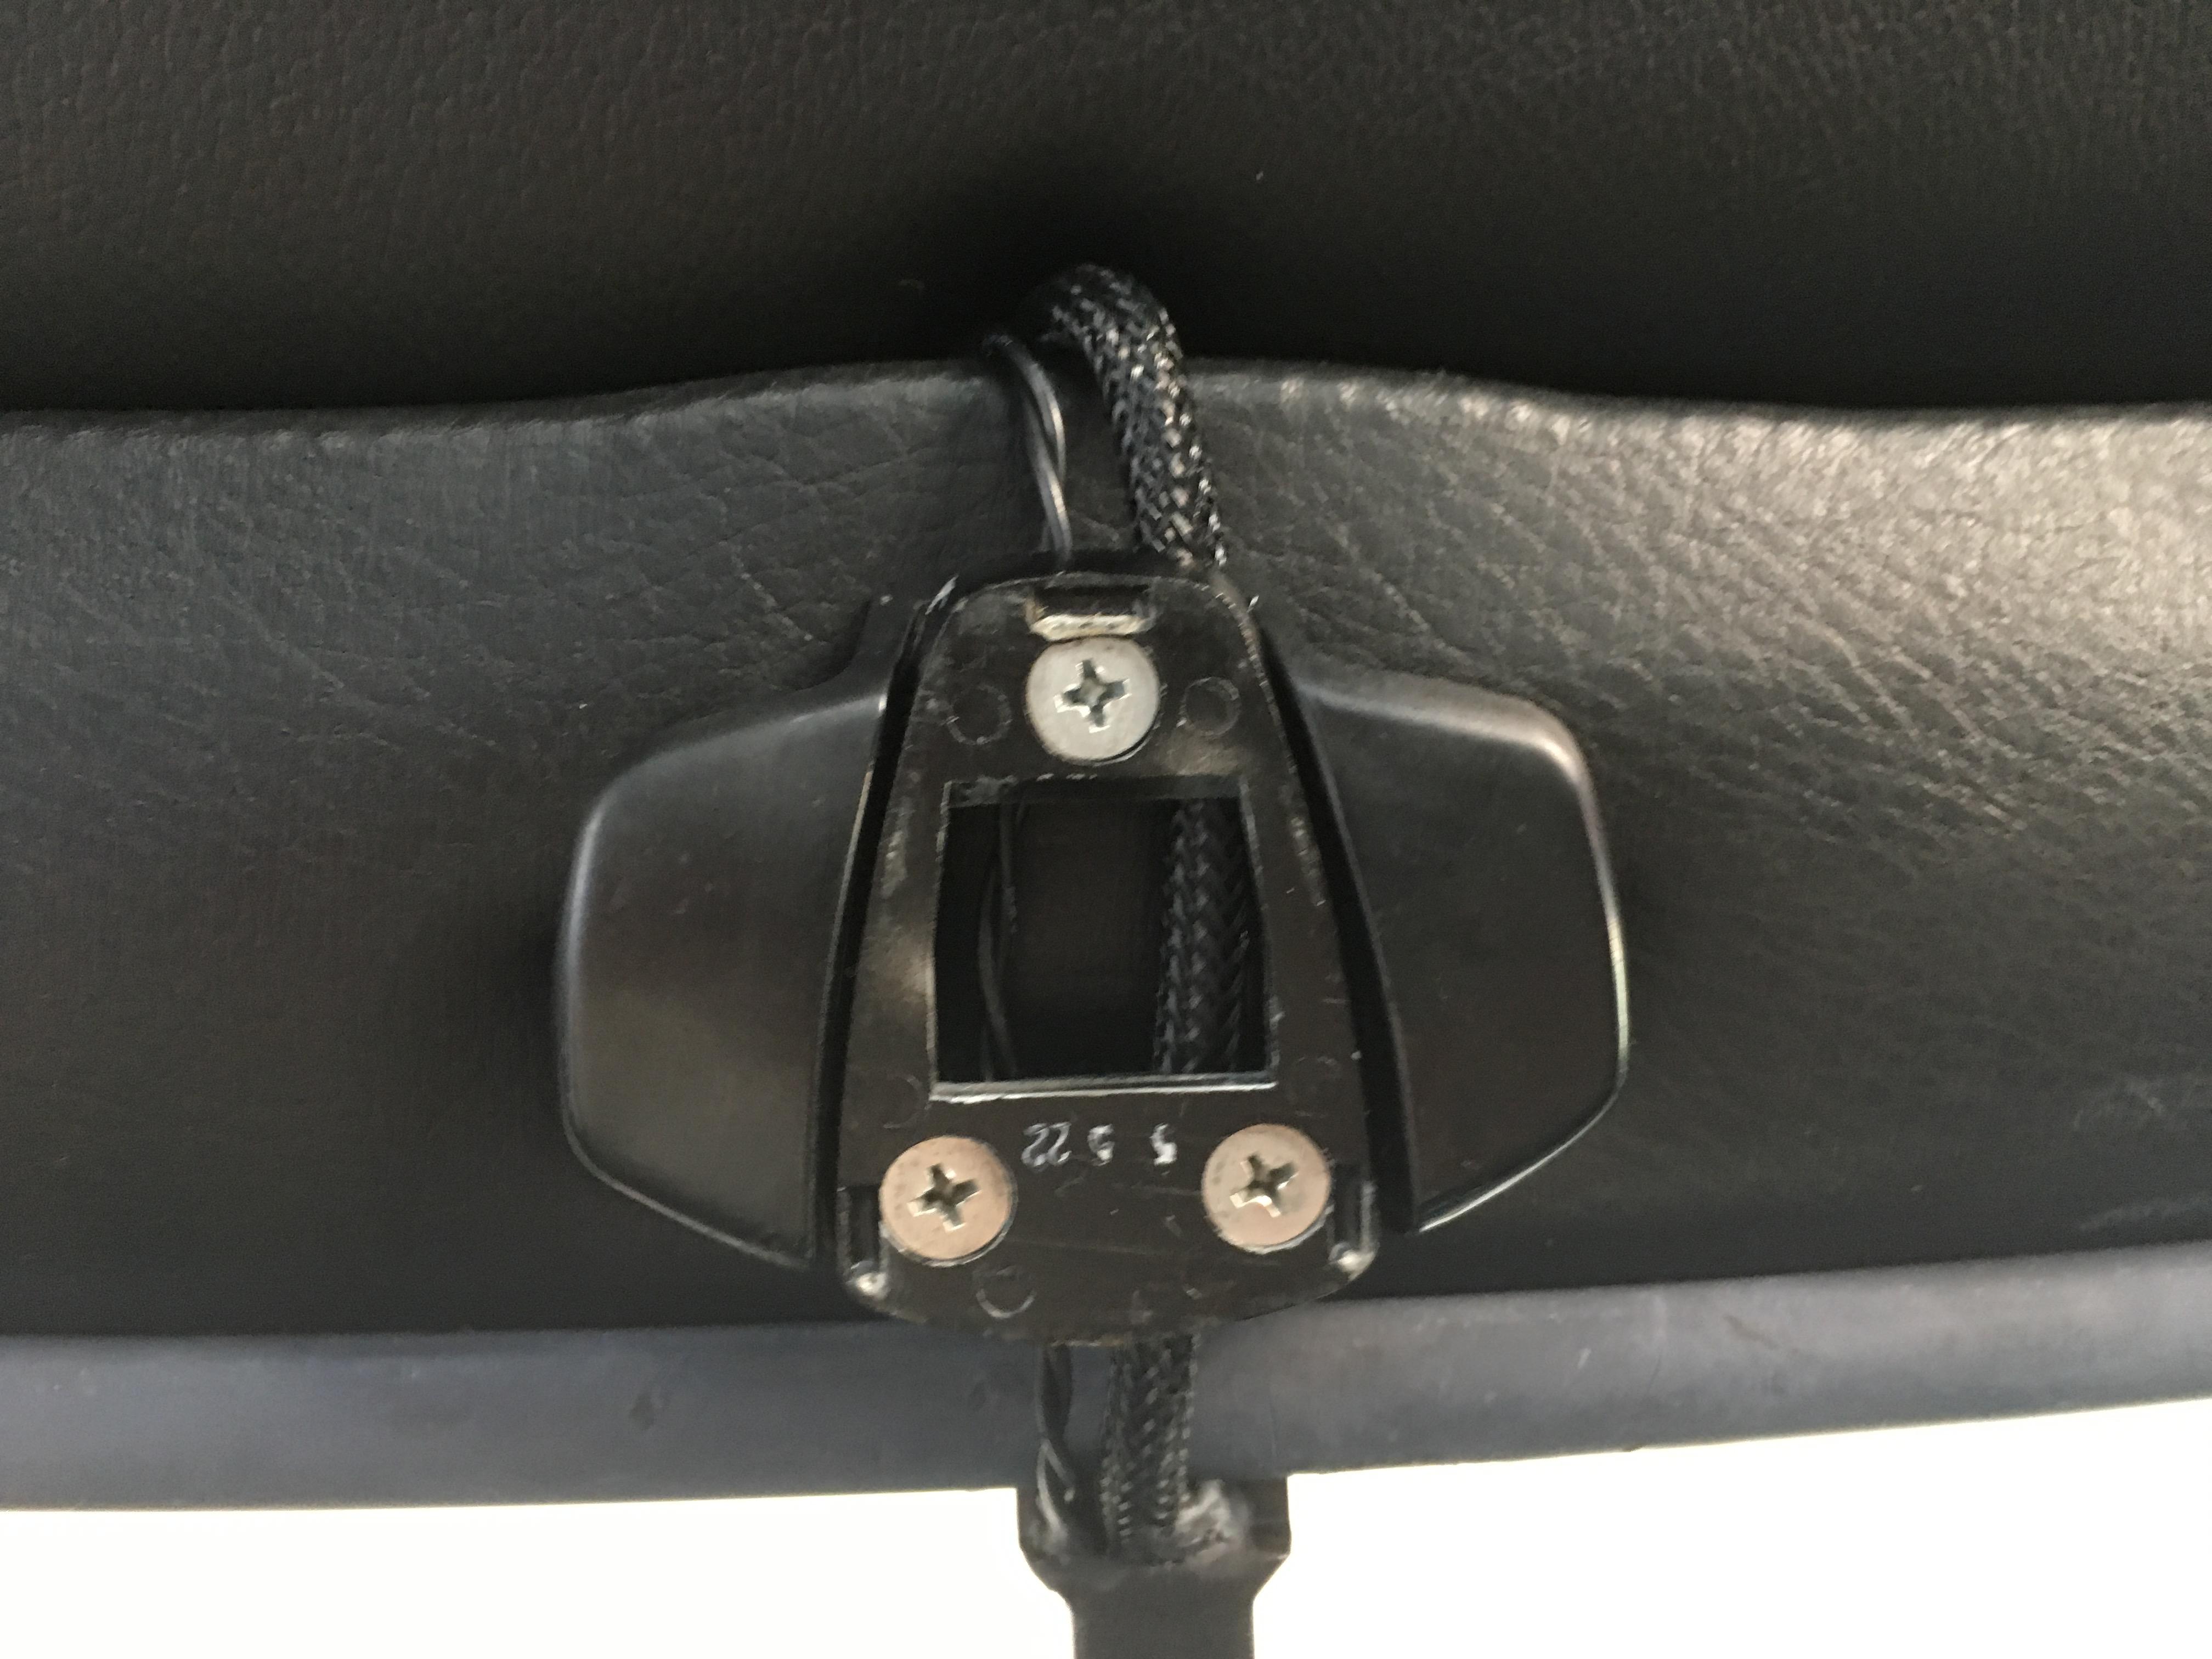
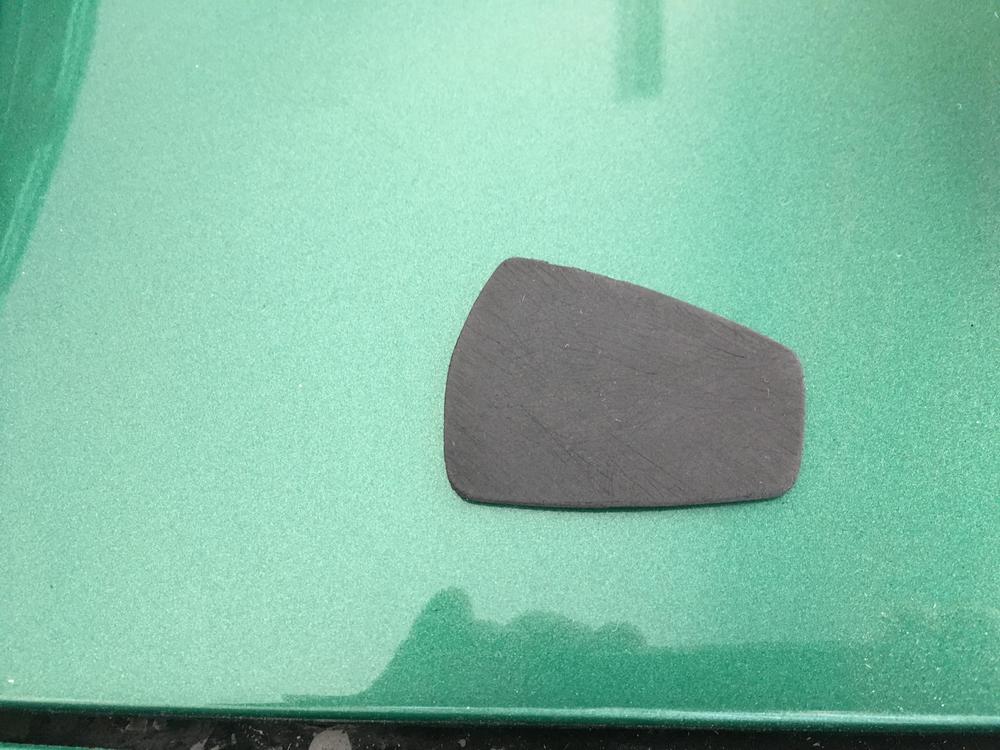
Hahaha! I was wondering if anyone would notice. I installed a BOYO license plate frame backup camera and a Master Tailgaters rear view mirror with a built-in video display (w/ compass & thermometer). The wiring from the mirror is routed under the center piece that holds the sunvisors and old rear view mirror. I'll cover it up with a piece of ABS plastic (roughly sanded at the moment) that I'll paint with SEM paint. So that I can still access the mounting screws, I'll attach cover plate with some Velcro.

-
-
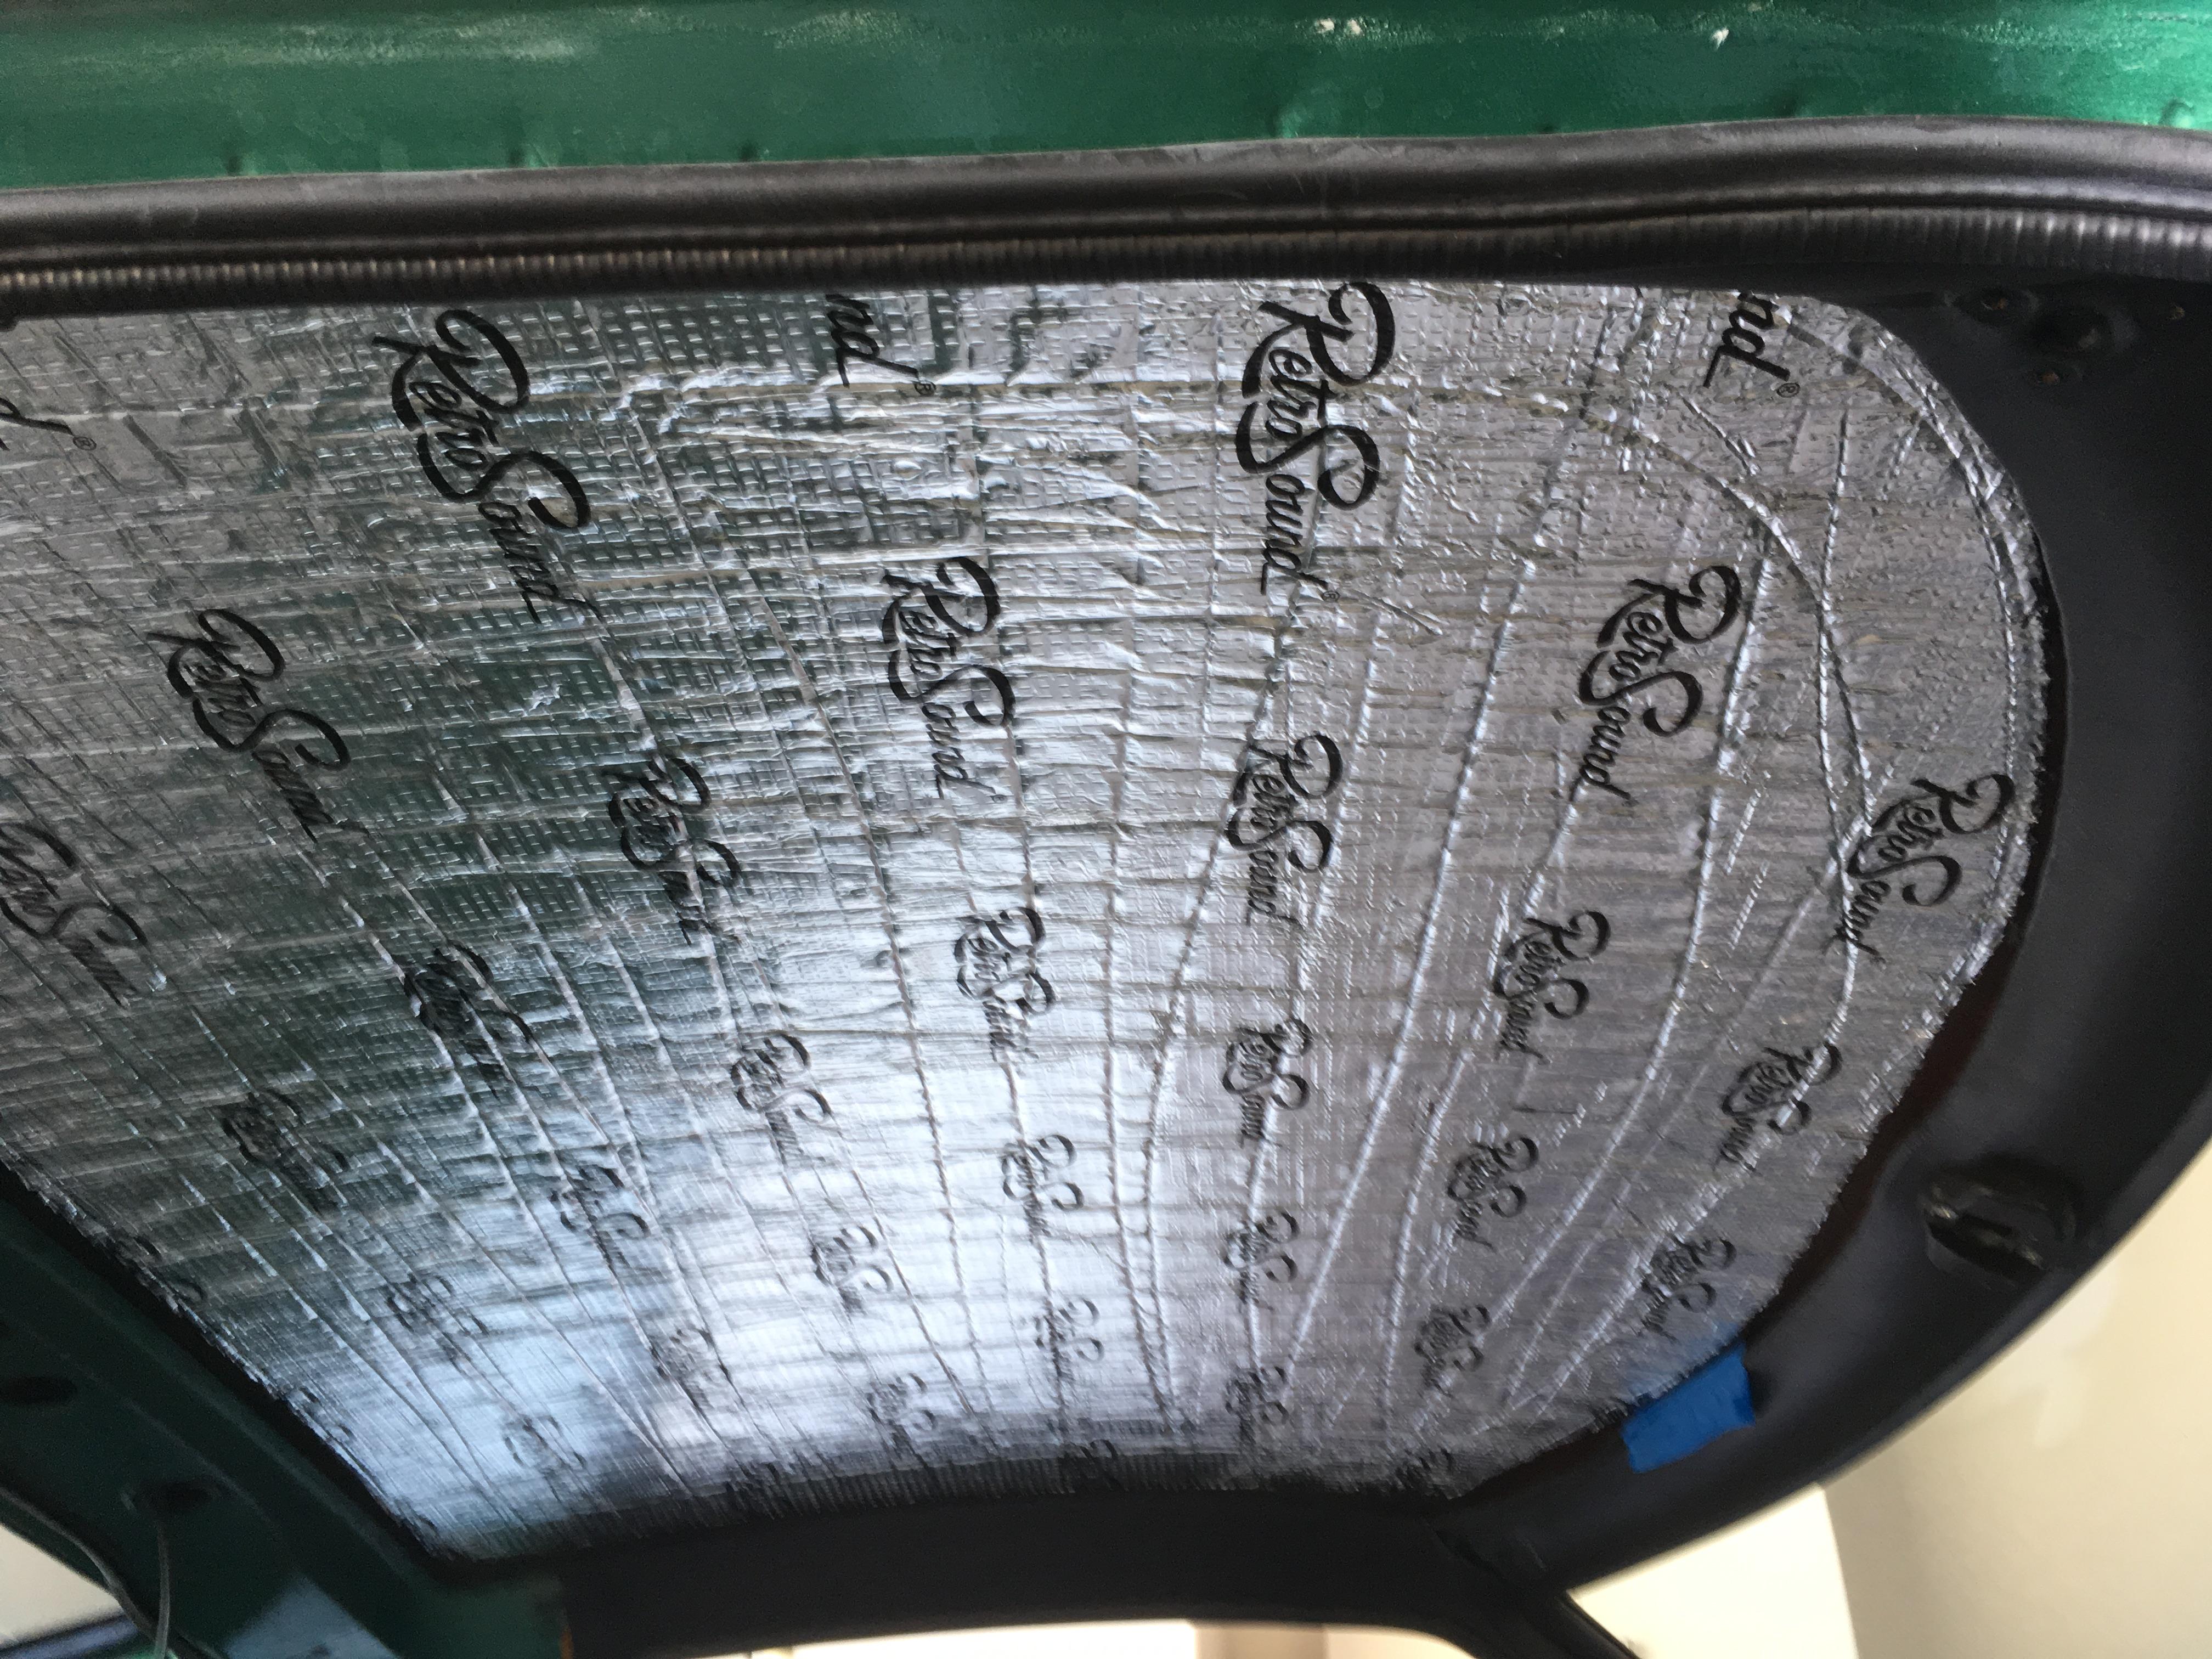
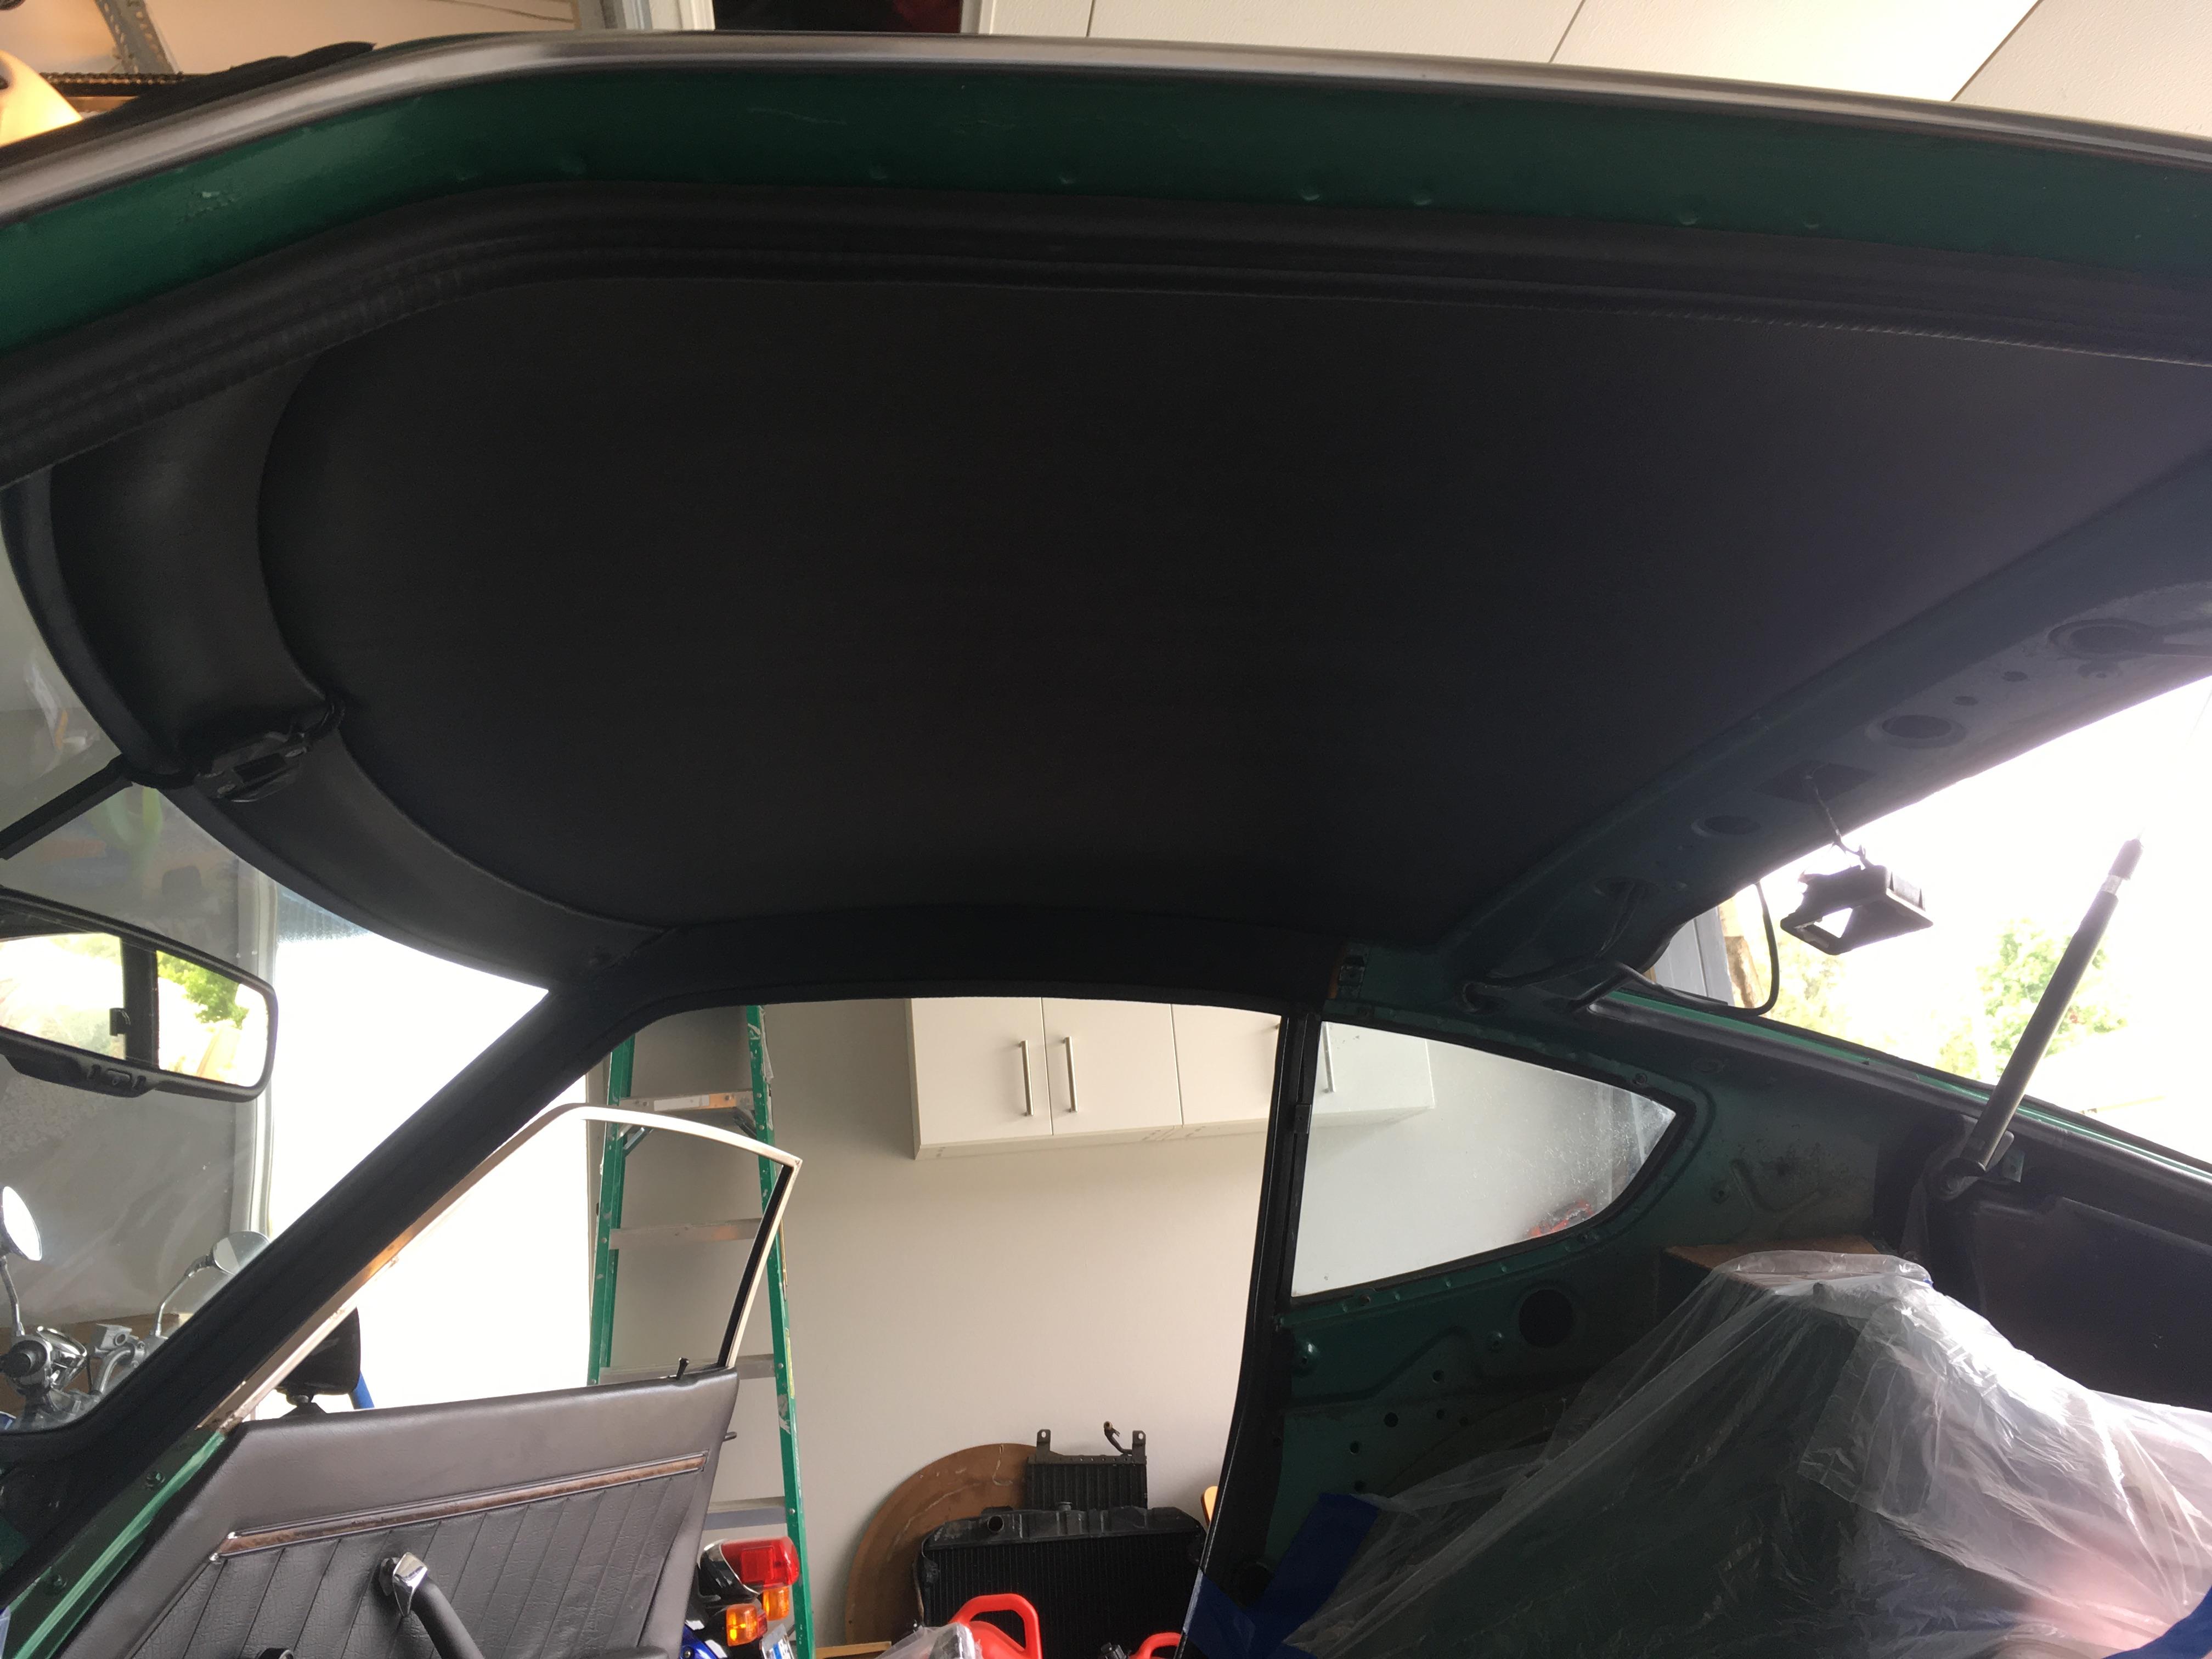
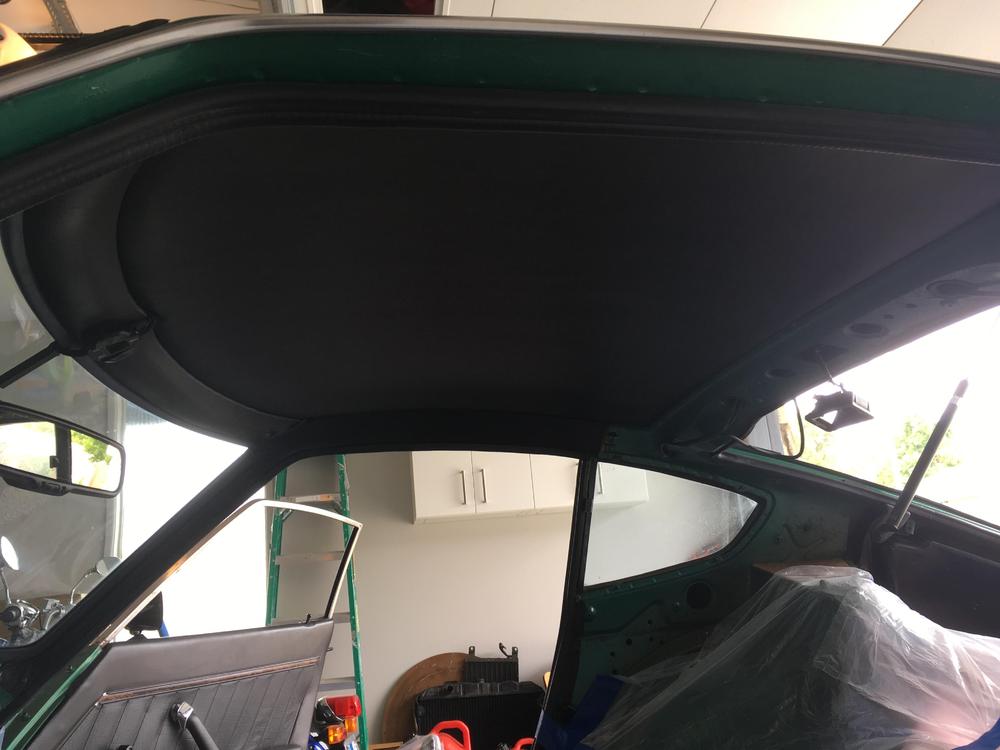
My wife & I installed a new Z Car Source headliner in our ‘75 Z this afternoon. It went pretty smoothly. Previously, I installed a RetroSound sound deadening mat on the inside of the roof. This mat isn’t a tar-type mat, so I hope it holds up well. It has an open cell foam inner layer between the silver outer layer and the adhesive backing. It’s 1/4” thick, which made me a bit nervous, as the headliner was 1/2” thick and I didn’t know how it would fit between the ceiling and the rails. To address my concerns, I cut the RetroSound mat so that it wouldn’t quite reach the rails. I wanted to make sure the mat didn’t take away from the room needed by the headliner edges to tuck in. I masked off the rails to protect the vinyl and about 2” of the ceiling (sound mat) all around. I masked off 2” of the mating surface of the headliner, too. I used tape to mark the front-to-back centerline of the headliner, and I also marked the front and back centerline of the roof rails. I drew a line down the middle of the sound mat with a sharpie. Then, I sprayed one side of the ceiling and one side of the headliner with the adhesive provided by Z Car Source. Next, I removed the tape used to mask the edges (the tape caught the adhesive overspray) as the edges were not to be covered with adhesive. Not sure is my description makes sense. After giving both surfaces time to get tacky, we carefully centered the headliner to the ceiling using the previously taped/marks, then my wife held the non-glued side of the headliner in place while I carefully pressed and smoothed the glued side to the ceiling. I left the edges out of the rail-ceiling gaps at this time. After pressing (not too hard) and smoothing this side of the headliner for a while, so that the headliner would stay in place on its own, my wife & I switched sides. I applied the adhesive in the same manner as the first side, and attached the second side. After both sides had more than 30 minutes to set up, I used a paint stick with the edges sanded/rounded to work the headliner edges into the gap between the roof and the rails. It looks pretty good, especially since I’ve never done this before! Here are some pictures.

-
My '75 coupe has it.
-
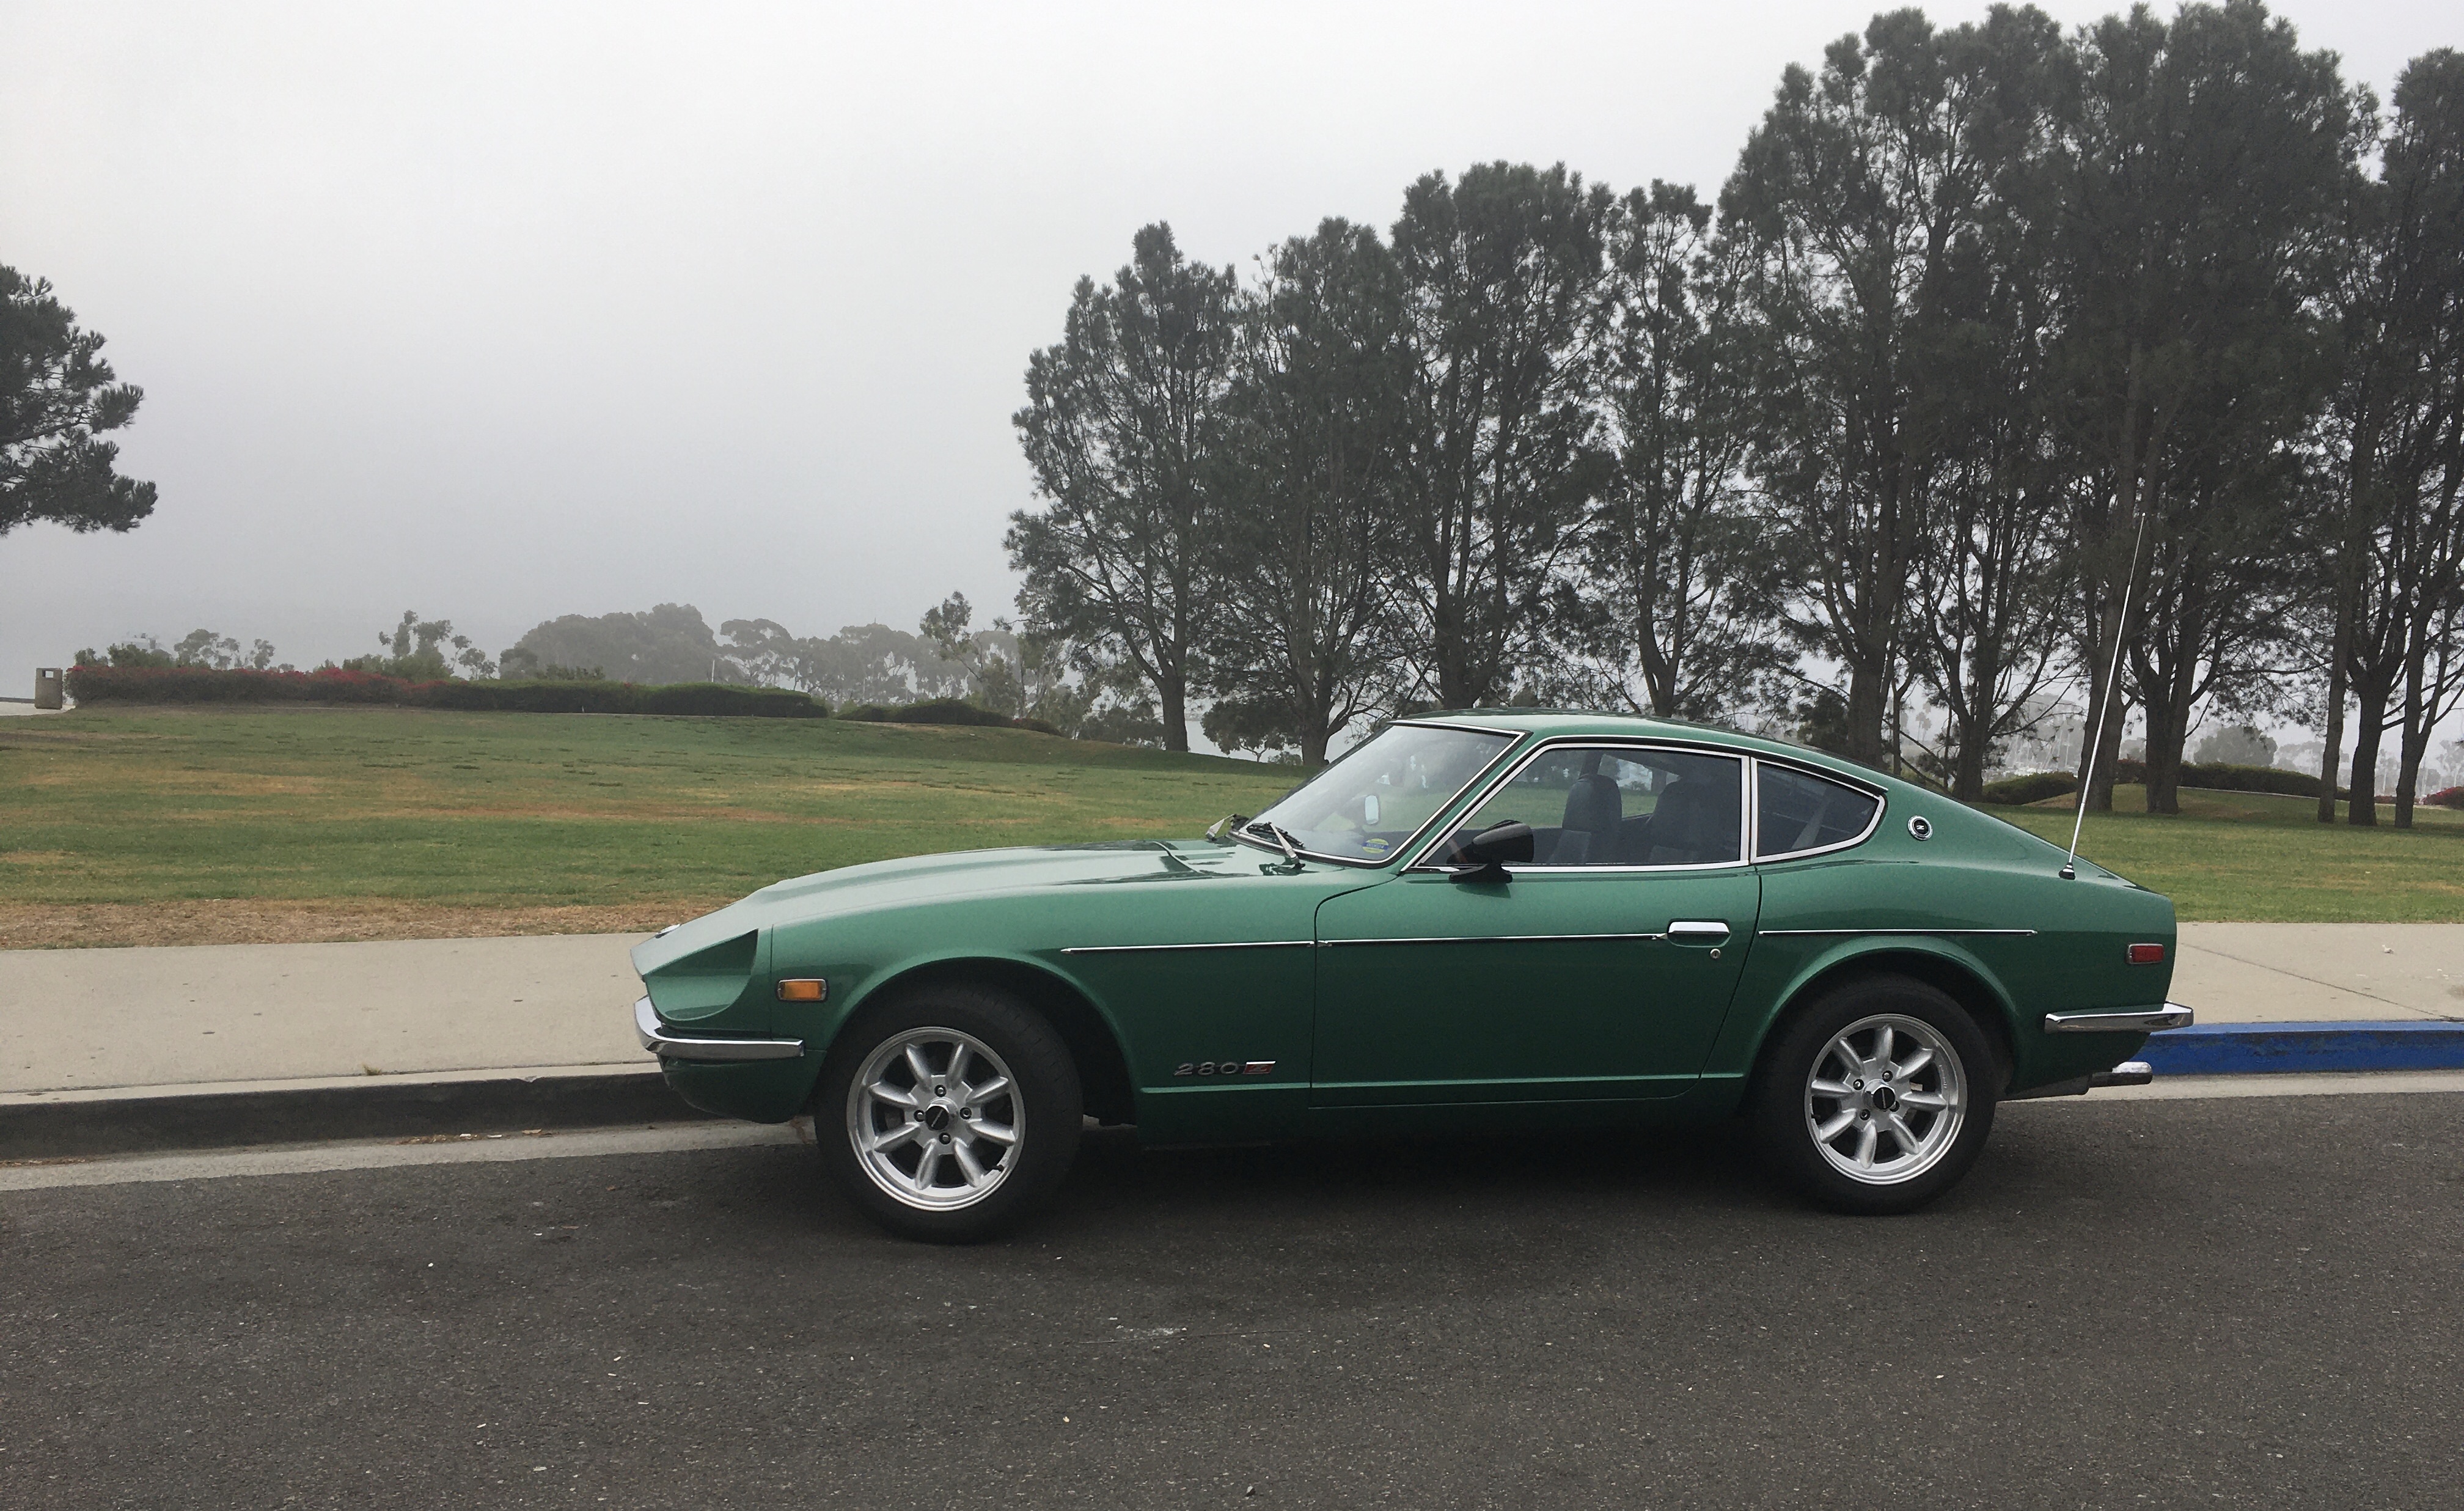
Great looking car with those new bumpers on it, Colin!
-
We shouldn't be subjected to plaid, either. ?
-
Was the lettering masked before sandblasting, or subsequently sanded smooth? That sure does look great!
-
-
The last few pictures really help me see the differences in heater core connection locations and space constraints with the heater and blower assemblies. I’ve got a bit of head scratching to do. Thanks, CO!
-
My ‘75 with factory air has this setup, and lacks the heater control valve shown. Above. At least I don’t recall seeing one when I removed the dash, A/C, heater, and blower.

-
Amazing work, Capt’n!
-
I am running the stock control valve components under the dash. Thanks!
-
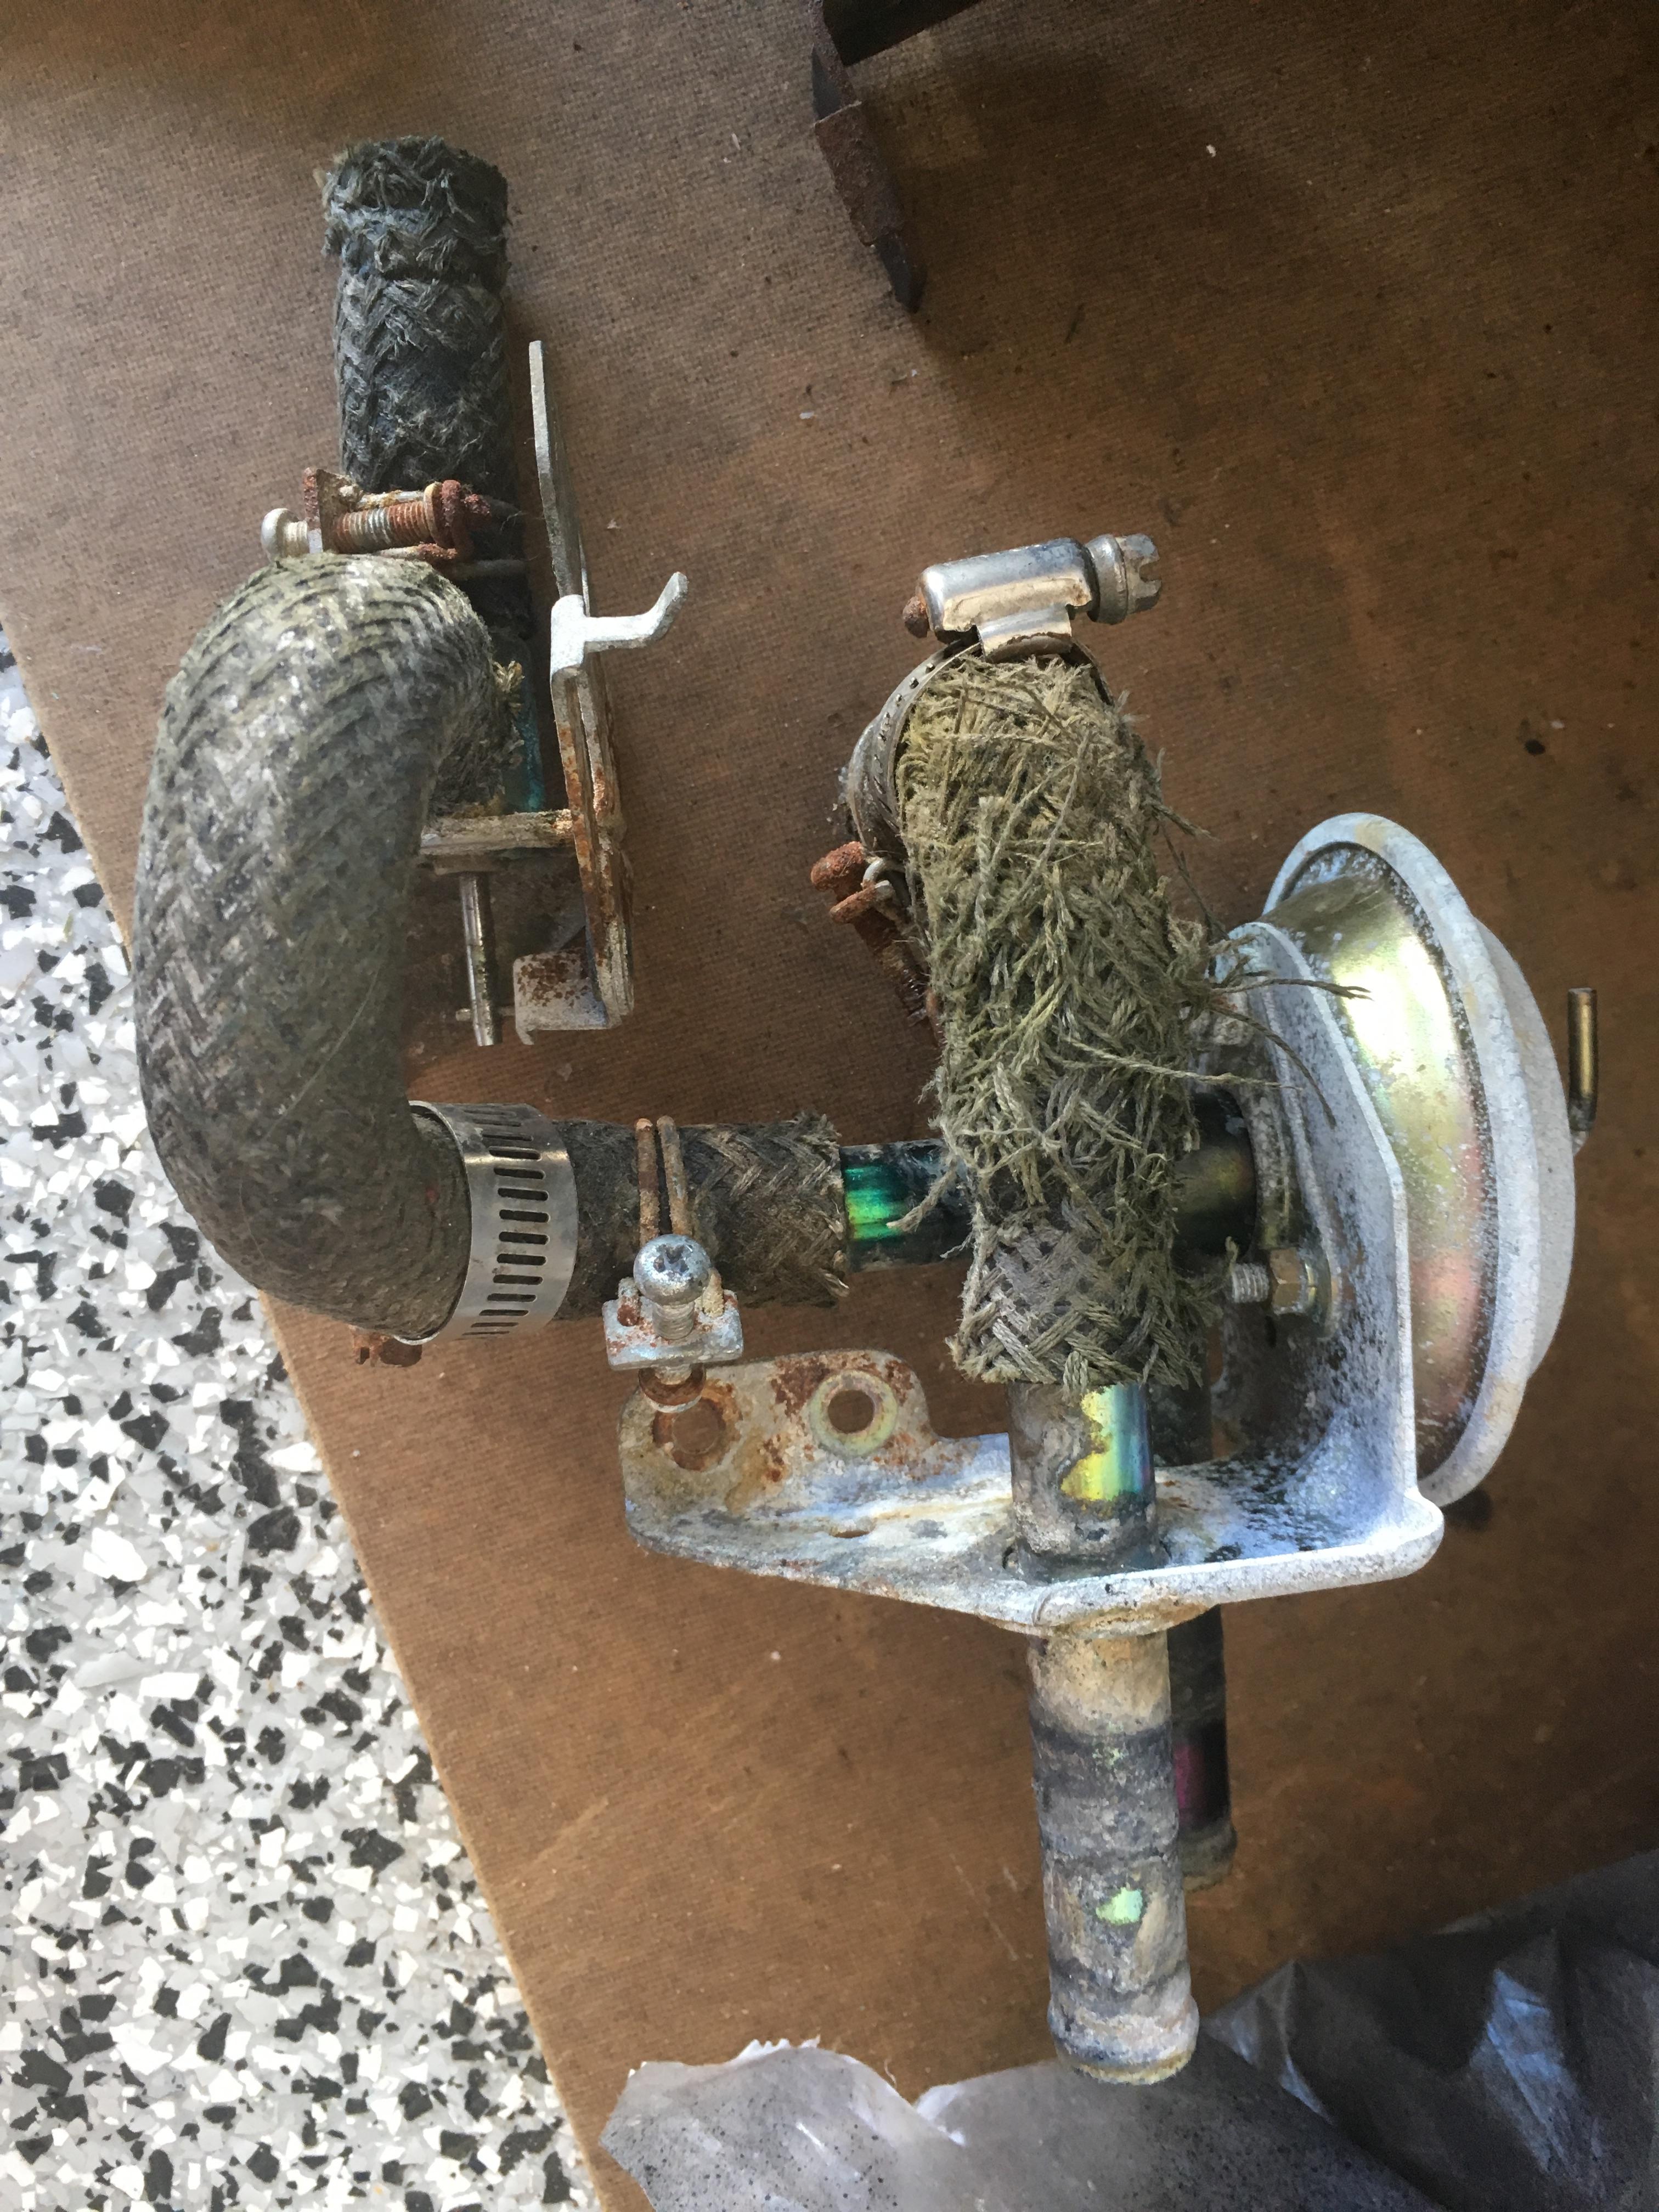
Hey, Captain, do you have pictures of your alternative heater core installation? None of your old pictures from this topic show up. Thanks! My '75 heater core is somewhat corroded on the outside and mungy brown liquid dripped out of it after the majority of coolant was drained. I may or may not look into having the core reconditioned, as your solution sounds very intriguing. Thanks again!
-
Yes, that's pretty much it, Dave.
-
Yes, Dave. It does have AC.
-
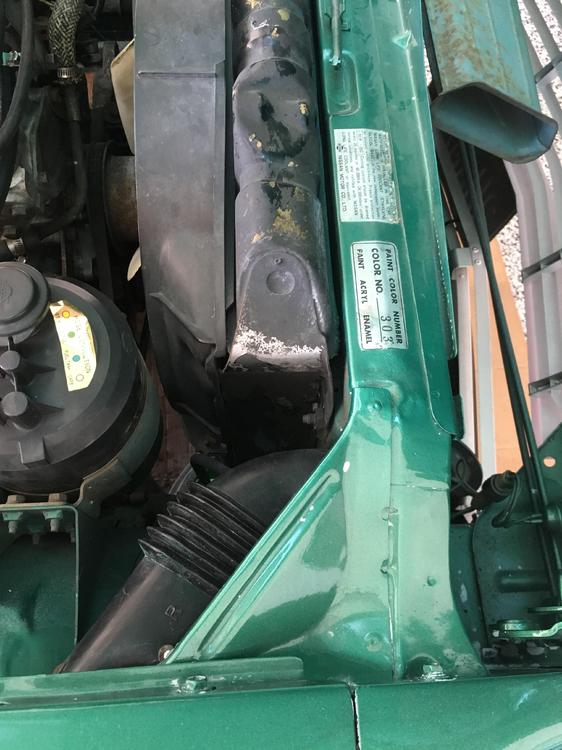
My 1975 Z (CA model) doesn’t look like it ever had a snorkel, and it has a duct on the right fender instead.
-
Thanks guys!