
SoCalJim
Member
-
Joined
-
Last visited
Everything posted by SoCalJim
-
 i second that.
 -
In my opinion, you should fly to MD and either a) drive it home yourself if it seems like the 280Z be roadworthy enough, or b) when you get to MD, rent a Uhaul truck and car trailer and tow it home yourself. In either case, take a route home through the southern states to reduce your exposure to winter weather as you head towards home. I'm sorry to hear your good friend isn’t well, and I hope he recovers. But it’s great that at some point, you’ll be the next person to care for that 280Z. Welcome to club!
-
That hole is critical to establishing the perfect front/rear weight ratio of the Z. ?
-
My May ‘75 Z (CA model) does not have one.
-
I really like how this concept looks.
-
Congrats and welcome, Will. Oh yeah...PICS! ?
-
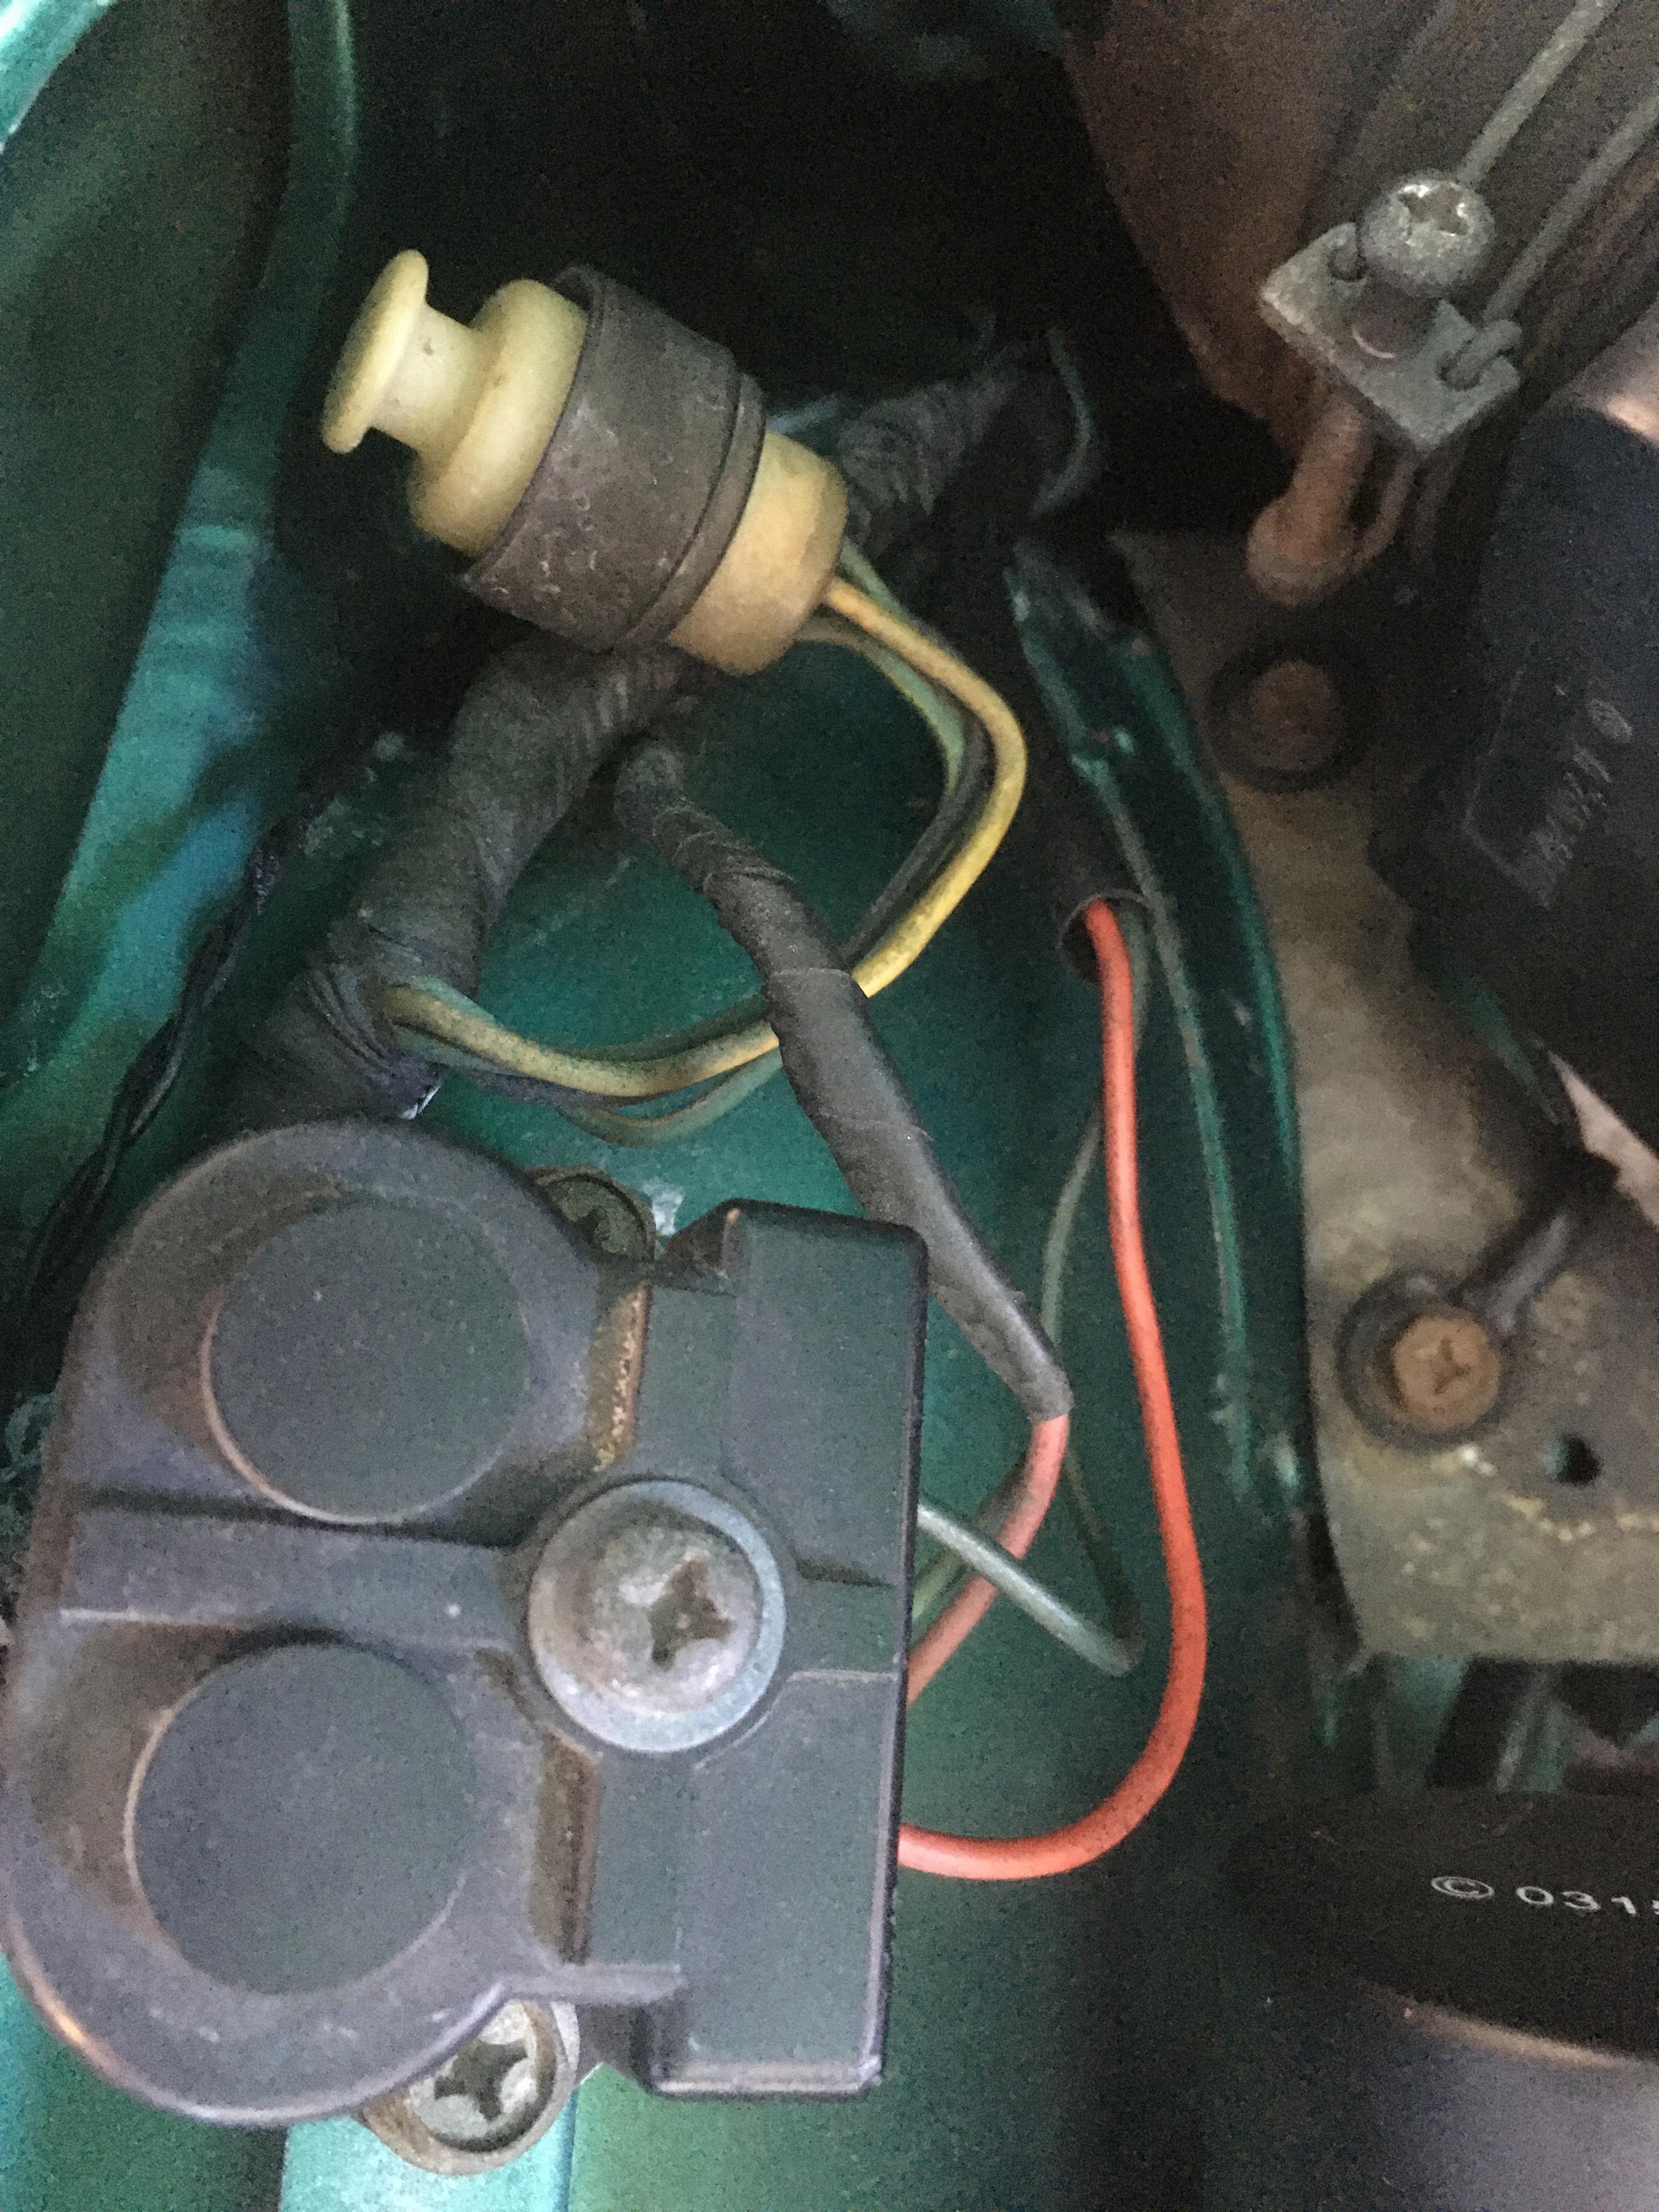
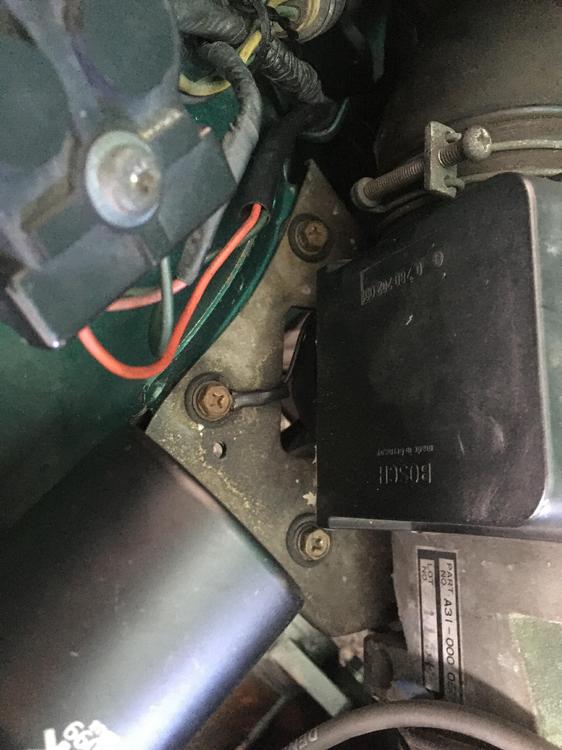
Hi Dave, here's what wiring my May '75 build Z has:

-
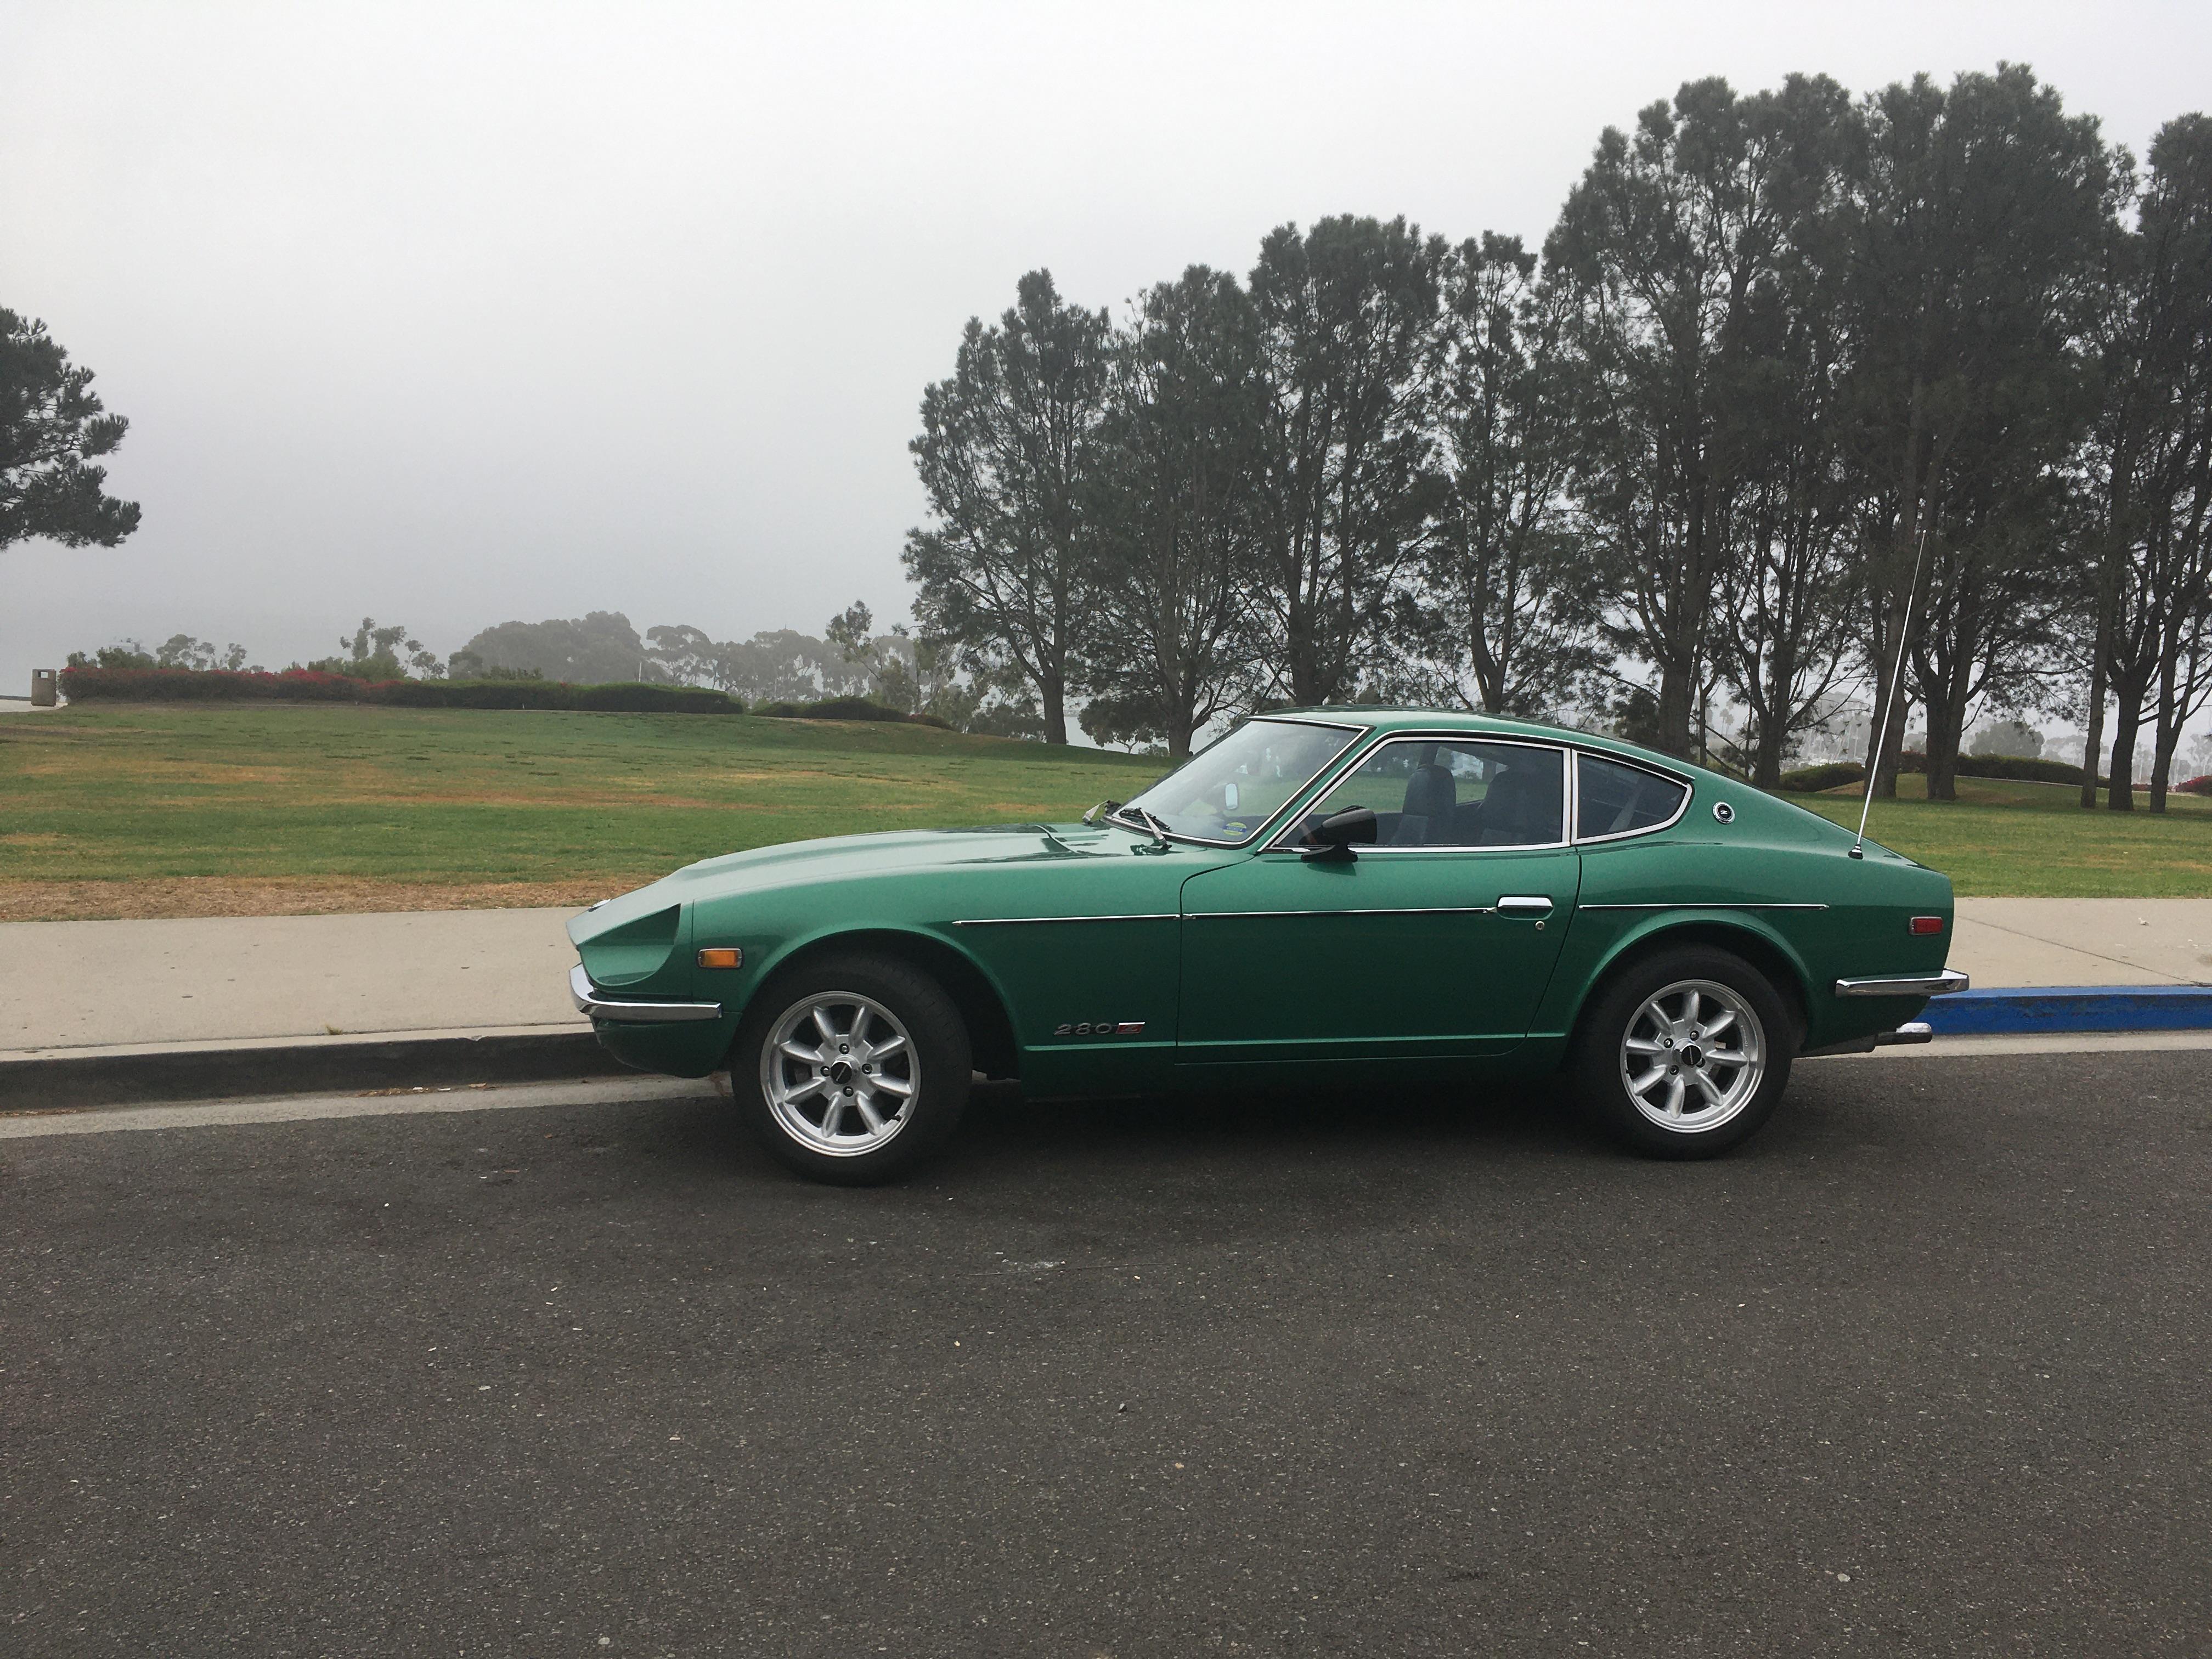
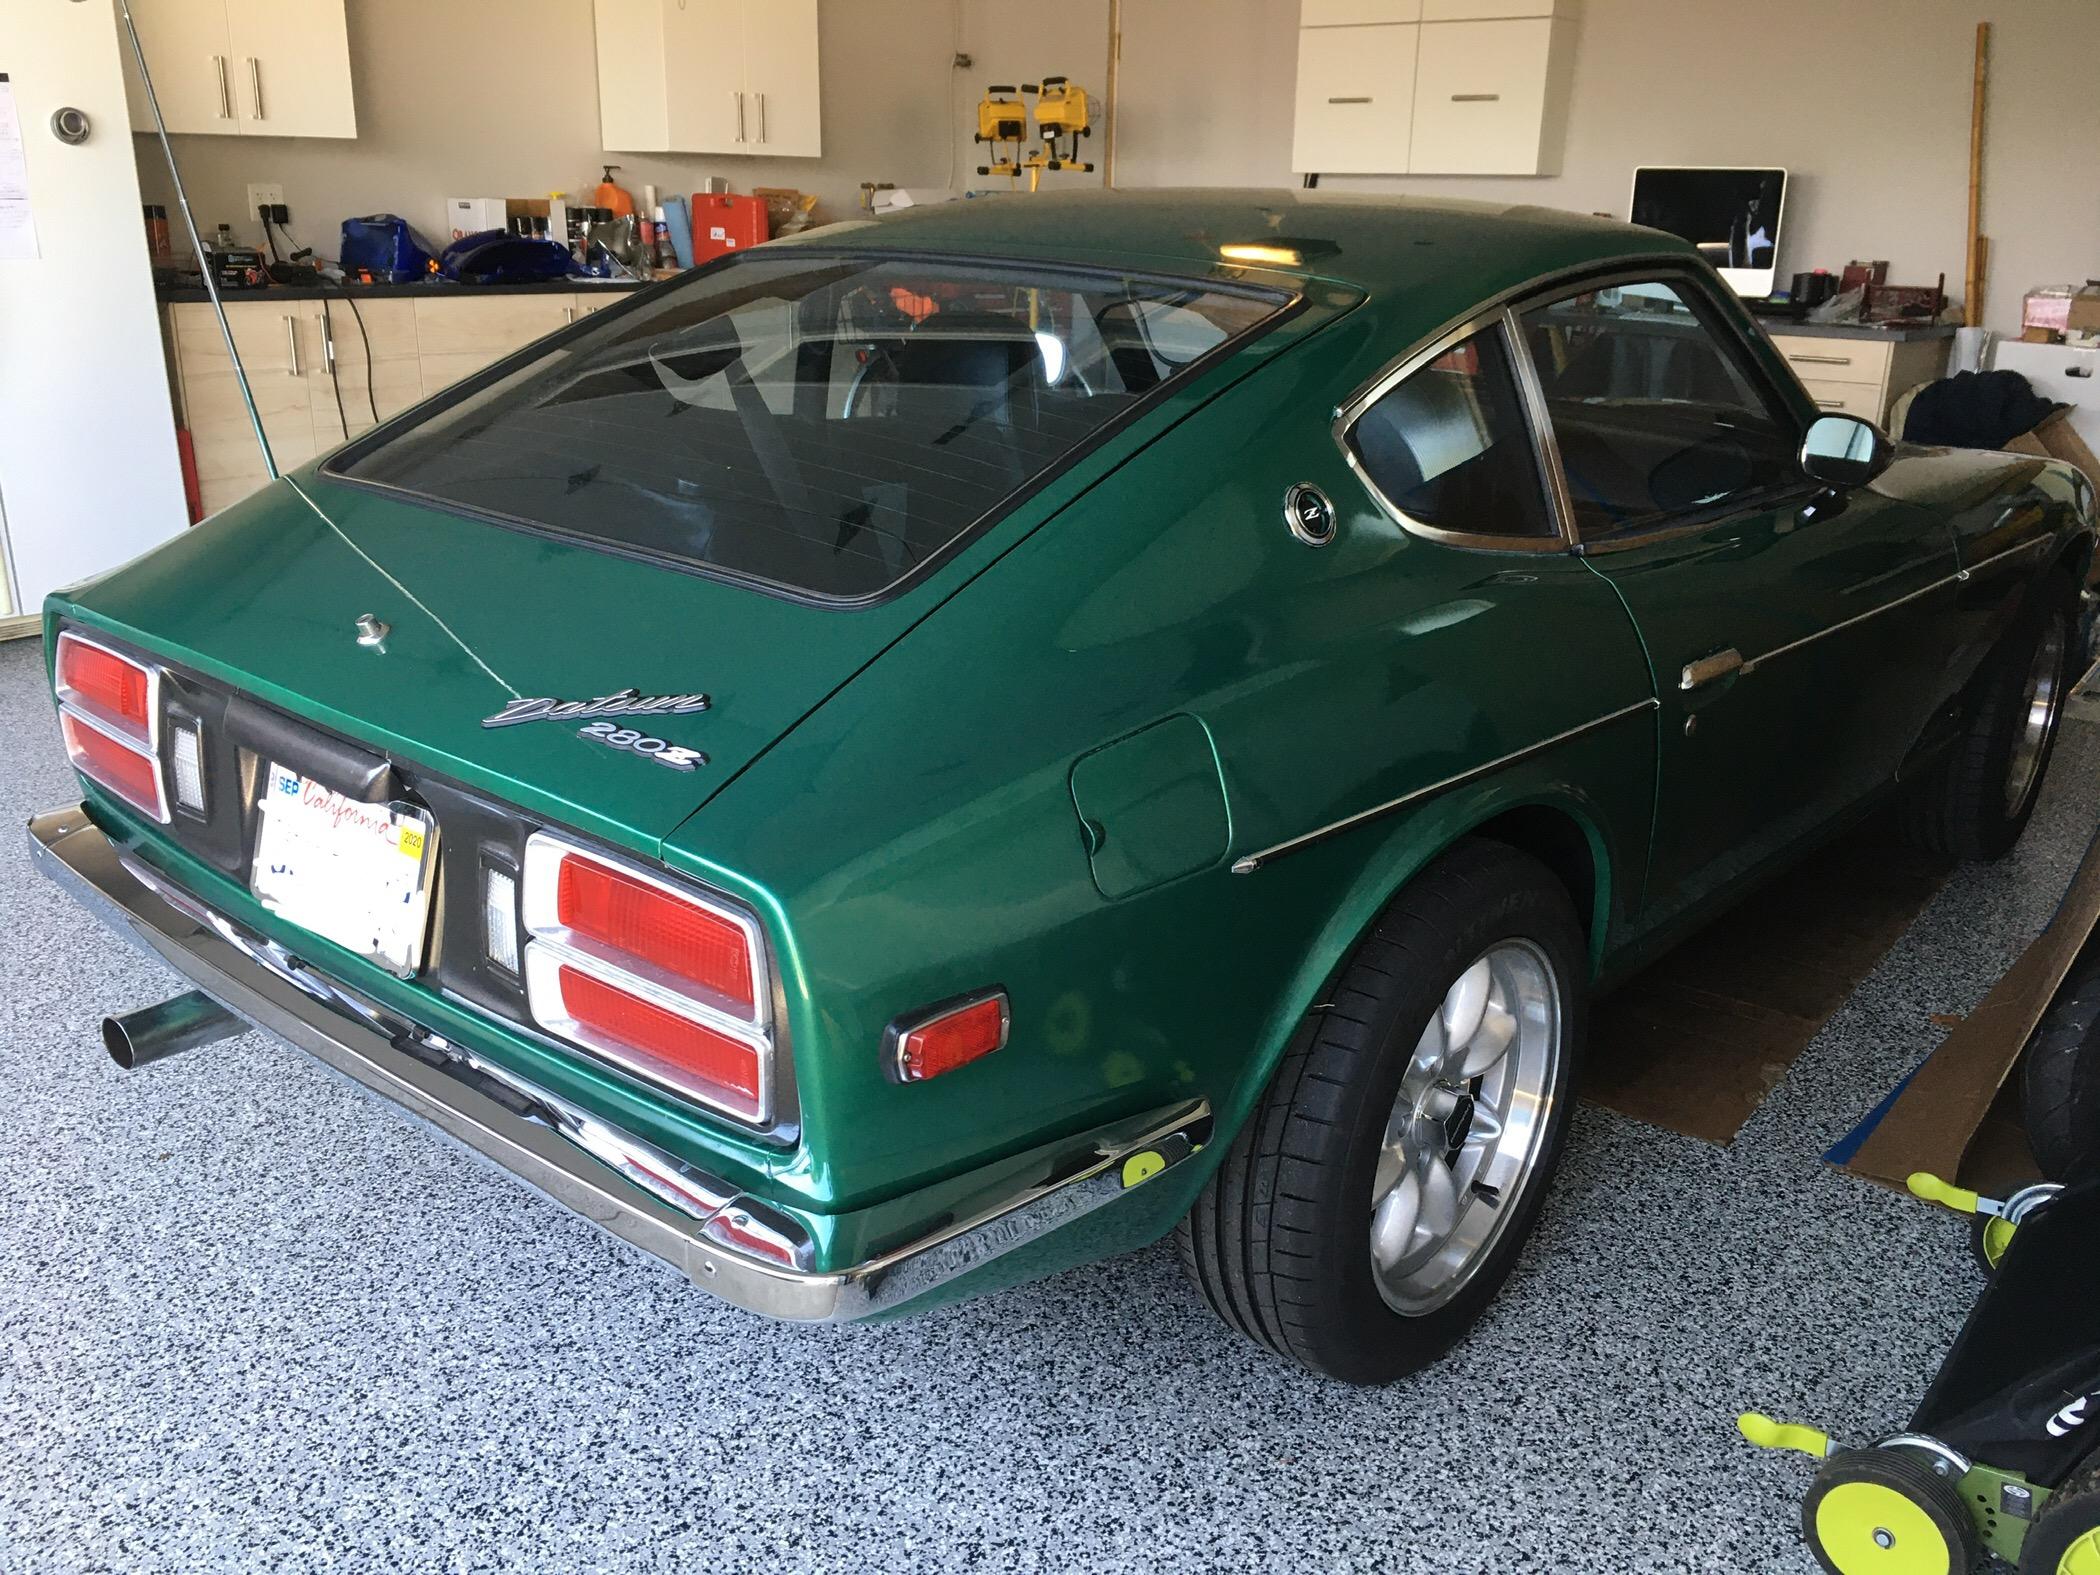
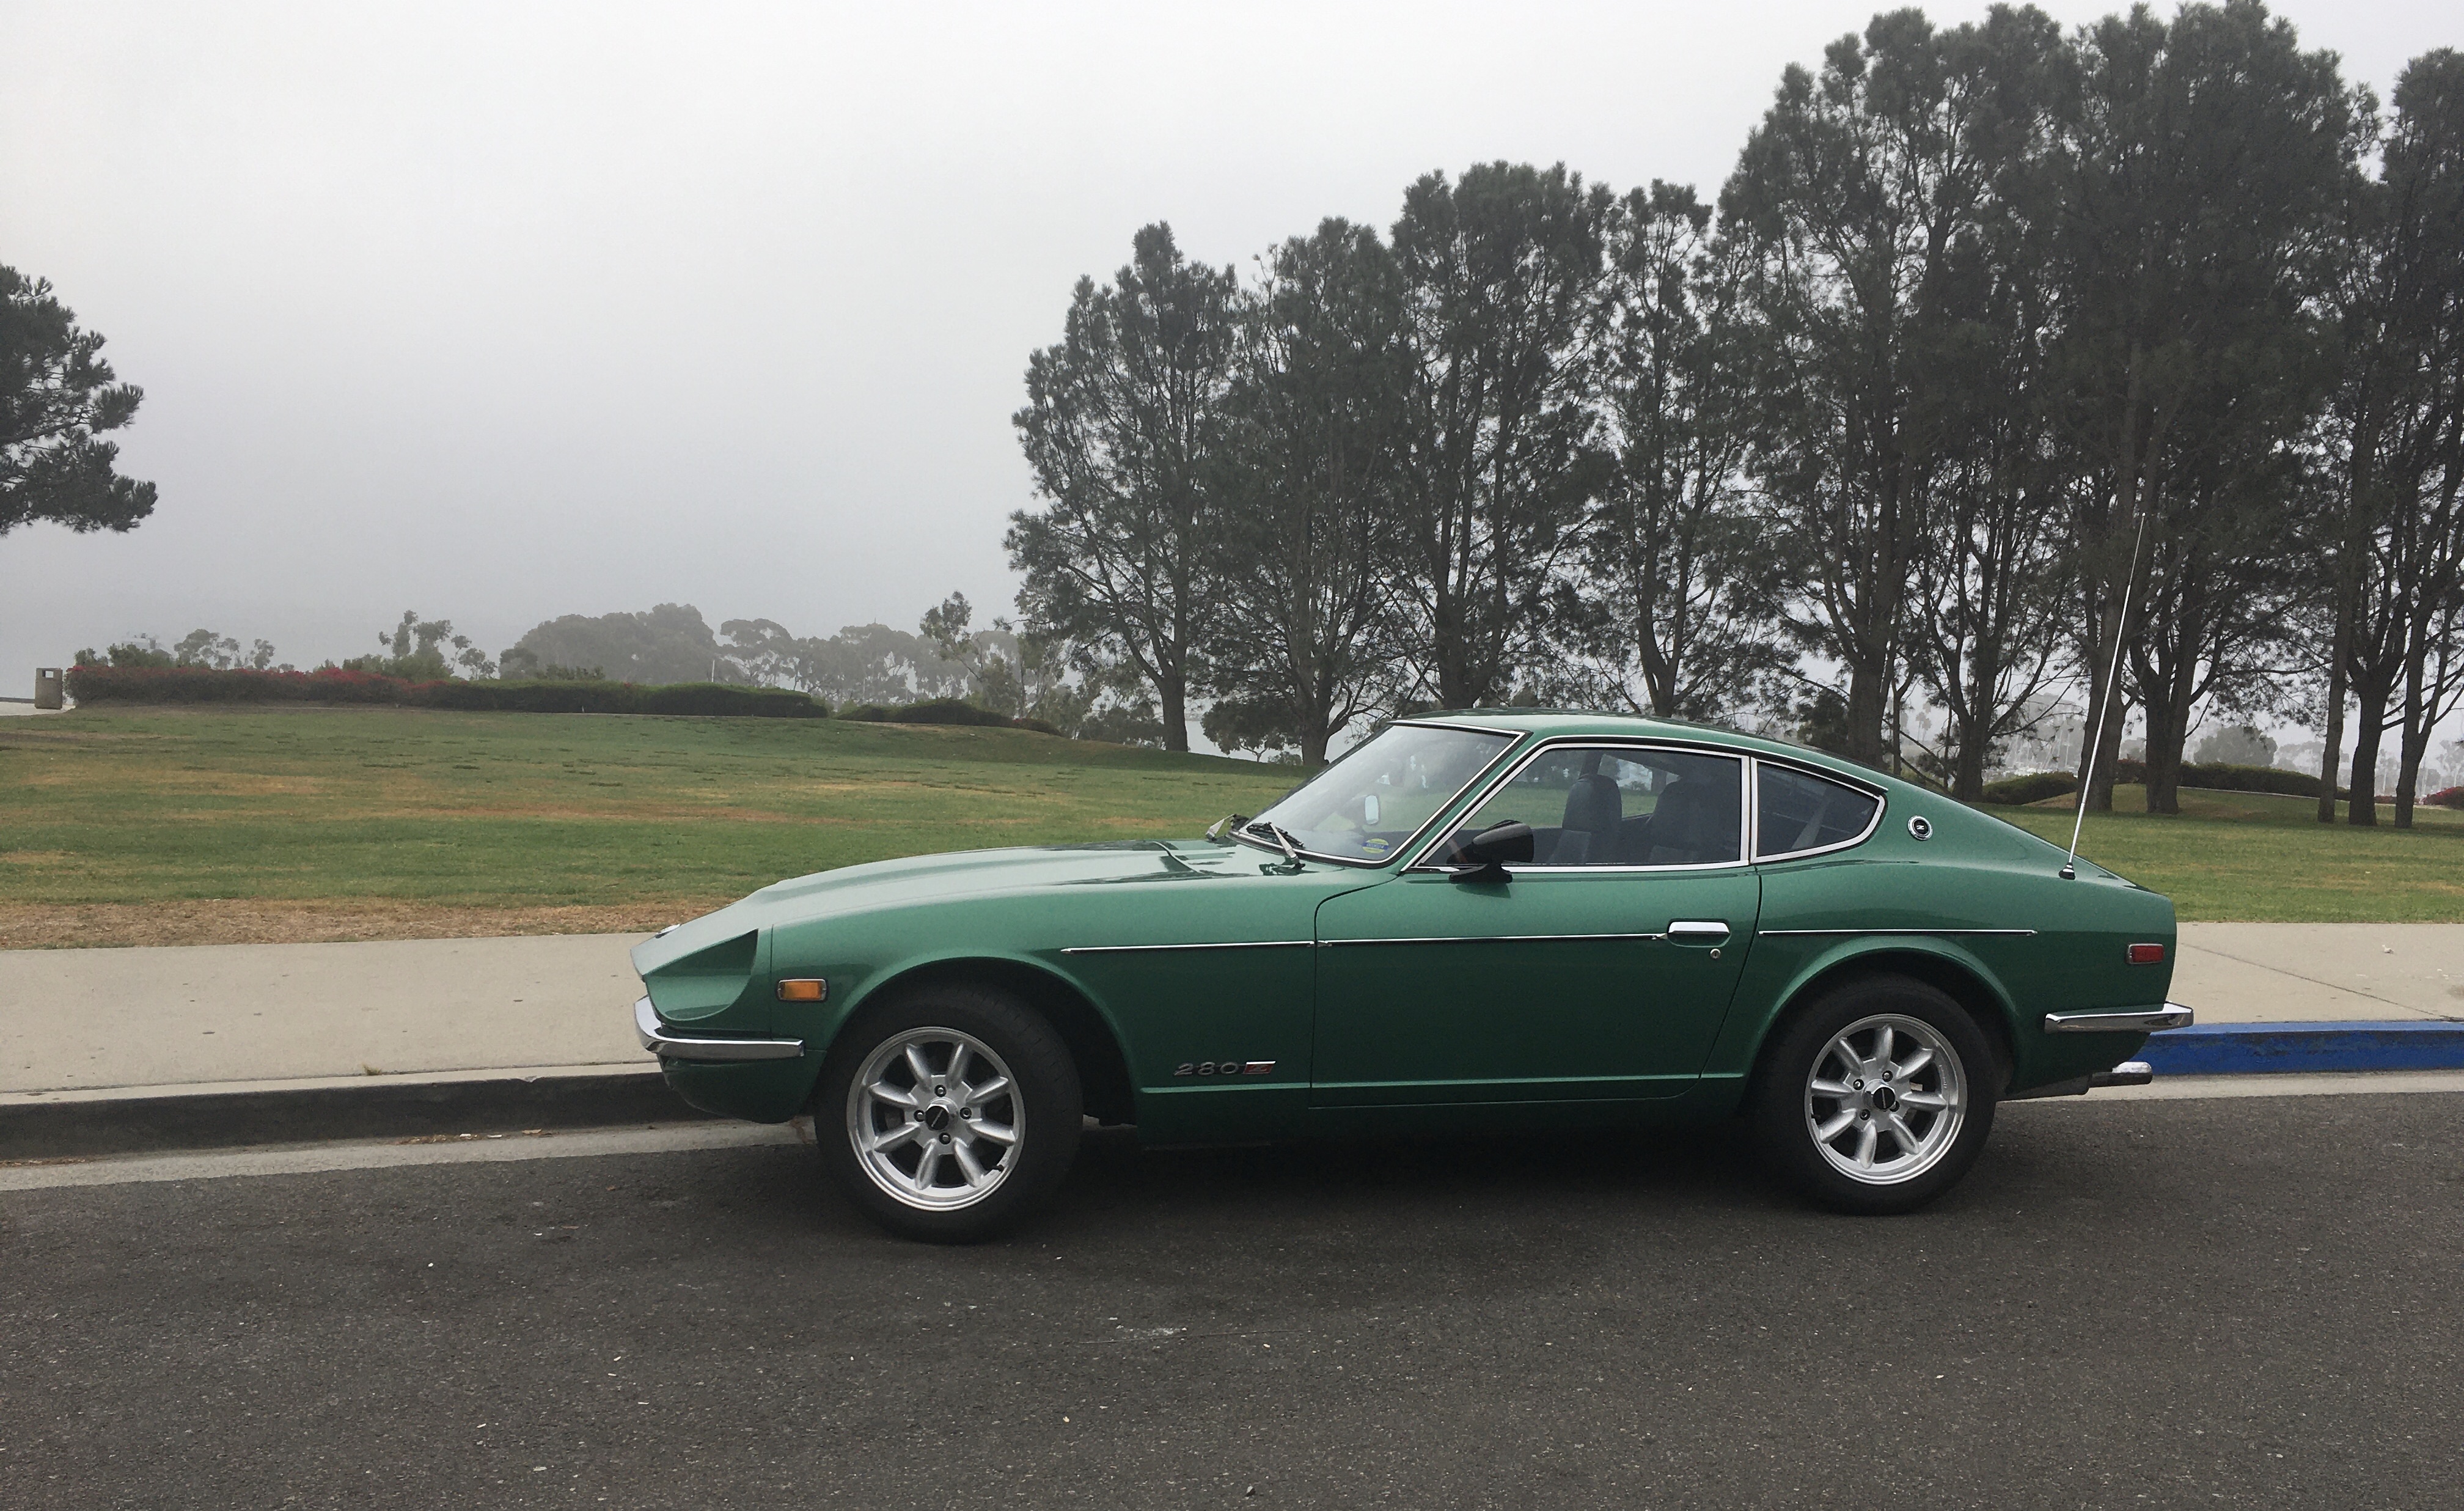
Mine looks just like Ron’s. Well, except for the Green Metallic paint instead of red. ?
-
Dave, my ‘75Z (California Model) has a single ground wire with an eye connector.
-
I put small rubber pieces on the sides, too! ?
-
What’s the glass like? Flat or convex? I like to have a wider field of view than what my inexpensive “sport” mirrors purchased on eBay provide. Thanks!
-
Thanks Charles. ?
-
Thanks Zed Head! Tomorrow I’ll see if I can successfully order them from Courtesy.
-
No, unfortunately it wasn’t there. I’m looking online for them but so far, no luck. and thanks regarding the oil gutter, Dave!
-
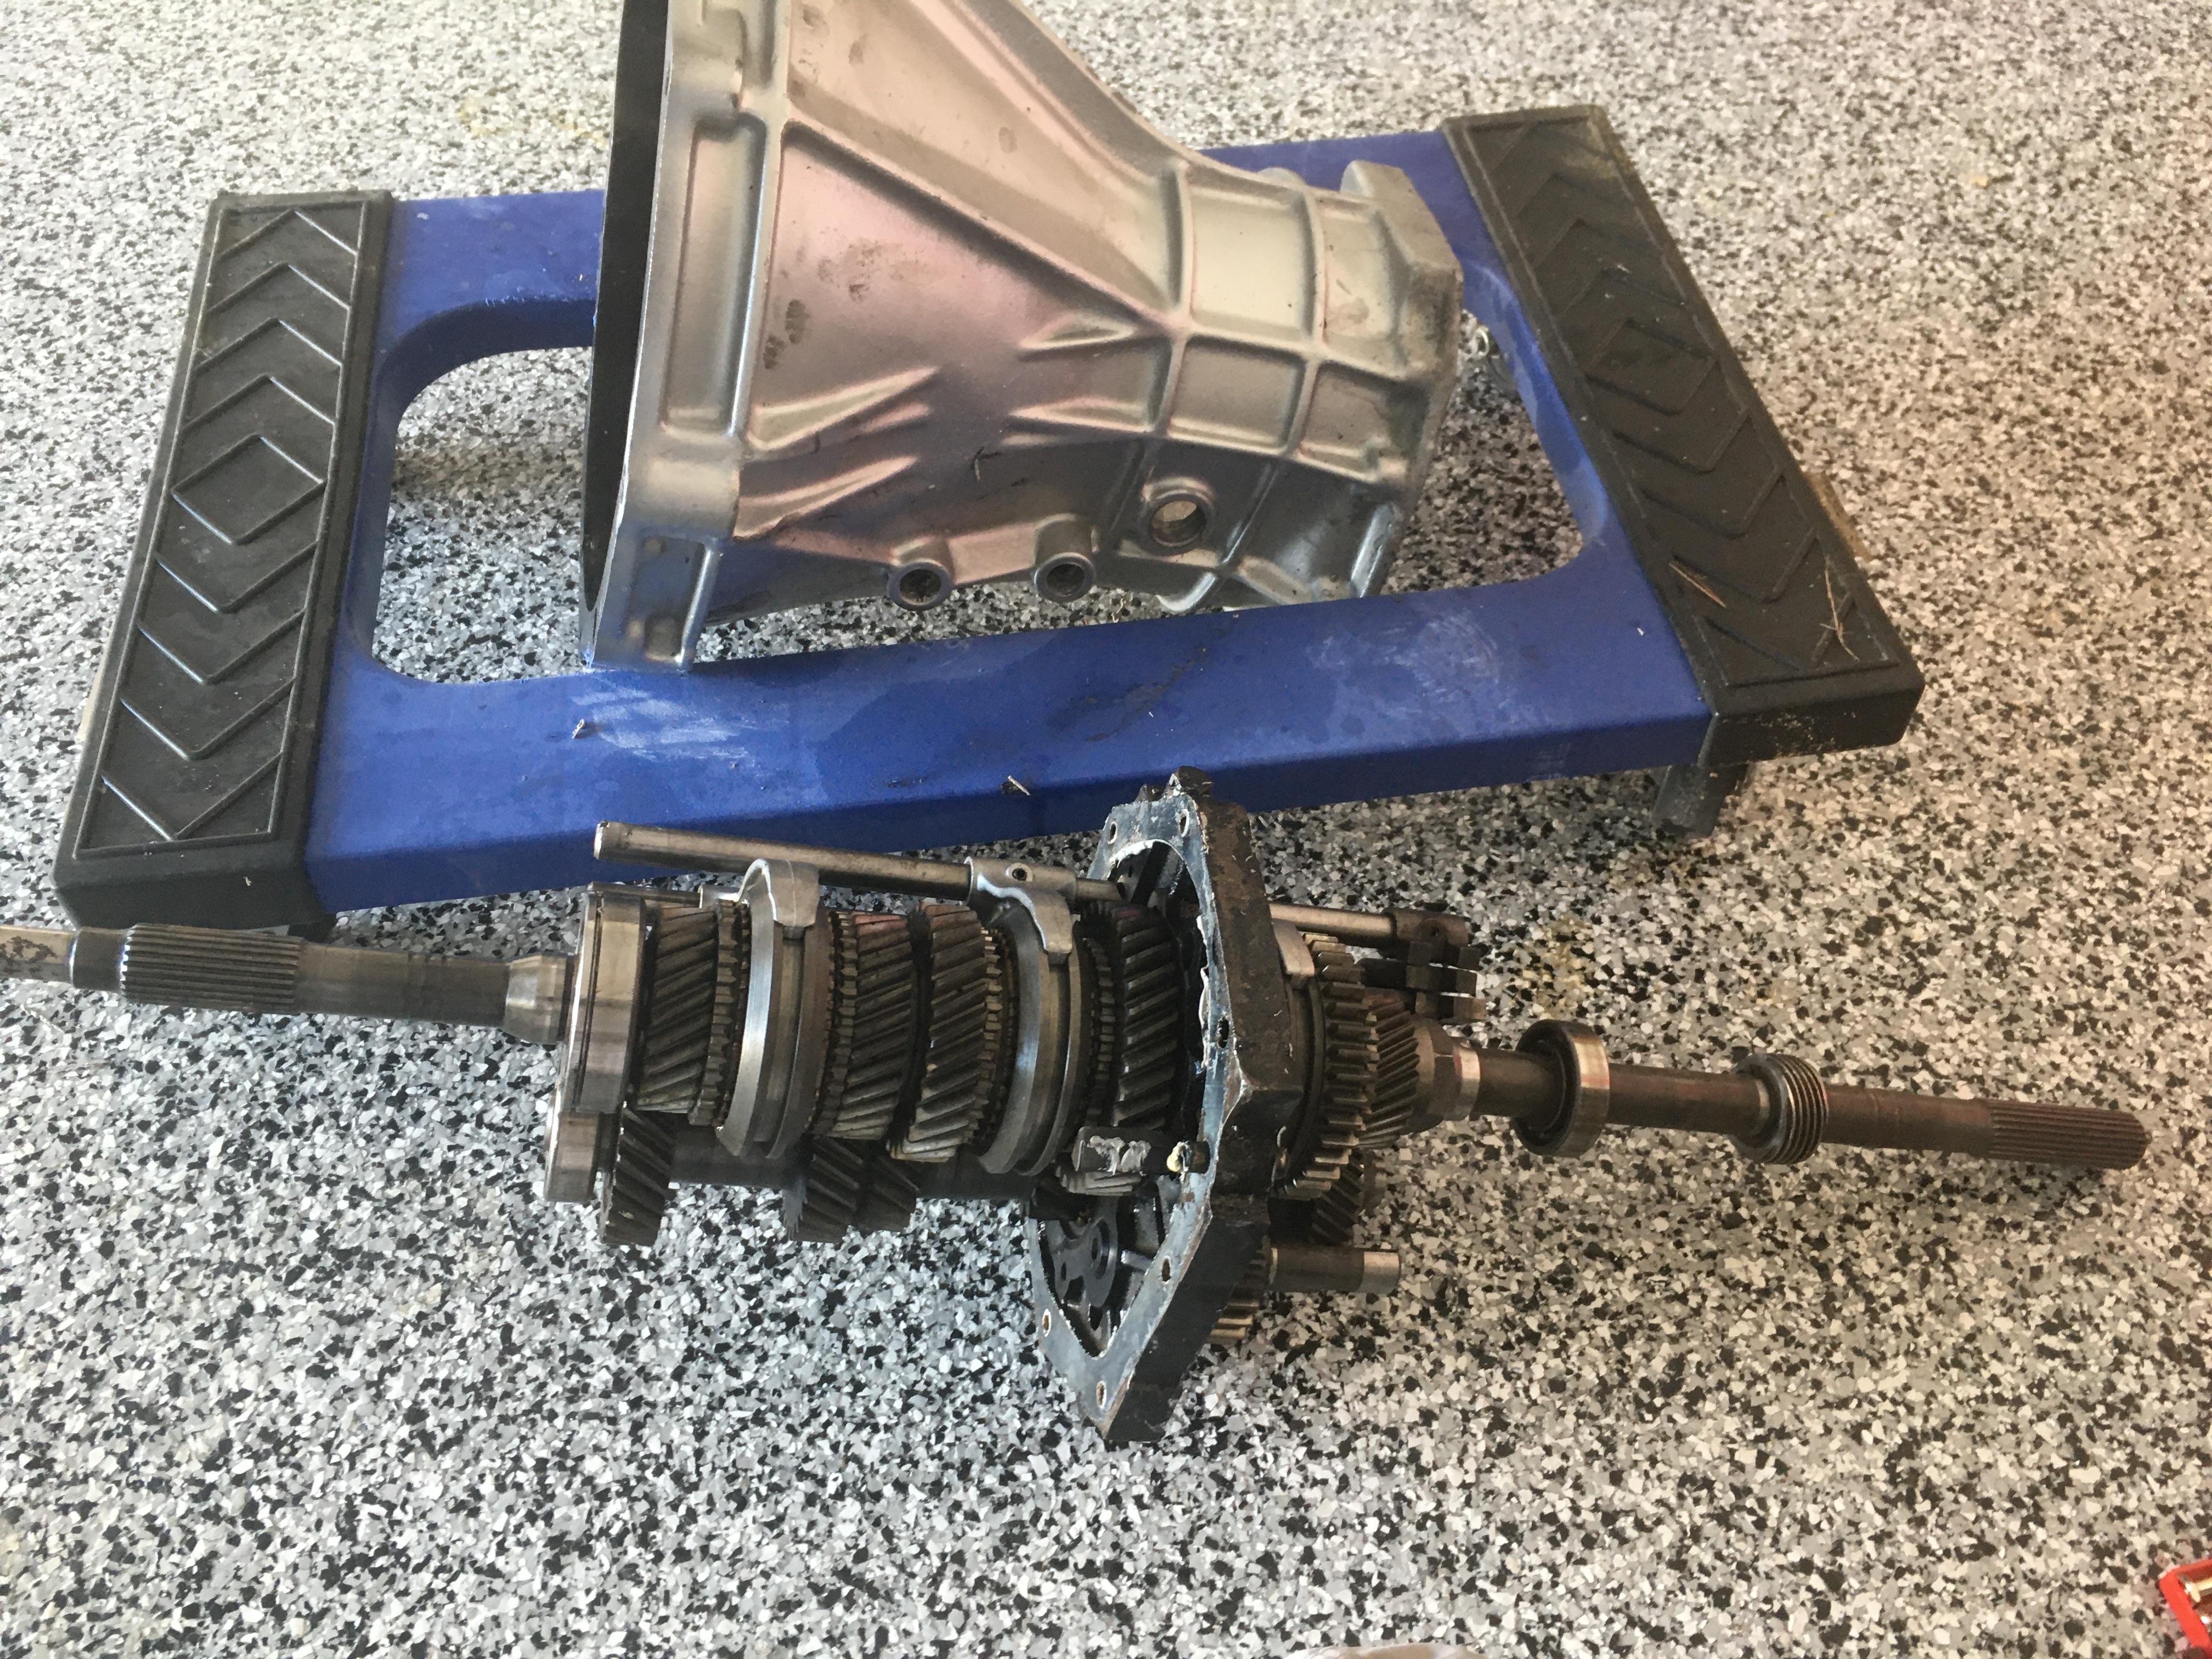
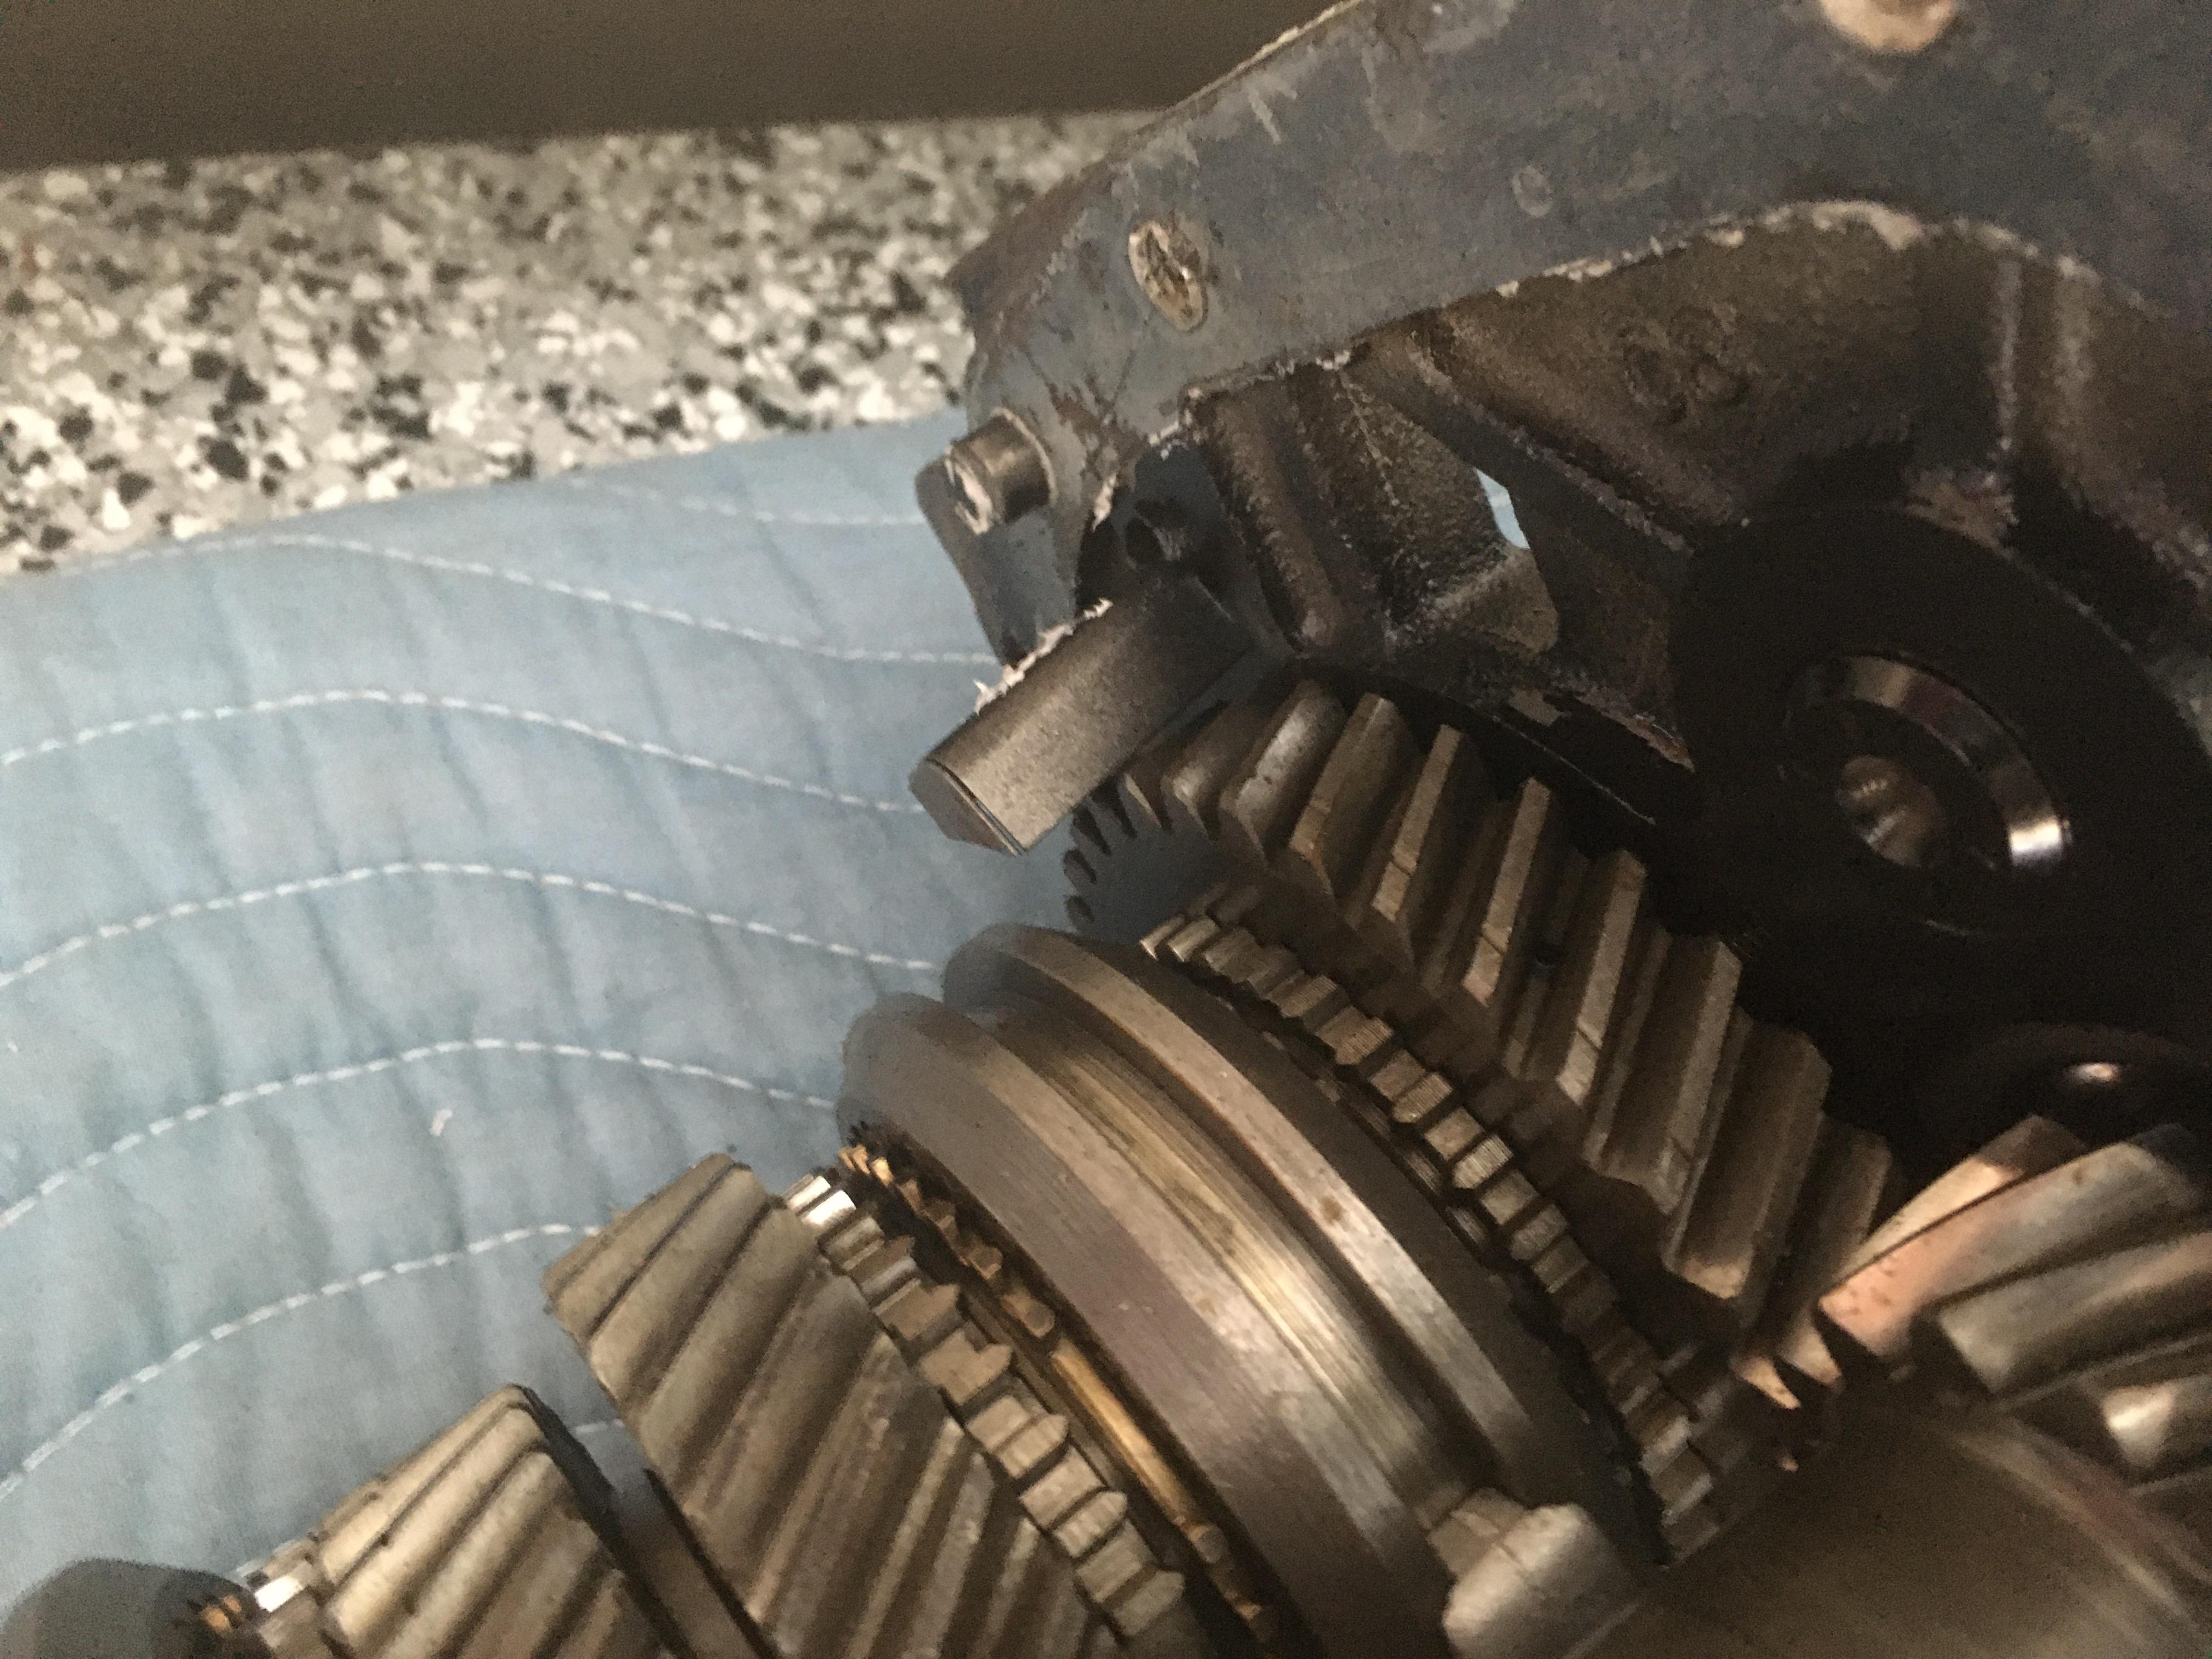
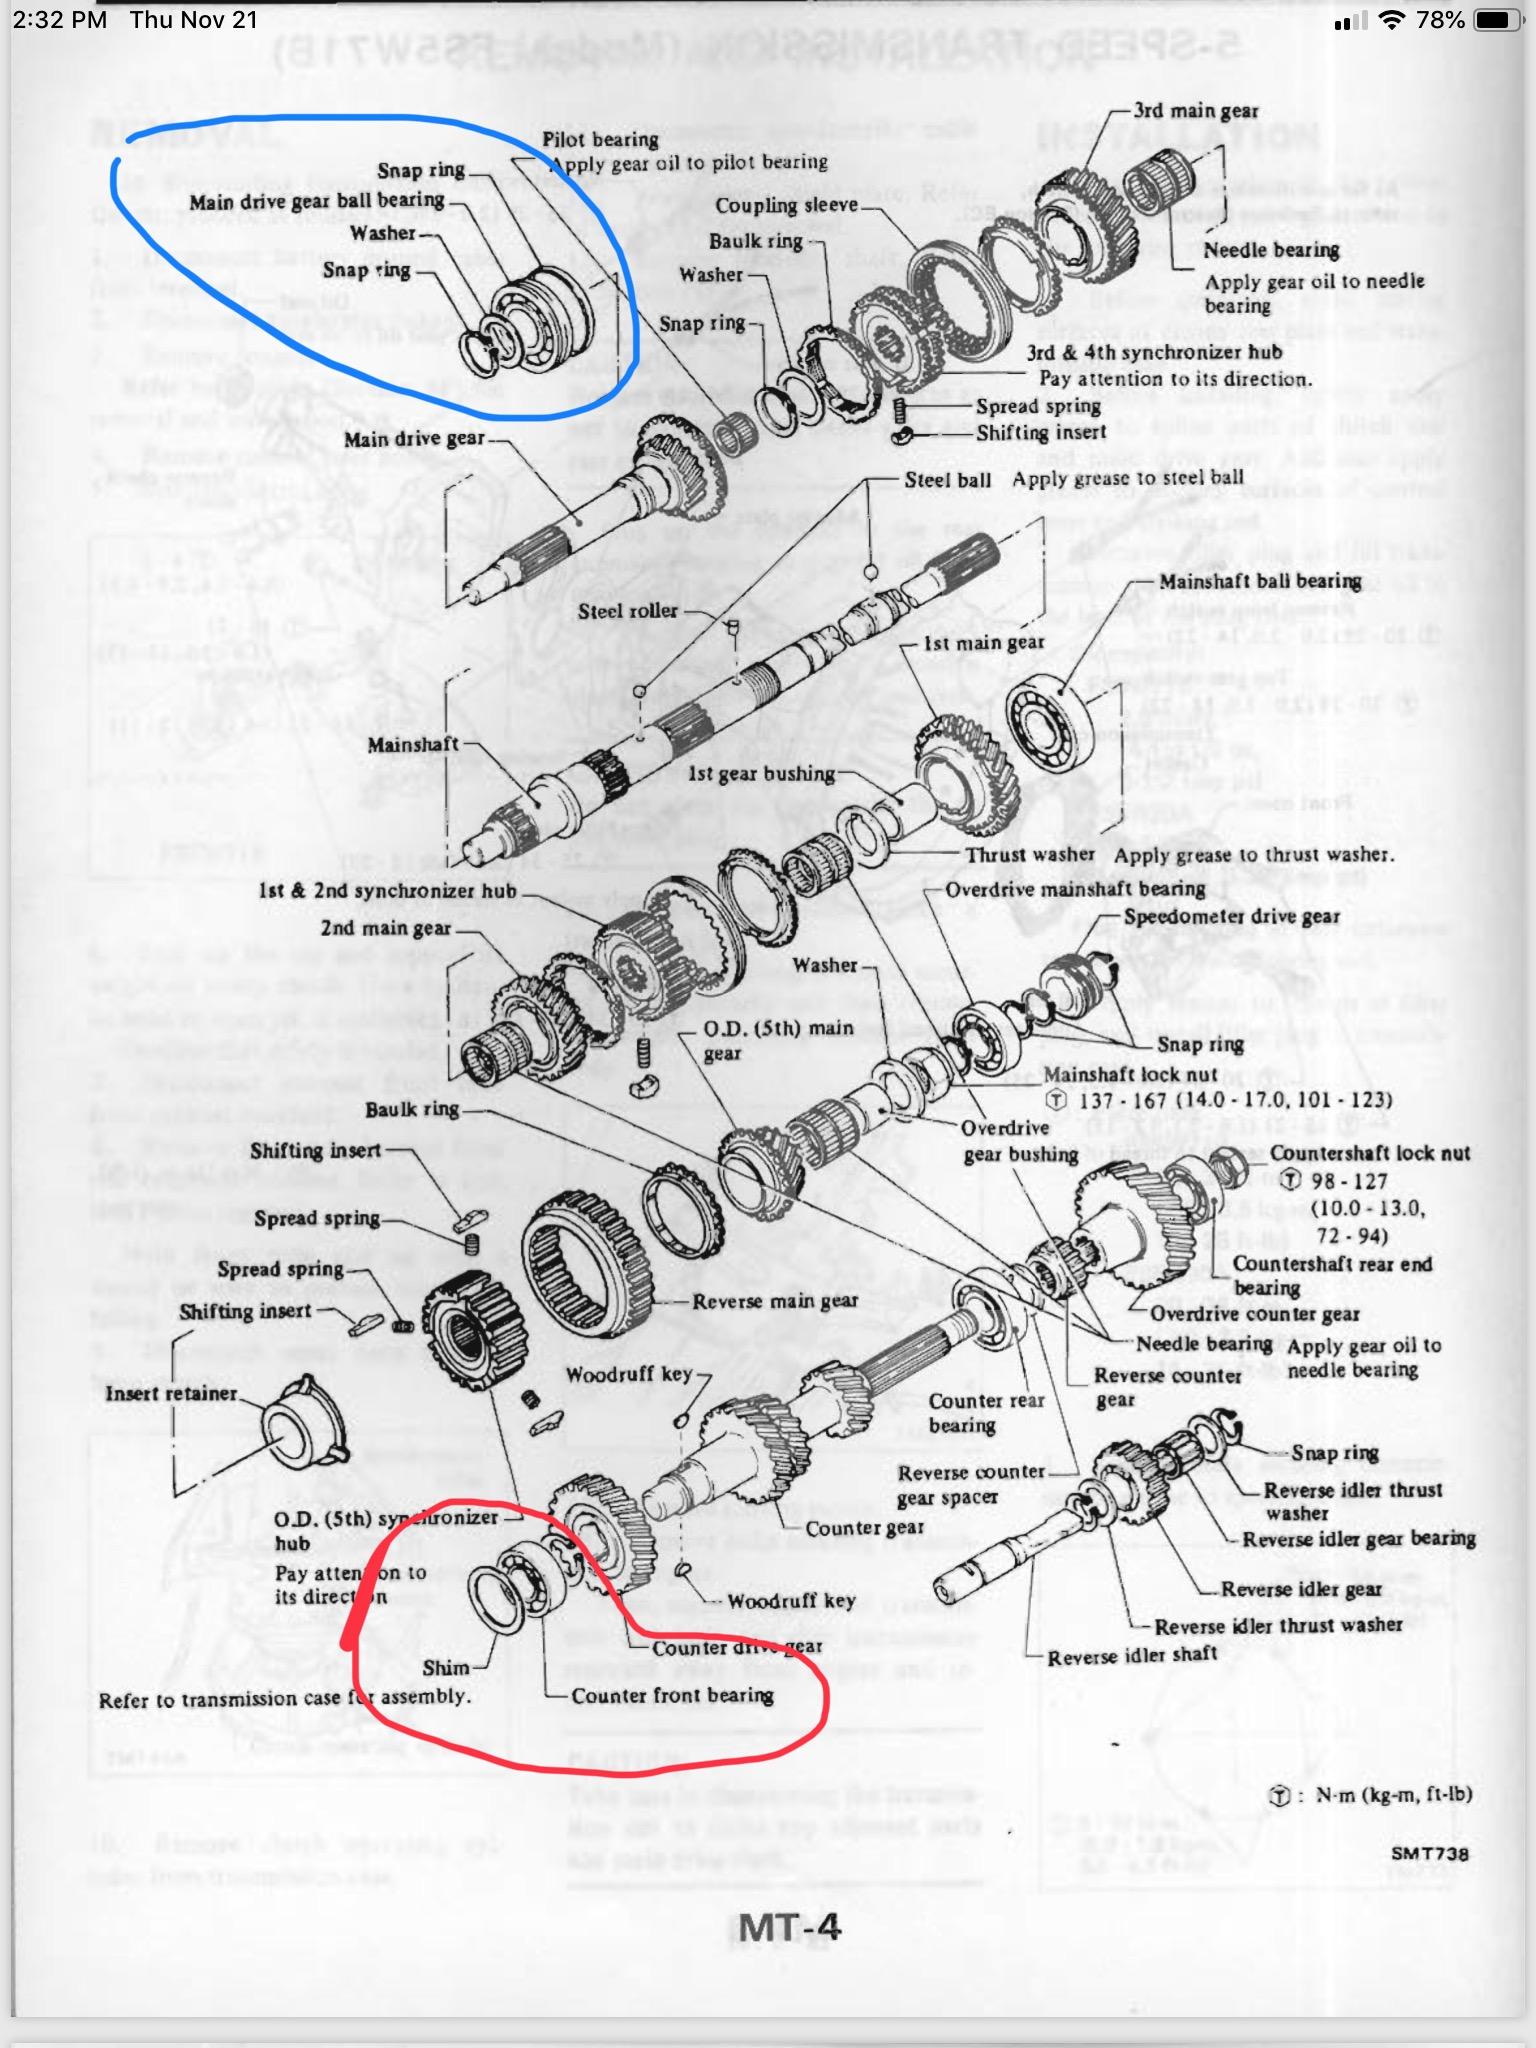
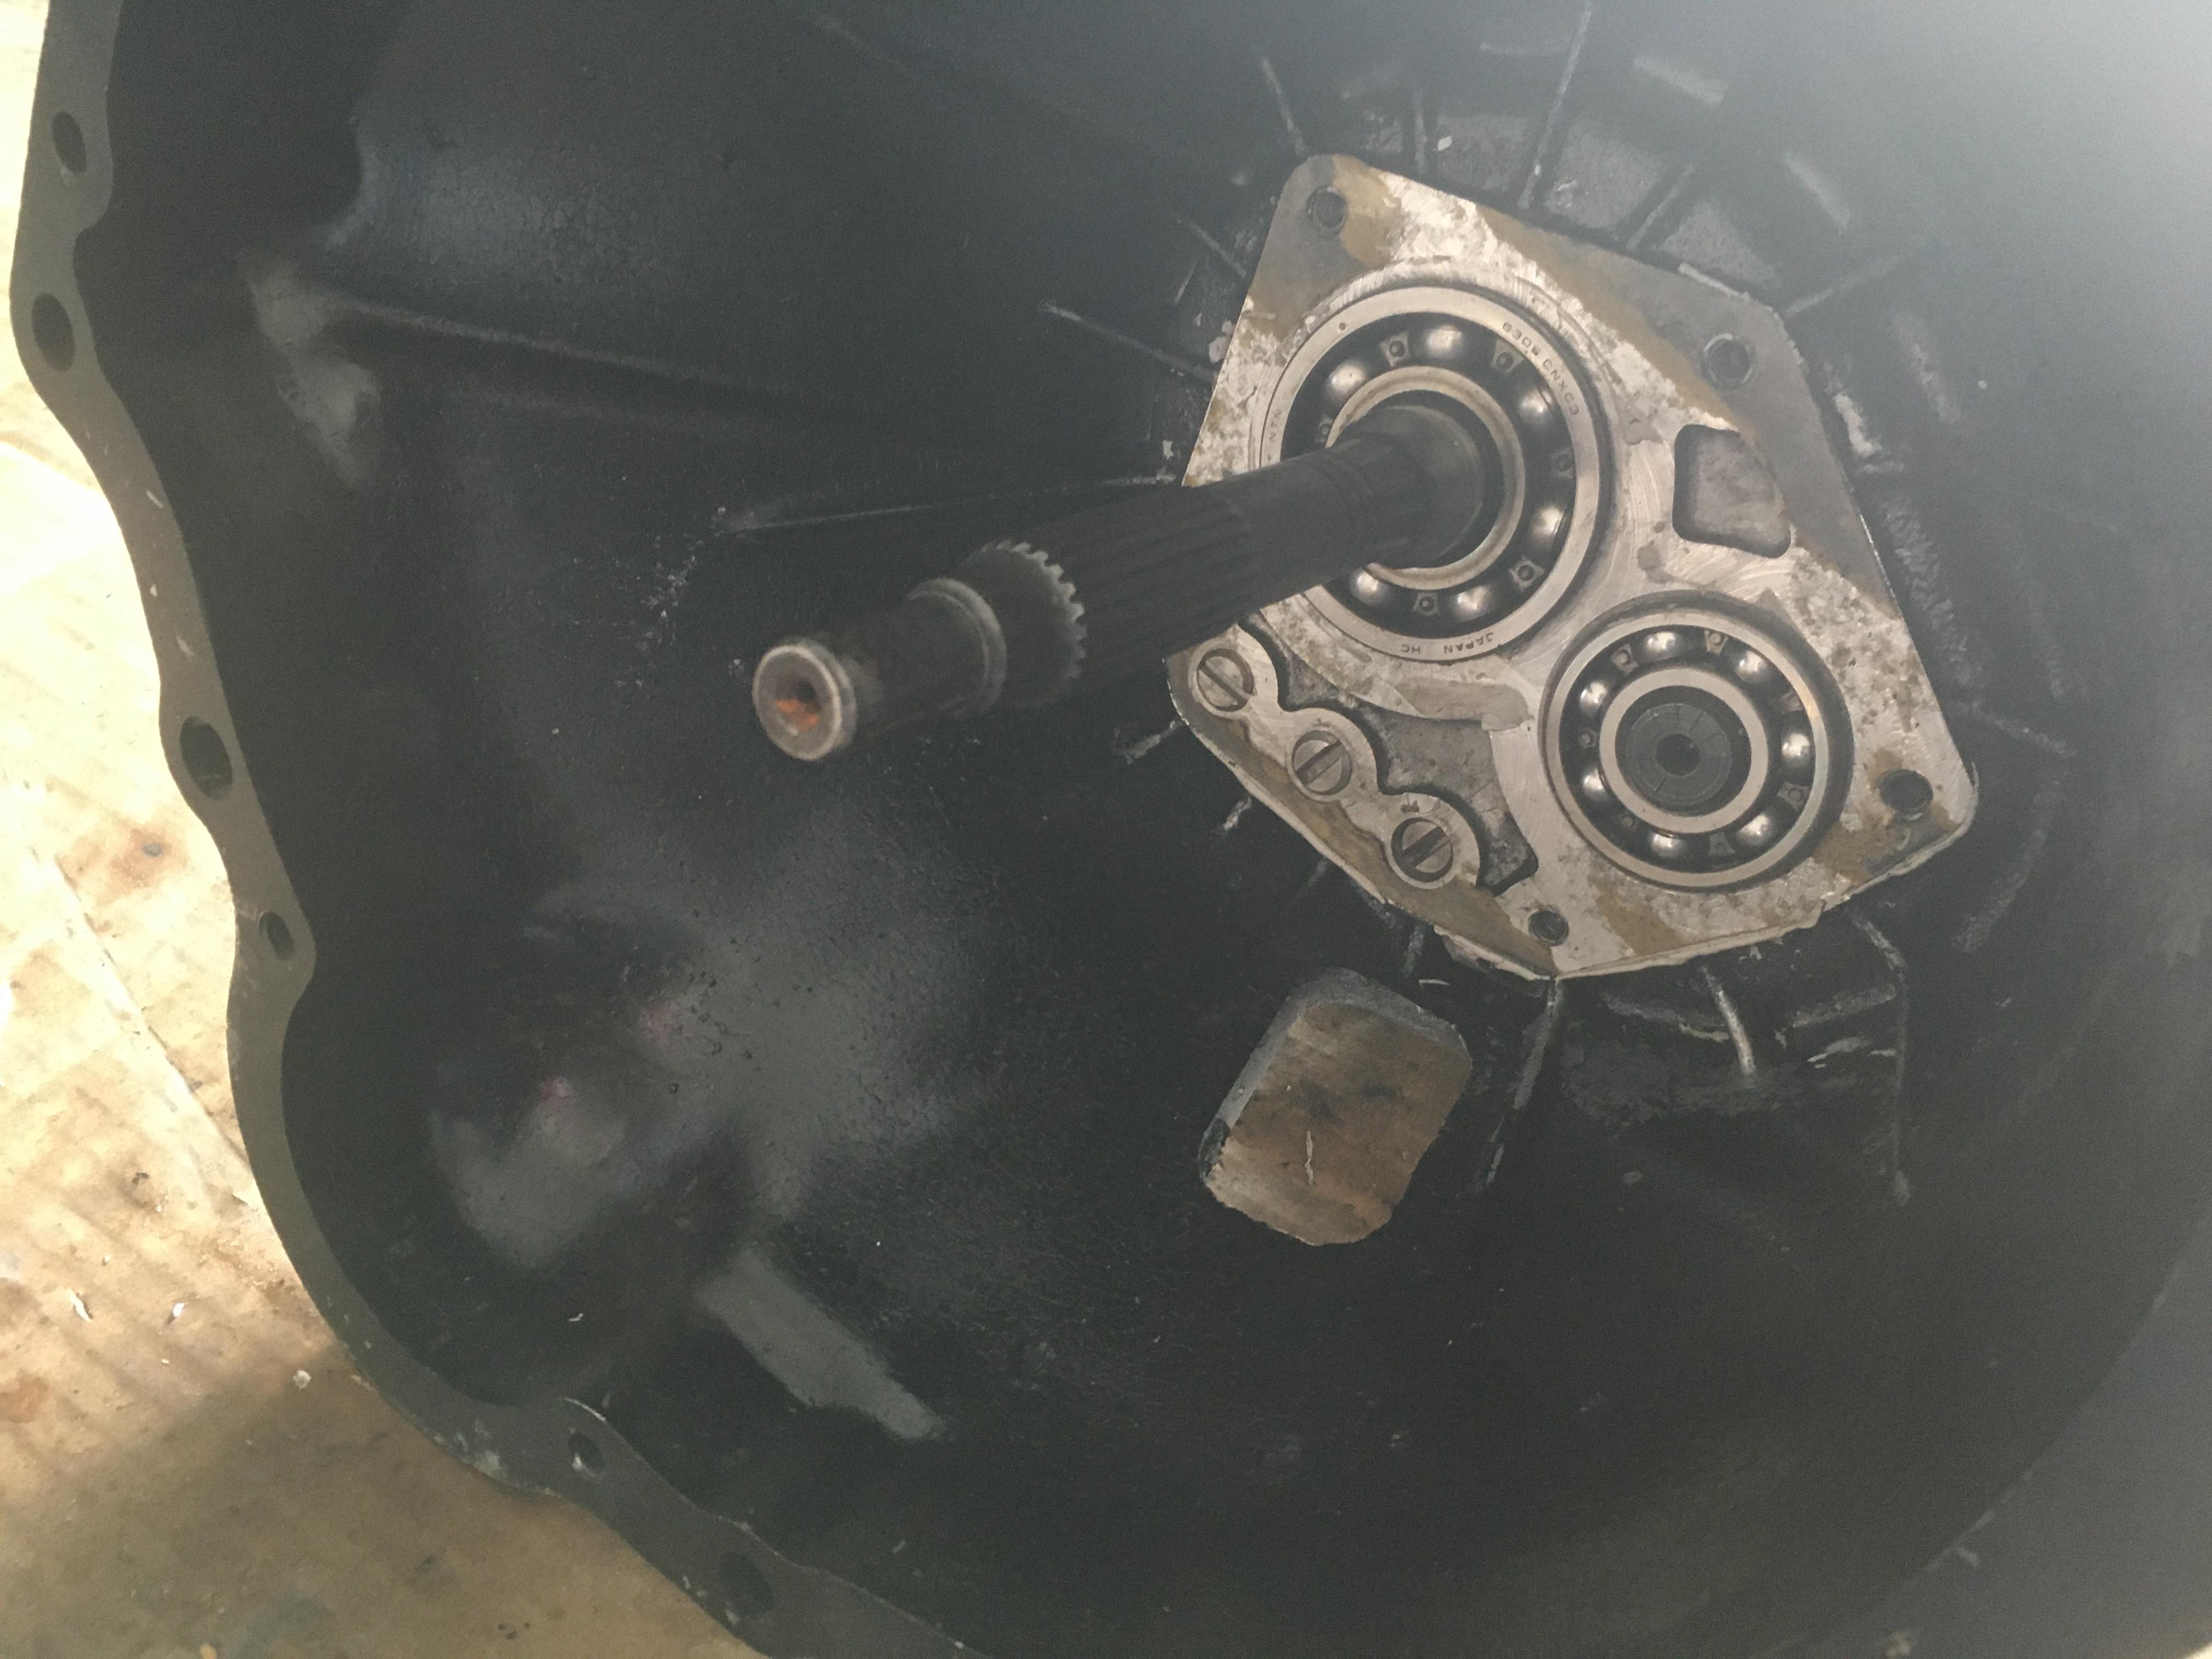
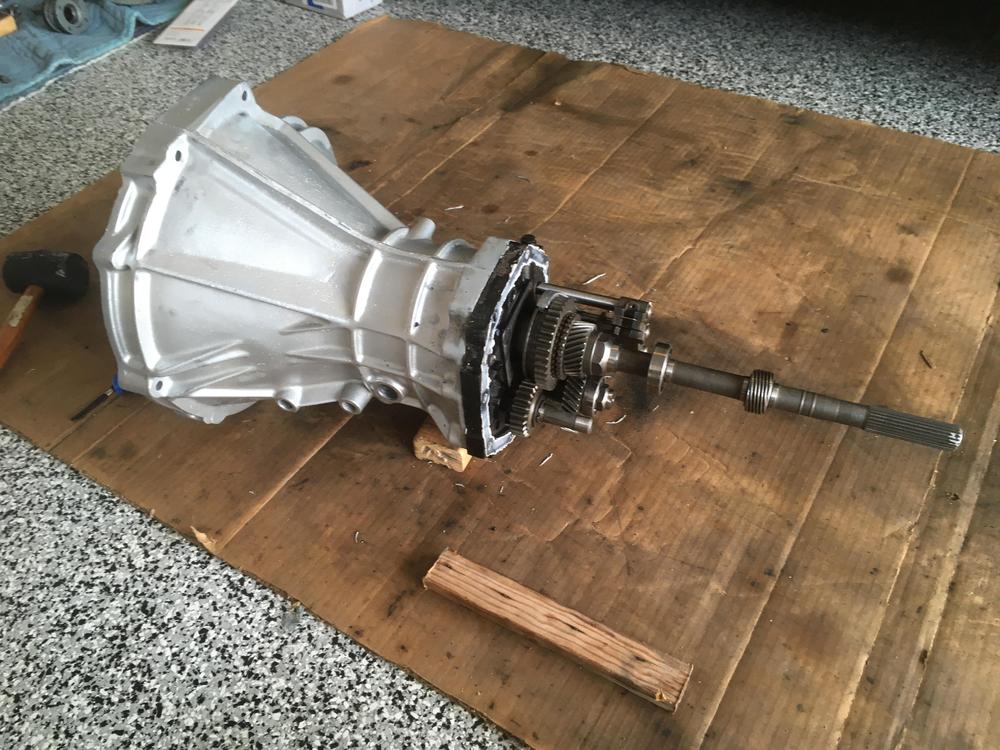
I stood the transmission on my moving cart to keep the input shaft from hitting into the floor, etc. After also spraying the bolt holes and the edge of the front cover-to-adapter plate mating surface with CRC Gasket Remover and PB Blaster, and letting them soak for a while, I started hammering upwards on the protruding edges of the adapter plate. Eventually, it gave in and the cover and adapter plate were separated. I only hammered my hand once and yeah, it’s black & blue. Thanks for all the advice on getting them apart. I looked at the oil gutter and is the orientation correct? The counter shaft front bearing (ref. parts figure, circled in red) didn’t have a shim in front of it. I hope these are still available. The bearing also feels like it has a lot of play in it, so, I’m going to replace it. The main drive gear front bearing (circled in blue) doesn’t feel as smooth as I’d expect, but it feels a lot better than the counter front bearing. I’m thinking about replacing it, too. The gears look like they’re in good shape, although there’s some errant sealer here and there on some of the teeth. Obviously, someone was in this tranny before and was sloppy. In addition, the rear case was cracked in a couple of places and was RTV’ed on the inside and painted over on the outside. So, I got to spend a little more money getting that case welded up. Oh well, eventually I’ll have a 5-speed!


-
Welcome aboard, Electrolabs! Enjoy your 240Z resto project. ?
-
Thanks Dave!
-
Great! I’ll give that a try. I’ll swap out my rubber mallet for my plastic hammer, and I’ll also switch to pounding. Thanks guys!
-
The rear cover came off with very little difficulty. I tried standing the tranny on the main shaft to tap the front cover downward, without success. I didn’t want to get on it too vigorously, as I was concerned that I could tweak the shaft,
-
I’m a bit stumped on how to separate the front case from the adapter plate on the 5-speed I’m eventually going to put into my 280Z. I’ve removed the front cover, washer, and snap ring for the main shaft, and I’ve removed the large snap ring for the main shaft bearing. The FSM says to tap the case off the adapter plate with a soft hammer; however, I can’t seem to get them to separate. Is something that’ll require really wailing on? I’m really reluctant to go all primeval on it for fear of damaging something. Any advice or pointing out my stupidity would be greatly appreciated! Thanks!

-
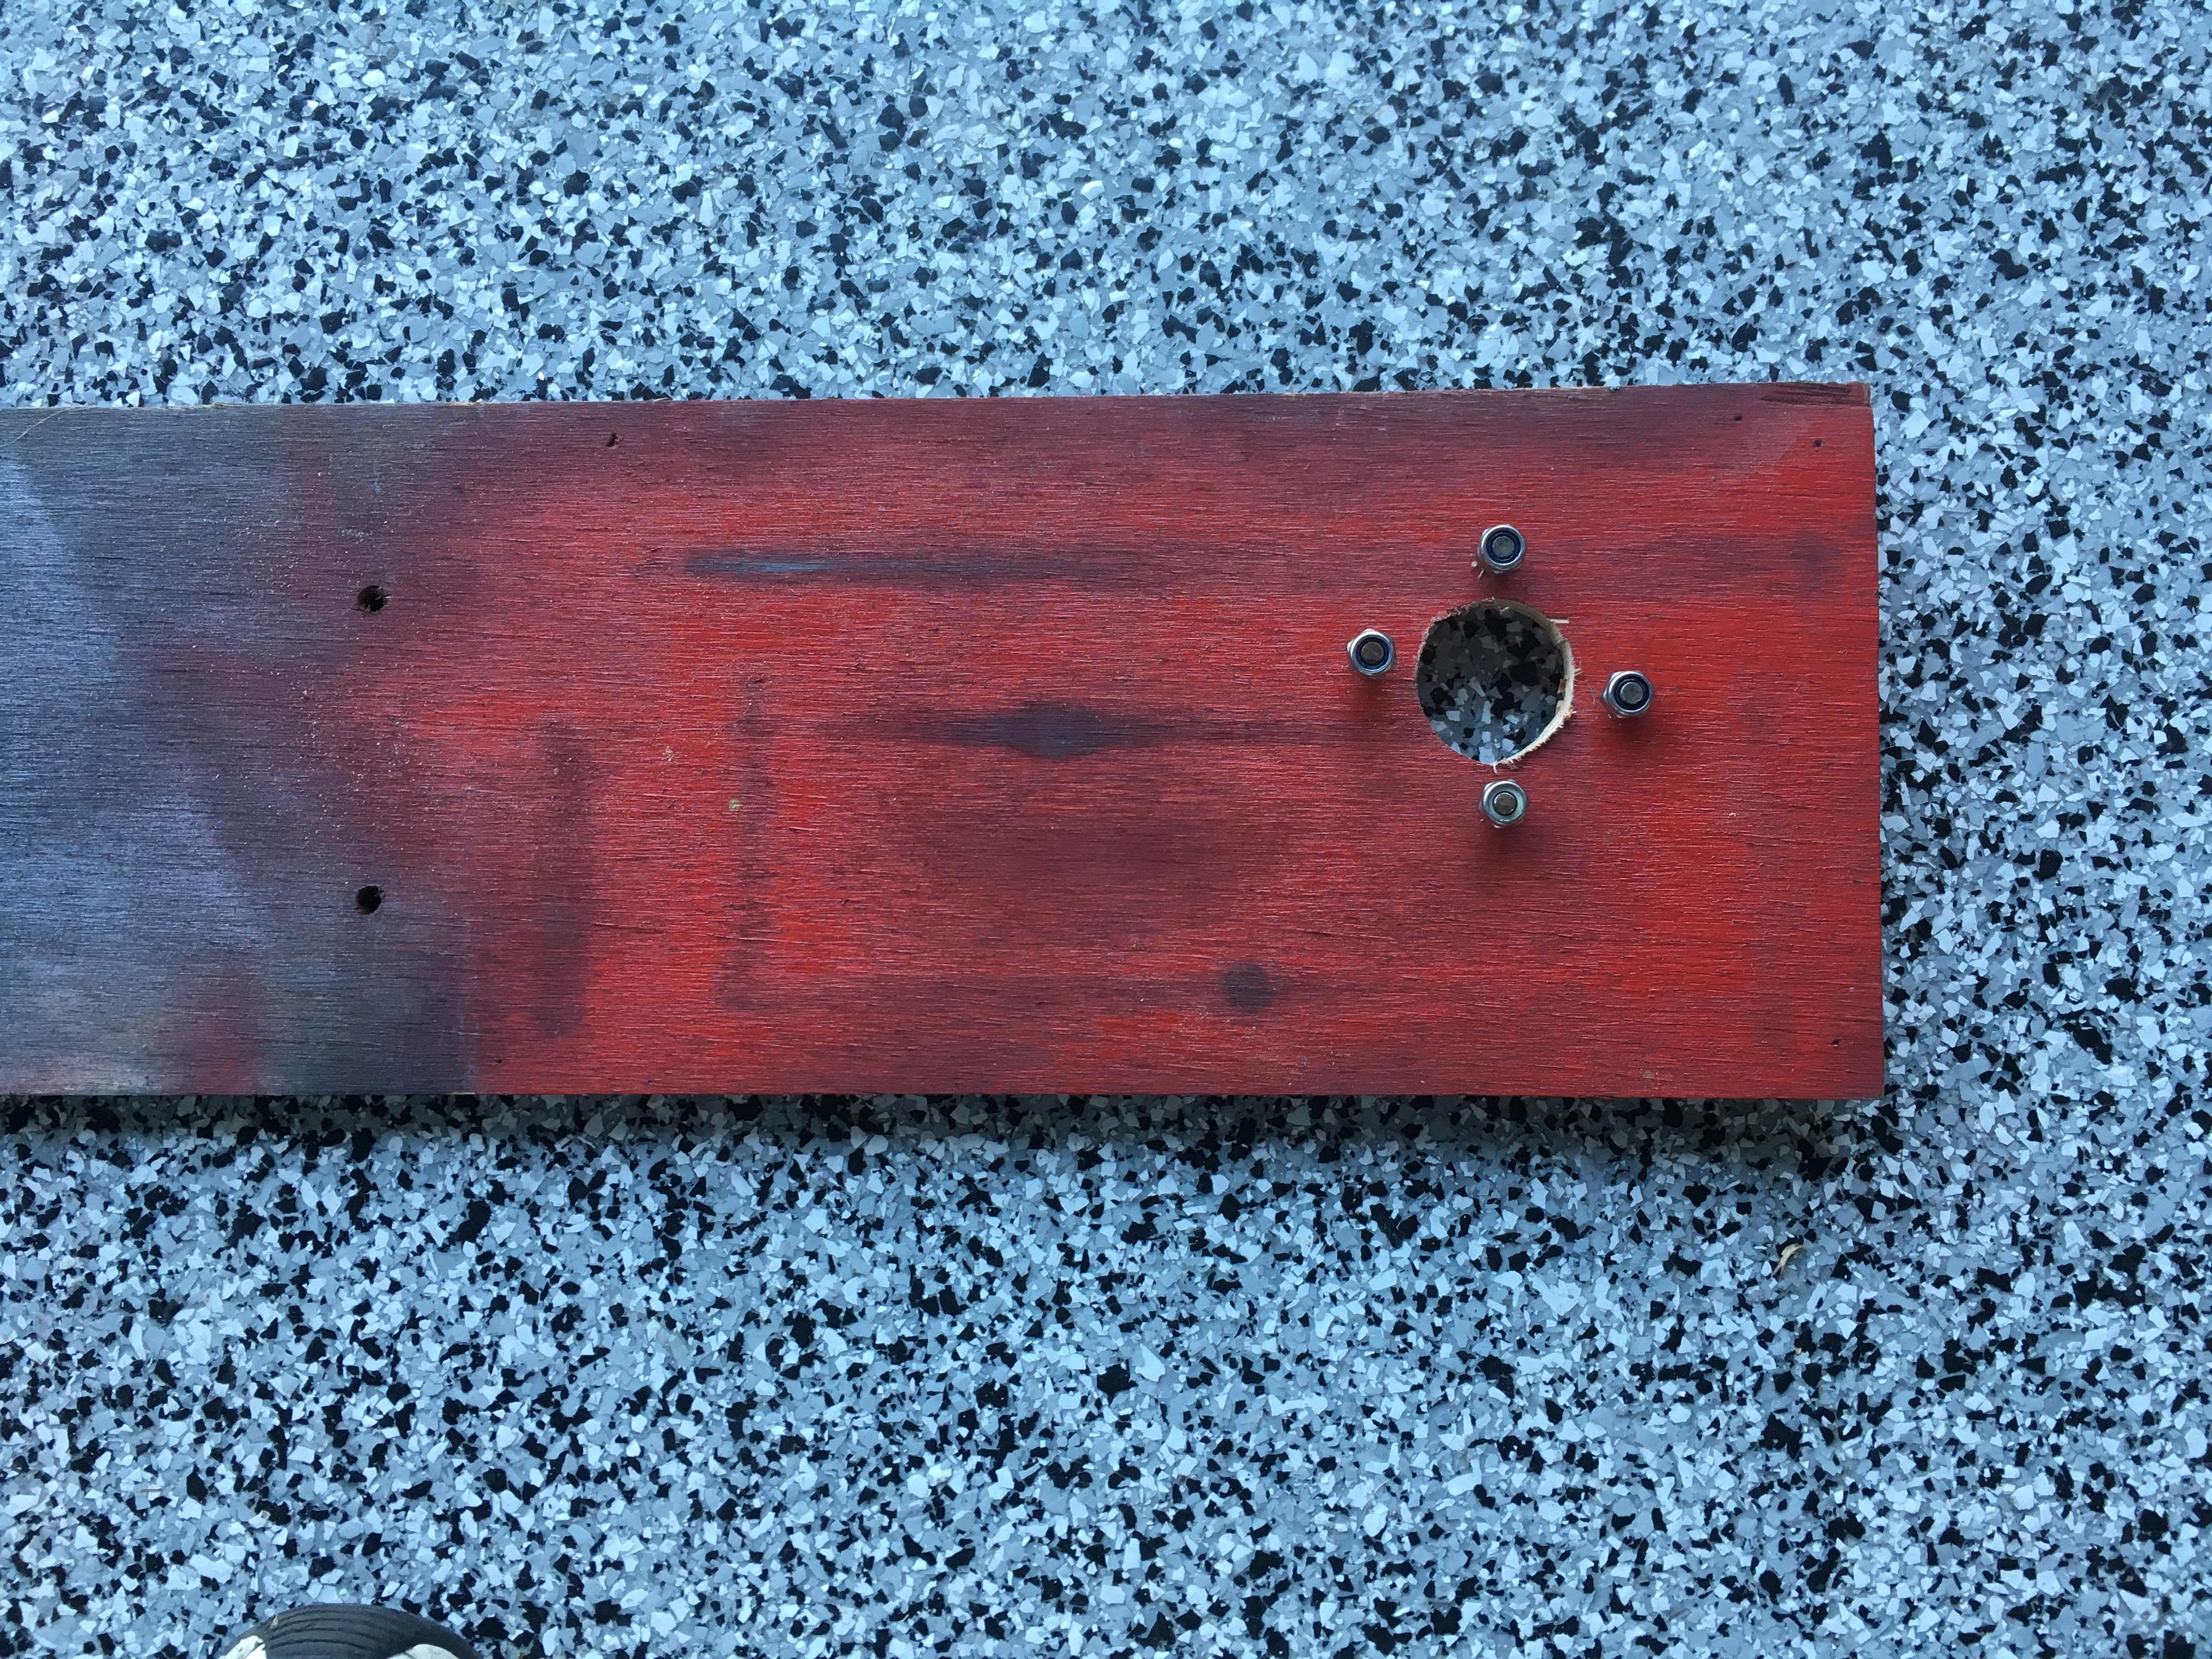
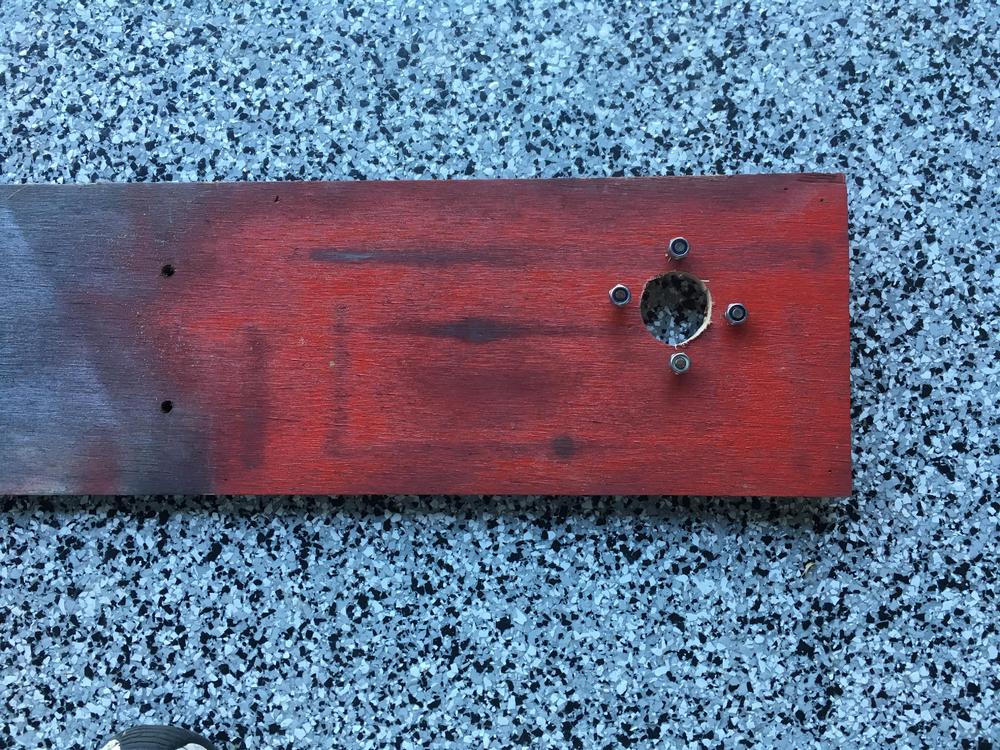
Thanks Charles! I was going to fab the tool to be like what’s shown in the FSM, using aluminum stock. But, I dragged out the piece of plywood to use instead. Quick and easy! I also used it to remove the drain & fill plugs. I just bolted the diff cover to the plywood, stood the plywood upright on its long edge, and used my breaker bar & cheater pipe to loosen the plugs.
-
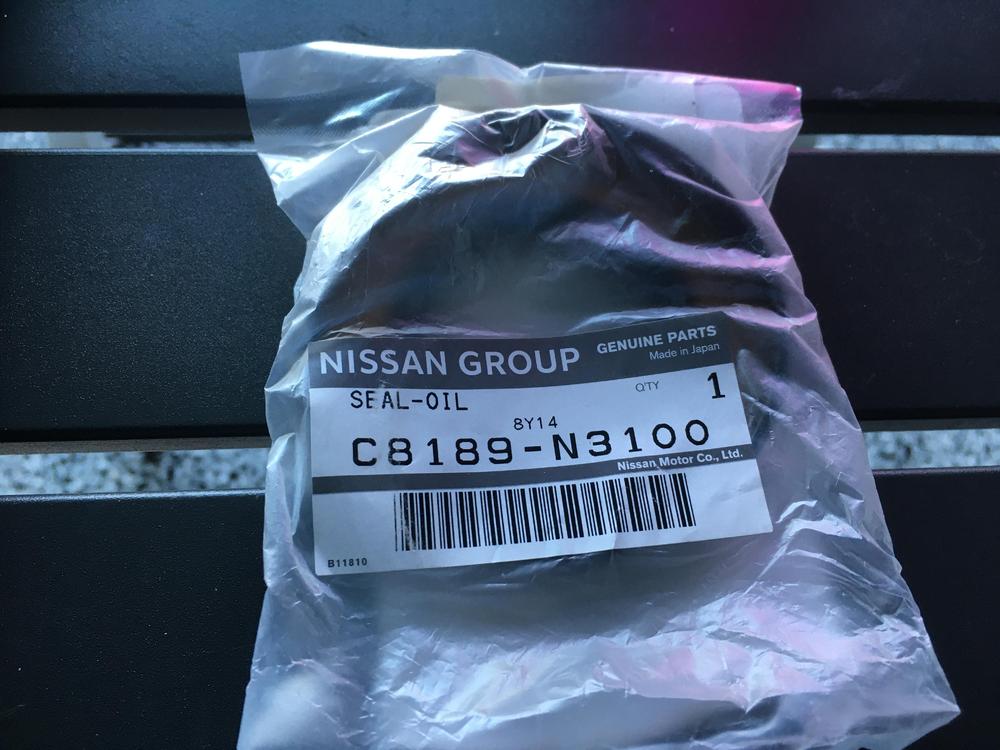
SoCalJim Tool #280Zdiff - 5’ long piece of scrap plywood with appropriate holes cut into it, along with M8x30mm bolts and lock nuts. ? I bought all the seals from Motorsport Auto. The front seal is shown below. I don’t have the side seal p/n handy.
-
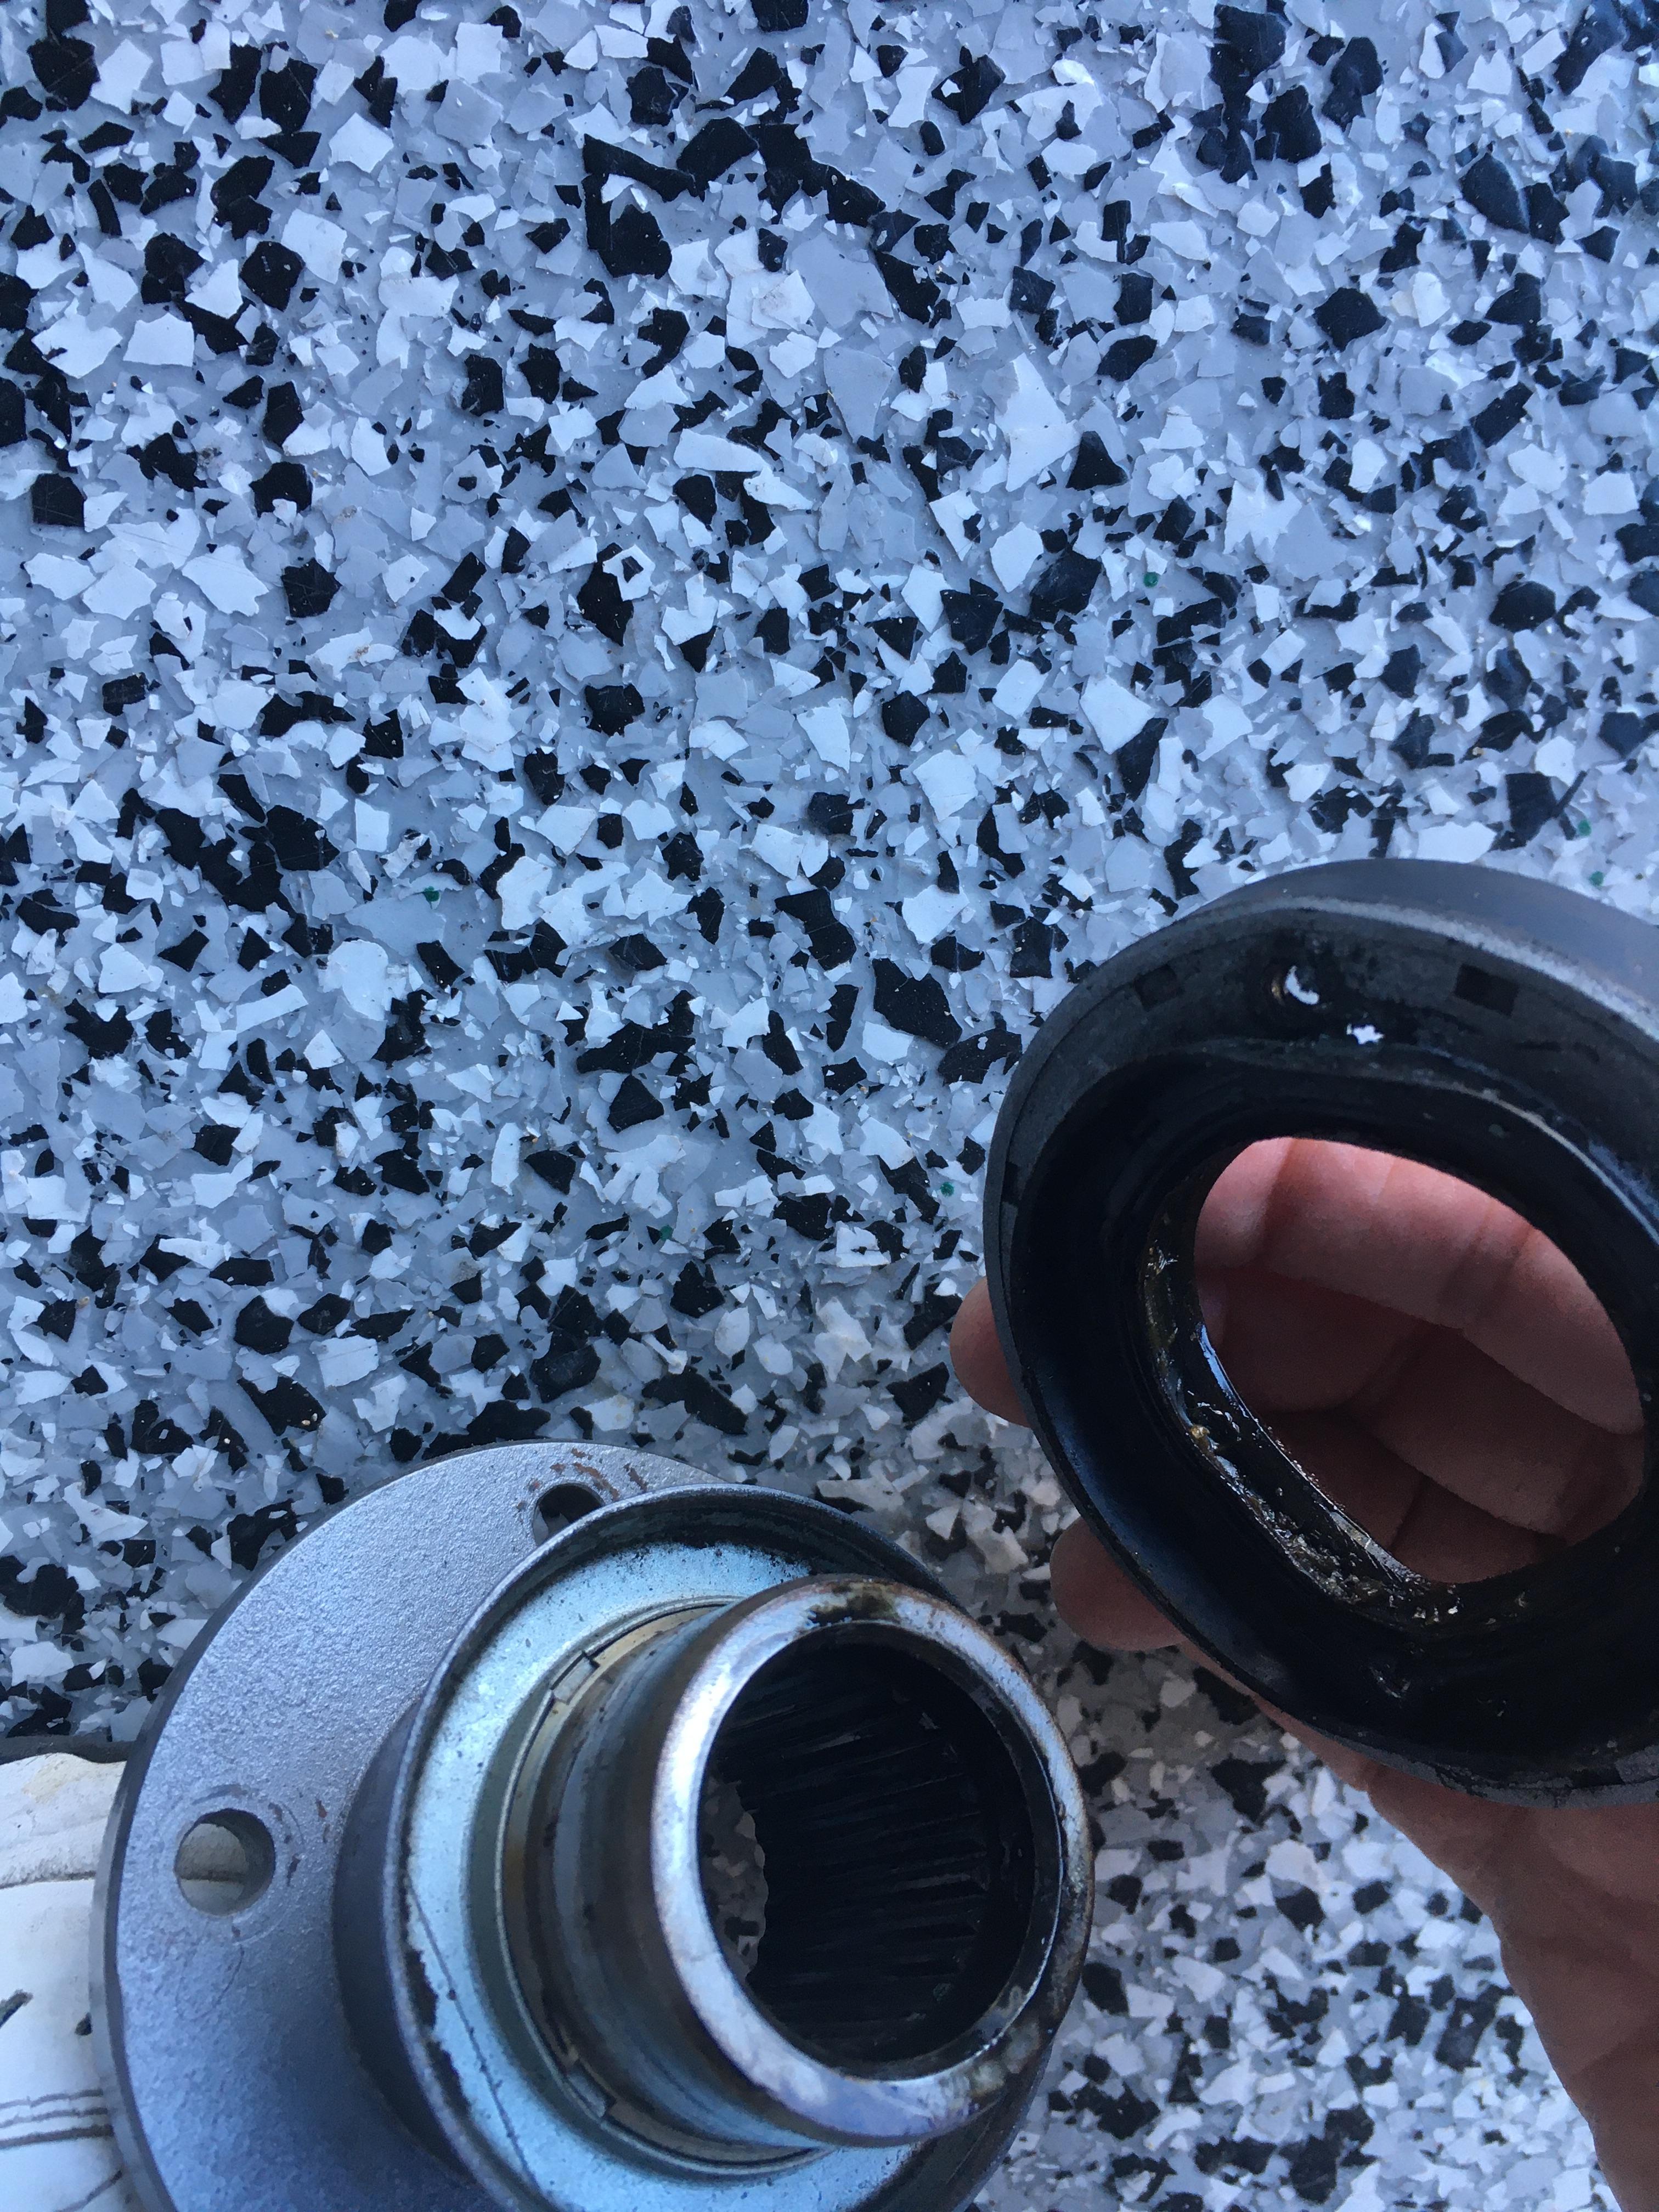
Here’s another view of how the two surfaces meet. The lip of the companion flange covers the raised part of the seal and nearly contacts the outer flat part of the seal.

-
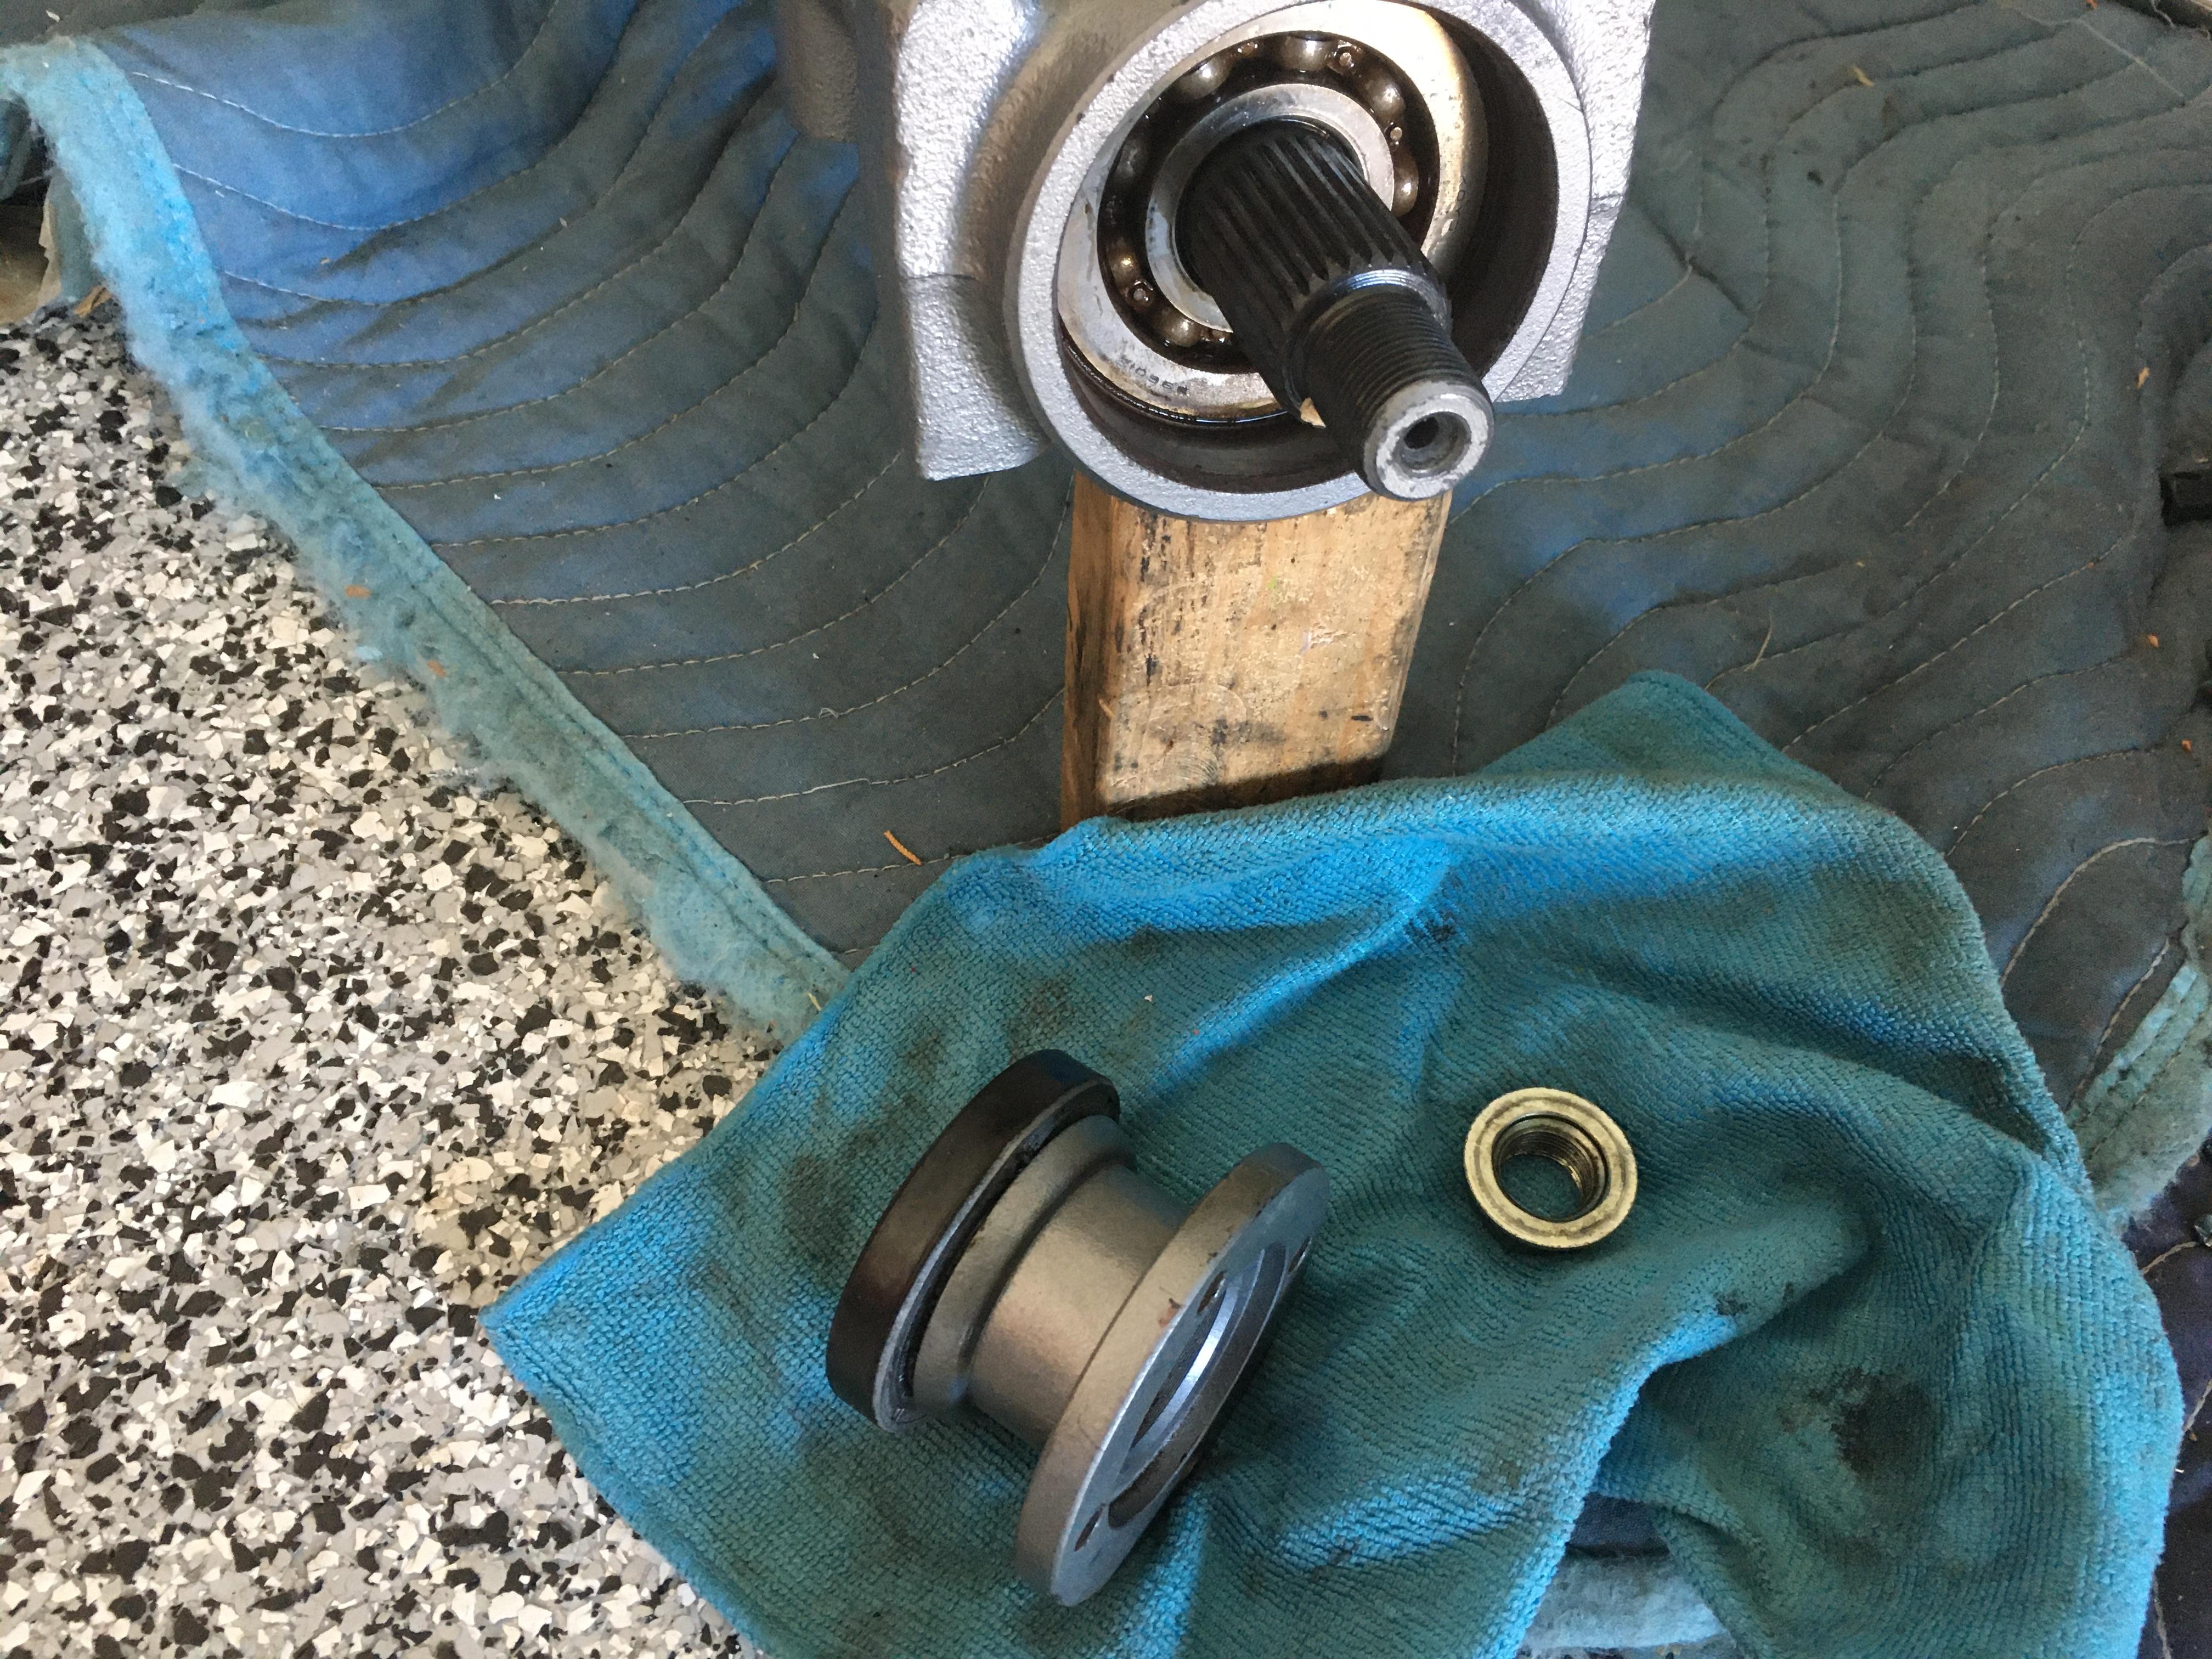
I’m replacing the oil seals on a R200 3.90:1 differential that I bought on Craigslist last year. I have a “tool” for driving in the side oil seals, but not for the front oil seal. Instead of hunting for what I need to do the job, can I just use the companion flange and a wood block & hammer to safely drive the front oil seal into place? If my idea is likely to mess the seal up, I’ll hunt for the right thing to do the job. Thanks for your advice! Old front seal and companion flange shown in picture below.

-
Consider yourself nudged.