Elliott000
Free Member
-
Joined
-
Last visited
Everything posted by Elliott000
-
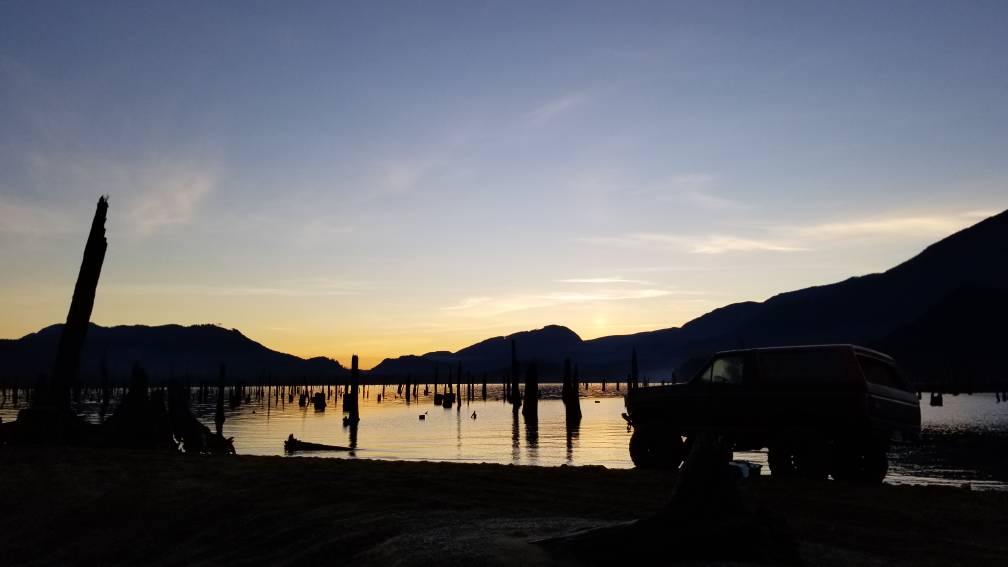
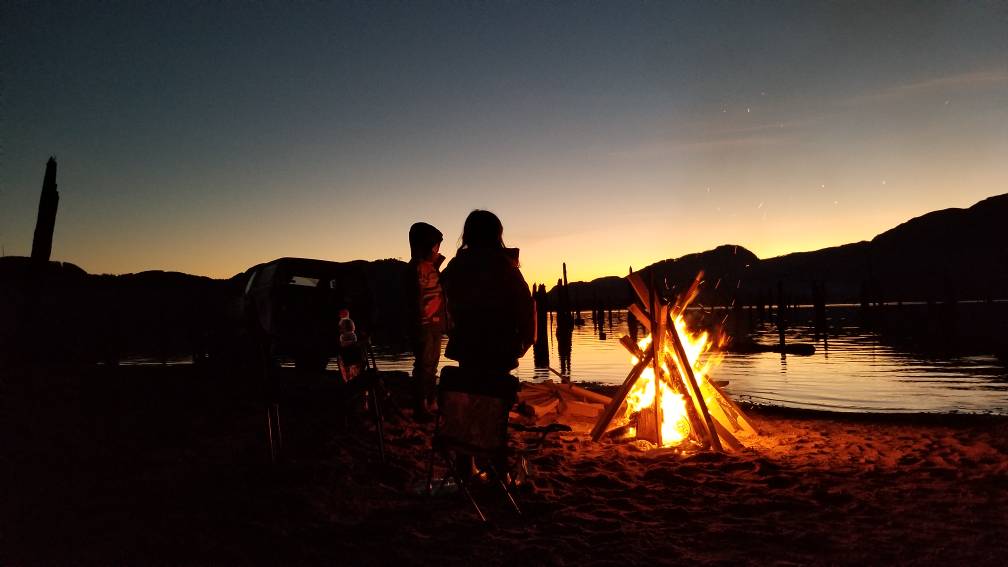
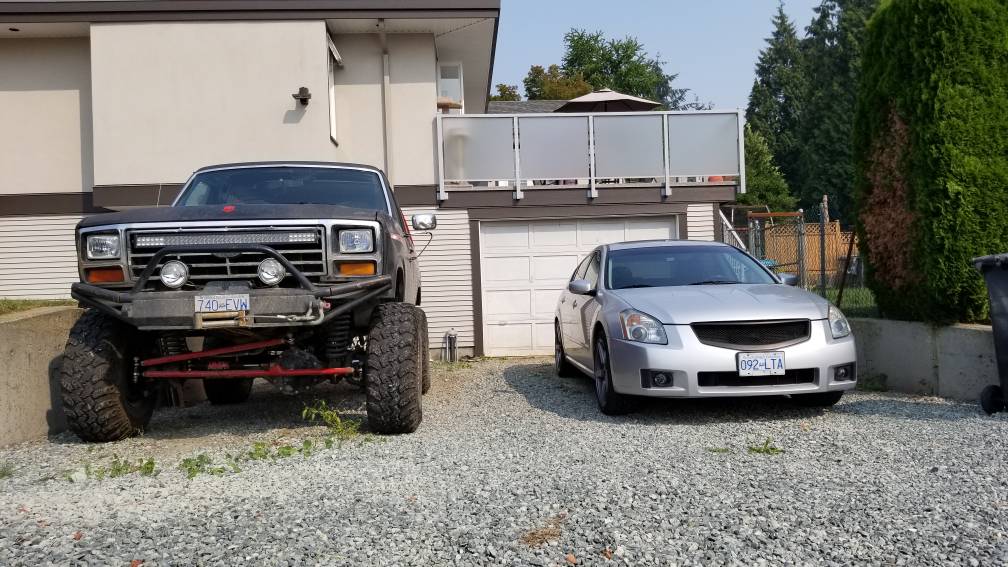
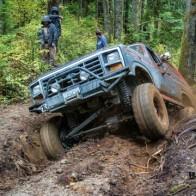 Didn't touch the car today but I thought I'd share what I built that also eats my money ha! Took the kids out wheeling and for a fire today. Id post a video but I dunno how, 84 bronco on 37 inch rubber 5.8 liter. Shes been neglected since I brought the datsun home haha Sent from my SM-N950W using Tapatalk


-
Thanks for the comments. Shop is pretty awesome, it's a good workspace it's double long and about 15 feet wide and some more where the datsun is. The window works good as a fan mount to suck dust and air out . There's a pile of my dads crap im slowly getting him to remove in the other end. Bought the house off him in January but still trying to get him to toss his old junk in the trash! I'll try some aircraft stripper. U think it will migrate into the house? Door closed and weather stripping etc. I'll run the fan to create positive pressure and suck the stink out Sent from my SM-N950W using Tapatalk
-
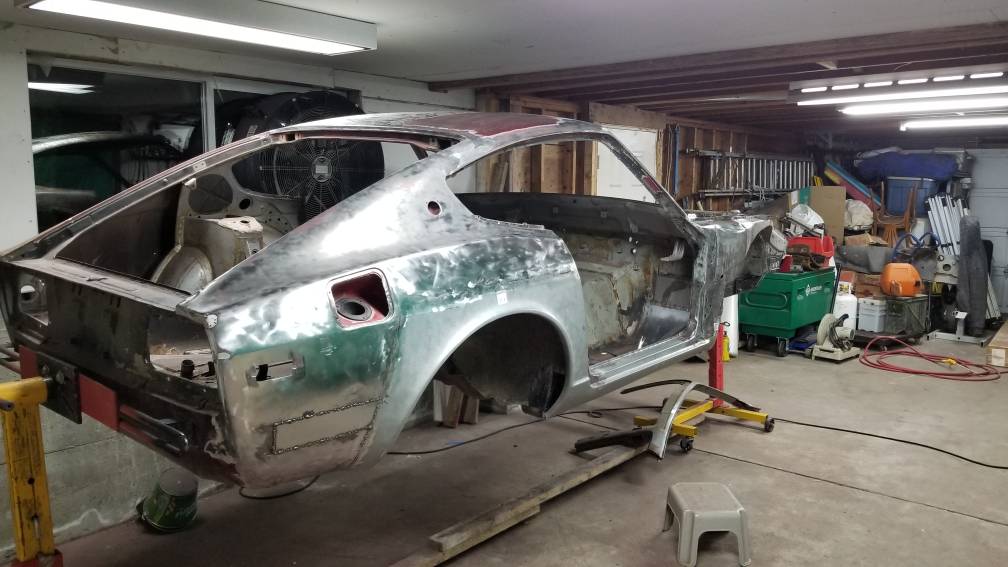
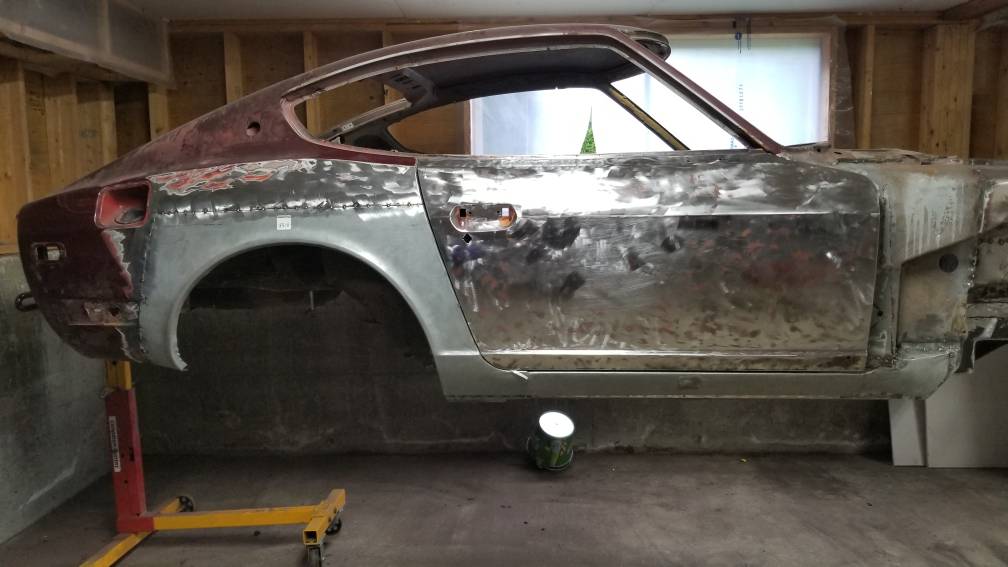
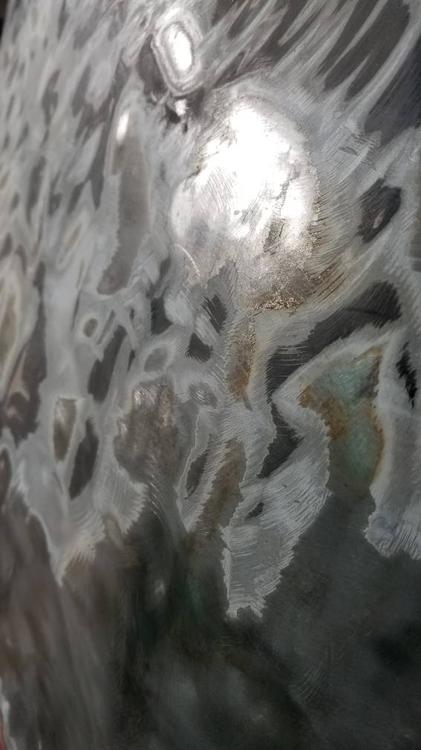
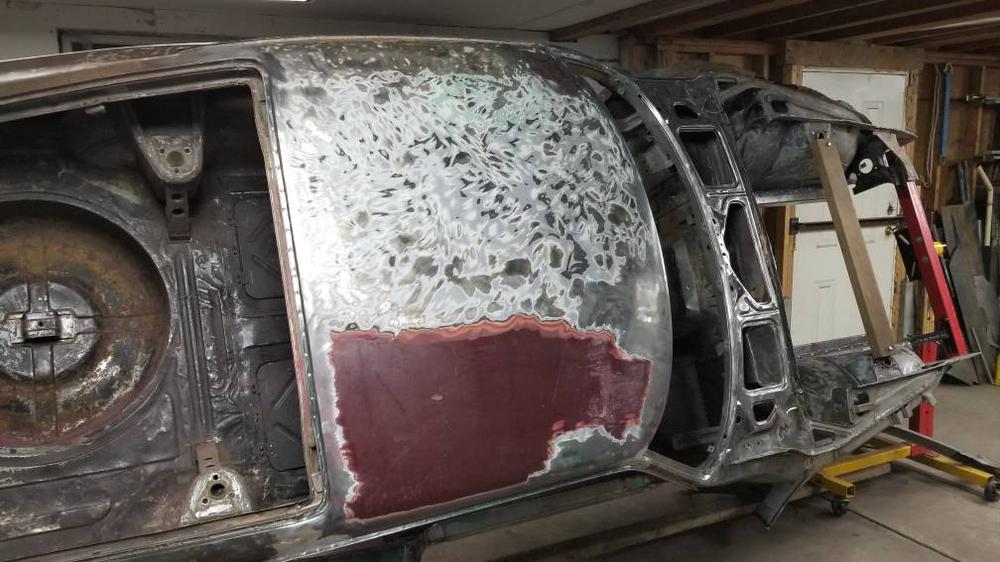
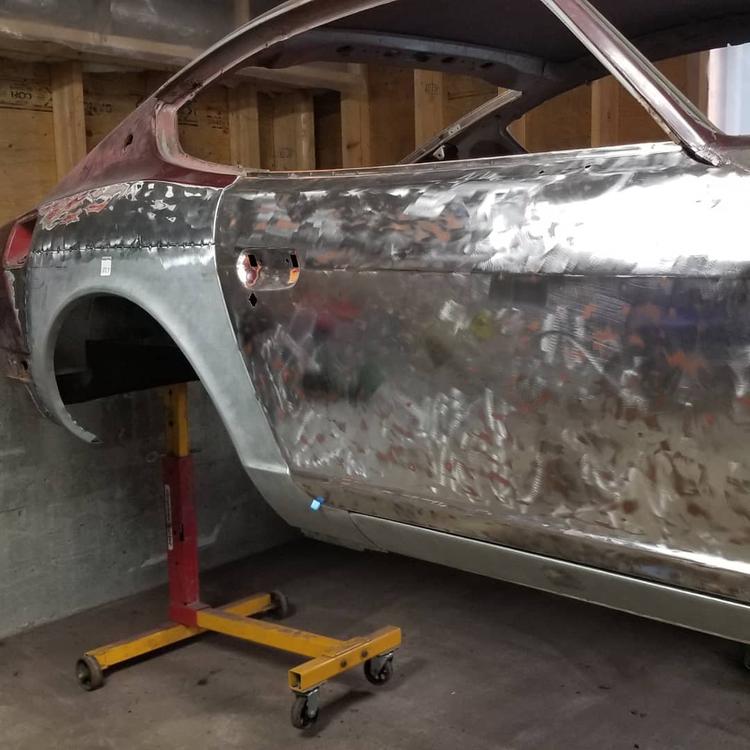
On another note I spent some time stripping tonight. Any suggestions for the roof. The attached pic was attacked by the previous owner not my work. But, I've been using a wire wheel and I don't like pushing on that roof, shes too tiny to lean on it. What the next best thing? Just a sanding disc, like a surfacer/scotchbrite style if u k ow what I mean... Pretty pumped the window and entire rear hatch recesses are mint and no rust whatsoever. It would appear this thing has seen 5 colours haha. I'm happy I decided to strip it fully. The thick paint job actually removes a lot of pop on the factory lines! Sent from my SM-N950W using Tapatalk

-
Hey jughead, I basically did what you have done and cut back to good metal. I cut a straight line accross as high up as I could and just used a hand hammered peice of sheet metal to recreate that layer. It wasn't the prettiest bit it maintains that inner structure so I'm satisfied! Only really needed some hammering while welding at the bottom beck side where it had some shape. Can't find any pics of it. Sent from my SM-N950W using Tapatalk
-
Good to hear patcon and everyone. I think im gunna polish off the metal work on the passenger side, etch it and the roof then epoxy er up! I'll spin the car around and focus on the driver side for a few months after that. Last night I couldn't wait so I started in on drilling out the Weldon the peices I got. Today I'll line things up and start fitting them. Paying close attention to forward back so the hood isn't wonky! Sent from my SM-N950W using Tapatalk
-
In terms of re painting the fixes. Example lower wheel/quarter. With the epoxy can it be blended into the first coat easily? Know what I mean Sent from my SM-N950W using Tapatalk
-
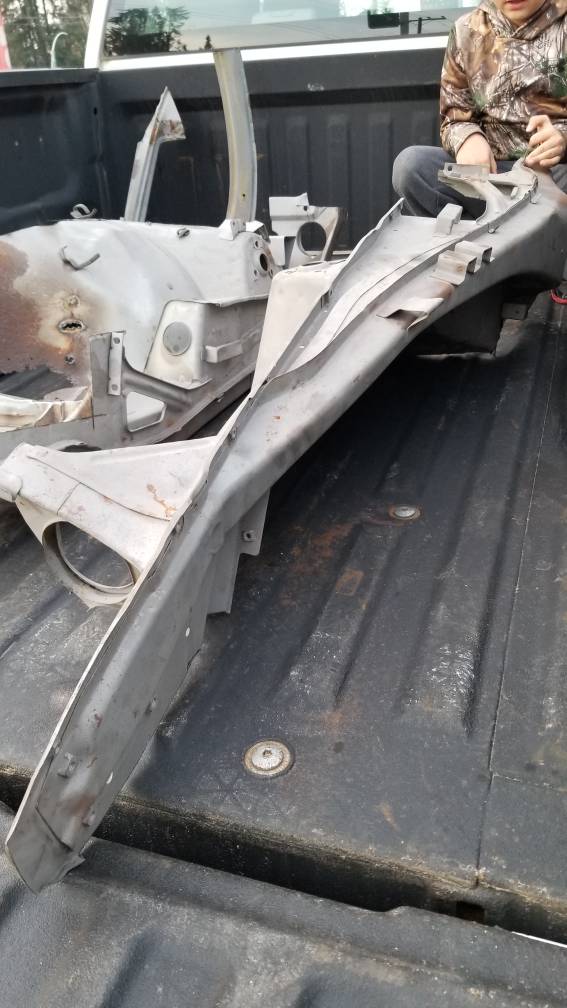
She was an early 260. Im hoping/assuming they are the same on that outer bulkhead area haha Sent from my SM-N950W using Tapatalk
-
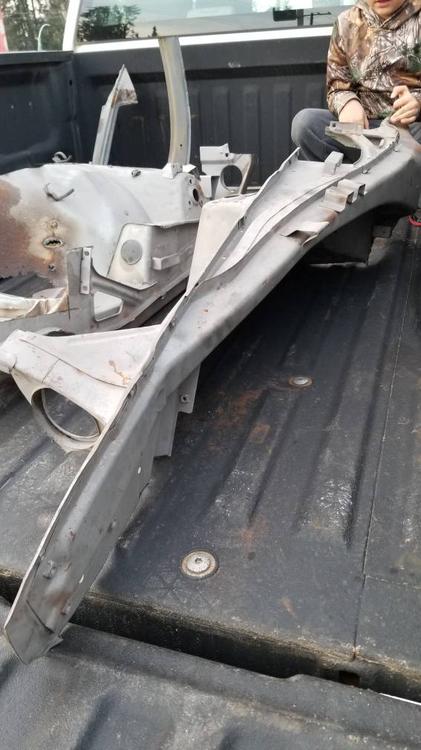
Score! Upper bulkhead problem solved, headlight wings solved, a pillar solved. All for the price of 40 bucks! Sent from my SM-N950W using Tapatalk
-
I wish ha, too bad he is 12 hours away! Sent from my SM-N950W using Tapatalk
-
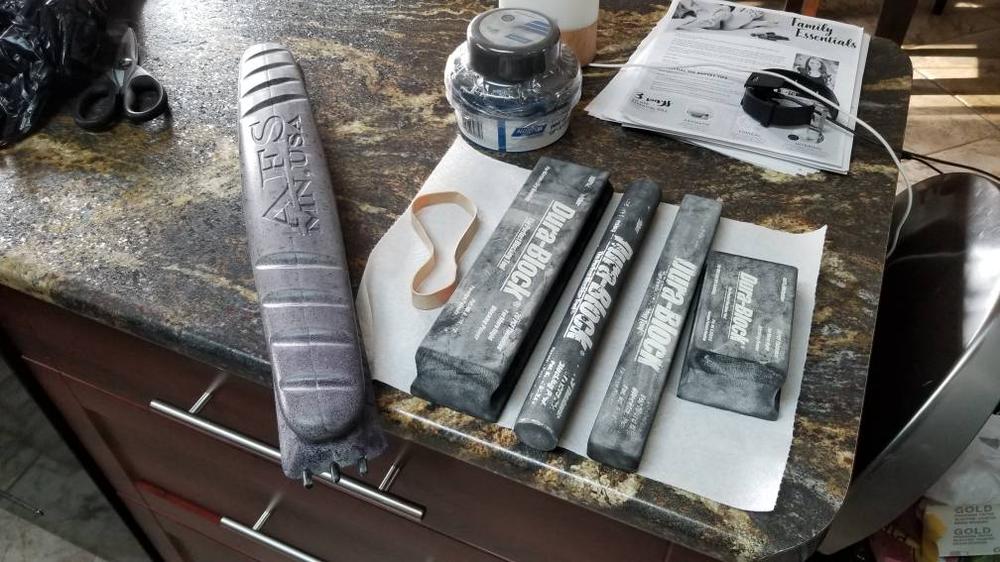
I'm Gunna grab the roof today aswell as the "wings" for the nose! My wife was in Edmonton and brought me a gift from her dad. Some blocks and guide coat. Sorry to harass u guys more eh, I appreciate all the assistance for real. Now that I'm almost done this one side I'm still on edge about metal prep and storage. I wanna strip the whole car as mentioned but don't really want to 2k prime it then have to clean the paint off in repair areas and re spray..... Should I just strip prep and spray then cut out and fix whatever is left after? Or buy the por15 prep or similar and trust that coating it leaves on is good to not flash off and rust a bit while I tackle the other side? (I've committed to full paint strip) Thanks Sent from my SM-N950W using Tapatalk
-
I'm picking a roof up tomorrow. Local guy! I cut the bad piece out. What's the best plan with a donor? Just drill the welds and replace.... Just having a donor I suppose saves me all the bending and screwing around with that curve and drip edge Sent from my SM-N950W using Tapatalk
-
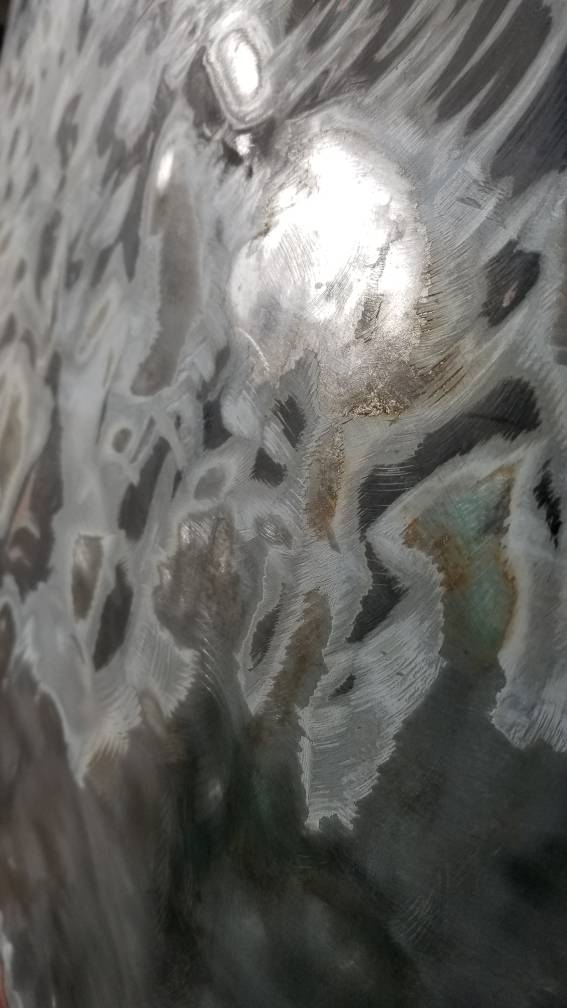
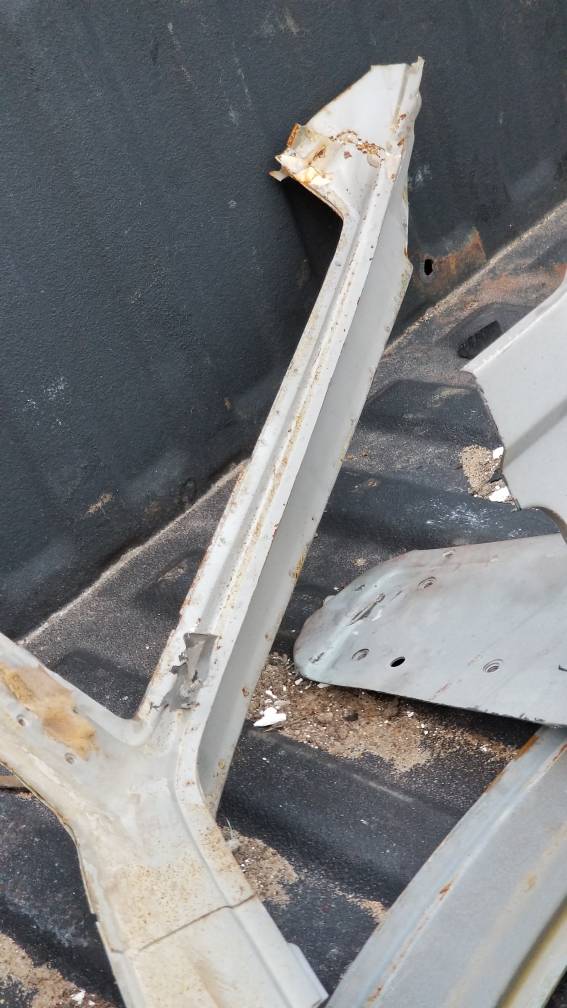
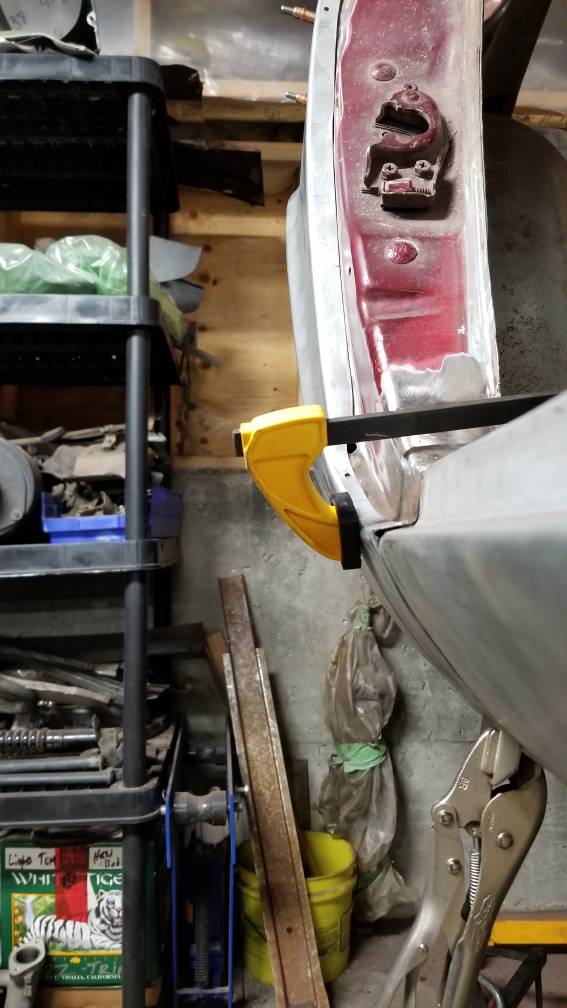
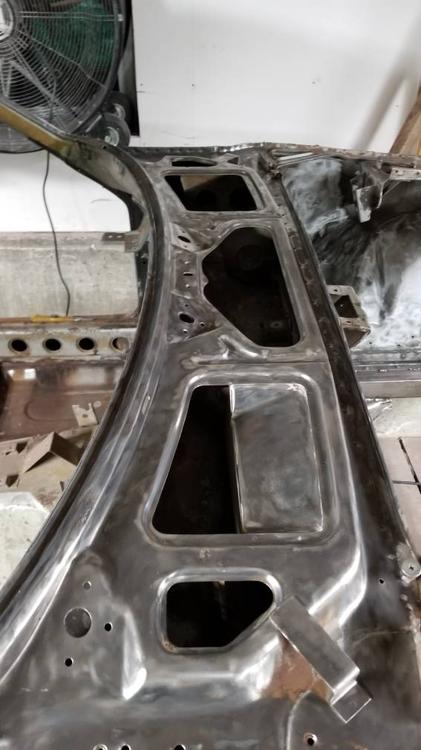
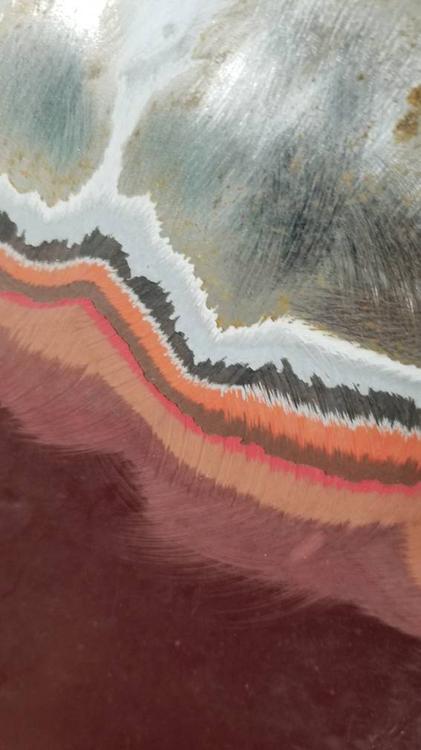
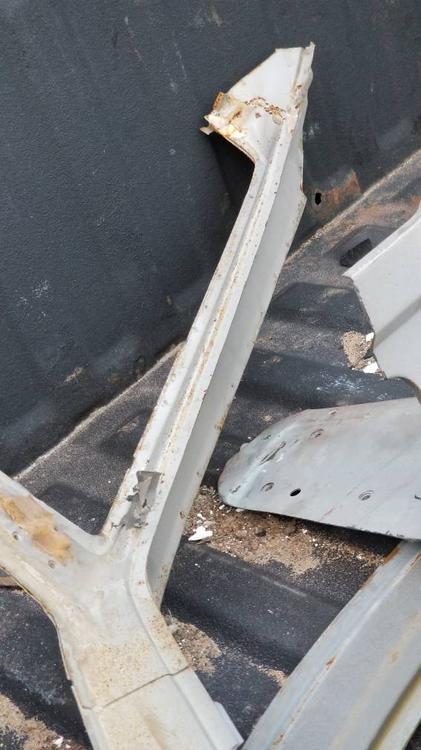
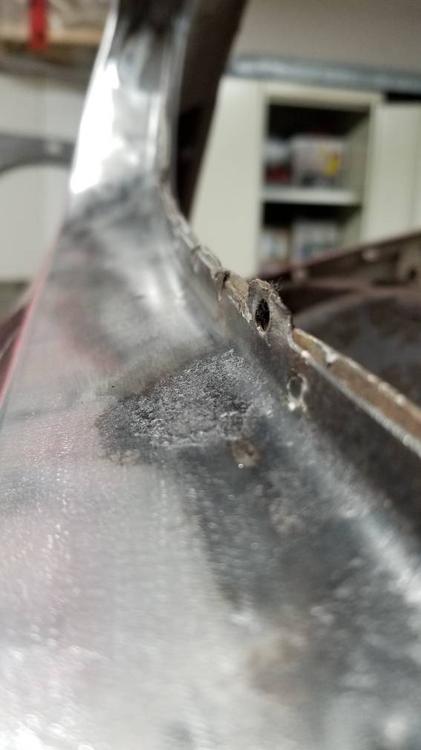
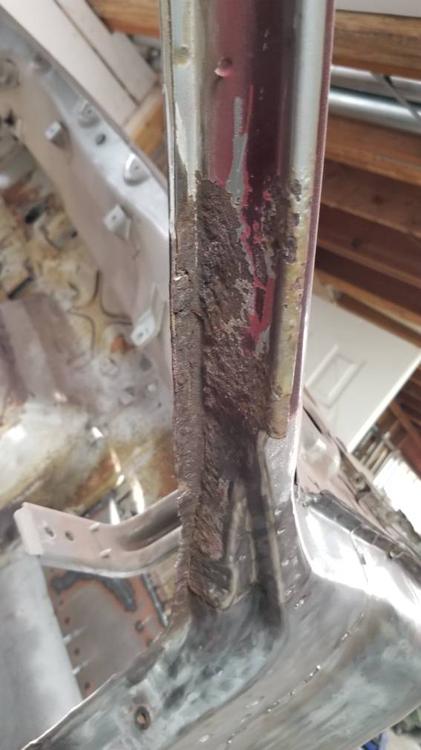
How far does one go with corrosion.... There's a spot in the l rear door glass area that has slight pitting but not rotten id rather not cut into it. There's a couple areas of the door jamb that are for sure coming out but is pitting a huge deal? See attached pics. It's obvious which one I'll be cutting out. Another question on my mind and it's more less fear based haha, should I strip ALL the paint and skim coats of any previous bondo?? I'm nervous about skim coating around the rear hatch/roof line so many curves and angles in there and I've never done any real body finishing before.... You can see a few dents around the tail light area but the rest of the painted stuff is mint I can tell from back side. Should I strip it and then she just needs epoxy and a hi build primer or does that are actually get a skim of plastic and worked? Thanks guys. Getting exciting over here. I almost have passé fer side done! Well, still need front fenders but that doesn't count! Sent from my SM-N950W using Tapatalk
-
Any opinion on por 15 metal prep. Can't get Eastwood stuff in Canada, that fast etch would be perfect and I'm Leary of oiling the metal just for the same reasons of what if I don't get it all in crevaces and such. We have por 15 prep tho and it sounds like it does a similar deal. Sent from my SM-N950W using Tapatalk
-
Looks amazing! Love that color on our cars. Sent from my SM-N950W using Tapatalk
-
I like the oil idea. Then I don't have to sand the metal again and again. It doesn't soak in to it eh. A good cleaning and she would be ready for paint. For some reason even washing bare metal and drying it off makes me fear rust haha. Sent from my SM-N950W using Tapatalk
-
I noticed on the driverside that's been striped to bare metal for a while it's getting a bit of rust coloring happening. Since I still have work to do on that side should I just clean it up, then spray bomb on some primer. Just so it's covered? Cars in my garage, it's not heated and does get cold so it's will have moist air but not actually see any condensation or anything. Or the other option is strip it to bare metal, the whole body and spray the epoxy primer then just clean away what i need to in areas ill do work. Sent from my SM-N950W using Tapatalk
-
Any advice on shaving the bumper reliefs? Pack it full of bondo like I've seen online ha, i was thinkin just cut and fill with sheet metal not worrying about body curve as the skim coat can be formed over it and shaped. Would probably end up being like 3/16 thick or so at worst spot near patch panel Sent from my SM-N950W using Tapatalk

-
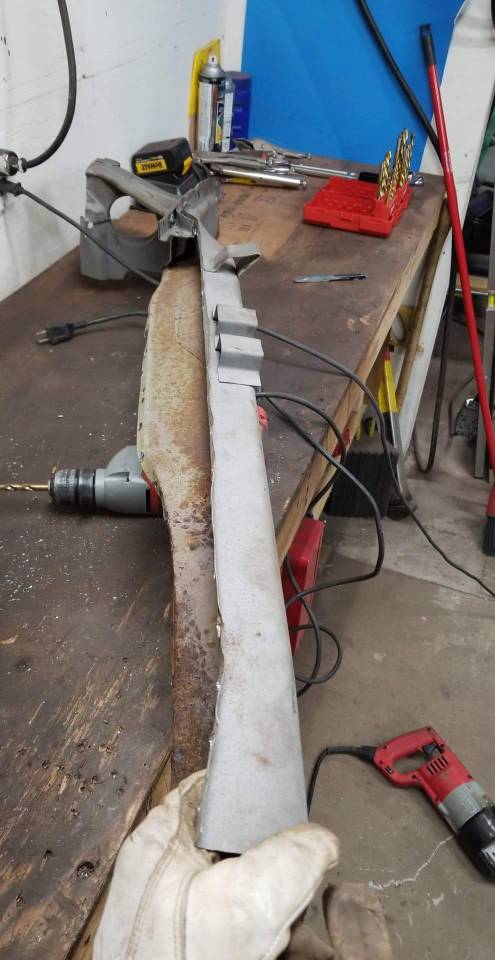
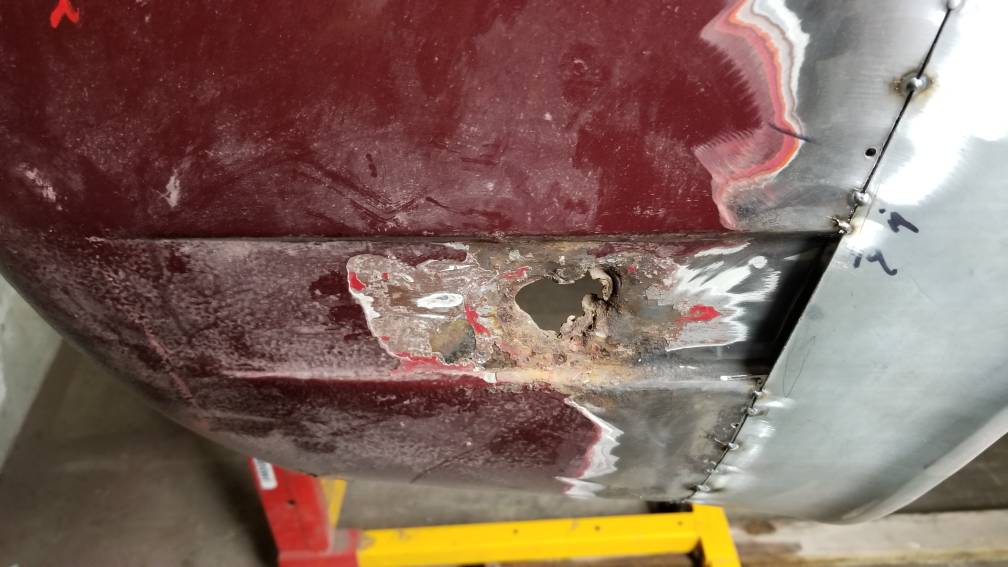
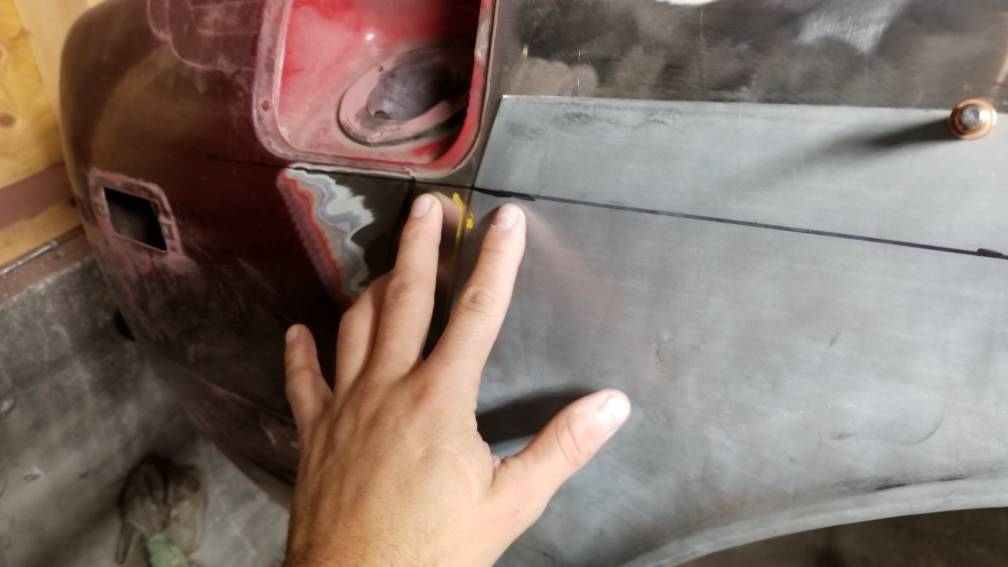
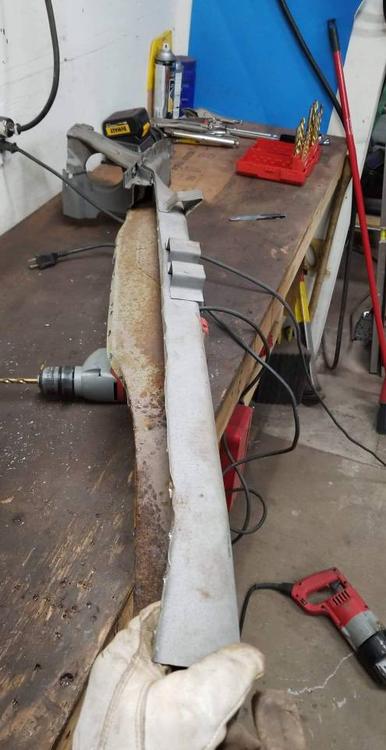
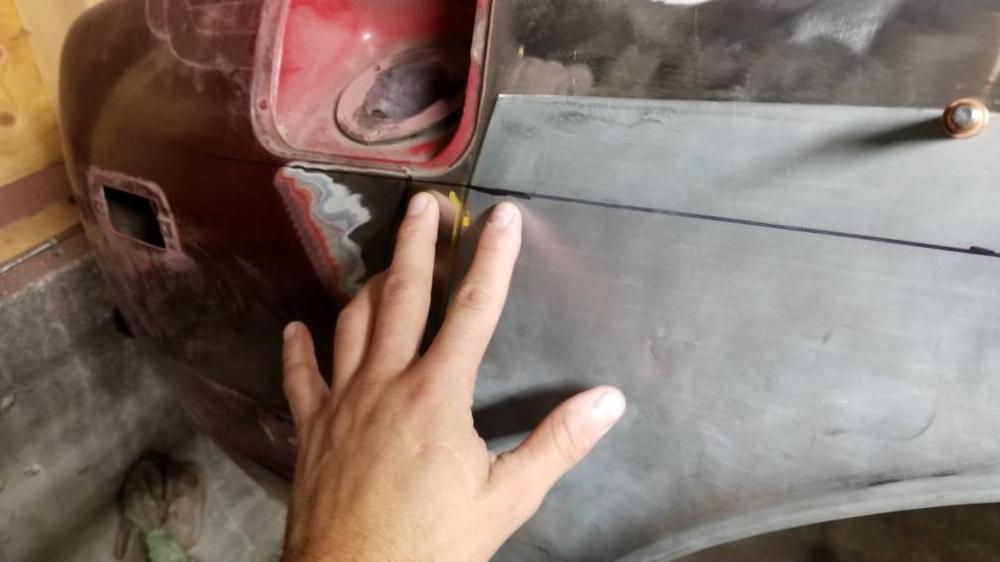
grannyknot! i have one ha ha i just forget to attach it. ill do that tonight, good eye. Considering they are my first patch panels i cant truly comment but in terms of this job the seem decent. needed some flexing so it laid nice against the original. also the creases arent as sharp as factory and the body line under the gas tank filler is hardly there. I creased it a bit but couldnt go much past the back third. ill try and recreate it a bit on the door side with filler i guess
-
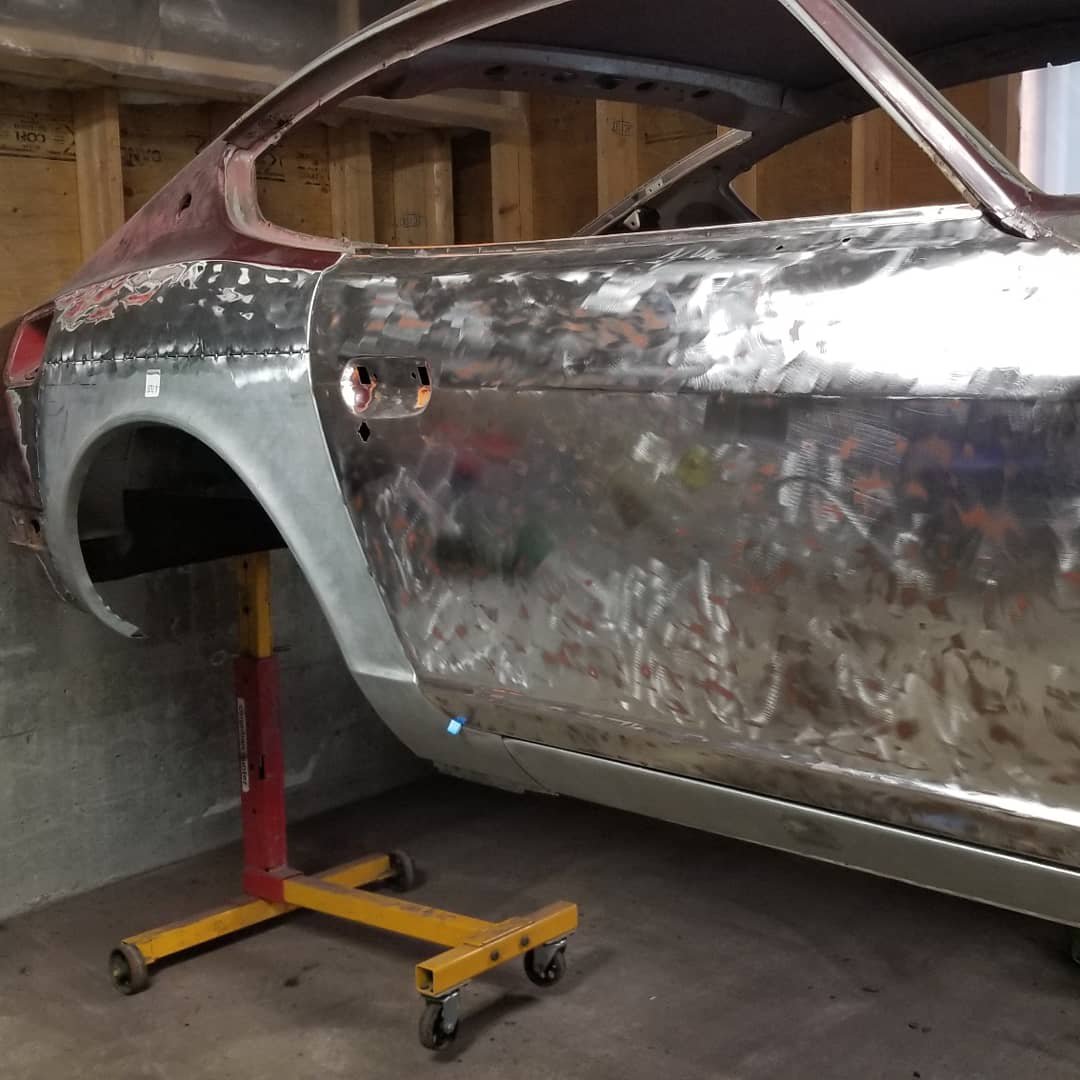
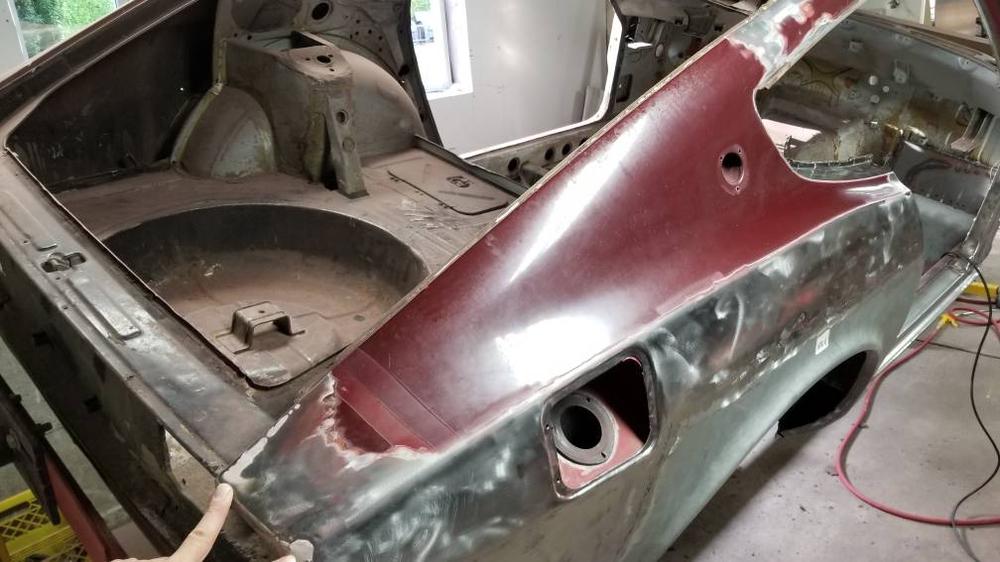
Just get to work and things happen. Fit in there real good. Im very happy. The door is just sitting in there so alignment is half arse but I had to check for lines and continuity. Sent from my SM-N950W using Tapatalk


-
Fitted the patch and put the door in temporary to check. Everything lines up pretty good. Im thinkin tomorrow is cut n tack day! Nervous but what the Hell eh haha. There is a slight not dent but wave, on on spot ot the original. Right where the previous flares were riveted in in one spot. I'll see how she goes and deal with it once things are stitched together. Worst case... Bondo. I post a b4 and after tomorrow. The crease in the dog leg is sharp wherr as the rocker is a gentler bend. I'll have to dress that a bit with a hammer try and shrink it. The factory side lower door edge is actually more similar to the sharper finish of the quarter patch. I'll probably settle some where in between Sent from my SM-N950W using Tapatalk

-
I'll post pics up. I'll probably get the new one started on Tuesday. Got appointments with my kid tomorrow on my day off. It's a real struggle now, do I go fishing, work on car go 4x4ing or play a new Xbox game that just came out hahahah Sent from my SM-N950W using Tapatalk
-
Hey guys, im struggling with the decision to flange the panel or but weld it. I read so many opinions on each is messing with my head haha. If its flanged and tacked allover is it less likely to warp than if I were to butt weld it? As far as welding goes I'm comfortable for either or but I have had thoughts on what's my best method for cut and fit and then also if I butt weld and things start to contact eachother and want to pop if you know what I mean. Like th cut ends expand into the "gap" and then bow eachother out or slide past Sent from my SM-N950W using Tapatalk
-
I'd like to get my Canadian hands on a Hilux and throw my one ton axles under it! Car looks great Jeff, inspiring Sent from my SM-N950W using Tapatalk
-
I've got access to an English wheel. No idea how to use hahah Sent from my SM-N950W using Tapatalk
-
Just a question on panel fitment guys since I'm new at this. I figure, that when I lay the new panel on to test fit I want it all to generally be touching if that makes sense. On the tabco quarter, I need to adjust the curve in the rear section because it stands about an inch off at the bottom vs touching up top. I can push it in but it makes the top want to pull away. Am I right that I'll want to work that bend so it basically fits flush all around? Sent from my SM-N950W using Tapatalk