Michaelwk
Free Member
-
Joined
-
Last visited
Everything posted by Michaelwk
-
I can't imagine they'd be cheaper than $33 (or still even $44 if I send in my cores).
-
@foosman Checking in to see if you installed these. Any issues? Looking at them as well.
-
I will probably ask about that. It's an insulated but not heated section of a big shop. There's a good number of other cars, bikes, and boats stuffed in there so we'll have to see how much room there is.
-
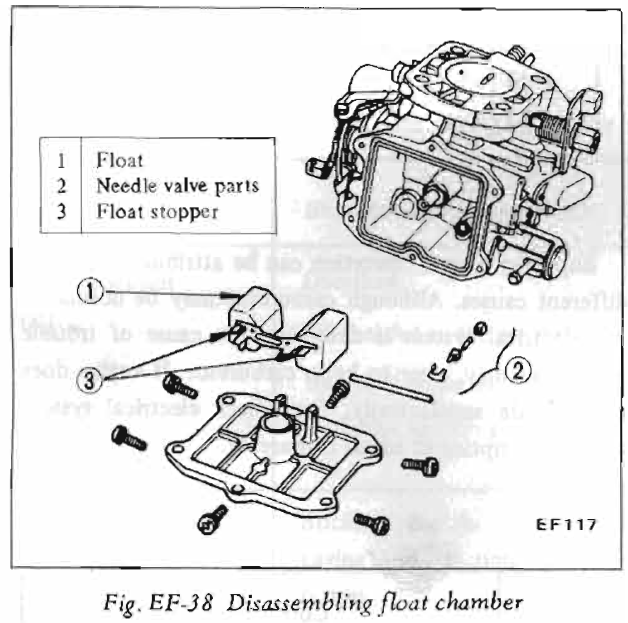
Hi jayhawk, I was going off the FSM for 73, which shows this picture: That bowl has 6 screws and nice little easy-to-remove setup for the float. I most certainly do not have that! haha. I agree with you that I have the -2 that the Fuel Modification doc talks about, so it's odd that the 73 FSM doesn't talk about these. Unless there's two versions of it out there. Thanks for the info!
-
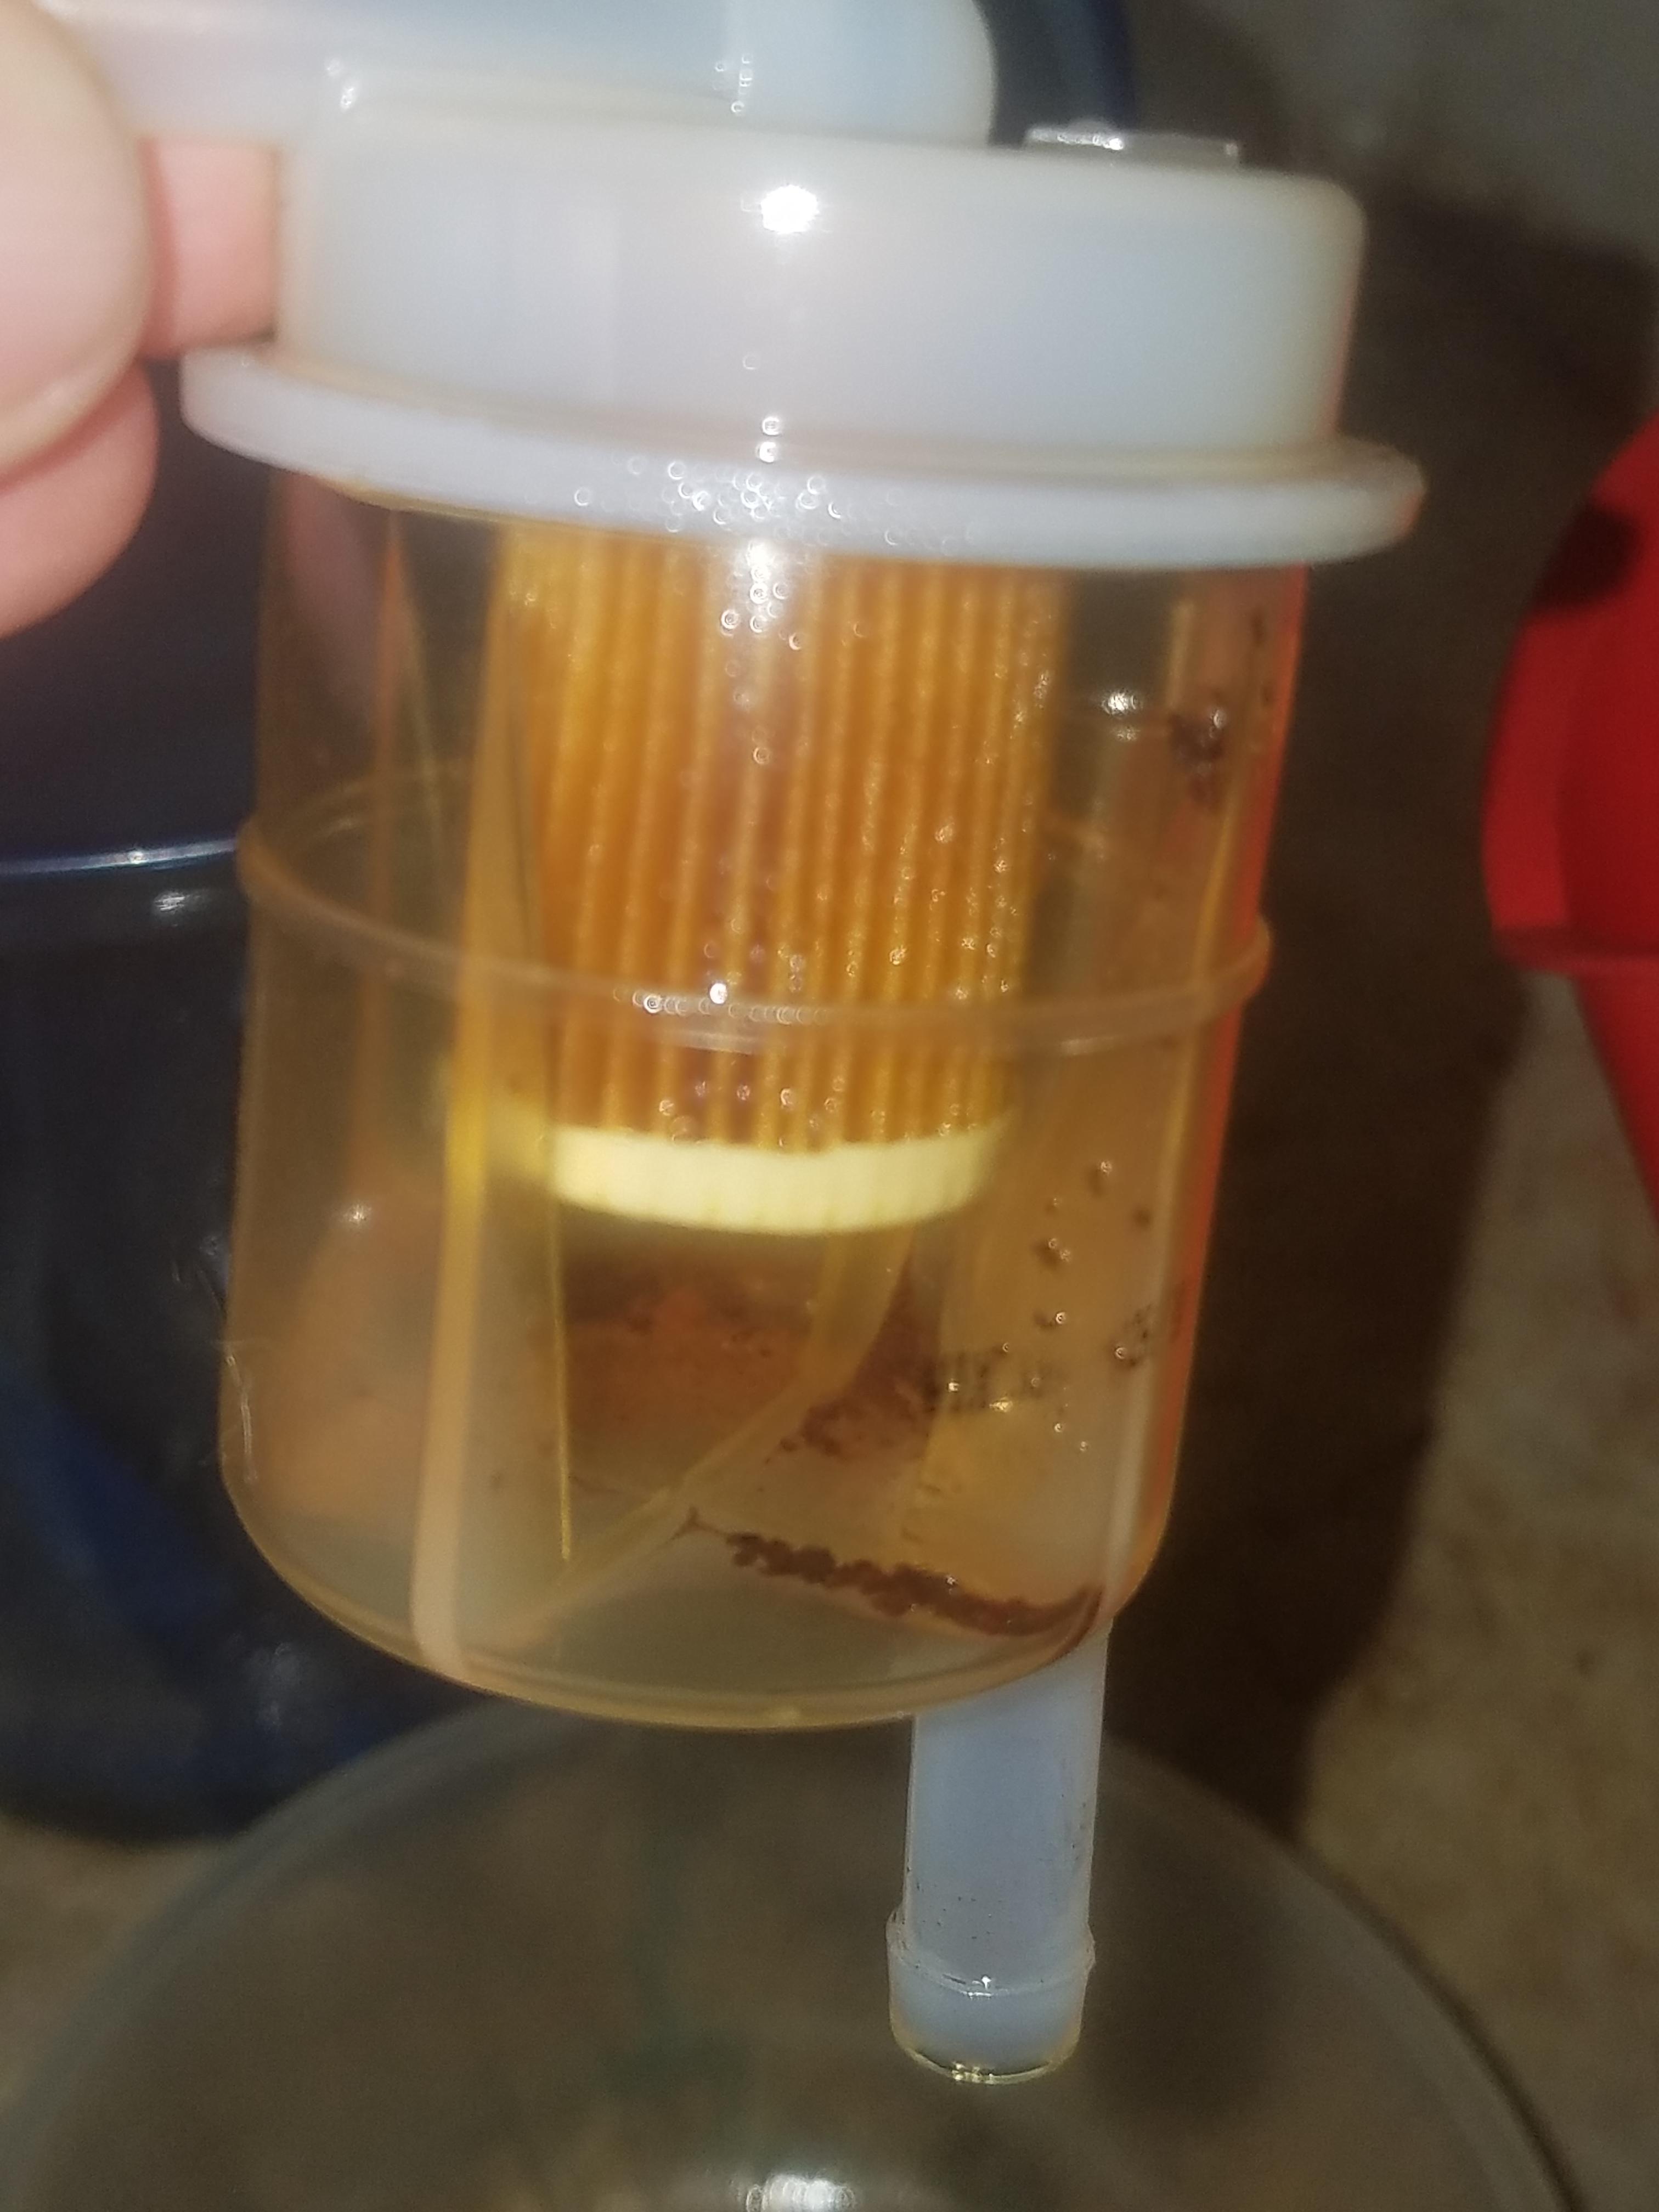
Well, as I tried to drive it off to storage today, I had the same fuel issue. It actually fired right up but then died about 2 minutes later. I found that the fuel filter, which was replaced when I started this work, had caught a fair amount of crud. I didn't notice much, if any, before I drove it Sunday, and that day was probably 15-20 minutes of idling and 20 minutes of driving. I blew some air back into the tank and that did the trick. Started up and ran fine. Would it be a bad idea to drive it again? The storage place is ~20 minutes away. If I do clog it again, I can always do the same thing again I assume. And obviously first thing to do in spring is drop the tank and get it properly cleaned.

-
Absolutely! I'm so bummed that it took me until December to get to this point, but glad it's moving. And thanks a lot Captain for all your help!
-
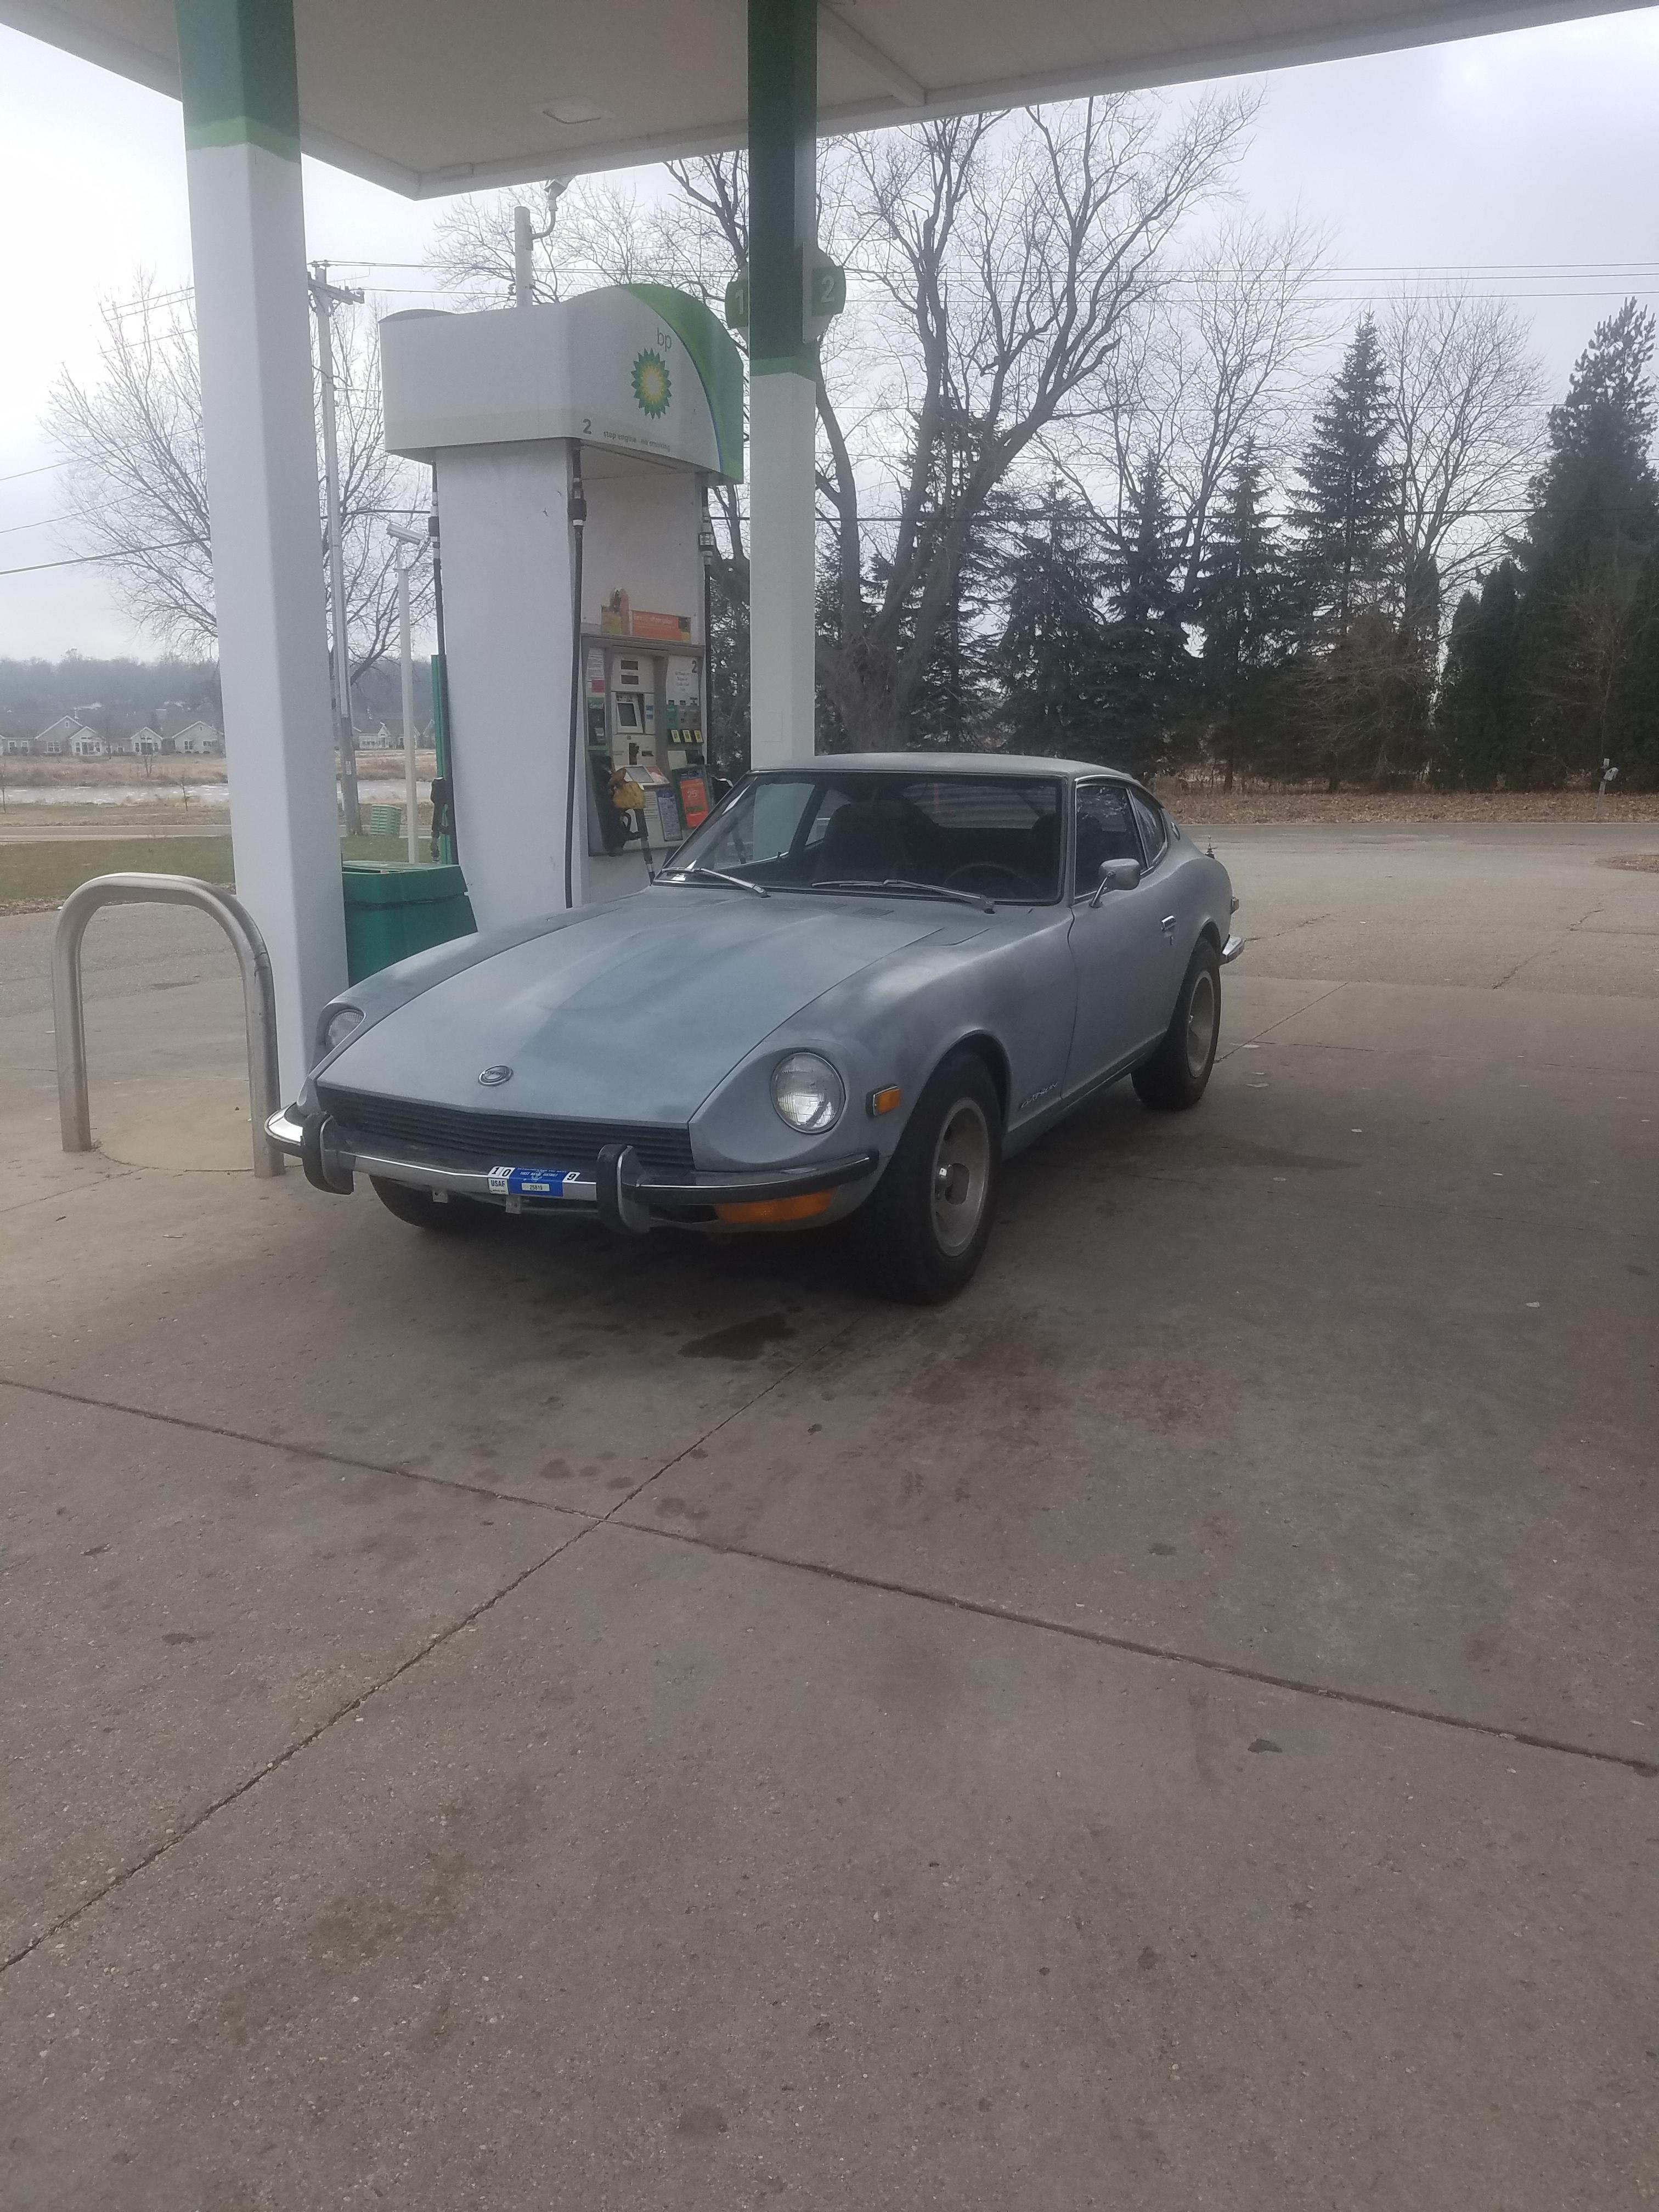
Ok, sorry again for the long delay between updates. I haven't had much time the past few weeks with Thanksgiving and some traveling for work. But good news, I took the Z on it's first drive since 06 yesterday! There was indeed one major vacuum leak in the braided, curved hose going from the anti-backfire valve to the manifold. I found a hose at Autozone that worked, although it was not metric, so it's a bit oversized and it wasn't quite the same curve, so it's running over the top of stuff instead of under. Will try to find a proper replacement later. I'm guessing some the other hoses are not completely air-tight at the connections. I did try to address that with some zip ties and hose clamps, but again, I just need new hoses. Will address that next spring. Yeah, I see where you're looking. It's actually just really thick parting line flash on that hose. I also continued to have problems getting it started, even with the new coiled. Turned out this was fuel. For some reason the new mechanical pump cannot pull anything from the tank without priming. Took me a while to figure this out, which was frustrating, but once it's primed, it runs pretty well. I stopped and started it several times and it fired right up once warm. I'm going to start it again tonight and see if that is still a problem. If so, I'll definitely be swapping in the electric pump first thing next spring. I never did the compression test again, will save that for spring as well. Getting up to temp definitely made things better. The idle wasn't great, so I have the idle screwed turned in one turn. I drove it around the block and then to the gas station to put some fuel in. Was so much fun to drive (even at only 35 mph), I'm sad that it's going right into storage. But really was fun to cruise around a little bit (even with the window down in 25 degree weather)


-
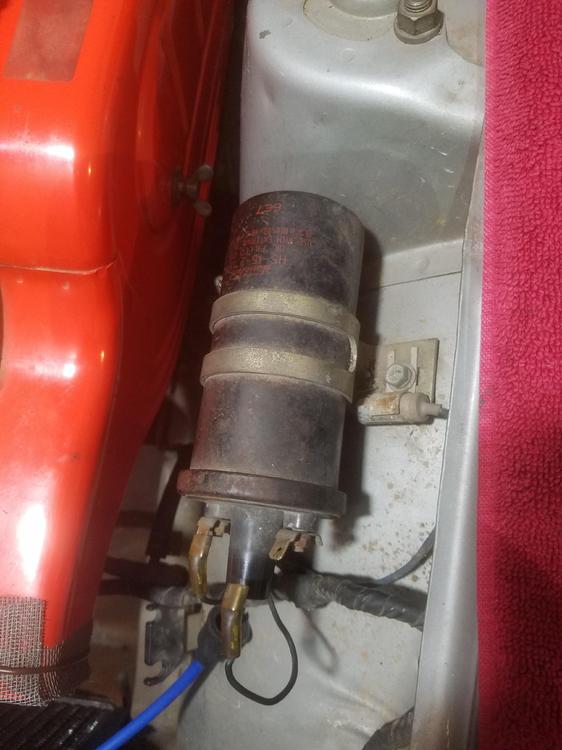
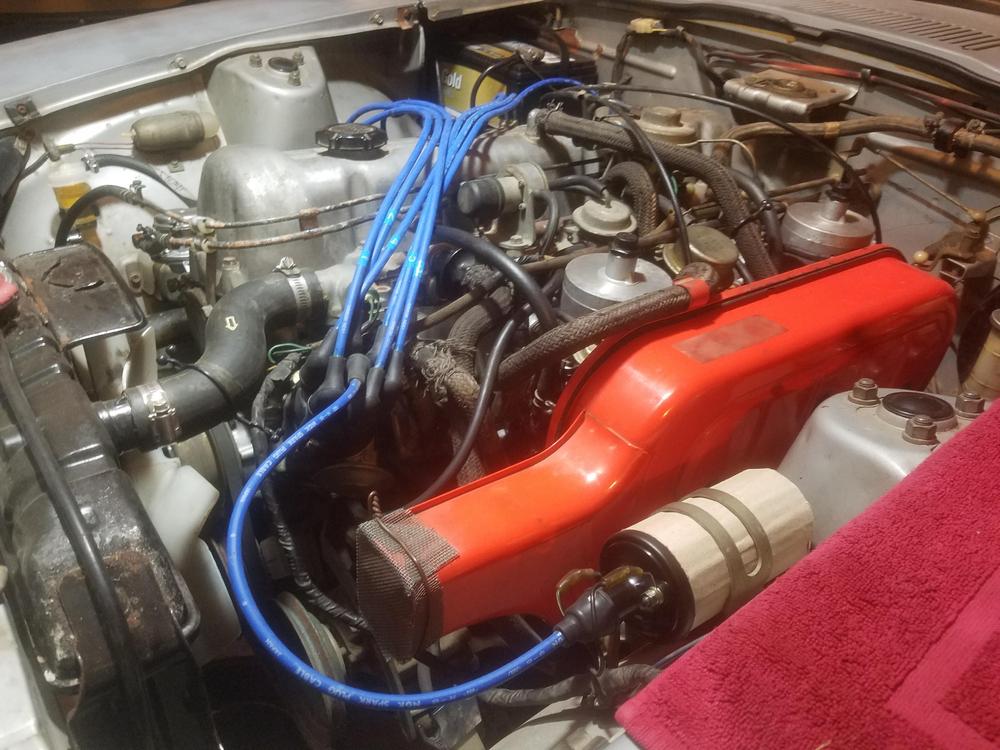
I realized I had the choke closed when I did the compression test, which was incorrect. The directions said have the choke open, and to me that meant "engage the lever", which obviously is wrong and doesn't match what the throttle plate is doing. So that was probably the issue. I attempted to repeat the test this past weekend but couldn't get the engine started. After cranking a while the battery died. Using my other car to jump still didn't get it to fire. Back when the car was driving, it always needed a lot of cranking to fire, my dad attributed this to the electric fuel pump being shot, but I also read that this could be due to a bad coil. The coil looked like the it was still the original, so definitely time to replace anyway. I attempted some trouble shooting prior to replacement but wasn't quite sure if what I was getting was correct. At key-on, there was ~5V at the coil. Everything I read said this should be 12V. But the new coil is giving ~5V too, so I'm now assuming that's correct. I also replaced the plug wires while I was at it. I thought about doing the points, condenser, and distributor cap too, but that actually looked really clean. I am guessing it was replaced in 03/04. Got the new coil in tonight (with temporary cardboard spacer). Anyone have a recommendation on a different bracket or proper spacer to use? Battery was all charged up and it still took a good amount of cranking to fire, but it did eventually go and seemed to run better than before, so I'm pretty happy. I let it idle with the choke on (closed!) for a while and was able to drop it to about half to 2/3 open eventually, but it still ran a little rough. The temp gauged climbed a bit high so I shut it off. I need to top off the coolant before a test drive. So, took a step backward and didn't make any progress on getting it to idle better. Thanks for advice on looking for vacuum leaks @Captain Obvious, I will try to tackle that this weekend. I don't get much time during the week to work which stinks. It's getting cold in Wisconsin and my winter storage location might give away my spot soon! Michael
-
I just finished the compression test. Uff da. We've got 130, 130, 132, 140, 120, and an even 100. I was not moving super fast, so the last couple could be just because the engine was cooling down, but not even getting to 150 on the first few was unfortunate. Wet compression test improved them all, so I'm concluding the rings are just pretty worn. The engine also couldn't idle. It only ran when the choke >50% open. I wonder if this is part of the reason the floats were set so high. Would running it rich make up for poor compression? My dad had a local mechanic get the car running back in 2003 and doesn't know exactly what he did. I'm guessing the compression wasn't great back then either since we didn't put many miles on it back then. It's also seems to have all the original hoses so I there could definitely be vacuum leaks. Will try to diagnose that this weekend and see if I can get it idling and possibly even take her for a test drive. Short video of the car running. The white smoke went away after it got up to temp. The throttle was also stuck during this video which is why it didn't die when I pushed the choke down. 20181108_181910.mp4
-
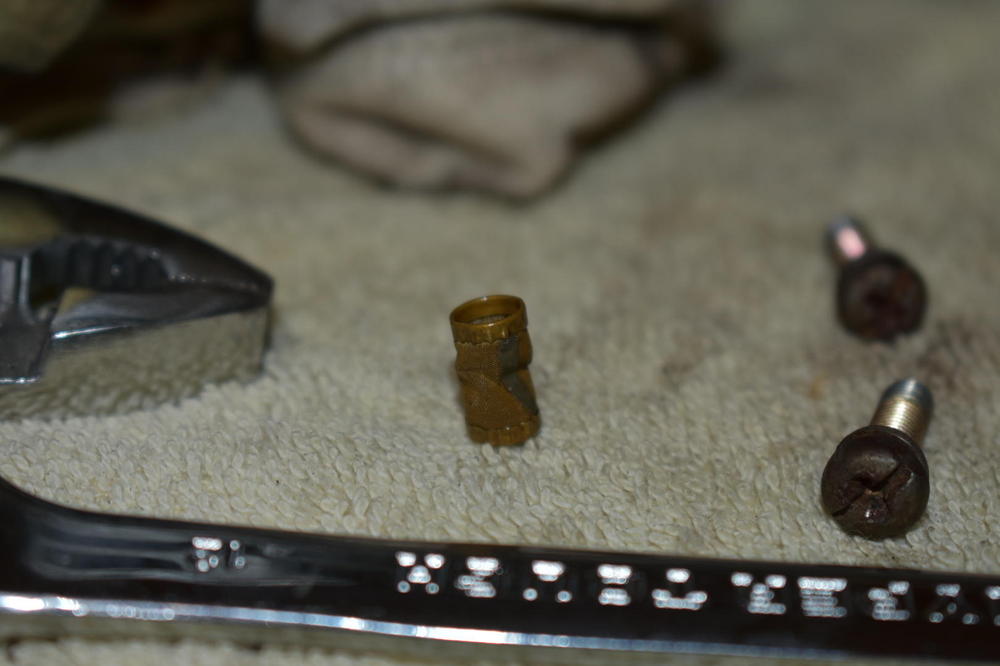
Thanks for the advice on the new pin. I didn't get a chance to take the pin and screw into work, but I think we should have some metric rod stock to use.
-
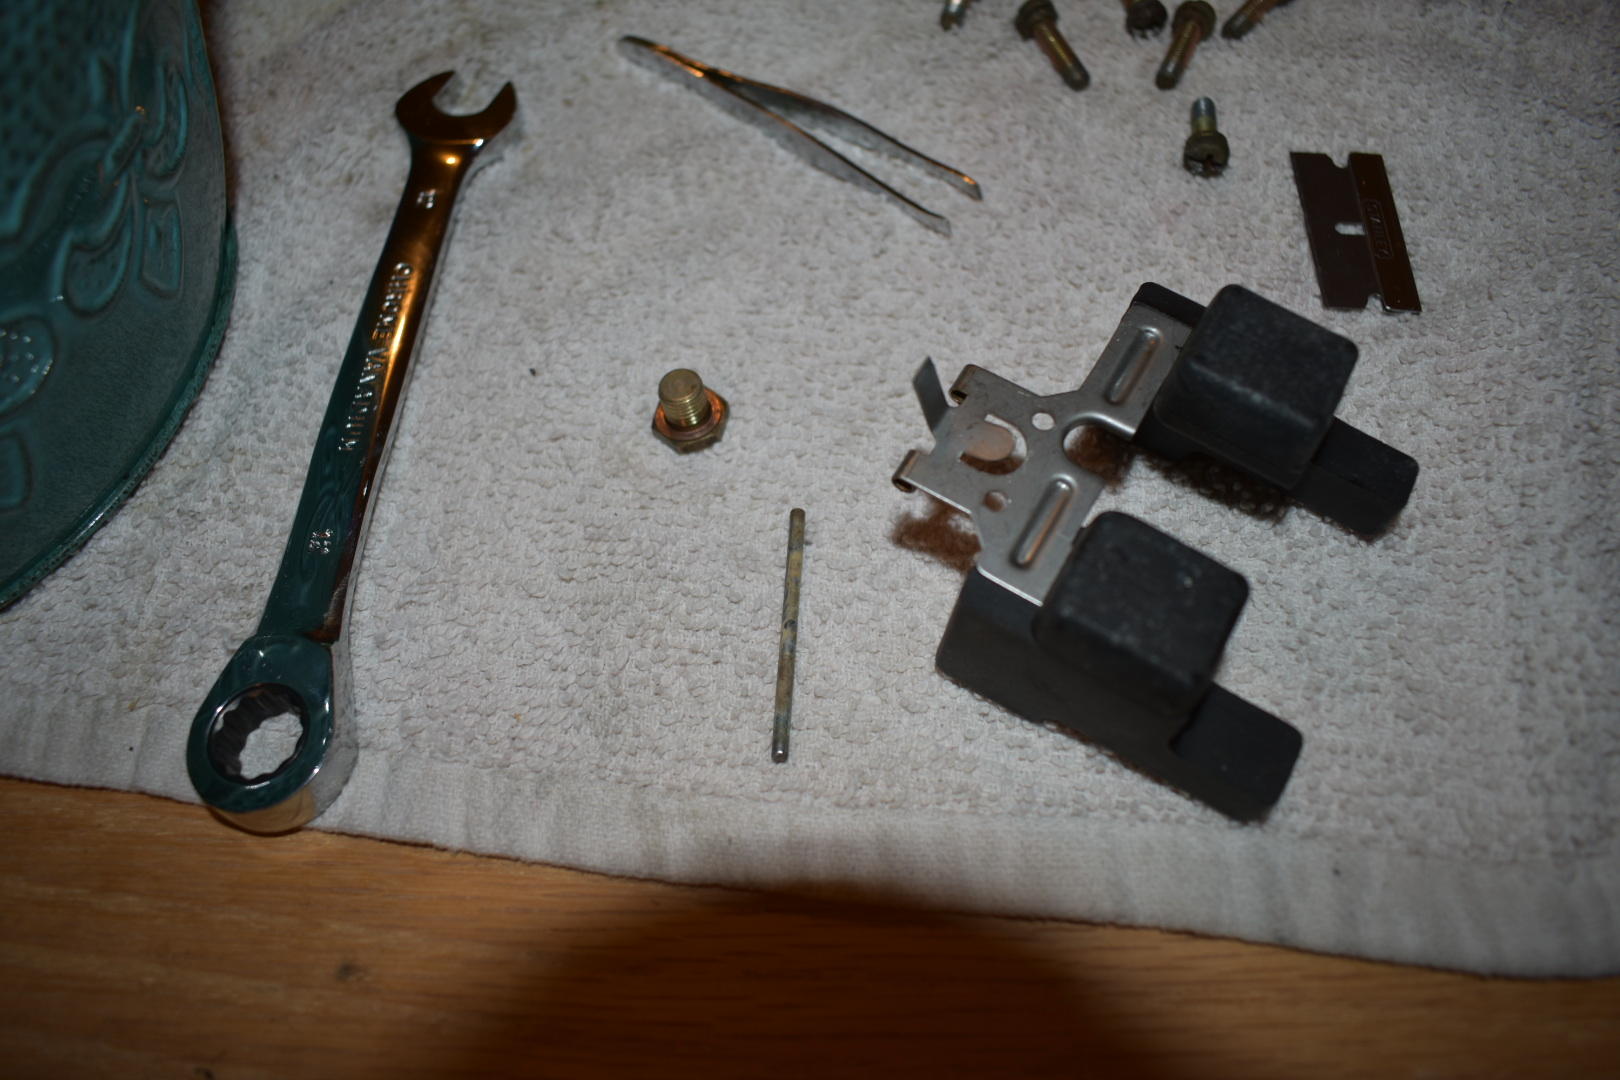
Alright, another positive update. Managed to get the second float pin out today, cleaned up the dirty parts of the second carb and replaced the power valve gaskets and needle valve. Got my replacement rebuild kit on Friday but another disappointing find regarding it, the float cover gasket swells after coming into contact with fuel... so trying to reuse it is a PITA. Was able to get it back into the groove once, but couldn't the second time. Just reused the original gasket. I doubt you can buy those outside of the kit, so we'll just hope the old gasket still works for now. Adjusted the tangs on the floats to get the fuel level into the middle of the window and meet the dimensions from the FSM. I was surprised how far off they were from the recommended dimensions. I wonder if the floats were replaced before and just half-arse adjusted. Managed to get the carbs back on the engine, even with the one busted hose. Just stretched it a bit to reach. Anybody have a good source for random hoses? The specific one I need is the air bypass hose that runs between the two carbs. Has a couple sharp bends, so I don't know that a regular straight hose would work. After getting the air cleaner back on, I gave her some choke and it fired up! Checked quick and no oil or fuel leaks were immediately present and the oil pressure was right in the middle of the gauge. Tried to put the choke down a little and it died. Started up again and saw there was a good bit of white smoke coming out the tail pipe. The engine also sounded a bit louder than I thought it should so I turned it off. Next up I think I'm going to do a compression test and see how things are looking. Did not get a chance to try and see the fuel level with a mirror while the car was running but that's ok, not looking to do any fine tunes right now. Just happy that it finally ran.
-
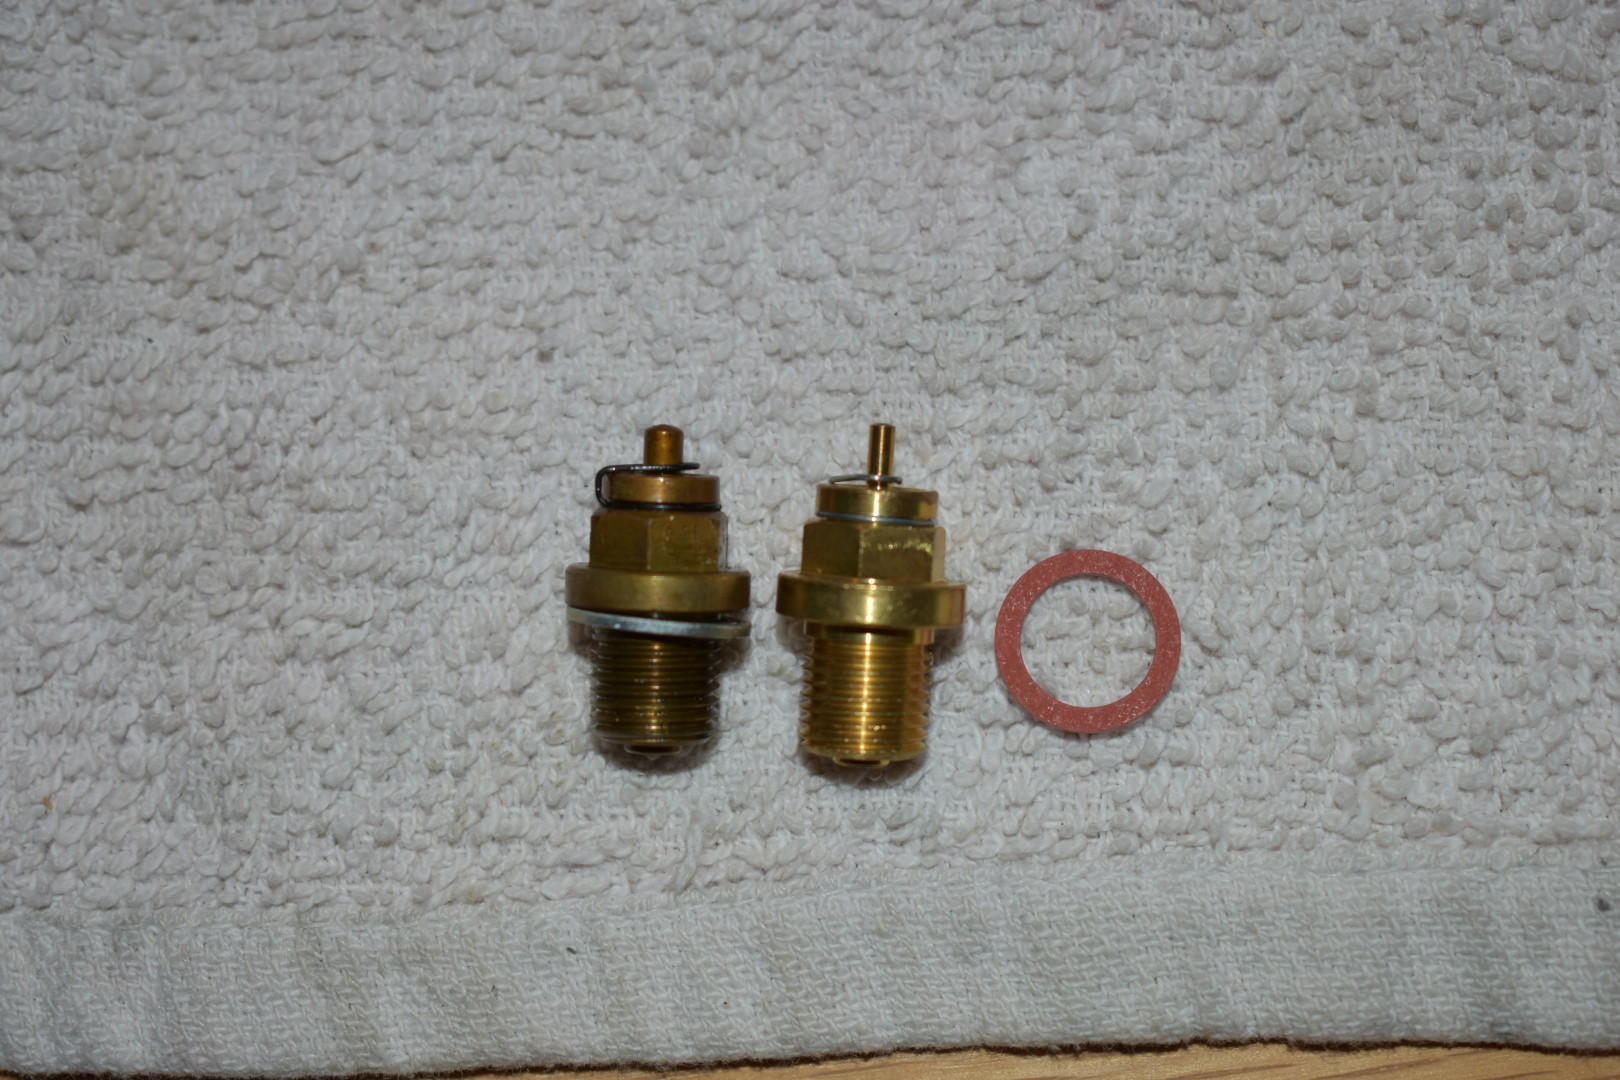
Good news! Letting that pin sit in some carb cleaner long enough got it loose. Got the utility knife blade in there next to the float like you mentioned @Captain Obvious and was able to push it out and grab it with the tweezers. I like your new float pins! I've got a machine shop at work, maybe I can talk one of the guys into making me a couple new pins and modifying the cap like yours. Started on the second carb tonight as well. Again the pin is quite stuck. Will give it a few rounds of carb cleaner and try again in a few days. Comparison pic of the old valve seat (left) and new one from the rebuild kit. The pic doesn't show the exact height of the valve as they were a little closed, but the new one does seem a bit longer. Will have to adjust that tang on the float maybe. Going to wait until I have both carbs ready and then redo the fuel level measurements.


-
Yeah, I was thinking of using heat as well. That Rusty nut remover that was linked previously might be a good choice. I think I'll stay away from torches with fuel in the vicinity. Probably have to keep the heat away from the floats though... don't want those to soften and warp. Could be tricky... I did try the razor blade as well with no success. Will think on this one for a while. Ruining the float will be the last resort.
-
Alright, I finally got chance to work on the carbs today. Tried to pull out the float pin with a tweezers but no luck. That sucker is in there tight. Let it soak in some carb cleaner few times and still nothing. Took apart the power valve and cleaned that as well. Realized one of the two rebuild kits I got from rockauto didn’t have the valve diaphragm I needed… not a huge deal since the other kit did have it, and I only got through the front carb today. But I did freak out a bit thinking I had the wrong kit somehow. I gave the fuel window a good cleaning too from the outside. I would have liked to clean the inside too but the float bowl is in the way. After reassembling and filling it up, it actually looks like the fuel is at the top of the window, rather than in the center. I am assuming the carbs sits perfecting level in the car, right? If it was tilted toward the rear of the engine bit, the fuel level would be better. Looking at the car it was hard to tell as it is on jacks and not perfectly level. Assuming the level is too high, could this be a worn needle valve? Or sunk float? I’m thinking maybe just tear out the float and buy a new one. That would allow me to get a pliers around that pin and push it out. New float bowl is only $30 on ebay.
-
Interesting tool... that might have to be a christmas present to myself!
-
@jayhawk Thanks for that link! I actually think I watched part of that video a couple years ago, but I'd forgotten all about it until you posted it. Definitely had some good details, like using the tweezers for the float pin, and was nice to see someone working on the exact same carb I have. The grease on finger trick was also something I never would have thought of, but will definitely help getting some of those nuts back on. Based on how much fuel came out of his one carb, I think I'm on the right track. Both my carbs had very little fuel in them when I opened the bowl. @Captain Obvious Thanks for the additional advice! I ordered a couple rebuild kits so I can replace the gaskets, valve, etc. No point in having to take the carbs apart again for that in the near future (assuming I get it dialed in decently after this first attempt). I plan to clean up the outside also, especially that window, so hopefully I won't have too much trouble seeing the fuel level. I have a mirror I use on my bicycle helmet which works beautifully since it's on an adjustable stick. Also, my secret trick is wearing a head lamp when I work. Always puts light right where I need it. I also didn't know that the car wouldn't start without the air cleaner on... good to know! Hopefully the rebuild kits arrive by Saturday and I can do this all over the coming weekend. Michael
-
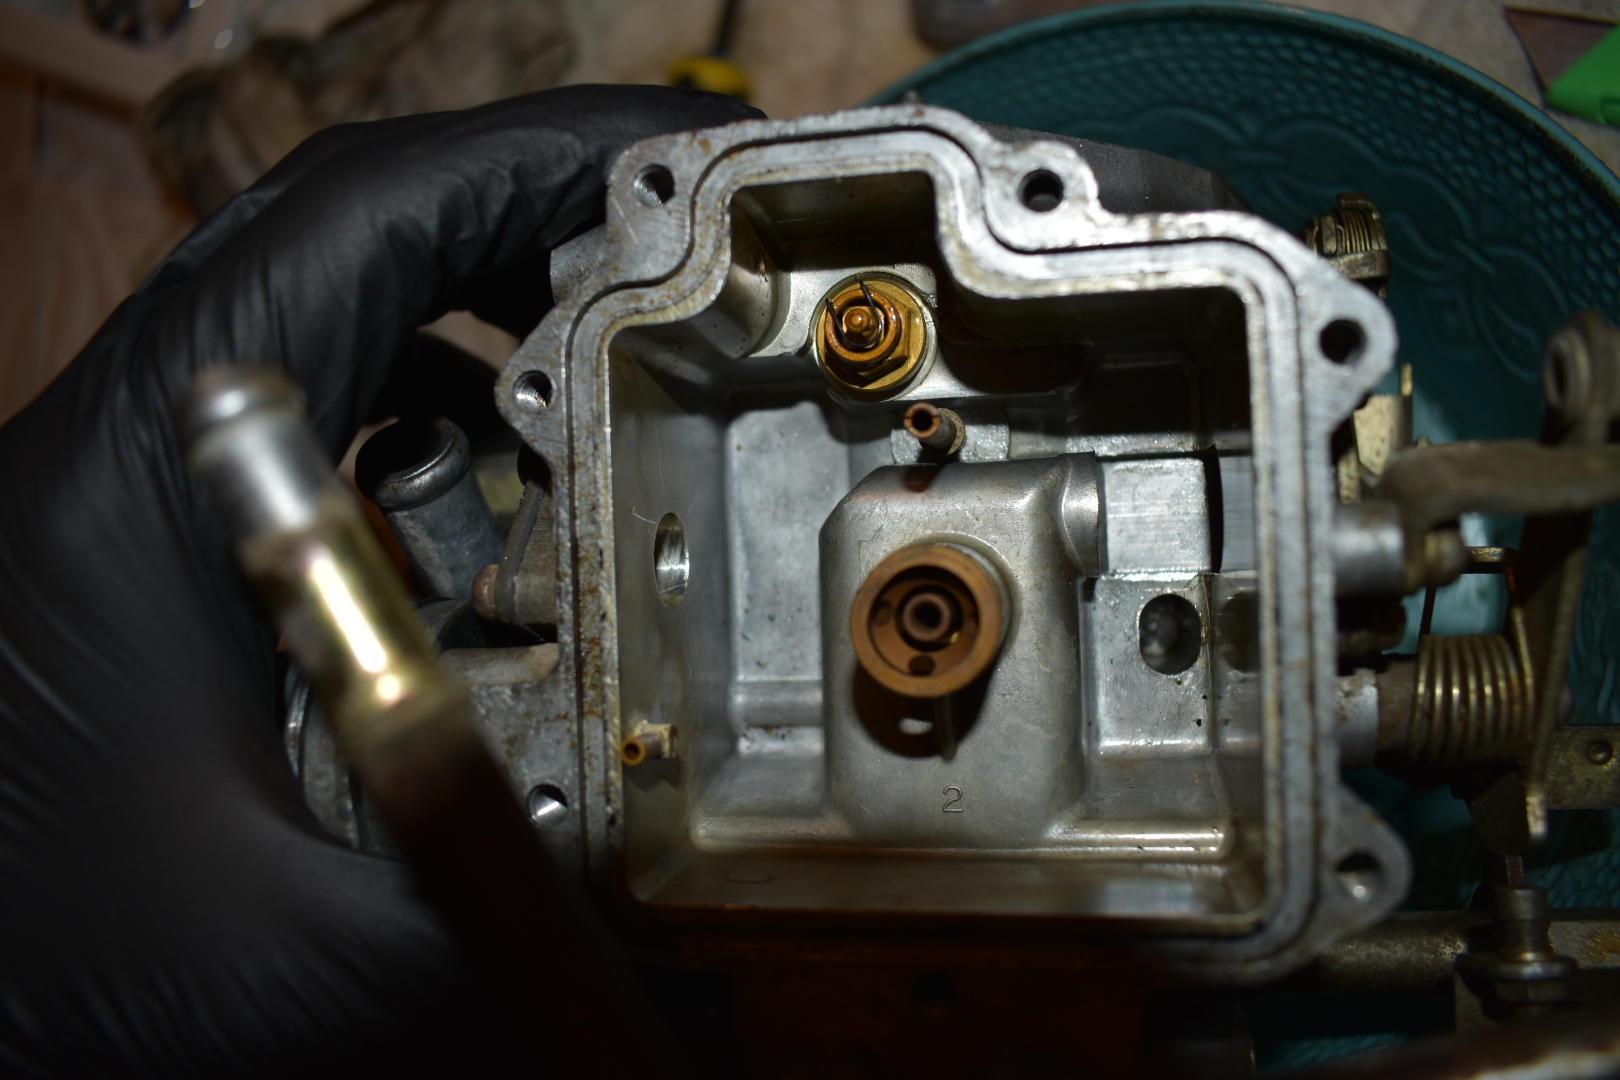
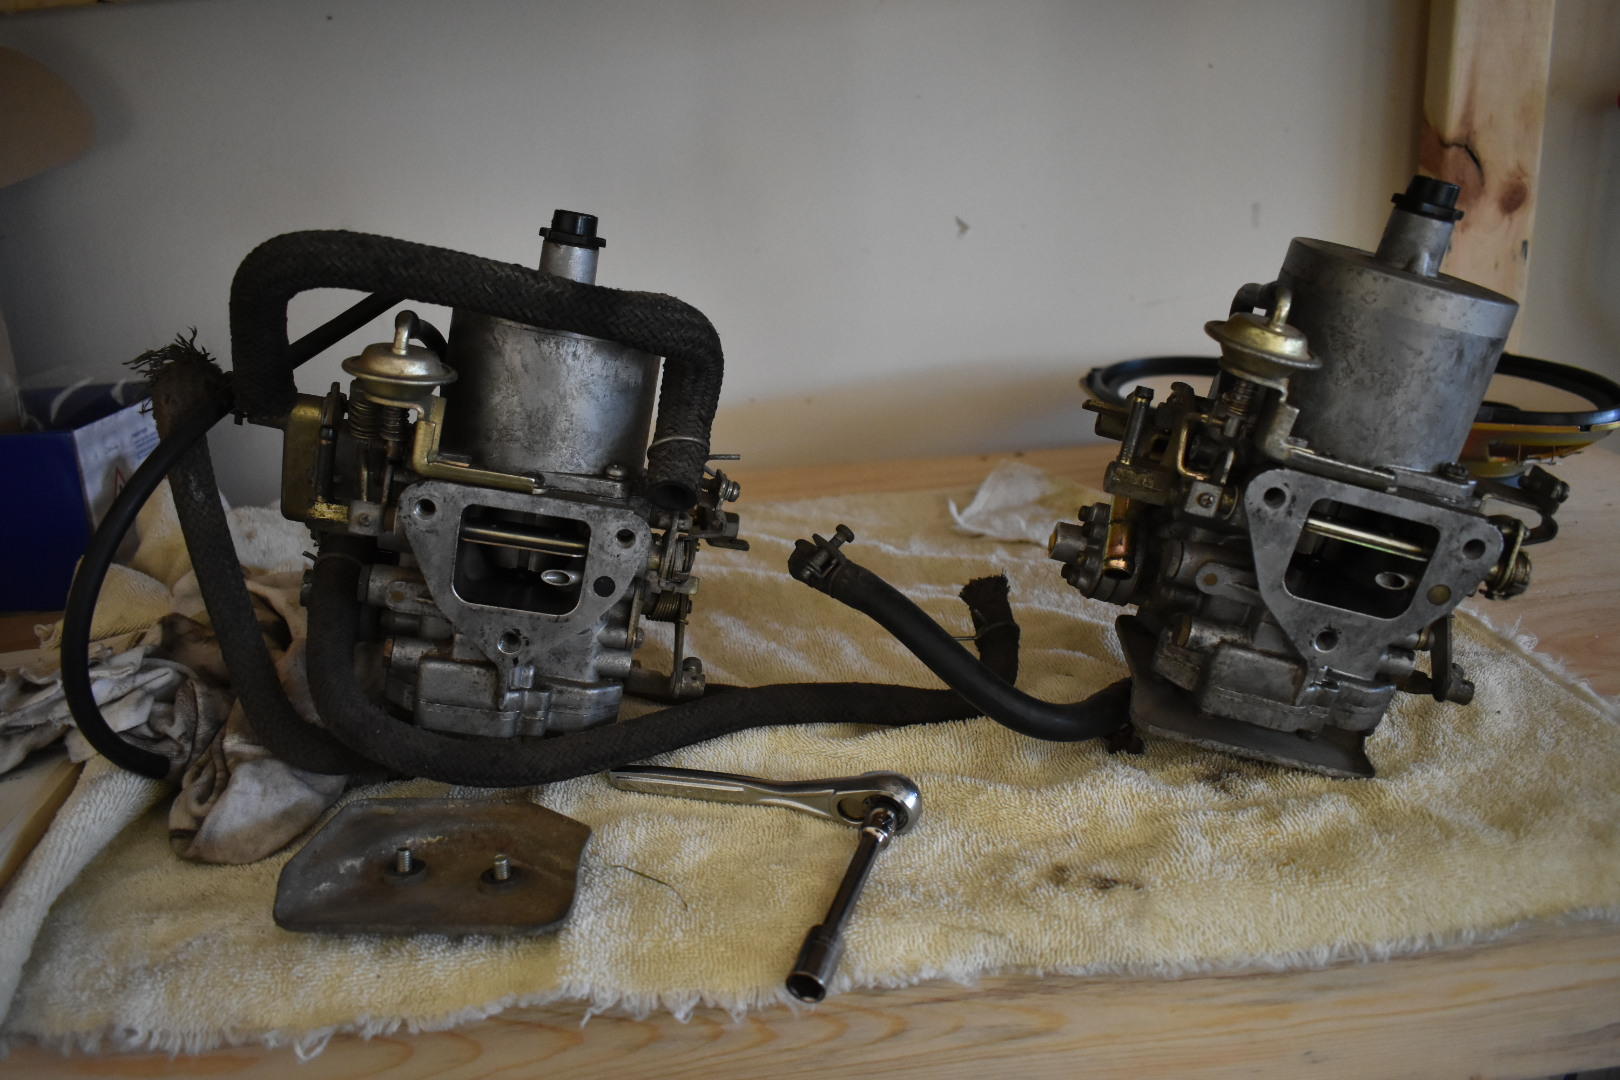
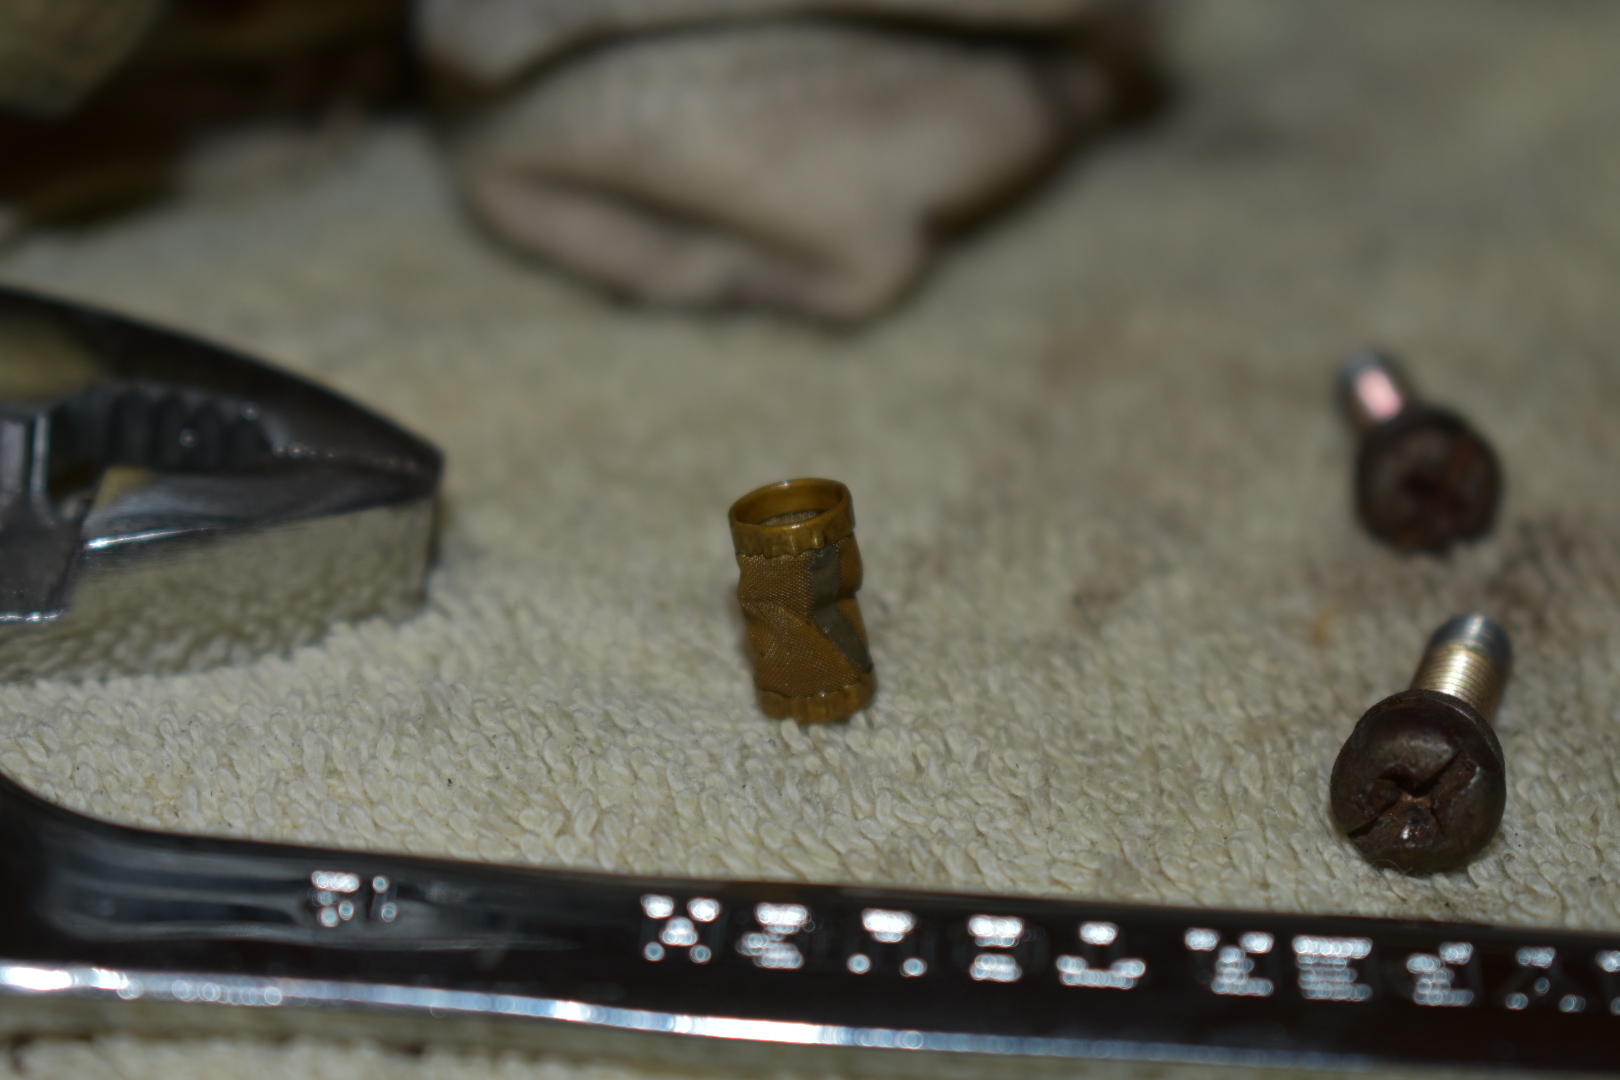
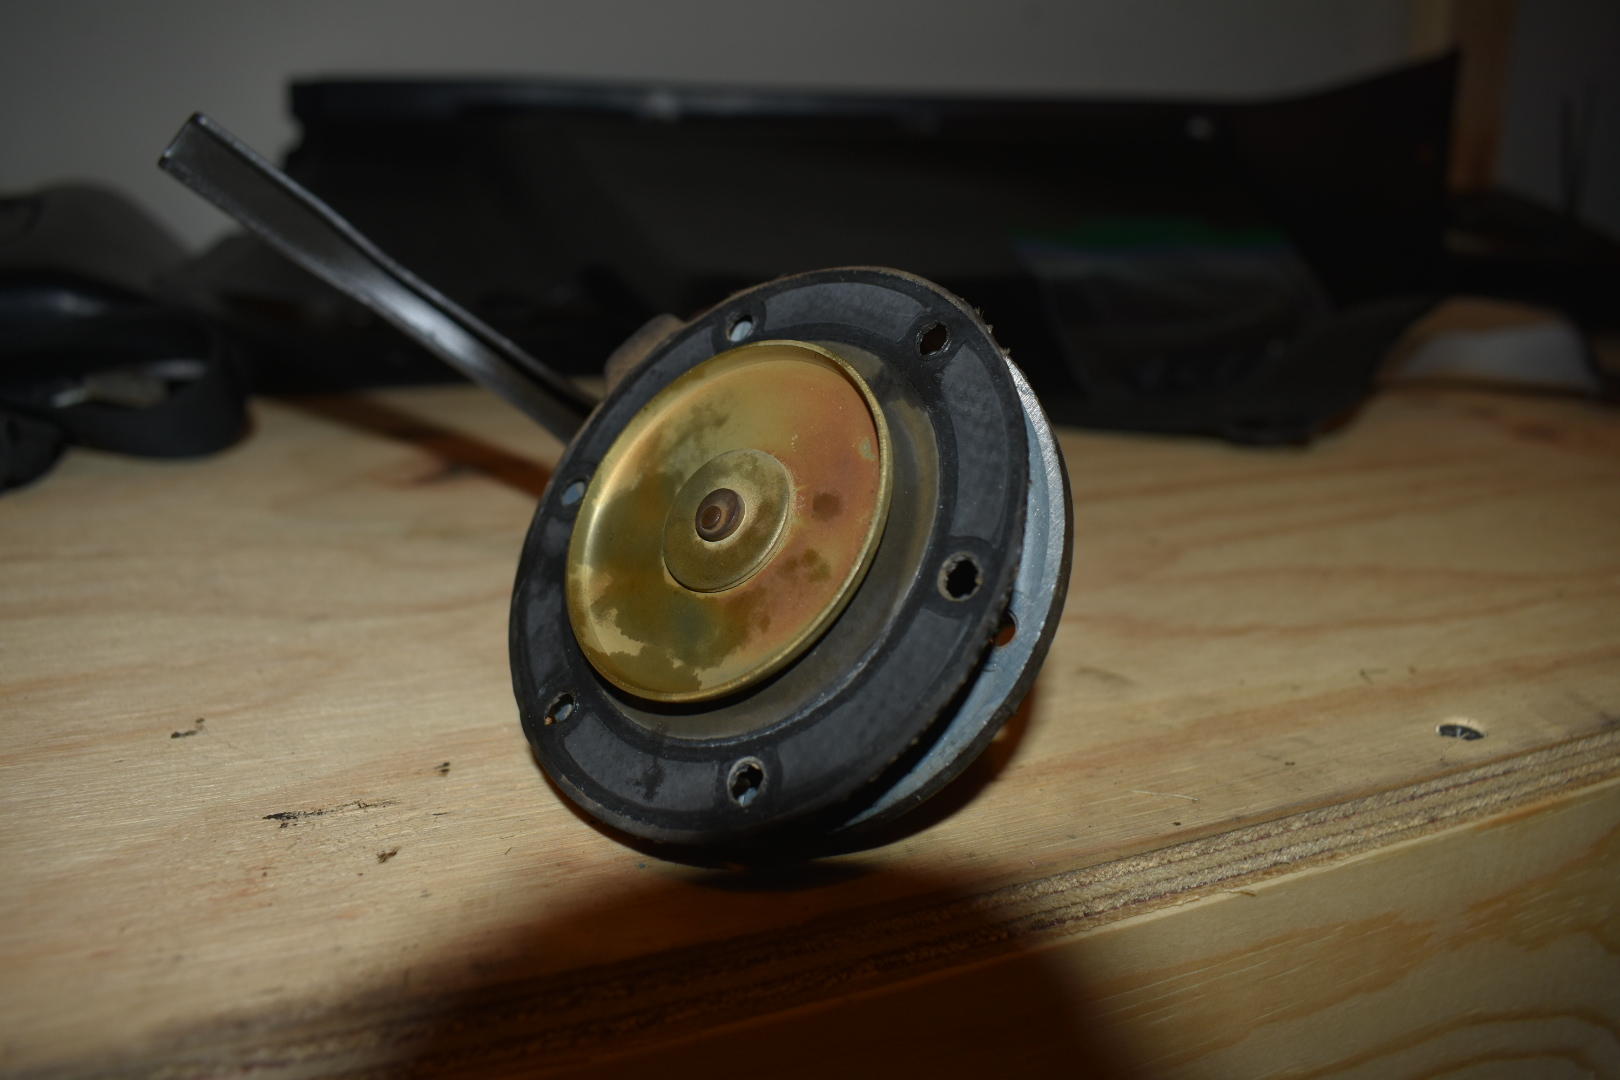
Got the carbs off today… managed to only damage one hose, so I’m calling it a success. Not looking forward to trying to get them back on and get all the hoses in the right place, but that’s a future-me problem. . Looking at the bowls, I appear to have 74 model carb I think. Worst of the worst? Haha. There’s 7 screws rather than 6 like the manual shows, and my float pin is only accessible from behind an external screw (the one that's half was out on the upper left of the carb in the pic below. The only marking I could find was a number 2 stamped on both carbs. From the Clymer, it says 73s had HMB46W-1 and 74s had HMB46W-4. It also claims that only thing you can do with a 74 is open the float chamber cover, implying that you cannot take out the floats or needle valve. Found another thread from a while back that talks about the same thing and it sounds like his was a 74. I opened the float chamber and the floats look ok. The screens on the other hand are in rough shape. Not clogged, but pretty smashed. Seems like they could be reformed, so I’ll try to do that after cleaning them. Next step is get some carb cleaner and see if I can clean out any gunk that might be hiding. And maybe pick up tiny pliers to try and pull out that float pin. Bonus picture of the garage assistant after a freak snow shower we had on Saturday morning. Michael


-
Thanks for the advice. I couldn't find anything in the FSM or Clymer about a vent port though, so I did not try that before removing the carbs today. Didn't want to pour fuel down some place it shouldn't go. Is the vent port the same place you access the inlet screen?
-
The world’s slowest project is moving along. I’m also getting smarter as I sit in my garage and stare at the car, so that’s good! I finally just did a hand pump test on the old fuel pump and it could barely get any fuel up from the can. I tried the new pump and it did it quite easily. So the original part is just worn out and needs to be rebuilt. I also smartly cut the old spacer off with a razor blade, rather than try to pry off with a screw driver, which I may or may not have tried first and broke off a piece. So we got a working fuel pump. Awesome. But not so fast, I accidentally left the key on after the last time working on it (or rather my wife did, but I definitely won’t blame her because then I’d lose my most useful assistant). I only have a trickle charger so it took a solid 4 days to recharge the battery. Once we got that sorted, I gave it a crank but still no fire. Sprayed a bit of starter fluid and that worked, so the problem is now the carbs. I check the vacuum slides and they both move easily, although there’s no oil in the top… but I don’t think that would affect operation, right? So next step is see if I can pull the carbs off this weekend and run through the checklist of float, jet, etc. Maybe just pick up the rebuild kit and do it right the first time… but it is getting quite cold in Wisconsin and I need to get my daily back in the garage!
-
Thanks for the advice guys, the check valves look clear and move easily. Thanks for linking that thread as well, CO. I may try to open up the replacement I bought and see if the diaphragms and seal would fit my original. Second option is to 3D print a new spacer and just use the new assembly. Will see if it comes to that. Thanks for the help!
-
I talked with my Father last night and he had the same recollection, that the pump would run with ignition on originally. So that's good. I do need to go troubleshoot it though, maybe the wiring is just bad.
-
Ok so apparently the fuel pump spacer 16420-E3011 is discontinued... found a couple but for over $50. ☹️ Since the original diaphragm looked good, maybe I didn't actually need one and the problem is elsewhere. Anybody have other thoughts on what might cause it to not pump? It was bone dry when I opened it, even after trying to pull directly from a gas can a few weeks ago.
-
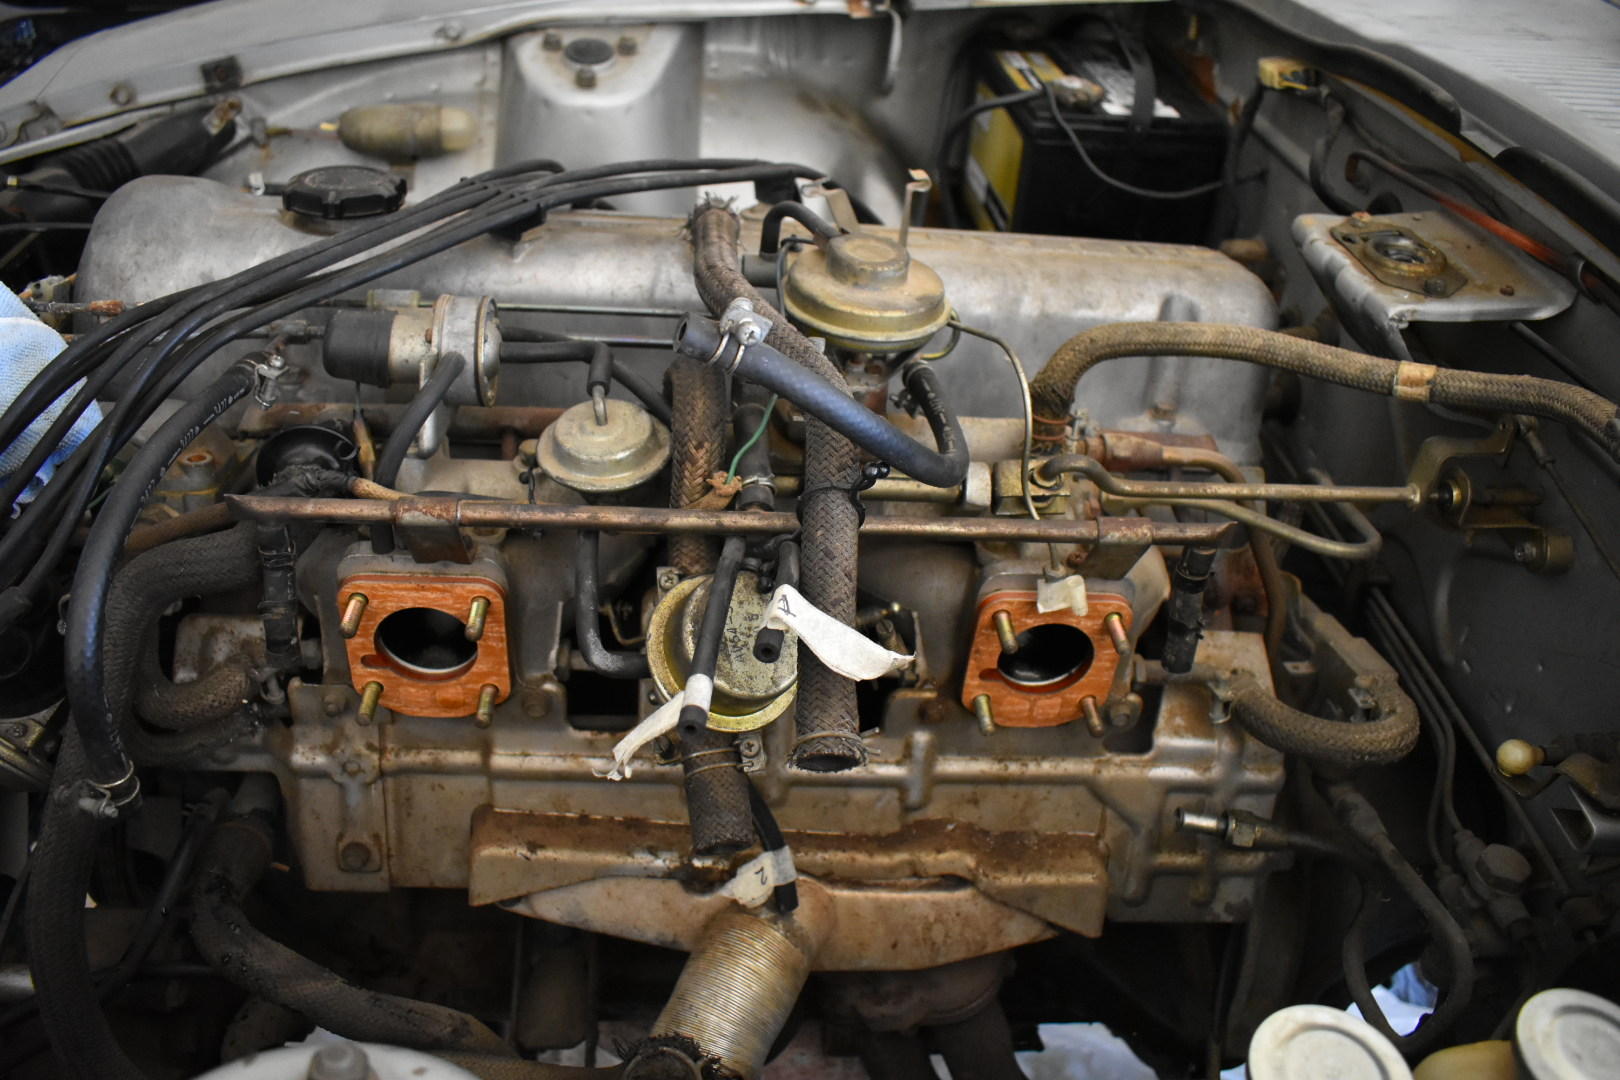
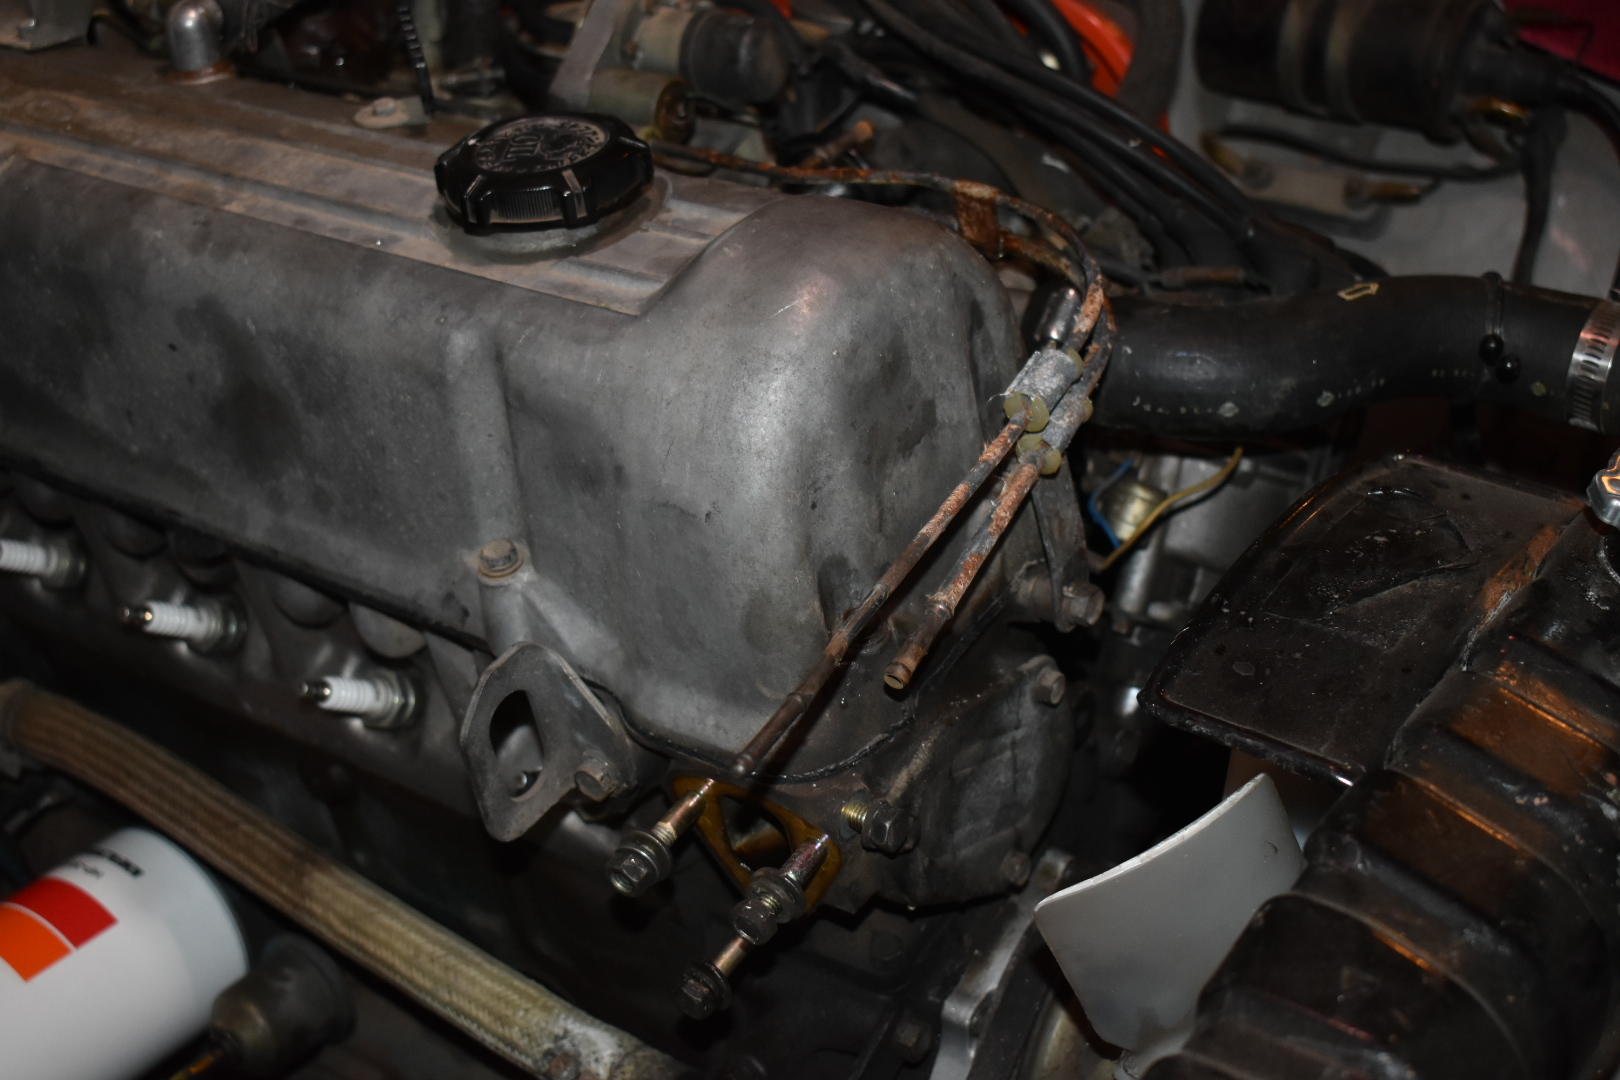
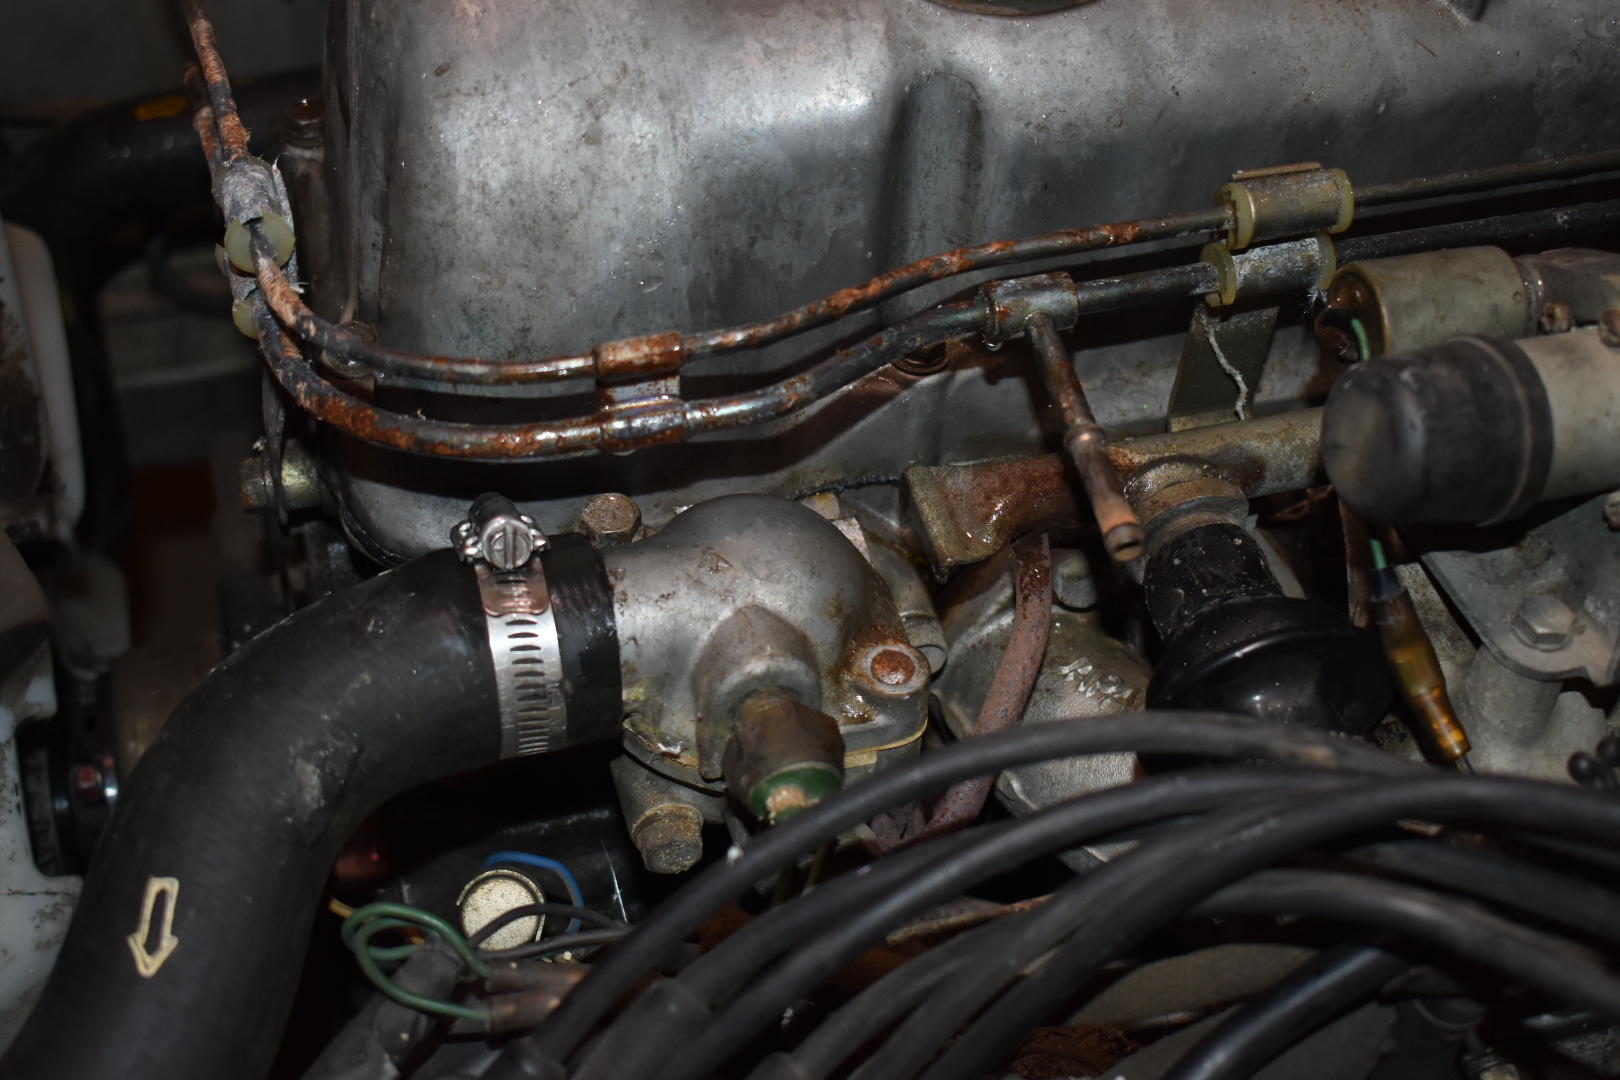
Ok, sorry for the long time between posts. I’ve had a busy couple weeks and was out of town last weekend for my anniversary. Did a bit more research and found some folks saying that the electric fuel pump by the tank doesn’t actually turn on until the engine’s running. So for now, I decided to leave that alone and focus on the mechanical. At some point I’ll wire in an electric pump only, but don’t really feel like investing in wiring equipment just yet. I did disassemble the mechanical fuel pump and don’t see any issues… diaphragm looks fine to me. But I did already purchase a new one from zcardepot. Unfortunately, it didn’t come with the spacer… a bit frustrating. I’d expect a site which specialized in Z car parts to send a unit with the necessary parts, or at least tell me I need to purchase that separately. So no real progress on getting the car started yet. I did work on removing the asbestos-filled fuel line insulation. I just wanted to get rid of that stuff and not worry about it. I originally tried to remove it all without cutting to minimize the dust created. It was pretty easy except for the final line that ran right above the manifolds next to the rocker cover. I thought I could actually remove the brackets holding the line and just take the whole assembly off the car, then just slide the insulation off. That didn’t work so well as I couldn’t quite access one of the bolts. Ended up cutting that last section off. And I committed by first dumb move of the project… sheared off a bolt in the water pump which holds the plug wire bracket… obviously not a critical piece, but it reinforces my desire to get an impact driver. Anyway, that’s all I have to update. Hopefully I can find a fuel pump spacer and get that bolted on next weekend. Michael


-
Thanks Dr. Dave!
-
Thanks, Jayhawk! I read through your '73 thread a few weeks ago, it helped inspire me to document mine here as well! One of things I'd like to do at some point is see if I can improve upon Datsun's fixes for the fuel problems on the '73 and get even better performance from the flat tops. I found this video which has a few good ideas.