MH77280Z
Free Member
-
Joined
-
Last visited
Everything posted by MH77280Z
-
Everything look nice and tight. Appreciate everyone’s input guys. Waiting for the clock to arrive so that dash can go in.

-
My bad one of the lines at the vacuum tank connector was ripped. Everything works fine now. 🫡
-
Solenoid meaning the magnetic valves? I am very sure the vacuum actuators were working before I took the lines off.
-
Well just got done with under dash hoses. Vacuum is not getting to the dash. I am sure both intake and mode door vacuum actuators were working before.
-
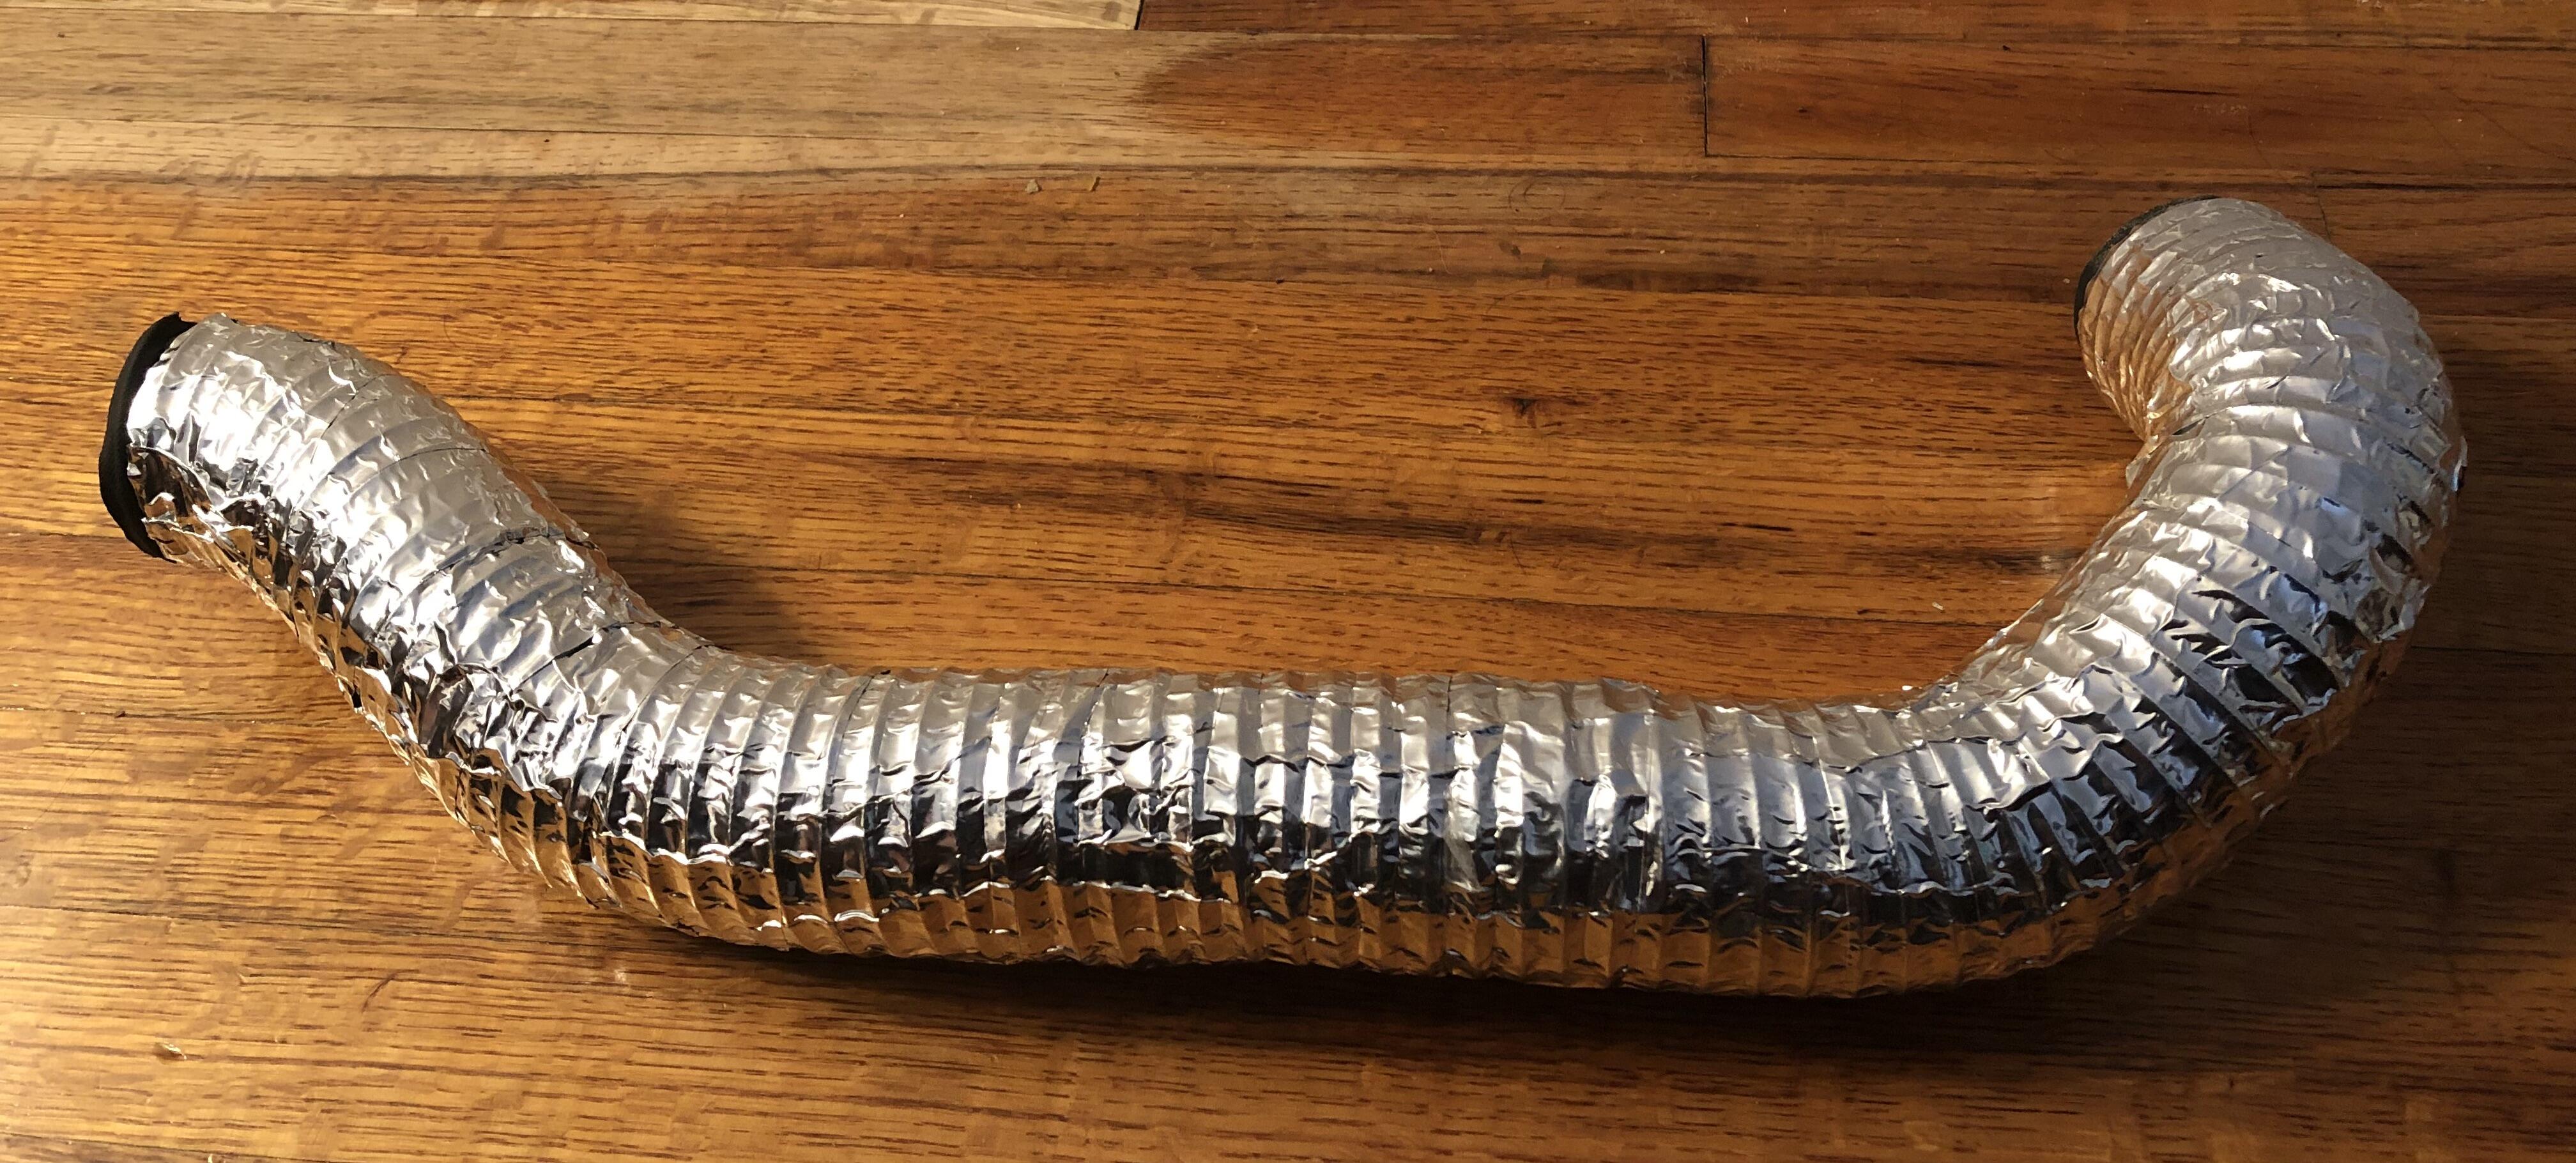
Ok so here it is Gates 19044. It’s a longer hose that can be cut to the right fit but is a 99% match. I can throw my old ones safely 😊
-
The tape sticks very strong. In fact as you can see u can also press it to go in between hose spaces. Pretty happy with it. The original hoses were ripping at few places, now they gonna last another 50 years. I had noticed the original hoses on the inside has foam, this makes the flow of air more smooth. Plus they go on the inside so probably not worried about the silver appearance.
-
Found the right solution…aluminum tape. Here is the original in dash hose. Planning to wrap all of them.

-
Guys, the air ducts connecting to left and right air vents are ripped on couple of places. They are cloth kind of material and a bit dusty and tape doesnt stick. Want to keep the original ones as I put the dash back in. Any tips what to use to seal or repair these rips?
-
I thought about it, it looks a bit beat up but was actually in a better shape than the other two U and elbow which I did changed. Is there a matching replacement for it?
-
The vintage rubber weather strip is just fine. It covers all four corners. I don’t think there is any need to spend $400 on the OEM. Thanks for the reference.
-
The most challenging part was probably cleaning the old gasket off the car. Then installing the trim back in. Without the dash it took me about 15 mins to get the glass installed back in. I did buy the rope installing tool from Amazon. It makes it so much easy and like someone said start at the bottom with about 12-18in overlap of the rope.
-
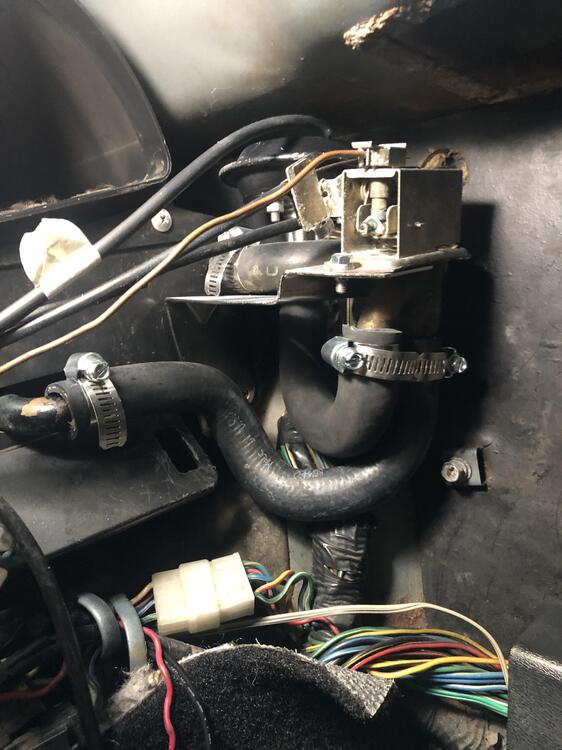
While we are on this topic, where do u get this black insulation that is on the vapor line coming from evaporator in the dash and going into engine through the firewall? there is a rip in it and I was wondering to redo this before I put the dash back.
-
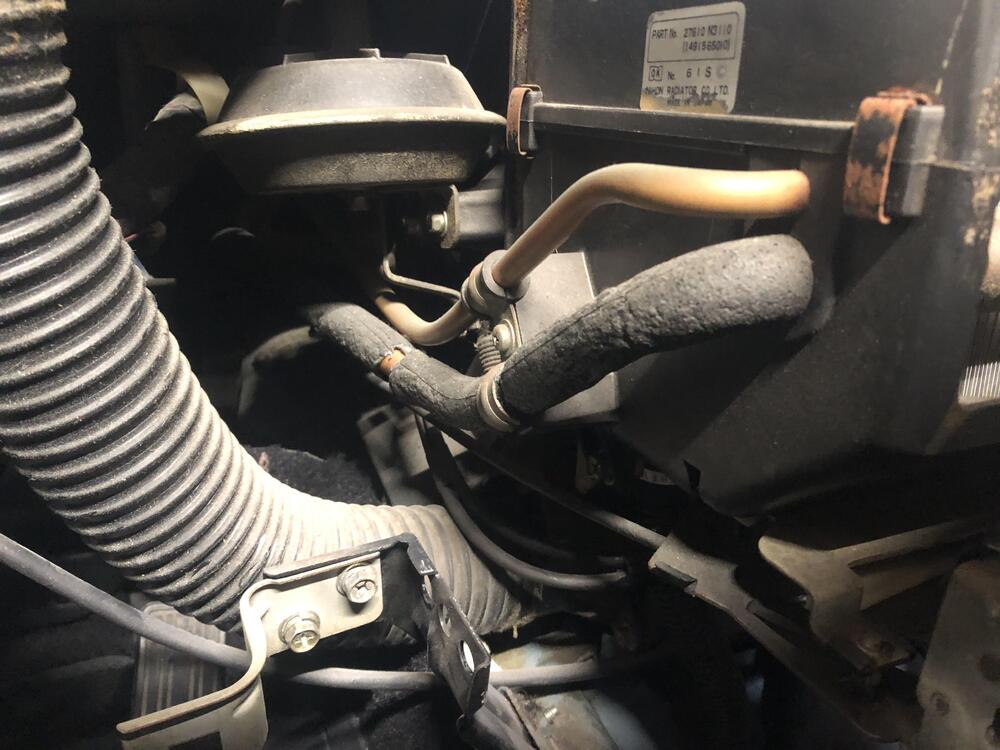
Joe heatervalves.net was a life saver. Shipped the valve back within 24-hours of getting the new seal in and water pressure tested. Ran the car idle 10 mins and all seems nice and holding. U hose was: Dayco 86050 the exact fit with some trimming.
-
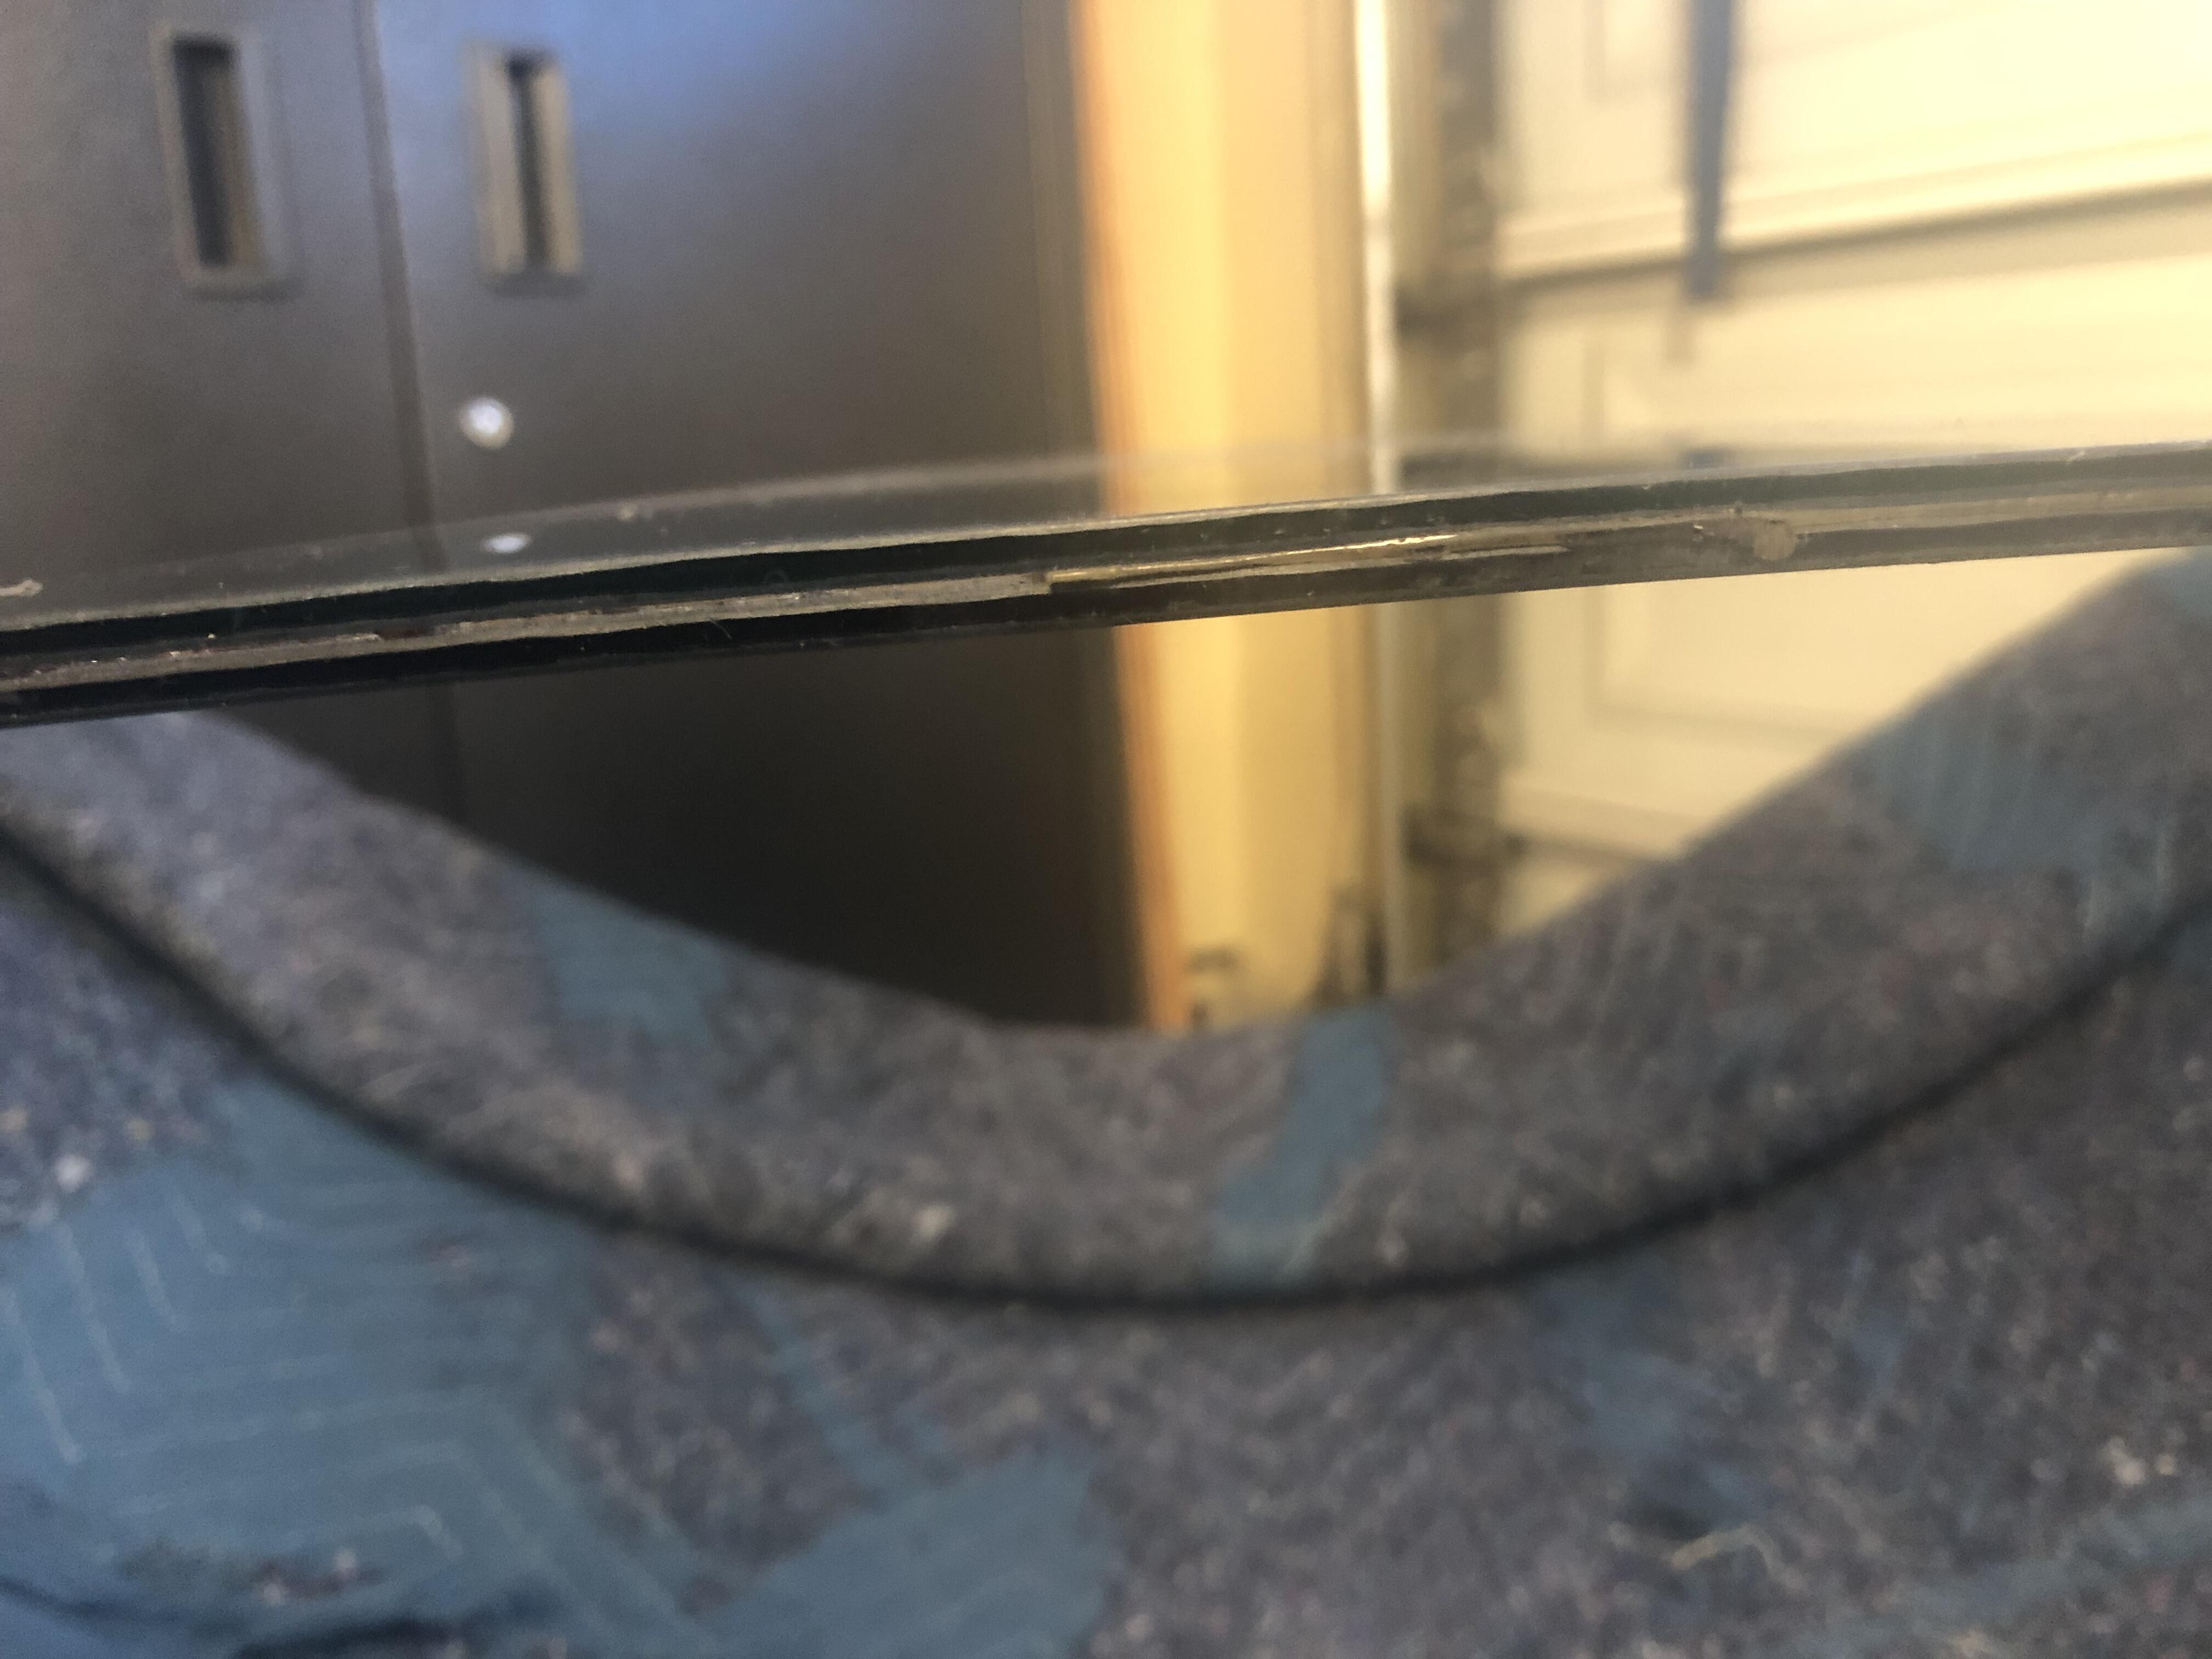
This glass has kind of two layers. See the side pic. The brown discoloration seems to be in between the layers on the perimeter. I think most of it should be covered by the gasket. No way to remove this I guess?


-
guys any comments or advice on adhesive use while installing the windshield. The video below do no use any. The FSM does say to put adhesive. Experience you can share? I was thinking to use slight in the channel where the glass would go. Putting it where I need to insert the rope would be lot more messy?
-
Received my vintage rubber seal. Few questions - did u use any adhesive with it anywhere? - do i need to take the rear view mirror / visors off? - Do you recommend putting the windshield first or the dash? dash is already out. I was thinking get the windshield out, put the dash in, will be easy to screw in without the glass, then install the glass. Alternately without the dash there is plenty of space to play around with the glass.
-
He has mentioned o-ring wont work and that correct flat washer will and he will pressure test it as well before shipping. Keeping my fingers crossed.
-
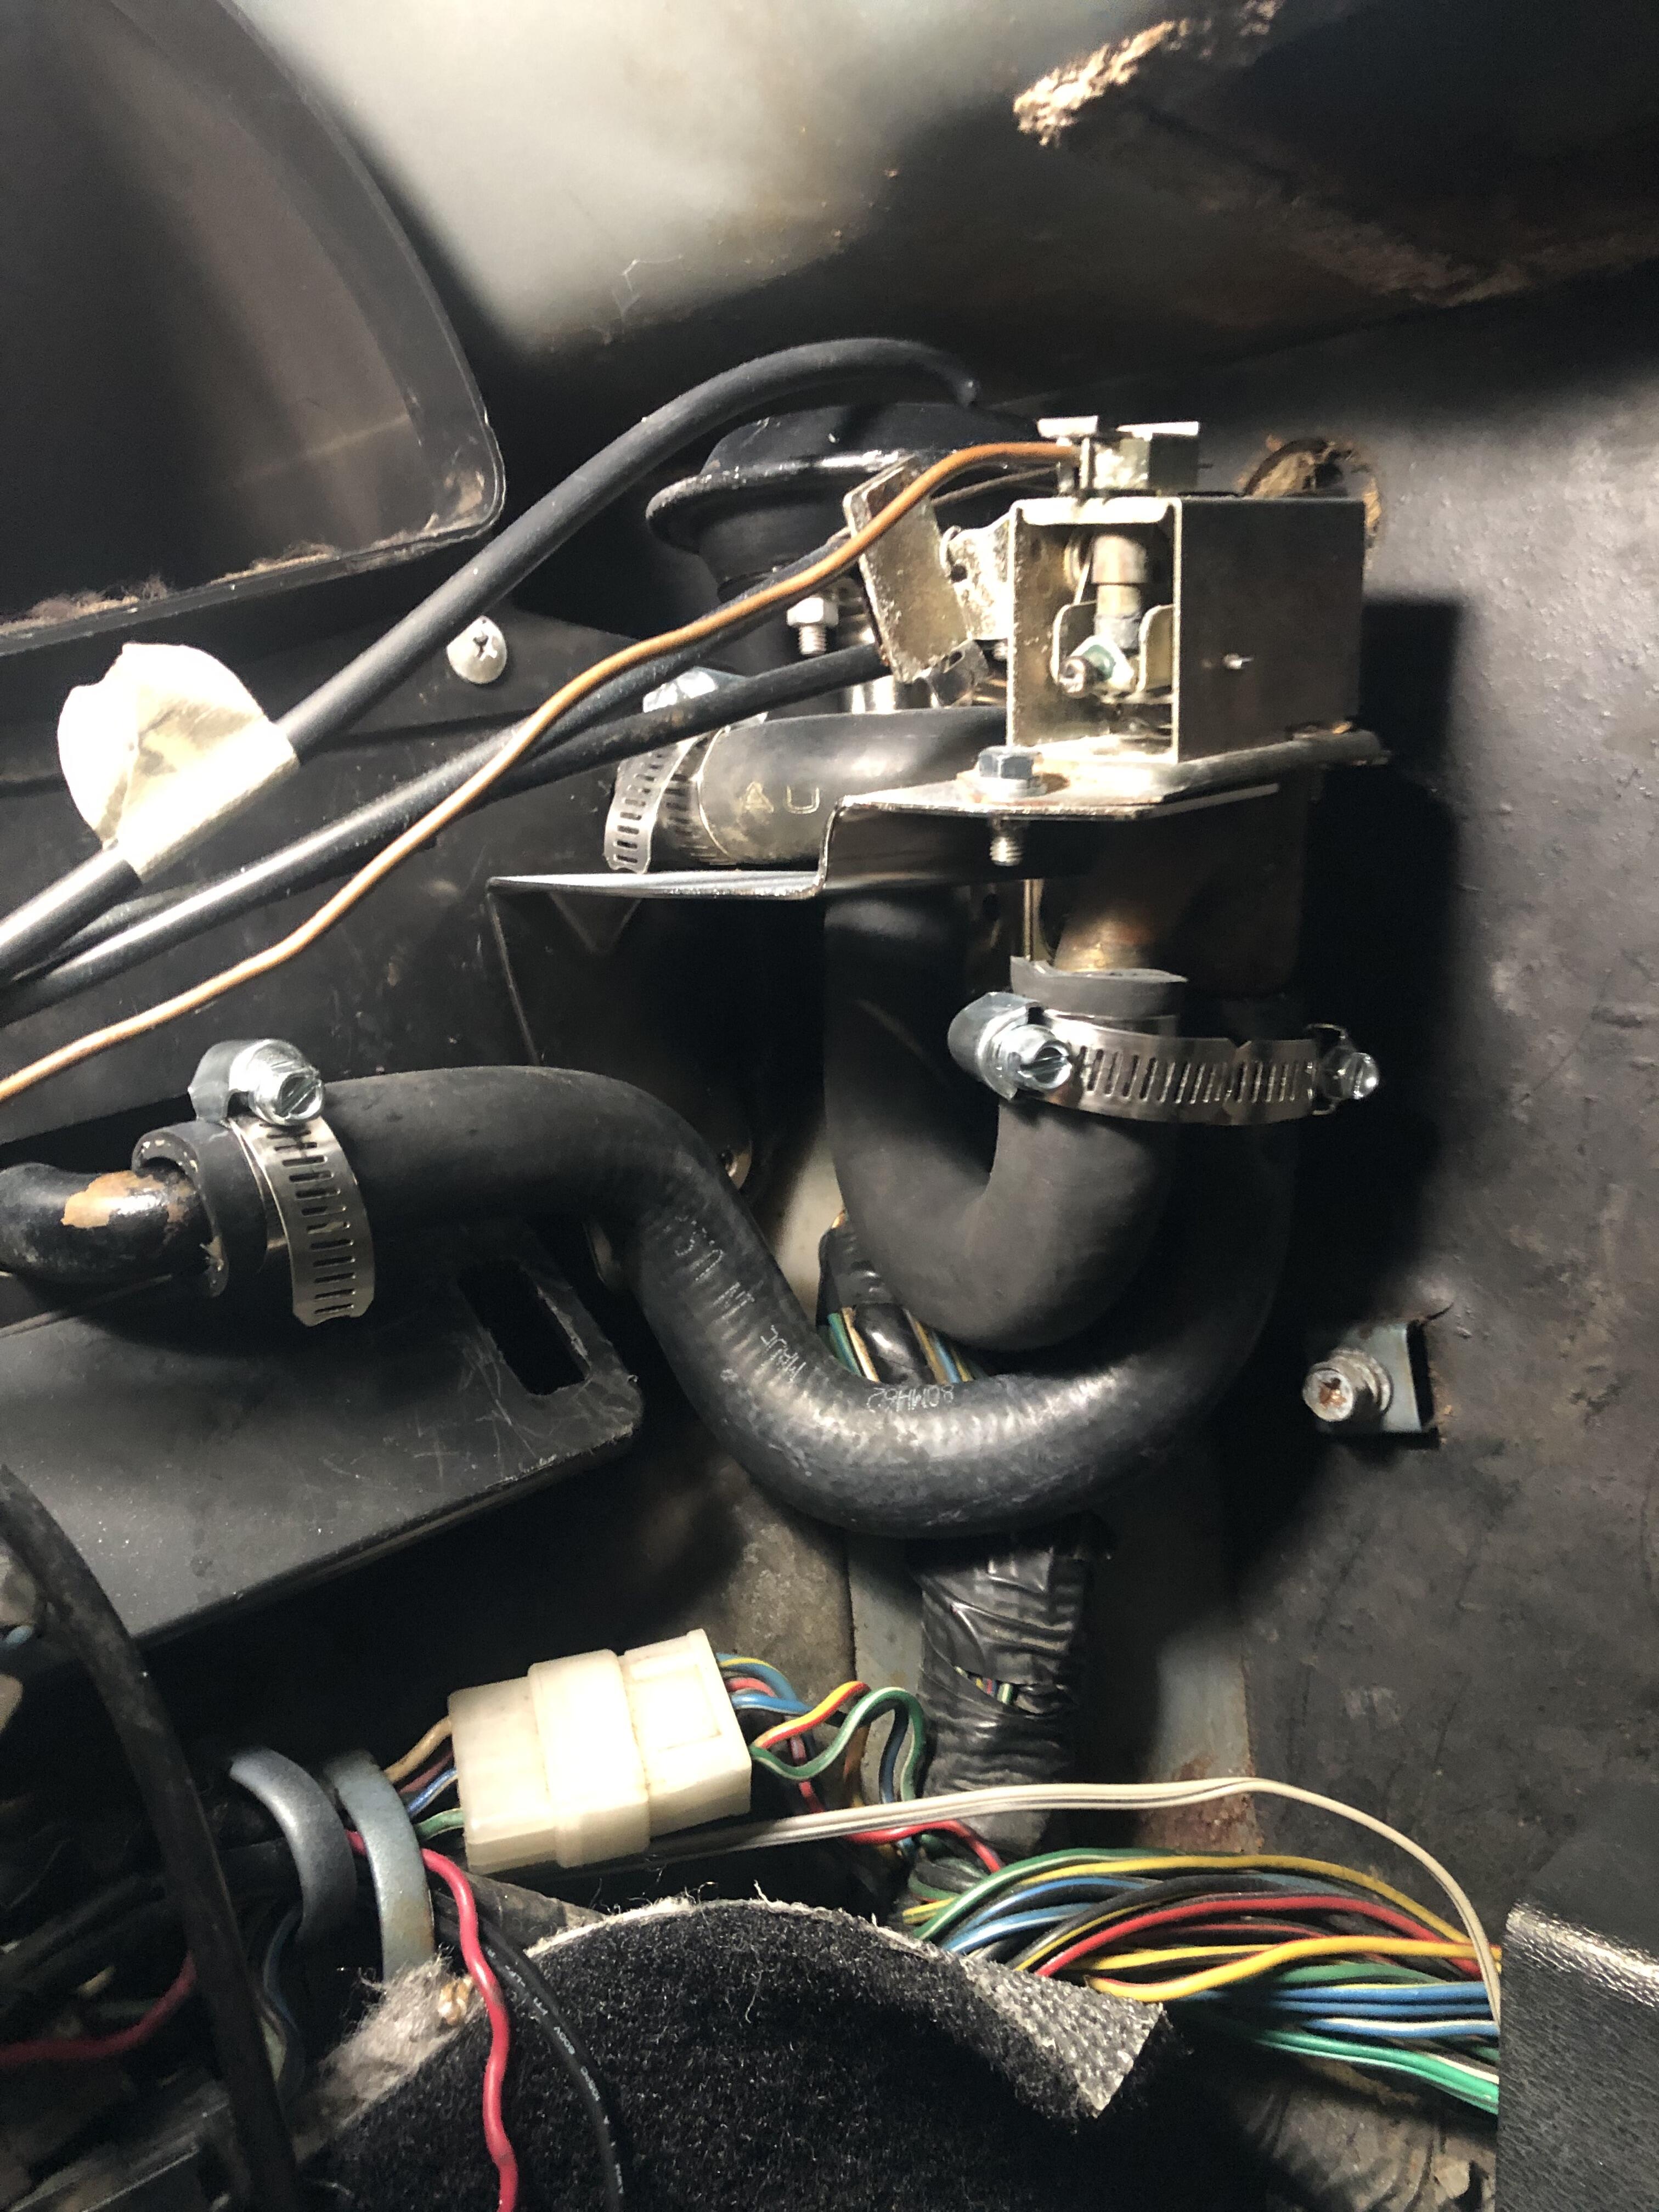
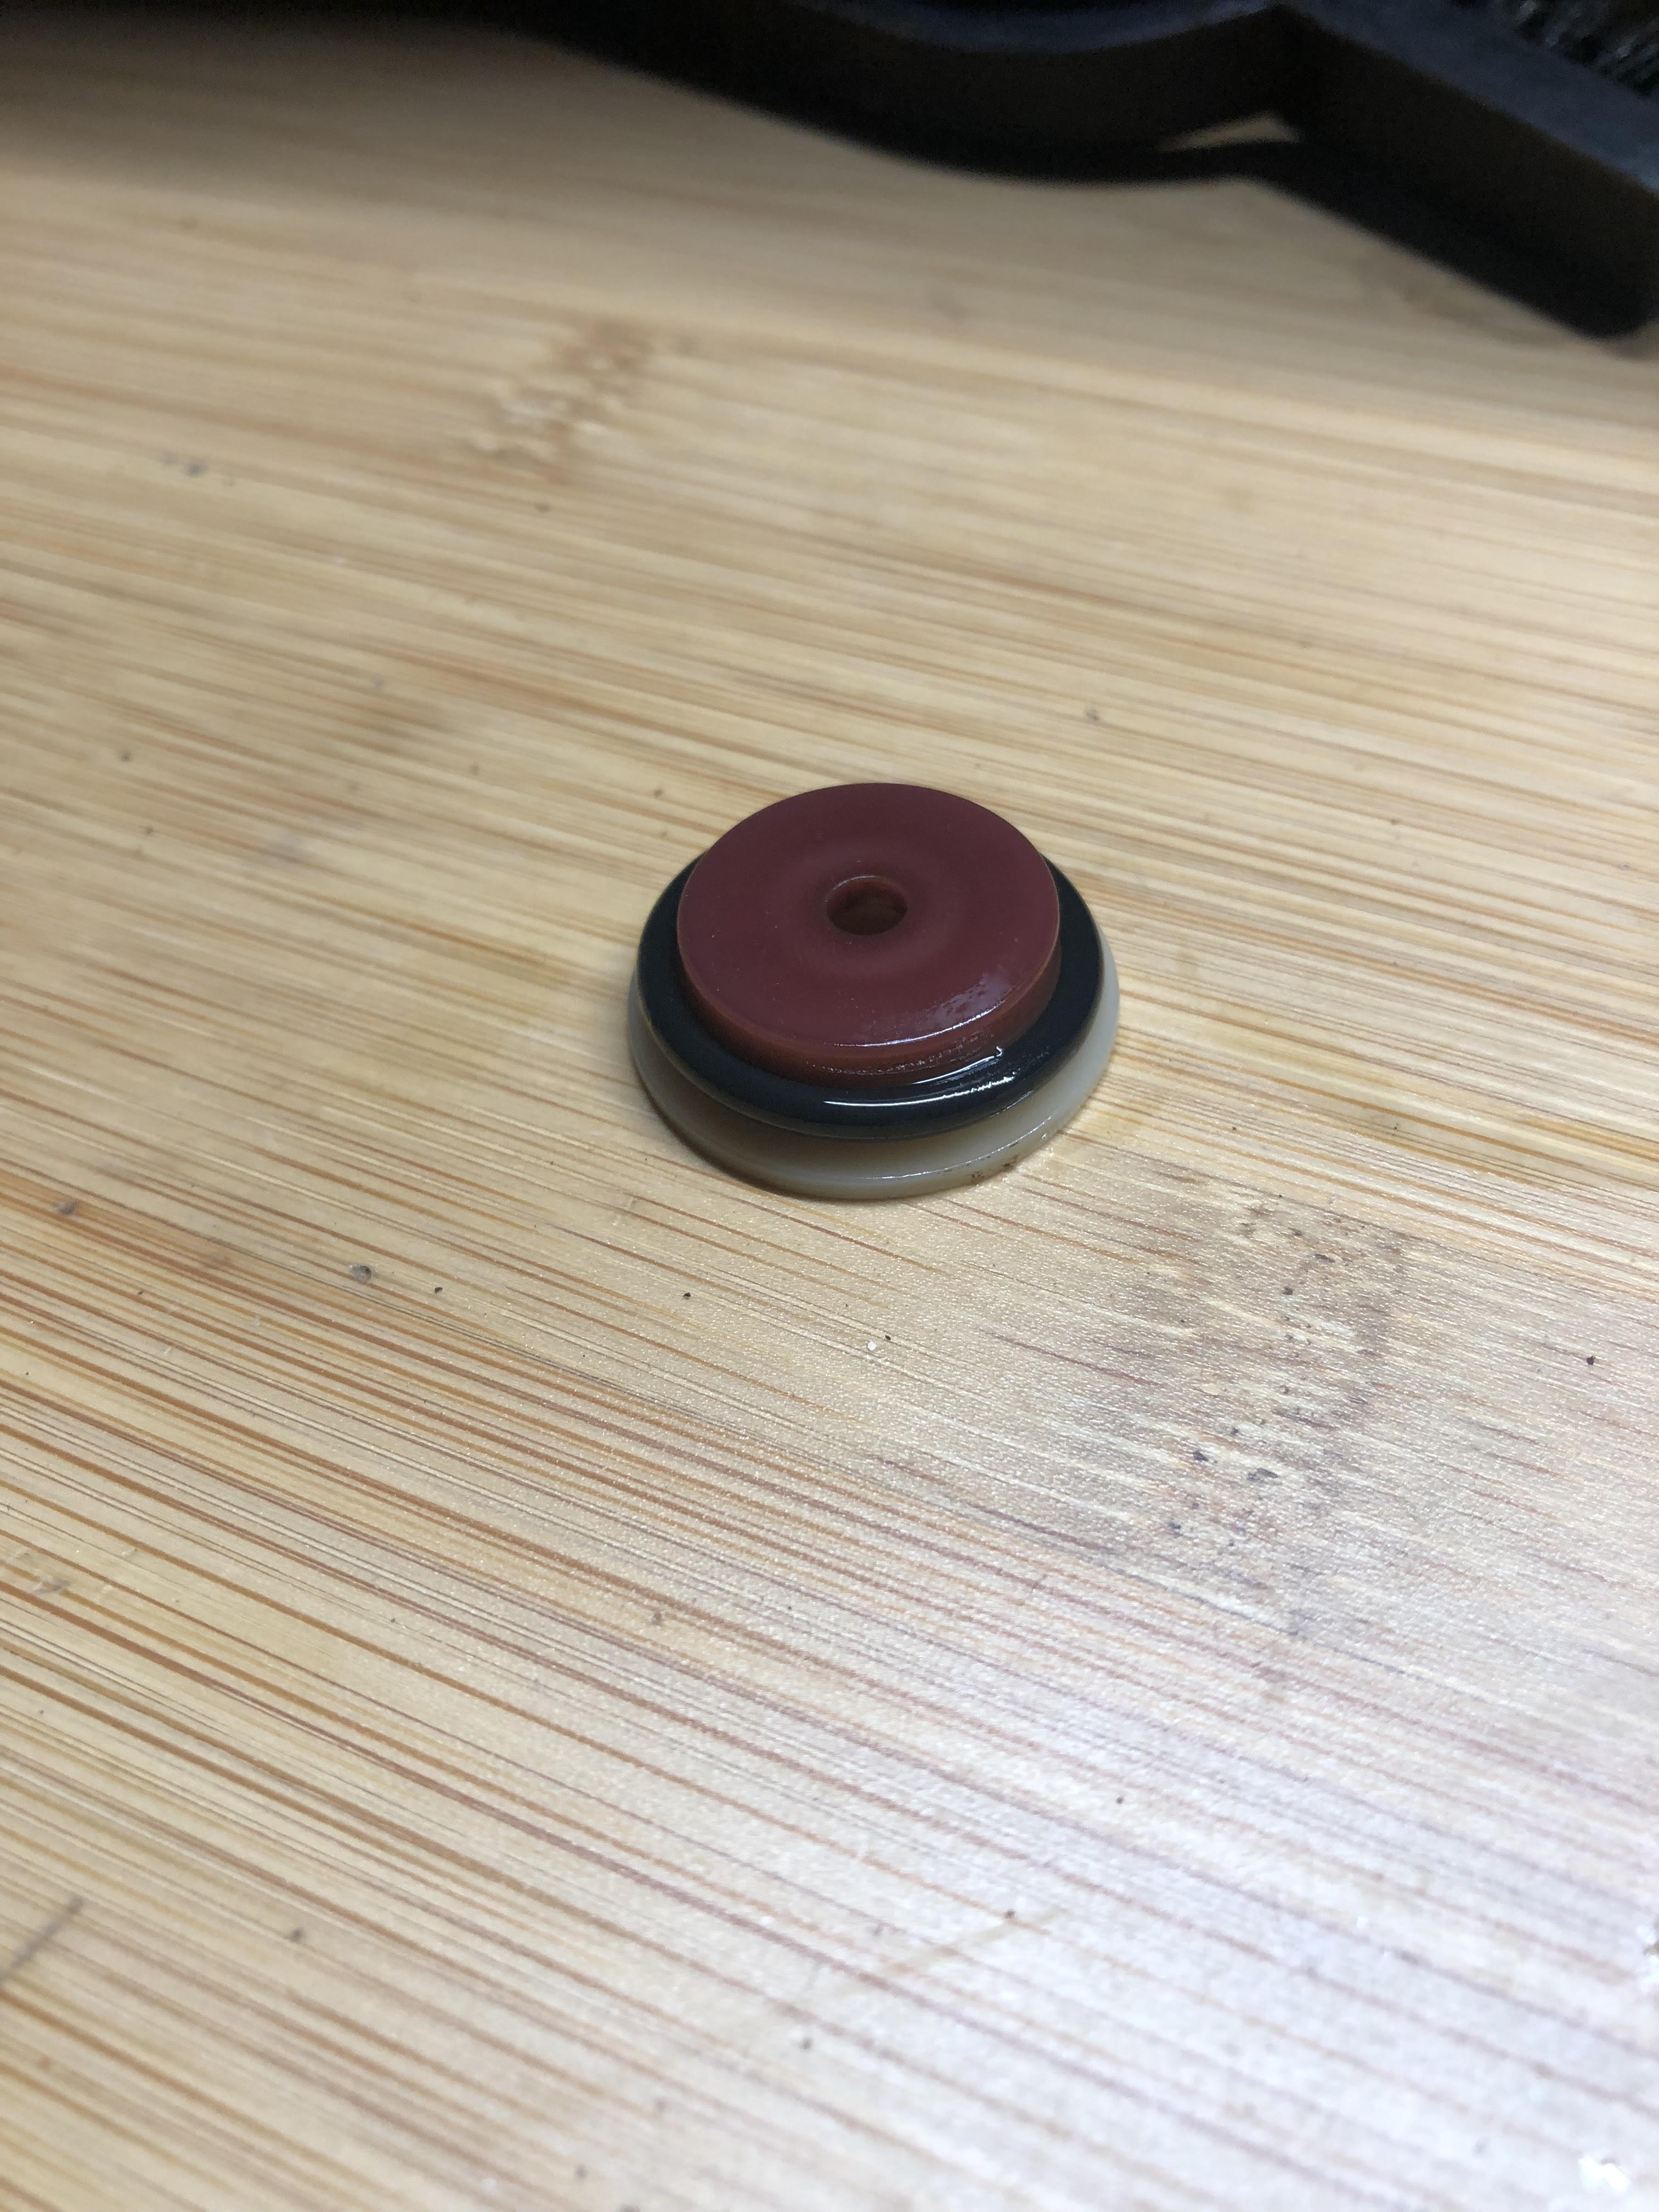
I am not able to seal the water **** with this o-ring. Water droplets ozz out after 2-3 mins of idling. I am not sure what to do here. This vacuum co*k is a nightmare. I am thinking to use GE Silicon around it 😆 - but I want to try the guy recommended in the old thread in WI who fixes it. May be he has a cure. Planning to send it to him. He charges $100.

-
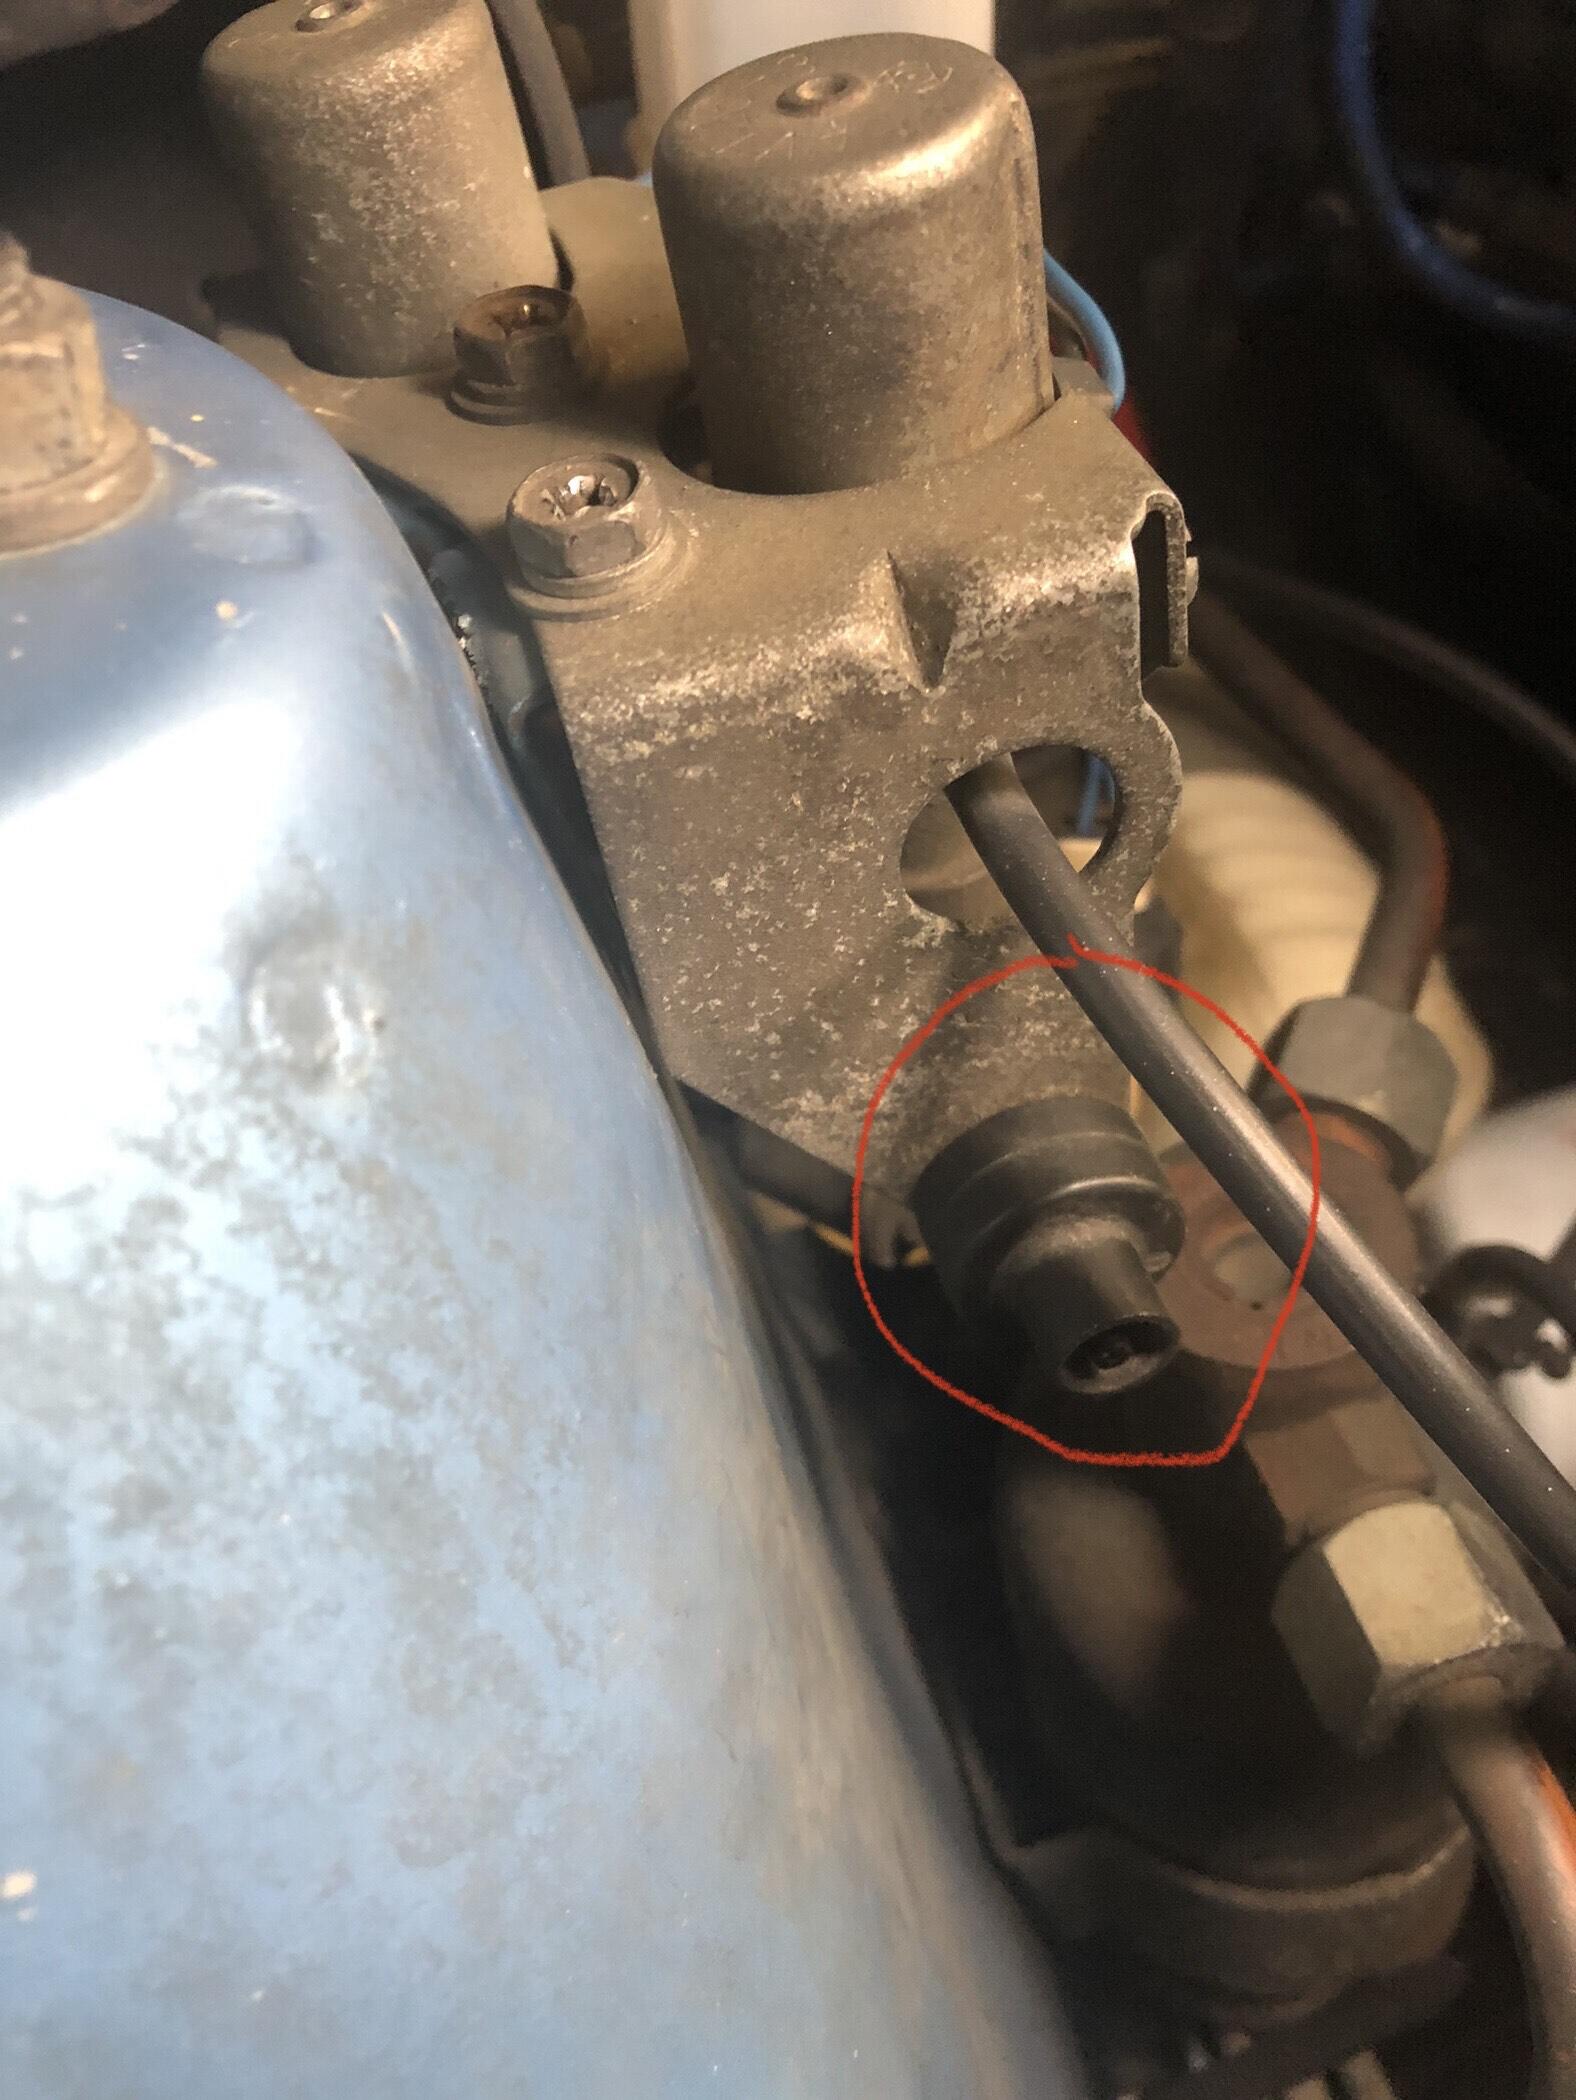
This is exactly what is going on what is shown in the video, everything was nice and tight. The old seal inside the vacuum **** is no good. That’s why the older one was also rusted. It only need a new rubber seal as well. It leaks between the two metal mating surfaces as the coolant goes around the damaged seal. Heater valve was holding nice. No leak there. There goes $30 worth of coolant.

-
From manifold it goes to the check value (mounted under the two magnetic valves) and from there to the bottle.

-
If I hook up this thing to the radiator cap, dont you think pressure wont hold due to the overflow tank not sealed?
-
I figured, i accidentally thought that grommet is the valve … so the manifold connects into smaller end - bigger goes to S1 in the vacuum tank. S2 from the tanks goes to the solenoids.
-
That’s what I was trying to confirm. The check valve pic I posted show the bigger side facing radiator. On the inside is the smaller end. Per FSM pic I assume the bigger end connect to the 3-way connector on the solenoid and smaller goes to S towards the dash through the firewall. Don’t want to connect this one reverse!!! Can someone confirm.
-
The test tool is free, Orielly's rent tools for free.
-
https://www.oreillyauto.com/detail/c/evertough/tools---equipment/rental-tools/air-conditioning---cooling-rental-tools/12095d53bcad/rental-tools-evertough-radiator-and-cap-test-kit/ren1/67085 I was thinking of renting this...put 1G of coolant and get the pressure up to whatever is on the radiator cap and see if it holds up?