MH77280Z
-
Posts
436 -
Joined
-
Last visited
-
Days Won
1
Content Type
Profiles
Knowledge Base
Zcar Wiki
Forums
Gallery
Events
Downloads
Store
Blogs
Collections
Classifieds
Everything posted by MH77280Z
-
What about this @kcpope: https://zcardepot.com/products/glove-box-lock-clip-oem-240z-260z-280z?_pos=25&_sid=1782842c3&_ss=r# @Terrapin Z you have any used ones to sell? i can take one?
-
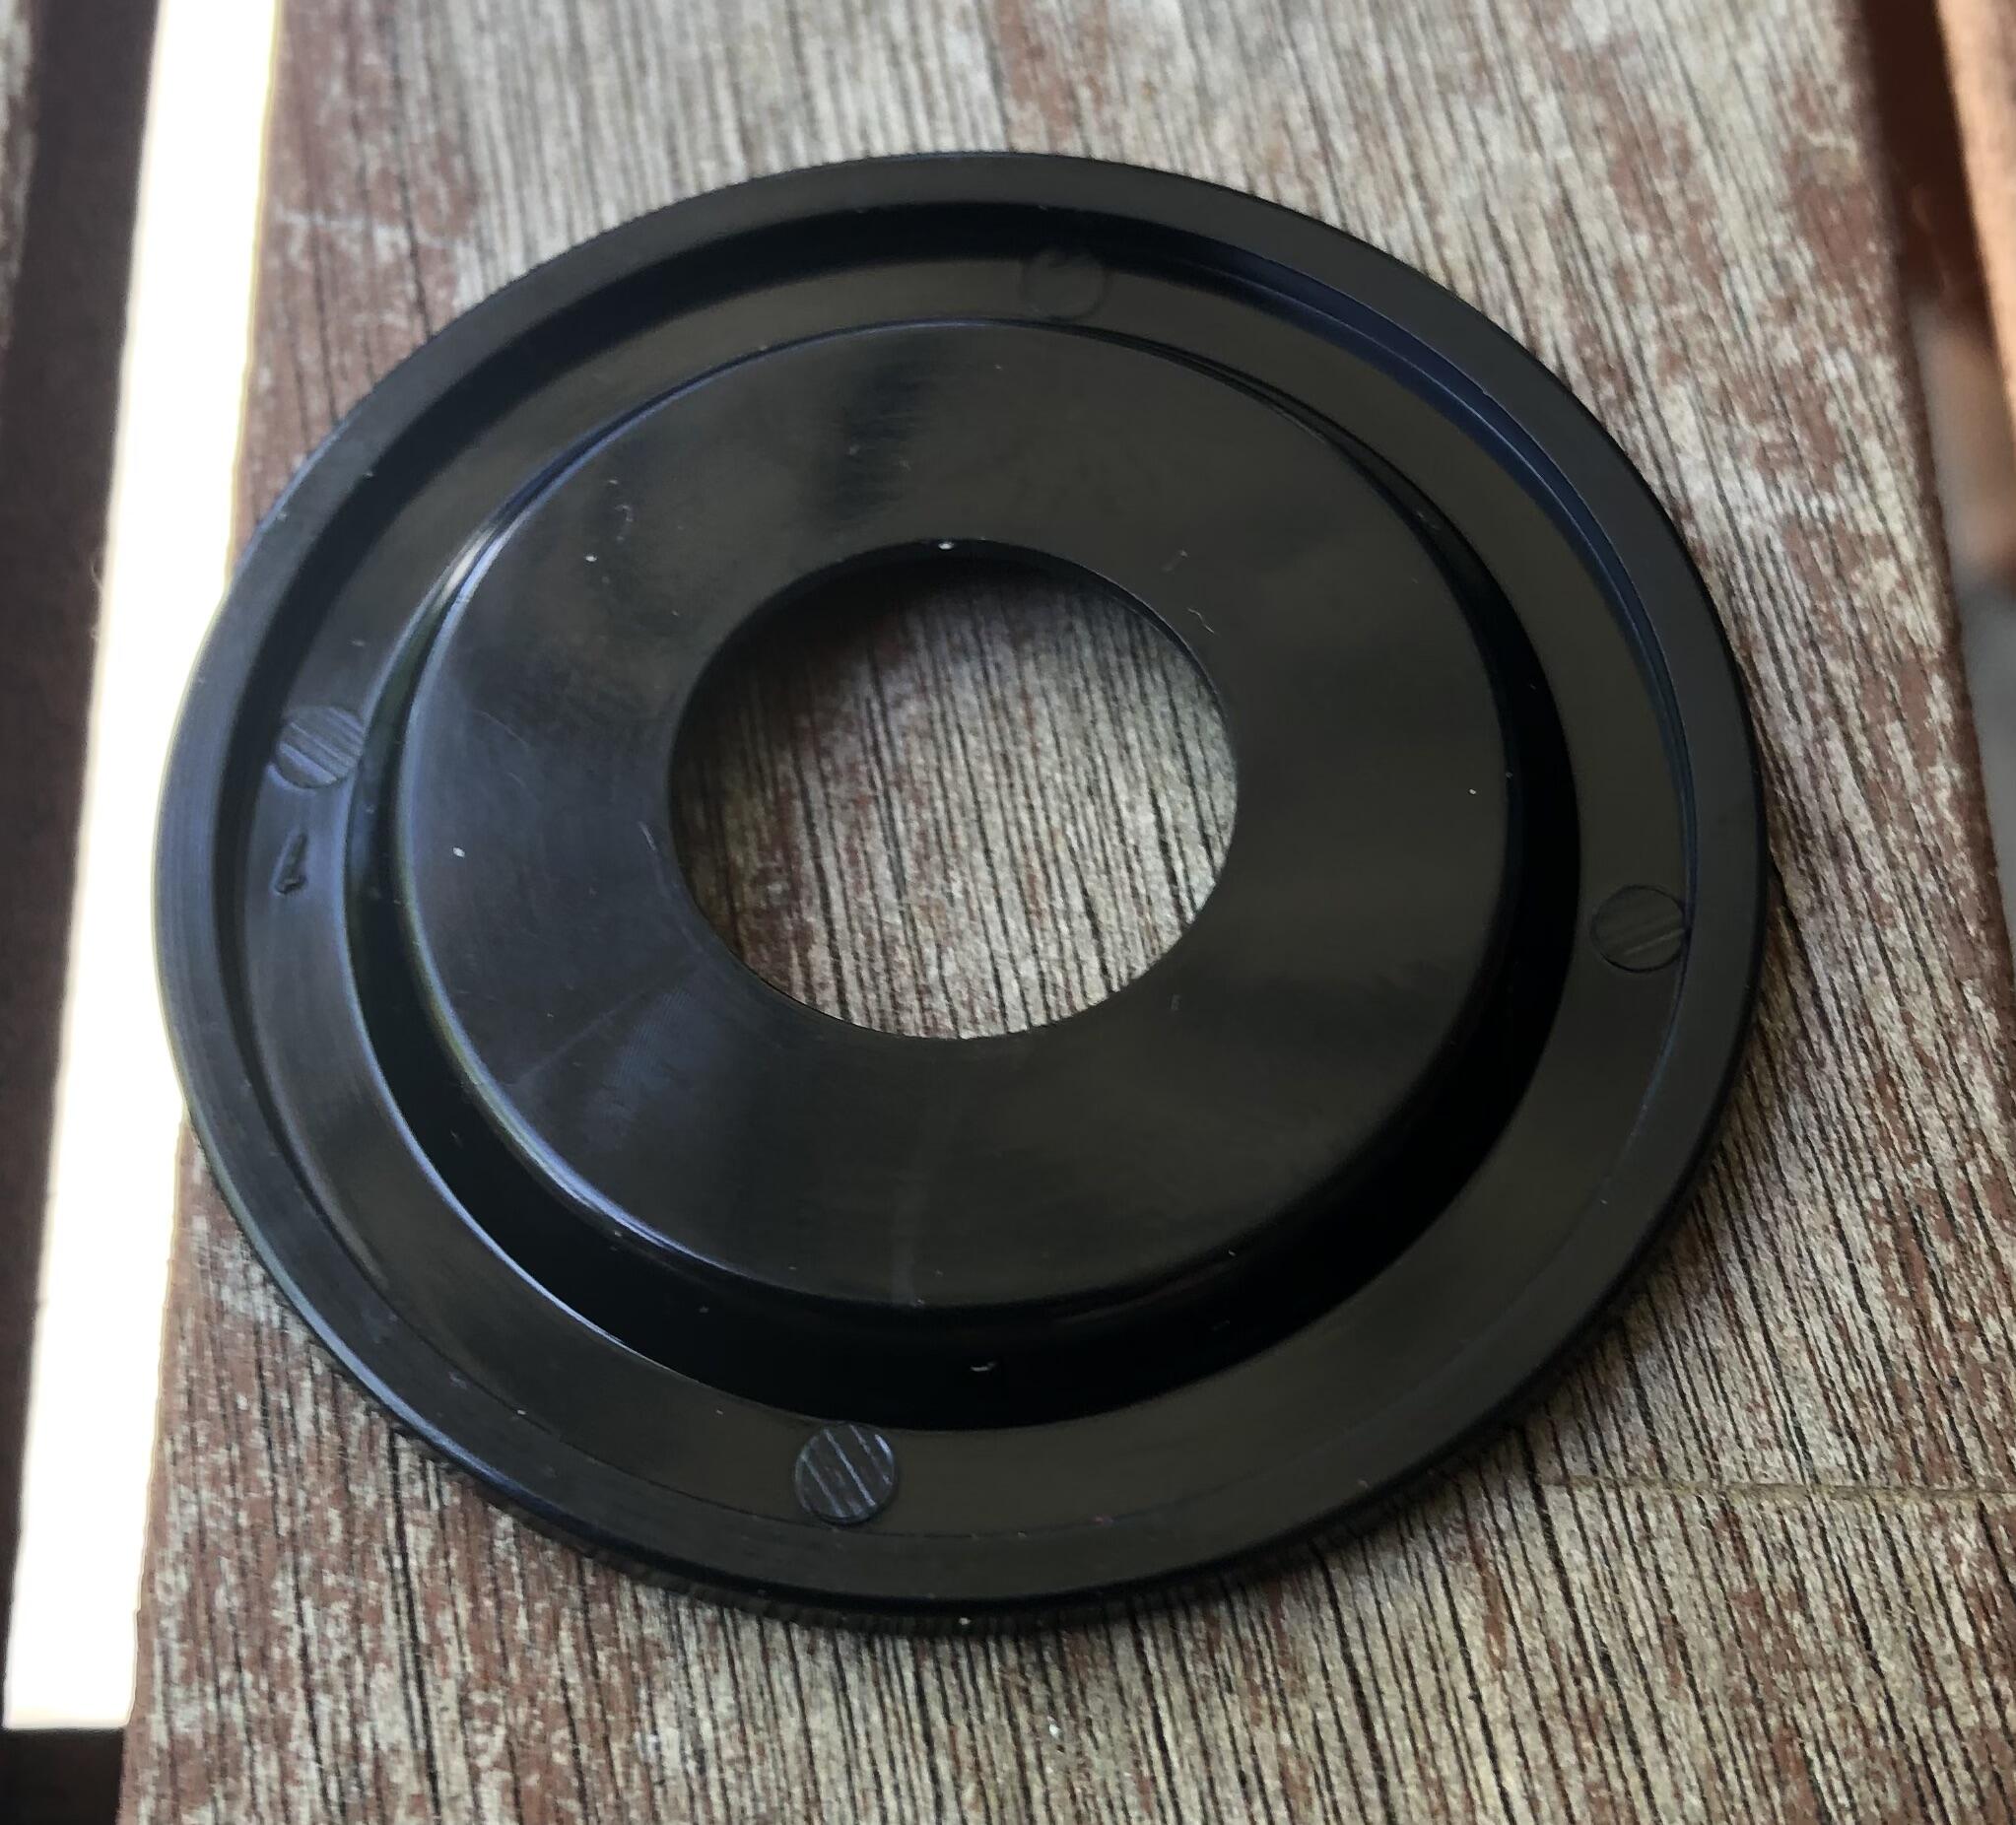
Guys, i am hitting another issue. The ZCarDepot do not have the retainer for the hatch lock cylinder. It is a bit thicker than the door ones. Is there some other source or alternate product? They do have a 240z door lock retainer which seems a bit thicker but I have not tried it. Appreciate some help ...
-
Sorry seems like 56/57/58 are what connects the bracket to the inhibitor switch, for me this is intact. The other side of the bracket has the bushing missing in my case like @Terrapin Z has shown in pic. Thanks for sharing the part #.
-
Yes #18 connecting into #56 via 57/58. I think I am missing 57 small rubber thing etc. without it the rod moves around and introduces a play.
-
Guys, there is a metal rod under neath that connects the transmission lever to a metal bracket attached to the inhibitor switch. There is a play in my AUTO trans lever and when I checked underneath the place where the rod connected to the inhibitor switch bracket has some sort of washer that is missing. Any idea how to secure it tightly so that it wont wiggle? the play is due to this wiggle.
-
Thanks. Do we need to drop the steering column to pull the dash out? Do you have any thread of your dash build out? 🤔
-
Using existing metal work and also gauges is fine. Does this come with pre-drilled screw locations etc.? I don't want to deal with that for sure.
-
Guys, What is the feedback and fit for this product on the 77 280z. Would really appreciate? https://vintagedashes.com/products/datsun-280z-reproduction-dash Also delivery and order placement ...
-
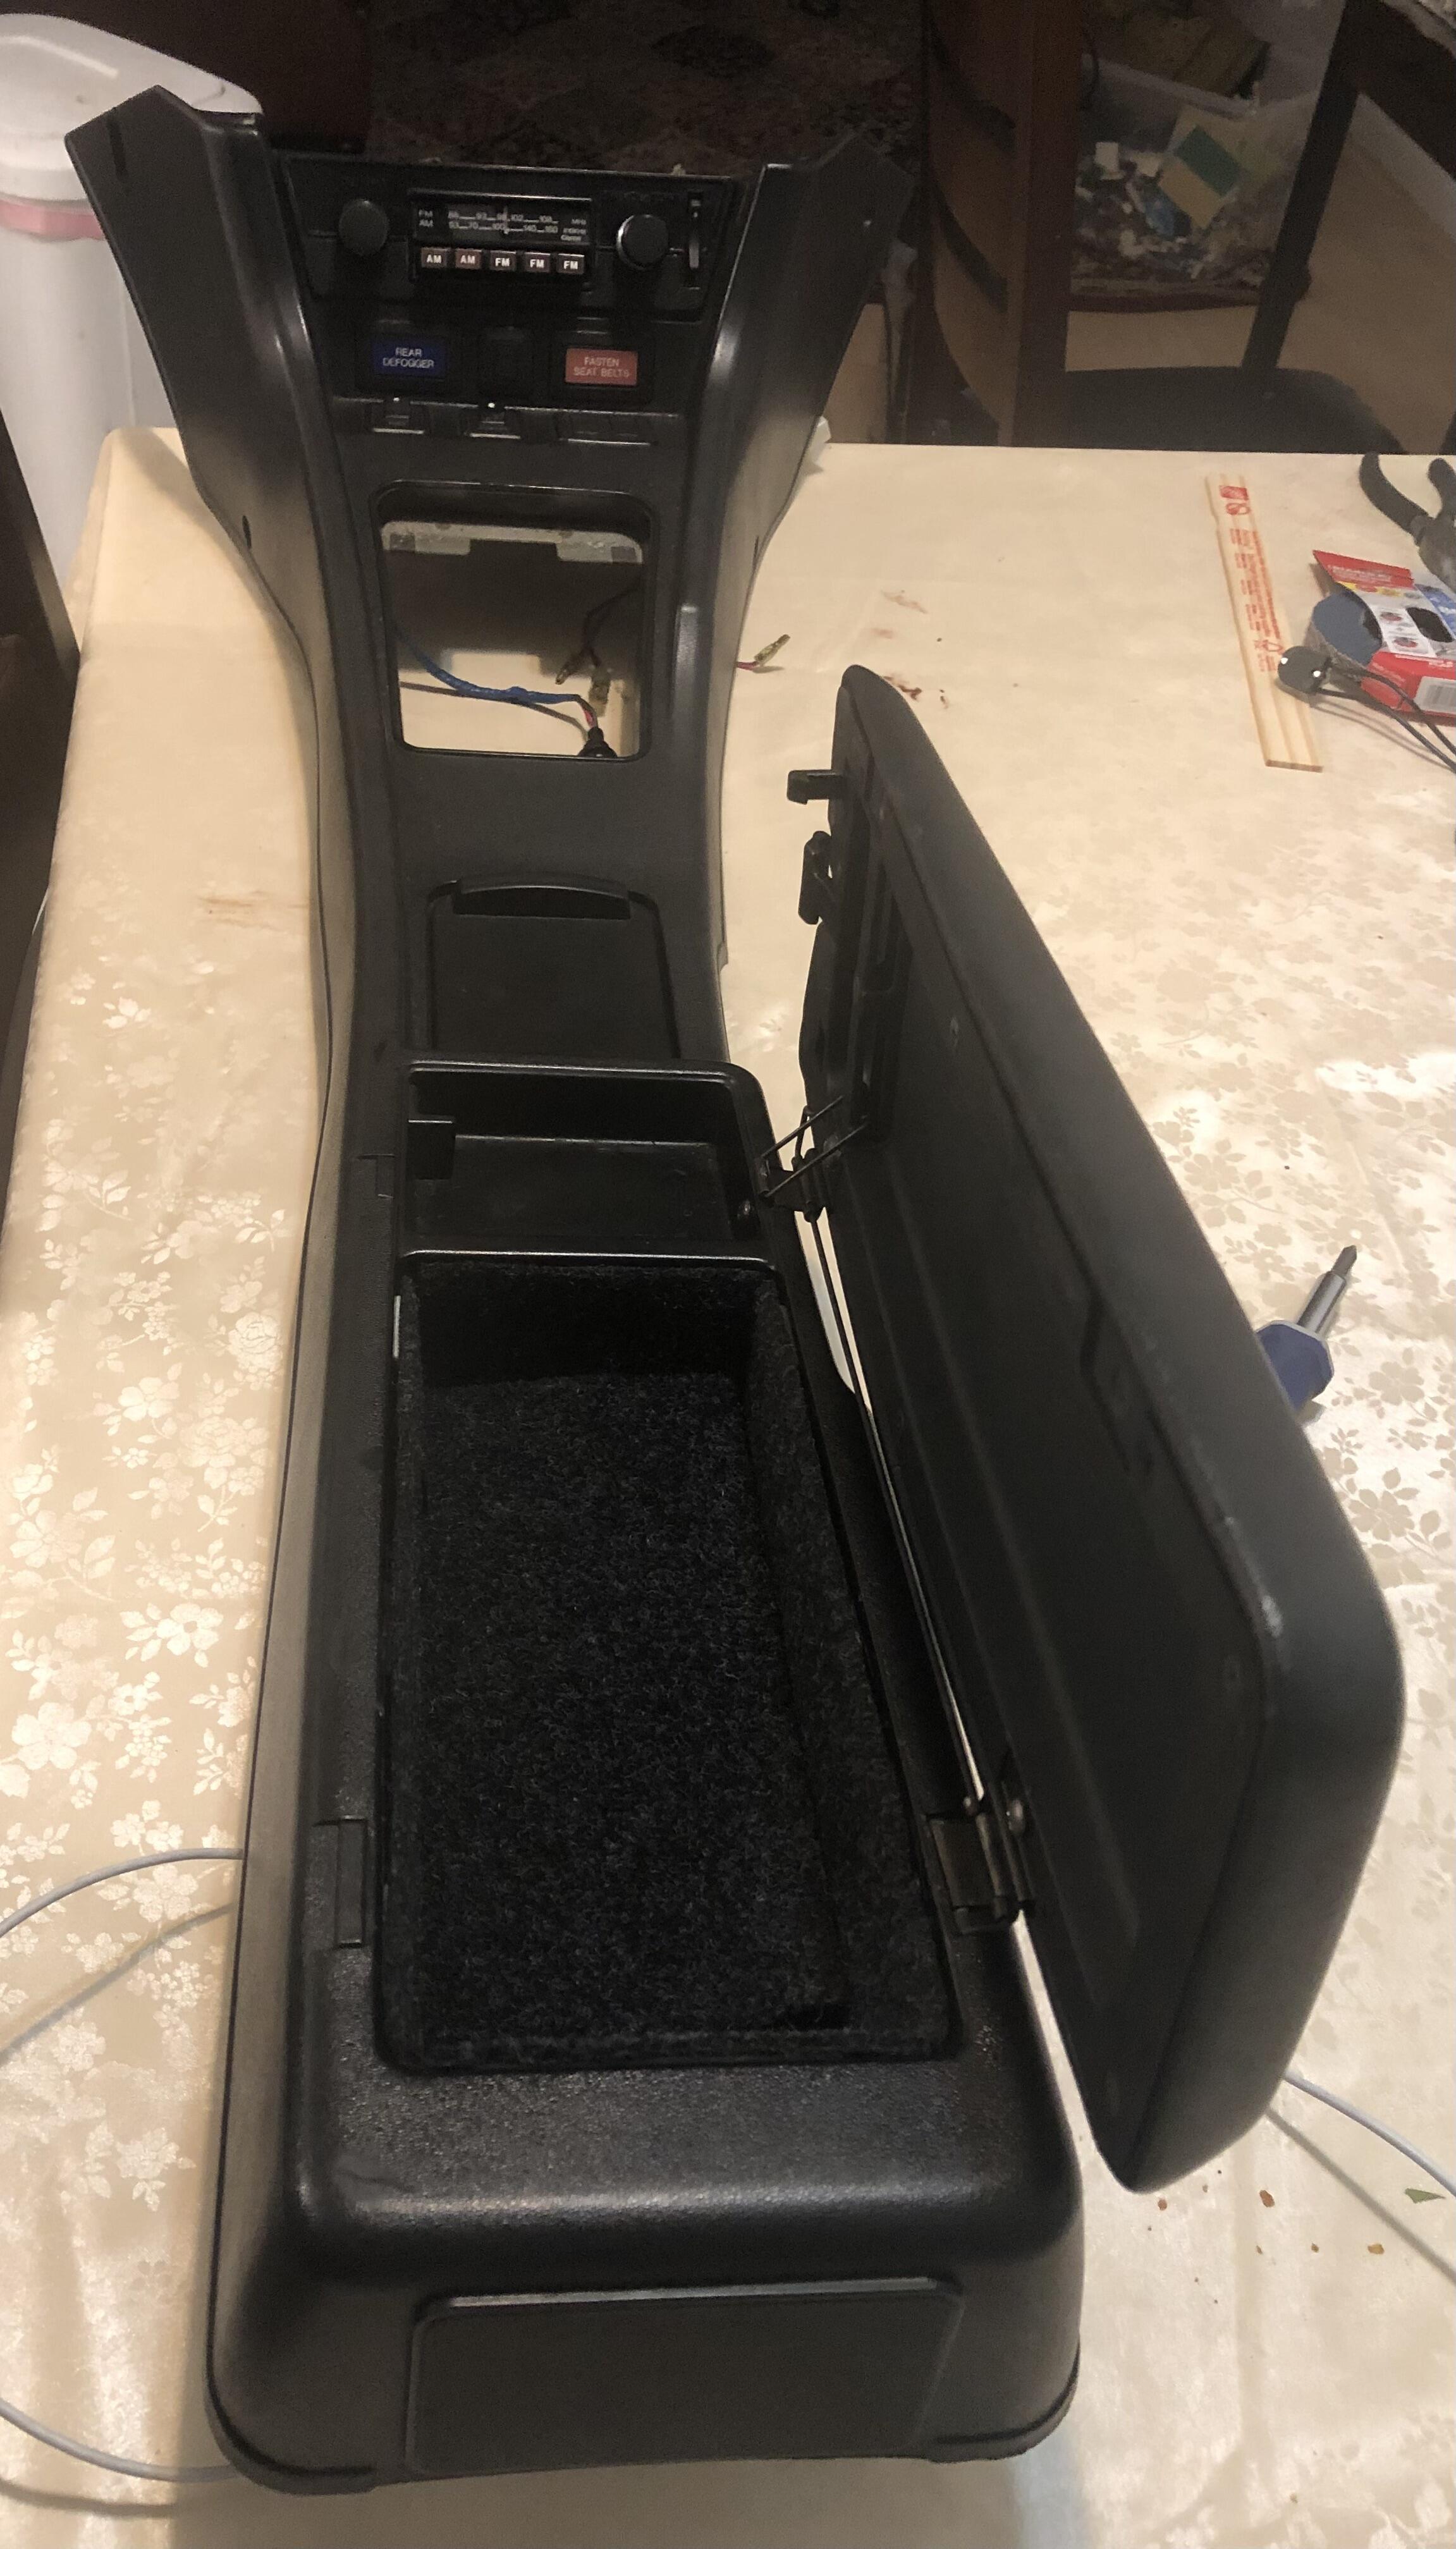
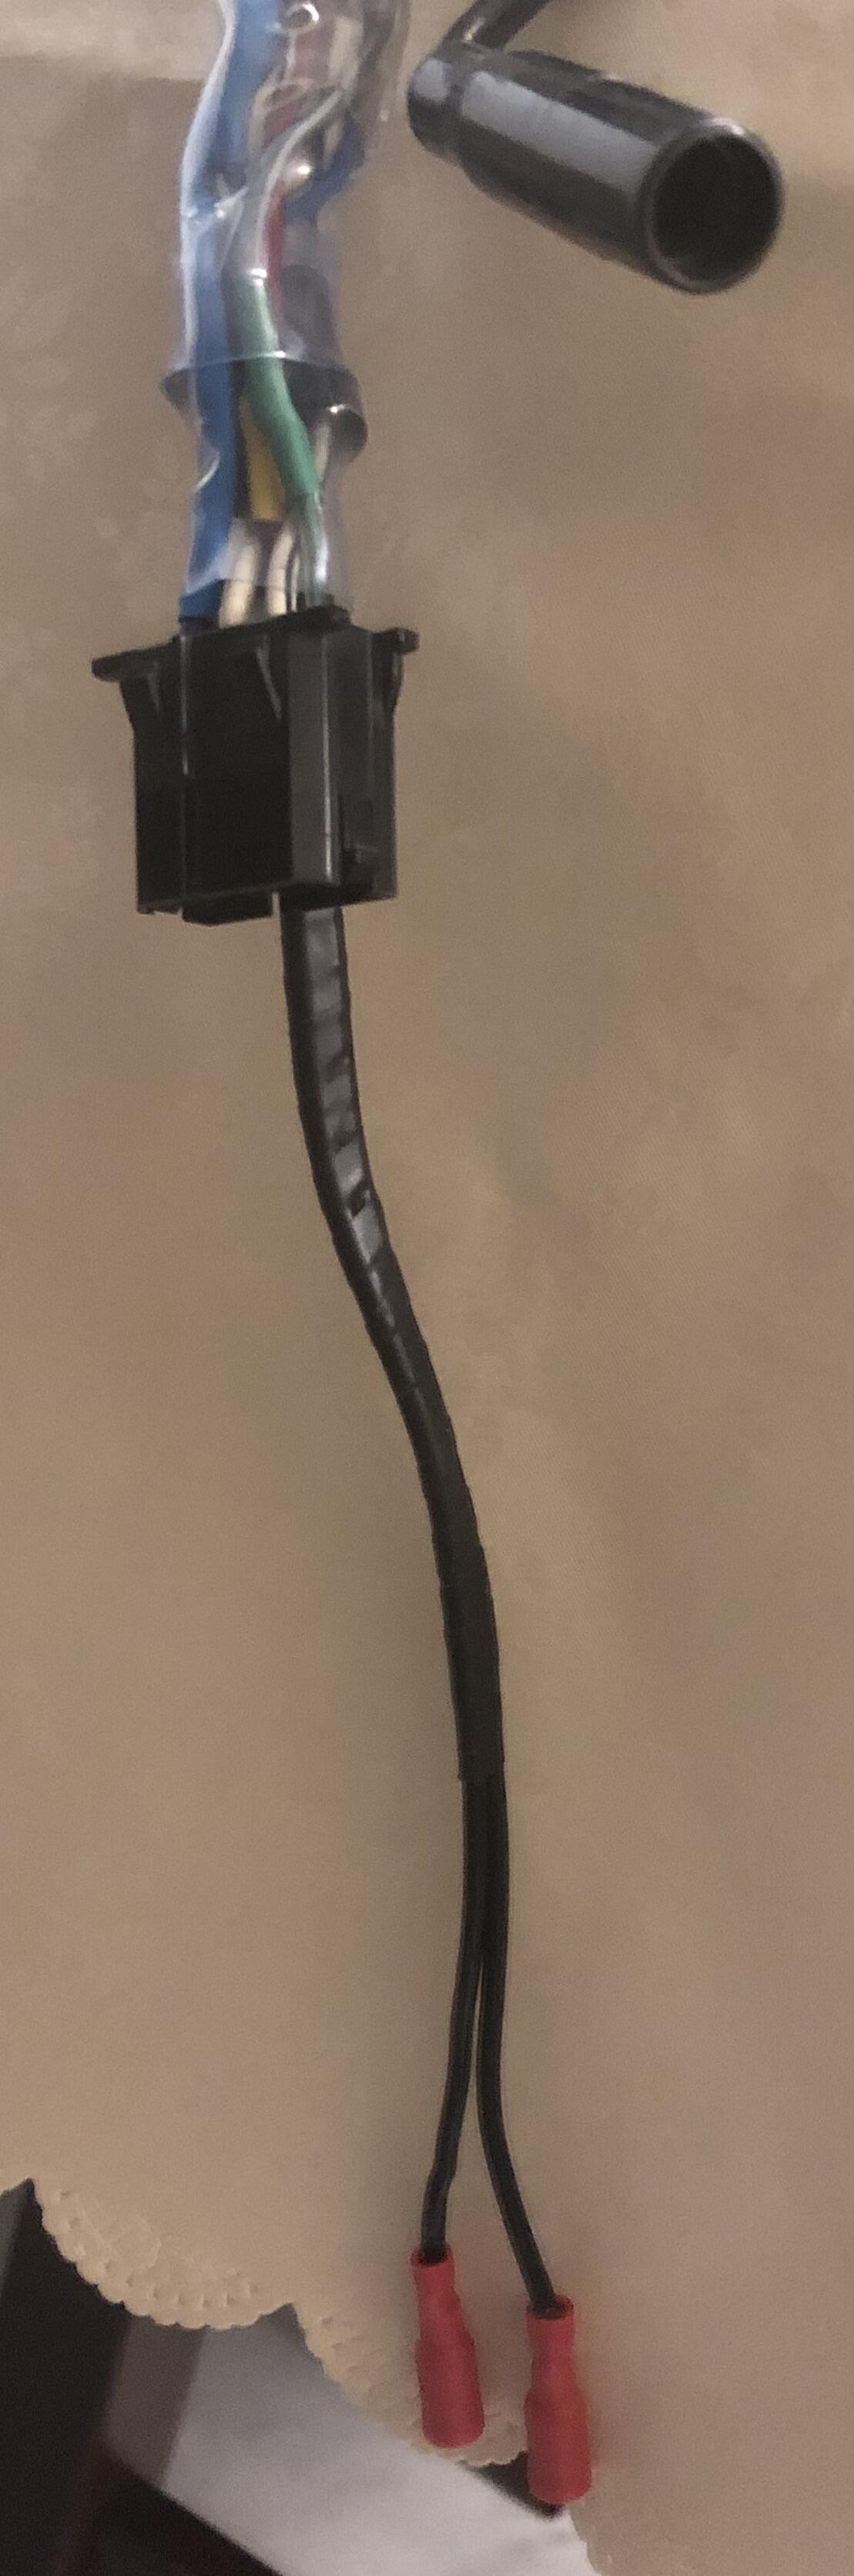
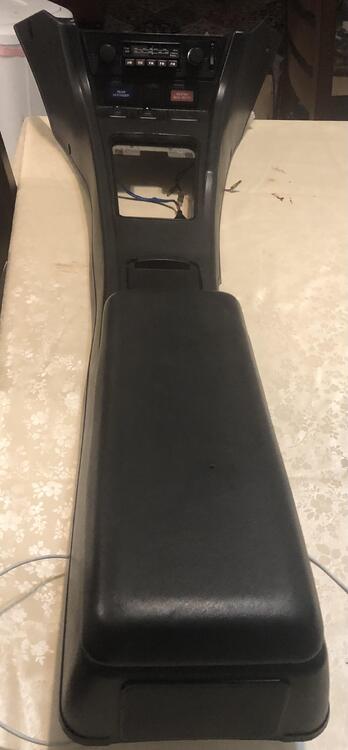
Ready to go in. Mono radio speaker connectors. Don’t have original antenna so plan to put a toggle switch hidden under dash. Wiring for the original antenna is there.


-
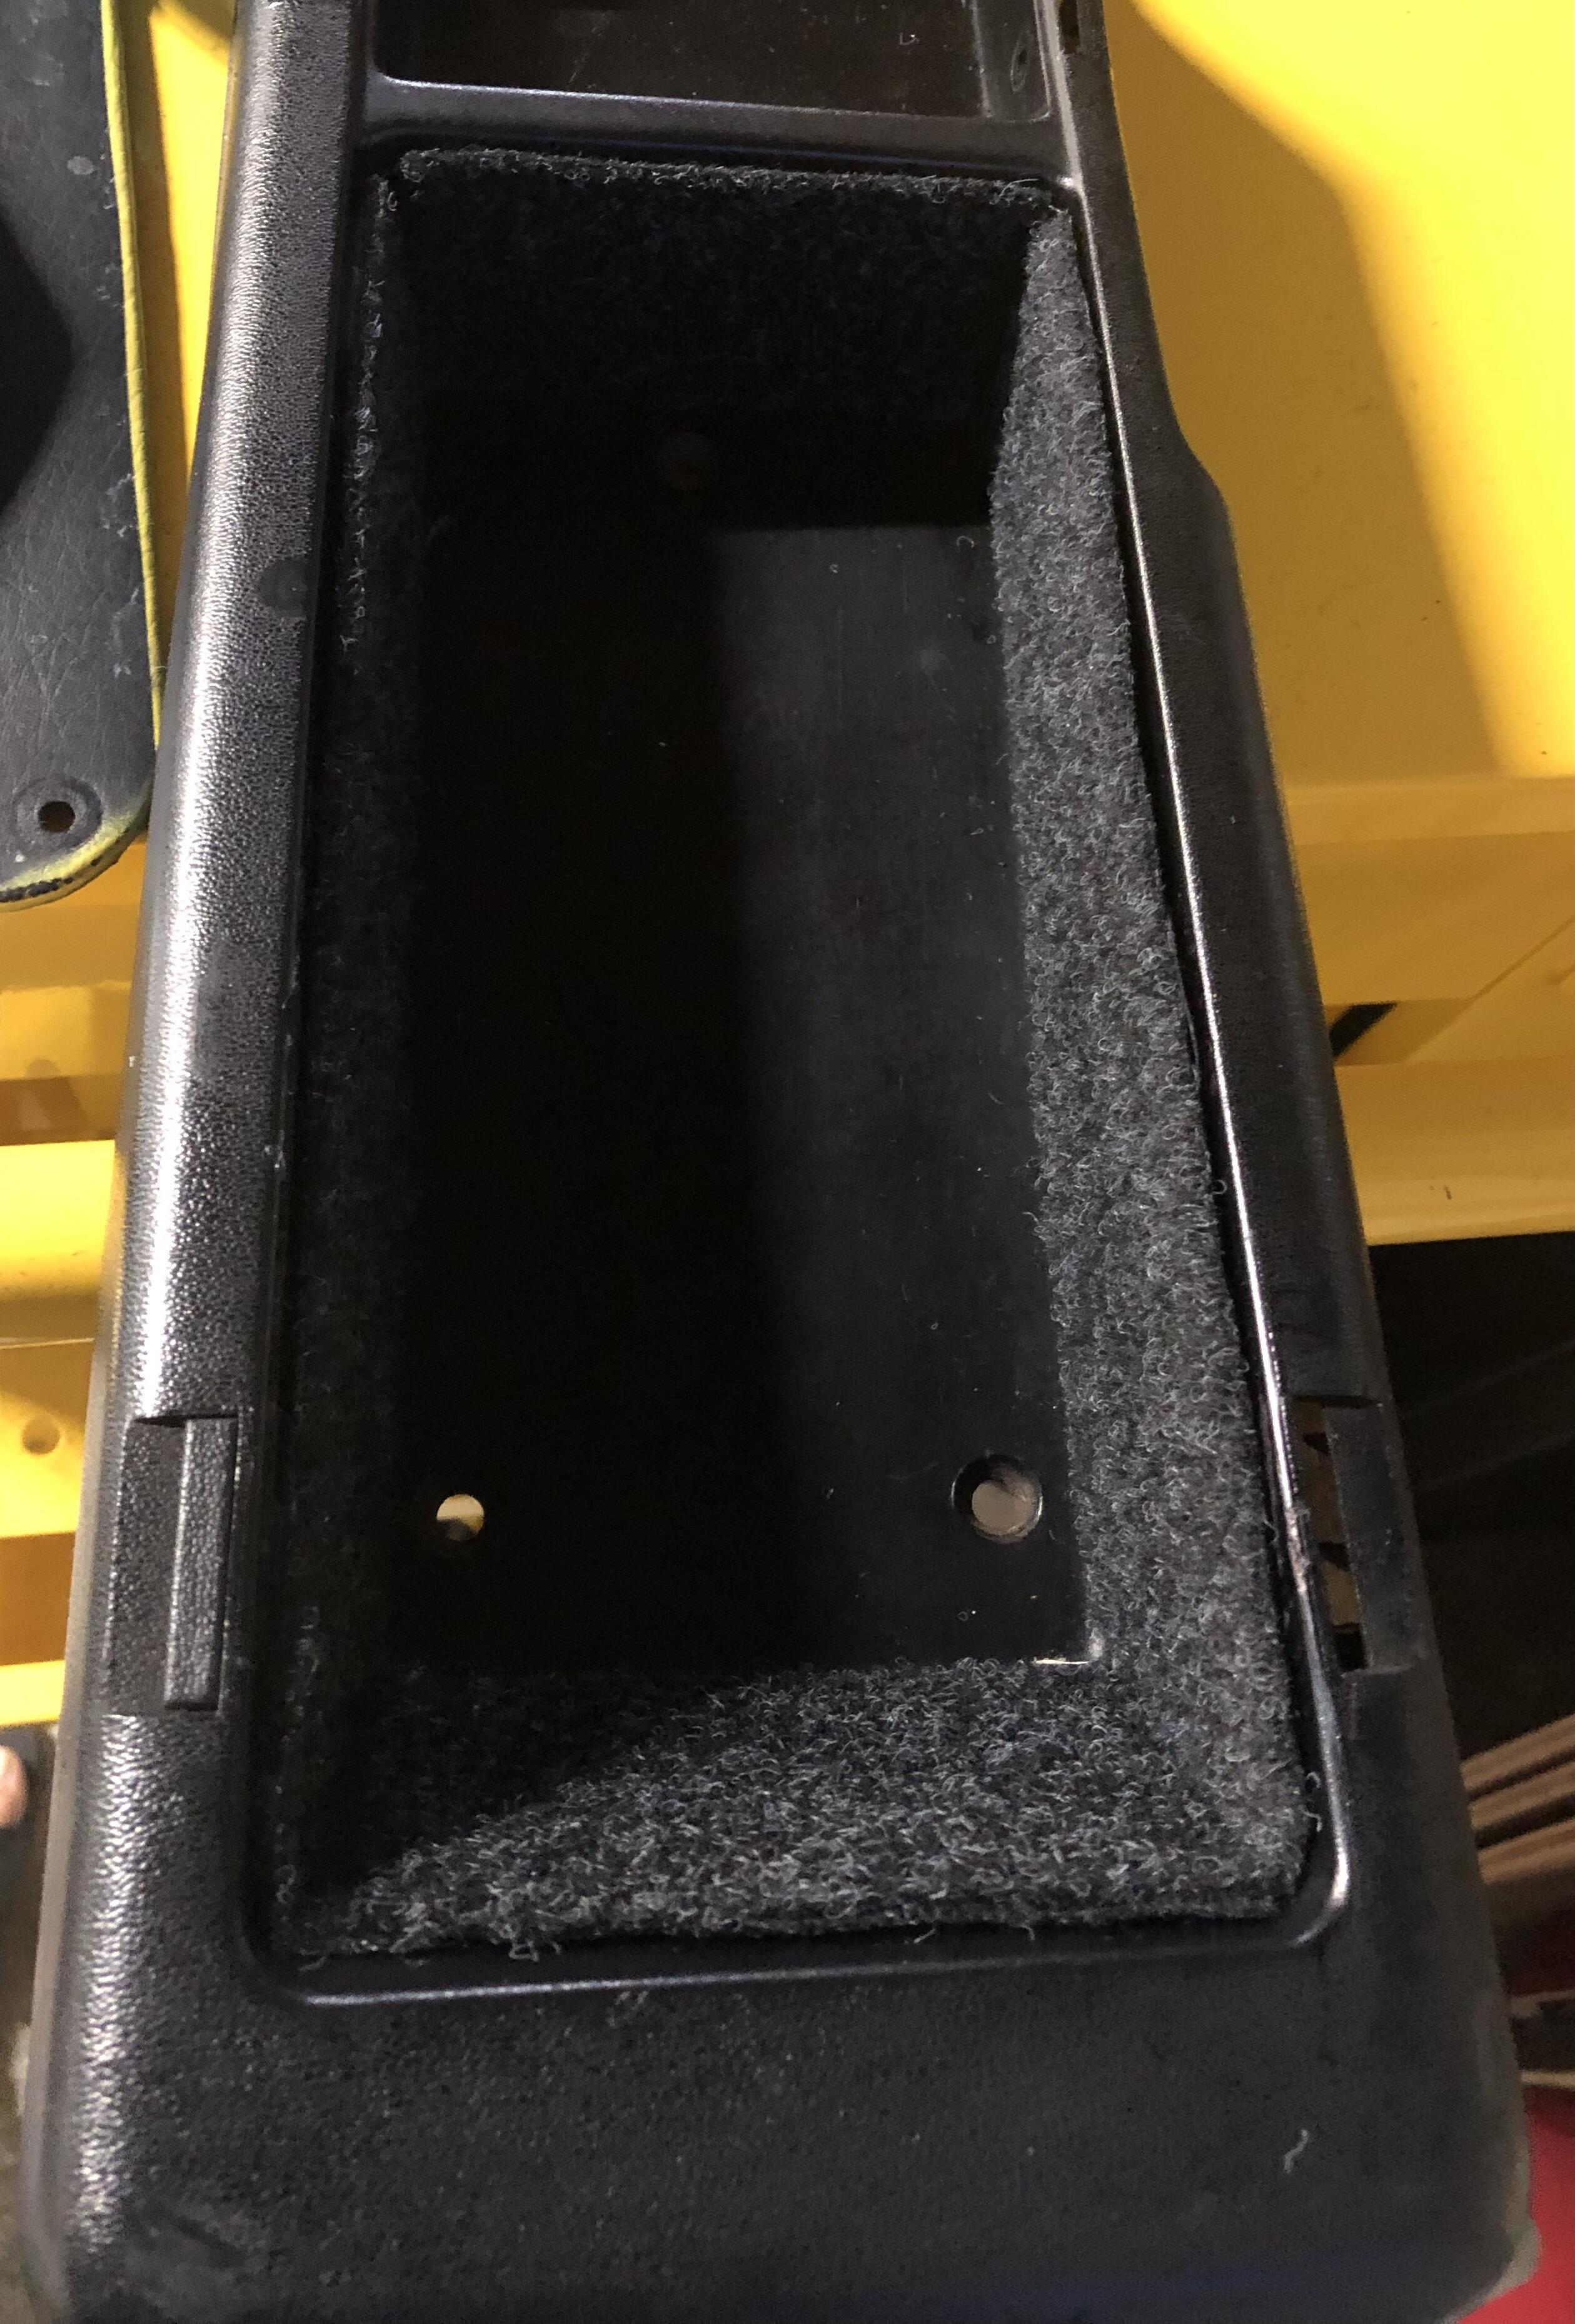
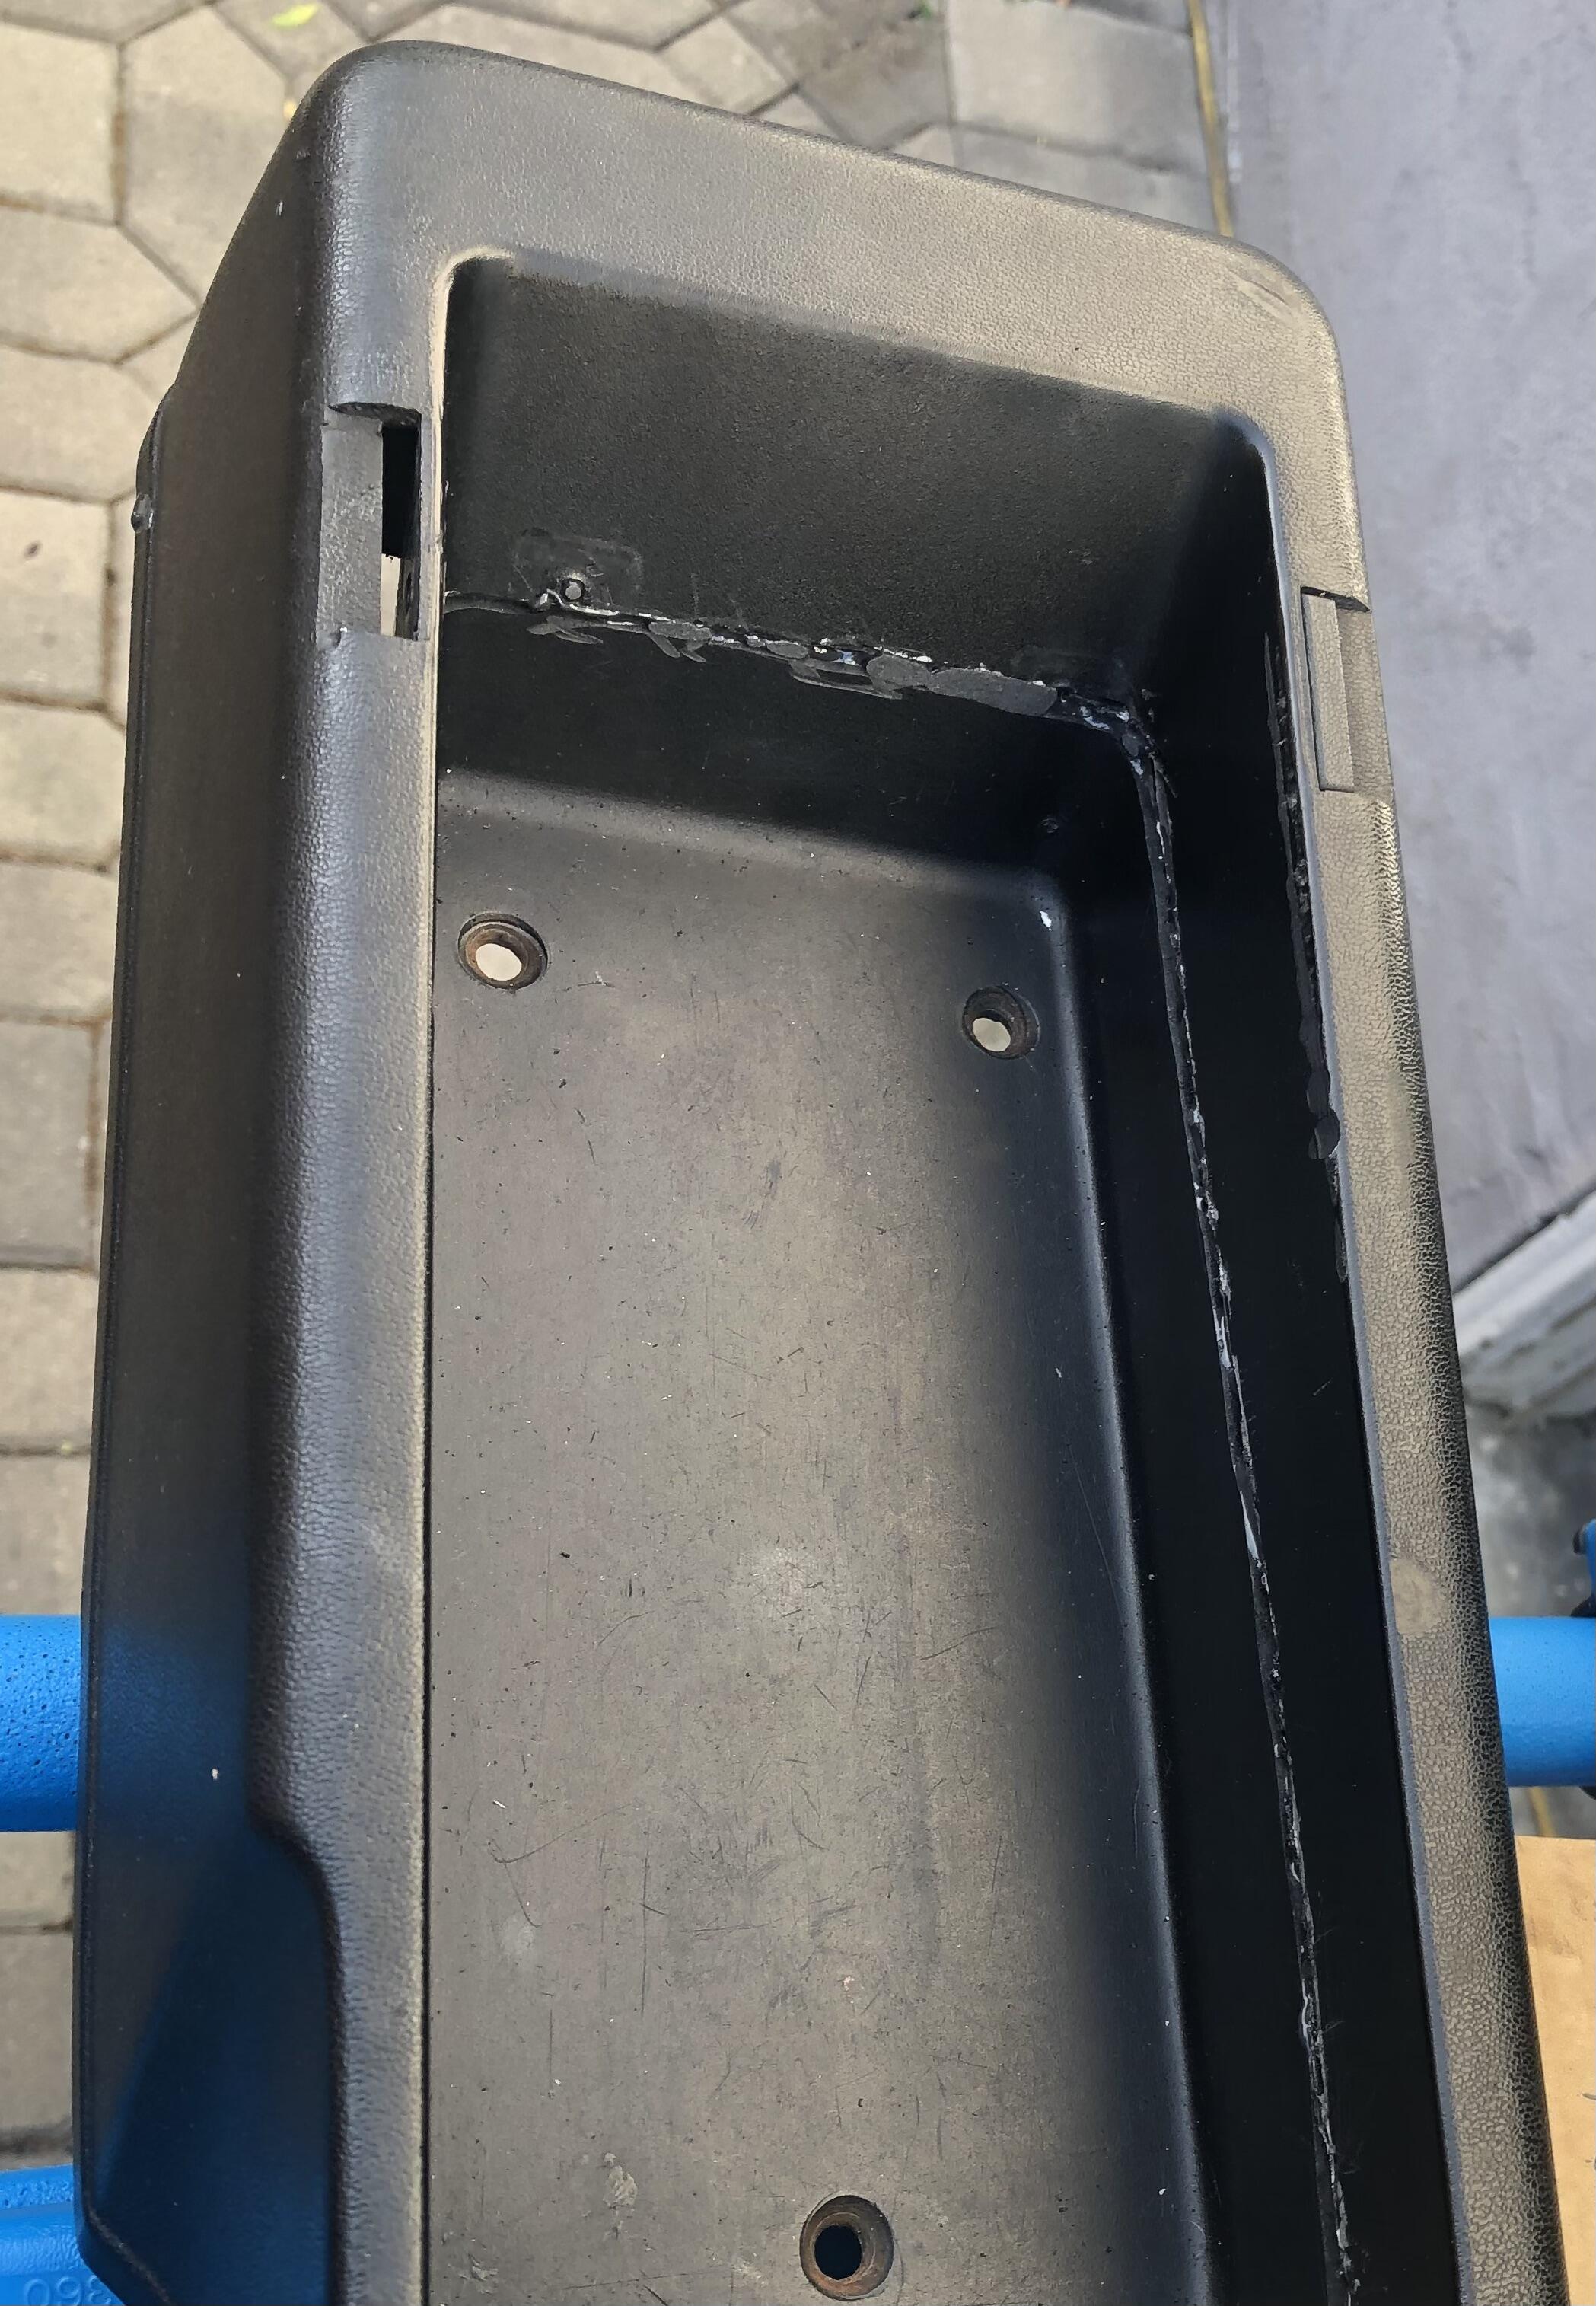
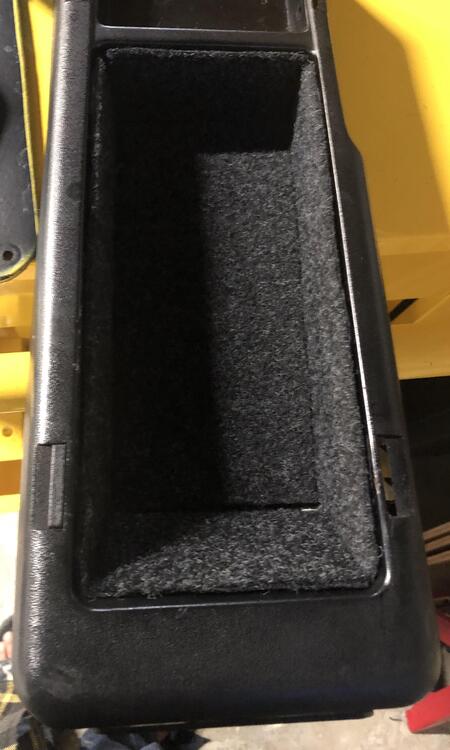
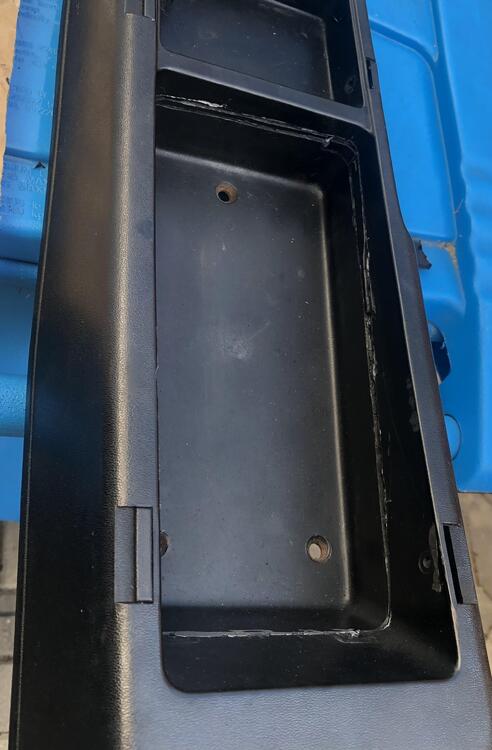
Calling it a day. Seam sealer was good enough for some cosmetic adjustments. Felt is attached with double sided tape.

-
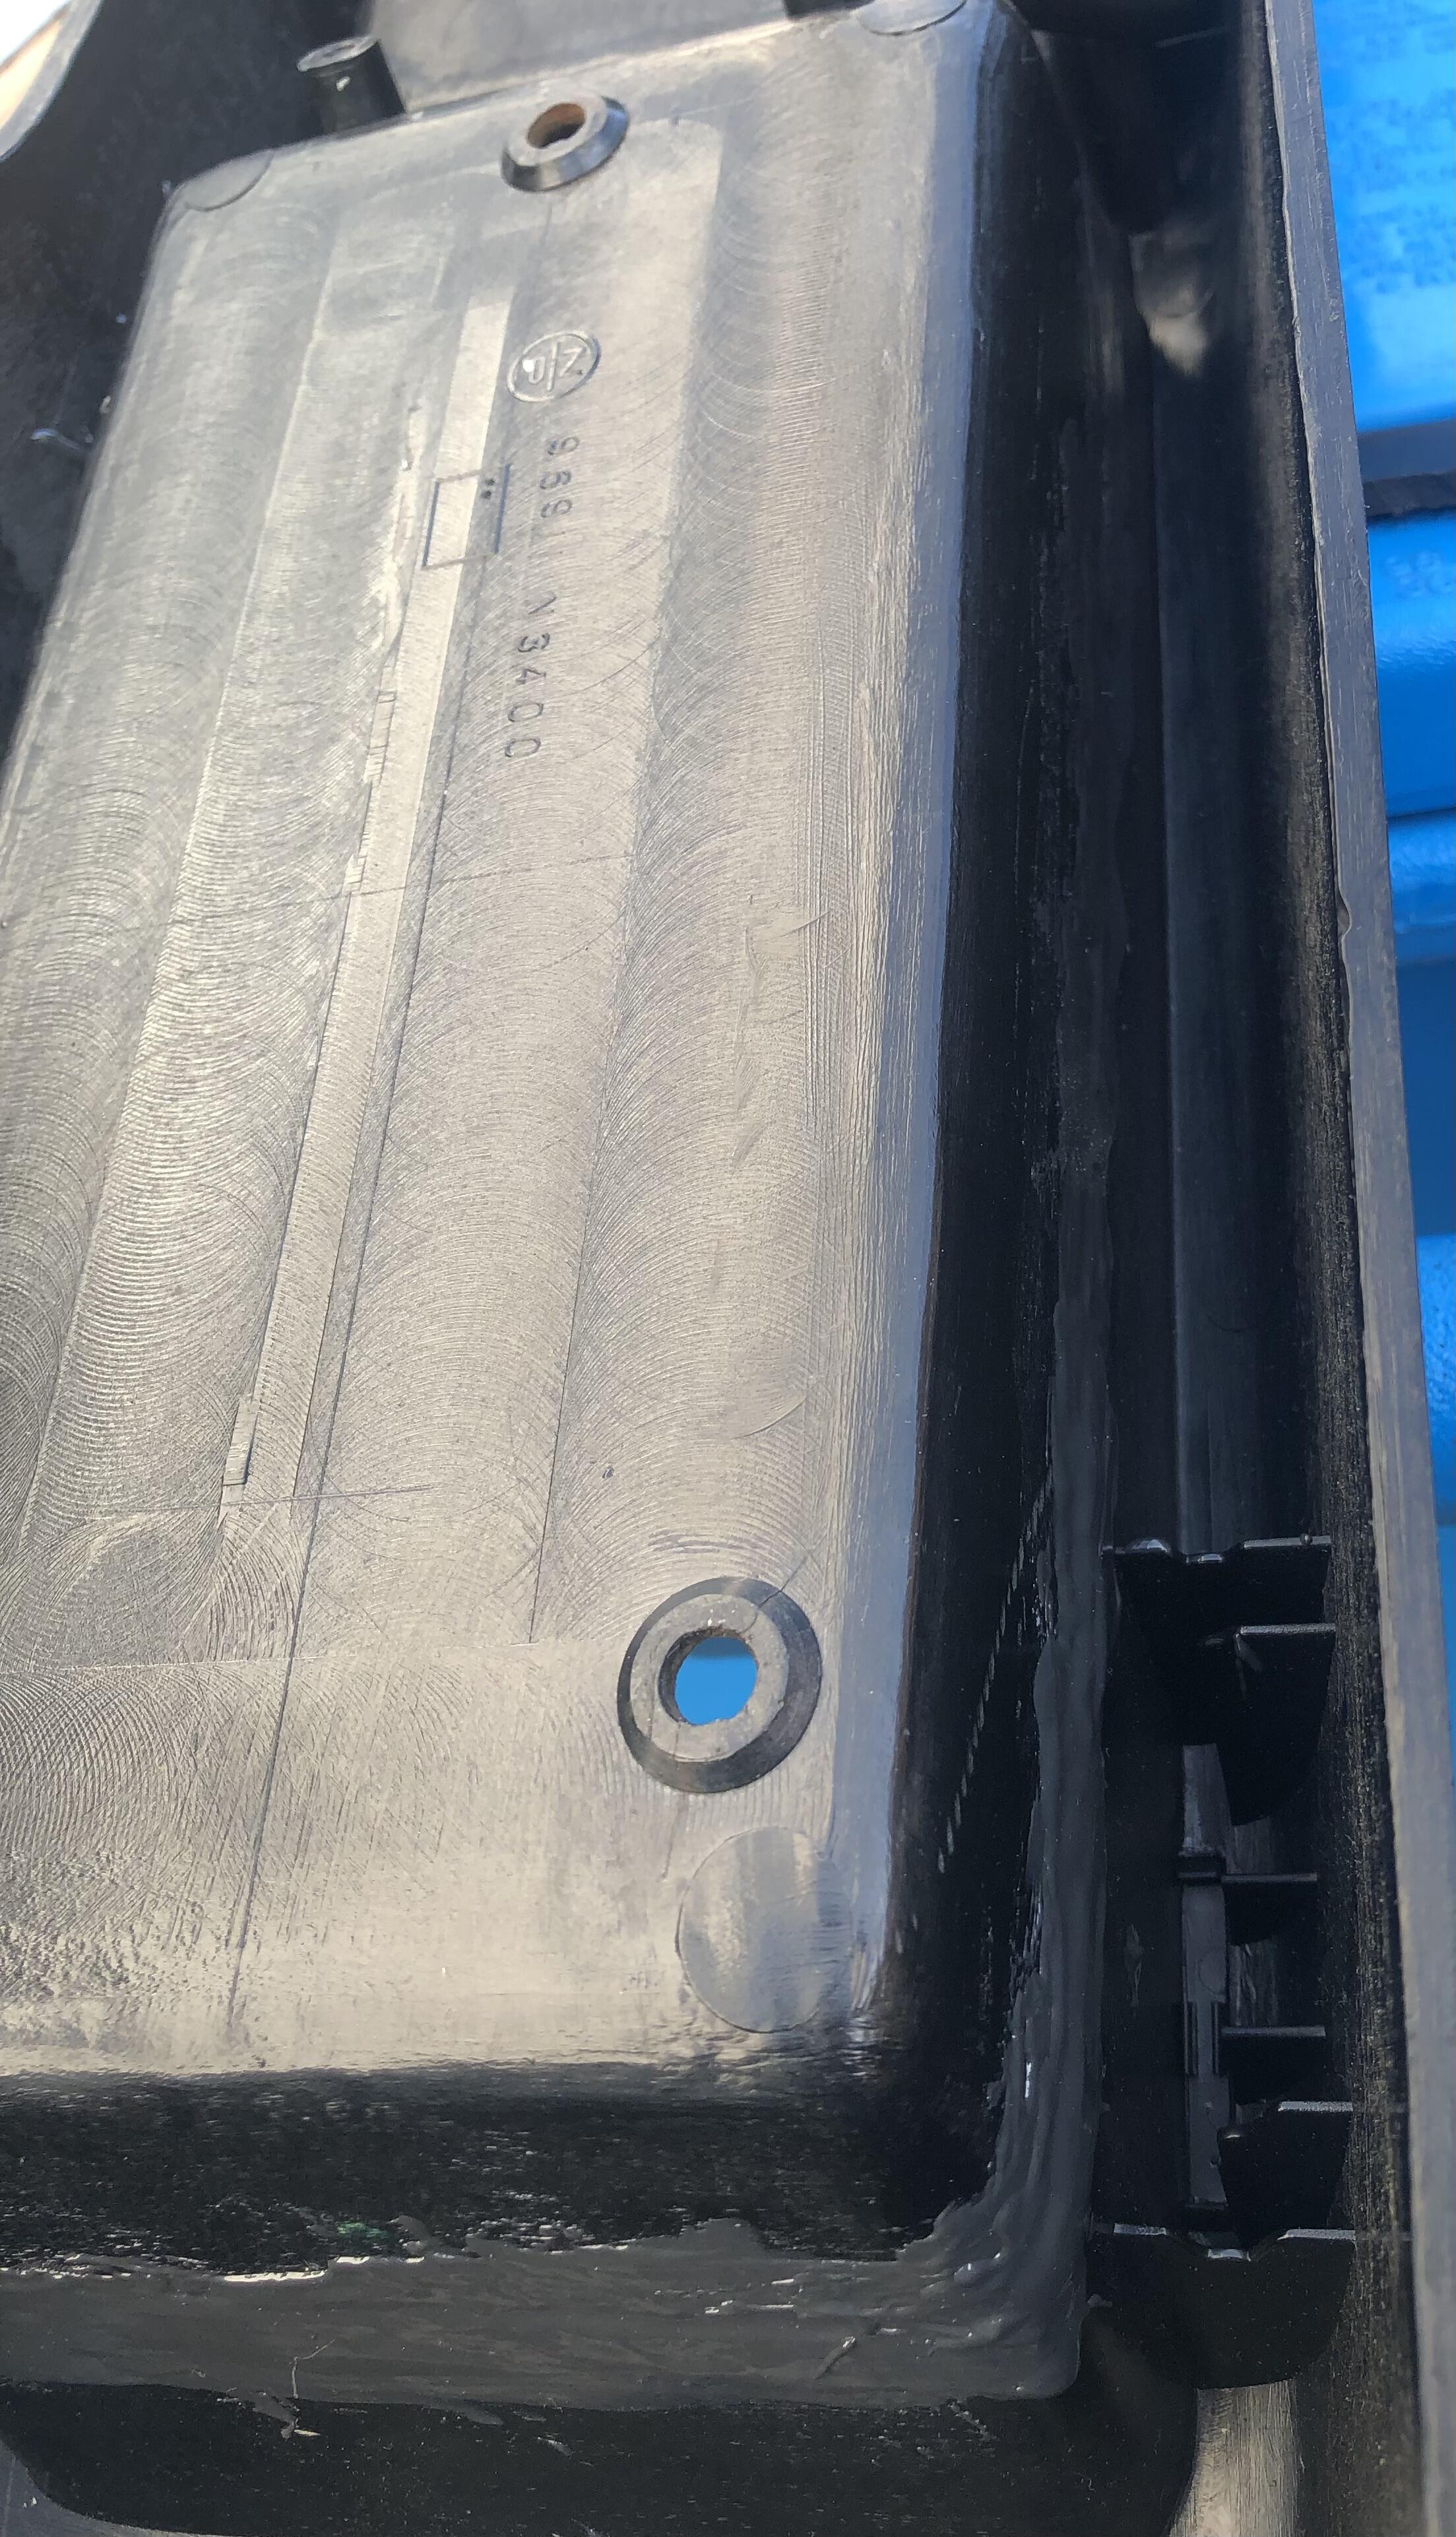
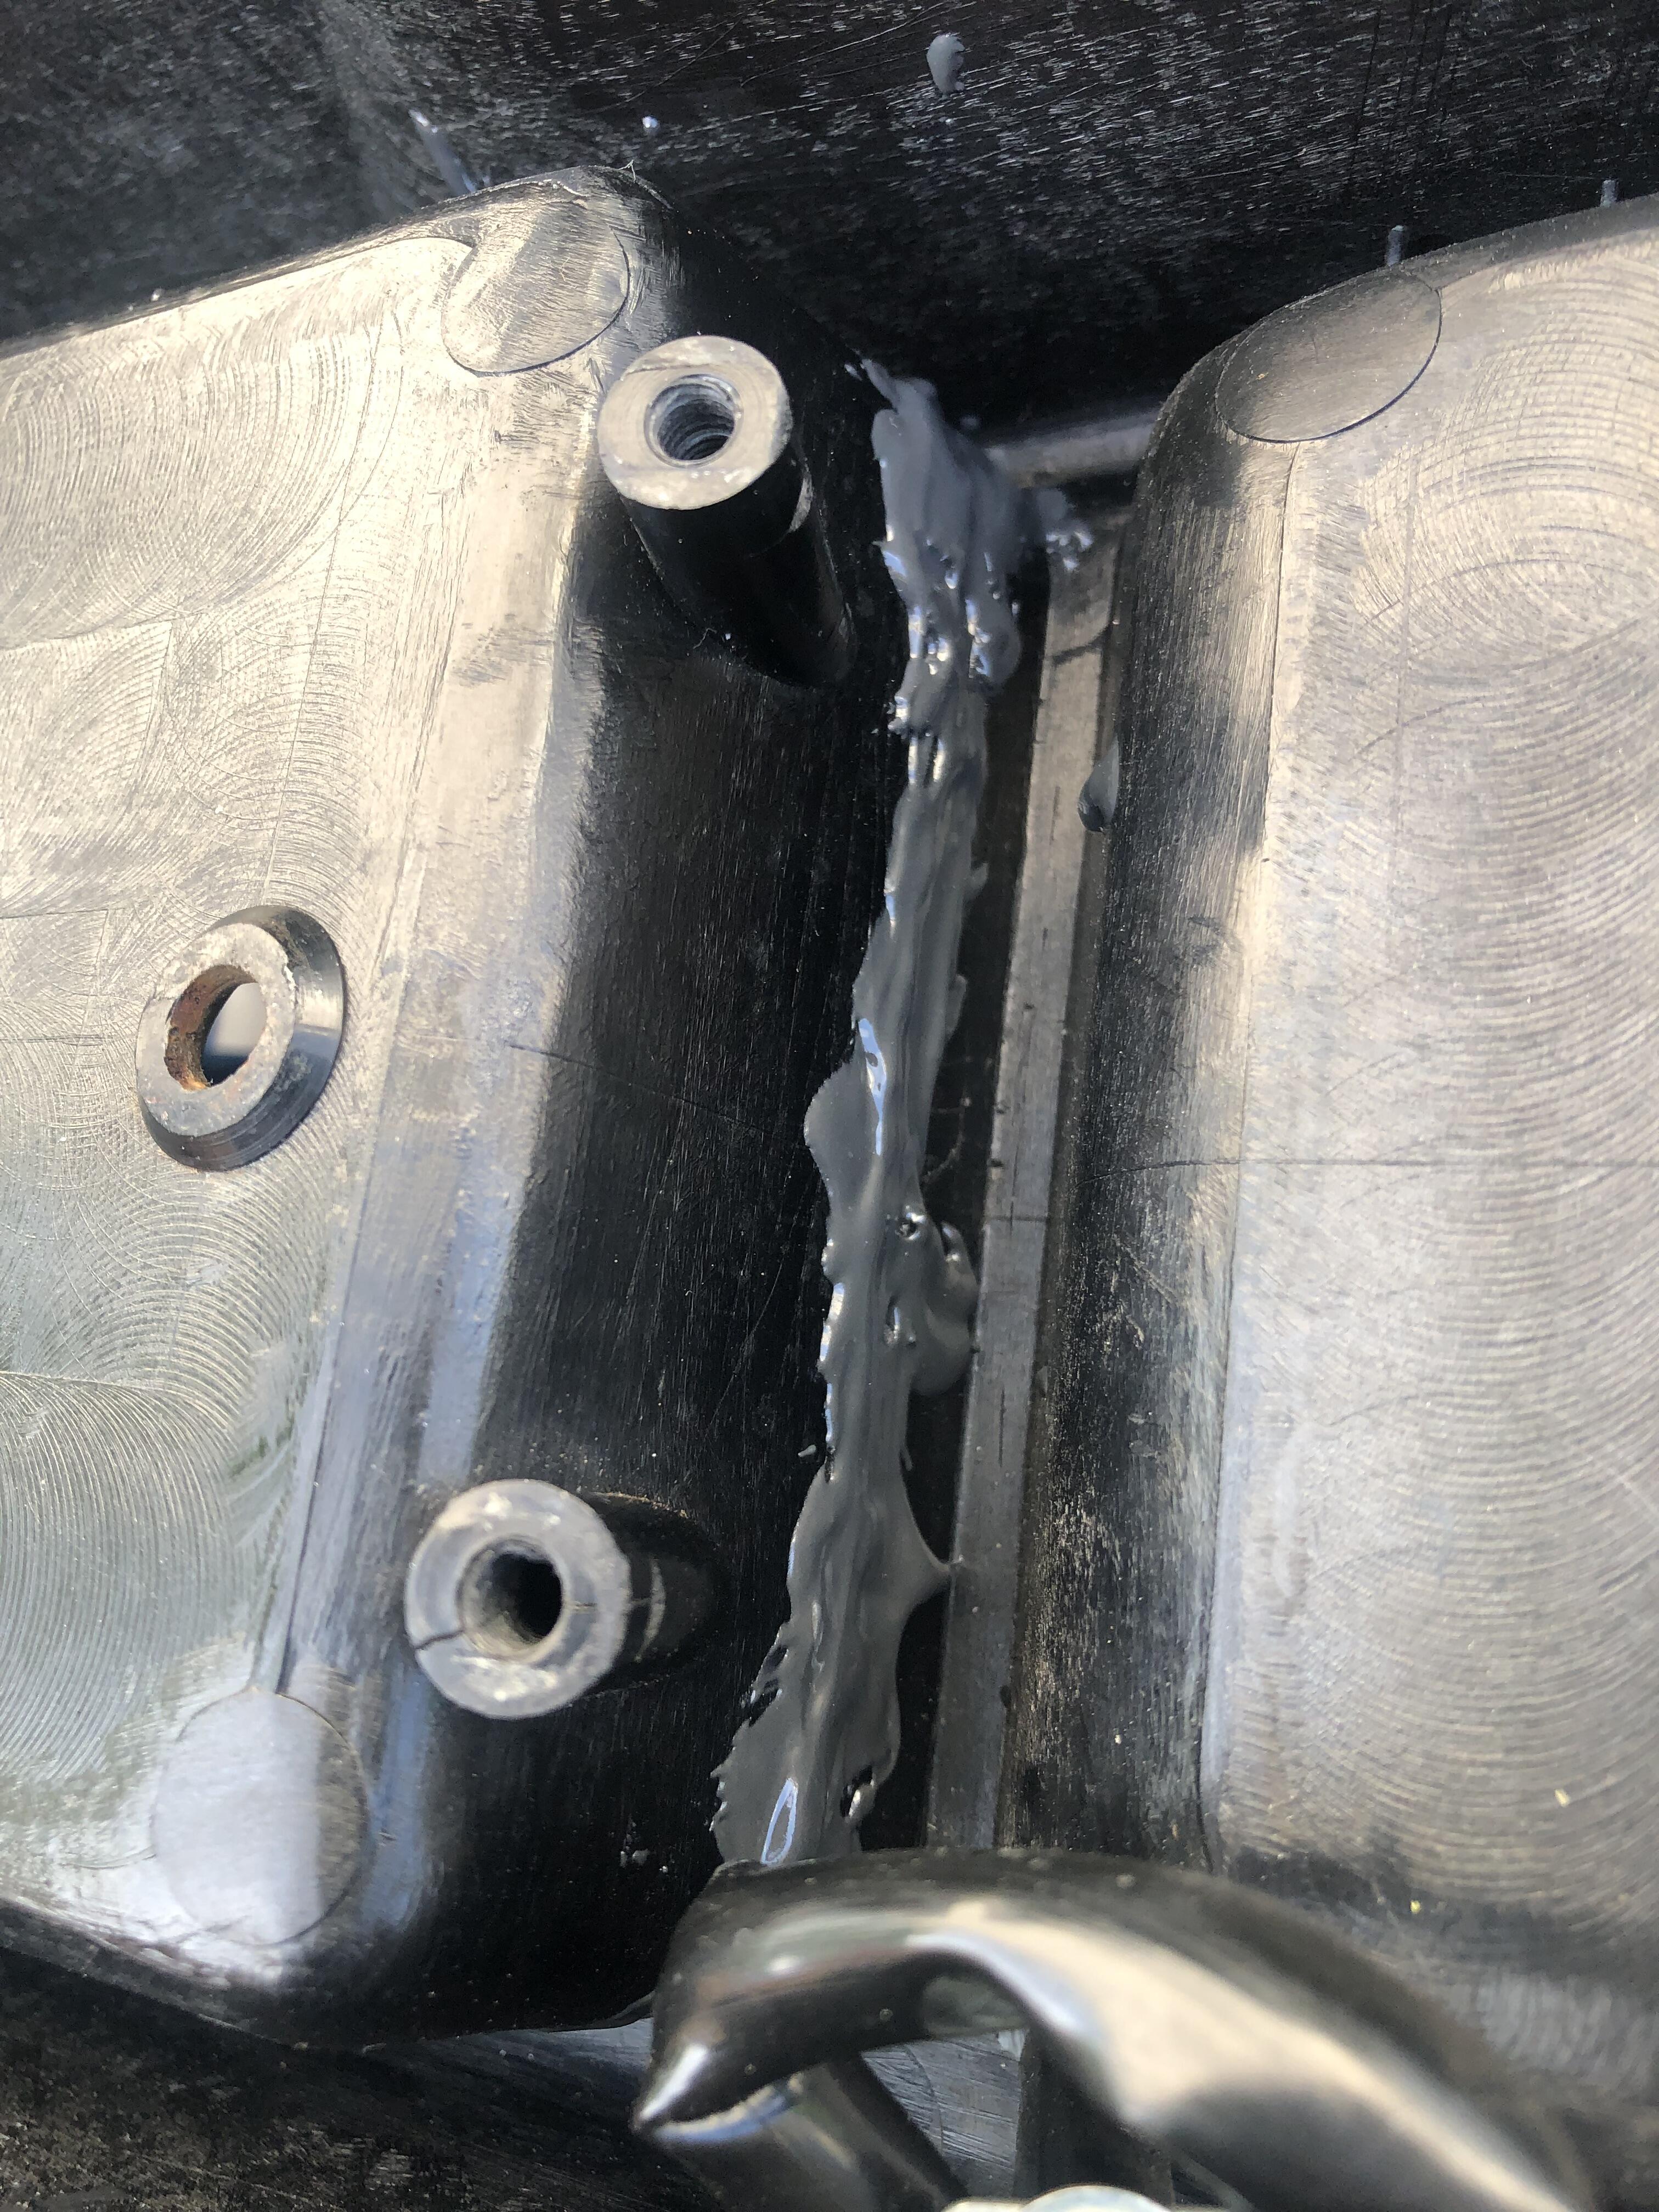
That's why i ended up using black seam sealer from Eastwood (its strong and flexible) as the crease was relatively small. It looks decently flat and matches the color (no need to spray). I plan to put a felt liner inside to cover it.
-
I was thinking about plastic weld but this piece is already attached on the outside with JB Weld. Inside the crease seems to be no more than 1-2 mm. Thats why i feel bondo might be a better option as it wont mess up the plastic around which plastic welding will and epoxy is very hard to sand after it is set. Will spot test this product and will report back. https://www.walmart.com/ip/Bondo-Glazing-and-Spot-Putty-00907ES-4-5-oz-1-Tube/16927984?wmlspartner=wlpa&selectedSellerId=0&wl13=5435&adid=2222222227716927984_117755028669_12420145346&wmlspartner=wmtlabs&wl0=&wl1=g&wl2=c&wl3=501107745824&wl4=pla-306310554666&wl5=9032151&wl6=&wl7=&wl8=&wl9=pla&wl10=8175035&wl11=local&wl12=16927984&wl13=5435&veh=sem_LIA&gclsrc=aw.ds&&adid=2222222223716927984_117755028669_12420145346&wl0=&wl1=g&wl2=c&wl3=501107745824&wl4=pla-306310554666&wl5=9032151&wl6=&wl7=&wl8=&wl9=pla&wl10=8175035&wl11=local&wl12=16927984&veh=sem&gad_source=4&gclid=CjwKCAjwuJ2xBhA3EiwAMVjkVCb3MAiZZ7fniP_GEnK1Ce8a0edcONIymlO-a23xqCLkPsh0skynYhoCztIQAvD_BwE
-
Yes, donor was pretty heavily damaged in other places plus mine also has a lid/armrest to cover this pocket which i have taken off for now. Donor didnt had the armrest.
-
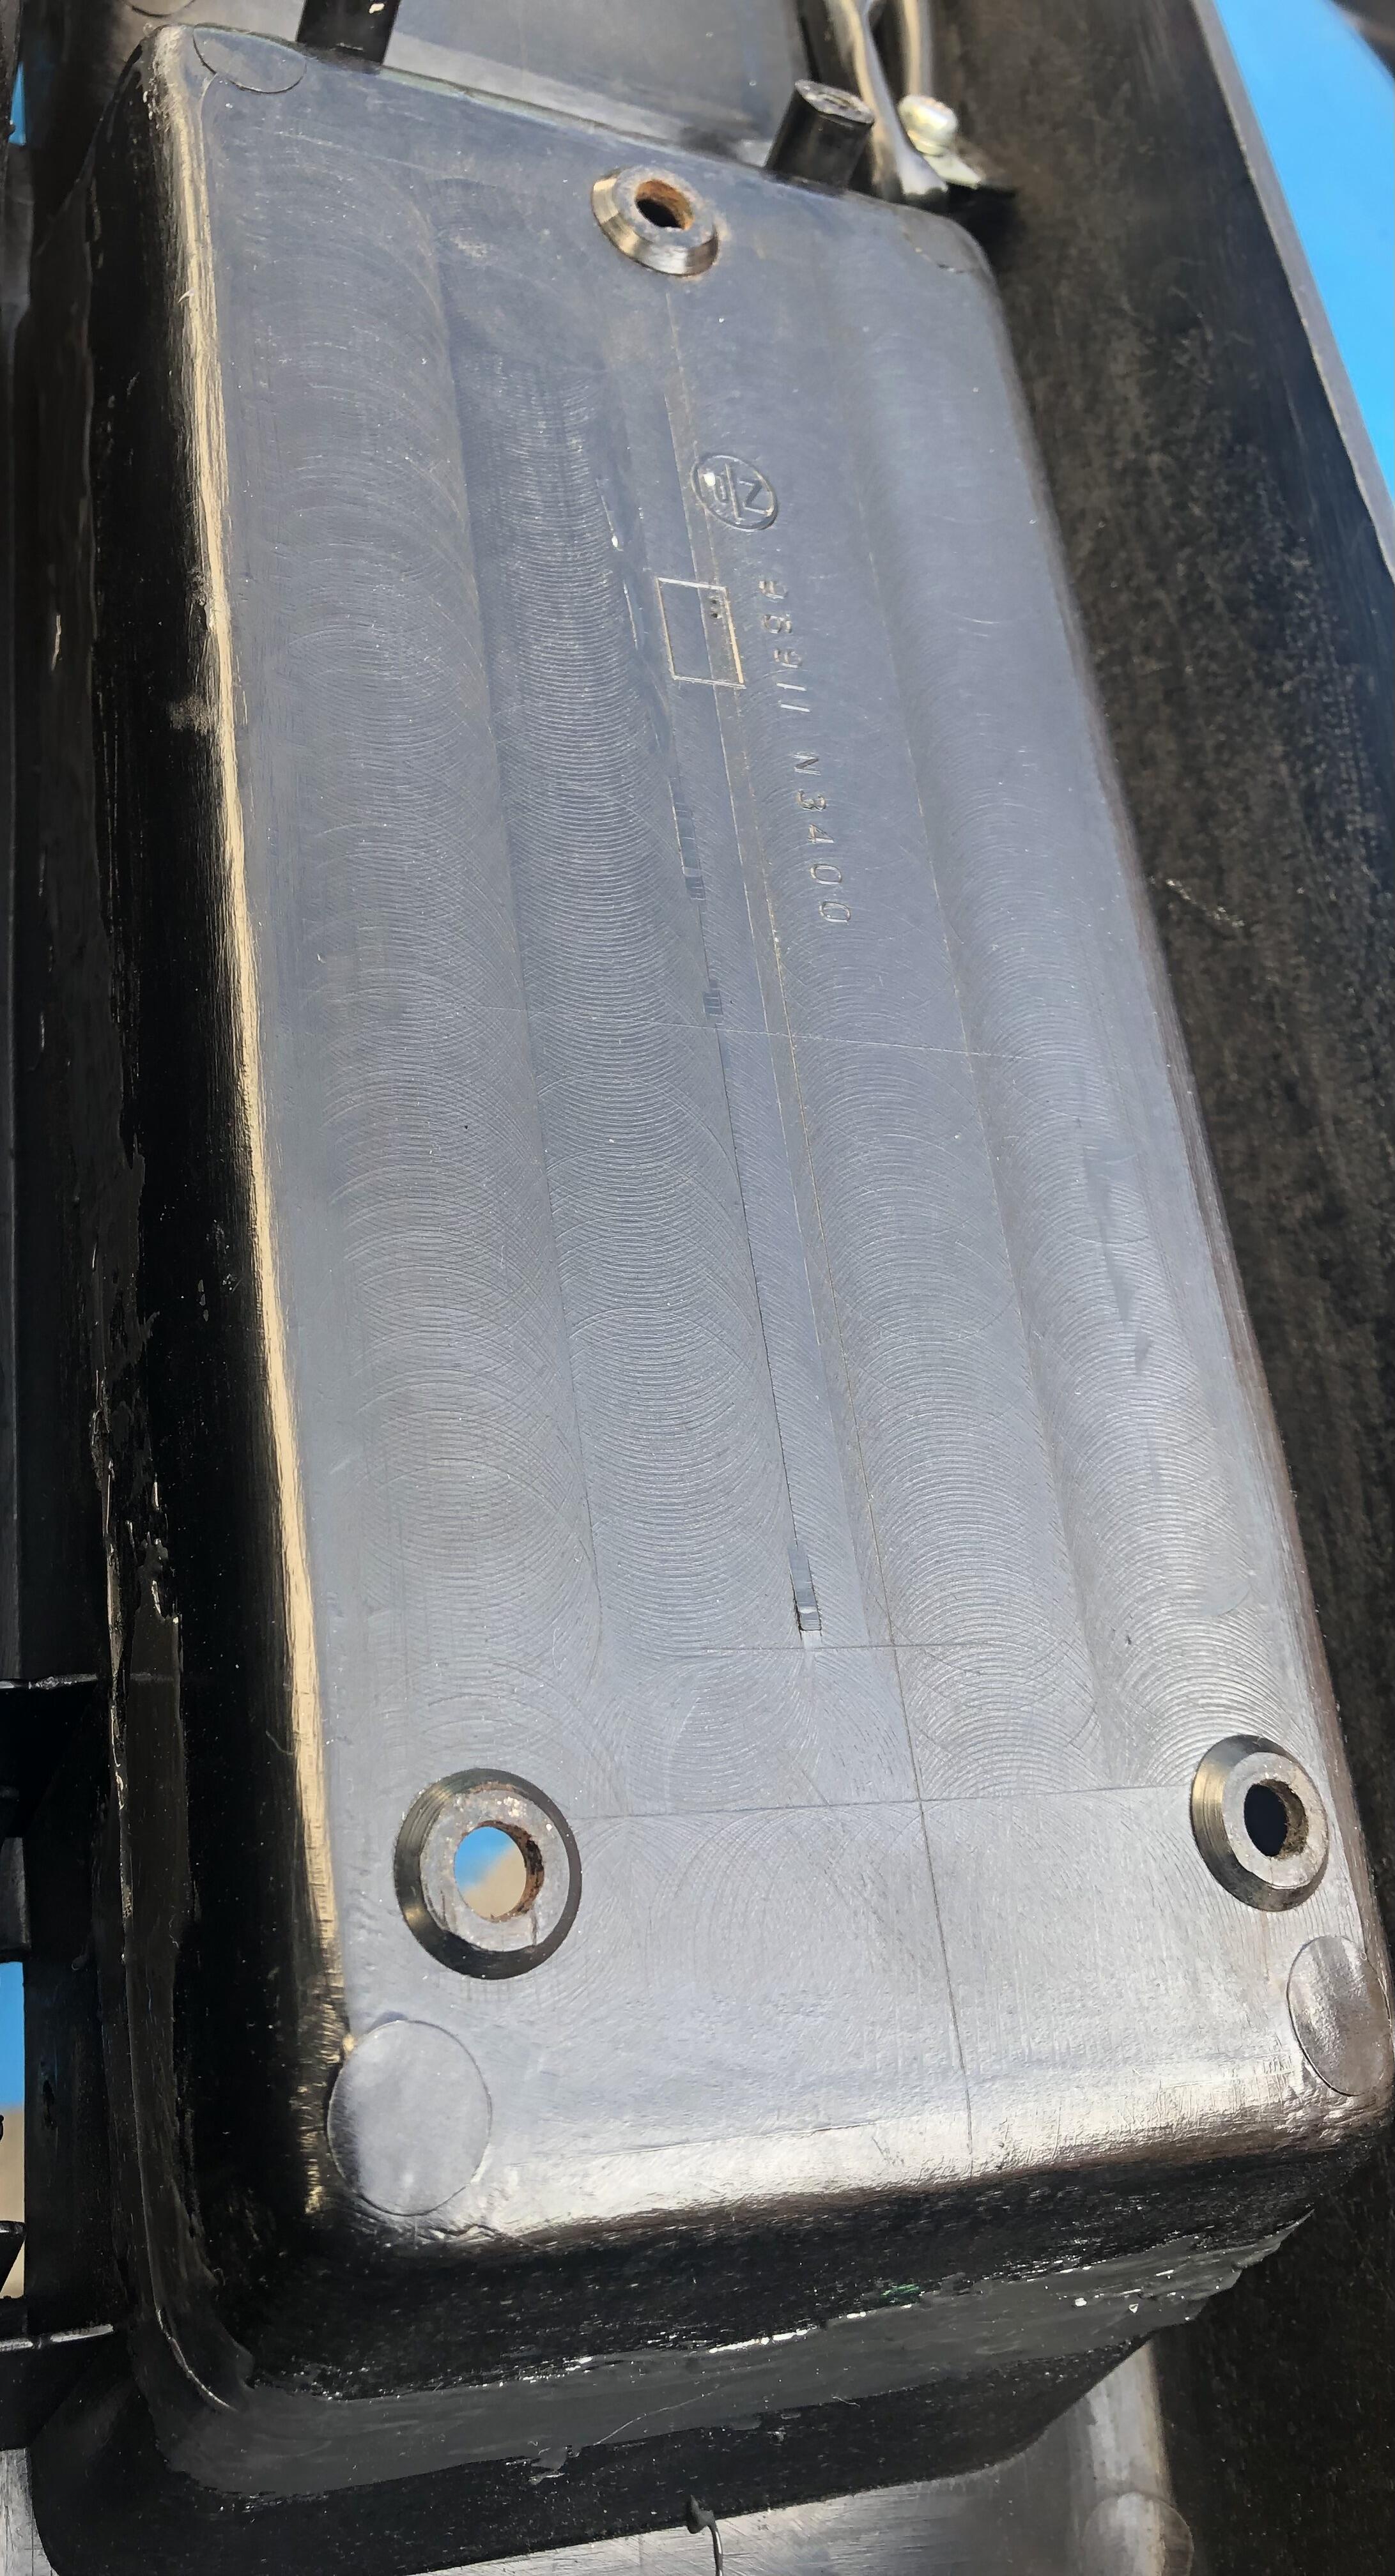
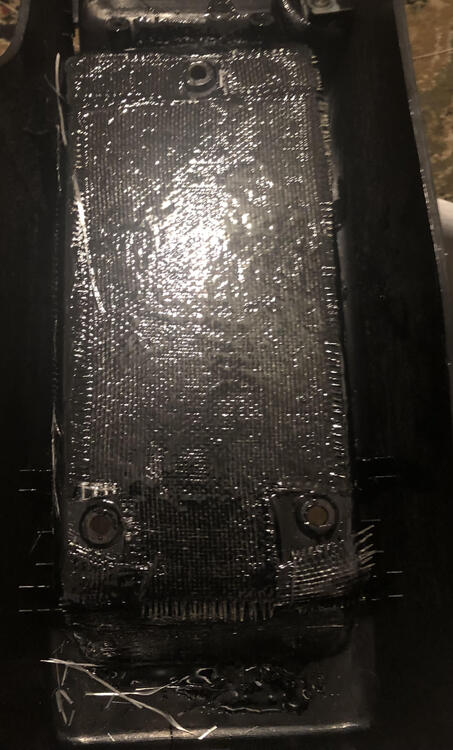
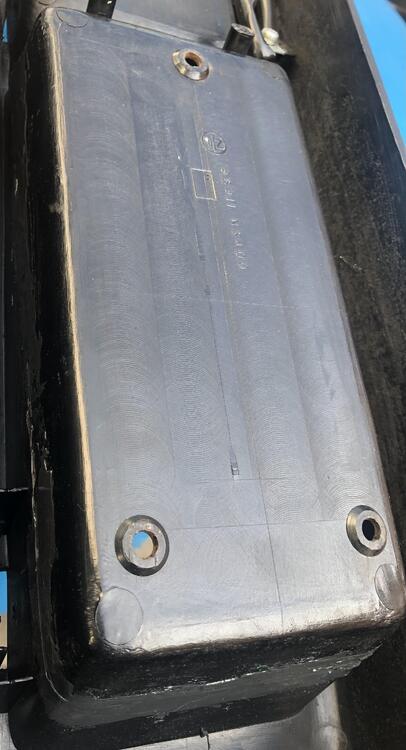
The fiberglass single layer is strong enough for this application. I am thinking to just mask the inside and use a bead of bondo to close the gap instead of plastic weld which is a messy work. Light black paint after that. Any thoughts?
-
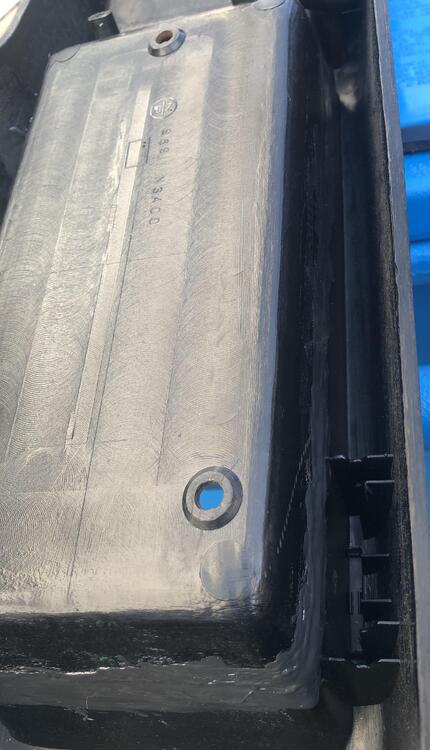
Finally found a donor. Here is some progress. Not an excellent fix but coming along. I was able to put a JB weld on the outside while keeping it taped on the inside so that it does not spill inside. Seems like it worked well. Now planning to use a heat gun to melt some plastic and even out the surface in the inside and probably some light black spray coat. I am also planning to put some fiber glass strips on the outside underneath where it starts to crack mostly to avoid future damage. Will keep posted.


-
I have the original AC compressor and it looks like in a decent shape. Is there a reliable place where these can be rebuilt? I am planning to grab some R12 from a guy locally and use that. or do u guys recommend putting R132? also i would need condensor and receiver drier. Where to get those? Also is it a DIY job to remove the compressor etc. and put it back? Would really appreciate any guidance. My heater works fine. The 2nd owner had the AC switch wire near heater control pulled off to keep the compressor disenageged.
-
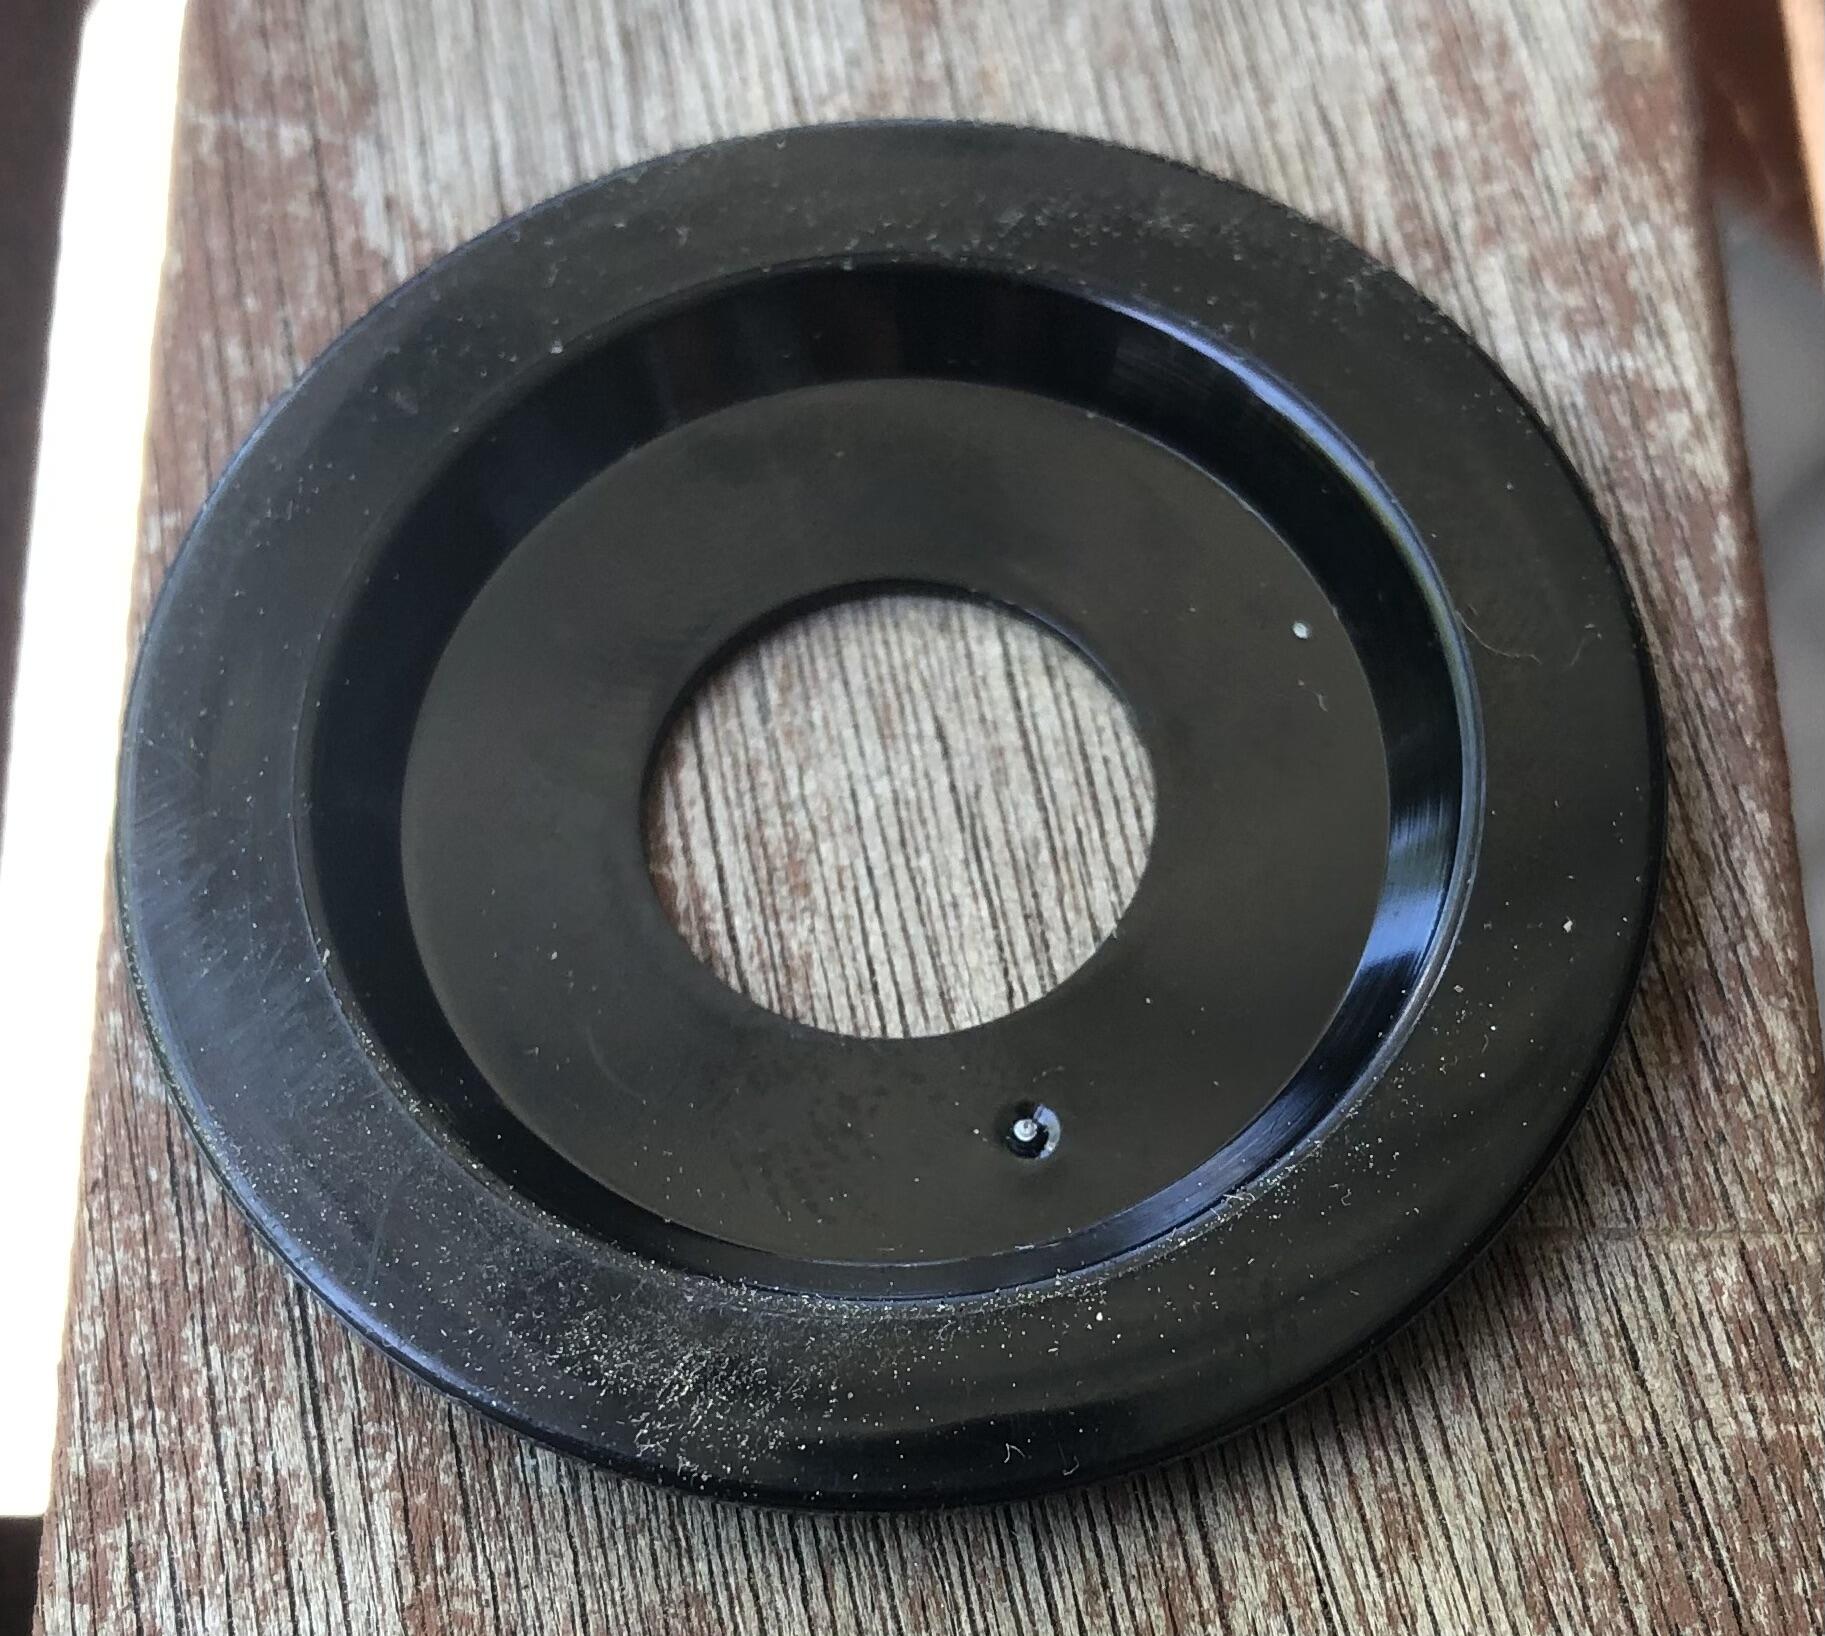
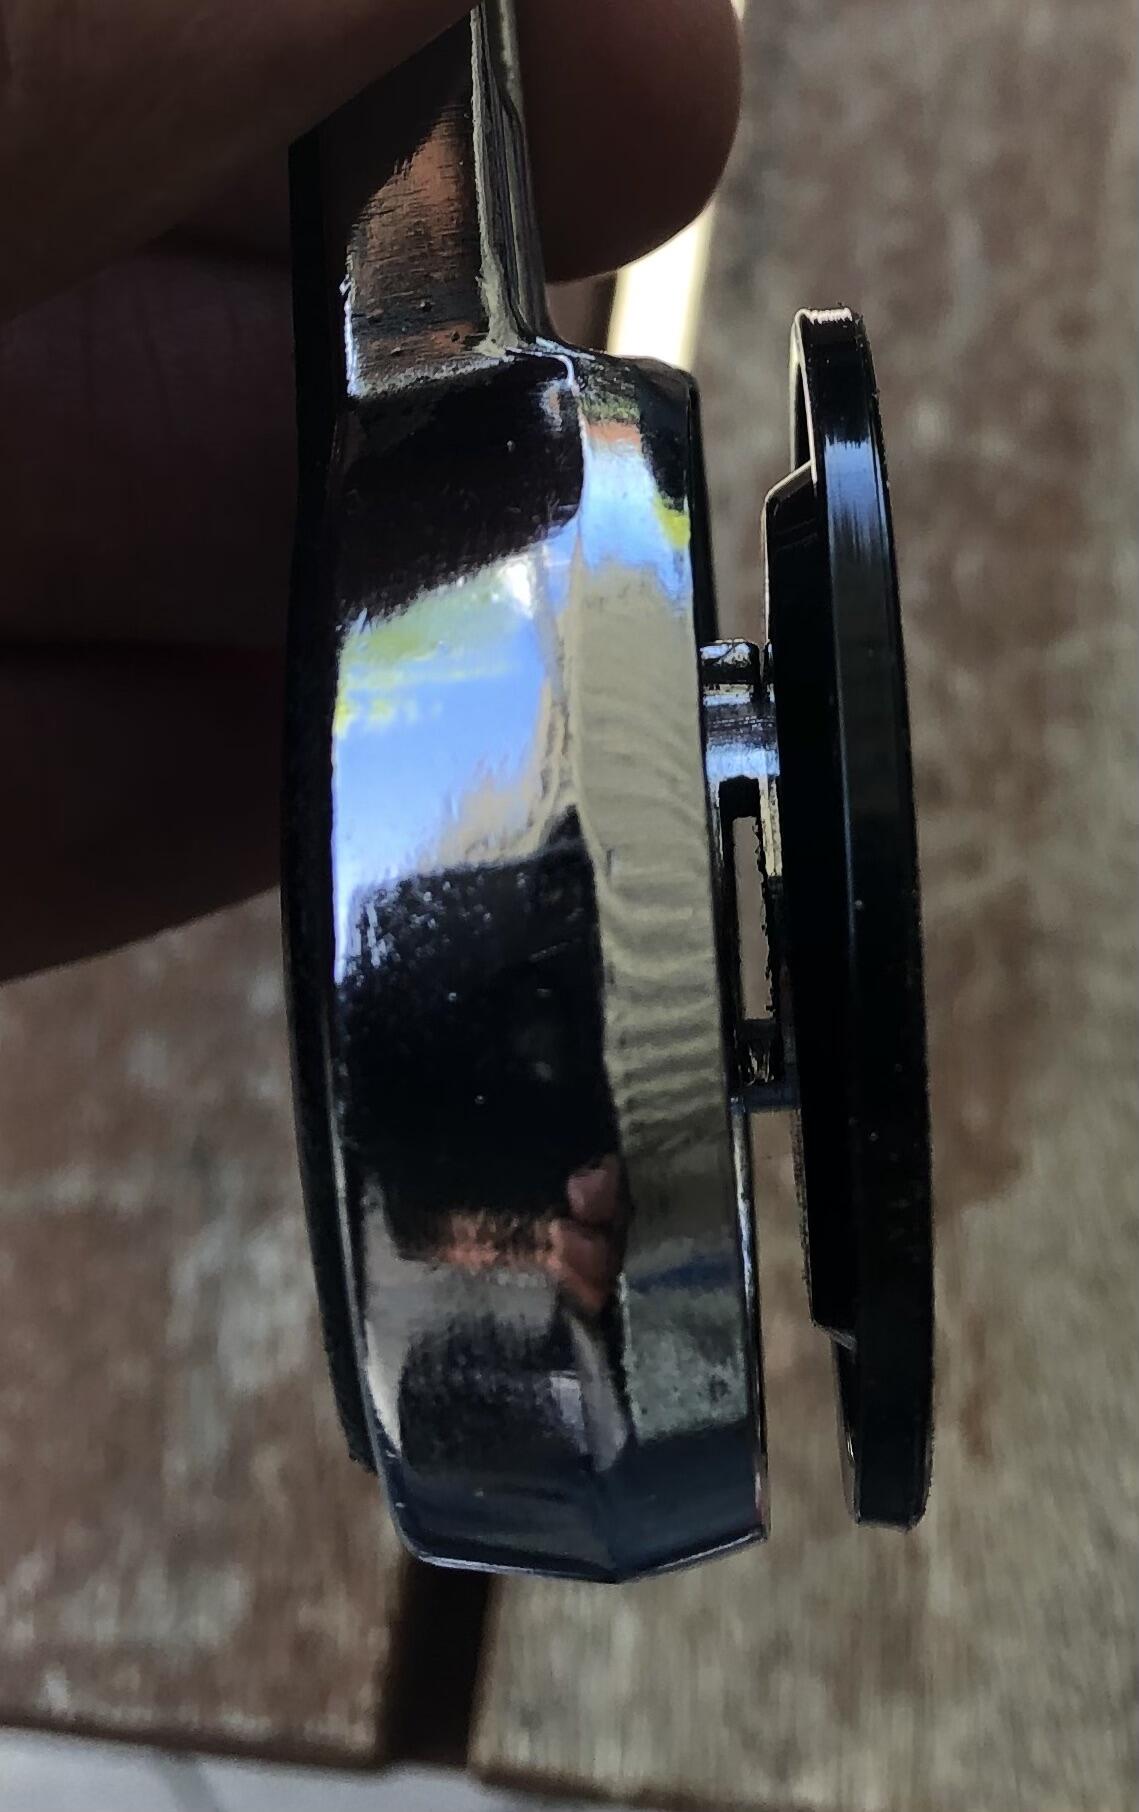
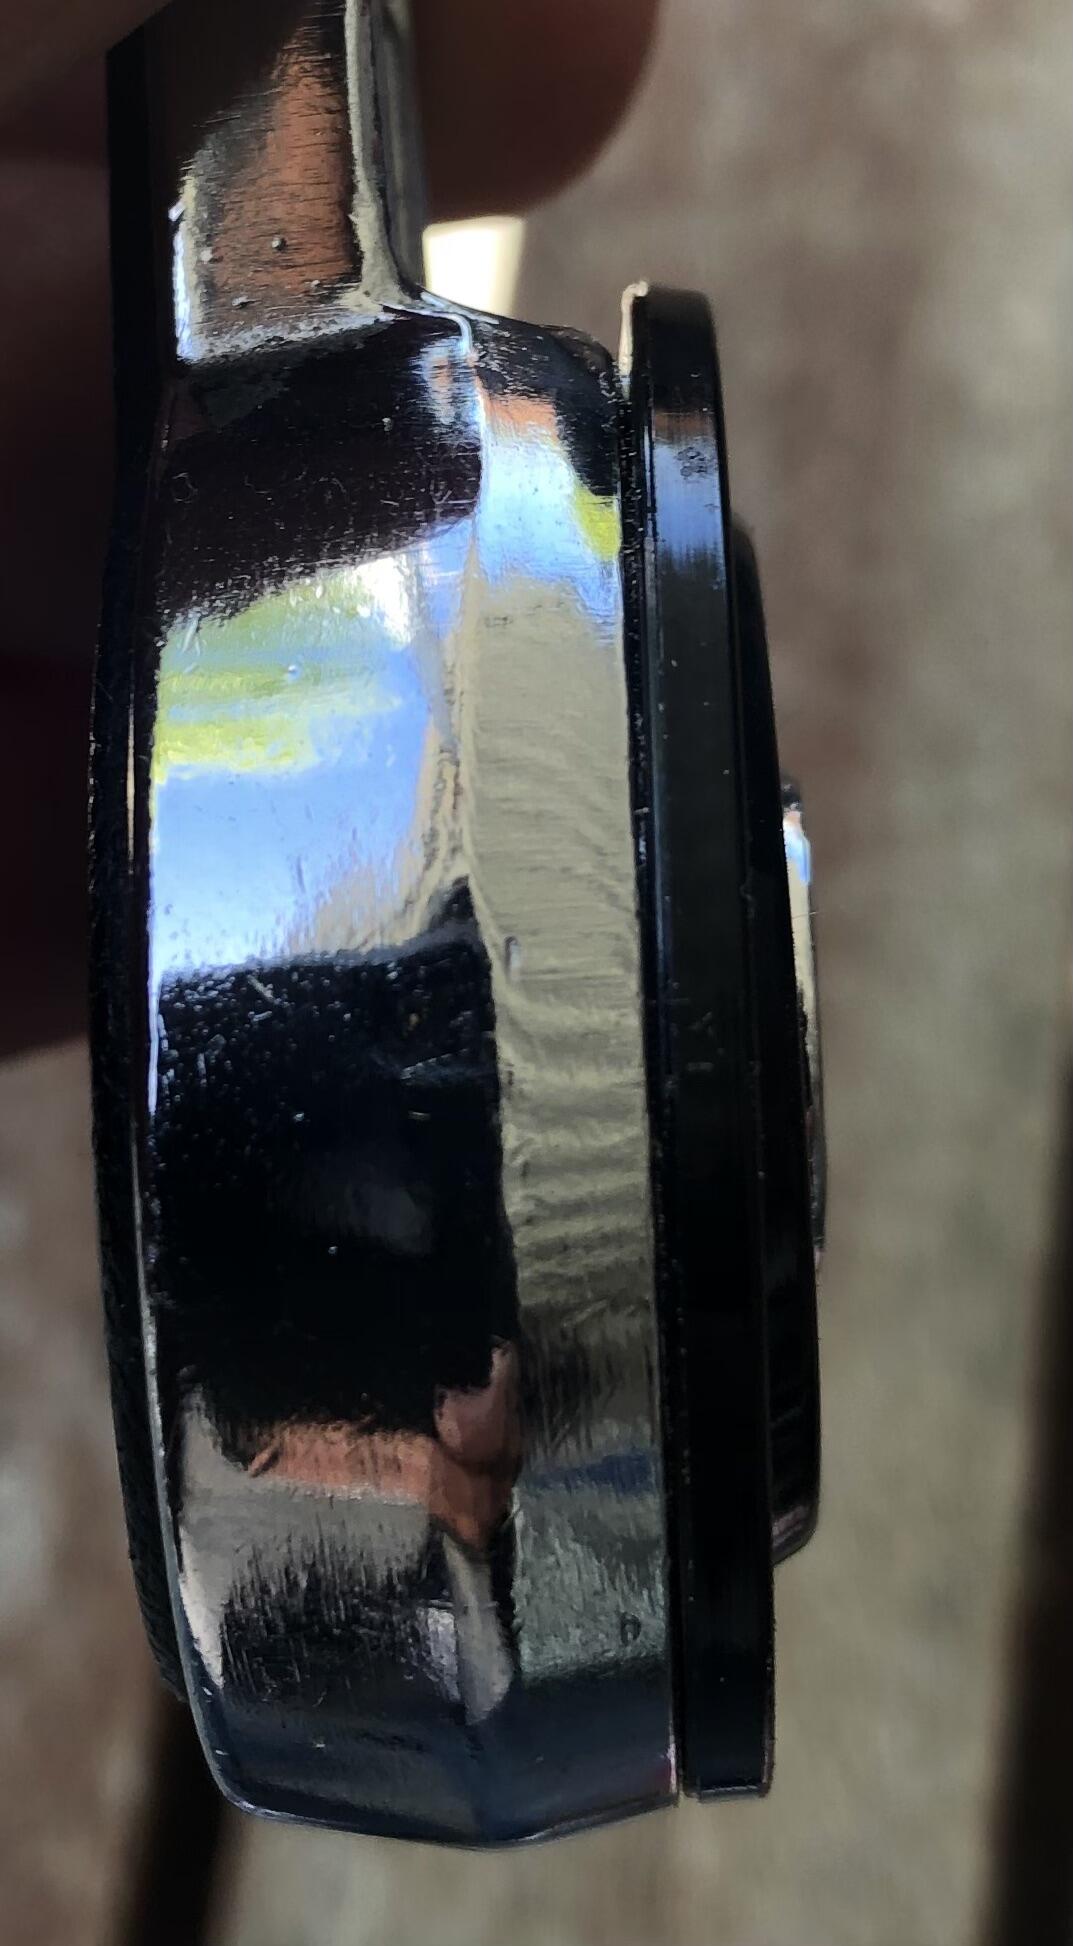
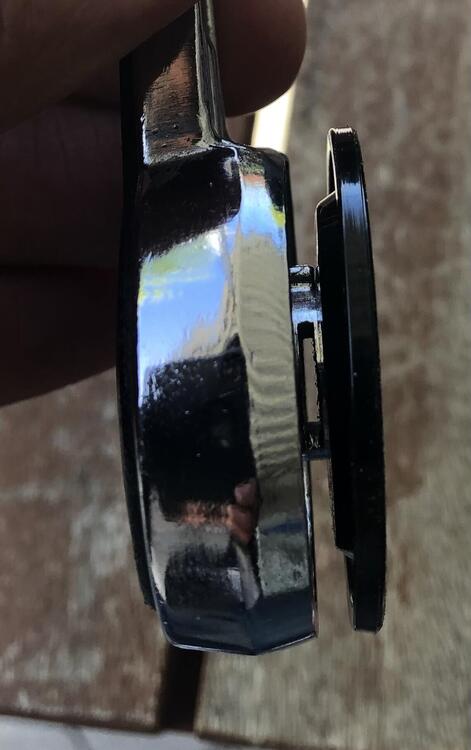
Guys does this even fit a 280z? how do u insert? If u insert with the beveled edge towards the door handle it does leave a bit of space from where u can see the pin. Is this the right way? Other way it just flushes with the handle and u cannot see the pin. originally I did not had these and got the handles off easily as there was more space. Just wondering if anyone used these and after that it is easy to unpin the handle again.


-
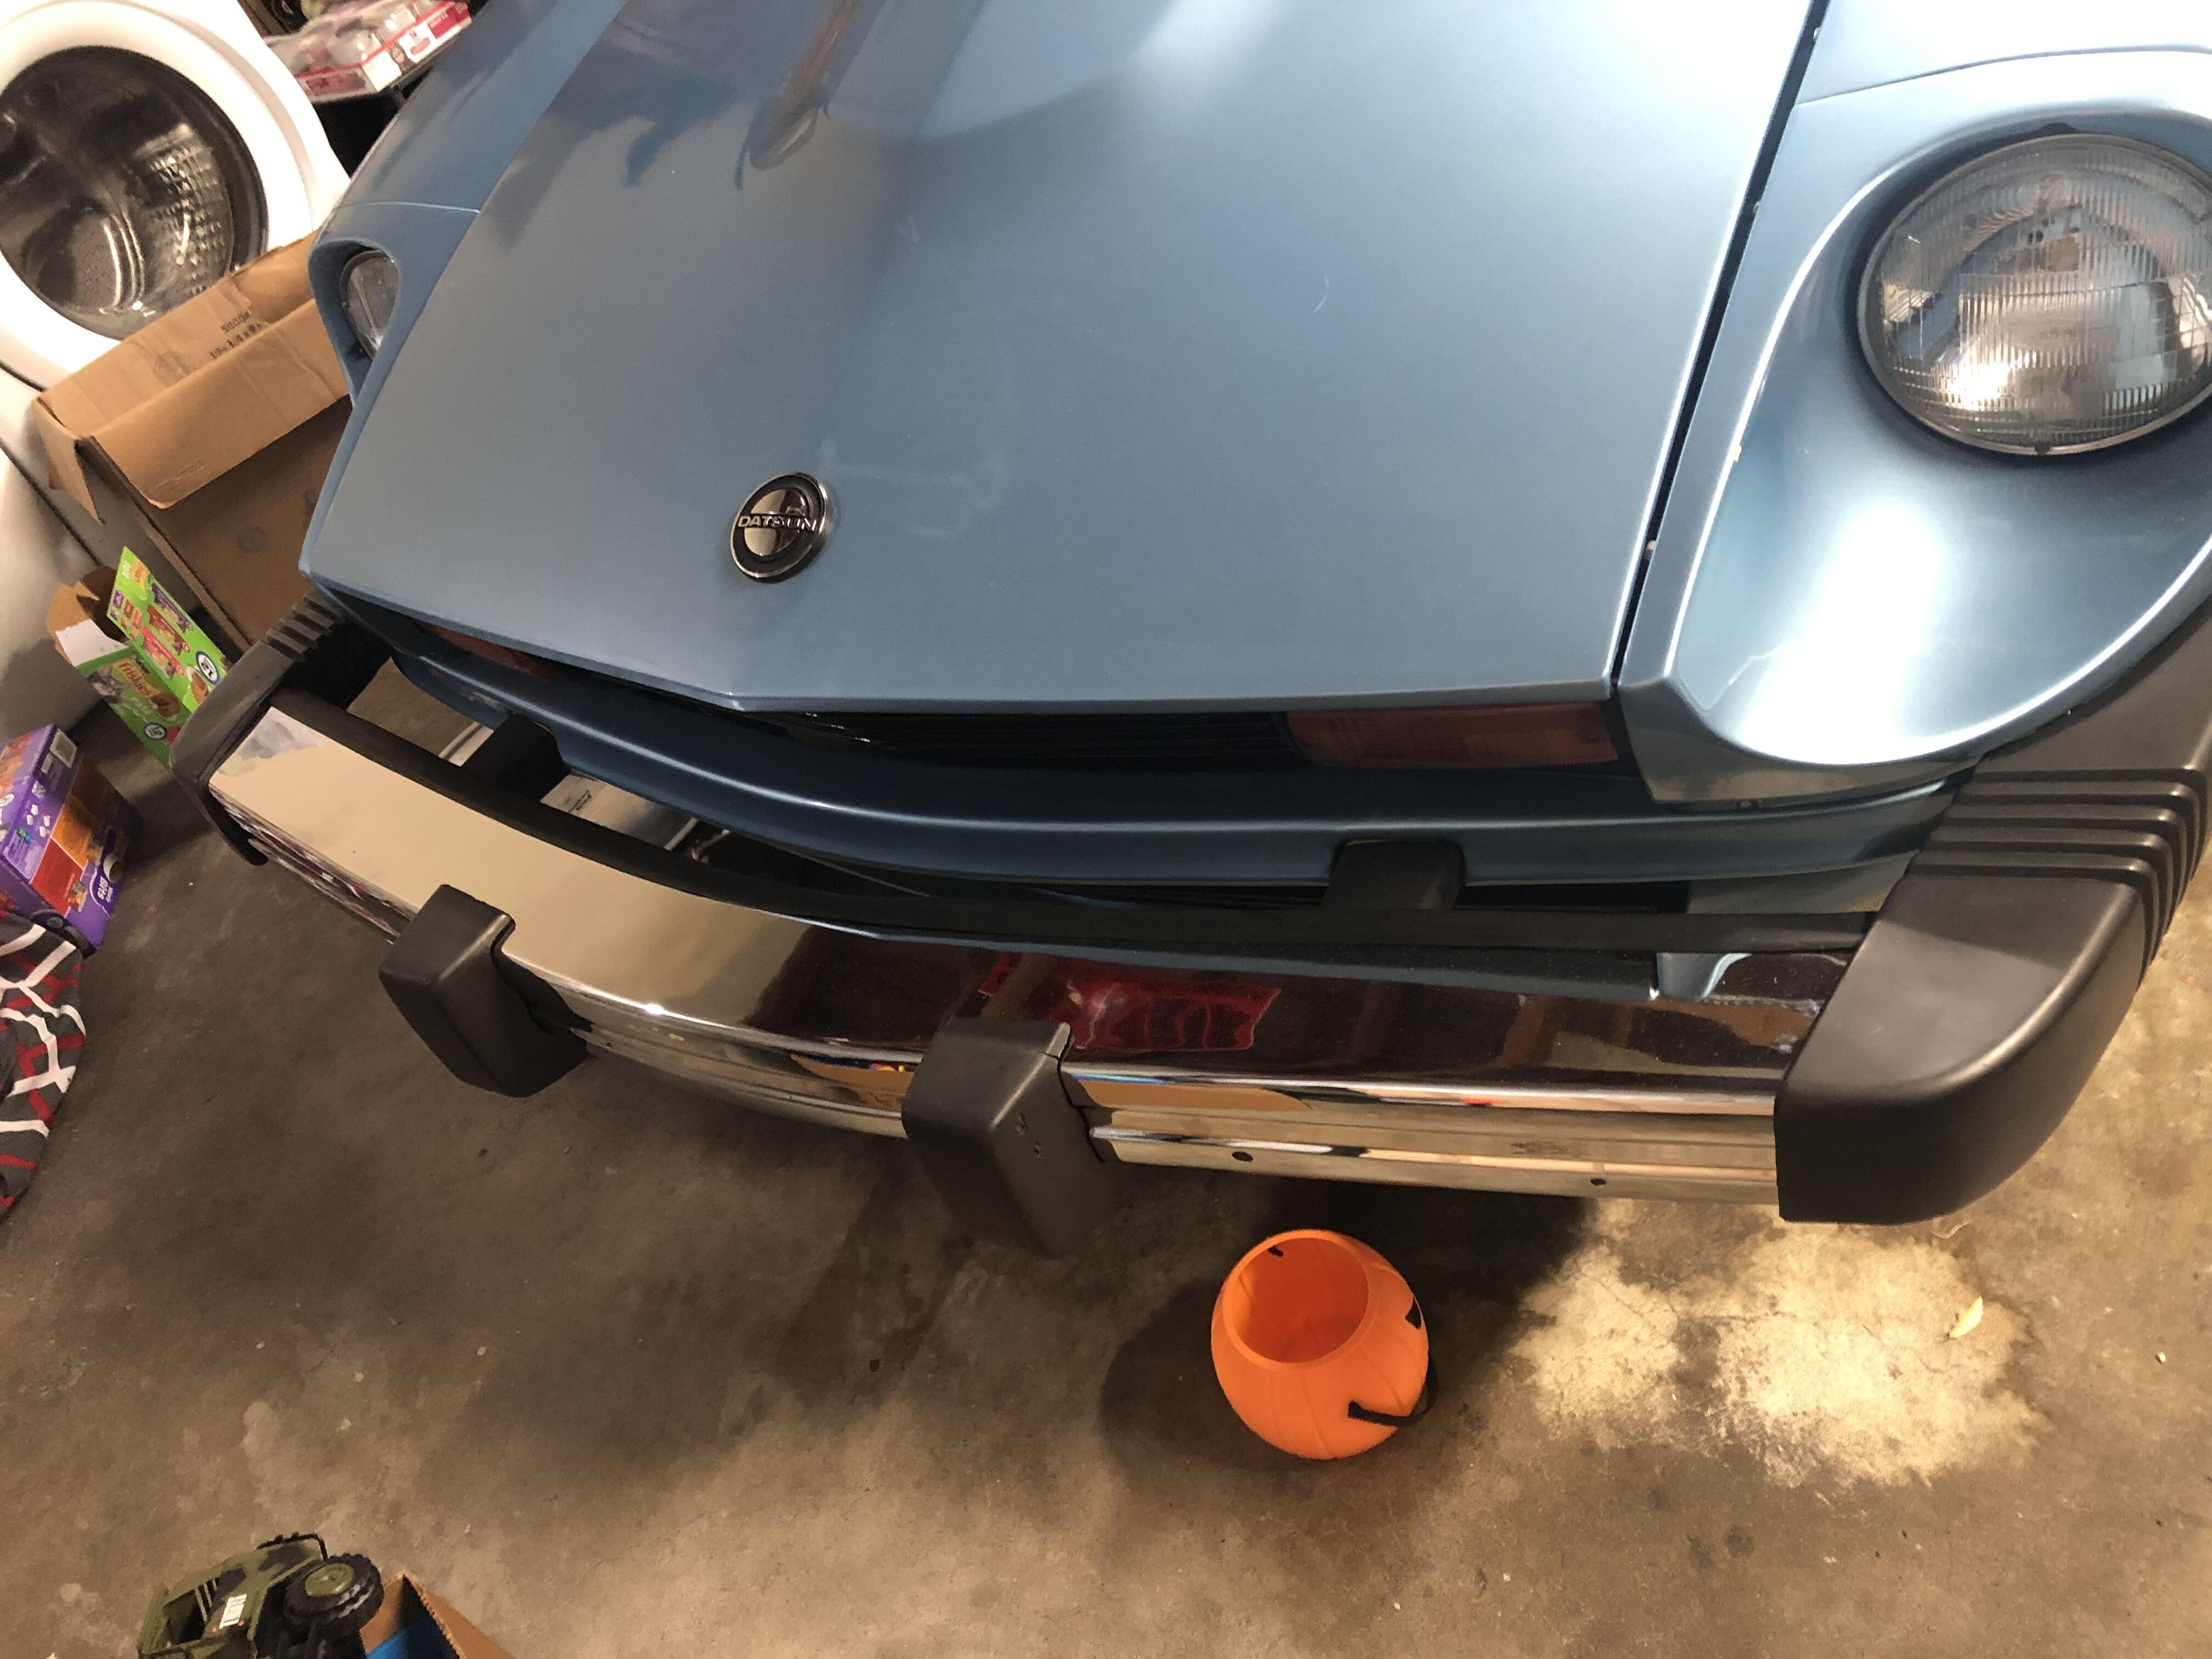
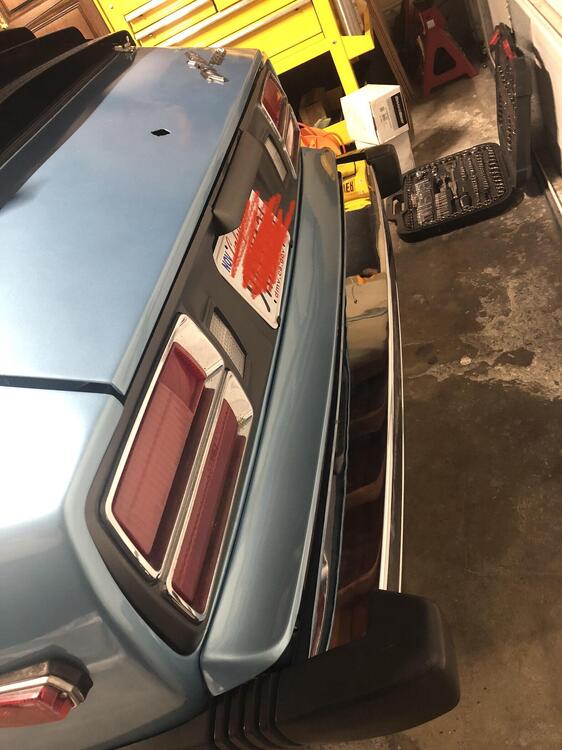
Love the original look of the front with bumper, rear not too bad either especially with the new mirror chrome!!!

-
-
Ok thanks for the tip @Captain Obvious problem solved. I rotated the right shock bracket to be different way than the left one and it came up. After I did that the left one seems to also align with the body bolt. Strange but it worked.
-
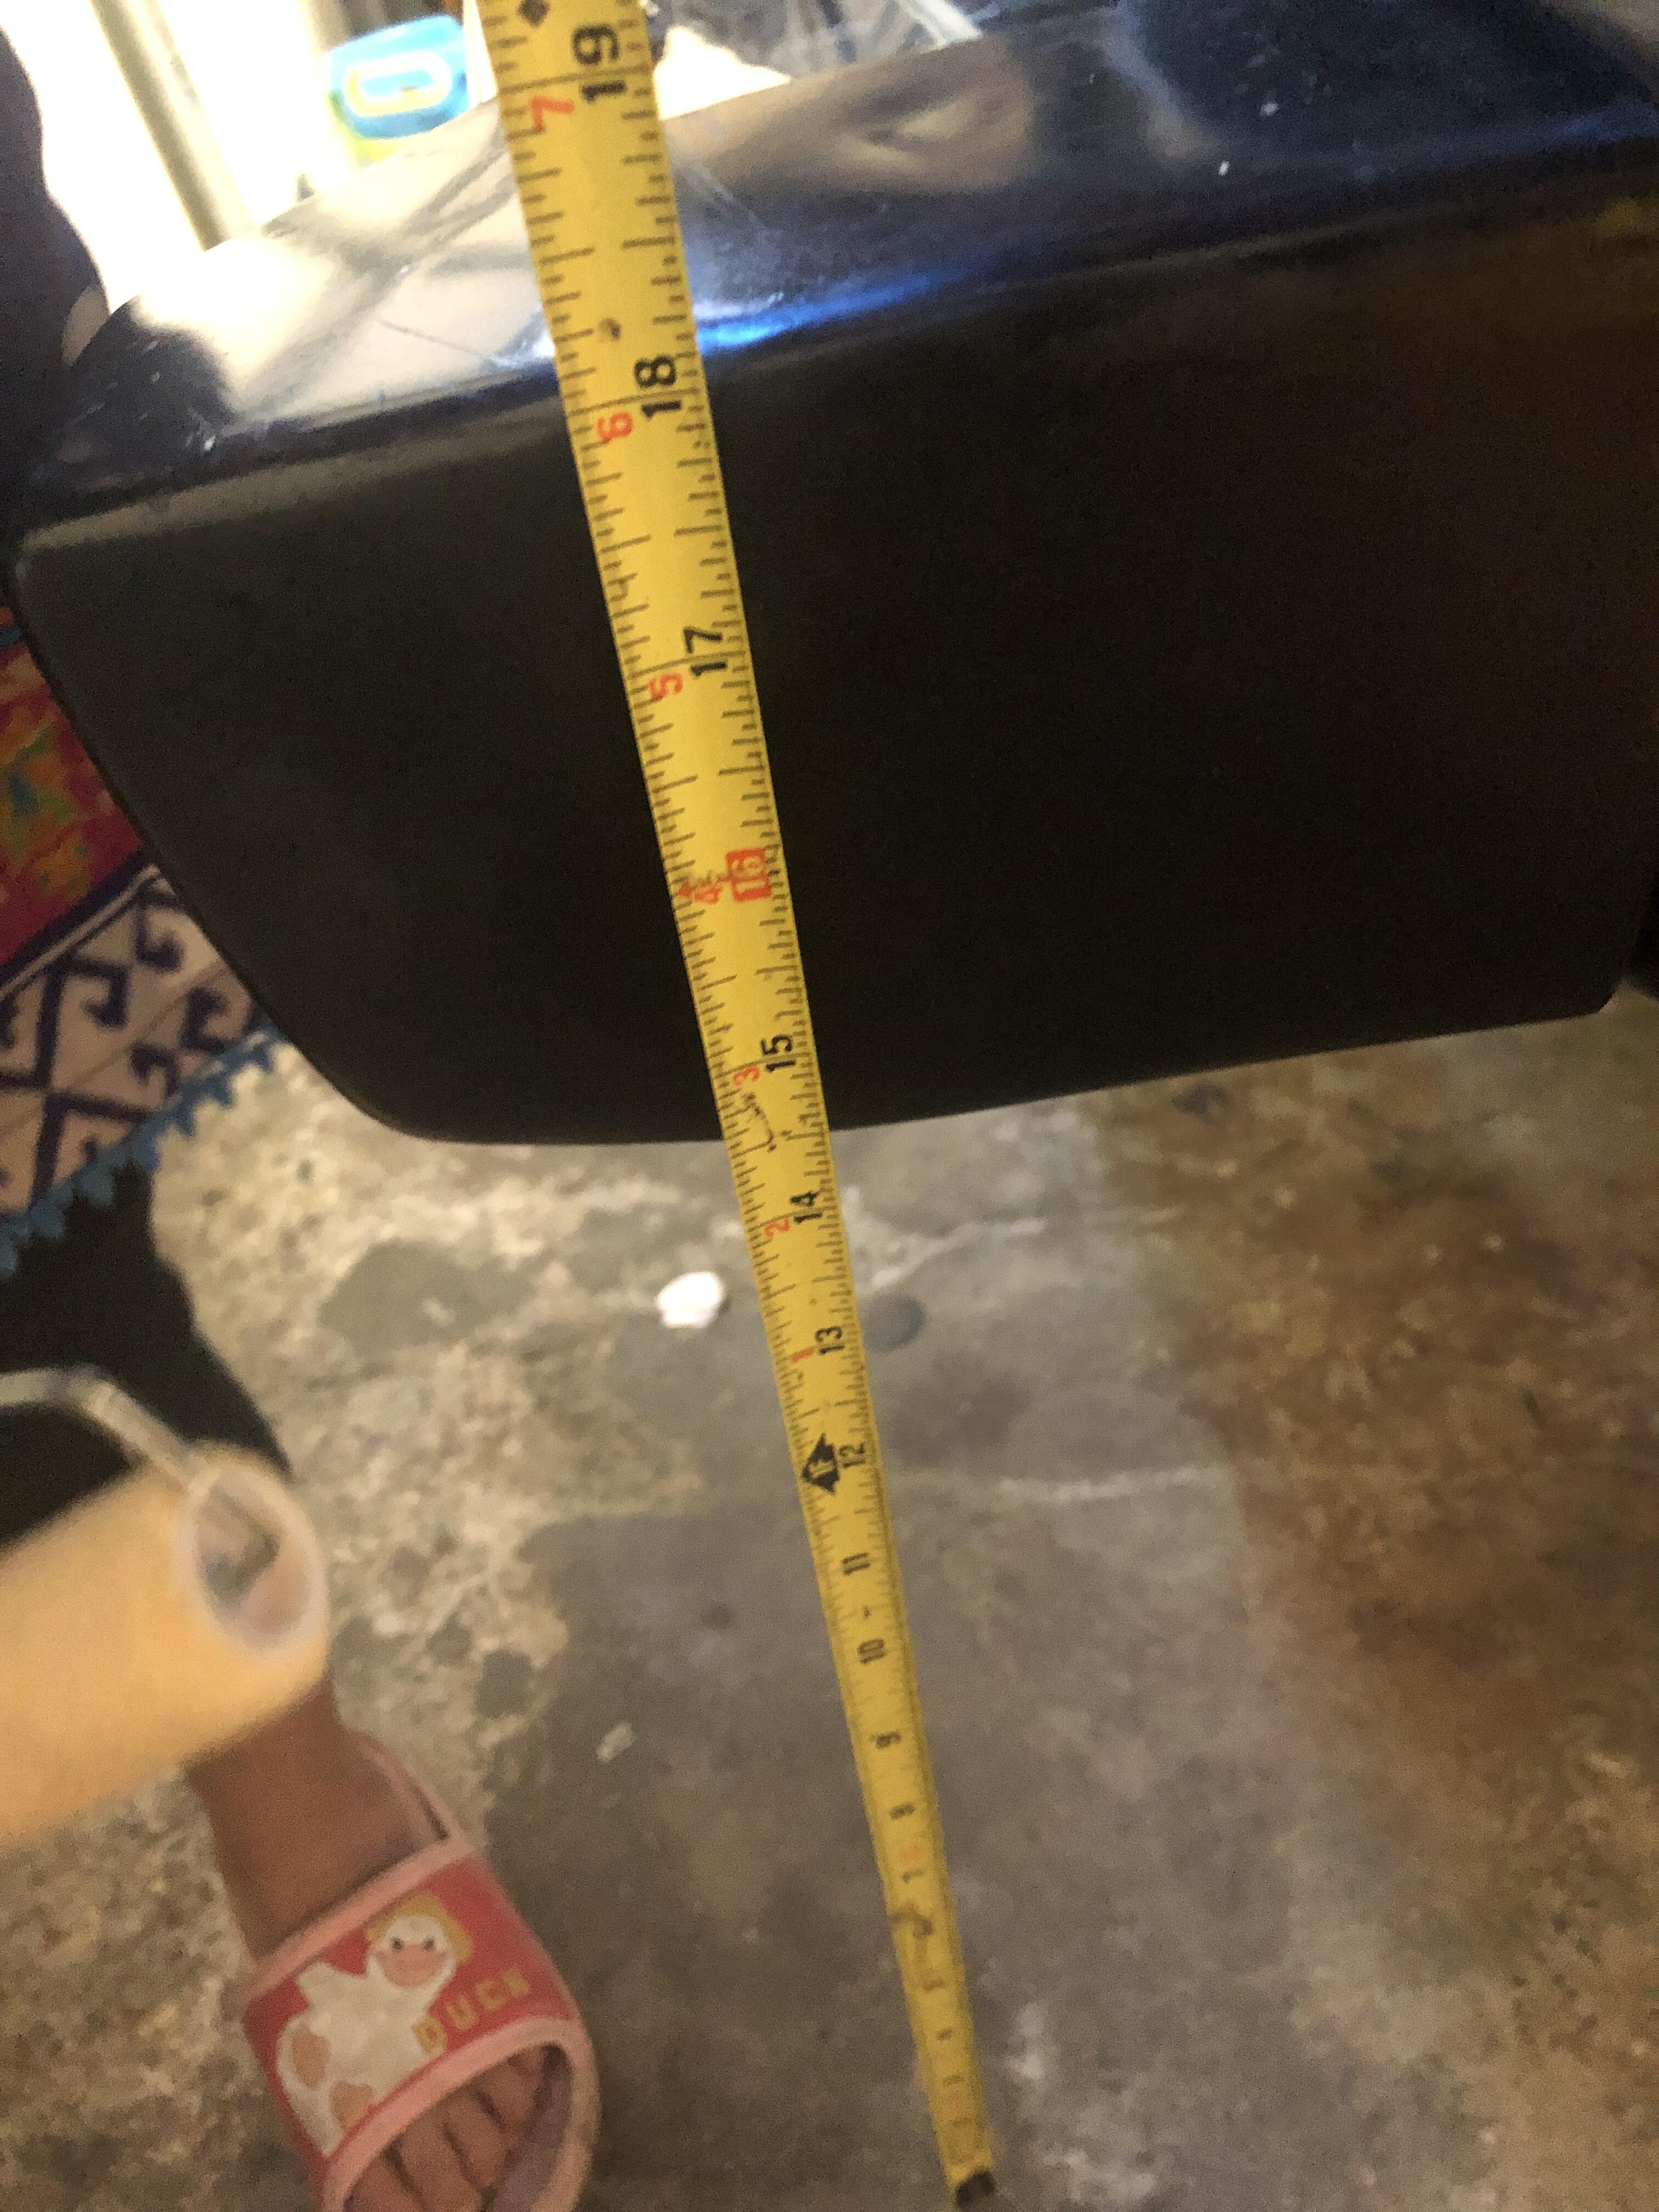
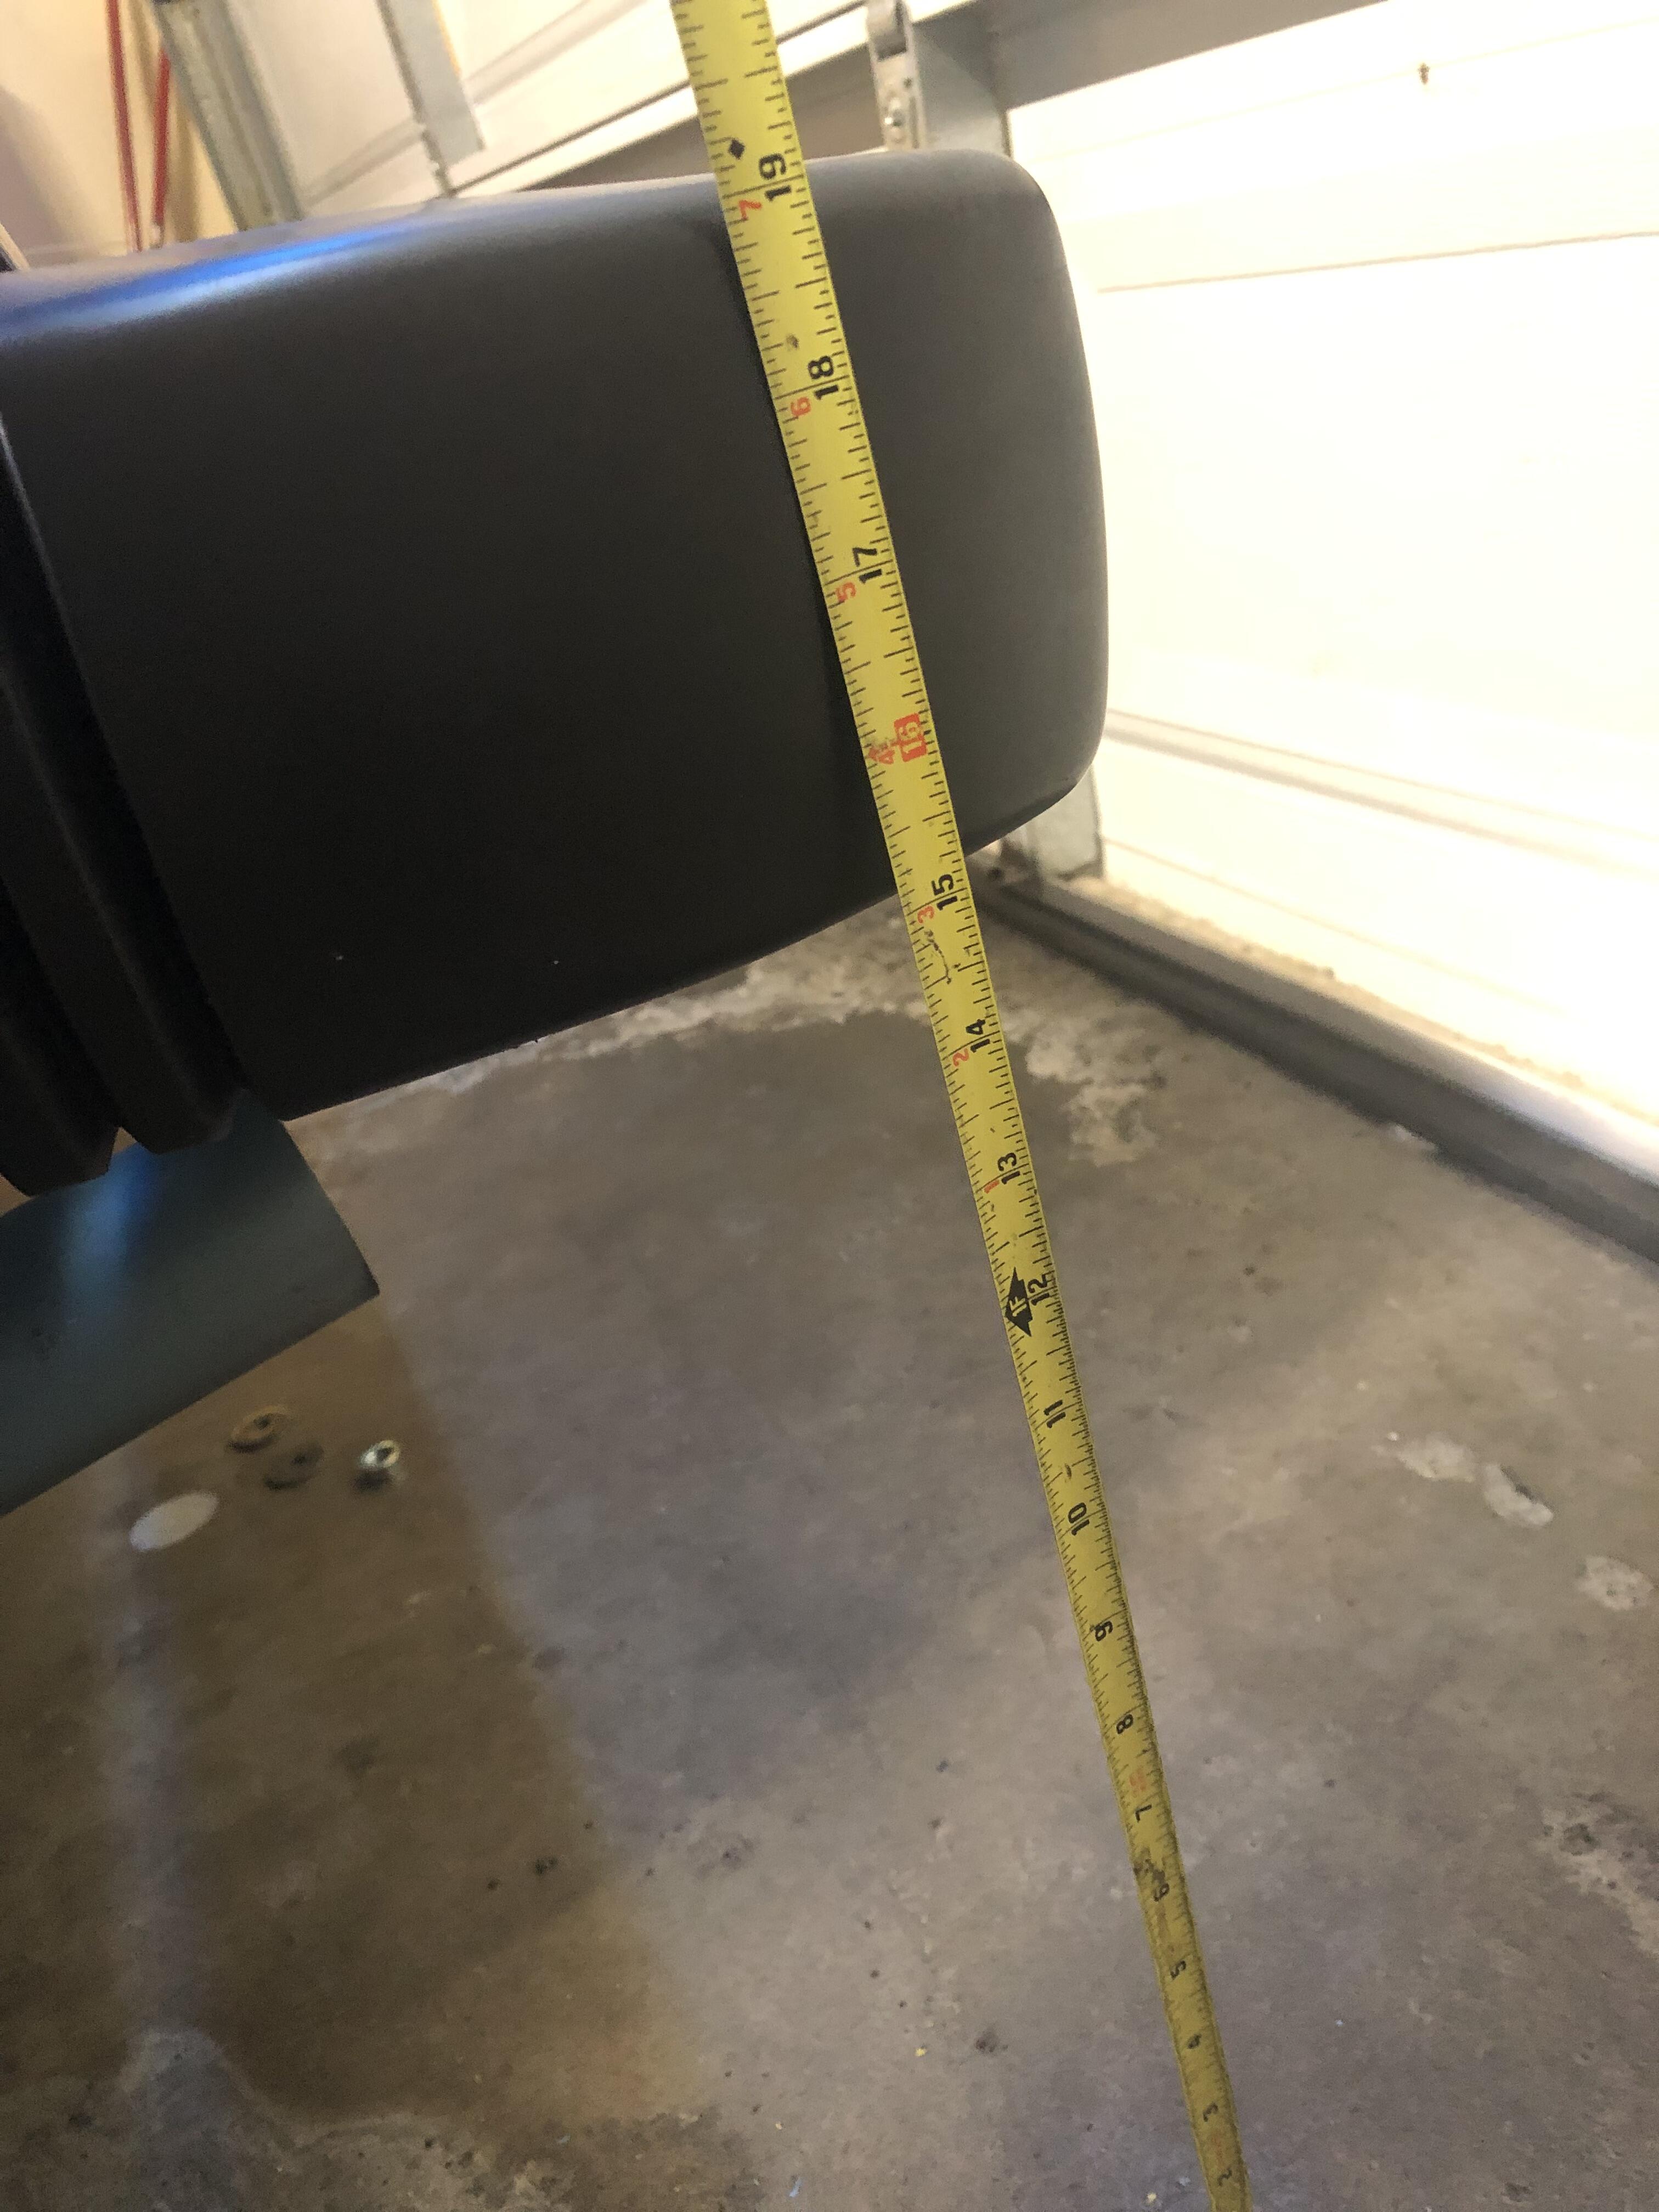
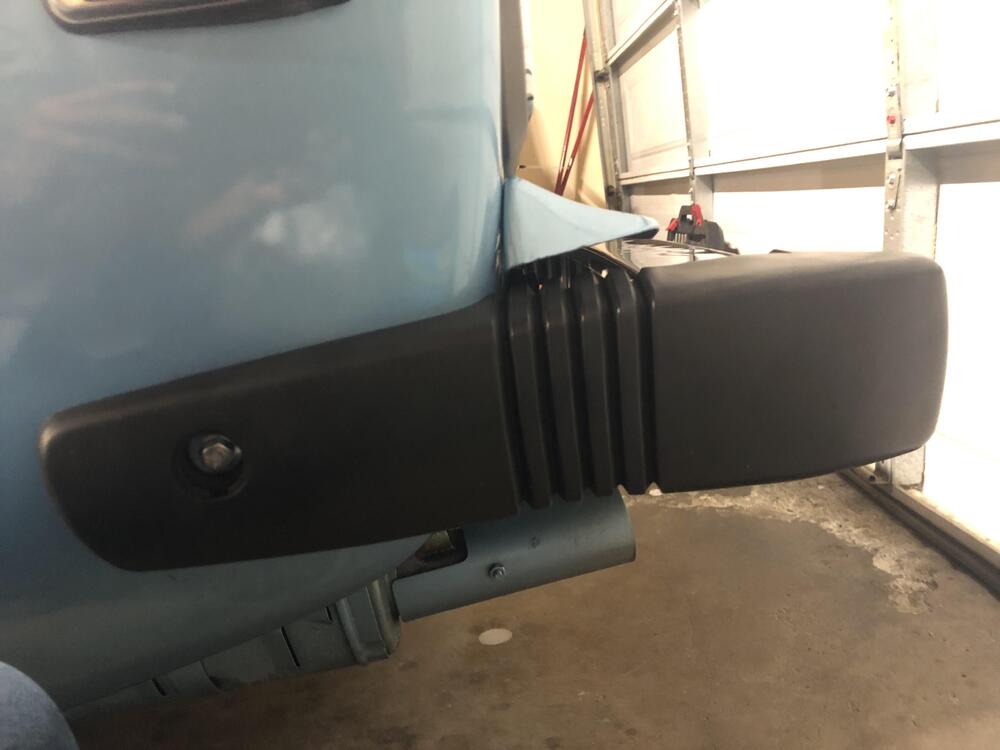
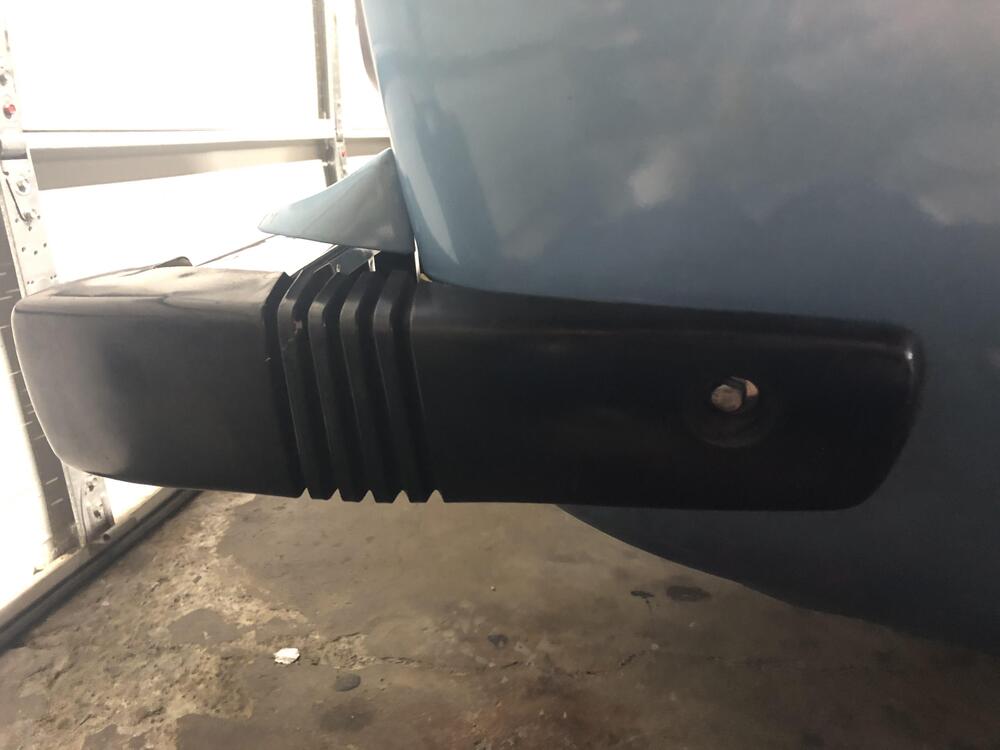
Second issue is the height. The right side has a bigger gap between bumper and bumper filler bar etc. as you see the height difference. I actually like the idea of getting the original bumper closer to the body. Cannot figure out what the issue is with left spacing and right side being a bit far out. The right might be due to old shocks but left spring I cannot find an explanation.


-
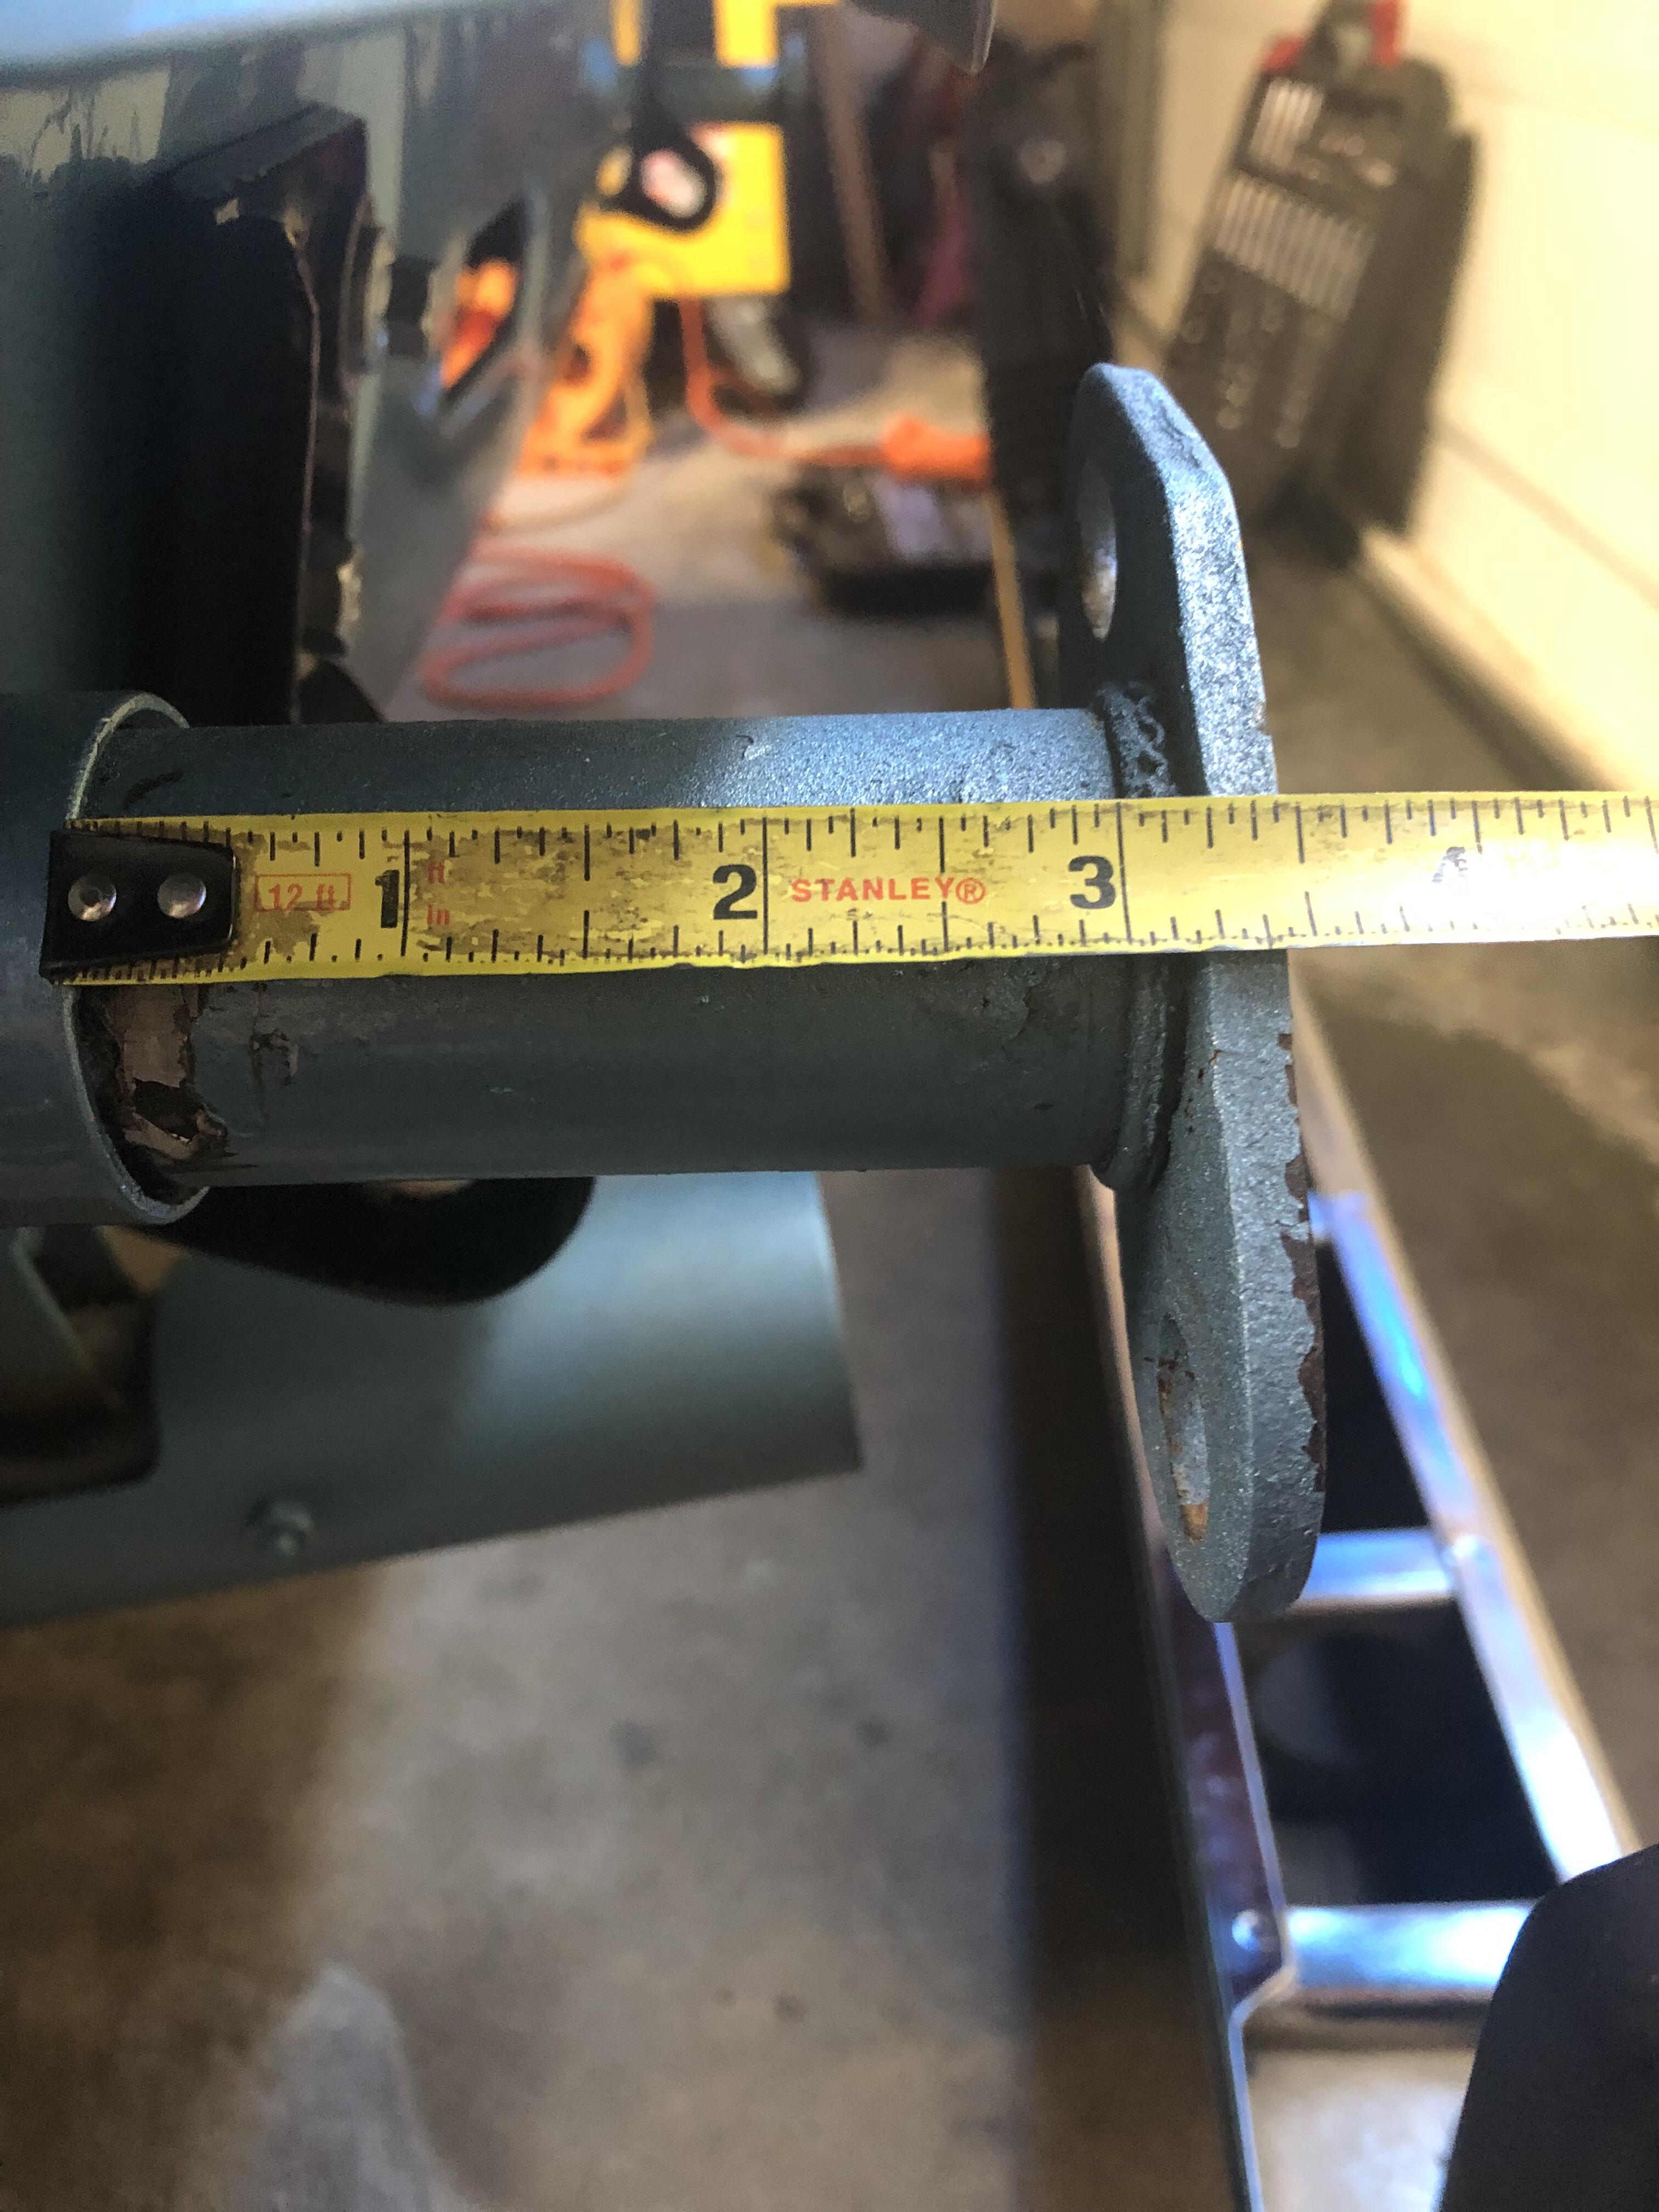
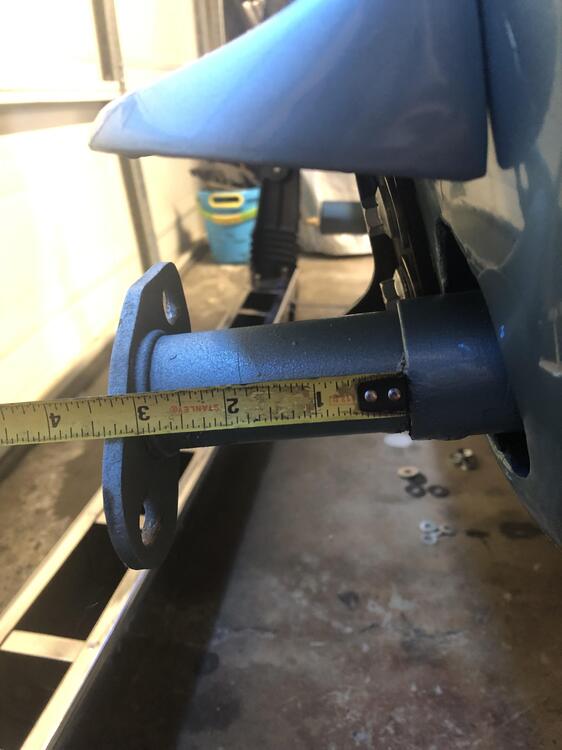
They are pretty close to 3 1/4in both. I think the left one is probably 1/8in more. The right one I had tried unscrewing the front Philips screw and seems like some air came out. After that it was easy to compress it in. I have not done the same on the left and it is still stiff and cannot be pushed in by hand. But left side aligns fine.

-
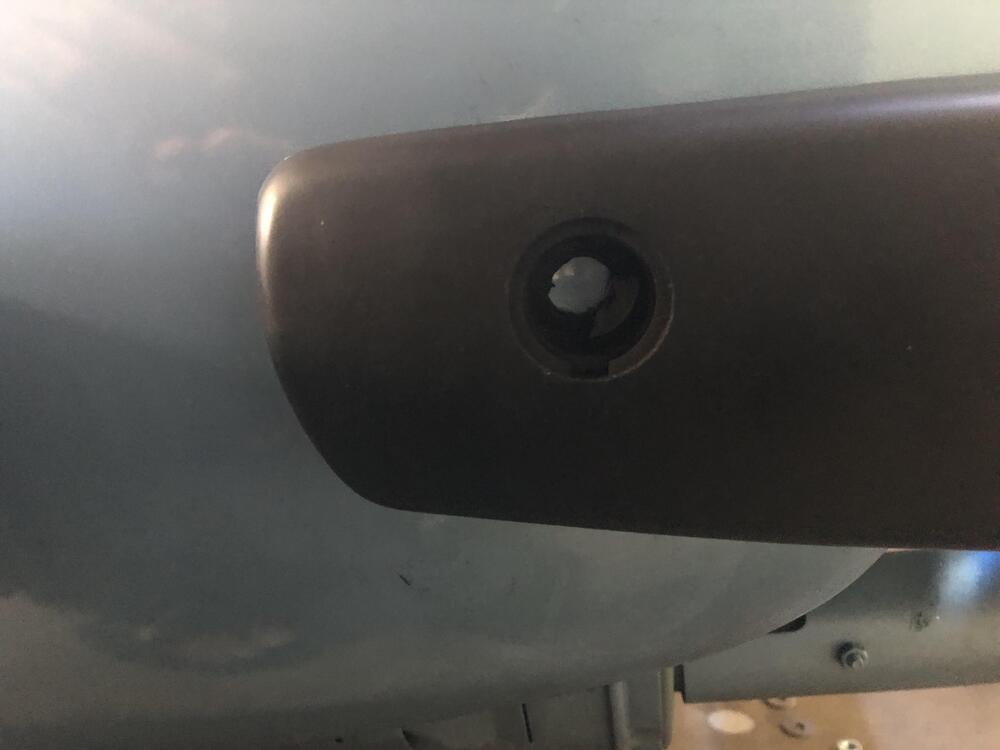
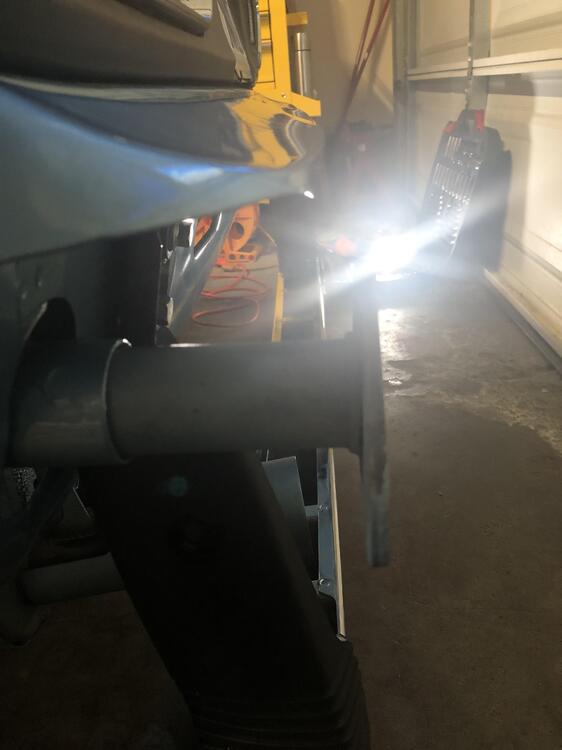
Yes, the body bolt on the side which attaches the rubber boat is about 1in away. I can compress the shock with my hand but then it bounces back.
-
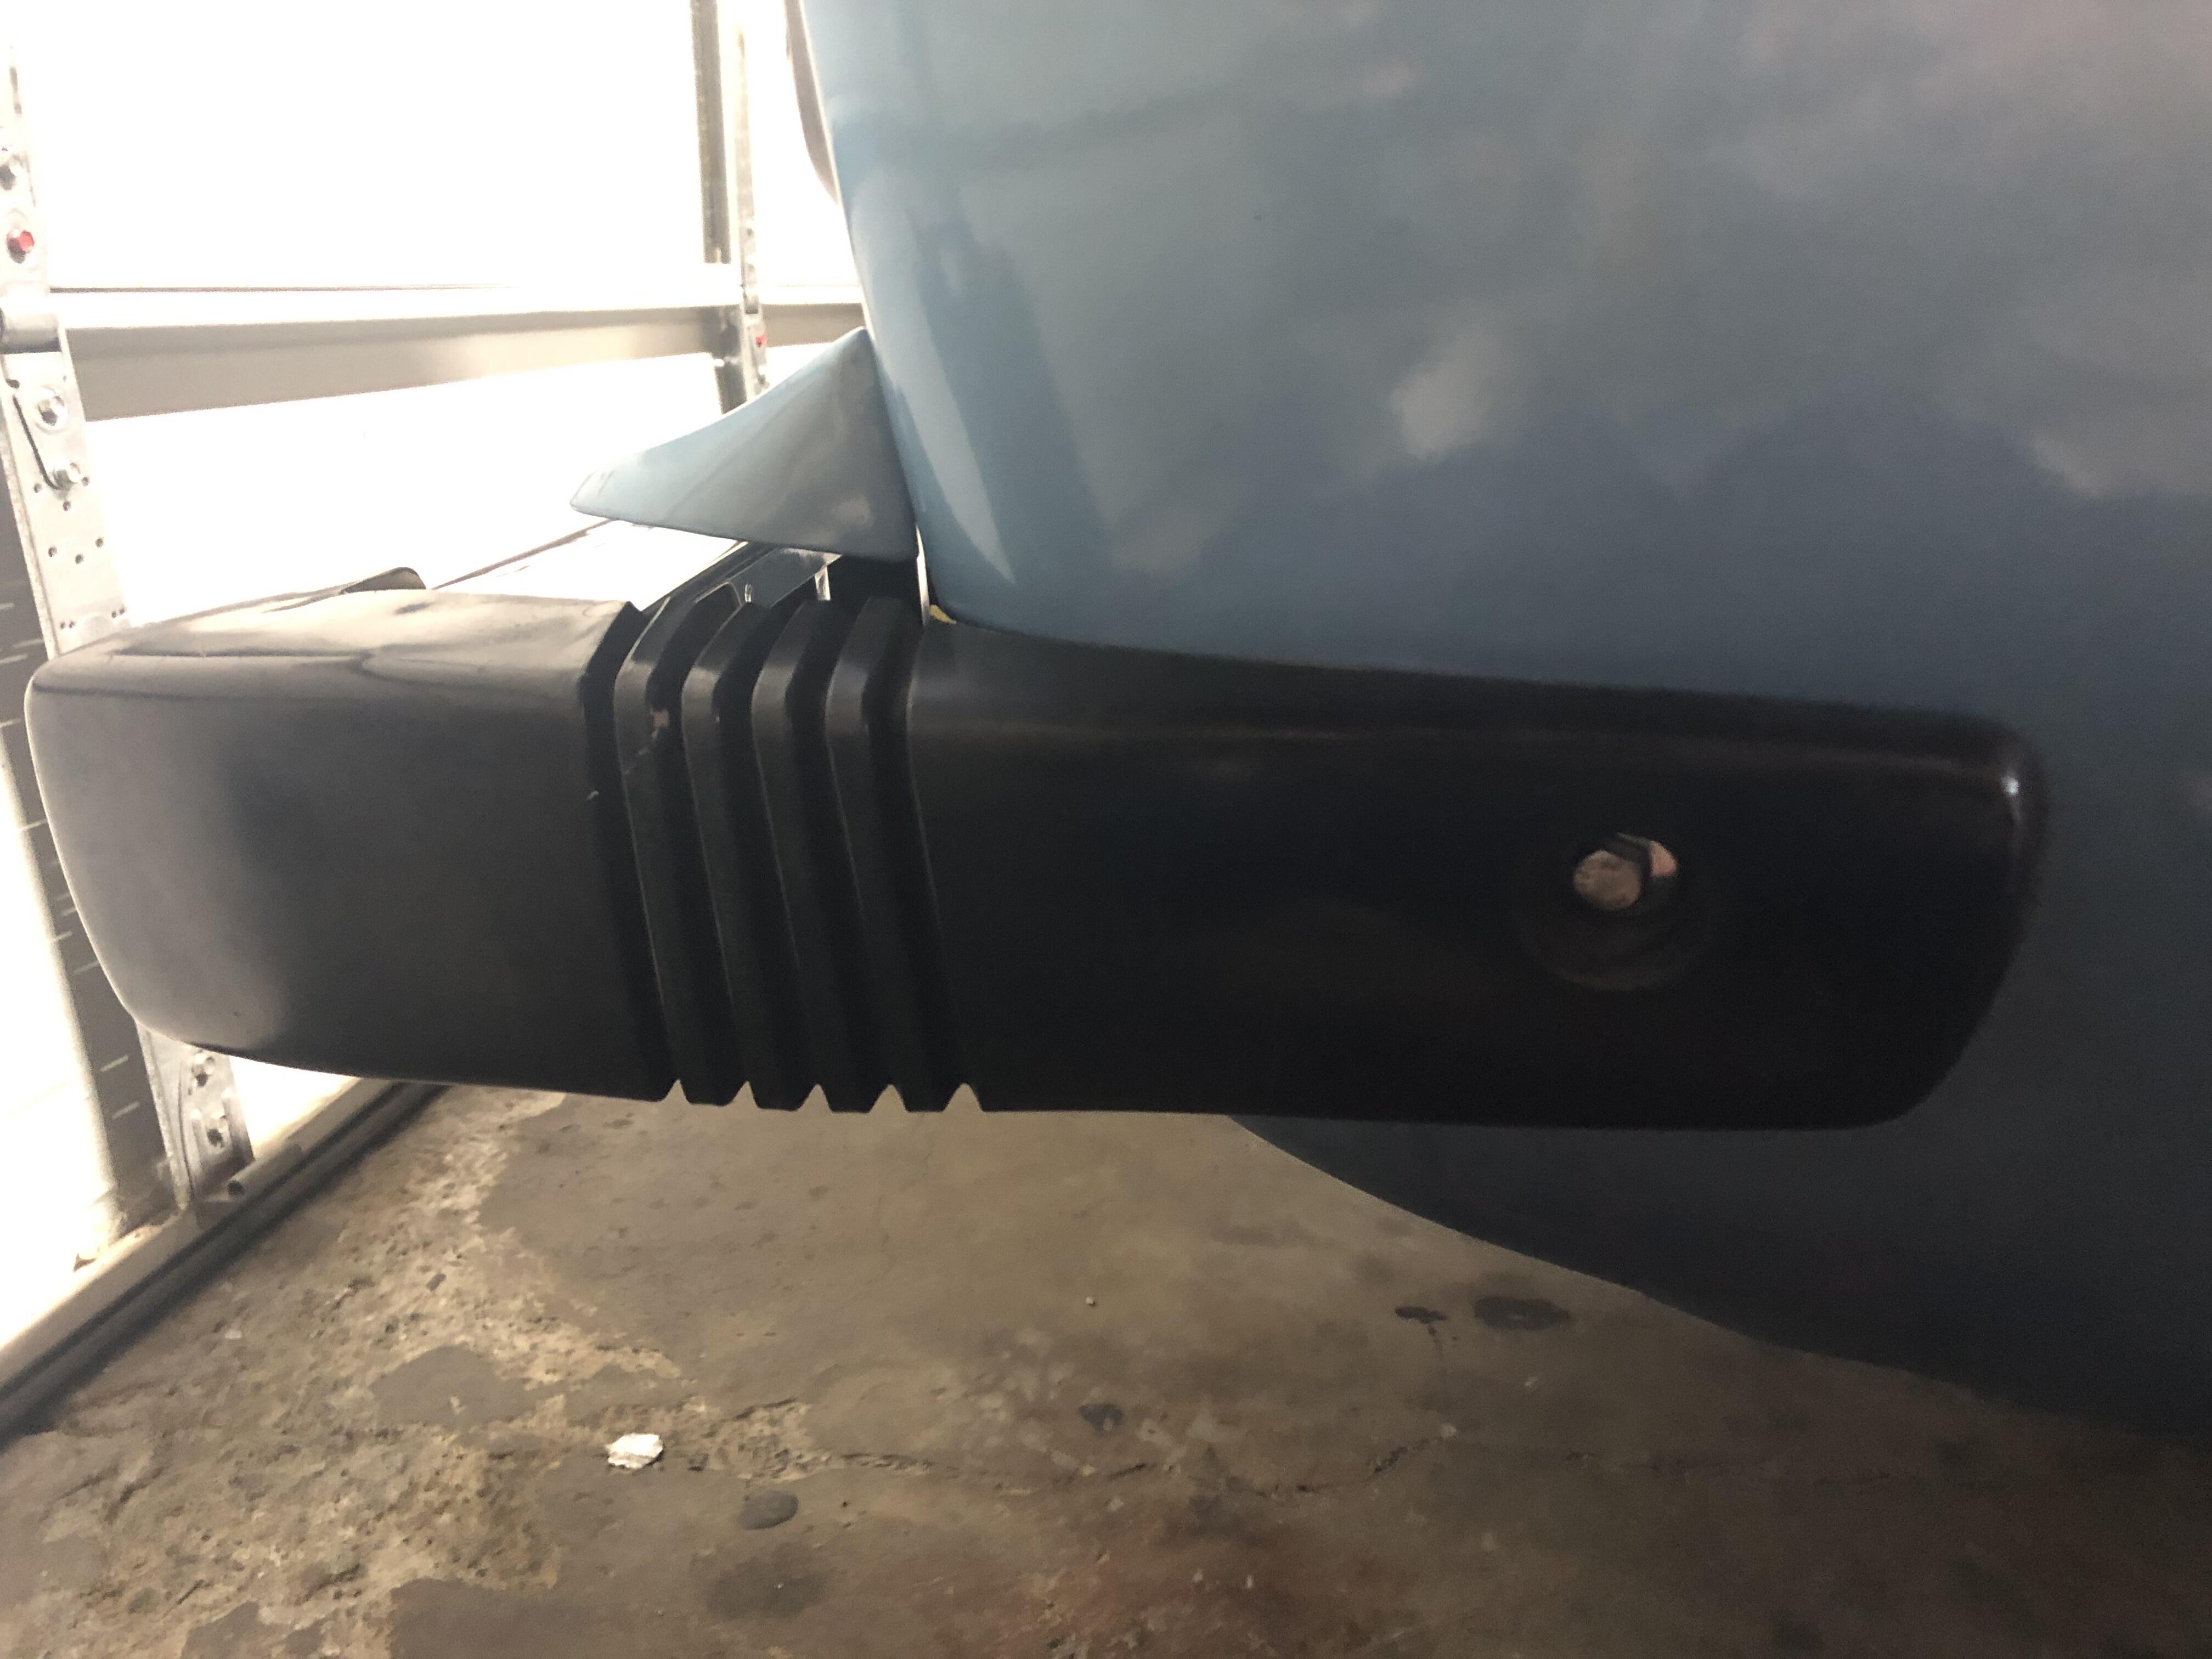
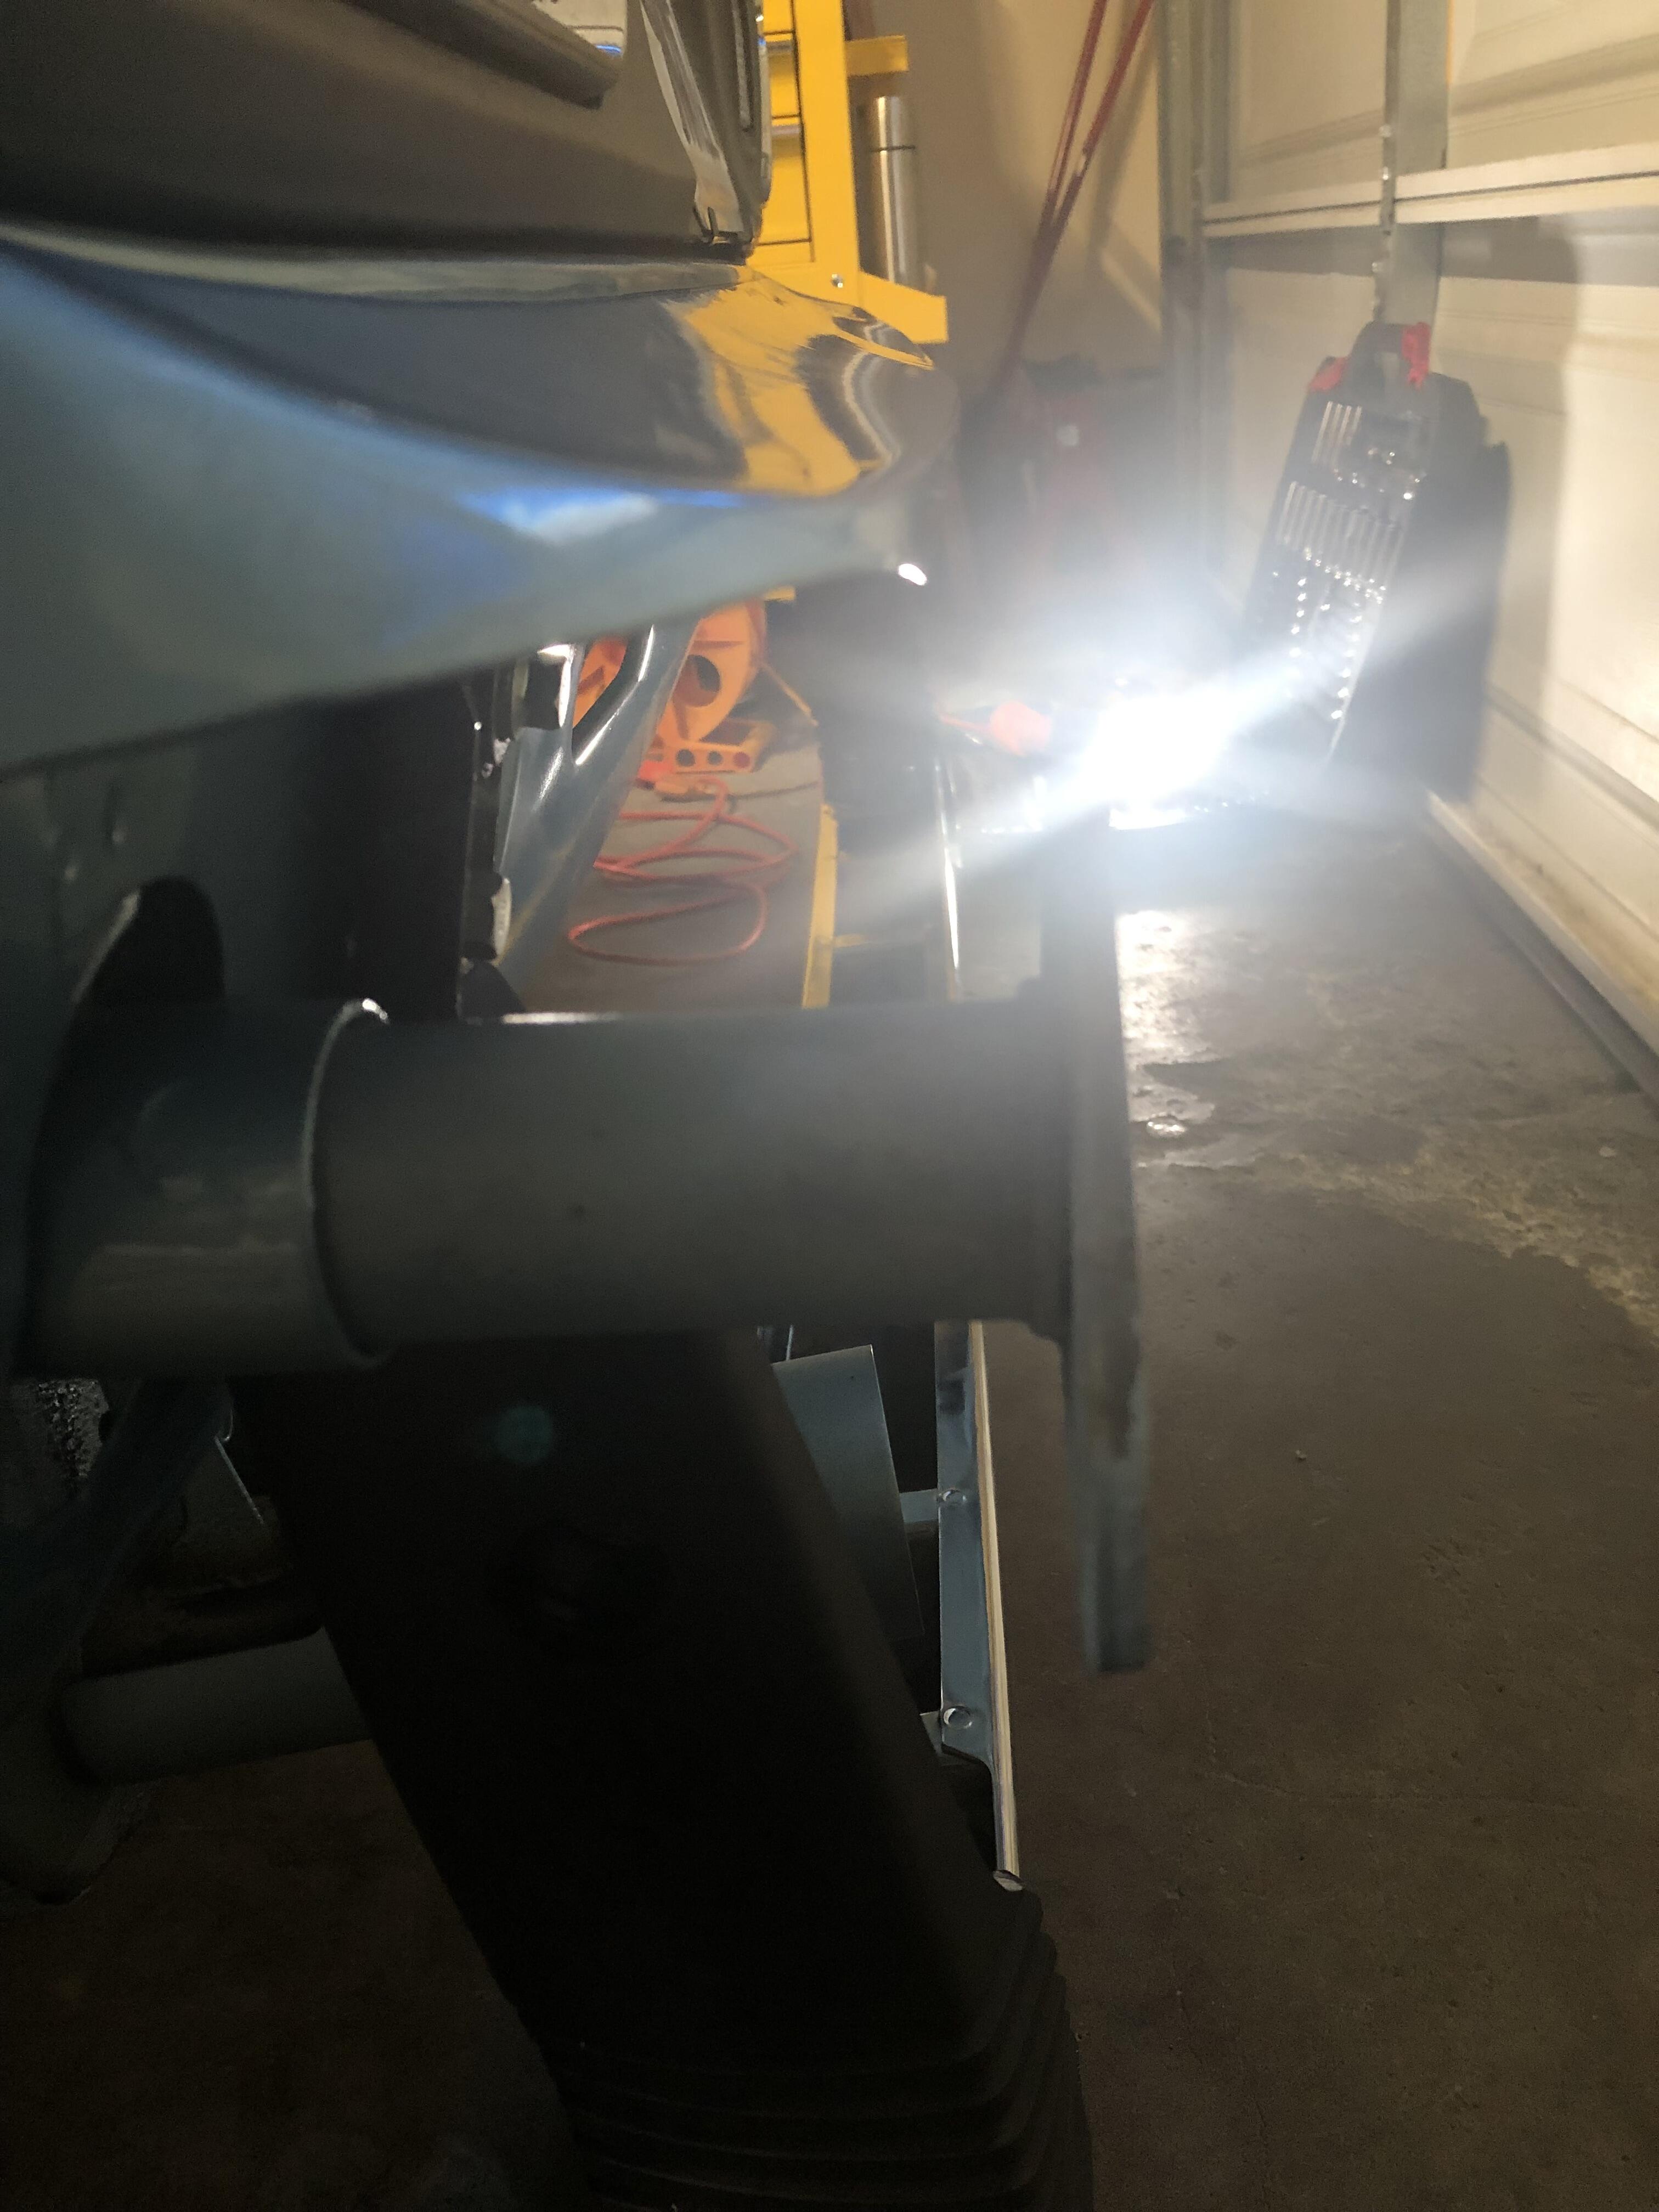
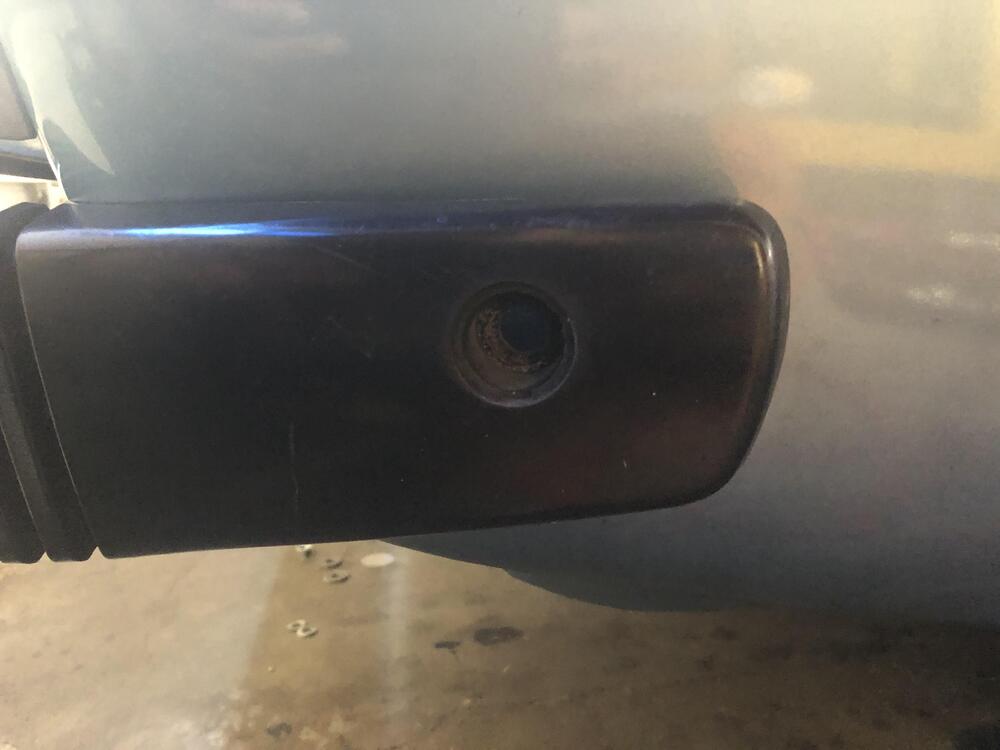
I was hoping the rear will go in as easy as the front one, but no. If you see the right bracket on the rear bumper shock is a bit inside vs the left one which is pushed out (may be due to the shock?). What it does is I am not able to align the left bumper rubber guard with the left body bolt. The right one aligns fine. Is there an easy way to push the left rear bumper shock in a bit? also need to make sure it does not pop out as it will rip the side rubber boot. Any advise guys? I know there is not a lot of love for the rear bumper in the Z community but I am keep the stock look.

-
Unless u want to sell this pair 😊