MH77280Z
-
Posts
436 -
Joined
-
Last visited
-
Days Won
1
Content Type
Profiles
Knowledge Base
Zcar Wiki
Forums
Gallery
Events
Downloads
Store
Blogs
Collections
Classifieds
Everything posted by MH77280Z
-
77-78 dont have these roller.
-
Yes, the 77-78 glass sit in a metal base which has holes which need to be aligned with the glass. So it is sitting correctly on it and 4 rollers fit at a specific place as well. I was able to mount the base to the shaft in the door as well. But yes to your question.
-
Hi Guys, I took out everything to clean. Have installed the passenger side correctly no issues with alignment. On the driver side when i roll up the glass it comes out of the channel on the outside. Anyone has any idea how to handle this situation? Is there a problem with installing the glass below in the regulator or the top door channel itself? any thought?
-
@Terrapin Z which year/model car these pics are from? I am pretty certain my 77 280z do not have any place for this stopper. I have checked thoroughly. I think my window regulator just stop at the right time i.e. it has finite movement. Seems like even on this thread the folks where not able to locate any room for these in a 77 280z. https://forums.hybridz.org/topic/132000-window-bumper-rubber-location/
-
Appreciate the photos. Let me try to locate mine. Rear make sense as the glass bracket is tilted on the rear and that side should come in contact first.
-
Hmmm I have already installed the glass inside the door. But I am sure nothing like this exit inside my door! a better pic would be nice.
-
Cannot locate this one. Can someone send a pic if possible? I have the panels and glass removed as I am working on the door but cannot find this stopper!!! https://zcardepot.com/collections/weatherstripping/products/door-window-glass-bumper-rubber-stop-1970-78?_pos=1&_sid=0da72075a&_ss=r#
-
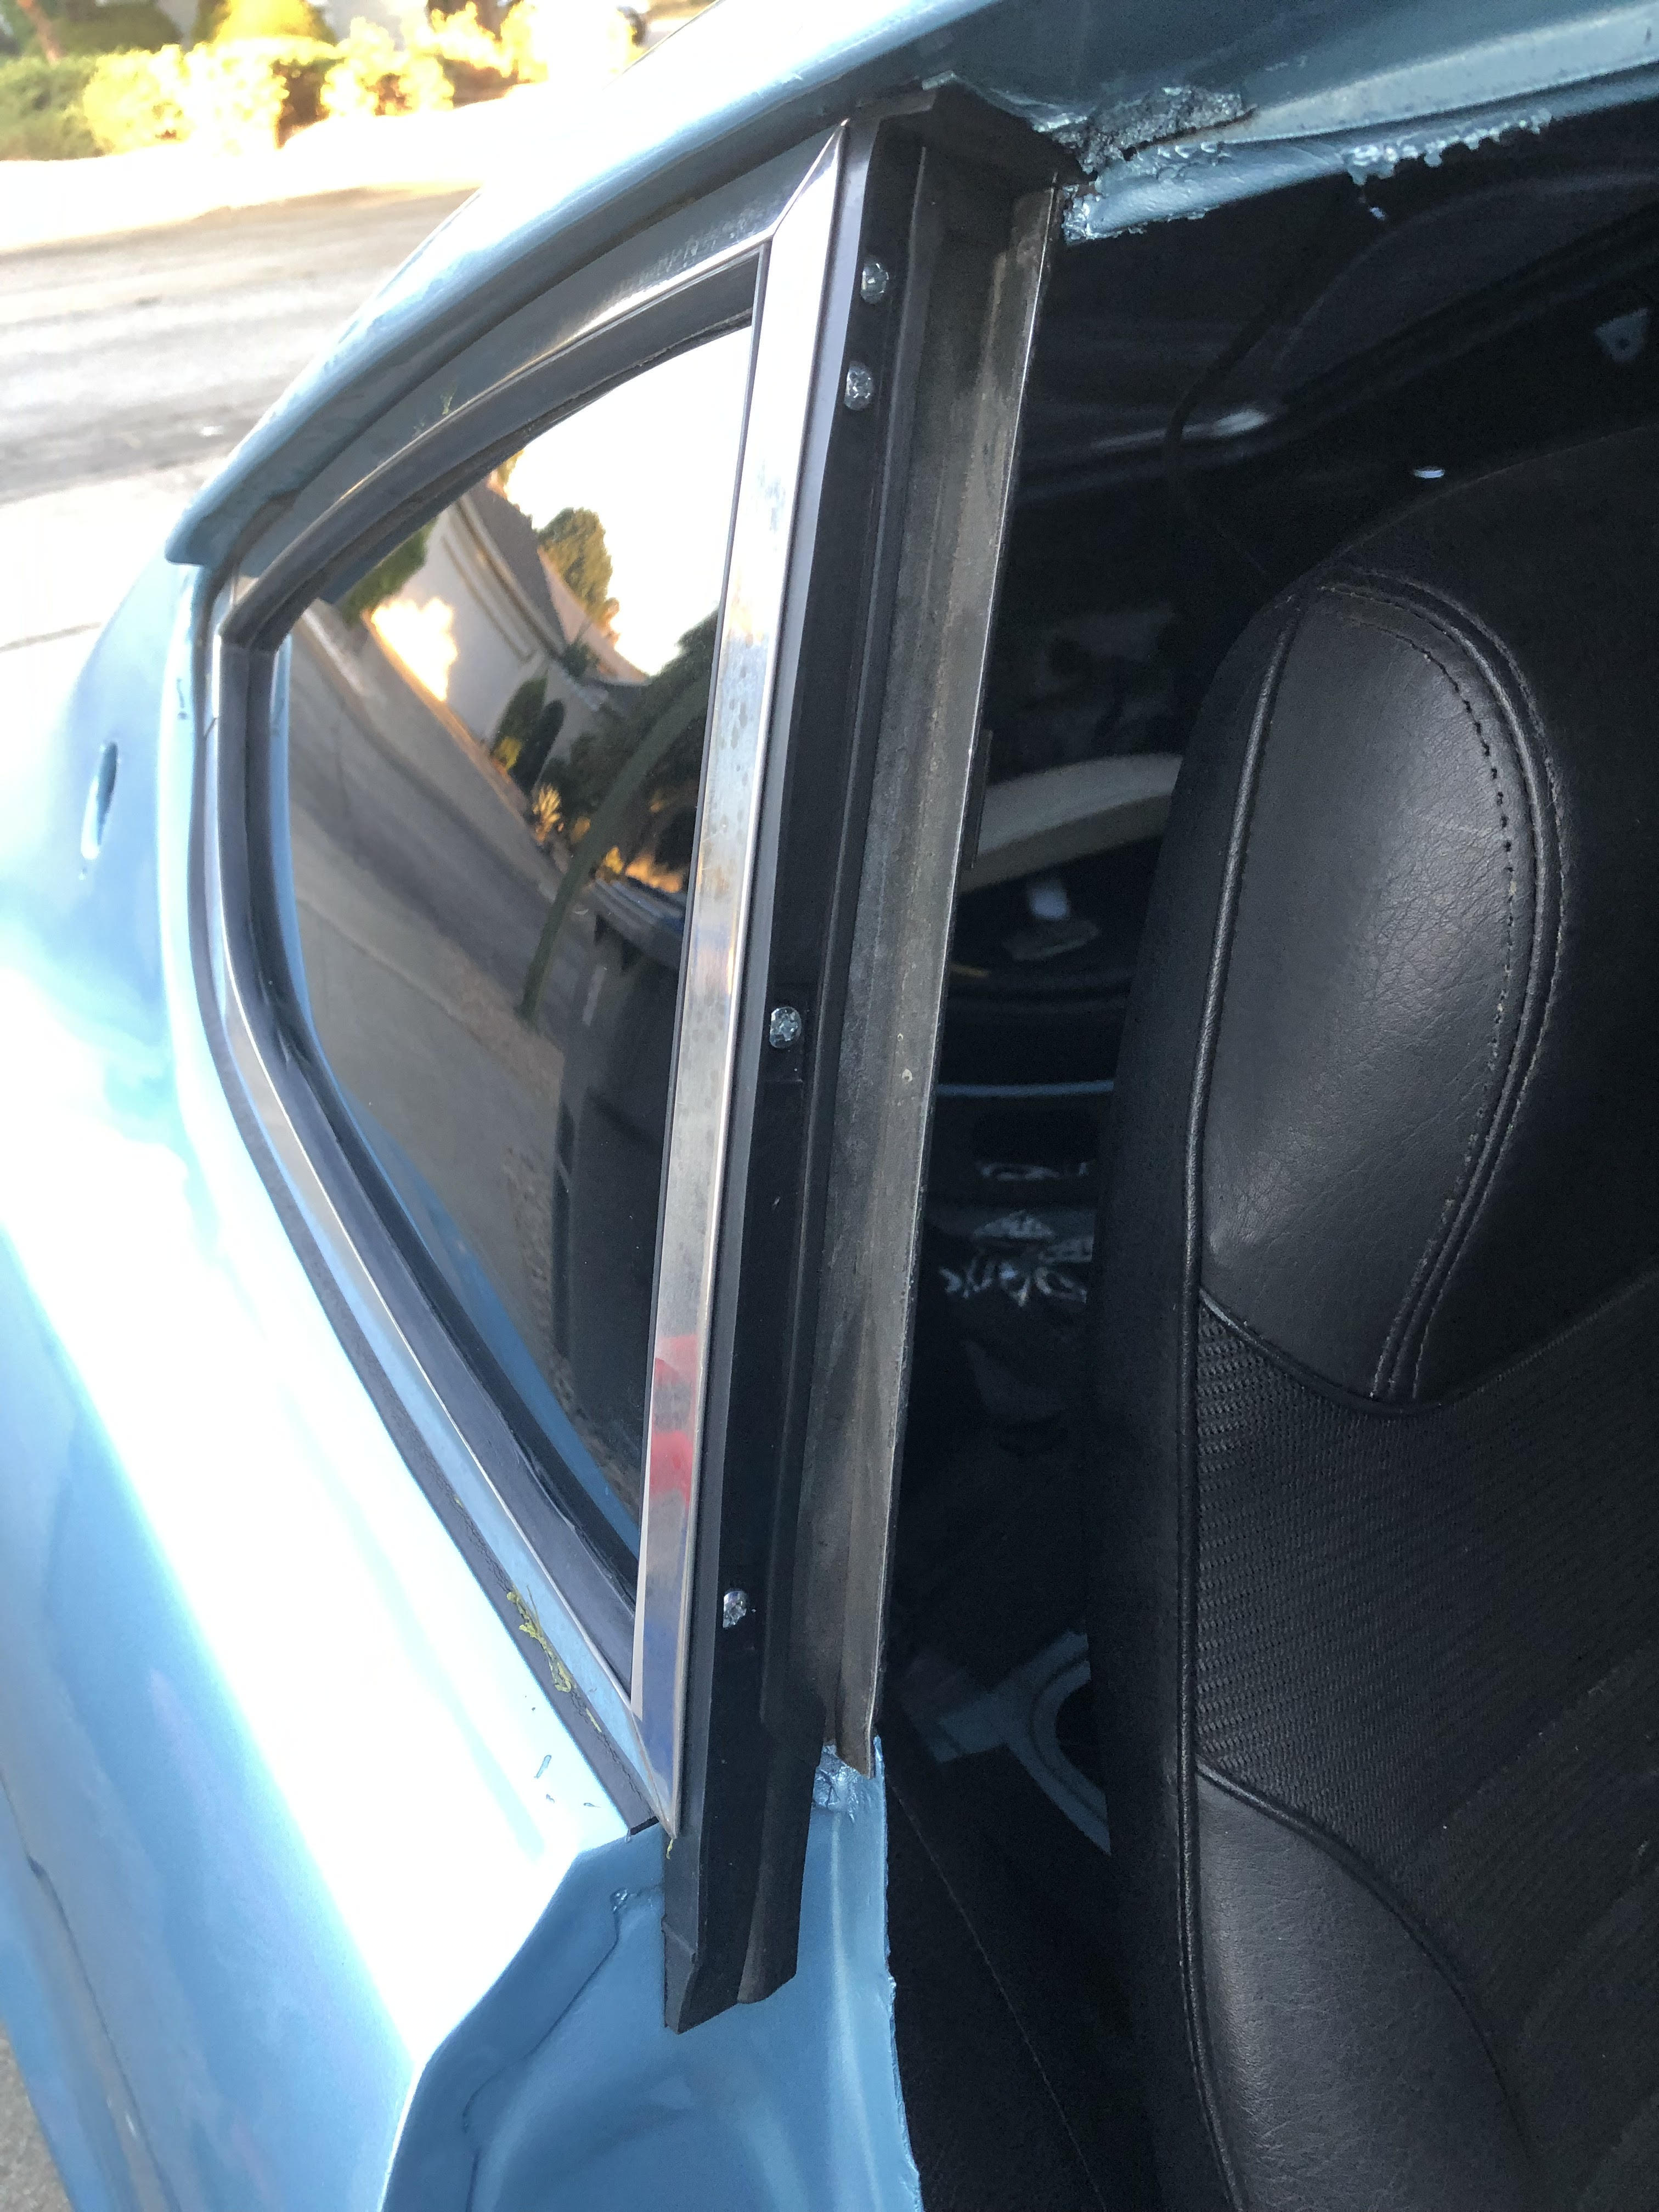
Quarter panel new outer rubber ...not fitting in the channel!!!
MH77280Z replied to MH77280Z's topic in Open Discussions
Blood sweat and tears alone ... had to call it a day after one side but it went in. I actually bought some longer screws and installed the lower back one wile it was far way and while i tightened it I pushed the window in place. Then the same with upper front one. Then used the regular size on the other two sides to bring it closer. Once closed unscrew the longer one one by one and use the regular ones. Will test this again on the other side tomorrow. So far it has worked. But I had to put a lot of weight behind to actually align the first one as well.

-
Quarter panel new outer rubber ...not fitting in the channel!!!
MH77280Z replied to MH77280Z's topic in Open Discussions
I was able to set the bottom front screw just like you mentioned. Let me try to do this with the rear one first as that requires more pressure first and then the front ones might align. Will report back... -
Quarter panel new outer rubber ...not fitting in the channel!!!
MH77280Z replied to MH77280Z's topic in Open Discussions
I was concerned of putting too much force and shattering the glass!!! Also when u do push it inside all the way, i can hardly see any rubber on the top and the lower rubber actually bends outside a bit. Is it normal? -
Quarter panel new outer rubber ...not fitting in the channel!!!
MH77280Z replied to MH77280Z's topic in Open Discussions
Scratch was an accident when I pulled it out. Generally when I am sliding it in it dont scratch. I put some silicon on the rubber to lubricate it. It helps sliding it inside more comfortably but risk slipping 🙂 I am more careful now. -
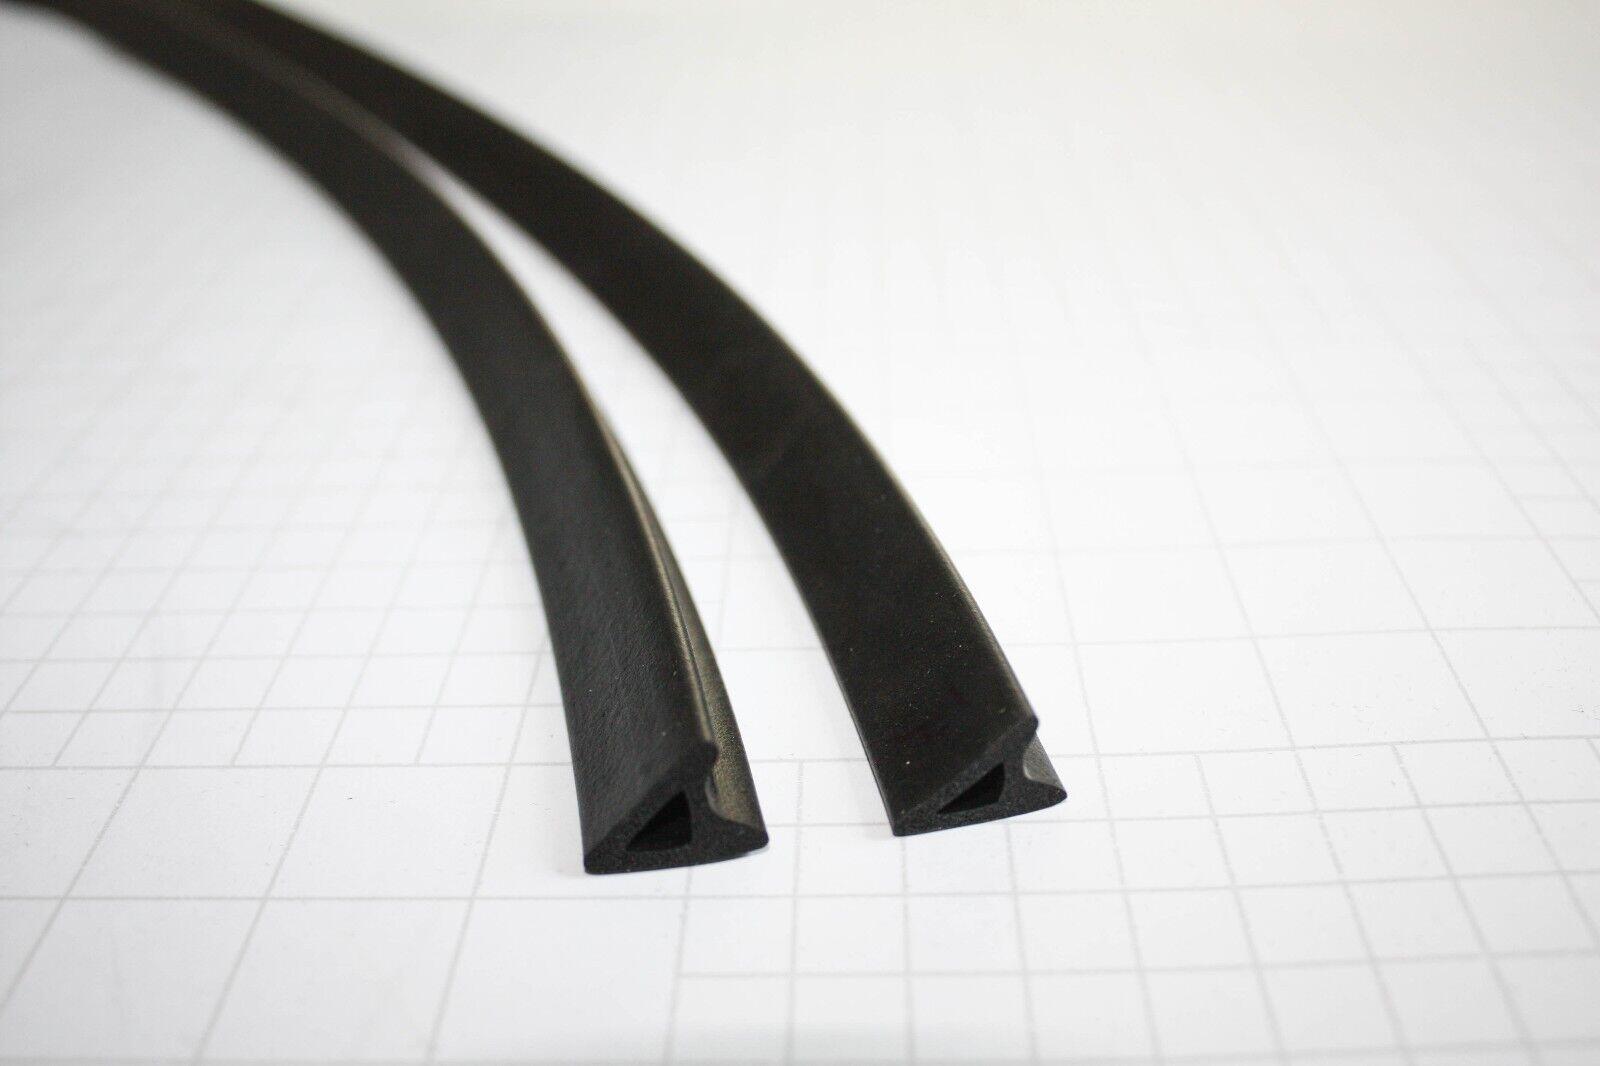
Guys, seen few videos and following the directions but there is too much rubber to align the 4 holes. The videos say taller edge on the outside. I am thinking to flip it and use the taller edge inside what you think. This is a nightmare and i have already got too small scratches to the new paint!!! what to do?
-
Got it working. The old one was pretty torn and I couldnt tell the direction. It did had weatherstripping glue a small bead throughout. The 3M adhesive remover is a magic and made things super easy. Like @cgsheen1 said pointed side inside. Thanks all.
-
Has anyone used these? do you mind sharing a pic of how they fit in the door upper outer channel? https://zcardepot.com/collections/weatherstripping/products/door-upper-rubber-seal-left-right-280z?_pos=1&_sid=556251978&_ss=r&variant=19275645681777#

-
A bit of tape would i think prevent it from rattling etc. in my opinion.
-
Hi, What is recommended? this 3M tape says use it at a hidden location to make sure it doesnt damage the paint. Has anyone tried? Or should i just use the 3M double sided tape it is pretty strong for emblems. Not sure how it will hold up to the water etc. during cleans over time. Also, for front fender emblems should i apply some on the inside of the tabs too or tape on the outside is sufficient? https://www.walmart.com/ip/3M-Plastic-Emblem-and-Trim-Adhesive-03601-1-oz-Tube/16913676?wmlspartner=wlpa&selectedSellerId=0&wl13=2025&adid=2222222227716913676_117755028669_12420145346&wmlspartner=wmtlabs&wl0=&wl1=g&wl2=c&wl3=501107745824&wl4=pla-306310554666&wl5=1014226&wl6=&wl7=&wl8=&wl9=pla&wl10=8175035&wl11=local&wl12=16913676&wl13=2025&veh=sem_LIA&gclsrc=aw.ds&&adid=2222222223716913676_117755028669_12420145346&wl0=&wl1=g&wl2=c&wl3=501107745824&wl4=pla-306310554666&wl5=1014226&wl6=&wl7=&wl8=&wl9=pla&wl10=8175035&wl11=local&wl12=16913676&veh=sem&gclid=CjwKCAjwvrOpBhBdEiwAR58-3MYSLg6P6YcEGSdRseqpjcbGmkndW4gvPp85lbqxXpw8OWUcXuX_iRoCV20QAvD_BwE
-
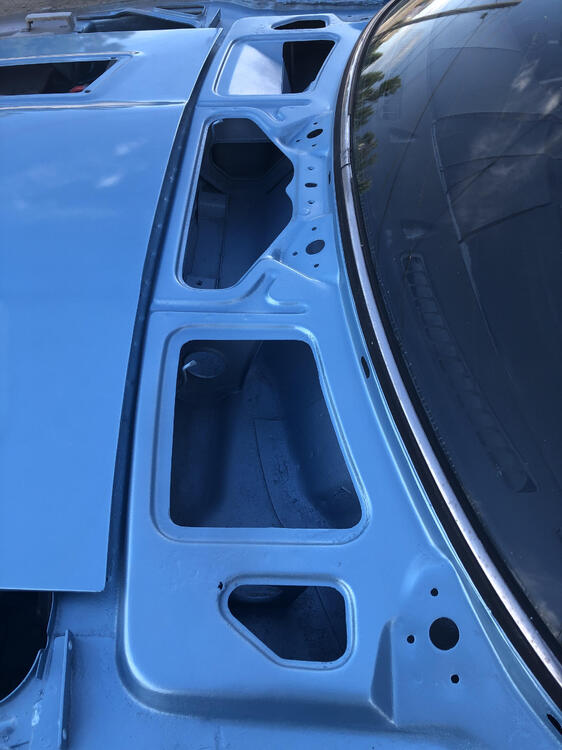
Back to factory original ... light blue metallic. Next new steering and suspension and i will be back on the road. Engine runs great. Need to put back body panels next few weeks.

-
Yes, came out pretty nice. The Rust Kutter was great plus i did plenty of sanding but the paint looks solid. I dont drive in rain or wet anyway so should be good.
-
Thanks all and especially @zKars this is exactly what I was looking for. By any chance do we have any reproduction of the part 20(RH) and 21 (LH) in the picture? it is the rubber liner near the glass?
-
Guys, i took out the glass and cleaned everything. There are 4 guide rollers that slide into the regulator. Any chance someone had taken pictures how they fit on the inside of the plate holding the glass? I forgot to take the pictures 🙂 the hardware in the picture.

-
guys, the quarter panel outer weather strip needs glue/adhesive. What have you used for that? is the black 3M weatherstrip adhesive good for this area?
-
Thanks for the references. The Kia door seal look pretty similar to the McMasterCarr part being installed here. Seems like a good deal. Let me browse the threads for outer hatch seal as well which I also need. Car getting painted to original color as we speak 🙂
-
Hi Guys, Any preferred place to get a quality weather stripping. I need the Qtr panel, door and rear hatch ones. Also noticed the original front door weather stripping which sits around the sill plate etc. has a lot more harder material than the rubber ones we see online. Should I try to save some portion of the original one?
-
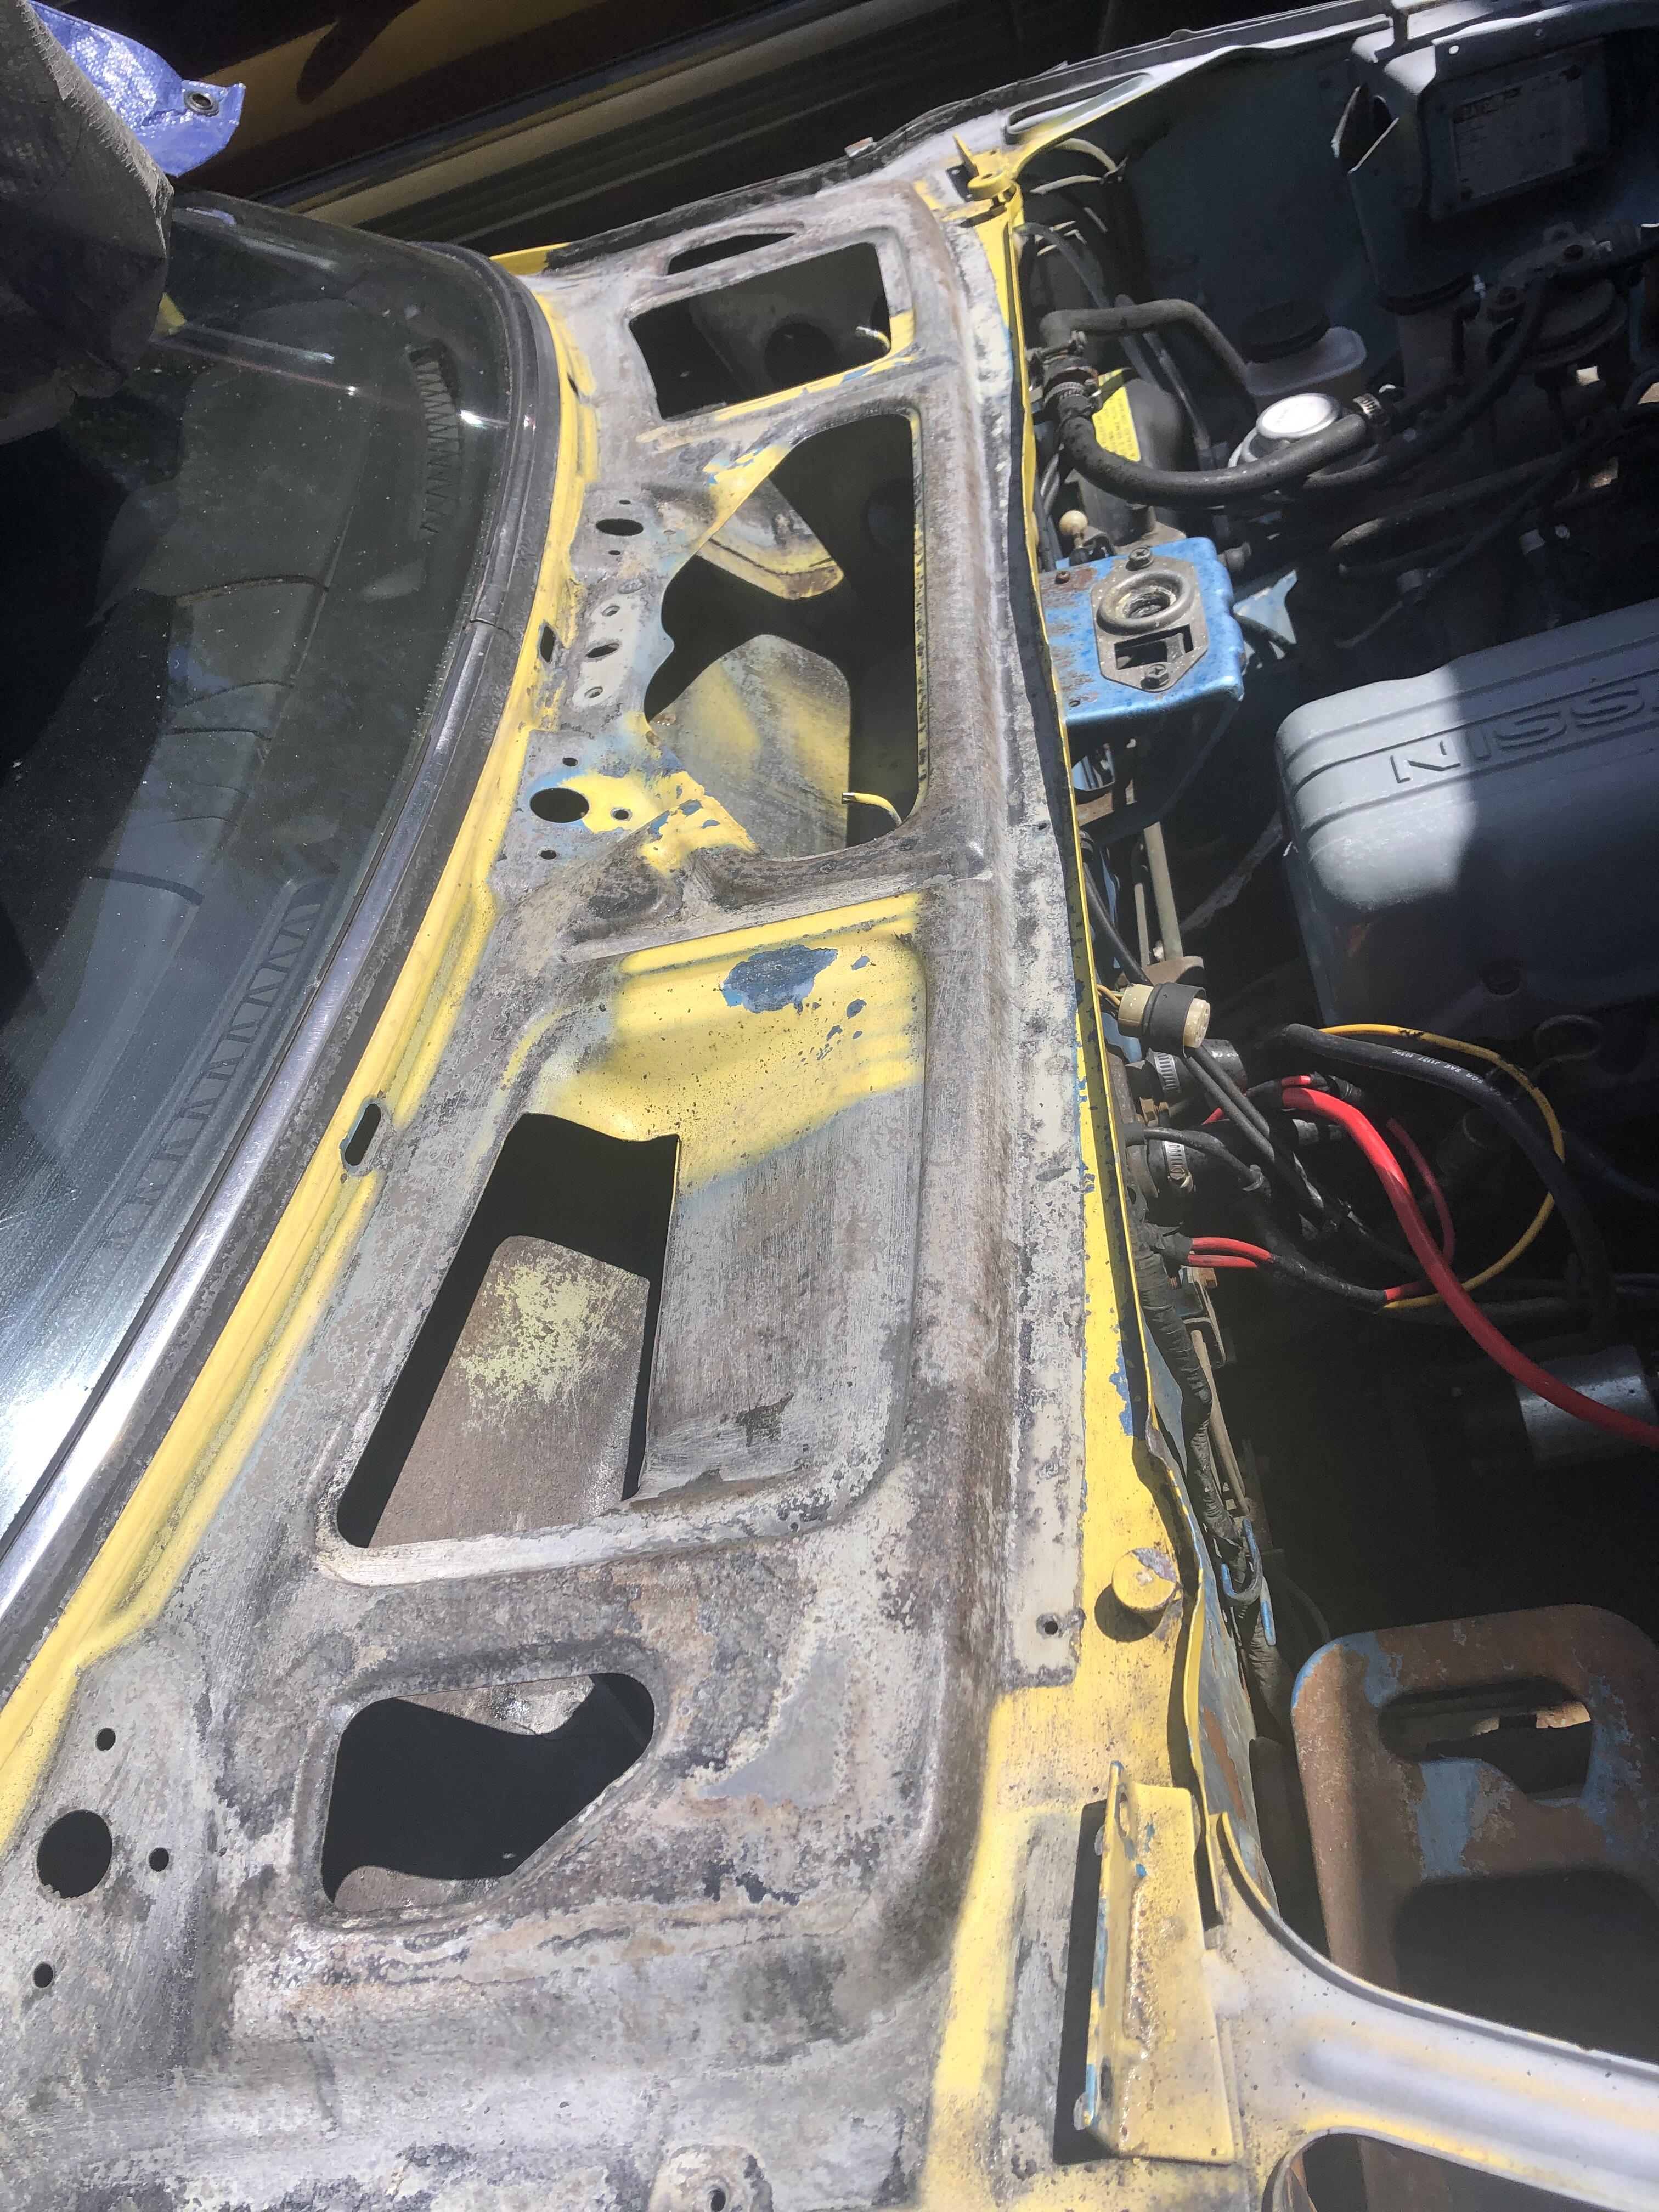
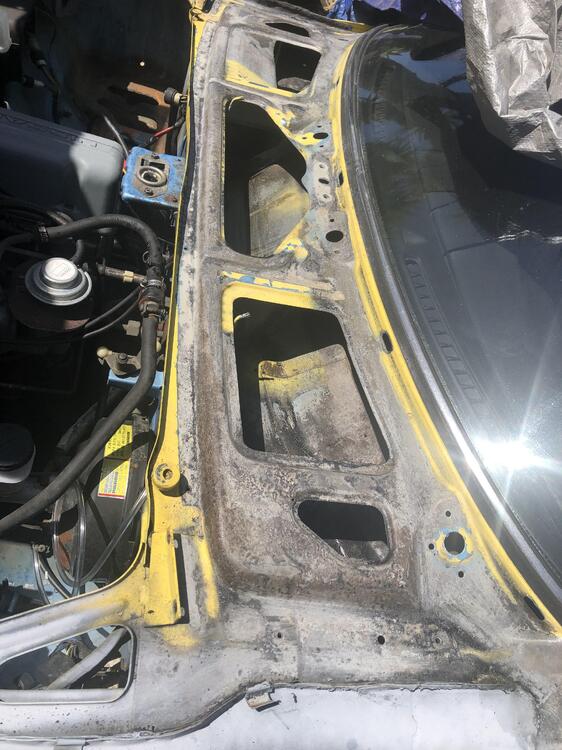
Looked a lot of reviews and this product Rust Kutter came up on top above OSPHO. Both are Phorphoric Acid based. https://www.amazon.com/dp/B001U1GW82?psc=1&ref=ppx_yo2ov_dt_b_product_details This thing works!!! my rust was pretty serious. Scrapped with a big wire brush and this is after first pass sitting for about 30 hours. Good thing is it creates a flaky black surface which I believe is the reaction residue which can be scrapped off with a wire brush. I think results are pretty good so far. I am planning to give it 3 rounds. Using the same treatment in the battery area which luckily dont have any pitting. Wanted to share the results and the product I used. Probably will also use that wet rag combination as well in harder areas. Slow and steady!!!

-
Seems like I was overly concerned. Thanks guys. I found the Fel-Pro 3060 has a paper material gasket piece. Probably will just pick up that. Trying to stay away from Kellog brand in my 280z 😆