
Blitzed
Free Member
-
Joined
-
Last visited
-
-
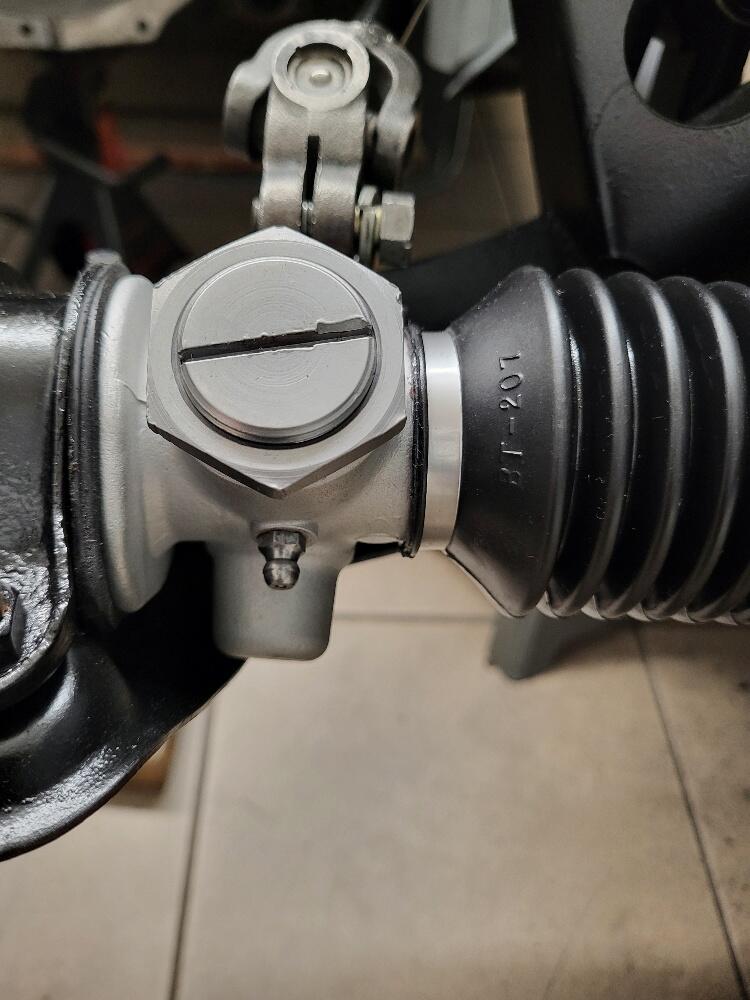
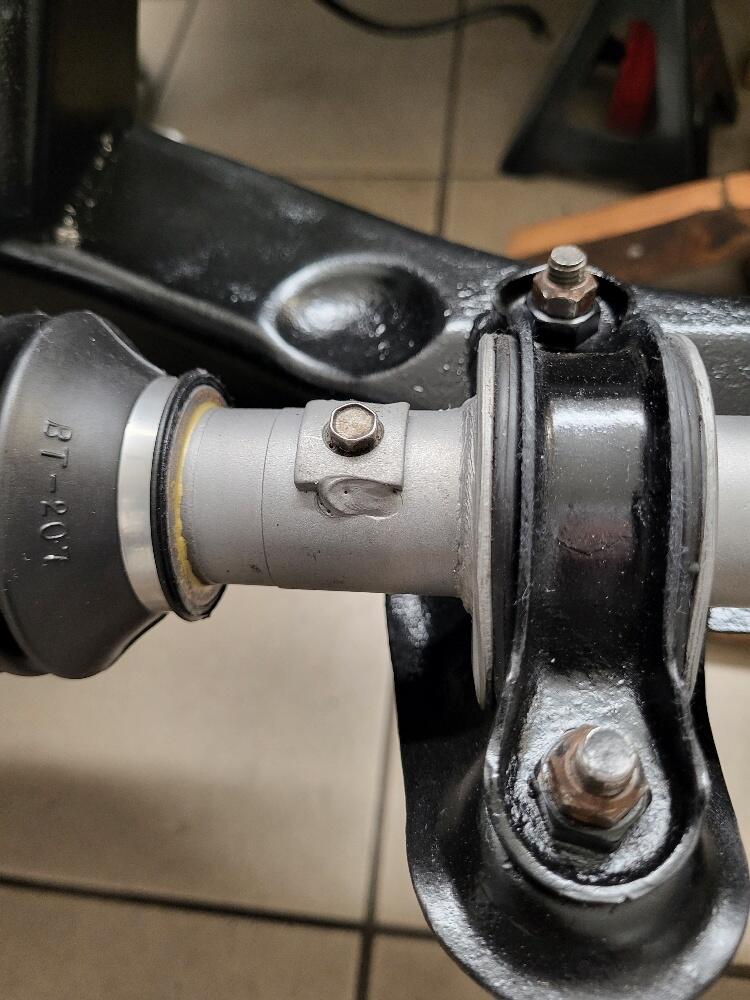
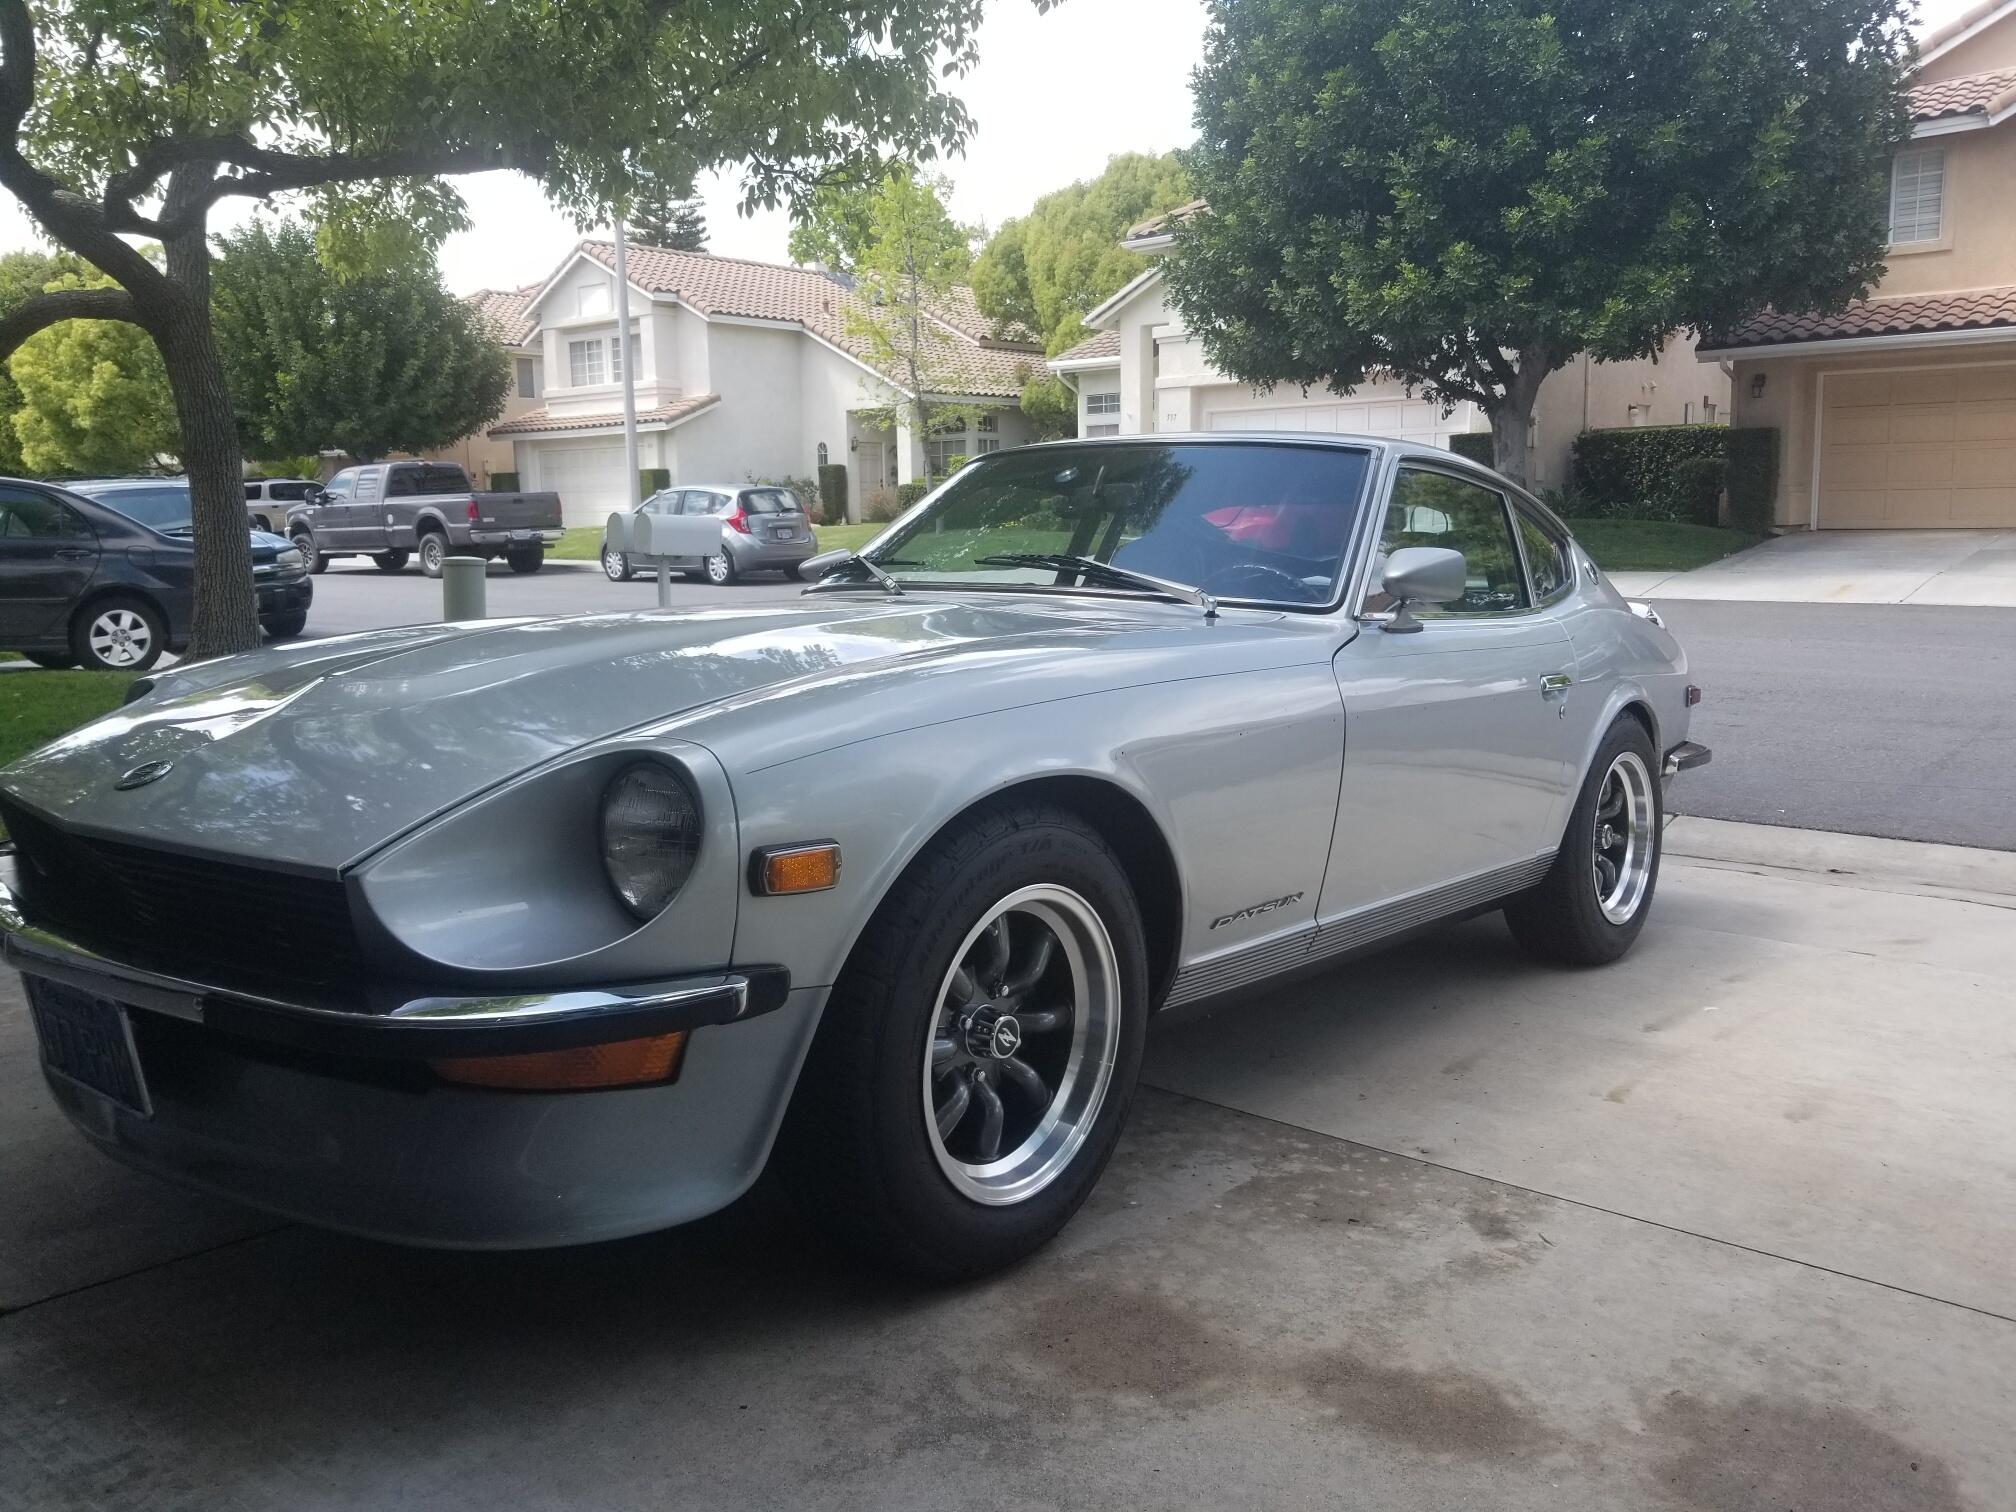
Ok. here's some pics. The rebuilt steering rack (assumed reassembled with assembly lube) and shipped ungreased. Pics shows a zerk fitting below the steering shaft spline. Does the stock rack not have this zerk fitting in this location? When gunning grease into the zerk fitting, How much is enough (original question) where should I see it ooze to know it's fully greased? Re small bolt: read in the thread someone installed a second zerk fitting in the factory breather hole, passenger side. See pic. Sorry, not a ton of info in the FSM. Thanks, Andrew

-
Ok searched greasing the steering rack on the site, here we are. 73 240z, purchased a rebuilt steering rack ungreased. What is the procedure? how do you know it's greased enough? Single grease fitting under the steering shaft spline. Do I need to add a second grease fitting on the passenger side small bolt? Thanks.
-
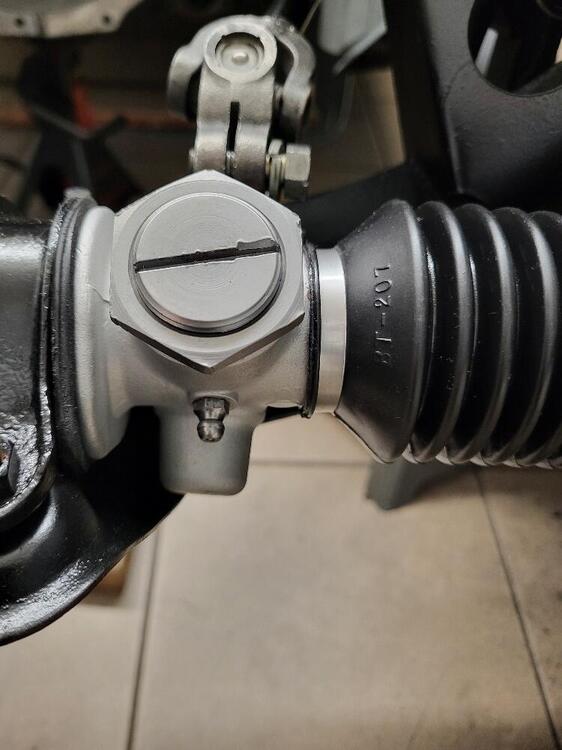
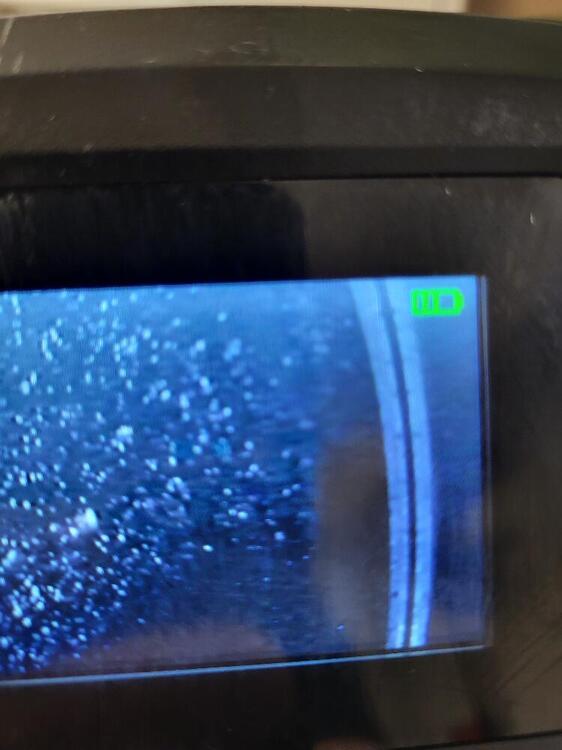
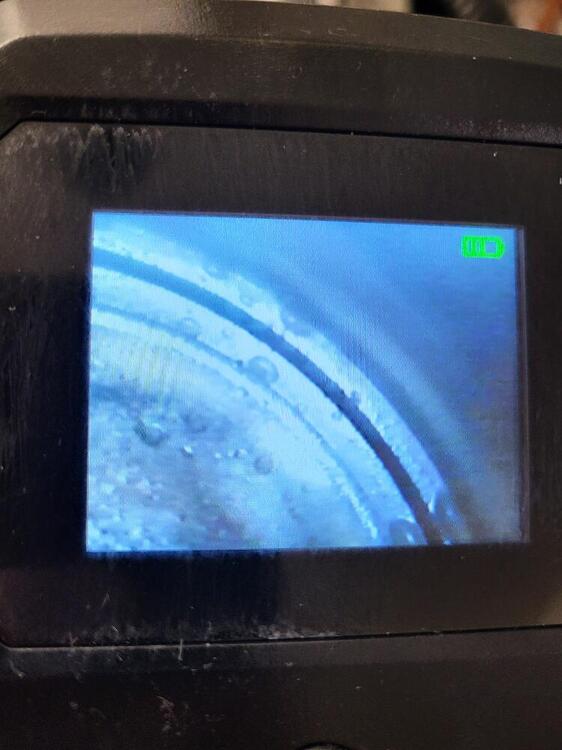
Thanks all, Confirmed blown head gasket over multiple cylinders. All piston tops steam cleaned on the intake side of the head. First pic is piston #6 how the piston top should look on a high mileage engine, covered in carbon deposits. Second pic is piston #3 nice and clean with drops of coolant on top. #3 was also the lowest compression reading at 150 PSI. It gets worst #4 and #2 have small portion of the piston top cleaned as well, all on the intake side. So the entire center section of the gasket failed. Confusing how all the test I ran where negative to coolant in the oil, carbon dioxide in the coolant. So where did the milky foam go? In my catch can venting the valve cover and block, the dreaded milky foam was present when I opened the valve :(. The engine starts and runs fine, not smoking???????????? Open the wallet and rebuild.
-
Thanks all, These engines can send you down a trail. Will report back on the head bolt retorque and the new valve stem seal maintenance. Will check the seal on the radiator cap but I've put to bed any external coolant leaks with the cooling system with all previous testing preformed. Another internal coolant leak test preform. Parked the car on my driveway incline (engine elevated) with a large coolant bleeder sealed in the cap neck and the bleeder tank full let the engine idle for 20 mins, opening the heater core valve. After the thermostat opened (140) rev'd the engine and idled for another 10 mins (160) closed the heater valve and rev'd again, zero bubbles or air escaping into the bleeder tank.
-
This started with loss of radiator fluid. Not running a closed system or overflow tank so not sure if it's just evaporating or steaming out the cap tube. Not a lot but I'm topping off more than usual. Nothing visible on the block, water pump, hoses or floor. So I'm checking for a blown head gasket. Engine runs fine. Next question is it steaming or white smoke out the exhaust, yes, cold starts only for a few minutes. once up to temp gone and restarts at temp no white smoke. California climate, it's not very cold, 50's. I've run every test on the radiator, pressure test, holds 15lbs for 24 hours. Chemical carbon dioxide test at the radiator cap, negative, stayed blue. Put the pressure tester back on and put 10lbs in the system, rev'd the engine to 6K rpm, no change in fluid pressure. Even checked the oil with the sizzle test. Heated a piece of tin and dropped engine oil from the dip stick on the tin, just smoked like oil should, if it's sizzles and crackles there is coolant present. All negative. No milky substance in the radiator fluid or oil, all is clean. So moved to compression testing, could be chasing my tail. The valve cover will come off to inspect and change the valve stem seals. I know, not a fun job. Will inspect all other components while preforming the service and retorque the head bolts.
-
Thanks Zed, N42 head, the pistons look dished from what I can see from the spark plug hole. Will borrow a engine video scope to confirm. It's a high mileage engine so the compression number should be low. With dished piston what should the PSI numbers look like? I've seen 155-170 range range 8.3.1. First test was a warm engine. Was going to run through a cool engine comp test. The compression tester is a OEM with a 15" hose, rental from Autozone. So not sure how accurate? ITB's so when I use a airflow synchrometer (in the horn), cylinder # 4 highest comp, lowest airflow reading.
-
Need some data. Purchased 73 240Z with a transplanted L28 N42 NA engine, from the mid 80's (high mileage engine). Have zero history of the parts used in the engine. What PSI compression ratio's should I expect on an old rebuild not knowing dome or flat piston. How can I verify the piston config? All seam to be in the 155 psi range # 4 cylinder is the highest at 162 psi . Interesting that # 4 with highest compression pulls the lowest vacuum number on the airflow meter at the intake? Thanks.
-
Read my post from 5/1/2023. Tried everything vibration would not go away. The stock (I said stock) Z suspension control arms with rubber bushing were designed for max 28lbs -30lbs tire air pressure on narrow tires. You're probably running a wider tire with a manufacturer suggested air pressure of 32lbs or 36lbs. I don't race but have been told most car drivers will reduce air pressure on the track. So just reduce your air pressure to 24lbs in the fronts and 24lbs in the rear and see if the vibration goes away. If so, begin to add pressure 2lbs at a time to find the tipping point with the tire pressure / suspension and the vibration. I'm running 25lbs fronts and 26lbs in rears on the street (15 60 205), no vibration. Is the car harder to steer at low speeds, yes but the steering wheel is much more enjoyable at driving speeds. Took it a step further and had the wheels (rim), tire, hub and rotor dynamically balanced (single wheel dyno) on the car. Downside, wheel must remain in the same position on the car, mark on the hub and no rotation. Good luck.
-
-
I agree "crap" I did remove it but I met a freak who's going totally original/ stock with his engine. I'm selling the tube, emission components are a must for the buyer. so need to return the component's the way I removed them. That's the challenge. My engine is EFI :). California is not requiring smog on exempted vehicles, the way they're going to get us is huge annual registration cost to drive the mass polluters, it's coming soon.
-
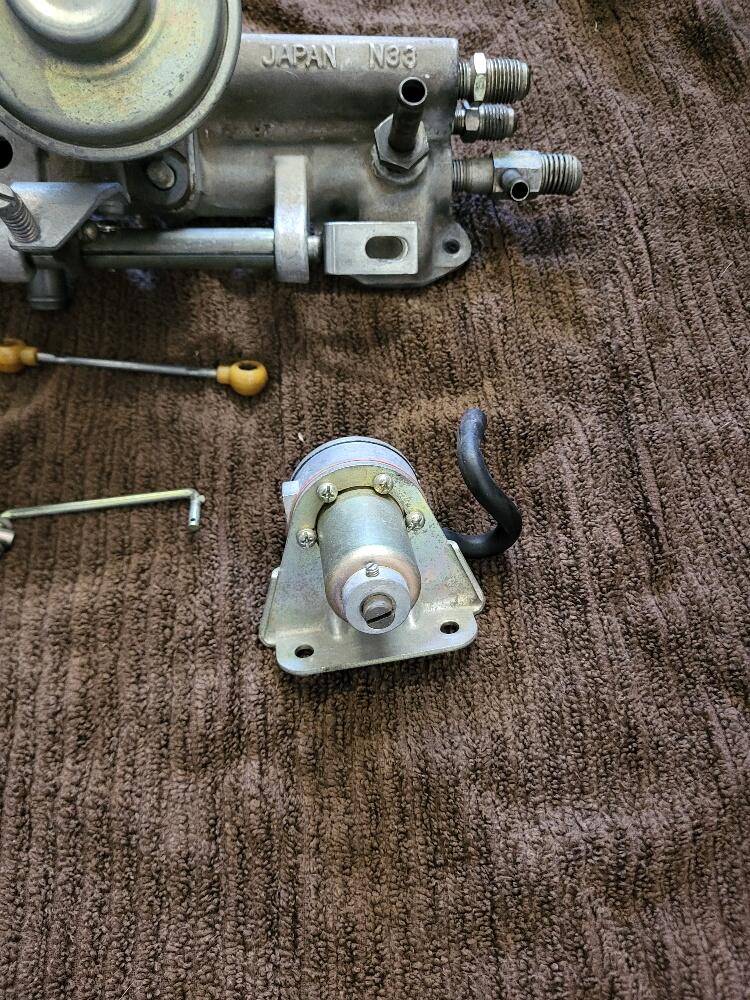
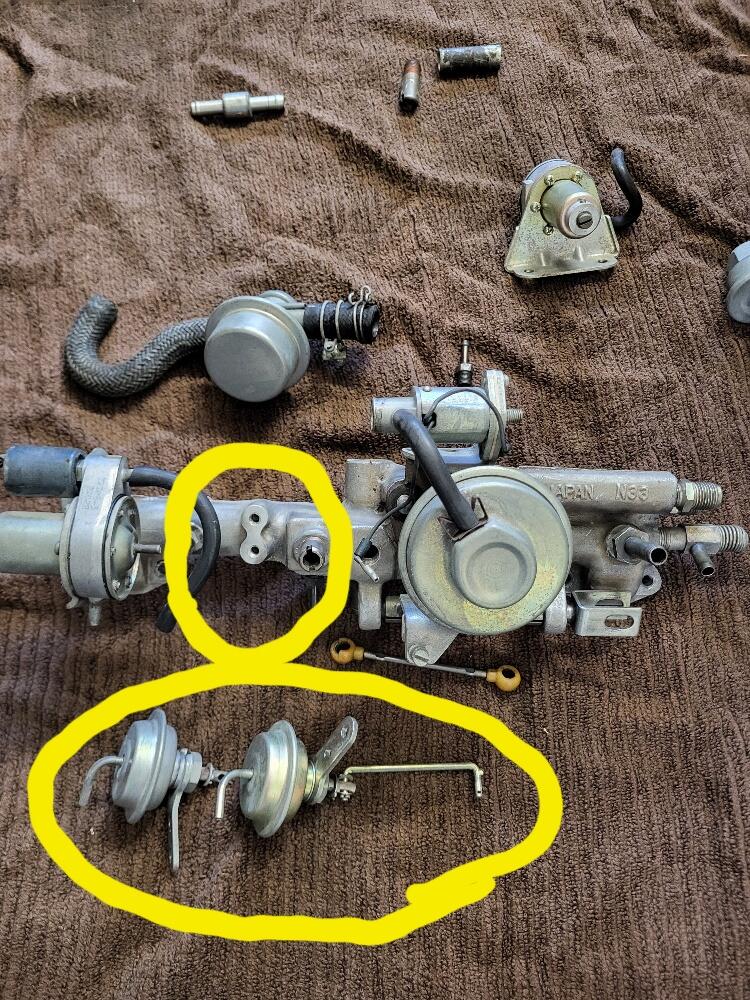
Hi All, Happy 2024, Hope all is well. Another DA who took apart a stock balance tube with pics and still can't figure out where everything mounts. N33 tube L28 .Even with the FSM manual, I seem to have a couple valves not sure where / how they mount to the tube? First image What this? Fast Idle for Air con? Where does it mount? Second image , have two valves very similar one mounts on the tube where does the other mount? Both have the same two hole mount bracket? Thank you,


-
As a new owner of a 240Z (2018) it amazes me when I meet a original owner of a Z purchased new and beloved for 50+ years. Several owners at ZCON had similar stories. Hagerty posted a story of a 240Z owner, check it out on Hagerty site, weekend road trips. https://www.hagerty.com/media/car-profiles/original-owner-a-navy-sailor-returns-home-to-a-new-datsun-240z/?
-
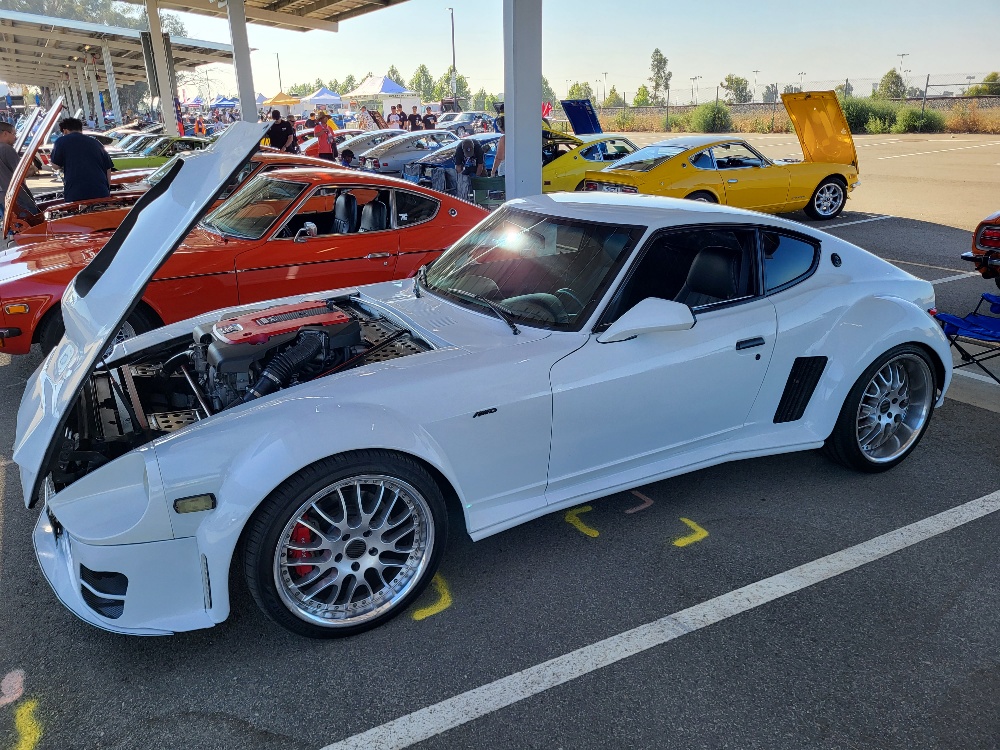
ZCON produced some incredibly Z builds, can you say 240Z GTR AWD. Not for the purest but pushing the envelope on what's possible with our beloved Z's. The event was assume great people, great events and great Z's. The hosting club and affiliates put together a assume week long event.
-