chaseincats
Member
-
Joined
-
Last visited
Everything posted by chaseincats
-
My rheostat works but I've always wanted to bypass it to see if the lights get any brighter because who knows how much/if its corroded on the inside.
-
I have a 280z. If that's the case, then maybe somebody put a 240 tach in it? Either way, on mine, the indicator lights only had one BW wire each and once I cleaned the mounting bracket and bolted the housing down, they worked.
-
On my tach On my tach, the turn signal wires are single wires (BW). The gauge illumination lights have 2 wires (GB/GR)
-
Update for you: I was wrong about a burned out tach light - the bulbs are just too dim to illuminate the area where the redline+ bit is. The turn signal lights still aren't working however. I ended up using a test light to verify that I am indeed getting a light pulse to the harness connector for the signals and I am. I did some research online and found out that the indicator lights (unlike the illumination lights) are indeed 1 wire and not 2. So I'm guessing that means they aren't grounding properly to the housing (or the housing's ground is missing, right)? Update: Got the lights working. For those who have the same issue, the tach grounds to the body via the tach mount screw on the underside of the dash. Sand it down a bit and crank that screw and that should fix your grounding issue.
-
Hi guys, Odd question for you. One of my tach illumination lights died (the other 4 still work). A week later, the left indicator dash tach light died, and today the right one died (the front & rear exterior indicator lights all work however). I tried to remove the tach but 90 minutes later I couldn't get it out (on account of the dash cap's lip that surrounds the gauge. I also was able to unplug the 2 general light connectors behind the dash after a bunch of fiddling hoping to see some corrosion, but they look brand new. I also took a look at the bulbs, and they aren't burned out. Anyone have any other ideas? -chase
-
Yeah, those are what are on my car. It makes sense that the sub harness and sensor connectors have matching colors. That said - if the bullet connectors are flip-flopped in the main harness, suddenly that little trick's helpfulness goes out the window haha. @SteveJ Yeah, that's what I ended up doing - checking the main harness wire colors then just following the wire to the plug rather than looking at the sub-harness wire colors
-
I was going through the FSM and couldn't find that. What page was that on? (Thanks everyone btw)
-
Quick question for you. I can't seem to find a wiring diagram that includes the coolant temp sensor & thermotime switch wiring colors in the FSM. The thermotime & coolant temp sensor (temp sensor for the ECU, not the temp gauge) each have a bullet-style to standard EFI connector harness (one harness has green wires and the other has black). Do you guys happen to know which harness connects to the coolant temp sensor and which goes to the thermotime? -chase
-
How did you remove the rest of the plastic handle grip? It seems to be glued on there.
-
Was this tough to install? I'm going to try JB weld first (https://www.oreillyauto.com/detail/b/j-b-weld-4009/chemicals---fluids-16461/glues--adhesives---sealants-19861/specialty-adhesives-17689/568b785d32e5/j-b-weld-20-gram-superweld/33120/6029295/) but if JB doesn't work, I'd like to try that.
-
Awesome, thanks
-
Do they sell that grip anywhere? I can't seem to find it.
-
Hi guys, My handbrake handle broke today. I've tried glueing it back on with superglue but to no avail. Anyone have any recommendations on what I can use to get these back together properly? -chase

-
Good to go. I checked continuity from the AFM housing to the plate welded to the car that the screw screws into. Is that good enough or do I need to check continuity between the plate and something else?
-
For me it is on regardless of fuel level
-
I don't believe so because here in TX it's been hot since before I installed it but an interesting theory anyhow.
-
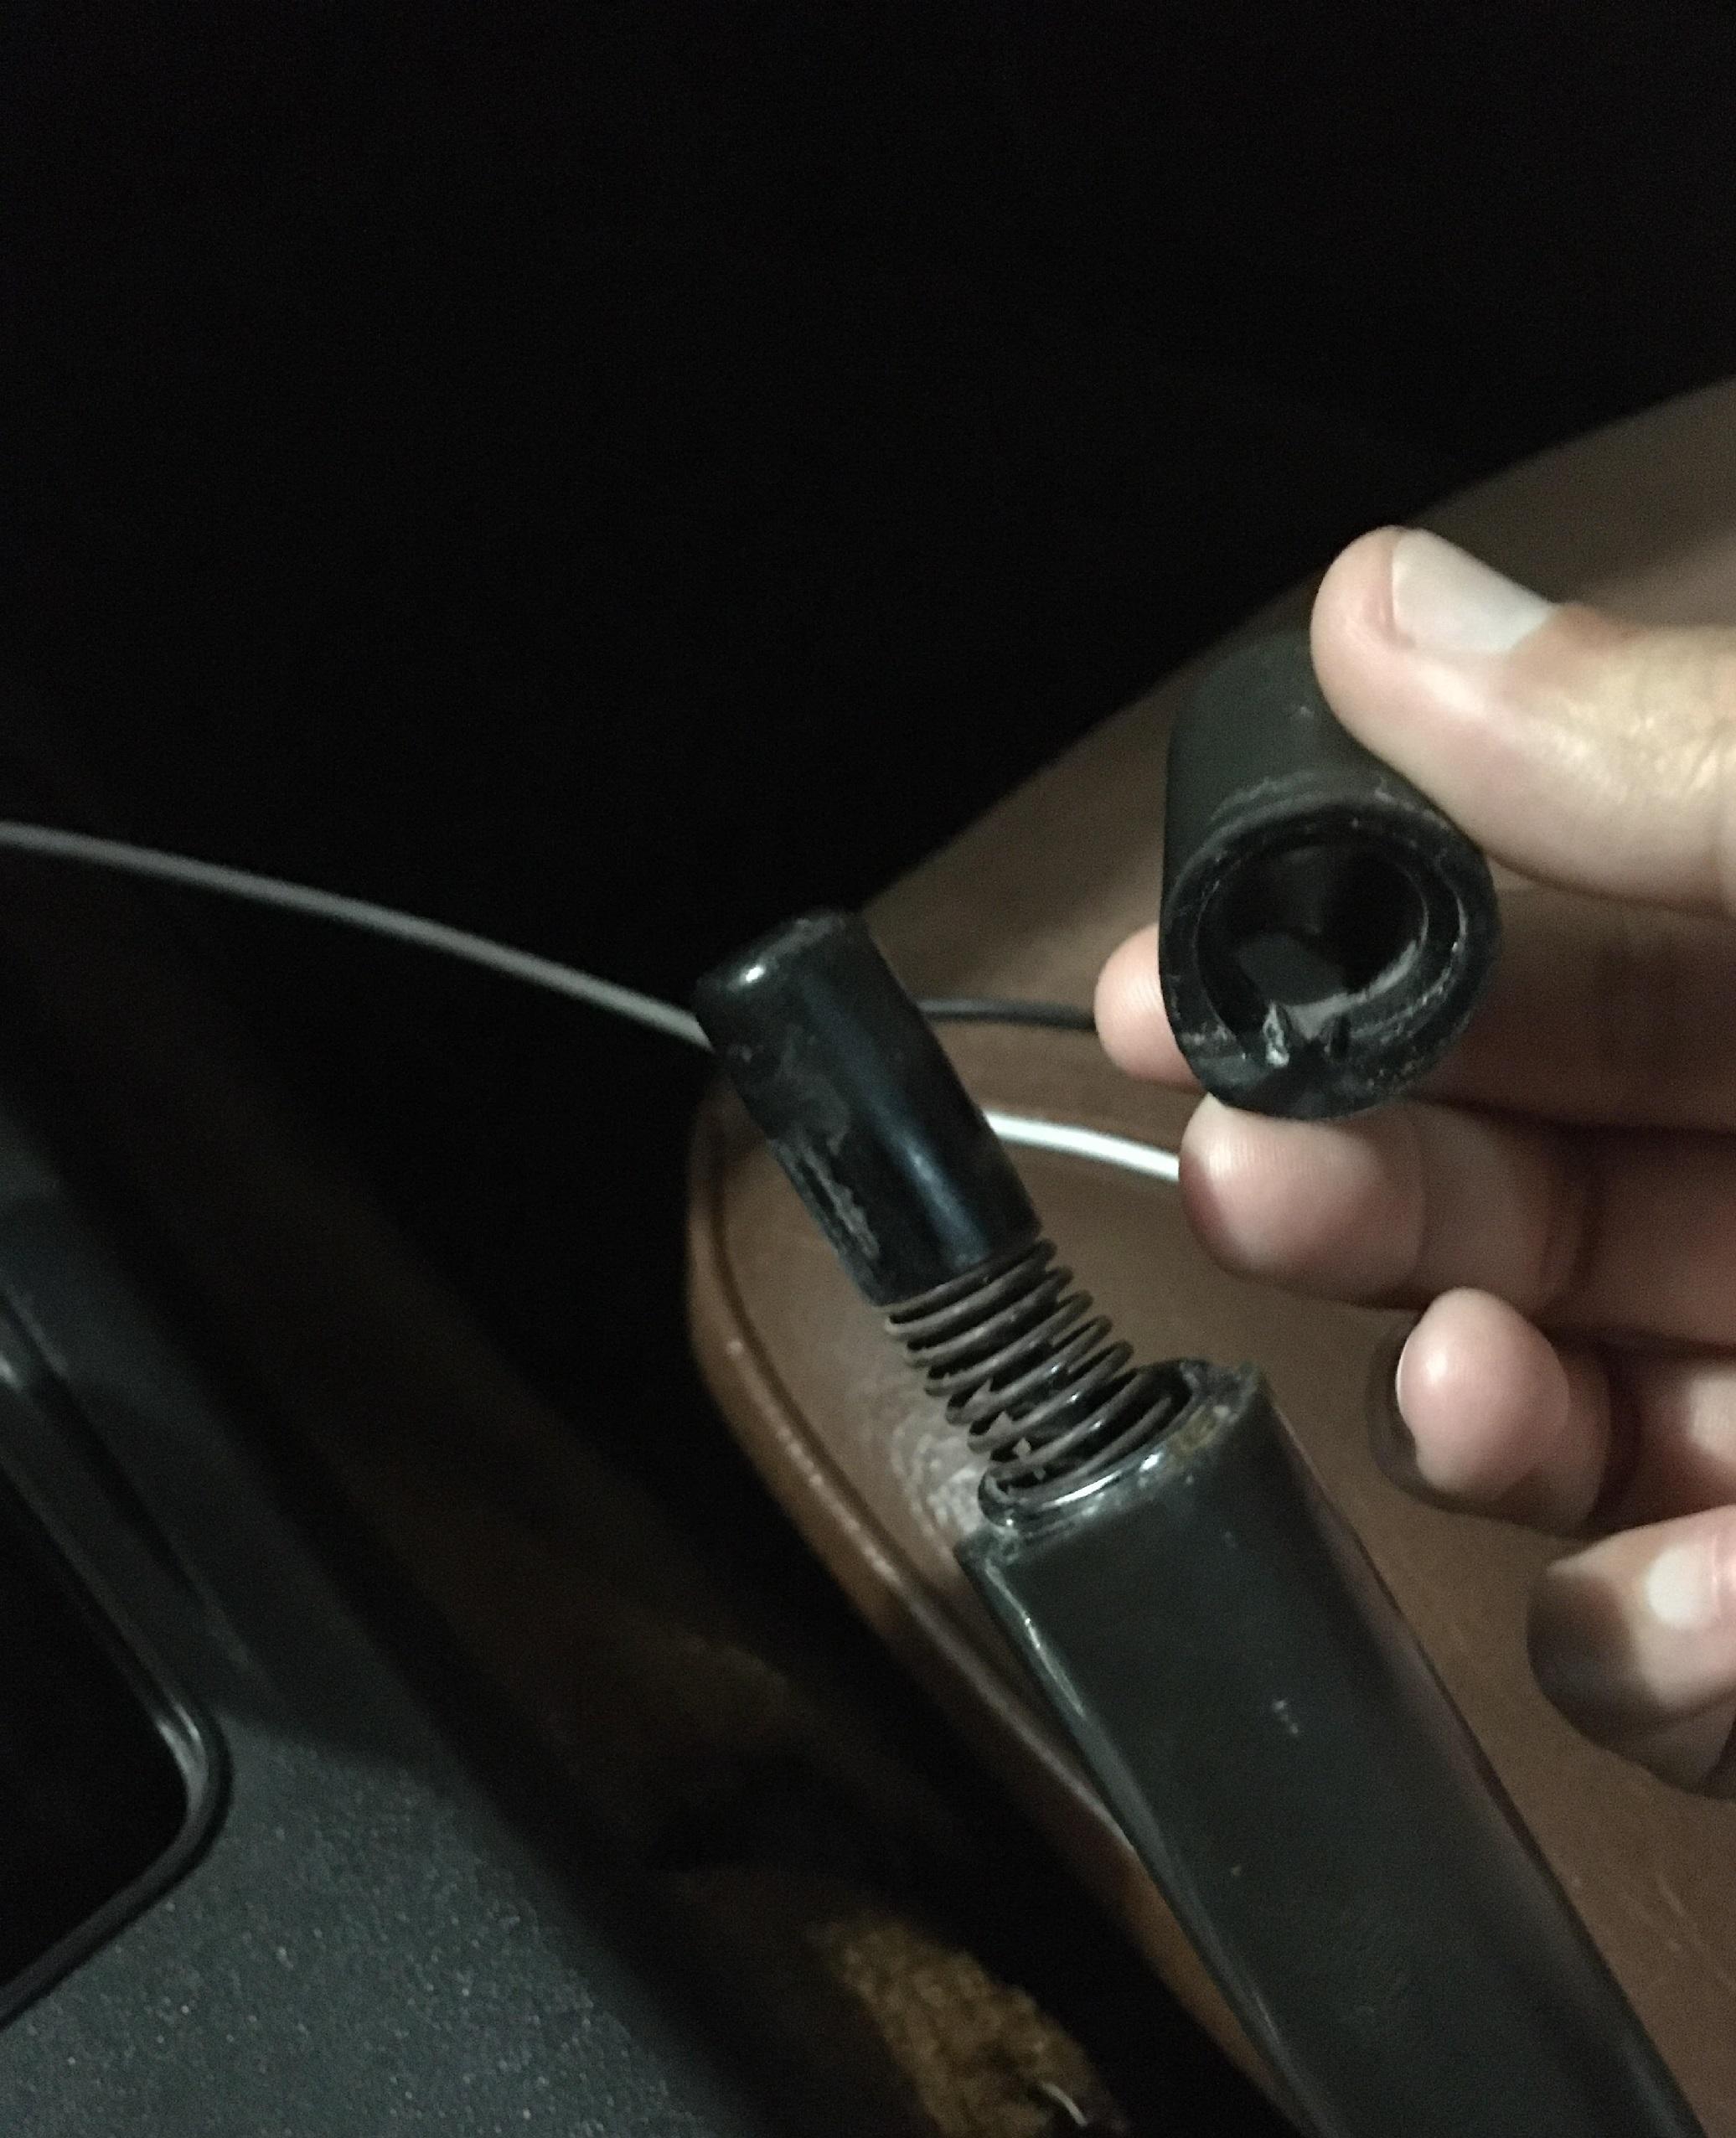
I really wouldn't drive on that - its 40 year old rubber...
-
For what it's worth I got the same part from ZCD and had the same issue. They sent me out a replacement which I will swap in eventually. I also remember that this problem didn't start immediately - it manifested after a few months...
-
Ah ya, I definitely don't have that since it's not bolted to the bracket at all...
-
I don't see one attached to the bottom of my AFM. Is that why it runs fine? It sounds like a good idea to have one of those so should I try and add one of these?
-
I noticed that a lot of pictures show the AFM having a ground strap that goes to the bracket - mine doesnt have one and doesn't even touch the bracket...
-
Hi guys, I am going through the AtlanticZ contact cleaning checklist (http://www.atlanticz.ca/zclub/techtips/electricalconnections/index.html) and have finished all but the AFM ground which I can't find. Does the 78 with the 5-pin AFM not have a ground wire? Any ideas? -chase
-
Unfortunately I didn't think to take any but here is exactly what I did: Estimated time to completion: 1 hour Open up the Z clock and remove the hands (get some wire cutters or very thin pliers and pull up on the center of the clock arms). They will fight you, but eventually pop off. Now you can unbolt the 3 facebolts and pull the faceplate & mounting piece off of the old clock mechanism. The faceplate is held to the mounting piece by 3 tabs which you bend a bit to separate the pieces. The new clock's center arm mechanism isn't long enough to reach through the face and mounting plate as-is due to a bit of a spacer built into those 3 faceplate tabs. Thin the width of the tabs out a bit (I used wire cutters) so that the tabs can go further into the mounting plate's tabs and end up being flush with the plate - then bend the tabs in holding the faceplate to the mounting bracket. NOTE: The mounting plate's 3 bolt holes in the center protrude outward. Be sure to mount the faceplate on the side without the protrusions (mounting flush) - the clock mechanism will mount to these. Glue the clock mechanism to the 3 bumps on the back of the mounting plate (i used superglue but you can use whatever you prefer) Open the new clock and note that the clock has a variety of wires all of these can be snipped except for the 2 that go to the battery (the others are for a light, the alarm feature, a speaker, etc) Remove the hands by pulling them straight up and remove the mechanism - put the hands to the side as we will add those at the end Now the only physical activity you will need to do for this - get a small saw and saw through the plastic clock outer shell so you can remove the AA battery housing. Be sure to remove as much plastic around the battery housing as possible. The original Z clock's can does not have much spare space, so be sure to make it as small as possible while maintaining the area where the battery clips into. Place the AA battery housing into the can, reattach the clock hands by simply pushing them back on the center bit (leave the red hand off as that's for the old alarm feature) I wrote the above as detailed as possible, but it is much simpler when you actually have both clocks in front of you. NOTE: Everything will work but there are VERY small tolerances for everything (the clock hands hover about a half millimeter above the face for example. As long as you remove enough of the surrounding plastic for the AA battery housing, you will also be able to close the clock and everything will look factory.
-
https://www.walmart.com/ip/SHARP-Quartz-Analog-Alarm-Clock-in-Black/20554638 Rip the motor and battery casing out (will require brief plastic sawing for the battery casing) and cram it in behind the original faceplate (it will fit in the can with a little finagling). Just did it and looks awesome.
-
wow ya that is interesting weird