YZFMax
Member
-
Joined
-
Last visited
Everything posted by YZFMax
-
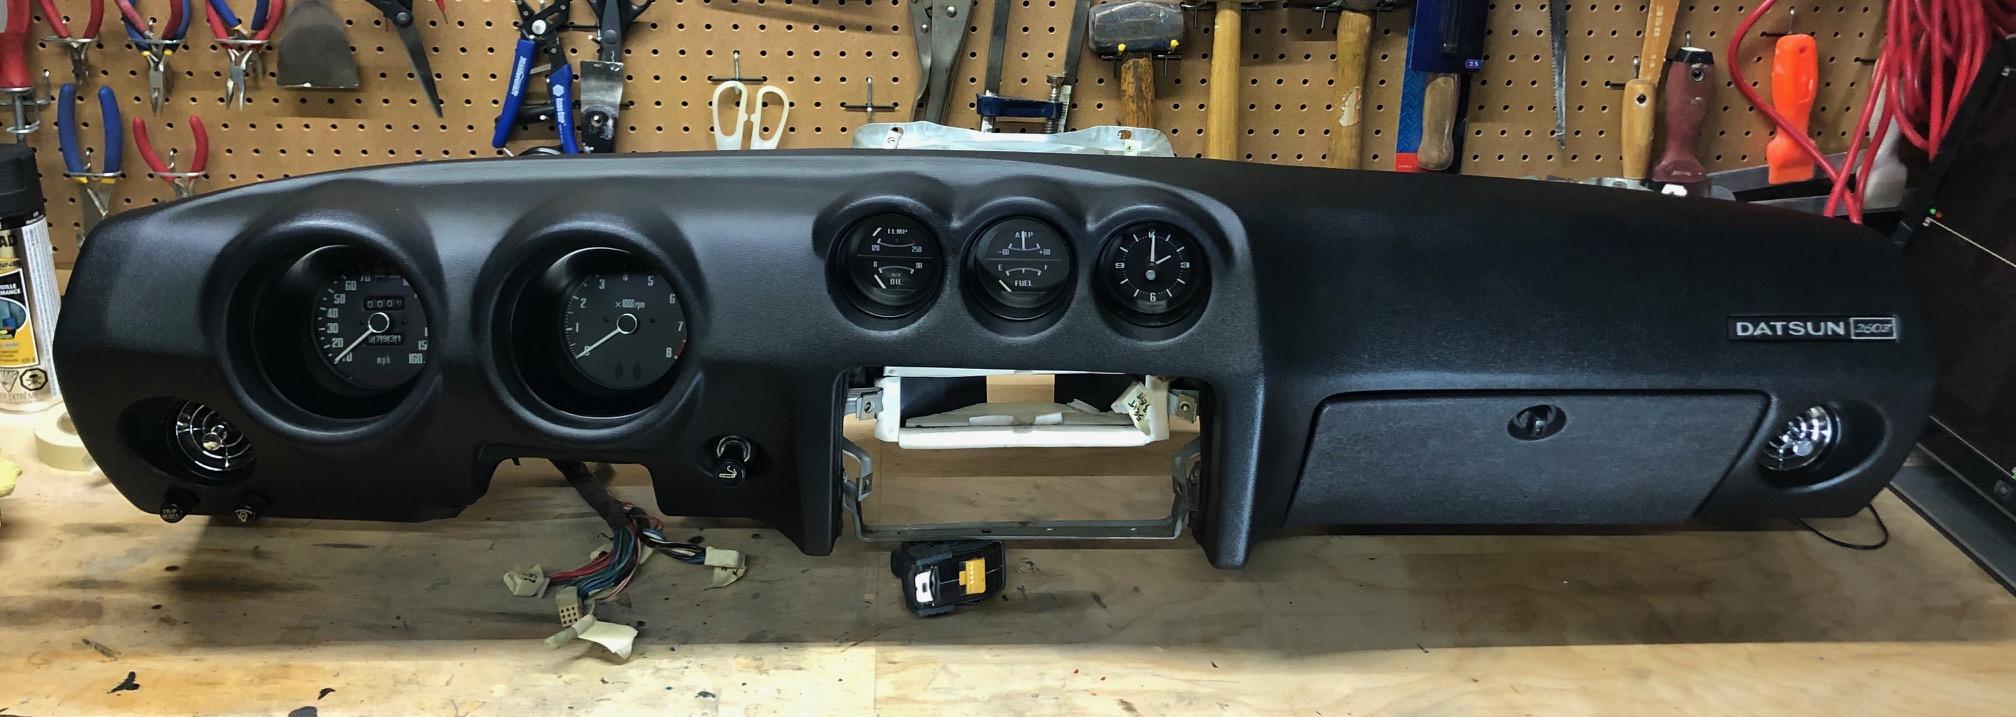
Just finished transferring the components from the old dash to the Vintage Dash pad. It was a bit of work, but I took my time and took lots of pics along the way to help me with the reassembly. Overall, I'm very happy with the end result and can't wait to install this back in the car. Will do this once the weather gets a bit warmer. A few thing to note for anyone that's taking this route: Read the treads above for the folks that have installed this already, they provided some great tips that helped with the install. I had to trim the back of the speedo and tach part of the dash, it was way too tight and there was a small lip of dash foam. I trimmed this with an exacto knife, about a couple of mm, and was able to fit the gauges in. This is fully covered by the gauges and not visible. There is a small gap on the top part of the Amp/Fuel gauge. From a sitting angle, this should not be noticeable. There are 21 screws that hold the frame to the dash pad. Some of the metal attachments on the dash pad are covered by foam, you should remove this with a blade before you install the foam. This will allow you to find the holes for the screws when the frame is on. I ended up putting 20 out of the 21 screws from the frame. The one above the cigarette lighter was difficult to attach, was not able to locate this with the frame on. I said screw it, and did not bother with it. There are already 20 screws and its already well fastened. For the hoses, I added some tape to the plastic ends for the small hoses, and some thin weather stripping to the large hoses. This provided a solid seal, the current ones were very loose. Hope this helps and good luck!

-
Correct, picked up the kit from Silver Mine when they had it for $900 back in November. Will finally get a chance to install it. And thanks for the tip, my plan is to tackle moving the components from the old dash to the new dash this weekend.
-
Thanks for the information in this thread, and Dave for the videos. Took my dash out over the weekend, took about an hour, and this was taking my time. While I have this out. Will be upgrading the stereo and adding power steering. :) Sent from my iPhone using Tapatalk
-
Fantastic videos Dave! This will help a lot of us that are also in the process of replacing our dashes.
-
Looks great. Let us know how the rear bumper goes. The center piece on the rear bumper was too large (by 3cm) which caused the side parts of the bumper to stick out, so it does not connect to the side of the car. I reached out to them and they were suppose to send a new piece.... I'm still waiting.
-
Nice set of wheels! Thanks for the body shop name, I'm also located in Scarbs so this works out for me.
-
Oh wow, that's looking great. Very similar to what I'm doing on my car..l. Xenon front air dam and the 240z bumpers. I'm looking at getting a set of Rota RKRs, the Watanabe's are a bit out of my price range. Where are you getting it painted? I'm also in Toronto and looking for a shop. Thx
-
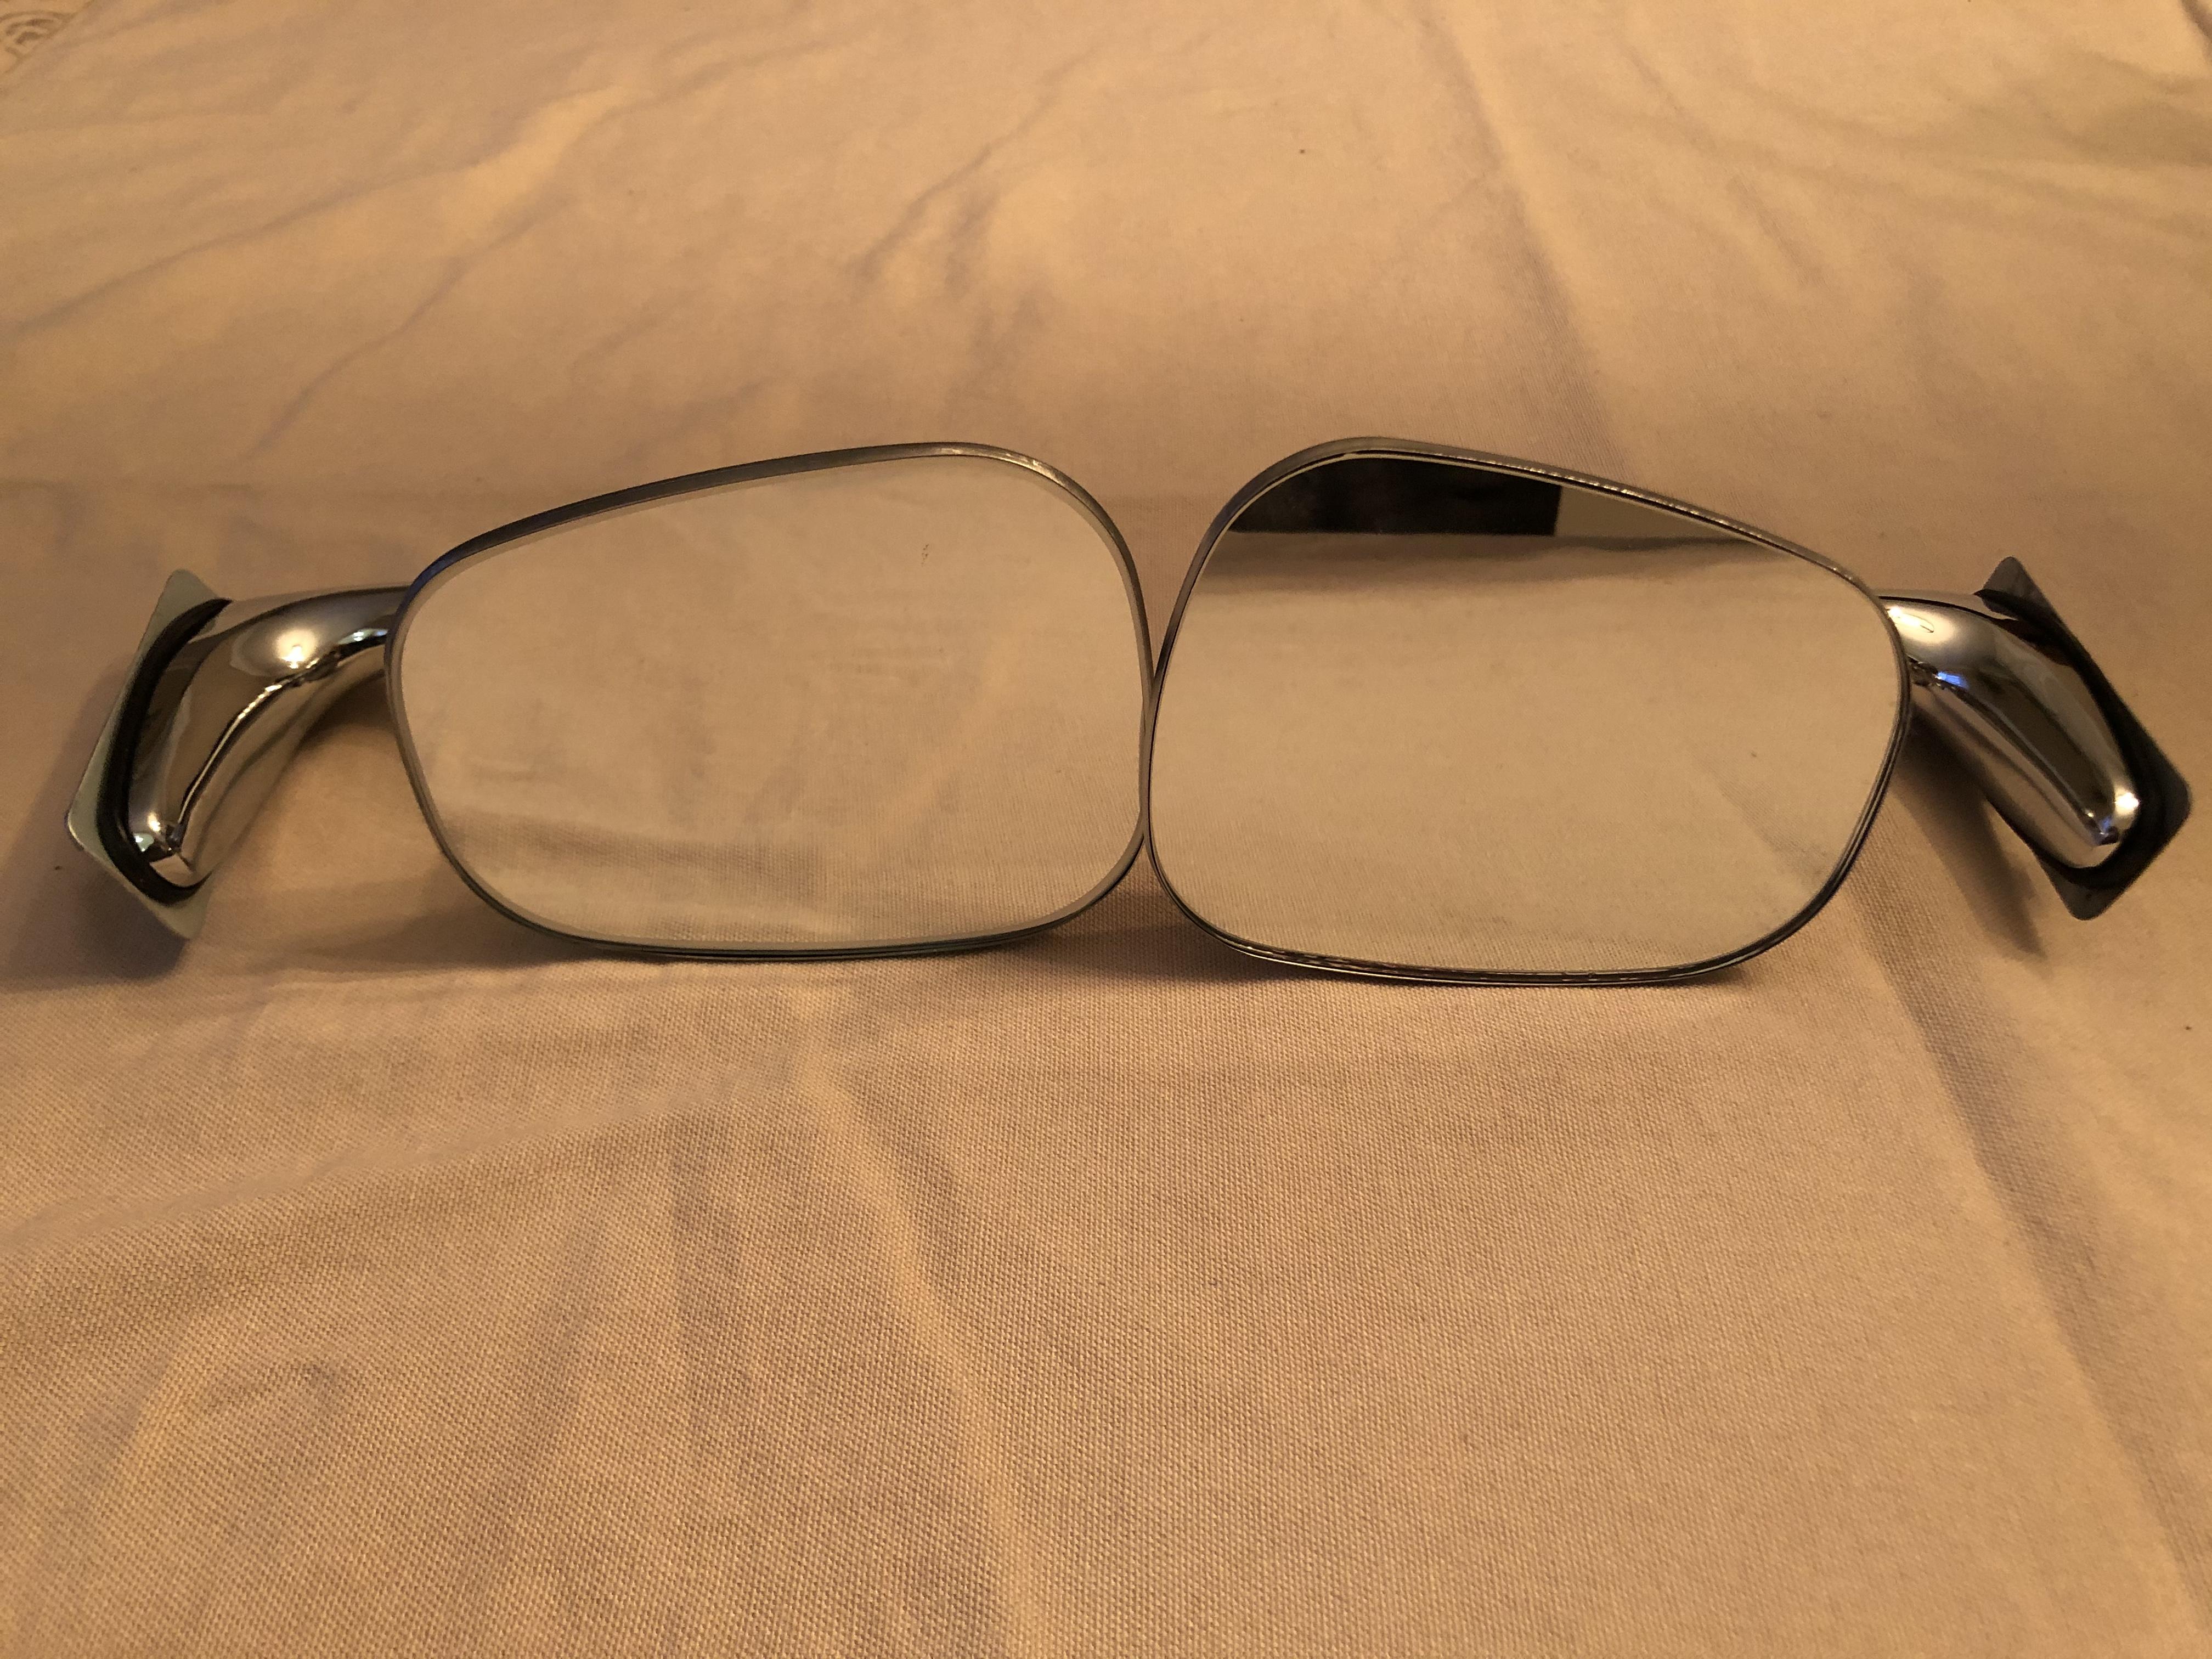
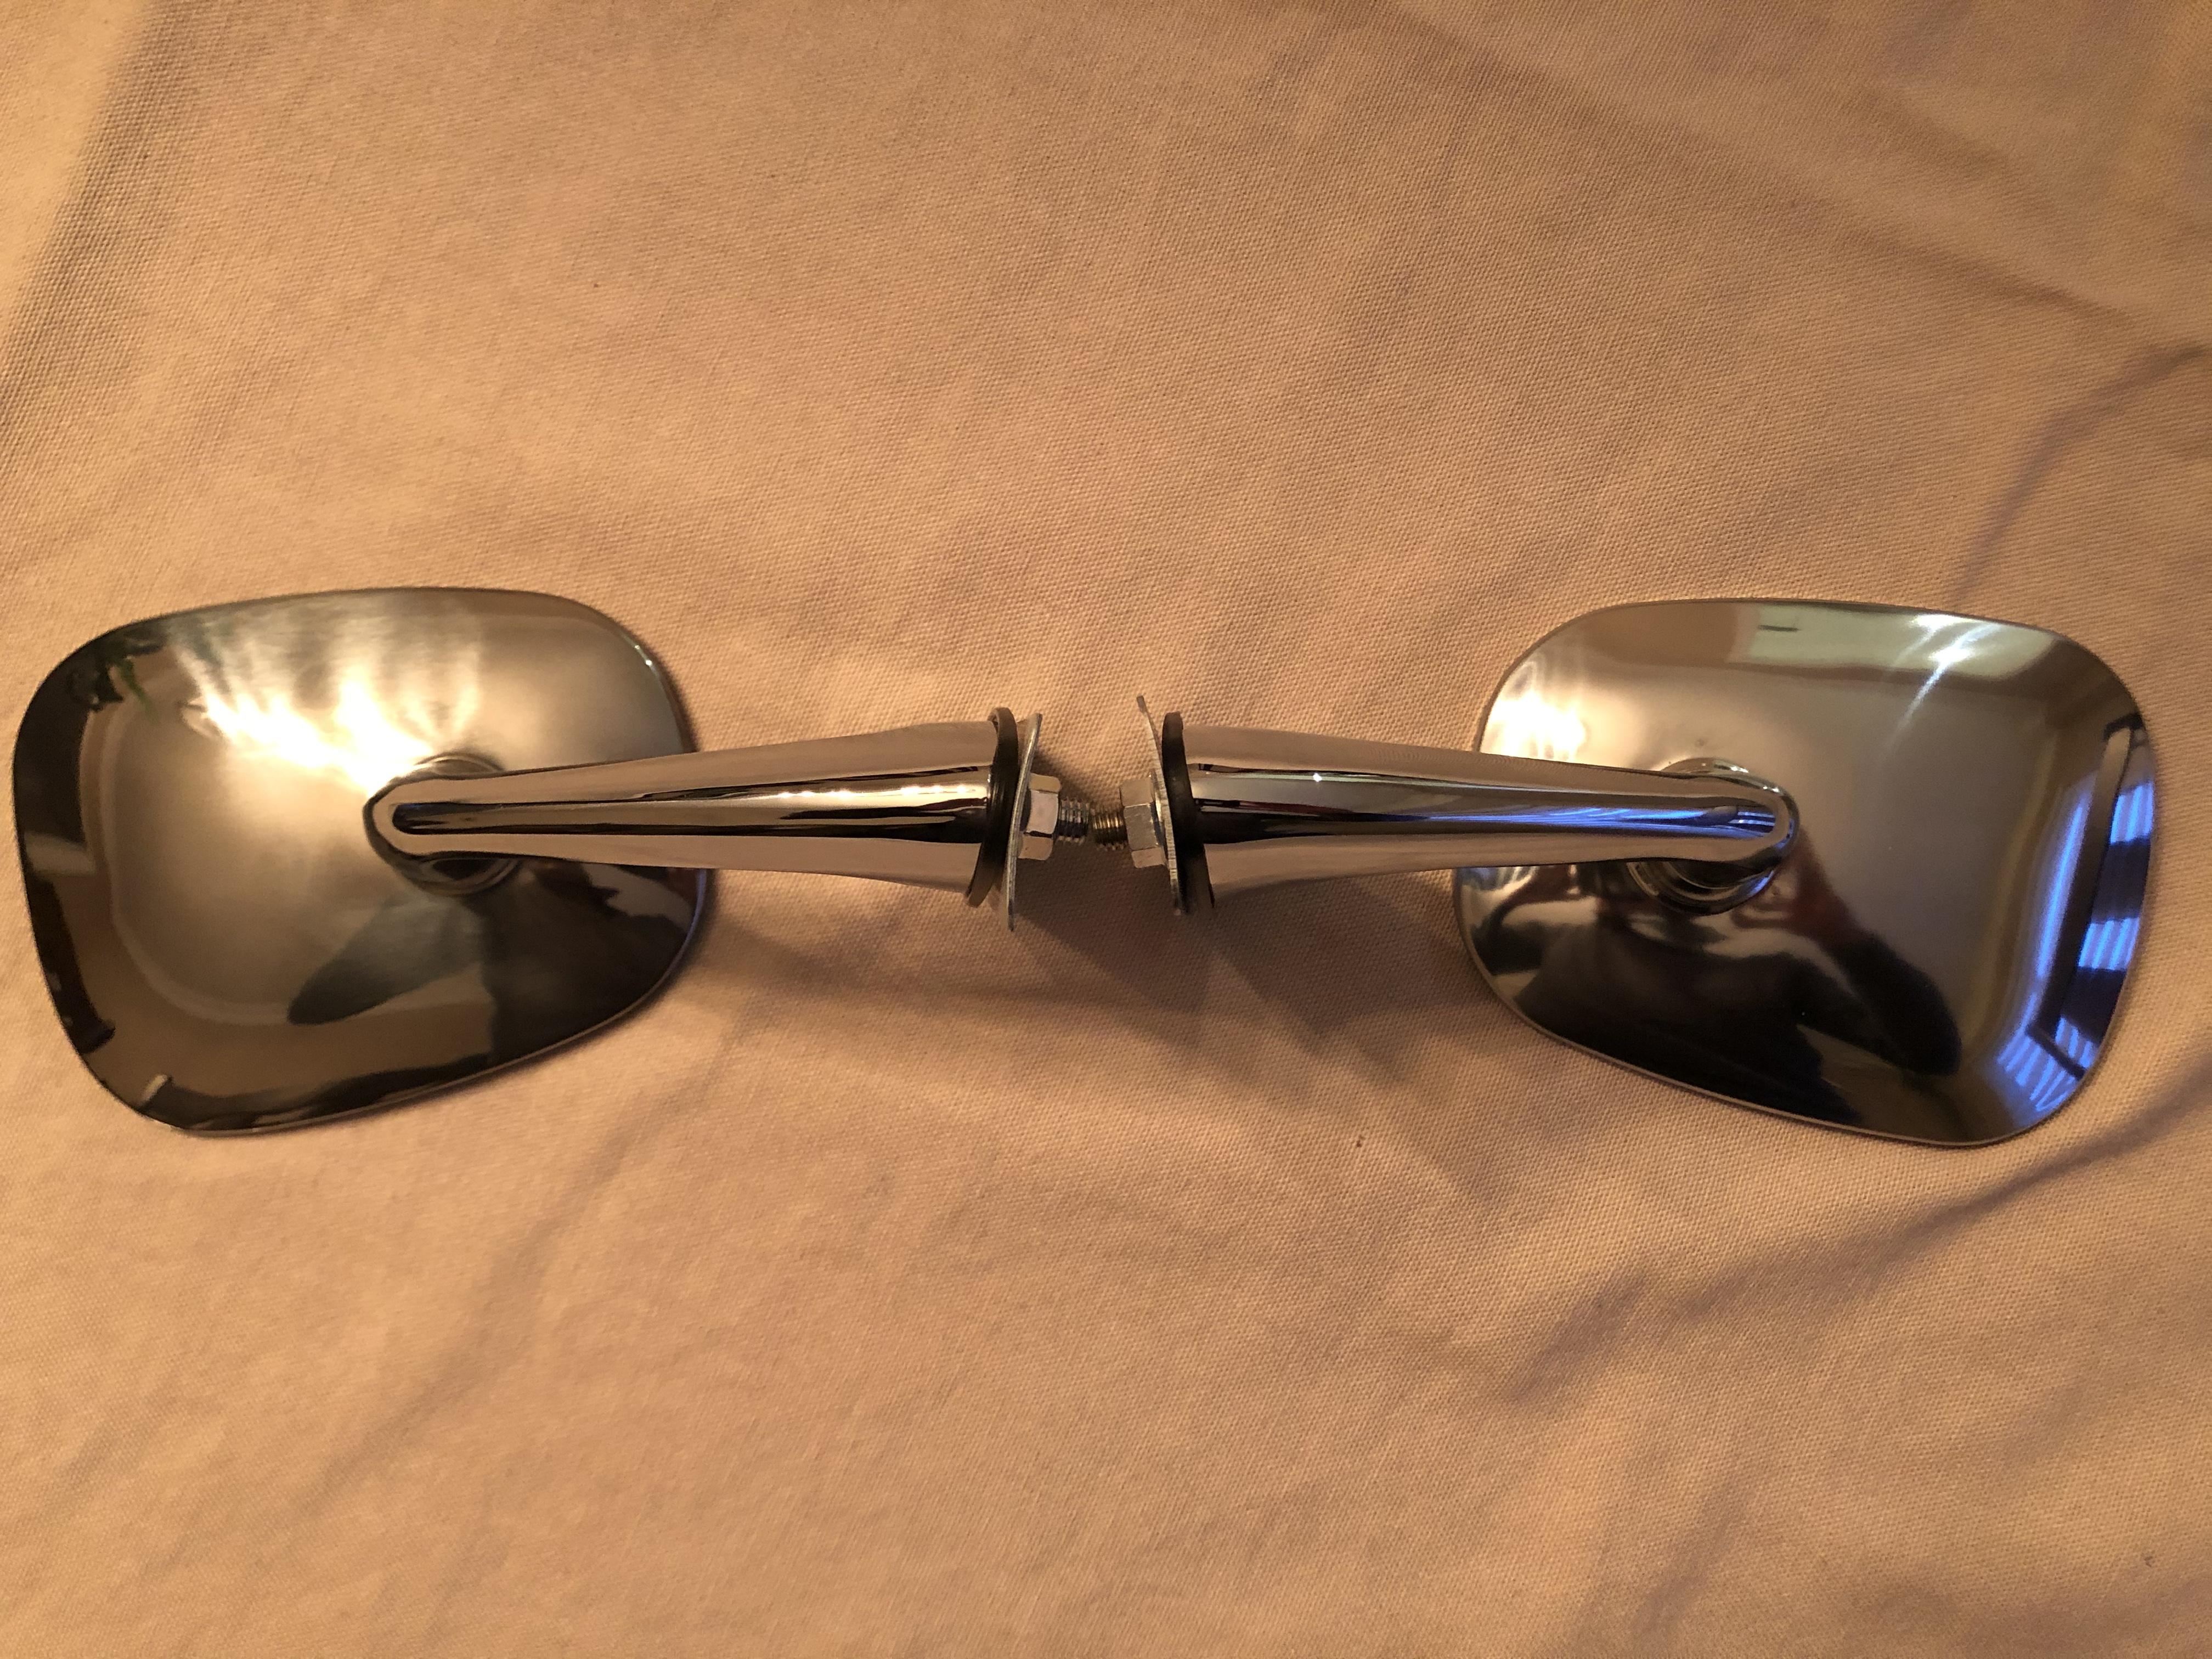
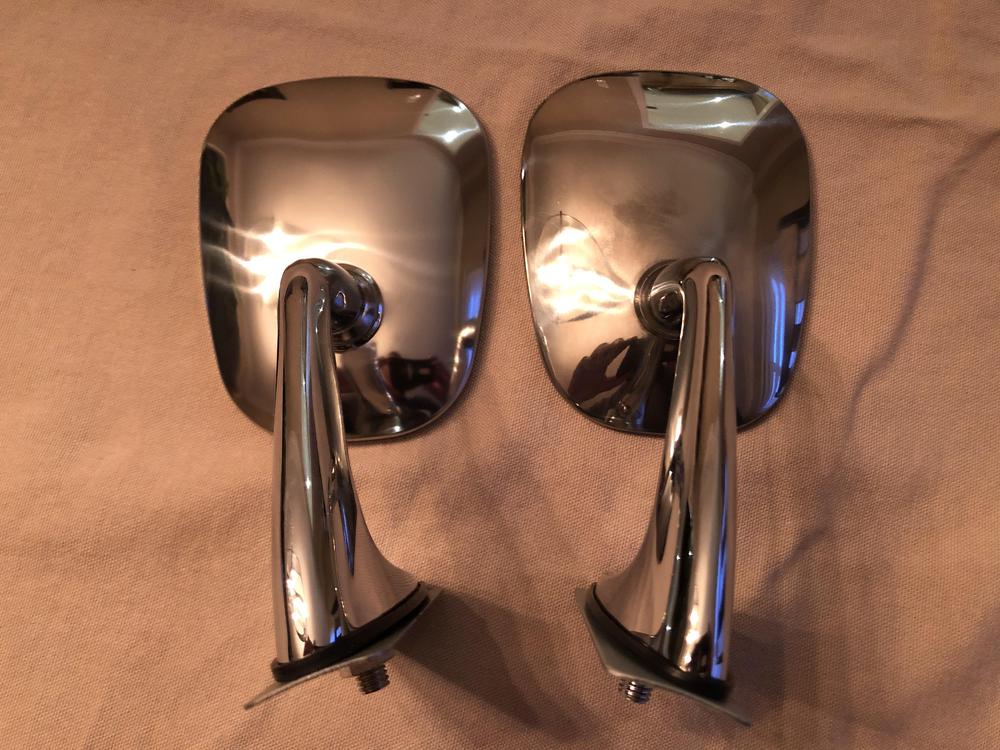
Paid $120 for the OEM and $75 for the replica. The glass is flat. I could not find an OEM replica that had a convex mirror. I’m going to see if I can retrofit one.
-
Picked up a set of 240z door mirrors for my s30. The driver side mirror is OEM from a local dealer, and the passenger RH is a replica from Rising Sun. I’m impressed with the replica, it looks and feels like the OEM. Thought I share some pics.


-
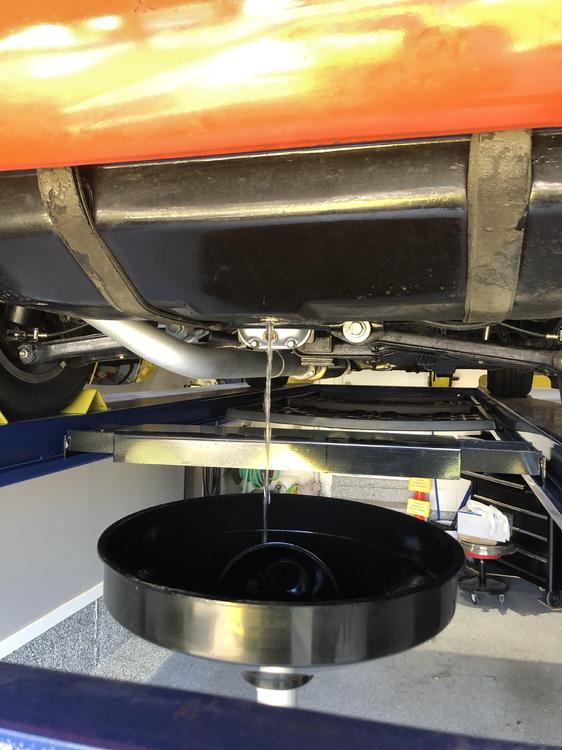
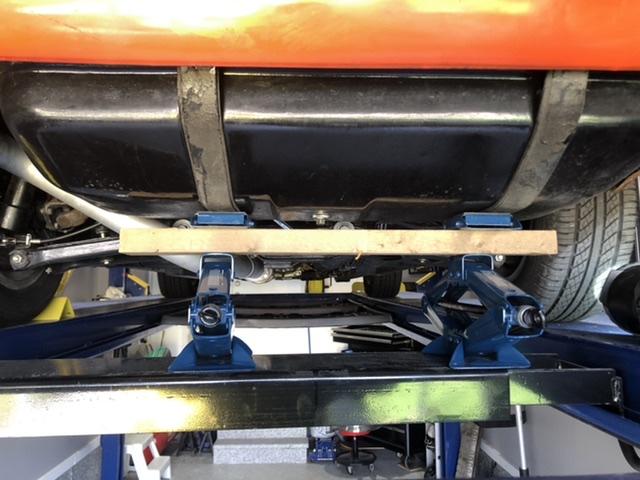
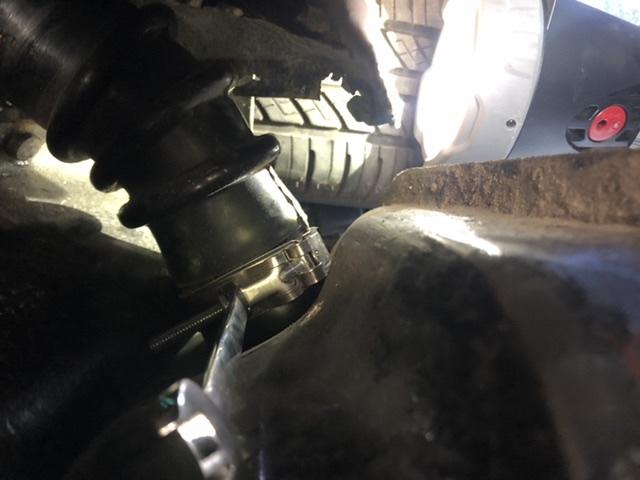
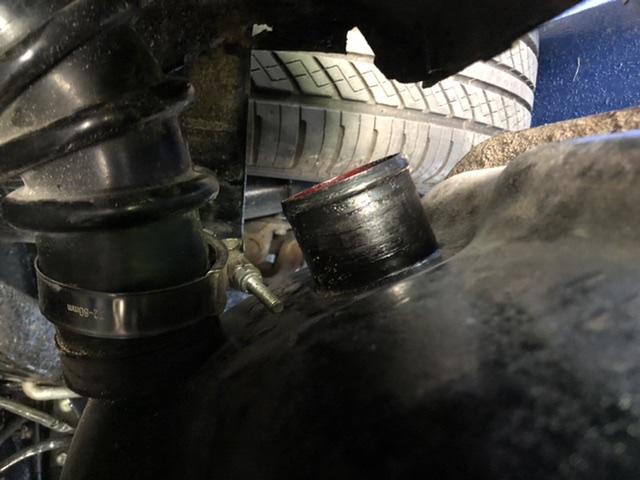
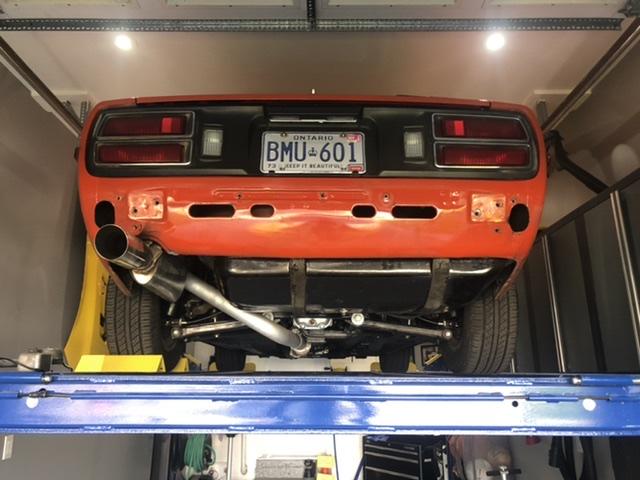
Finally got the rear passenger side bumper shocks removed. Did what was mentioned above. 1. Removed the fuel from the tank. 2. Loosened up the clamp in the trunk that connects the filler neck to the rubber hose. This is need to give some slack to remove the tank. 3. I raised the car, then loosened up the tank straps. This gave me some room to get to the end part of the filler hose that connects to the tank. Once the hose has been disconnected, then it’s easier to move the tank over to the driver side. 4. Then removed the 3 remaining bolts for the bumbler shocks located above the tank, had to play around to remove the shock. 5. Done!
-
Thanks for the information, this helps. I will try to attempt this next weekend.
-
I'm in the process of removing the bumpers on my 260z, and removed the drivers side shock (had to drop the exhaust). Now I understand that you need to drop the fuel tank to remove the passenger side shock, but do you also need to disconnect all the fuel lines? I tried searching for this, but only mentions dropping the tank. I don't really want to mess around with the fuel system, but will have to if I don't have a choice. Thanks!