.jpeg.7e61781a506c5c75a3fd273235c27757.jpeg)
HappyZ
Free Member
-
Joined
-
Last visited
Everything posted by HappyZ
-
-
-
-
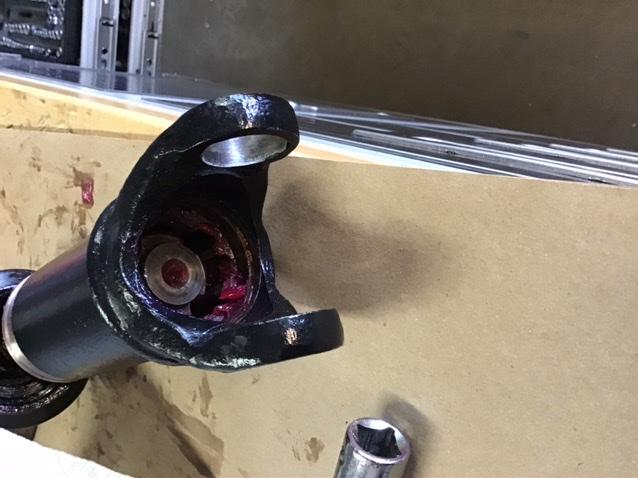
@wheee! how much play is there with it fully assembled? In essence, how far can I pull shaft apart if I yank from both ends? If I’m correct, the cap/clip will eventually stop me from pushing it together. NOTE: if I remove the cap/clip I can push them together pretty easy. Pulling them apart is hard but doable until the end of the shaft is inside the case about one inch and then hard stops.
-
-
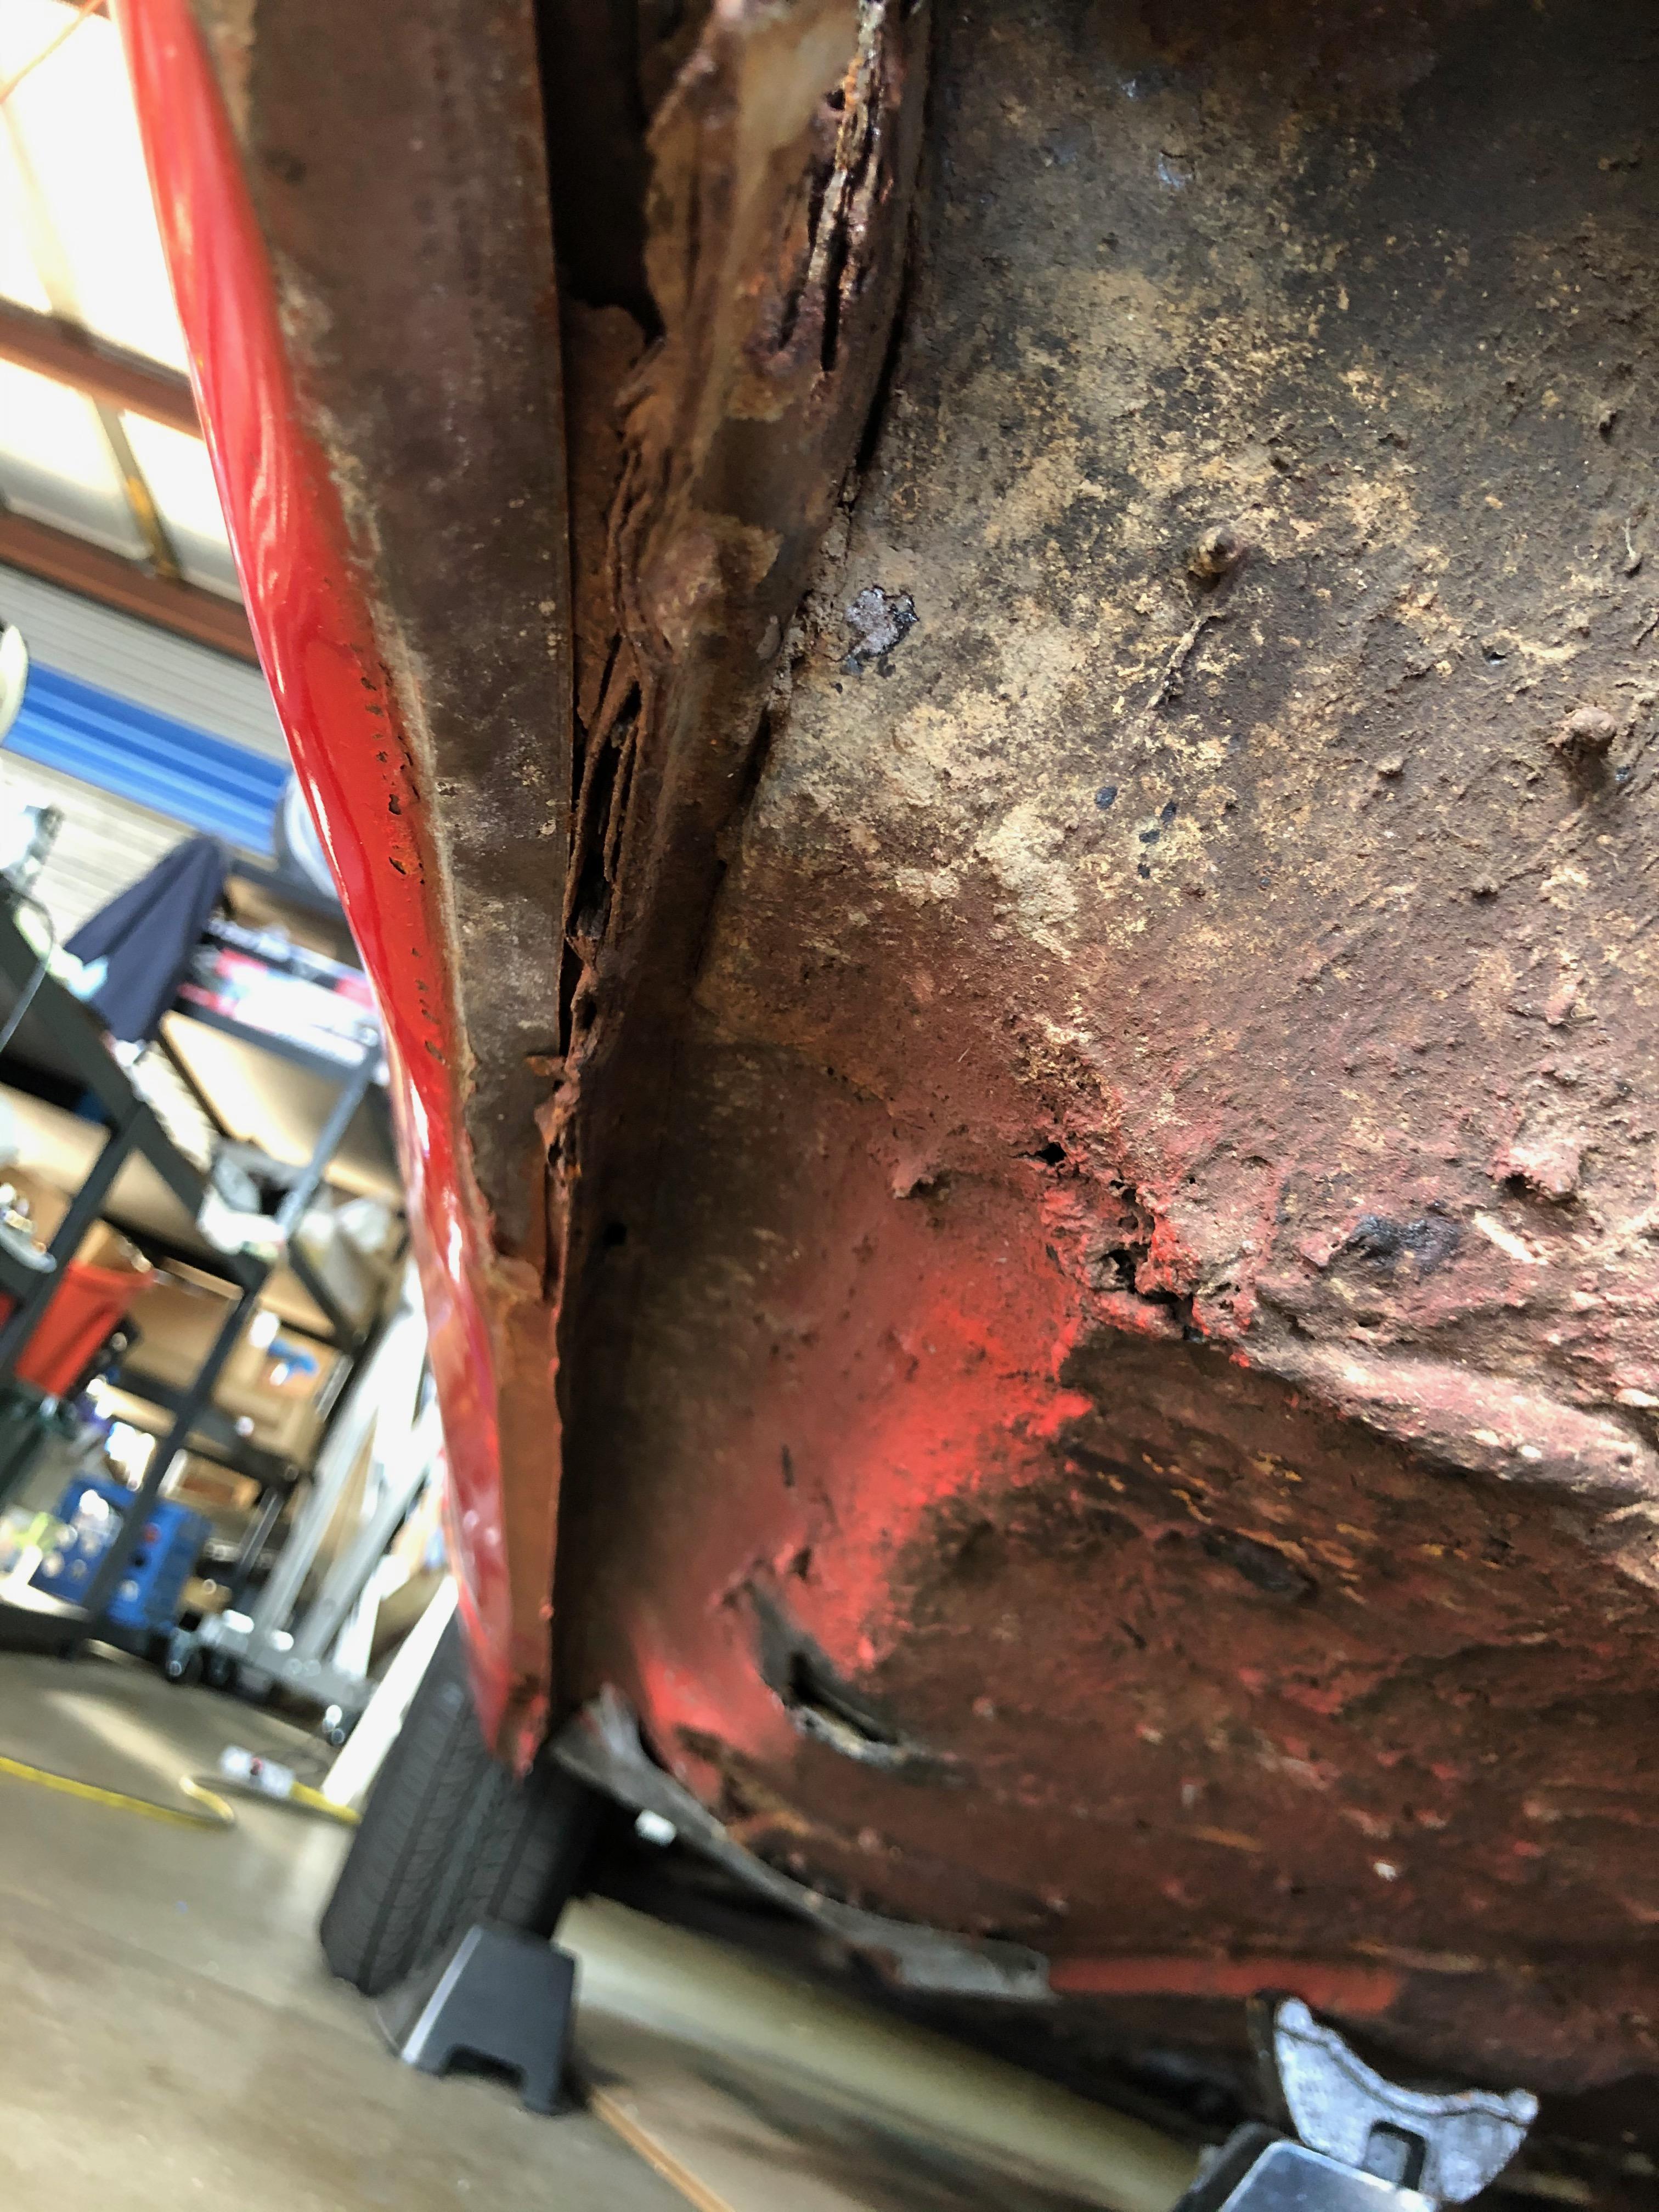
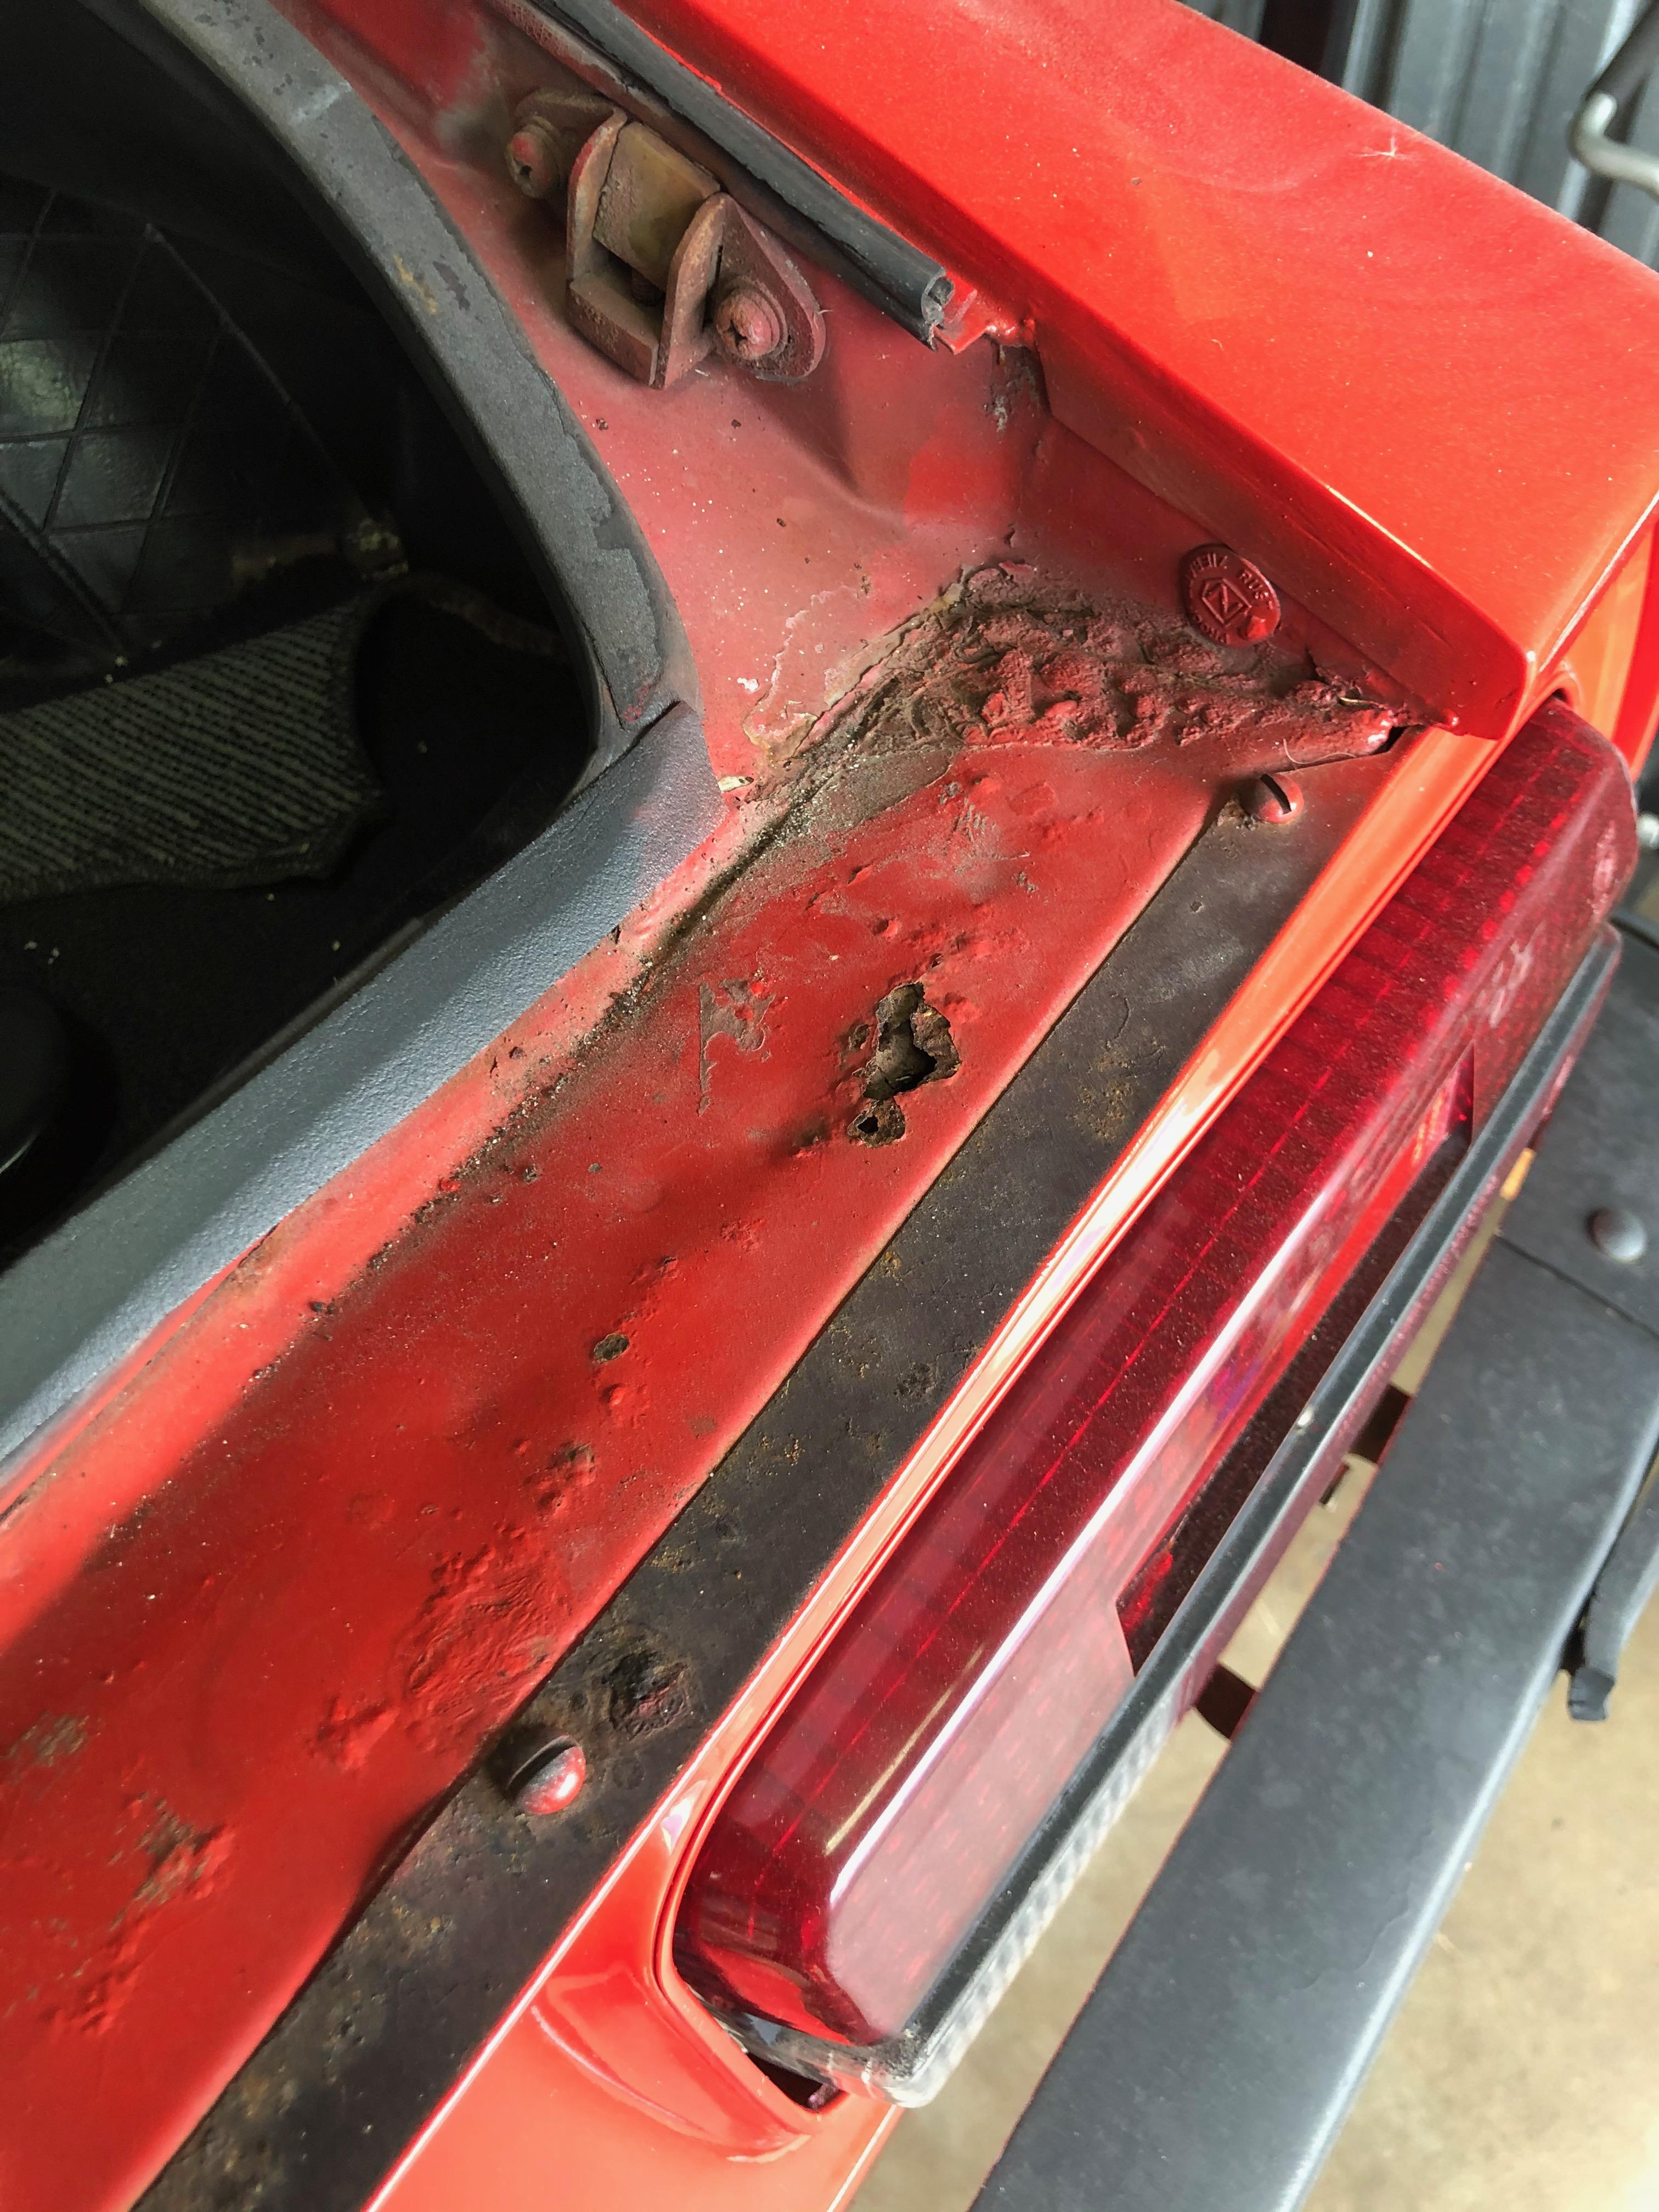
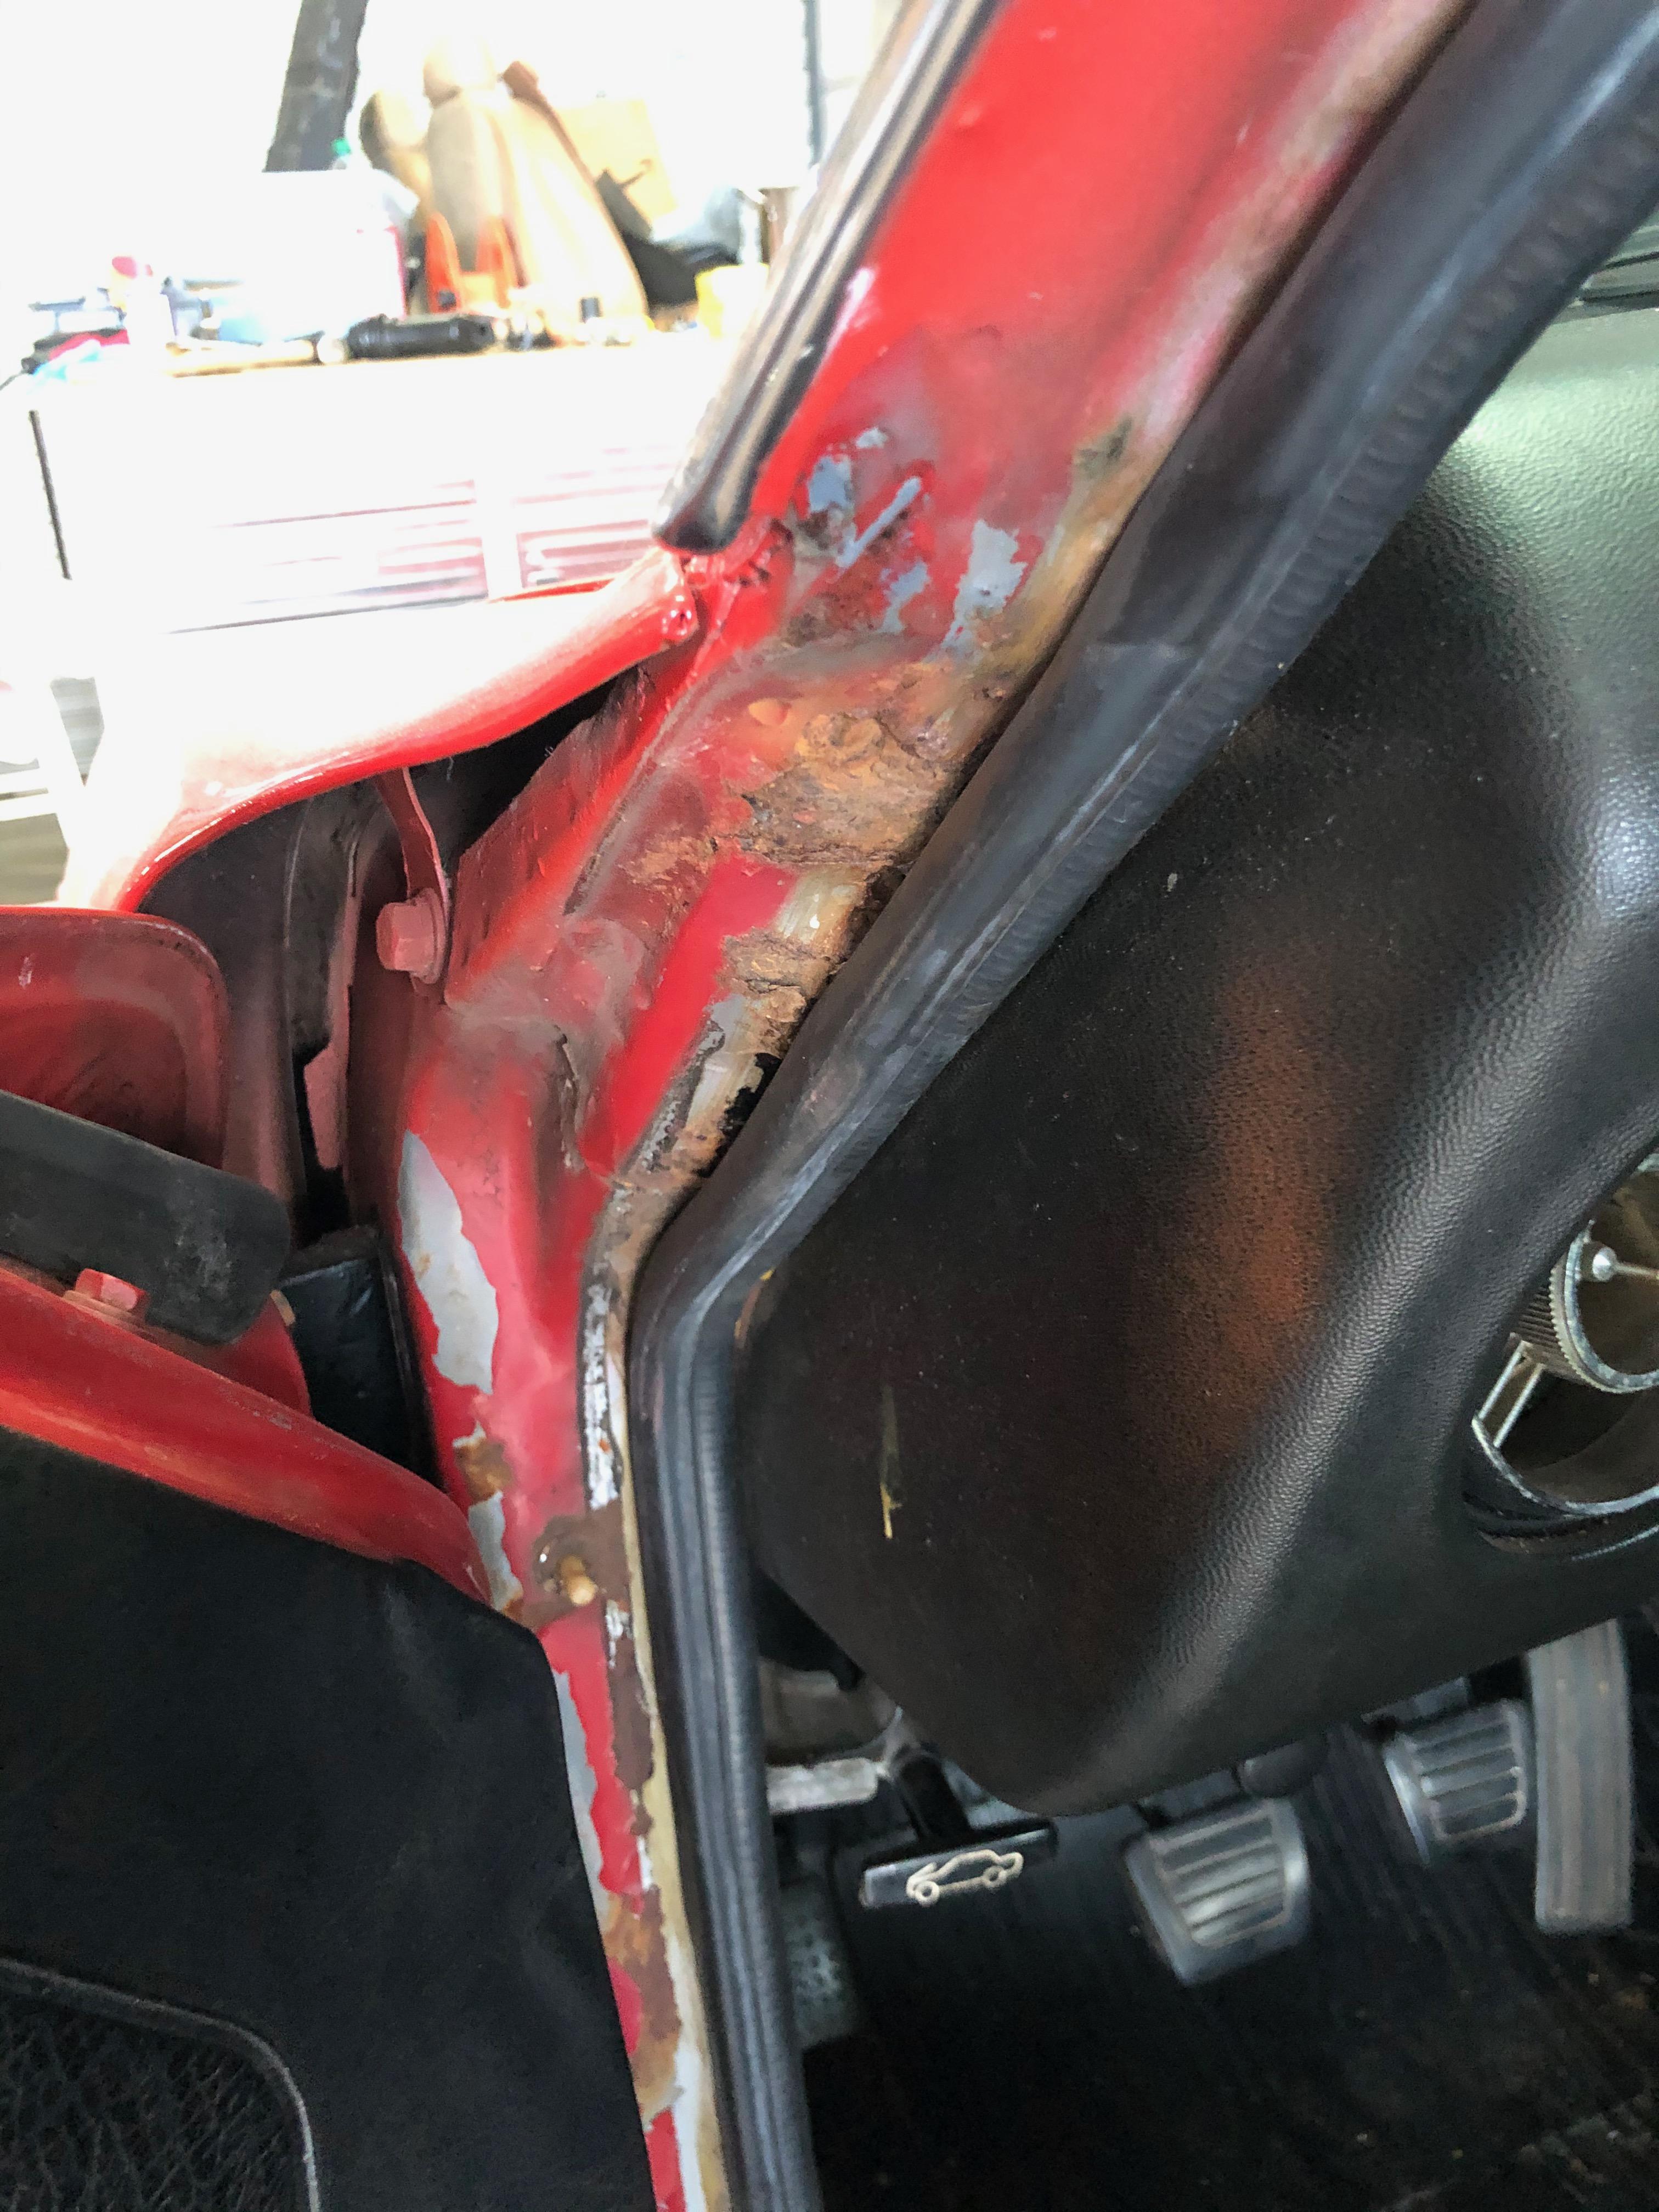
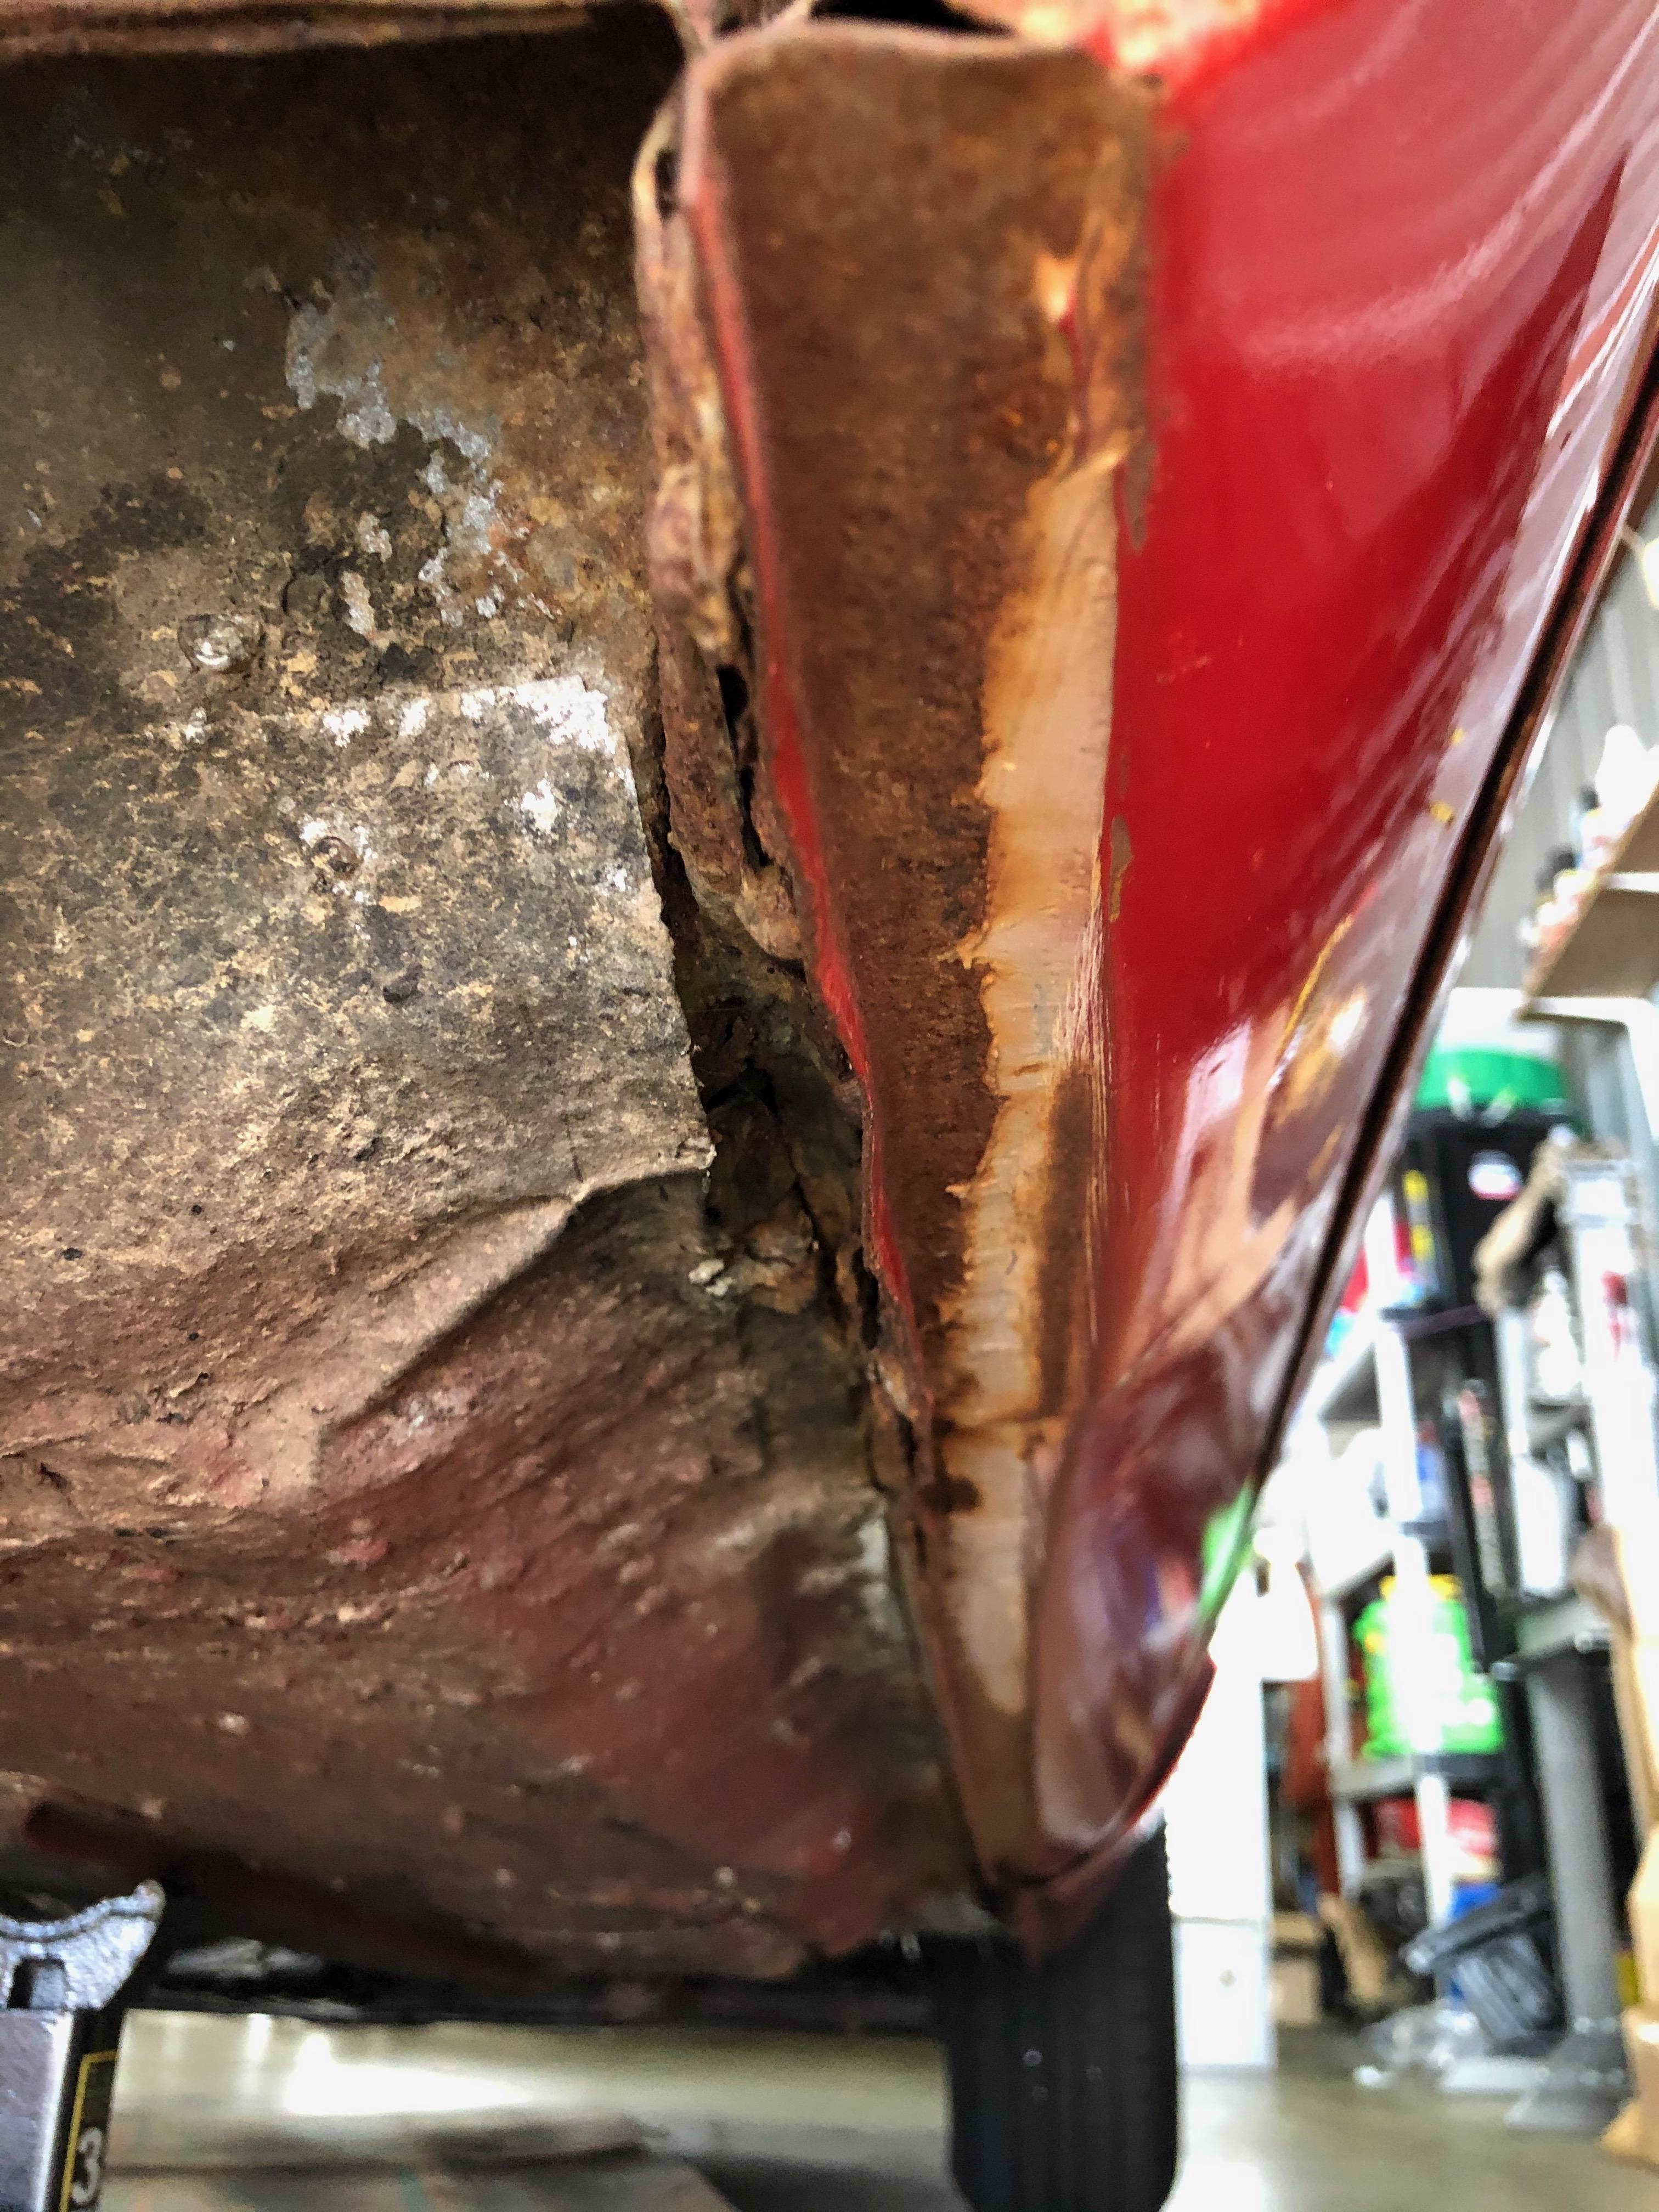
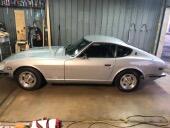
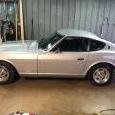
I was in a similar situation, but not quite as bad. That said, I have not found someone willing to do the work (Daytona Beach, FL). That said, I kept looking for a car with no rust. I was lucky and found one in Miami. The rest of the car is not that great, but no rust was my only criteria. Now I'll take all of the good stuff off of the rusty car and put it in the solid car. The pics below aren't as bad as yours, but still needs attention. If there is anyone in Orlando/Daytona Beach area that can fix this please let me know.


-
I just did mine and they were splined, so no nut/bolt was used.
-
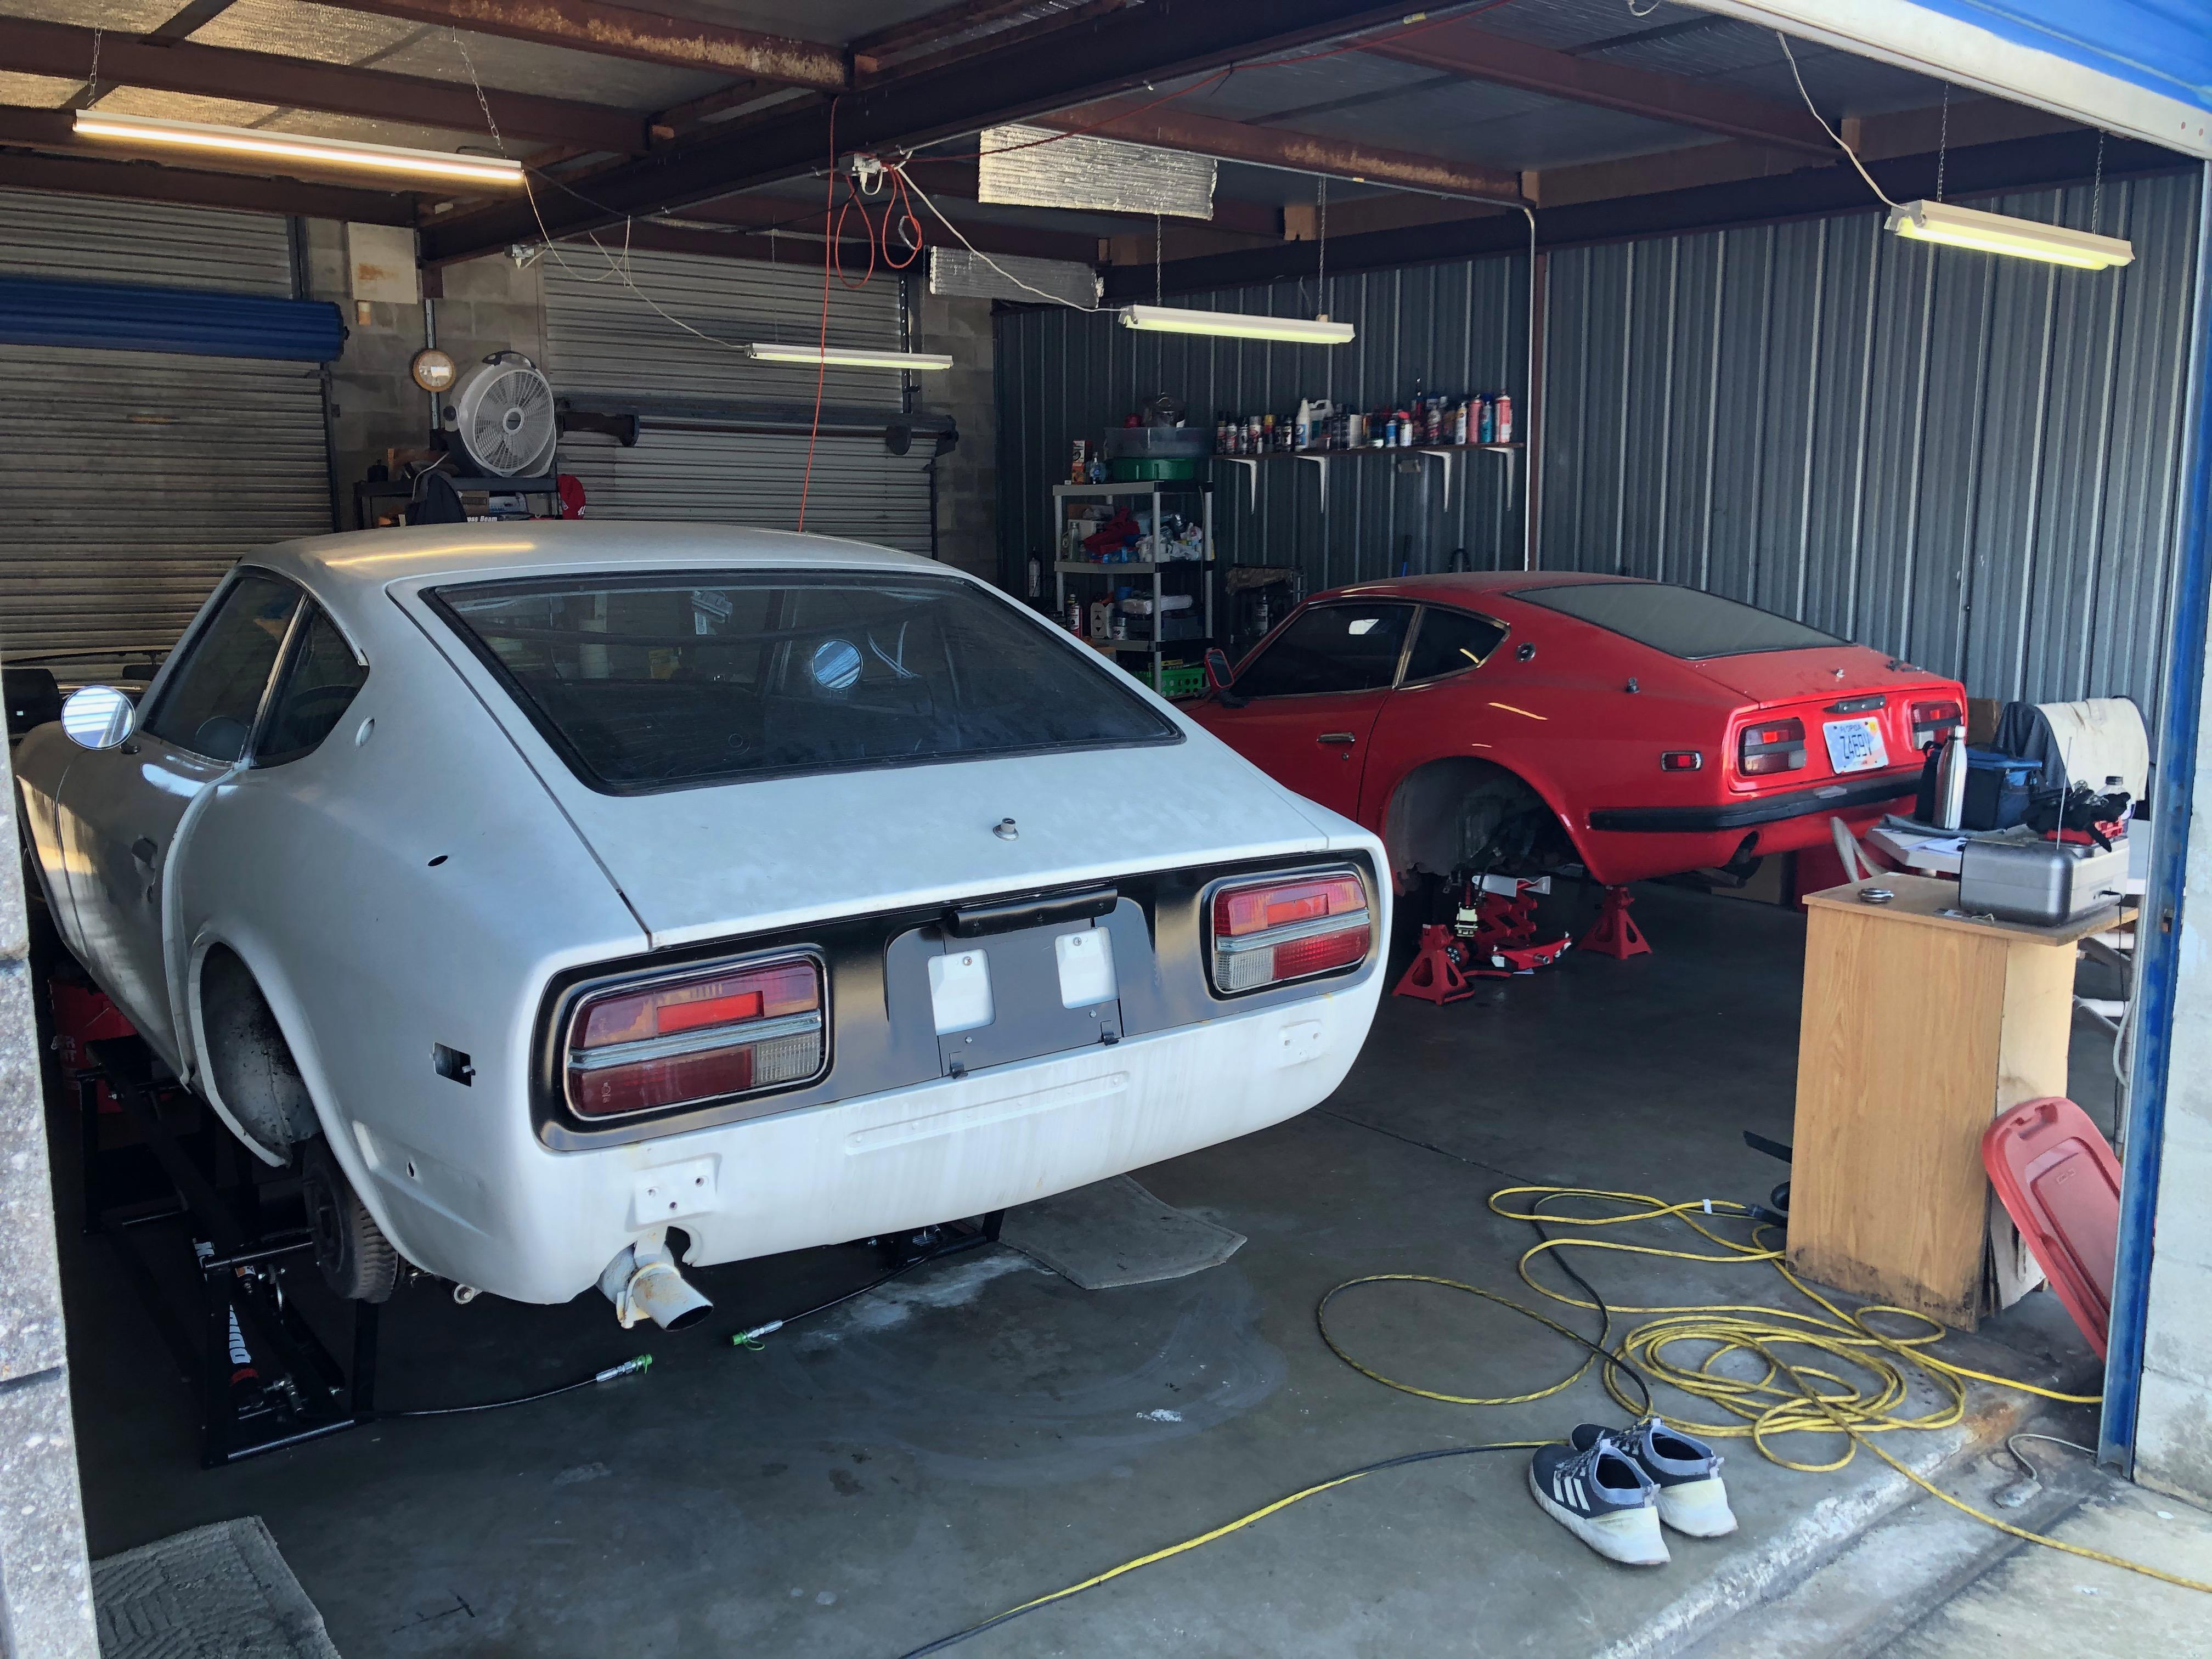
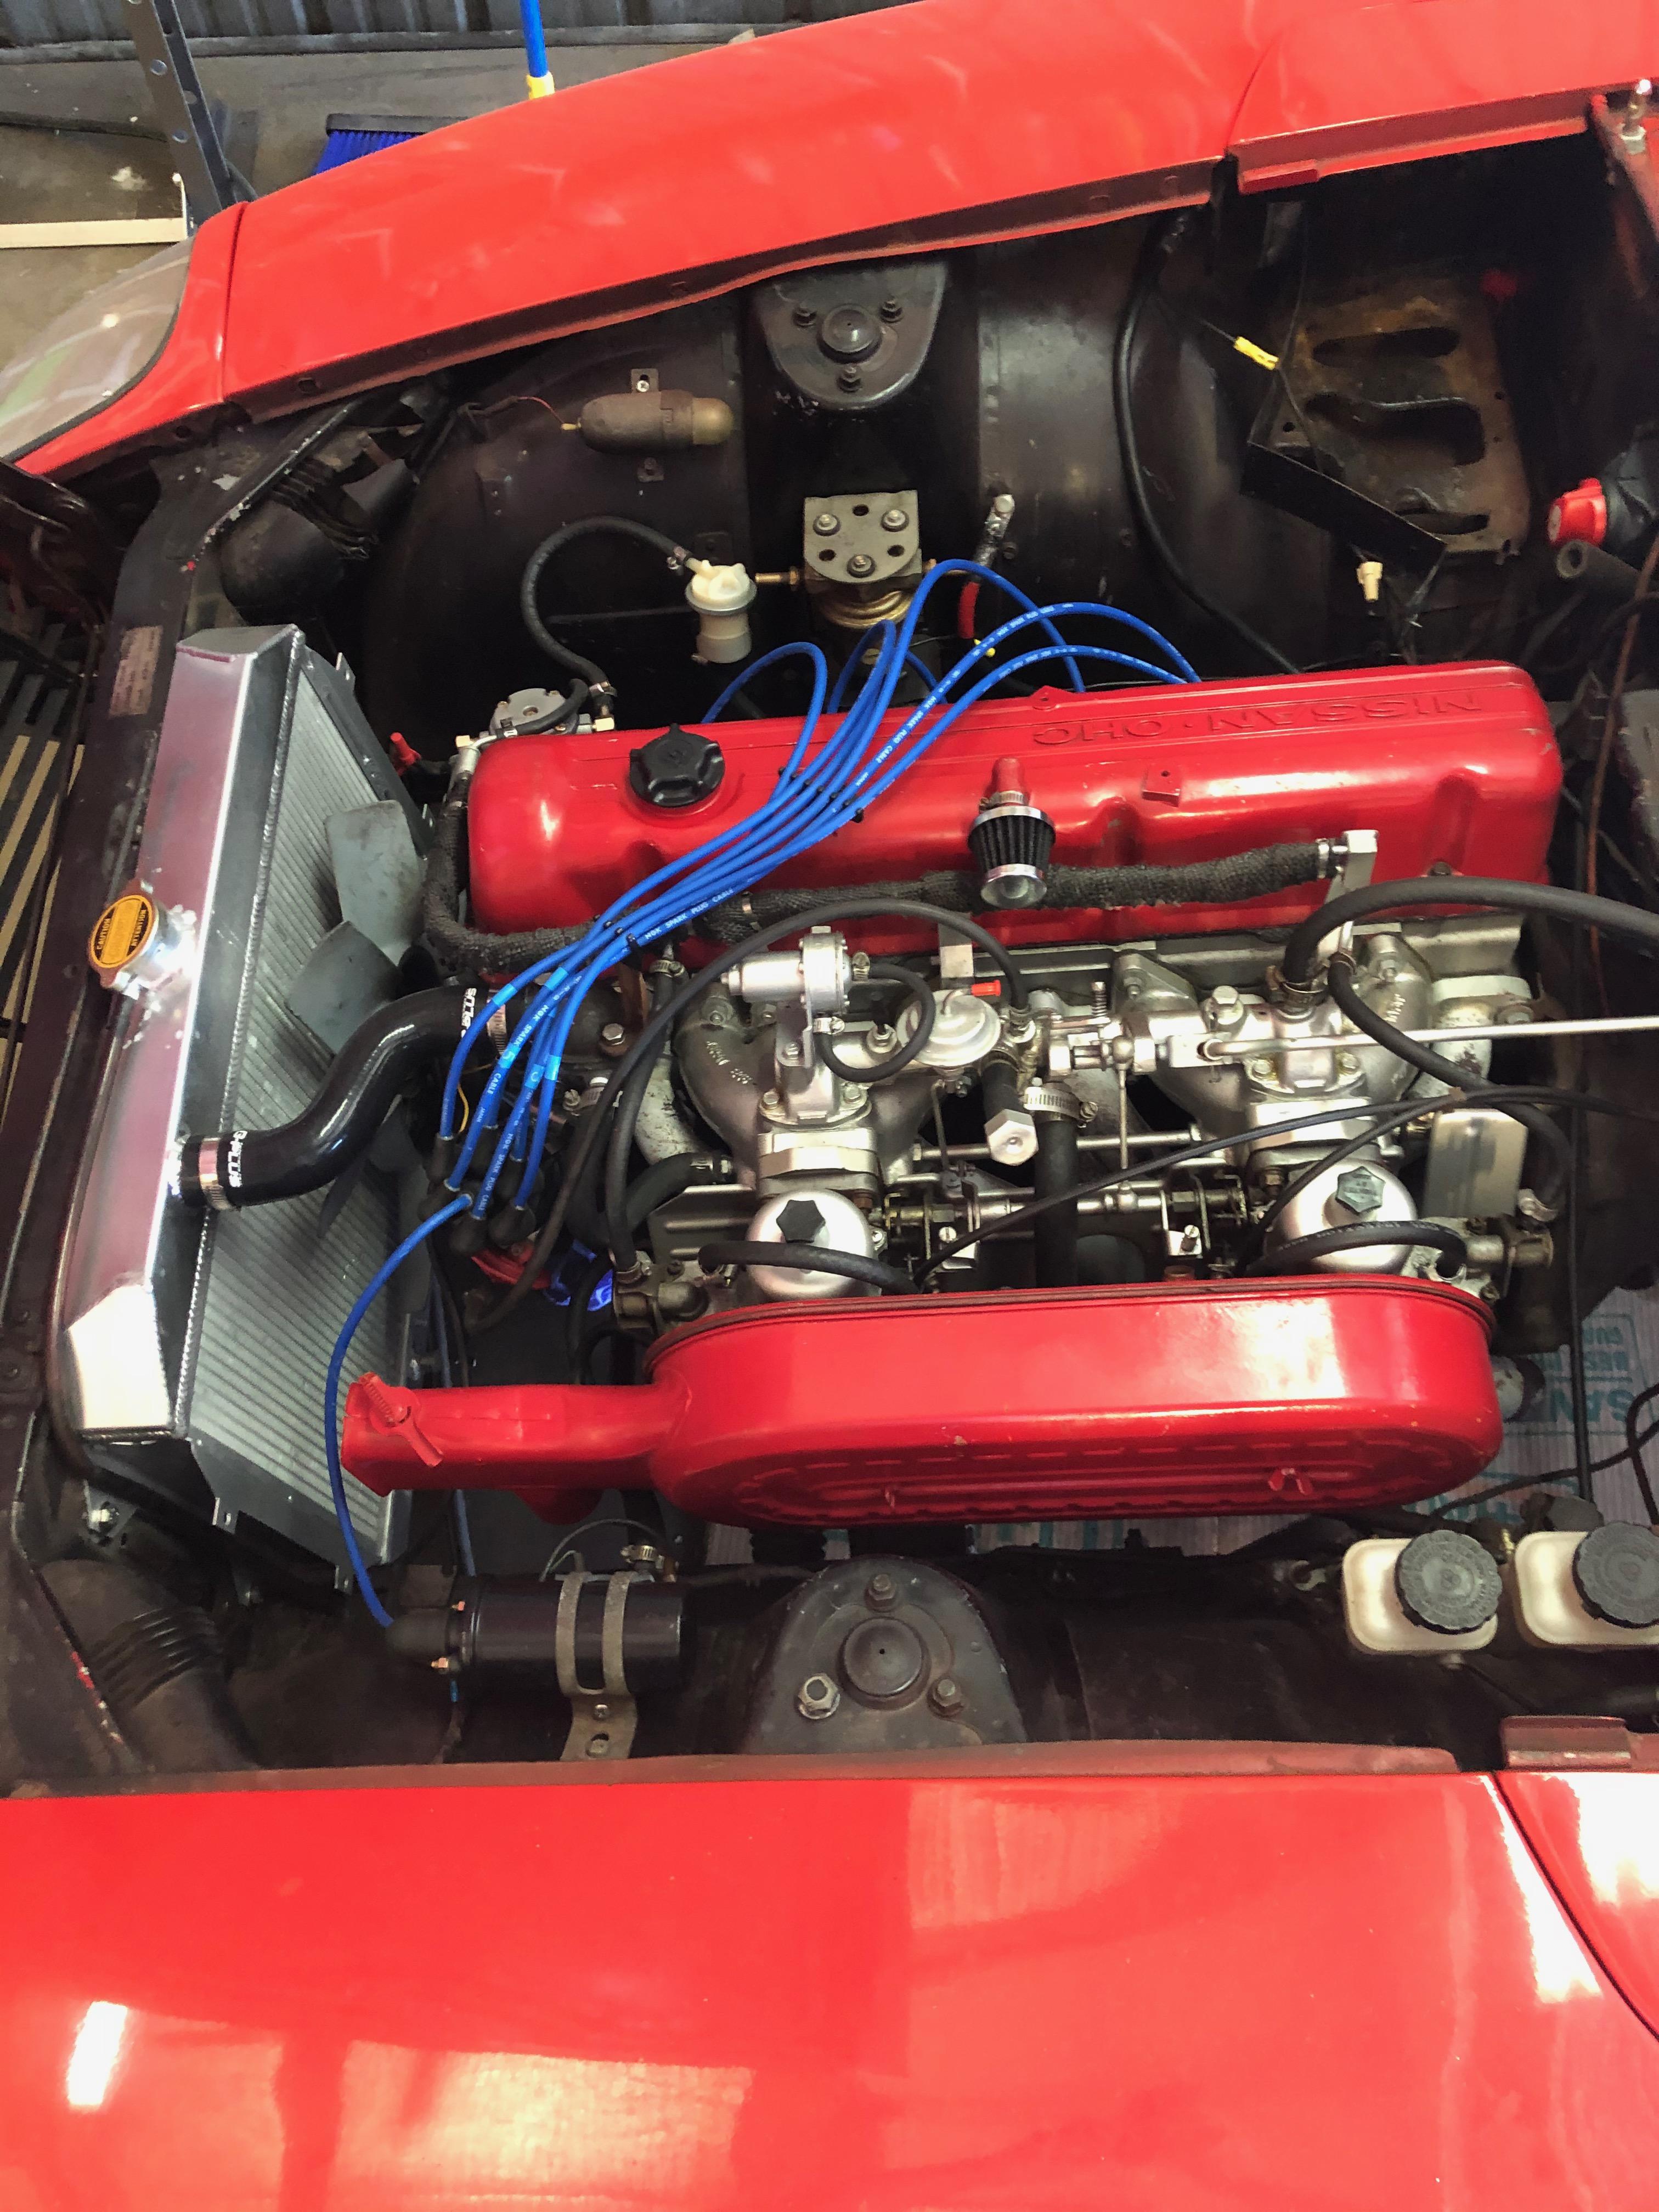
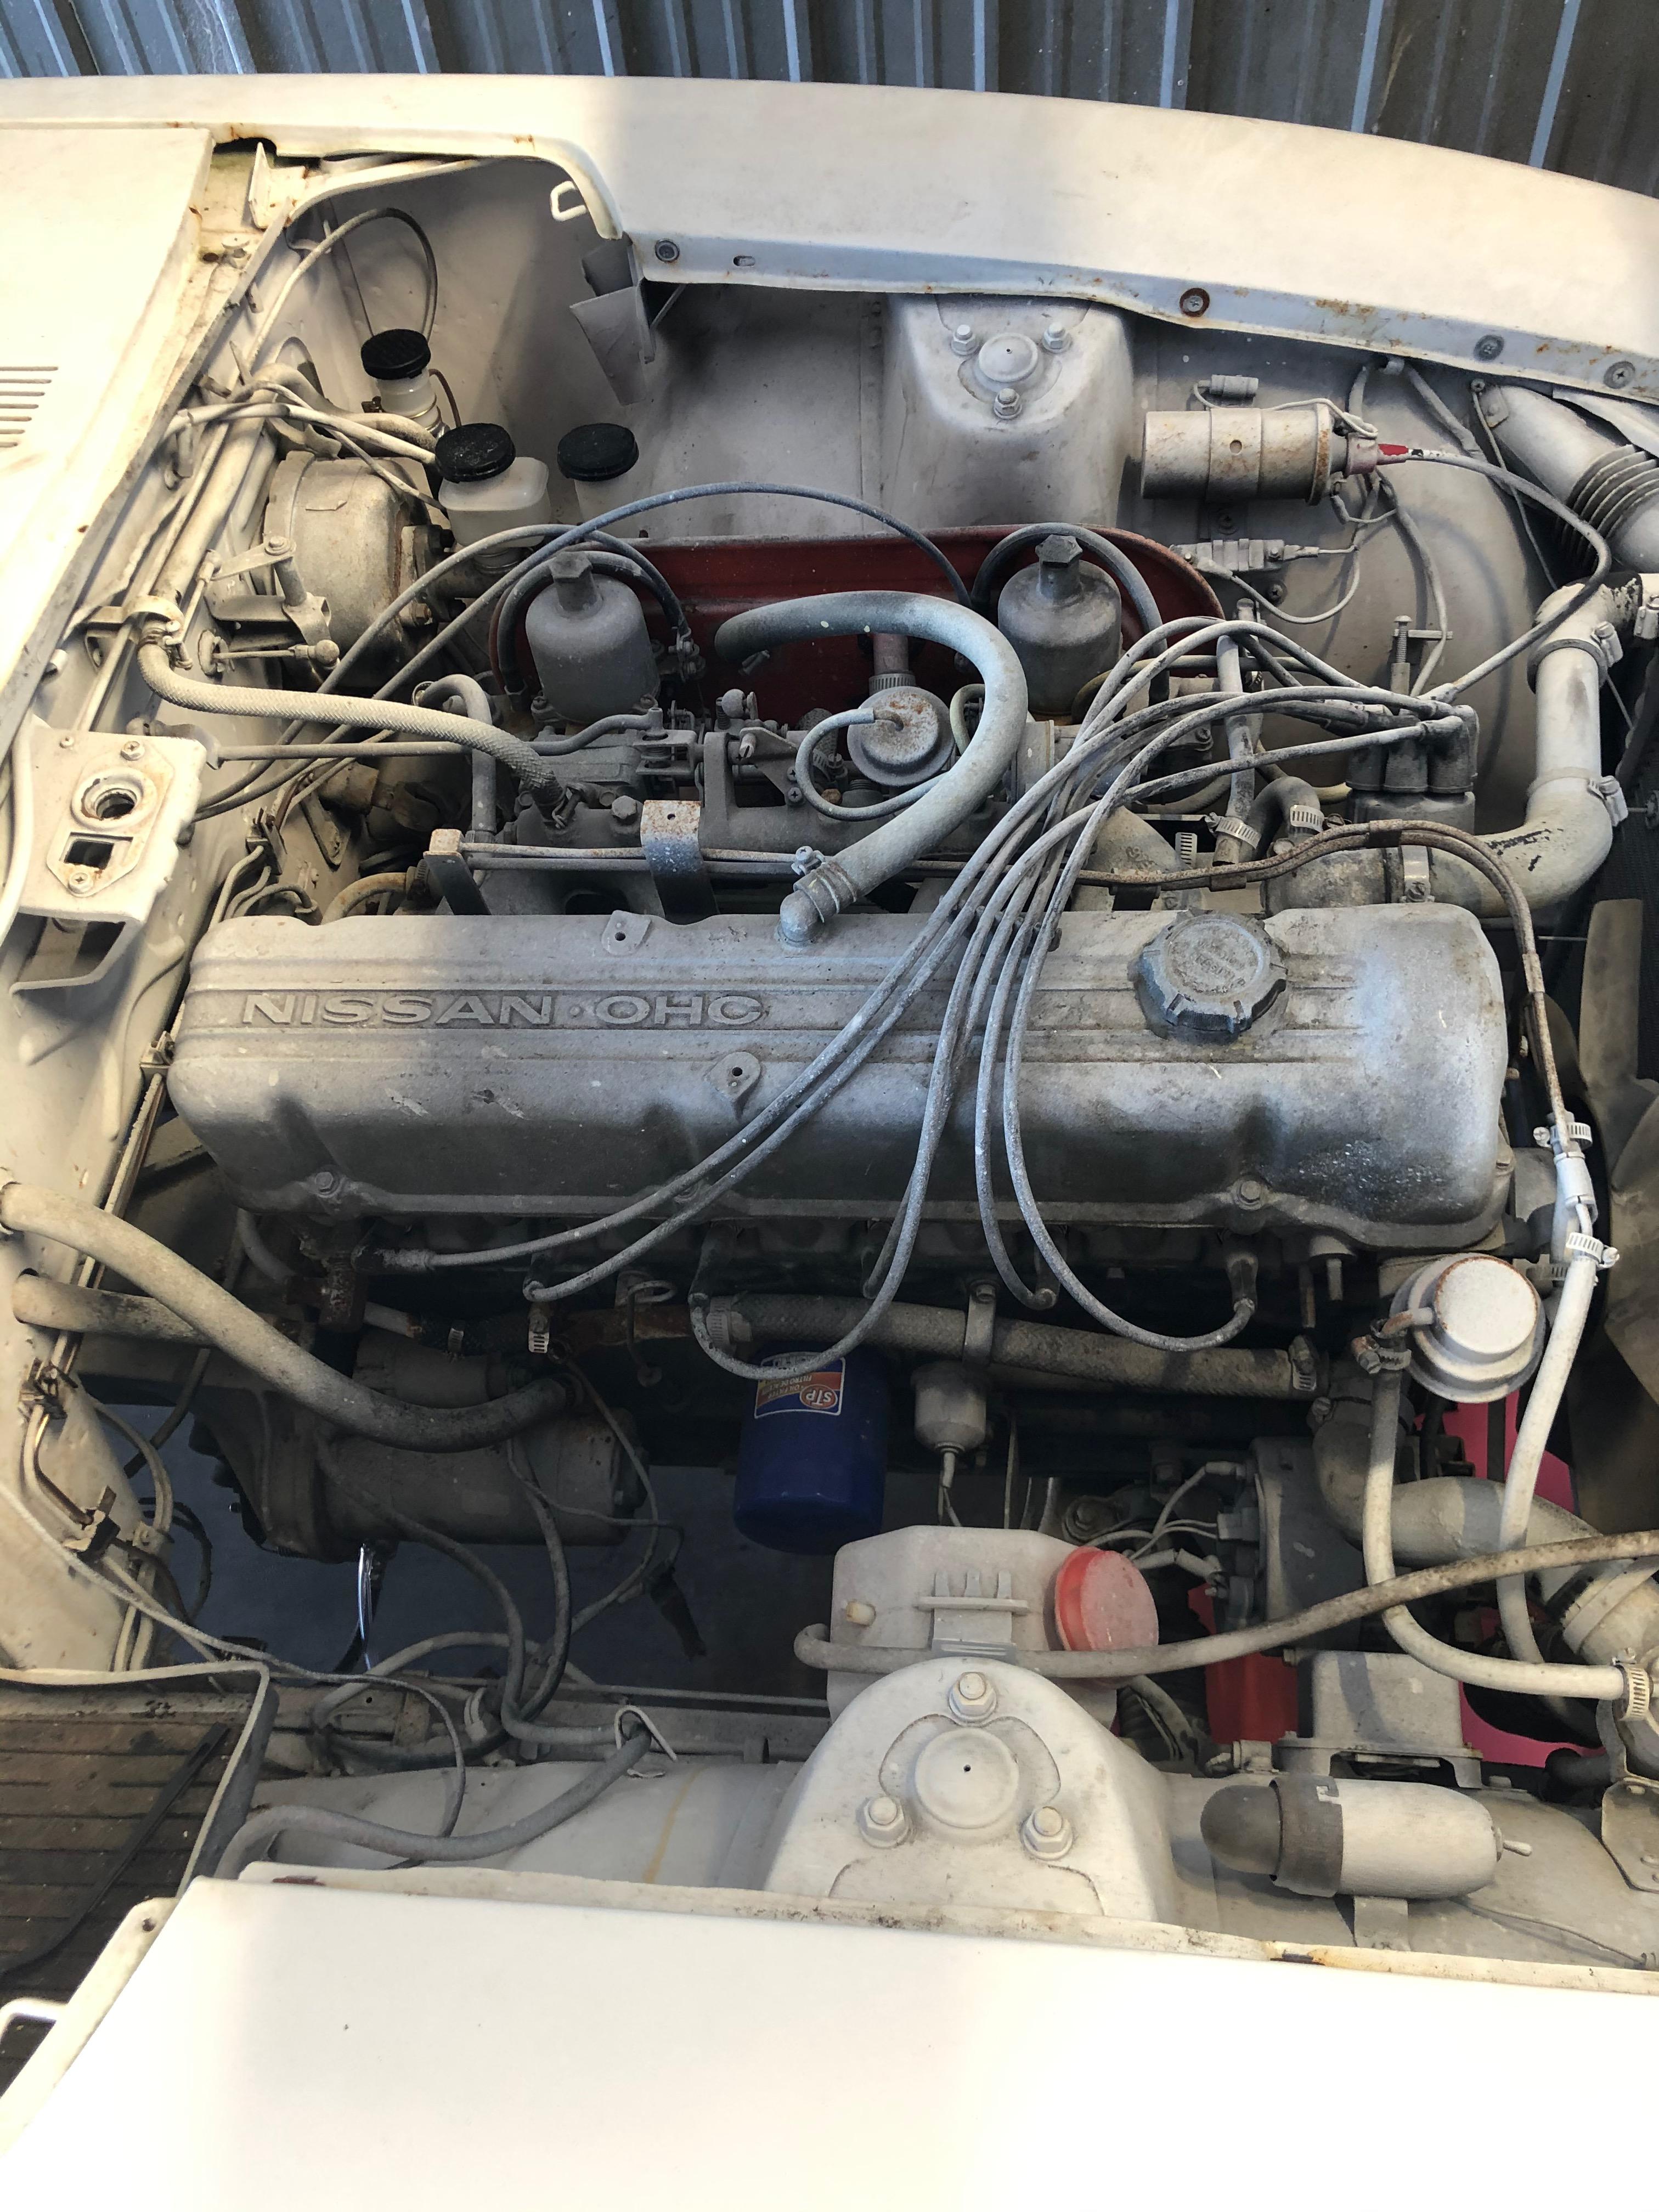
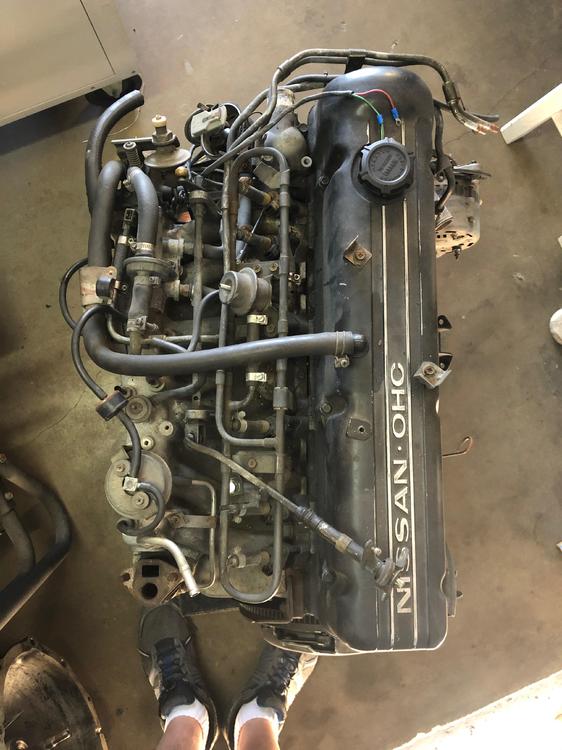
I’m building a good solid driver. I’d like your opinion as to how to build a good solid driver with all the parts I have. I have two 1971s and an extra fuel injected engine an five-speed. Here’s the status of each: Red early 71 (Originally silver): Pros: matching numbers, later version of four-speed, mechanically sound, chrome and badging really nice. Cons: A whole lot of rust underneath and pillars, etc.. White late 71 ( originally silver): Pros: No Rust. Chassis solid, good brakes, Cons: L28 Engine not running, five-speed status unknown. bad clutch, PO paint job is poor, Interior has overspray, white overspray all over engine. Chrome in poor shape. 280z motor and five-speed: Removed recently from low mileage, well maintained, 280Z. Fuel injection is intact, but missing some wiring (not sure what else). Mechanic doing work told owner to keep motor in can, but owner wanted big crate motor. My thoughts on options: 1. Move all red car mechanicals and exterior bits to white car. Pros: In essence, I’d have a matching numbers, solid car. Cons: I’m not sure what needs to be done to convert from L28 with carbs “back” a L24 motor. 2. Move all red car exterior bits to white car. Install spare L28 motor and trans Pros: L28 swap with trans should be easy, solid car. Cons: I’m not sure what needs to be done to complete the fuel injection setup. I’ve never done FI 3. Move all red car exterior bits to white car. Install spare 280z and trans, but covert to carburetors from red car. Pros: L28 swap with trans should be easy, solid car., I know SU carbs. Cons: I’m not sure what needs to be done to convert from L28 Fuel Injection “back” to carbs from red car. Your thoughts are greatly appreciated.


-
I haven’t taken my car down from lift yet, but I think you’d be ok. My wheels are hanging free and I doubt there’d be much difference in tightness on the line. If you fly over a railroad track or something it may be an issue. There is 3/4” difference in length. To be honest, I wished I would have put another set of the longer, rear lines, in the front as well. You should at least look at the tears to see how tight they are when sitting on the ground.
-
Thx @heyitsrama I called the sales and it ended up the shorter went in front.
-
I received a set of brake hoses. Two are shorter than the other two. Do the shorter go in front or back?
-
I went thru the same thought process, but decided on the stock arms as well.
-
Does anyone have any experience with the rear axle?
-
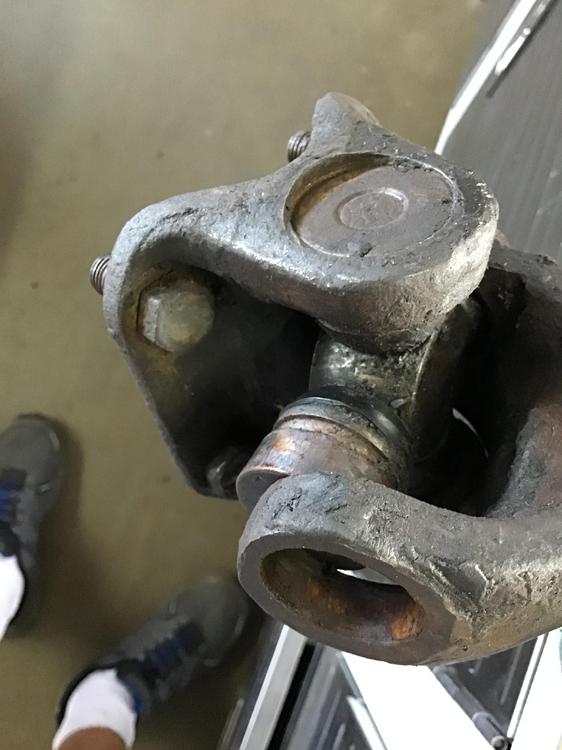
I sent this question to WoodWorkerB but thought I’d post here as well. Half Shaft Rebuild I rebuilt one half shaft following @wooodWorkerB’s guidance, but I’m having a problem. http://woodworkerb.com/home/datsun-240z-rebuild/half-shaft-rebuild/ I can assemble it but only with the bearing/spacer mix pushed all the way to the end of the sleeve yolk to the point where I can barely get the plug and snap ring in place. There is no movement of the sleeve and shaft once assembled. I had to really force the shaft into the yolk. Does anyone recall if yours could slide in and out (even just a bit) when assembled? any information is appreciated.
-
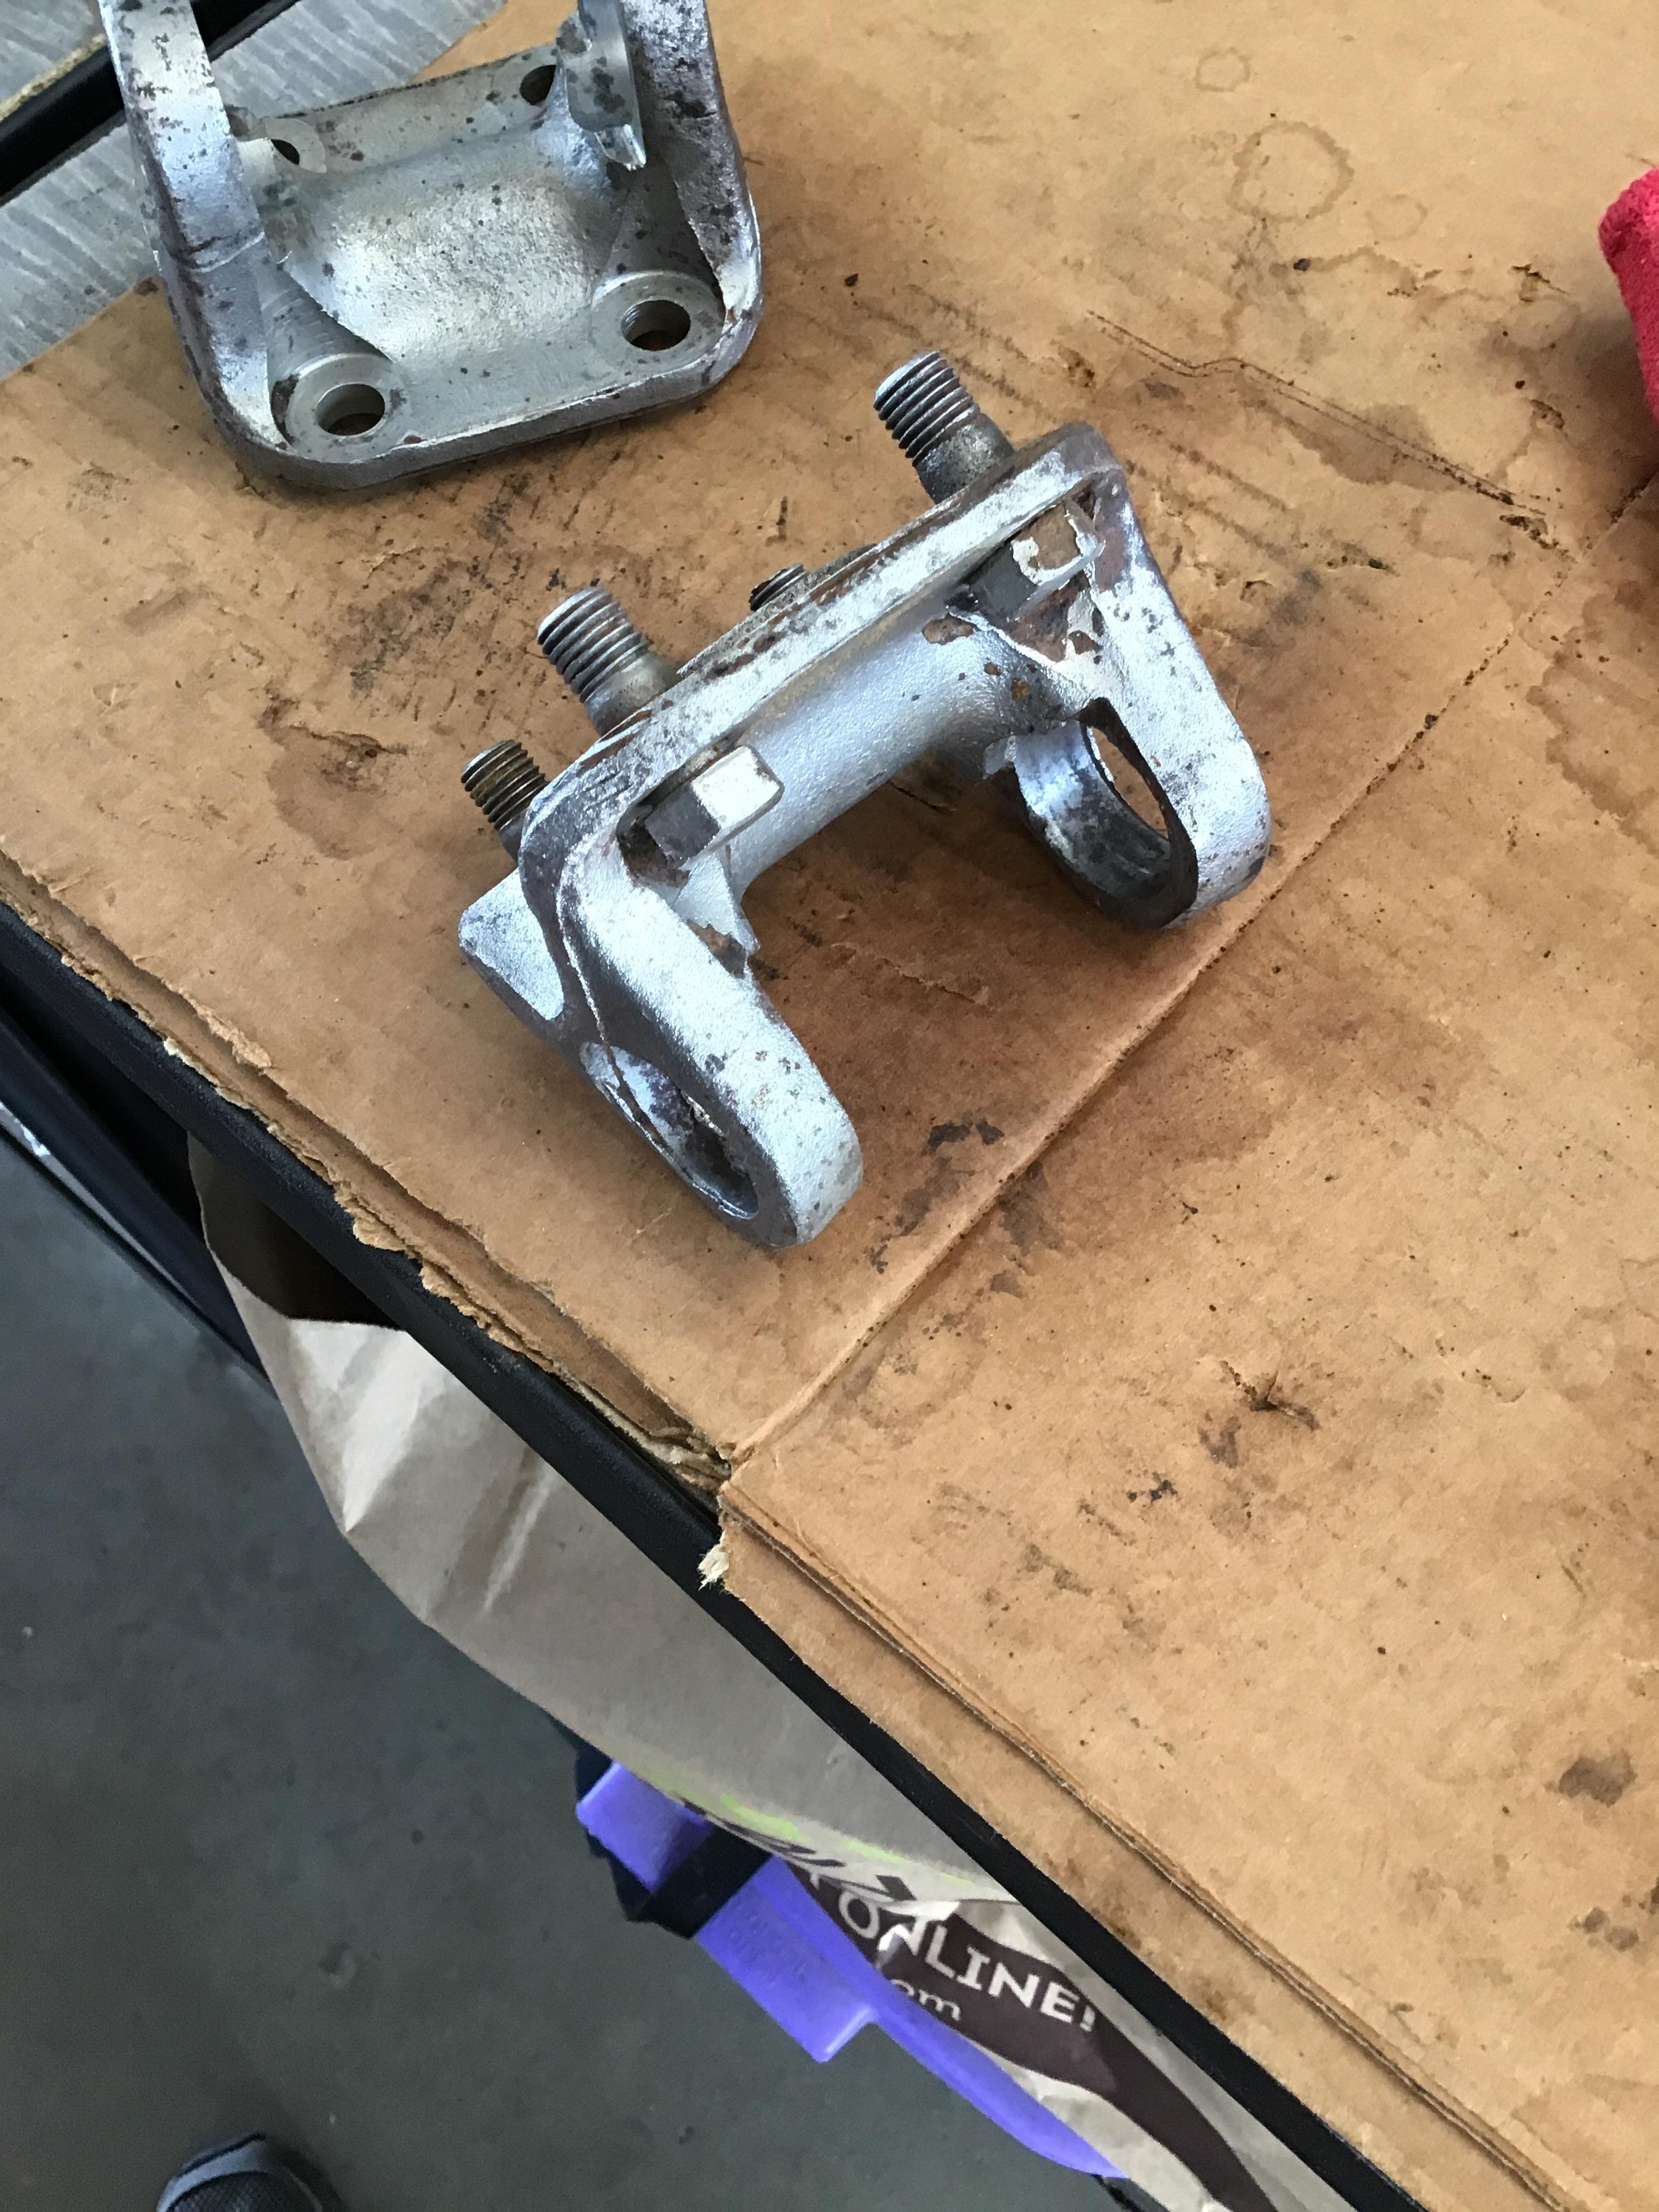
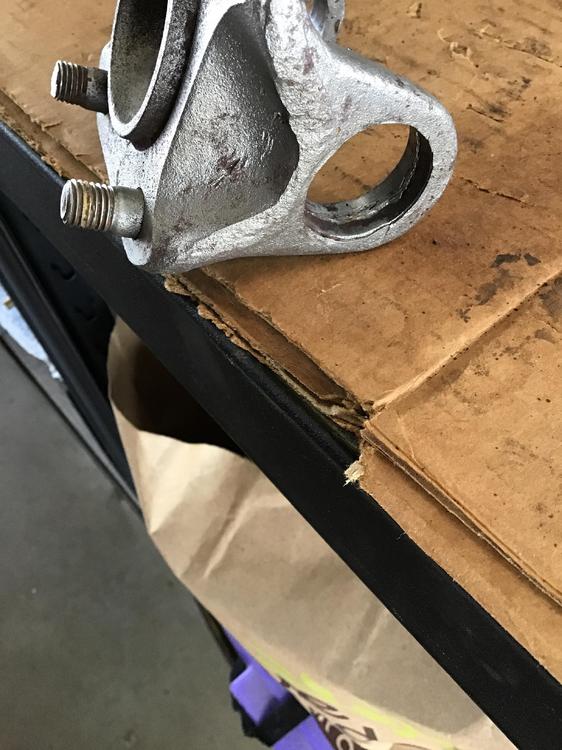
Thanks to all, It's the inside on one of them. I tried to capture it in the top picture...the inside gouged and rippled up. @Terrapin Z do you have one for sale? Any help is appreciated.
-
Does anyone have (or know where to buy) a rear axle flange for R180? Looks like the PO tore it up on install. Thinking about it, maybe I tore it up on removal, but don’t think so as I use a press and all other are good.

-
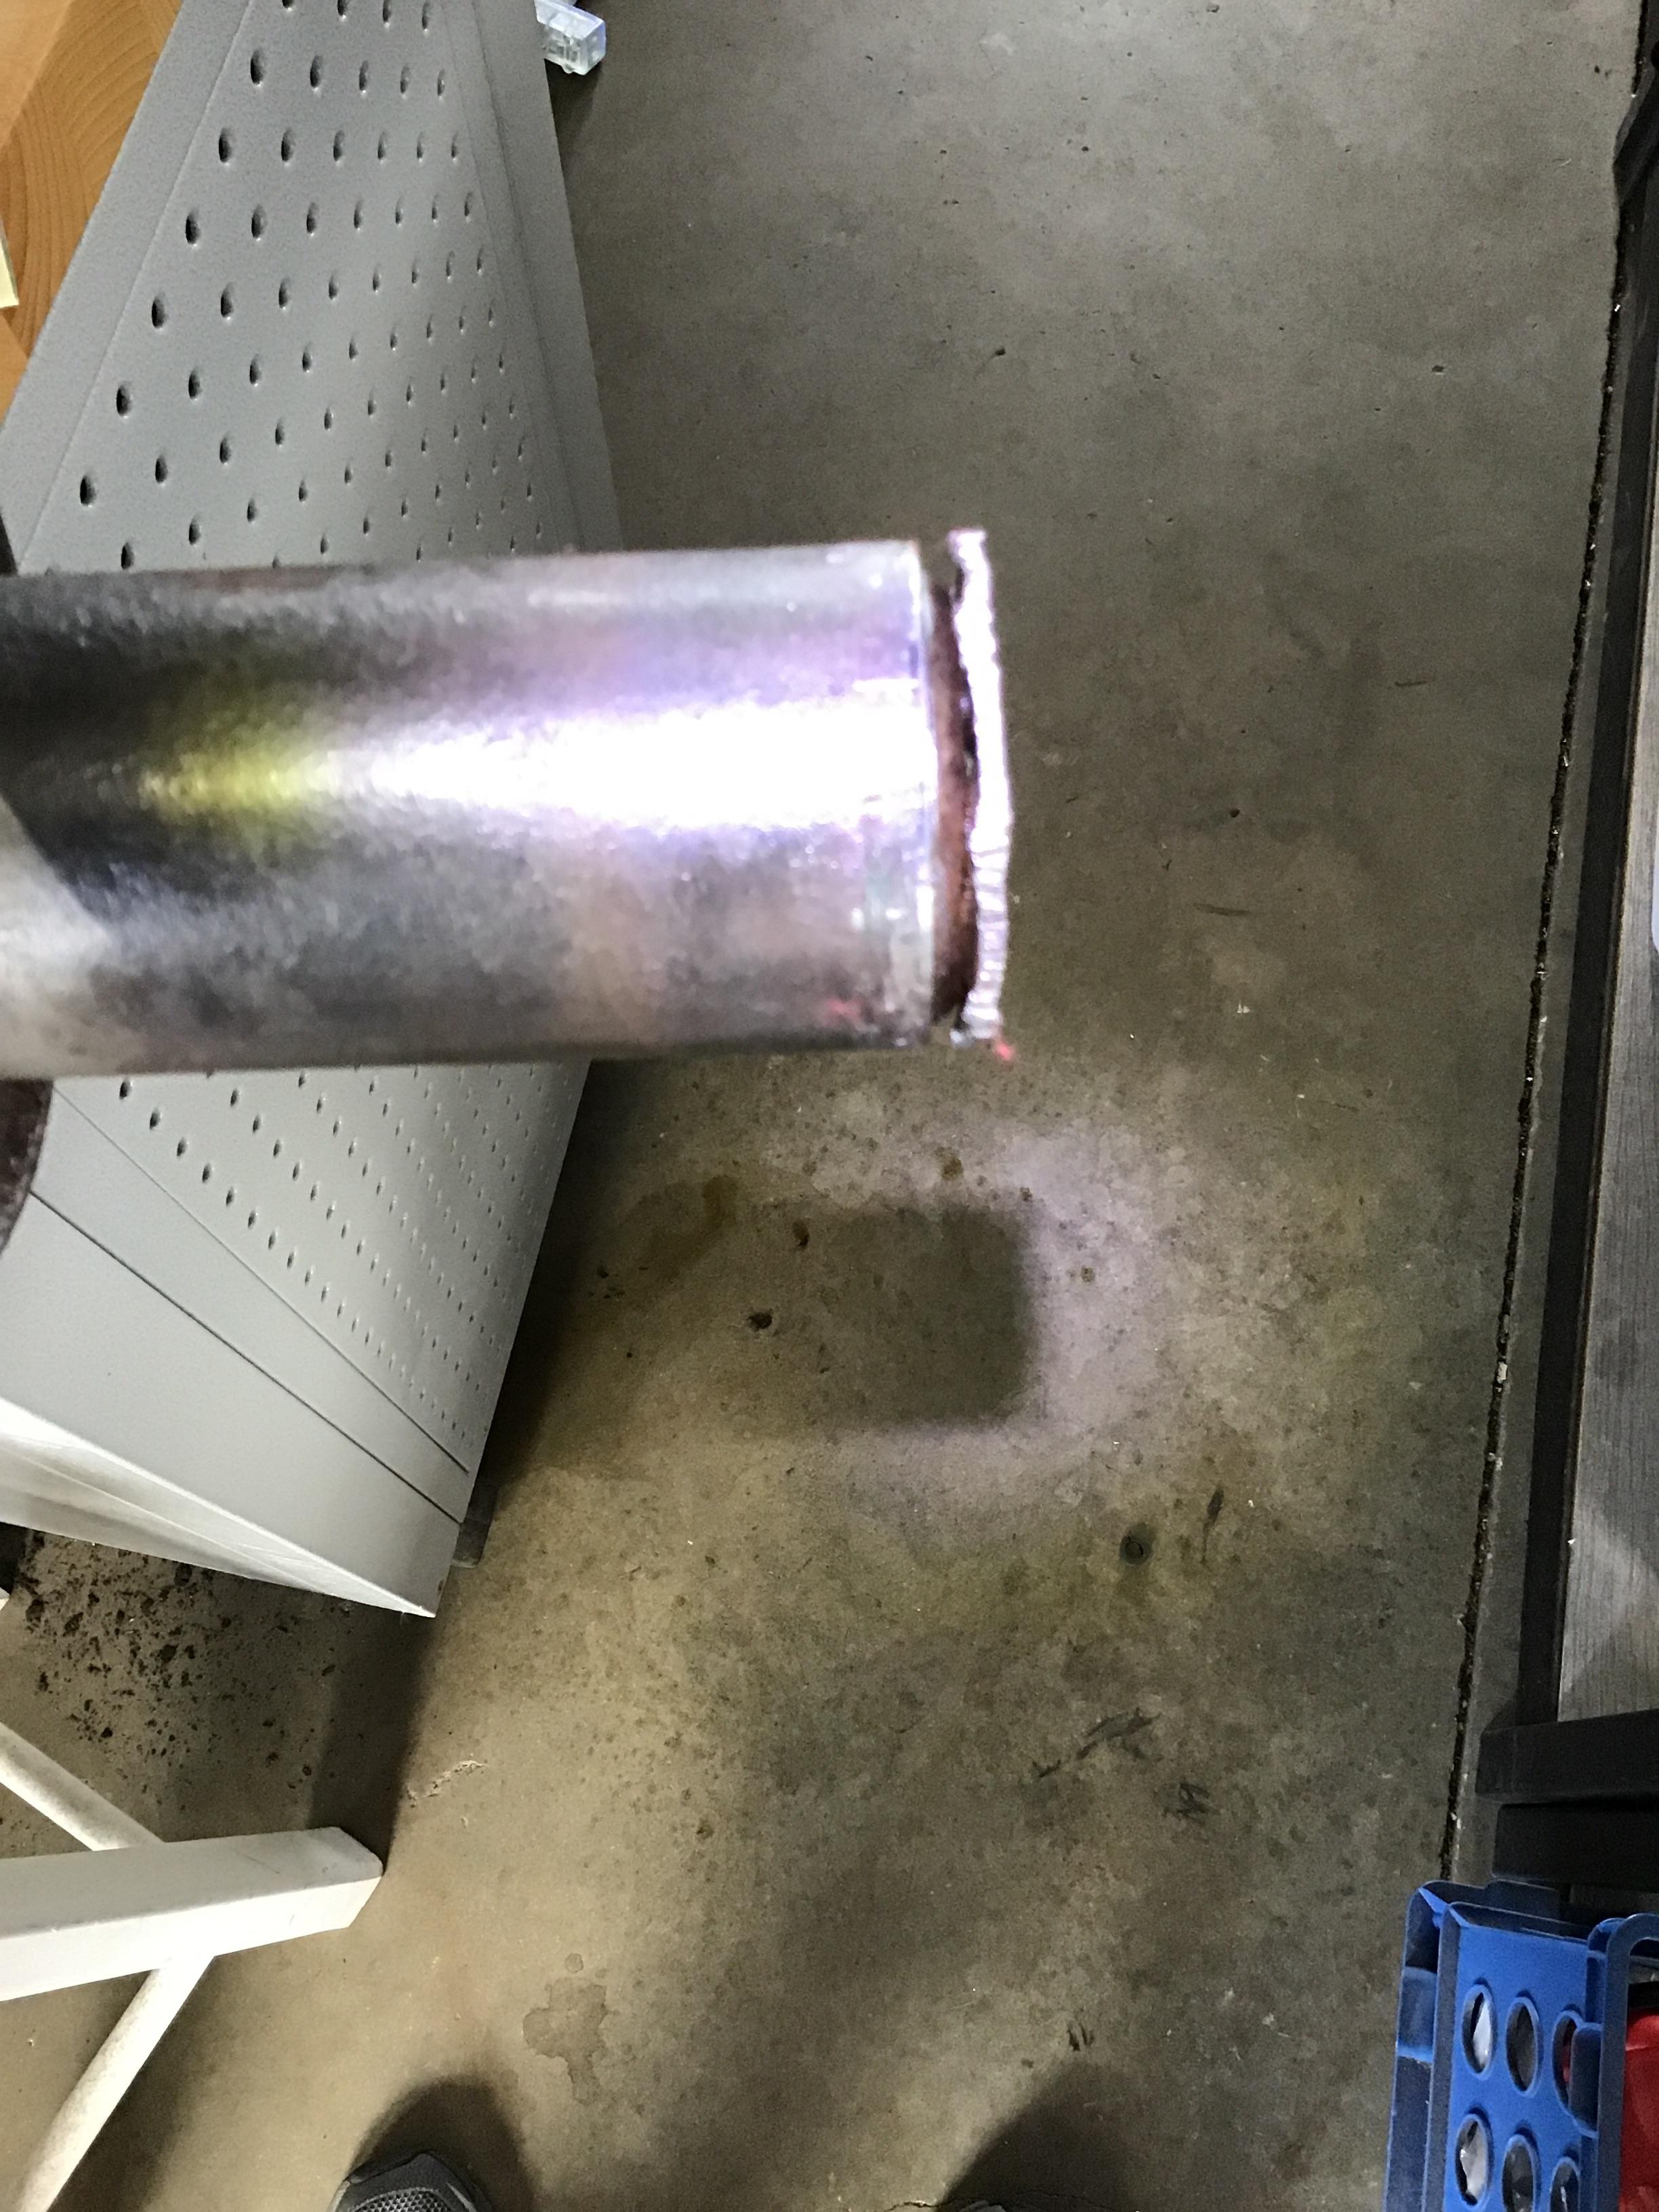
Thanks @Dave WM I opened the cartridge packing and low and behold there was a new nut. It still took some work, but I got it to the same point. i noticed that the new cartridge is a little shorter than what was in there. Does the gland nut compensate for that or do I need a shim? thank you again.
-
After much work, I can finally hand tighten the gland nut. I need a pipe wrench for the last couple turns, but it stops at the point int the picture. Is that correct gap, or should it thighten to the point where the nut is flush? The nut is tore up, but pipe wrench works.

-
Thanks to all of you...your insight (and encouragement) help keep my project moving. The machine shop cut the pin, applied heat, and applied 90 tons of pressure. For $75 I had him remove the lock pin, spindle pin, and strut cap. considering he probably had three hours into it, I guess it wasn’t too bad. I’ll do the other side soon. thanks again.
-
Thanks for your input. He had a 50 ton press with no luck. I gave him the go-ahead on cutting the pin...fingers crossed. Thanks again.
-
I know there are many threads on this topic, but I need your advice. i couldn’t get the spindle lock pin out so I took it to a local machine shop. I said he could take out the spindle pin too. He removed the lock pin but stripped one end of the pin. He said he heated the entire area to almost glowing red, but the spindle pin wouldn’t budge. Advice please: he wants to now cut thru the spindle pin between the gaps where the strut joins the link. He’ll then remove the strut assembly and then focus on removing the remainder of the pin from the link. thoughts?
-
Thanks to all! i got all bearings removed. I did end up pressing thru the end caps on a couple, but was able to still get the rest of the cap off. im going start another thread about the spindle pin.
-
Ok I figured it out. I got the outside end cap off and then pushed it back through the other side. Is that the way to do it?
-
The other side is clear of the yolk. How do I remove the cap? Vice grips? Tap on edges?
-
Thanks @Zed Hed I pressed one out and now can’t get it out of the yolk...arghh. it doesn’t seem to have enough clearance. also, on the flange side it’s tapered so it won’t lay flat in the press. Do you have a trick for that? Lastly, is there a specific order and specific side I need to press them out so they can clear the yolk?