
ETI4K
 Subscriber
-
Joined
-
Last visited
-
-
I can't get to mine to check, but couldn't we machine (mill/lathe) or 3D print the plastic parts? I know they wouldn't look OEM, but they'd serve their purpose. Furthermore, I'm certain the rivets (as seen in the previous pics of the hatch and door parts) can be made, though staking them could be rough.
-
I would suggest that if you are plating for corrosion resistance, remove all removable parts. It's a different problem with assemblies that are riveted or staked. How do you replace the rivets or restake something without tooling? I suppose you could always make them. If you plate the door latch as an assembly, I suspect you'll get little protection for your effort.
-
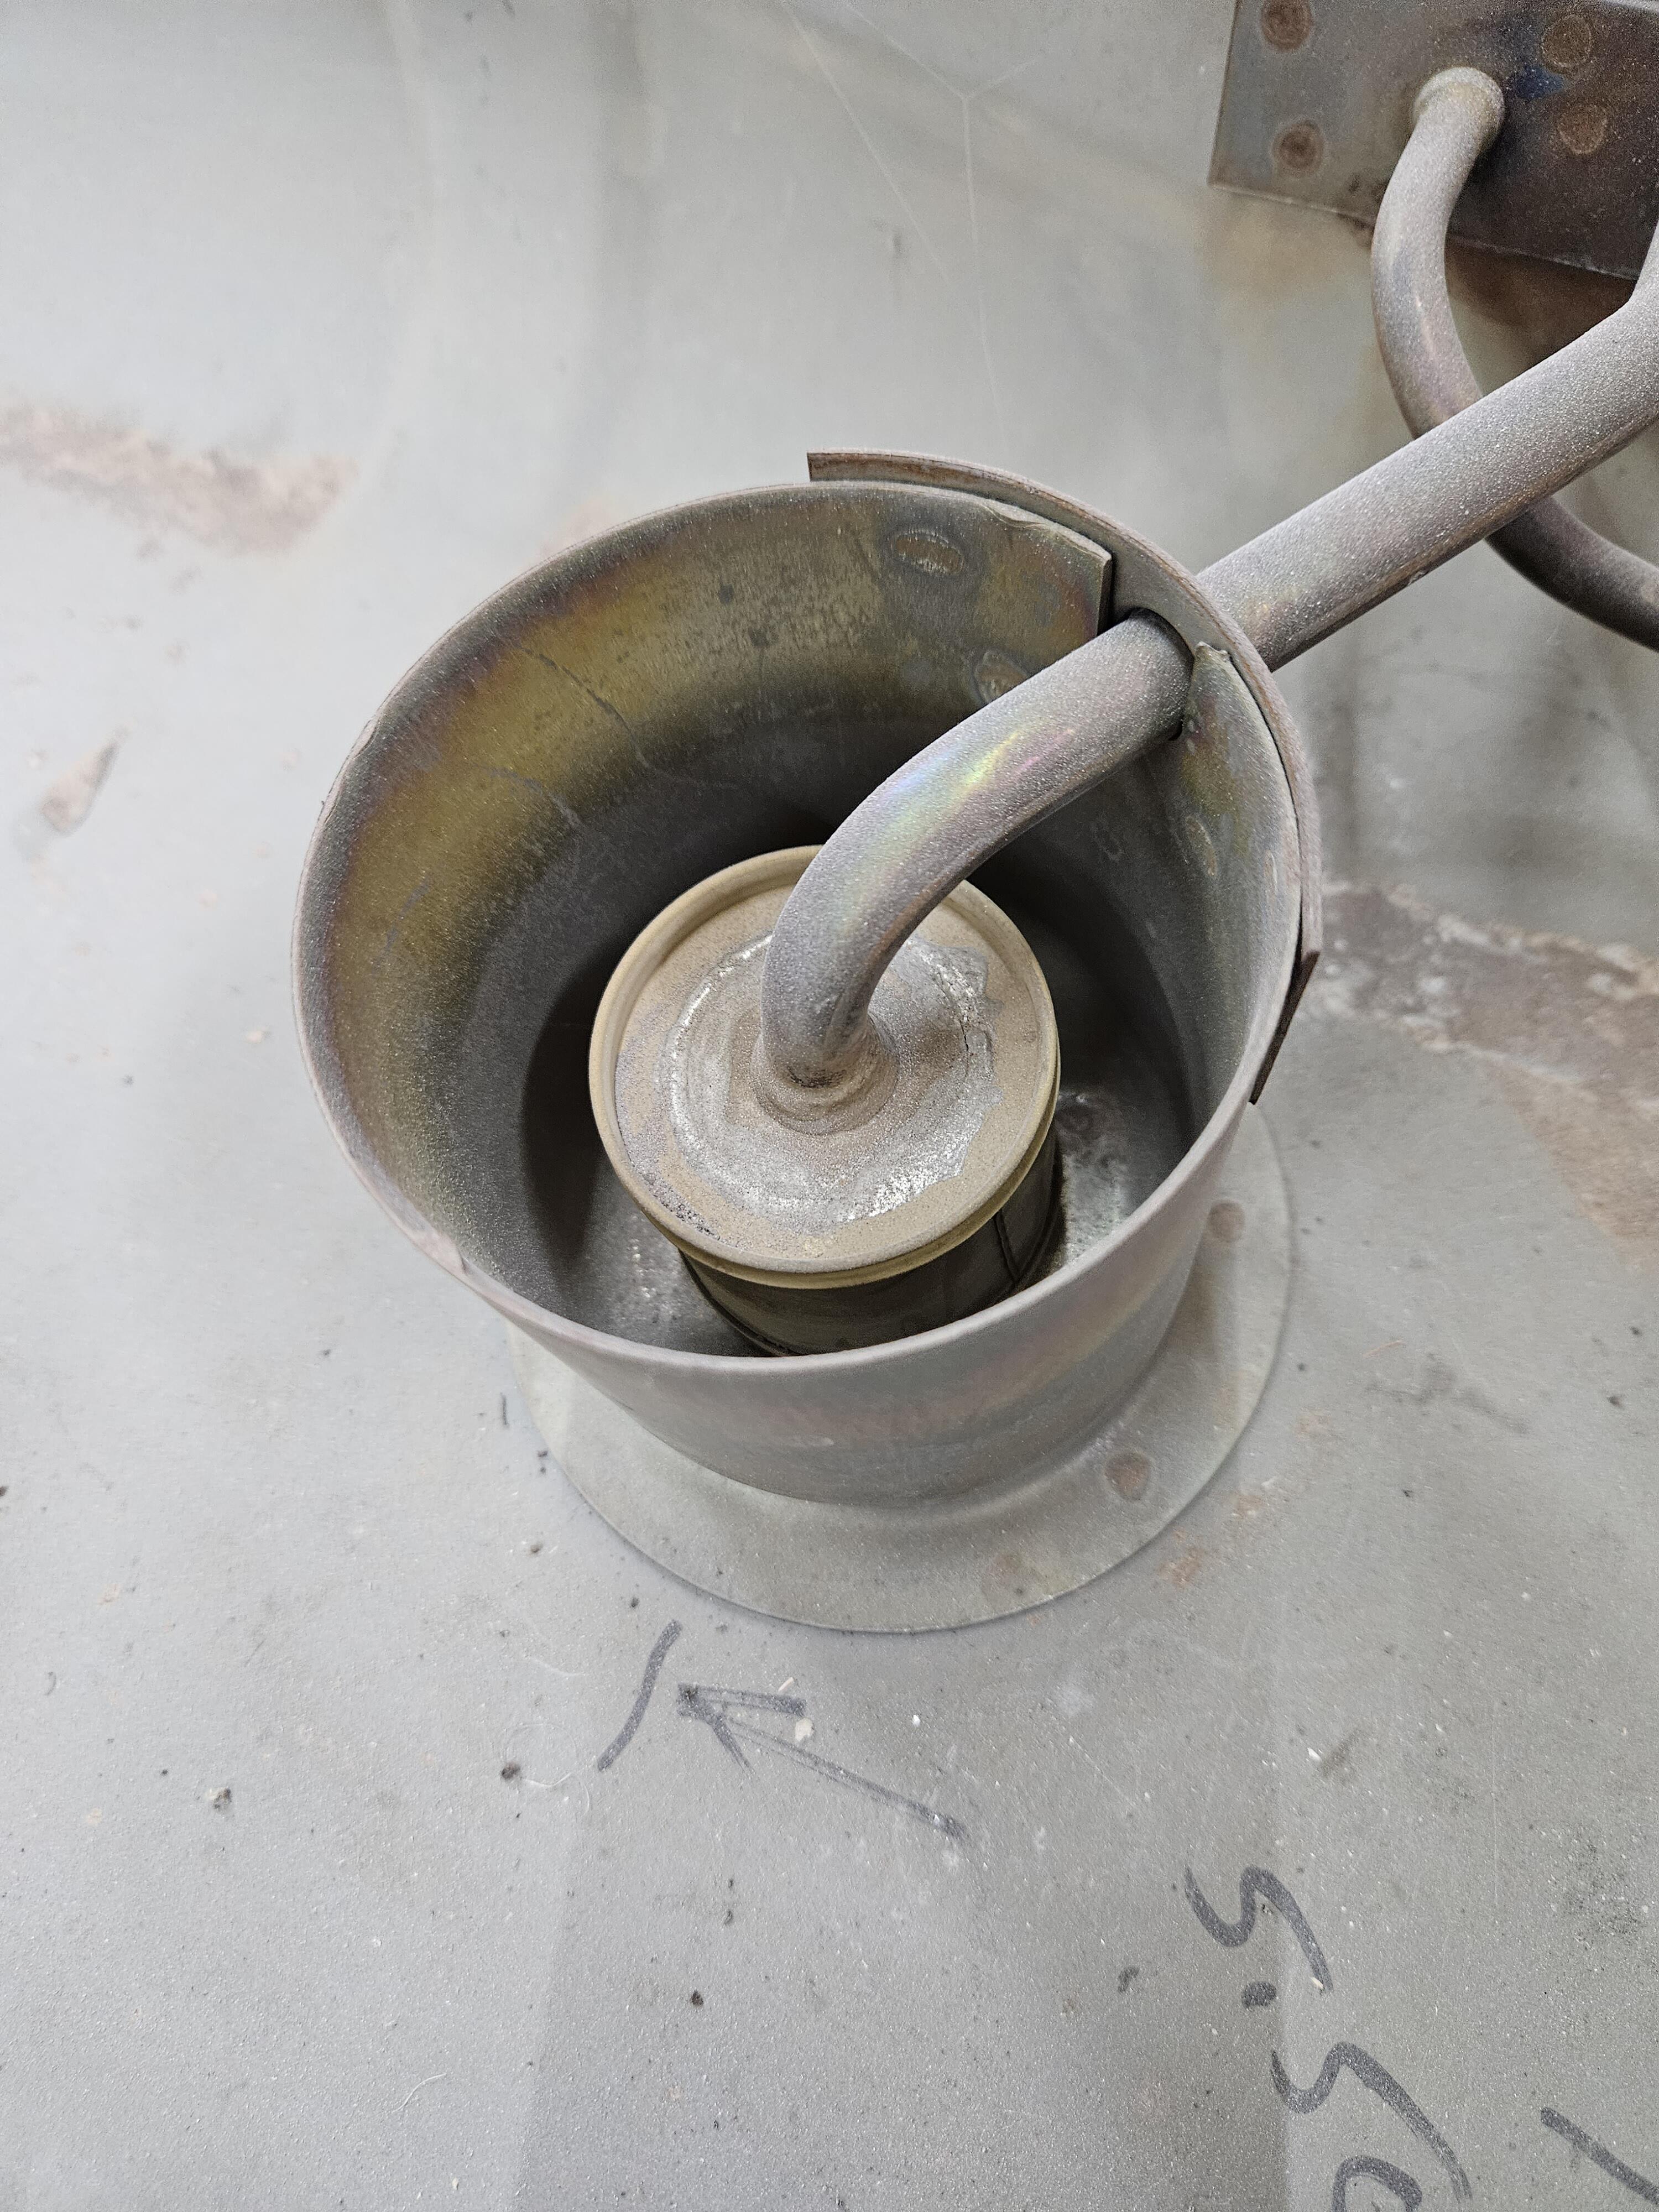
Alas, that tank is still in two pieces. The job of gluing it back together has been kicked back from the forefront of efforts/work more times than I care to recall. Absolutely, cutting it apart was the best (only way for me) to get the metal right. Fortunately, there's very little interior corrosion, just bad bruises (which I still cannot figure out it happened). The one remaining area to straighten that is inaccessible from inside is immediately below the in-tank filter. I'm thinking of deleting it altogether to get the dents, and I want to slosh around some tank sealant and the prospects for getting fuel the filter look terrible at best. I haven't been on here so much lately, largely bc of the seriously annoying ad experiences 😉. I know I can throw money at it to make it go away (mostly?), but haven't gotten there yet.

-
It wouldn't hurt my feelings at all if it were mine.
-
I'm with Hussein. There's a lot of pleasure taken from bringing a worn part back to life. I've repaired more switches, valves, contractors, etc. than I could ever count, and most have continued to operate for many years. Having a 3D printer helps! Nice work bead blasting. Did you do it wet or dry? It looks perfect. I once found a place that would sell you one oring. Amazing! or so I thought, then they add the shipping. Really? $15 to mail one oring? Buy the bag of a 100.🙄 Think of the business you could start repairing heater valves.
-
It occurred to me as I was leaving this page after having read this (and agreeing), that this forum has attracted and retained amazingly friendly and helpful soles. I've been on and off here a long time and every time I dig into someone's topic and read the community's offerings I am reminded how much I appreciate them and admire the seemingly endless well of knowledge and encouragement freely given. I enjoy being here and hope I can pay it forward.
-
It's always nice to hear one running up through some gears. Sounds great.
-
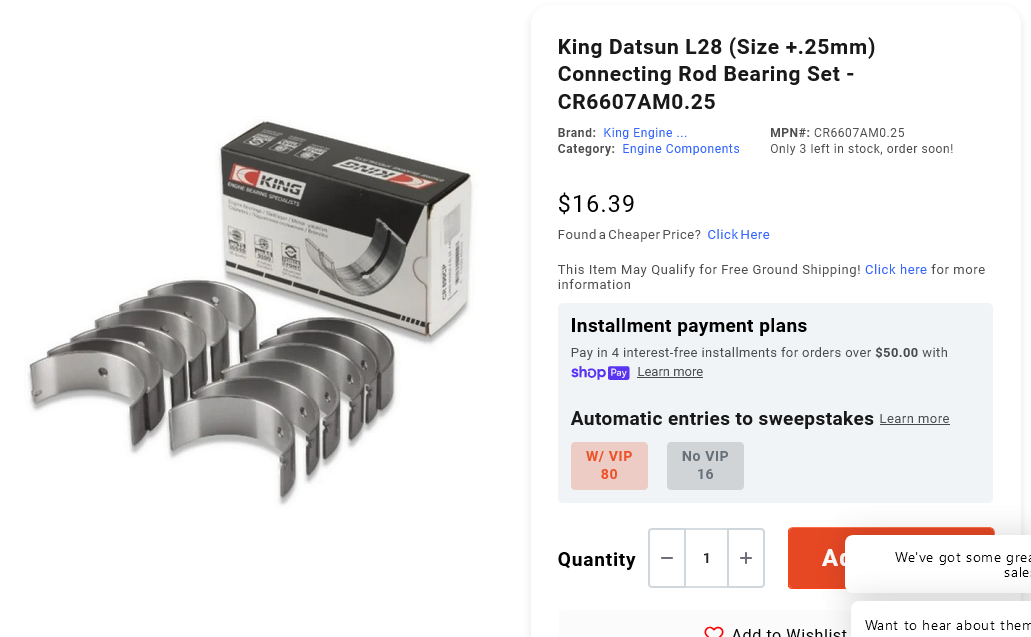
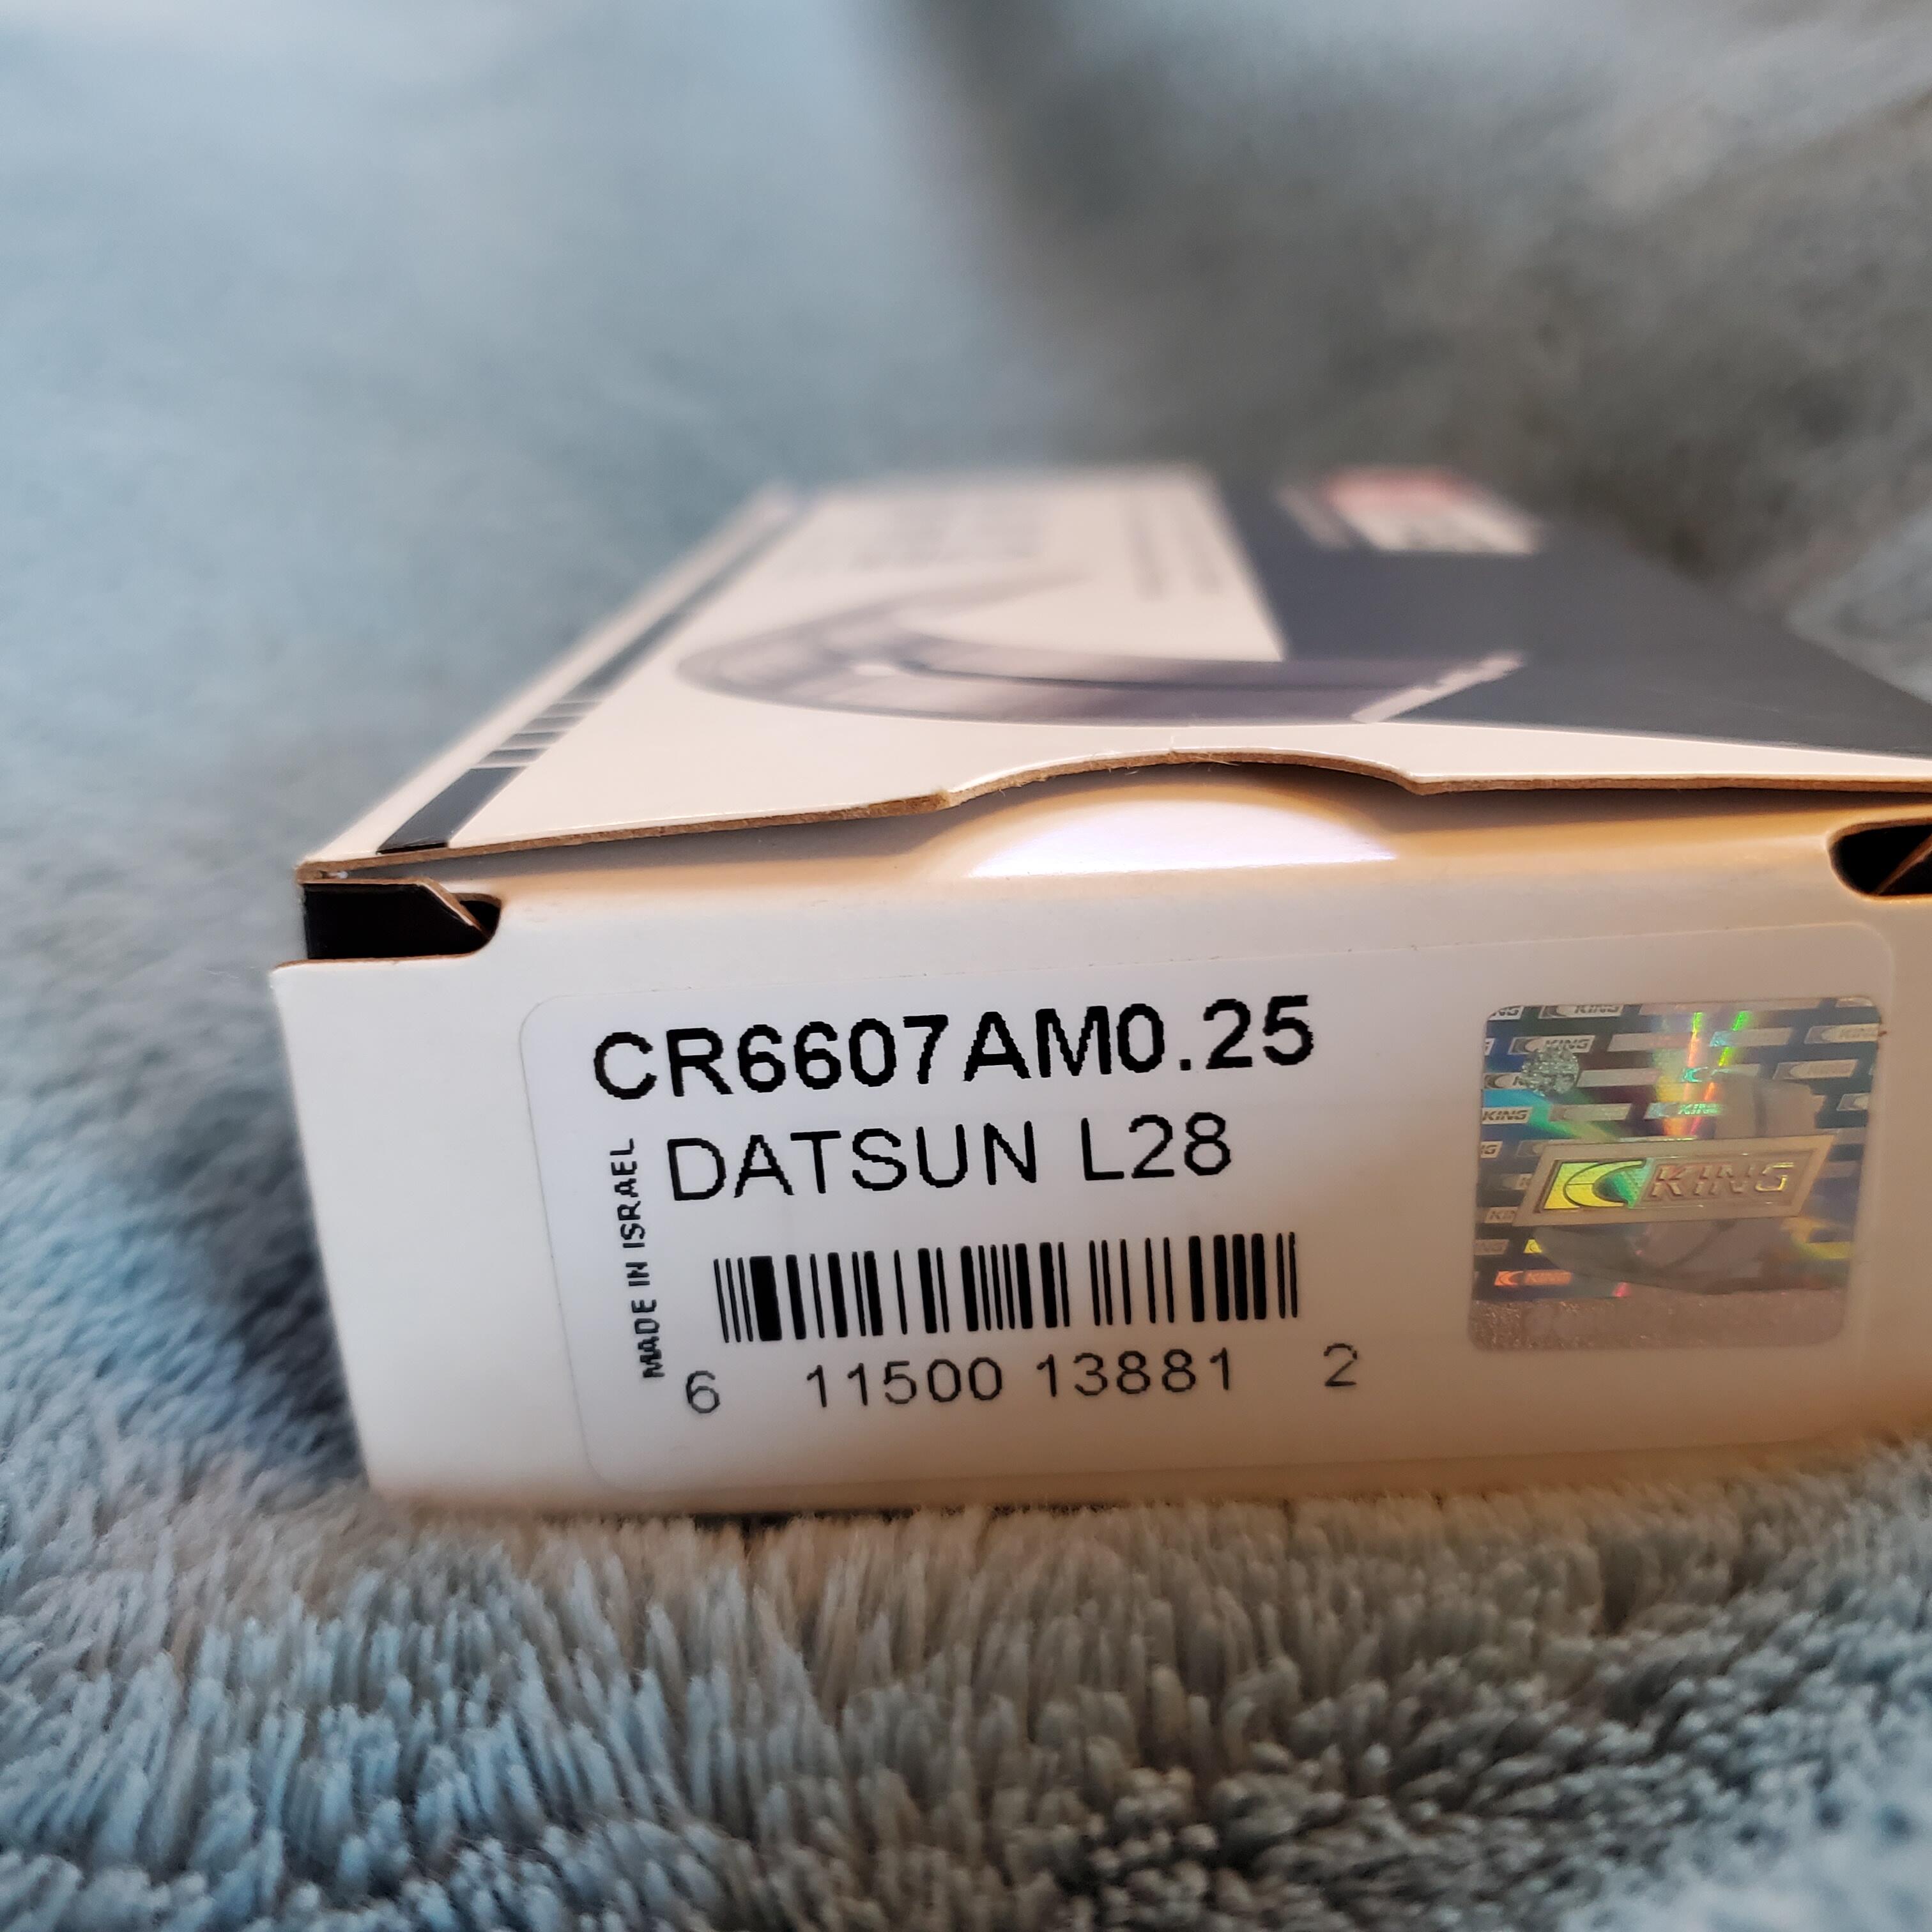
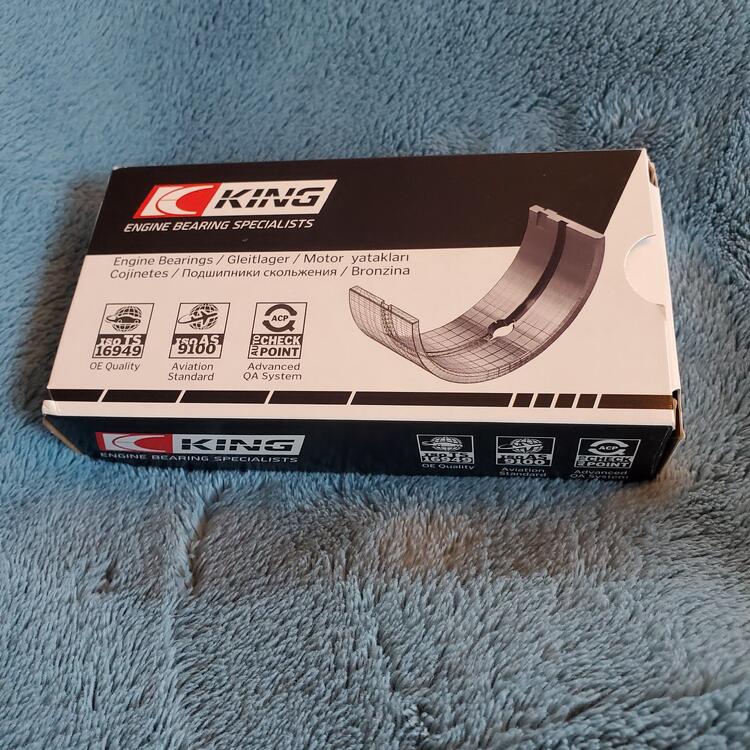
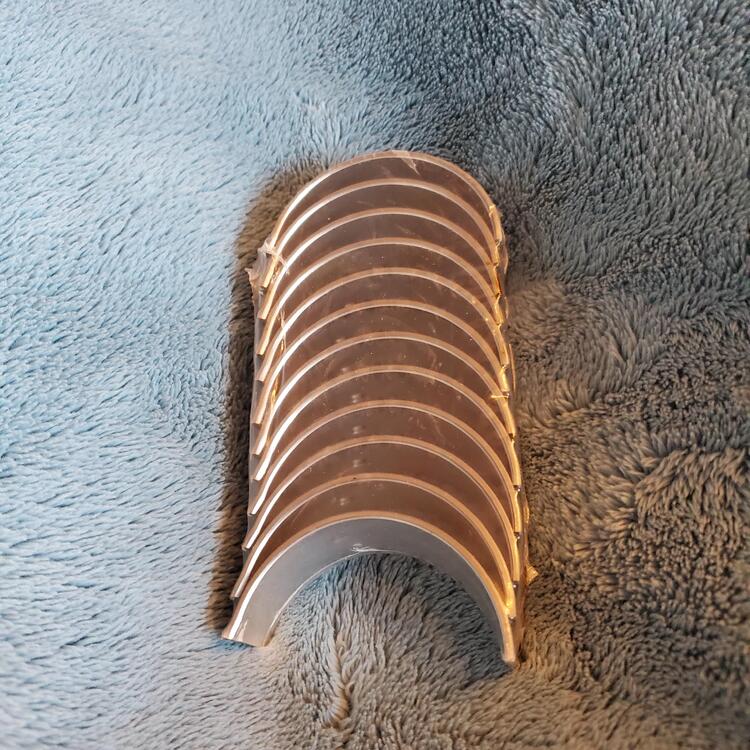
Check this... Found it while looking for what I had paid for mine. Apparently they have three in stock and are selling for less than I paid. https://throtl.com/products/king-rod-bearings-kingcr6607am0-25 LMK if something blows up and you still need mine.

-
Sorry, just circling around to this. Yes, I am happy to help. Let me see what they cost me and then I'll PM you. Are you in a hurry?
-
I was able to put my hands on the rod bearings with relative ease. I'm still in the middle of moving everything into the new shop, so it's a bit of a cluster. If you need mains, lmk and I'll look more.

-
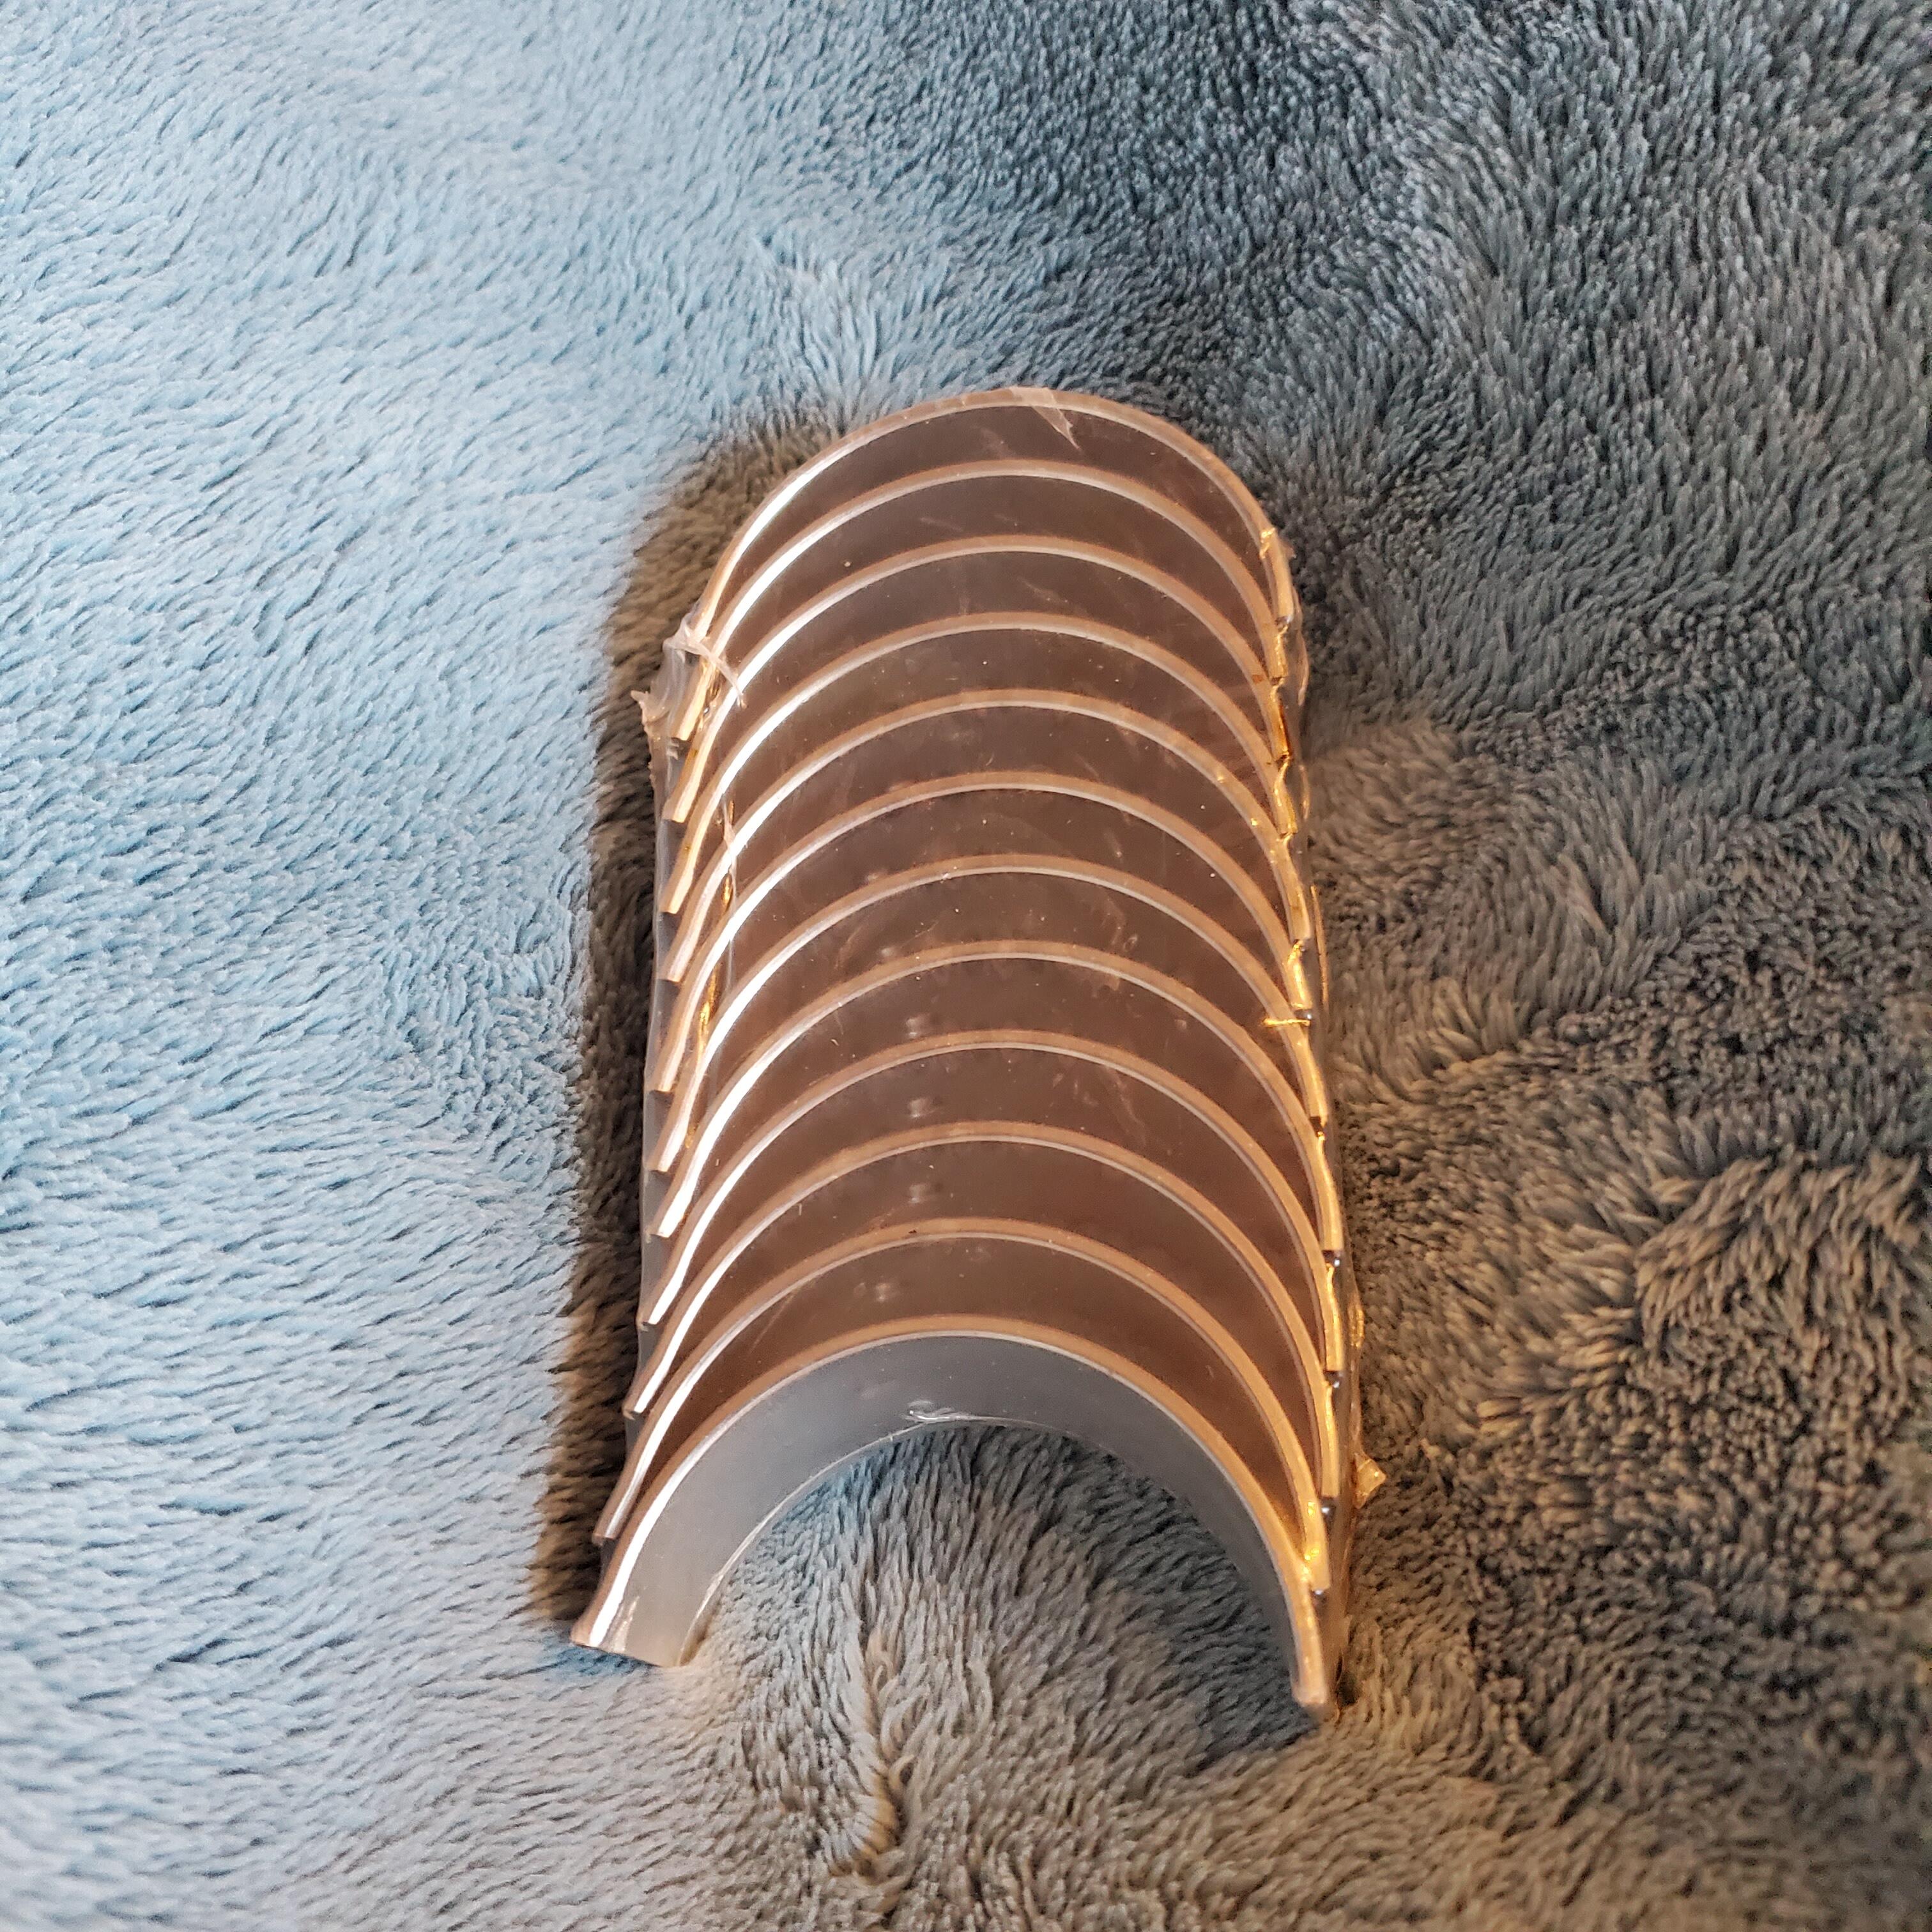
I have some new King bearings I will not be using. I'll check tomorrow for the undersize.
-
What, if any, is the oversize you need?
-
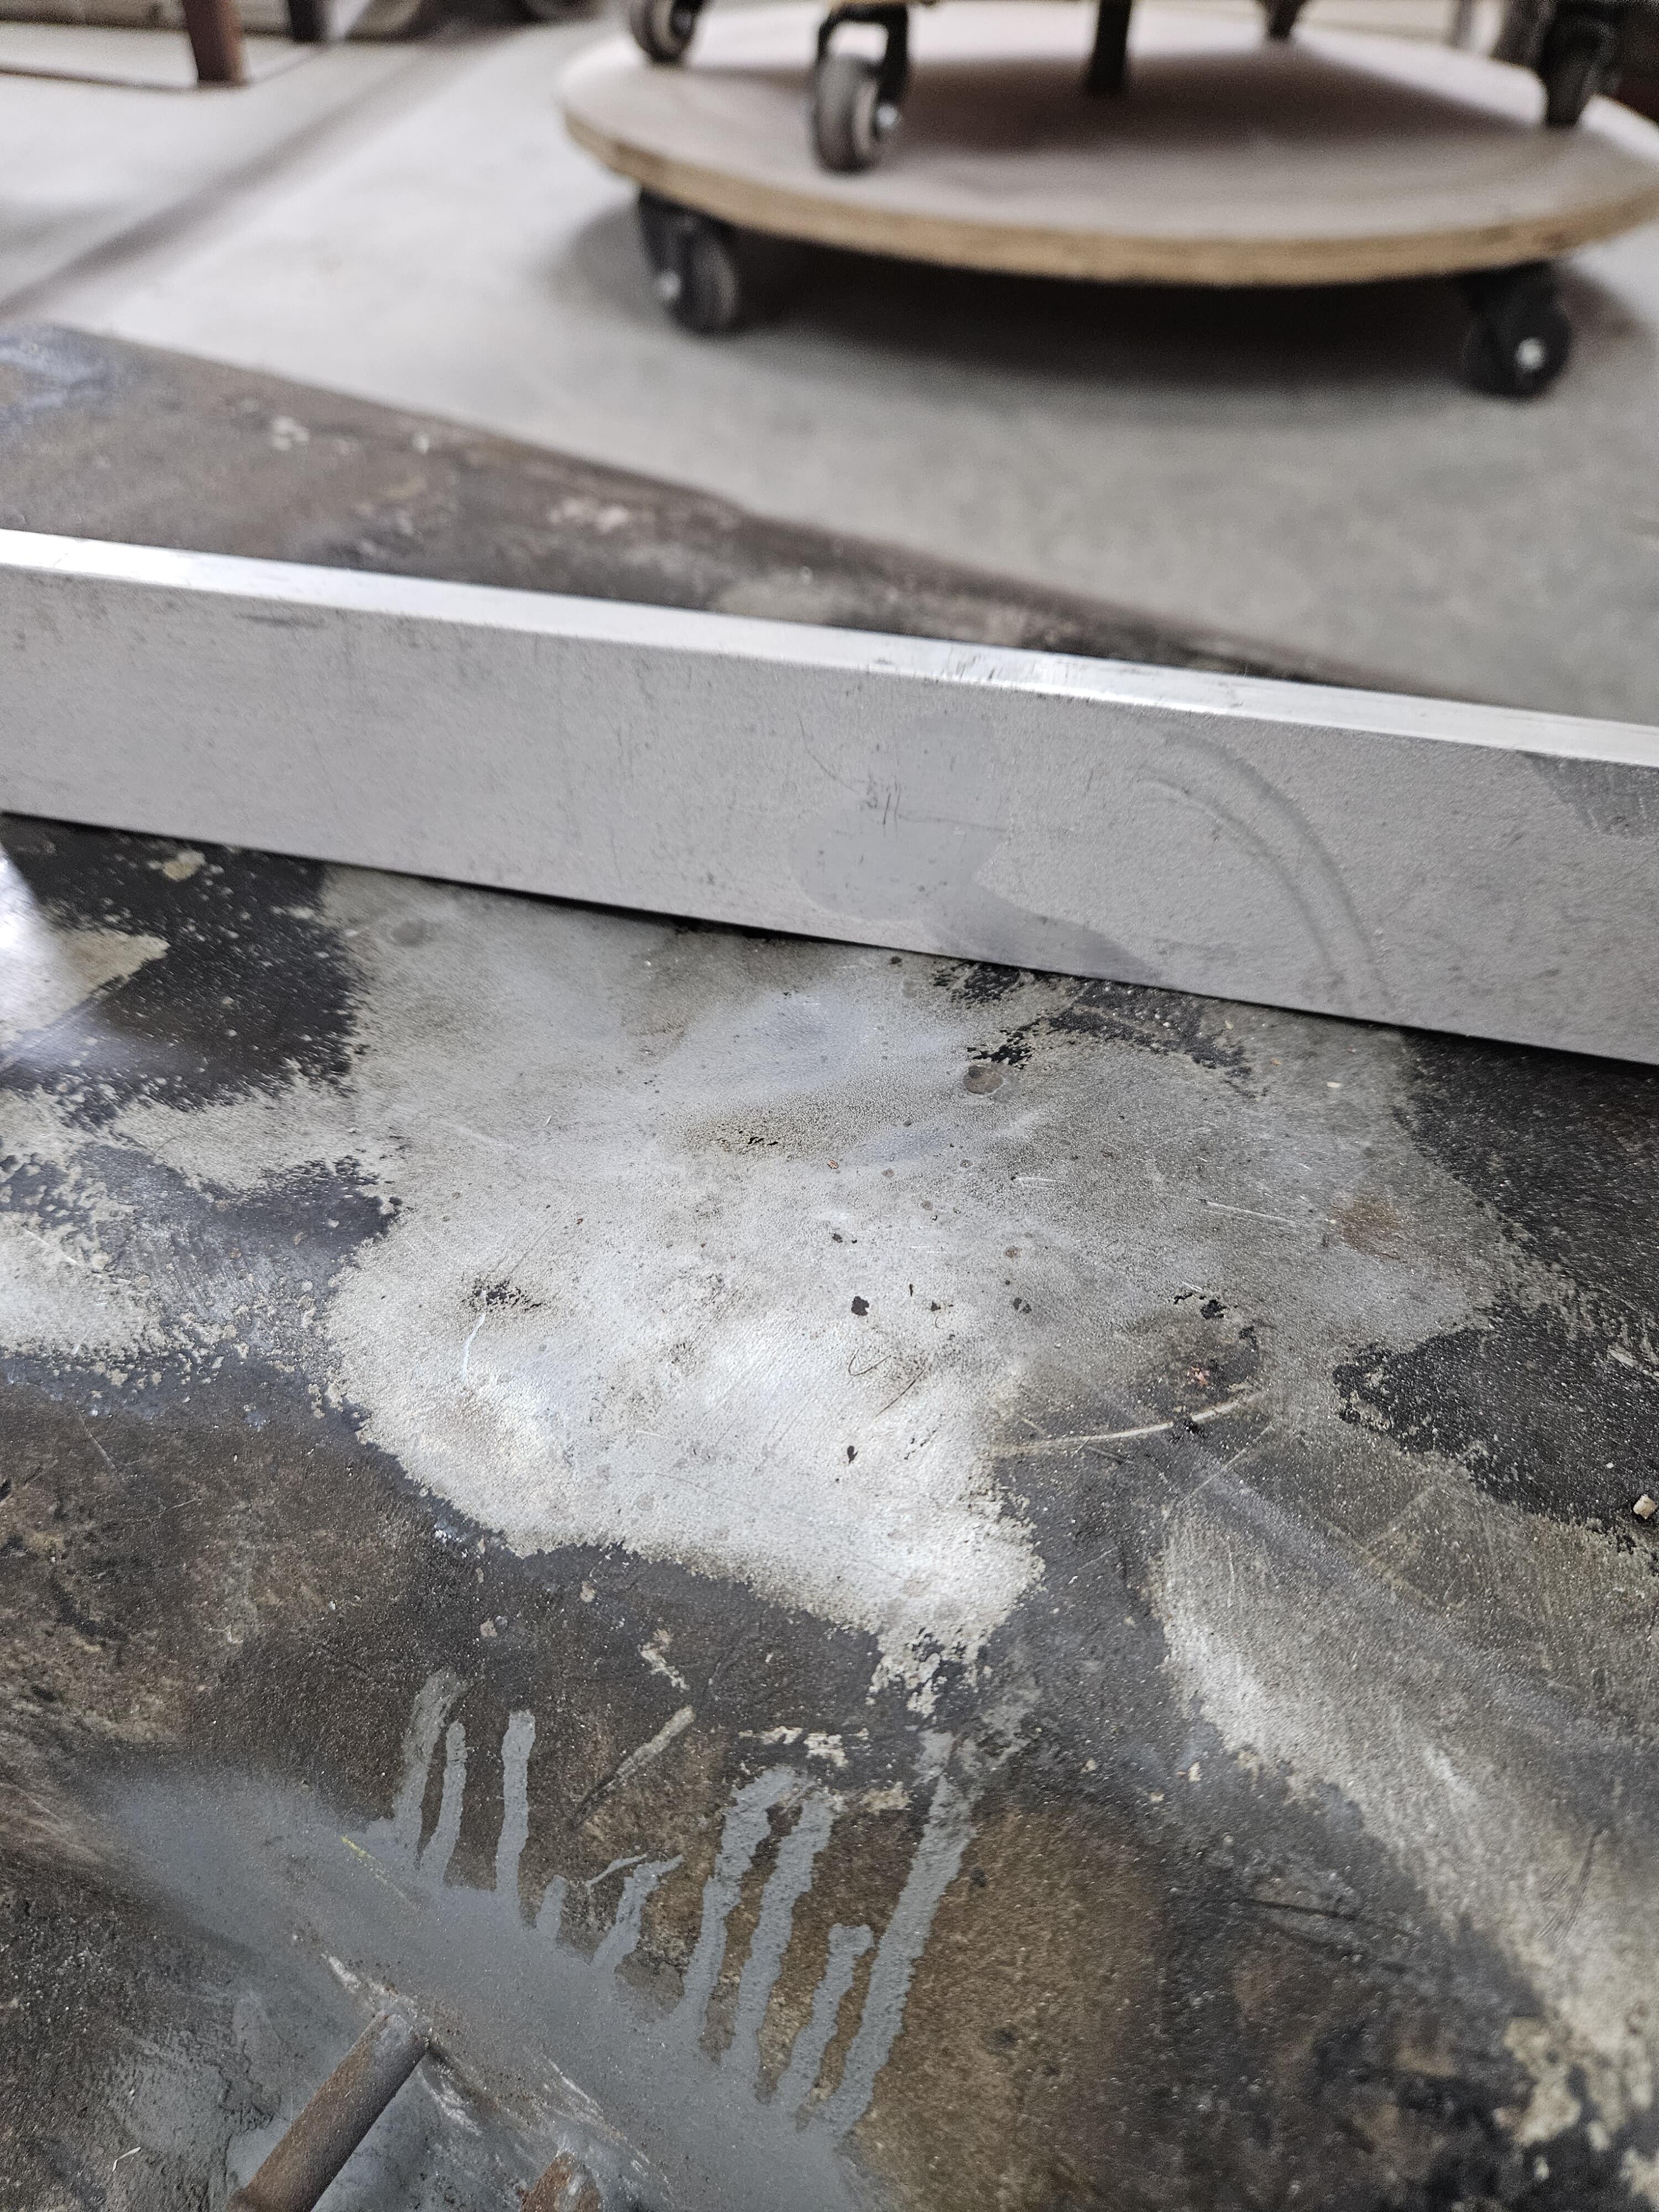
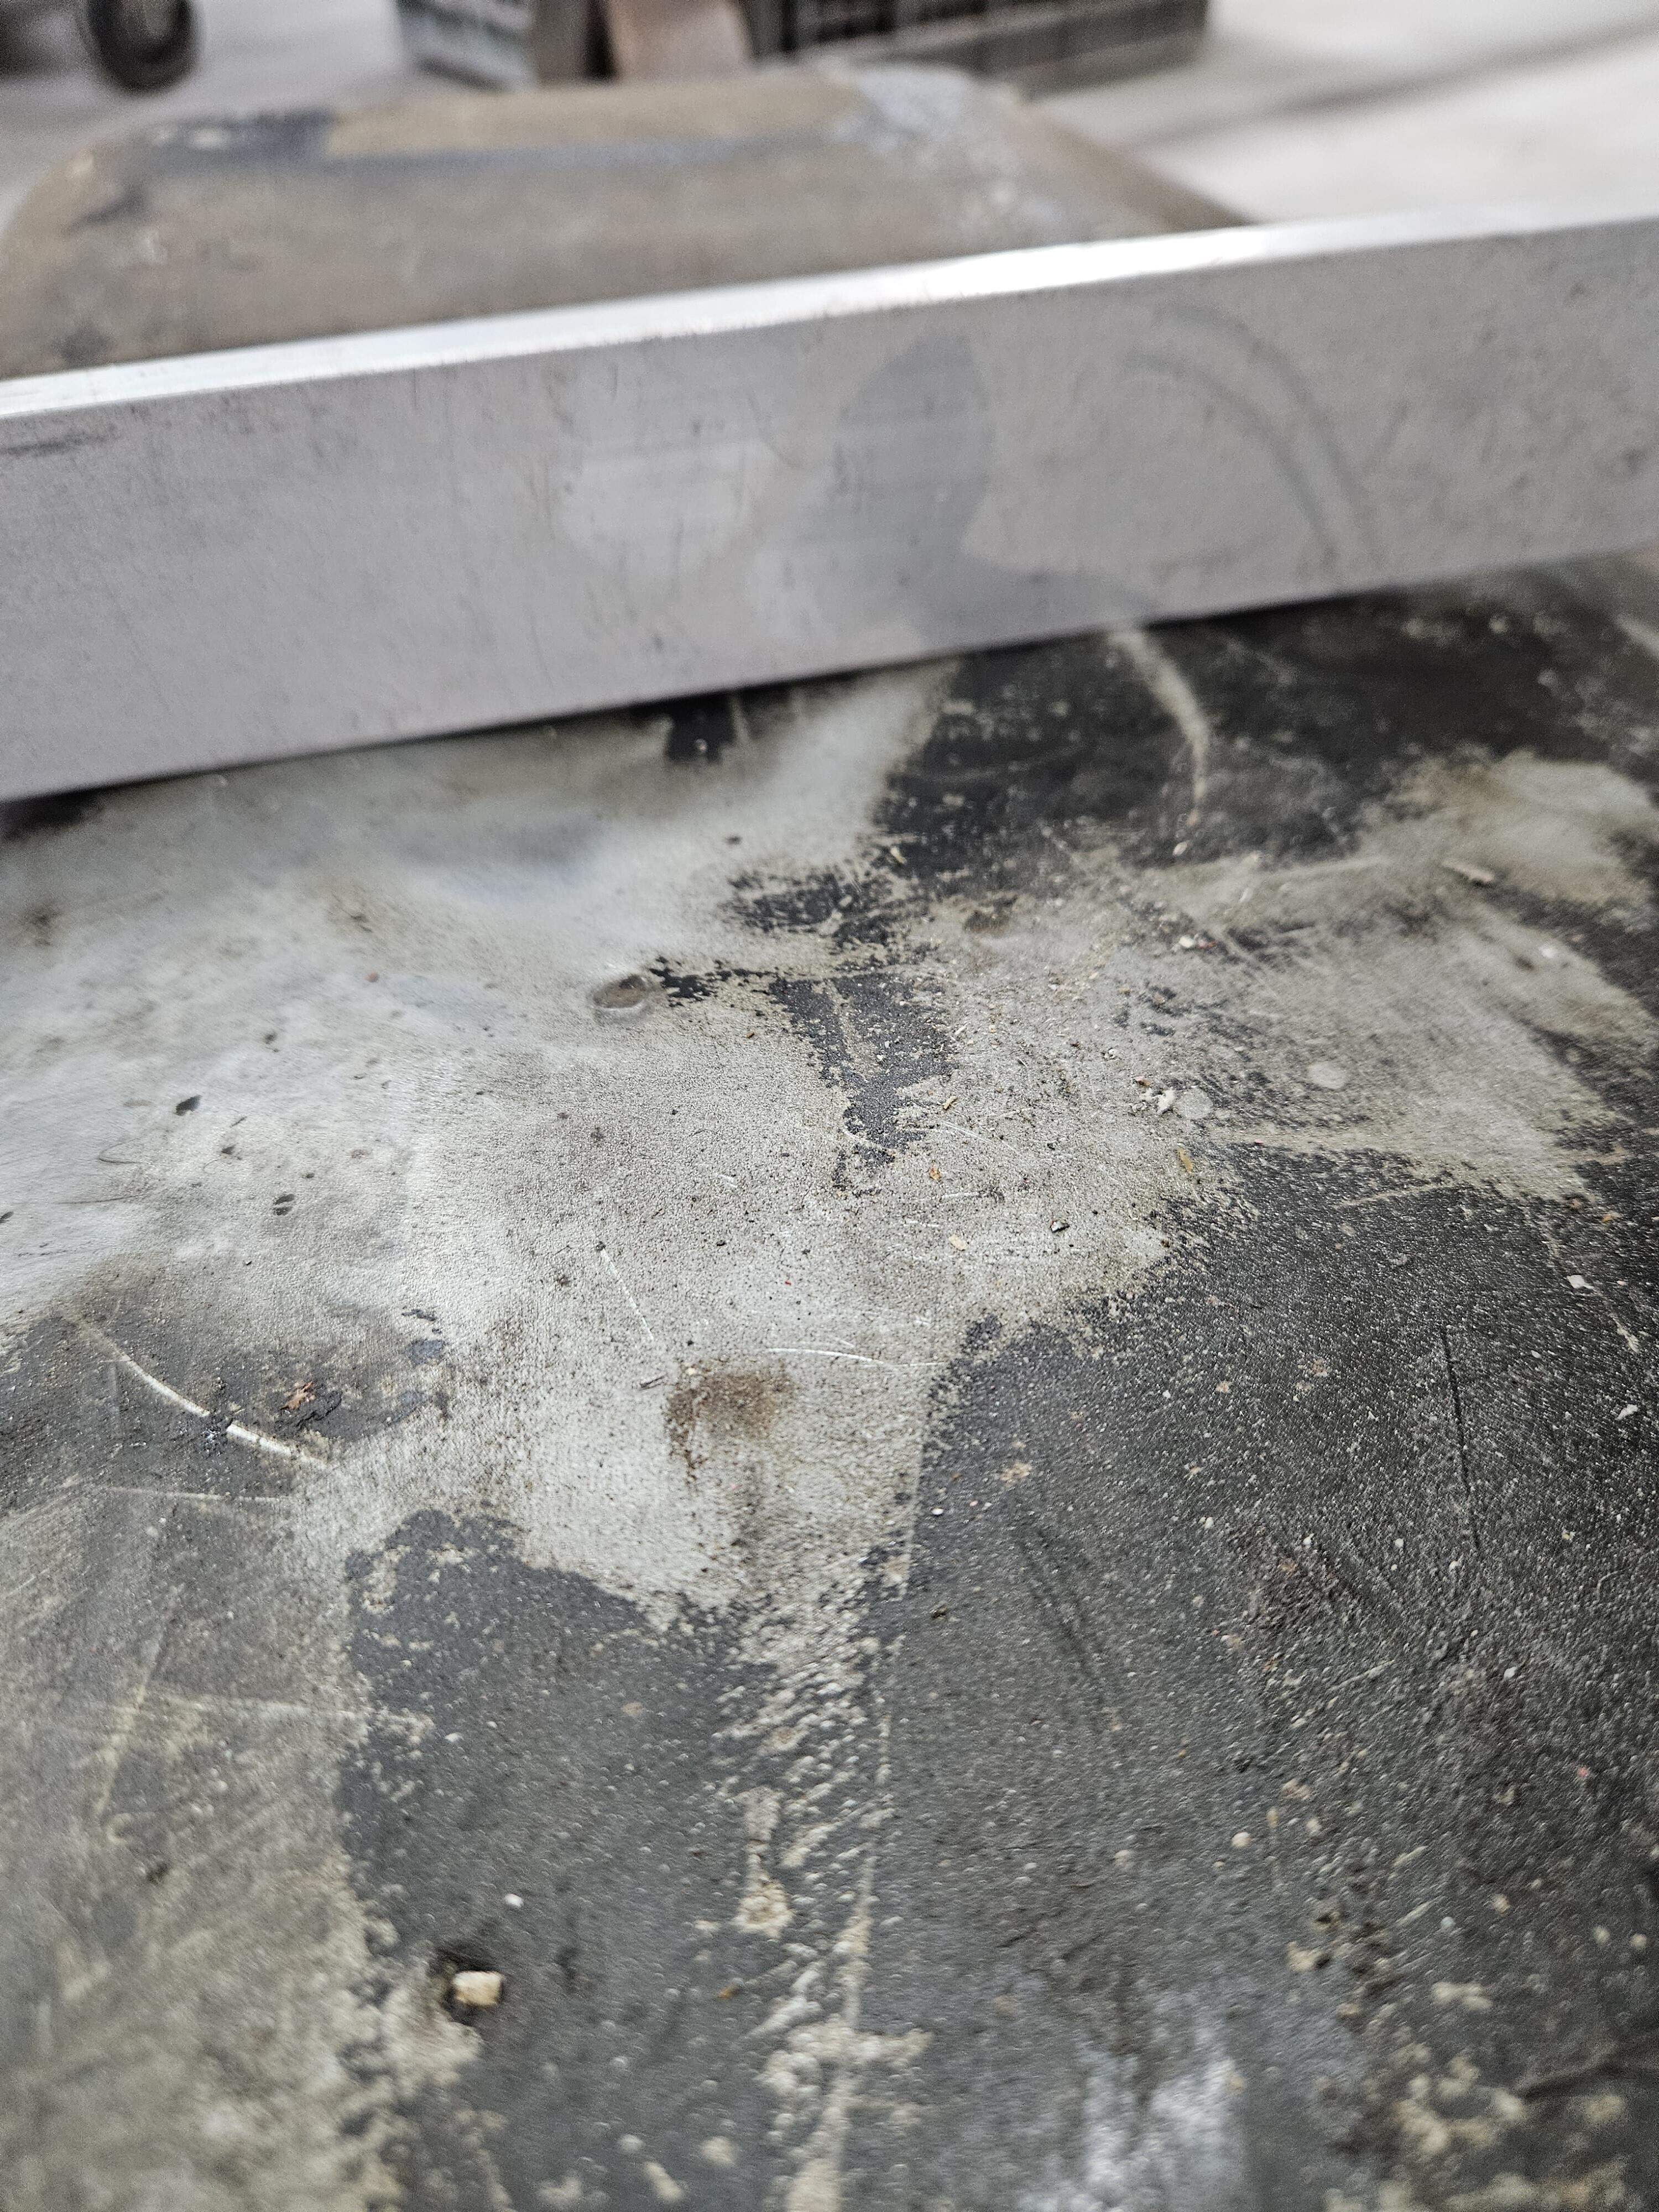
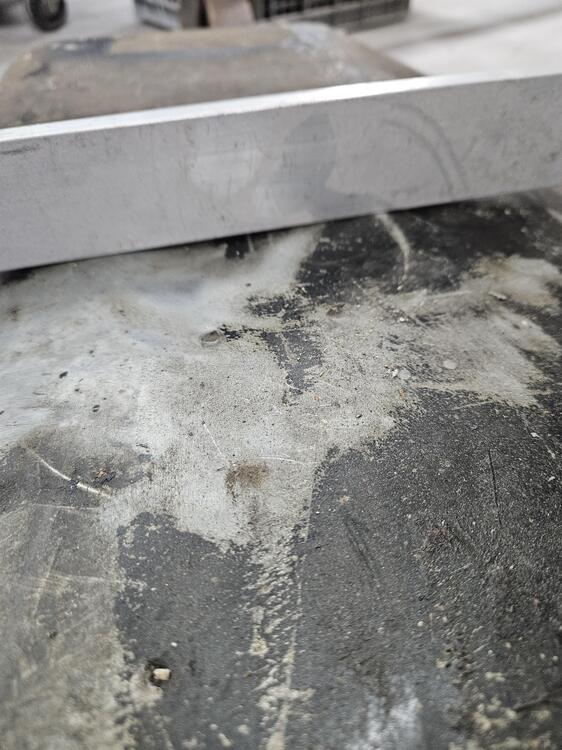
I guess I have a different take on the bearing. I see that some foriegn material has been fed through the oiling hole that has scratched the surface of the bearing at its midline - not terribly, just notably. The filter should have snagged that but either didn't get the chance or it occurred during a bypass event. Also, it looks like the bearing has spent some time without an oil film between it and the crank, hence the polishing/removal of the bearing liner material. Oddly though, only the bearing edges are worn - not the middle and the wear area seems narrow. I would expect to see that wear pattern uniformly across the bearing surface and involve more of the circumferential area. I like @Racer X's suggestion of either bronze gear failing.
-
I used to work in a development lab for telecomm equipment. We were the go-to folks whenever anyone had trouble with their monitors, test equipment, etc. One guy in particular was quite good at getting failed equipment back up and running quickly. His technique? Smack it hard as you can with an open palm. It worked way more often than not. Thanks for a good laugh early in the morning.