


Trnelson
Member
-
Joined
-
Last visited
Everything posted by Trnelson
-
I know they would have to be filed down to get the right gap. I've read that this used to be common practice on older engines. Obviously I have zero experience with it but it seems to me that if the target gap is .030 - .043 and as it stands now with new standard size rings set in the bore my gap range is .48 to .53 The oversized rings are .25mm larger then it would require filing off .07-.02 to get to the .030 gap. I would want to cheat that up to probably .035 to be safe on the bottom end of the stroke. Current gap= .53 with standard ring, .28 with a .25 larger ring so file off .07 to get .030 I am assuming that the .25mm oversized ring is the same thickness as standard and will fit in the standard piston Quote from an AACA forum: "Typically every cylinder is bored because it incresases displacement, and possibly piston weight. Not always. It was not uncommon in the old days to fix one cylinder by overboring. A one-cylinder fix today usually involves sleeving the really bad cylinder to match the good ones. .010, .020, etc are piston and bore oversizes. An .020 piston ring goes on an .020 larger piston in an .020 larger bore. If a bore has wear it is possible to put in larger rings to compensate for wear, to some small extent. These are called "File-Fit" rings. They are made just a little too long and you file the ends to get the ring gap where you want it. They can be used in new engines when trying to get the ring gaps absolutely perfect (for racing, etc.). In old engines they can be used to make the wear situation a little less bad. The limitation is that worn bores have taper, and if a ring gap closes when hot, the ring breaks and it destroys everything in sight. You have to set the gap at the bottom of the bore (the least worn part), because the gap is tightest there. The part that matters most to the ring's function though is the top, and the top is more worn. No matter what you do the ring gap at the top of the bore will be too loose, it will just be a little less loose than if you had just put standard rings in. It helps, but is no substitute for a rebore and new pistons. People used to also knurl pistons to compensate for piston skirt and bore wear, to keep them from slapping and making noise. For the most part, nobody does this stuff anymore." I'm probably way overthinking this and will spend a lot of time for very little gain... Such is my life 🙃
-
Those are the measurements from new standard size rings. Wondering if .01 over rings would be a feasible option to take up the slack short term. Trust me, I’m isolated in the mountains! I see you’re in Bama my family is from Anniston which is considered HUGE compared to my current location! Highlands, NC pop 968
-
My amateur strips are showing! Took some more measurements this afternoon. So with the new standard rings installed to a depth of 2.5” I’m getting anywhere from .48mm to .53mm end gap. Monroe’s Manual says anything over .43mm get new rings. I understand that with this much discrepancy I will have to bore it out to get it right. My long term plan is to do a complete high quality, comprehensive build and now that I’m learning more about how everything works I’d like to take the time to figure out exactly what I want and how to get there. My question is has anyone tried a .01” oversized ring, filed down and used short term to make up for the worn items without causing any severe damage. I know that it used to be fairly common practice to get a “plus 10” ring job as a stop gap measure, I just haven’t found anything on anyone doing it on these motors. I realize it seems stupid to be this far in and not “go all the way” but this is my trial run project and I’ve already overshot the runway on expenses for the short term. The next go around will be much easier as I have most all of the tools and more experience to make educated decisions. I’m really enjoying the process and look forward to building one without cutting any corners. @siteunseen I do have the book and it’s a great resource for sure. One issue I do have is that I live in the middle of nowhere and there are no quality machine shops within 1.5 hours from me.
-
I edited the original post to reflect inches not mm, my mistake. Yes, I am referring to the ring end gap. I’ll need to check on how oval’ed they are. Interesting thought on quicker break-in procedures, I’ll do some research on that. Thanks
-
A little background. I picked up my 71 240 last summer for a new hobby. It is not a DD, race car or show car in the near future. One of the reasons I bought it was to do a complete tear down and assembly on a fairly simple engine. I pulled the motor and have torn down, cleaned, re-finished most all parts and I'm ready to re-assemble. I have learned a lot and have a much more through understanding of how the engine works and how modifications impact all aspects of performance. Knowing what I know now I do want to eventually have the block and head professionally machined with all new or machined components. However, at this point in my new hobby I've about hit my spending limit for the short term. I ordered standard rings and bearings for the refresh and I am .003”out of tolerance on the rings. I know that for the best result and long term reliability the head and block should go to a machine shop. My question is: knowing that the car will only see 2-3,000 miles per year, with plans for a full on rebuild within 2 years would it be best to use the standard rings knowing that there will be some compression loss and blow by, probably about the same as before, or is it possible or make sense to pick up a set of .01 over rings and file them to fit within the .030- .045 spec. There is no ridge at the top of the bore and the .003”out seems to be consistent from top of the stroke to the bottom indicating very little if any taper. I would like to see some improvement from all my efforts but absolutely do not want to create headaches down the road. Video Player is loading. Play Video Play Unmute Current Time 0:05 / Duration 0:19 Loaded: 0.00% Stream Type LIVE Seek to live, currently playing liveLIVE Remaining Time -0:14 Playback Rate 1x Chapters Chapters Descriptions descriptions off, selected Captions captions off, selected Audio Track Fullscreen This is a modal window. Beginning of dialog window. Escape will cancel and close the window. Text ColorWhite Black Red Green Blue Yellow Magenta CyanTransparencyOpaque Semi-Transparent Background ColorBlack White Red Green Blue Yellow Magenta CyanTransparencyOpaque Semi-Transparent Transparent Window ColorBlack White Red Green Blue Yellow Magenta CyanTransparencyTransparent Semi-Transparent Opaque Font Size 50% 75% 100% 125% 150% 175% 200% 300% 400% Text Edge Style None Raised Depressed Uniform Dropshadow Font Family Proportional Sans-Serif Monospace Sans-Serif Proportional Serif Monospace Serif Casual Script Small Caps Reset restore all settings to the default valuesDone Close Modal Dialog End of dialog window. Advertisement: 0:09 Thanks for the input Tom
-
So I just checked the new “engine mount insulators” I ordered from Zcarsource and the dowels don’t match up to my 240. Are you referring to the insulators? If so do you know of a source? Tom
-
The Kanga videos are great and have been very helpful for sure. I’ve studied quite a bit, I’m just being overly cautious with this being my first time. It’s actually progressing nicely and I can see how minimal adjustments could make a big difference in efficiency.
-
@siteunseen I found the plastic horn button retainer on Zcardepot. I haven’t had a chance to install it yet, too busy with the engine refresh at the moment. It looks like it will work well though.

-
Timid attempt at a DIY port and polish. More time spent studying than cutting... Upon close inspection the original casting is pretty rough in spots, trying to clean it up without finding water!
-
Thanks for the help, I’m going to pick up some today.
-
Ok, thanks. Im gonna head the the hardware store tomorrow, just looking for something that looks decent and keeps the spiders out!
-
I’ve decided to block my lines off too. Any suggestions on what to plug the ports on the intake with? Thanks
-
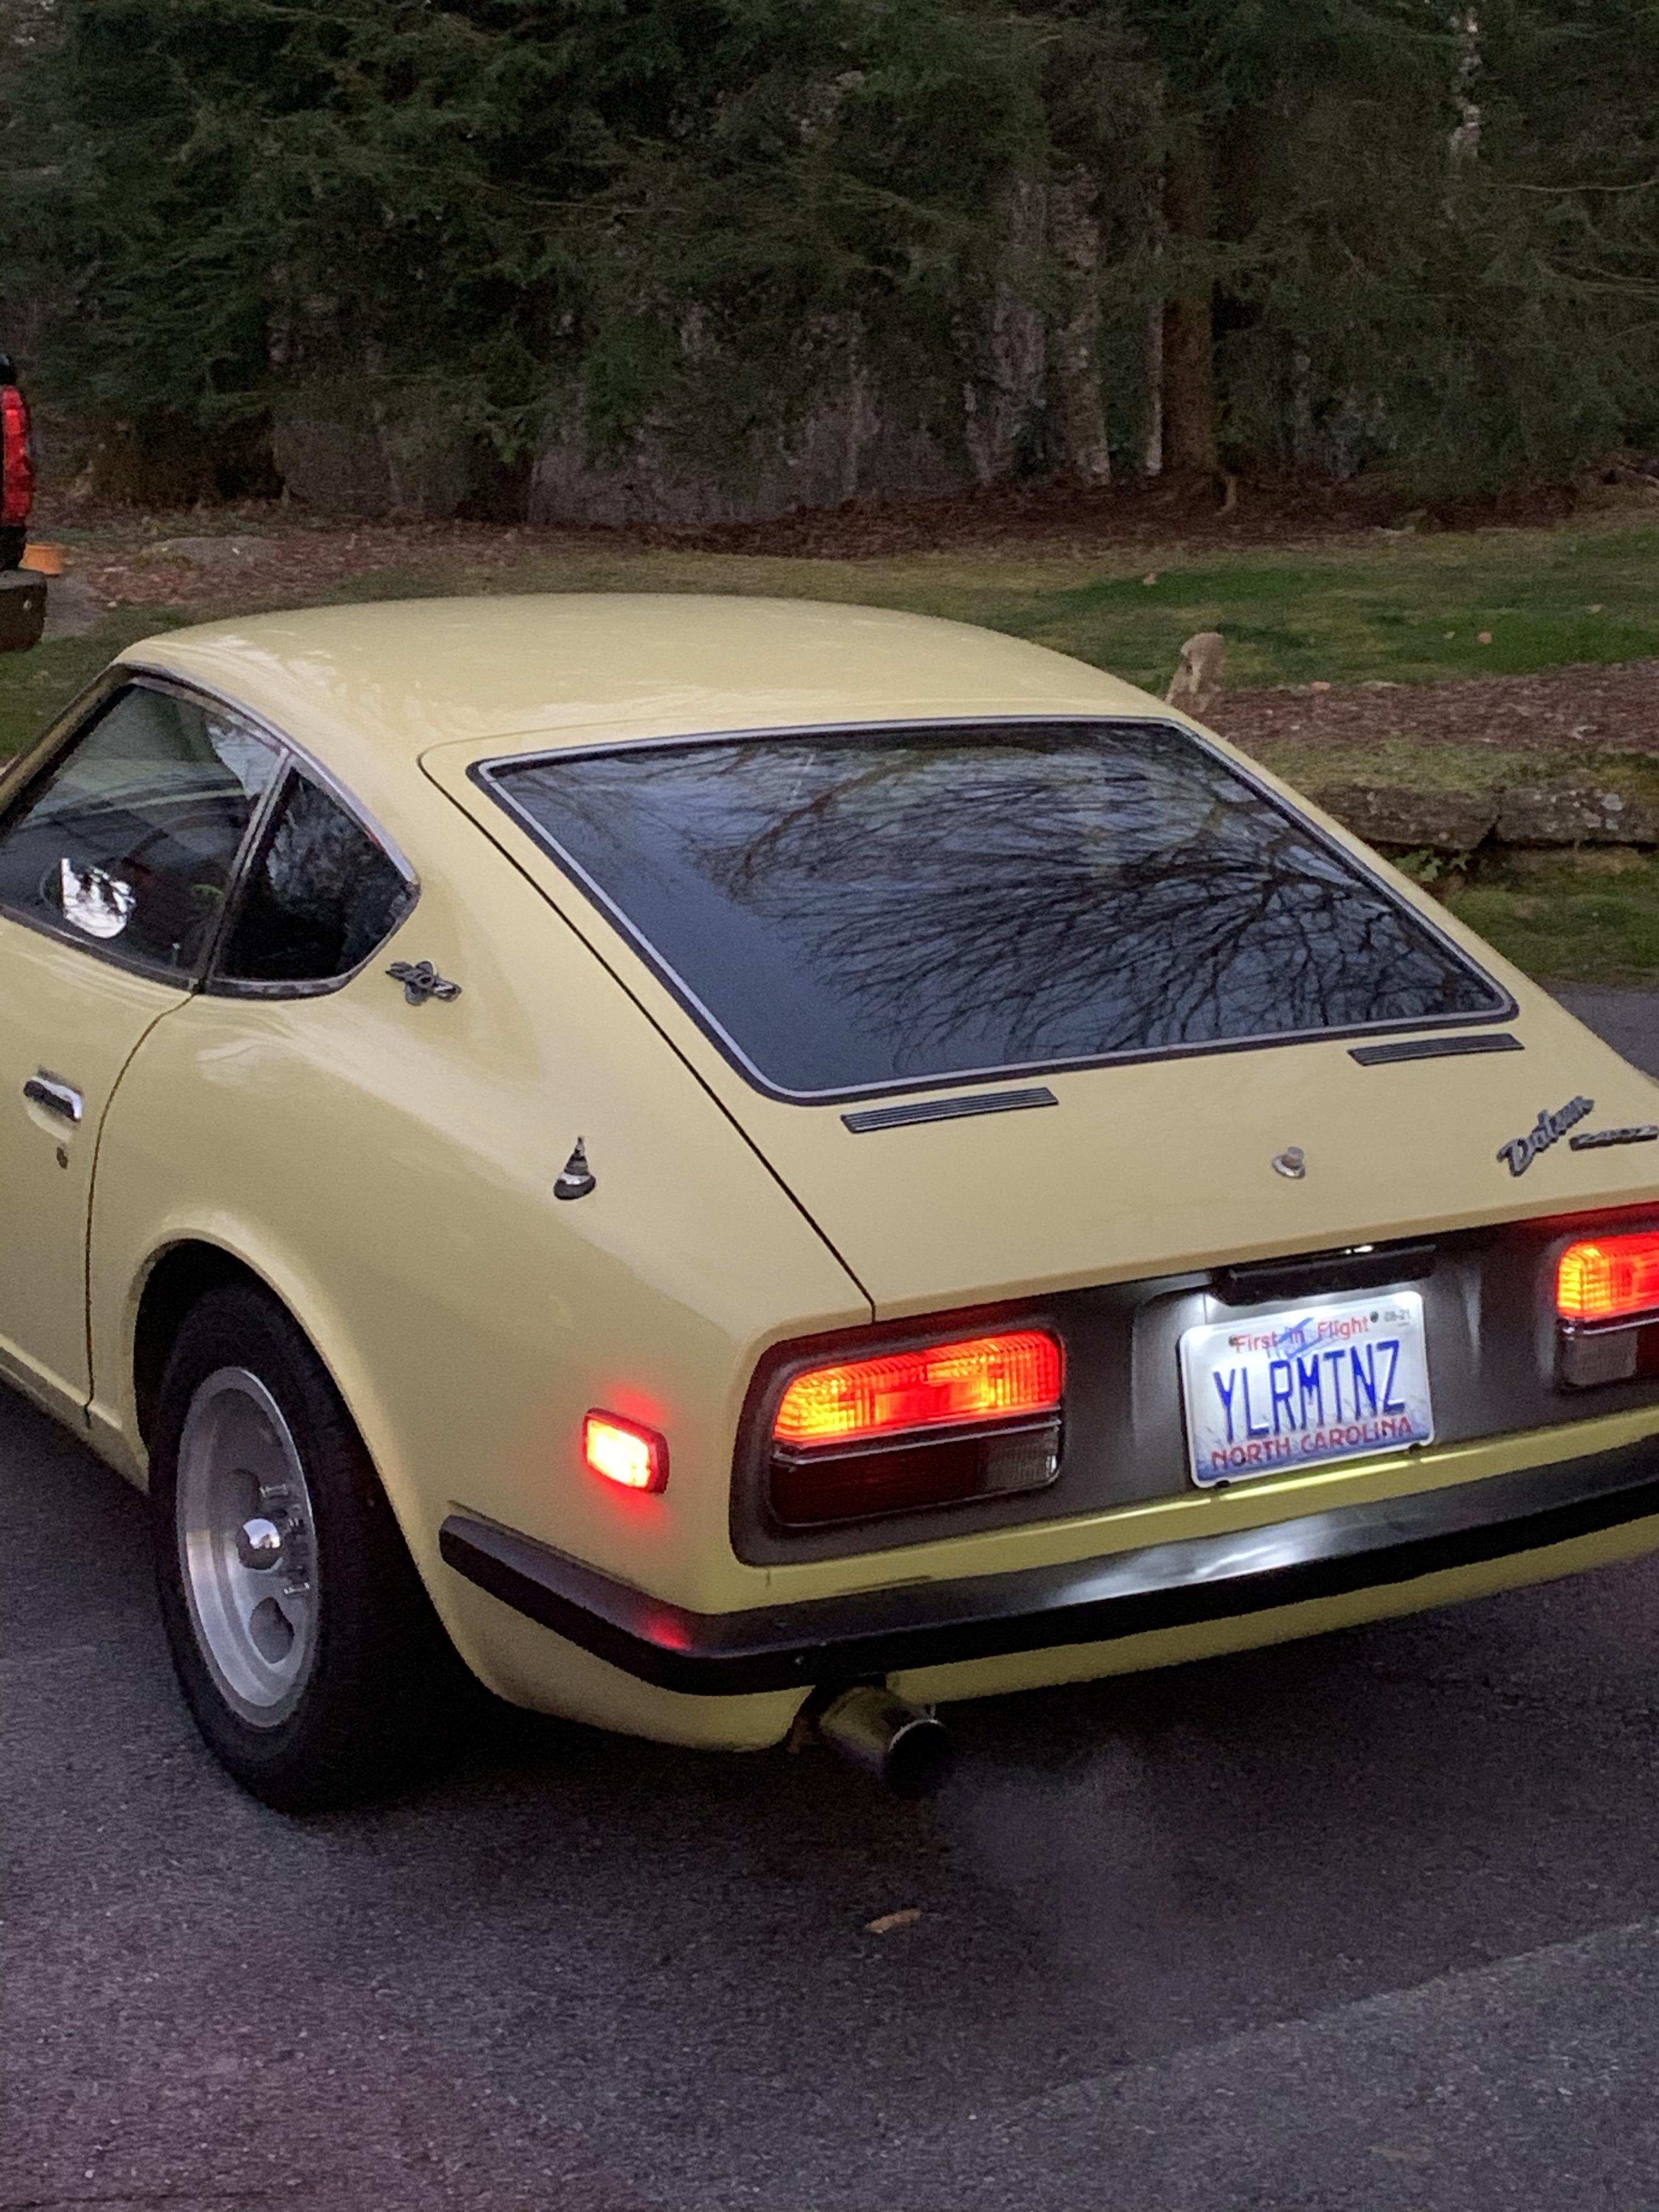
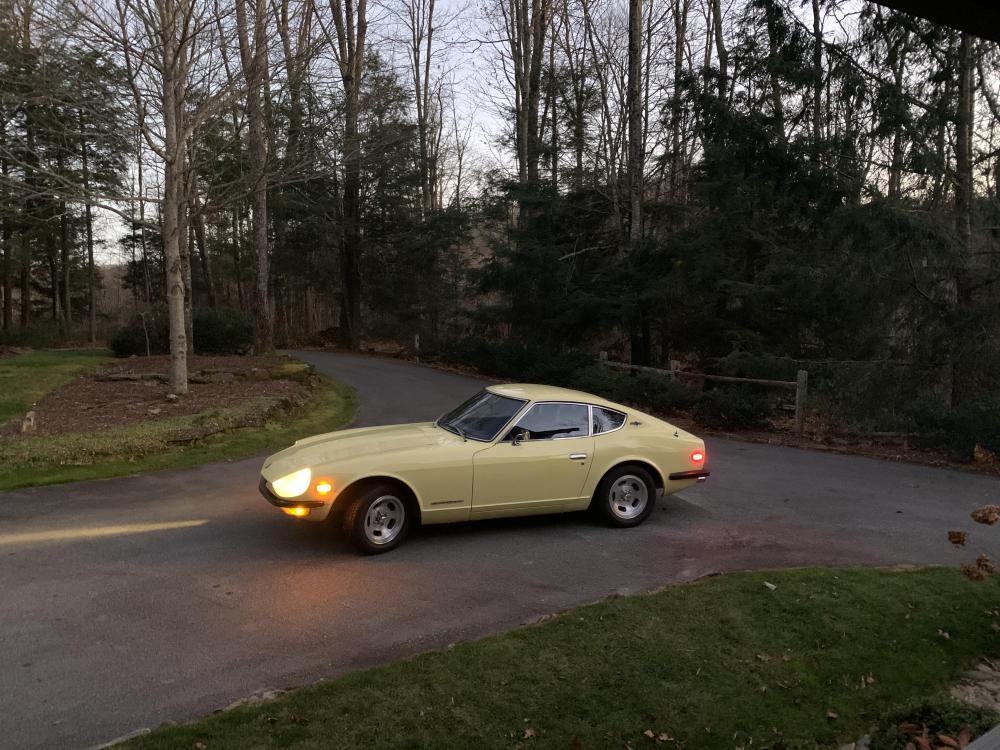
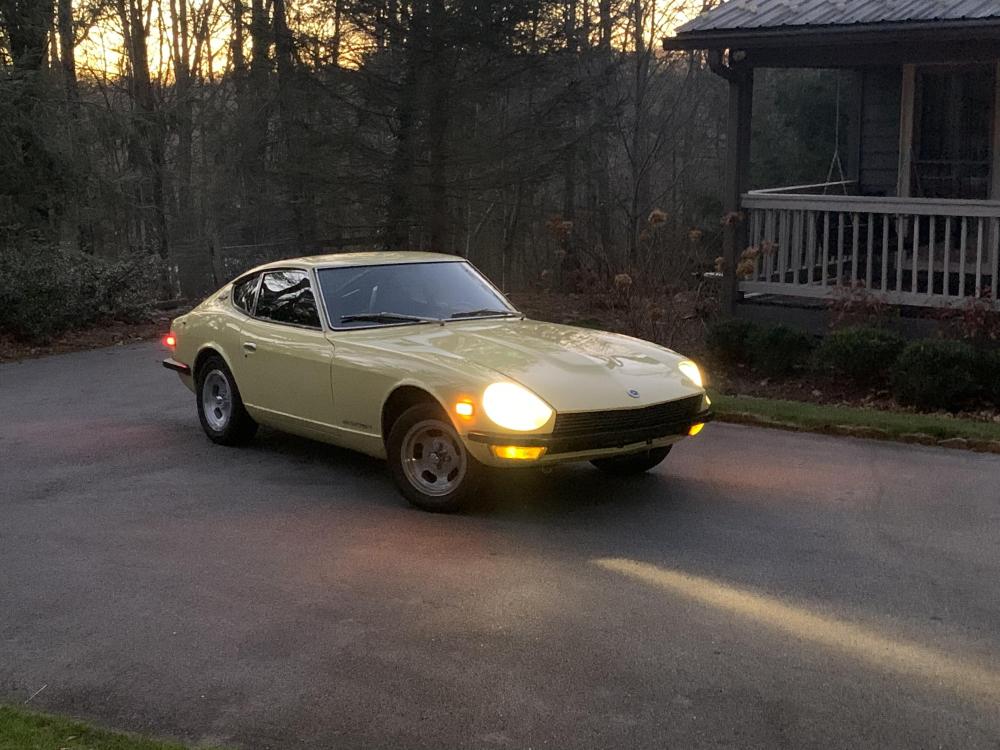
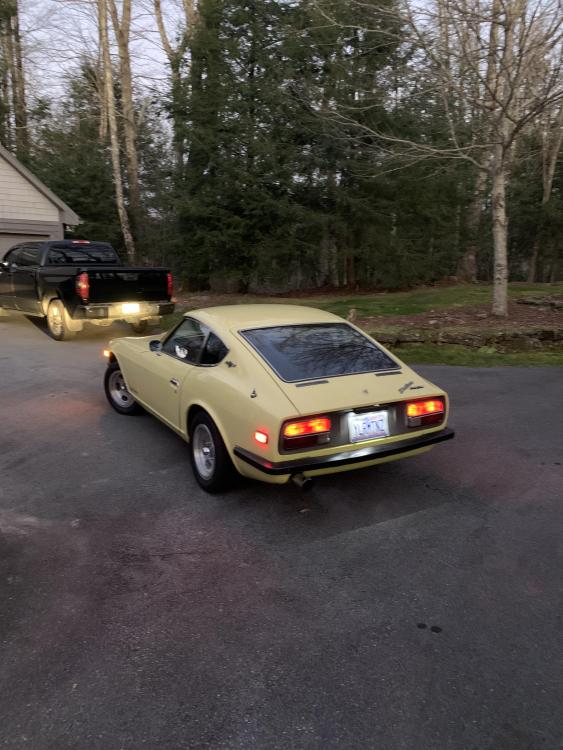
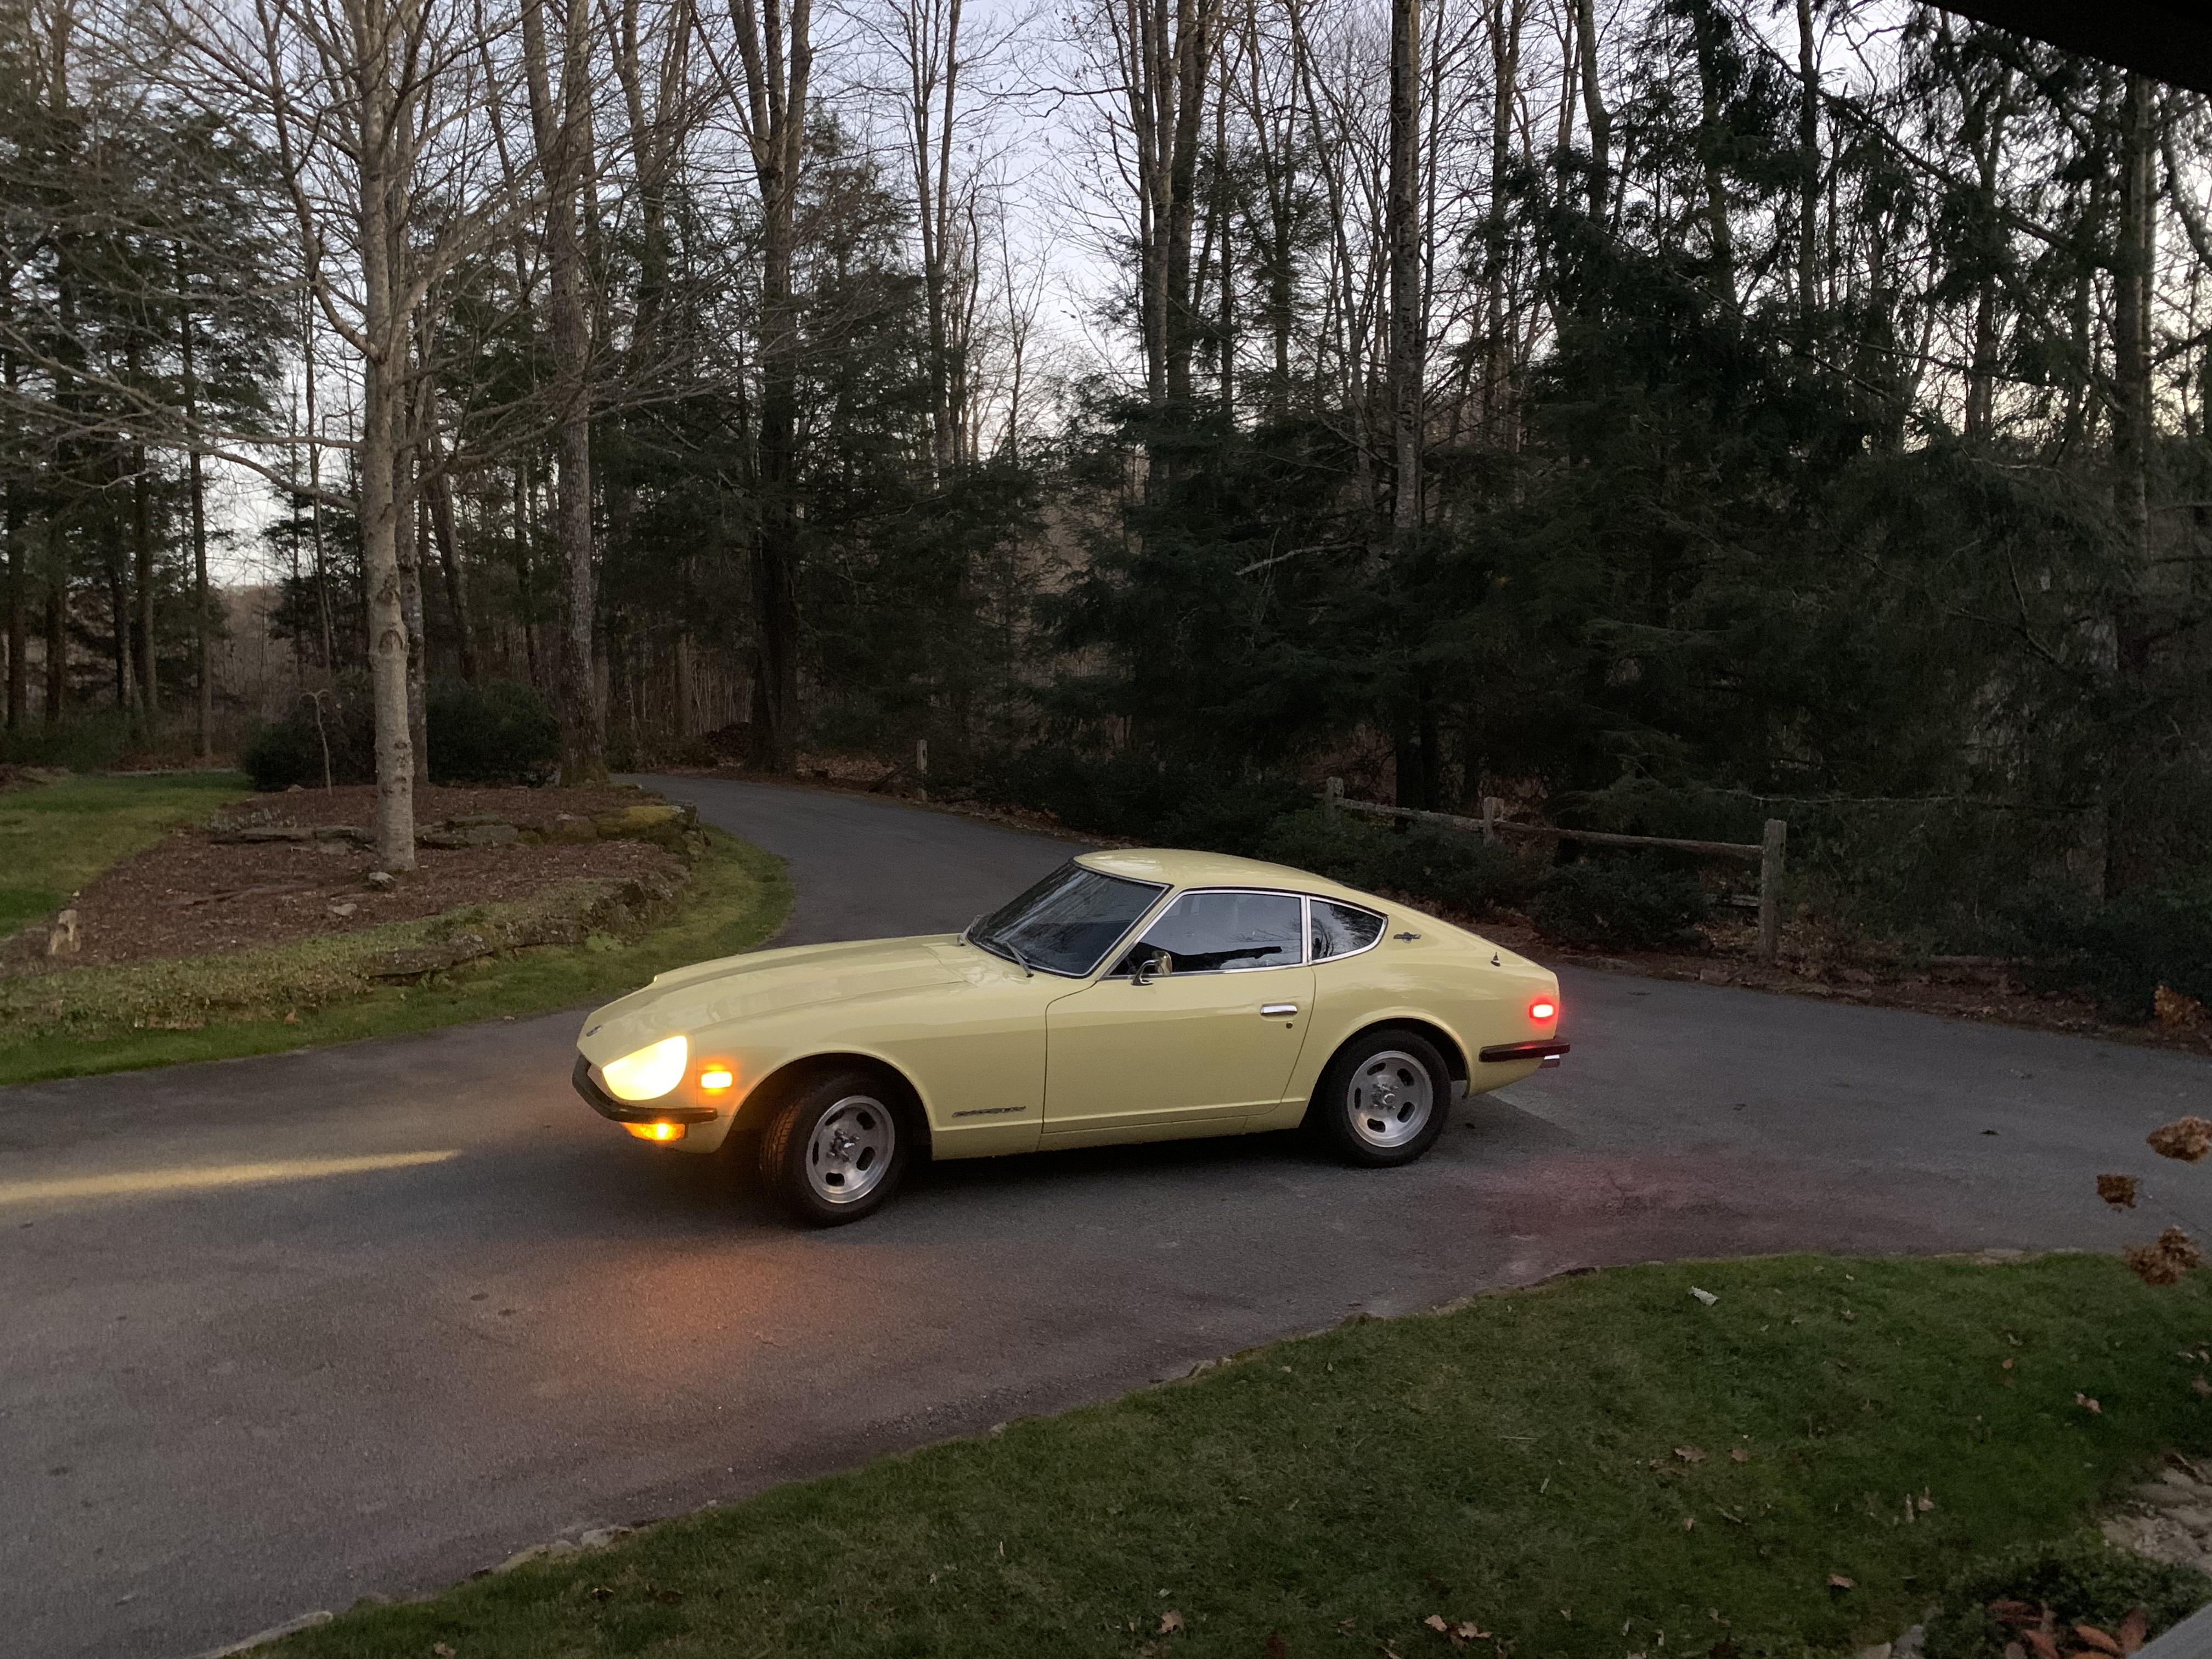
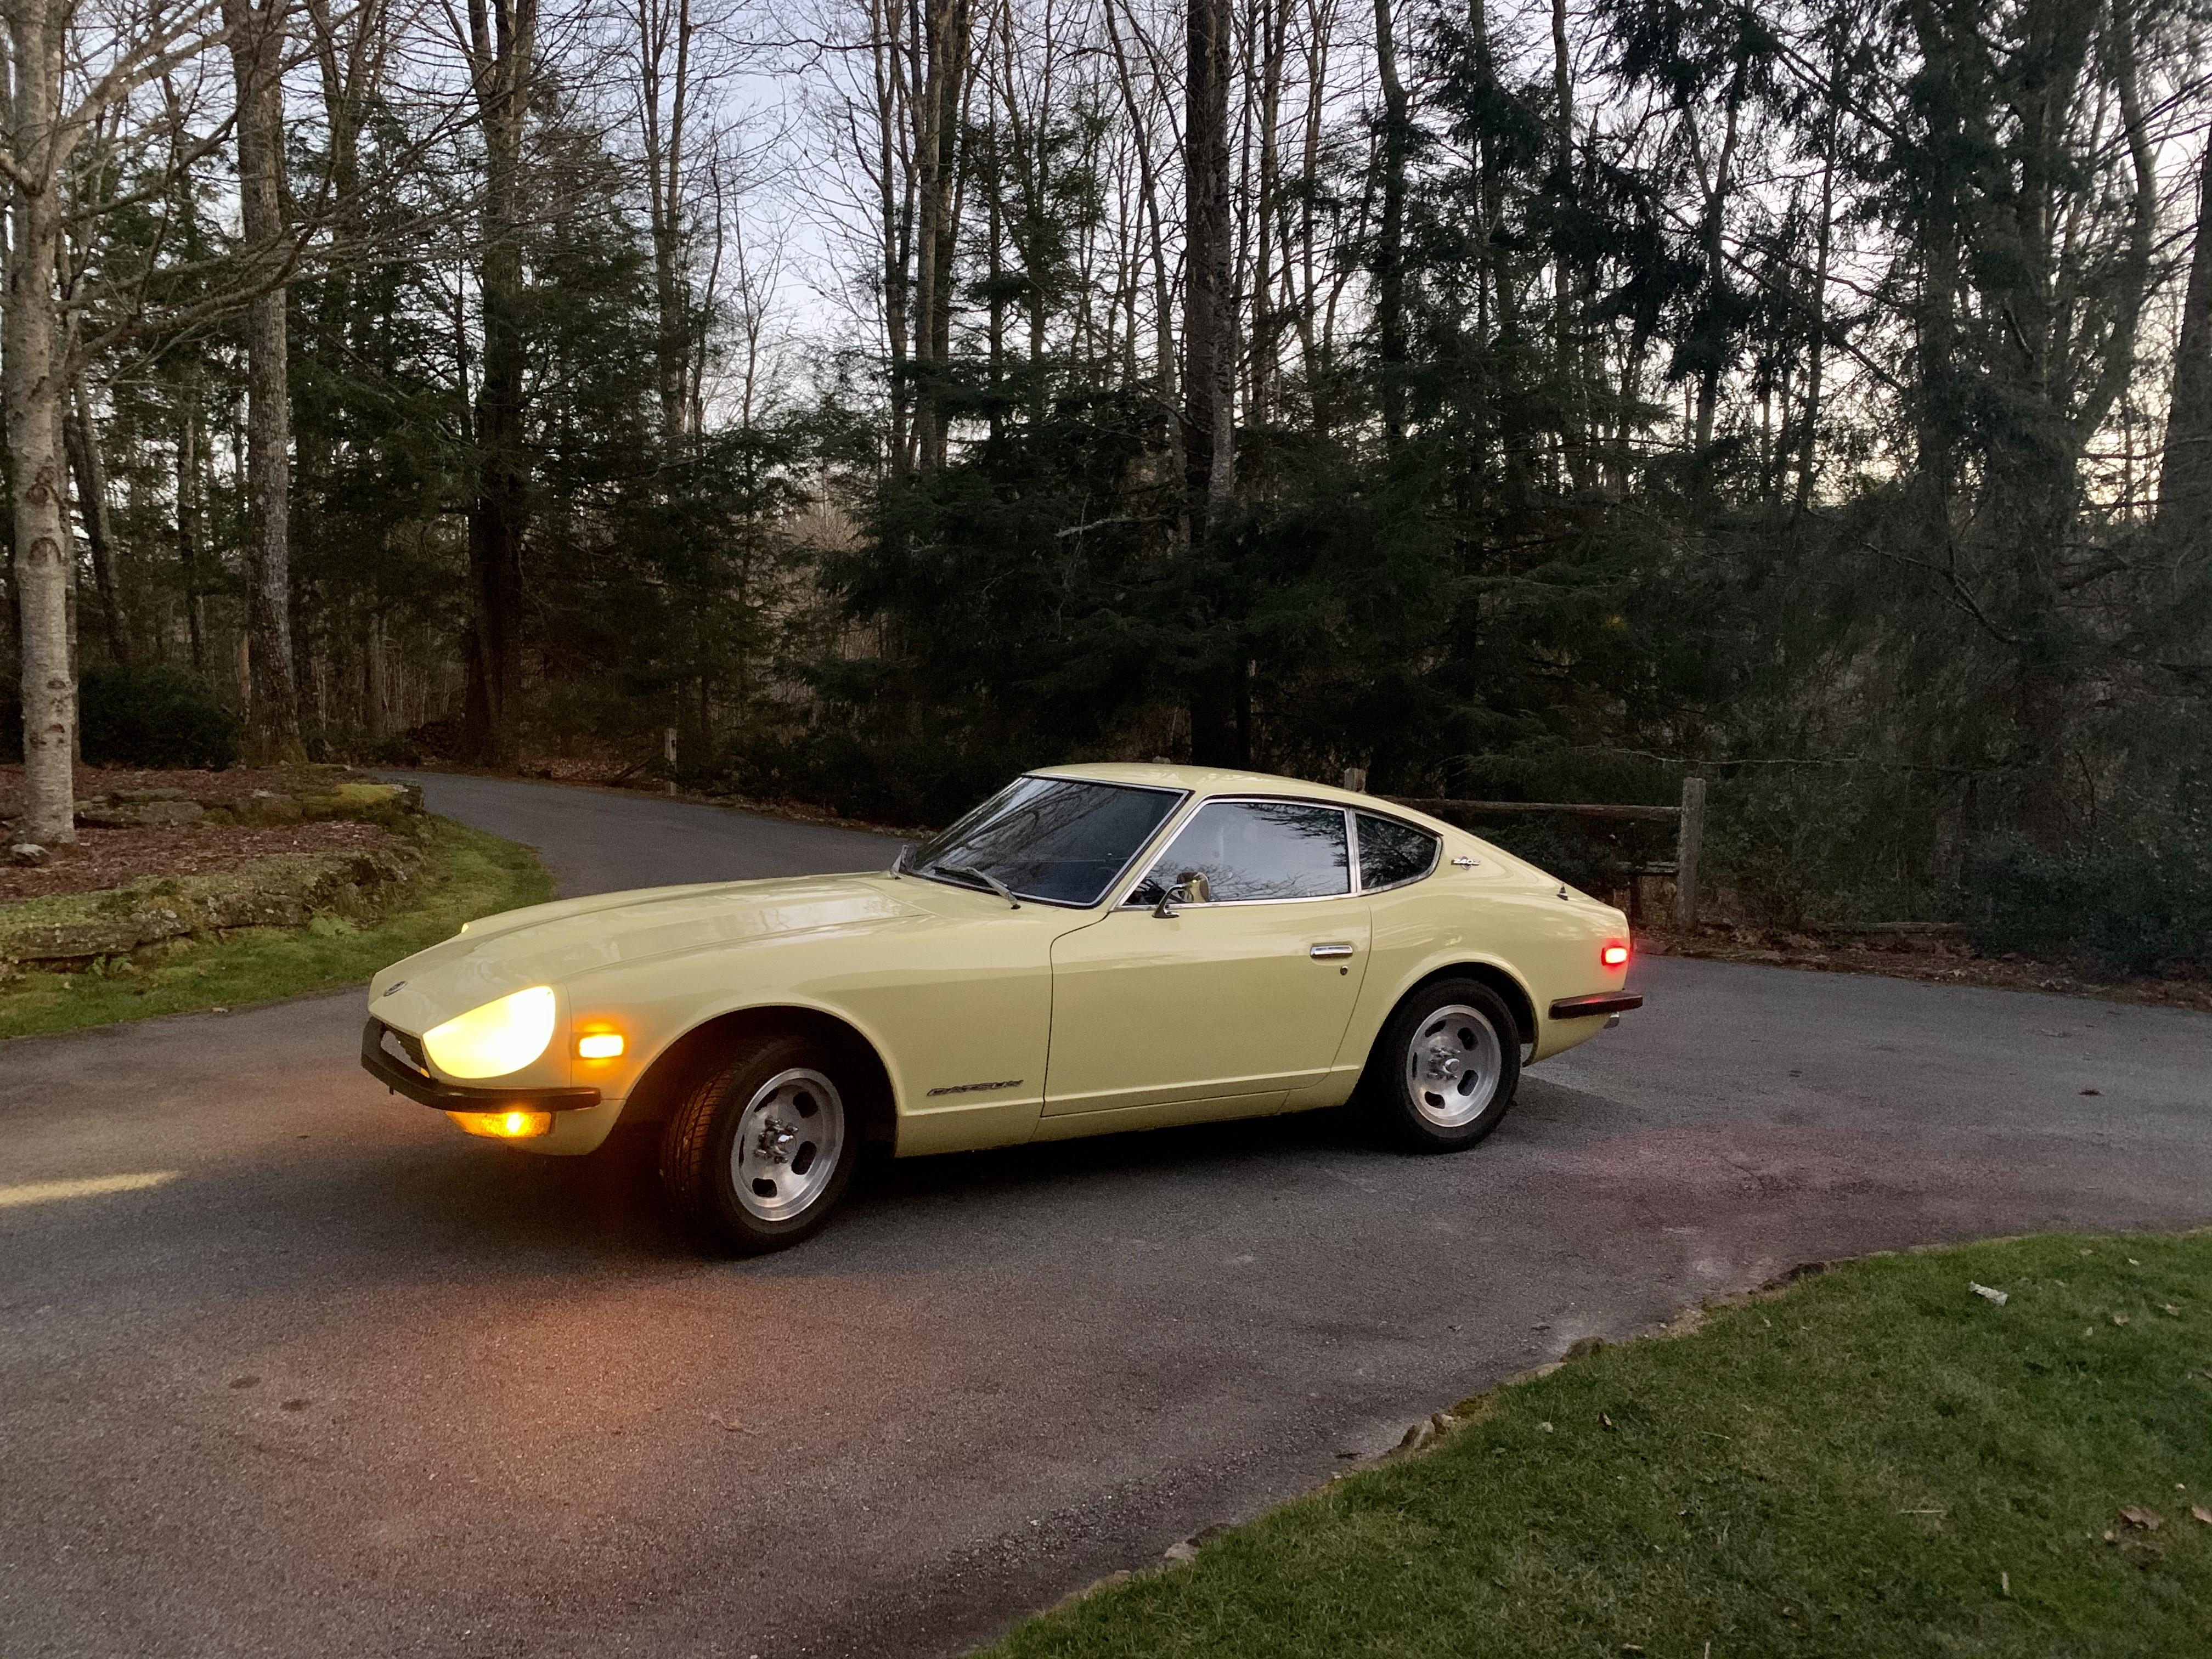
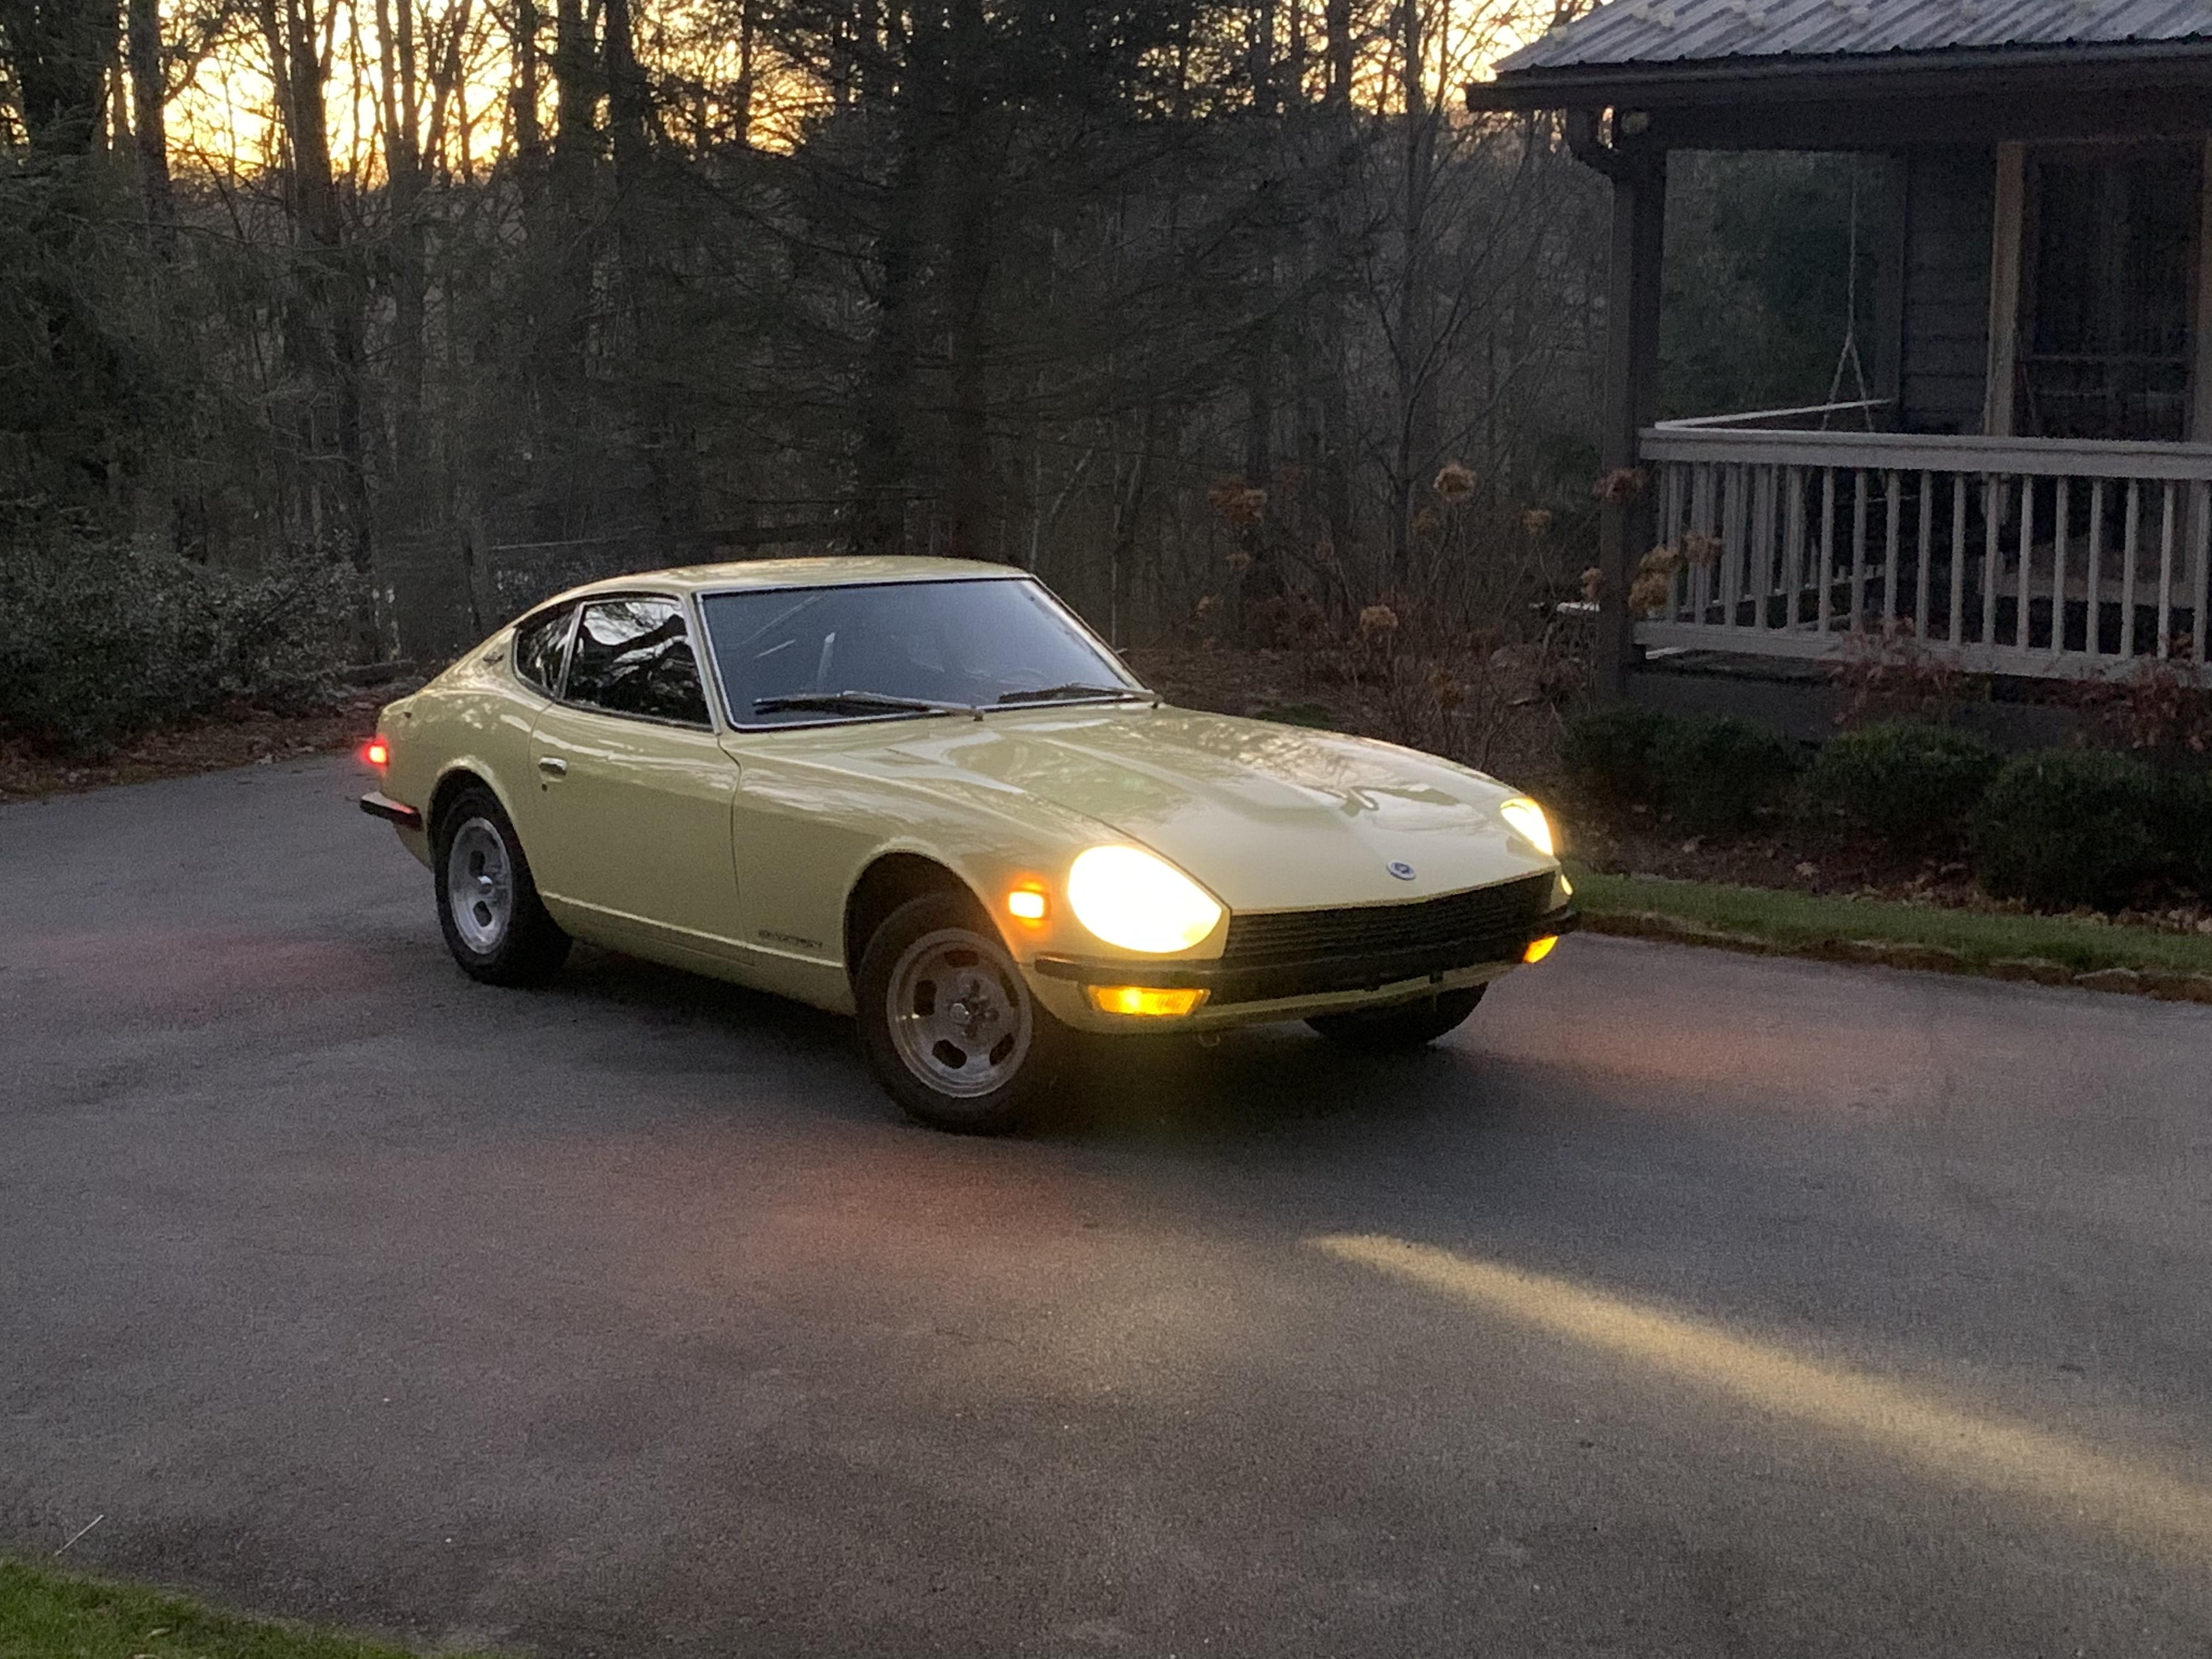
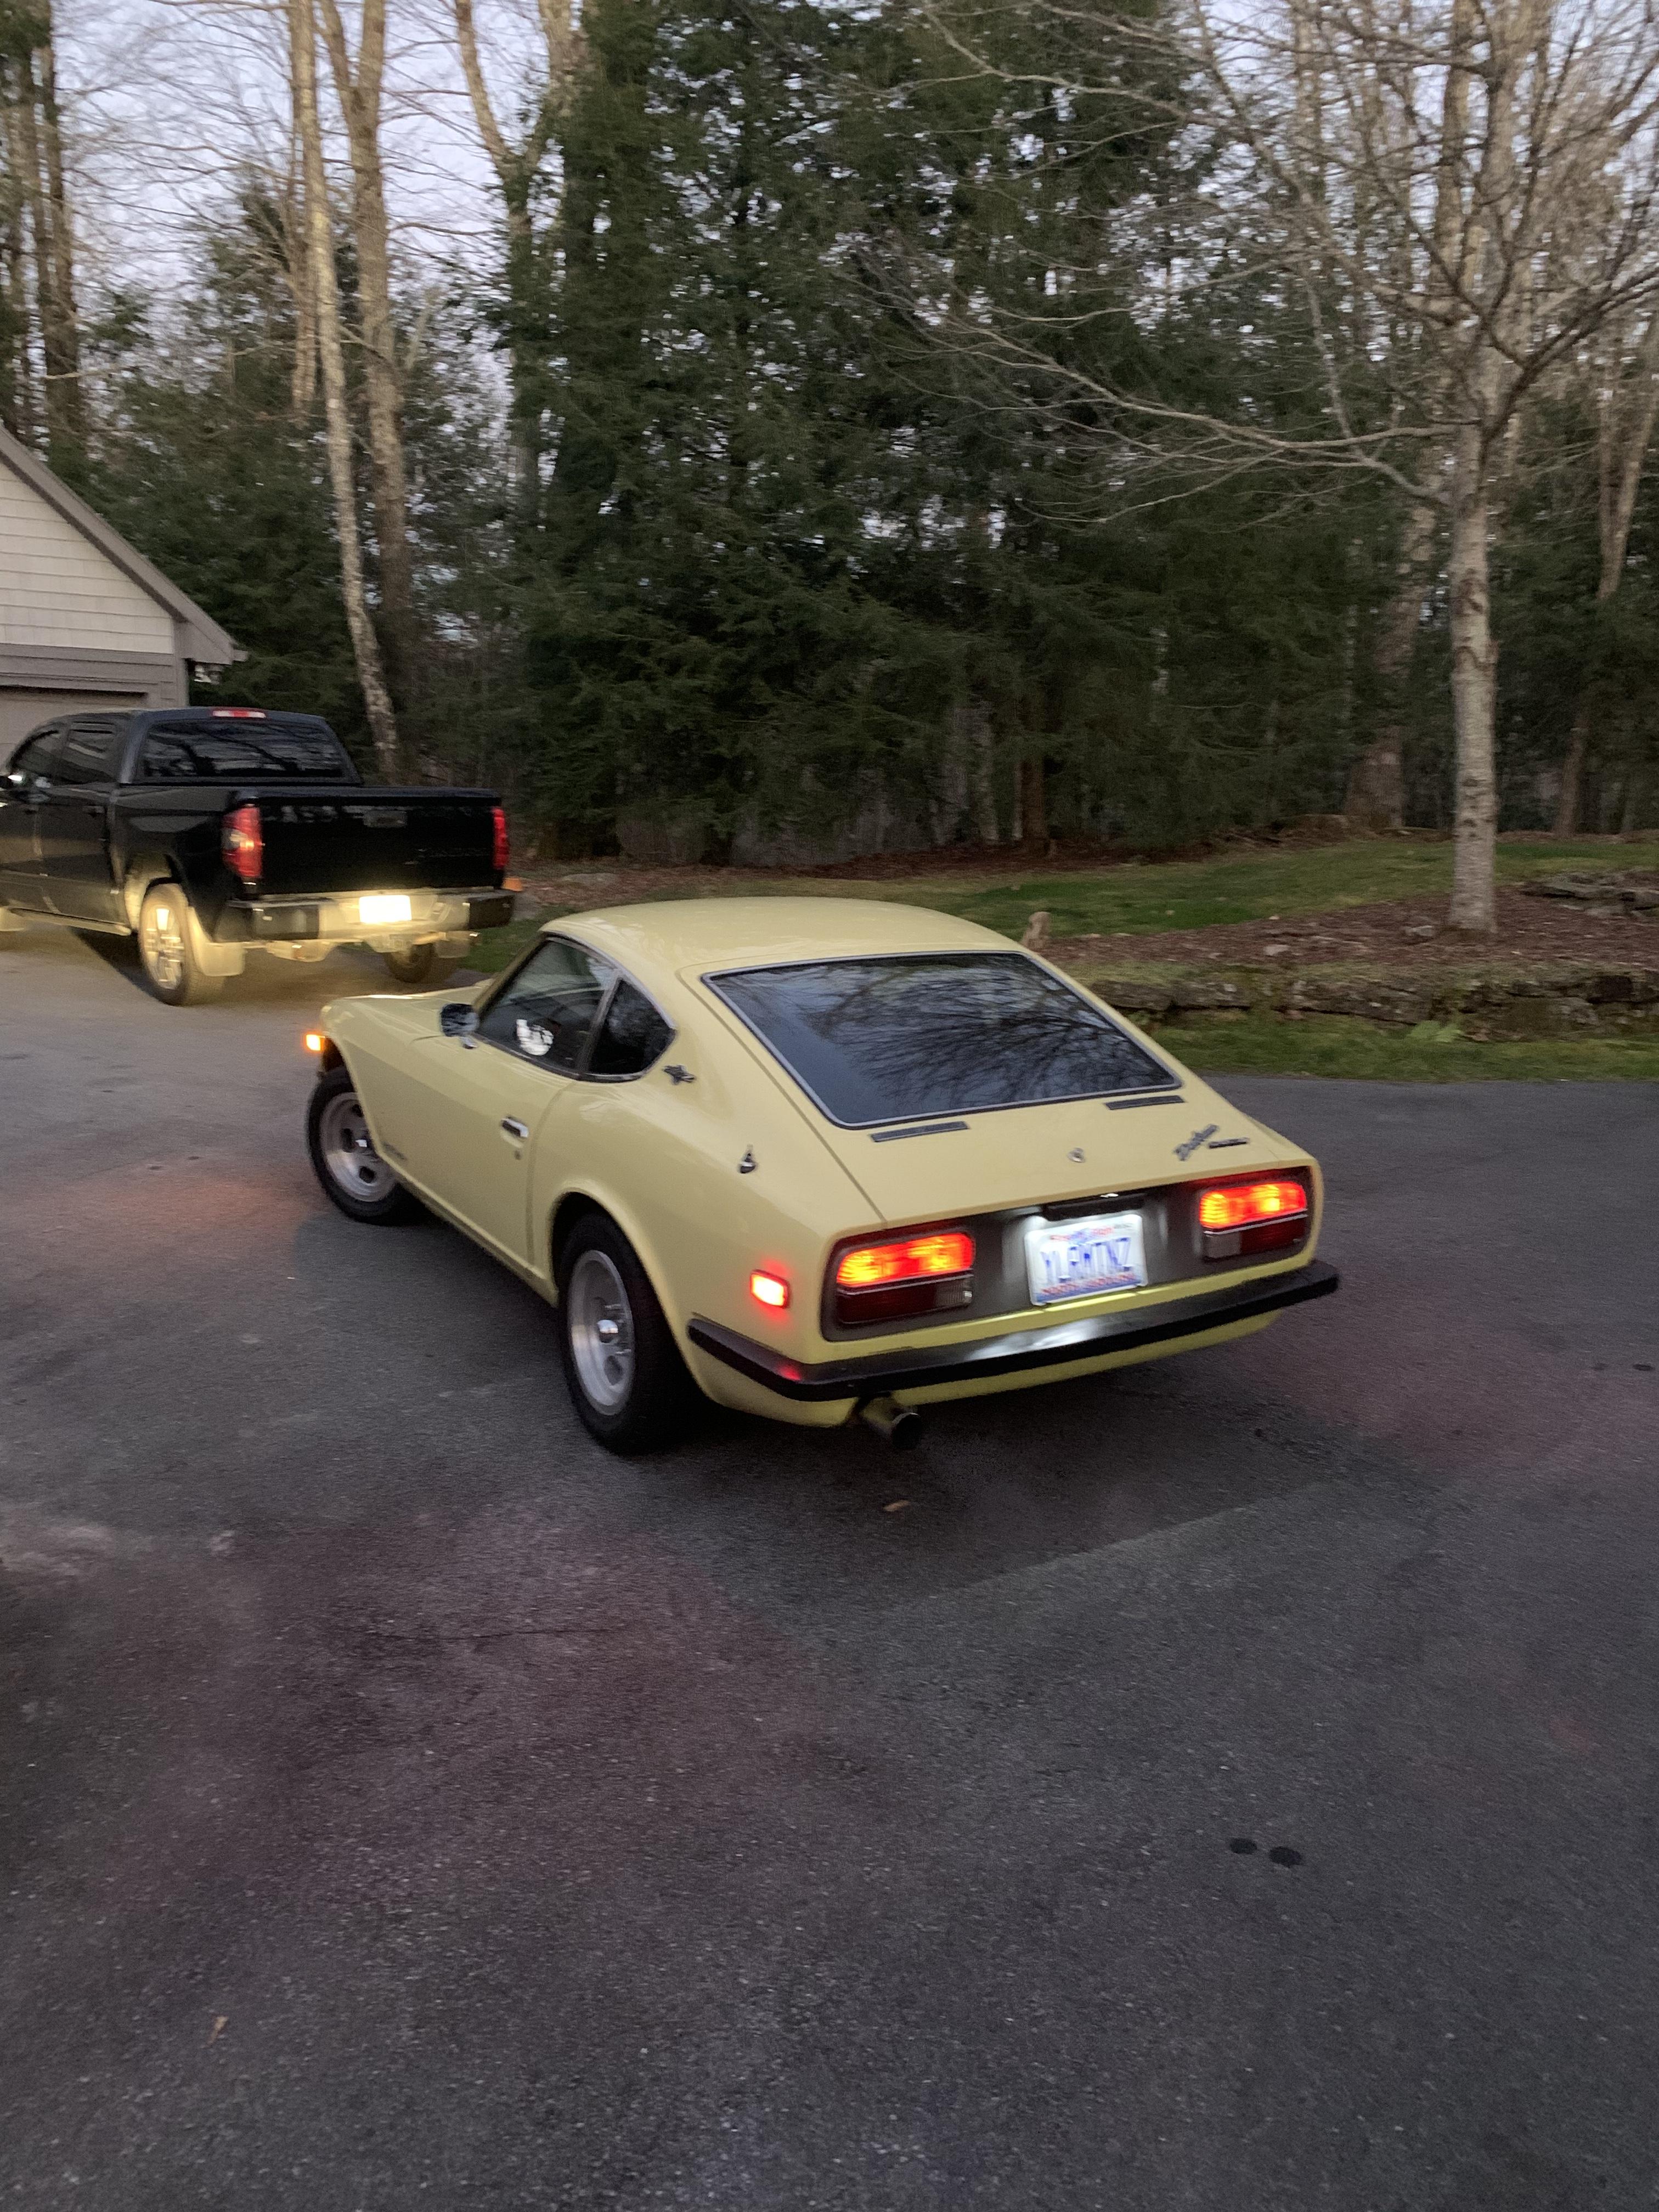
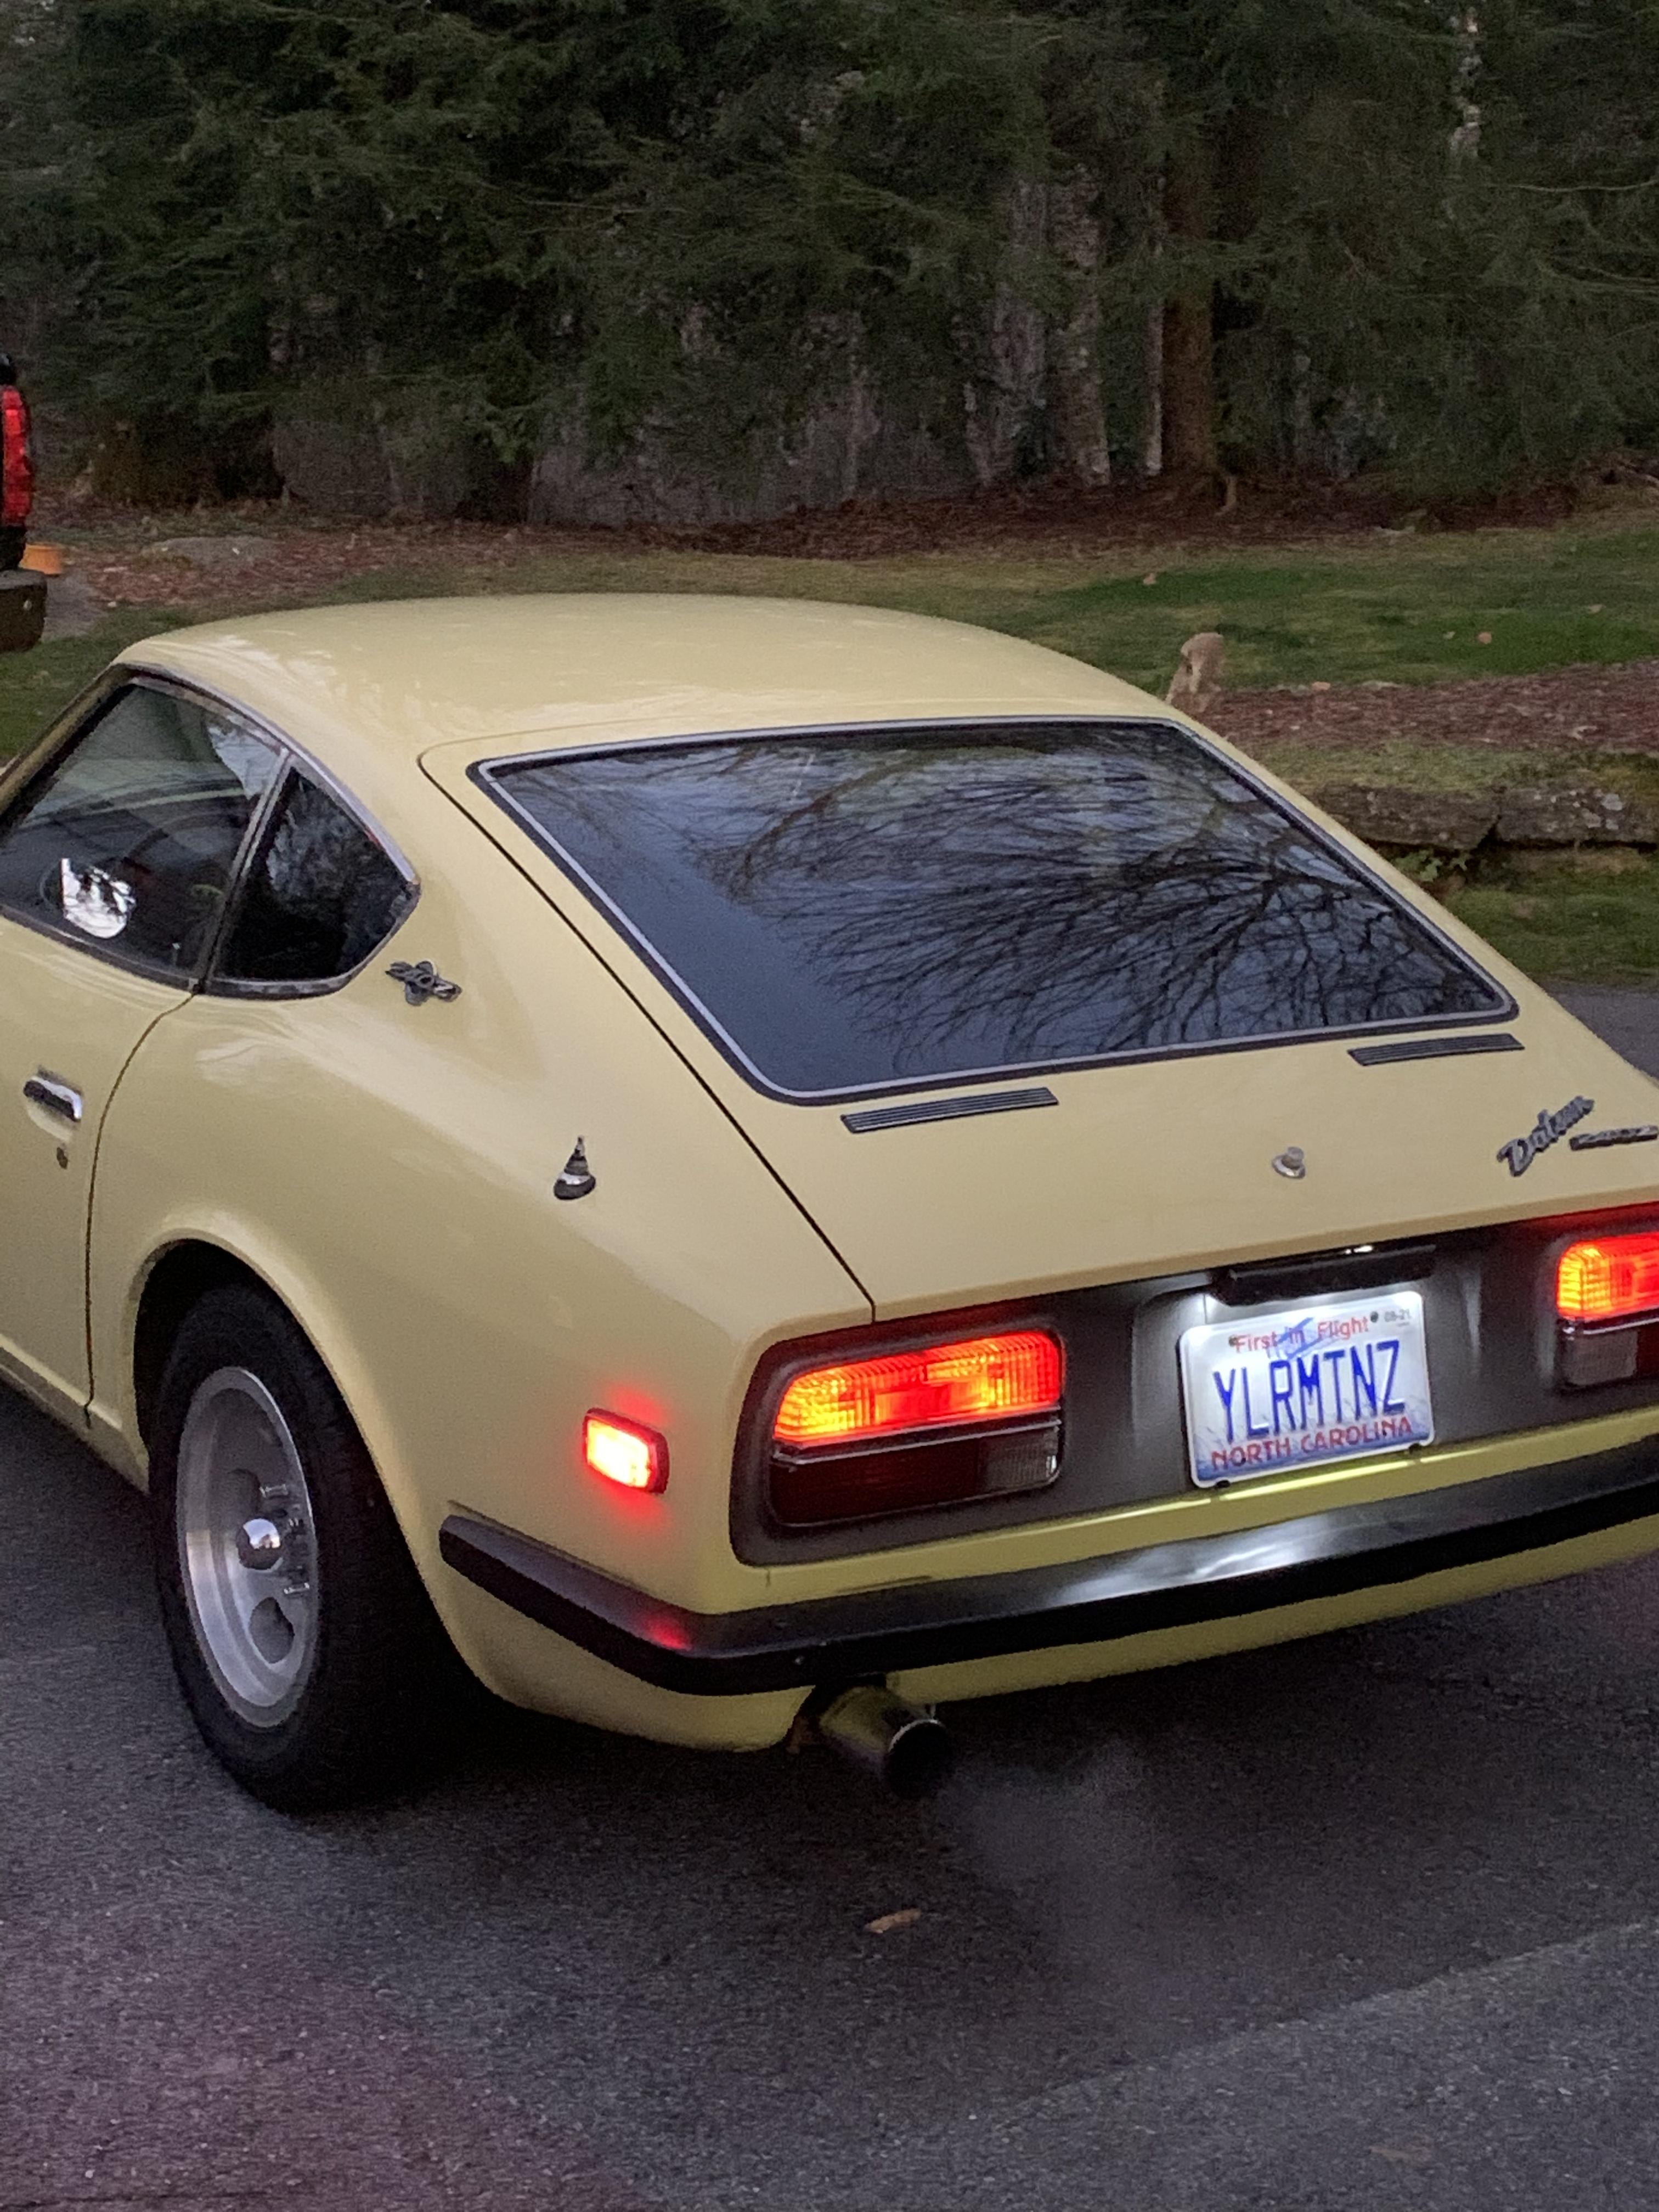
First of all I’d like to thank all of you who have added so much value to these forums. I’d be lost without the information I’ve gathered through HOURS and HOURS of reading and taking notes. I’ve spent the last few weeks working on the lighting. After reading countless threads and making many mistakes I think I have finally got the mock up wiring ready for final crimping and wrapping. Thank you electrical gurus for sharing your knowledge so freely, it’s been fun putting it all together. Question for the group, I’ve installed relays on the headlights and park/tail circuits to reduce the load on the switches/fuse box. All bulbs with the exception of headlights and interior lights are LED. Overall I’m very happy with the results and lack of heat in the critical locations. I snapped a few pics this evening and my only concern is that the marker lights are too bright. I know it’s hard to tell from pics but I’d like your opinions. Considering that everything seems to be running nice and cool should I switch out the marker bulbs back to incandescent and get Dave’s side marker kit? Sounds like a nice feature since our signals are well hidden under the bumpers. Edit: Sylvania Zevos in the taillights and Superbright 1156 equivalent in the side markers


-
I live pretty close to you, Highlands, NC. I’m in the early stages of what will eventually be a full restoration, if I could ever bring myself to stop driving the 240 nearly EVERYDAY! Where did you have your plated parts re-plated? I’m thinking about tackling the engine bay once the roads get salted and I’m forced to park it for a while.
-
Living at 4000 ft seems to be on the cusp of needing different jets to properly tune engines. I have had numerous pieces of equipment that needed the “high altitude” kits to run properly and many others that ran just fine with “normal” jetting. I would like your opinions on wether a basically stock L24 with round top SU carbs would need a different set of jets to achieve optimal tune. Right now I can get the front cab perfect on the colortune, only opened one turn, rear is still a hair rich with the adjustment all the way lean. Compression is solid, ignition timing is good, no obvious leaks etc. Today was my first attempt with the colortune was I was surprised how far I needed to lean it out to get the right color. I was also surprised at how well it ran on my first test drive post adjustment! More power in the lower range and a lot less fumey during the post drive inspection.
-
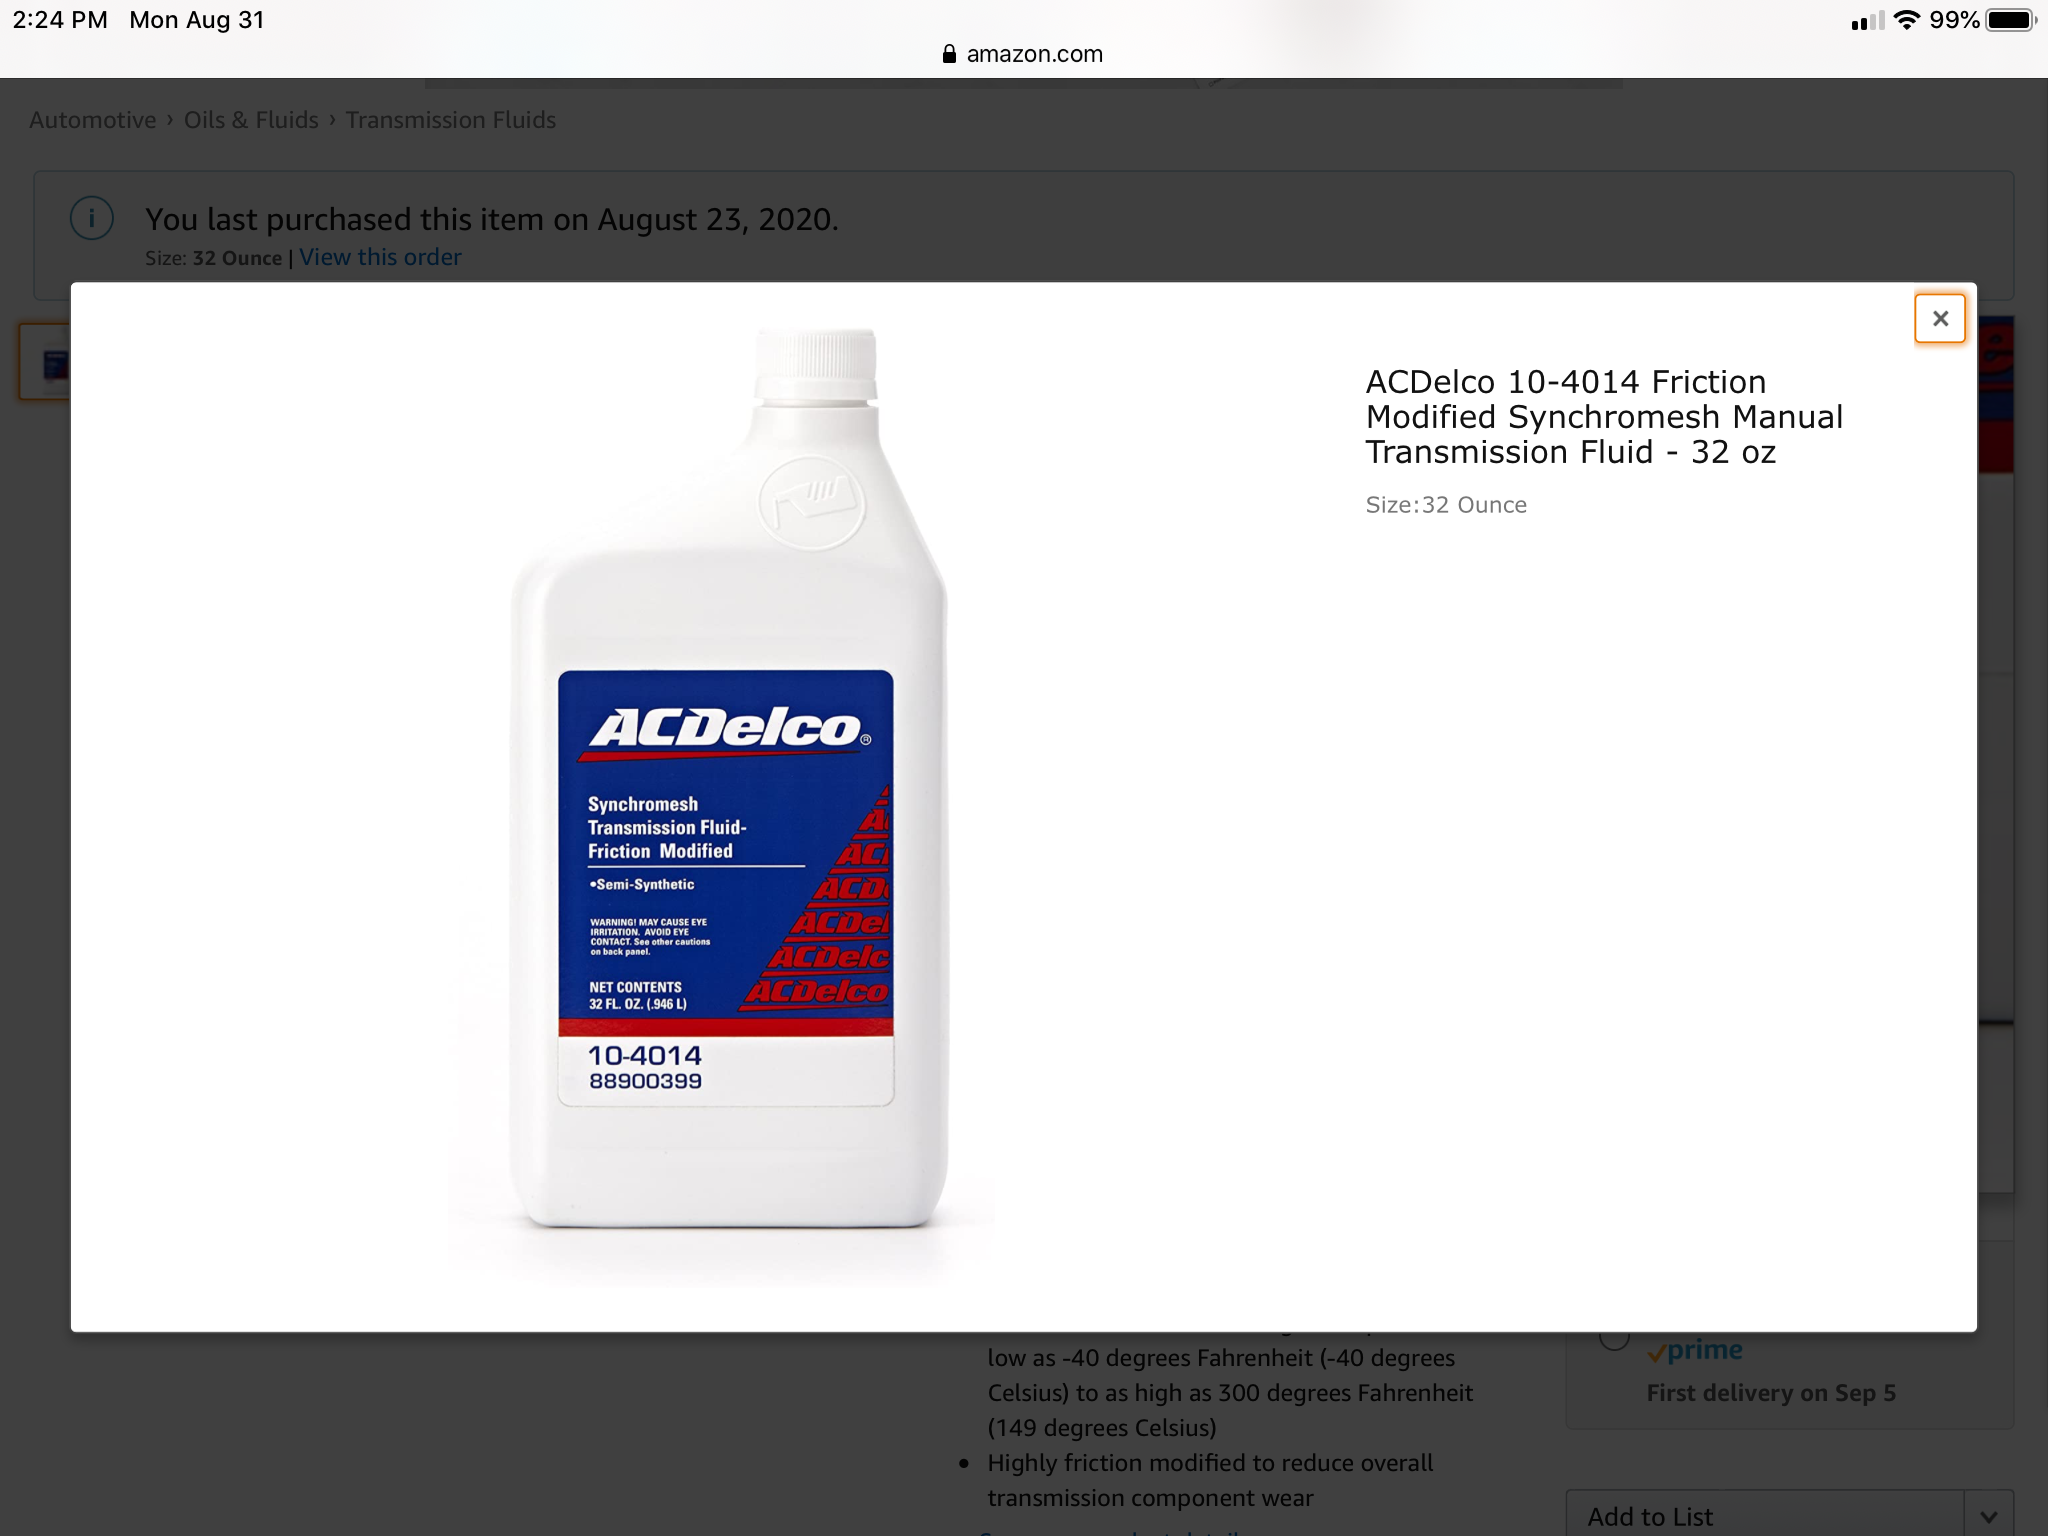
Gentlemen, thank you for the advice. I changed to the AC Delco this morning and within A 15 mile test drive I can tell an enormous difference! I would agree that the synchros are probably somewhat worn add that to a poor gear oil choice and it equaled a bad grind. I feel like I’m good for now but I’ll probably dive into the transmission over the winter. I read somewhere that the earlier transmissions had “Porsche” type synchros? Is that not the case?
Aggressive like when your coming into a curve and downshift from 3rd to 2nd. Pretty bad grind in that situation. 1st to 2nd is smooth unless I’m really pushing it (I’ve only had it happen once or twice). I live in the mountains so lots of opportunity for hard or aggressive downshifts coming into corners. Hopefully the oil will make a difference, if it were worn synchros I think double clutching would hide that issue but not 100% sure. Good info on the oil, I’ll save it as long as there are no shavings on the plug when I drain it. Could the clutch pedal need to be adjusted, friction point is a little over half way up. thanks for the pointers
I just received AC Delco synchromesh friction modified oil, plan to change tomorrow if all goes well. Can the fluid or friction plate really make that much difference for only one gear? All other shifts are smooth as silk. It took a few attempts but I’ve wrestled most of the monkey motion out of the shifter and it feels great other than the 2nd gear downshift grind. It did have the grind prior to my fix on the monkey motion.
So I have a grind downshifting to 2nd. My first thought is I need to replace the synchros, yet even when double clutching I still get the grind. I can drive around casually just fine but the least bit of aggression creates a grind. Thinking that when the first road salt goes down I’m gonna drop the transmission and see what is going on. Could the gear be screwed up? My question is, where is the best place to shop for parts for a Type A transmission? Plan to do a complete clutch rebuild and rear main seal while I’m in there, I just want to get the best parts so I only have to do this once. Thanks for the help
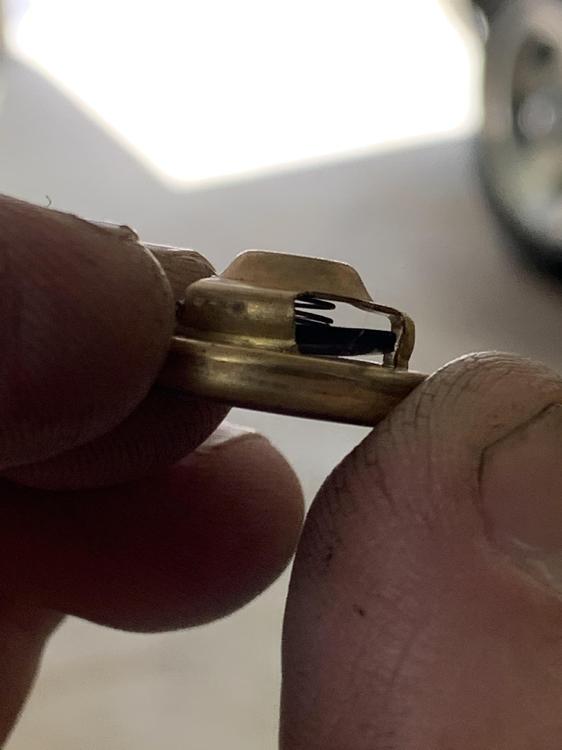
I was using the GMB as a parts donor for my KD pump. I ground out the “nubs” to get the check valves and installed them in the KD pump using the screws and plate. The sizes of both the the valves and squared o-rings were/are a perfect fit. There just seems to be aa issue with the rubber portion of the check valves. I hope they can figure it out because it’s a great way to keep the original housing with new internals.
That is the check valve from the GMB that I cannibalized, made it about 20 miles. I tried to reseat the rubber but it kept flipping back up. It gives me concern about the quality of the main rubber Diaphragm.
Here lies the culprit in my recent swap. Either the return spring is faulty or the rubber diaphragm in the check valve is faulty. I reinstalled the originals and she ran like a top
 Following, I’m new to this game so excuse me if I sound uneducated. I cannibalized a GMB pump for the diaphragm and check valves to install on my Kyosan Denki as a preventative maintenance measure. Drove about 25 miles with no issues on the test drive yesterday. Cranked the car today, fired right up, ran about one minute and died. Tried to start it a few more times to no avail, took the outlet line loose and no fuel came out while cranking. Was running late for a tee time so that’s as far as I got. I will say the GMB parts did not feel of the same quality as the originals I pulled out. Thankfully I saved them and will be reinstalling them tomorrow.
Thanks for the prompt responses! @siteunseen, that looks like a different set up than the “dog leg” shifter that’s in my car. The pin in mine is smaller and doesn’t seem to have enough room for bushings at all. Thinking I’ve got an older transmission but I am new to this scene and have a lot to learn. @zKars as it turns out my shifter boot is in really good condition, it is just like the one in the pics you sent. Does the bushing in the top pic belong on the bottom of the shifter? Mine has a hard plastic bushing just above the lock nut. My nomenclature is terrible, I’ll get the manual so I can better describe what I’m talking about. I took it all apart to install the parts , got disappointed when NOTHING matched and put it back together so I can’t get any better pics at the moment.
Following, I’m new to this game so excuse me if I sound uneducated. I cannibalized a GMB pump for the diaphragm and check valves to install on my Kyosan Denki as a preventative maintenance measure. Drove about 25 miles with no issues on the test drive yesterday. Cranked the car today, fired right up, ran about one minute and died. Tried to start it a few more times to no avail, took the outlet line loose and no fuel came out while cranking. Was running late for a tee time so that’s as far as I got. I will say the GMB parts did not feel of the same quality as the originals I pulled out. Thankfully I saved them and will be reinstalling them tomorrow.
Thanks for the prompt responses! @siteunseen, that looks like a different set up than the “dog leg” shifter that’s in my car. The pin in mine is smaller and doesn’t seem to have enough room for bushings at all. Thinking I’ve got an older transmission but I am new to this scene and have a lot to learn. @zKars as it turns out my shifter boot is in really good condition, it is just like the one in the pics you sent. Does the bushing in the top pic belong on the bottom of the shifter? Mine has a hard plastic bushing just above the lock nut. My nomenclature is terrible, I’ll get the manual so I can better describe what I’m talking about. I took it all apart to install the parts , got disappointed when NOTHING matched and put it back together so I can’t get any better pics at the moment.


Important Information
By using this site, you agree to our Privacy Policy and Guidelines. We have placed cookies on your device to help make this website better. You can adjust your cookie settings, otherwise we'll assume you're okay to continue.