Everything posted by ToolBoy
-
R180 diagnosis S3019500
Thanks to all for feedback. I think I learned what I needed to know as a result. Gonna replace seals and gasket today and get it painted and back in the car.
-
R180 diagnosis S3019500
Video was worth watching. . . pretty informative (for a newbie).
-
R180 diagnosis S3019500
. . . right after Christmas
-
R180 diagnosis S3019500
. . . and then I'll put it in and run it. . .
-
R180 diagnosis S3019500
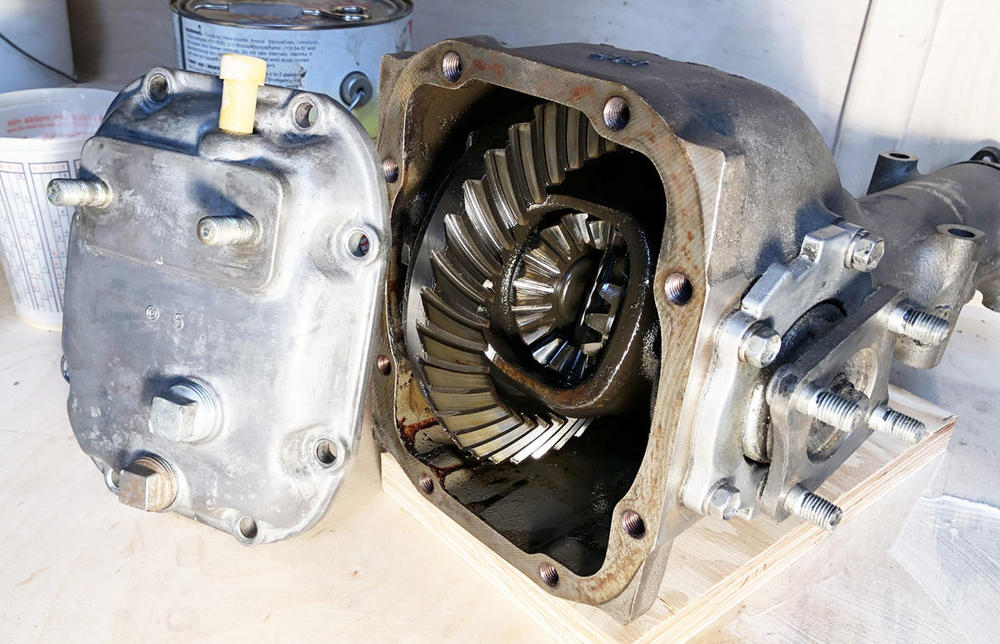
No metal in the gear oil or the magnet, gear teeth look good, nothing blued. . . Just found this video where a guy rebuilds one in about 3 minutes. . . But I think mine's prolly OK
-
R180 diagnosis S3019500
. . . would be the first thing in the car that wasn't completely worn out. . . But it seems like it might be ok. . . (with new seals)
-
R180 diagnosis S3019500
Just looked at FSM and sounds like thrust washer play?
-
R180 diagnosis S3019500
Thanks Zed Head, I have FSM from '71 but '73 has better detail drawings so I downloaded. My goal is to know every nut and bolt of this car when I'm done but tasks like this make me nervous. Should I be able to tear this diff apart and get it back together? Is a bearing press necessary at this point? They're showing lots of "special tools" I guess I can always take a box of parts to the gear shop if I can't figure it out. and Thanks Patcon. . . The input flange rotation is smooth when I spin it but if I rock it back and forth clockwise, c-clockwise there is 1/32 of play and the gears surfaces tap each other. The same is true for the output stubs (gears tapping from the other direction) and these also have 1/32 inch play in and out (toward and away from differential body). I don't currently have a dial indicator but will get one soon. Should everything be seamless and tight or do they typically have a little play? Thanks. . .
-
R180 diagnosis S3019500
. . . at the very least I want to replace the 3 seals and the gasket before reinstalling.
-
R180 diagnosis S3019500
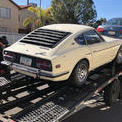
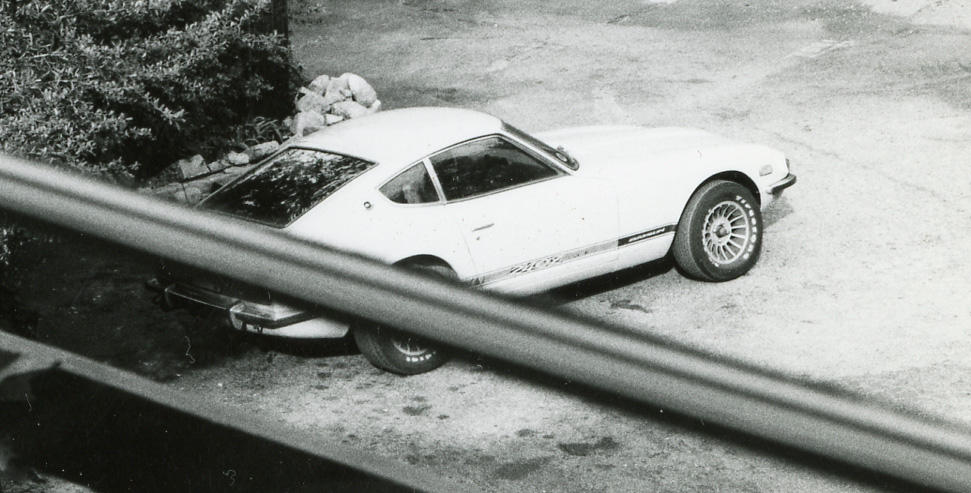
Hello to all. . . Purchased my little car after it was driven into the ground and then parked for 17 years so there was no shake-down drive to listen to rear end, trans, engine etc. I currently have everything behind the transmission completely out and am cleaning up and spiffing up or replacing, shaft, brake, frame, stub-axle, wheel bearings, suspension components and bushings, et. al. as I go. Removed R180 diff, cleaned it up and took to to a gear shop hoping there was a cheap and easy diagnosis to tell me if it seemed like it was in decent shape. I didn't see any metal or crap in the bottom or on the magnet when I drained it. I was told by several gear places that little could be seen without tearing it completely apart. I have several questions for the old school or anyone that has been thru this. I don't want to needlessly dump 600 clams into it for P and L but also don't want to yank it out again a week after I think I'm done and ready to drive it. My questions are. . . Can anyone refer me to a good post with photos that addresses the whole deal. . . teardown, diagnosis, bearings, seals and reassembly. Also wondering if with feeler gauges and some know-how I can determine is it definitely needs a major redo or not. Would also be good to know if the redo is definitely a job for the gear shop or can I handle it myself realizing I would surely need to acquire a bearing press. Gear place wants 300.00 for labor and I'd supply parts. Diff is 37/11 and car has 5 speed trans and also wondering if this is a good pairing. Thanks in advance. . . .
-
Yoshihiko Matsuo
- Rear control arm bush alignment
. . . Truer words never spoken. . . .- Rear control arm bush alignment
- Rear control arm bush alignment
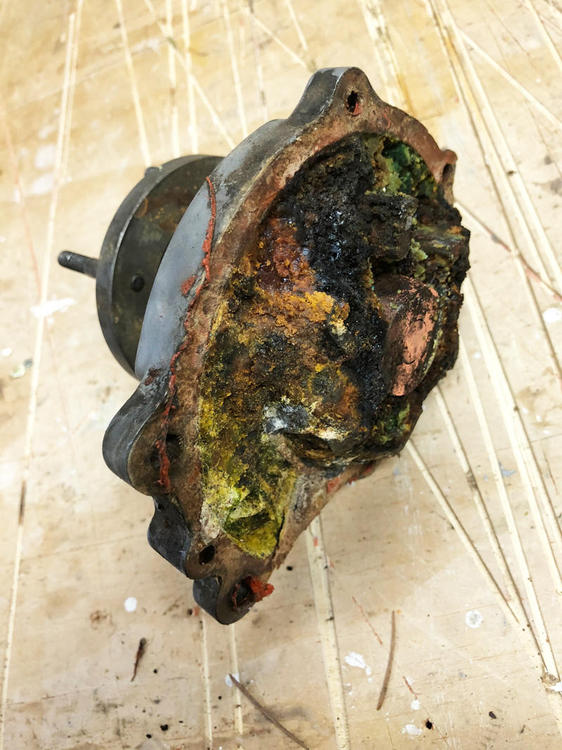
Since you got to share. . . now it's my turn. . . . This is what the inside of a water pump looks like when you park a Z for 17 years with the fluids left in. I can't wait to see the electrolysis between the head and the block. So exciting!- Rear control arm bush alignment
. . . or, turn it as far as it'll go. . . and then two more. . . .- Rear control arm bush alignment
WOW!! . . . reminds me of the old adage. . . . . "If brute force isn't working, it just means you're not using enough"- Rear control arm bush alignment
I wasn't suggesting you would think of "berating" anyone in this situation but rather was referring to the many times I've uncovered repairs that were done without common sense or due diligence and were potentially unsafe, ticking timebombs. Structural boatwork, house remodel construction, both boat and house electrical among others.- Rear control arm bush alignment
. . . note to Captain Obvious. . . In my opinion (and my very, very personal, personal experience) the forensic analysis is what elevates it from 2D to 3D chess. Identifying what the PO did and what aspects of that did or didn't work. ( and you get to berate him for it and be righteous which is always fun). The fact that you would imagine that Japanese conversation in 1969 is so awesome!! I'm a finish carpenter and cabinet maker by trade and I've done a fair bit of structural wooden boat repair ( frames, planks, decks, garboards, shaft logs etc) and my favorite part is that analysis. I bought a 33 foot sailboat and when the glue-line broke on the 48 foot box constructed fir mast the PO stitched it up with stainless steel screws rather than ripping out the glue-line, cutting a spline and re-gluing. Potential point loading with a screwed joint on a flexible spar / bad idea. Figuring that all out is the fun part. (my opinion again)- Rear control arm bush alignment
Yeah, I think I'm in agreement with Captain Obvious on this one although I'm clearly a much less developed, lower life form that resides way down on the food chain . That very tightly fitted, locked in spindle pin is screaming "I'm done this way for a reason". If I ever need a new one I'll fork out the 40 clams and pack my lunch for a week.- Rear control arm bush alignment
Aaaah. . . The forensic aspect of obsessively restoring and ultimately understanding a 50 year old sports car. Will be a real thrill to finally drive this sucker with what I'll know by the time she's road worthy.- Rear control arm bush alignment
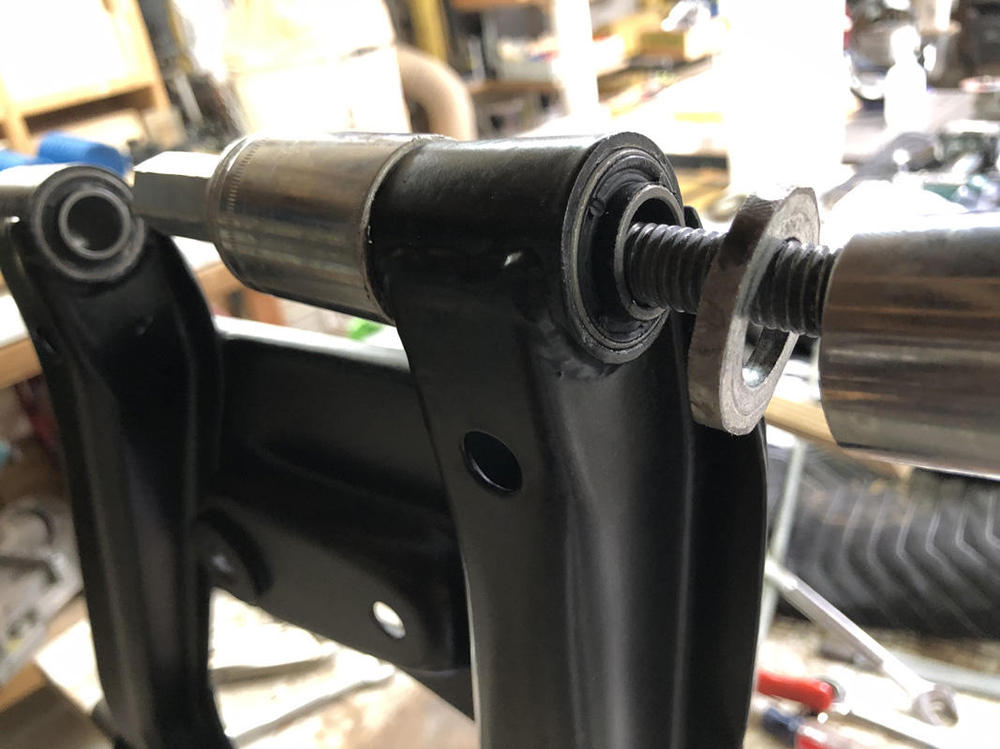
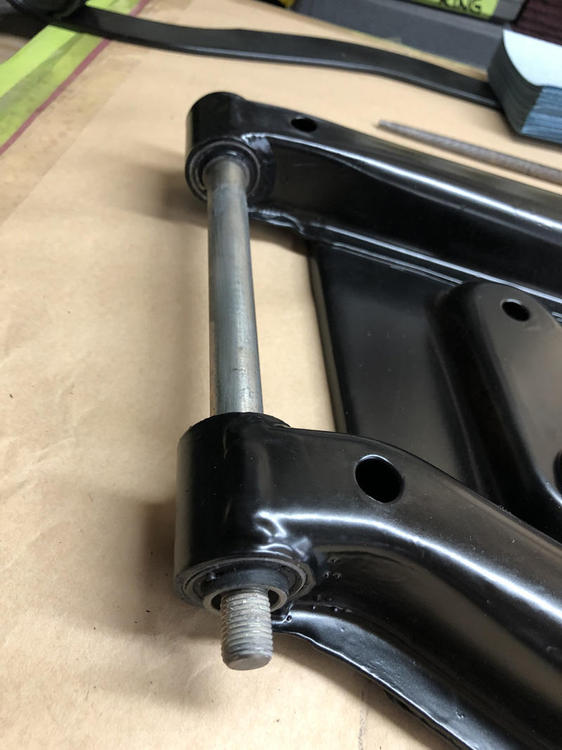
The spindle is anchored in the center of the strut assembly by the bolt lock and then the arms / bushings, stoppers, washers and nuts stack on the spindle, forward and aft from the center. The "outsides" of the bushings in question that project a little further than the "insides" just accommodate the thickness of the rubber stoppers (55542) before end washers and nuts and assist the bushing in limiting fore and aft movement of arms while allowing everything to float and be dynamic and still stay centered. The smaller gap created by inside of the bushings allows just enough movement for the bushings against strut assembly without metal to metal contact. Maybe the Tech illustrator missed the meeting and assumed the bushings were symmetrical so no instructions were provided when the service manual was written. Or maybe it was like you said. . . "oops".- Rear control arm bush alignment
Yes I did. Put the short side in and strut housing spaced perfectly. Had to be designed that way. Was a great tip.- Rear control arm bush alignment
Thanks to grannyknot too. . .- Rear control arm bush alignment
Hey Capt. Obvious, Just finished pressing the rear control arm bushings a few minutes ago and wanted to say thanks for passing that info along 2 weeks ago. They went in perfectly and are spaced exactly for a nice press fit in the strut housing. Definitely would not want to back em out and do it twice. Thanks again!! . . . Andy- New mustache bushing updates?
I have used 2 part polysulfide rubber on teak boat decks and understand it's also used to glue up lap joints on the exterior skins of commercial jet fuselages because of its strength and flexibility. Probably too soft for this application? - Rear control arm bush alignment
Important Information
By using this site, you agree to our Privacy Policy and Guidelines. We have placed cookies on your device to help make this website better. You can adjust your cookie settings, otherwise we'll assume you're okay to continue.


