



davewormald
Community Member
-
Joined
-
Last visited
Everything posted by davewormald
-
Are you saying that part won't be obvious, Captain?
-
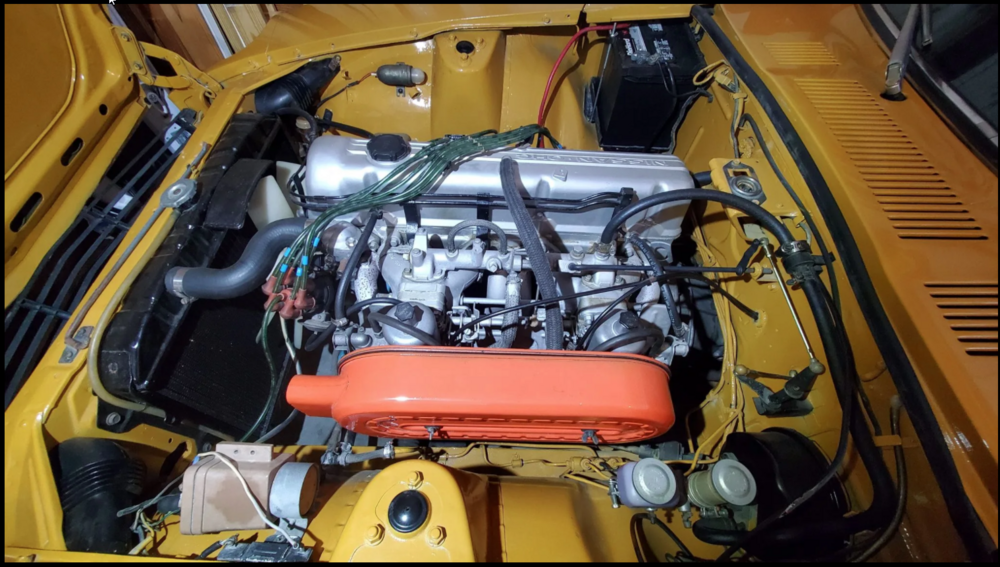
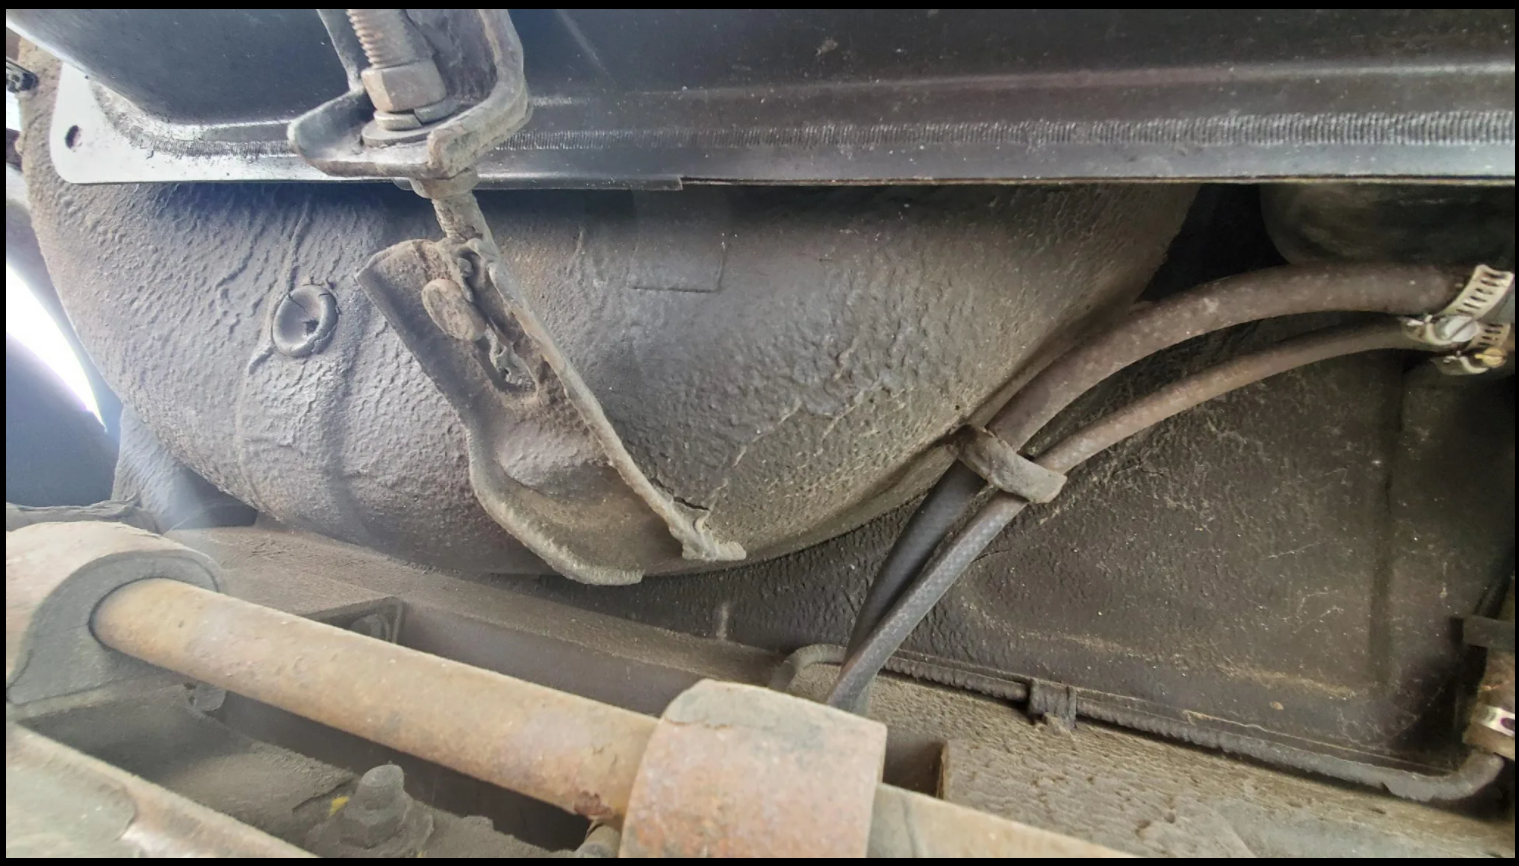
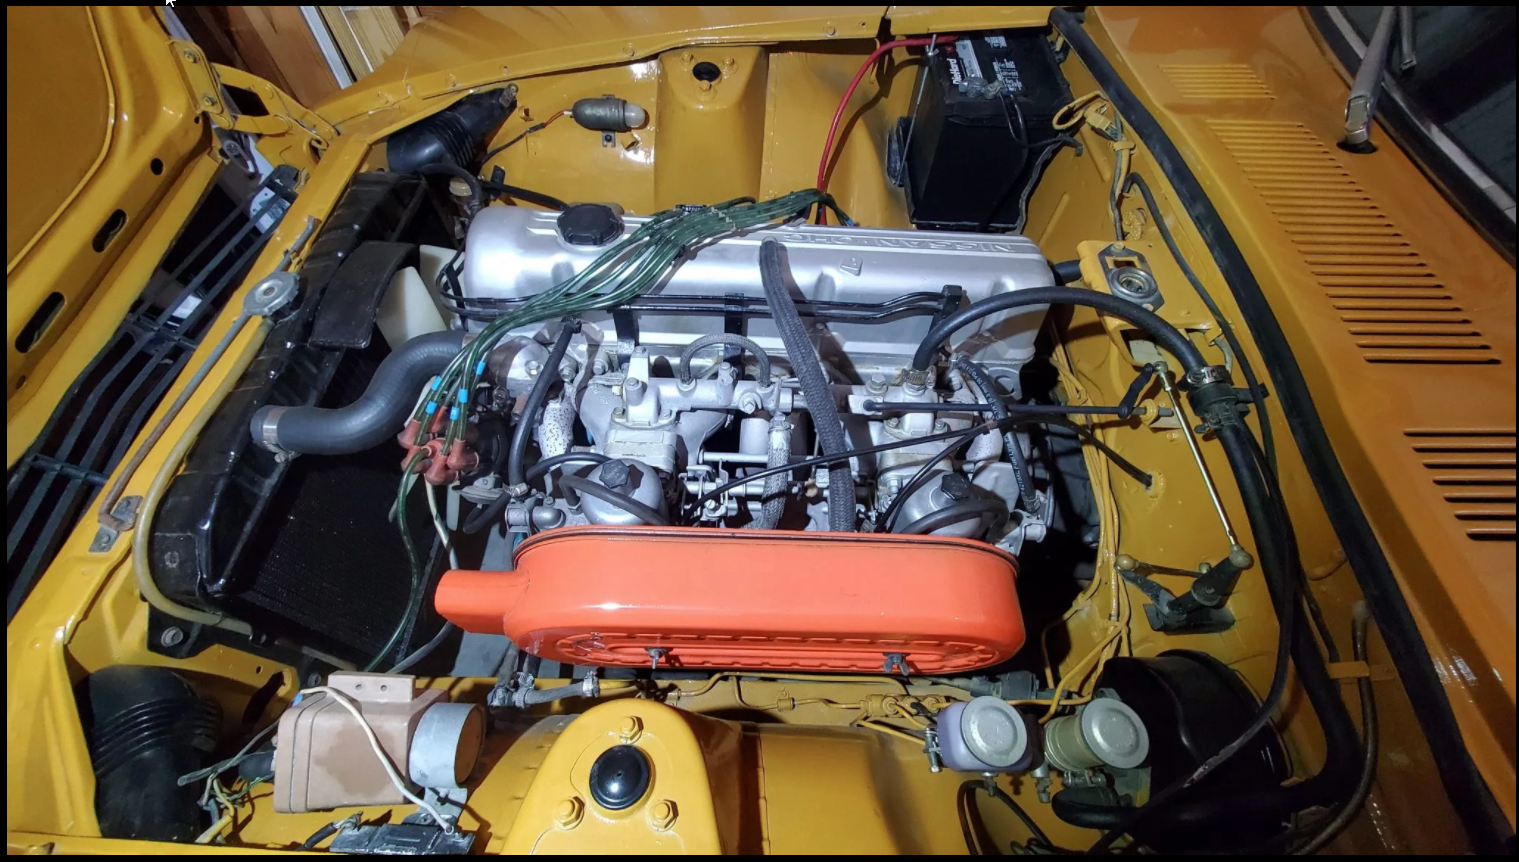
Yet another Safari Gold 240Z recently sold on BAT and I noticed a couple of pictures in the listing that caught my eye. The serial number is HLS30-38780 and mine's 29817, so they're relatively close in terms of manufacture date. The first picture shows the rear stabilizer bar attachment (from a weird angle), but it looks like the same setup as mine. I'm getting the impression that the cars built around this time didn't all come with rear stabilizers, so this is probably just one way they attached aftermarket versions? As an aside, I'd been feeling a little depressed about how long it's taken me to clean the rear suspension up, but looking at the original state of it all I'm feeling a little better! The second picture shows the engine compartment of the same car. I noticed the short air intake, which is exactly the same as the one on my car. No elongated intake, and no winter/summer switch. I'd decided a previous owner had cut the intake off mine for some reason, but this one looks the same. Was there some reason people would cut these or did some come with shorter intakes?

-
I'm embarrassed to say I had to look it up. I should have known! "Why waste good music on a brain?"
-
Anything functional that comes out of this discussion will be of interest to me next year (or maybe the year after to be realistic)! The driver's side is identical. It really seems like a monumentally bad design to me! Hey, how about we funnel water and cowl debris into an enclosed, invisible area between two tight-fitting pieces of lightly rust-proofed metal?!
-
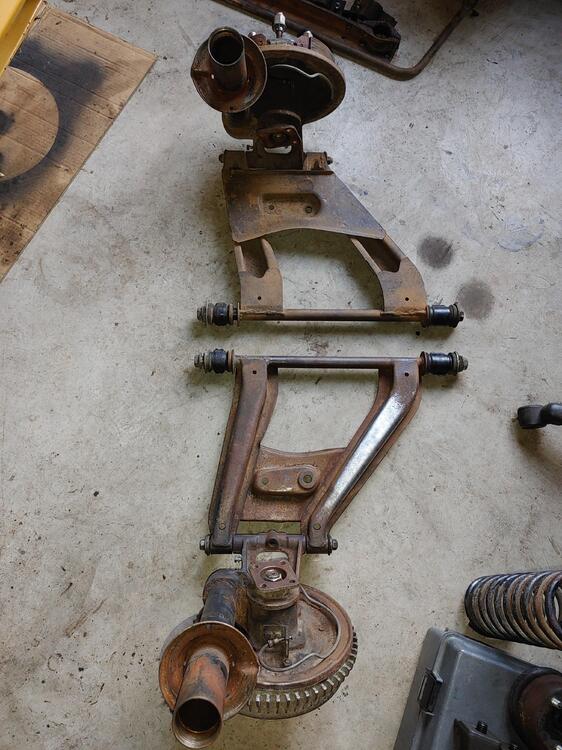
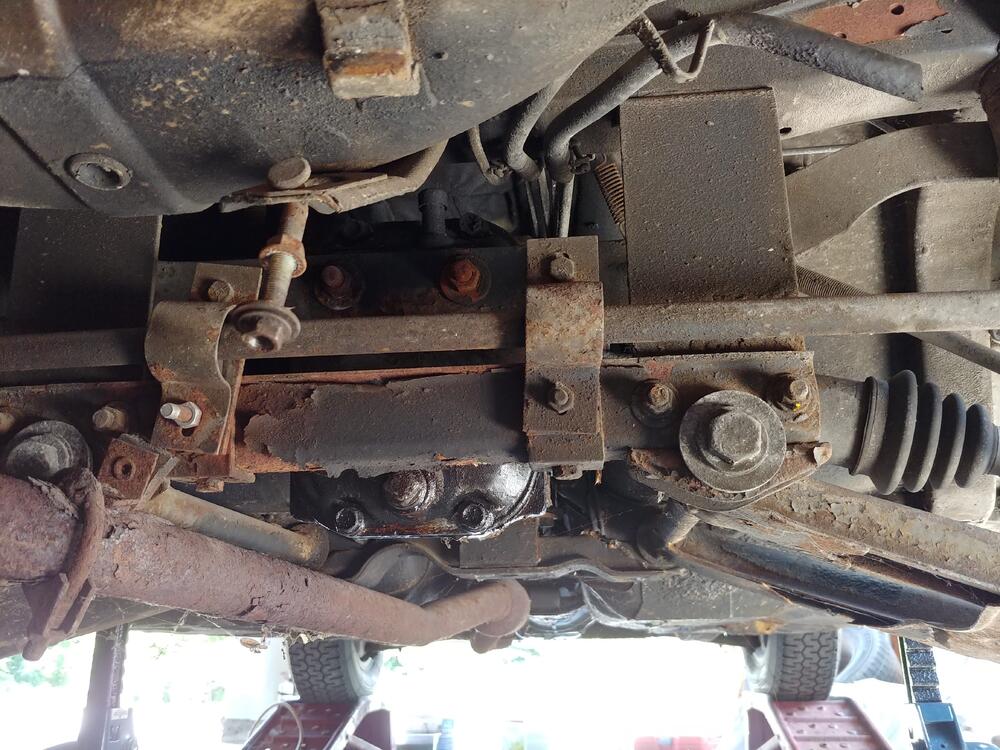
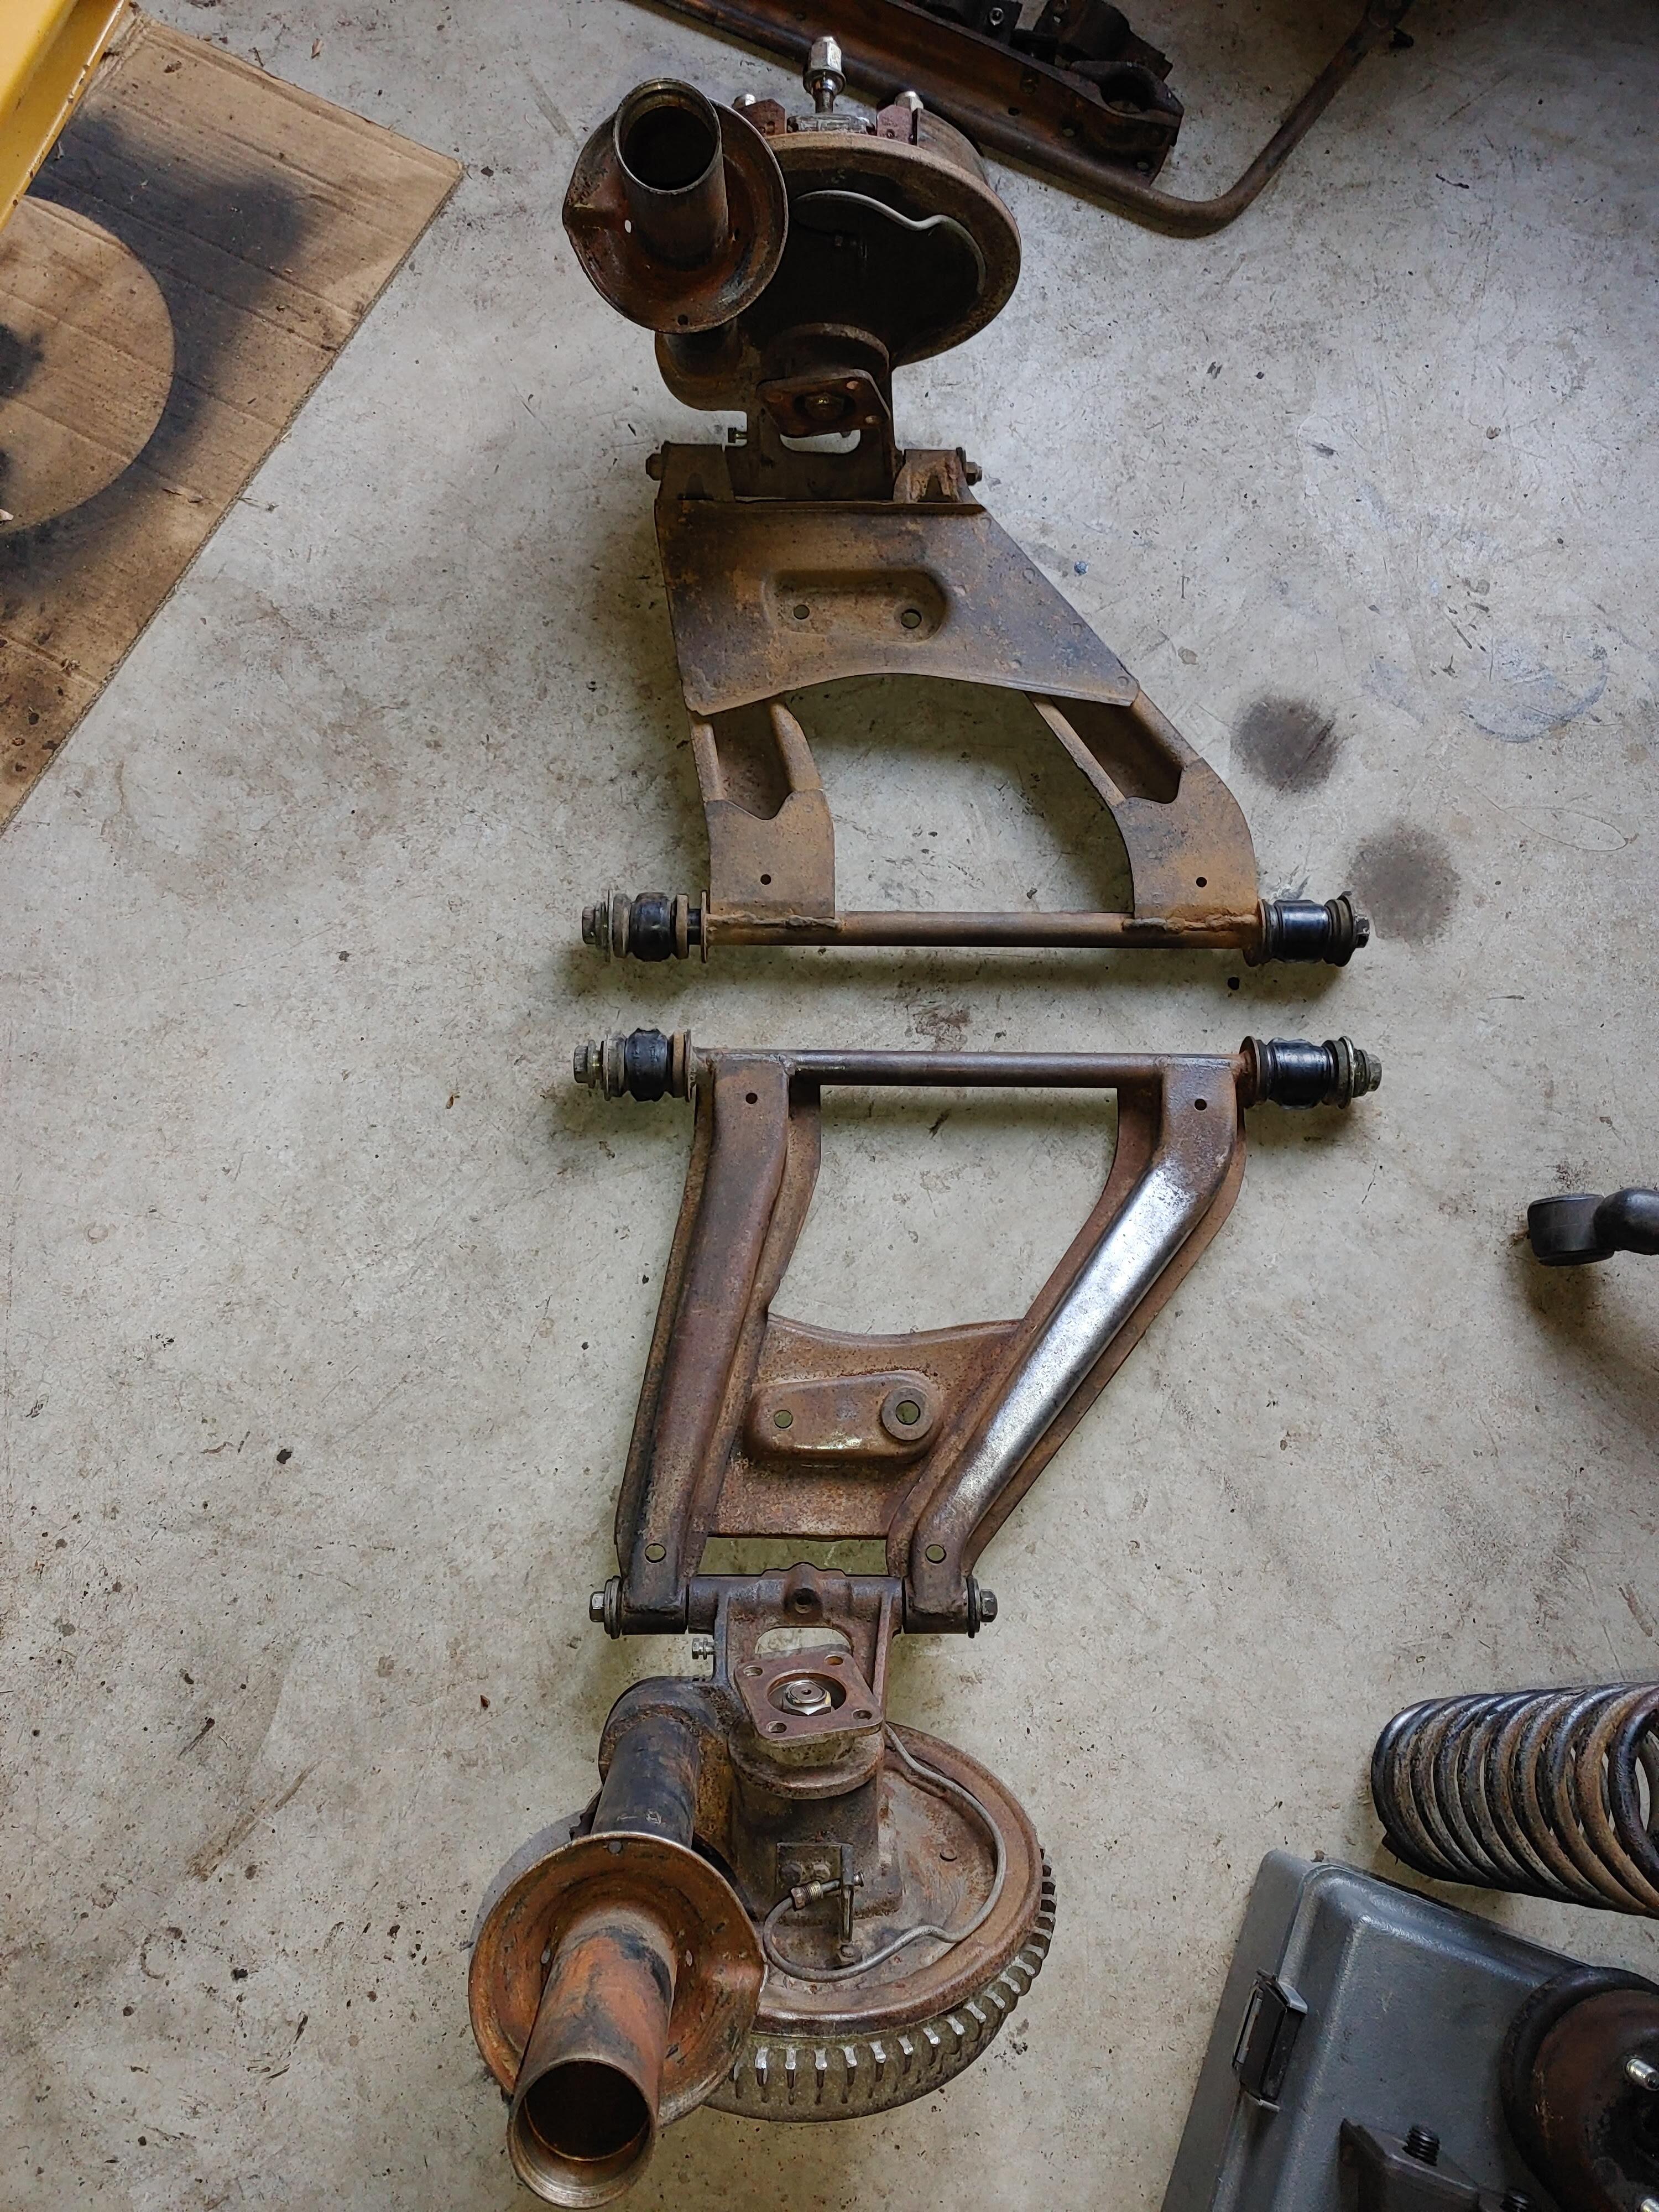
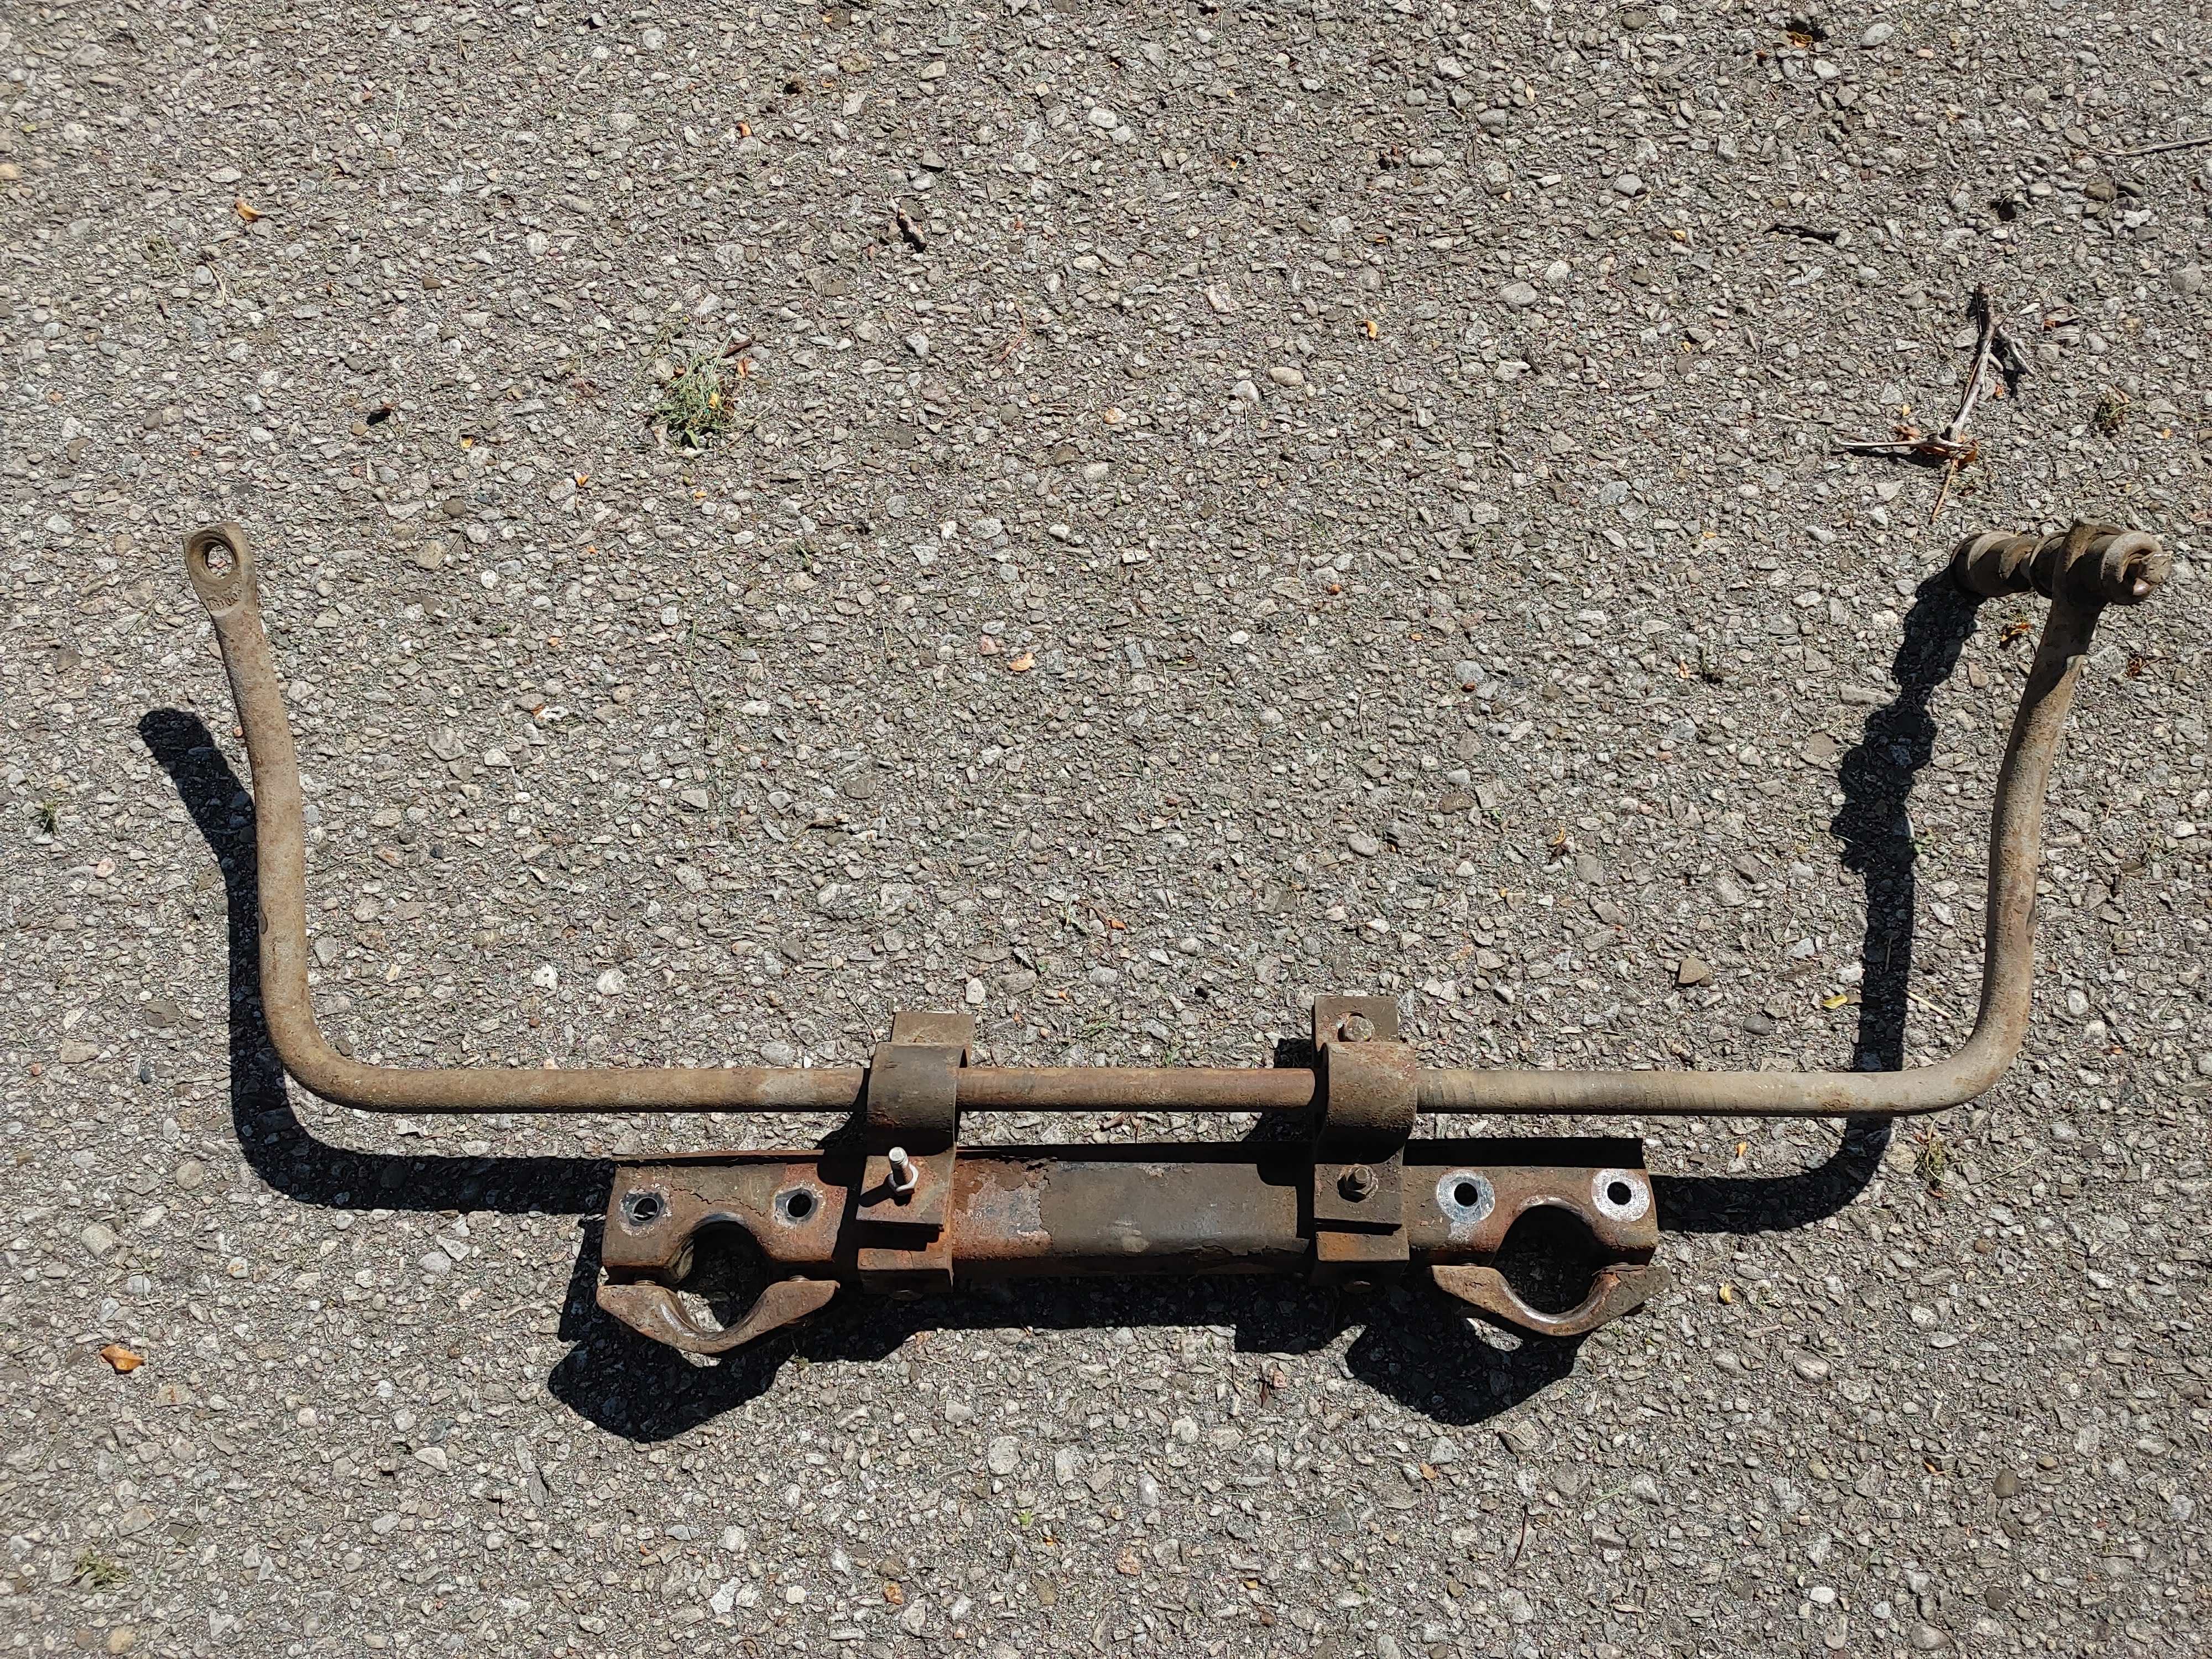
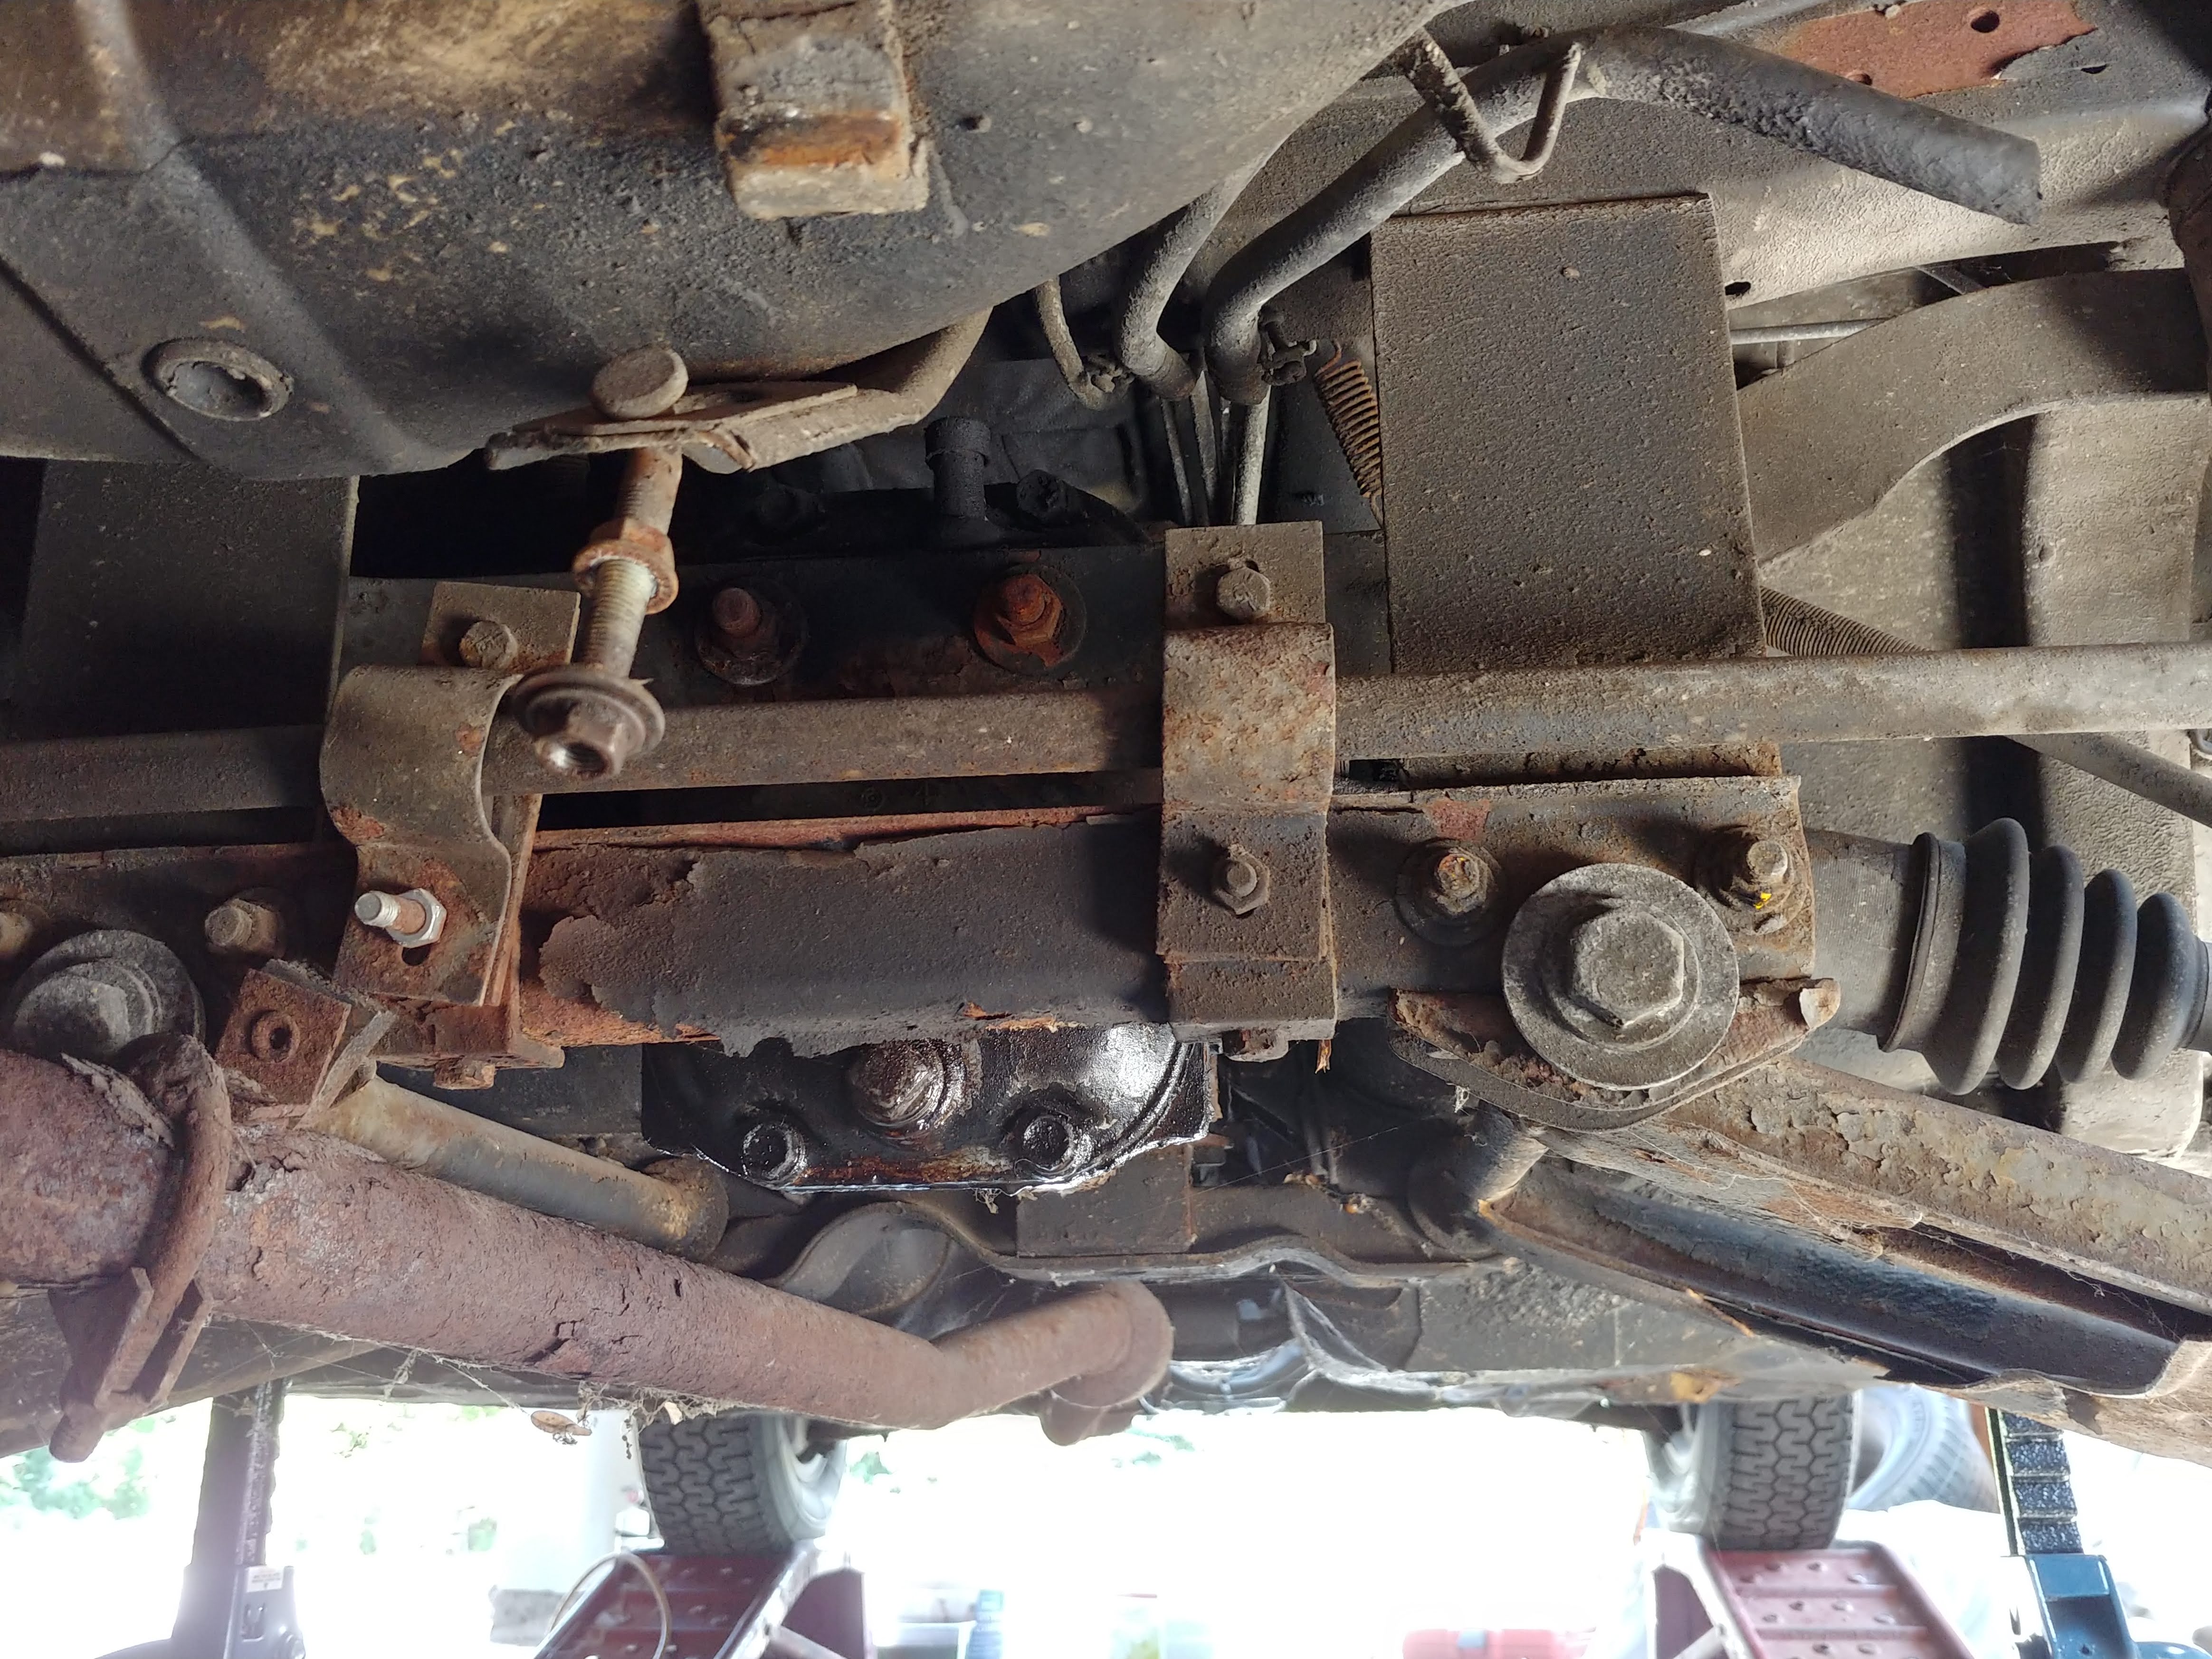
I've moved on to the rear suspension at this point. A couple of weekends ago I pulled both sides out and I'm now dismantling and starting the cleanup/refresh process. Thought I'd post a couple of pictures of the rear stabilizer bar setup on the car. Is this an aftermarket installation, do you think? All the pictures I've seen of these cars with stabilizer bars seem to have the clamps and bushings on the outer ends of the crossmember that supports the rear transverse link mounting brackets, rather than in the middle like mine. Did all 240Z's come with rear stabilizer bars? The Safari Gold '71 for sale on BAT at the moment, for instance, has no sign of one. Looks like it has the same "Series 1.5" parts collection as mine. I was a little surprised by the fact that the driver/passenger transverse links are the same part with one flipped over. I'm not sure whether this is genius or extreme cost-cutting. Seems like water would collect in the driver's side.

-
The high speed video of the transparent carb makes you wonder how carbs actually manage to work so well in the real-world, under-the-hood, driving on less than pristine roads! This was really fun to watch!
-
Wow!
-
But look at all that clean, shiny metal (and the gaping hole in the front of the rocker panel)! I managed to wait until the car was back in the garage before cracking the first beer!
-
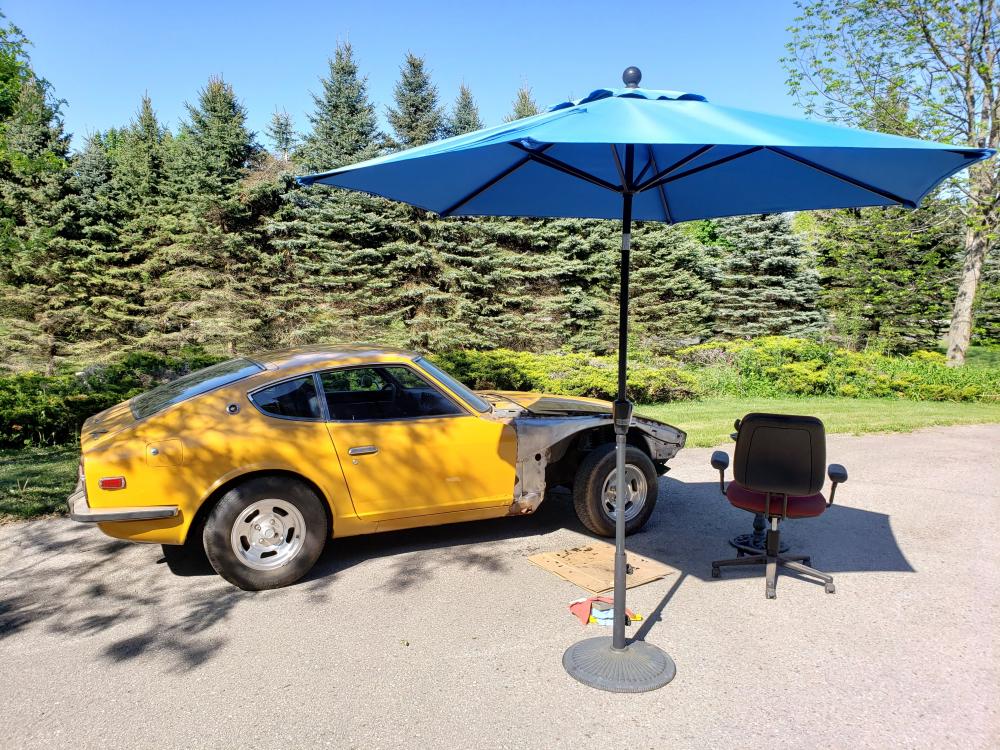
A little long weekend work on wheel well cleanup this past Monday.
-
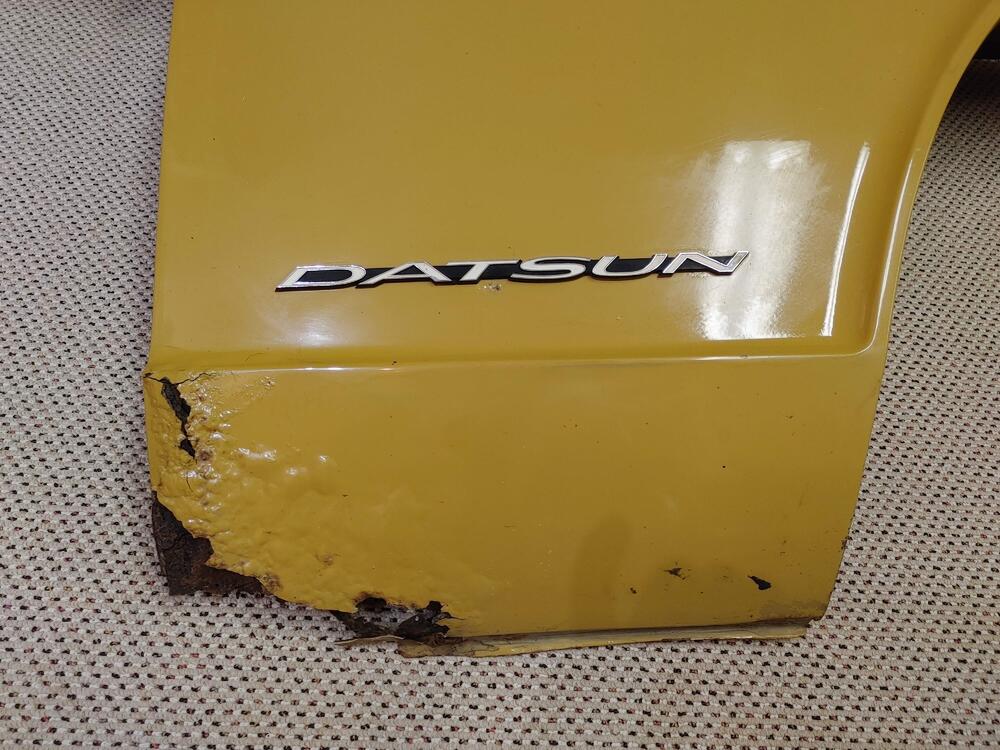
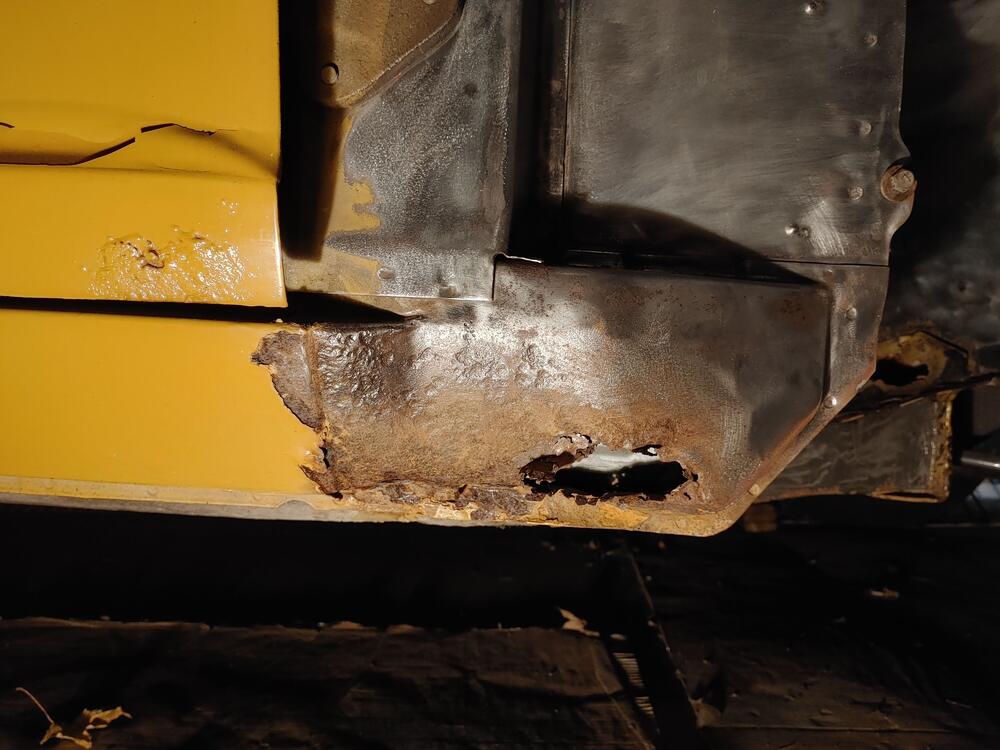
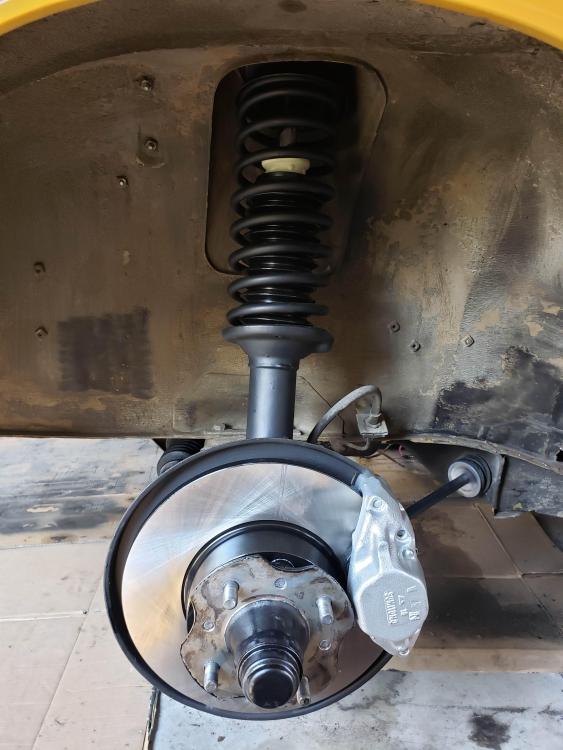
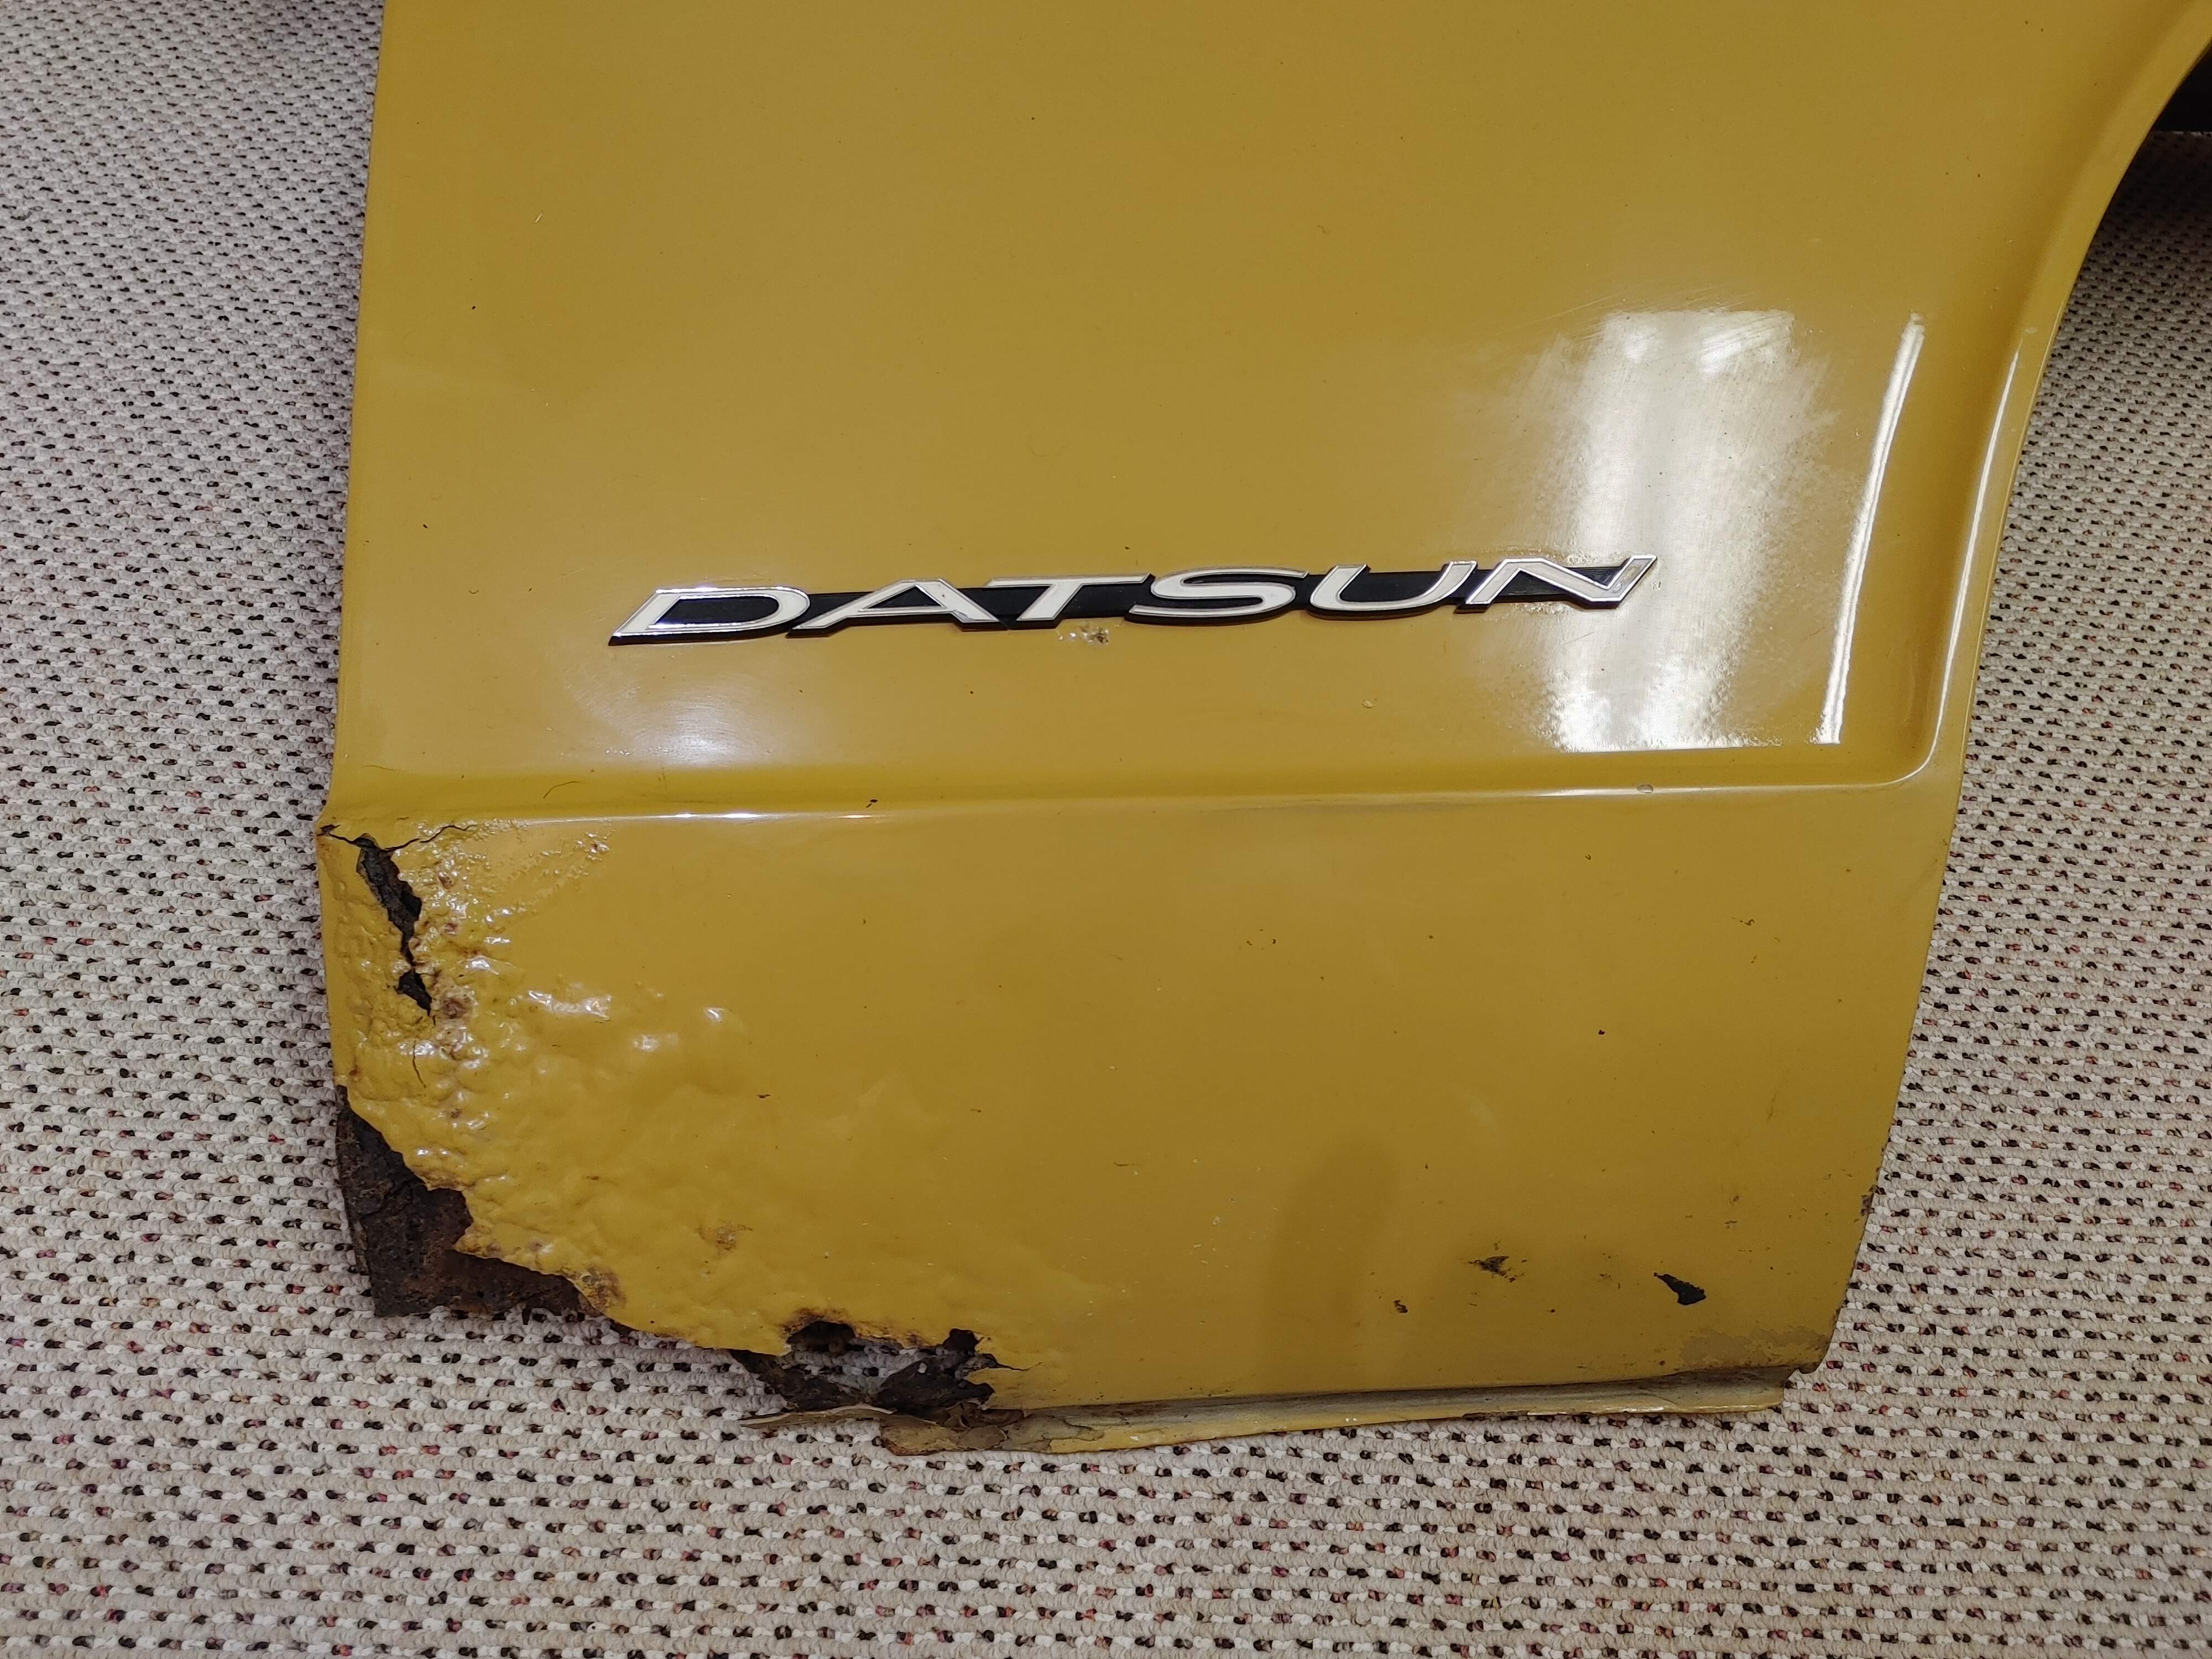
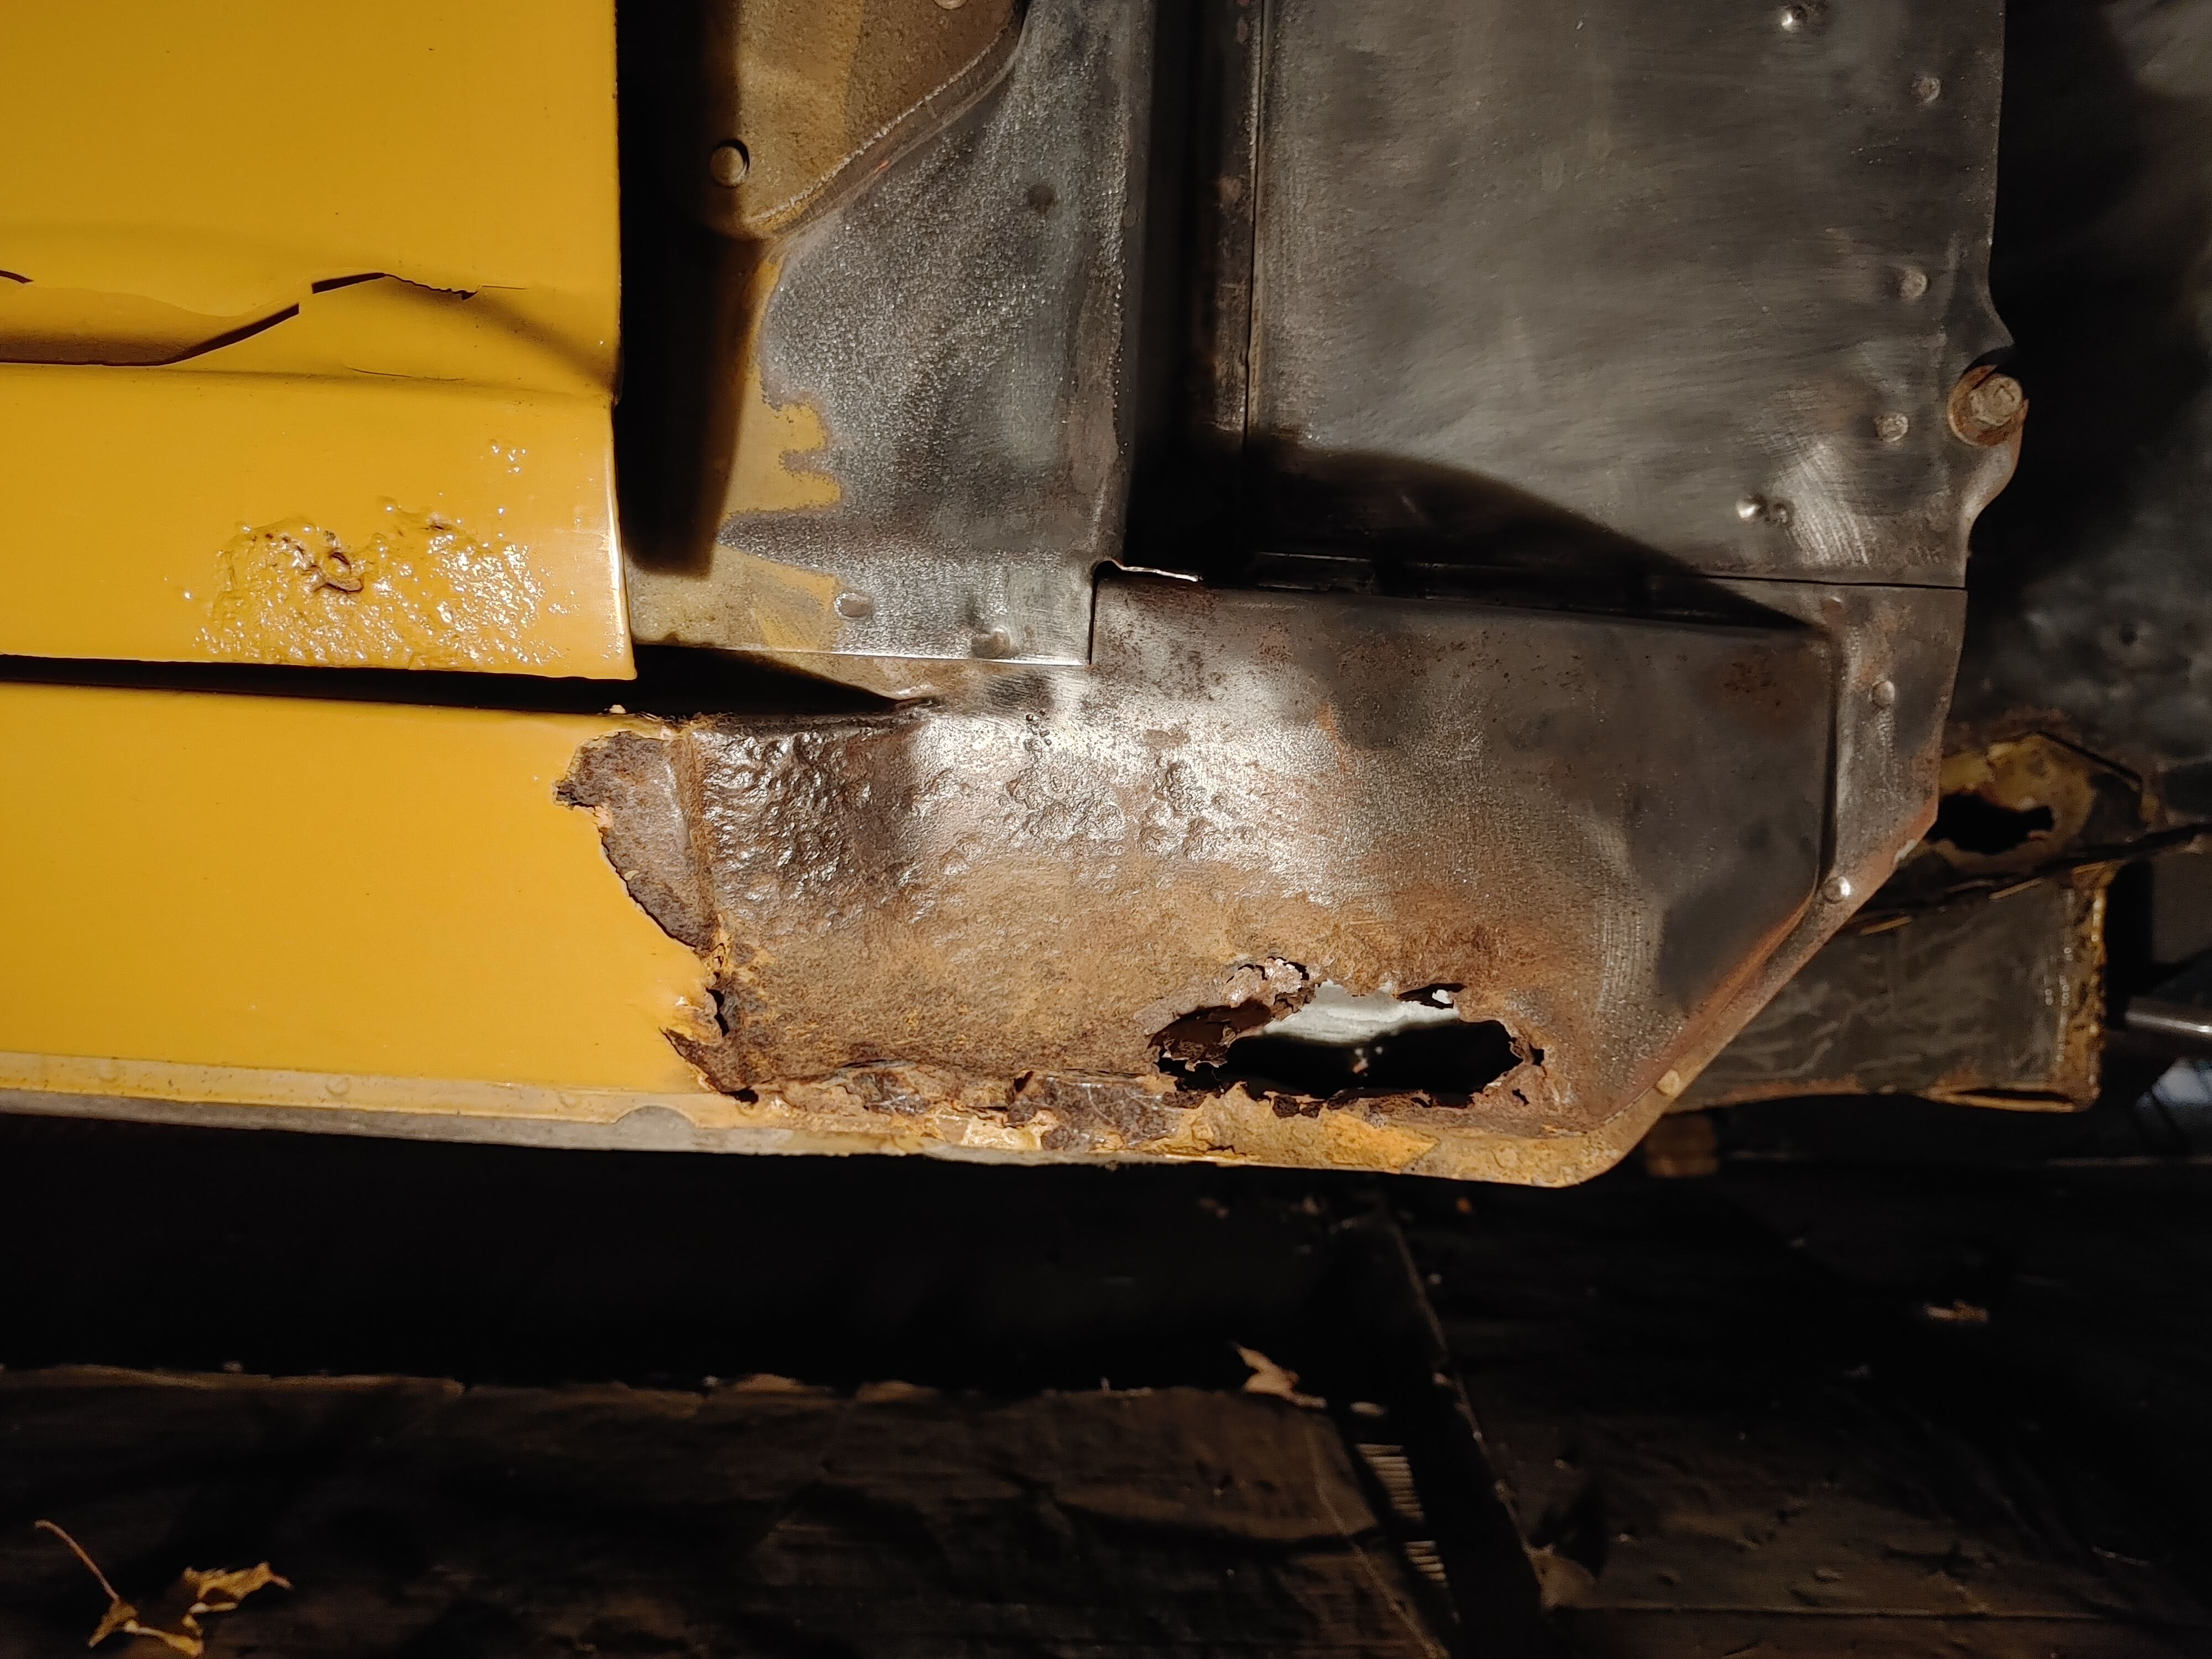
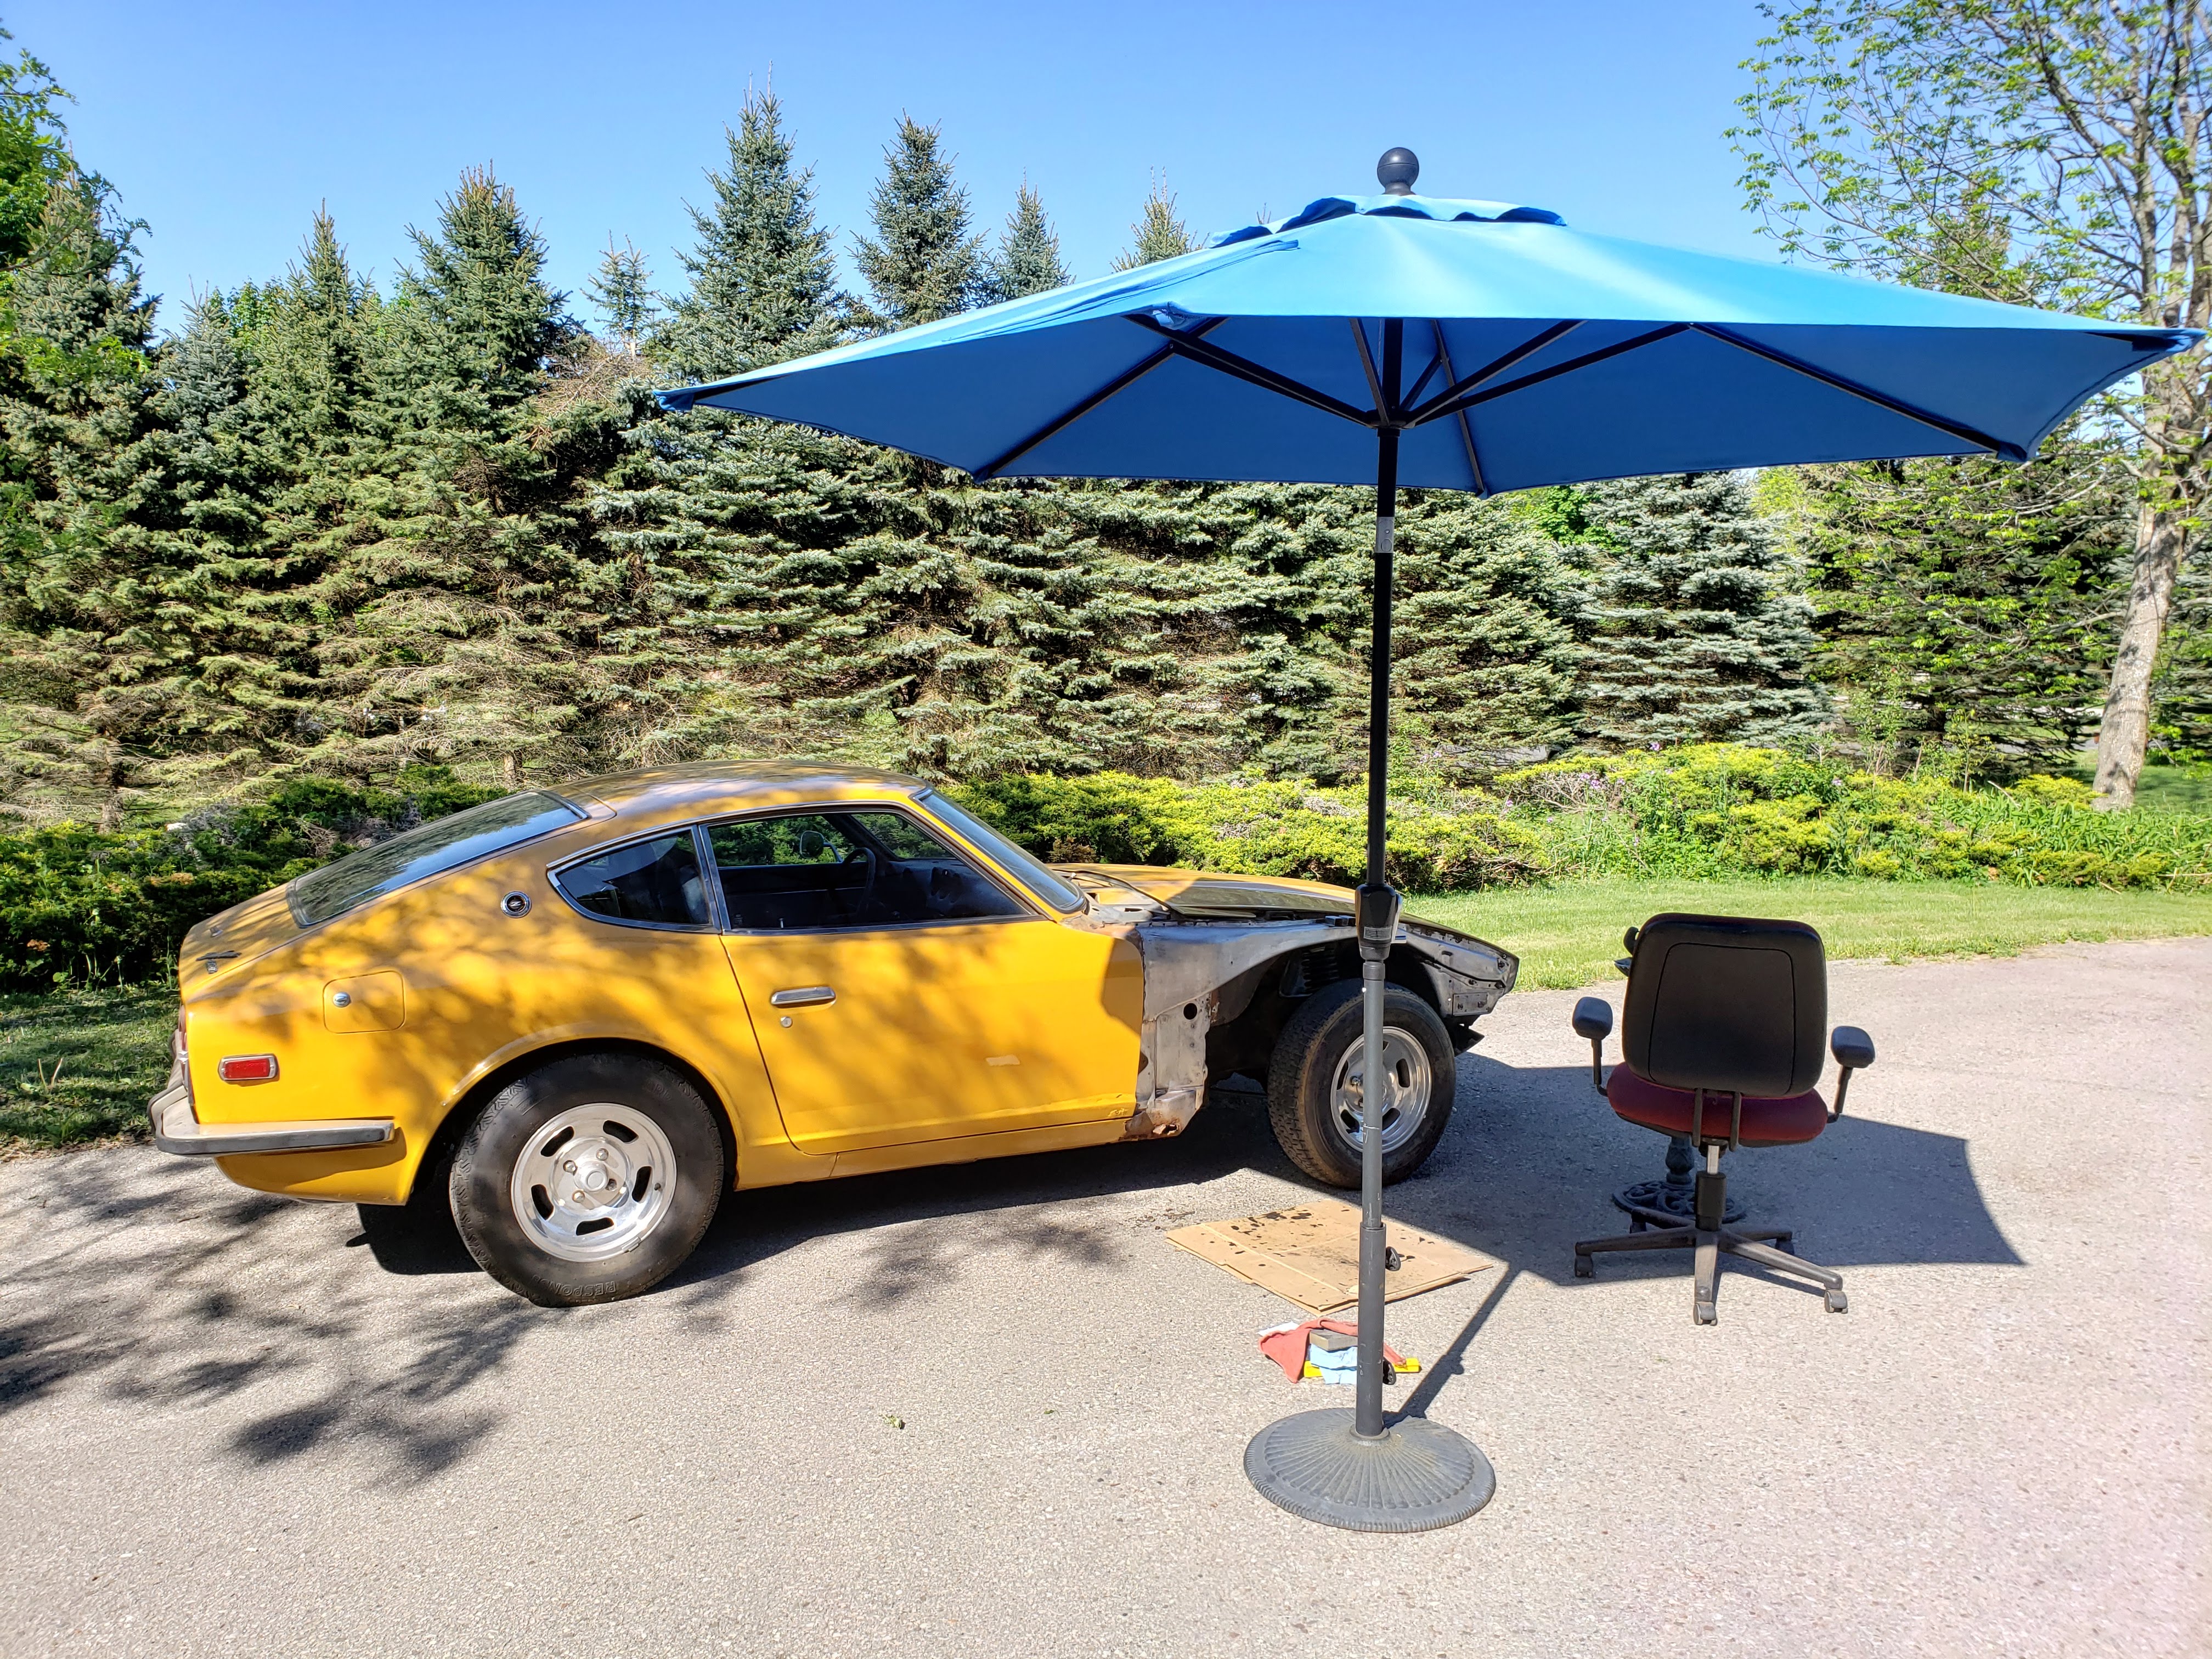
I did eventually get all this done, I just neglected to update the thread. I've attached a few pictures: I really only reinstalled the suspension so I could get the car outside to start to clean up of the wheel wells. You can see some signs of initial experimentation that proved it wasn't a good job for the garage. There seems to be a solid, stubborn layer of dirt over undercoating, over paint, over primer. I believe (aside from the dirt), it's original (factory primer and paint, and dealer undercoating). It's going to be quite a job to clean it all up, but there's a real mix of conditions. In some areas, all layers are intact and solid. In others, I can see paint and in a few areas there's rust. The small reinforcement panel above the point where the TC rod connects to the frame has rotted through on both sides (you can just see the left edge of the hole I knocked through it in the first picture). I've hammered away elsewhere and haven't found any other soft spots in the wheel wells, but I think it makes sense to remove everything and re-coat the whole thing. I took the passenger fender off and things aren't too bad there. No paint or undercoat (and not a lot of dirt). There's rust mostly on the horizontal surfaces under the top of the fender. It isn't so bad cleaning these parts up. There's another rotted bit at the lower front of the outer rocker panel where I see the cowl drain conveniently dumps water. I'm not a welder, so I'll have to have these repaired by someone who knows what they're doing. On the positive side, the car started up instantly after the winter. It's running very rich, but that's for another day. It's fine for moving it in and out of the garage, although the clutch engages very high, so I'll probably have to have a look at that. It seems to disengage at a reasonable point, which seems like a weird combo to me. Like I said at the beginning of this thread, this will likely be a multi-year project!
-
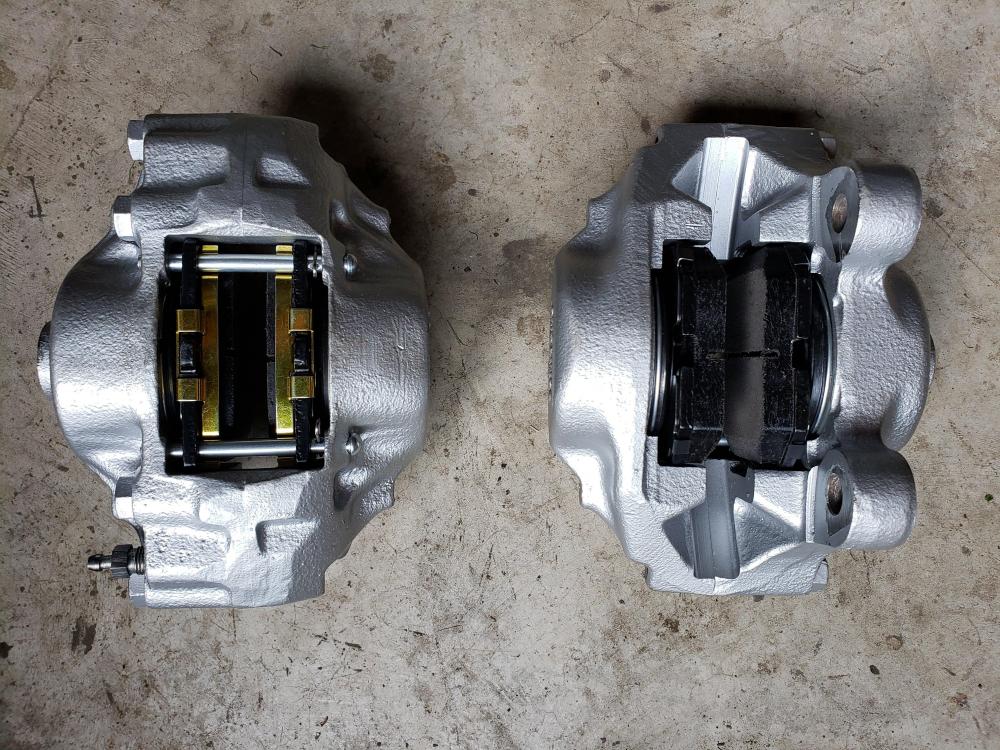
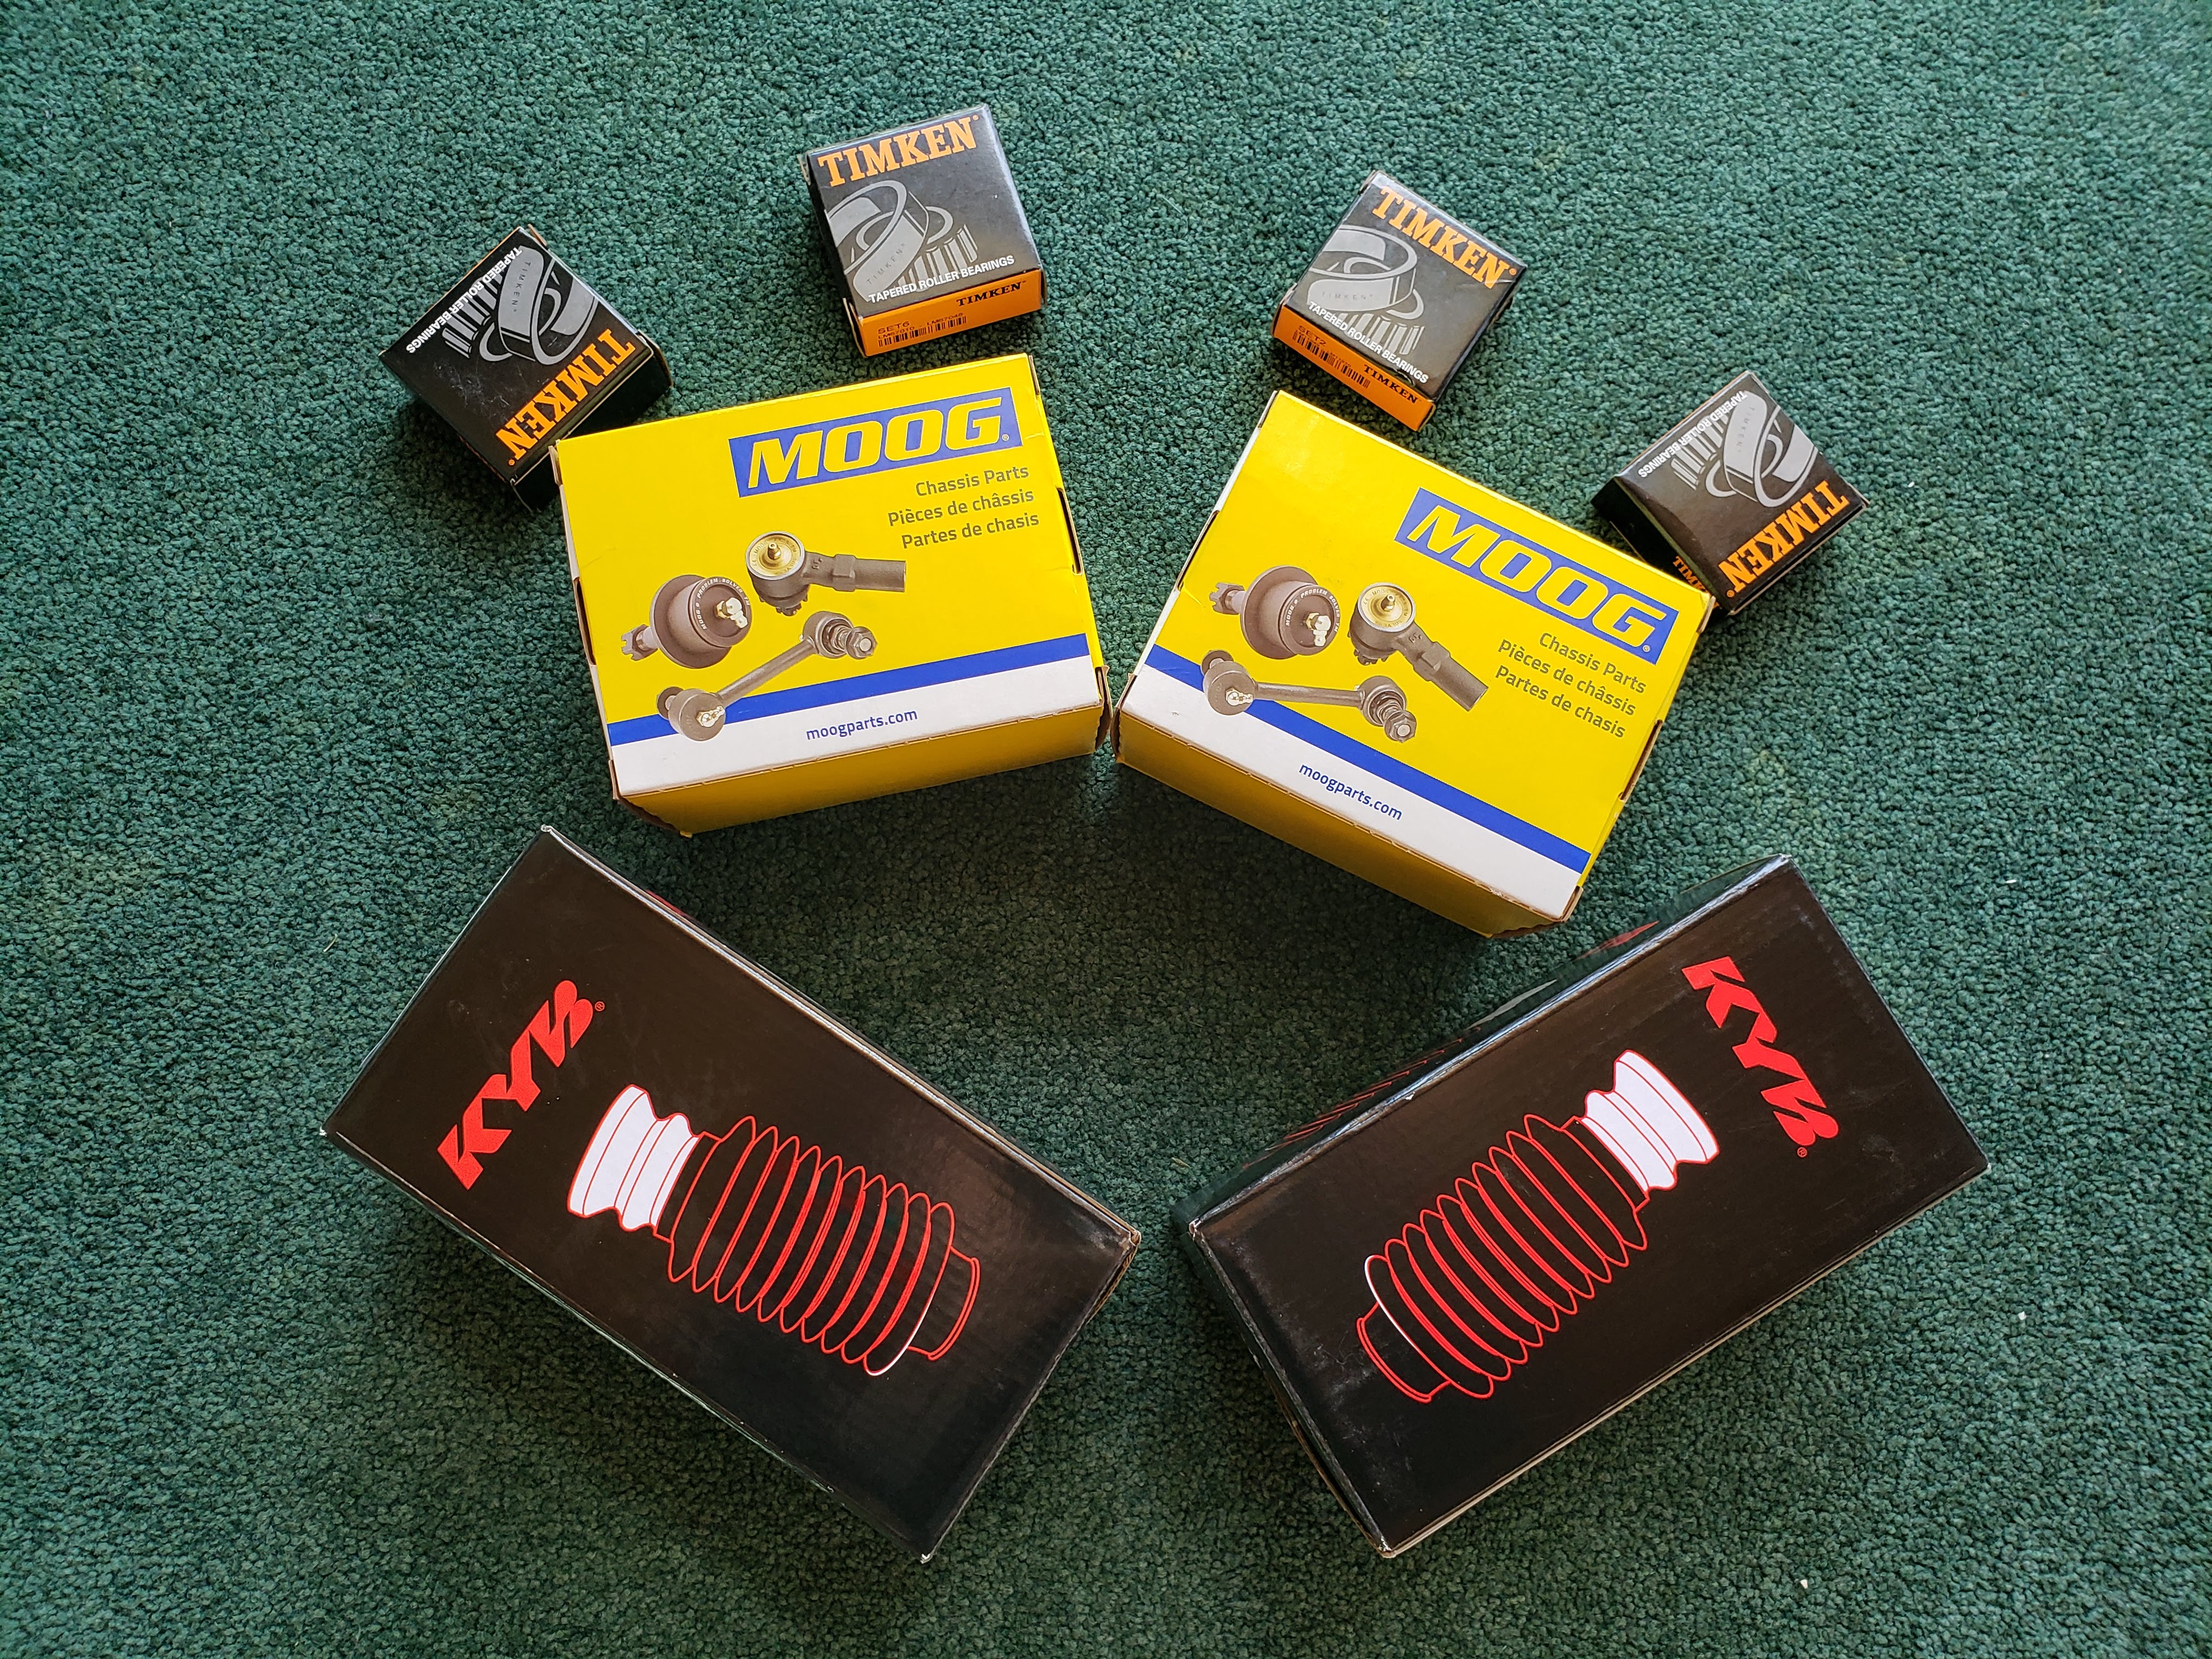
Happy birthday to me and my car. I wish I could say I'm 50 this year, like the car, but sadly ... According to the car's engine stamp, it was built on April 9th, 1971. I'm conveniently assuming it was mated with the rest of the car on the 14th so it lines up with my own birthday. I have no idea how long those steps would actually have taken. Luckily a lot of "gifts" arrived for me and the car today. A few of them in the pic, and a lot more are ready for pick-up after having been shipped across the border yesterday. Lots of fun in the next couple of weeks!

-
Thanks @EuroDat. I noticed that the Haynes manual says the same thing about replacing the caliper. I don't see any reason to split it, anyway, fortunately!
-
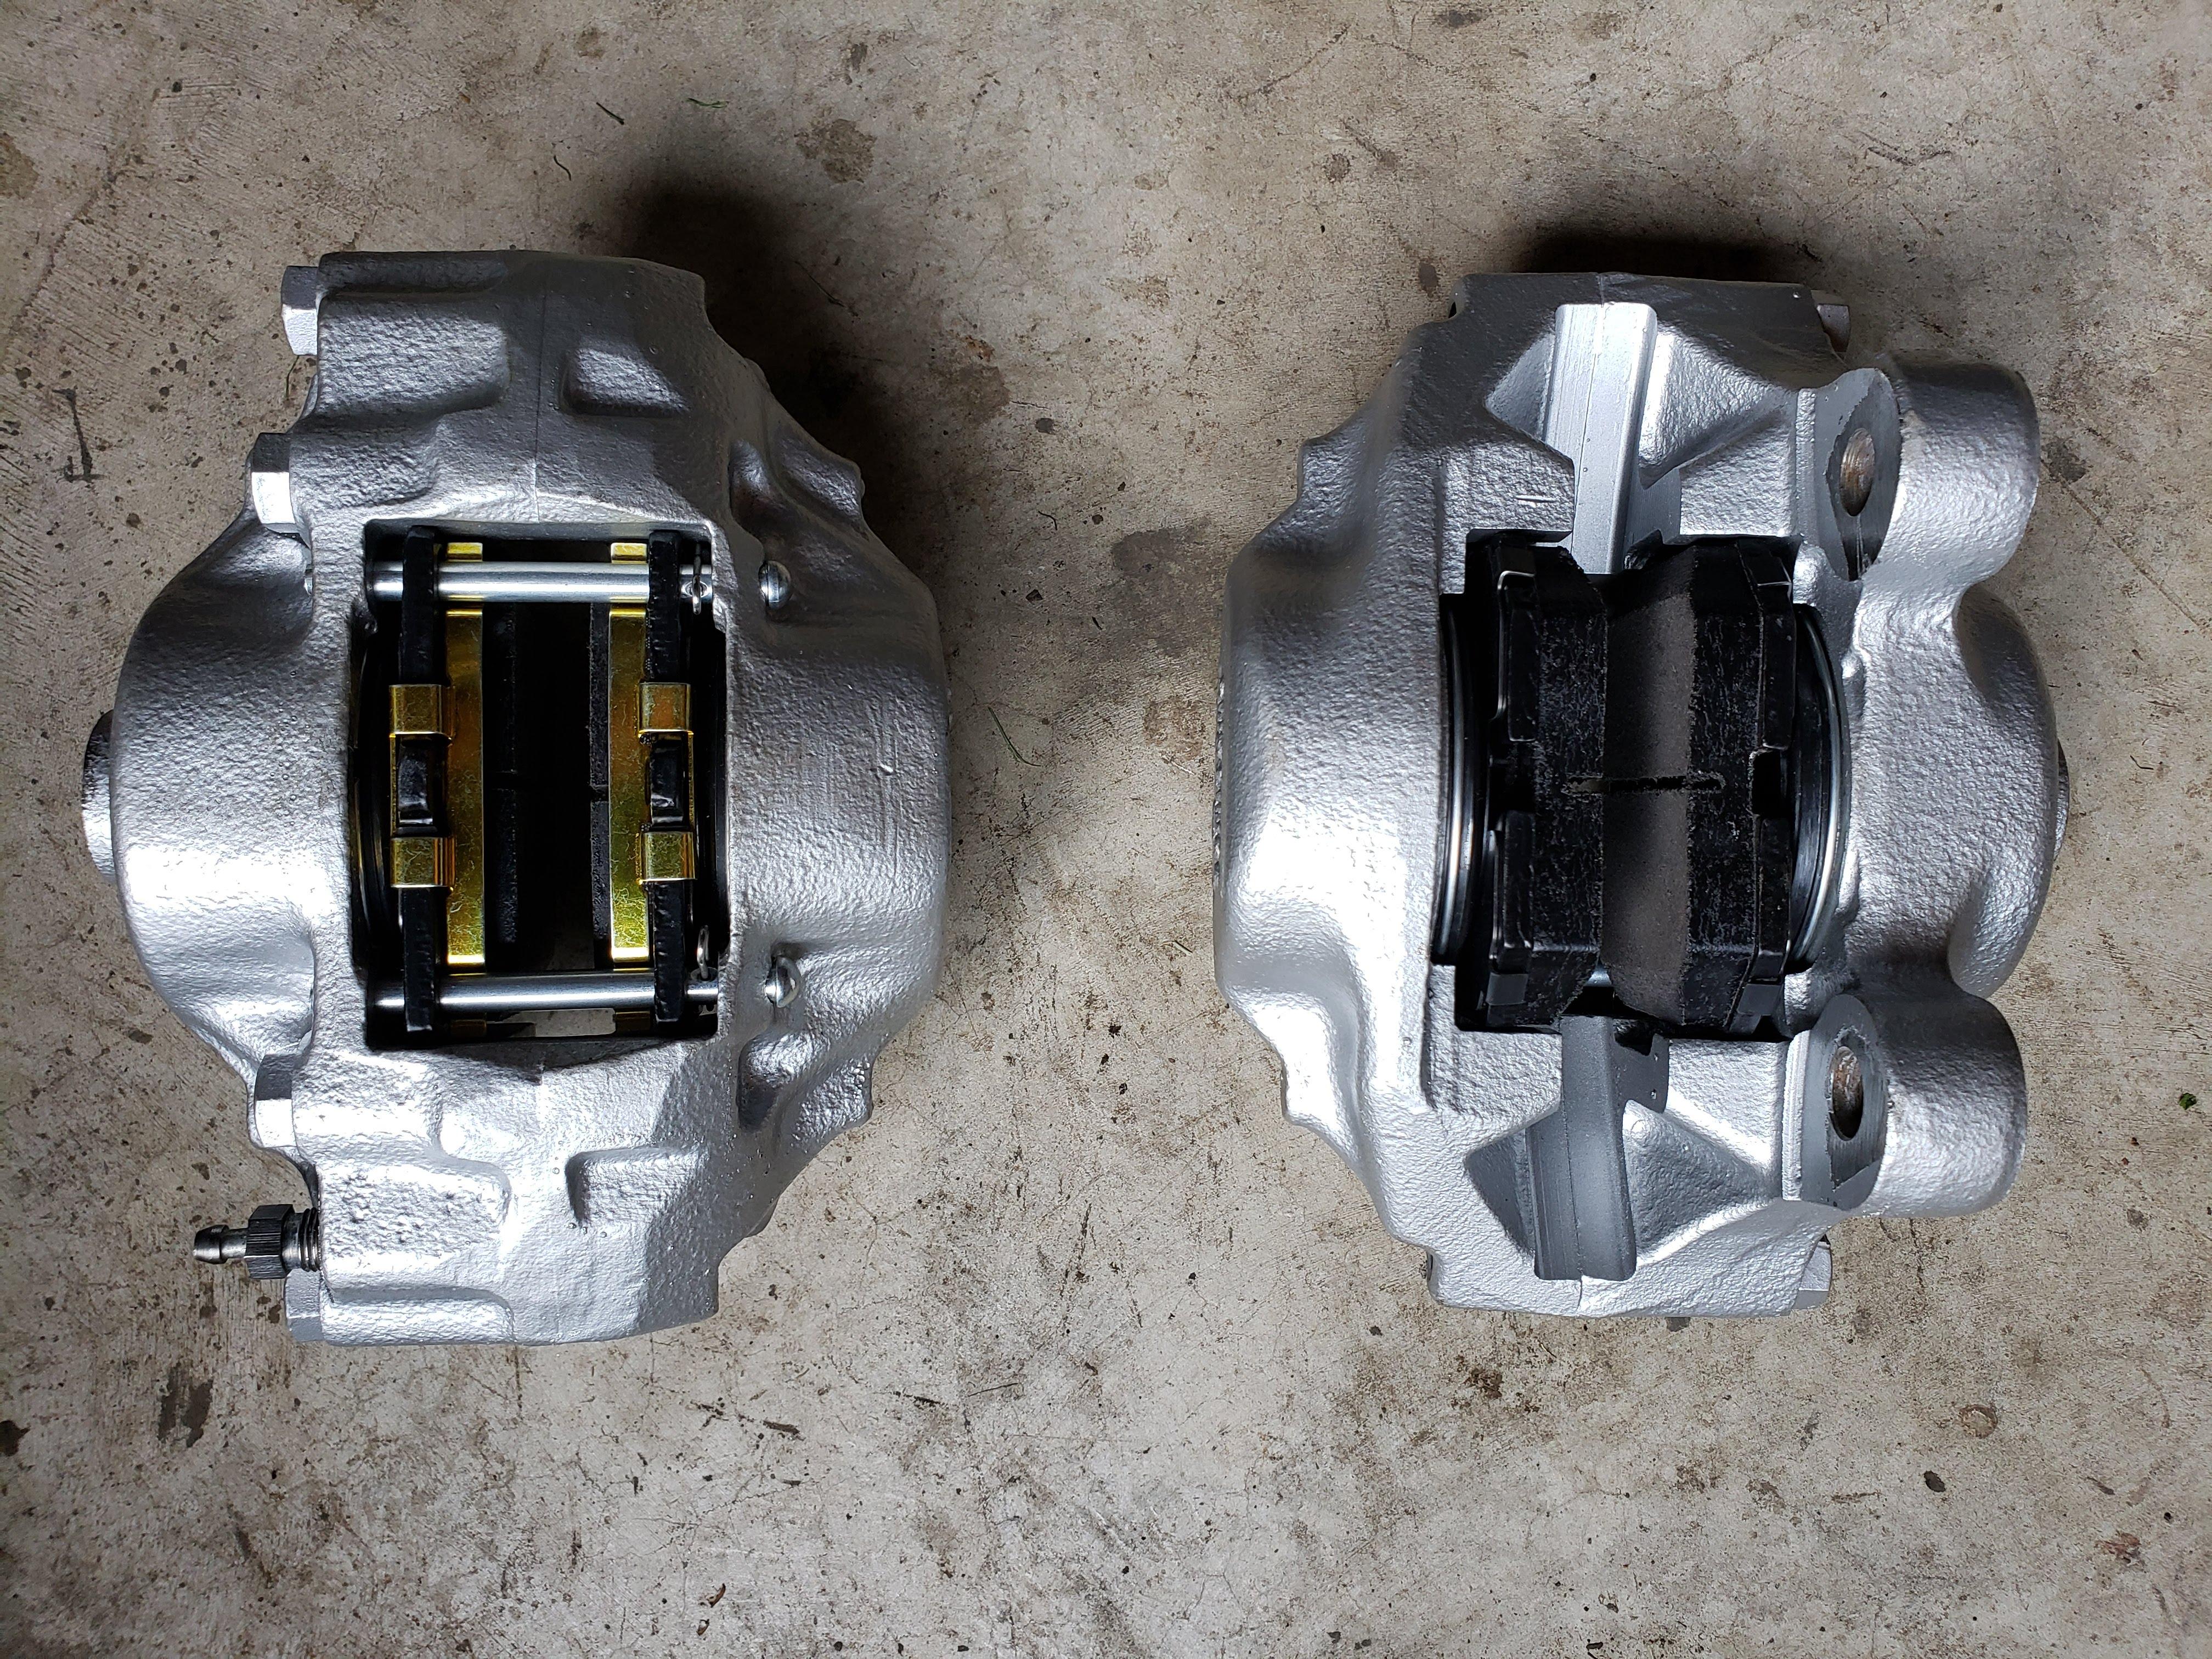
Makes some sense. The caliper from the other side was much more rusted, but I'd noticed that all the suspension parts from one side are in worse shape than the other. There was a very noticeable difference between the calipers, though, so I think this one was a replacement. Hopefully I'll never have to separate the two sides of it. Looks like someone once tried to do it and made a real mess of one of the bolts. All the parts I ordered from Rock Auto have now made it to the cross border shipping location, so hopefully I'll receive them next week and get on with this!
-
Before I wire-wheel away the evidence, anyone have any idea why the caliper from my 240Z has 260 and 280 written on it?


-
Yep, the bearings are cheap. I was hoping to avoid the removal and installation of the races, since it seems like one of the only steps I'm looking at that could end in disaster! Although popping the brake pistons out, even with a bike pump, was exciting. Good job I kept my fingers out of there!
-
Thanks, that's a good description of the process. I think I could come up with that set of "tools" for the job. I just bought lacquer thinner, so I'll give that a shot for cleaning things up. Any thoughts on the state of the bearing I included the video of? Seems like a lot of play, but I'm not sure what they're like new. The one from the other front wheel is exactly the same.
-
I've never replaced wheel bearings before. Is this a normal amount of play in the outside bearing? I suppose it's pressed against the race by the washer and end nut. It seems to be in perfect shape otherwise and the race is also perfectly smooth. I was hoping not to have to replace them, but while I have everything dismantled, I'll do it if it's necessary. Also, any tricks for cleaning all the old grease out of the hubs and bearings? De-greasing the hubs before painting them is a challenge! https://photos.app.goo.gl/Zr2rRRQCiDMLcCAY9 Sent from my SM-N960W using Tapatalk
-
I know you'll all be shocked to hear that saving money on the KYB's just cost me a small fortune in parts I wasn't there to buy ...I'll check that out. I might as well order the rears at the same time, even though I might not get to those for a while. Thanks!I wasn't very clear with my comment about the bolts. It was meant to be a sarcastic remark that the rust connection between the hubs and rotors was strong enough that the bolts holding them together seemed superfluous. I used a properly Canadian solution of a hockey puck under the inside end of the hub while pounding directly on the rotors with a hammer. My original problem was that I couldn't tell where the rotors ended and the hubs started. Once I found images of what they looked like individually, I was more confident taking @grannyknot's advice. I haven't tried to take the studs out yet, but will probably need to do that in order to clean the hubs up properly. Thanks for the suggestions on how to do that @Mark Maras and @Racer X Back to my wire-wheeling and part cleanup ...Don't know why they bother with bolts.
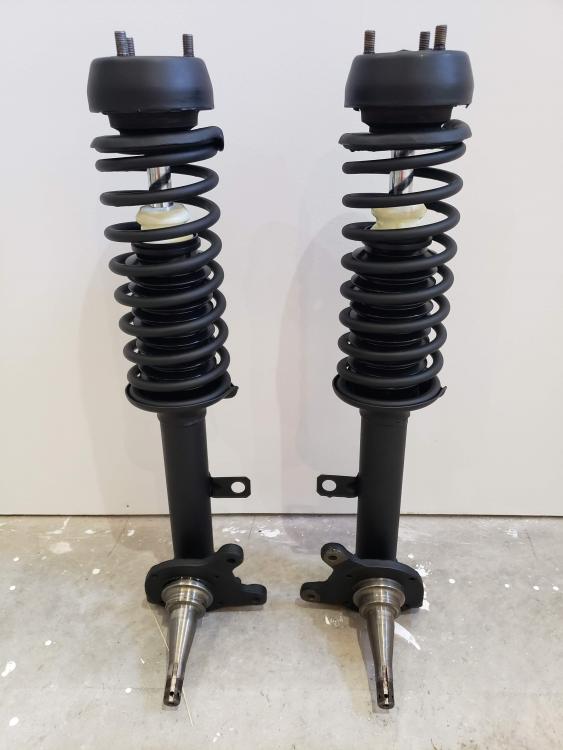
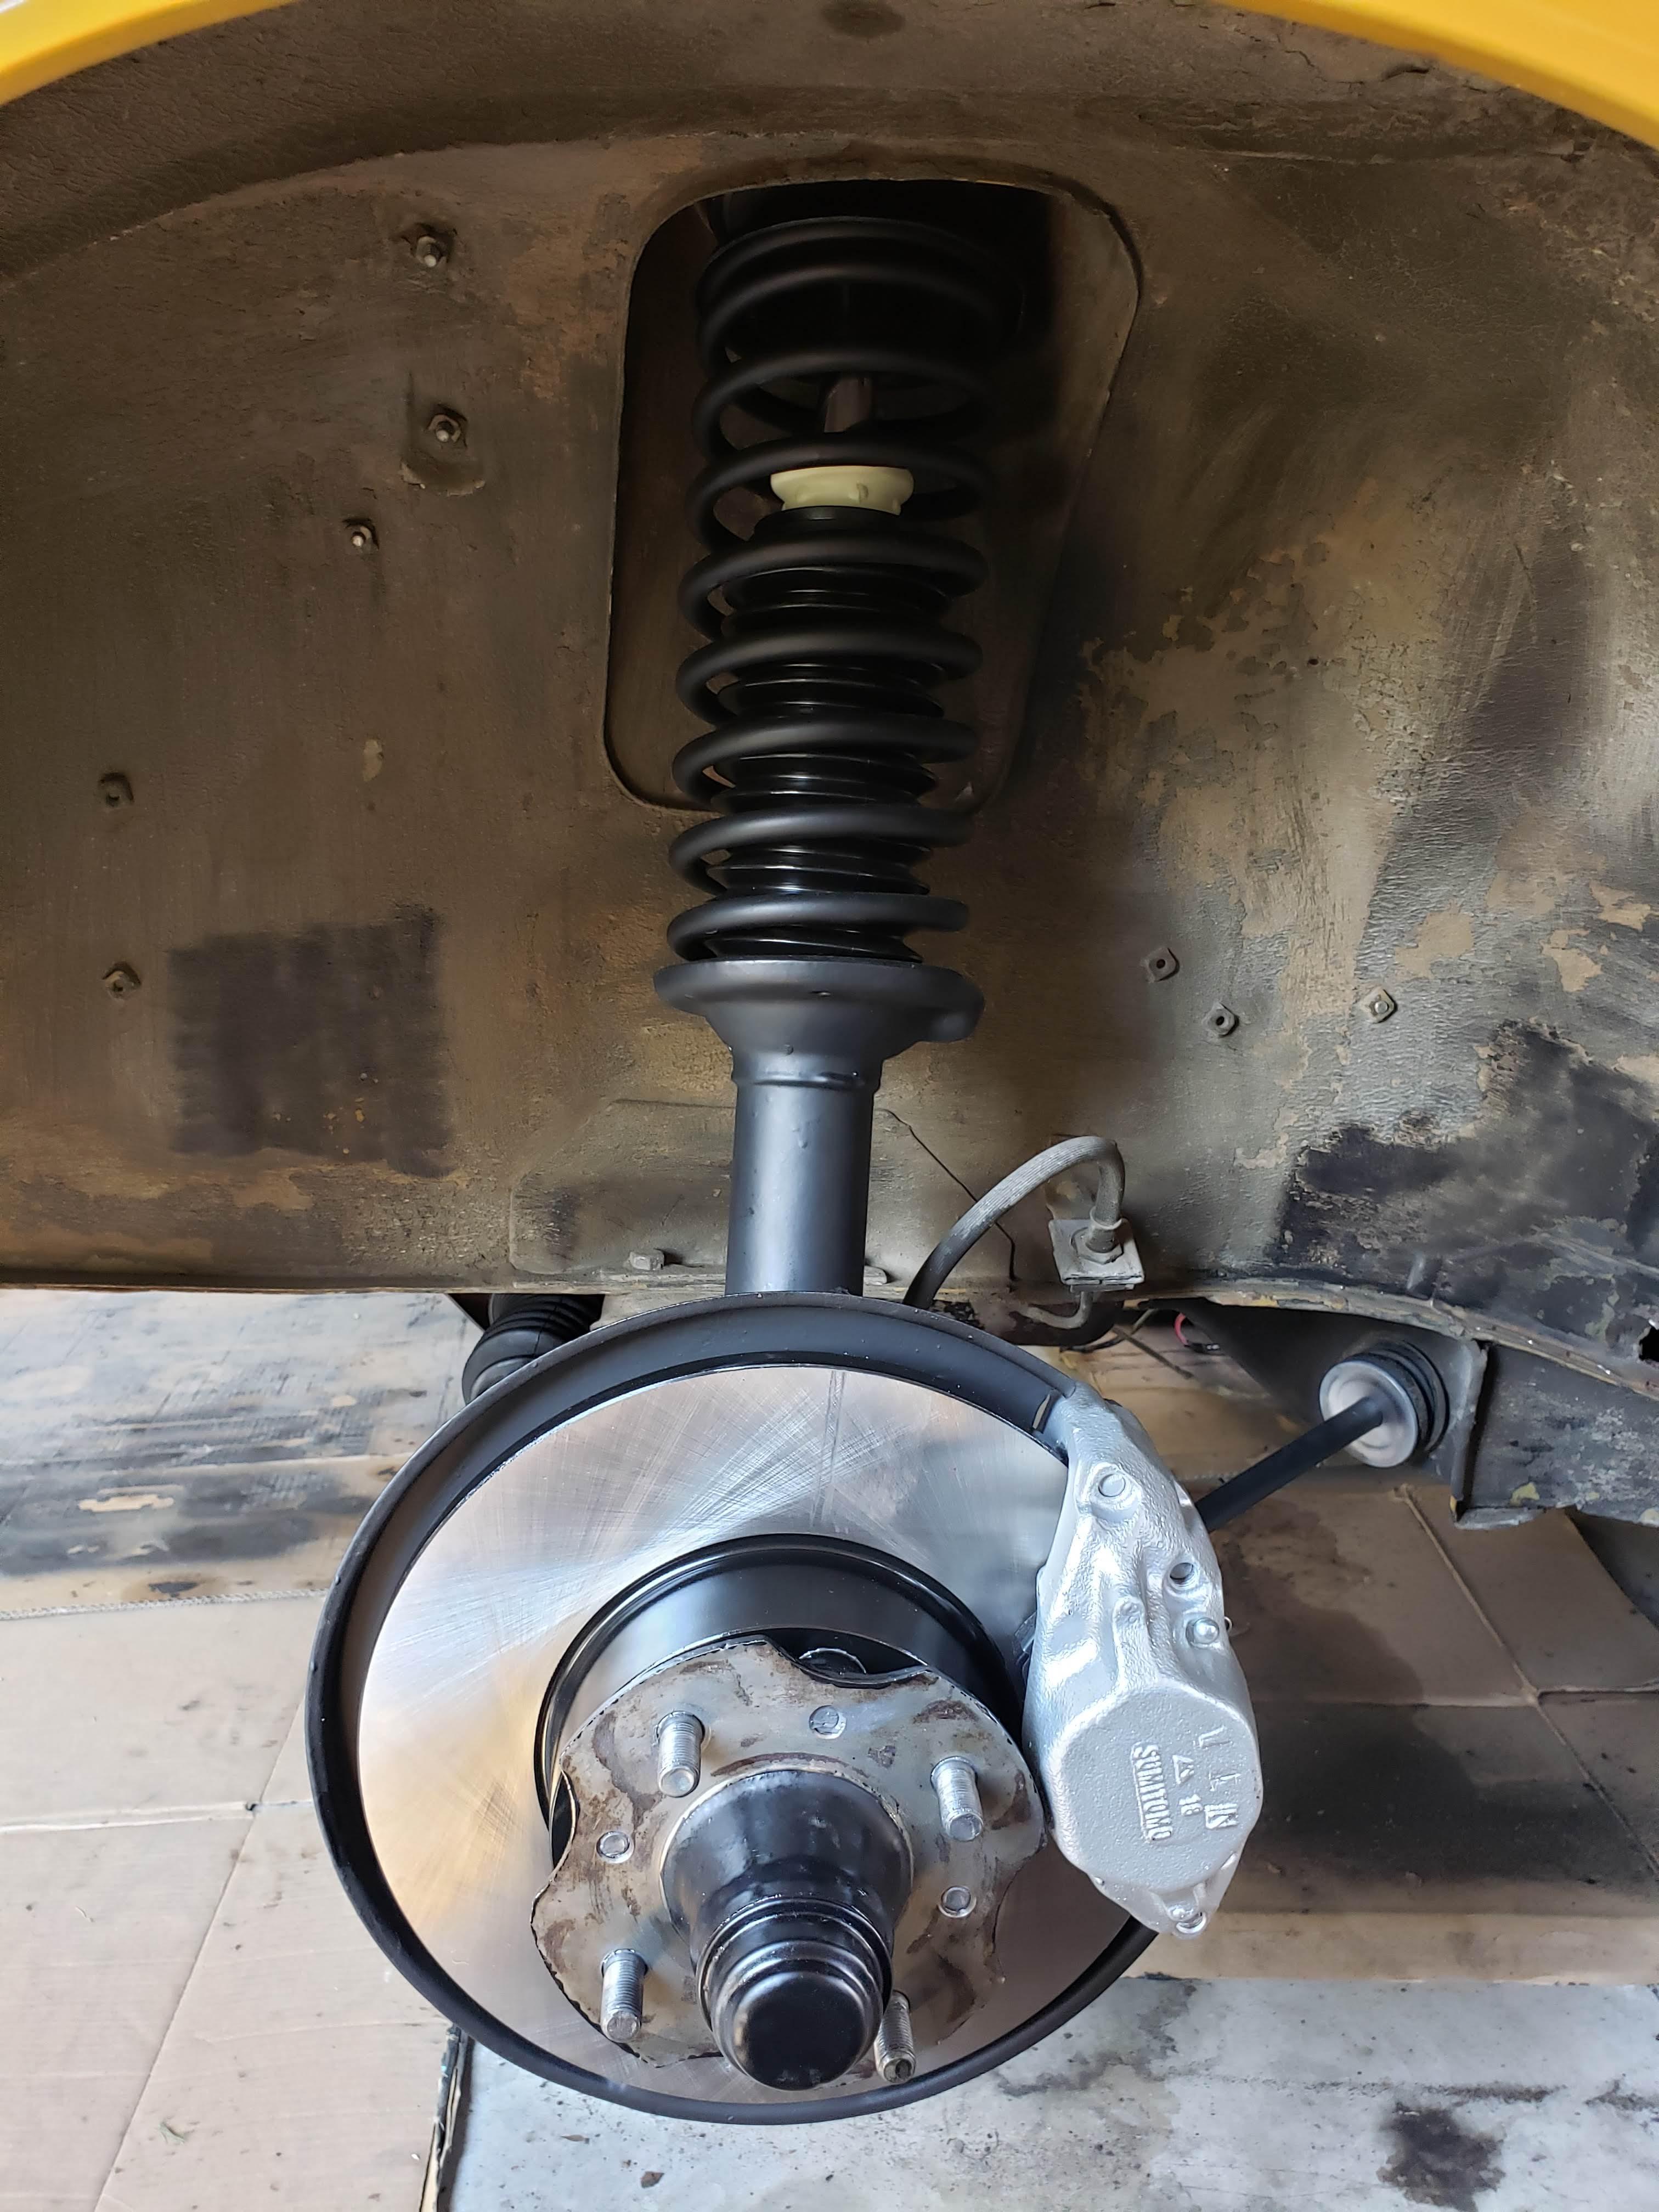
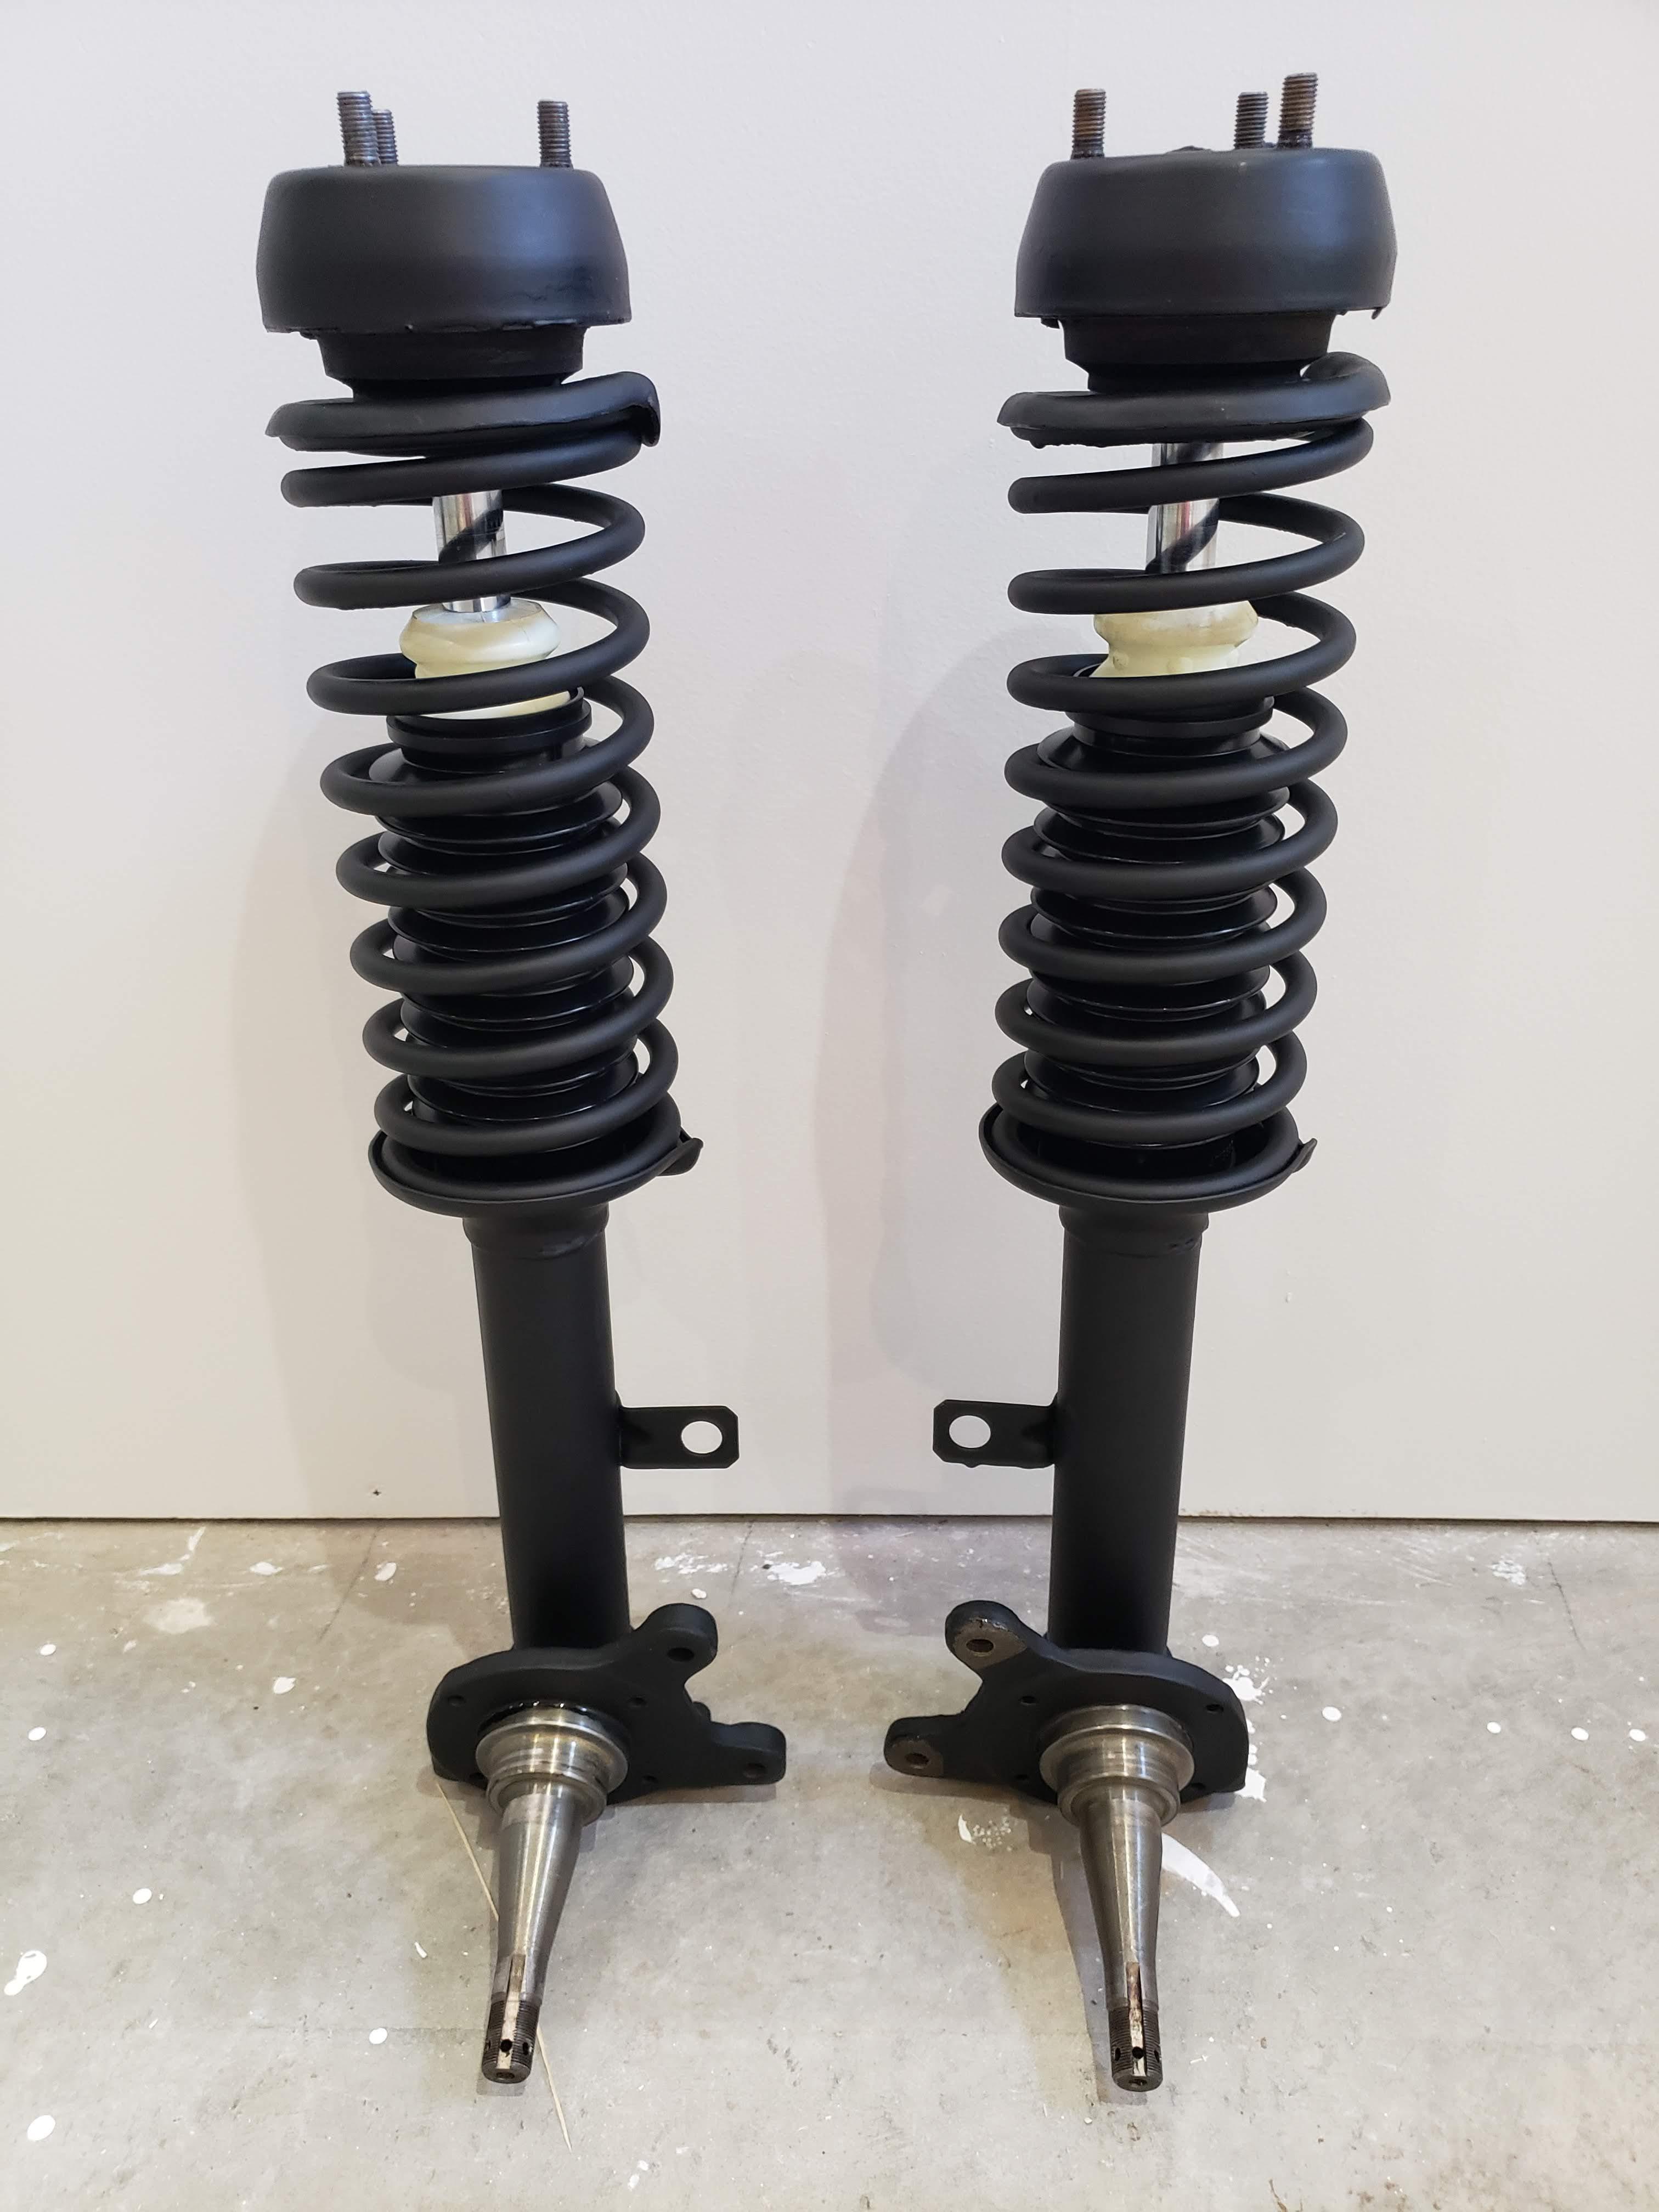
 Thanks guys! Hopefully at some point tomorrow morning I'll be able to announce successful separation of hubs and rotors. After that I have a lot of wire-wheeling to do. And I have to order replacement shocks. I think I'm just going to go with the KYB's. I was thinking about the "new" adjustable Koni's, but I'm never going near a track, and always found the car's ride plenty hard. I'm assuming the softest adjustment level of the Koni's is roughly the level of the KYB's. Any thoughts on that?OK, great, that's the sort of coating I was thinking I would do. The entire underside of the car was sprayed with some sort of thick protective undercoating (which seems to have been effective), but it's a giant mess on the suspension components. The bolts holding the rotors and hubs together came off nicely using a 1/2" breaker bar after many applications of WD40 Rust Penetrant. The Milwaukee air impact gun seems like it might be good to have around, though. The hub/rotor assemblies are coated in surface rust, though, and I can't tell where they're actually supposed to separate. "Gentle" coaxing hasn't pulled them apart yet and I'd like to understand where to apply pressure without doing any damage. Can I just leave the four bolts loosely screwed in and tap on those, or ...?As part of what will probably be a multi-year effort to get my 04/71 240Z back on the road, I'm cleaning up the front suspension. I've removed the struts from both sides and got a little help from a local garage to remove the springs. Since the attached picture was taken, I've removed the gland nuts and old cartridges (they were the Made in Venezuela type that I've seen mentioned in this forum). The combination of crowbar and 24" pipe wrench can be quite persuasive. I'm going to replace the cartridges, but while I'm waiting for those, I'll clean everything up and would like to paint/coat things before re-assembling. Last summer I cleaned up the gas tank and POR-ed it inside and out (two different treatments, of course). While I was at it, I did the front stabilizer bar, which I'd already removed. Any thoughts on what type of treatment to give the strut casings, backing plates, hubs (business parts excluded) and even springs? I don't have paint spraying tools, so brush or rattle can solutions are what I'm looking at. Should I be concerned about having paint in the middle of the connection points between the struts and calipers, etc.? One separate question. Is there a trick to separating the rotors from the hubs? I've removed the bolts, but haven't wanted to pound on anything to separate them.





Important Information
By using this site, you agree to our Privacy Policy and Guidelines. We have placed cookies on your device to help make this website better. You can adjust your cookie settings, otherwise we'll assume you're okay to continue.