


240ZBUILTBYME
Free Member
-
Joined
-
Last visited
Everything posted by 240ZBUILTBYME
-
 Yep, the kit has a sprung drill bit in the center, I center punched then drilled a pilot hole with the sprung drill bit, once it was deep enough I put enough pressure to contact the actual cutter, still walked around. I just found the standard drill but type didn’t walk and then you don’t have to grind down any little circles after either. Just my experience with it.
 -
-
I need to have another look and do more measurements but you’re probably right re the hammer. The rear sub frame looks in good shape though, have to try and work out where the 3-4mm went. you know I’ve always thought that a die grinder would work well but I’ve never seen anyone use them online. It’s on my list of tools to buy and methods to try
-
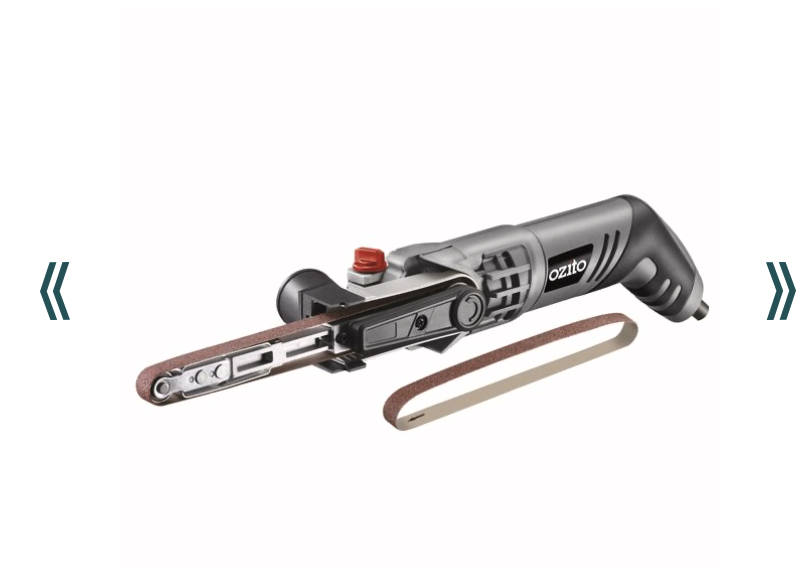
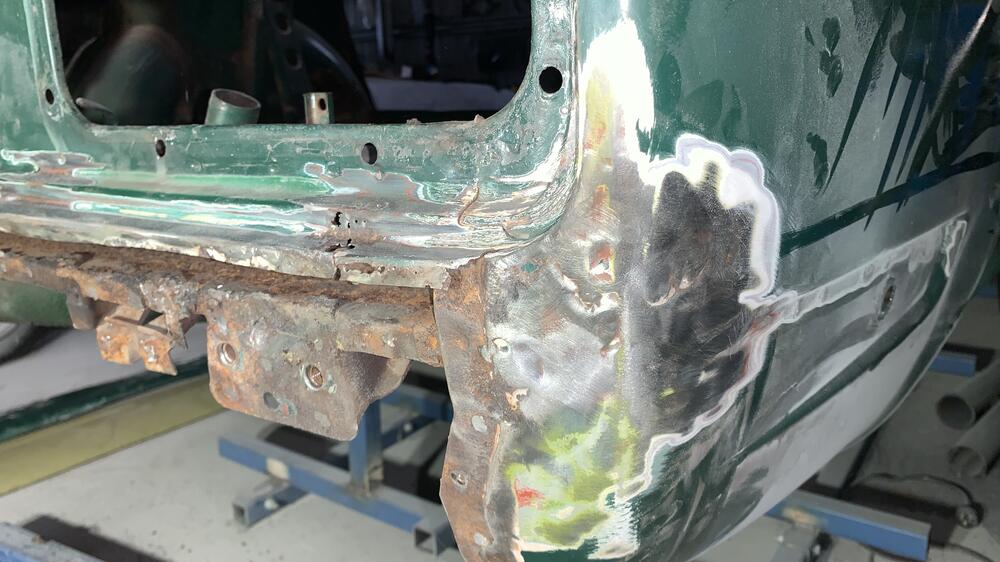
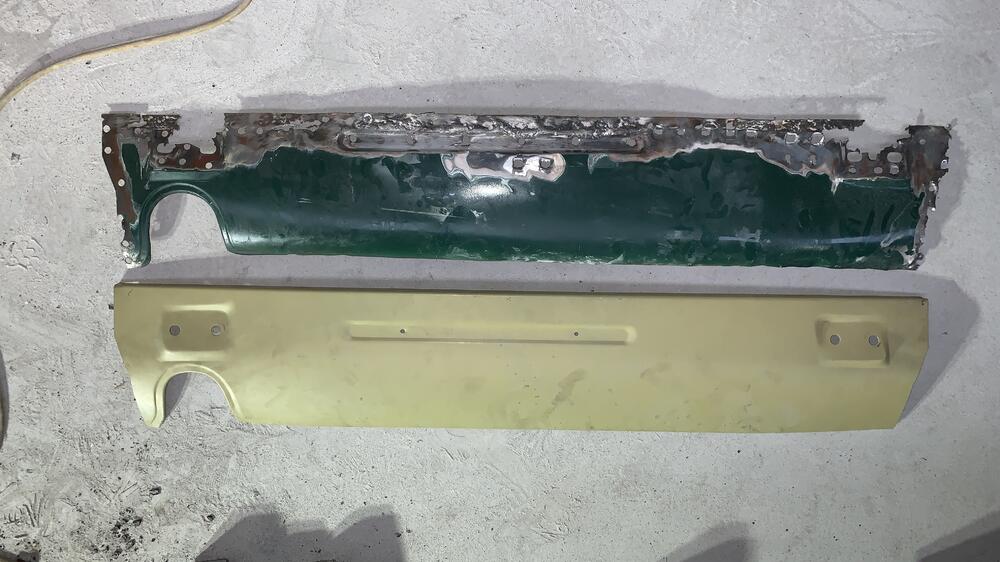
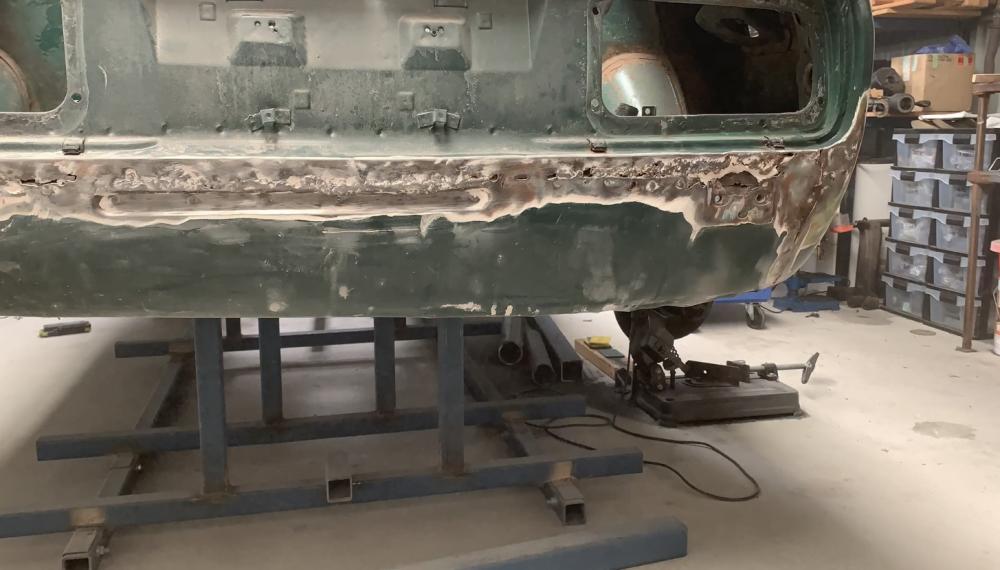
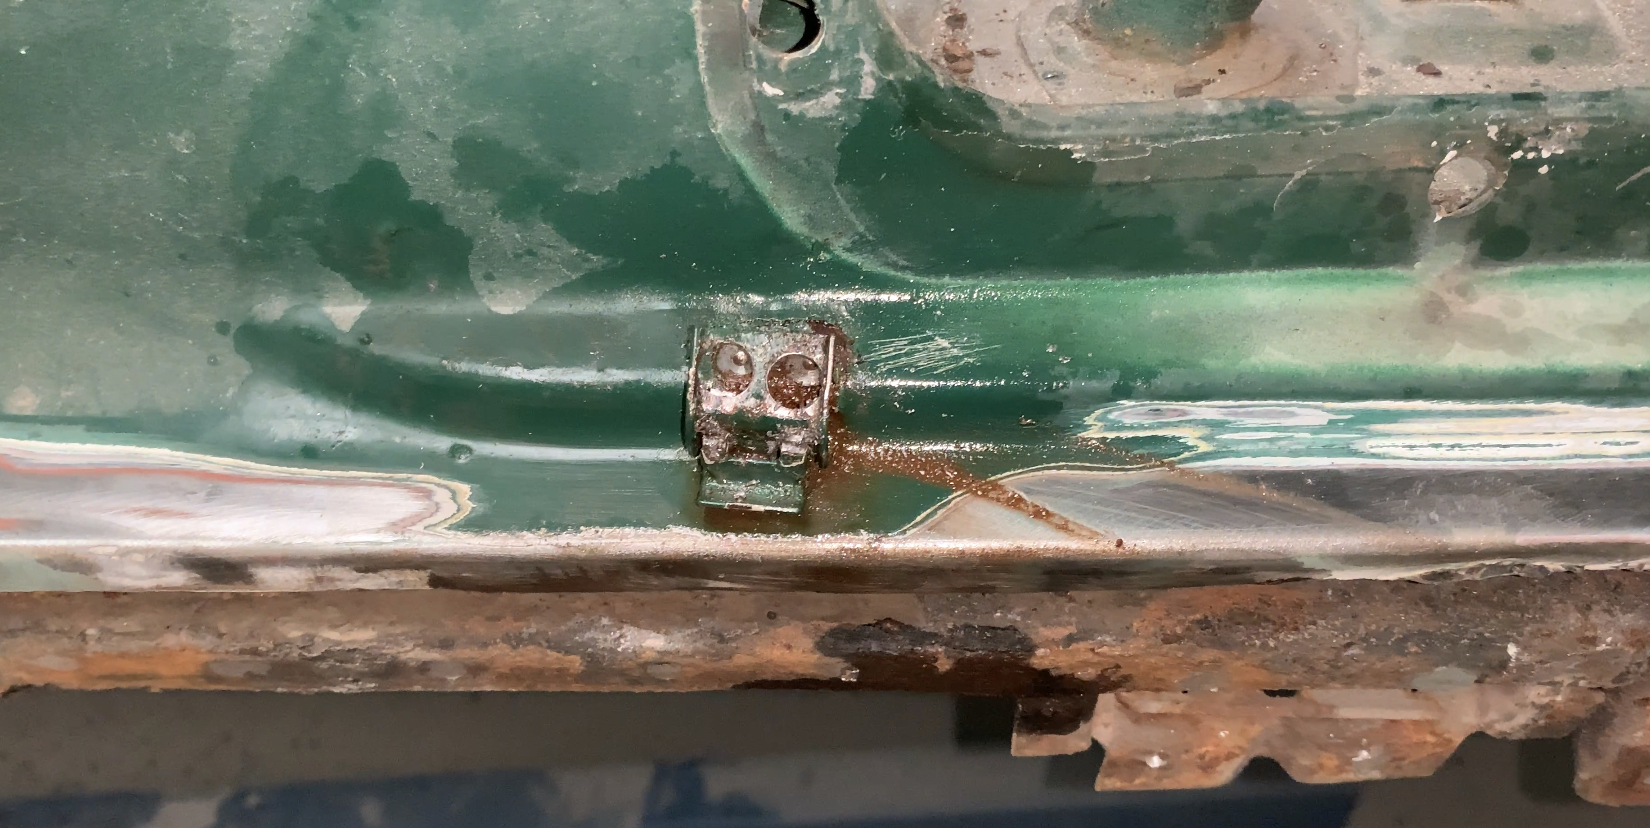
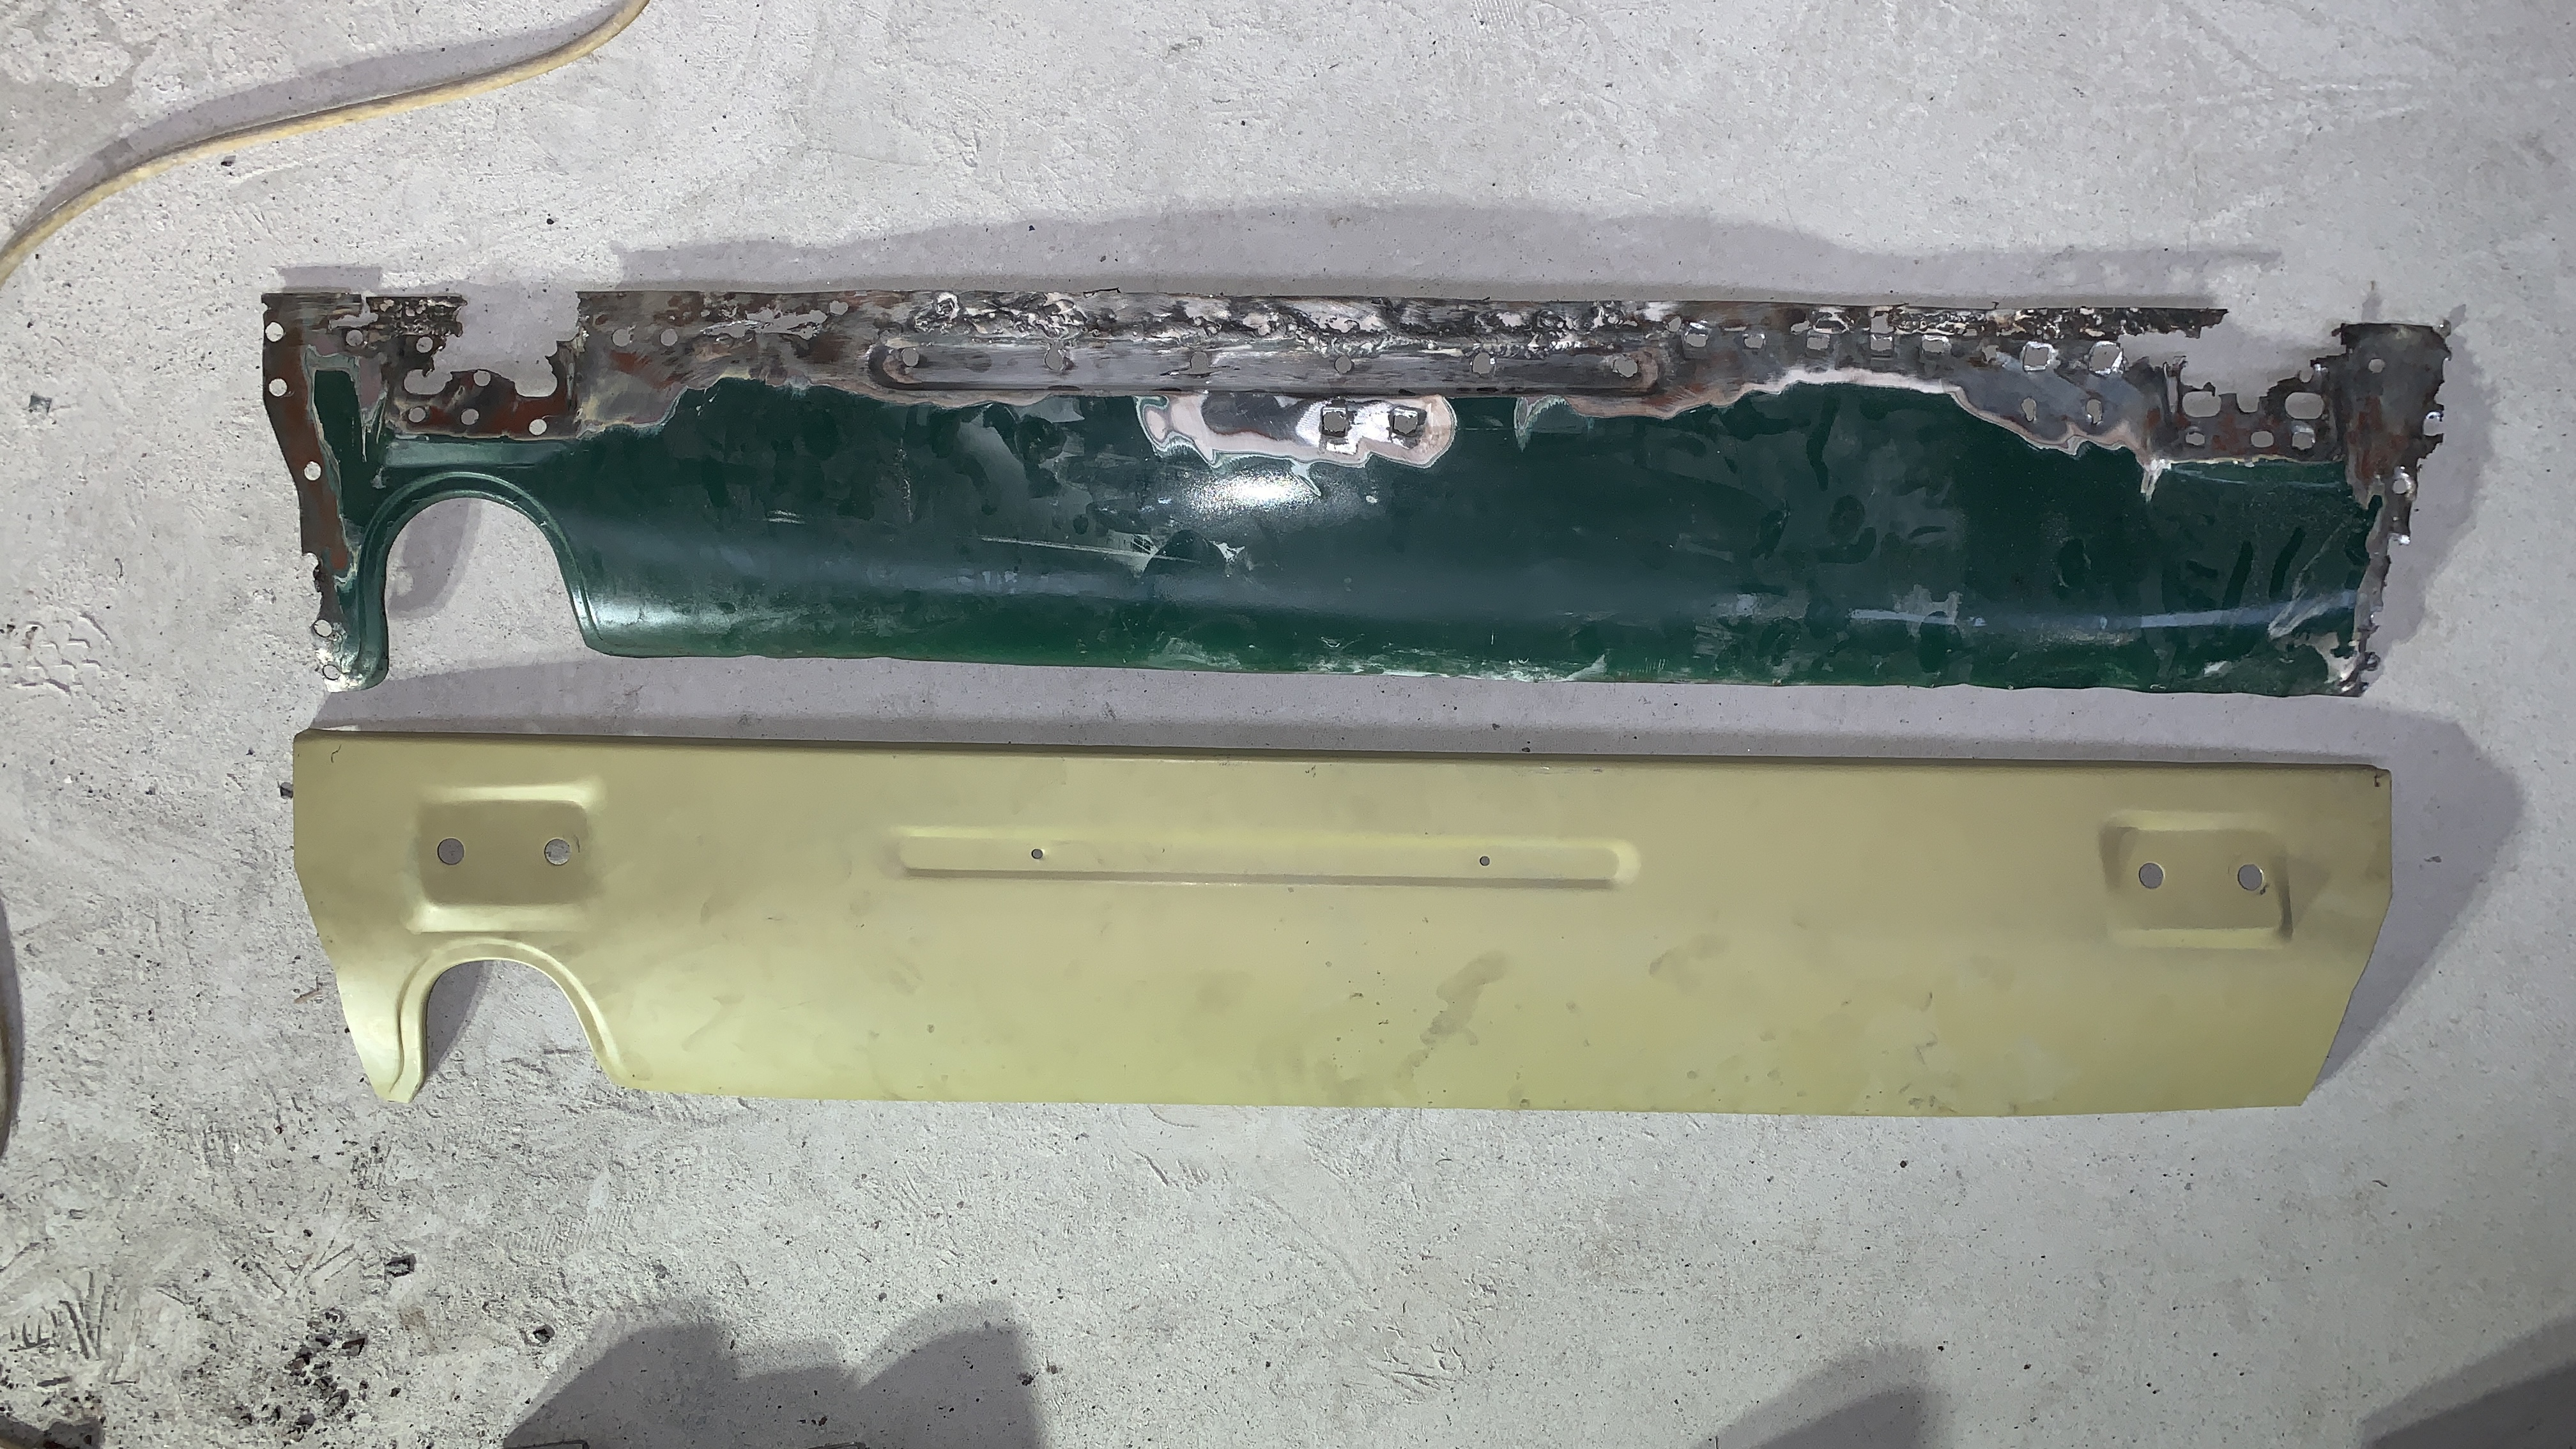
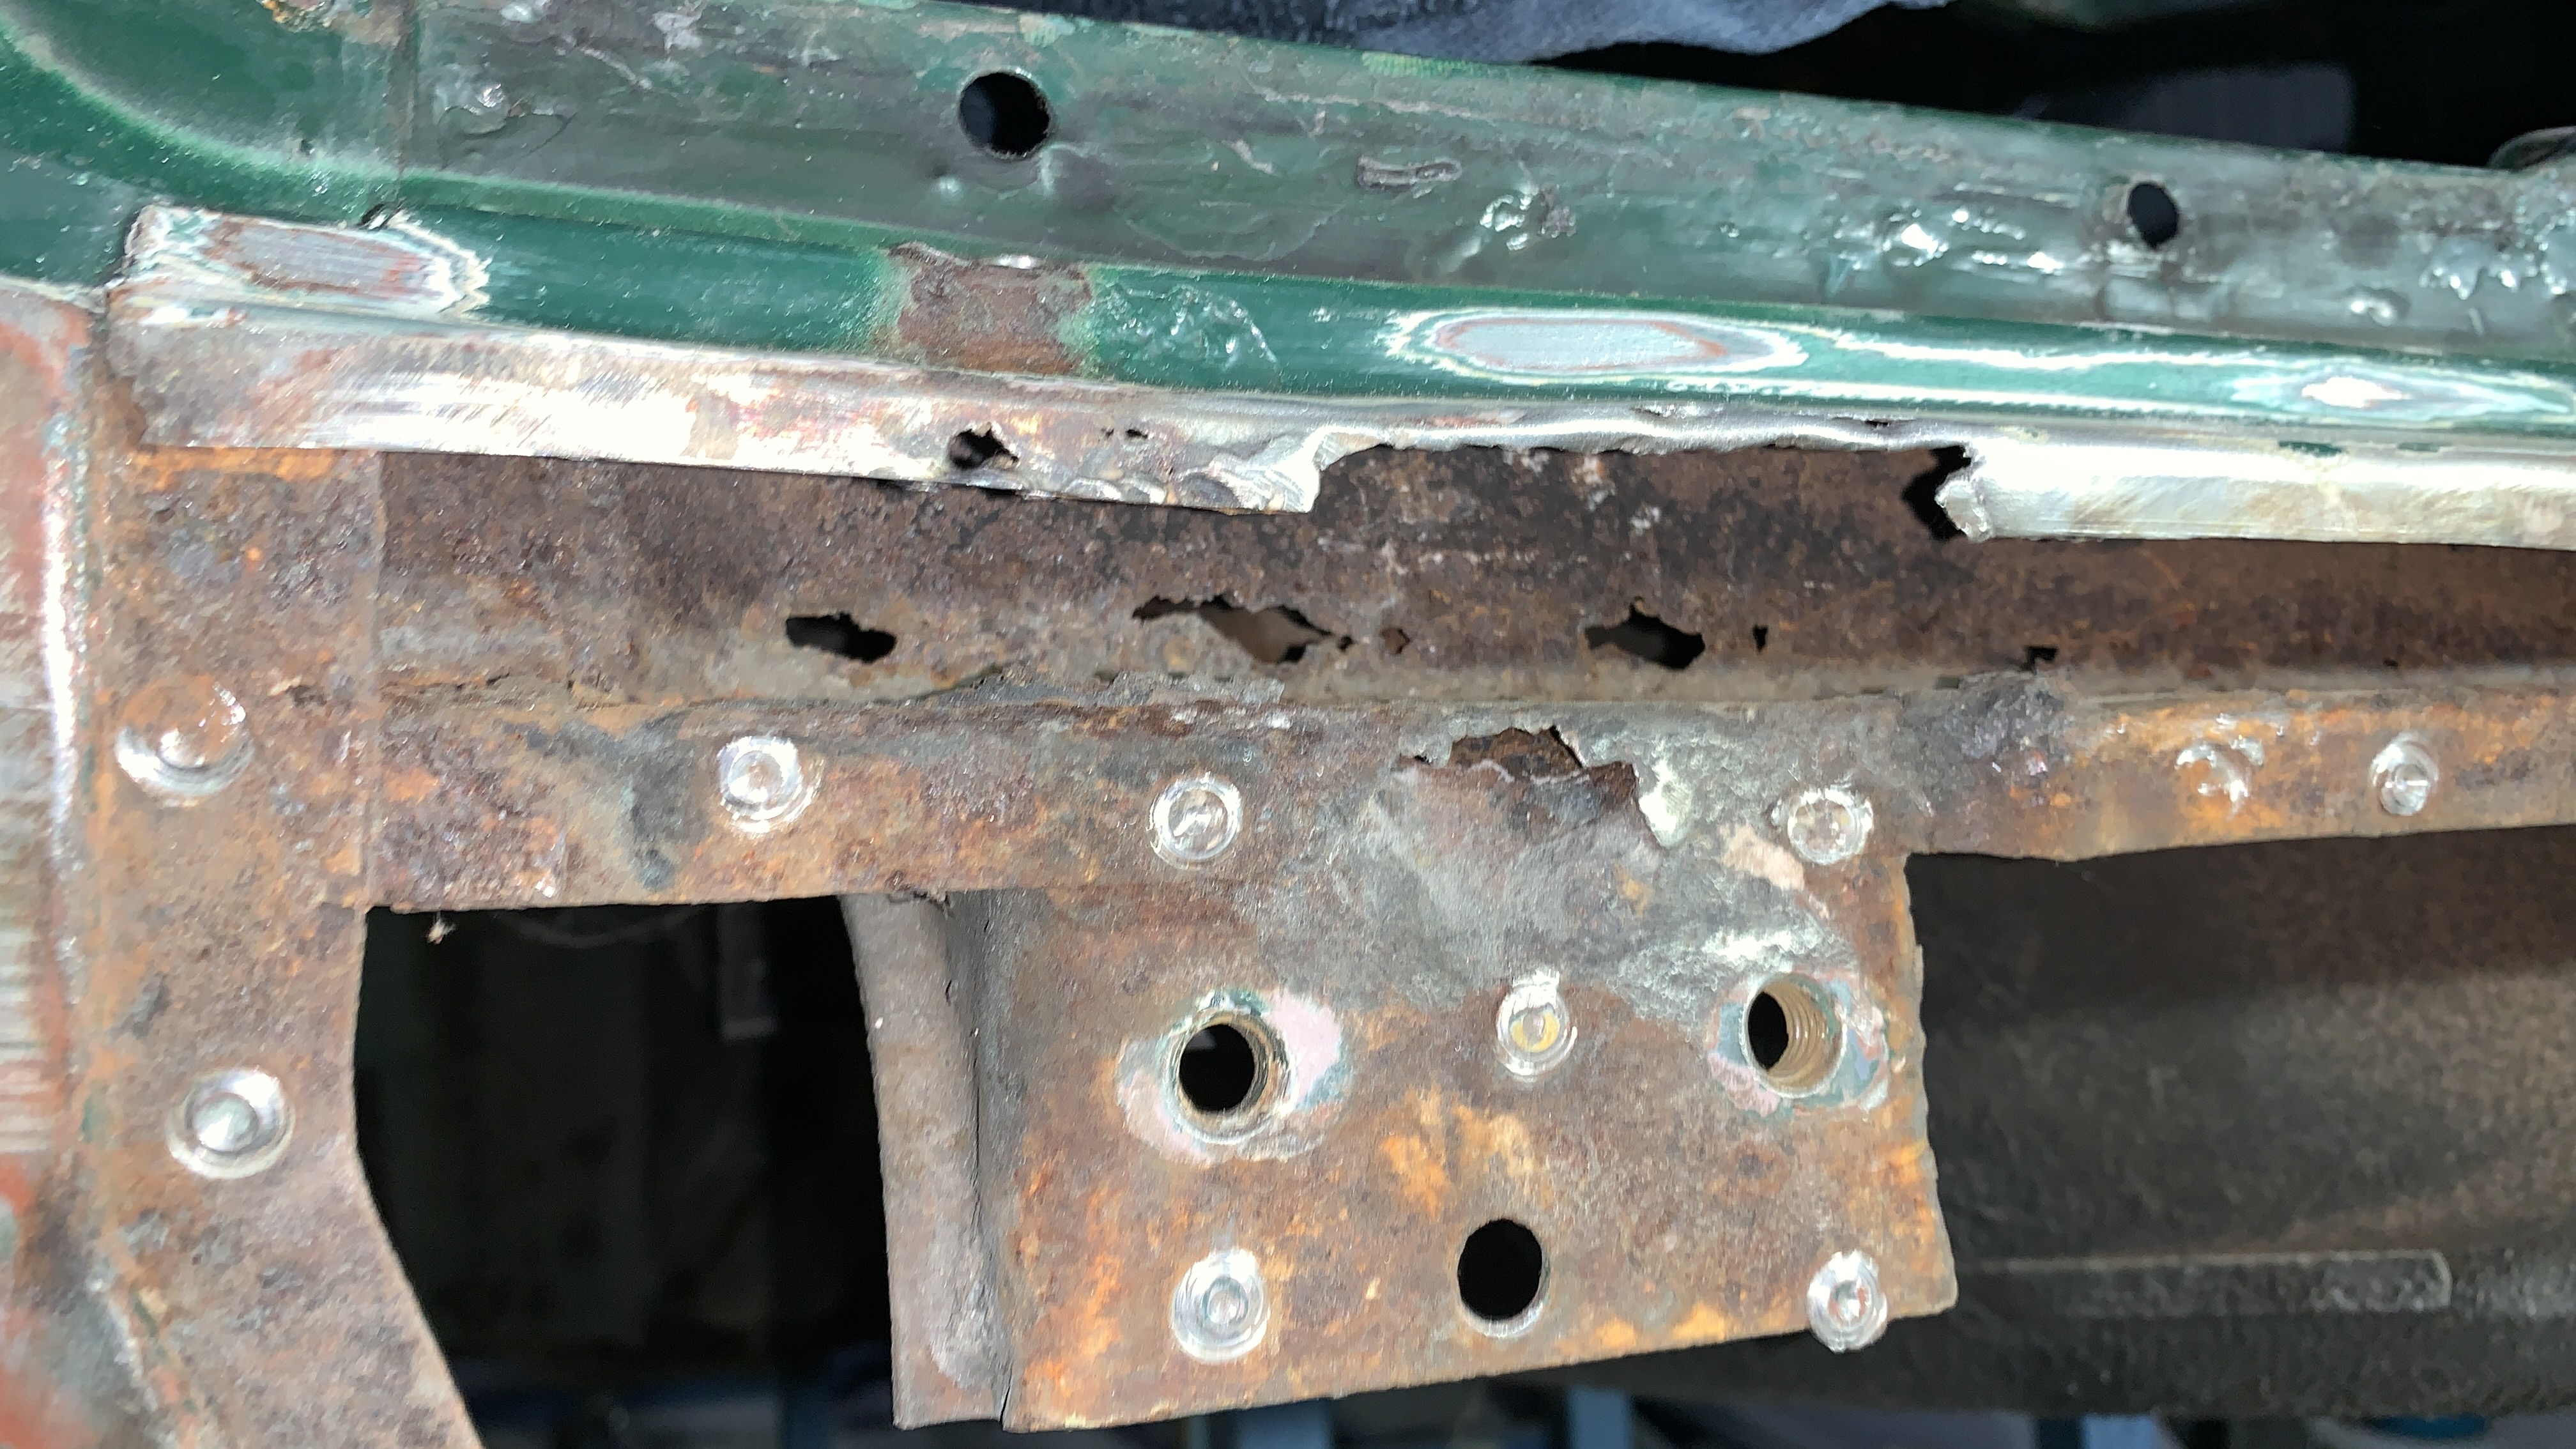
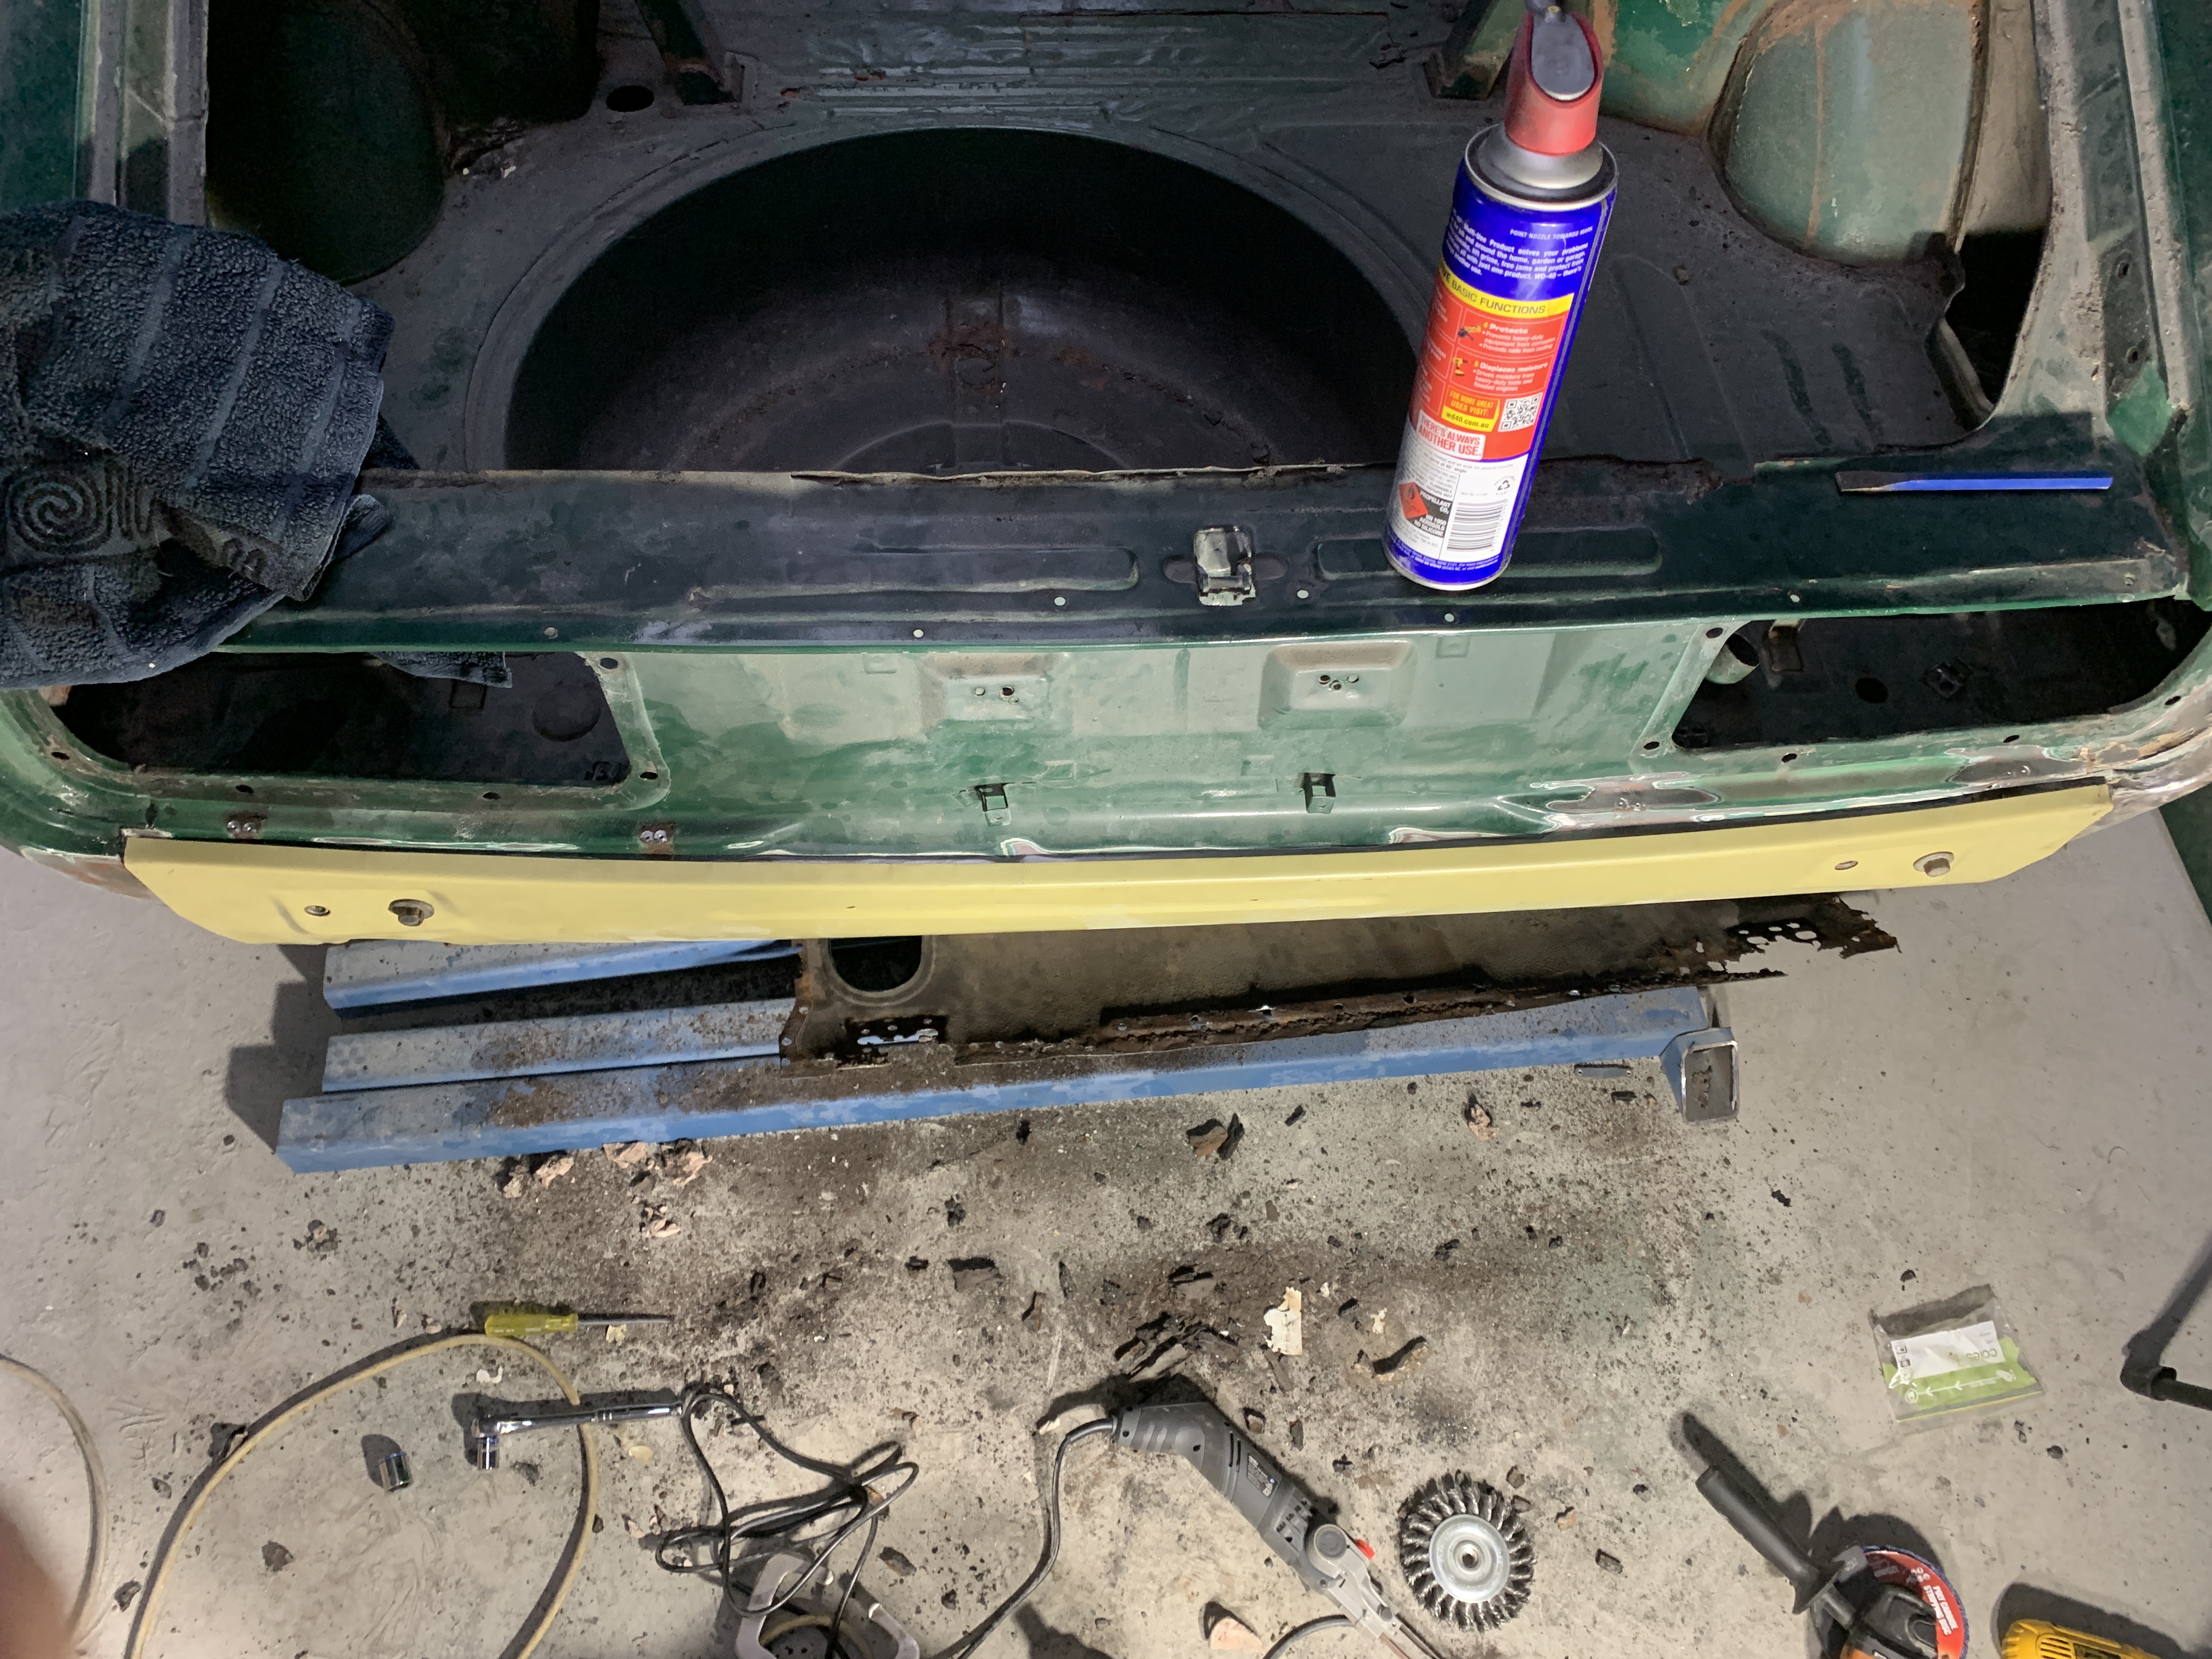
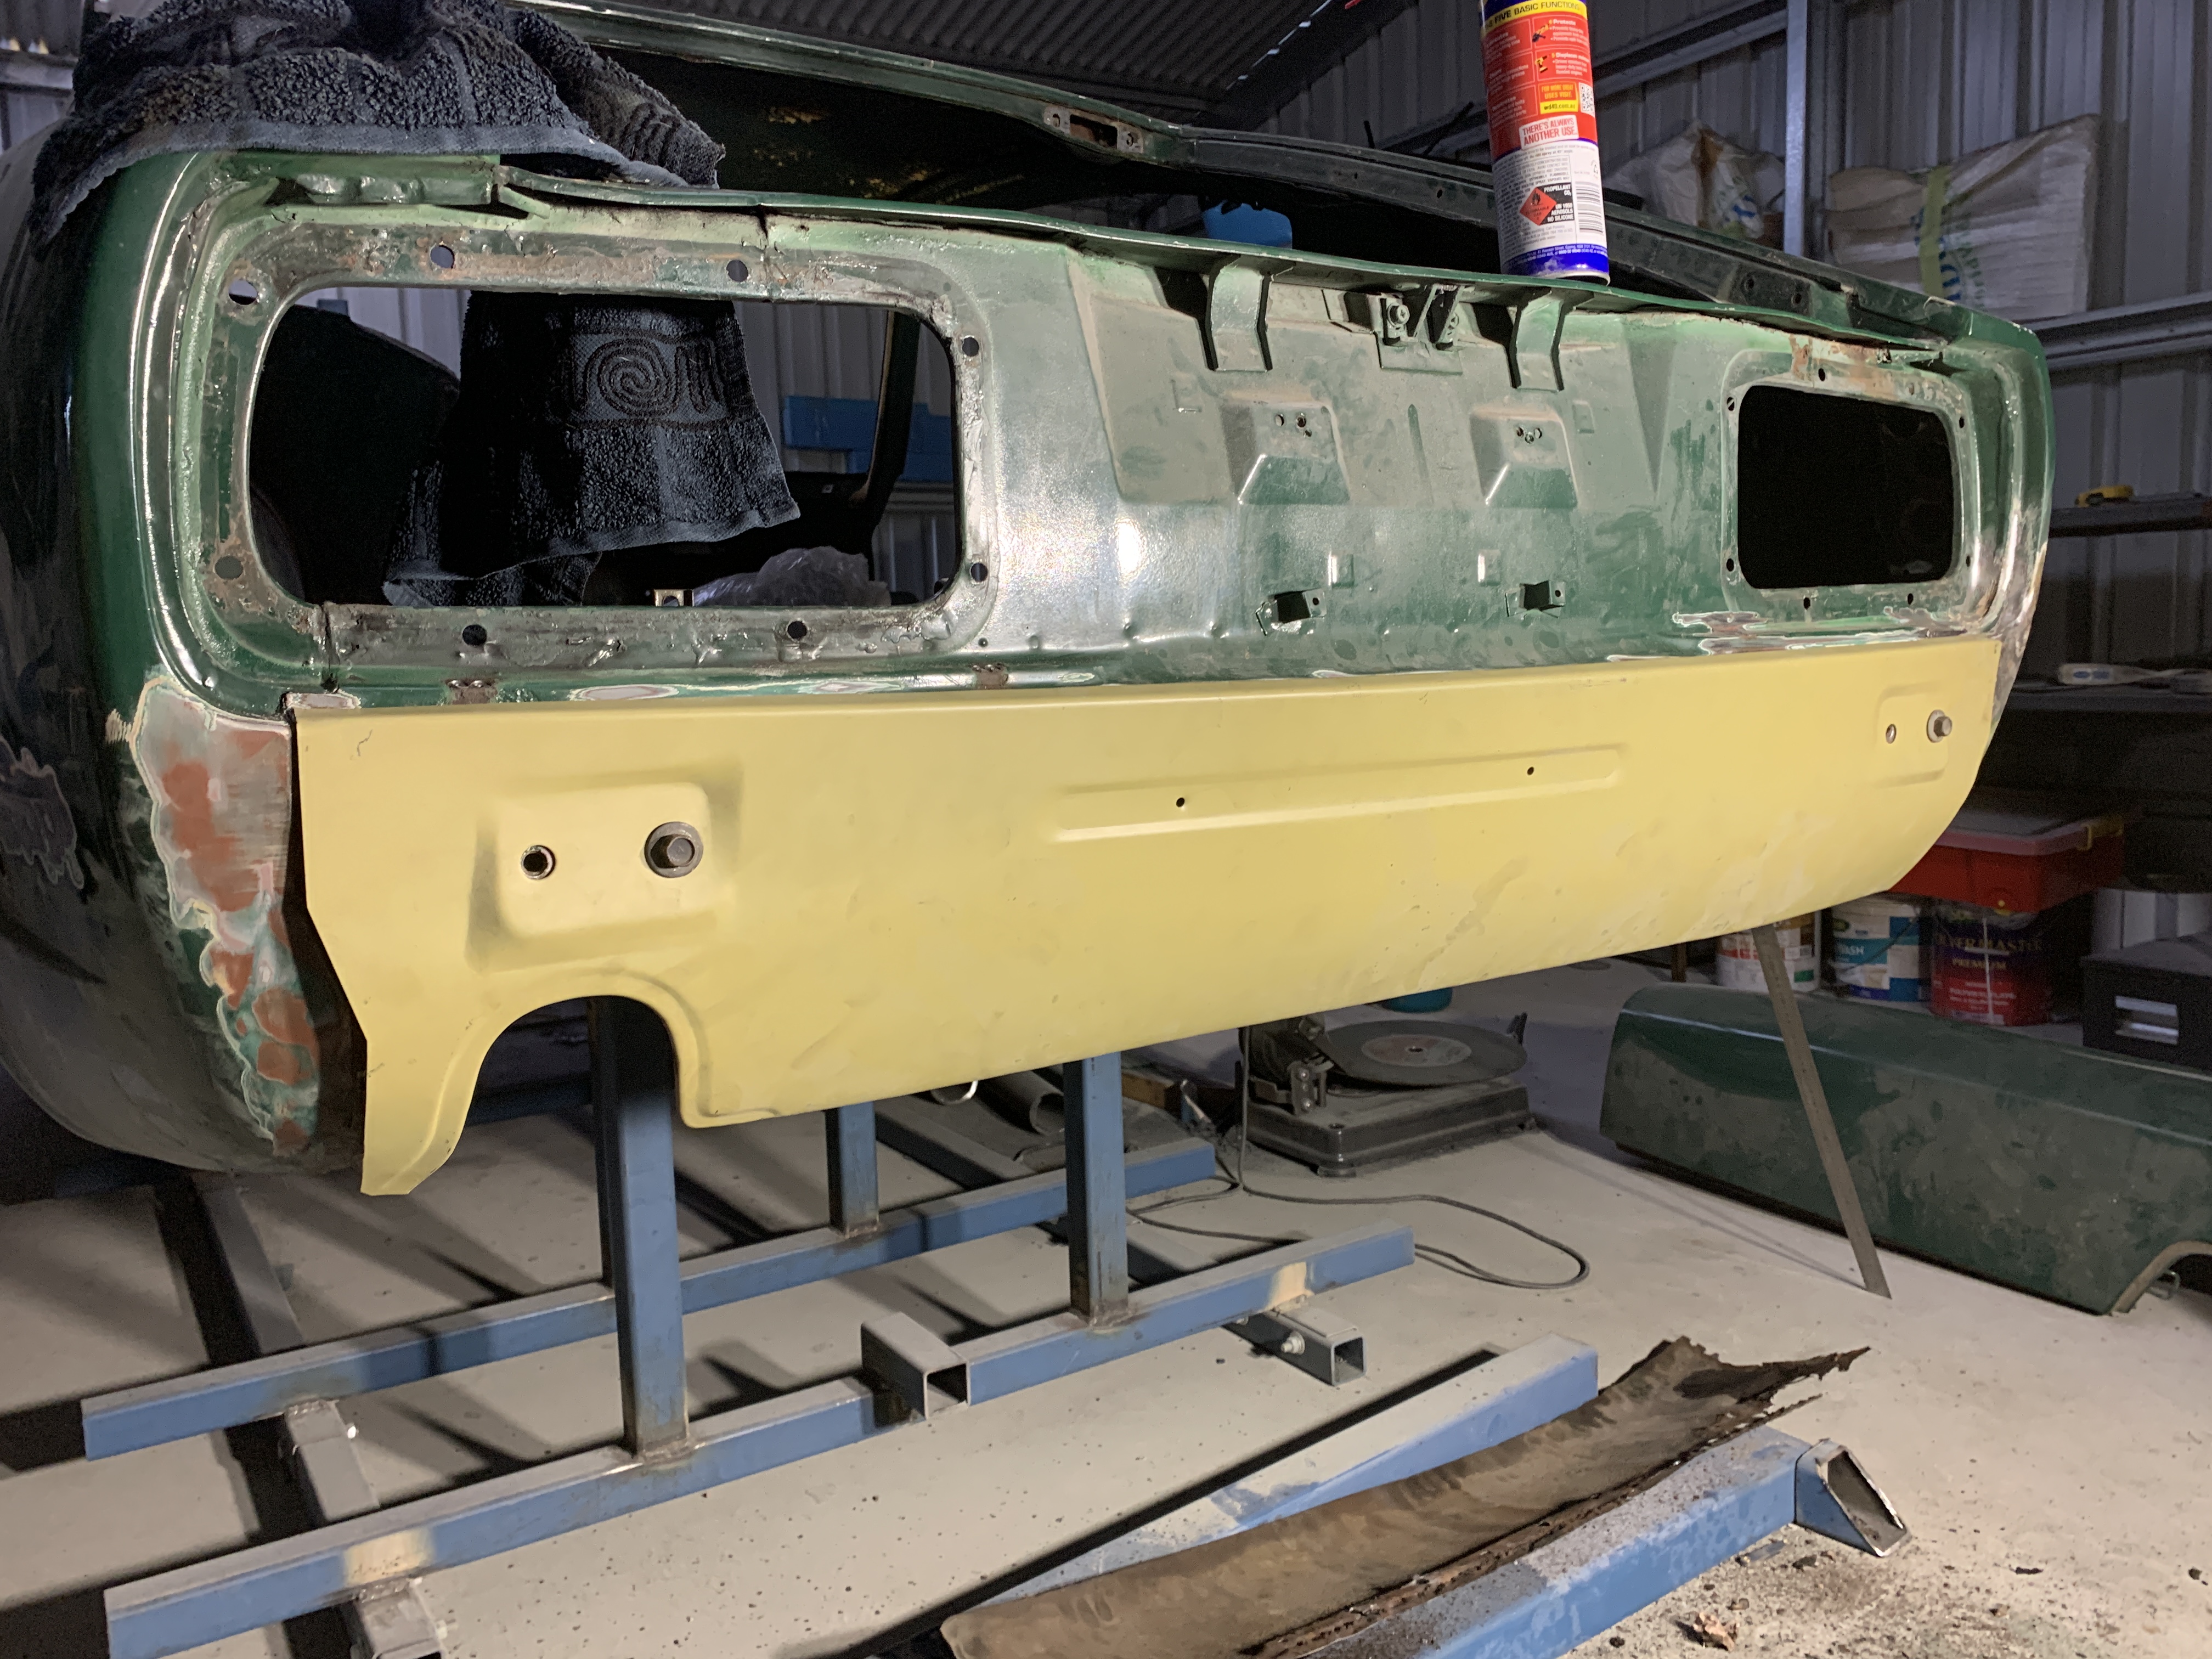
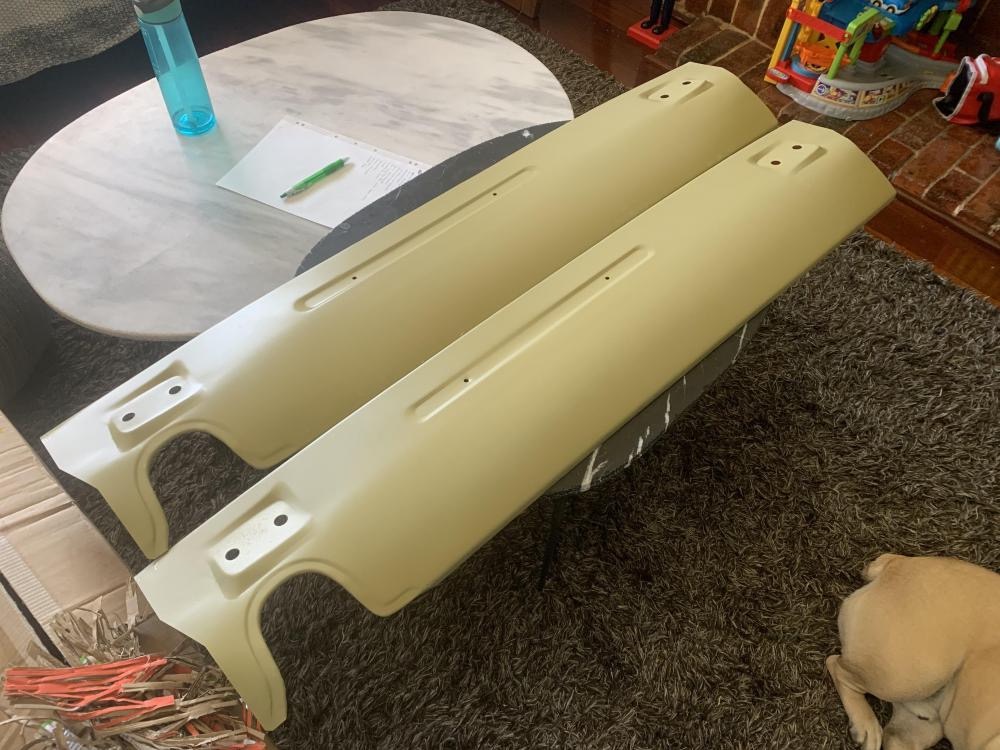
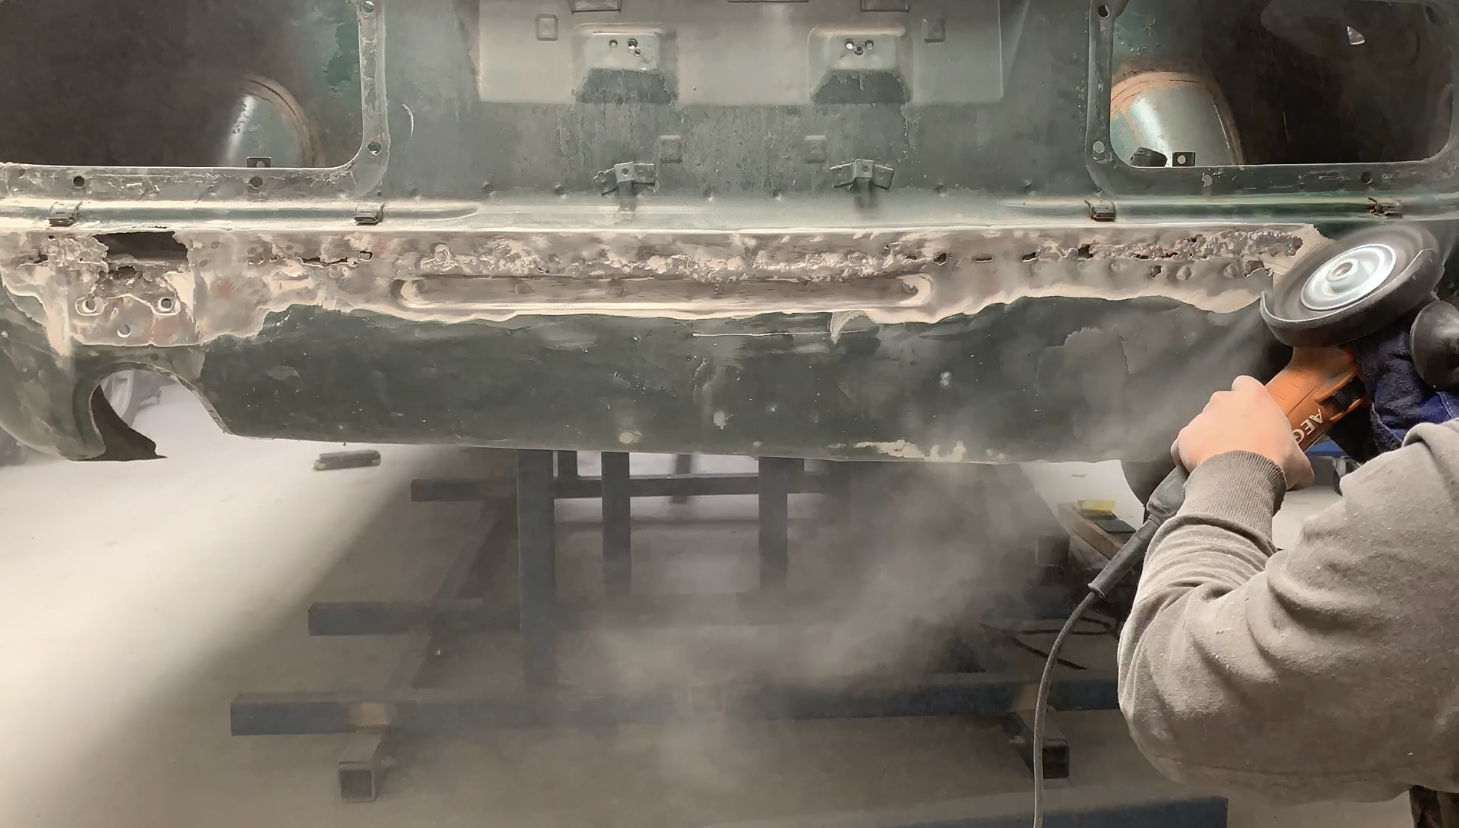
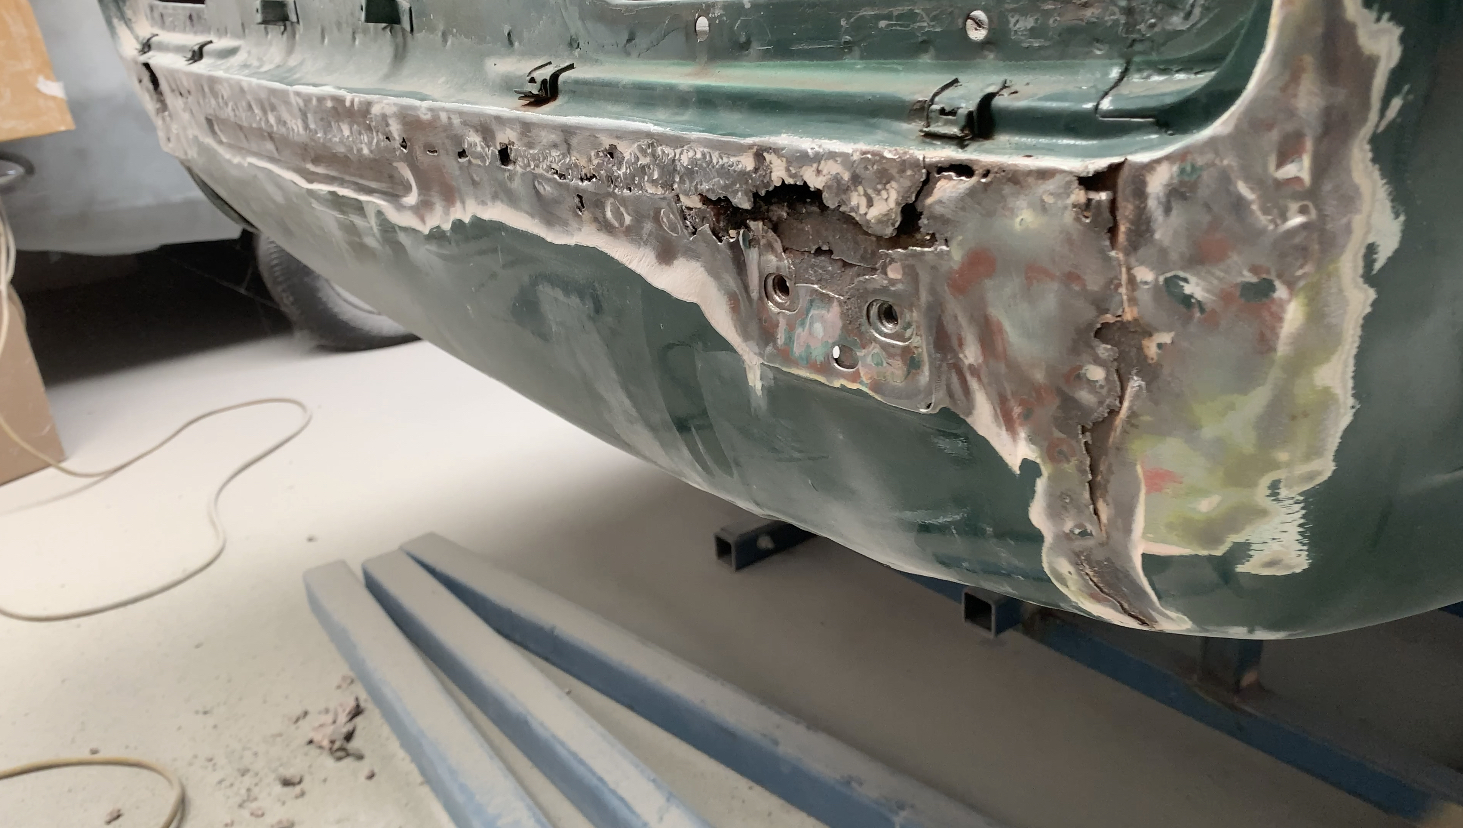
Managed to remove the rear valance panel! Great Success! Used a combination of methods. These are the first spot welds I’ve ever removed so wanted to try them all. Used the rotabroach cutter style, the specialty drill bit type and the finger file sander. This is what my experience was with each: Rota broach/cutter type I used this specific set so not the el cheapo type off eBay. I found these difficult to use, they don’t work well on plug welds which I had a few of. they like to walk on uneven surfaces. But if your panel is flat and they are factory spot welds these do ok. You must use a center punch the specialty drill bit type this worked really well and I preferred them to the cutter style. Cut quickly and don’t mind uneven surfaces, don’t walk on you either. best on factory spot welds, they didn’t do well on the plug welds due to the small diameter. Must use a center punch too the finger file sander Bought this specific one from bunnings 60$, wanted a cheap one to try out to see if it would be worth the money buying a more expensive air one once I get my compressor. And it is great for grinding out spot welds! Catch is it will leave massive square holes in the top panel, but if you’re not reusing the top panel this is a great option. It’s very quick, I was using 40grit, easy to see when you have ground enough of the spot weld away, leaves the bottom panel in perfect condition. This one did the job but lacked a bit of power, occasionally stopped turning if you put too much pressure on but made up for it with its light weight. Had to remove the clips that hold the.... I’ve had a mental blank.... rear dress up panels that go around the tail lights. As I will be using the whole of the repair panel which will require a cut along the top edge where those clips sit. As expected it’s rather rusty in the box section behind, some rust has made it all the way through. comparison of stock valance vs Auto panel solutions repair panel. High quality product. RHS looks like it has a minor nudge. Some rudimentary measurements show it’s out by 3-4mm. Not too bad. I’m thinking a big hammer can’t fix First mock up of the panel. Need to buy more vice grips for convincing it into position. next up I plan to: - convince the panel into position then test fit the automobile rear bumper to make sure there are no dramas there - mark and cut top edge where new panel will end up - clean up the box section, carry out repairs on the rust holes - kbs rust blast then kbs rust seal the internal box section


-
There were rust bubbles all along the rear valance and they had bogged over the indent that the stock valance has, so I figured it would need replacing, thought I could sell if not needed. yes correct, APS one is only the lower section, but it’s better than others due to it having the stock compound curve and a more accurate exhaust hole shape.
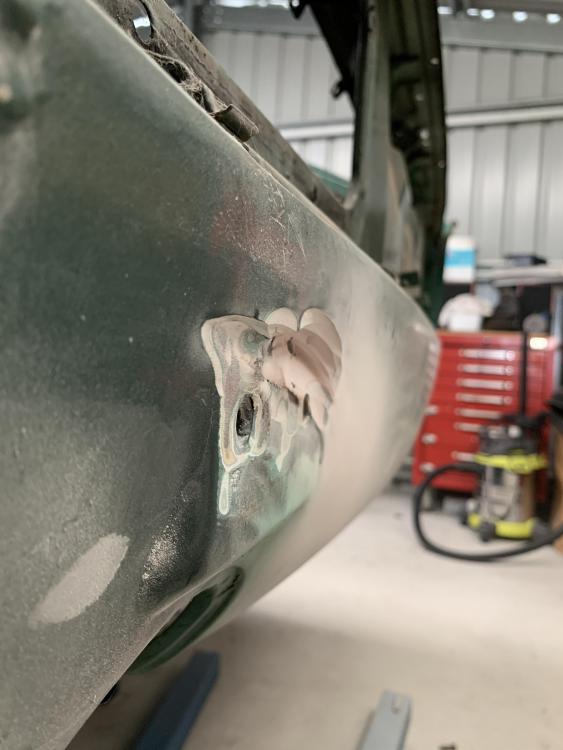
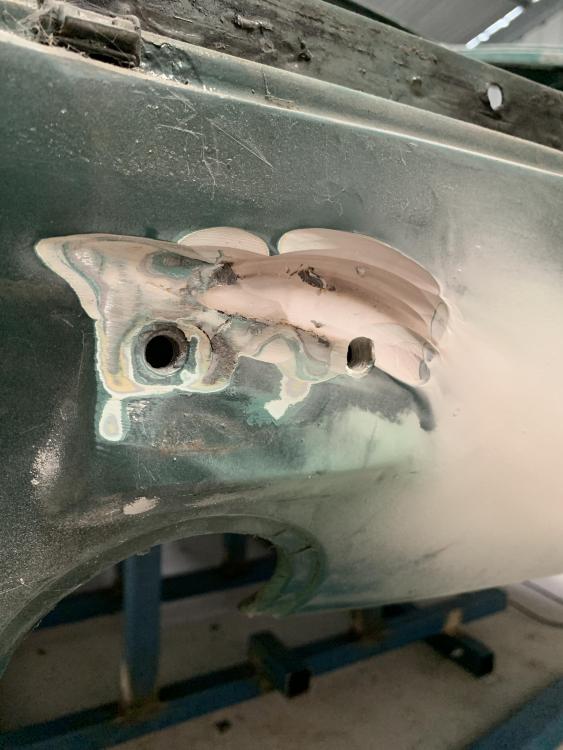
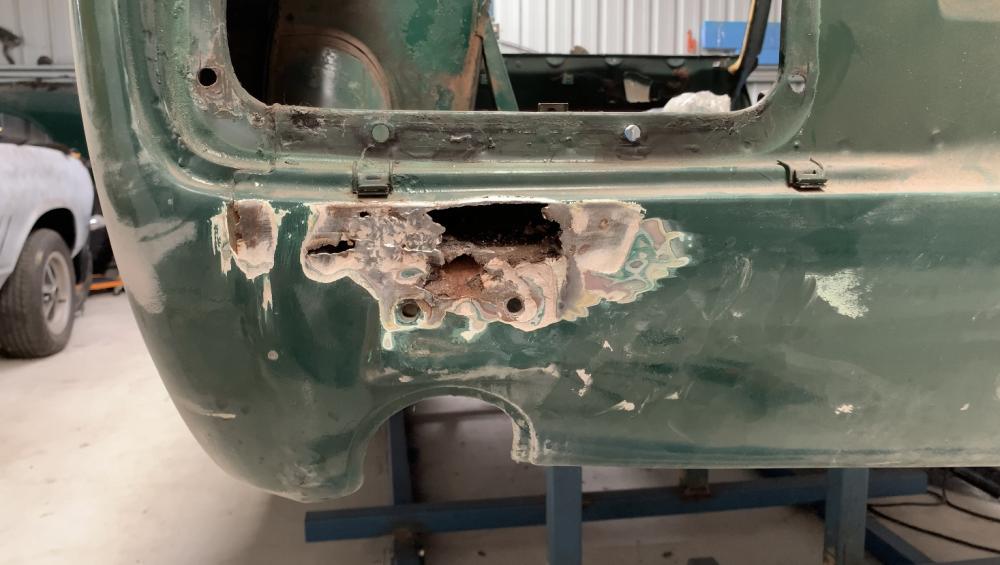
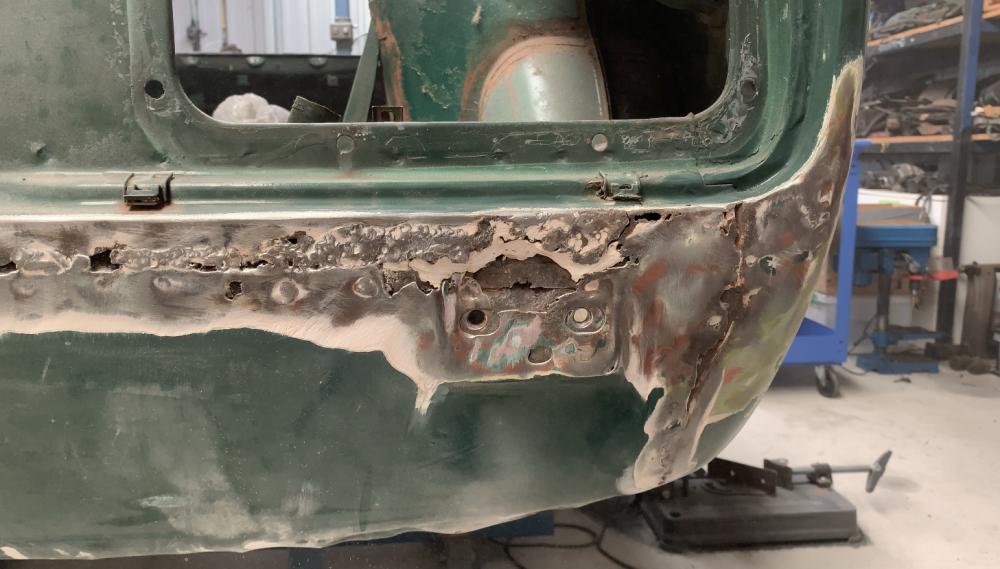
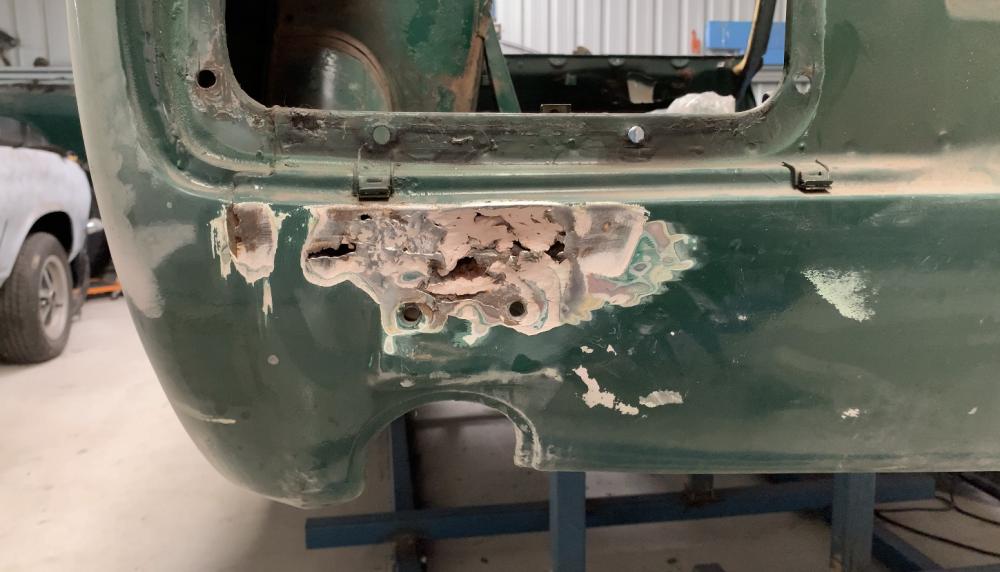
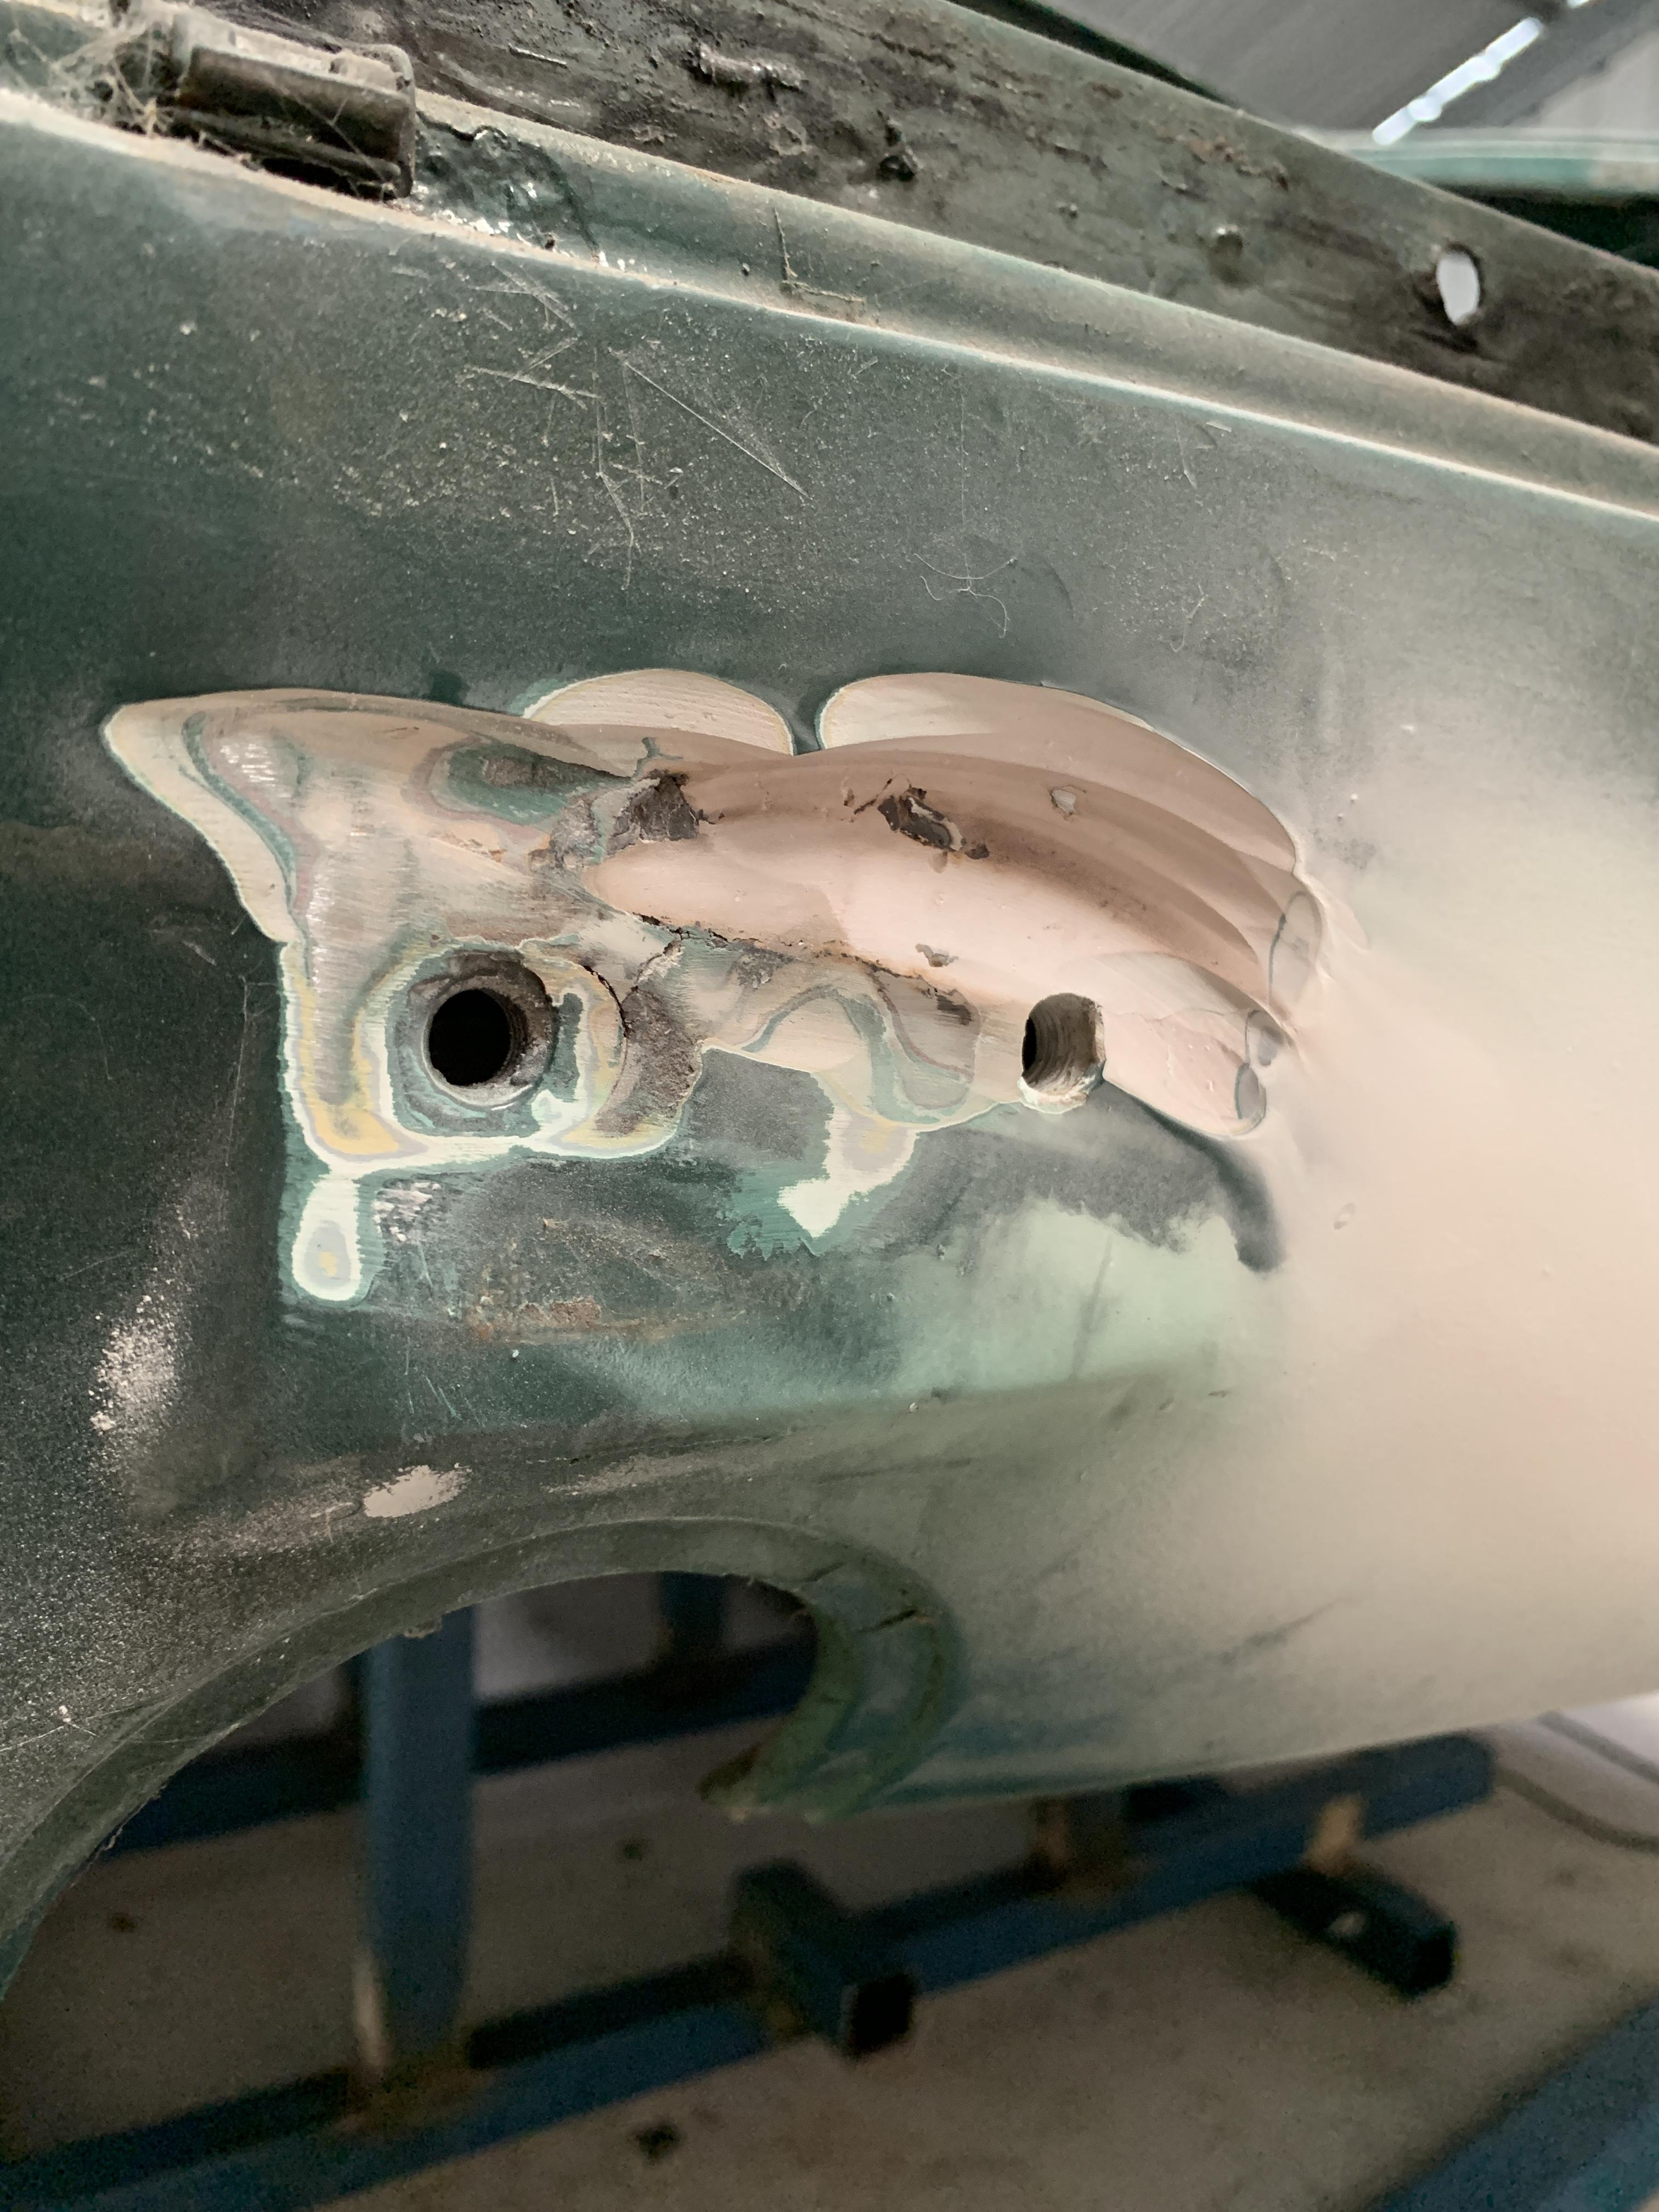
After completing the front section I moved straight on building the rear mounts. As I was working out what sized tubing to use for the direct mount, I noticed the rear bumper mounts were not flat. There was a few small rust bubbles around the mounts and along the rear valance. So I though I would begin a investigatory expedition into their origin. UH OH😬 well it didn’t come out as polite as that... my exclamation rhymed with DUCK, except with PH on the front.... the bog (you call it filler) monster had reared its ugly head... not knowing if this was from accident damage, which I didn’t think it was, as behind the valance looked undamaged. Or if it was bad rust repairs I decided to press on with my expedition BIG UH OH! Again not the phrase I used... At this point, the suspense to find out just how PH$#*€D my rear valance is was killing me. So I kept going.... At this point I felt I could not continue with the rotisserie build until this was repaired. The massive holes I feel would affect the structural integrity of the rear end. Plus I’ve kind of been dying to sink my teeth into some rust repairs. Ryan


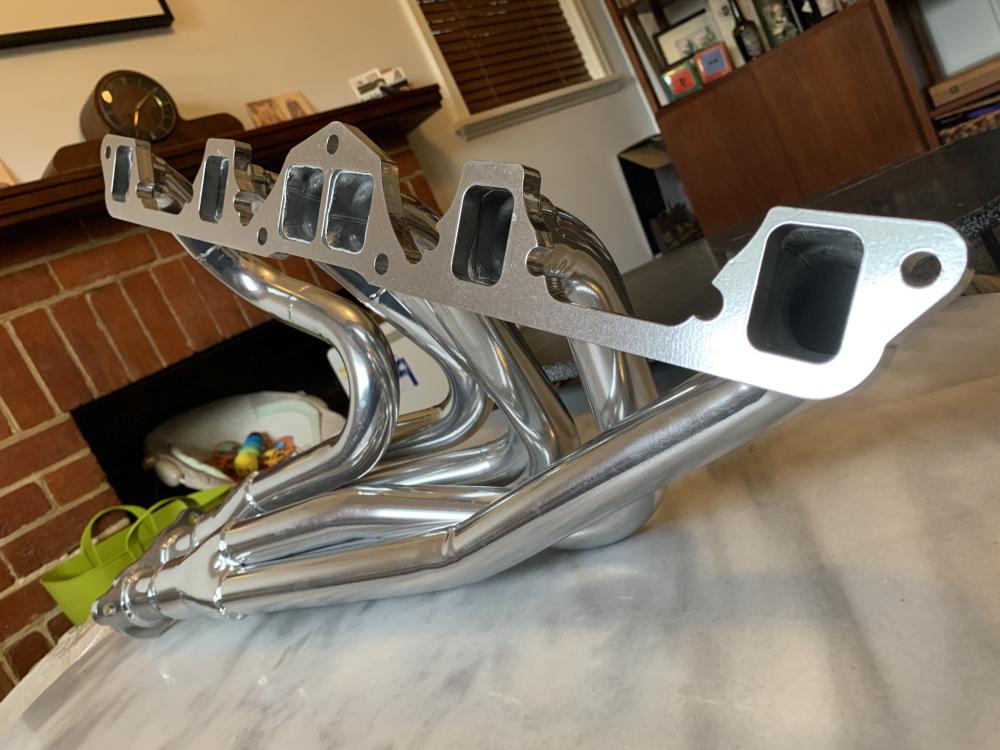
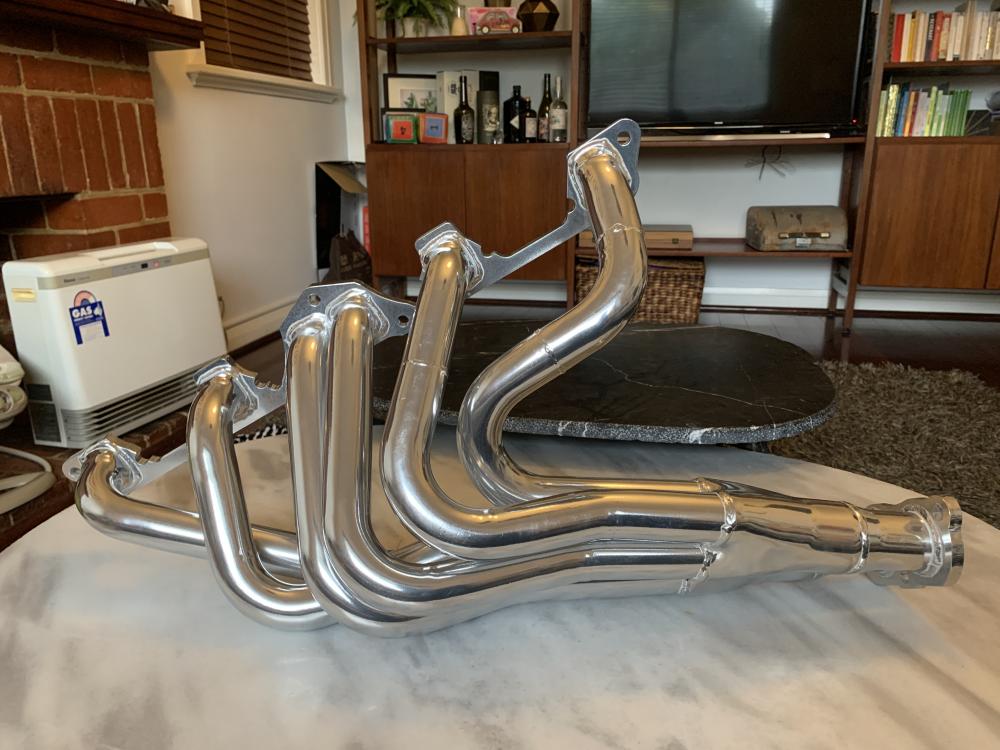
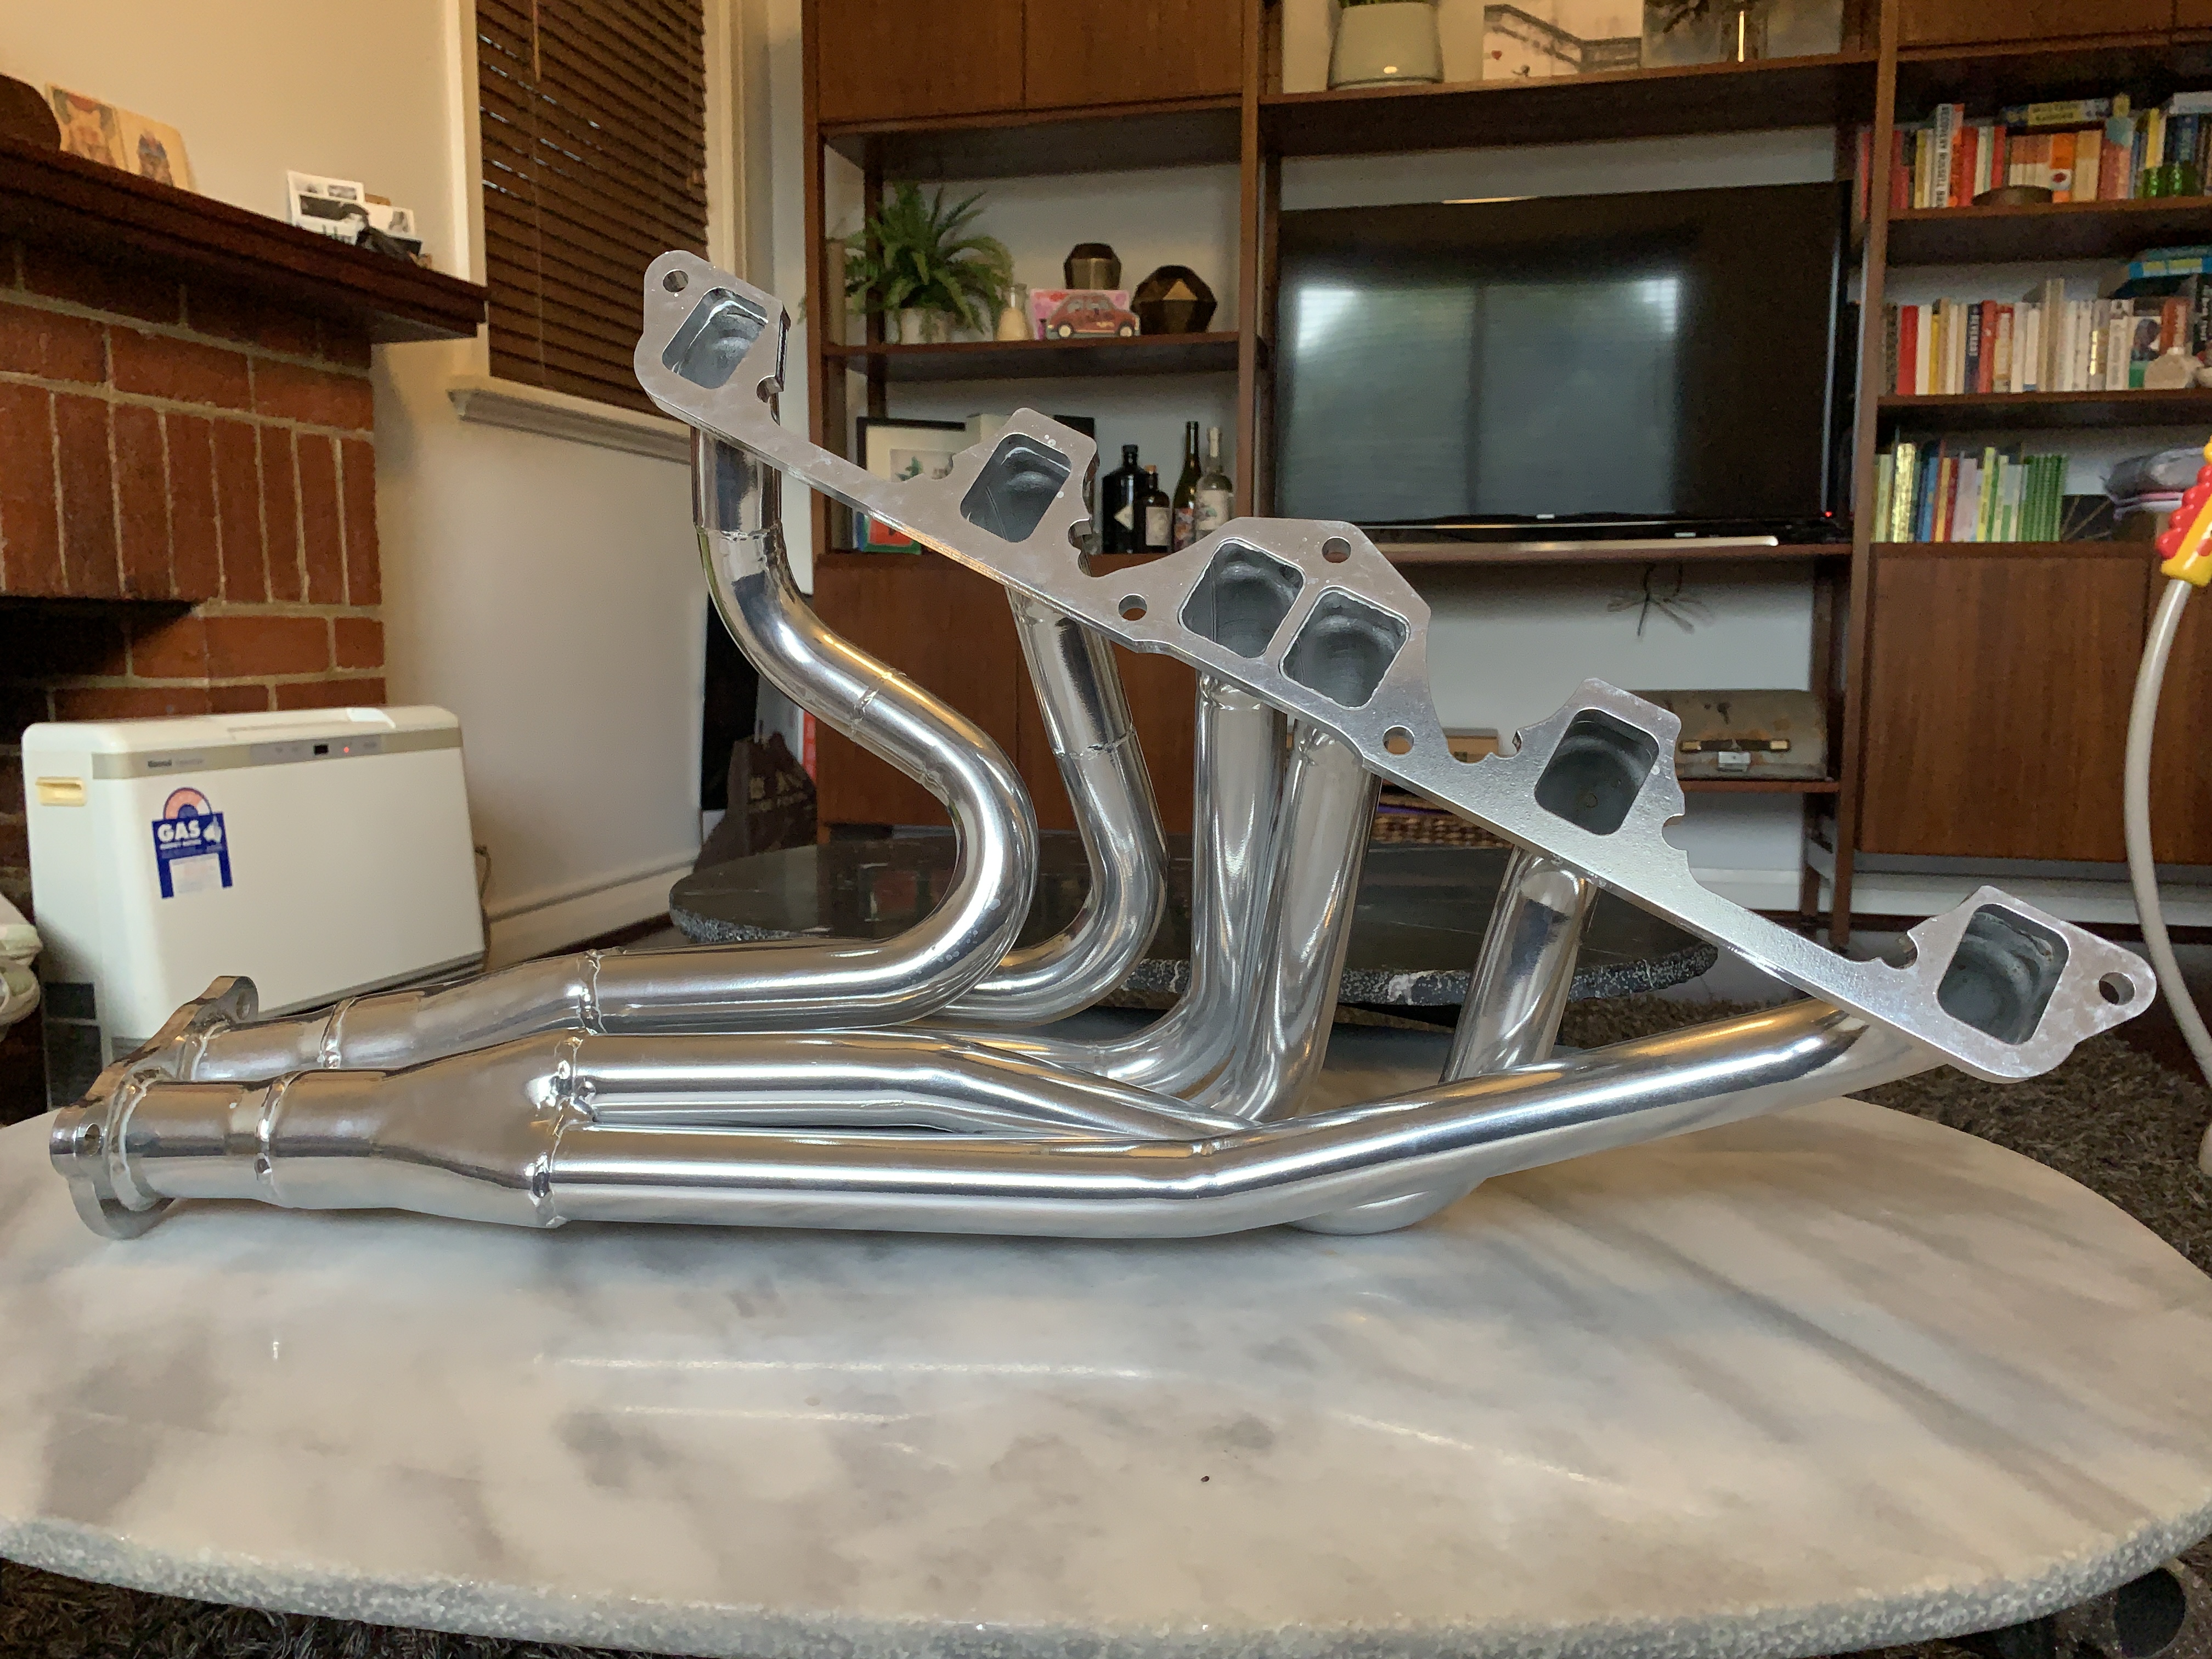
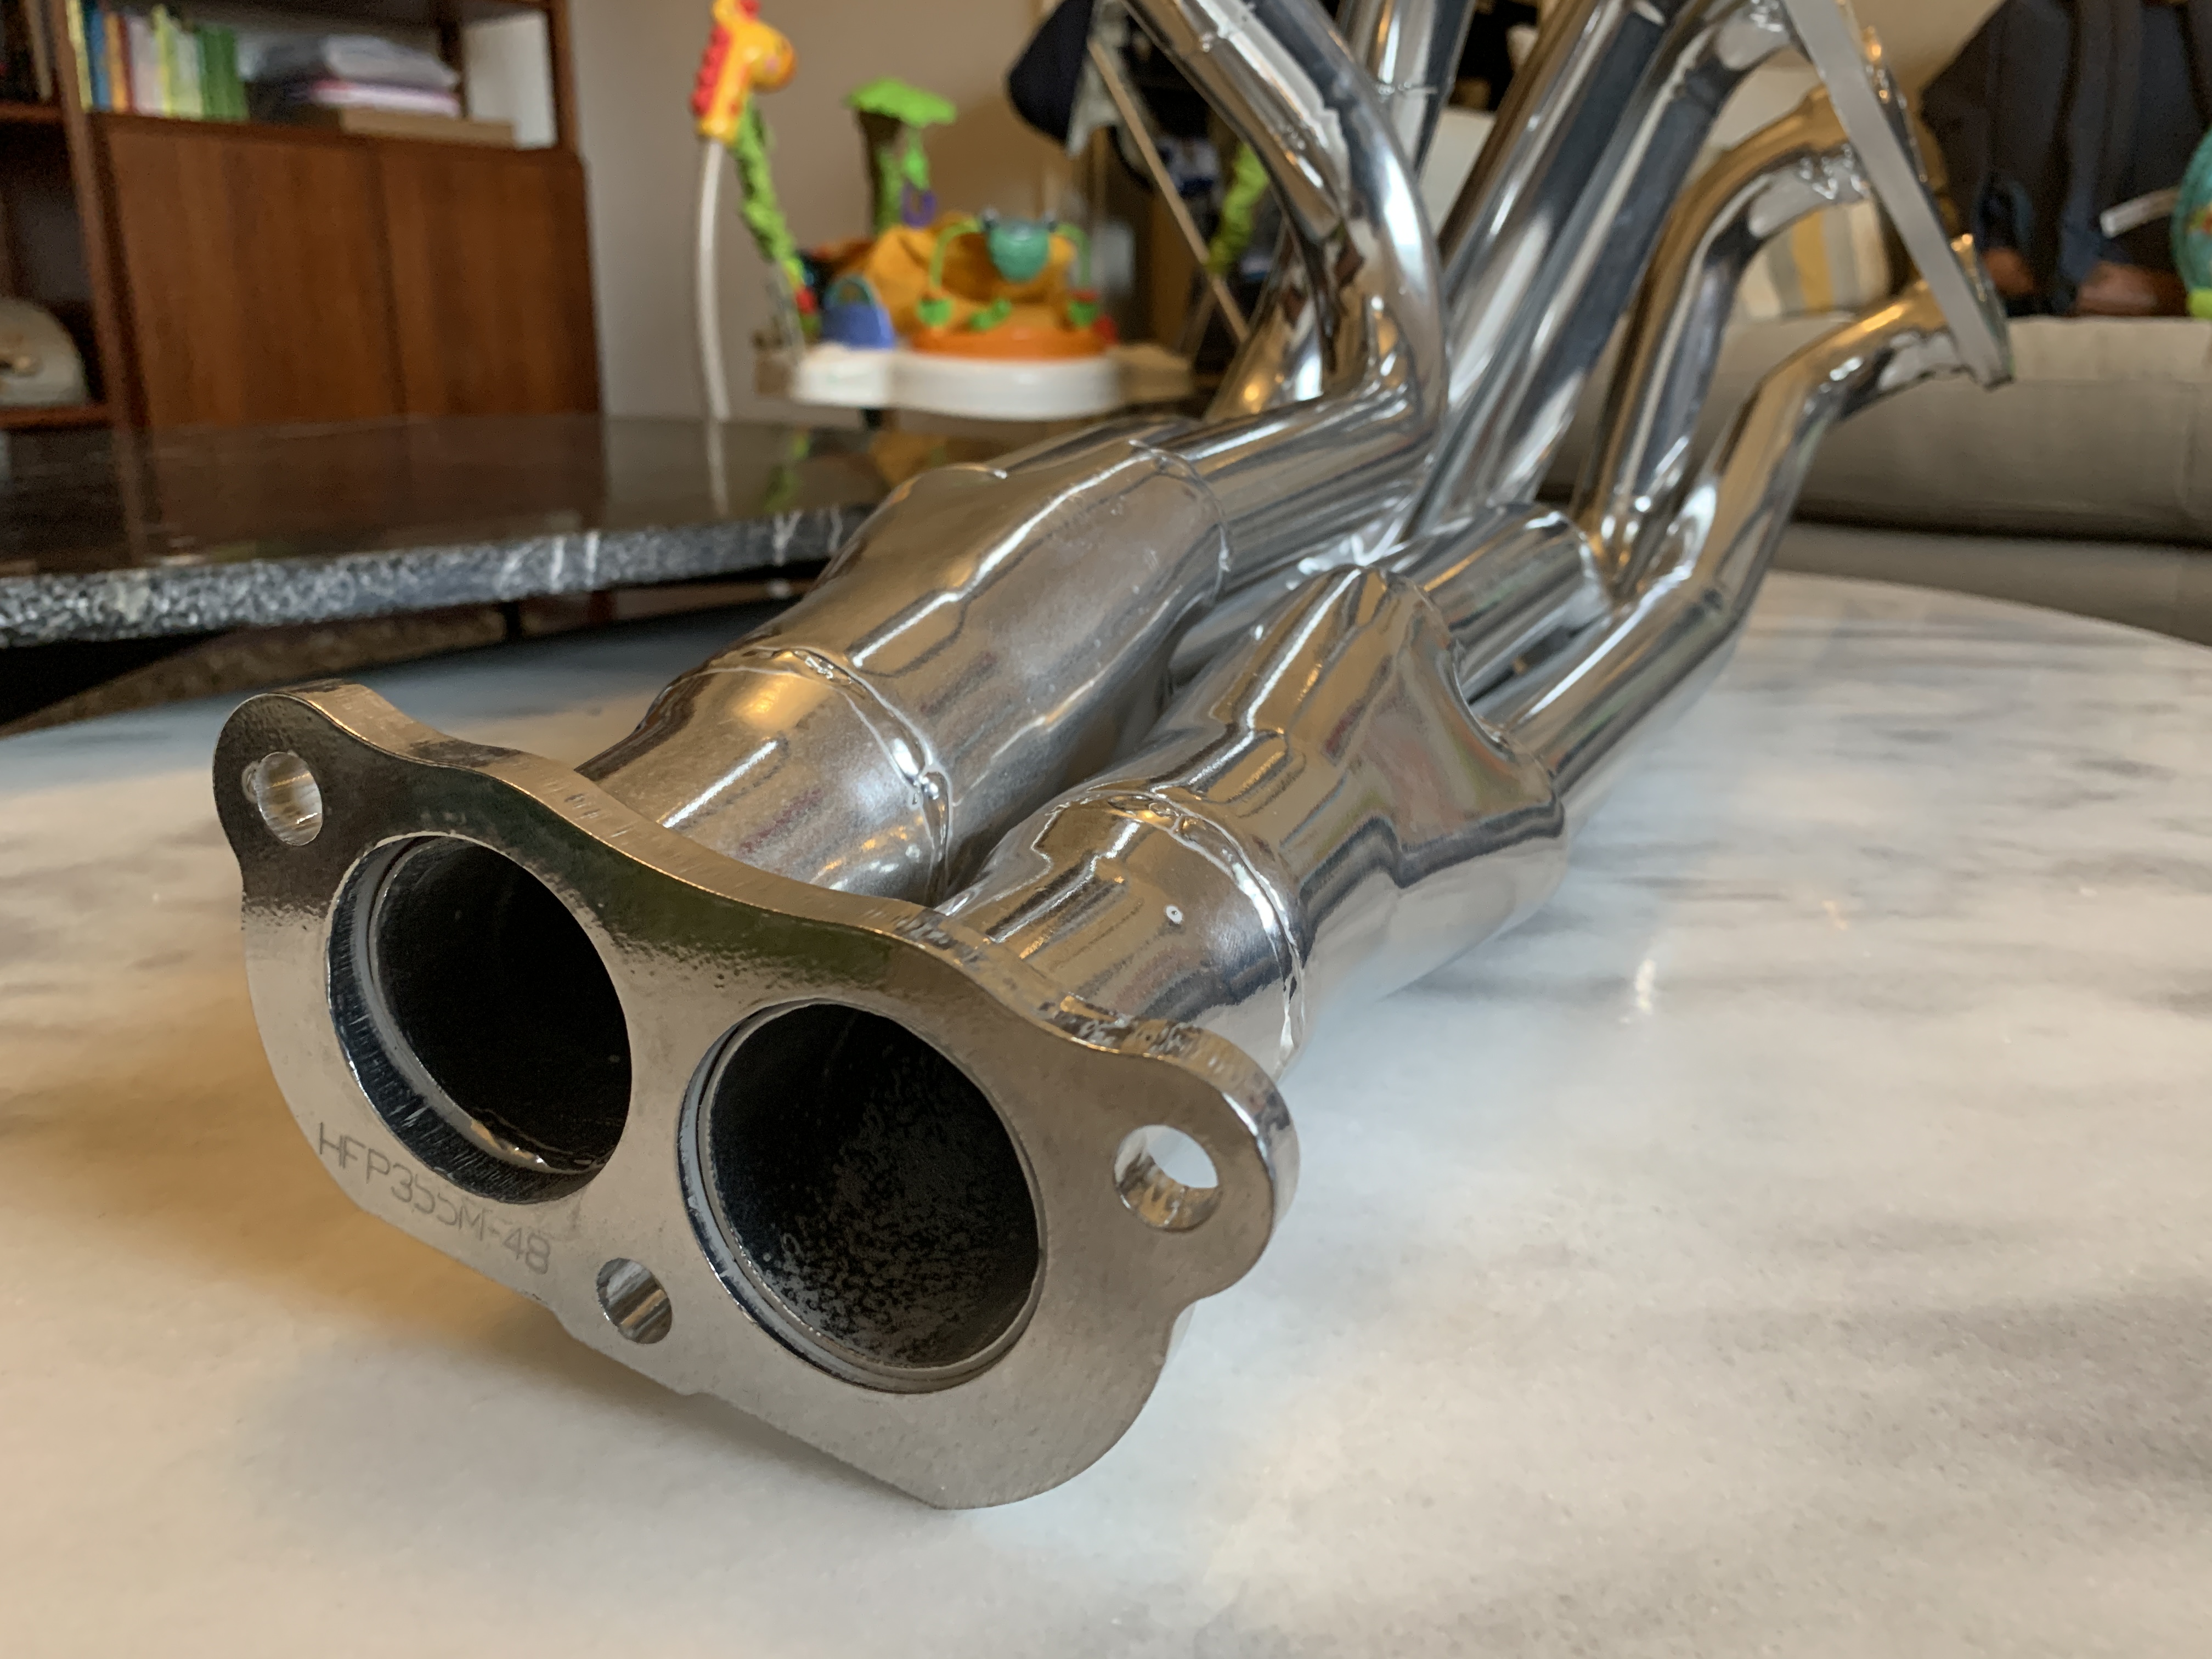
 Ordered a set of extractors from Les Collins racing here in oz. apparently these work with Weber’s and Hitachi SUs. Stock heatshield and SU return springs requires modifications. Lovely craftsmanship however was let down by some surface imperfections during ceramic coating and a few dents in the secondaries, he is sending me a new set of secondaries.


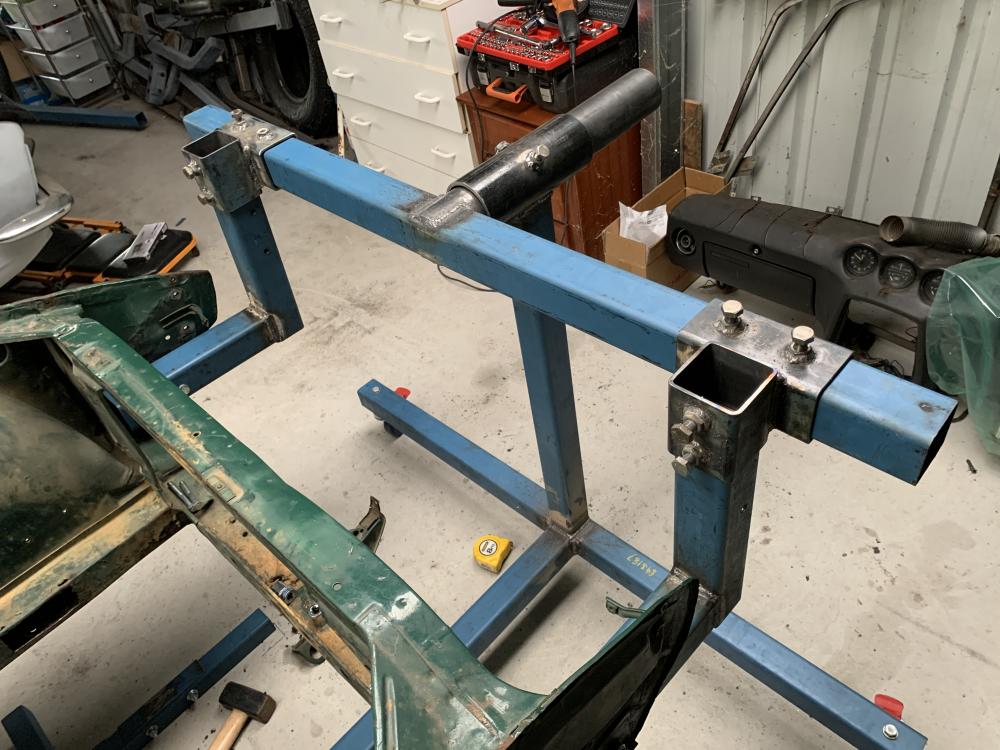
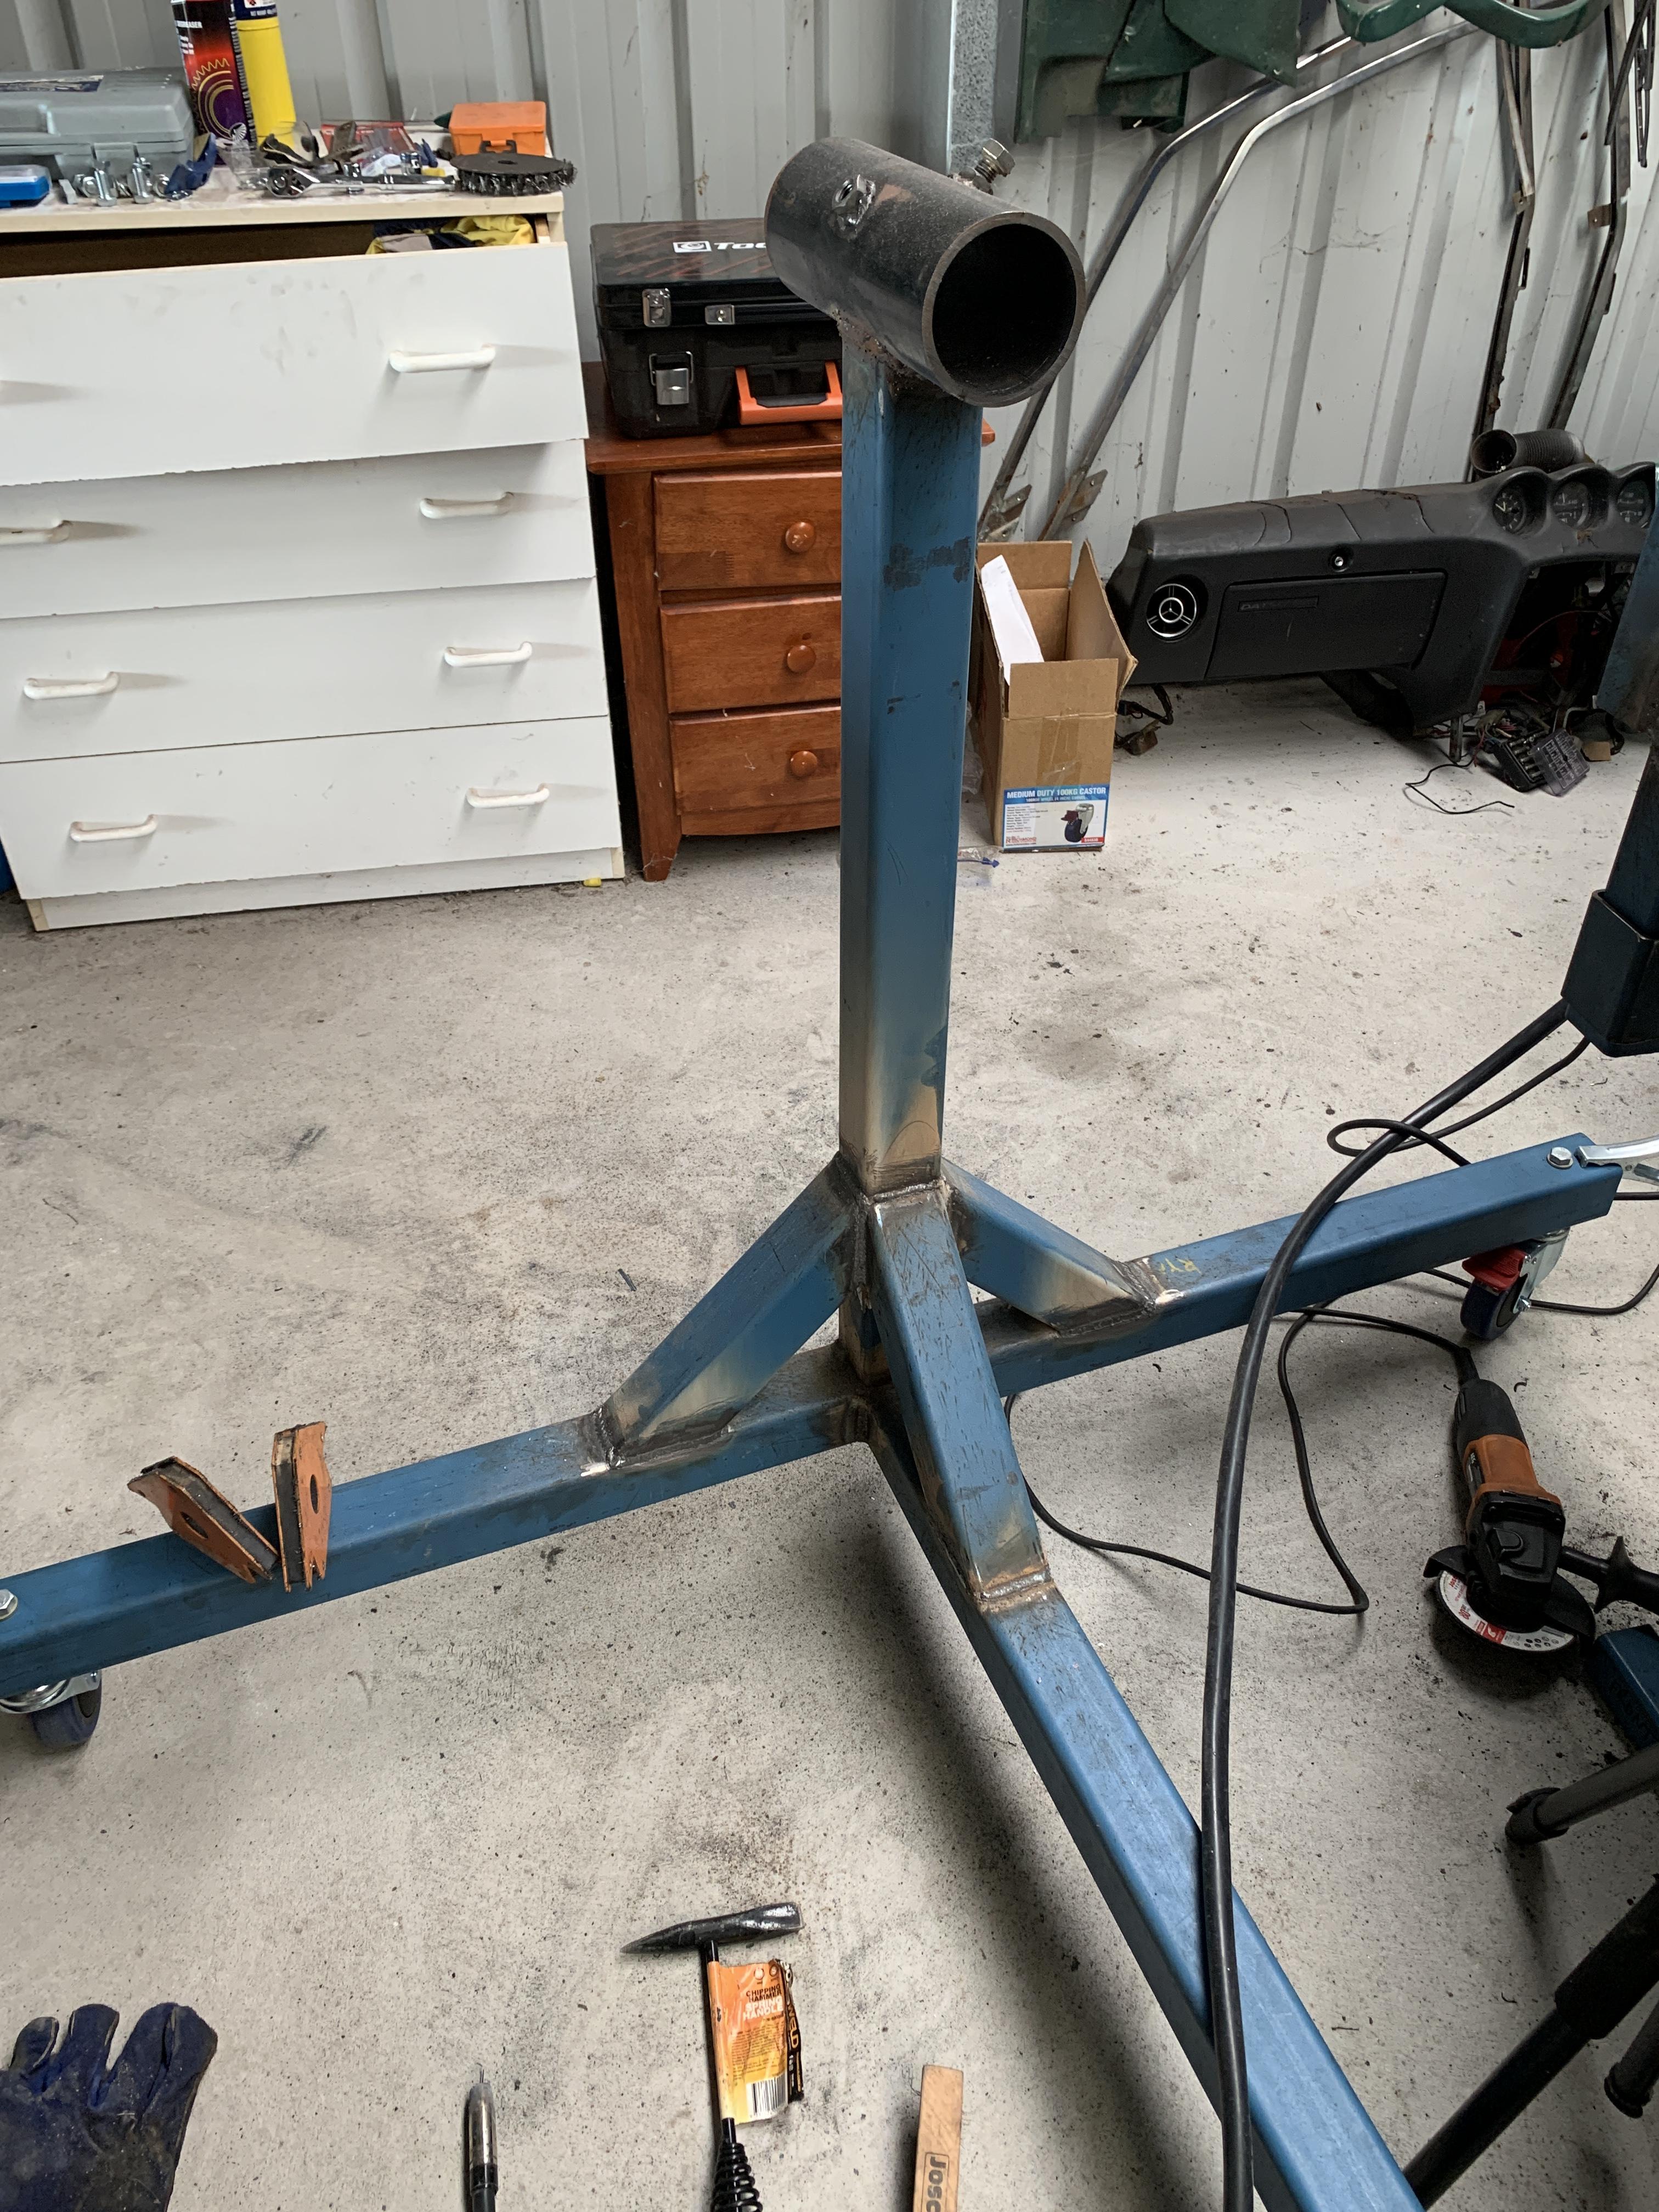
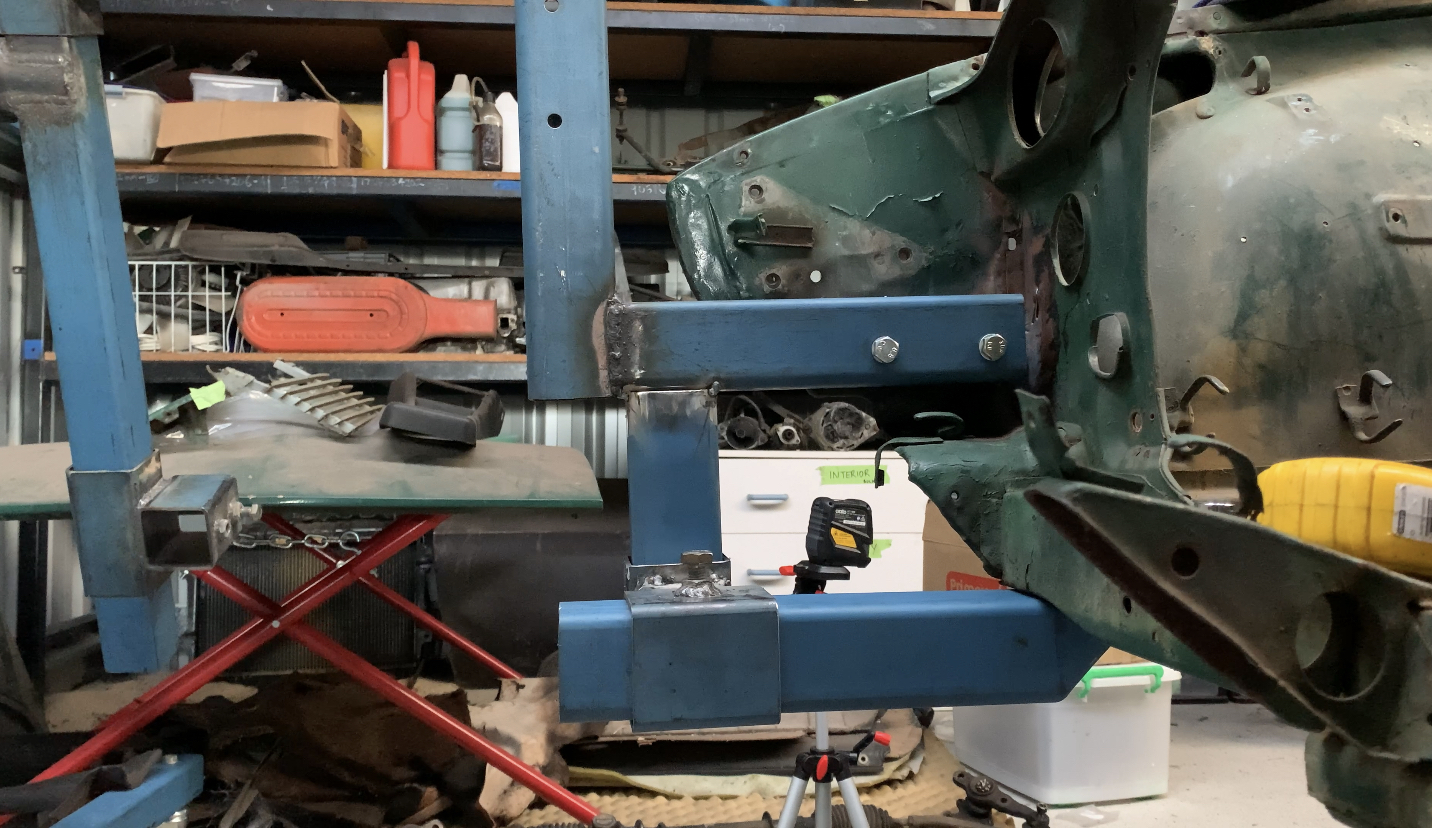
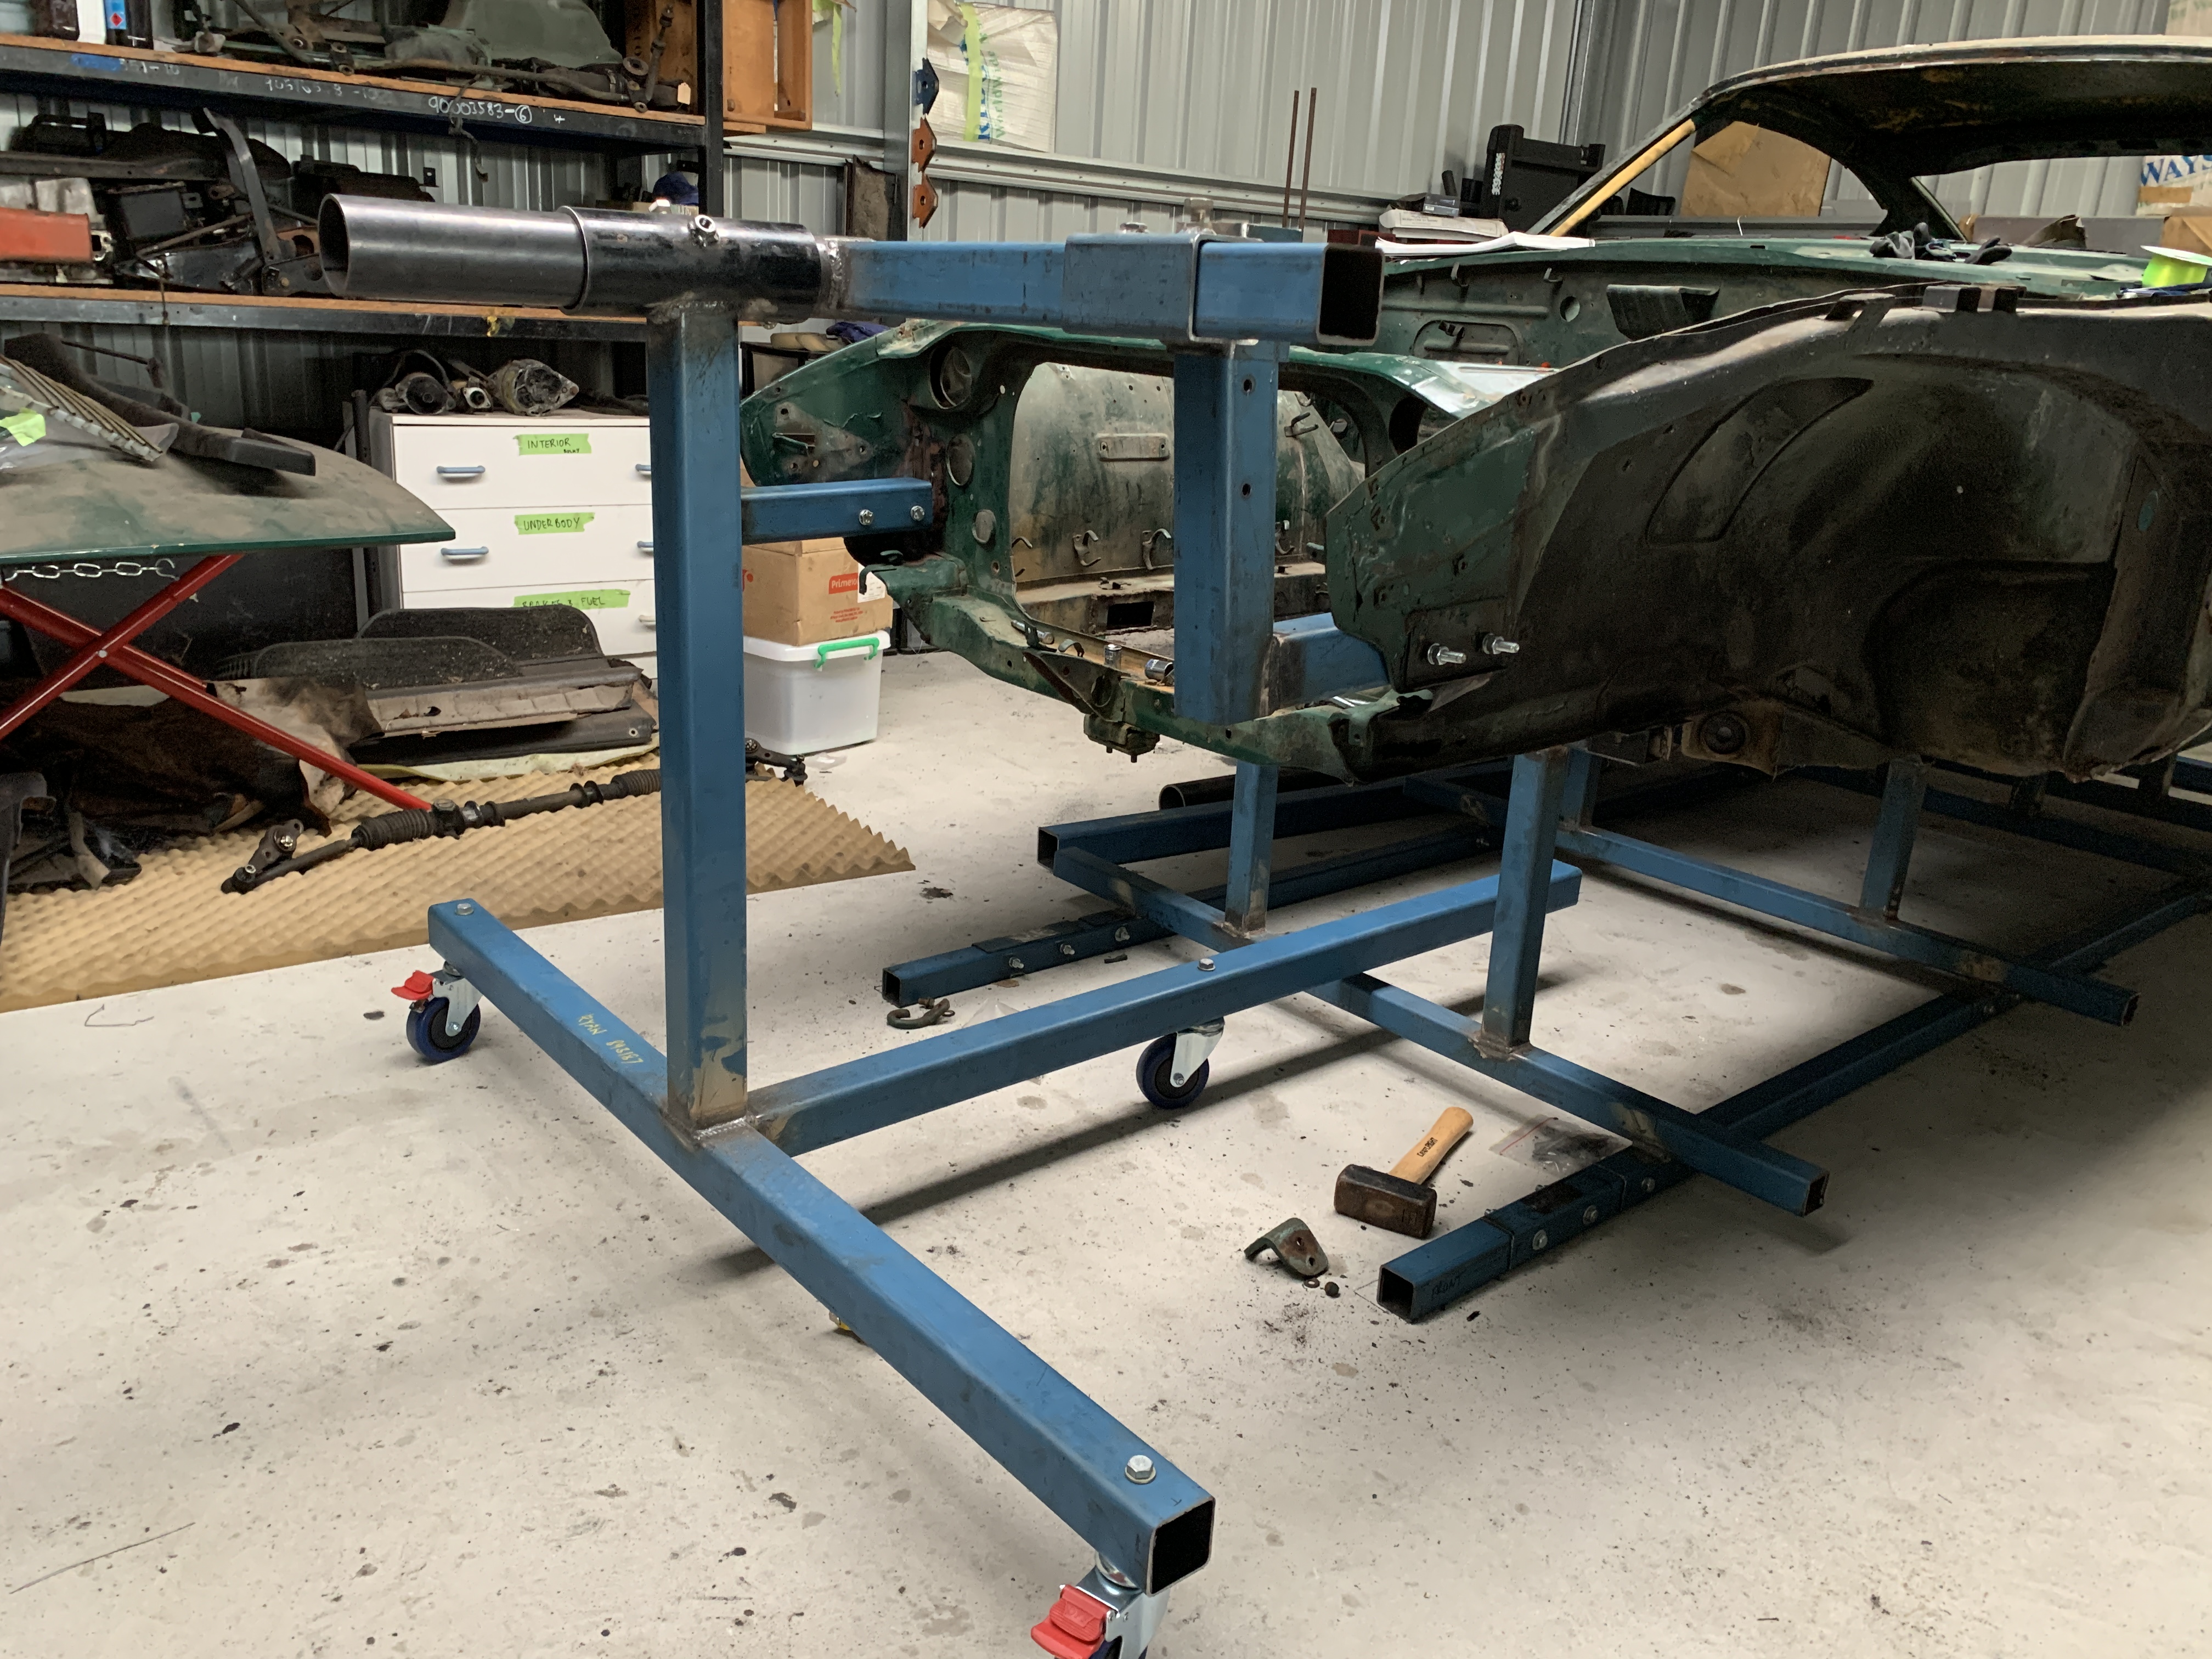
 I’ve been a bit slack with updates of late, more because it is demoralizing how slow progress is lol front section of the rotisserie finally complete and I can move onto the rear of the car, mounts should be much quicker to make on the rear new mount design all welded up, added further support to the main L shaped section which will be taking the weight. added supports to uprights should be well and truly strong enough and here is part 1 of the rotisserie build in video, measurements of all sections laid out in the video. Ryan


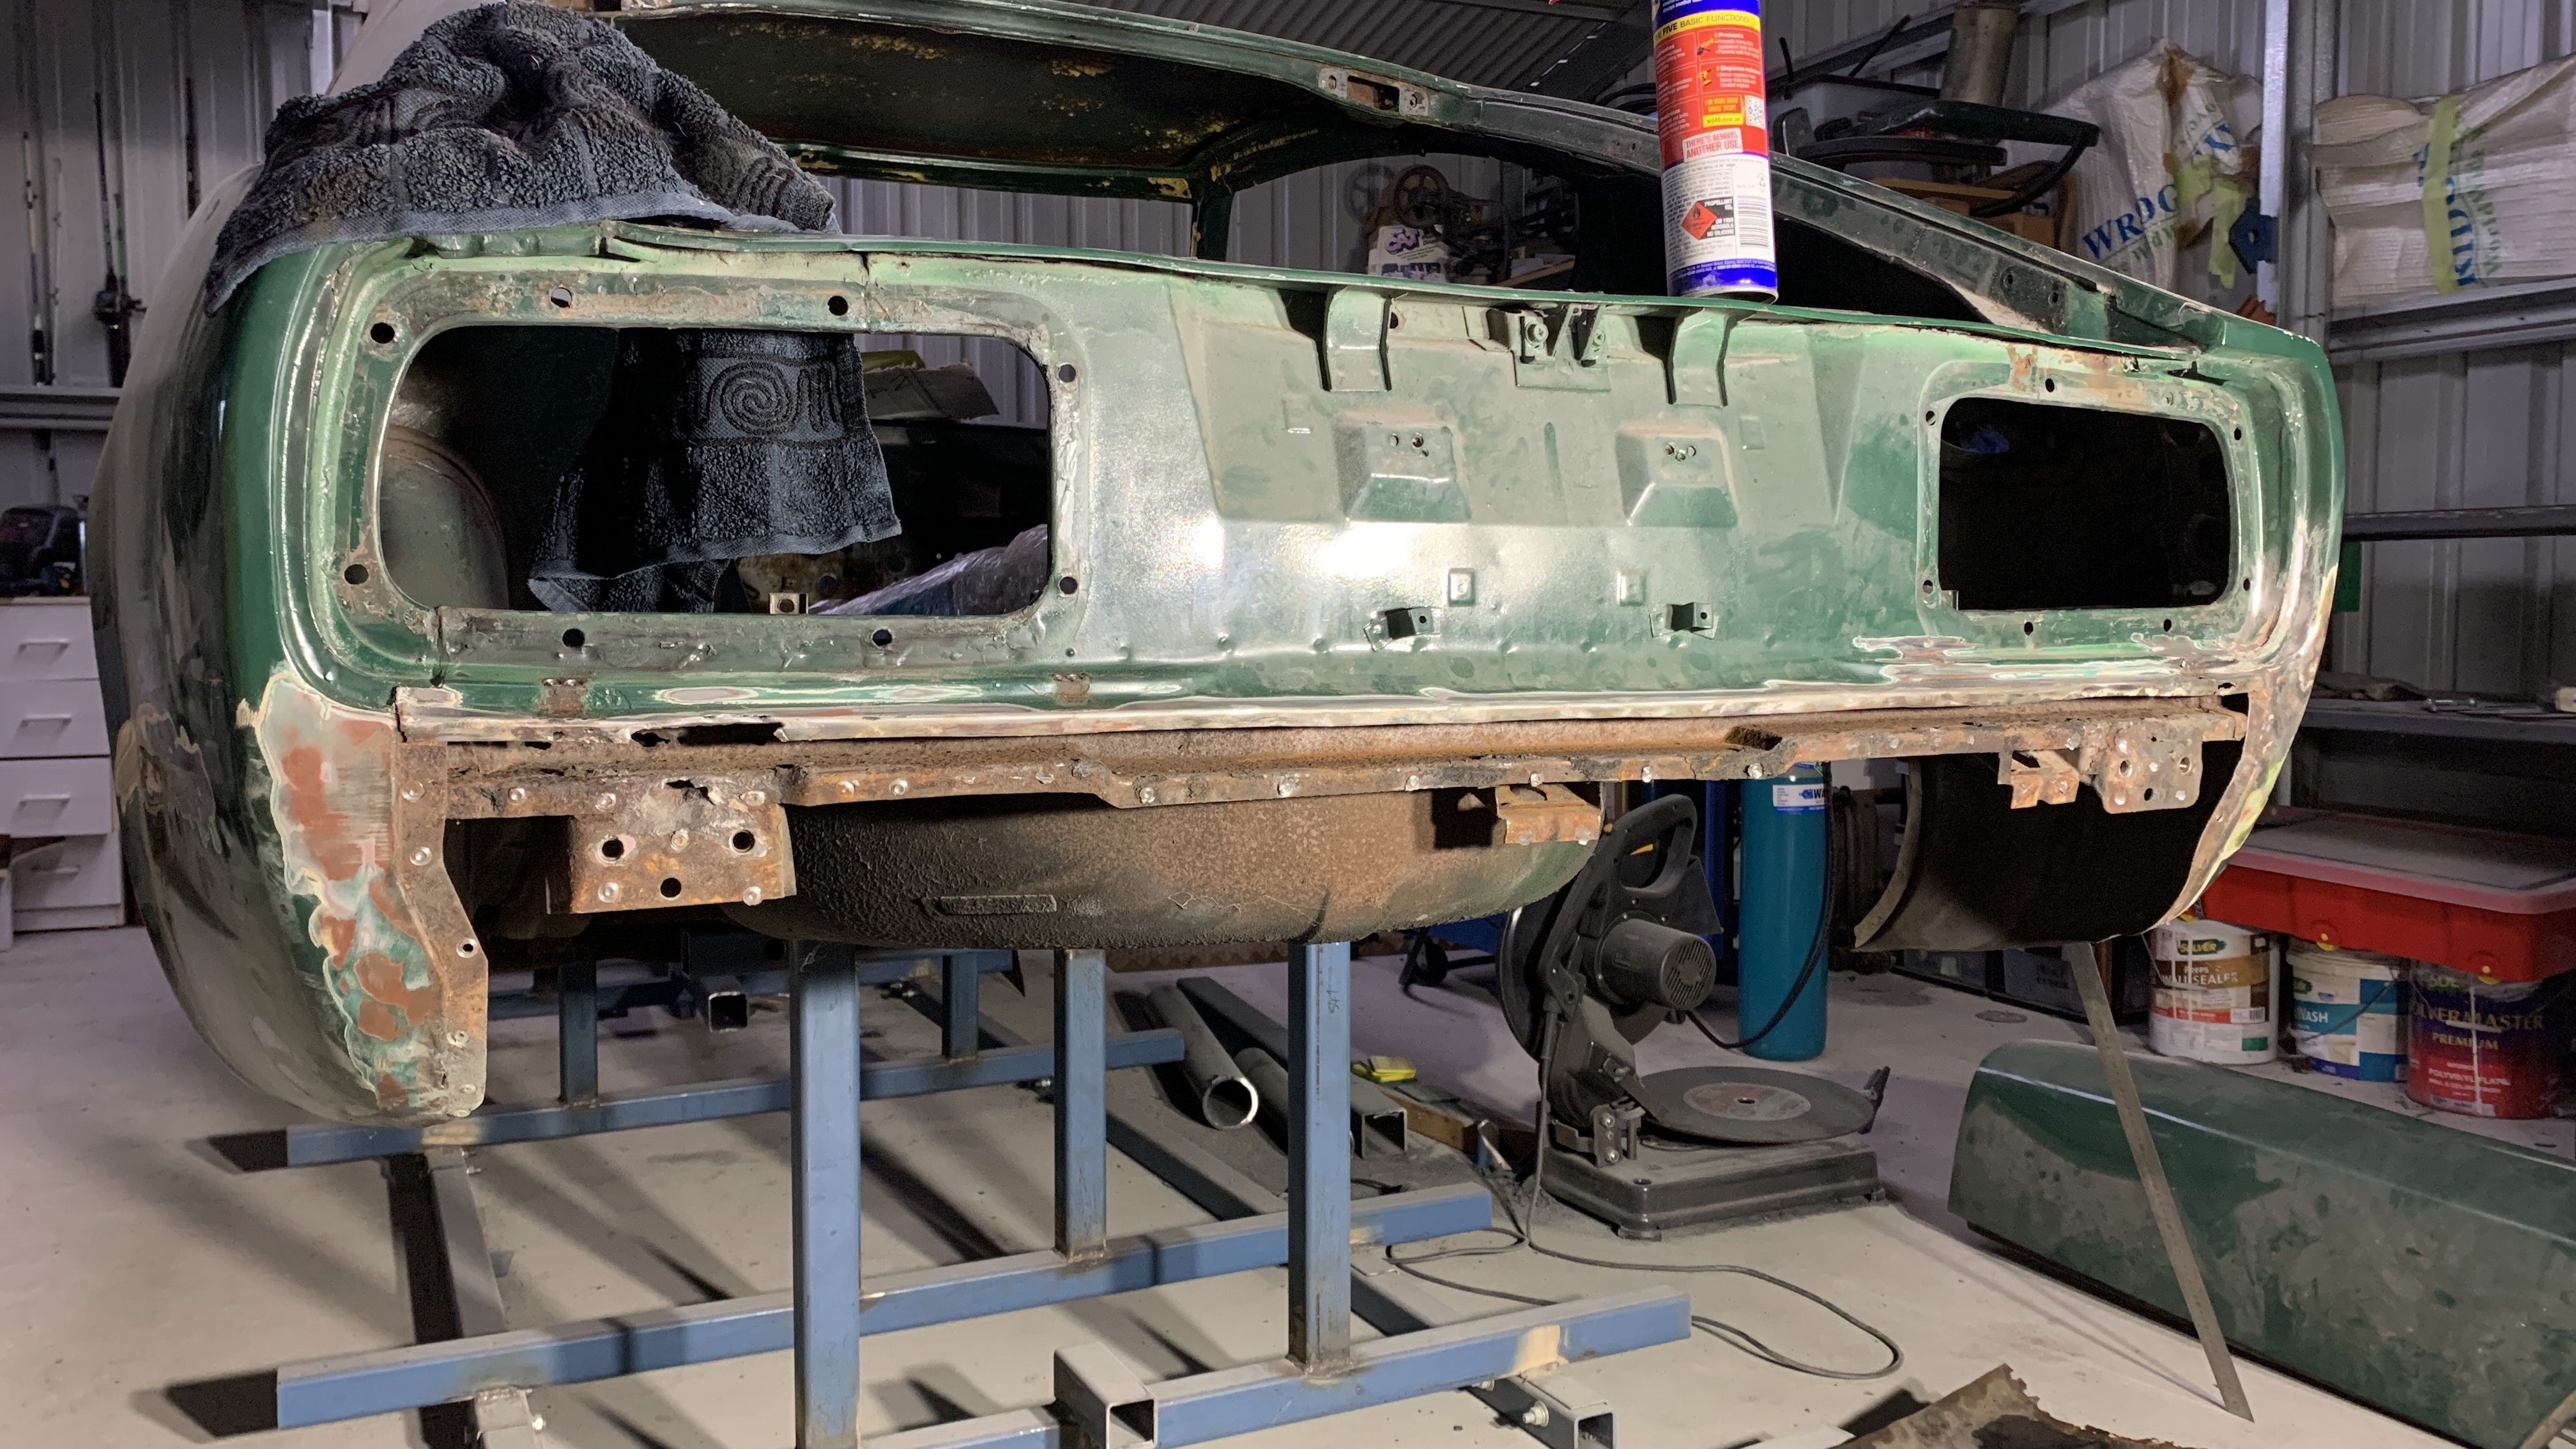
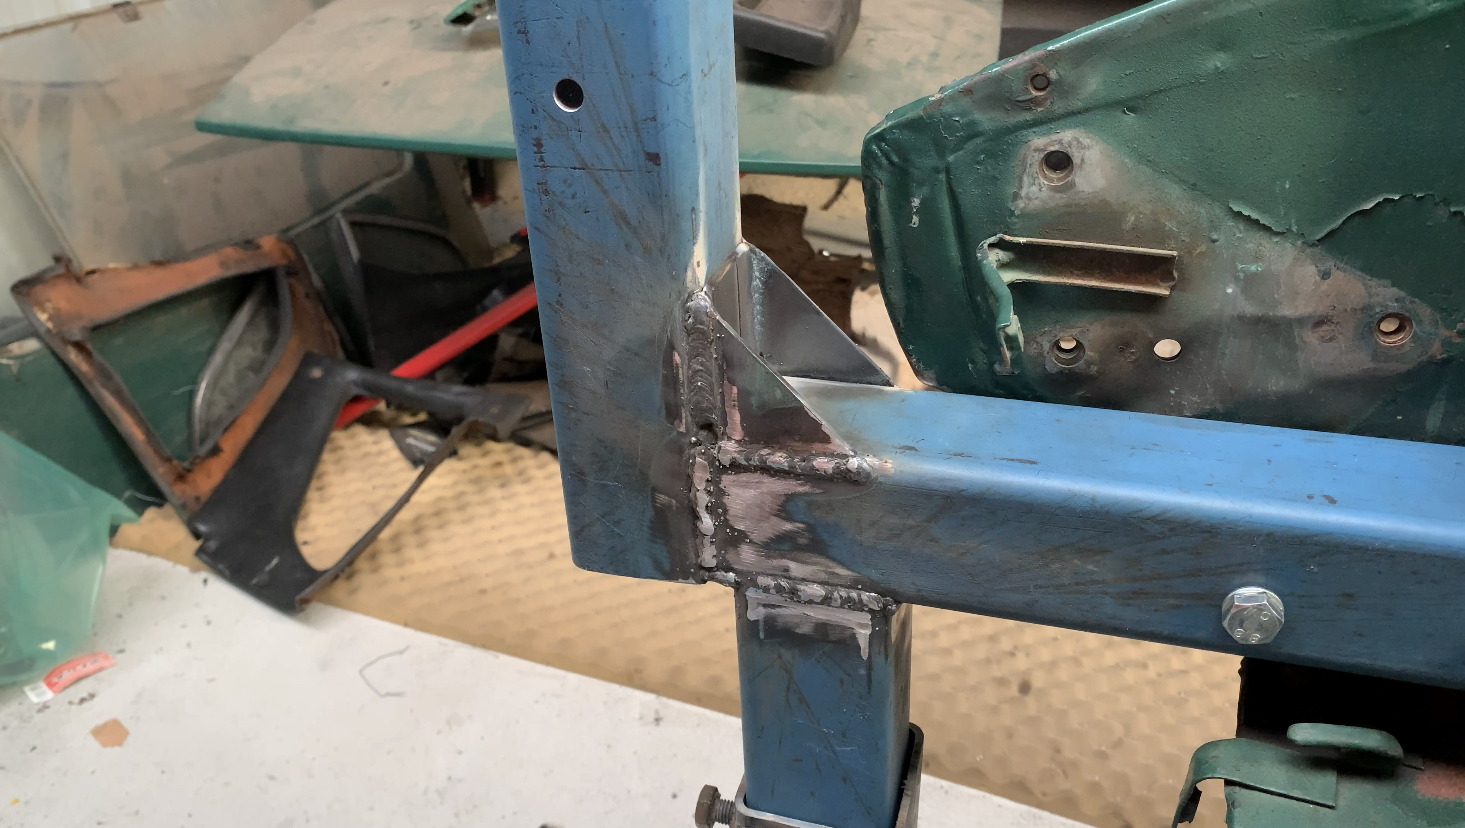
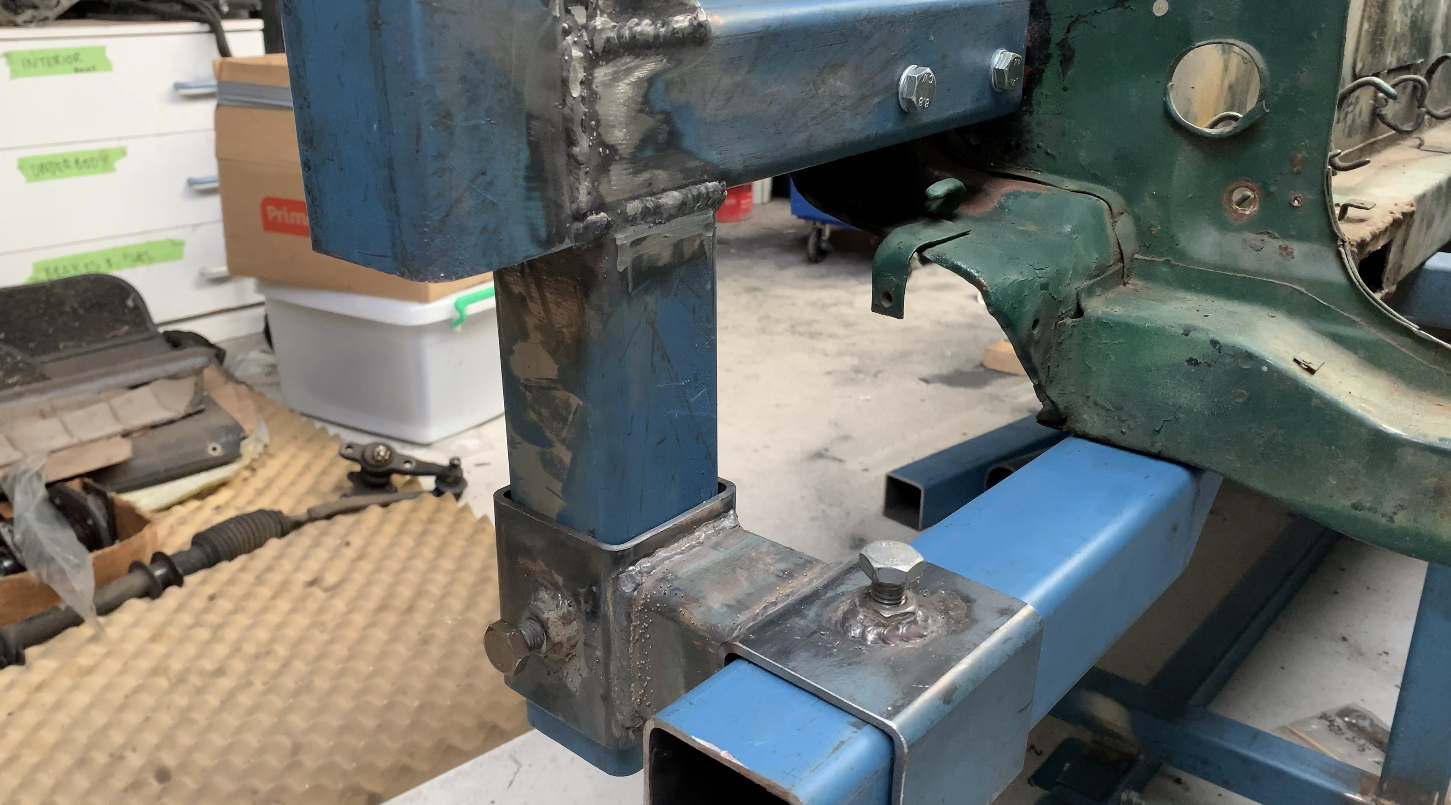
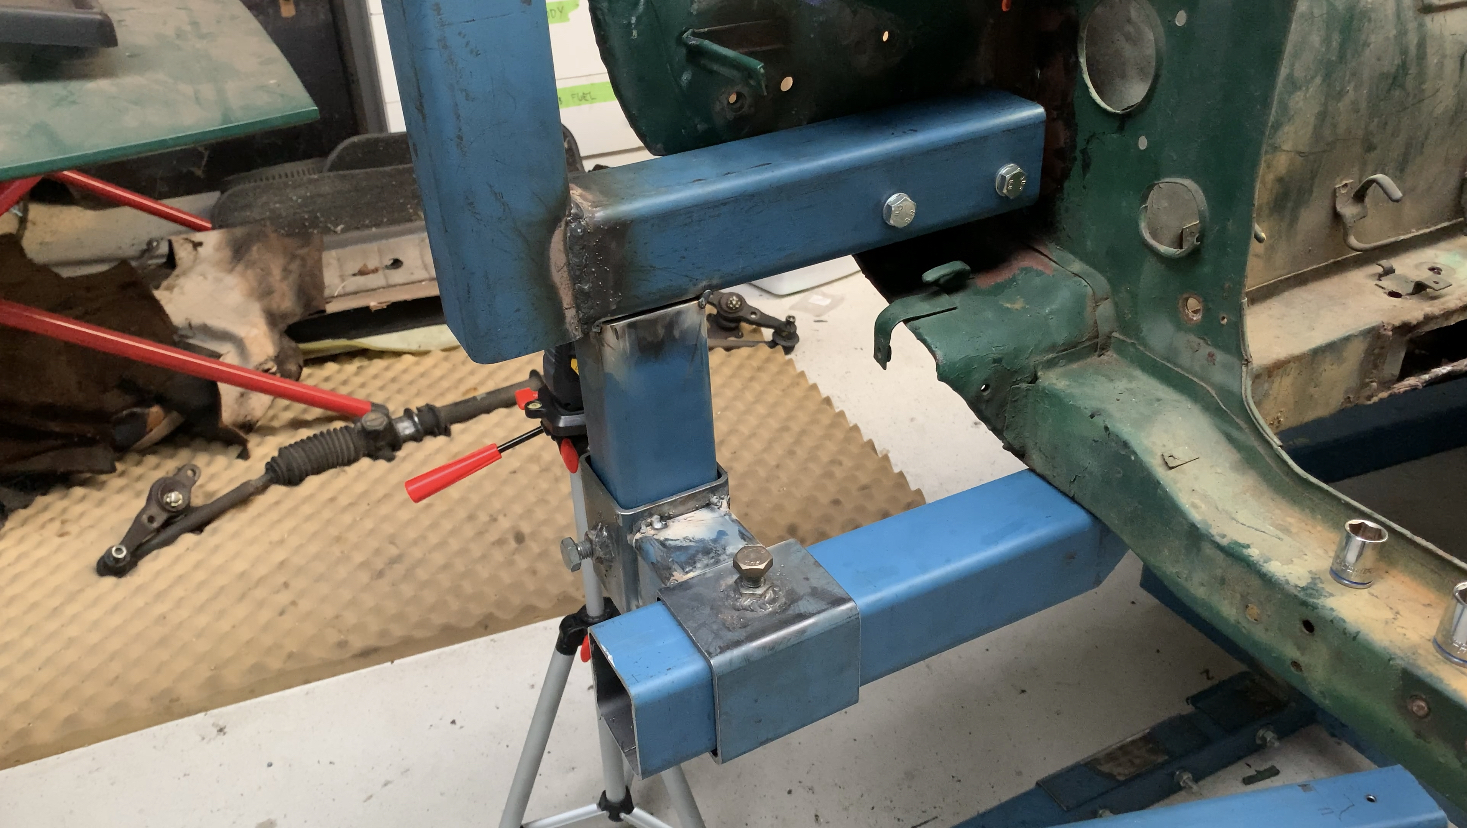
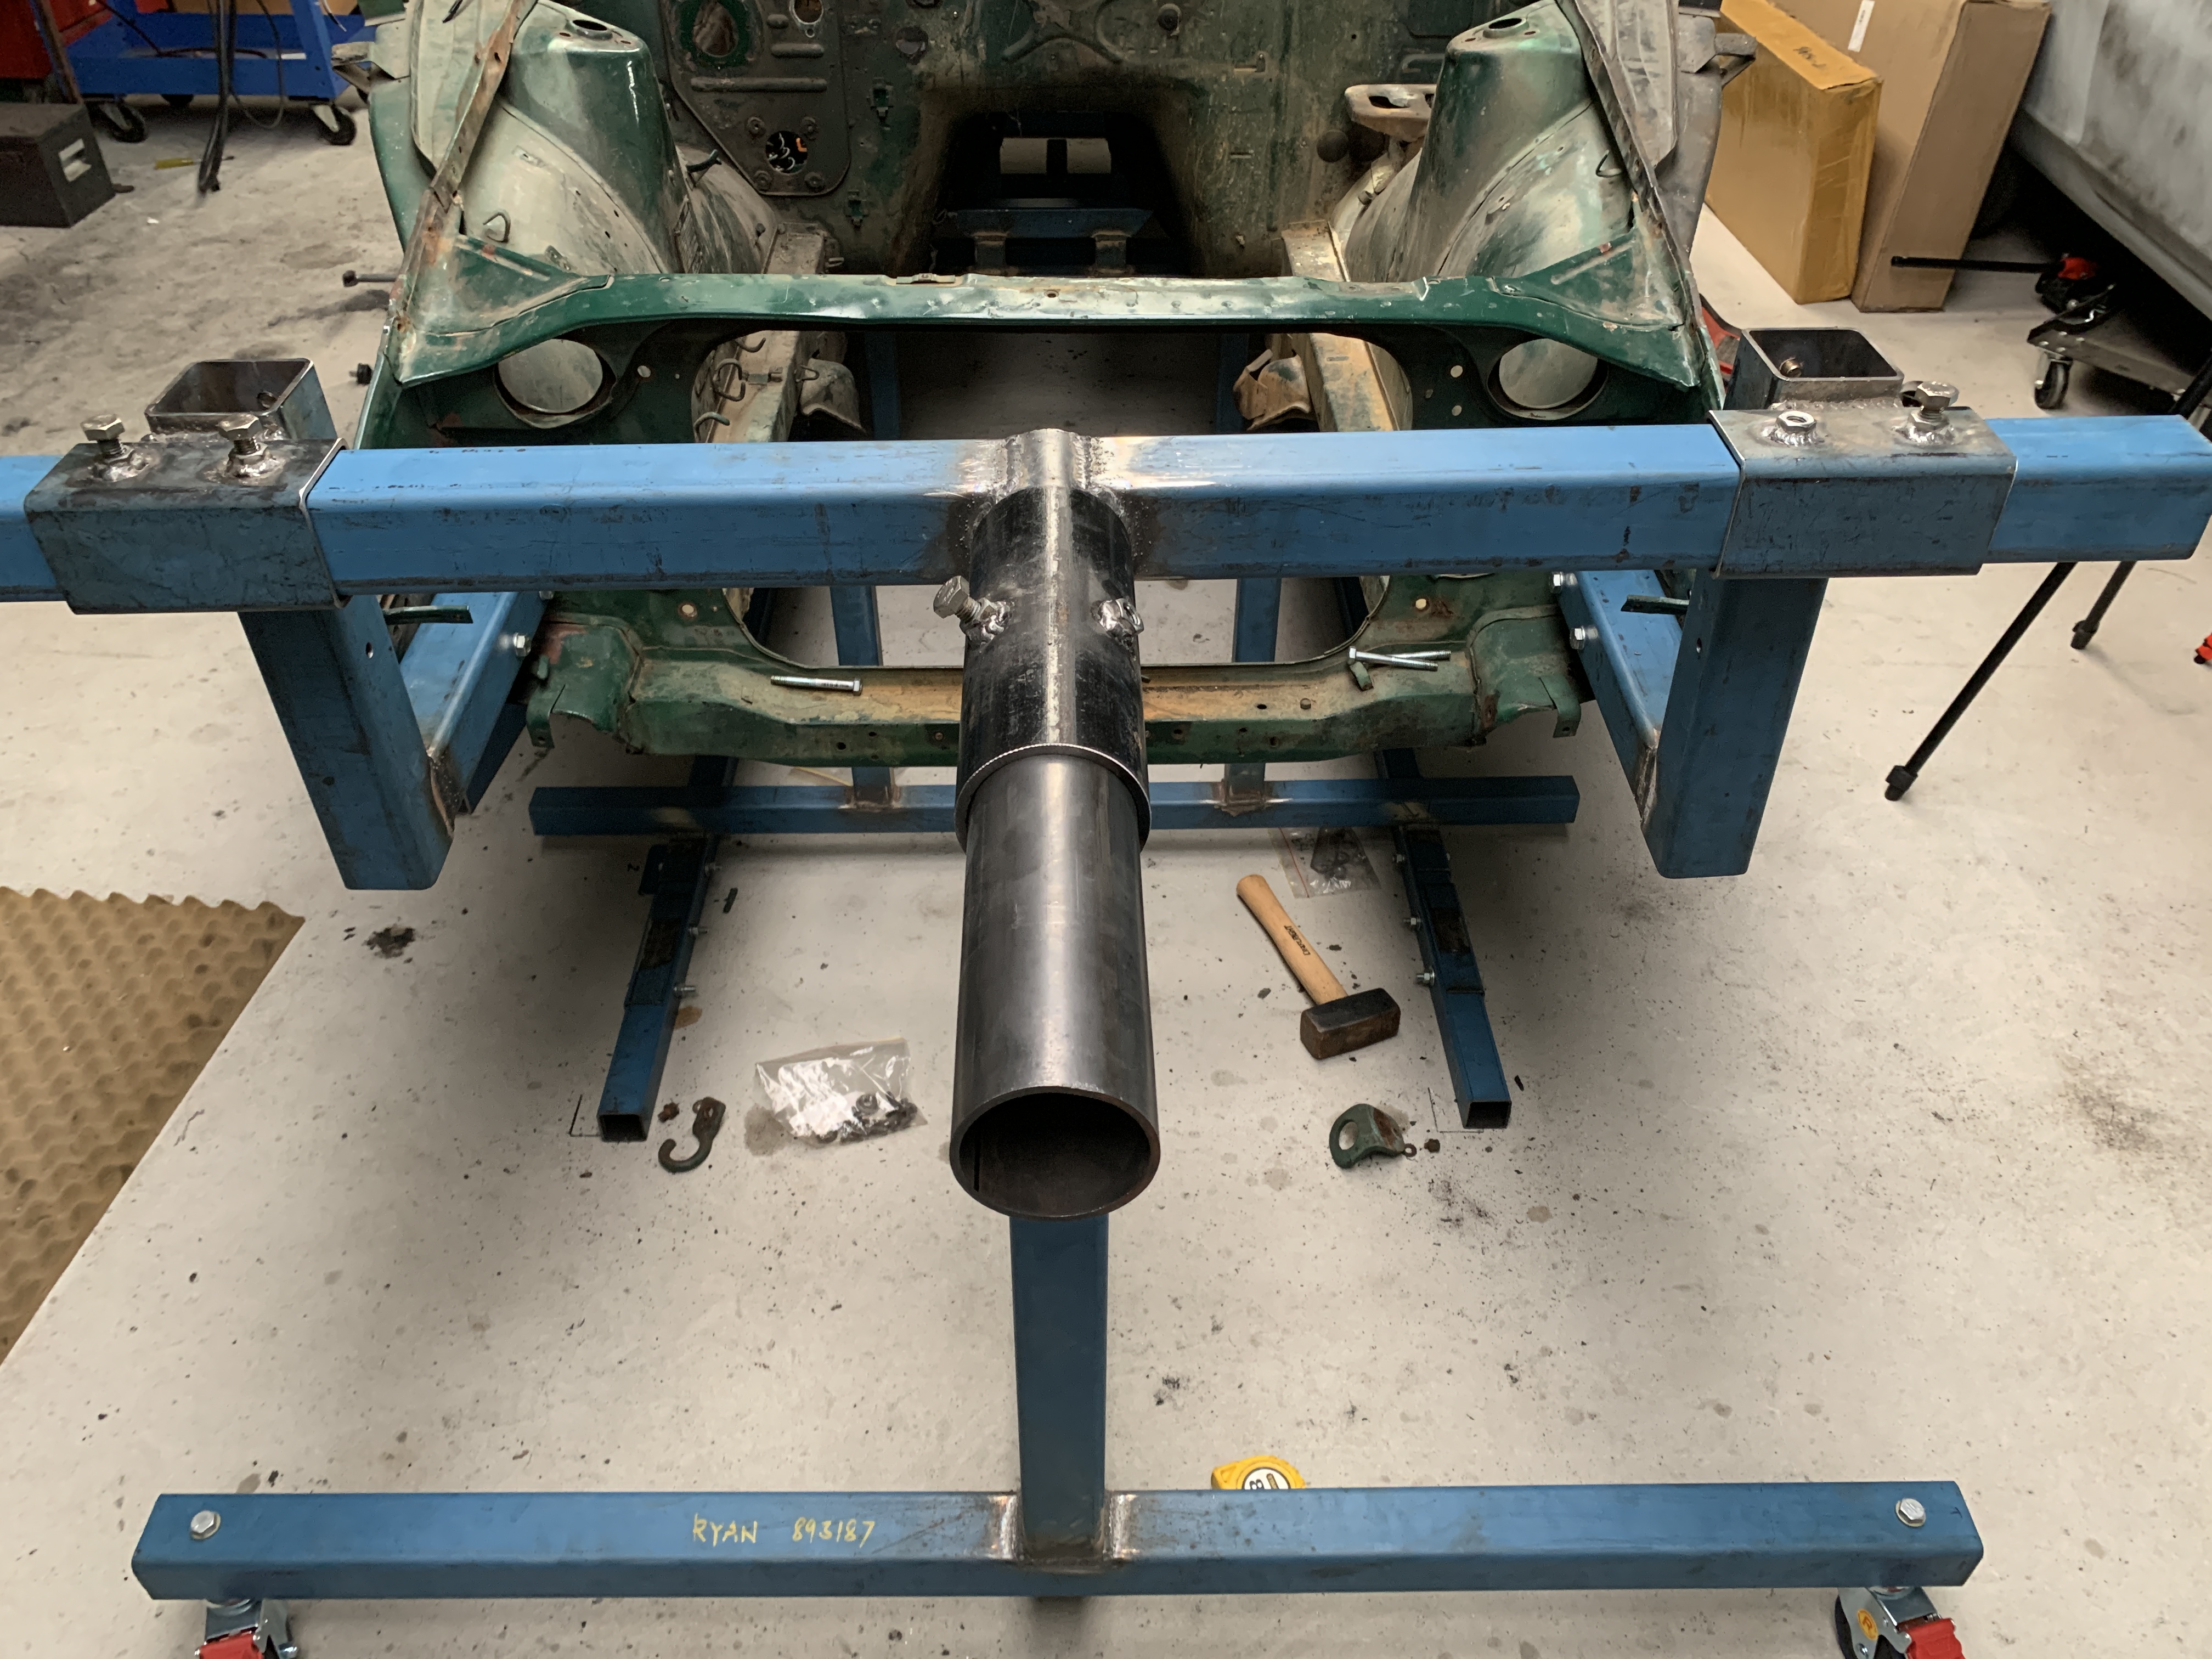
 I only got in a half days work on my last RnR, but managed to get some important work done. if you have been following along my front nose was damaged in a past accident and has been some what weakened compared to a stock one. I decided to add an extra bolt in point on my rotisserie mounts to add some strength as I did not trust just bolting to the bumper mounts. This is what I came up with.... first I had to remove the snapped/rusted out bolts from the tow points. This proved difficult, used heat and penetrant along with easy out bits, but to no avail on the LHS, I snapped two easy out bits trying. I ended up just drilling a 10mm hole straight through and will use a M10 nut and bolt, (I’m replacing chassis rails anyway) and I have a conveniently placed rust hole which allows me access to place/tighten the nut. I managed to remove the rusted RHS tow point bolt with the easy outs! What a feeling of triumph! this additional mount point added a heap of strength to the mounts, vertically and laterally. And it was only tacked together. Once fully welded they will be plenty strong enough to support the car. Why did I make it adjustable and not just weld the front mount all together? Good question. I made it adjustable because after I carry out repairs on the front nose the bumper bolt hole locations may alter slightly meaning the rotisserie mounts won’t fit for the underbelly painting. Now they are adjustable, they will fit. Next up I hope to: - finish the front mounts - add supports where needed - start on the rear rotisserie mounts
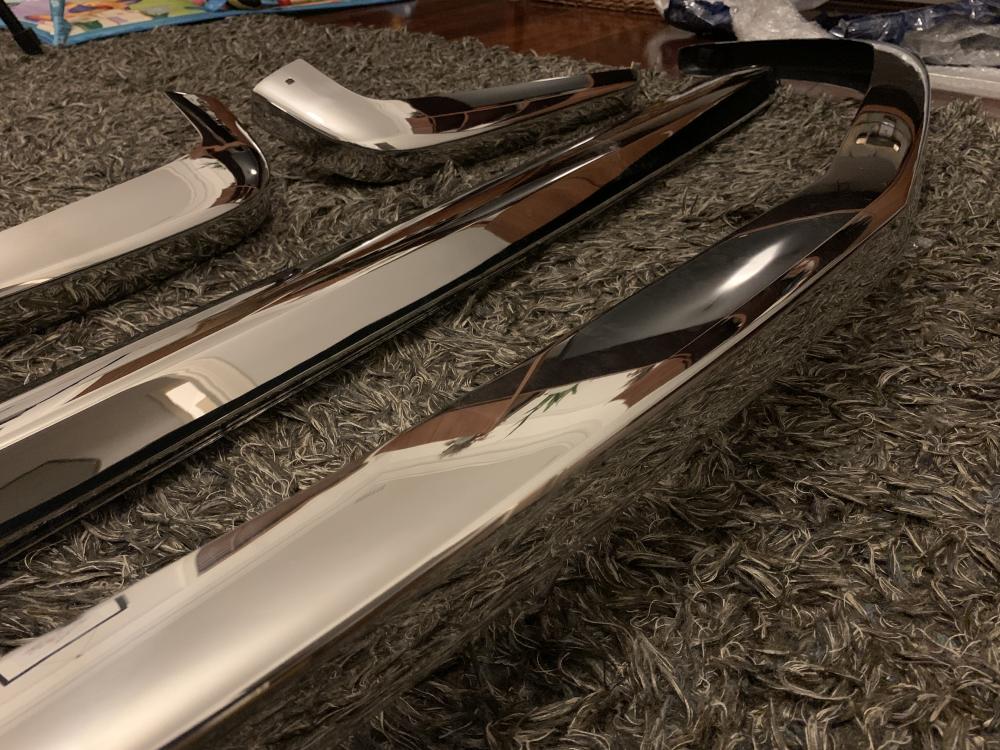
 Haha 😂 nah mate these will stay shiny till they go on the car! im sure one of the guys who have had these Bumpers on their cars for a while can comment on longevity of the shine nothing lasts forever, I anticipate these will need to get buffed to restore the shine but better that than the the fortune it costs to rechrome.
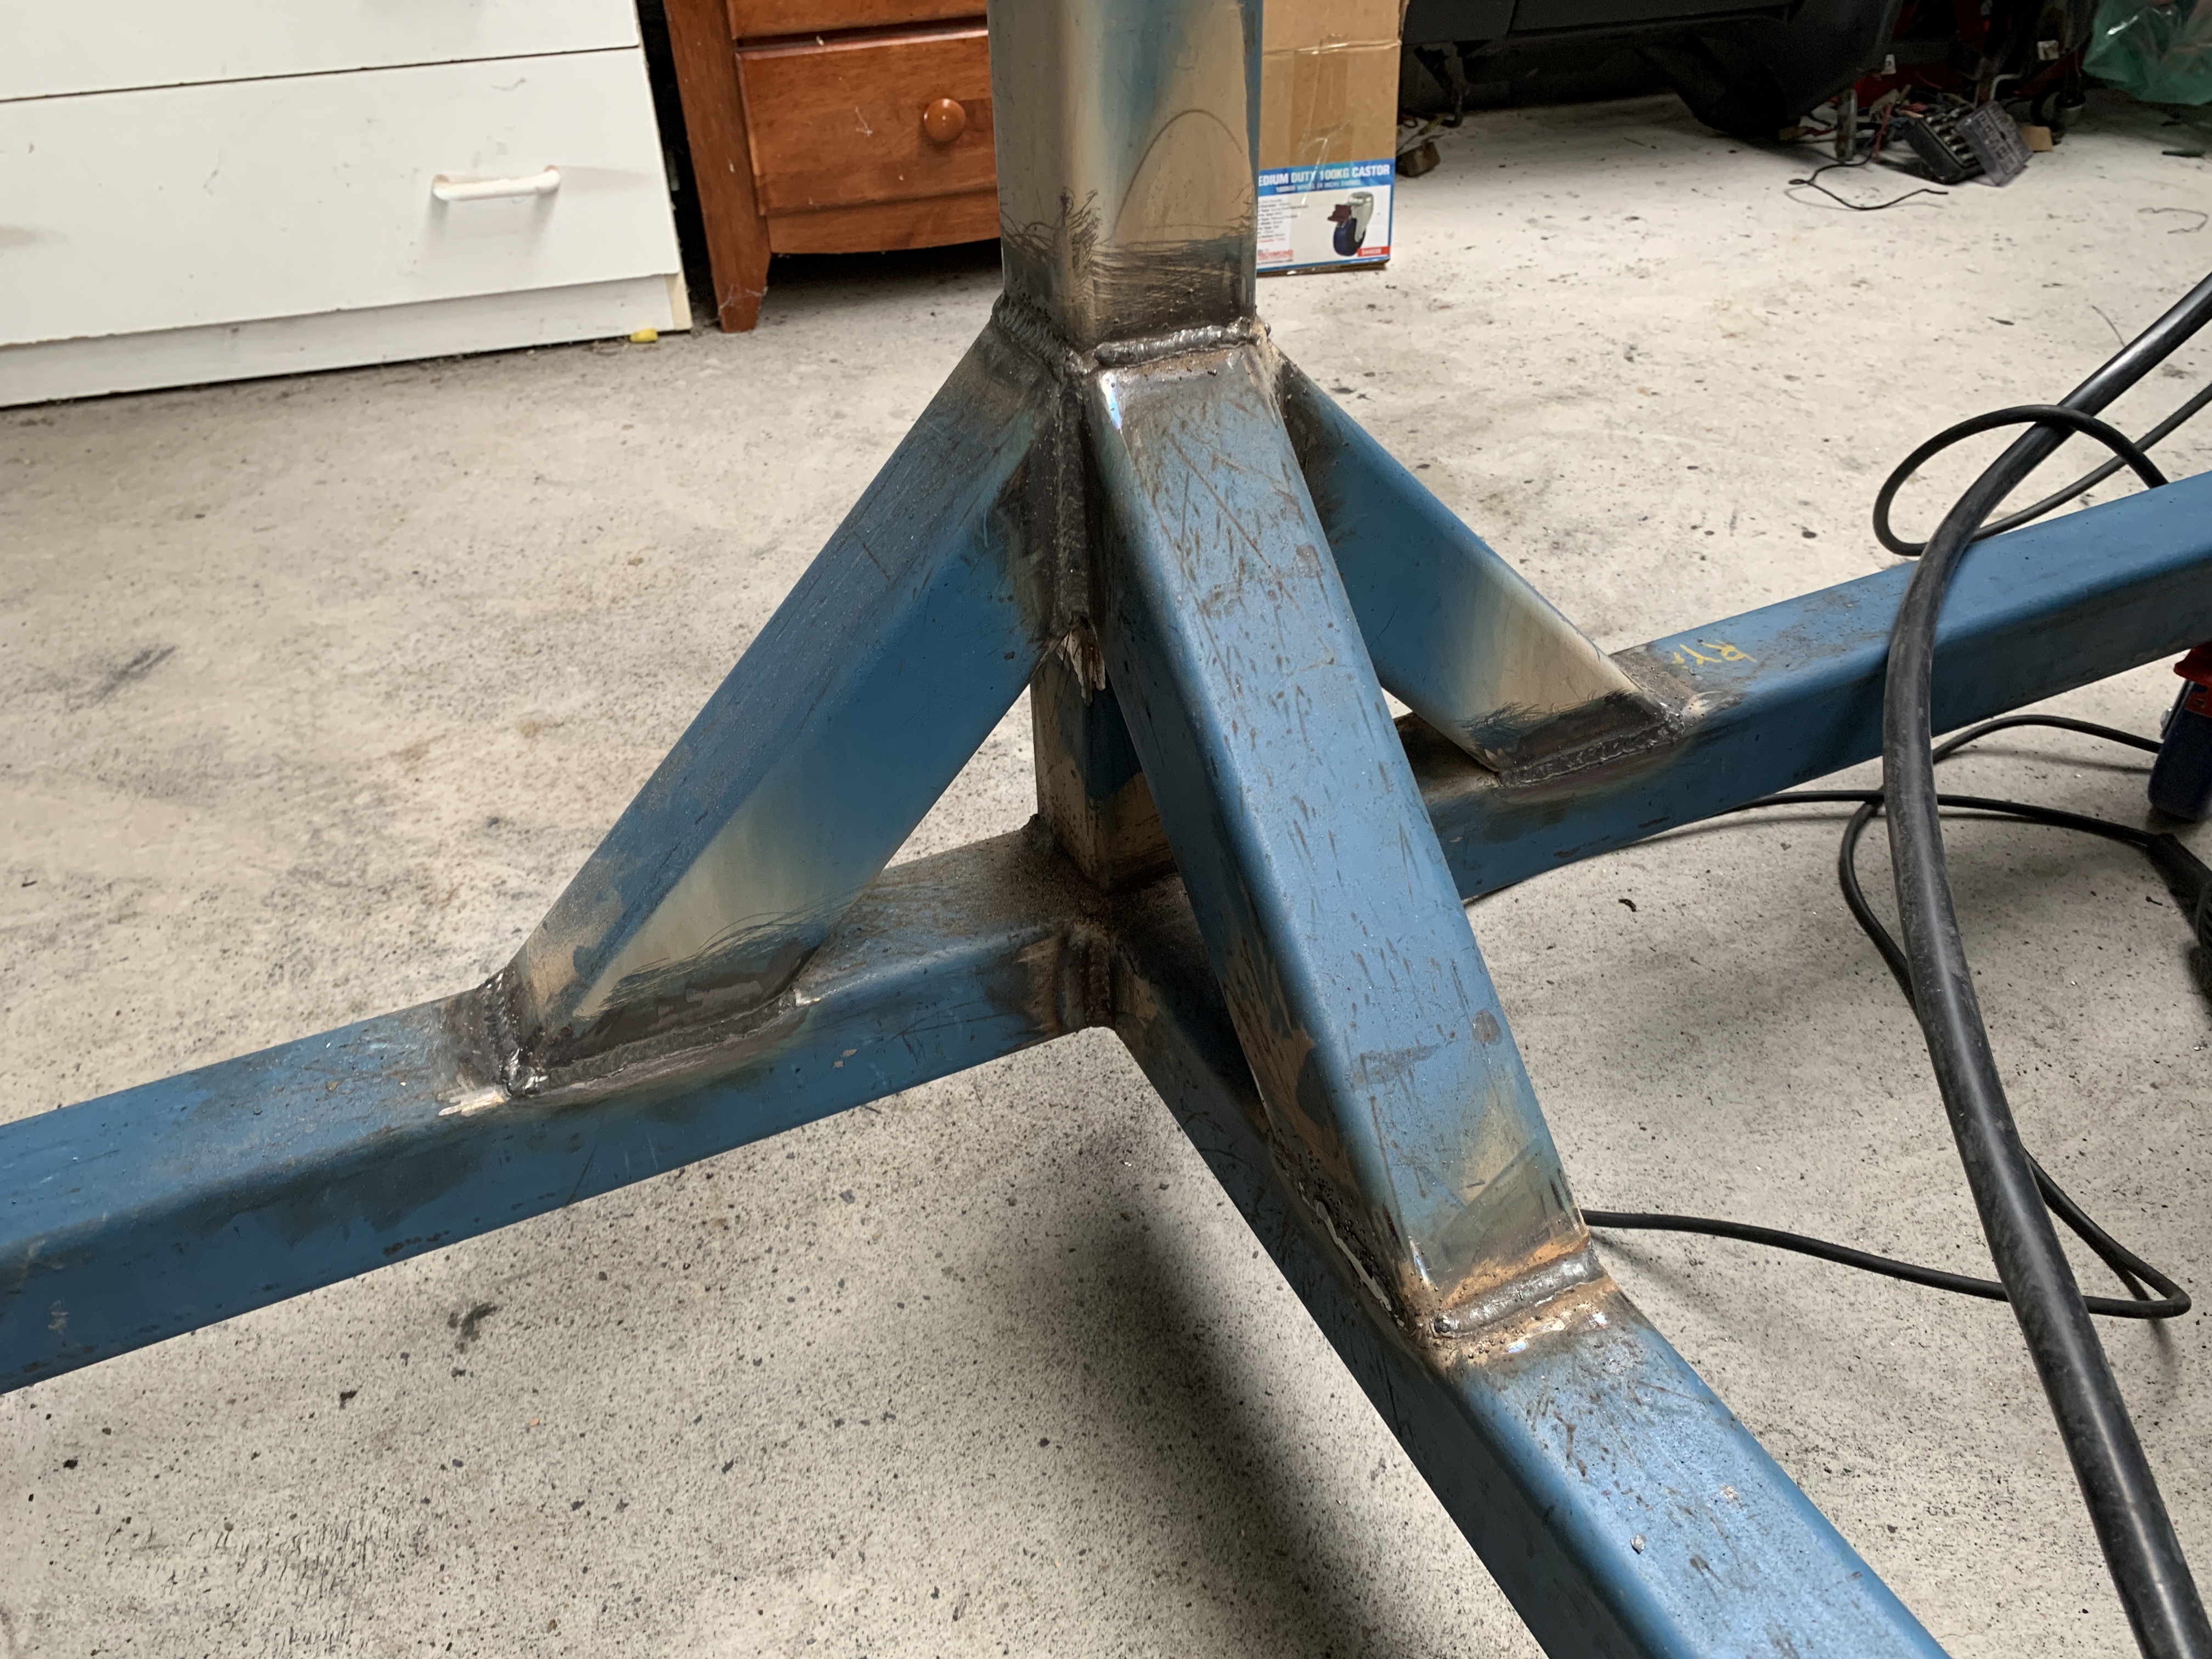
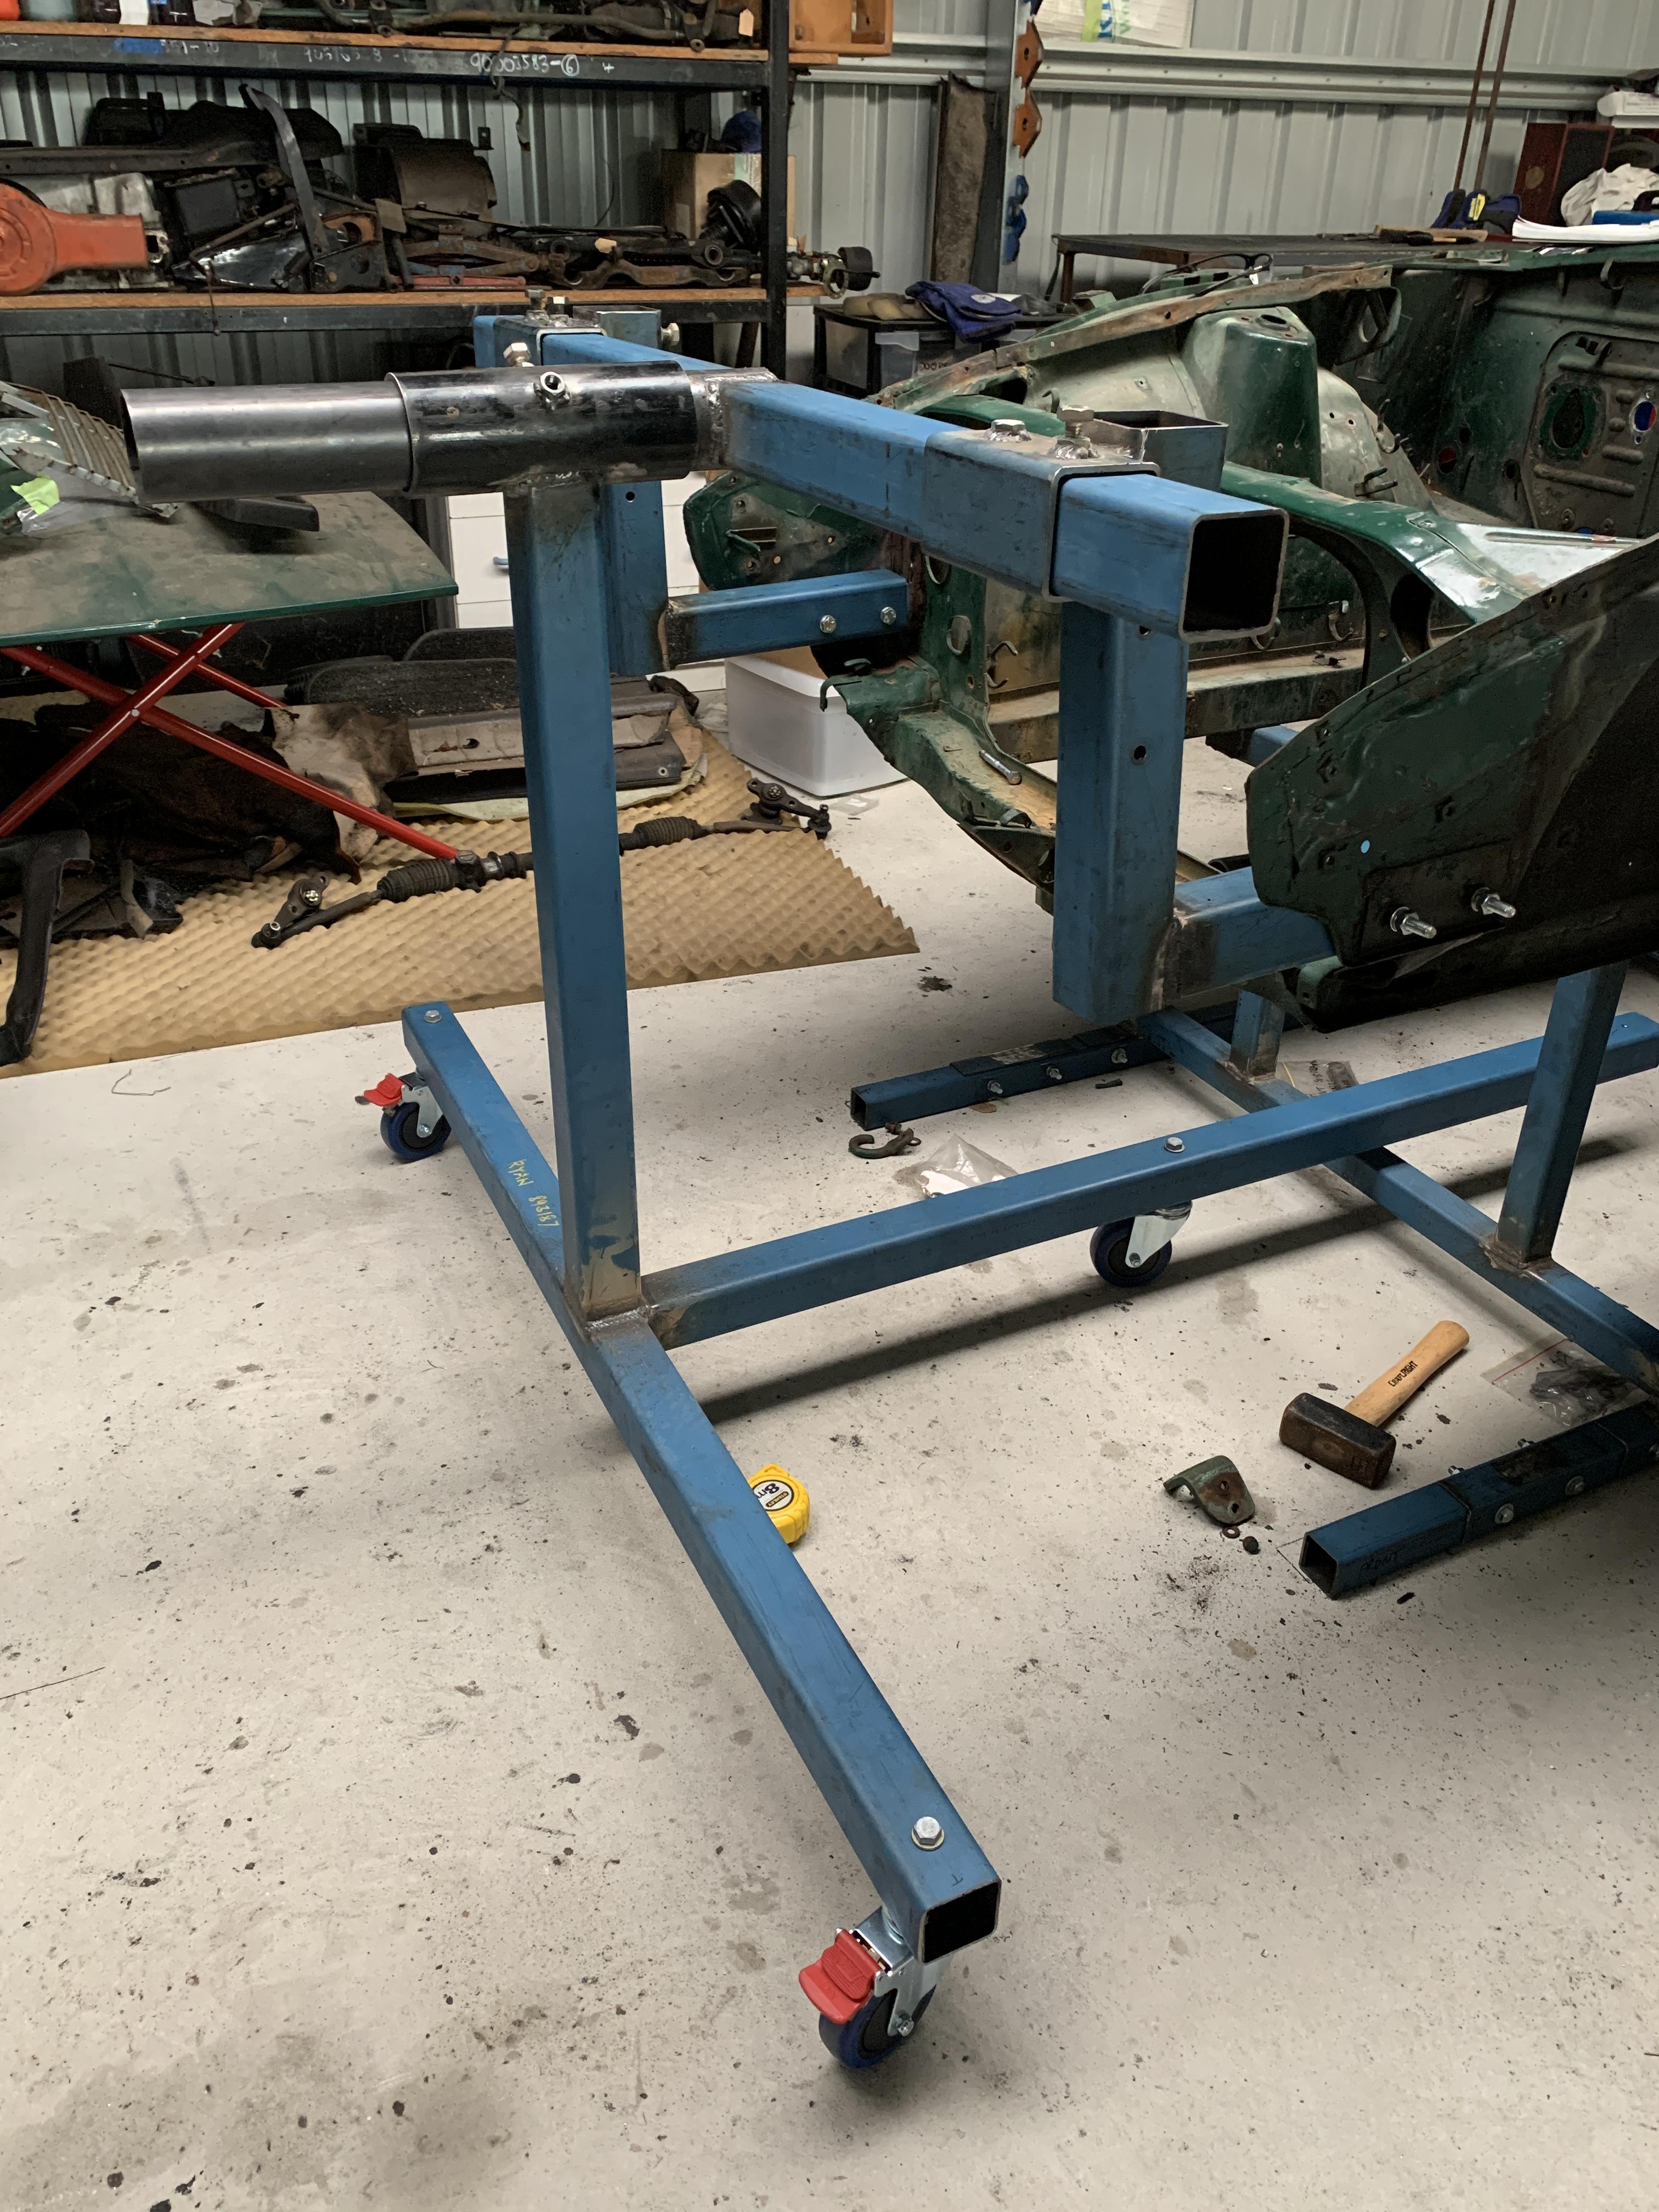
Nearly knocked off the front section of the rotisserie this week, so close! I keep stressing that my progress is too slow. But I try to remind my self it’s one tiny task at a time, every little job complete is one little job less on the list. The old how do you eat an elephant thing.... Base and pivot point welded up and complete, castors installed. Next on the list: -weld in supports on the base and pivot - due to the damage to the bumper mount section on my car I have decided to add additional tie in points, I will be using the front tow points, however the bolts had snapped on all the points so I will need to tackle that before hand - move onto the rear of the rotisserie ryan
Haha 😂 nah mate these will stay shiny till they go on the car! im sure one of the guys who have had these Bumpers on their cars for a while can comment on longevity of the shine nothing lasts forever, I anticipate these will need to get buffed to restore the shine but better that than the the fortune it costs to rechrome.
Nearly knocked off the front section of the rotisserie this week, so close! I keep stressing that my progress is too slow. But I try to remind my self it’s one tiny task at a time, every little job complete is one little job less on the list. The old how do you eat an elephant thing.... Base and pivot point welded up and complete, castors installed. Next on the list: -weld in supports on the base and pivot - due to the damage to the bumper mount section on my car I have decided to add additional tie in points, I will be using the front tow points, however the bolts had snapped on all the points so I will need to tackle that before hand - move onto the rear of the rotisserie ryan


 Yes Ryan! Lol all good. thanks for the feedback mate! I enjoy making them for the handful of people who watch!
That is a cracker of an idea! Thanks mate
Who’s Jeff?! Lol 😂 yes they are painted black on the inside, rust shouldn’t be a concern as they are stainless and I won’t be driving it in the rain! Ryan
Haha that was my plan! I have read the stainless can get scratches with washing, I would just be very careful about using a dirty wash mitt or anything other than lambs wool/clean micro fiber. And as always soap is a must.
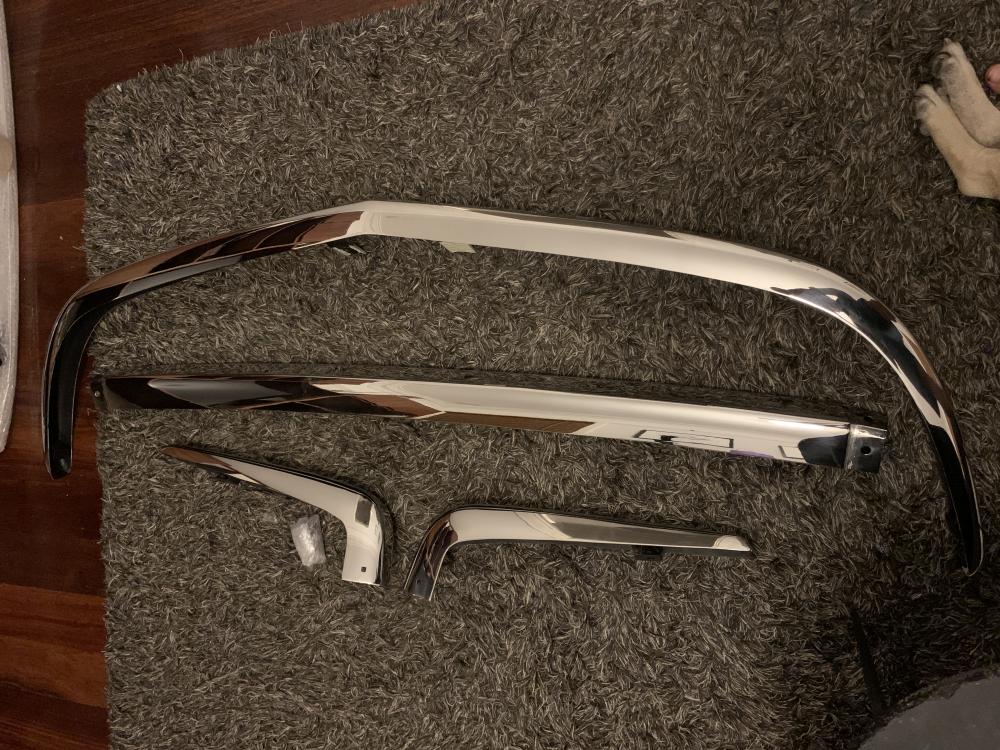
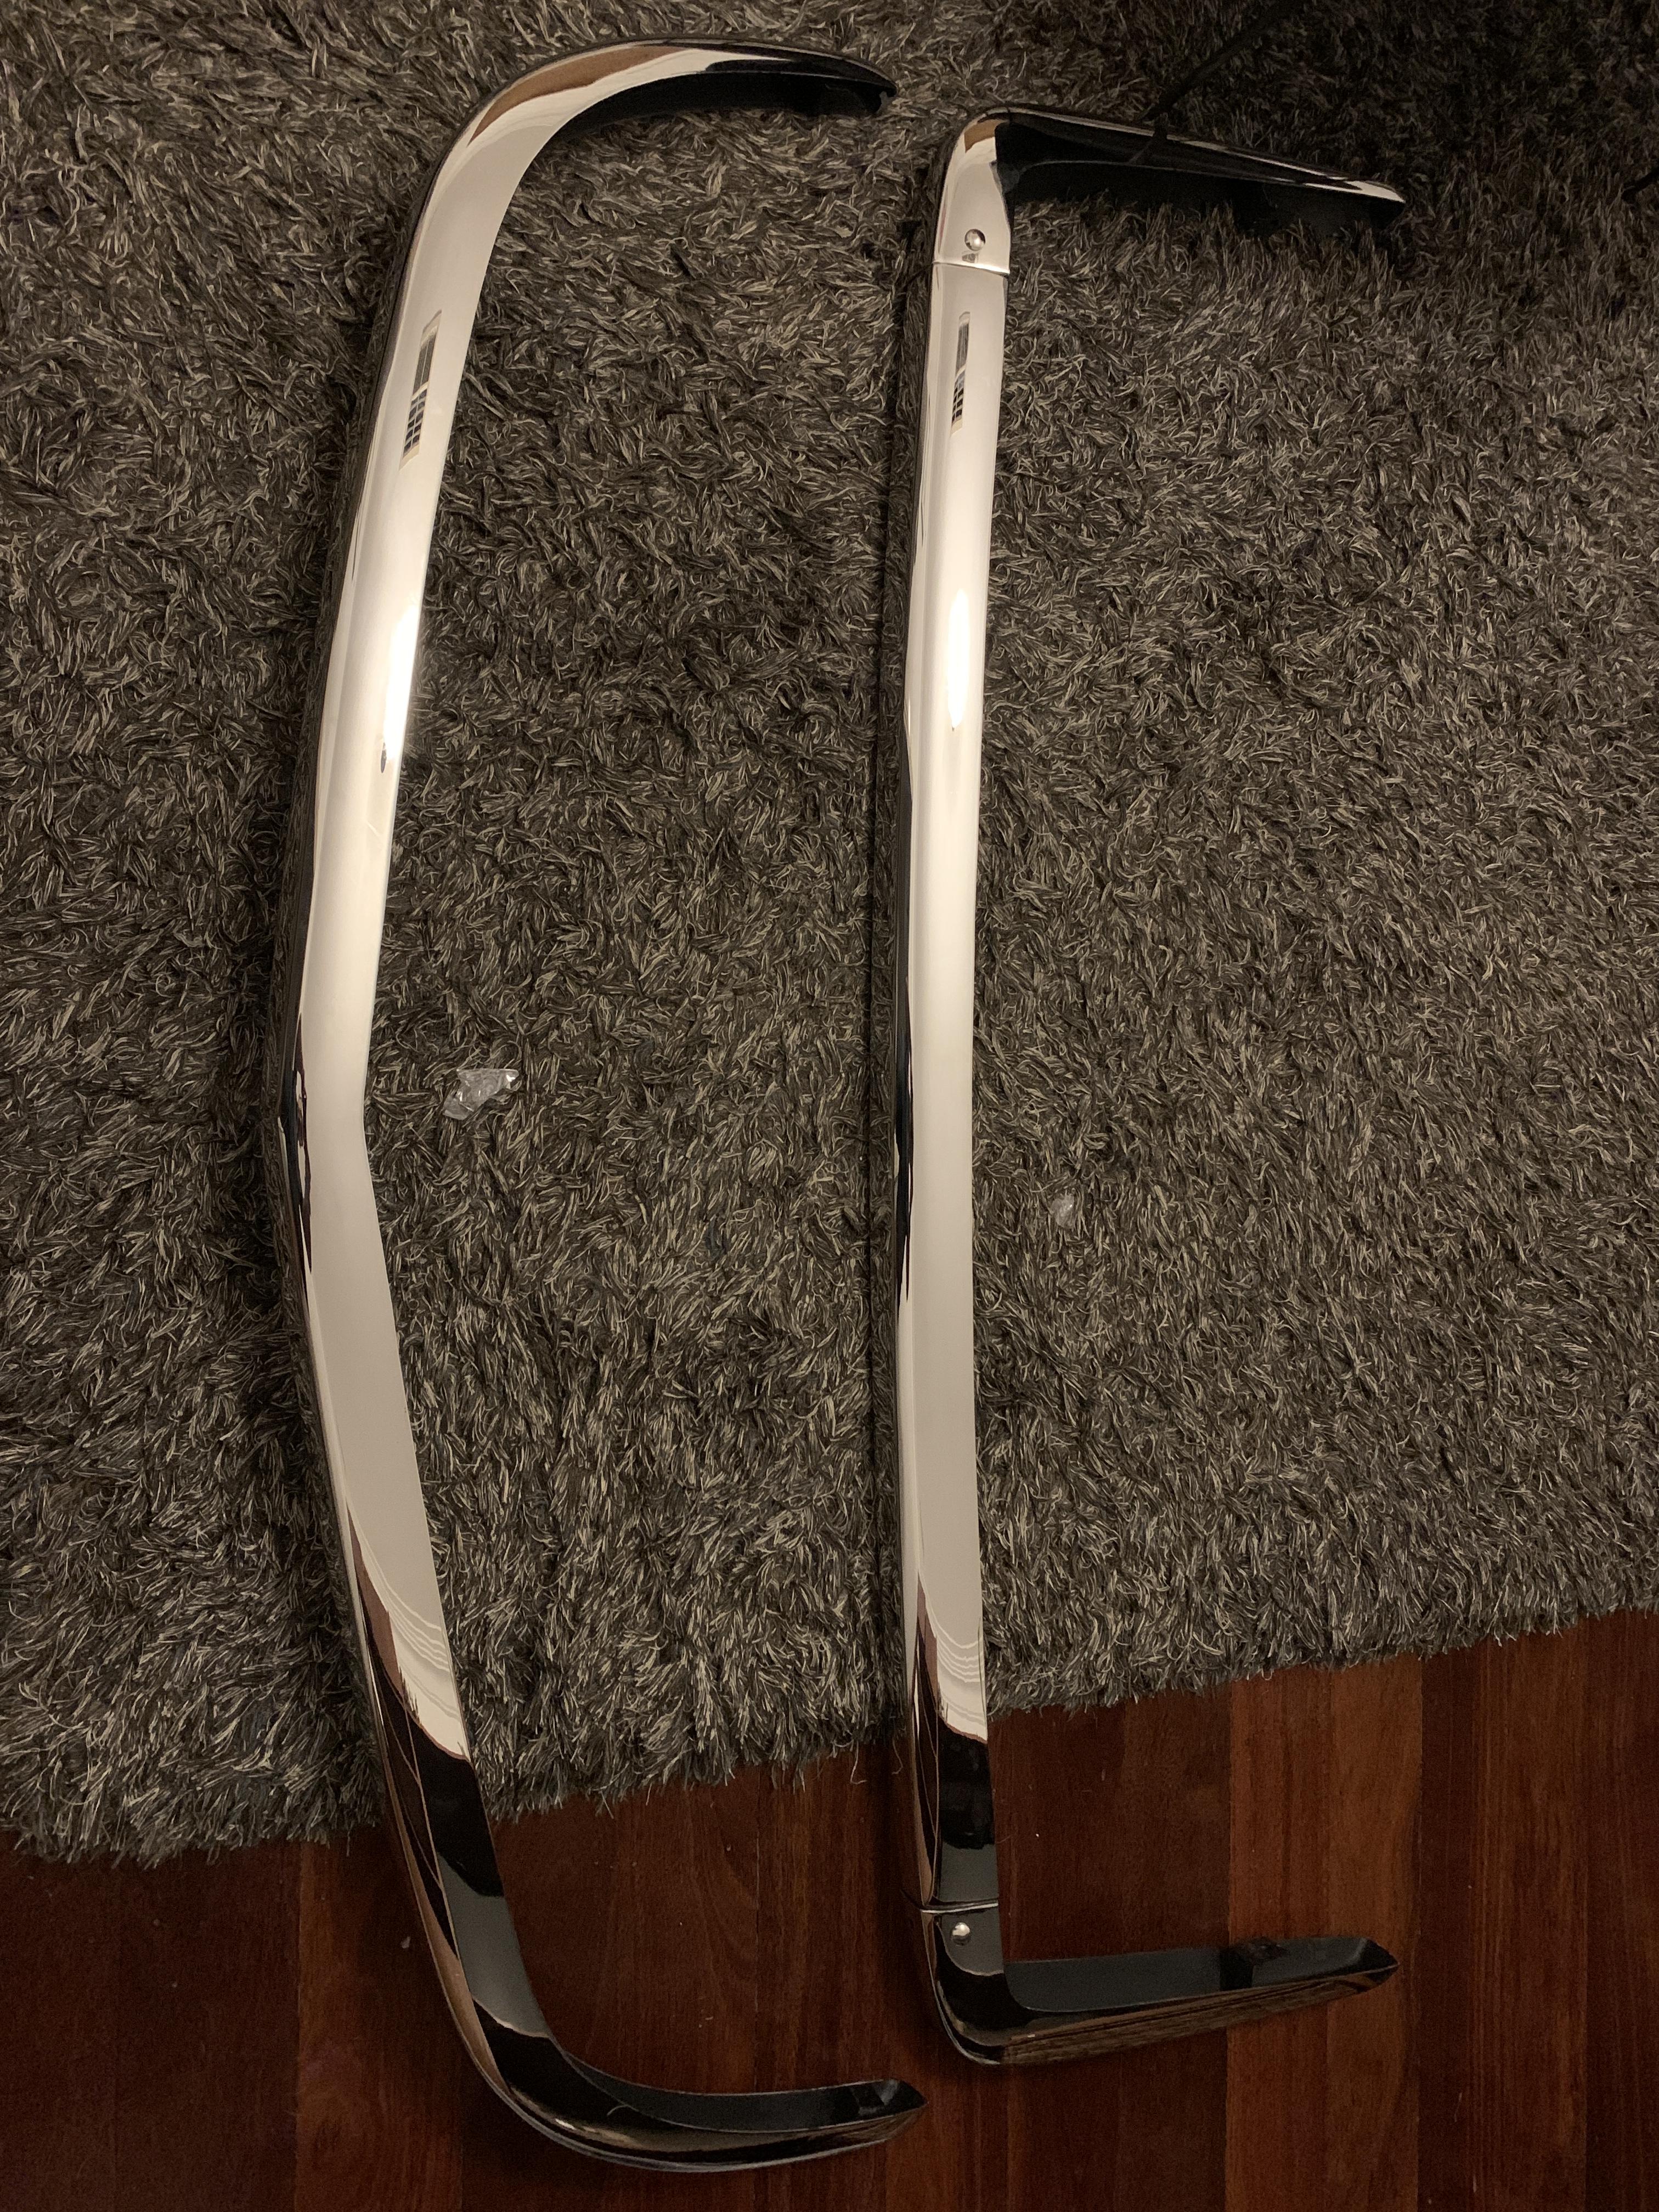
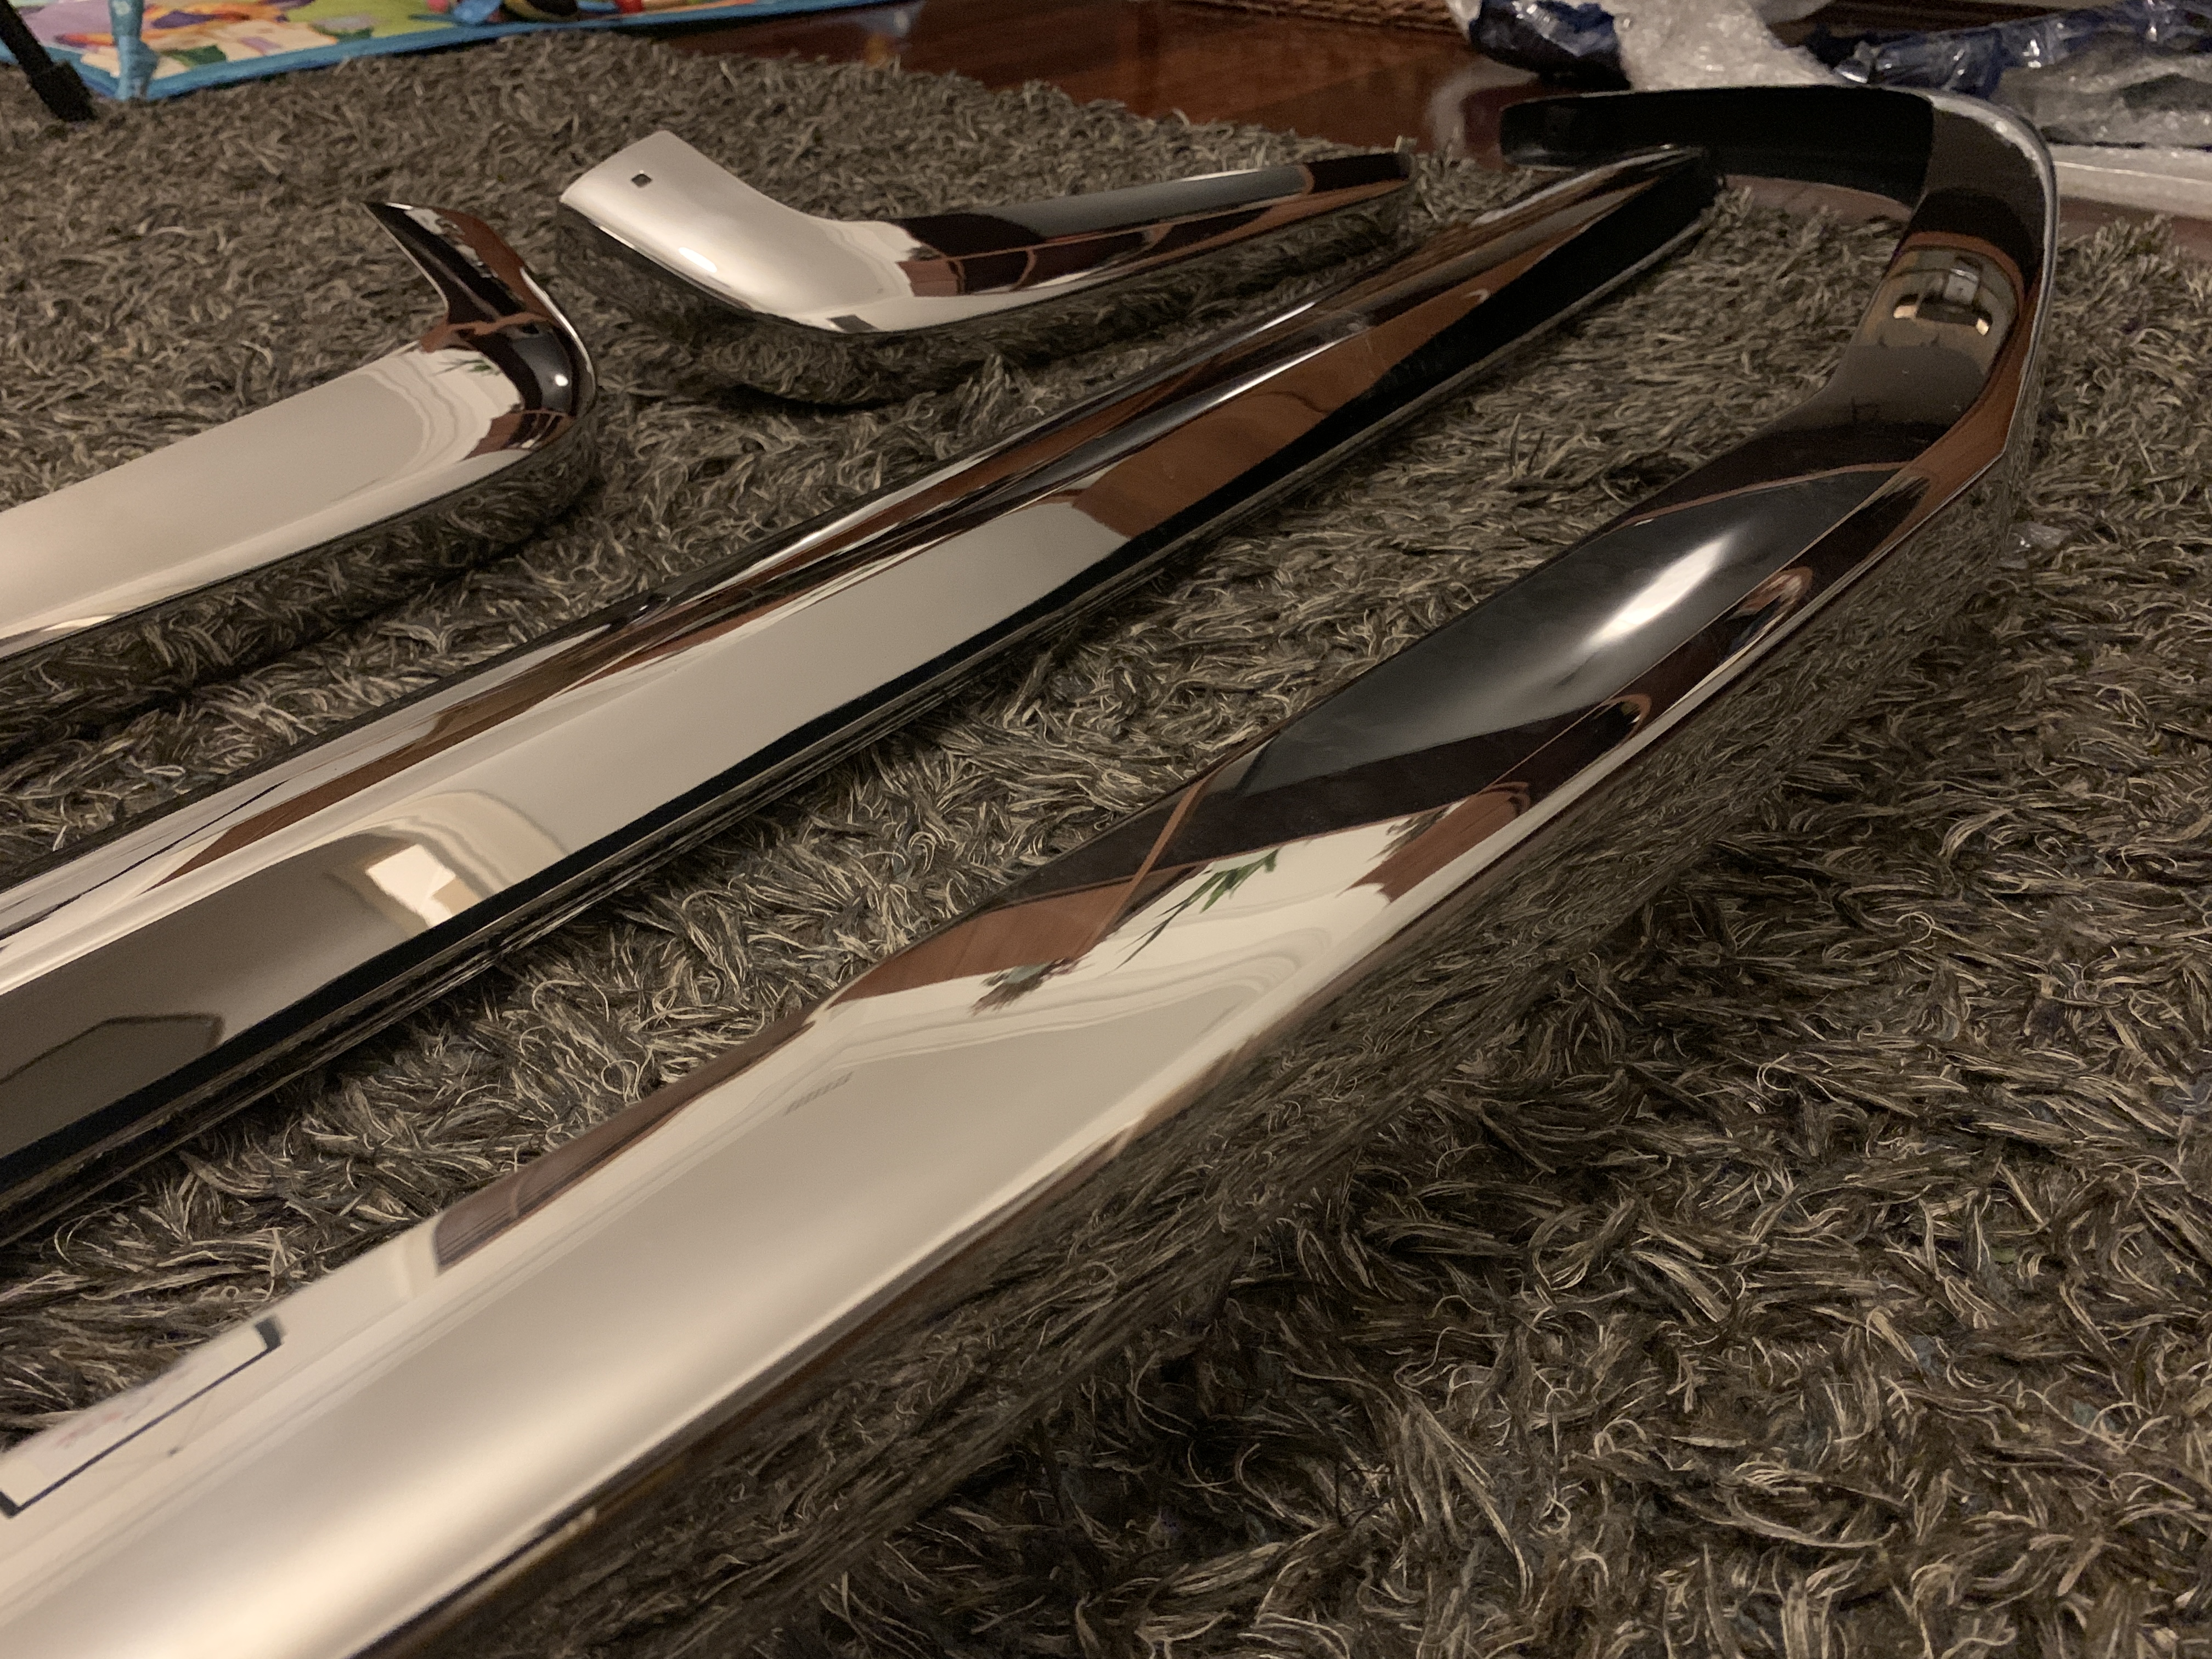
Yeah I am on the fence as to whether I want shiny chrome look bumpers or satin black. I figure I will install them as chrome look and I can always paint after. the cost of shipping from the US made these Vietnam ones more attractive to me as shipping from Vietnam is cheaper to oz.
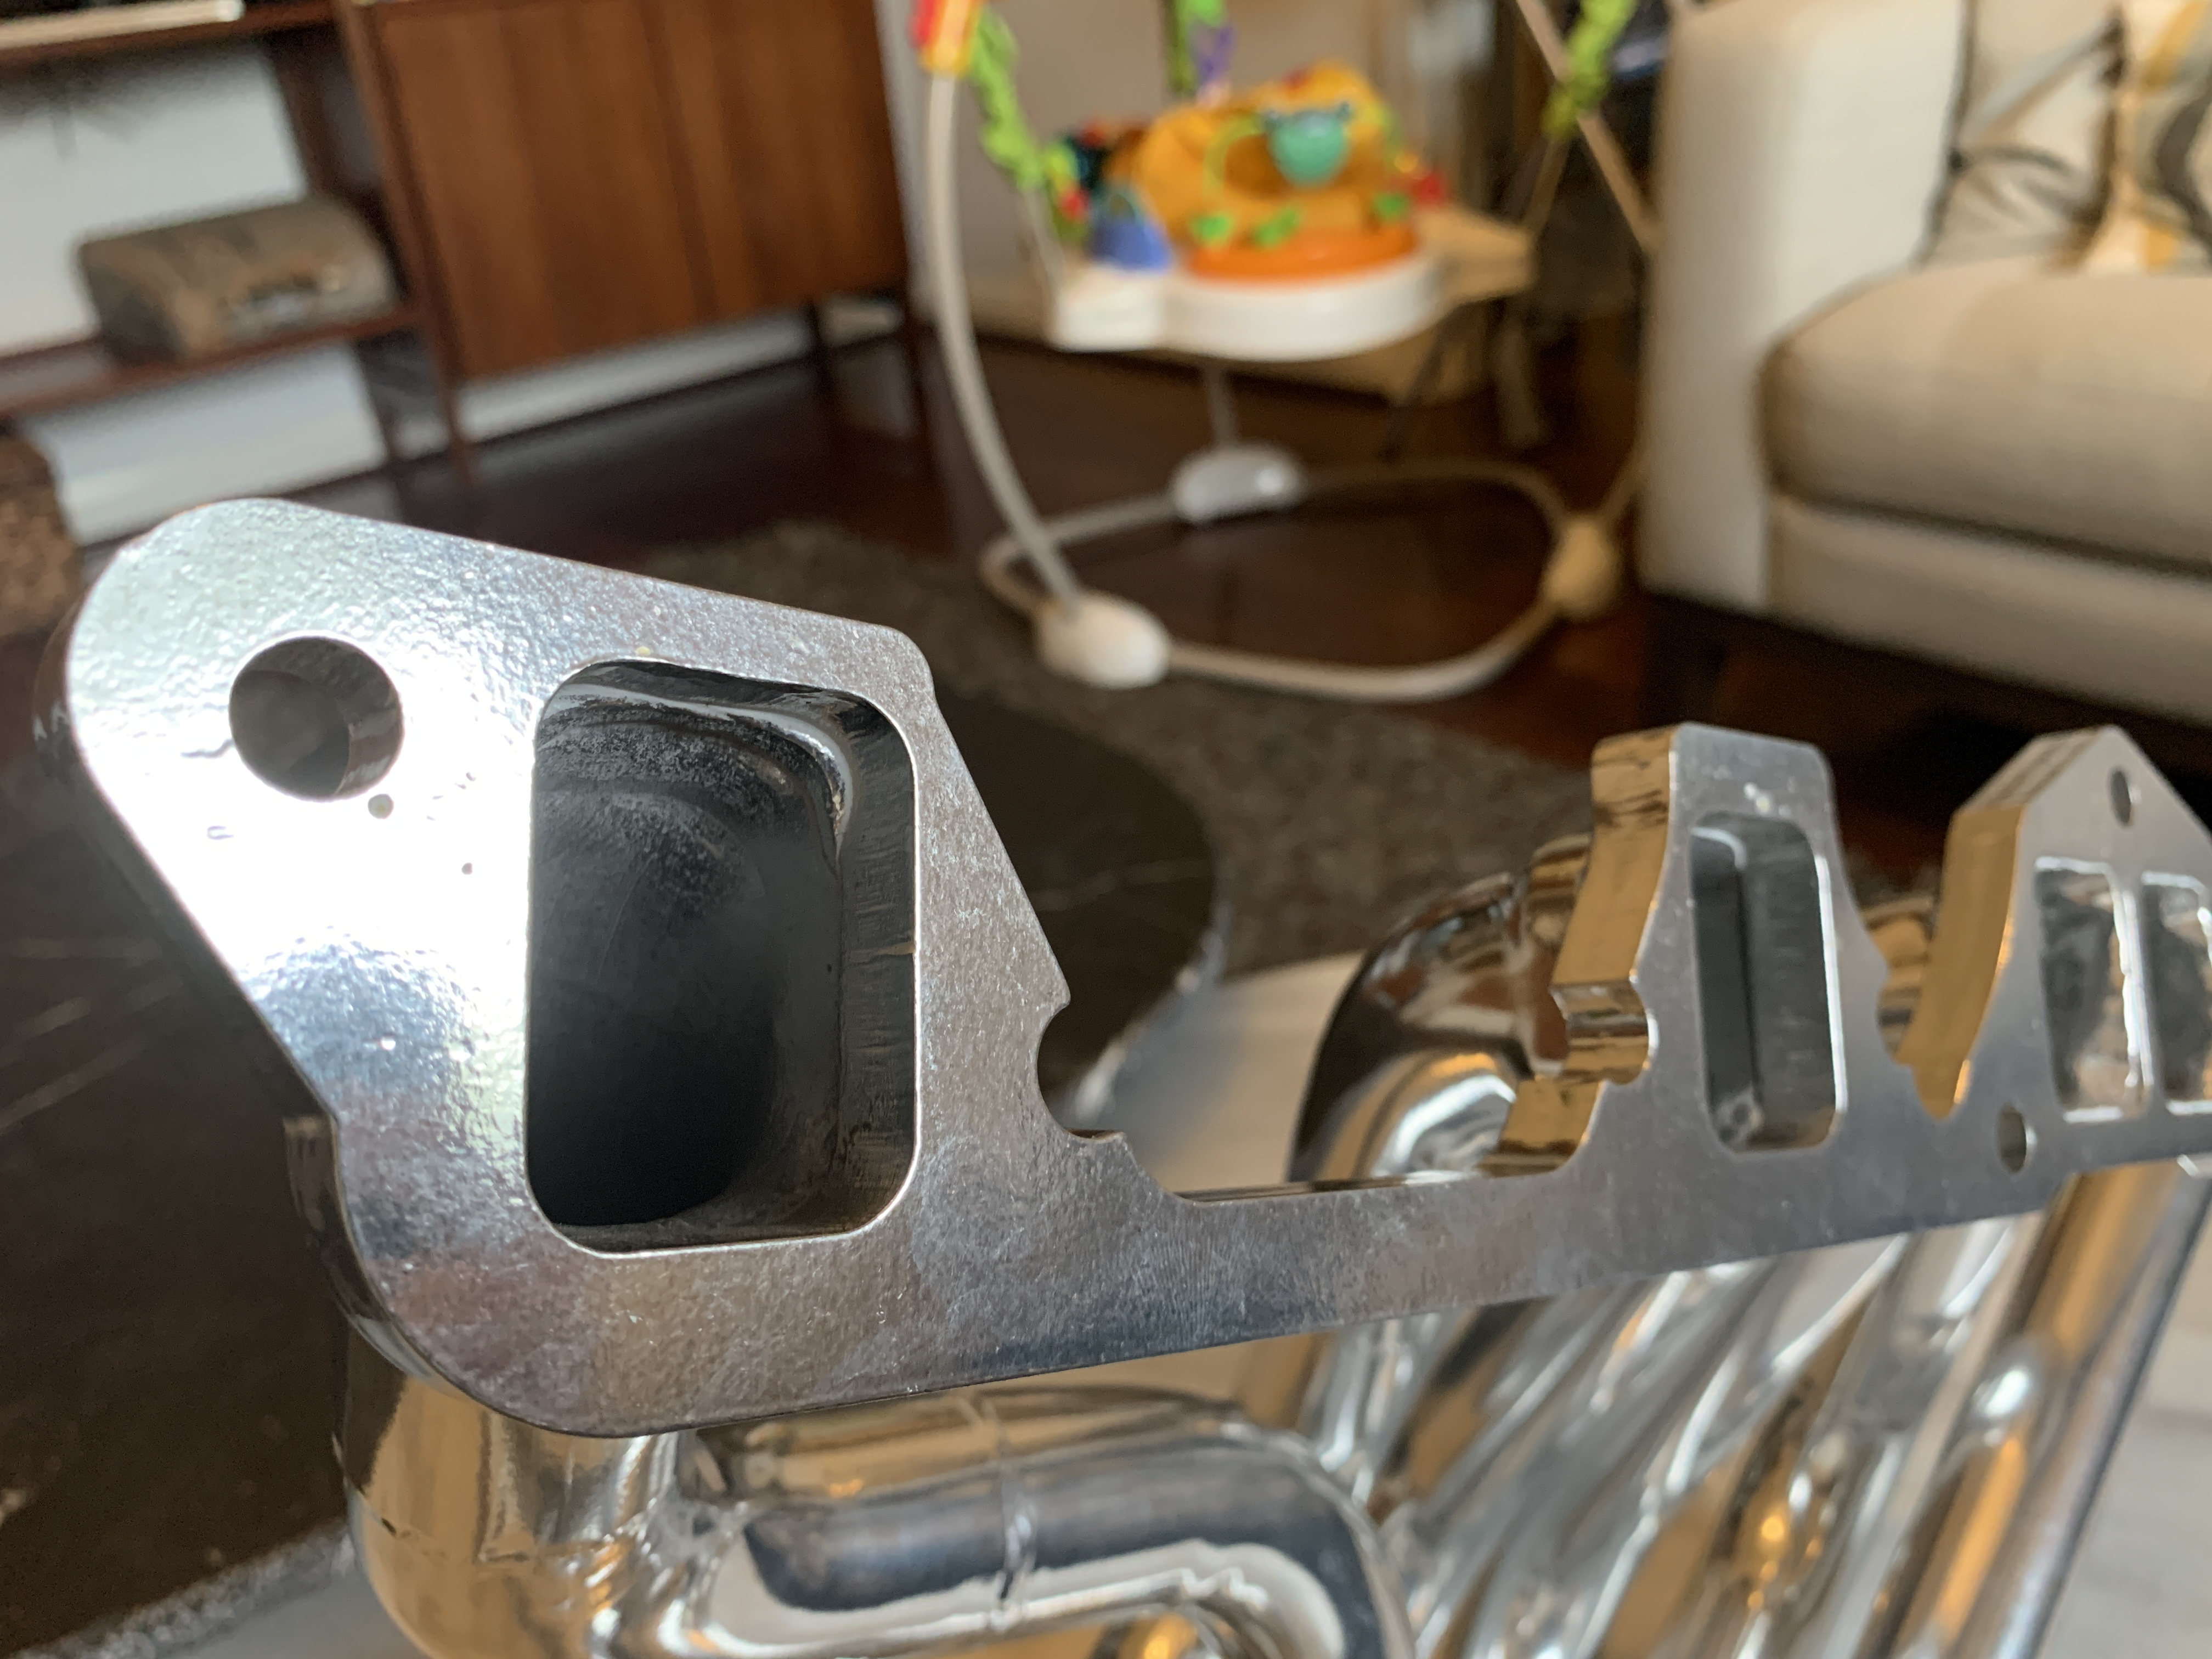
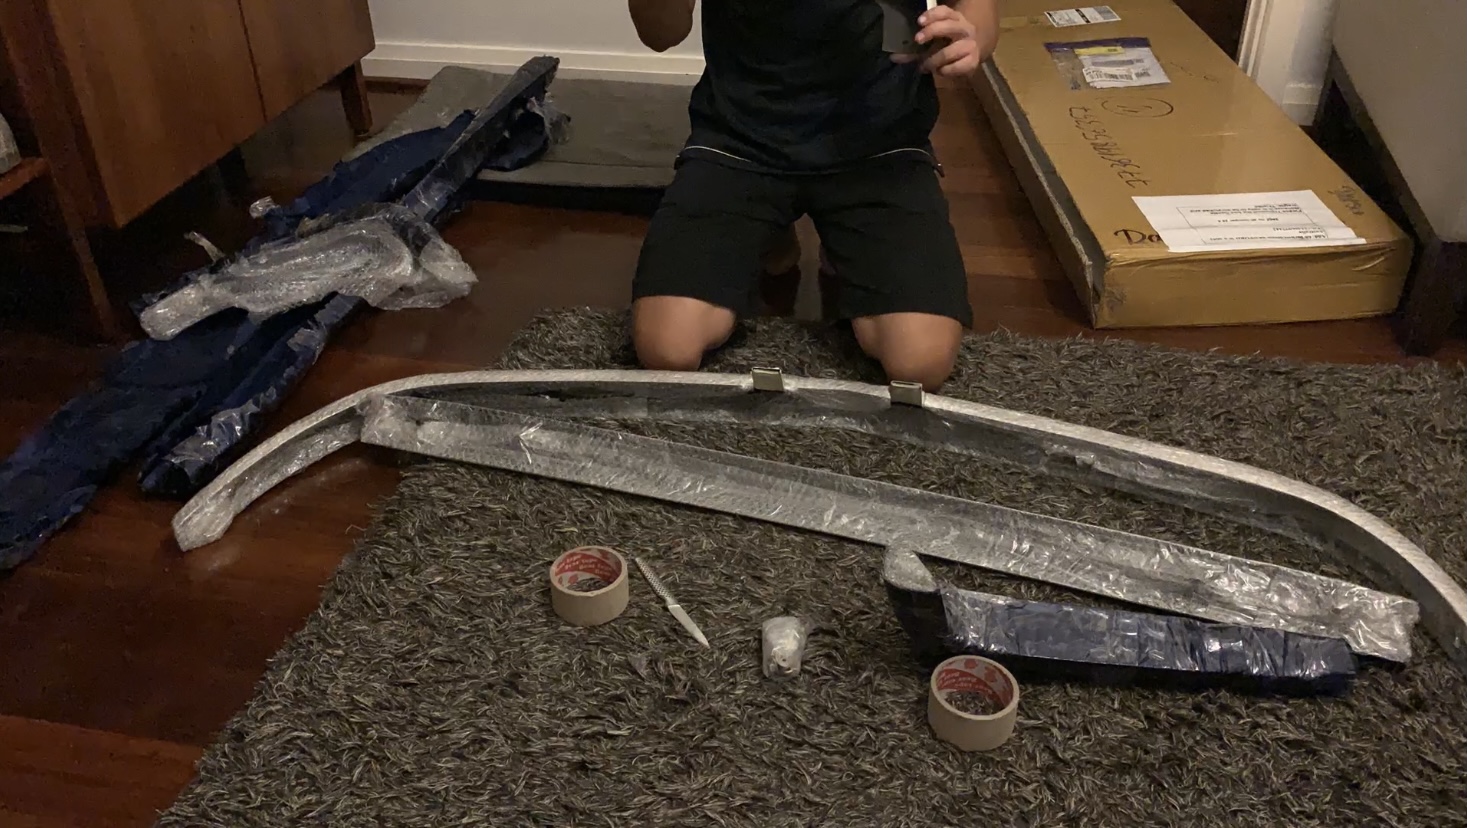
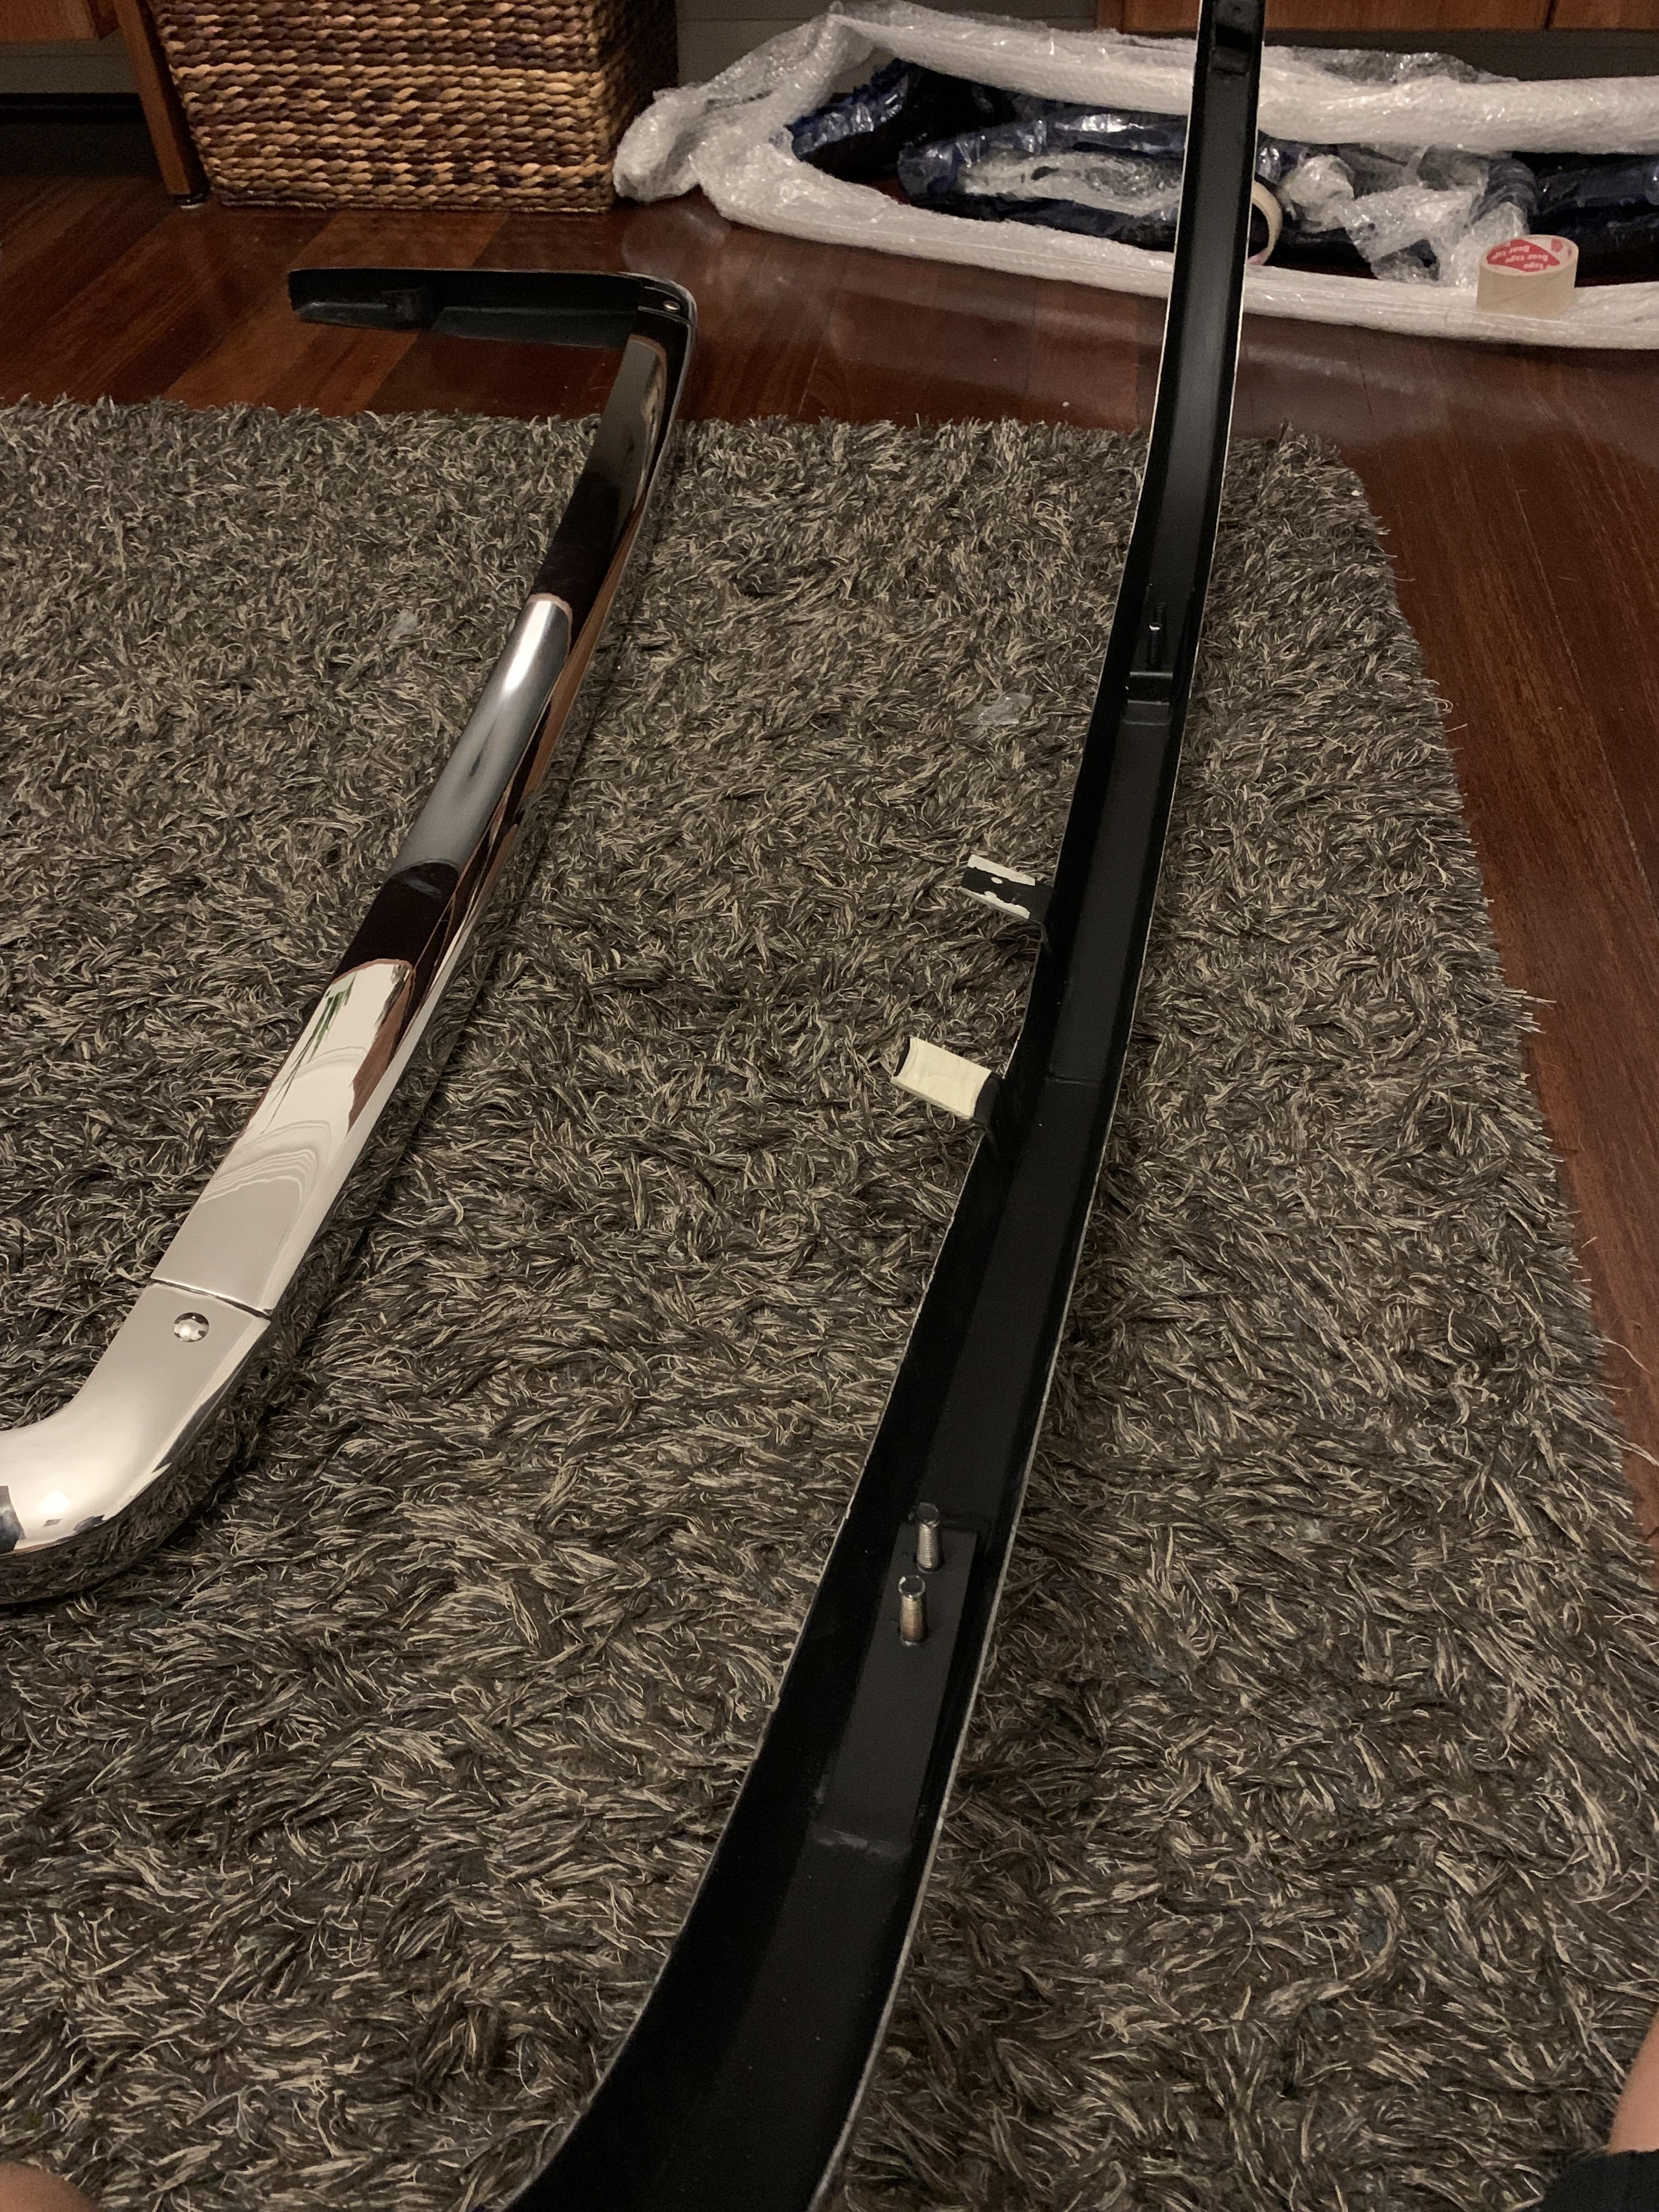
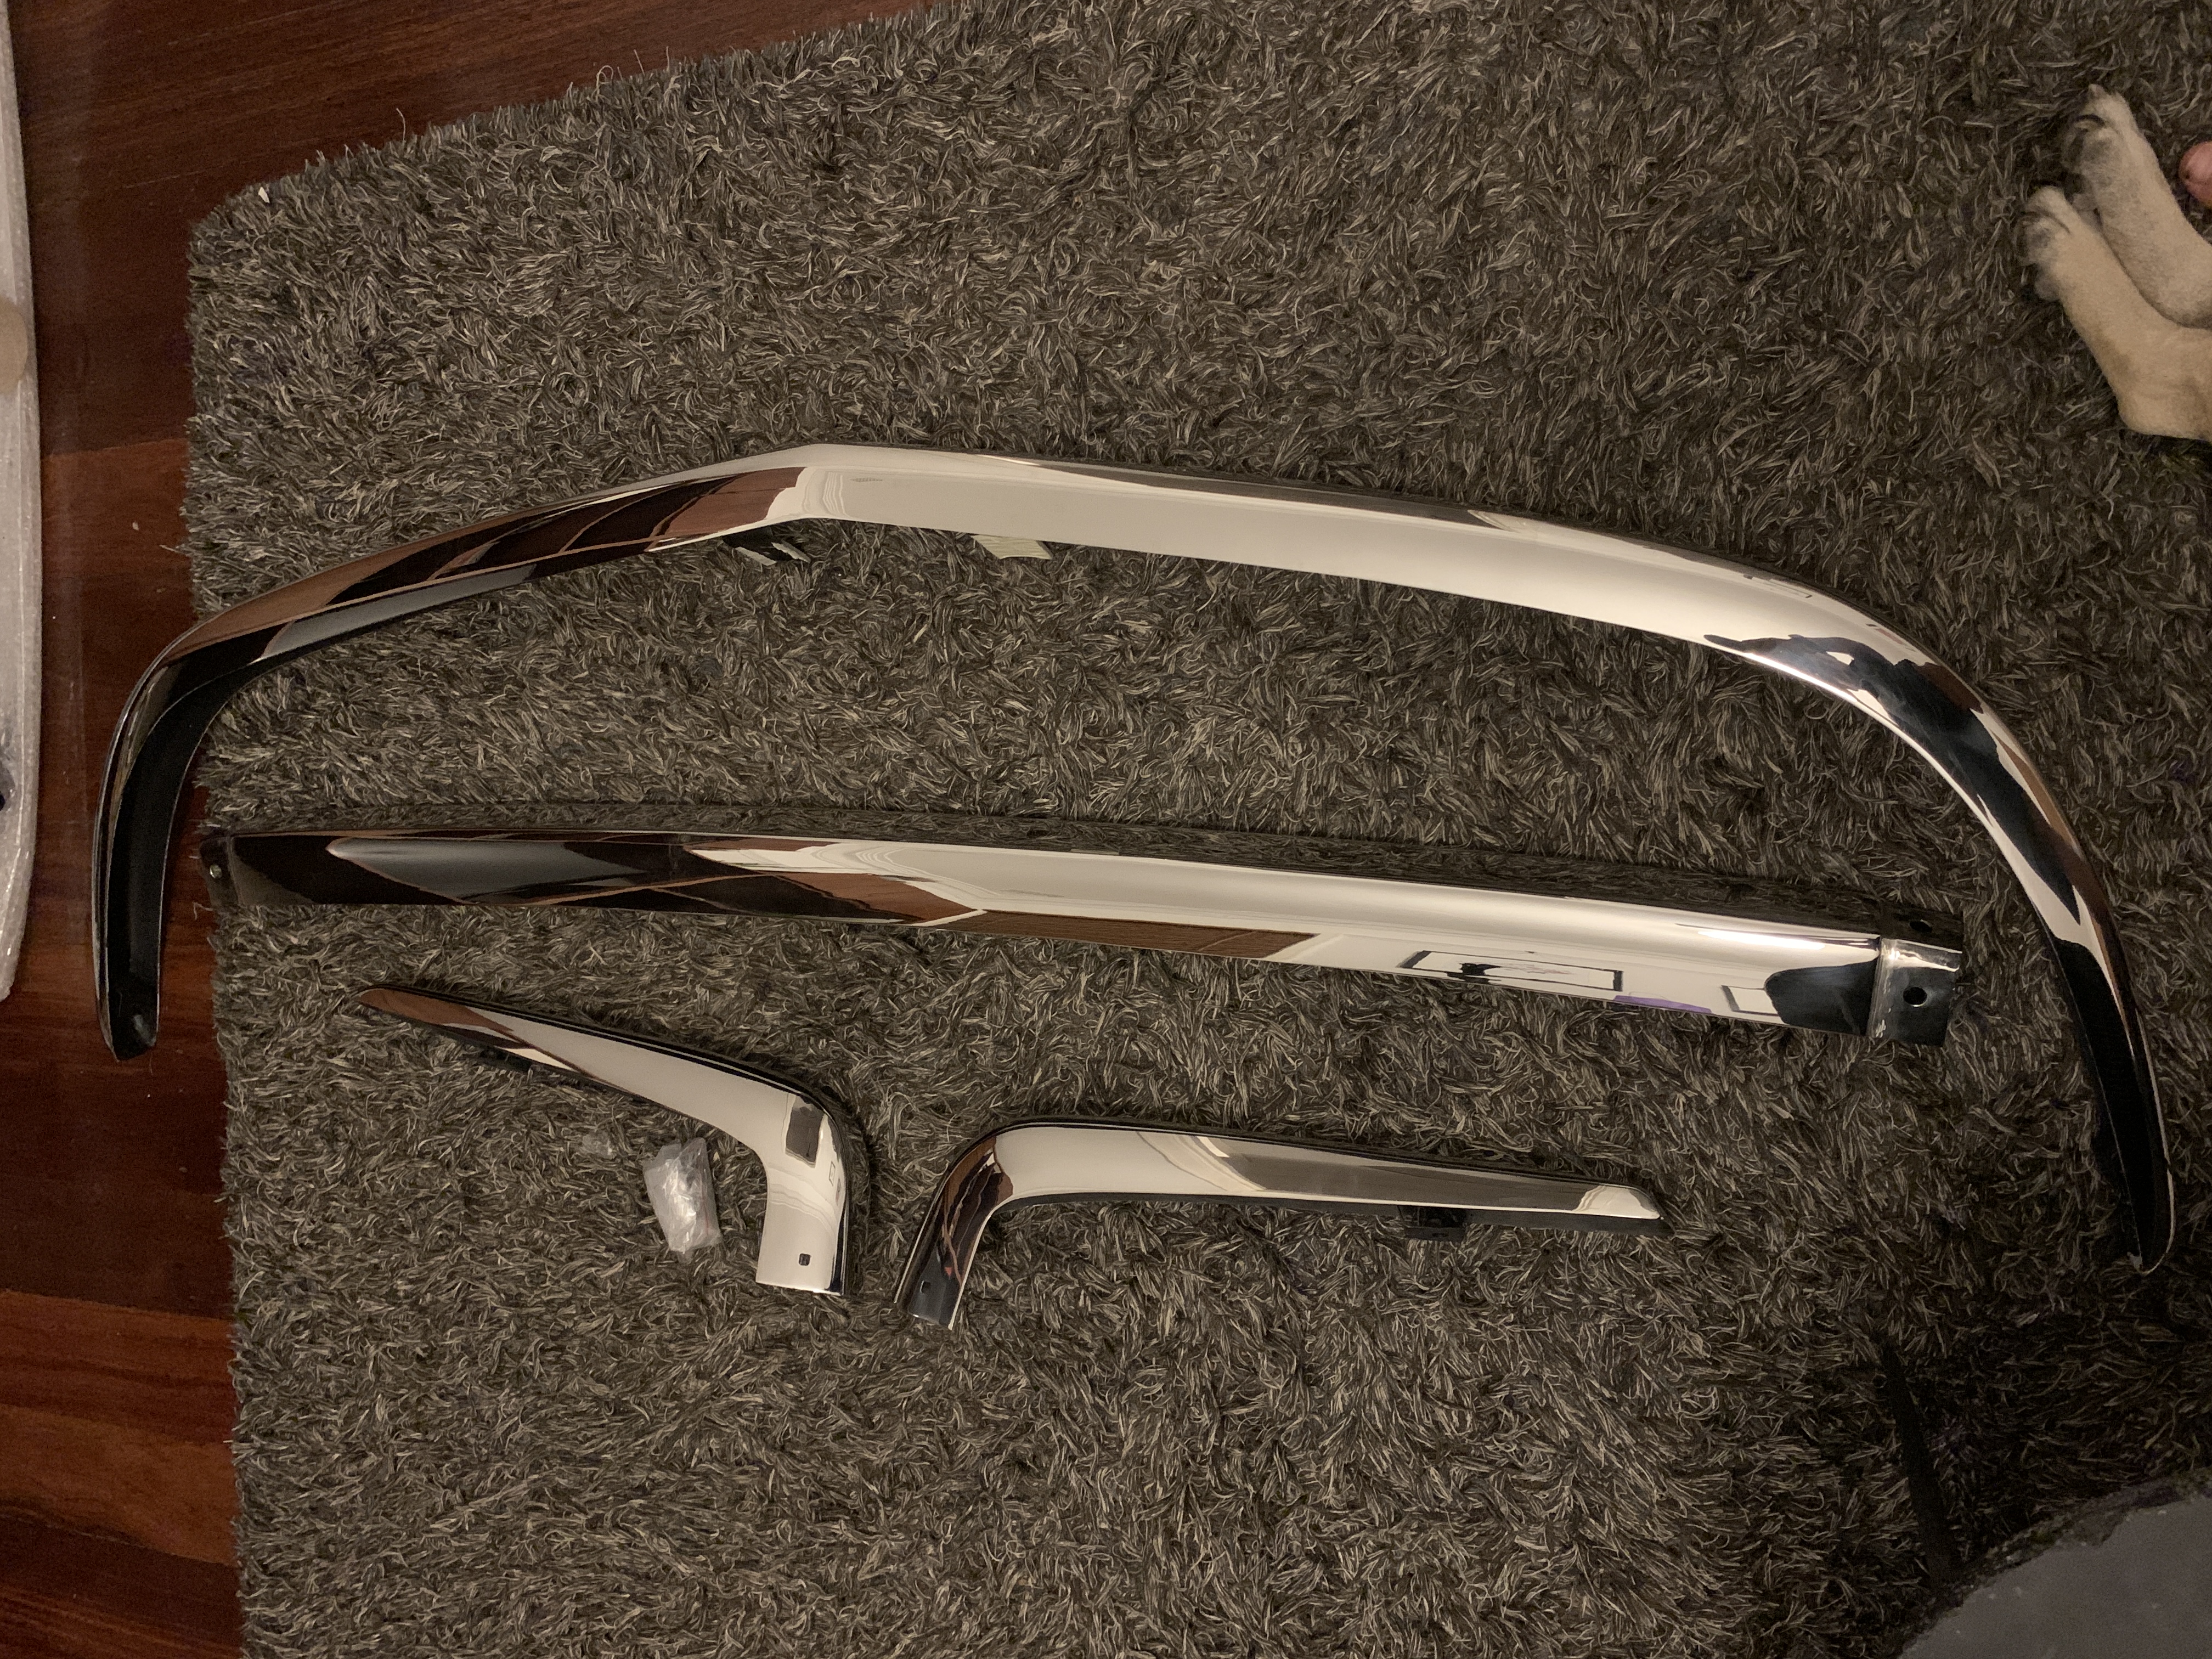
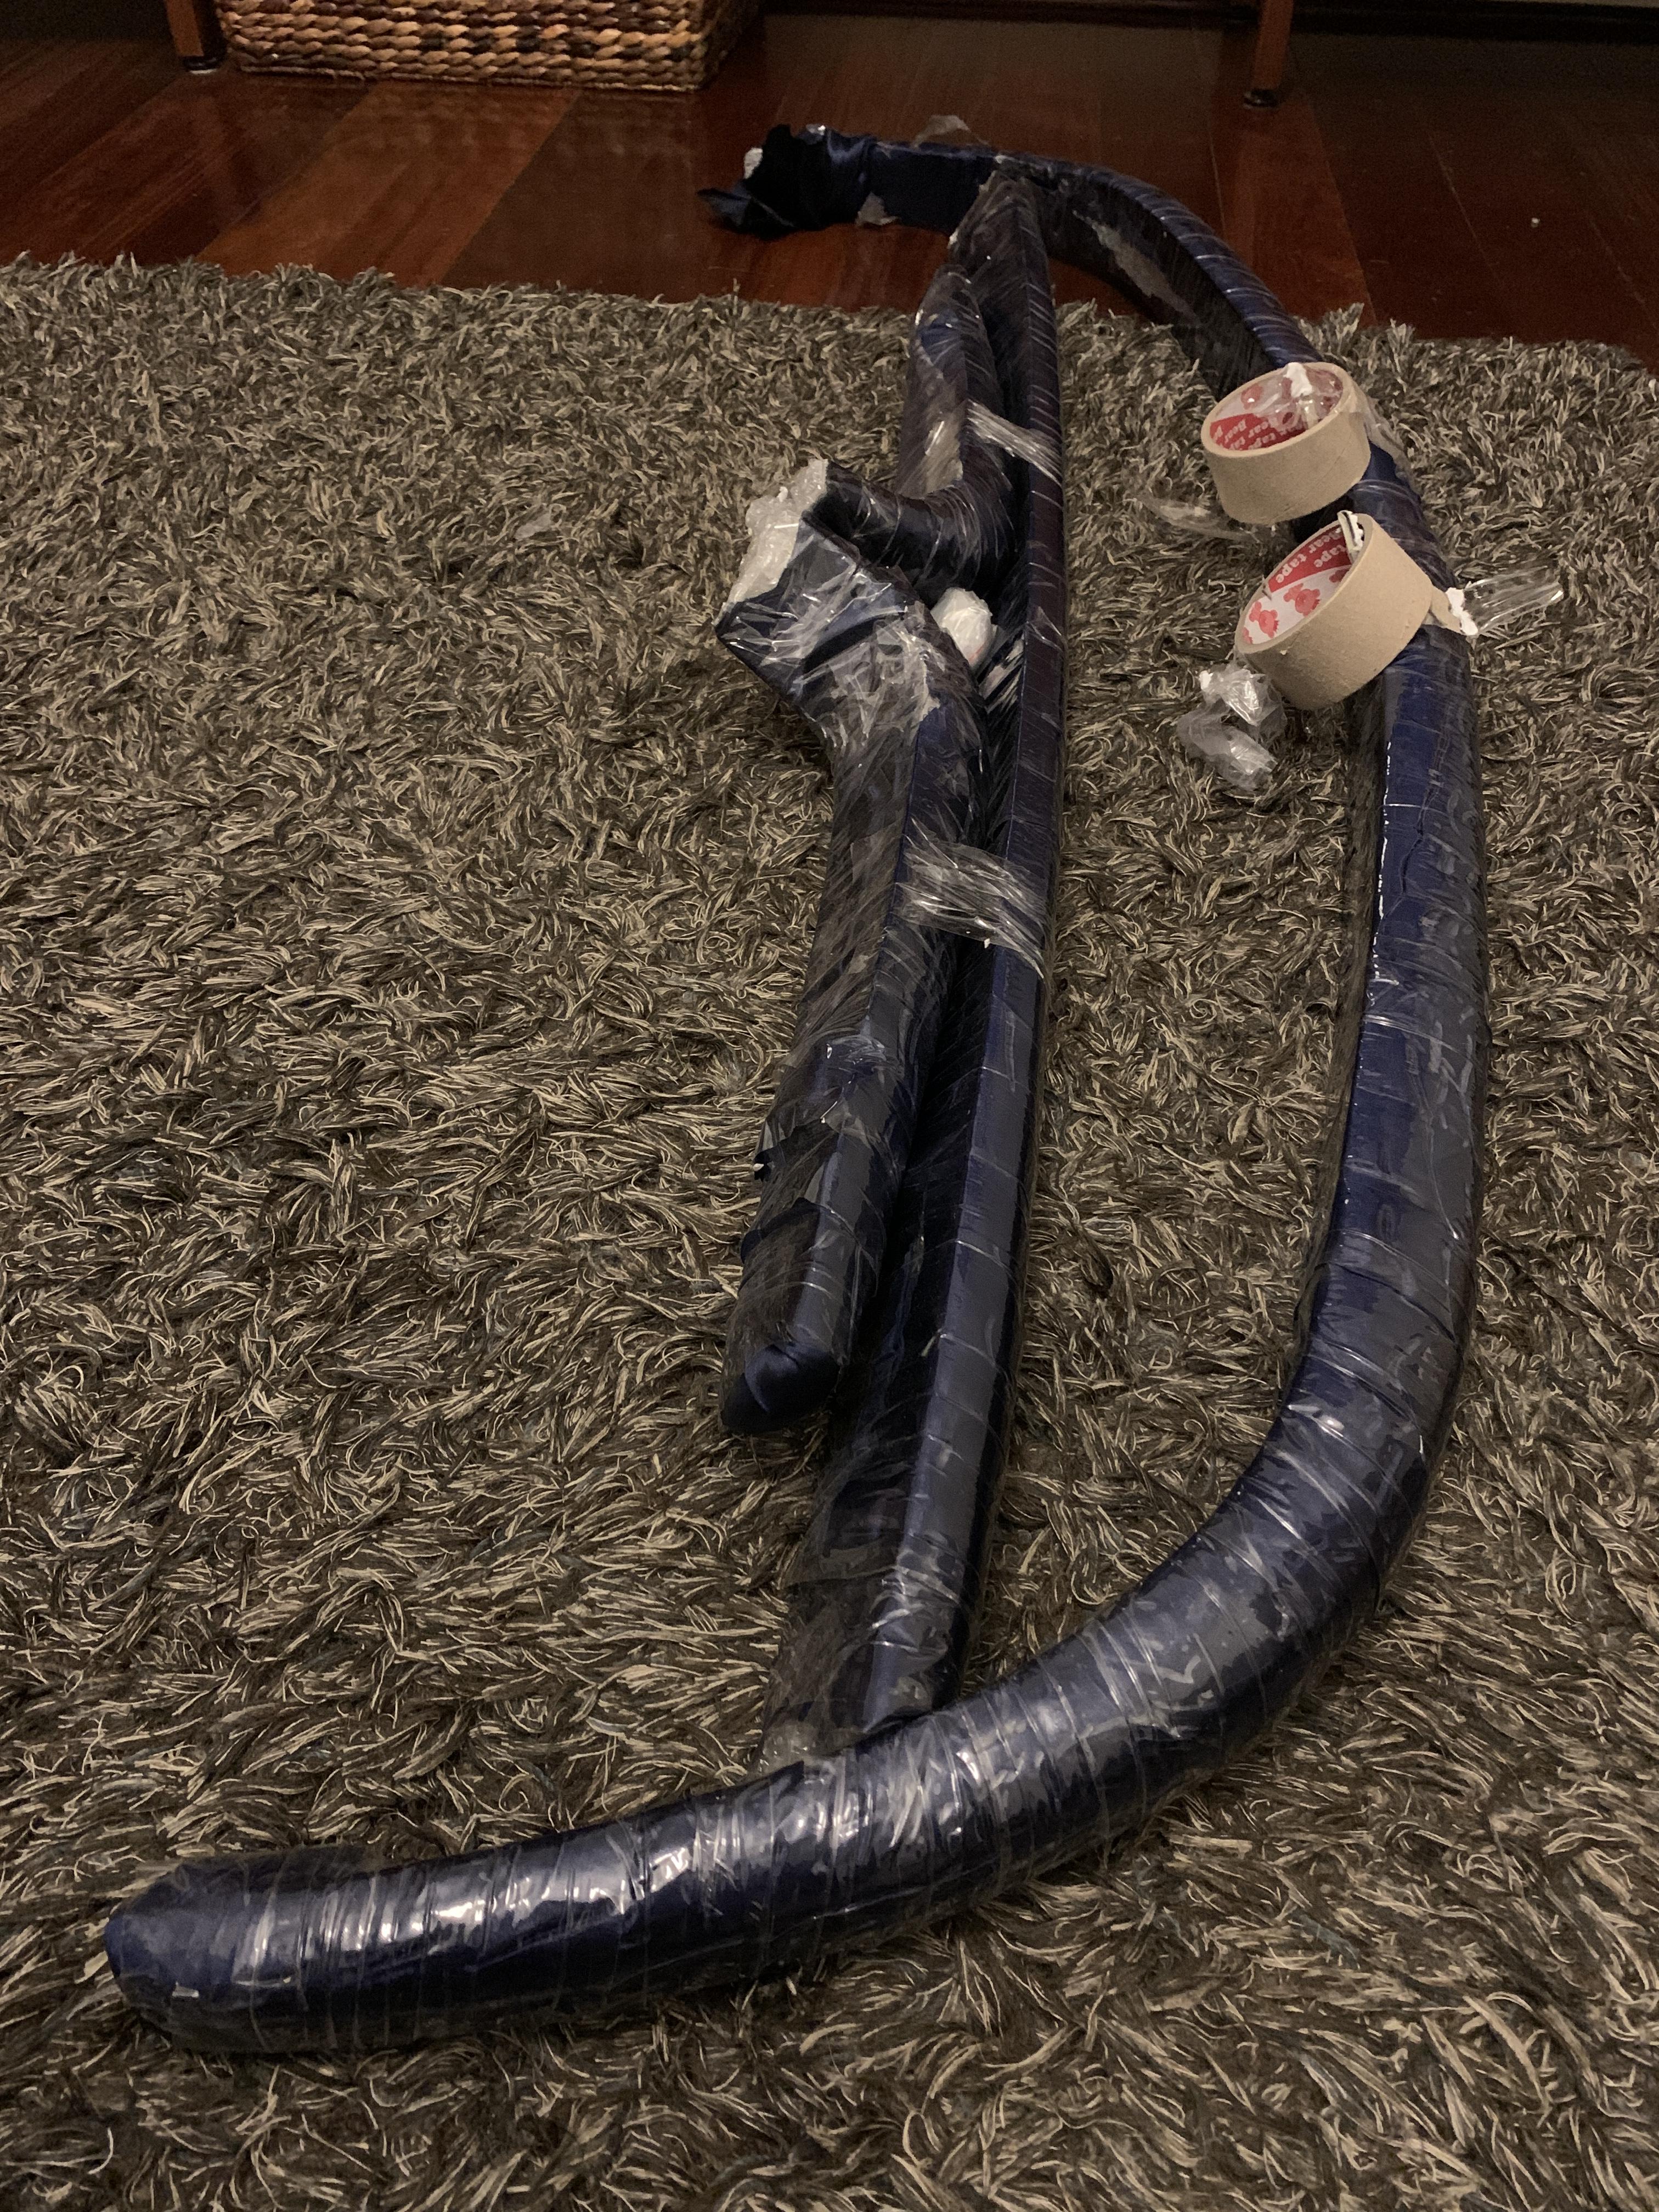
So my bumpers from bumper automobile arrived today 11th May via fedex. and I have to say the finish is quite stunning! So shiny! I had heard good reviews about these from some local z guys but I wasn’t expecting them to be this good. Packaging was excellent, very well protected. Wrapped in bubble wrap, taped, wrapped in fabric, taped, then there is polystyrene sheets in the box as well. so ordered 24th April and received 11th May. So just over two weeks from ordering to my door. communication has been very good, always received a response. for the cost, these are exceptional value! I will trial fit these and update at some point (probably not for a little while)
Yes Ryan! Lol all good. thanks for the feedback mate! I enjoy making them for the handful of people who watch!
That is a cracker of an idea! Thanks mate
Who’s Jeff?! Lol 😂 yes they are painted black on the inside, rust shouldn’t be a concern as they are stainless and I won’t be driving it in the rain! Ryan
Haha that was my plan! I have read the stainless can get scratches with washing, I would just be very careful about using a dirty wash mitt or anything other than lambs wool/clean micro fiber. And as always soap is a must.
Yeah I am on the fence as to whether I want shiny chrome look bumpers or satin black. I figure I will install them as chrome look and I can always paint after. the cost of shipping from the US made these Vietnam ones more attractive to me as shipping from Vietnam is cheaper to oz.
So my bumpers from bumper automobile arrived today 11th May via fedex. and I have to say the finish is quite stunning! So shiny! I had heard good reviews about these from some local z guys but I wasn’t expecting them to be this good. Packaging was excellent, very well protected. Wrapped in bubble wrap, taped, wrapped in fabric, taped, then there is polystyrene sheets in the box as well. so ordered 24th April and received 11th May. So just over two weeks from ordering to my door. communication has been very good, always received a response. for the cost, these are exceptional value! I will trial fit these and update at some point (probably not for a little while)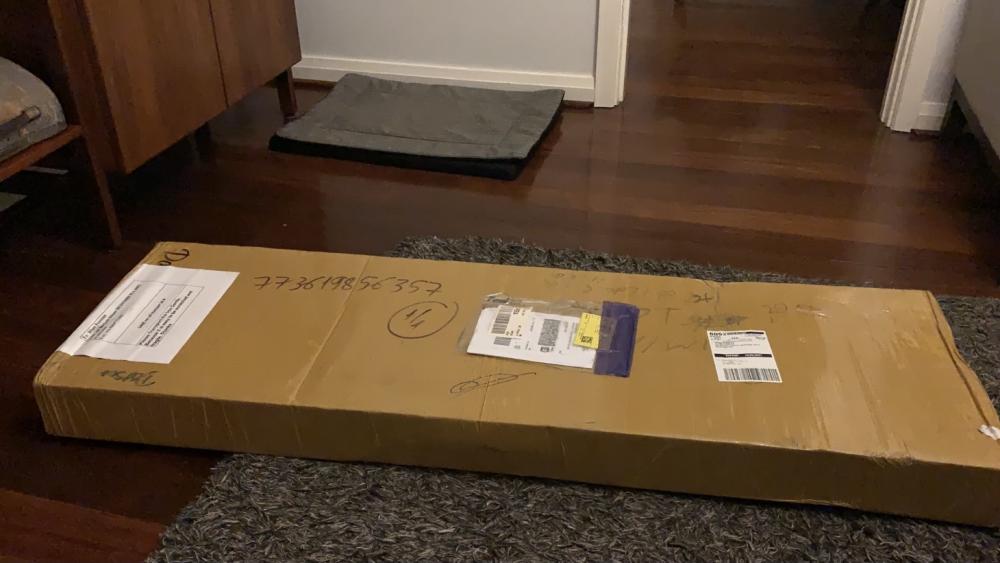


 Requested an update on my order from bumper automobile on the 1st May as I hadn’t heard anything. Received reply on the 3rd May for my contact number for the shipment, and then received a fed ex tracking number on the 4th May. overall pretty good response times. can’t wait for some shiny goodies!


Important Information
By using this site, you agree to our Privacy Policy and Guidelines. We have placed cookies on your device to help make this website better. You can adjust your cookie settings, otherwise we'll assume you're okay to continue.