CW240Z72
Free Member
-
Joined
-
Last visited
Everything posted by CW240Z72
-
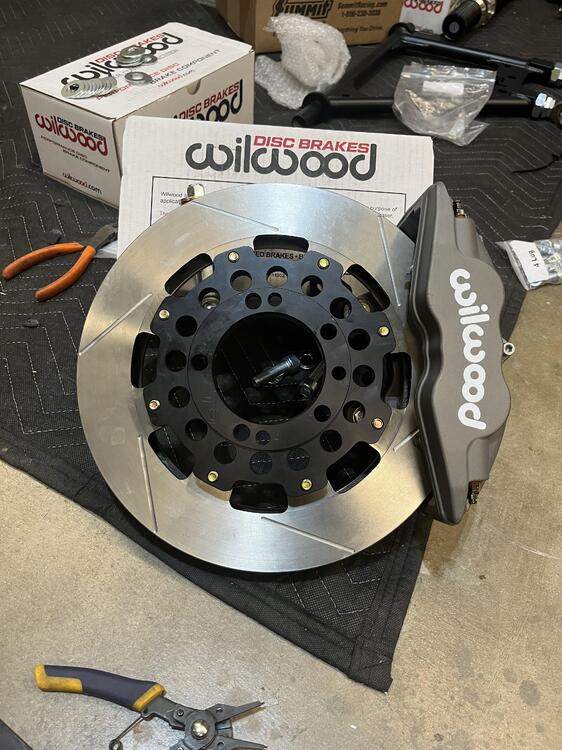
 RB25 bell housing plate.👍
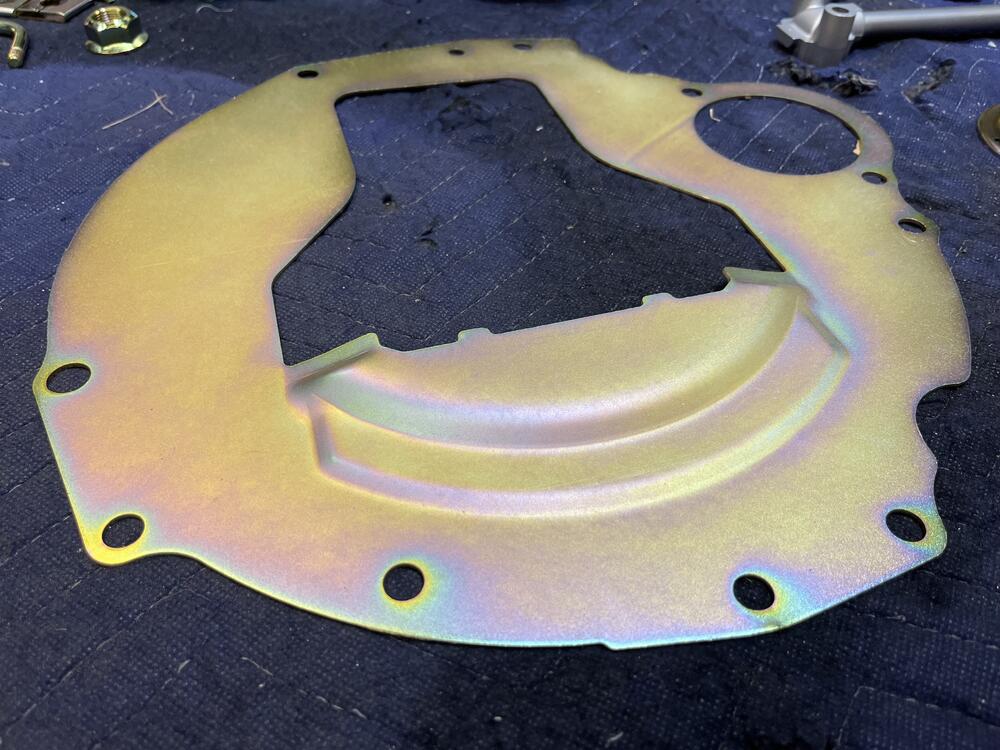
-
Thanks! They have been a huge PITA up to this point. Found out the hard way 3-piece 16” wheels do not clear the calipers without a spacer.
-
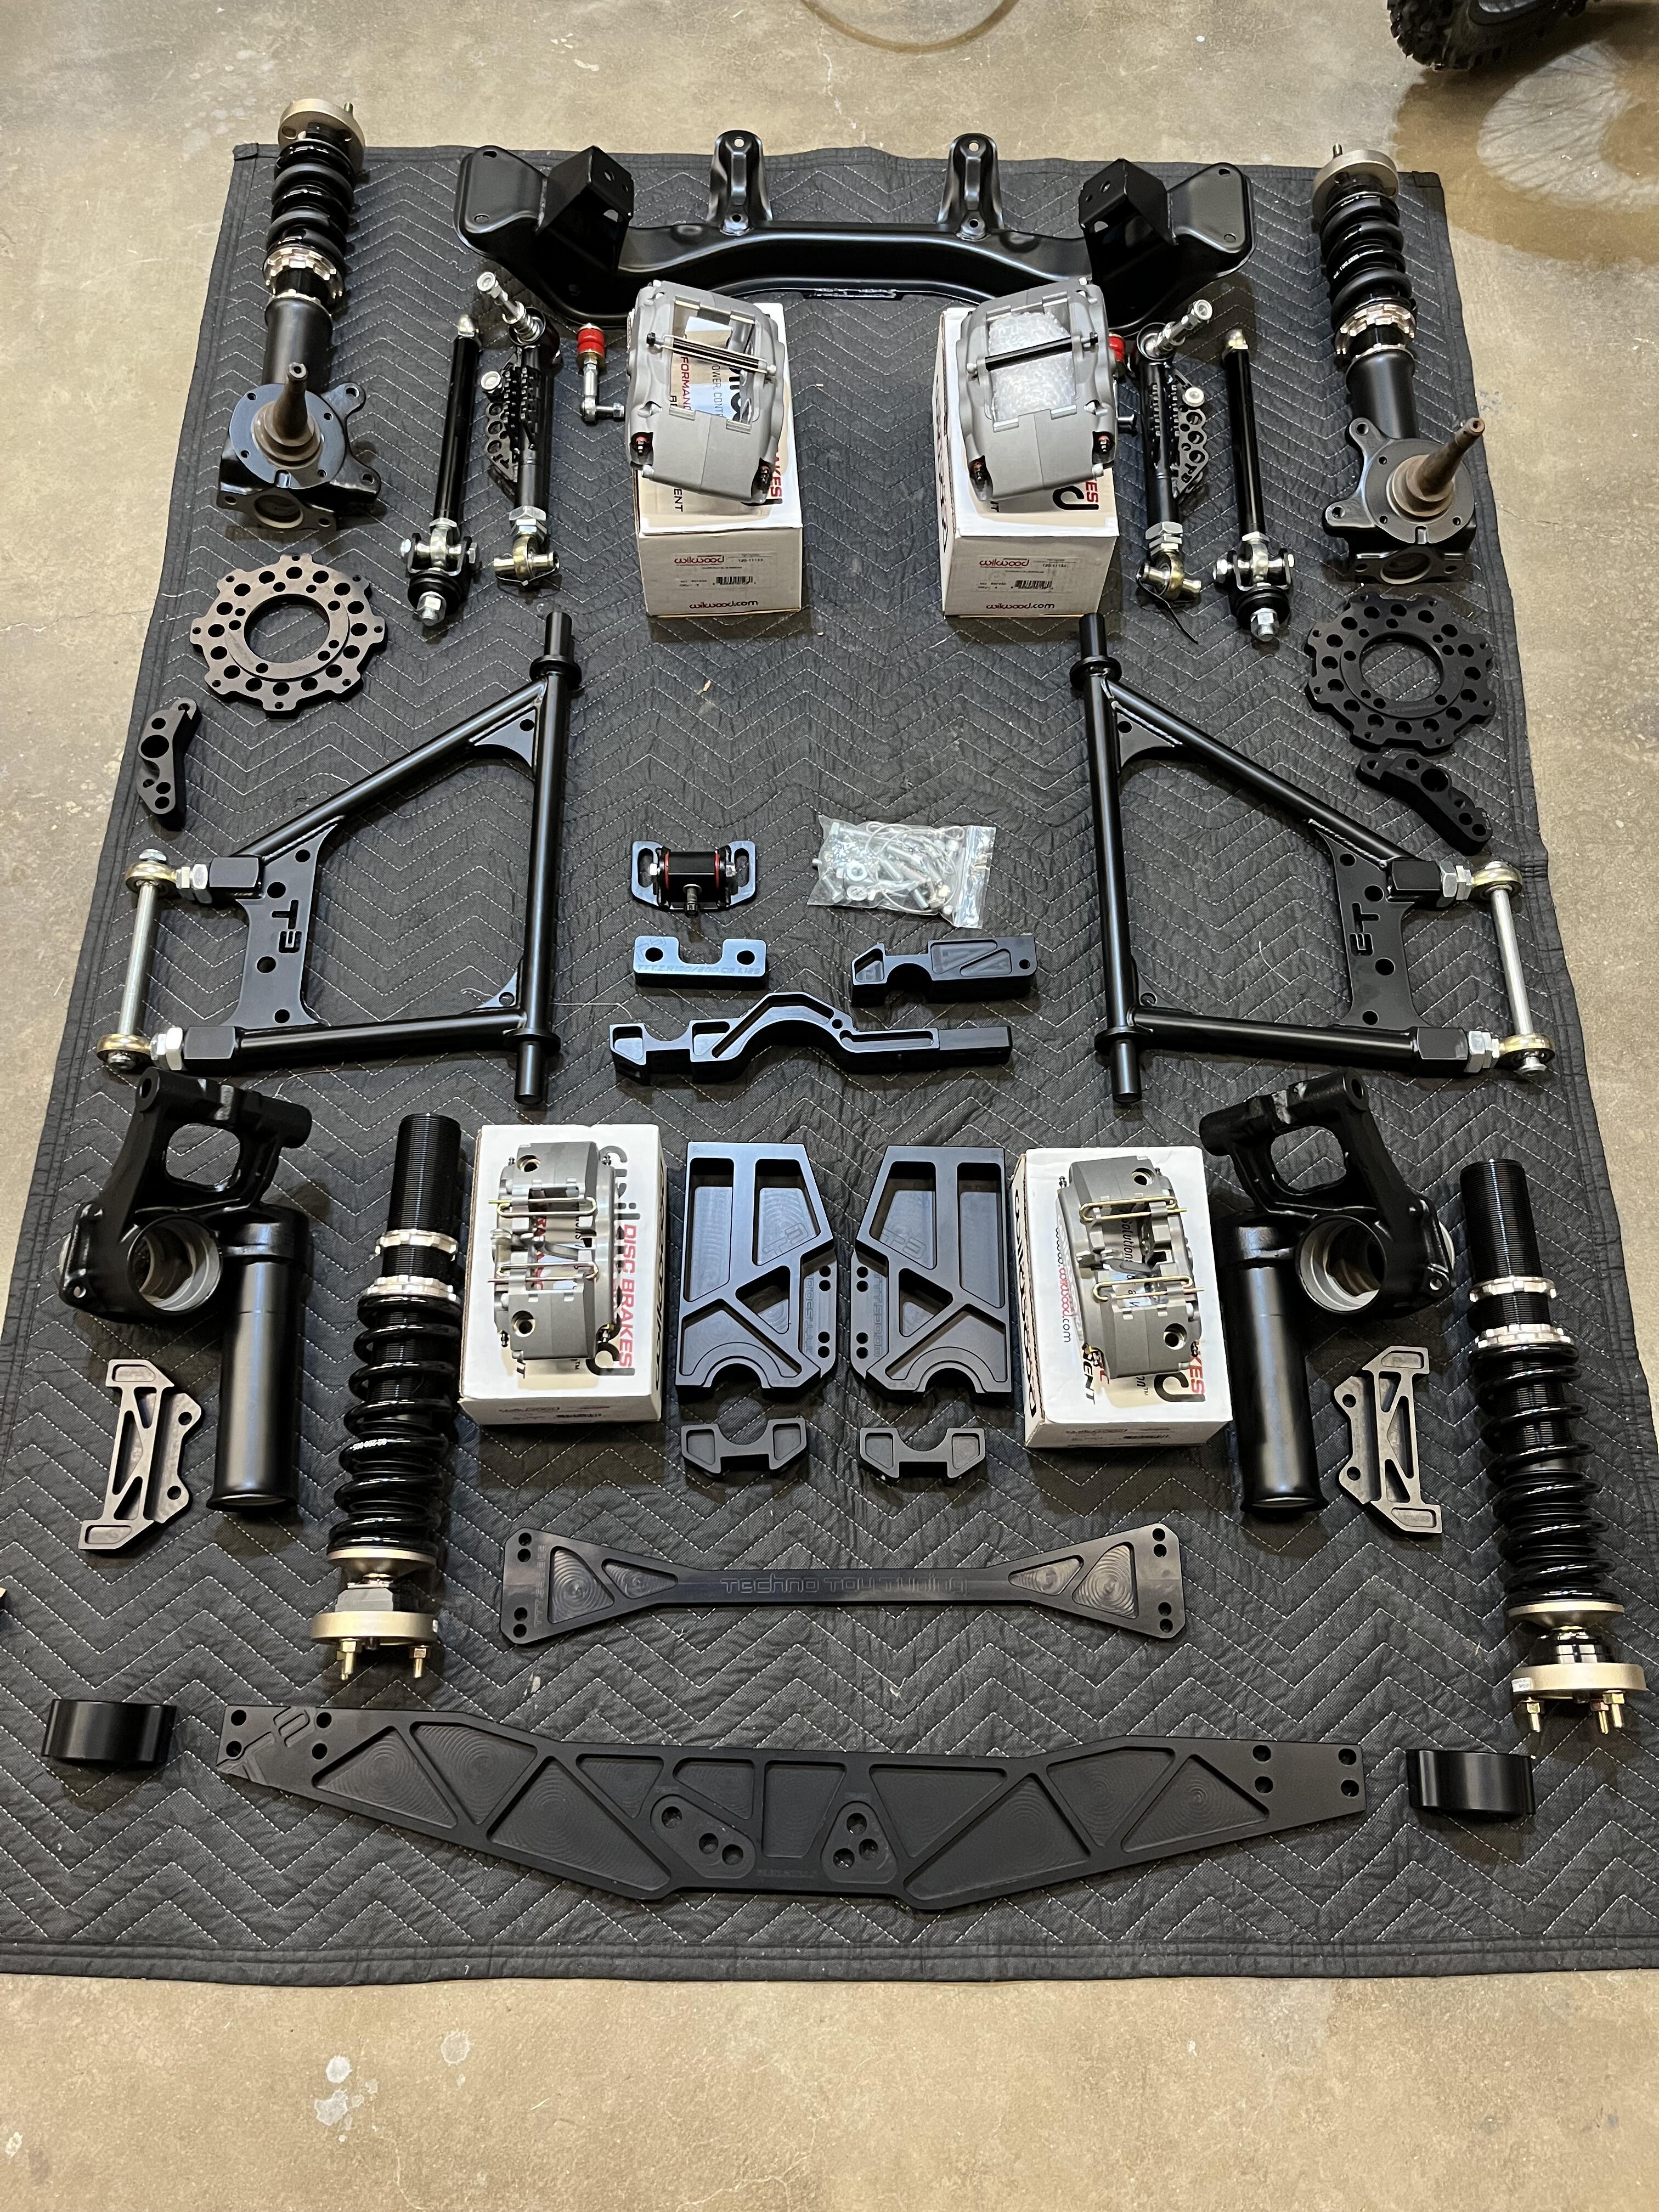
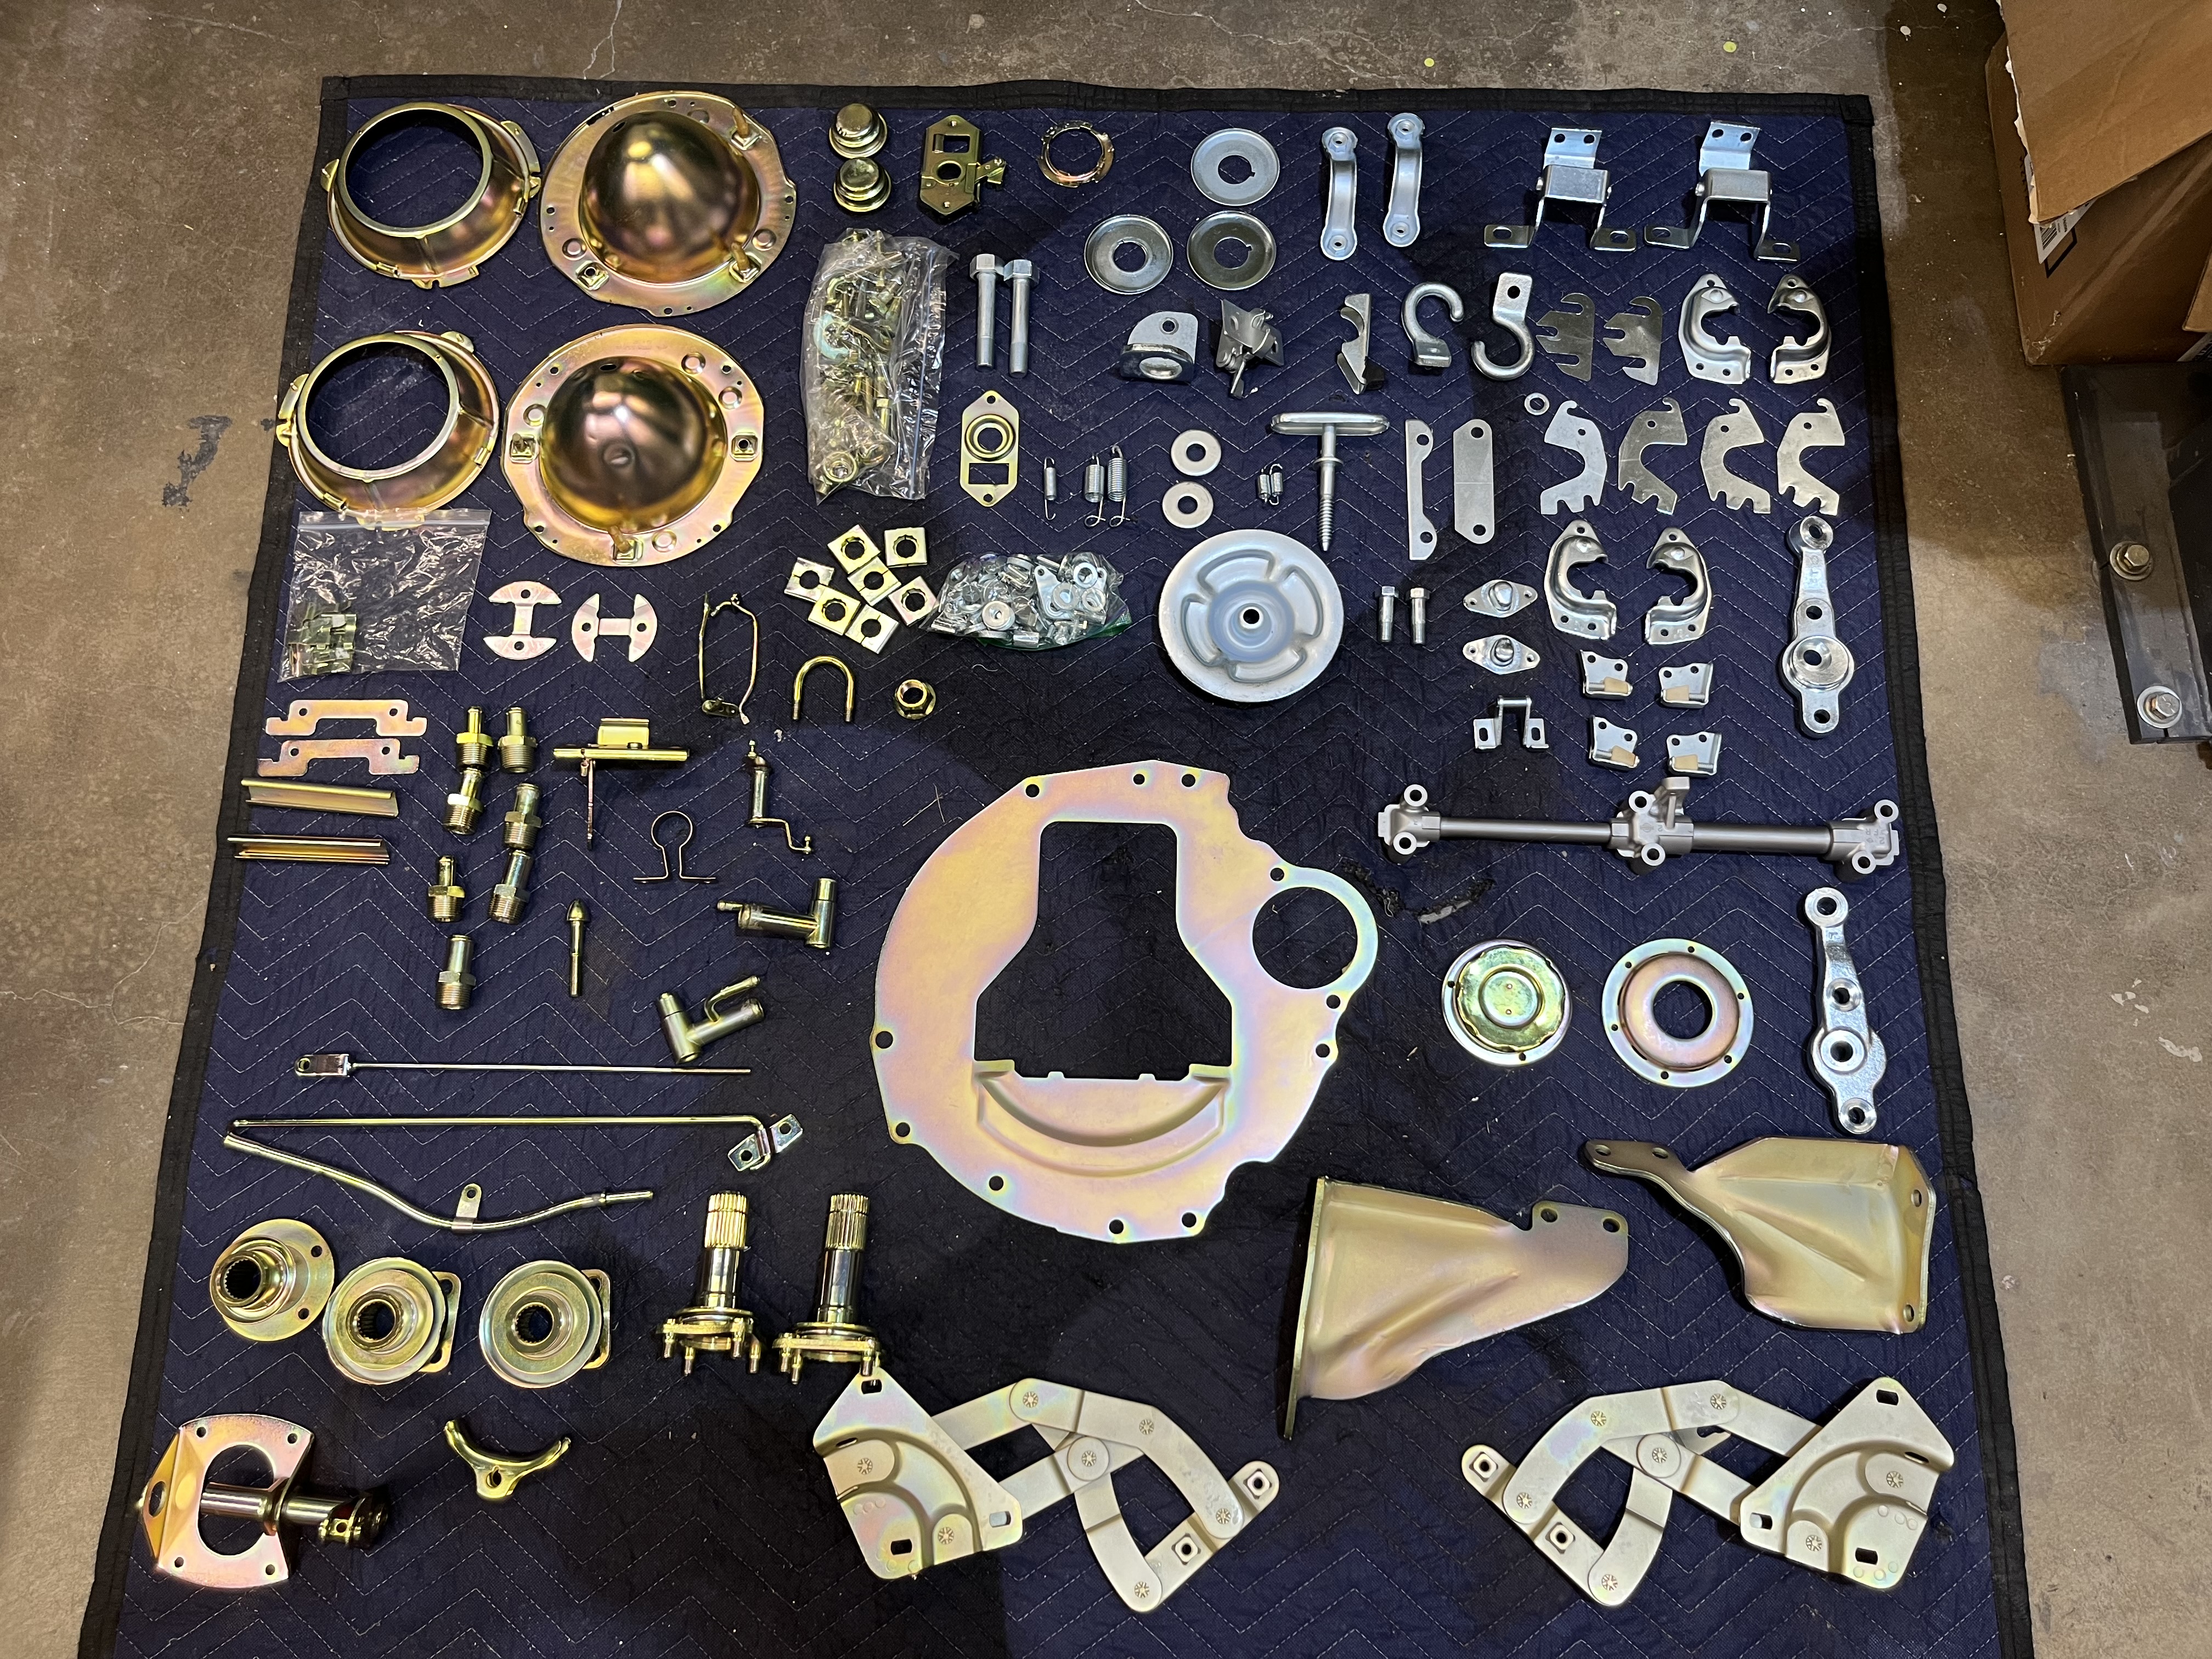
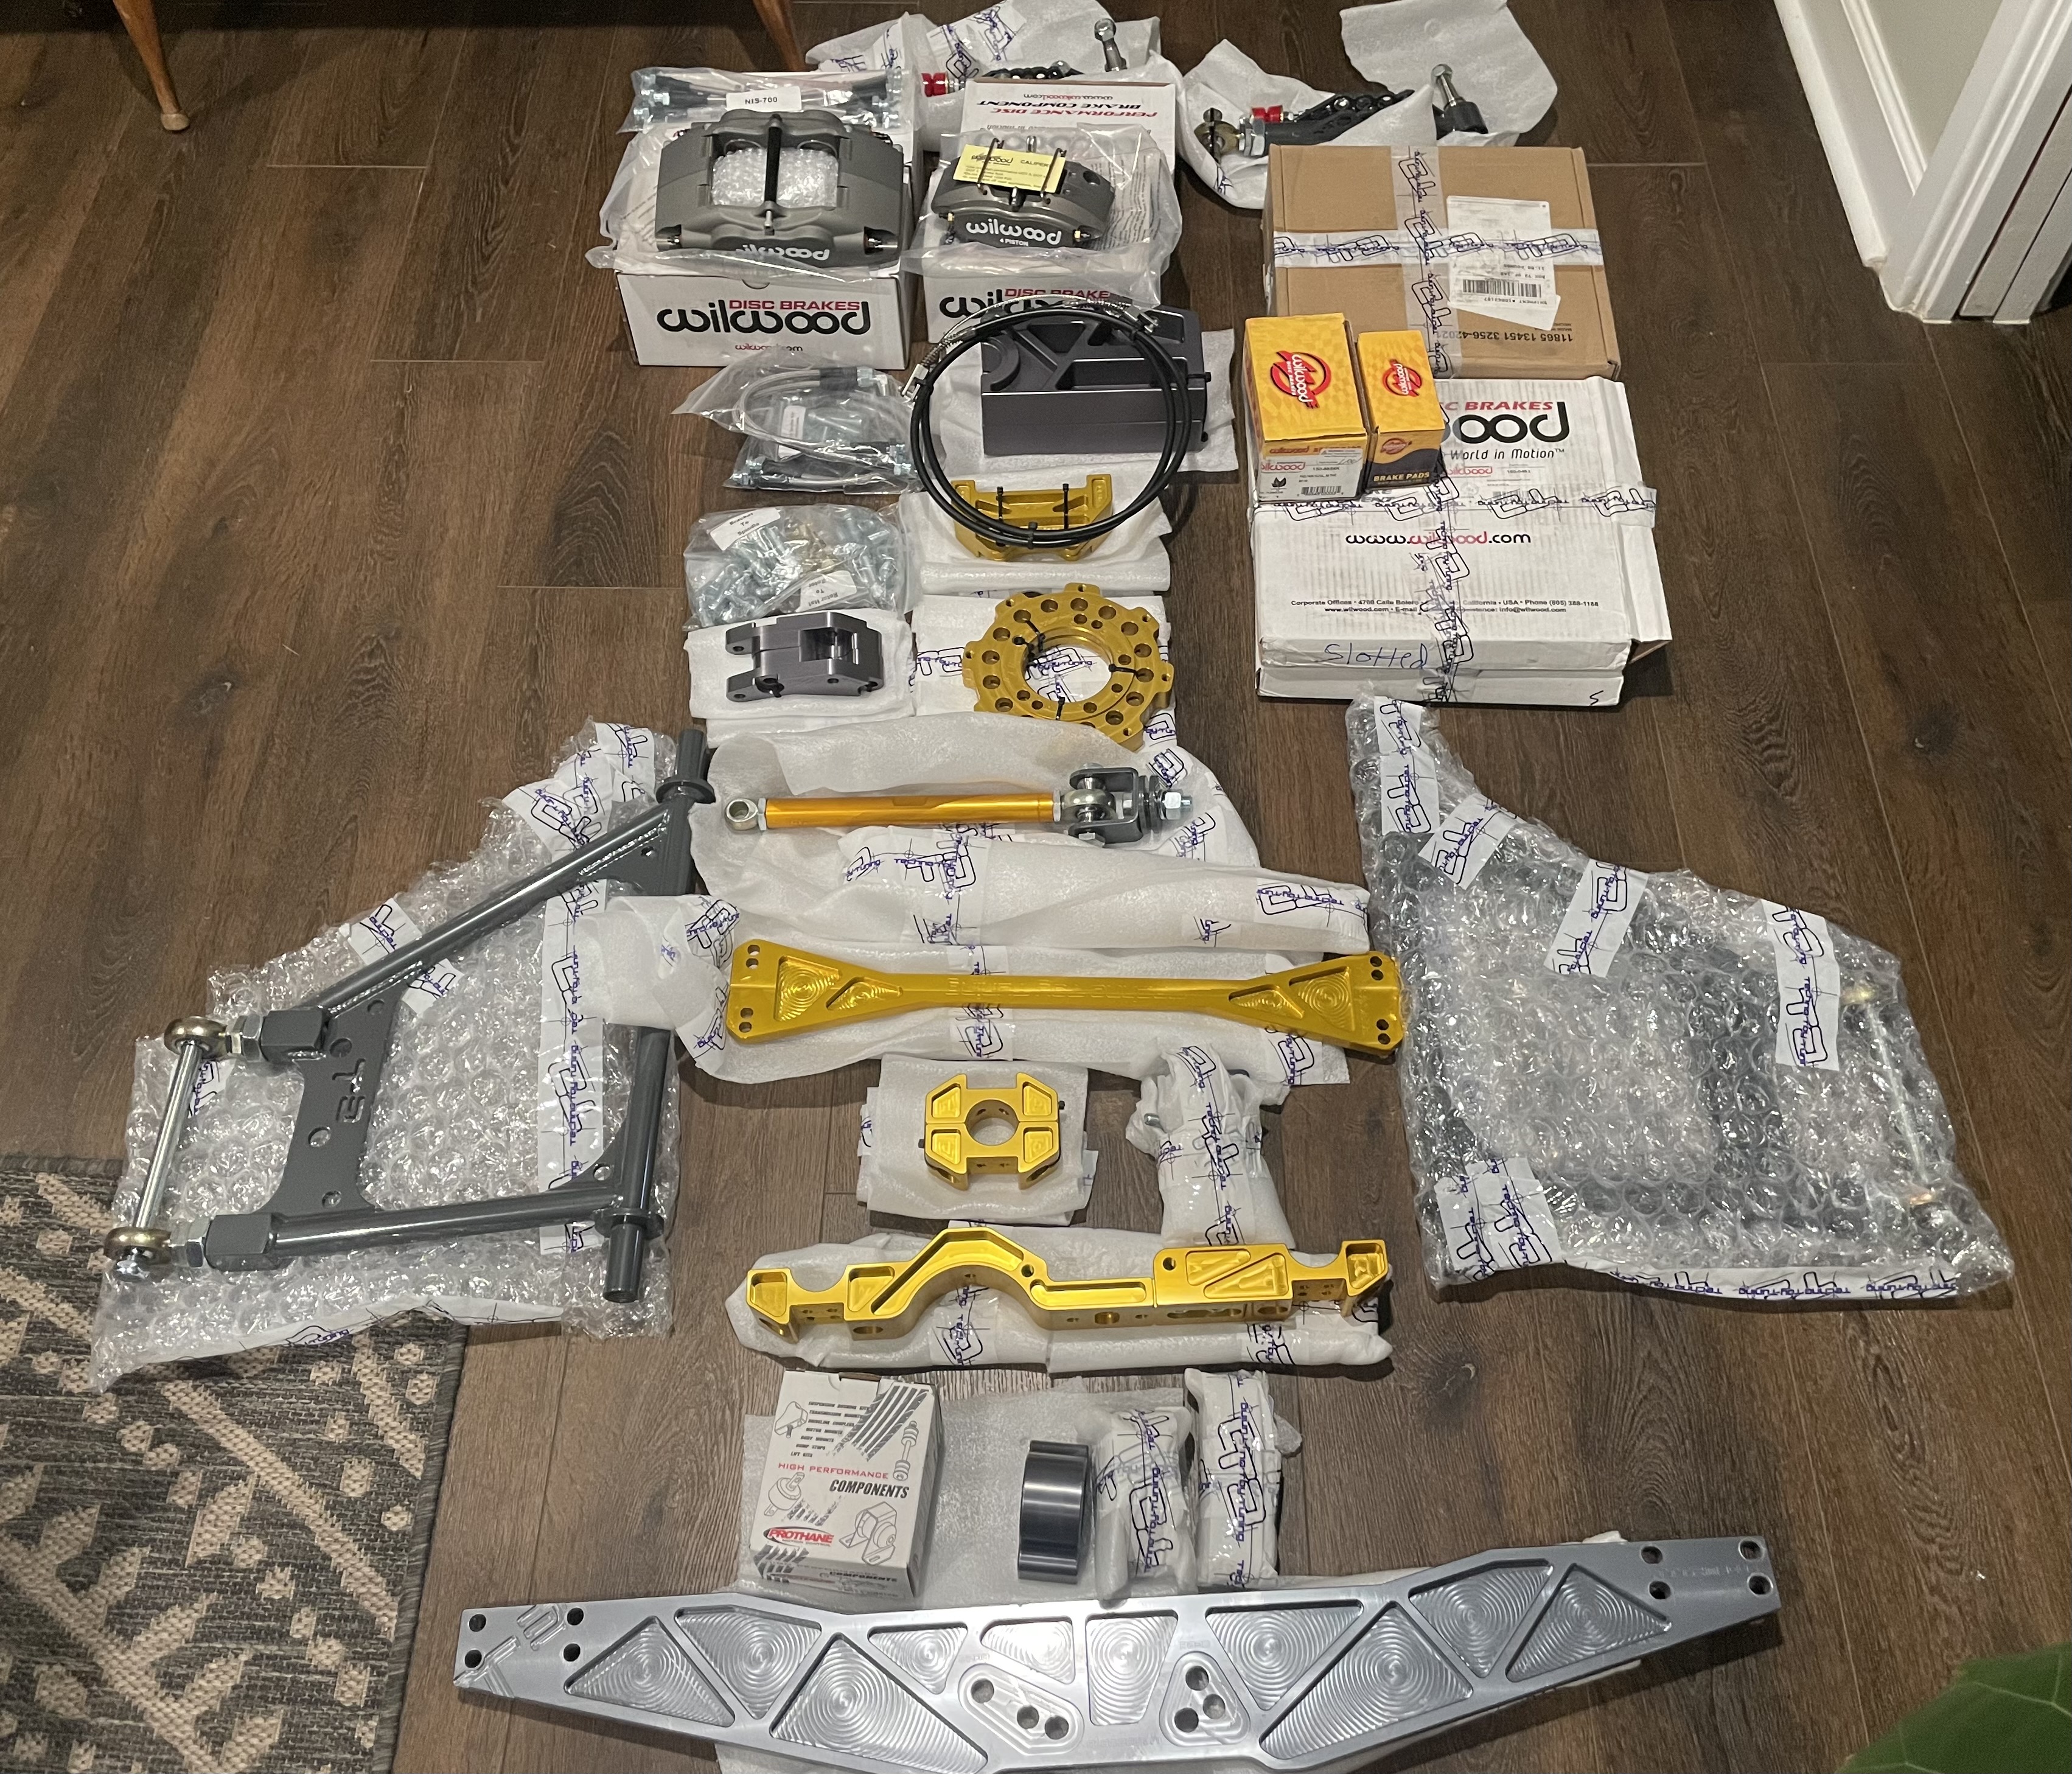
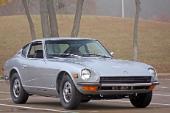
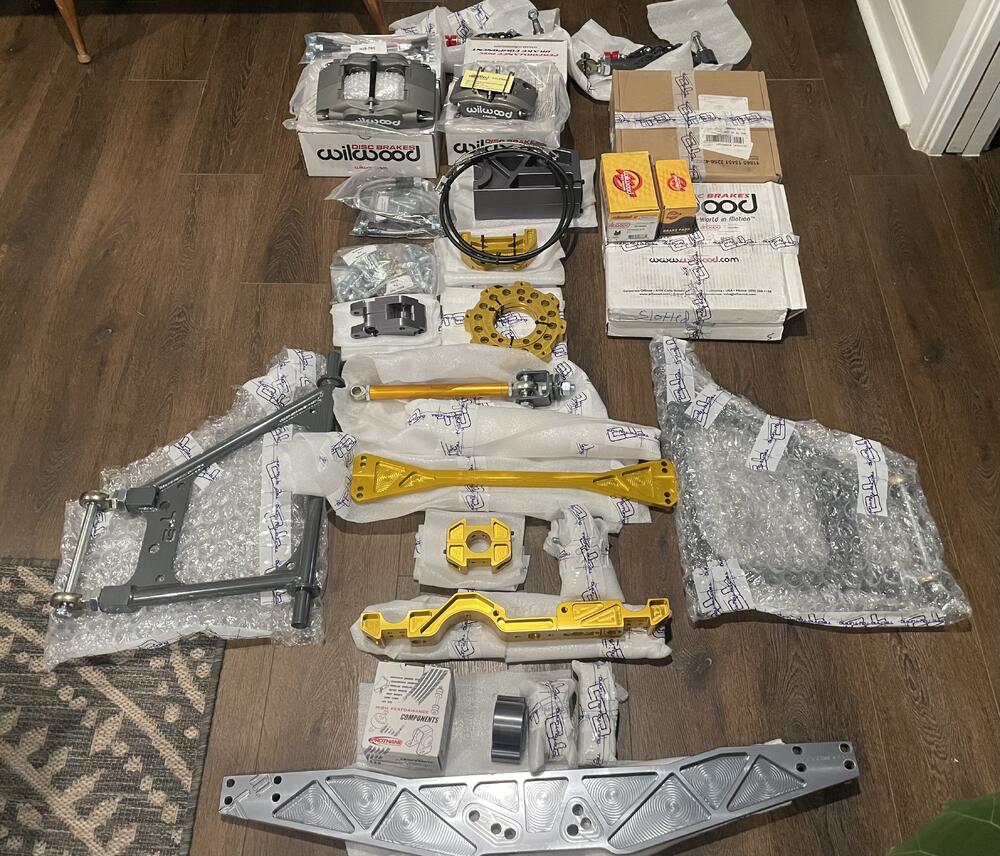
Suspension components back from anodizing and powder coating. Plated hardware also received. I’ve got the shell just about to a roller stage. Need to mount tires on the Epsilons and see if the wheel setup is going to fit or not.


-
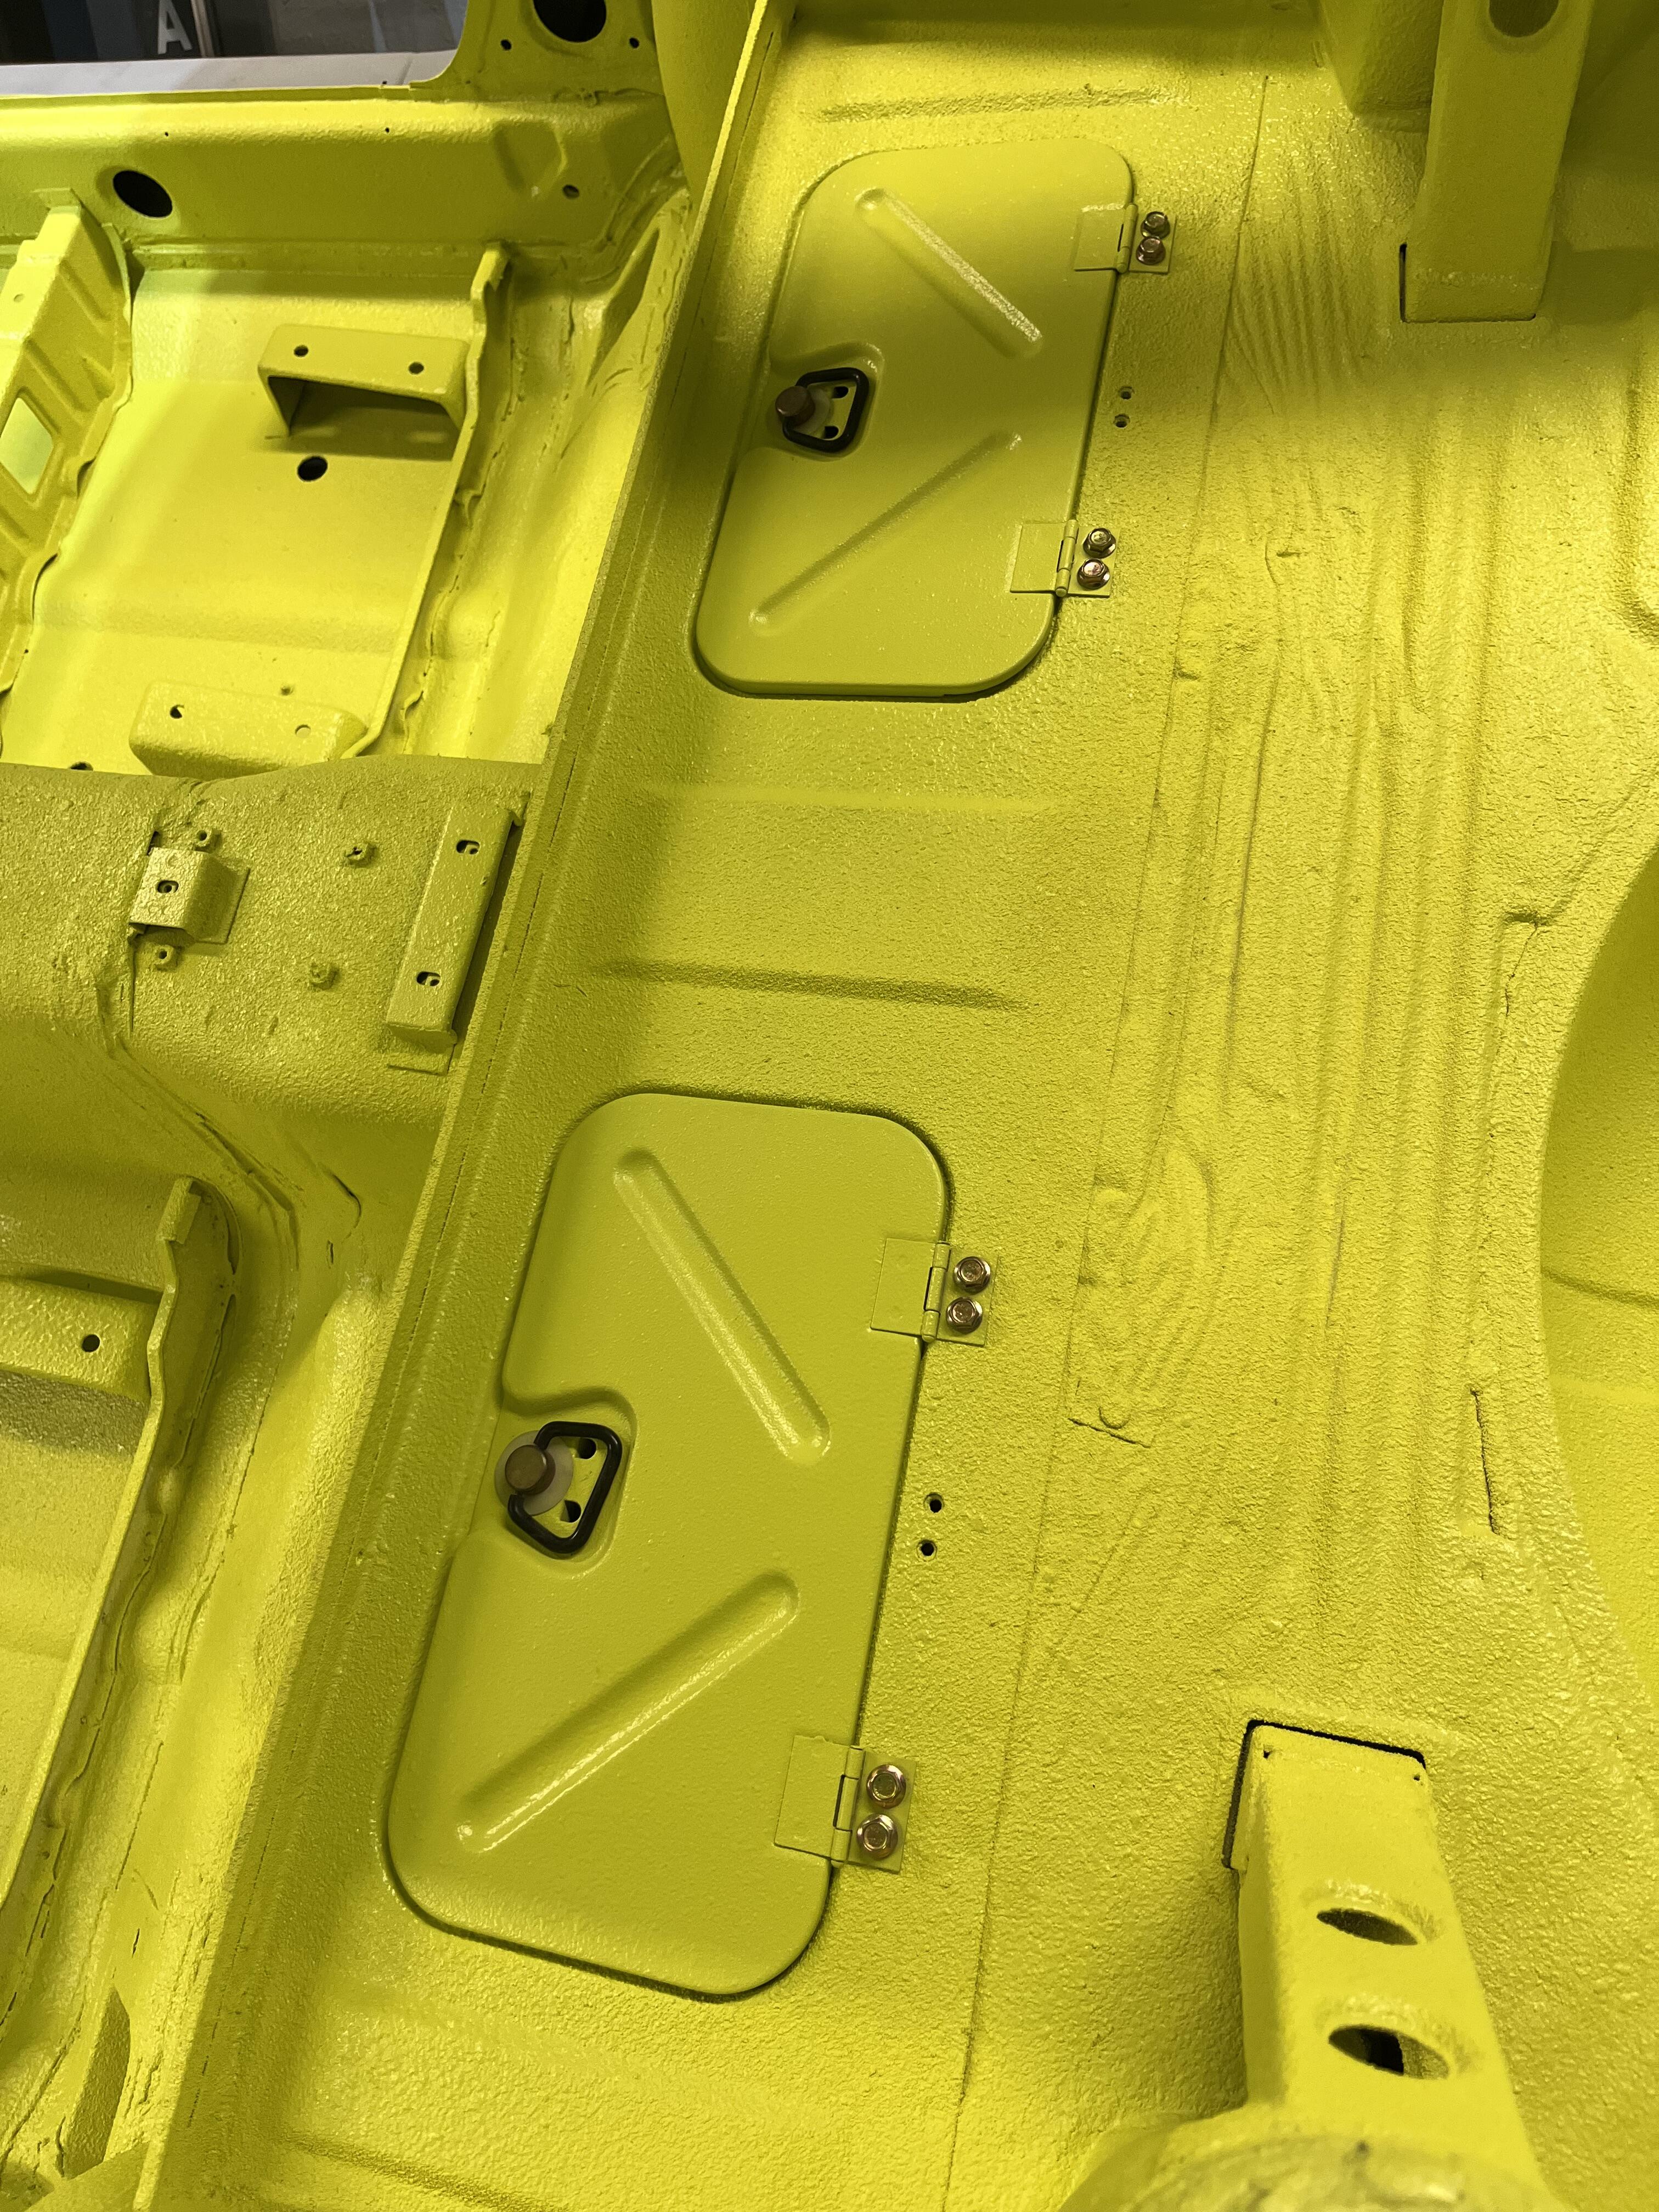
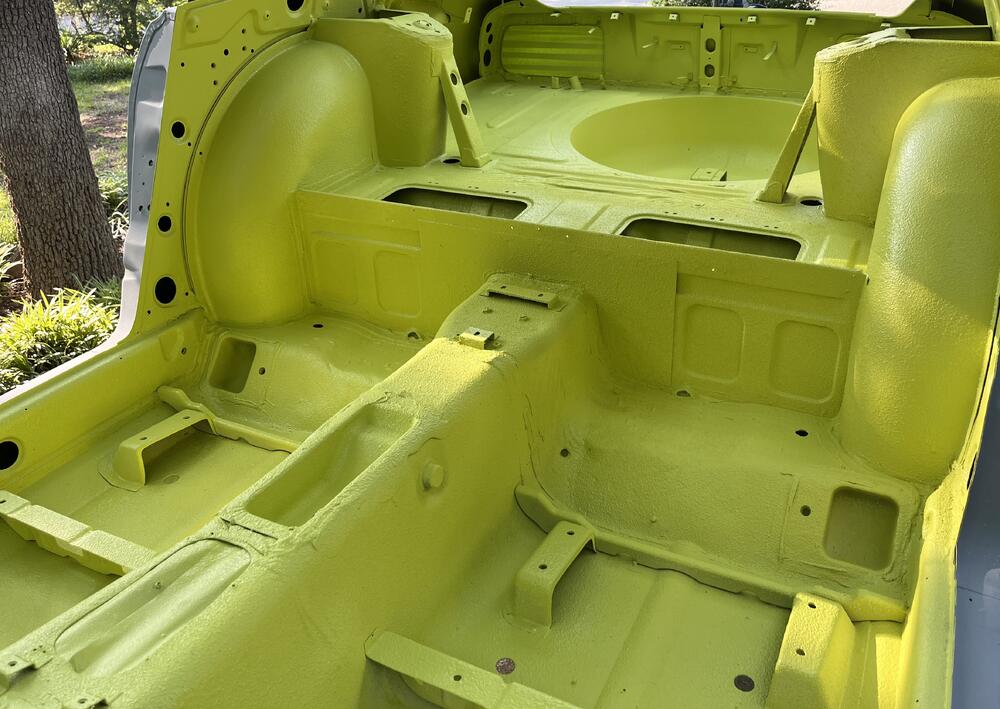
A bit out of order, but along the way we also finished out the interior. Here we used Lizard Skin ceramic coating as a base, then top coated with Raptor Liner to give a durable finish in yellow.


-
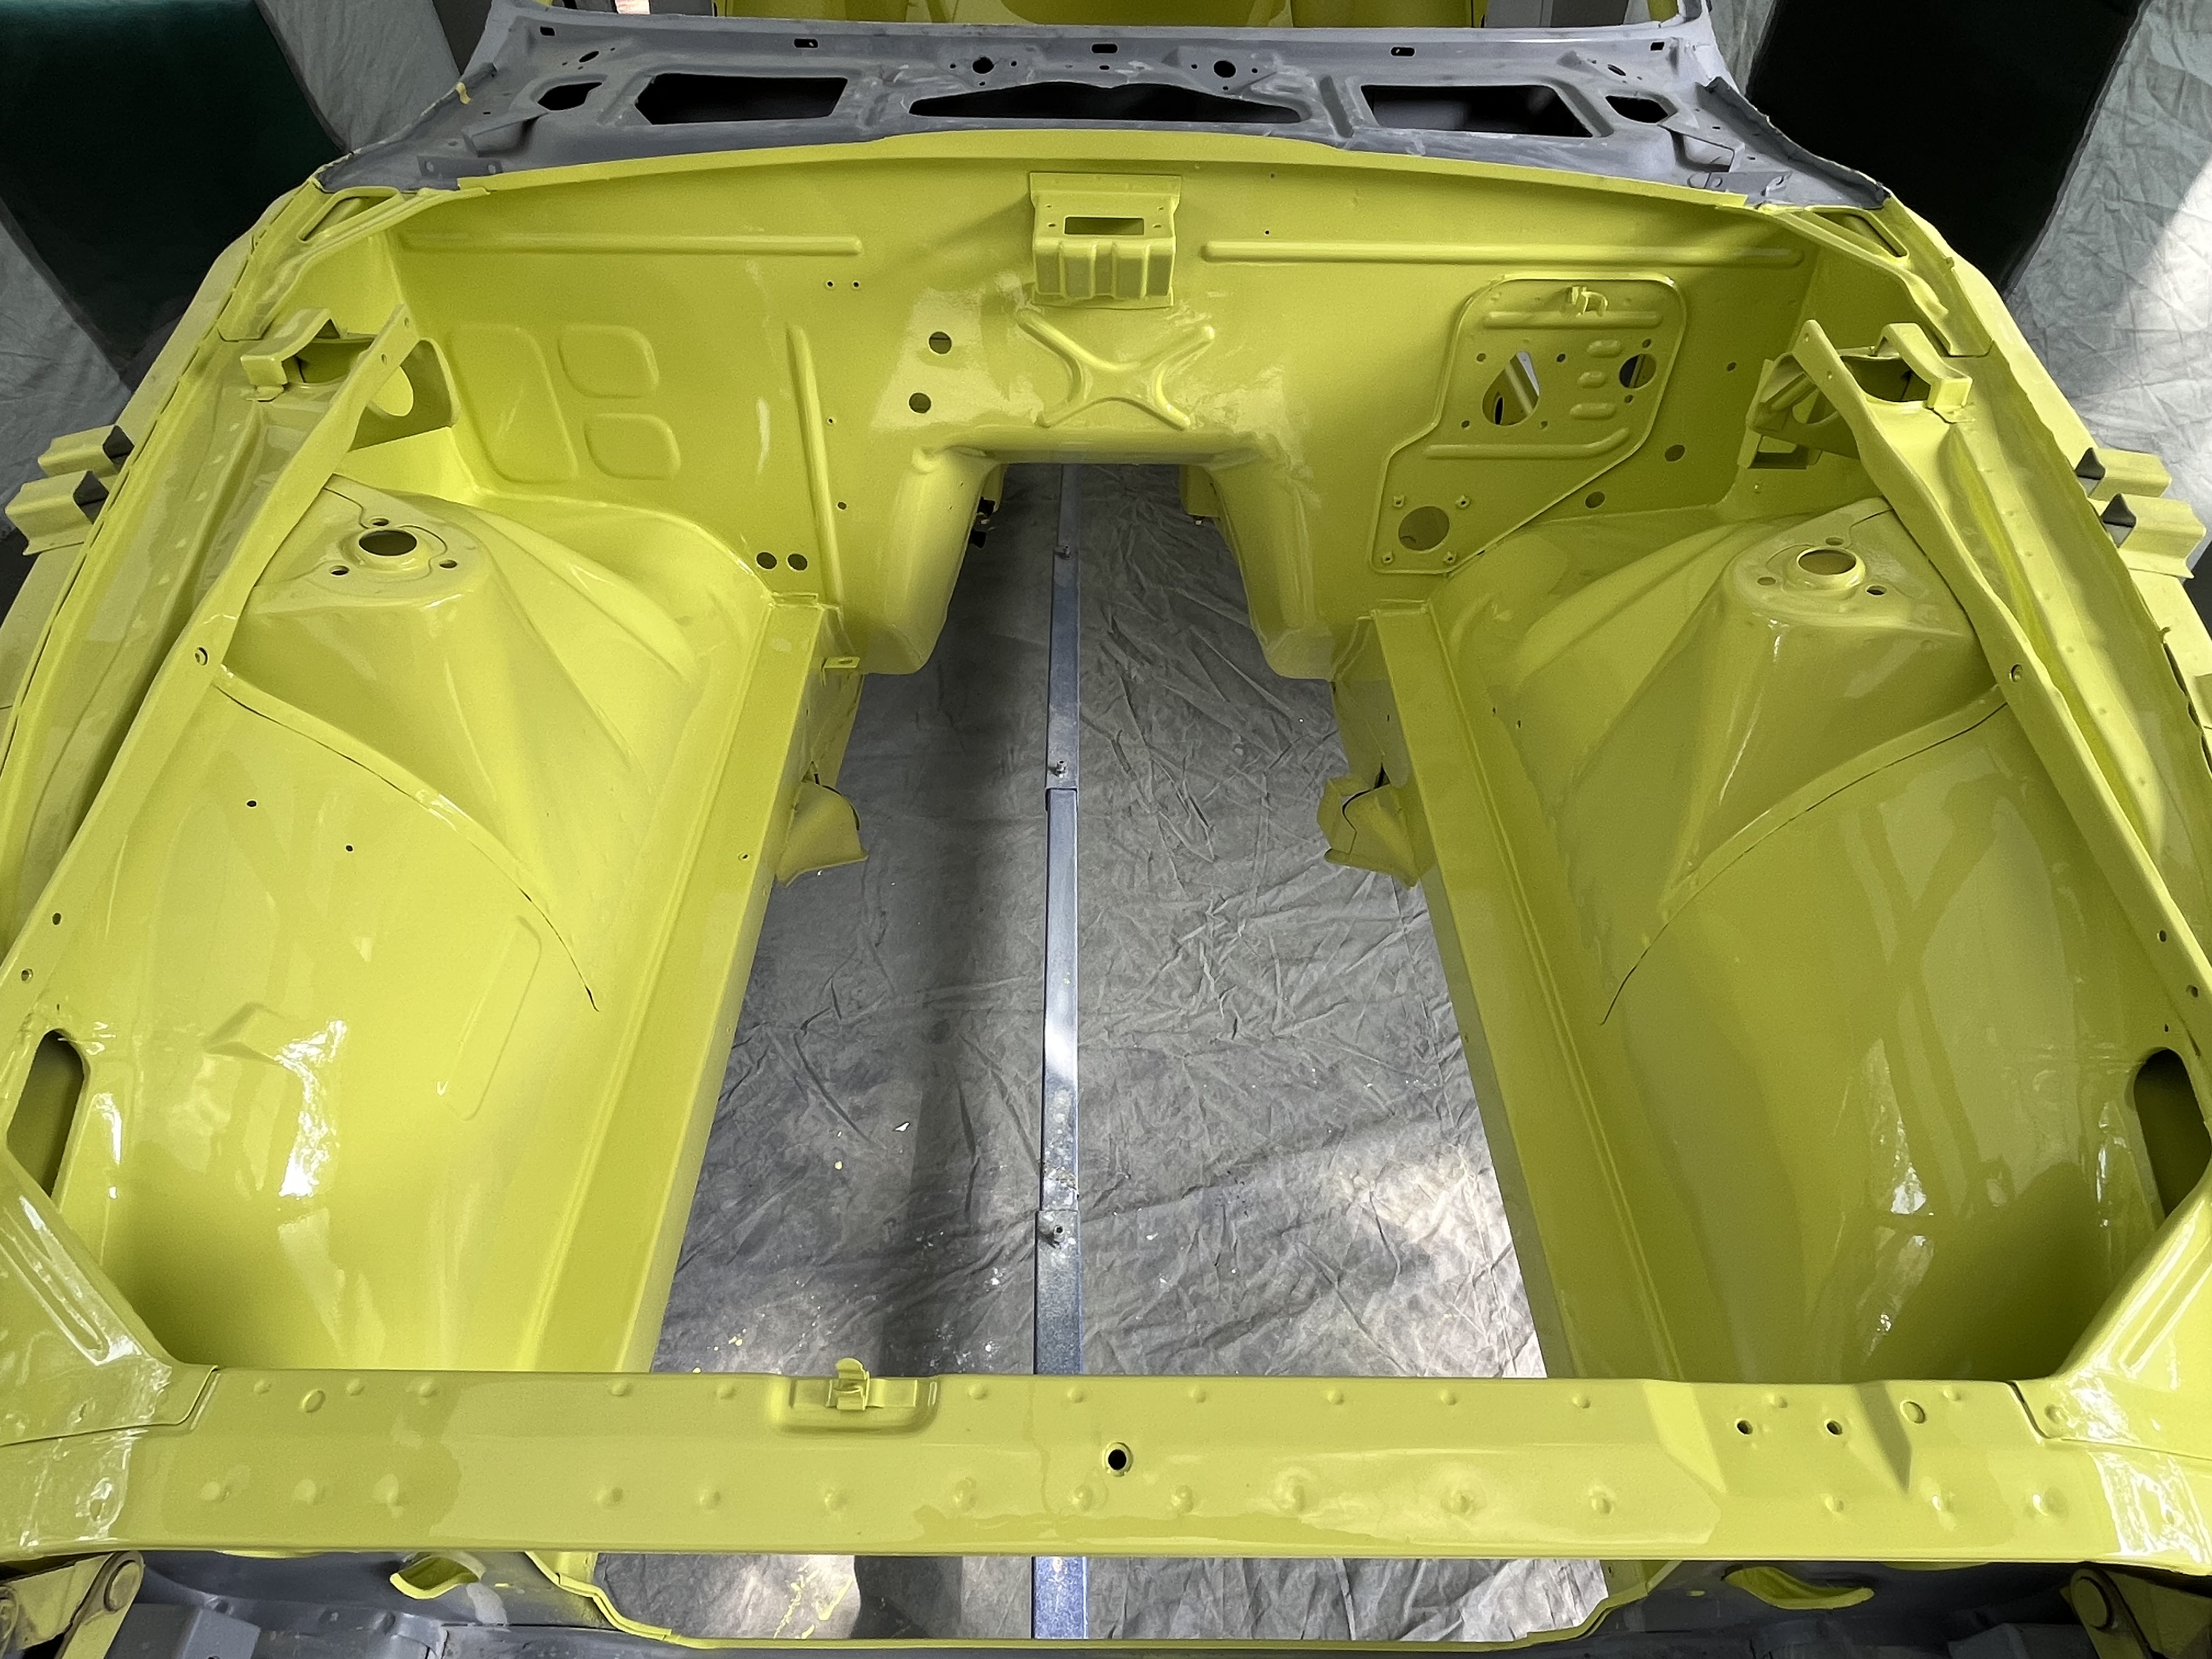
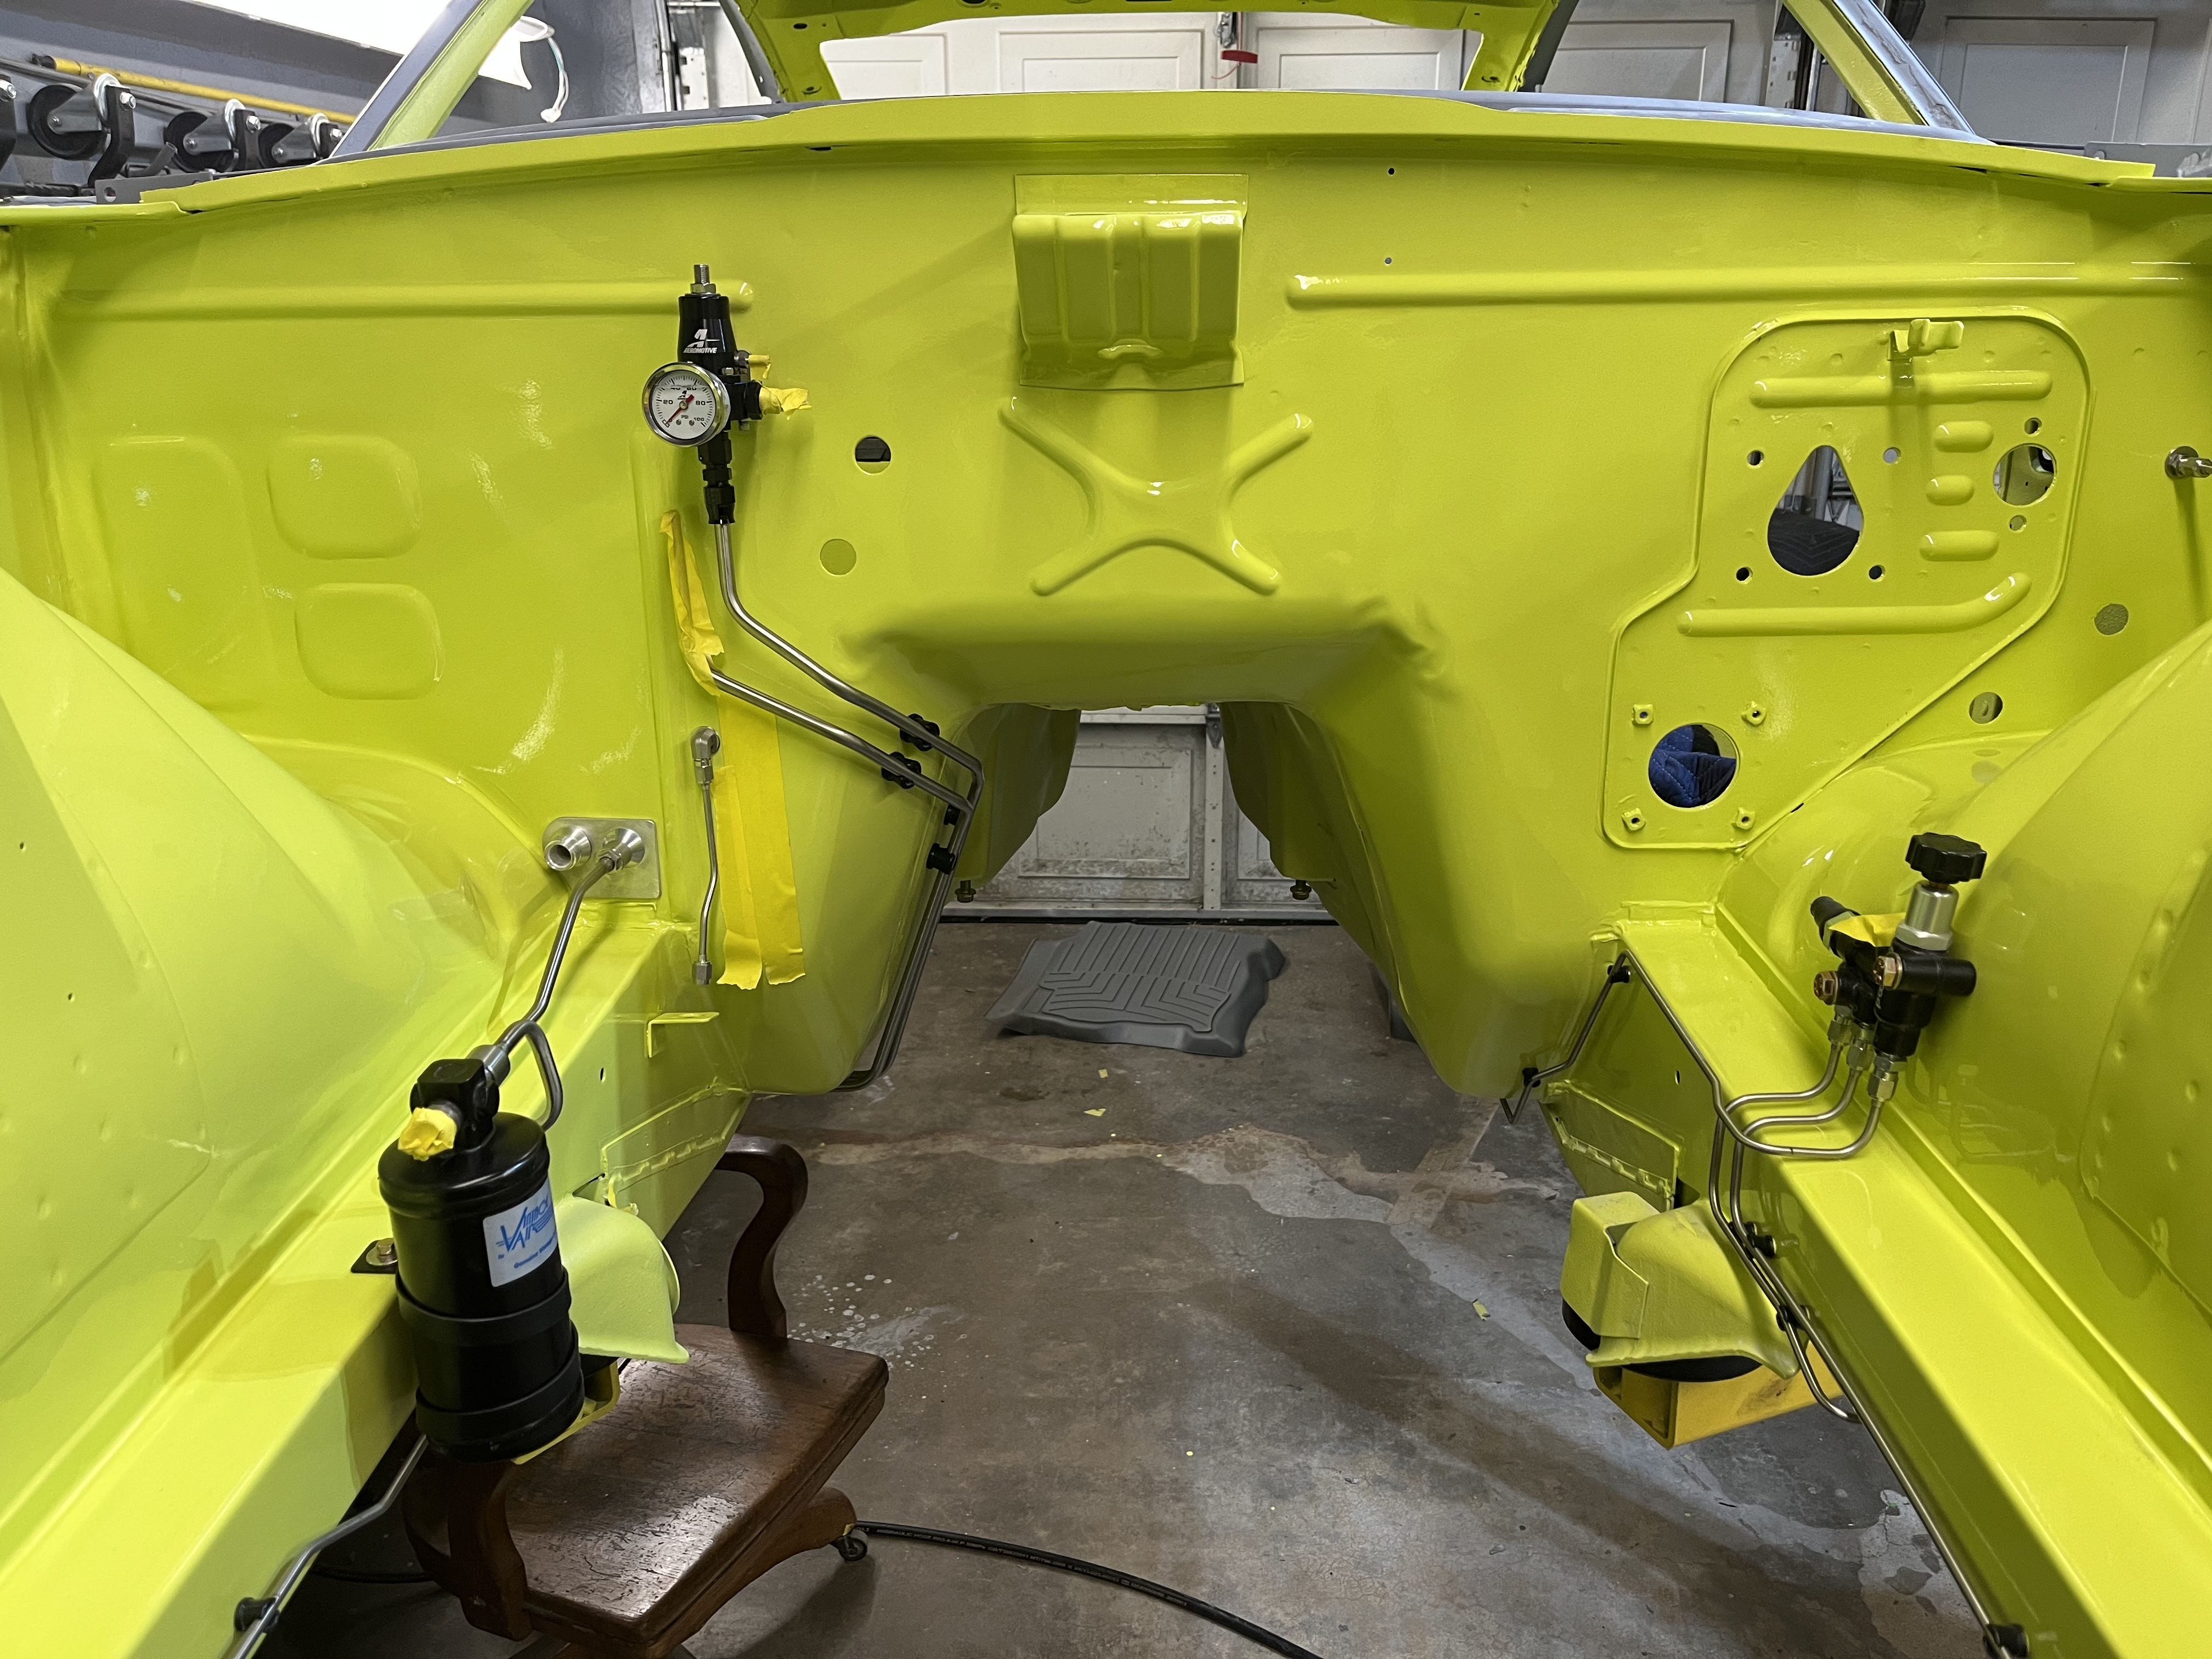
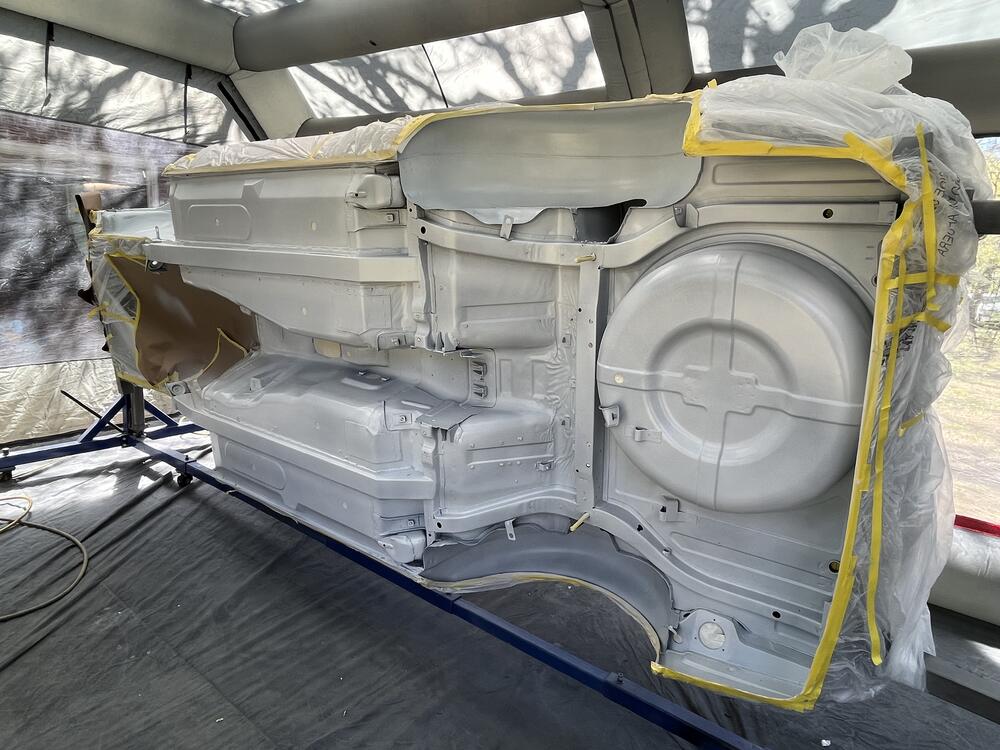
Engine bay getting some color as well. Finally to the stage of reassembly the car, slowly.


-
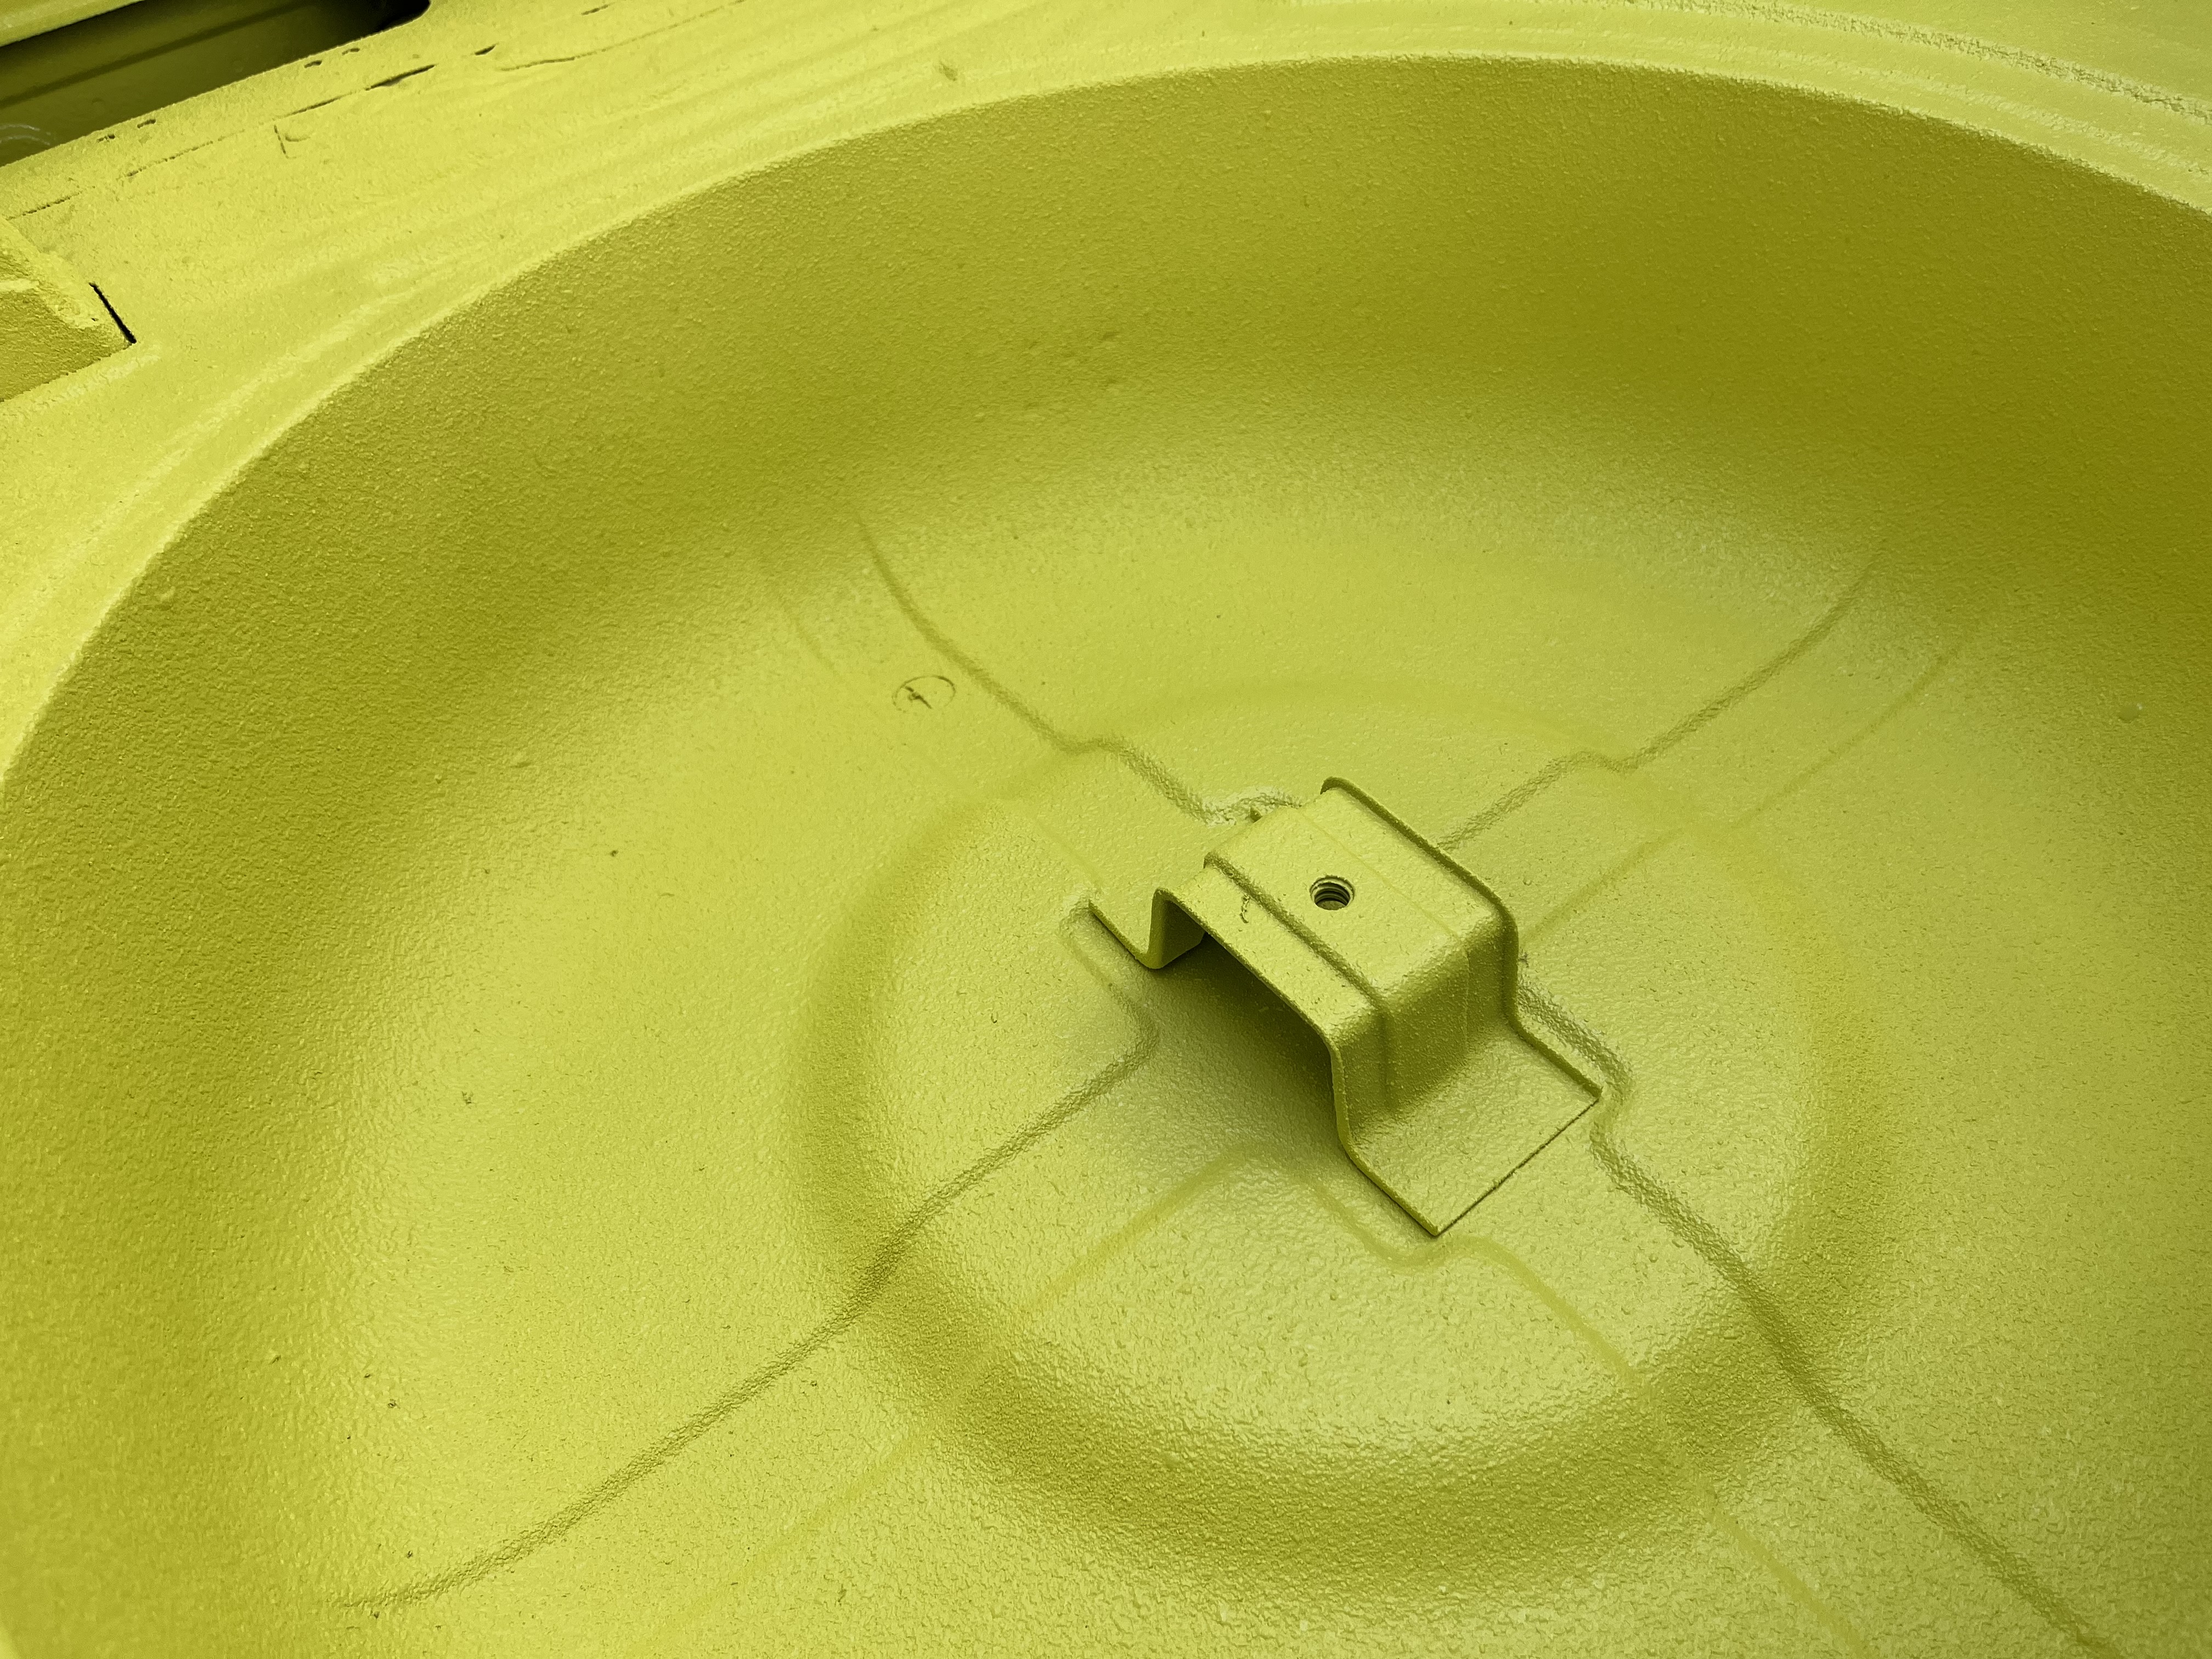
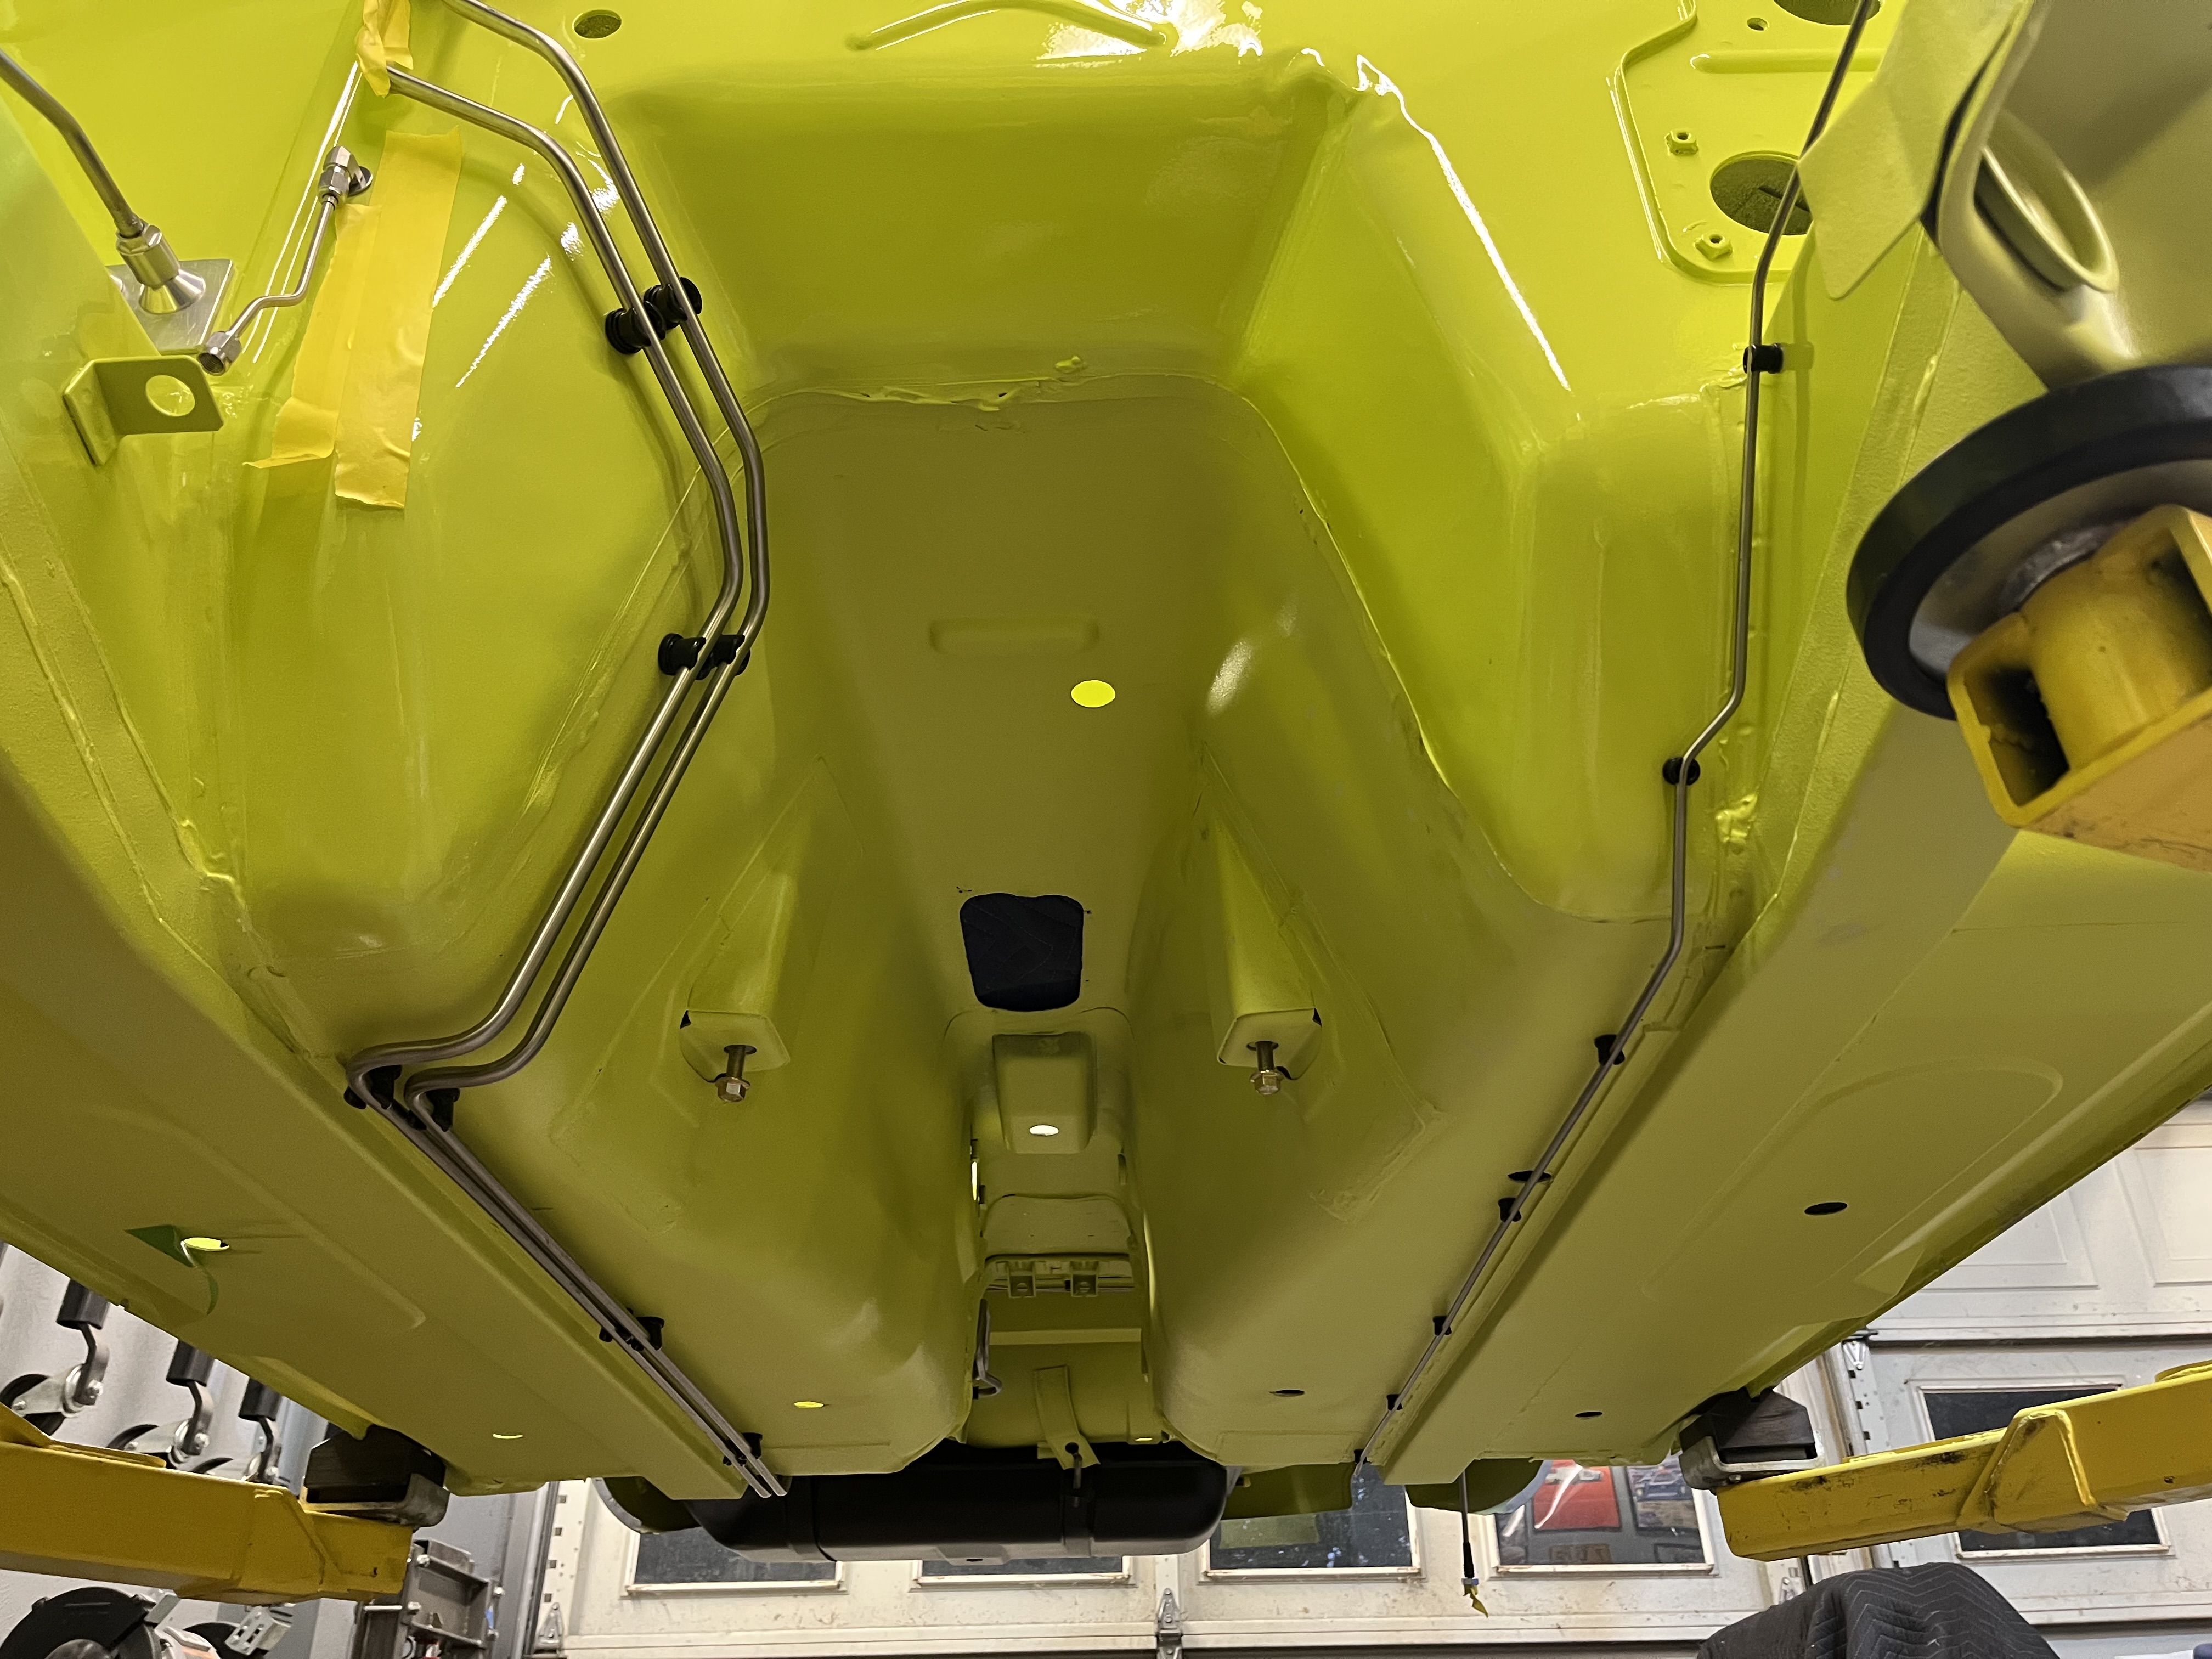
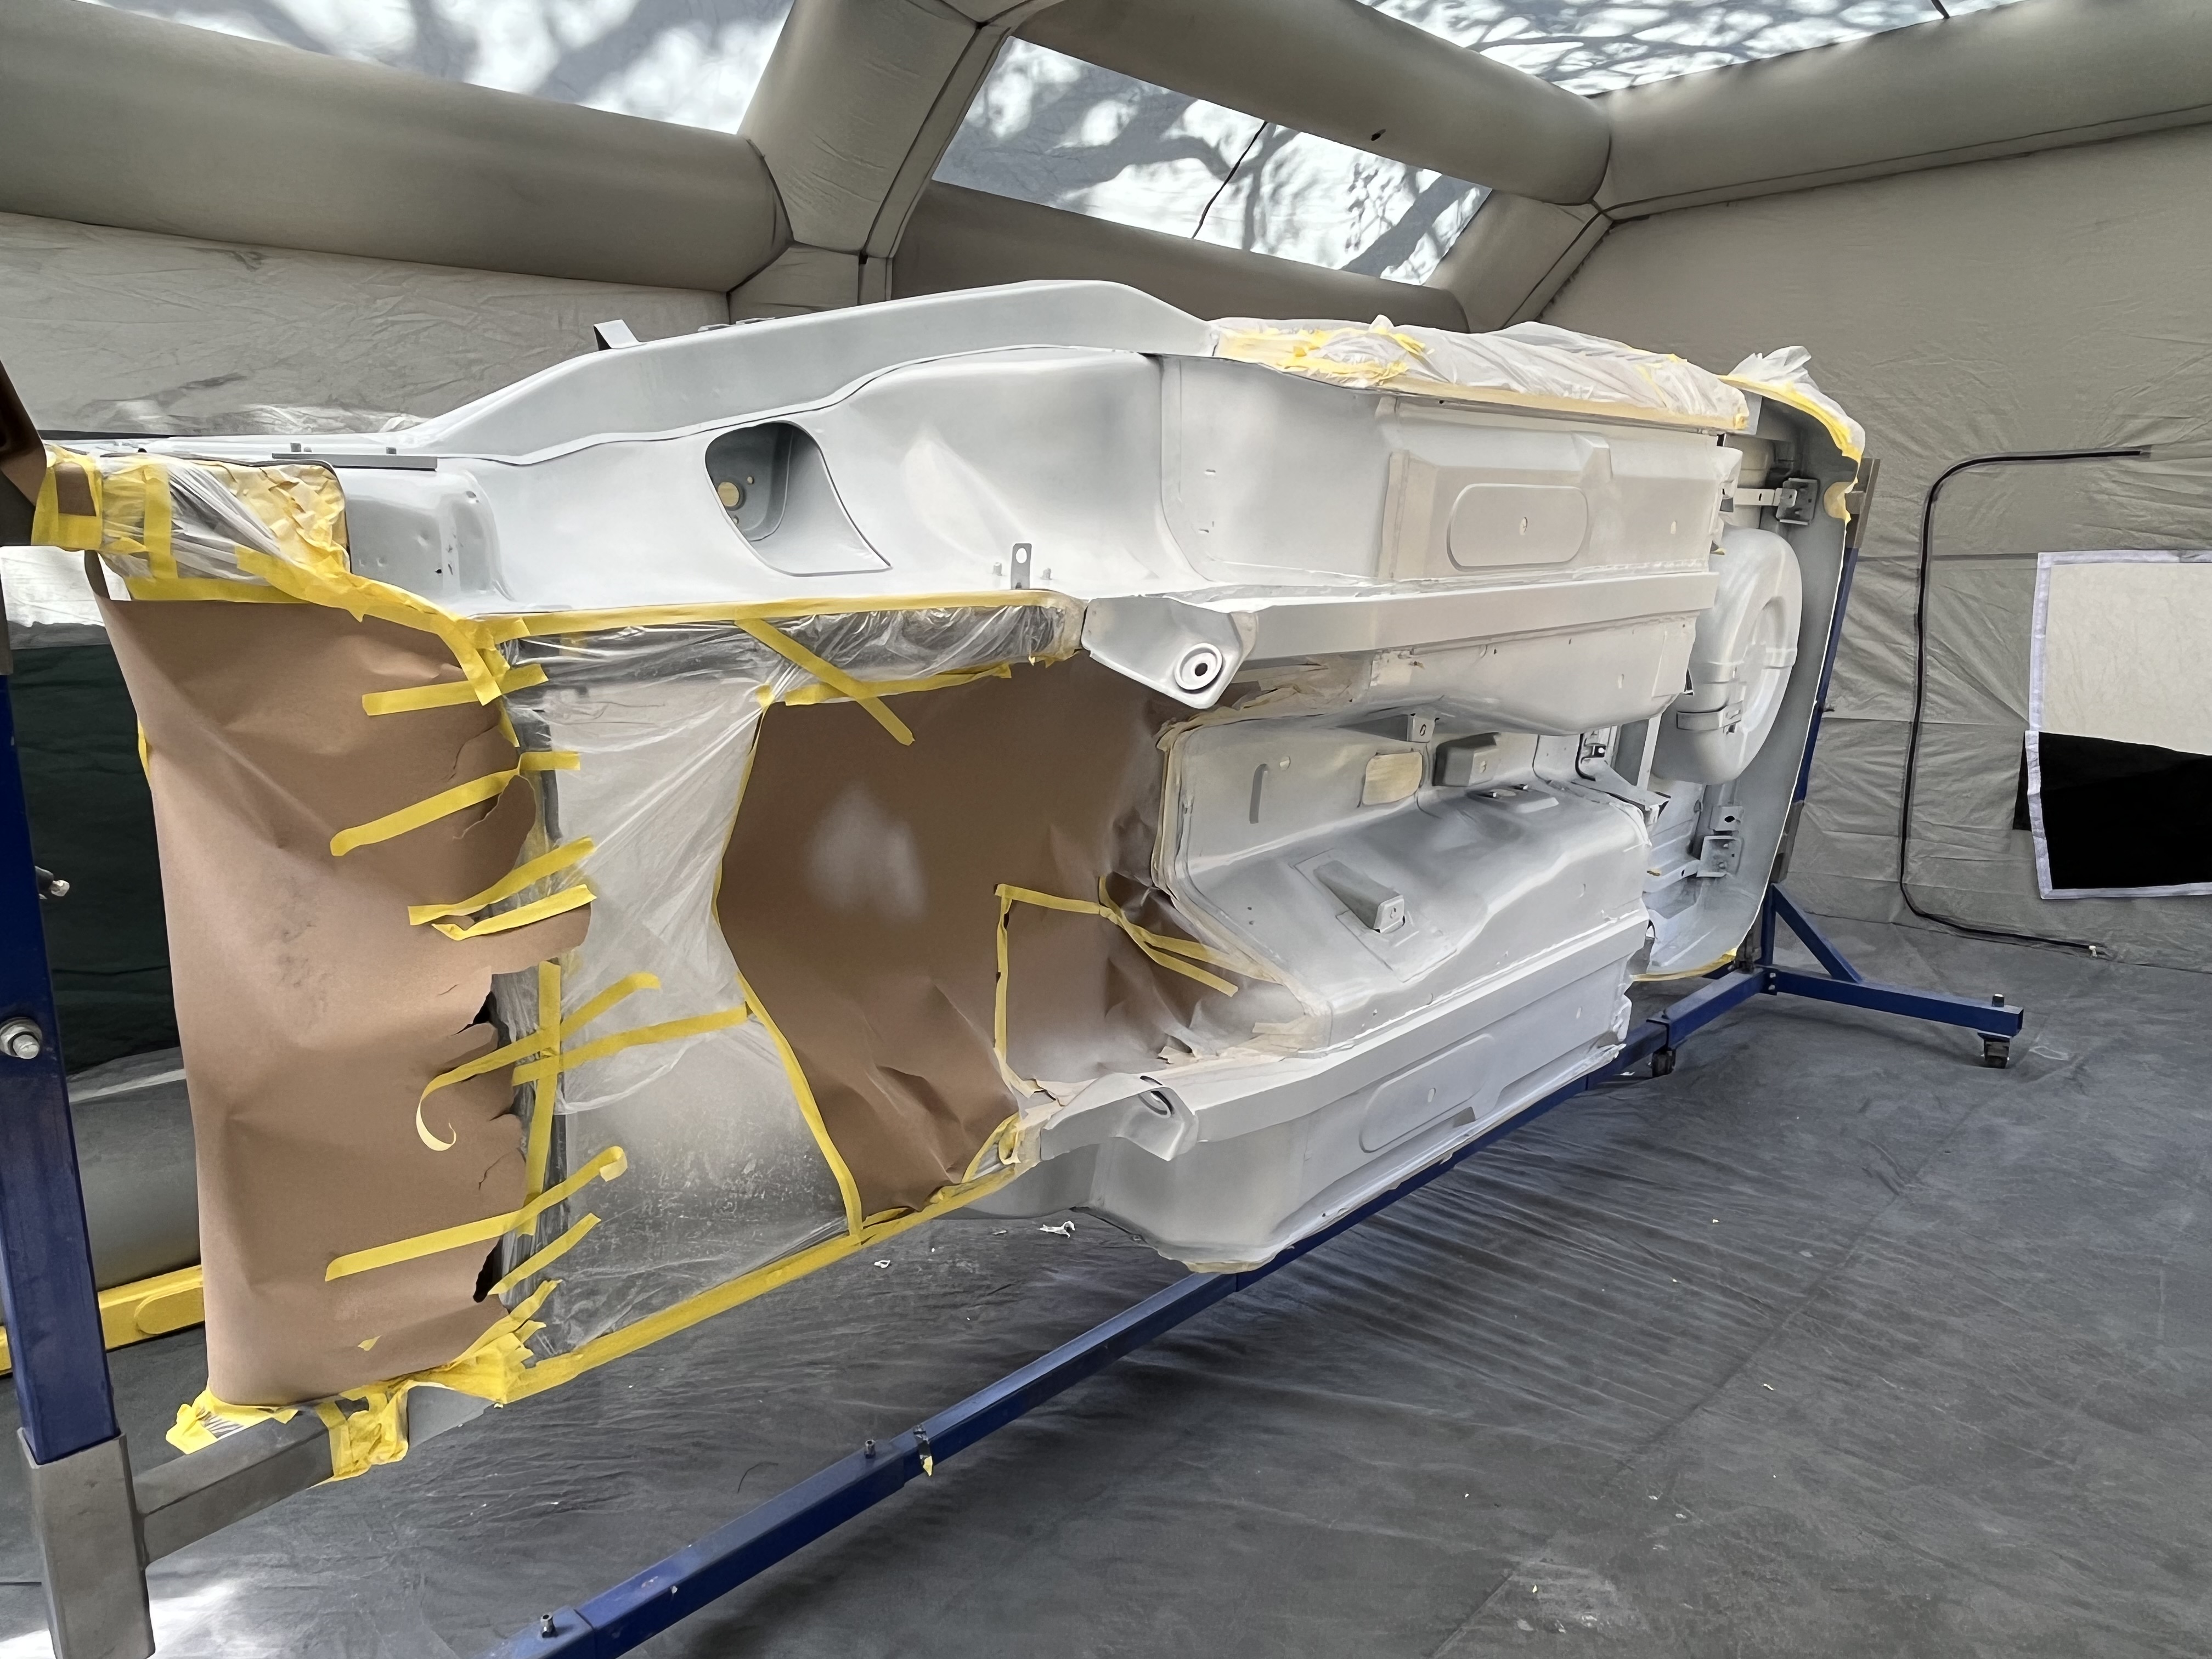
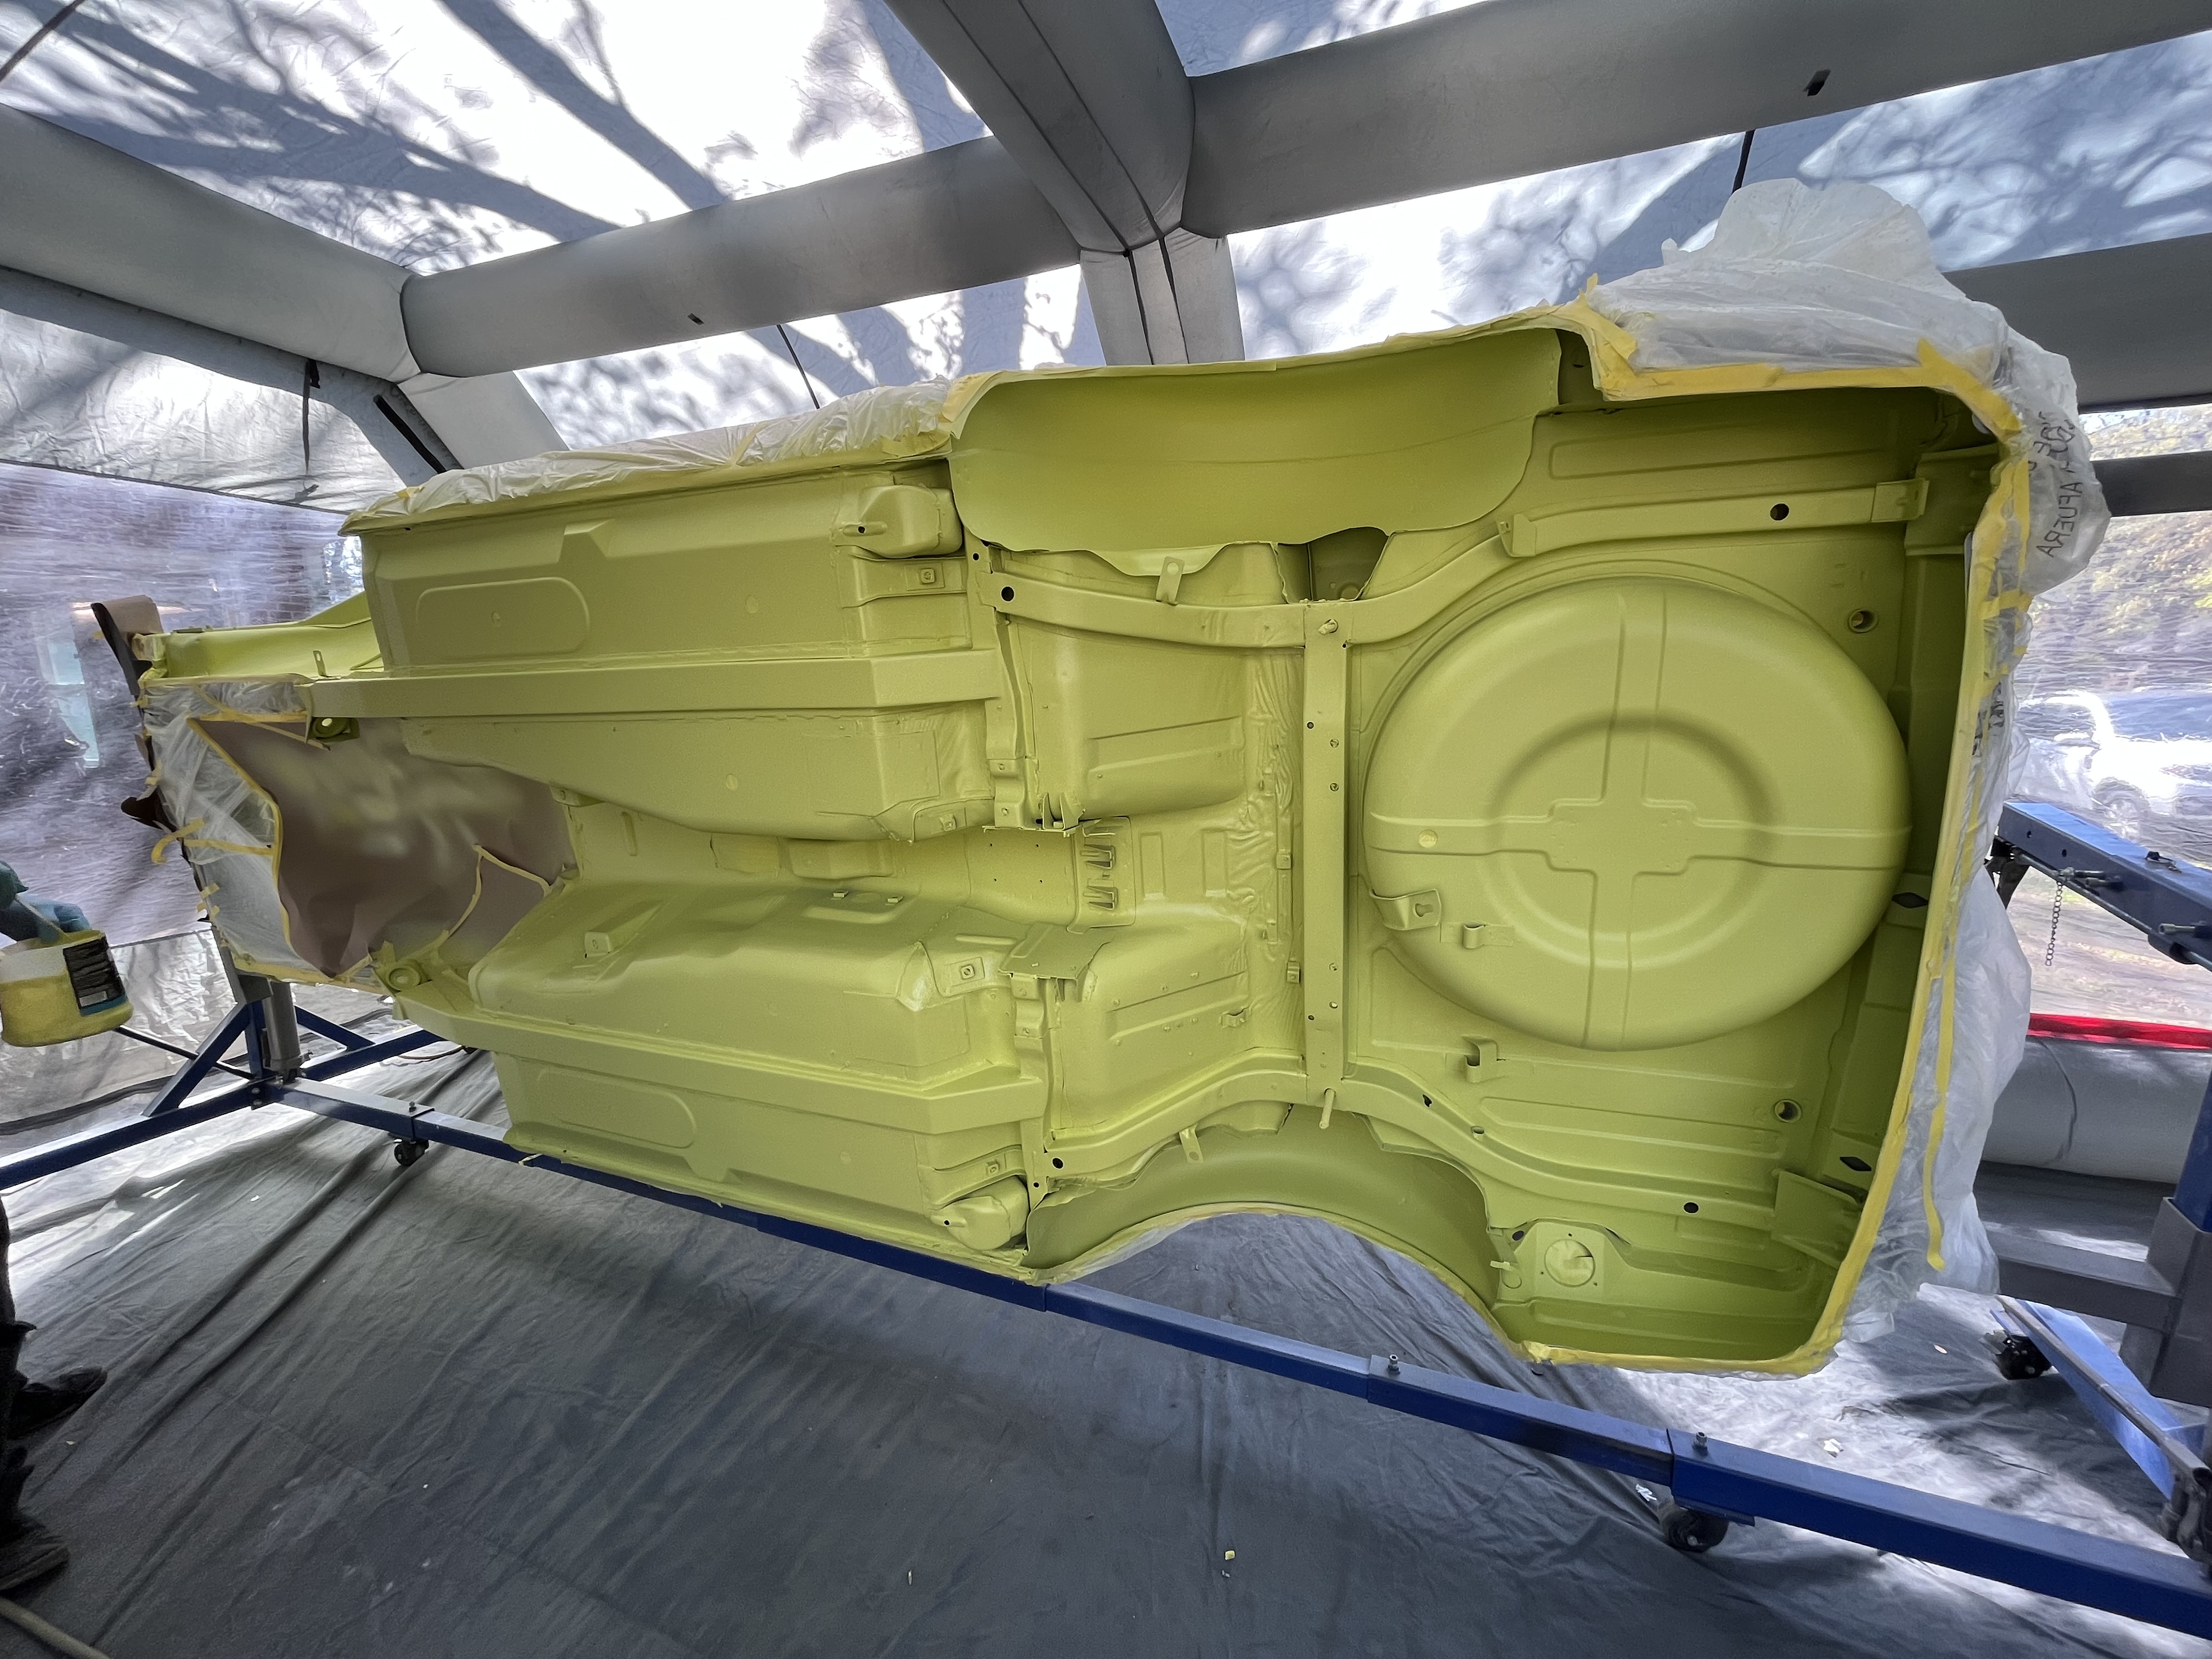
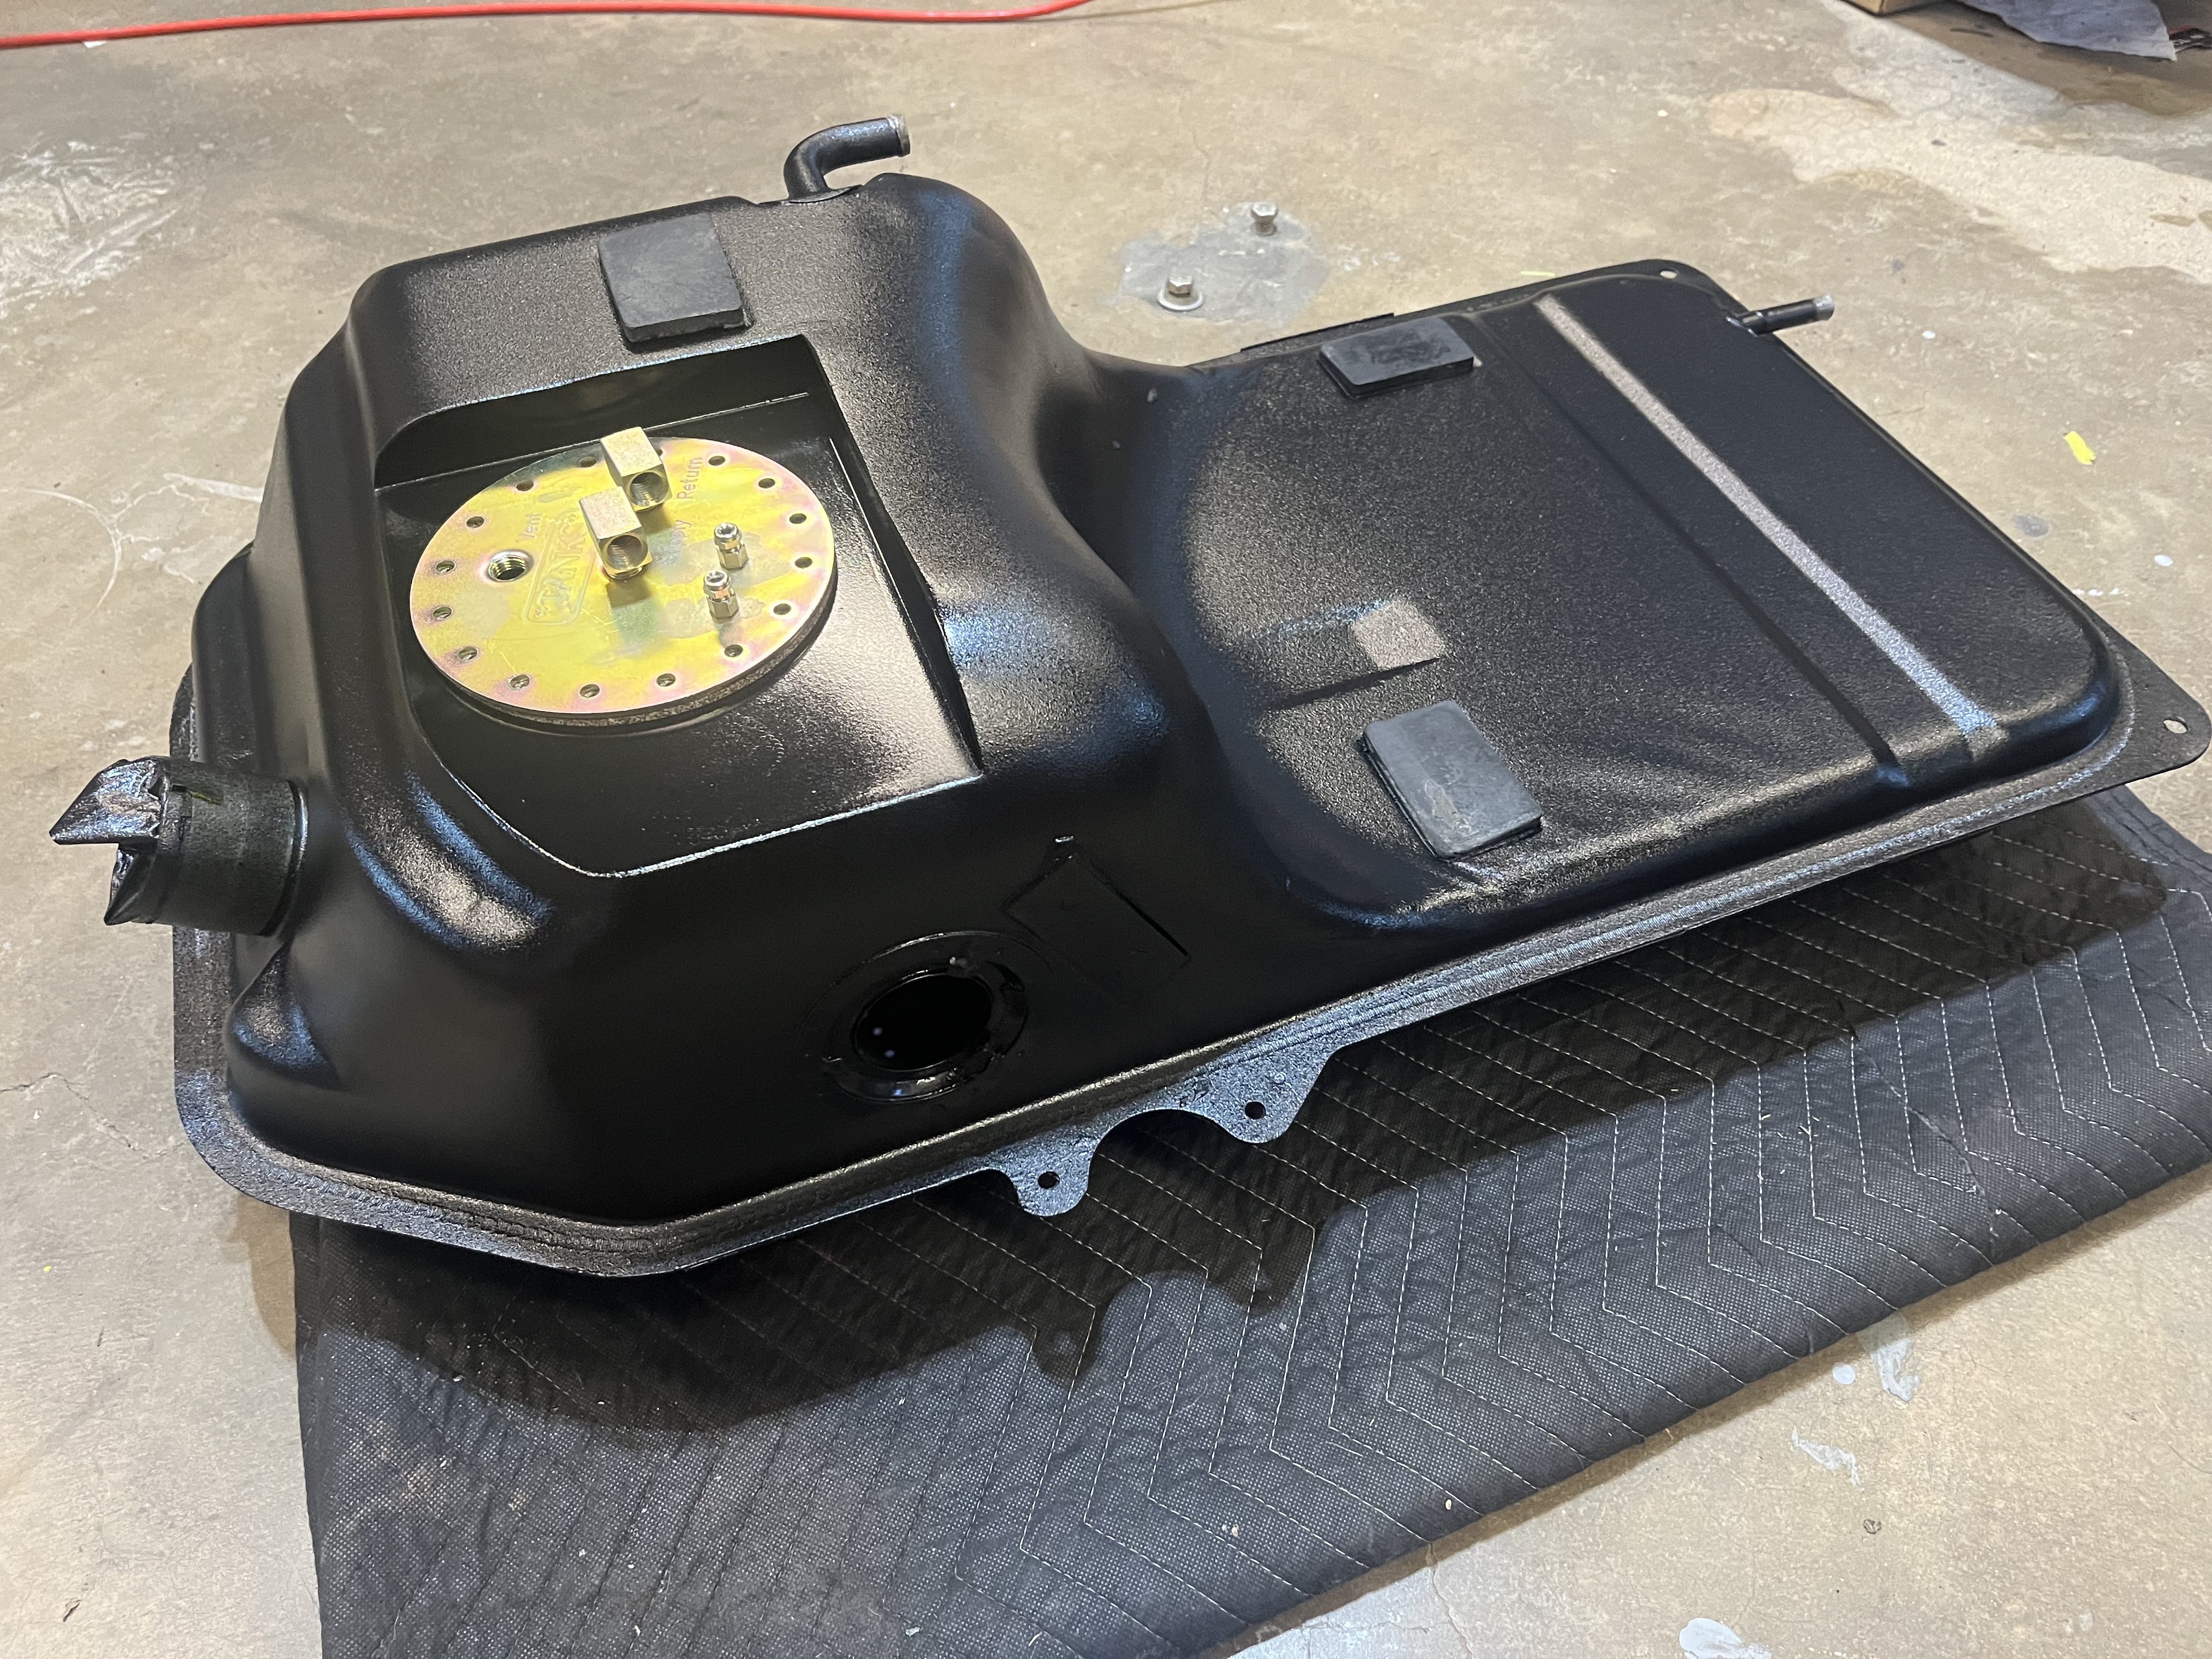
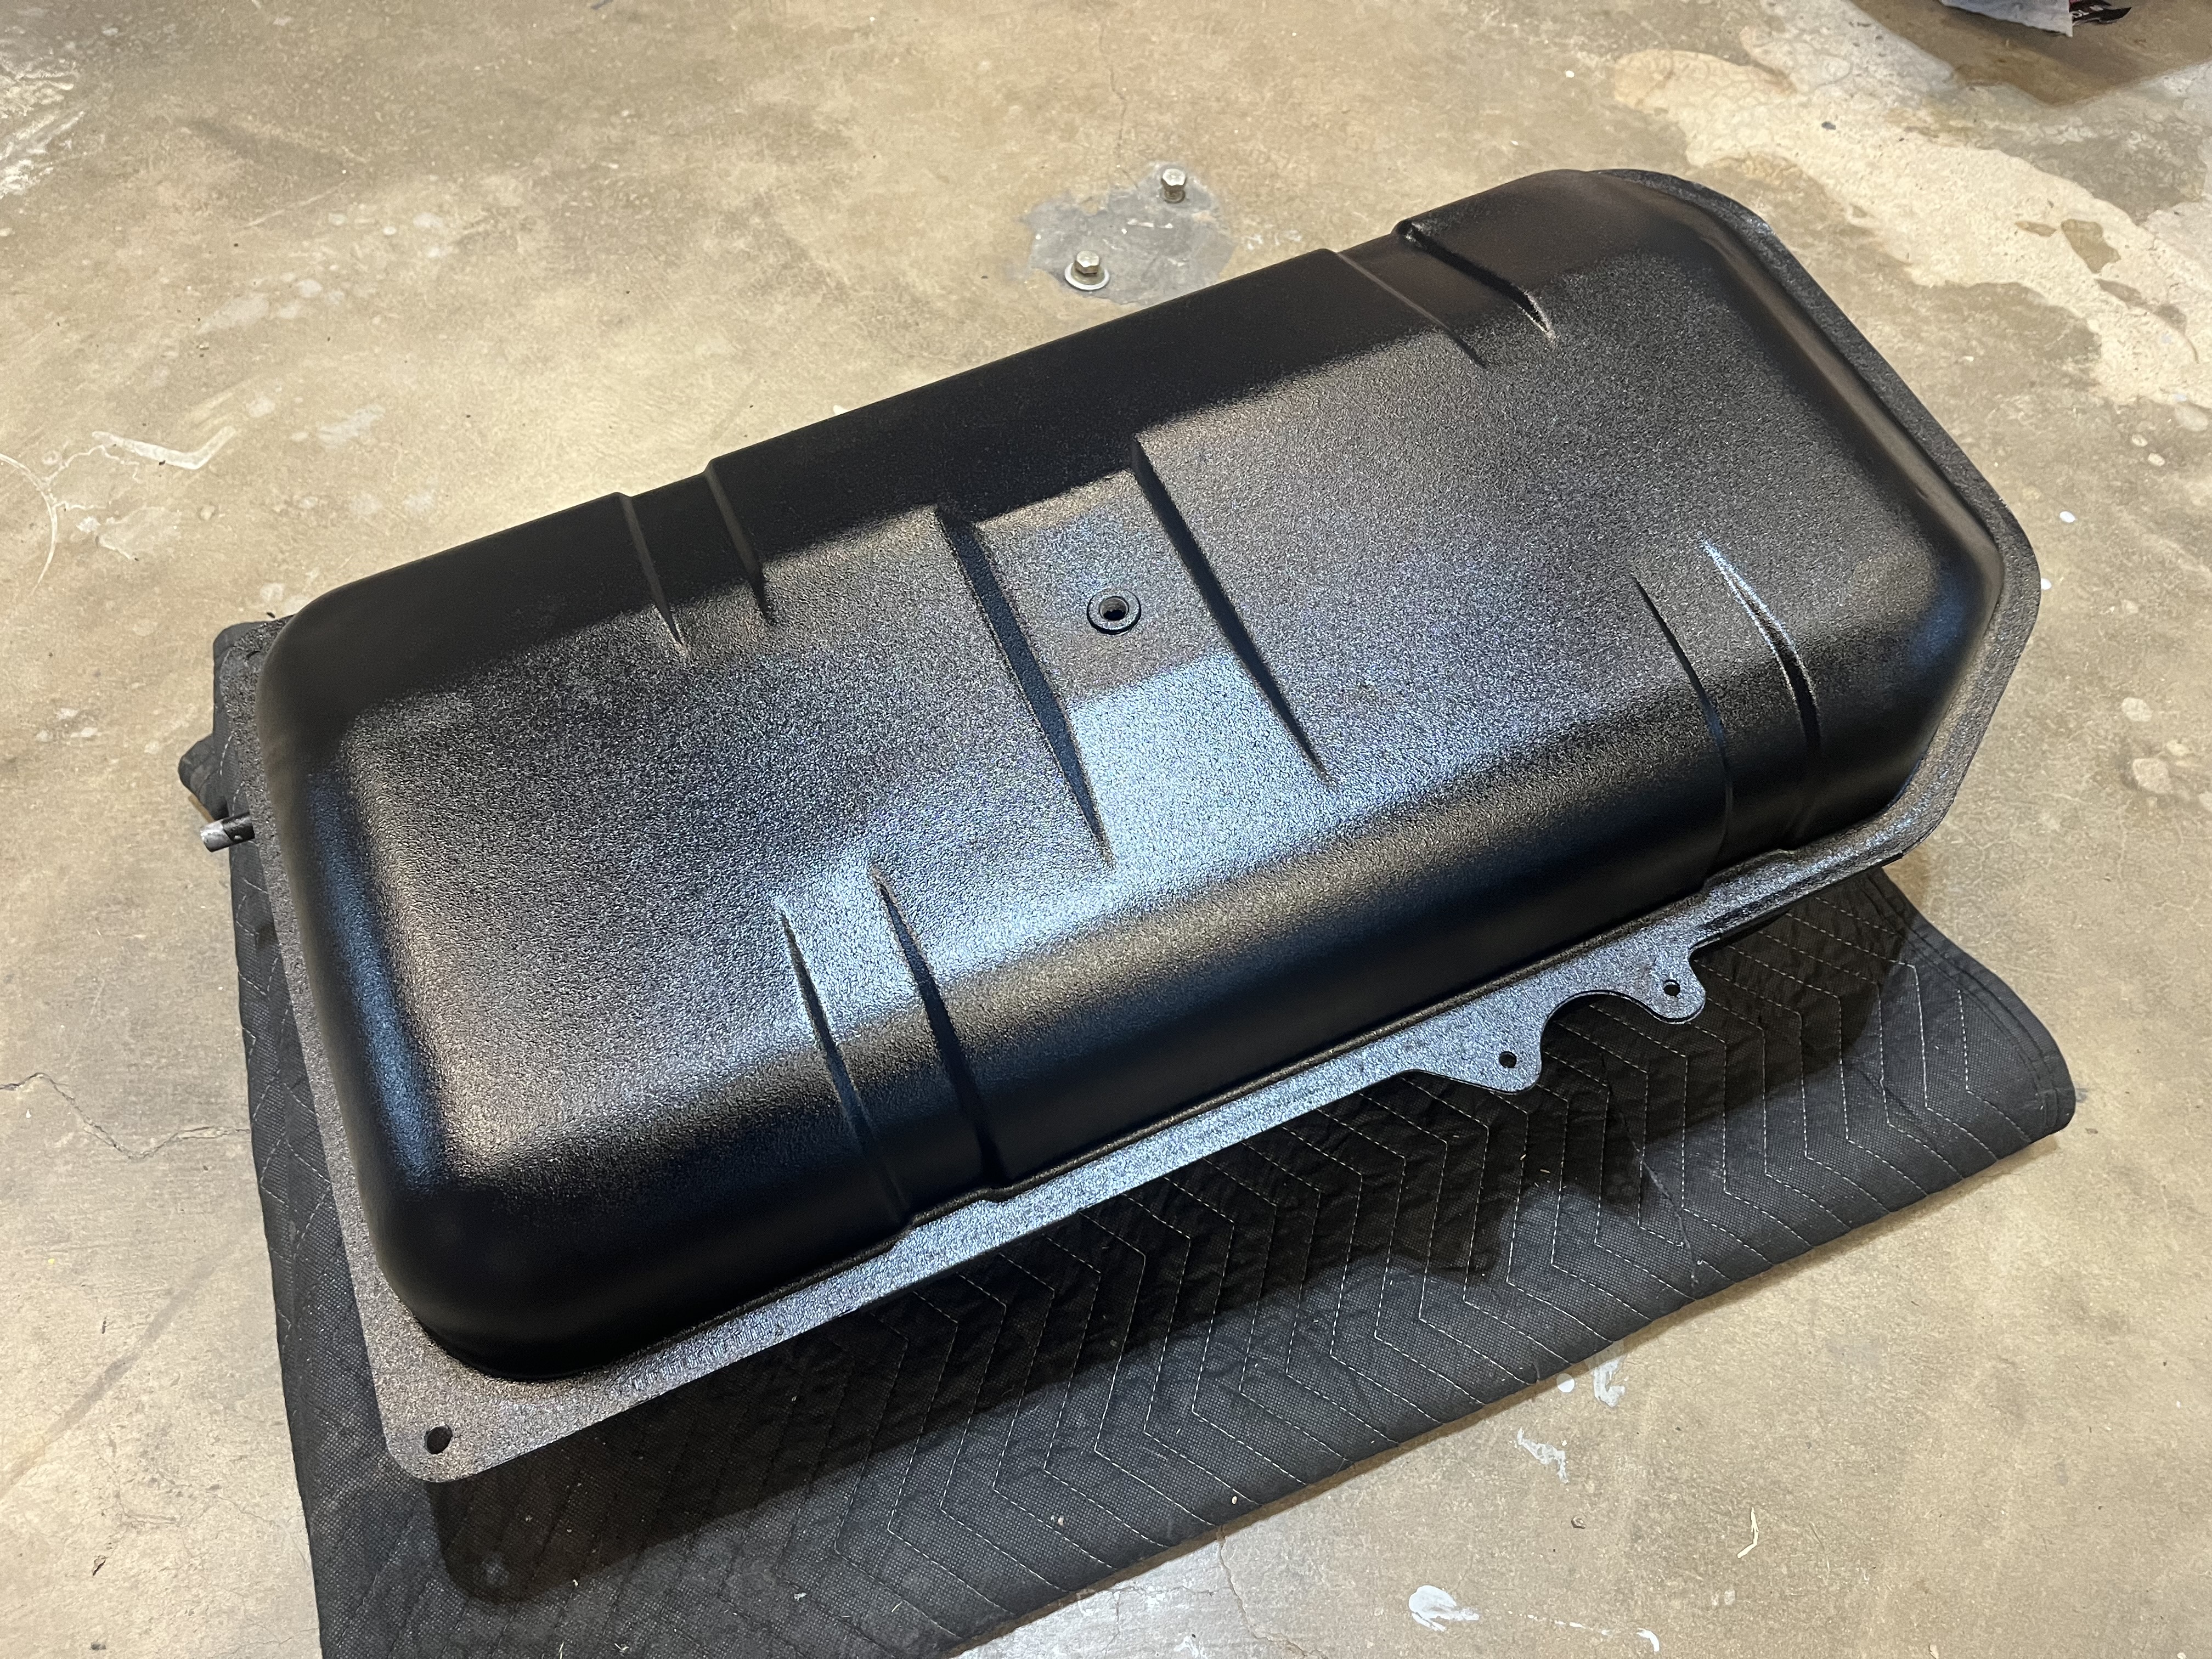
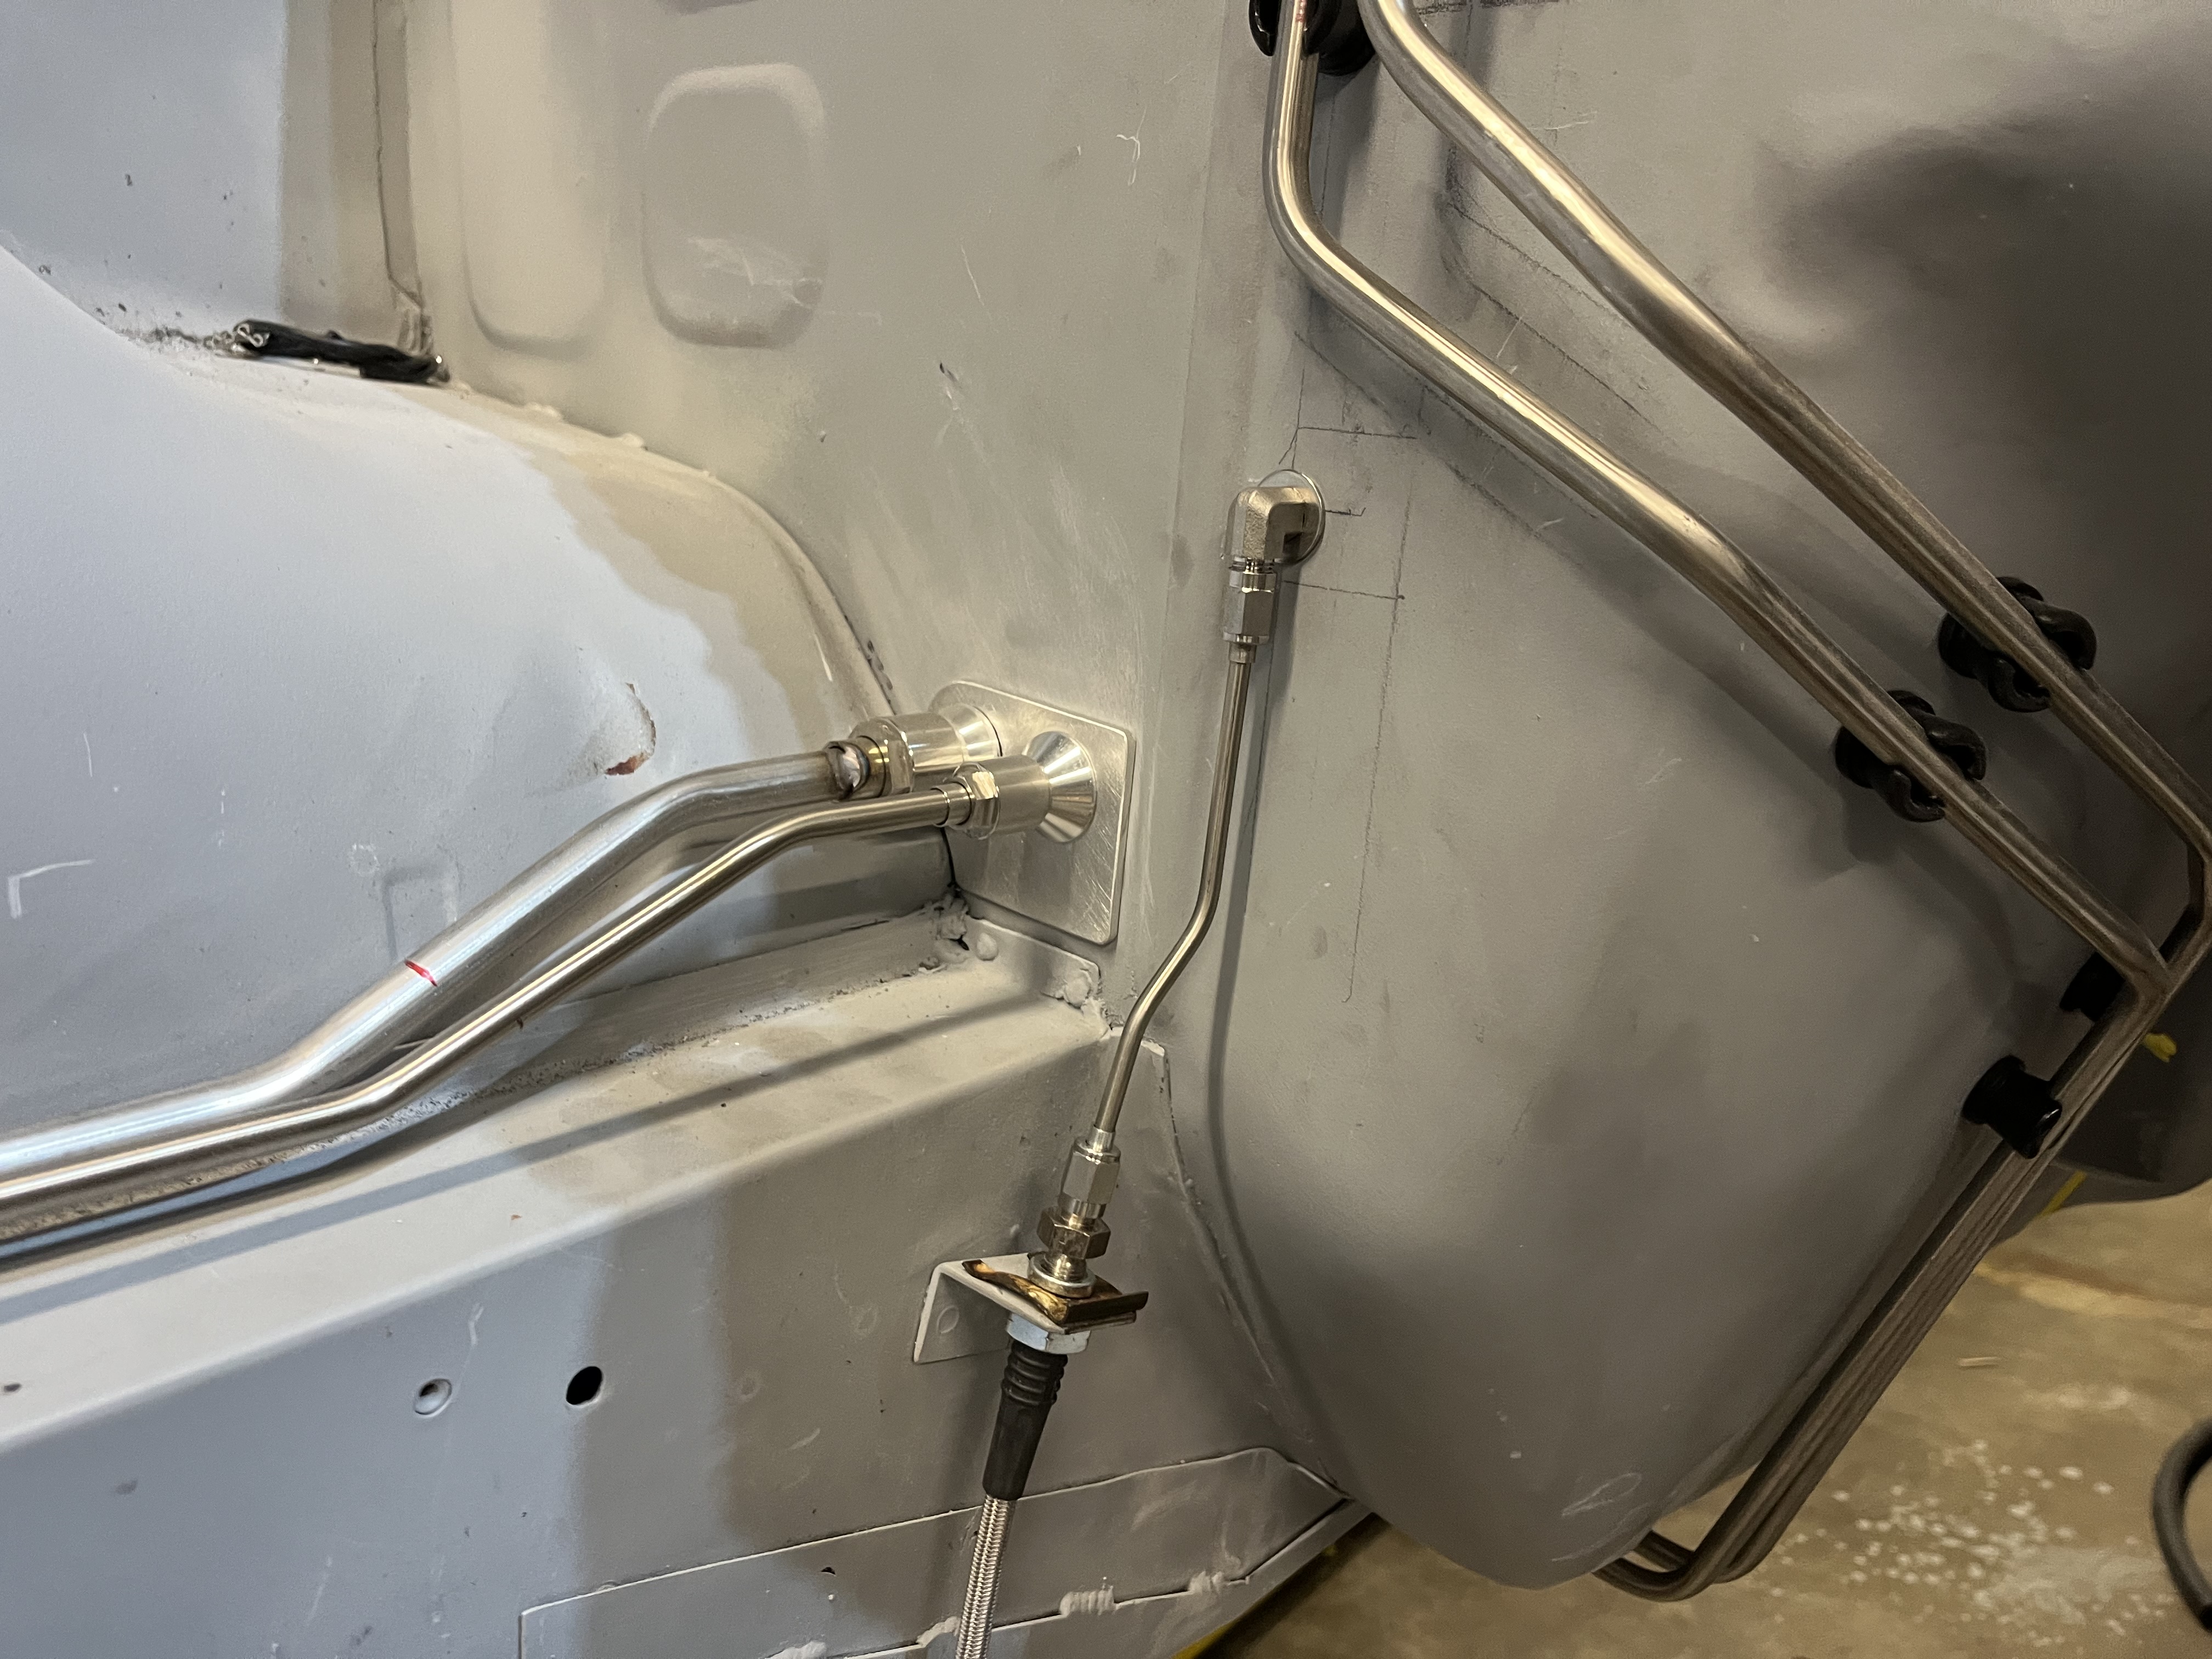
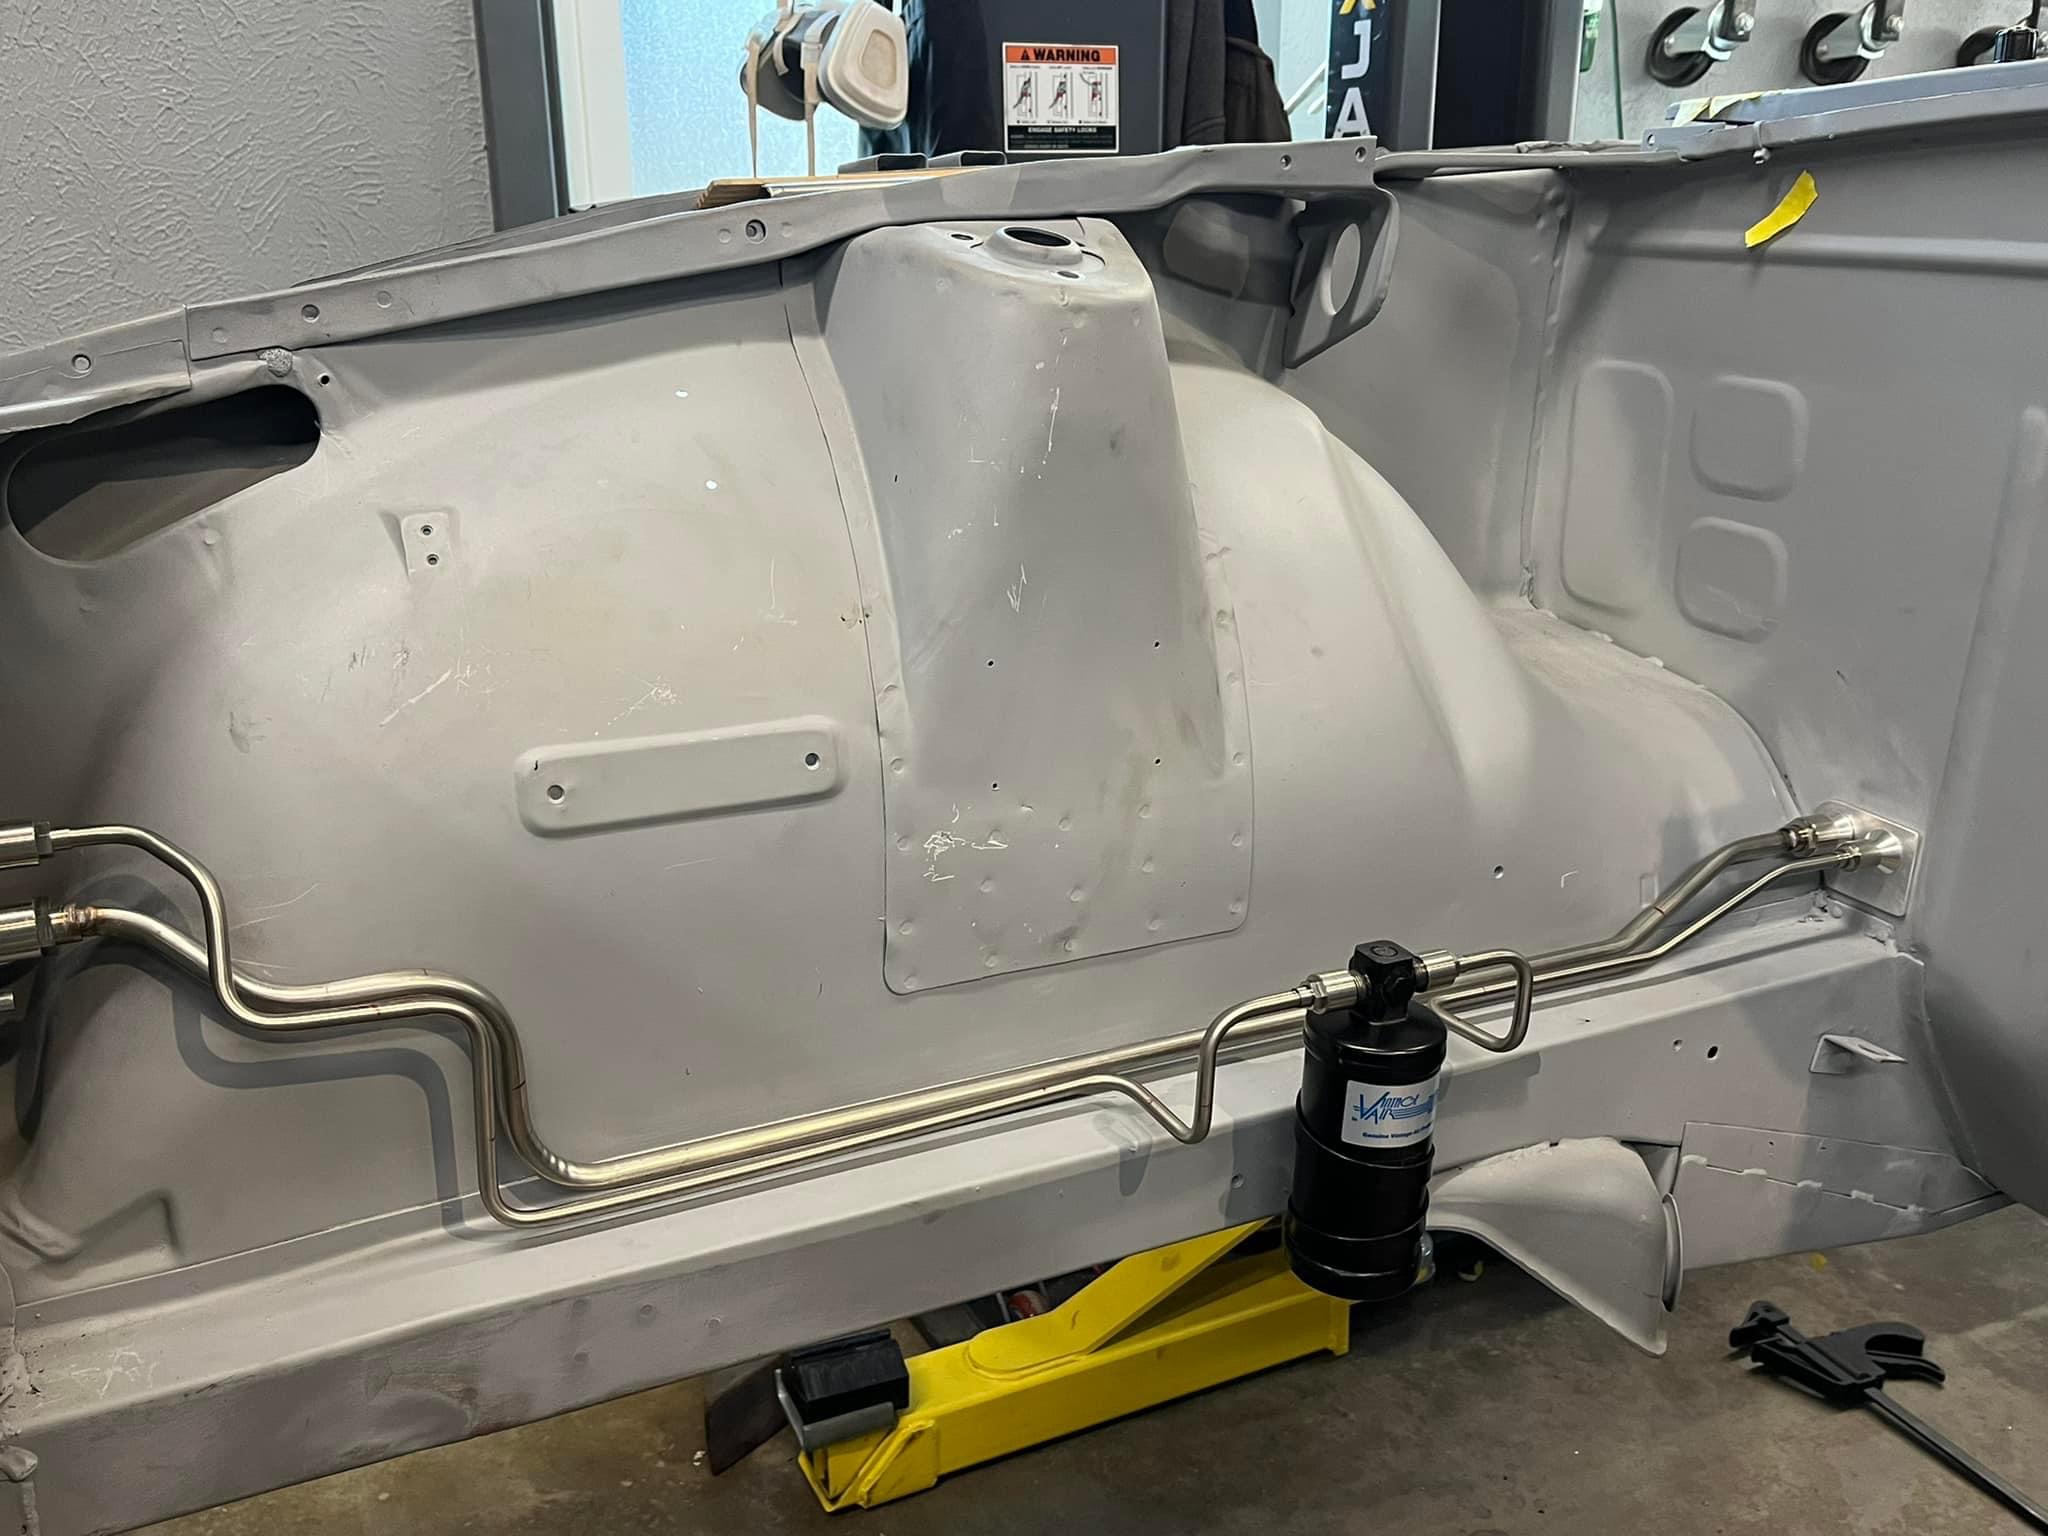
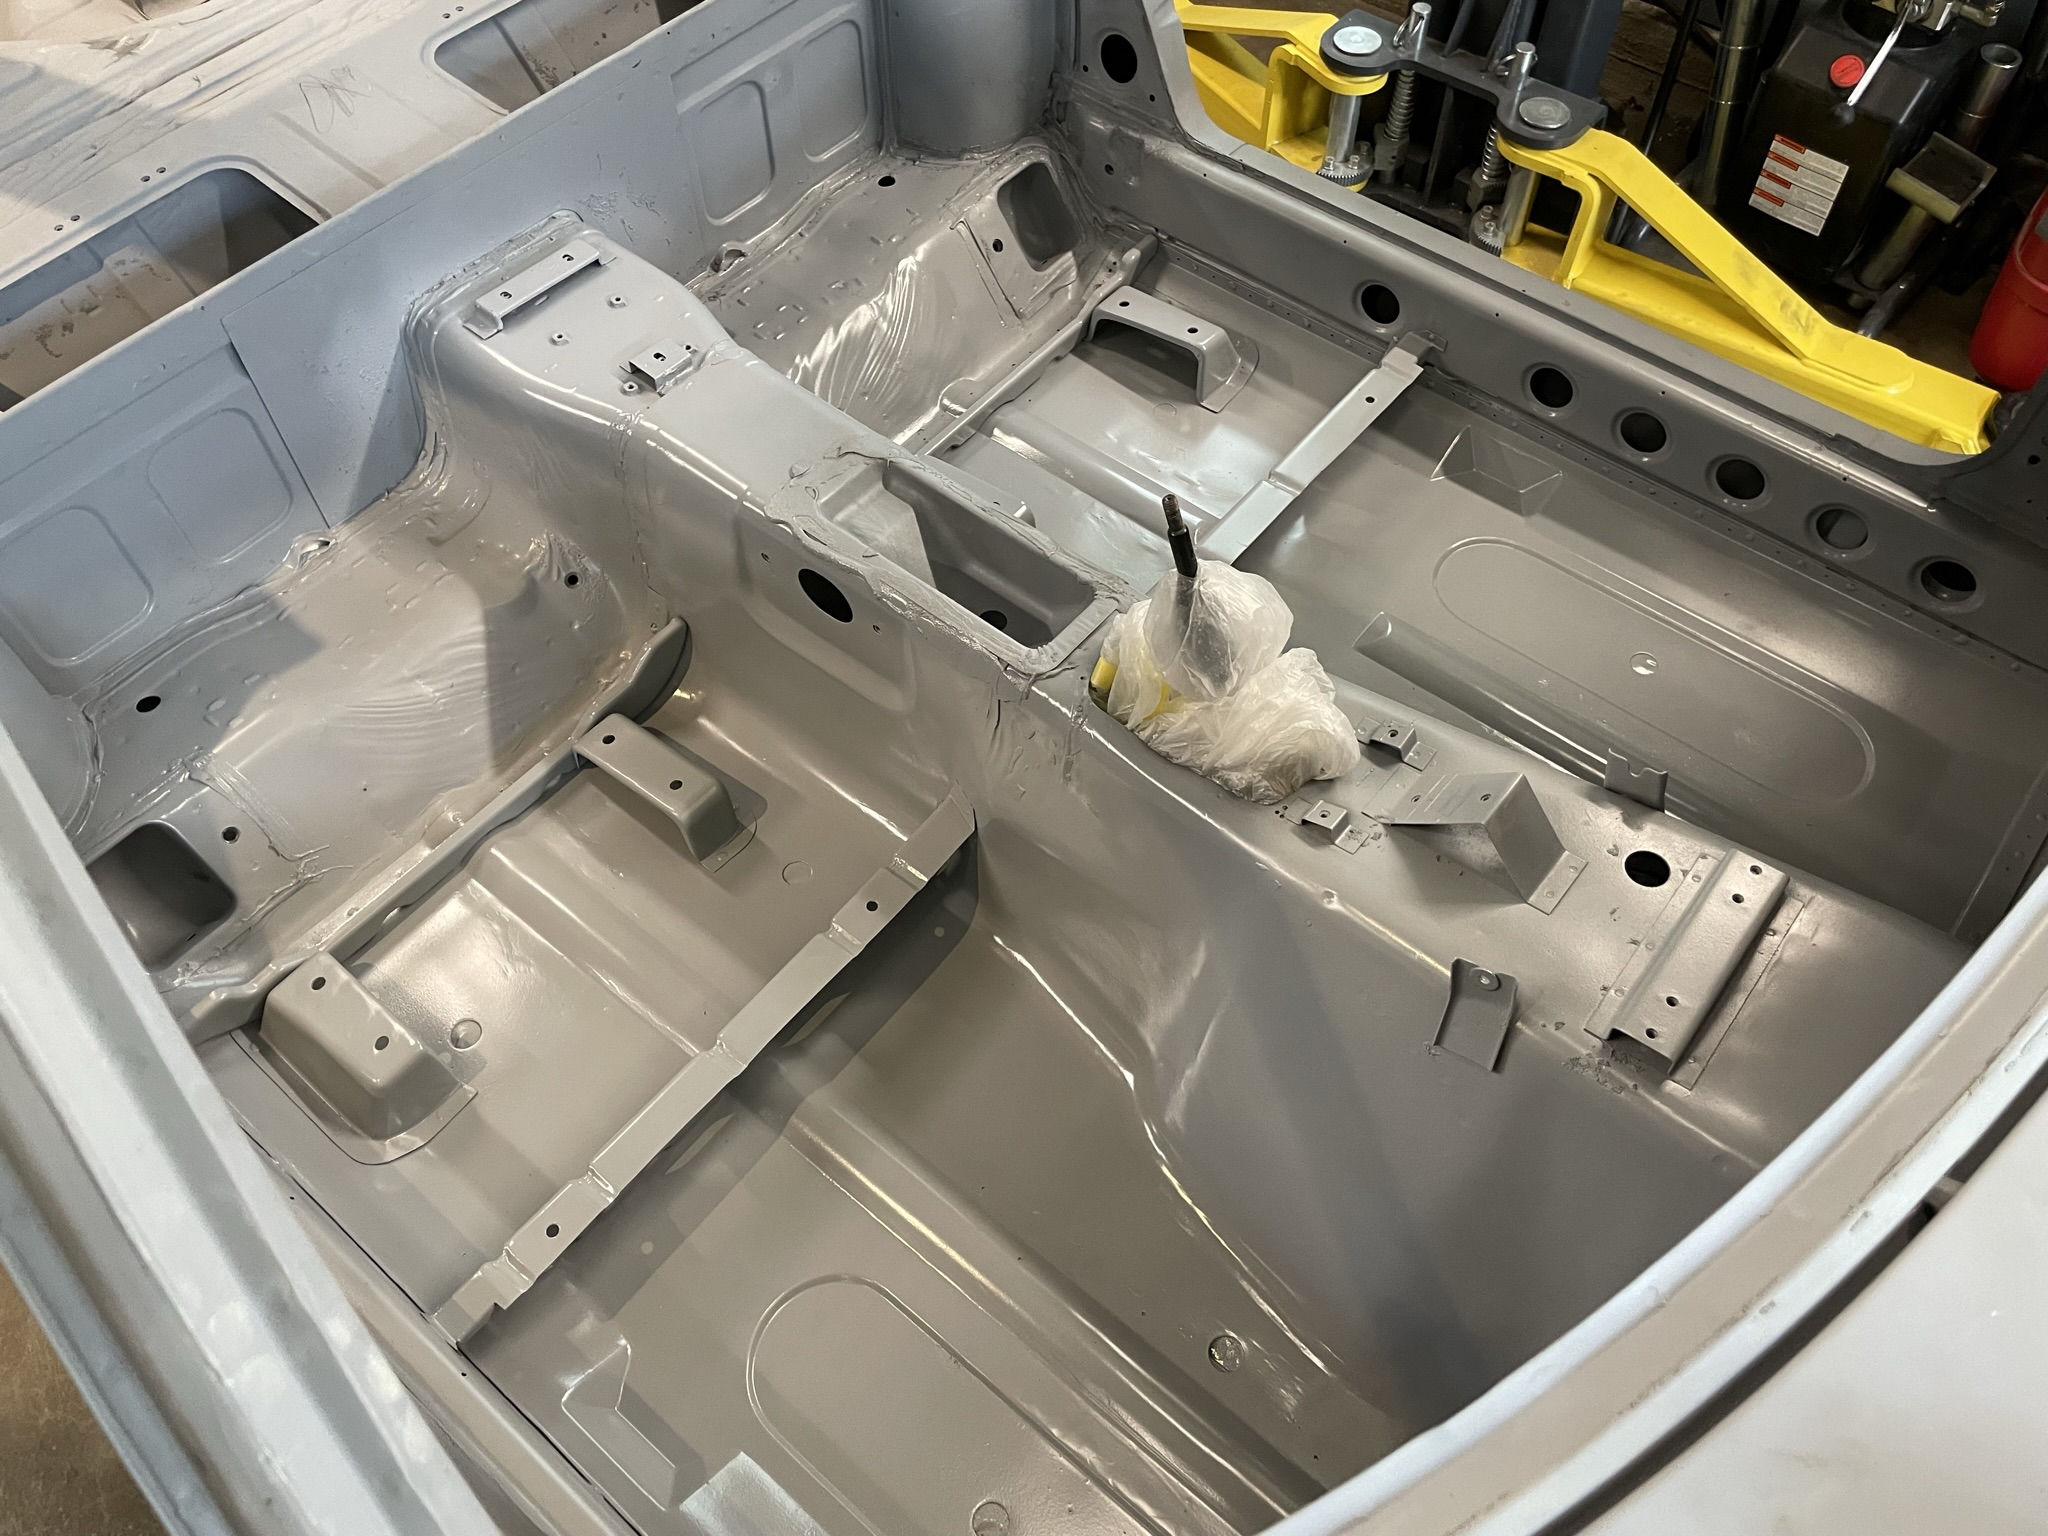
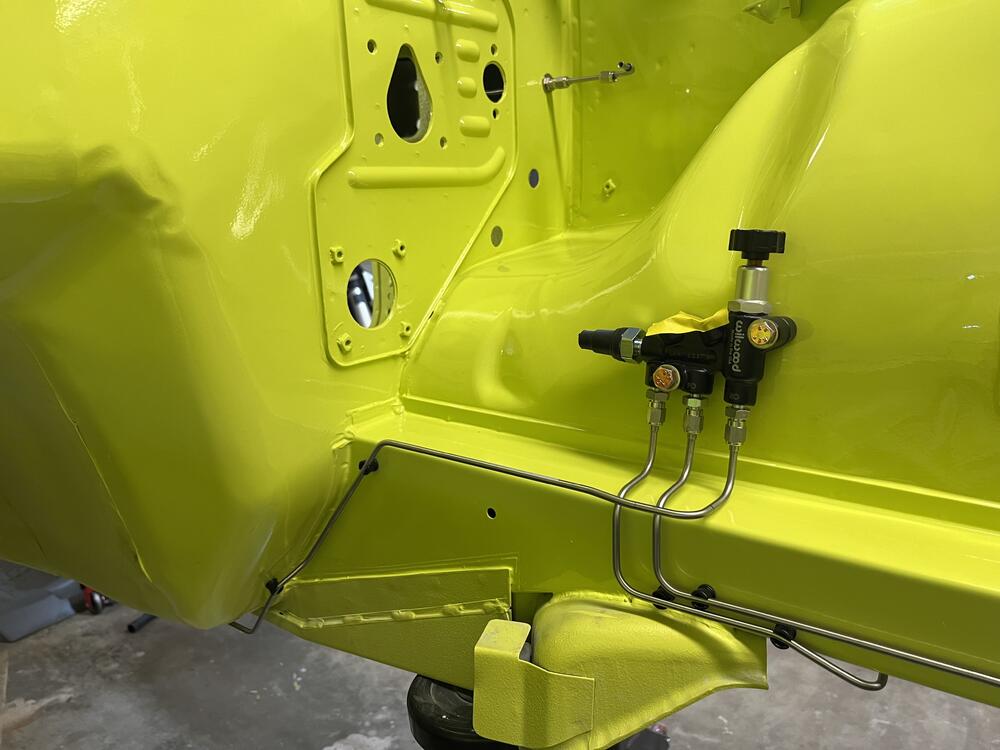
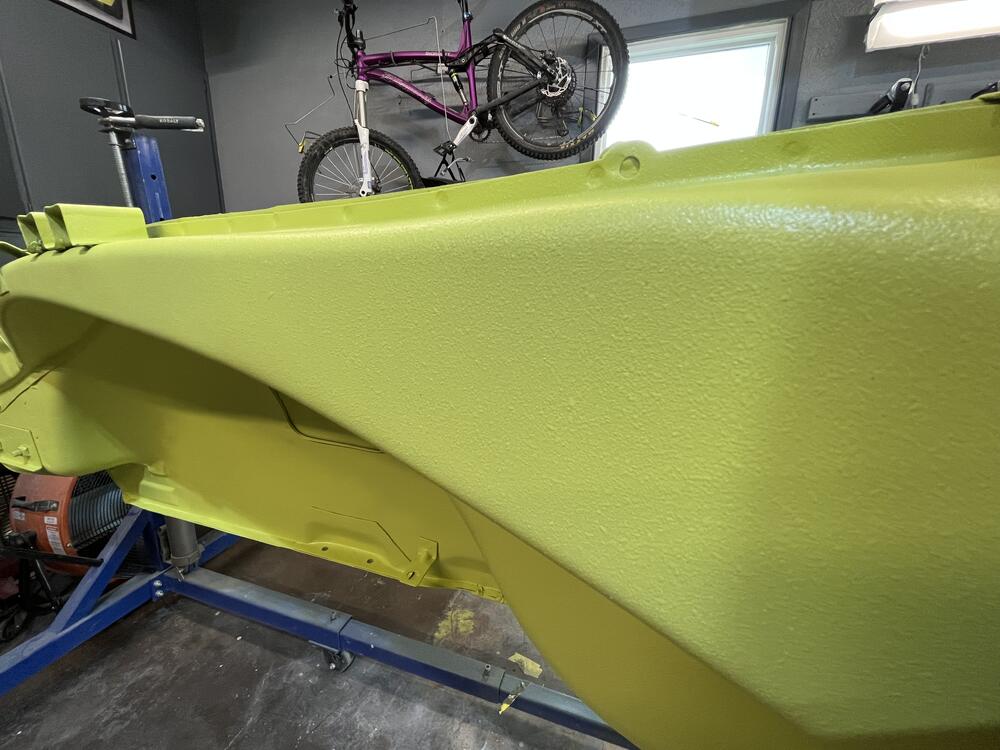
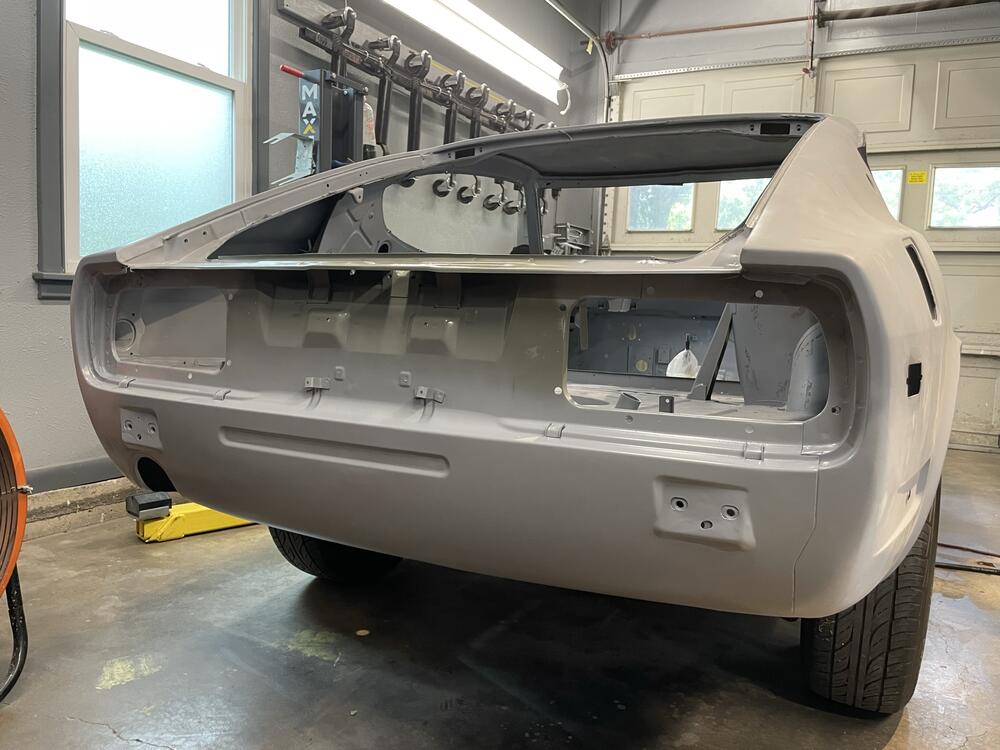
Getting color on the body. Previously on the fuel tank we sprayed the top coat with Raptor Liner, reduced enough so you could use a traditional HVLP gun. This gave a very fine texture, similar to what’s on the dash. Really liked the finish so we replicated the same procedure with the underside of the car in the factory color.


-
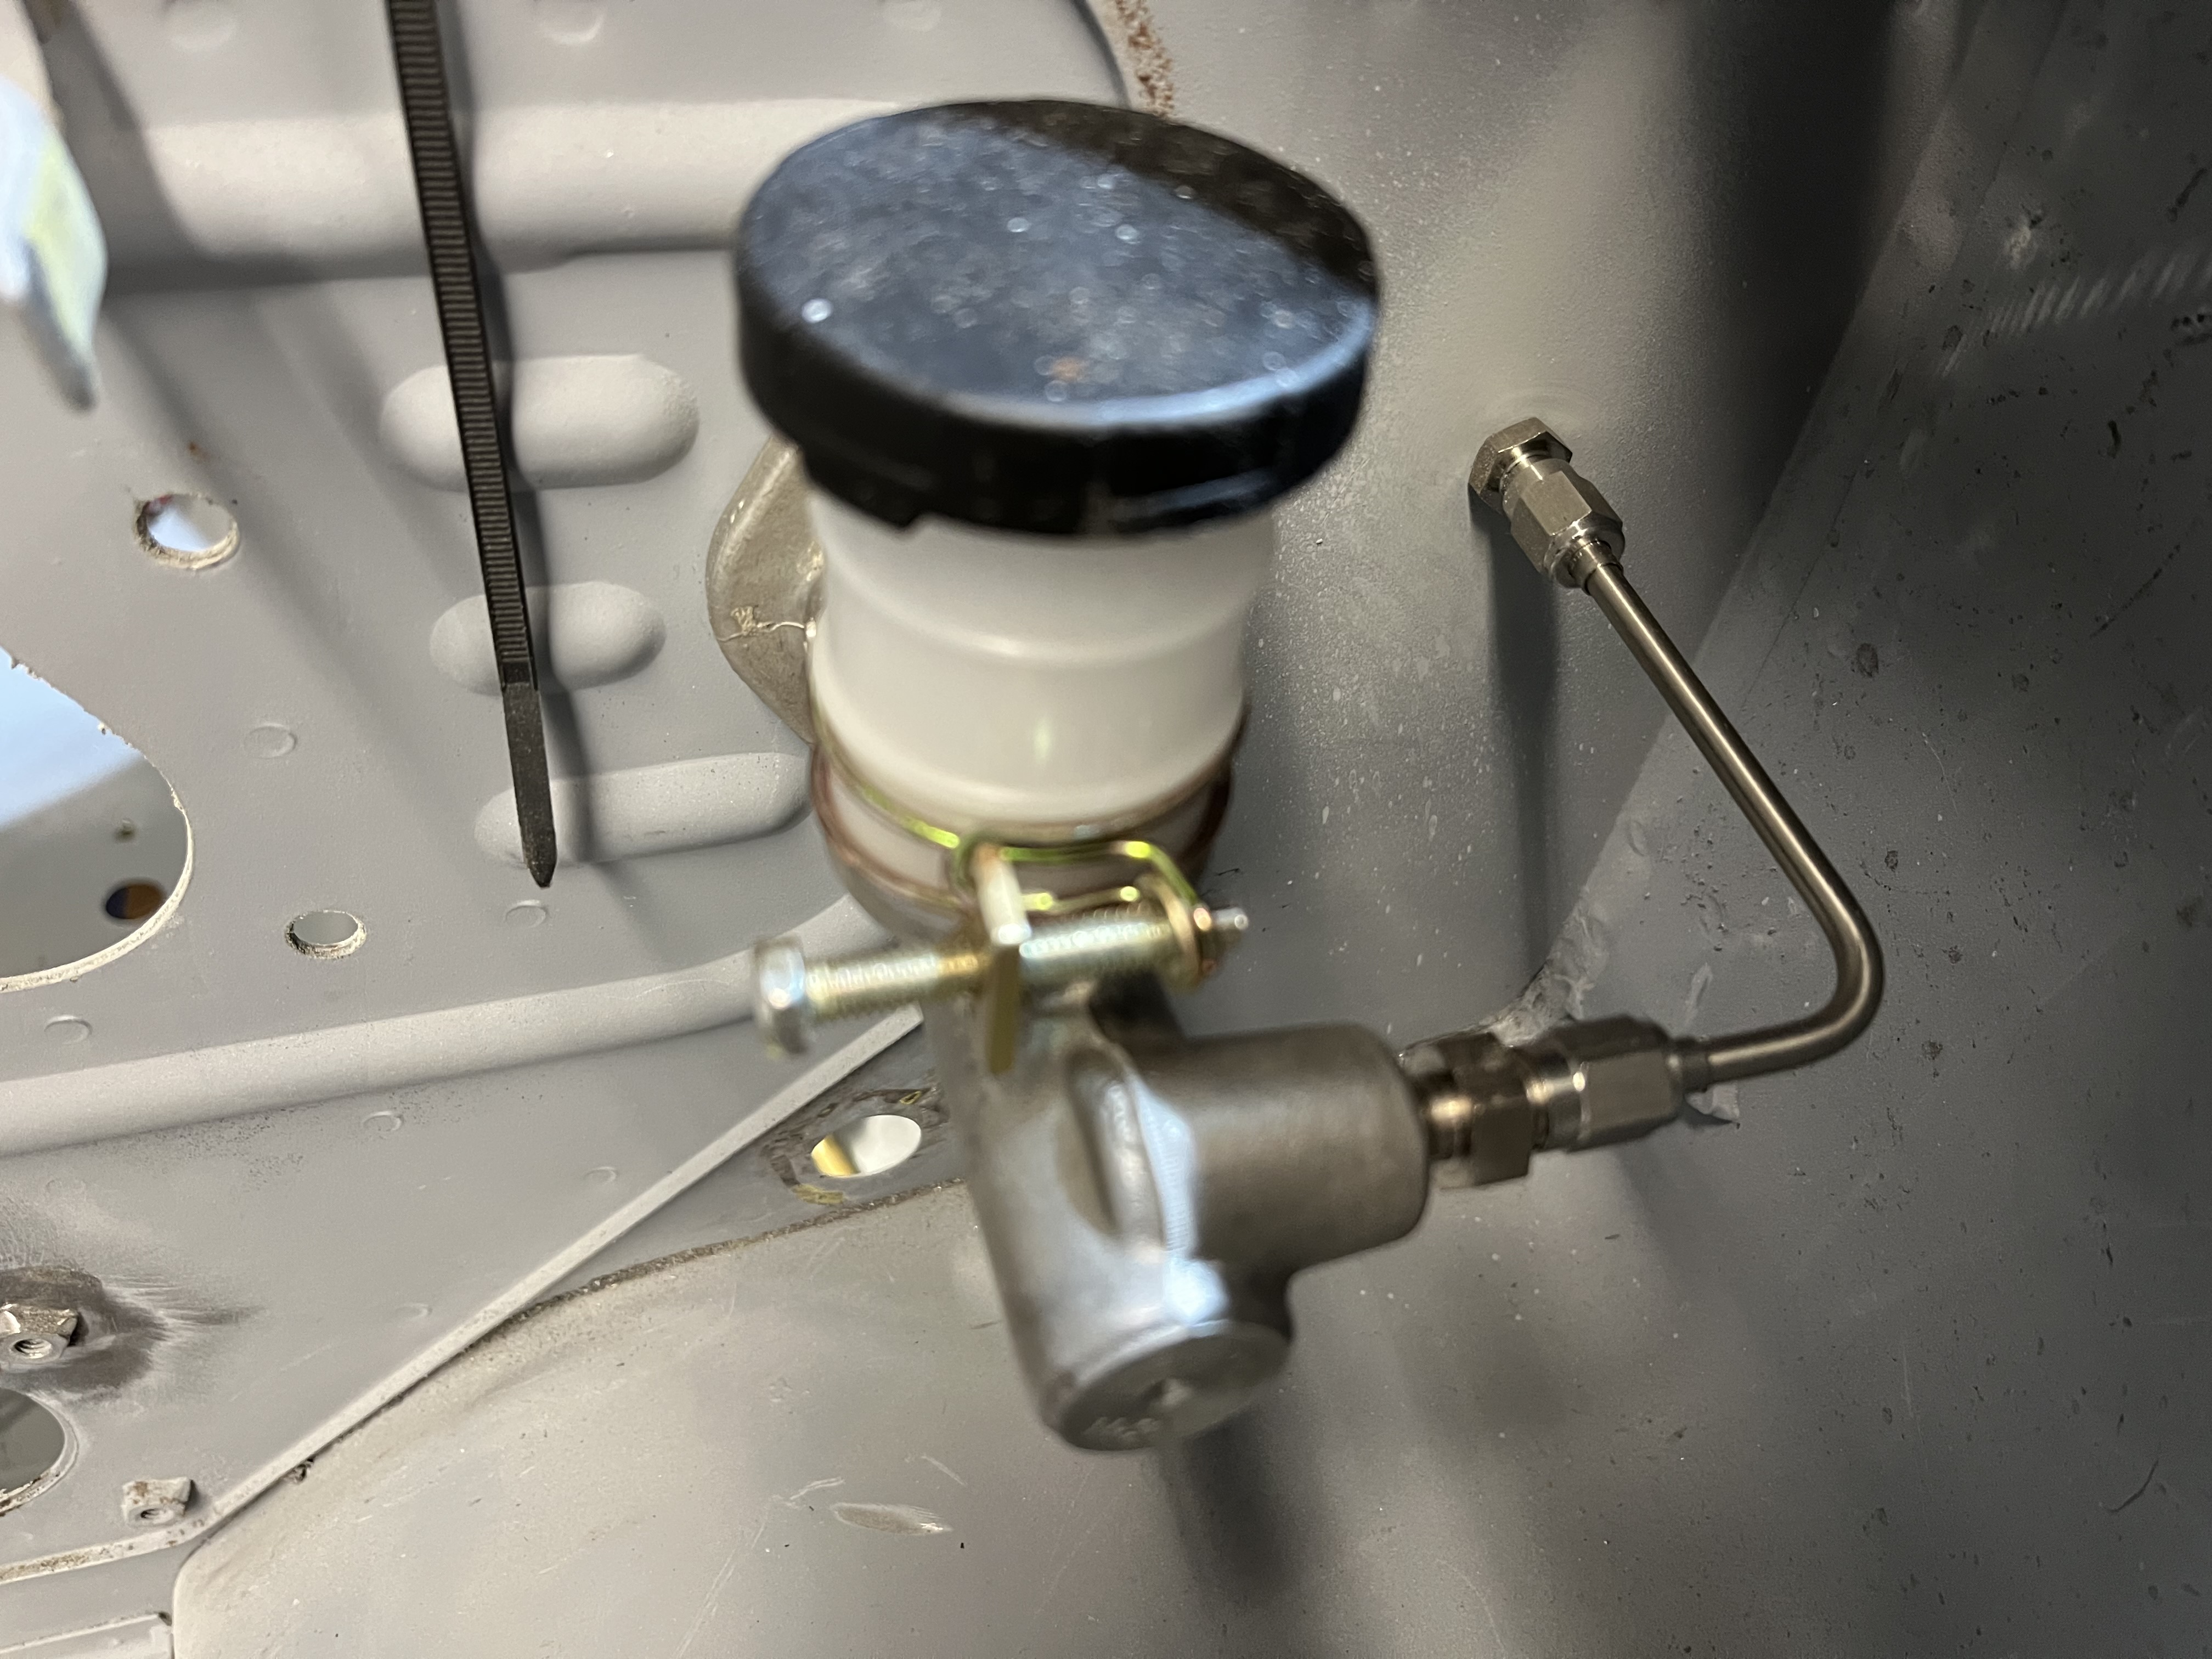
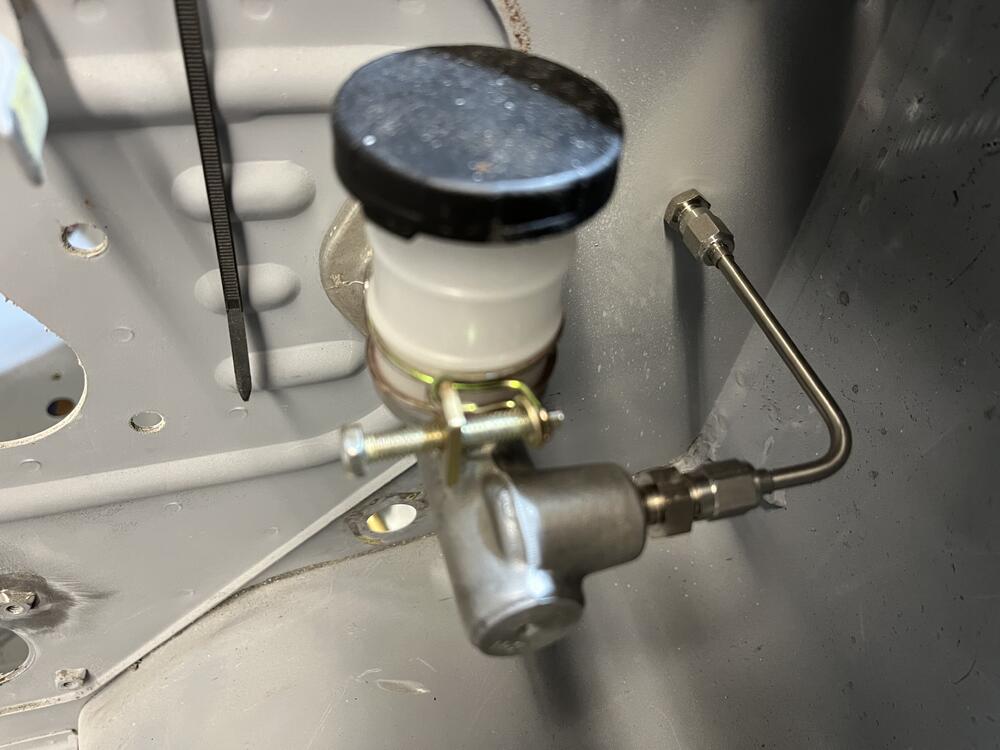
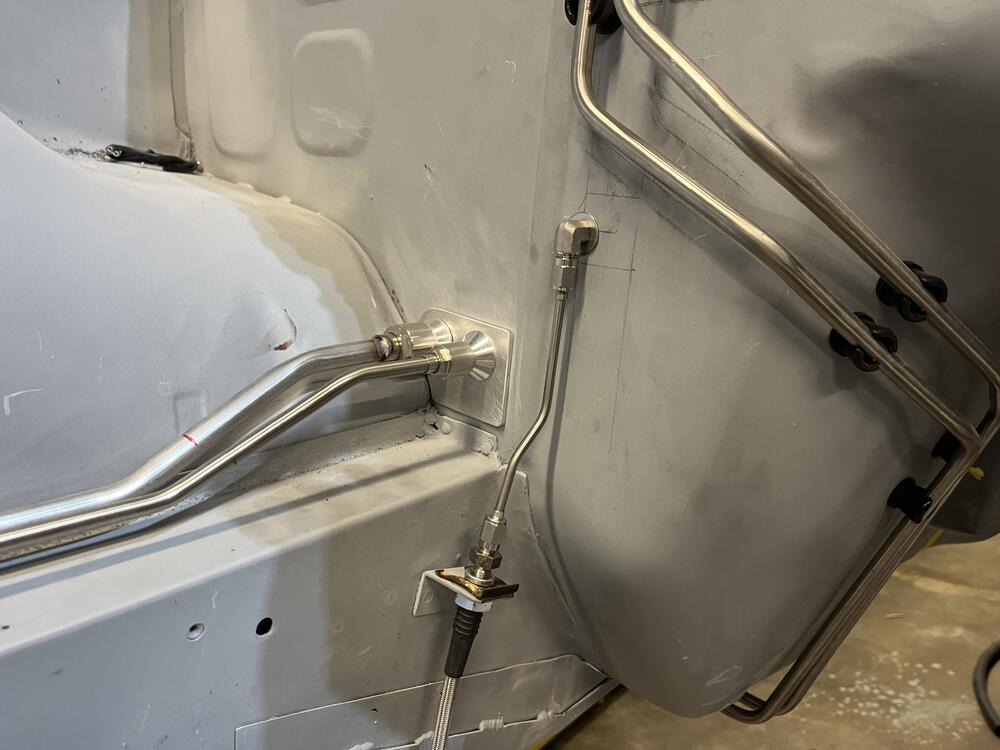
Purely aesthetics. I didn’t want to cross over the fuel lines with it as they’re routed right above the clutch line. I’m getting really good at making simple things harder.
-
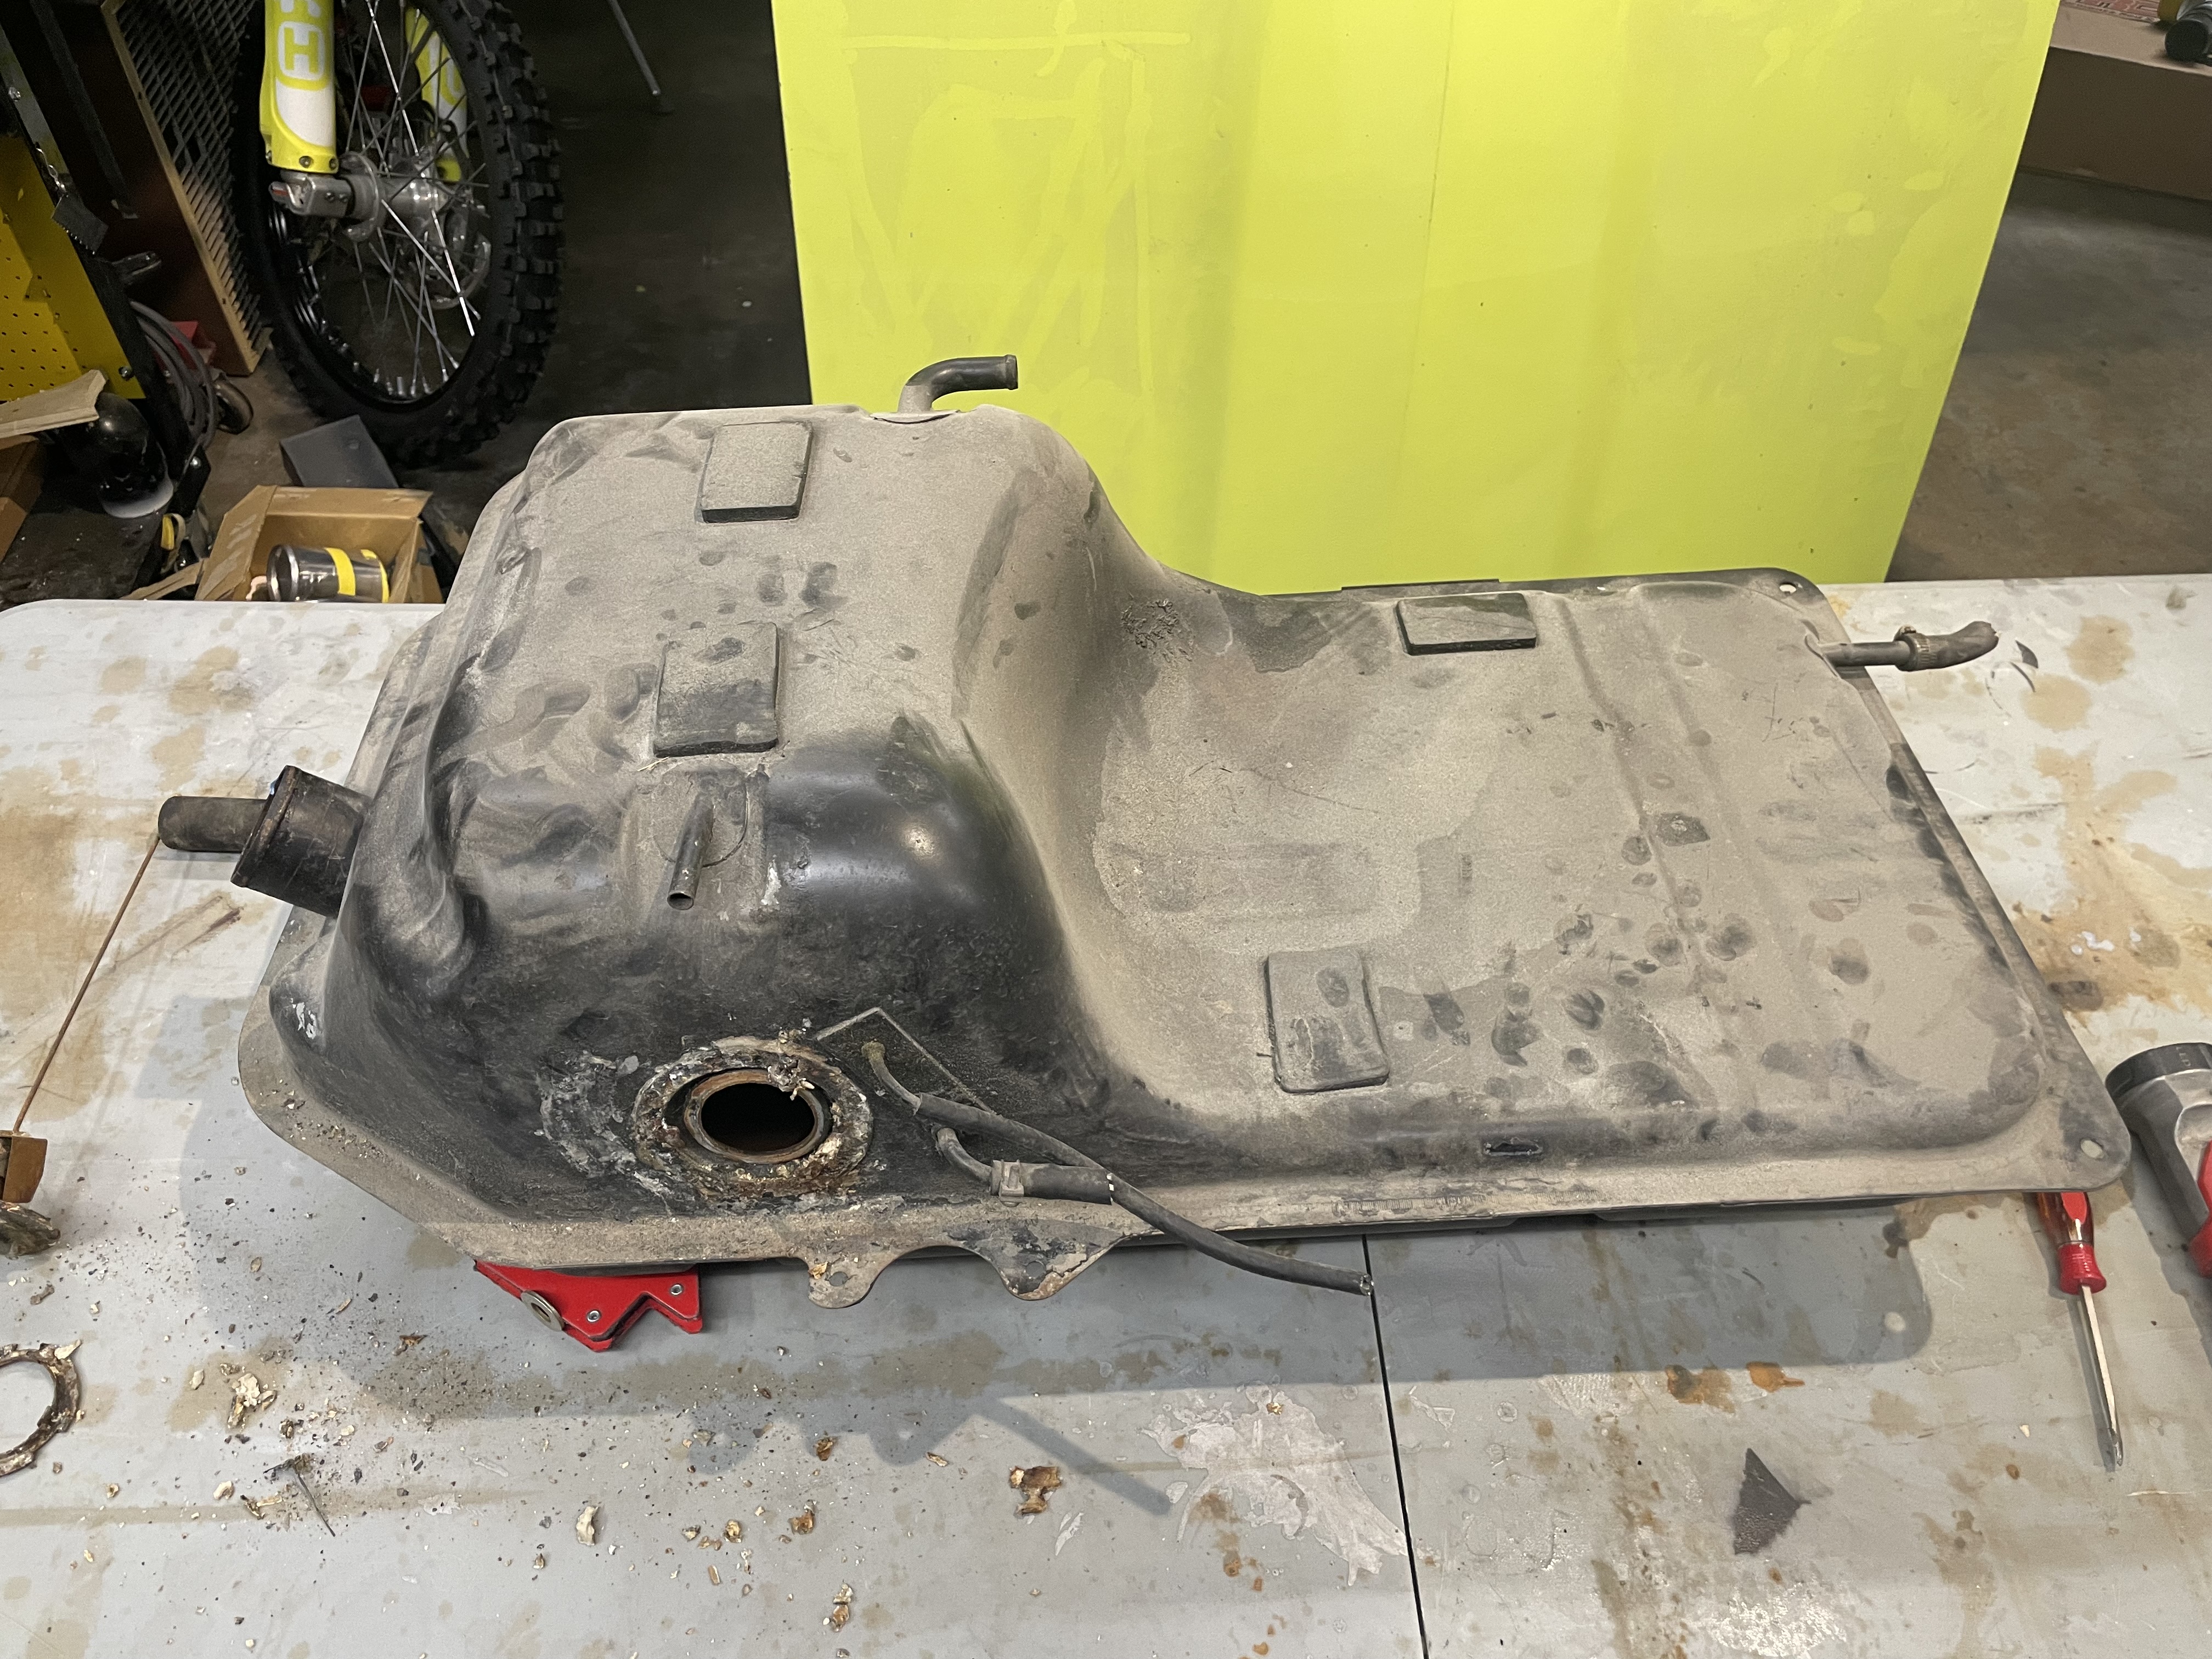
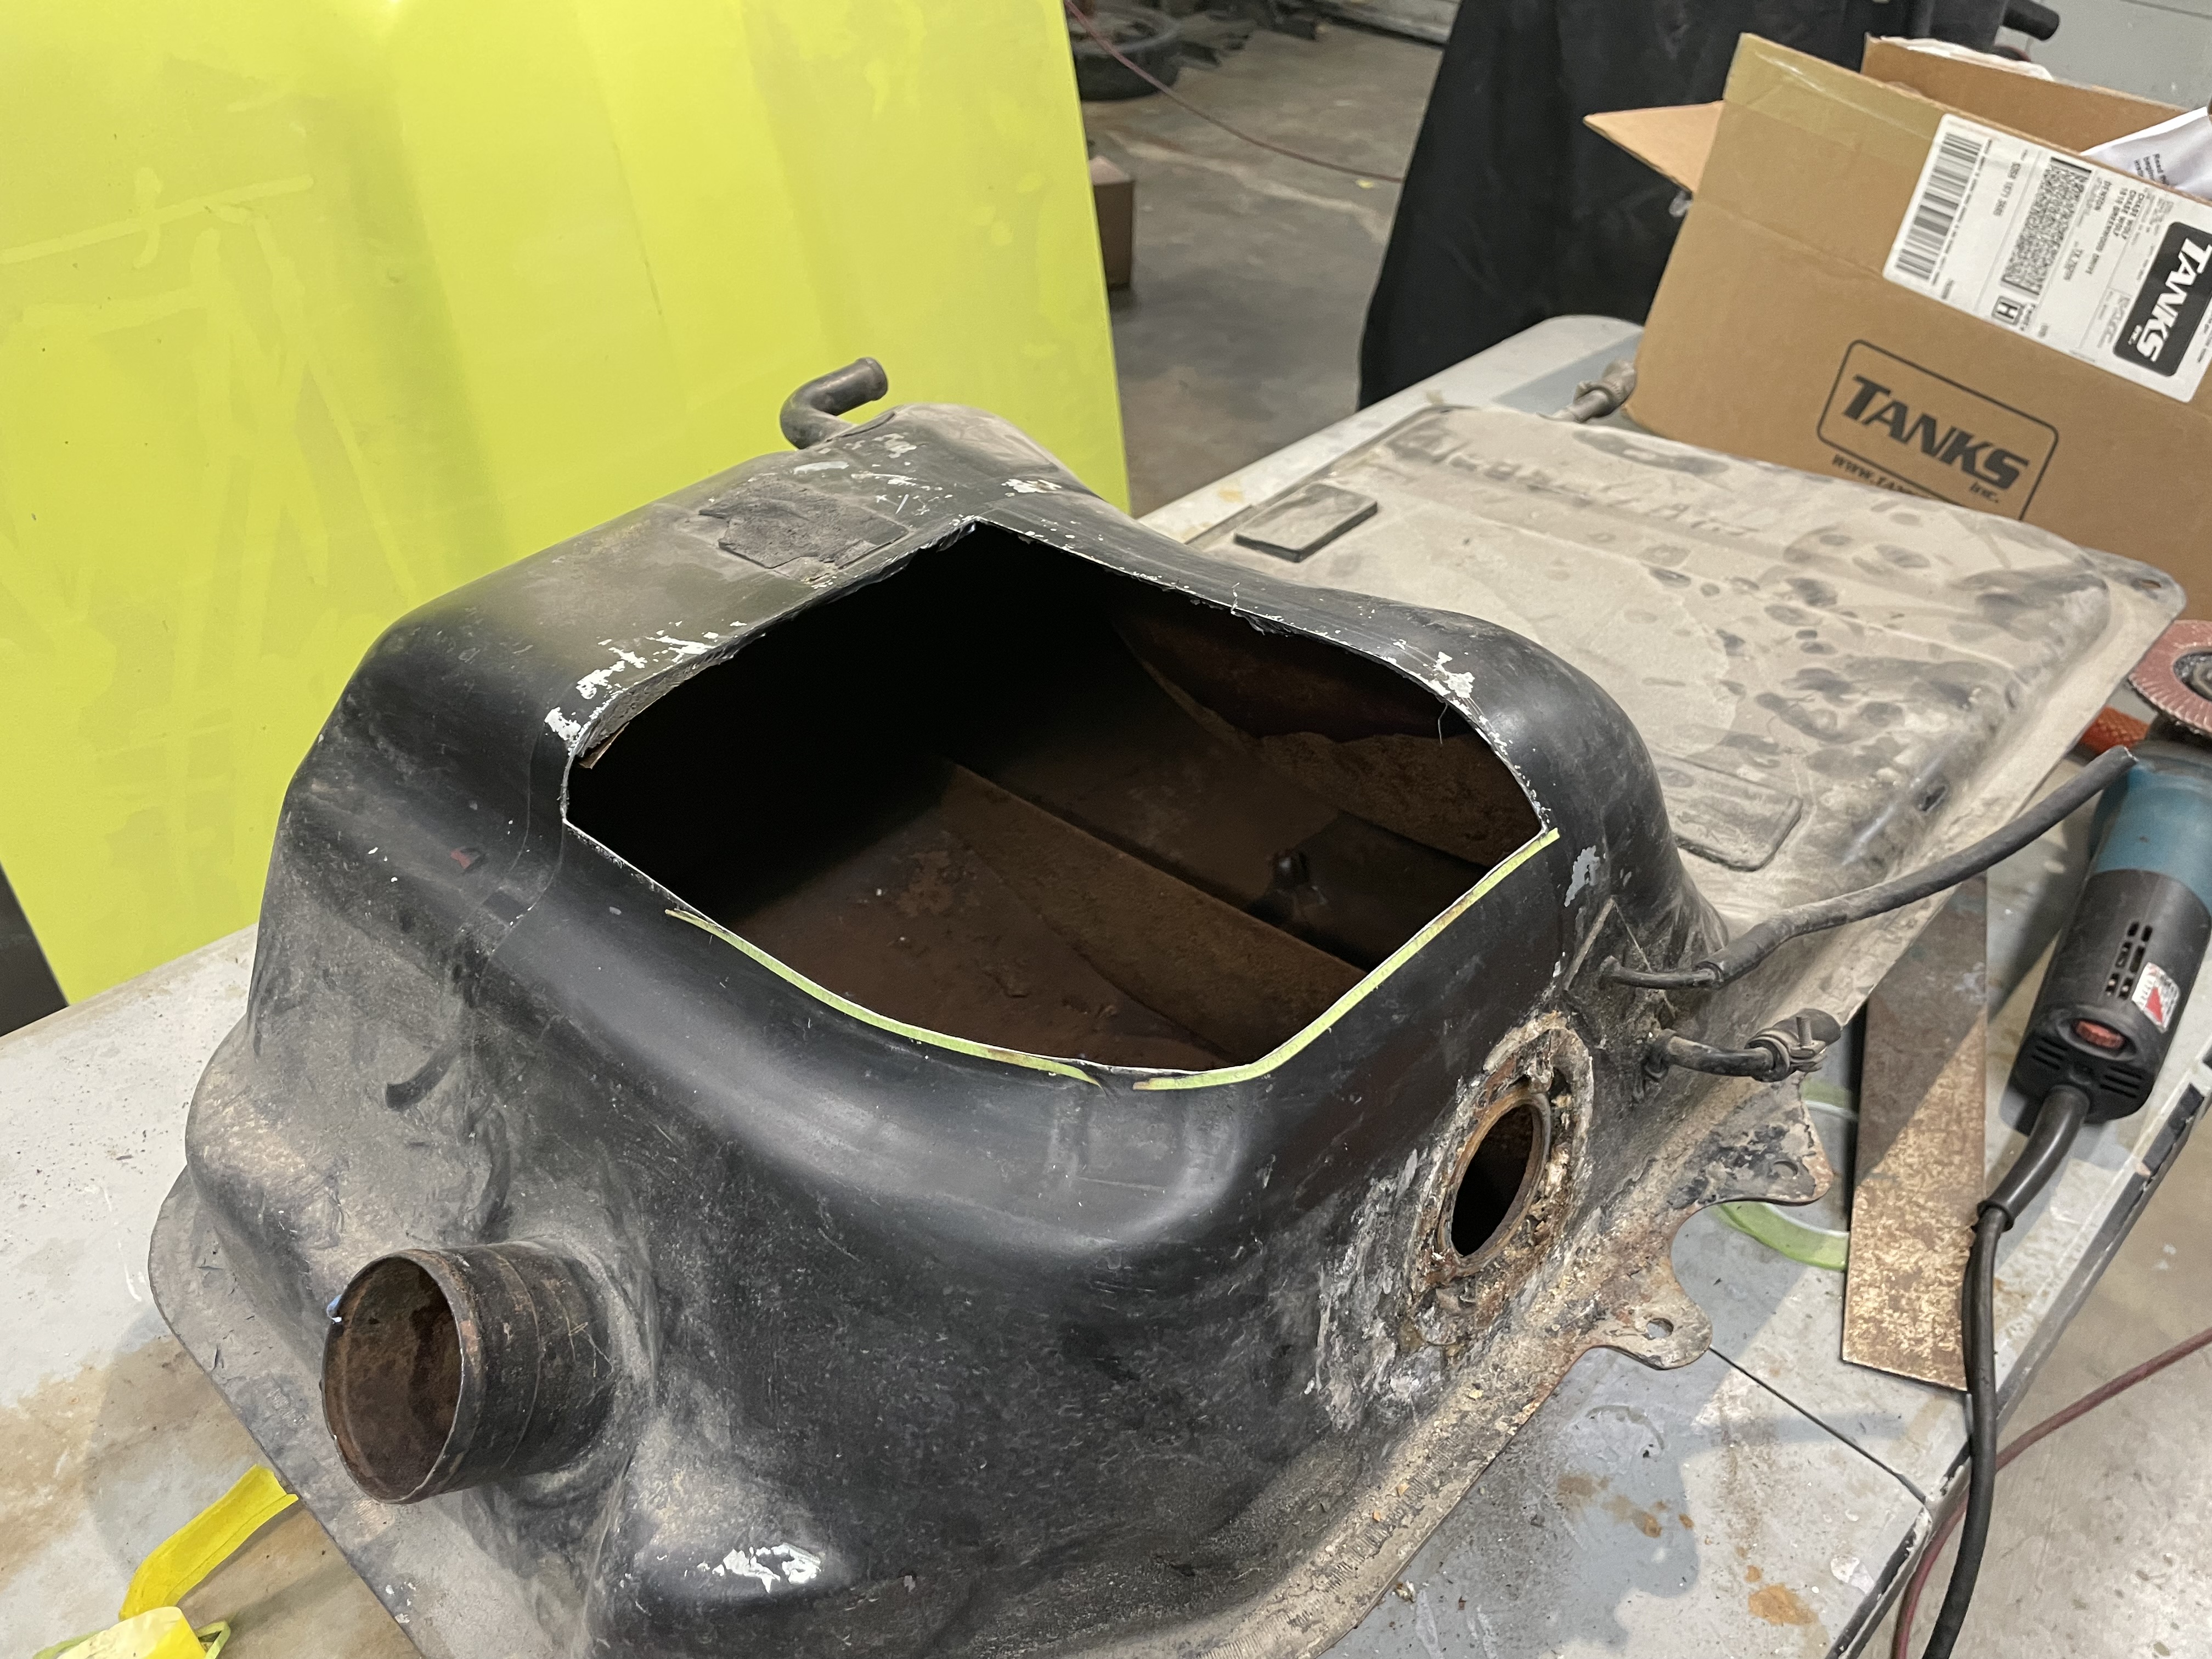
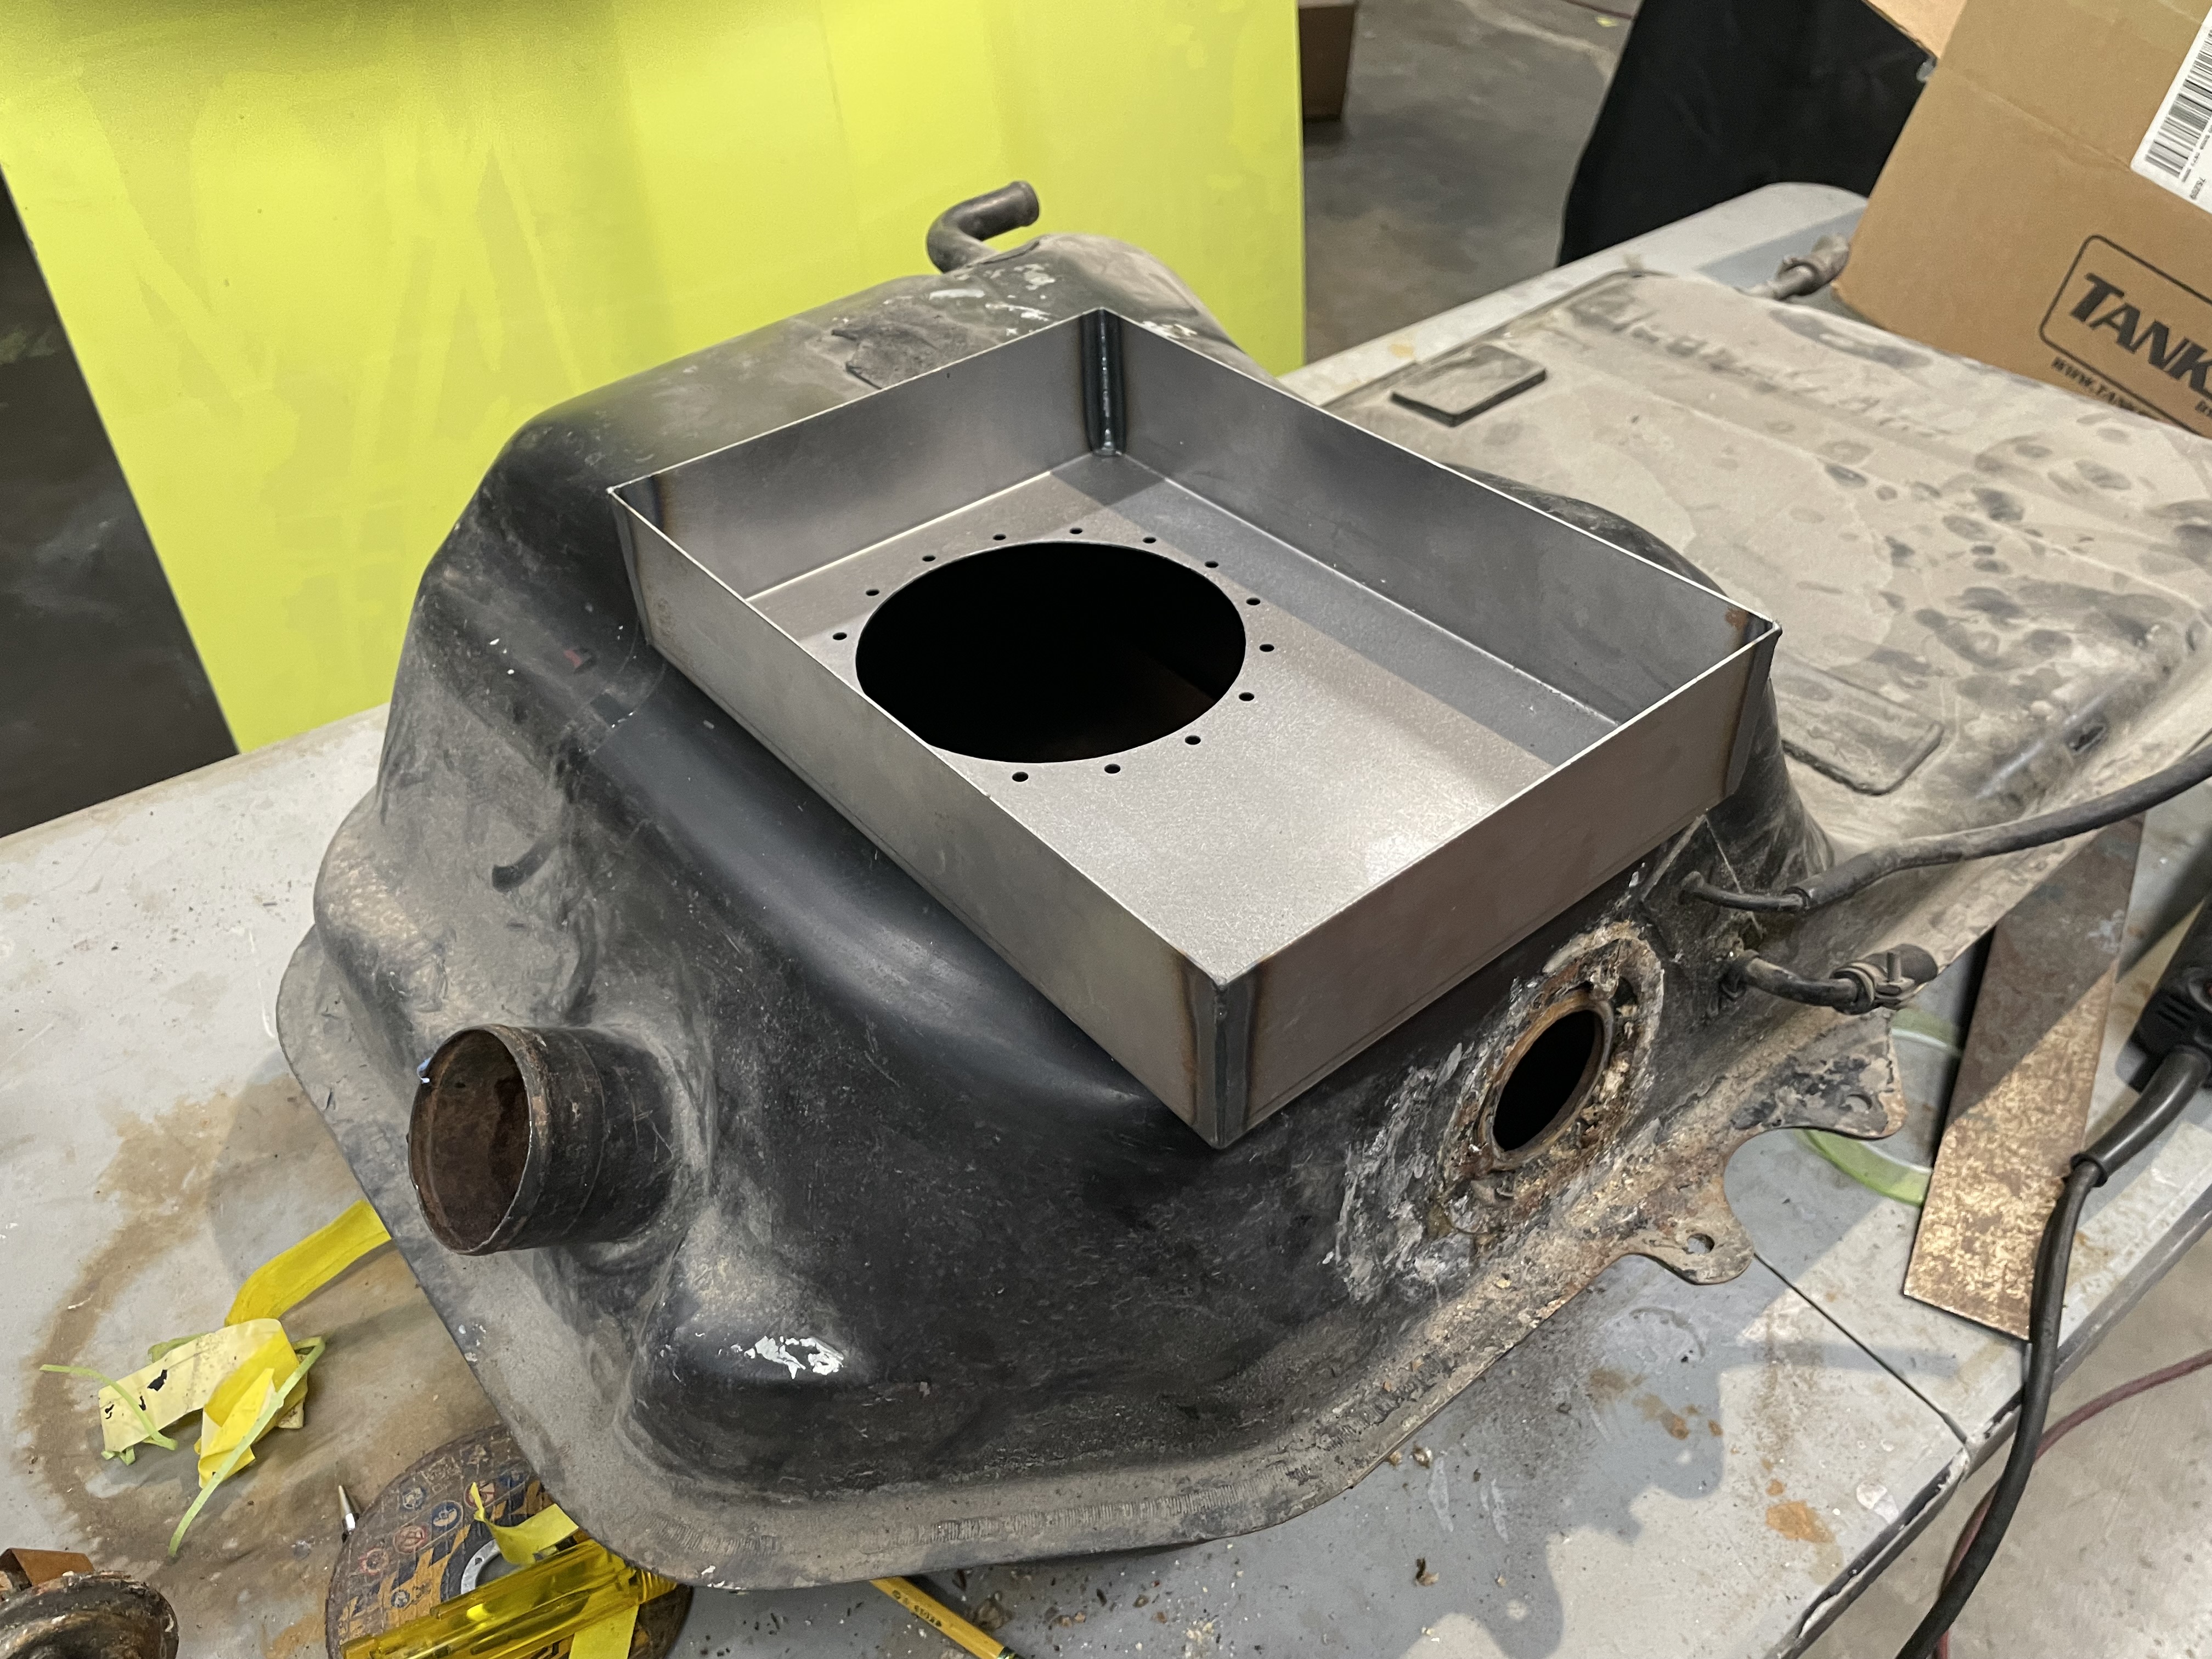
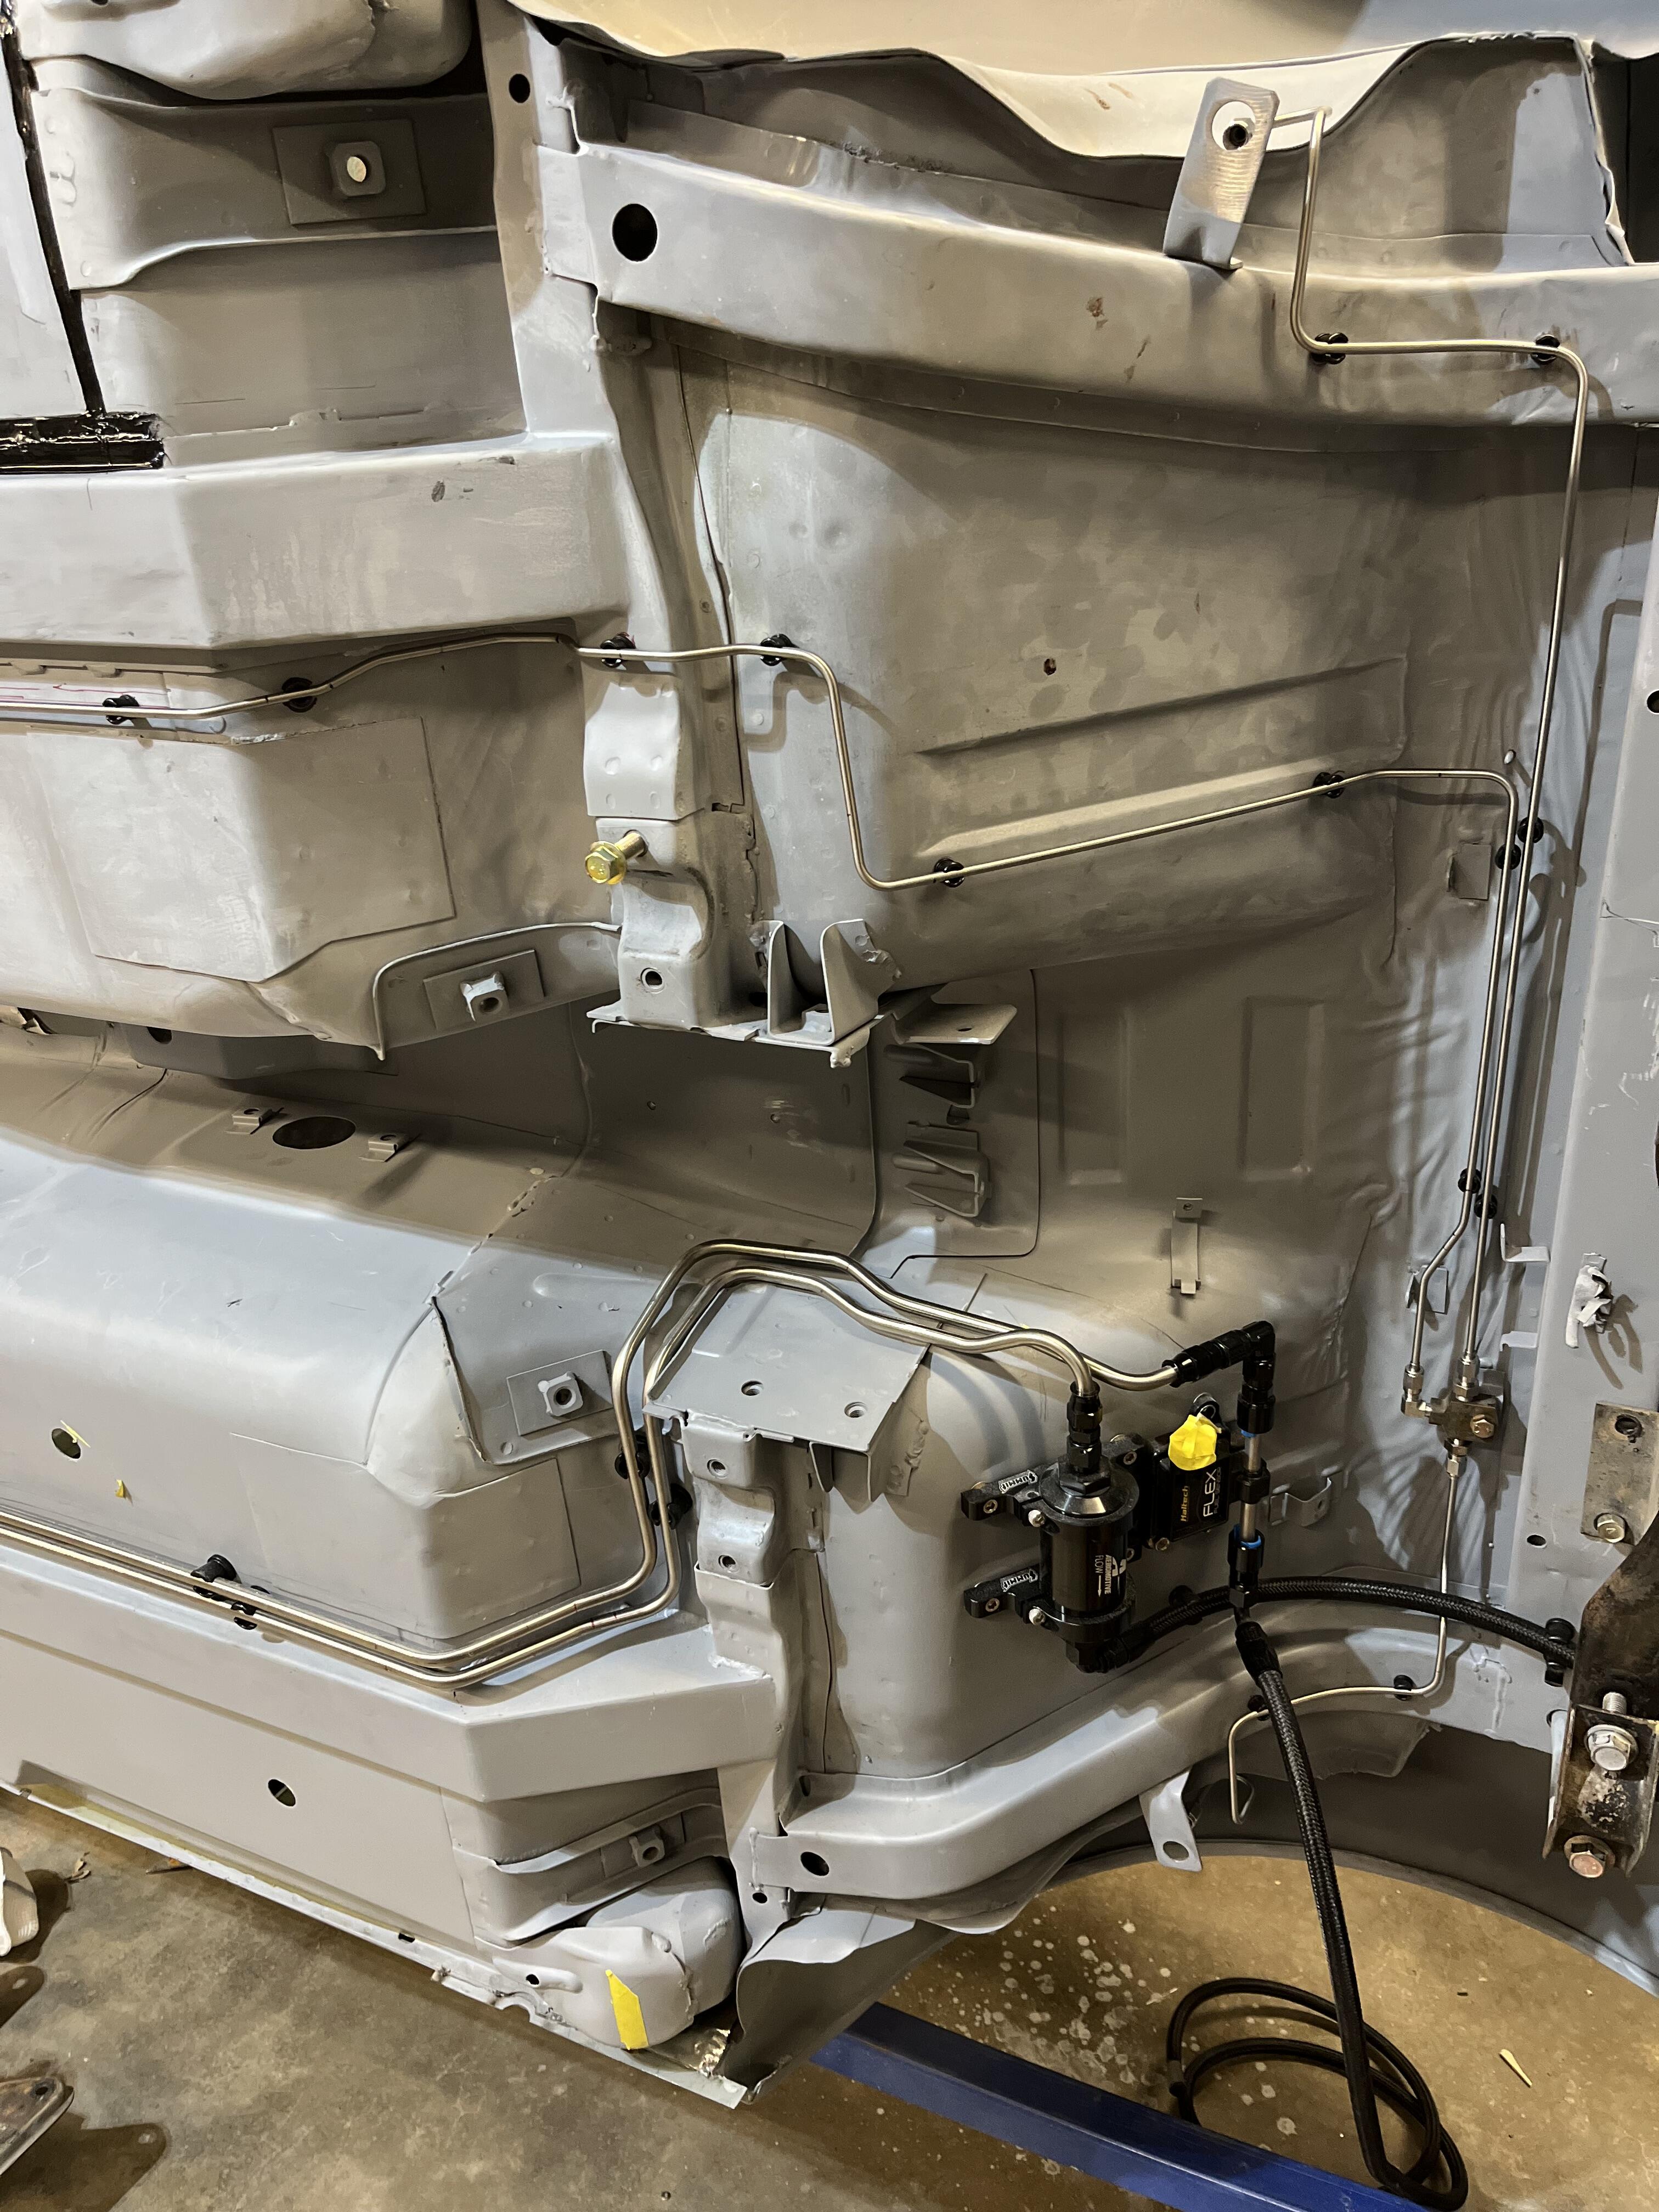
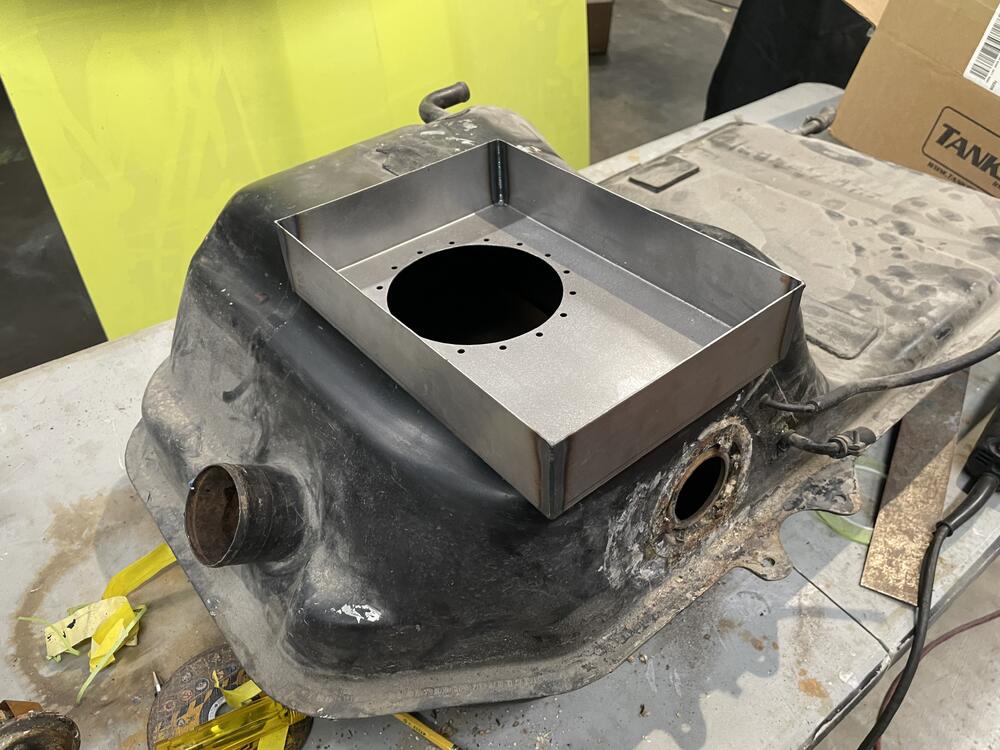
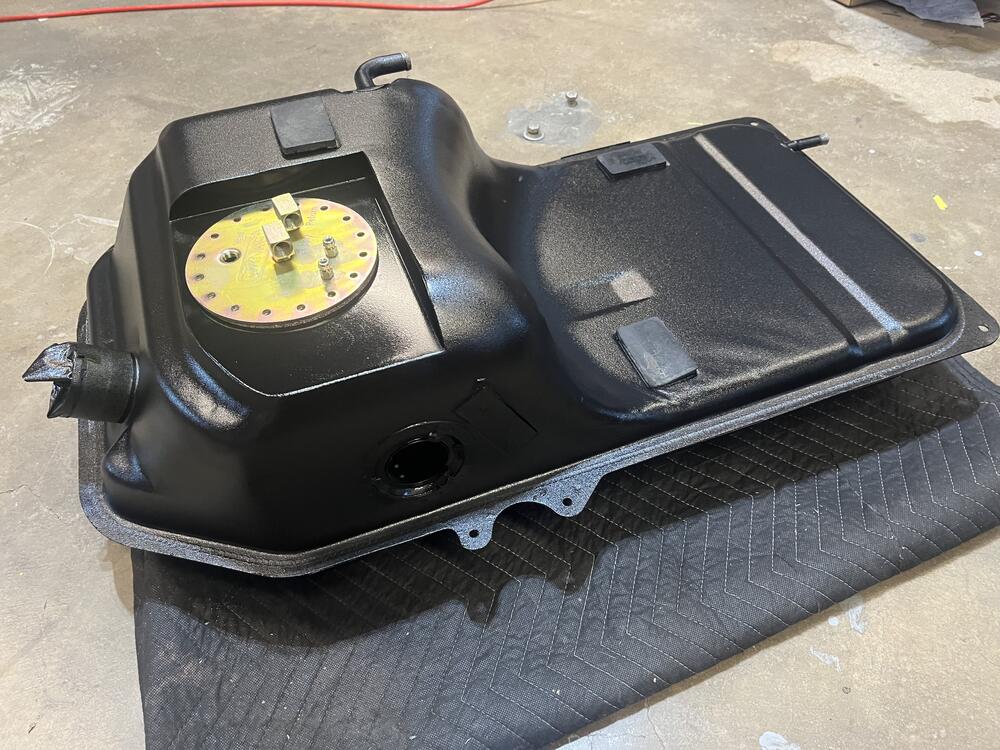
Tanks Inc in-tank fuel pump installation


-
Lots of hardline fabrication

-
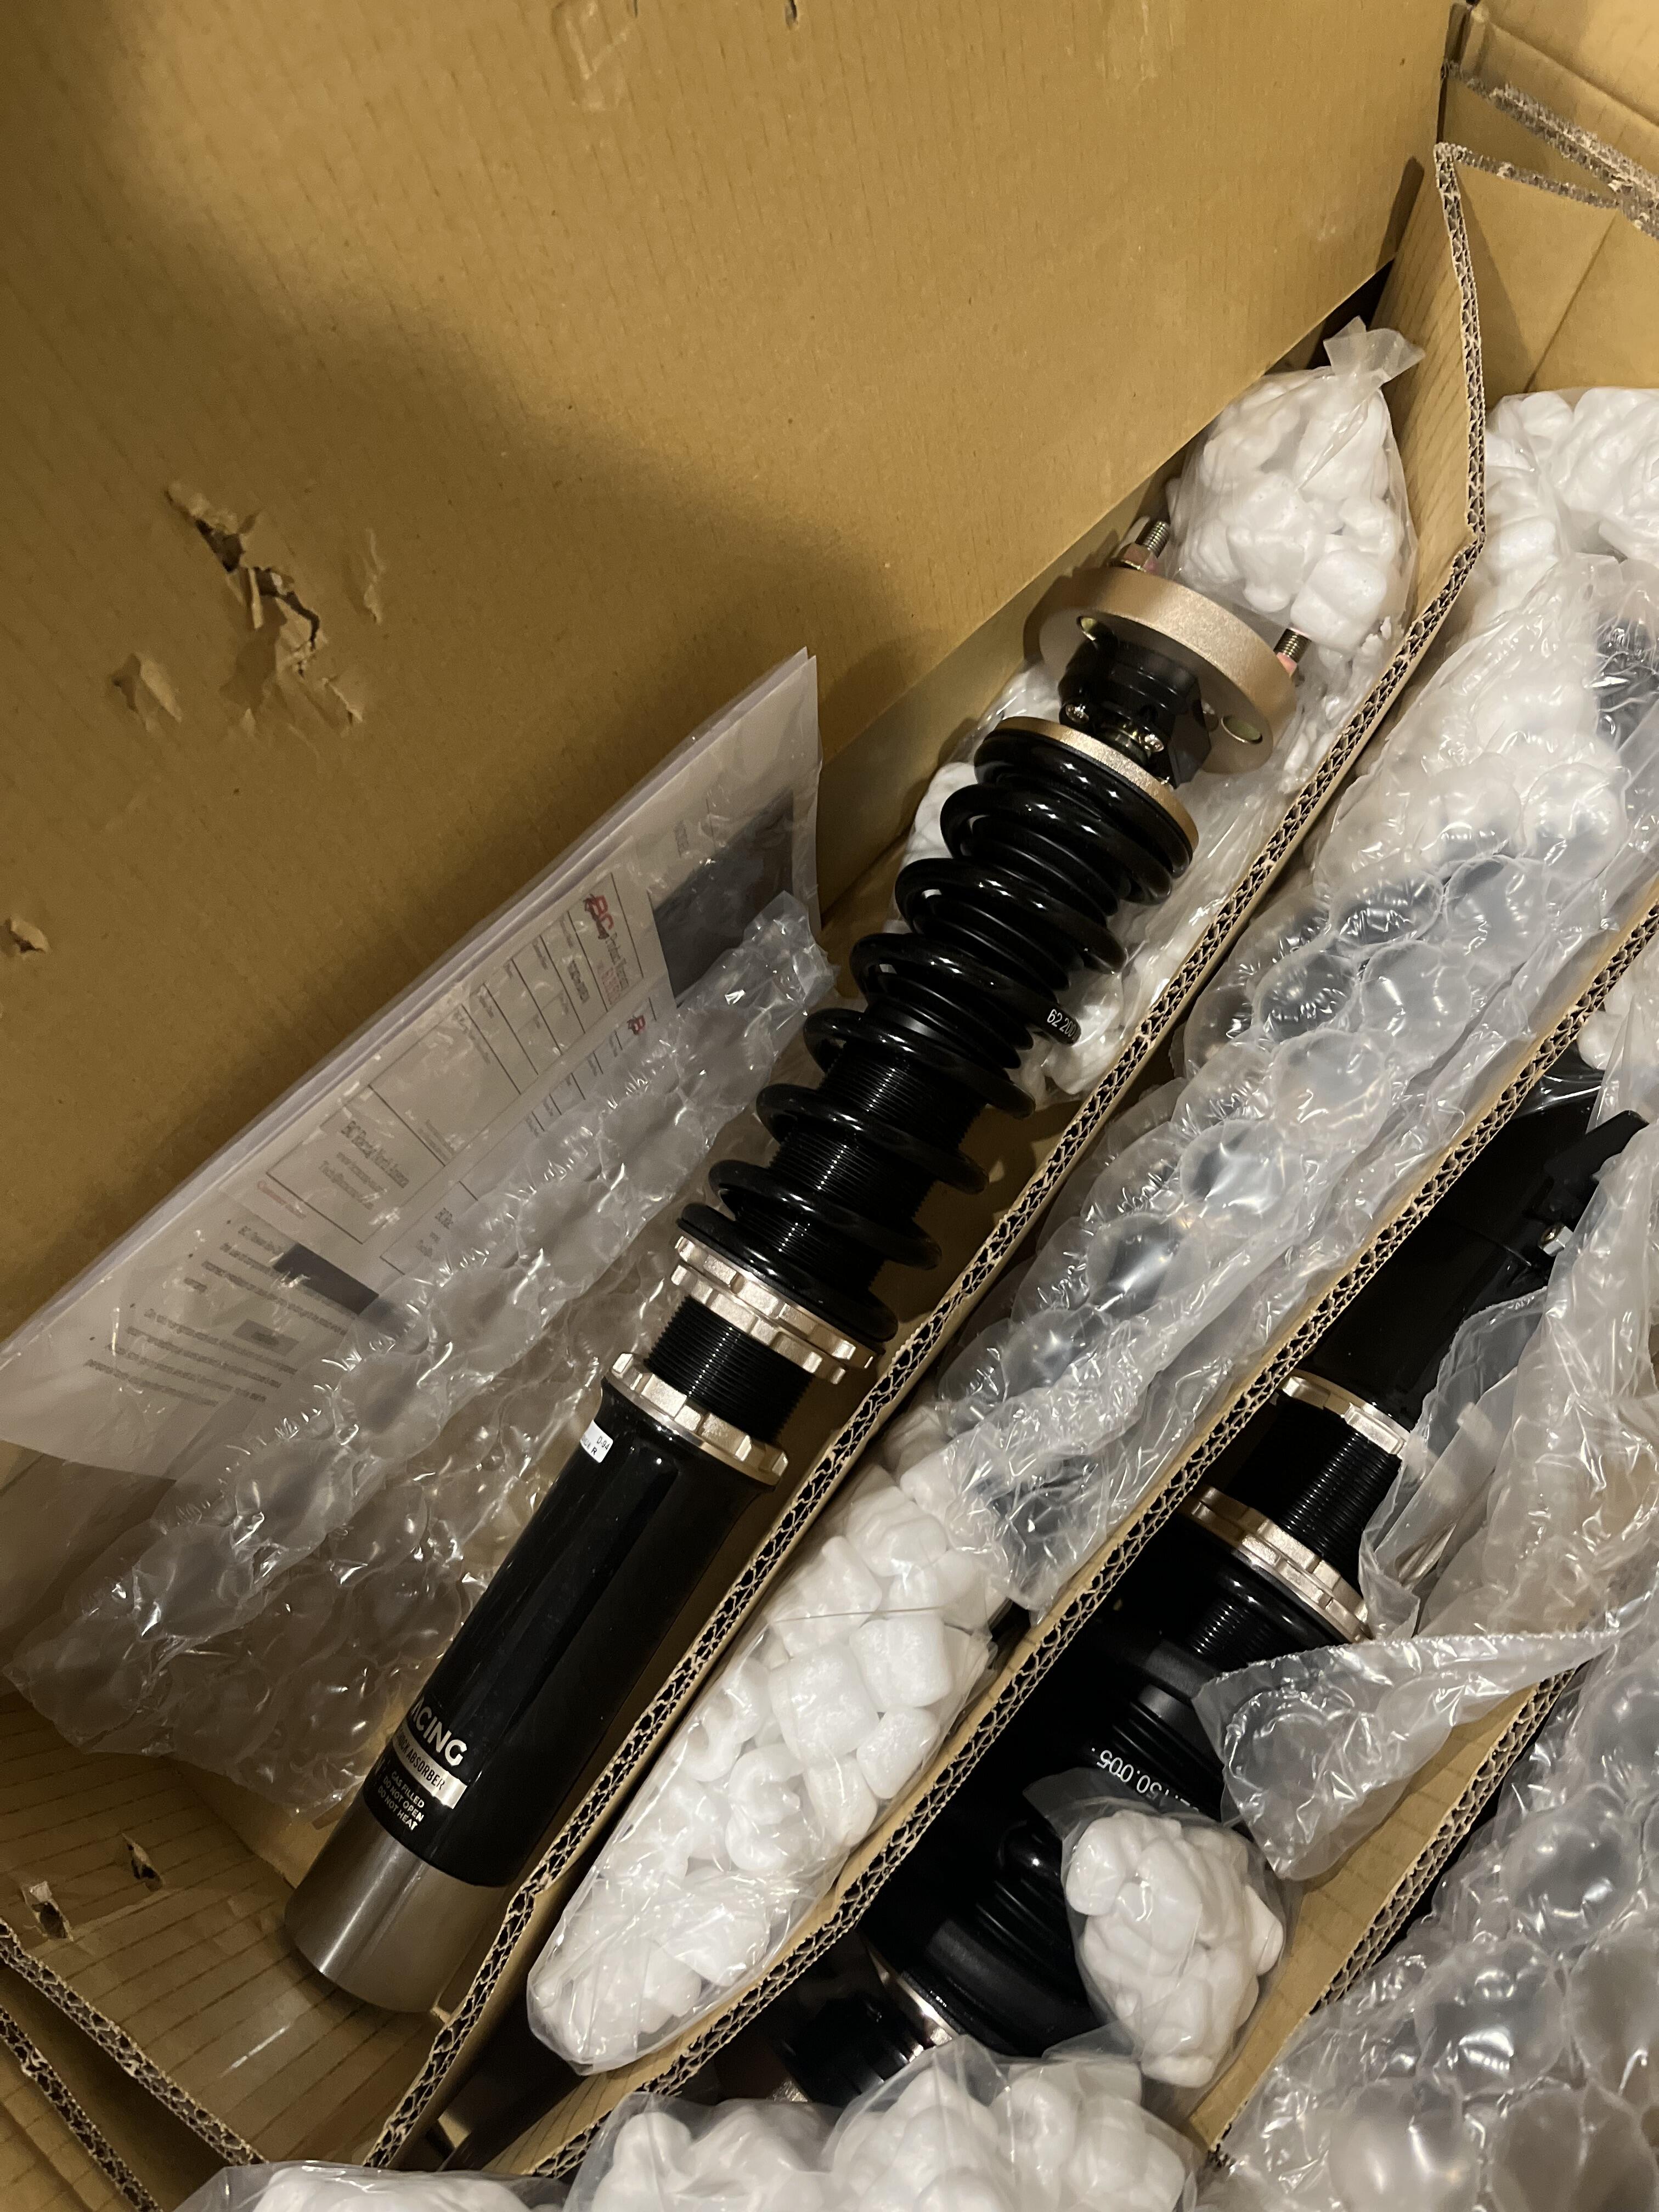
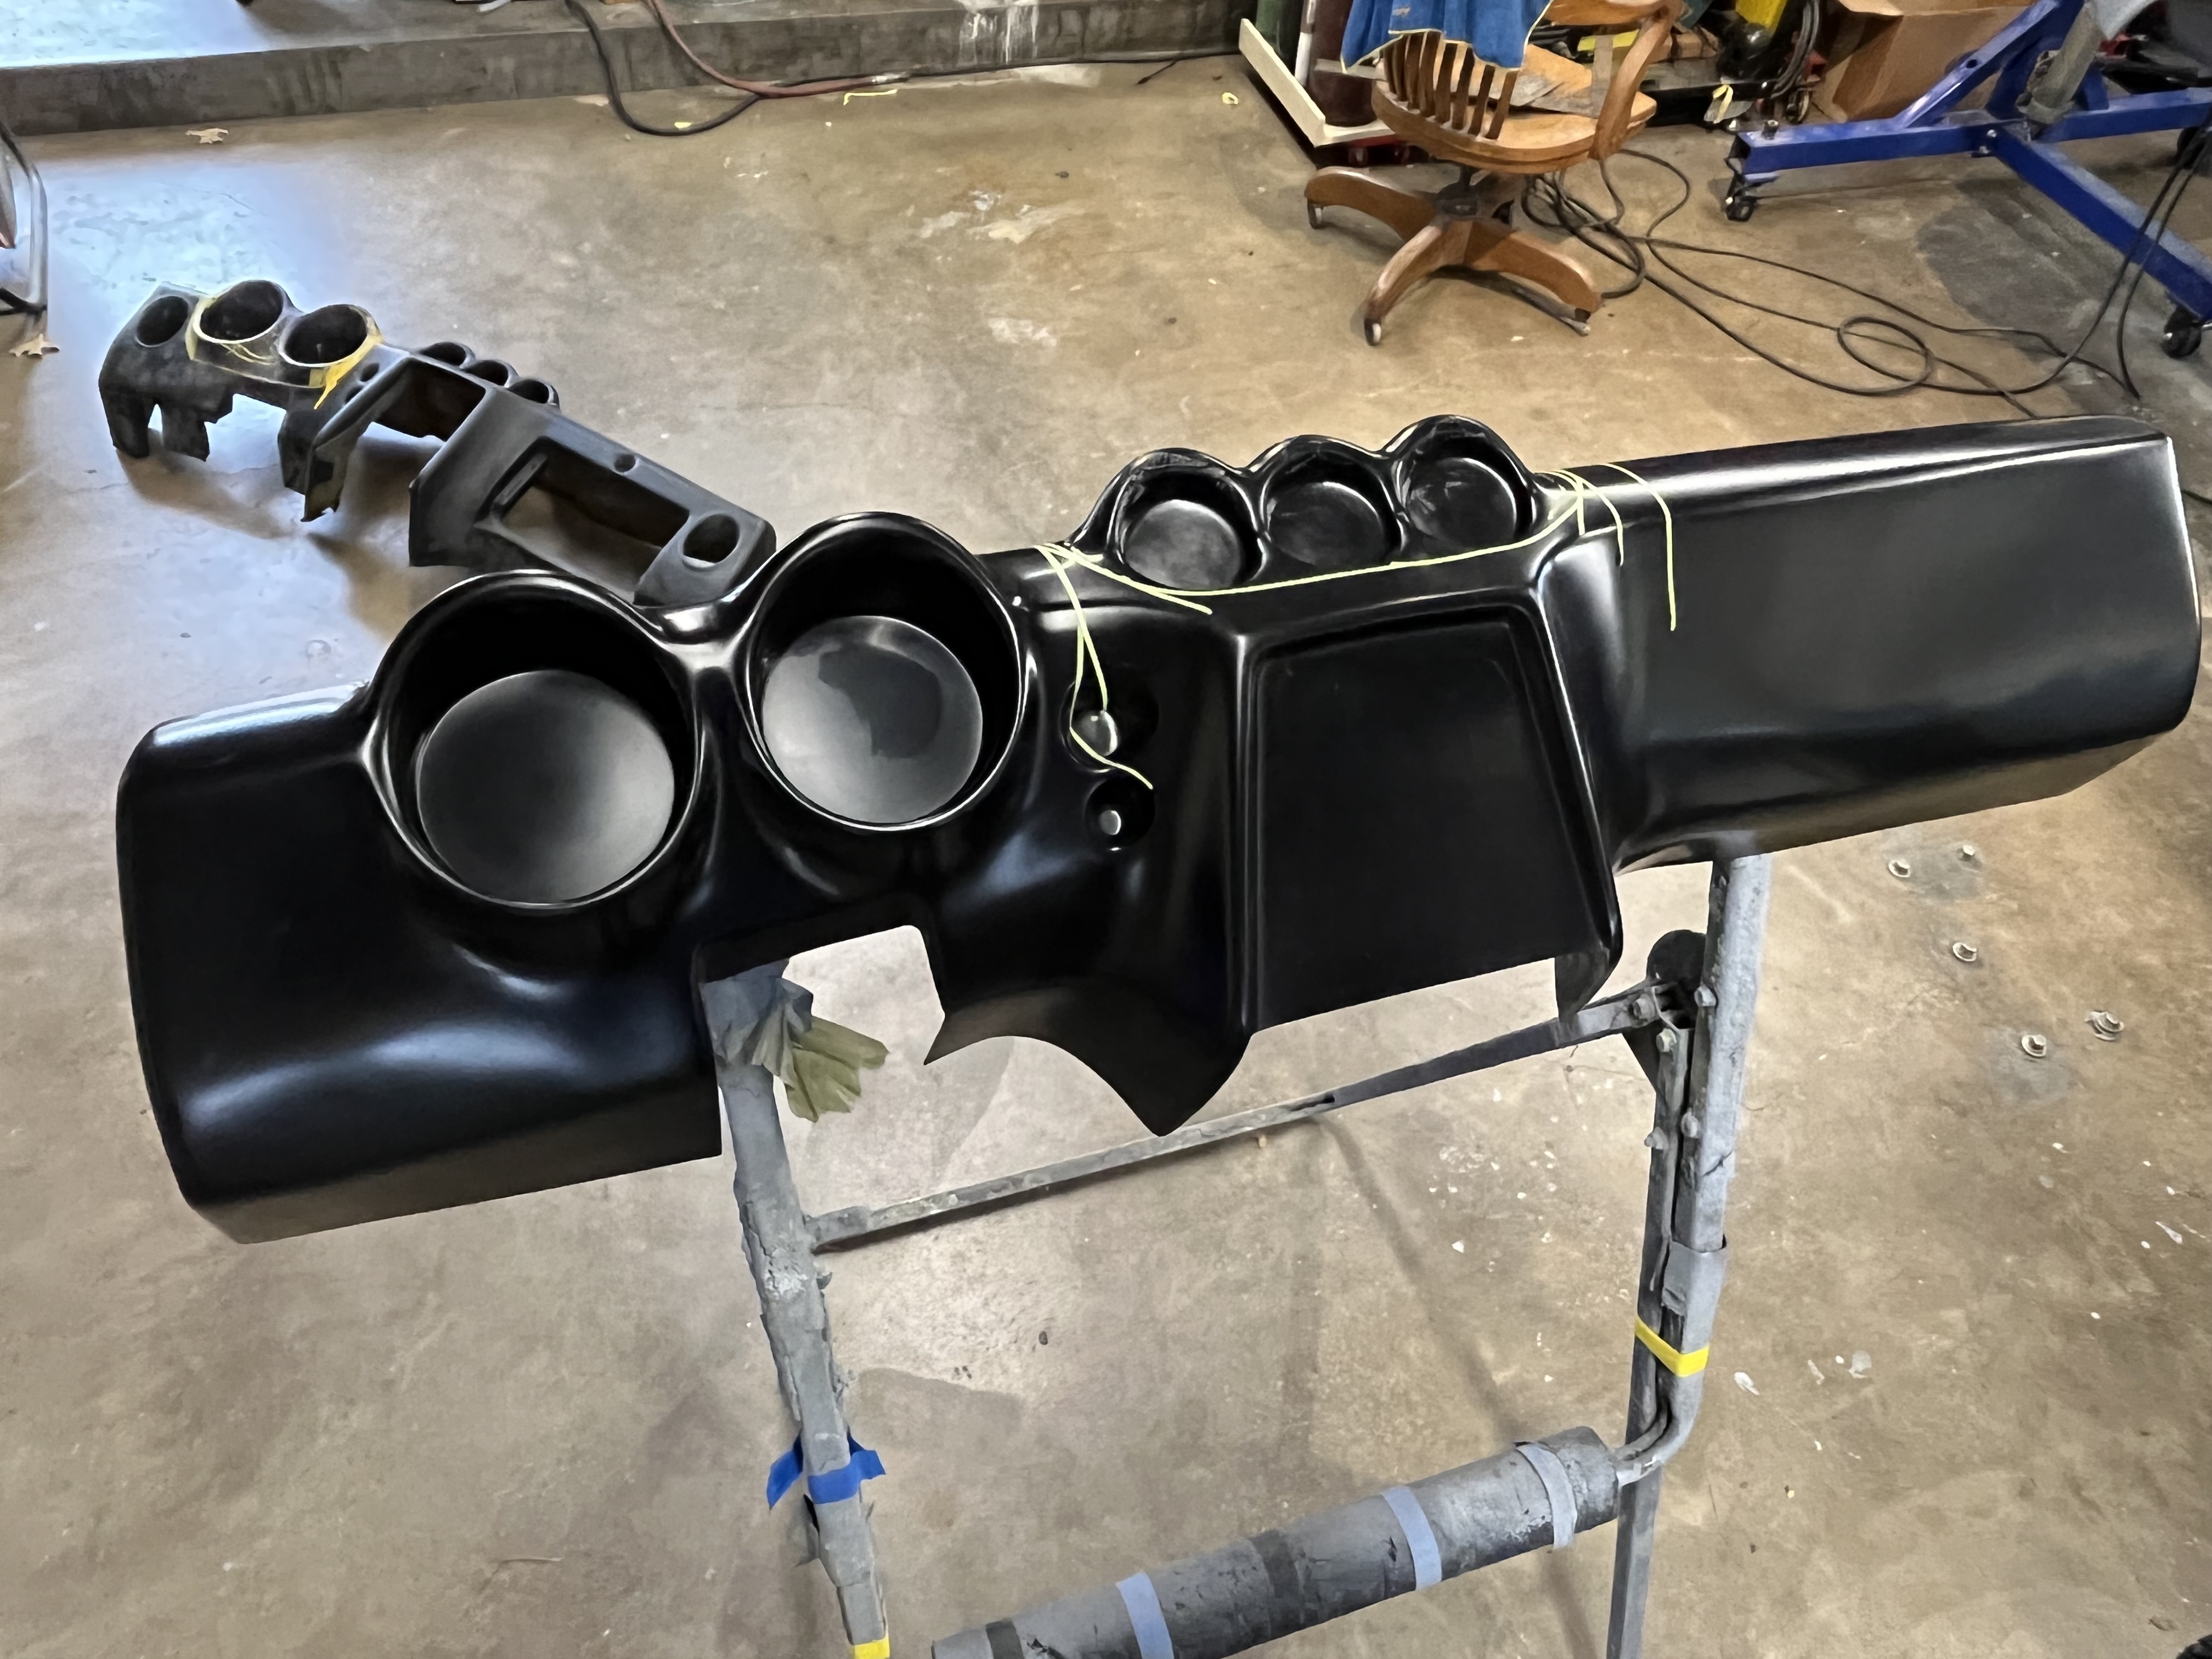
Massive photo dump impound - bunch of progress made over the past few months Full T3 suspension going under the Z. Color choices from T3 aren’t the best, that’s in the works to change BC extreme low coilovers Ztrix dash also arrived. Top notch piece from John. Lots more to come on this


-
Just about done with the AC hardlines. Once I get the dash built up I’ll finish plumbing these up to the Vintage Air unit.

-
Absolutely, I’ve got special pucks I made with a notch down the middle to slide over these jack points for the 2 post
-
Most likely the case, damage that was done by the previous ownership. Passenger floor pan had rot where it overlapped the frame rail, right under the seat brackets. The drivers side probably could have been saved. It had some rot where it met the firewall and a few big dents I was worried would never fully come clean. Gambled replacing the entire panel would be quicker than all the smaller jobs.
-
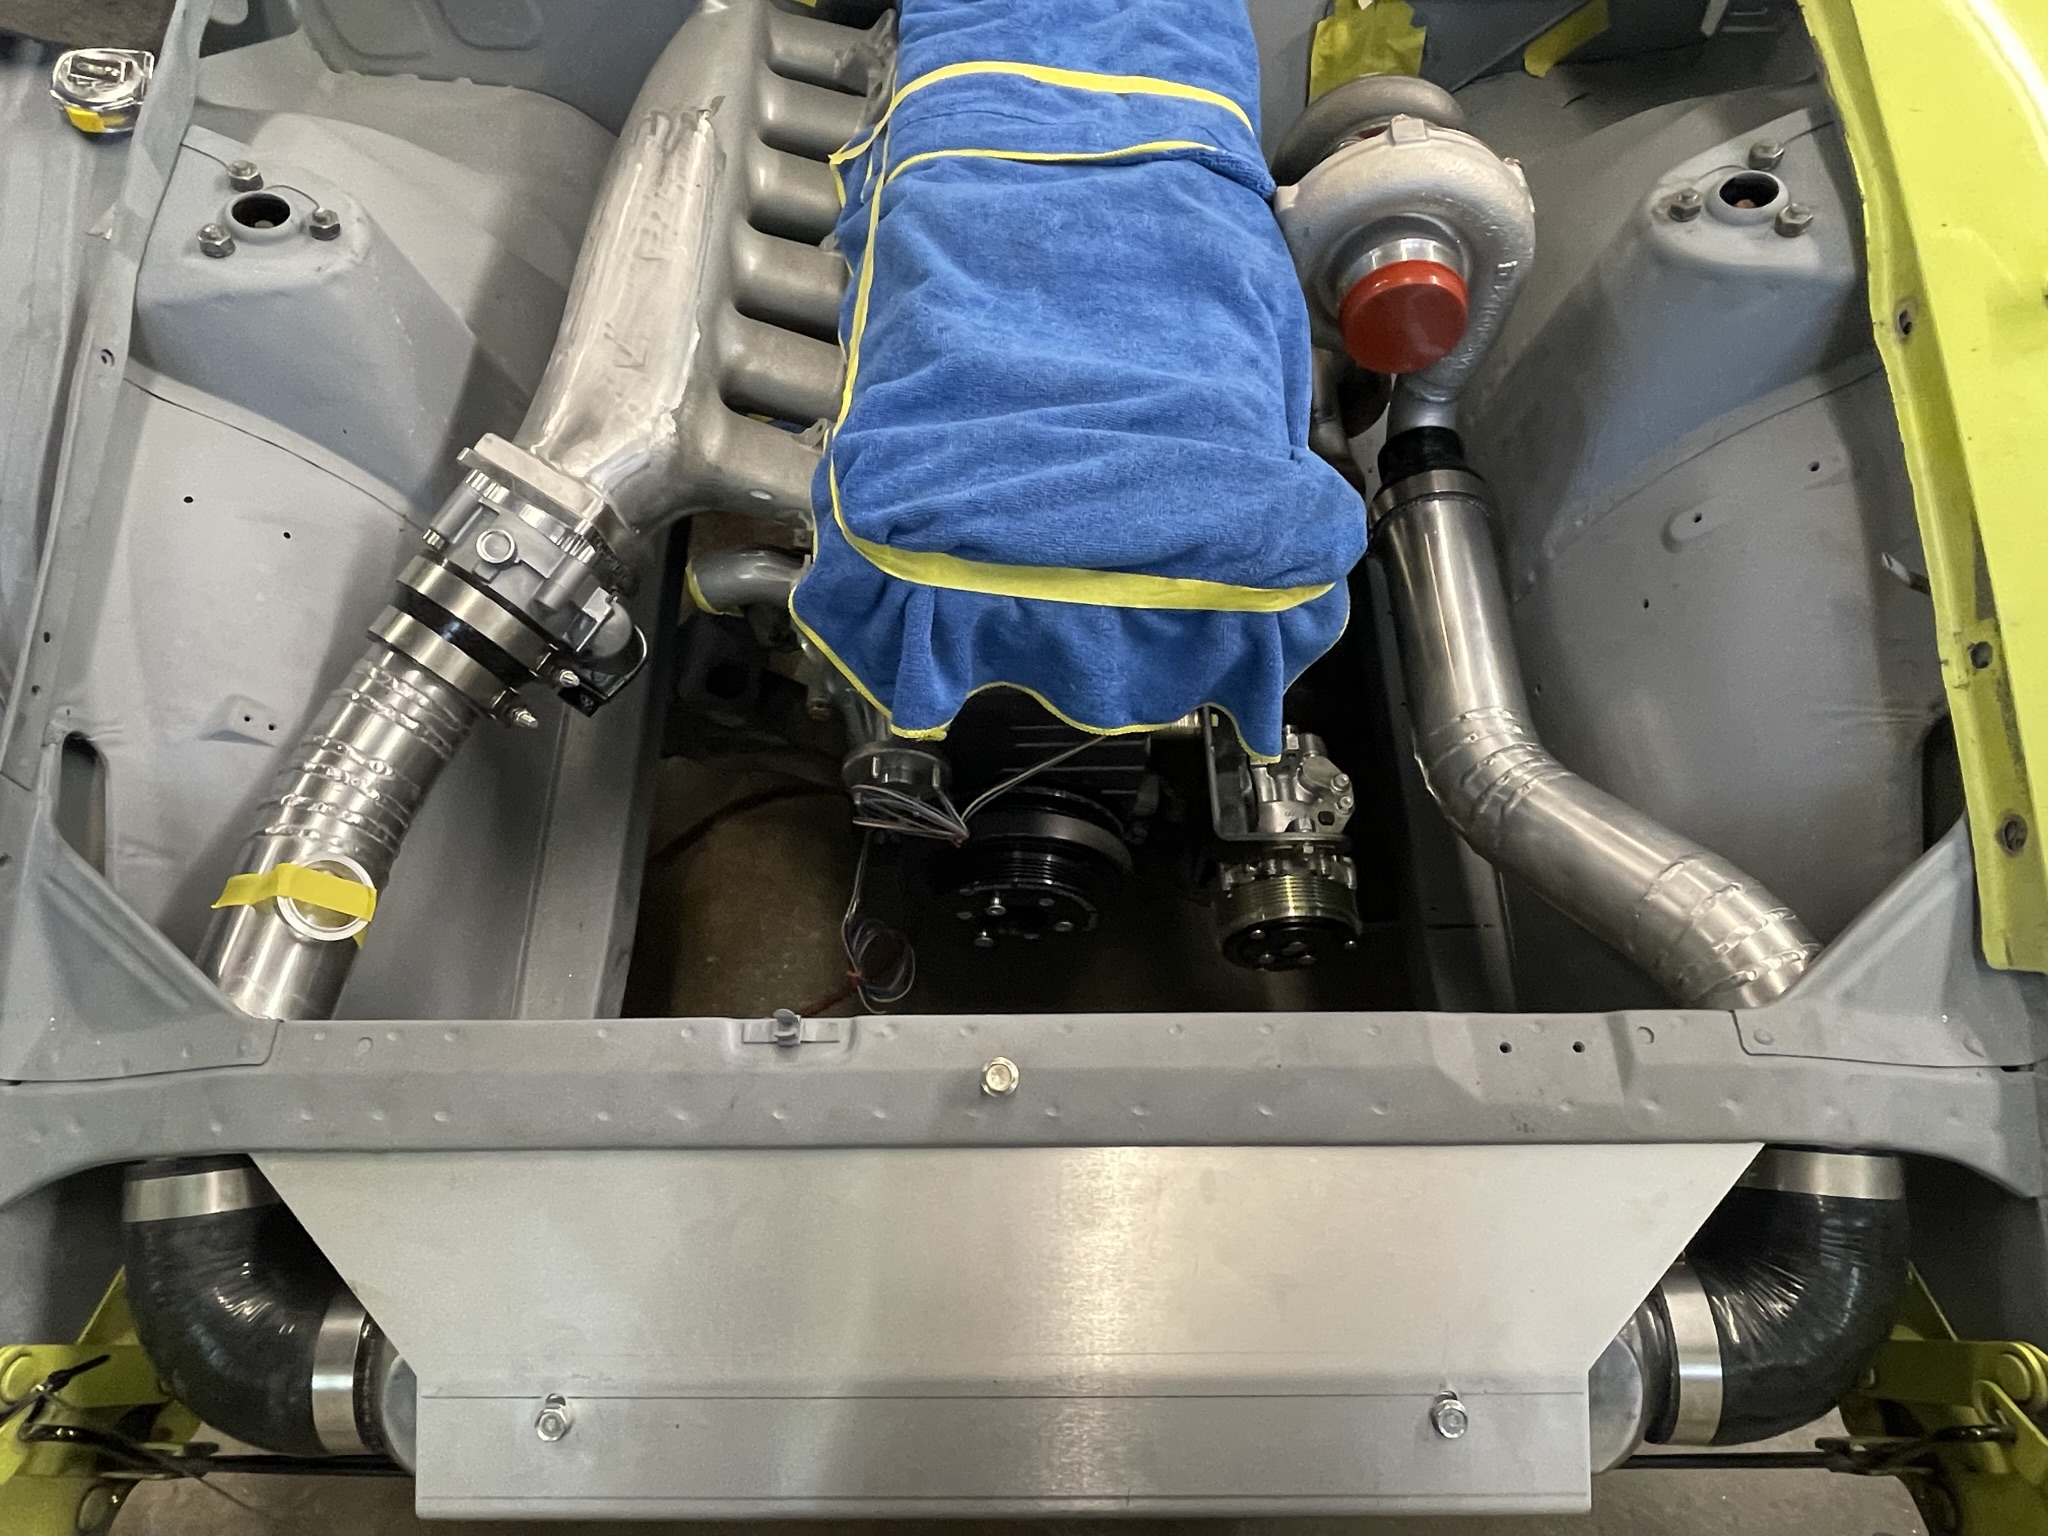
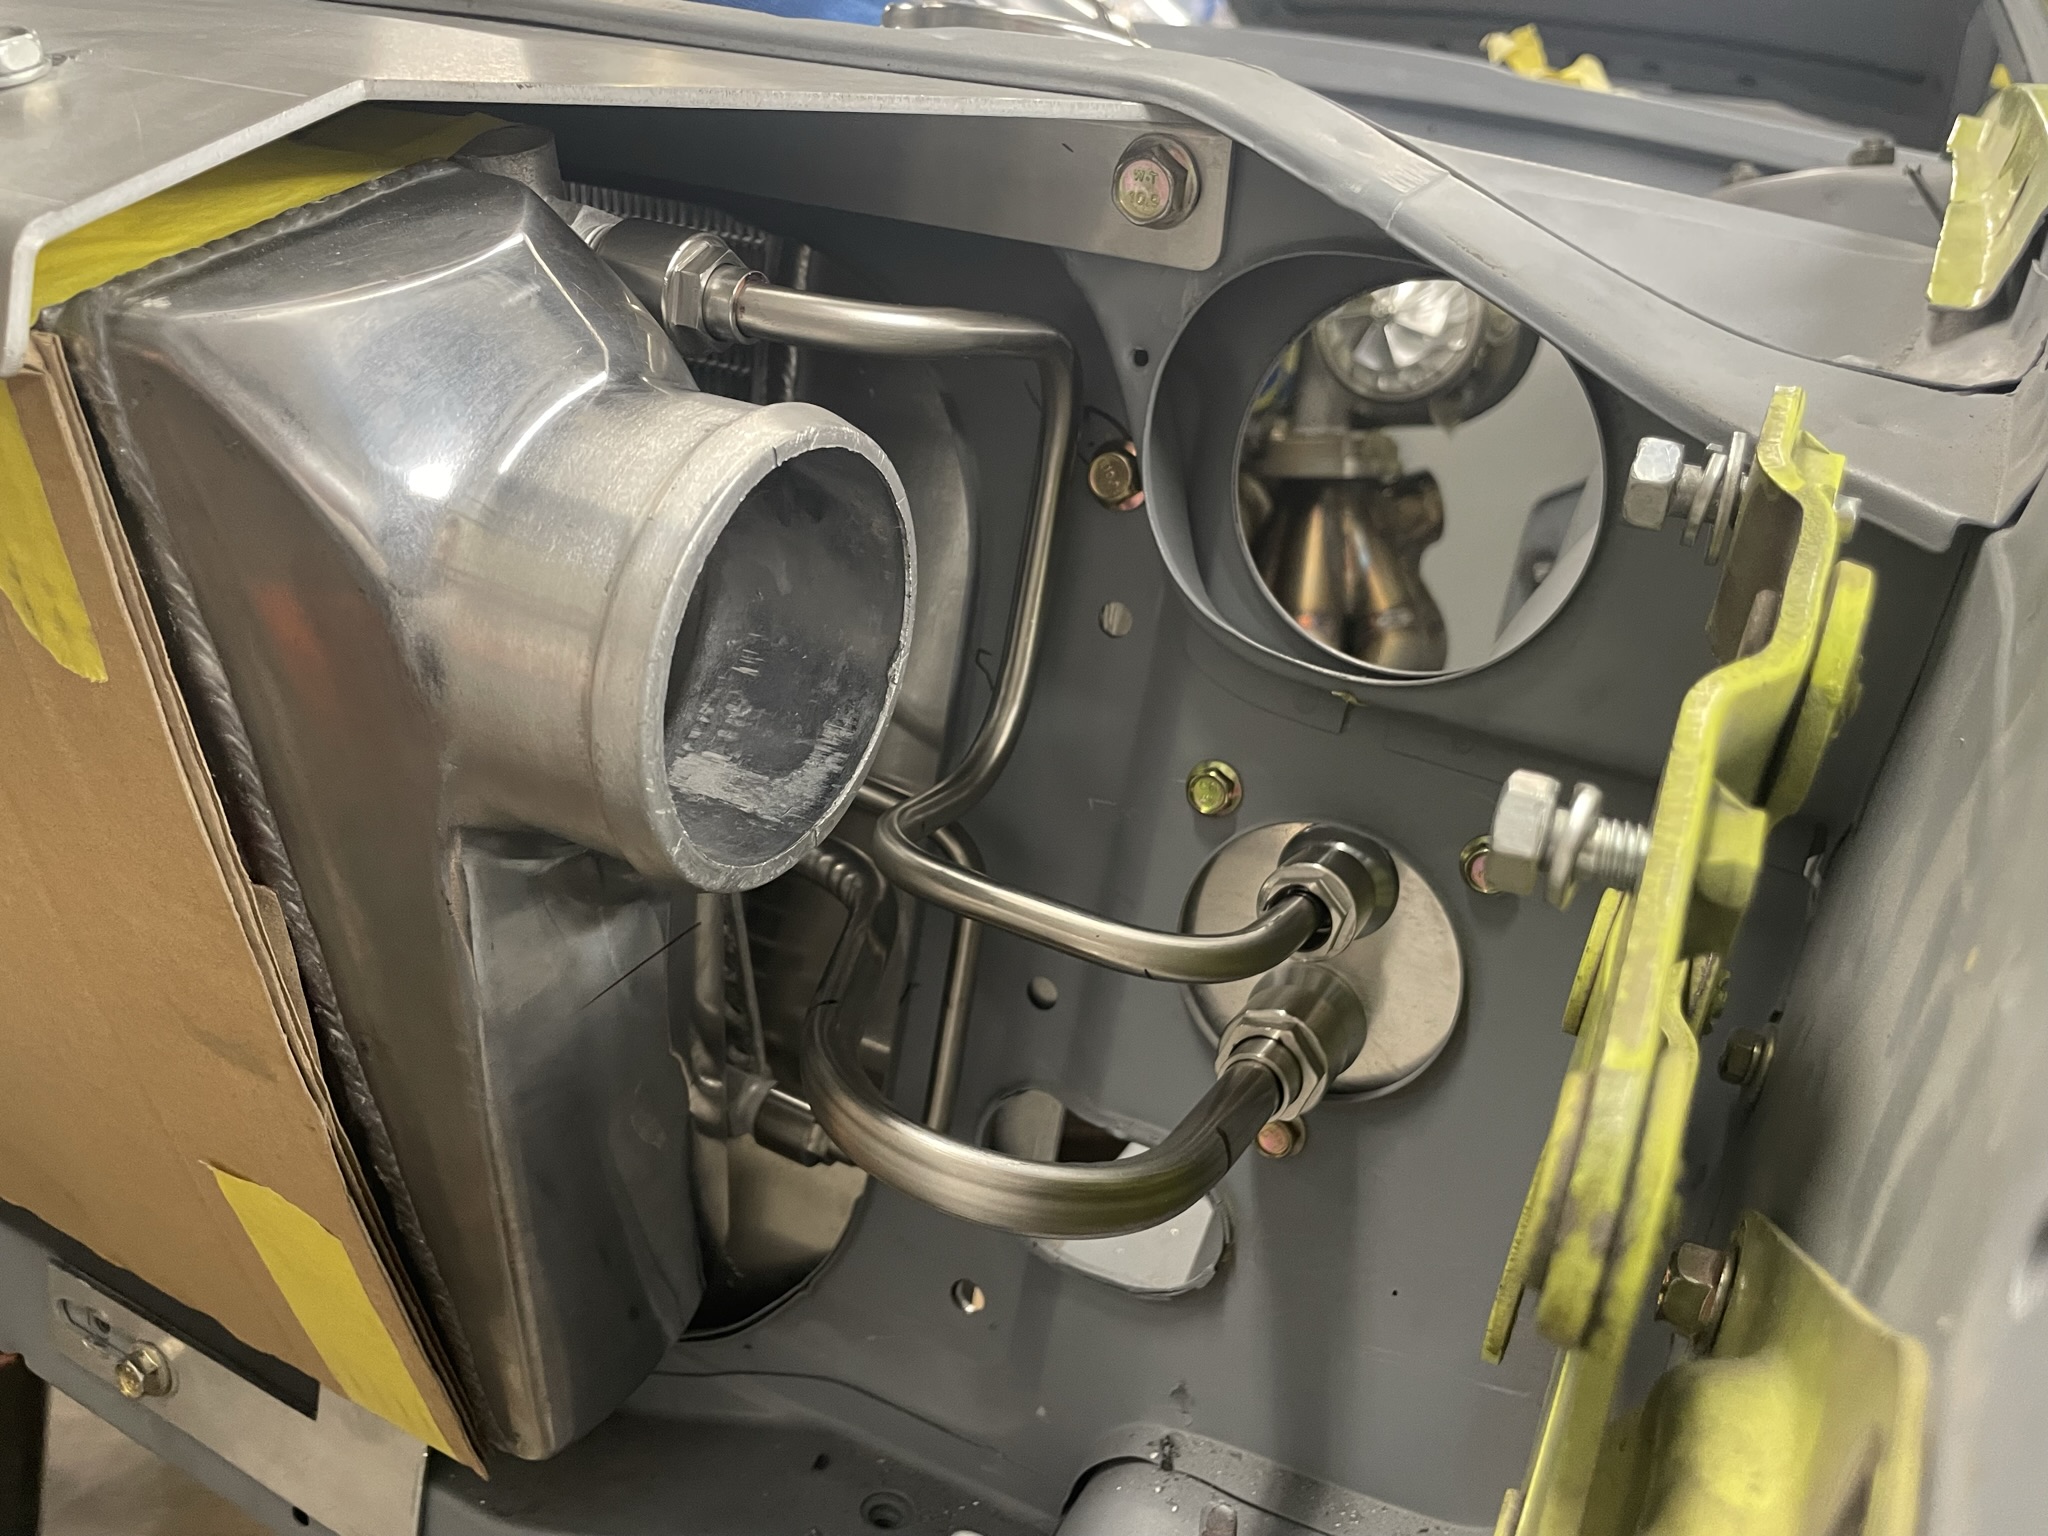
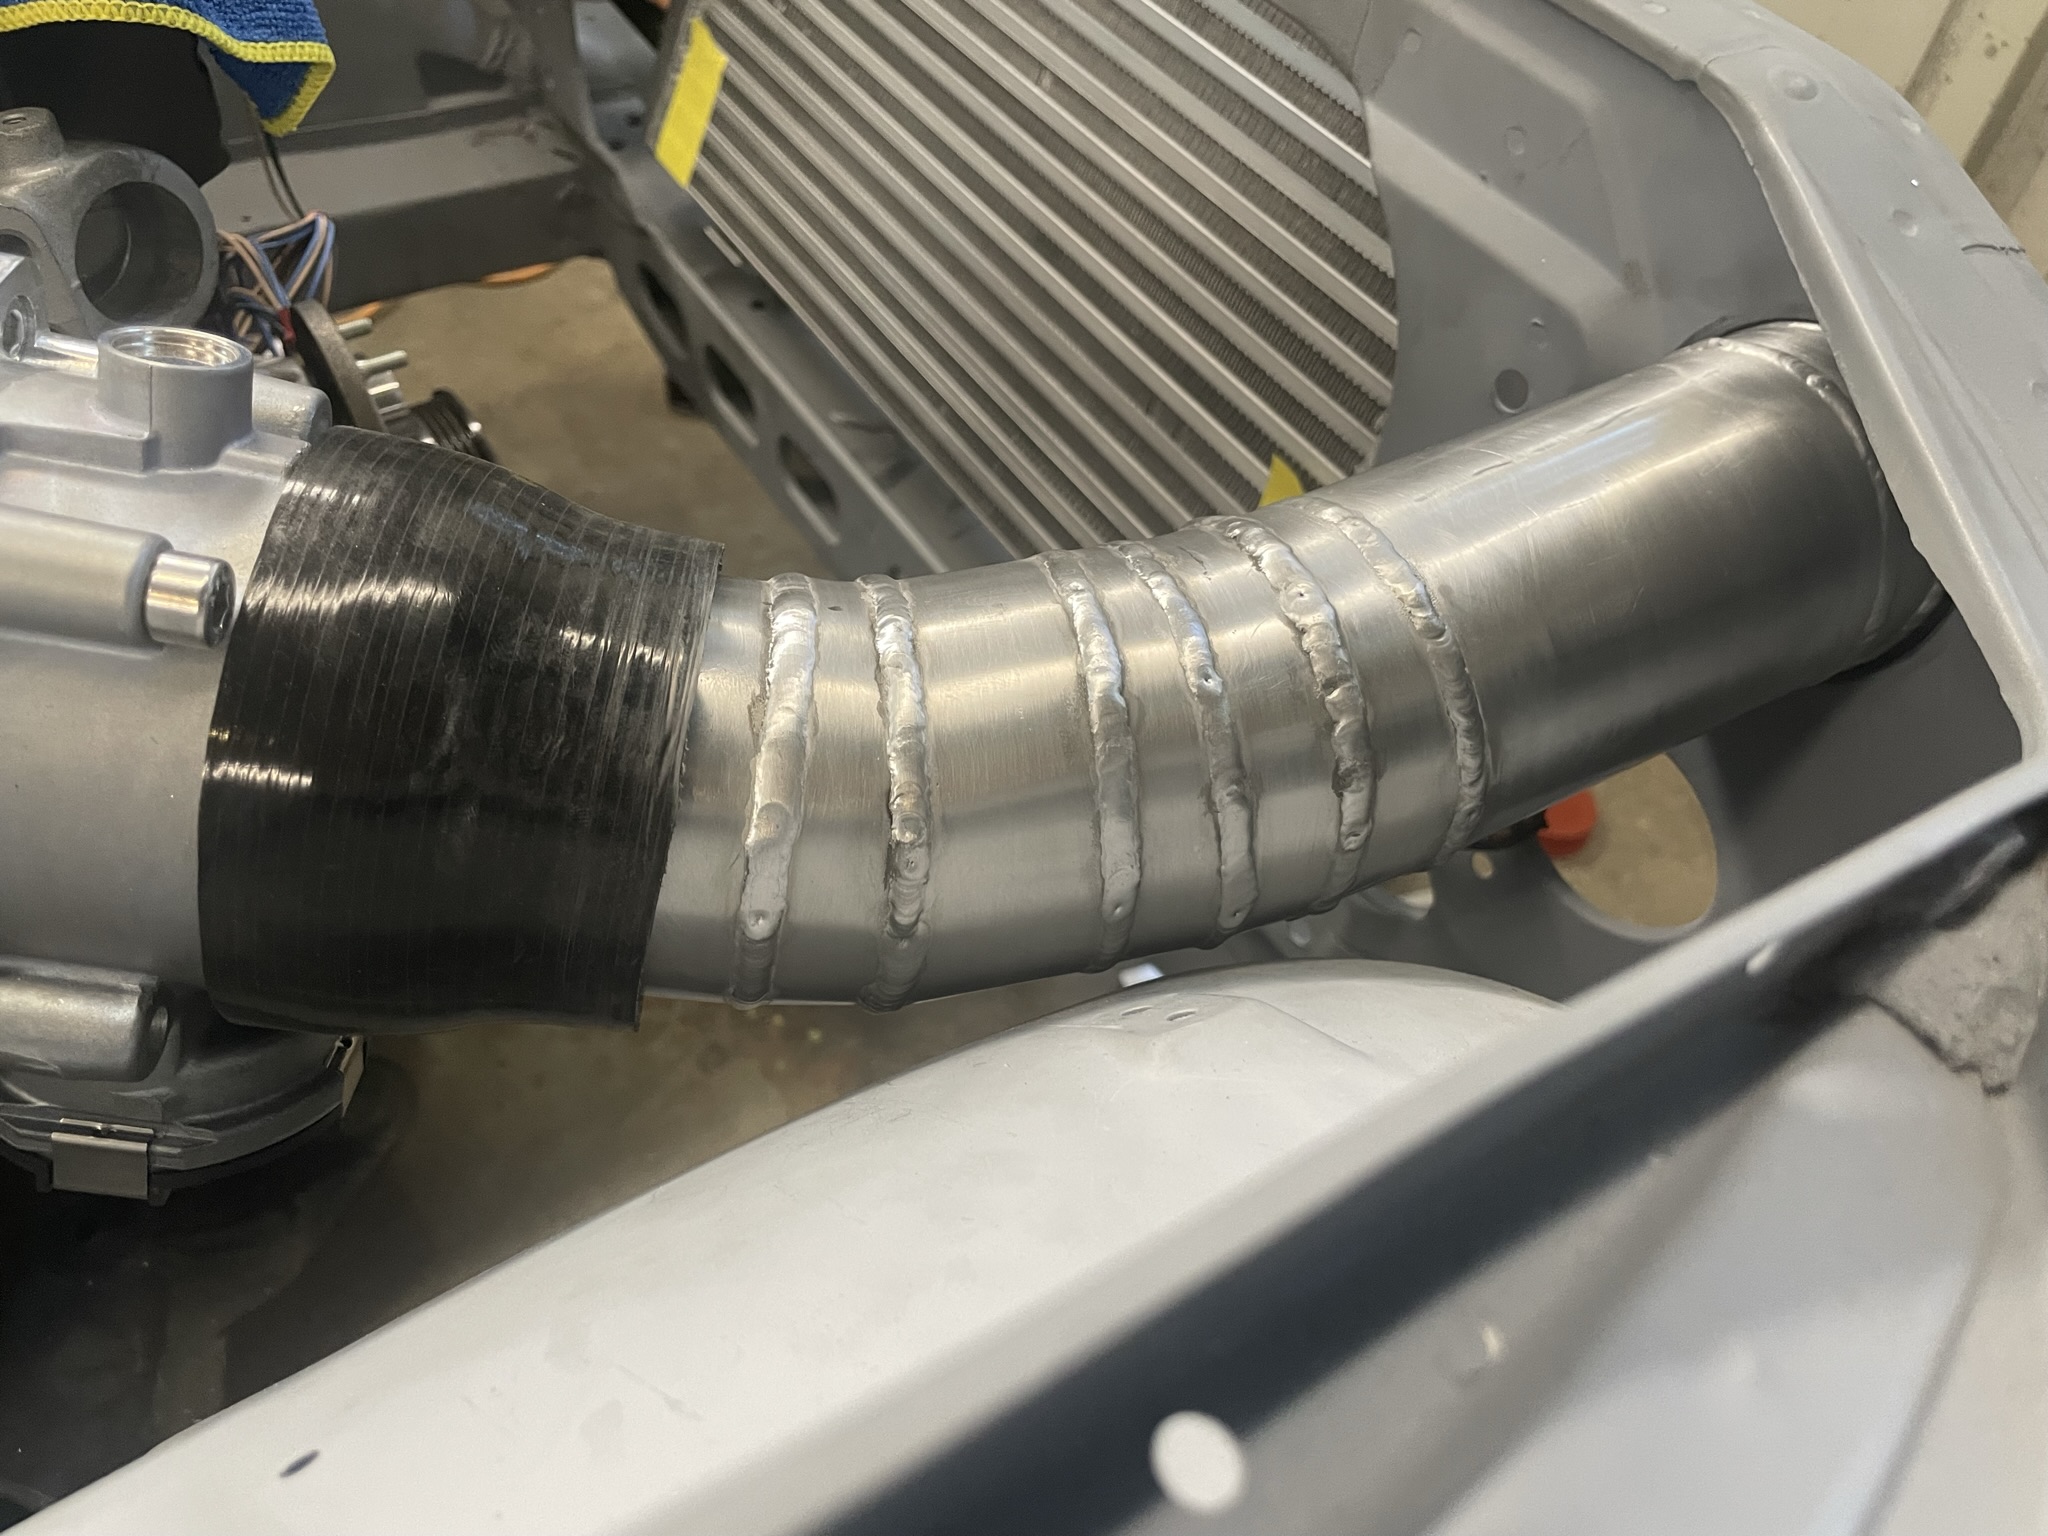
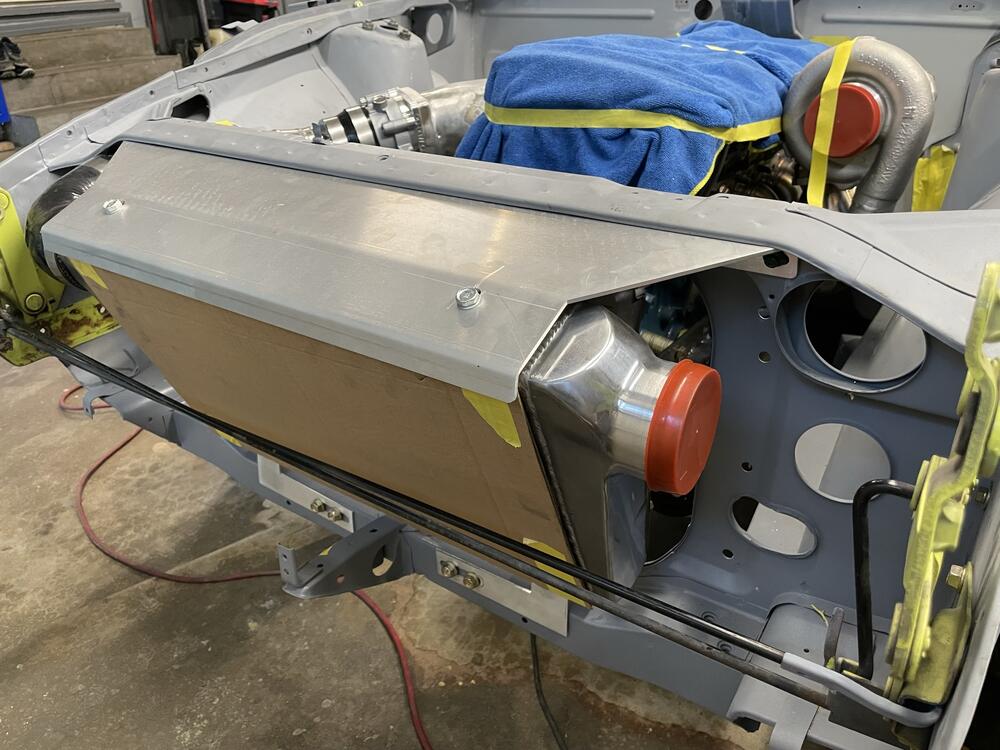
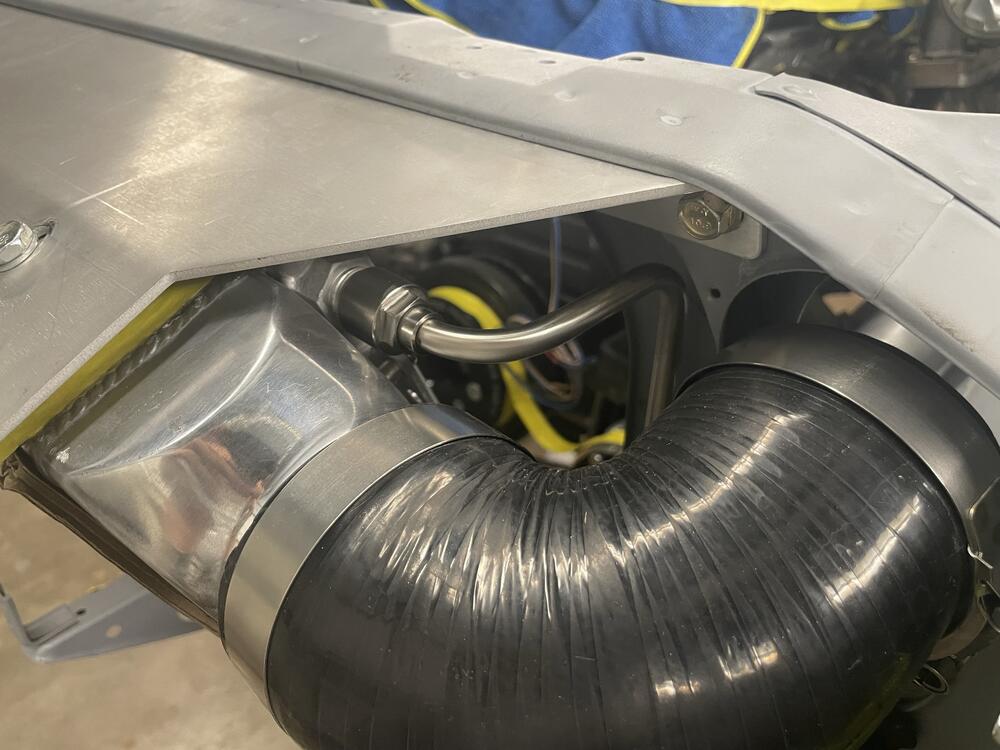
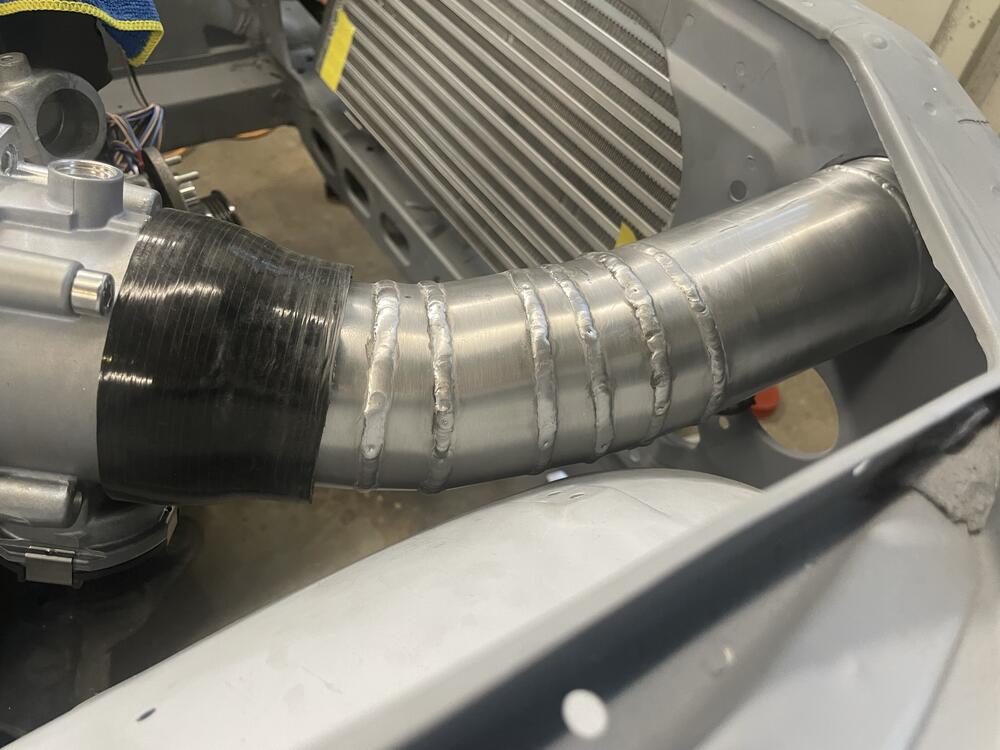
Front end plumbing is just about complete. Intercooler installed, piping from turbo to intake laid out, and giving a go at making stainless hardlines for the AC system that will package around the 3" intercooler piping.


-
Wasnt bad at all to work with. A good box knife will make quick work of trimming these to shape. Only con to the material is the diamond texture it has on the top. Not 100% accurate, but the thickness/function/ability to paint was good with me.
-
Absolute lifesaver. These were a perfect match when doing my series 1. A personal thank you for your efforts!
-
Those came from a kit I bought from a guy off of Facebook who was replicating the factory pieces. I don't know if he is still doing that or not, but someone off this site has uploaded a PDF of the panels you can print out and make your own pieces. I went that route for the last Z and used these 3M pads for the material. Was happy with the final results https://www.3m.com/3M/en_US/p/d/b40068137/
-
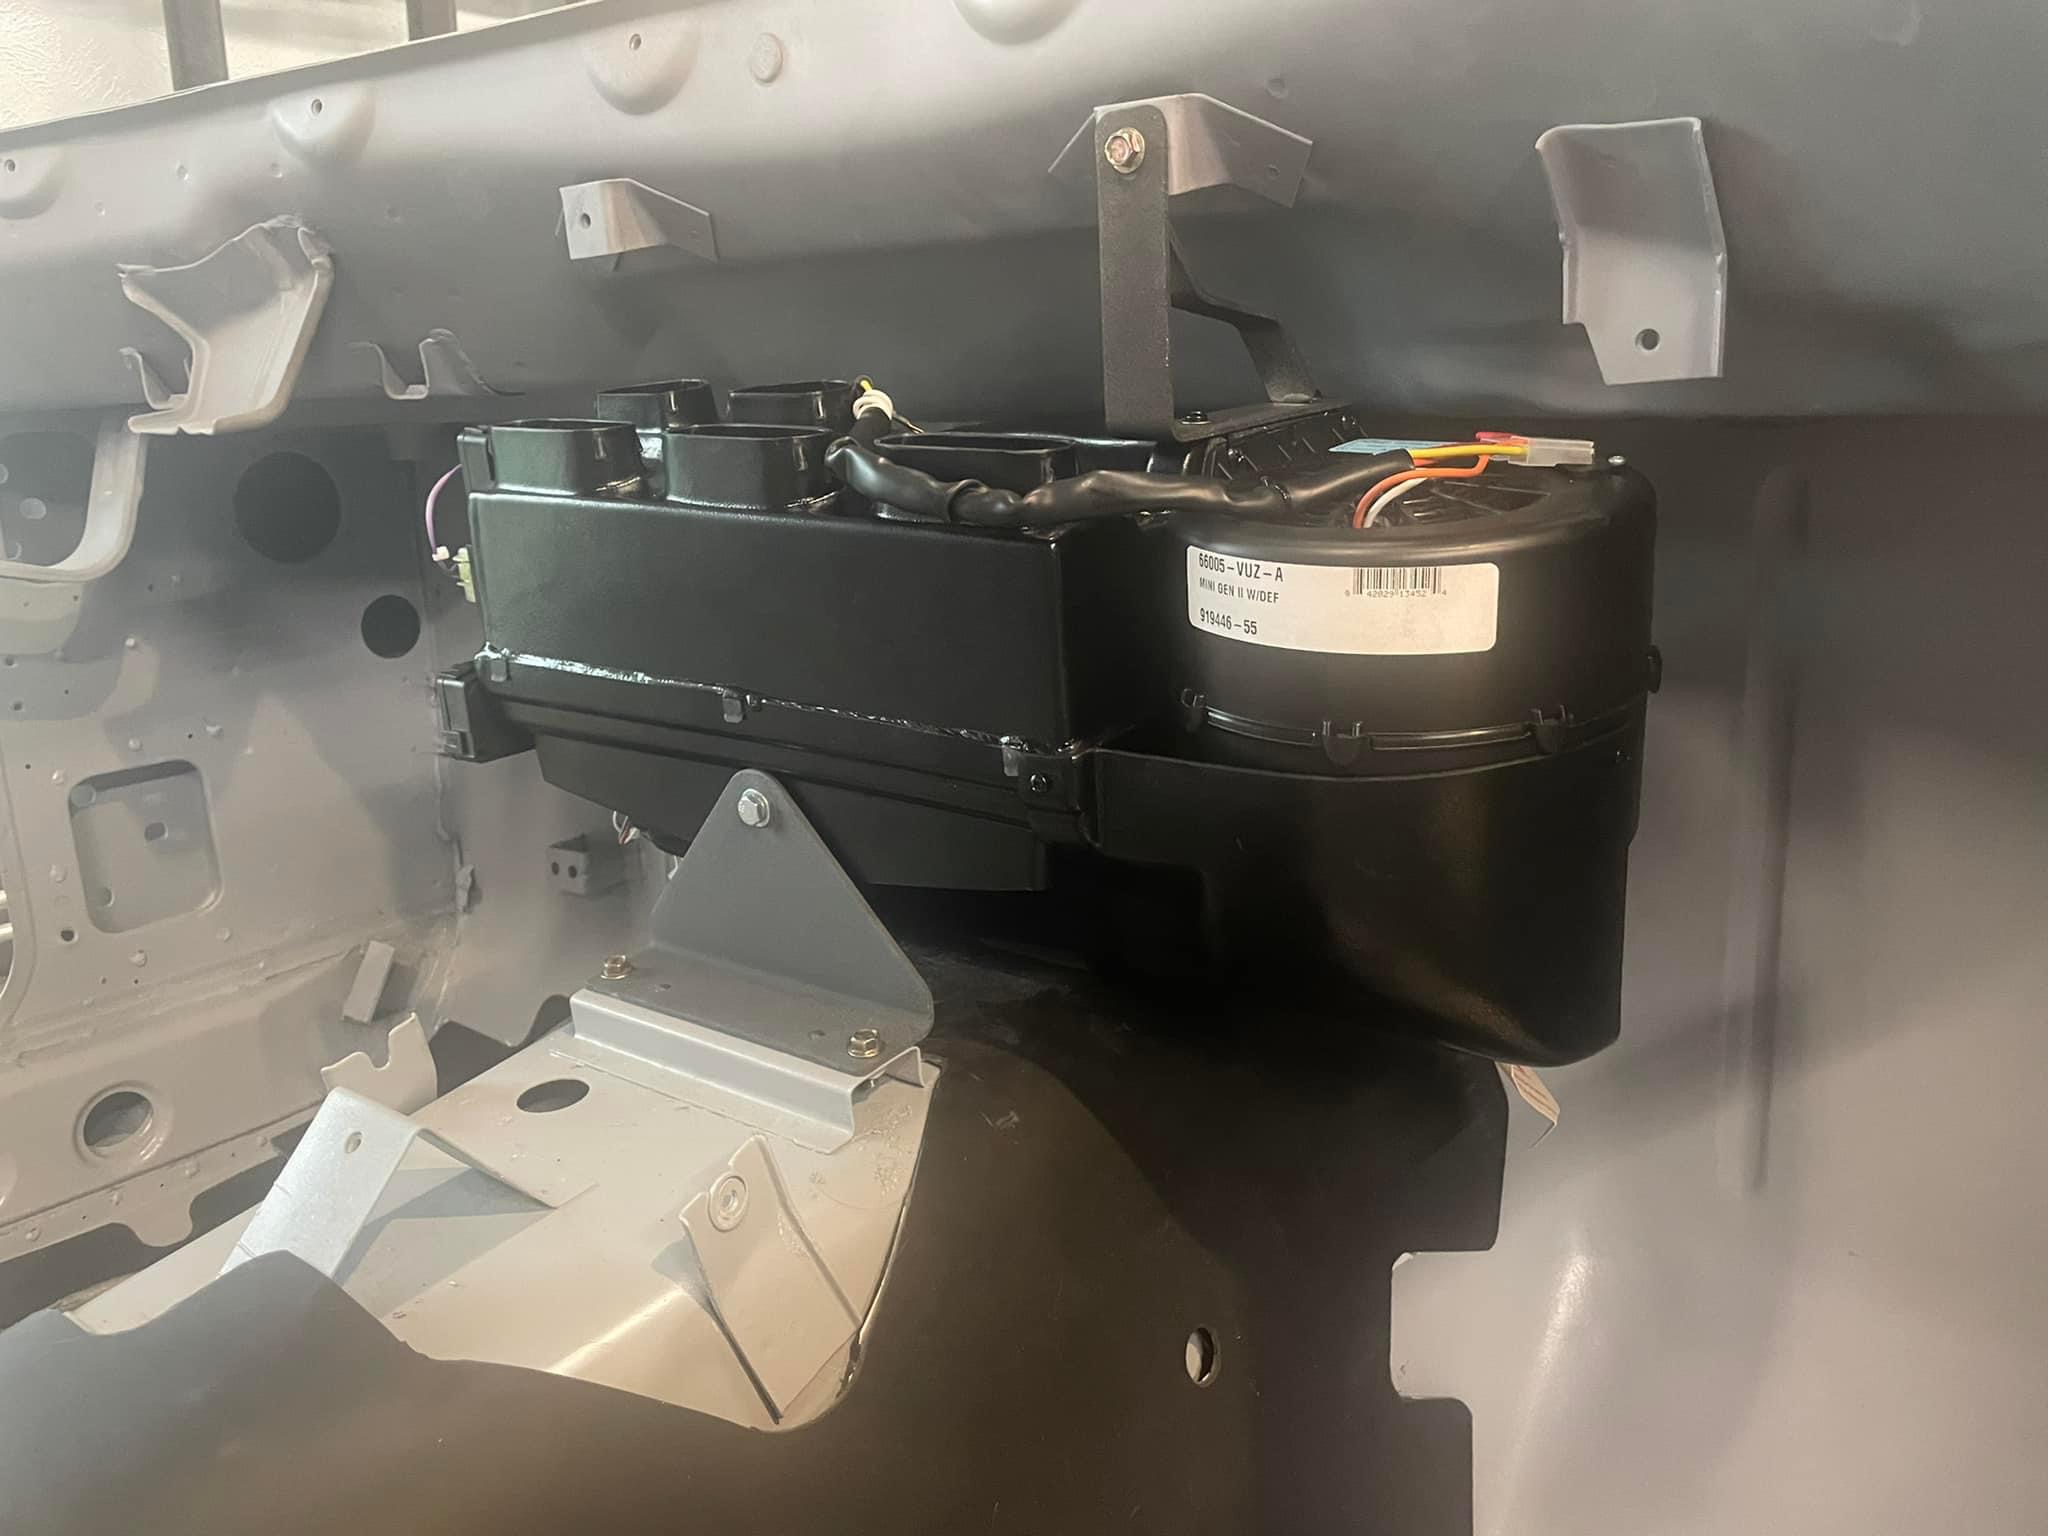
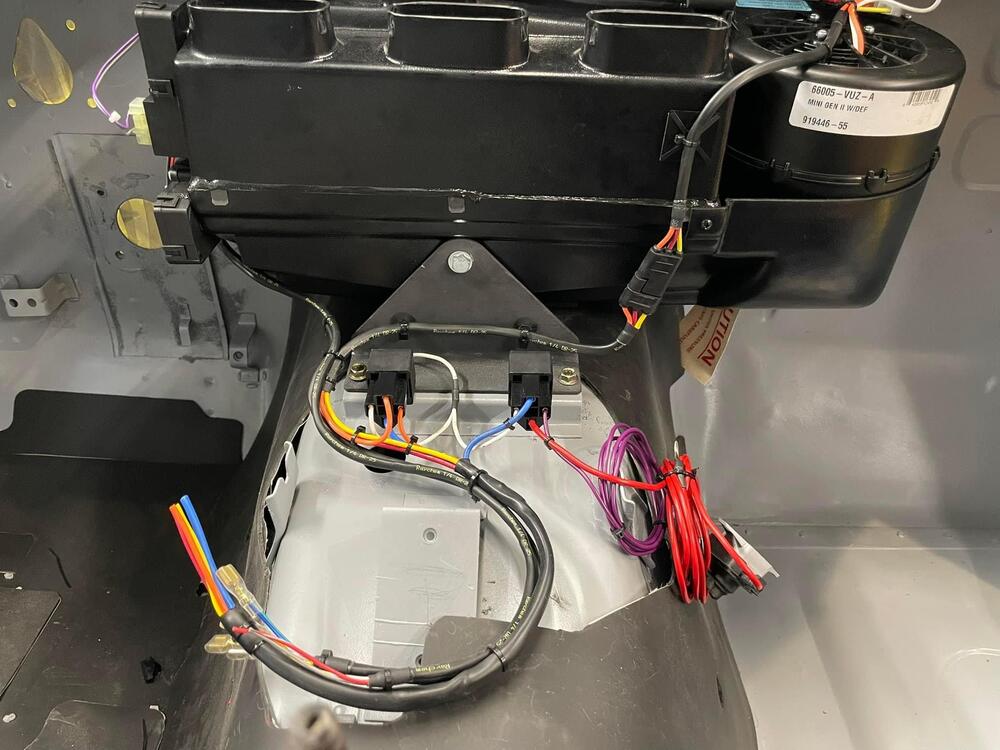
Installed the Vintage Air Gen II Mini and made some progress on the wiring. For anyone who’s installed these, the harness that comes with the unit is long and bulky. Ended up pulling most of it off and tailoring it better for the Z.

-
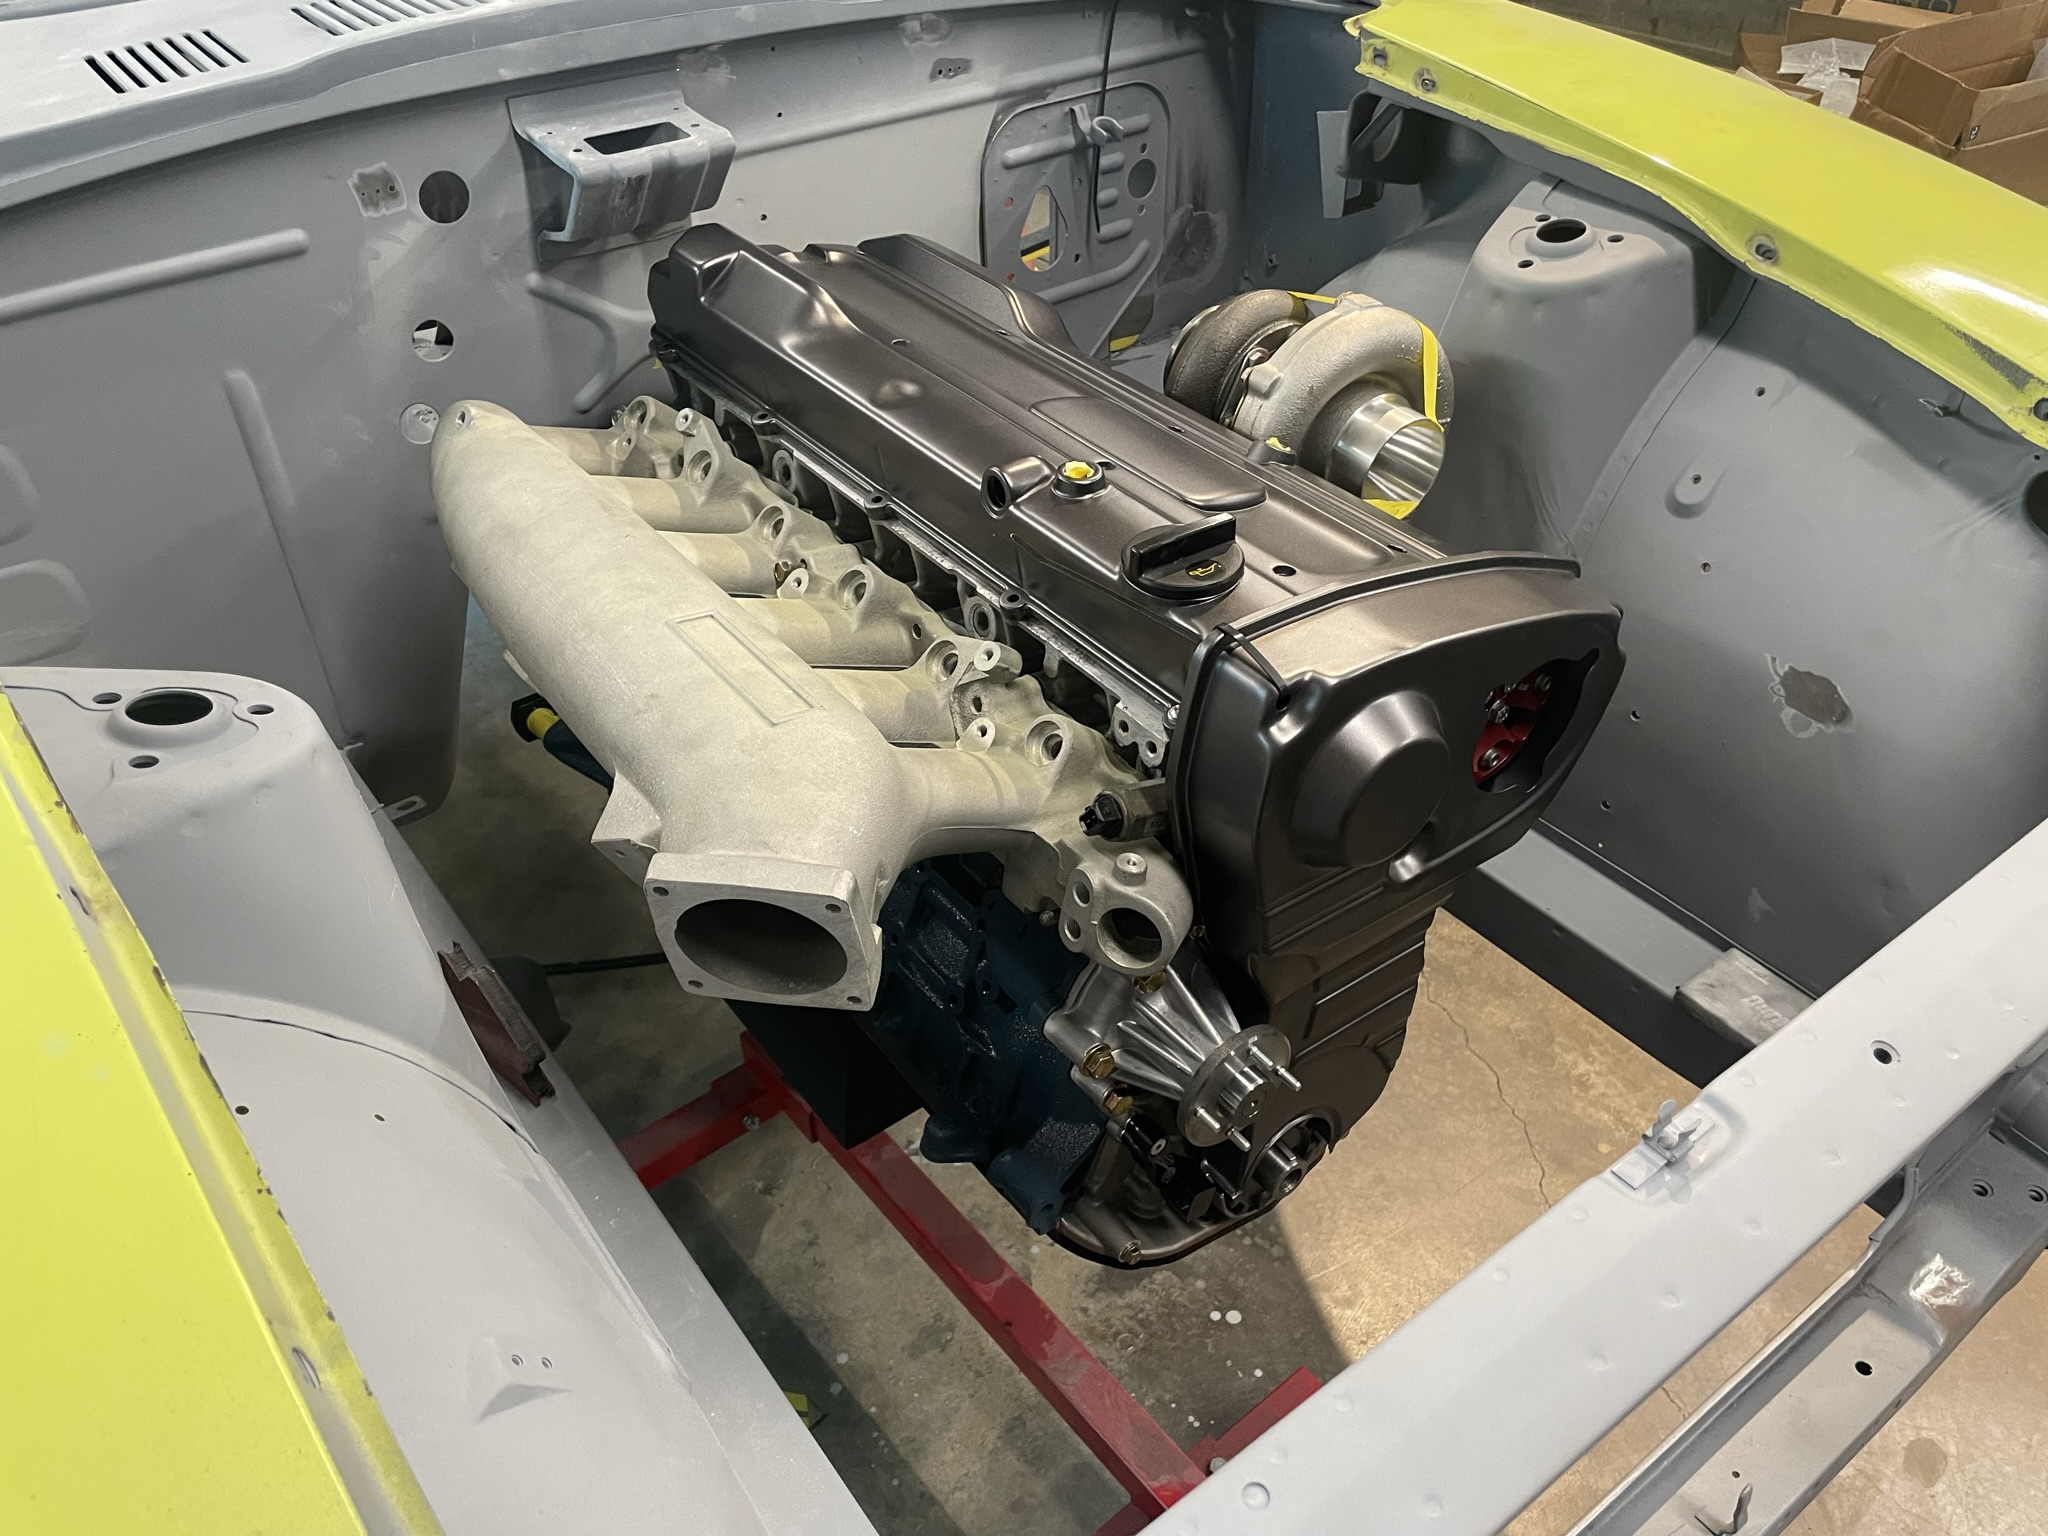
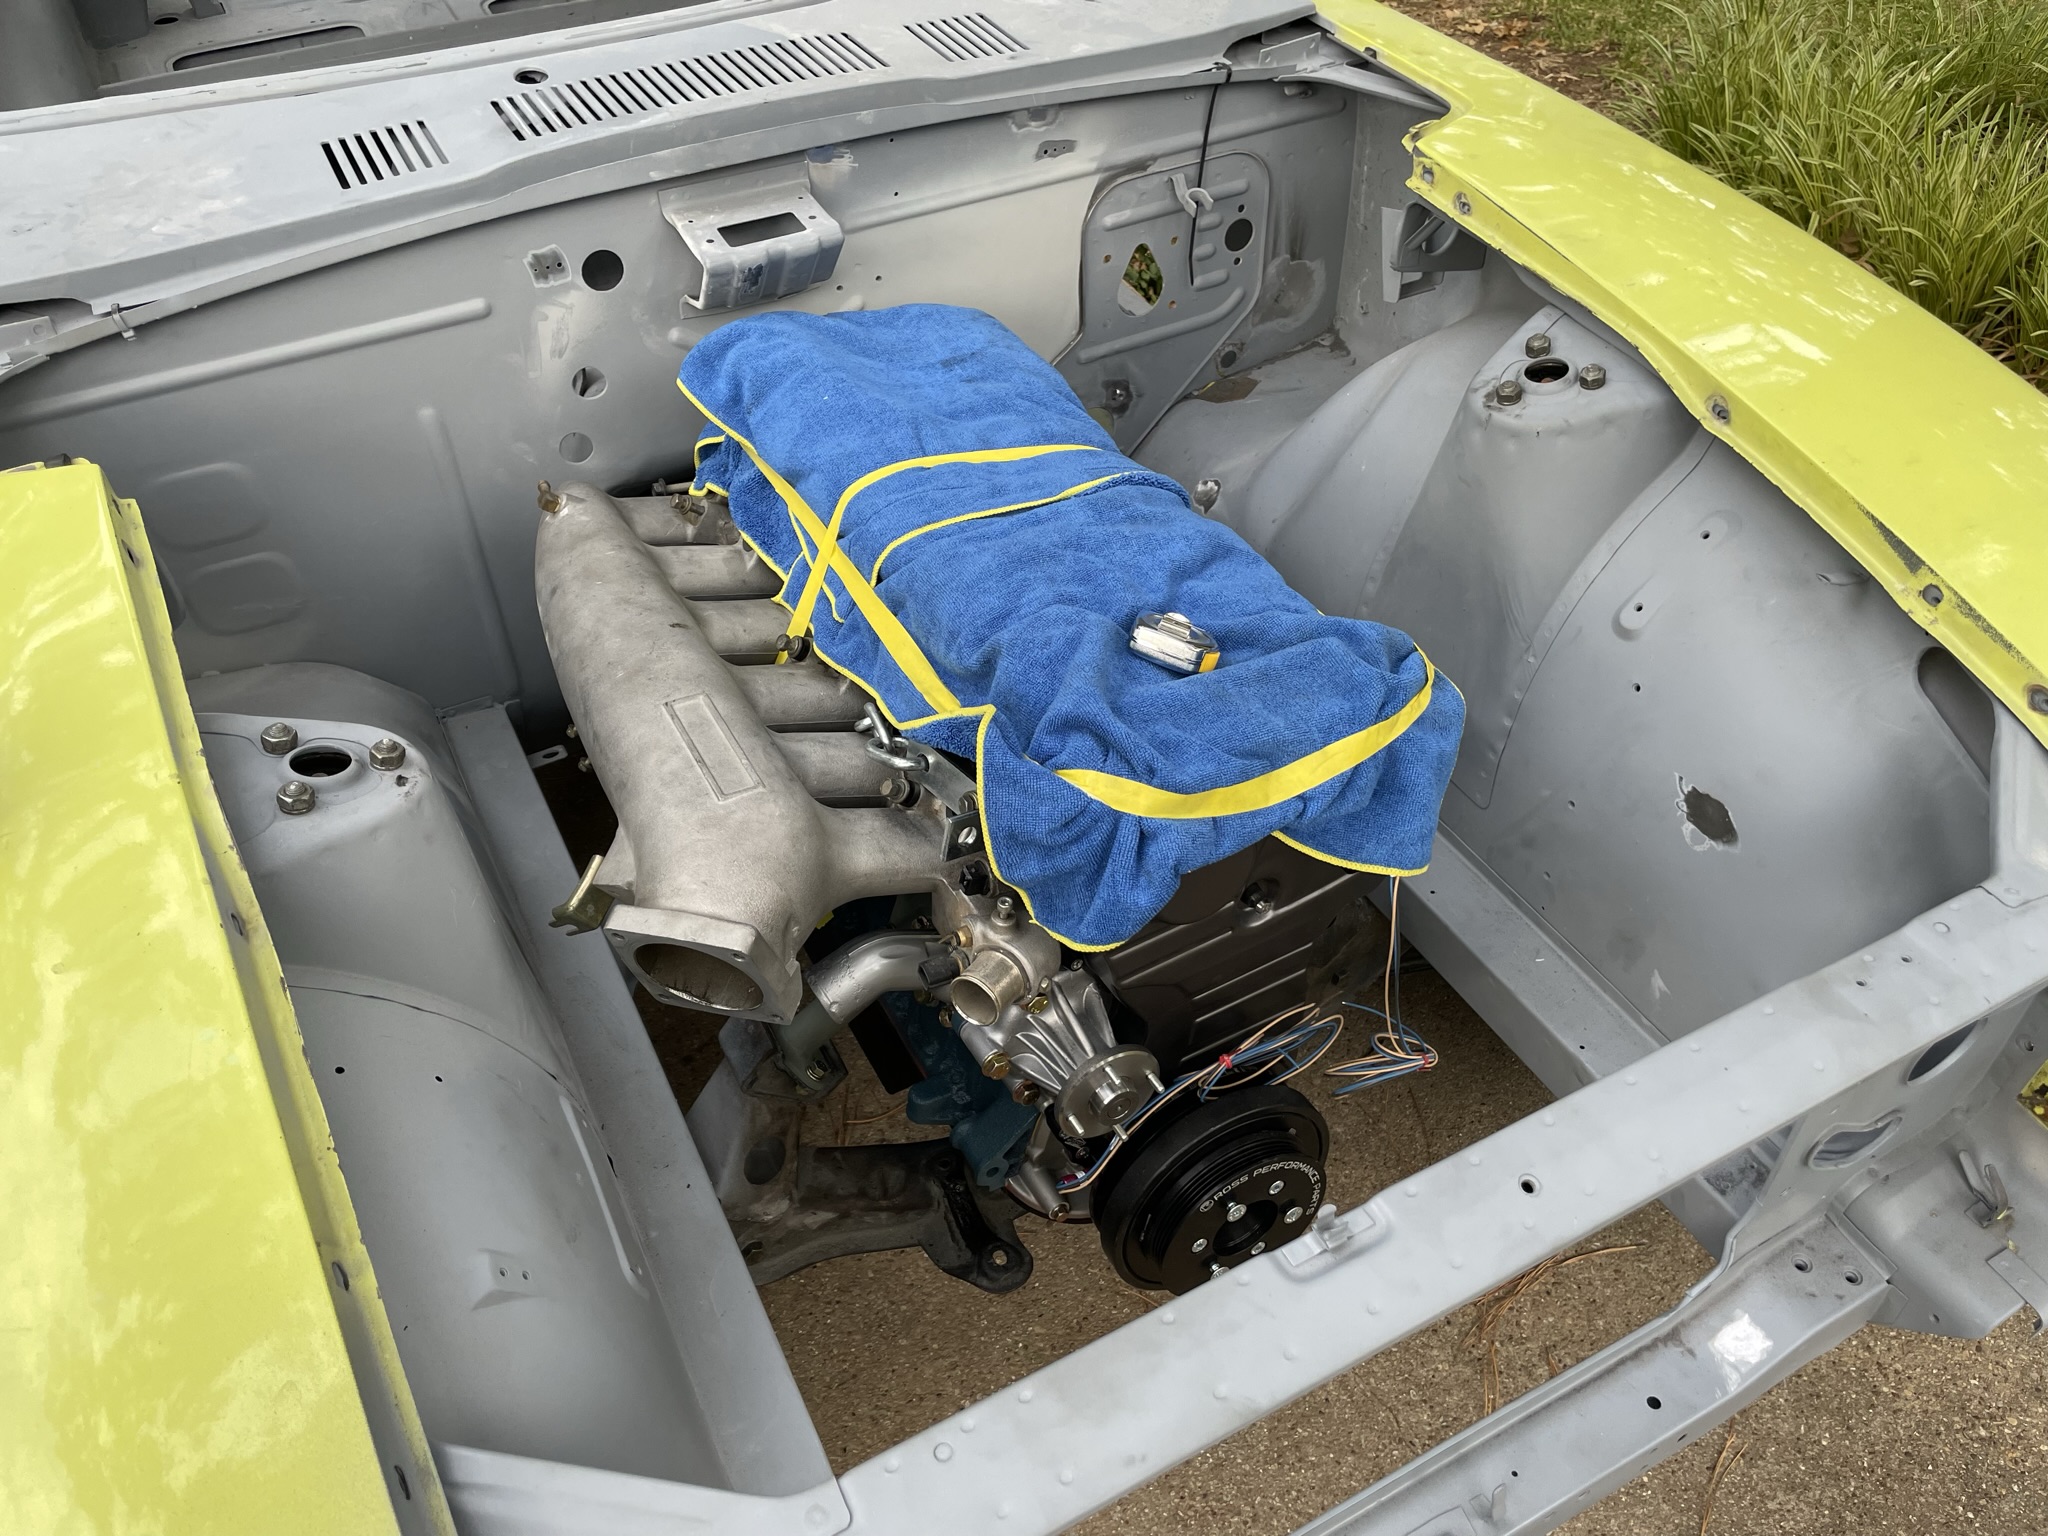
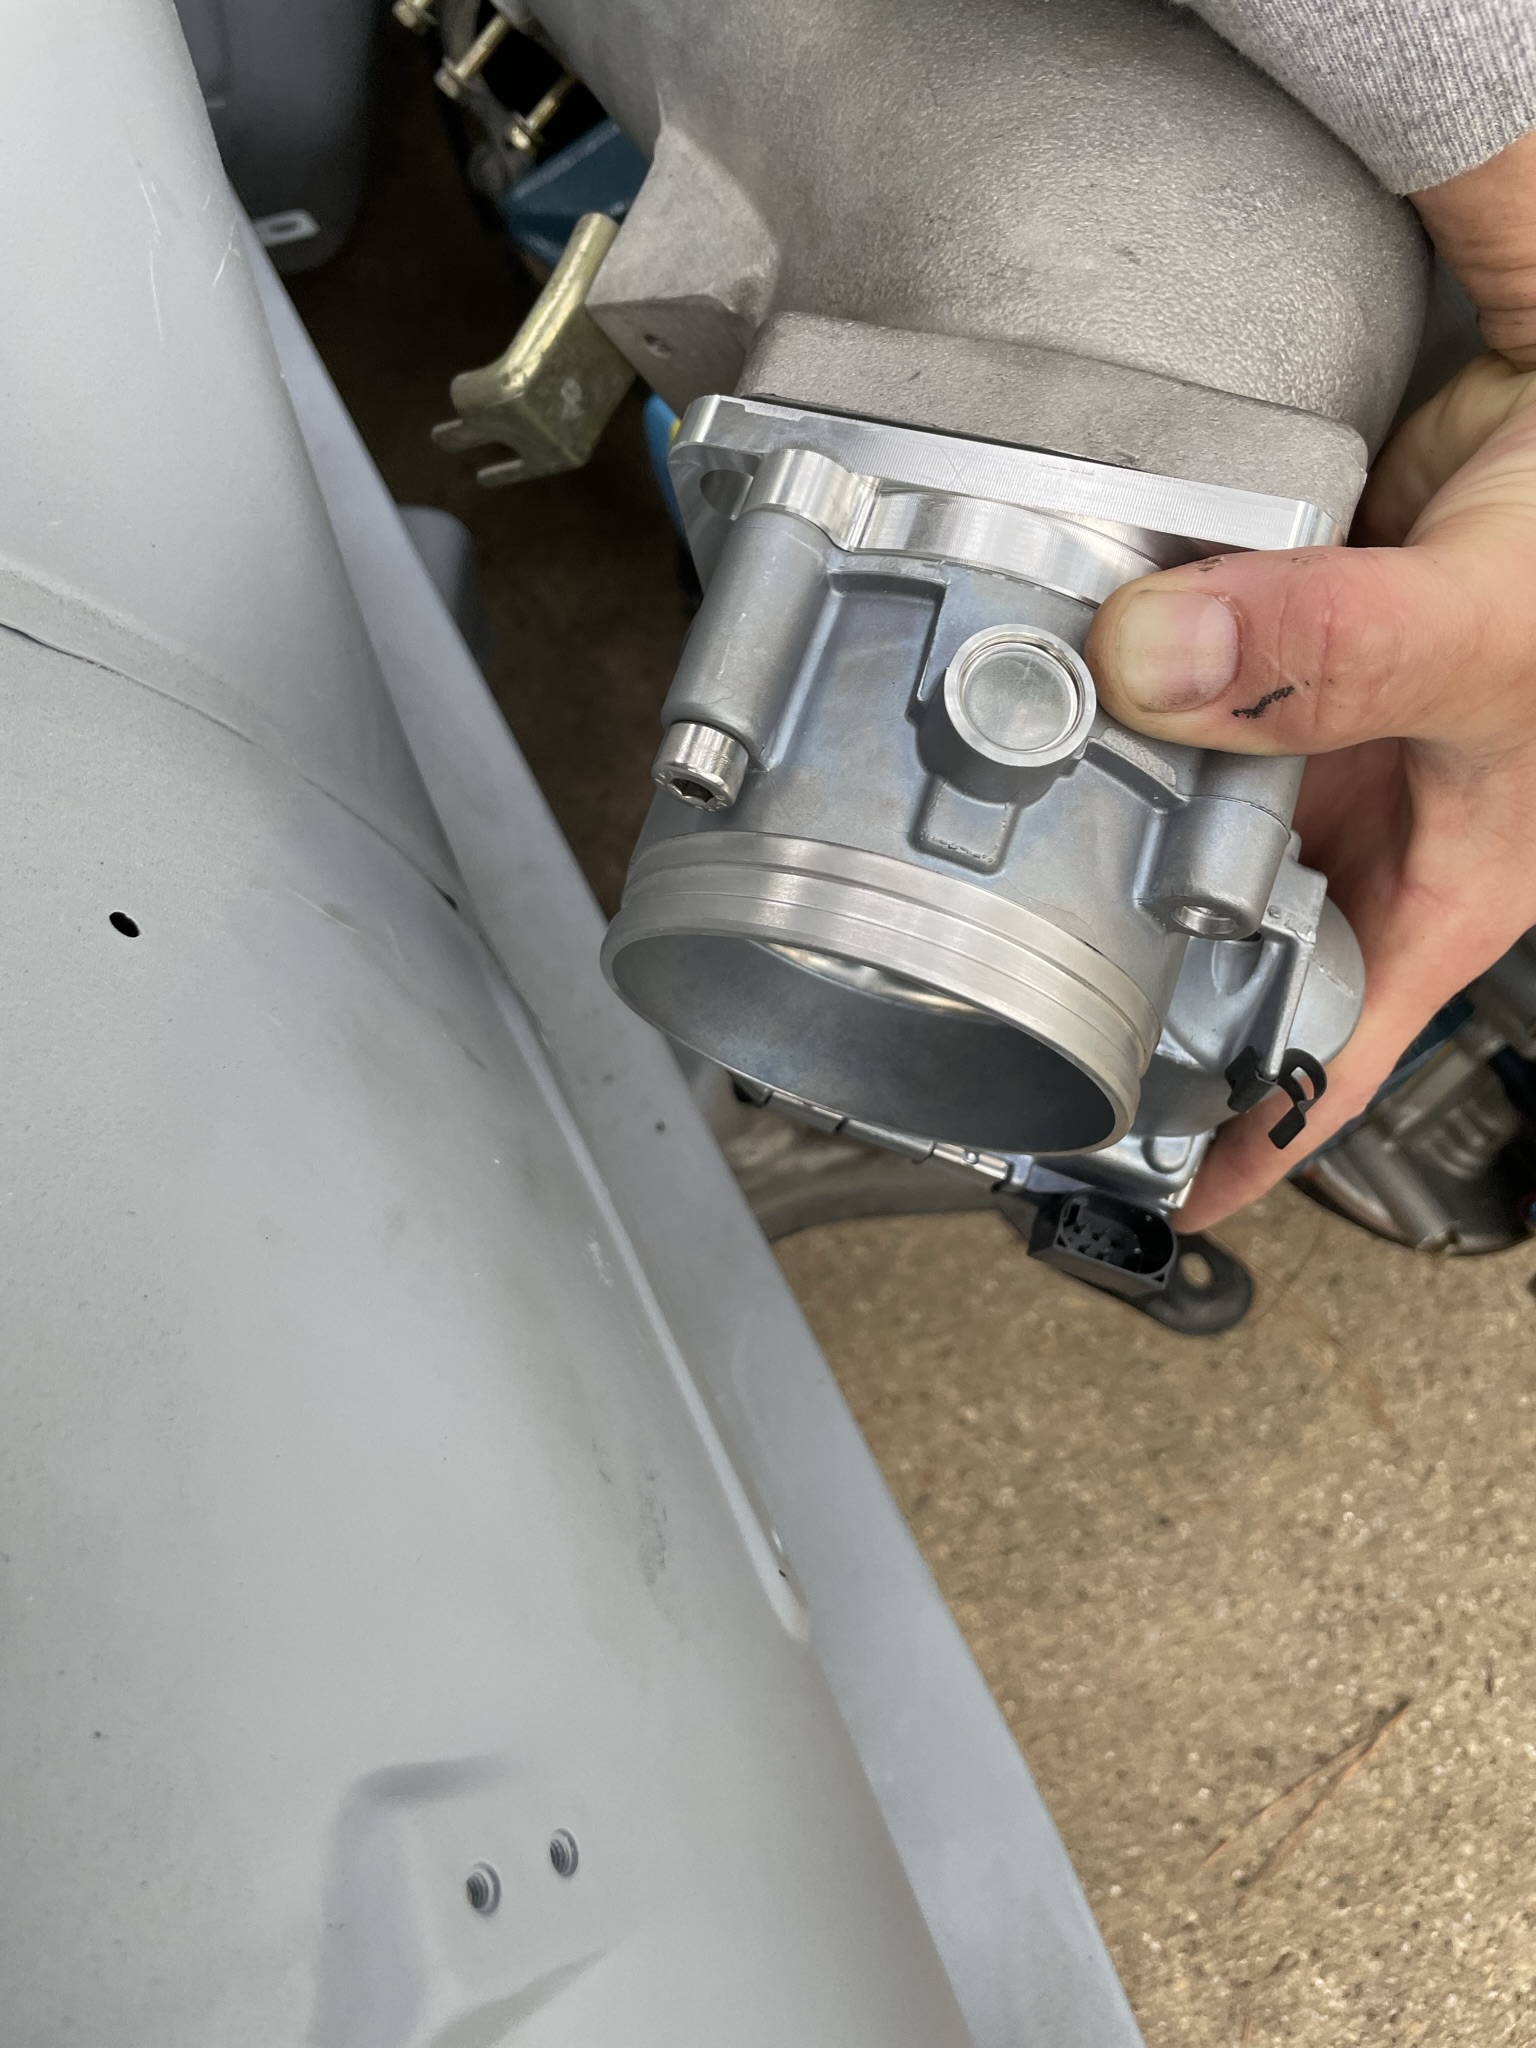
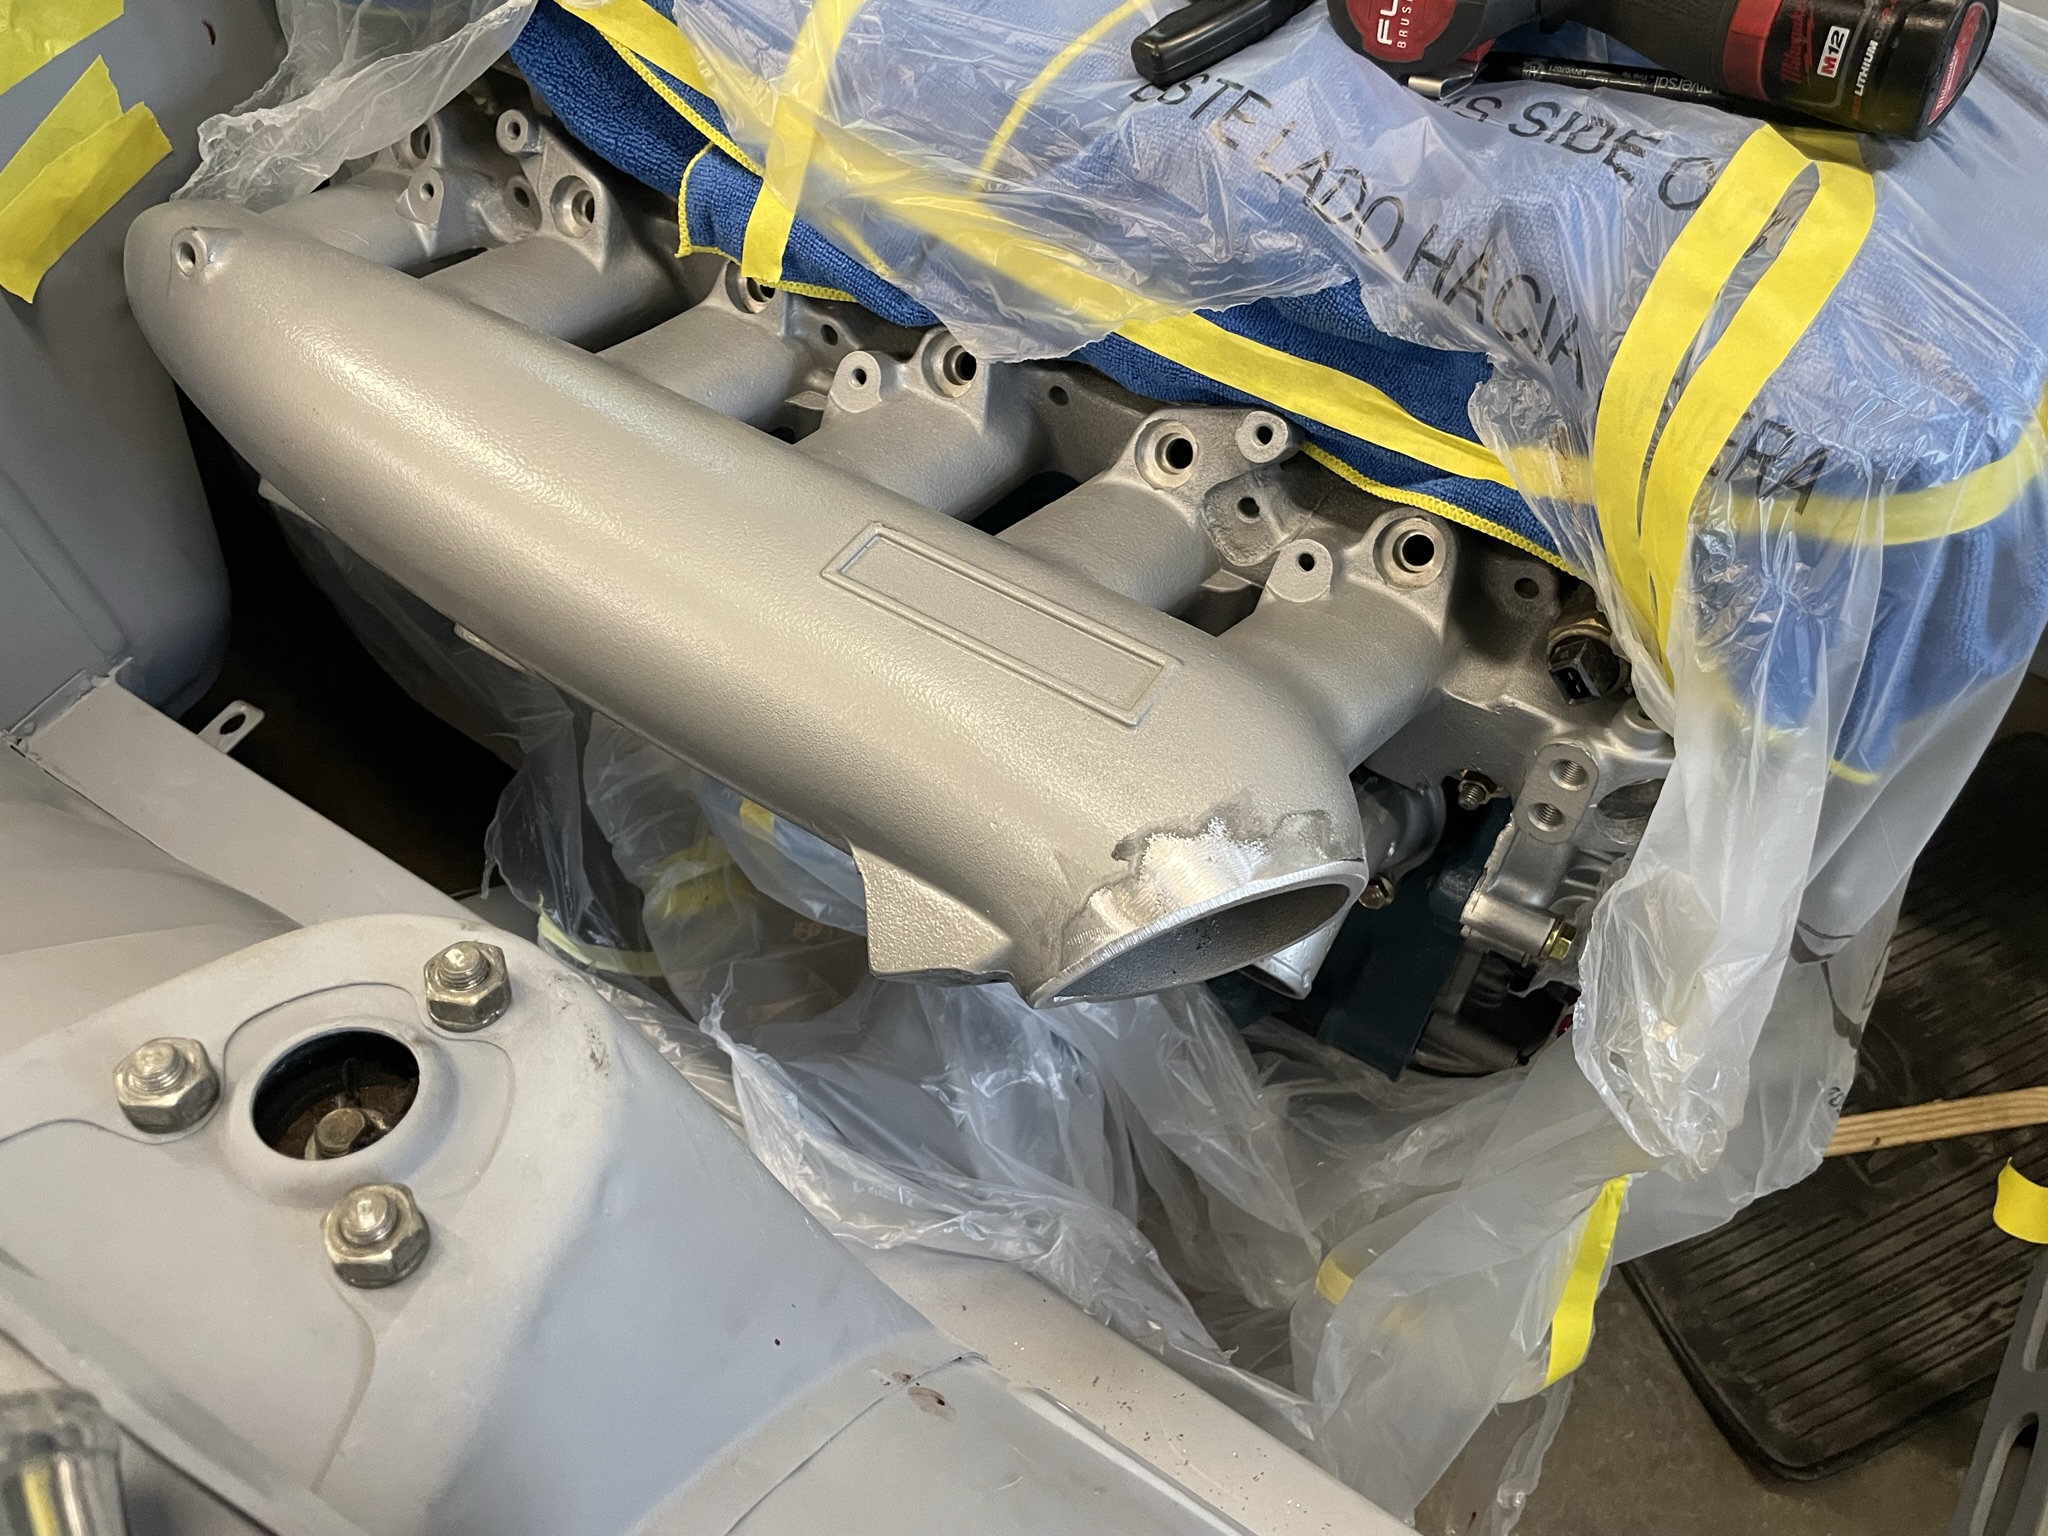
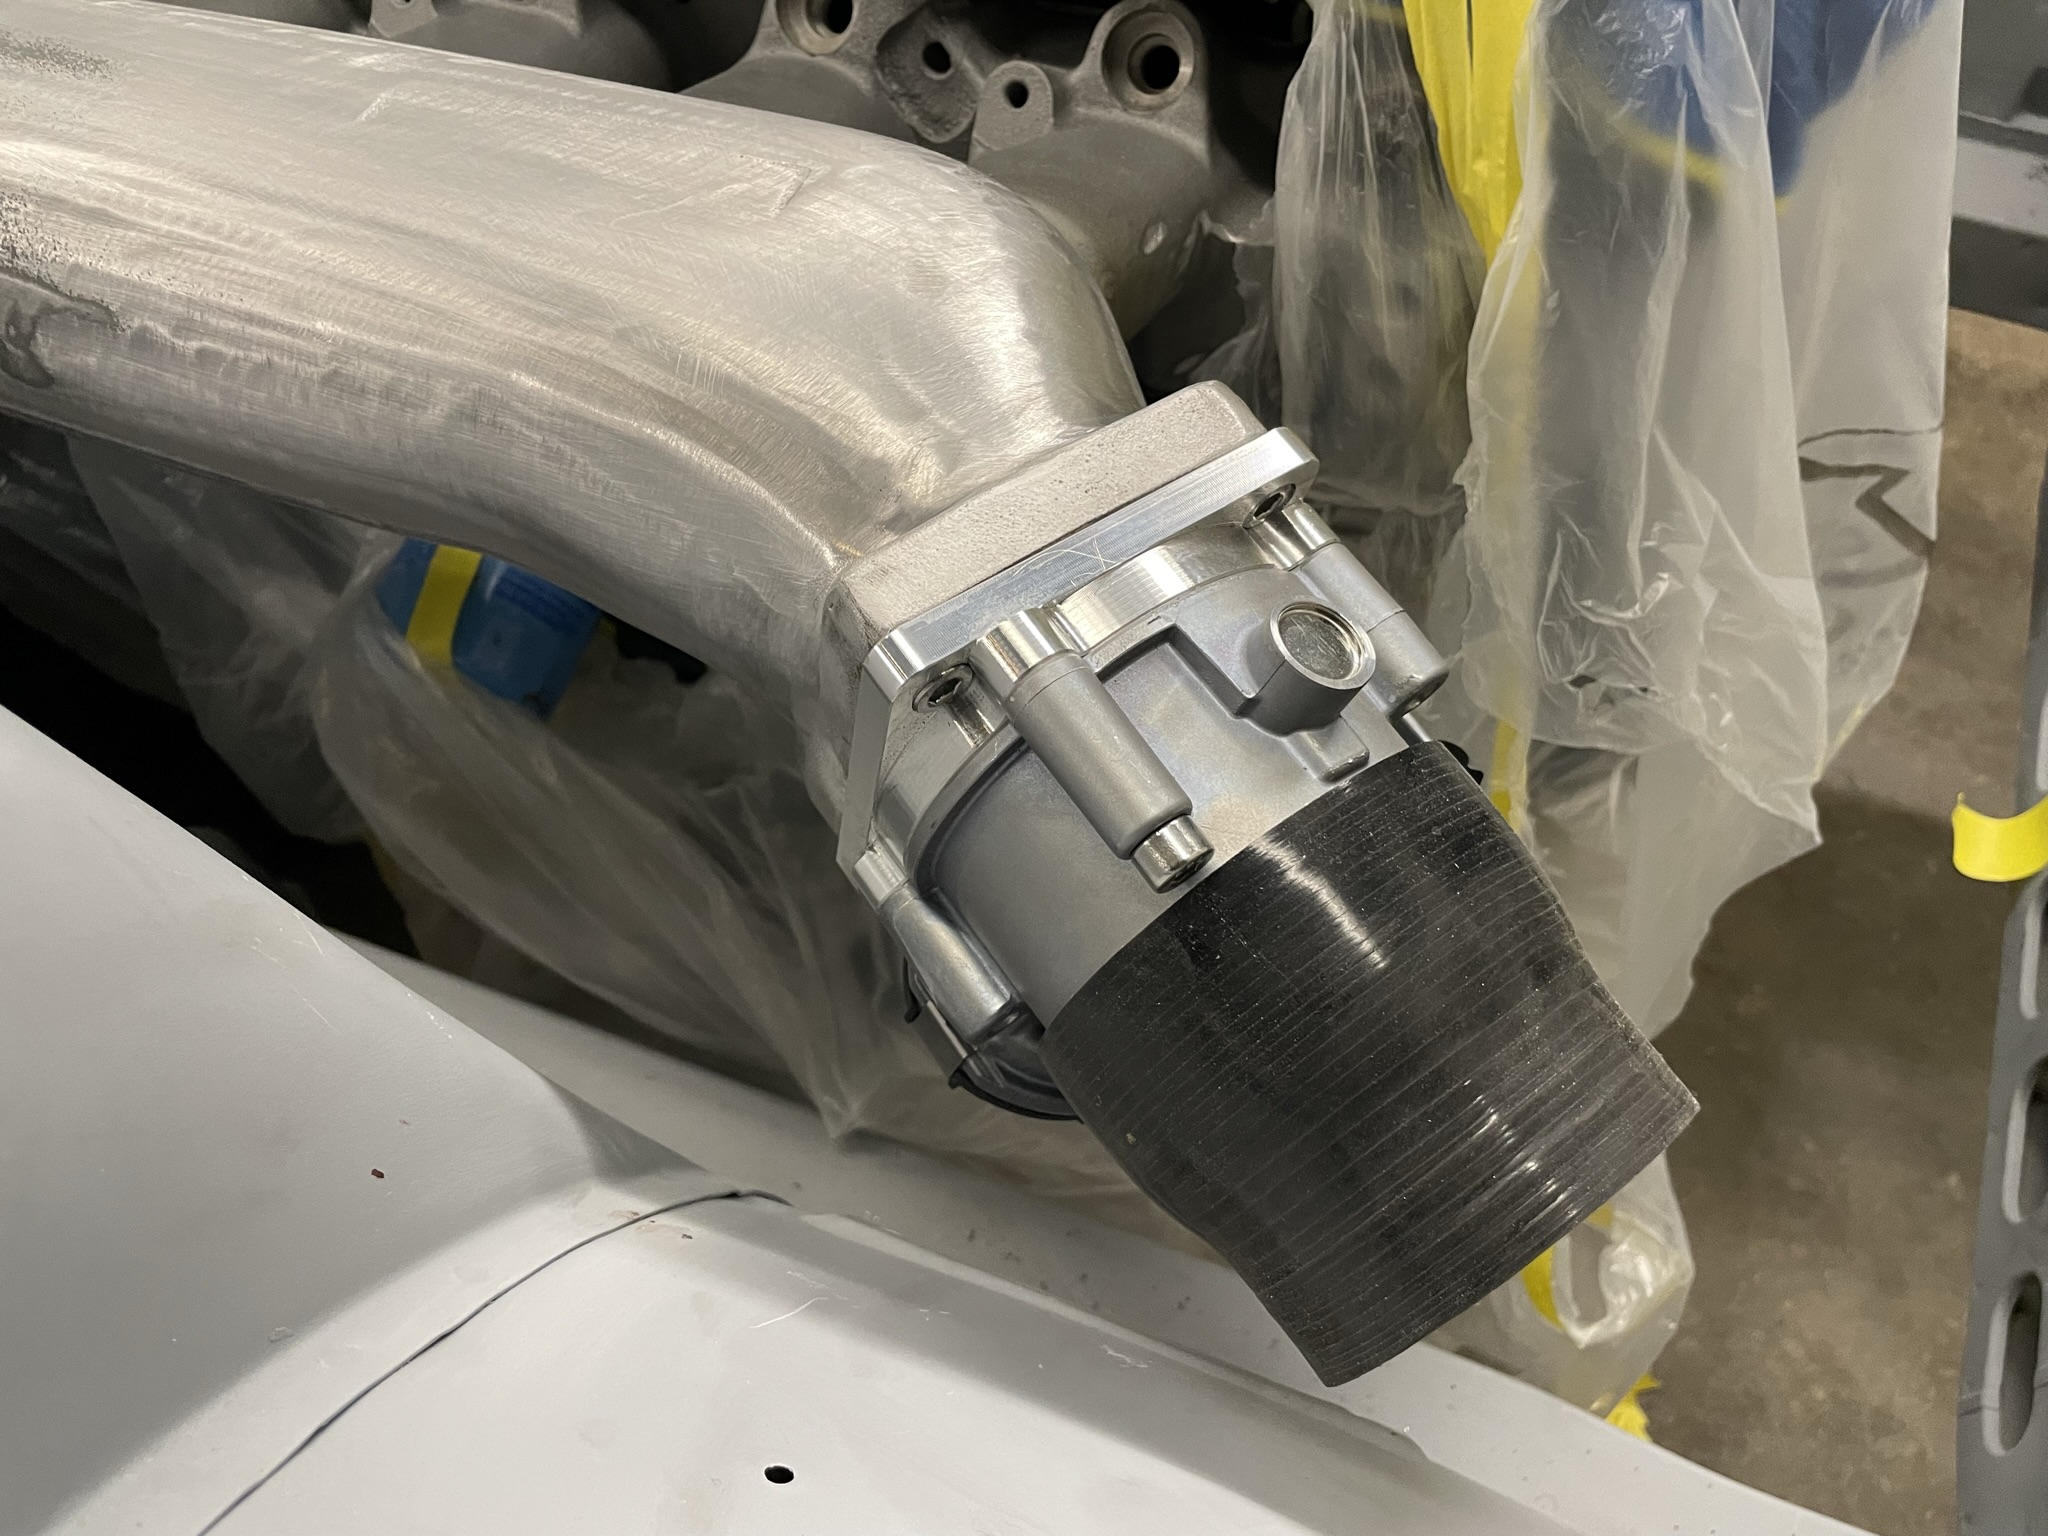
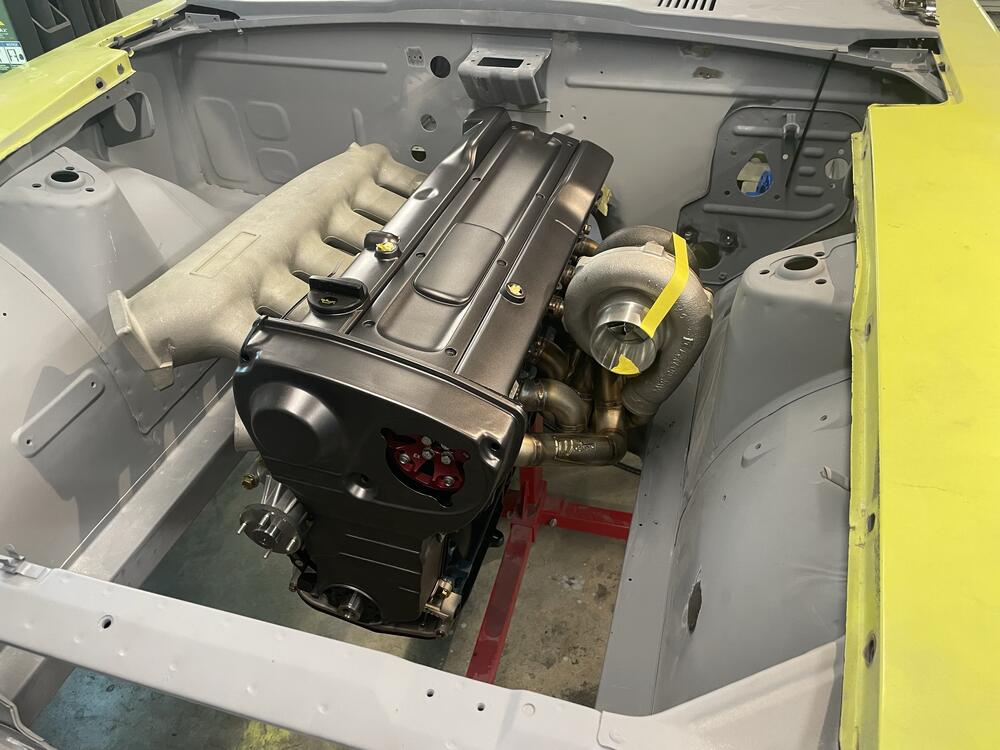
RB positioned for fabricating engine and transmission mounts. For anyone who’s gone this route, you’ve probably dealt with the issue of the throttle body running into the inner fender, especially when using anything larger than stock. I’m using a Bosch DBW throttle body which puts me right up against the body. I wanted to avoid modifying the car to accommodate this, so the flange on the intake was cut reoriented, welded, and blended back to better fit the S30. Still tight, but enough room for the piping.


-
I agree, but fortunately not the worst of the cam belts to replace.
-
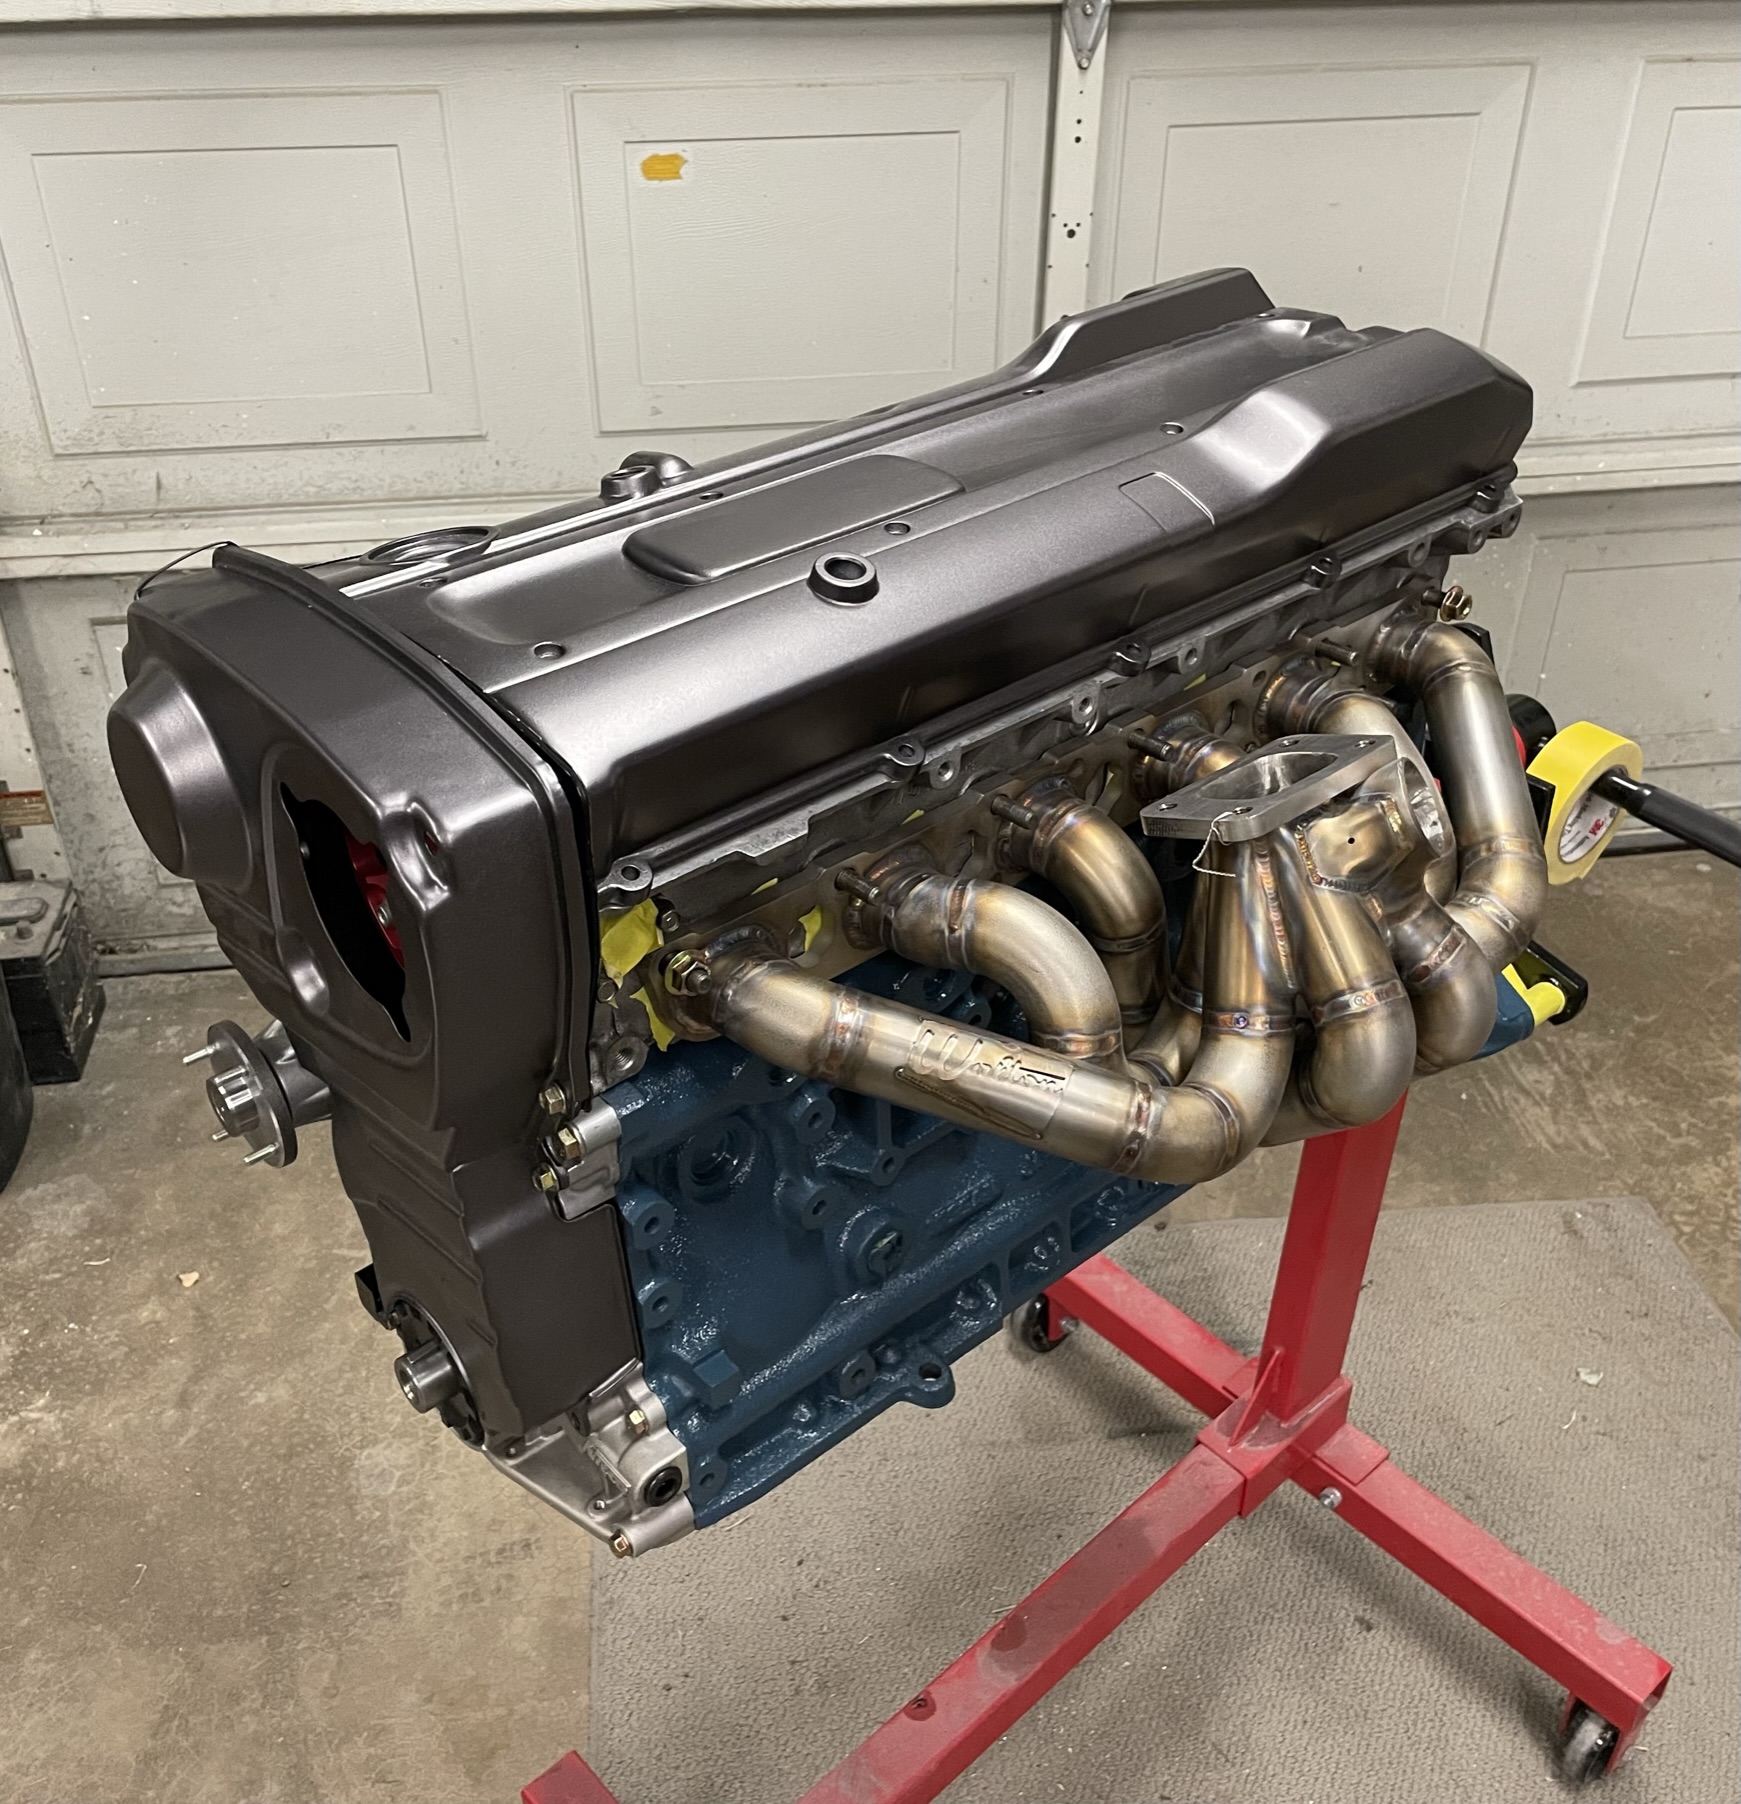
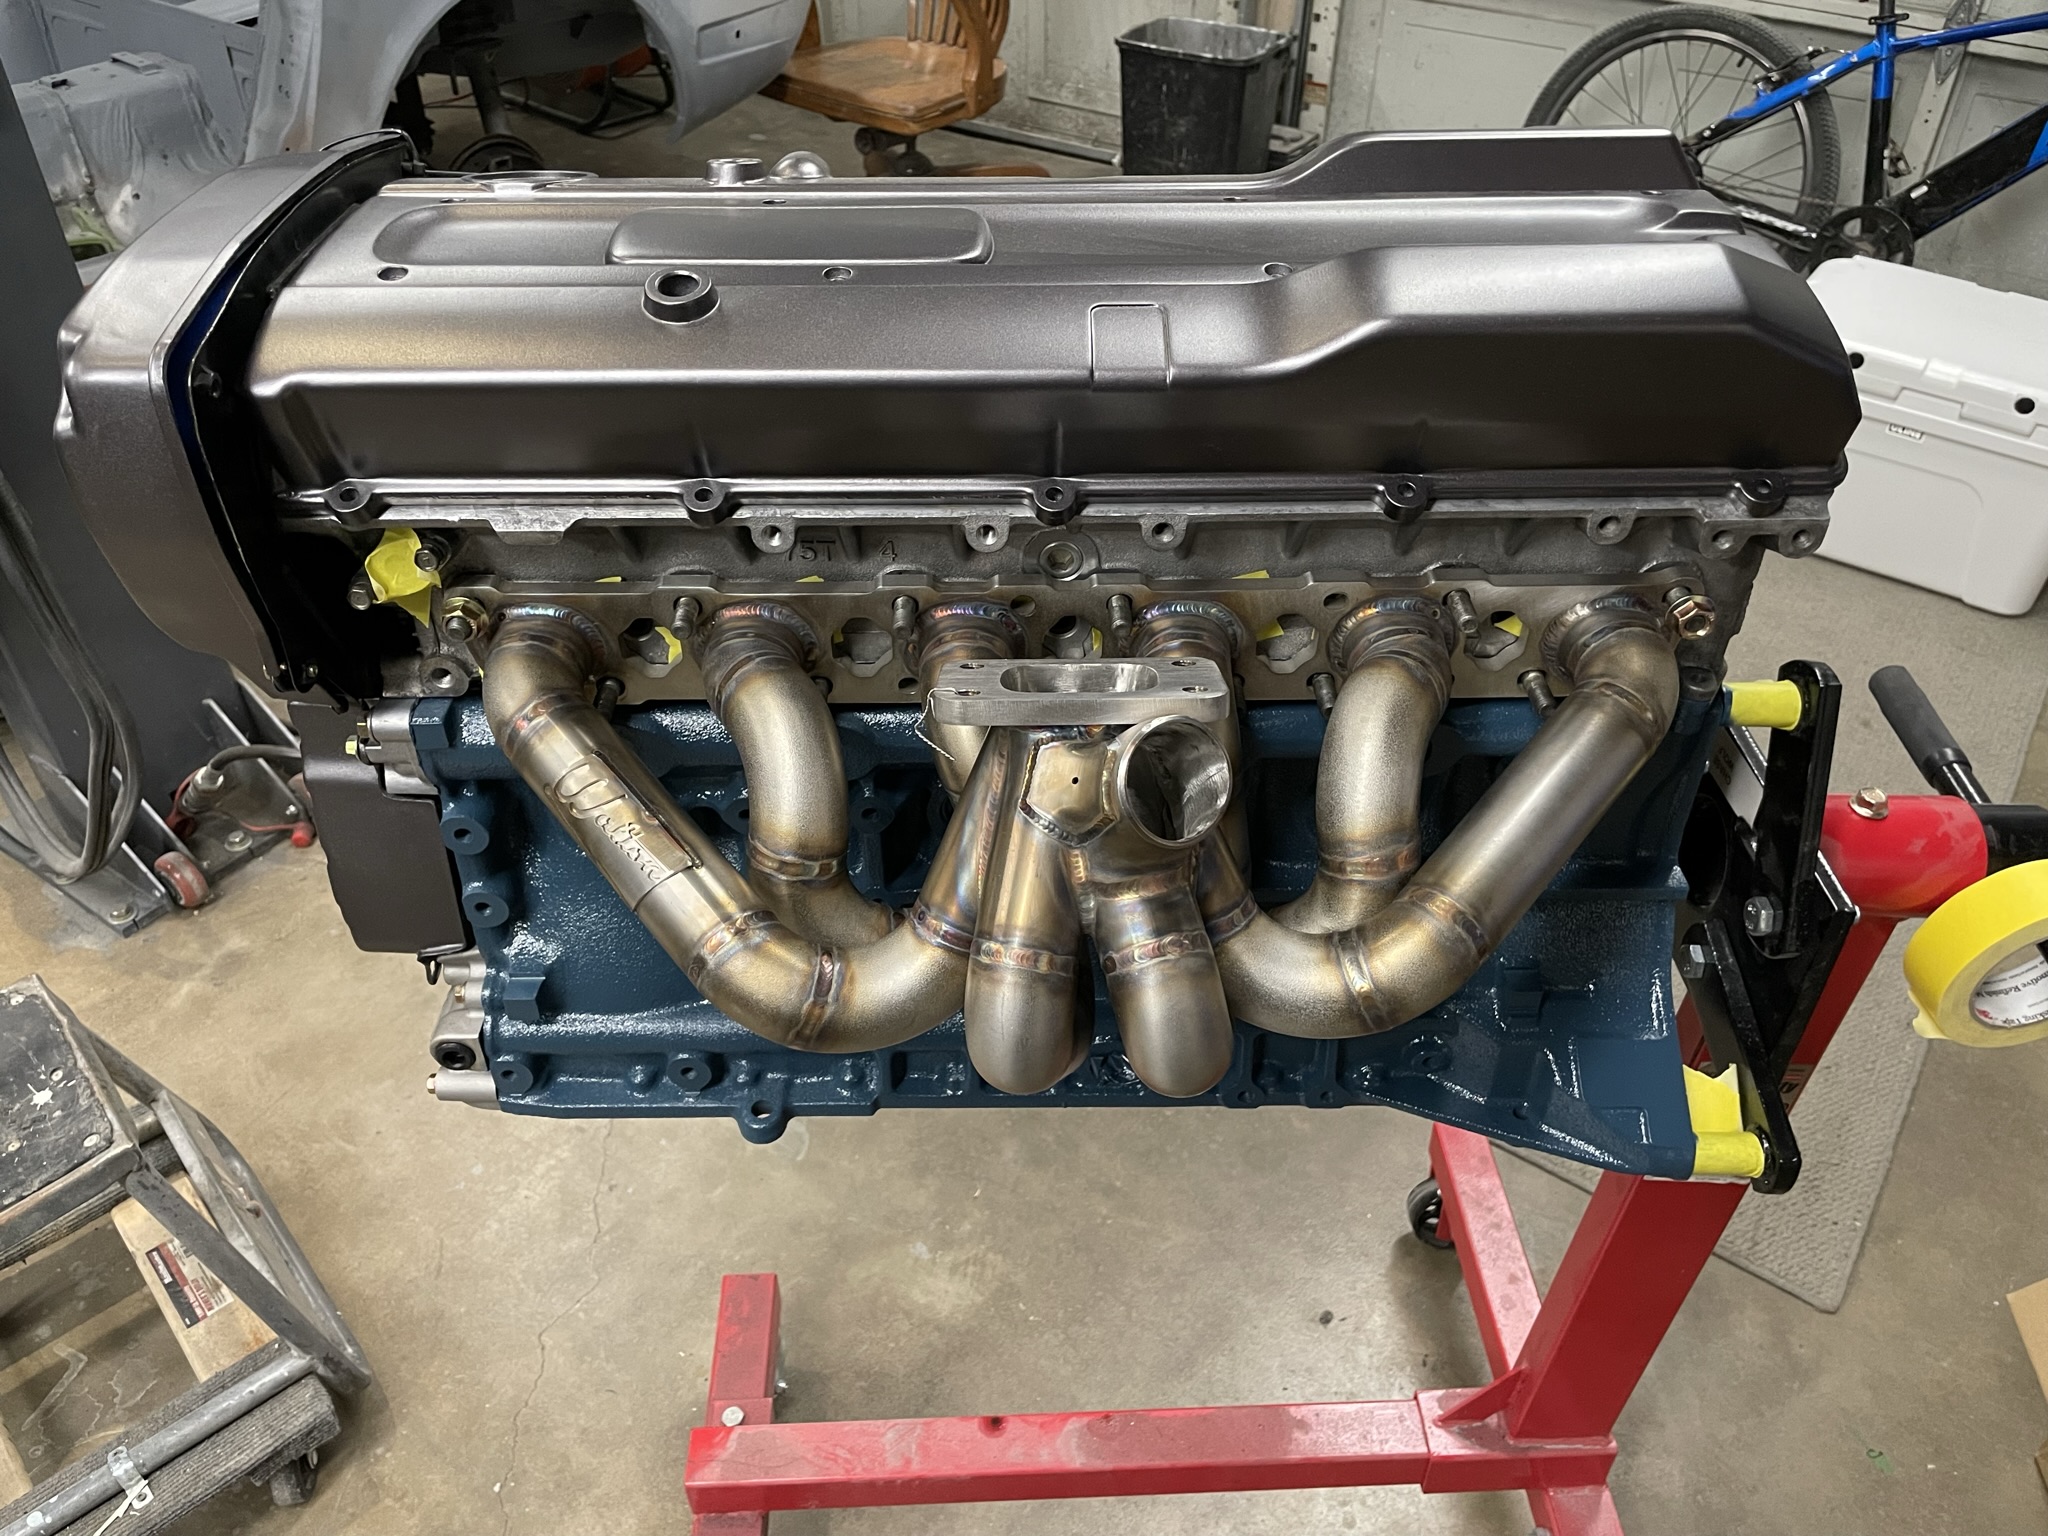
Update on the drivetrain for the build. Fairly long list and I’ll probably forget something. RB25DET S1 Bottom End: Custom S30 oil pan Nitto front drive and oil pump Ross crank pulley 87MM bore Wiseco pistons Manley Rods Cosworth head gasket ARP hardware where possible N1 water pump External Oil Cooler Block painted same factory L-series blue Top End: Supertech solid lifter conversion Tomei 270 Procams Tomei Cam Gears ARP hardware where possible Walton exhaust manifold PRP crank and trigger setup RB25 valve covers painted factory S30 graphite (taillight panel, grille, etc.) Garret HTA 3076 turbo built by Forced Performance Drivetrain (and chassis) will be ran off of a Haltech Nexus R5


-
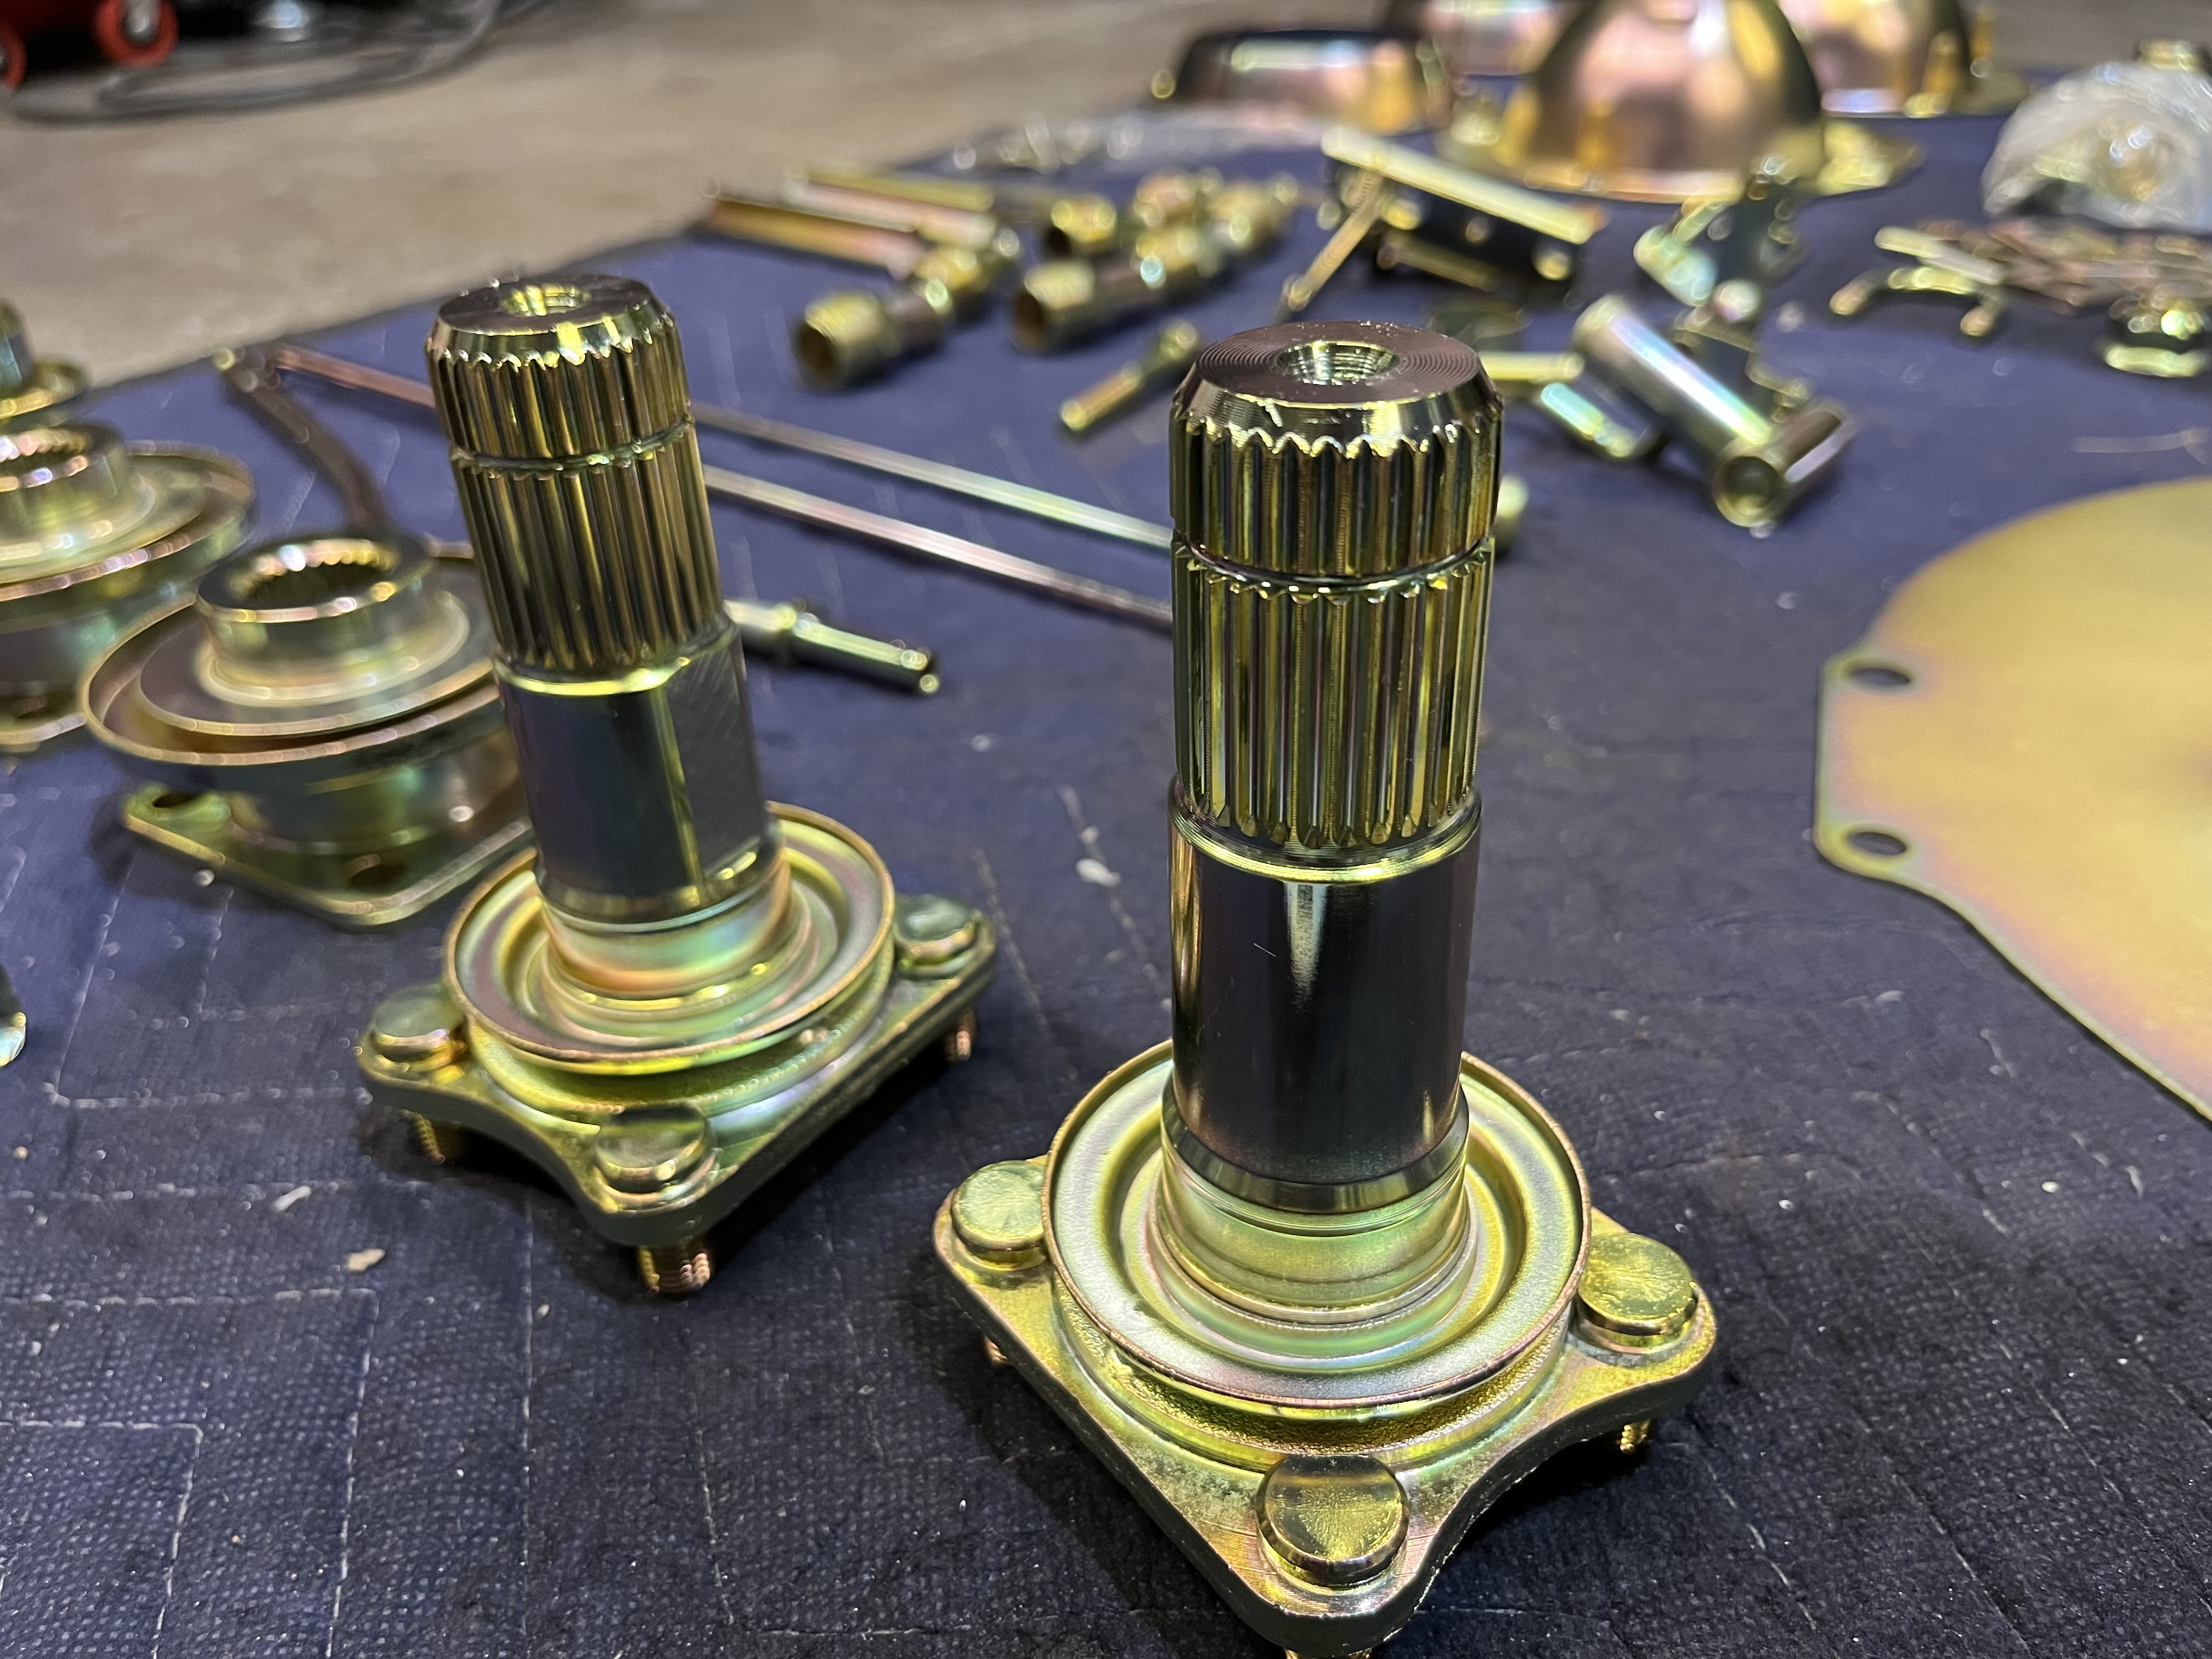
Love it. I agree, the mess is a pain to clean especially when its gold or silver in color!
-
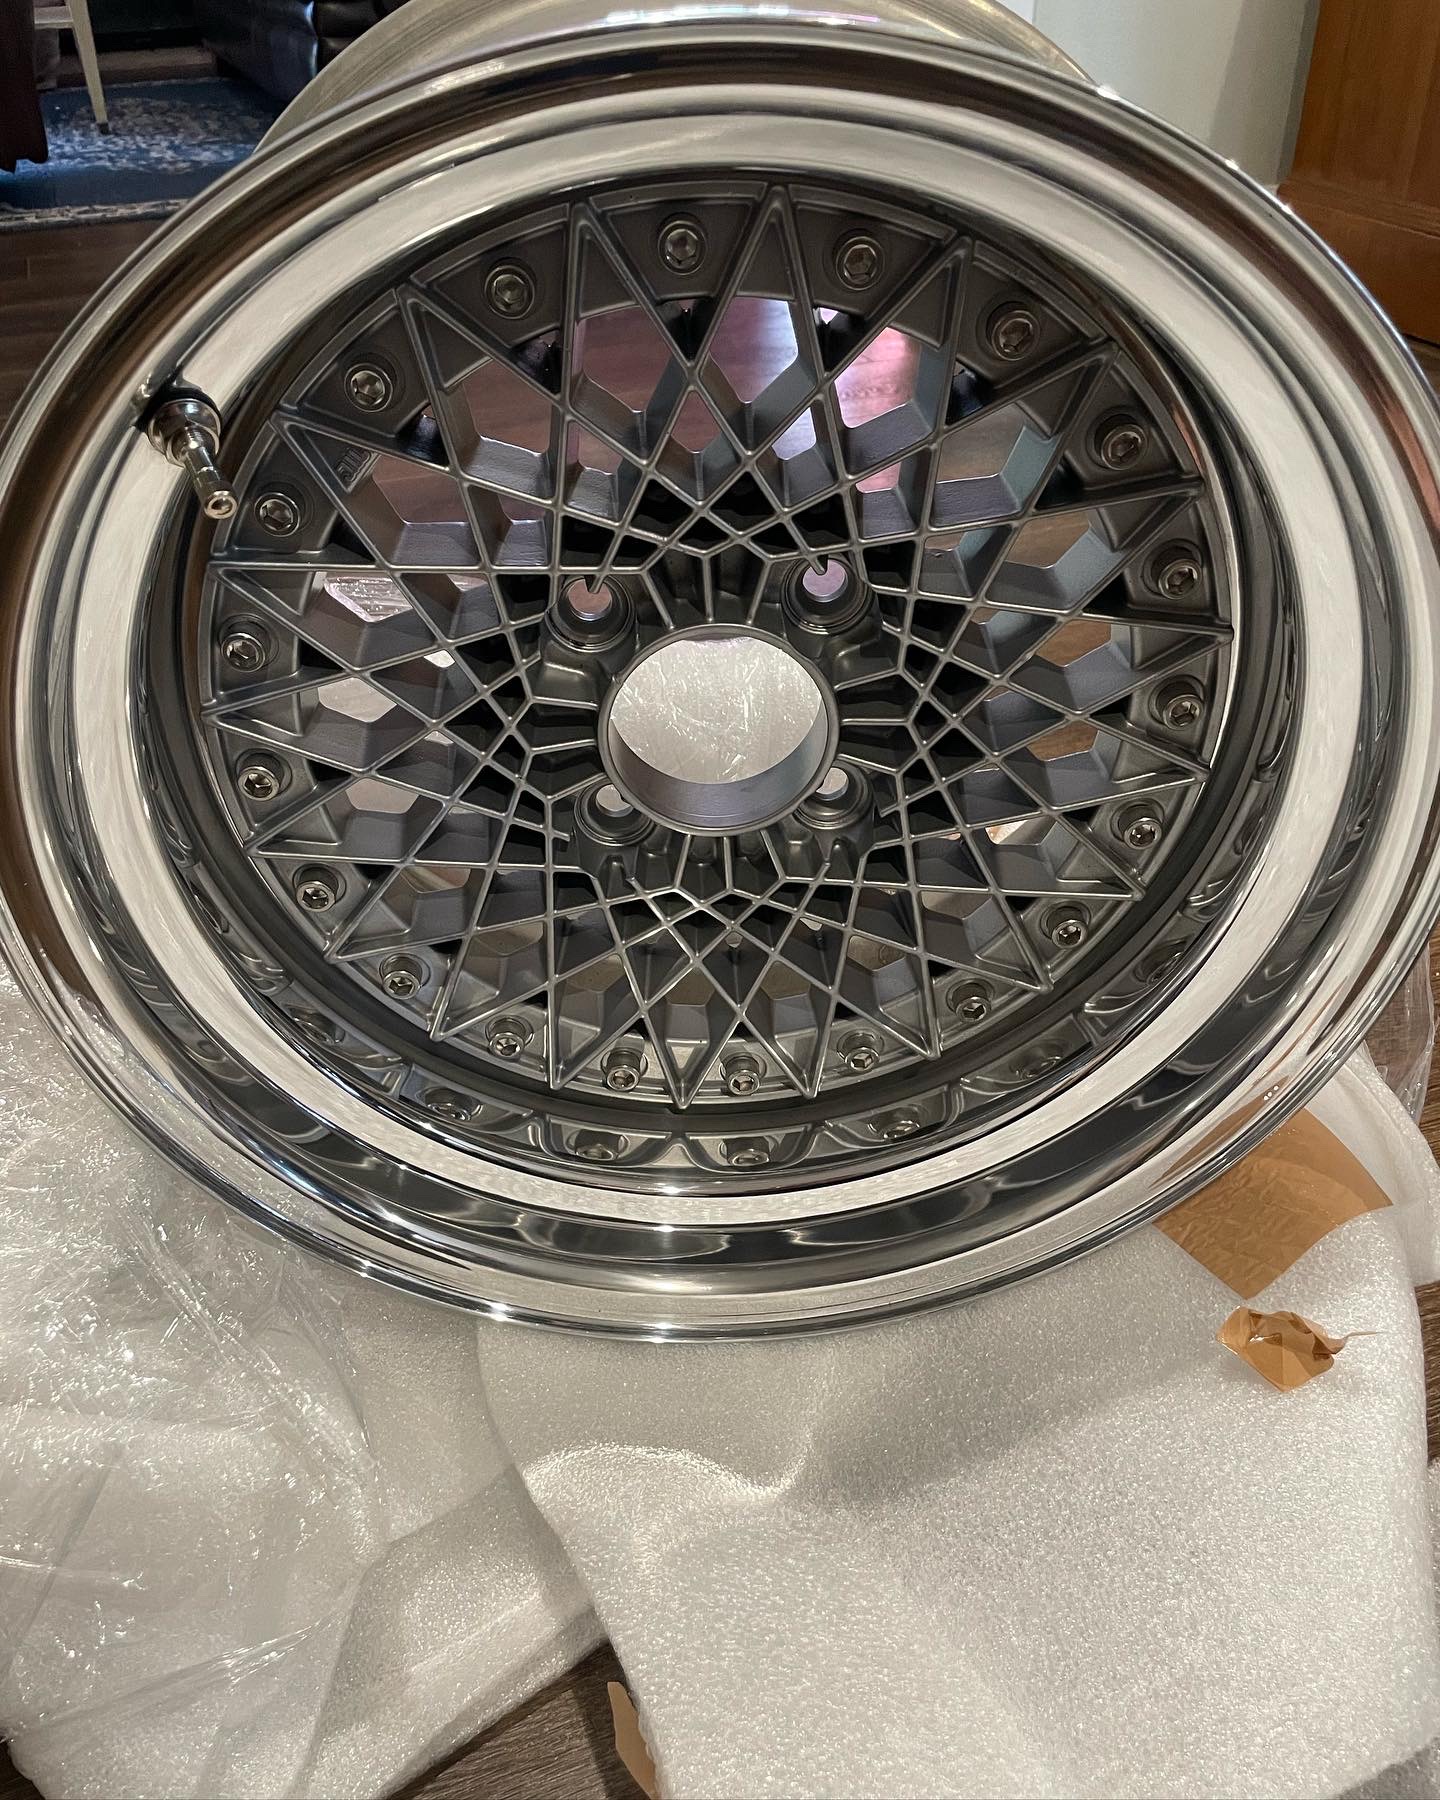
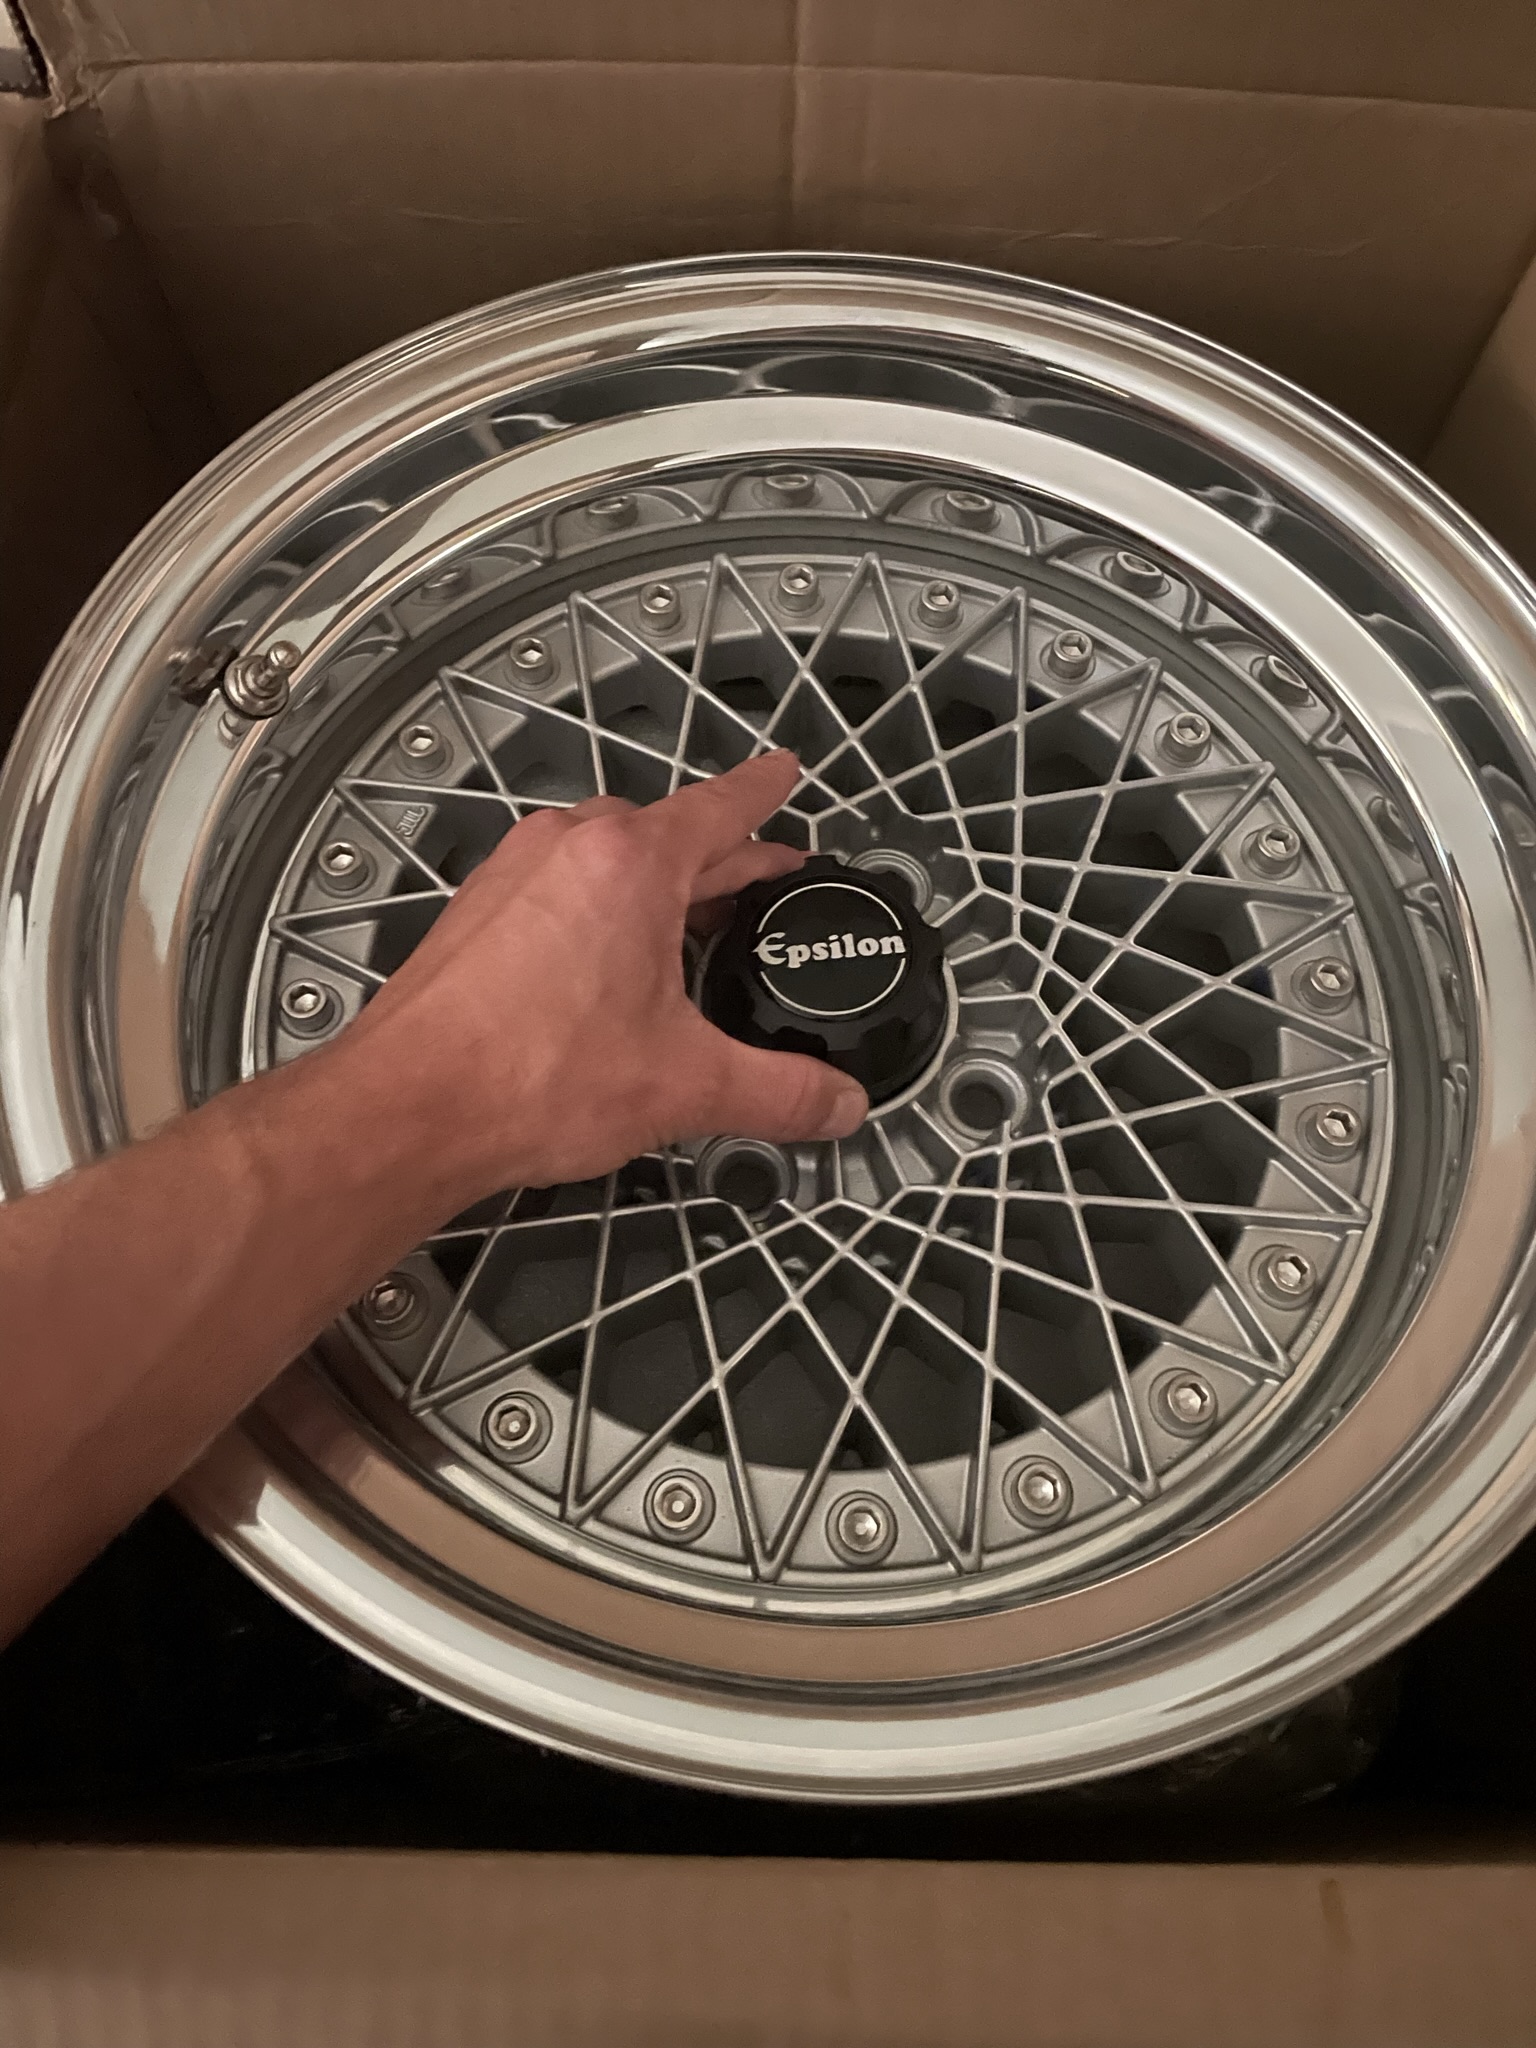
Switching gears slightly, the wheels for the Z were delivered from Love20bee. The Epsilon wheels have always been my favorite for the Z and Celo did a fantastic job with these. Was also able to grab a set of repop center caps for it to complete the set. 16x8.5 should tuck under the car nicely.


-
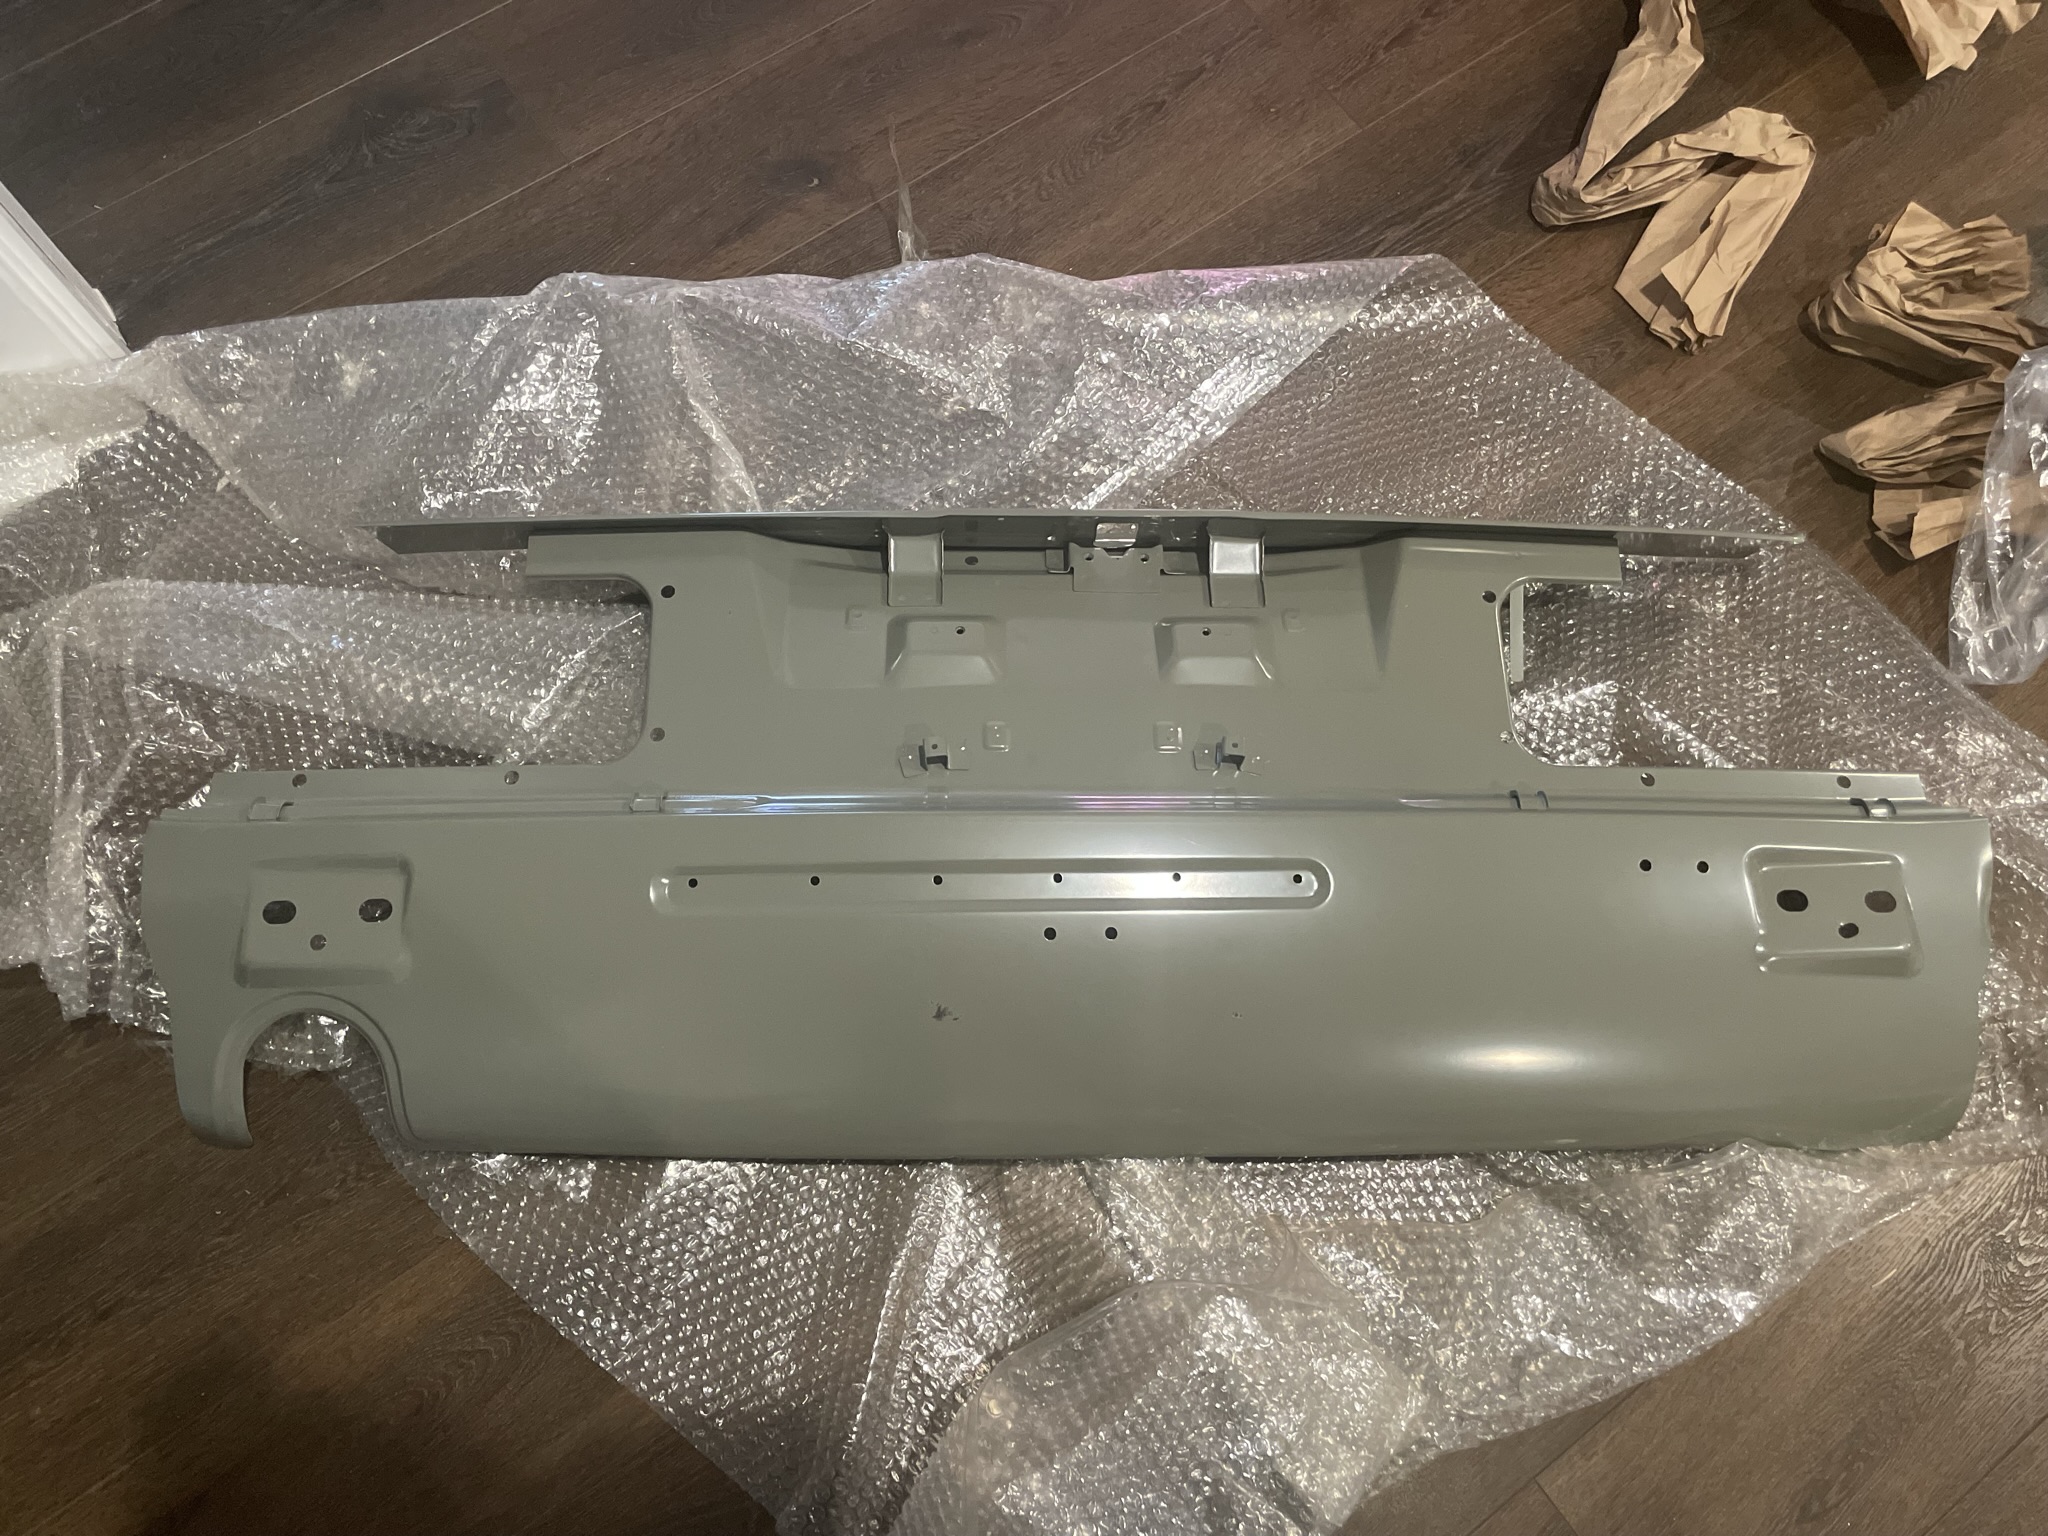
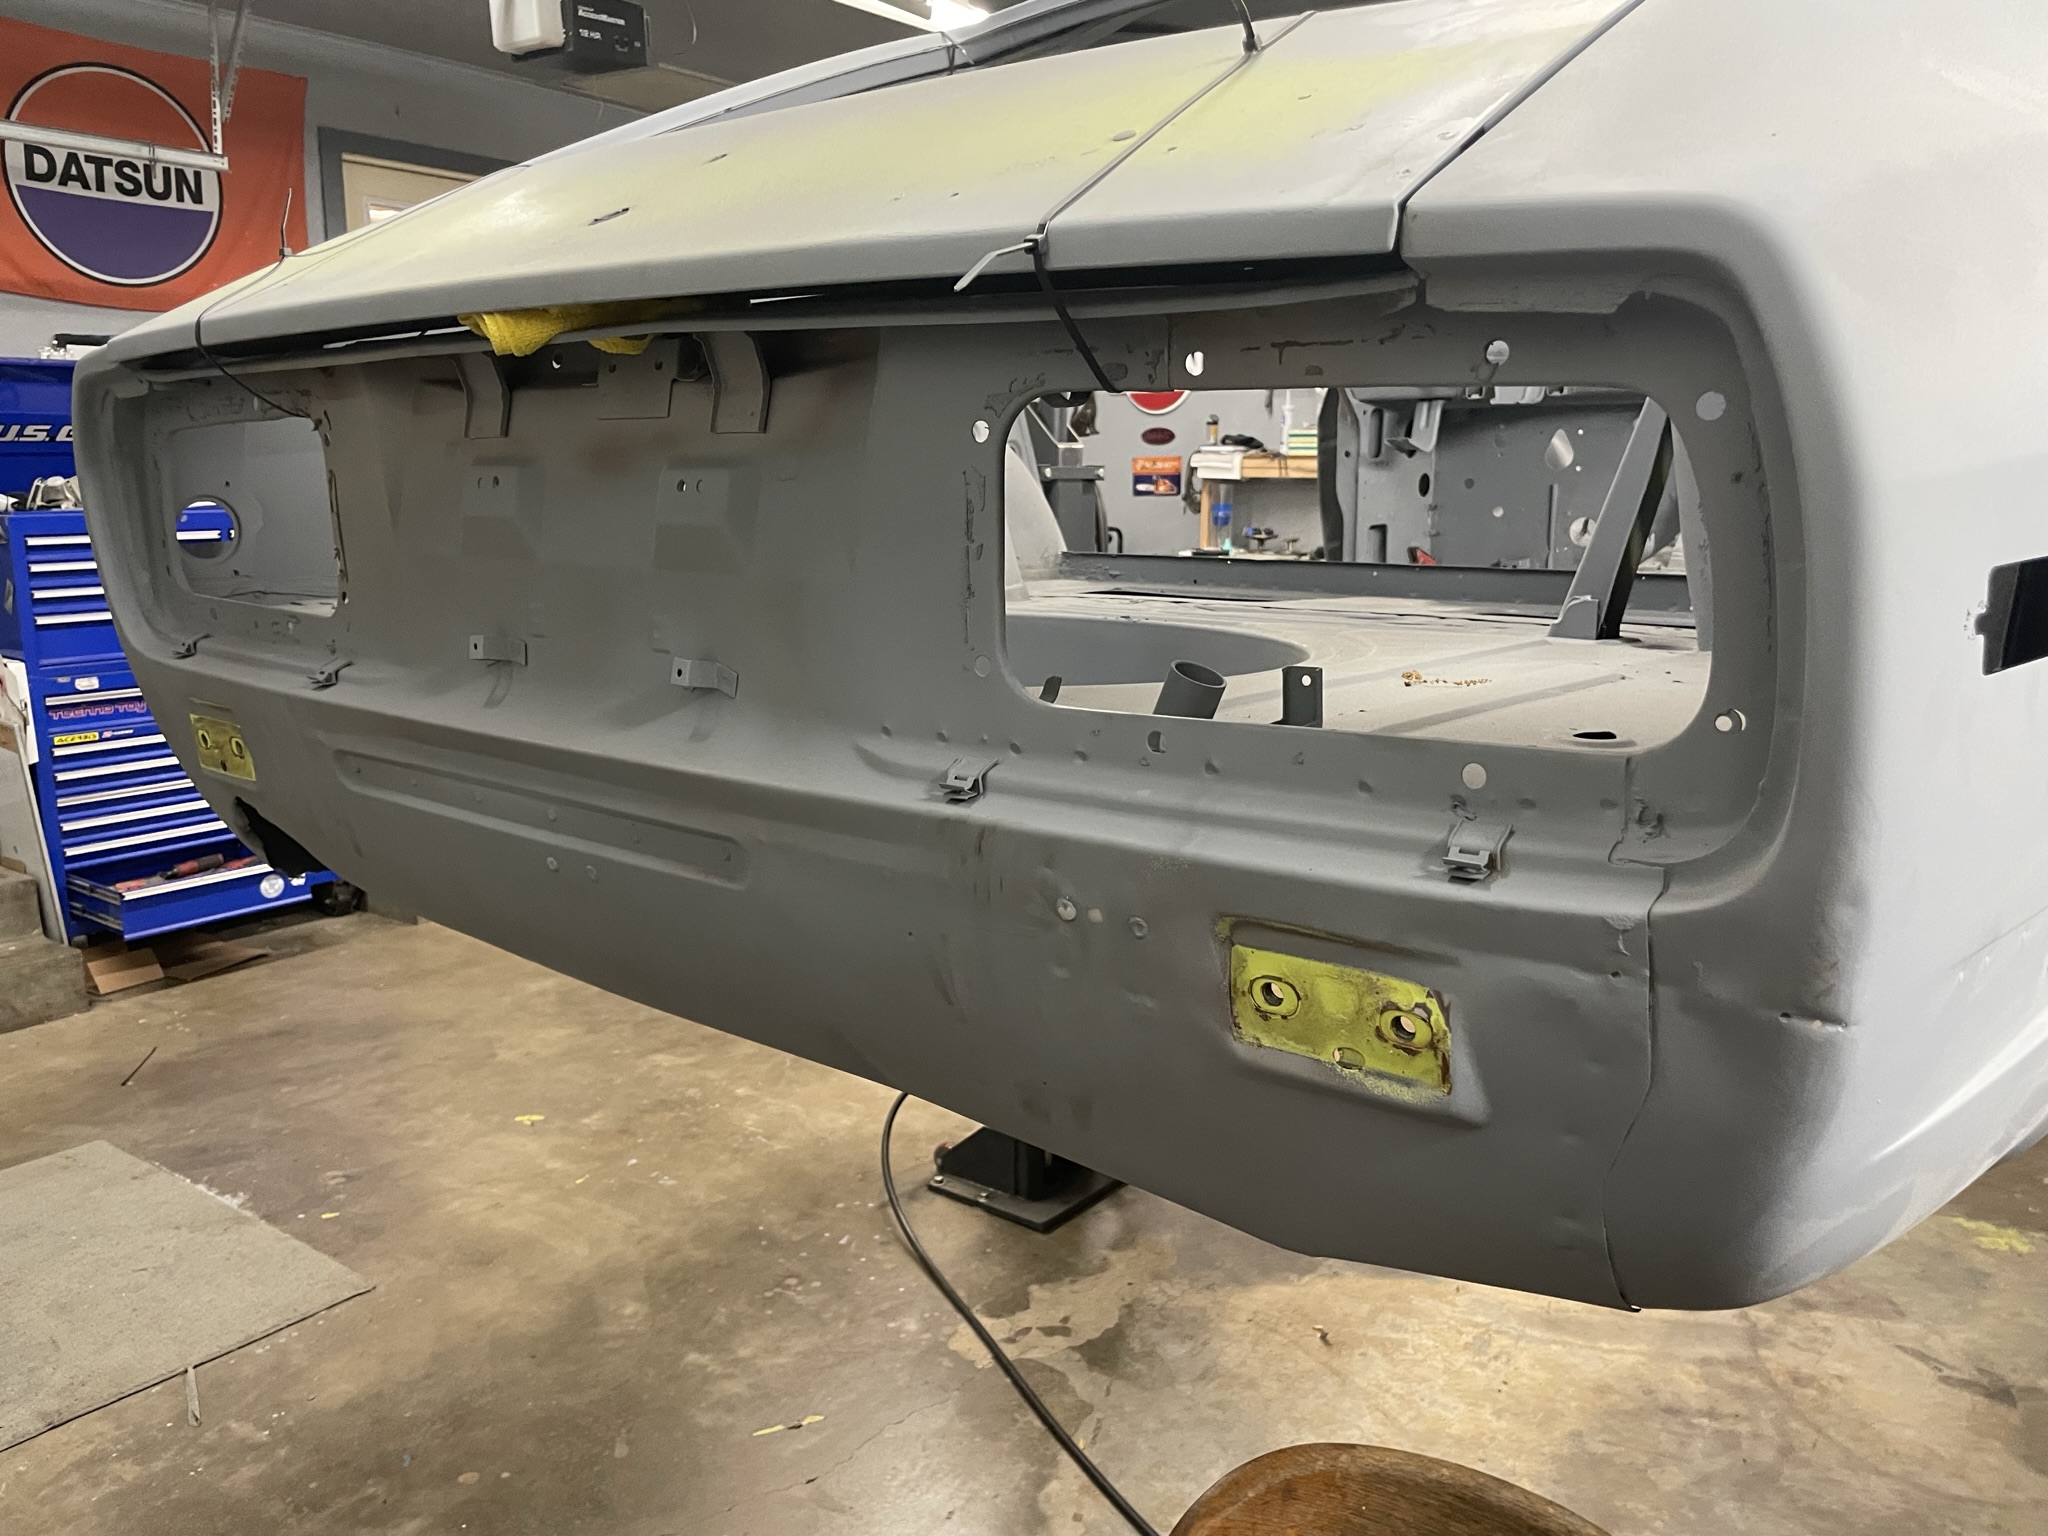
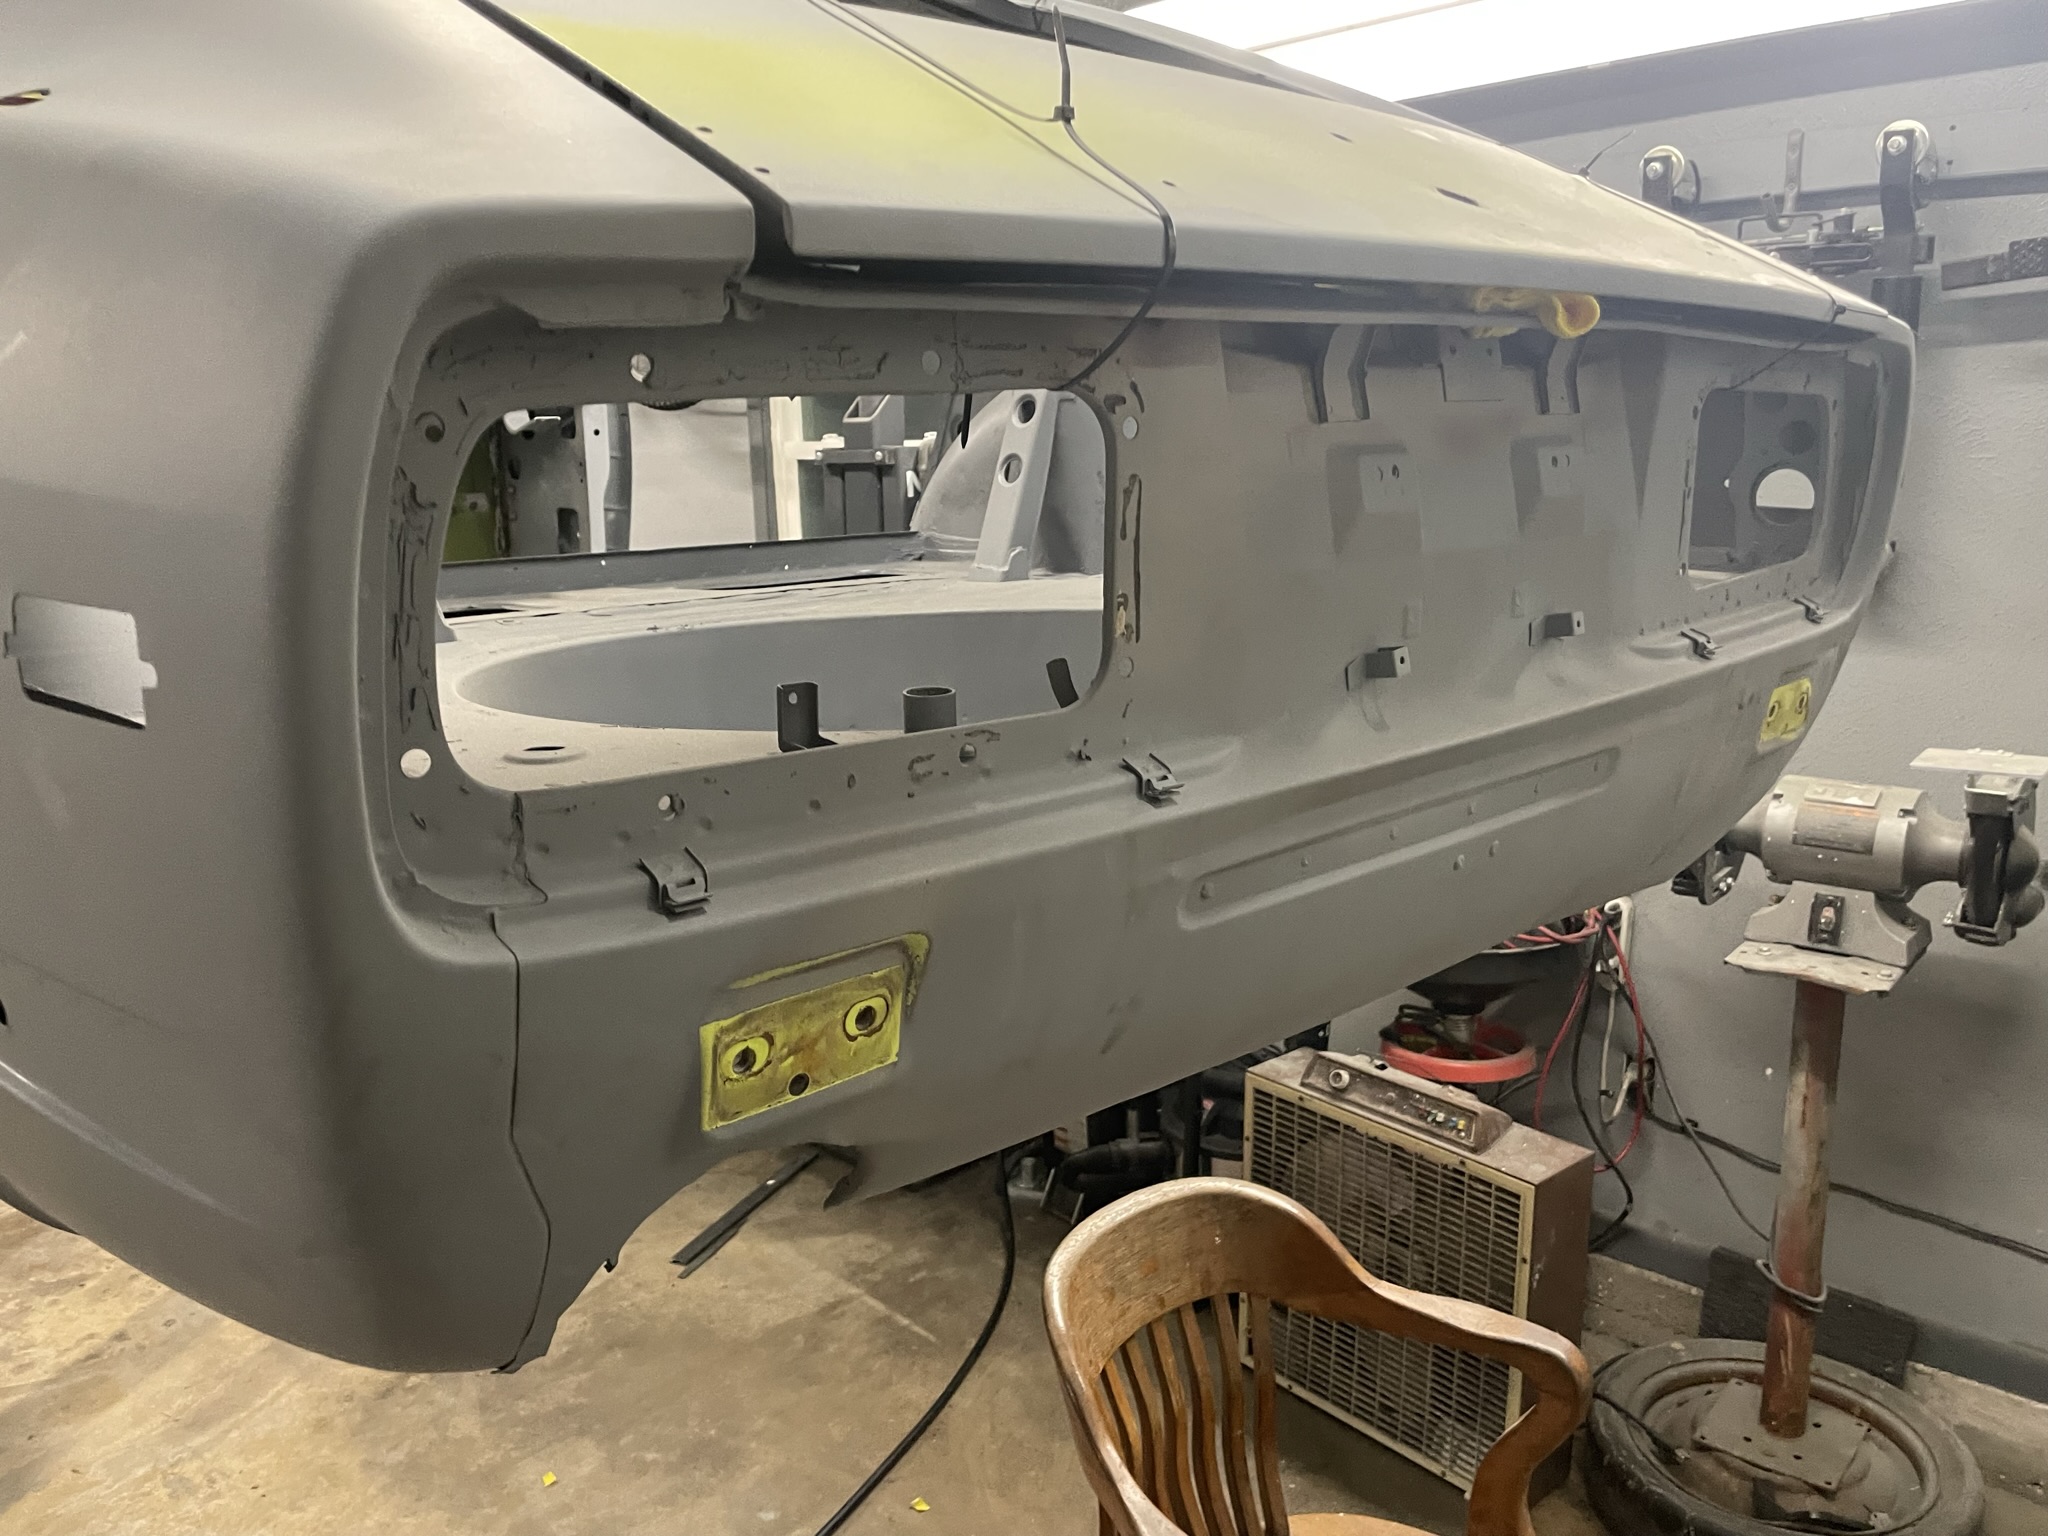
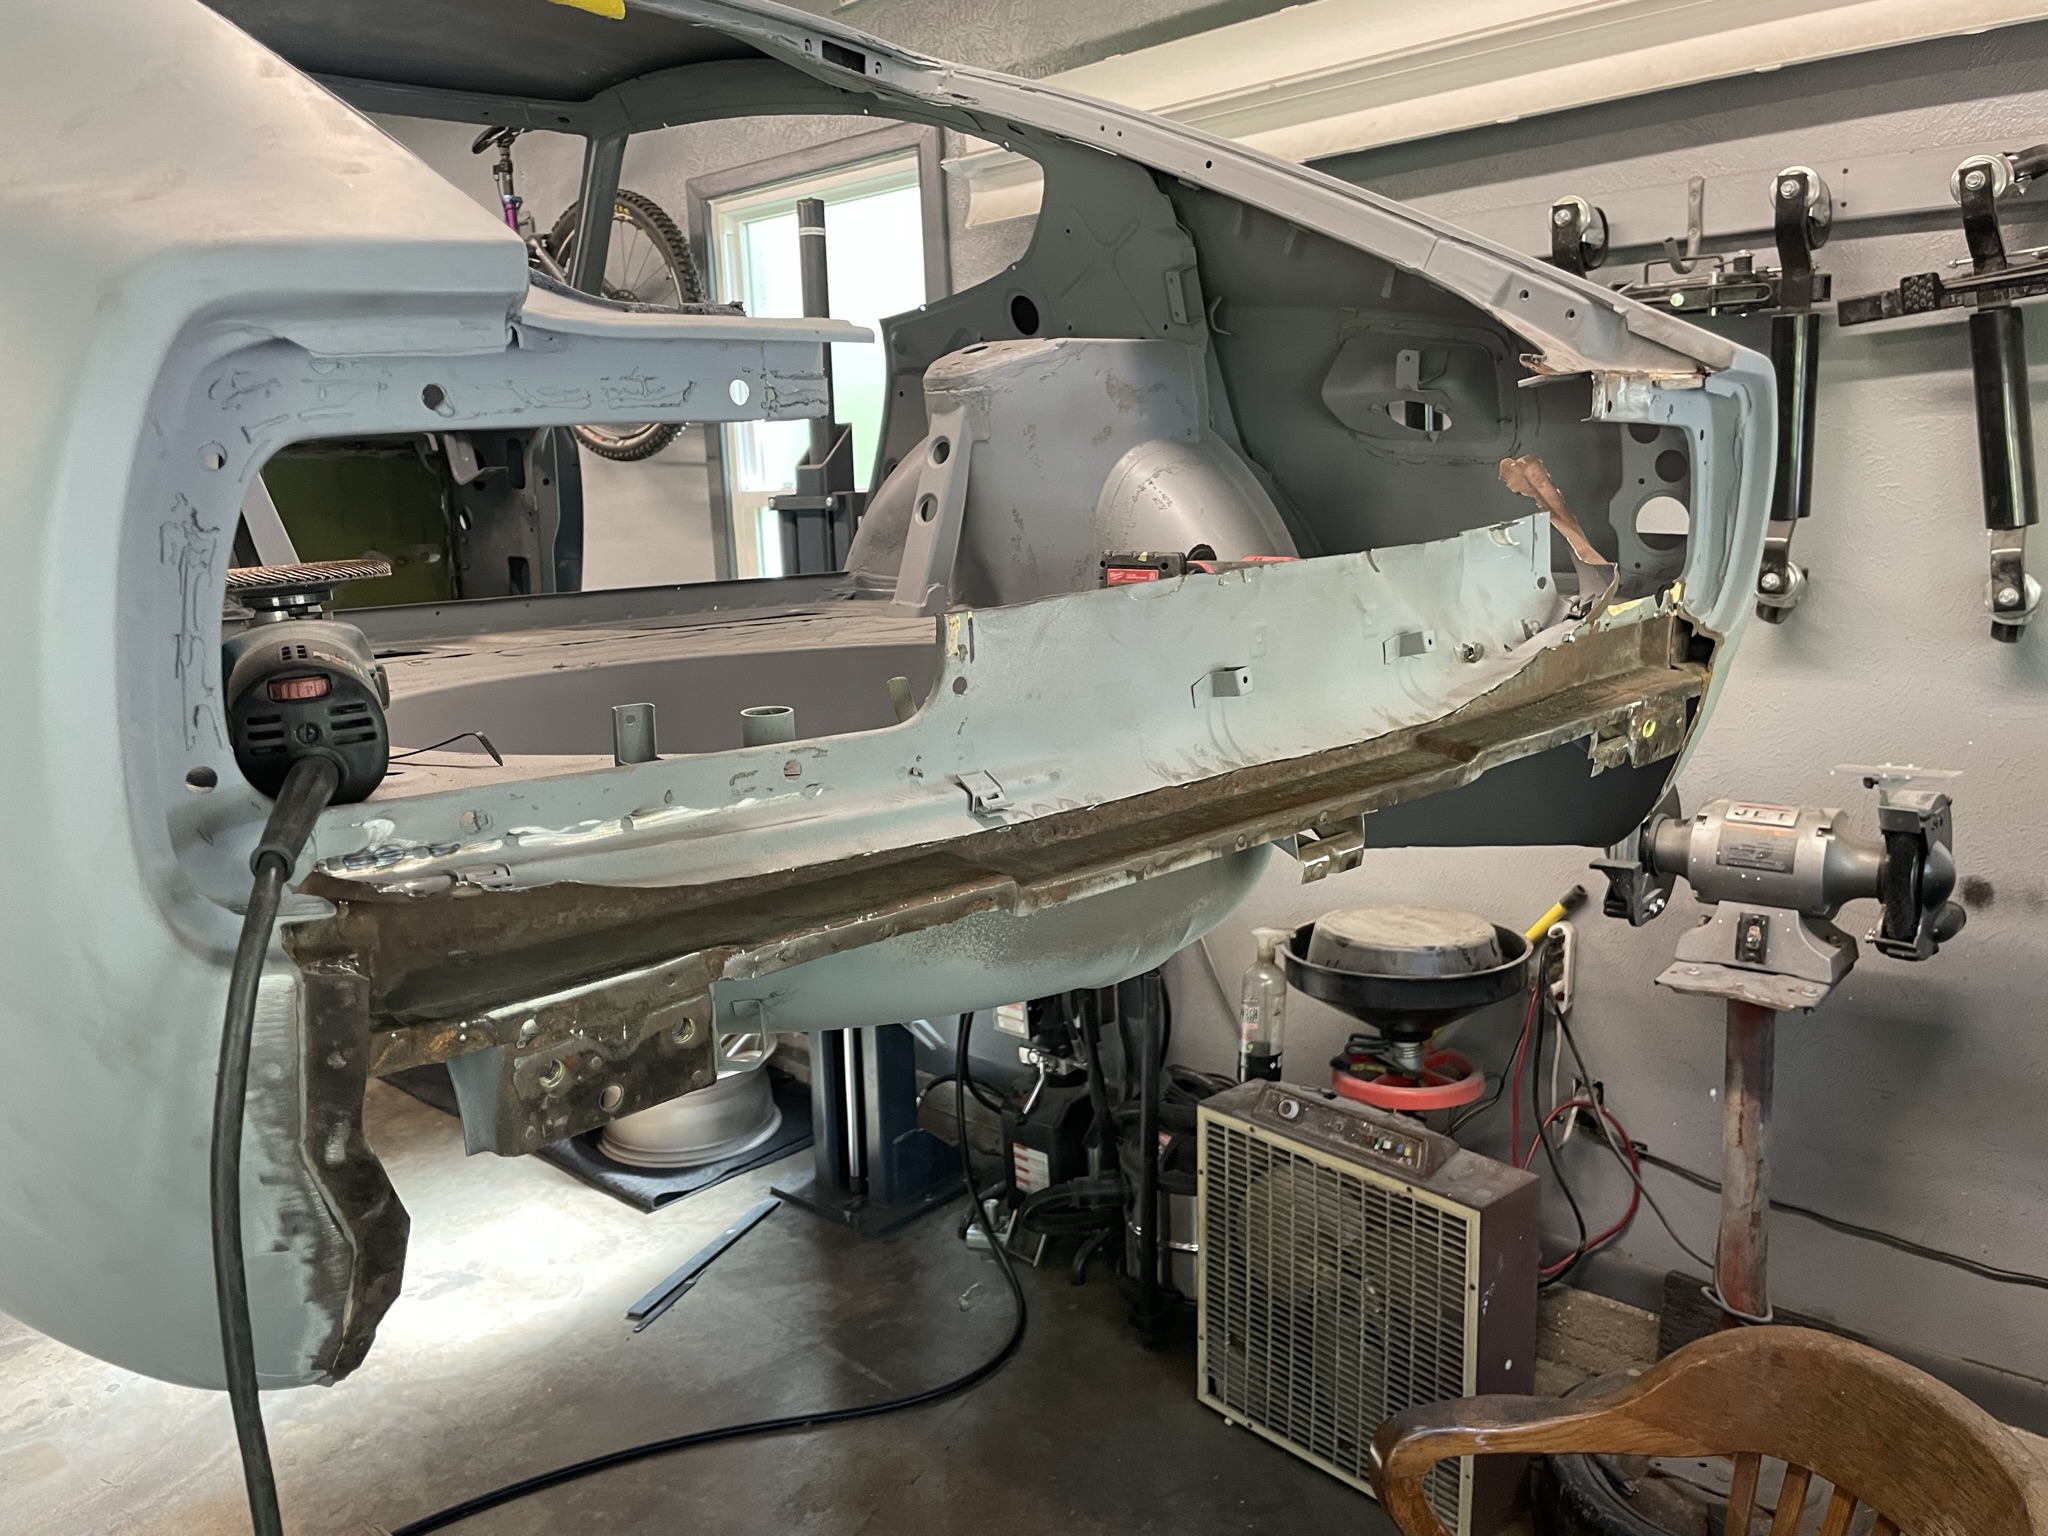
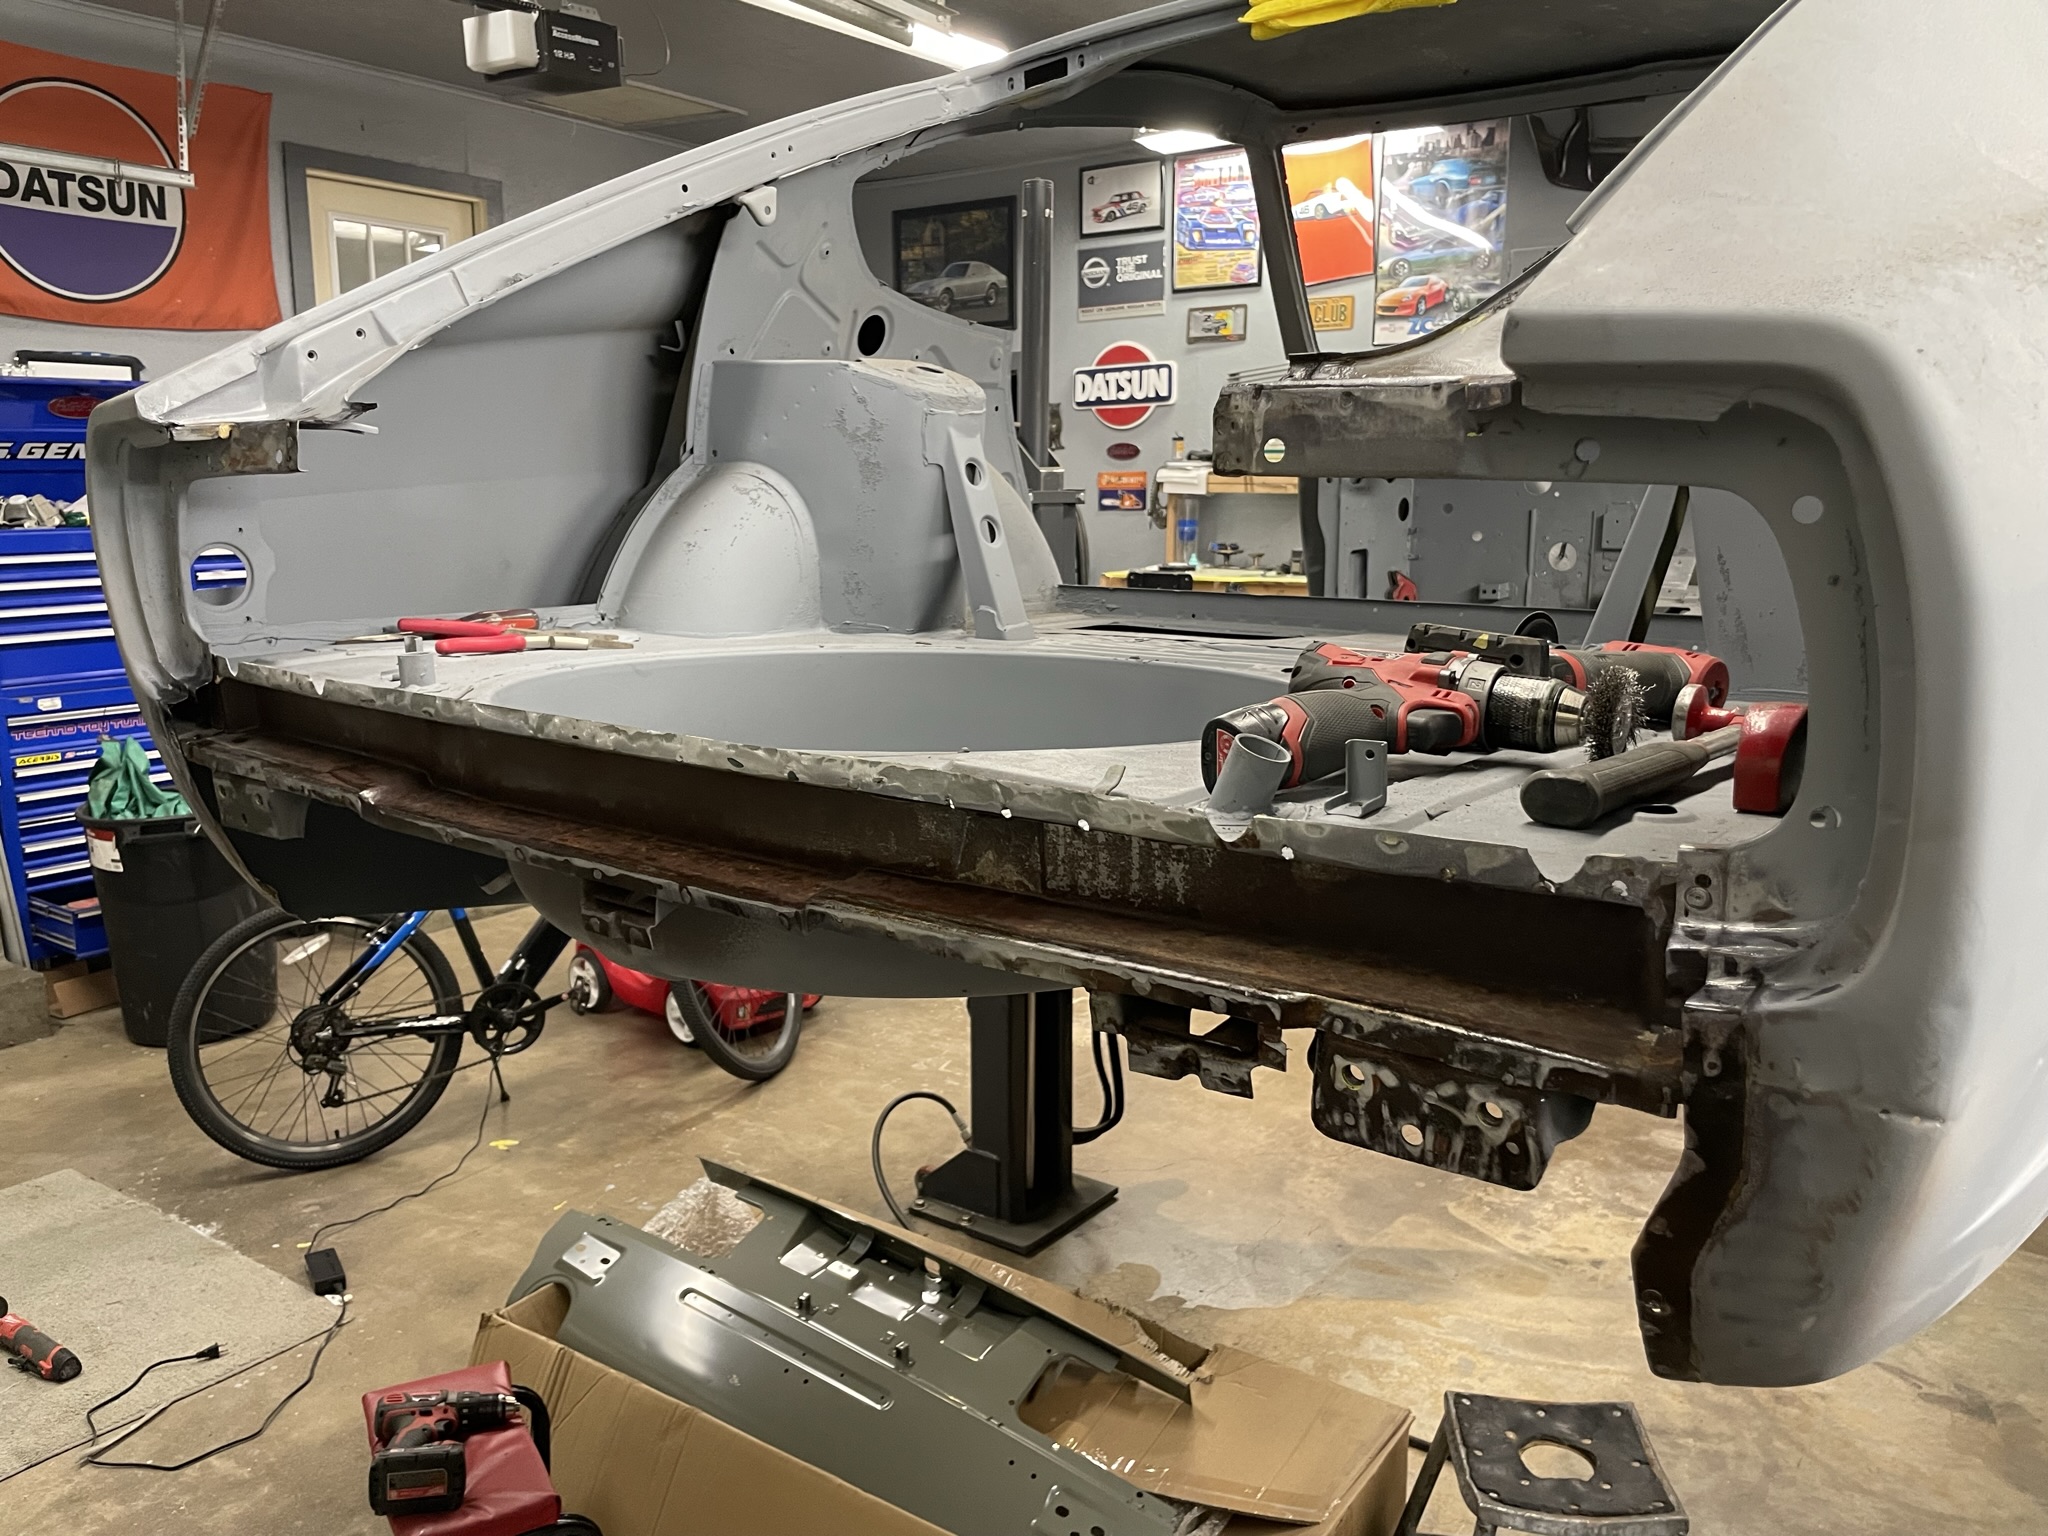
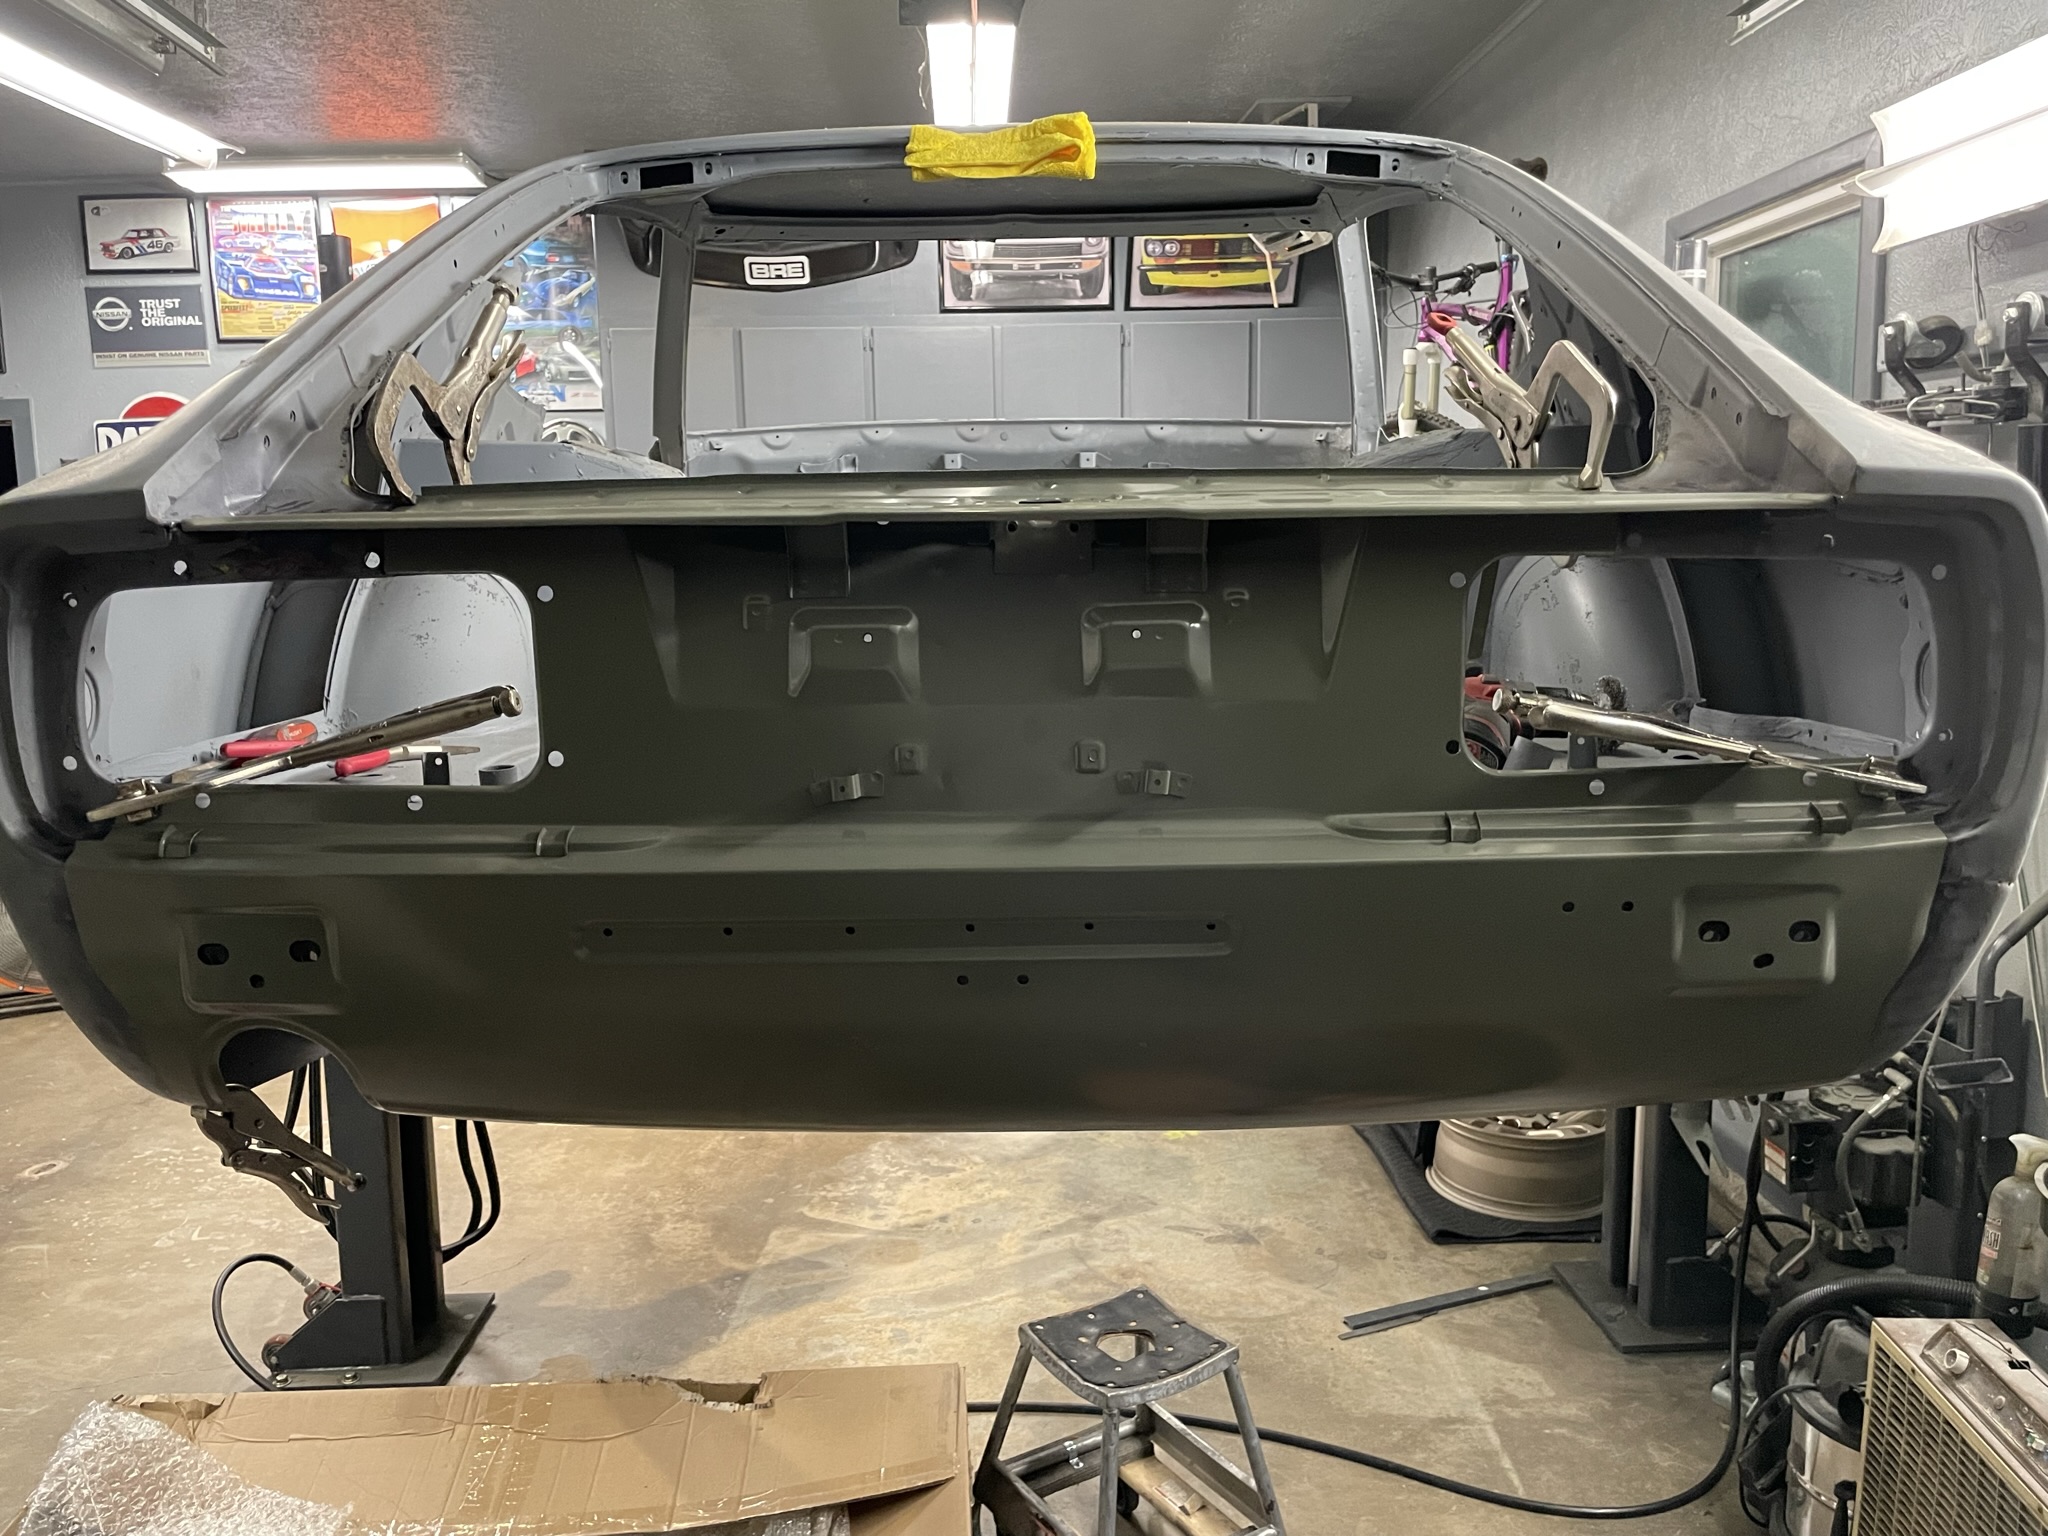
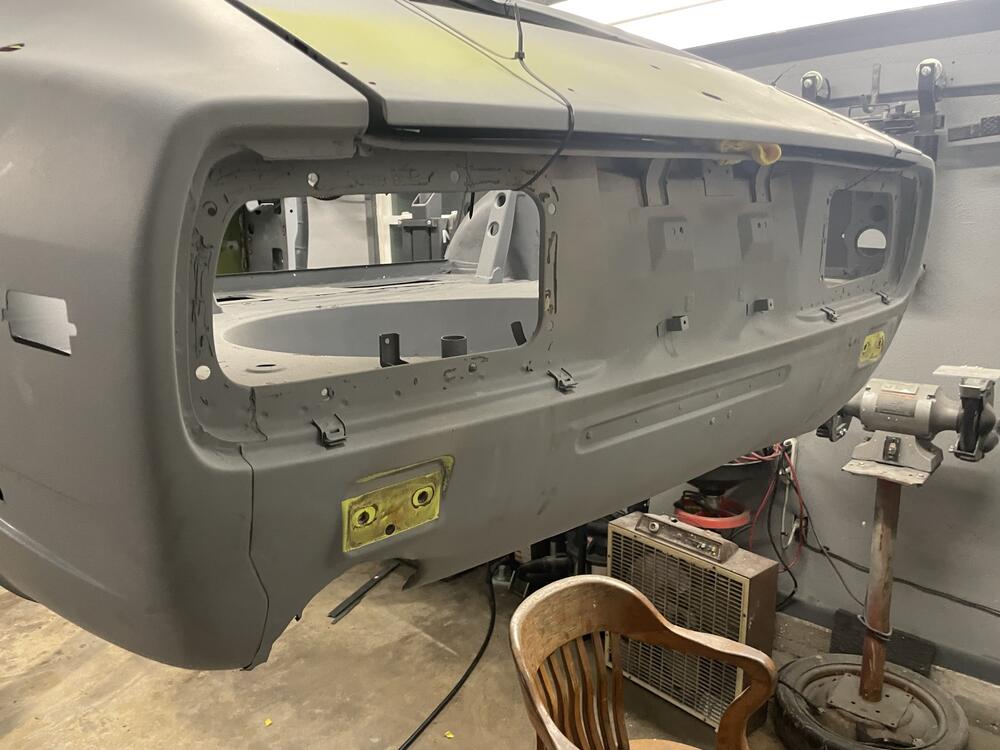
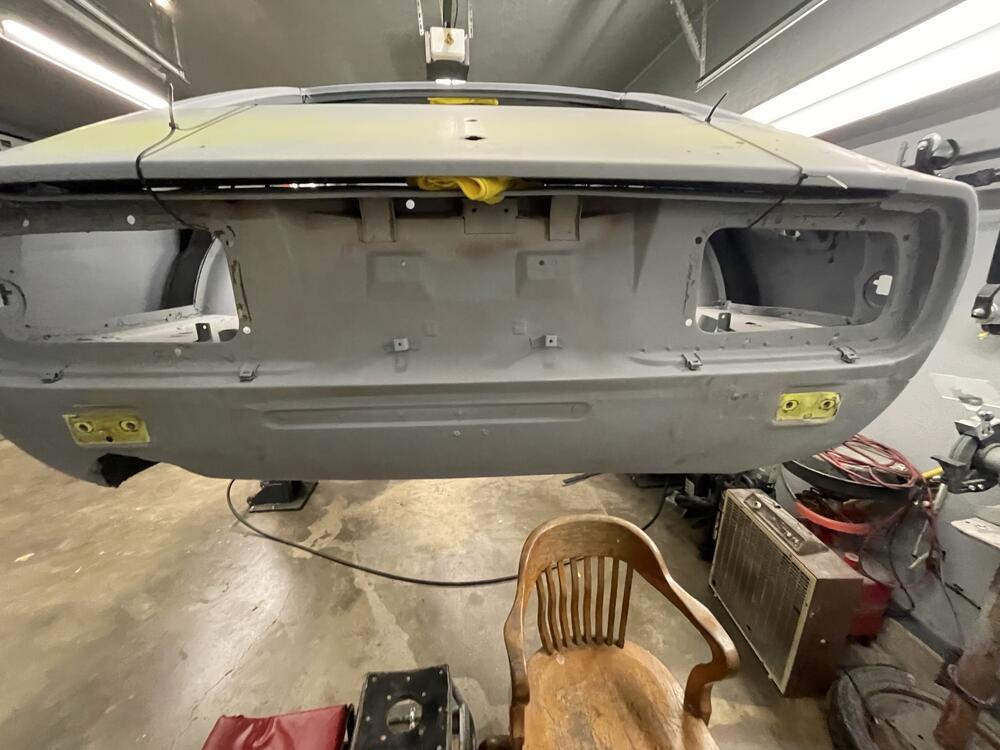
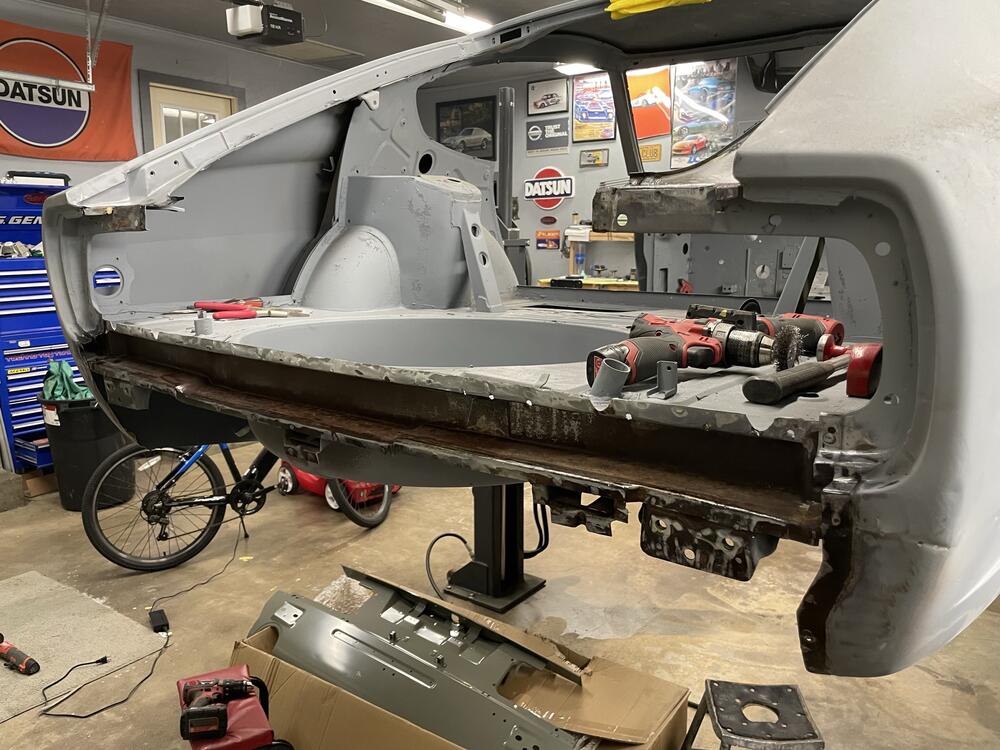
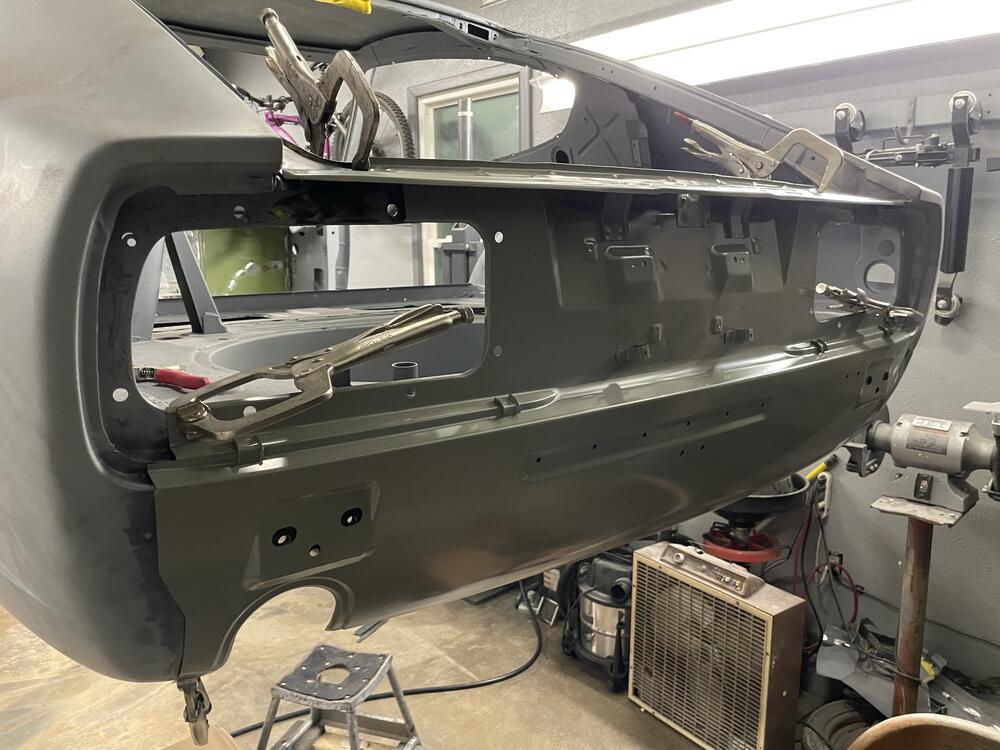
Last of the major metal work was replacing the tail light panel. The original panel had seen better days with the center section pushed in from the rear bumper, some damage around the RH quarter, and at some point someone cut the panel around the exhaust tip for a larger muffler. Rather than fixing each of these areas, replacing the entire panel from Resurrected Classics was the path taken. Overall the panel was a nice piece. Had the right amount of crown across the surface, all the wiring tabs were placed corrected and it fit well to the existing metal with some trimming. Overall removing the existing panel wasn't bad. Just take your time and ensure each spot weld has been drilled out. First fitment of the panel. I'd say out of the box it was 85-90% there in terms of a direct fitment. Biggest job during this was ensuring the seam between the quarter panels and the new metal lined up. While they didn't fit perfectly from the factory, I think we got the new panel pretty close with a bit of trimming.


-
Wrapped up the floor pan install with new seat mounting brackets and supports. I will say these weren't 100% a drop in where the factory mounts were previously, but very close. I would attribute that to possibly human error when they were originally placed, as the LH and RH sides were not aligned with each other. That and no aftermarket part will ever be a perfect match. Regardless, happy with the final outcome. All it lacks now is seam sealer and sound deadening before final paint.