CW240Z72
Free Member
-
Joined
-
Last visited
Everything posted by CW240Z72
-
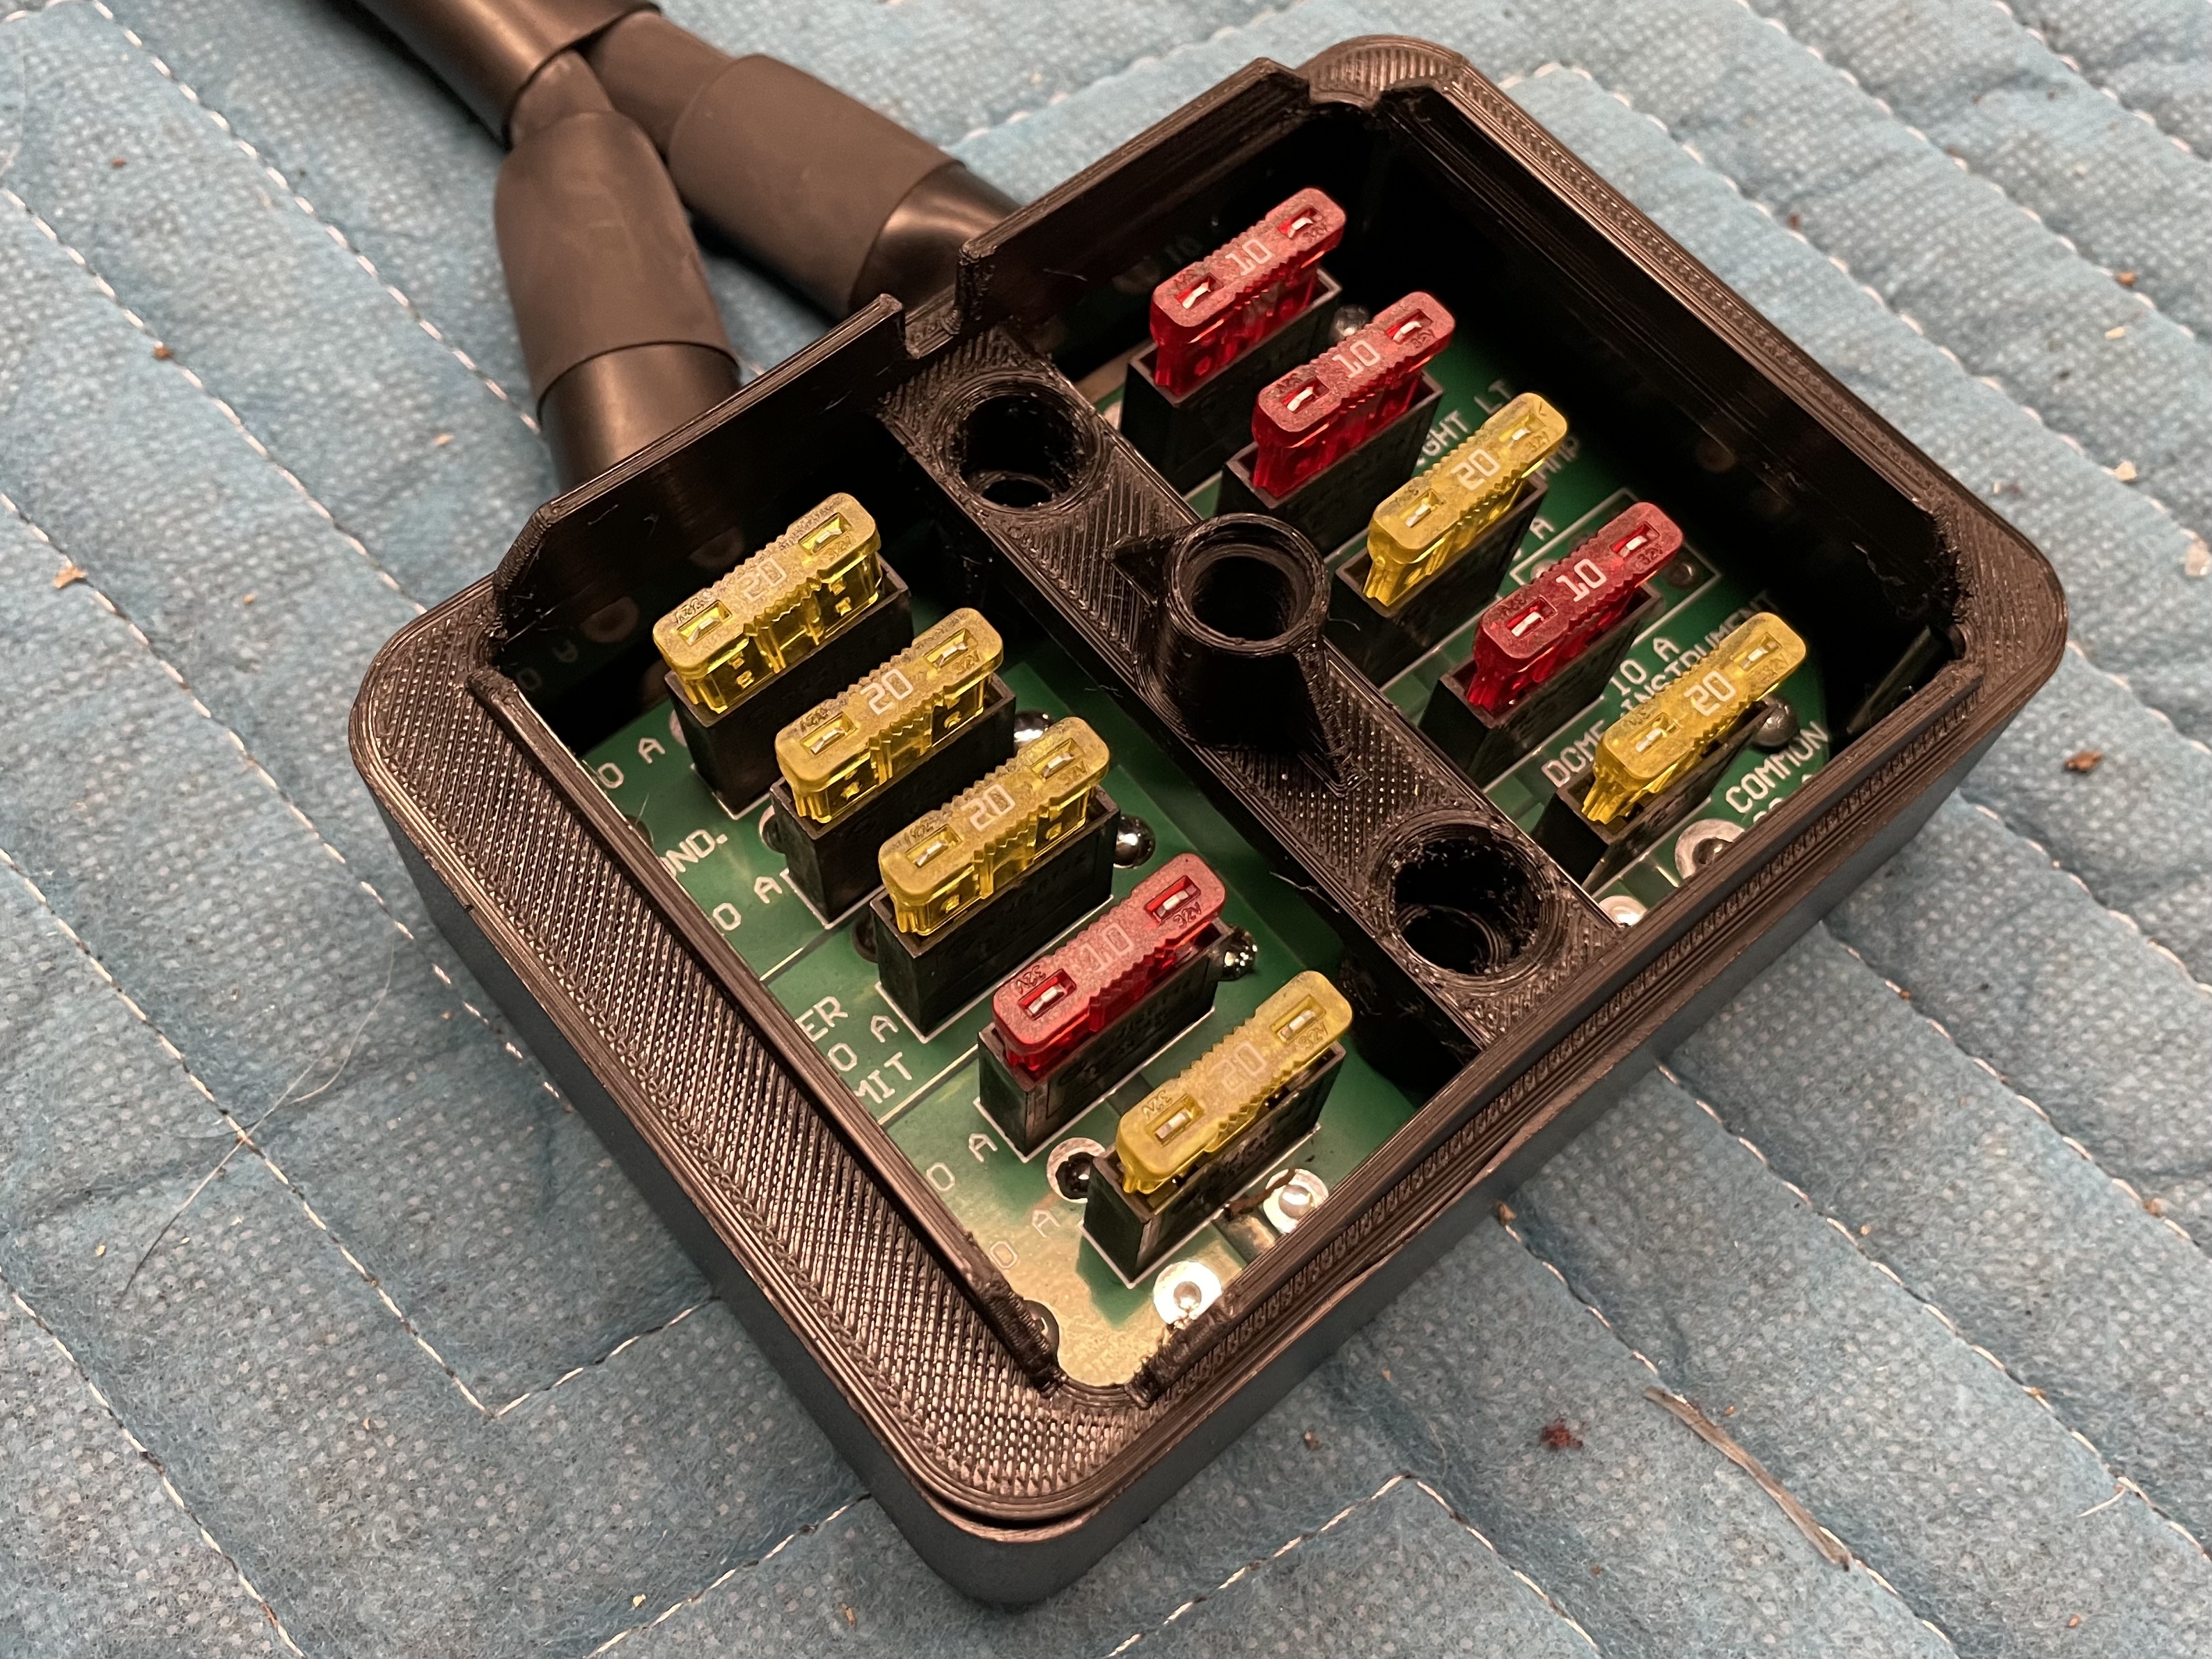
 Second print complete with a few minor tweaks. I’m very happy with the fit. Just need to make sure it’ll clear the ash tray
-
First print complete. A little tweaking on the hole spacing and it should be good. I need to double check that the overall height isn’t an issue for the console.


-
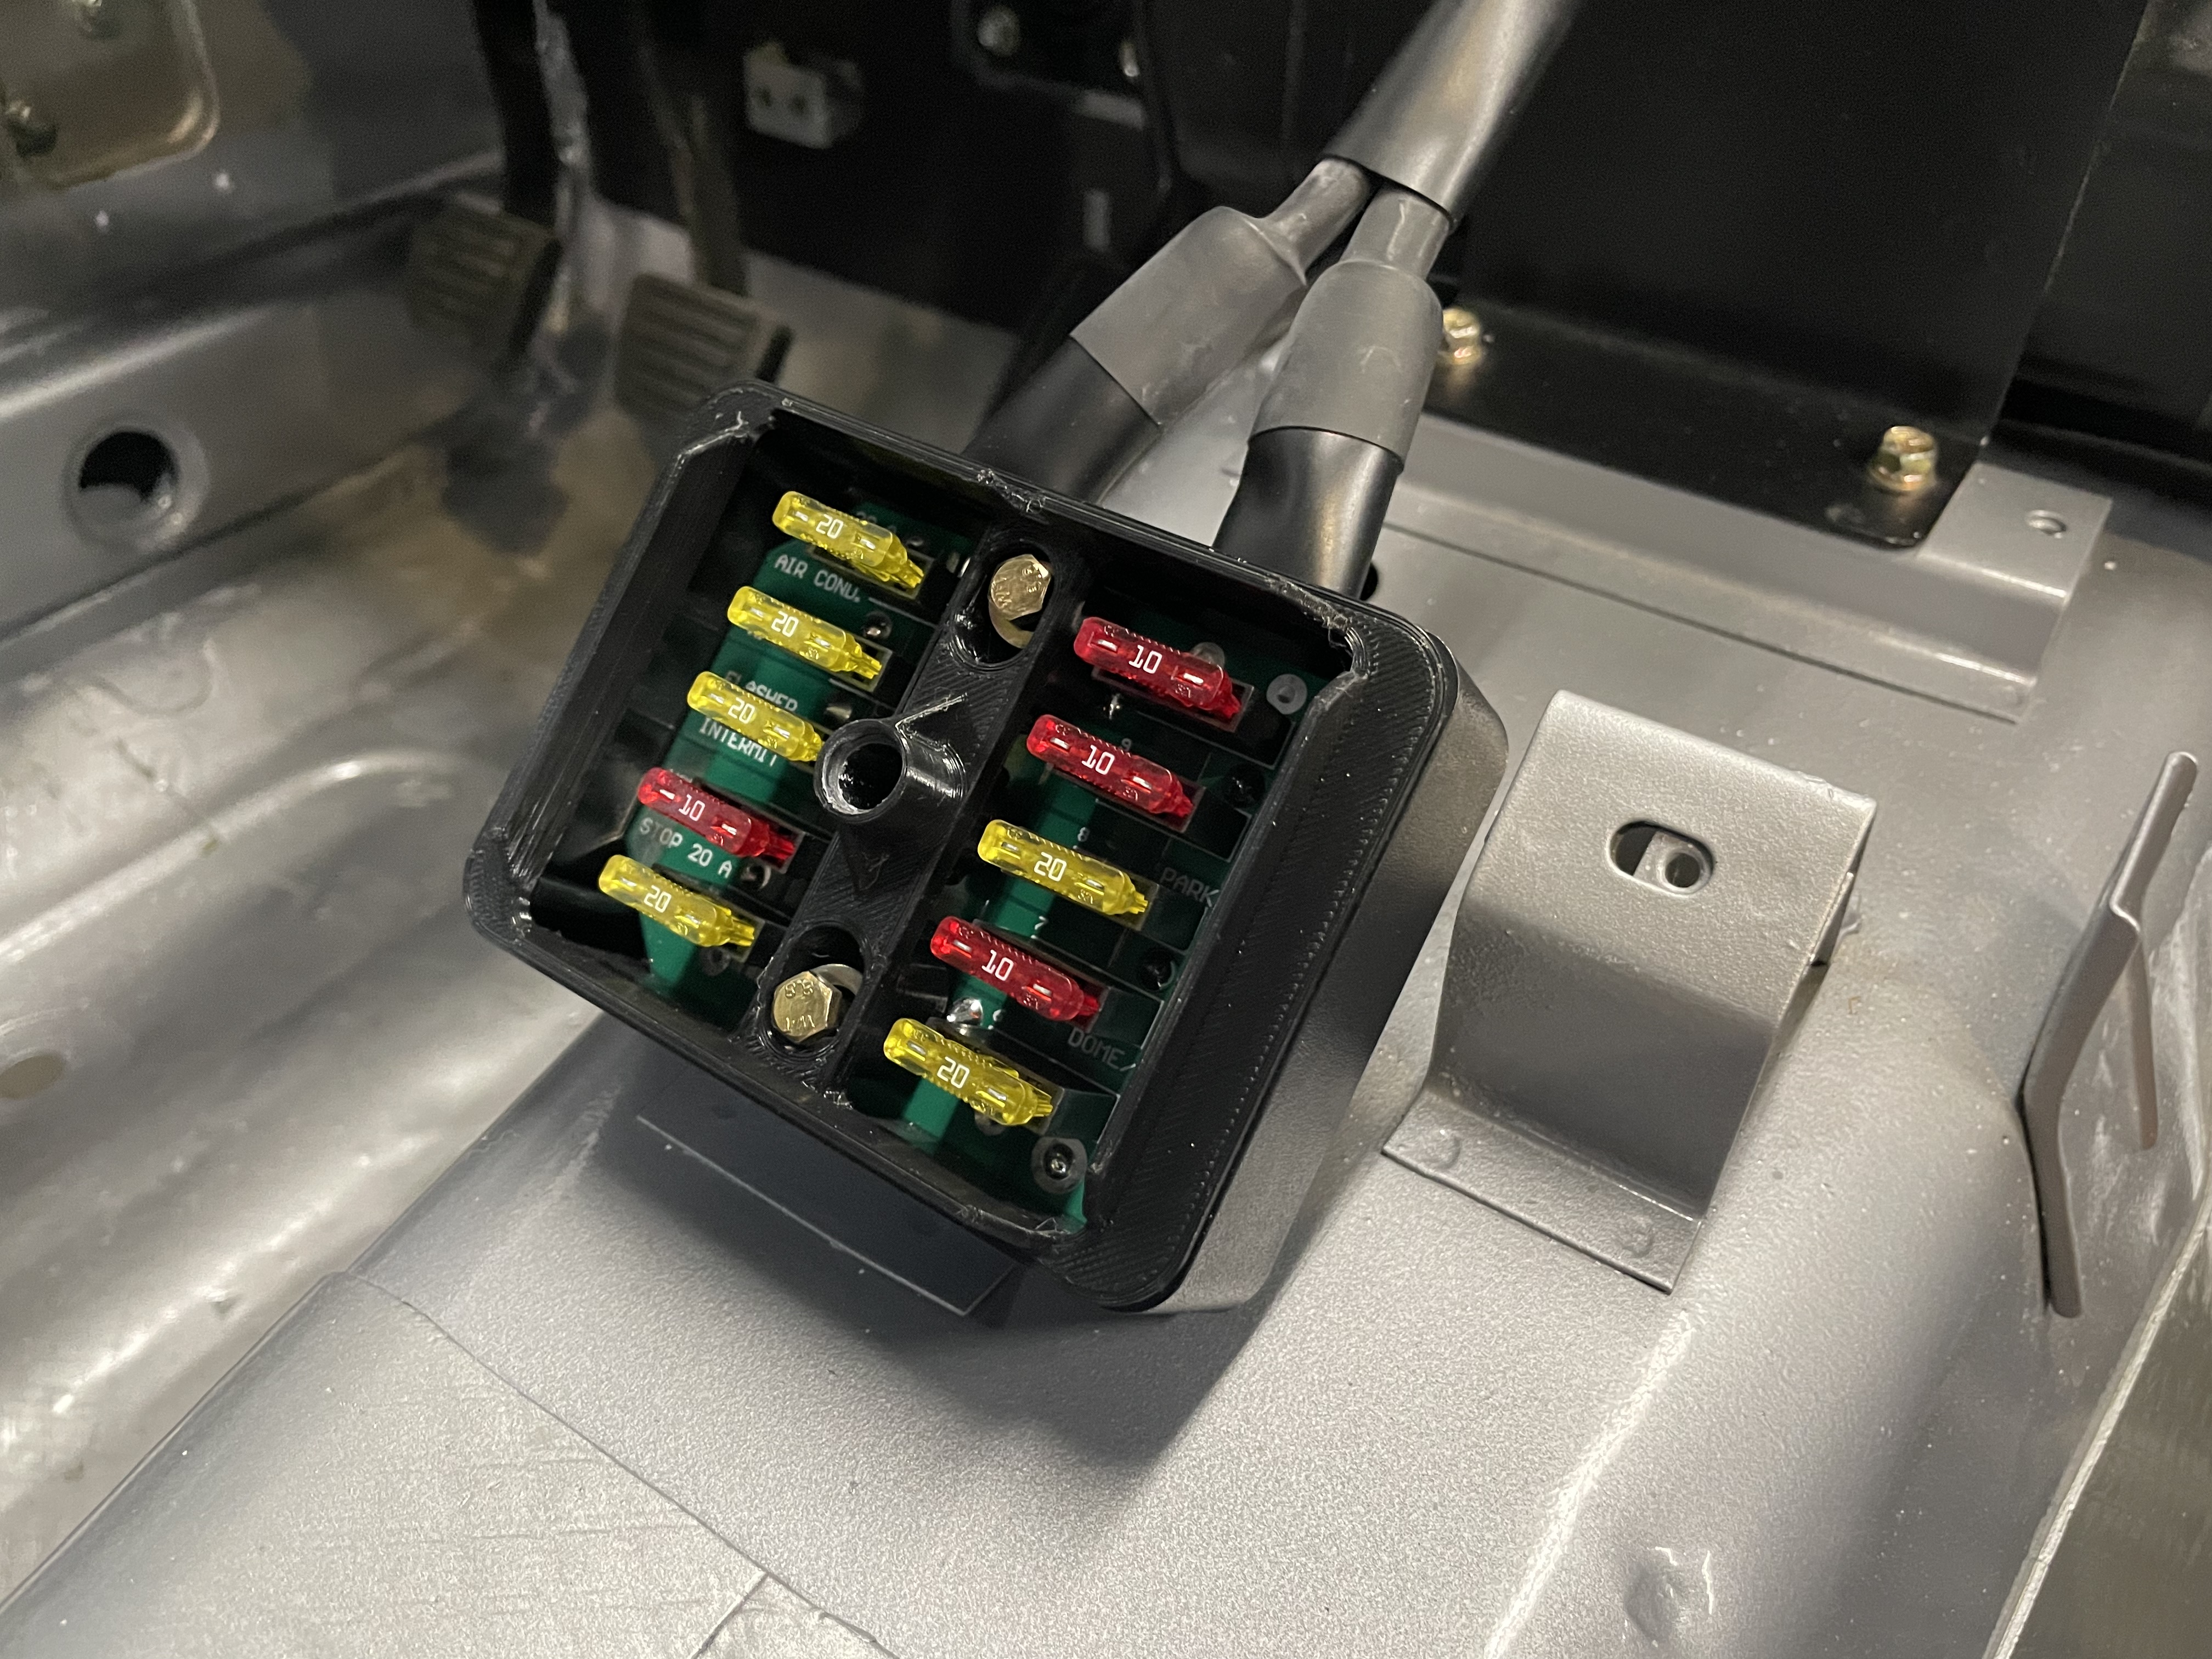
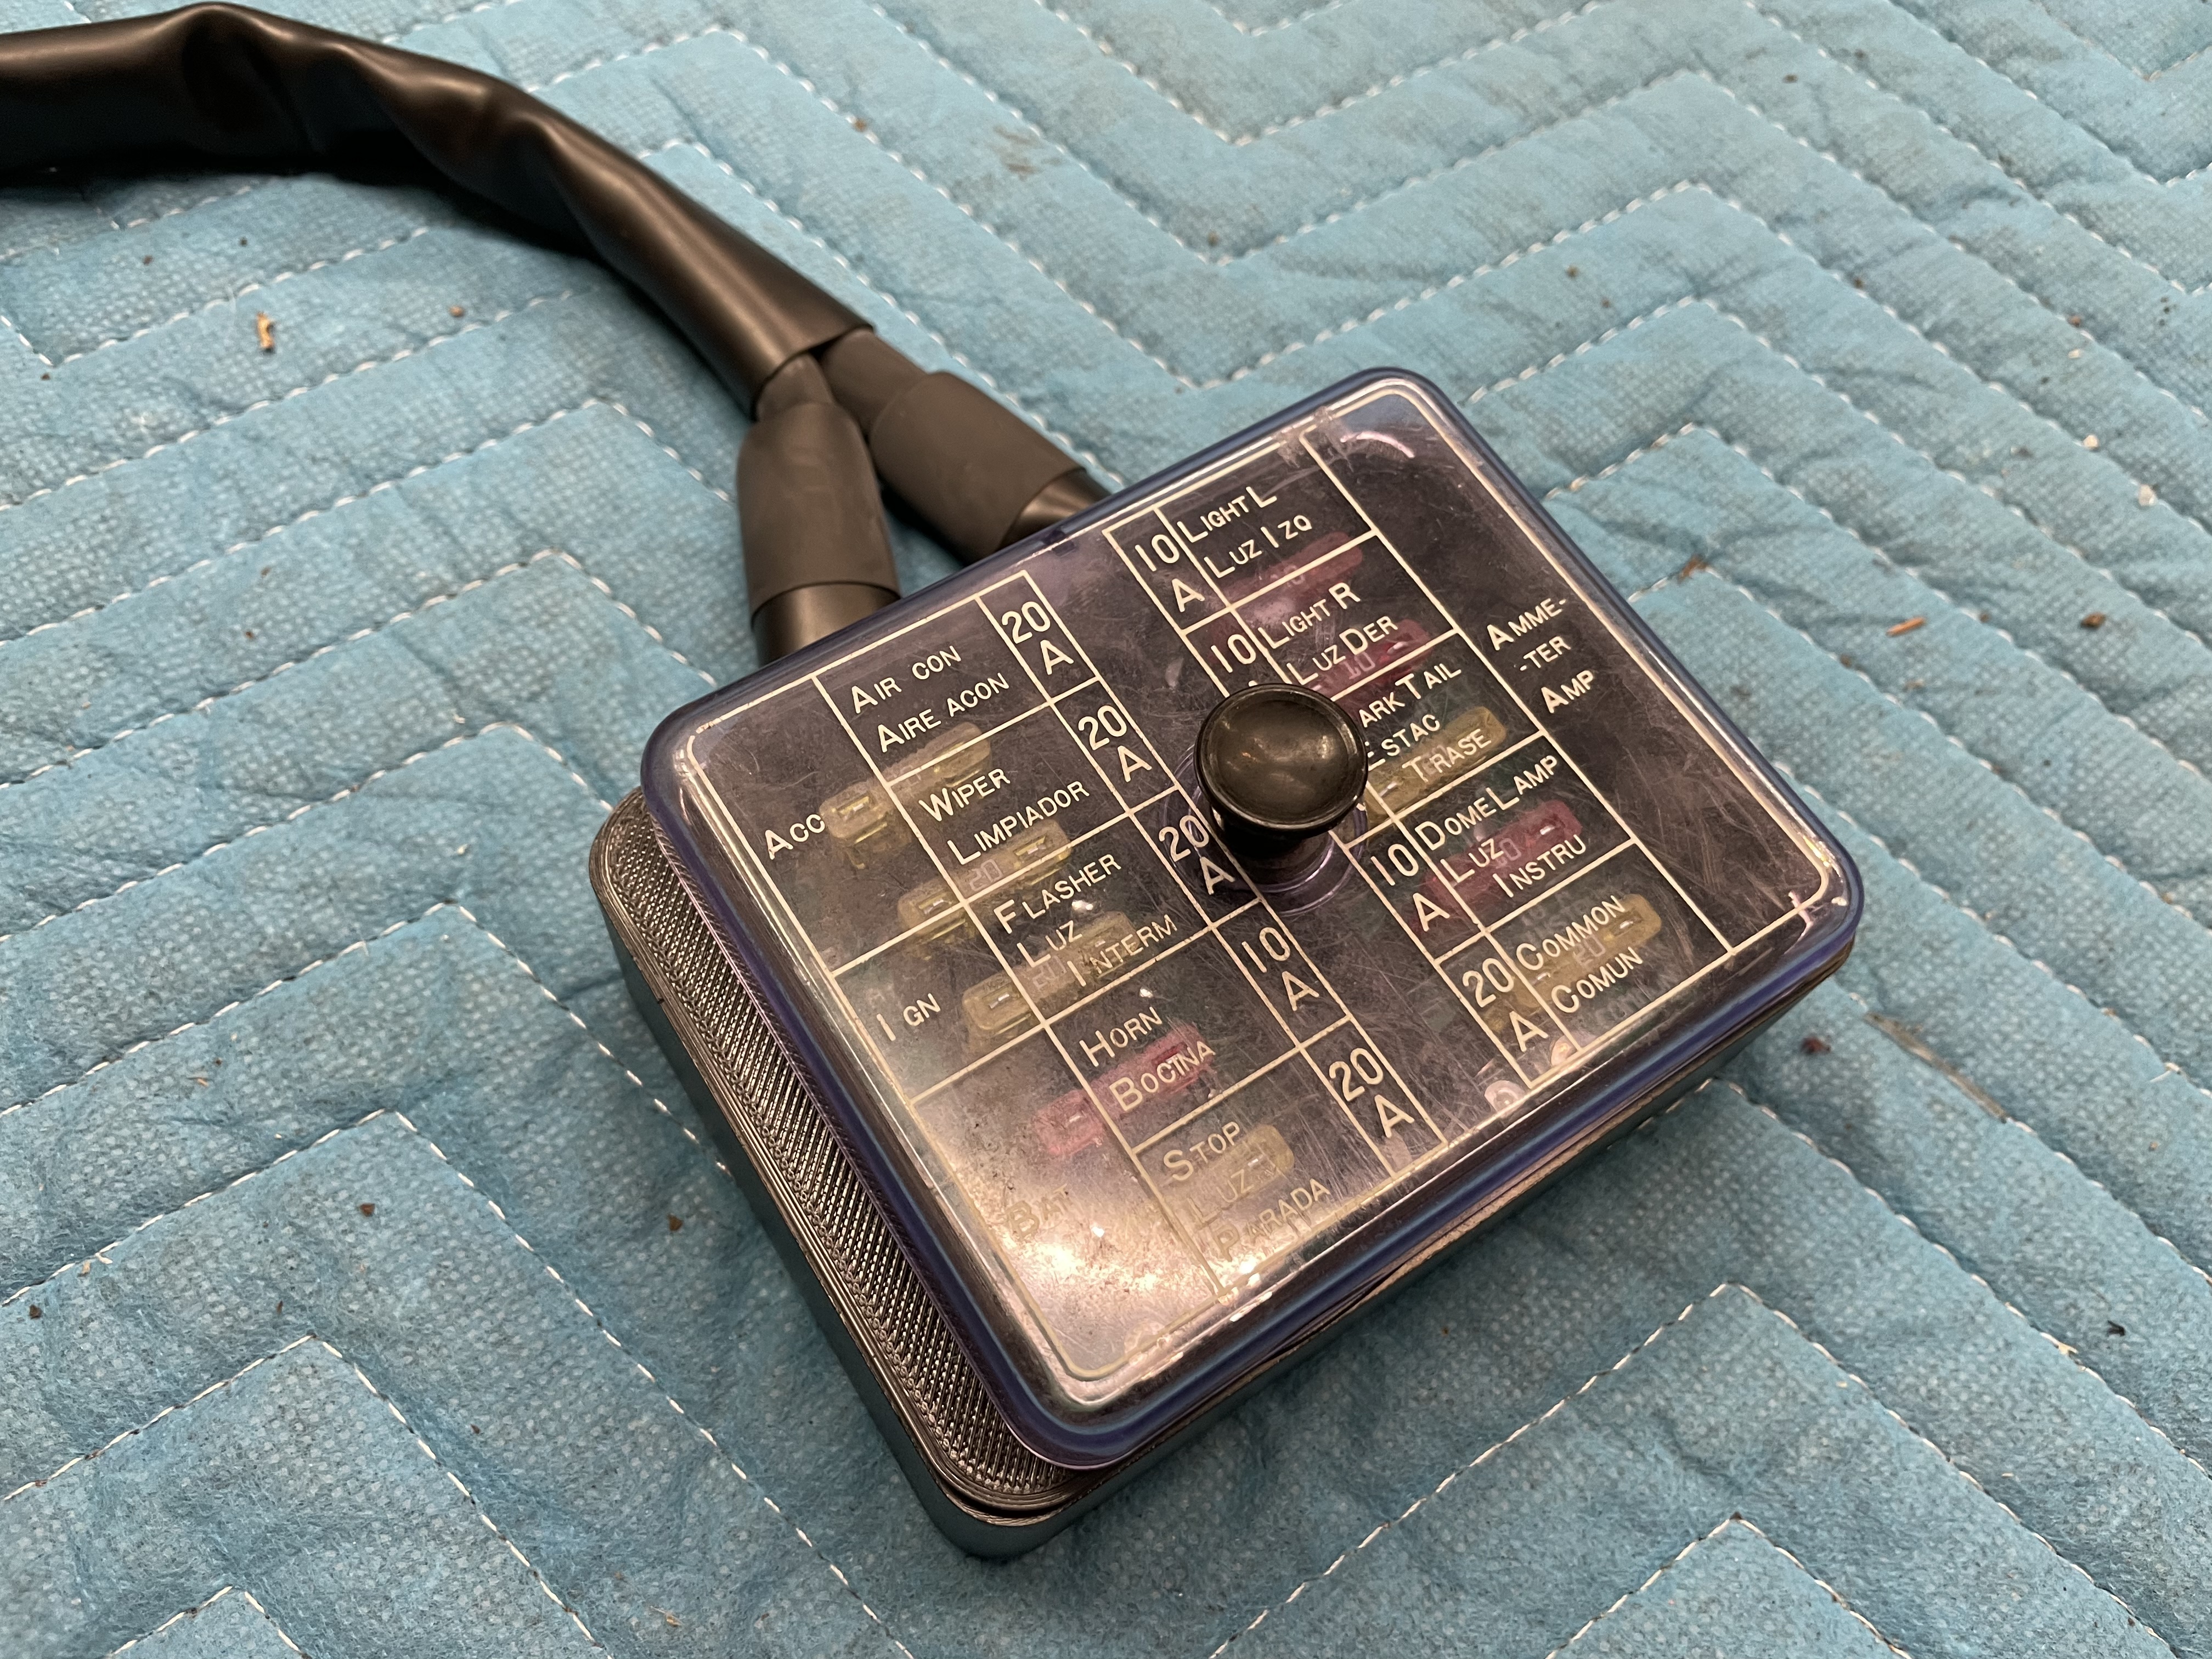
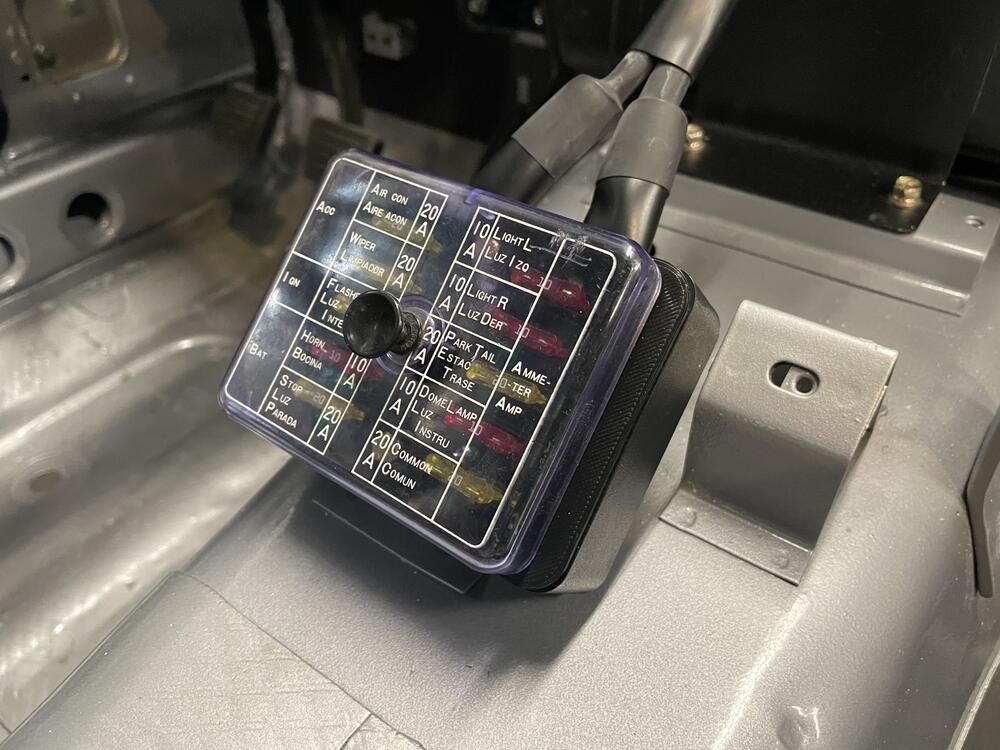
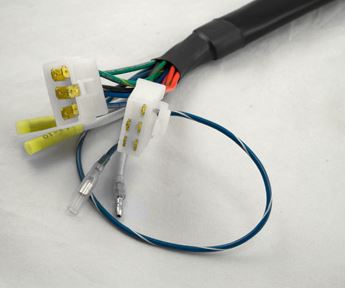
Side project I’ve been working on during the dash rebuild on the Z is upgrading the original fuse box. I went ahead and ordered the blade style of fuse box offered through MSA. This upgrade as been discussed in other threads on this forum, one topic being the connectors used on the new fuse box. Looks like apart from the bullet style connectors used, I’ll end up having to swap out the other ones for the correct ones used originally on the car. The 6 pin plugs use the latching style of connection. Fortunately Vintage Connections offers the correct non-latching connectors to mate up to the existing harness. Not a huge deal, but details like that would drive me nuts. They also offer the correct blade style connectors needed to swap out the two crimp-on connectors also supplied with the new fuse box. The other topic discussed about this fuse box is the fact that it’s physically larger than the original unit, so much so that the factory cover will not fit over the box. Again, not a huge deal, but I want to make any update on the Z to look as factory as possible. As an attempt to fix this, I modeled up an adapter plate that can be used to mount the original cover to the new fuse box. The idea being I could use mount the adapter to the new box through the mounting screws, and then snap the original lid to it just as the factory did. It will take a few iterations of tweaking the part, but with a personal 3D printer updates are easy to test. I’ll report back once/if I get a design that I’m happy with.

-
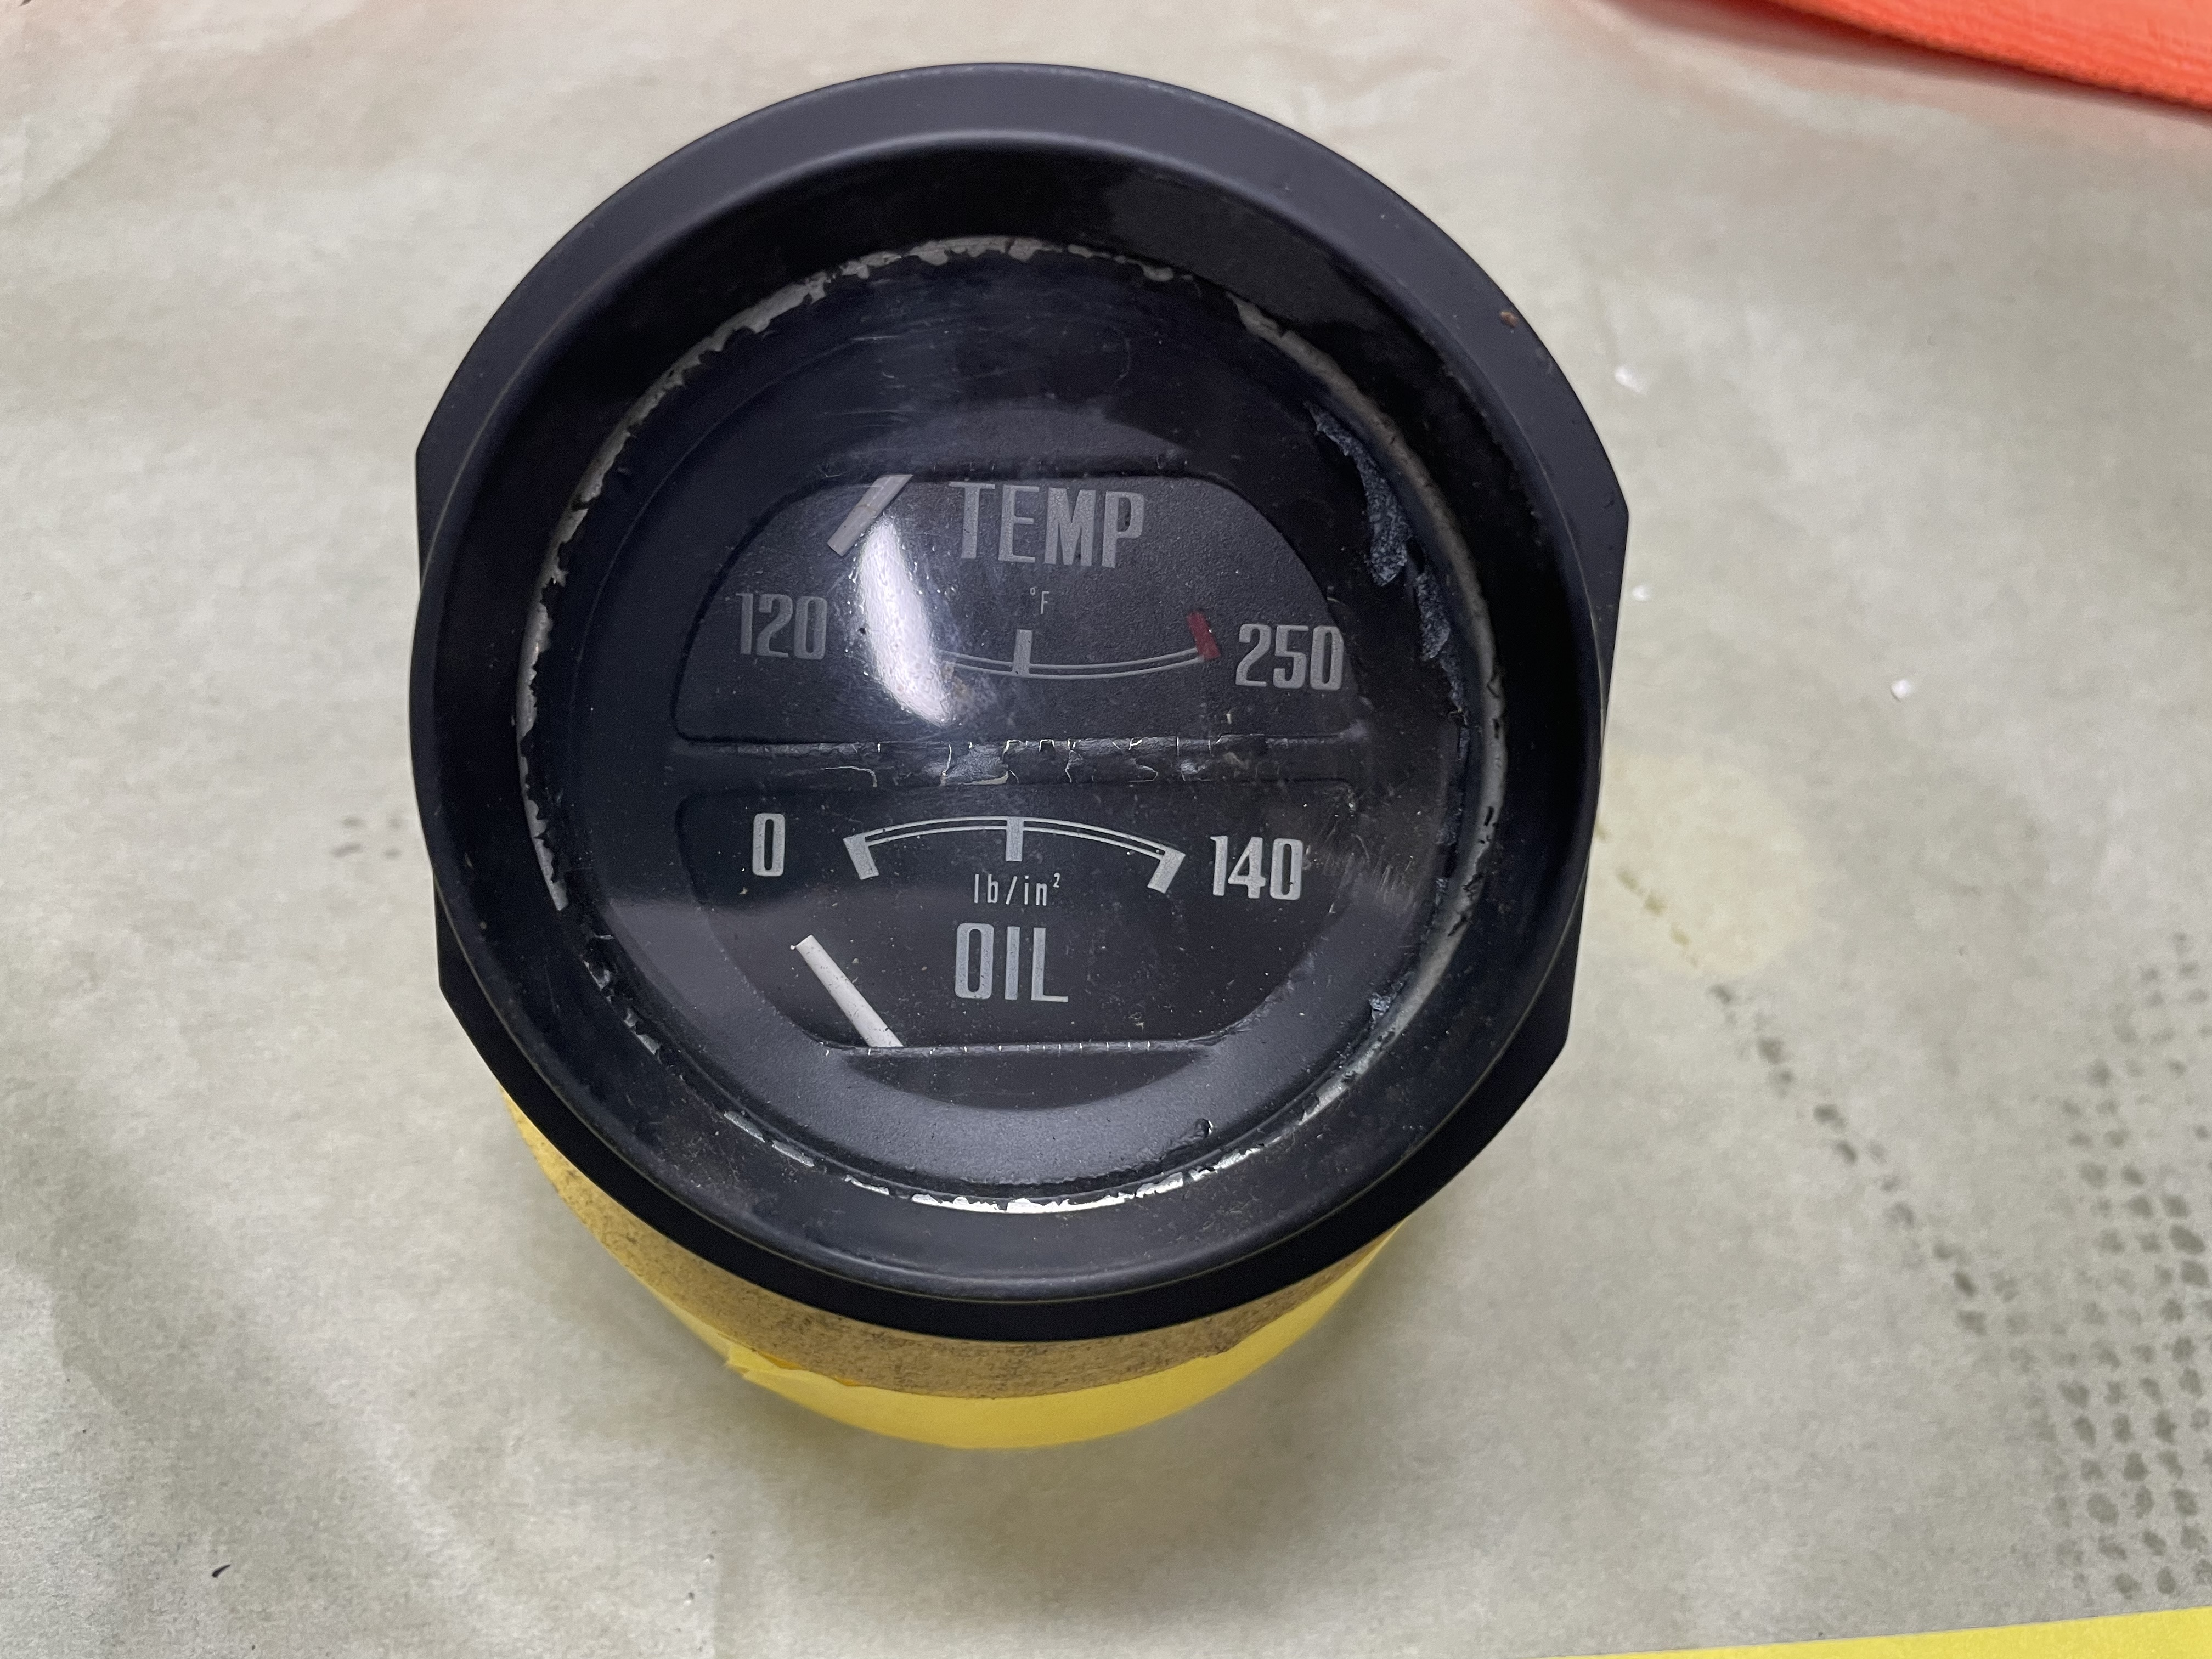
Center gauge restoration complete. Each gauge was stripped down, cleaned, repaired as needed, and painted before reassembly. The dash frame was also completely stripped down and prepped for reassembly.


-
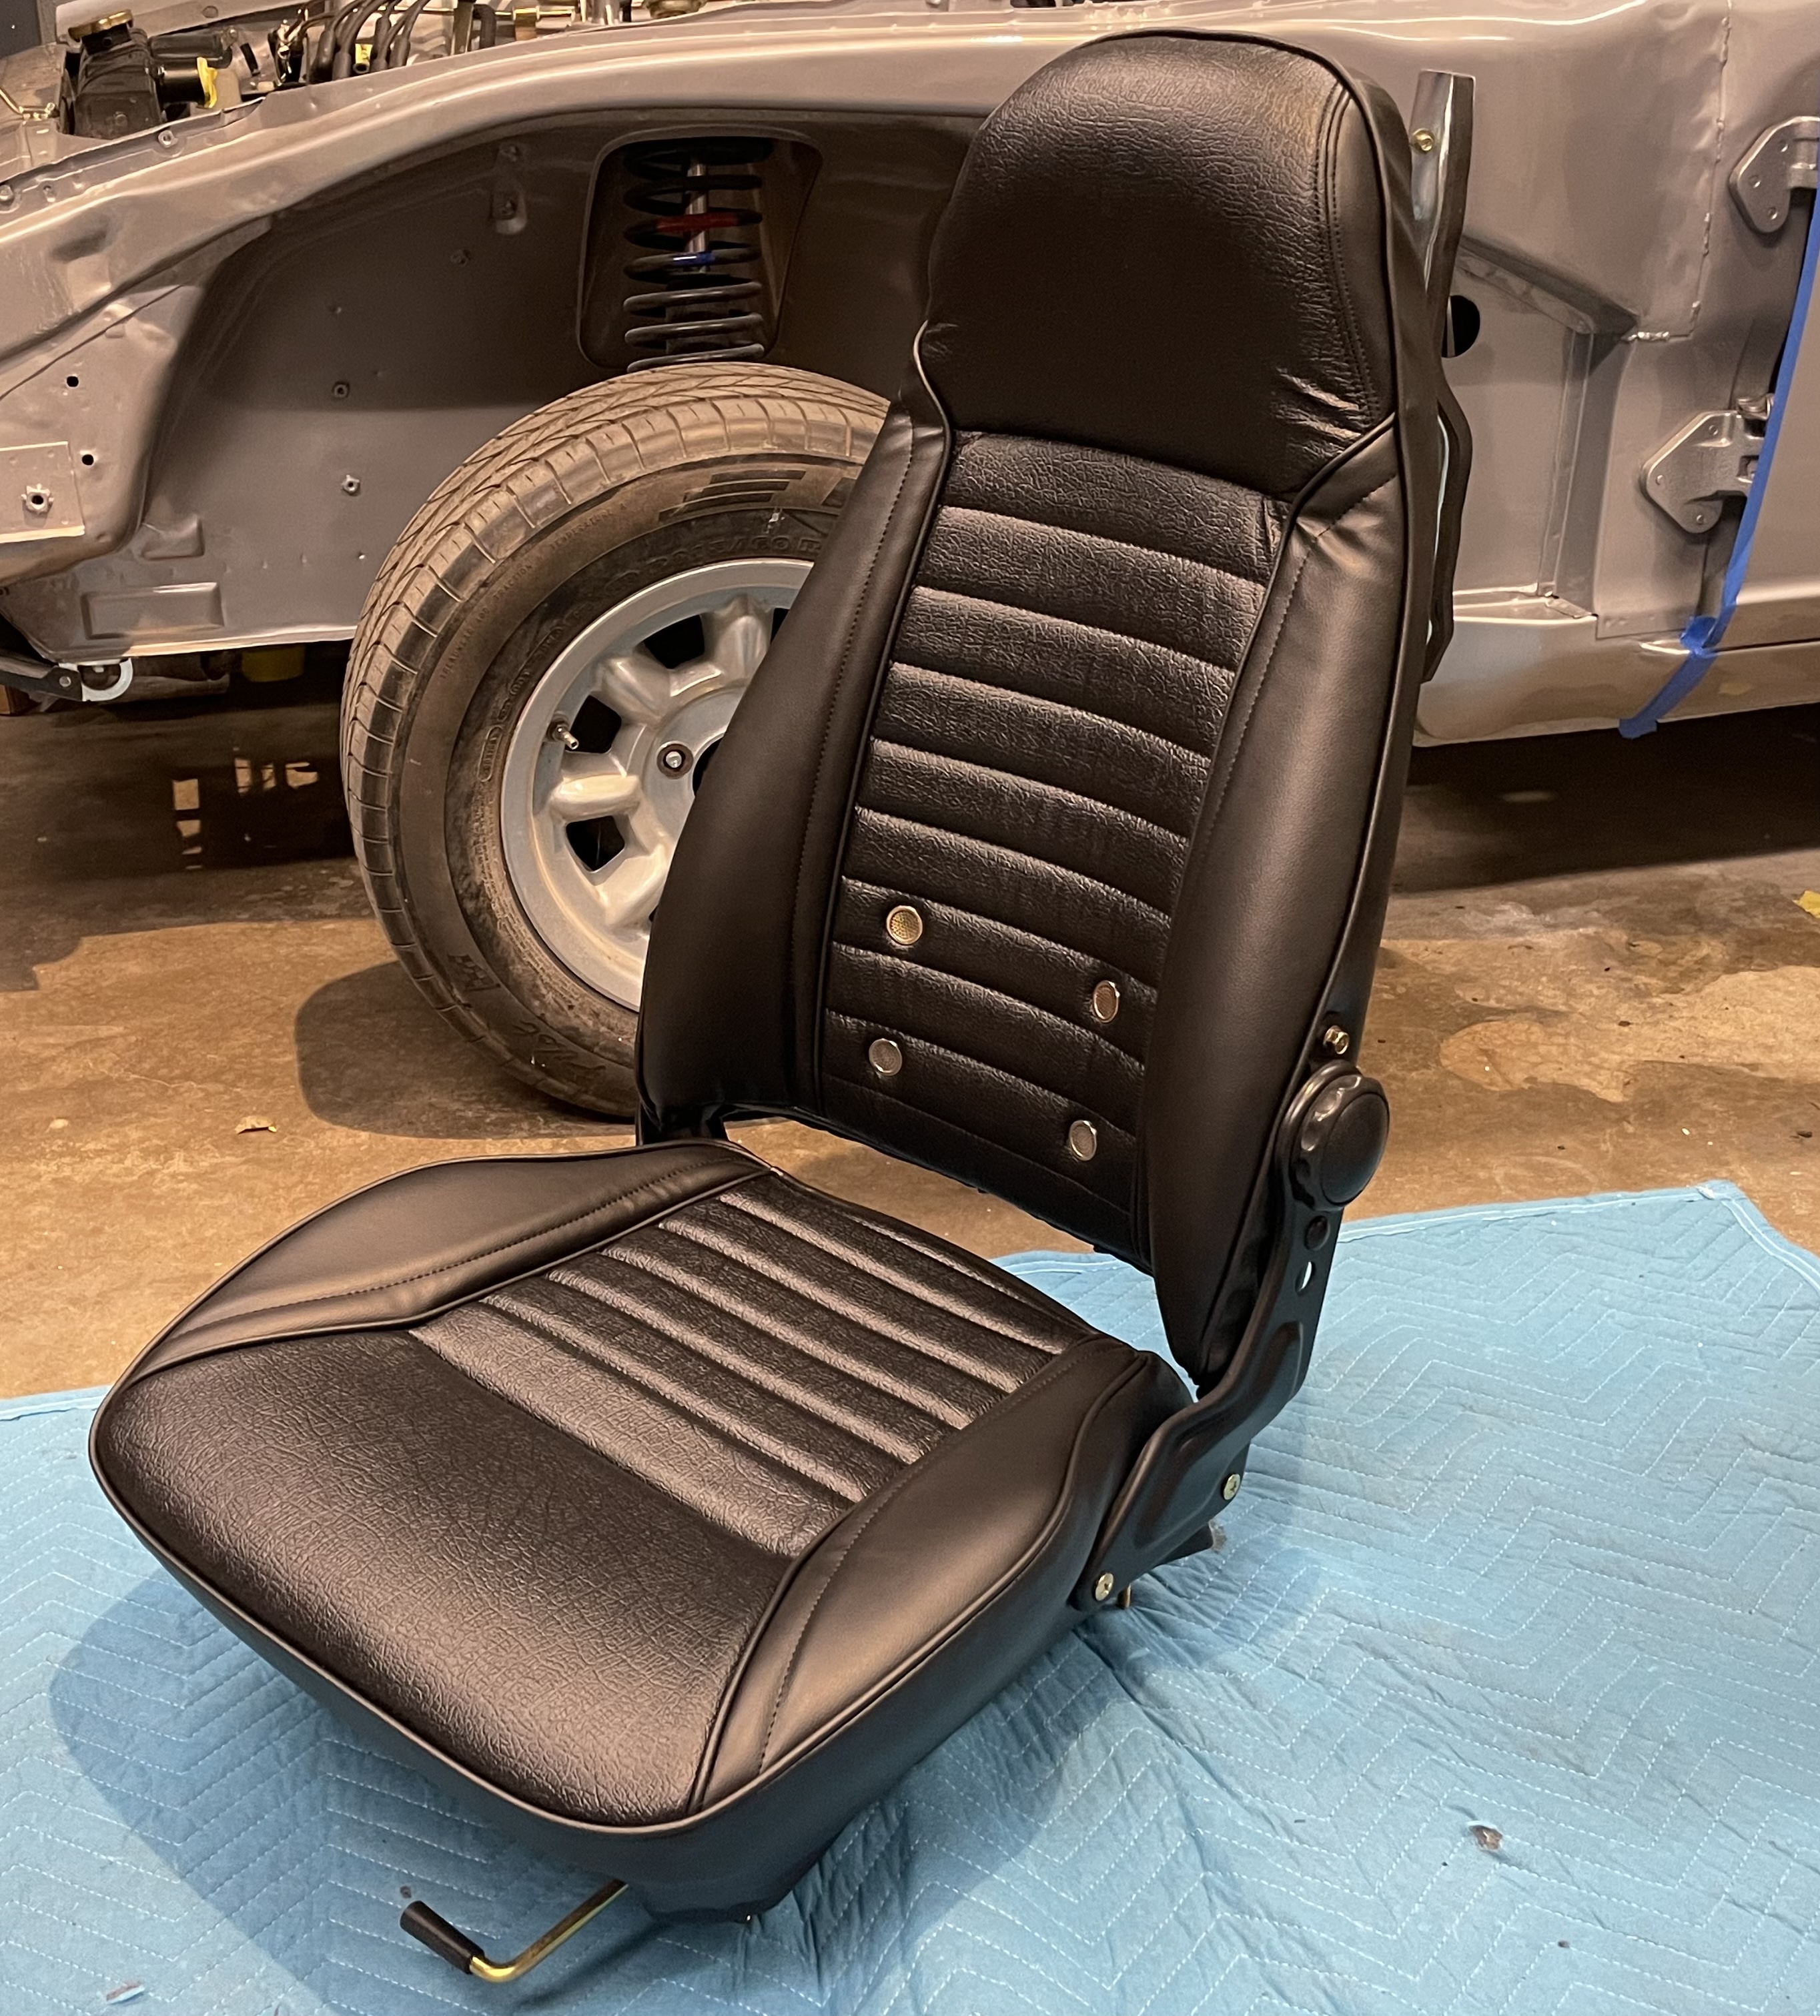
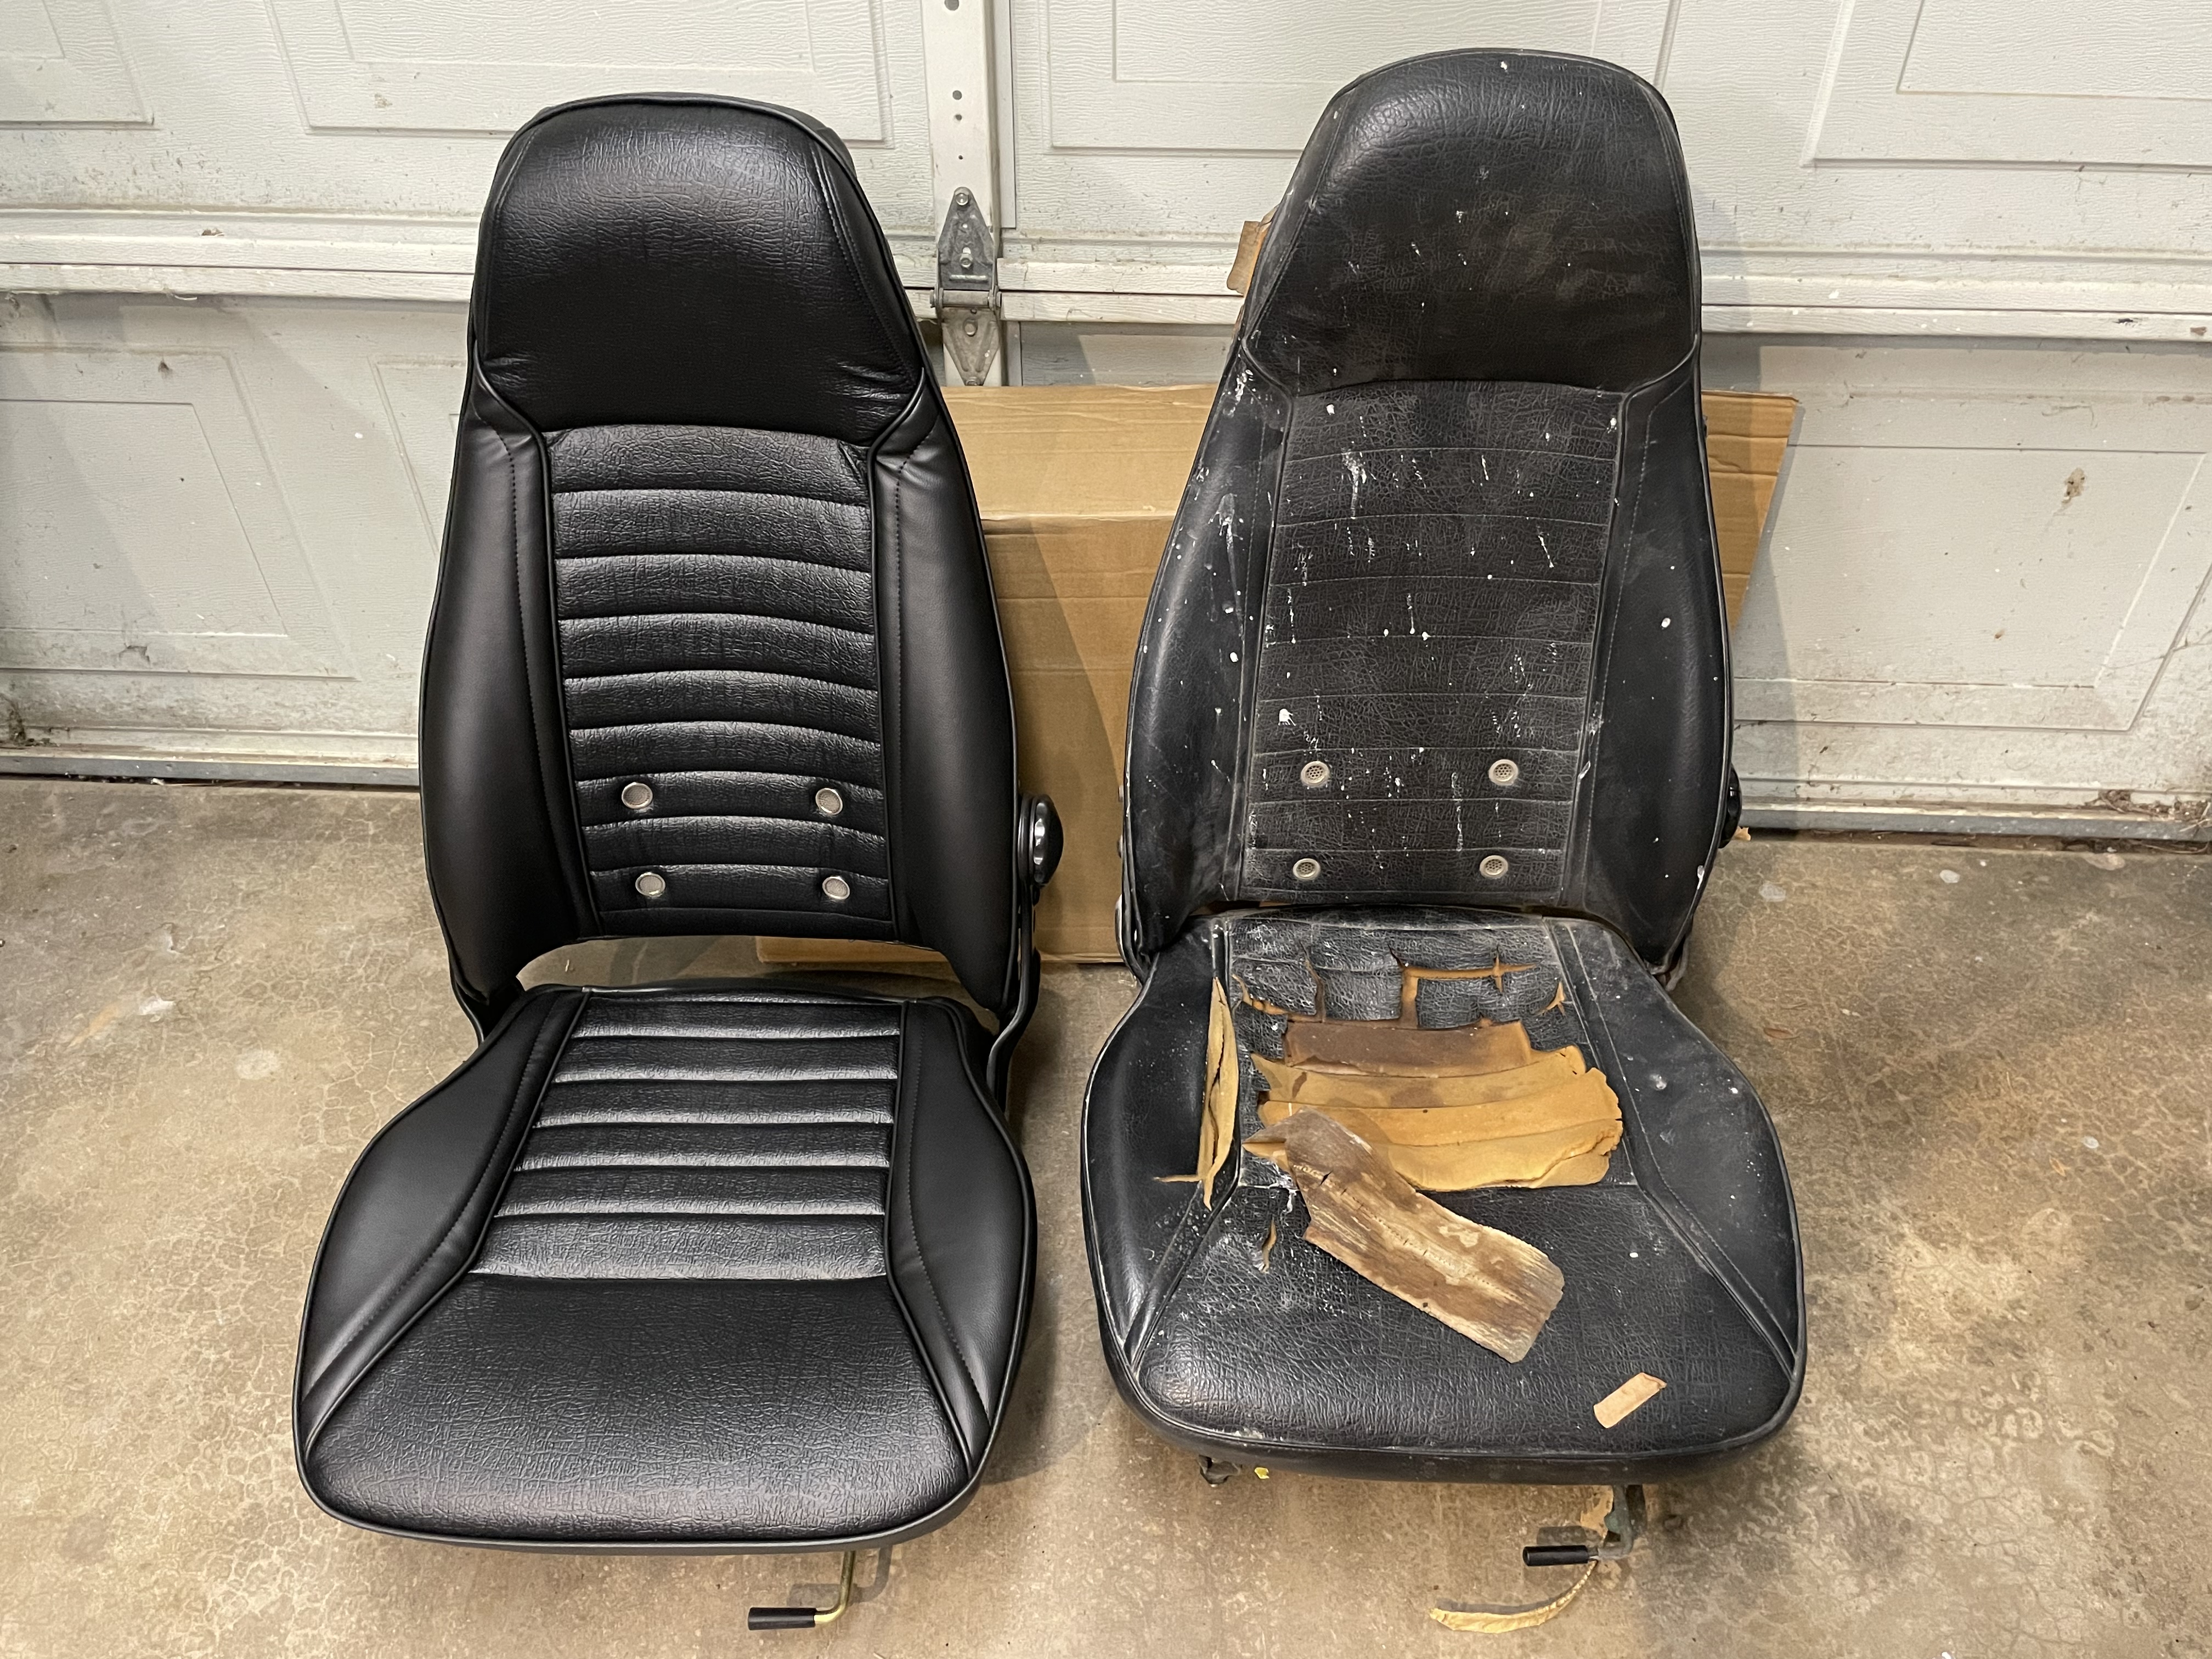
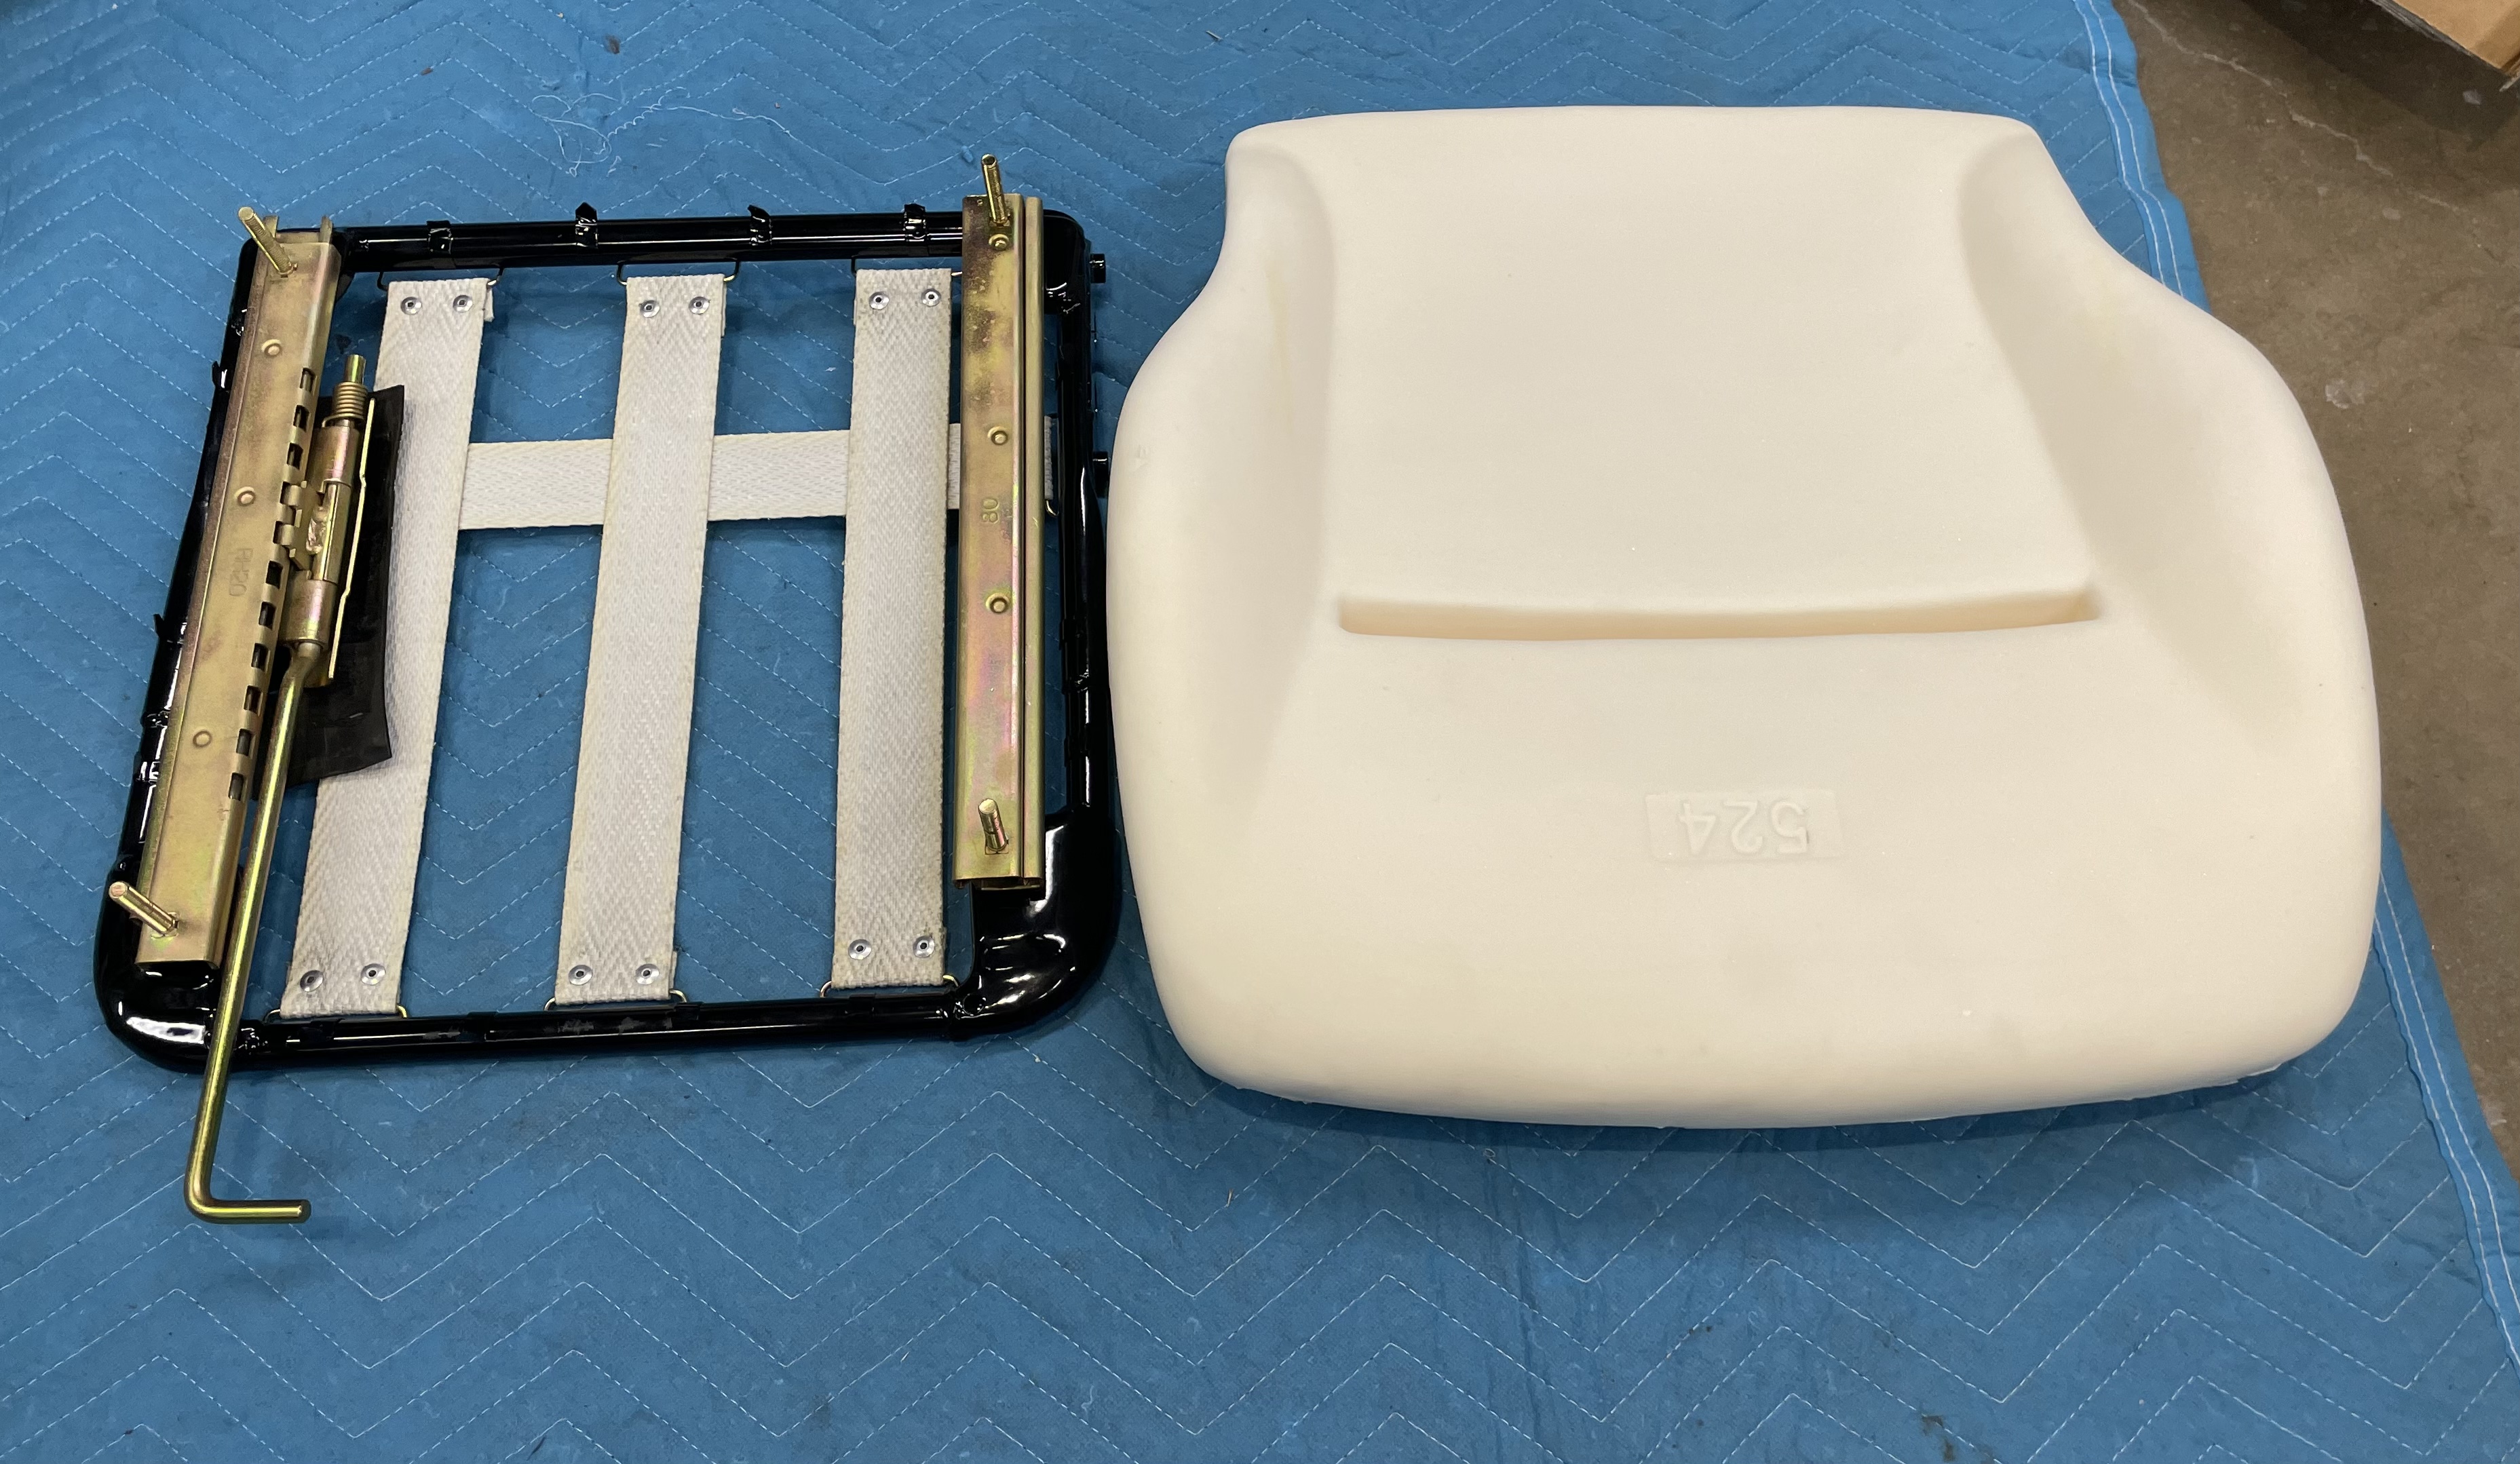
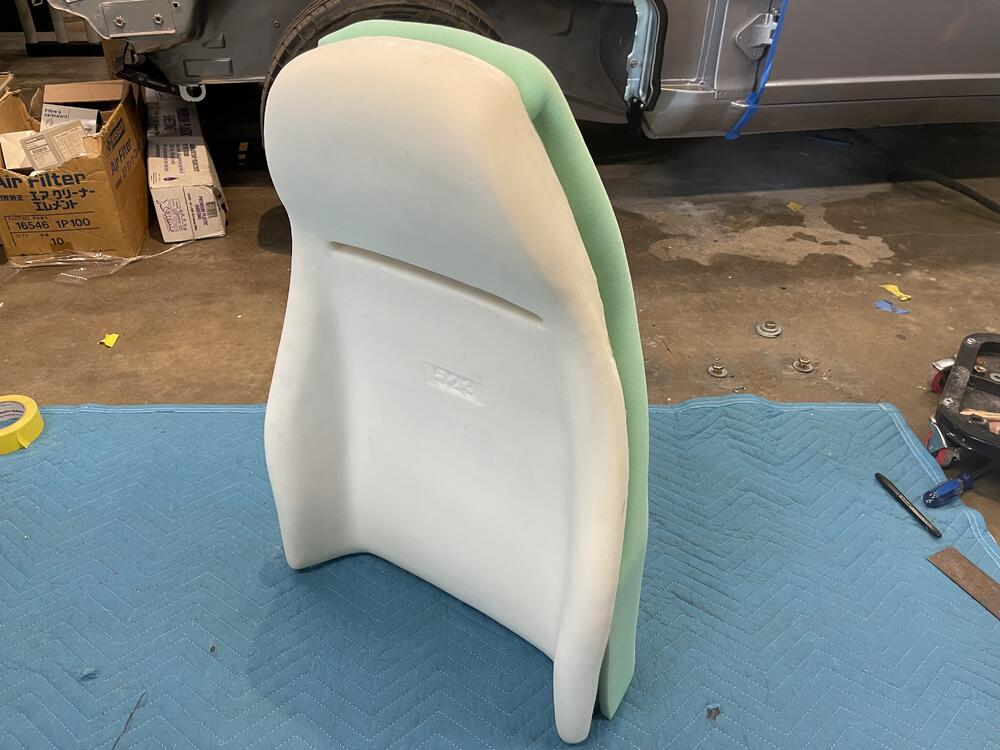
Got the passenger seat buttoned up and ready for final install.


-
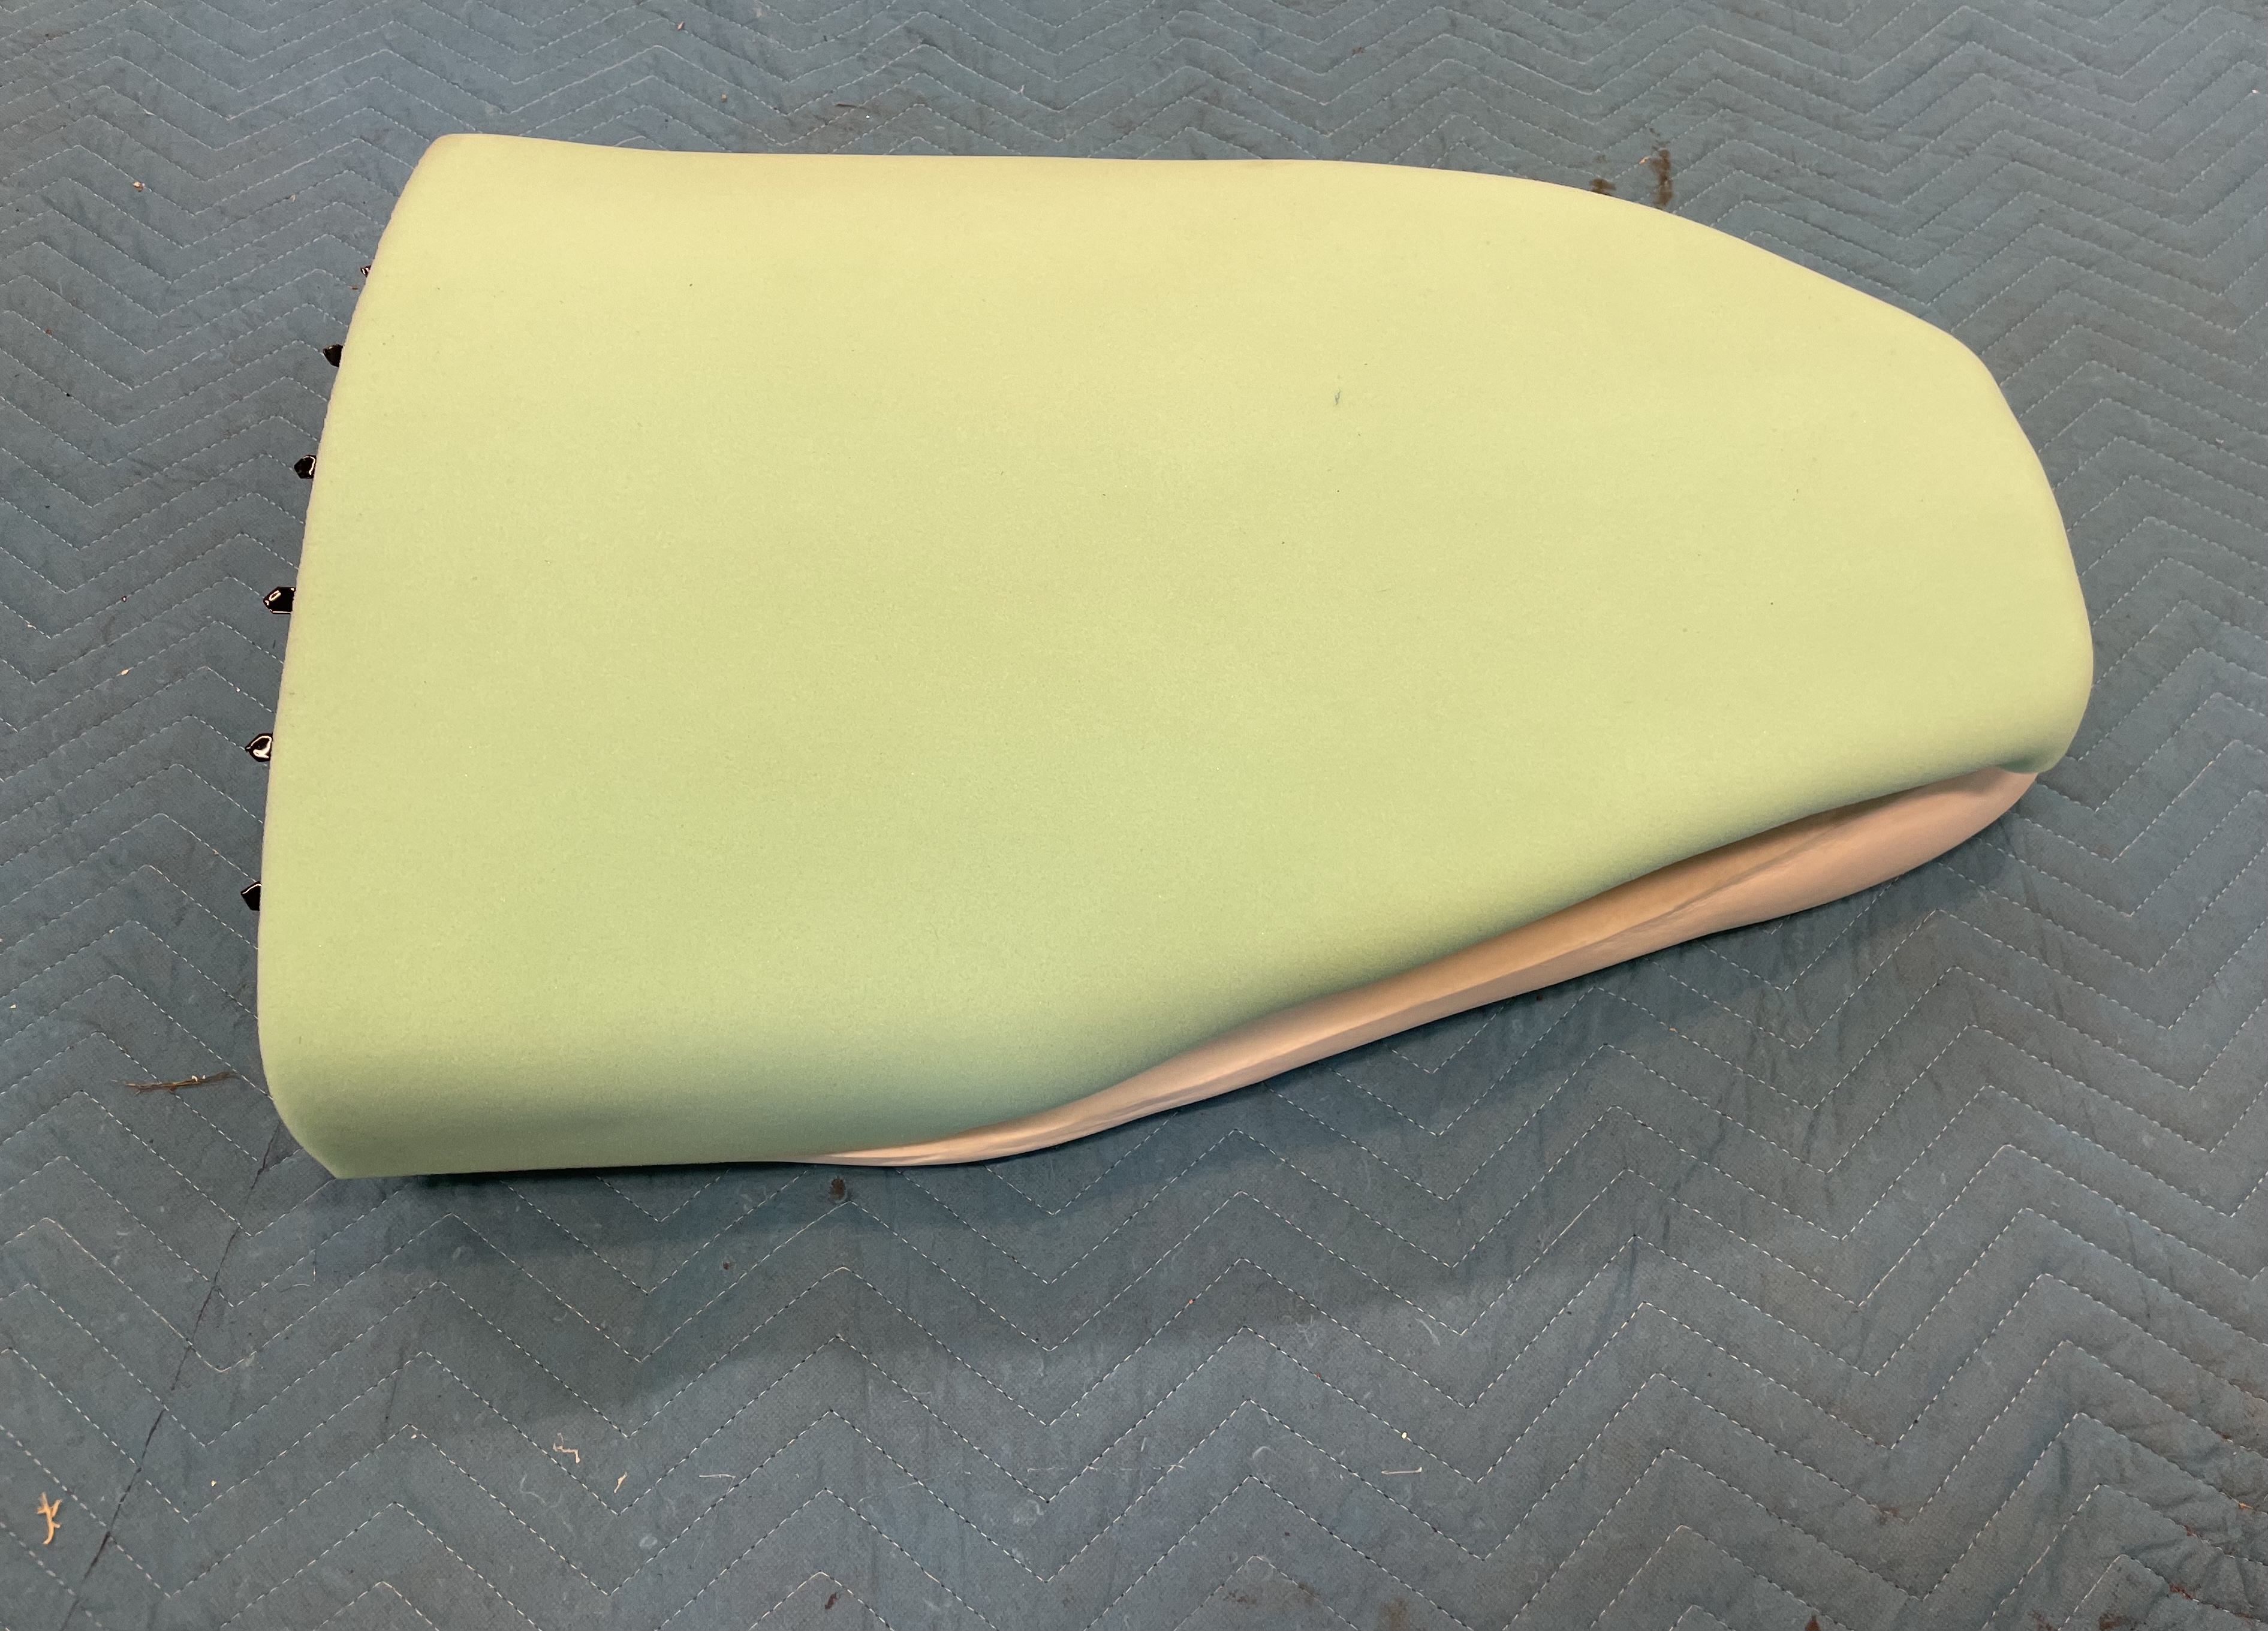
The covers, webbing, and foam I ordered from the jokers at JDM Car Parts. All together no fitment issues between parts.
-
JDM Car Parts has the foam. Fit was great. I’d give them more props for all the parts I’ve purchased, but the owner was extremely rude to me and I no longer do business with them.
-
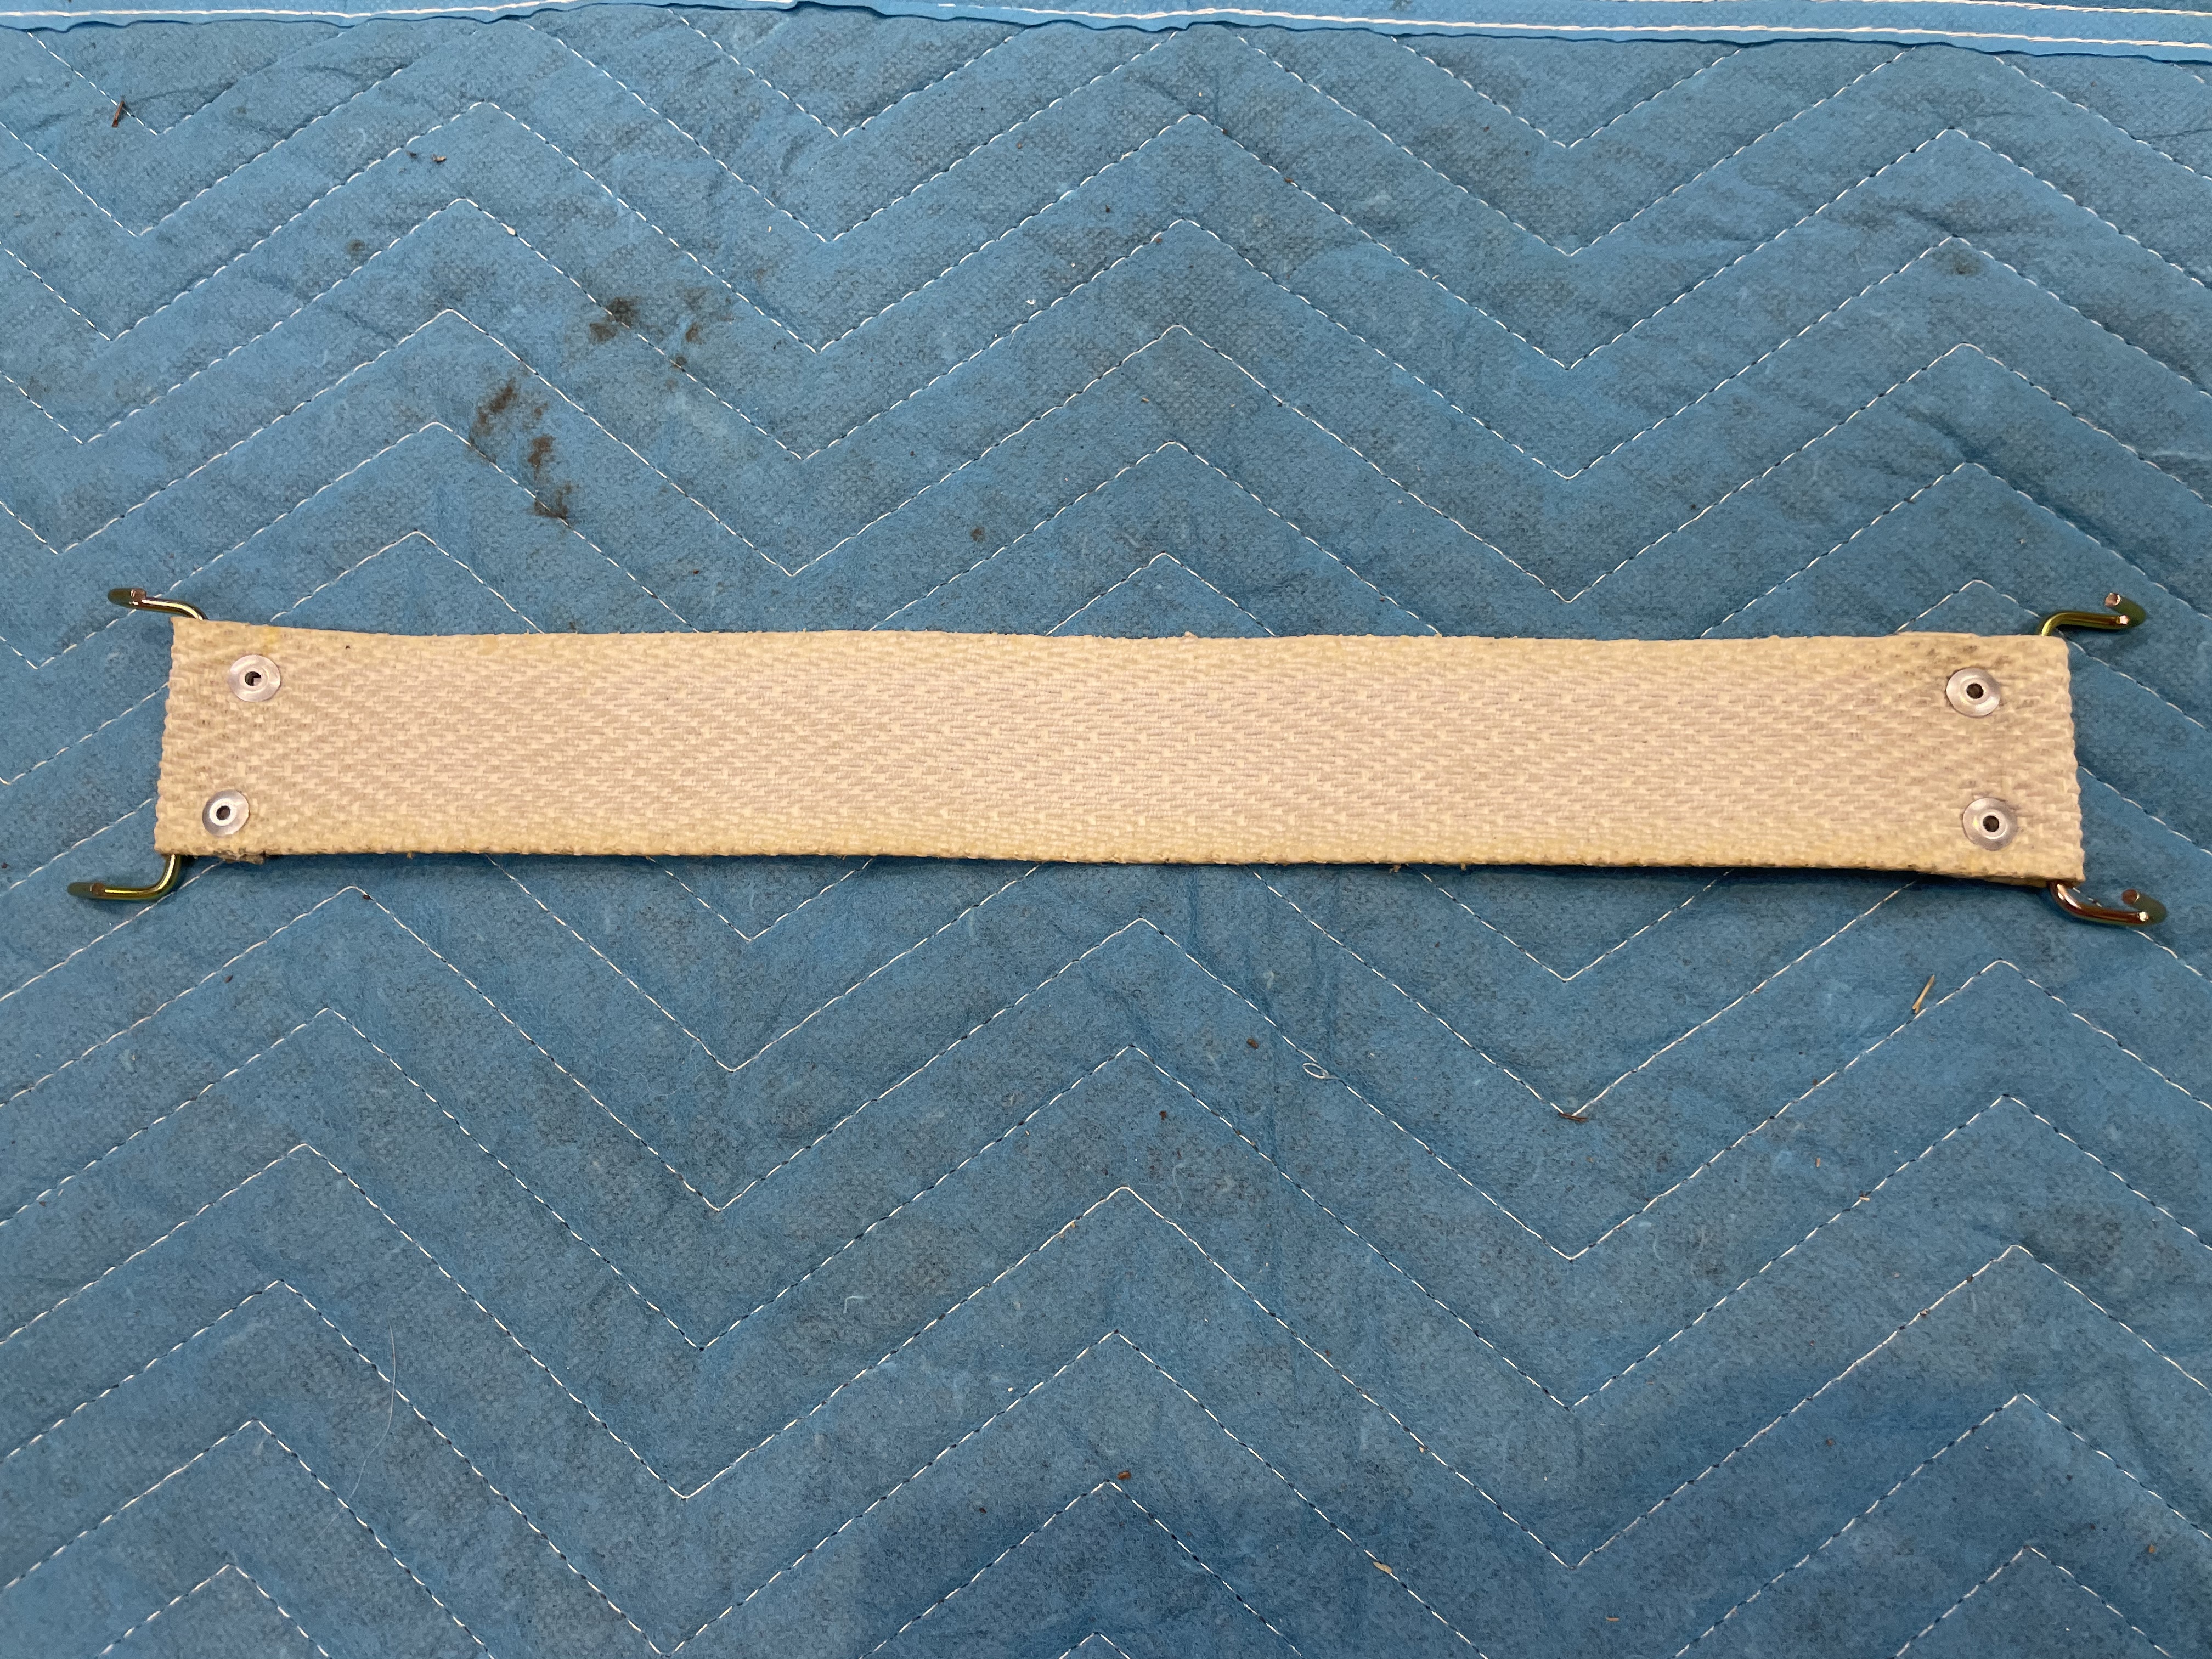
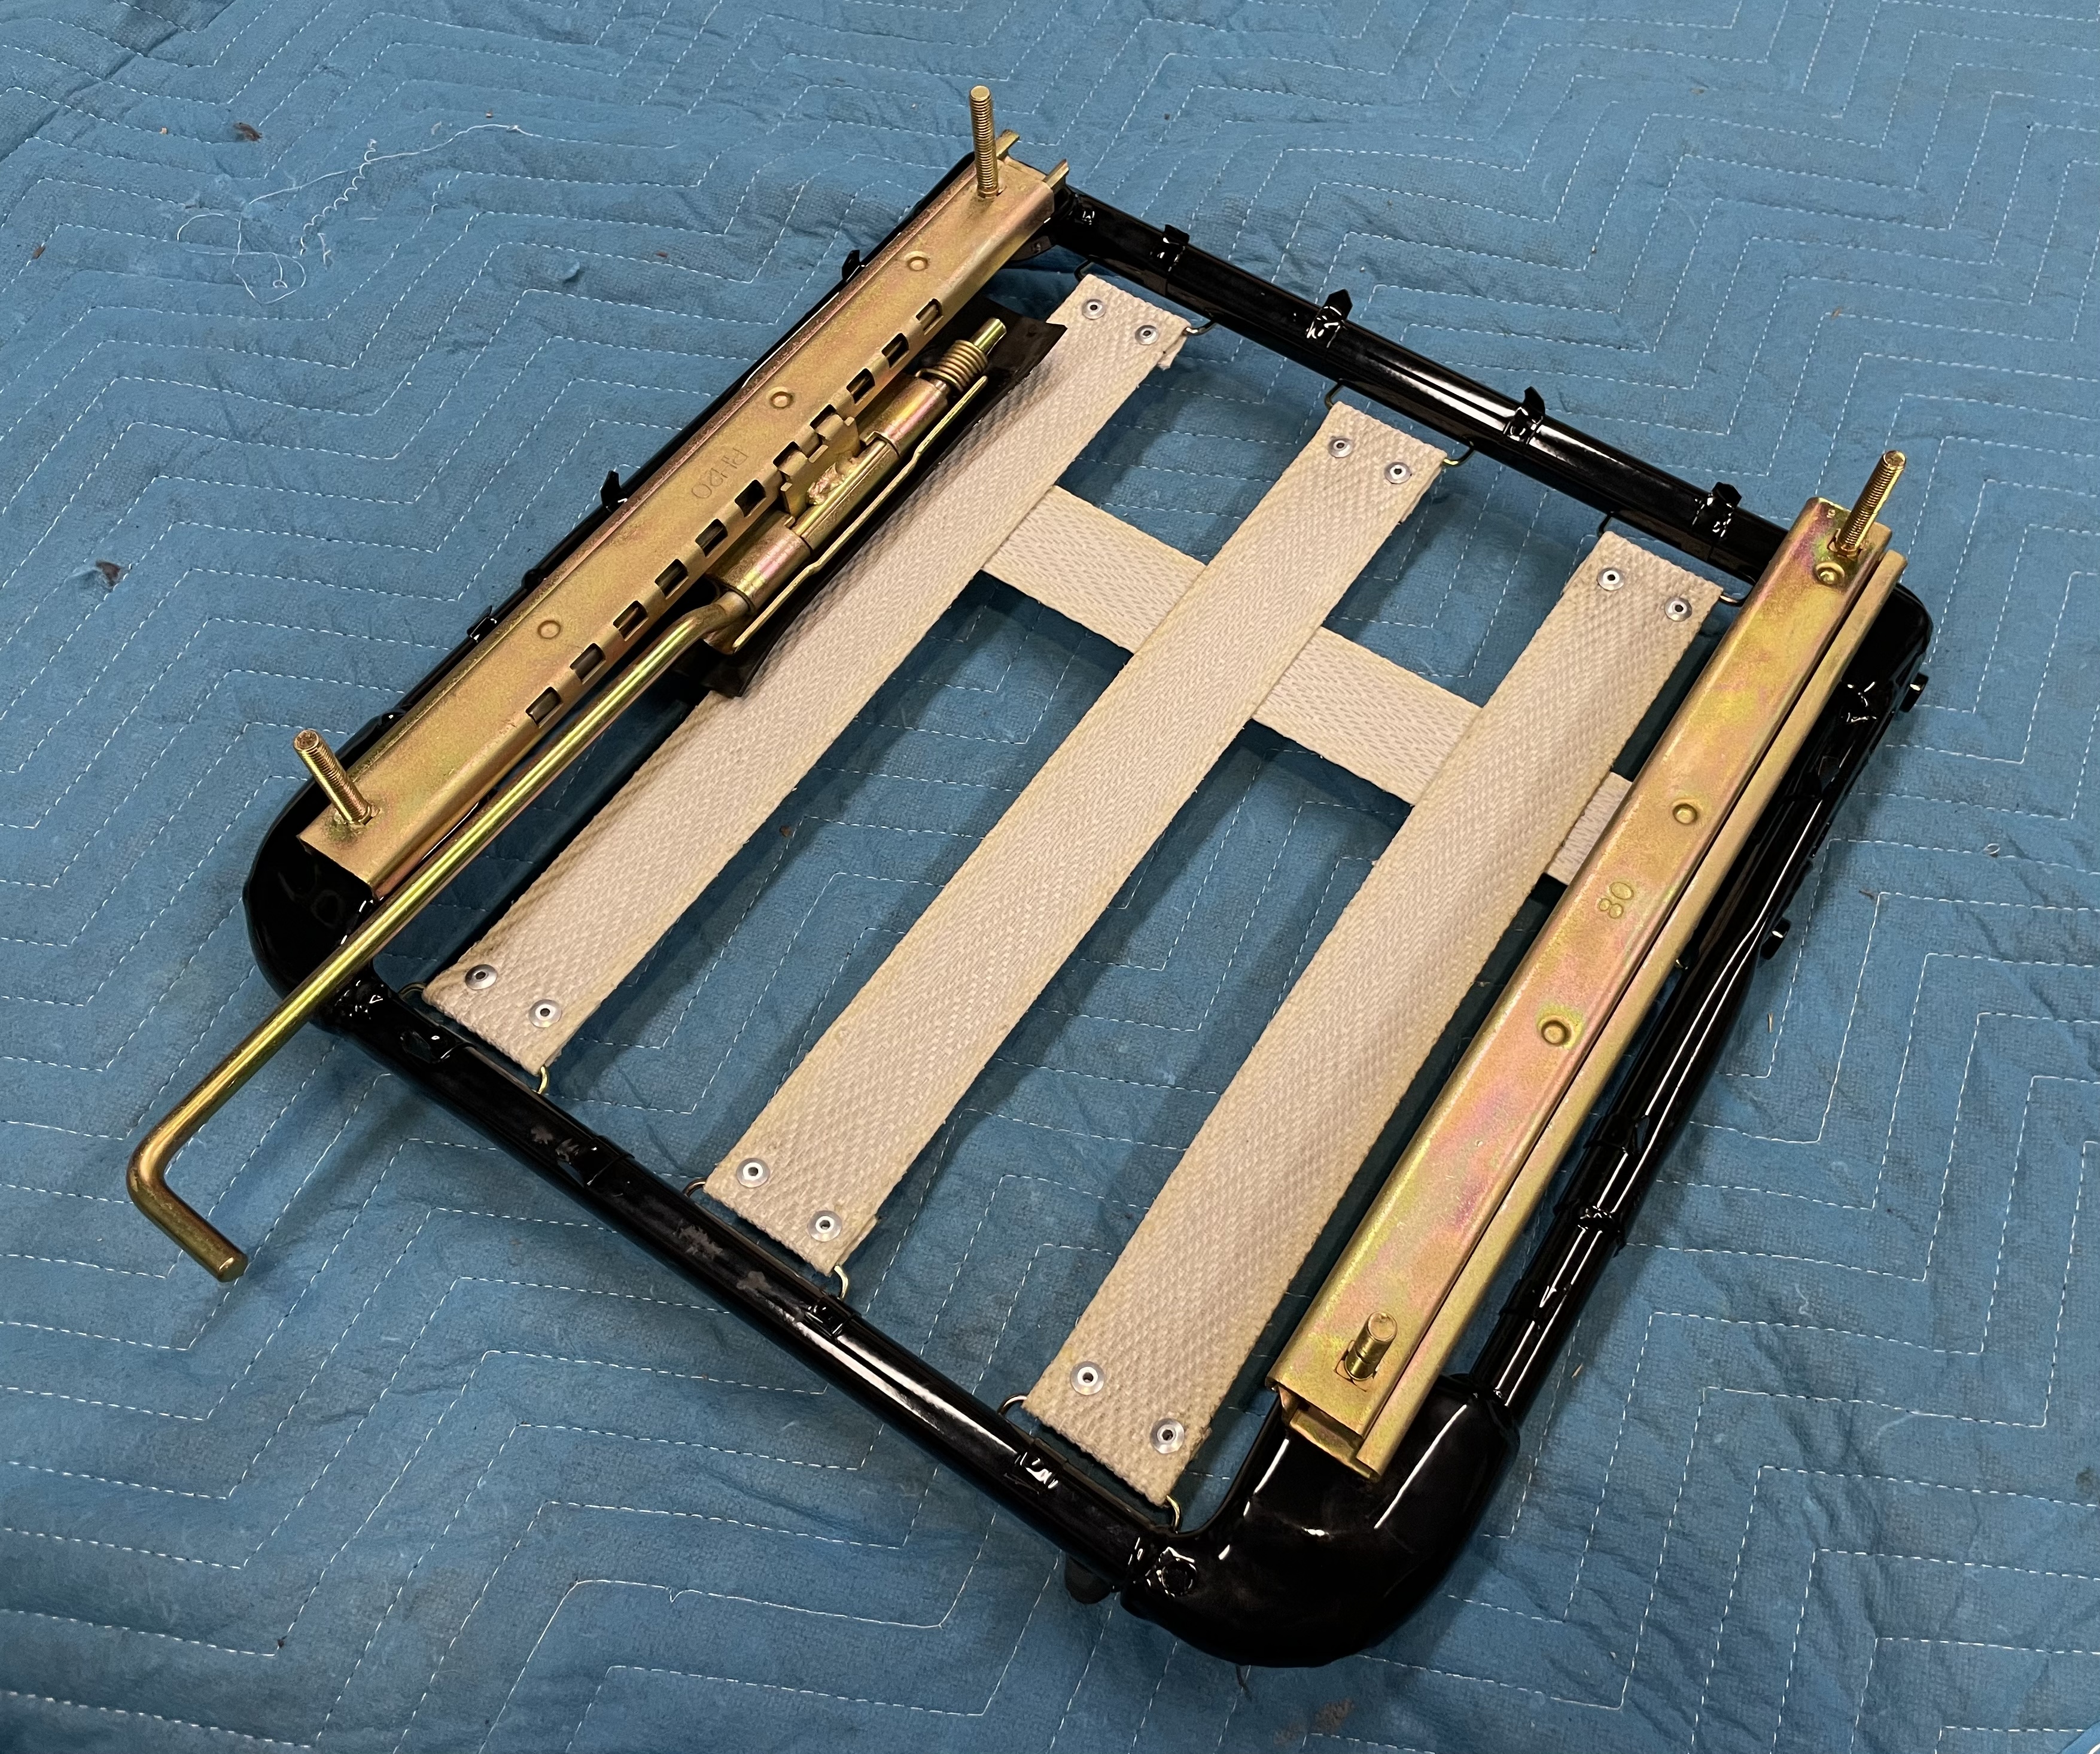
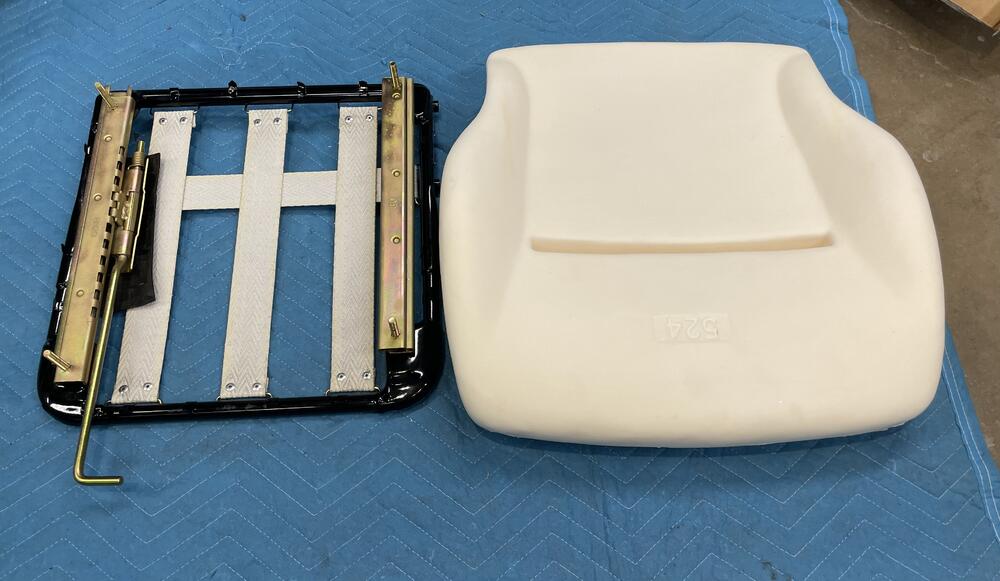
Making progress on the seat rebuild. Remade the lower seat straps, assembled to the powder coated base with all replated hardware, and covered it up with new foam and cover.


-
How's a Word Doc? 1971 240Z Hardware List Rev A.docx
-
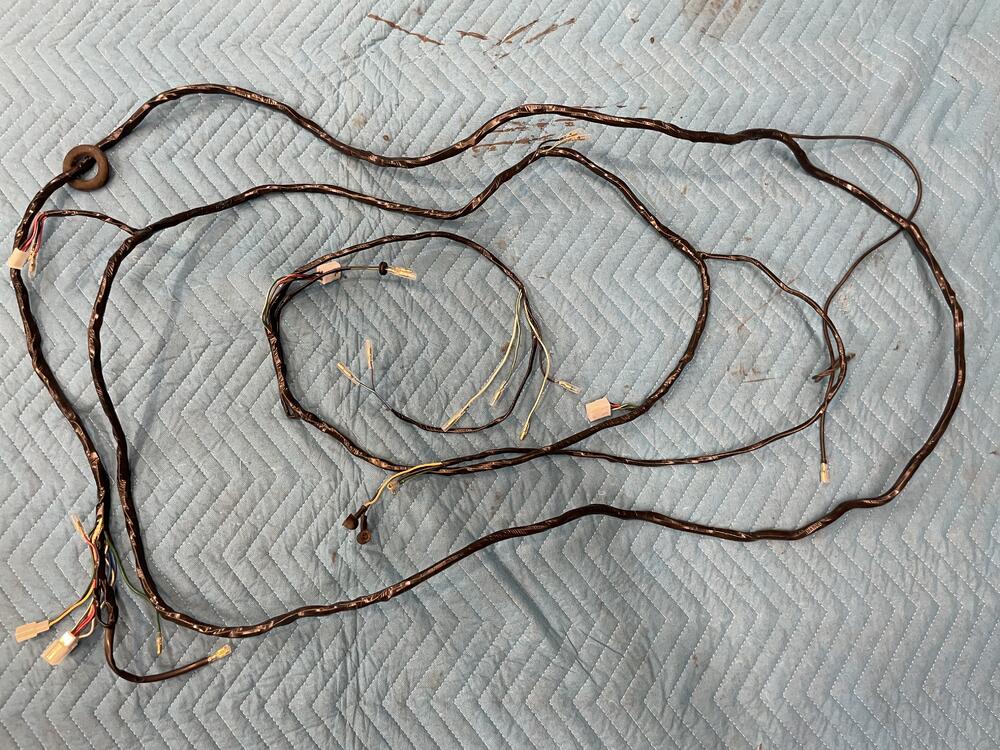
Few smaller details completed tonight. Finished up the interior harness rebuild and installed the inner fender splash shields. Replated in clear zinc (I know, they should be body color but couldn’t bring myself to paint them) new hardware, foam, and lower mud flap.

-
Here's a PDF of what I accumulated while tearing down my '71. With this reference I'm only lacking the interior reinstall, fluids, and initial fire up to complete the Z 1971 240Z Hardware List Rev A.pdf
-
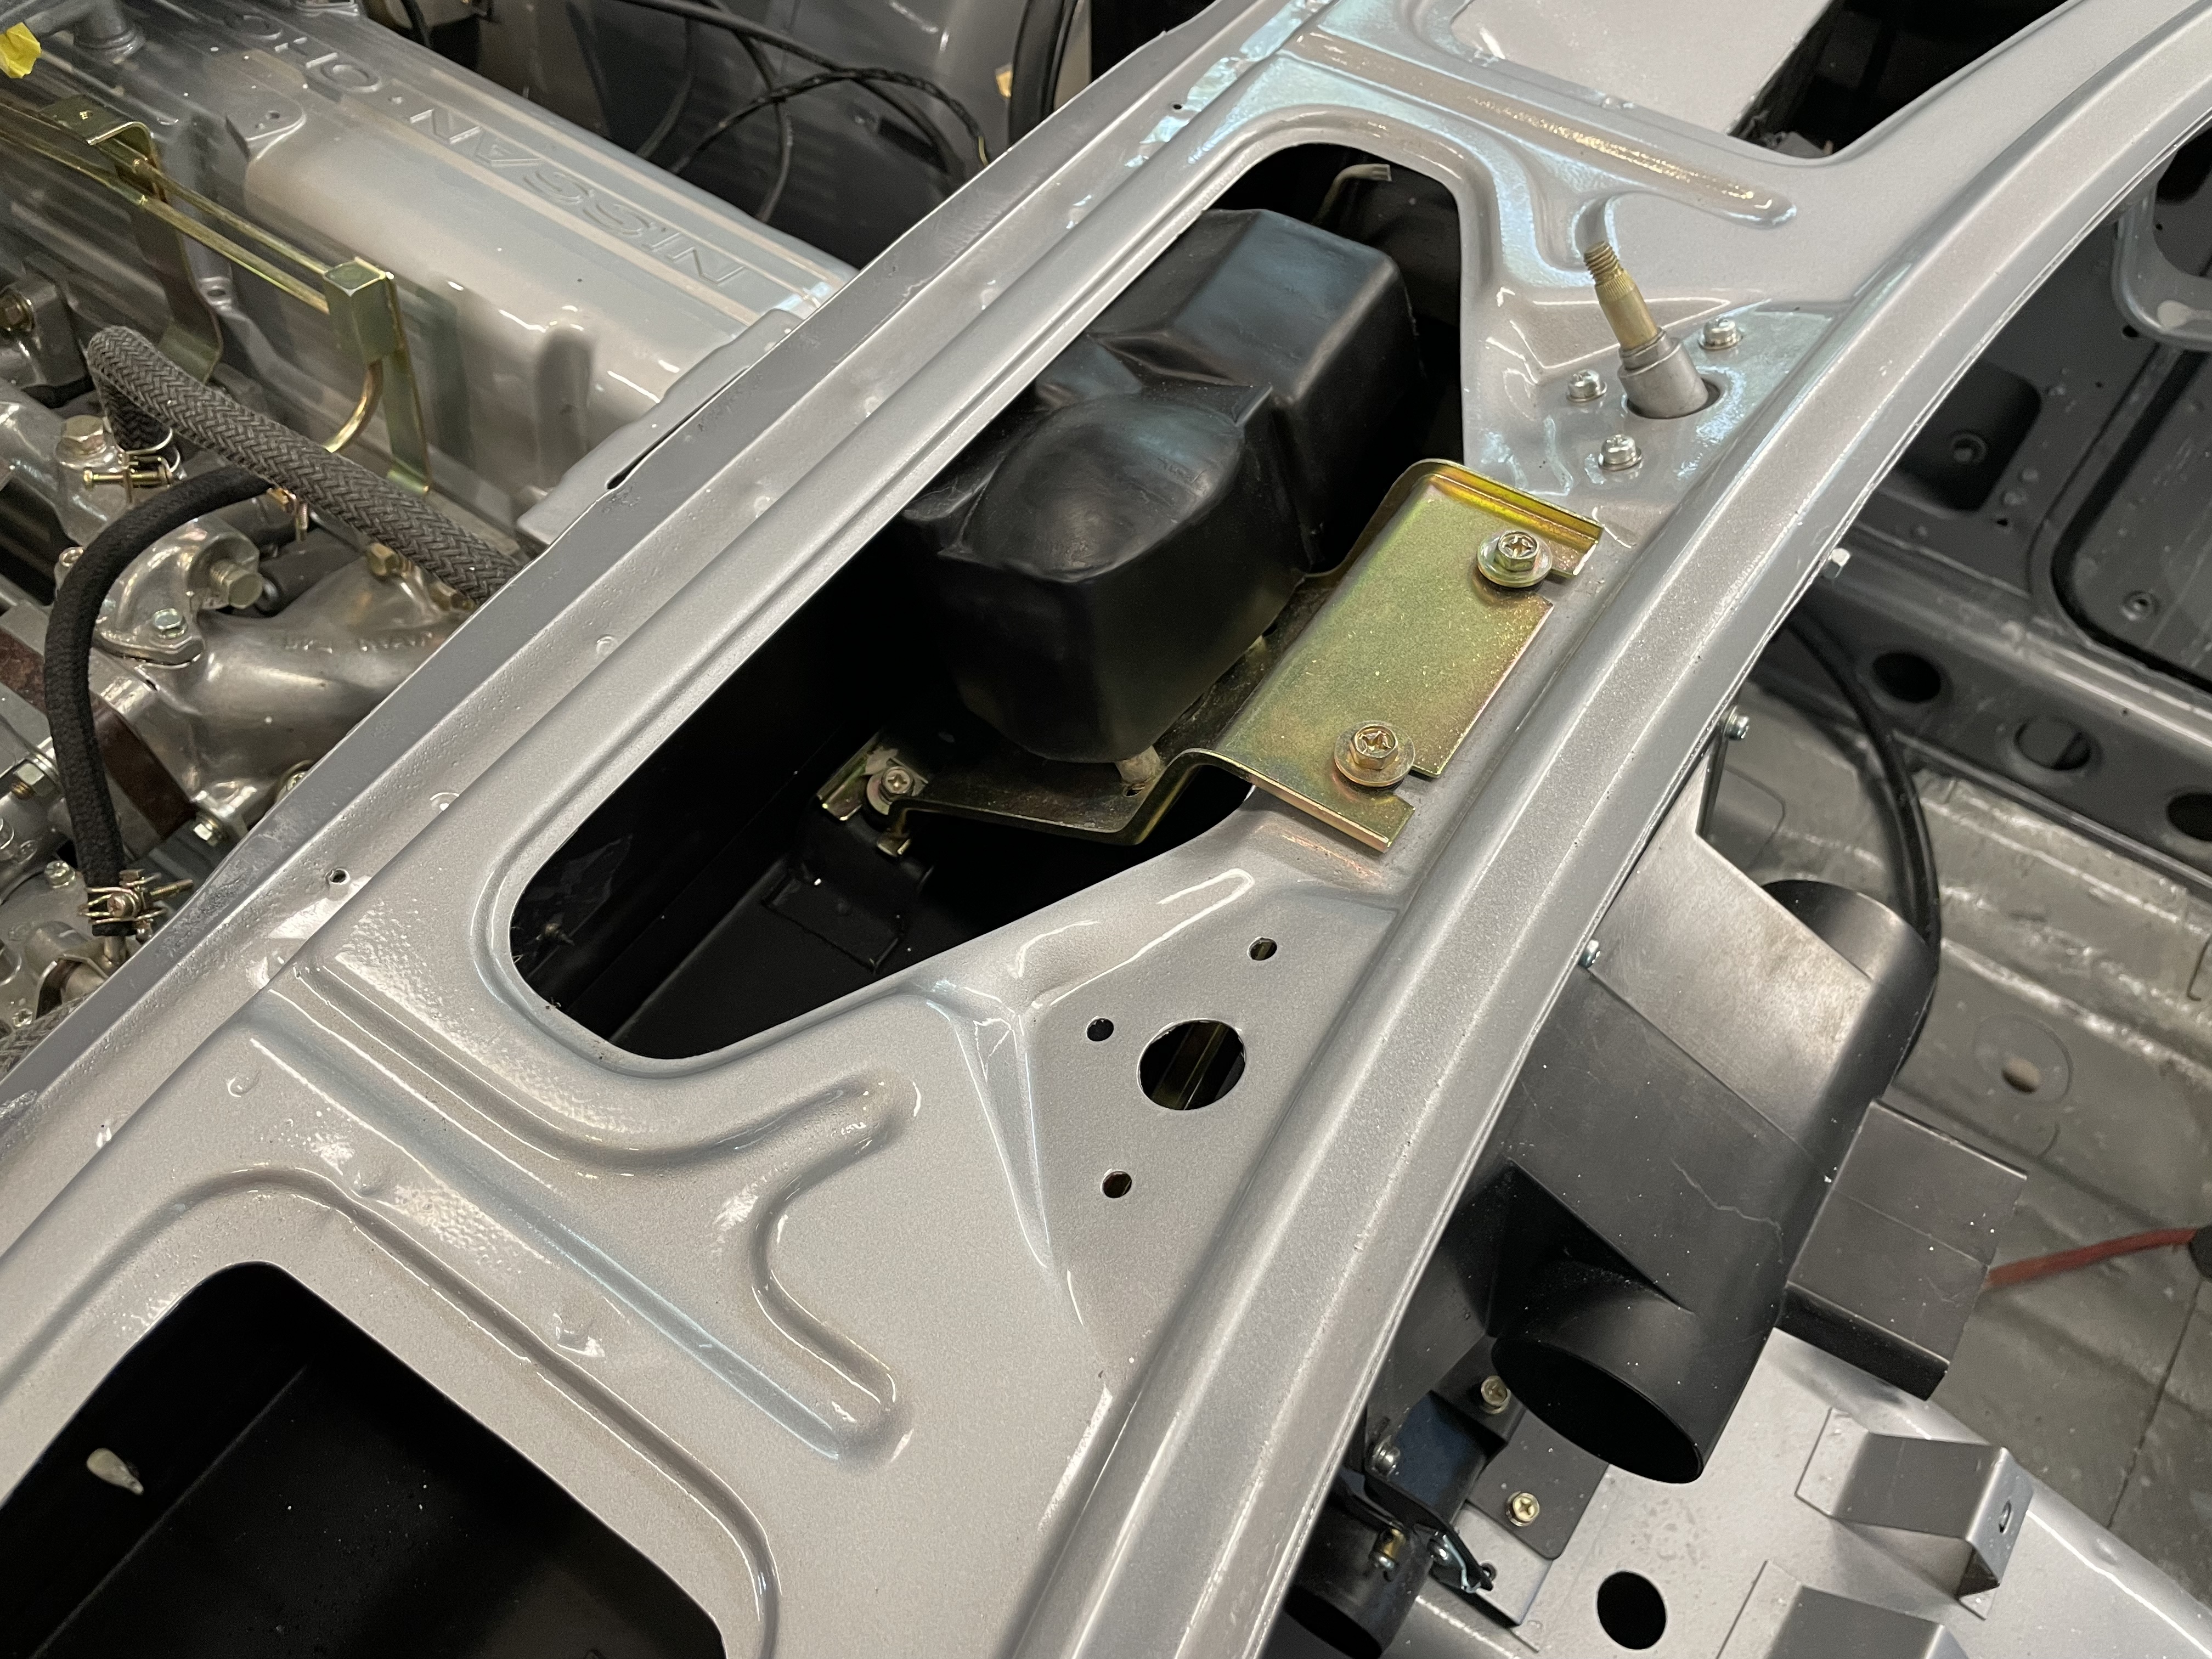
Plastic cover is 100% original to the car. Second Z I’ve had with one, as it was for both CanTechZ and jfa.series1 above.
-
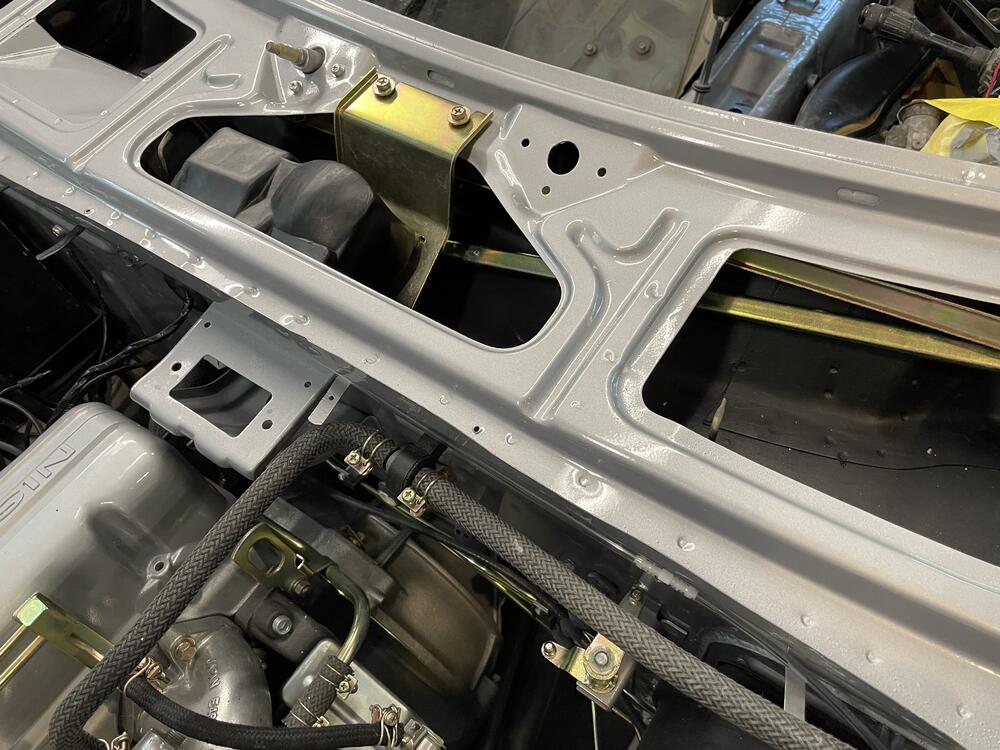
Wiper motor and linkage installed for good. Was happy to see that the original wiper motor cover fit on the Honda unit nicely for a very “original” look.

-
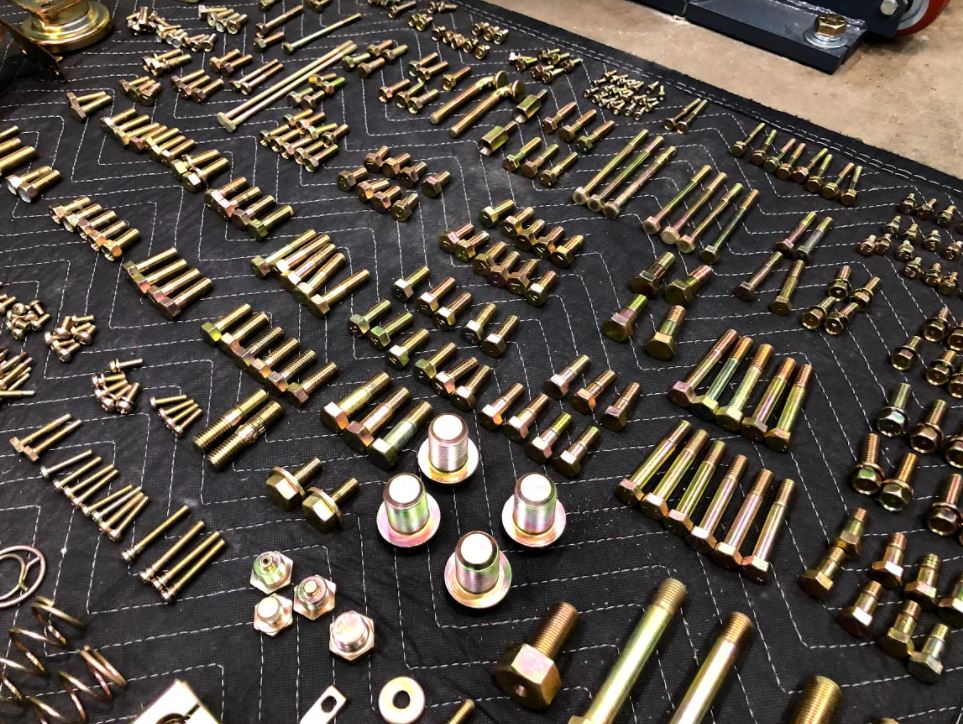
Evapo-Rust or CLR do wonders for removing rust when prepping hardware. I tried the media blasting but its very difficult with the smaller parts. I soaked everything in CLR overnight, and wire-wheeled every part. Doing so gives the metal a nice luster that shines through the plating. Don't bother with itemizing everything in zip locks, as you'll get everything back in one big box. I wrote every fastener down by size/length/thread pitch/qty and transferred that over to an Excel sheet for easy tracking.

-
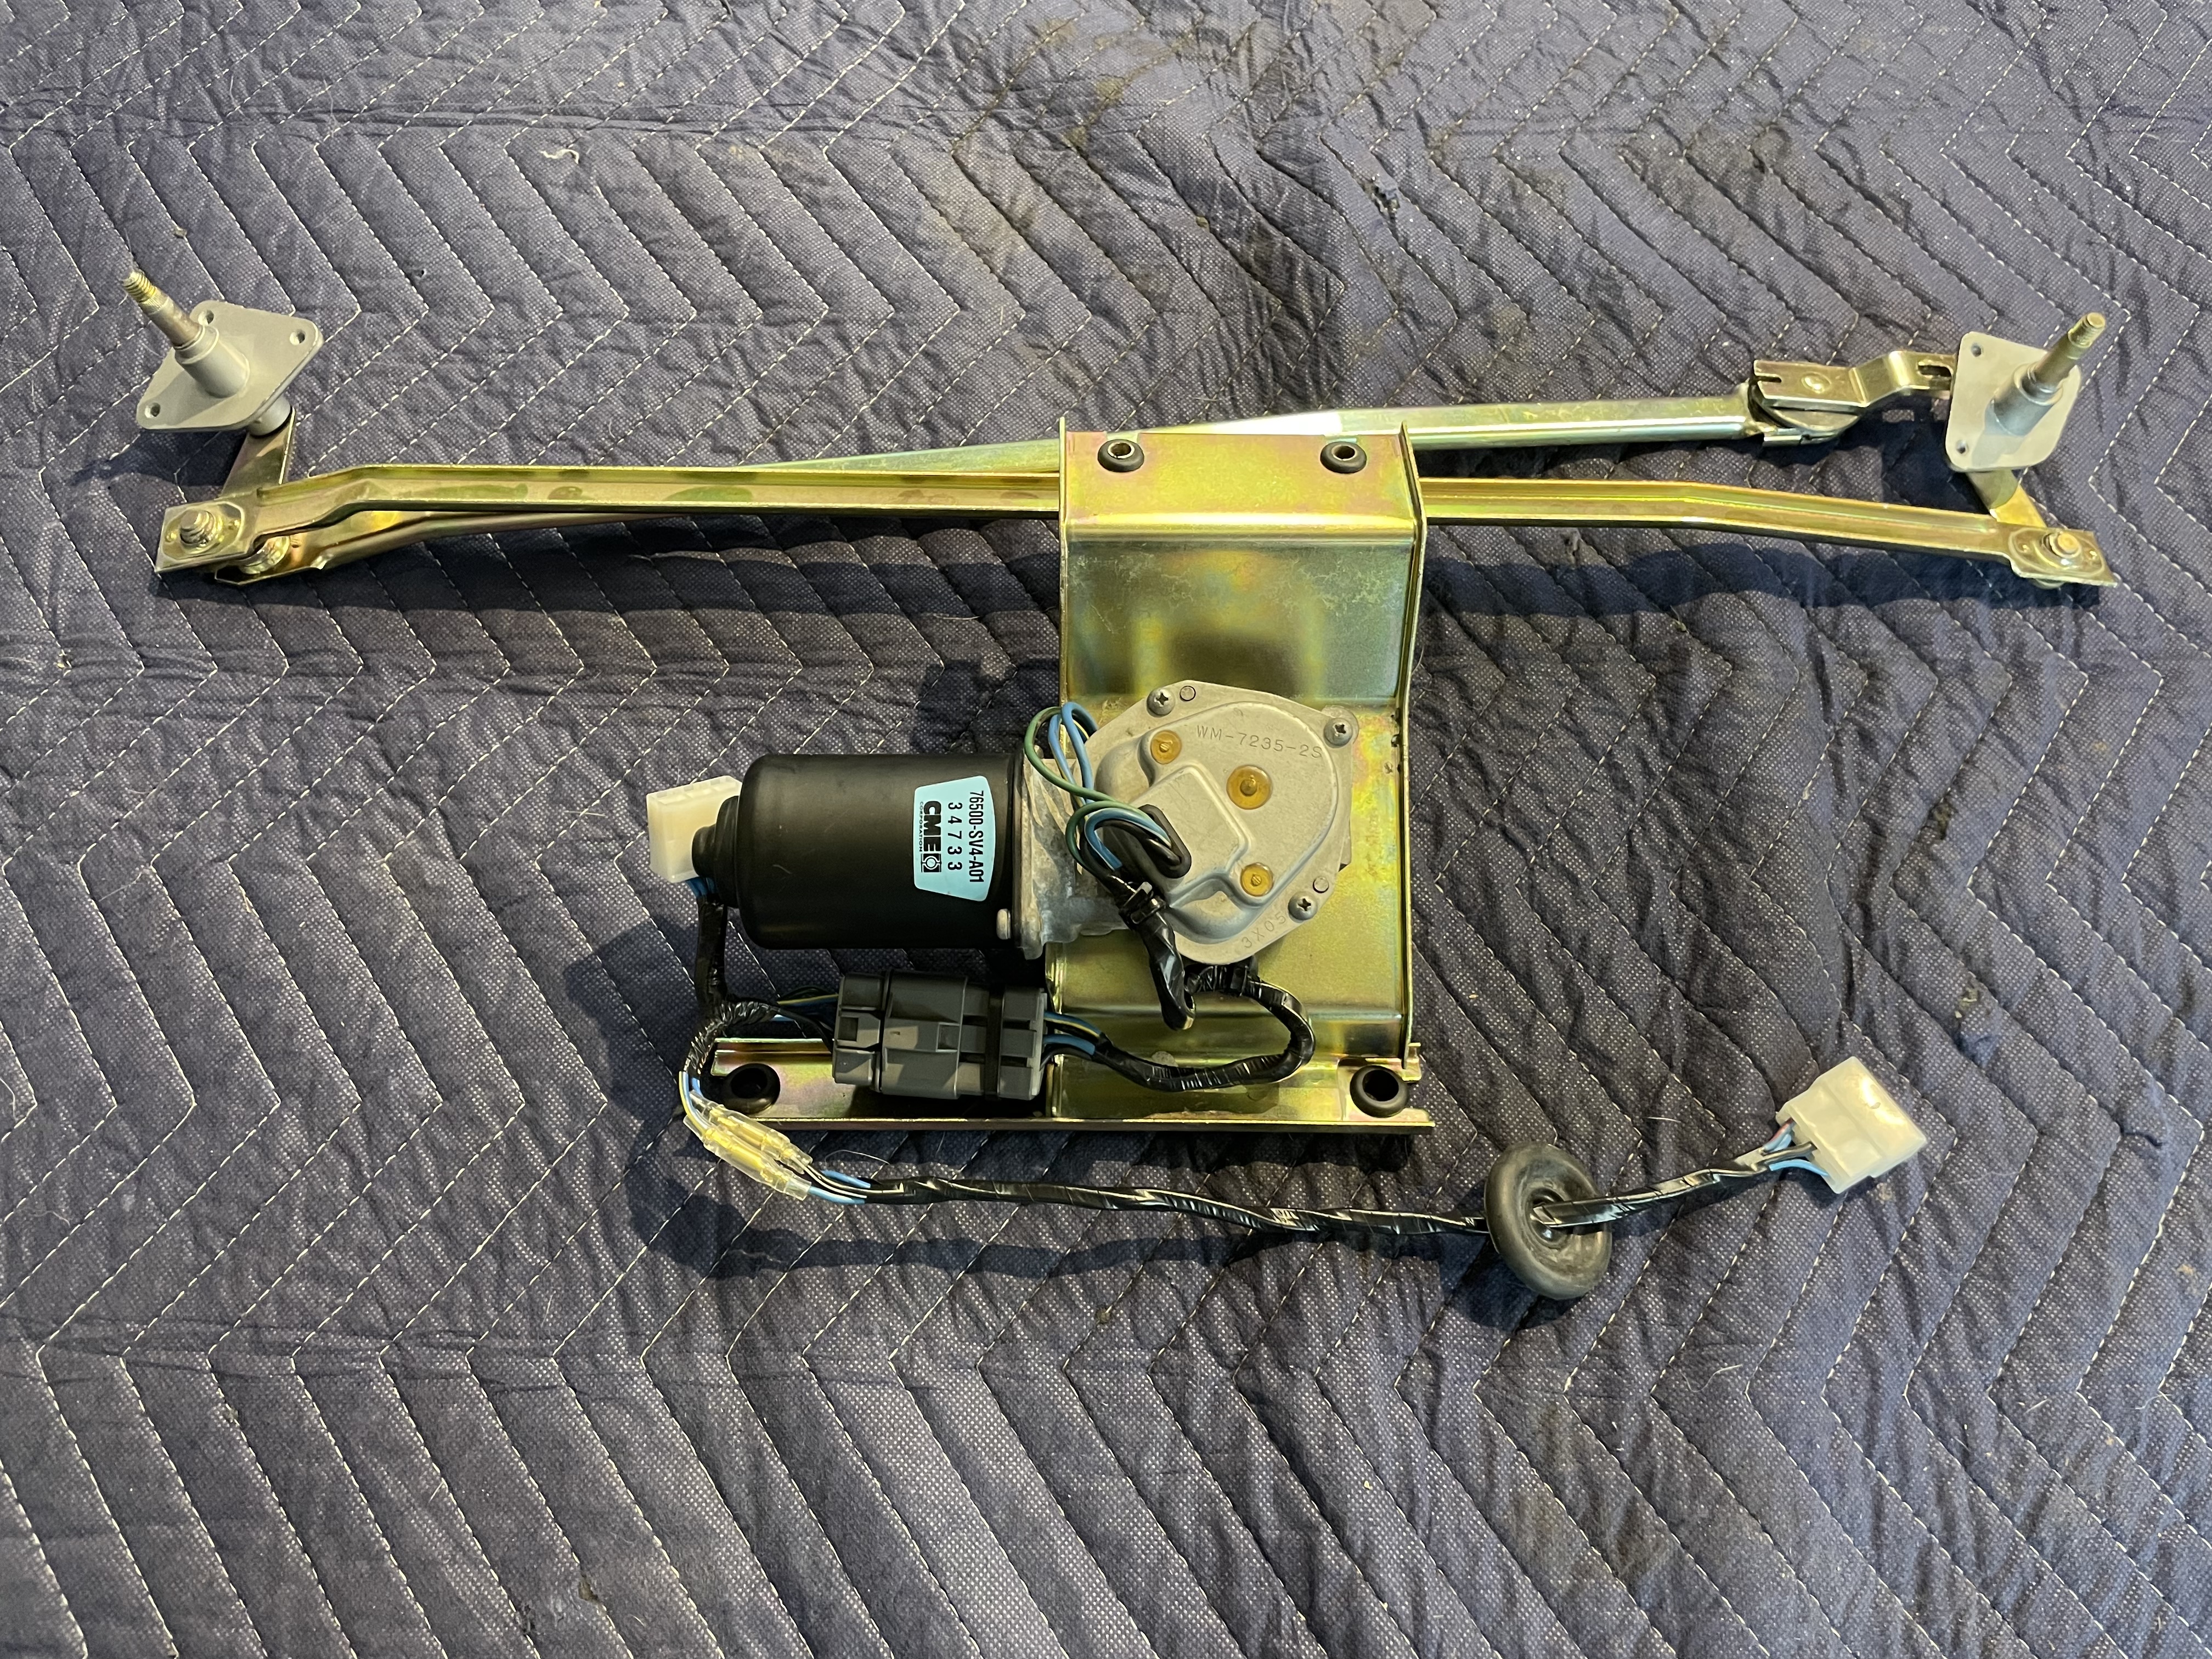
The idea for the amount of connections was to allow the motor to be unplugged and swapped out without splicing into the harness. There’s also a 30 amp relay in the system that’s needed for proper function. It’s not a simple wire to wire connection for this upgrade unfortunately.
-
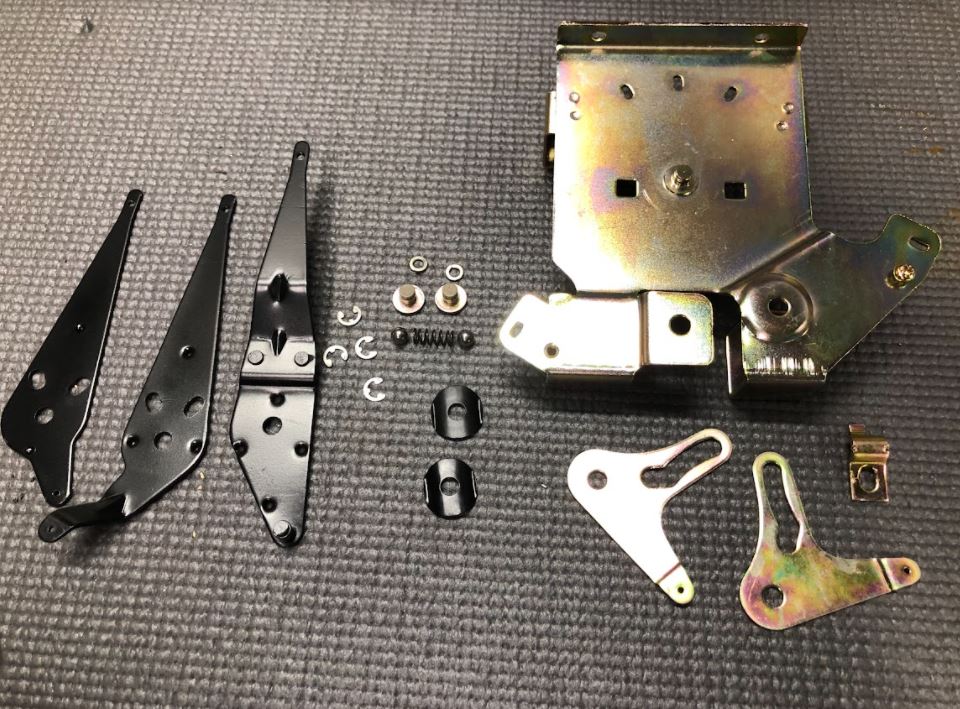
Restored wiper linkage and motor mounting bracket, along with the Honda wiper motor upgrade. A jumper harness was made so that from the firewall forward the wiring would appear stock. Harness also allows for easy replacement of motor if it should ever fail.

-
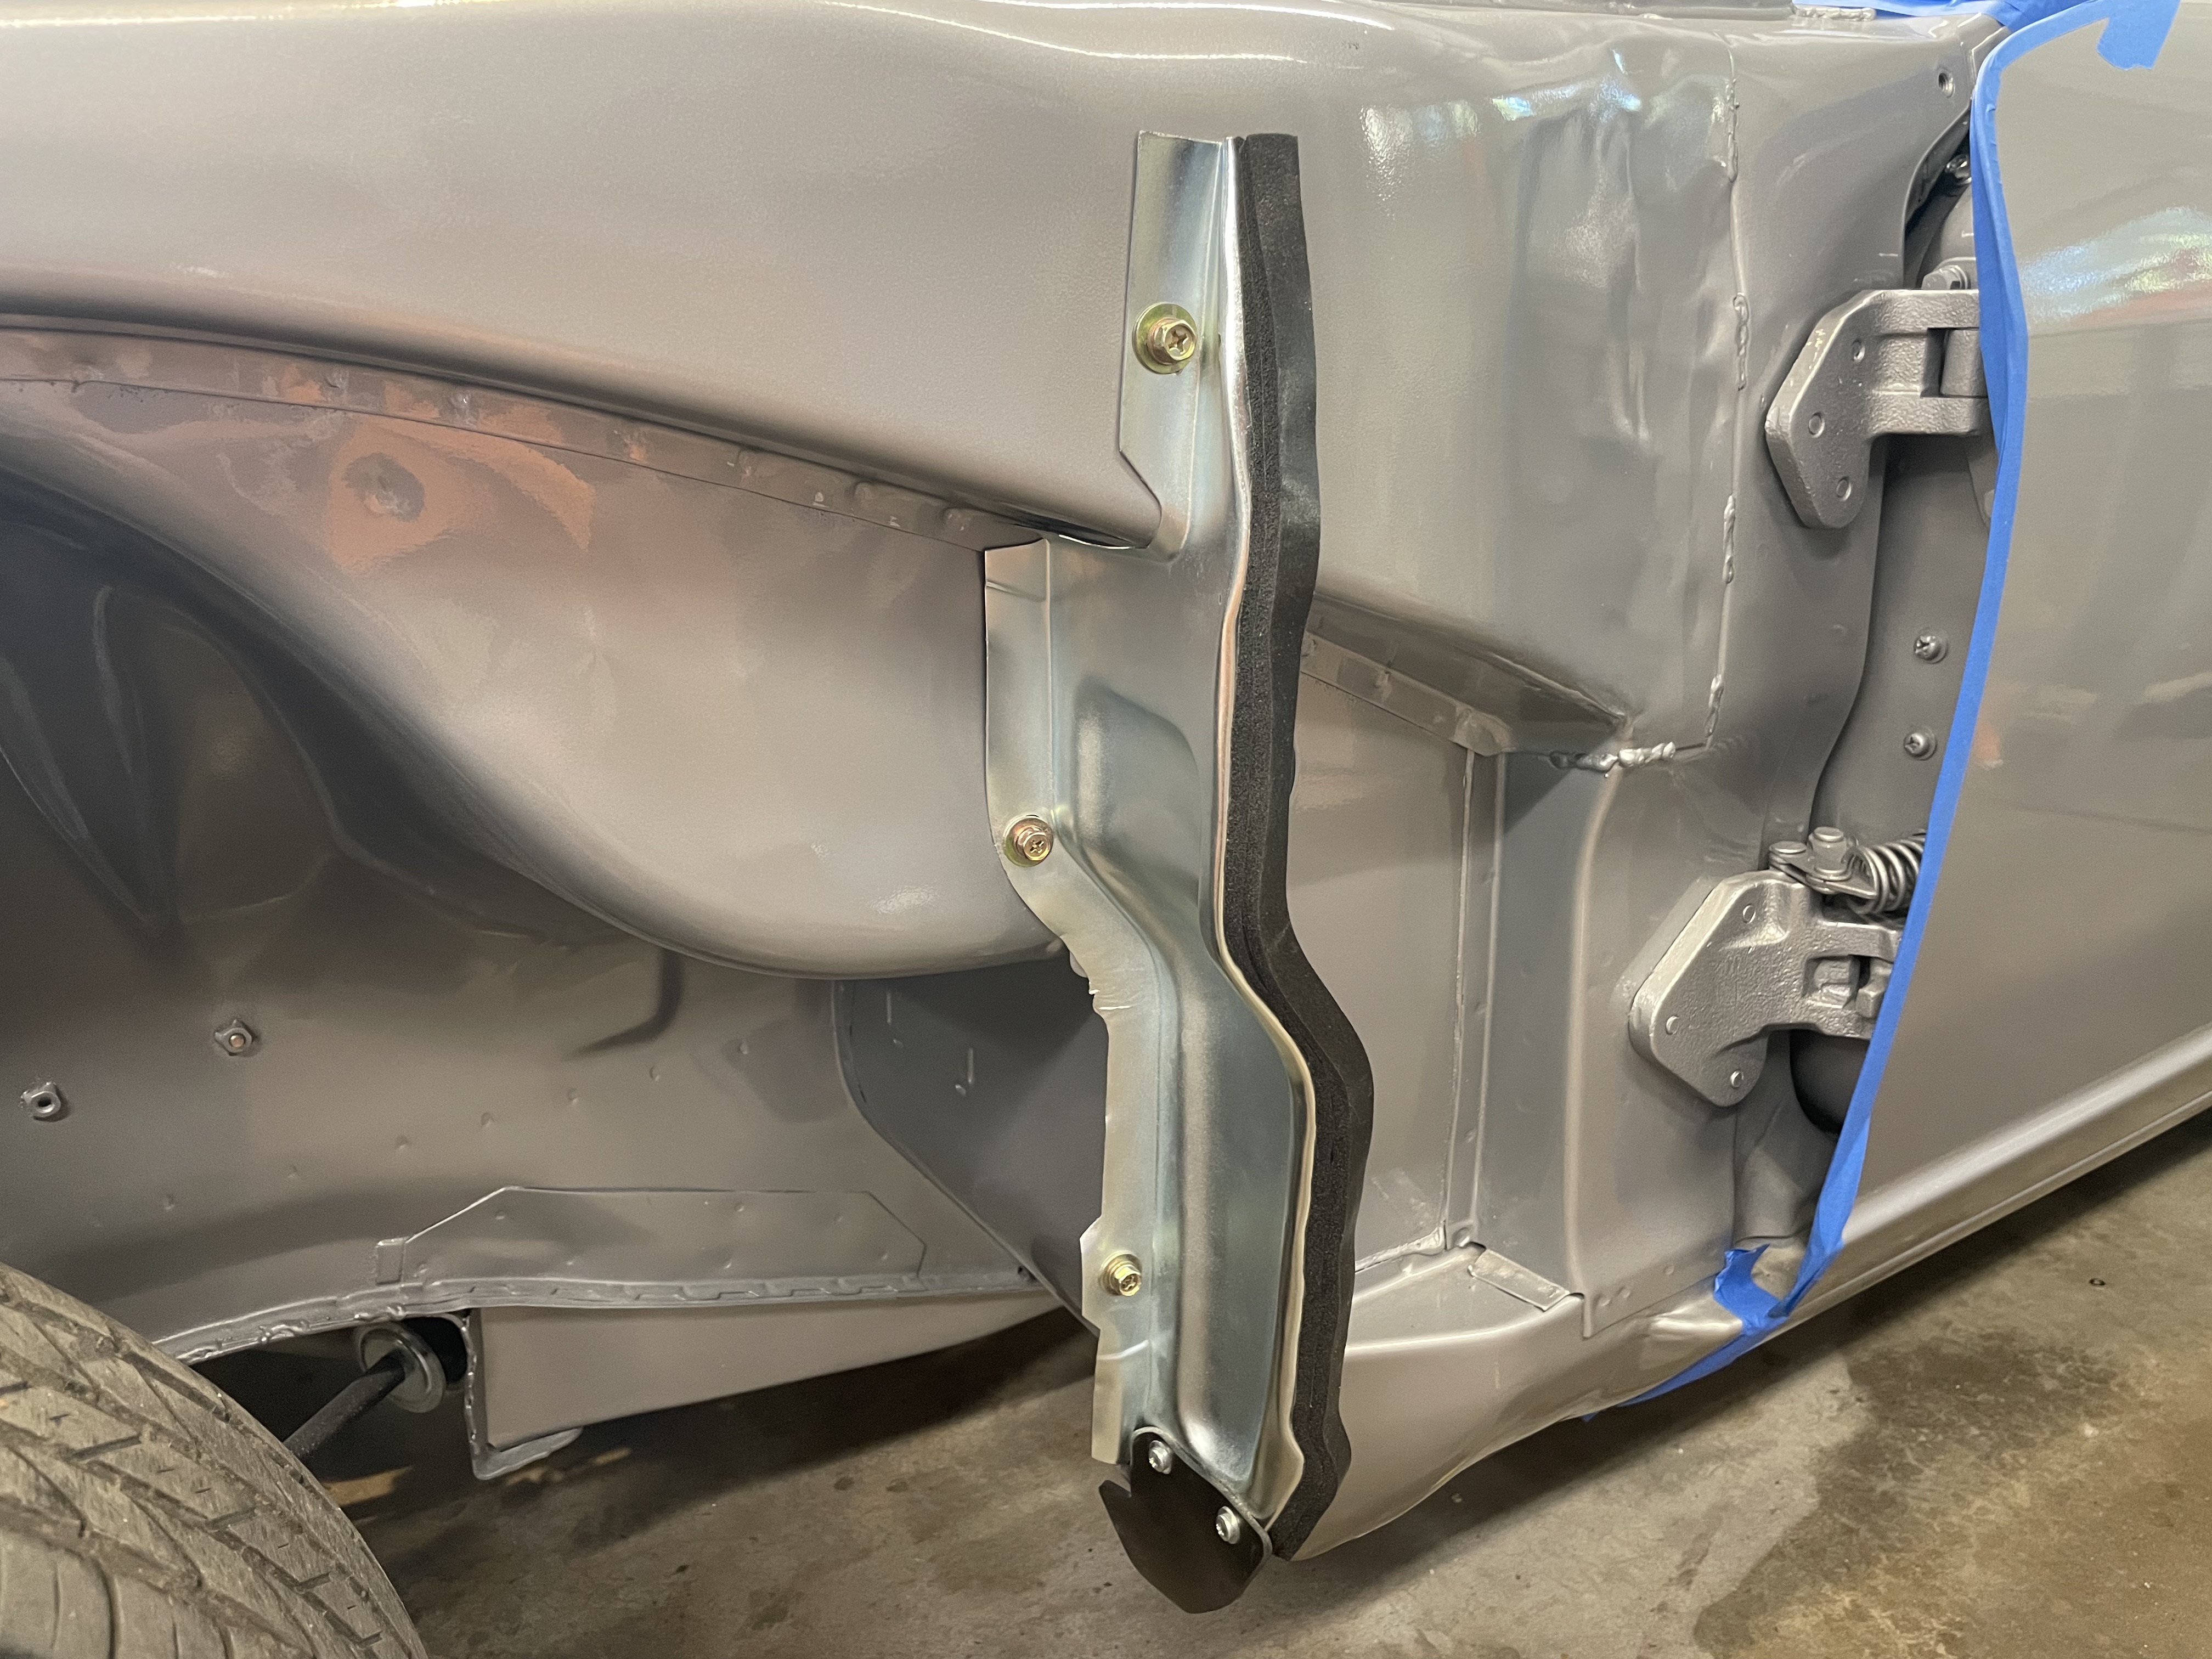
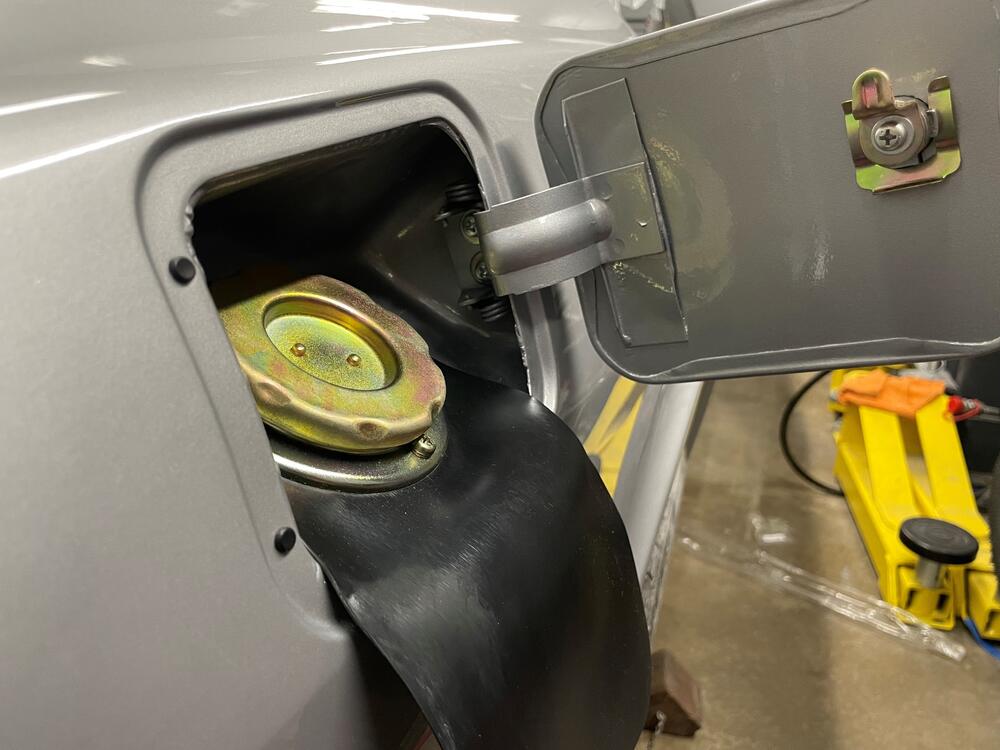
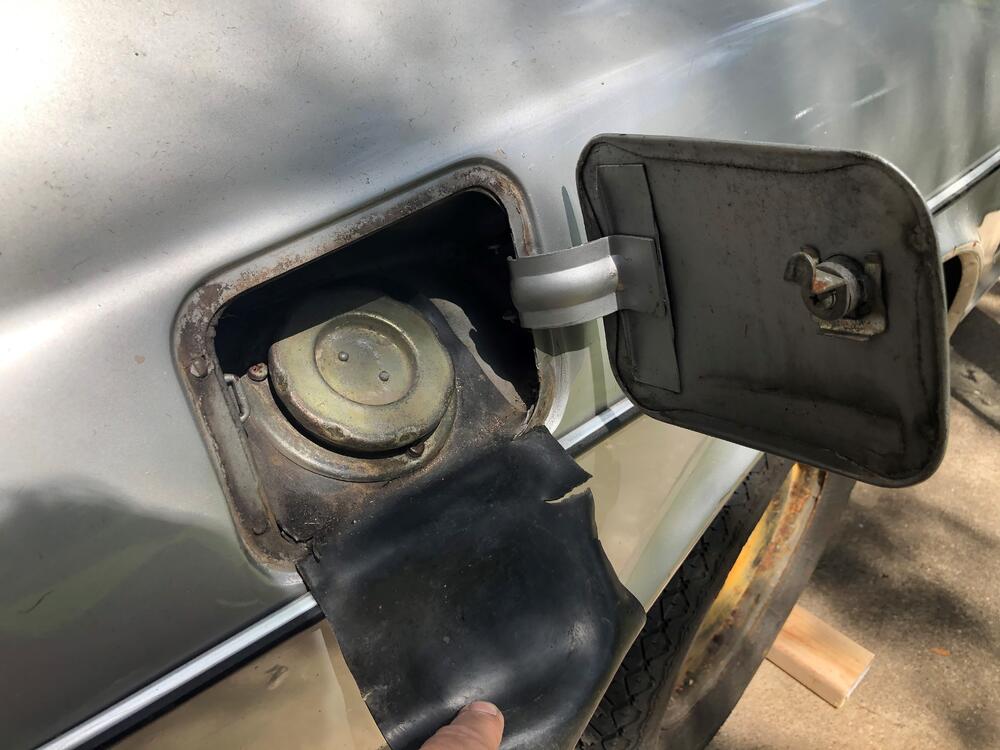
Before and after for the gas fill area on the Z. Everything replated with new rubber bits to finish it off.
-
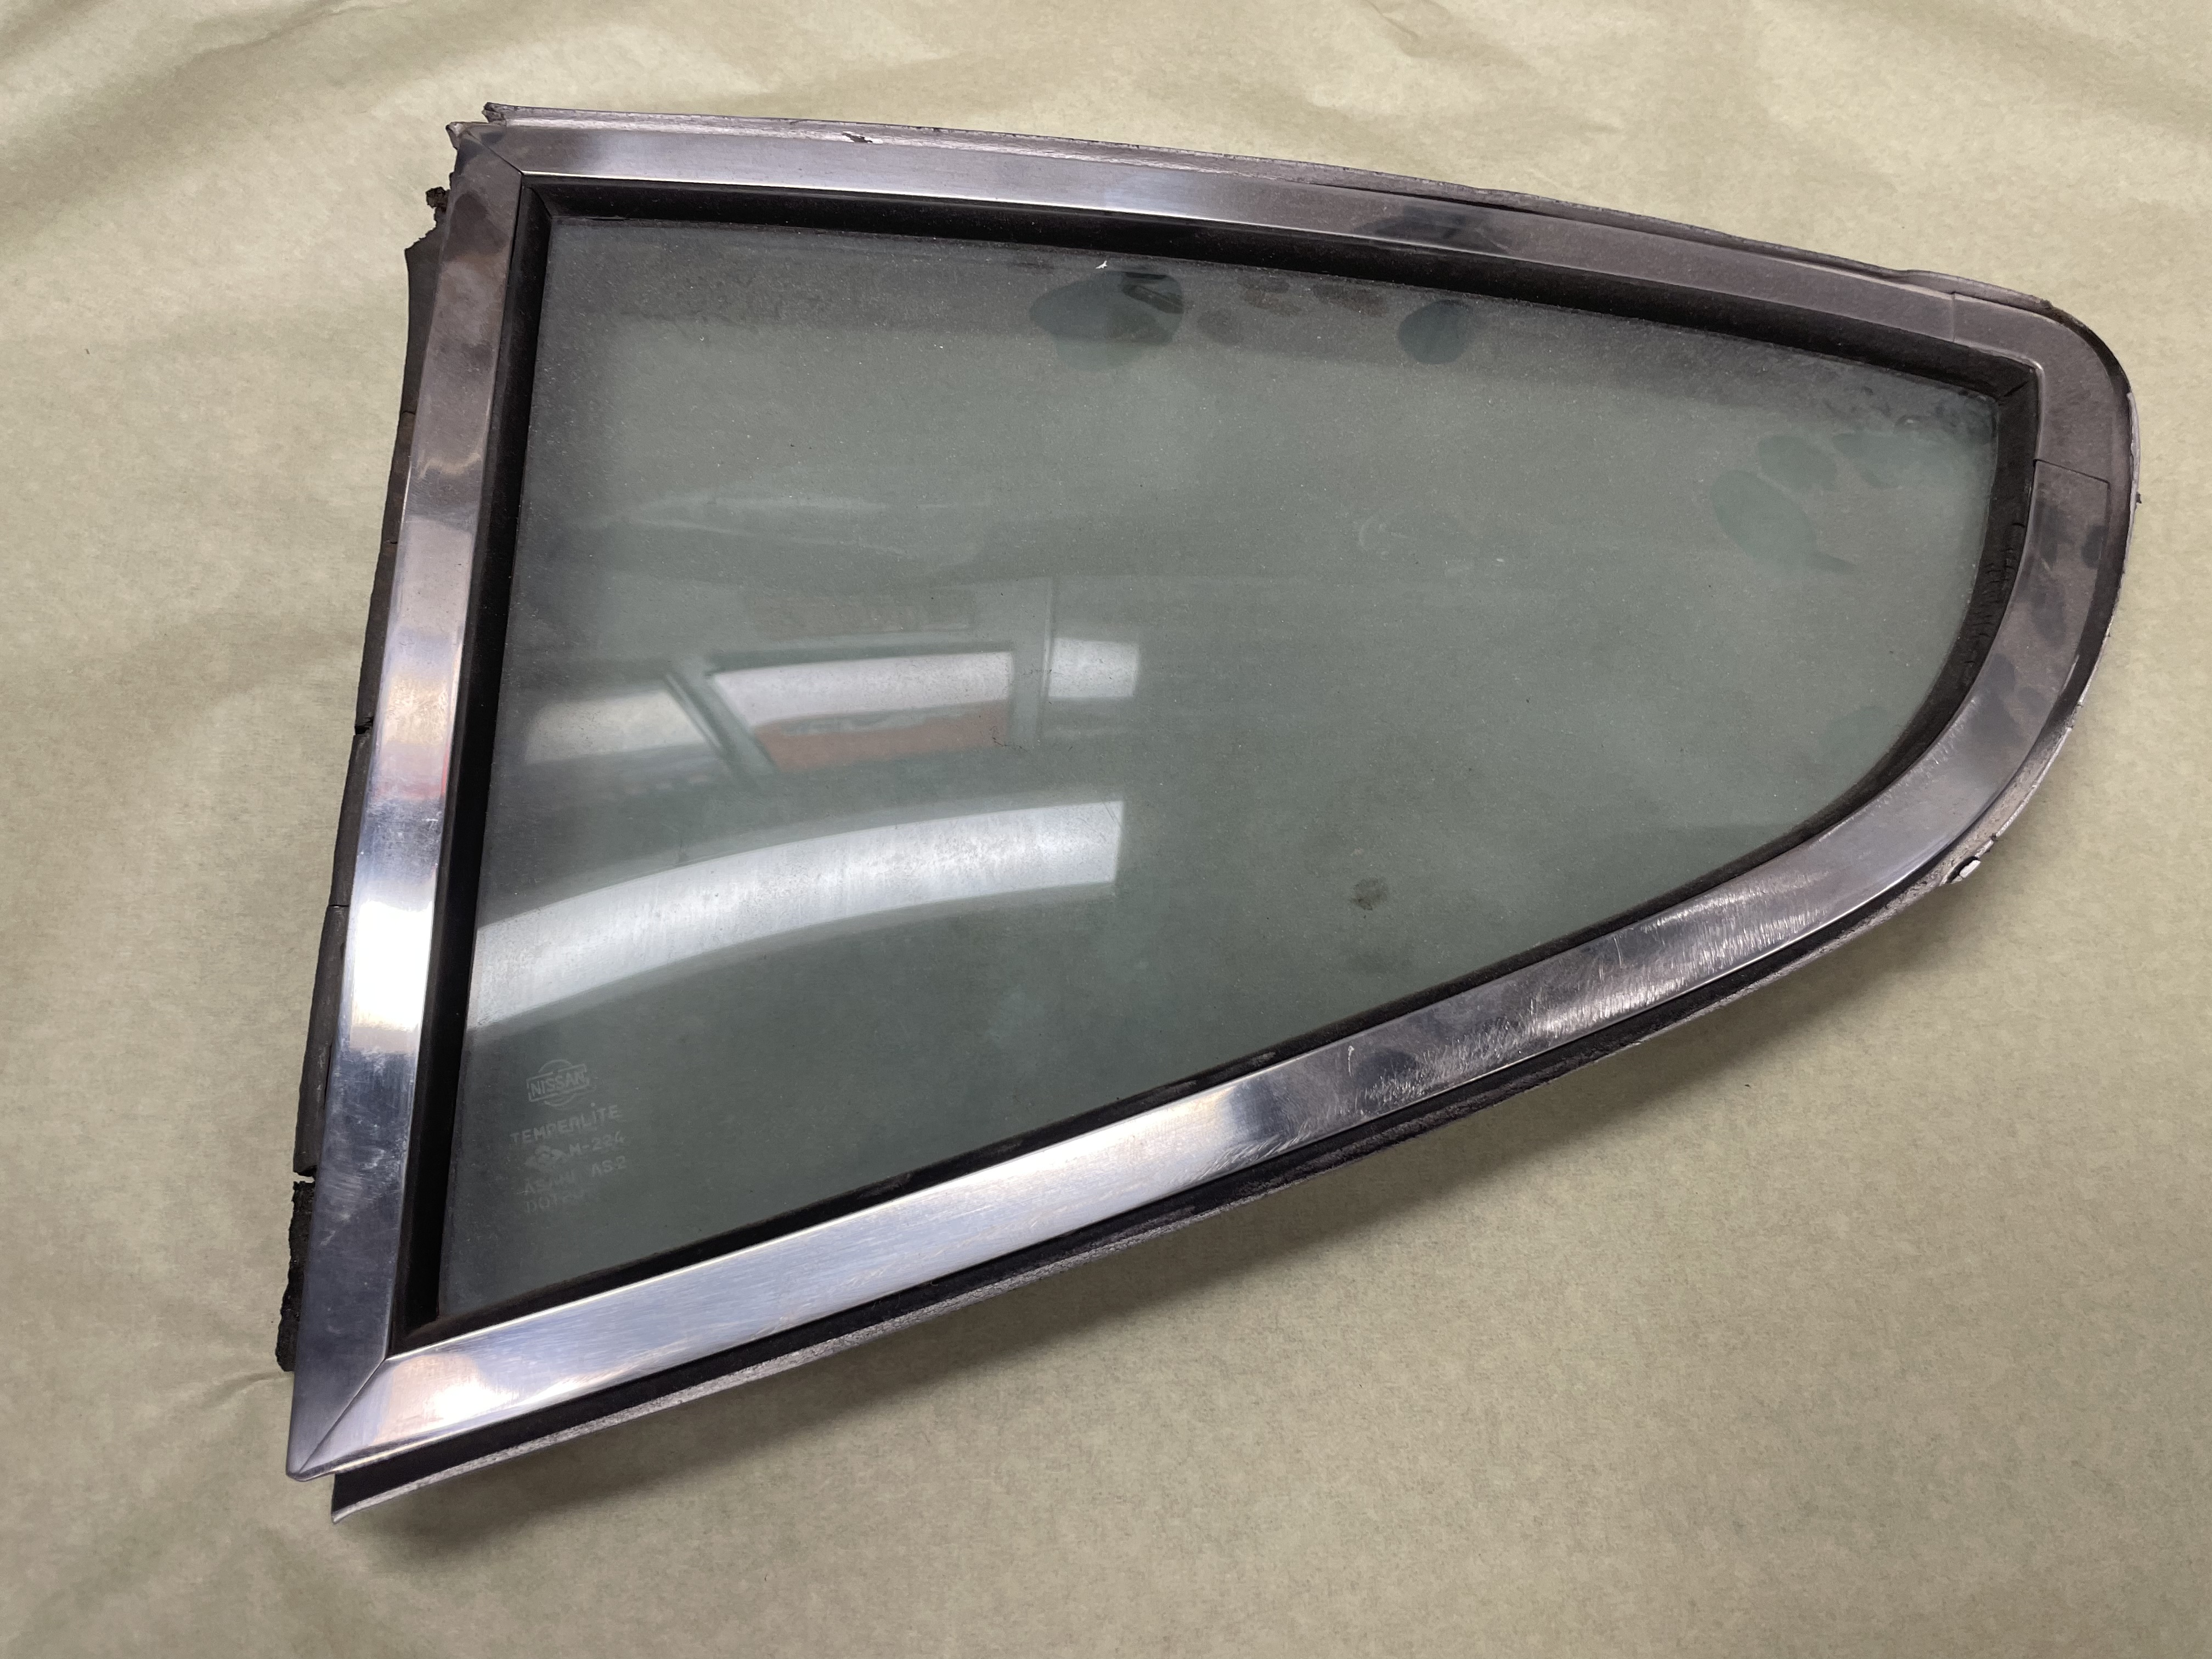
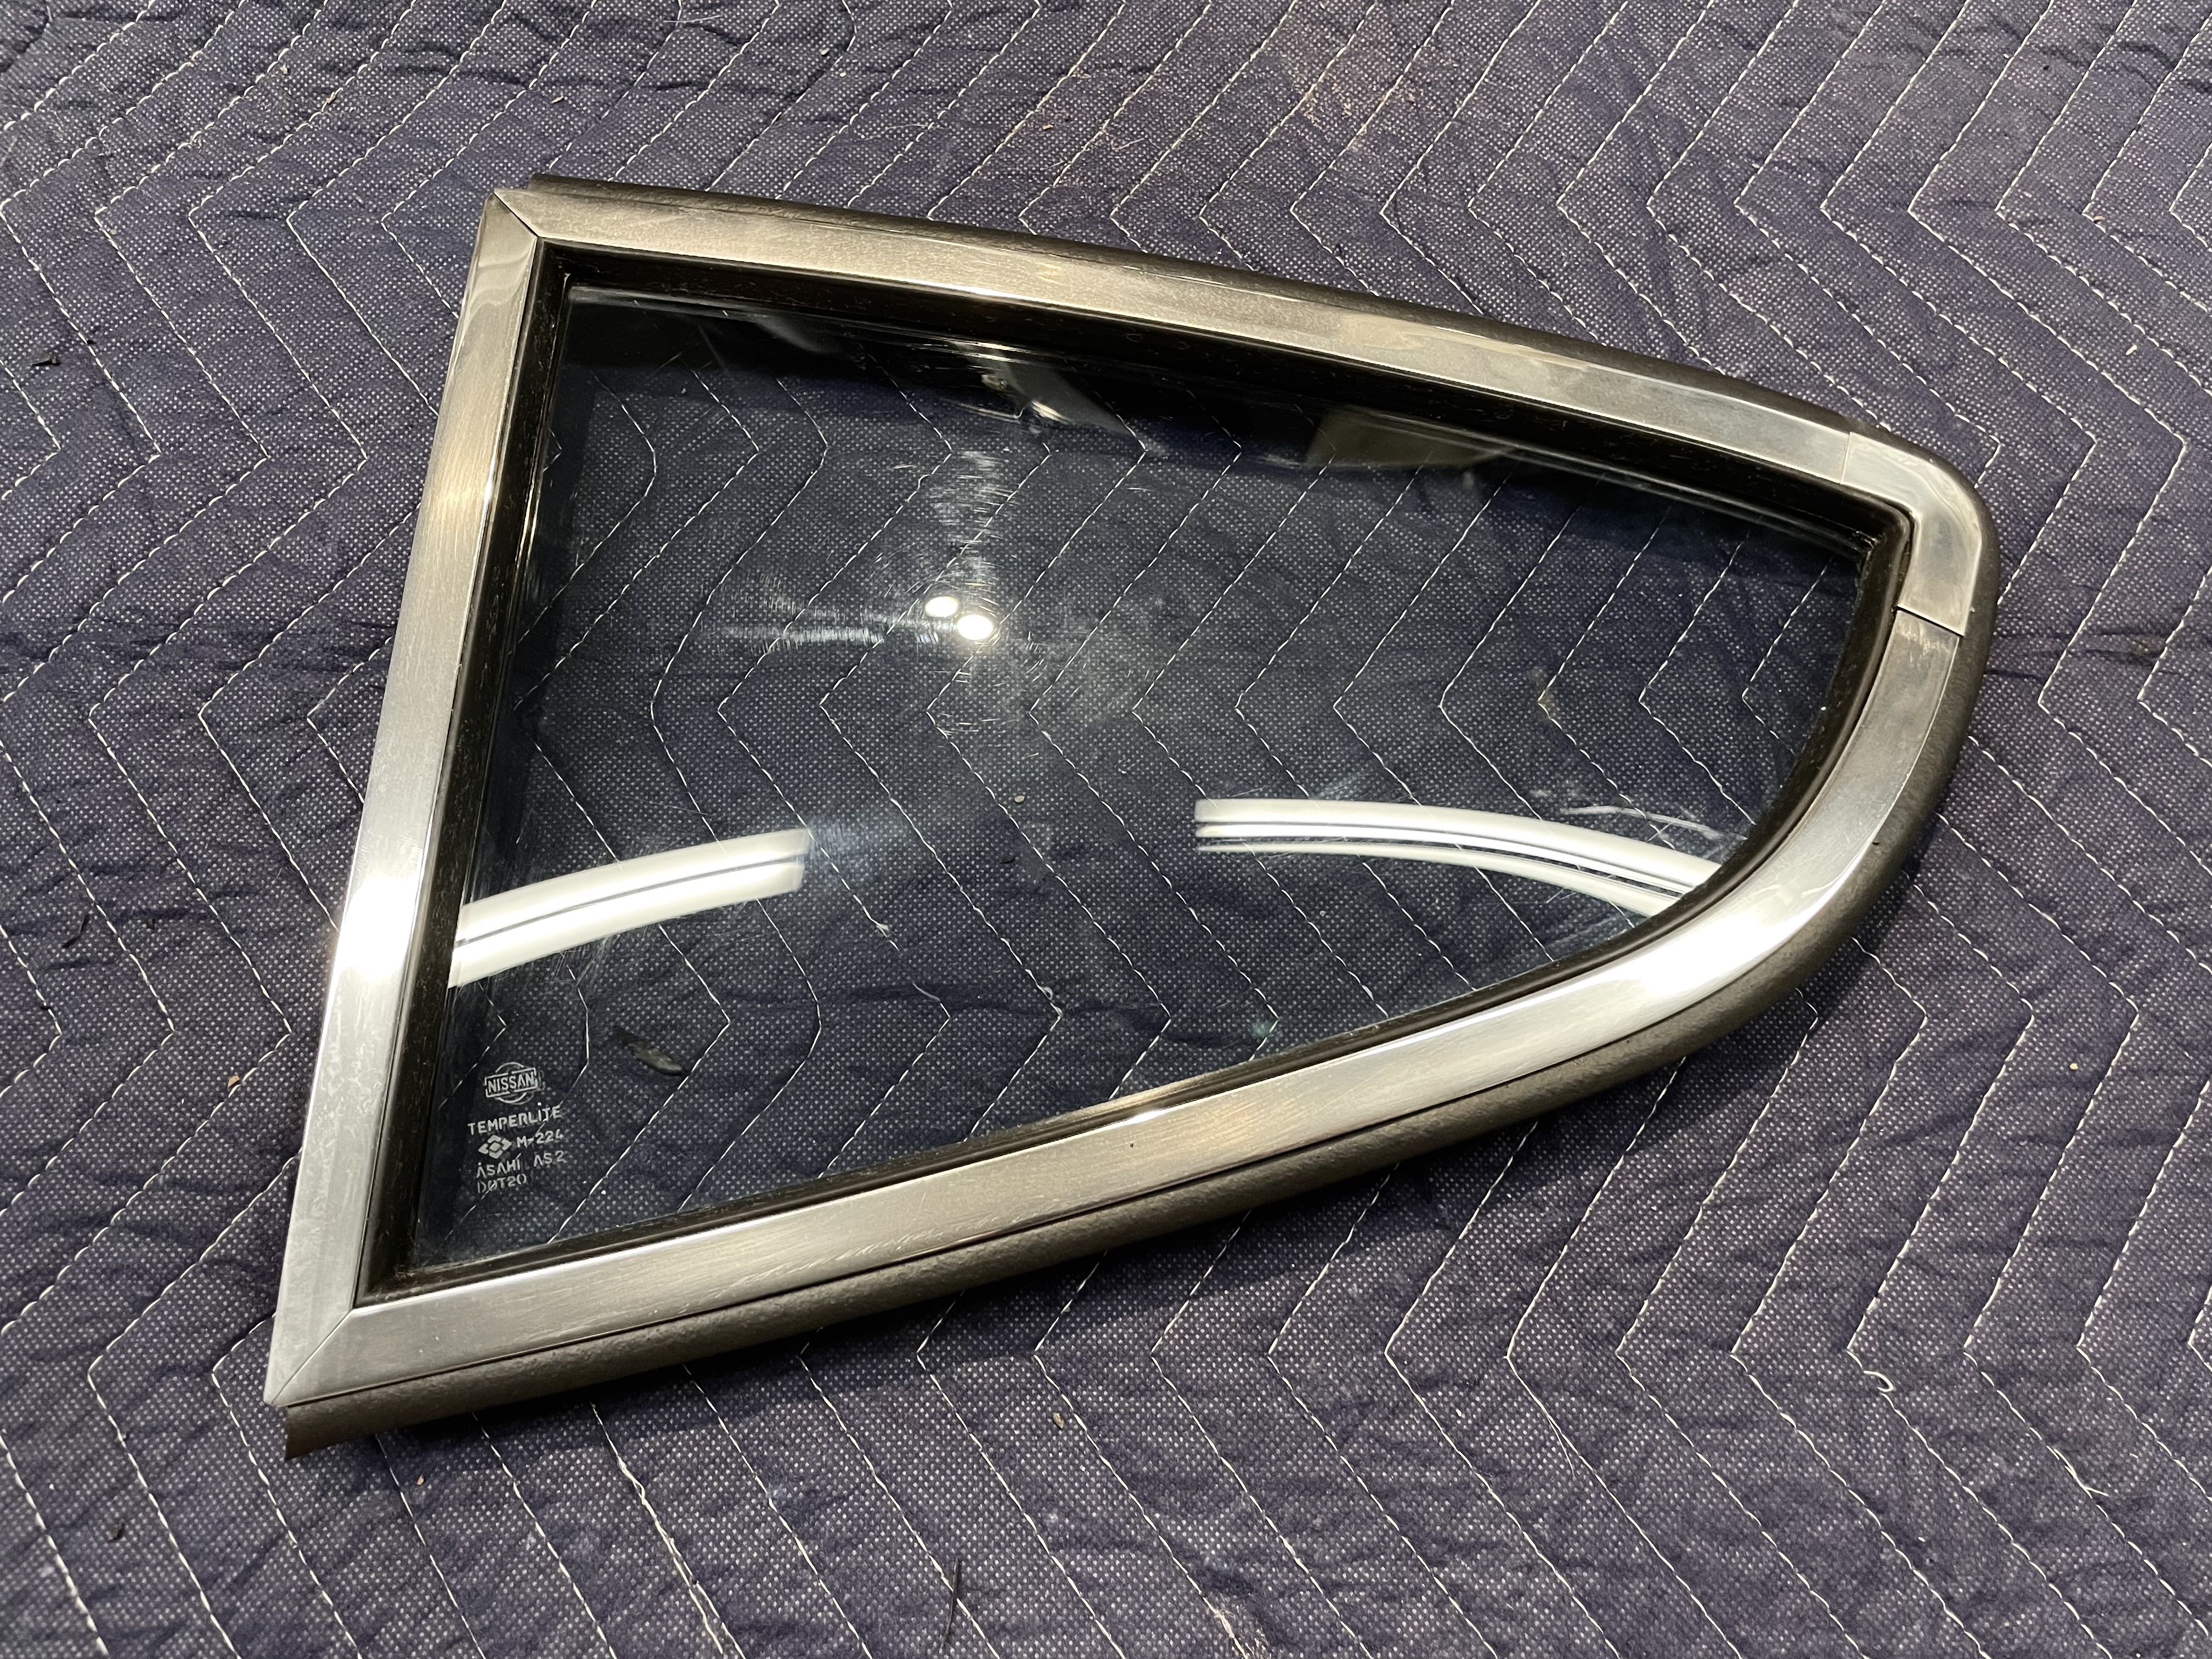
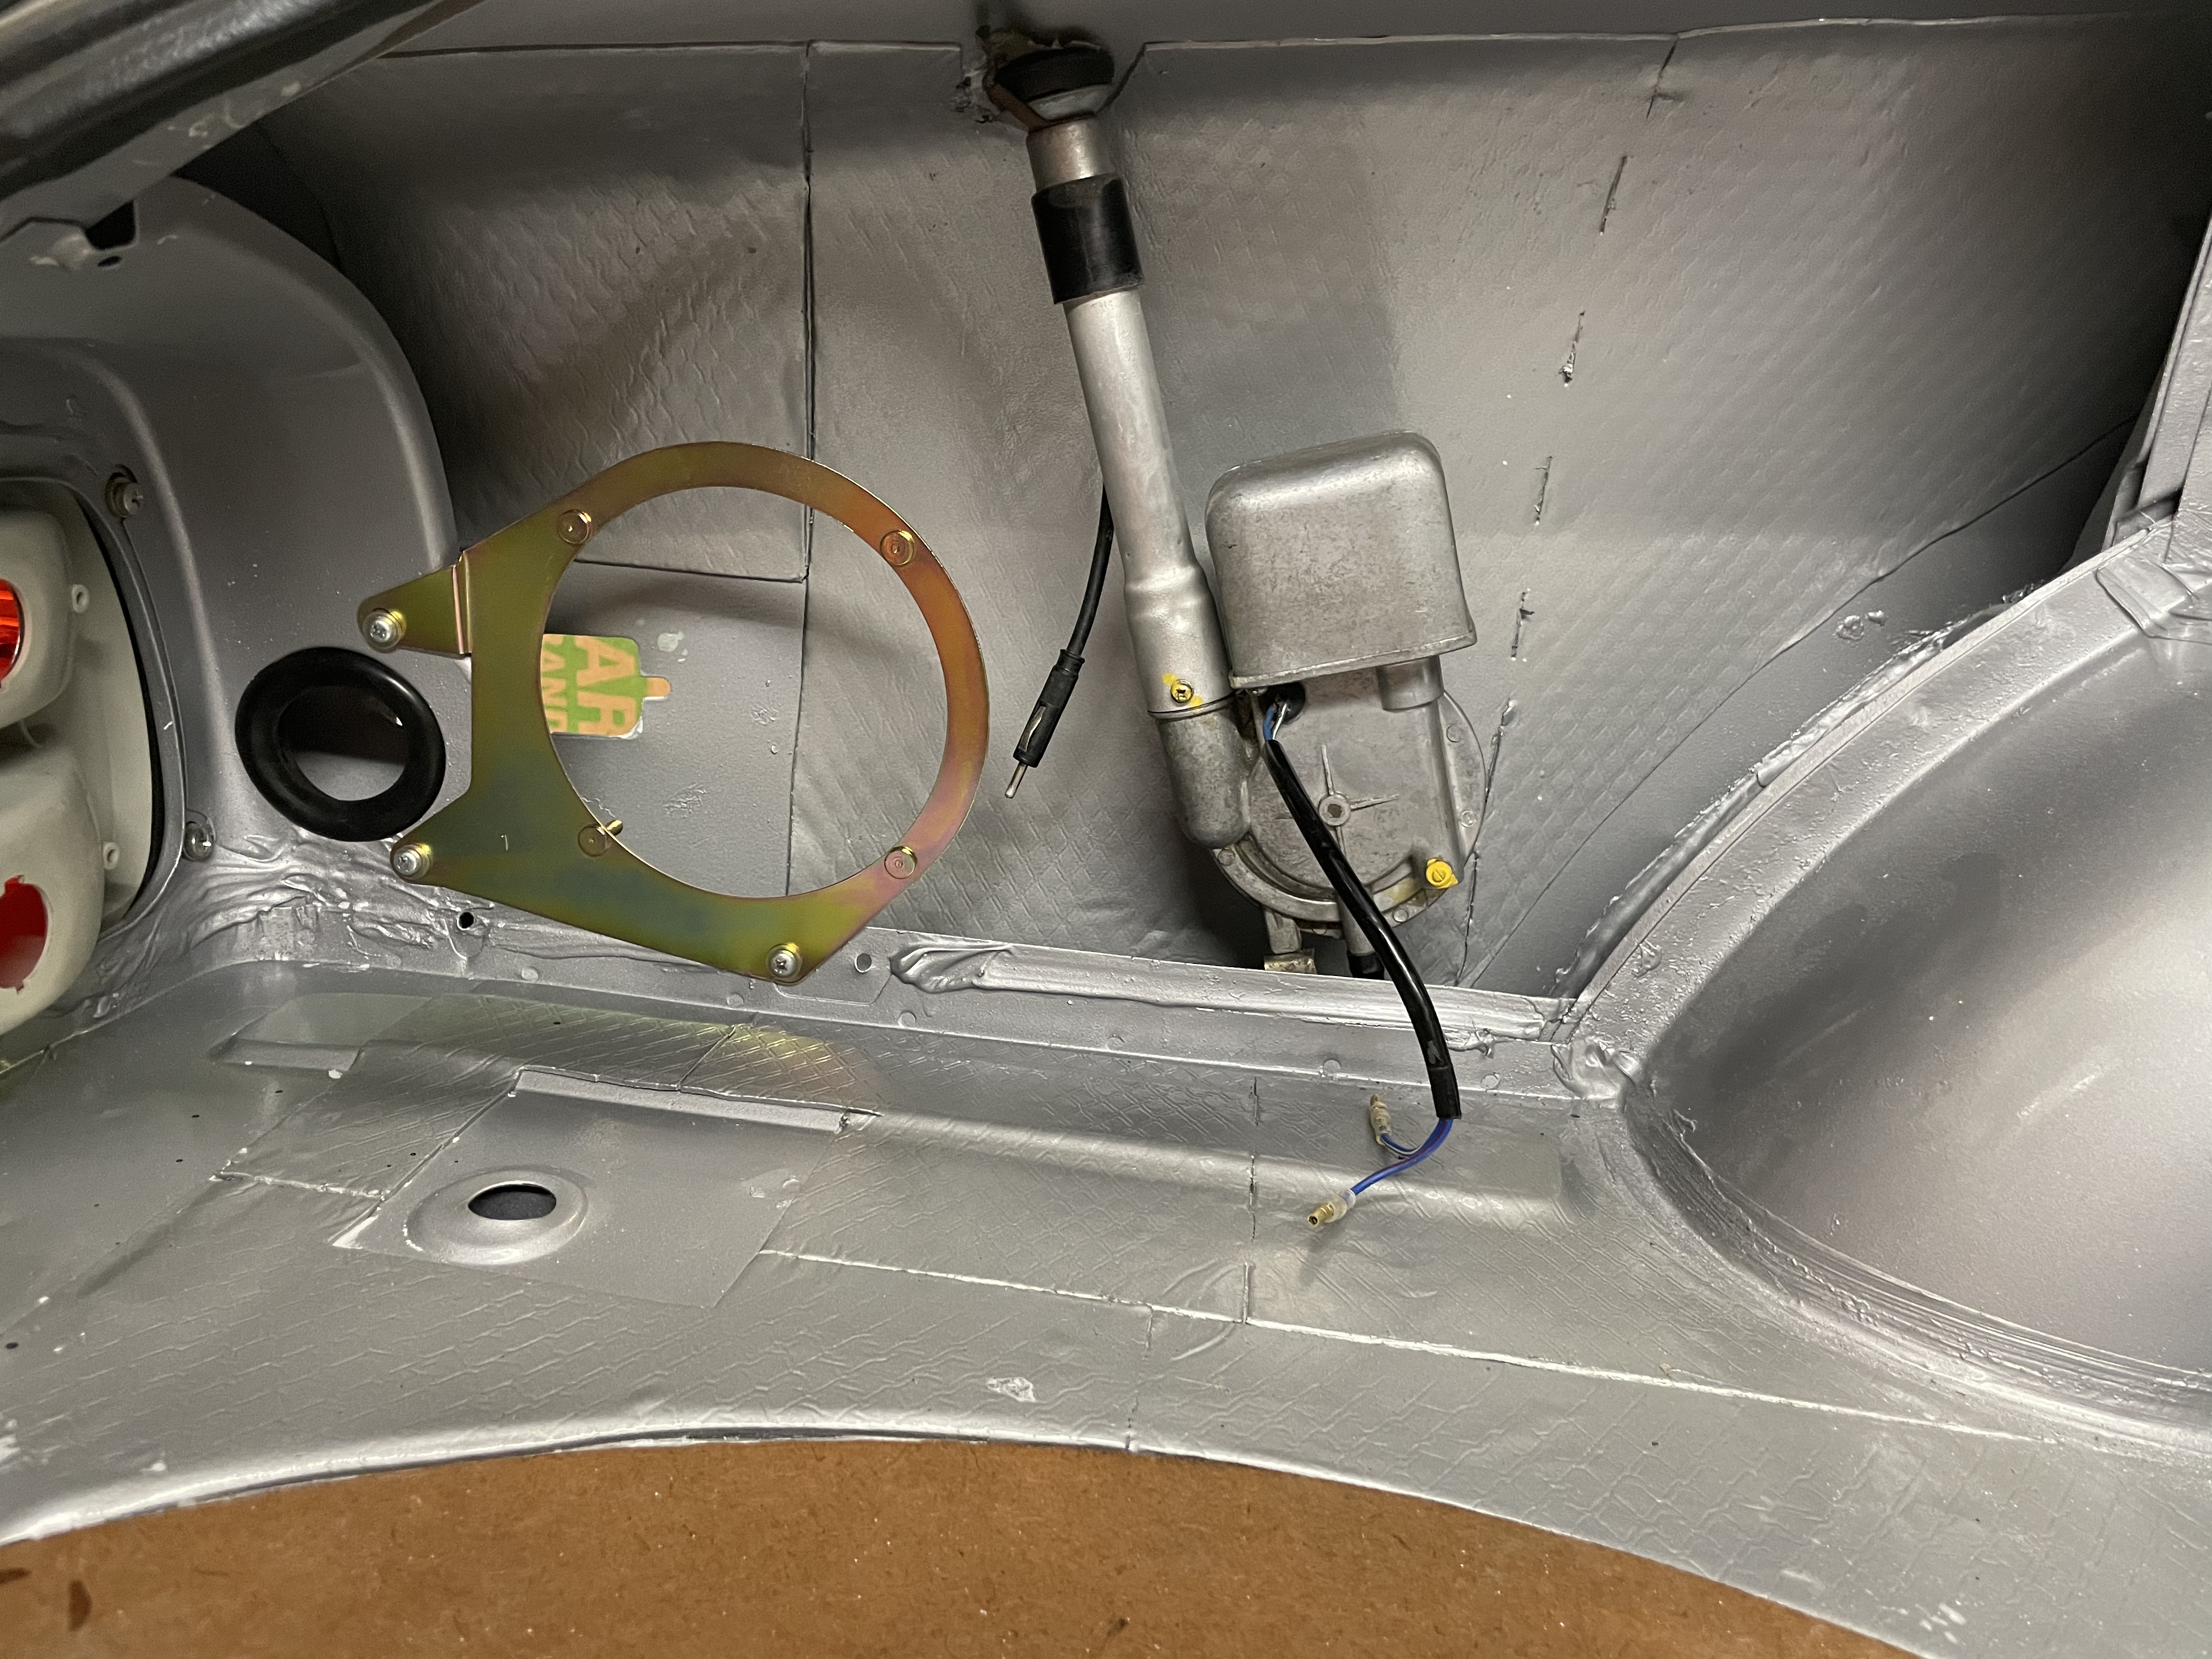
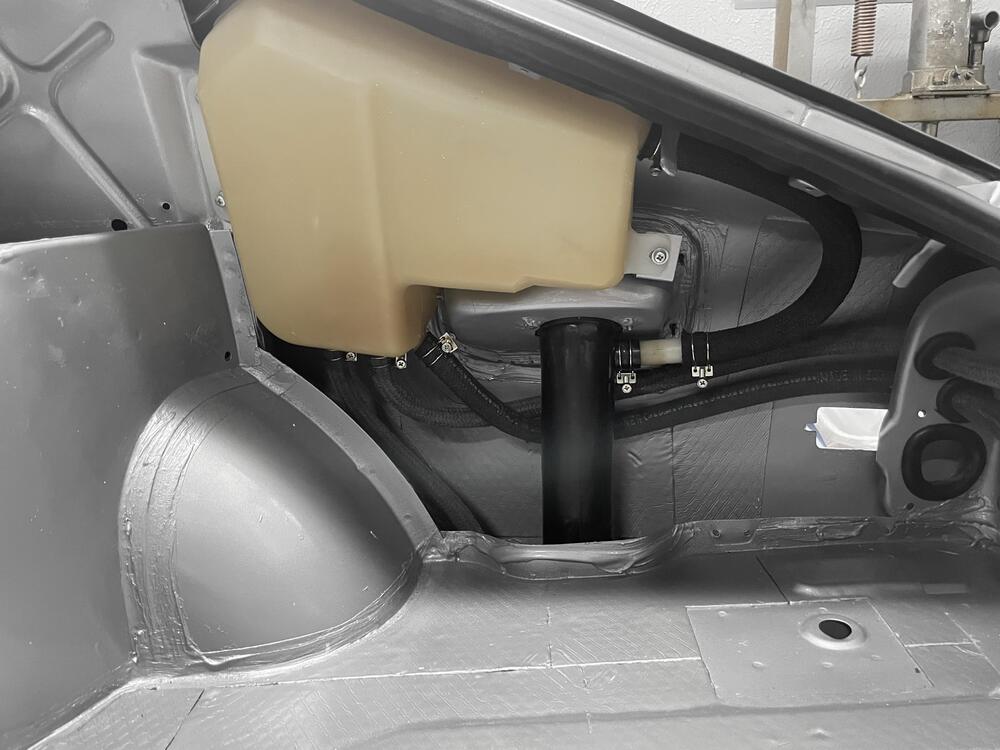
Few more updates on the Z. Worked on rebuilding the quarter windows, finished up the vapor canister install, and got the antenna/speaker bracket in. Next I’ll get the wiring harness routed and have the hatch area just about done.


-
Nice!! That is very cool
-
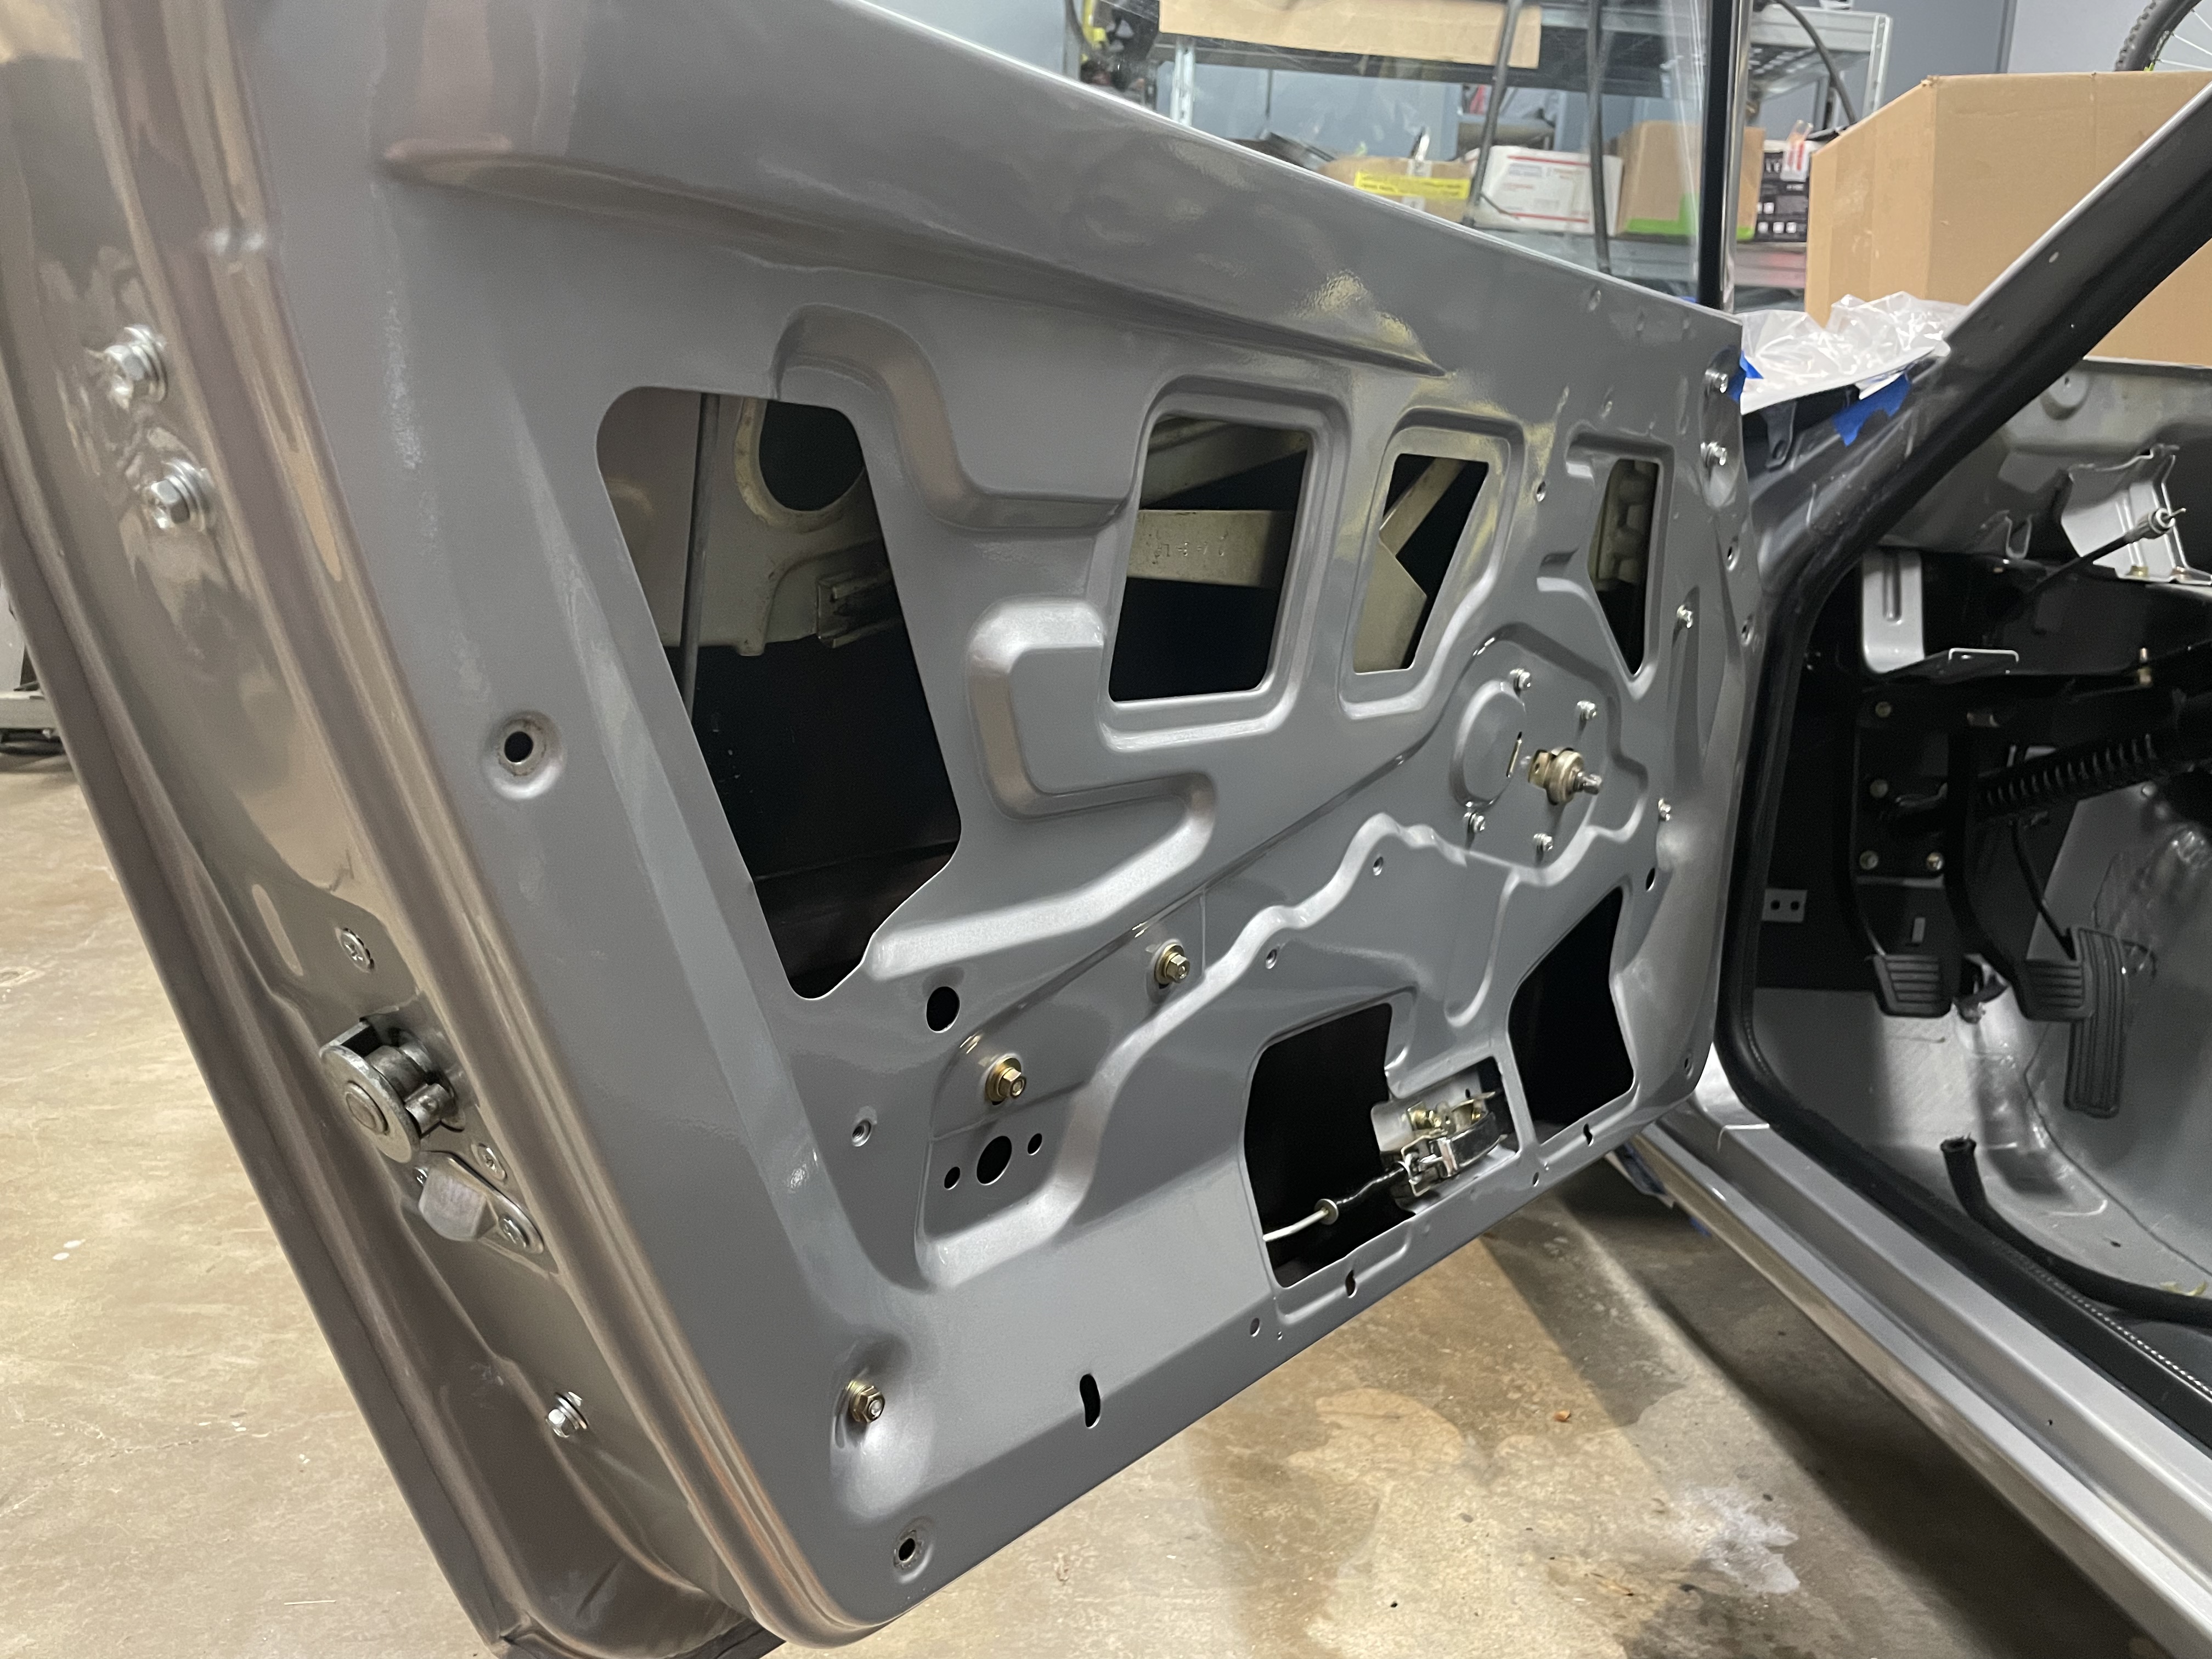
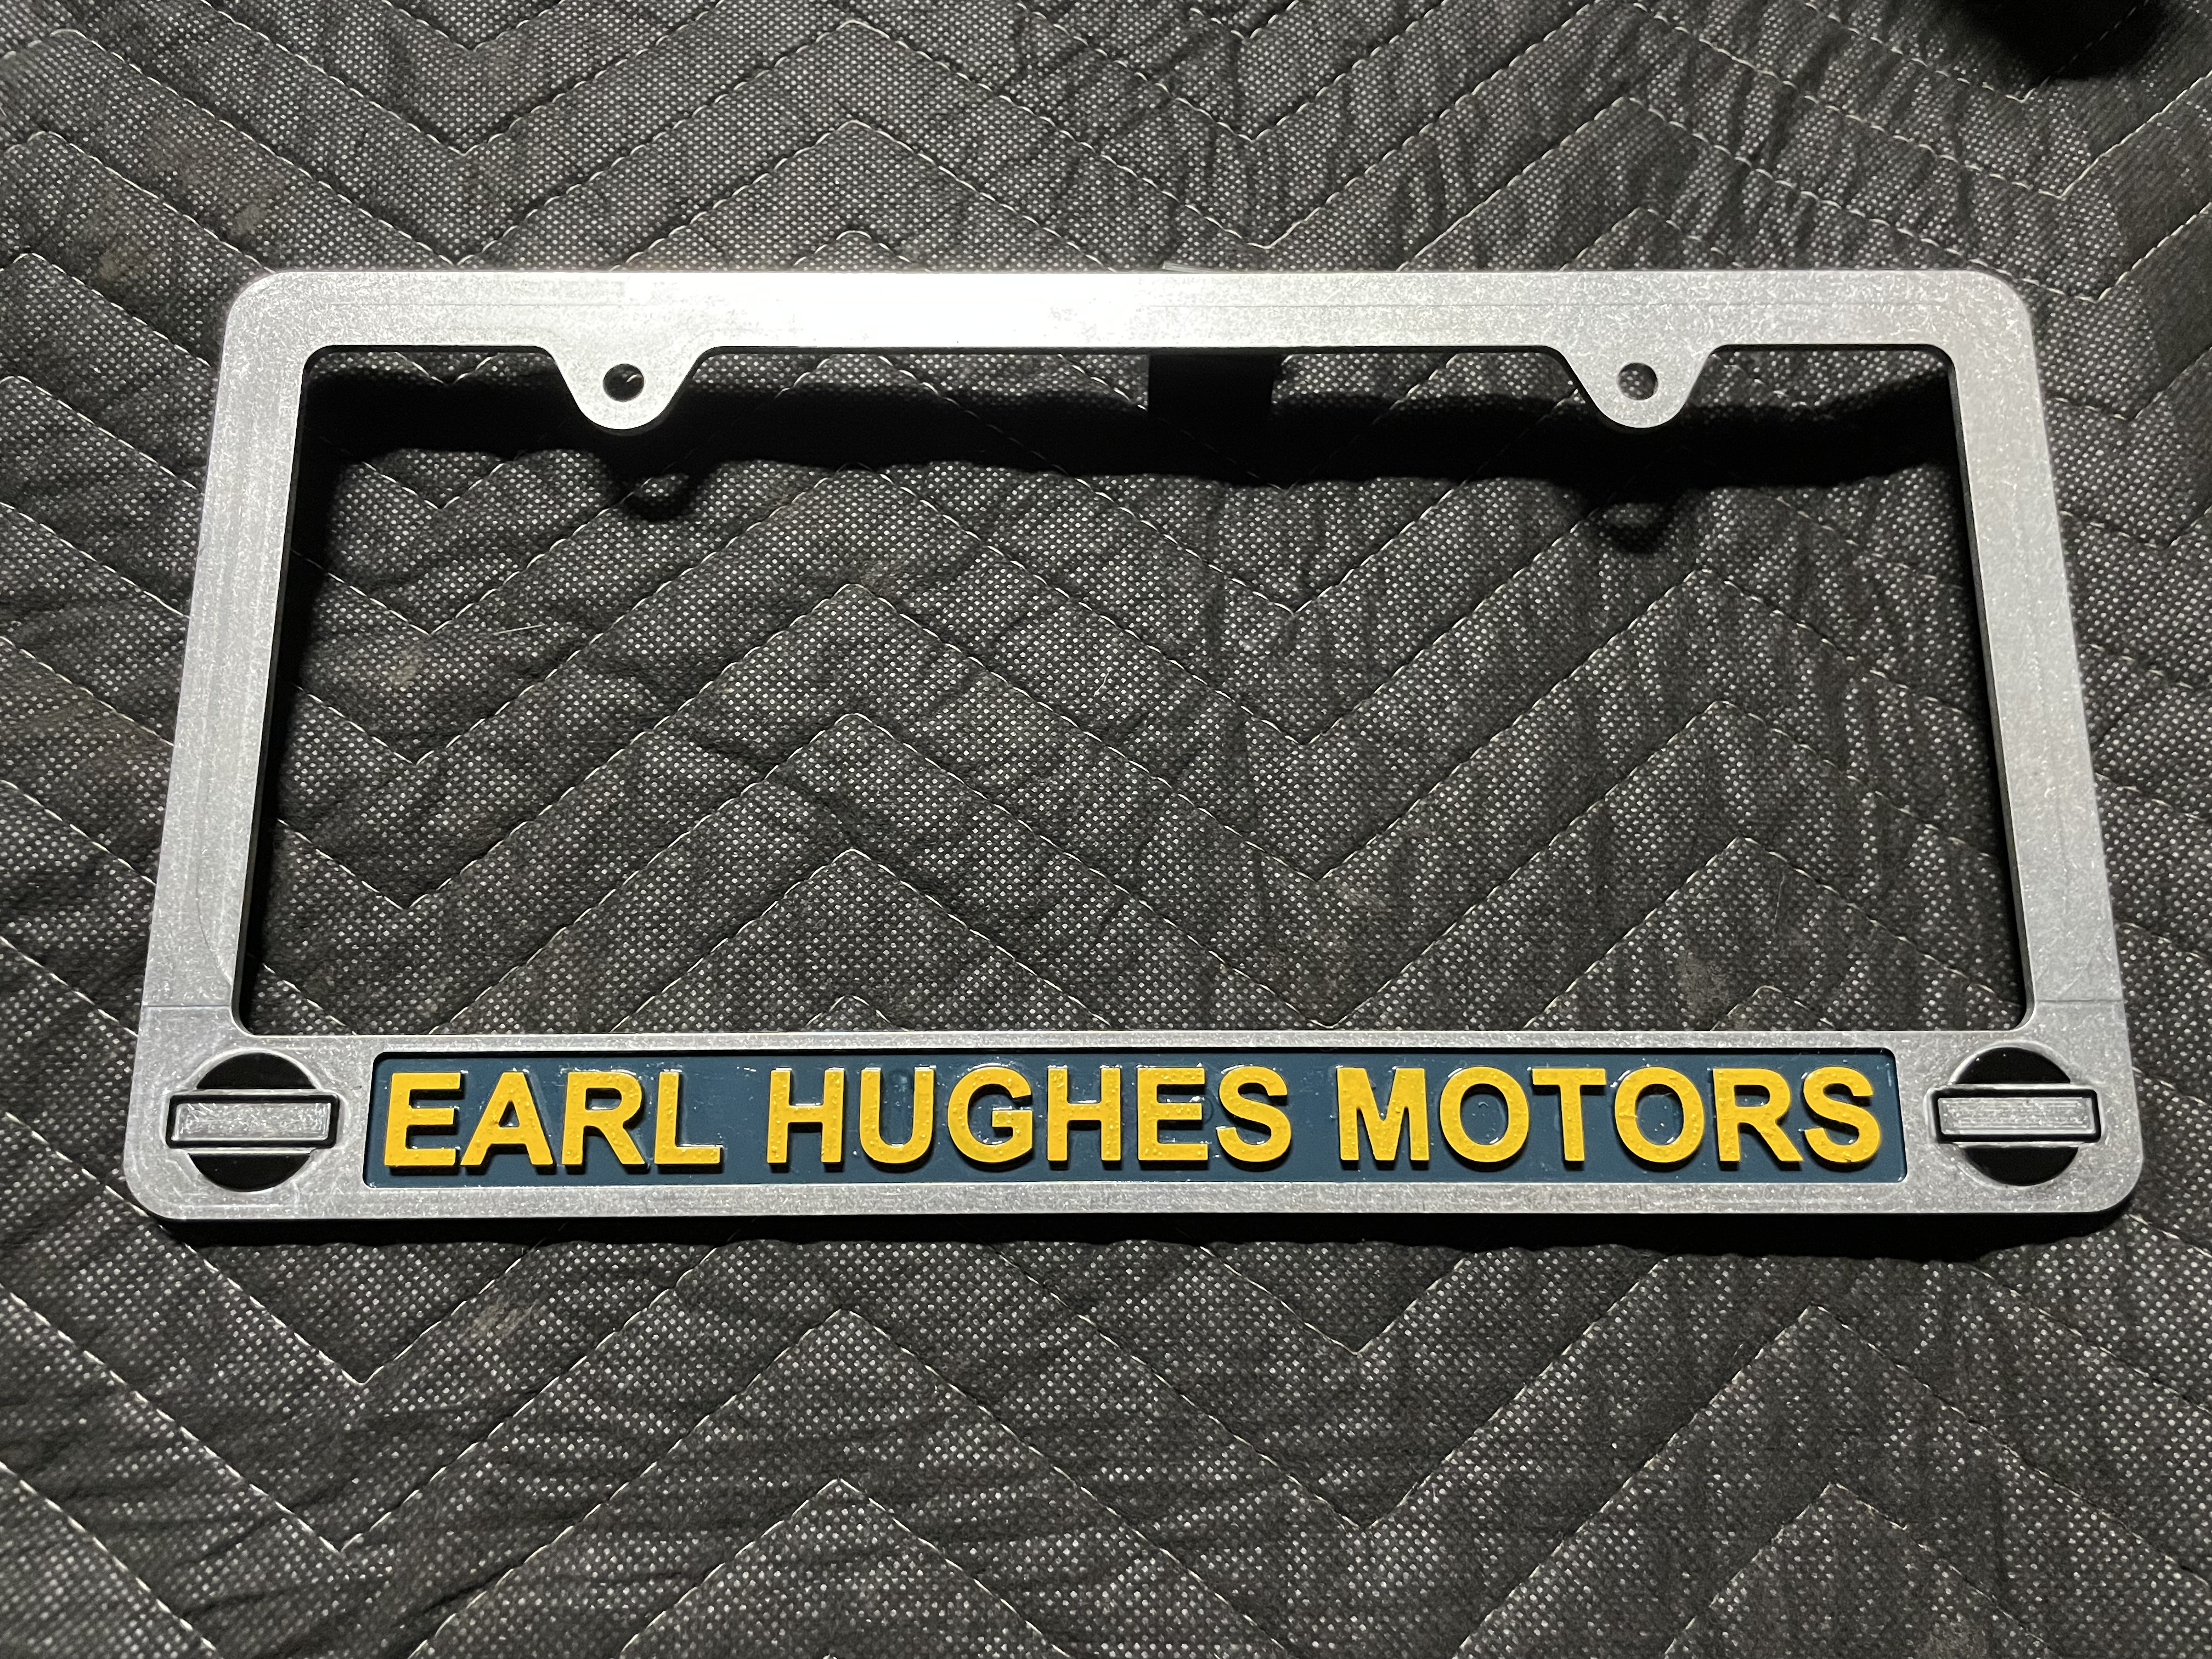
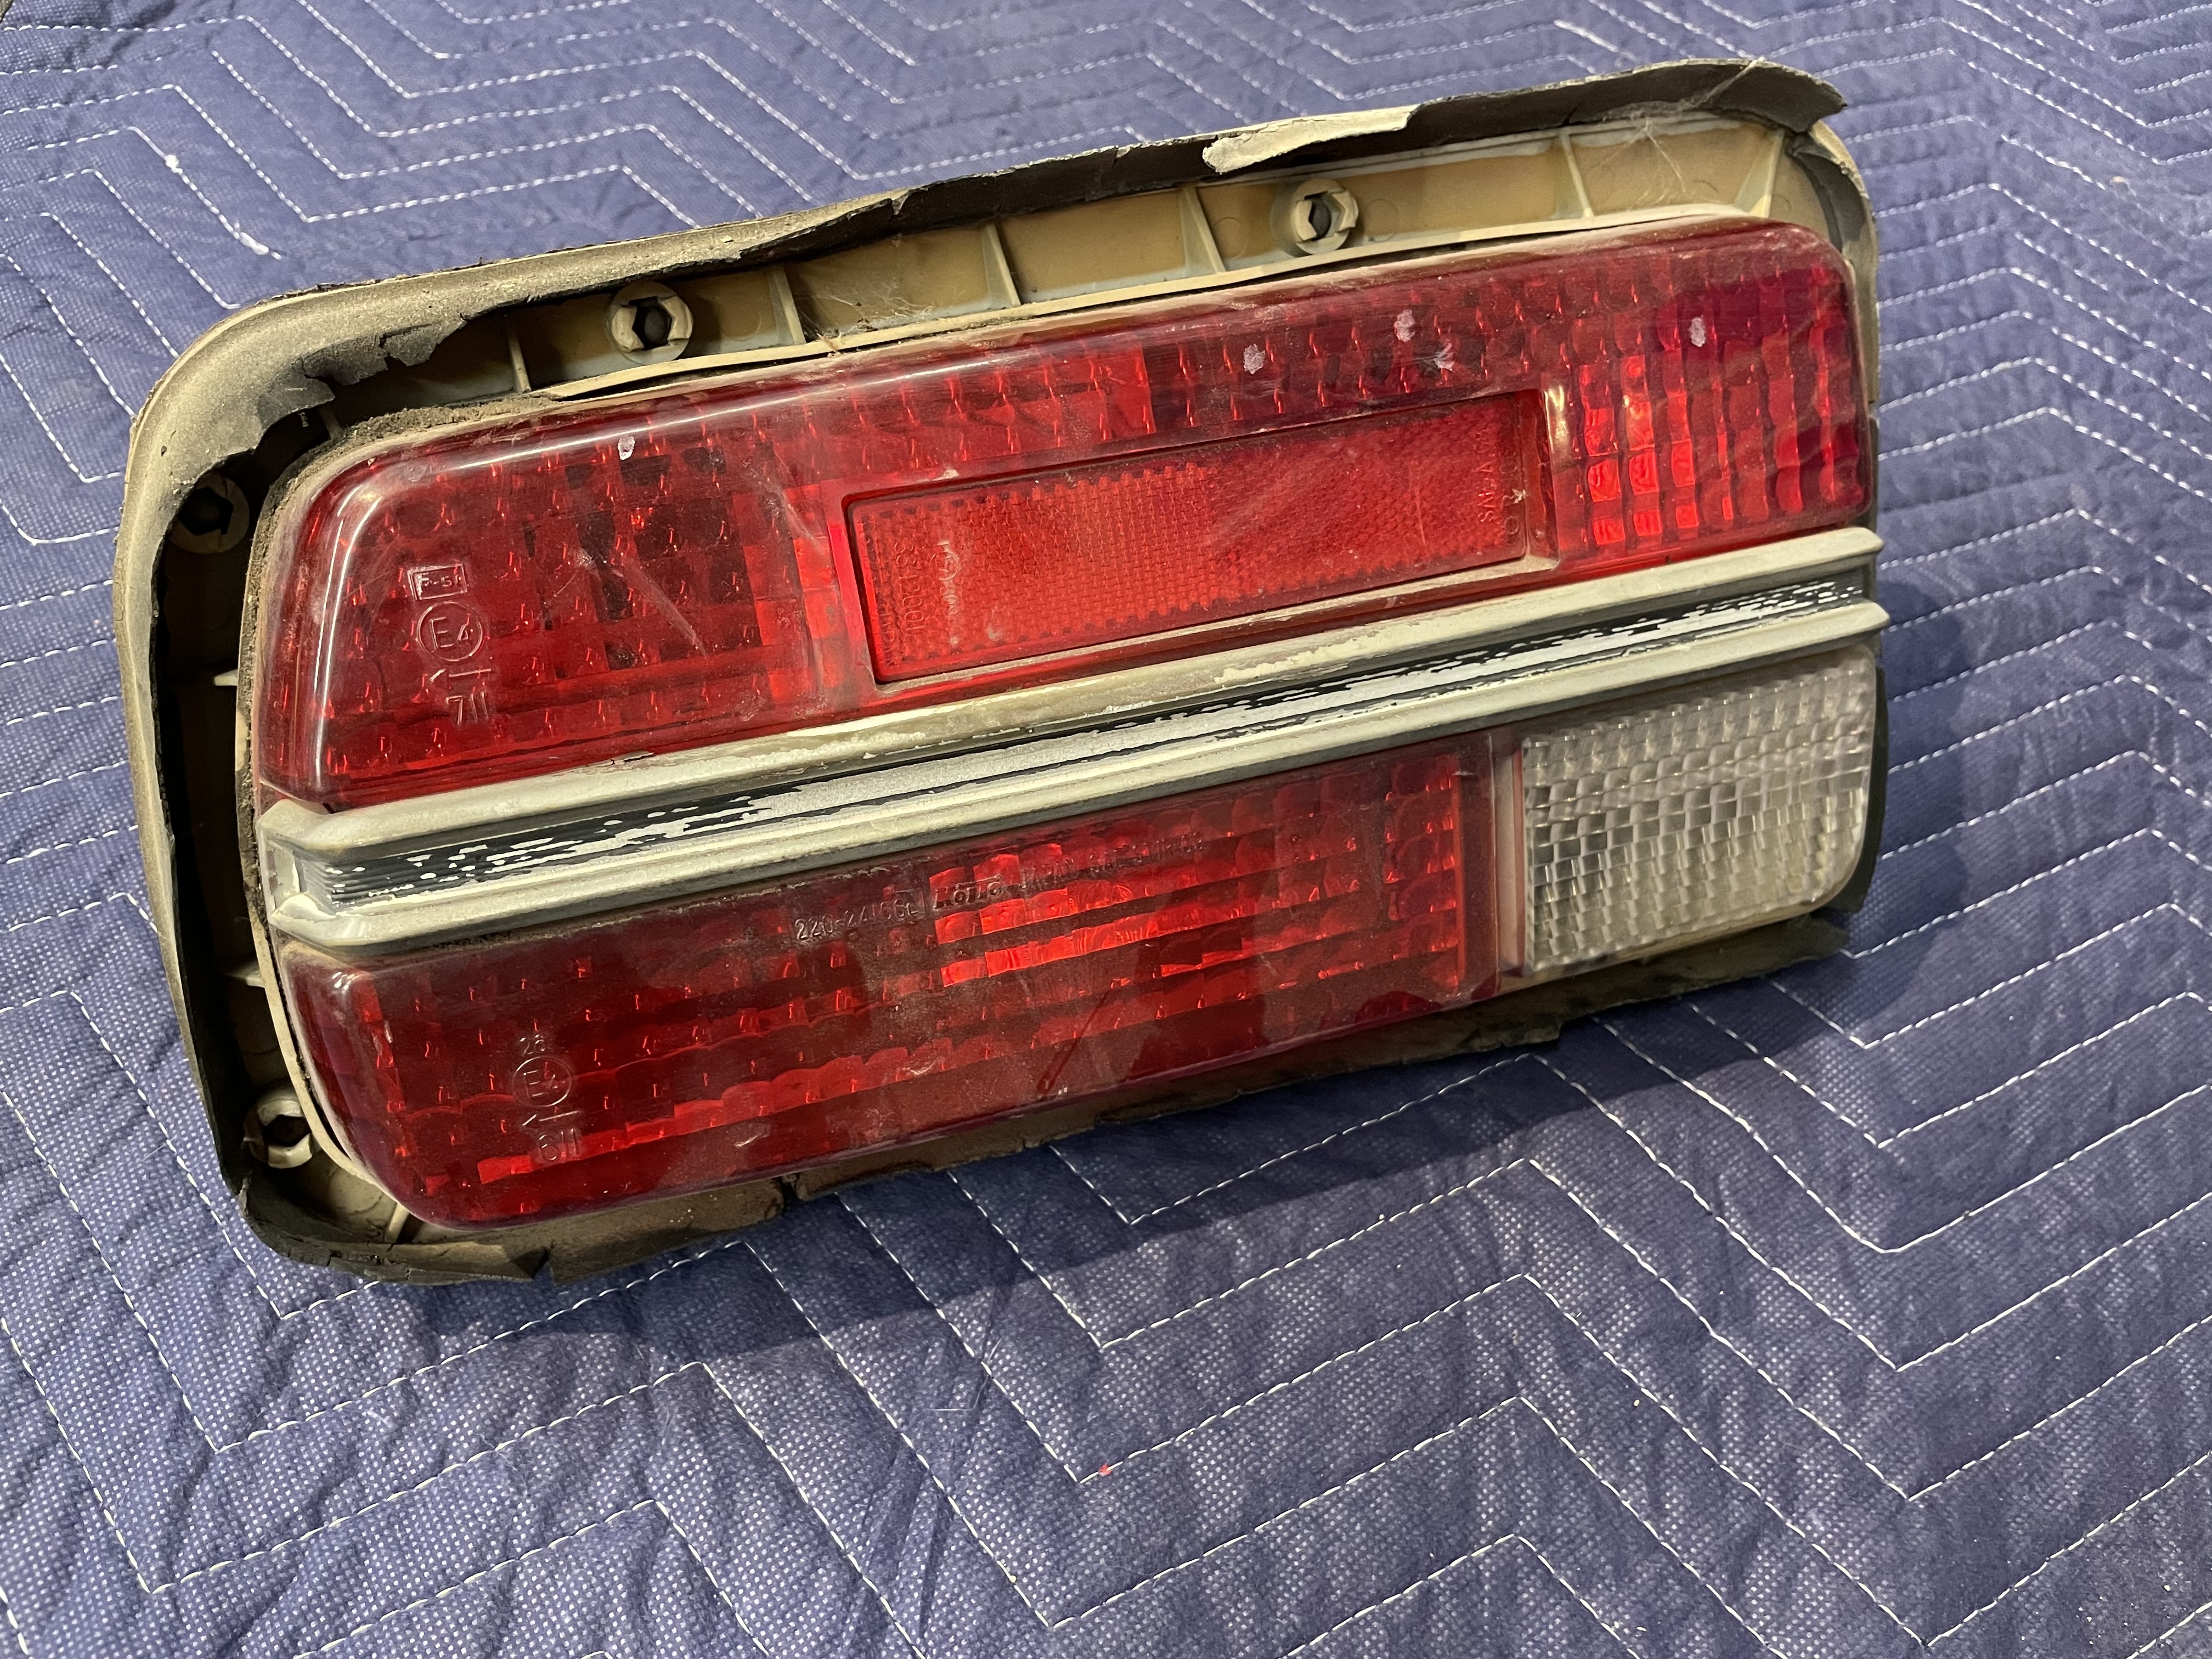
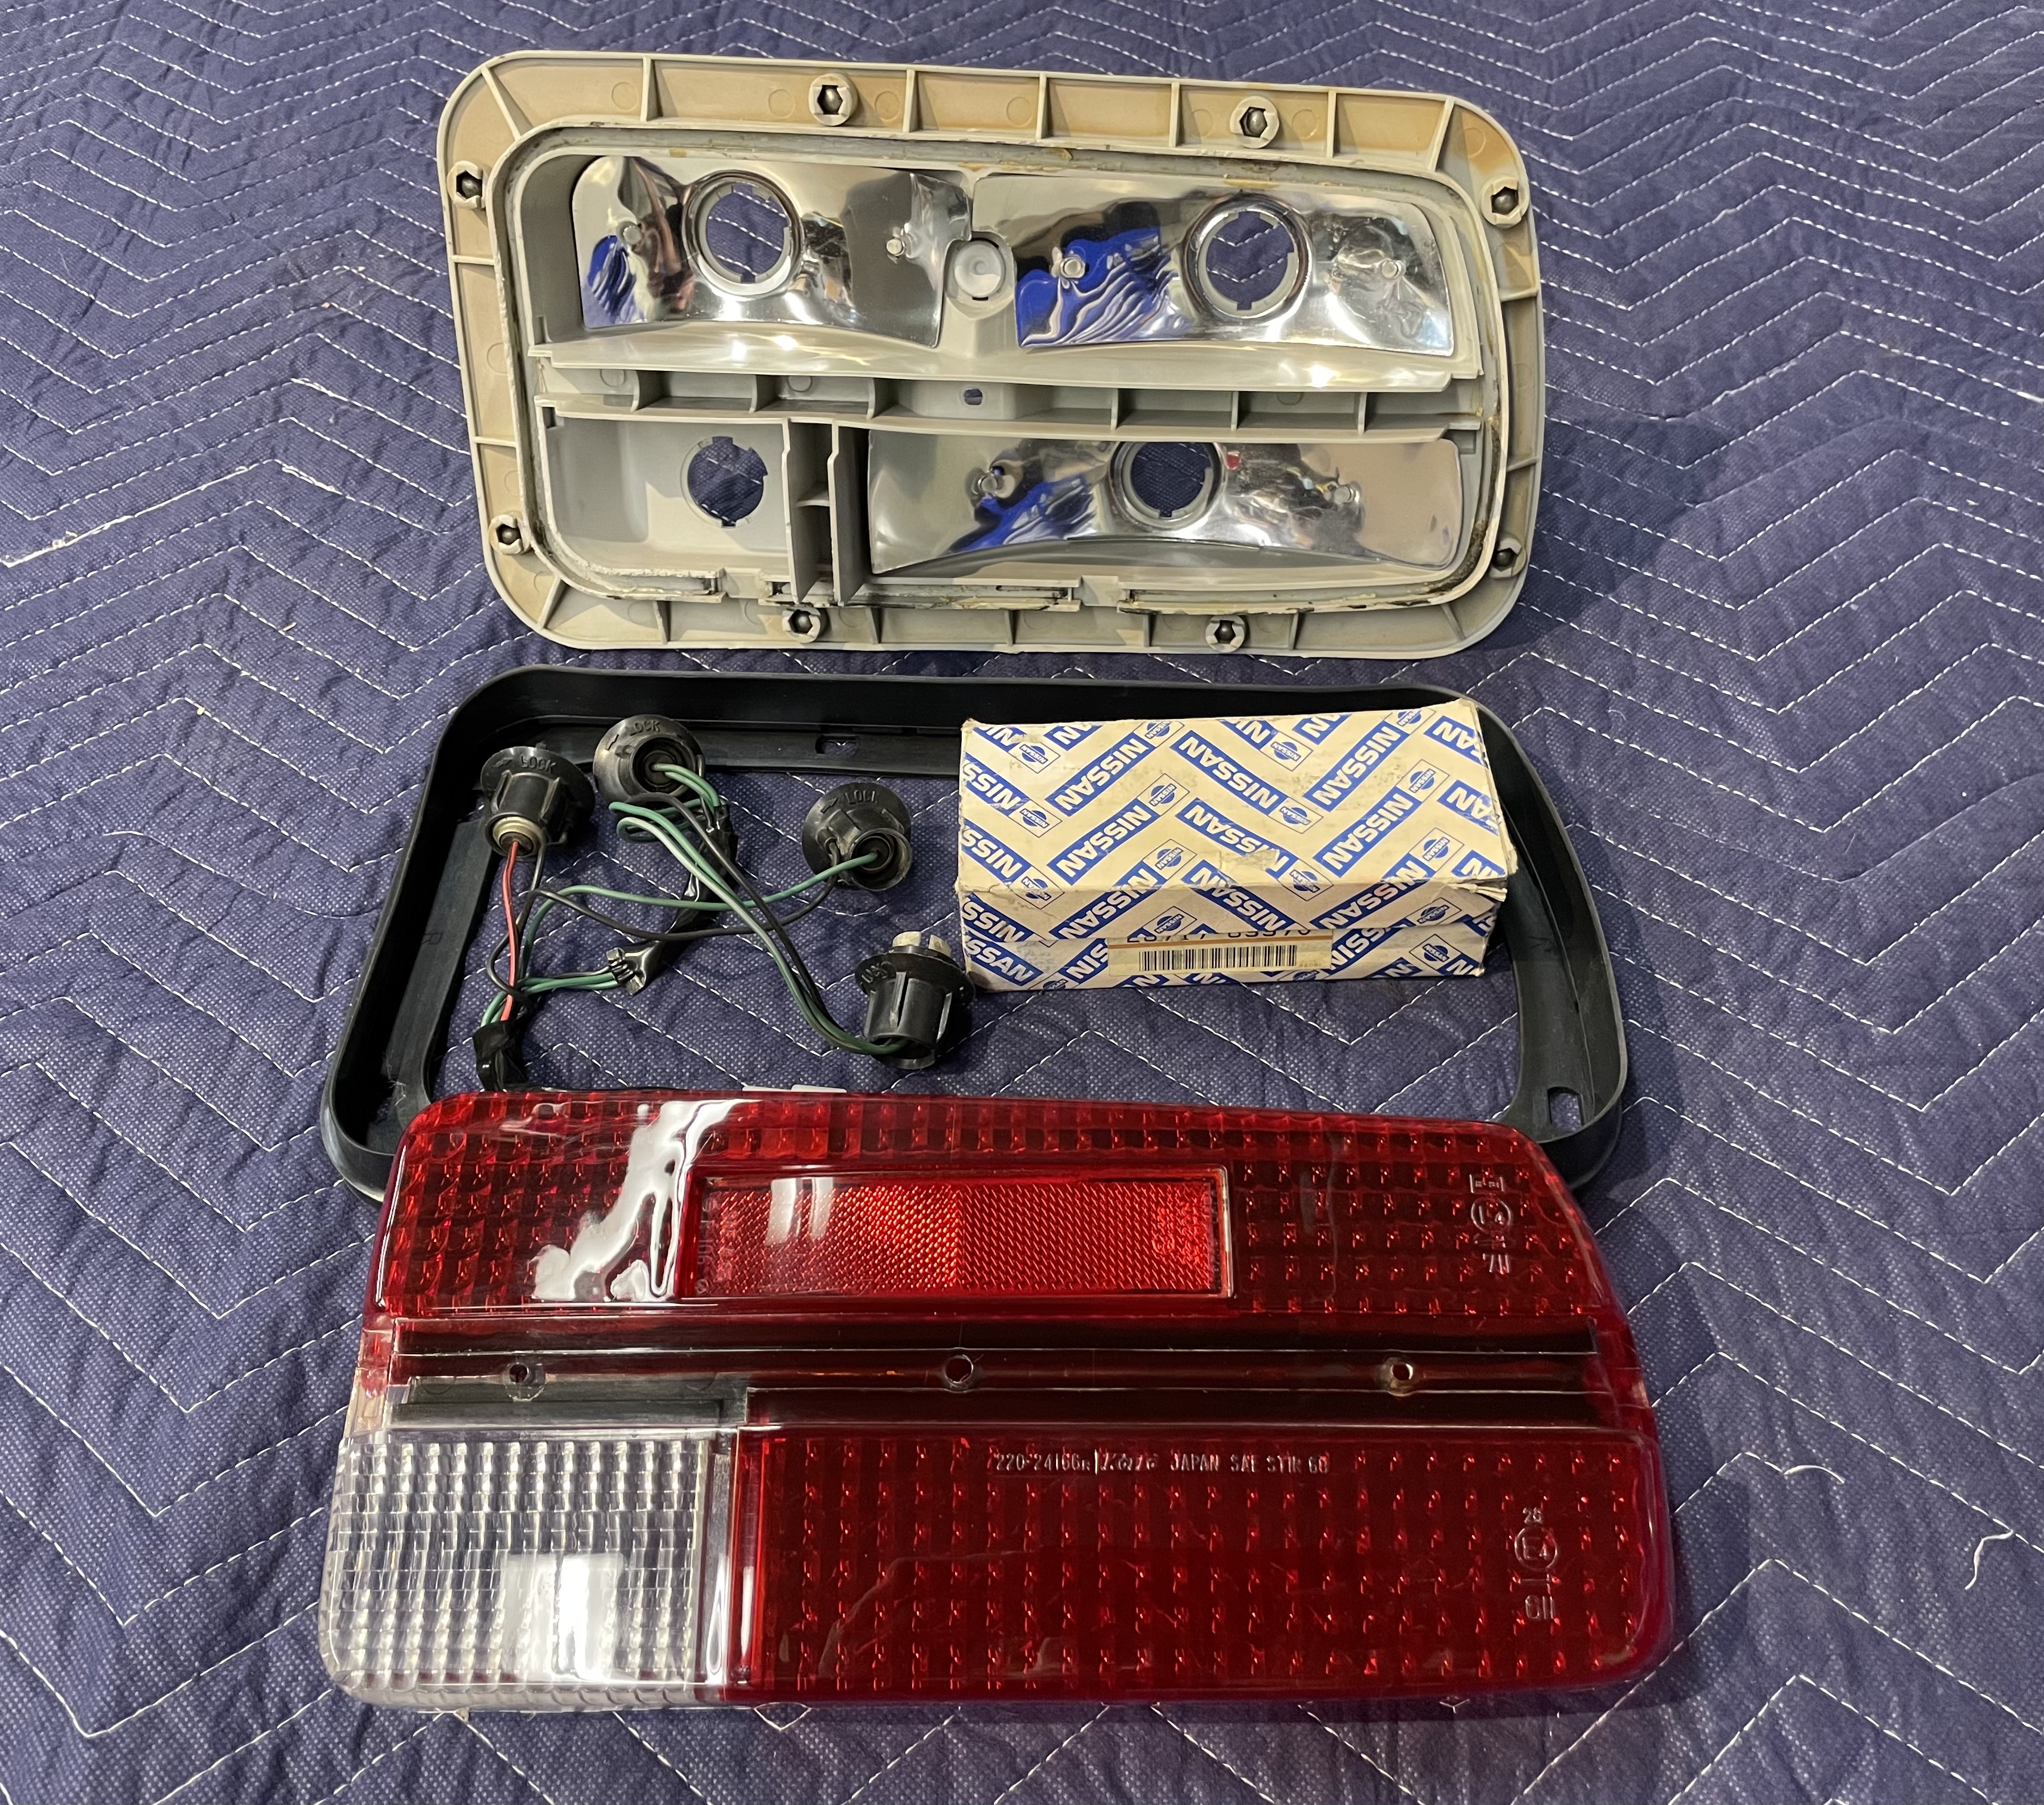
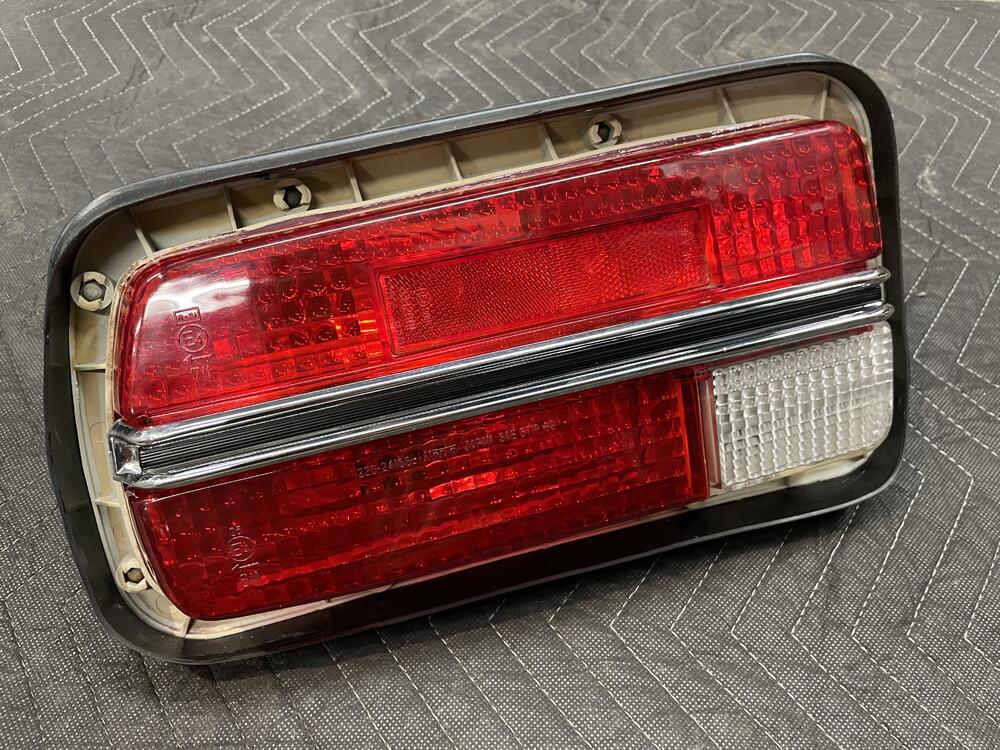
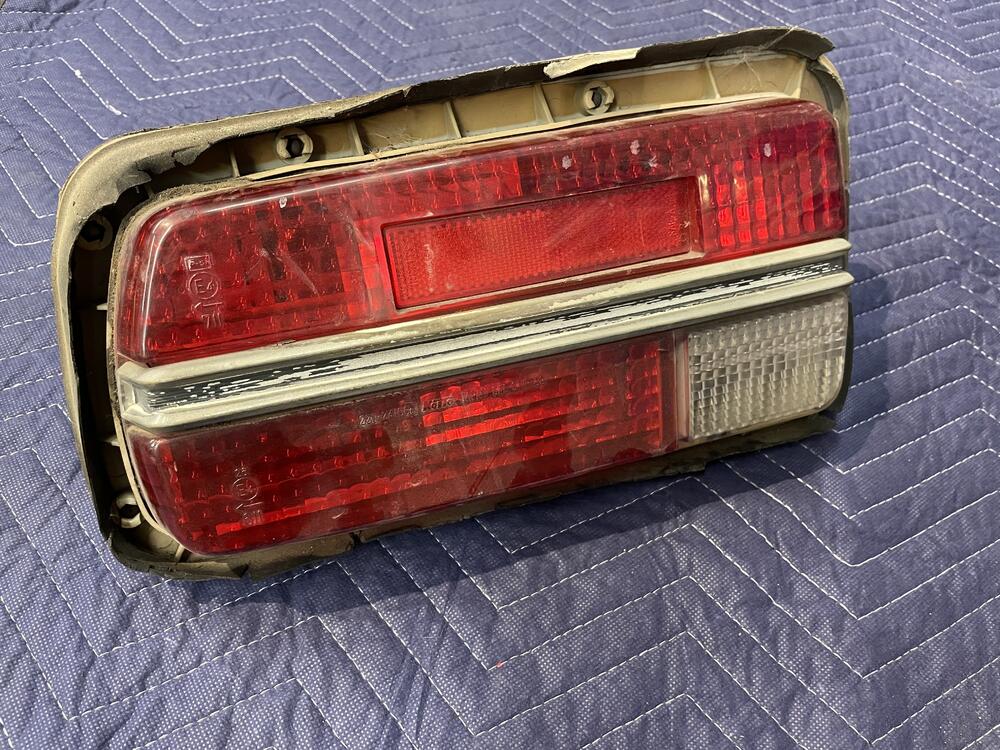
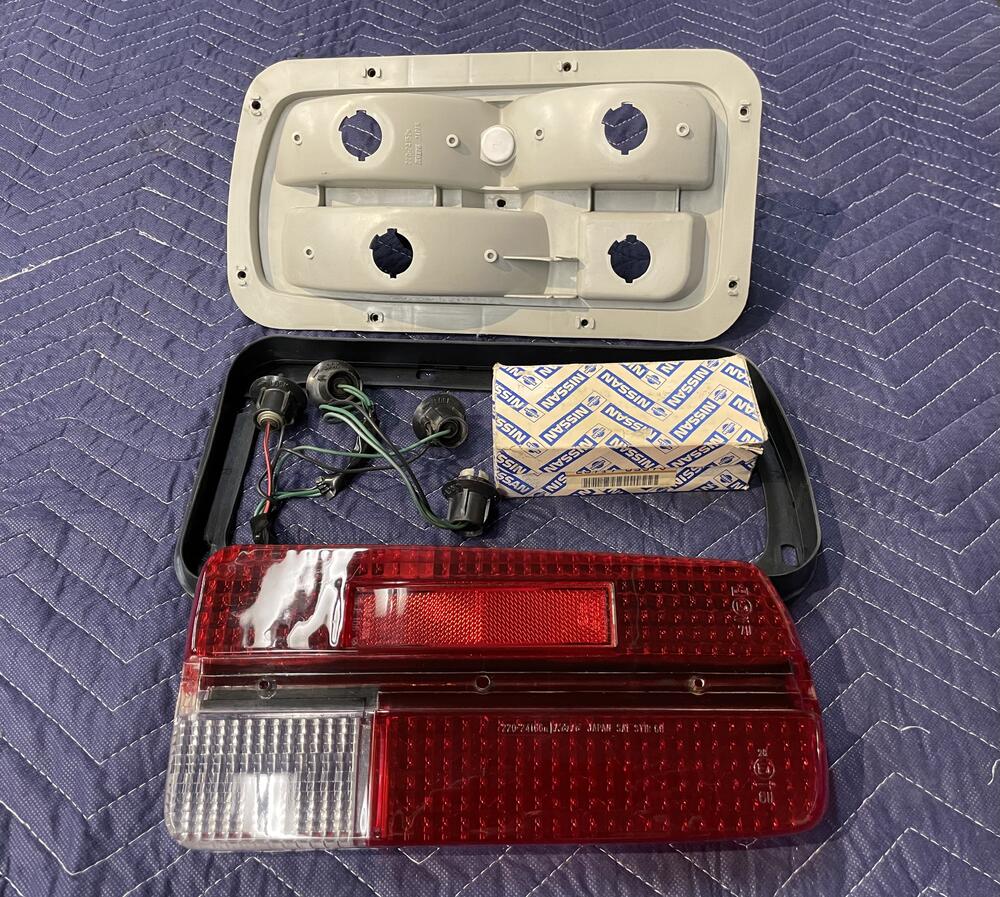
Few updates on the Z. Tail lights are back together with trim and gaskets Added some color to the license plate frame. Used the L series engine blue and 280Z yellow I had from a previous car. And finally, getting the drivers door back together. New hardware, seals, and rubber bits.


-
Using a buffer set to 1000 RPM and a wool pad, take it slow and use a generous amount of compound. I used the same 3M cutting compound for paint. I'll wipe compound all over the lenses so that corners don't heat up and melt. Just wrapped up doing the LH lenses tonight with this same procedure. It doesn't take much to clean the lenses up.
-
Before and after on the tail light restoration. Disassembled, lenses polished to a high gloss, housing deep cleaned, new gasket, and new connectors for the harness. I’m working with a local shop to replate the original chrome trim pieces right now. Will update how that goes and if new ones will need to be sourced.

-
Good ideas. I'll try out the hydrogen peroxide tip and report back on any improvements.
-
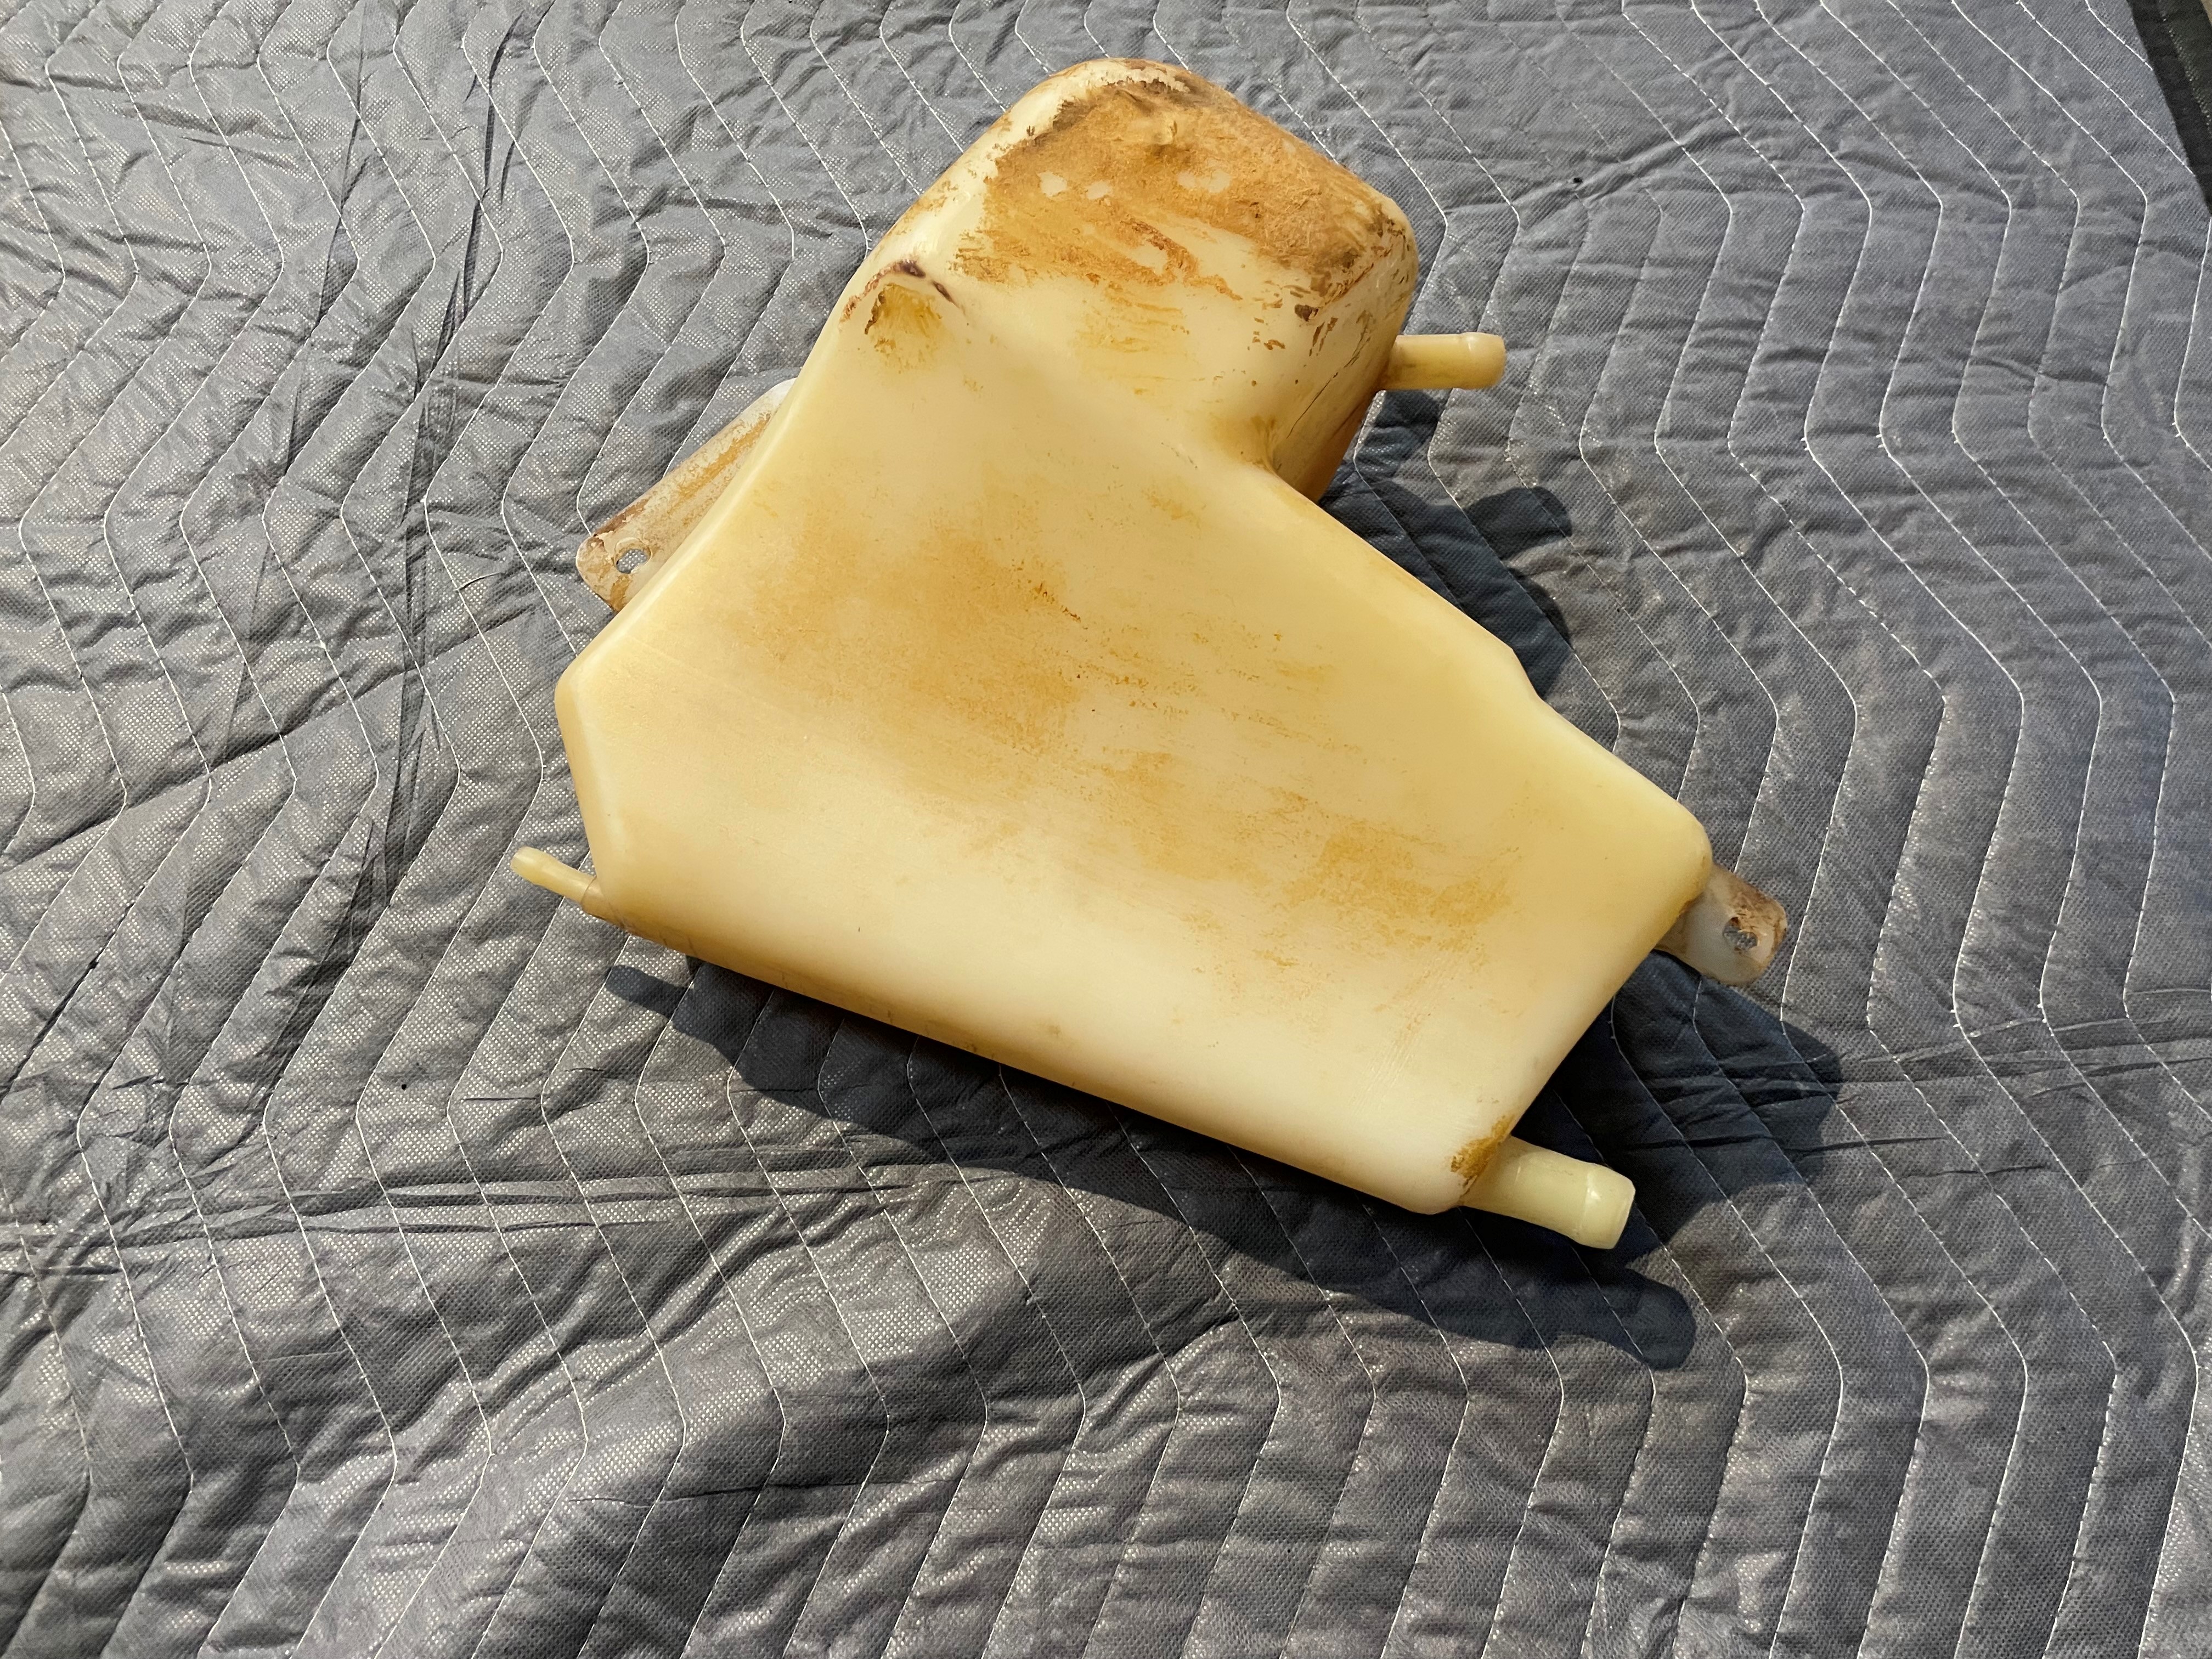
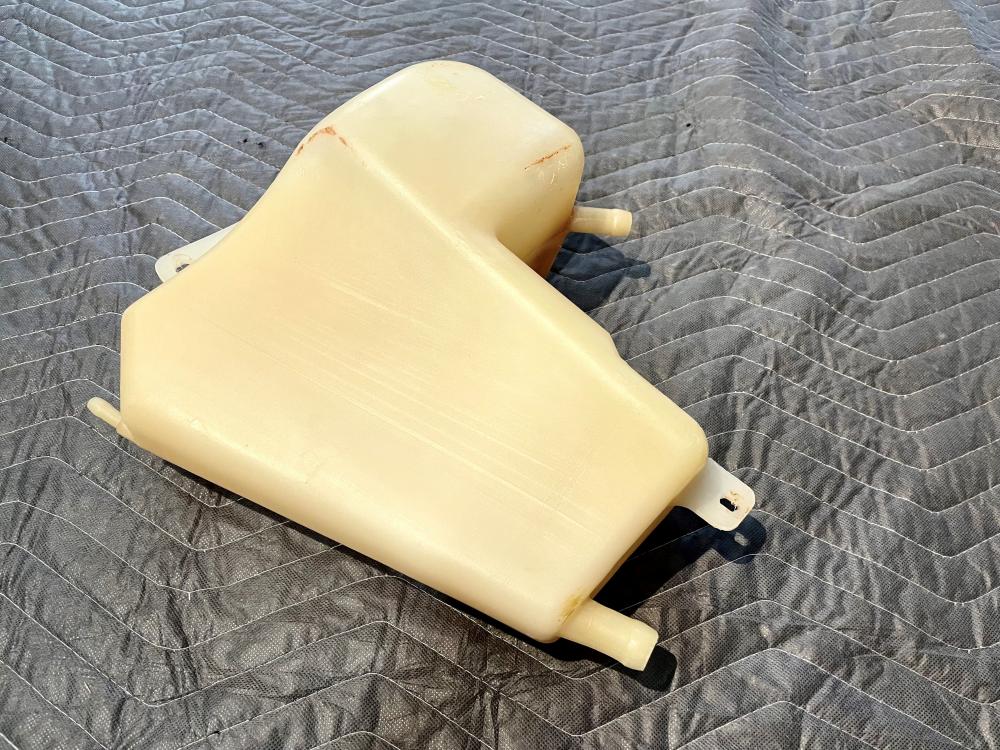
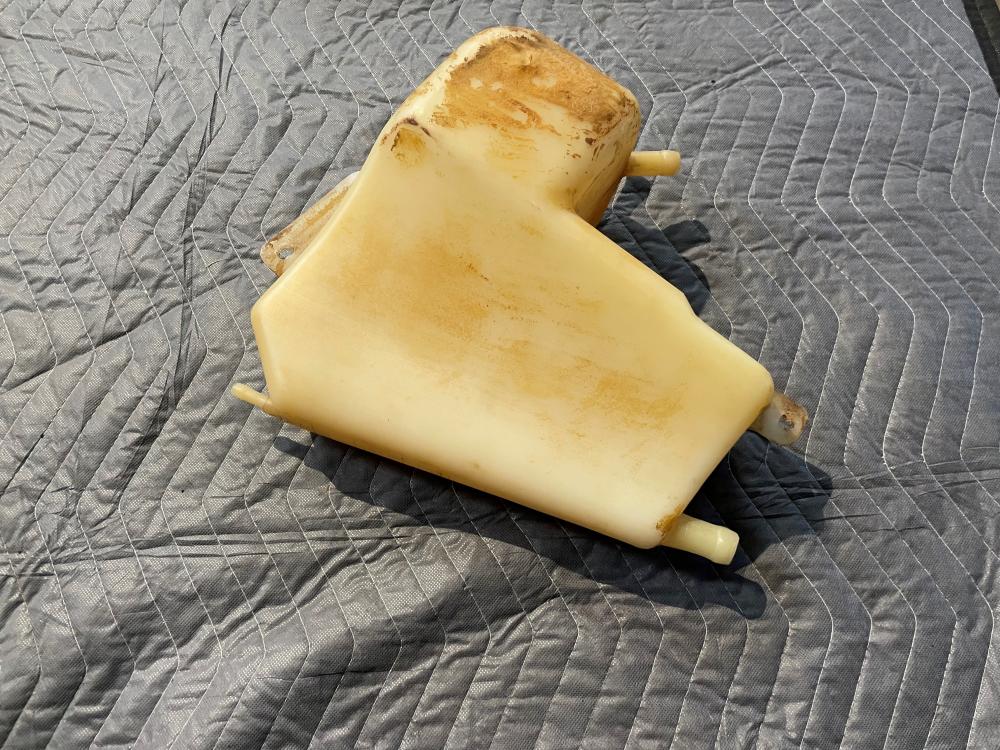
Small update as we begin assembling the Z. Discussed earlier in this thread was how to remove some of the discoloring these 50+ year old plastics have endured. I did some research and found multiple ways that claimed to restore the "white" natural color of these plastic parts, ranging from very extensive processes to very simplistic approaches. I took the simplistic approach for the vapor canister to see how much that would help. It wasn't too bad, but definitely could use some love. Cleaned it out and submerged it in a bleach/water solution for a week. Not 100% factory fresh, but for the limited amount of elbow grease, it did make it look more presentable. For the washer bottle I'll try something more aggressive. Before: After:
-
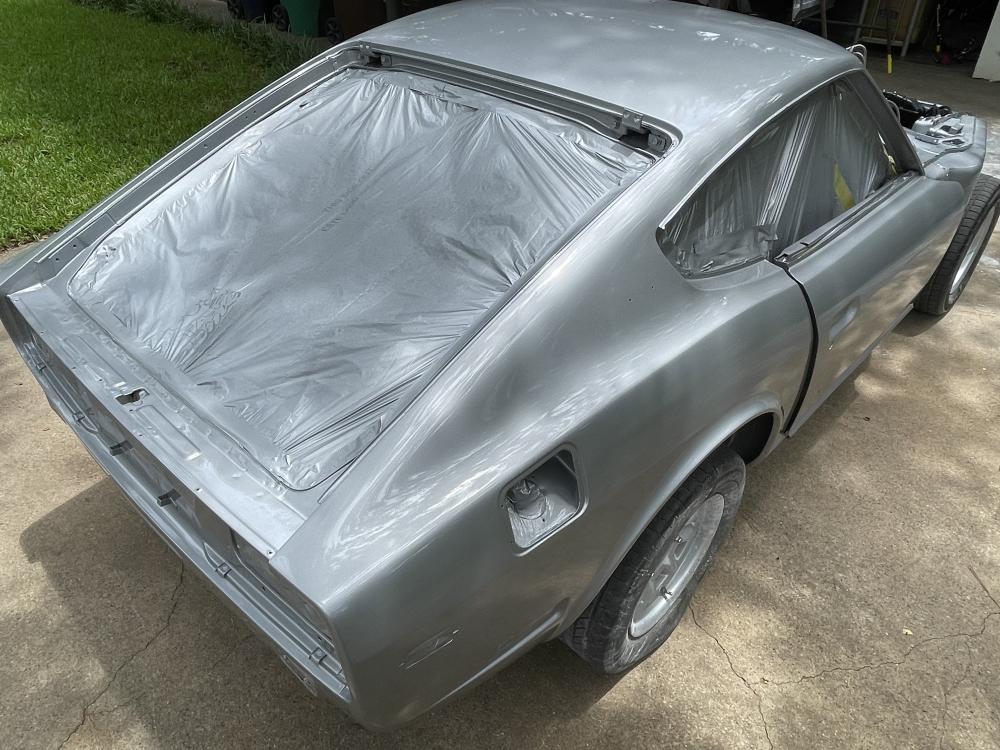
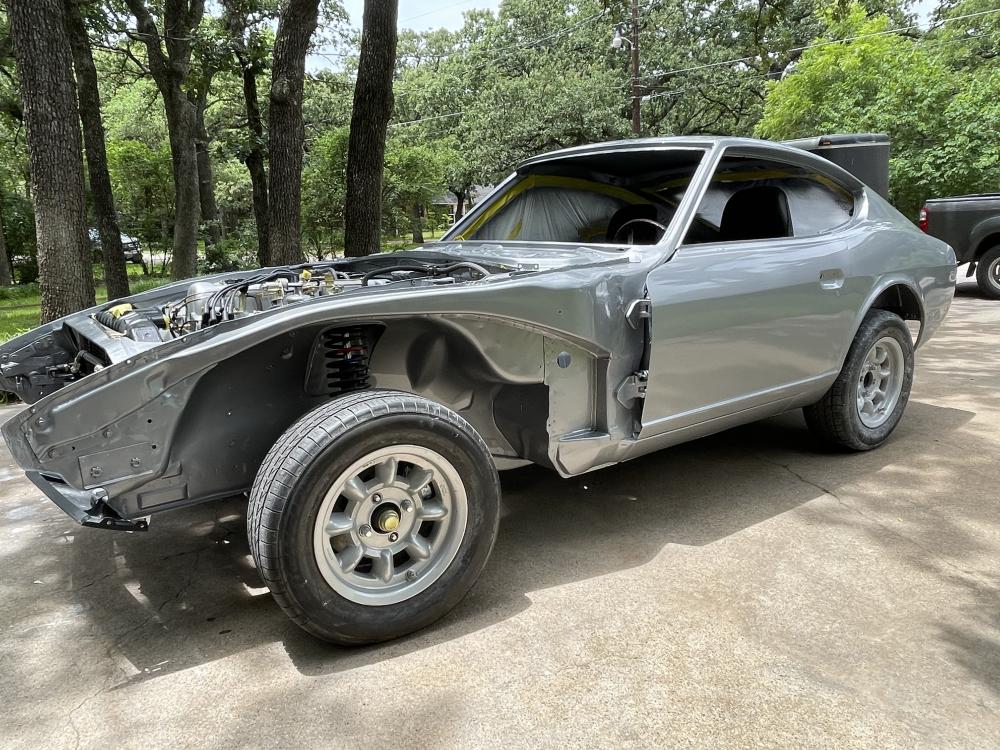
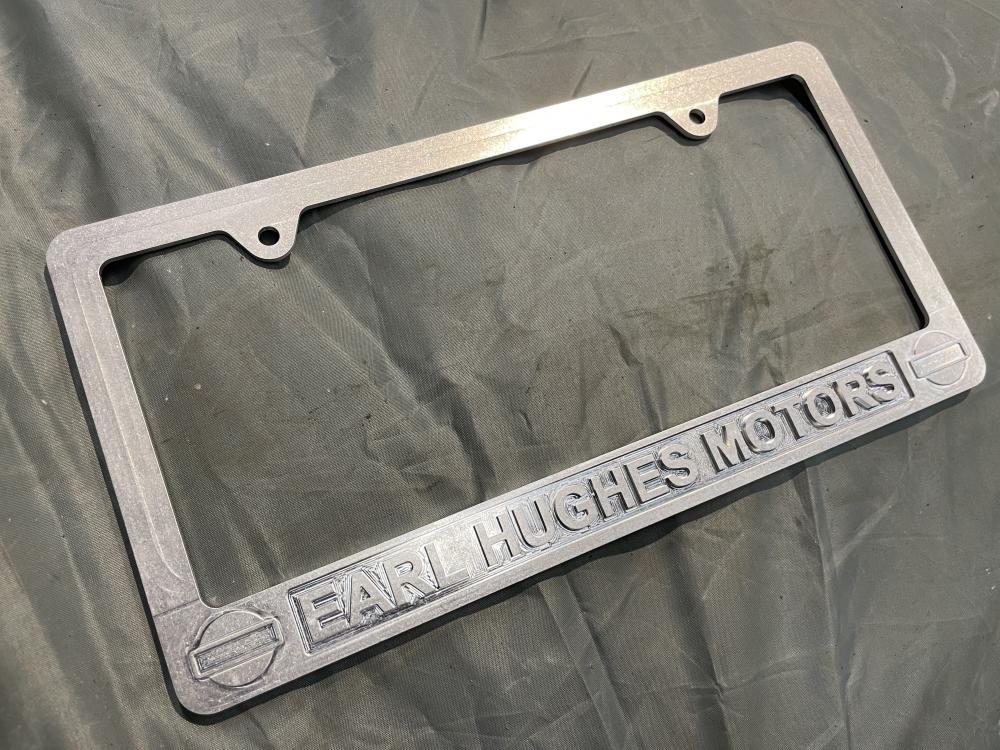
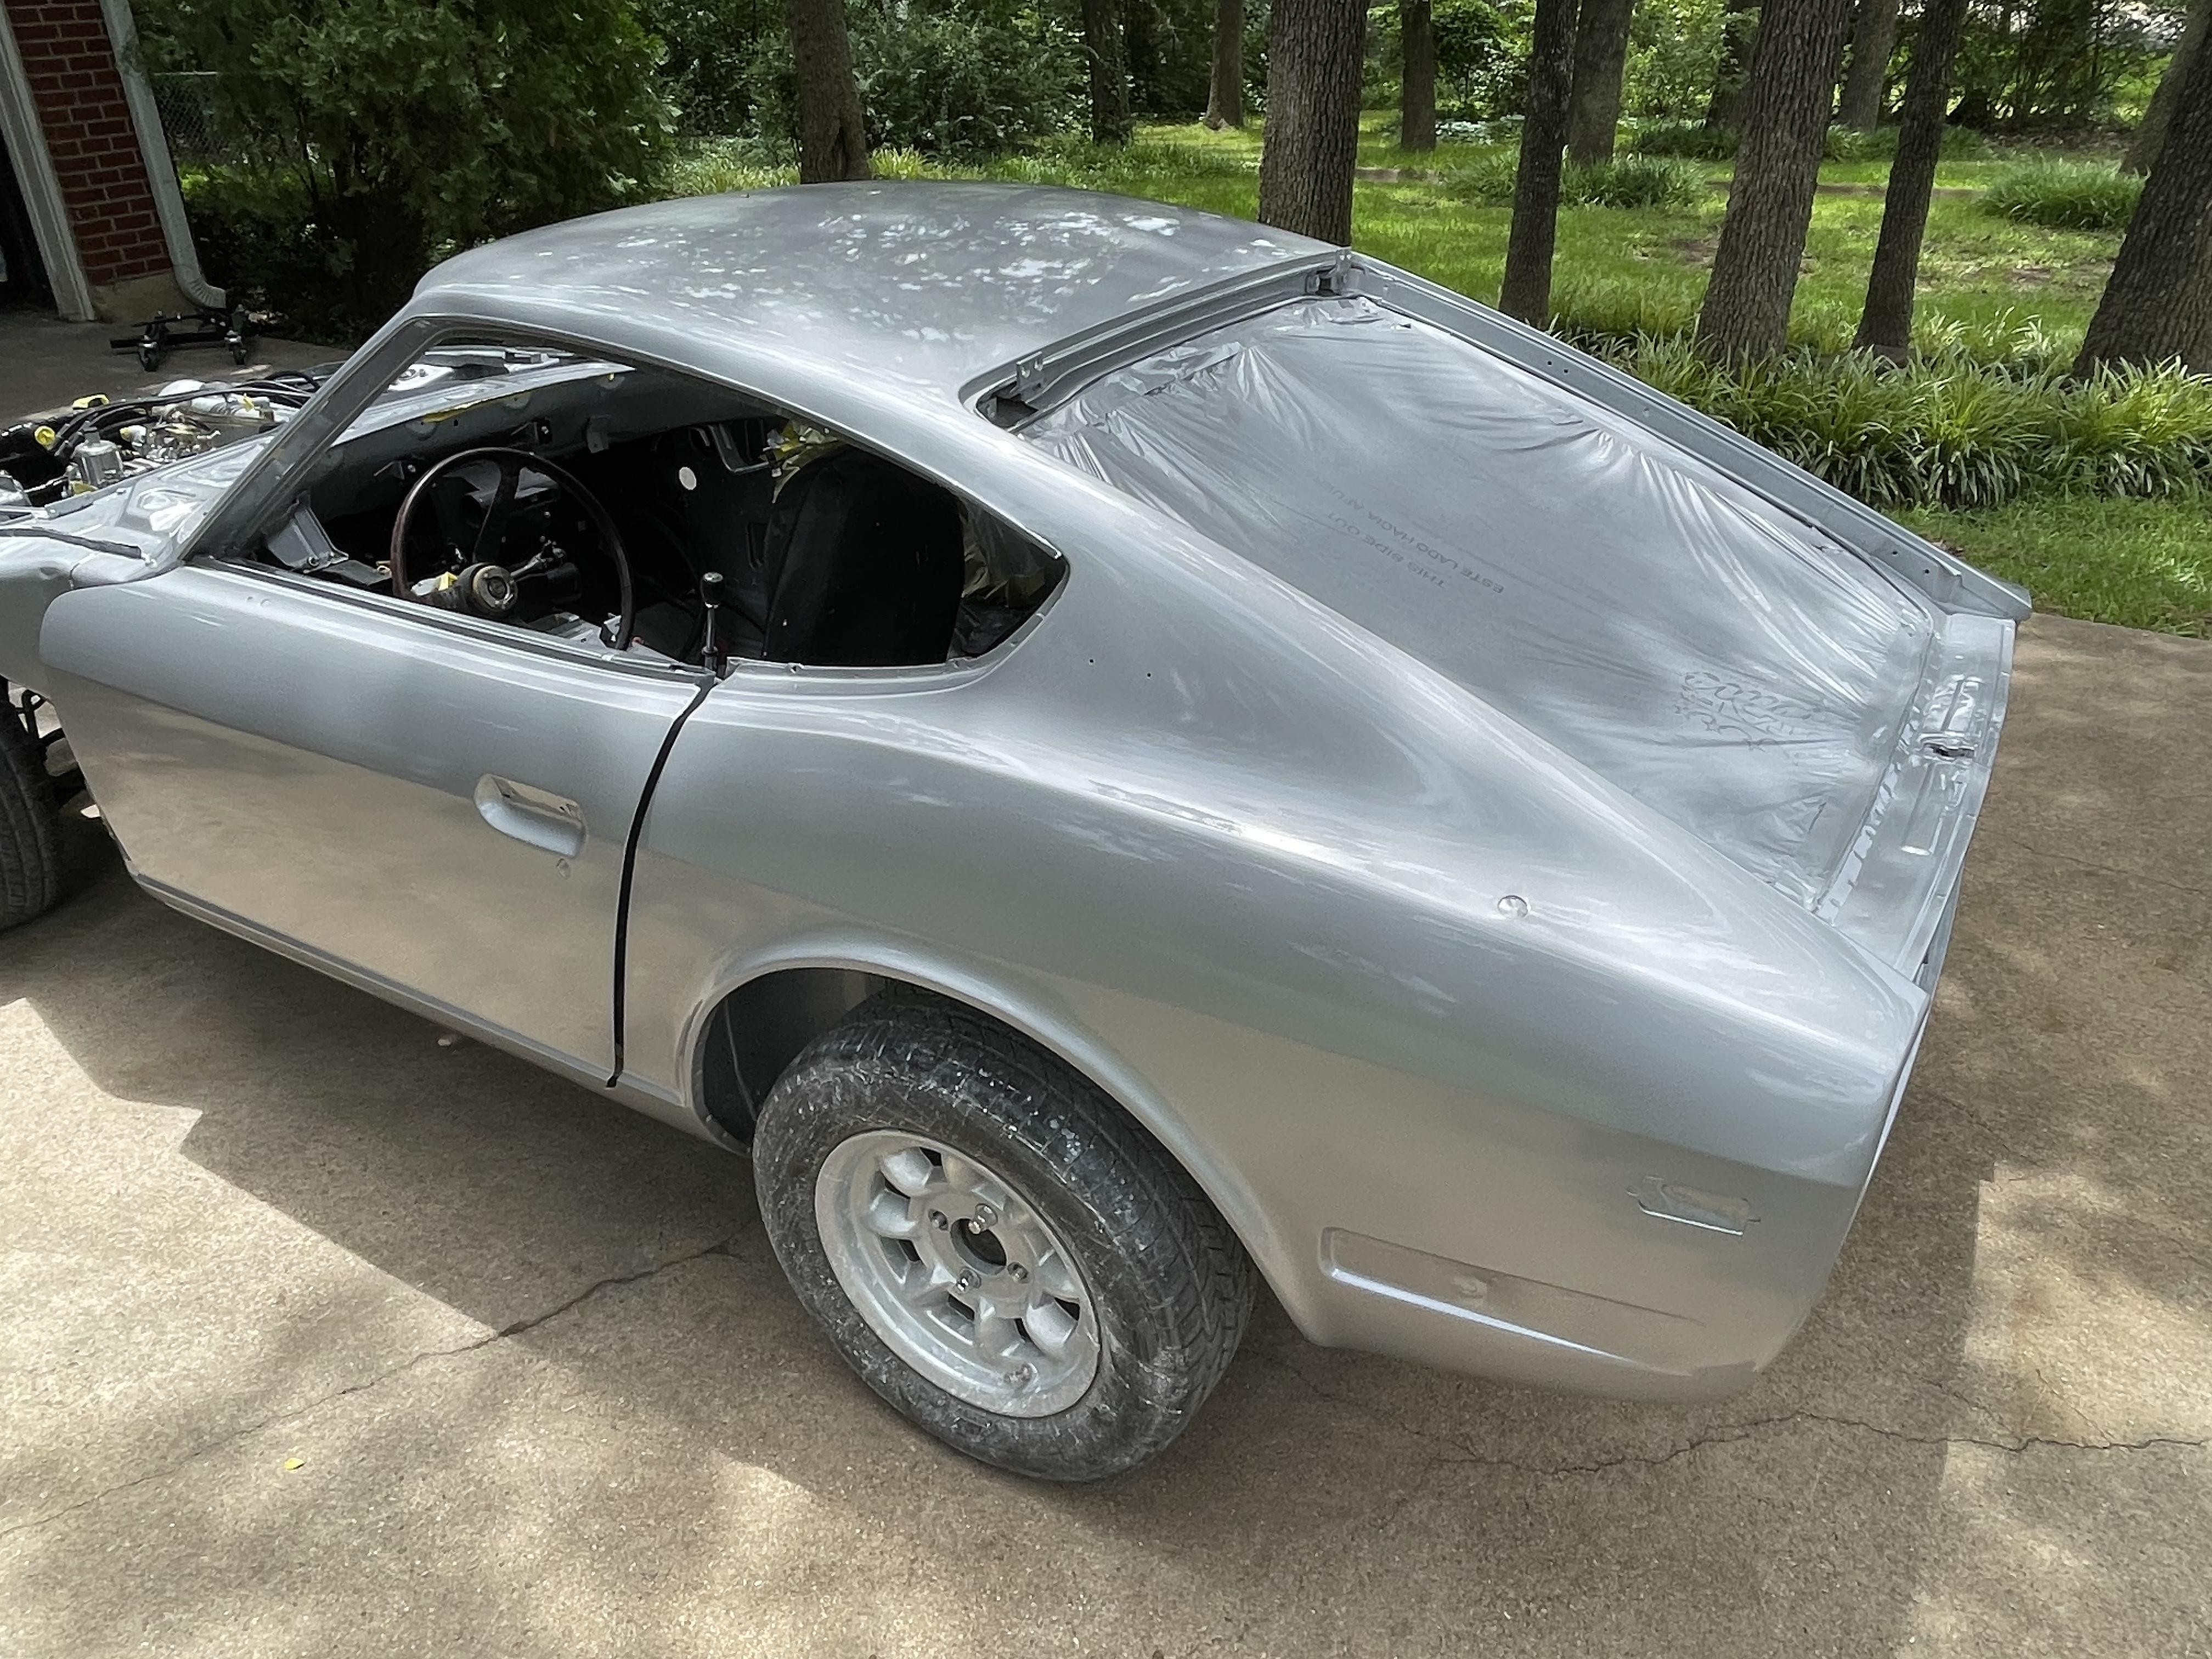
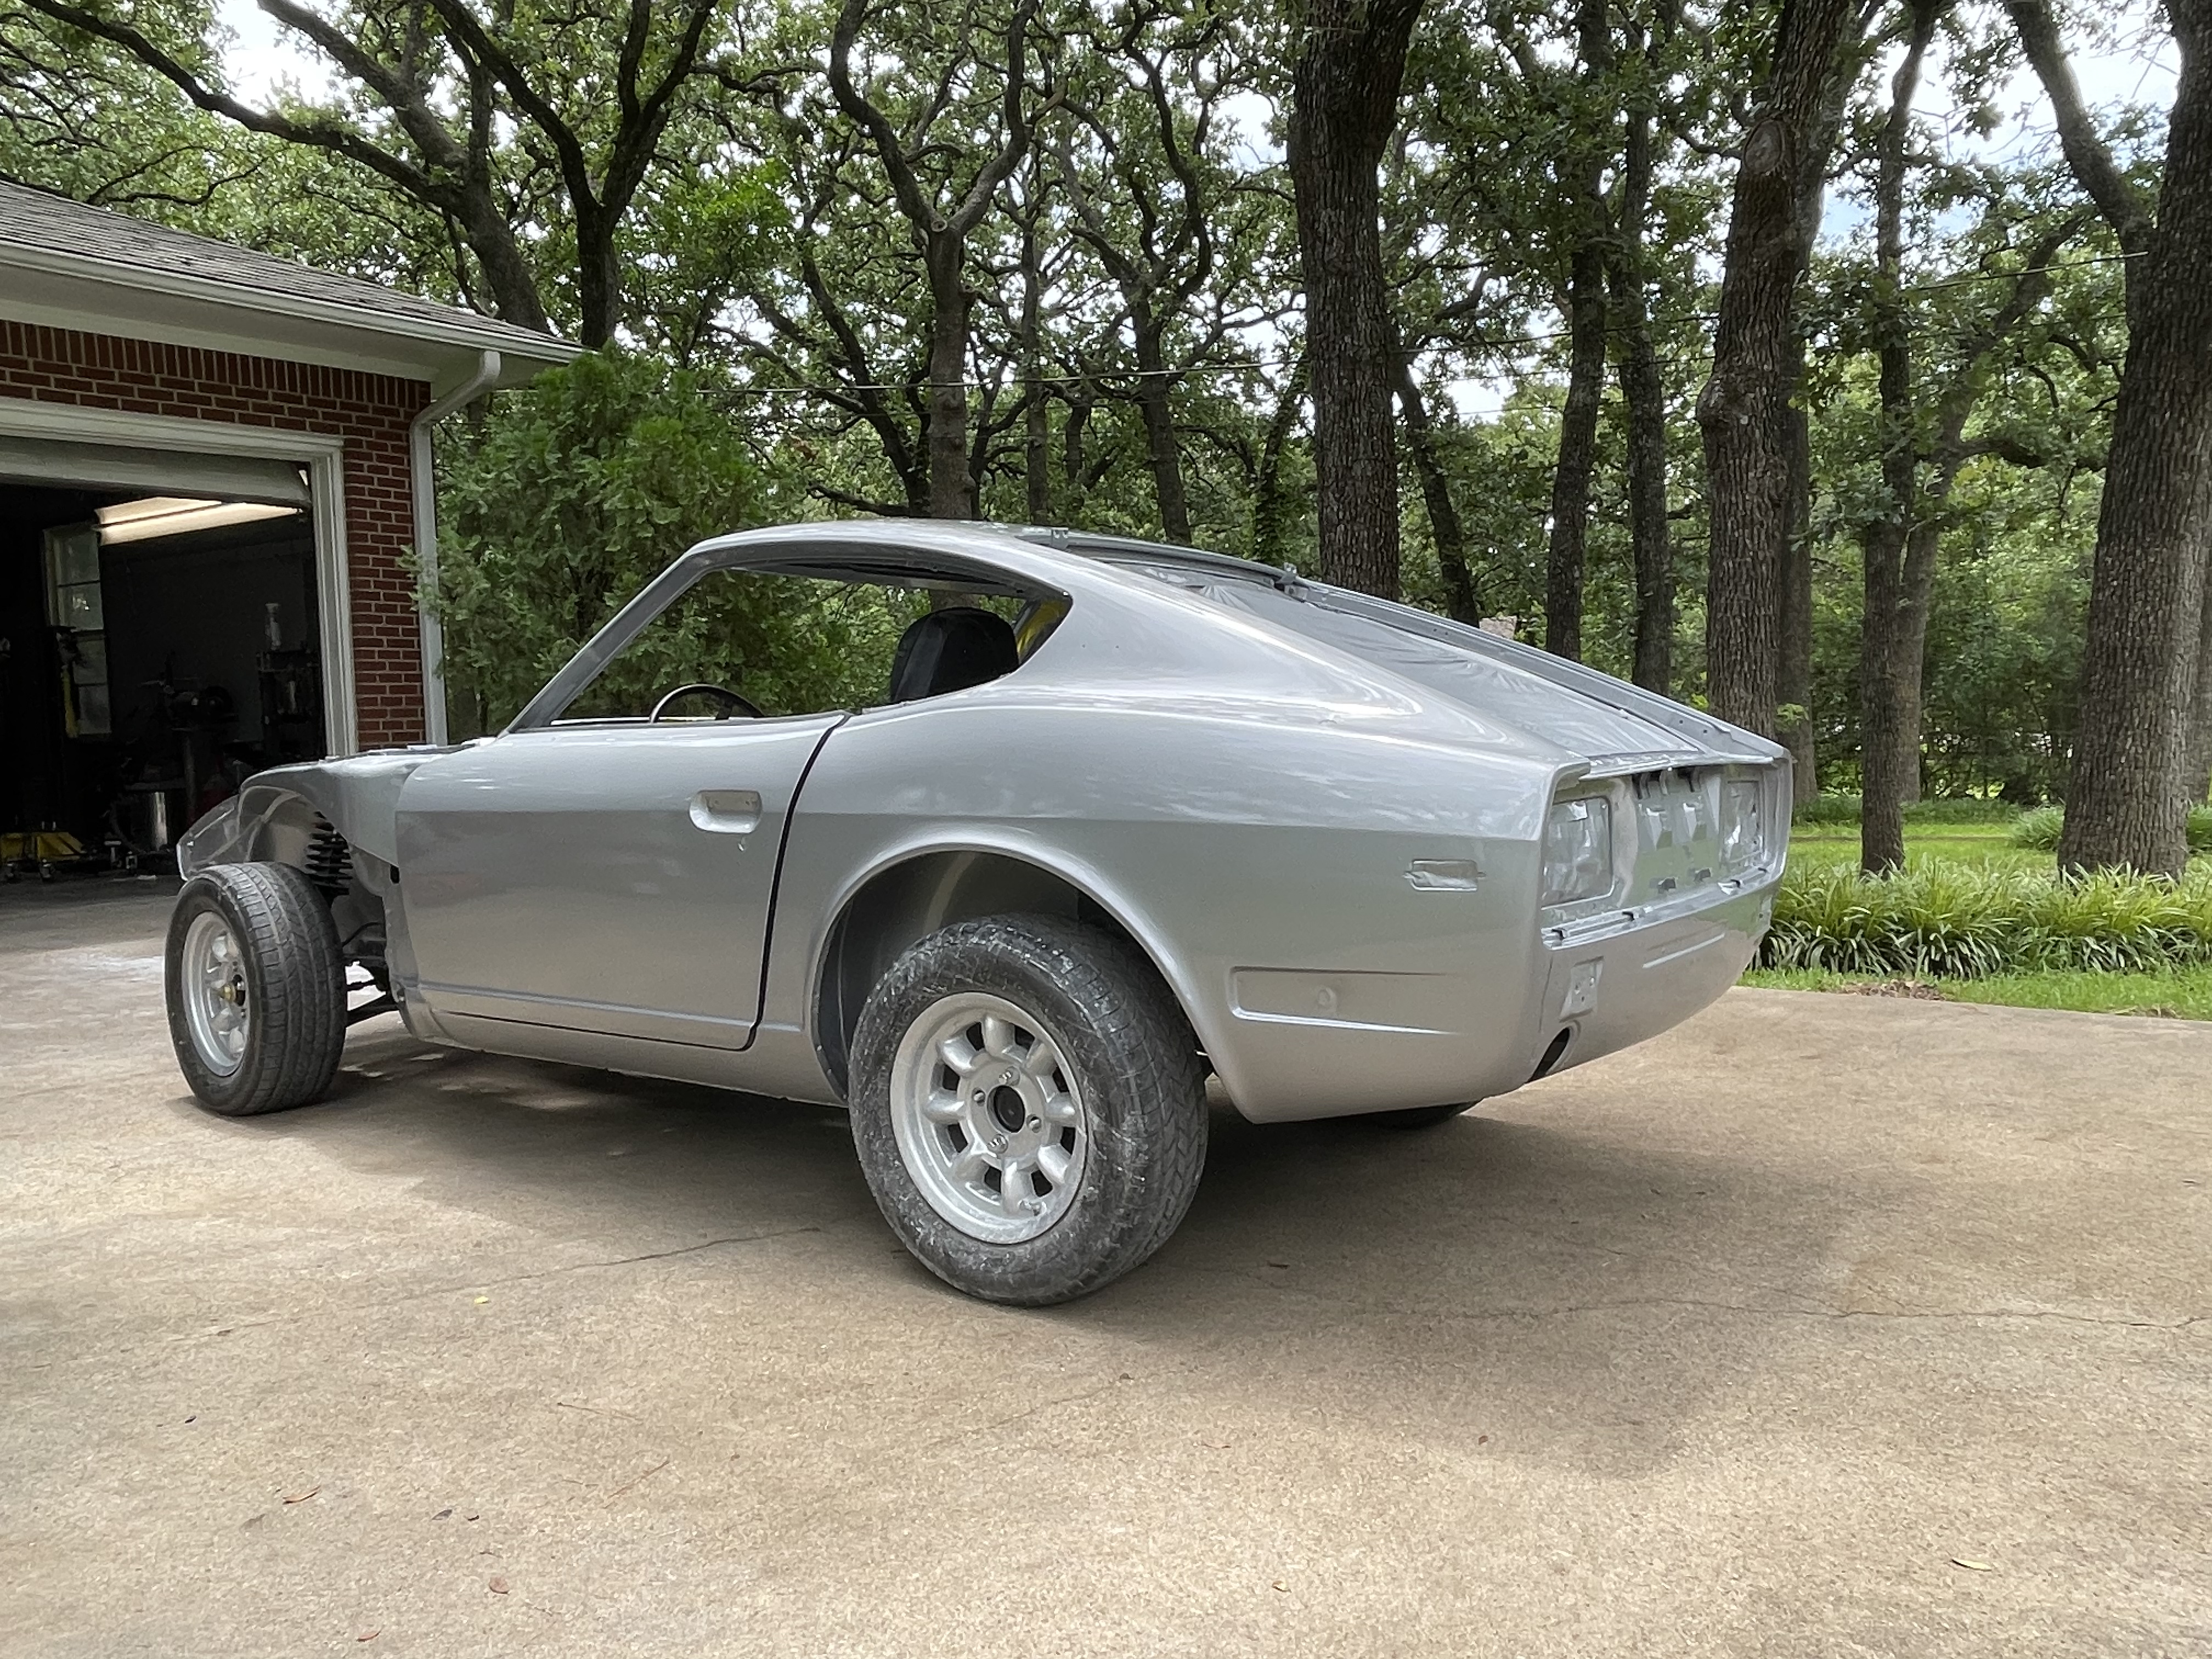
Big update on the Z! Body is now painted and ready for reassembly. I also got in the custom made license plate holder for the Z. Modeled this one up to look like a period correct frame from the dealership the Z was sold by in Fort Worth