


BAS_DXB
Free Member
-
Joined
-
Last visited
Everything posted by BAS_DXB
-
Overall restoration (strip down/bodywork/painting/reassembly): USD 25K Interior restoration (seats/dashboard/console/door panels/roof lining): USD 3K Parts+Material: USD 10-12K So in total around USD 40K to have it running again and better than new, so this is comparable, but I do not own all the equipment that you invested in for yours, if you counted it in your total. Labor cost in the UAE is very interesting and even though the workshop I work with is on the expensive side, the quality of execution is much higher than the average here. The issue is obliviously all the shipping time/costs and import taxes from the US to here, but I believe you face the same outrageous rap** to get everything in Canada...
-
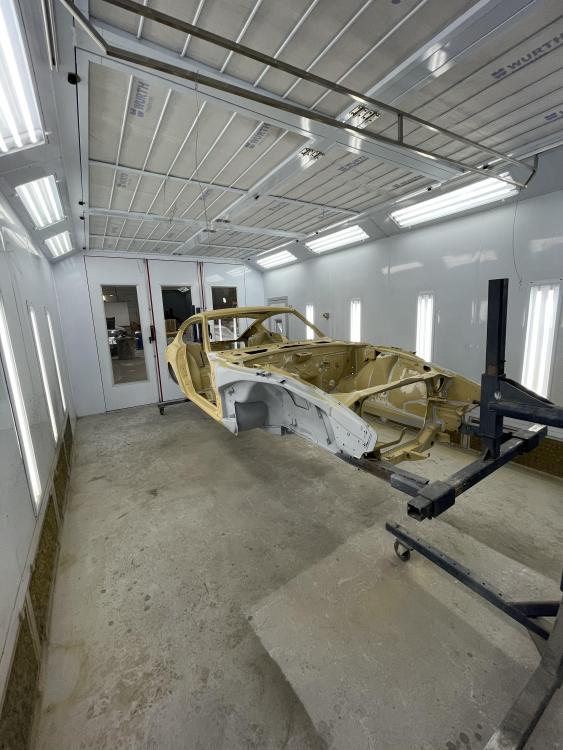
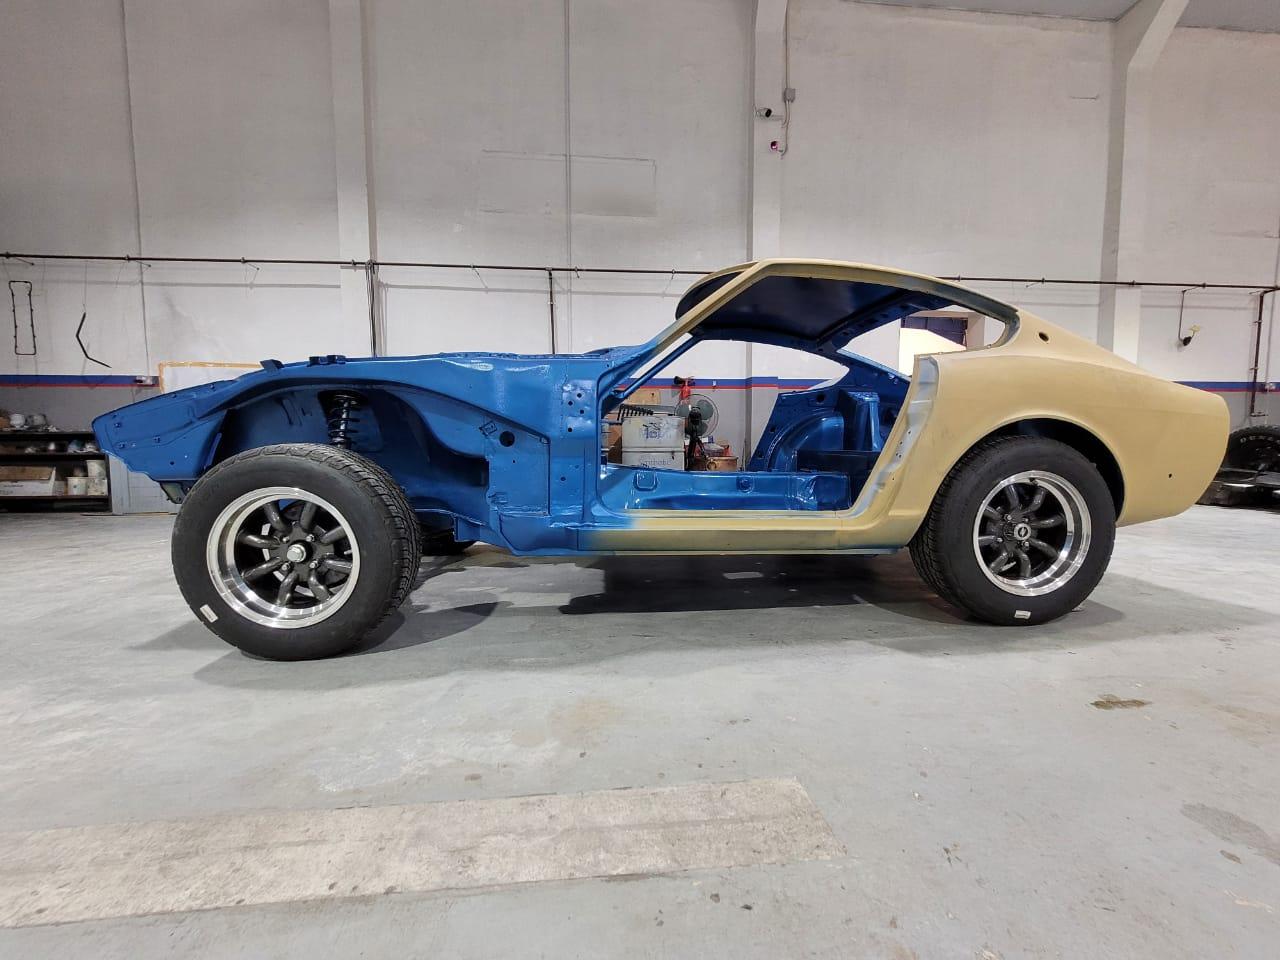
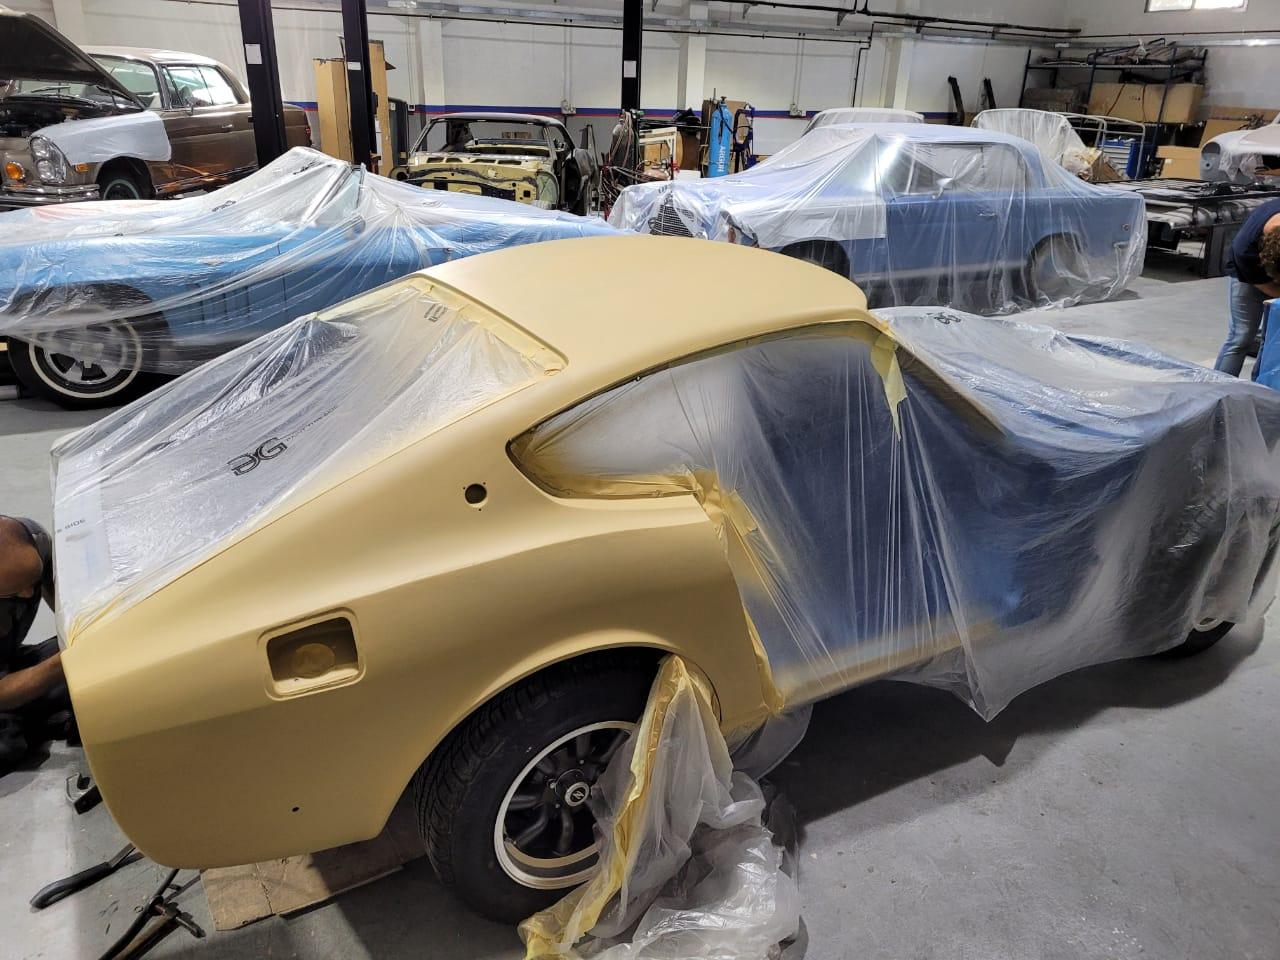
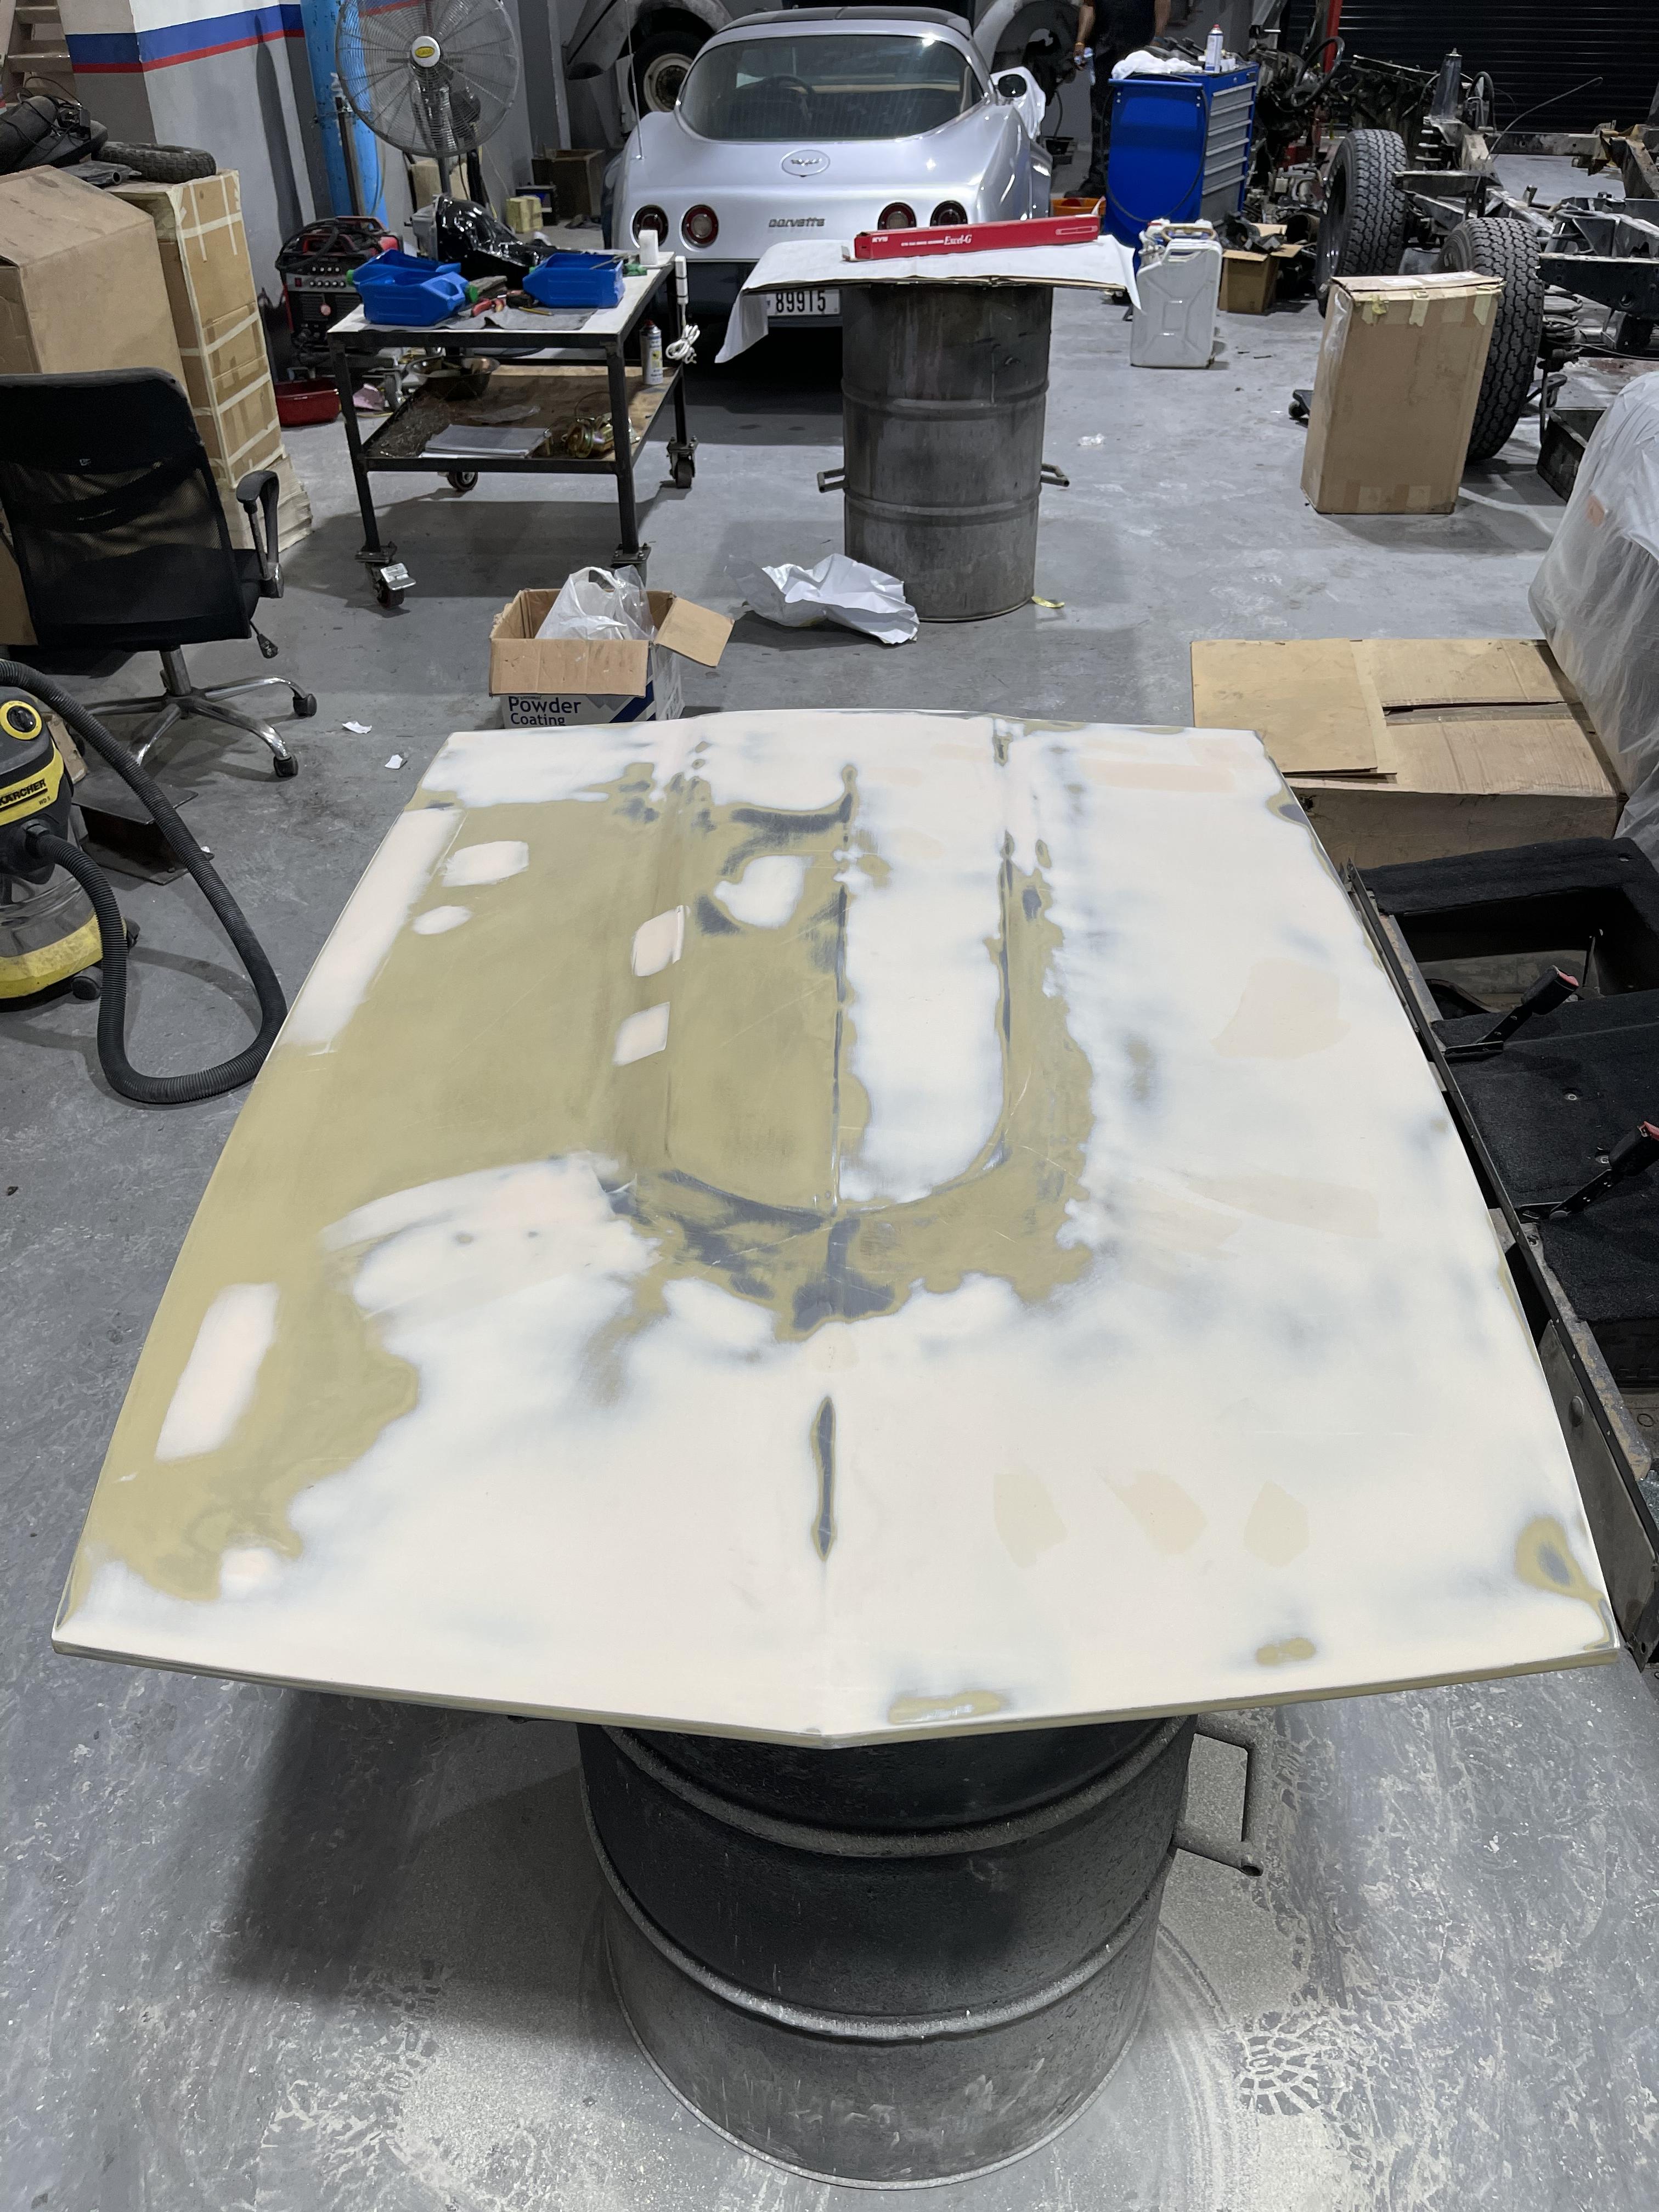
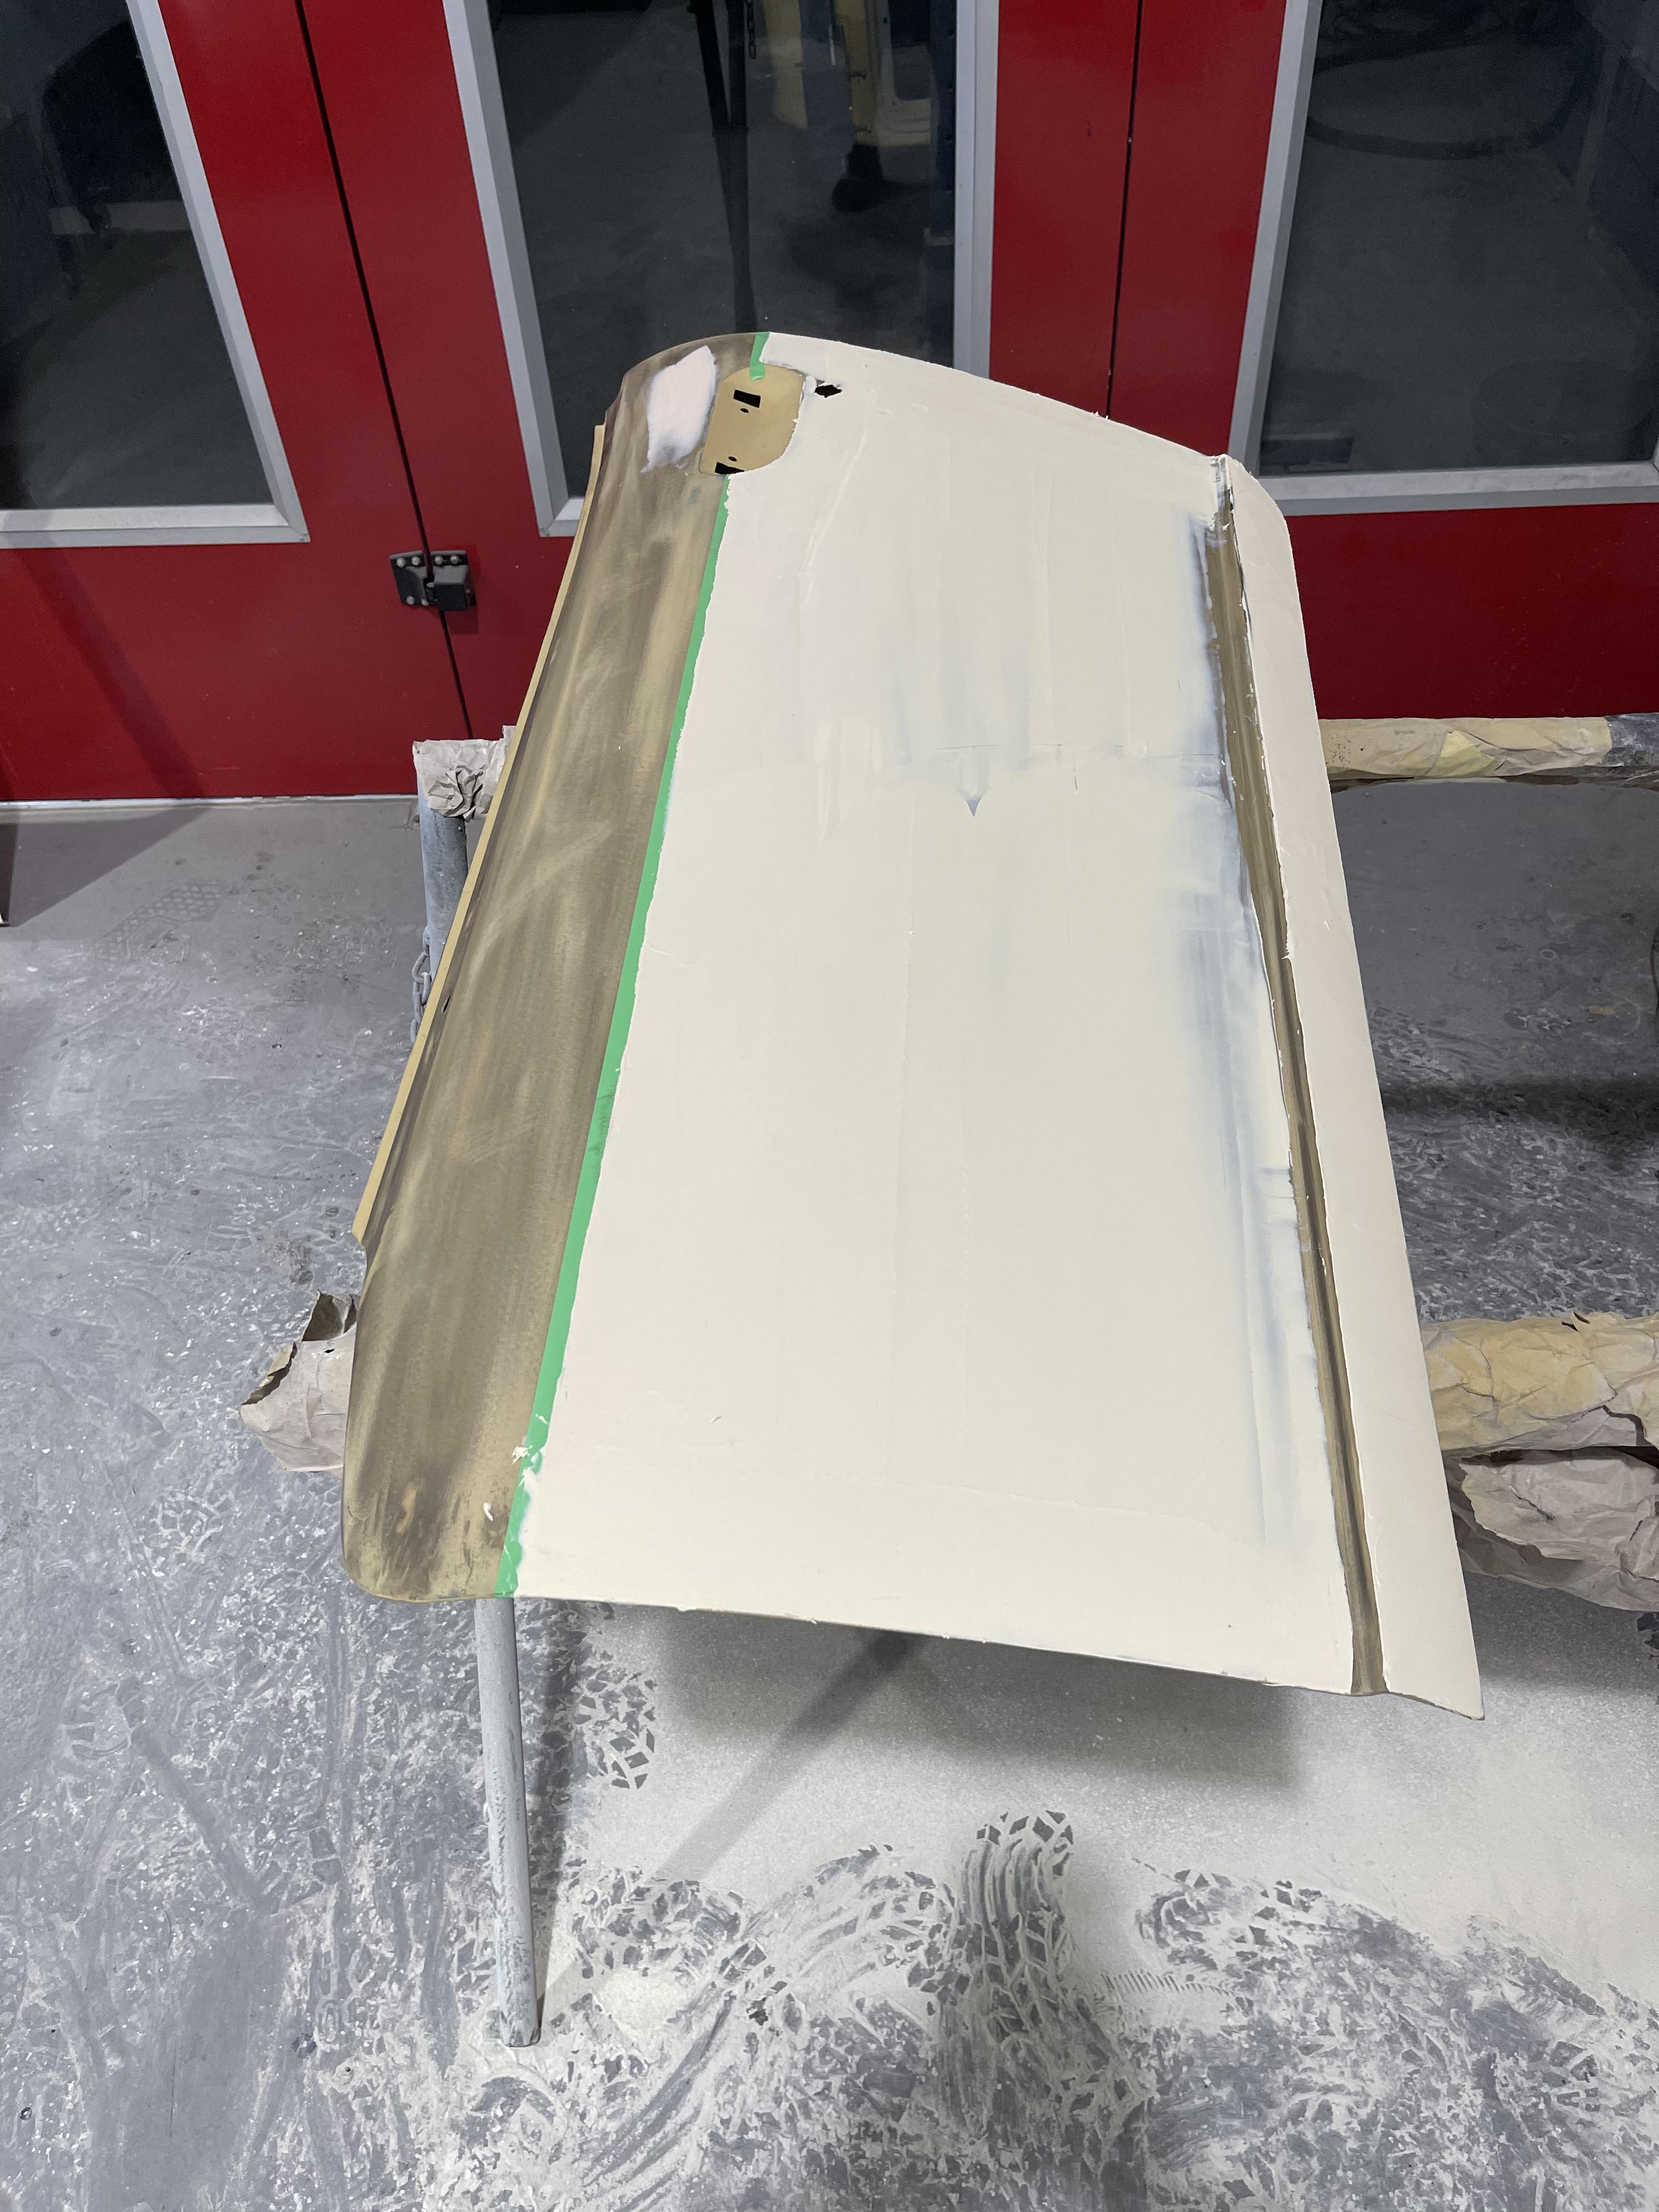
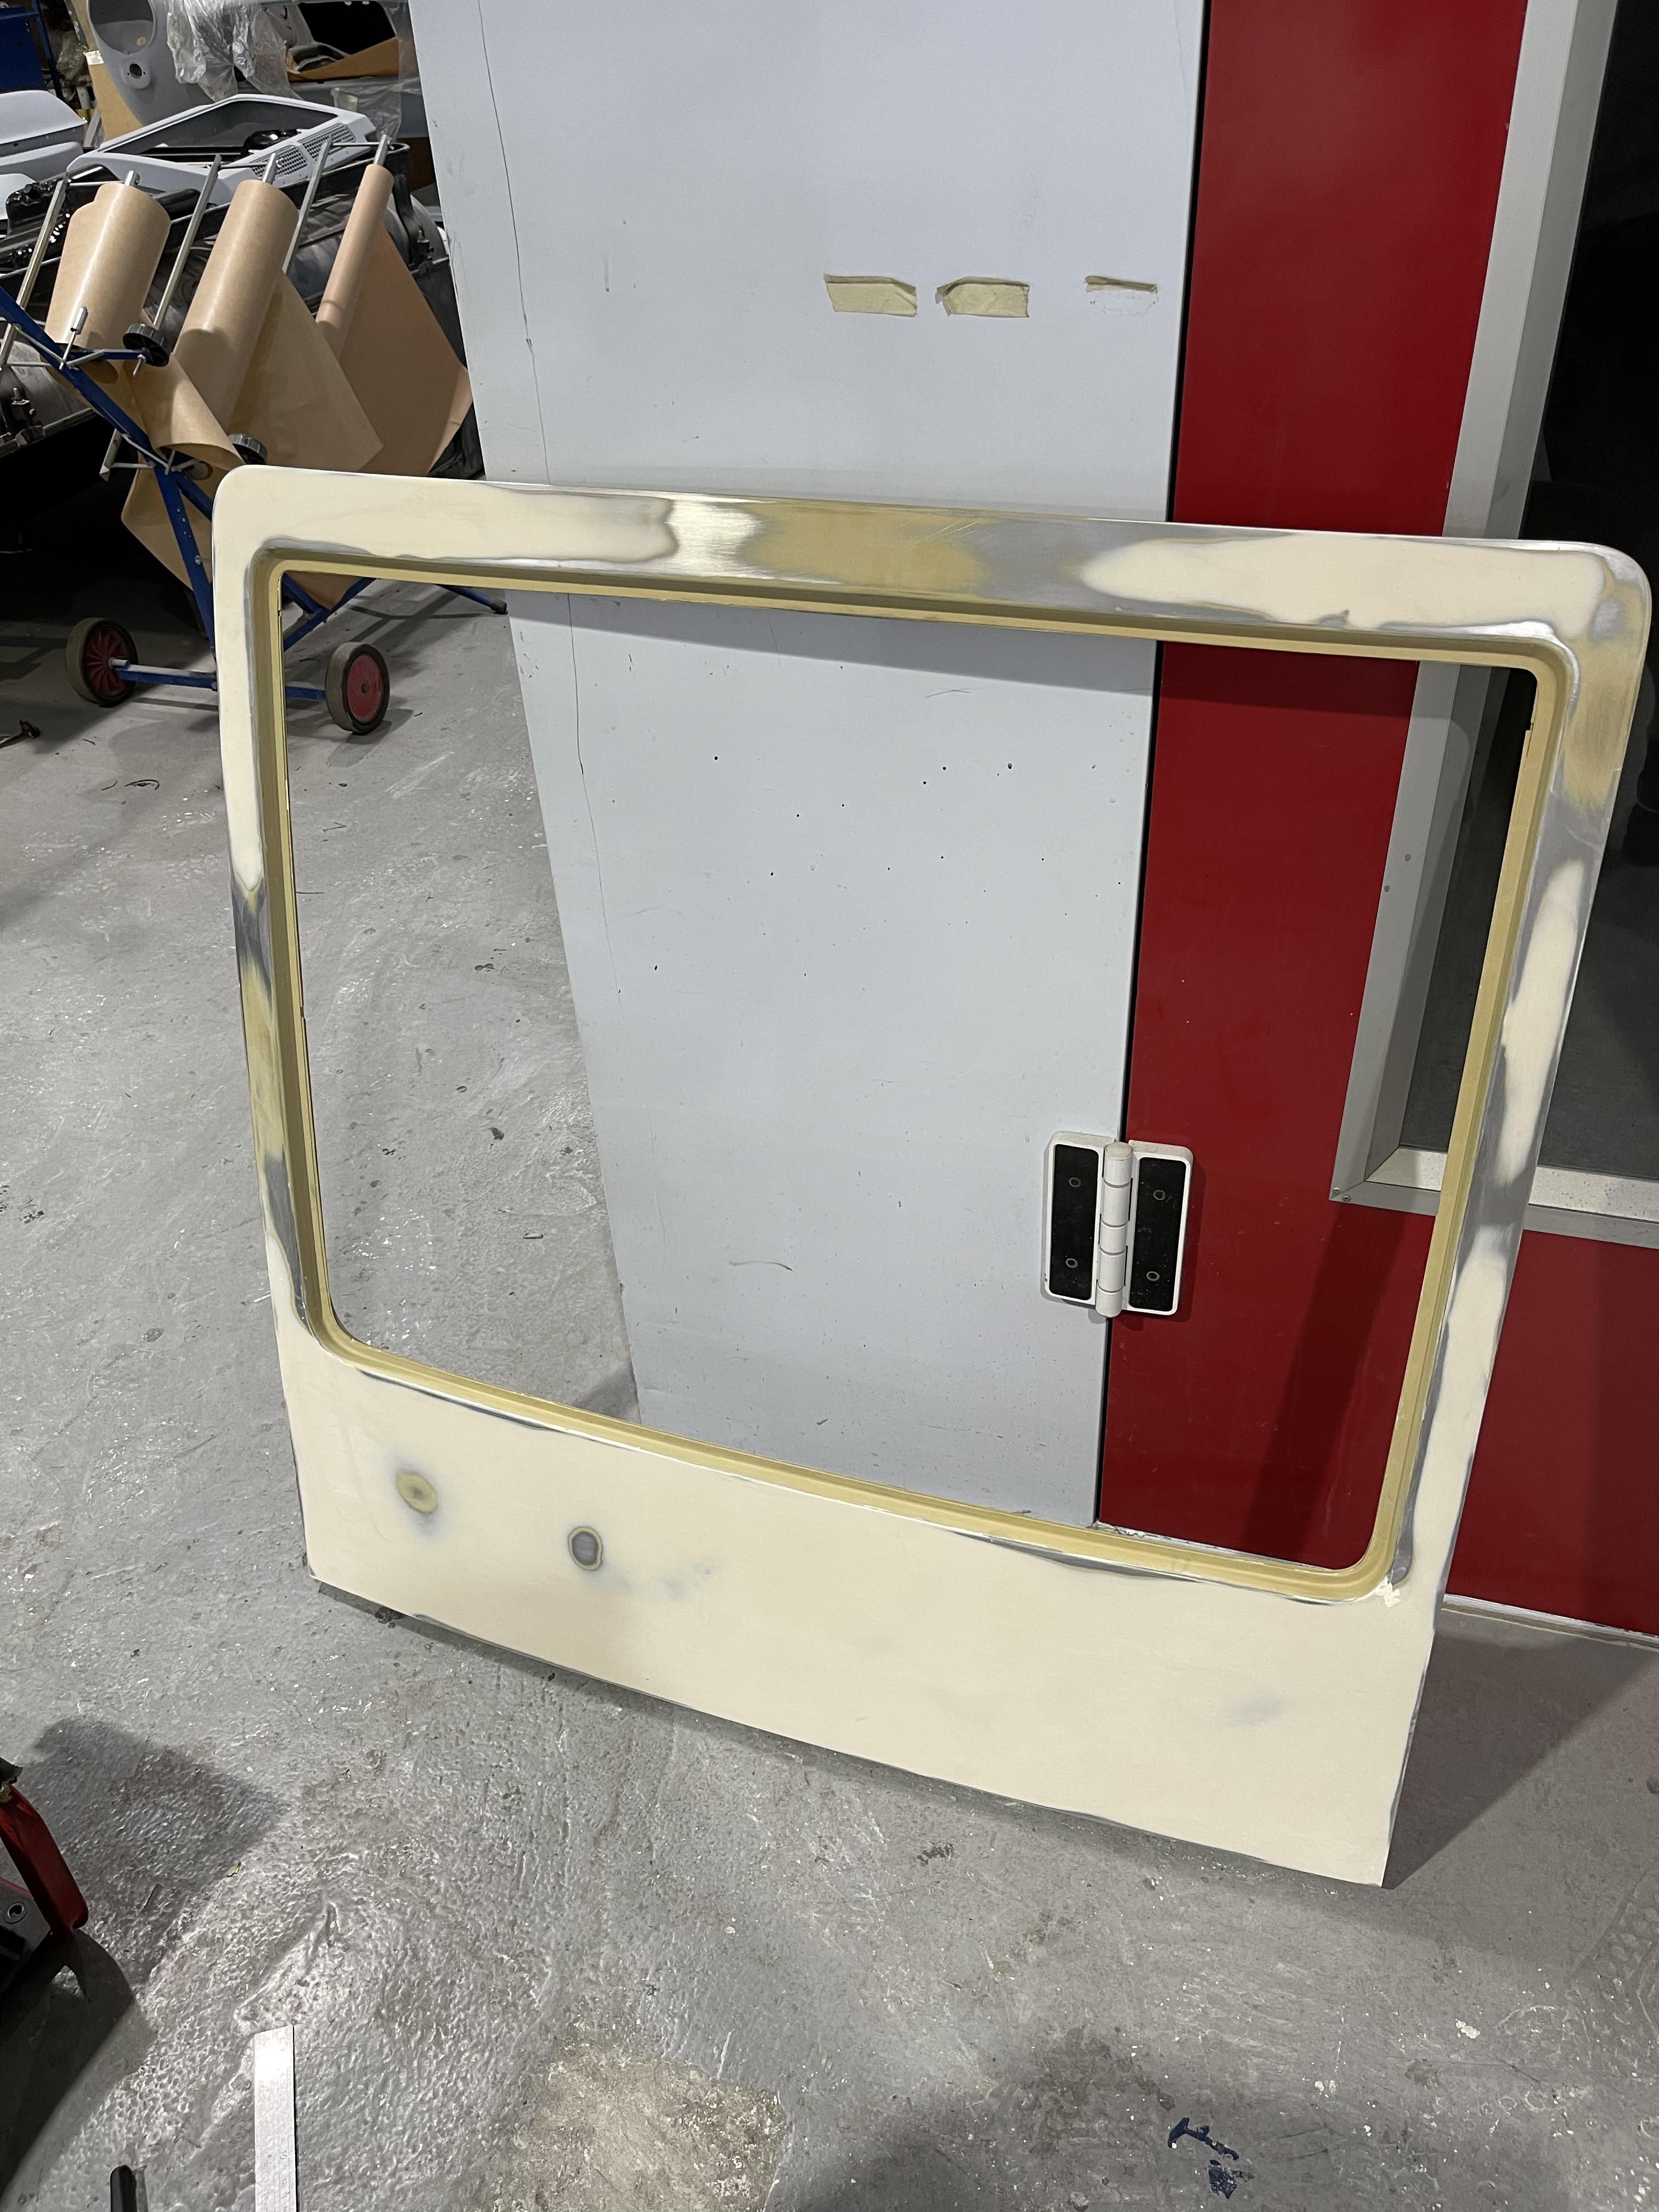
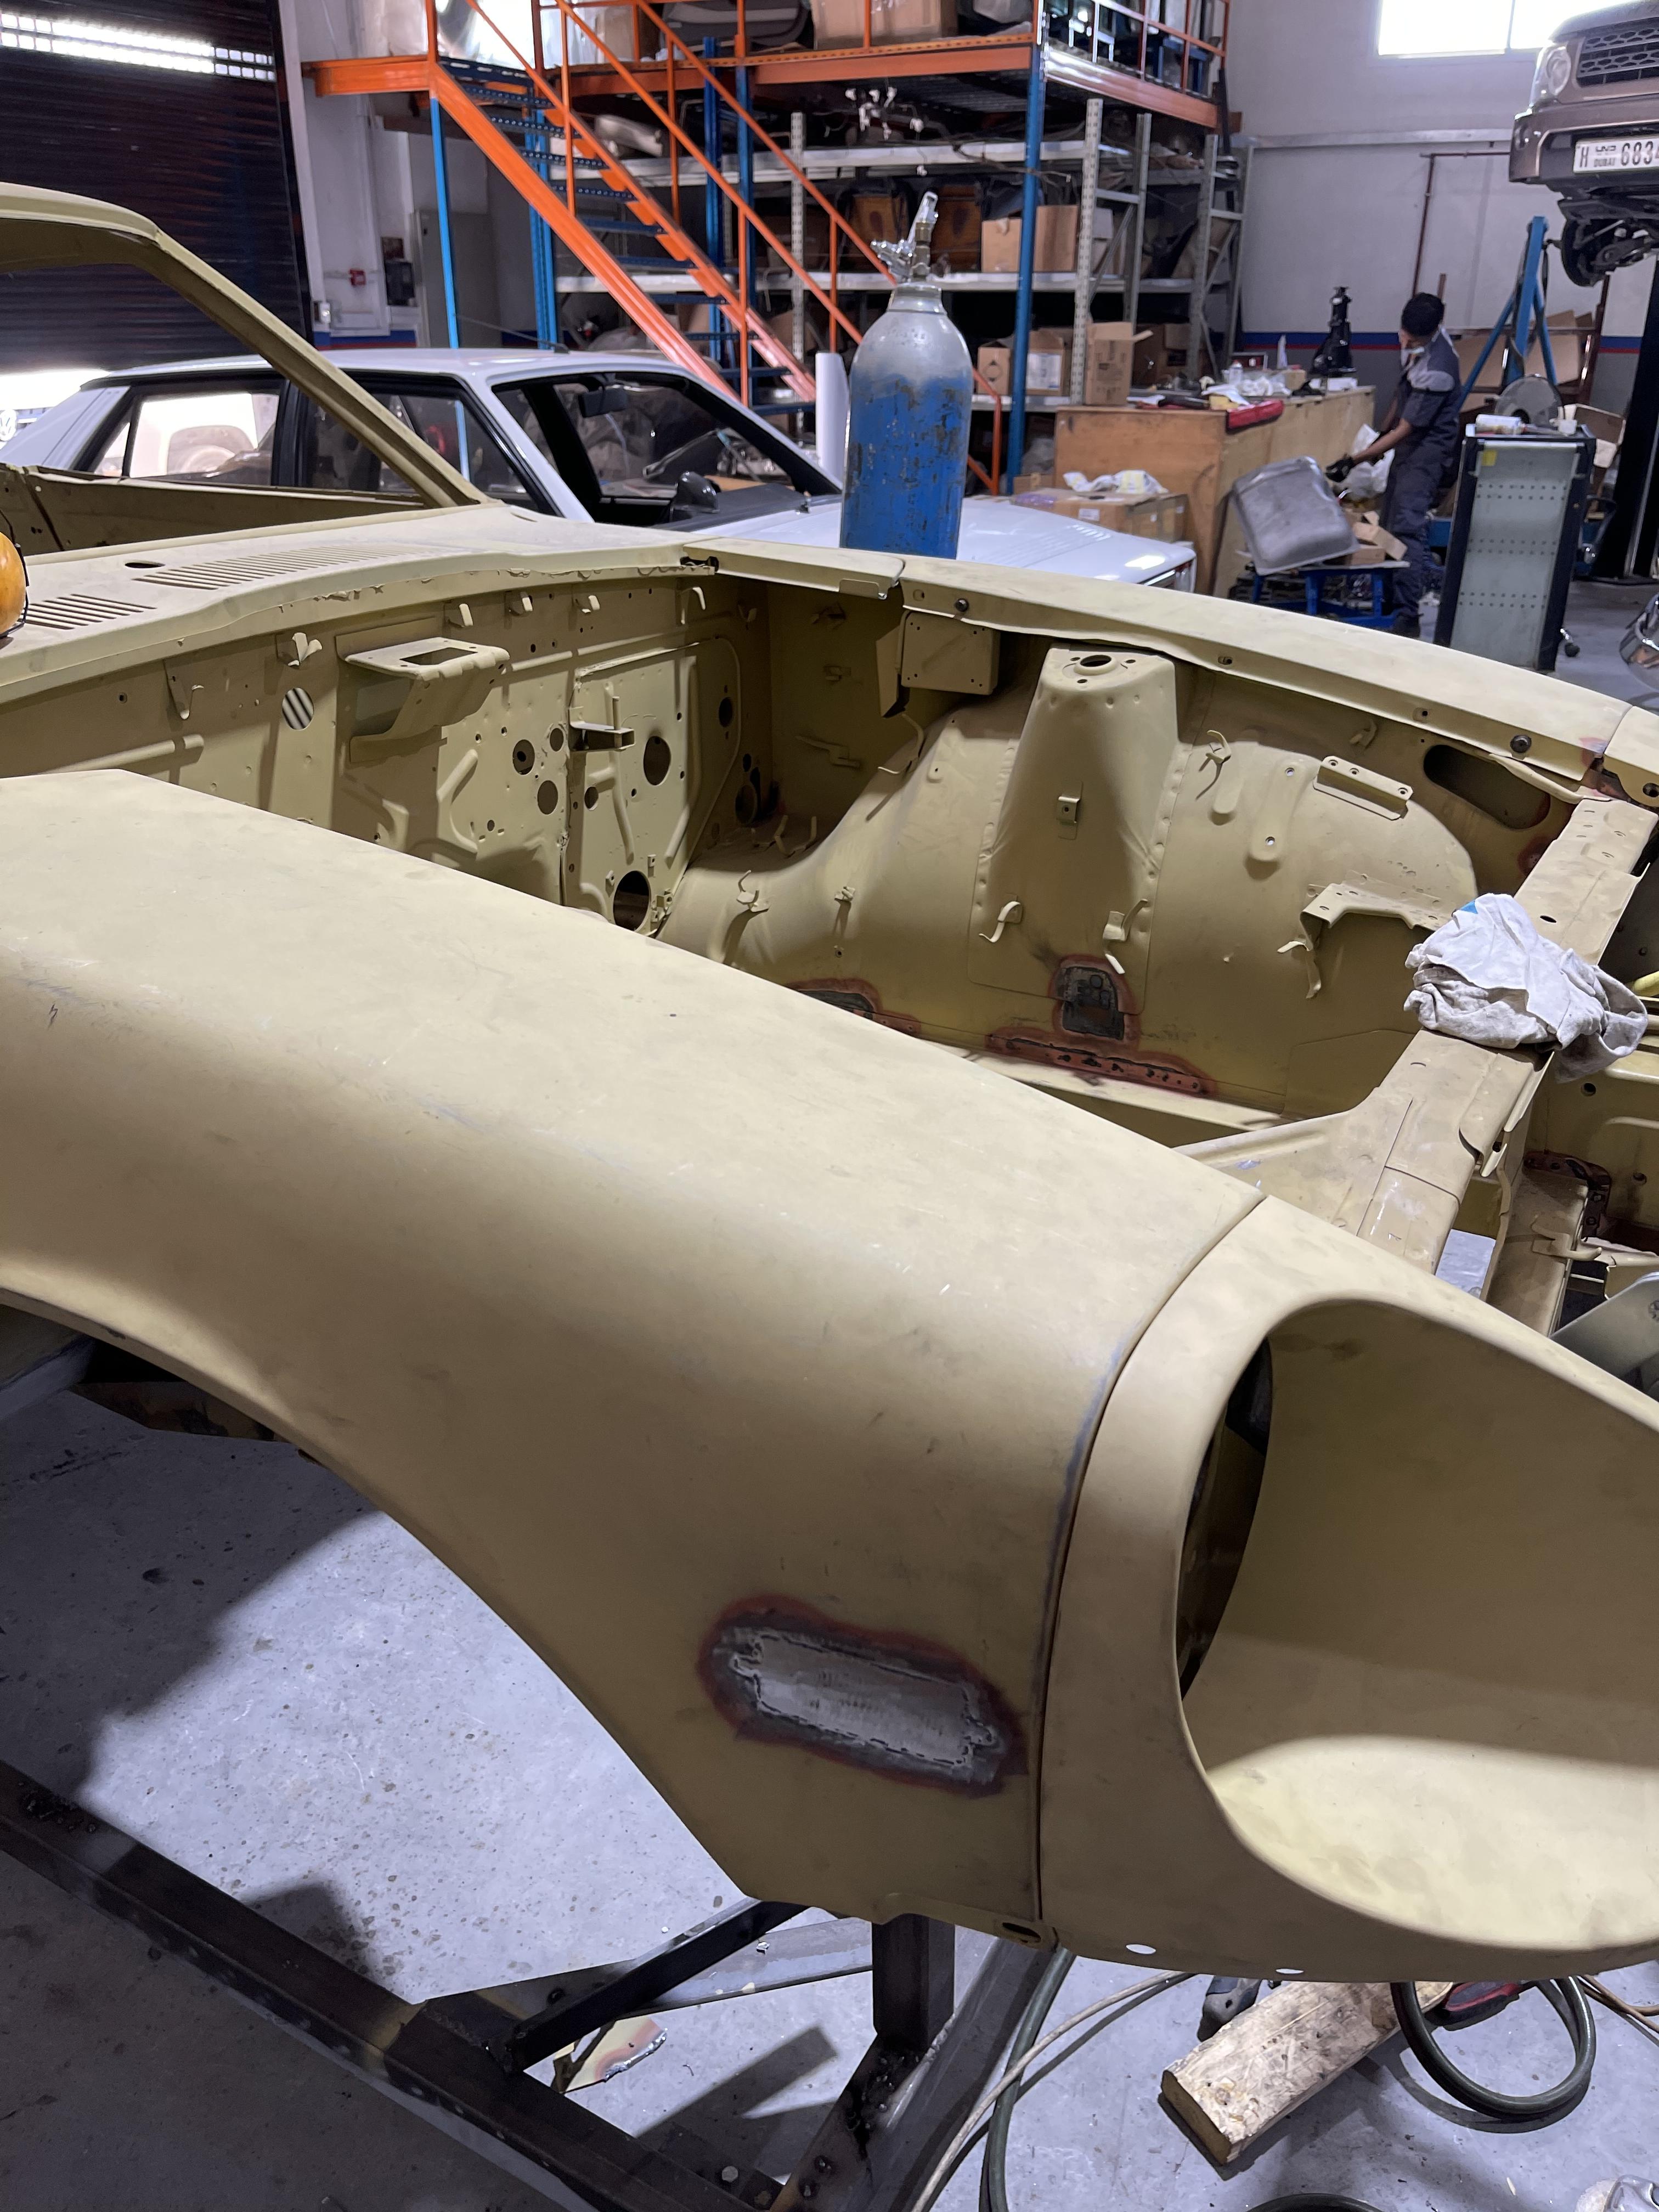
Good day guys, Another milestone achieved: exactly 5 months after taking the wheels off, Zinta is back on the ground. Last beating on the rear quarter panels and bumper to use as little as possible body filler, and also 3 spots on the roof to correct... Doors/Trunk/Boot/air dam/fenders are ready for the final coat. Tomorrow afternoon or Sunday morning latest we shall lay down the final blue coat !


-
This is extremely saddening news, I hope your health gets better soon, and that you can eventually keep your Z. Be strong and beat the $^!# out of it, as a fitness nut as well, I am sure you have the right mindset 🤜🤛
-
Hi @northernz, hope you are doing well and people see your Z rollin' and might be hatin' but the real deal is you being happy with it ! I am almost getting on the EMS part of my build, and beside having a MS3 Pro Evo and not an ECU master black ECU, we have very similar setup (Jenvey ITB, 1-6industries CAS, F150 individual coils) so I was wondering if you have any experience to share on the EFI setup ? I have contacted AMP EFI support and Matt advised me on the following: 1. Too much dwell and these coils will advance your timing at unwanted points. Keep nominal dwell at 3.5 ms or less. 2. Is this the CAS you are looking to use? https://www.onesixindustries.com/product/nissan-datsun-l-series-crank-angle-sensor If so, set the spark mode to toothed wheel, the wheel type to a single wheel with 24 base teeth and one missing tooth, spinning at cam speed. Thank you in advance, and hope to see more pics of your Z.
-
So you mean the ones on Fig. GI-6 right ? Heard too may bad stories about it, but hey, the chassis is brand new now 😂

-
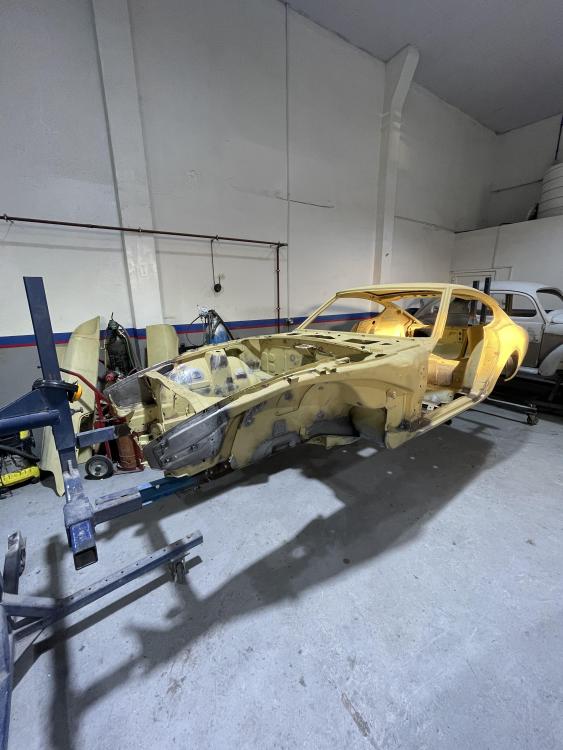
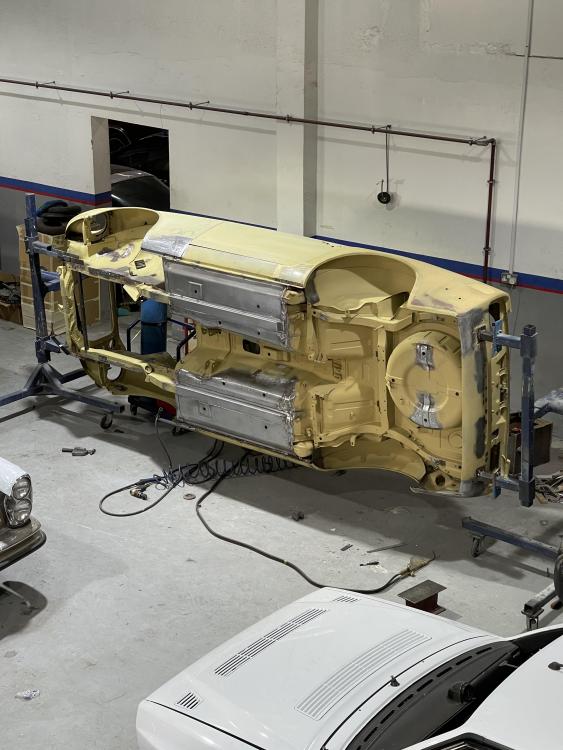
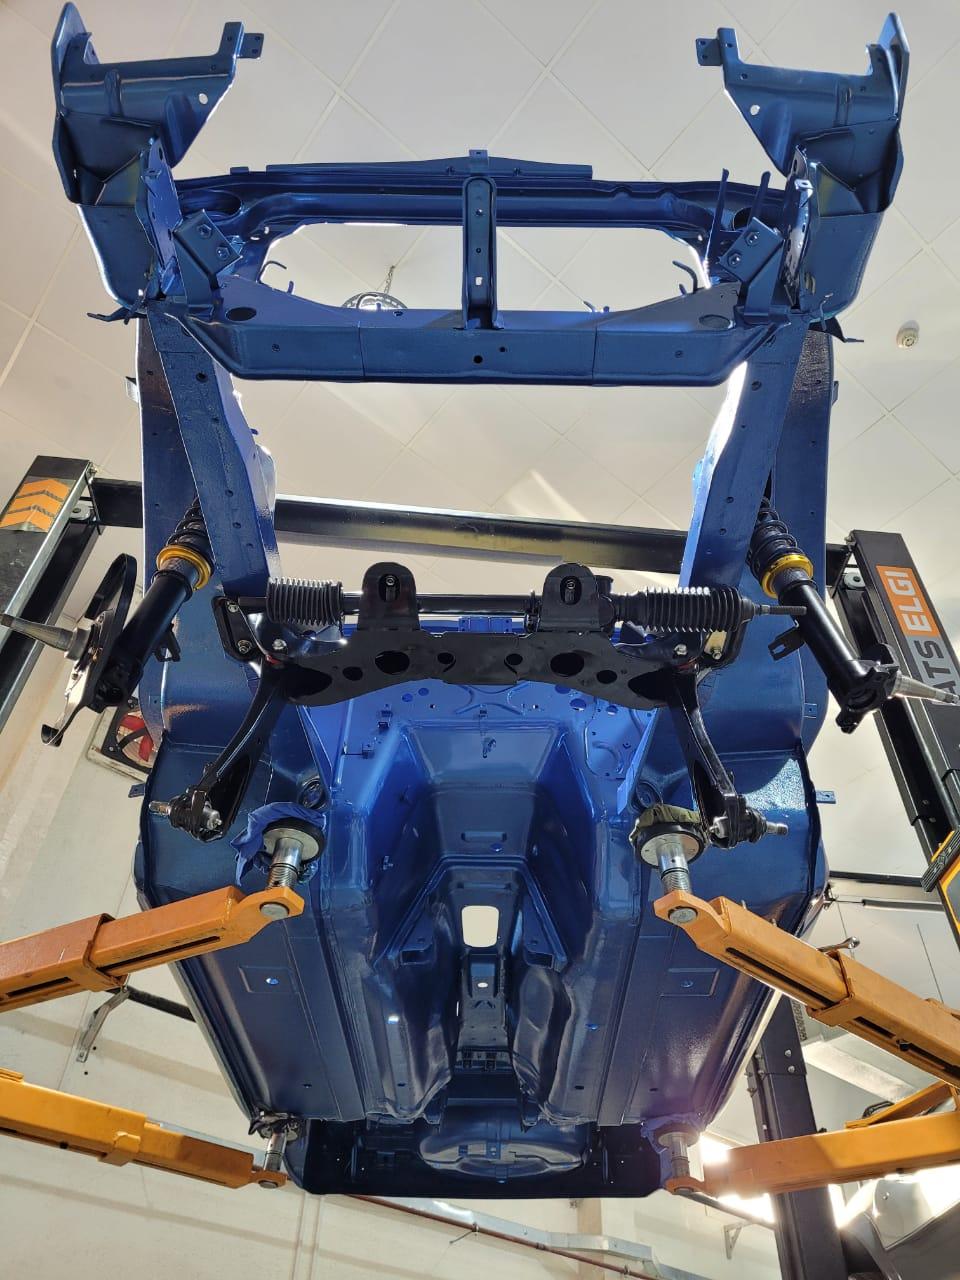
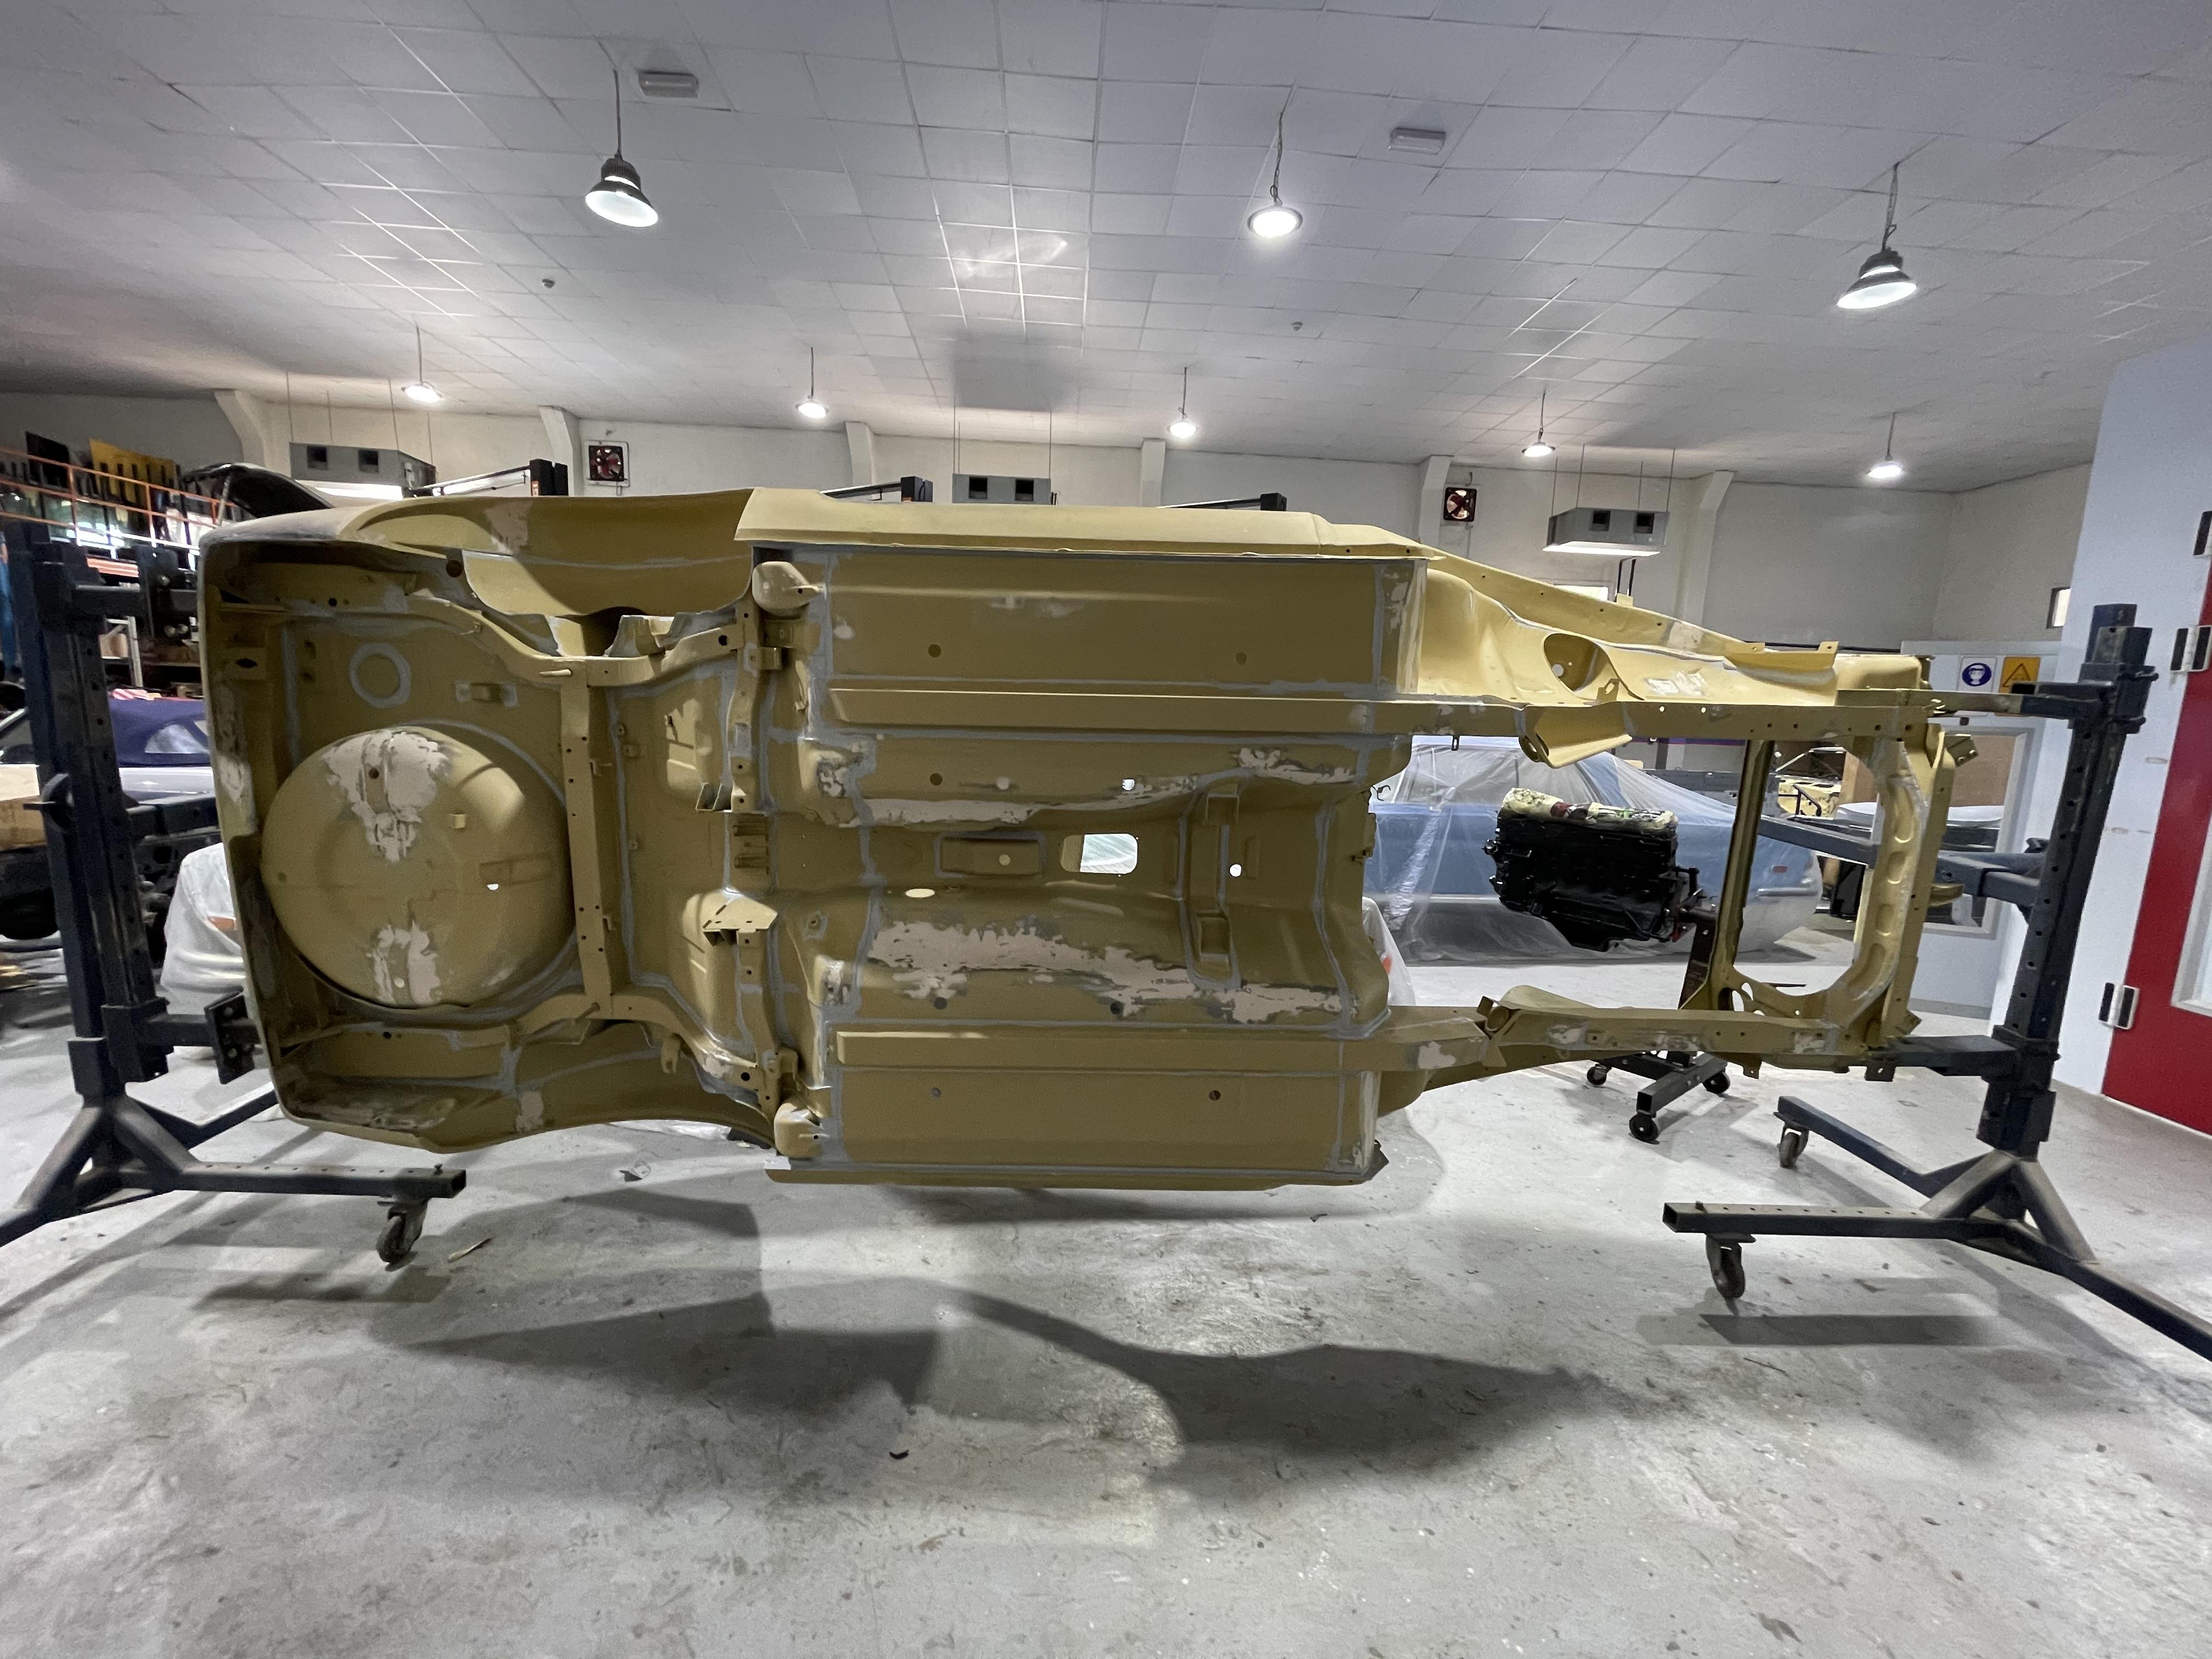
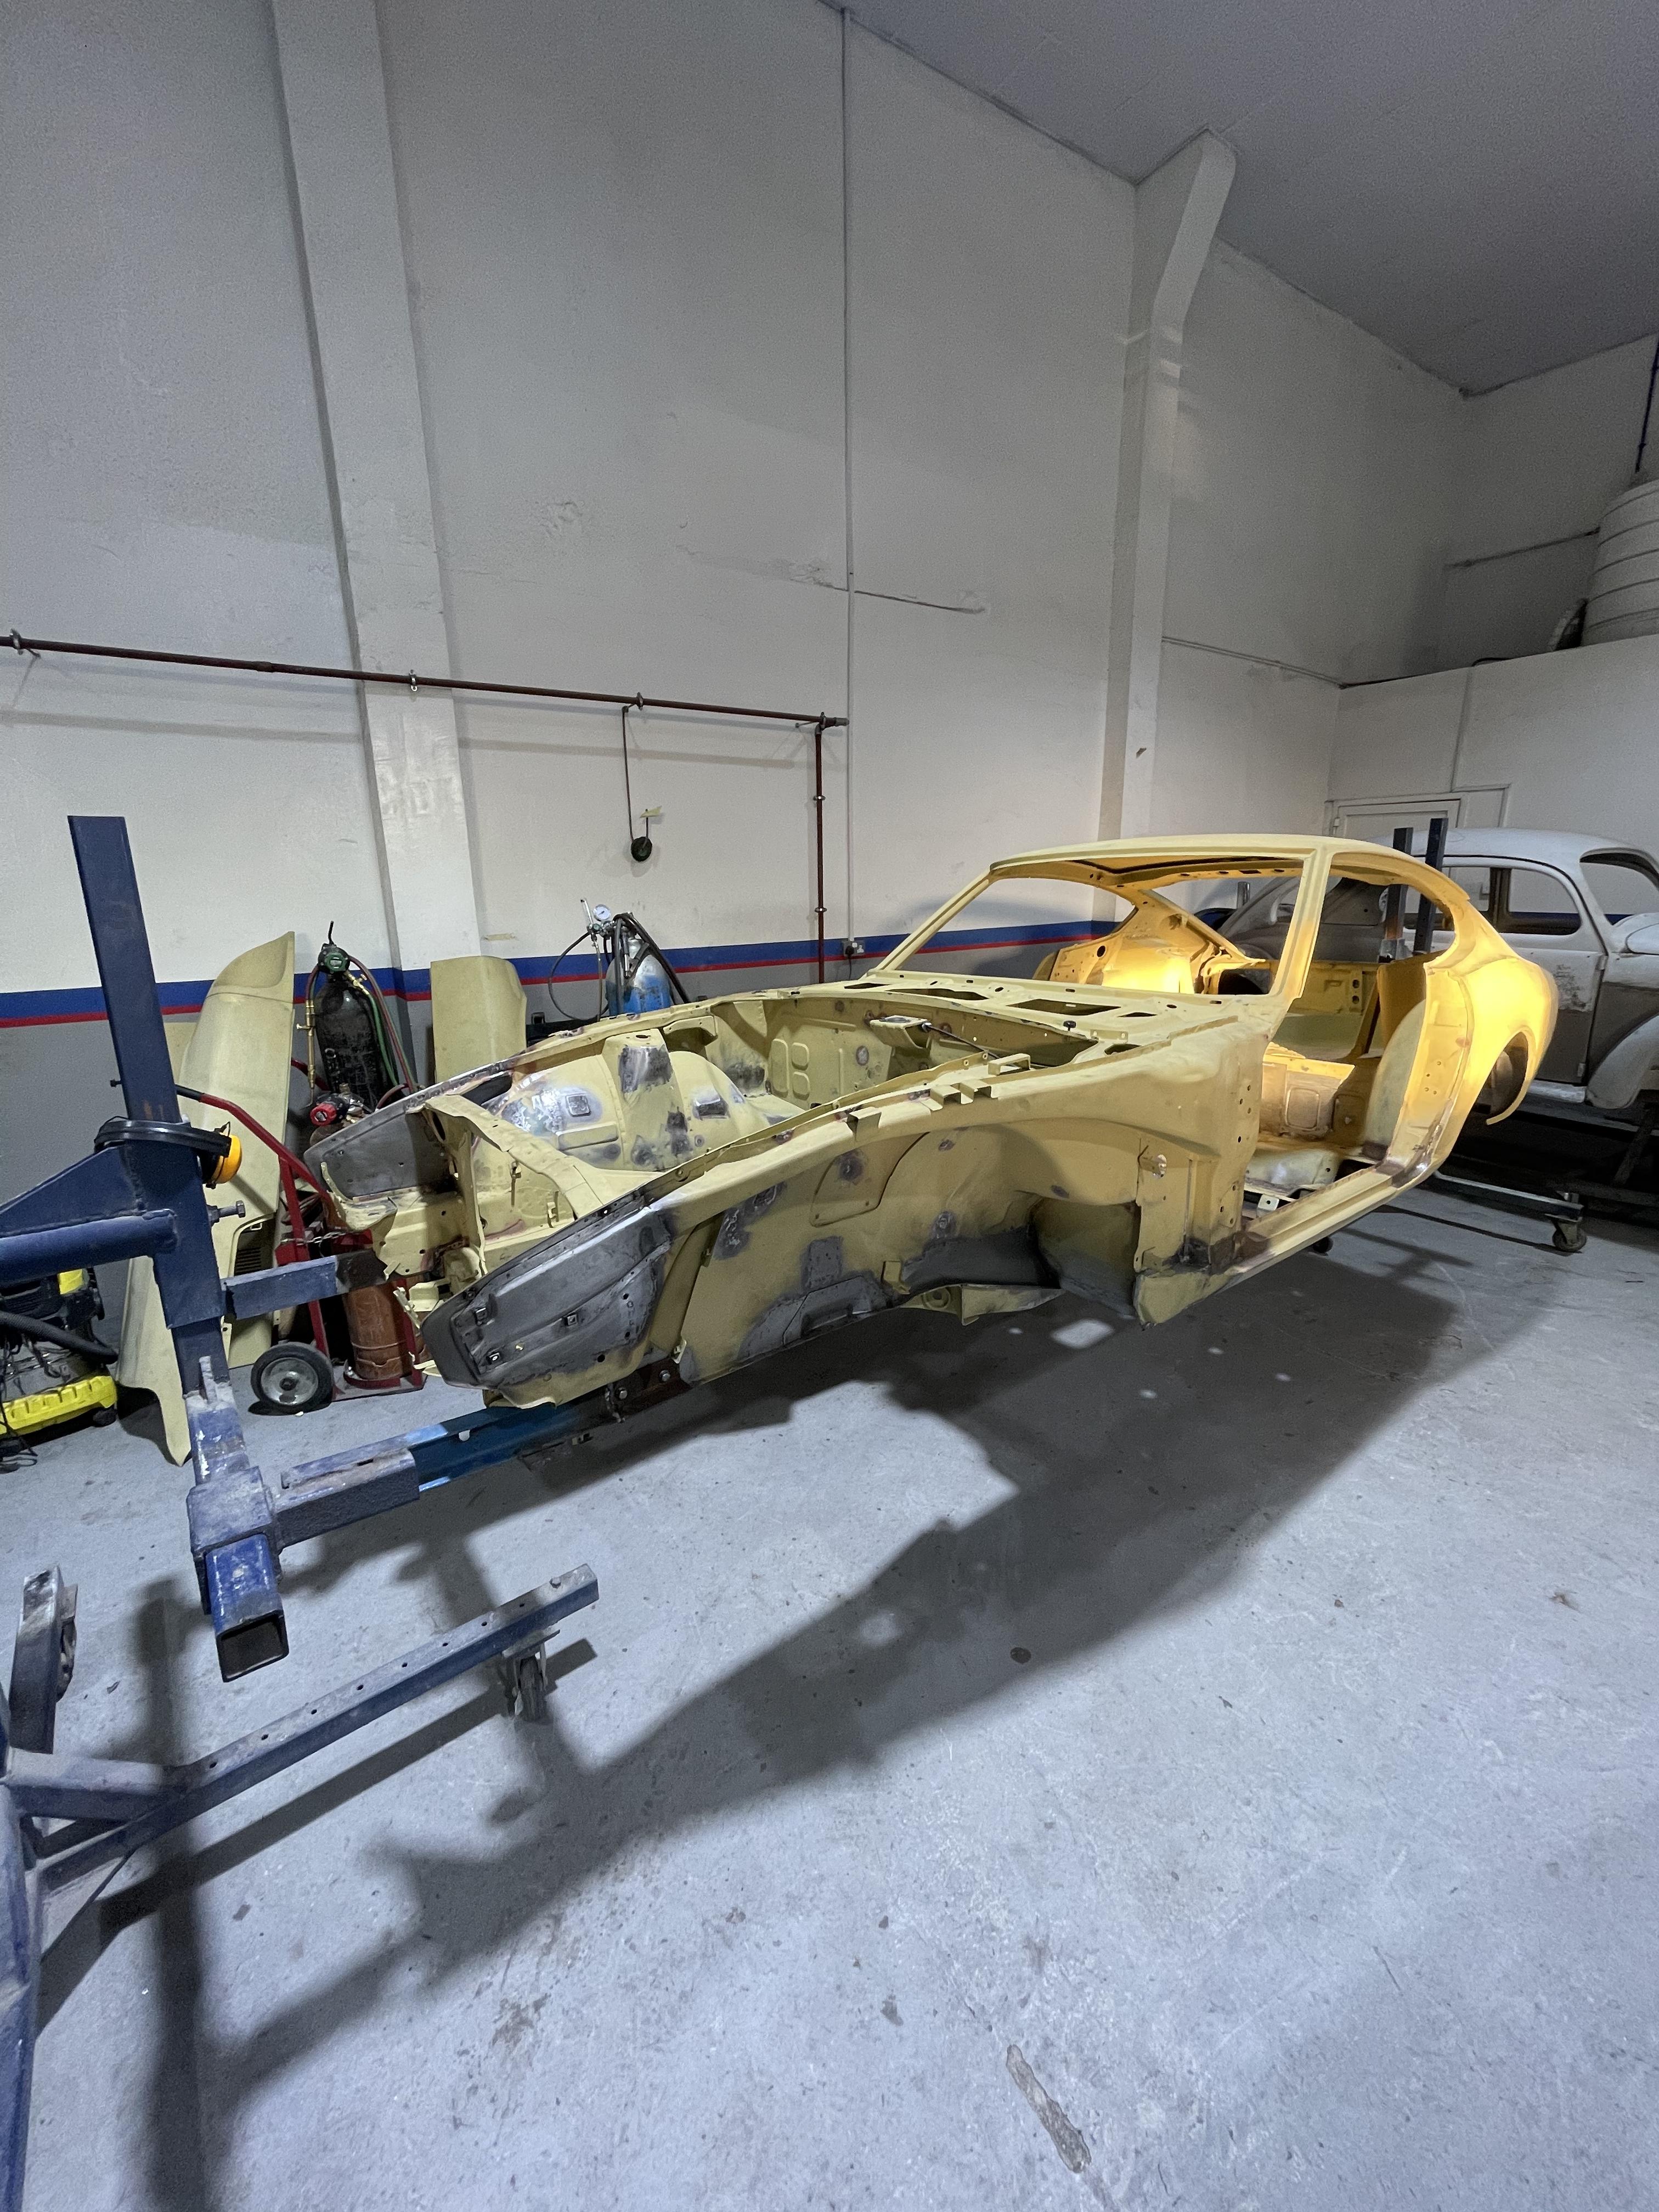
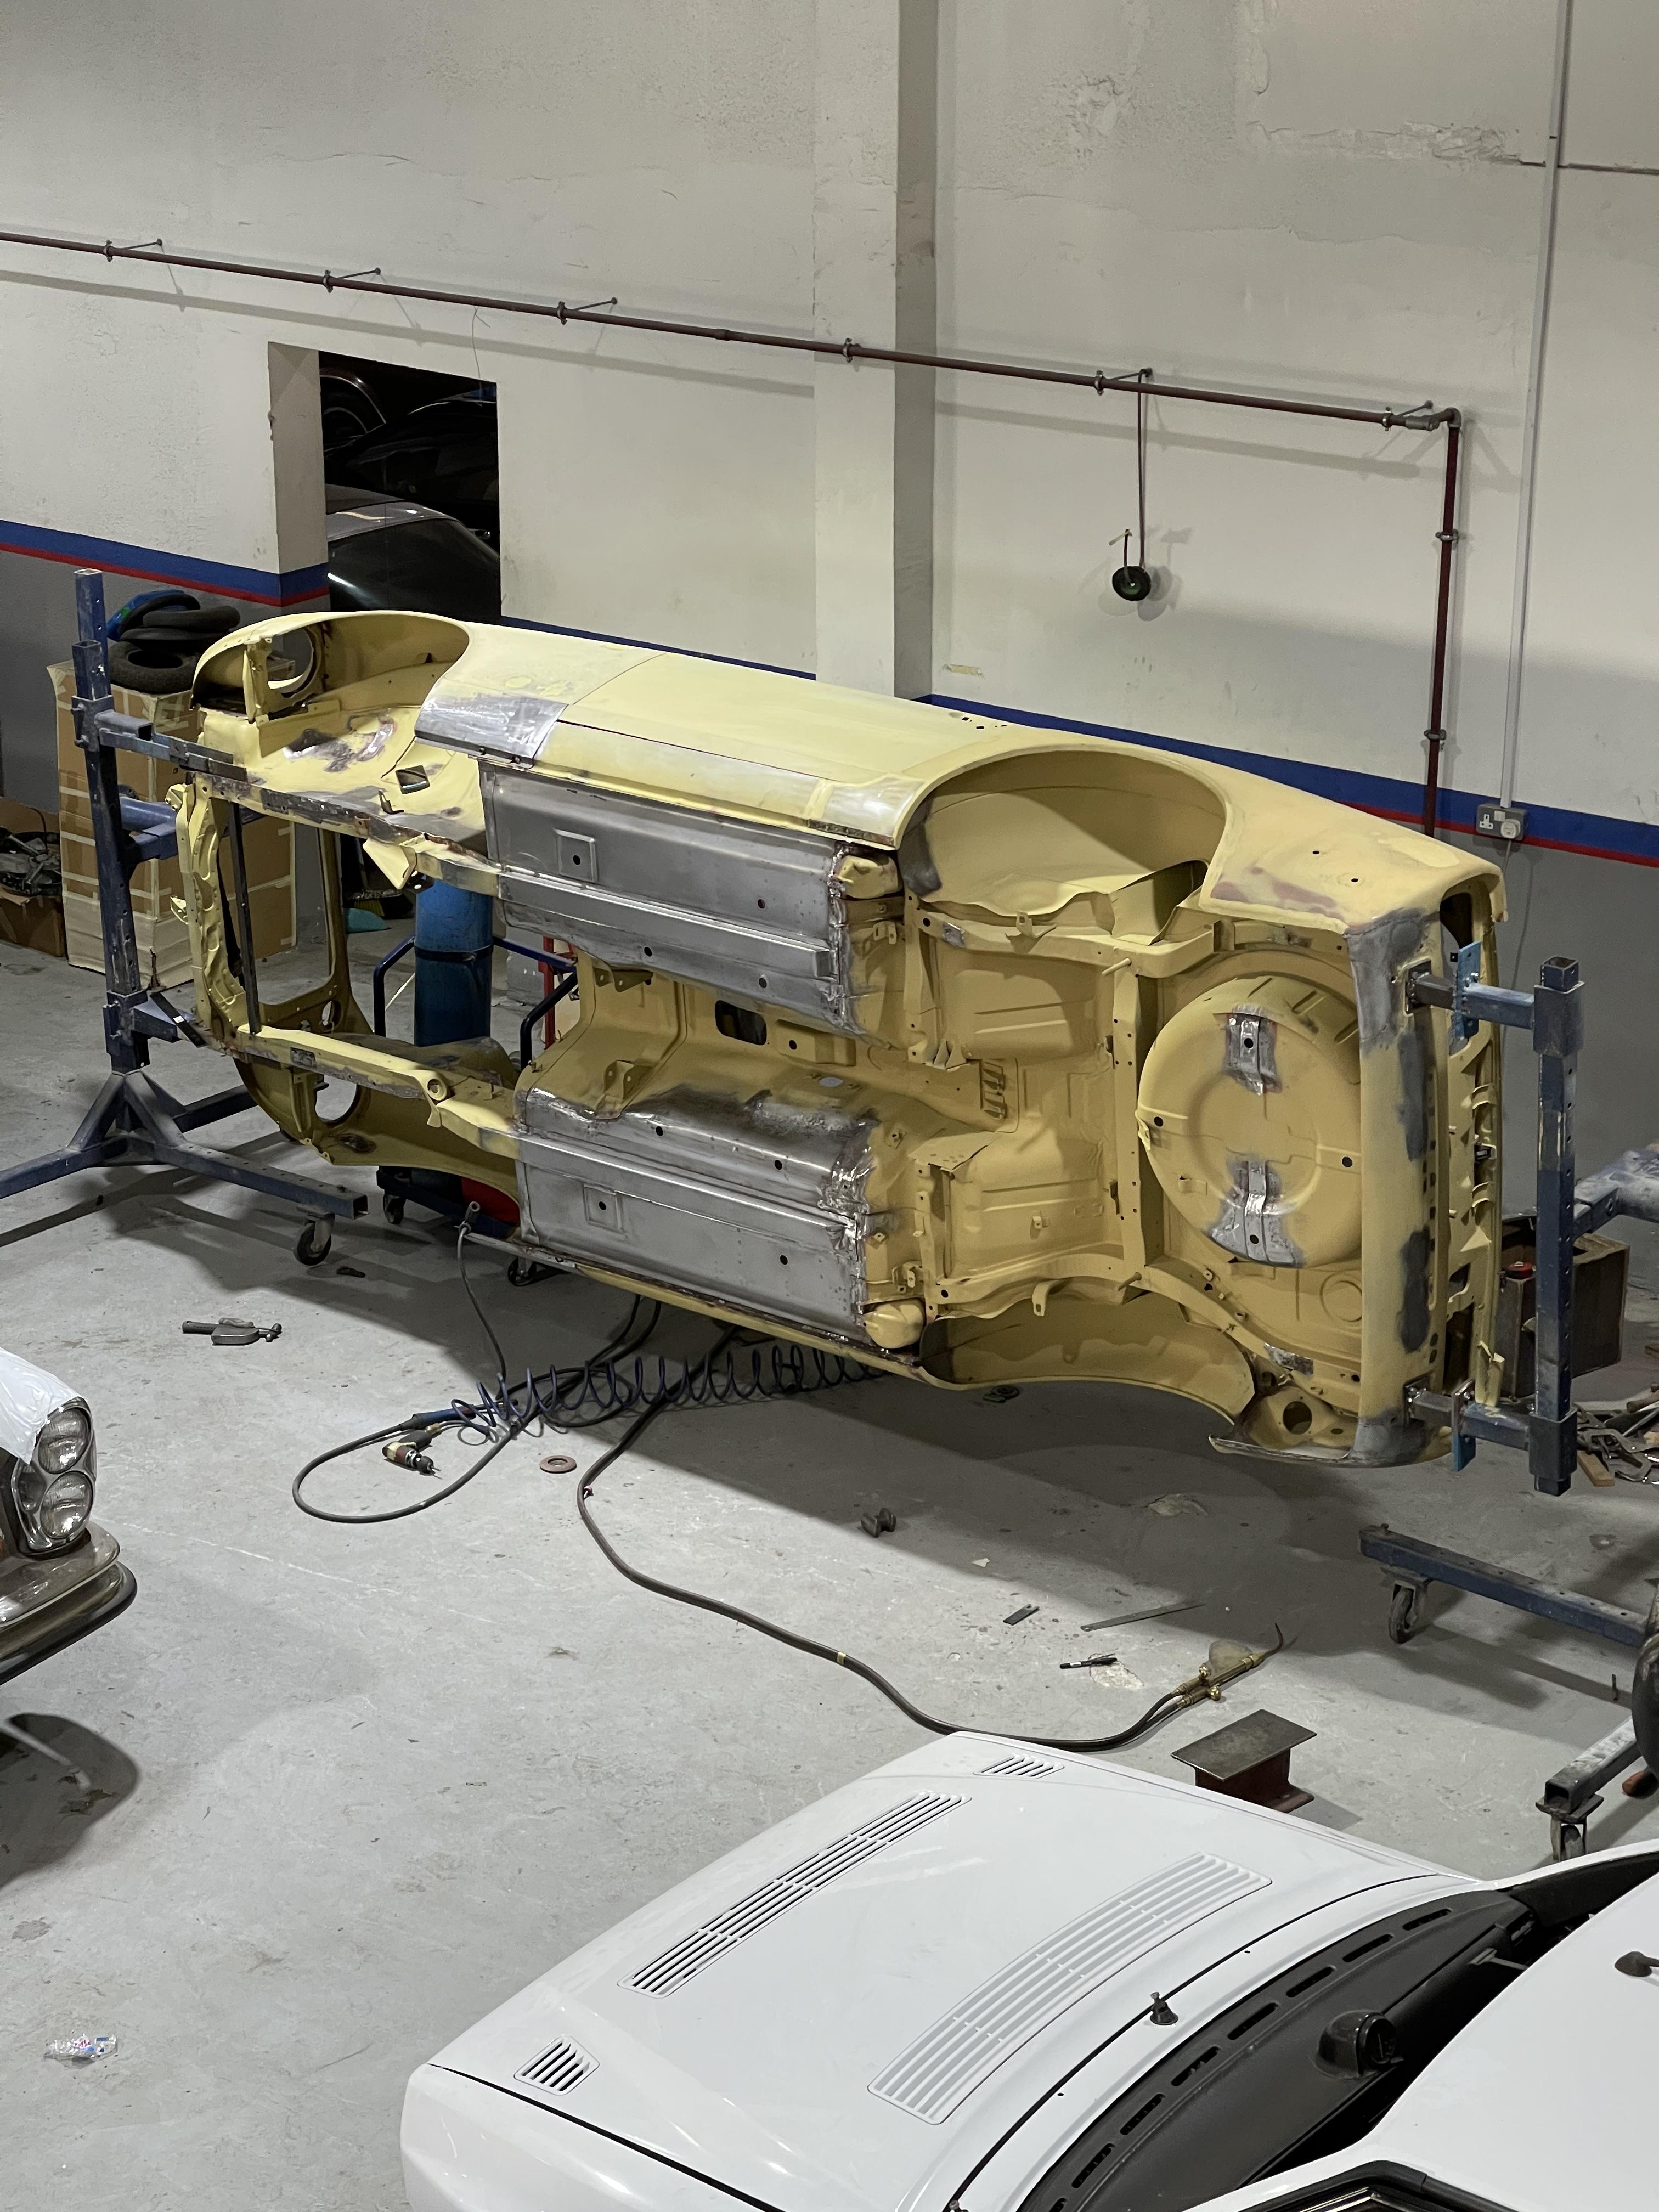
Thank you guys 🙏 I cannot lie it's extremely convenient to have a workshop and a team of pro to support on most of it, but I obviously enjoy very much getting my hands dirty whenever I can (also a matter of insurance with the garage). I am not as OG as many of you here, but it reminds me of my teenage years when swapping engines with couple of friends, on a 205 GTI (1.6L -> 1.9L -> 1.9L with turbo -> MI16 from 405 -> Turbo16 from 405), within a weekend to avoid the parents finding out... Good old days ! On the Z, I am mostly taking care of the project management for the tasks organization and planning, the procurement for all the parts to ensure the build is hitting as less down time as possible, and I obviously select the parts, colors, style and so on... It started on the 3rd of October 2020 when we dismantled everything, let's see when we have the engine running smoothly... Few more picture from yesterday: WE HAVE A LIFT OFF ! (rotisserie is gone)
.thumb.jpg.104cfc308945d8898c73422fe598adc9.jpg)
-
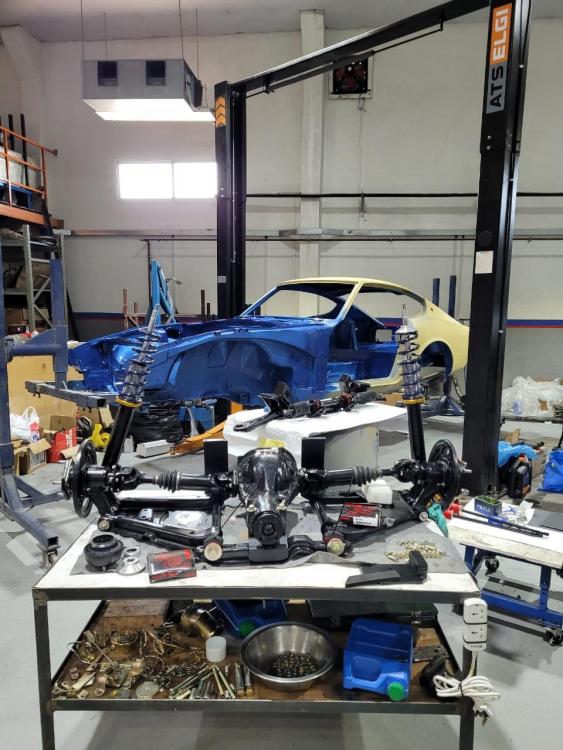
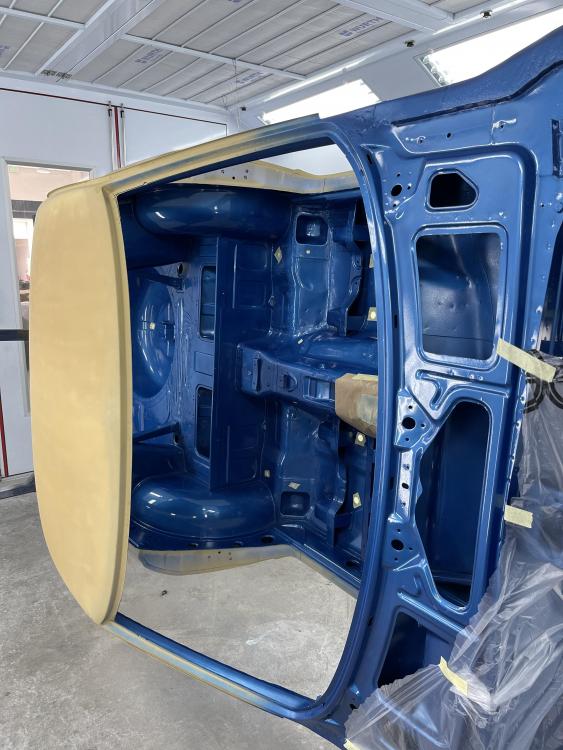
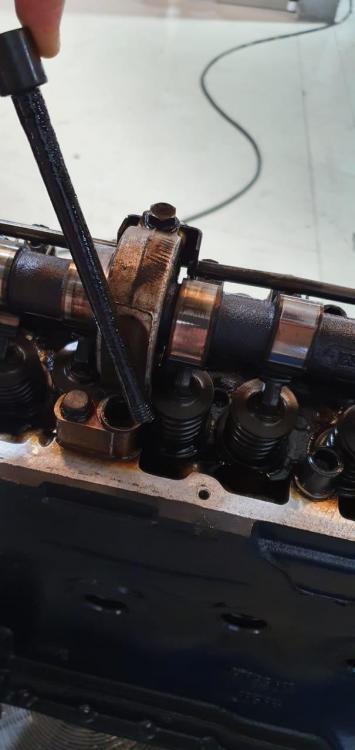
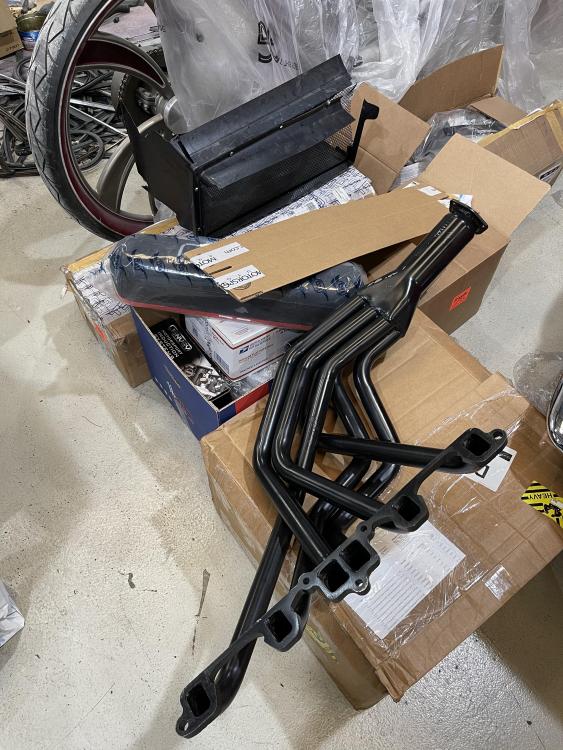
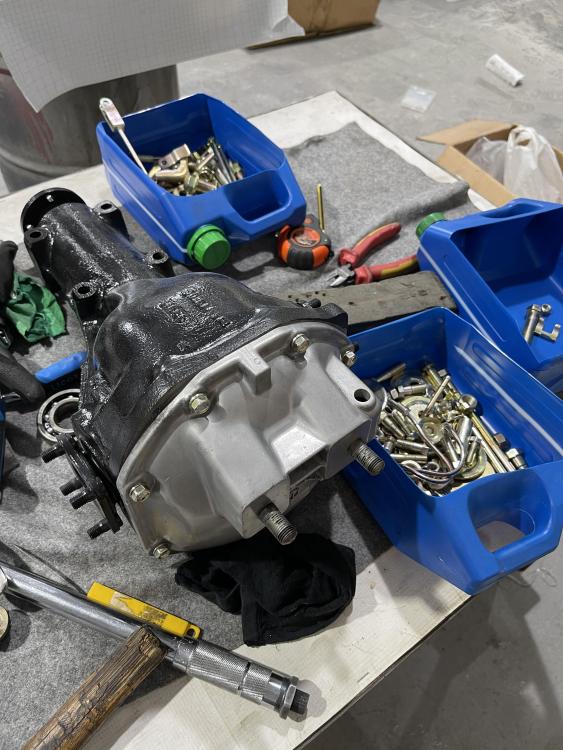
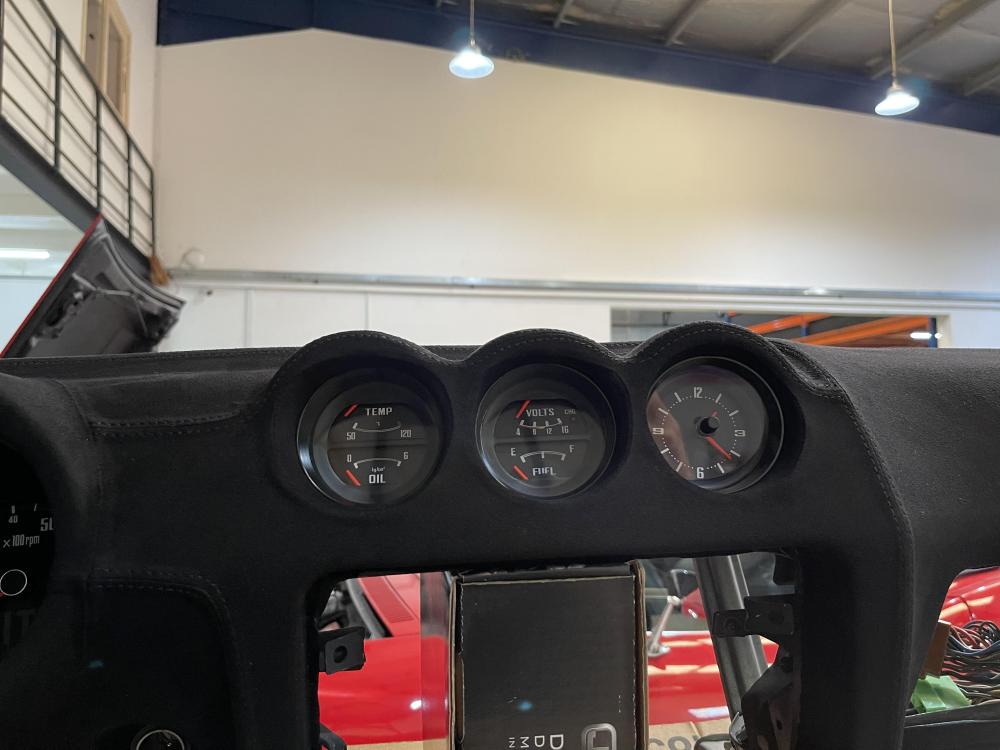
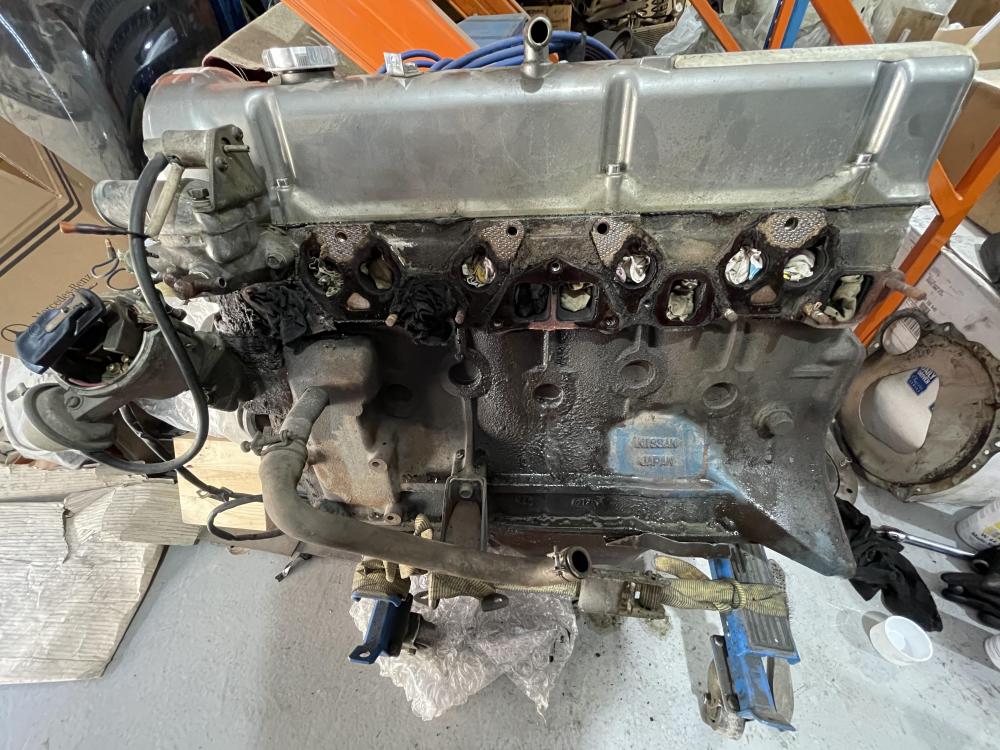
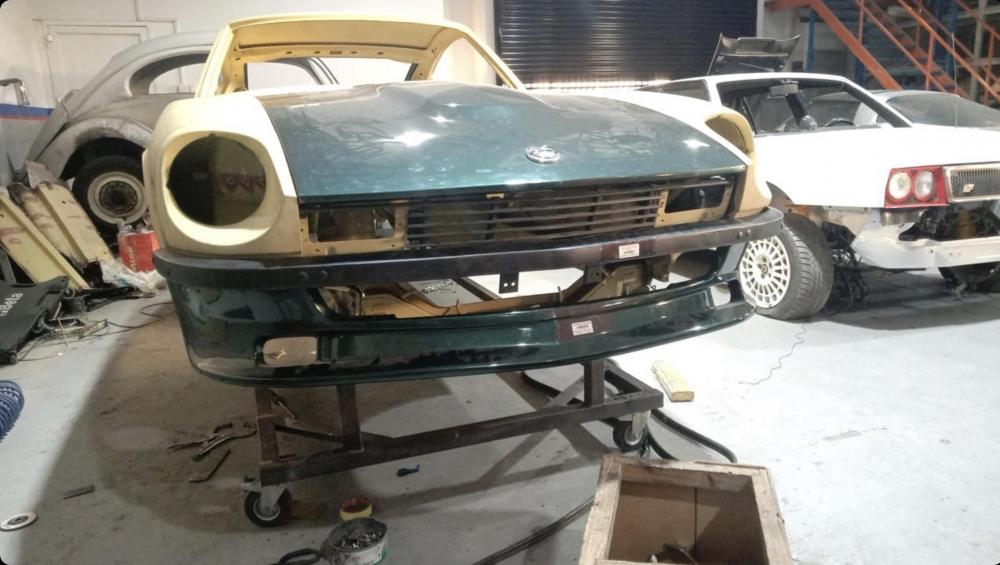
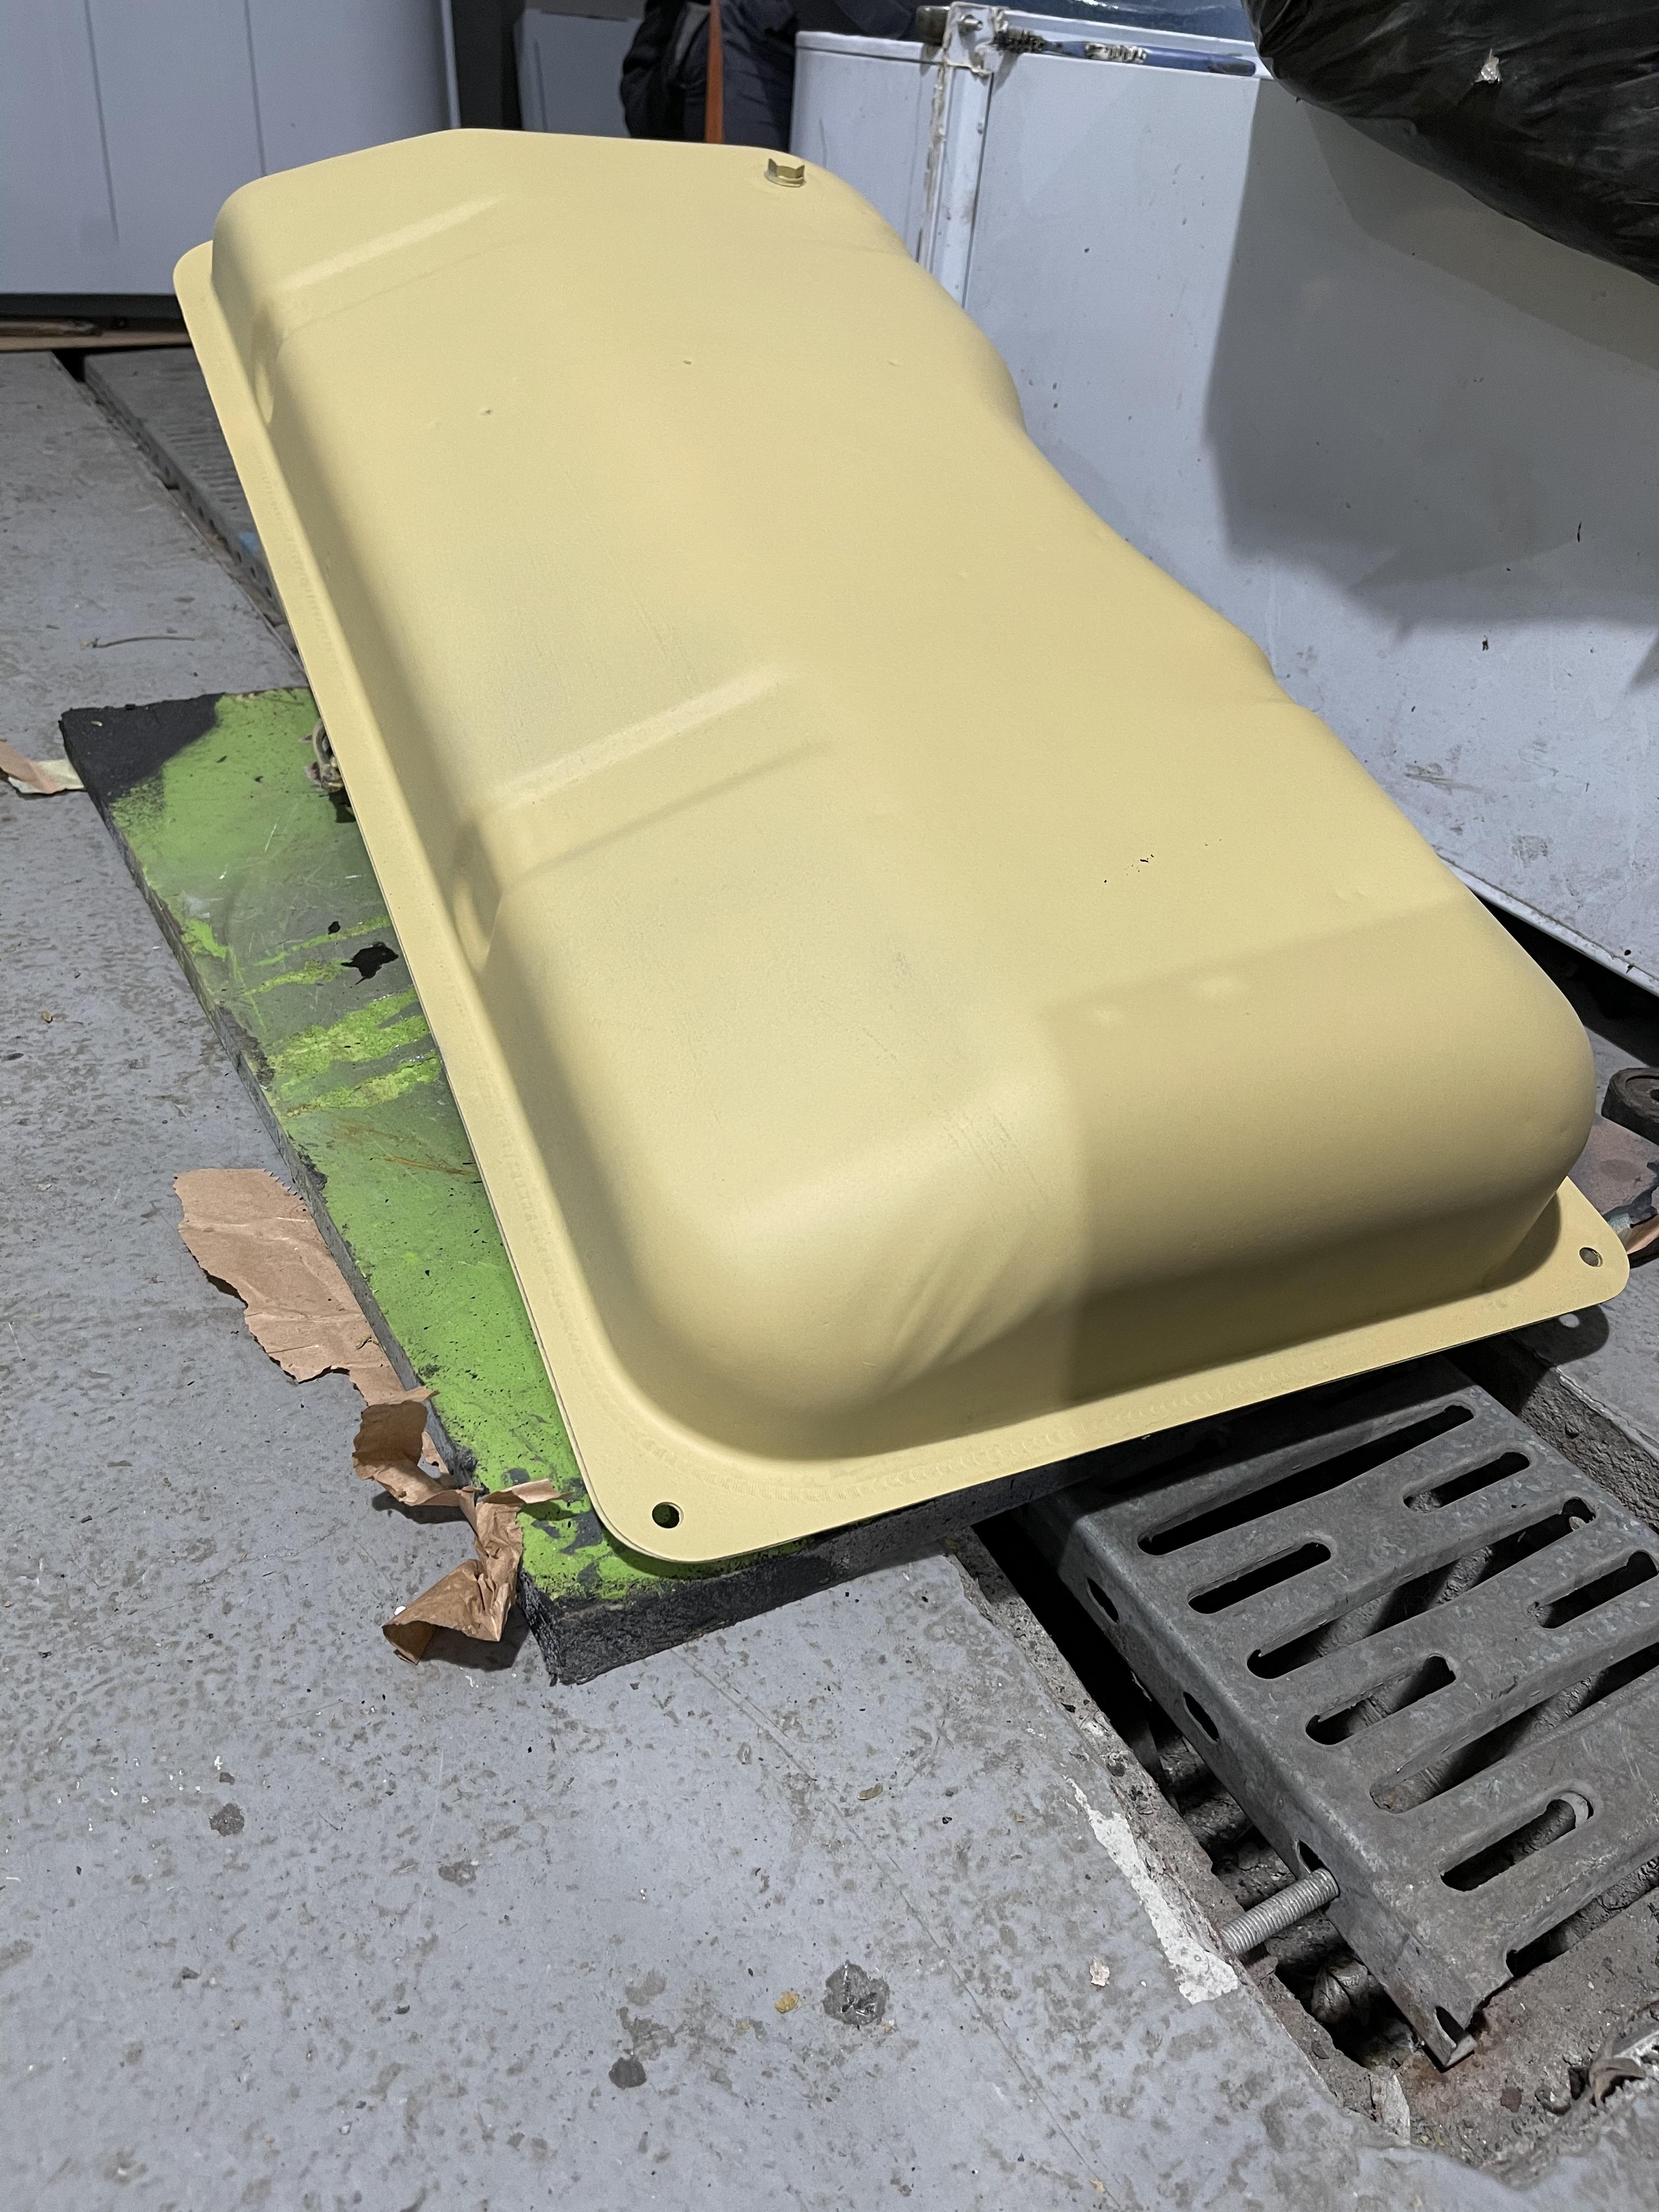
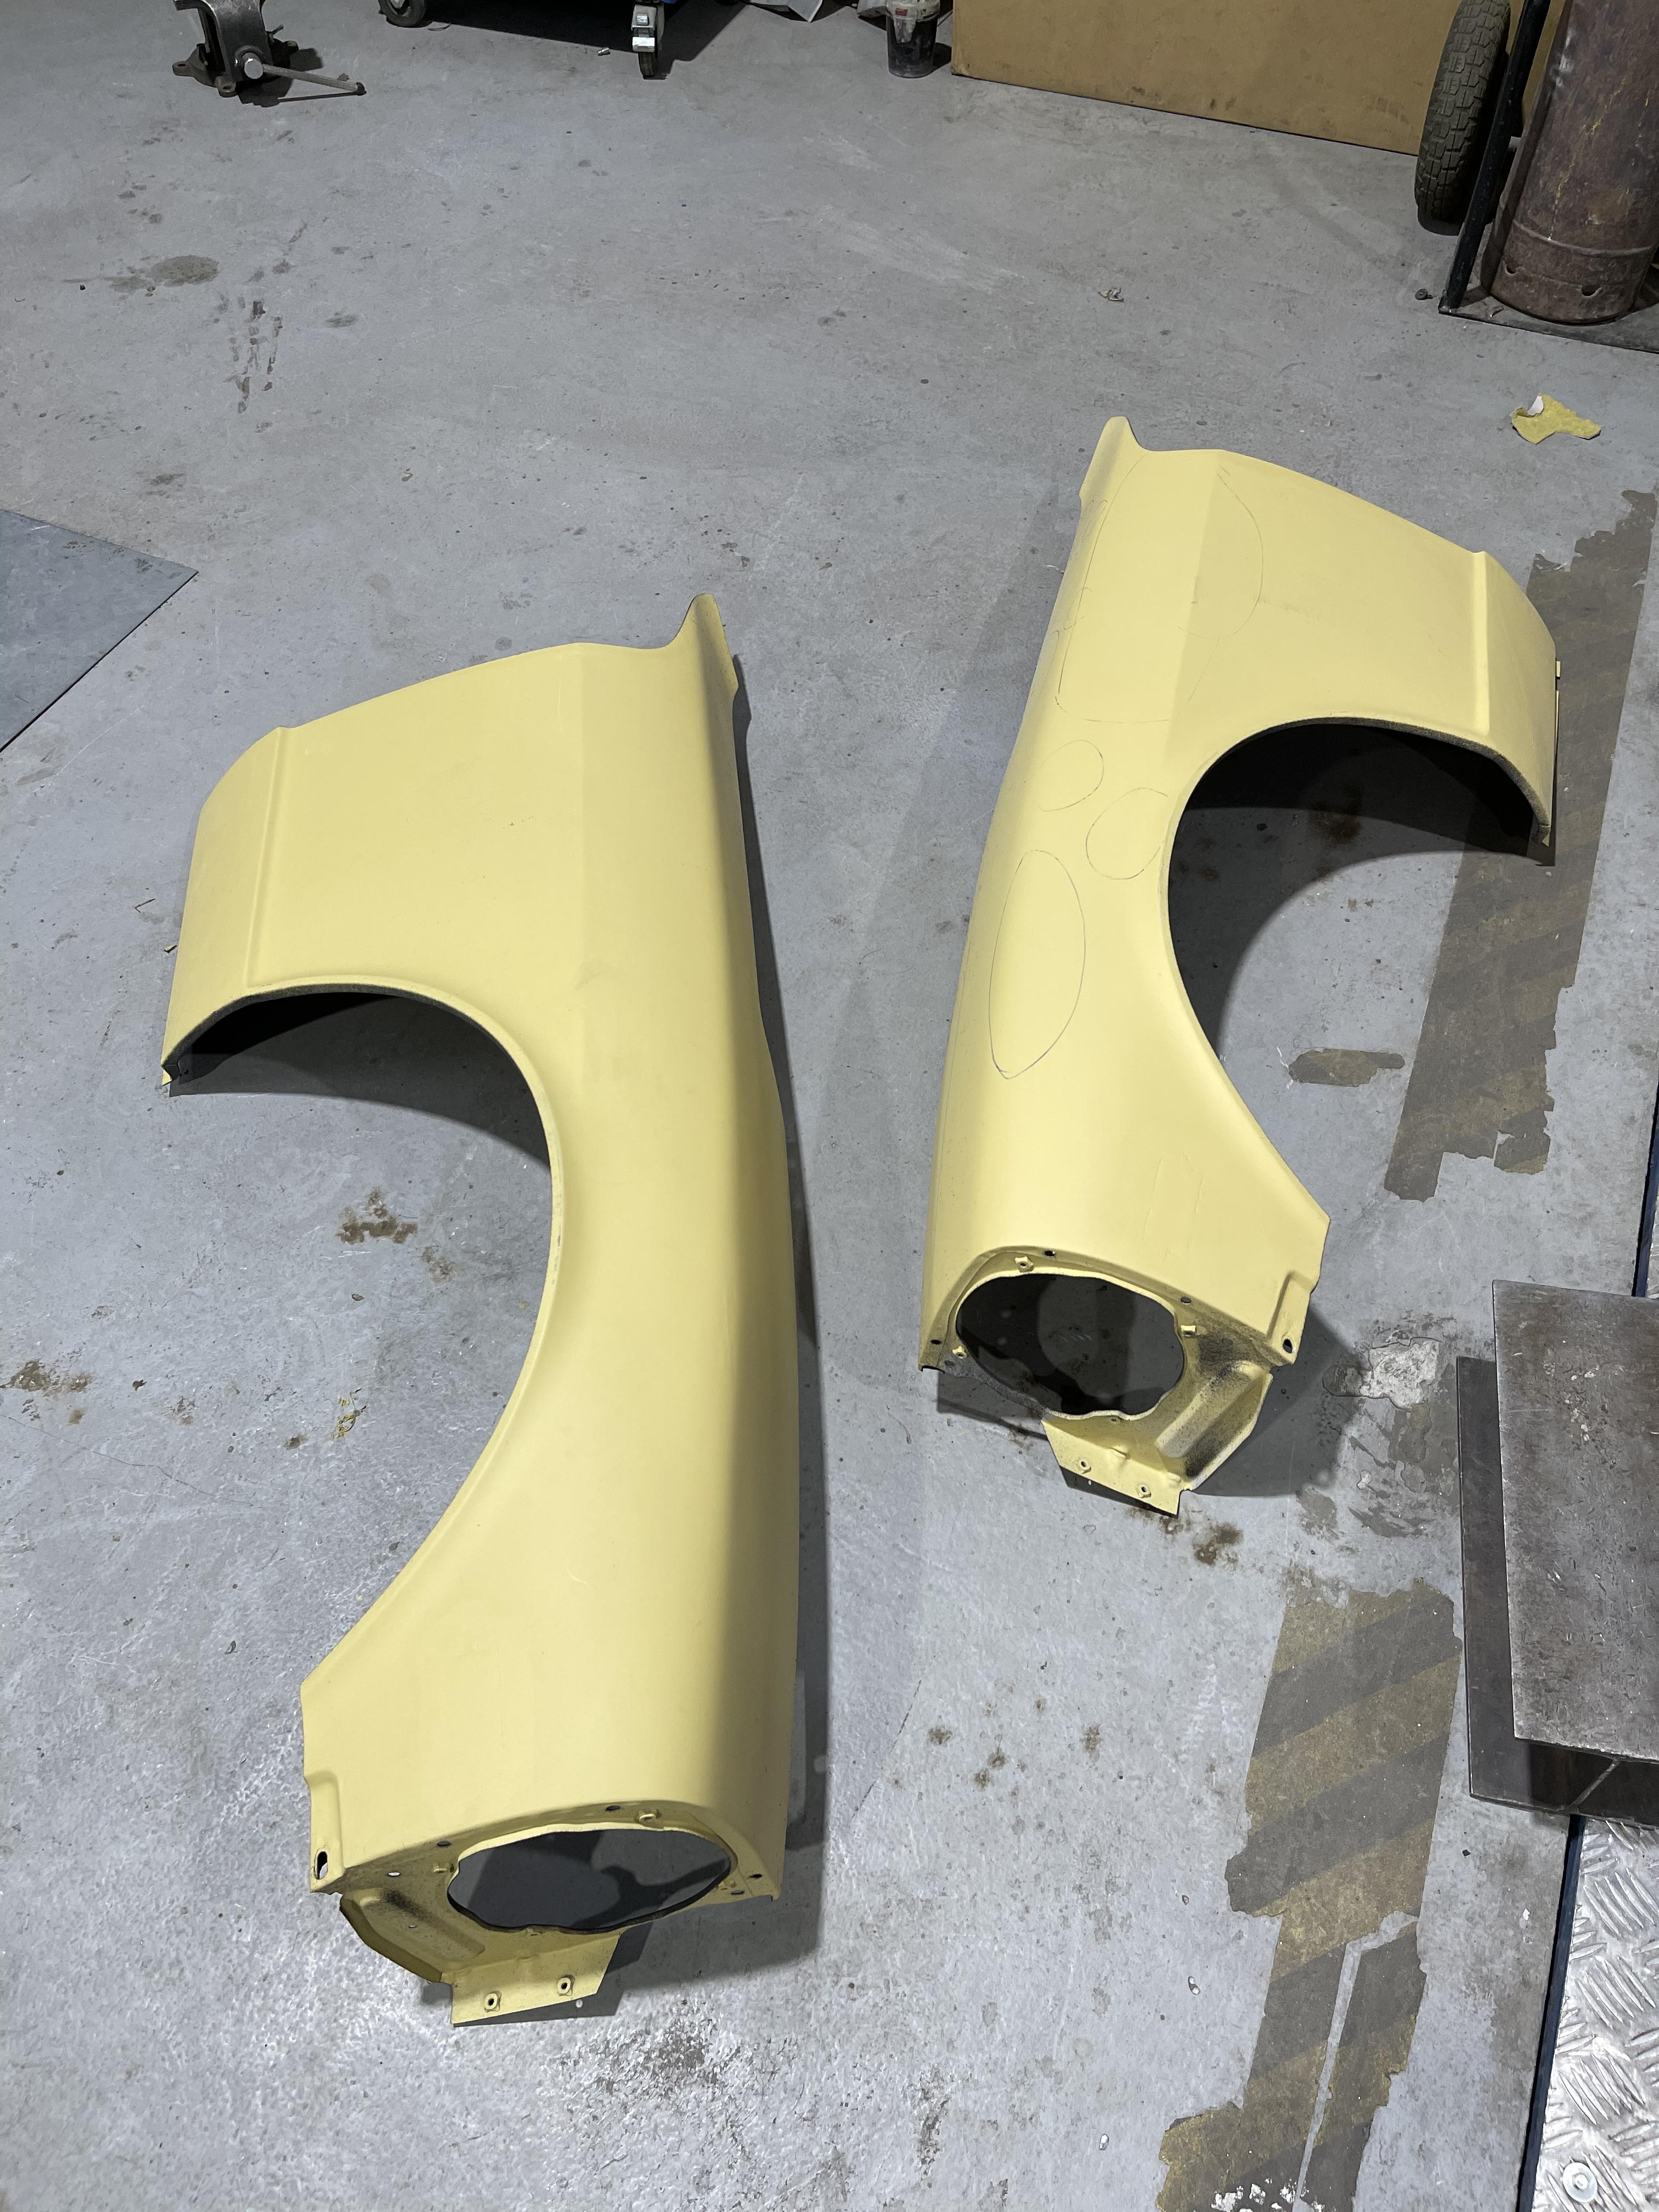
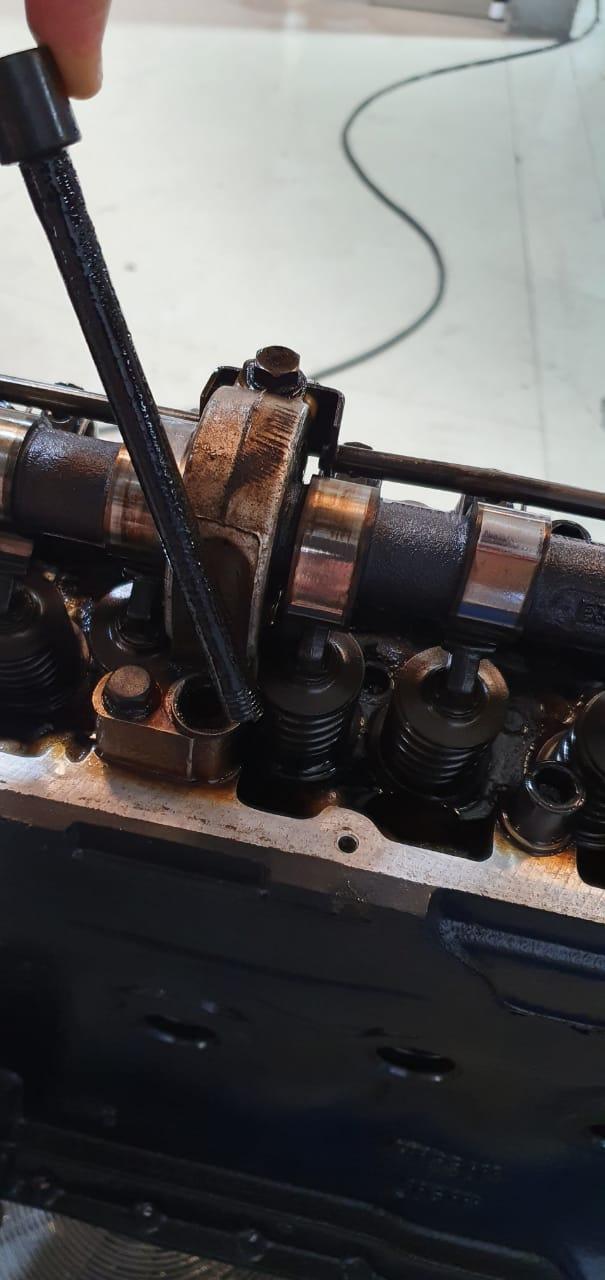
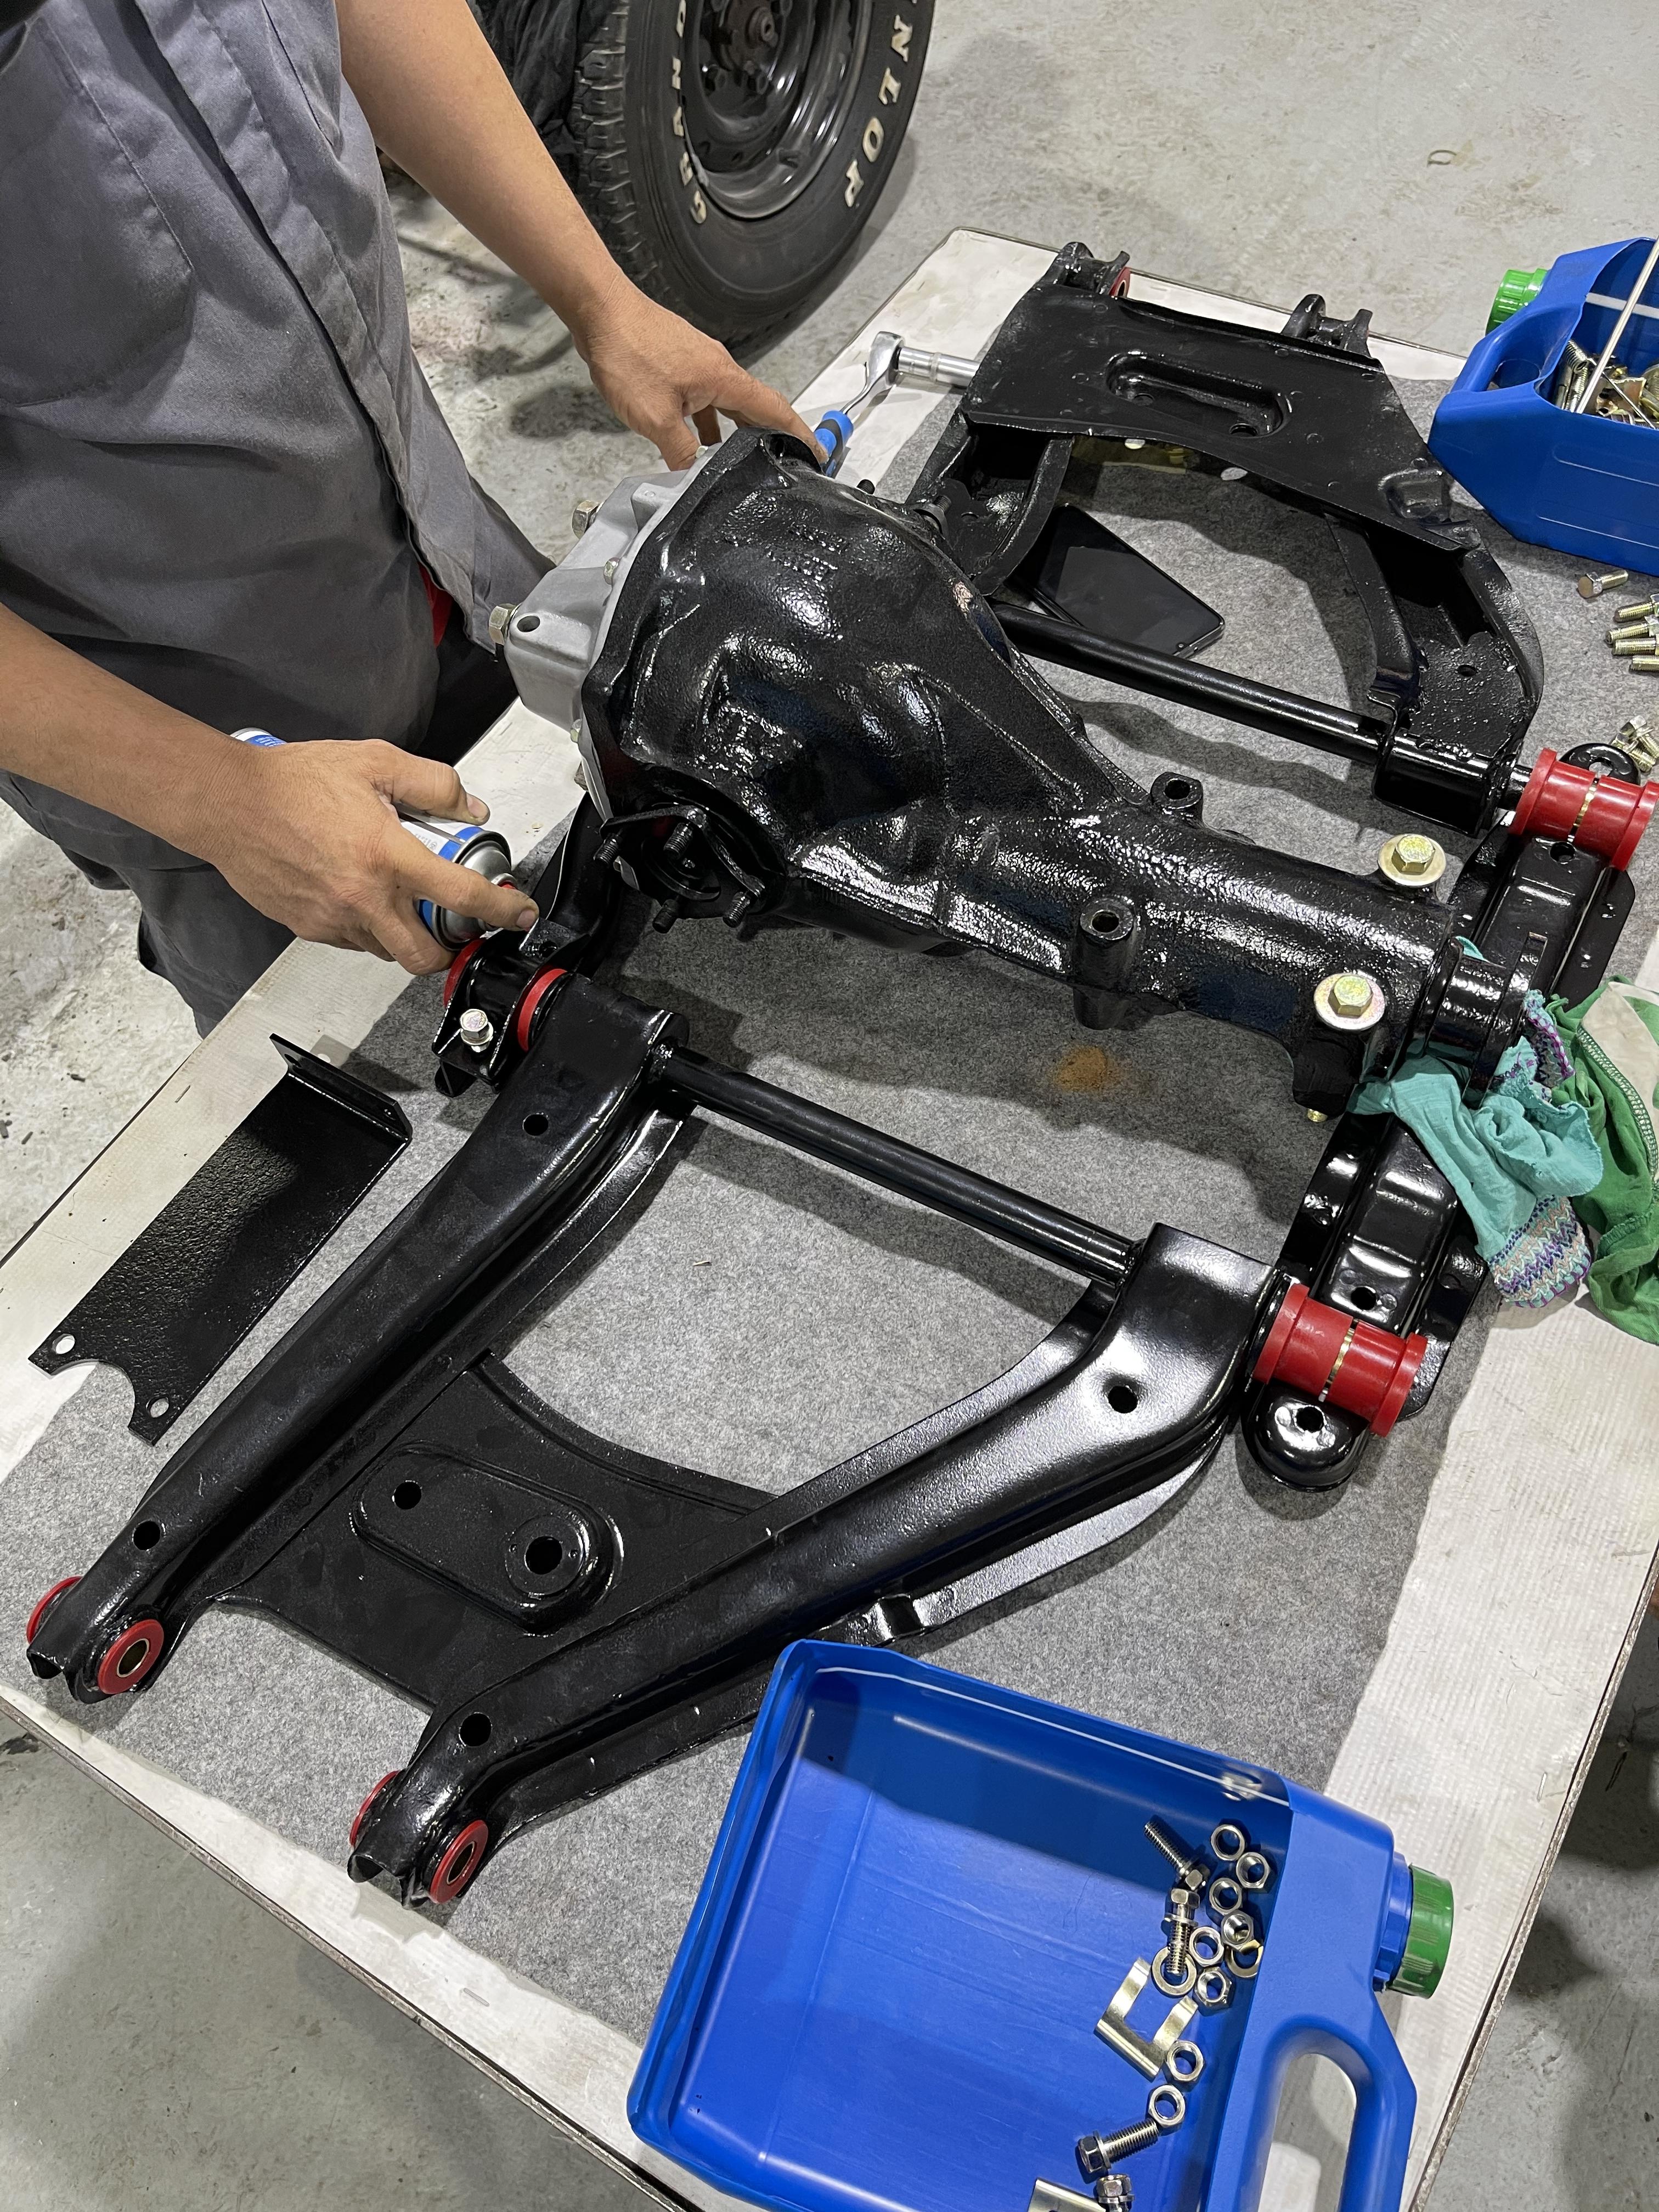
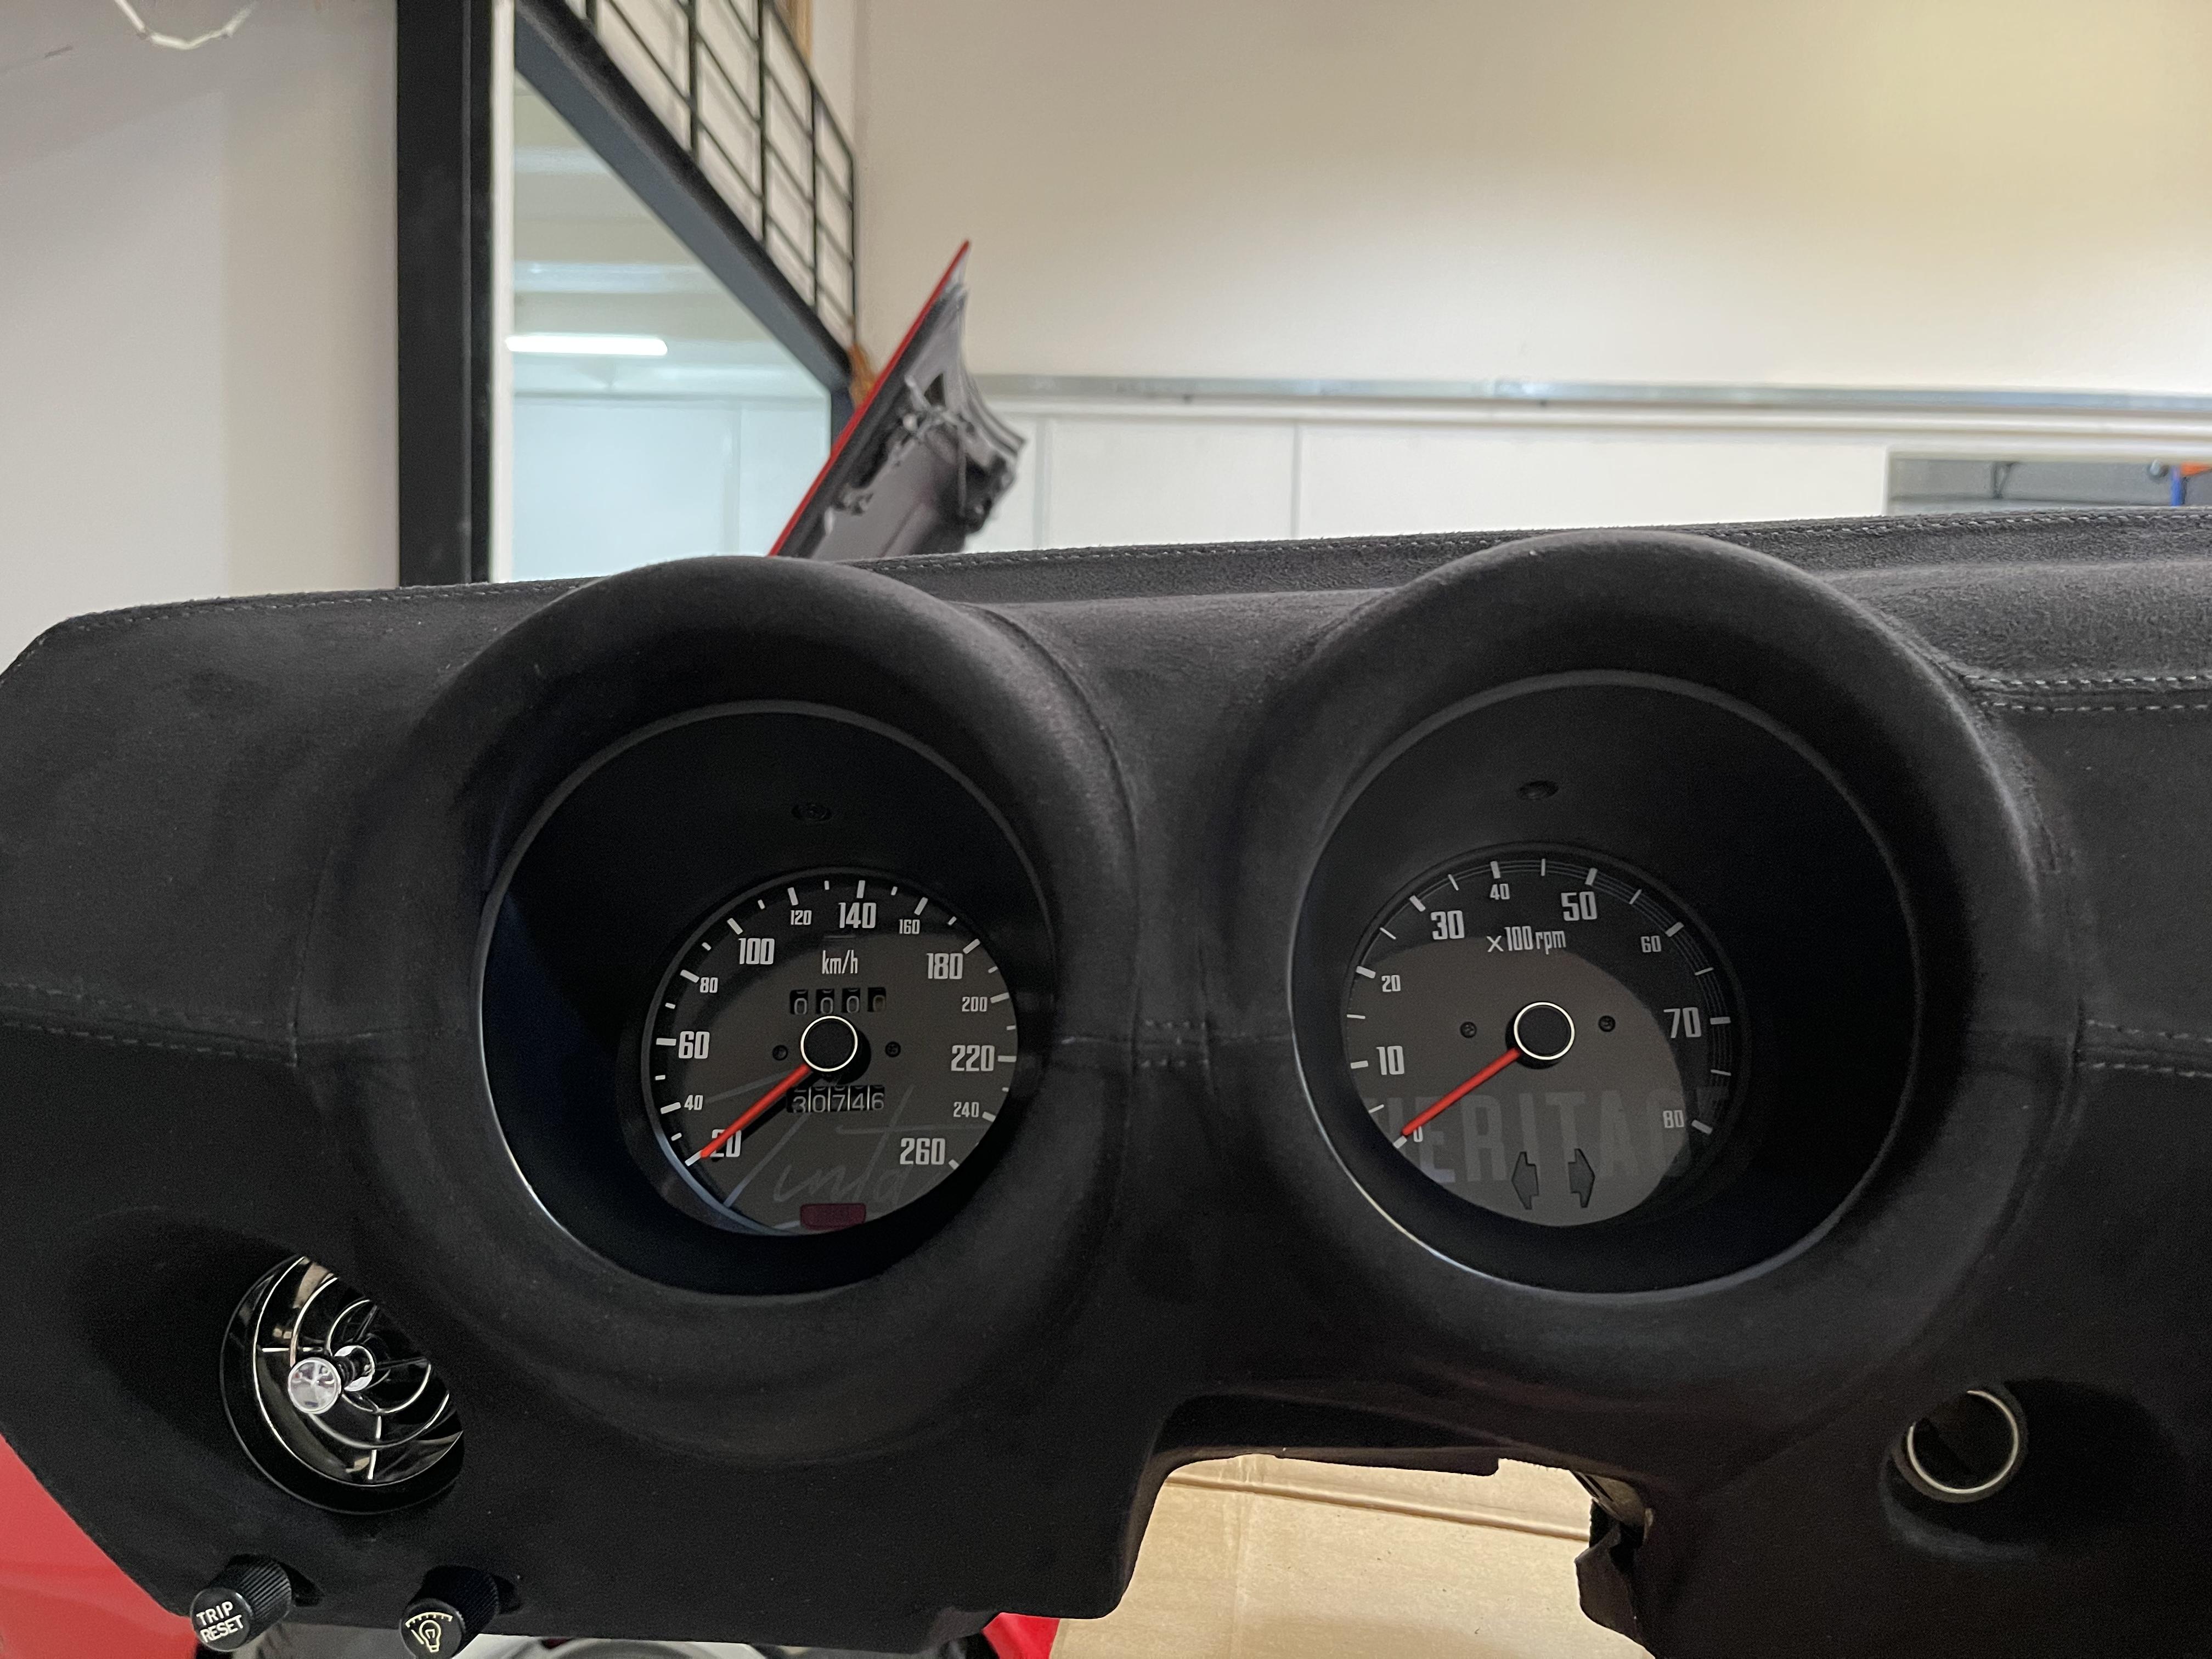
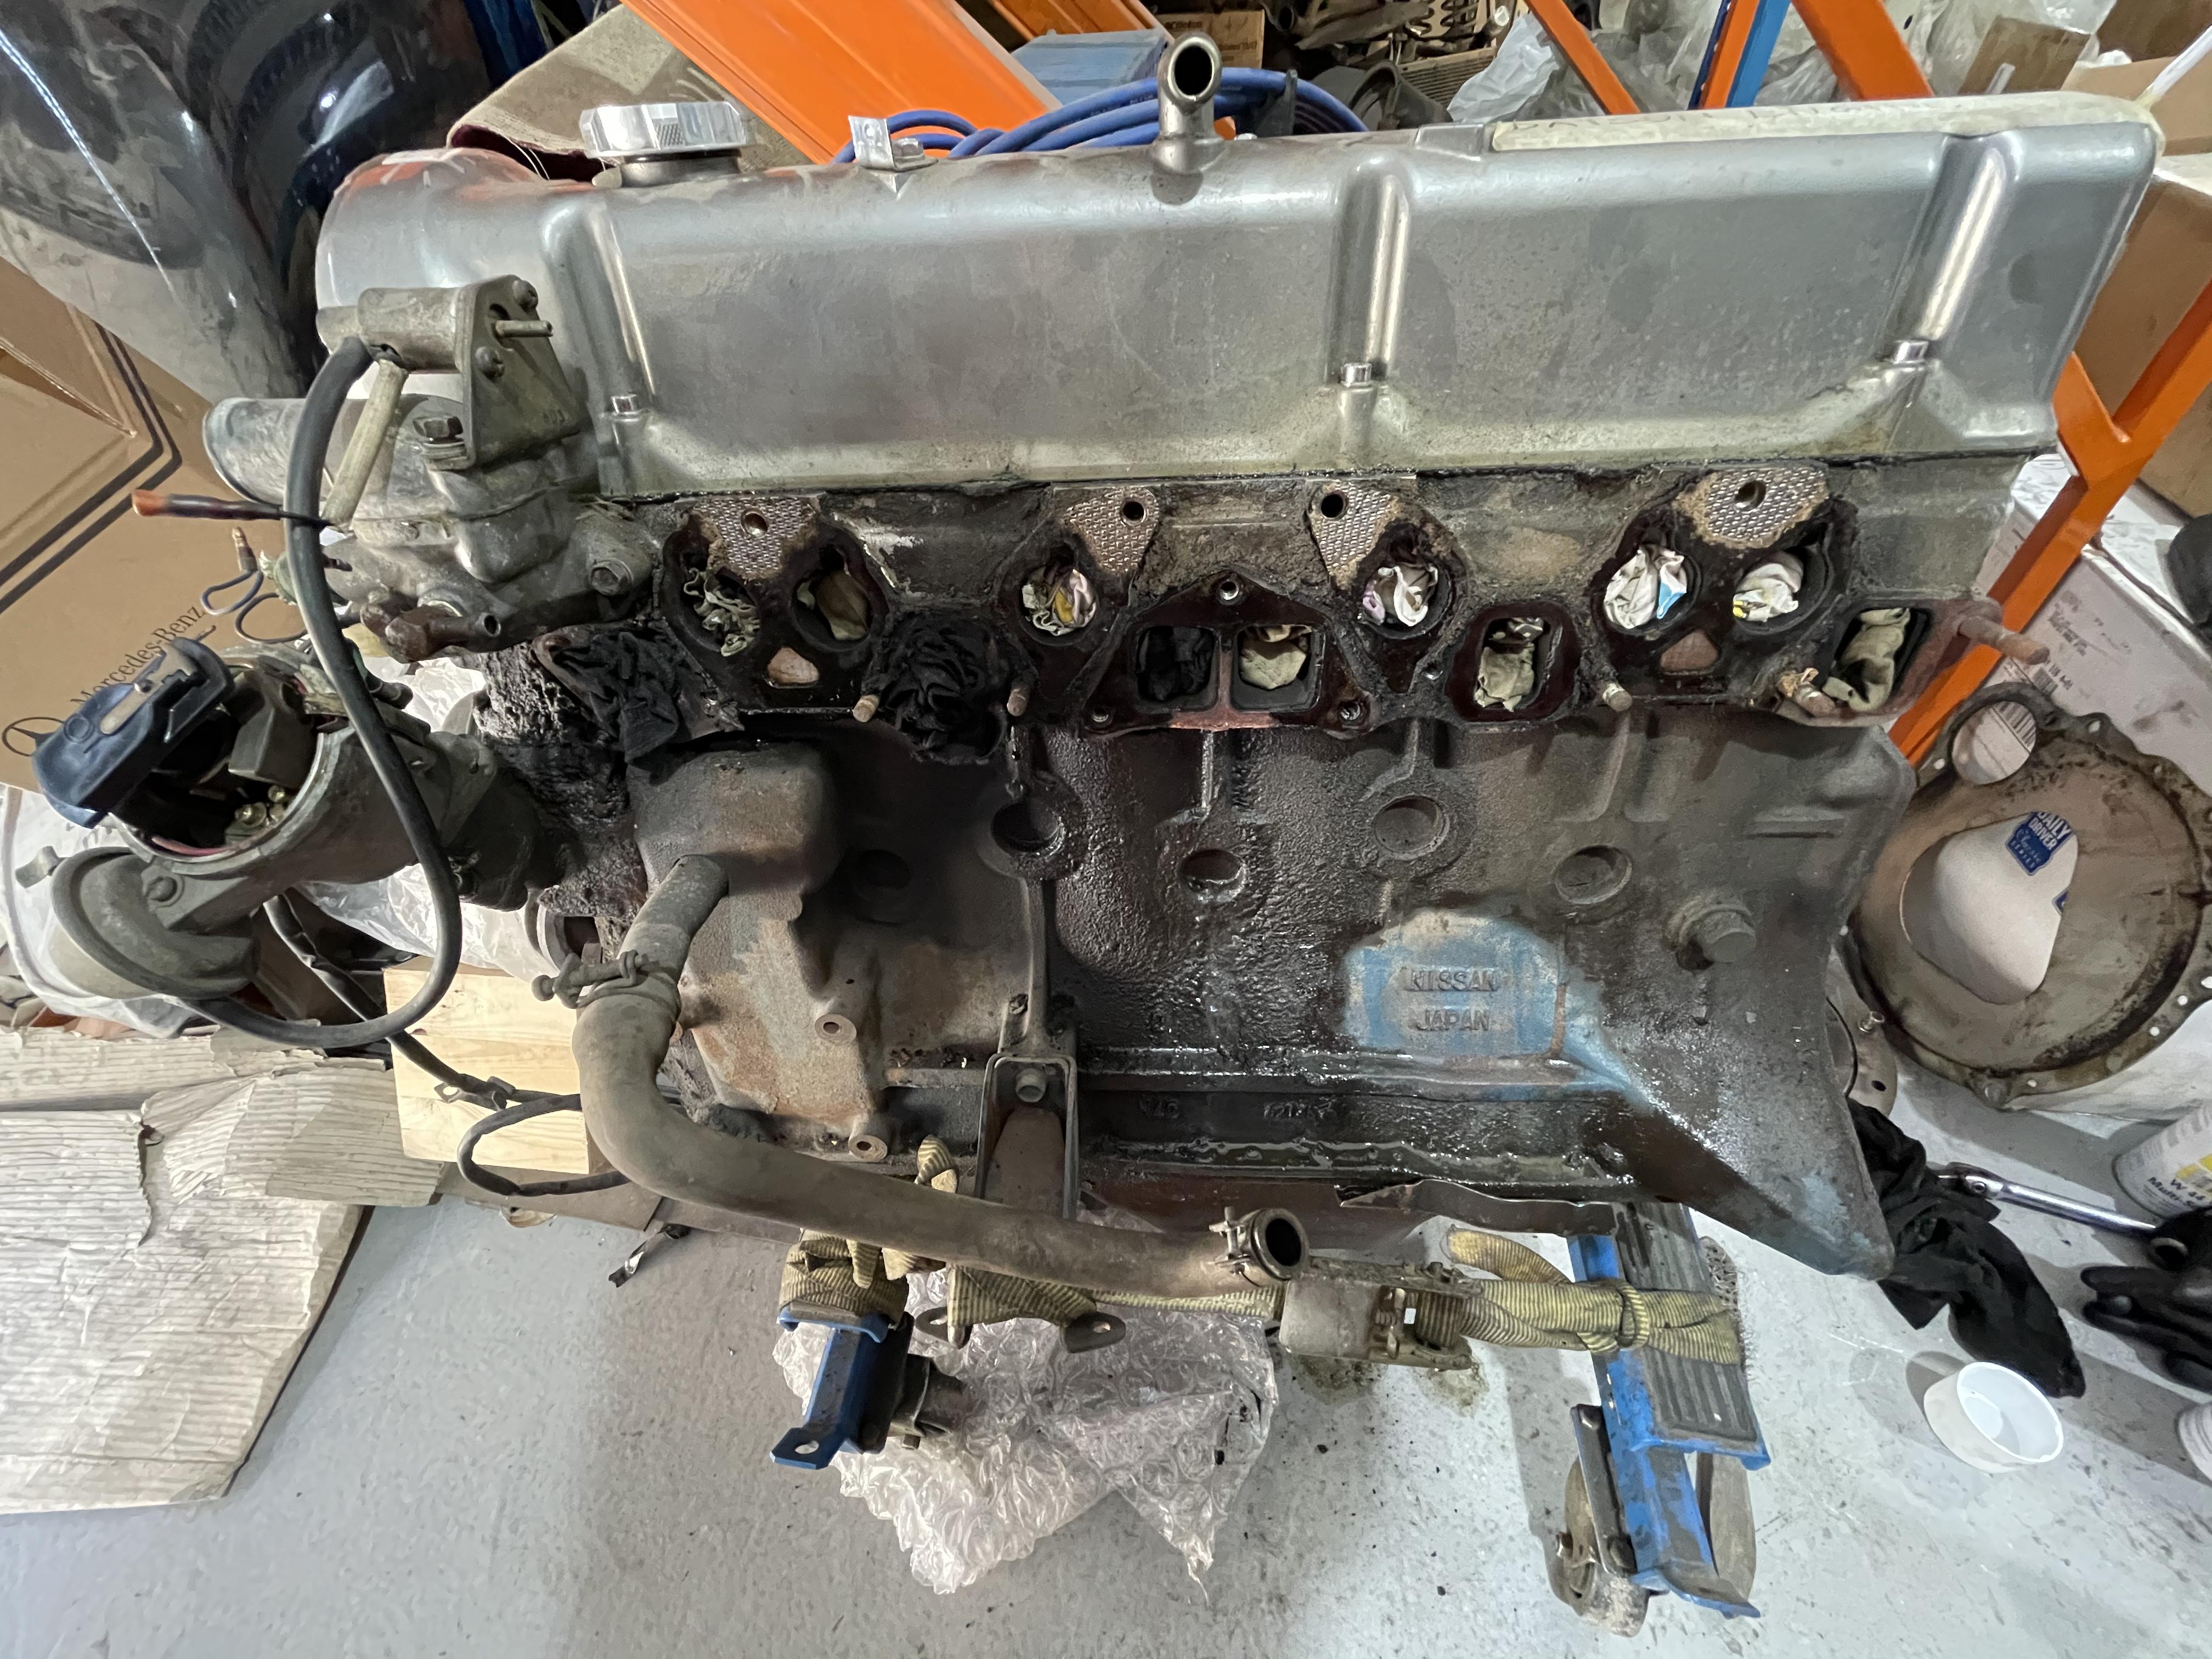
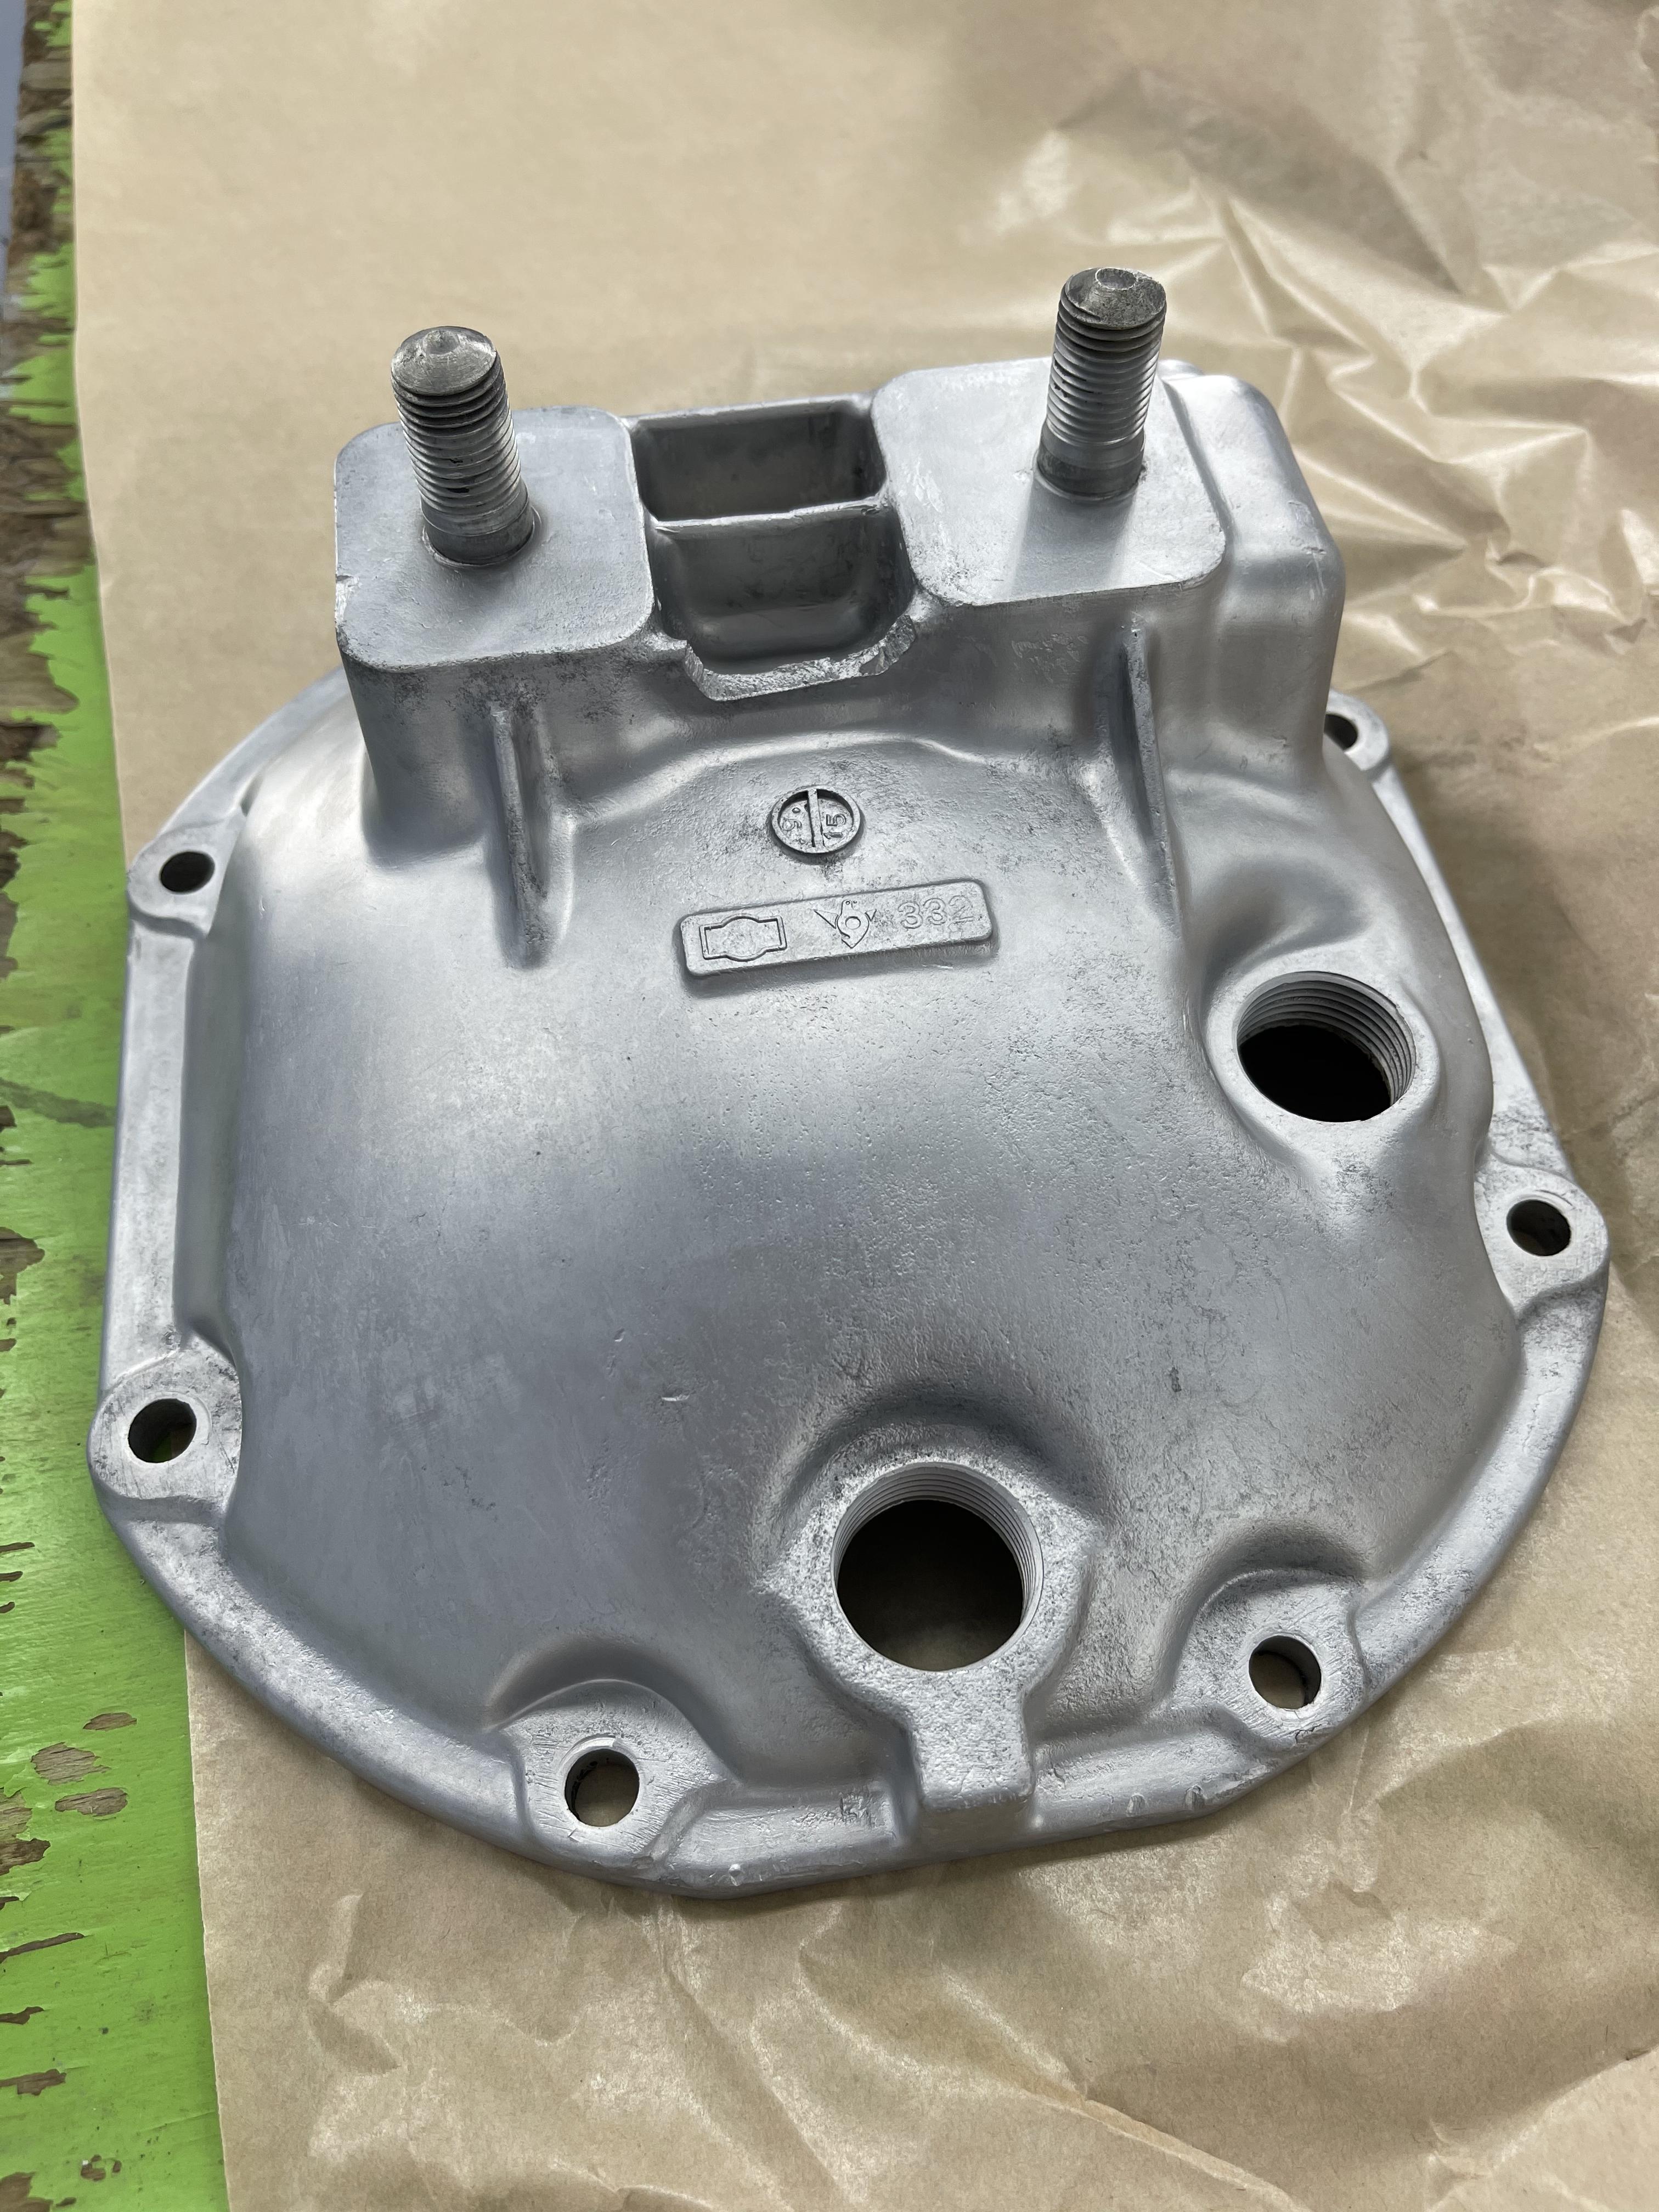
Good news first, DAT307 is siiiiiick ! The car is finally back into its original color and this is beautiful ! Under carriage + interior + engine bay are done, clear coated as well, and today marks the start for reassembling the suspension/direction/brakes 😍 I also finished the dashboard assembly, and... Damn son, these red needles are popping, and my custom speedo/tachy faces are as expected ! Now just praying for the lighting to be following up. I noticed the Tachometer needle need to be readjusted slightly on the 0 and I inverted the Volt/Fuel Gauge housing (upside down)... In the meantime, the body panels are getting prepped. All weatherstrip will be installed to do a mokeup of the panels assembly and finalize the alignment to perfect the body lines. Now onto the less good news... When removing the oil pan for painting, we span the engine on the support and one of the header bolt fell off... I don't know for how long it has been broken for, but we had to remove the 13 others to get the thread cleared (luckily it came out easily so no need for insert). I ordered a new set of header/block bolts, obviously not available locally... I already have the gasket in the kit I purchased previously, but bolts might not arrive before the 17th, which is a bummer... Second bad one is that the Prothane bushing kit I got is, as well know for, not perfect... and the 4 (actually 4x2) bushing to be placed into the 2 supports for the rear diff are too small diameter, so there is a LOOOT of play. I am having some spacers made out of Nylon or Delrin for the time being and will see to get replacement from another brand, if necessary. As a relief, the rear diff. cover has been ceramic coated and looks fantastic ! Rear suspension were almost reassembled yesterday and the front are following closely. Also, the amount of spare parts and boxes is slowly reducing =D I received my 6-1 header from Motorsports/MSA, will have the black protective paint removed and a real thermal resistant paint applied, then goes the wrap.


-
Hi Guys, I have made this short clip, recorded this afternoon at the shop while they were doing the primer: video link Everything recorded and edited on iphone,, it feels amazing to think I might drive it before the heat arrives in the sand pit!

-
I always thought cows in American continent where bigger =D Regarding the alcantara, I believe if you send an email they will support you in your quest.
-
https://www.heller-leder.com/home-en This is the company, I went through my upholstery guy to order the materials. Hope you find what you need 🙏
-
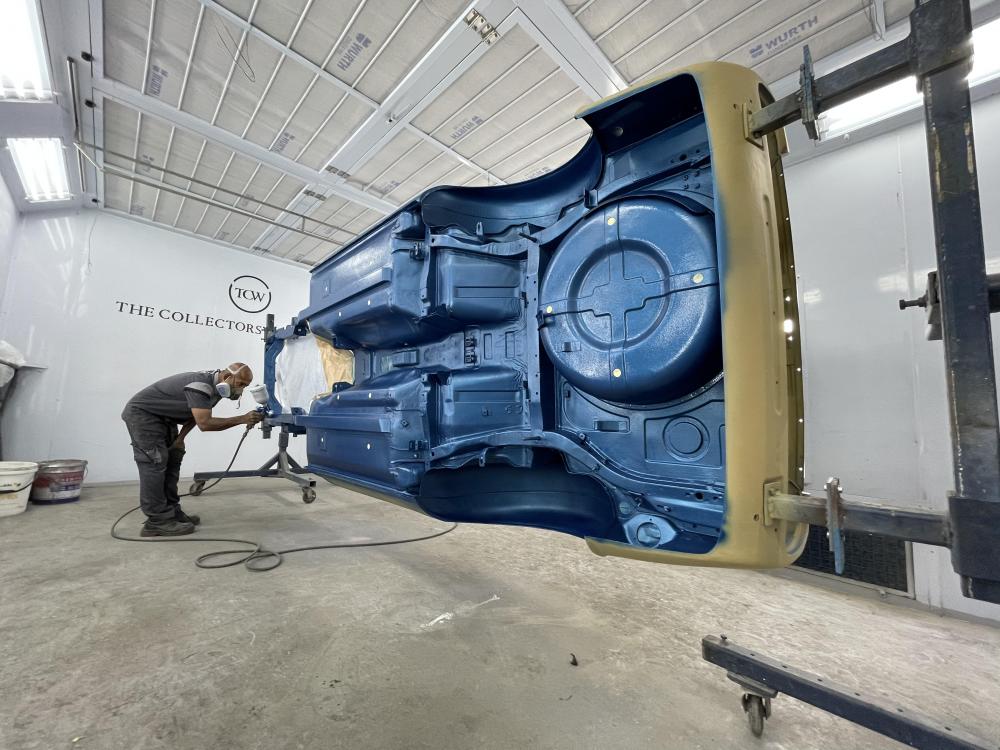
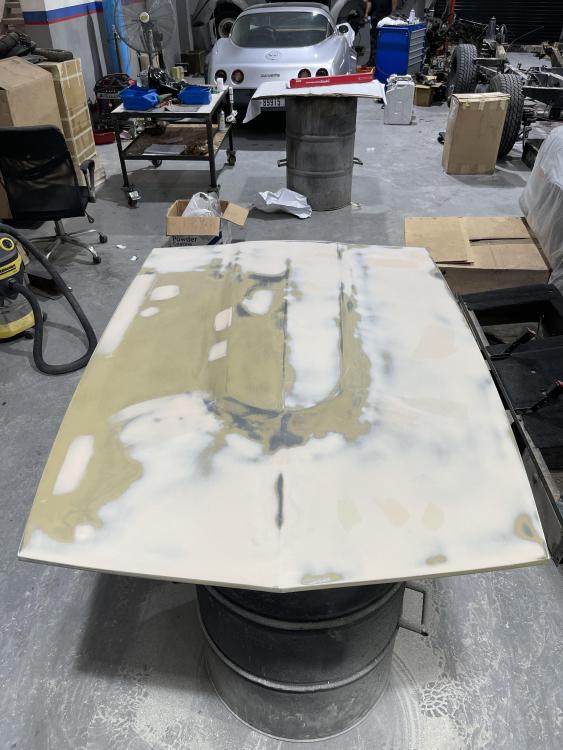
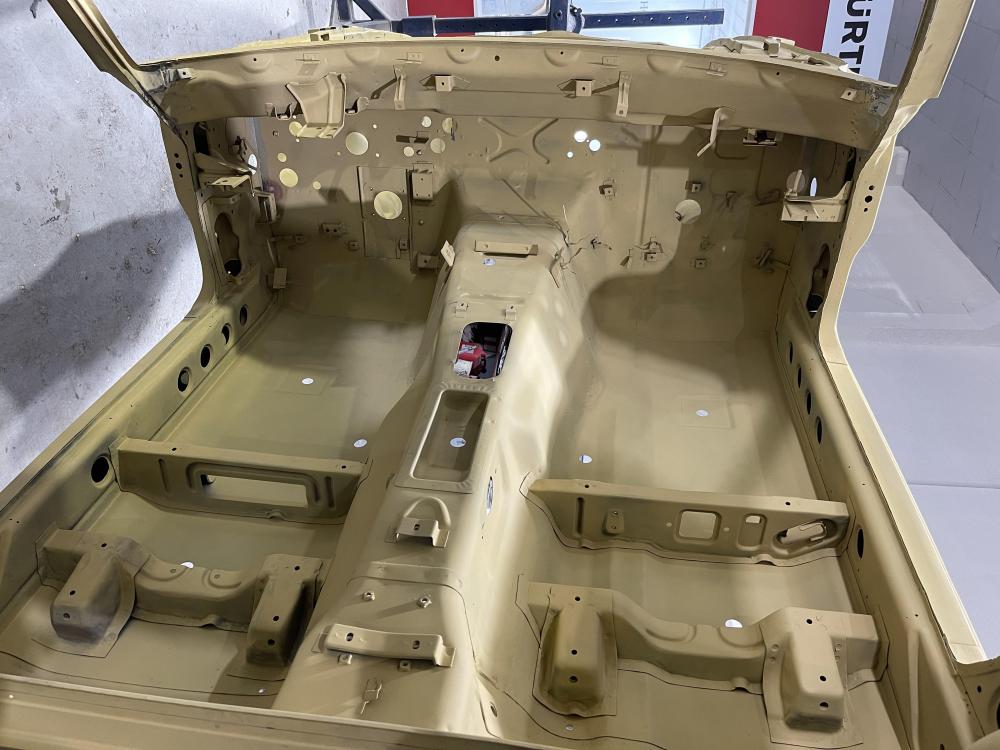
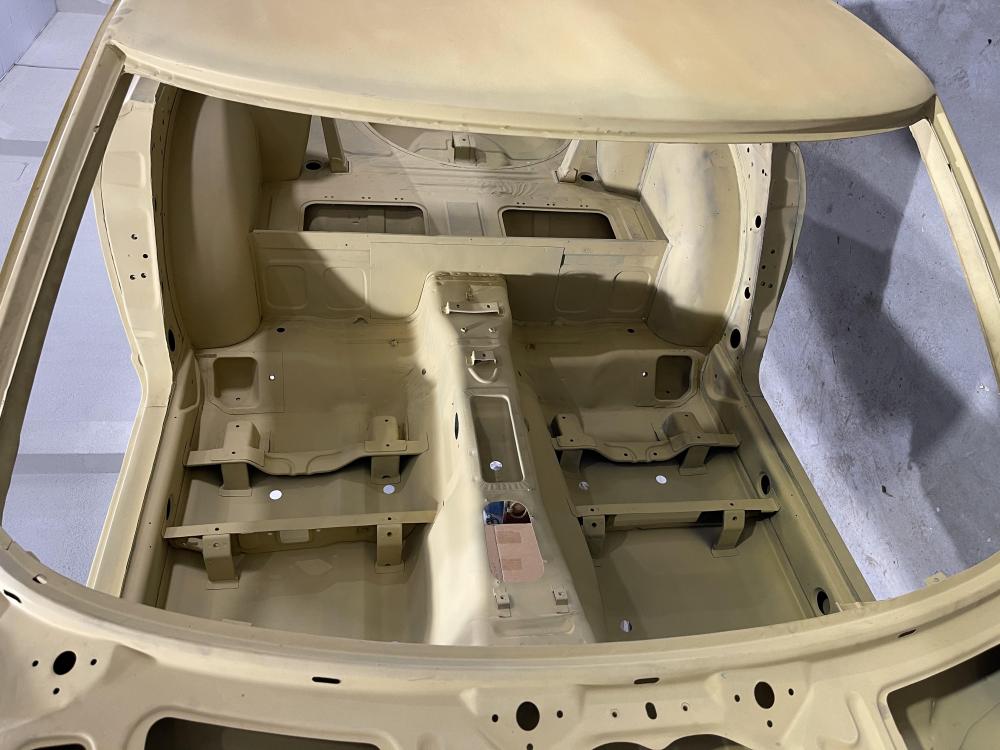
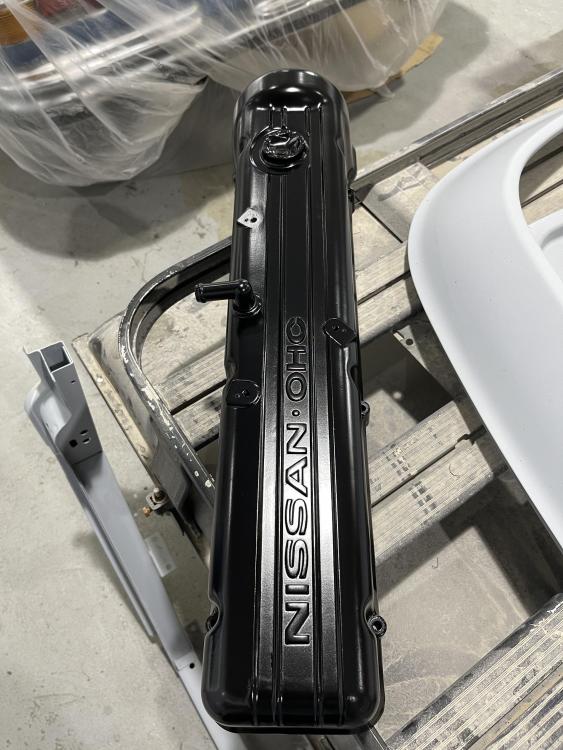
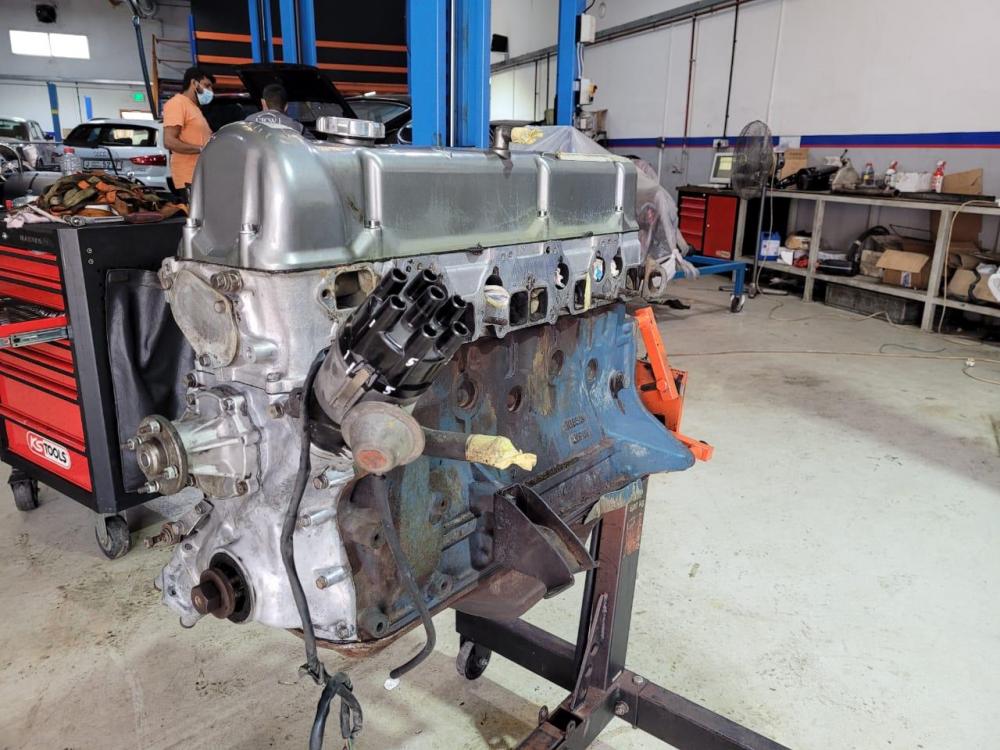
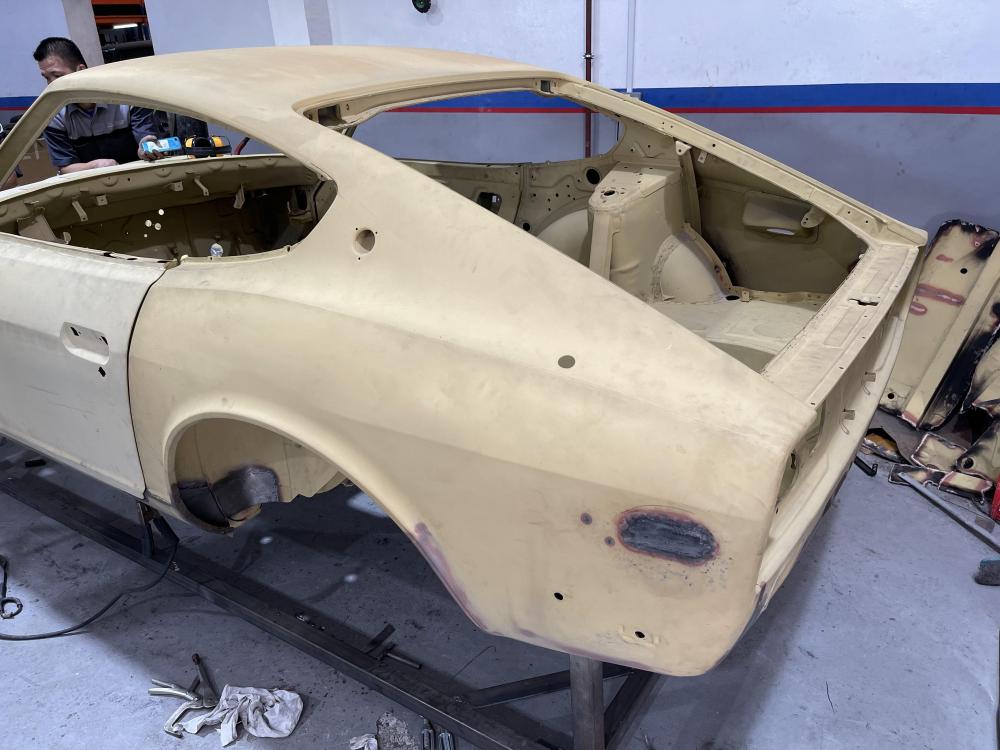
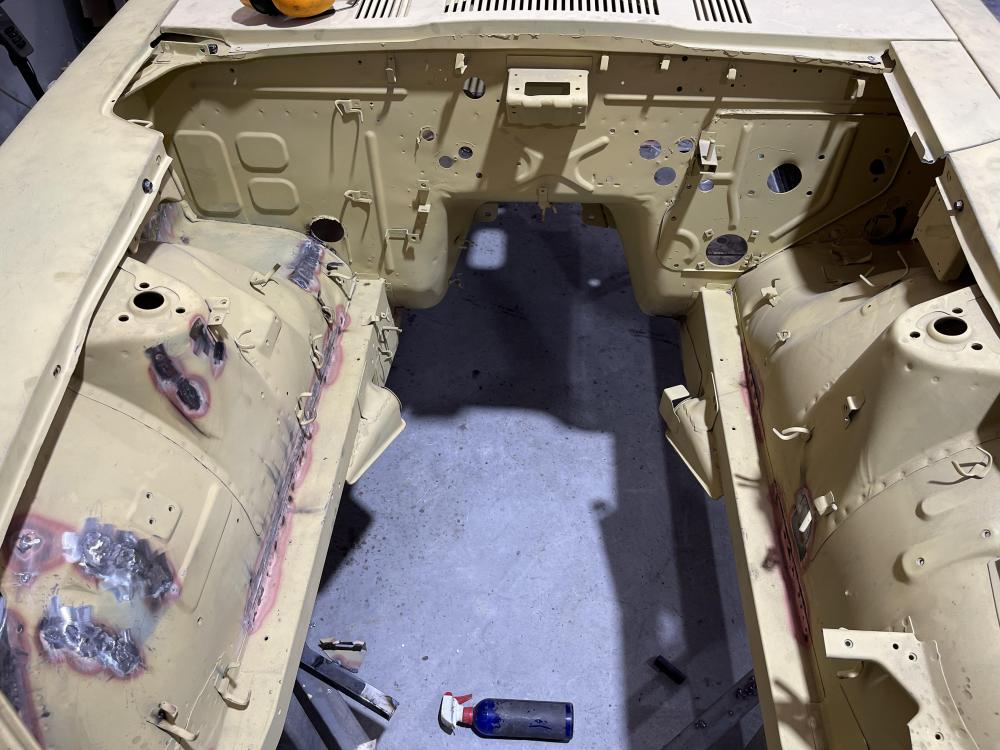
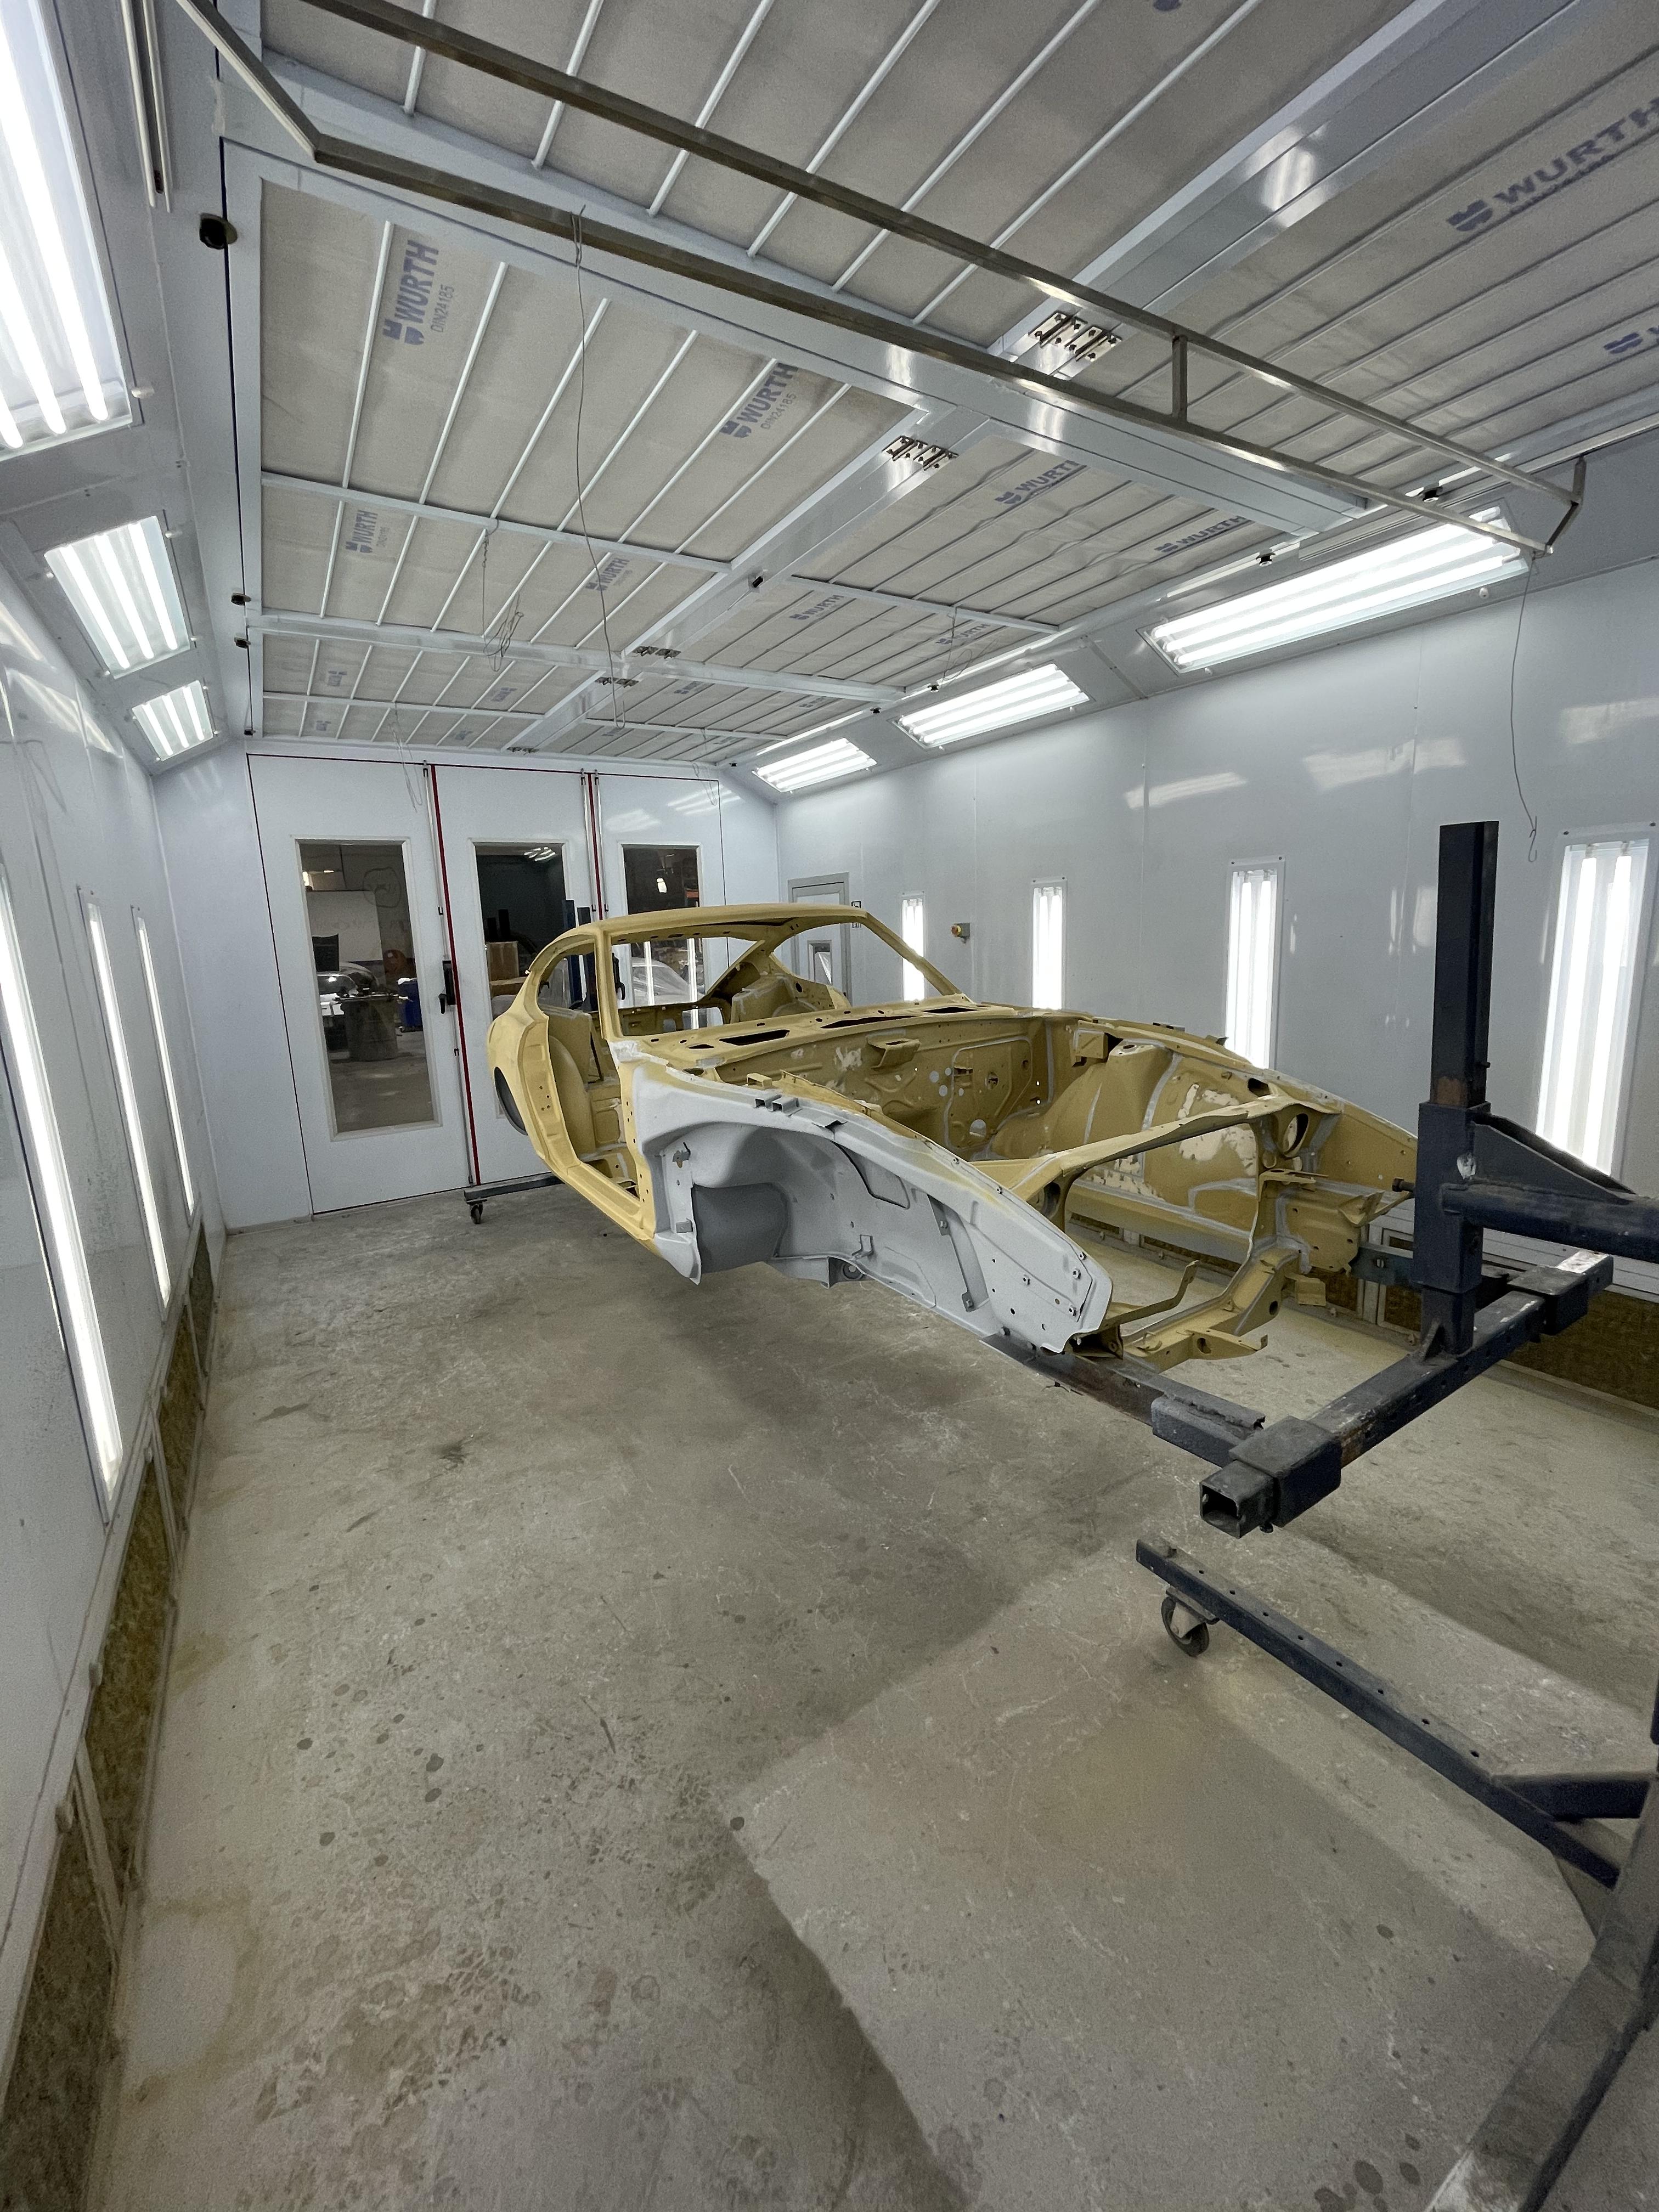
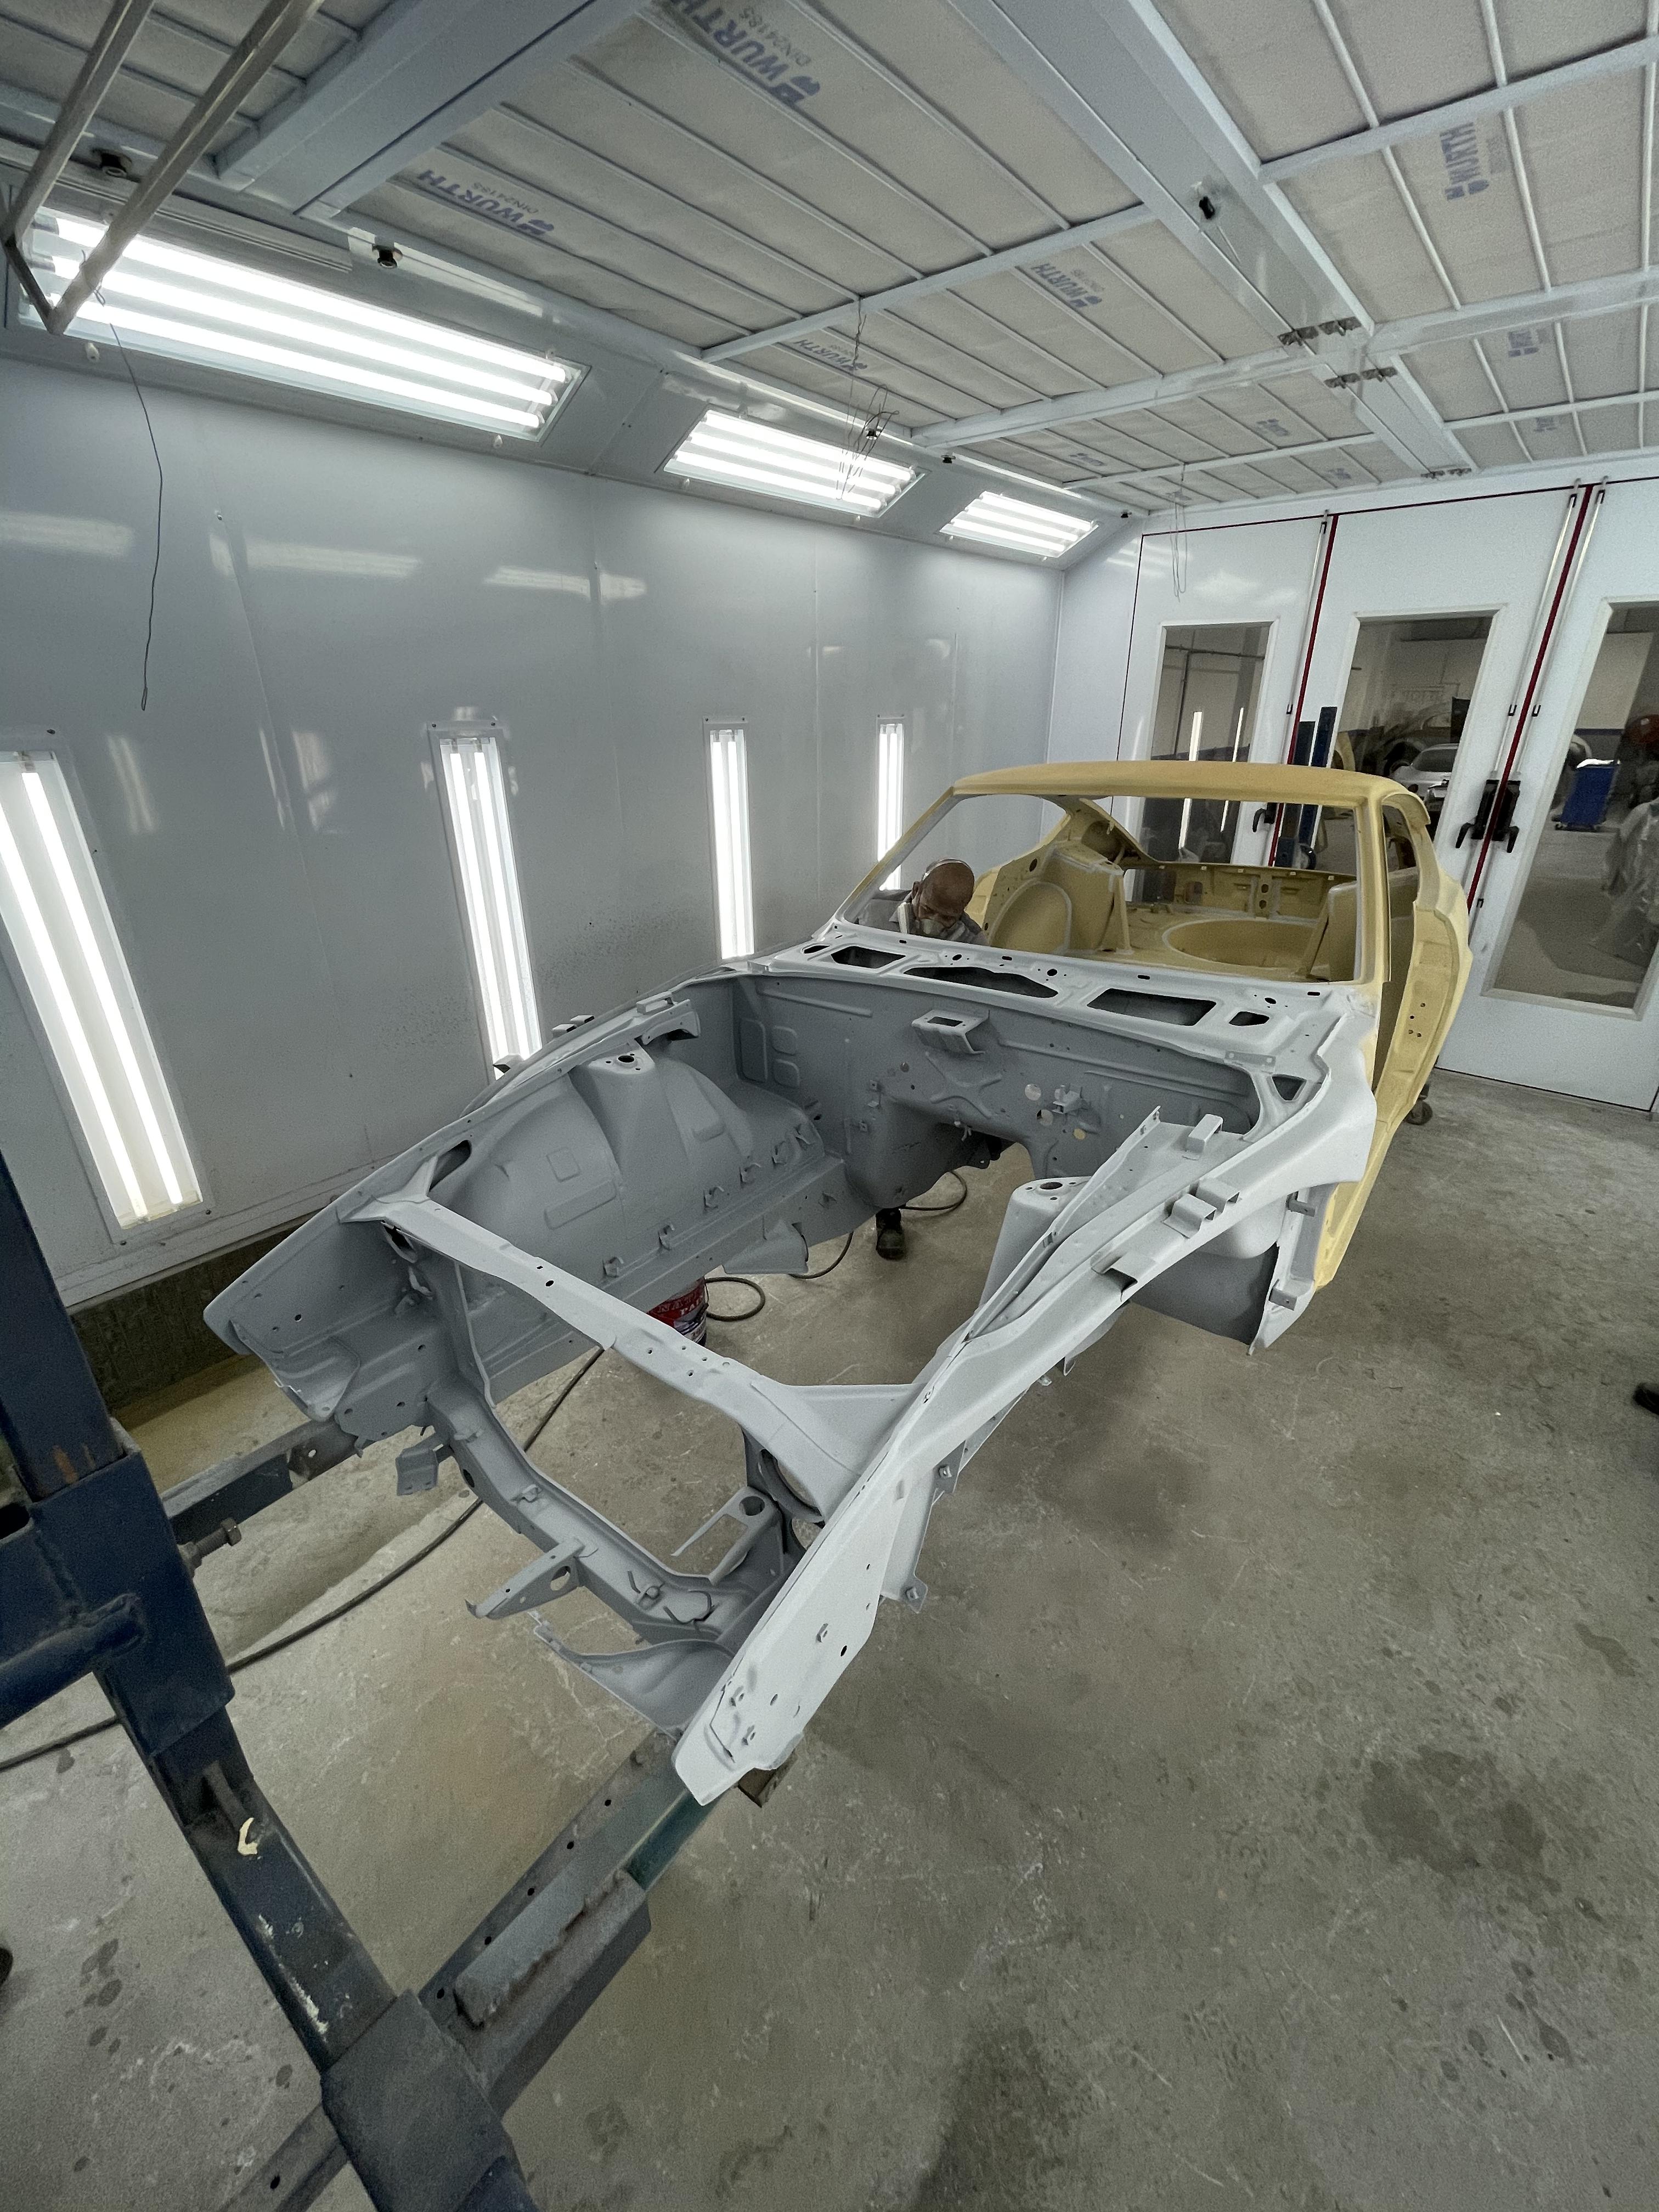
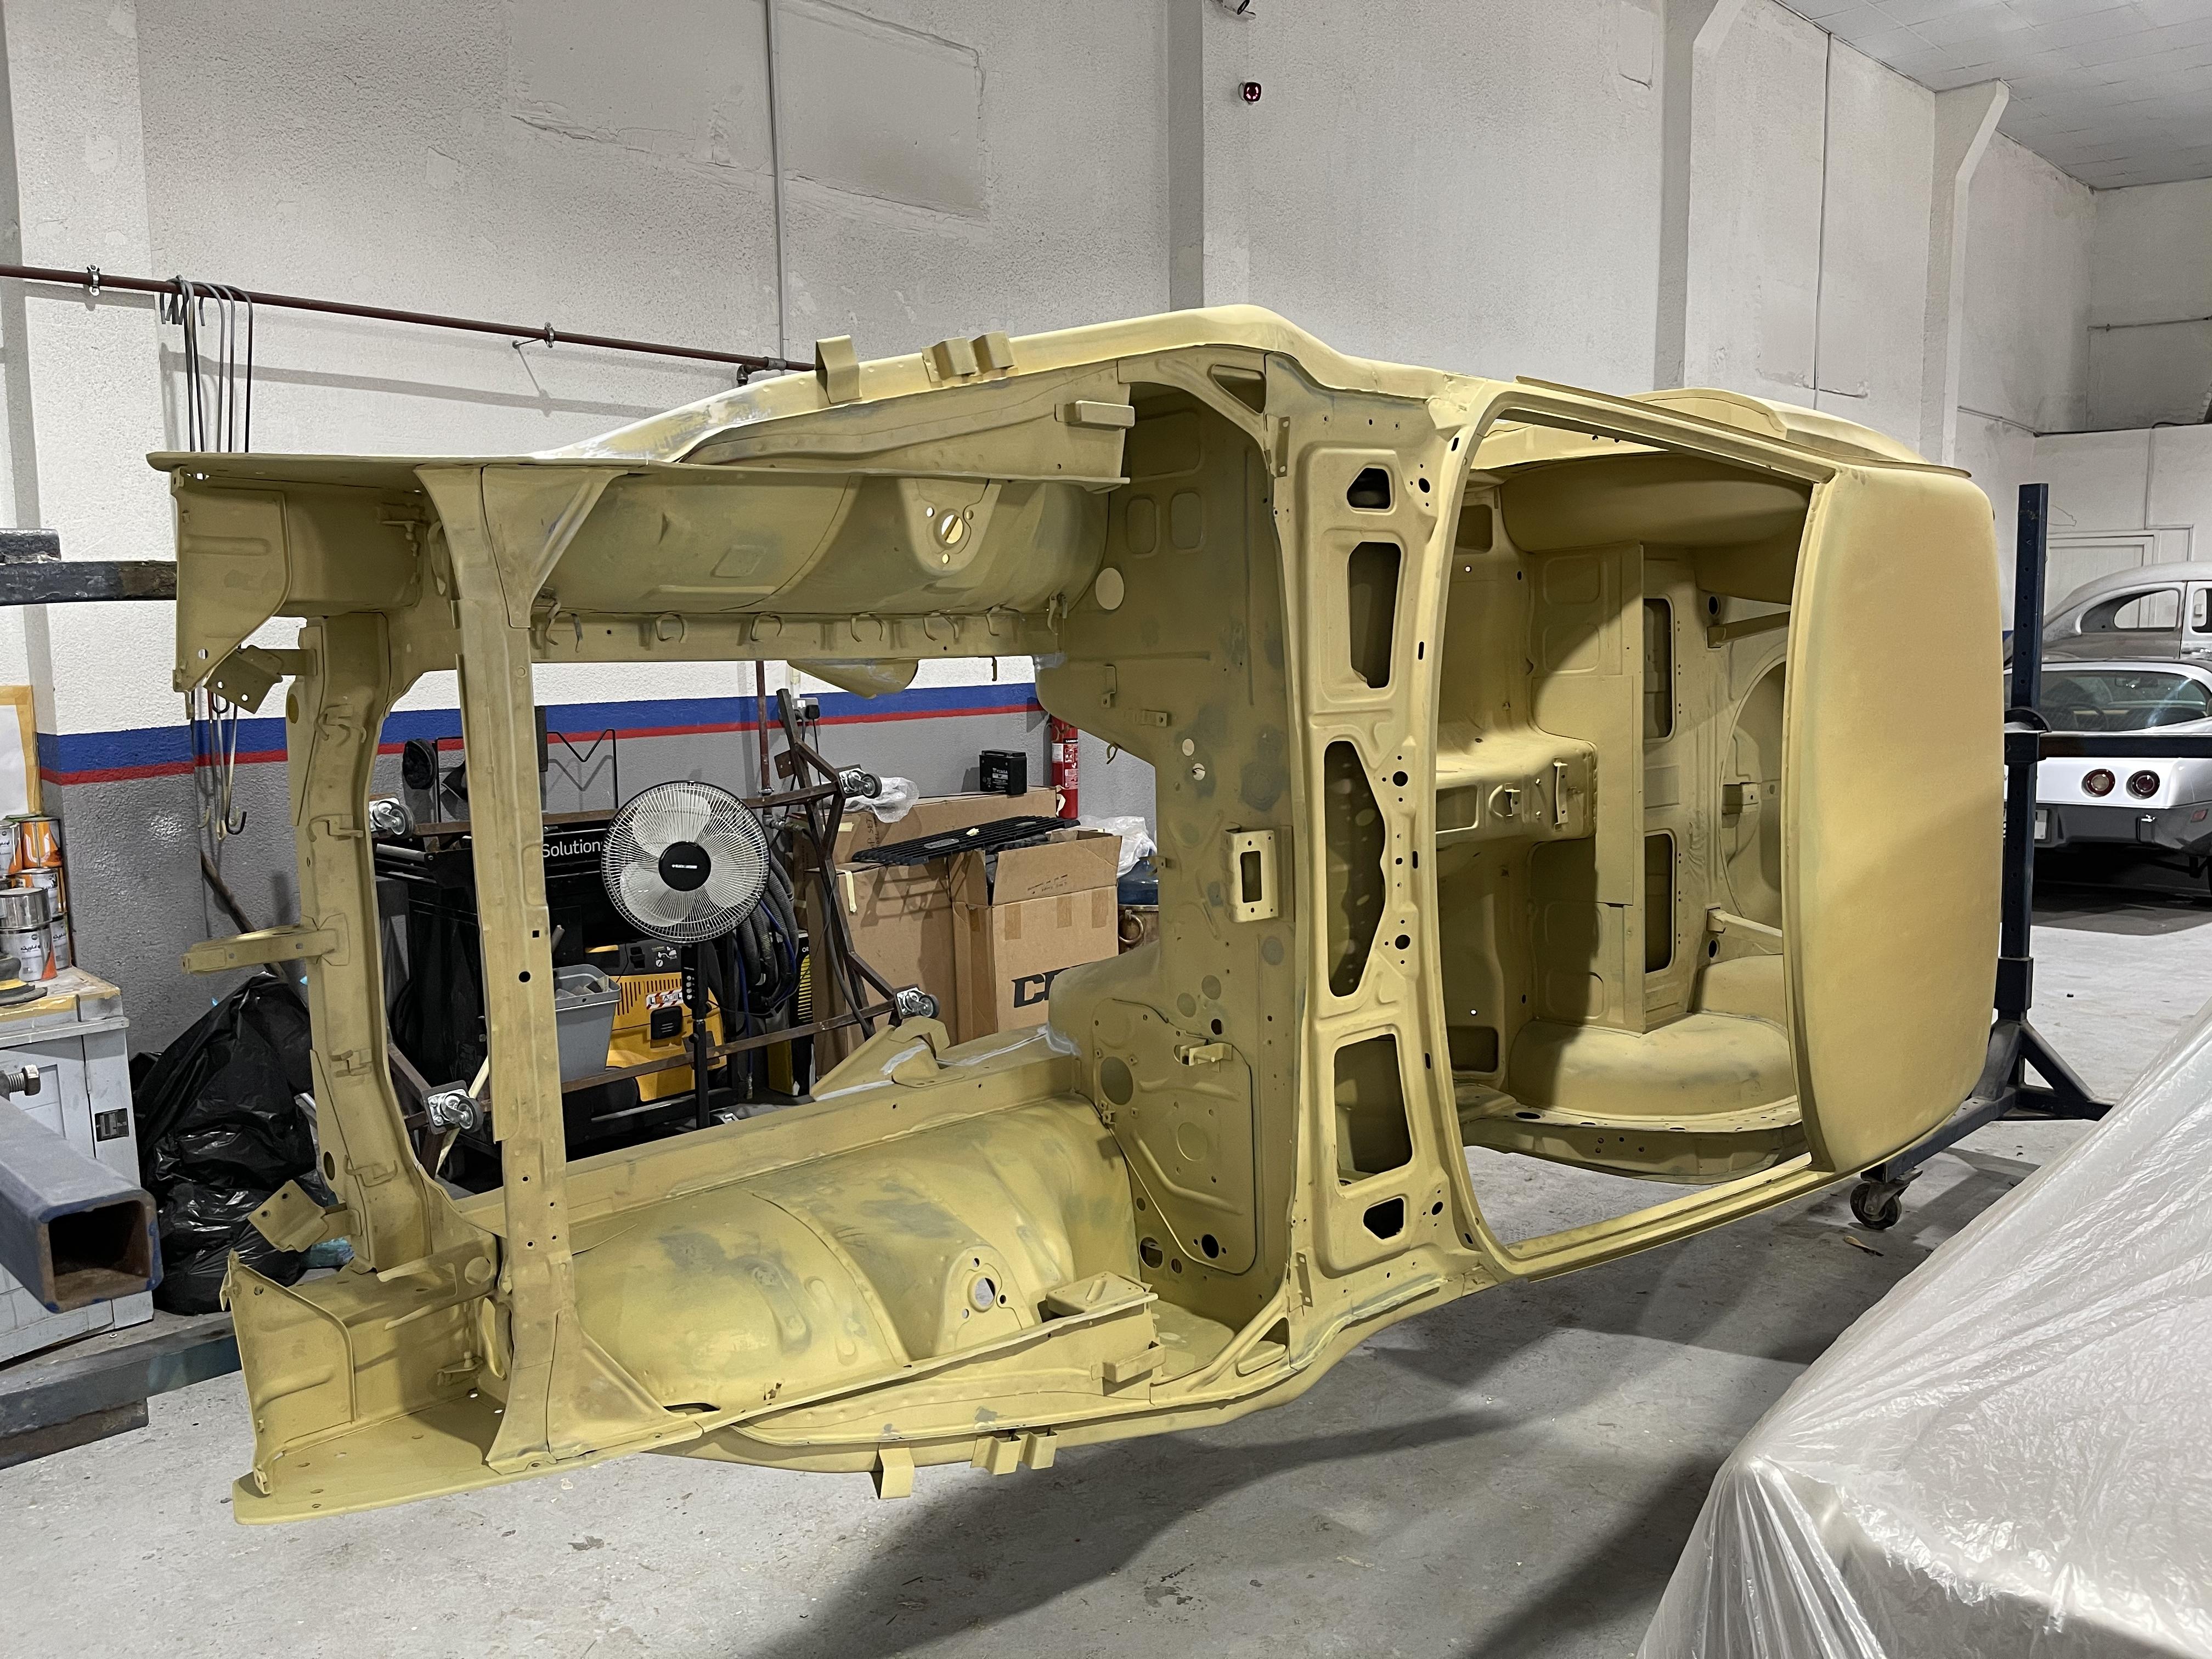
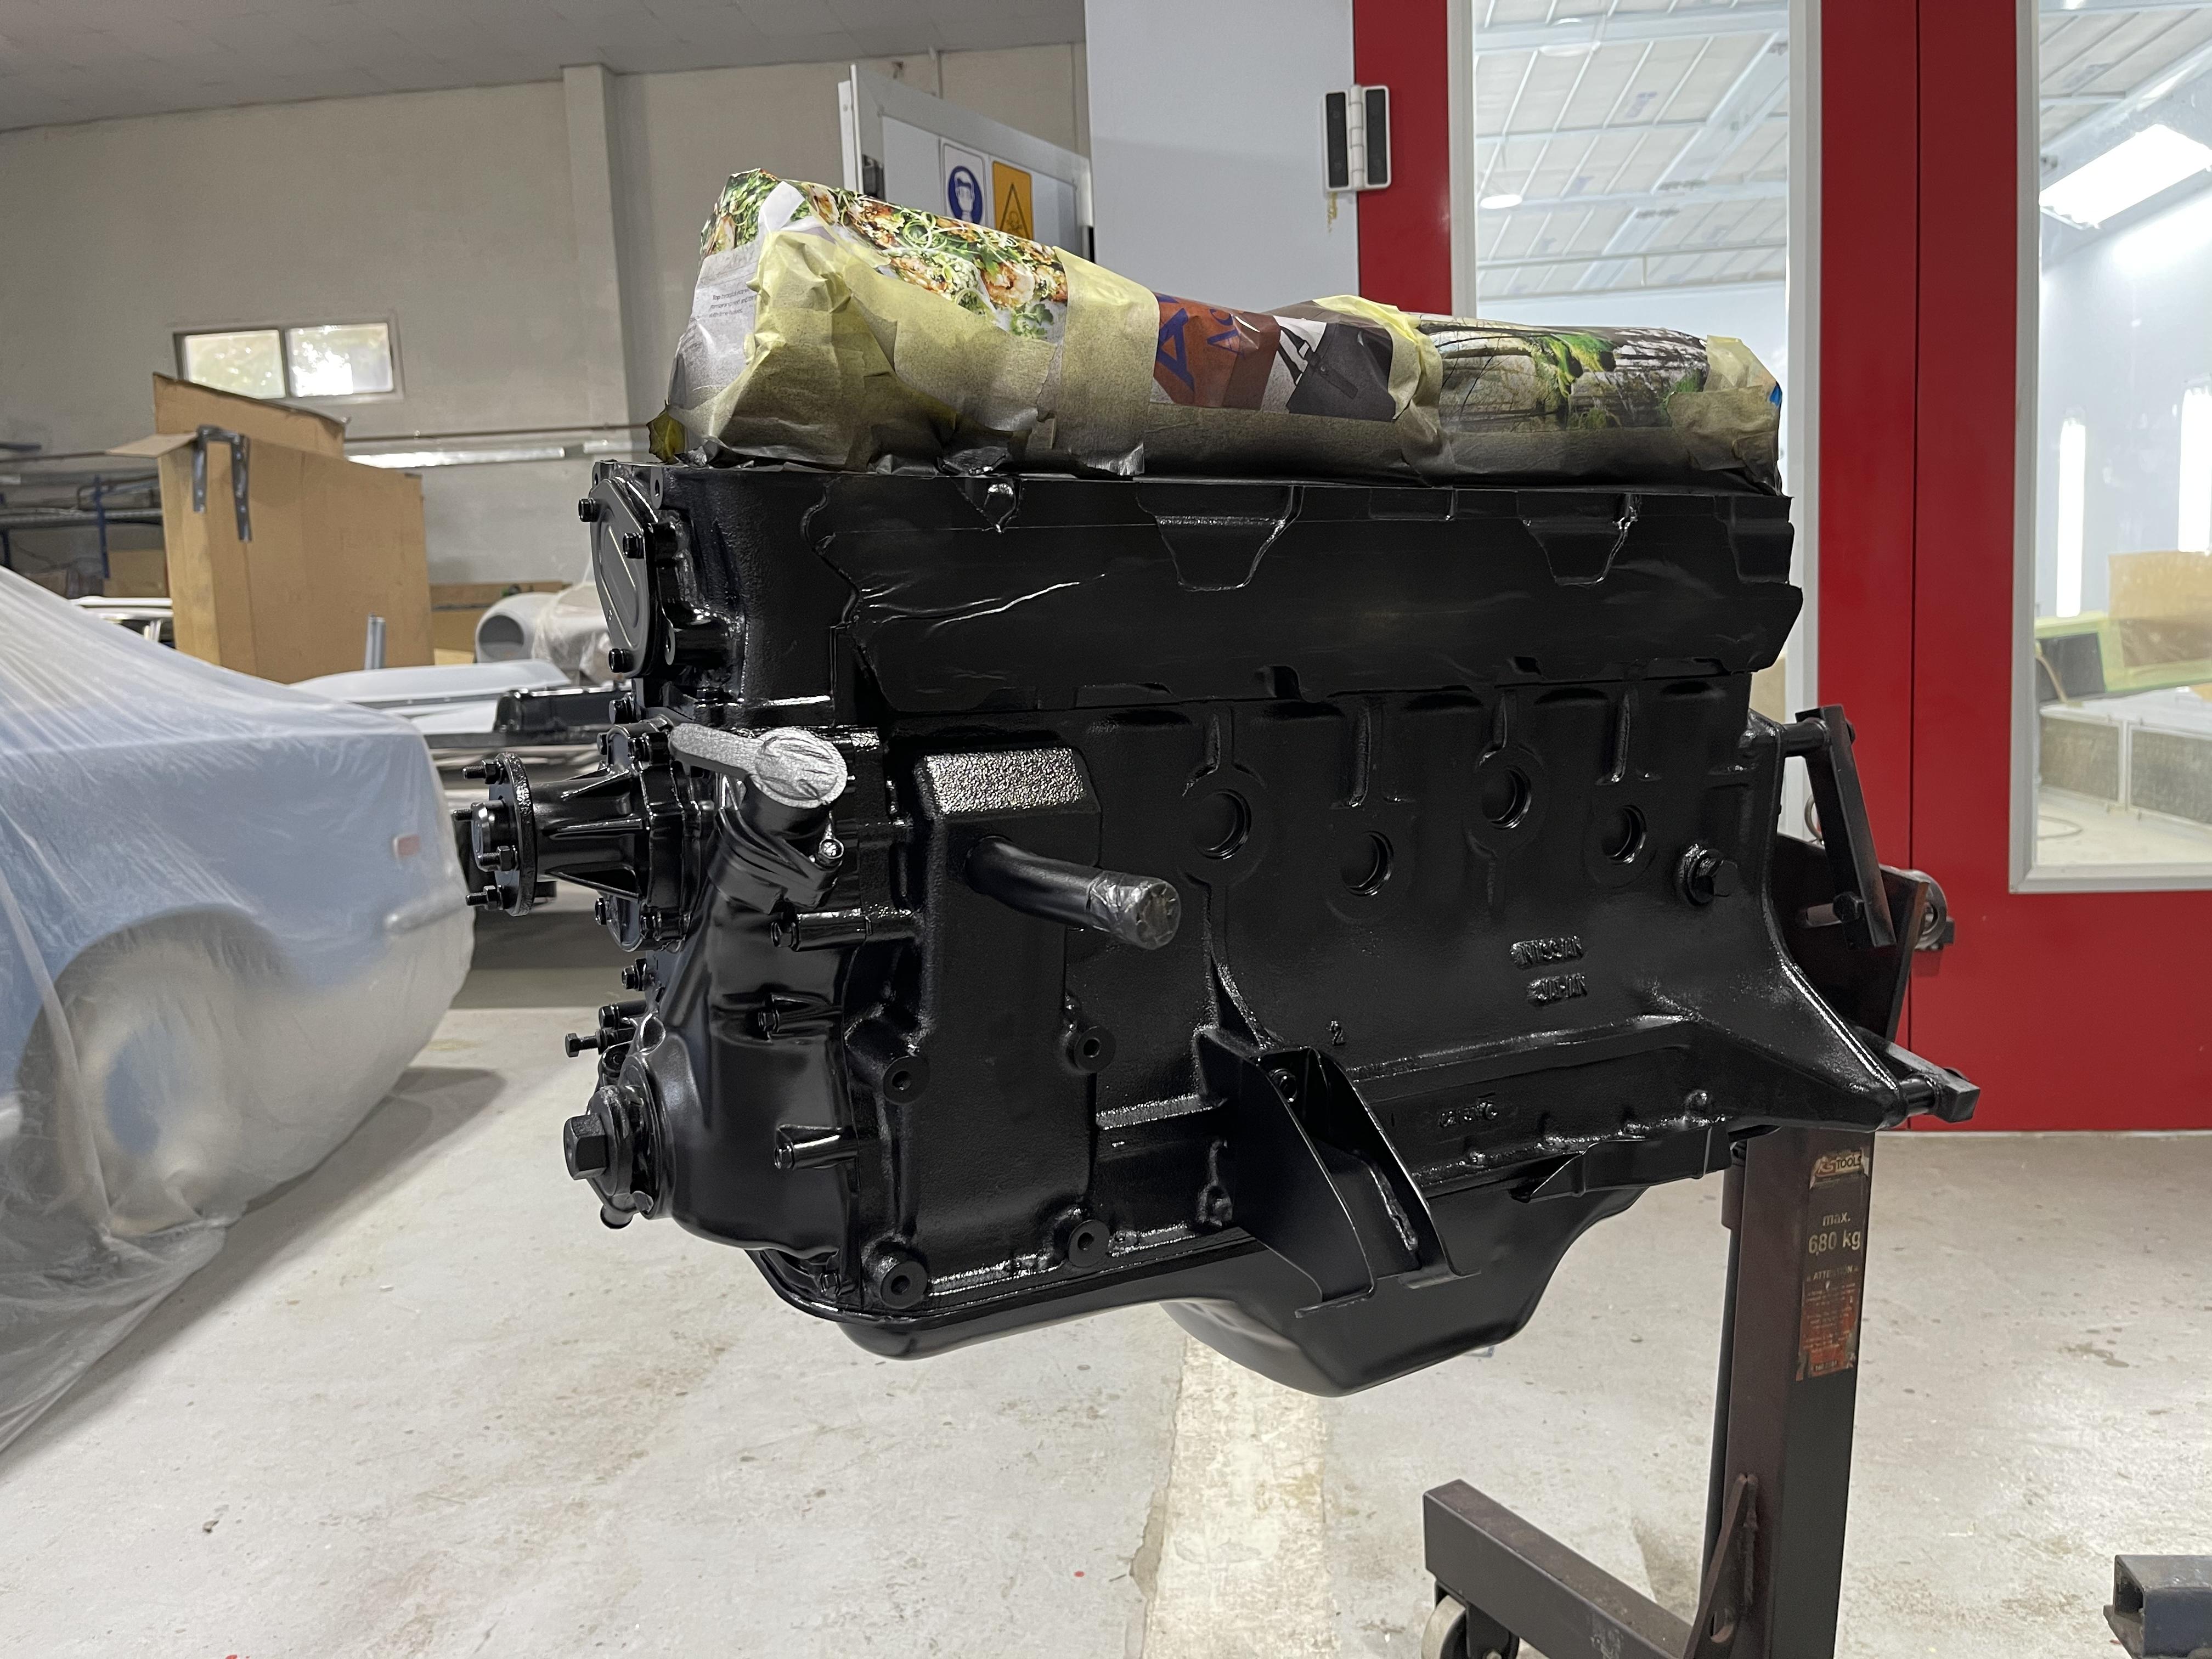
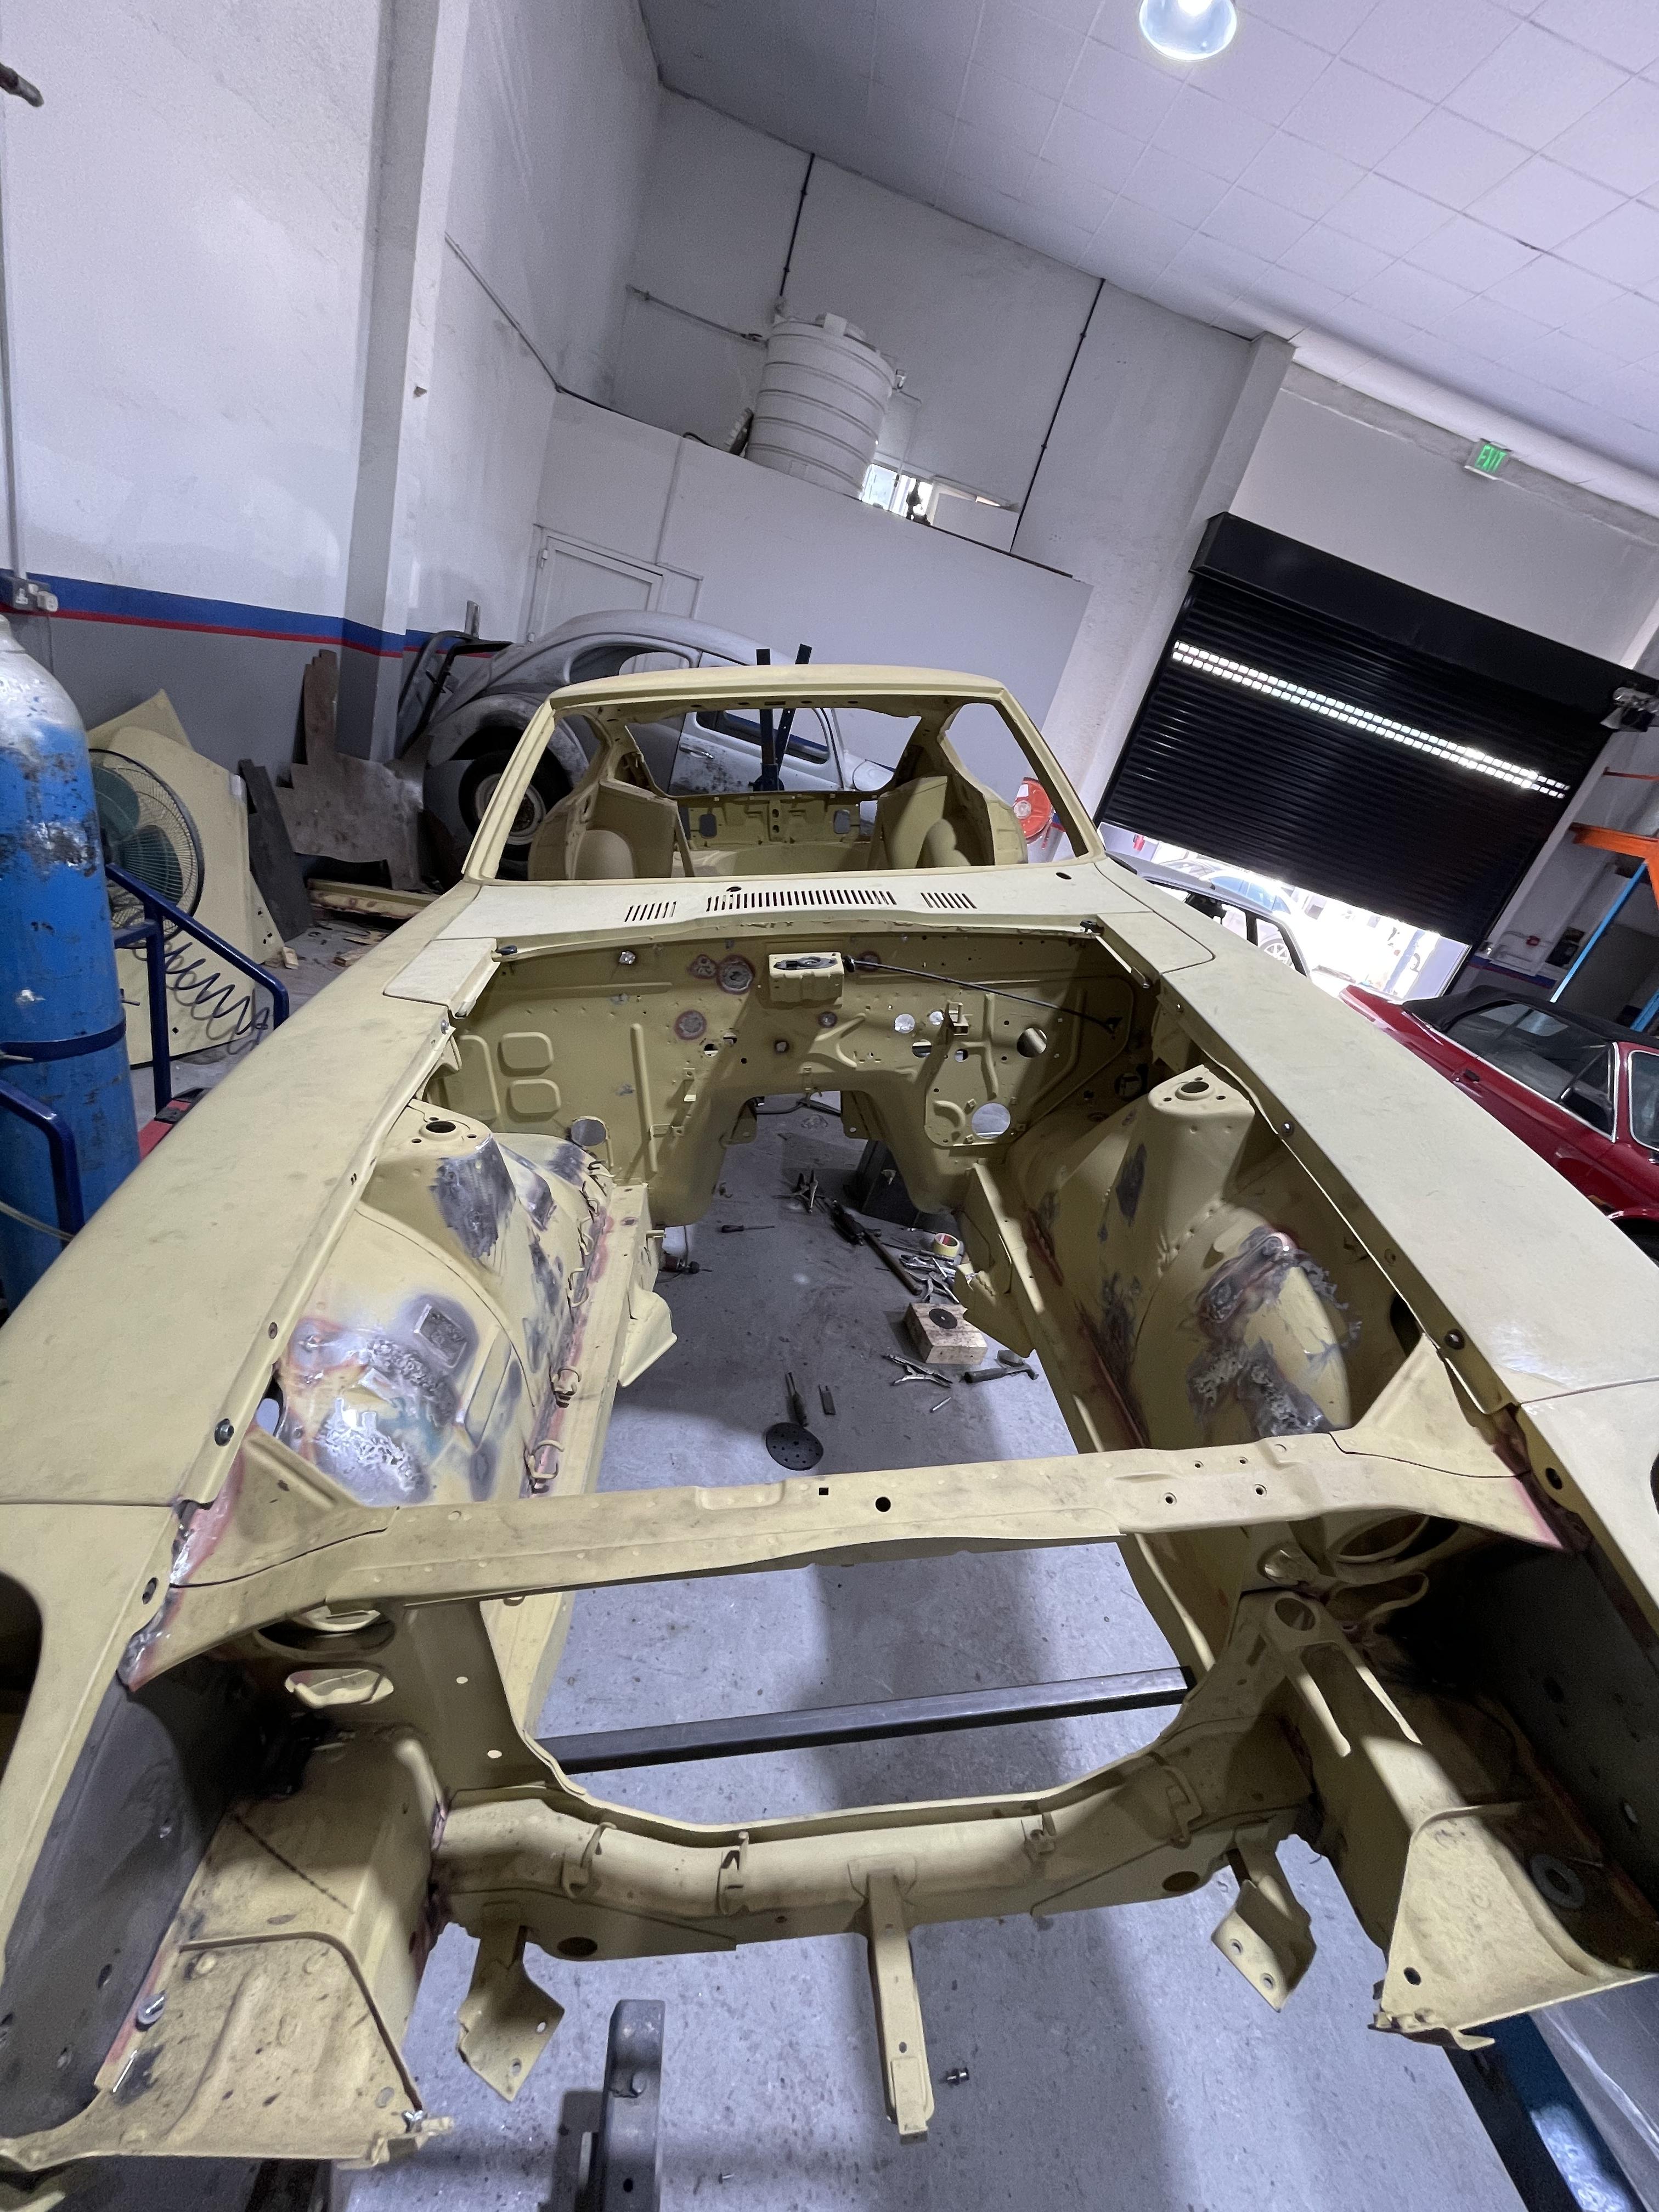
And it started! First step with the overall primer, then seam seal and light body filler to smooth the denting done on the transmission tunnel and spare wheel well. First focus is on the under carriage as starting with the rock guard/paint under the car first (to be completed by Thursday). A first coat/body filler step in the engine bay and interior as well, but this will be finalized once under carriage is done and the suspensions / trains / wheels installed, before the rest of the painting starts. Having everything in a uniform color is super satisfying, the progress is real. The hood and trunk have been taken care of as well, some light denting but overall clean condition (trunk lock deleted in favor of an automatic release button). Finally, progress on the engine - Let there be black! Everything black (only the water pump and alternator in aluminum, the oil filter is the original Nissan light blue). The valve cover will receive a final touch that I won't reveal before the car is completed...


-
I got mine from Germany, but from the USA I found this shop that seems legit: https://relicate.com/collections/alcantara/products/alcantara-unbacked?variant=21398827860048.
-
He is definitely someone I recommend and would trust again for new projects ! I also noticed the super tight fitting while disassembling the dash, and gave the gauge brackets in order to adjust it. Benefits of the alcantara being thinner than leather, everything falls into place.
-
Thanks Mark 🙏 but to be honest I would say, your project is your own authentic drawing with your personal touch, and mine is someone drawing it for me after years of art school, just following my vision... I have a bigger picture in mind and might start doing something myself in late 2021, obviously not from the skyscrapper balcony 😁 I have been very lucky with Ismael (the daredevil welder from Philippines), he has done an amazing work on the whole car body !
-
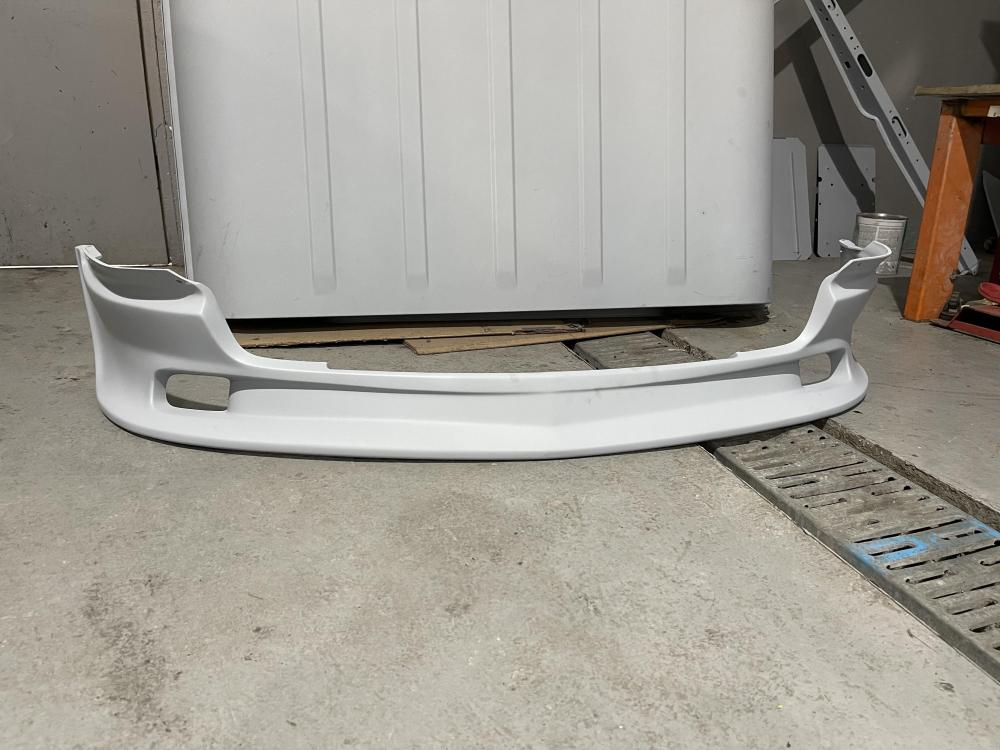
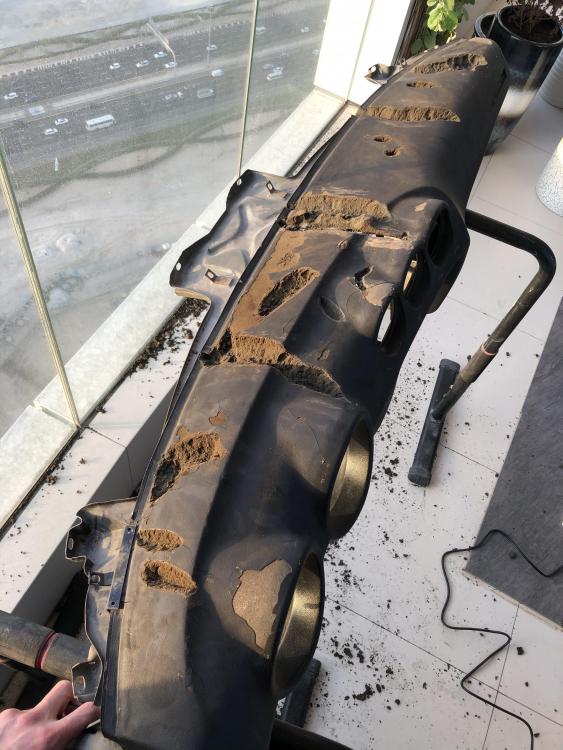
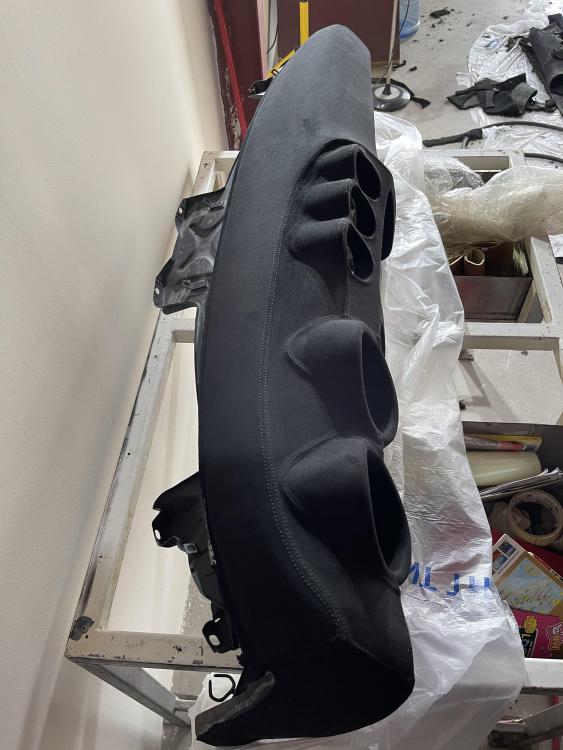
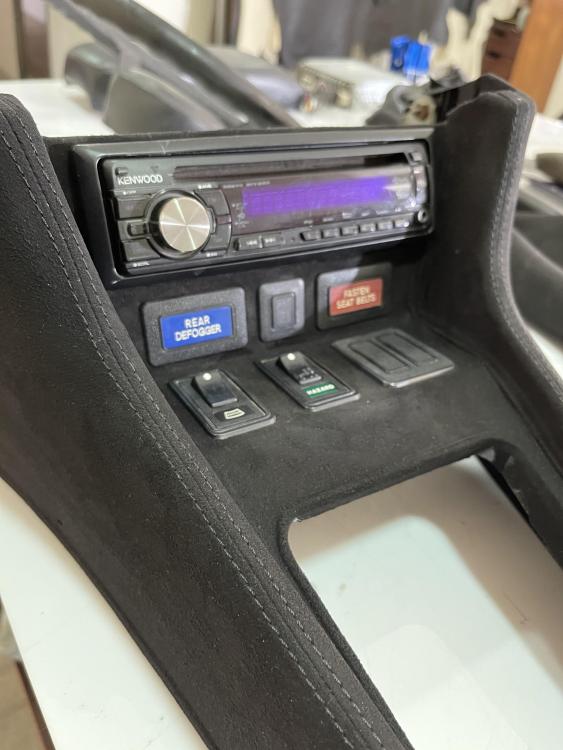
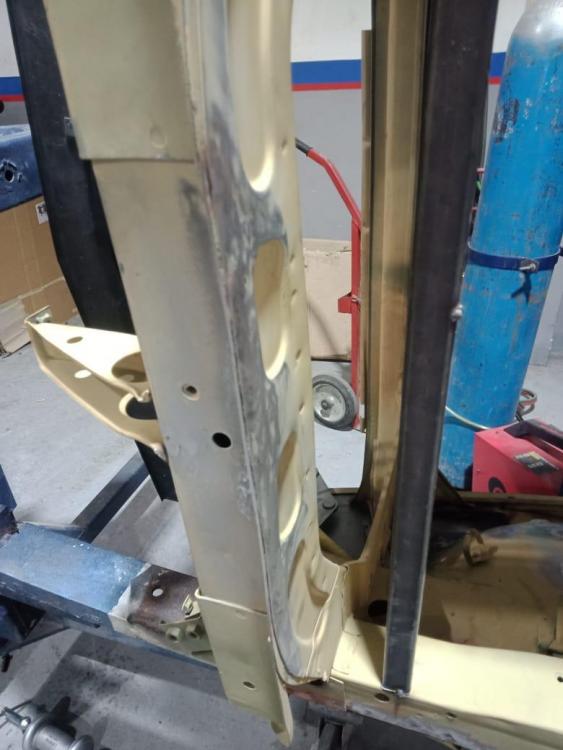
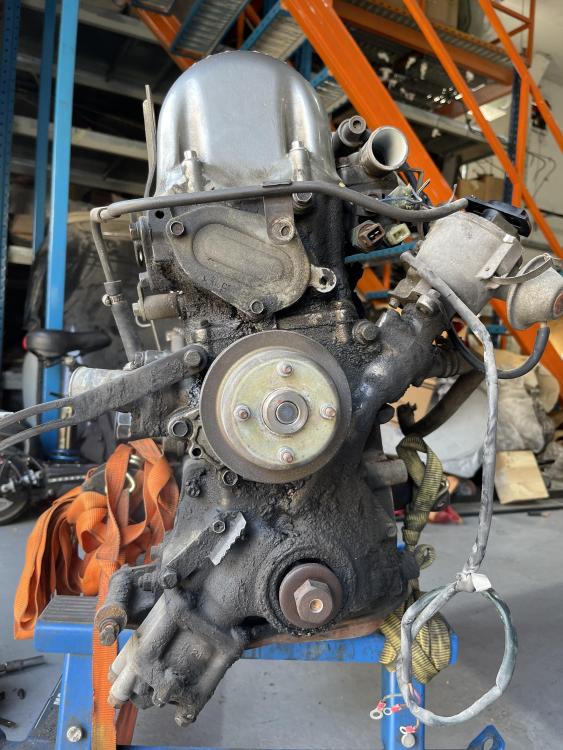
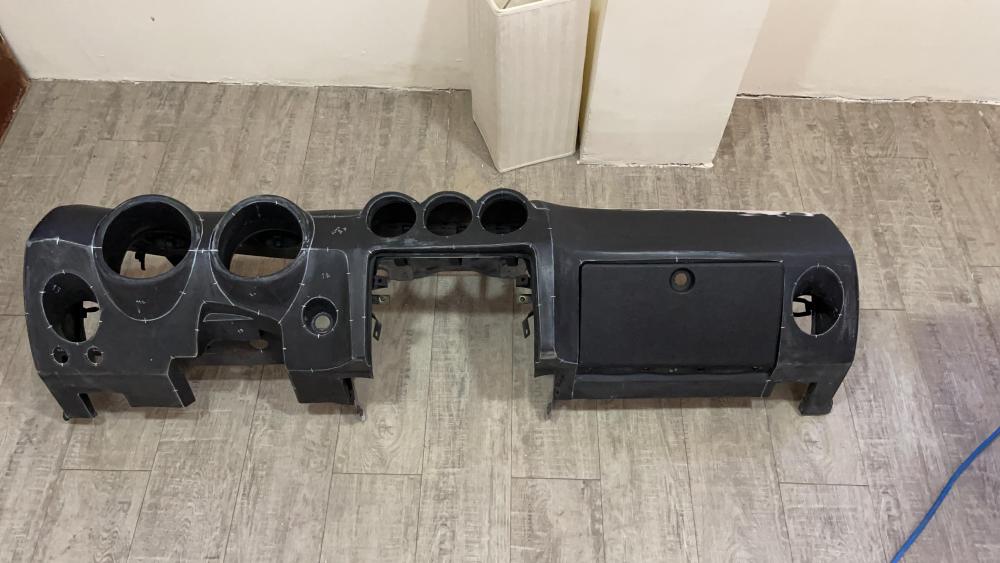
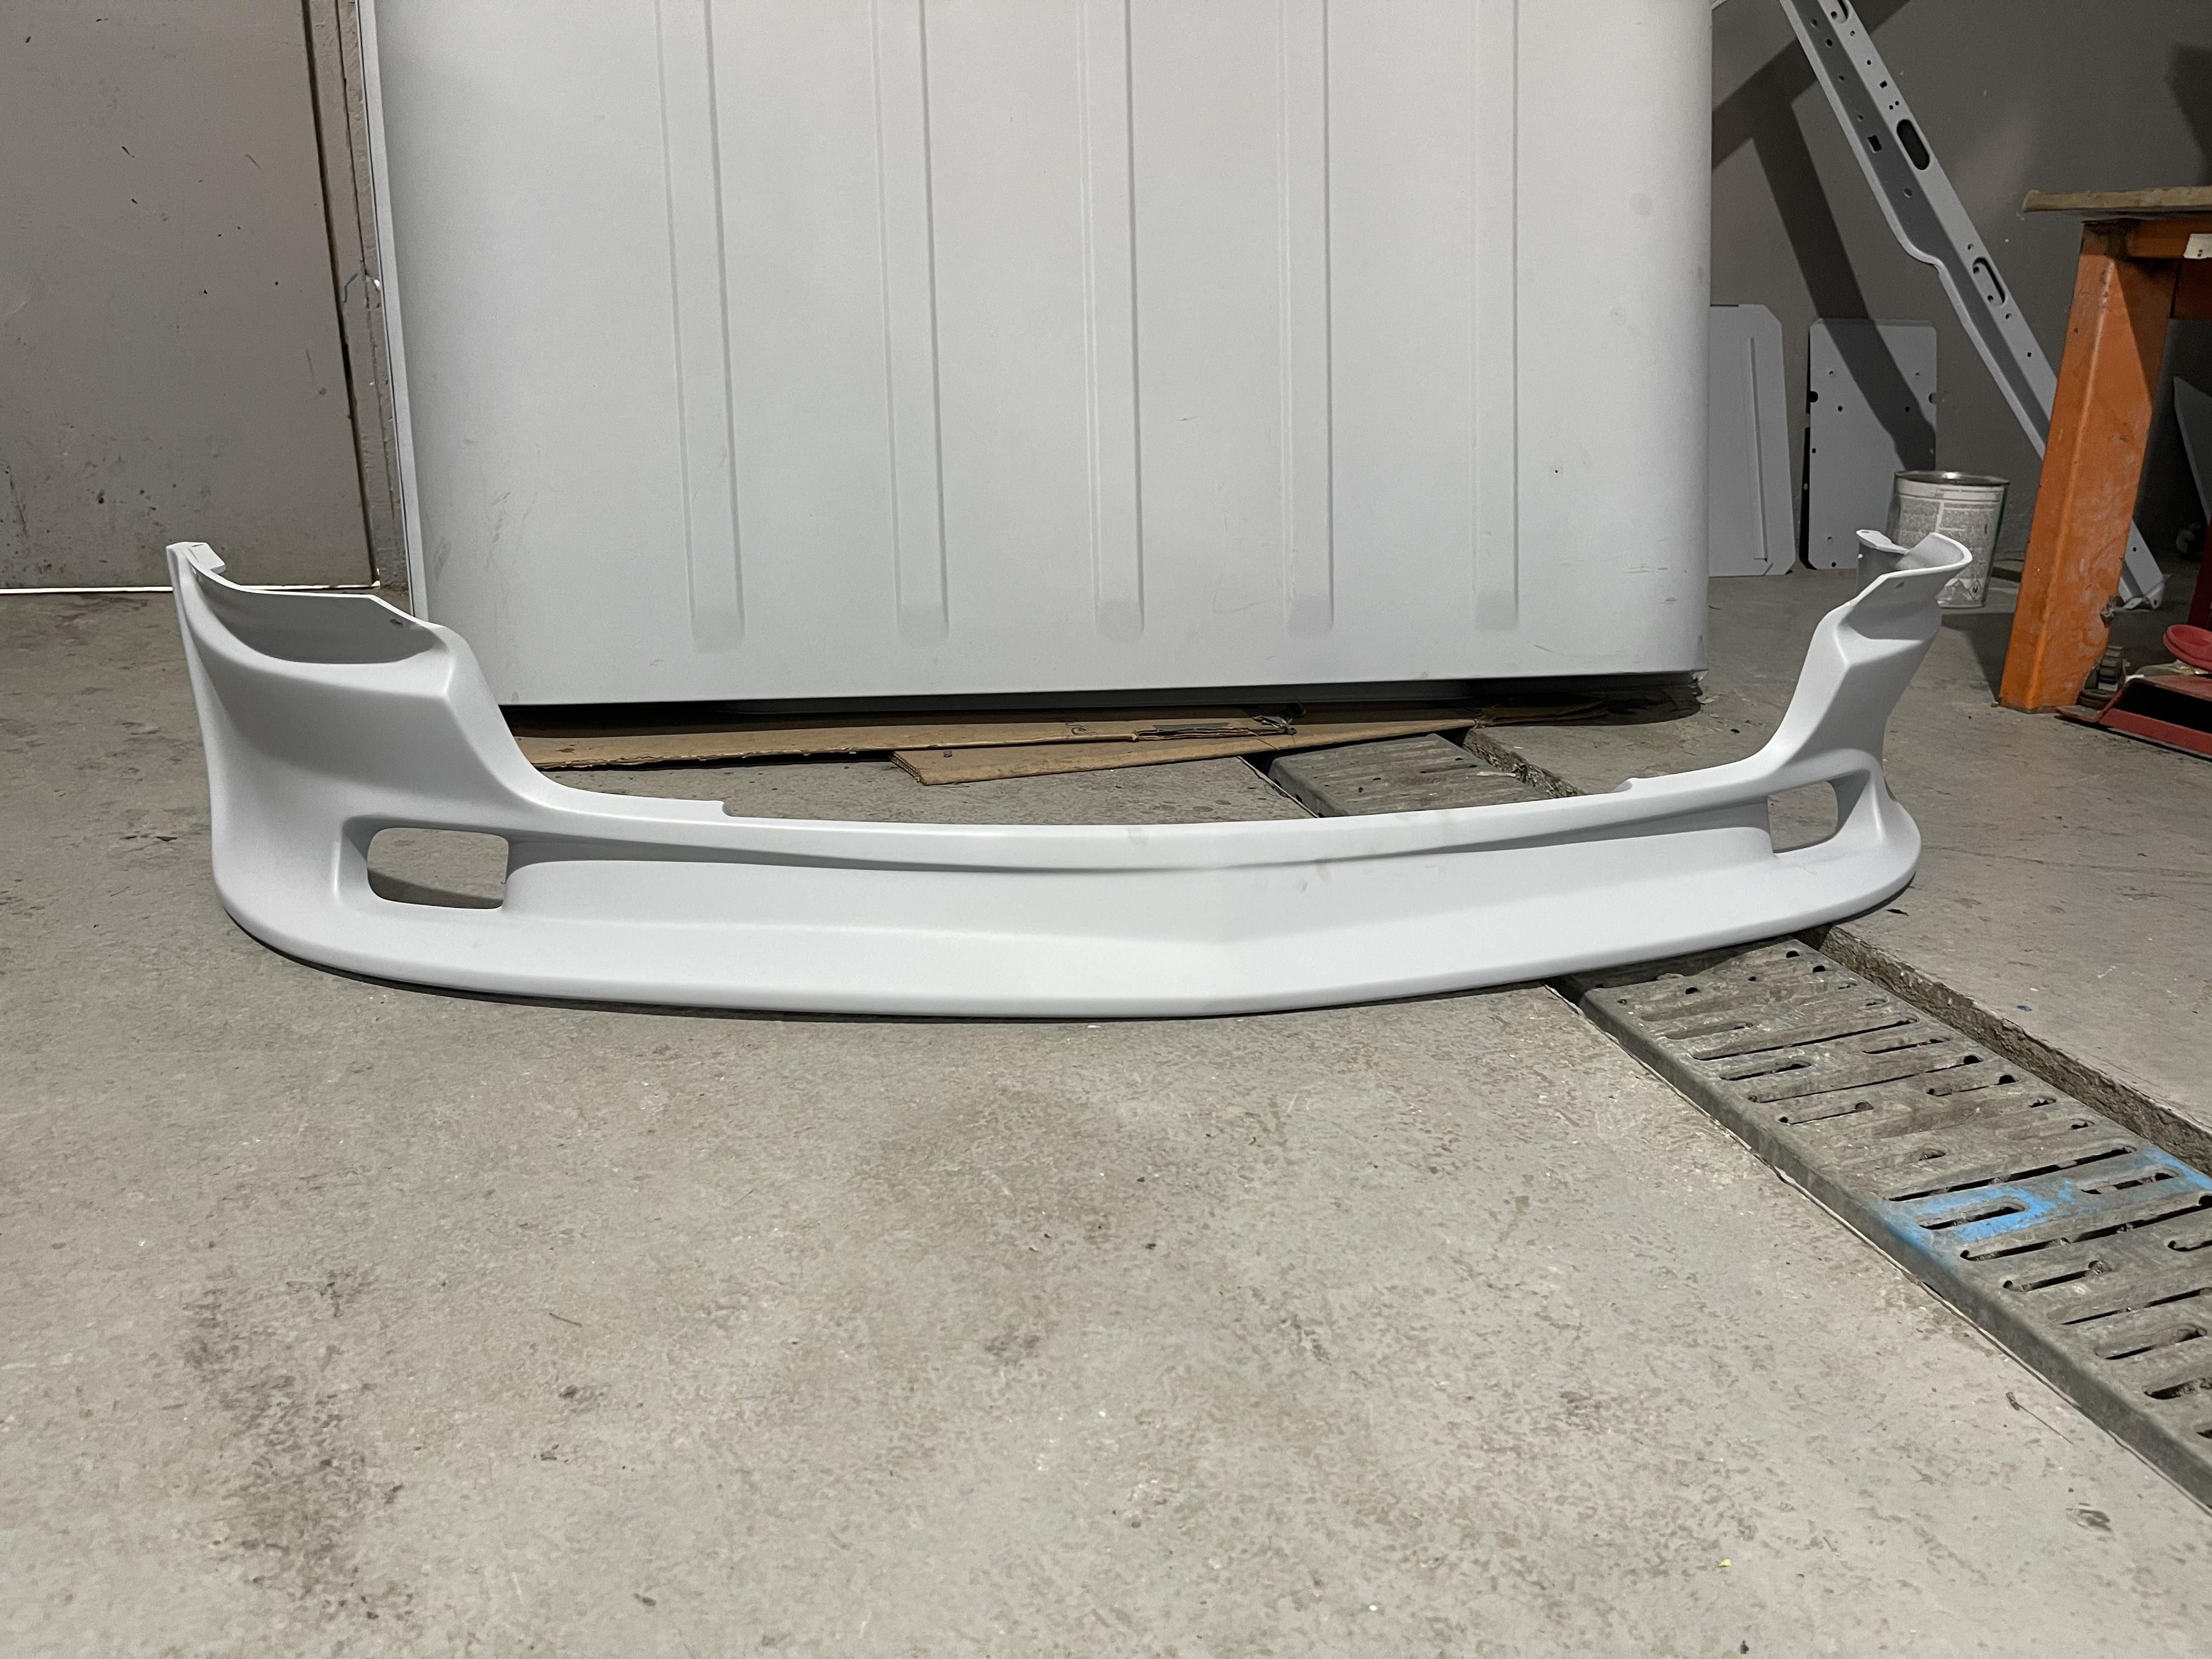
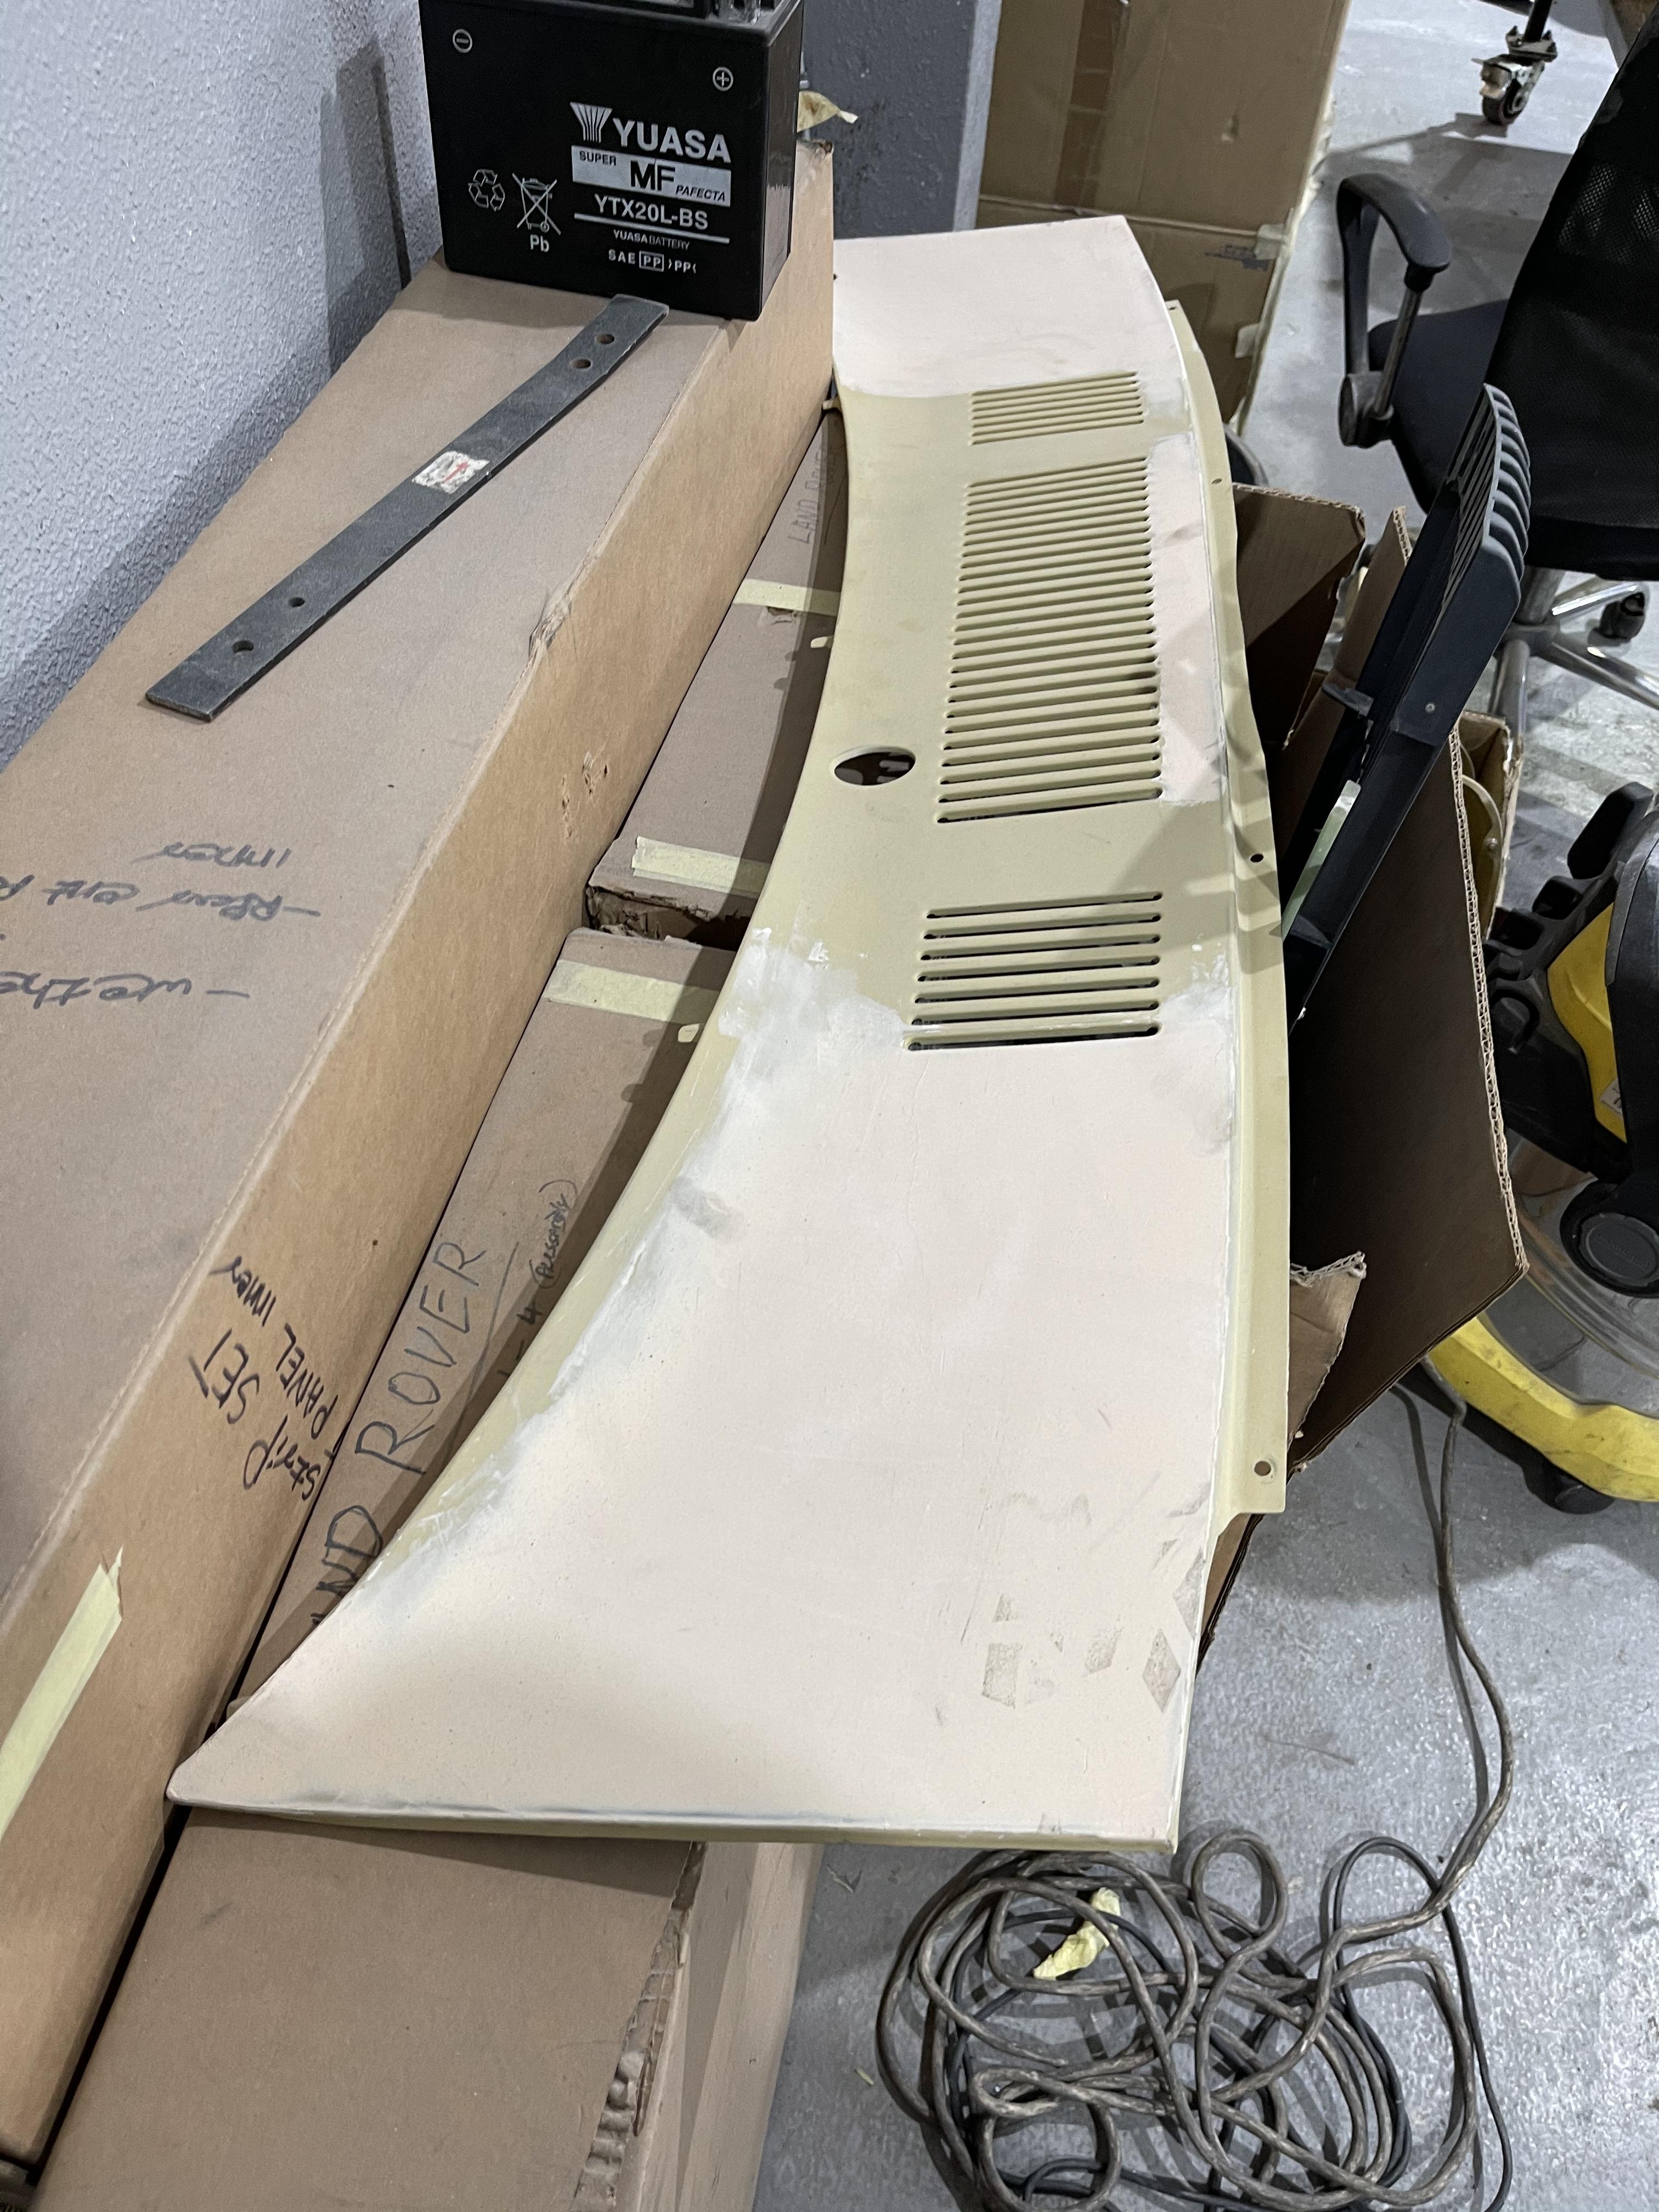
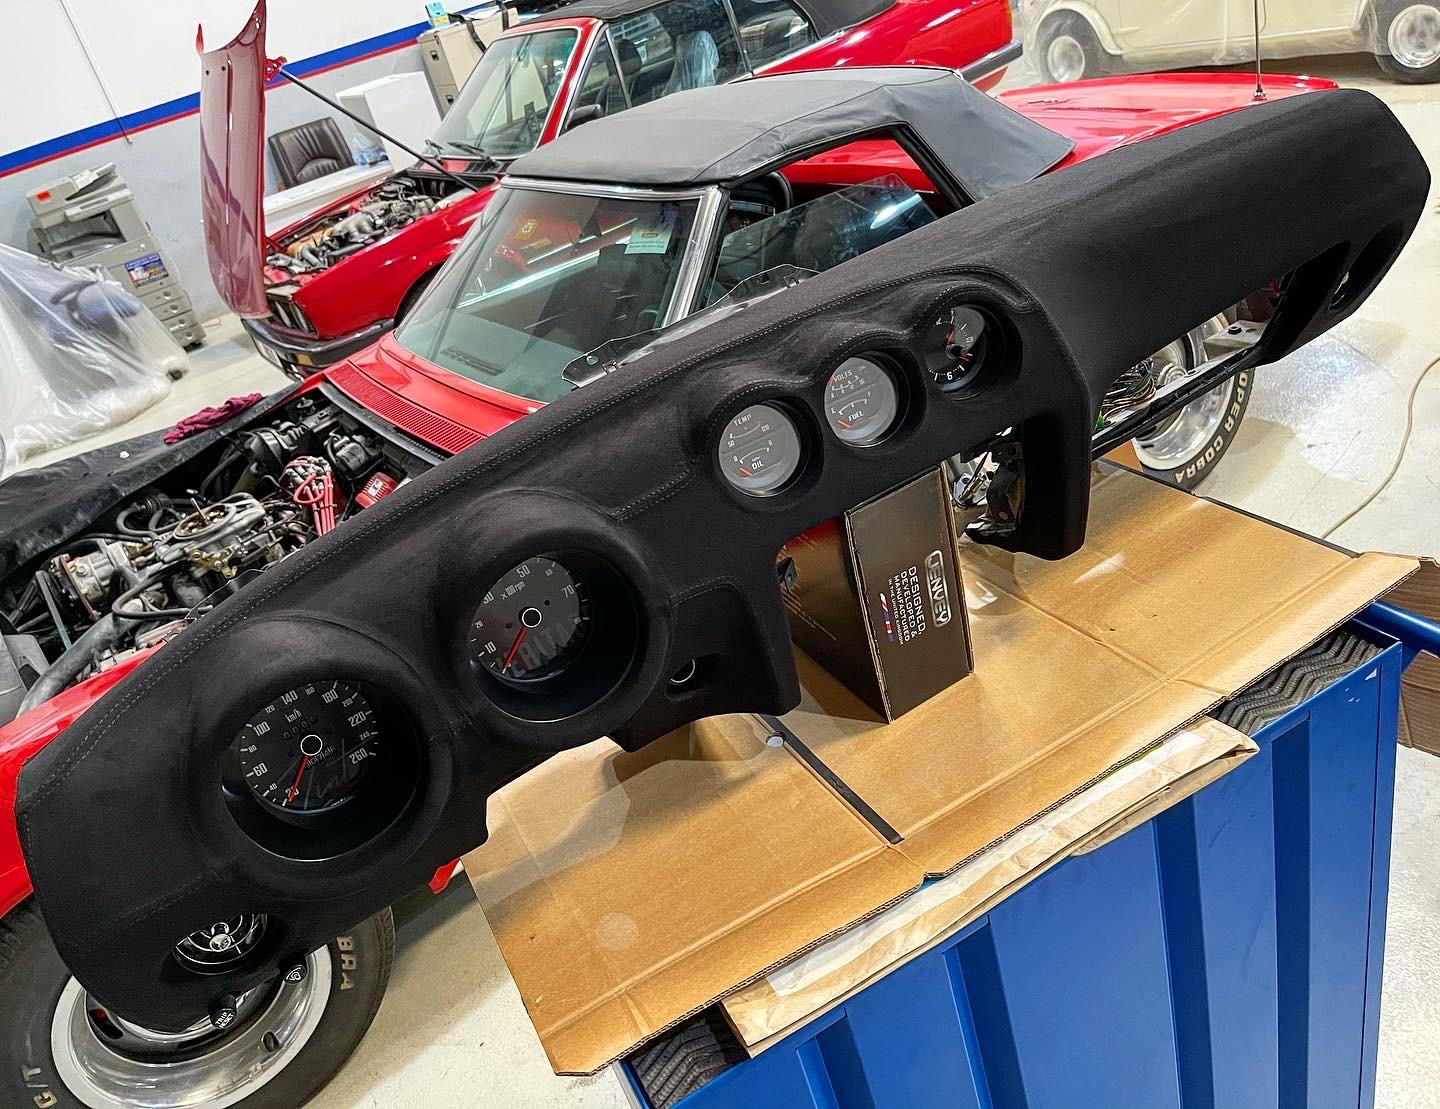
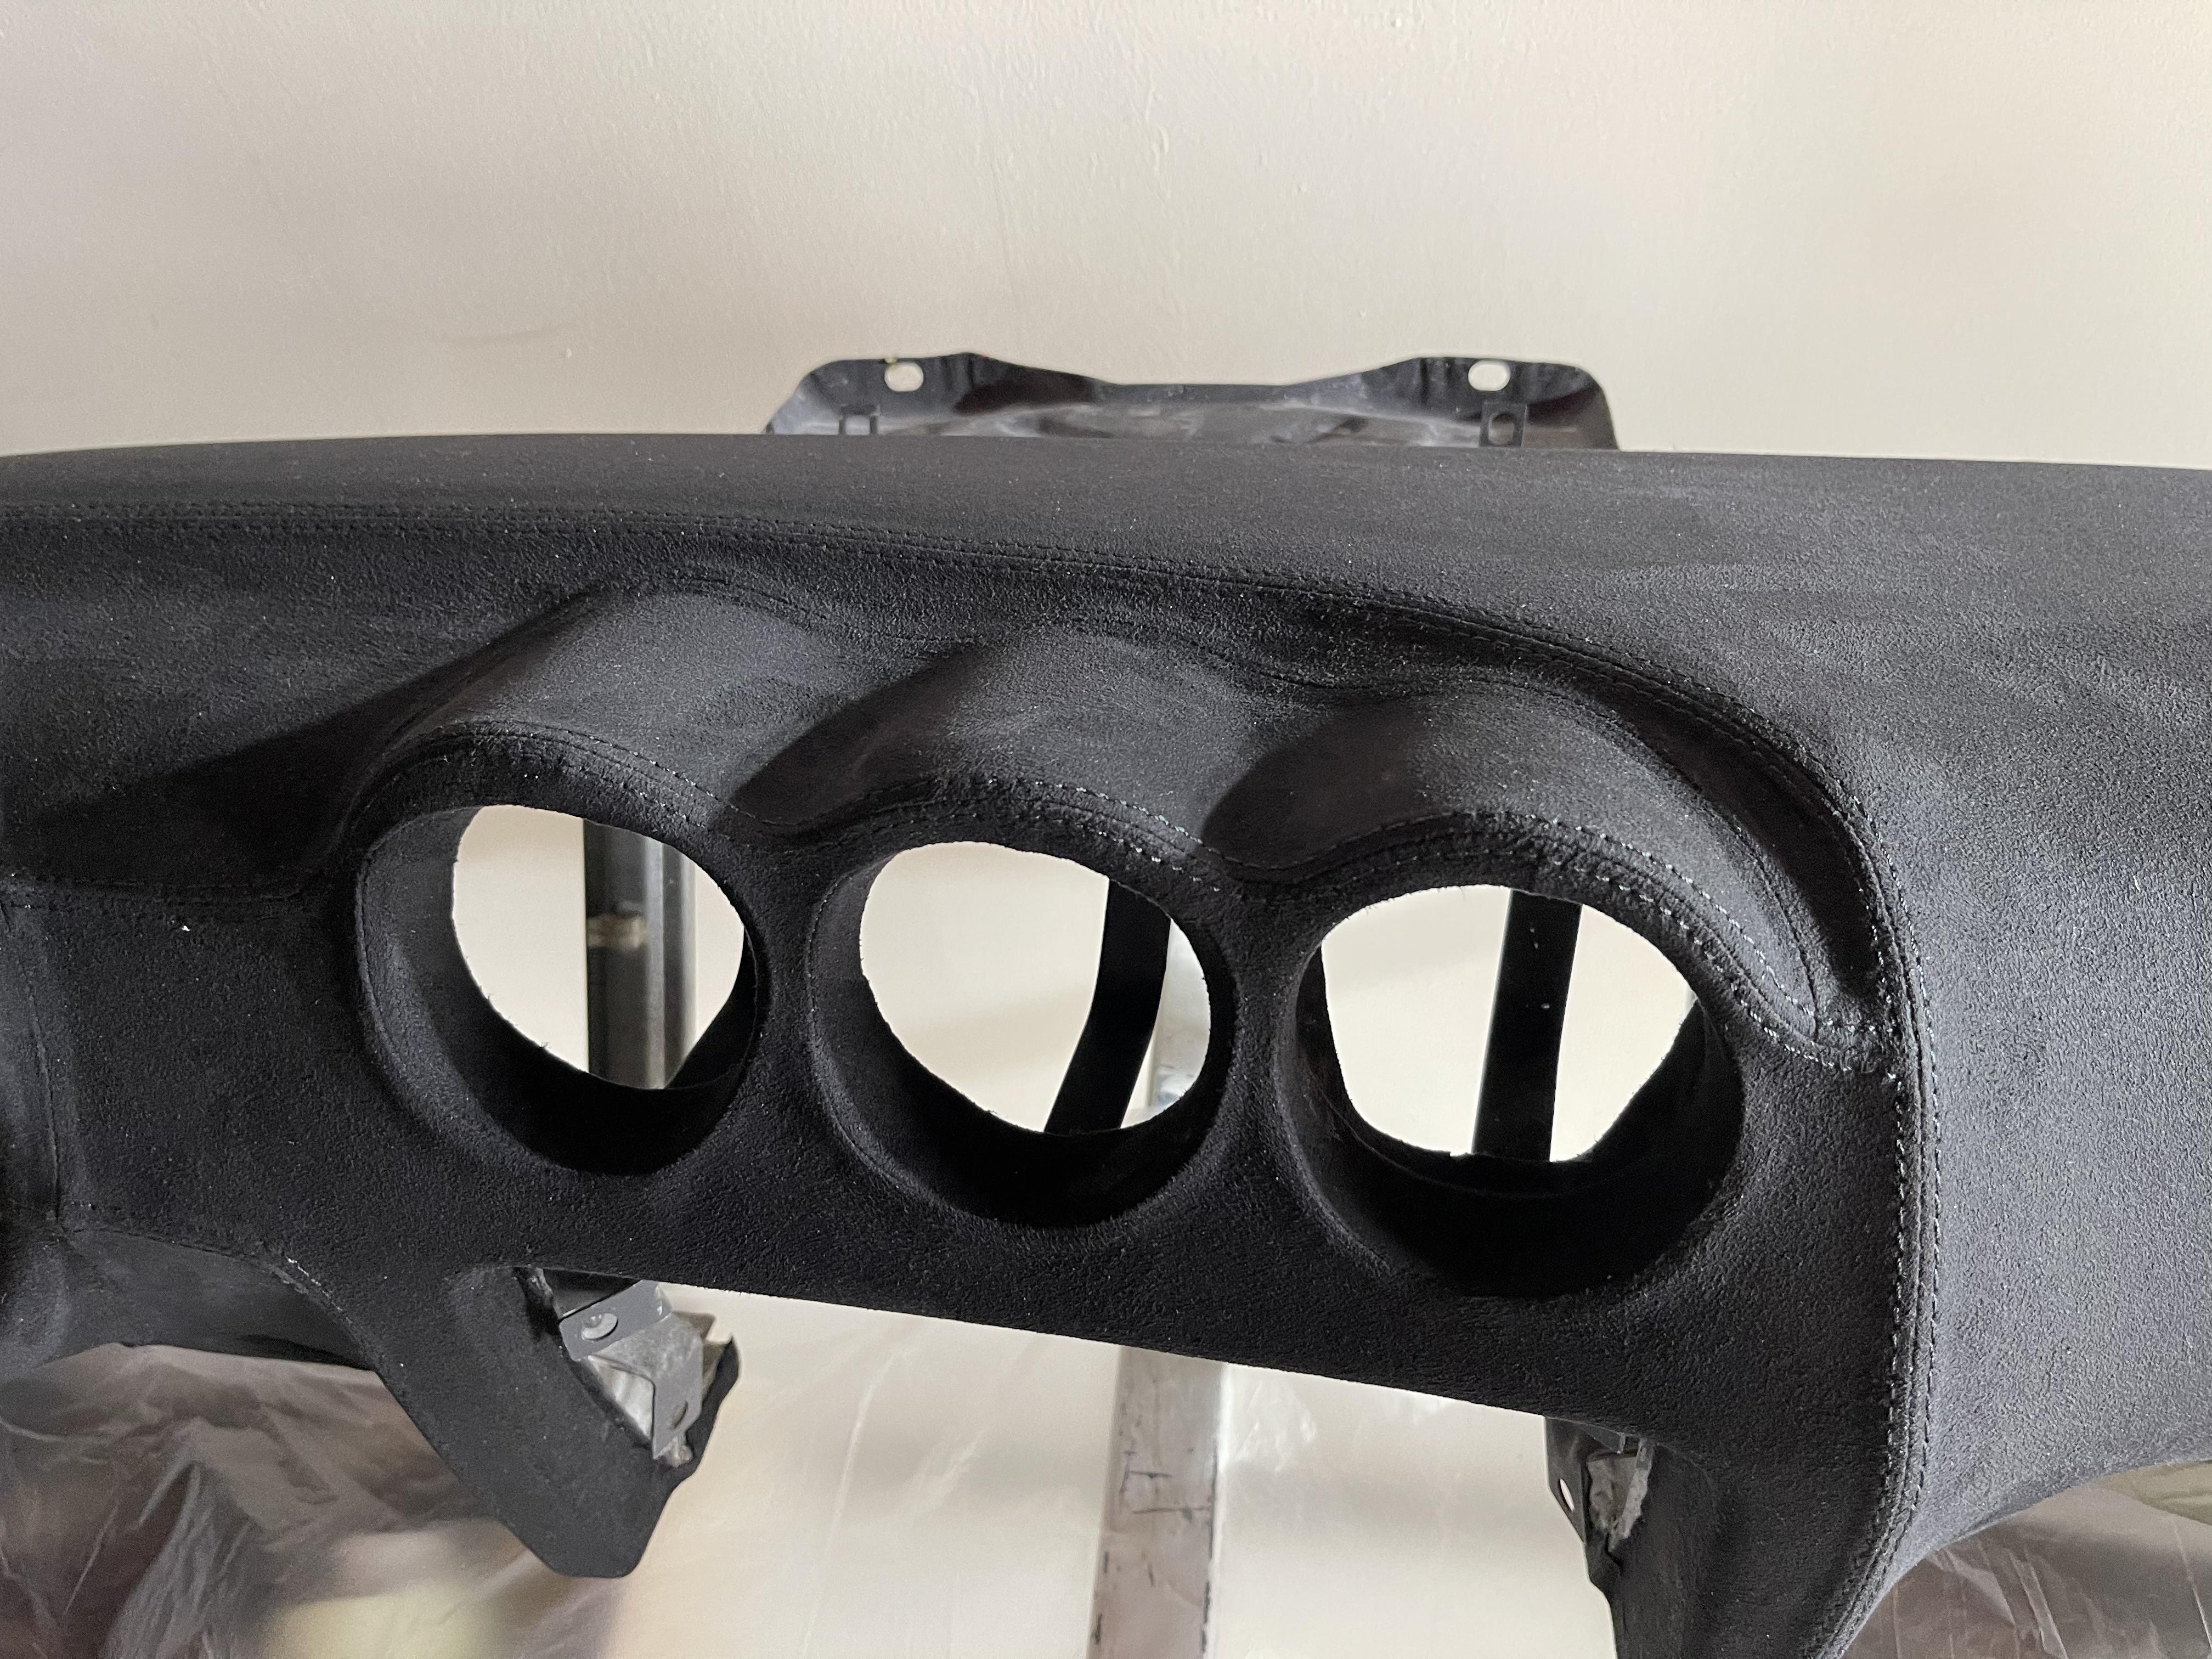
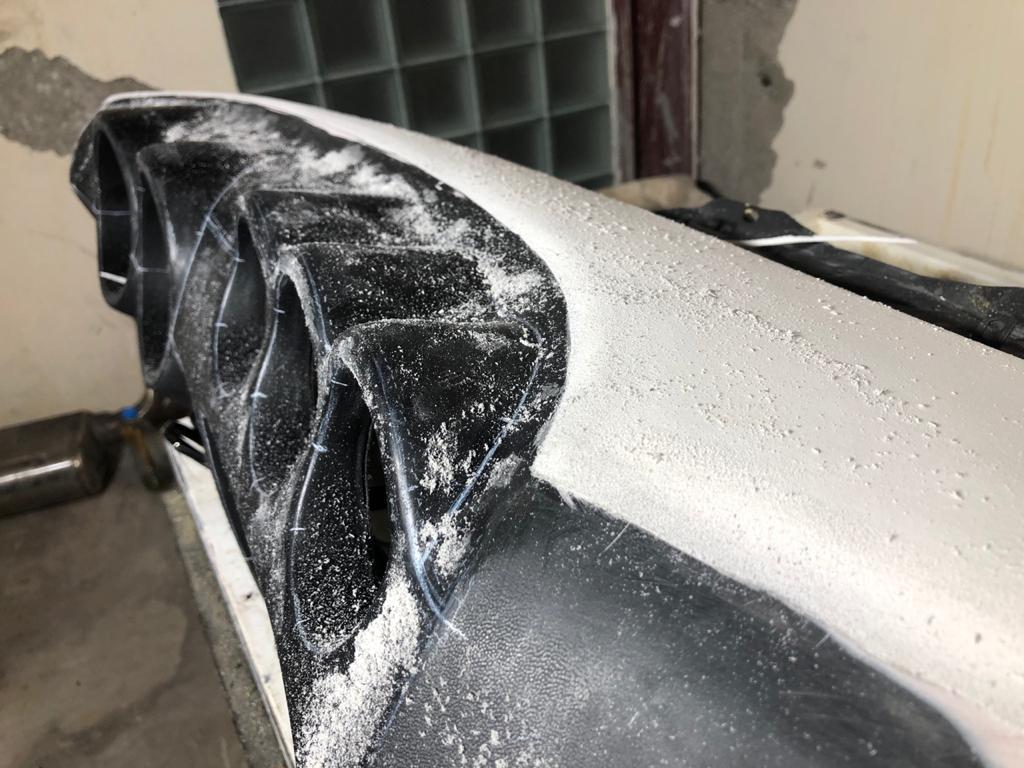
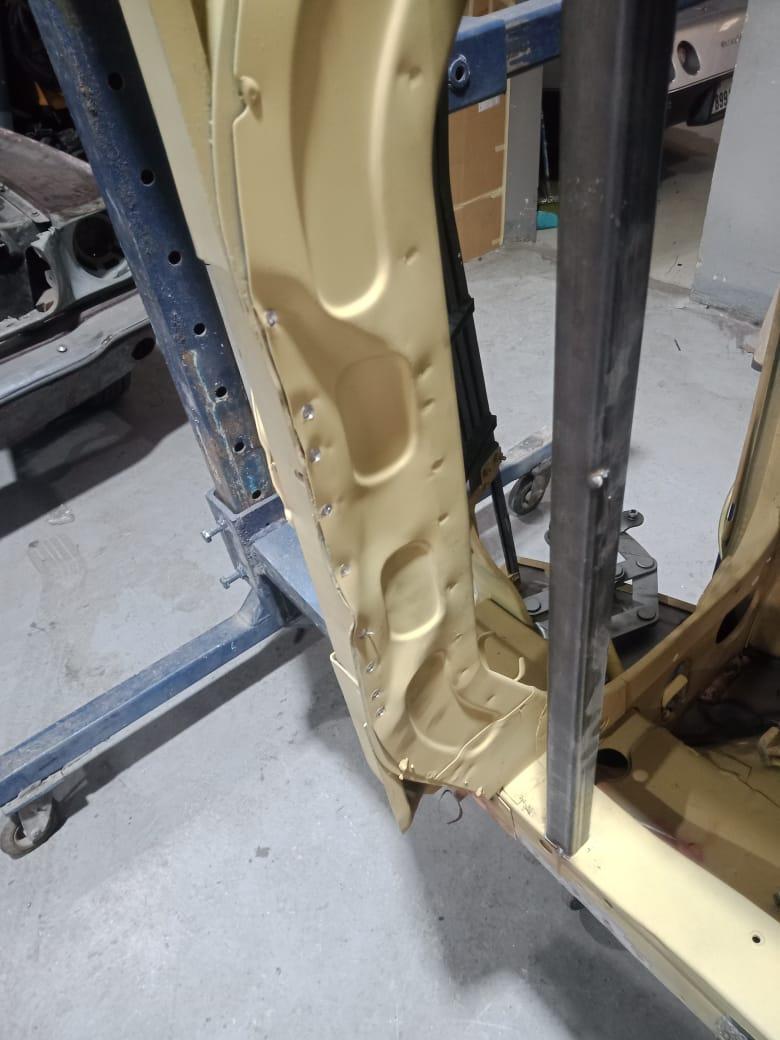
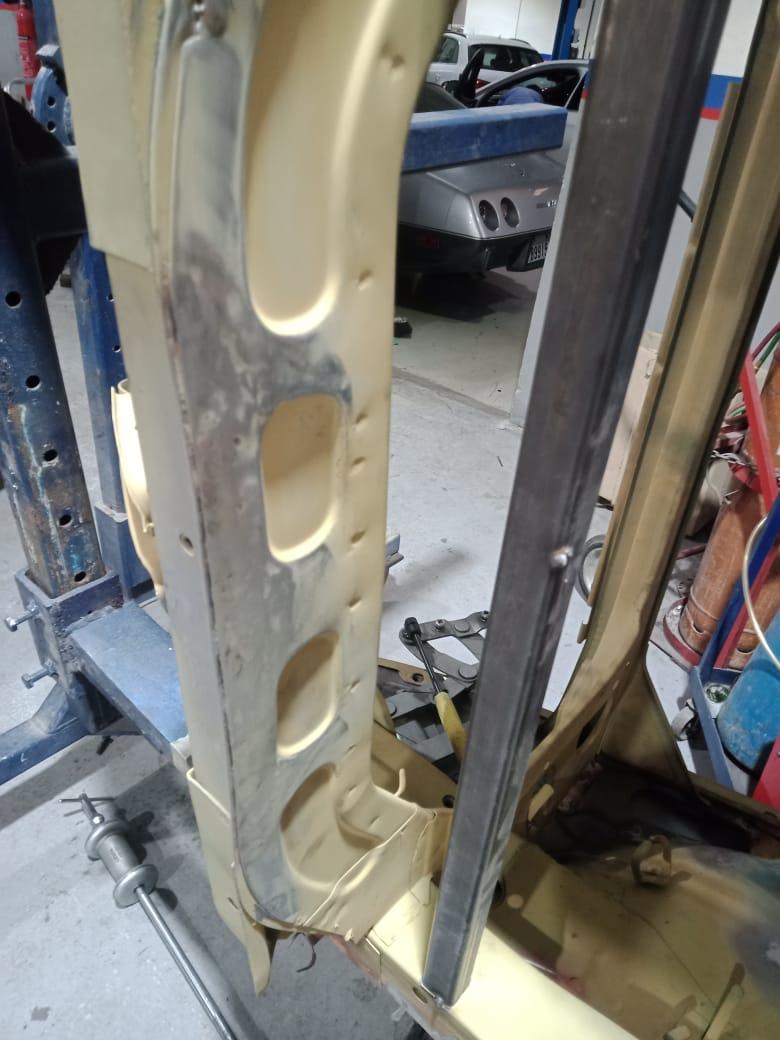
Hey Guys, been a while, busy with lot of work, but progress is great ! A little Before / After on the dashboard, safe to say I am extremely happy with with the result ! Added some soft foam on the top in an attempt to beat the distortion with the sun and heat here in Dubai, let's see once the car is on its wheels... Details on the gauges area (I will be remounting everything next week, the red needles are gonna be fire !) Central console received the same treatment. The Kenwood will be replaced obviously, still need to find with what... =D I might add a USB charger socket between defogger and Seat belt lights, and put 2 JBL bluetooth Charge 4 under the seats... They work in Stereo, have decent bass and are waterproof, so I can also reuse for pool party =D Last part of the body work is now over: deleting the barbaric speakers openings... (still trying to fine an AGM battery similar to Braille 2015 to put inside passenger compartment, impossible to get them here...) Fixing the front lower frame: Front and rear bumpers (240z style) had all the holes filled up and are also adjusted closer to the car body, they will be painted black with gold metallic chips. Engine bay cleaned up, the car is now getting ready for paint, the old seam seals removed, new seam seals, epoxy paint, under carriage rock protection and painting planned for next week. Next week will also start the engine care: finish the cleaning, painting of the block, head, valve cover and oil pan, replacement timing chain, alternator, water pump, all gaskets and seals !
.thumb.jpg.4b8b6fe58378250656aa269d6c8d63d6.jpg)


.thumb.jpg.85c9fa28bbf7f7df20e4d6d03c574ce9.jpg)
.thumb.jpg.ba6fc441a2d171728ad2752f341f6572.jpg)
.thumb.jpg.fd080936b31870941136dfa305a15455.jpg)


-
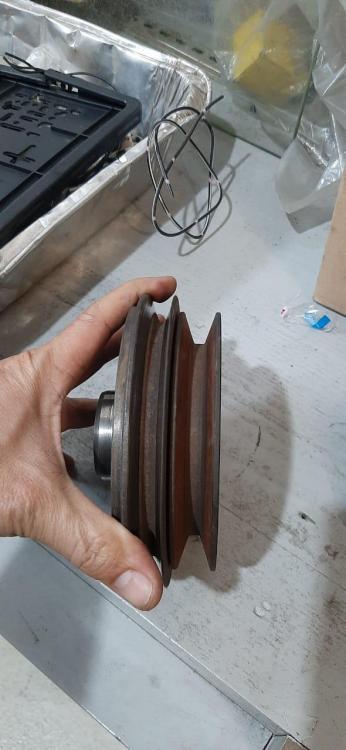
The car A/C was removed in 2008 and at the moment no stock pulley are available apparently, so I decided to got with an ATI harmonic Damper. If I eventually reinstall the AC I will get a pulley with double grove or study further a rebuilt (thanks for the idea), but shipping to US + rebuild + shipping to Dubai would probably cost more than a new one again...
-
Nice rivet design ! Glad I can contribute in a way to help others ! Also super happy with the results ! Gotta say I was majorly inspired by Singer, but especially here in the sand pit, your butt/back eventually sweats a lot on leather seats, so fabric+rivets are an attempt to reduce this.
-
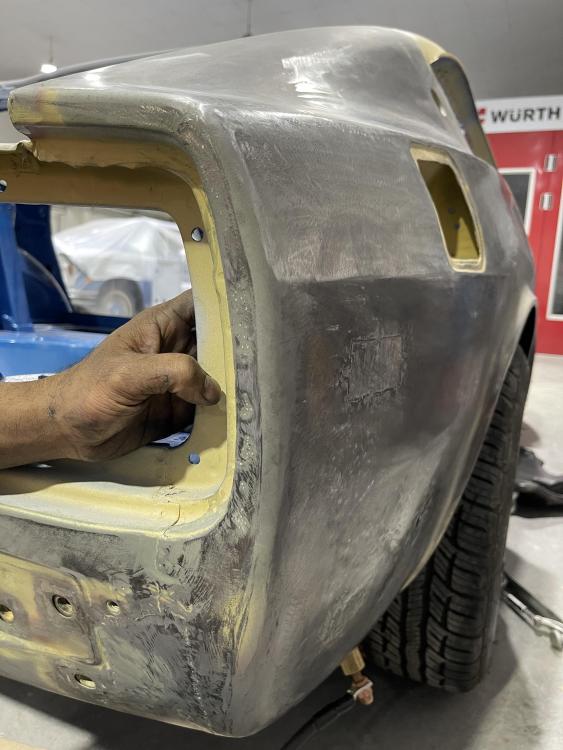
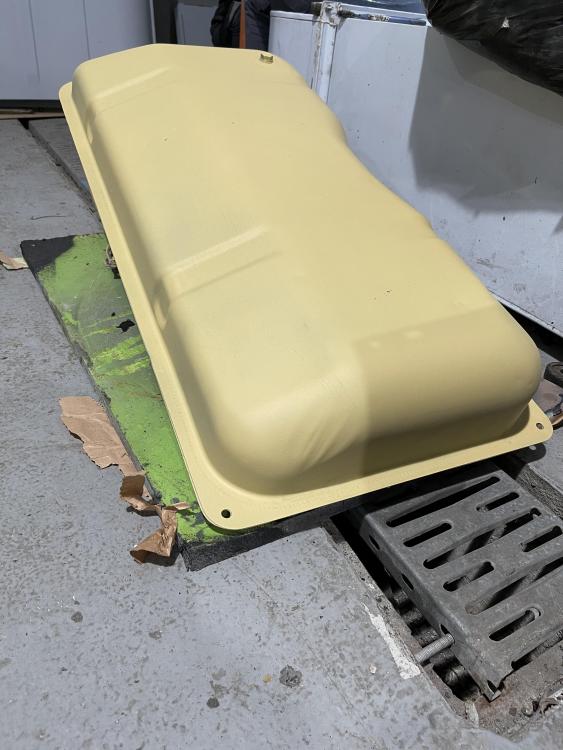
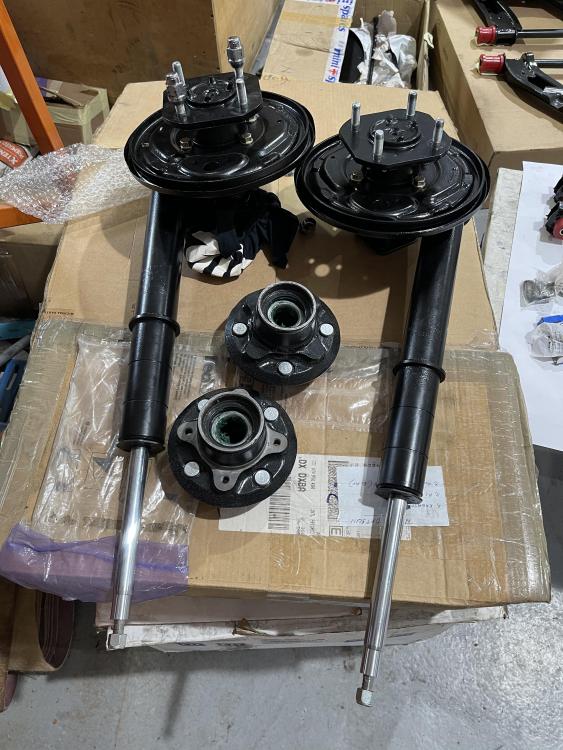
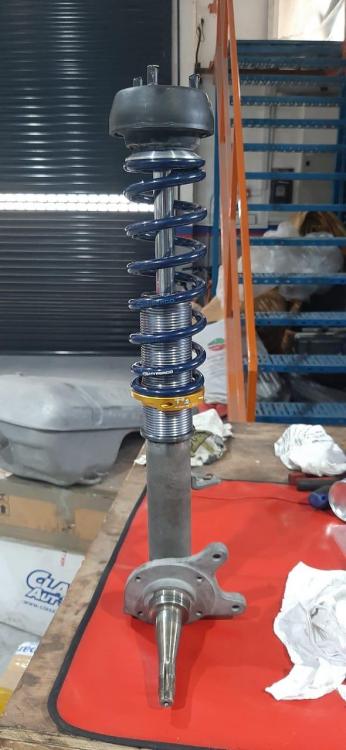
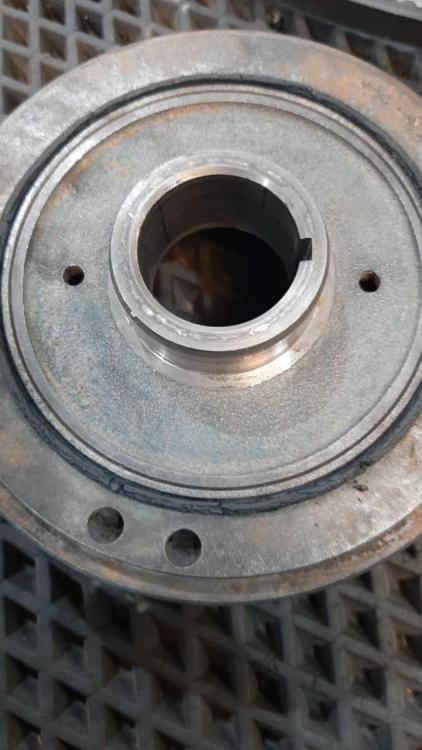
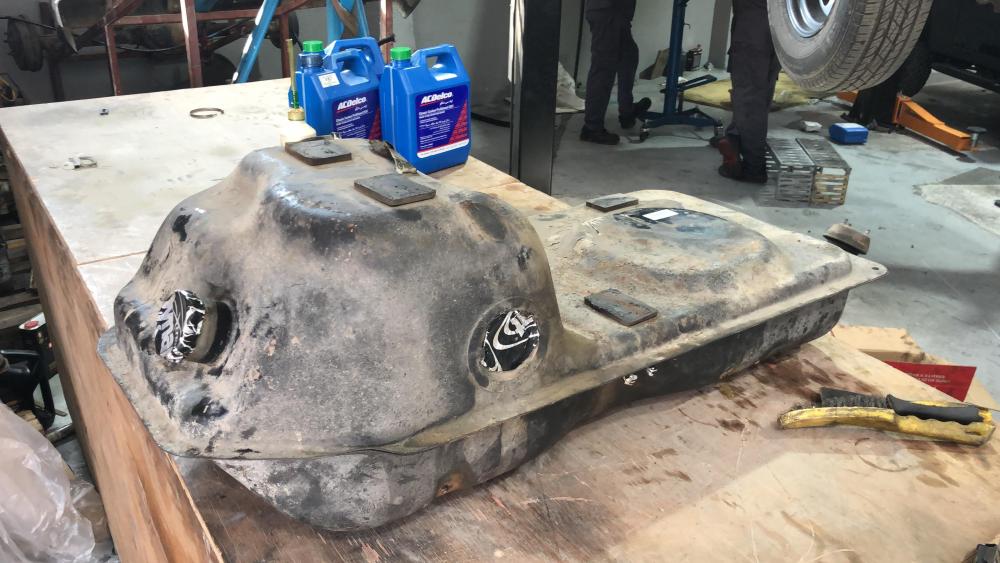
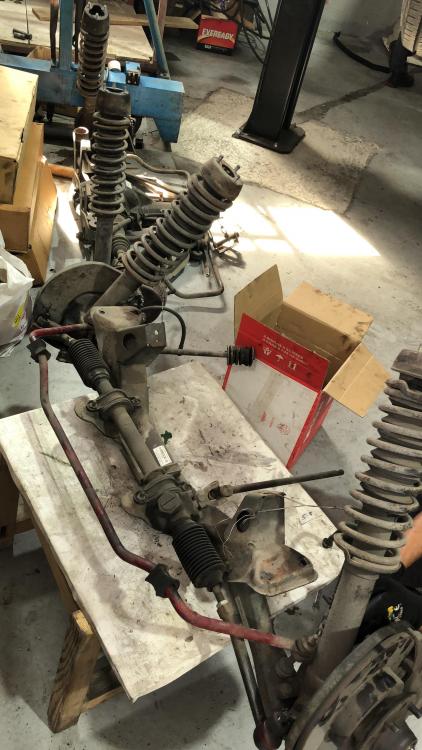
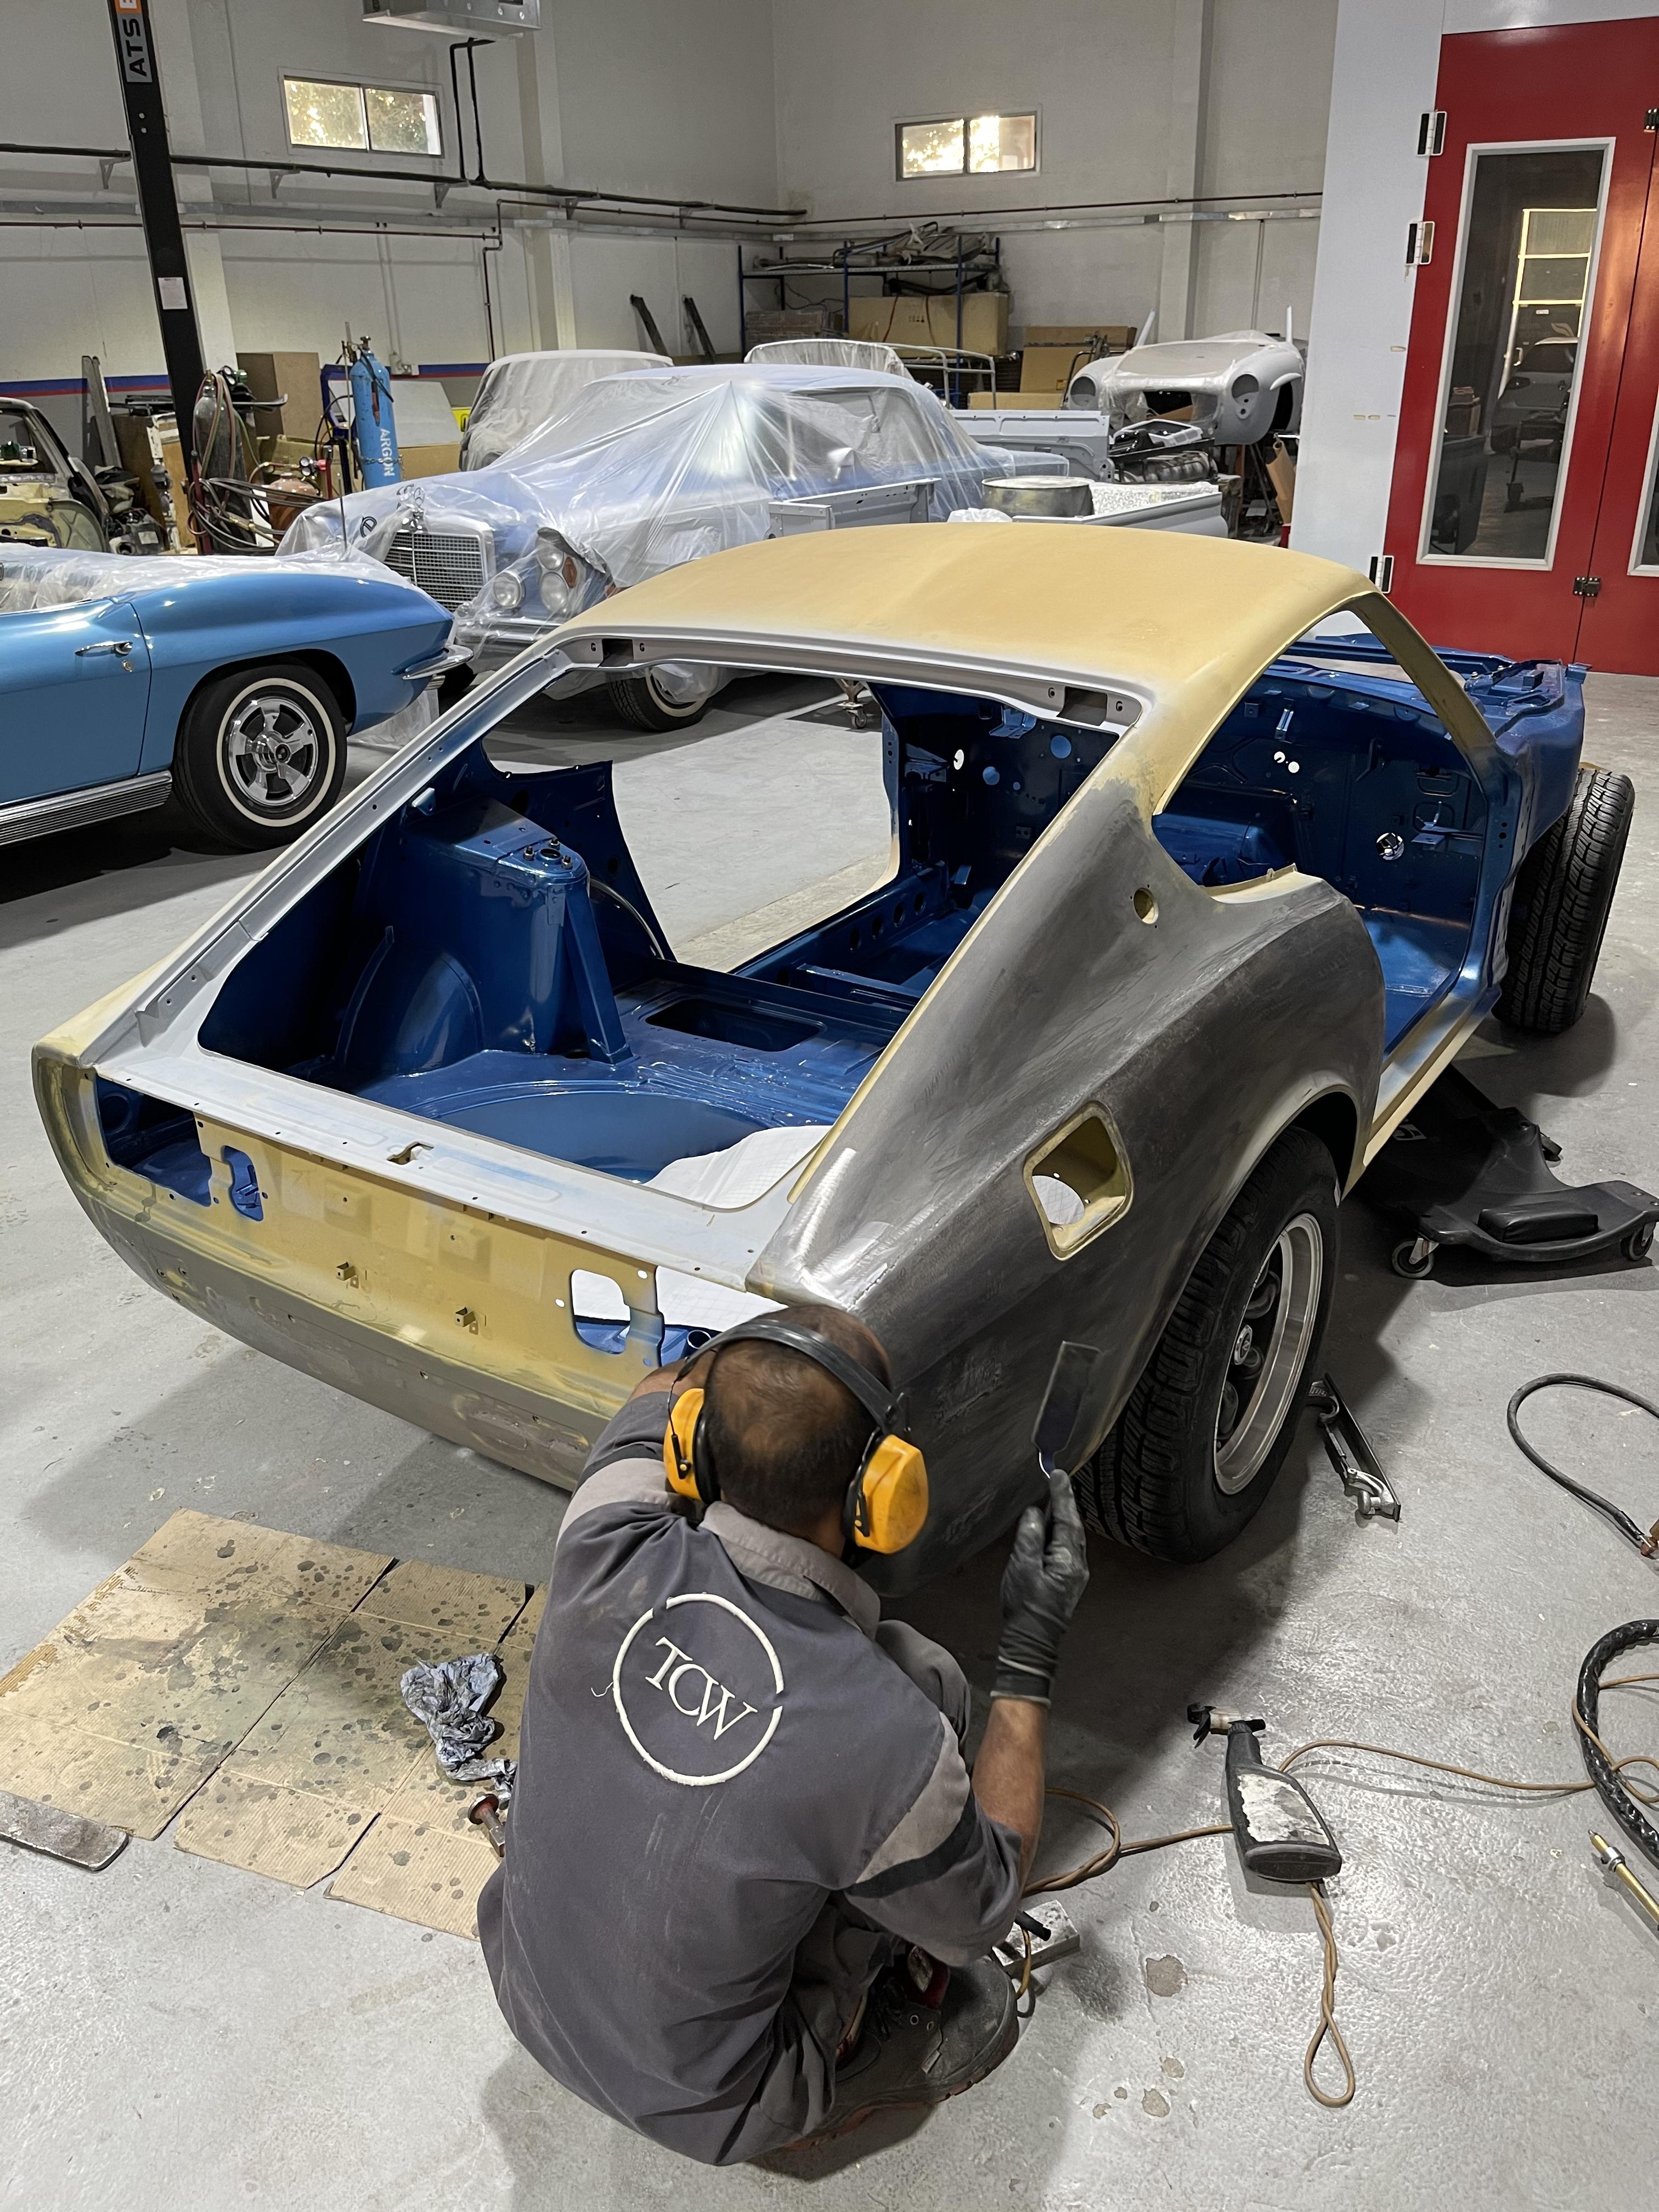
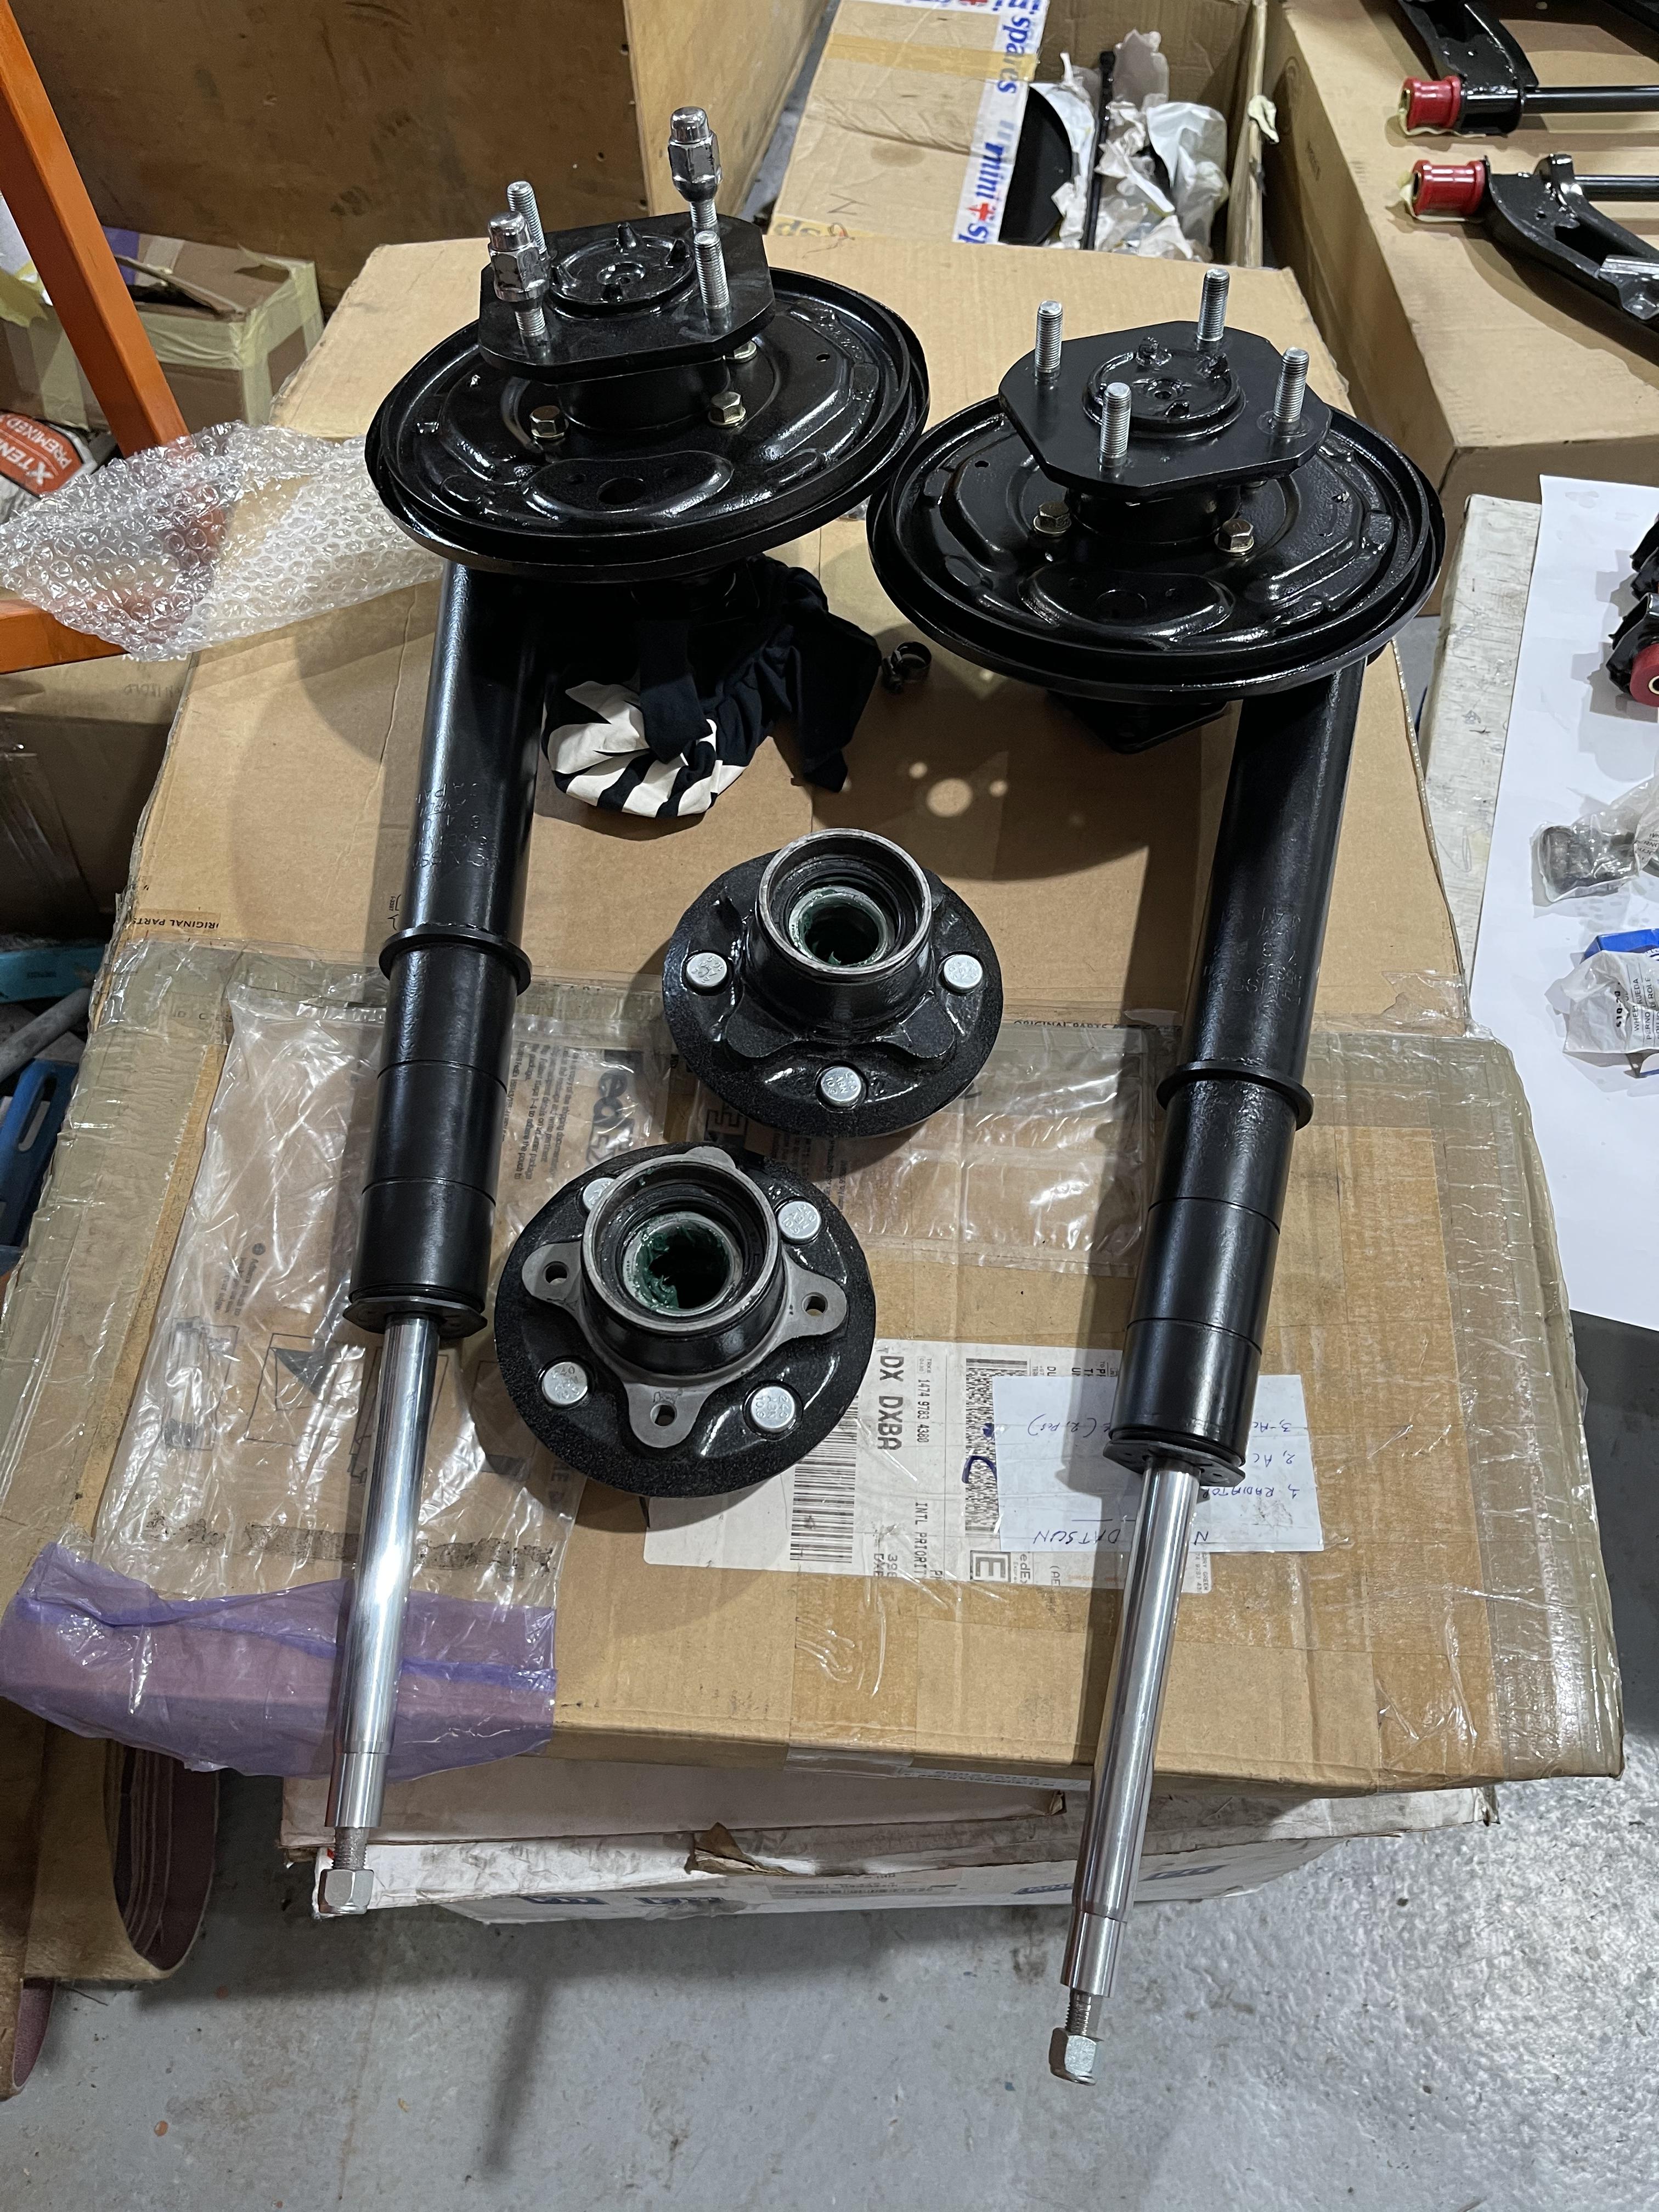
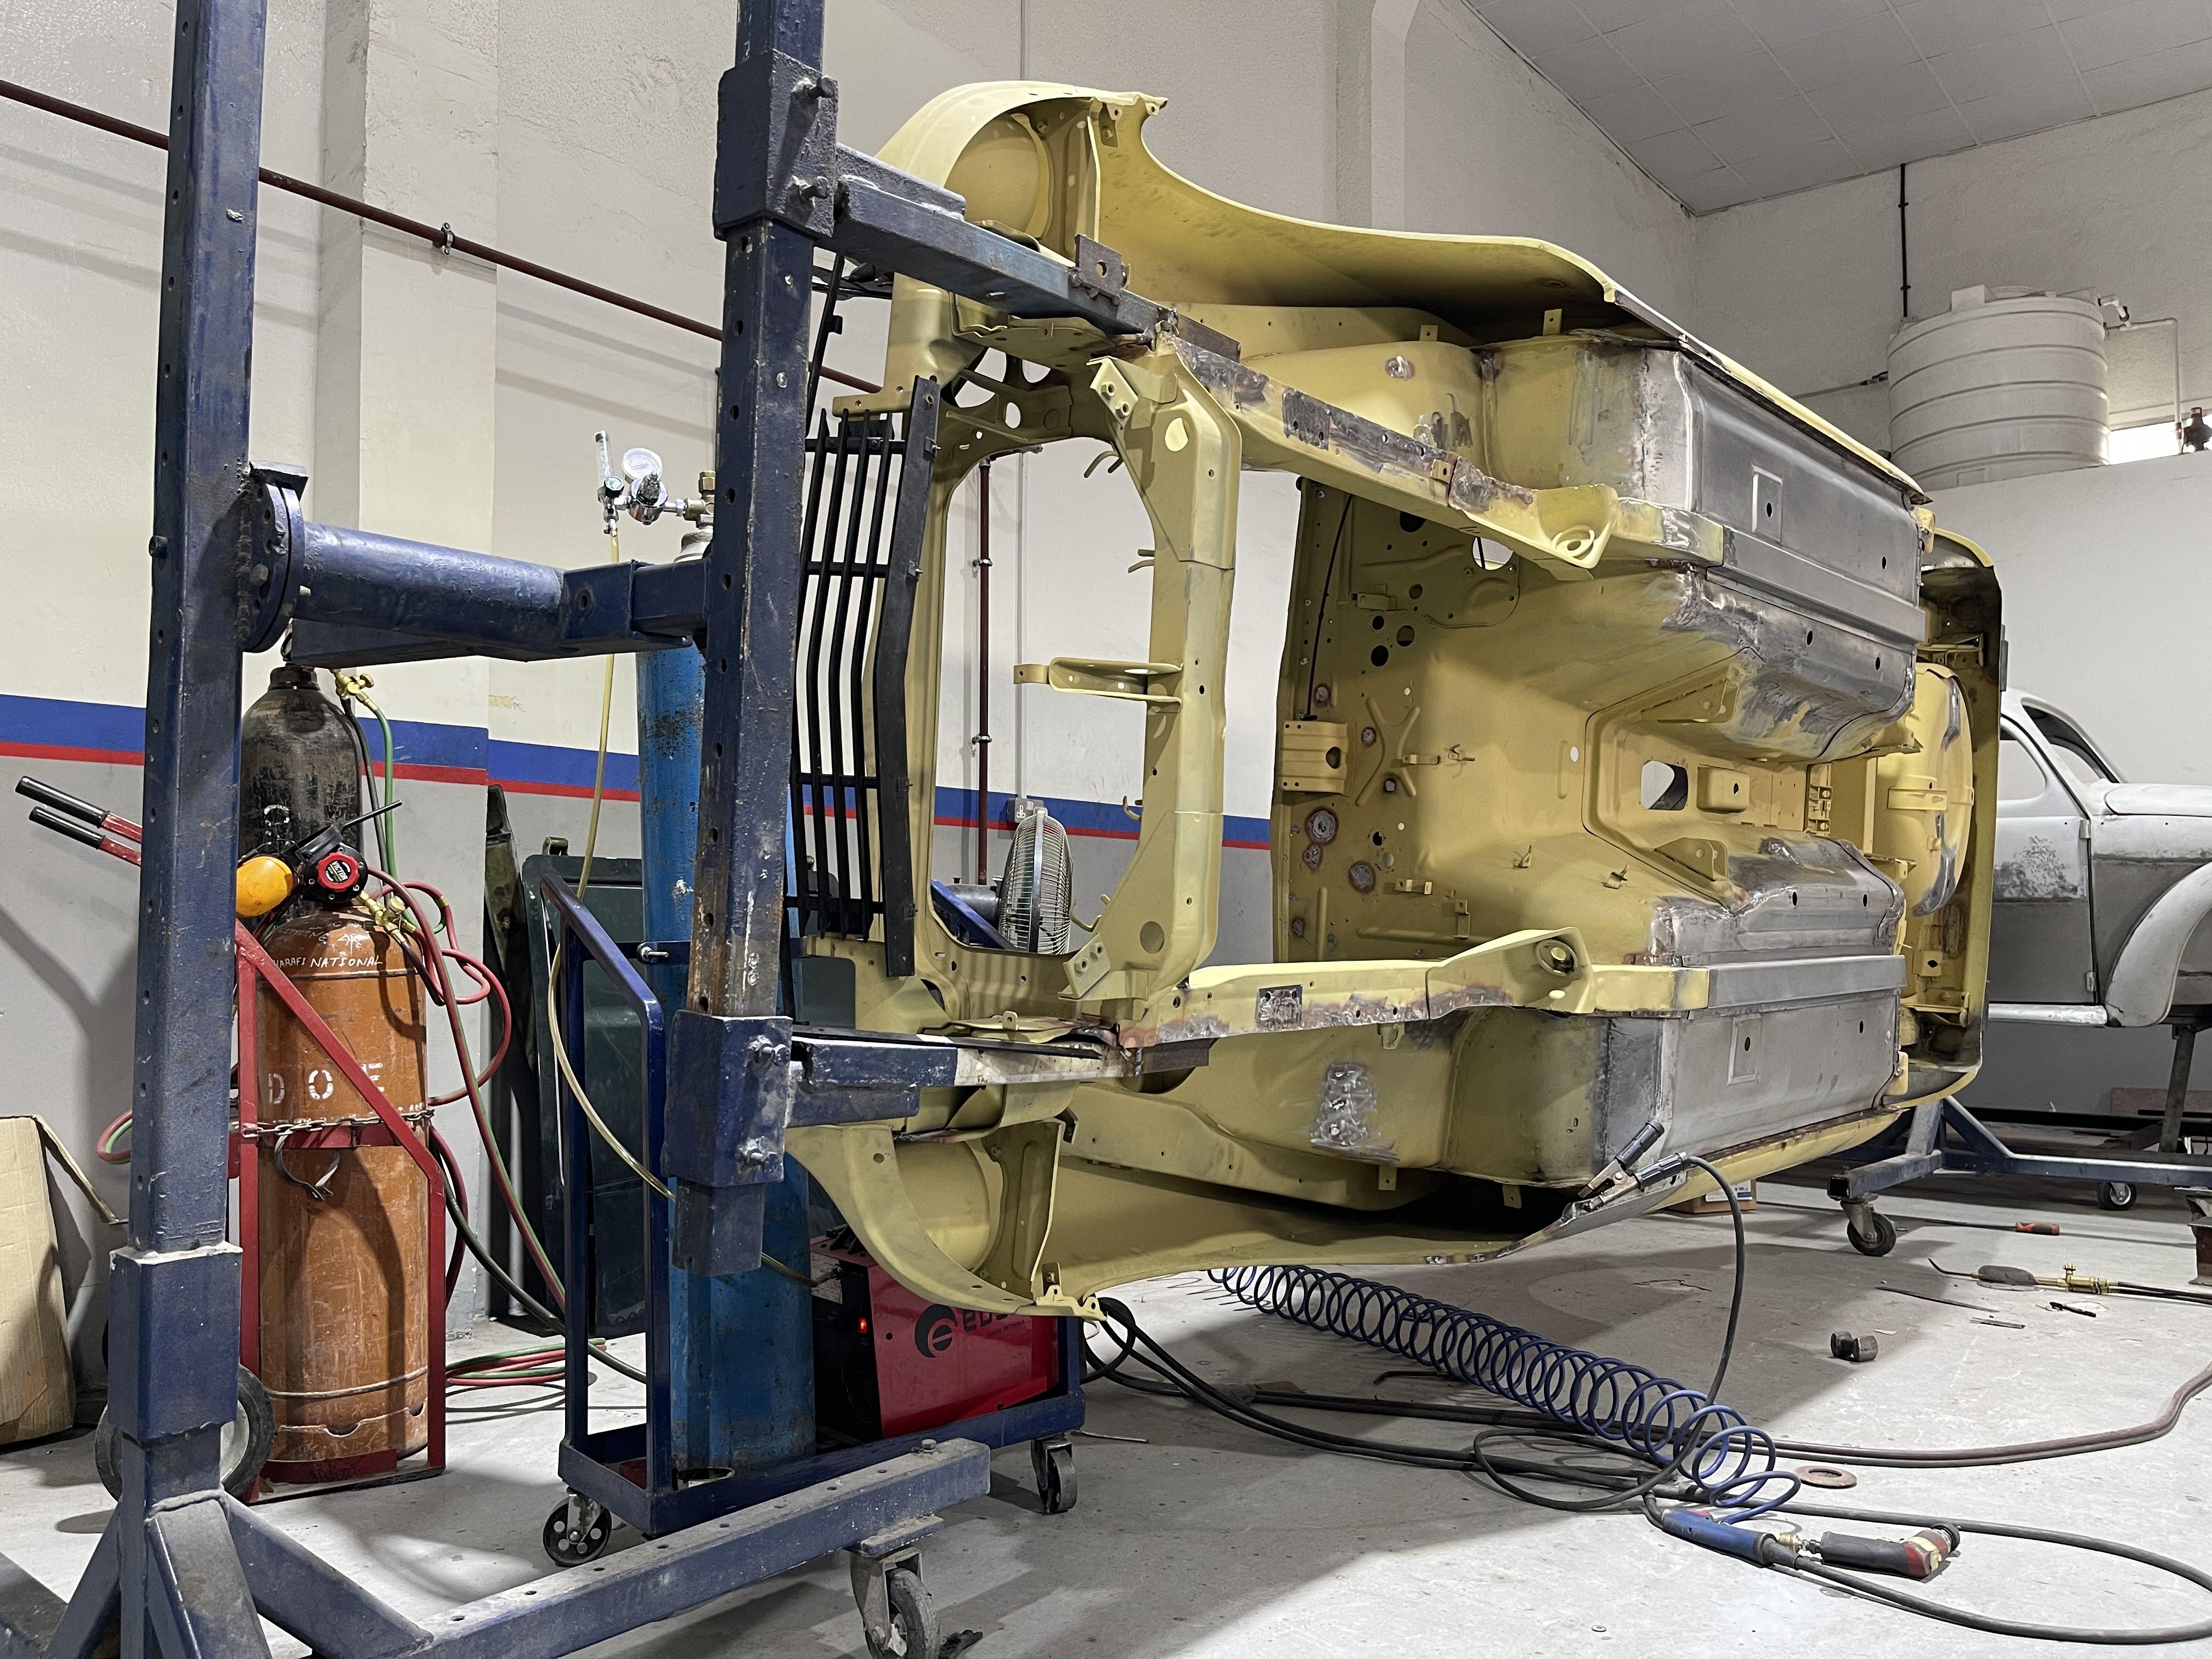
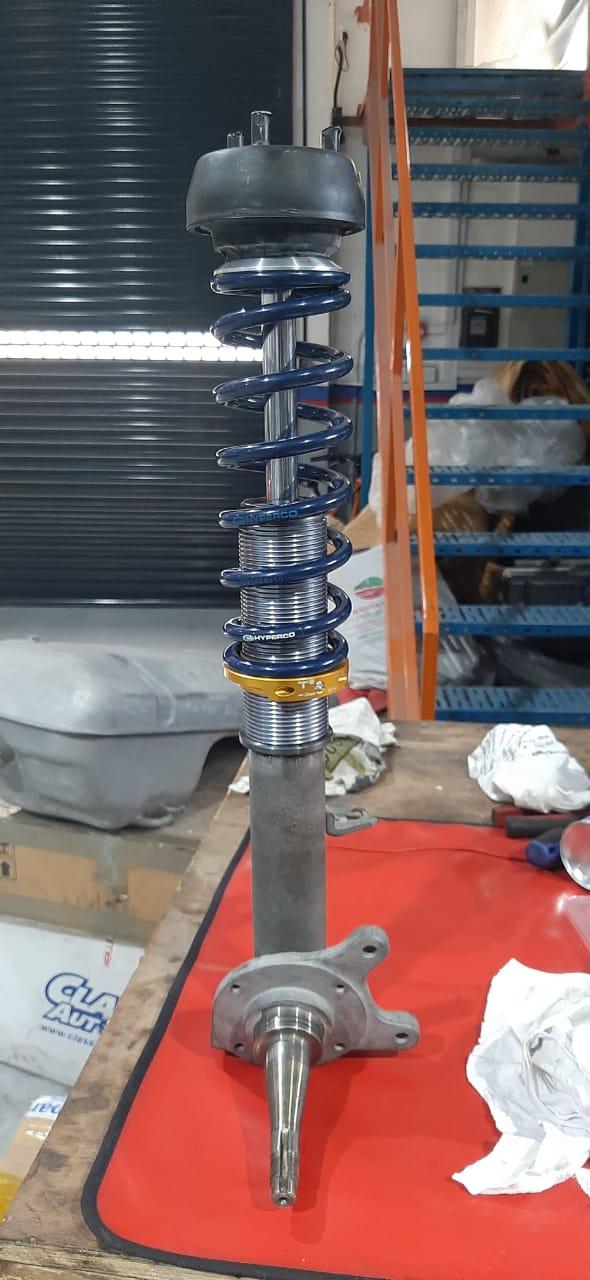
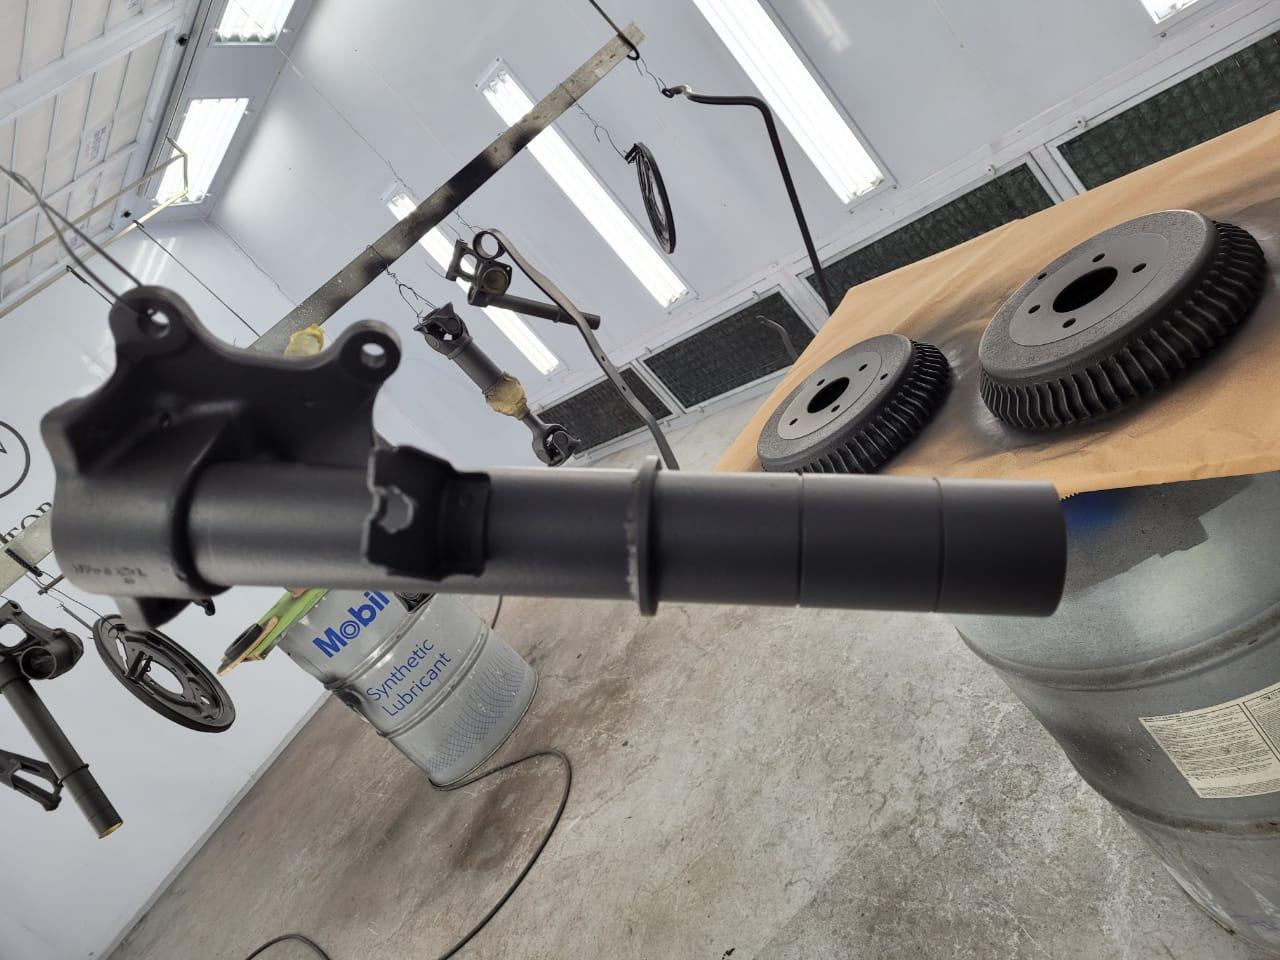
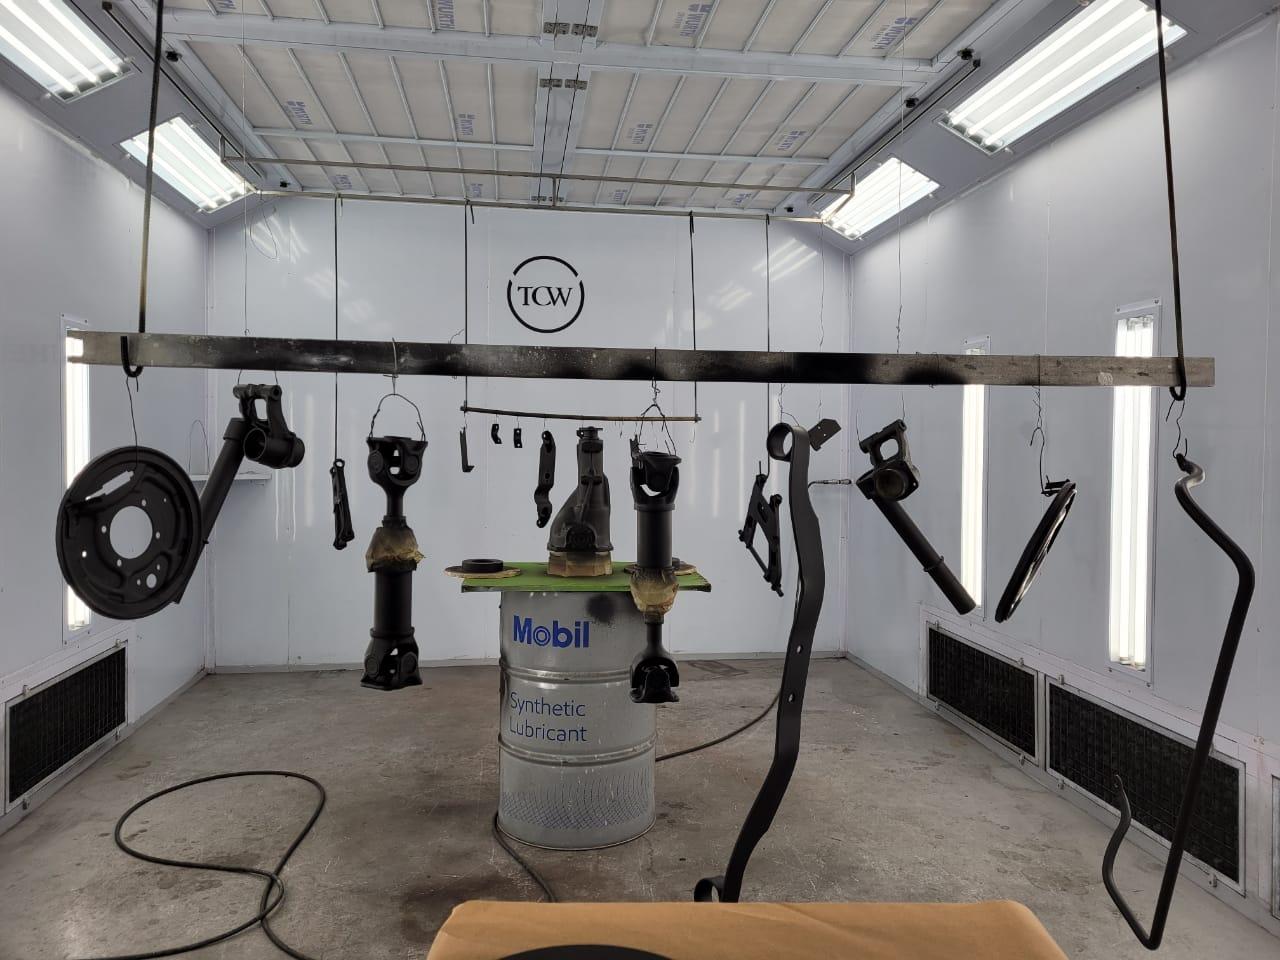
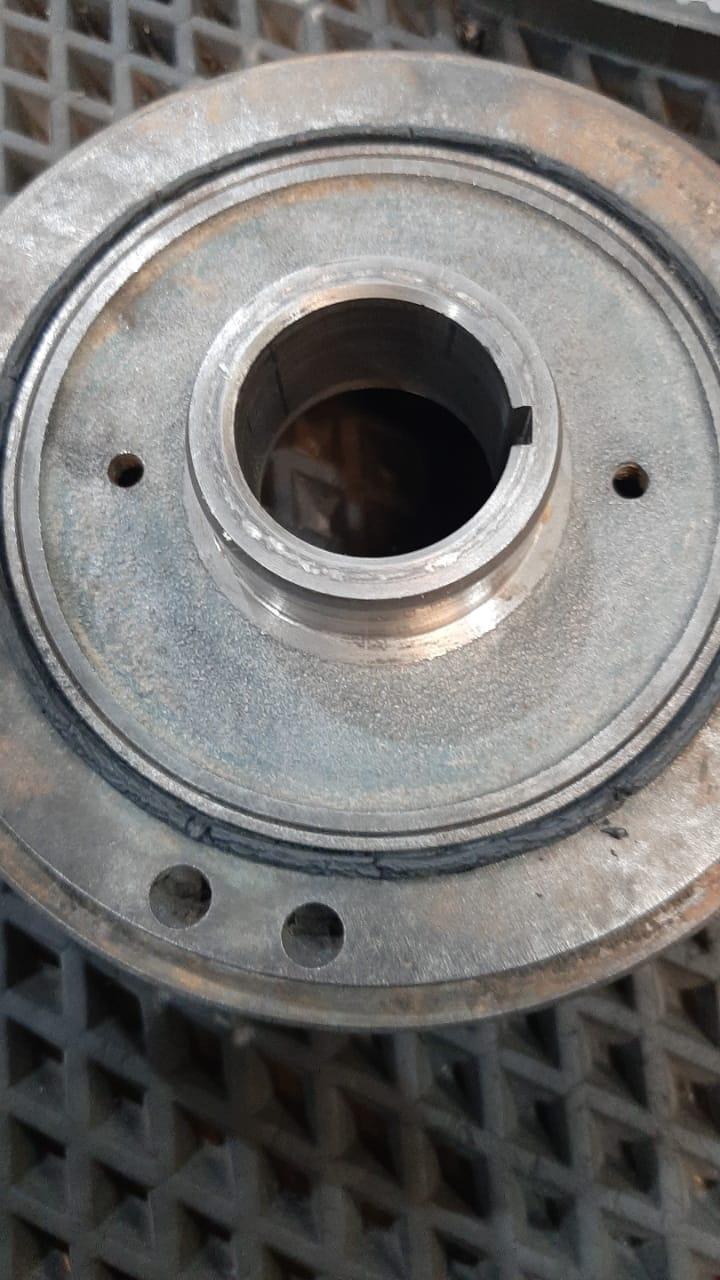
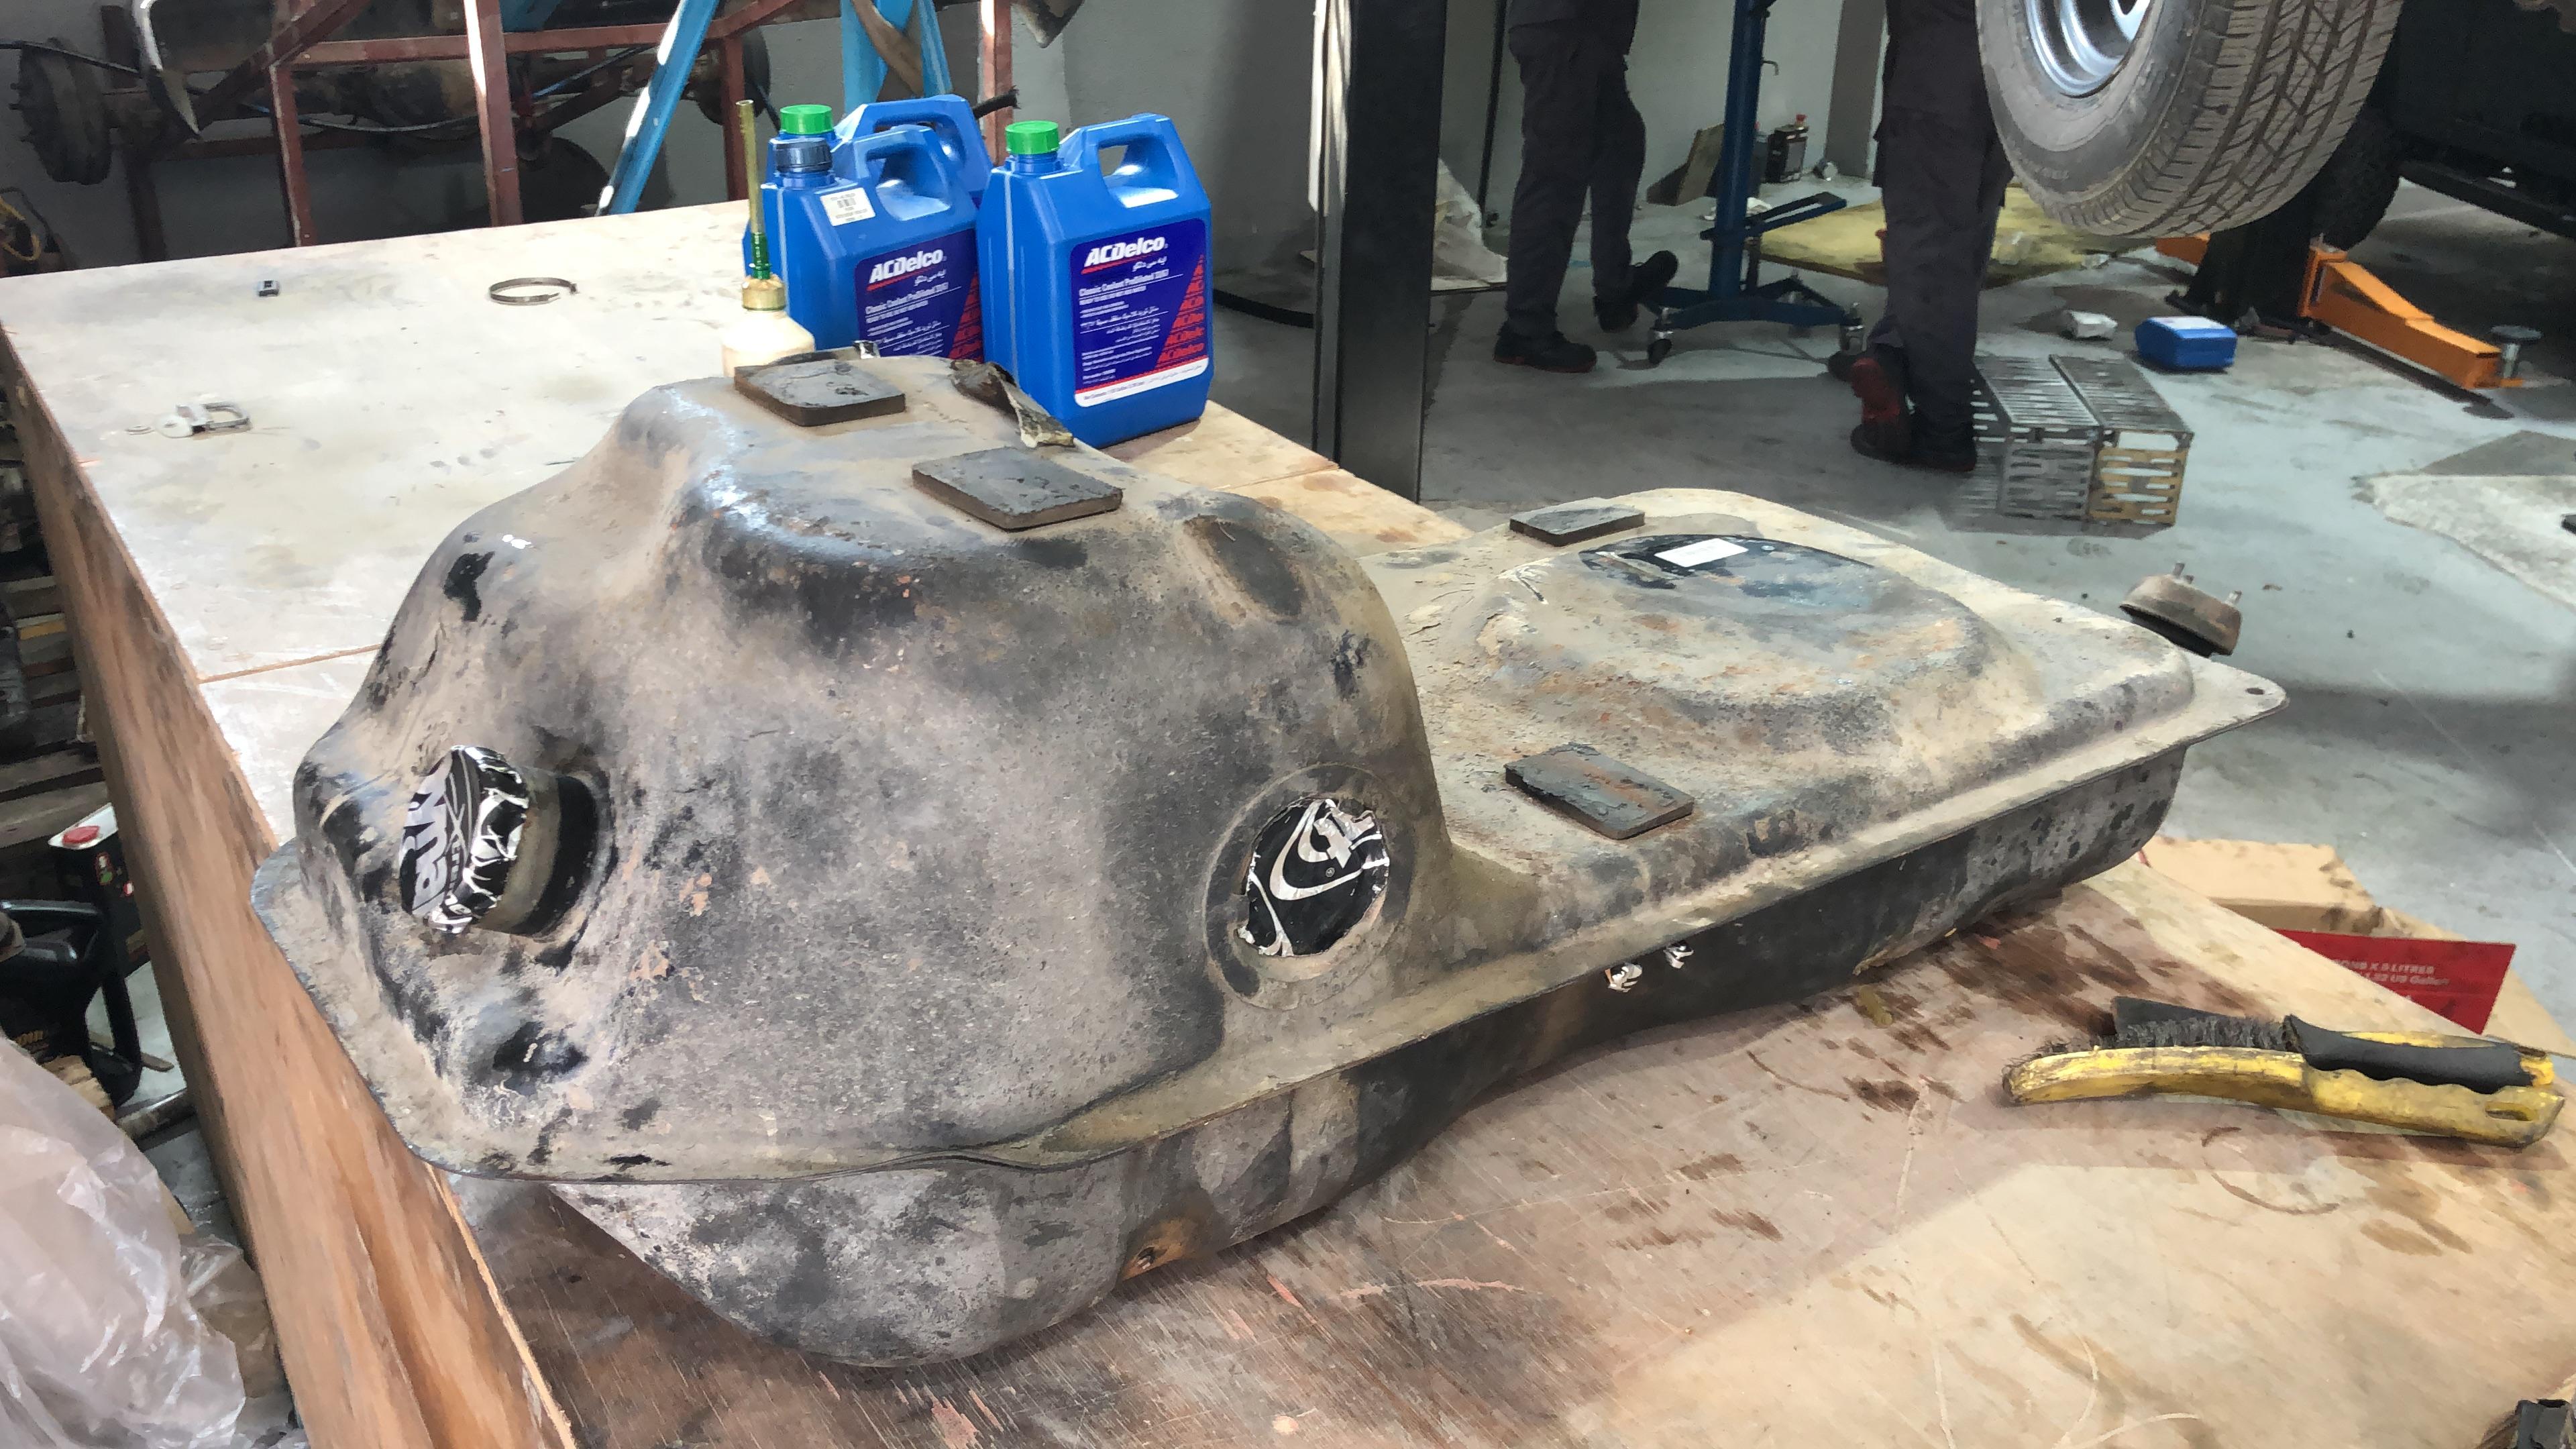
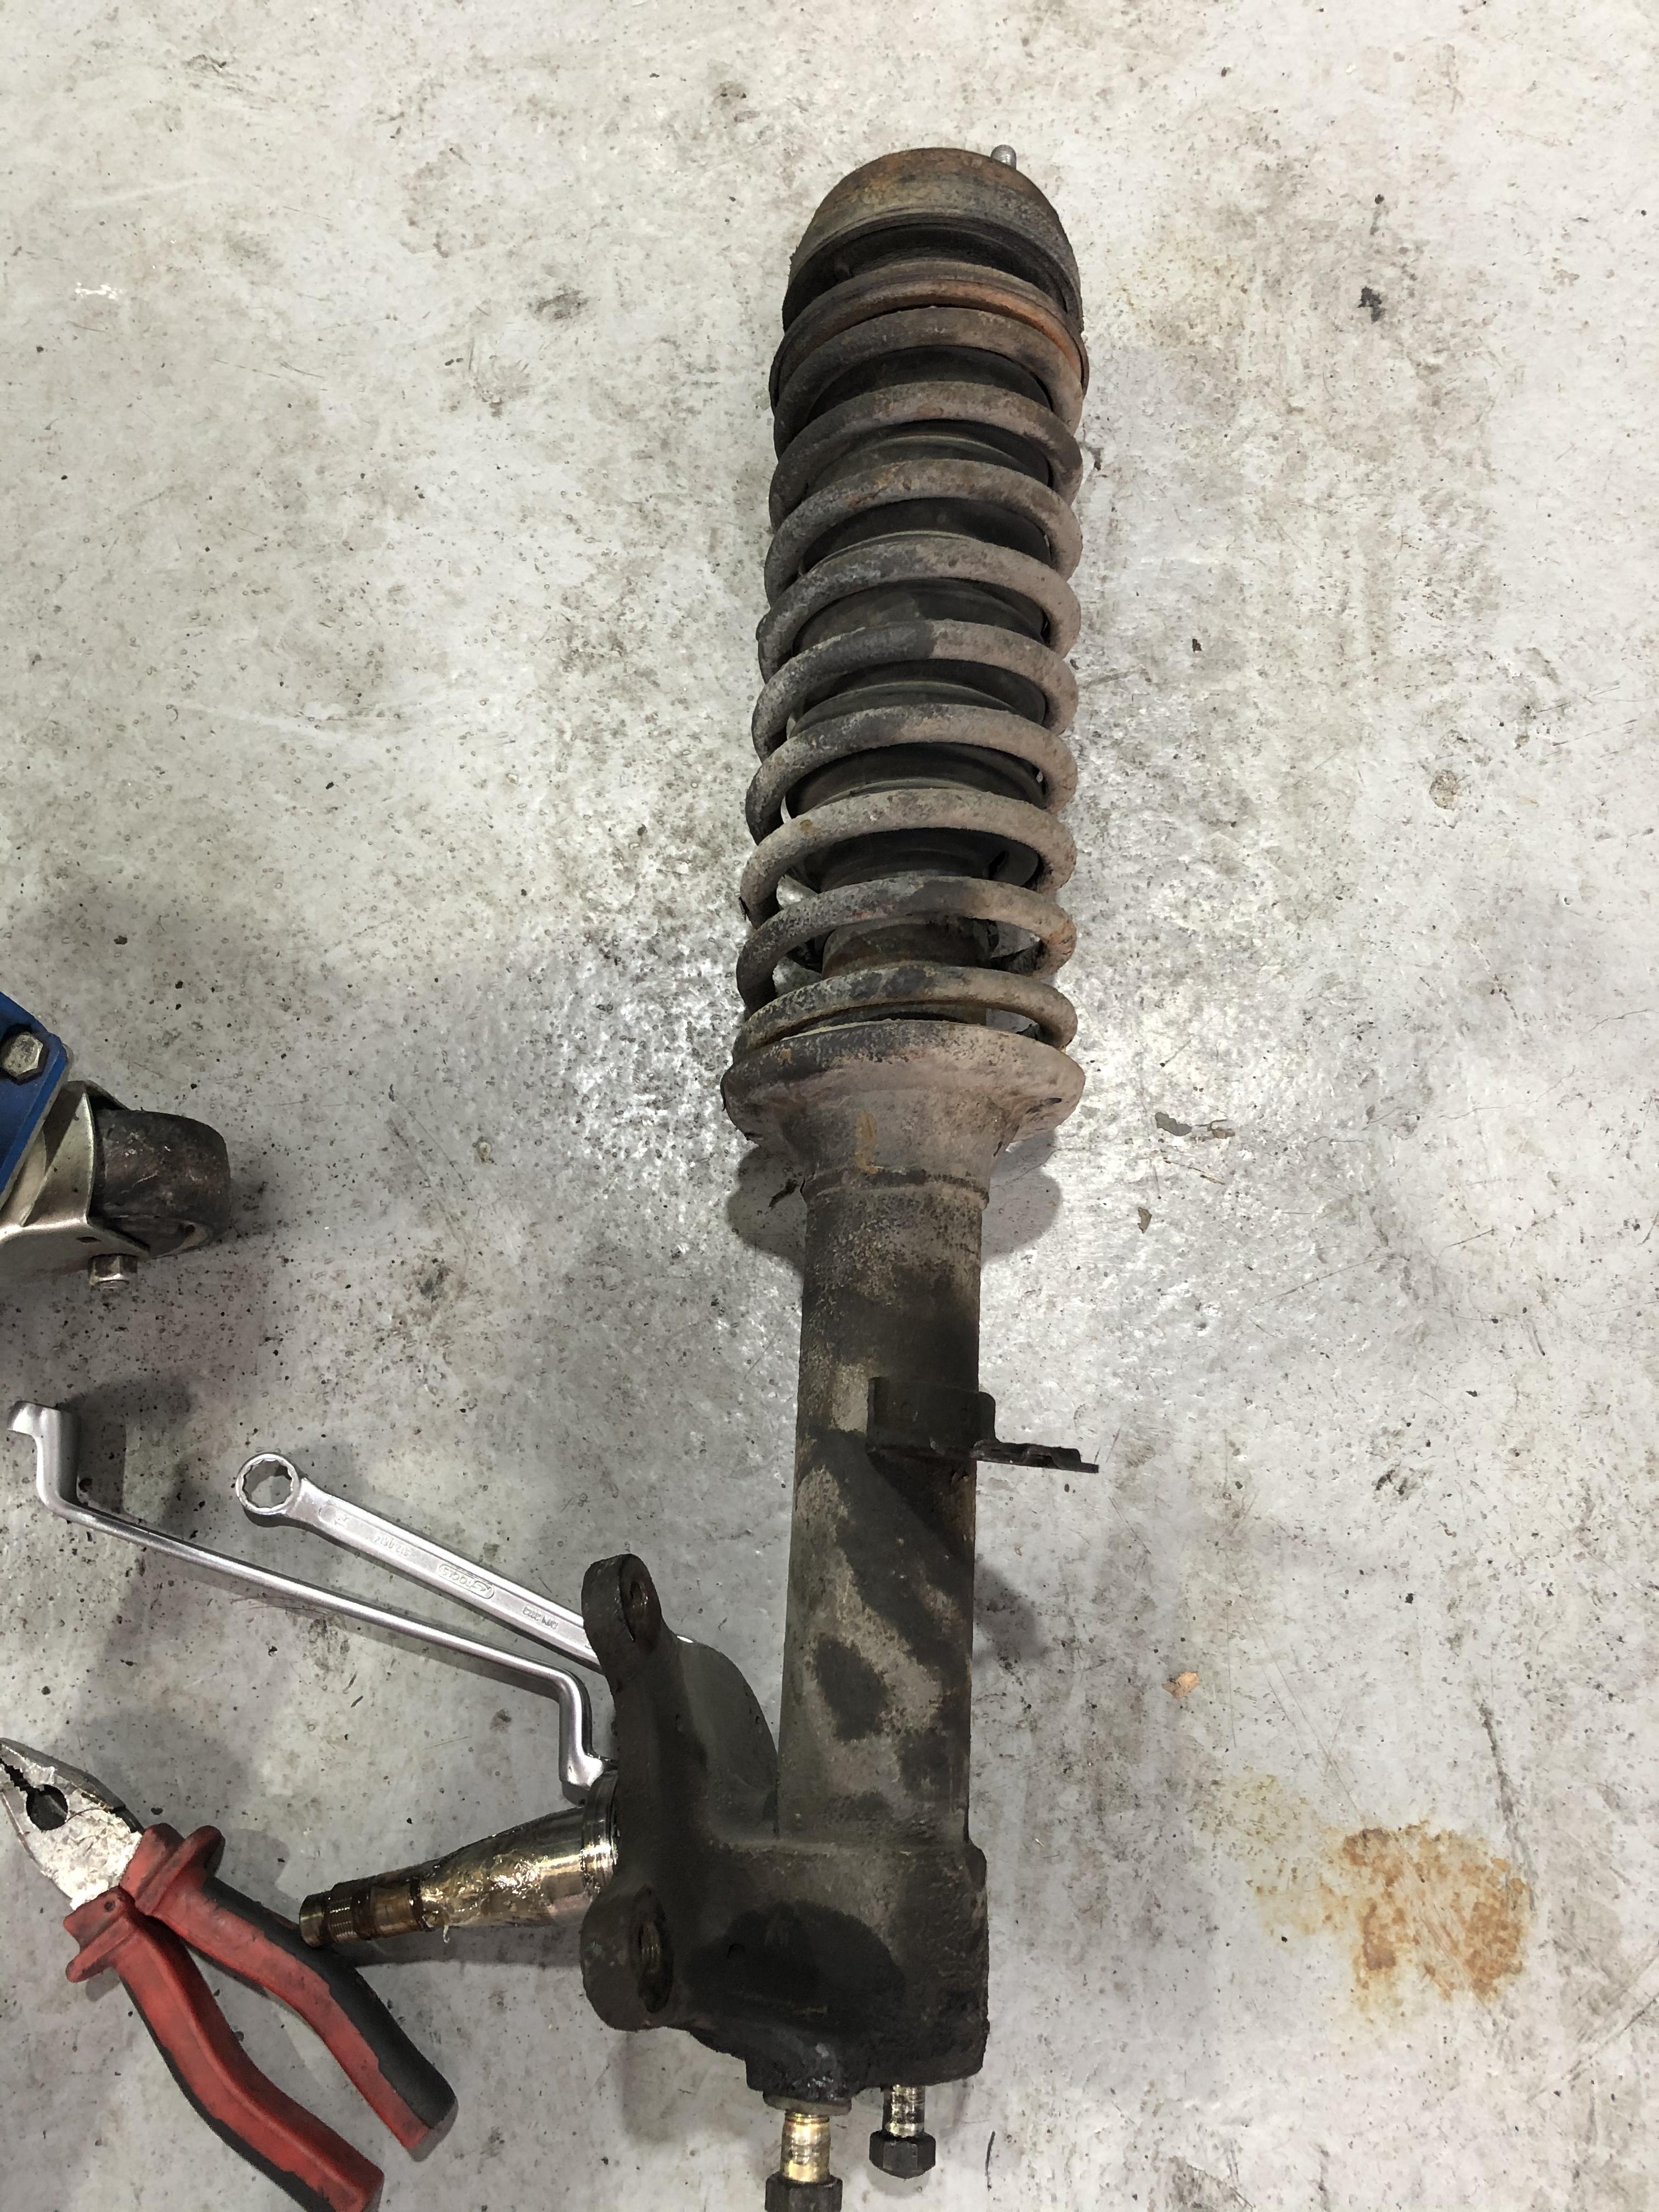
This week is about denting and panels adjustment. Will end up with a test fitting with the new weatherstrip to ensure everything opens/closes smoothly. Starting to look like a car again 😍 Some progress on the shocks and other parts: T3 coilover kit fitted on the original Nissan leg, with the KYB Excel-G inside. The leg is then gone for painting in satin black and I am also getting new shock mounts. Same treatment for the other parts, except the sway bars to be red, to match with the bushing kit and the rear diff cover will remain aluminum with ceramic protection. In other news, we managed to save the gas tank (several pin holes to fix) but the crankshaft damper was definitely gone, and this sh*** is no easy to find as original...
.thumb.jpg.a8798e5f34fac3c276f72d11cb2fdb63.jpg)
.thumb.jpg.96381e00cab941a8bb581355f66de00a.jpg)


-
Thanks for your advice for the orientation of the gas strut, will reassemble that way after painting. I will moke up the modification once the car is back on wheels, and evaluate the effect and luminosity, I will keep you posted.
-
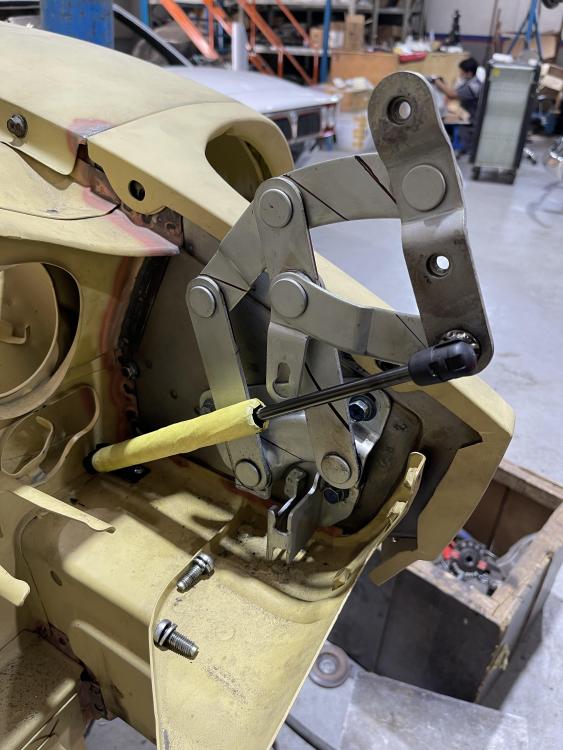
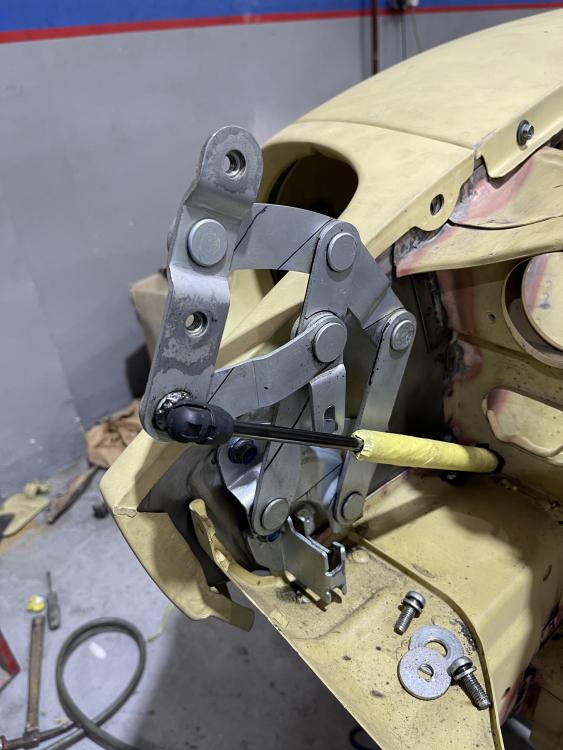
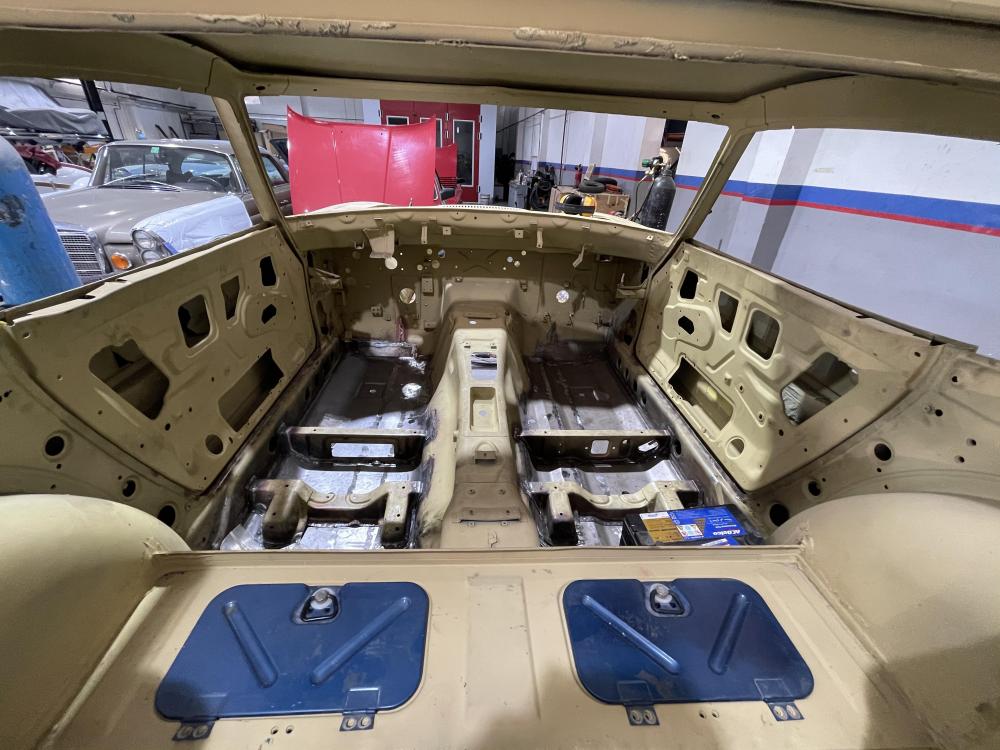
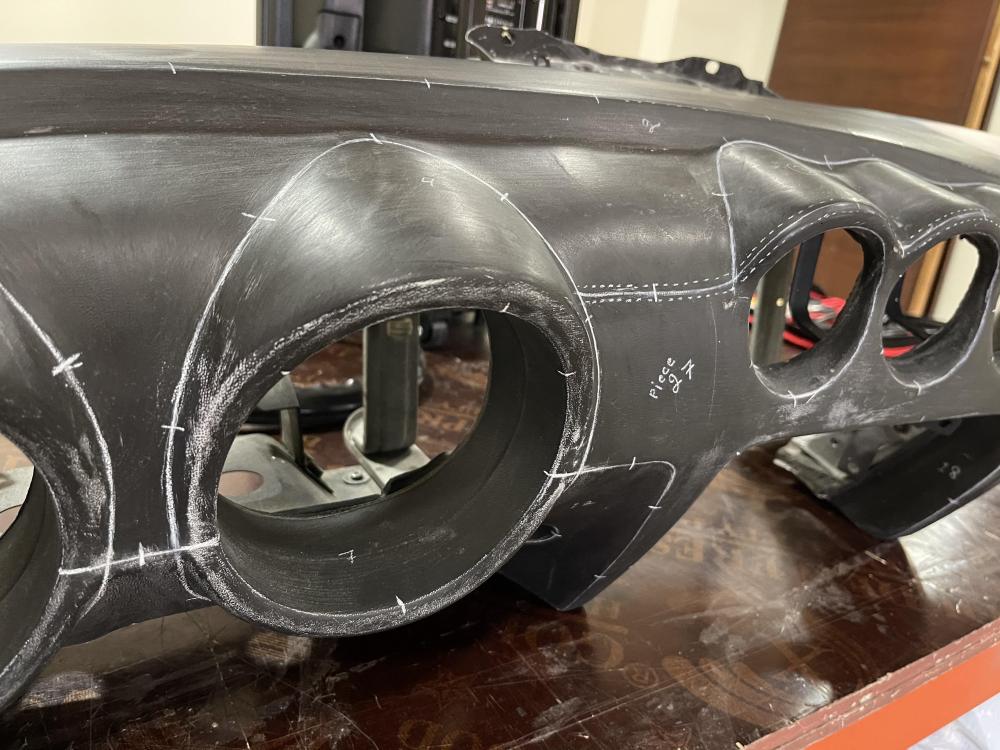
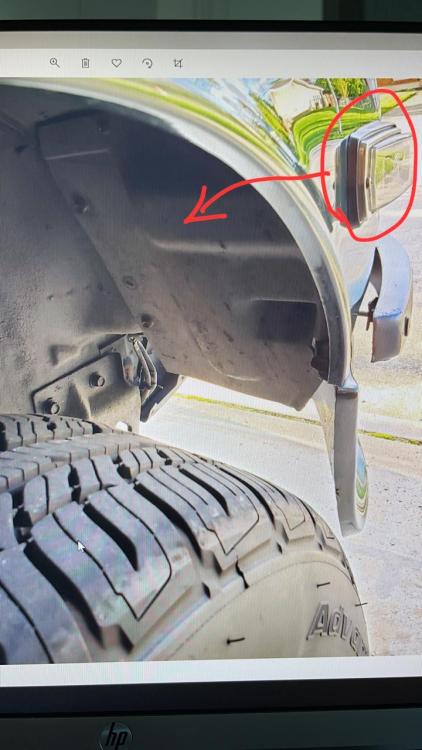
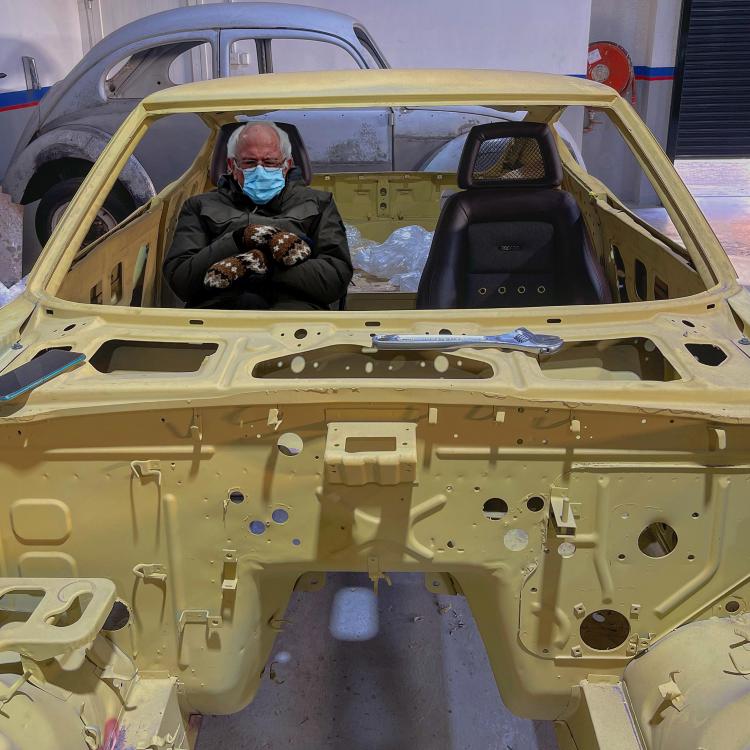
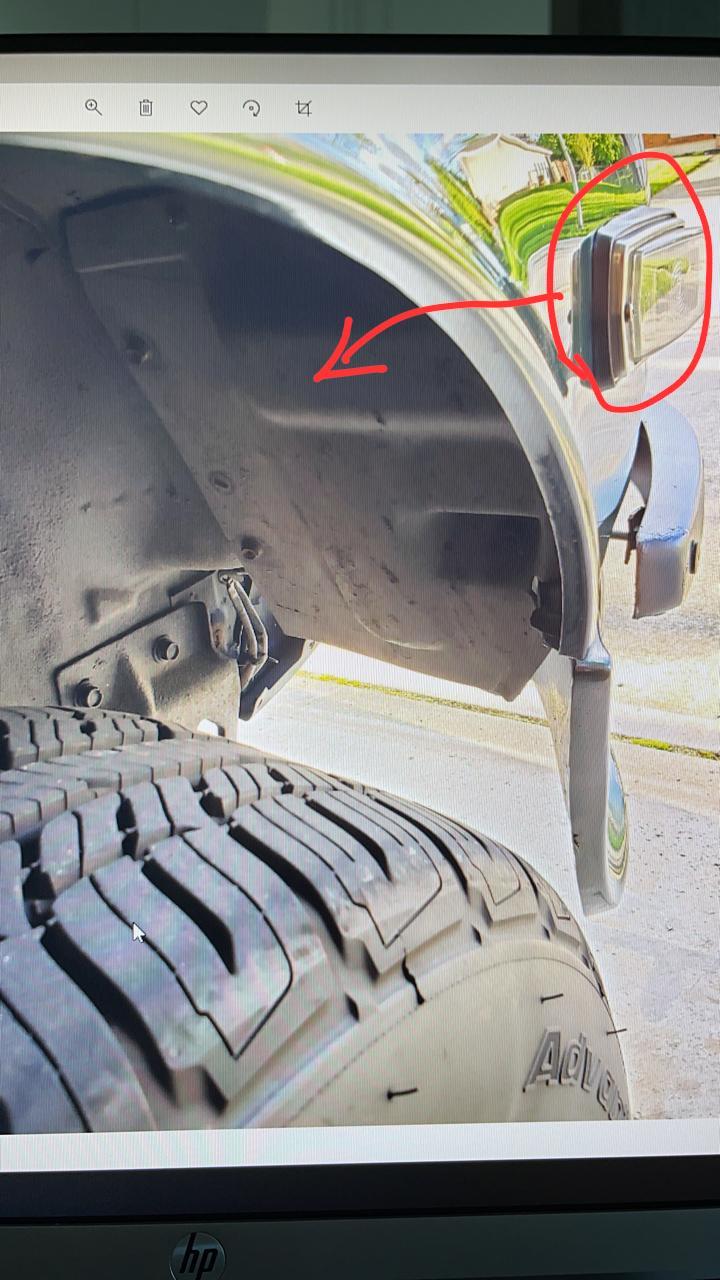
Thank you all for supporting my sense of humor =P I'll probably make a poster with Bernie and send him out. Latest news: the interior work is finally completed 🙏 I am studying the battery relocation (probably end up with a braille 2015 in the passenger side toolbox) From the exterior, delete of the side marker holes is done, almost deleted the antenna hole as well, but after testing it is still working (going up and down at least) so I decided to keep the vintage style. Inspired again by @grannyknot and @wheee! I added the hood gas strut, so much slicker than the big spring bar crossing and visible behind the front grille. And we are now doing some cleanup in the engine bay, as battery is relocated, and the air intake and manifold are replaced by ITBs, we can get rid of a lot of useless stuff 😅 Next step starting on Saturday is denting and panels adjustment with the new weatherstrip, should take the week or so, before painting prep to start ! My excitement is through the roof ! Open question regarding the front side markers, as I deleted them from the fenders to have smoother body lines, I am thinking about putting them in the wheel wells, see below: No need to extend cables, just some plastic cutting actually... Finally some work started on the dashboard, marking is done and the alcantara is being cut (29 pieces in total):

-
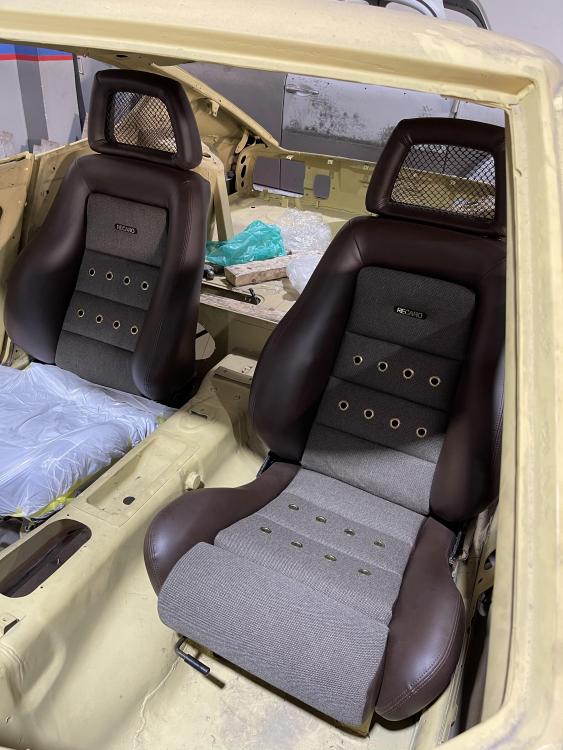
Reusing the original sliders from the 280z and doing a first fitting before removing everything was the way to go. Again, thank you loads for the warning @wheee! The Recaro are slightly larger, but now there is enough space for the noise/heat proofing mat, the carpet and the seat belt.
-
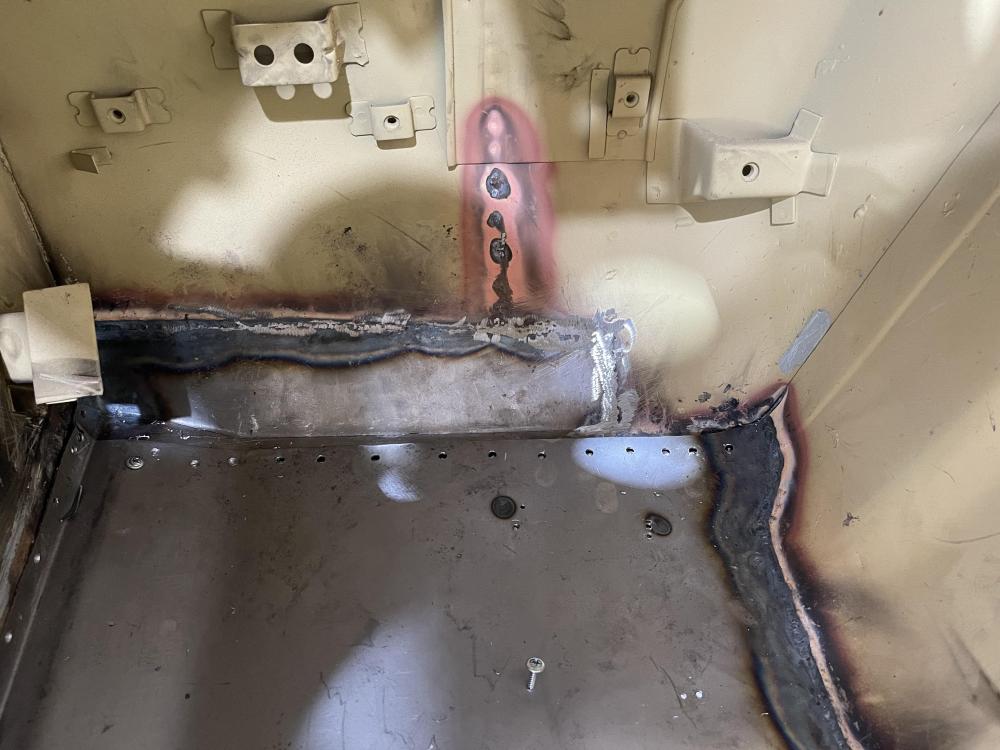
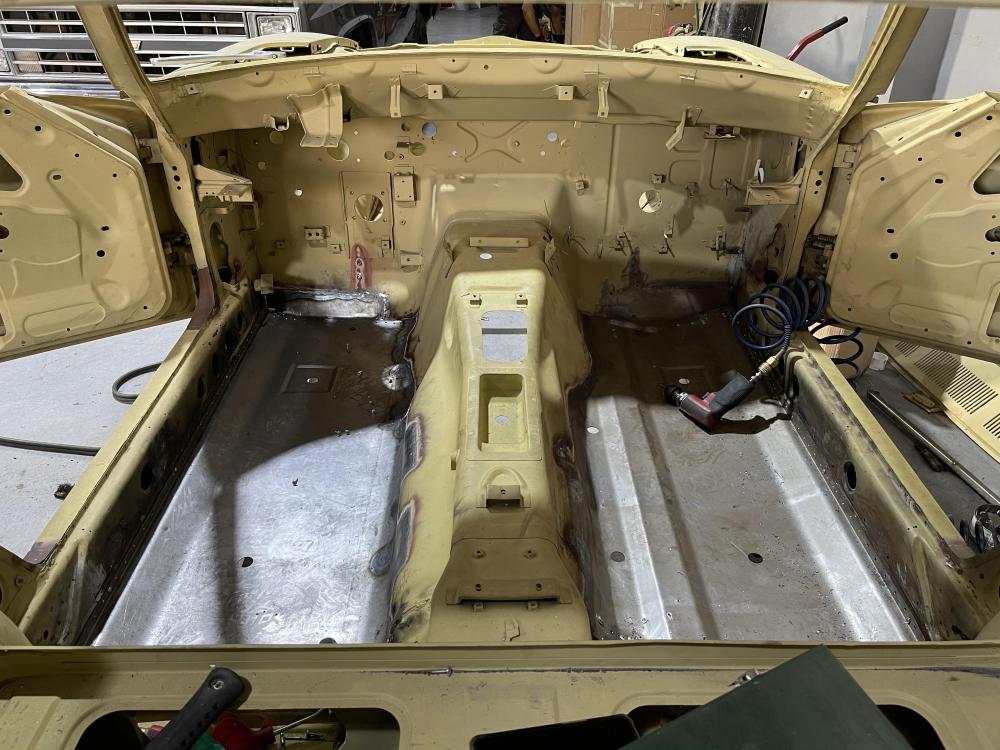
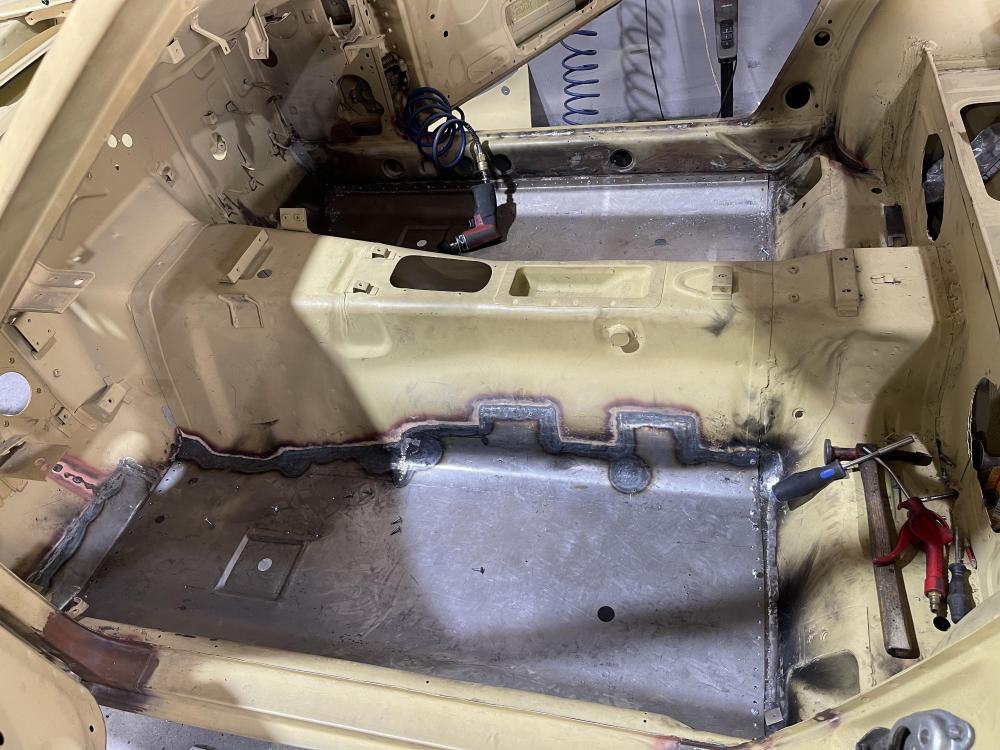
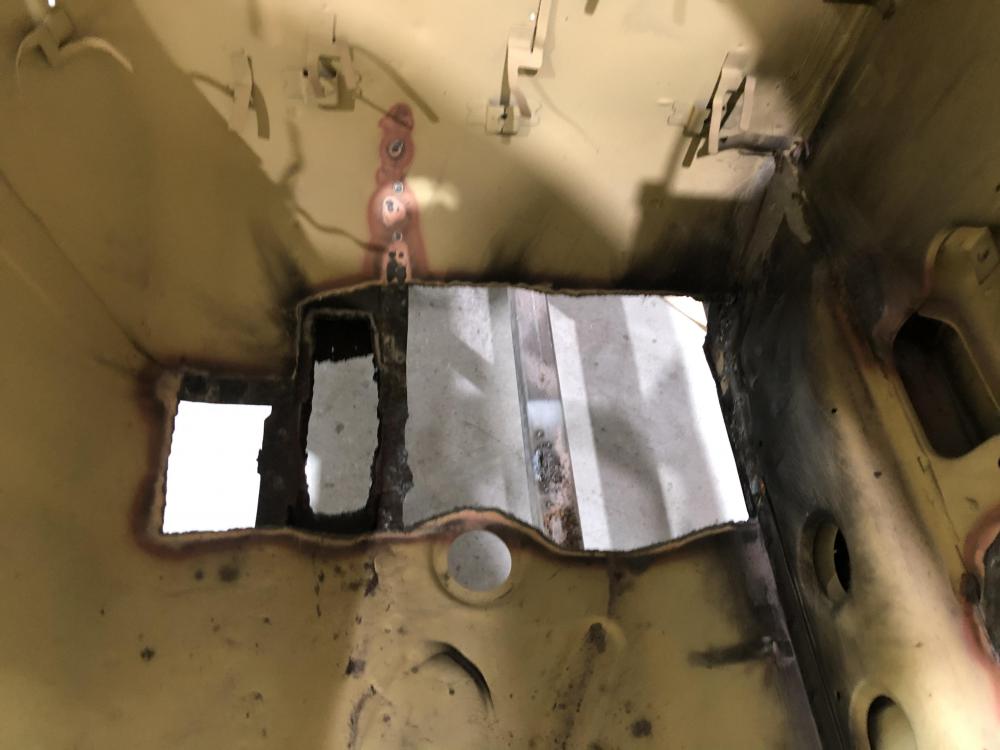
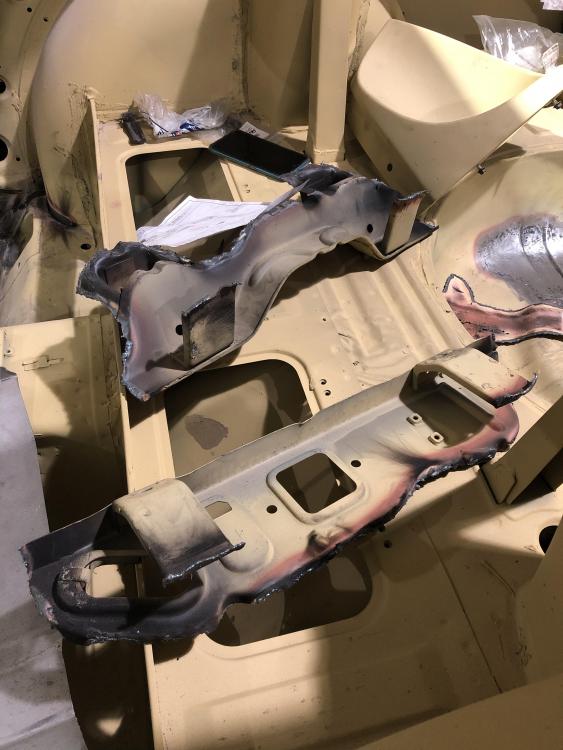
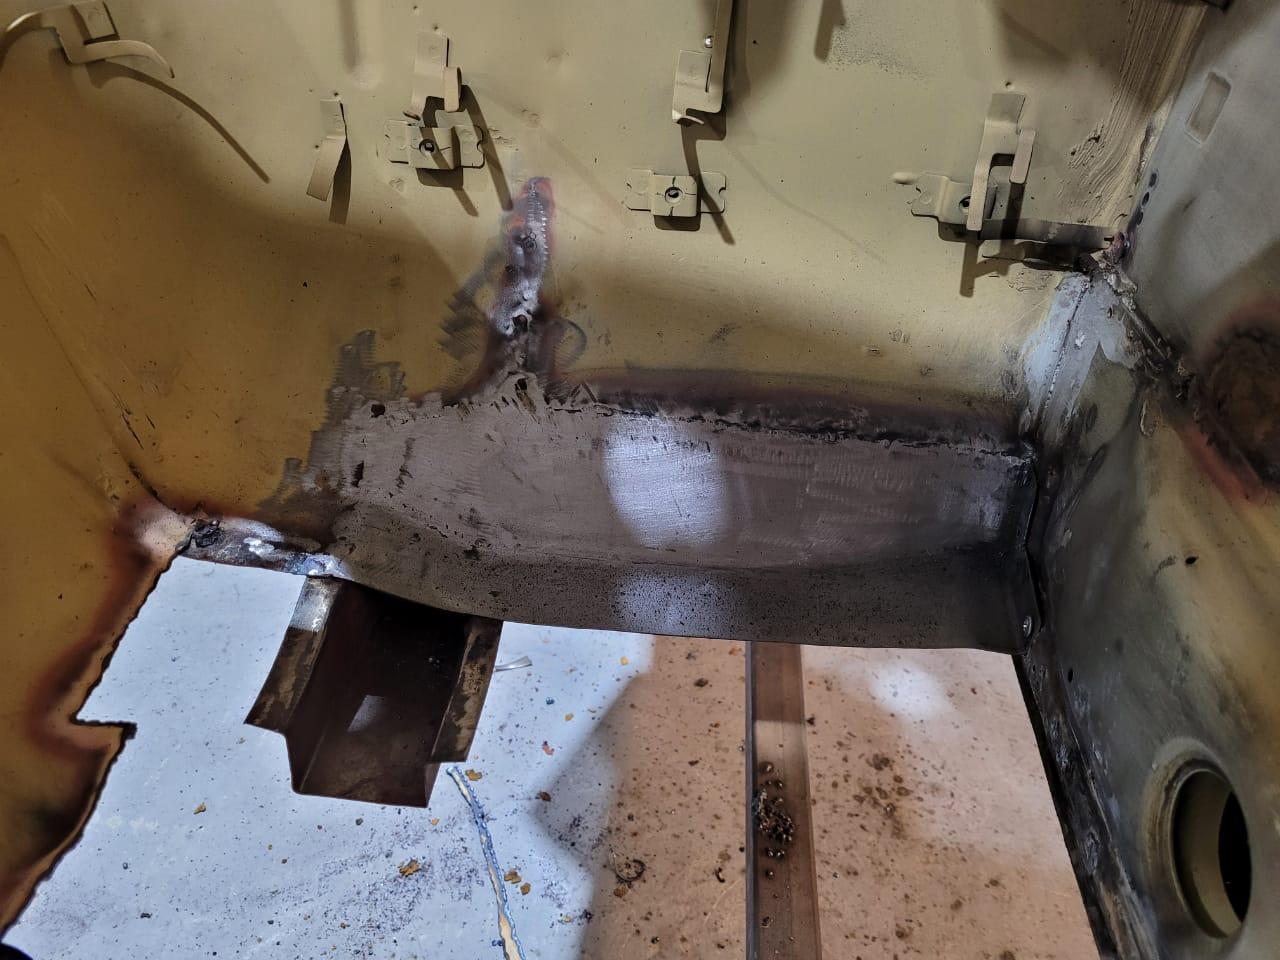
Hi Guys, thinking about renaming the thread to "what's the best welding helmet in the market" 😂 Further development on the floor, both sides were ready for spot welding yesterday afternoon, it does feel closer to the denting and painting.🤩 After seat adjustment on the transmission tunnel the water drain holes and the bend had to be deleted, so 2 new drain will be created. Still need to close the speaker holes cuts into the tool box. I reused the original seat sliders & brackets and adapted them for the Recaro, using the same fixation points on the body. Also, had a guest quite unhappy to remain in the passenger seat 🤣
-
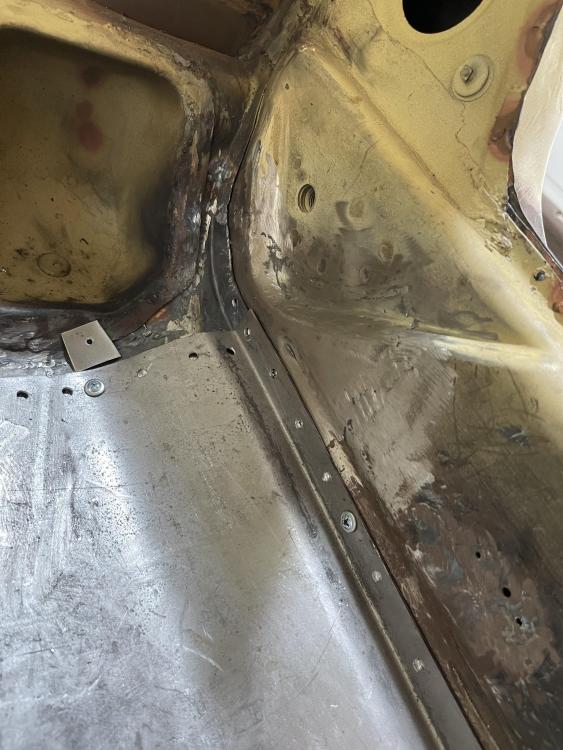
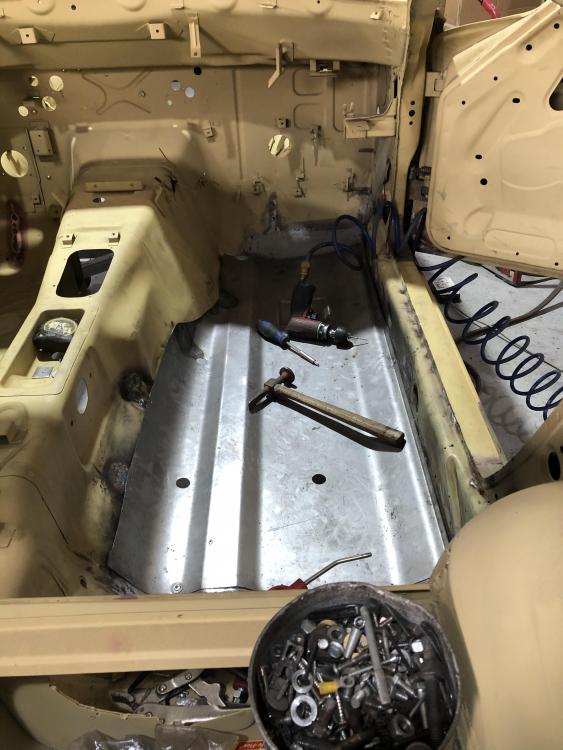
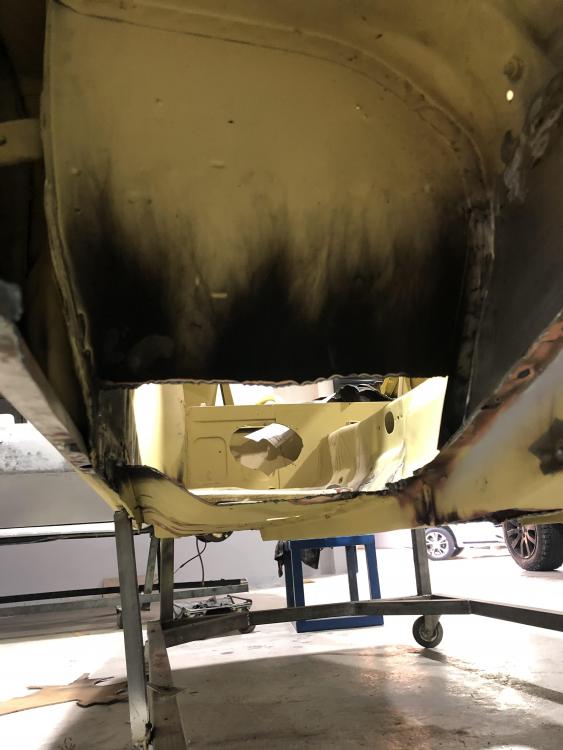
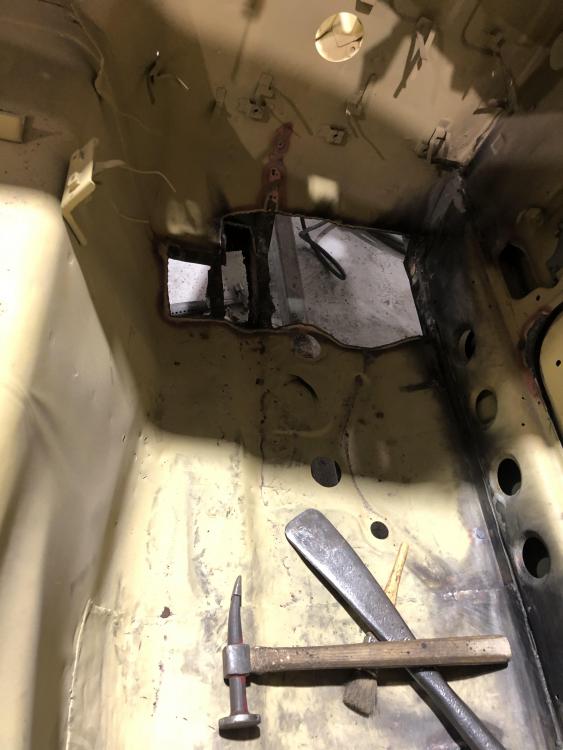
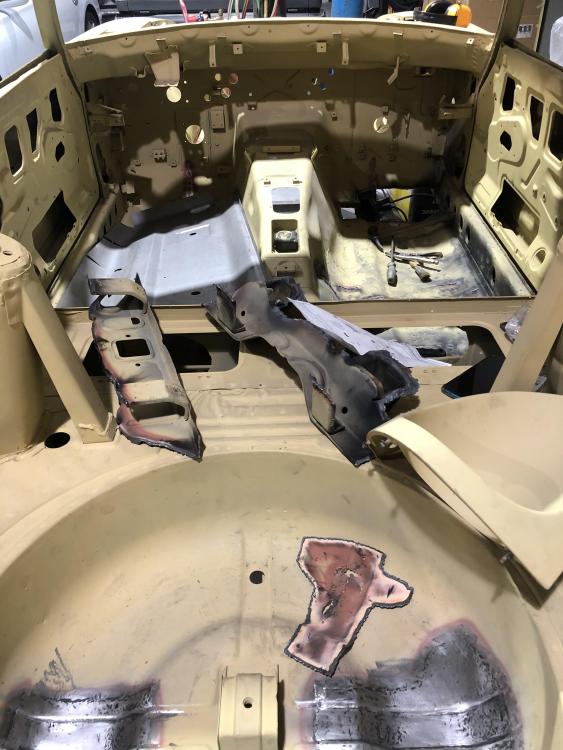
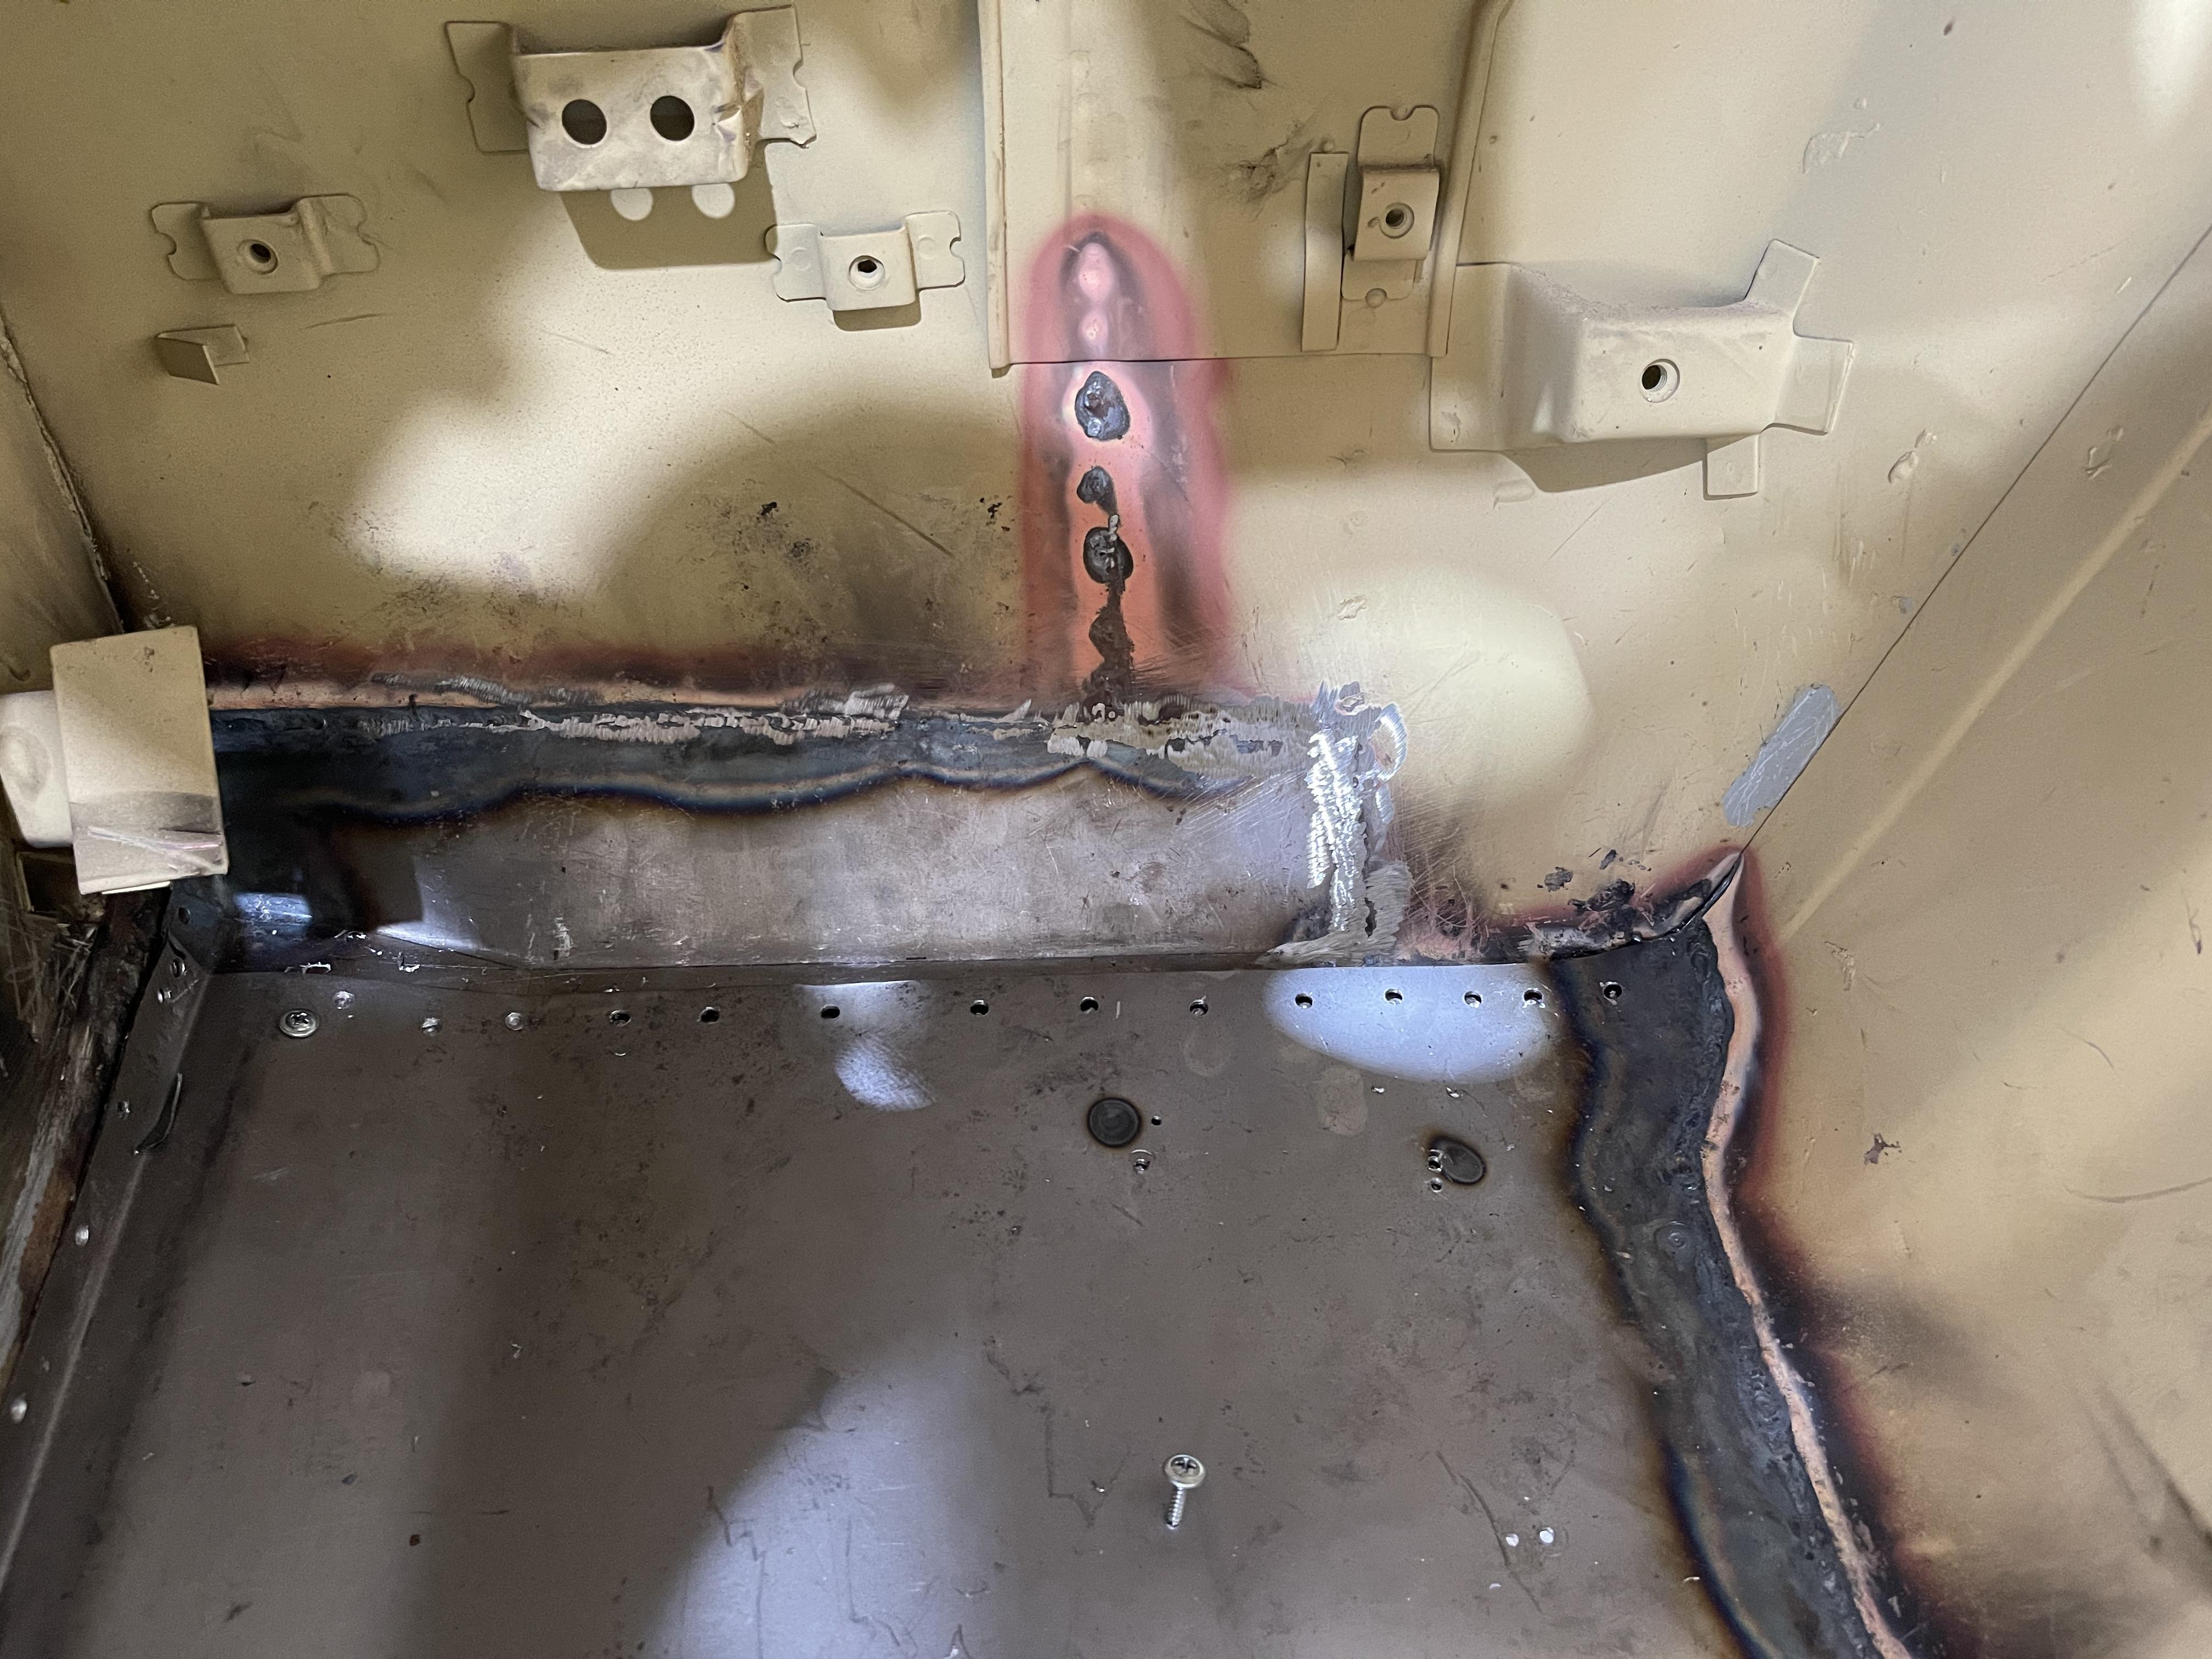
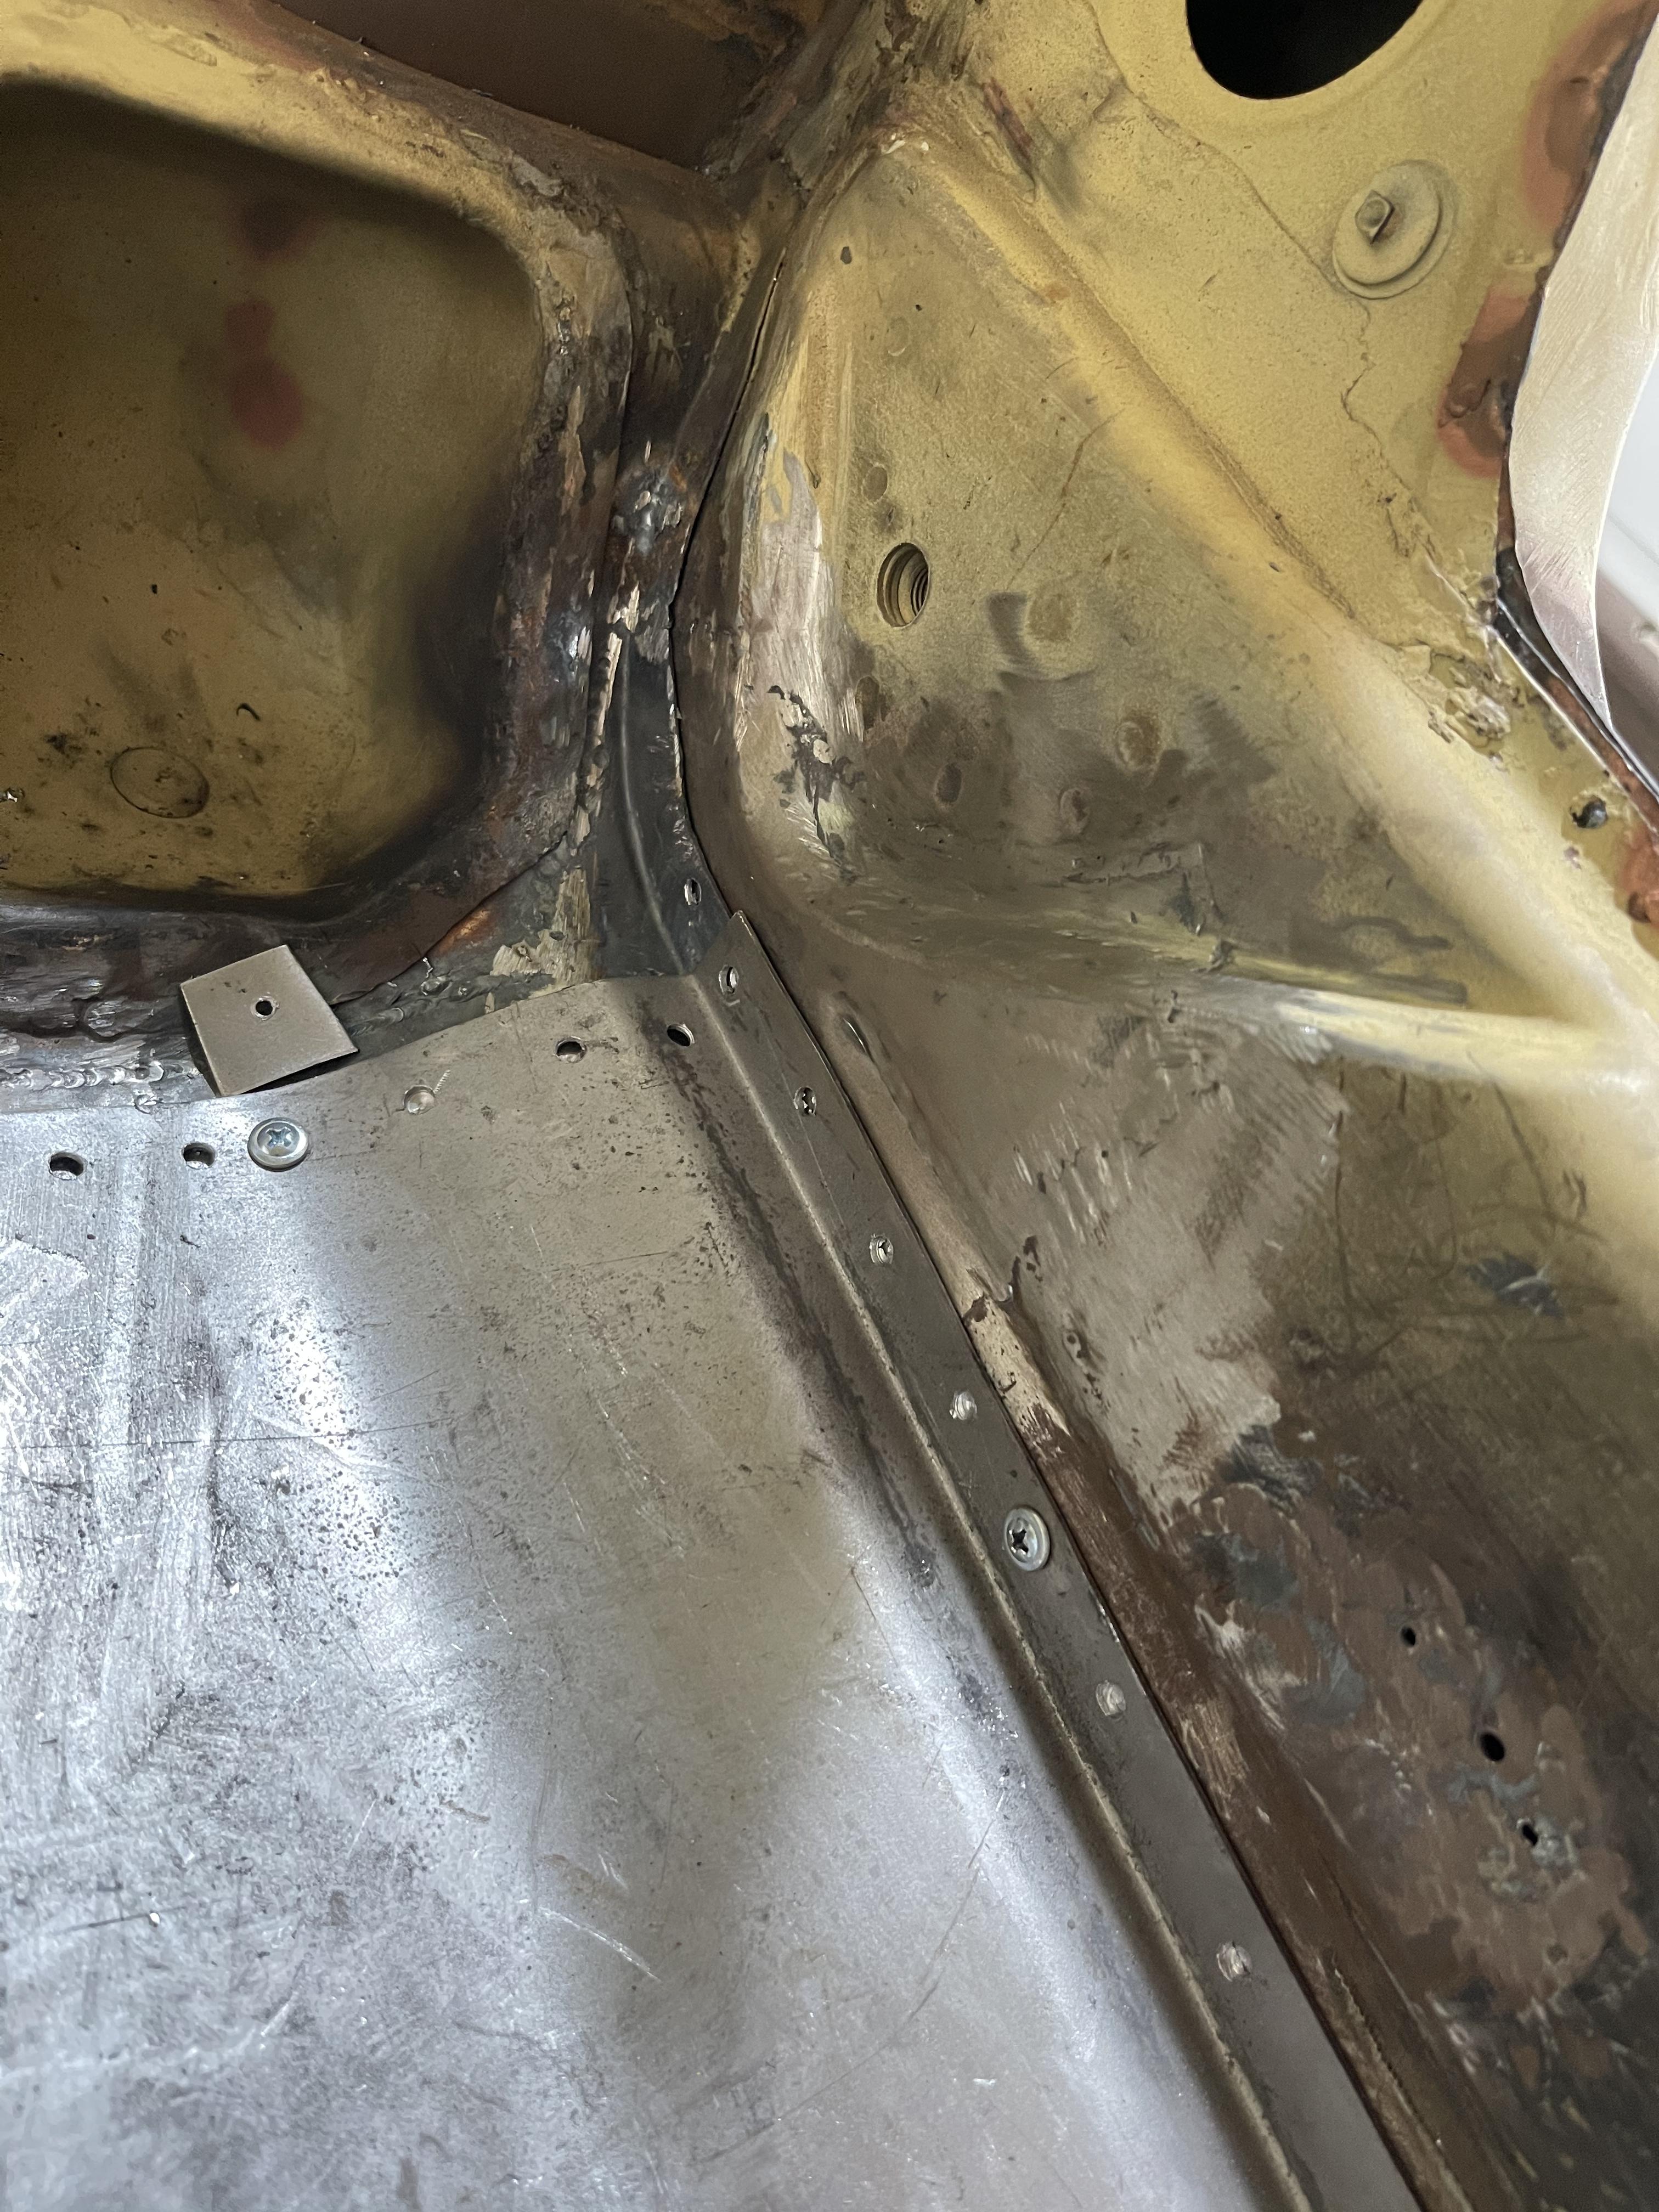
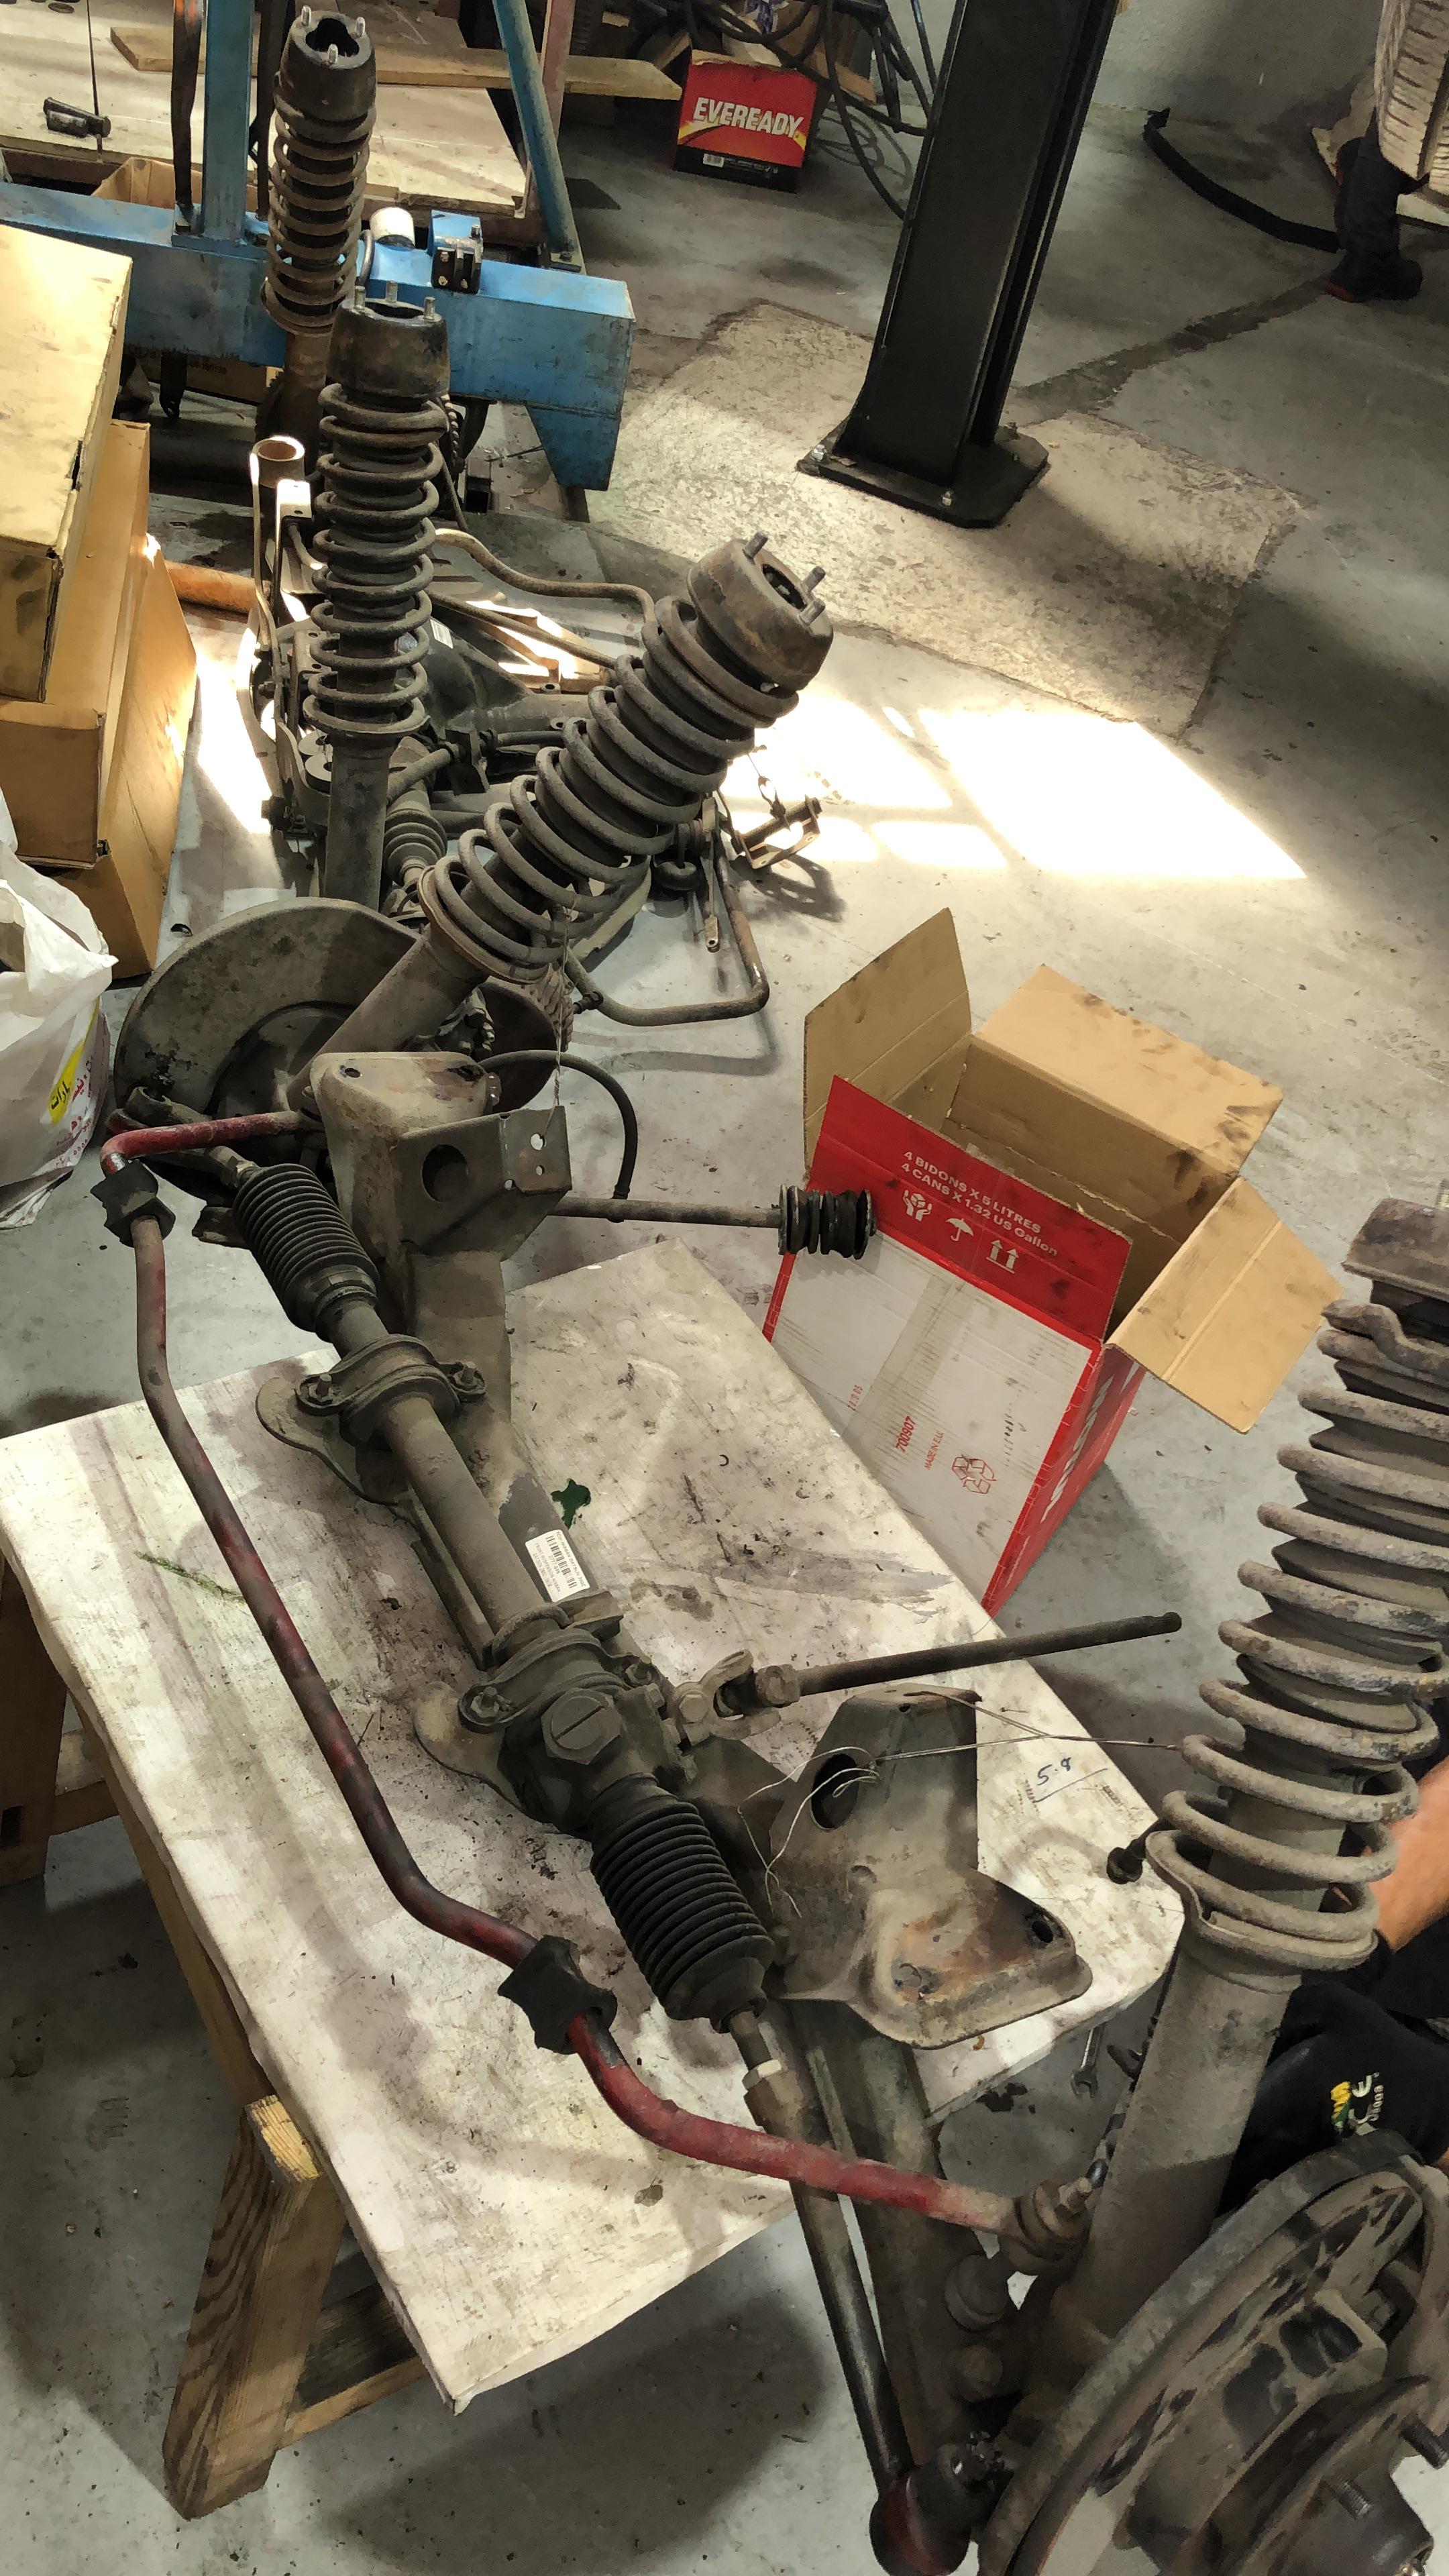
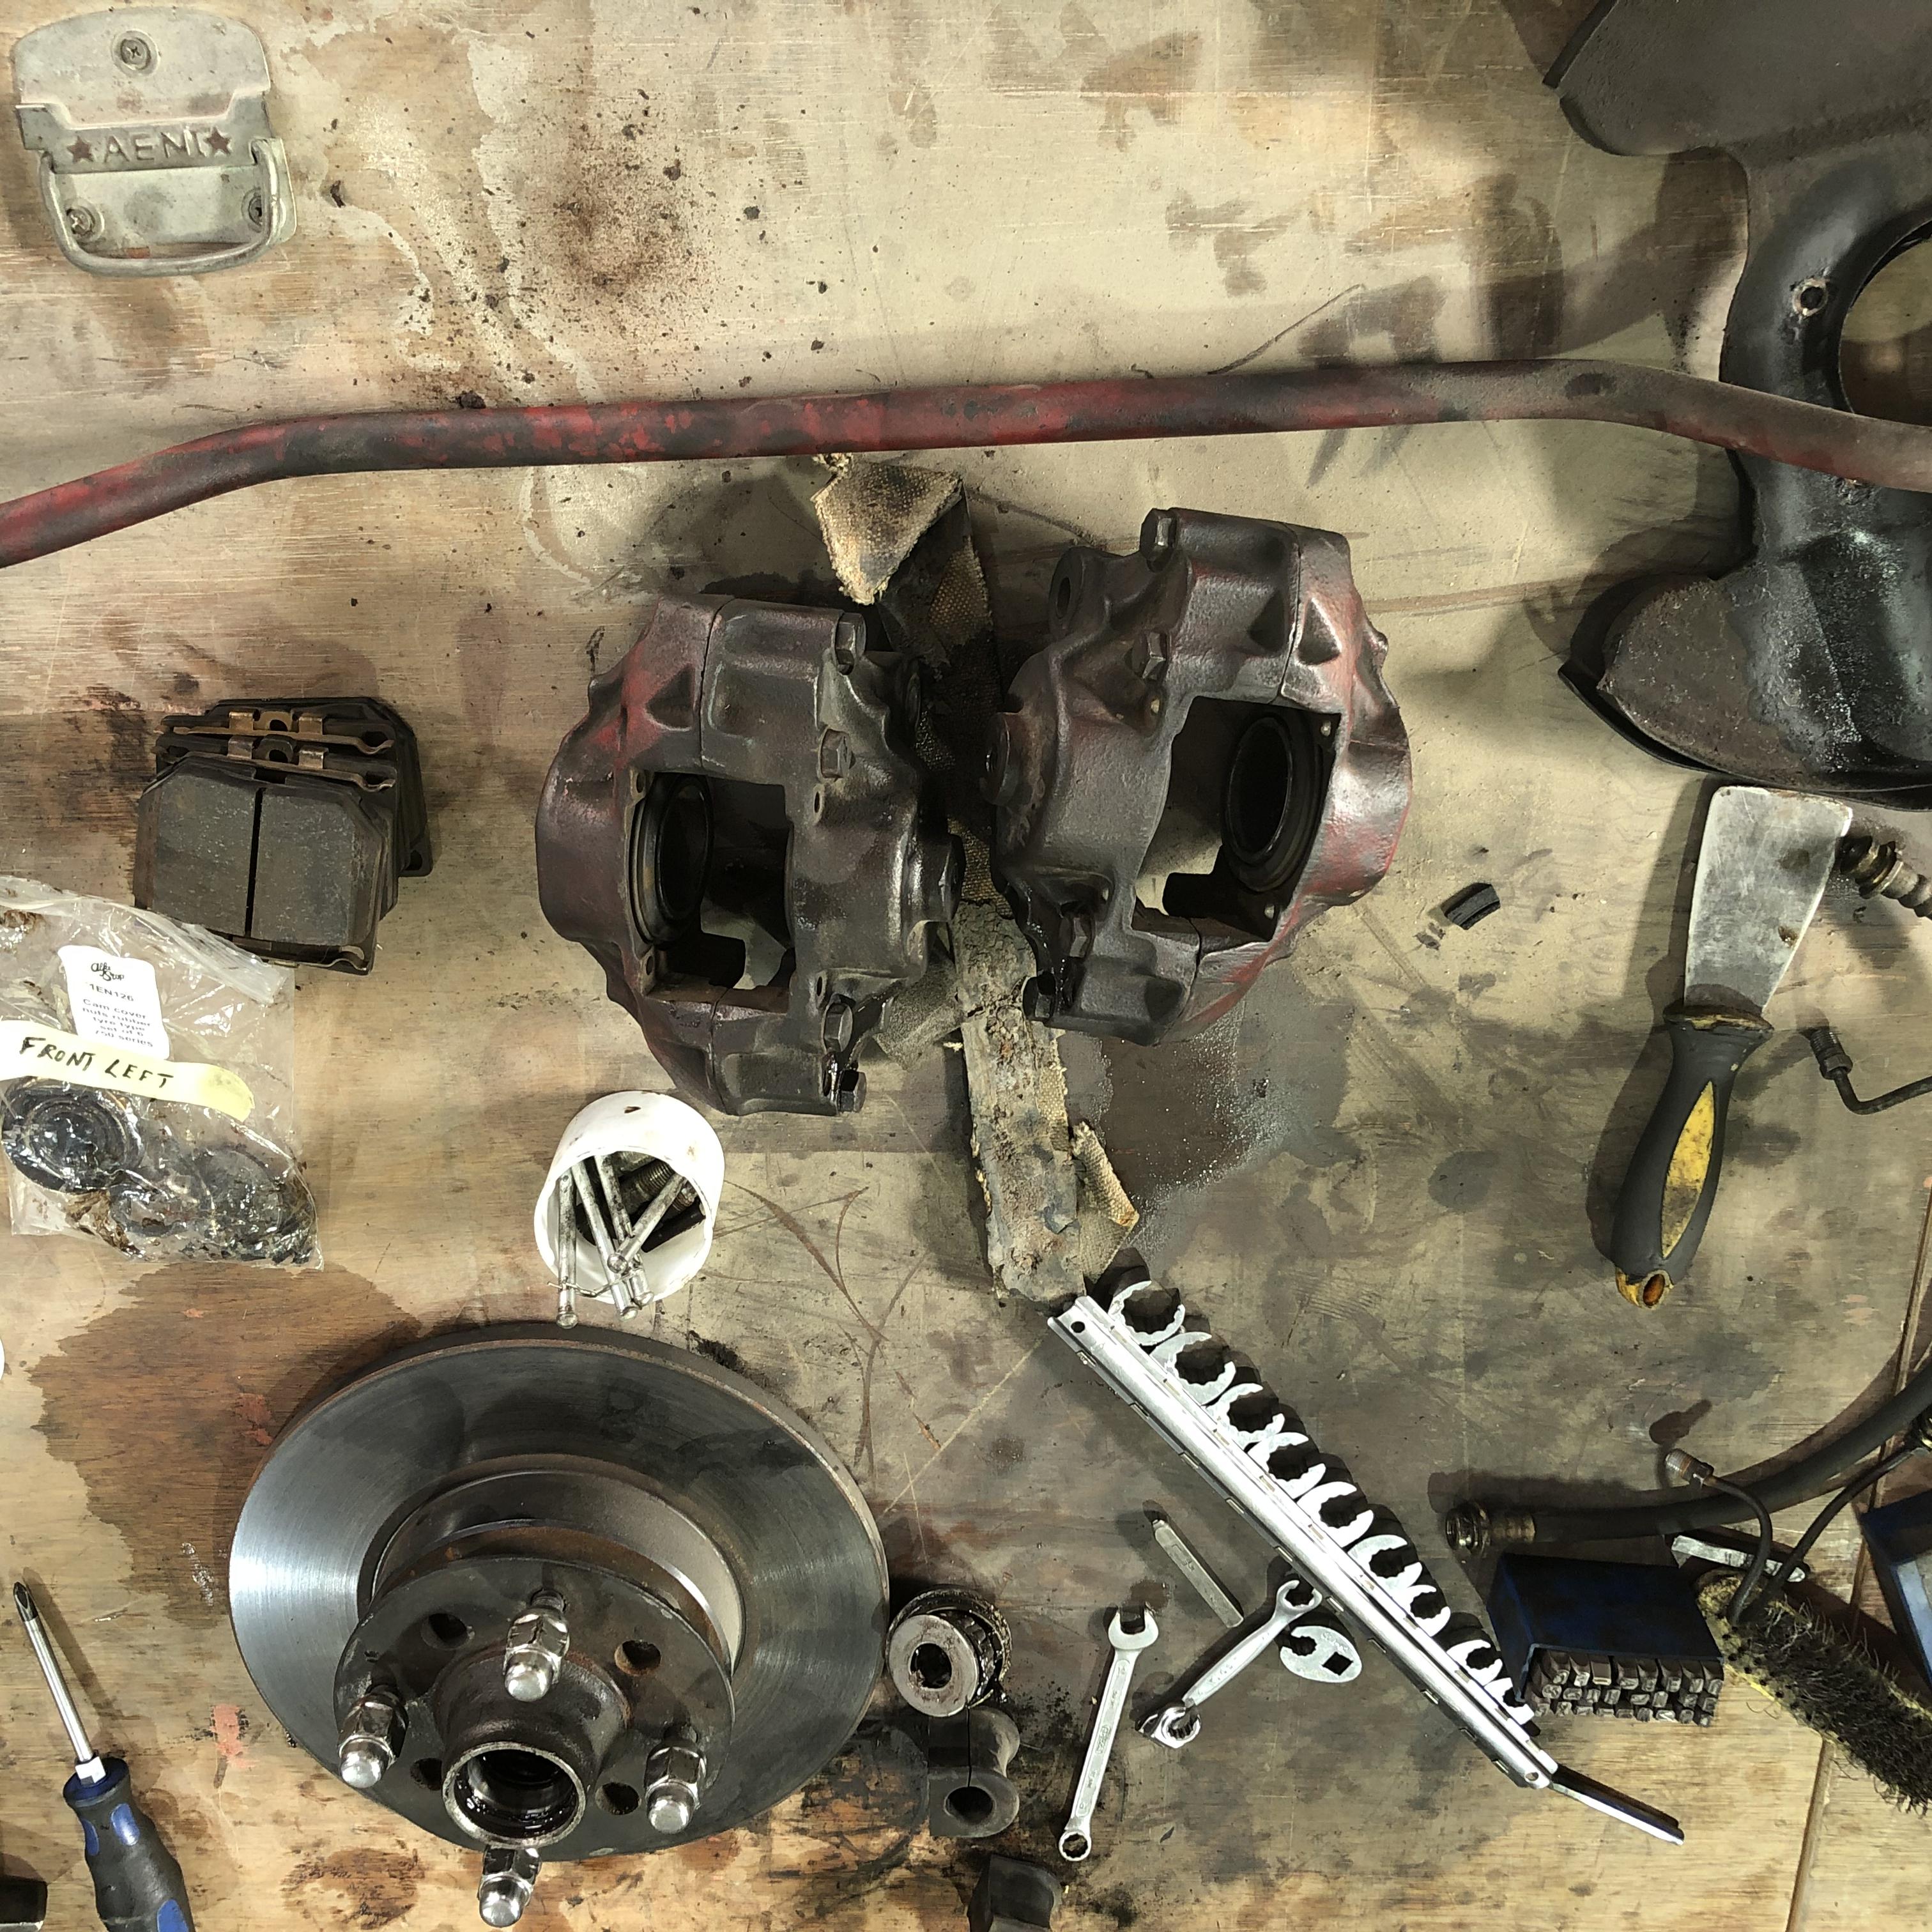
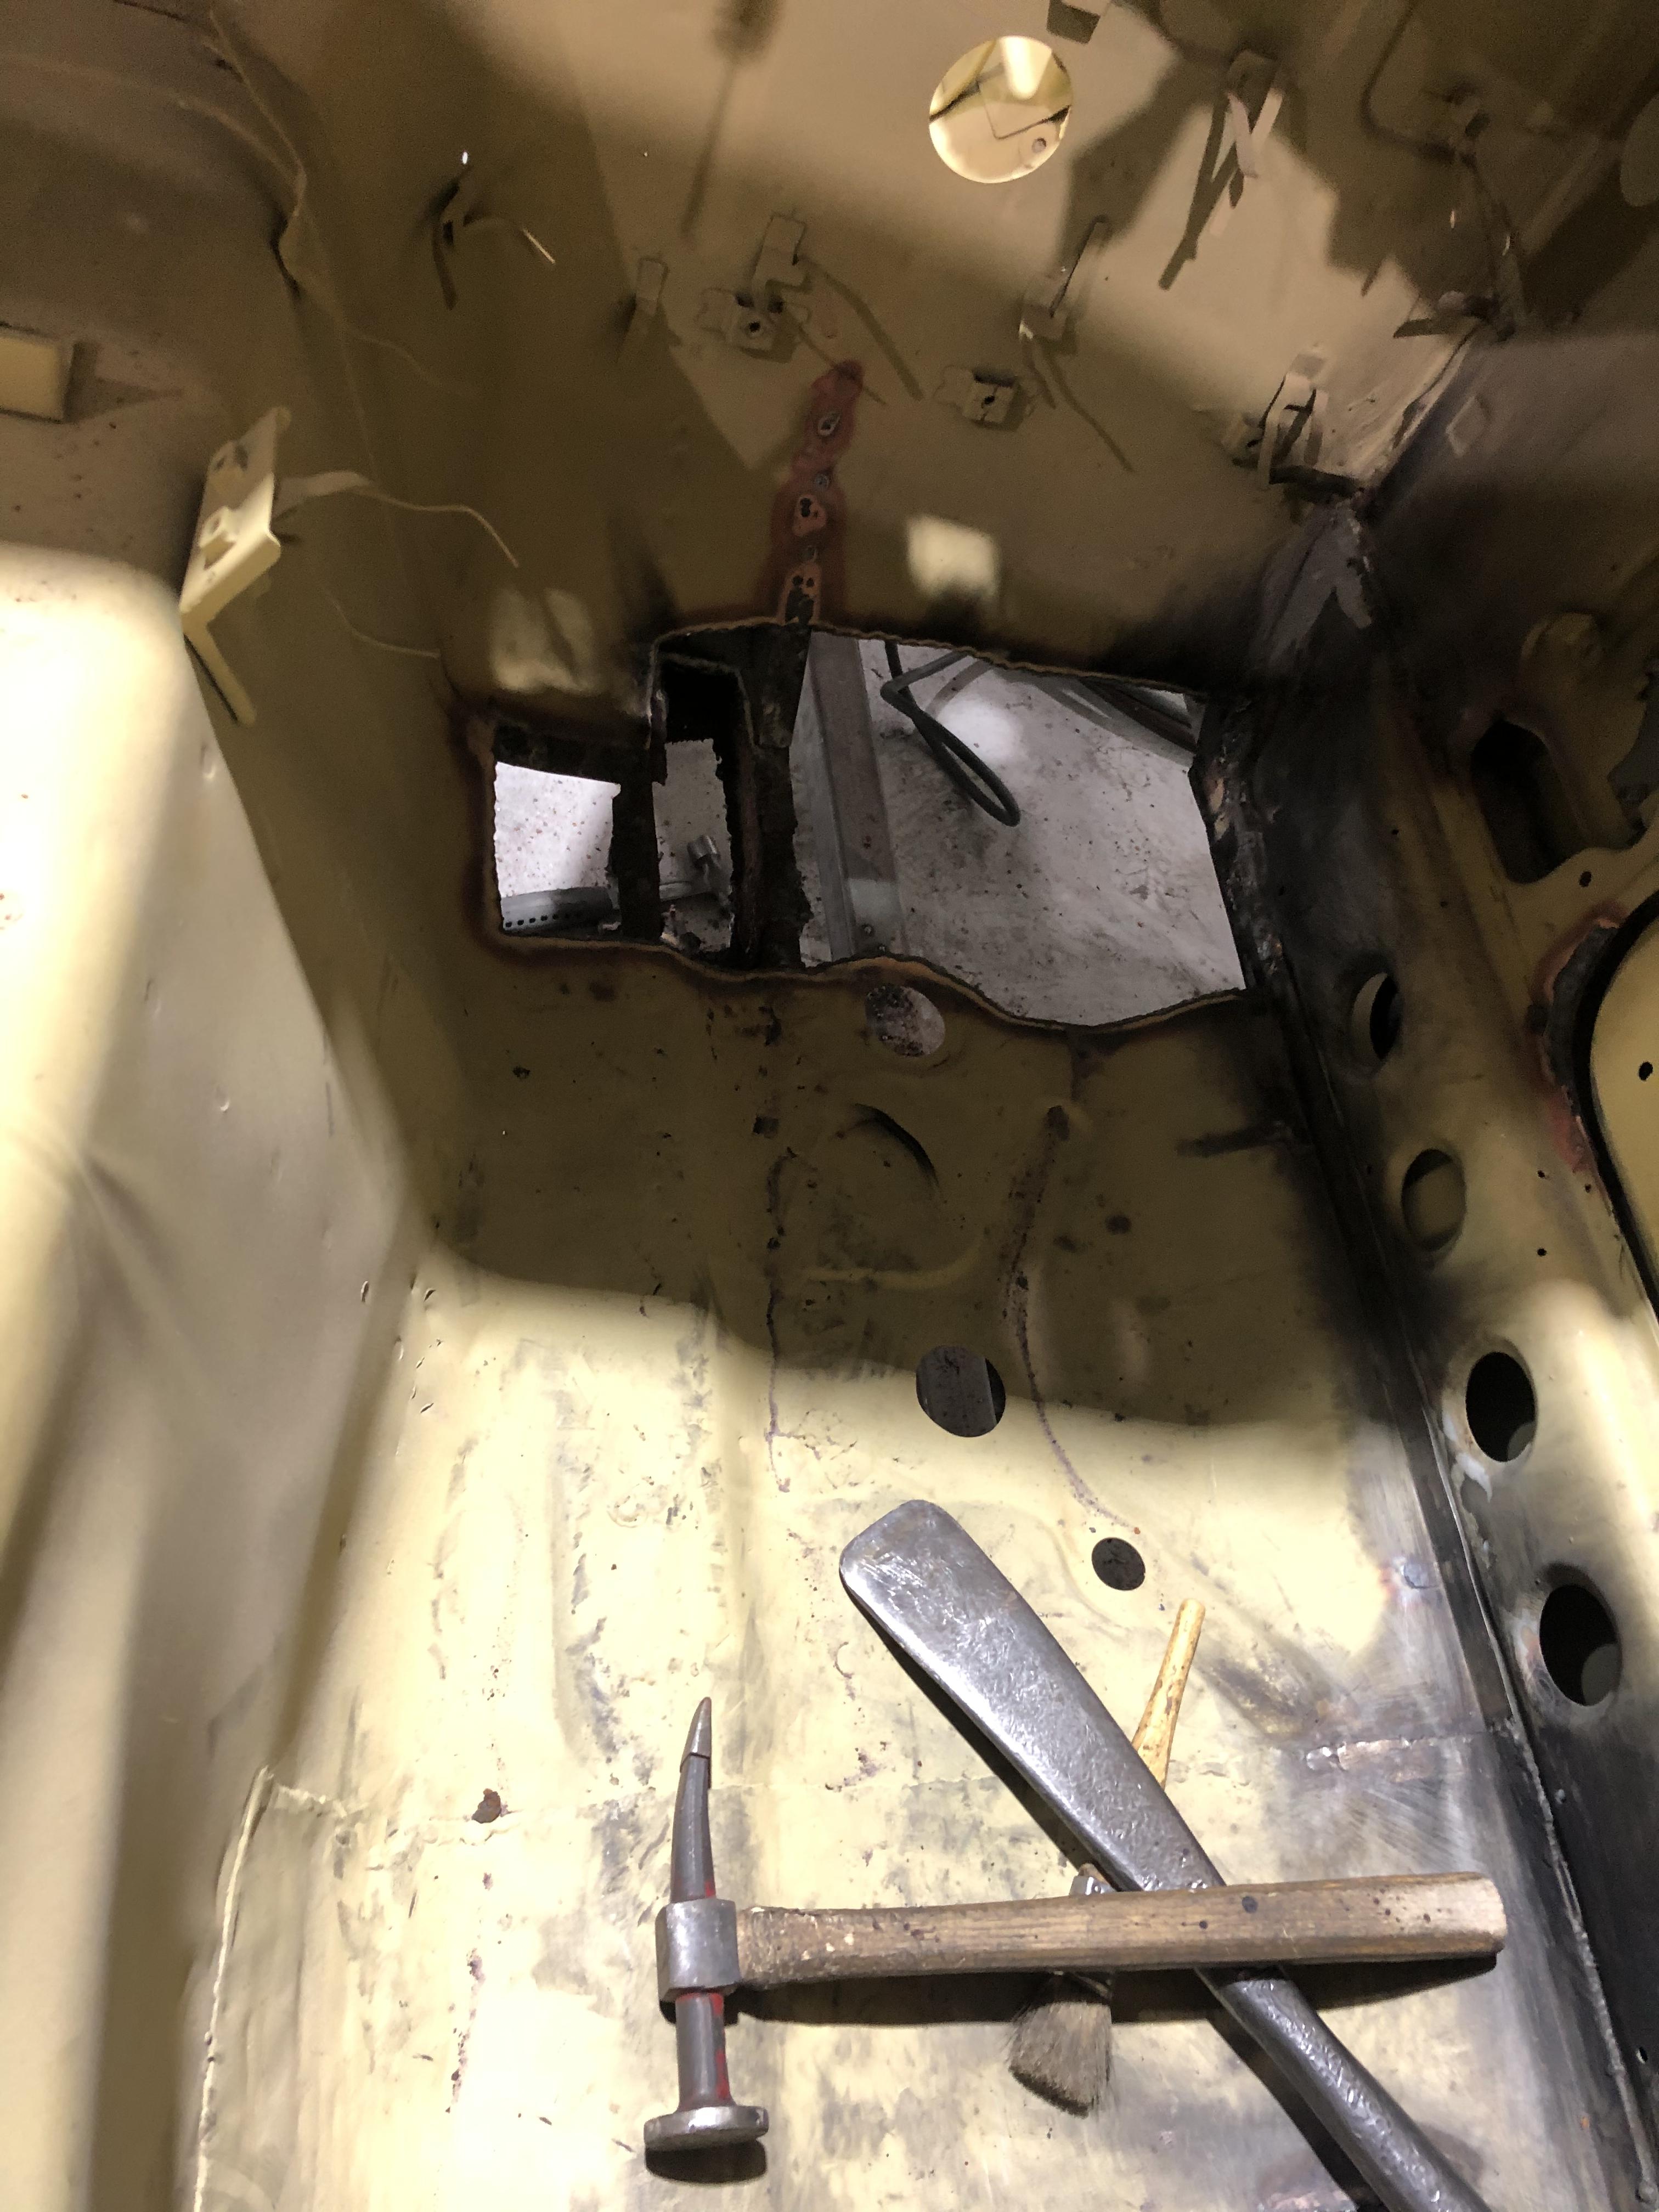
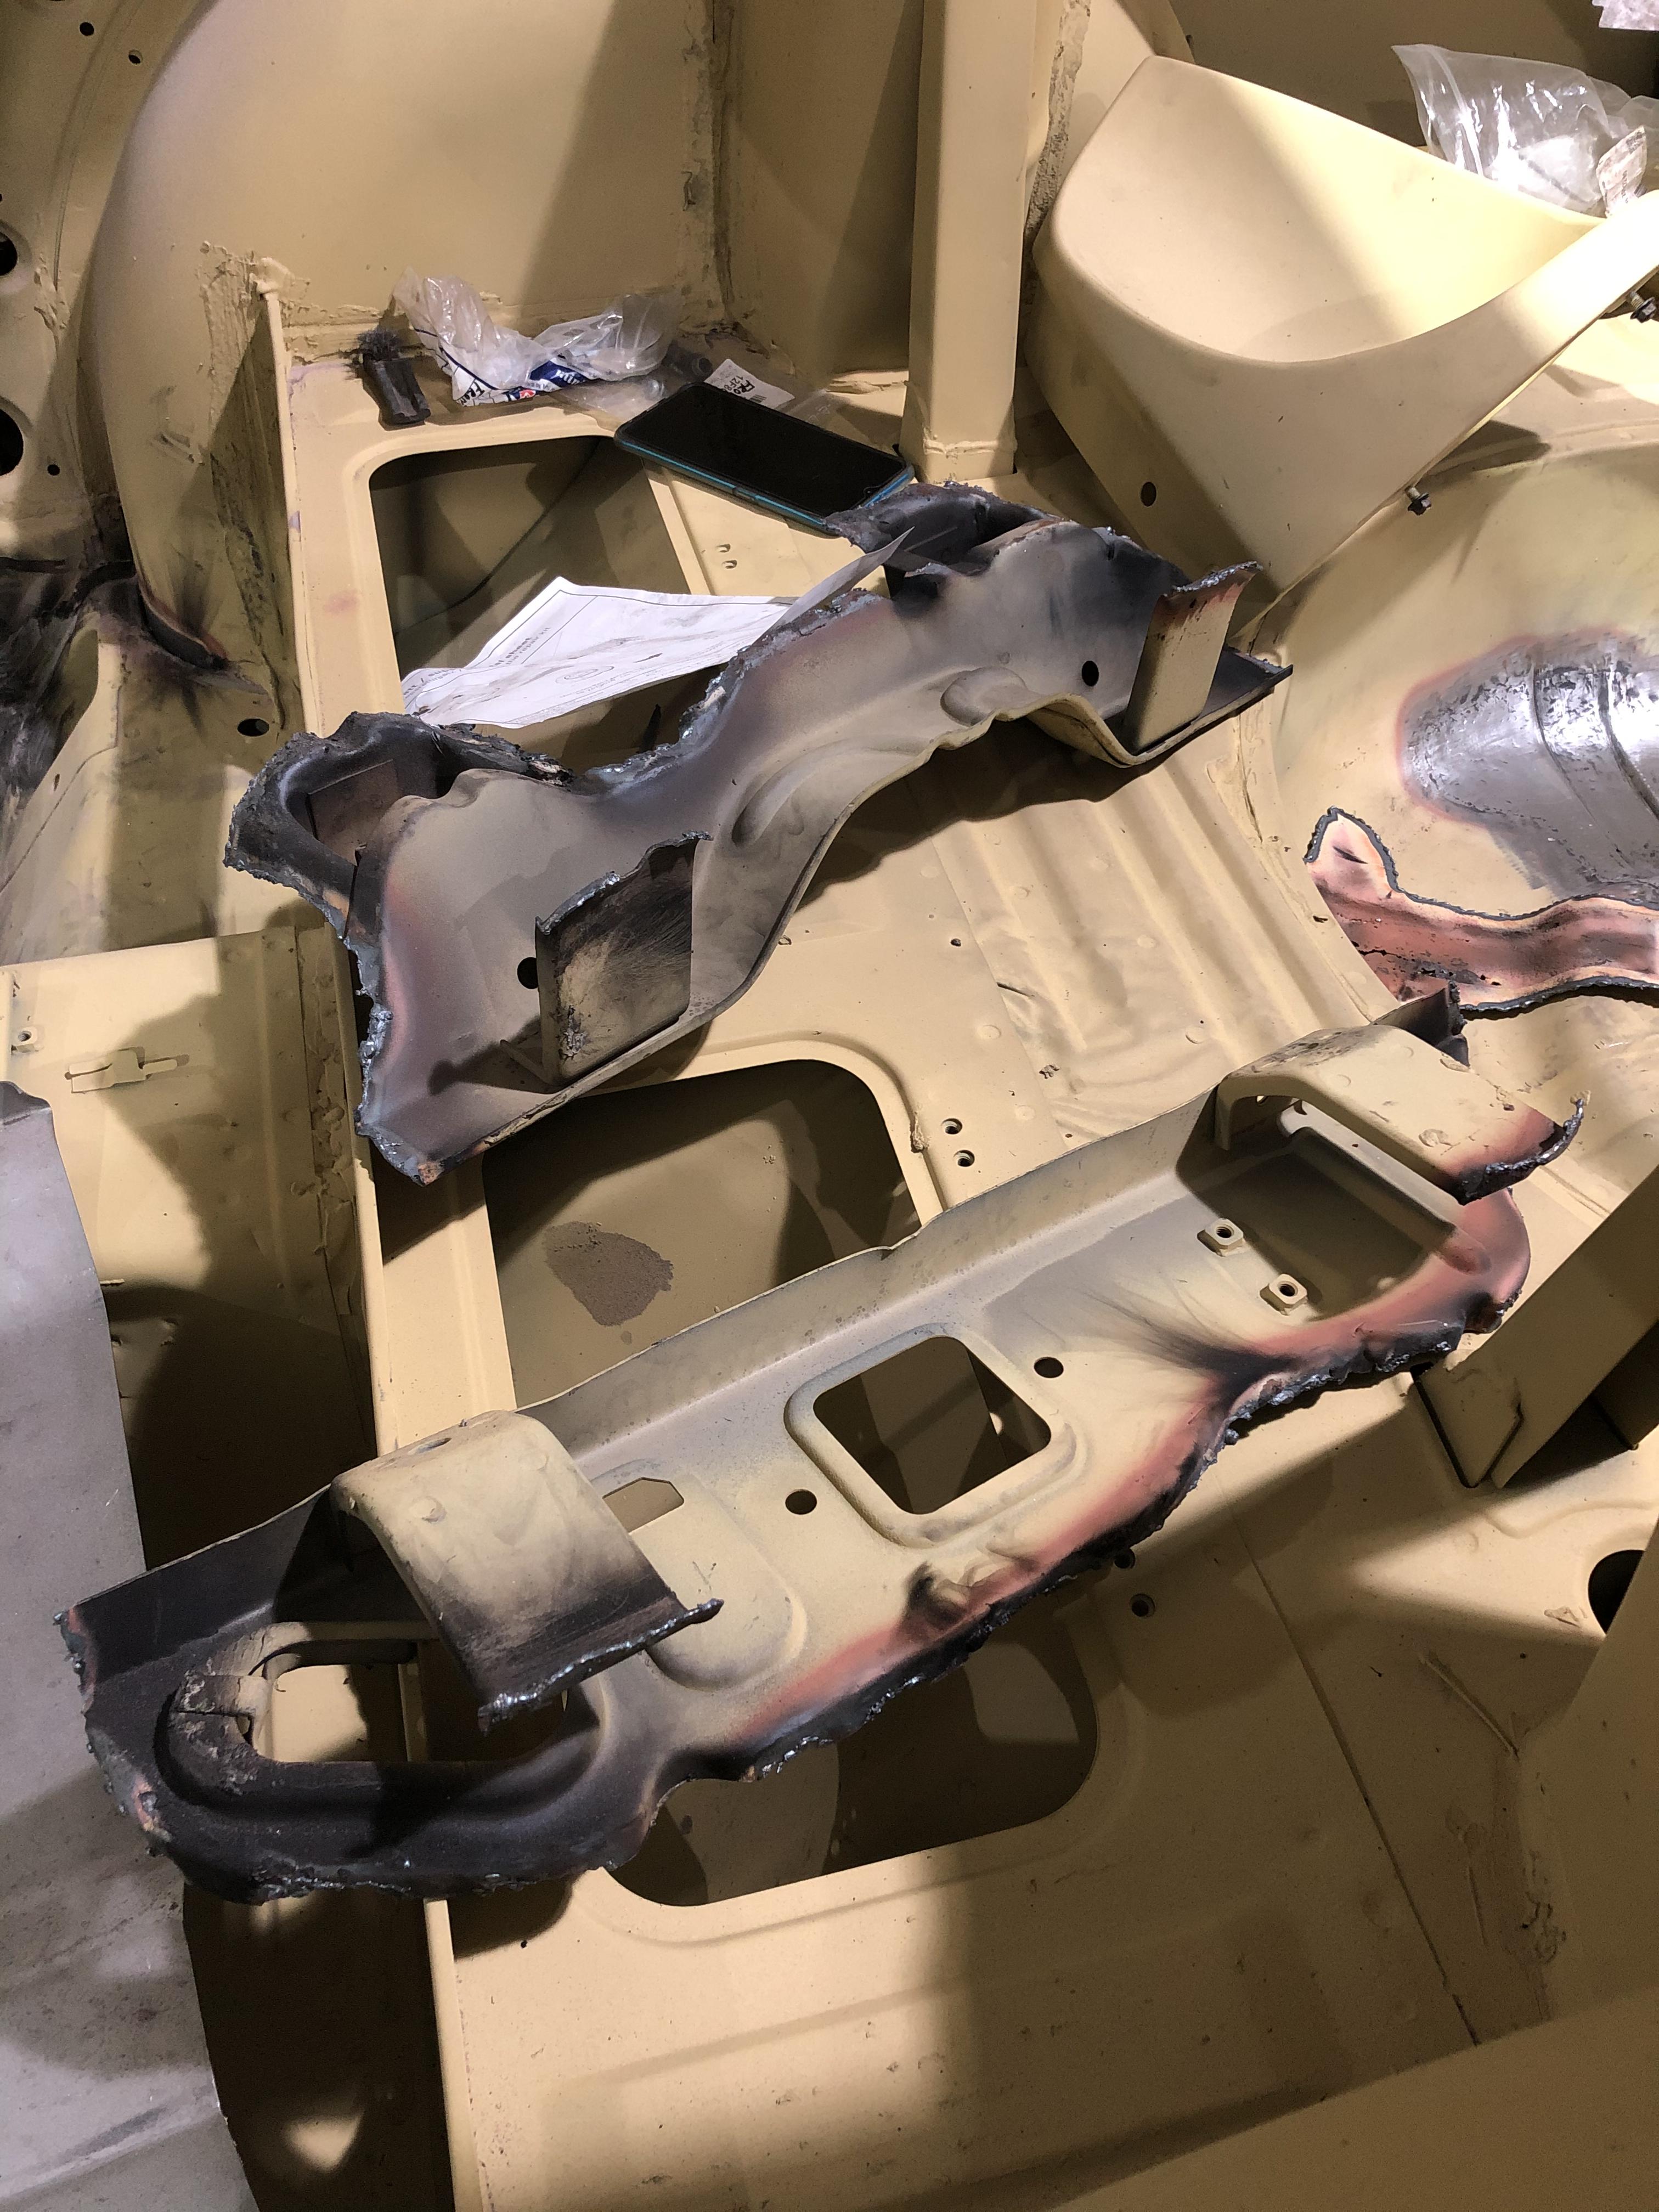
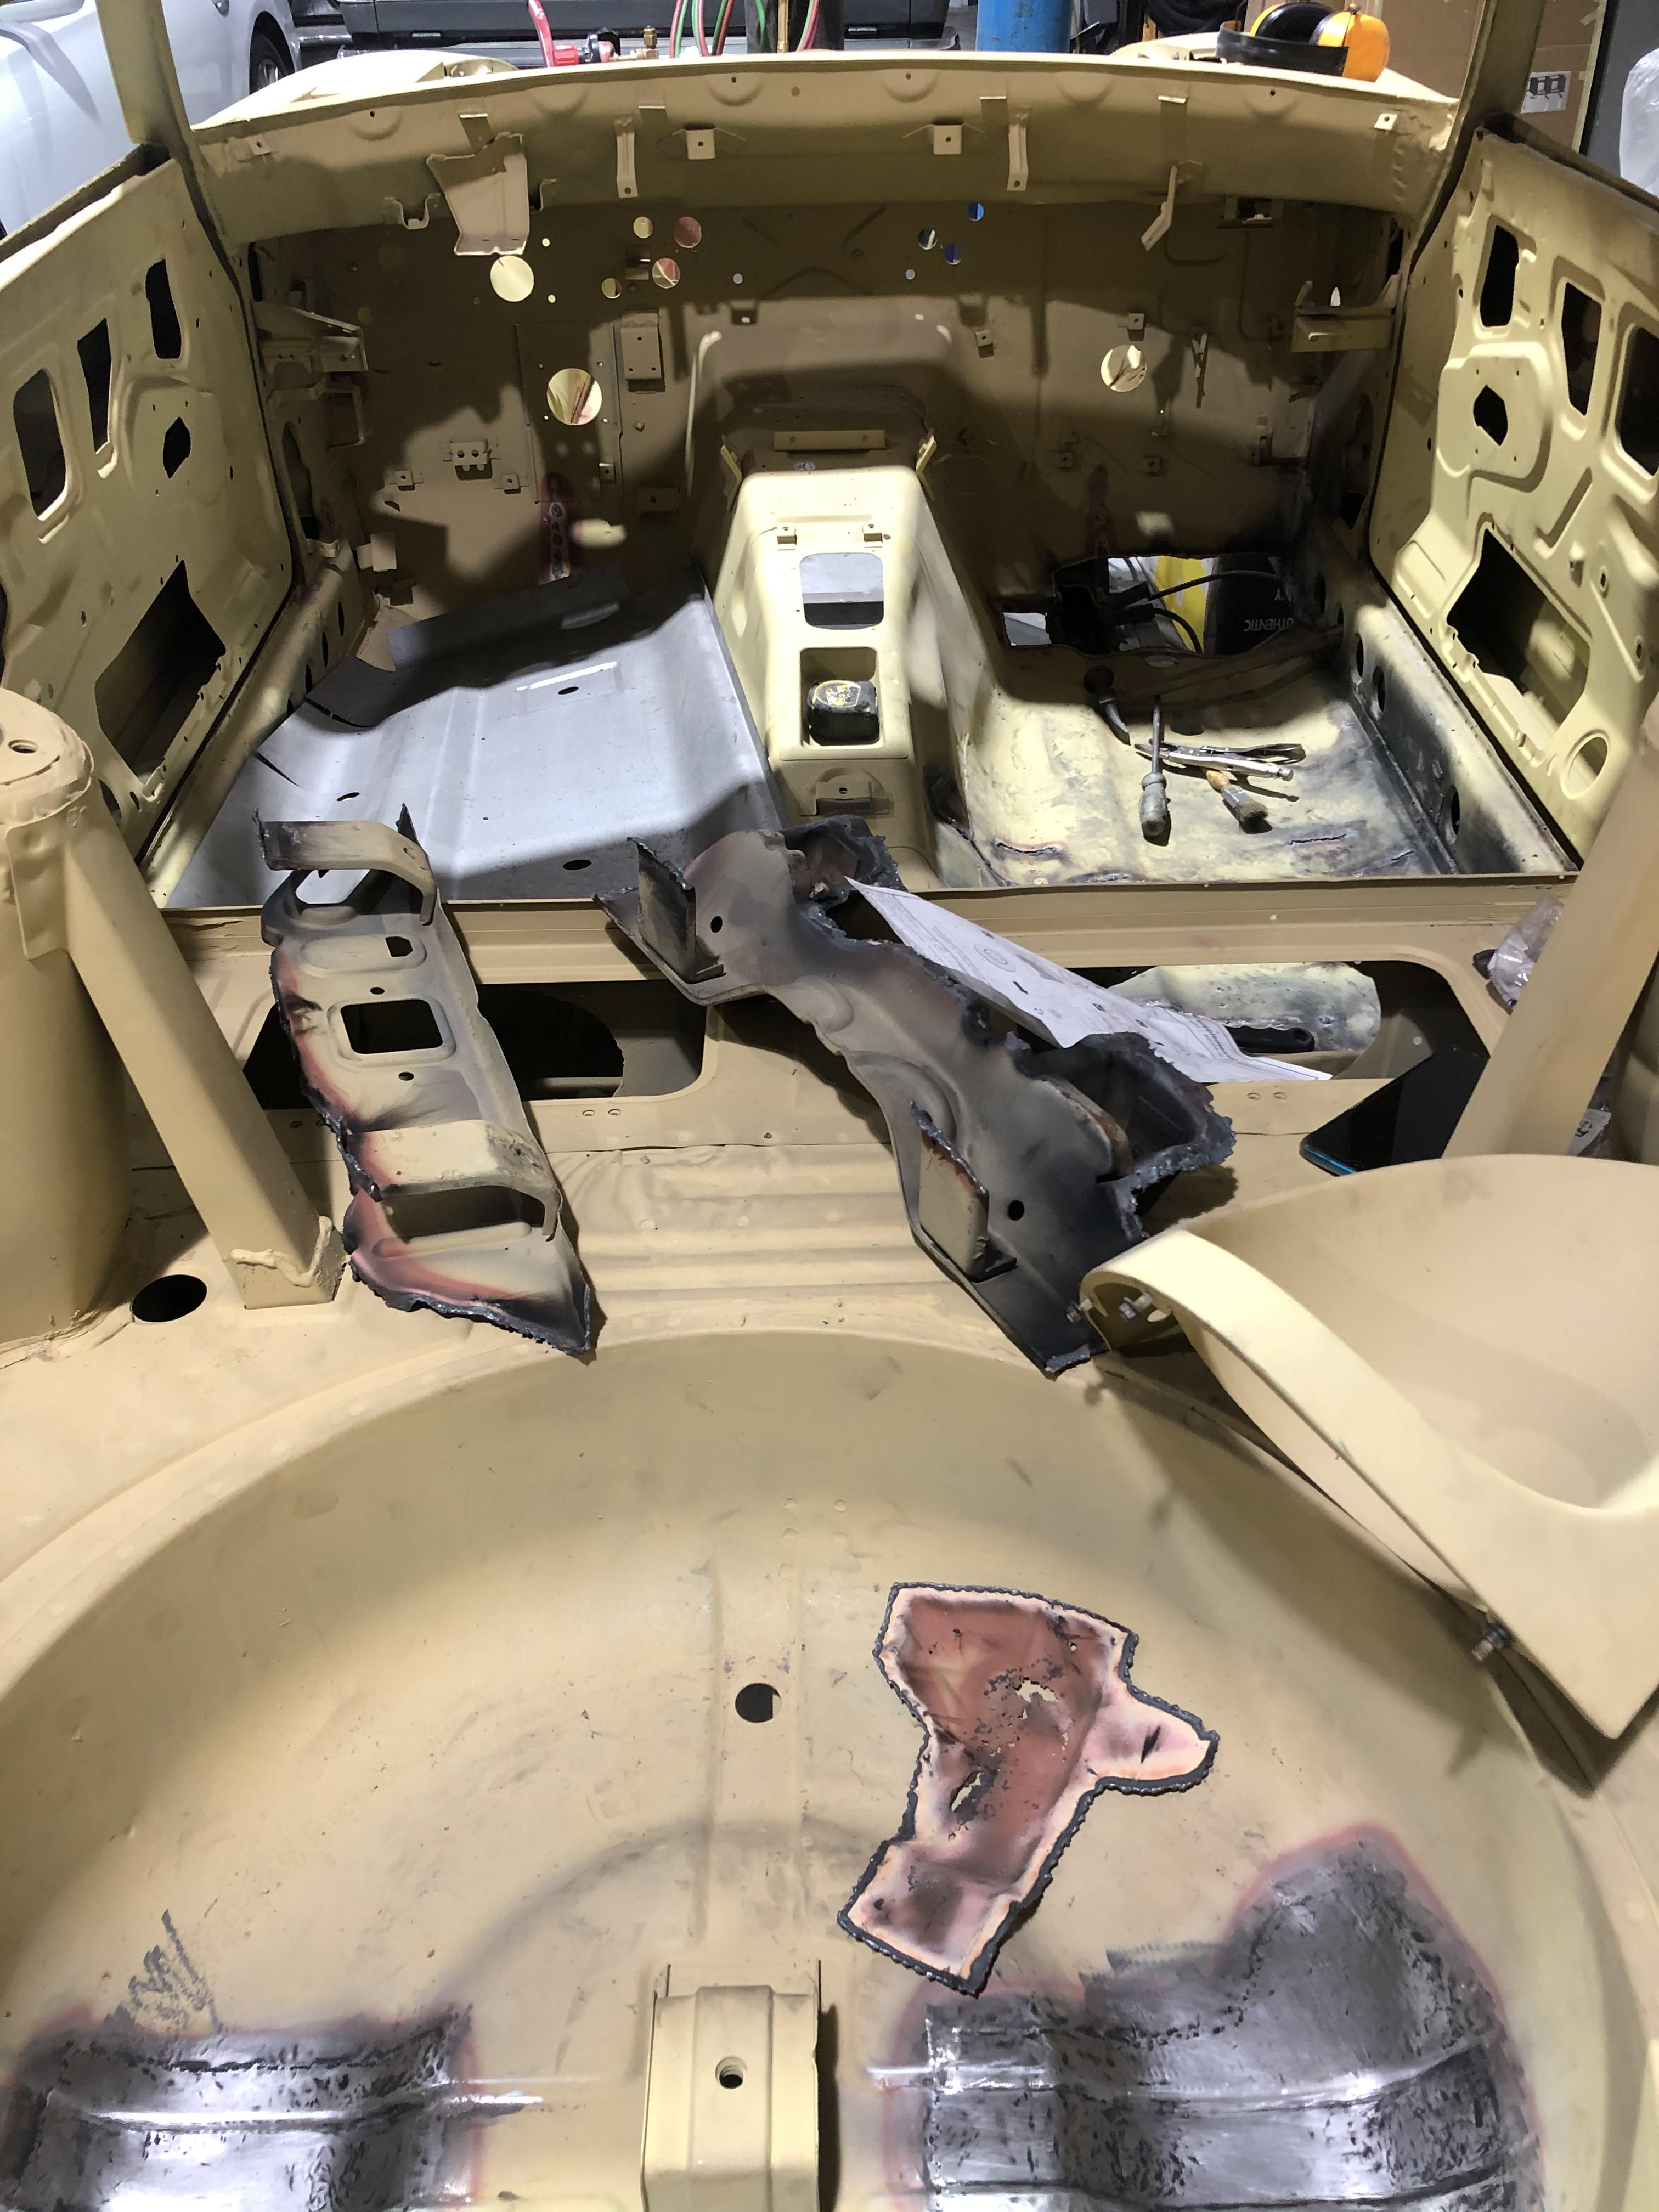
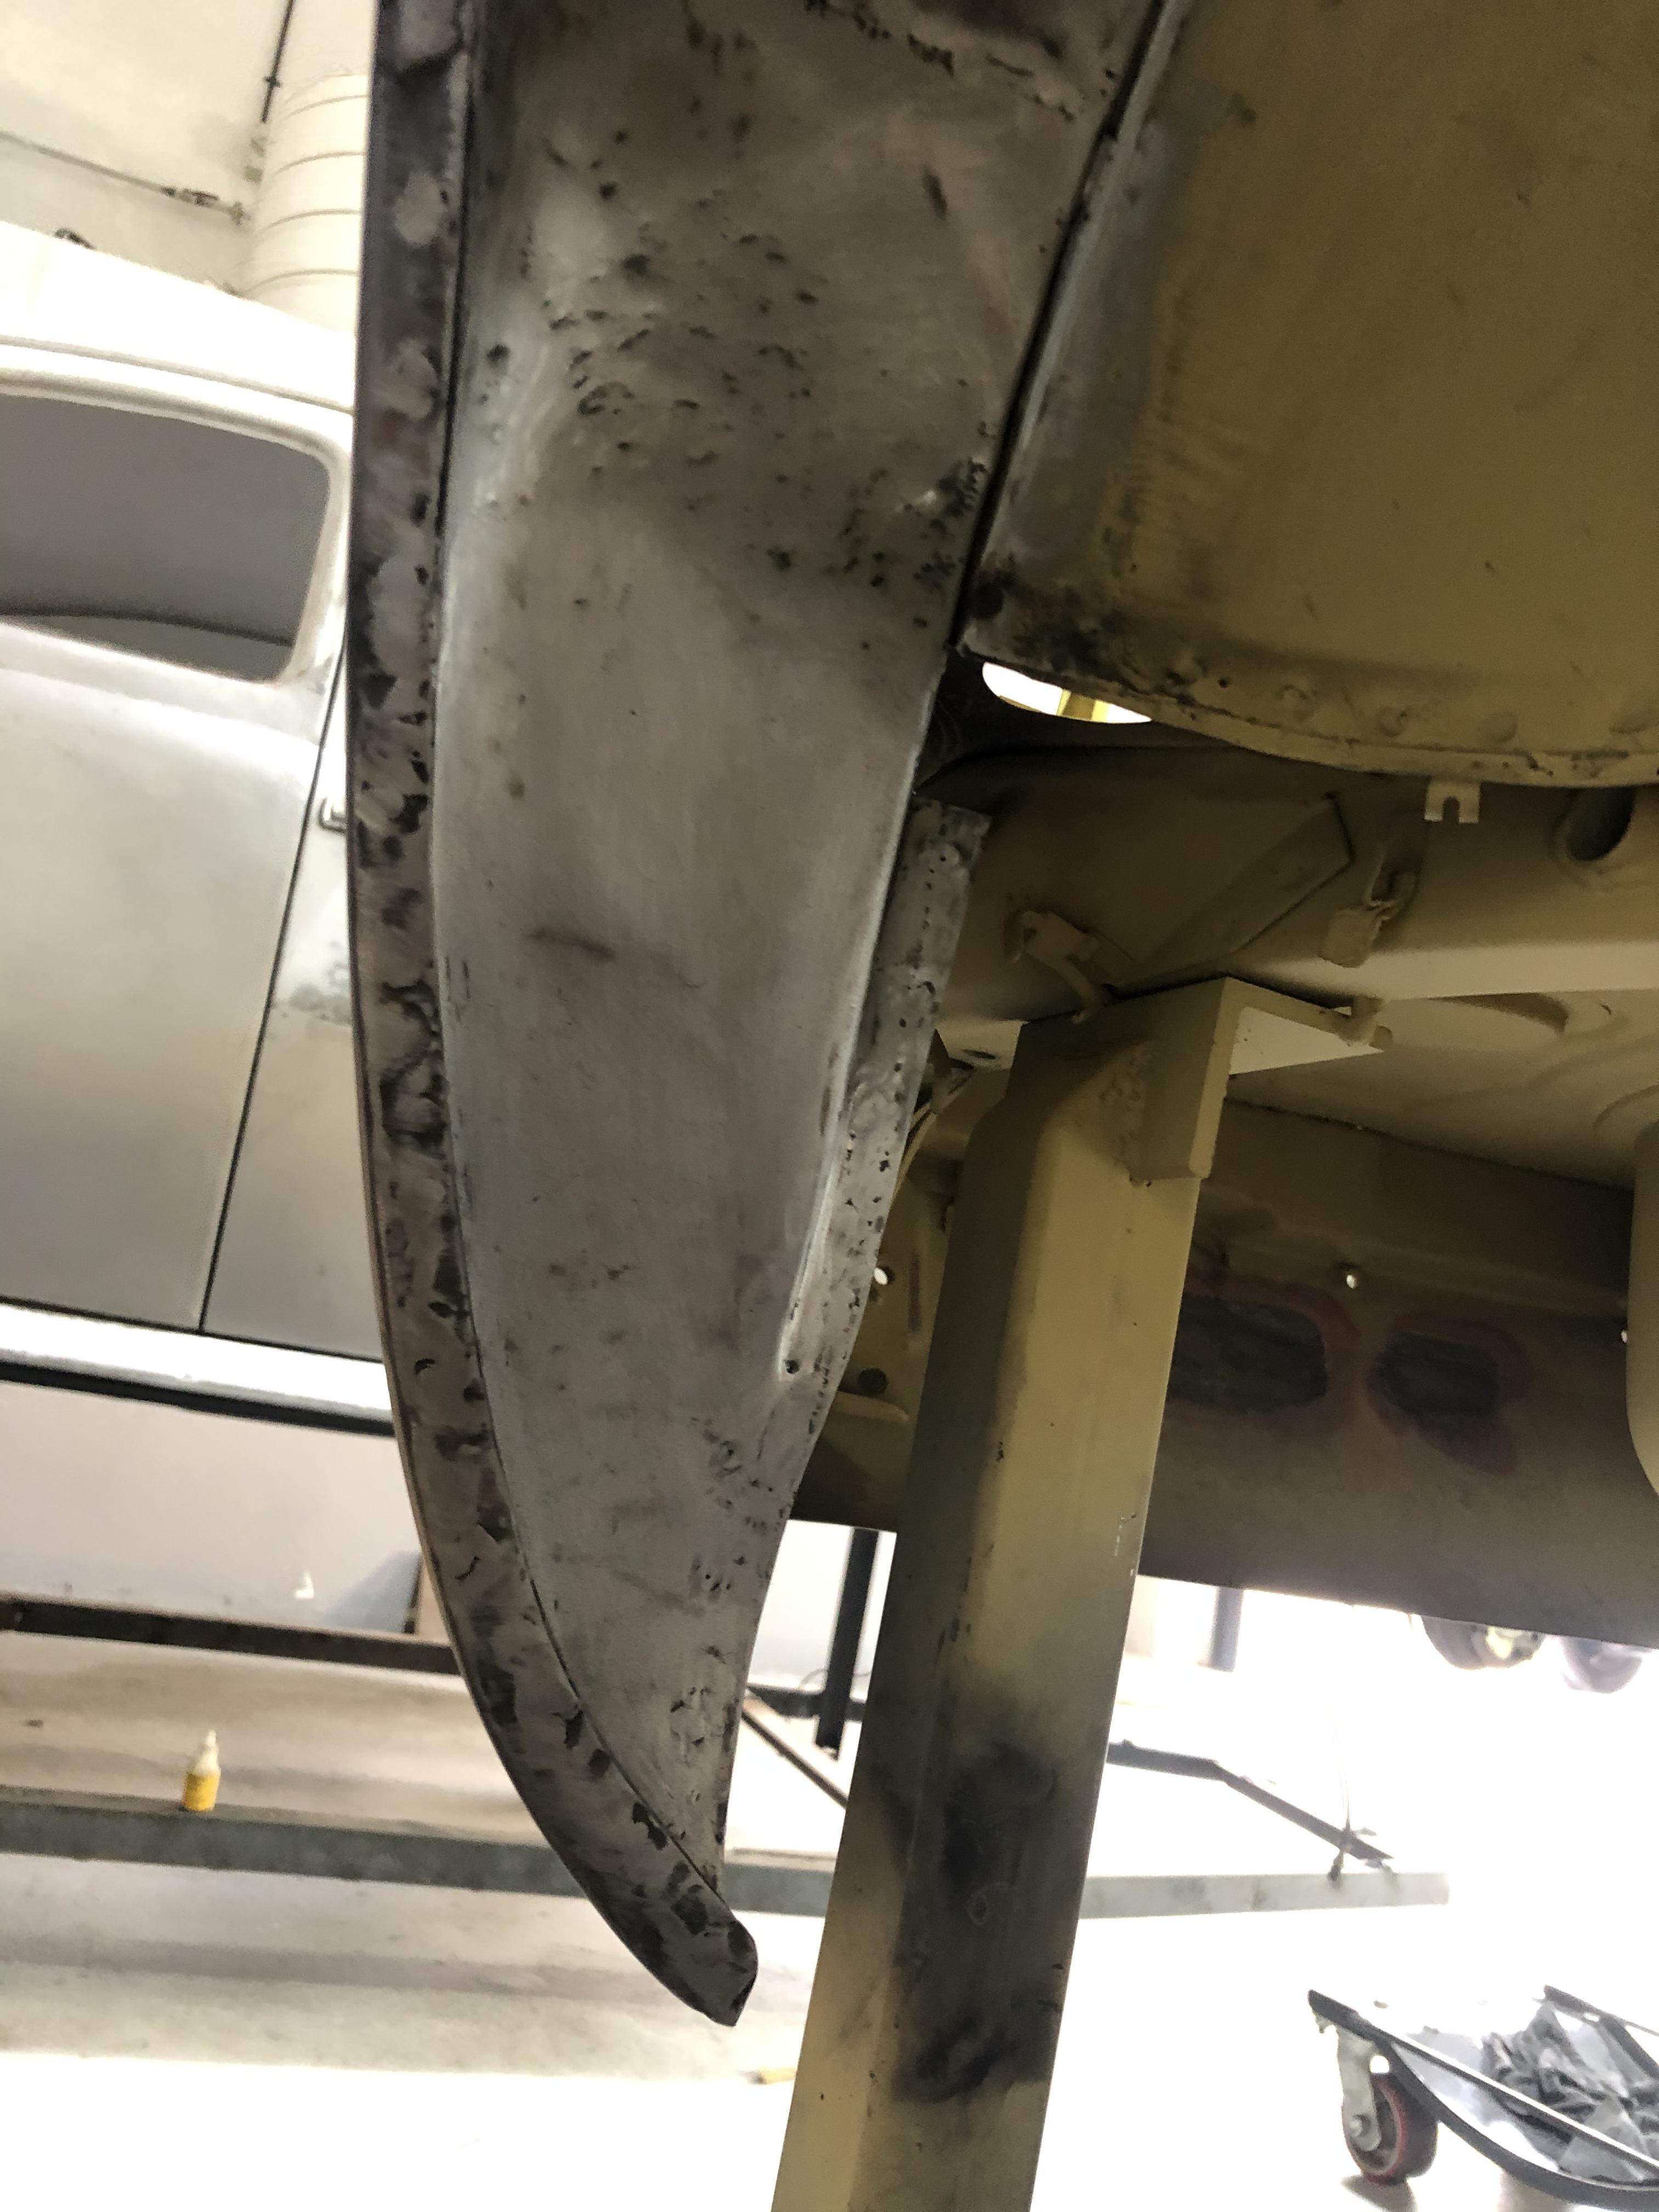
Happy Sunday all, you might know the week starts on Sunday here in the Middle East (and ends of Thursday). Some progress on the floor passenger side, from the "small" hole and underneath rusted rail, to the cleaned up area and the new floor being adjusted. You can also notice the patches on driver side above, mix and match of original floor (the water drain in X shape), a part of Zeddfindings floor with the square area, and some metal sheets. Also, the dismantling of the other parts has also started, finally ! The gas tank as several rust spot, some pin holes, but I believe can be saved, let's see after sandblasting. Shocks/springs will be changed with the KYB Excel G I got in the auction with the car and the T3 coil over conversion kit. The front brake calipers will be refurbished (disks and pads are still new), rear drum refurbished as well. Everything going for sandblasting and will be repainted in black, except the sway bars to remain red, matching with the Prothane bushing kit.


-
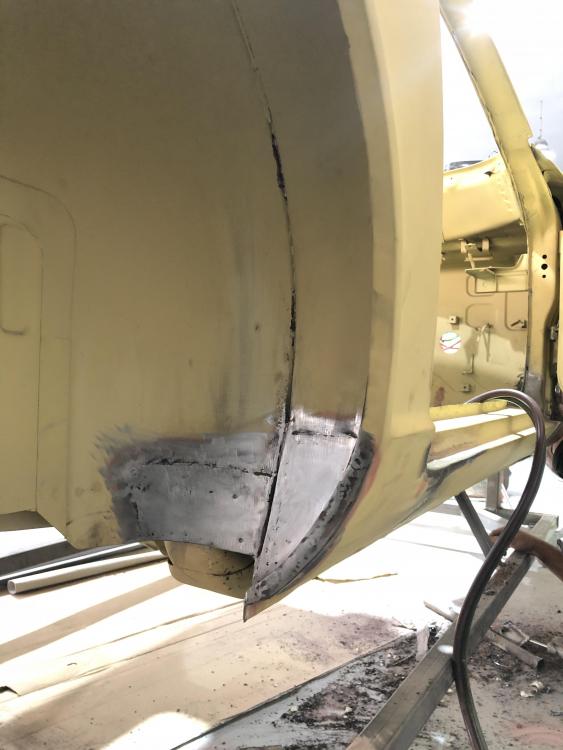
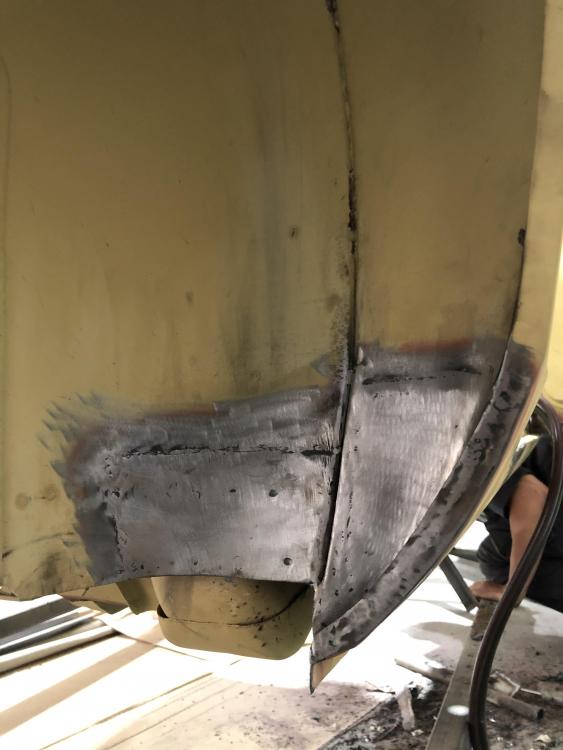
First seat finished and handed over for the fitting and the adjustment of the new floor/support/transmission tunnel (Thanks @wheee! for your advice on this one !) The rear left wheel arch completed, so now its "only" the floor area 😂 Spare tire well done, floor cutting started yesterday. I have also asked the welding mask question to my dude and his answer was straight forward and funny at the same time: "I am from Philippines, I have small eyes so no problem".
.thumb.jpg.f976bf9153437dd4295c23dd11f000a2.jpg)

.thumb.jpg.1220a1442328ed24385091d036dd5238.jpg)
-
Thank you @Racer X 🙏


.jpg.c26e87bd18c8538604fa629cf068c282.jpg)


.jpg.2bc6ff8d9041c5ff2a1a3b117ec21fef.jpg)

.jpg.8fb72692aa142091cf758356d8b978b8.jpg)
.jpg.84c5e9d2de16d2c90f422e1db4d58bfd.jpg)
.jpg.569a85039281a907379f116e52f07198.jpg)


.jpg.607282e4a848df3f399d2b9e5fa529a6.jpg)

.jpg.dda0cd4cf7ca8c24992118455dac2c41.jpg)


.jpg.8cb482c4e0c916dc84fd897662e22eaf.jpg)


.jpg.fb7ff07ea02ff545e4b70d5af10d15c1.jpg)