Parman
 Subscriber
-
Joined
-
Last visited
-
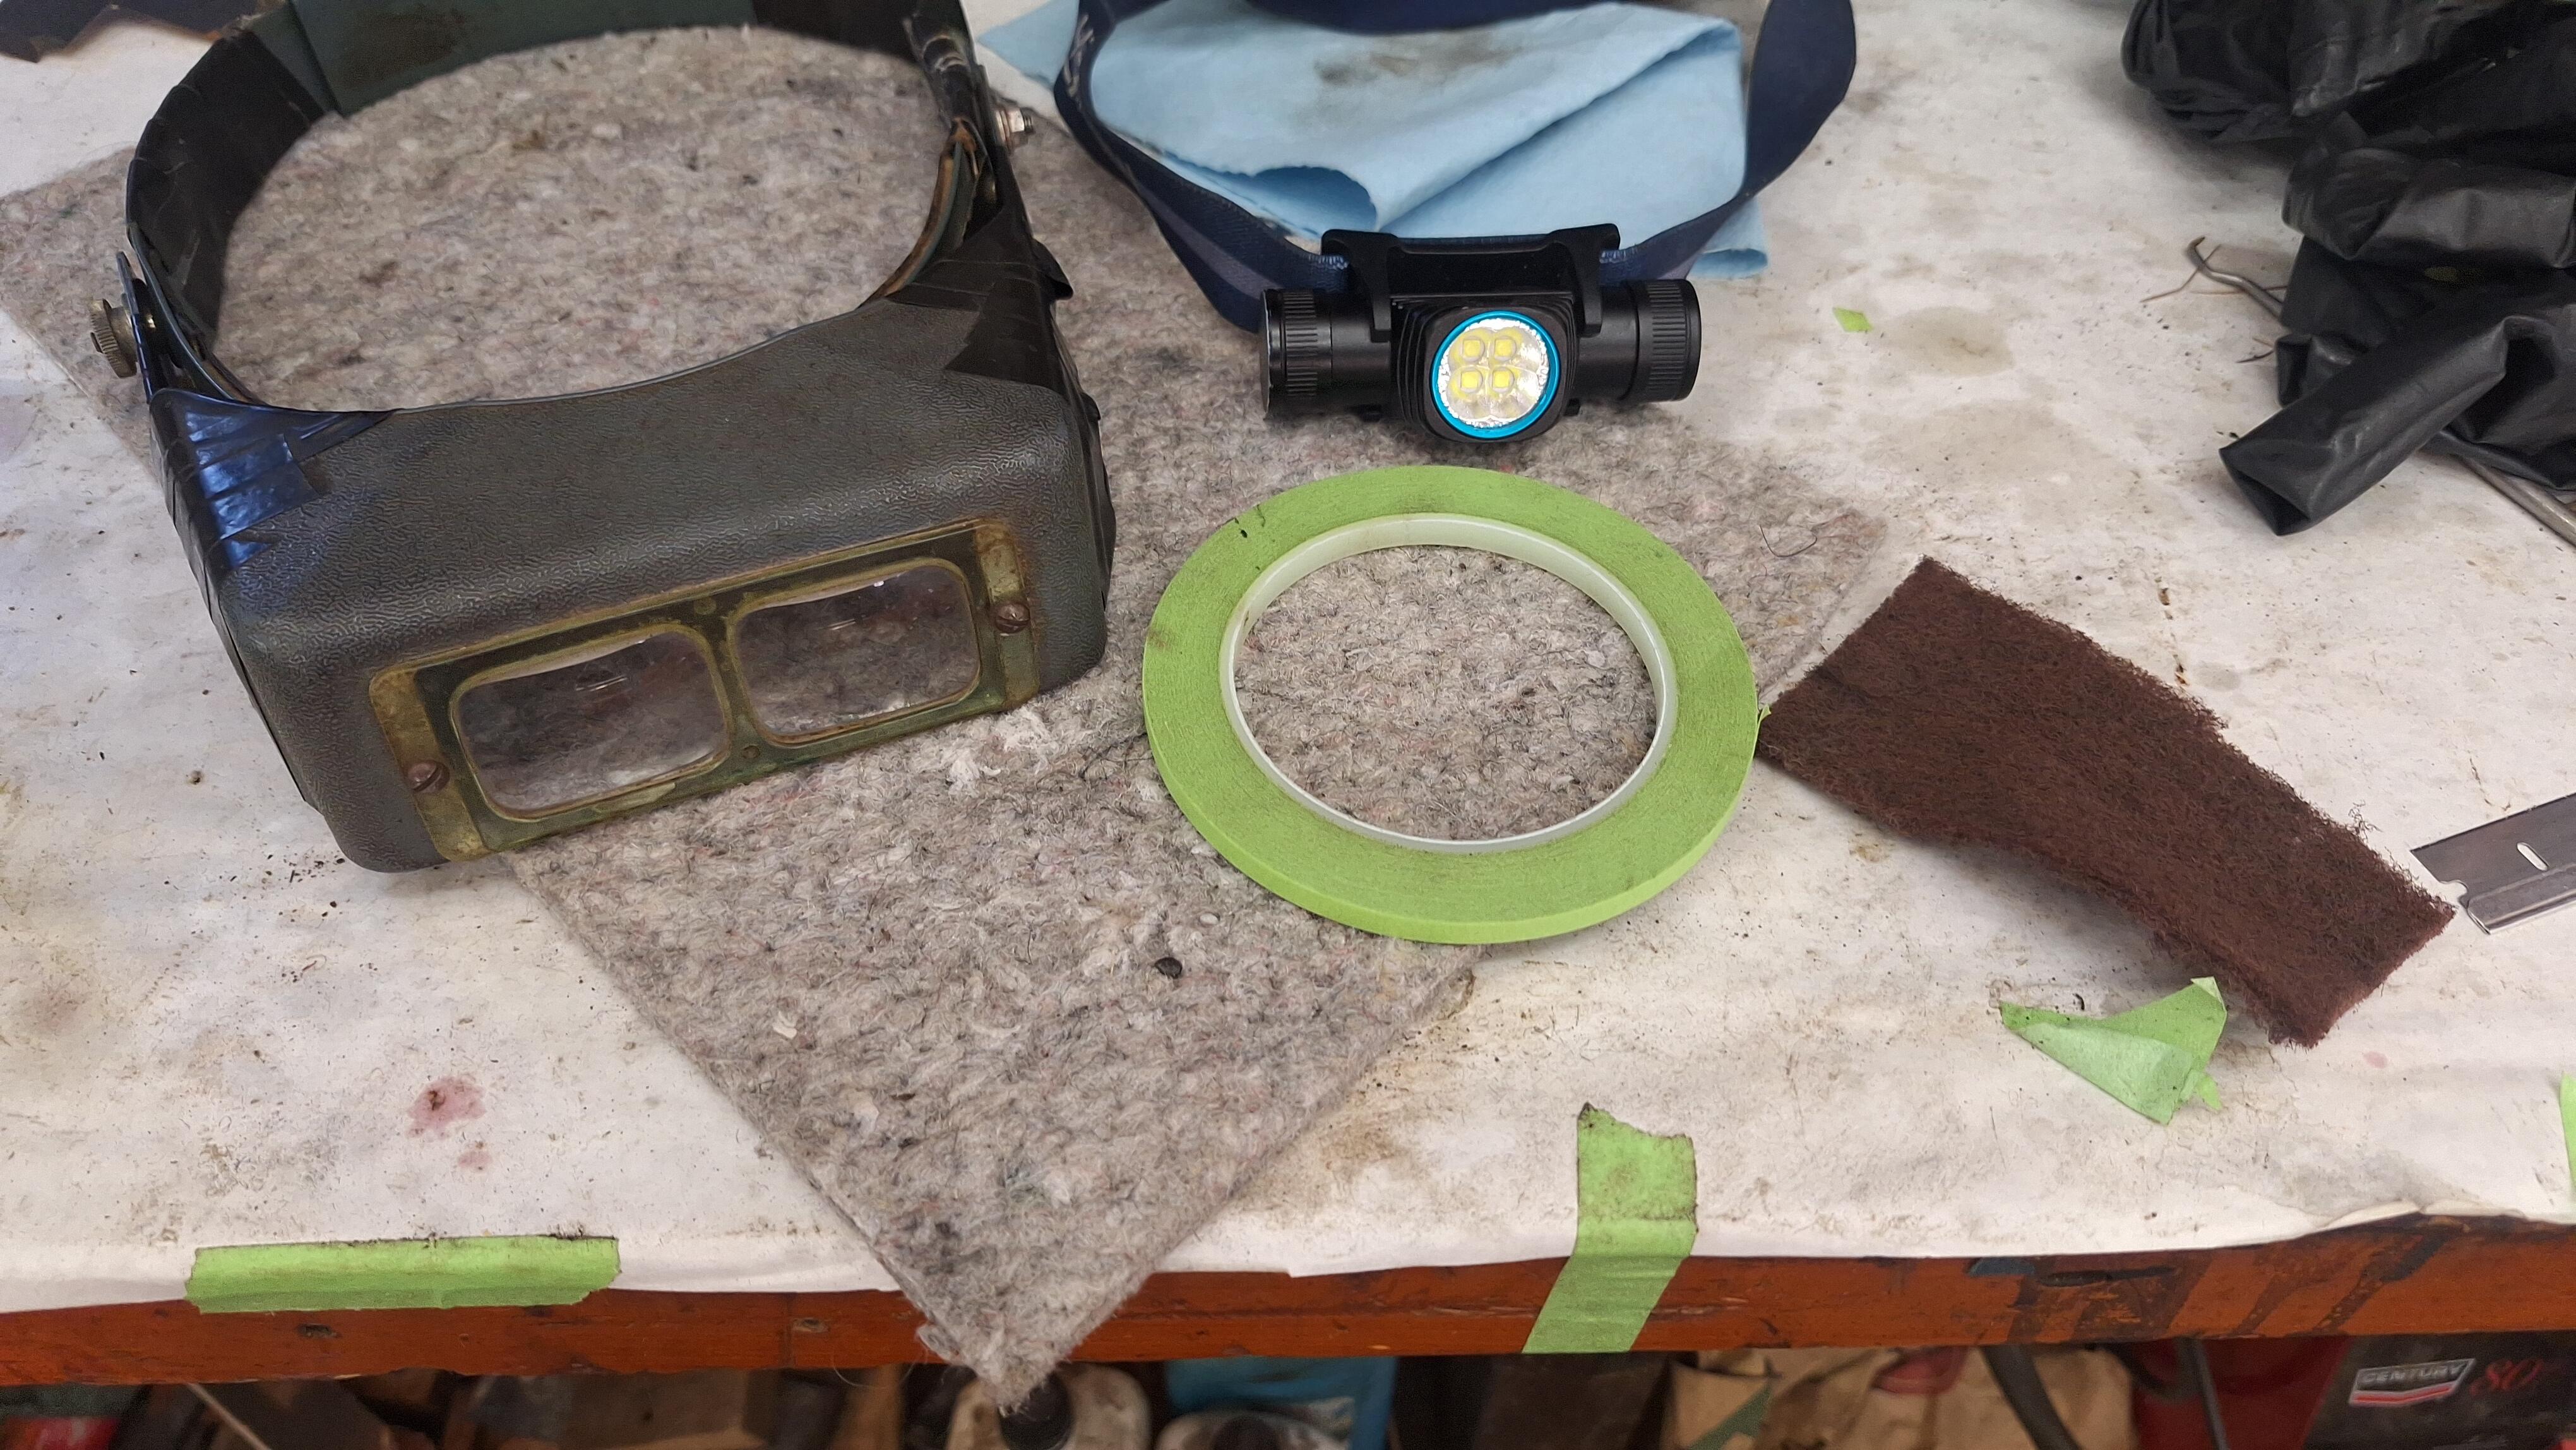
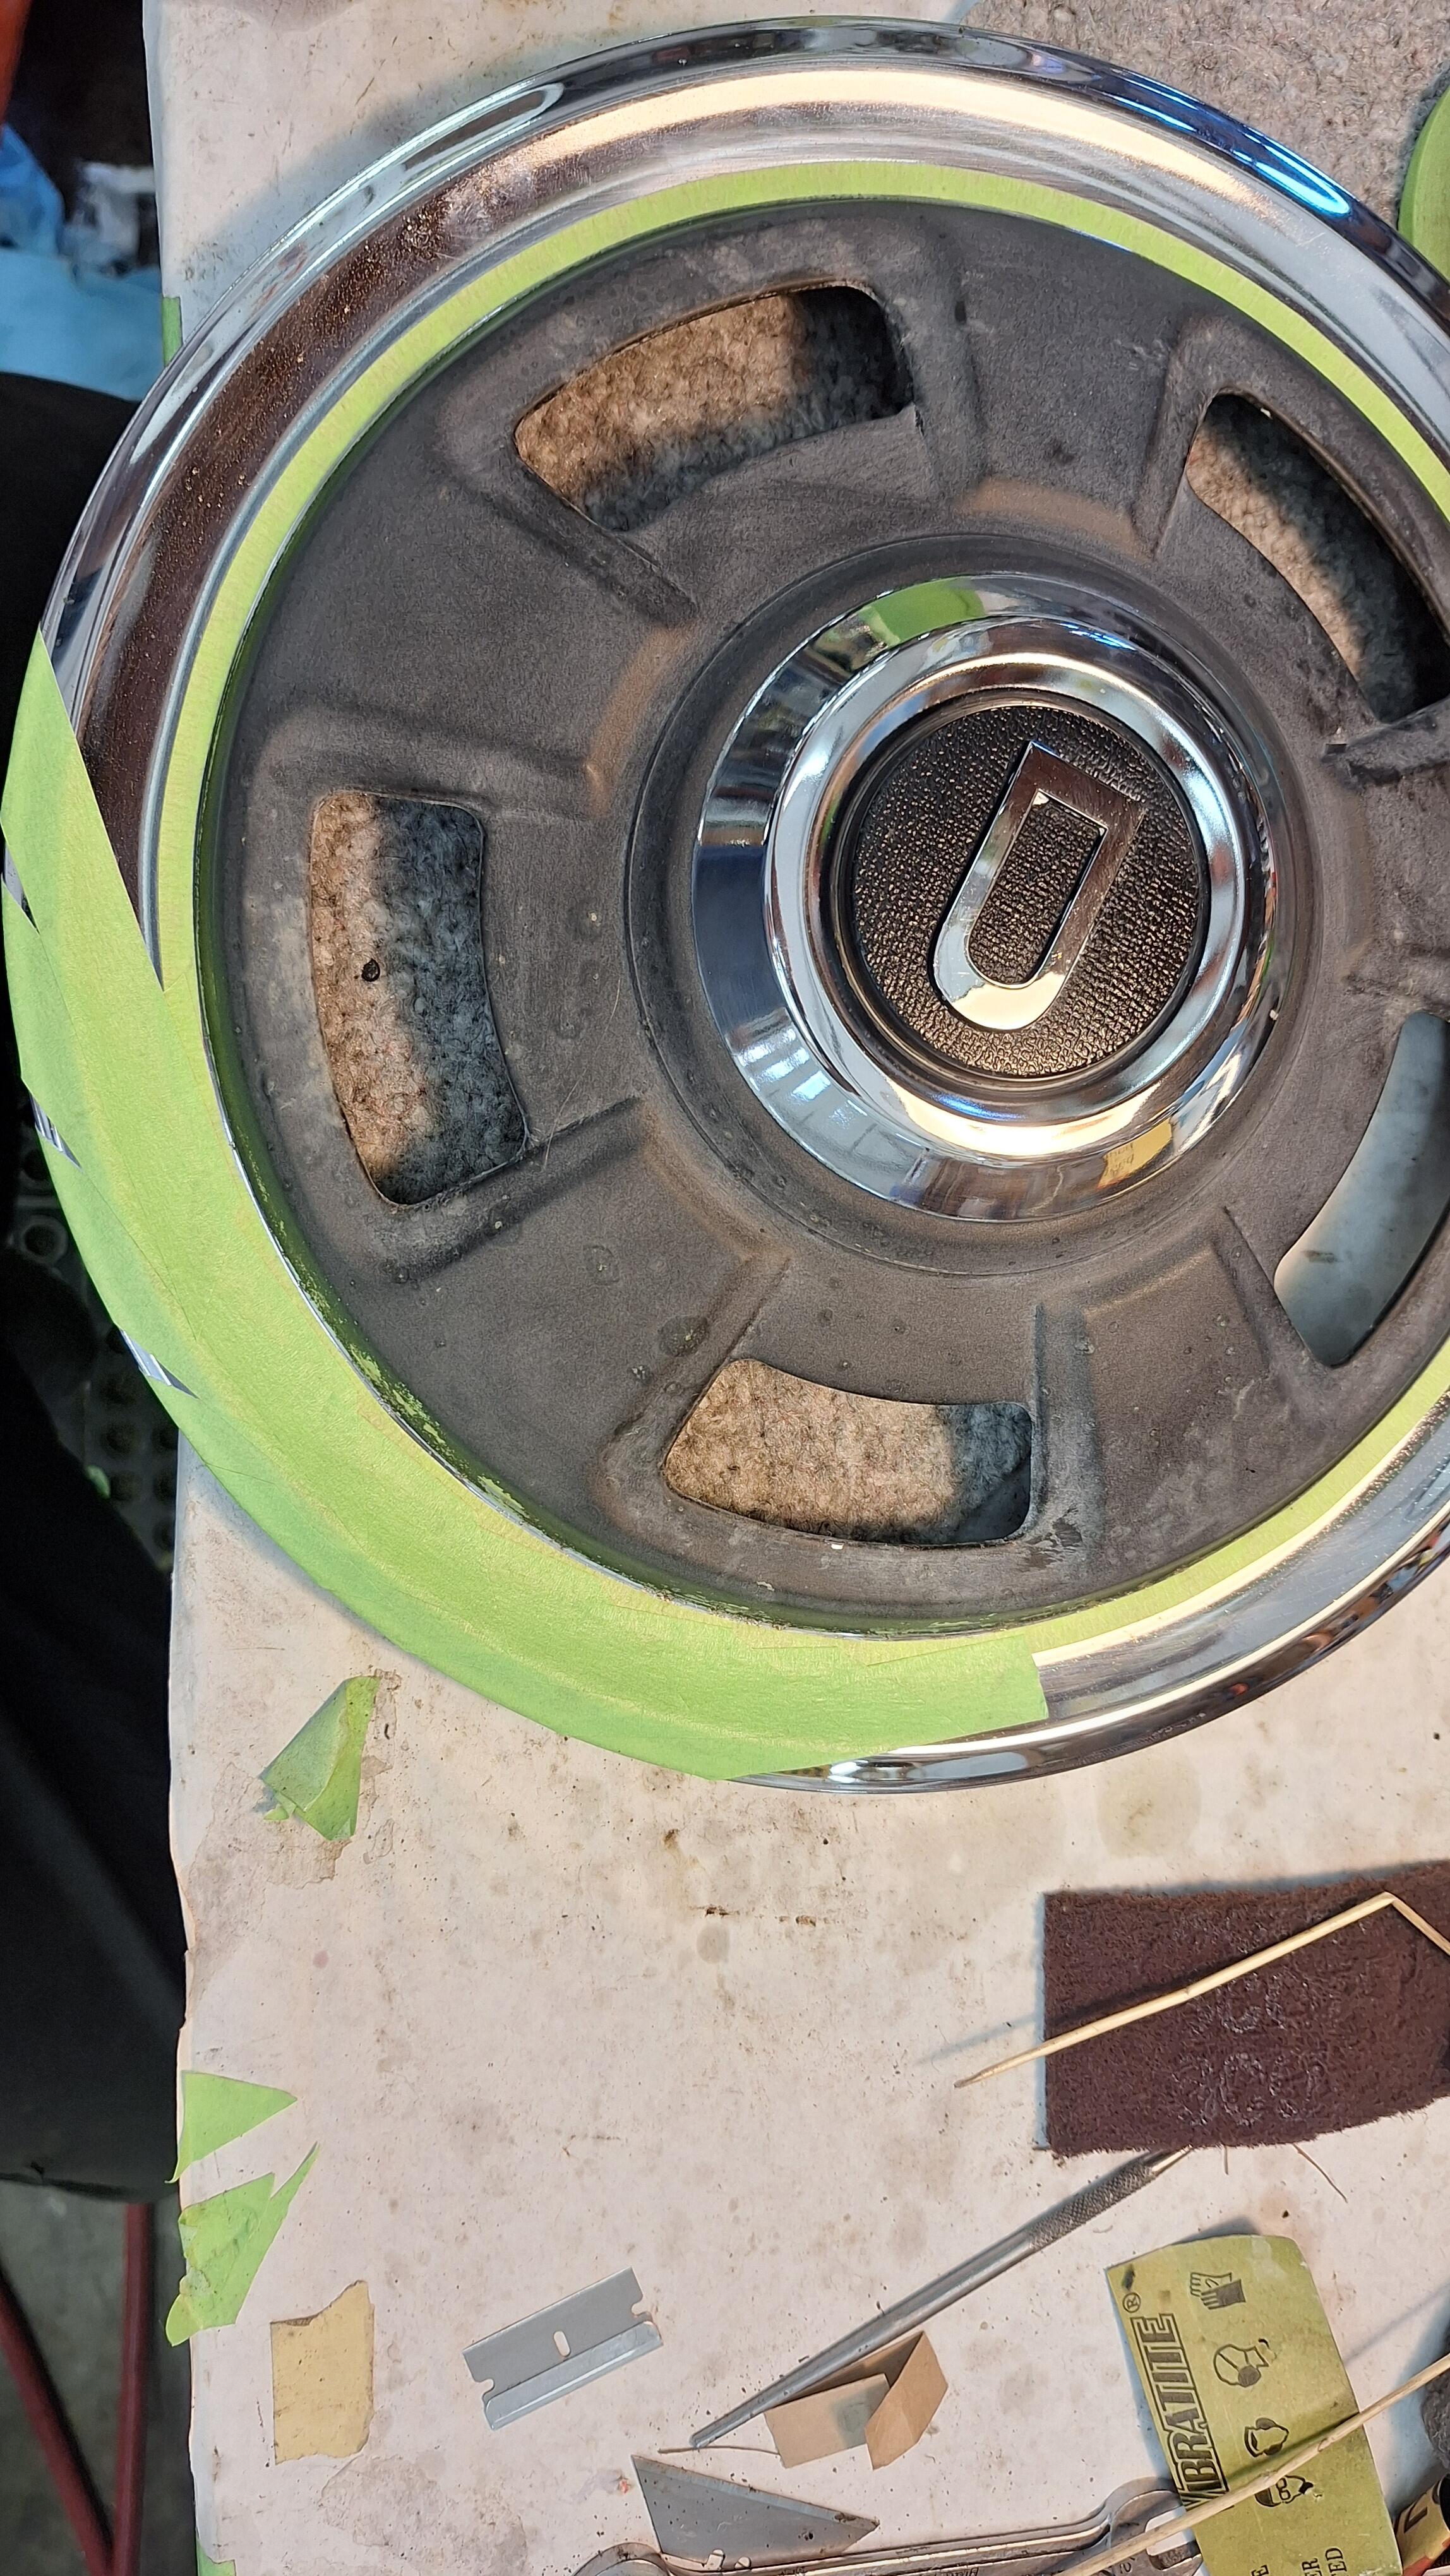
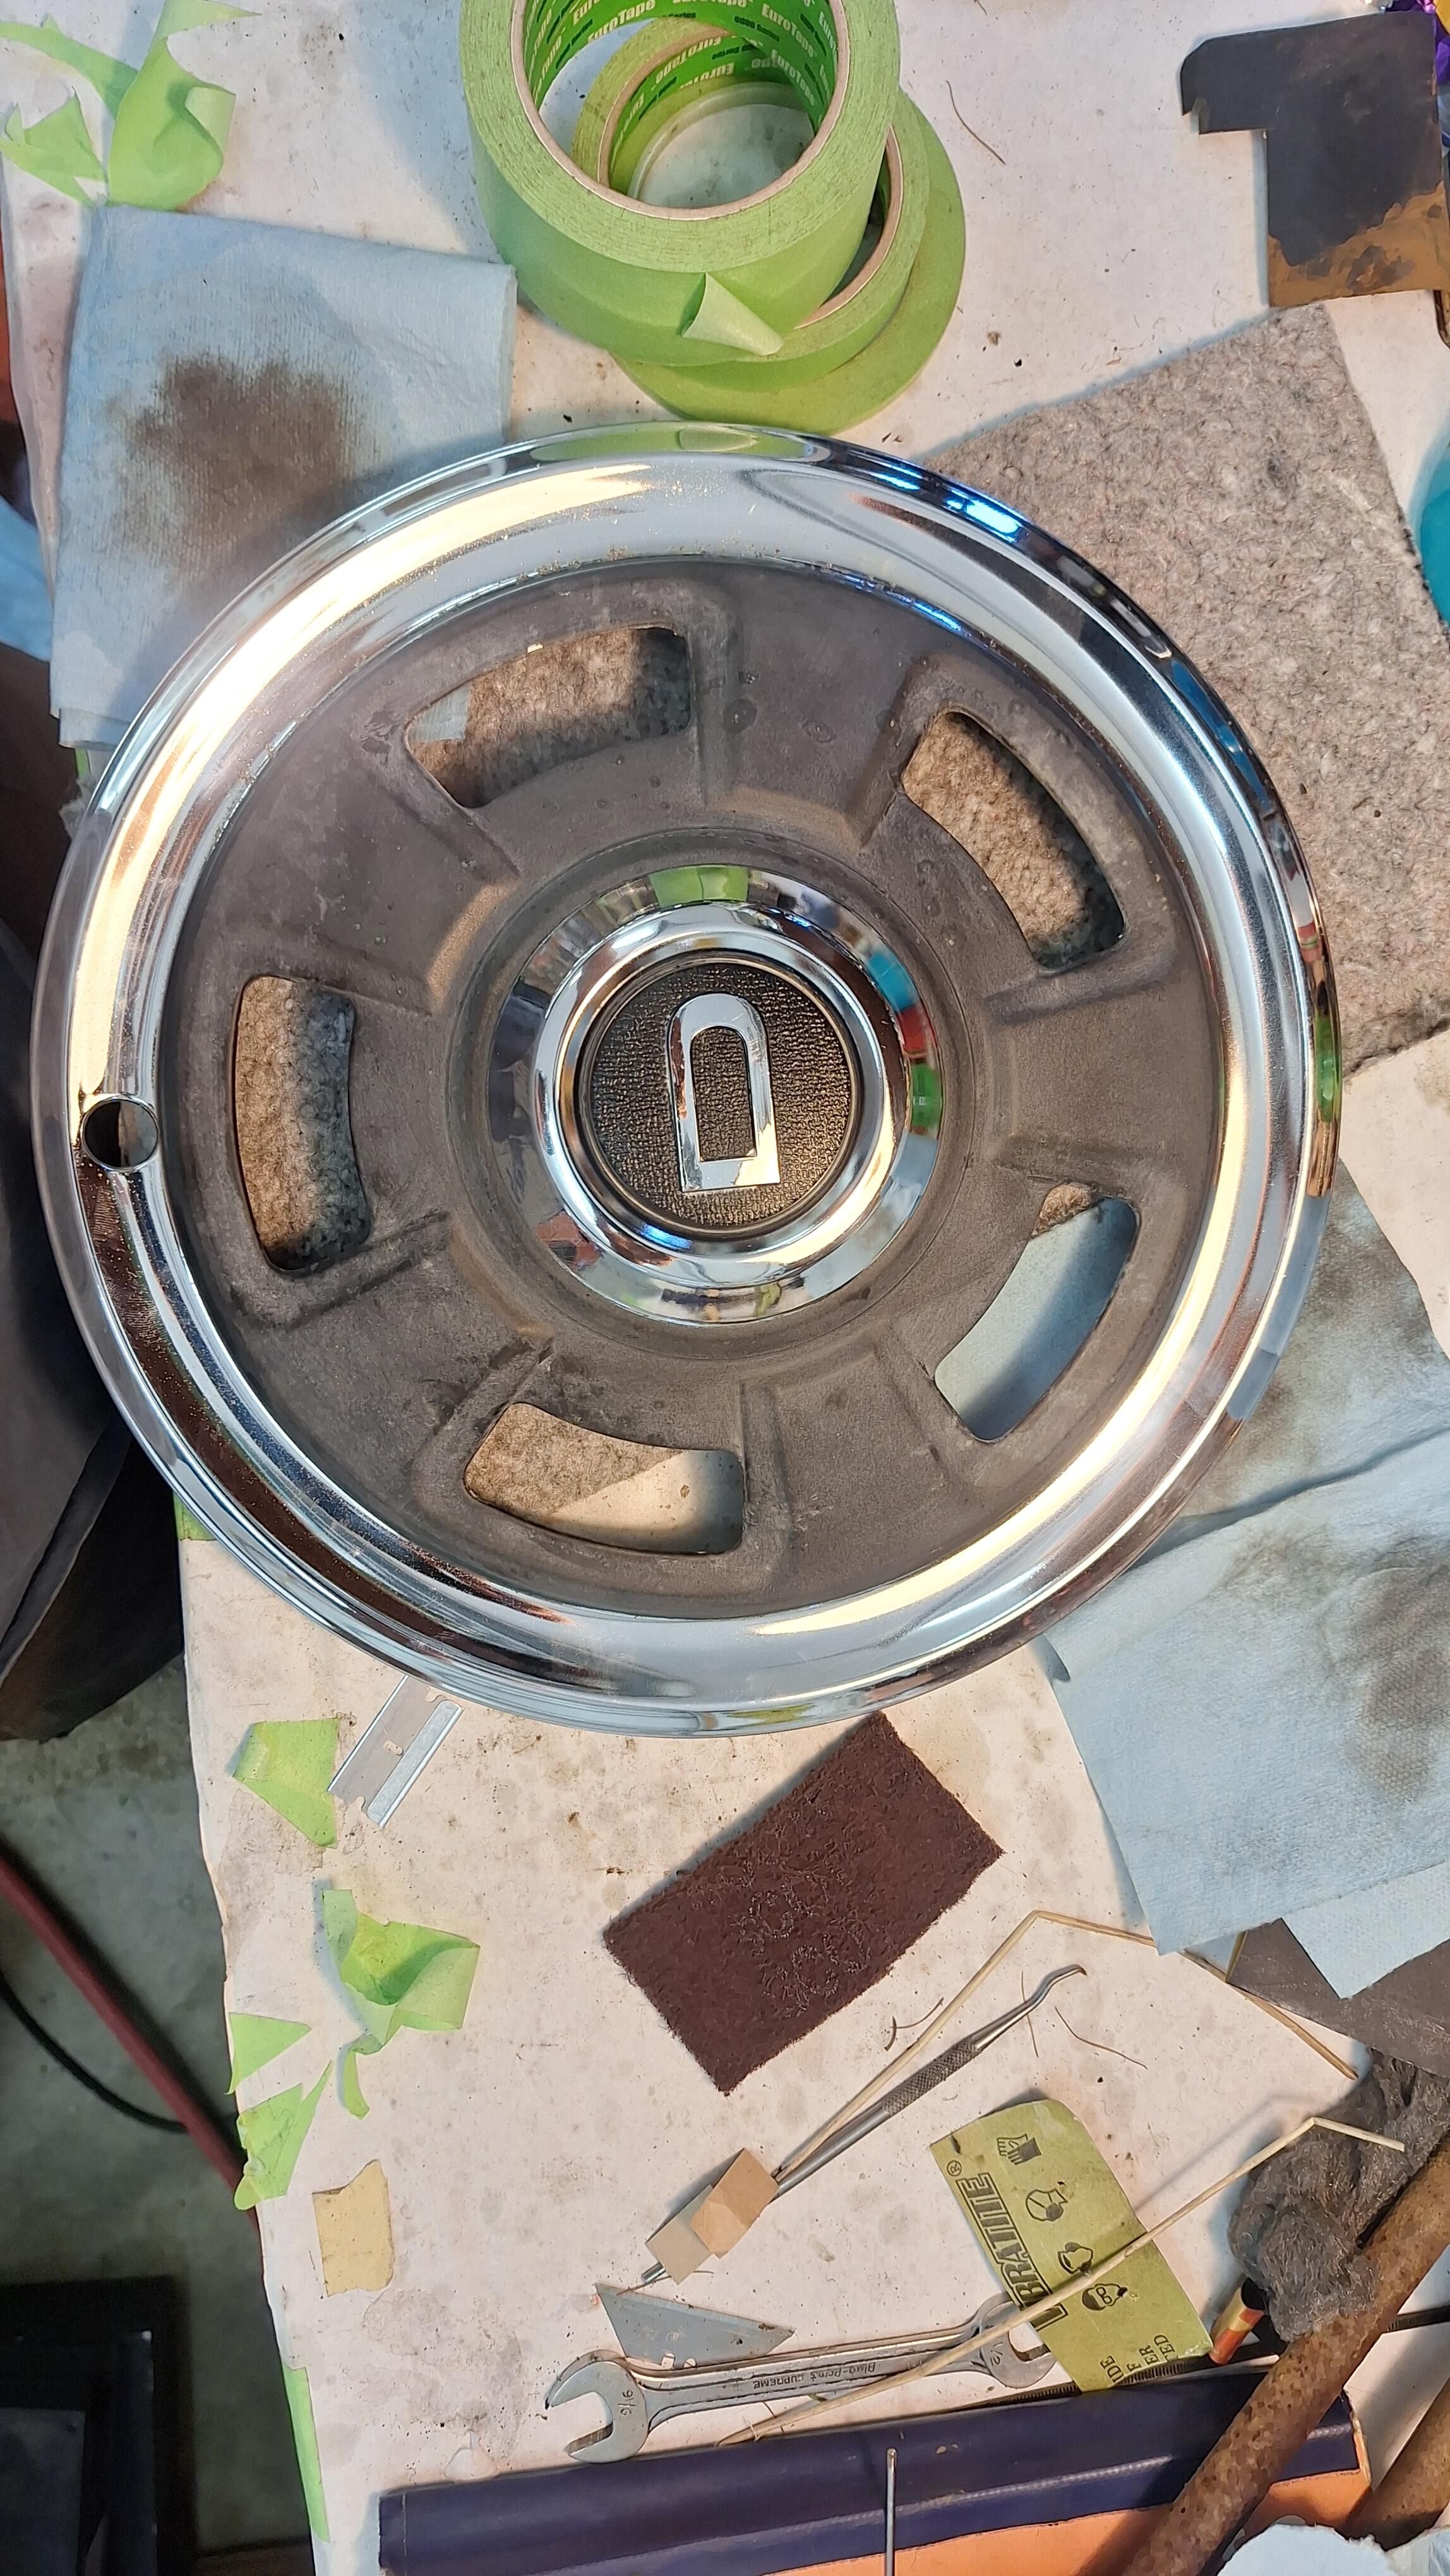
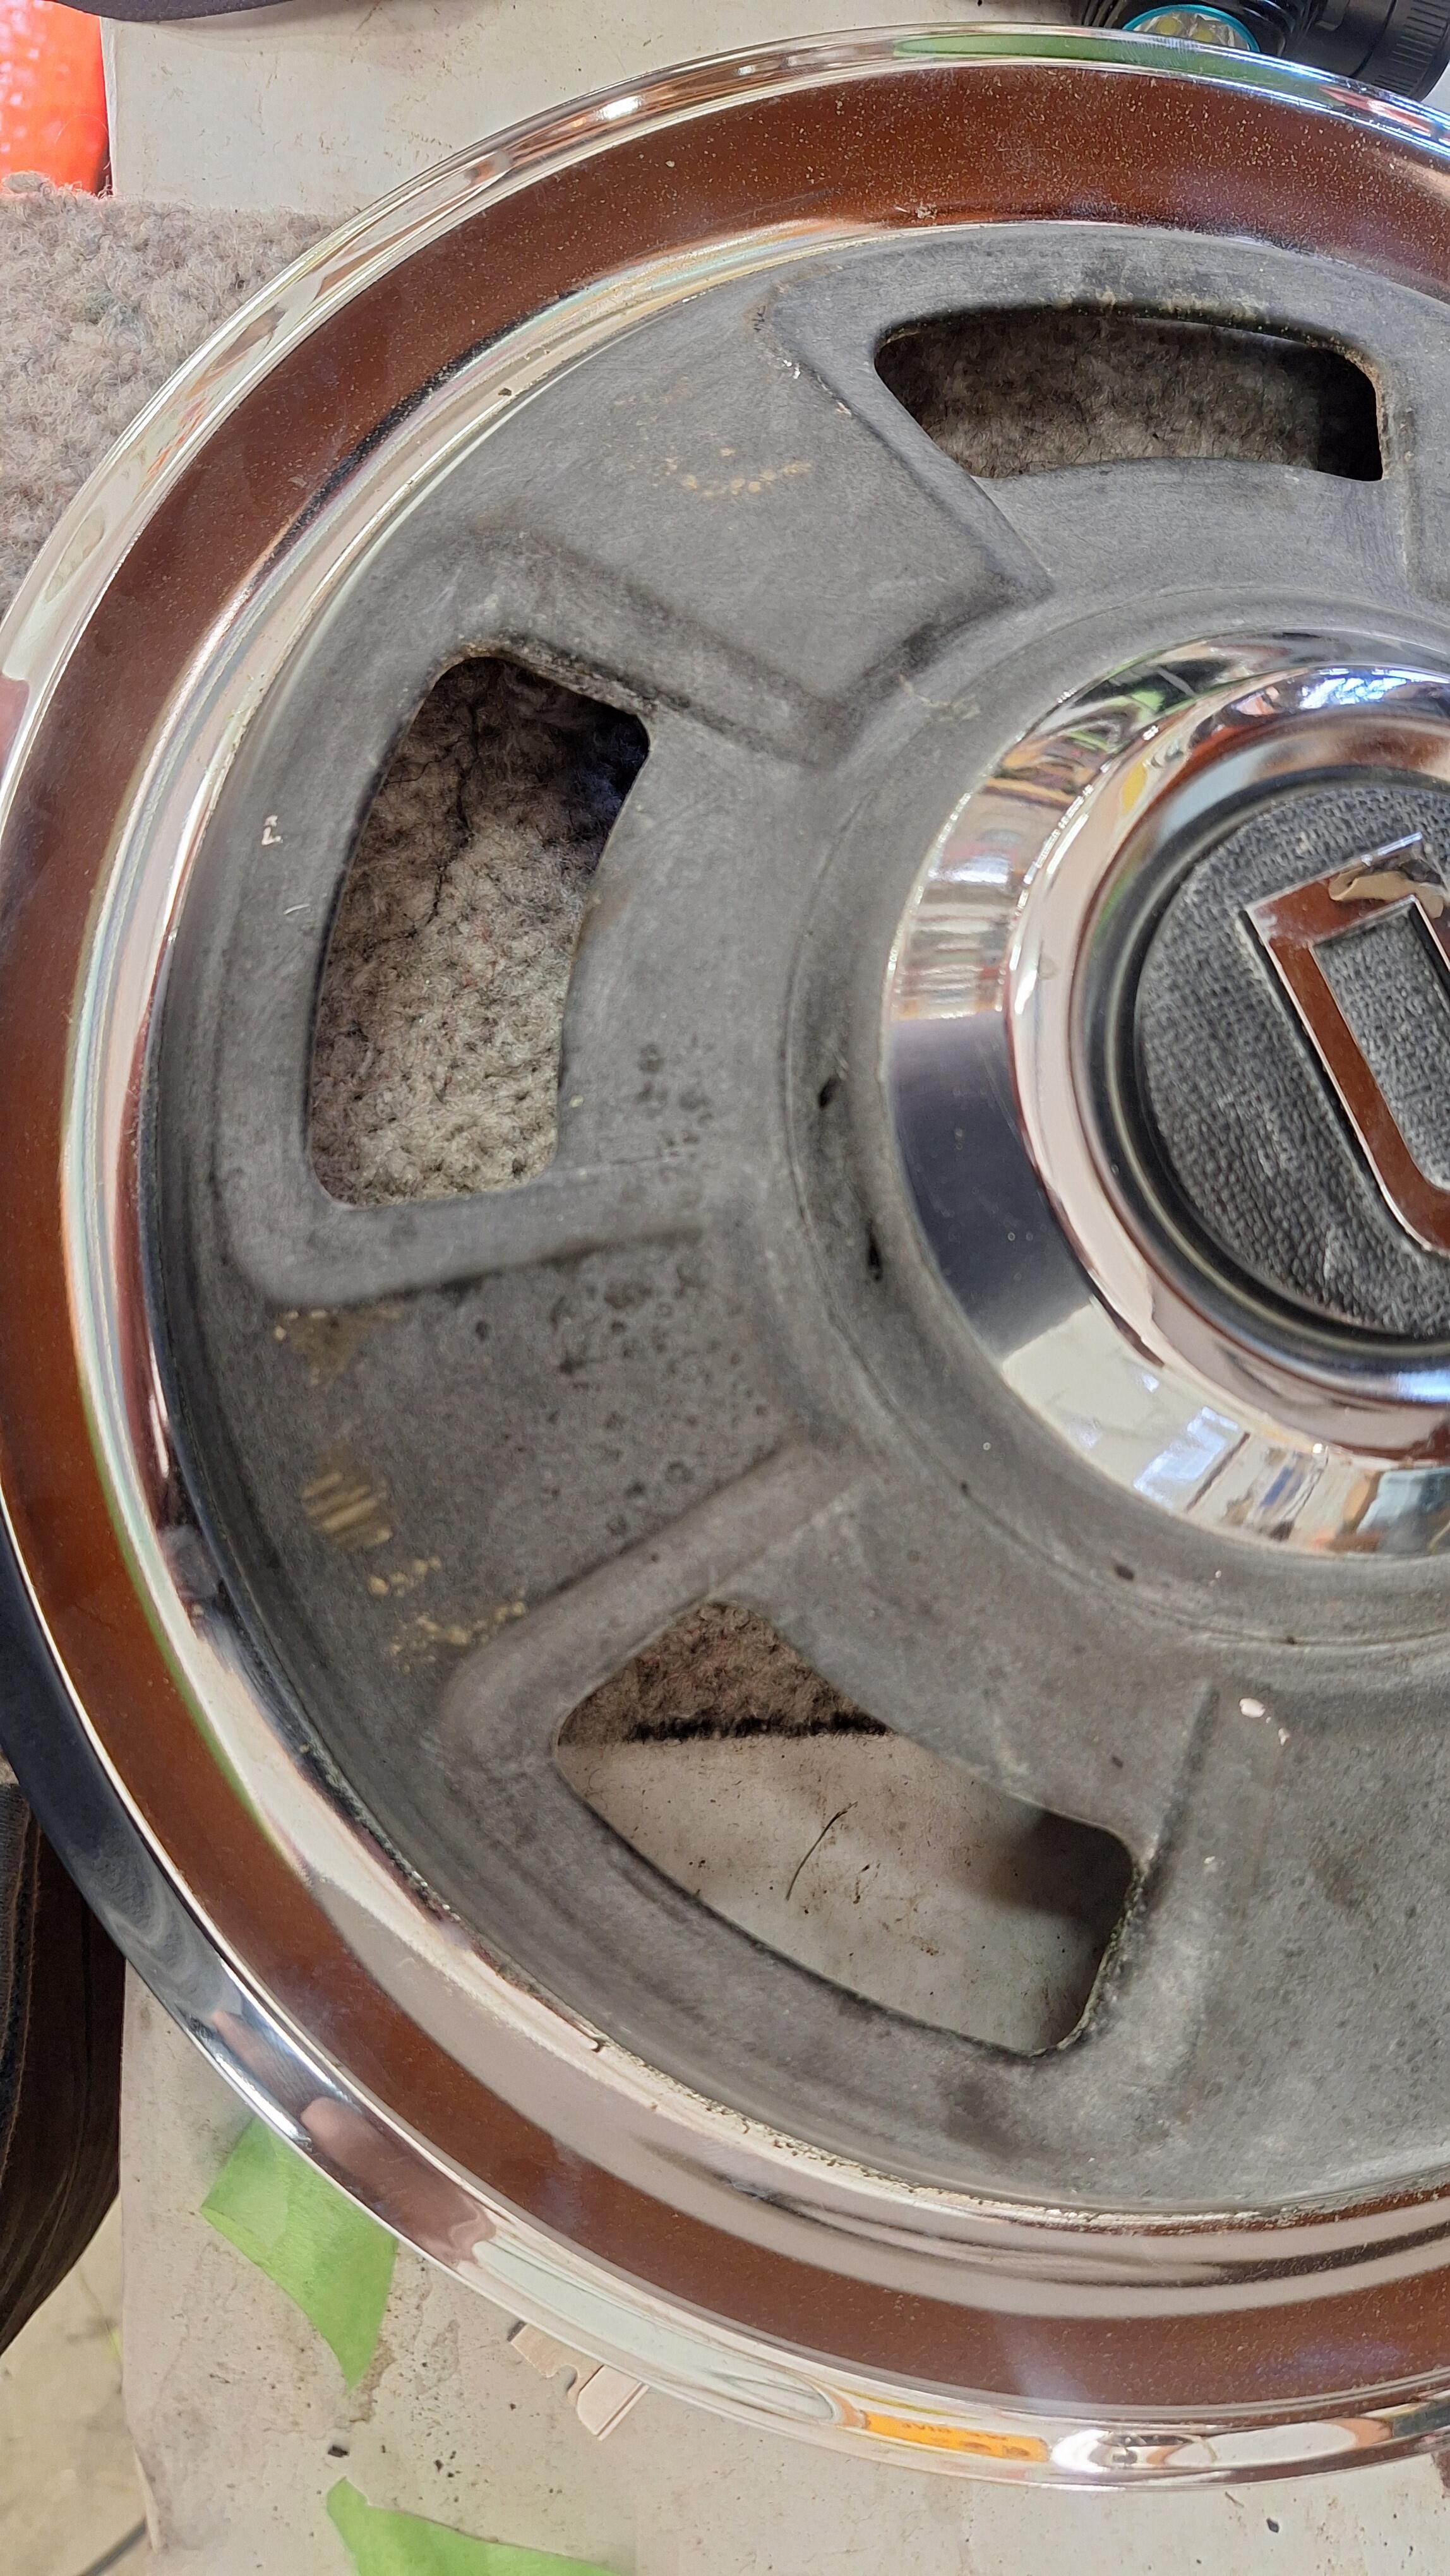
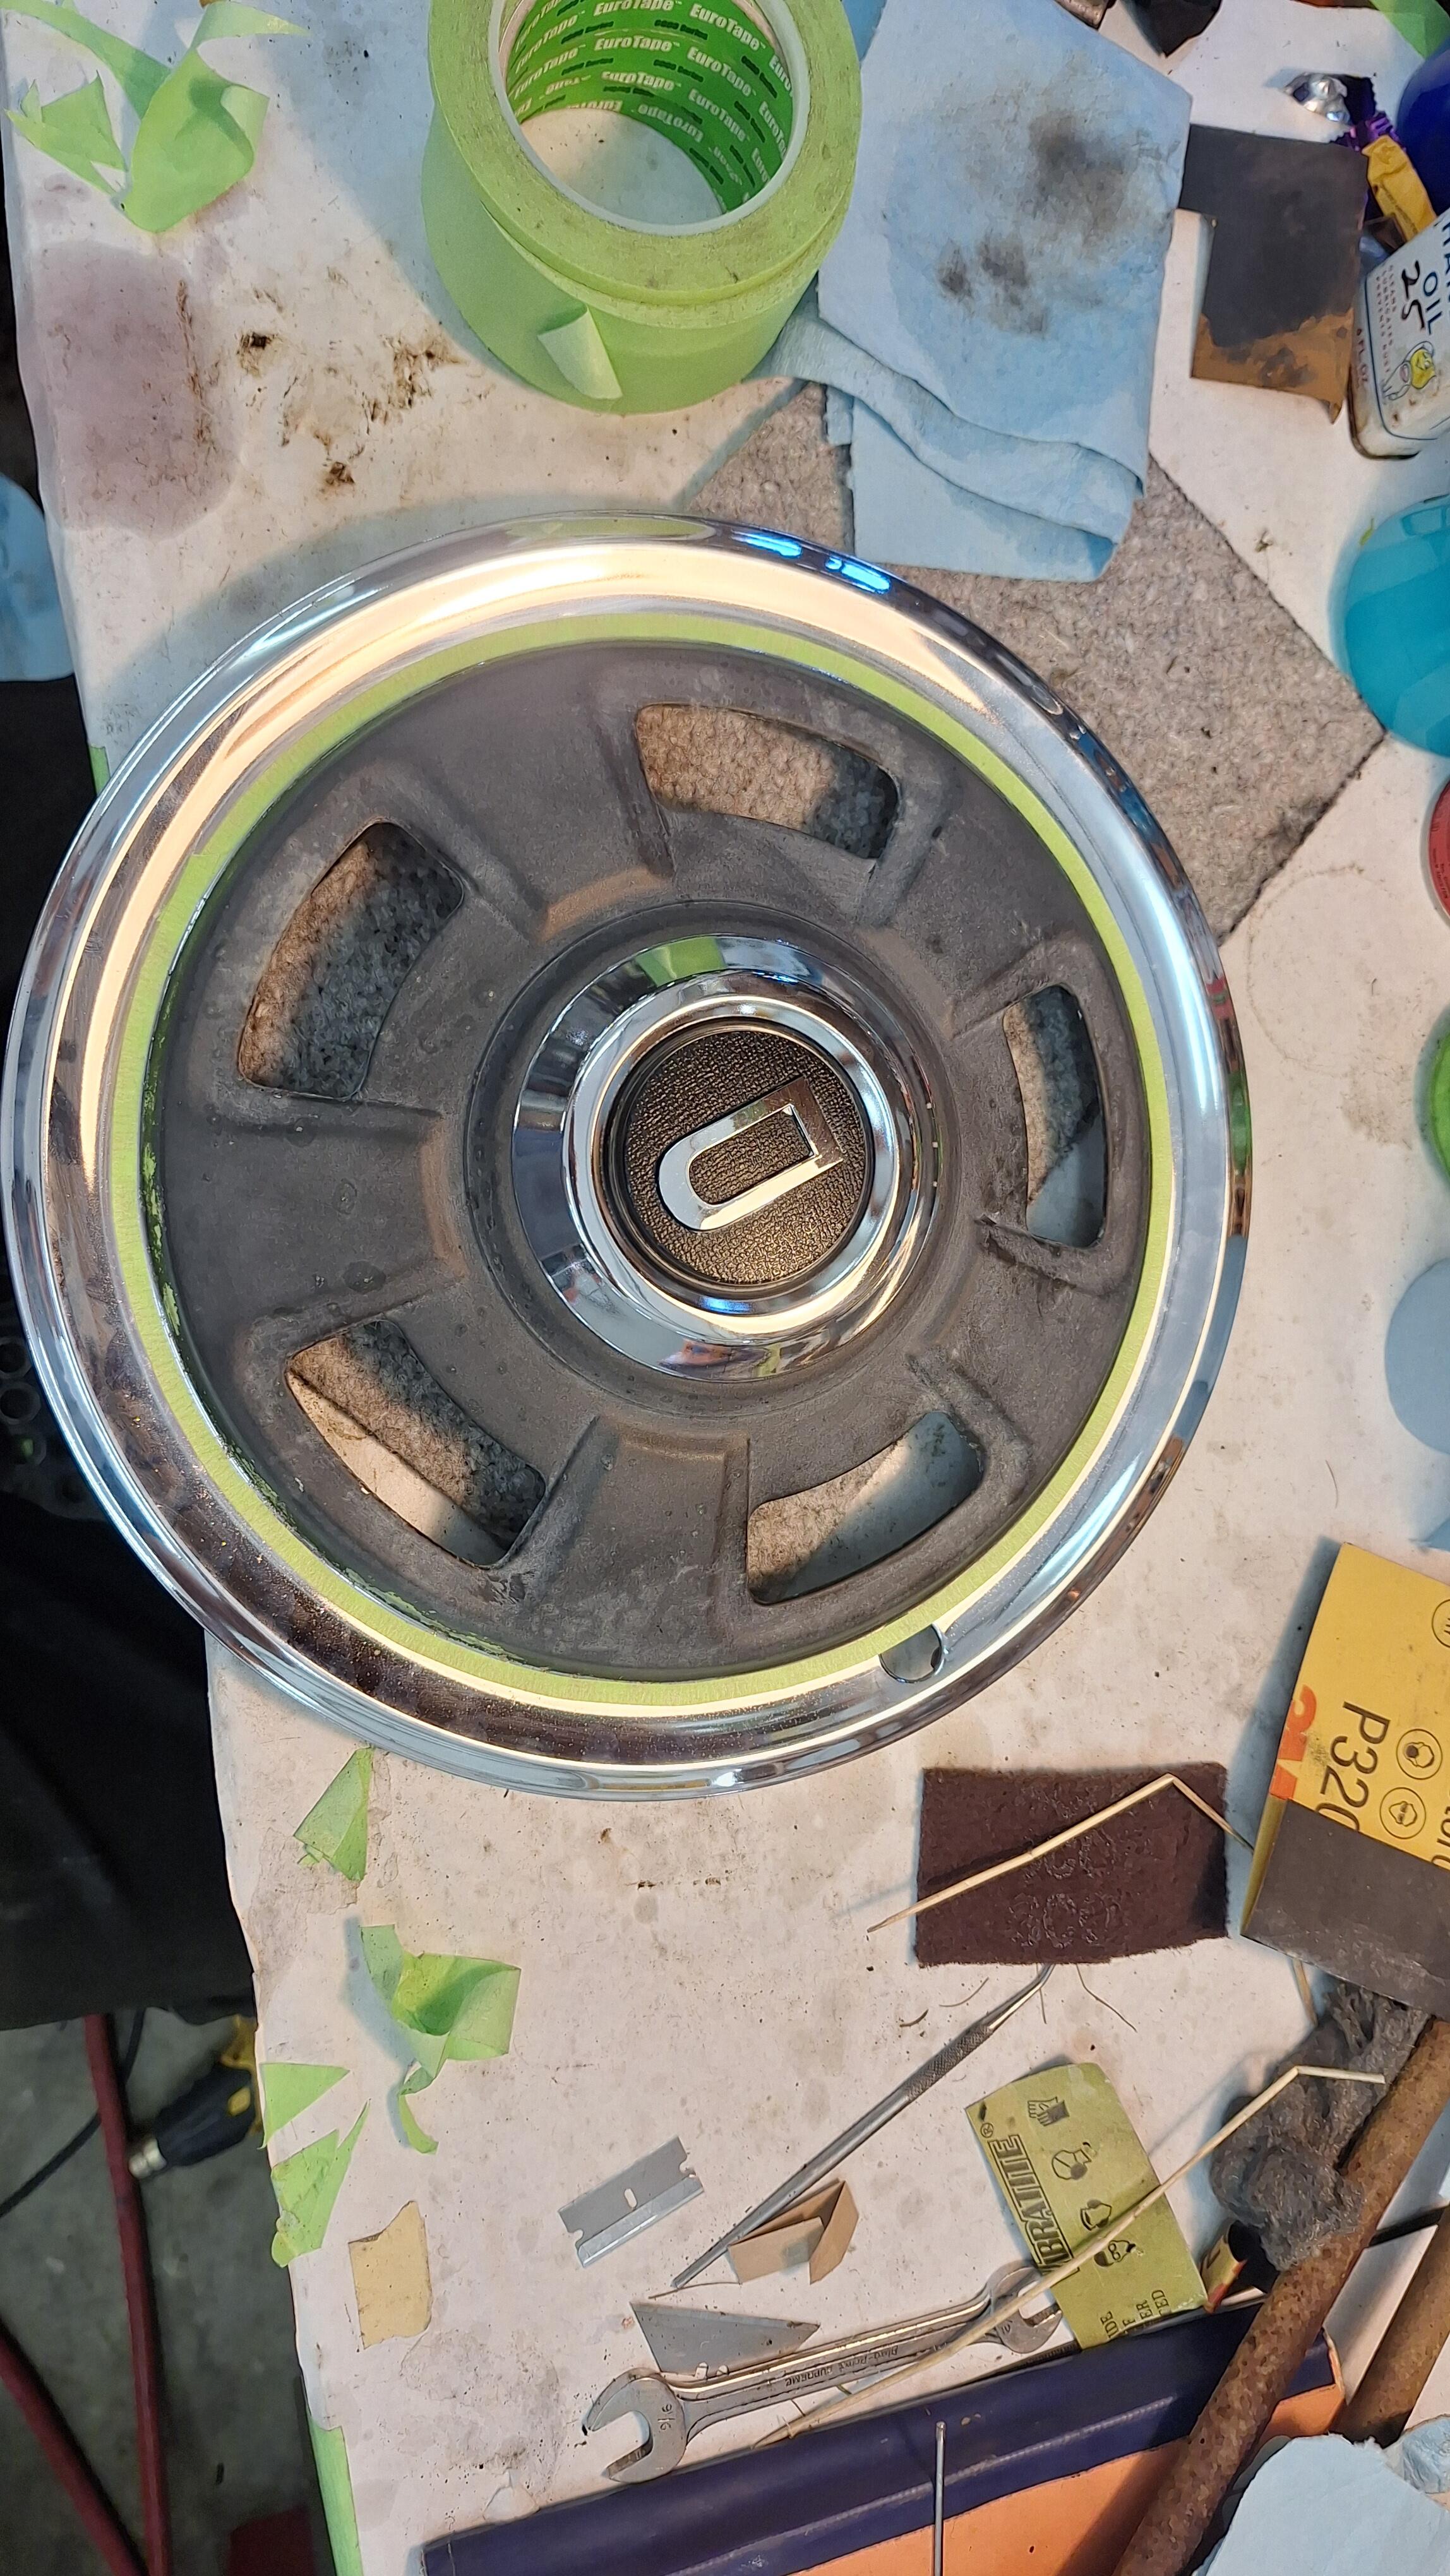
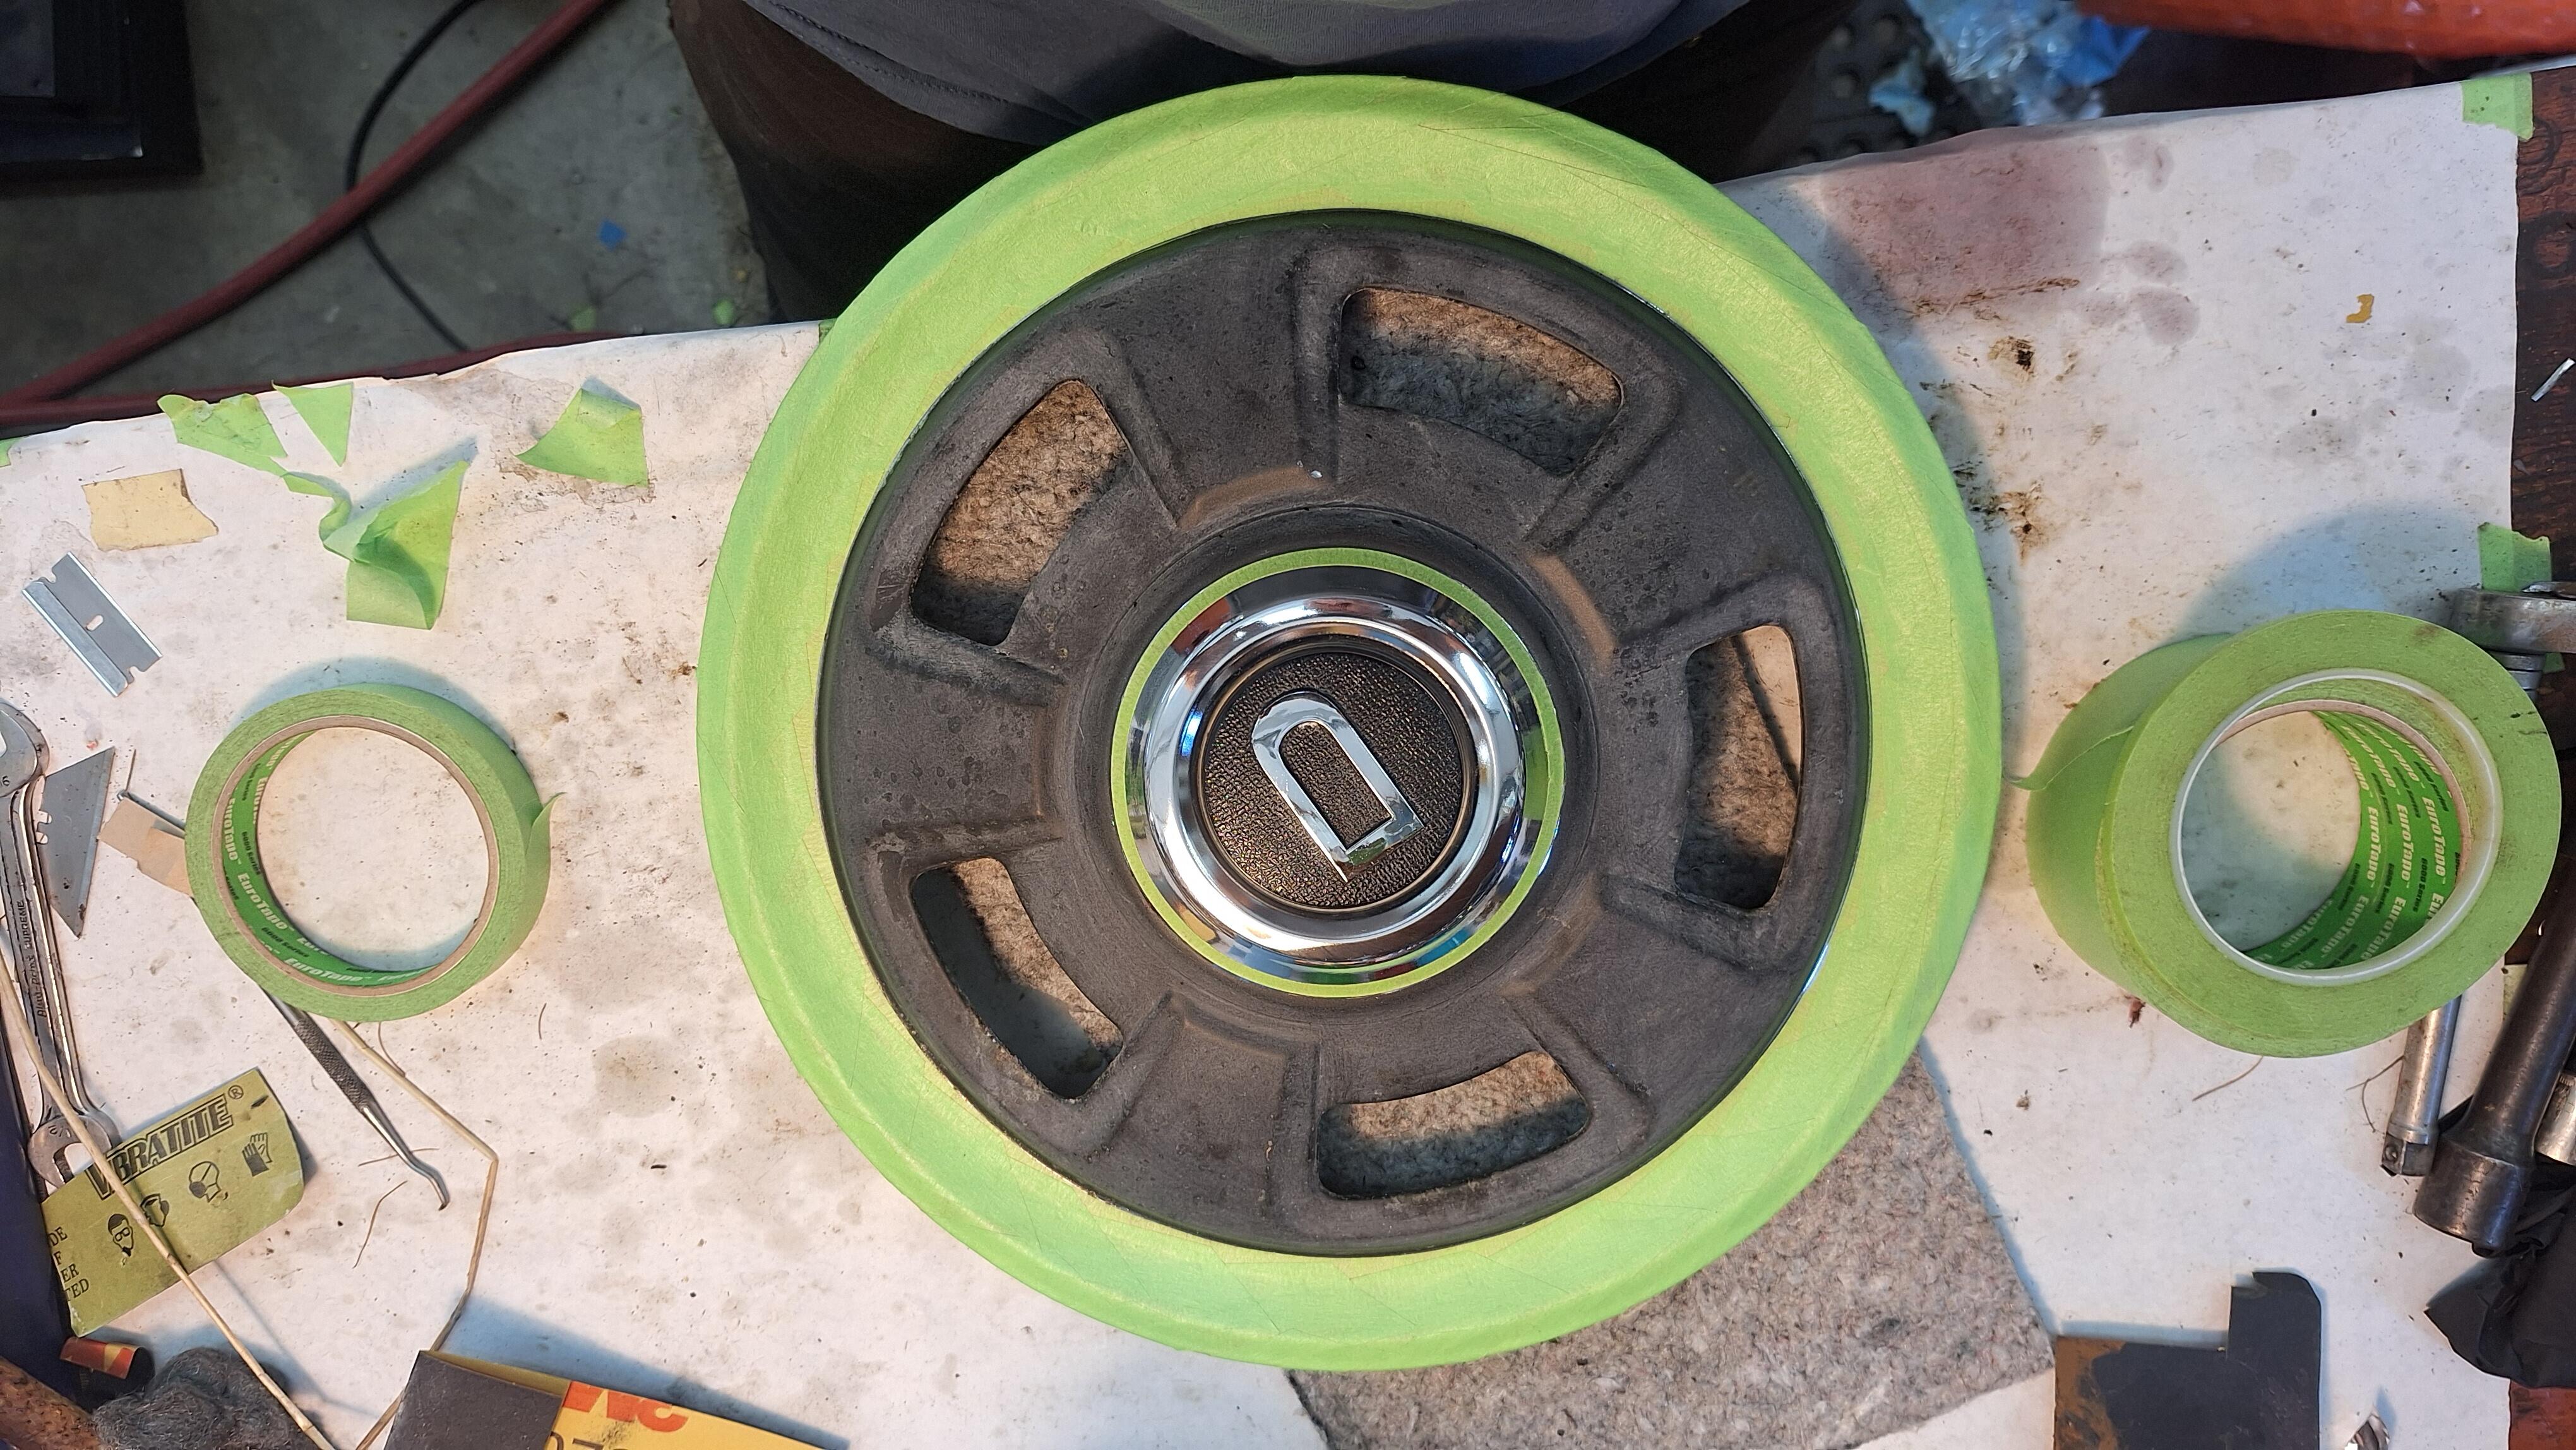
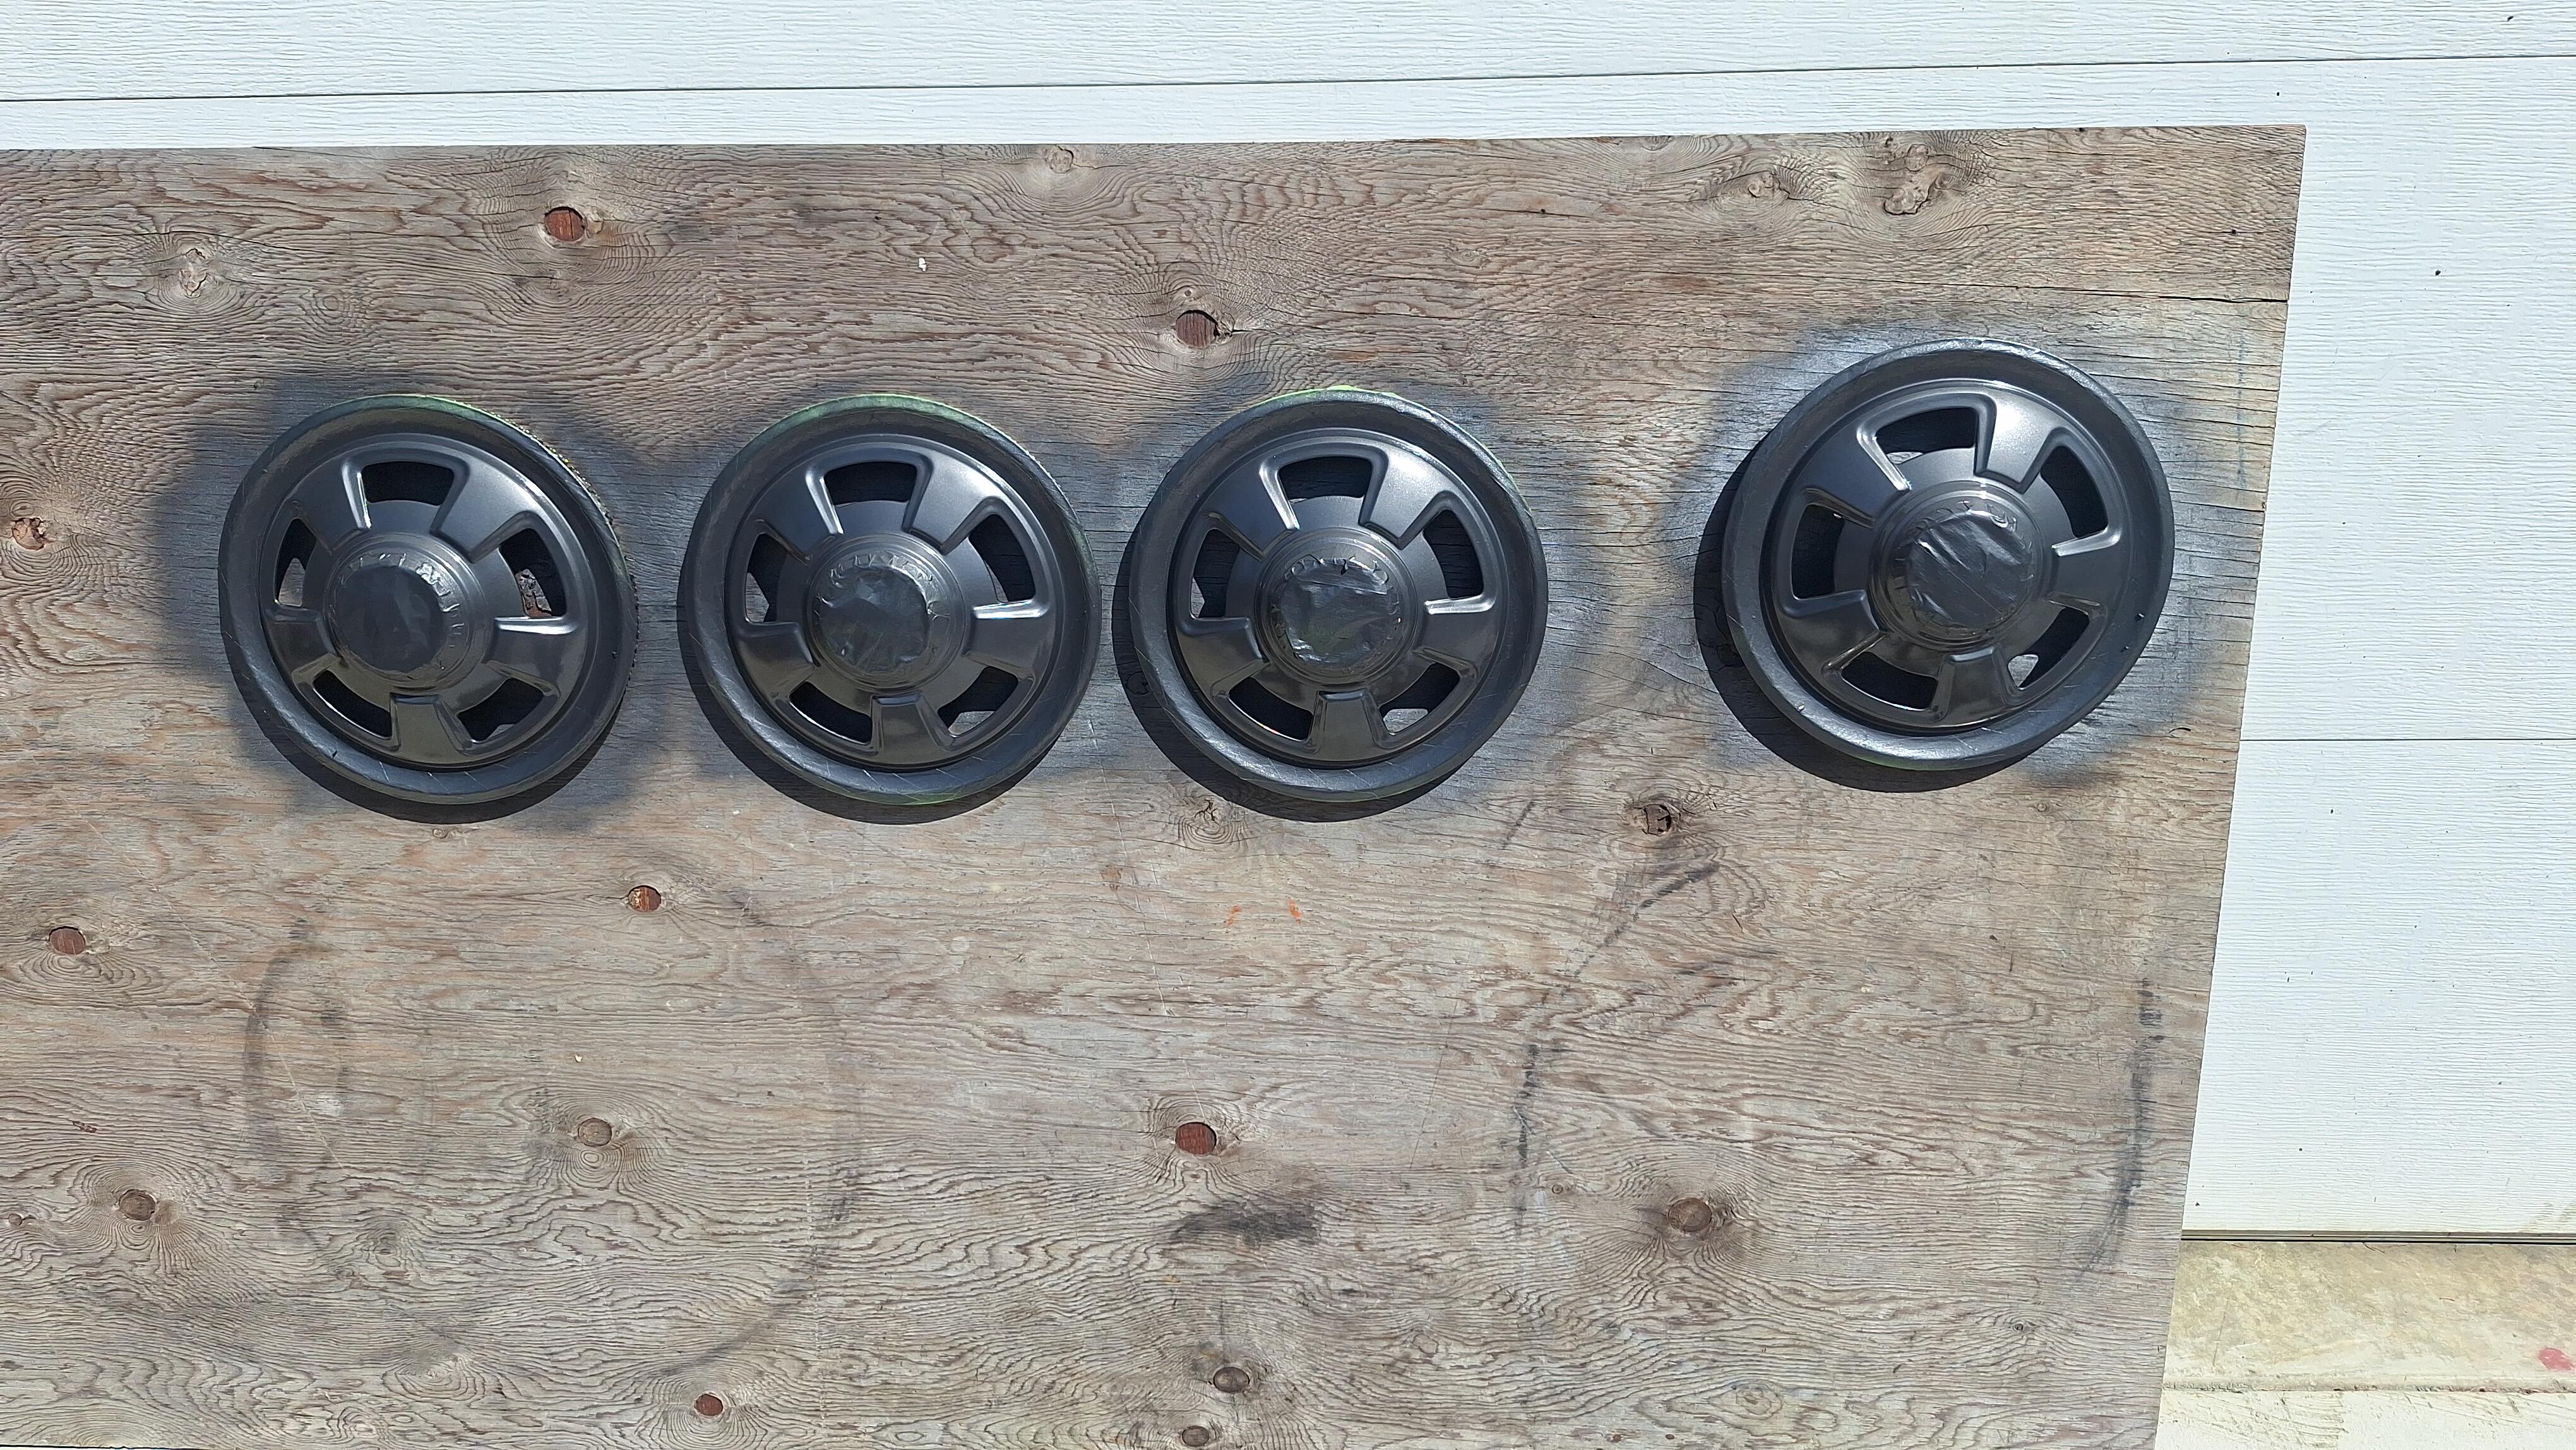
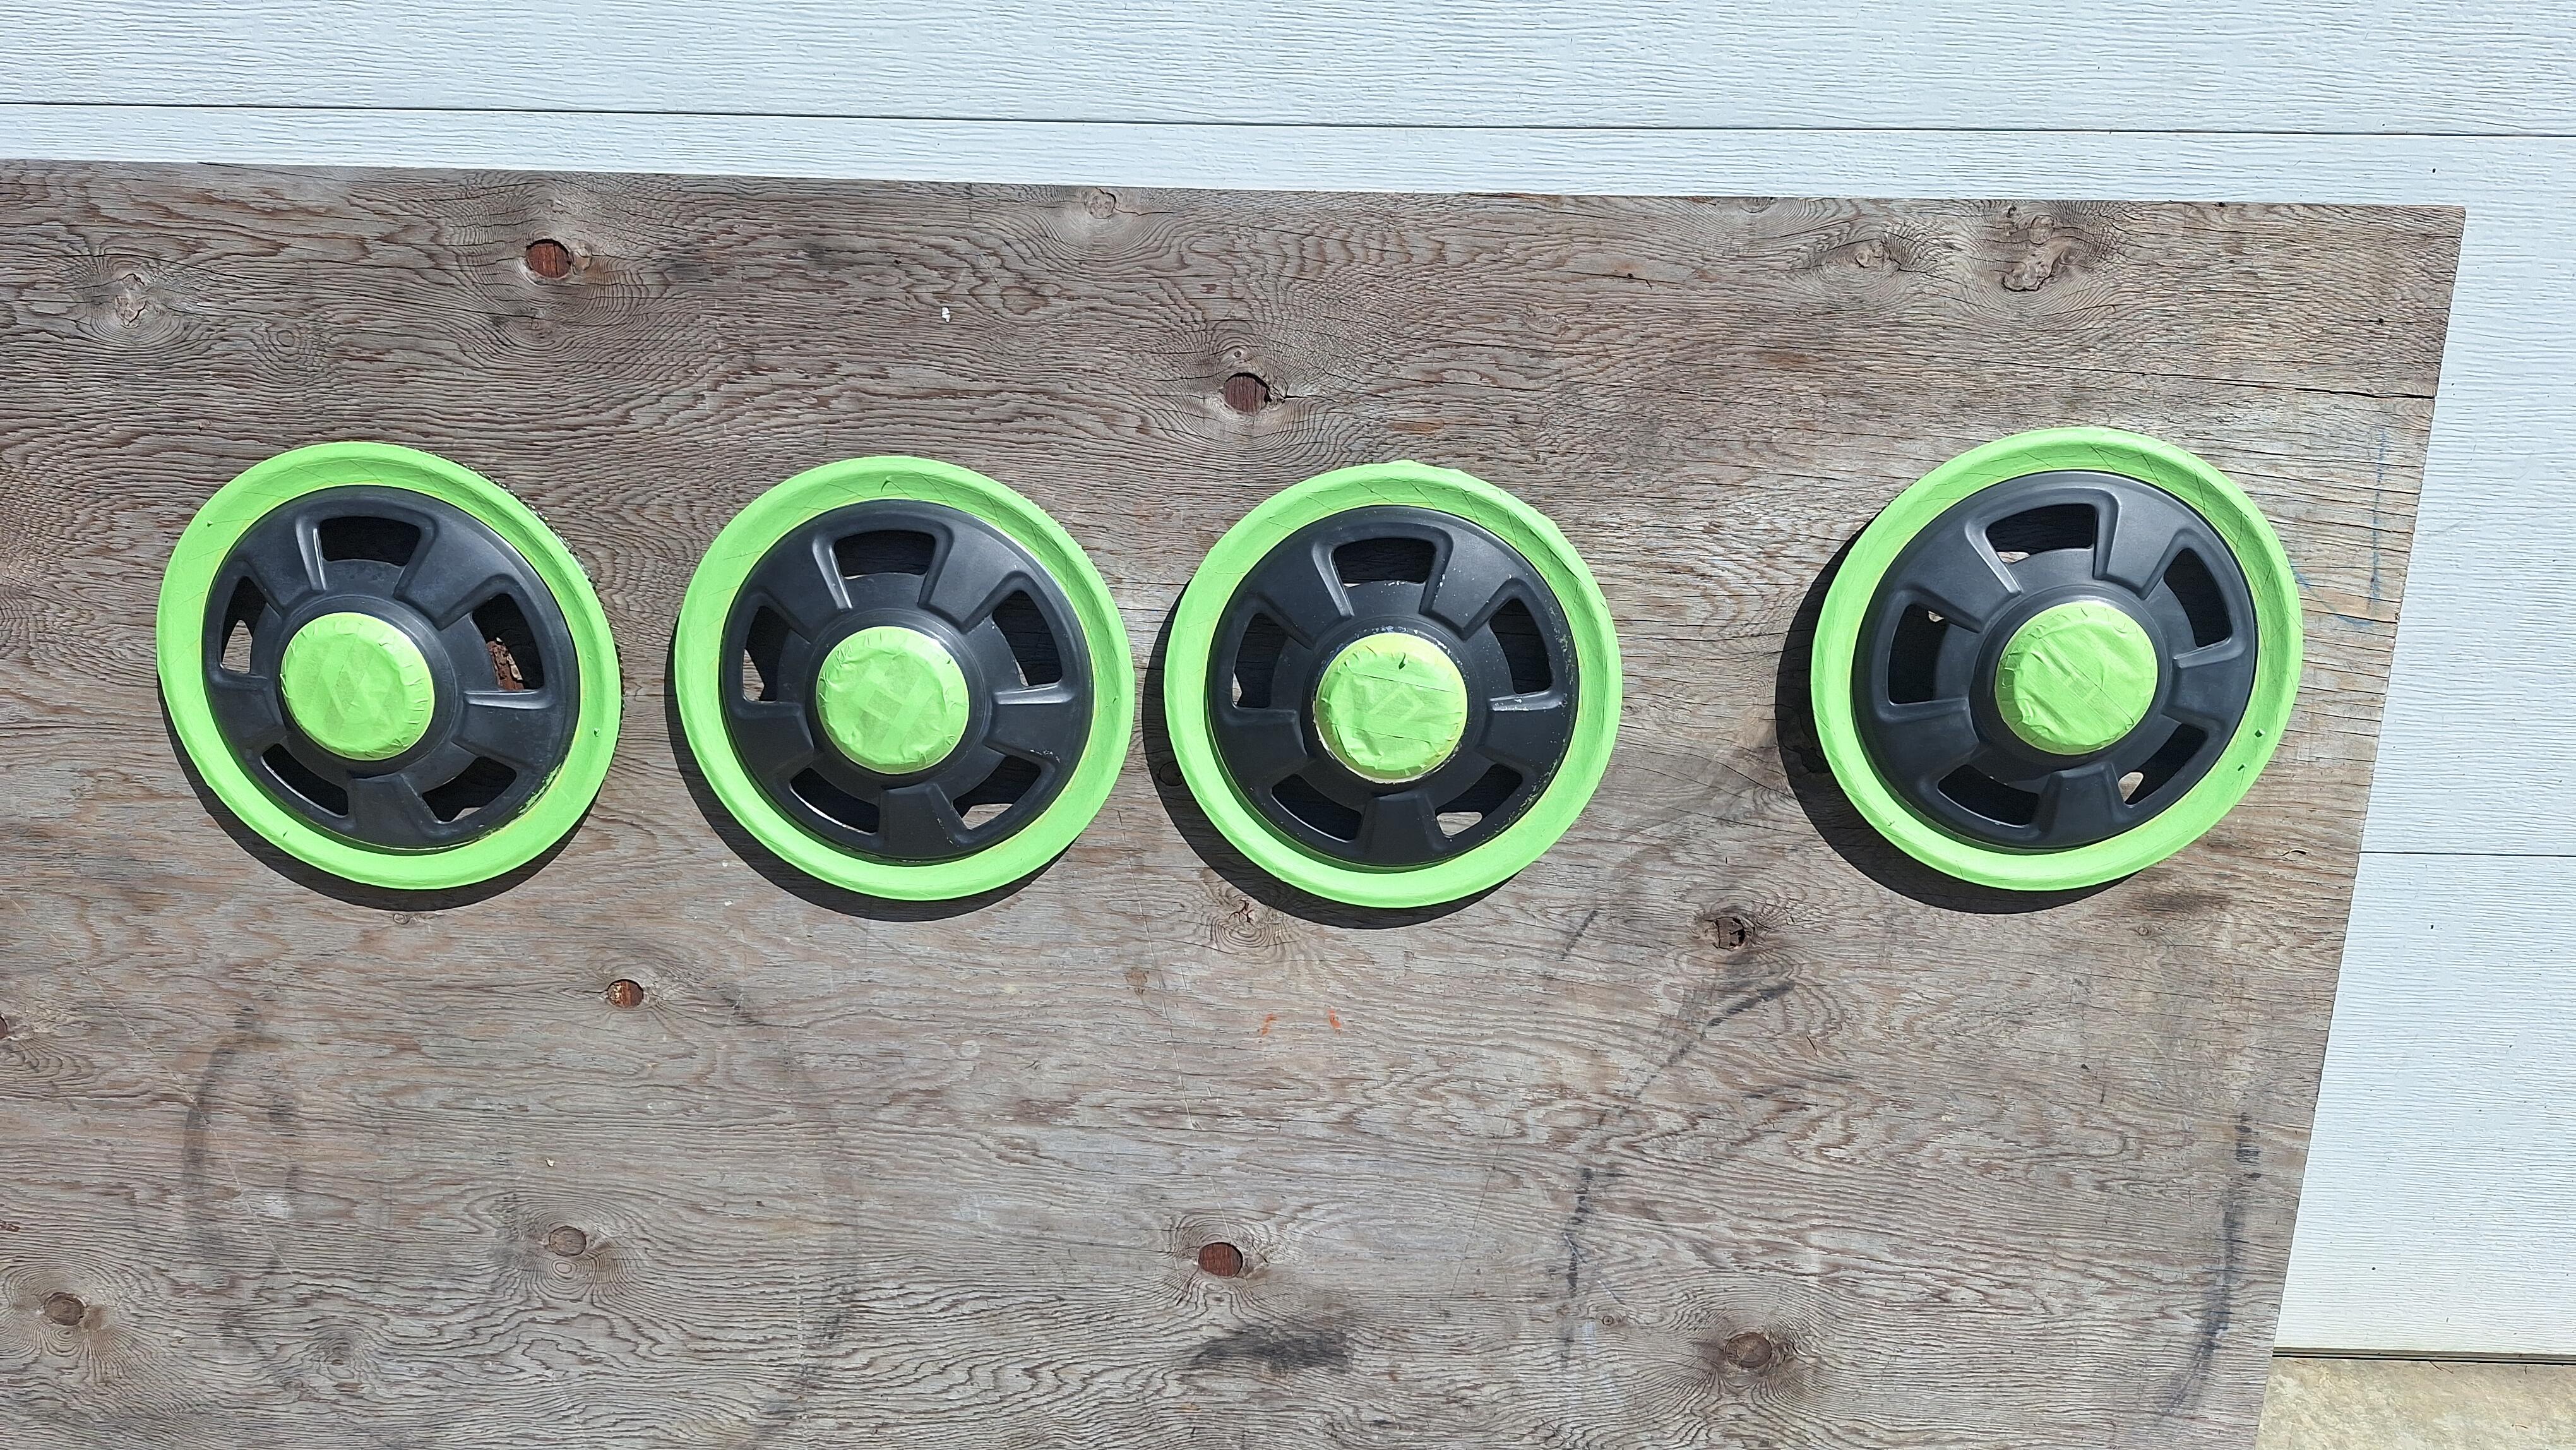
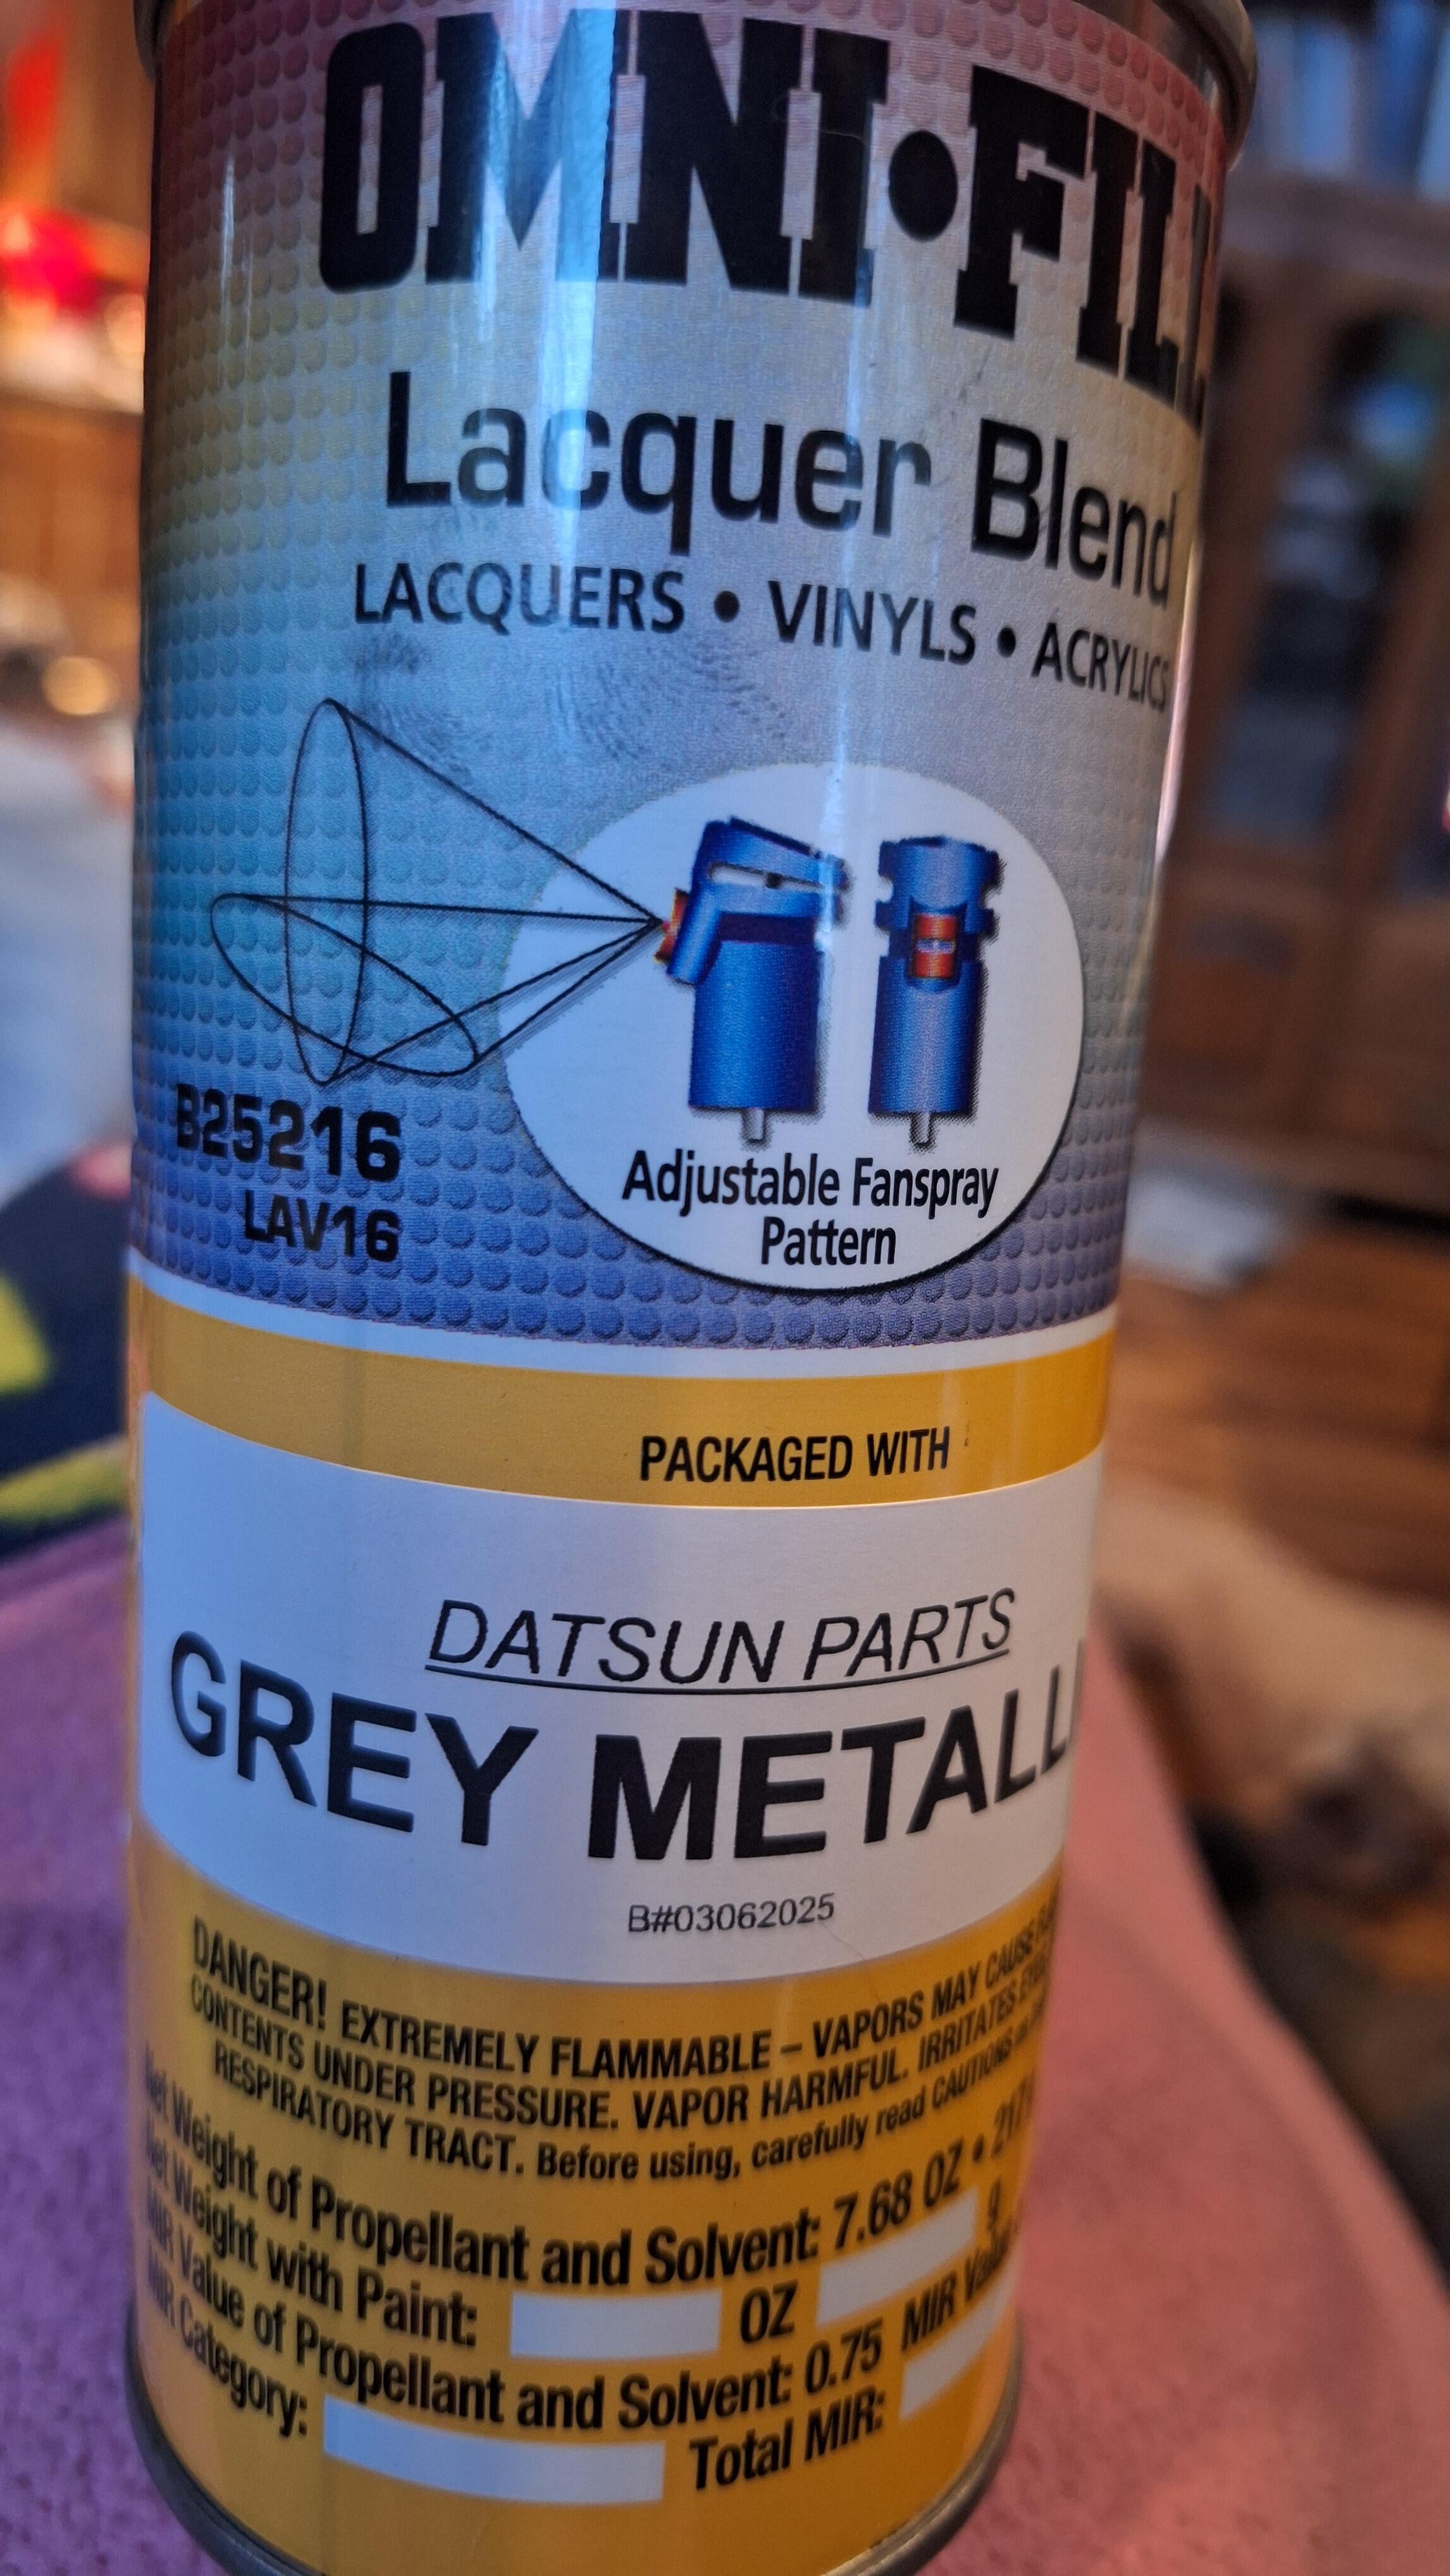
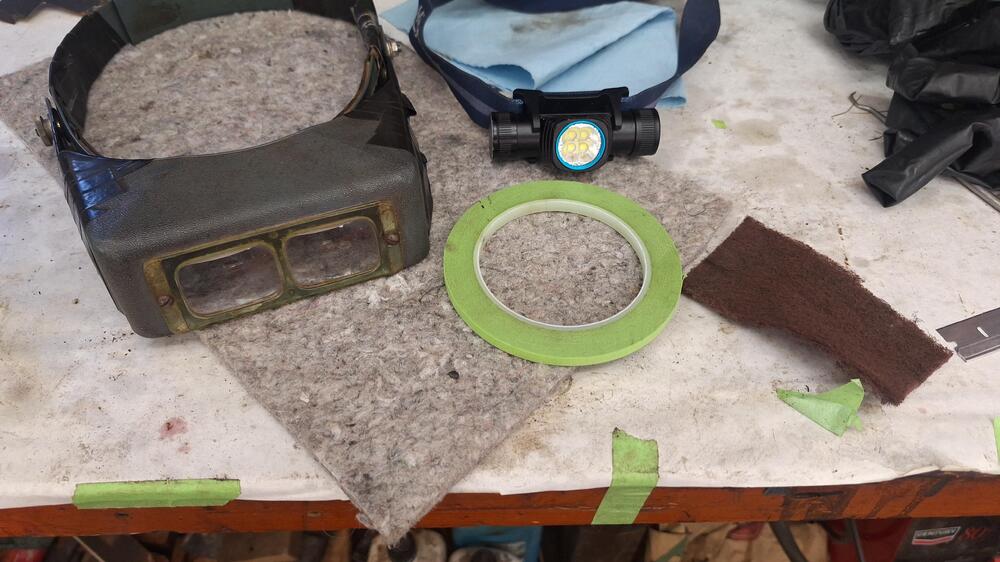
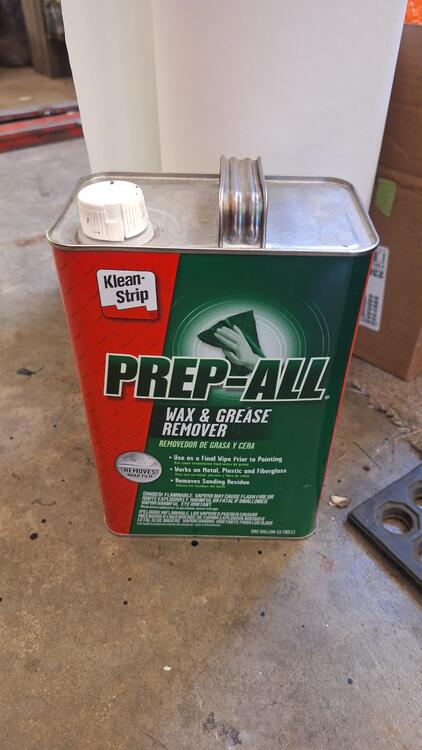
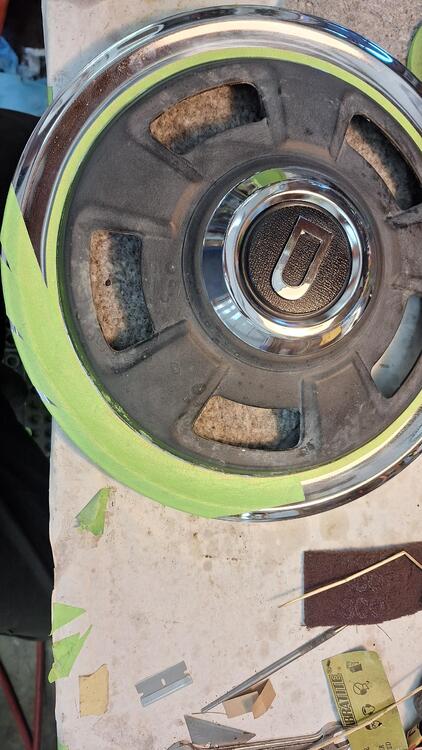
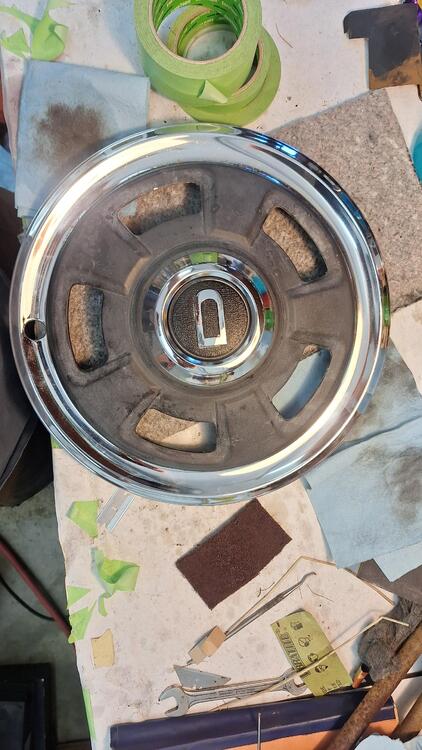
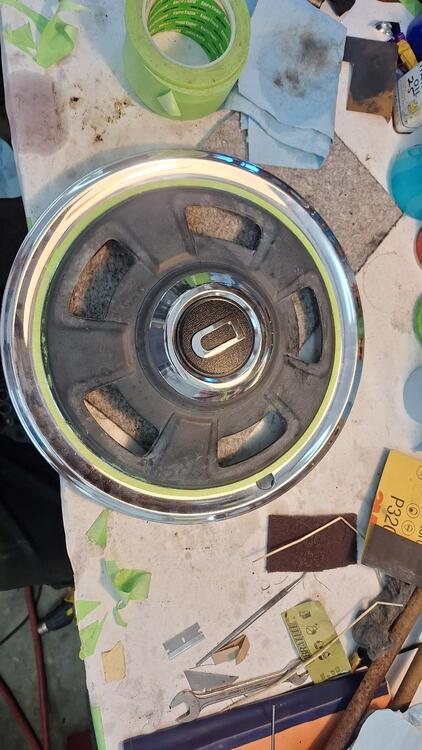
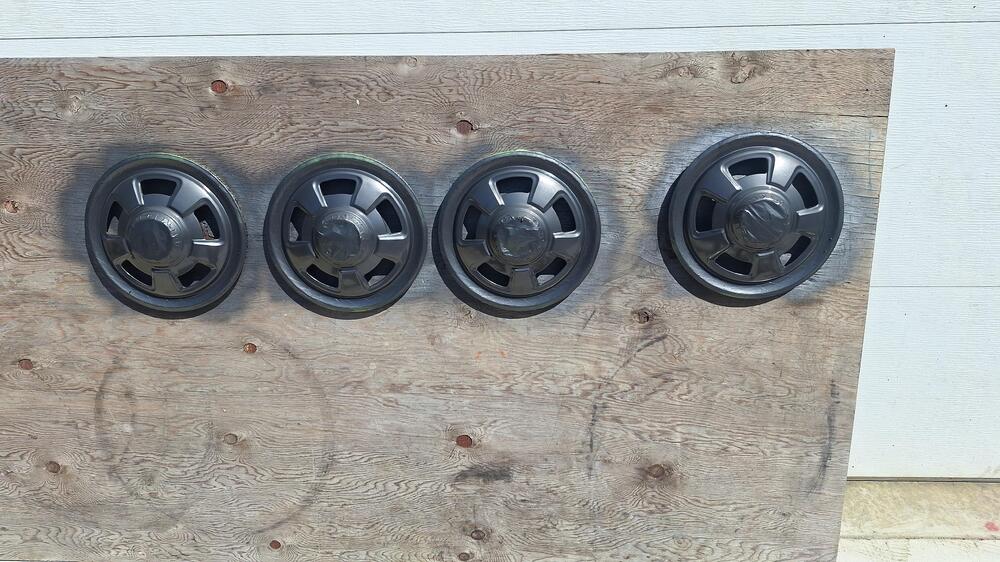
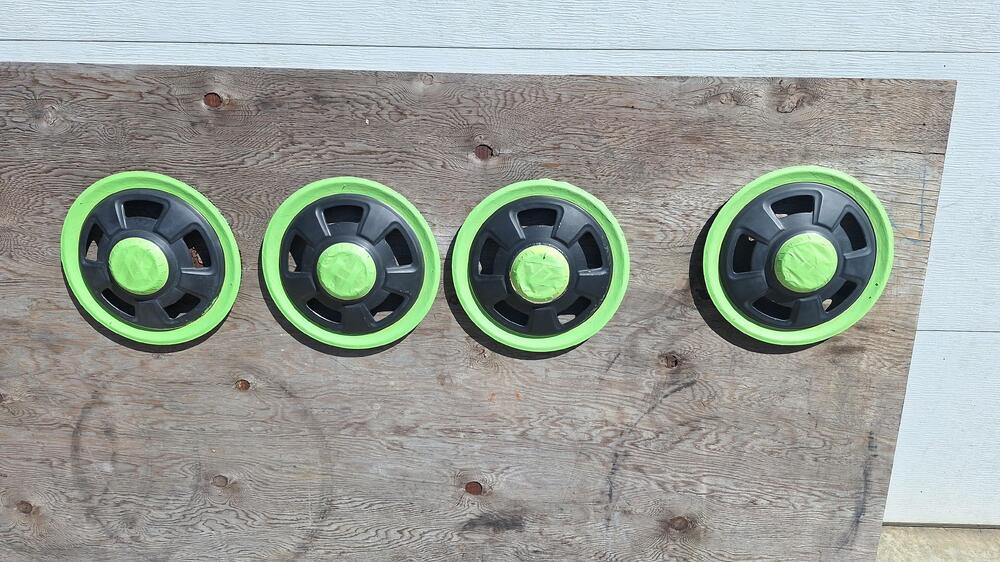
Restoring the hubcaps. I decided to freshen up the hubcaps a little. 3 were a faded gray, and 1 was a darker color, almost blackish gray. My first step was cleaning the area between the chrome and the paint. The tape line. I used 0000 steel wool. Then I degreased it and applied 1/4" fine line tape all the way around. It really helps to see so I used these magnifying goggles and a headlamp, and a good light. Once I had that tape on, I used a wider tape and continued around until it was masked off. Same for the center cap. Then I used a scotch Brite pad and scuffed and cleaned the old paint. Blew it off with air and degreased the old paint until the rag was clean. It took several cleanings, but this is a very important step. Then when the wind quit blowing, I gave them several coats of the Datsun Gray paint purchased from California Datsun, great stuff! An hour later, I removed the tape. It came off easy, pulling at a right angle to the paint.


-
Nice! Thanks
-
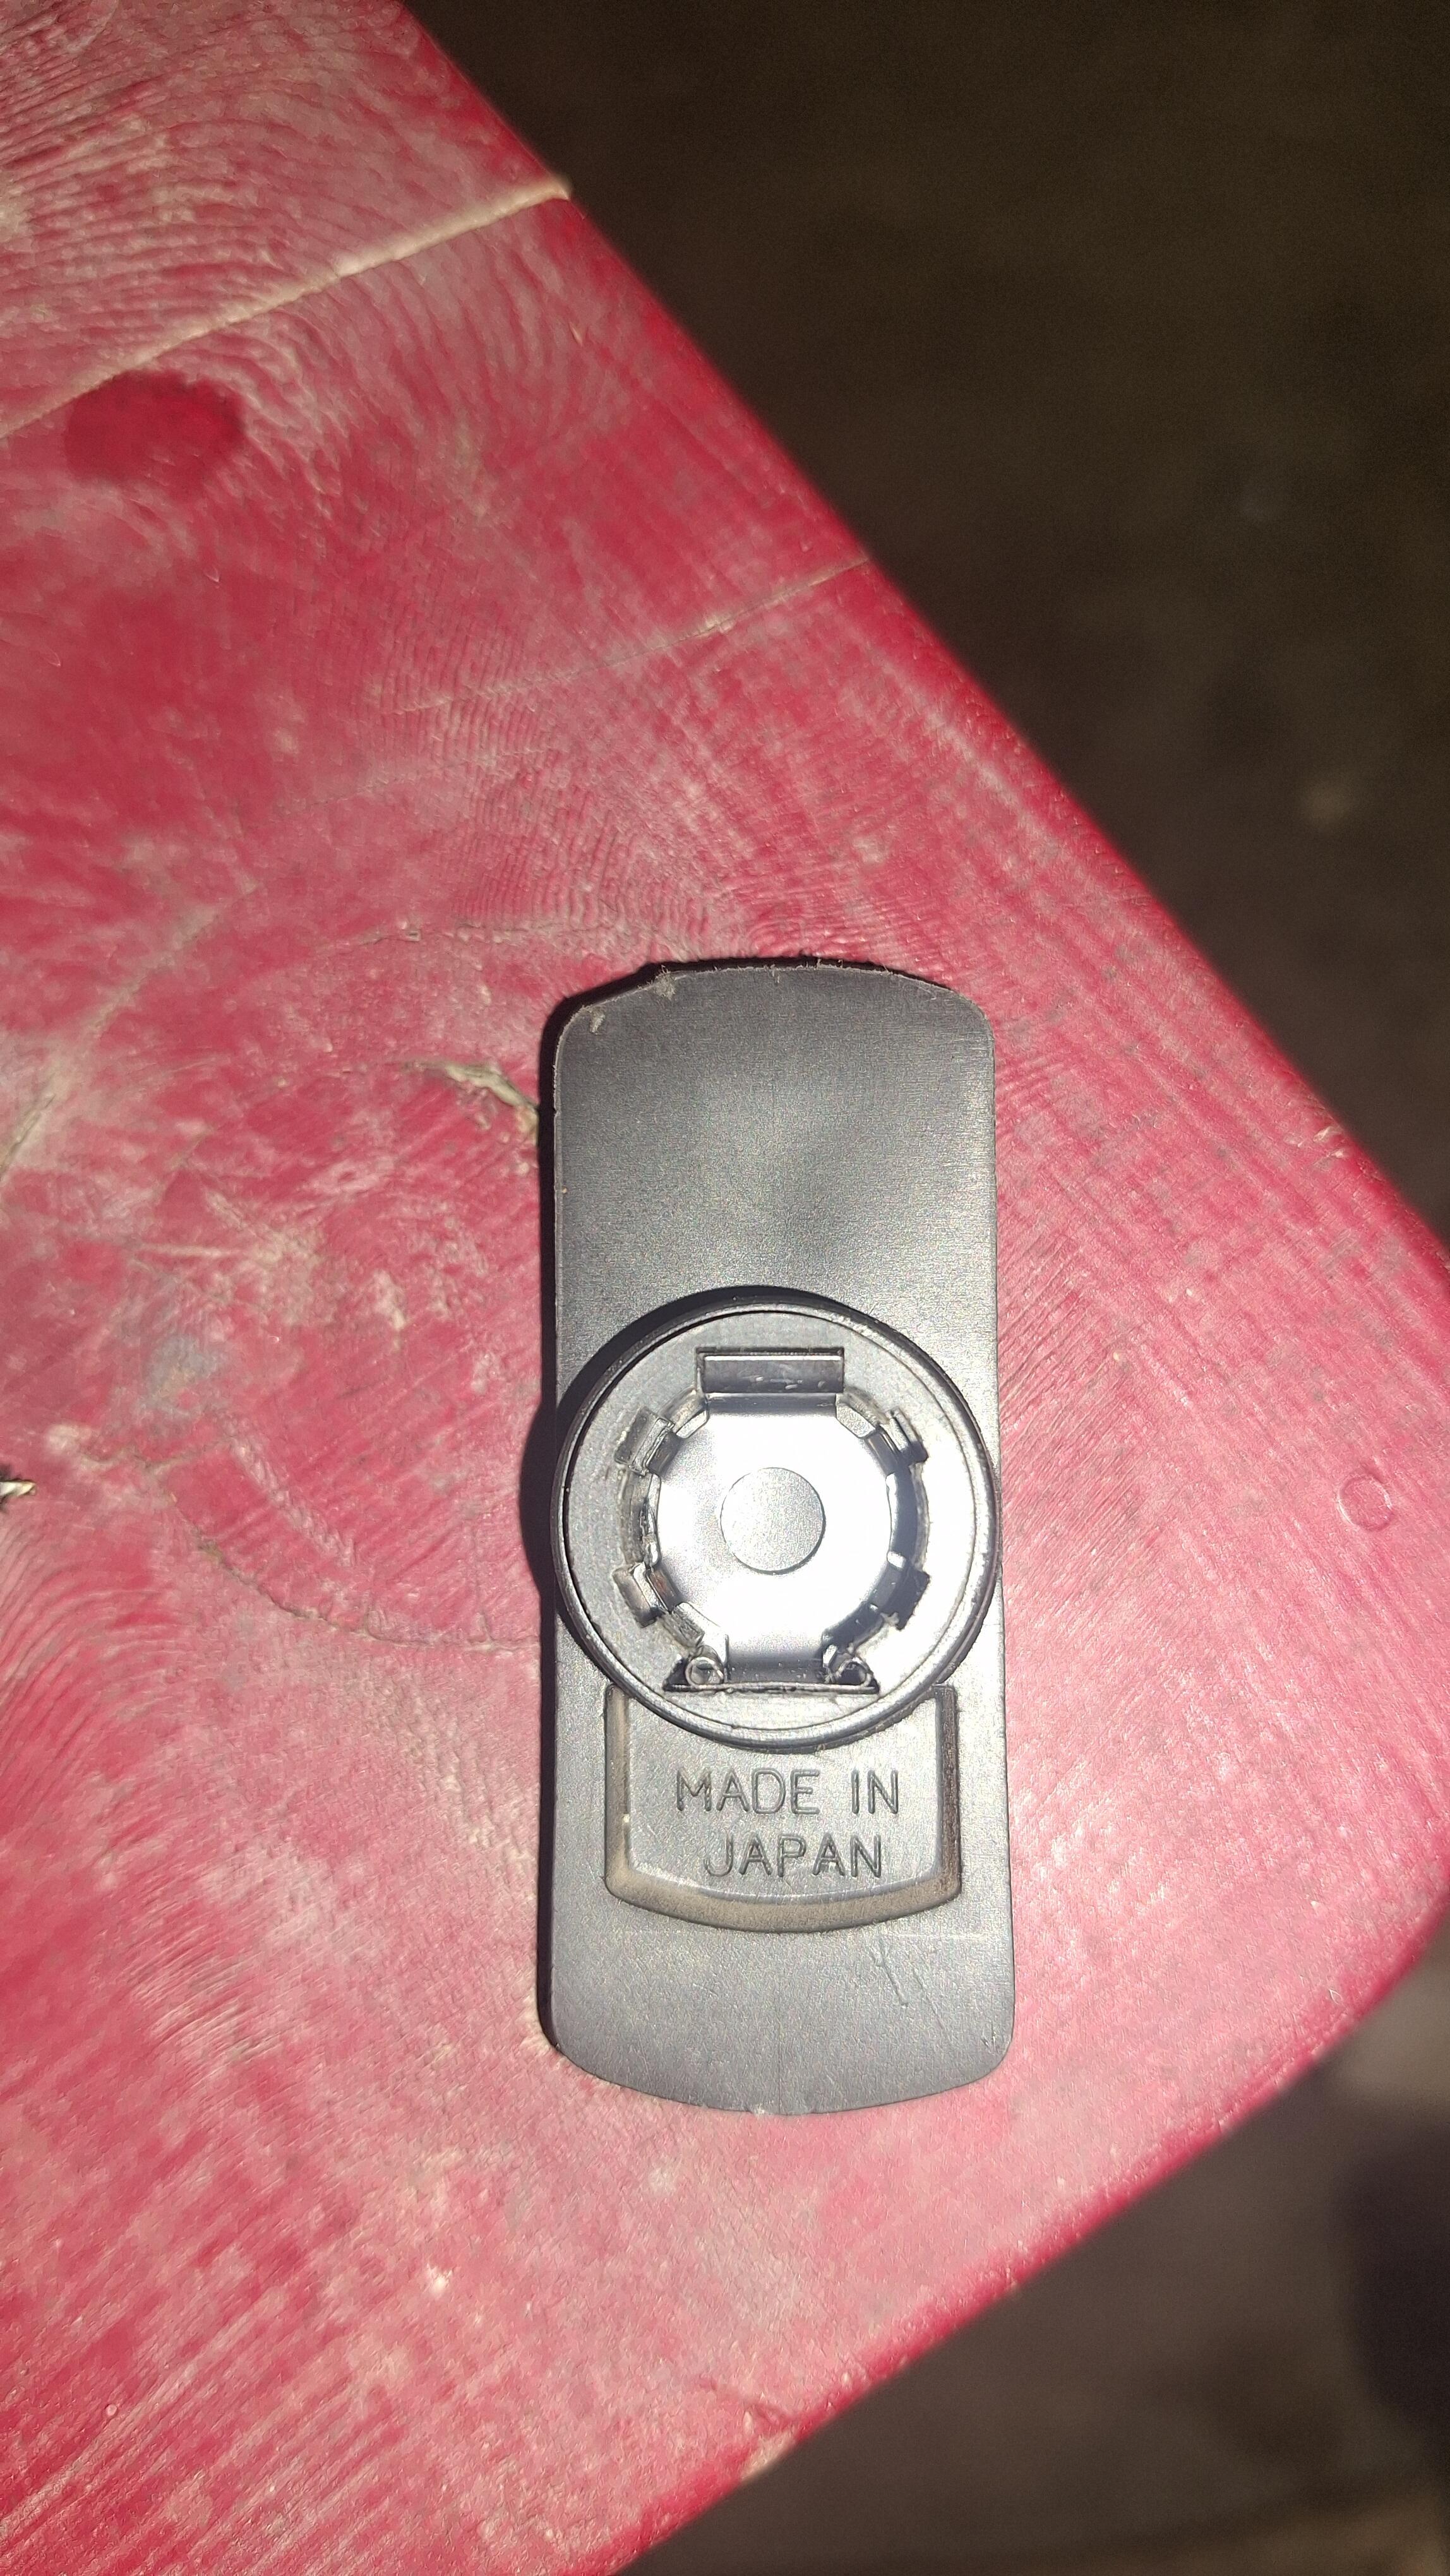
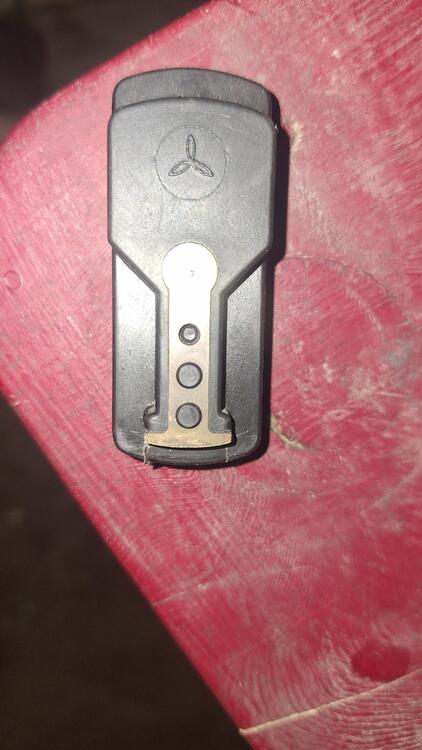
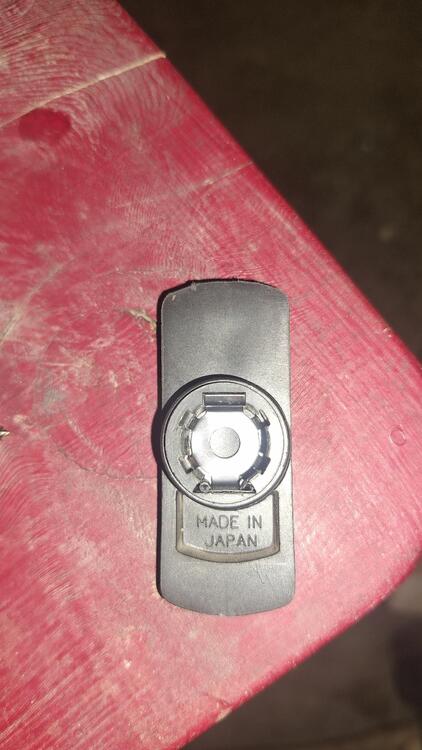
Can anyone identify the logo or symbol on this rotor? It's of high quality and I would like to find another one. Could it be Mitsubishi?
-
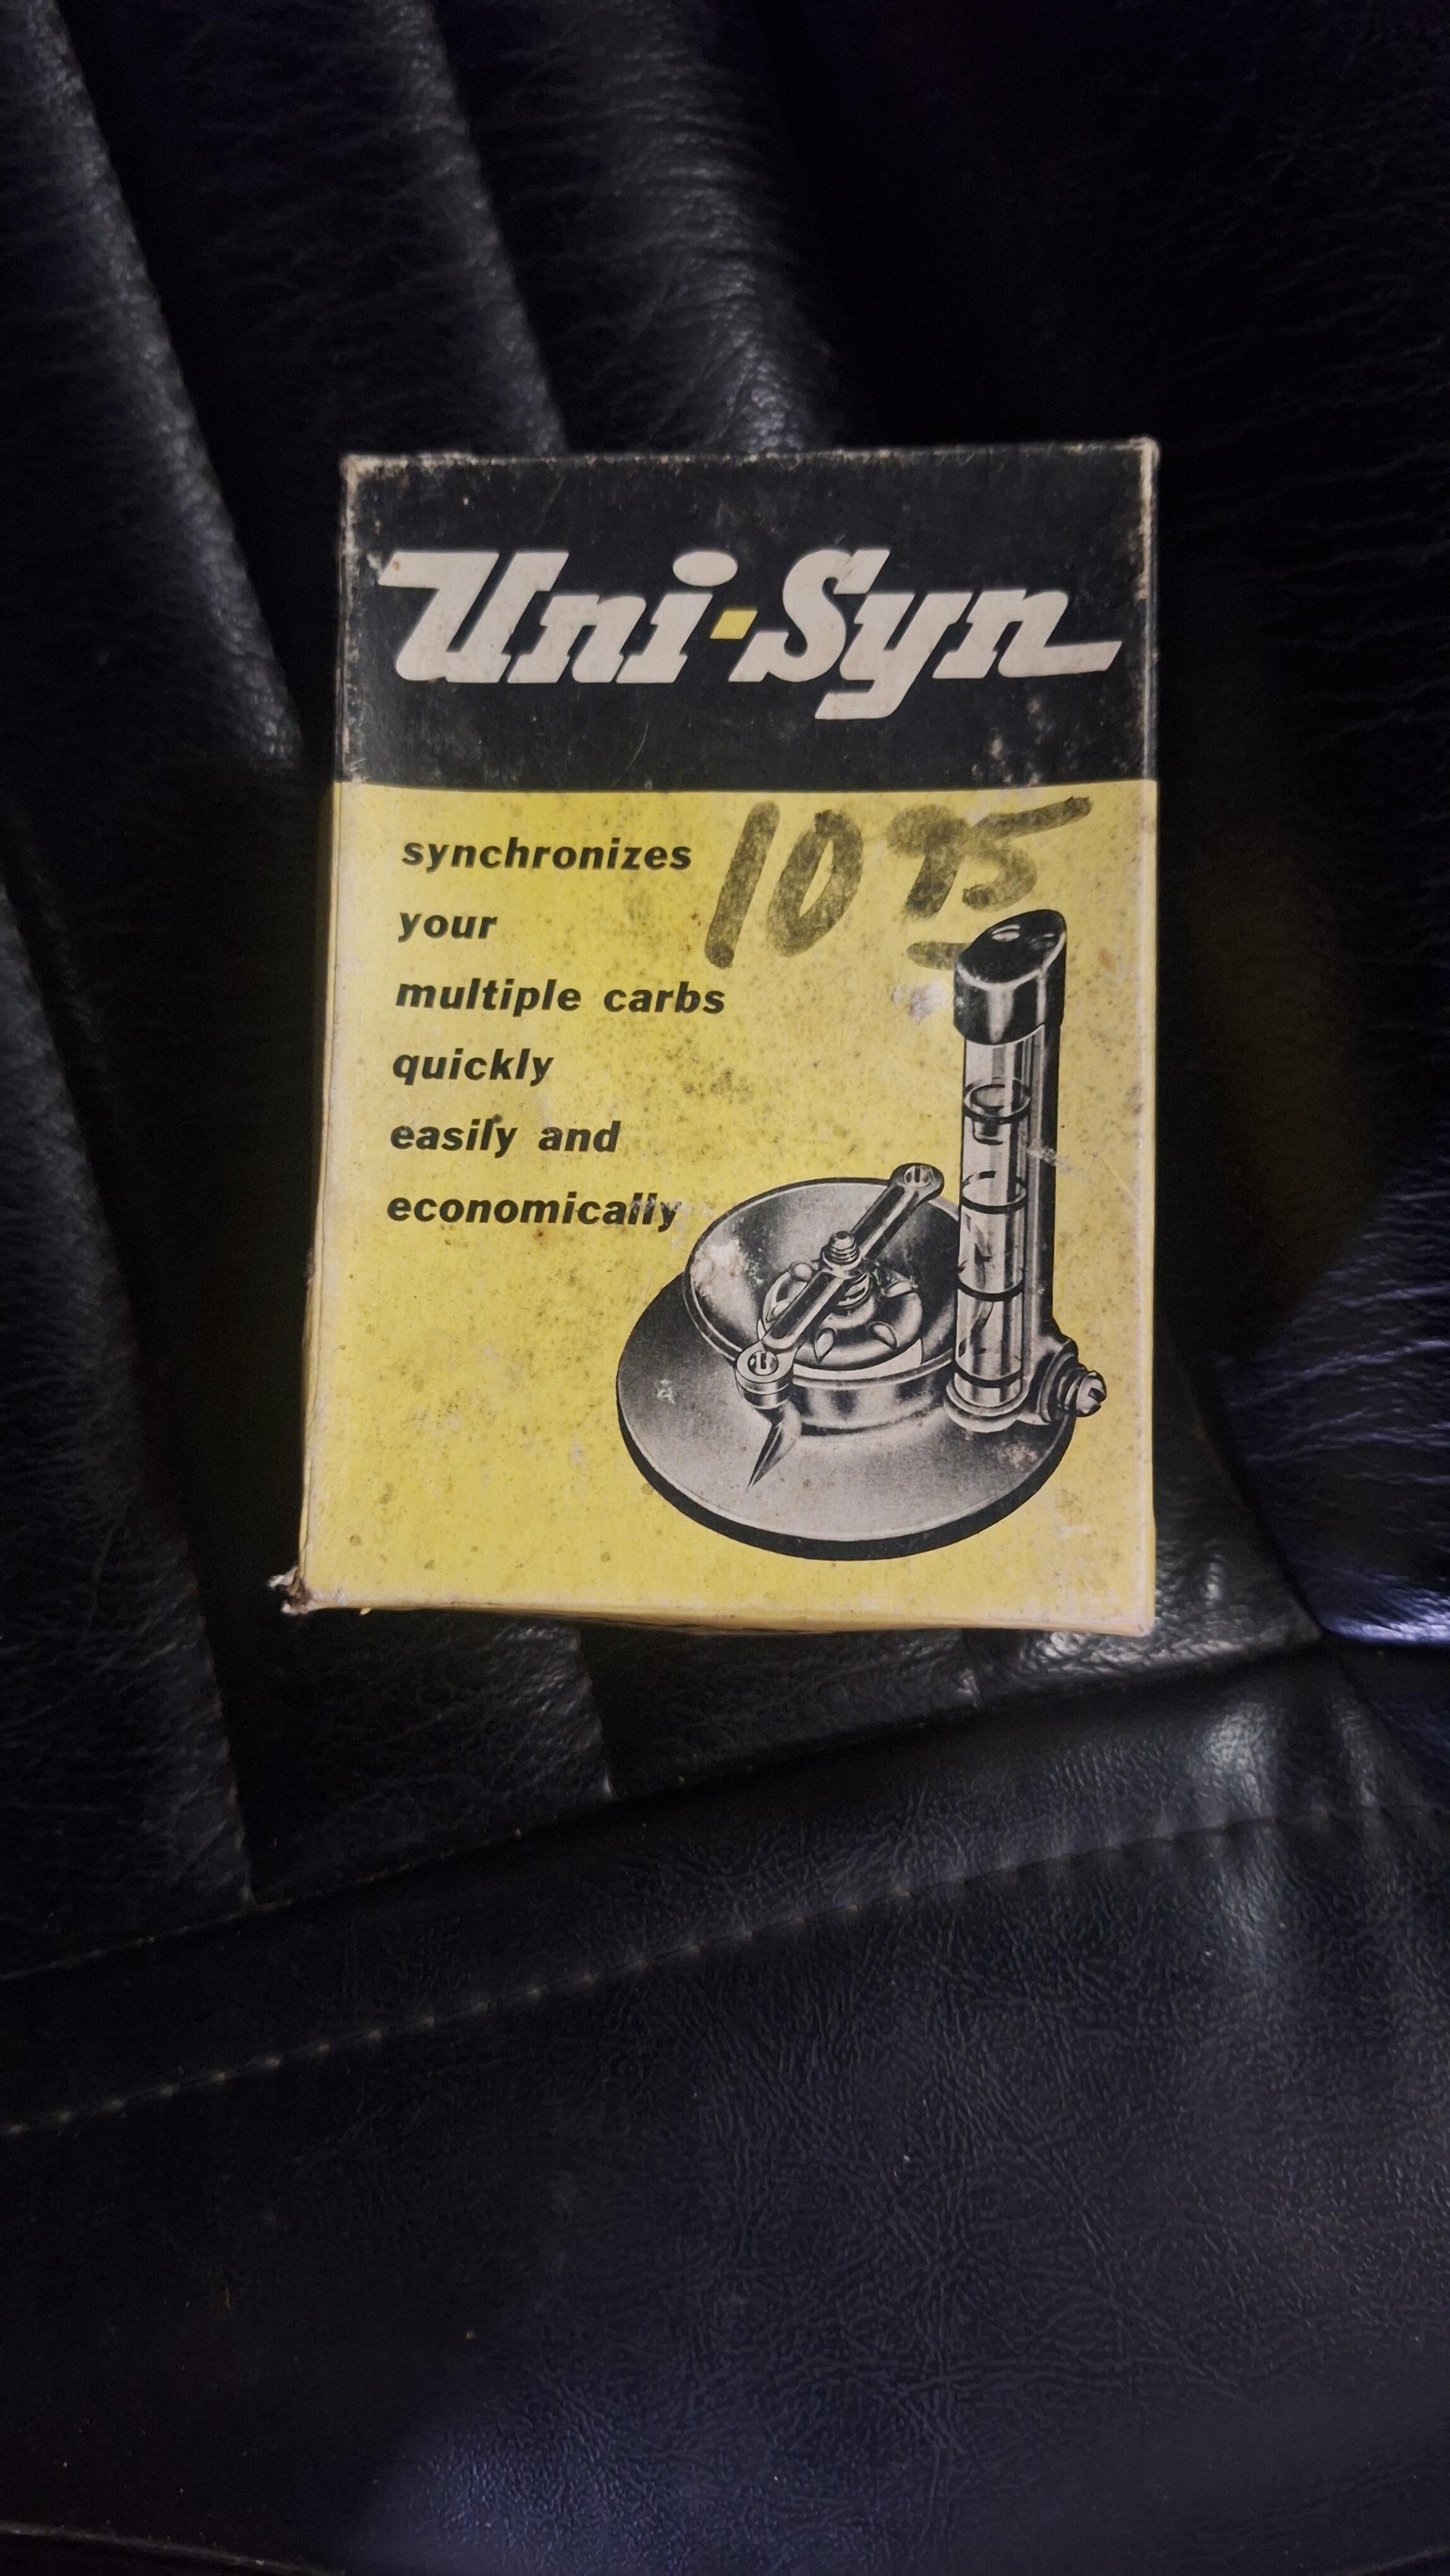
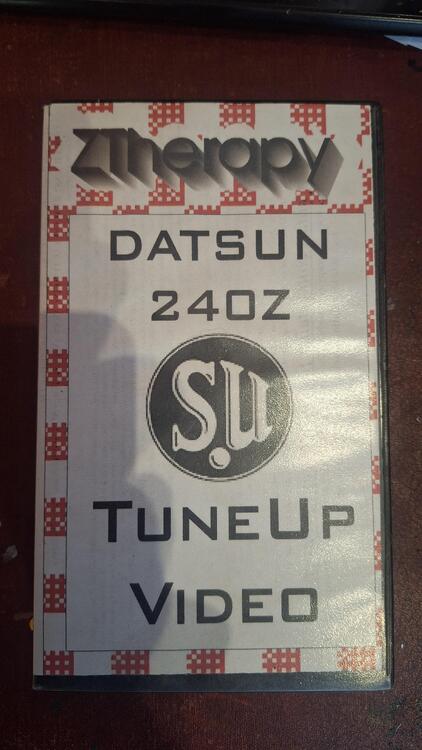
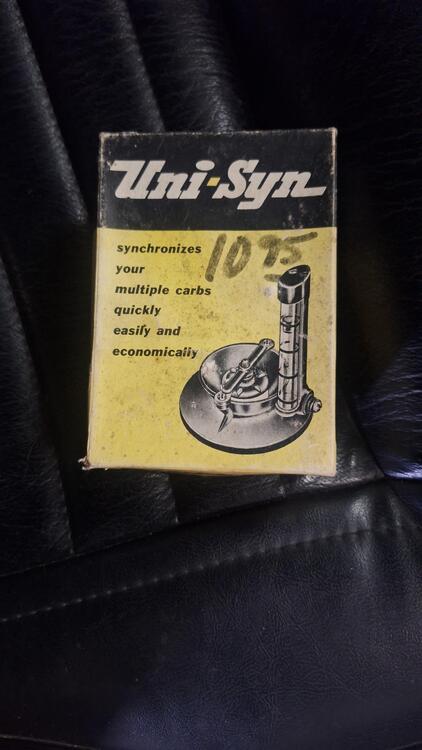
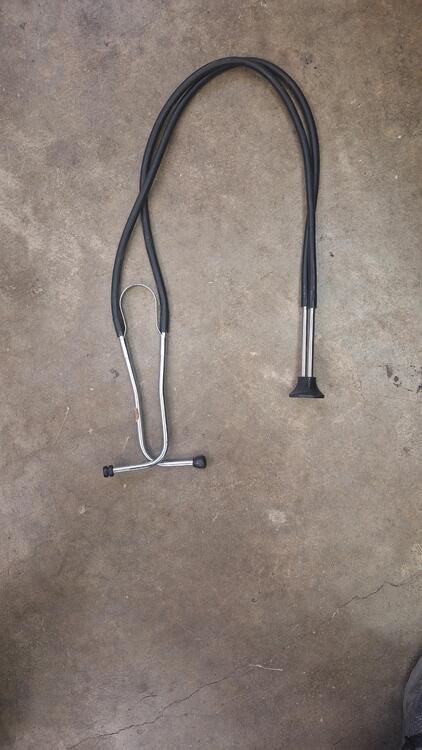
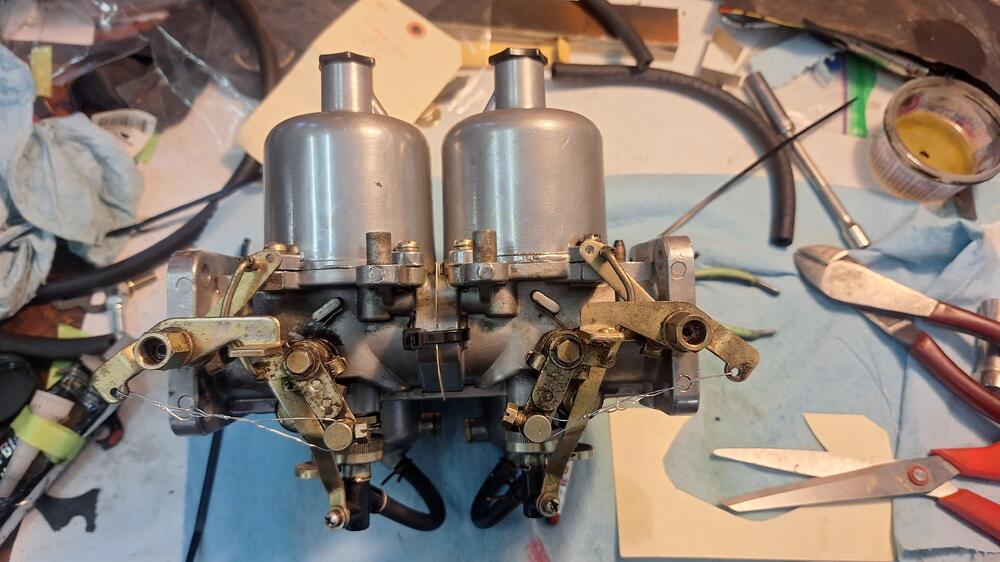
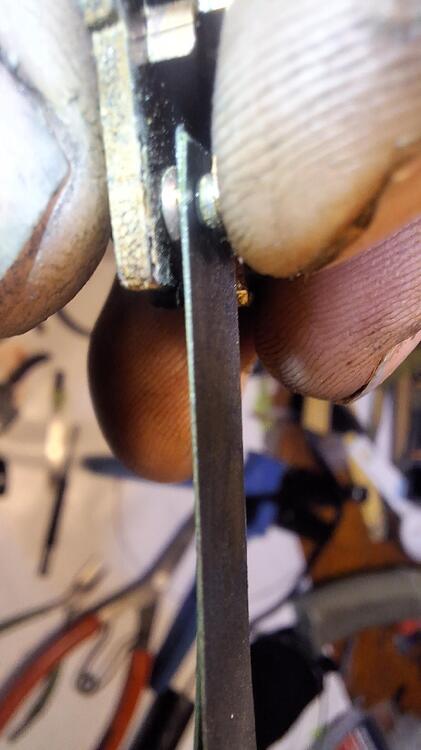
After adjusting the valve lash a couple times, I timed the distributor which was really close. I tried my hand at tuning the carbs. This video VHS and flowmeter came with the car. I backed everything off, but still was getting a 1,000 rpm idle. Seemed a bit high. I would put the flow gauge on the front carb and adjust it so the ball was in the middle. Then go to the rear carb, the ball was way high, no way to back down the idle screws anymore. I figured there must be a vacuum leak somewhere. I squirted brake clean around but didn't make any noticeable difference. I couldn't get them the same. The next day, while fiddling around with it, I grabbed my broken stethoscope, and started poking 1 of the hoses around when whaaam! There it is. The rear carb is leaking around the throttle shaft. These carbs were just done by ZTherapy 2 or 3 years before the car was parked some 22 years ago. I had a chat with them, boxed them up, and they are now in their hands. I hope it's an easy fix.....

-
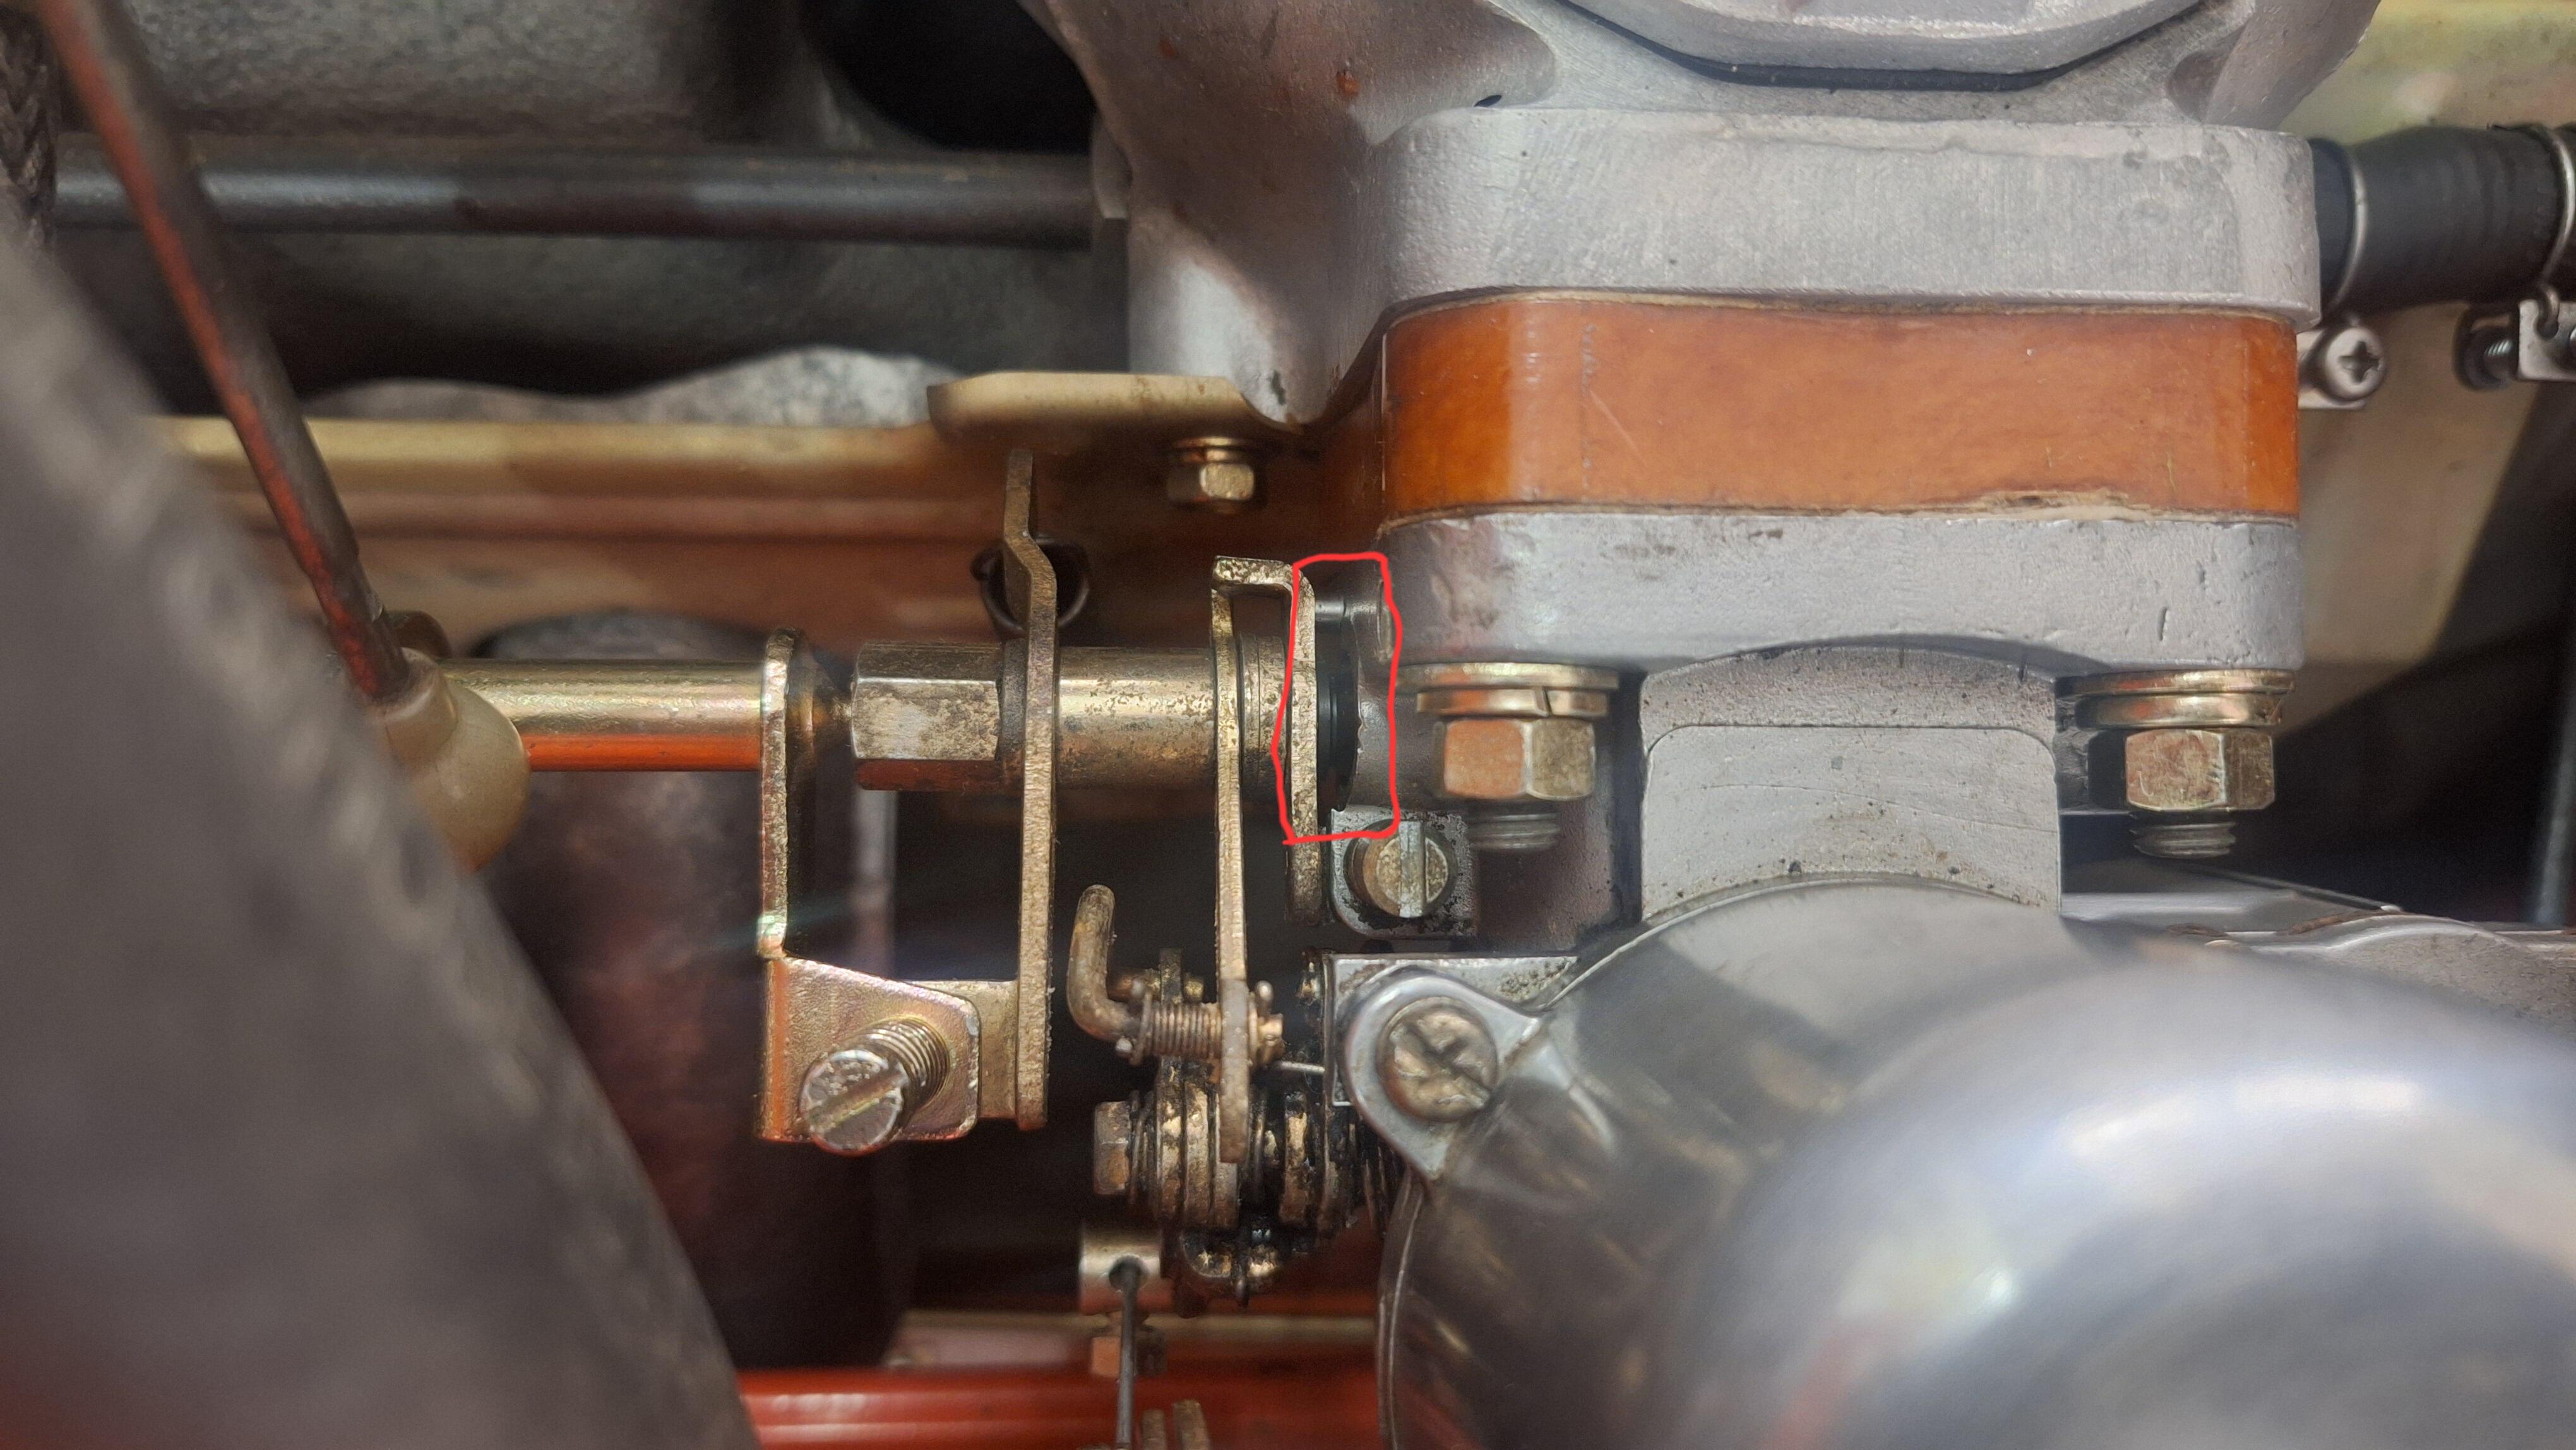
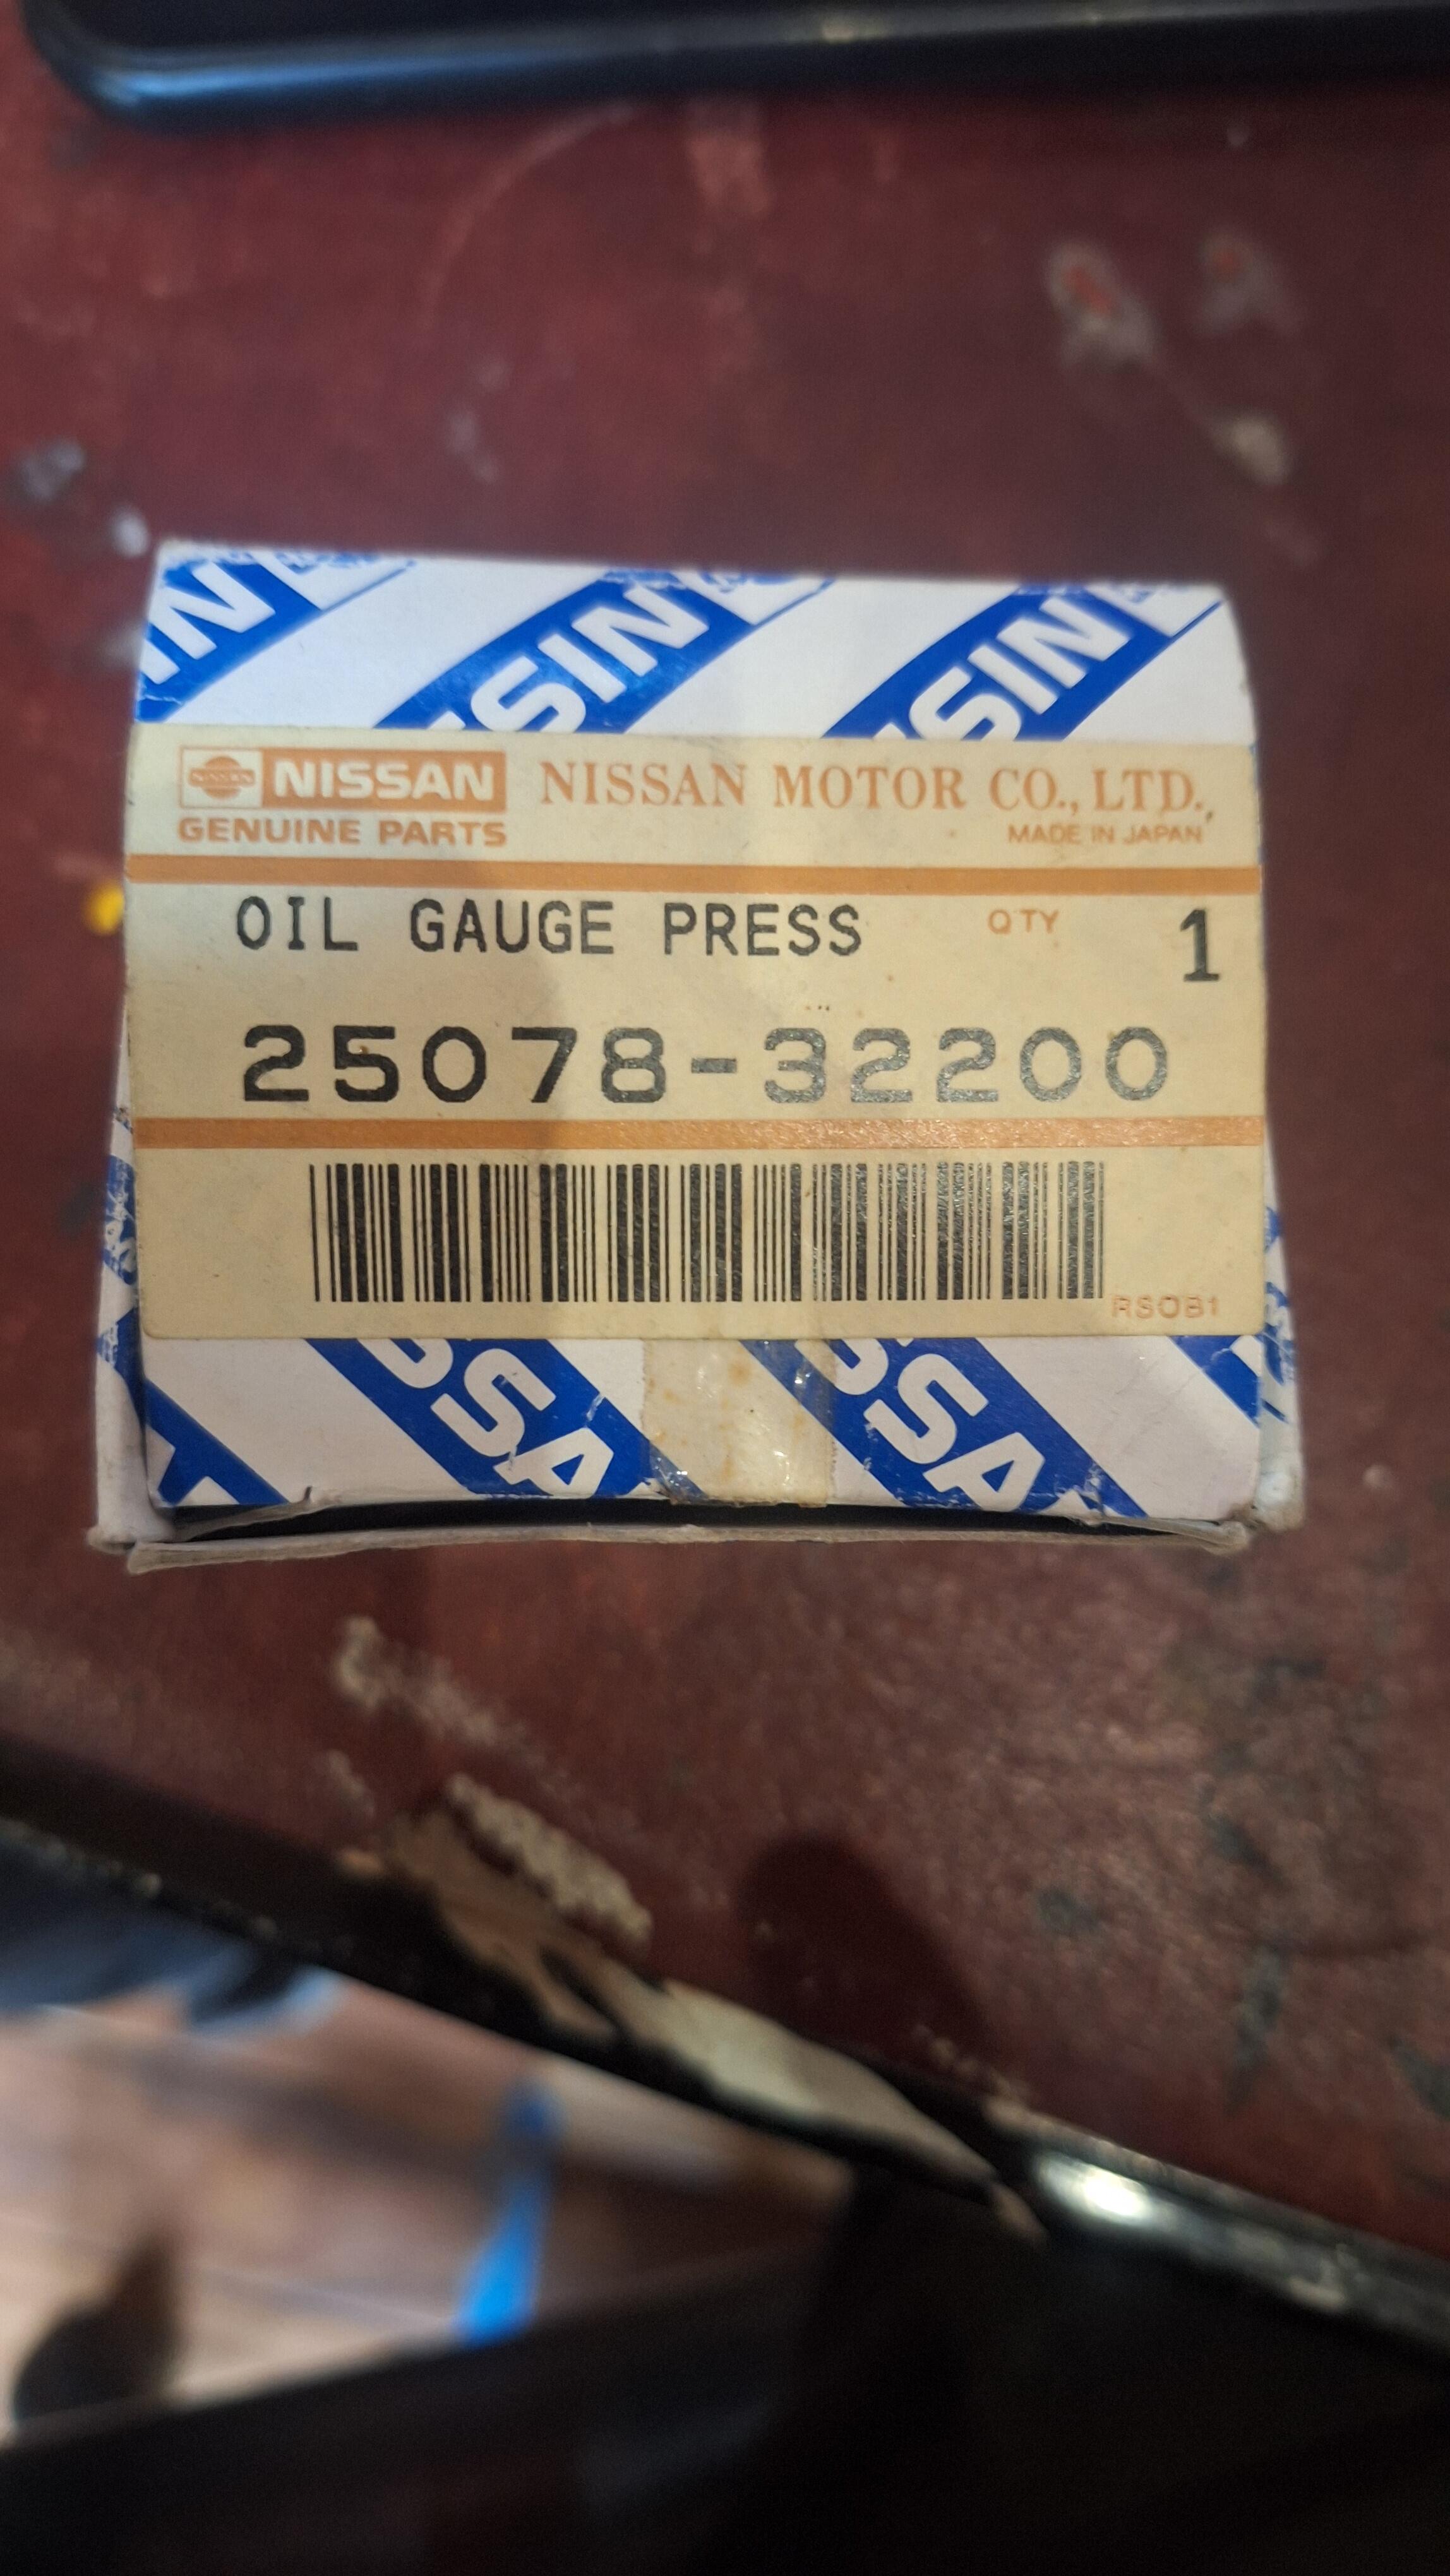
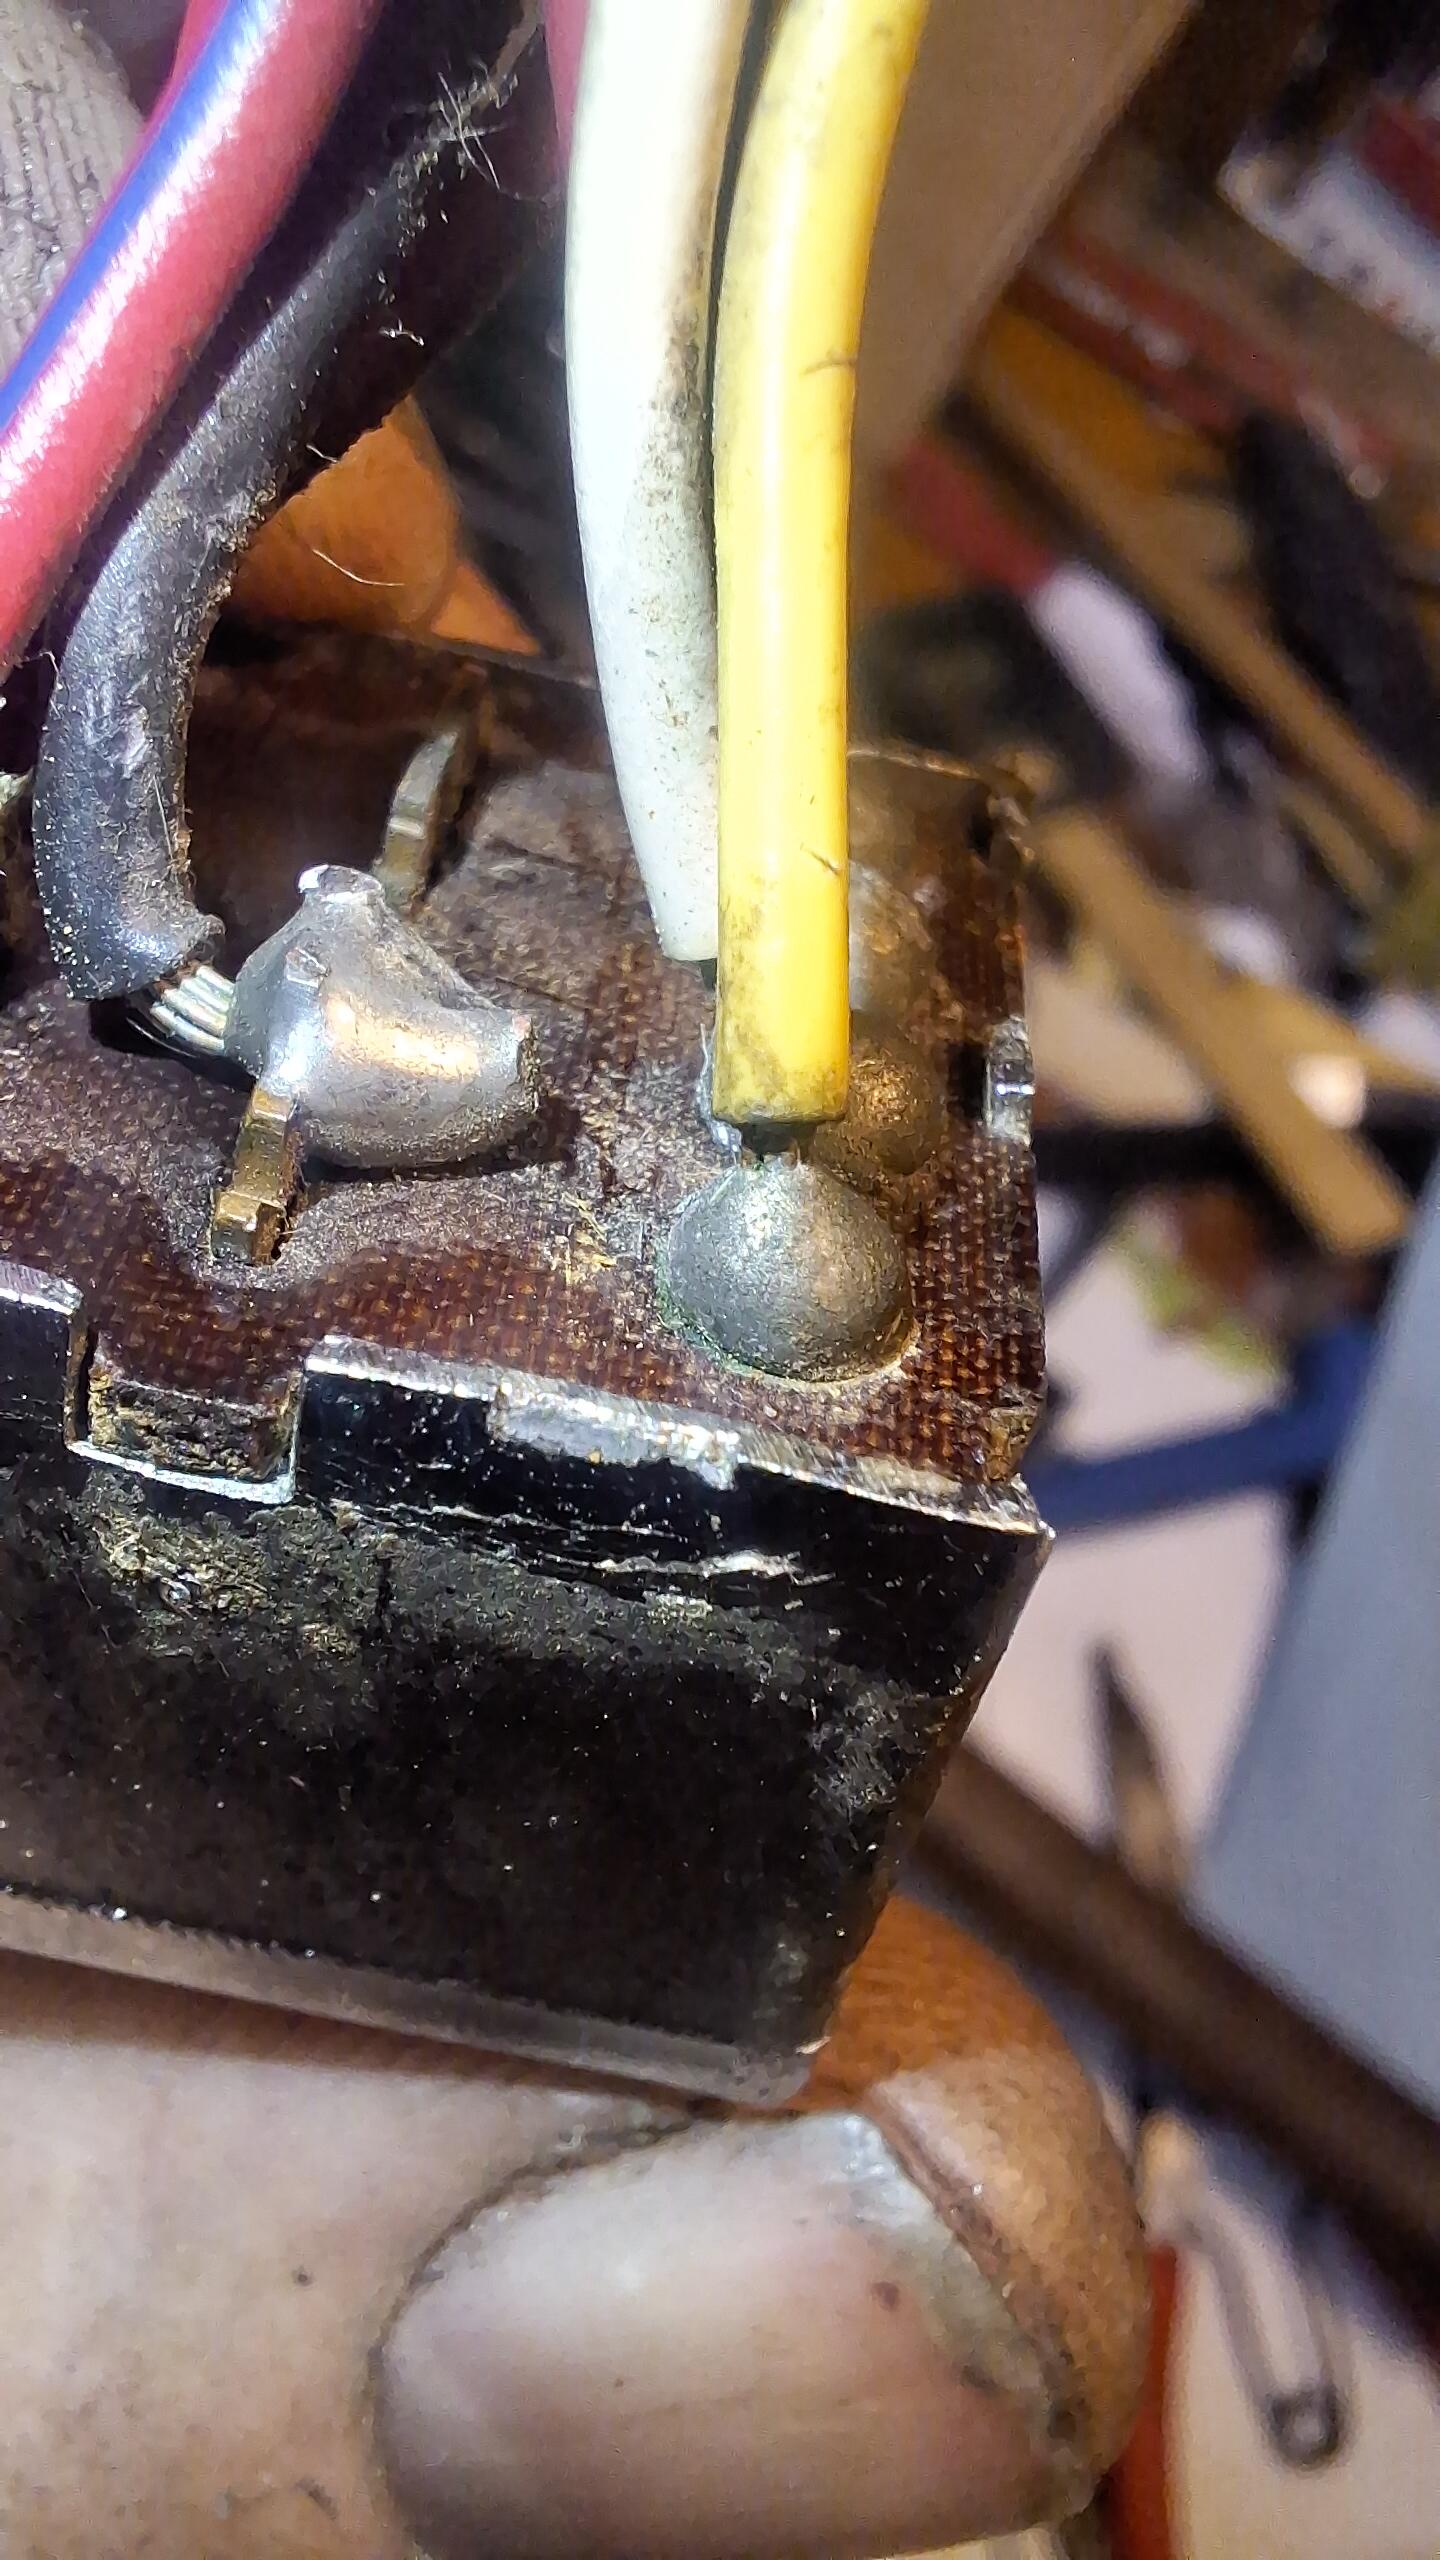
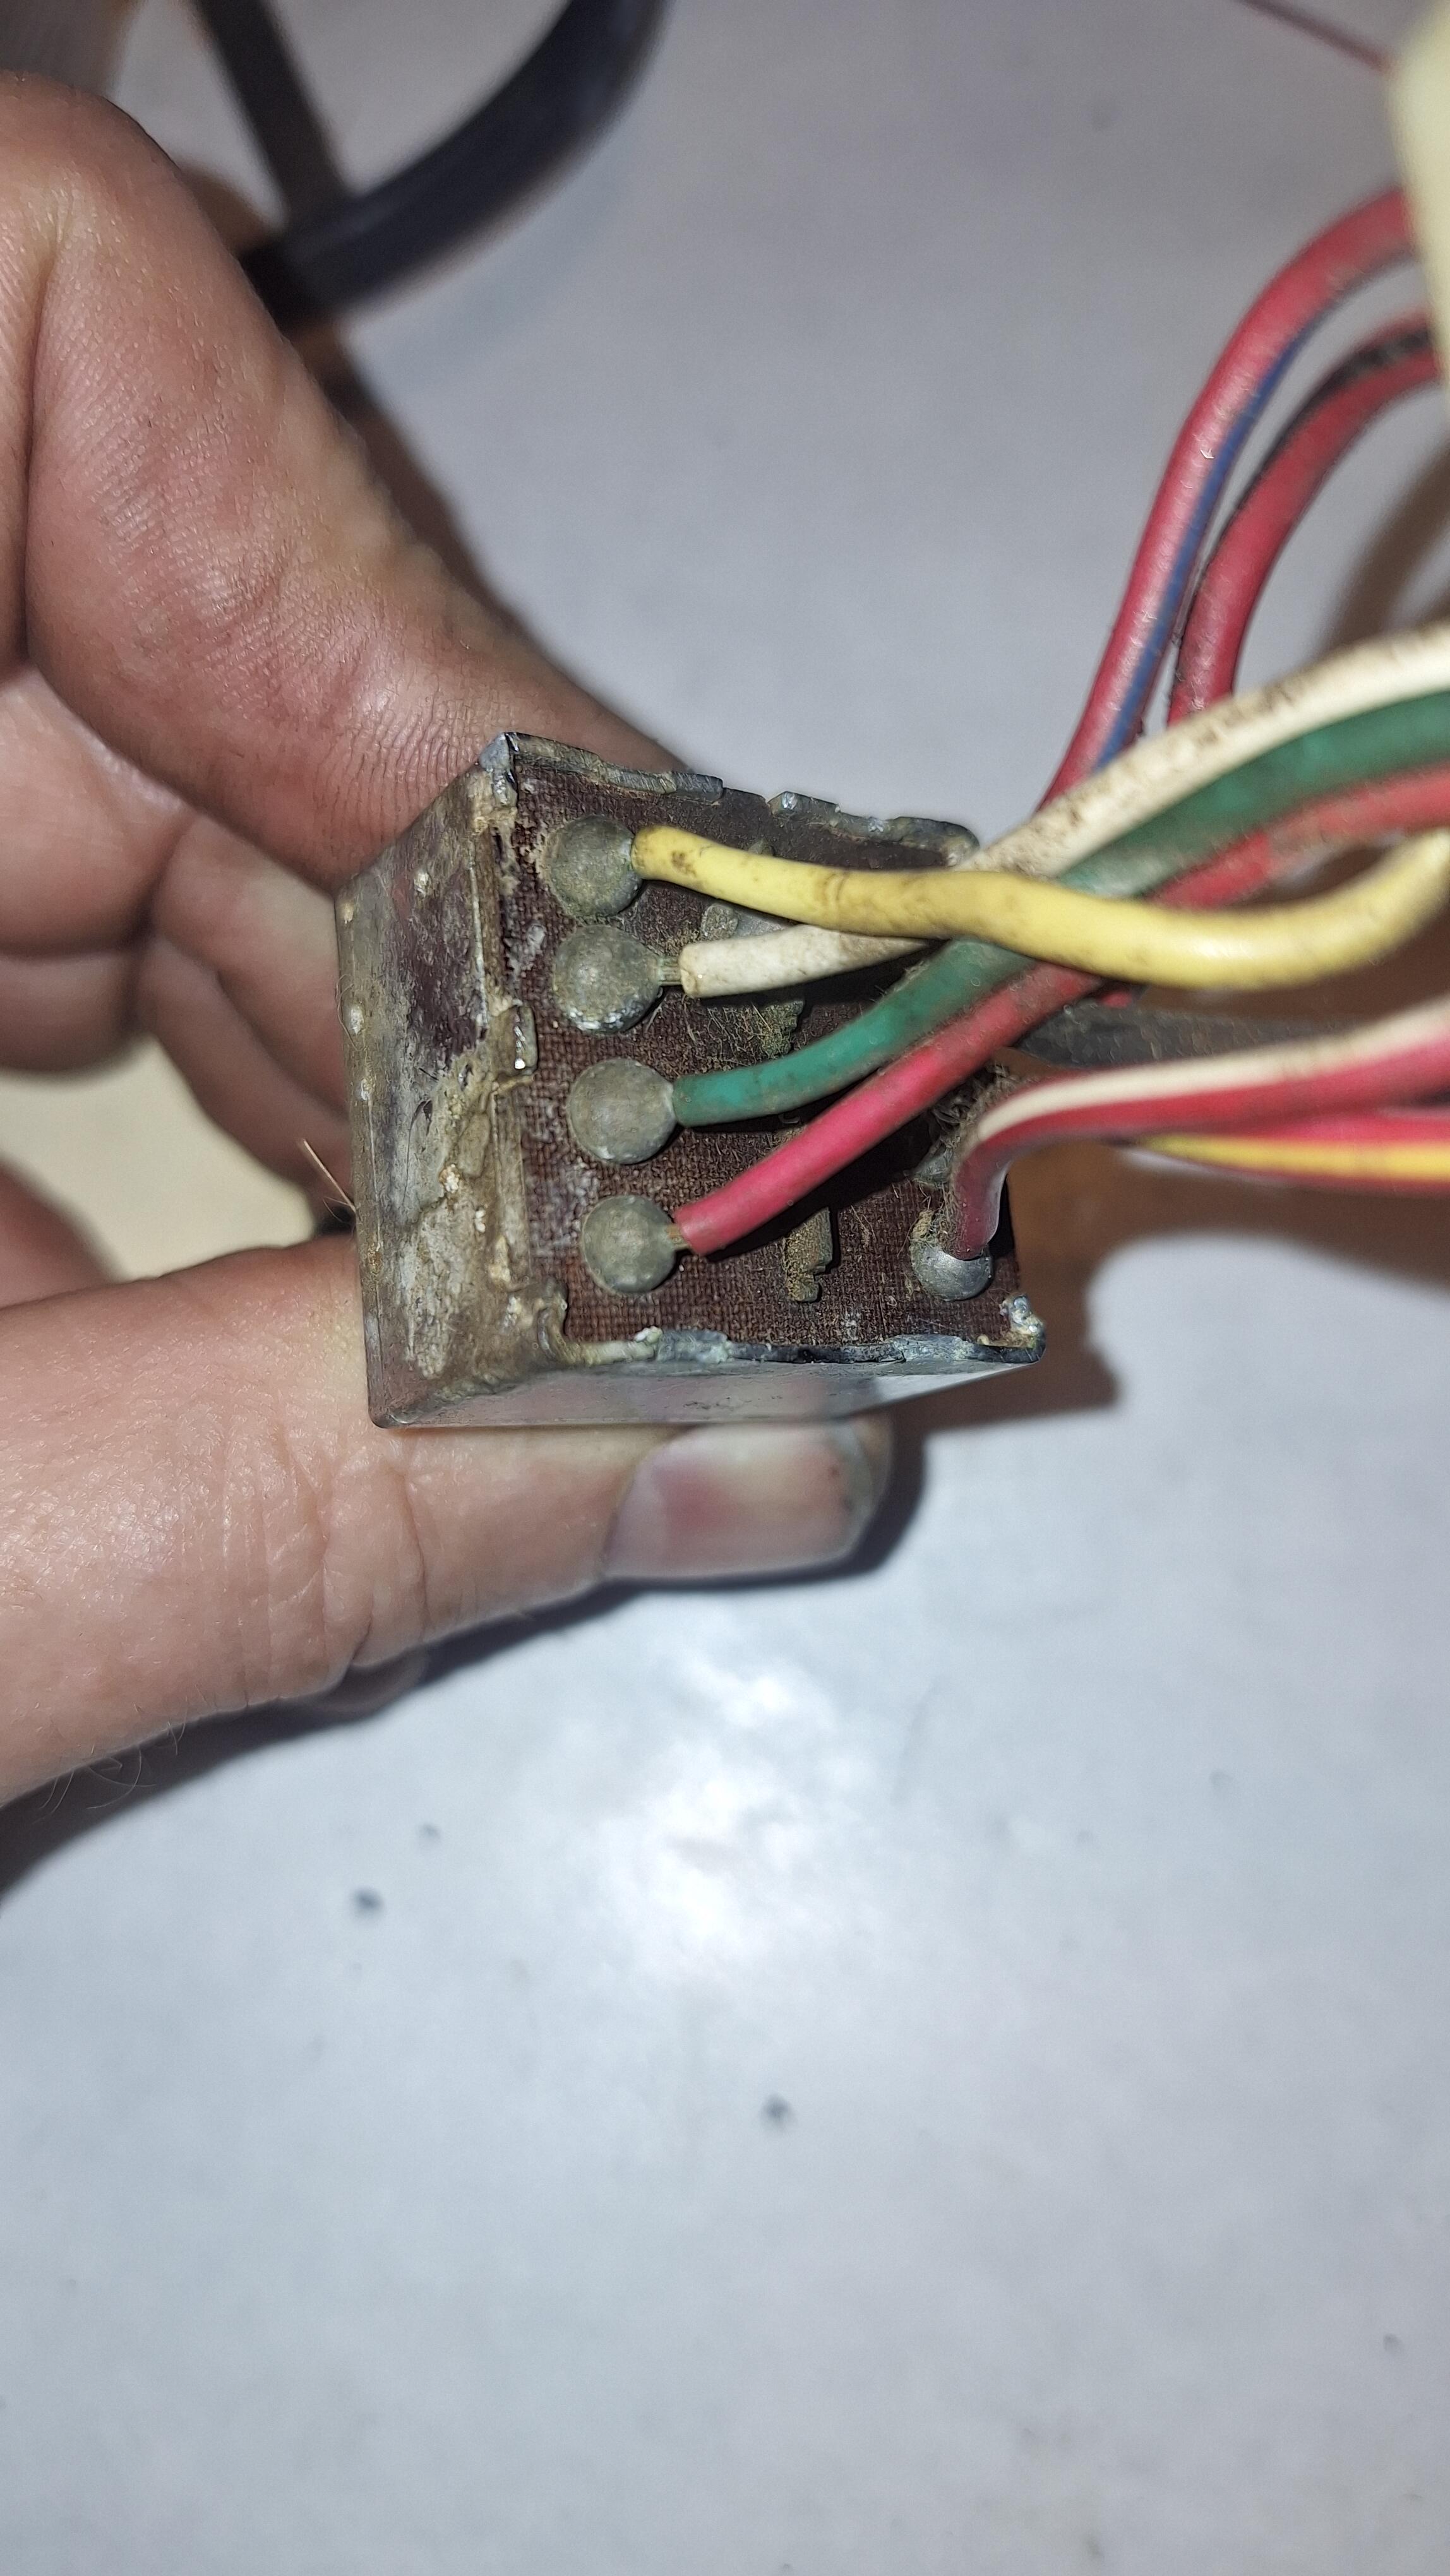
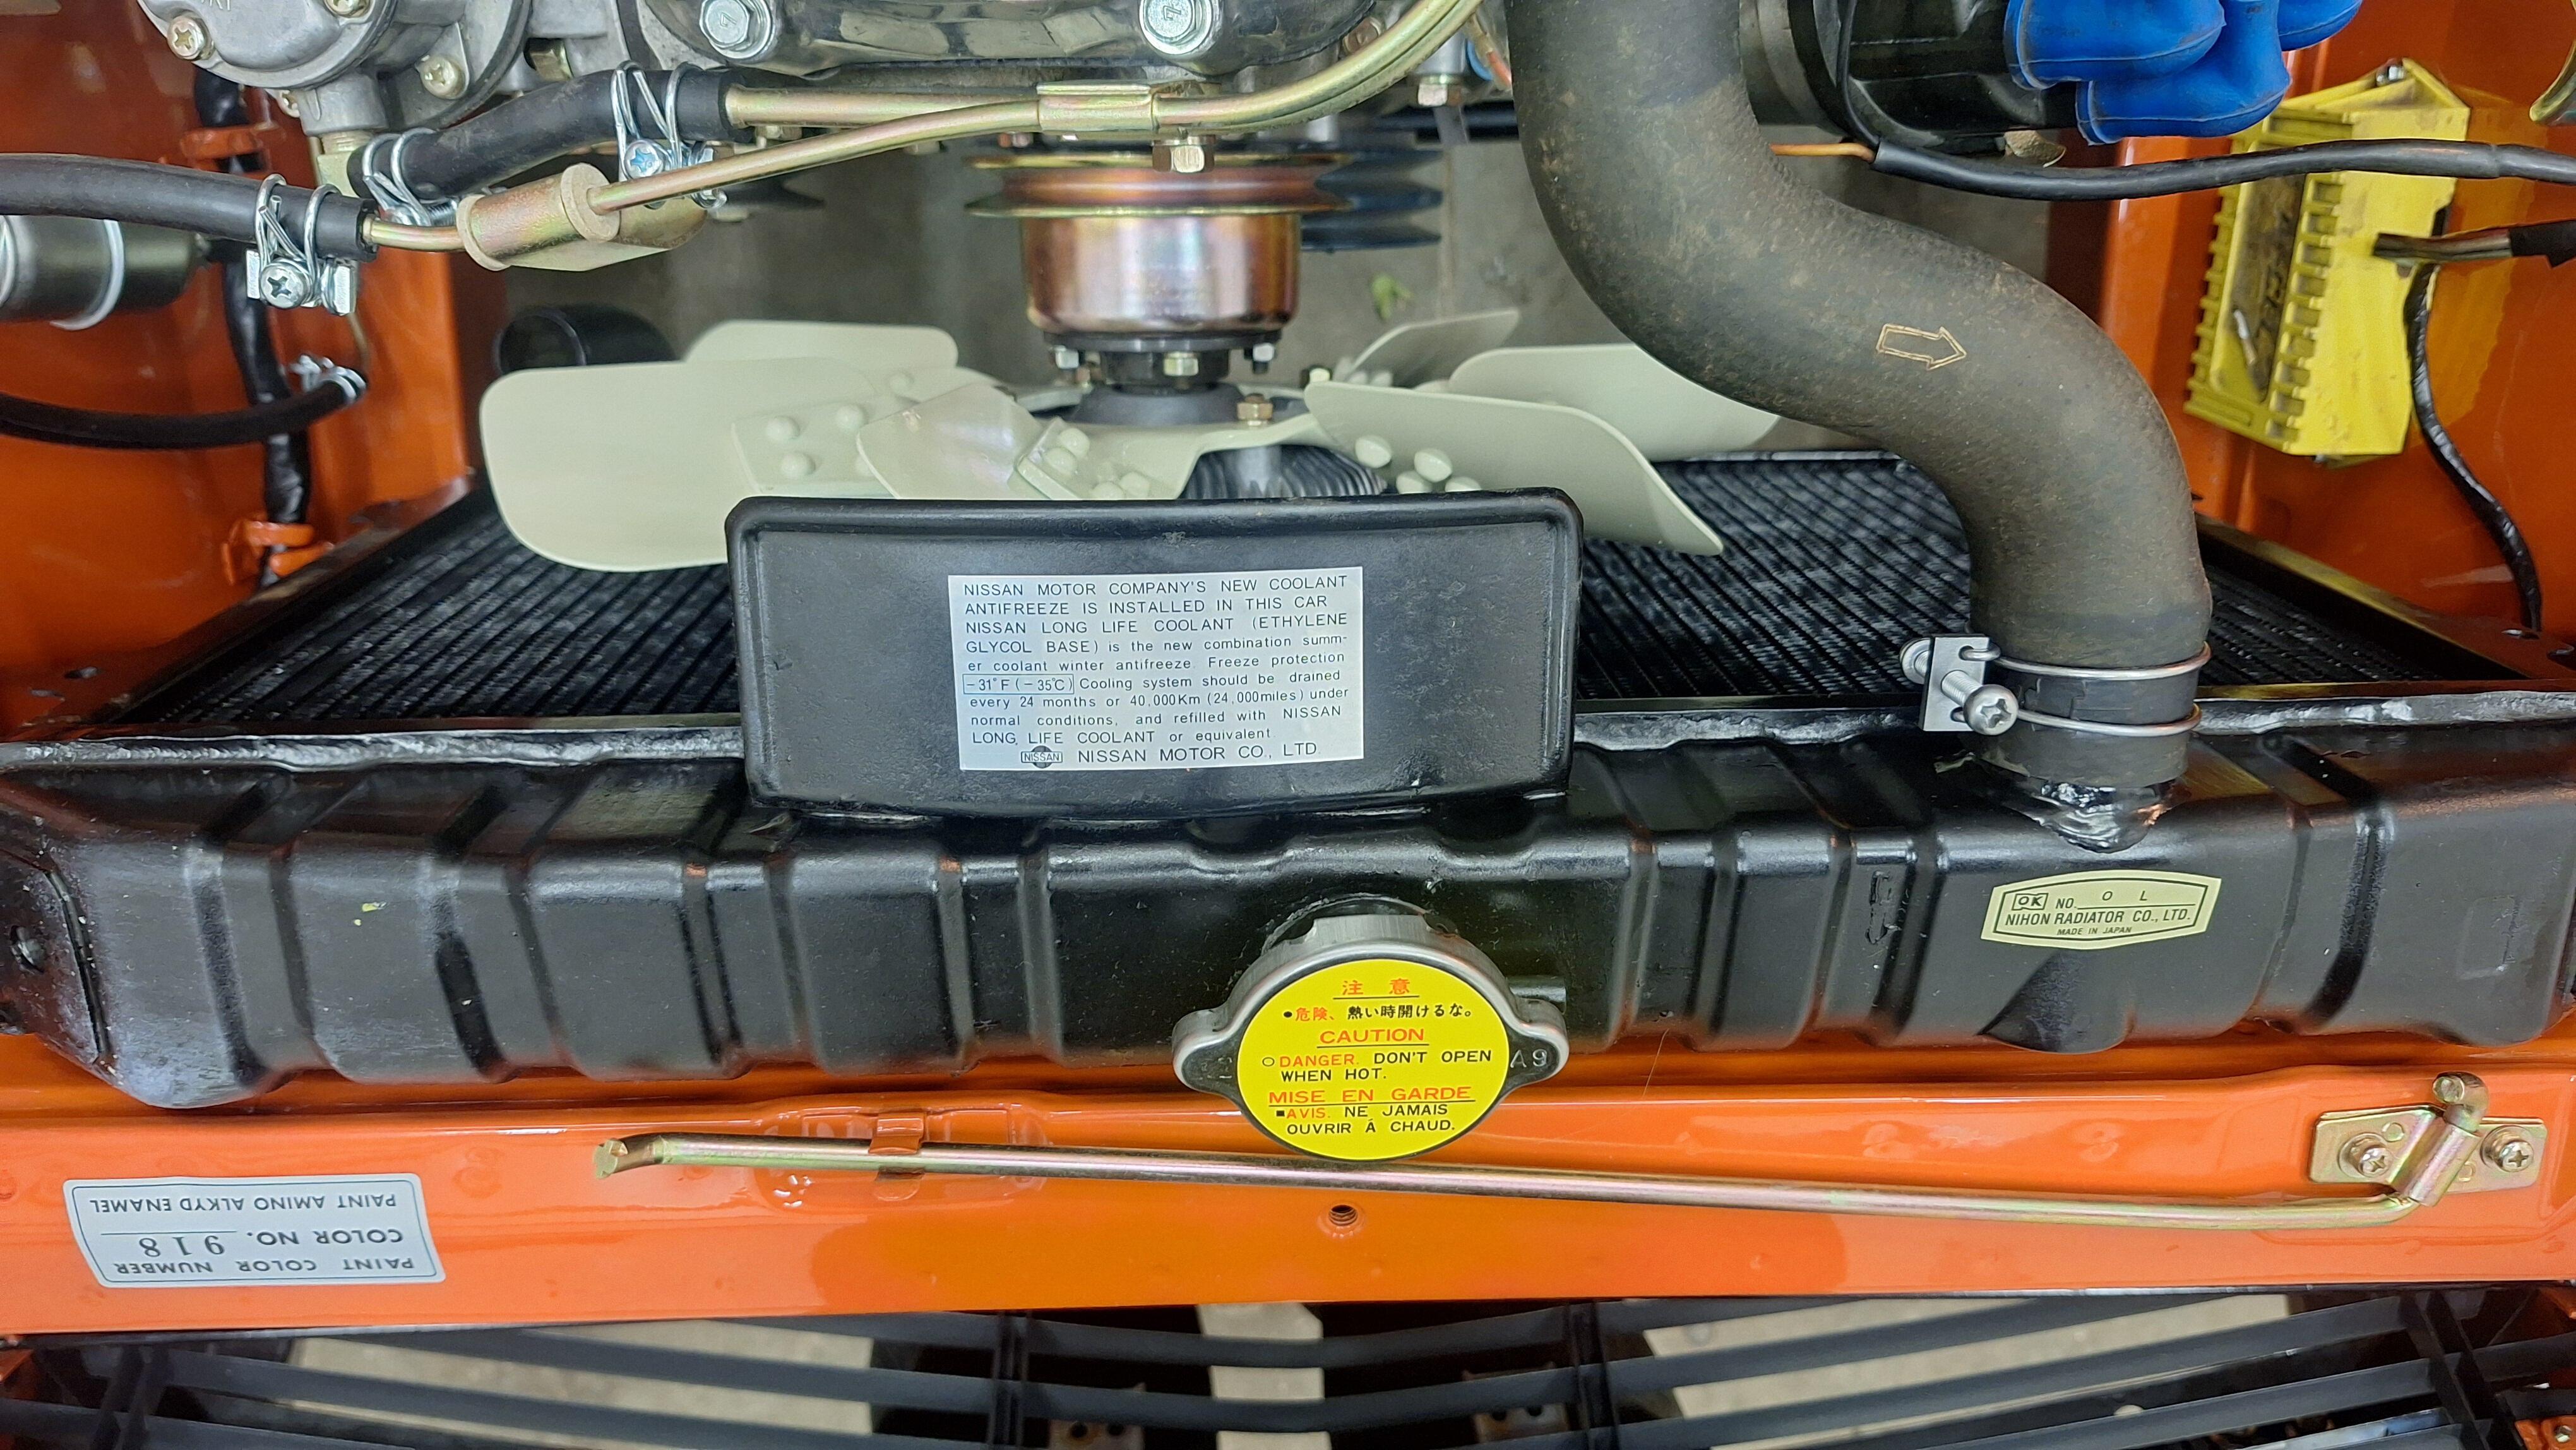
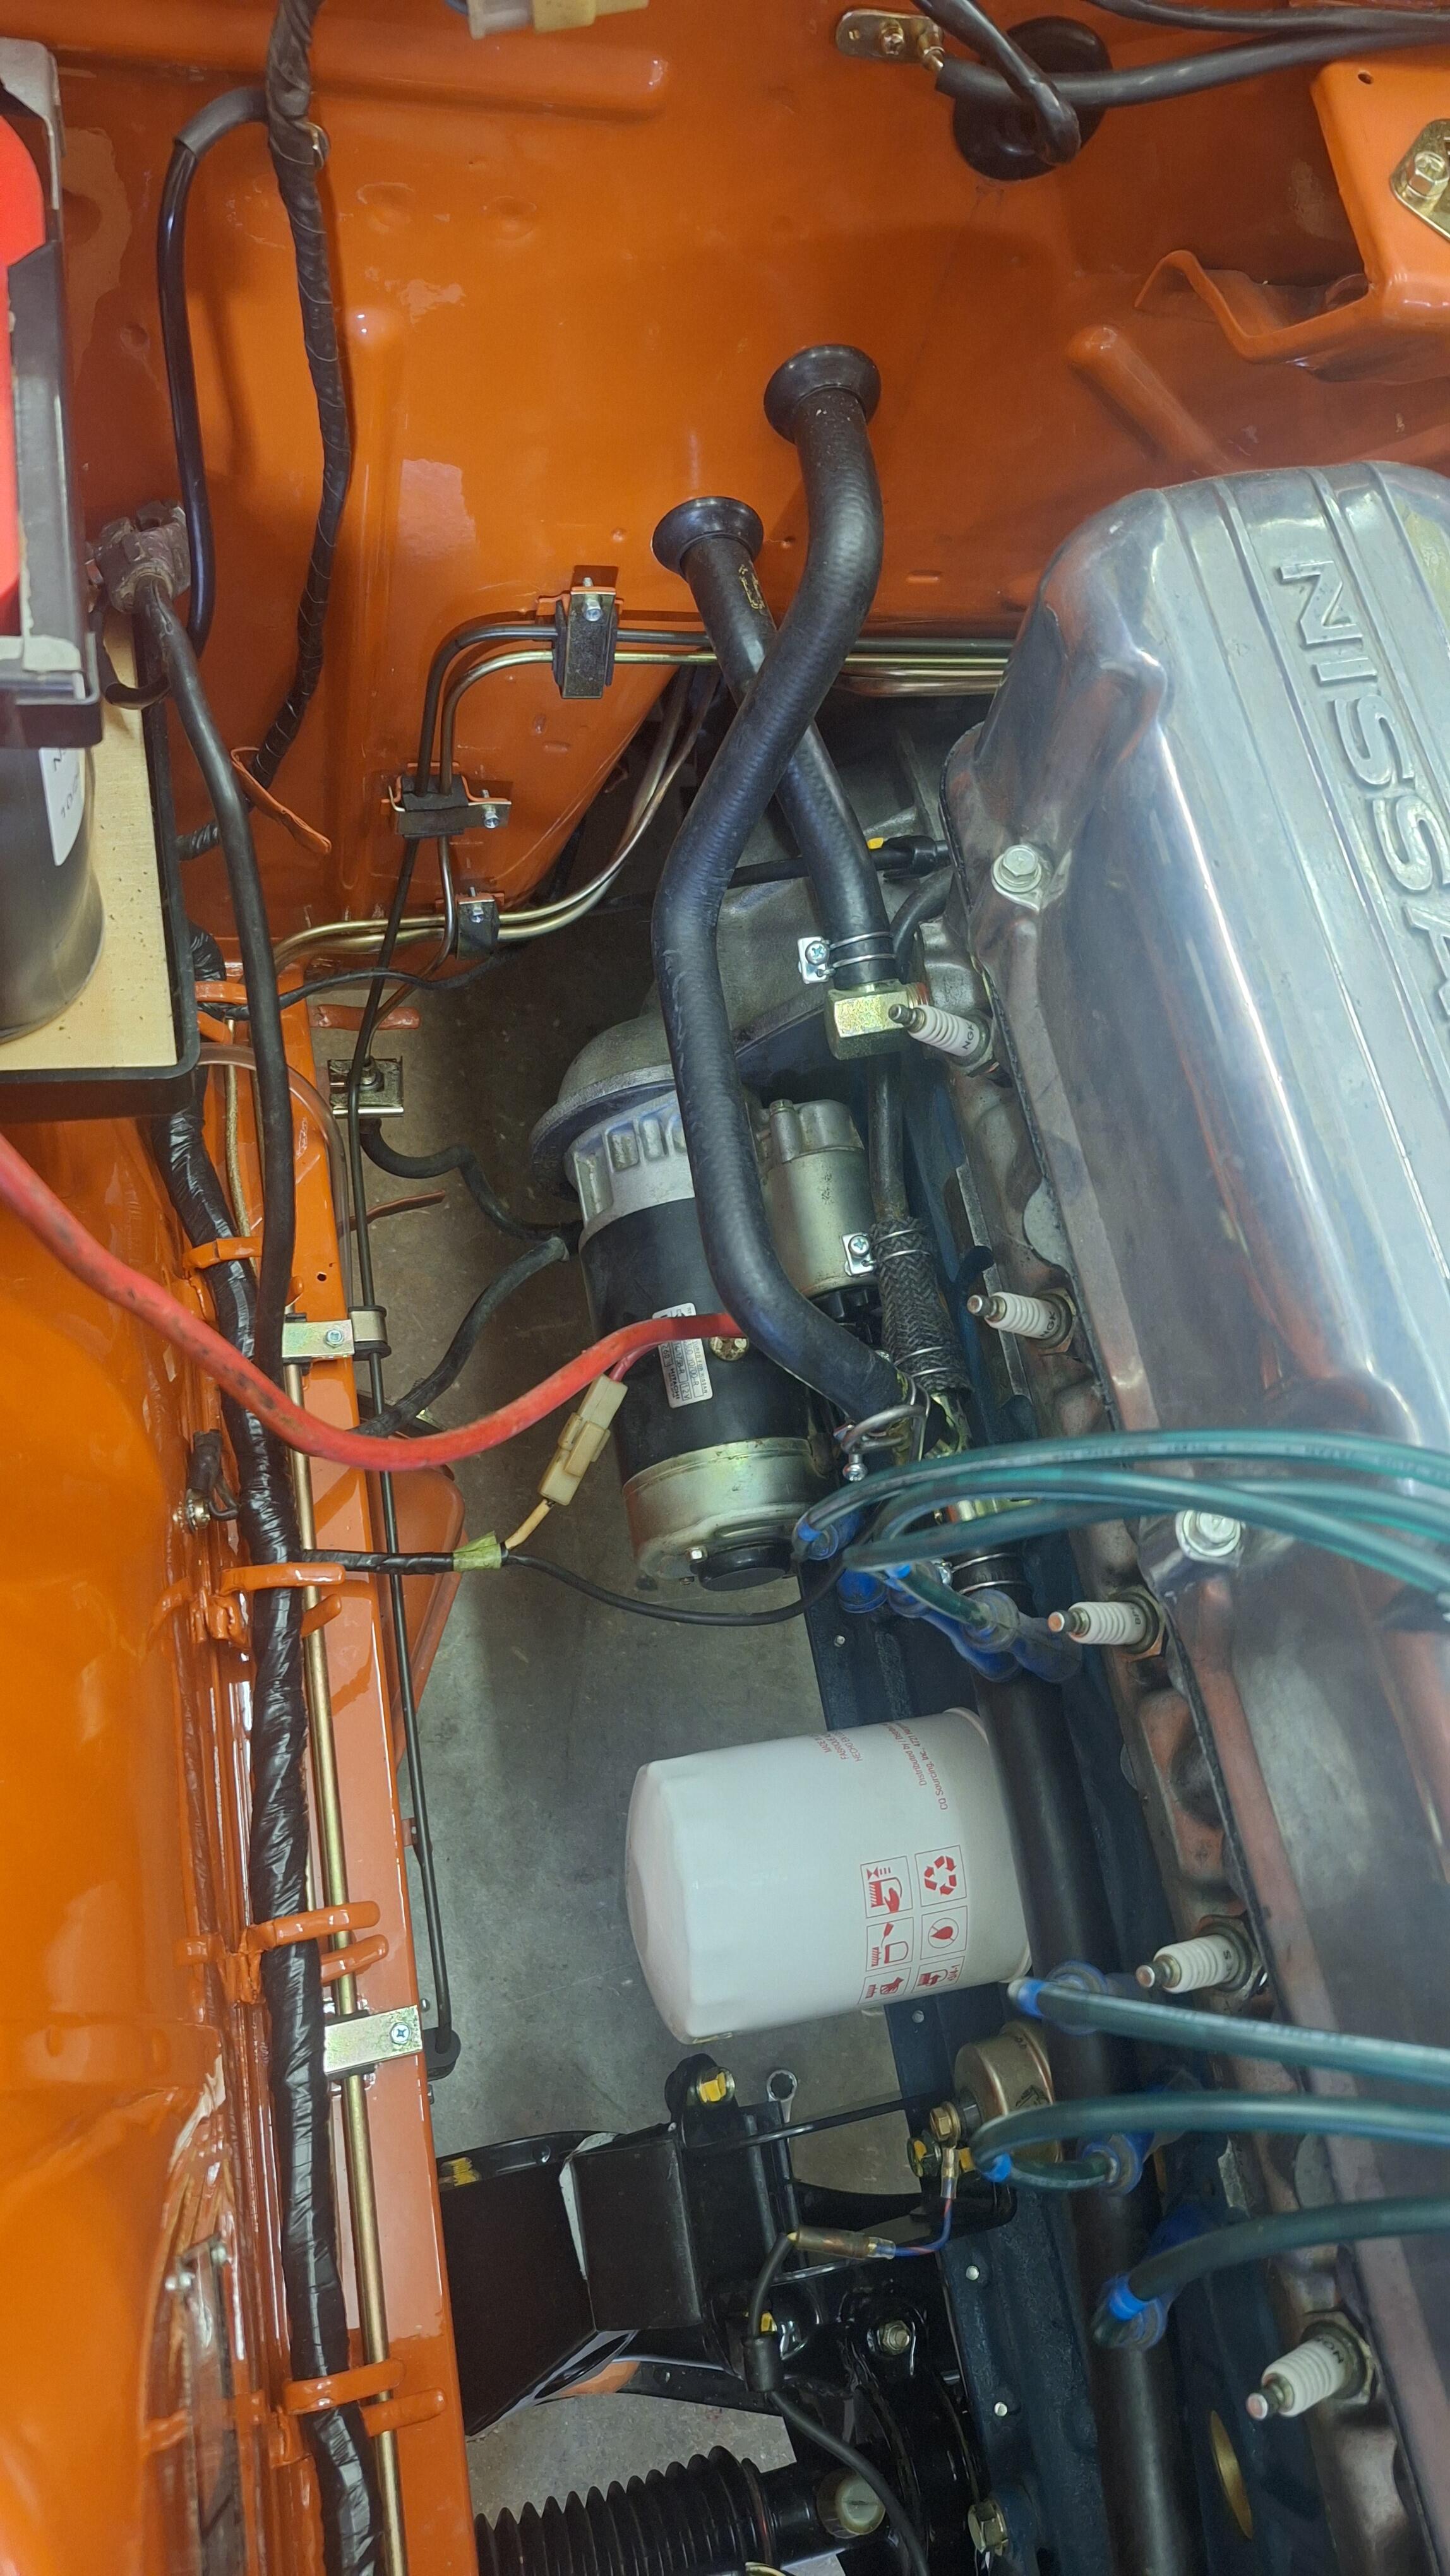
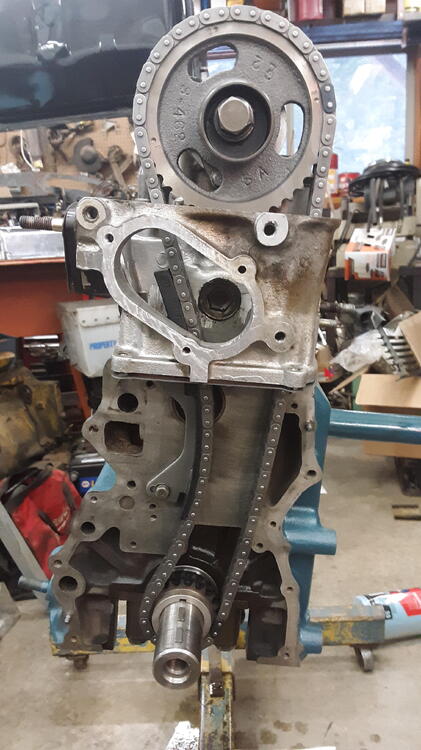
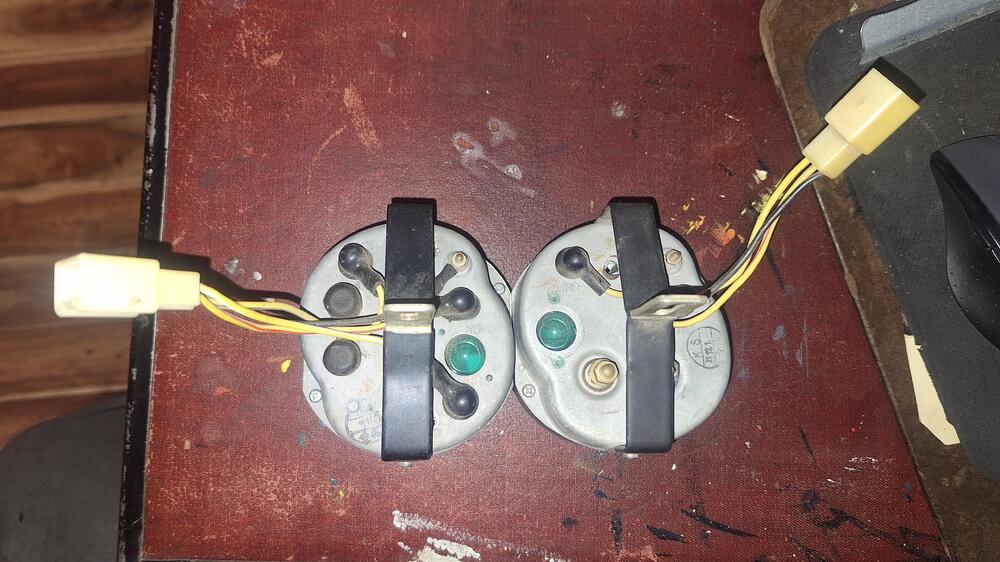
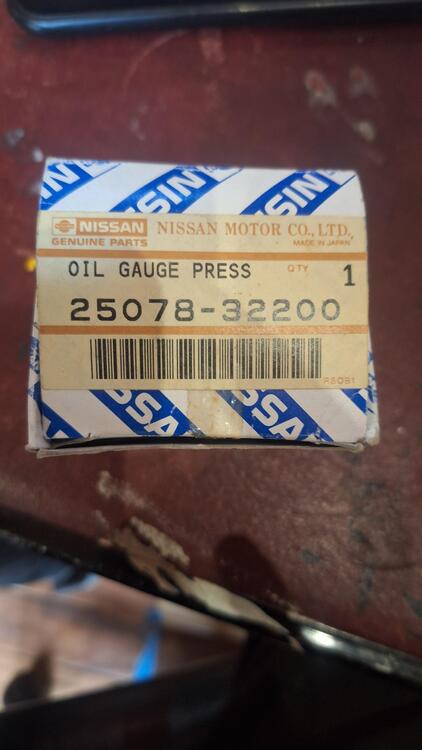
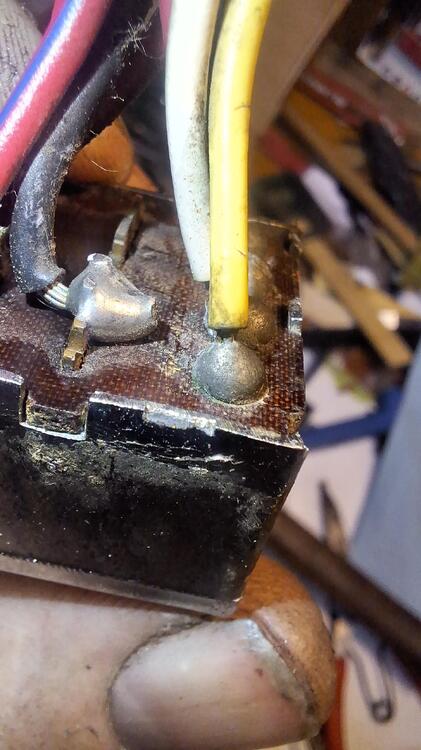
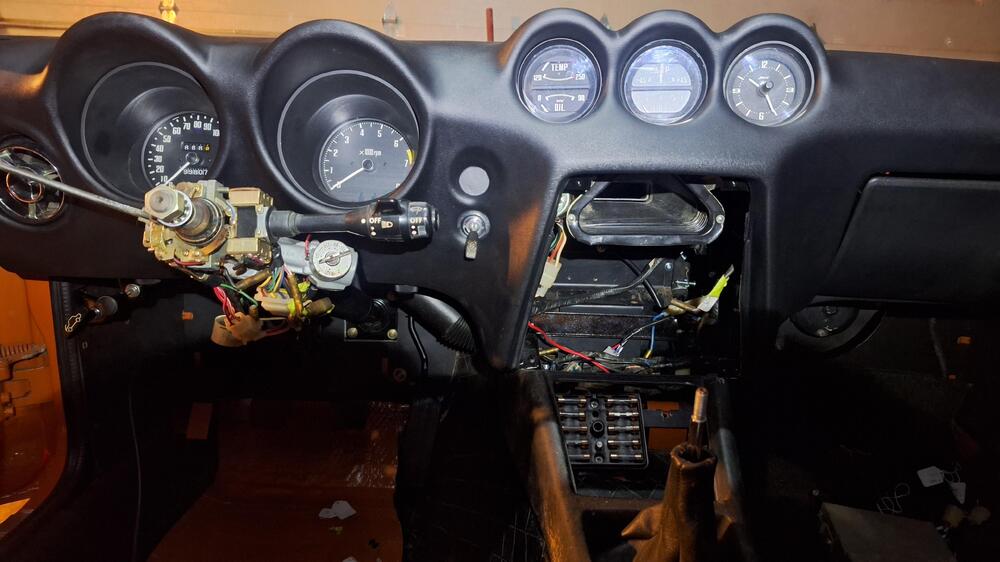
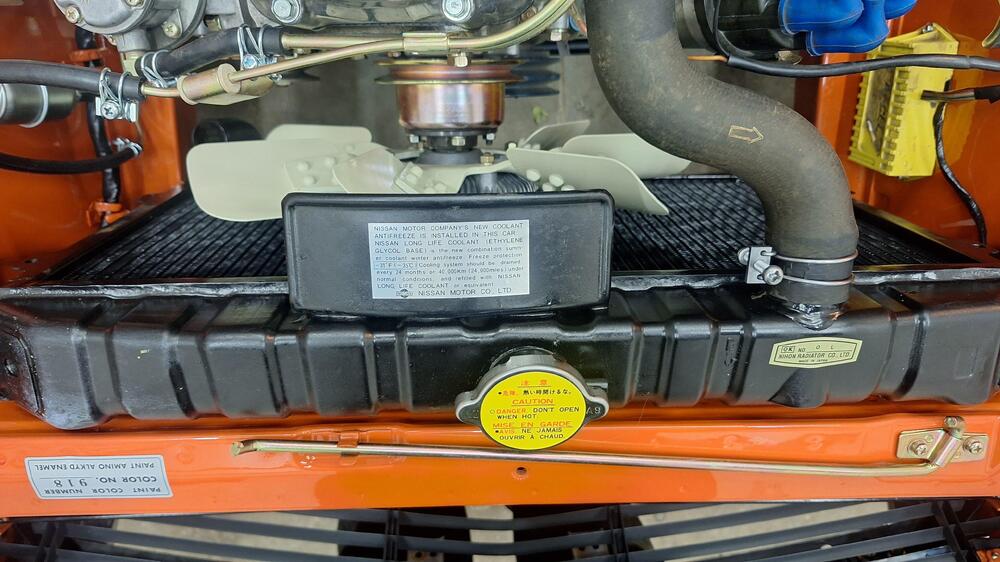
Time to put gas in it and build fuel and oil pressure. As I was siphoning gas into the tank, I decided to check the fuel gauge, turned the key, and watched my oil pressure gauge slowly rise. The fuel gauge did nothing. After freaking out a little bit thinking did I mix up the wires somewhere? Got my spare gauges out and the connectors on the back are the same, but the oil pressure/temp gauge has 4 wires instead of the 3 wires going to the amp/fuel gauge. So I stuck my head up behind the dash with a light and saw they were connected correctly. I unhooked my oil pressure wire at the engine and now I had no oil pressure showing. This car came with a NOS oil gauge press sending unit that I had installed. I put my original sending unit back on and now the gauge zeroed when I turned the key. I moved the connectors a bit at the tank, now my fuel gauge worked. The NOS gauge I had is part #25078-32200. Found out that's not for this car, maybe for a 280z. If anyone needs it, I don't. I removed the spark plugs, the valve cover and cranked the engine over. No oil getting to the cam oiler, which is a Michael Yoes upgrade. I did a little research here and someone mentioned galley plugs. That's the first I've ever heard of them. Were they removed and if so were they replaced? I don't know. I called my machinist who did the block and asked him if he removed the galley plugs. He said, "of course I did! it's standard procedure!" I asked him if he replaced them, "Of course not, that's the assemblers job!" Oh no! I don't remember anything about galley plugs, did they come in my kit? So, After a little more research I found out there are 2 galley plugs, 1 in front, 1 in back. I found a picture I took of assembly, the timing chain, and aha! there's a galley plug in it. Found a picture of the back and the plug is there. They were never removed, thank God! I did not want to pull the engine again. So, I found a great tip here, which was to remove the oil filter. Get a piece of clear hose and stick it in the hole to the galley and shove it as far forward as it will go. Get a small funnel, and fill it with oil until no more oil will go in. I did that, re-installed the filter, and the valve cover and cranked it over. I immediately felt a change, I had oil pressure, my pressure gauge went up. I guess I had to prime the pump. Next I took a vacuum pump and sucked fuel from the tank to the filter. I removed the fuel pump and connected a hose to it into a jug of gas. Back filled it with gas and let it soak in a bit, then pumped with my hand. I had gas squirting out in force! Reinstalled the fuel pump. Cranked it over a bit until I had gas in the carbs. Got some distilled water and started filling my radiator. Used just water because I didn't want antifreeze everywhere when I found the hose clamps I forgot to tighten. Turns out, the water pump seal had dried up and water came pouring out that little hole. Several day later, which was only 2 weeks ago as of this writing, I get my new Aisin water pump from Rockauto and install it. Fill up the radiator, no leaks. It's time! I turned the key and It didn't even make 1 revolution and fired right up! Wow! It started revving up so I shut it right down. My linkages needed adjusted. Got the idle down and after adjusting the clutch a bit, drove this thing out of my shop on it's own power. Yahooo!
-
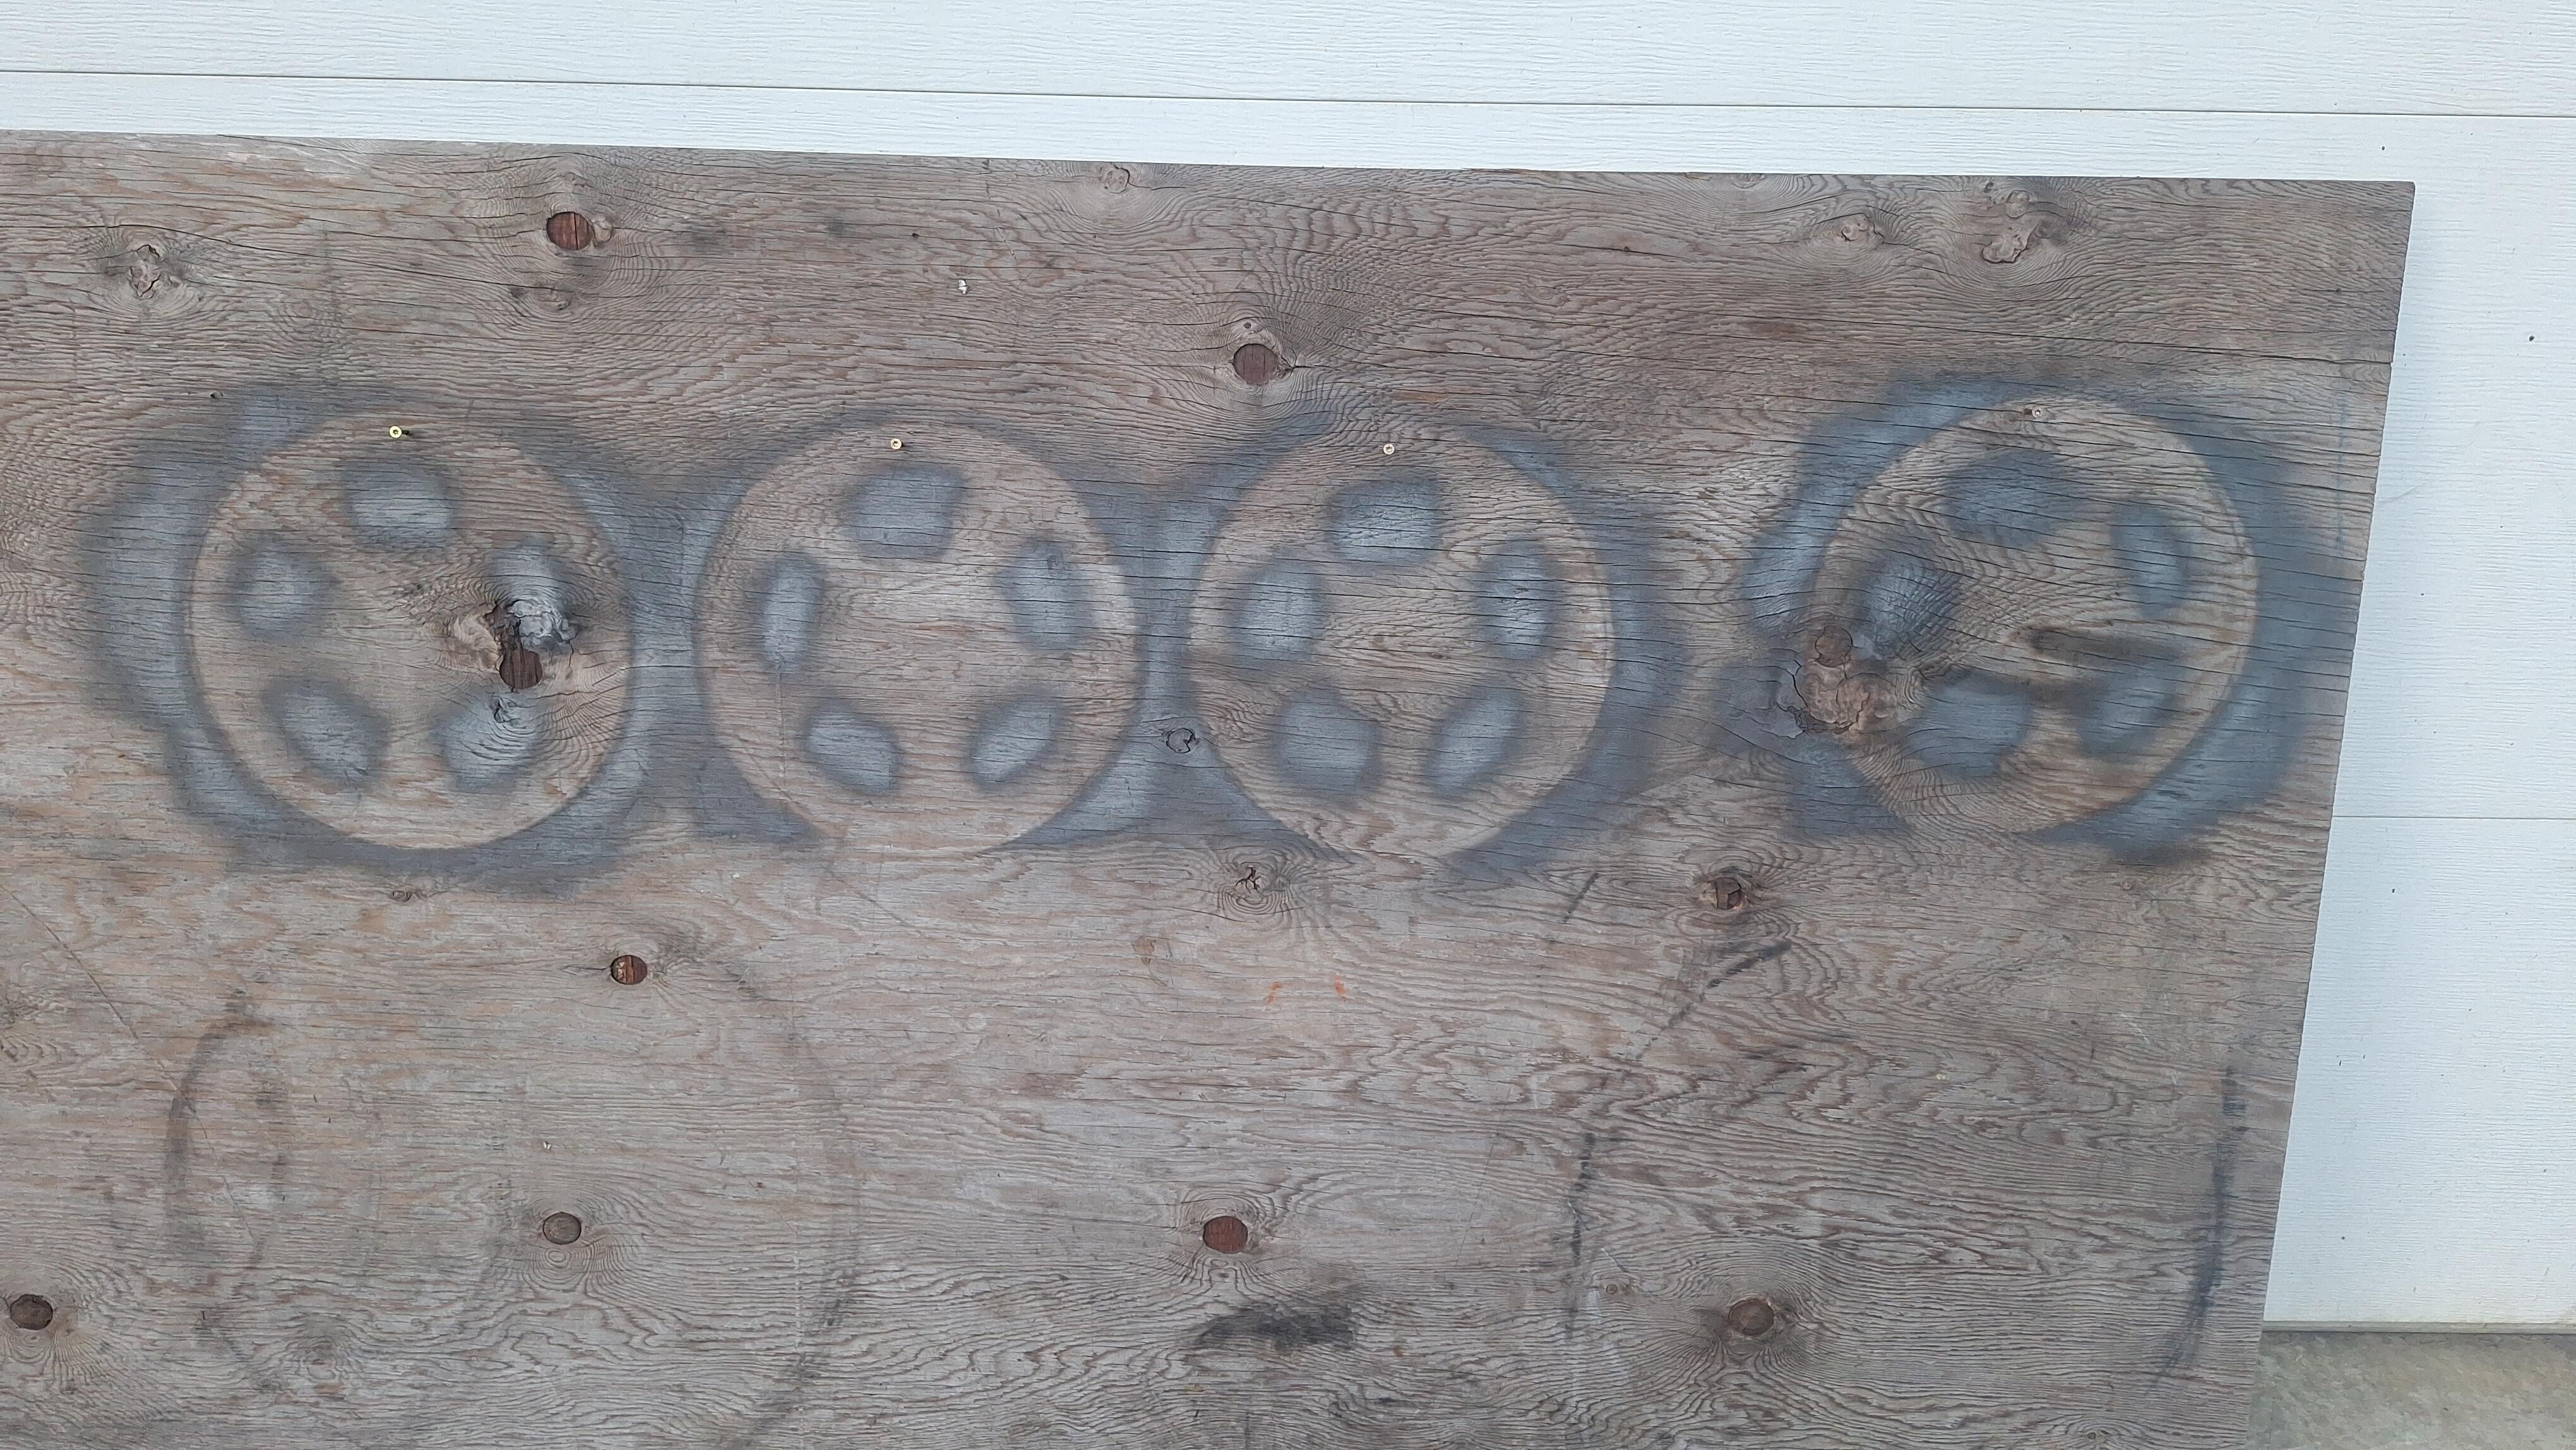
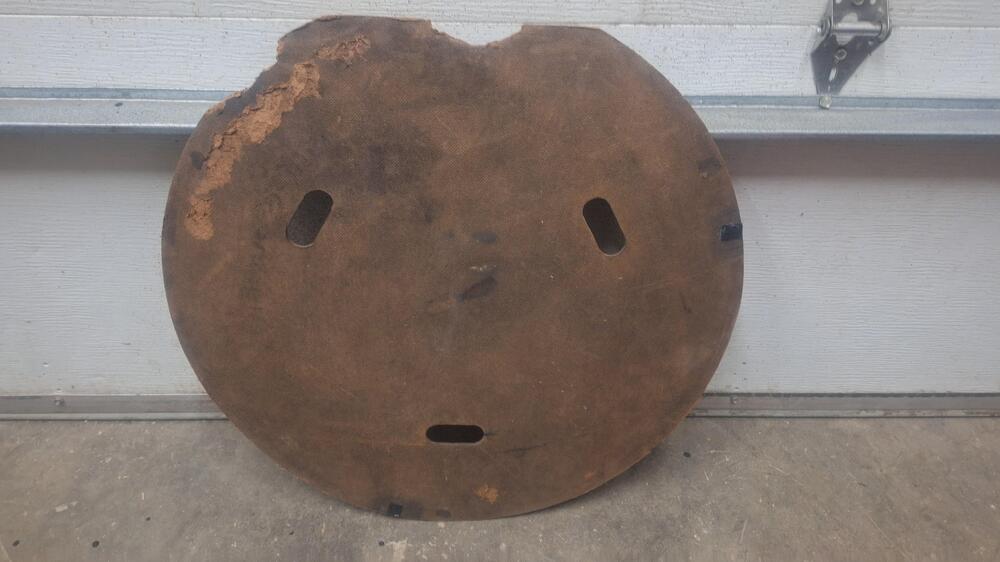
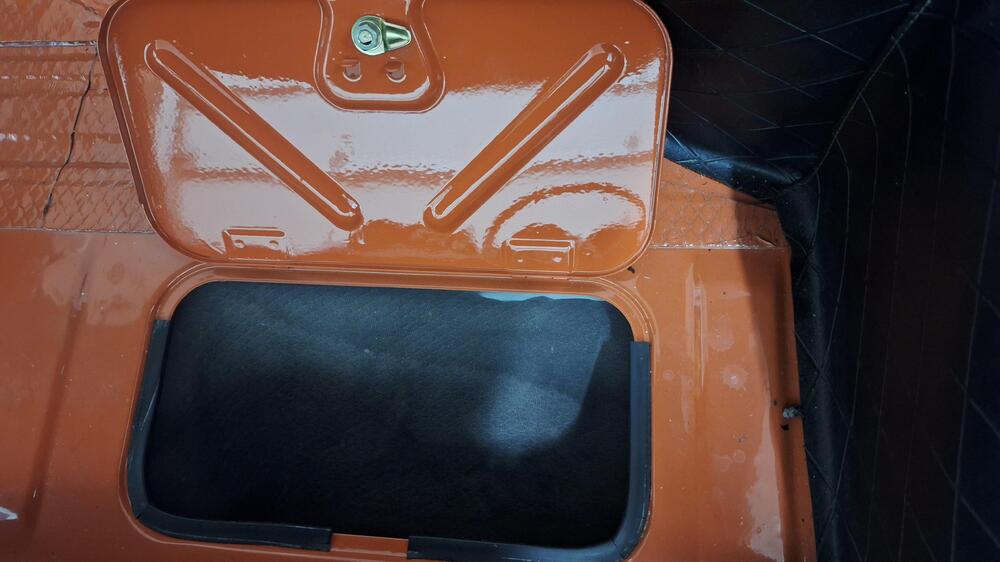
The mice chewed the warped spare tire cover, so my daughter and I went to home depot and bought a 4' x 8' sheet of 3/16" pressed hardboard. It looks identical, might be a hair thinner. Traced my old one and made a new one
-
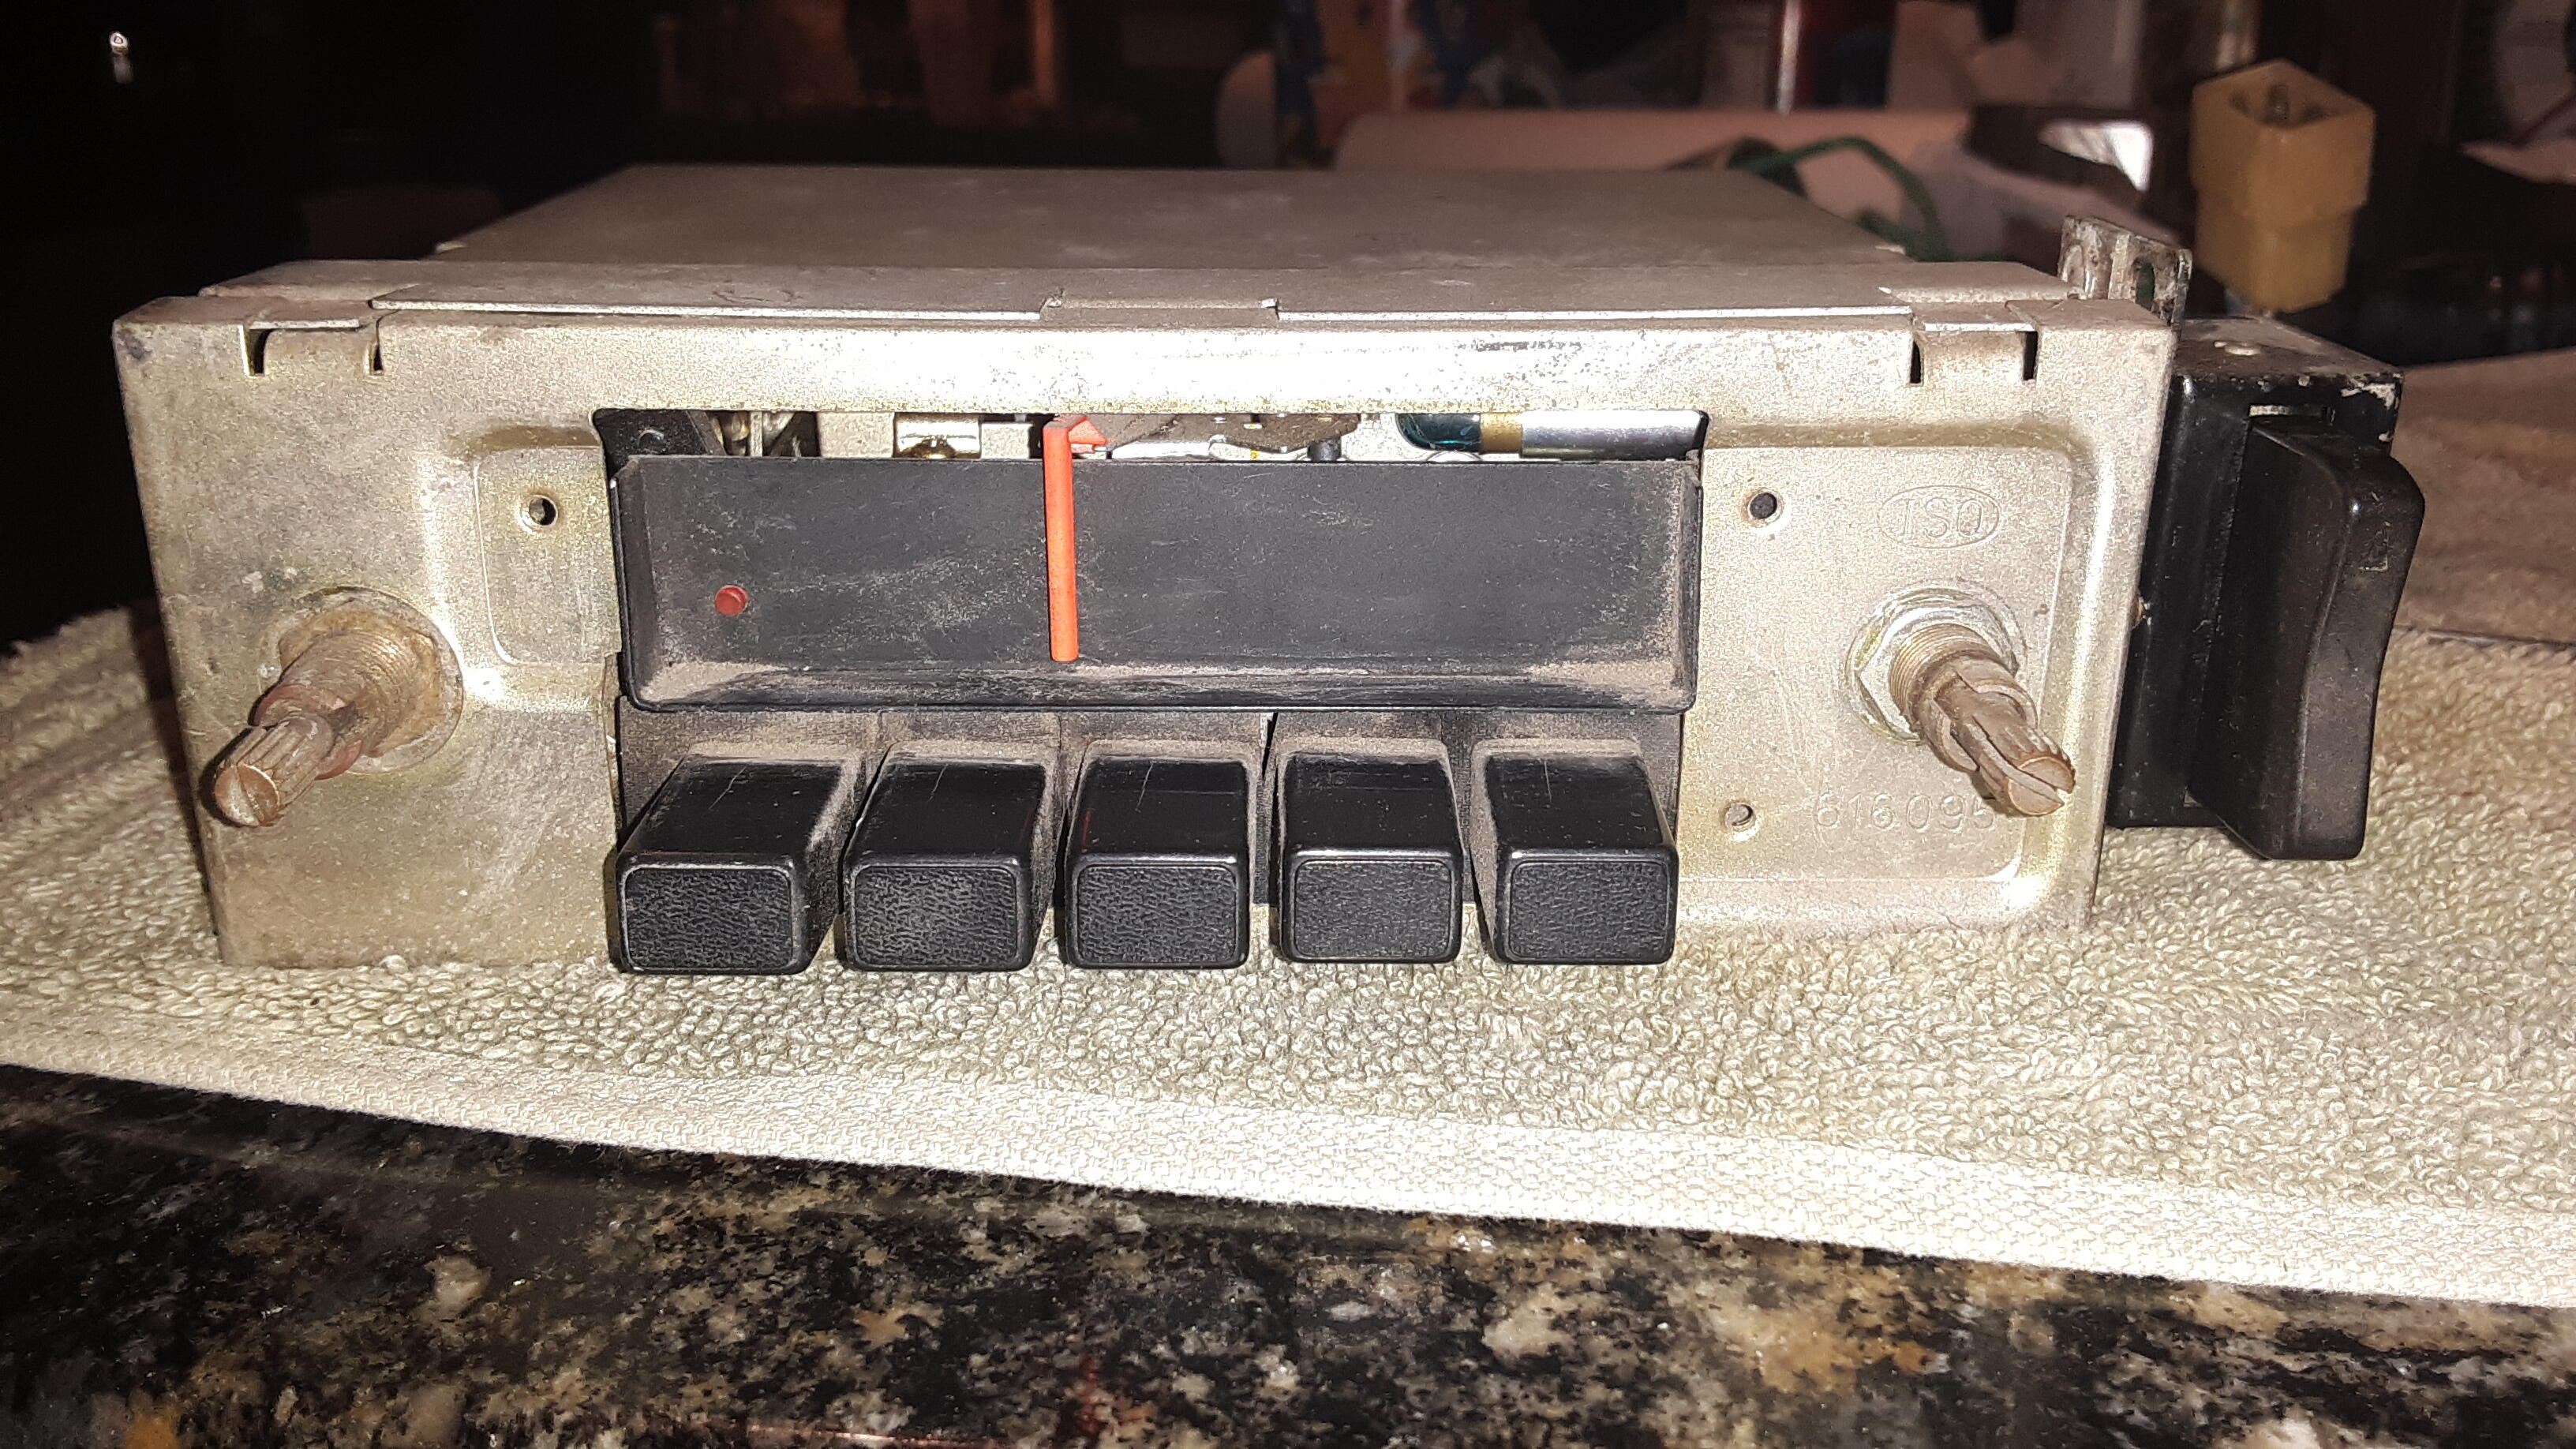
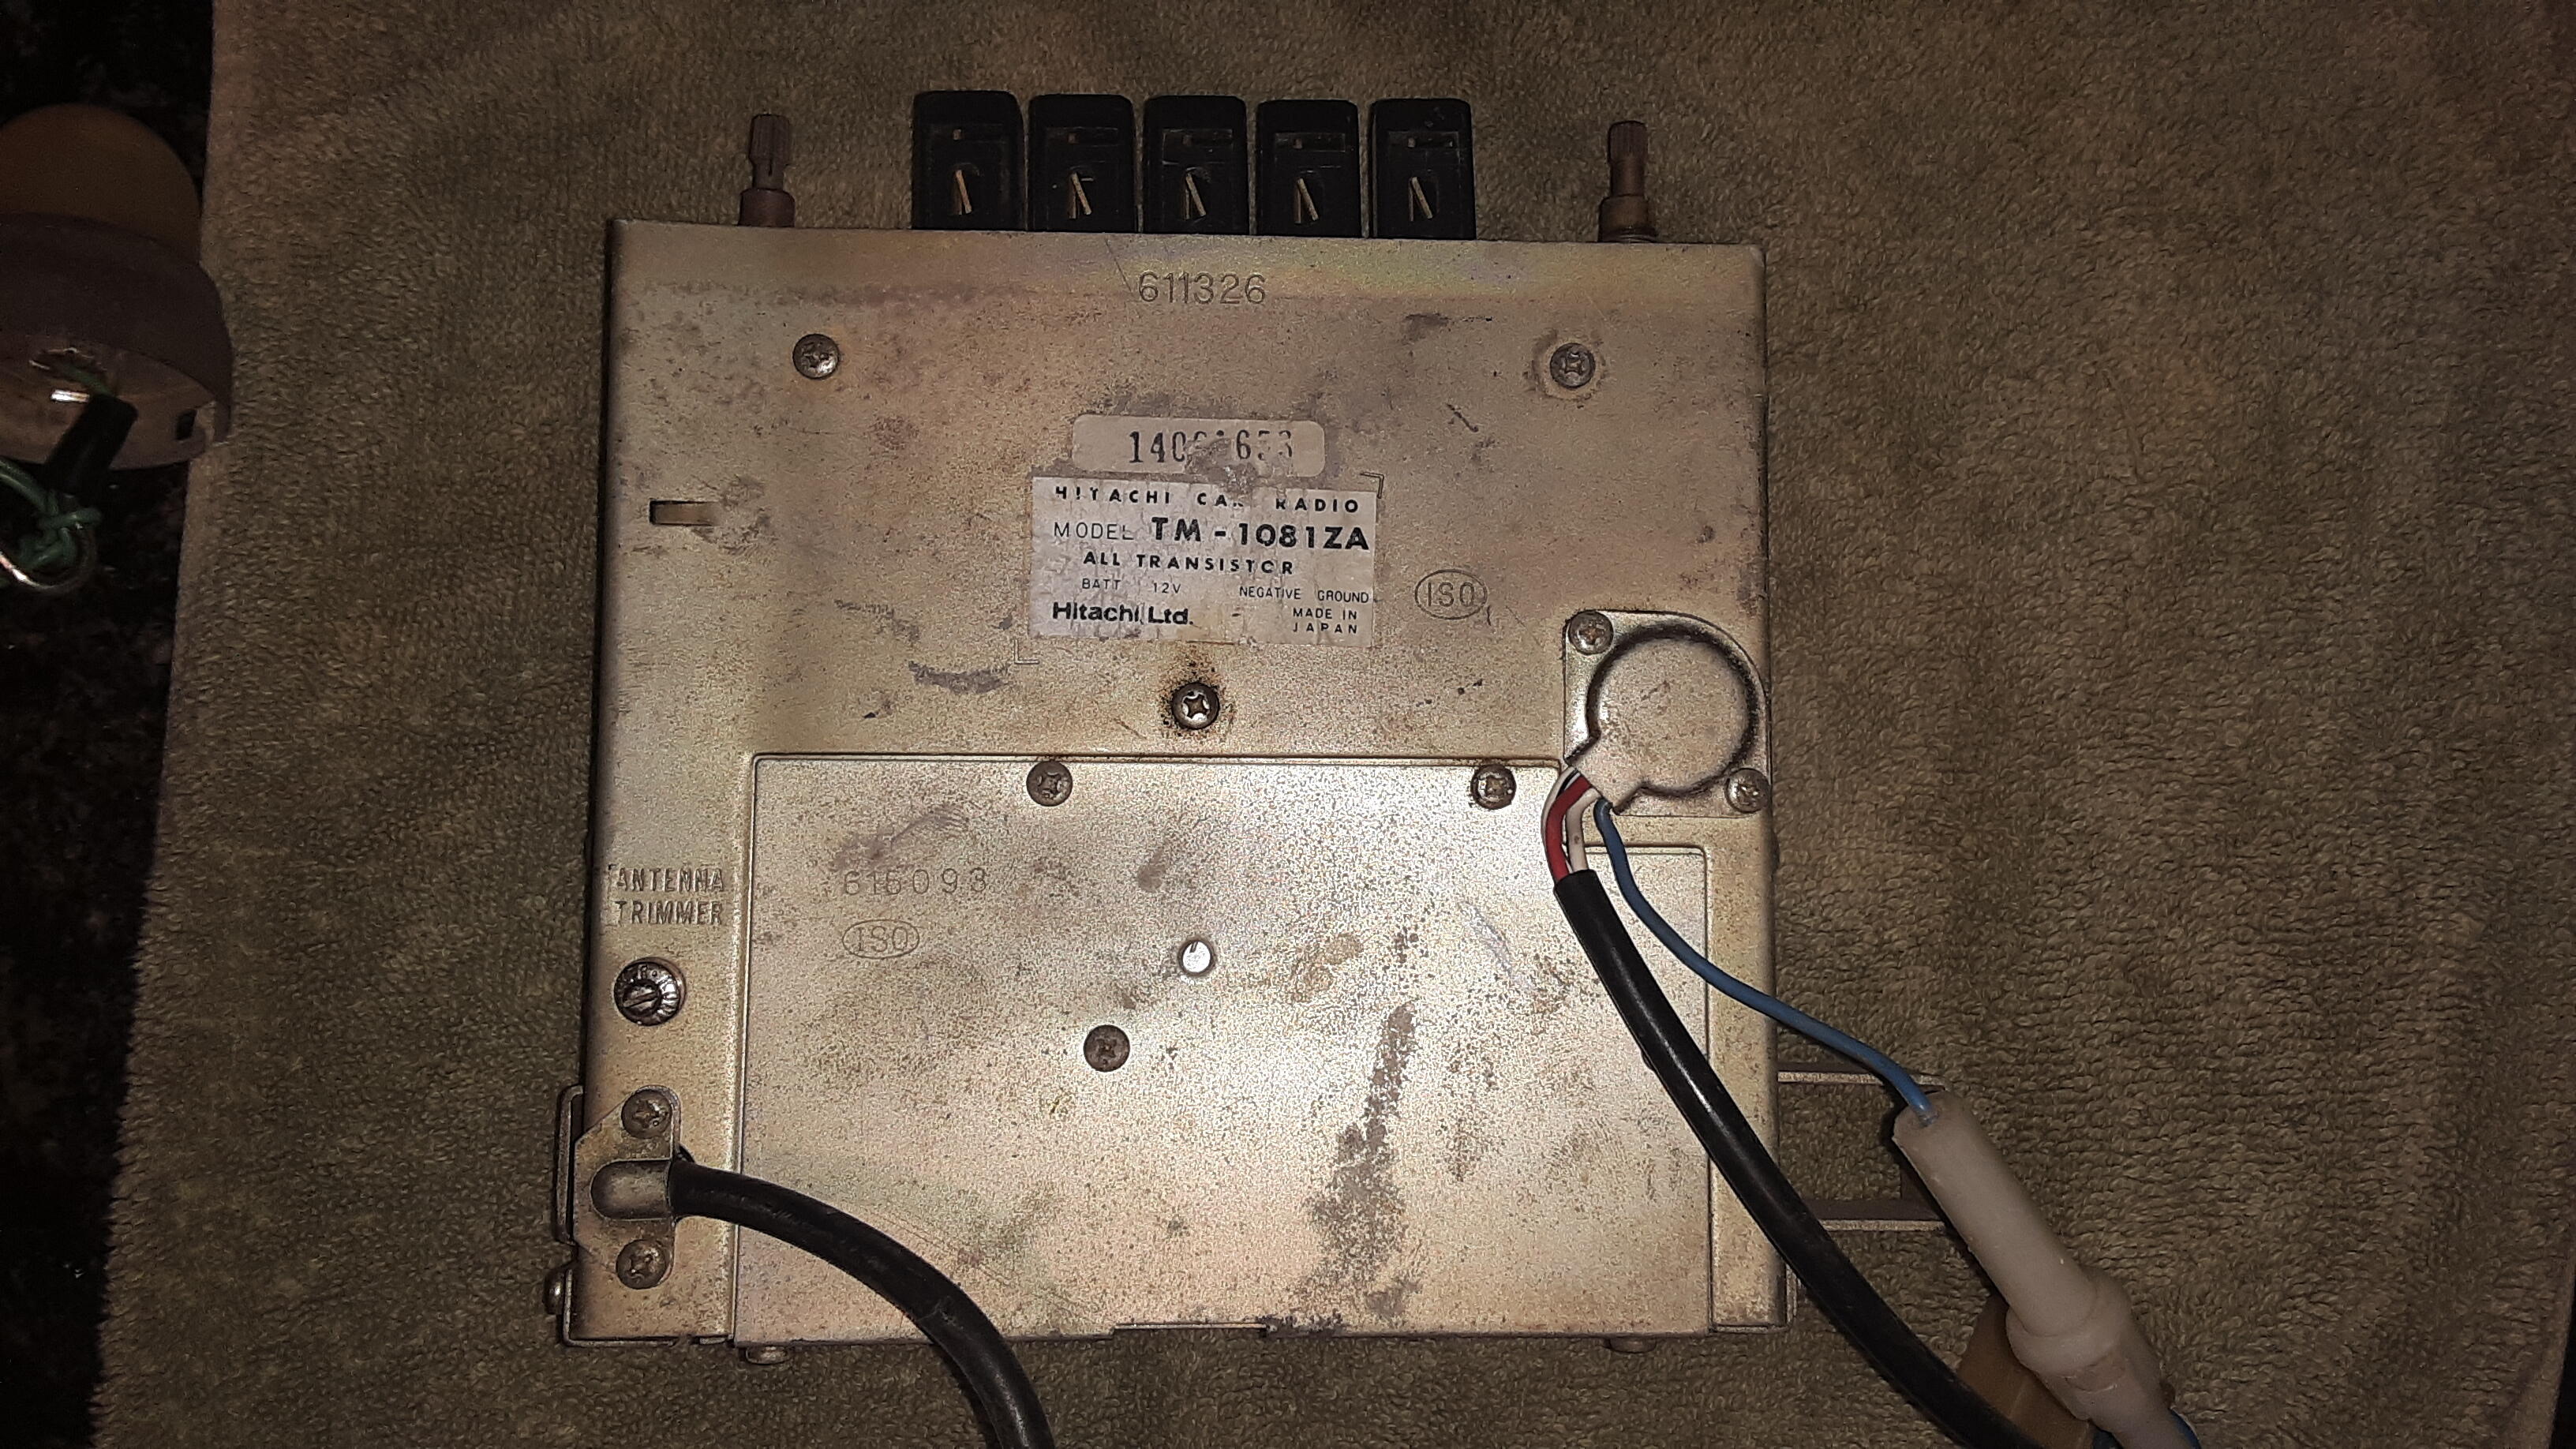
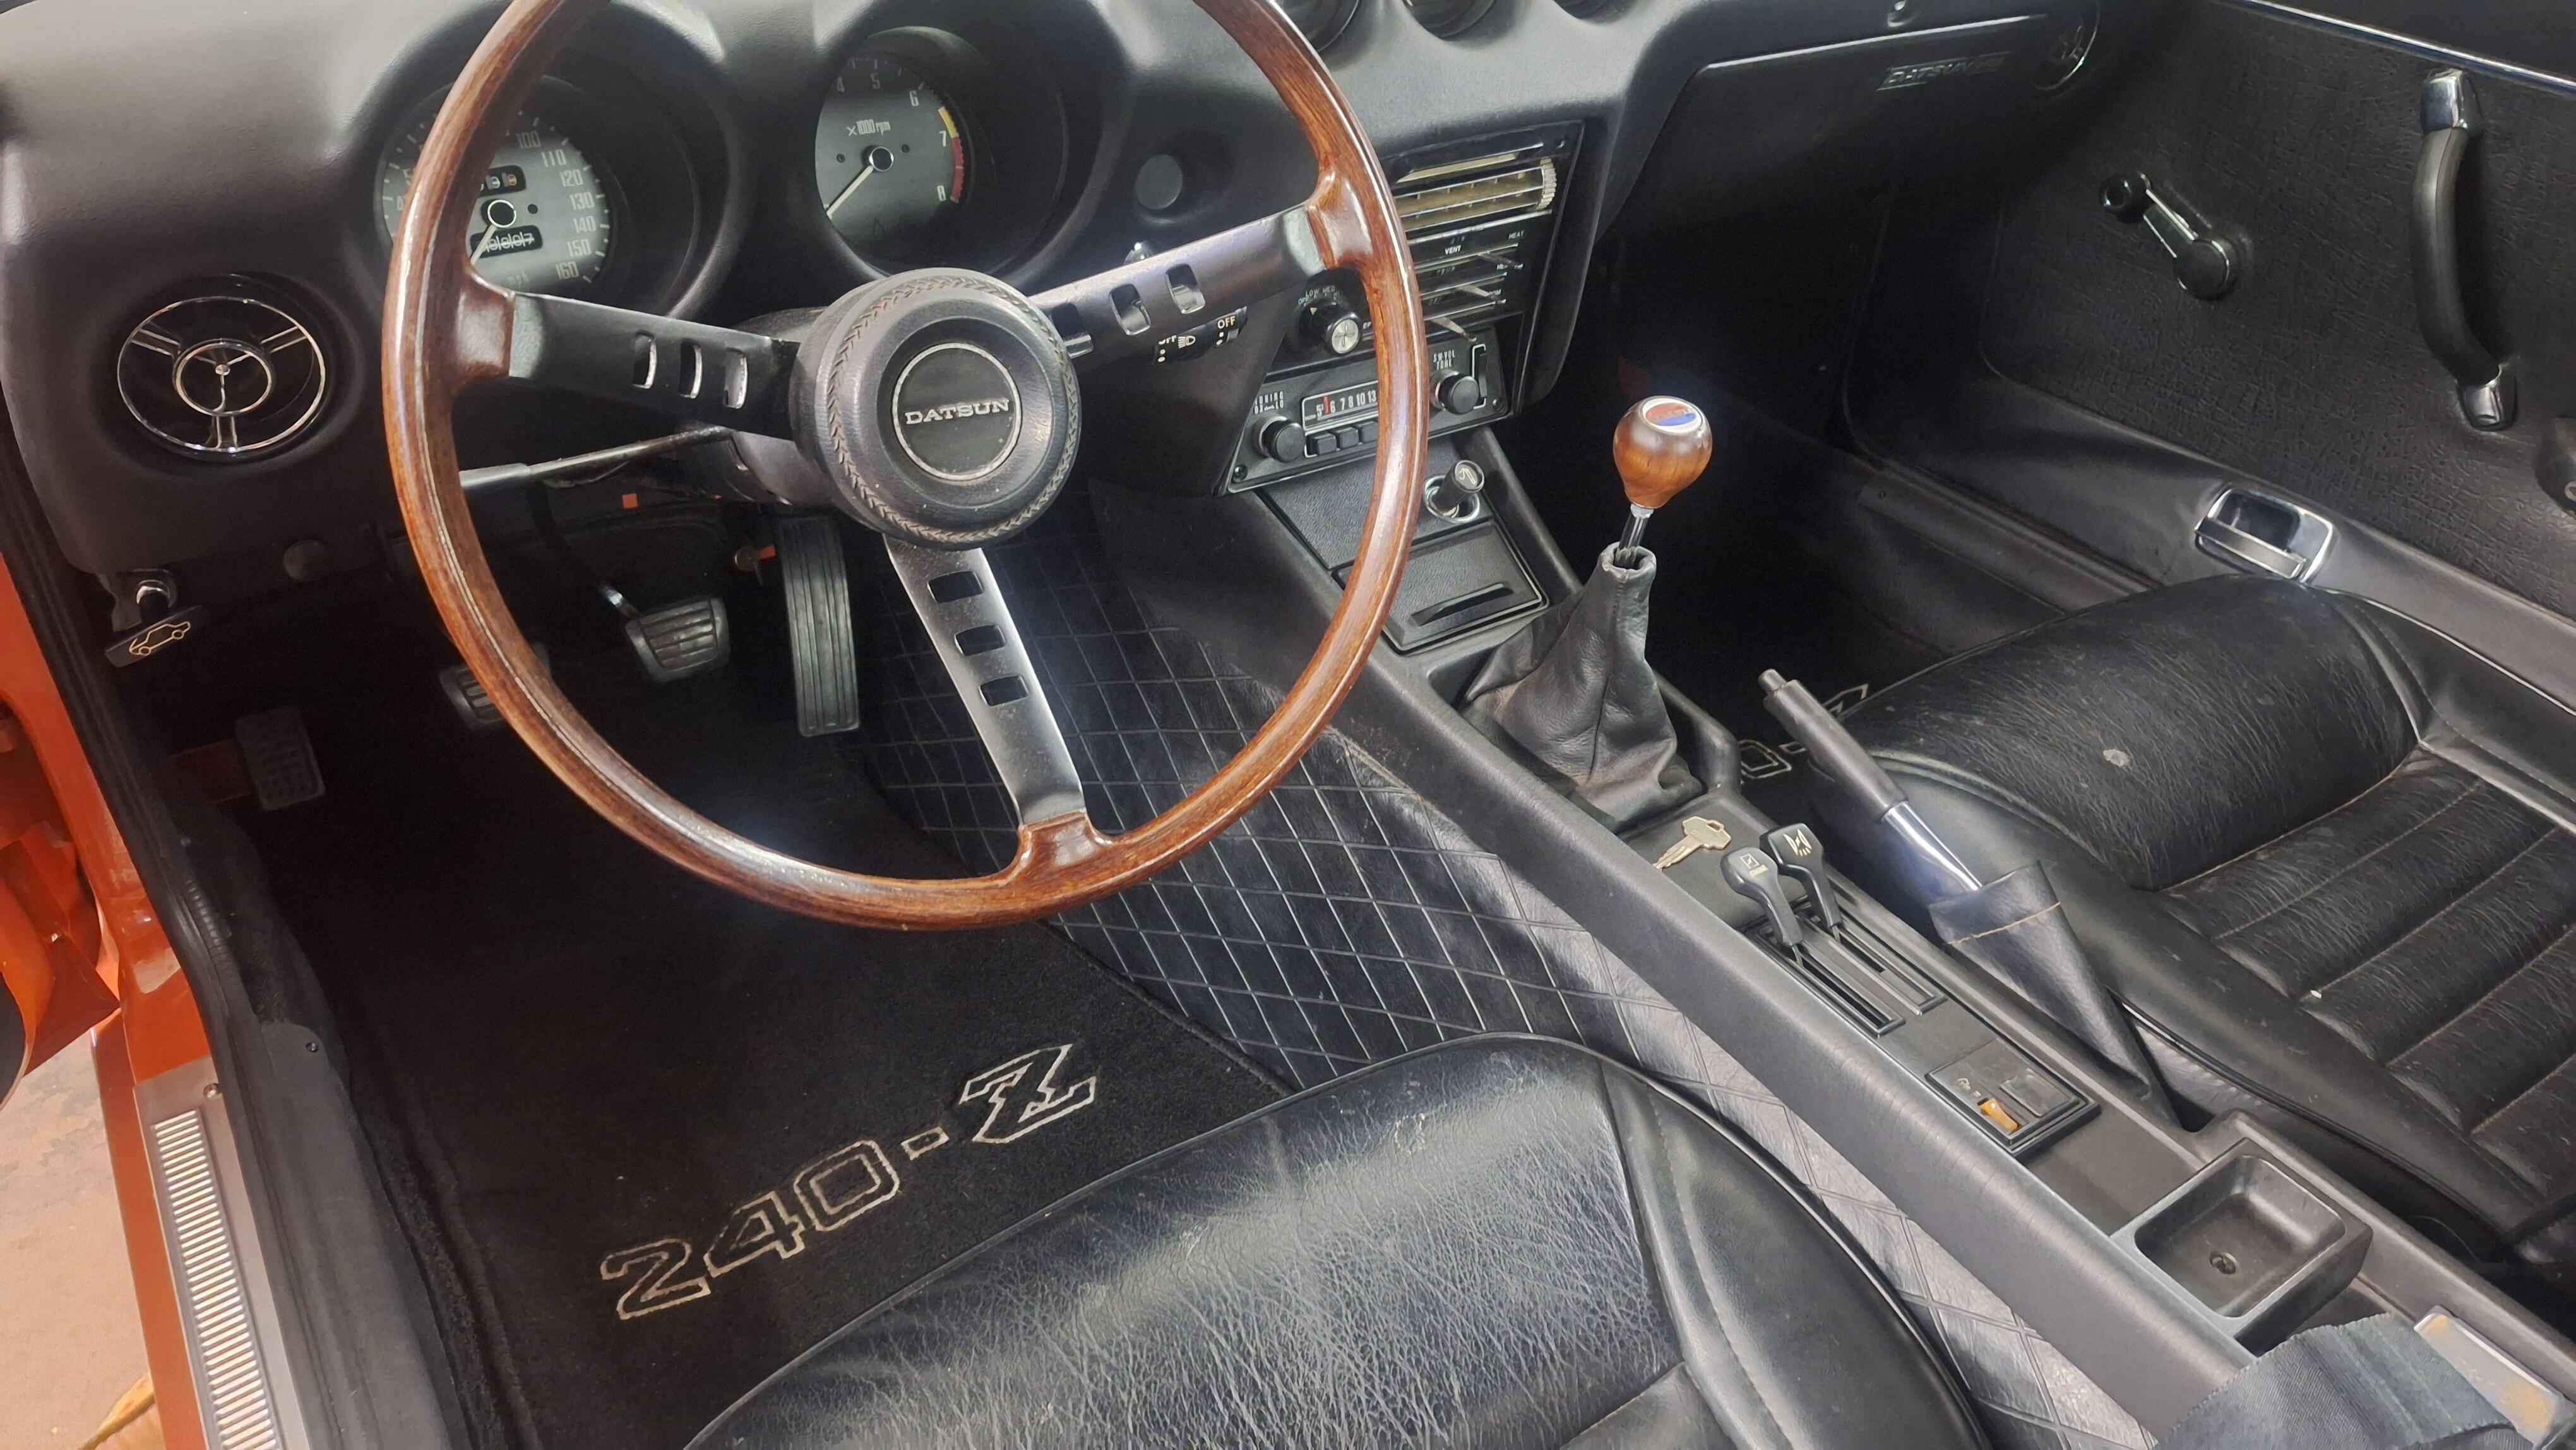
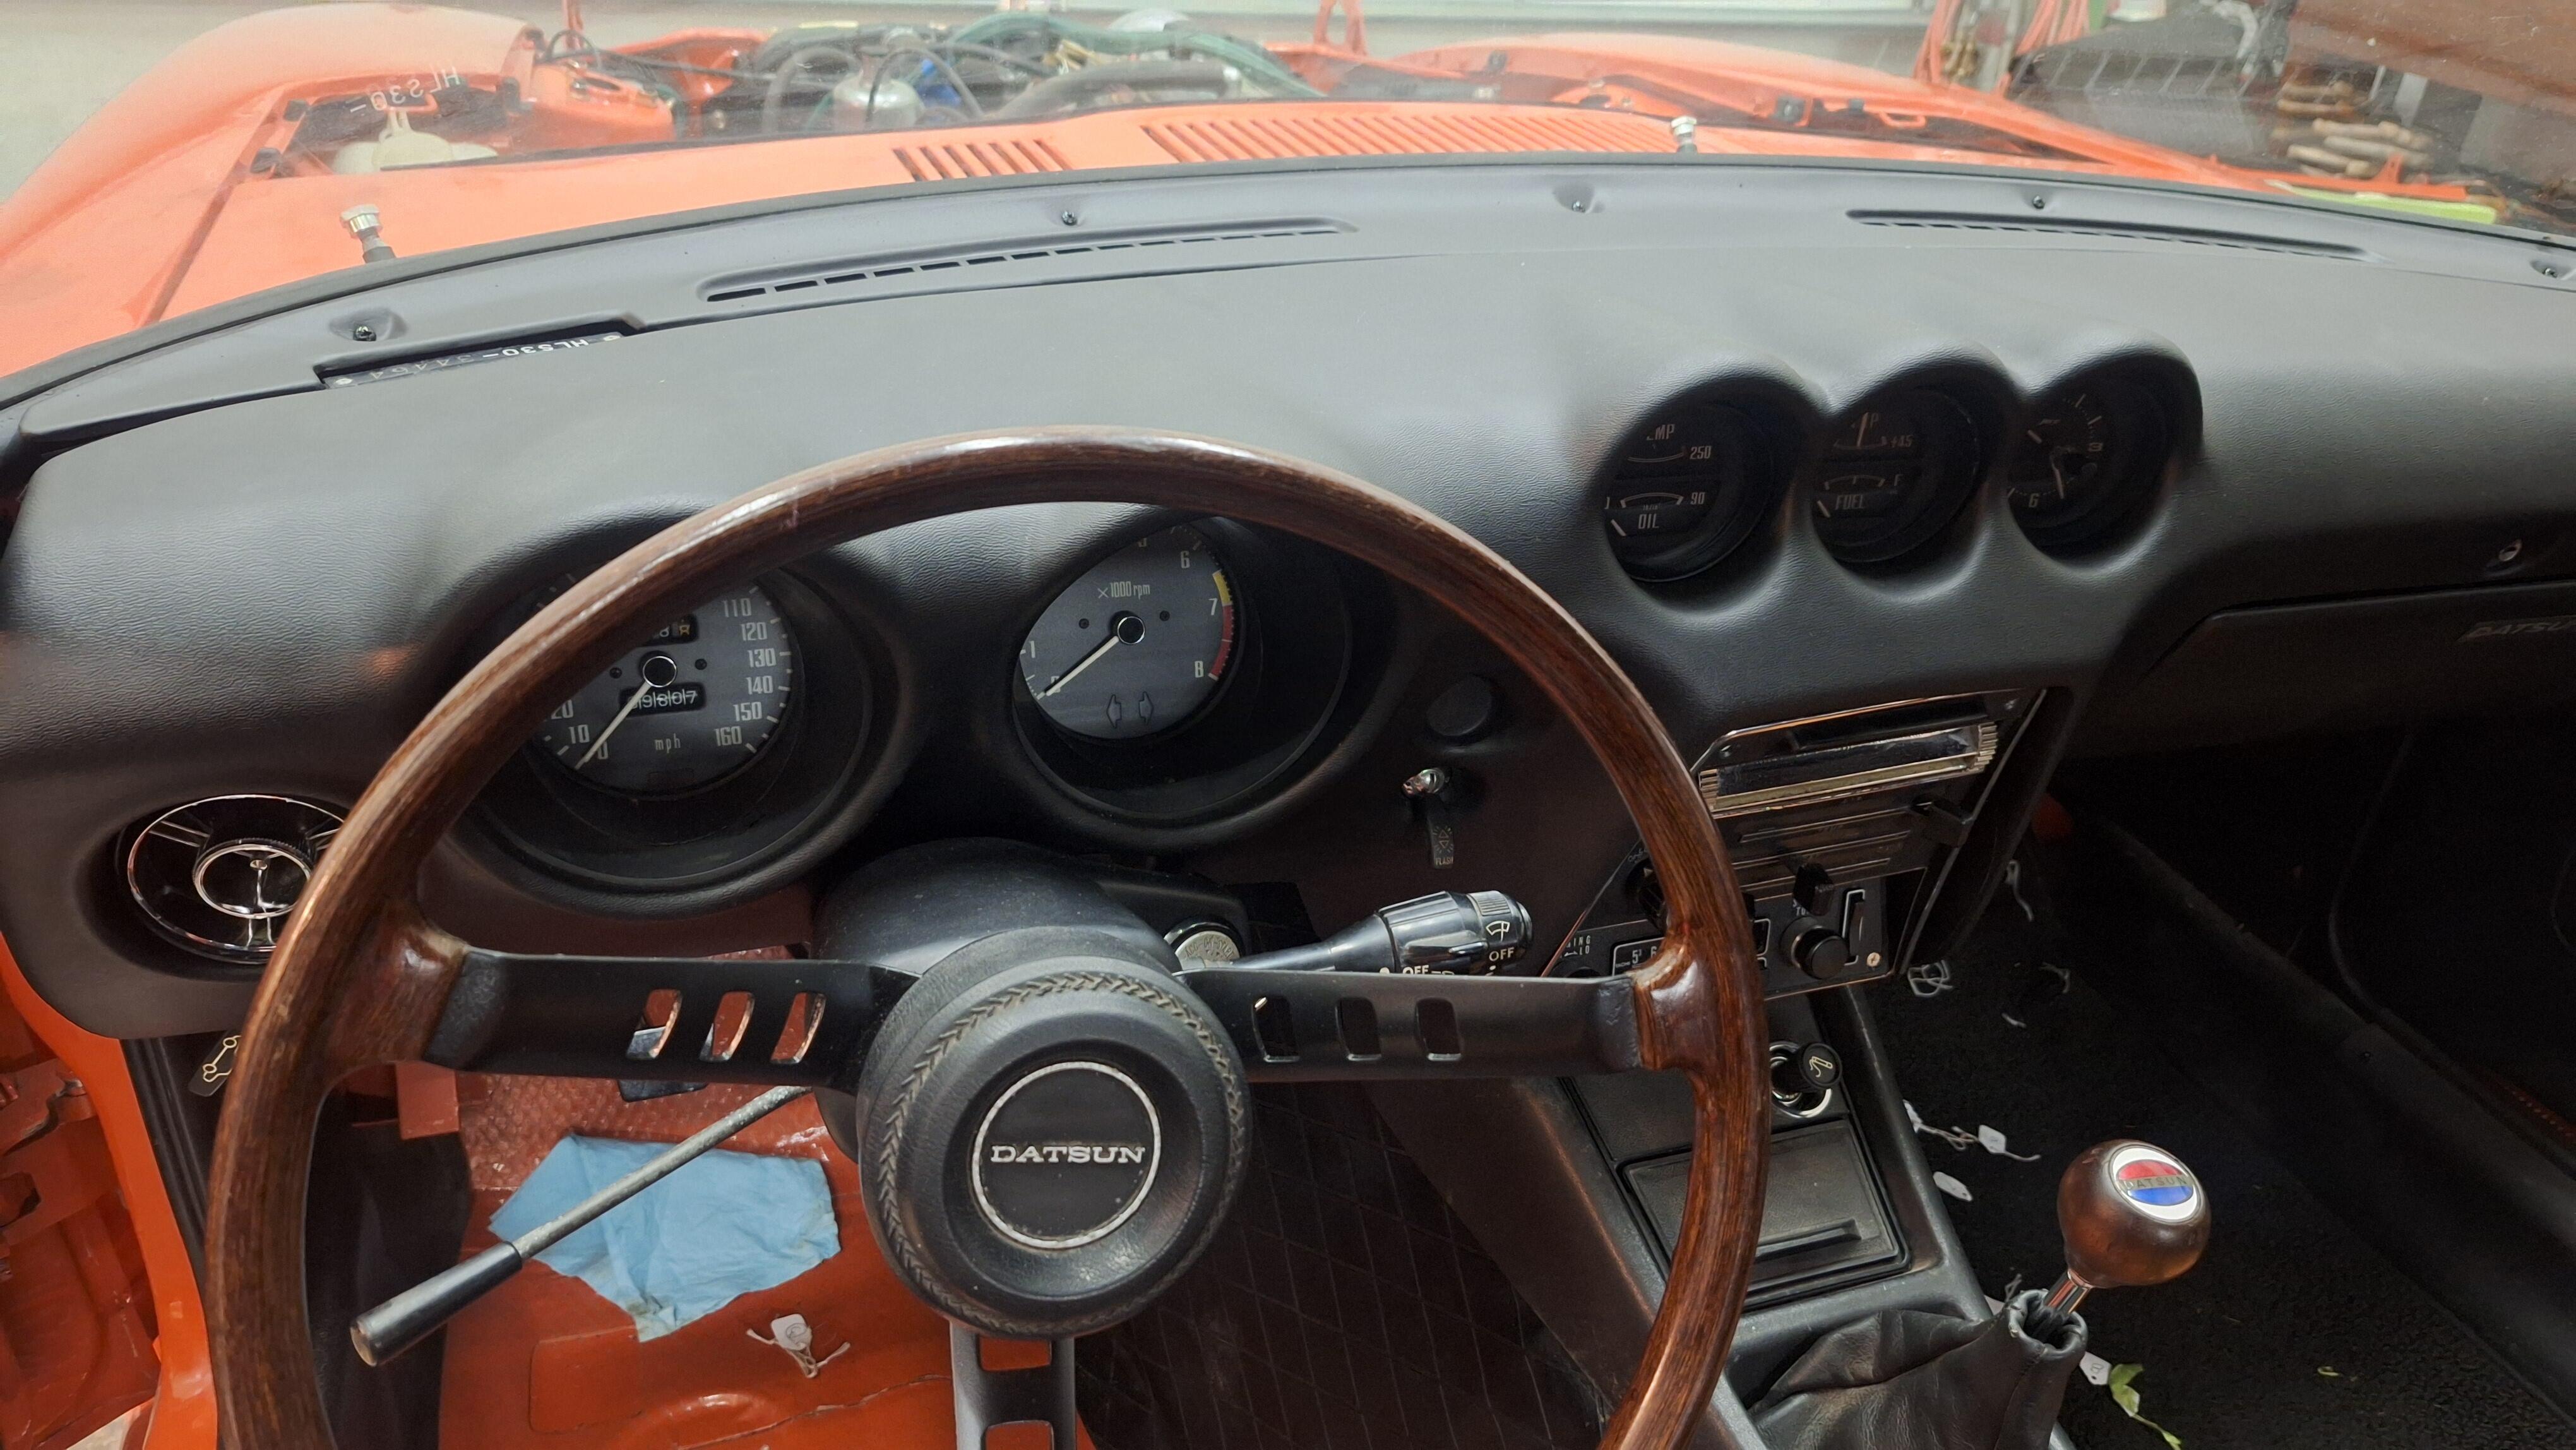
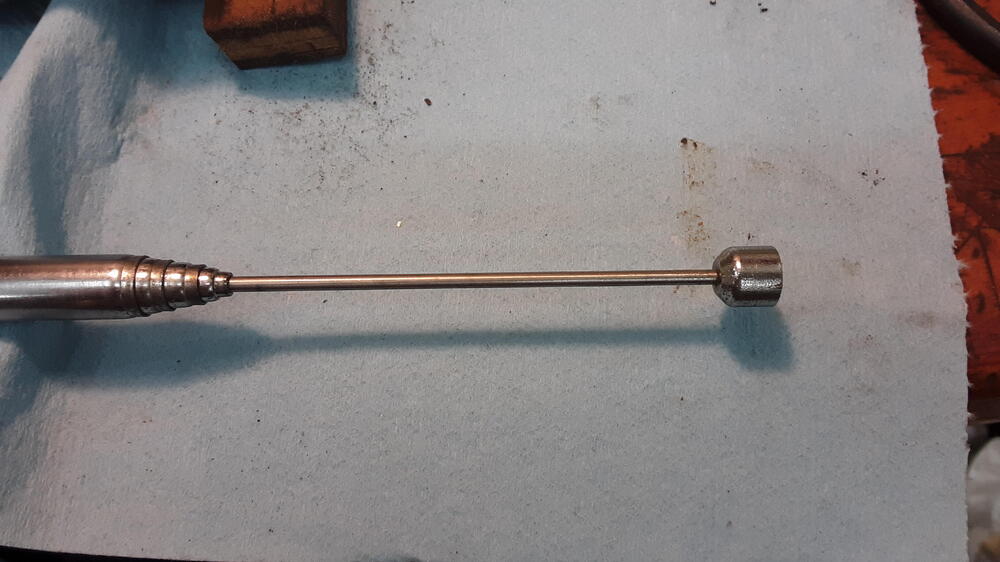
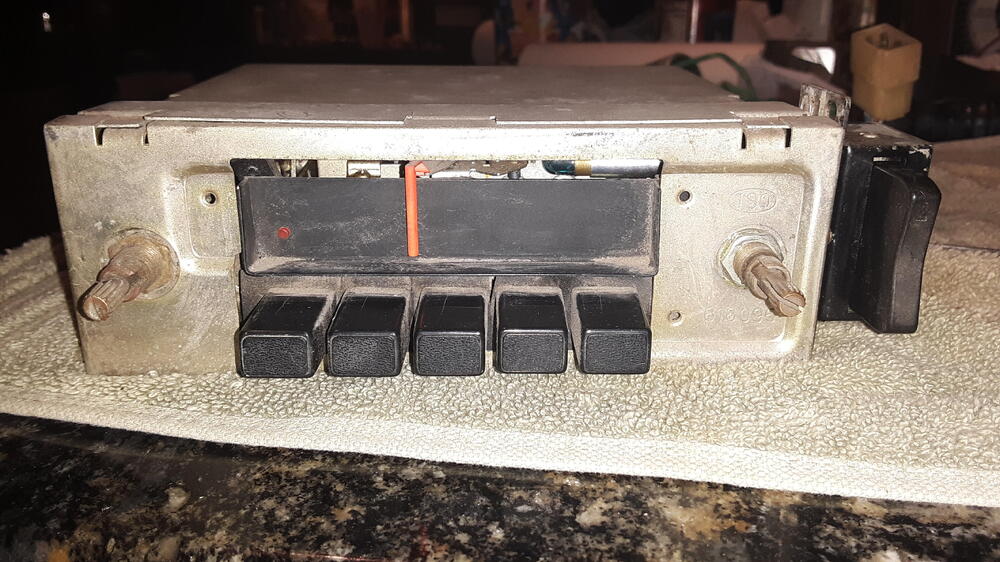
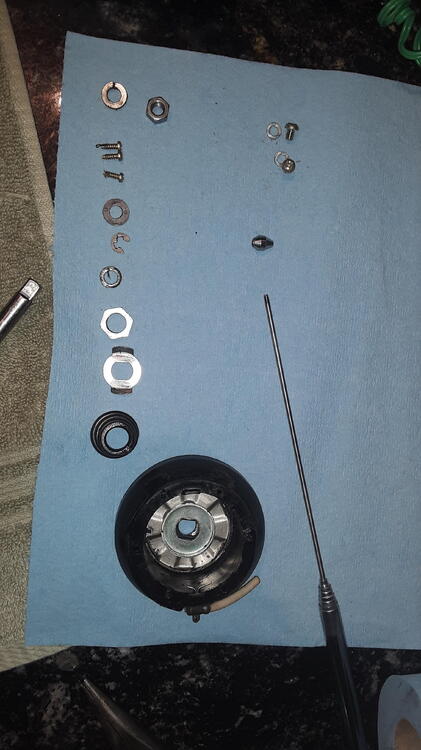
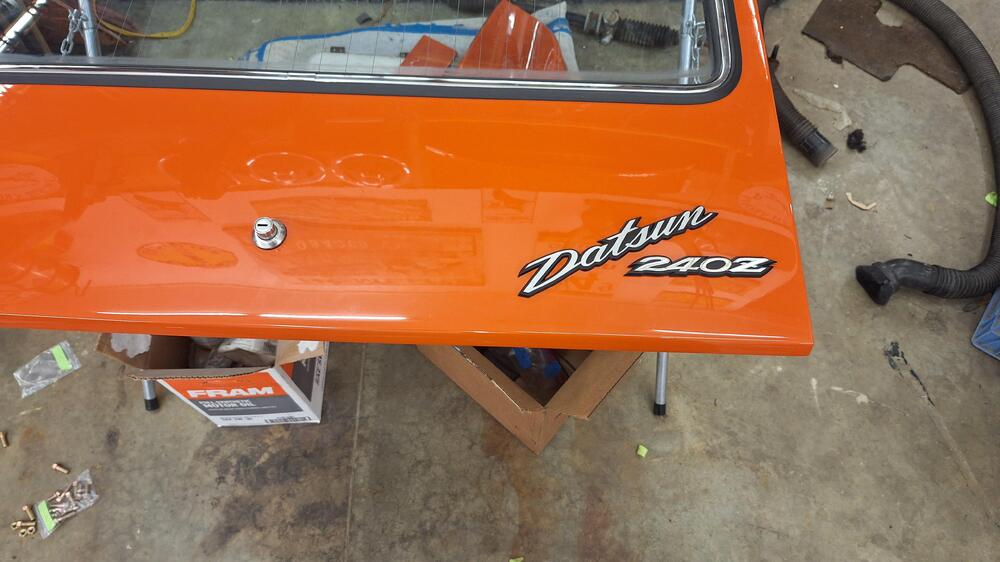
Honestly, I really tried hard to get everything correct for my build date. I came pretty close, but at a certain point I got what I could because financially, this car was eating my lunch. Just because it was a 240z part, the price was 10x the normal. Brake wheel cylinders for example. One of the parts not original to the car, is this bullet tip antenna. My 6/71 came with this tip, I think, unless it was switched. One of the first articles I read on this site was how to fix these antennas using weed trimmer line. I couldn't figure out how to get the tip off, I ended up cutting it off...nooooooo.😣 oh, it unscrews.... The second part is the radio, the one I found is too early for this car, like the antenna and brake master cylinder. It's the red light radio, mine should have came with a green. I would possibly consider trading somebody for the correct pieces........😏

-
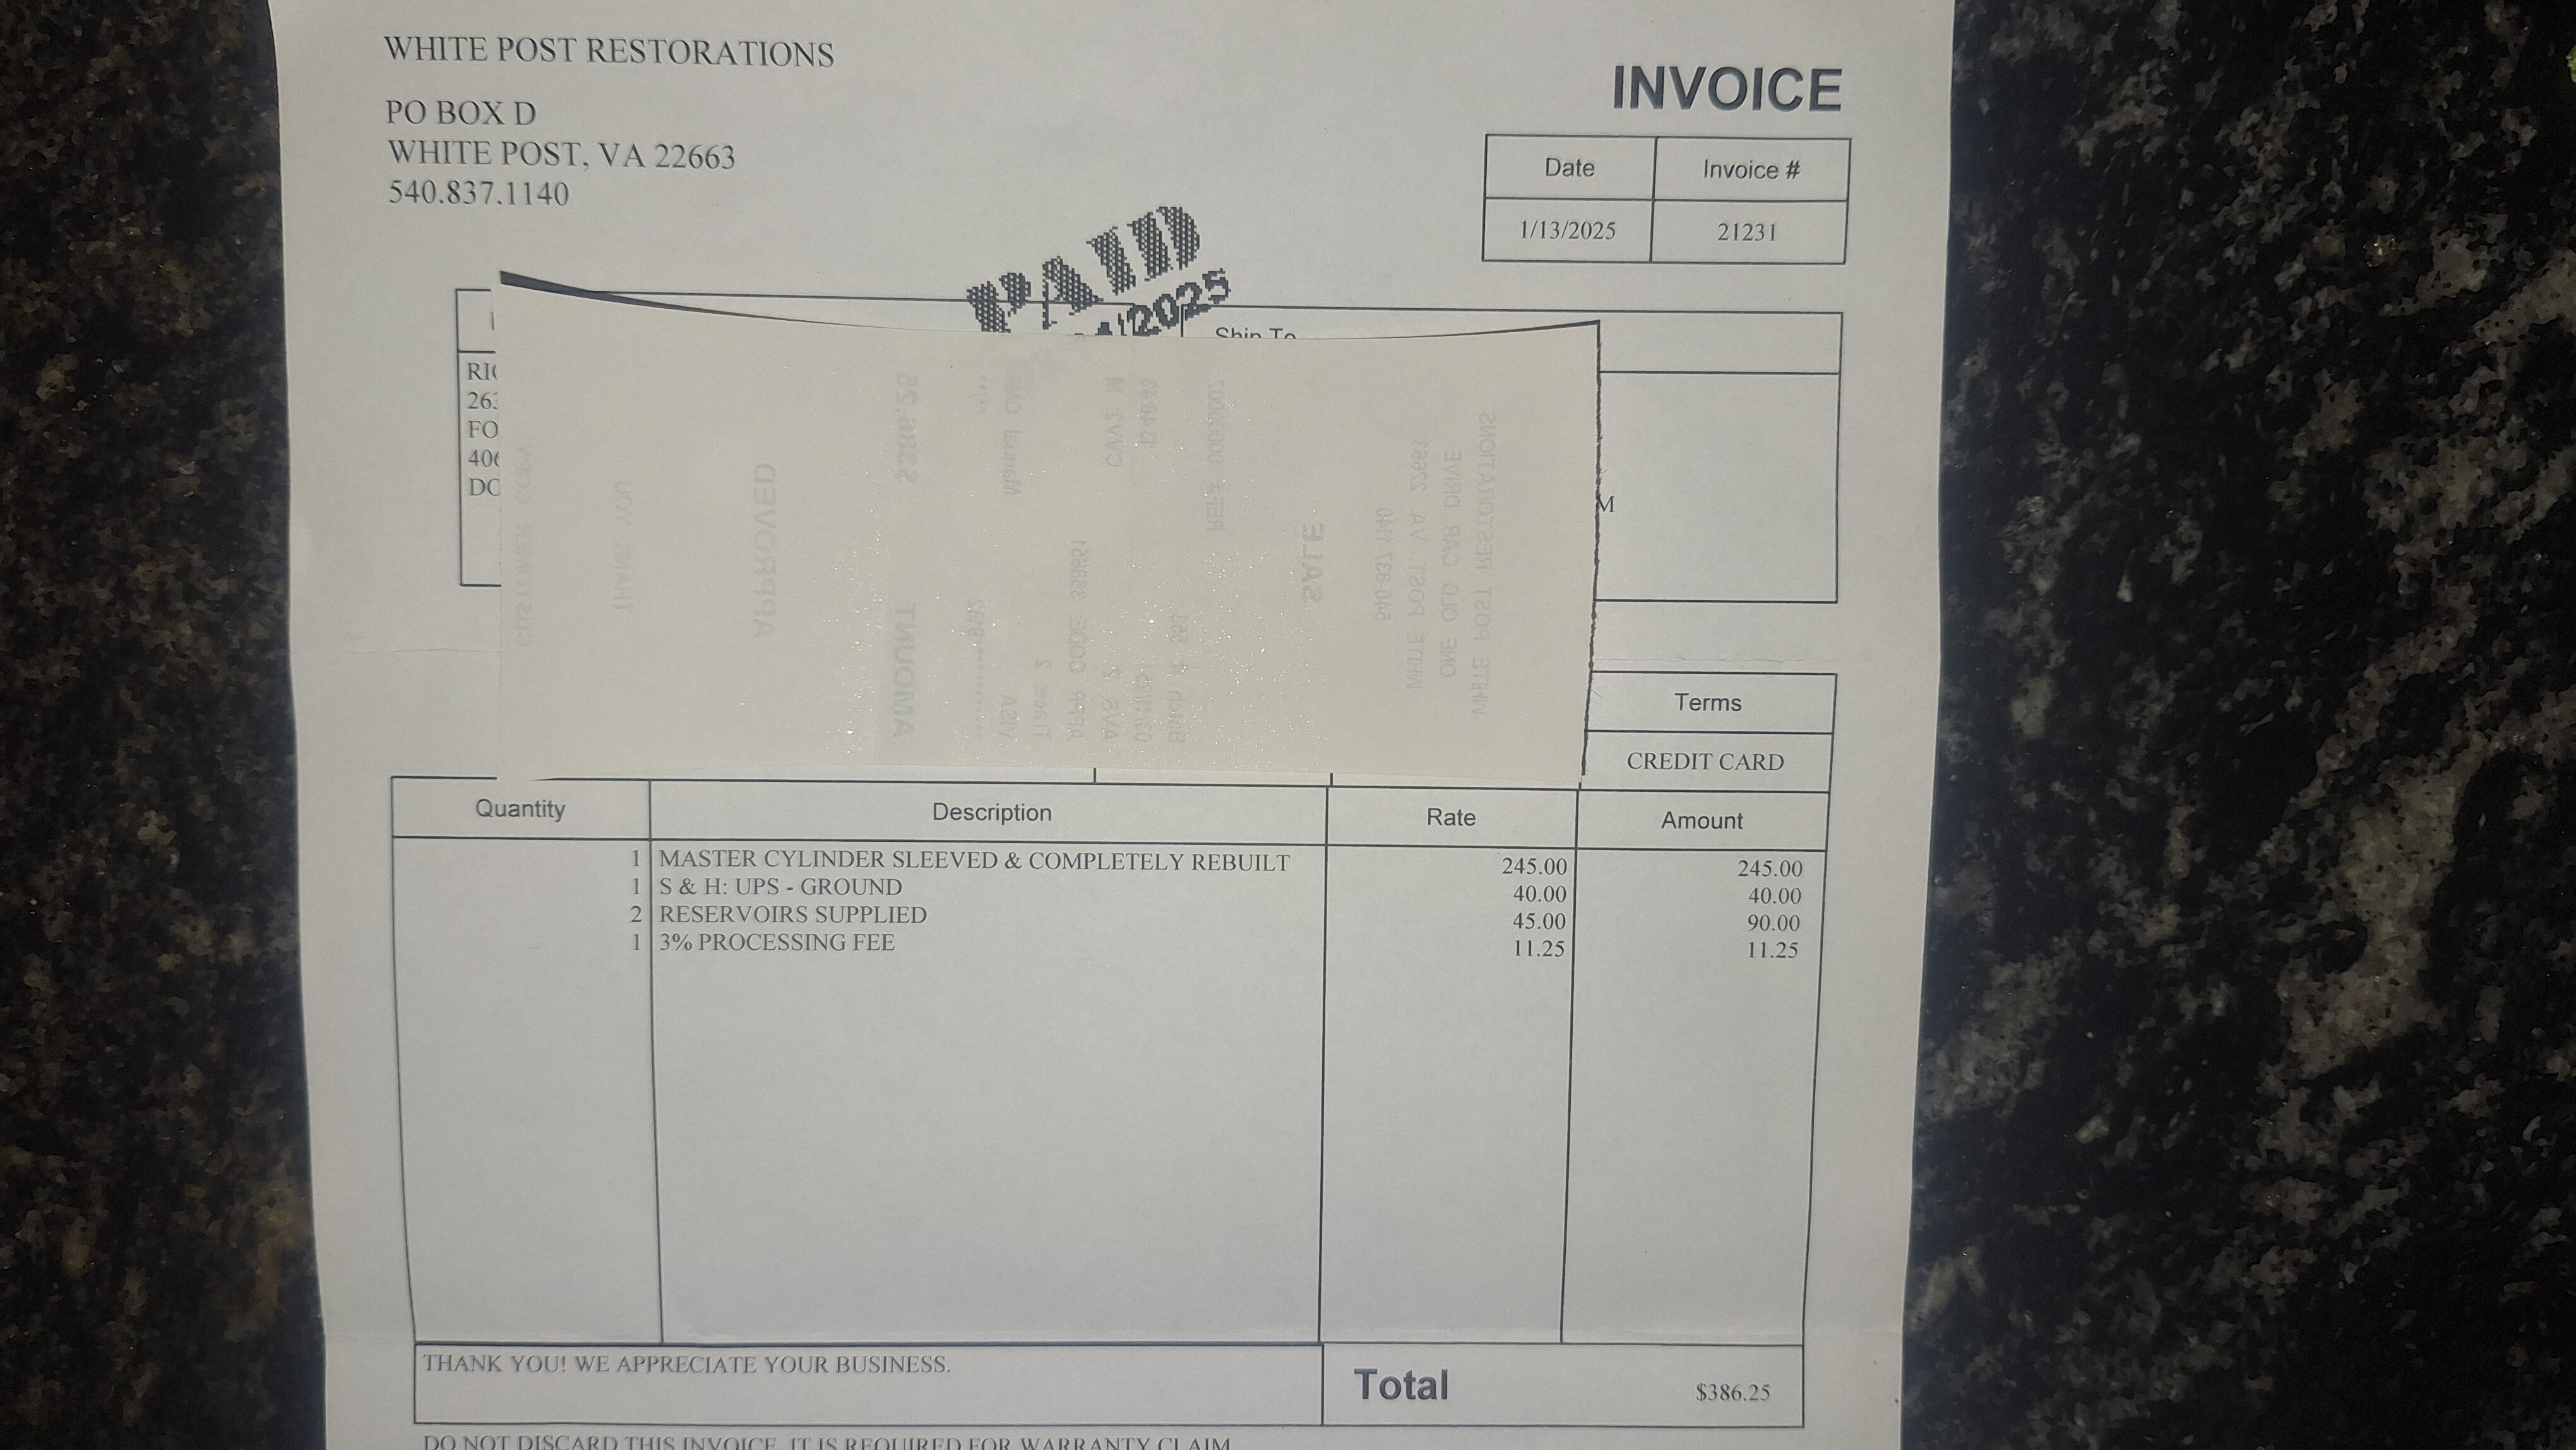
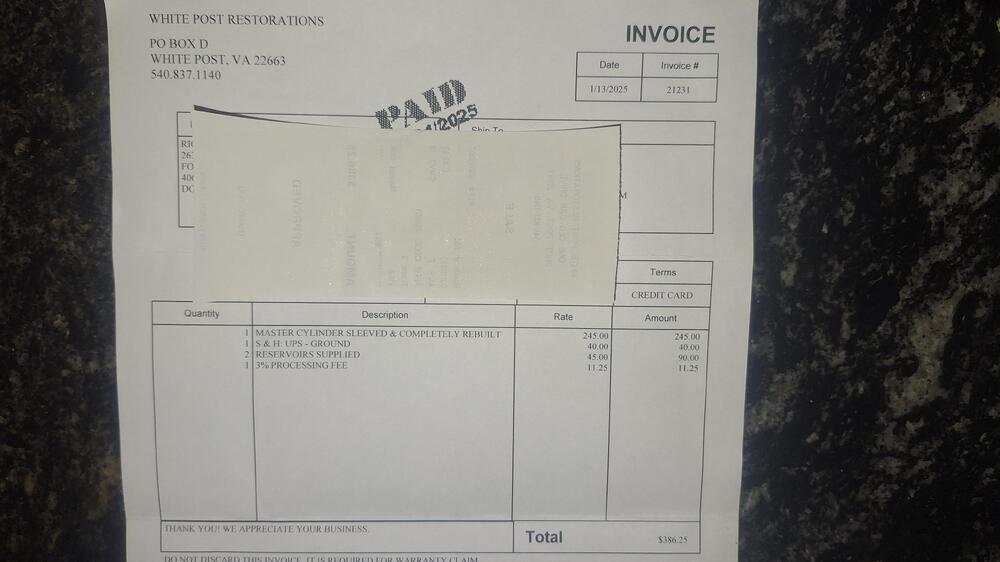
Captain! Yes, they did completely rebuild it. It cost a little more than I was quoted because they said the plastic reservoirs were brittle, and cracked. Thank you for the information, I knew it was probably from car #1042, but I didn't know there was another version. I appreciate all the help you and others have been on this project. PM me your address and I'll send you a couple choke handle screws. 1 for using and 1 for losin.
-
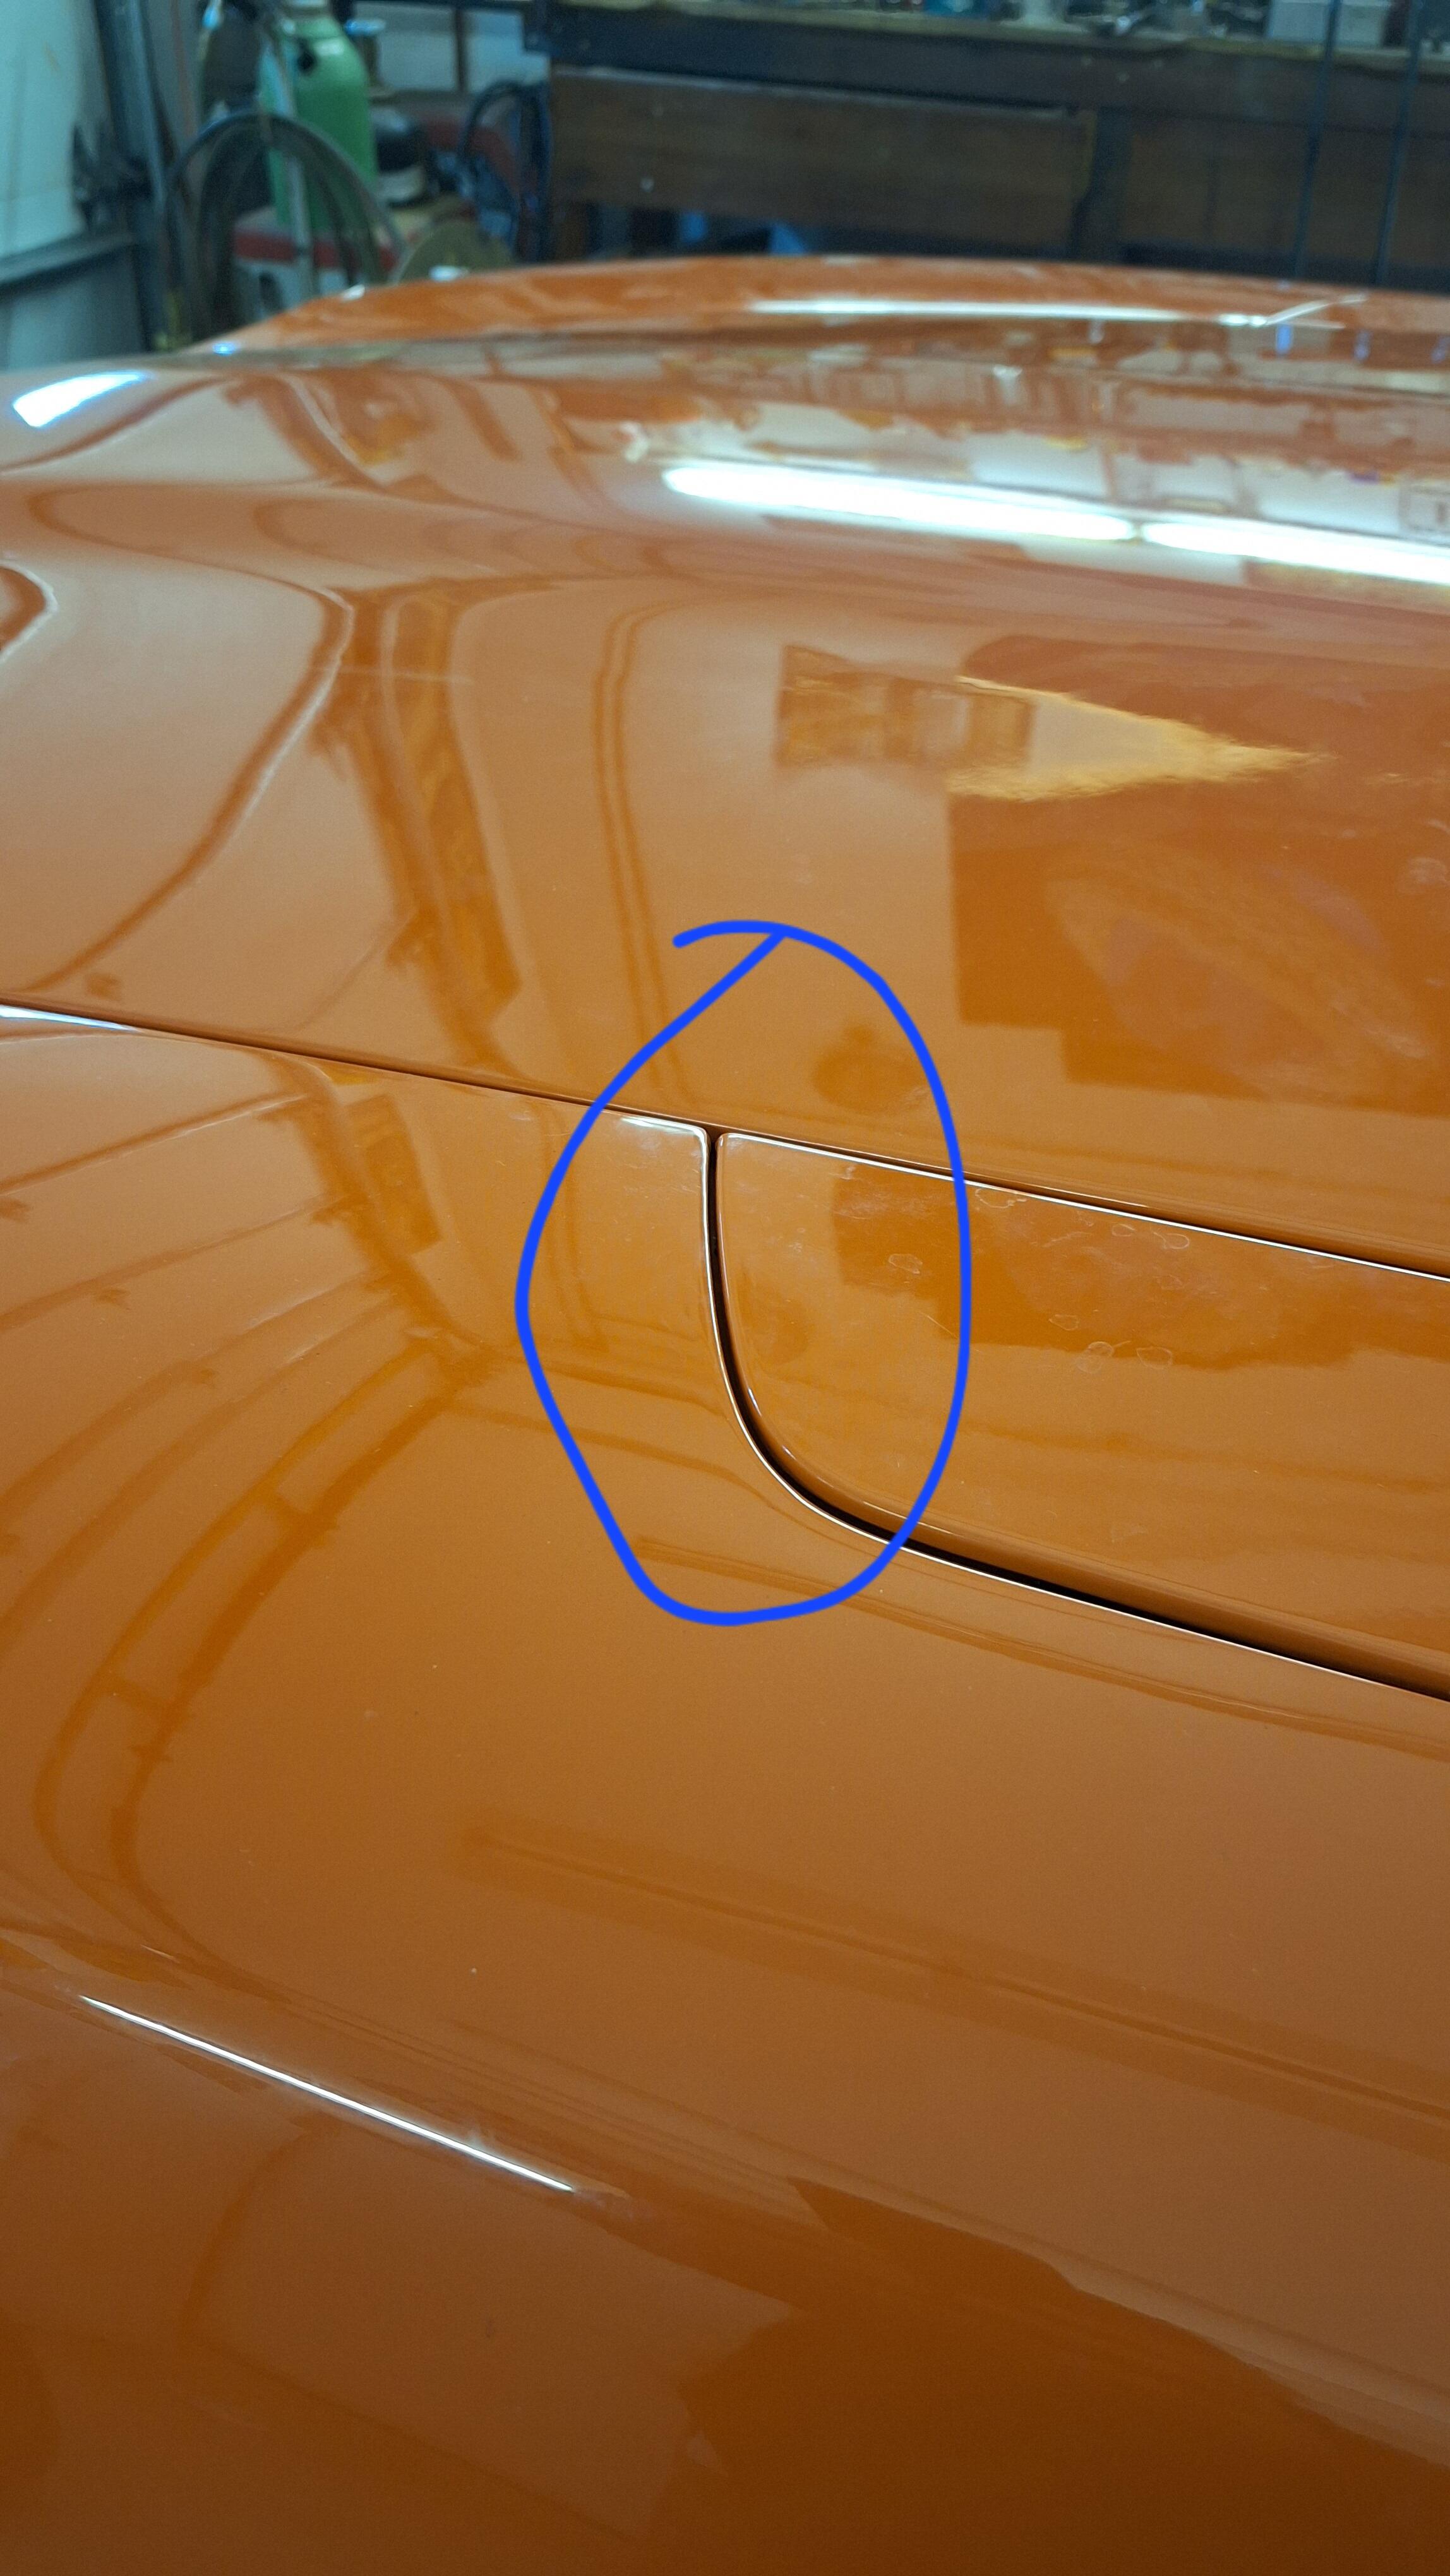
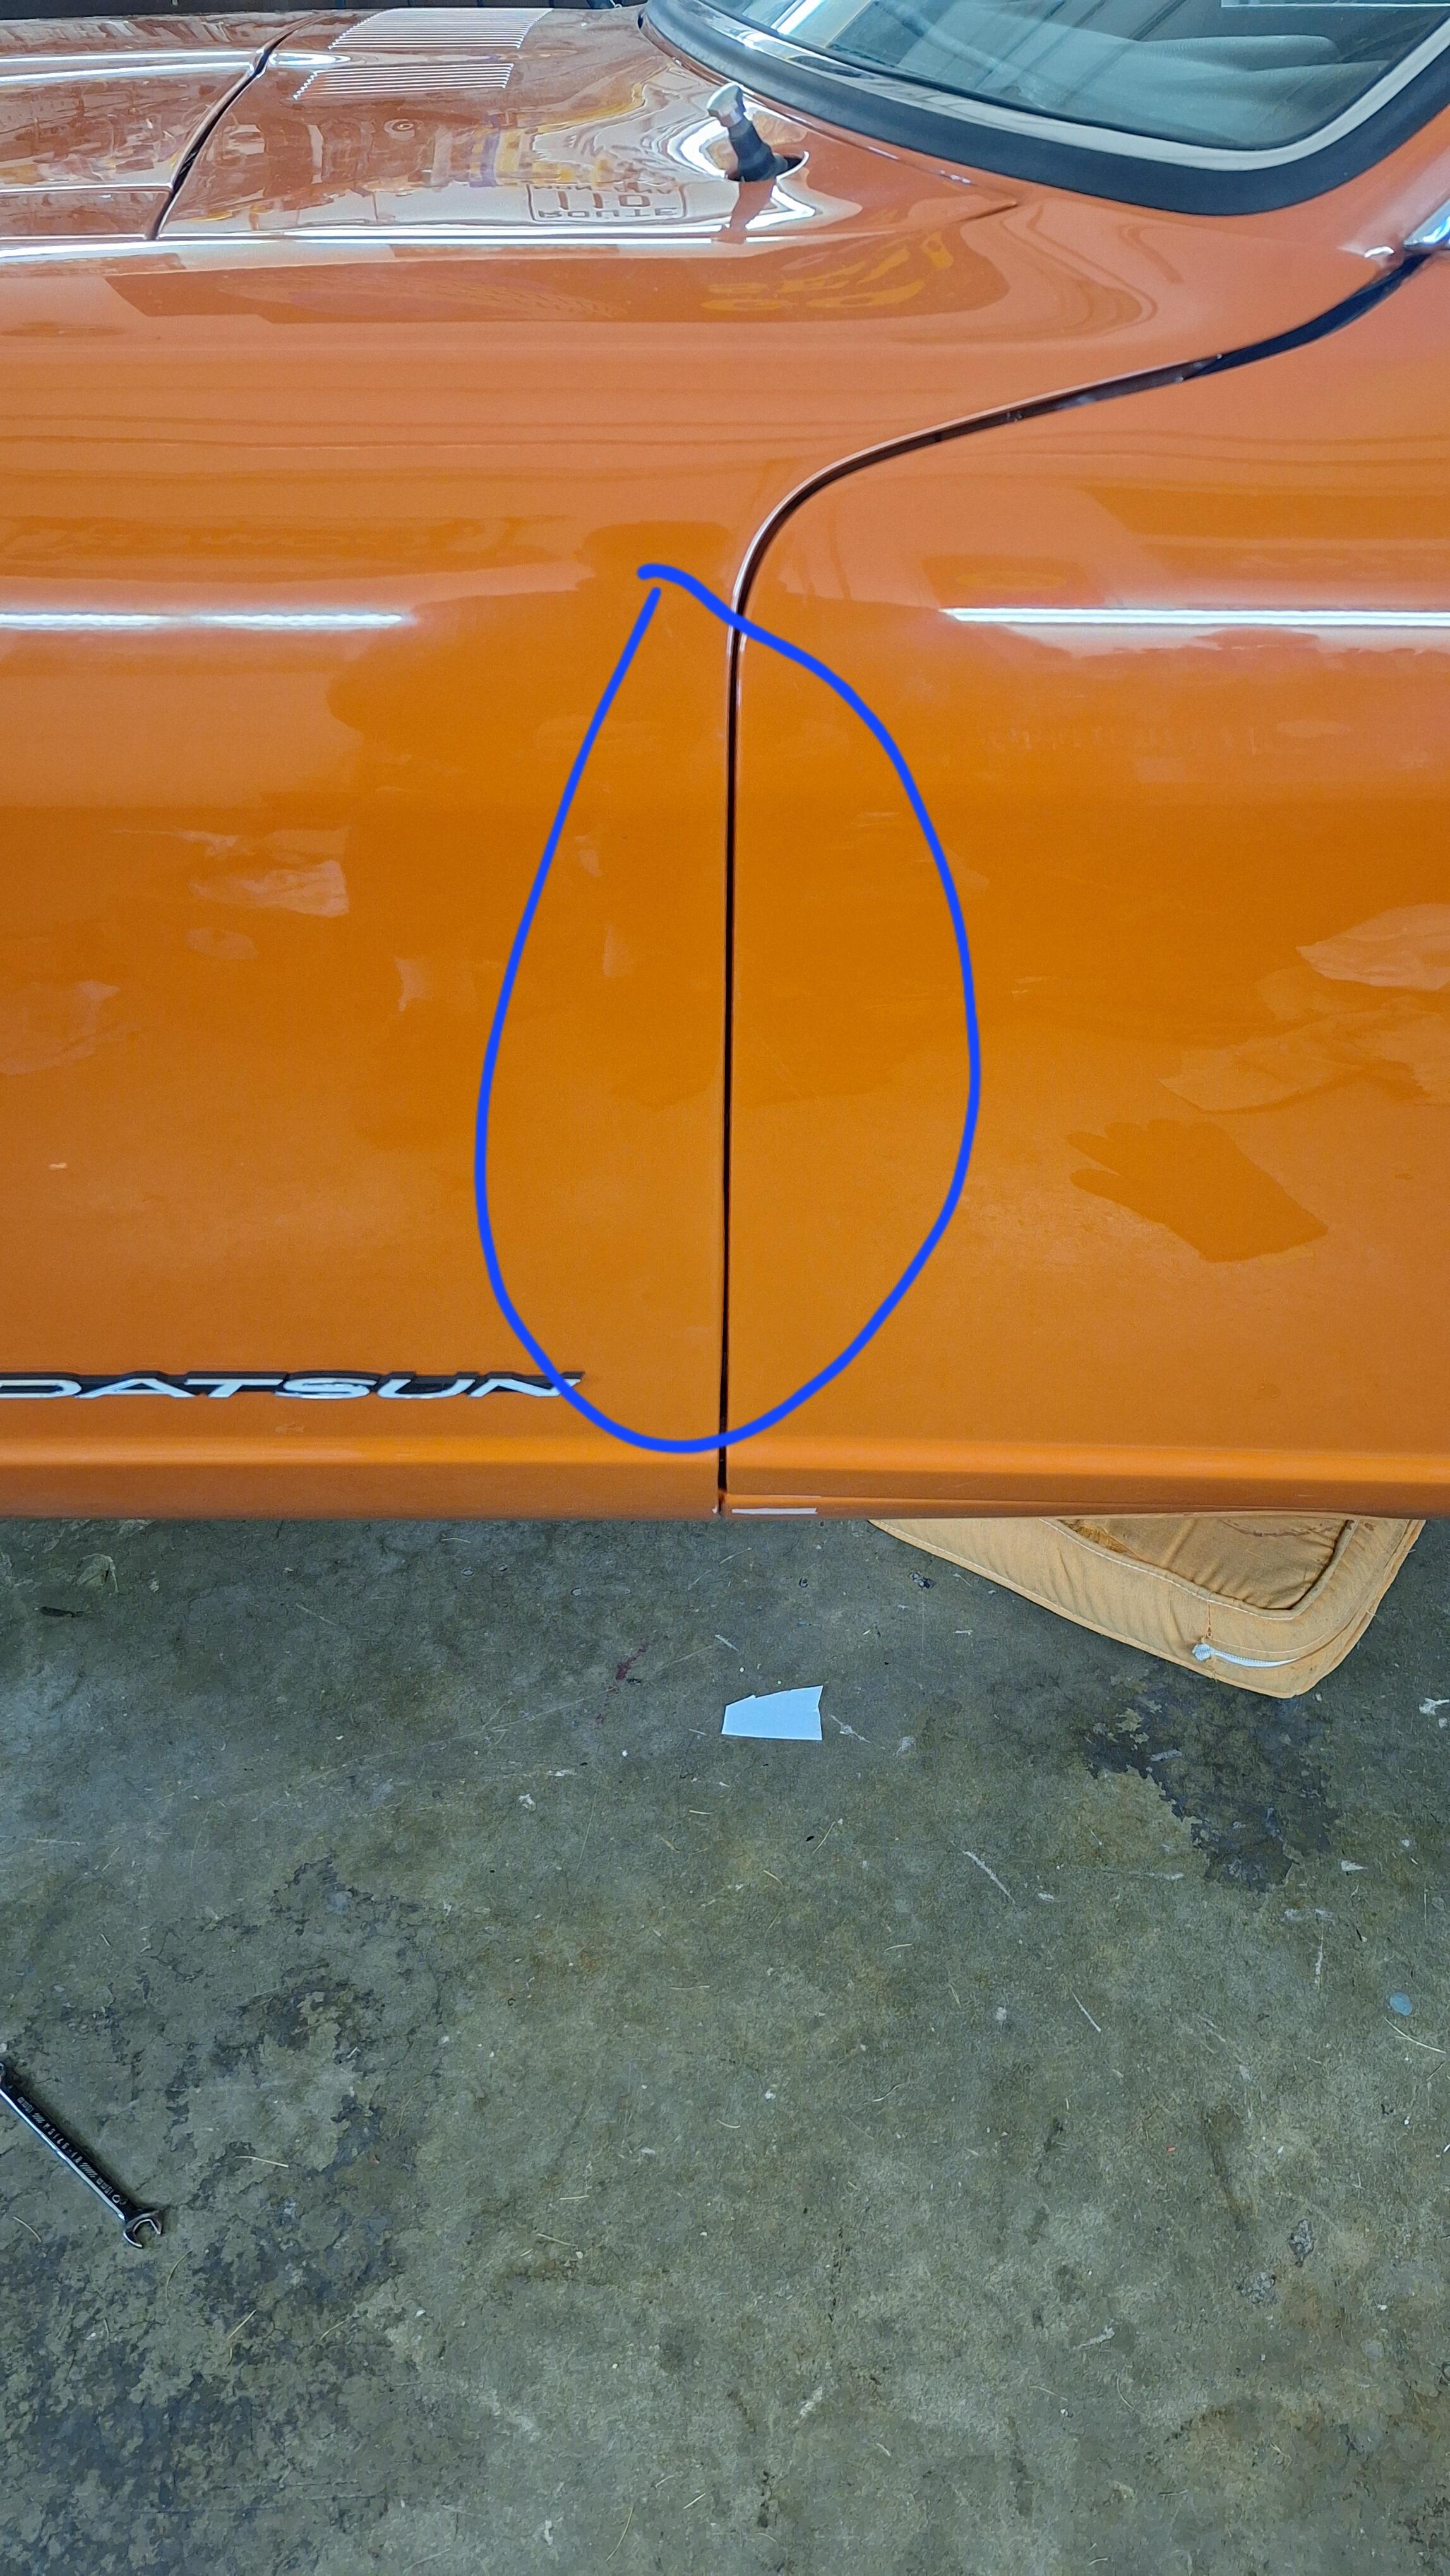
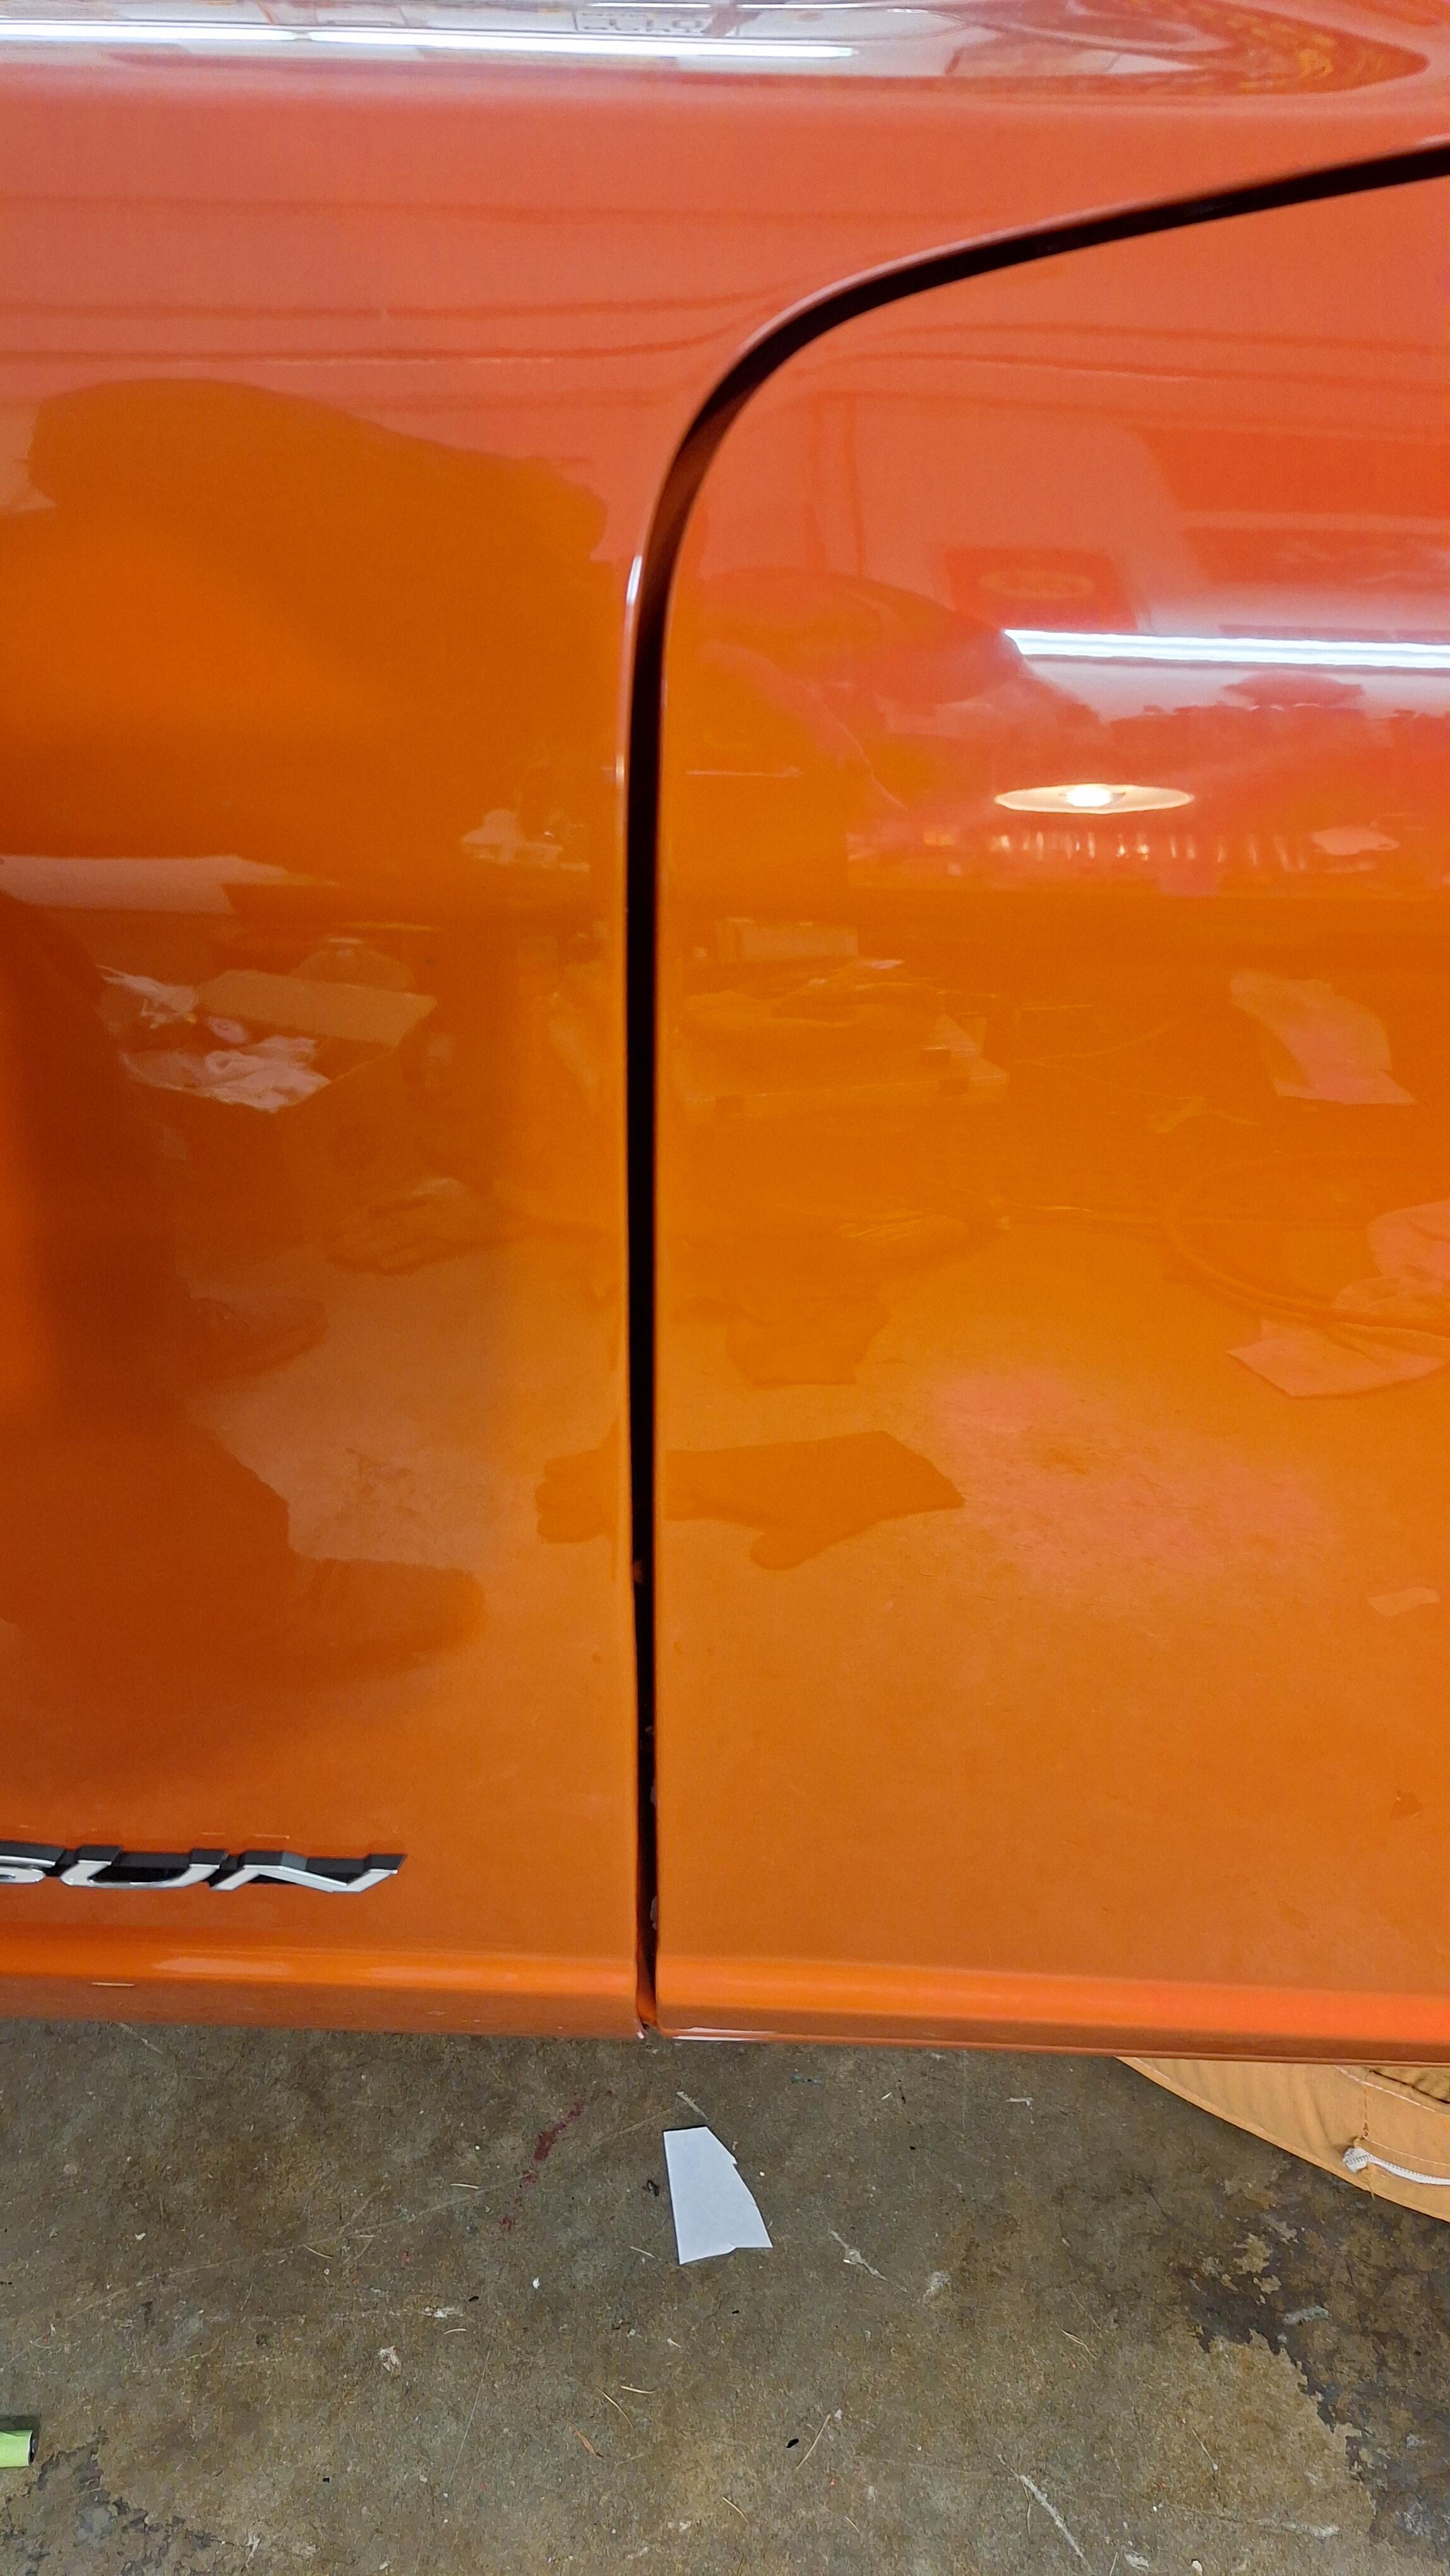
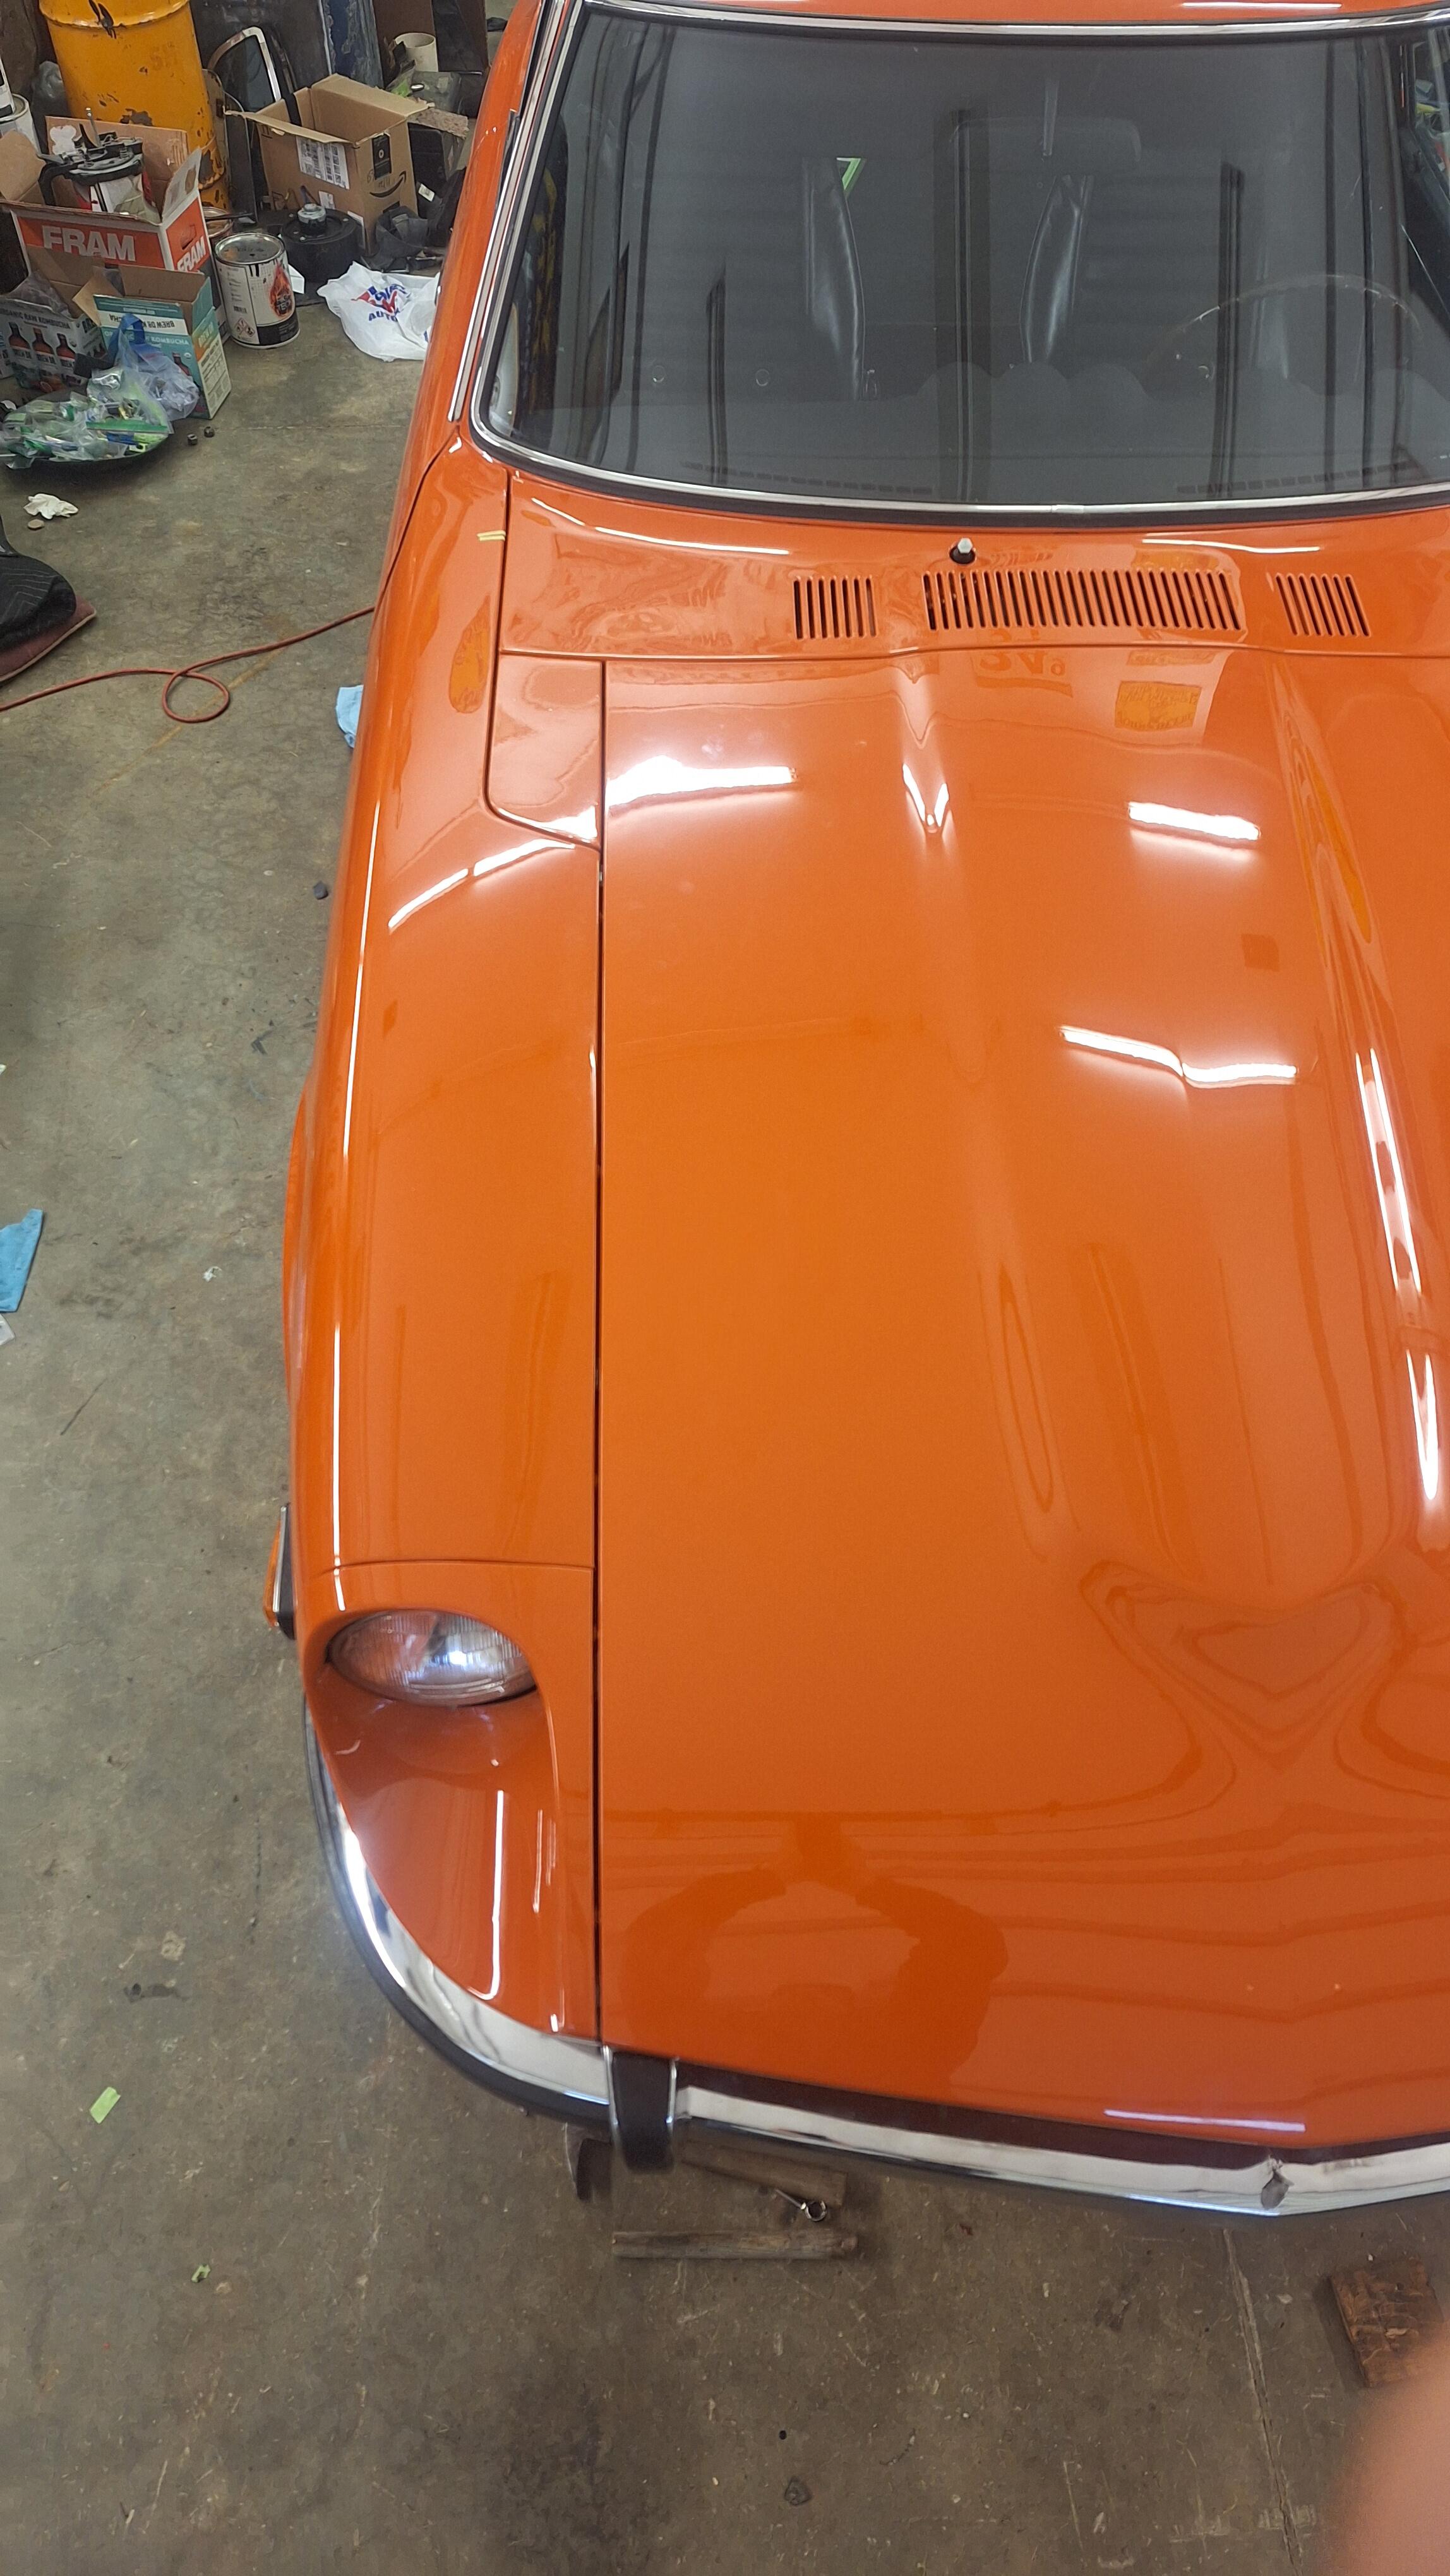
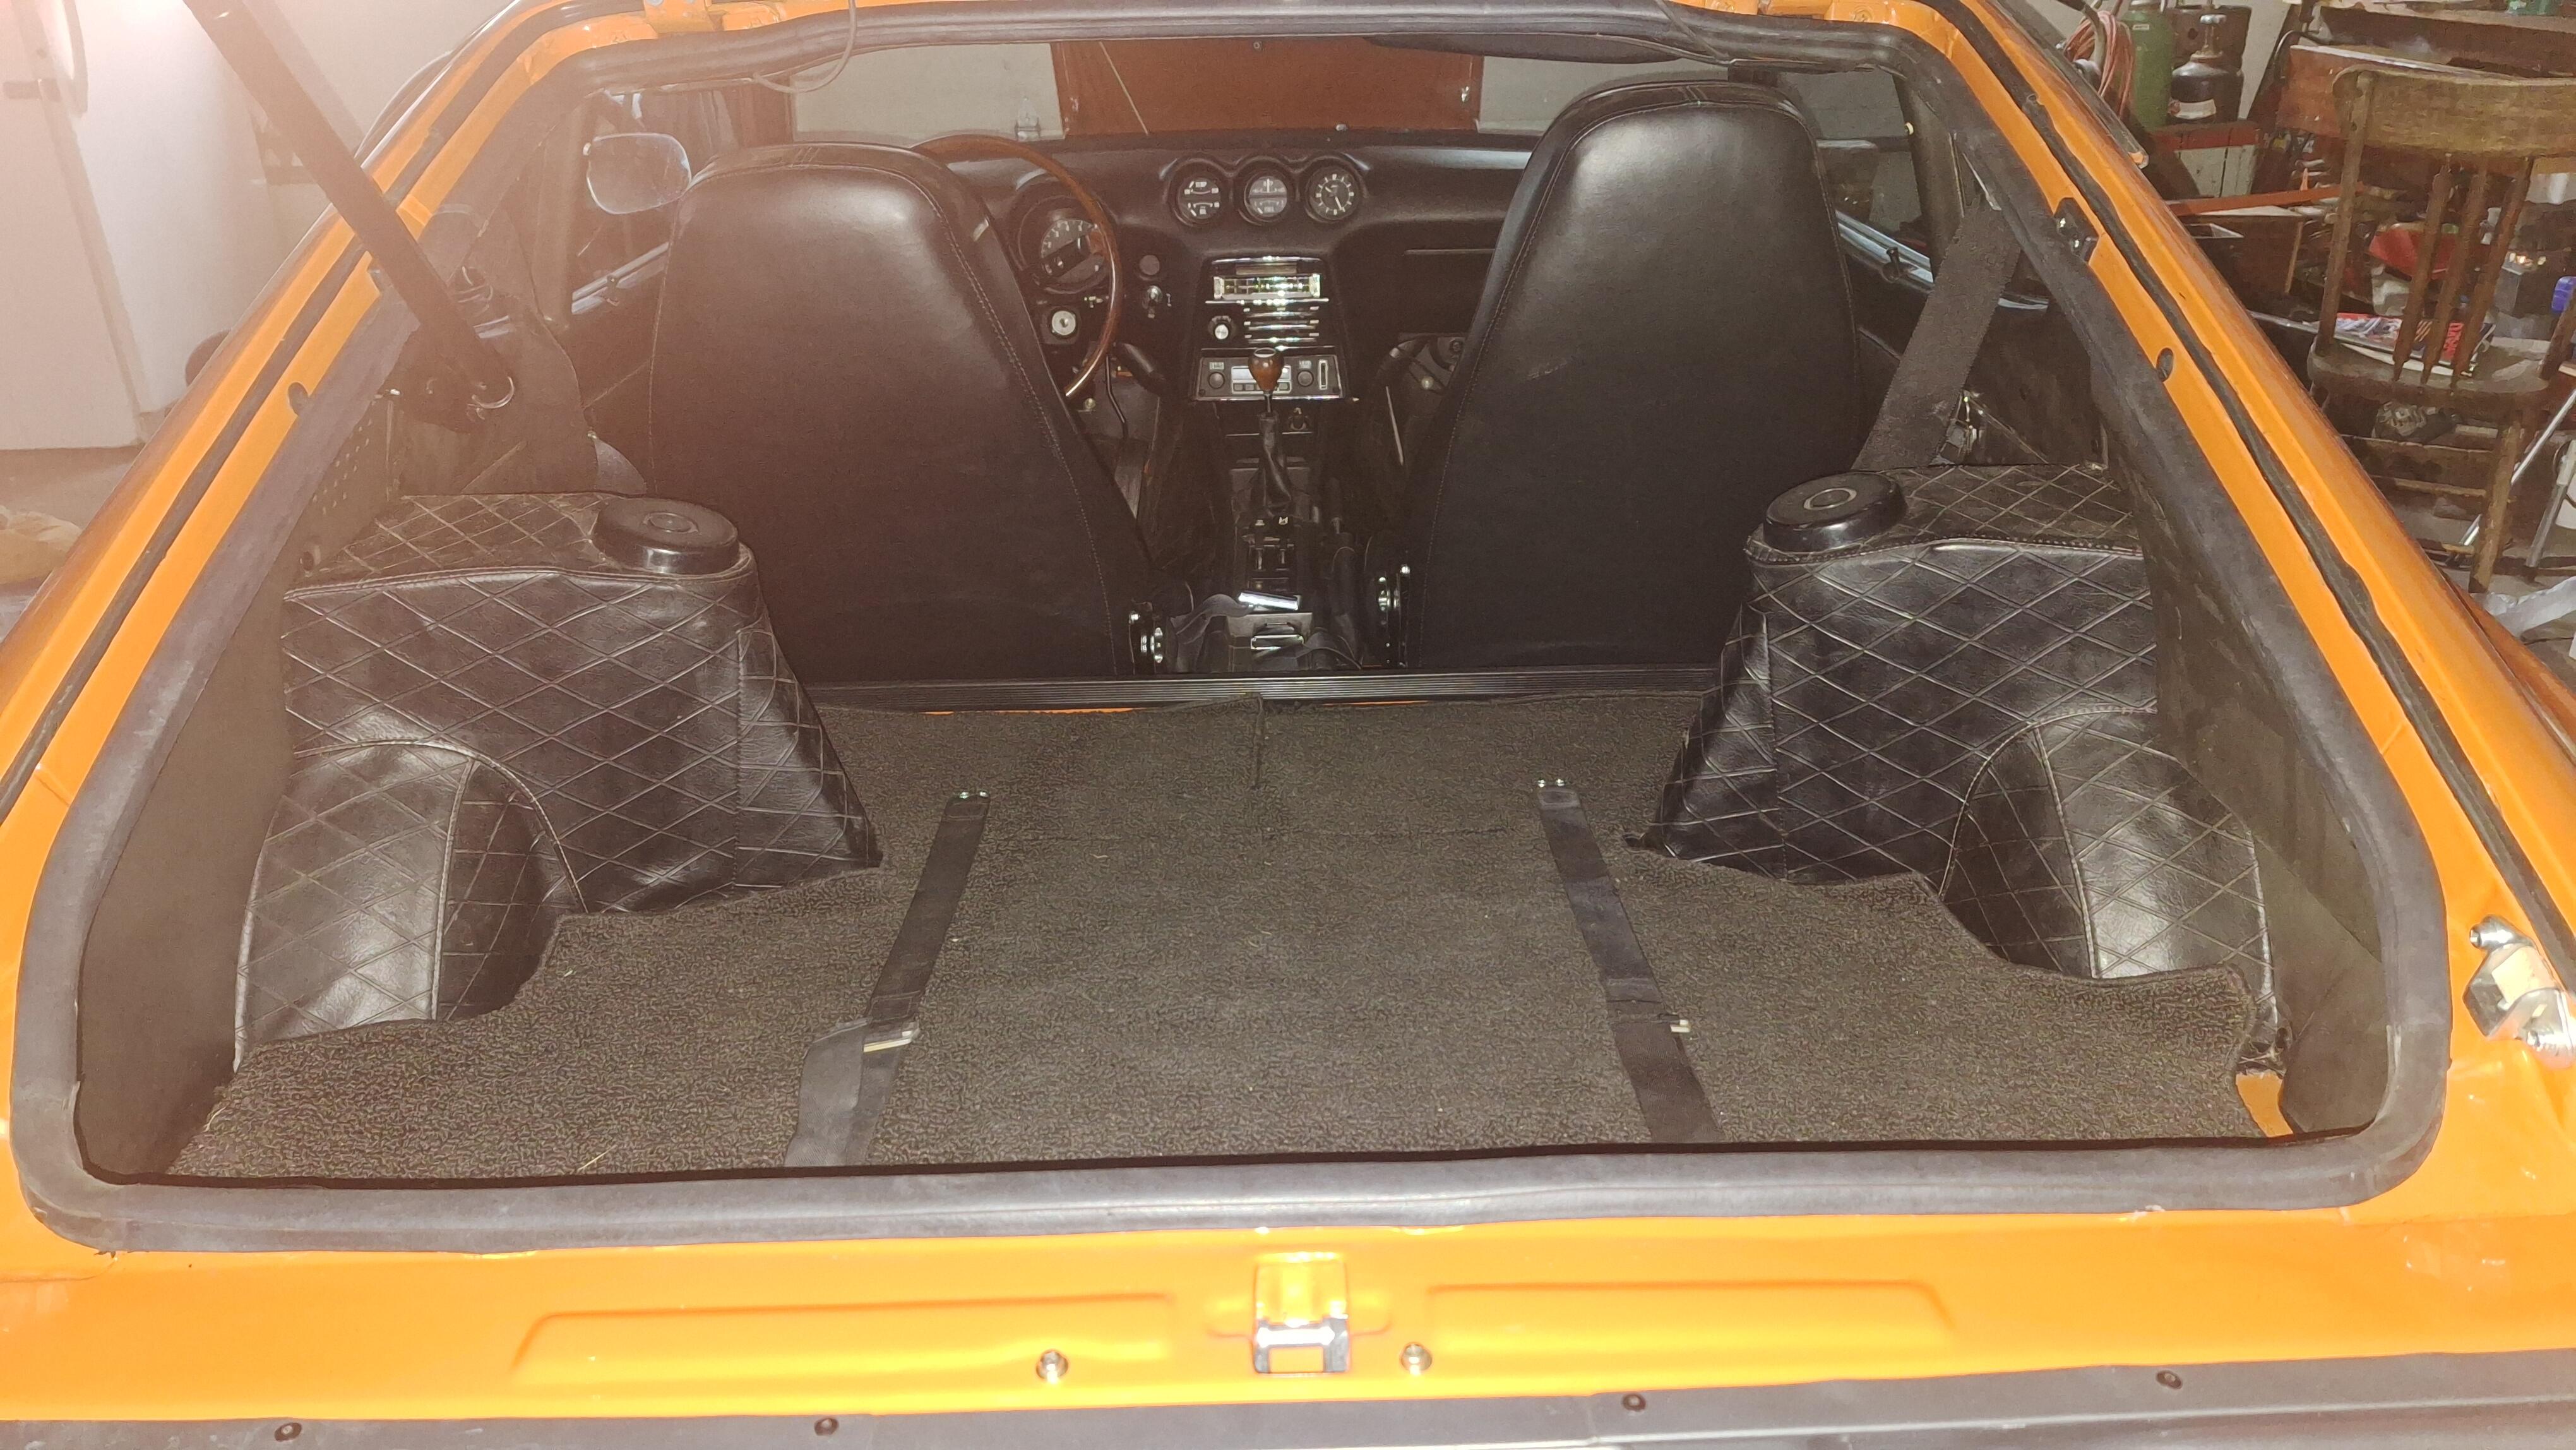
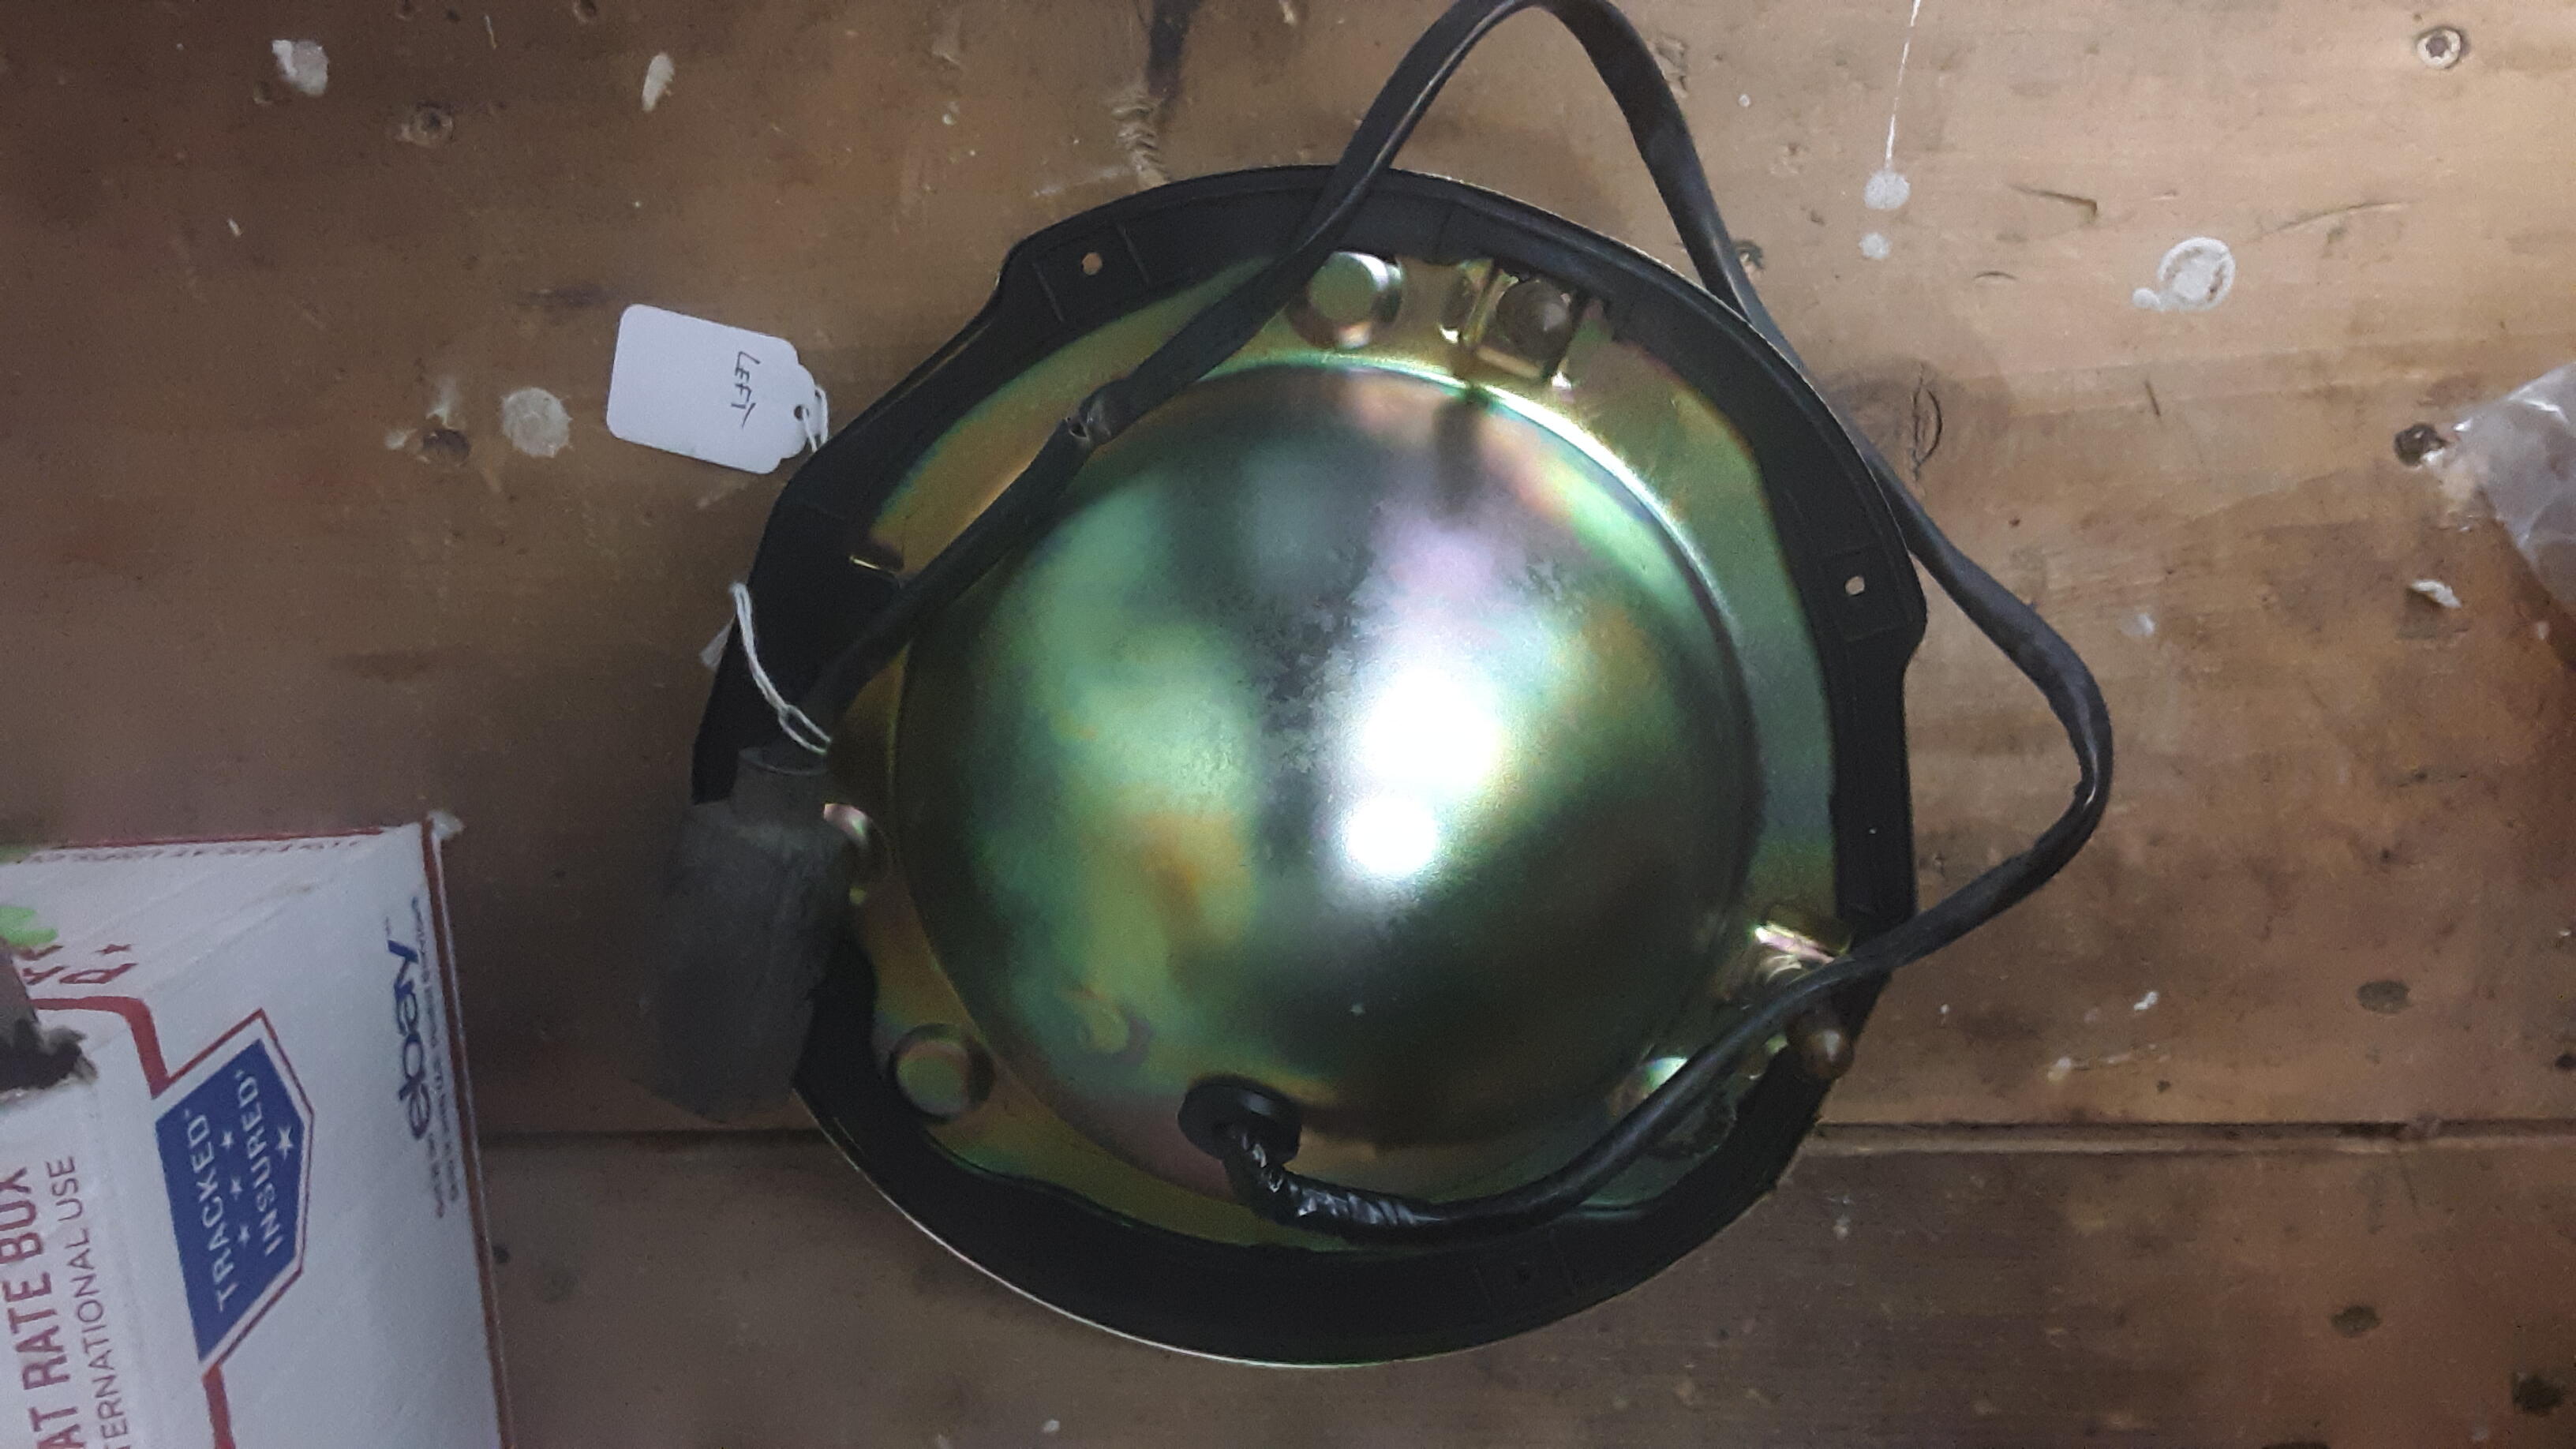
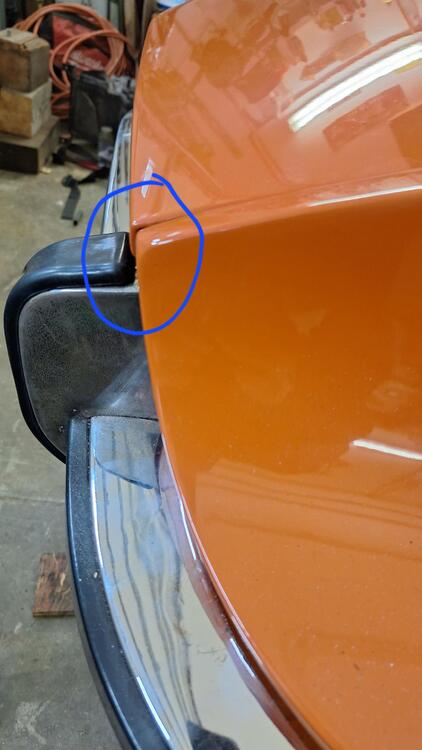
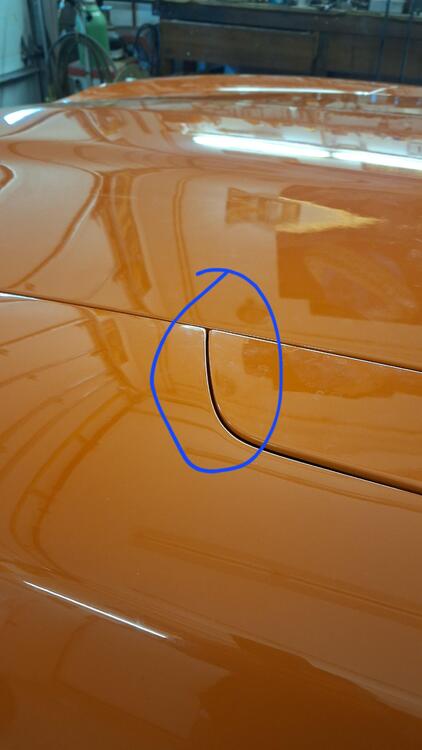
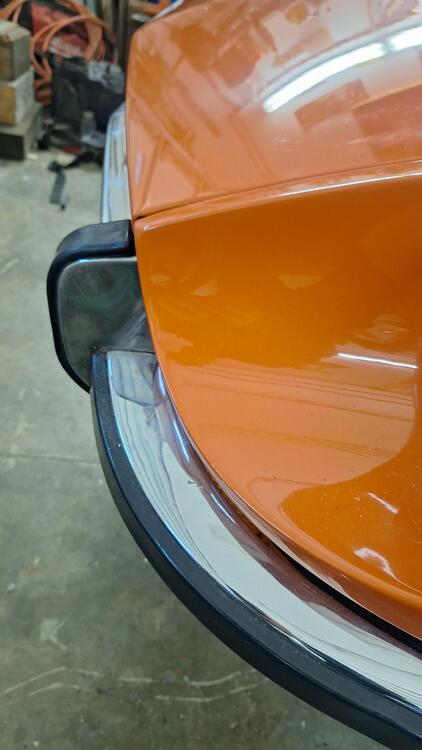
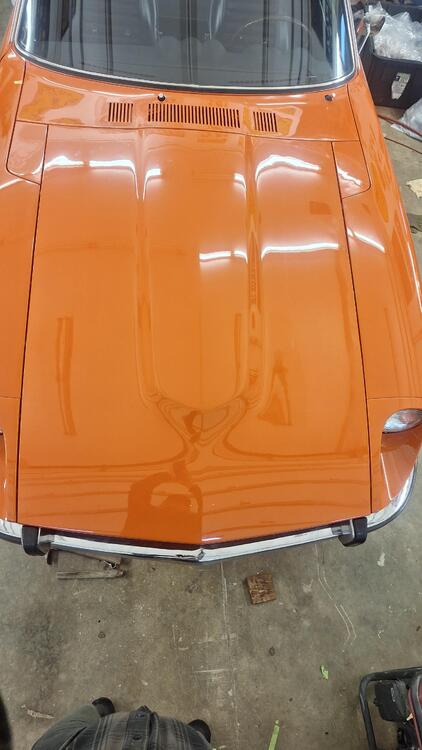
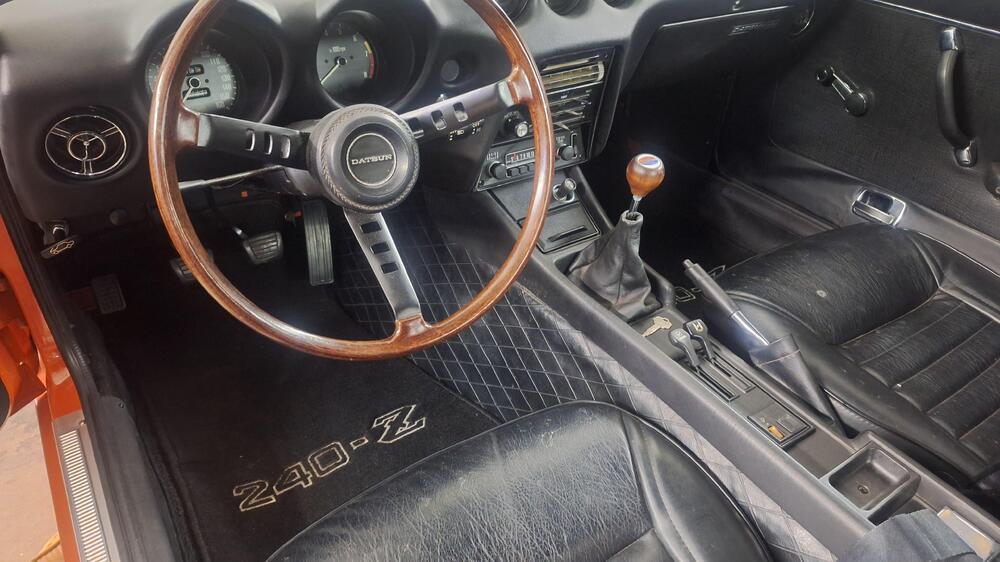
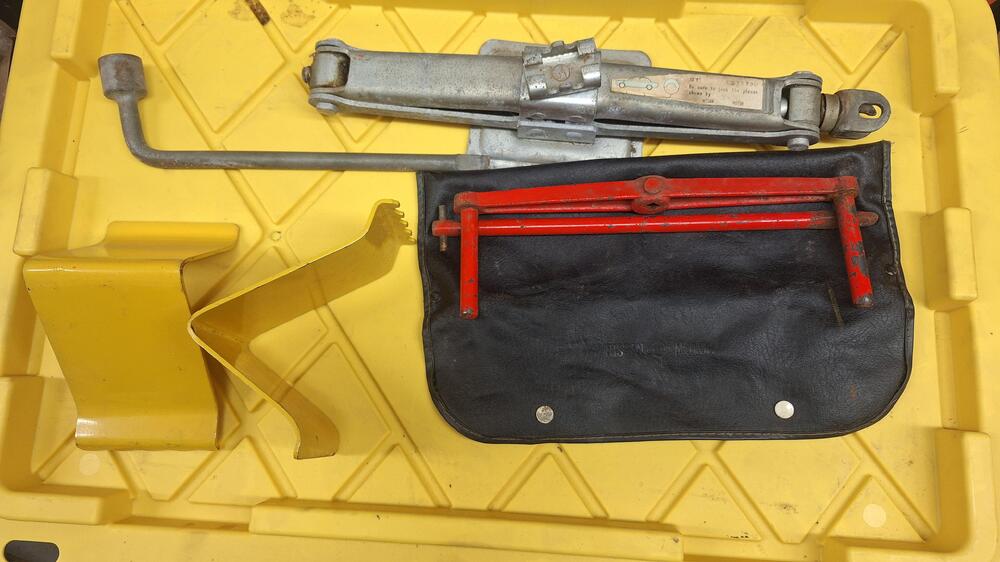
Why don't I have ground to my horn? If I ground it separately, it works. It's the paint! I painted everything. The solution was to remove the bolts, 1 at a time that bolt the steering column to the firewall. Then grind the paint off underneath the bolts/washers. It solved the issue, but now I have 1 loud horn and one not so loud, which led me on entirely new horn obsession. Why doesn't my dome light come on, it's the paint! Where the switches go into the door jambs, I removed the switches, ground some paint off, and they also work! This is fun! Time to install the hood. I noticed I had some areas that were not aligned that great. But one day I realized they were all related. I loosened the left fender and slid it forward. All these bolts are painted so I used a piece of plastic bag and inserted it into my socket, so to cause minimal damage to the paint. After sliding it forward a bit. I salvaged some rubber pieces for the tool boxes from my parts car and glued them on. here's the tools that came with this car. I cleaned up the old carpet I had and installed. It didn't have cutouts for the luggage straps, it was chewed on and it had shrunk. I like the floor mats. Anybody know where I can get a nice carpet kit for this car?


-
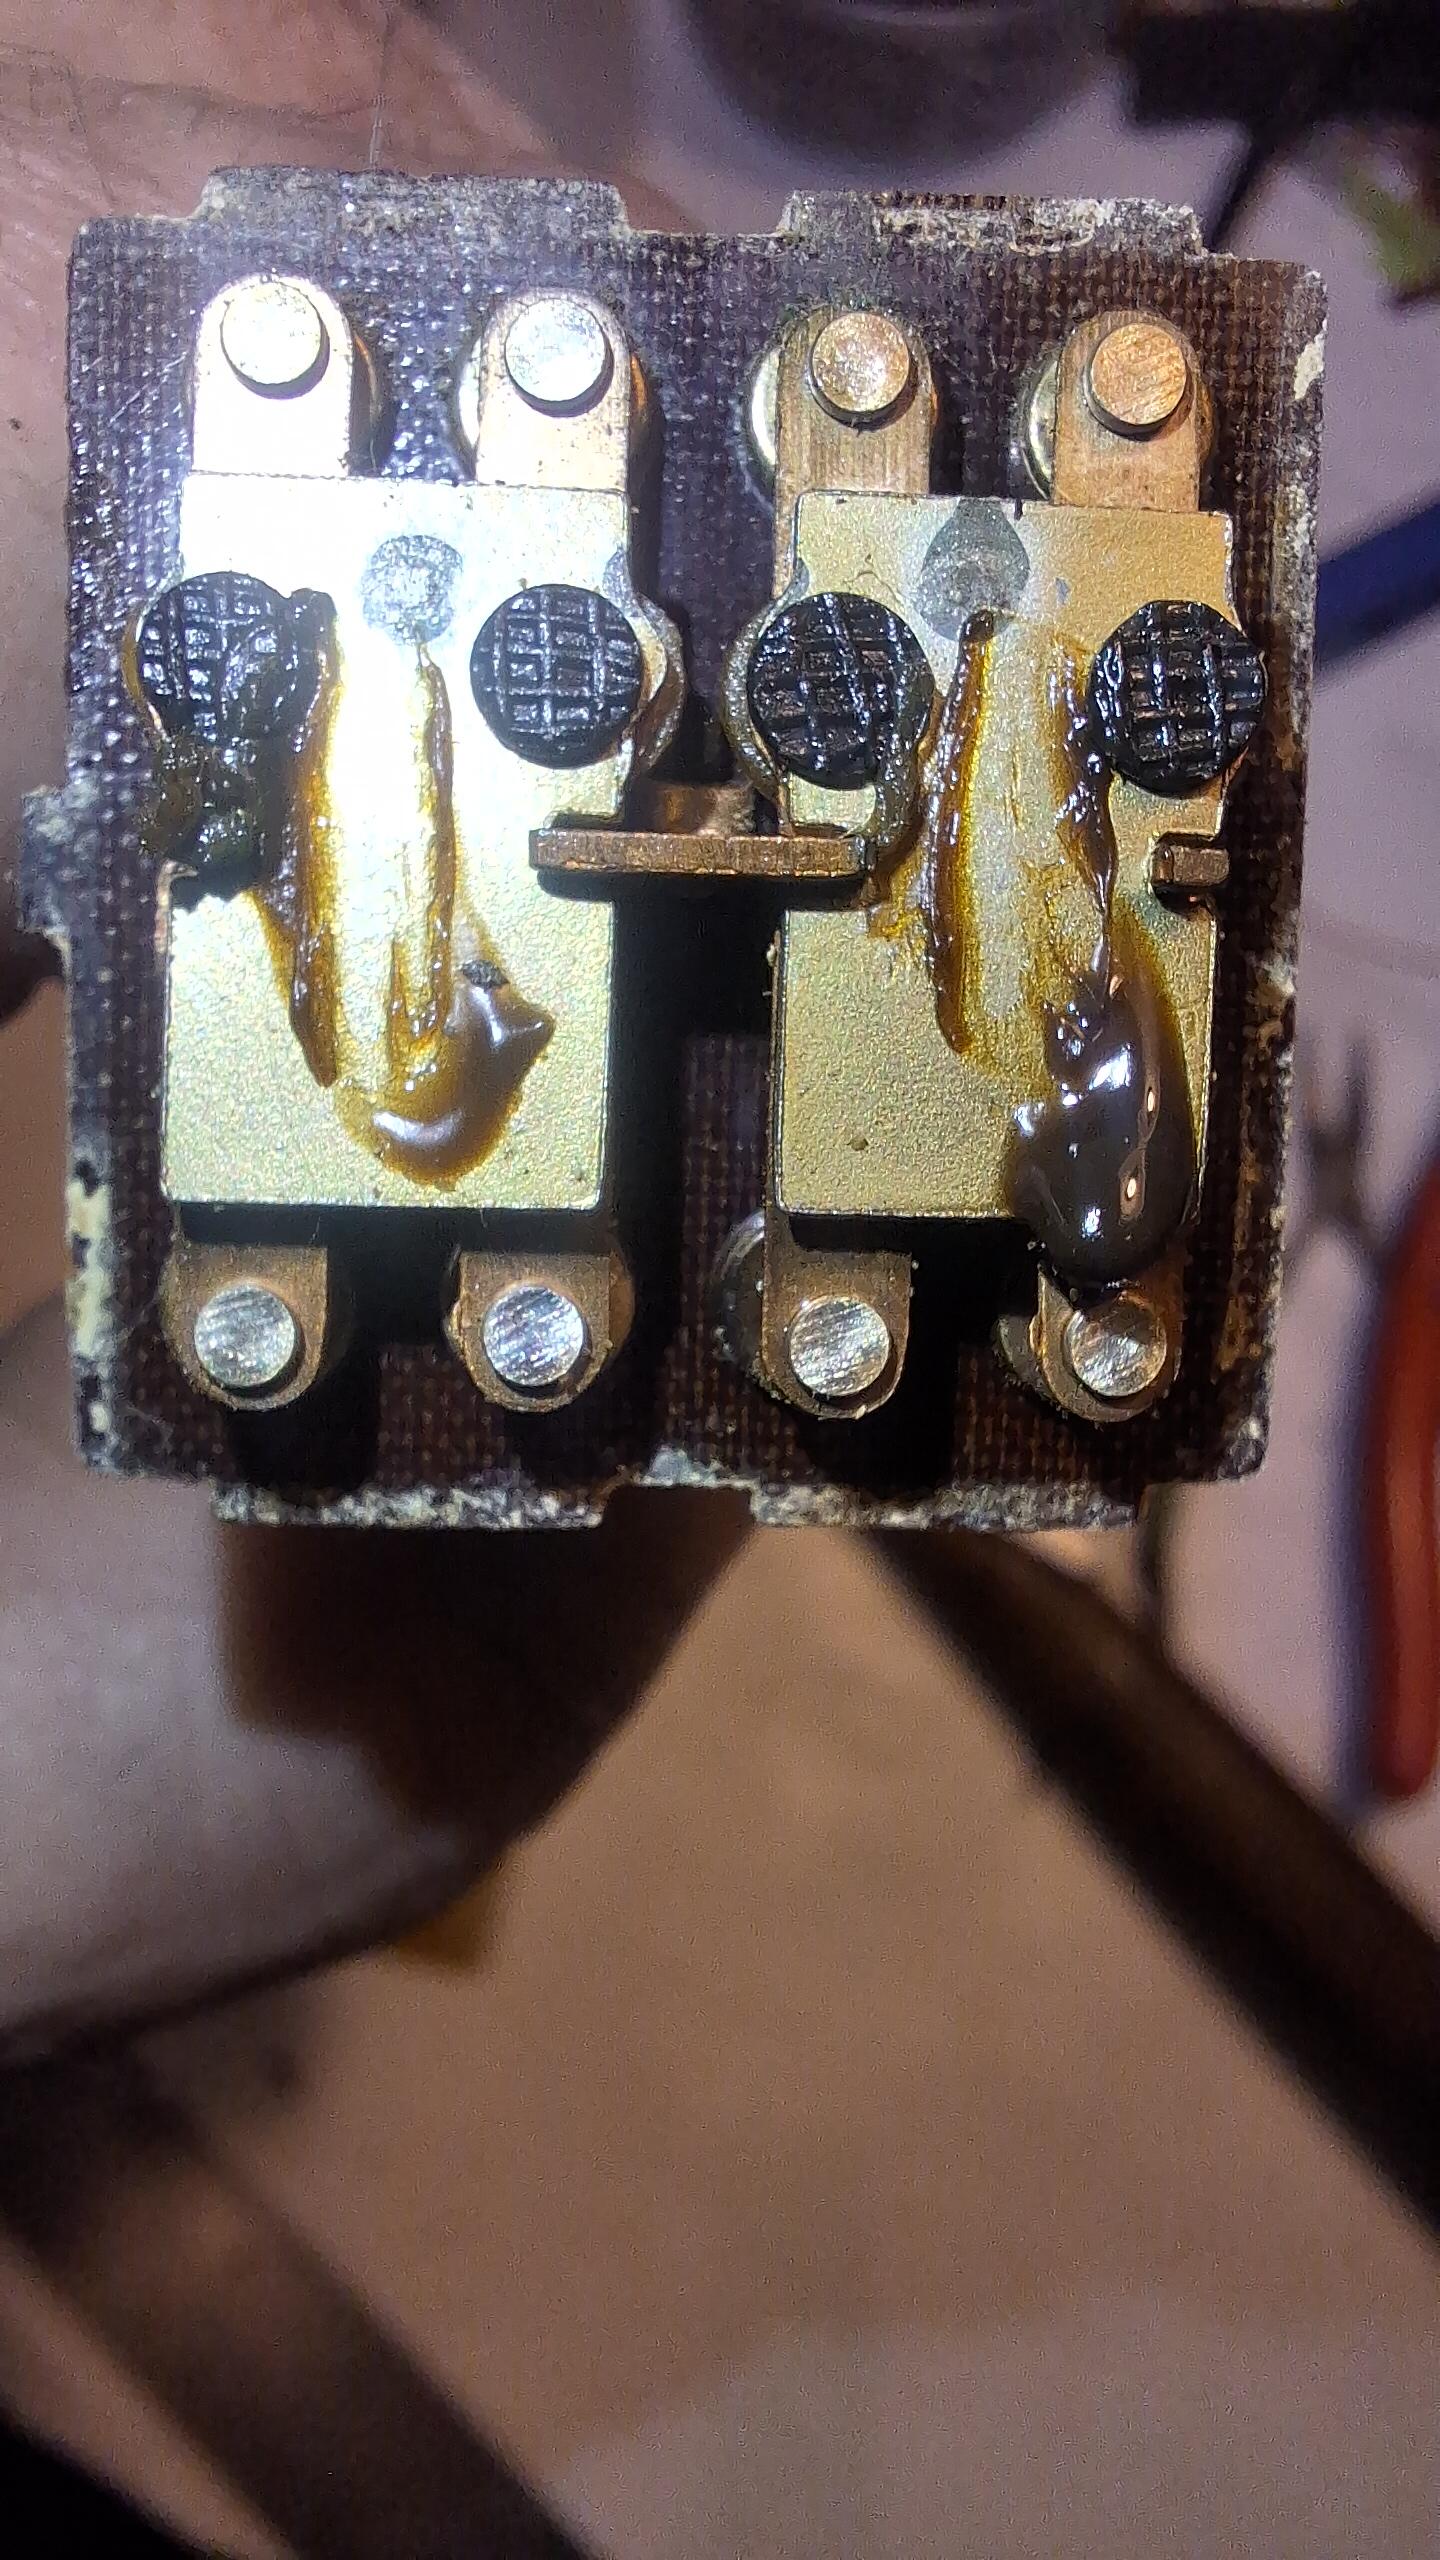
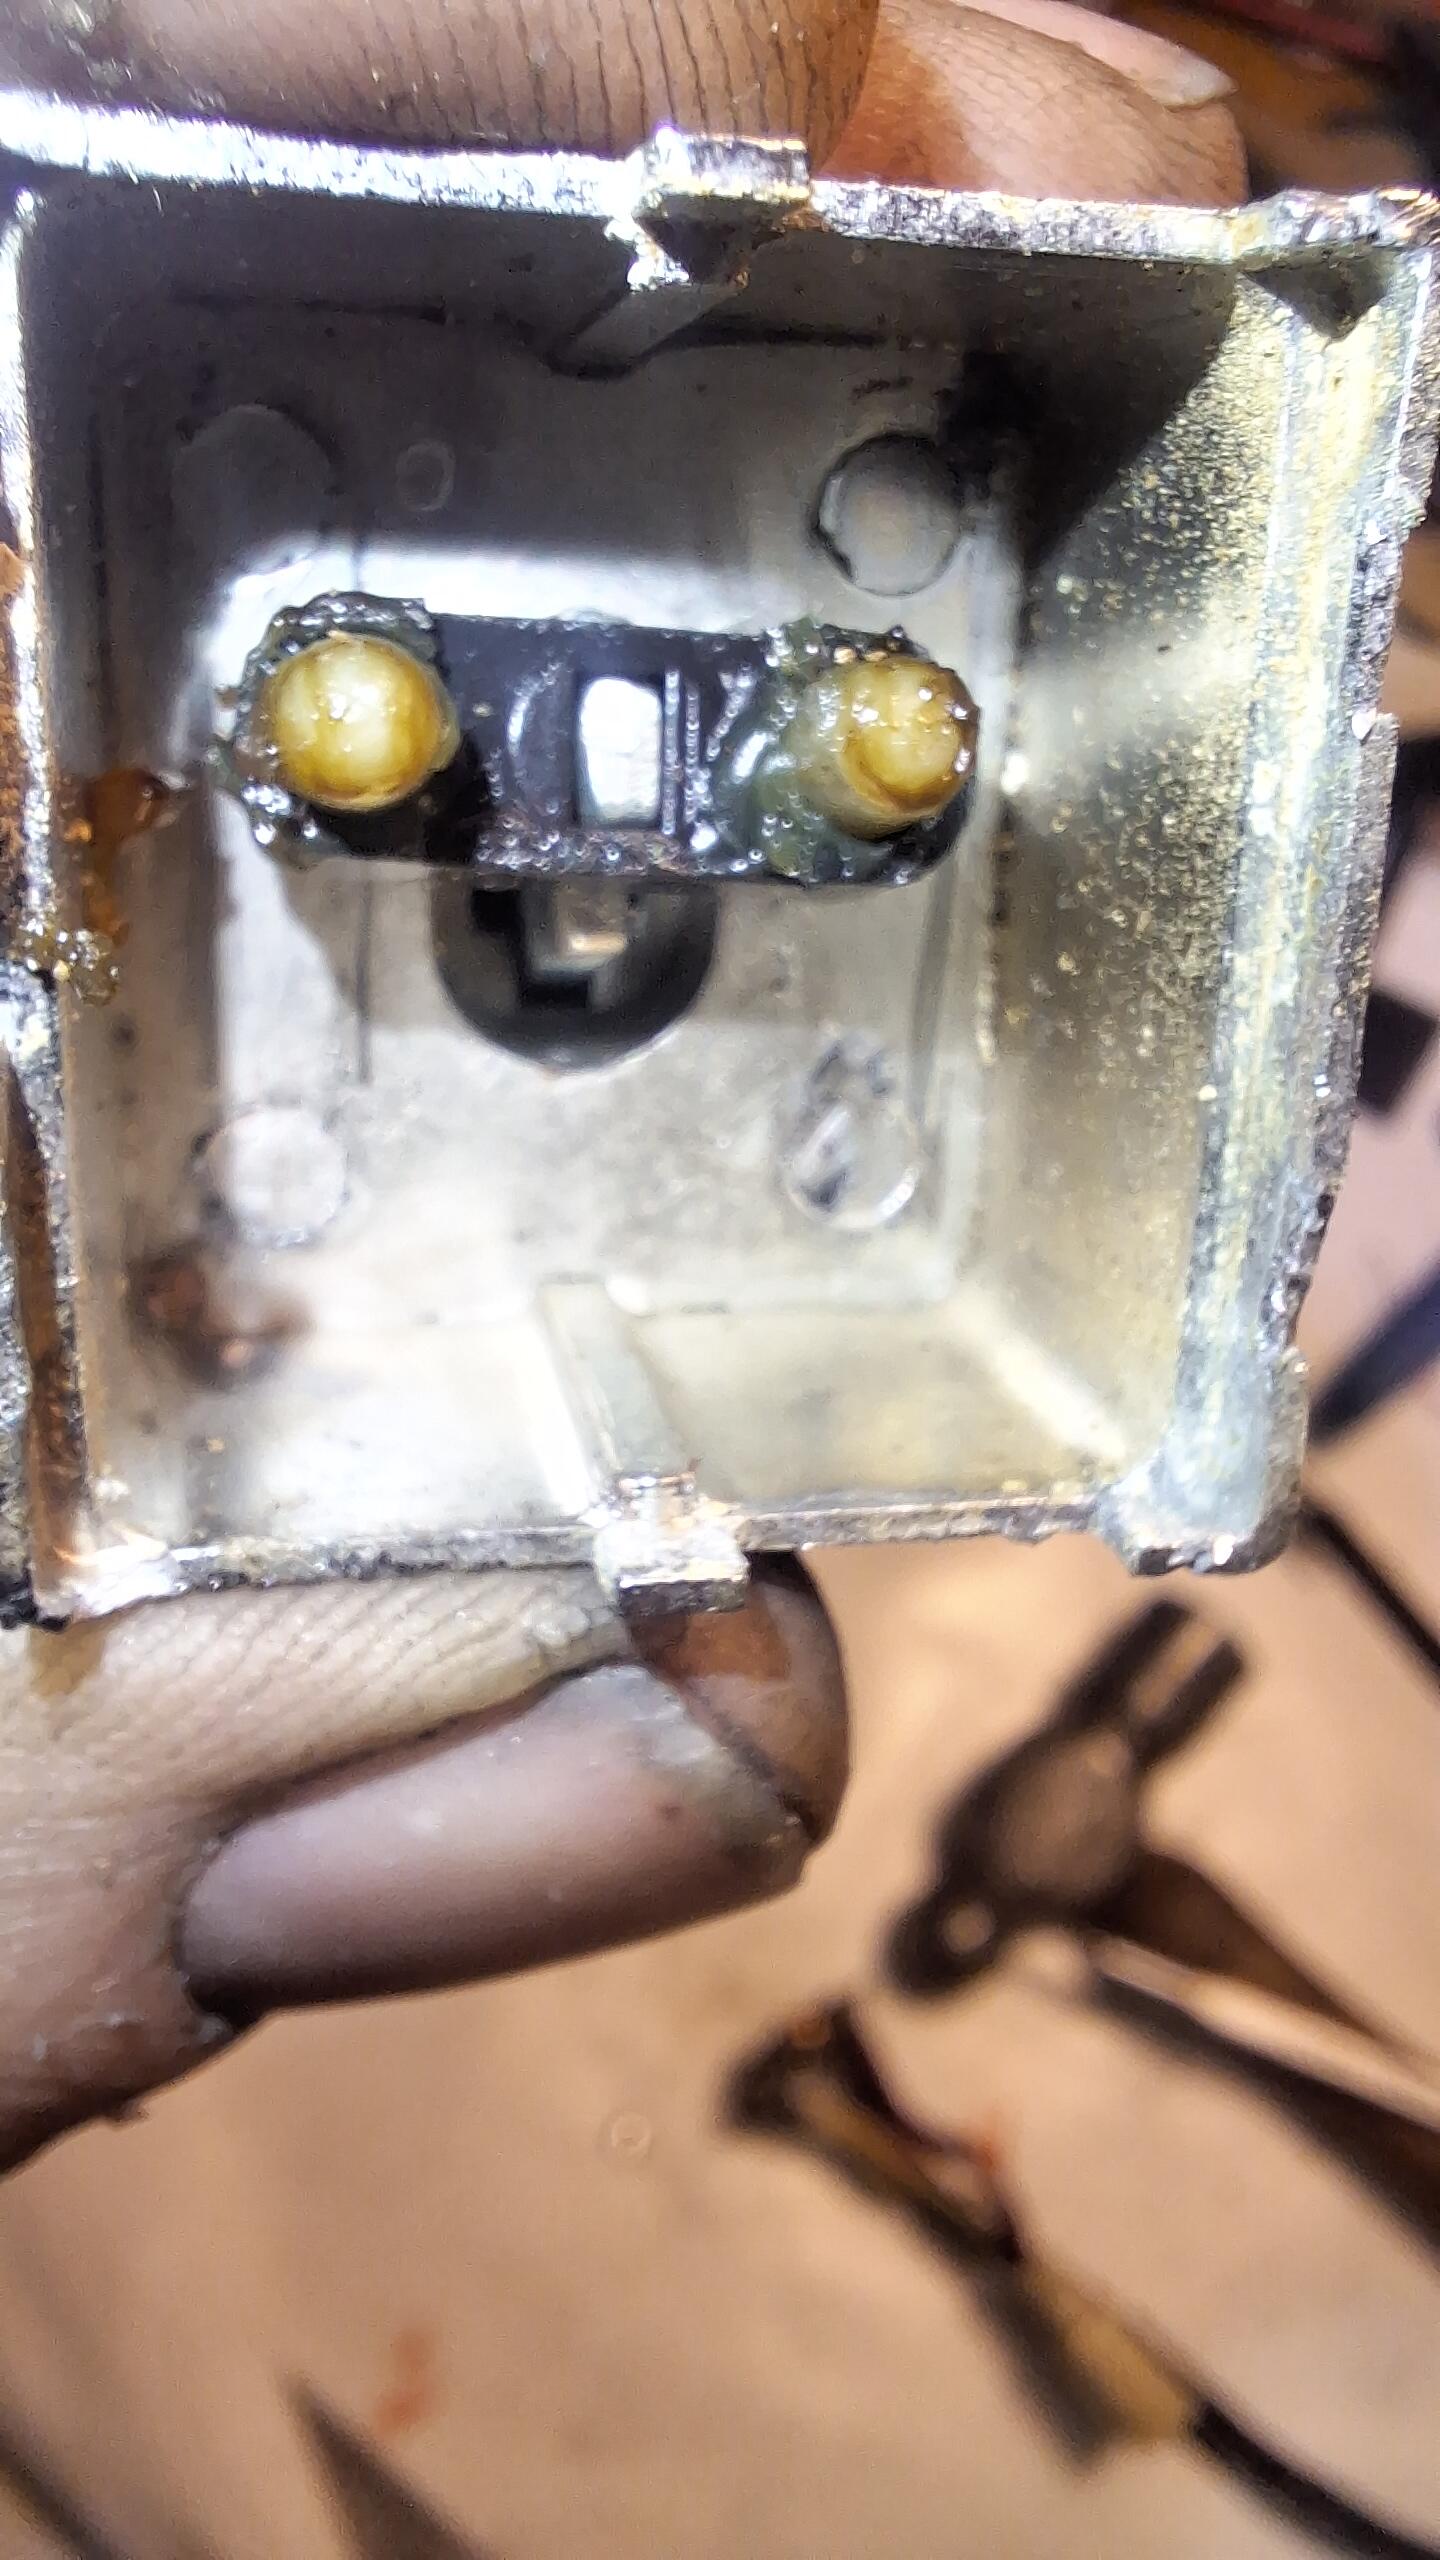
After connecting the heater control cables, and disconnecting them because I forgot to hook up the map light wires, and reconnecting a couple more times..for one reason or another, I finally got it. I think it's time to hook up a battery 😬 I did, and didn't smell anything, the engine bay inspection light came on. The side marker lights worked. I had no horn, 1 bright headlight, 1 dim one. No turn lights, no hazards, no dome light. I have taillights, but no brake lights. I read through some of Steve J. posts and decided to remove the hazard switch. Found it! the contacts were not contacting. I took some fine sandpaper and shined them up, then cleaned with alcohol. then reassembled. I now have hazard lights, turn signals, brake lights. Still no horn, no dome light. I fixed the headlight problem, it was just connected wrong.


-
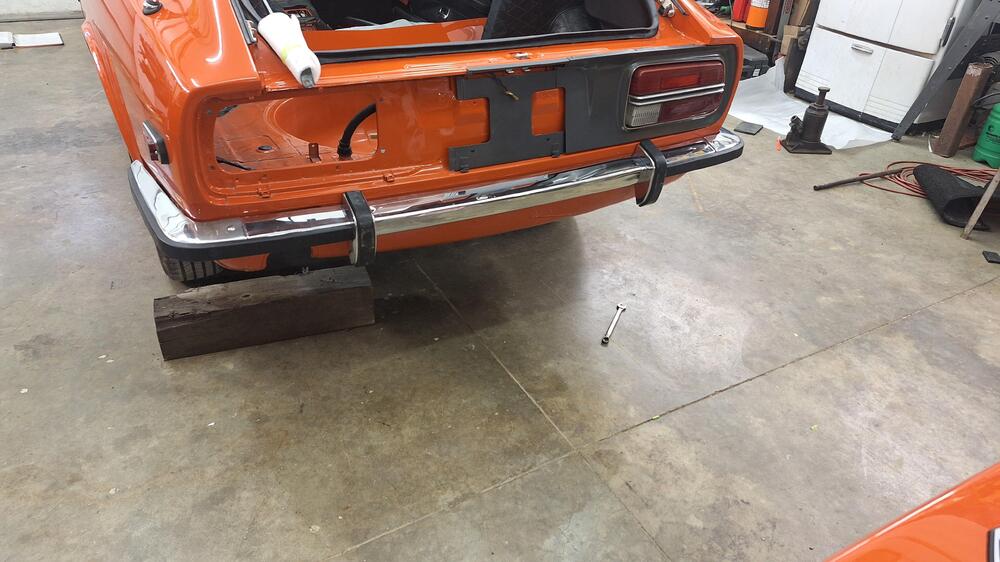
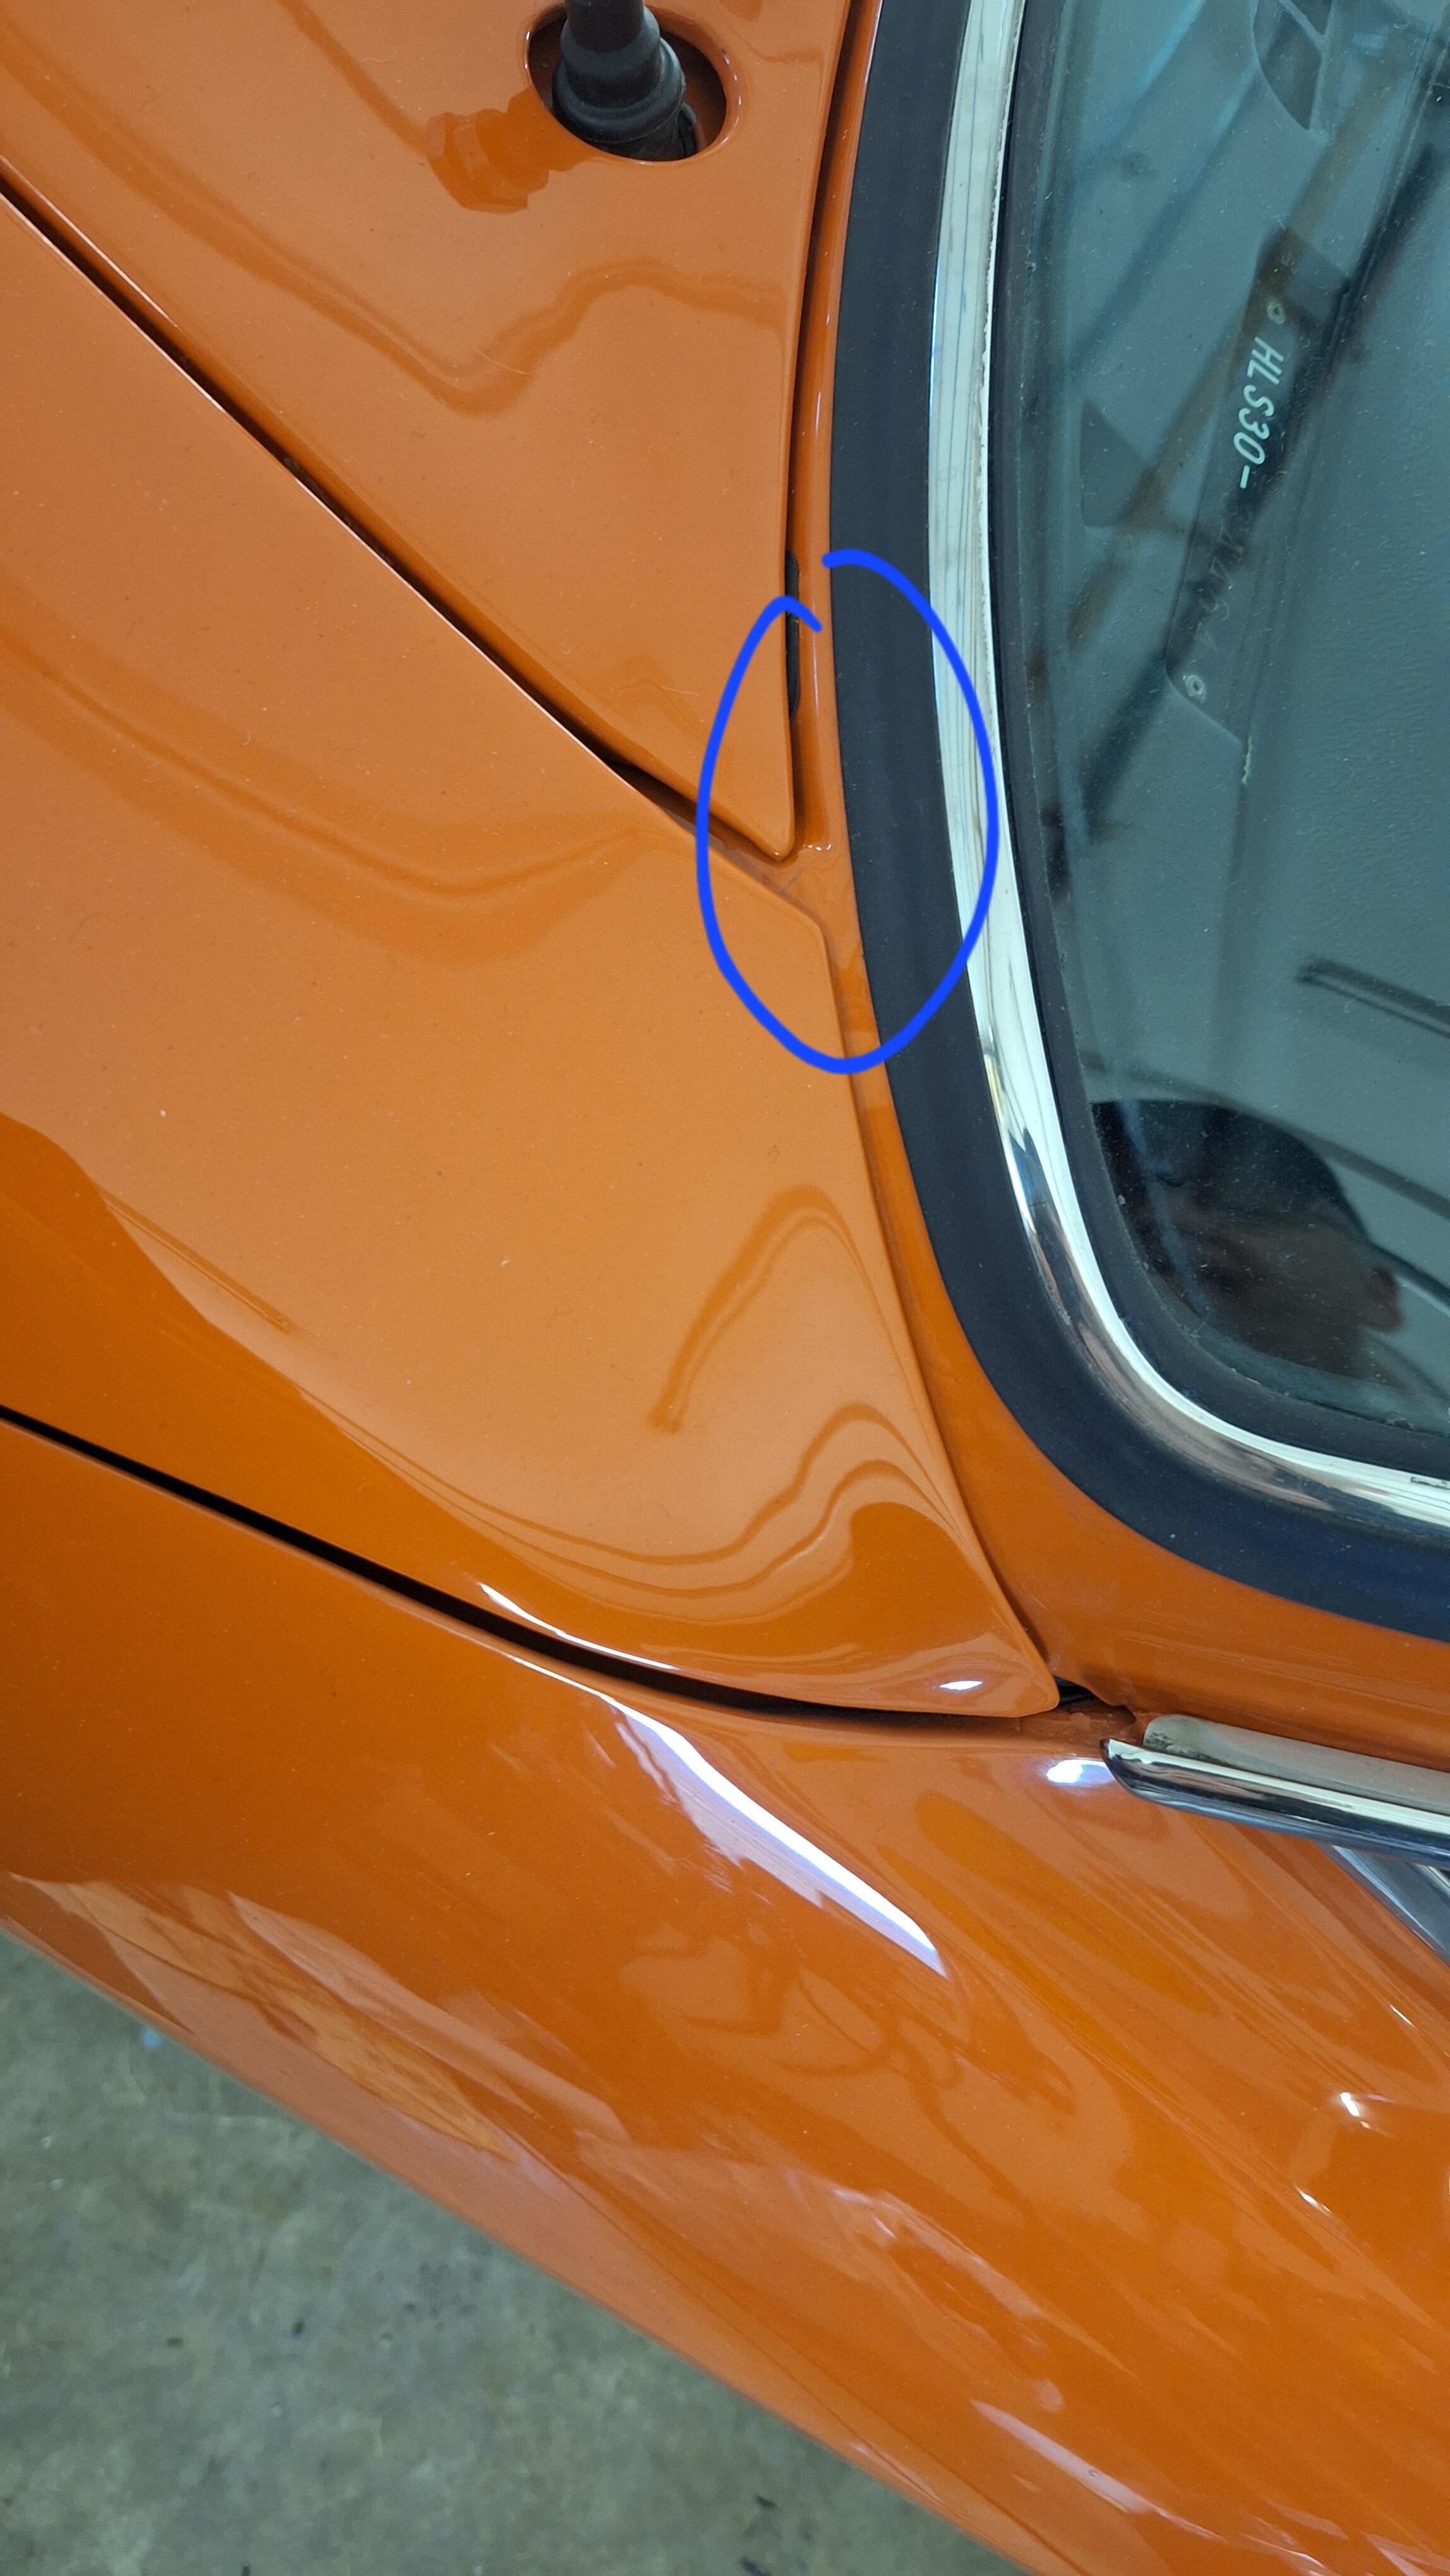
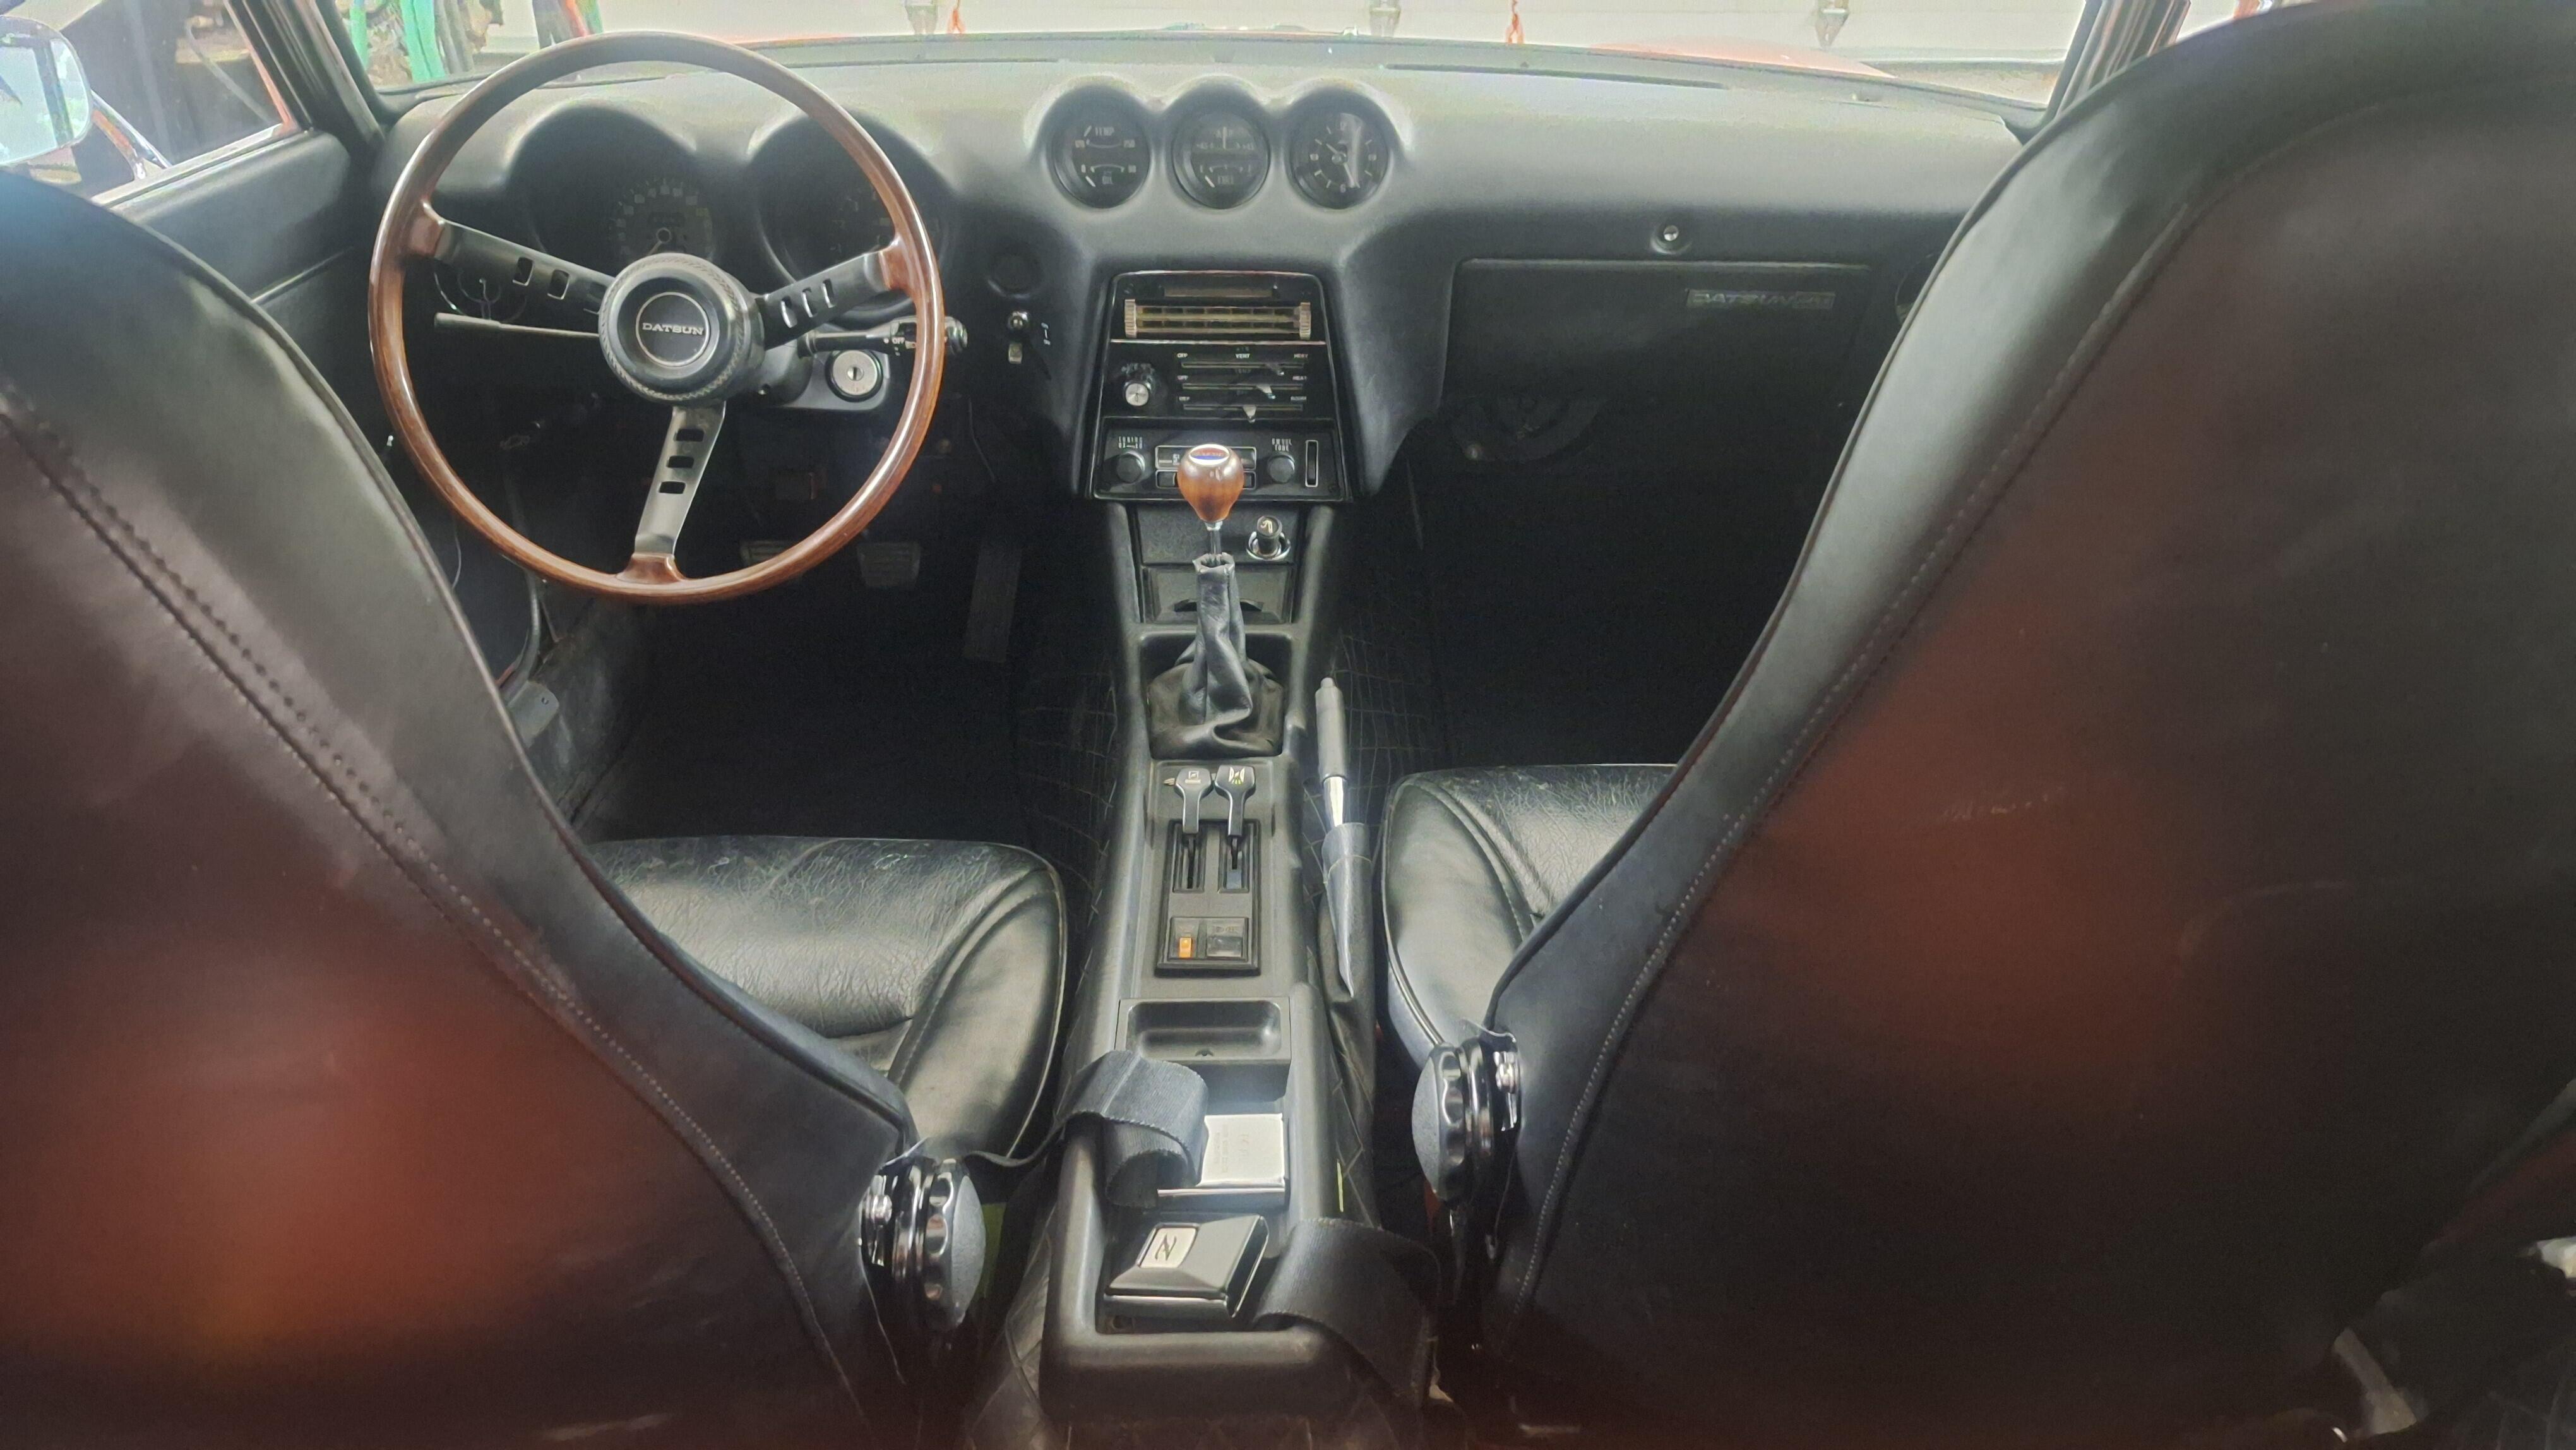
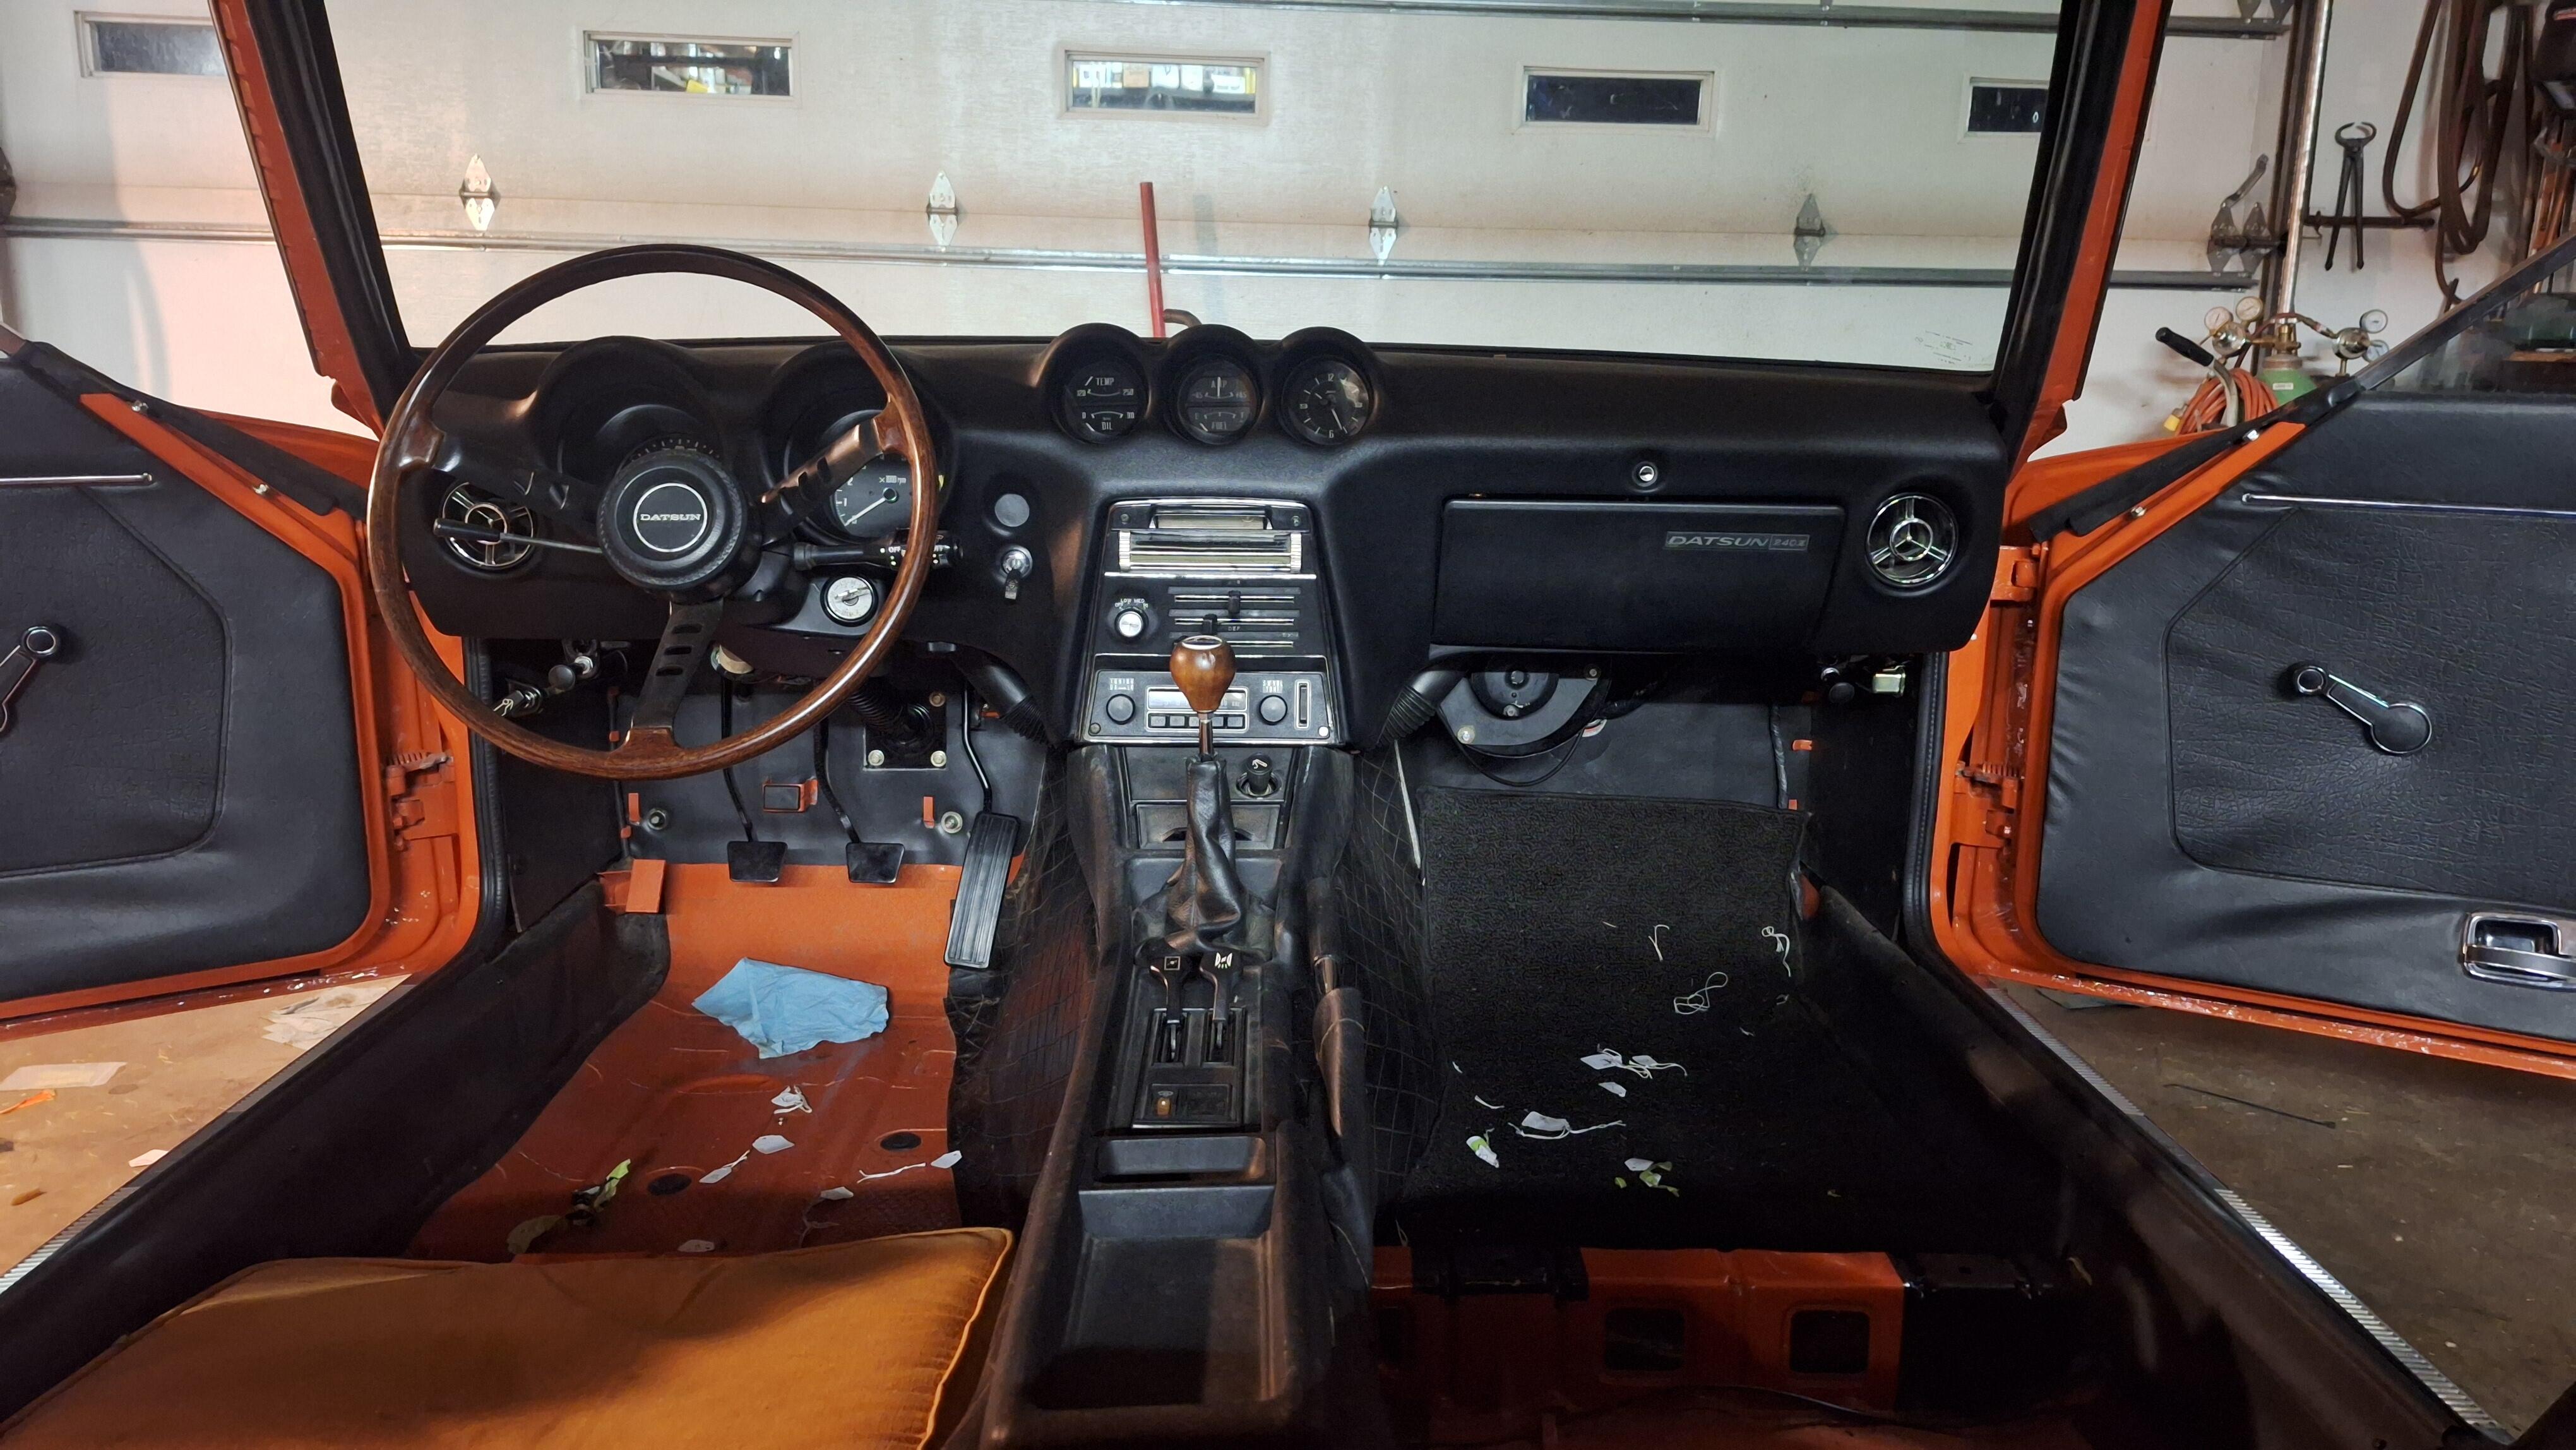
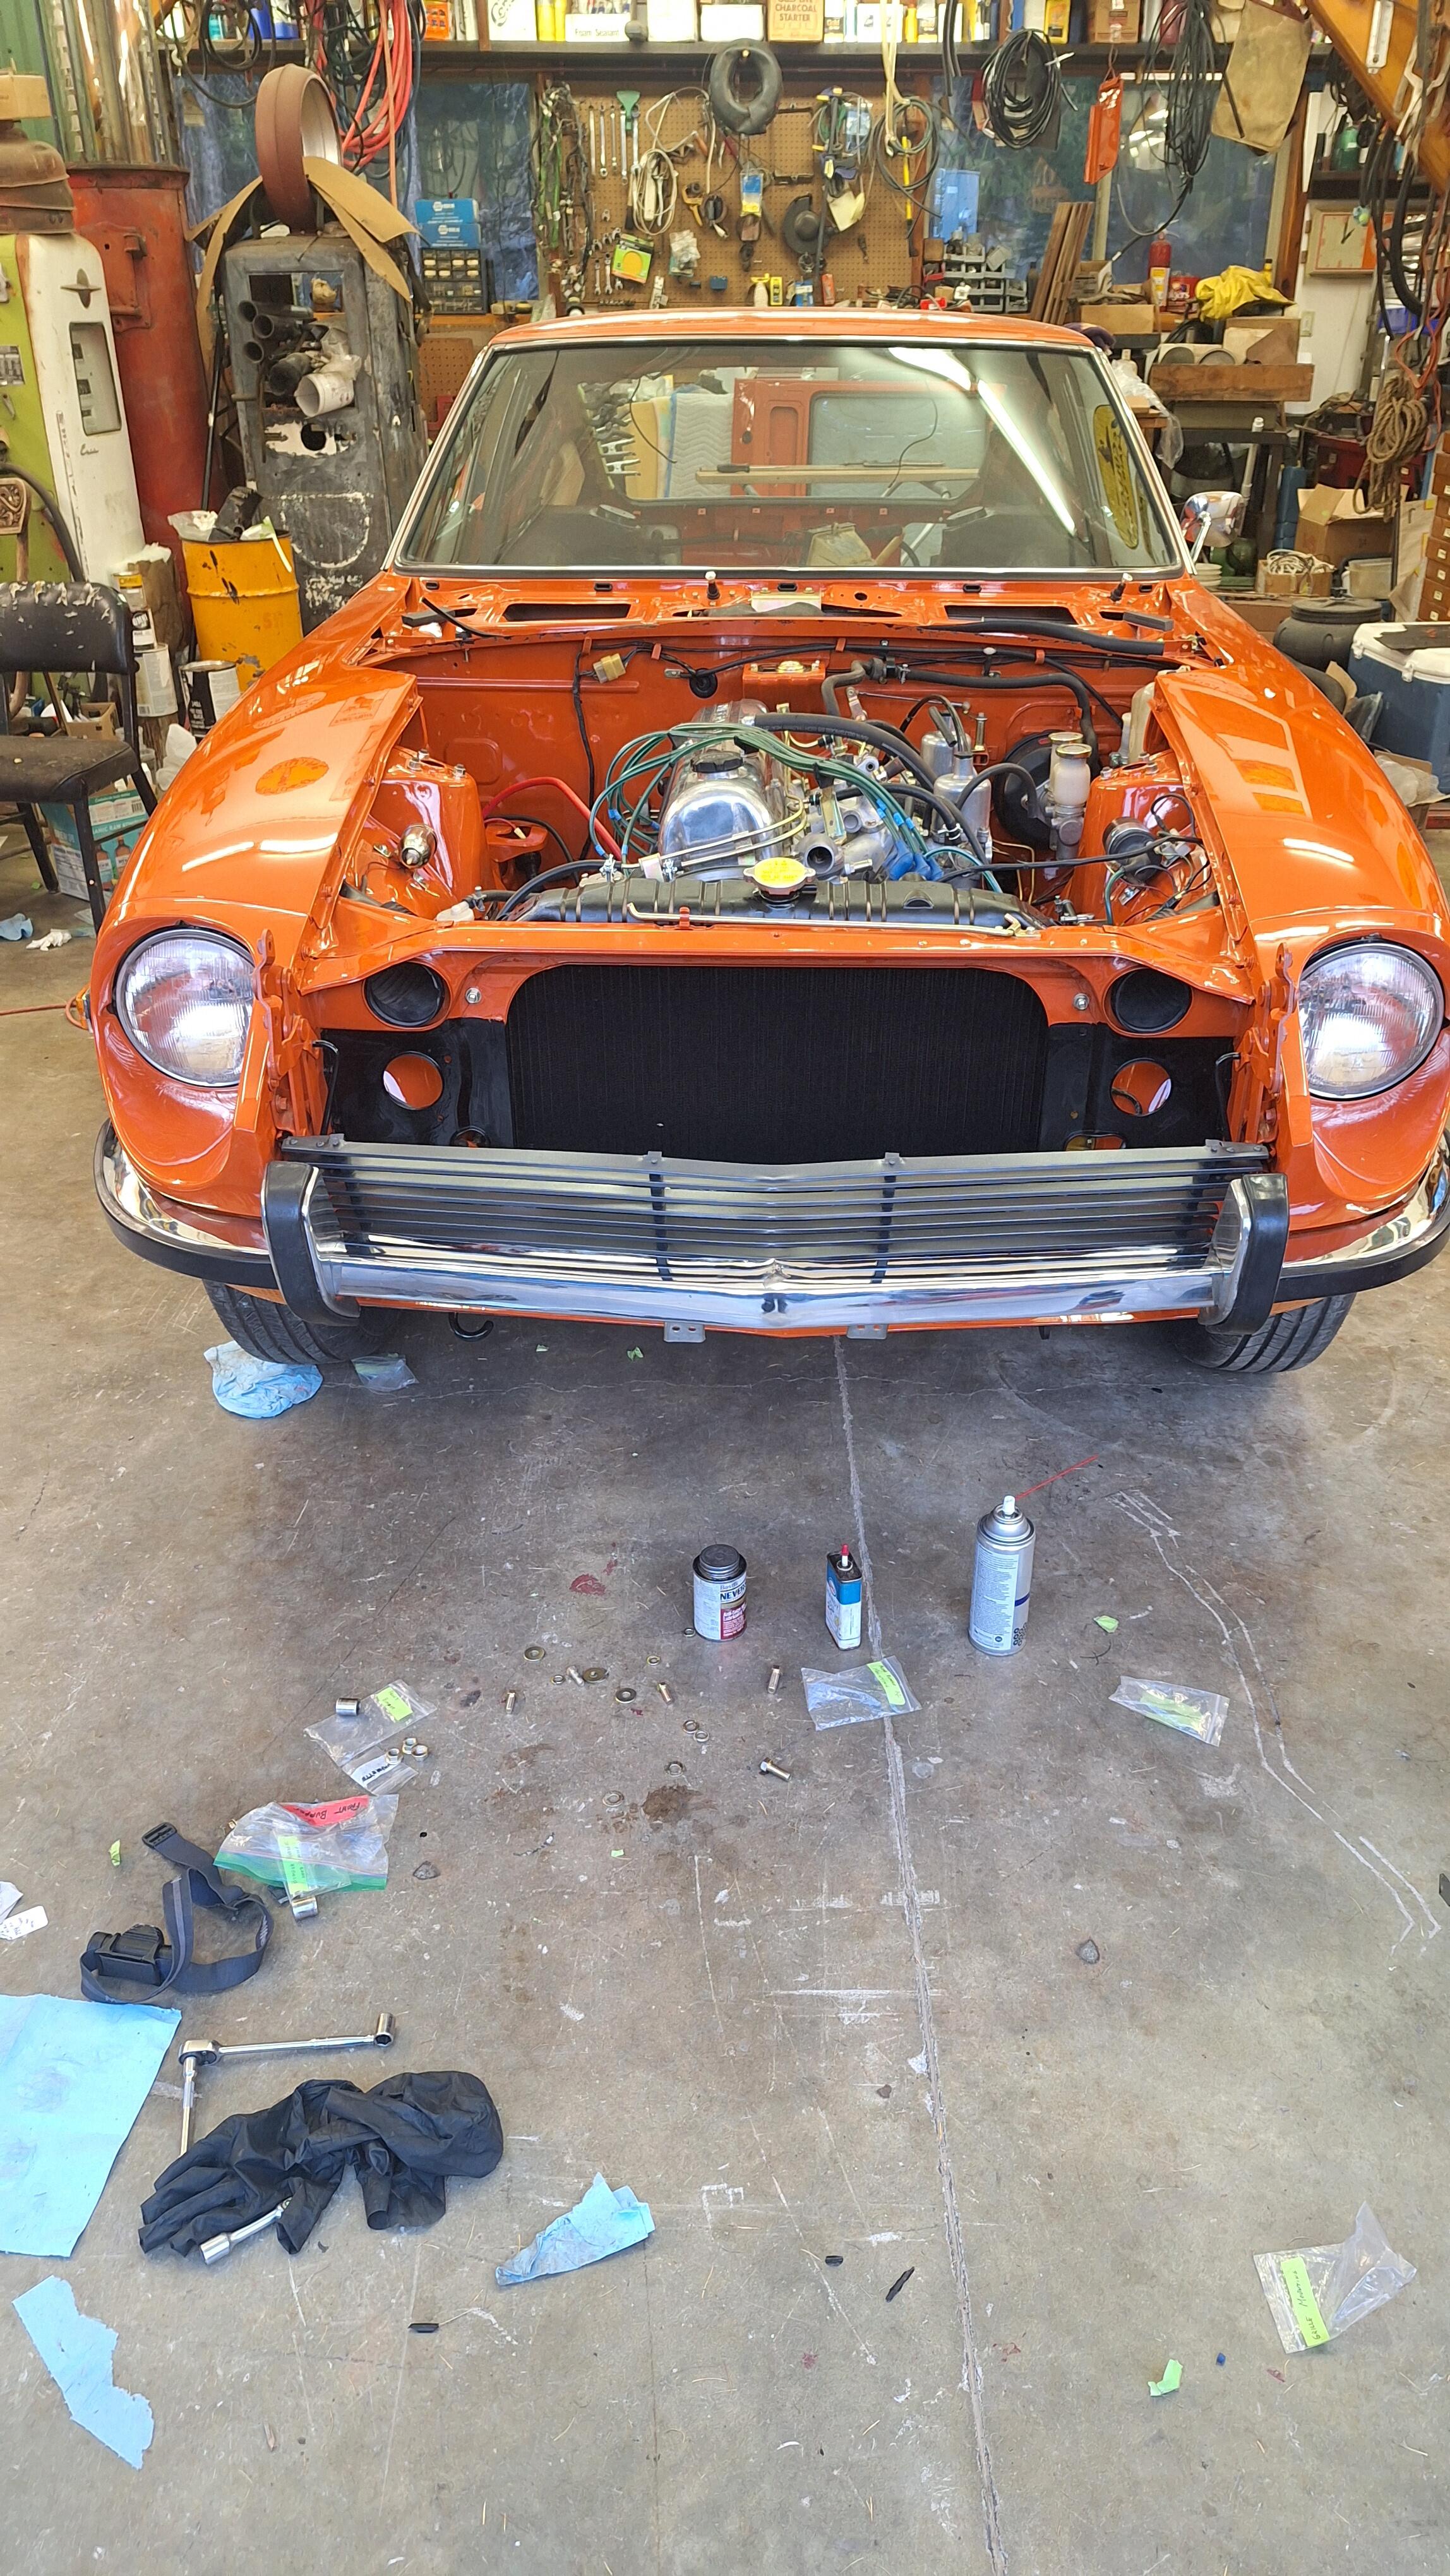
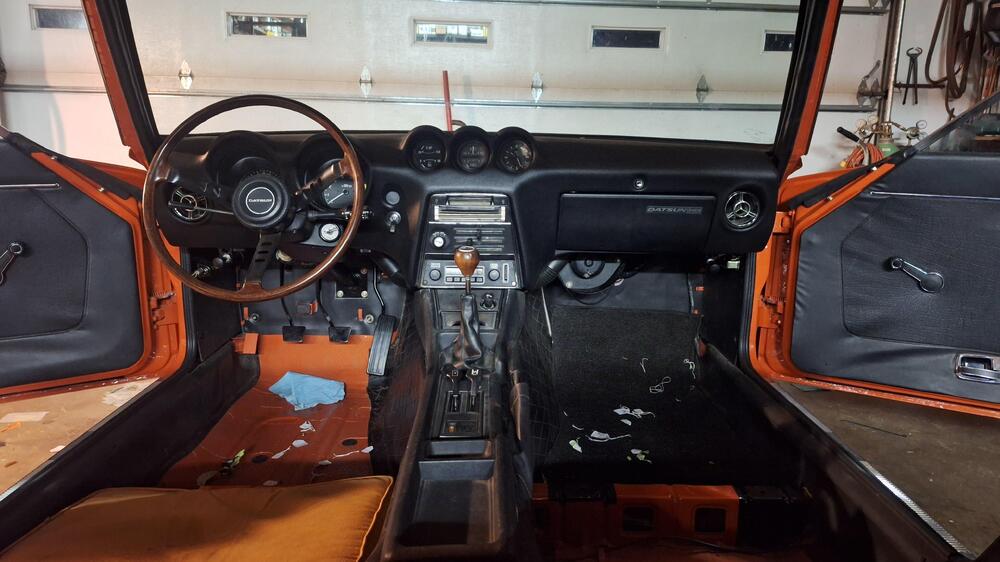
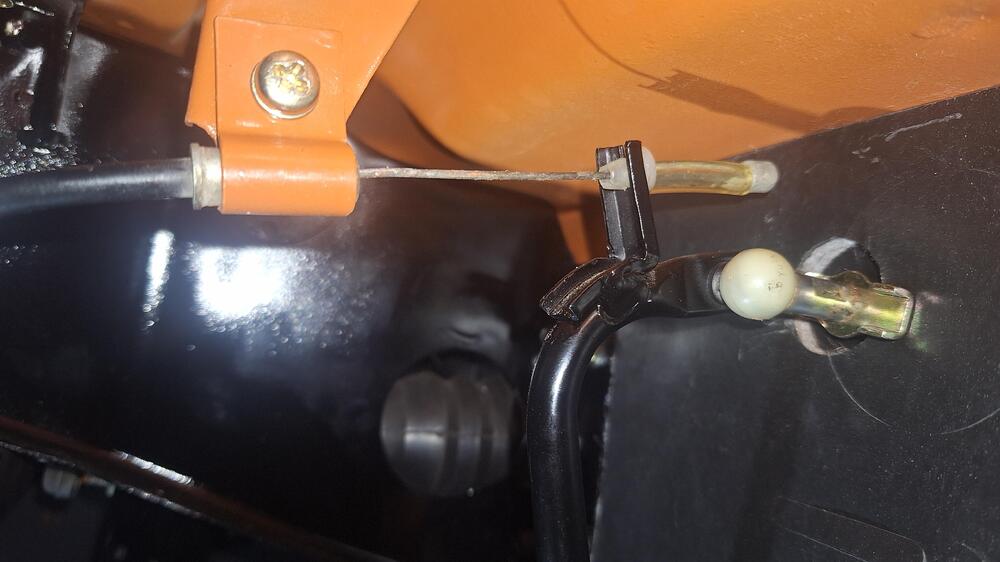
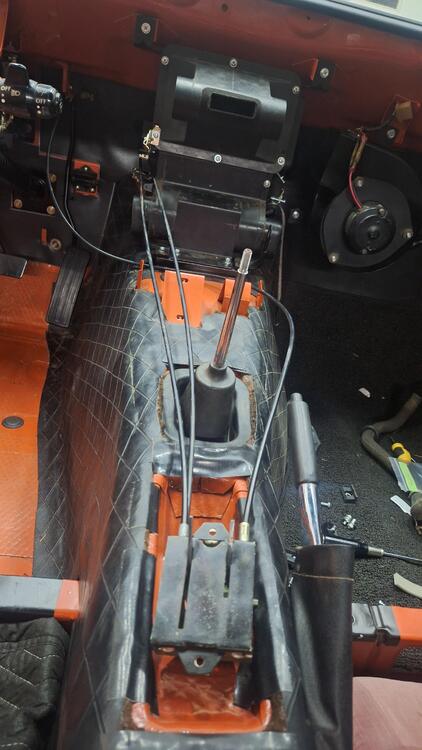
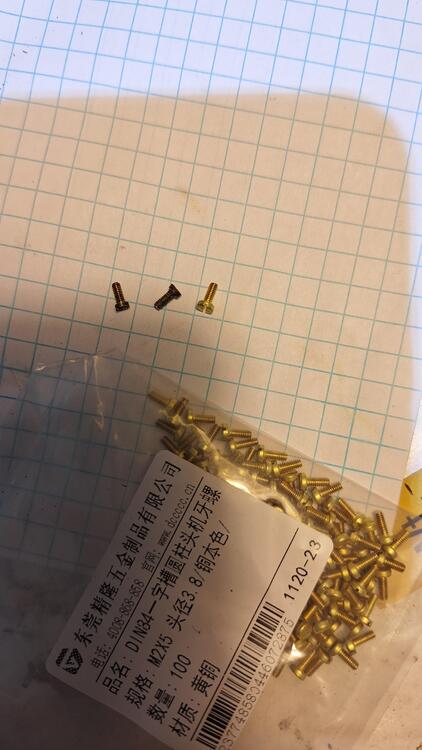
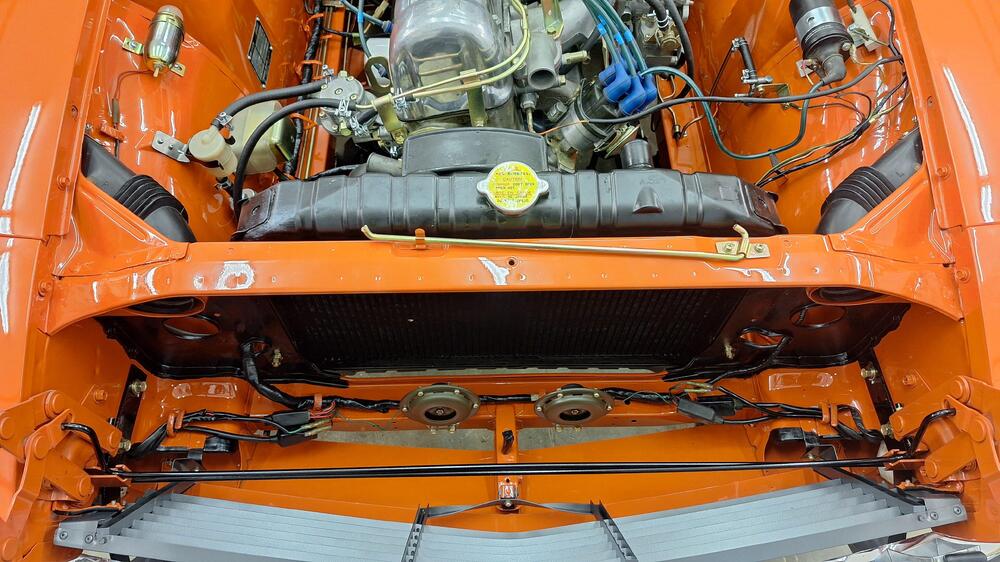
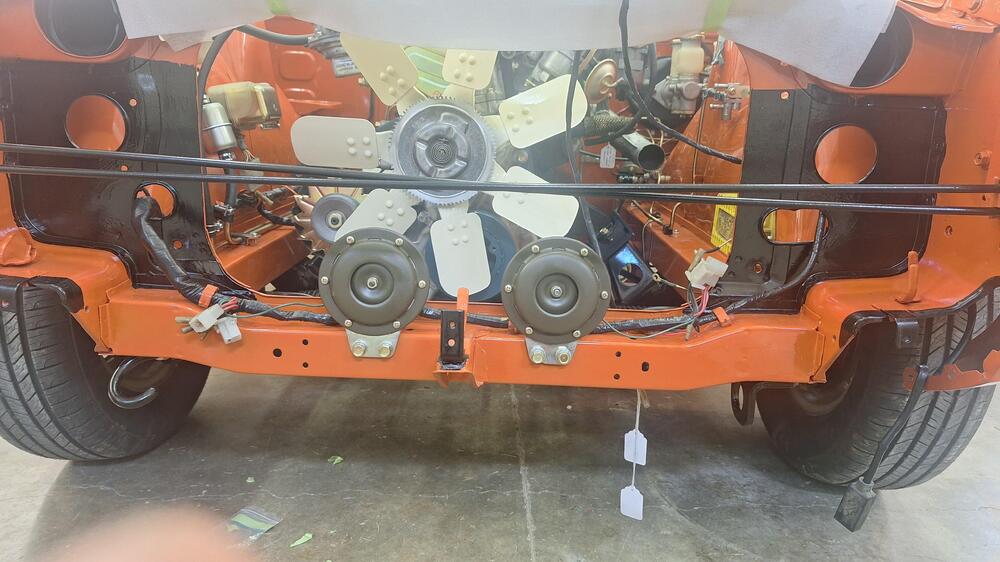
I started installing the console but first I had to route the choke and throttle cables. This is when I noticed how long the throttle cable was. I routed it this way but it was still a bit long at the pedal. If anyone needs some choke lever knob screws, I have 98 of them left 😆 I wasn't about to cut it, it looked original. Then I researched here a bit more and found the length of one for a left hand drive car. Huh, I had one for a right hand drive car. How in the world did it get on a car here in Montana? My solution was a piece of motorcycle fuel line, slit lengthways, and used as a spacer. It worked. I later cut the firewall pad around the throttle shaft so the wing nut rests against the grommet. Look how nice the dash finisher matches the dash. Installed the under fender brackets with foam, the fenders, headlights and the radiator, grille, horns, and bumper and the decals


-
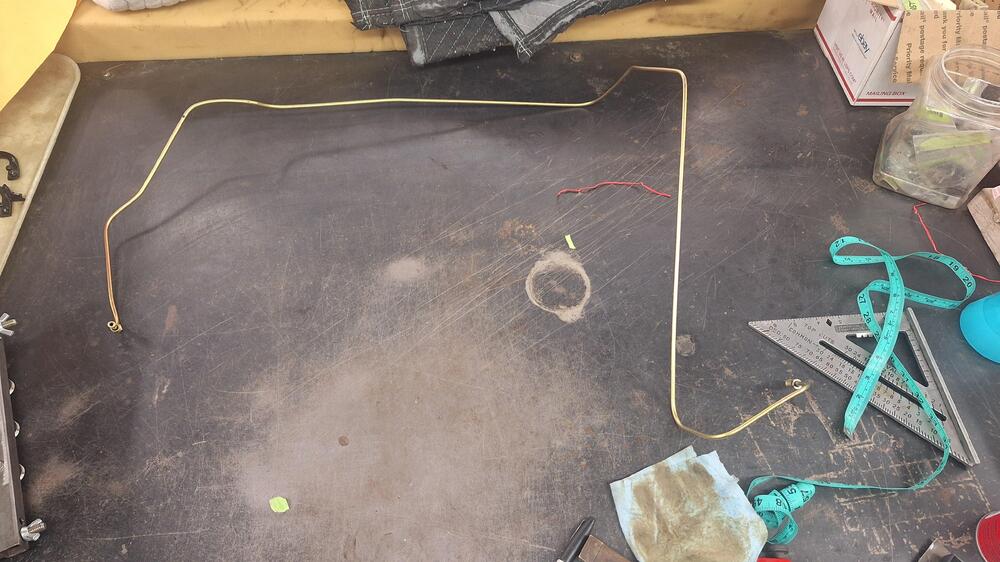
My brake troubles were not over yet. I noticed some fluid on the line going to the right front brake near the firewall, in 2 spots. The plating was gone and it was seeping out these pin holes. I have everything to make a new line, so I did. It isn't going to be plated but at this point I just want brakes. Also one of the rear wheel cylinders was leaking. At this time, I never thought to look on my parts car. I'm not paying $500 for an original wheel cylinder, that's just absurd. I bought some from Rockauto for $45 each and made new brake lines for those, keeping my original lines for later. I got all the leaks stopped and had a heck of a time bleeding the rear brakes. I finally realized the highest point of the line had to be at the firewall. That's where my bubble was. I had the front of the car jacked up, I let it down and the air bubble travelled to the rear and finally out.


-
Oh thank you! I ended up having 2 spare gas tanks around from that parts car 🙂 so I just swapped the sending unit, softened the rubber boots so I could get the connectors on easily, which worked great. No more leak. So if you were going to repair a leaky connector on one of these sending units, would you repair the inside of it with sealant, jb weld, or the outside of it, or both?
-
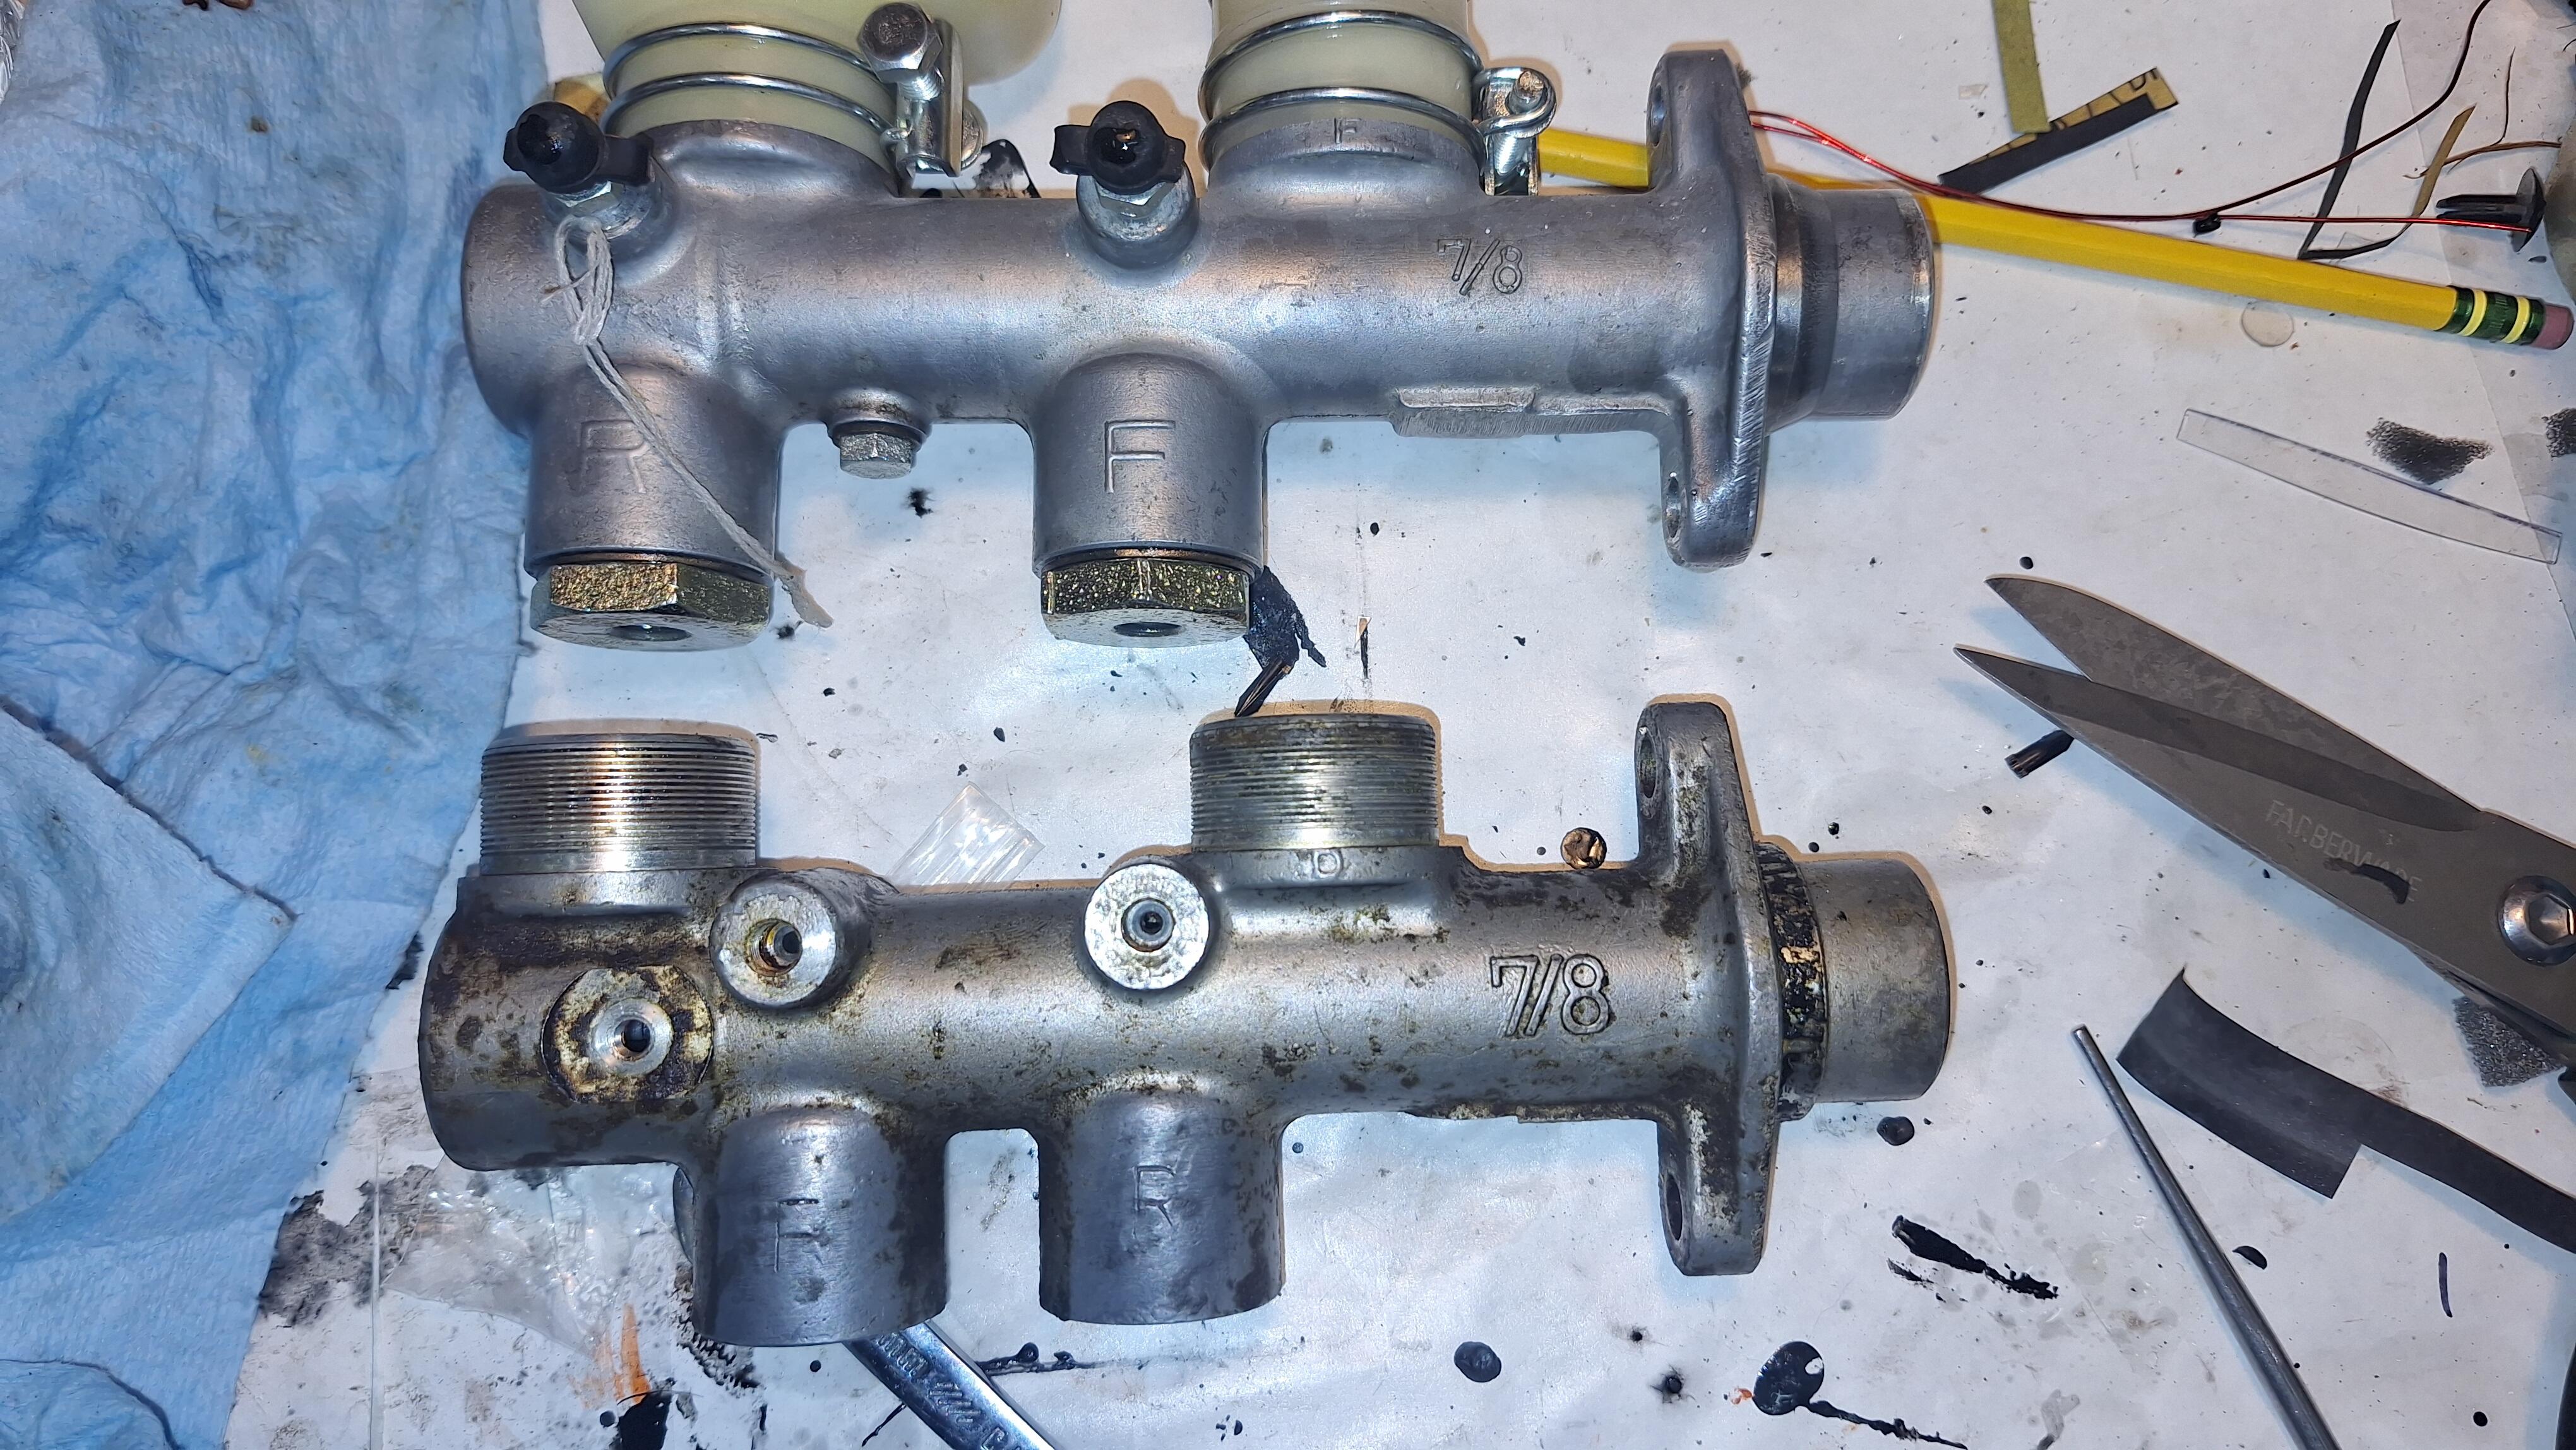
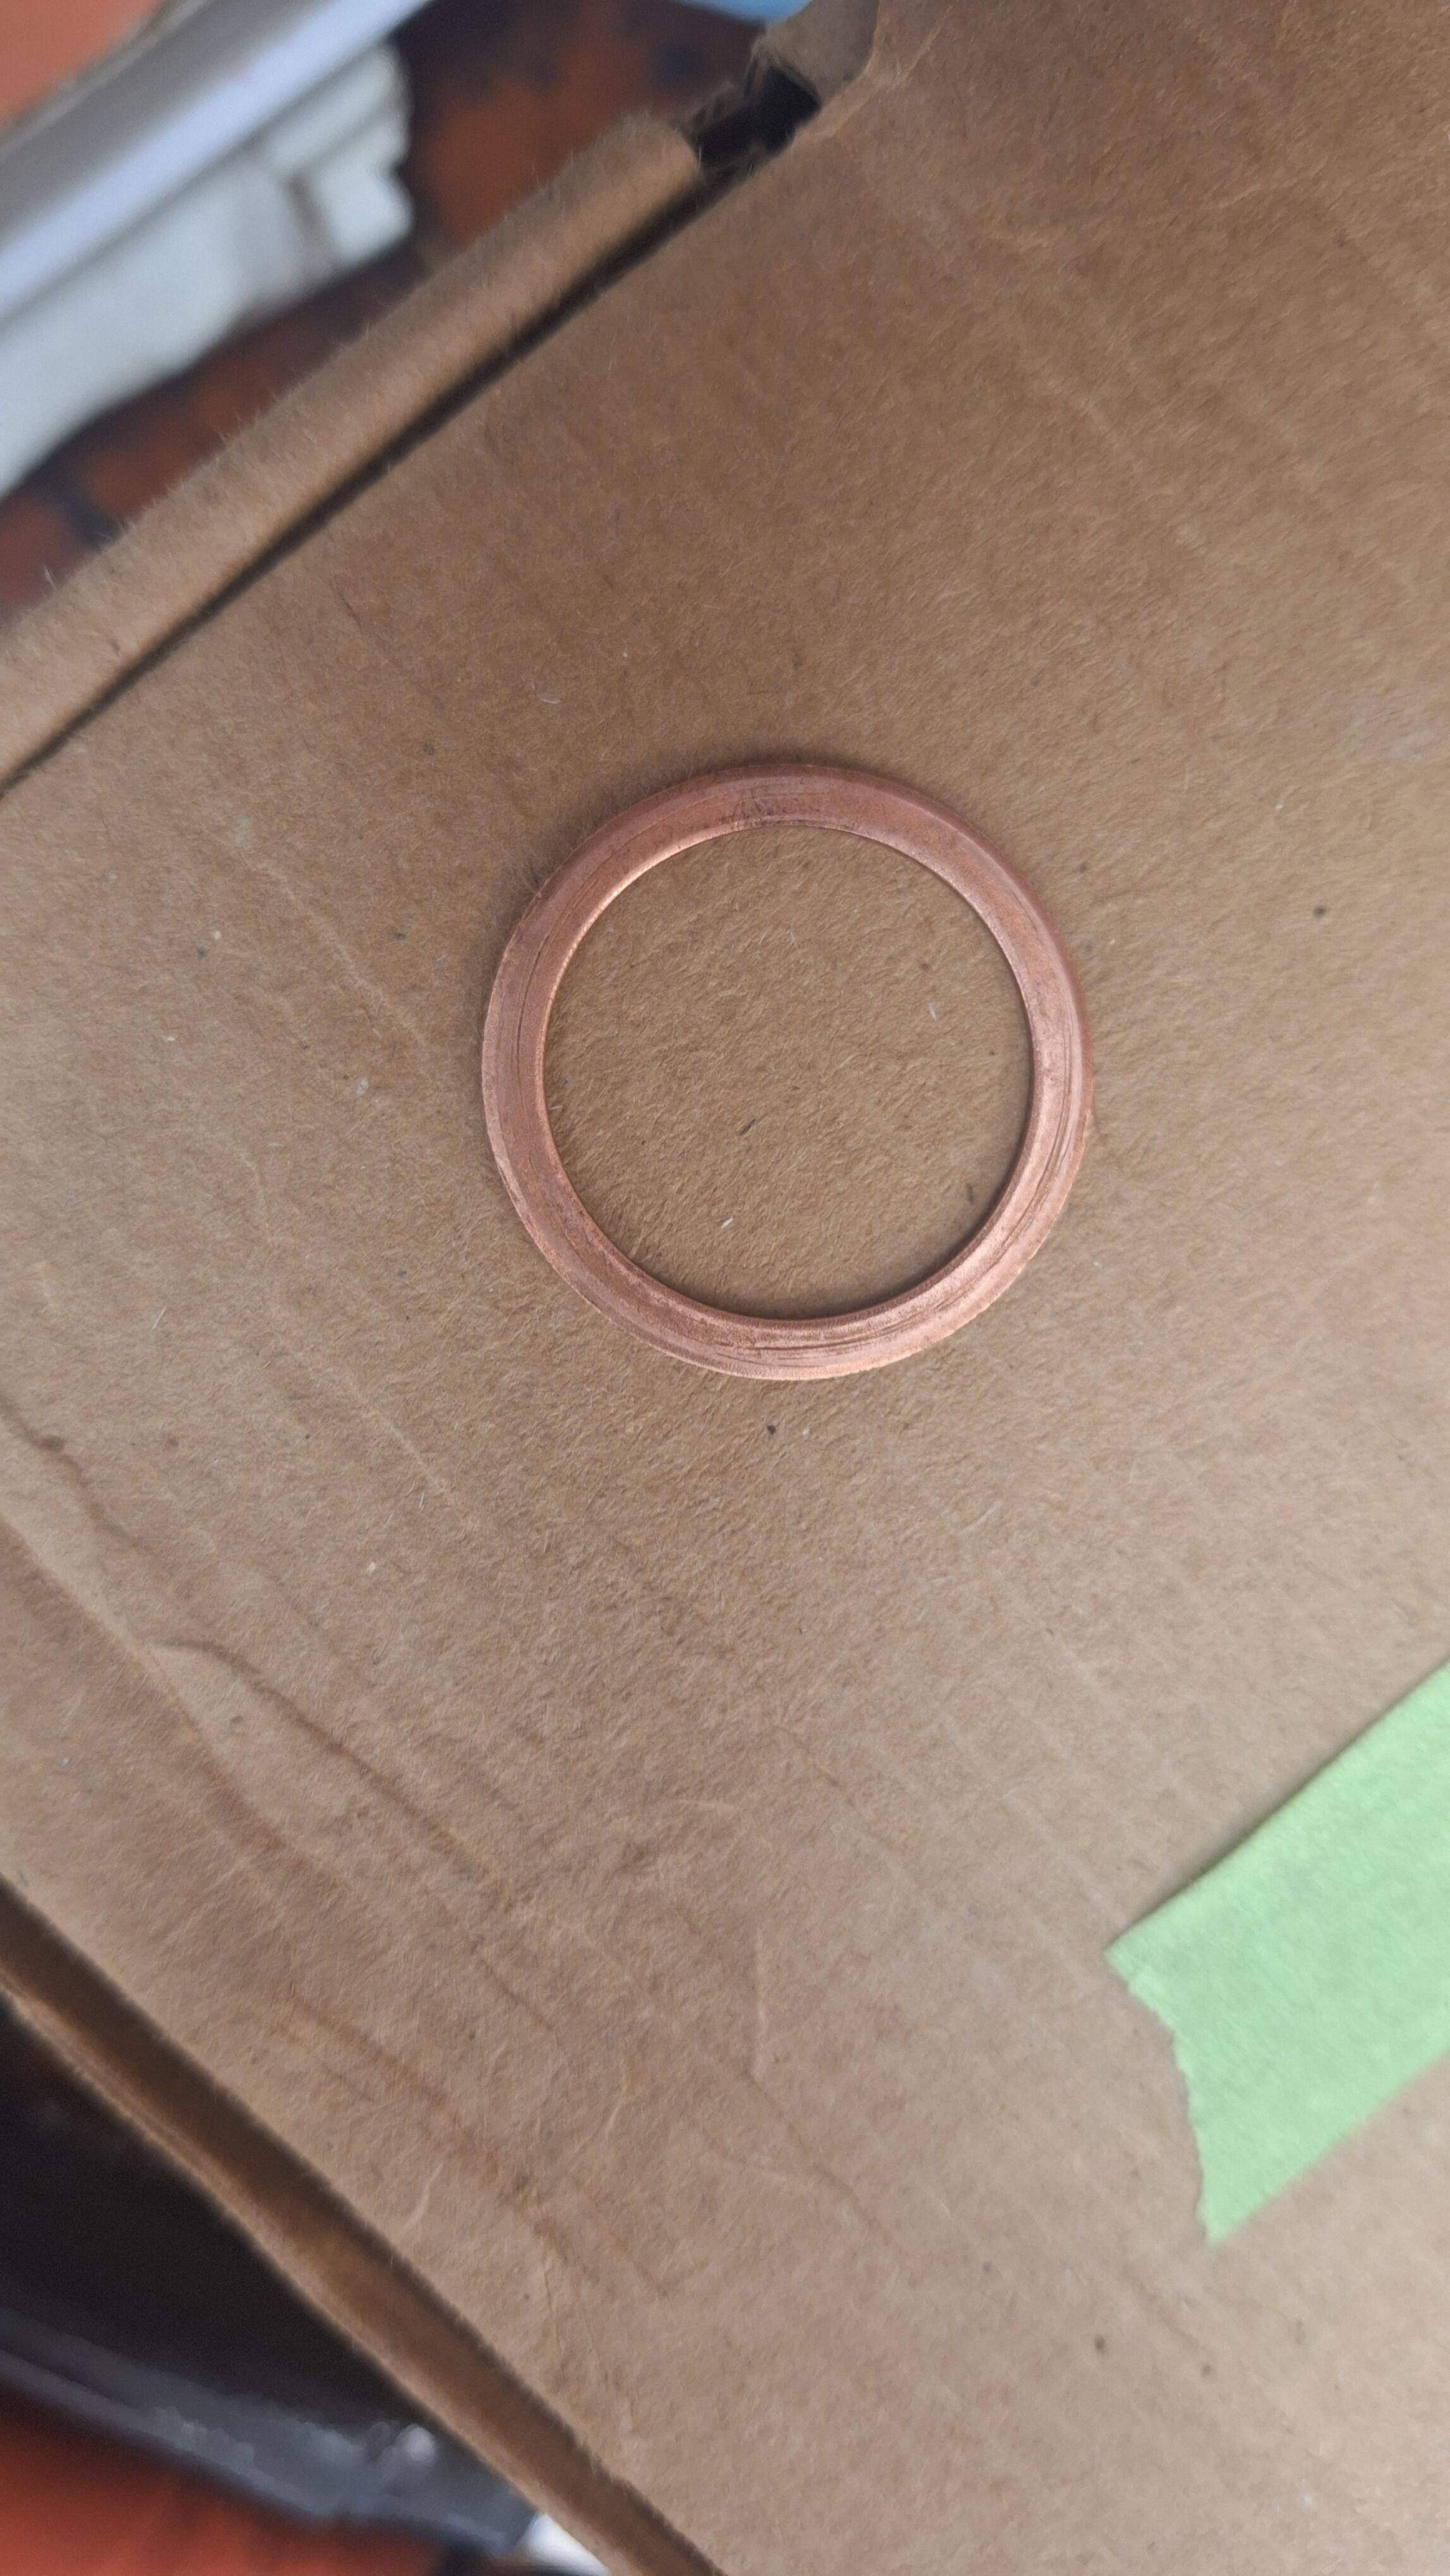
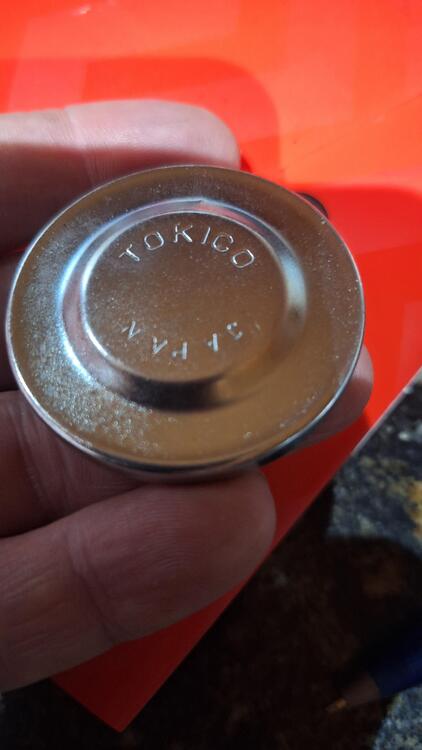
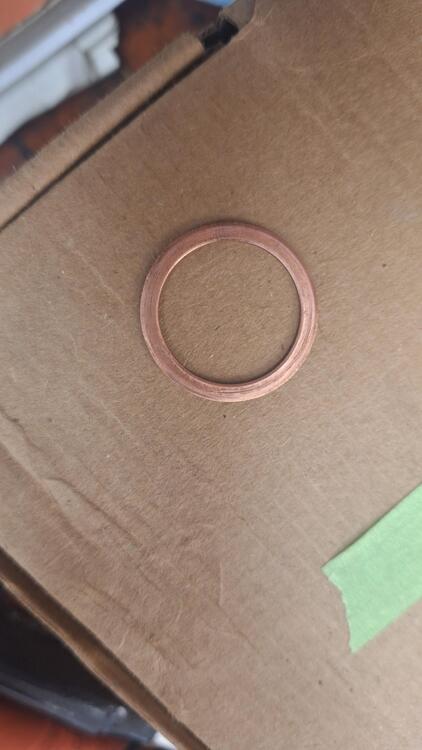
Installed the fan, 1st of many times, and the horns. I had the radiator re-cored back in 2021, it's been in a box in the loft for 4 years. I had the brake booster re-done as well in 2021. I tried to rebuild the brake master cylinder but...........I'm about to learn something. I have a few fenders off that parts car and measured and located the holes for the emblems, as well as the hatch. My hatch emblem holes were covered up, but I could find them from inside the hatch, underneath. So I removed the hatch. The fenders had no holes as the bottoms of them were replaced. The master cylinder on my car leaked, not only the copper sealing washers leaked, but was leaking back into the brake booster. Not a good situation with all this fresh nice paint. It was about this time I realized I don't even have the correct master cylinder on this car. The rear reservoir is going to the front and visa versa. That's the way I found it. Makes me wonder of it really makes any difference, this swap was done decades ago. It just so happened I got a master cylinder with my parts car, and it was the correct one. It had one good cap. Here's what an early cap looks like. Too late to stop now, haha, dang it, so I sent it to White Post Restorations. I installed it and guess what, it leaked...out the copper sealing washers where those big fittings are on the bottom. Because these new copper sealing rings are too hard, harder than they used to be, I heated them up to a glowing red, to anneal them, align the properties. I don't think it matters how you cool copper, quickly or slowly, the end result is the same. Sure enough it made them soft and they sealed.


-
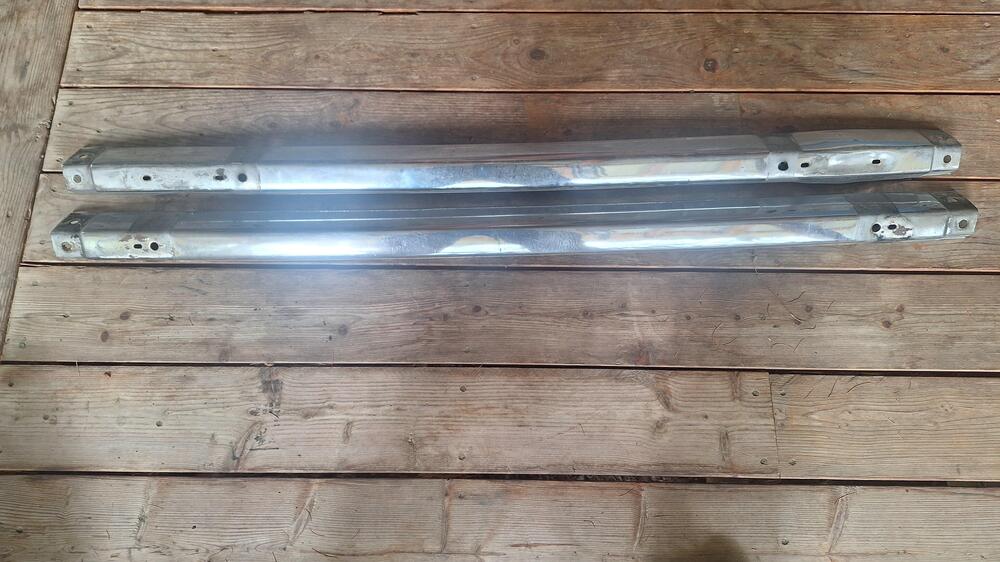
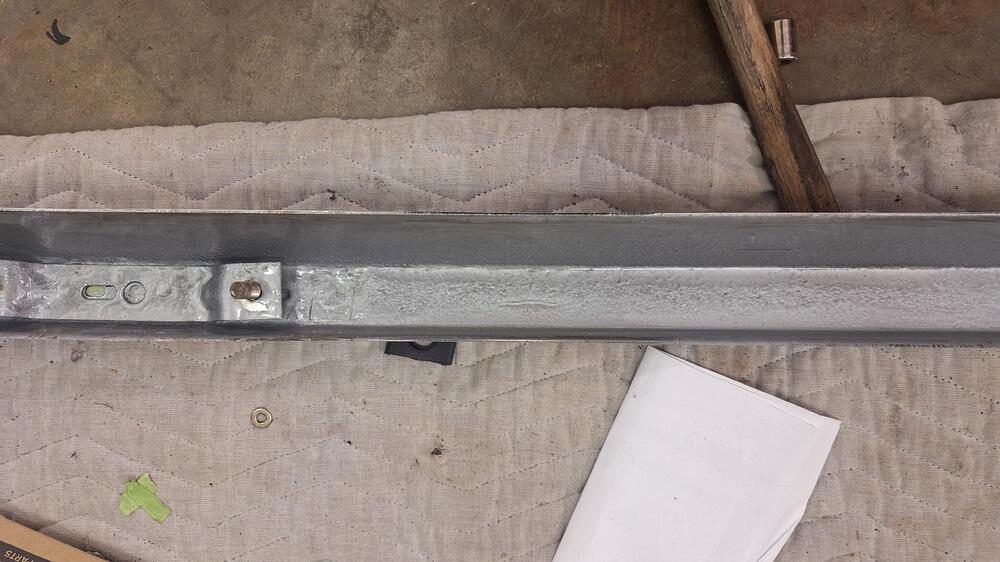
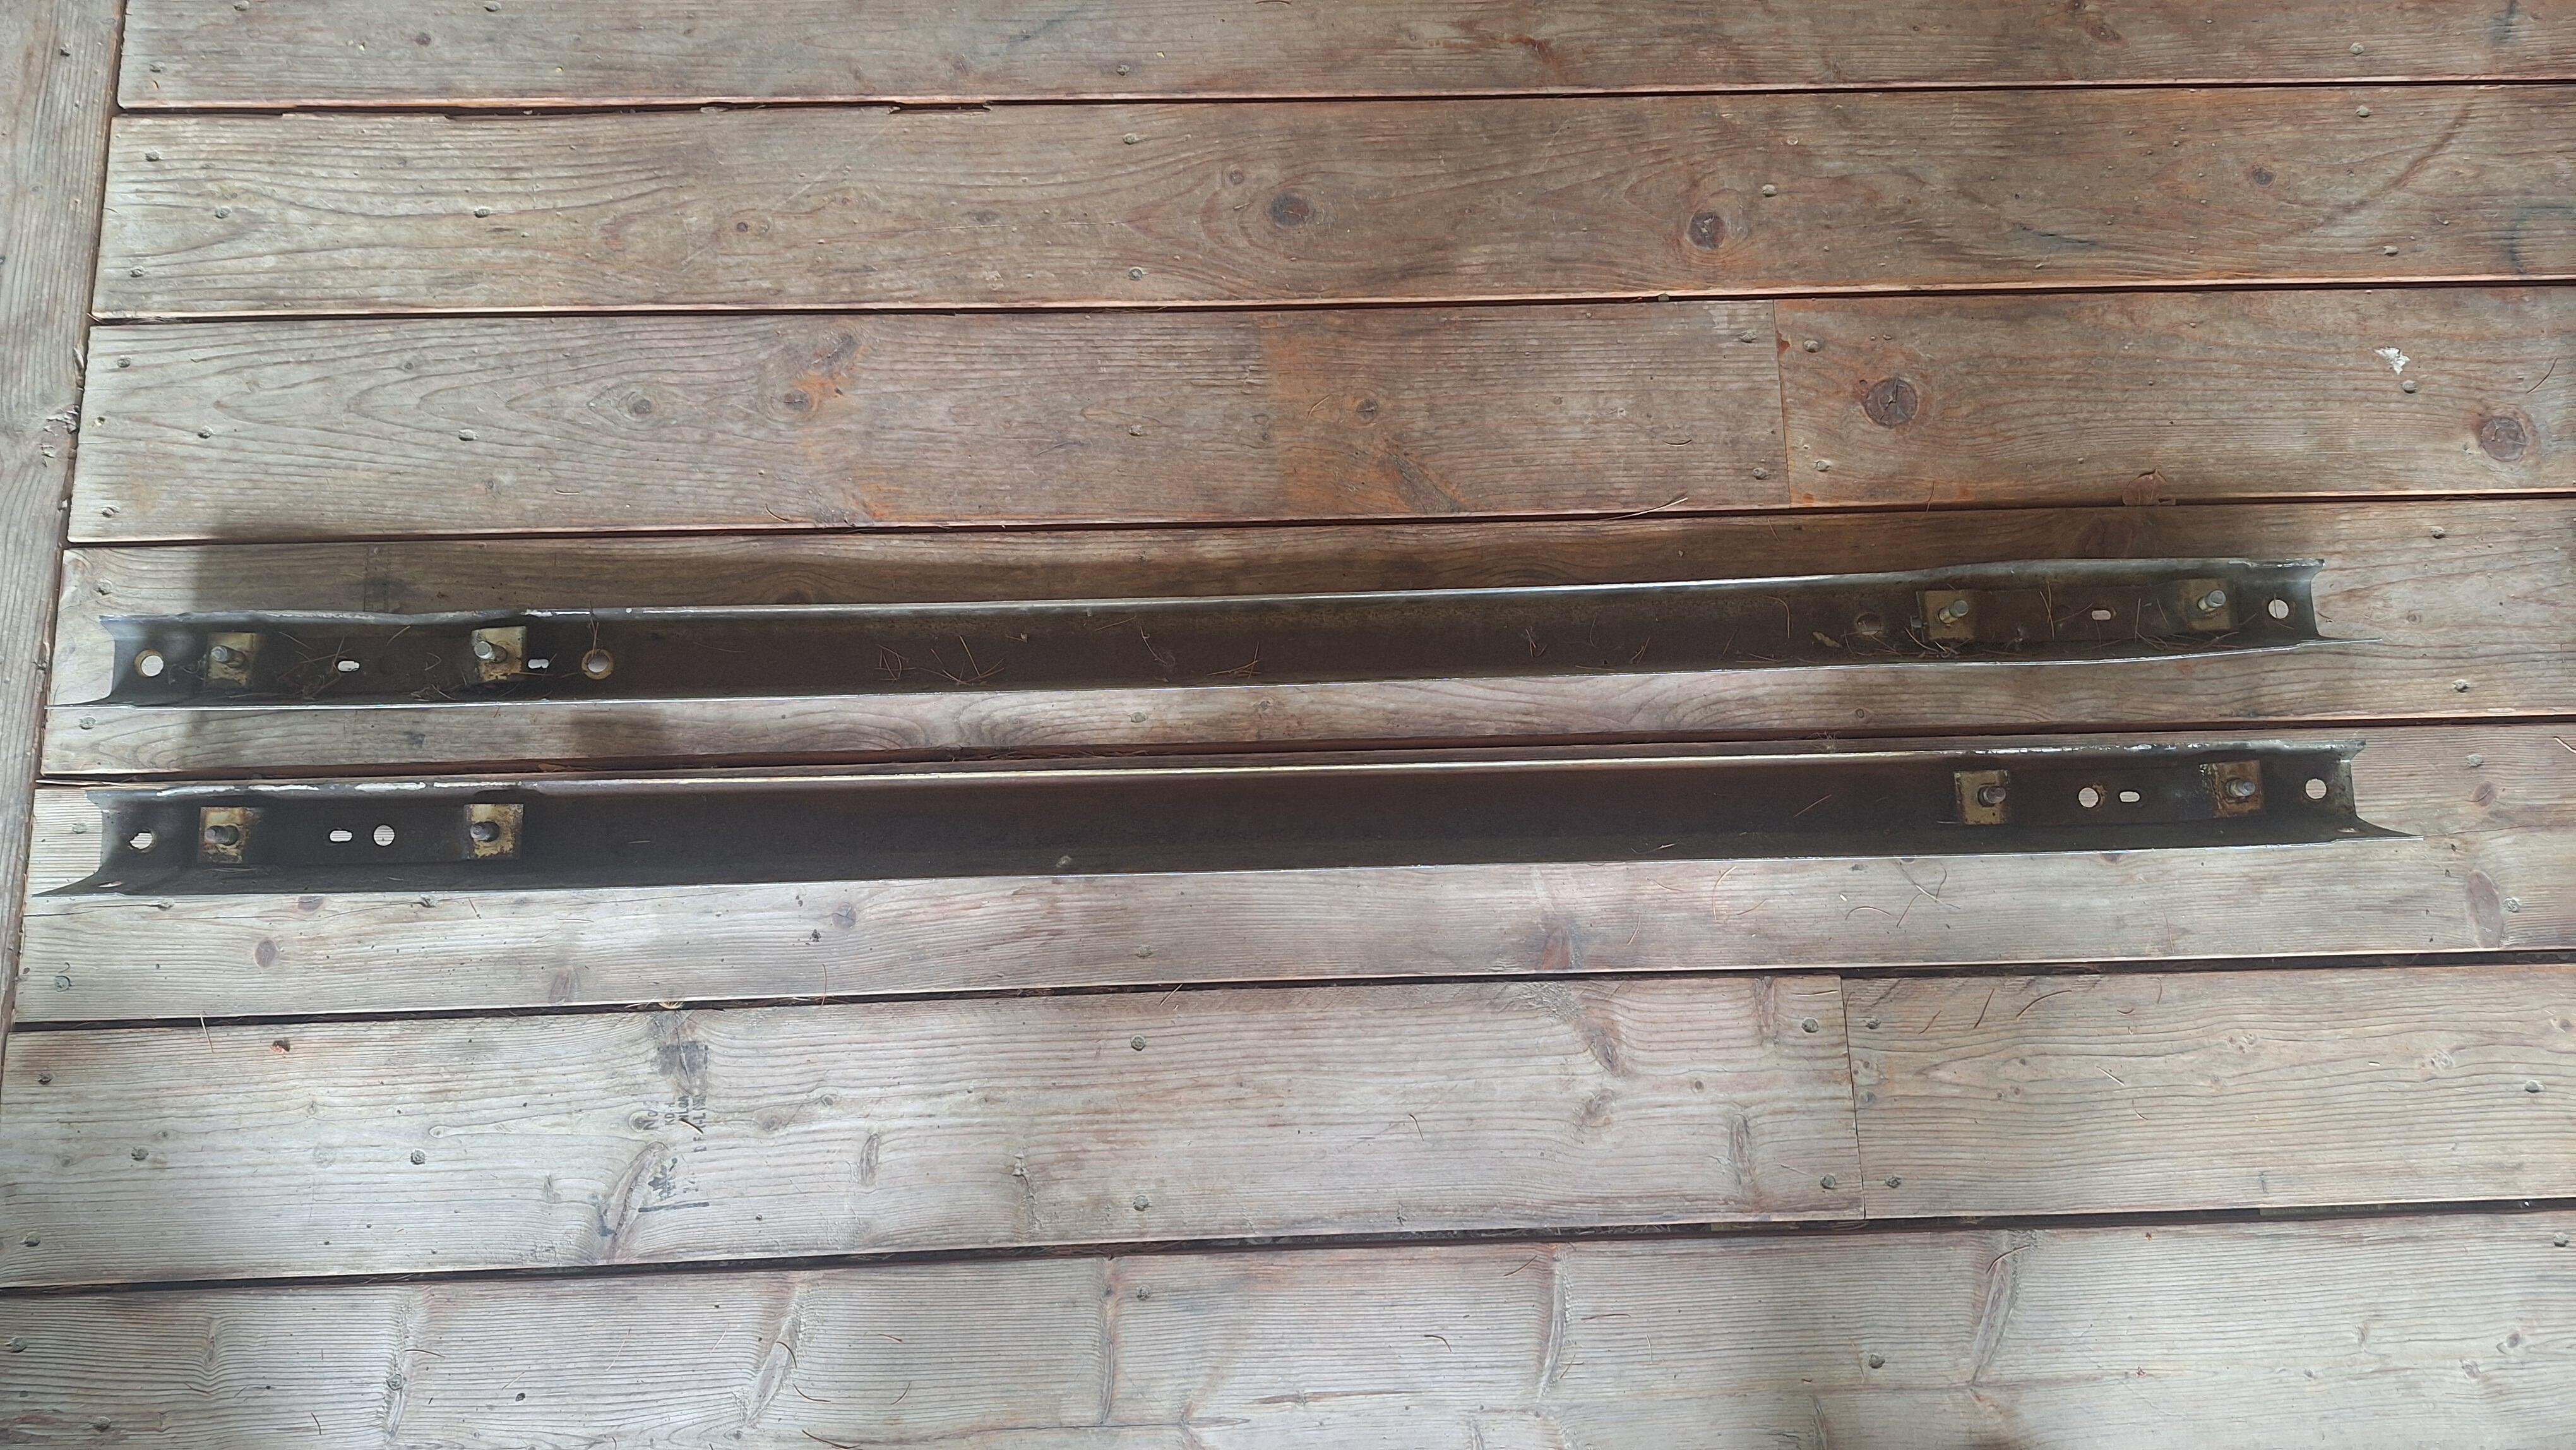
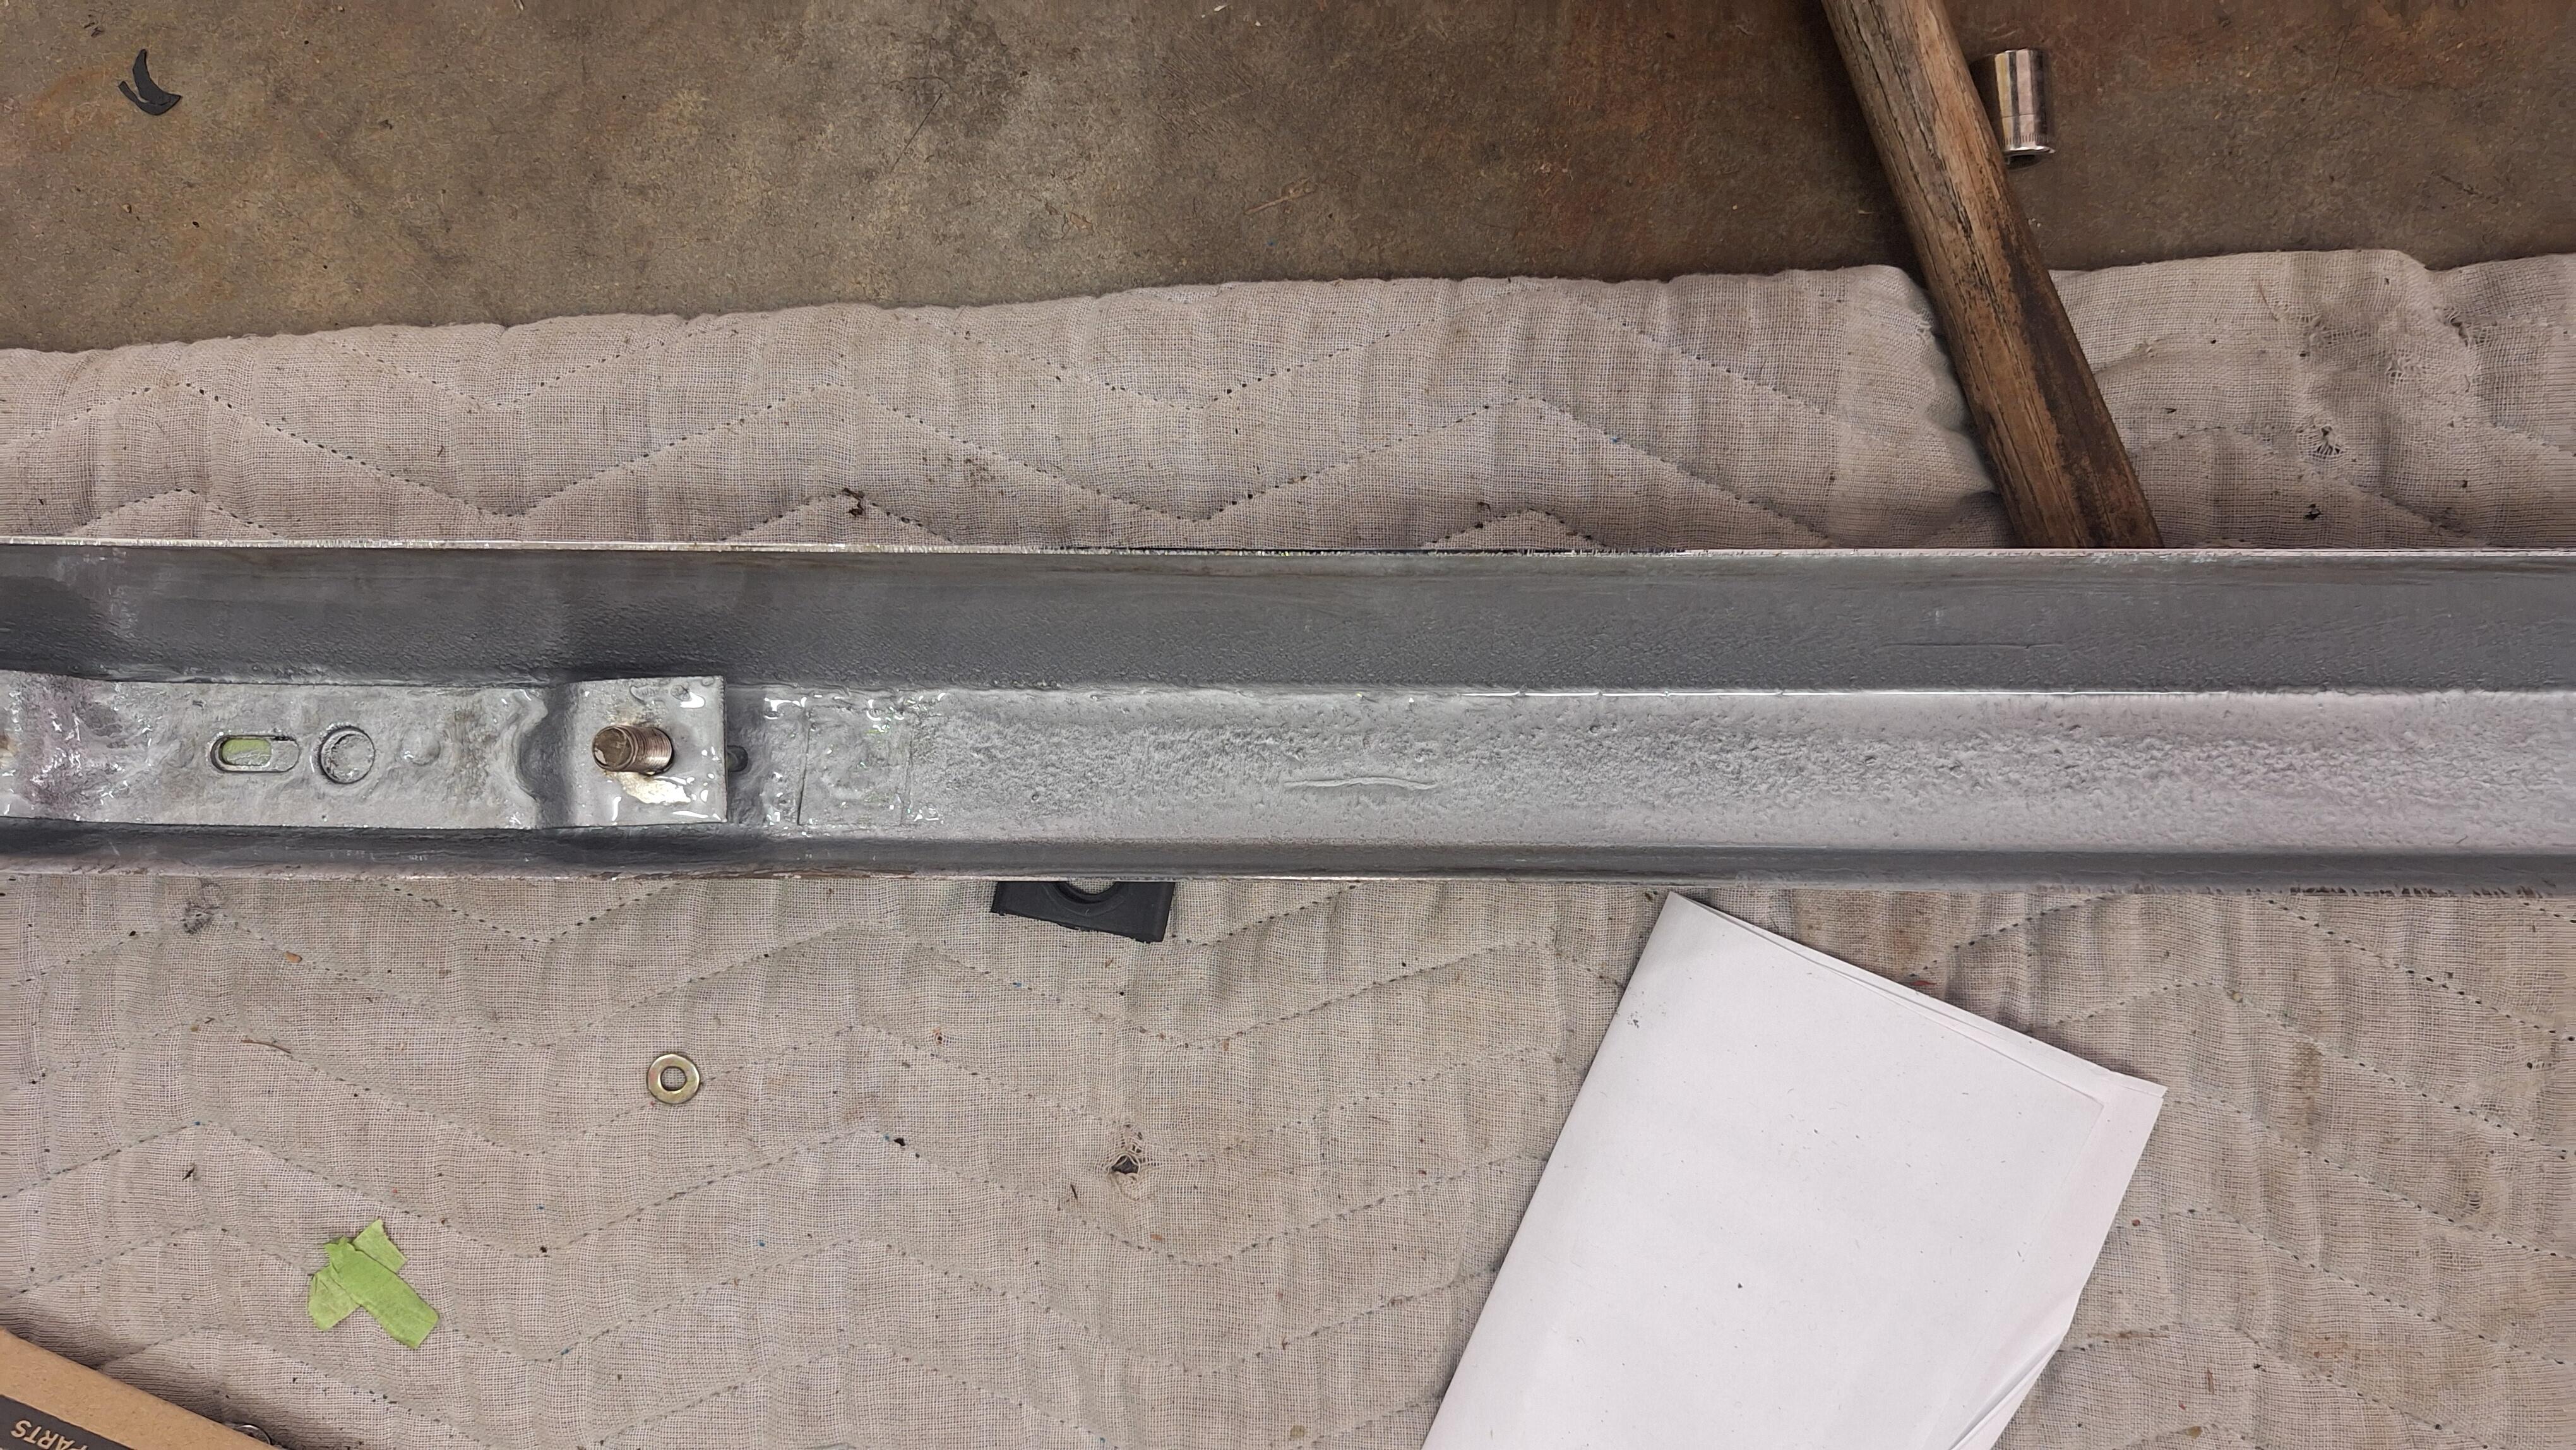
I got all the rear bumpers together, I had 2 off that parts car, That car is really paying off now. I got the best pieces and decided to treat the backs with POR. here's the difference in the 71 and 72 rear bumpers. I straightened out the dents on my press.