


Parman
 Subscriber
-
Joined
-
Last visited
Everything posted by Parman
-
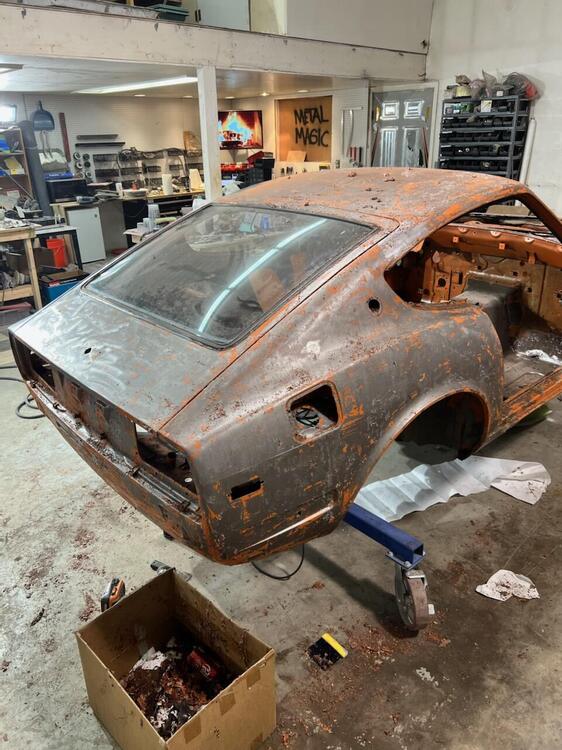
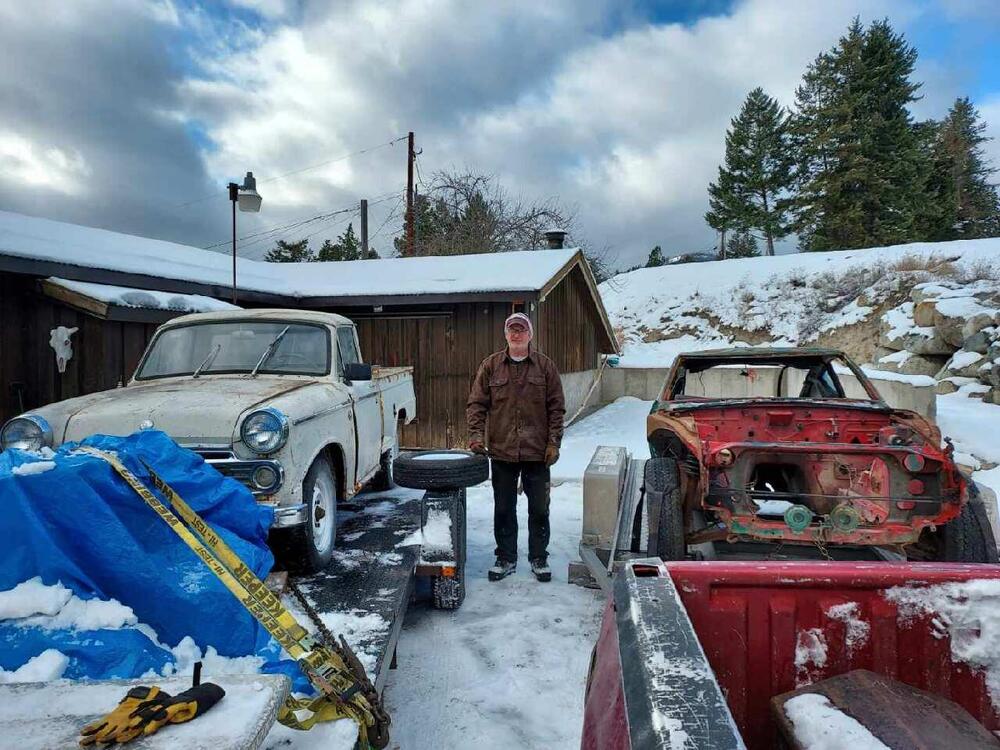
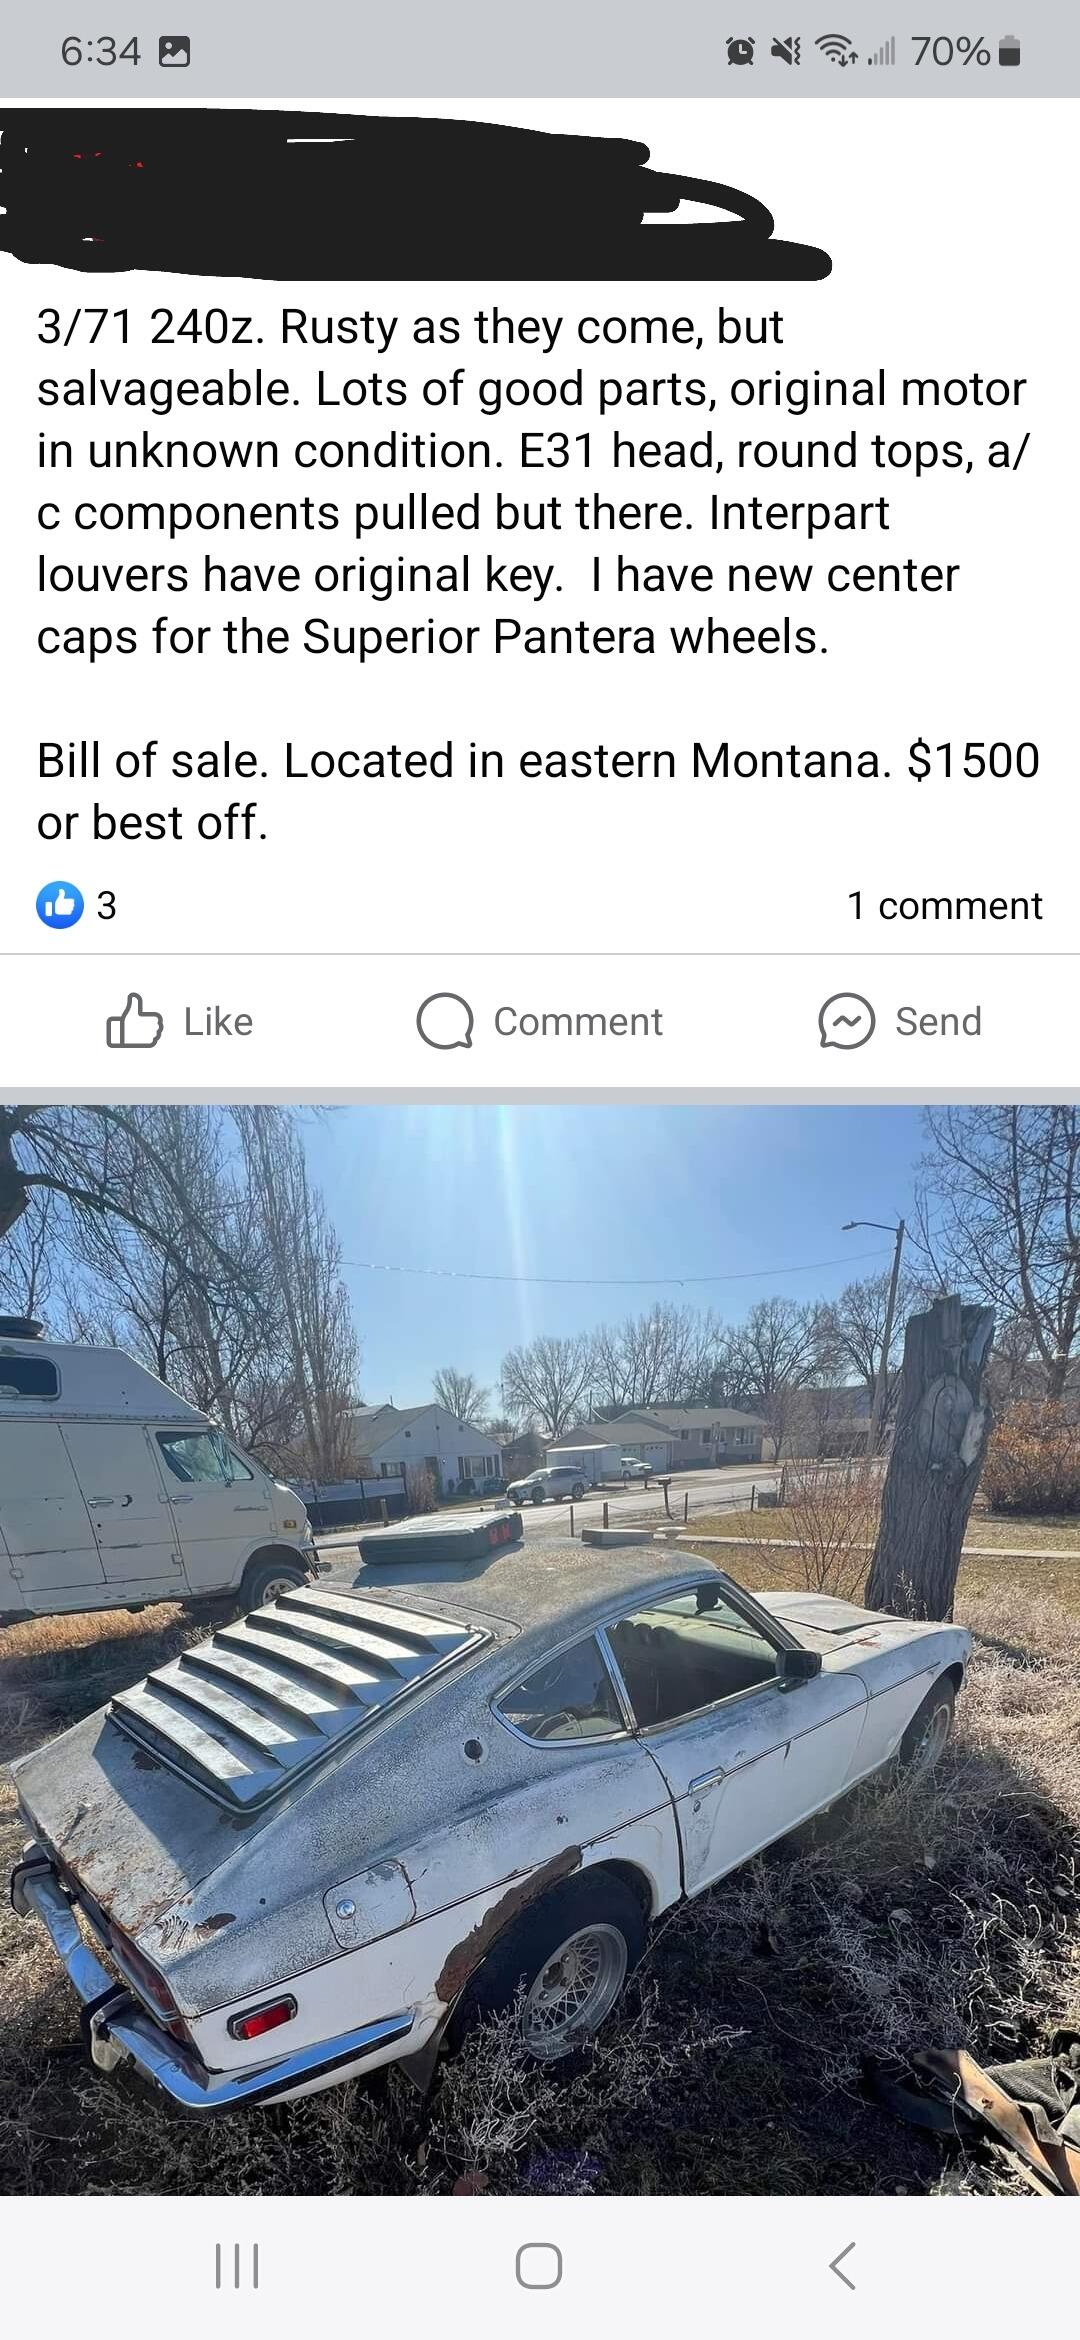
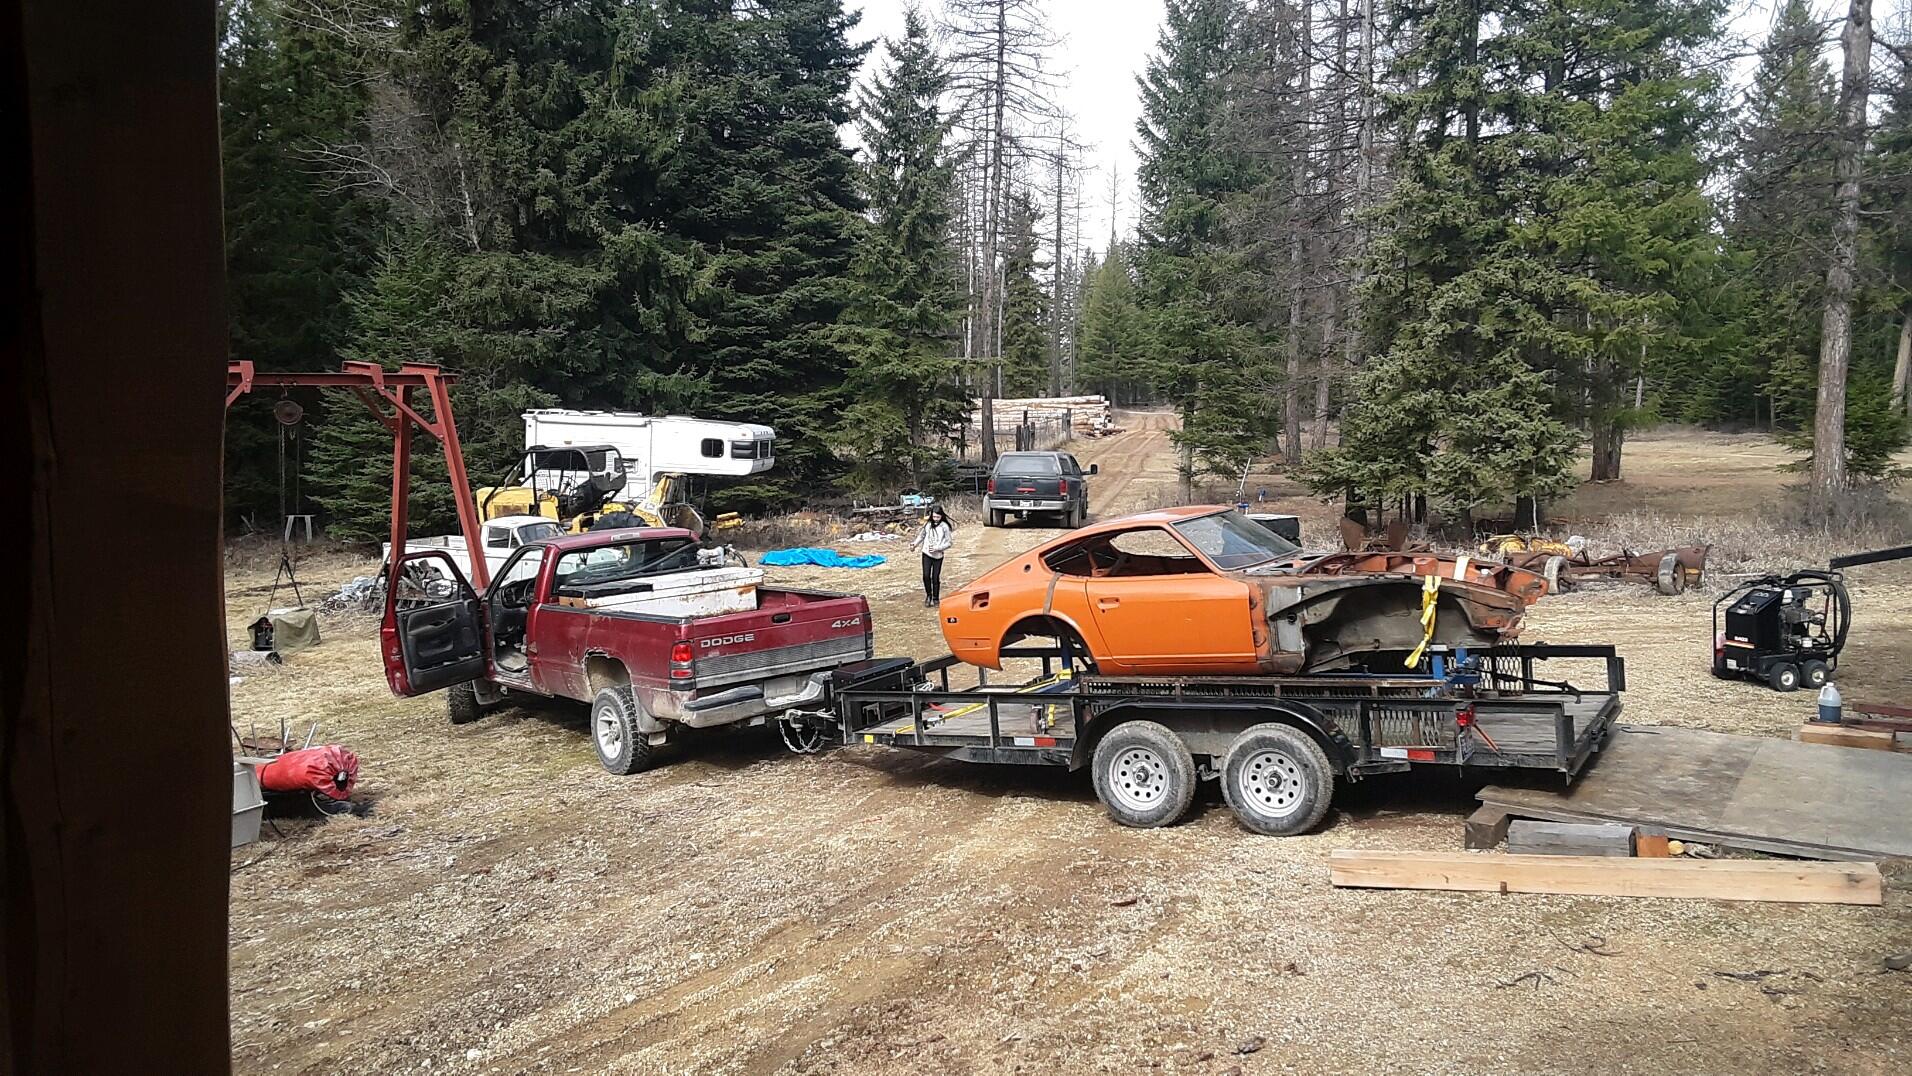
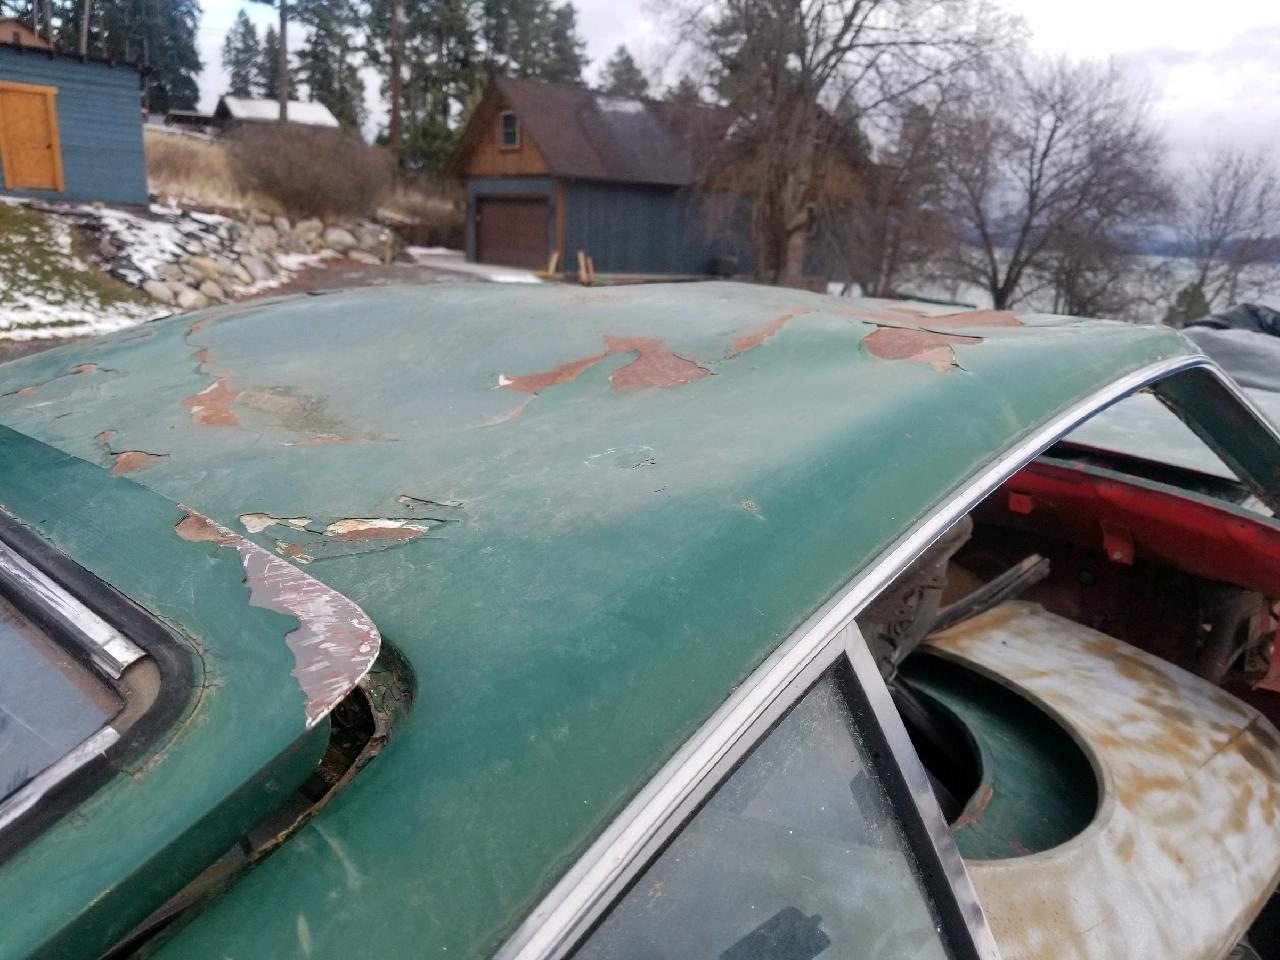
Now I'm a 240z addict. I just happened upon a facebook post for a car described as "as rusty as they come" about 500 miles away on snow packed roads and mountain passes. I couldn't believe my eyes! What the........I surely didn't want to make that drive on these roads, but looking back, I should have. Do you see what I see?


-
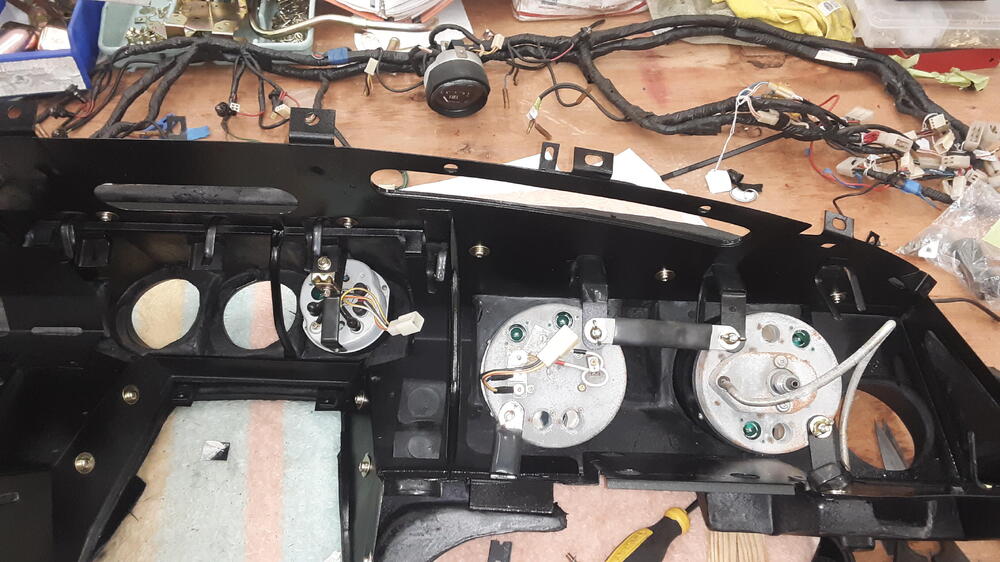
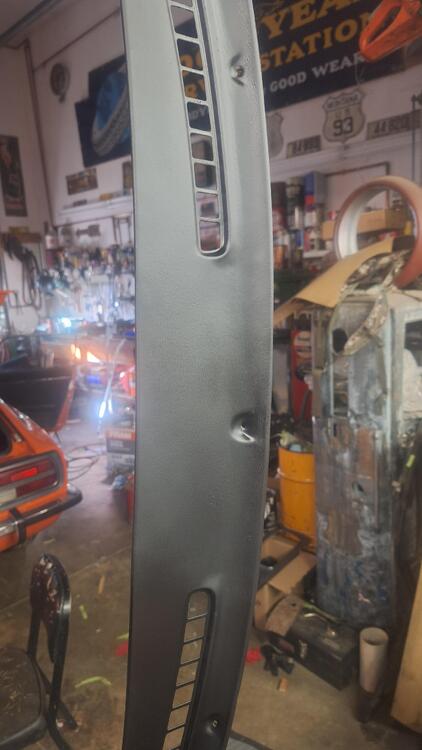
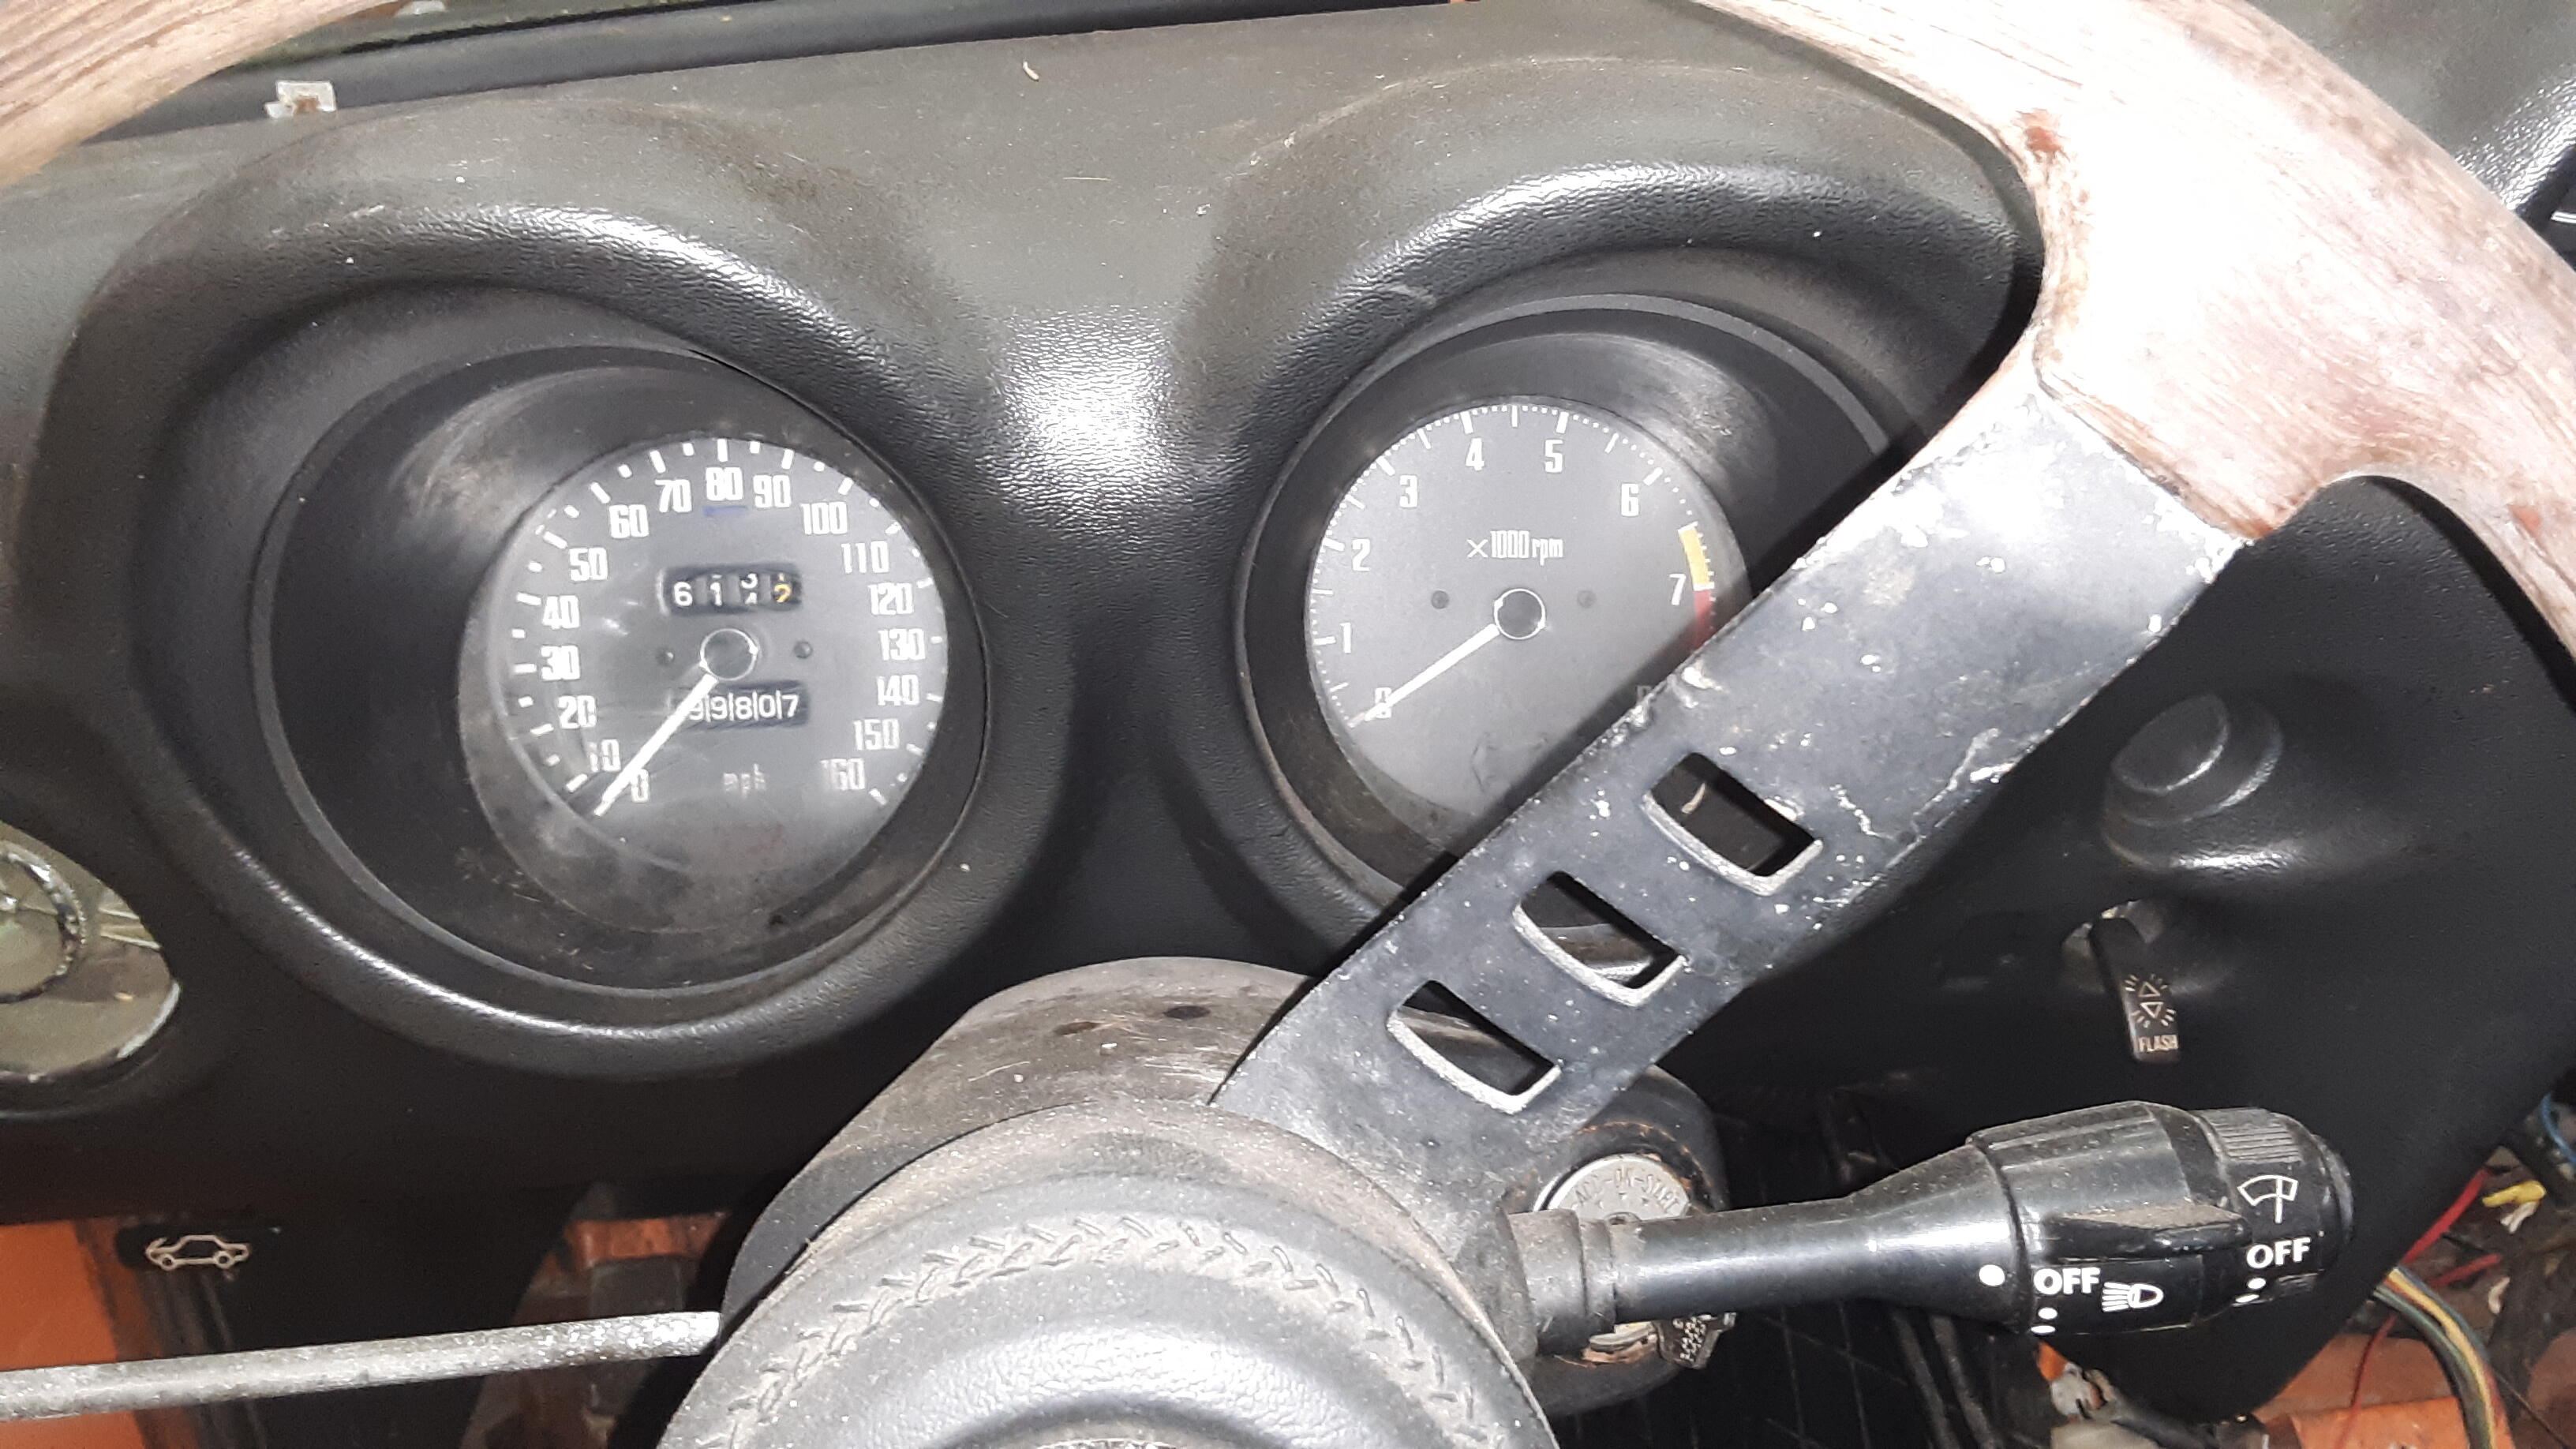
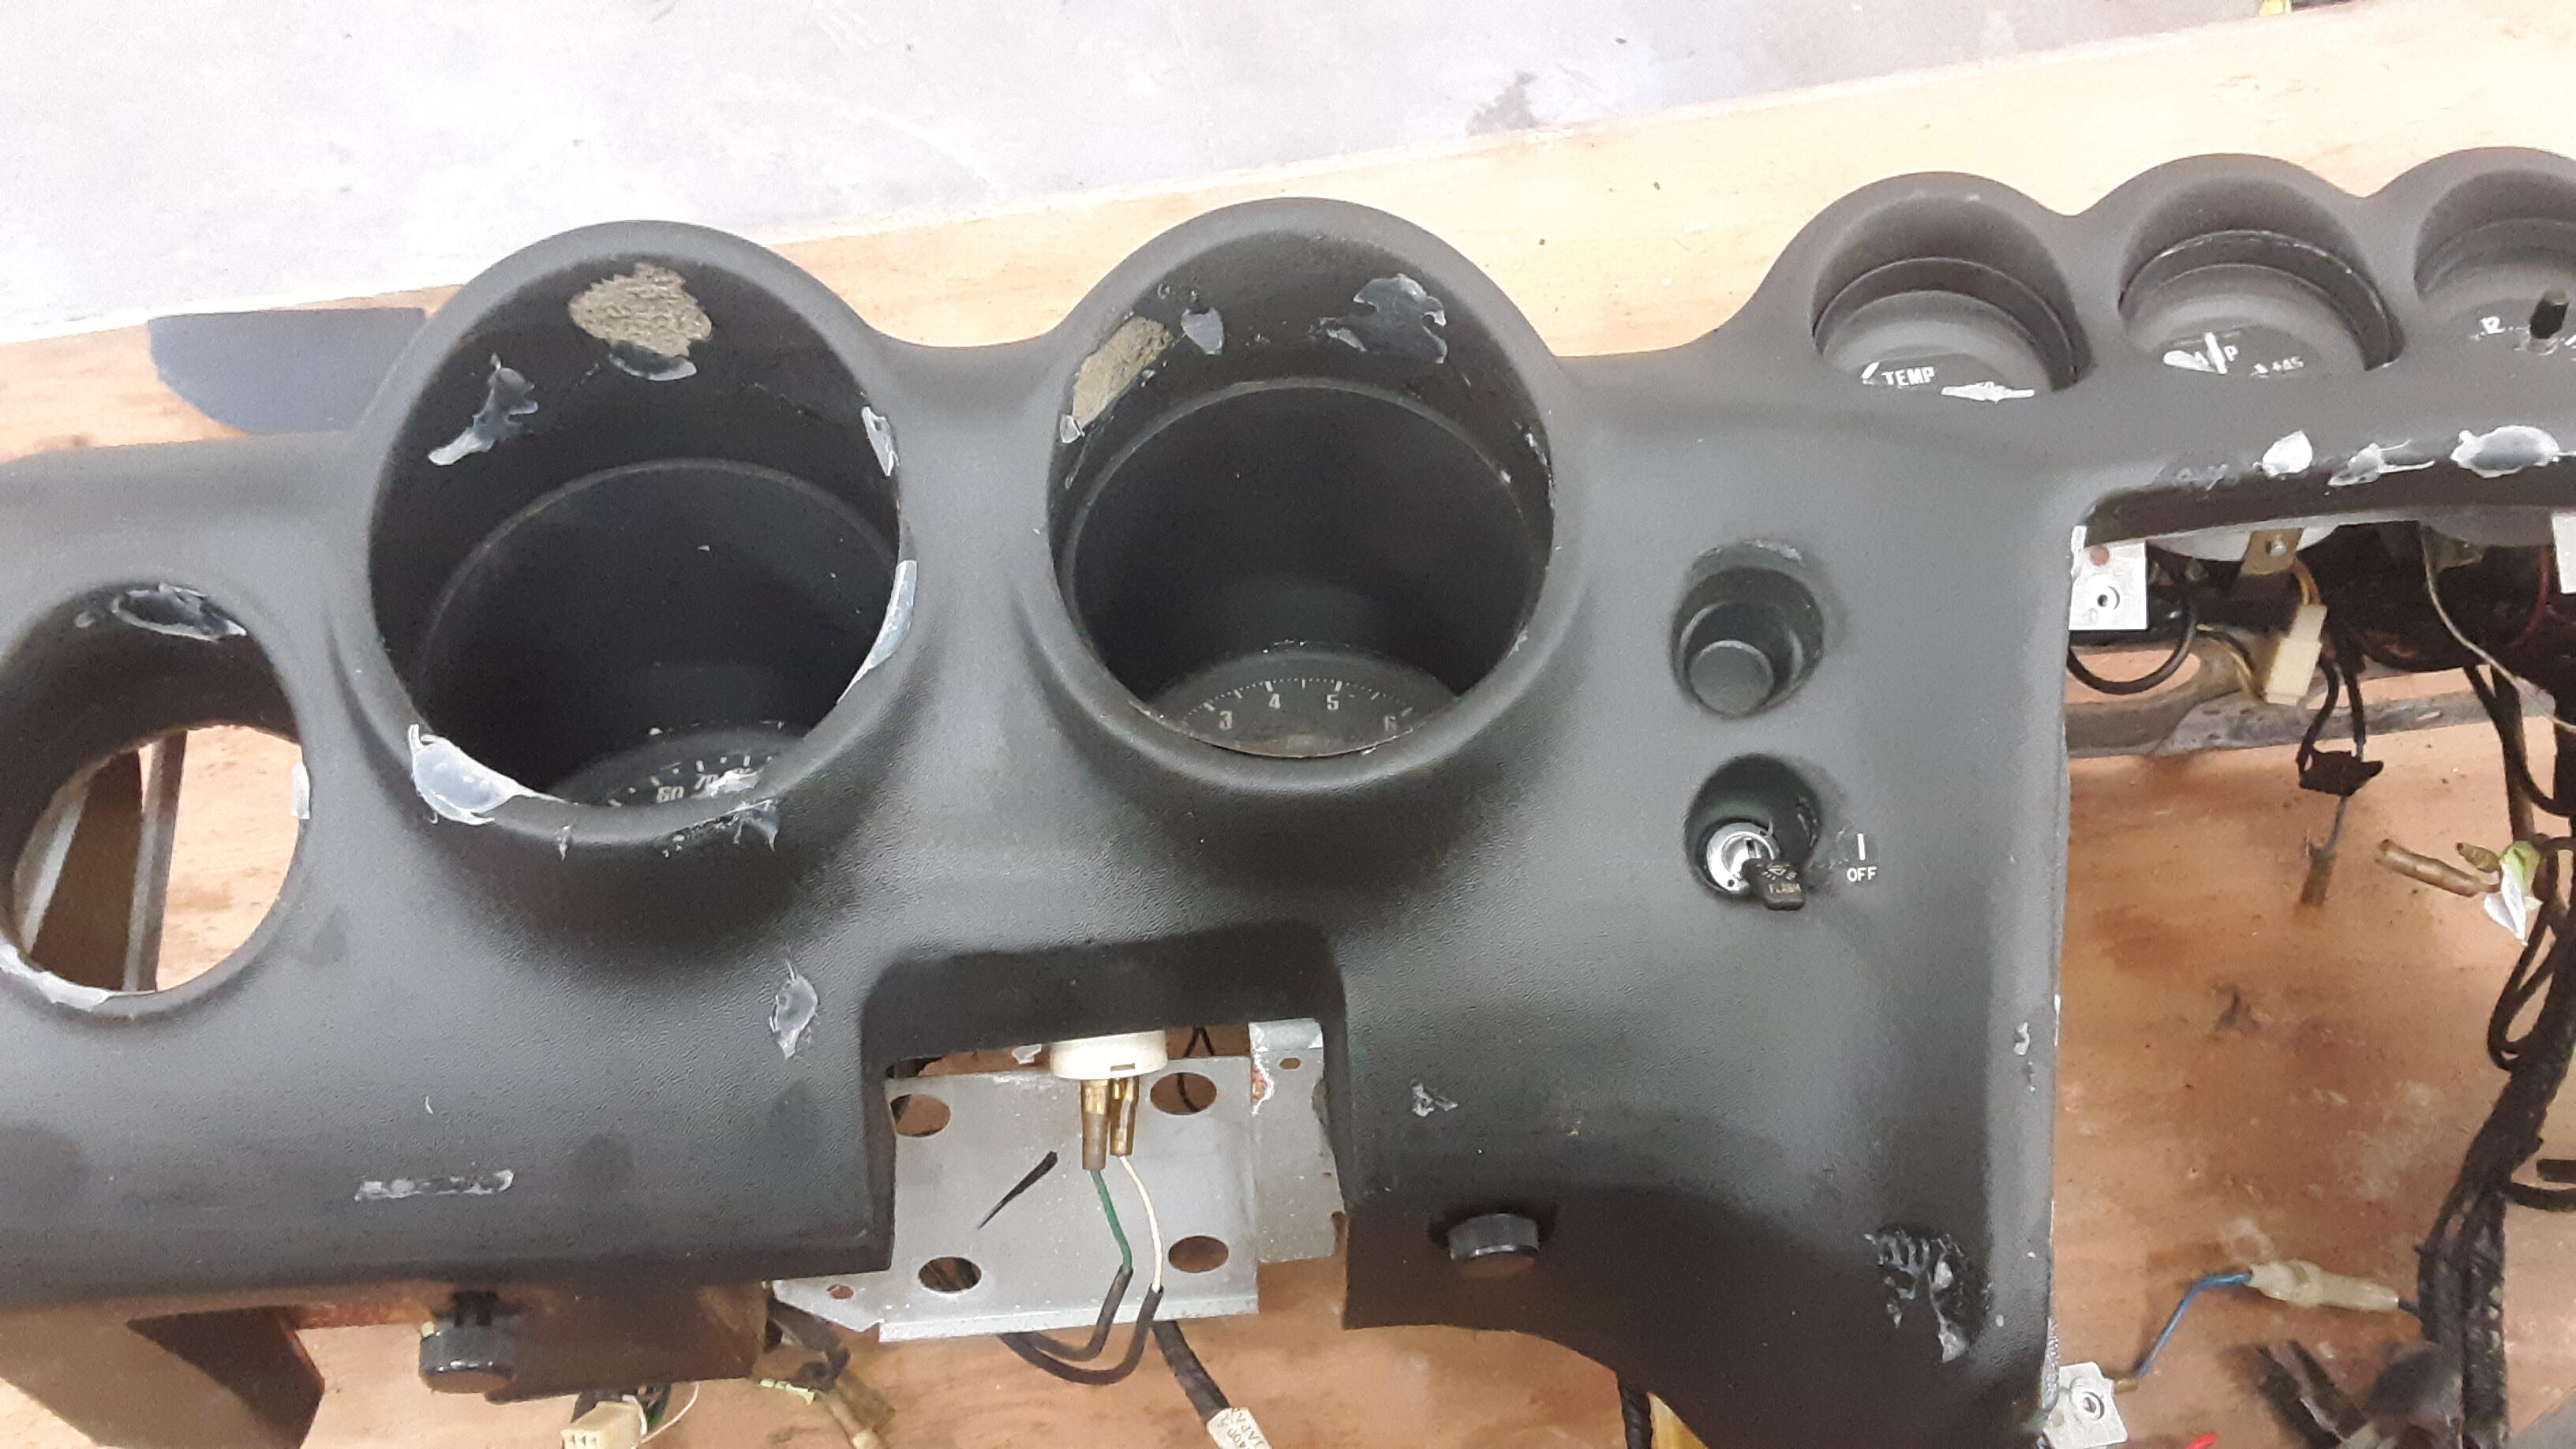
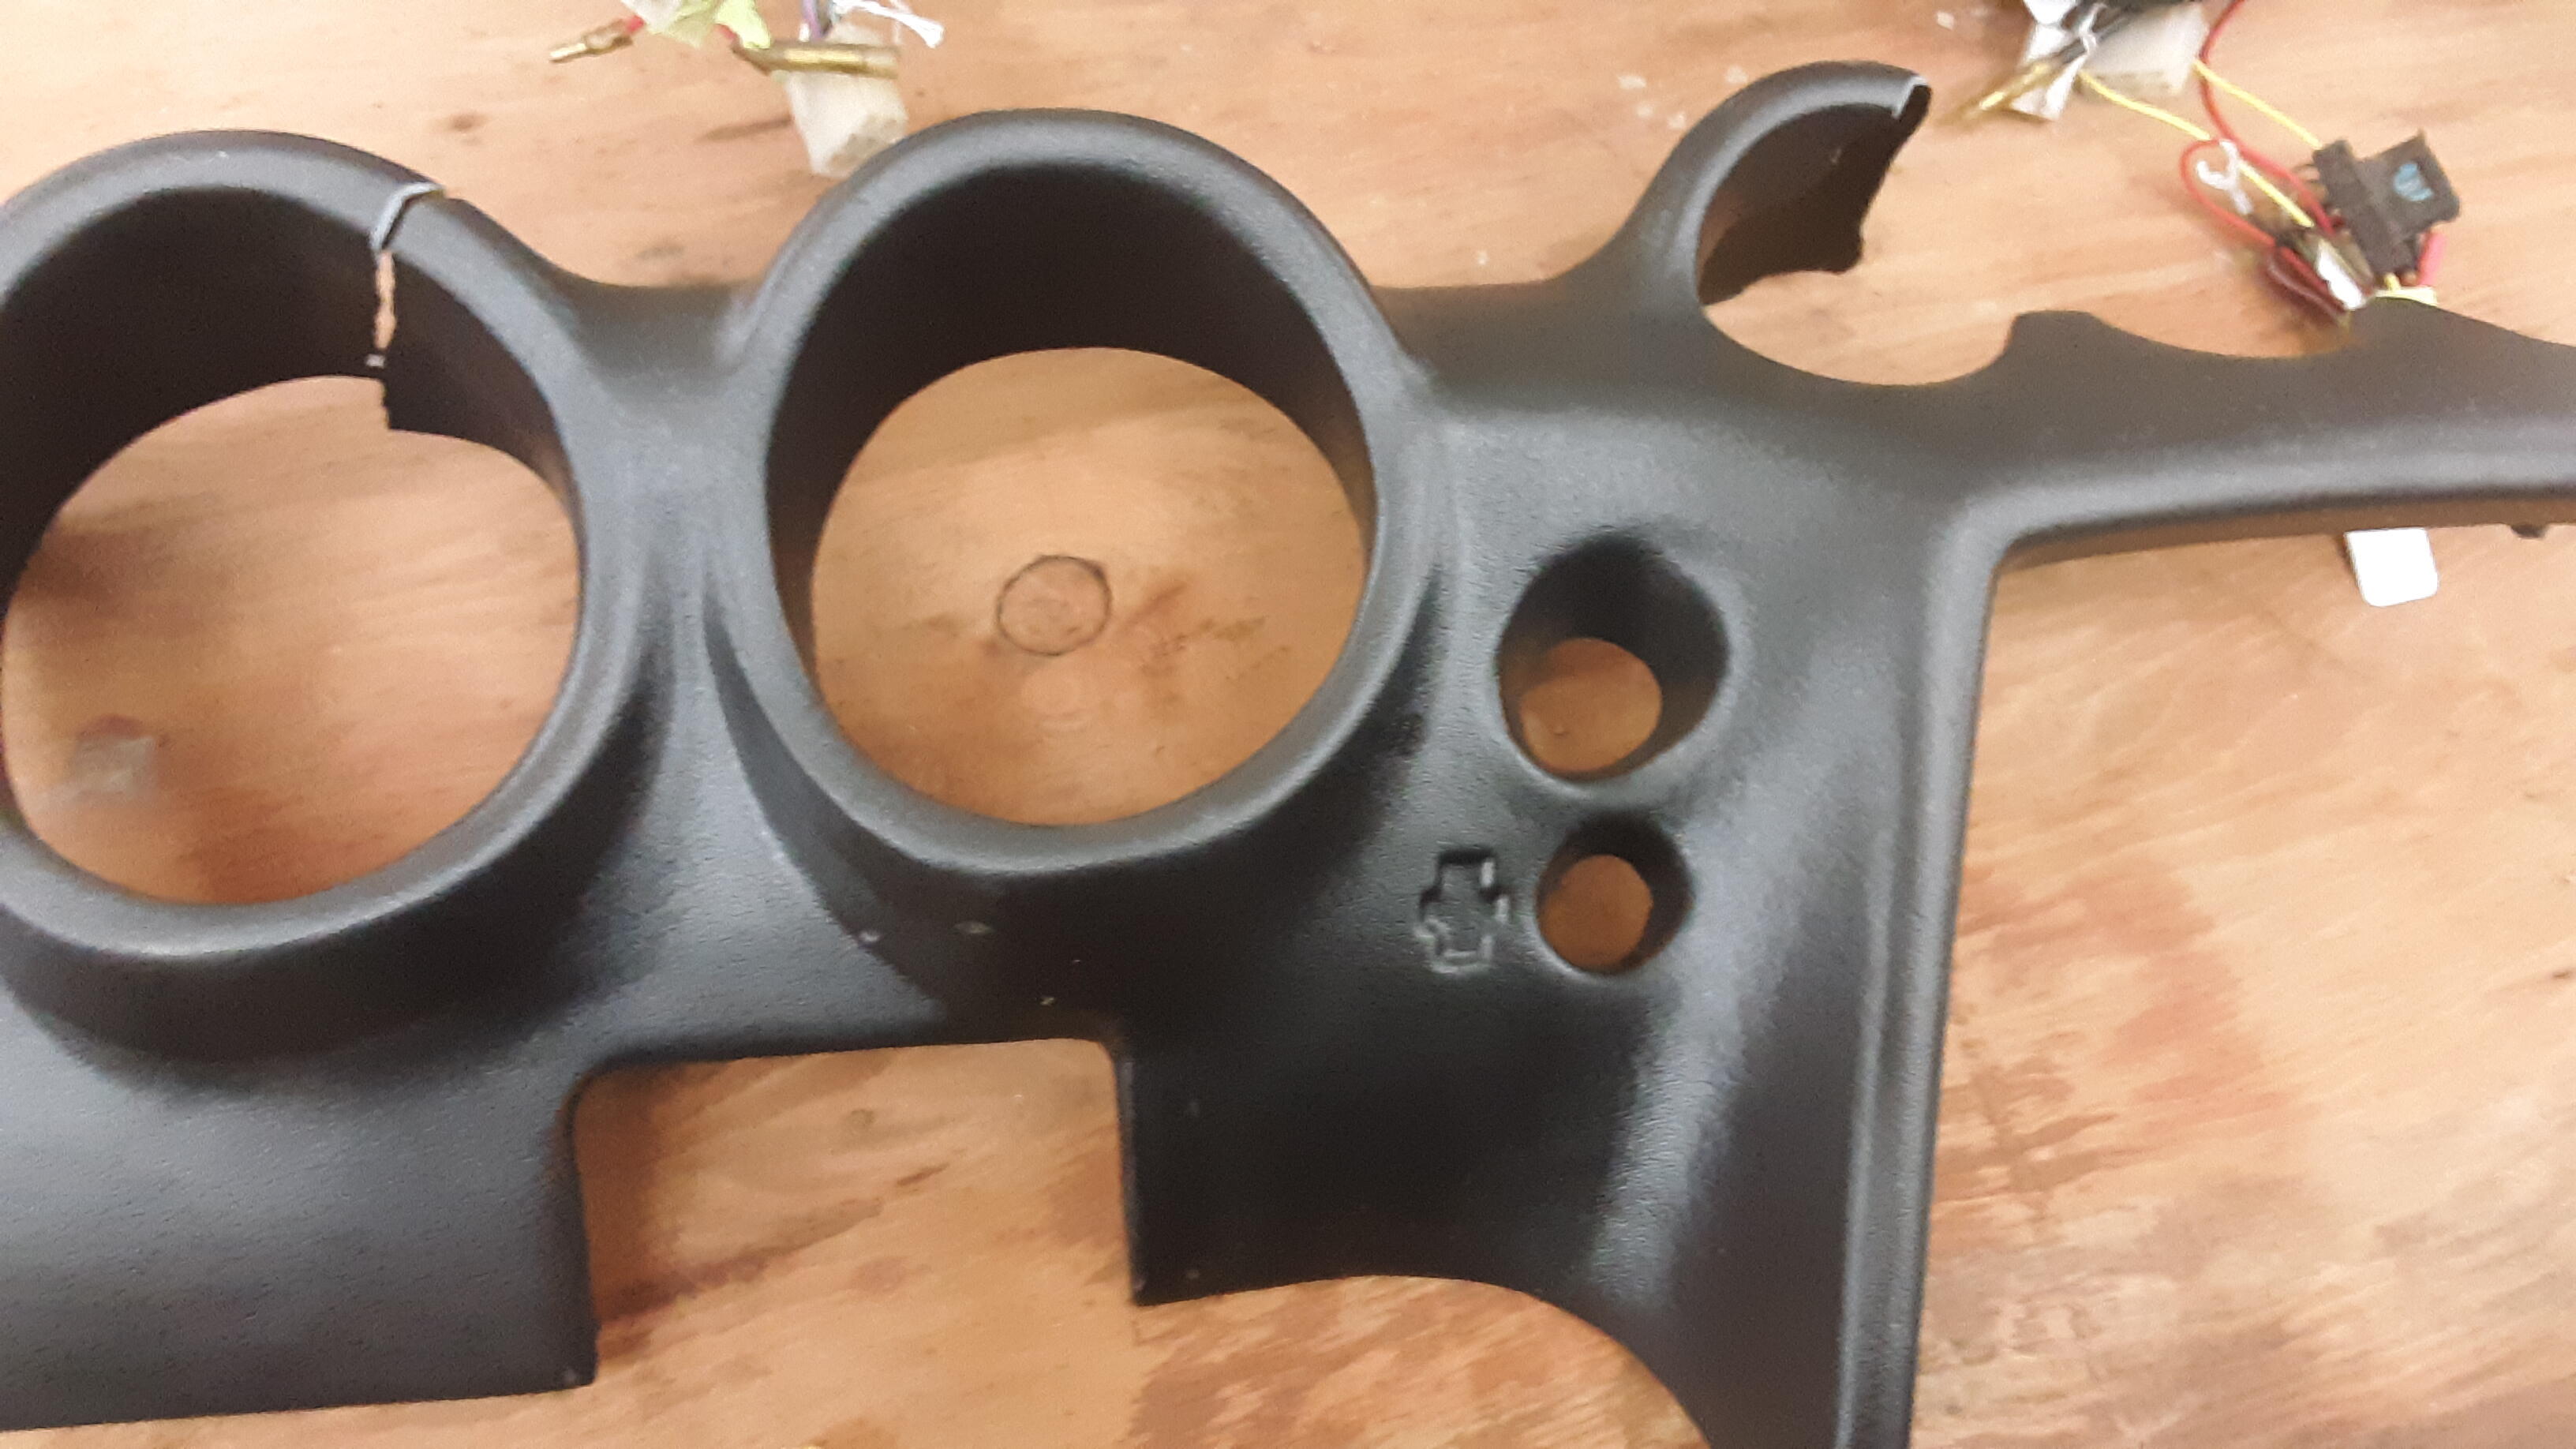
The dash: here's the mileage on the car. 99,807 miles. I stripped it, bead blasted the frame, and primered then painted black. Meanwhile I had ordered a dash pad from Hung Vu. I told him for a 6/71 car. He wanted to see a picture of the hazard switch area. I sent it to him. Got my dash pad and set it aside until I was up to the task. The time came, and that's when I realized this dash had a cover glued to it. And when I ripped the cover off, oh no! That's not the dash pad I have! He wouldn't exchange it, so I had to buy another one. The correct one. I ended up selling my 72 dash pad on ebay. In the 2 years I had it, the prices had gone up. I ended up getting my money back. My first attempt at painting the dash finisher. I wet sanded the grille and primered, then painted. It doesn't look right. I added some flattening agent to the paint and tried again. Success!


-
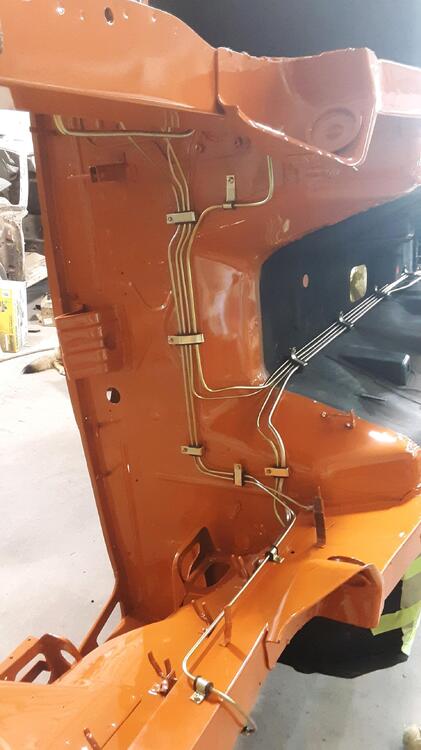
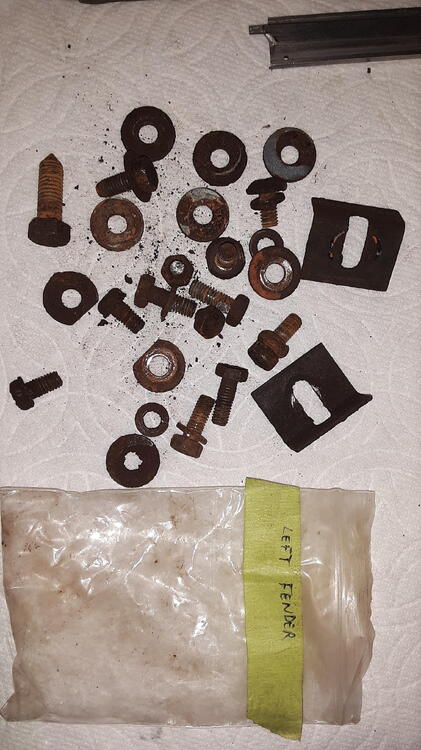
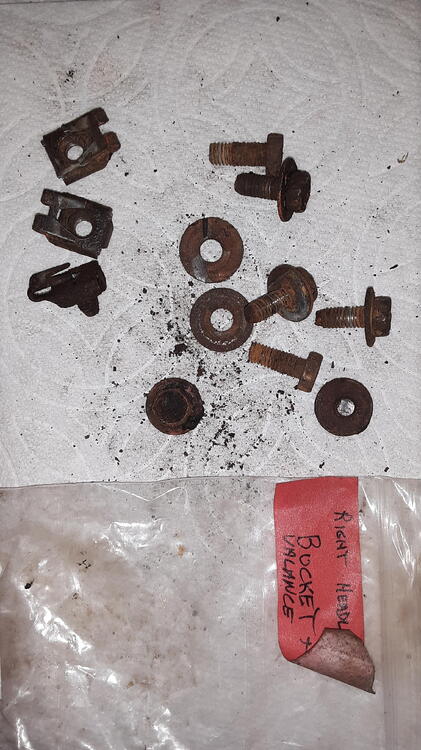
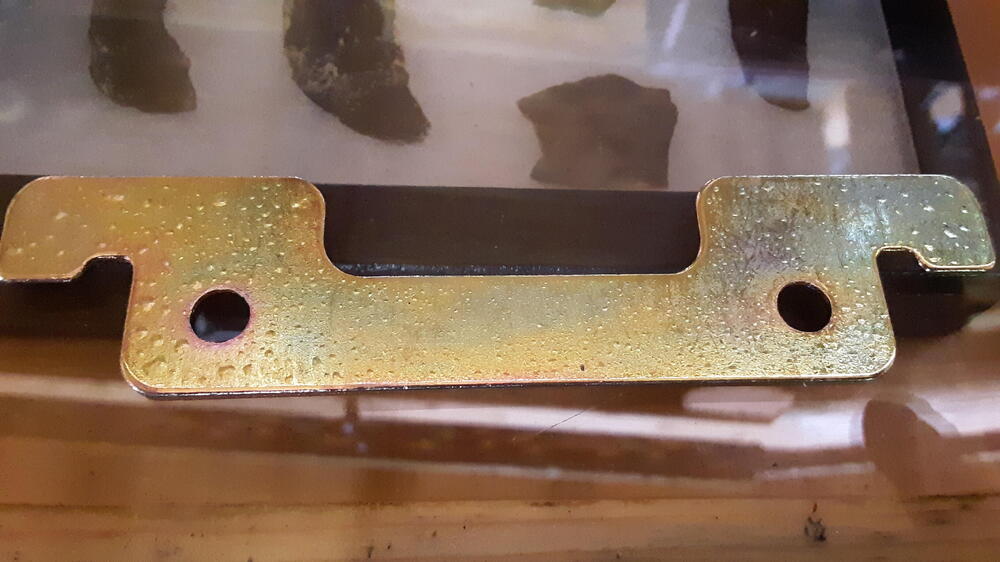
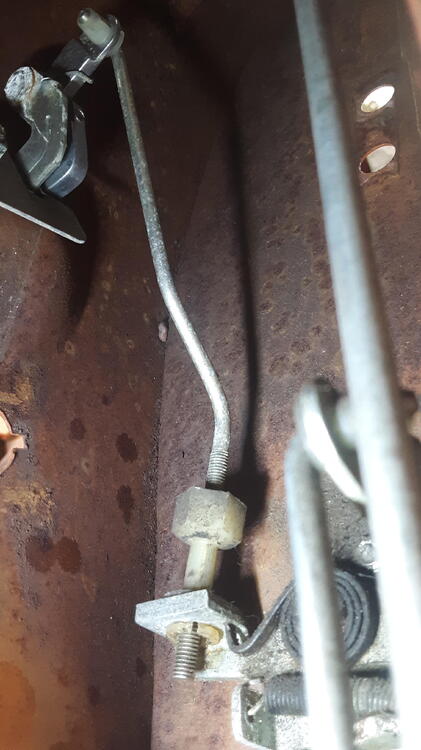
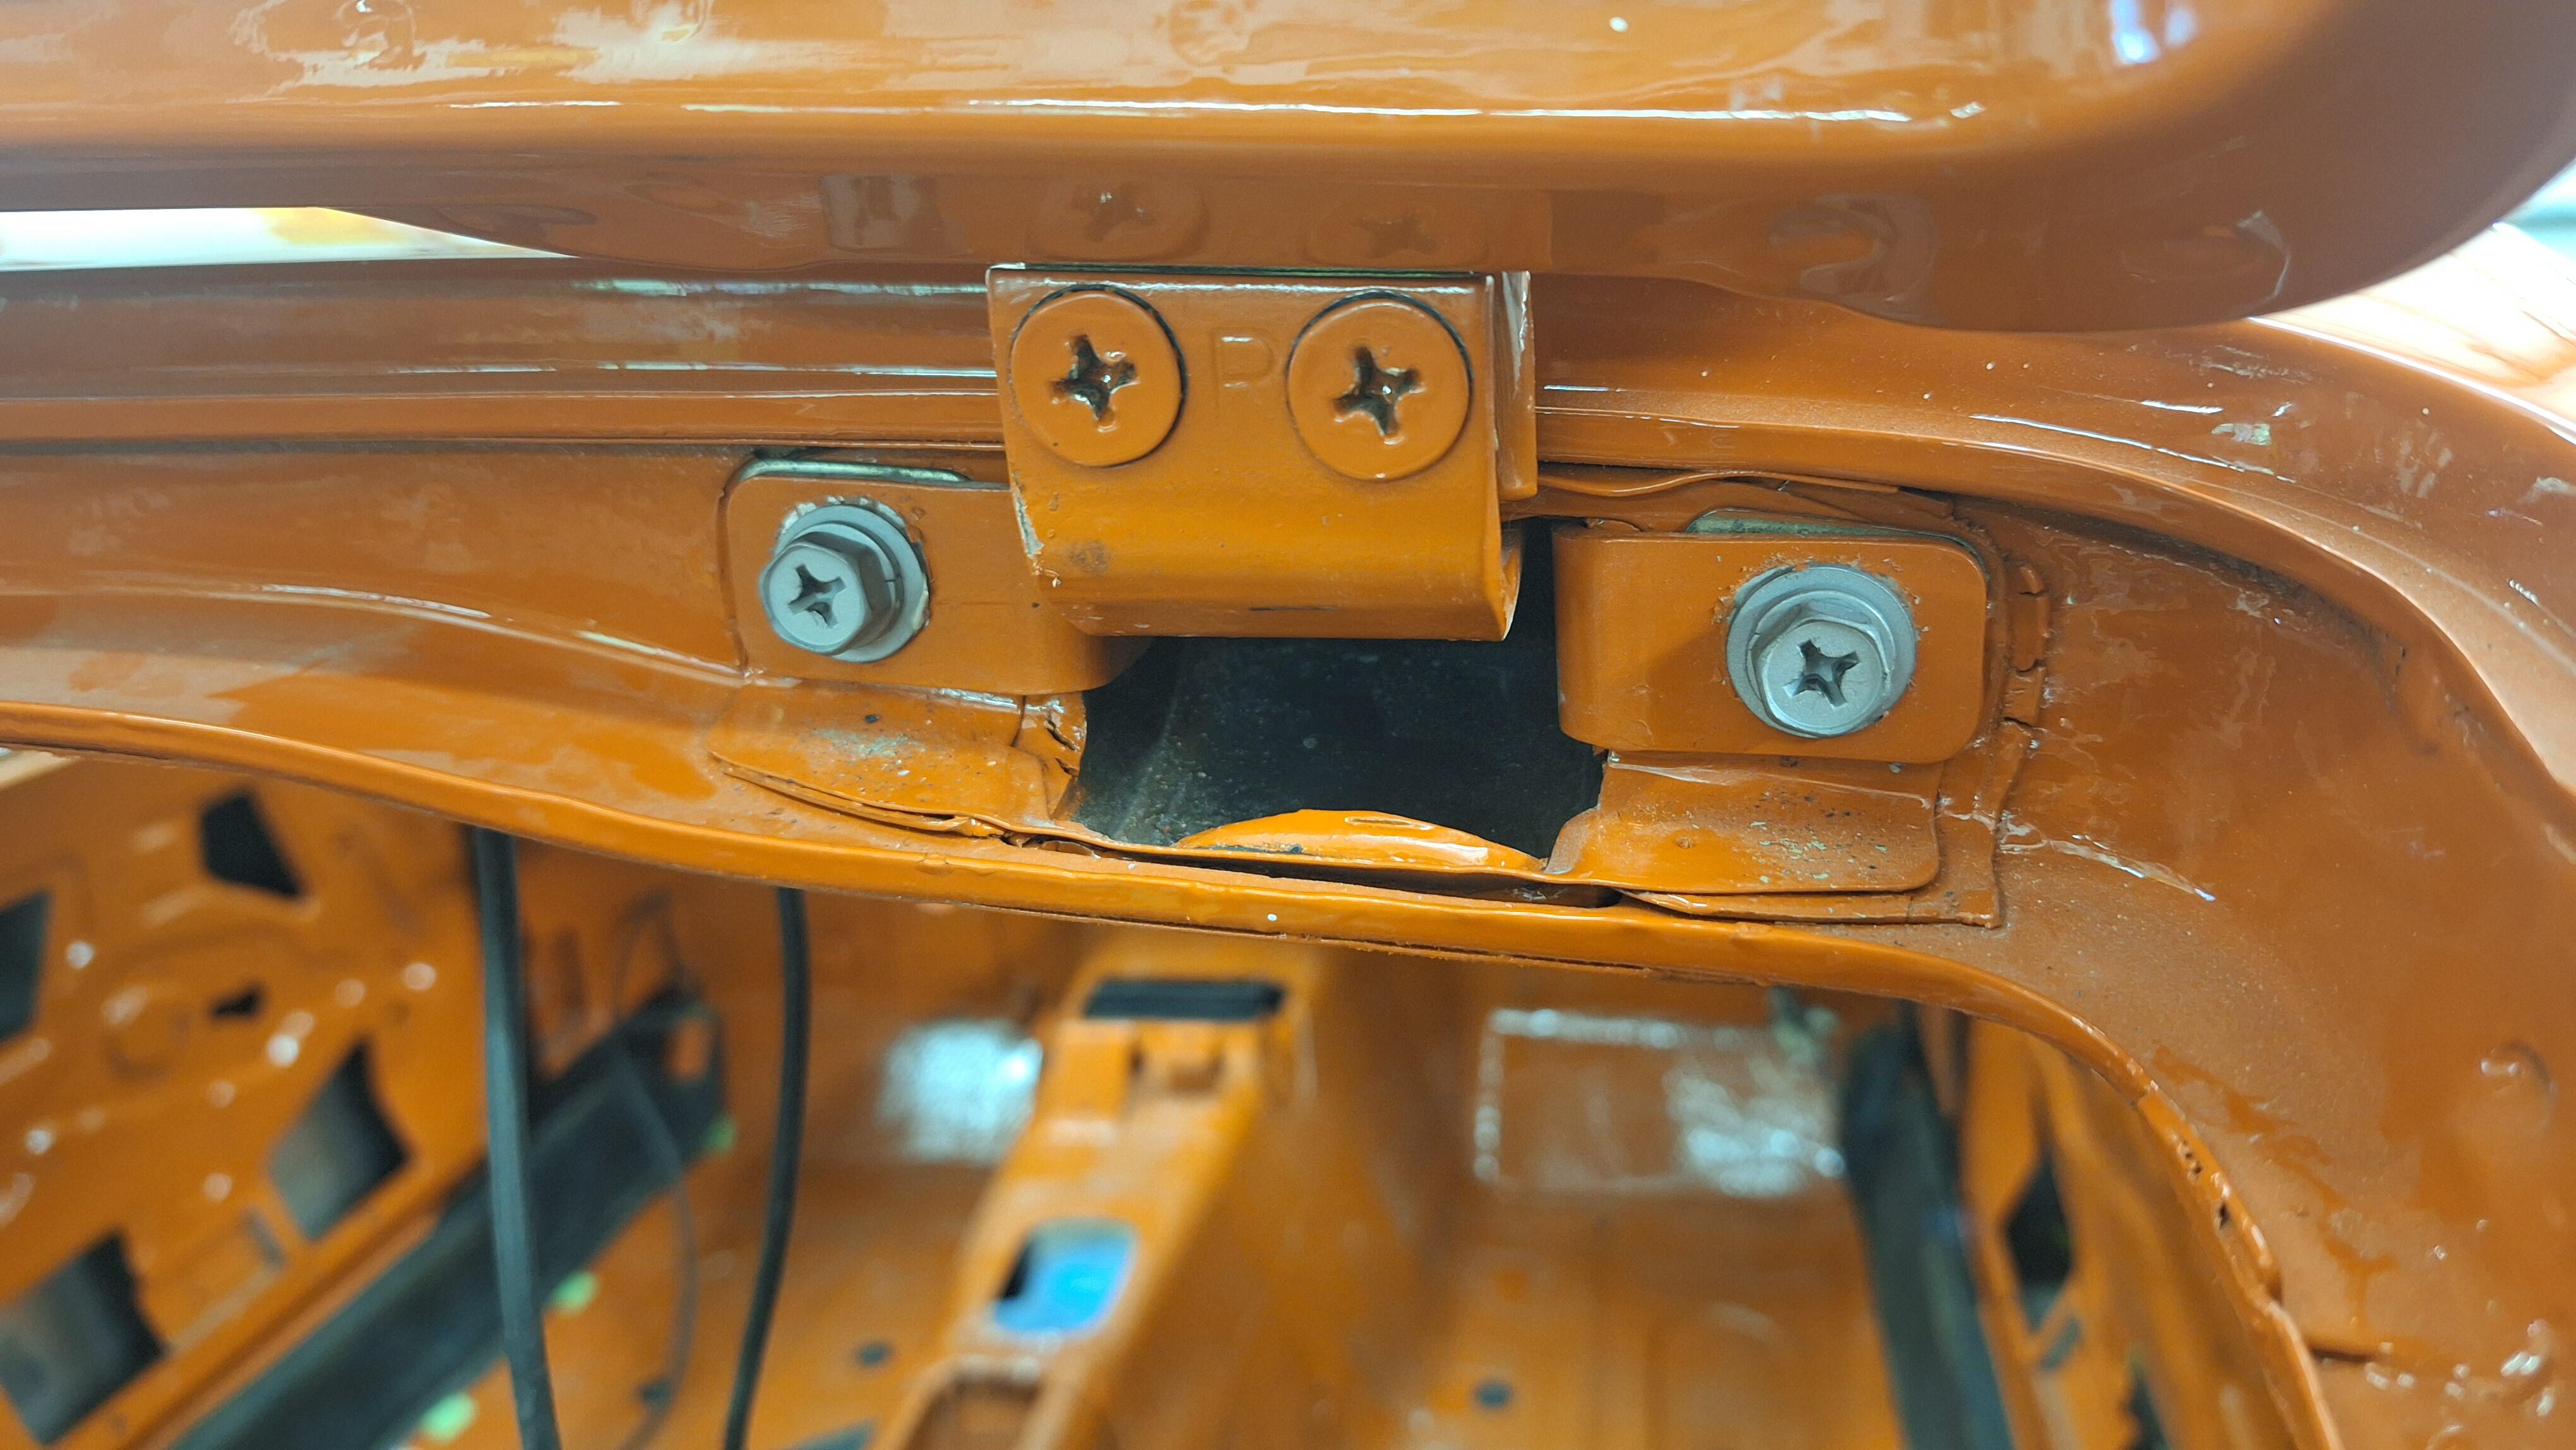
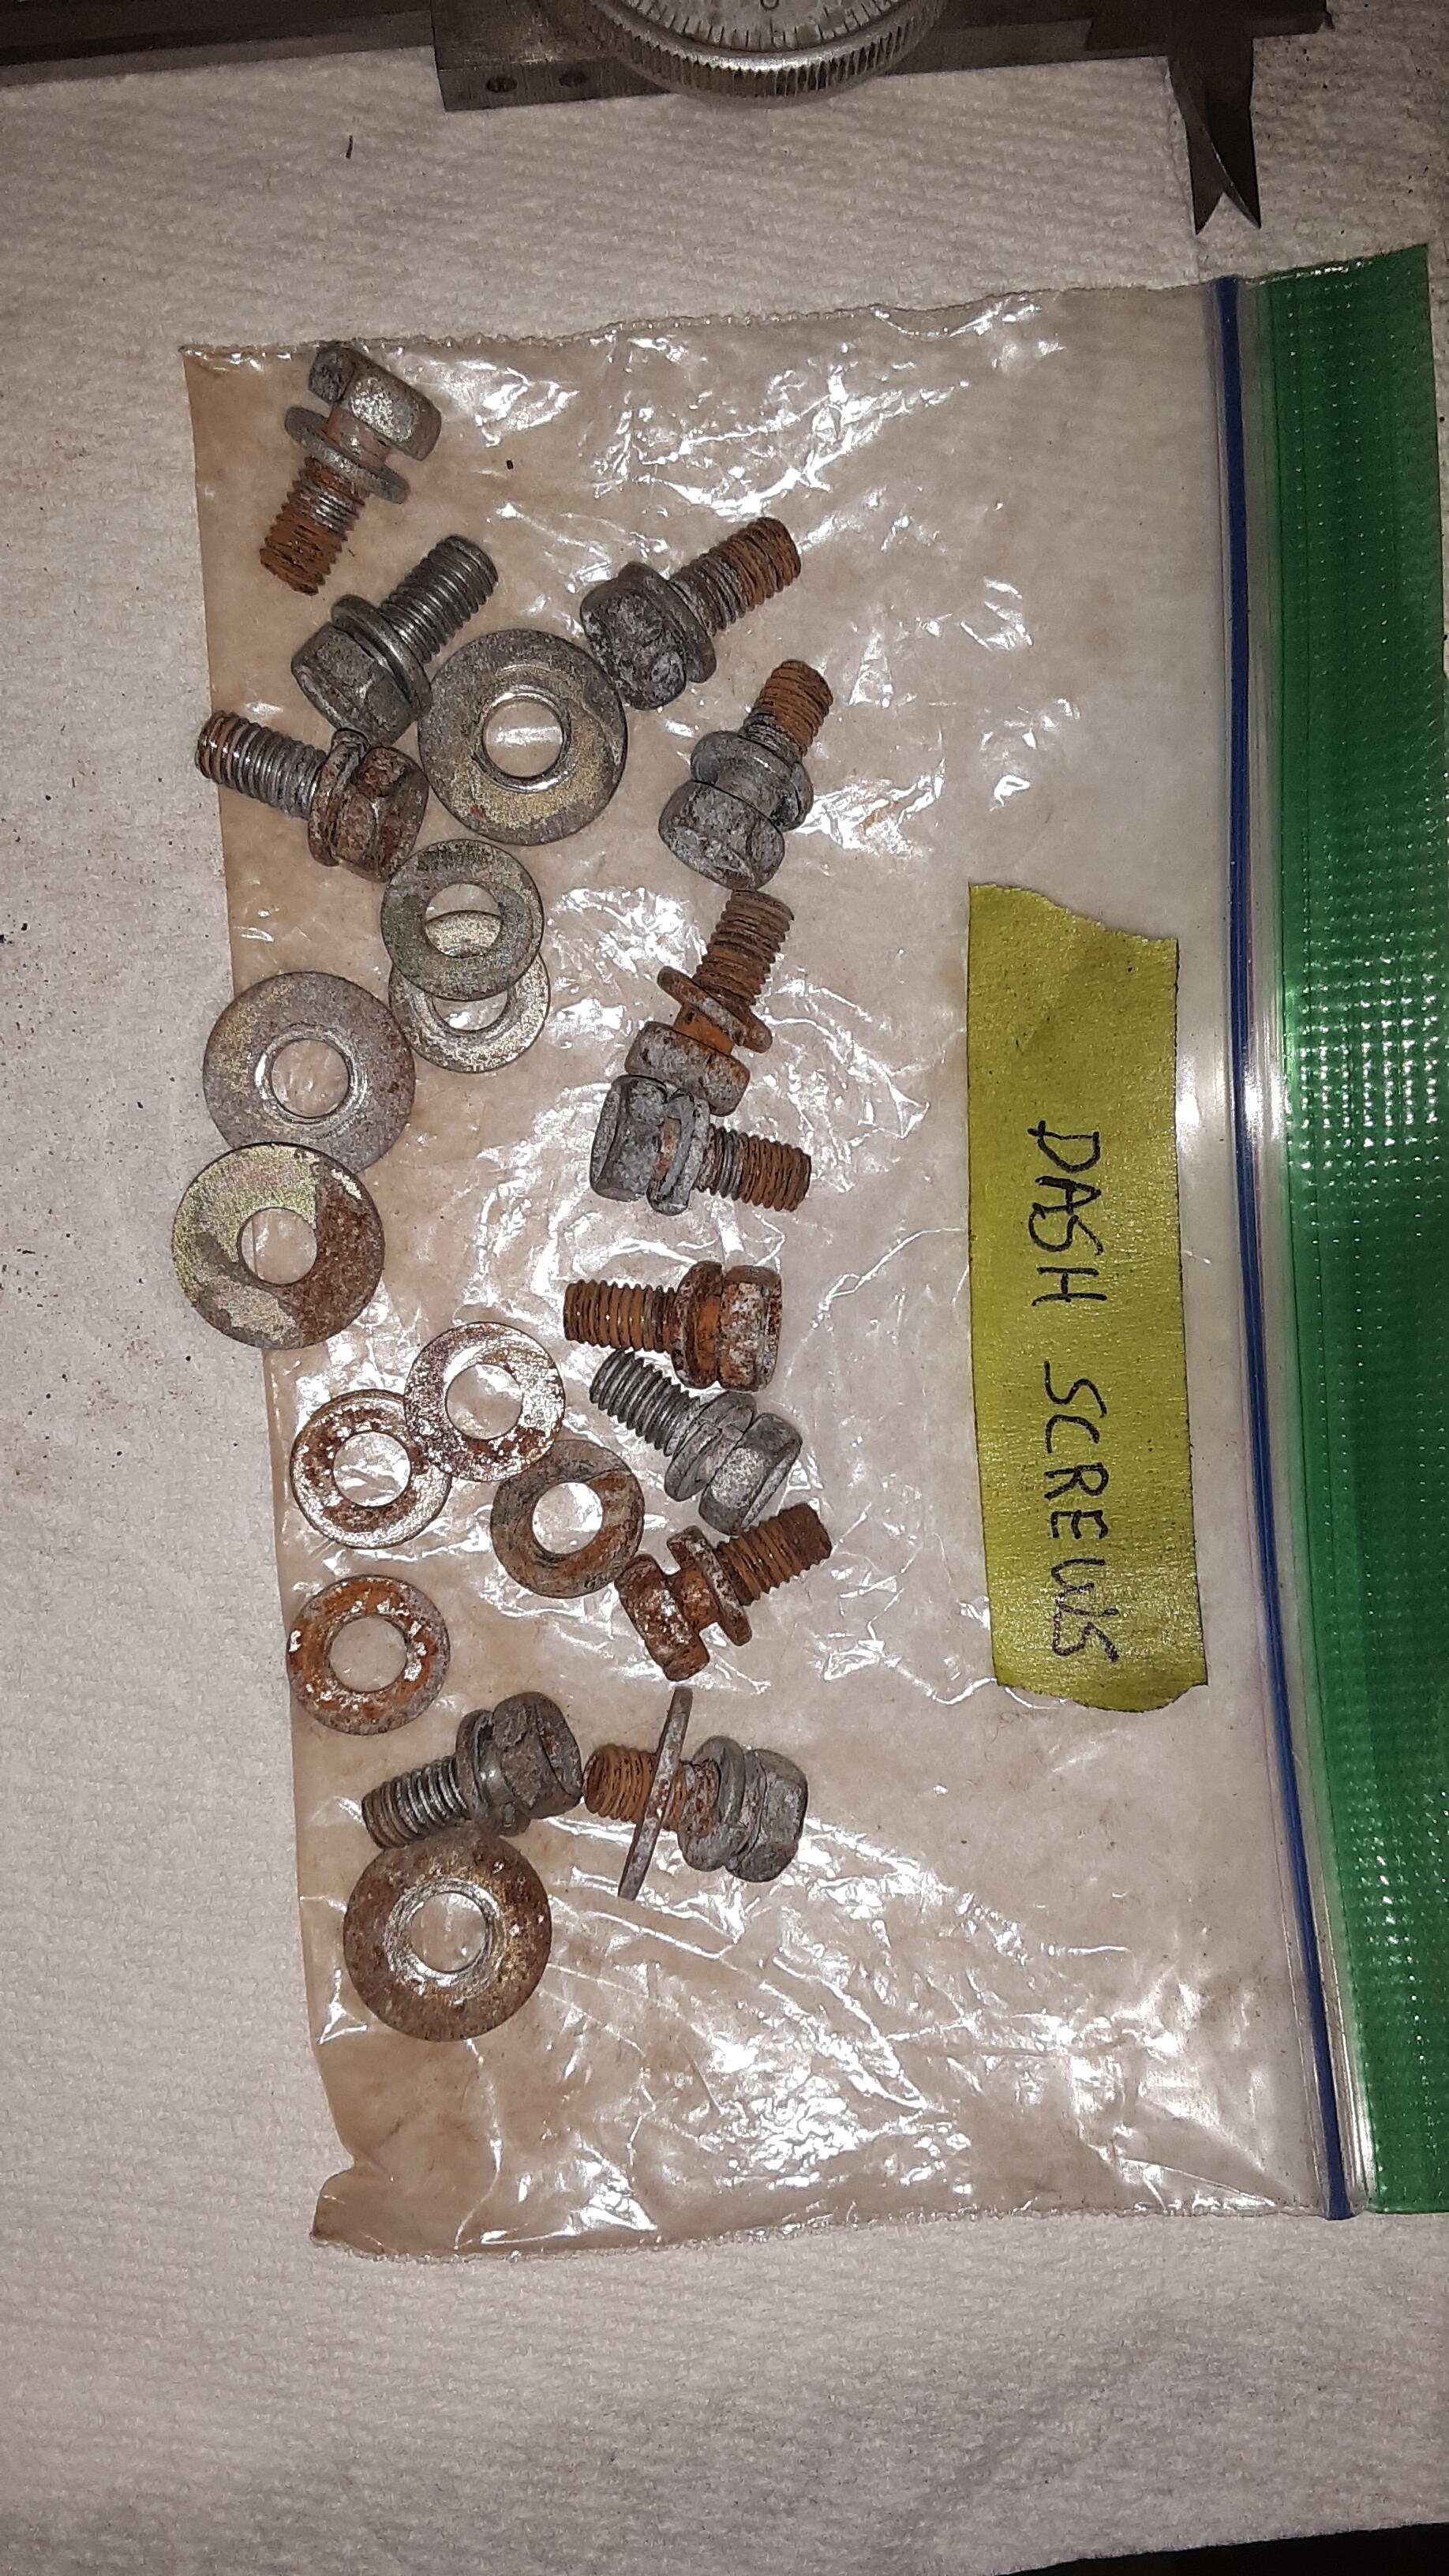
I got a second batch ready to get plated. For a car that had no rust at first glance, I kept finding it. I also learned from a very knowledgeable gentleman at Banzai Motorworks while ordering floor plugs, decals, etc. that my brake line clamp bolts were the wrong color! Ahhh, they're supposed to be clear zinc he informed me from a picture I sent him. I never knew. I was getting a batch ready anyway...... Unfortunately, my batch that was 1/2 clear and 1/2 yellow, clearly separated and marked, all came back yellow. Crap! Eventually, I got a 3rd batch ready. I got everything off my Green wrecked car I could and threw that in. I bought some fasteners from Jenny, particularly the fender and valance areas, many of mine broke. I also learned I got the hatch hinge bolts wrong. The beveled screws are clear and the other 8mm bolts are painted. I'm getting it sorted out. But at this point, the hatch closes nicely. 🙂

-
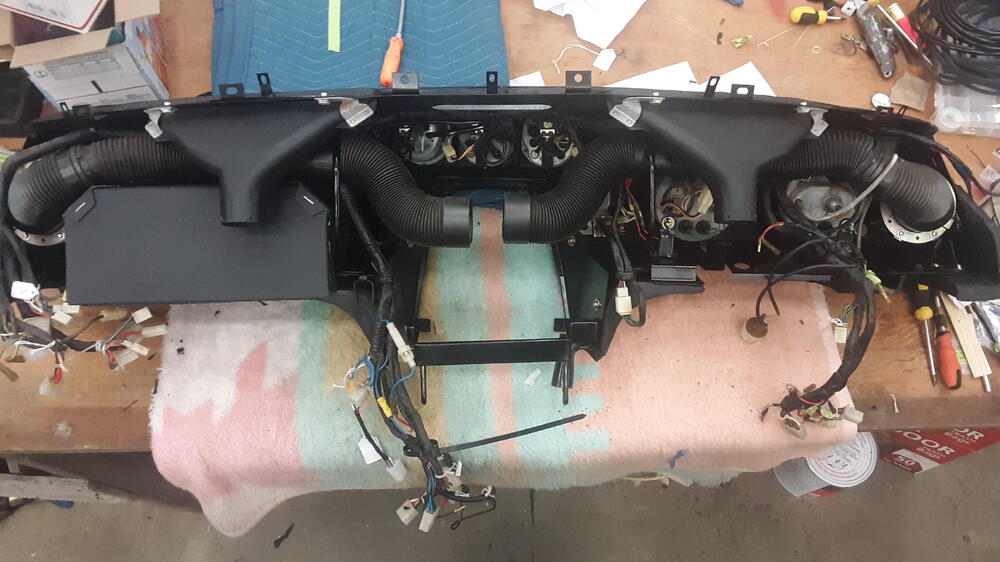
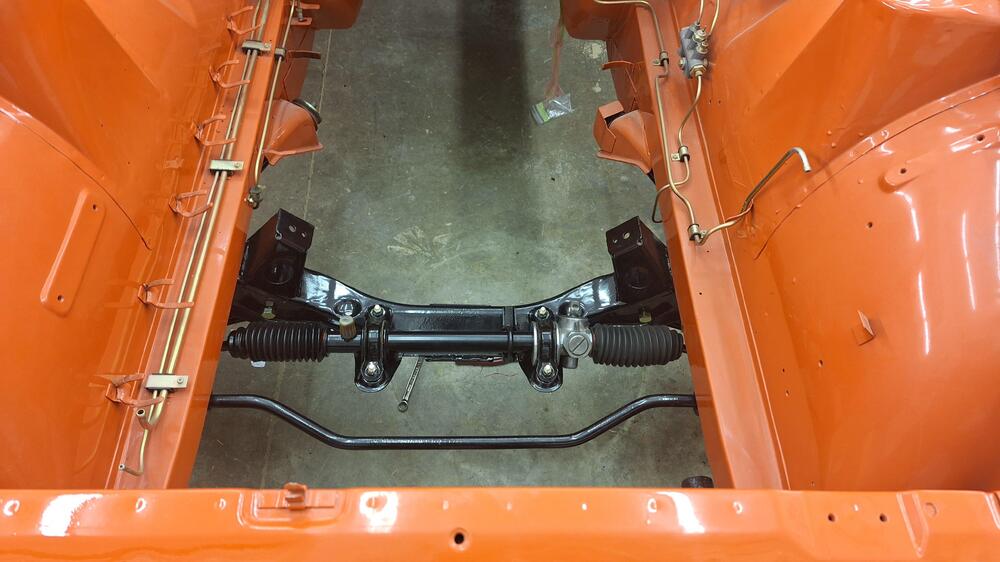
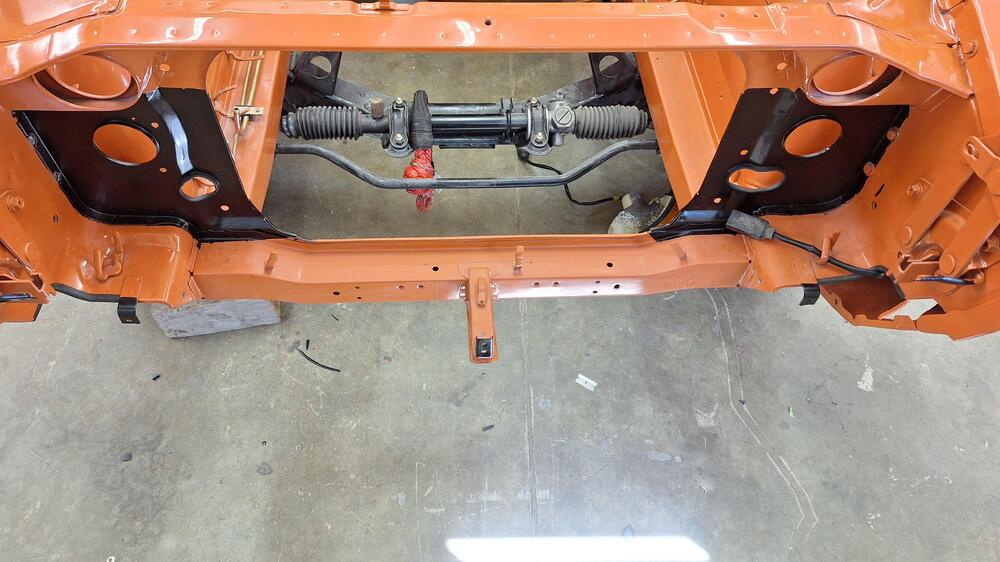
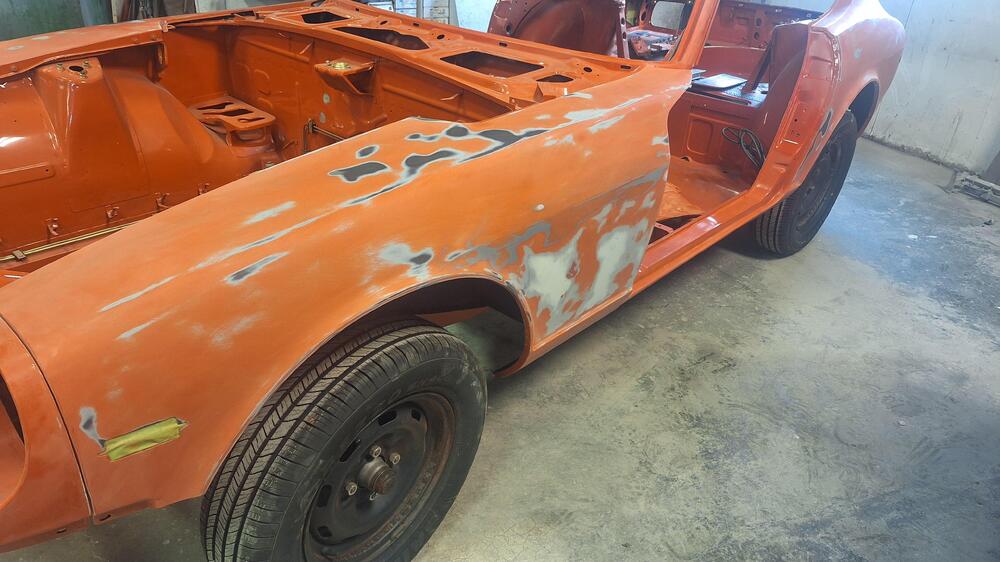
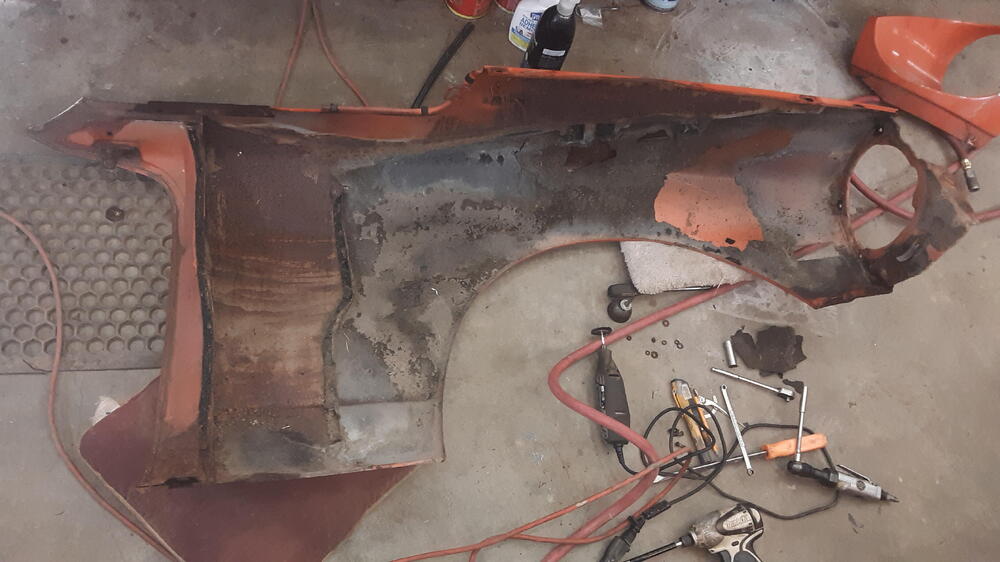
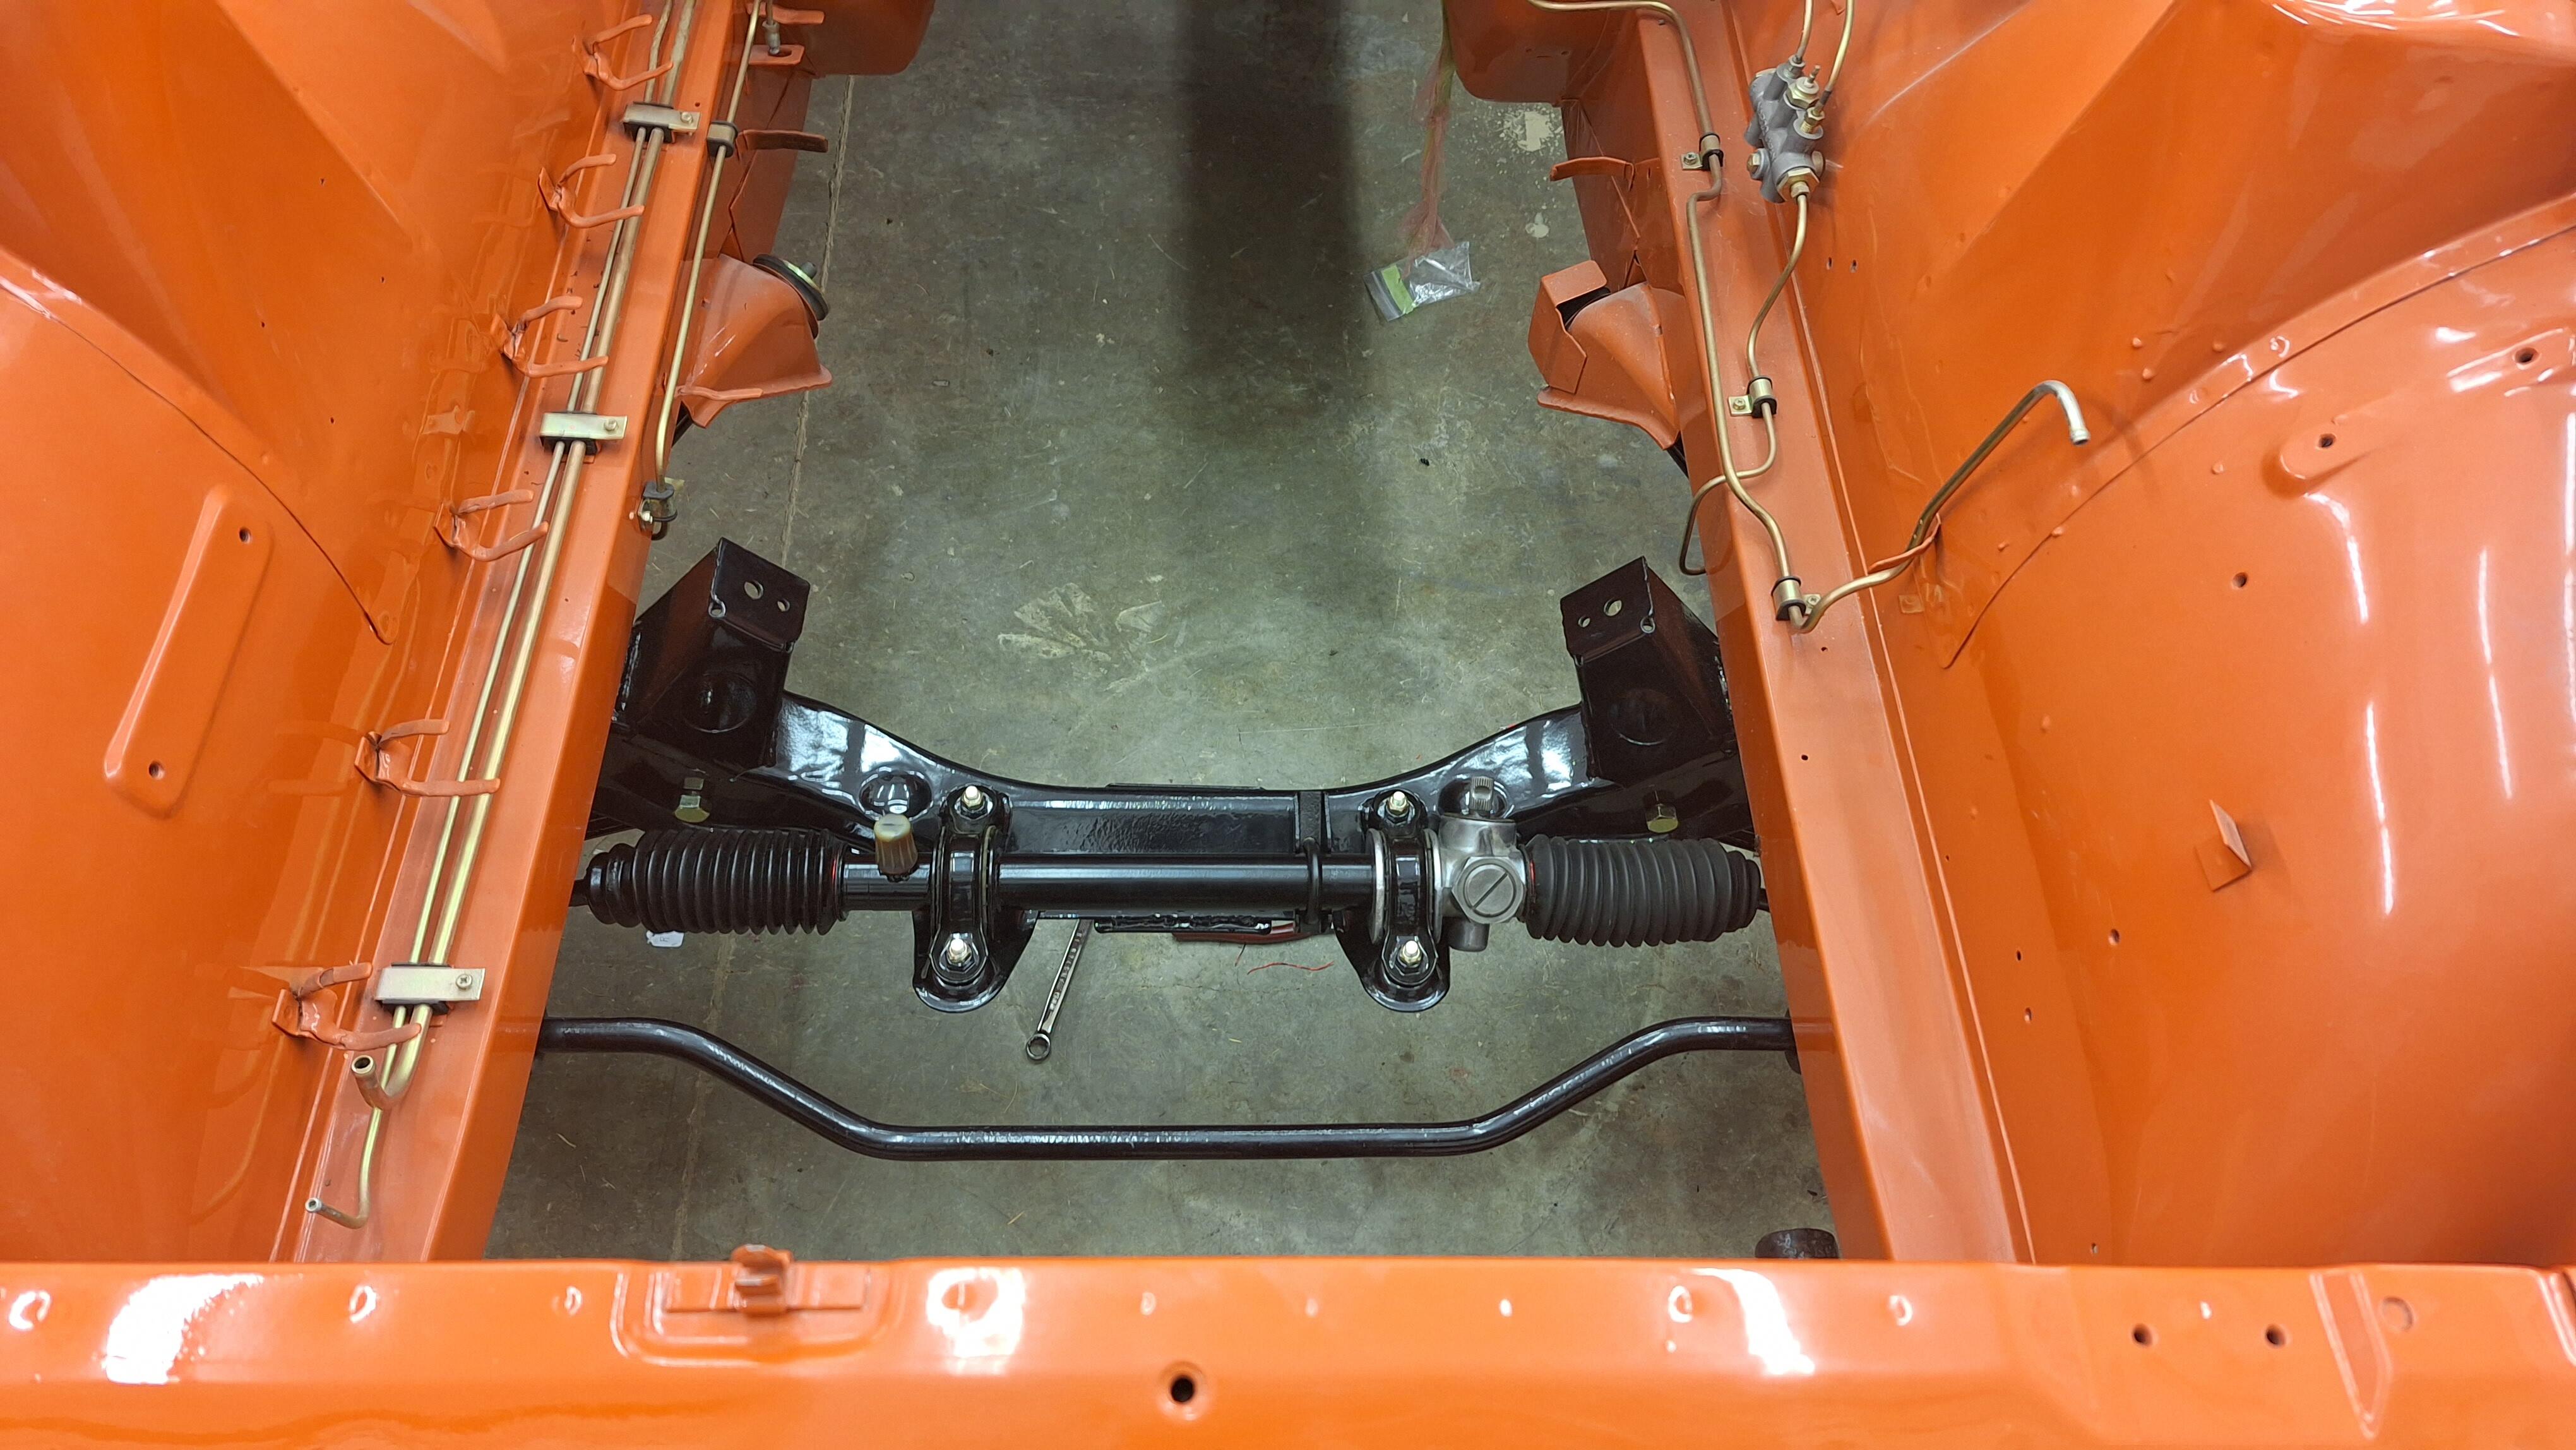
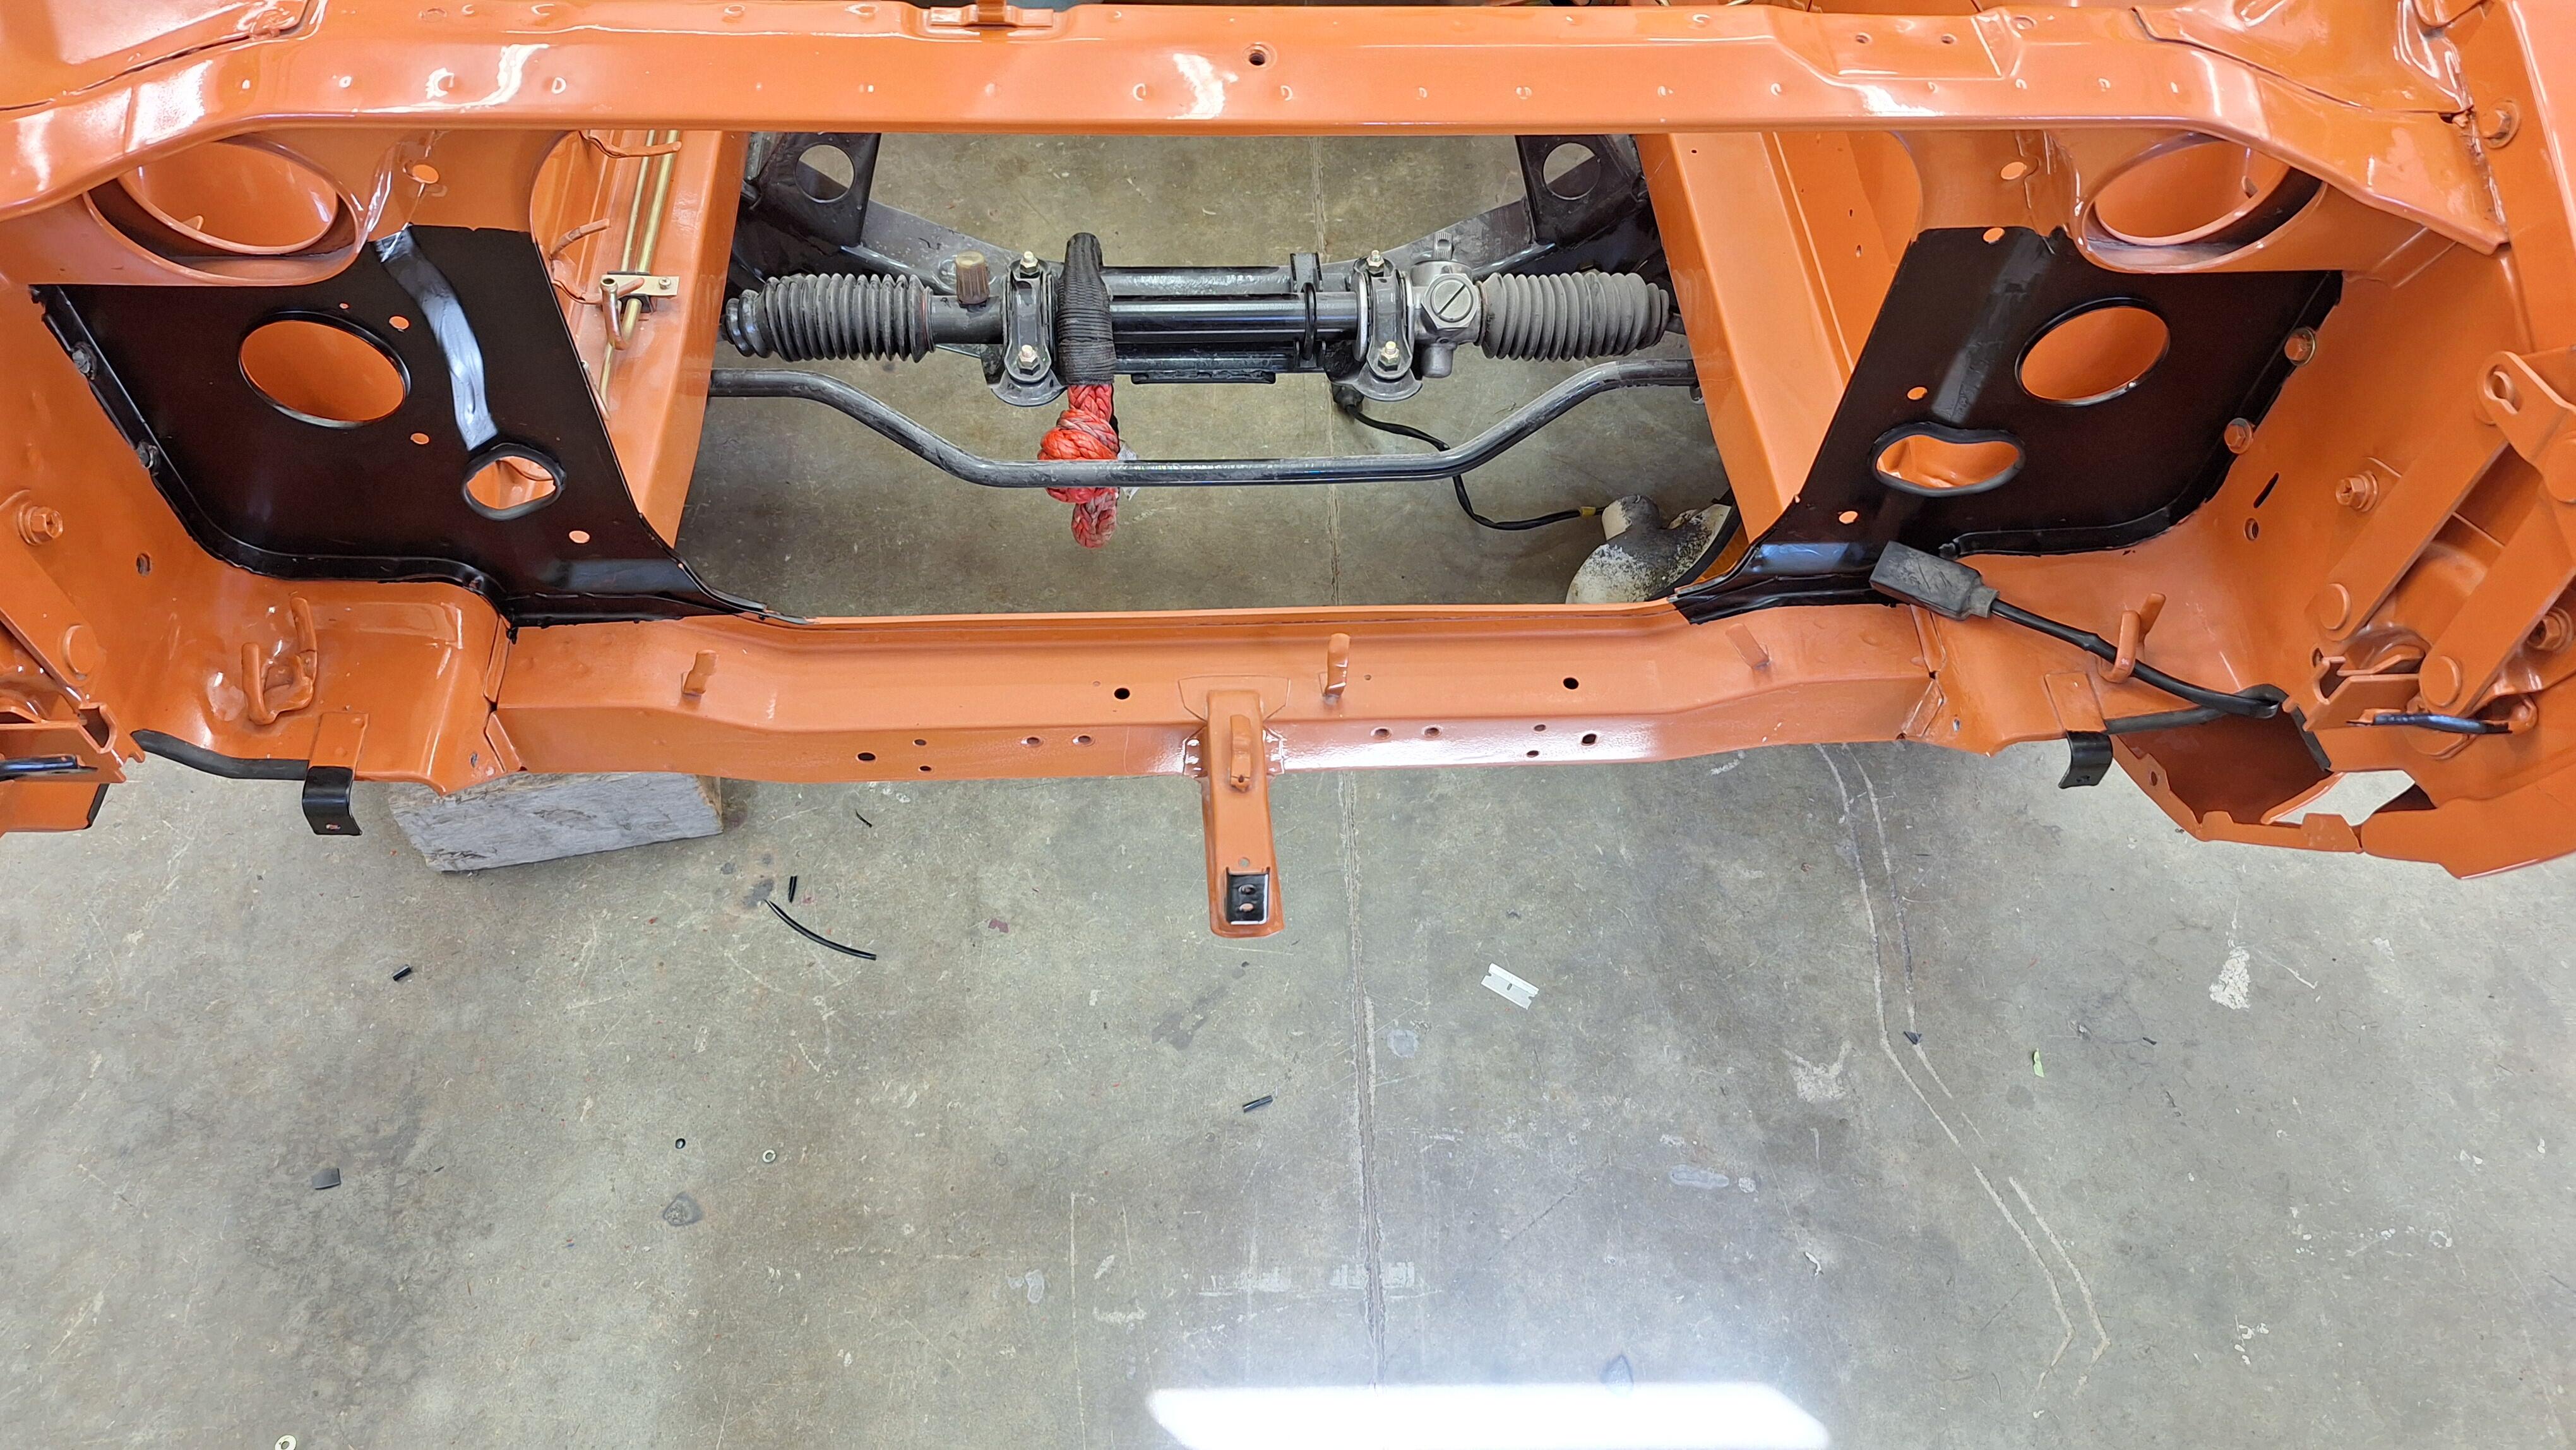
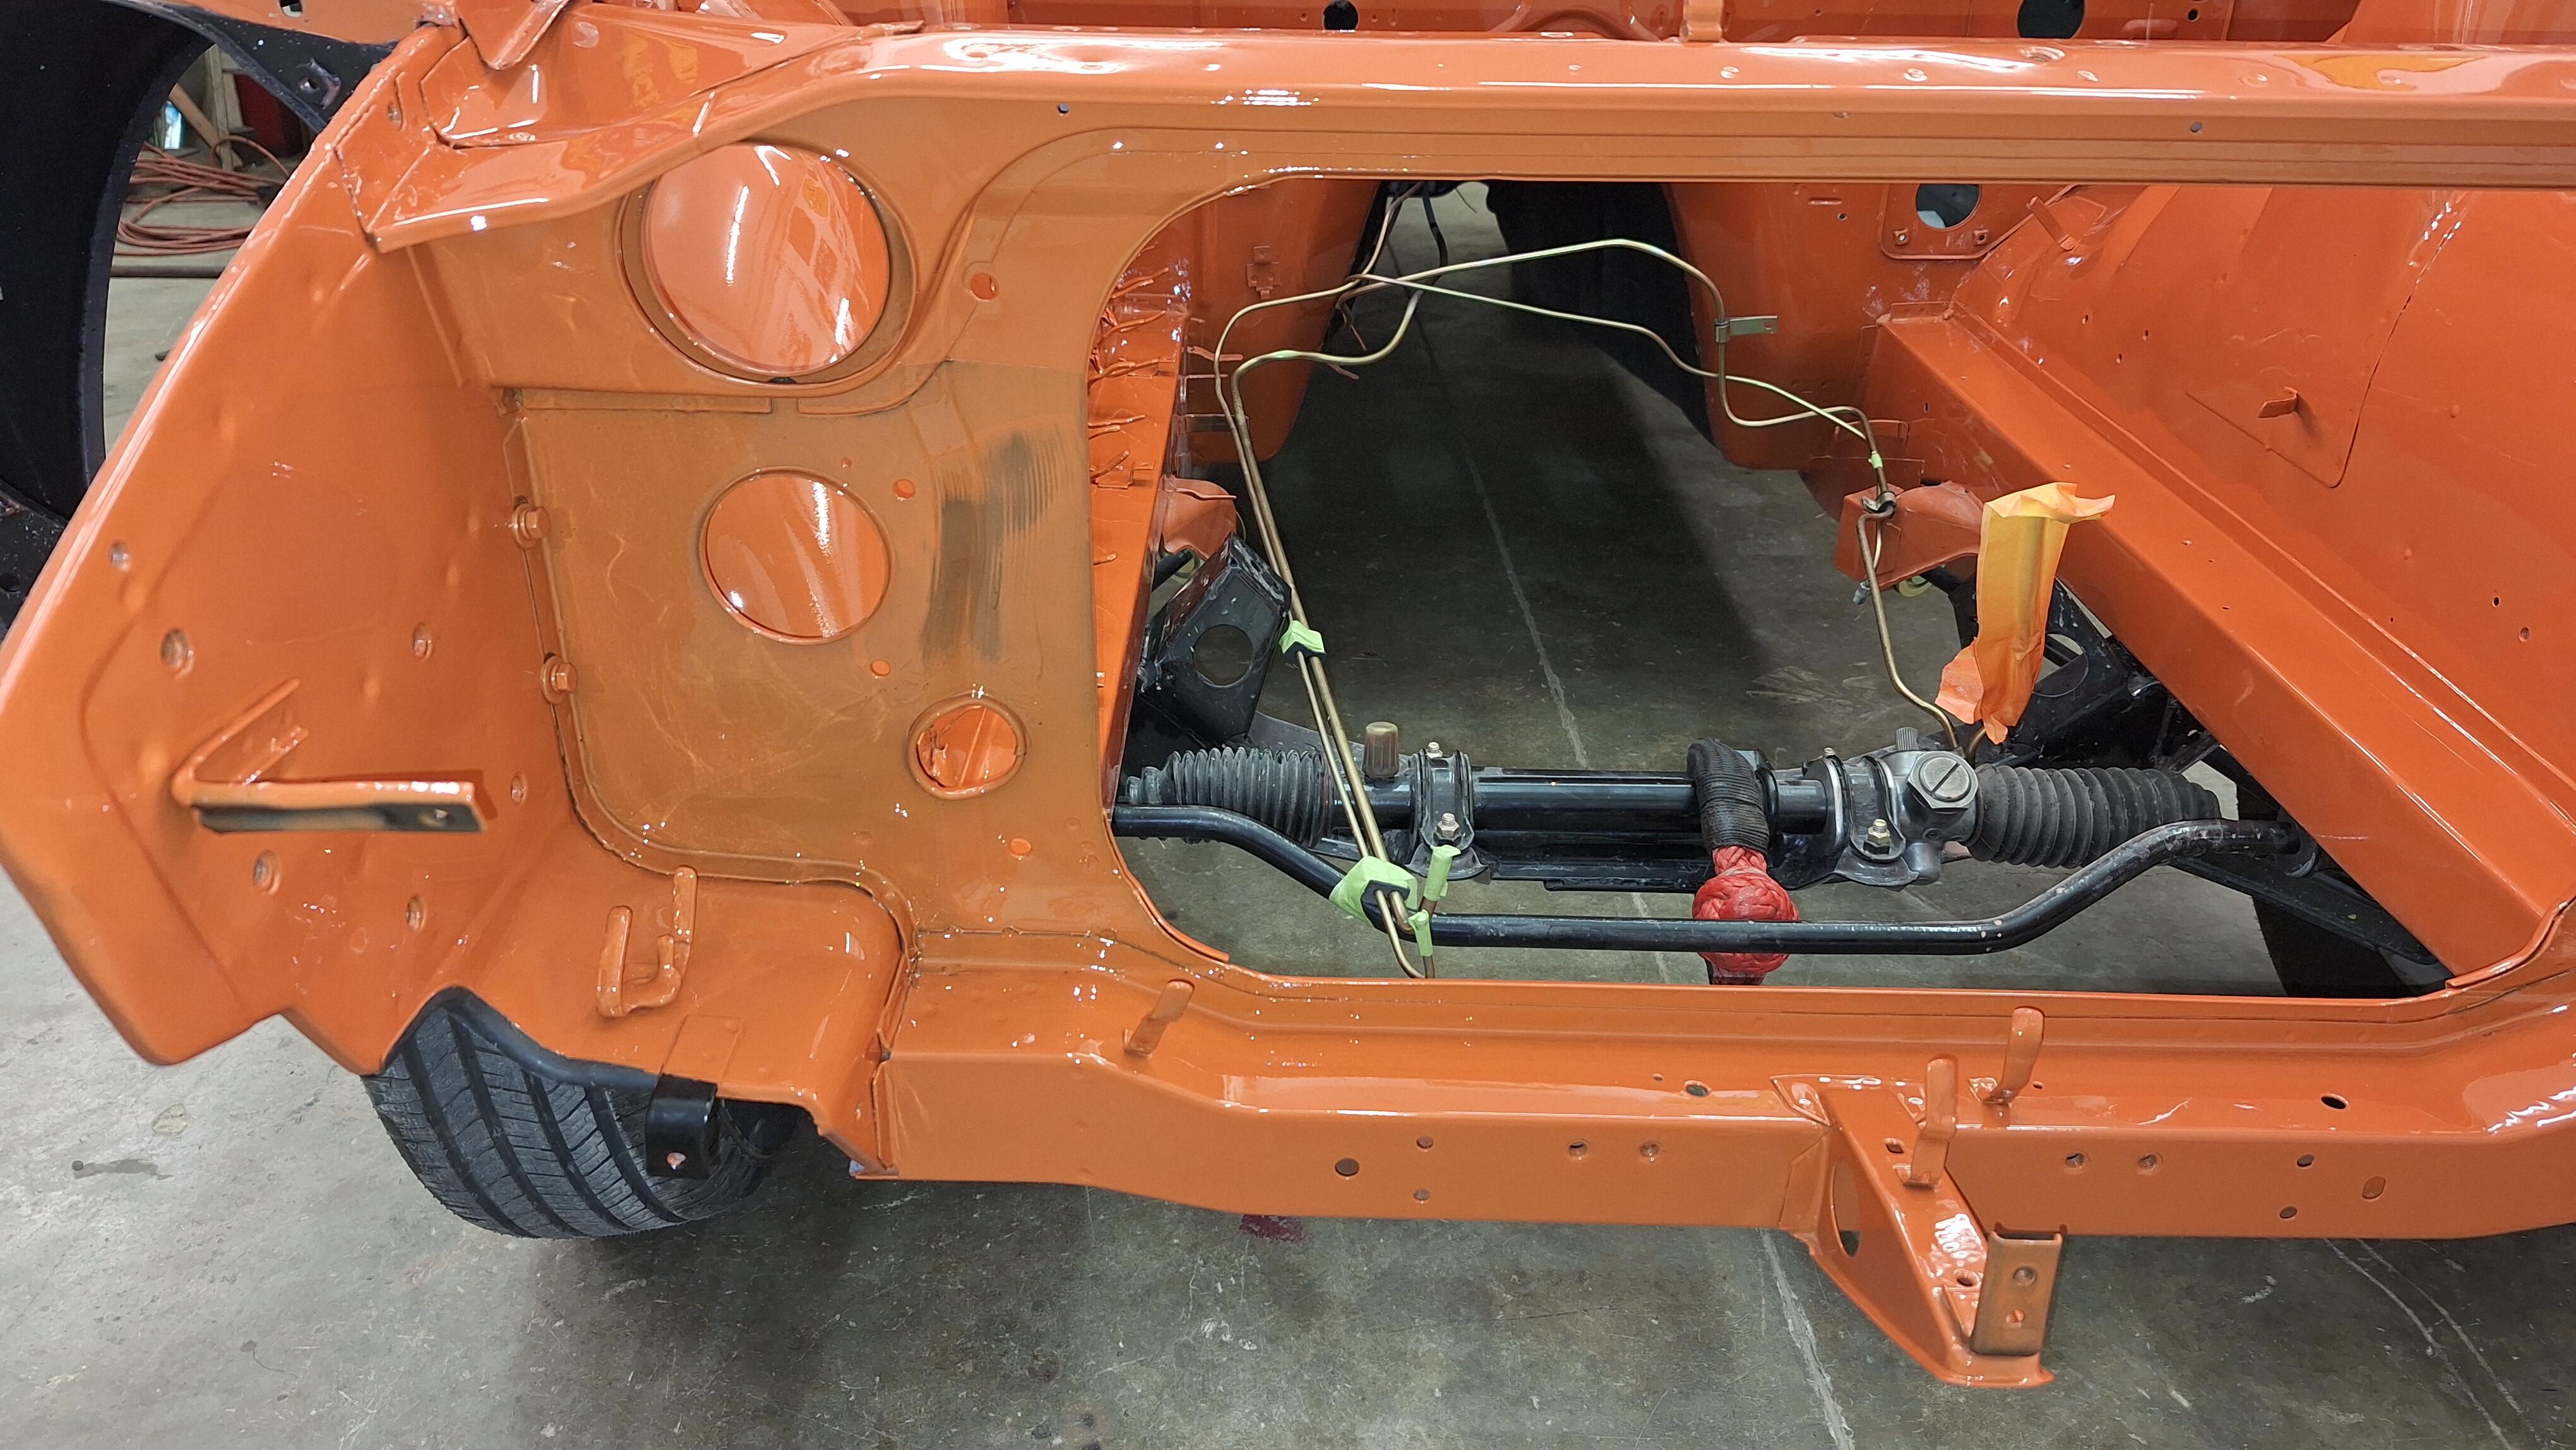
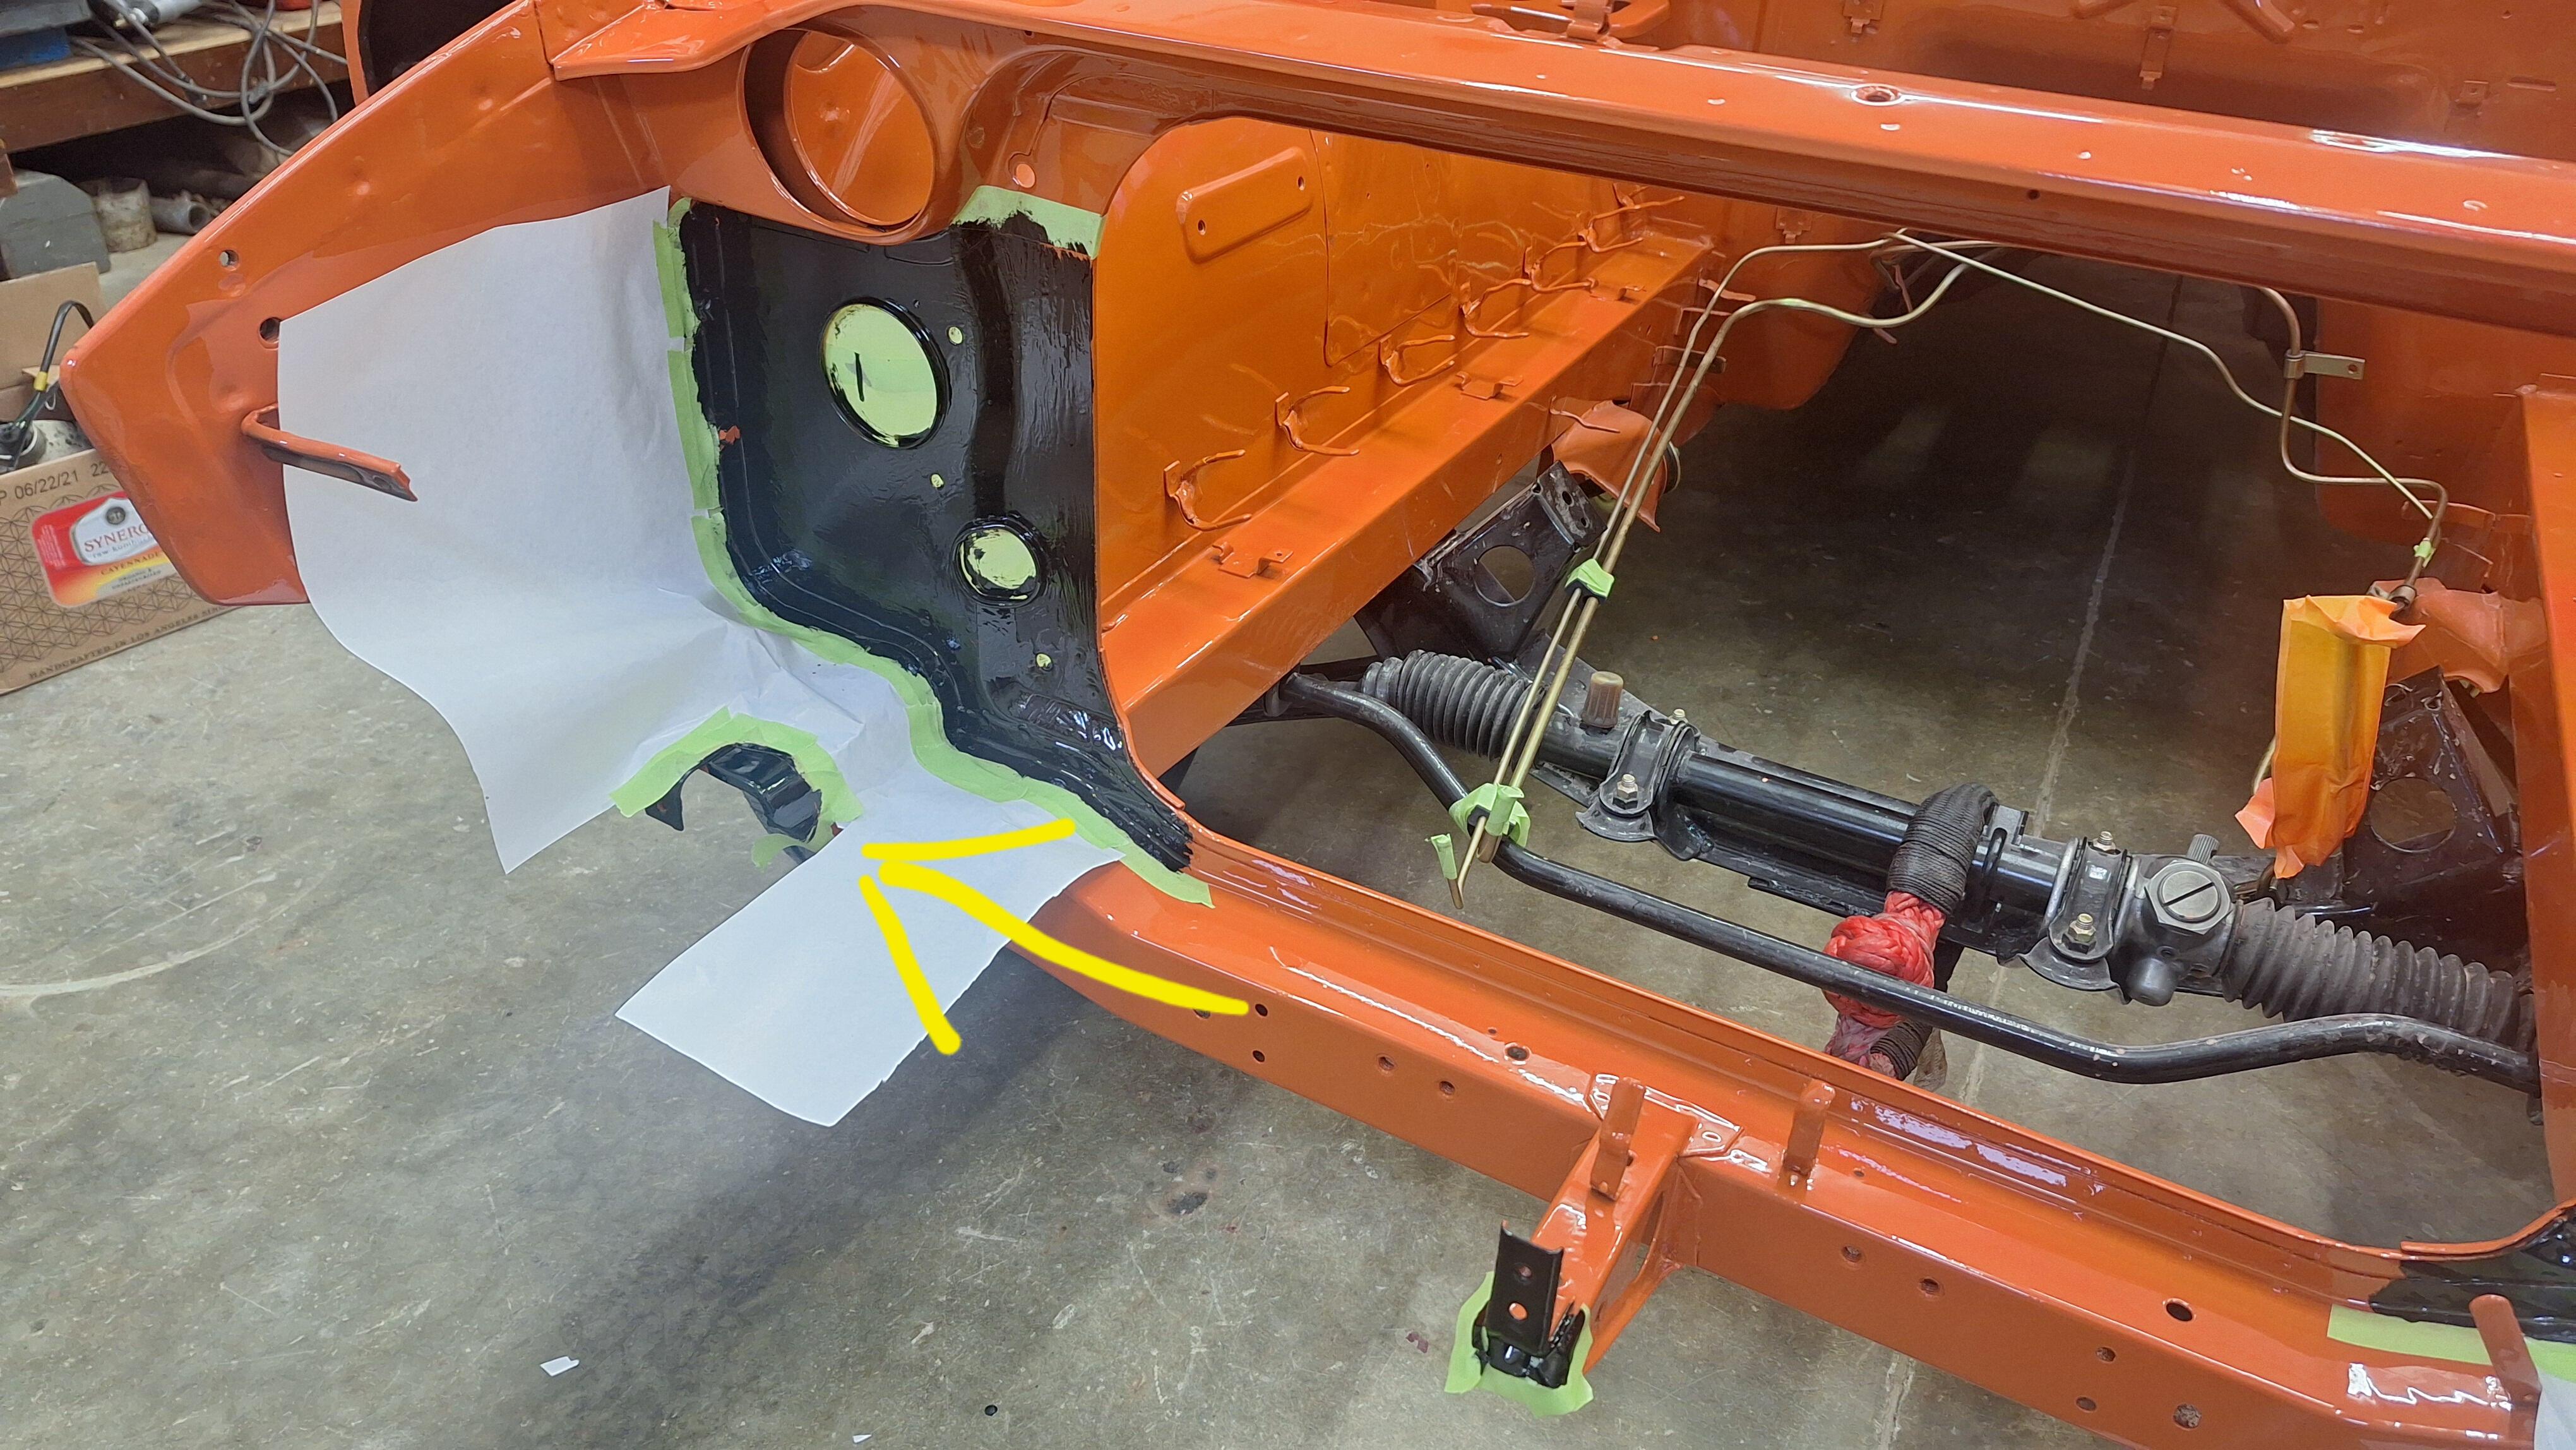
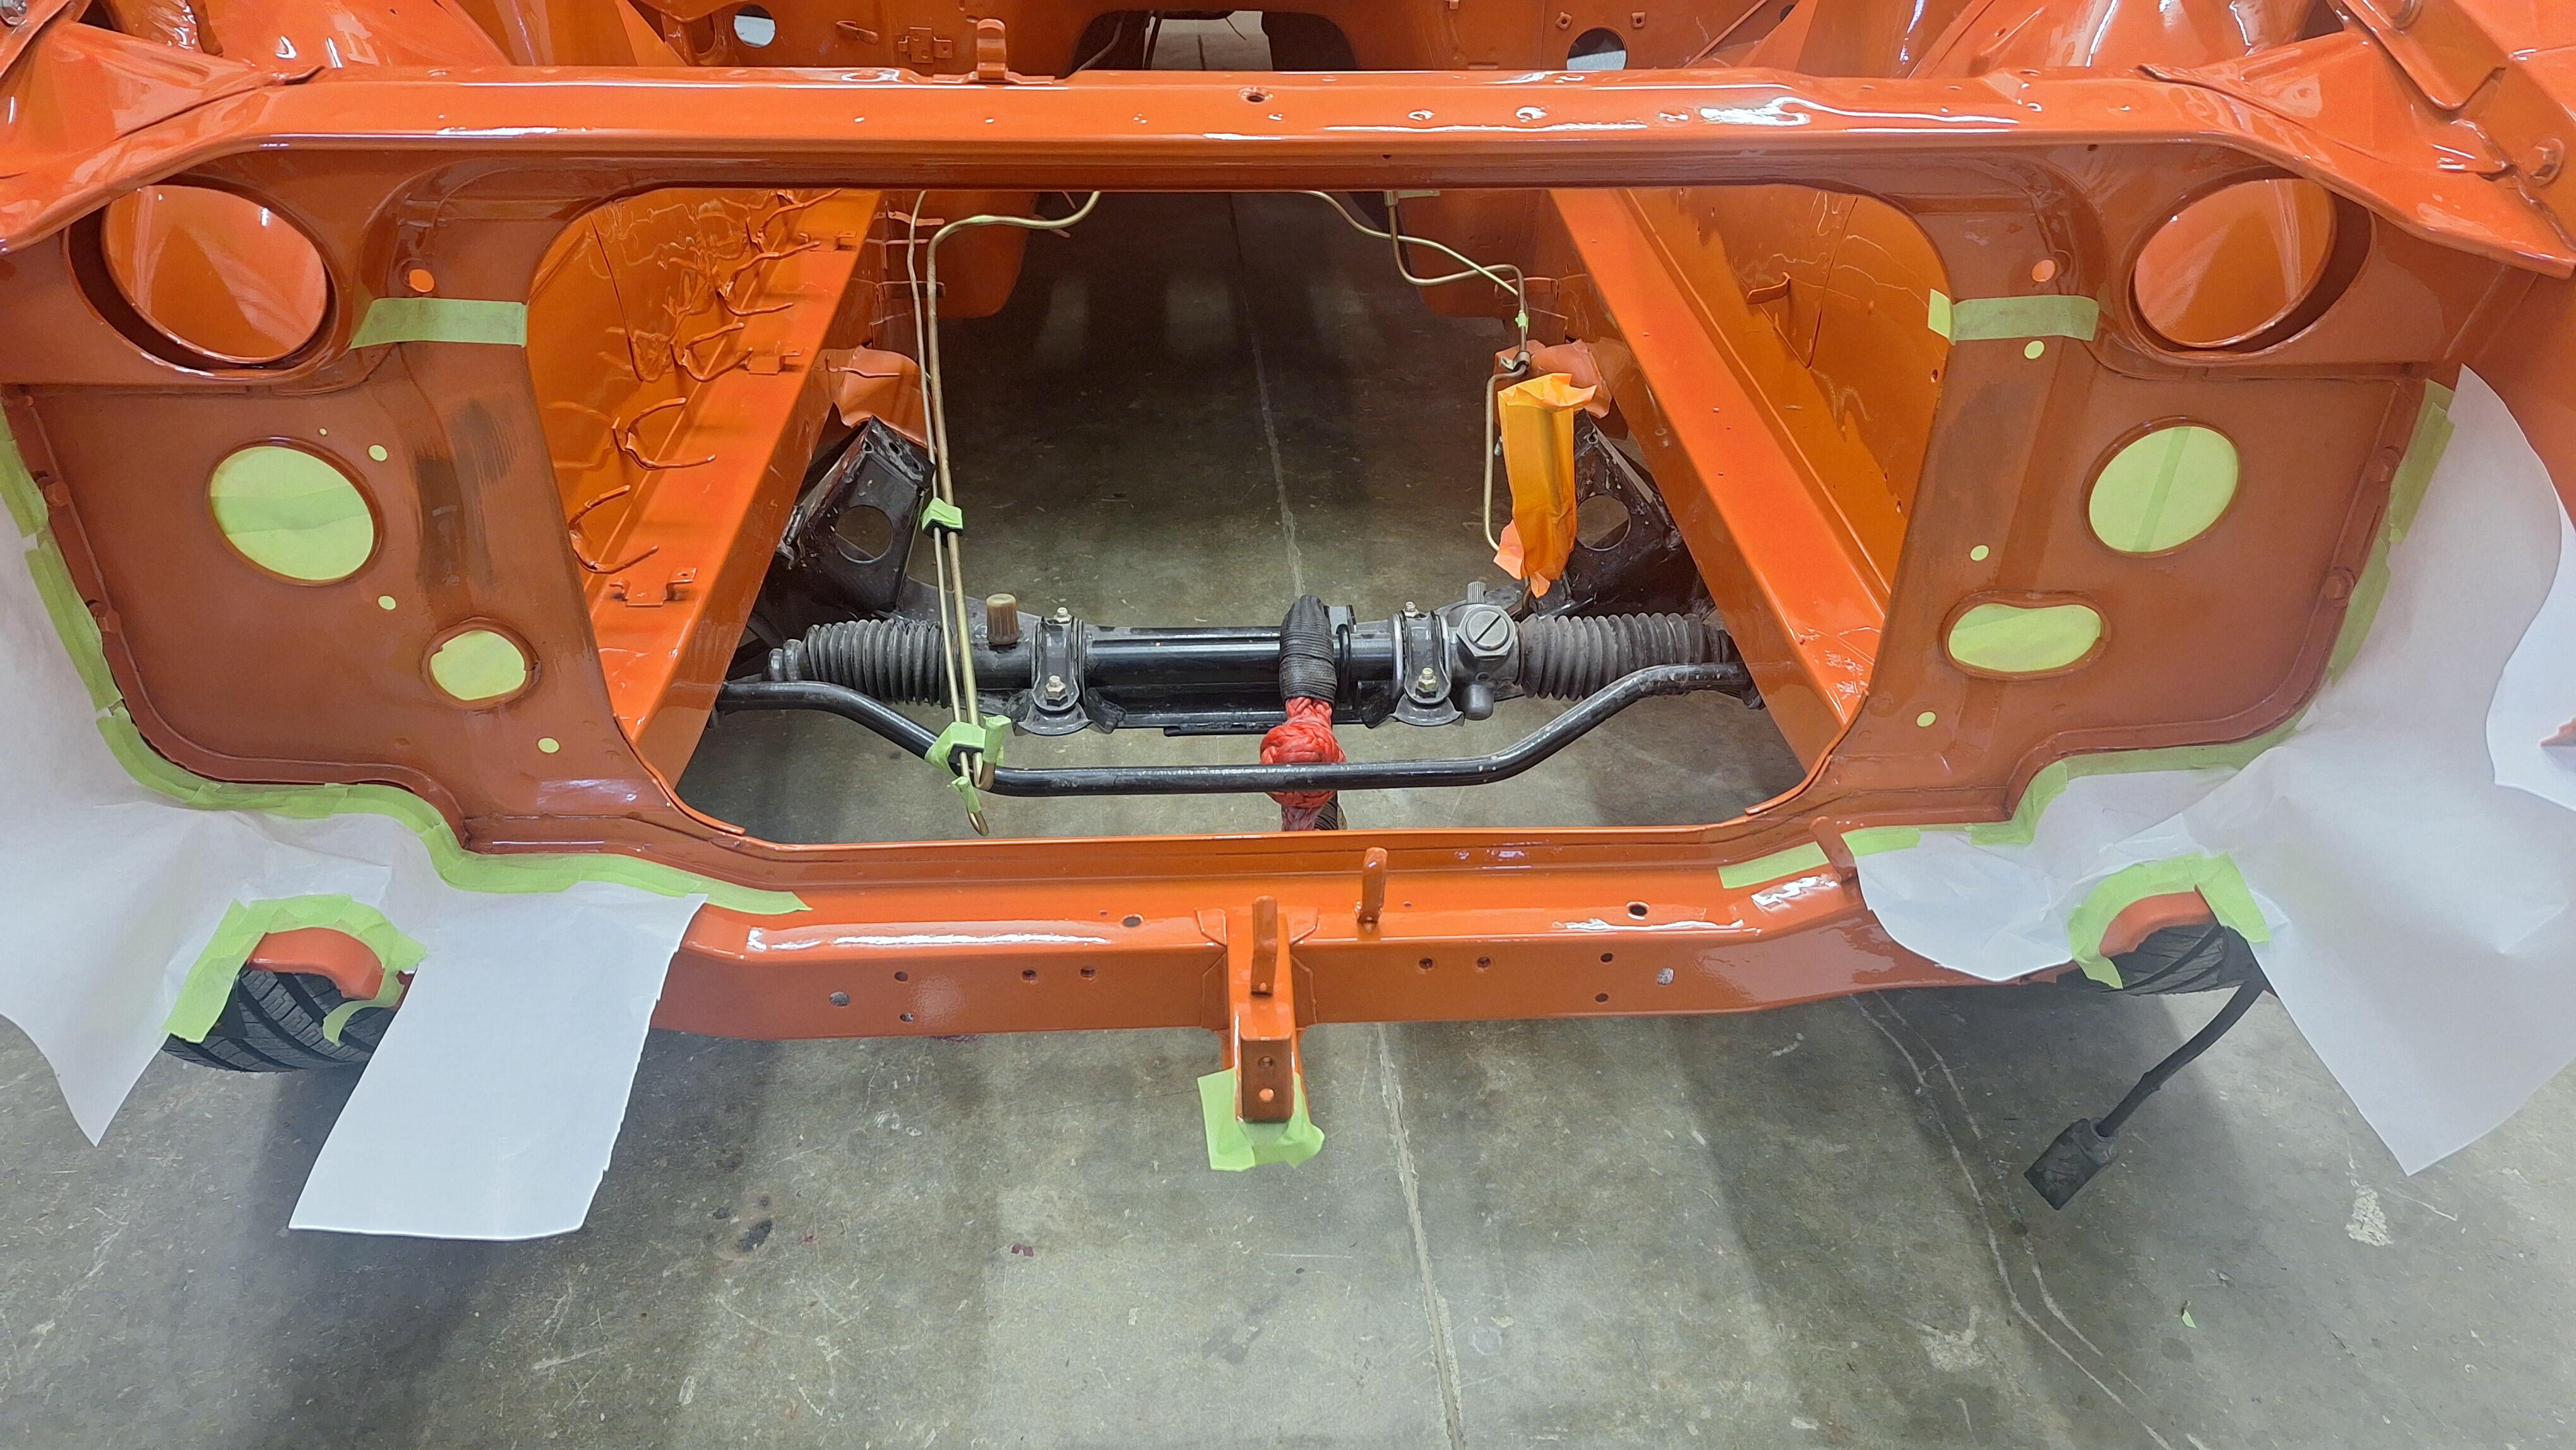
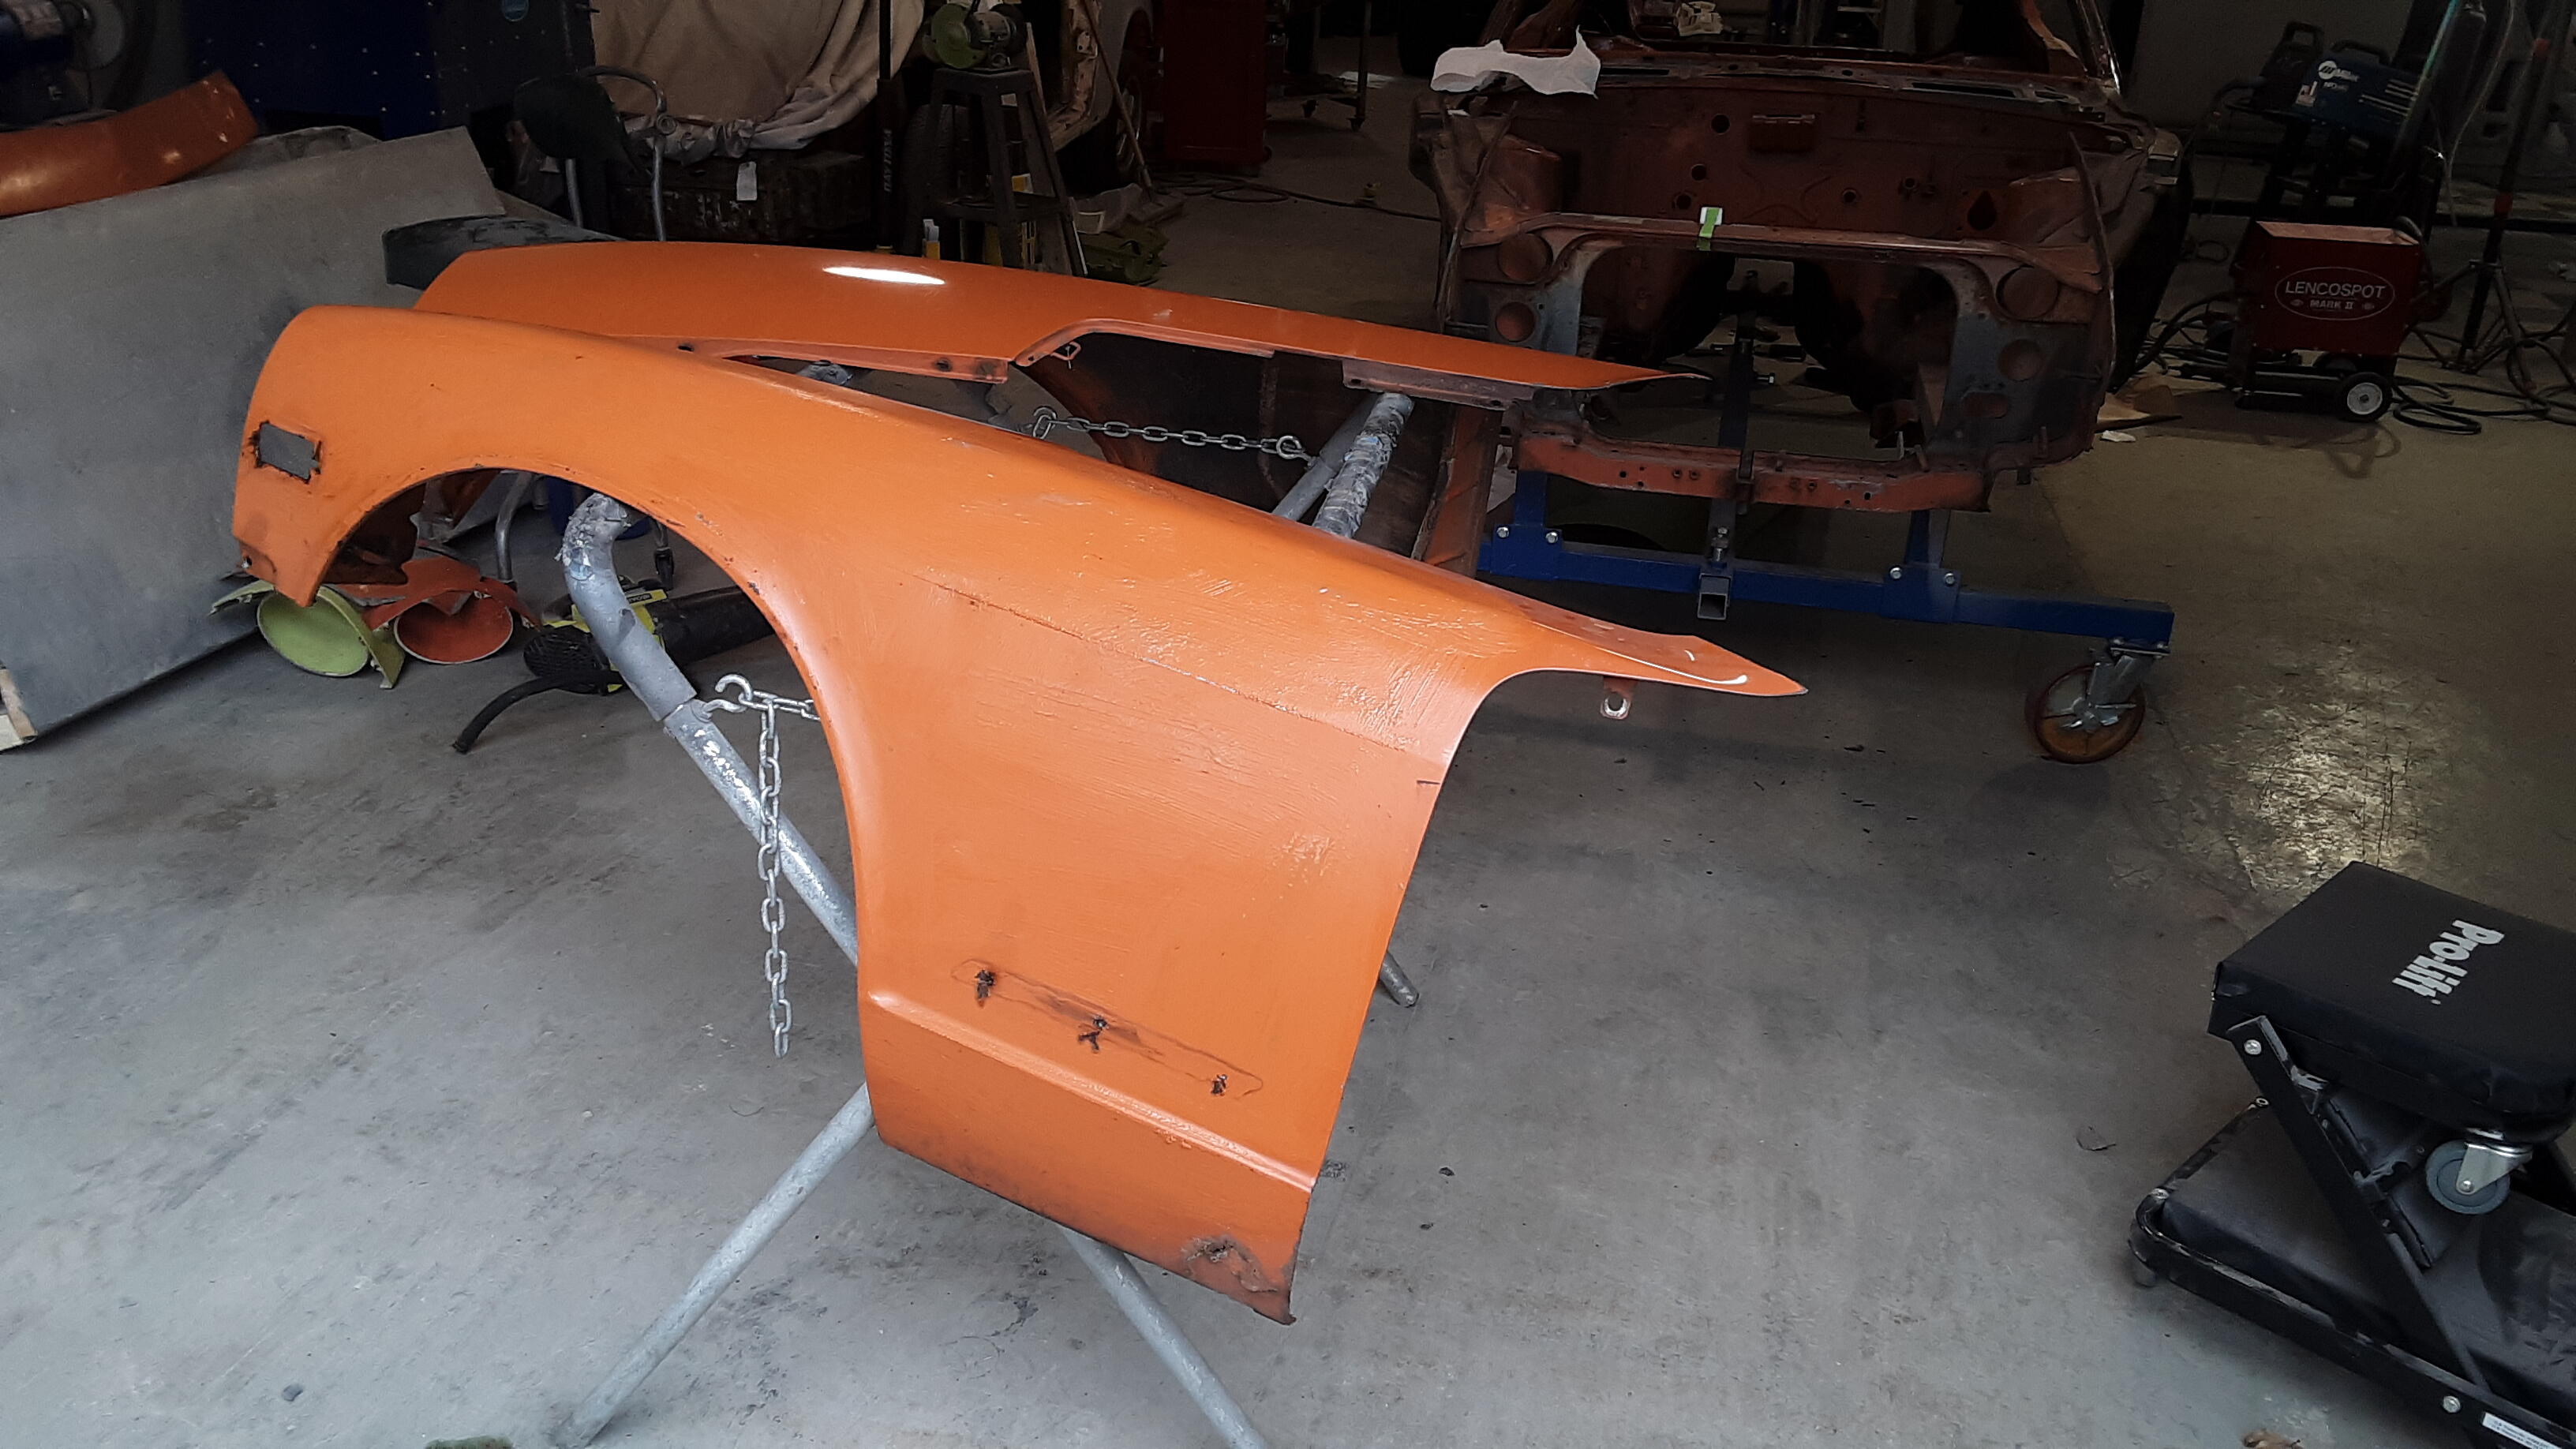
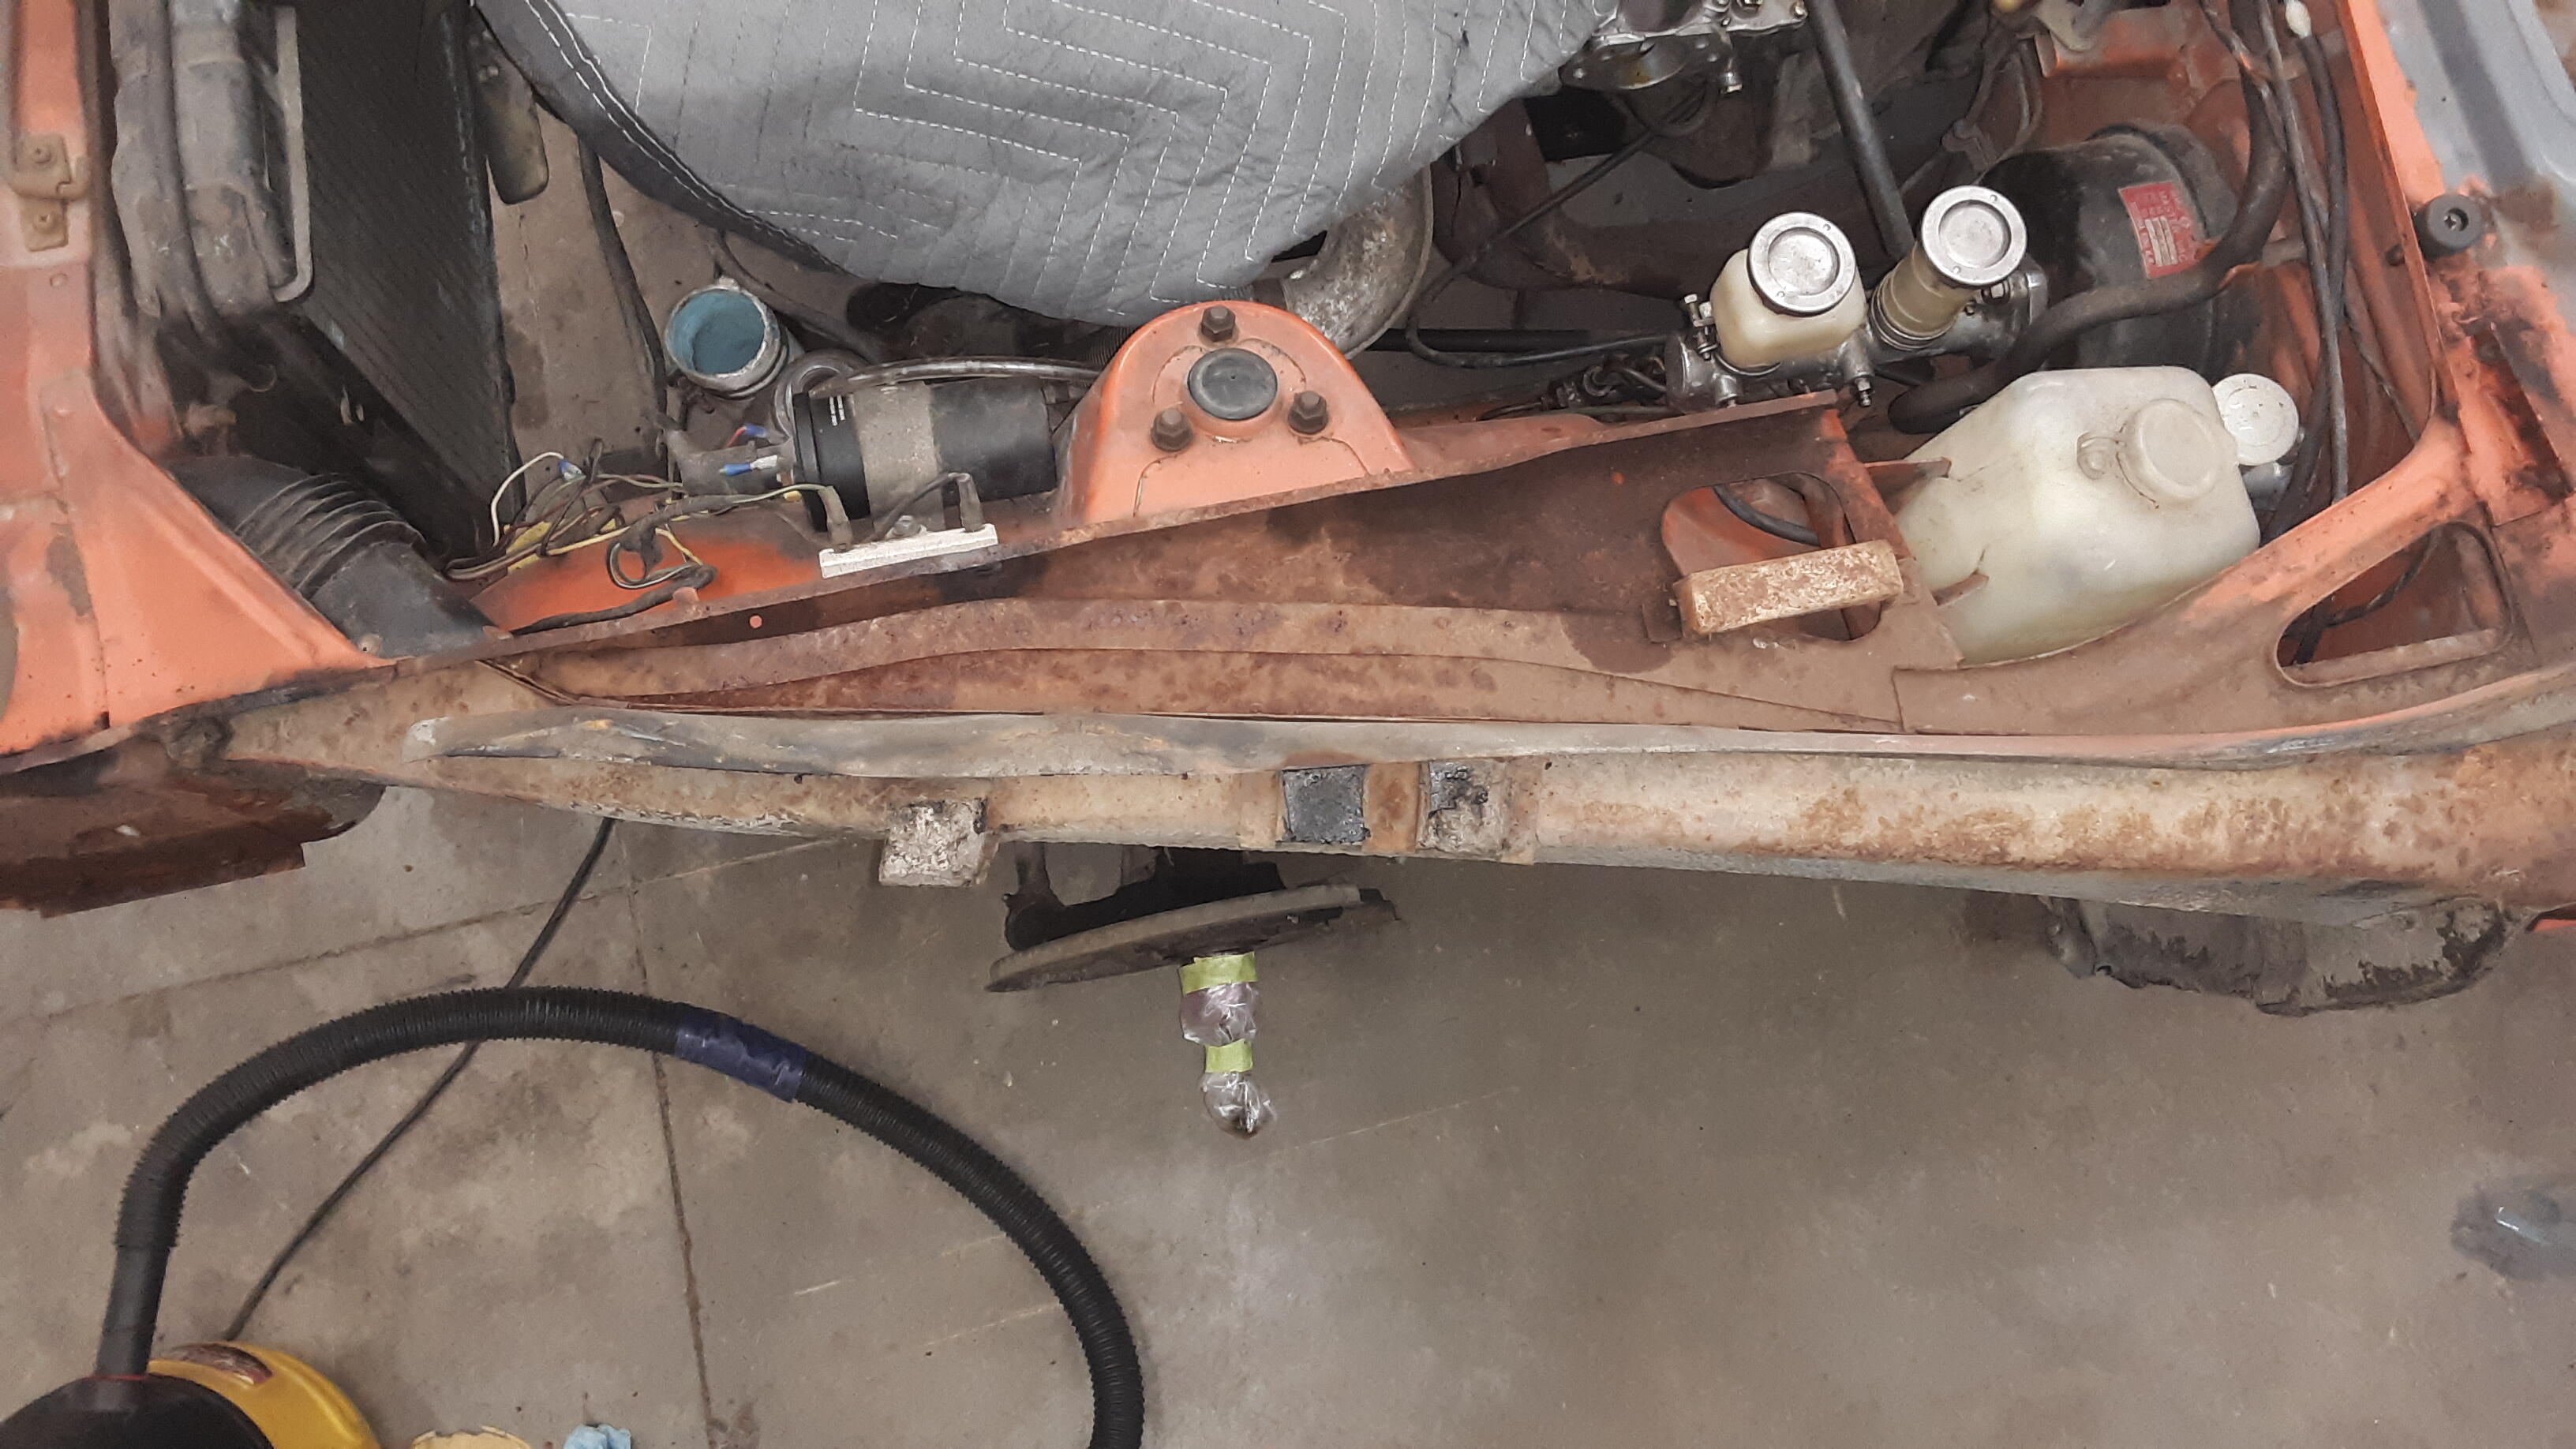
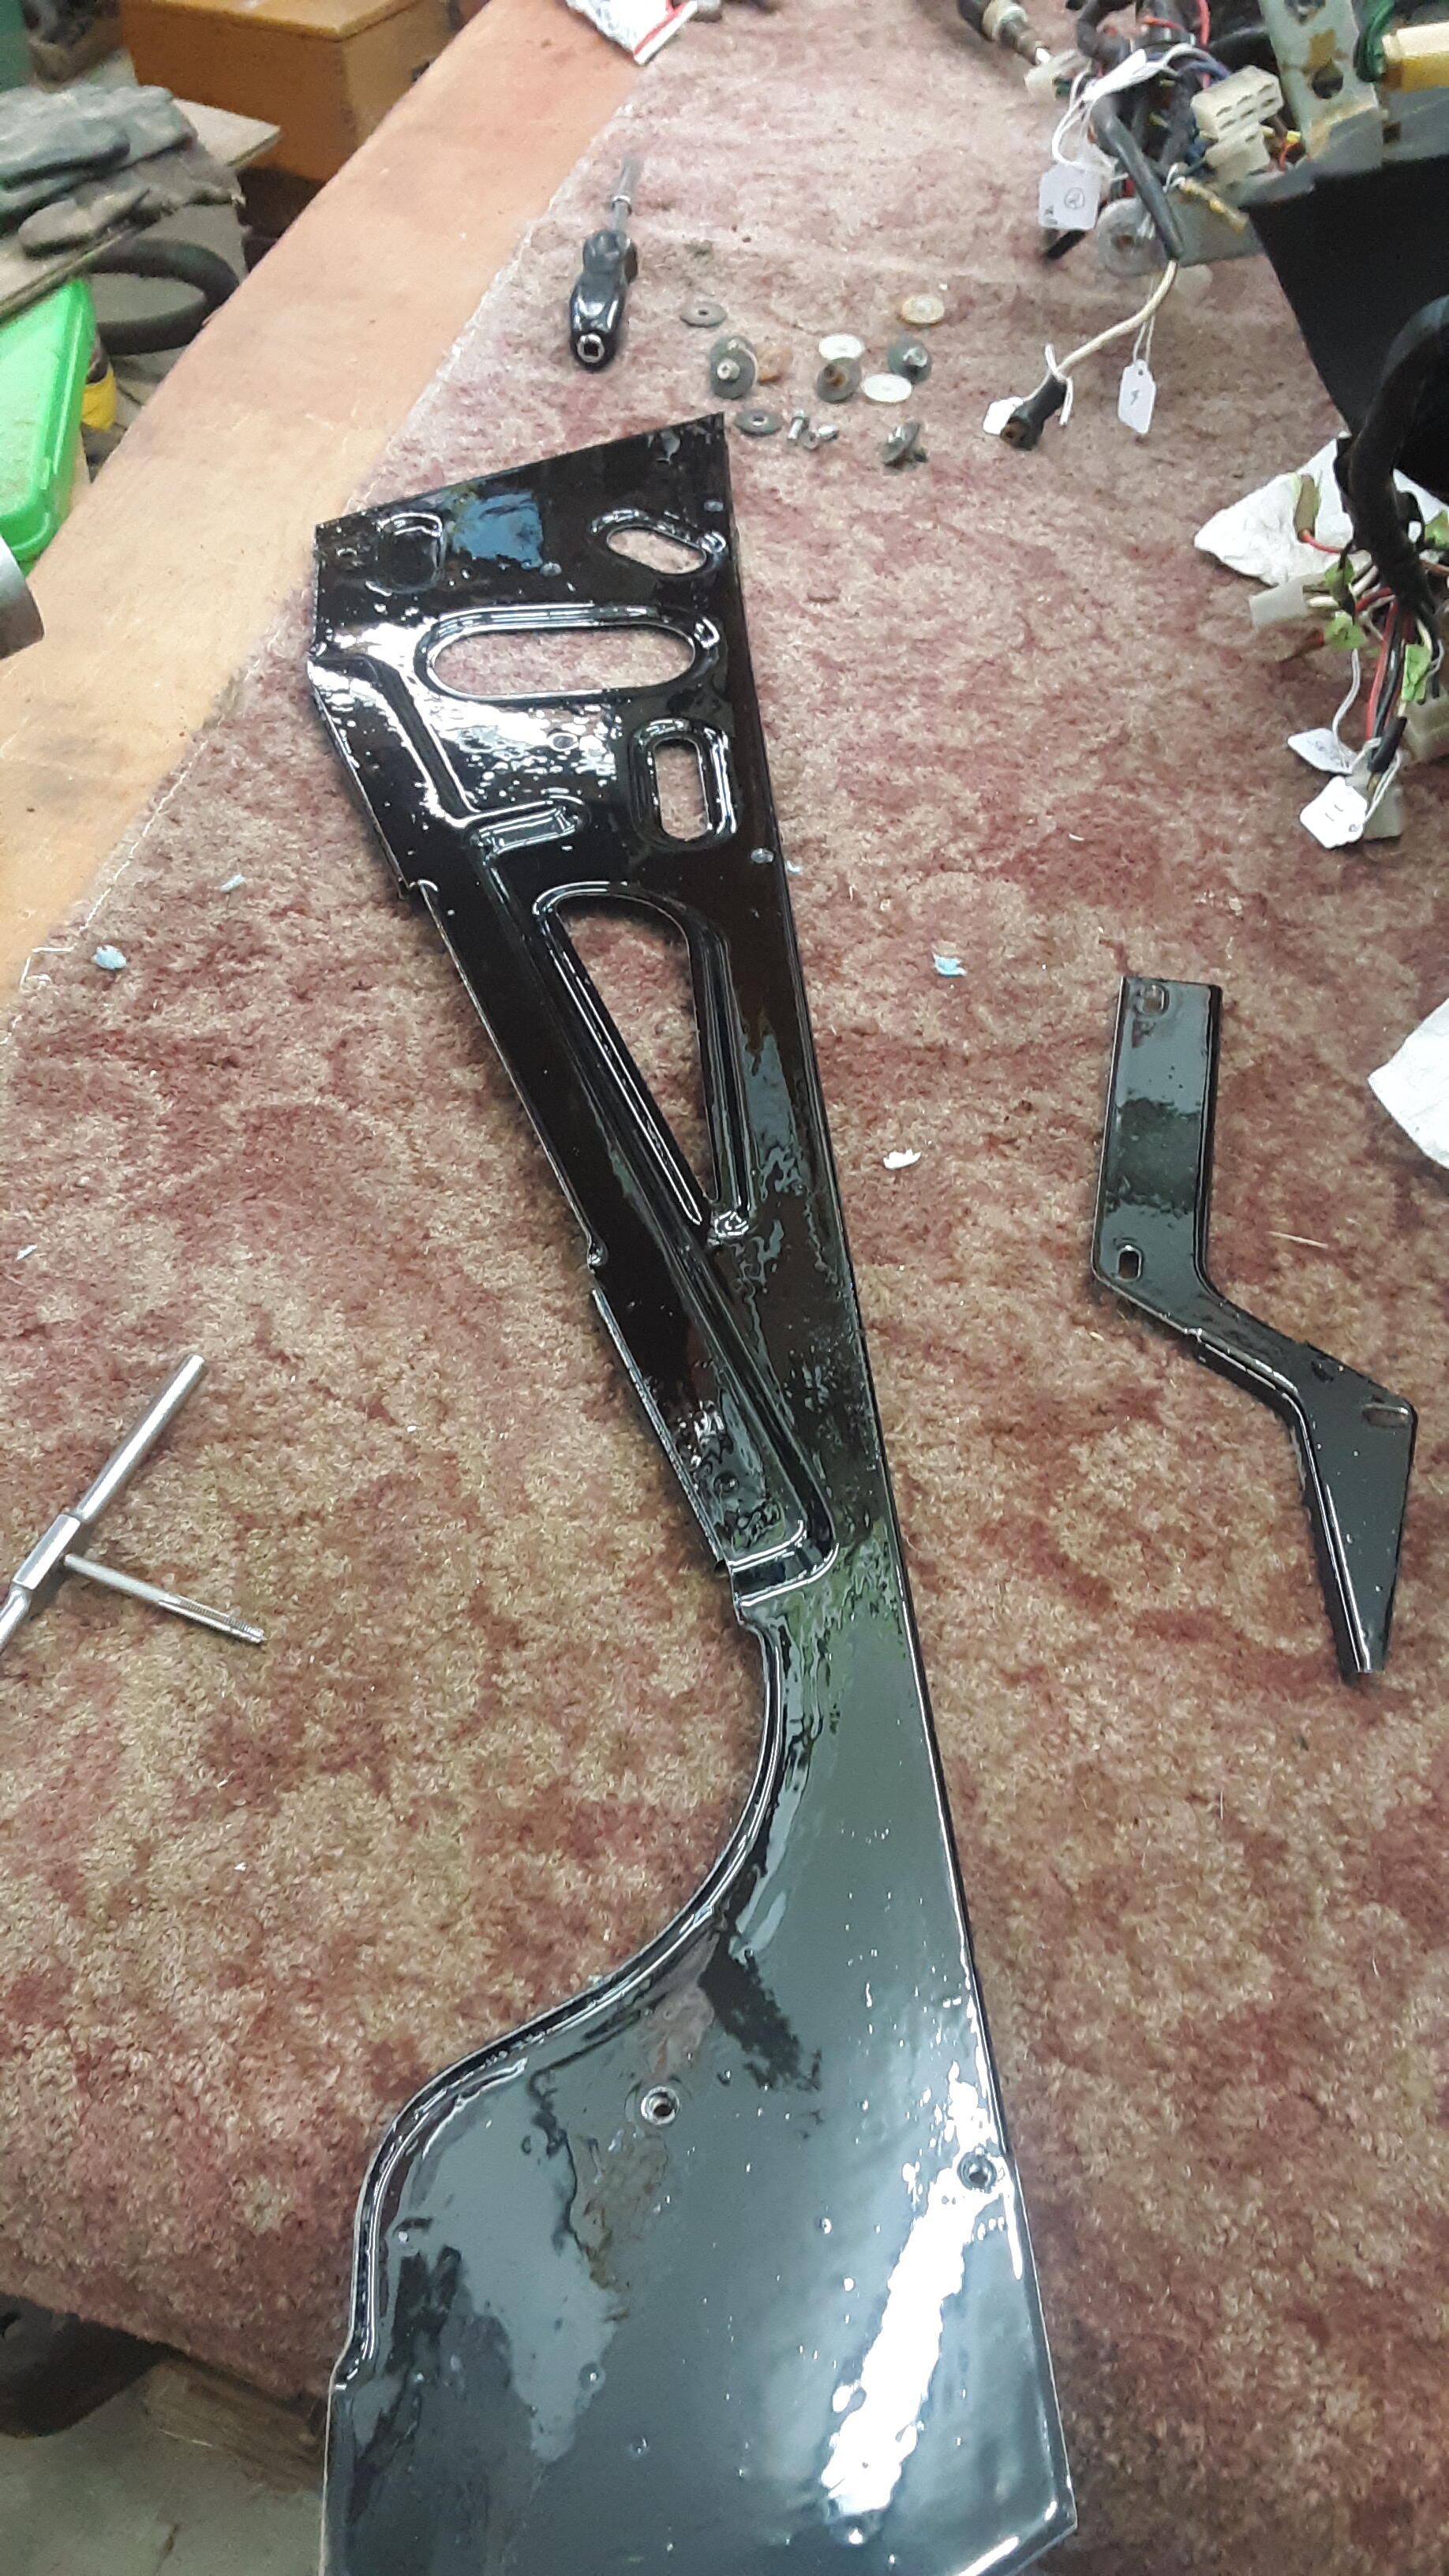
About this time, I noticed I had trouble fitting the front valance and right headlight bucket. Also, I noticed the engine bay was dull, like it had overspray all over it. I noticed that earlier, but now it stood out even more. I wasn't happy with it, there were runs, and the horizontal surfaces were not shiney like they used to be. I found the problem with the valance repair job. It's supposed to be straight and it wasn't anymore. I ordered a replacement from ressurected classics. I had to modify the holes and do some welding on it, but hey, I got practice on thin metal welding. SO, back to the paint shop for a few things. I was in and out in less than a day. I really like this guy. See how dull that crossmember is? It was all over the plated lines, which I cleaned. Runs Back in the booth. uh, next time fit everything together before you paint it! oh. He's young. I like it a lot better after the engine bay respray. I can put decals on that! Time to get out the black paint again. 😀


-
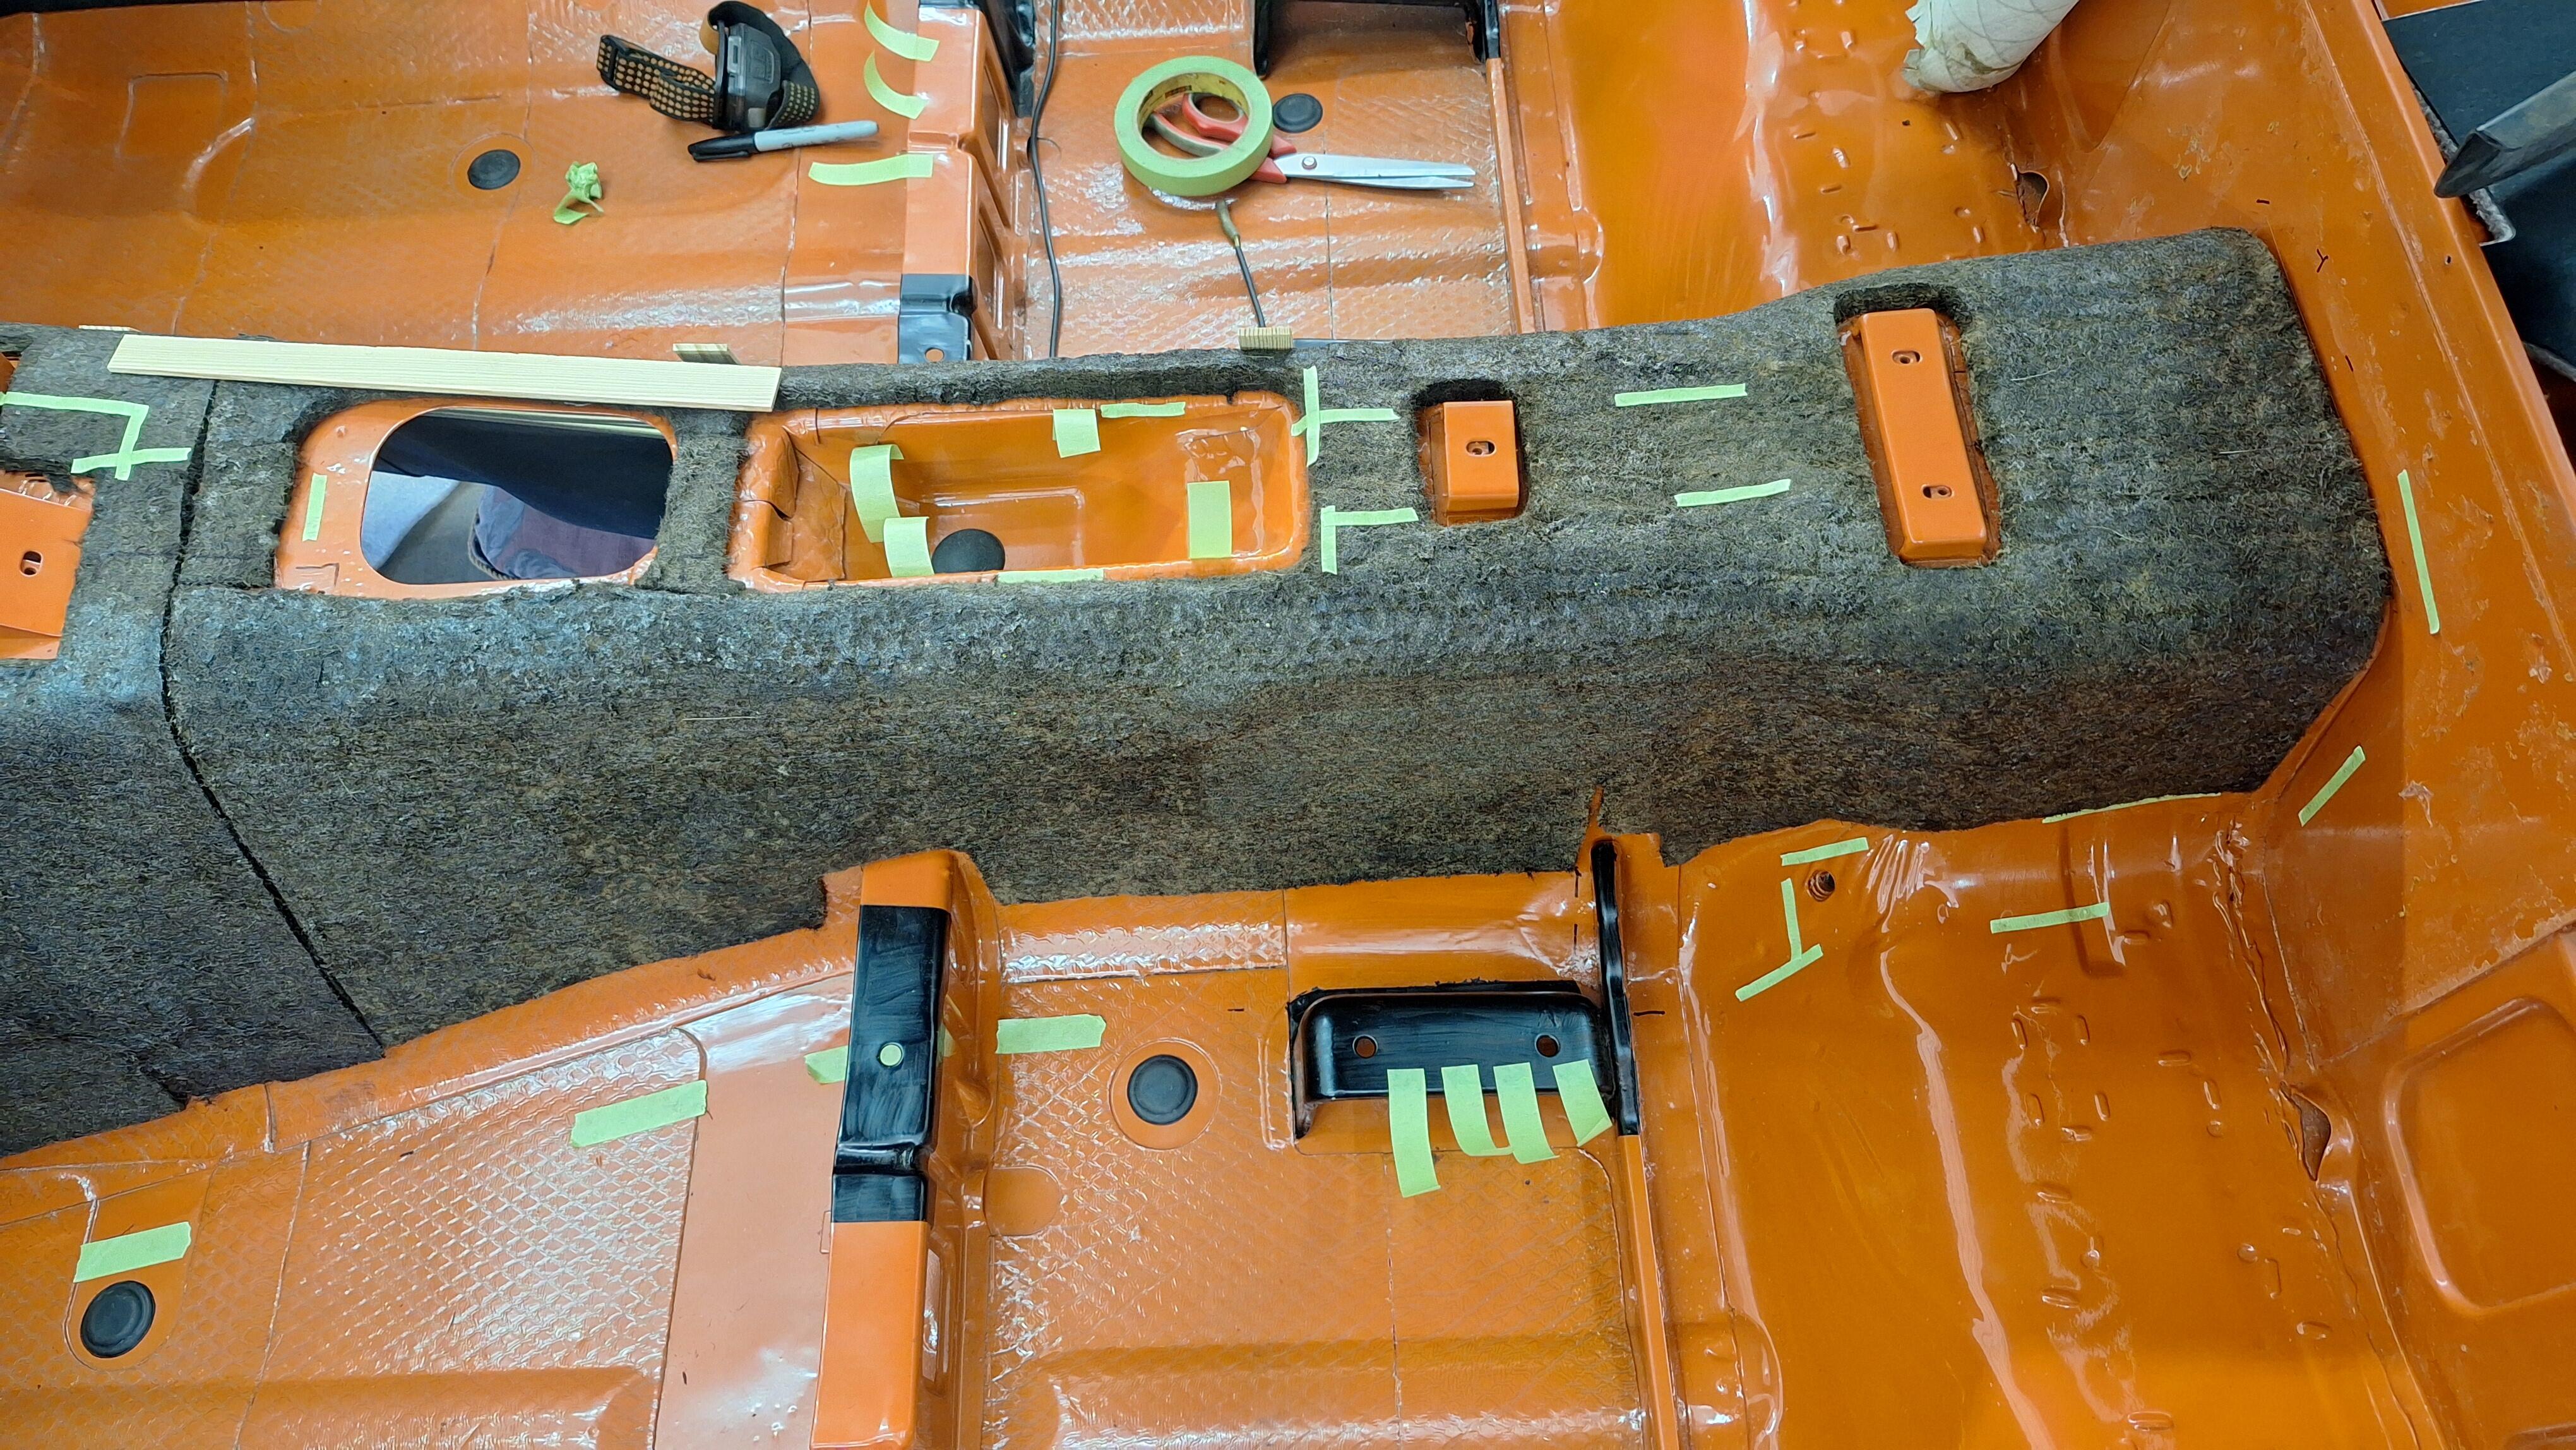
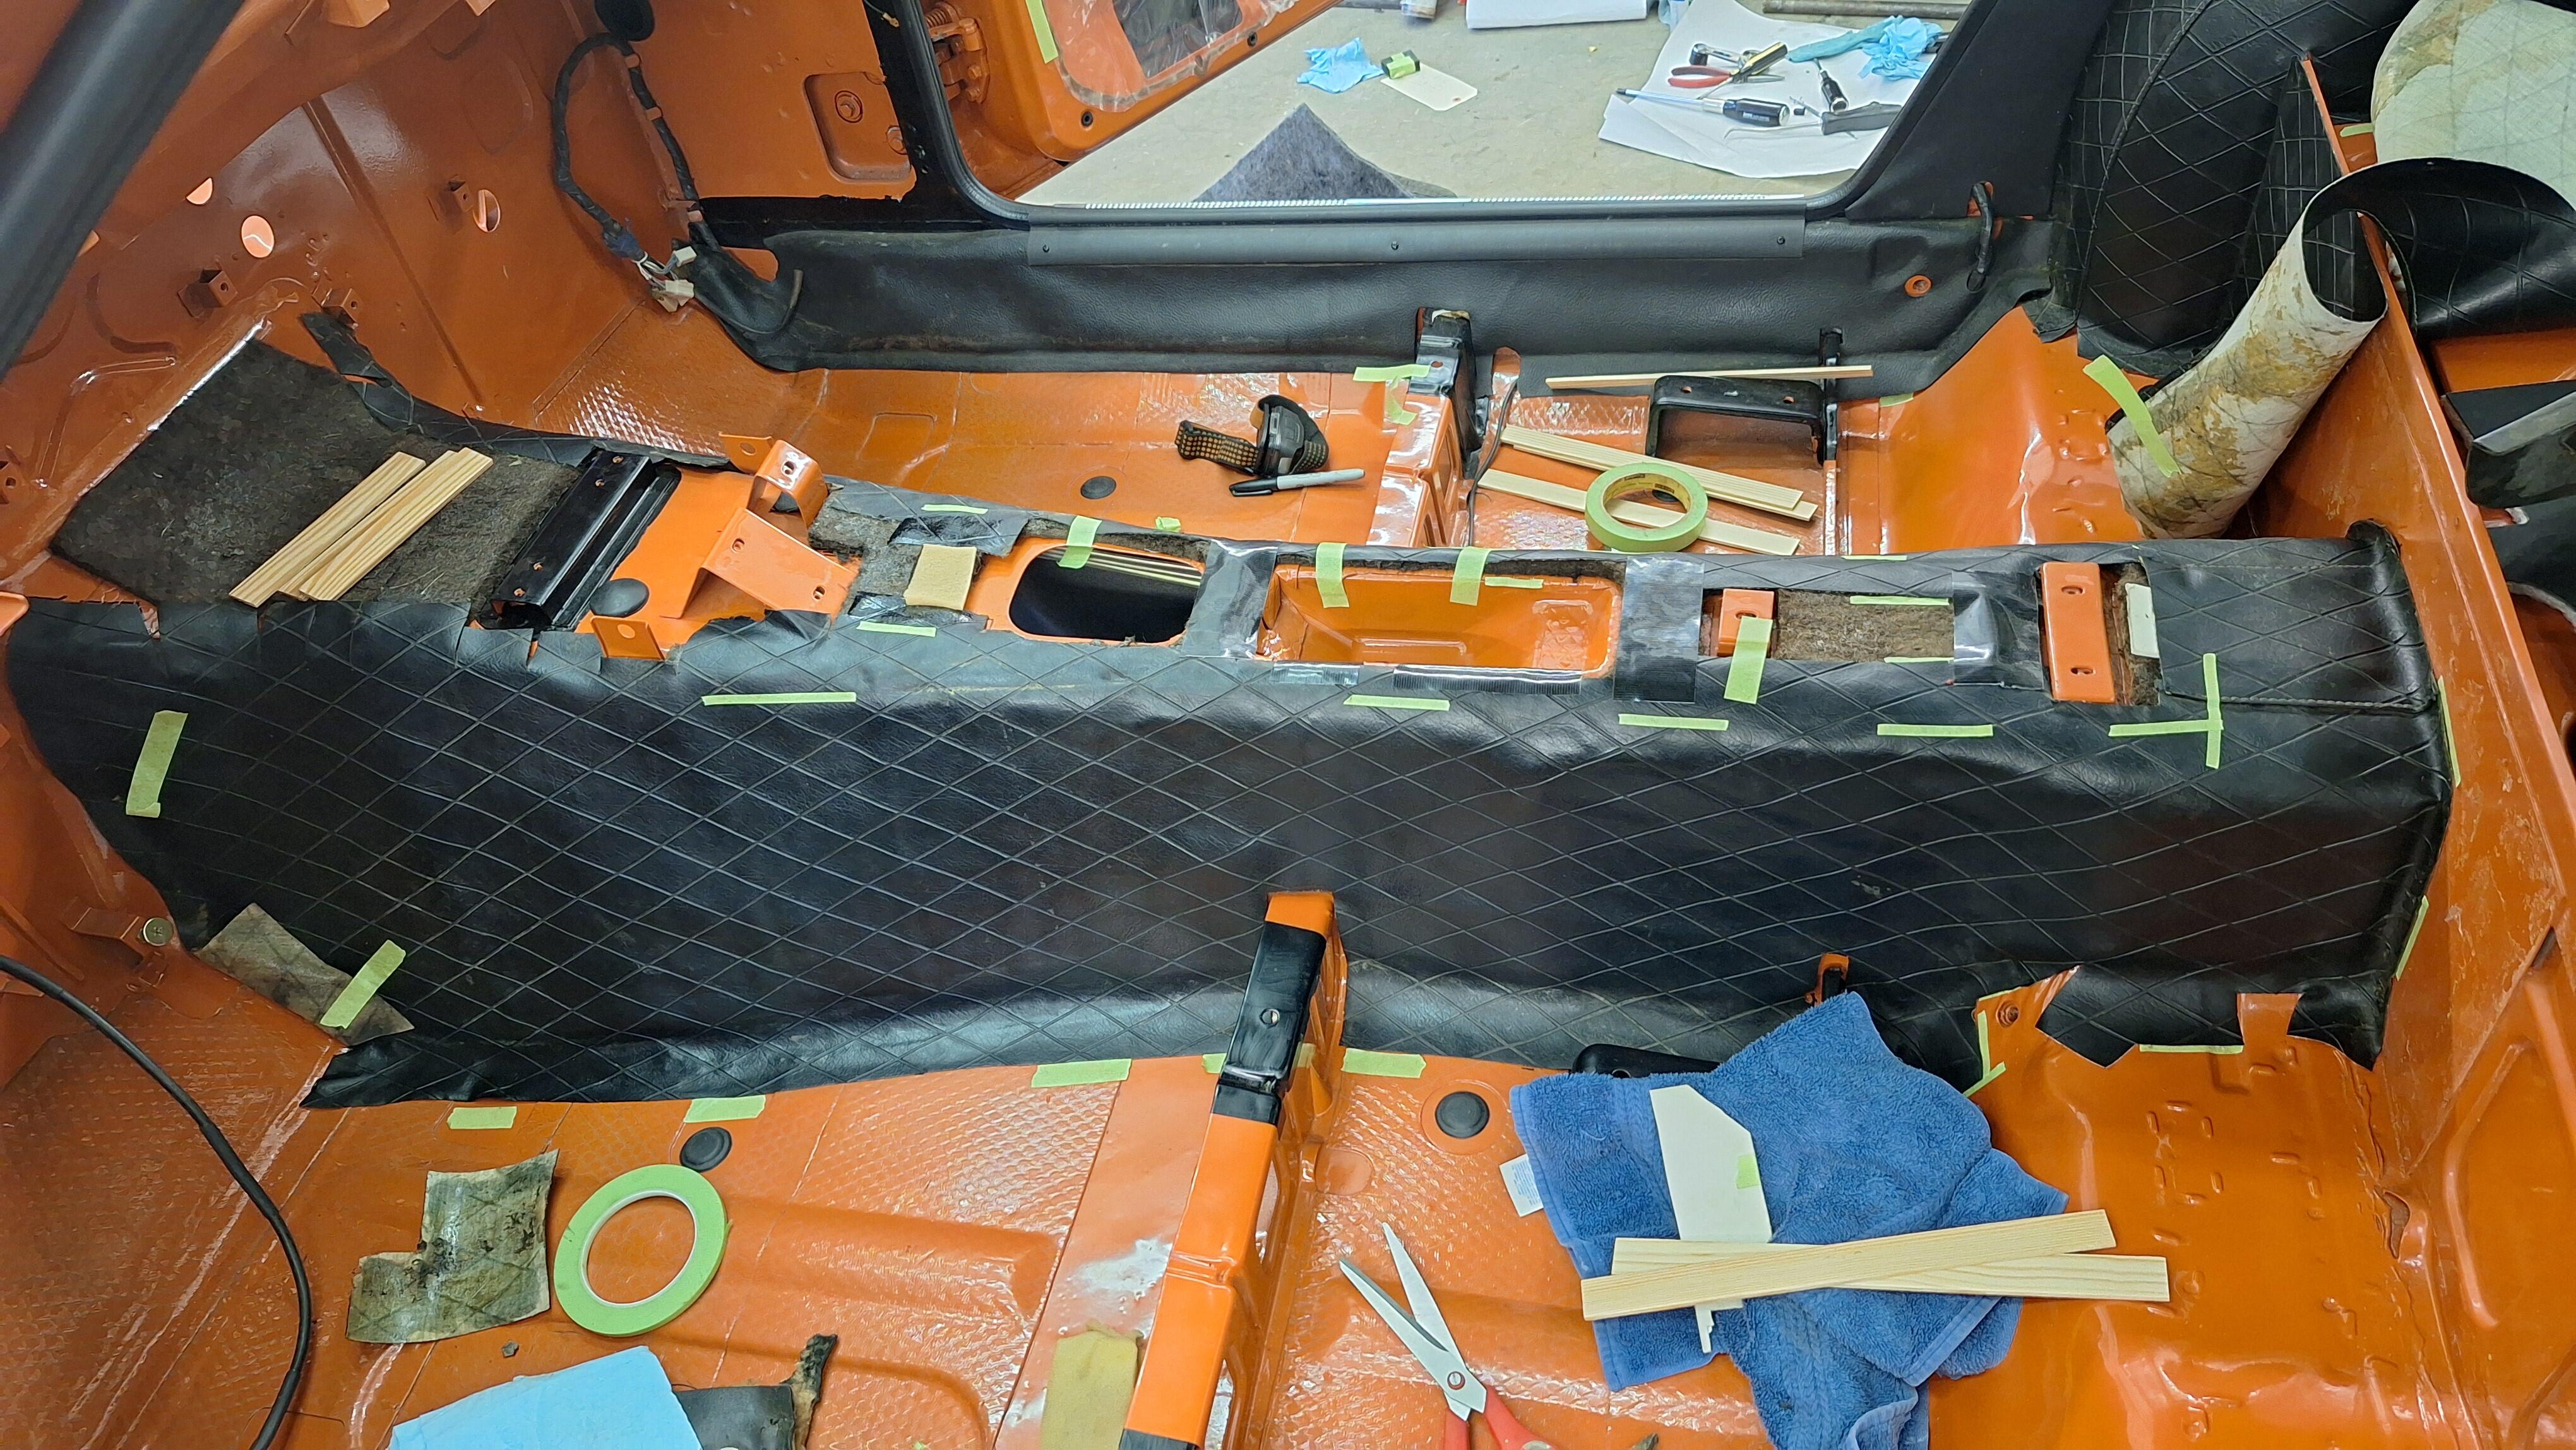
I don't know why, but I really liked this part. Going over a freshly painted car with a cup of black paint and a brush Part of my original jute was toast. I wanted to use the original because it's the correct thickness and would make everything fit better. While looking for something, Jenny from the junkyard, yup, her again, comes to my rescue. She shows me a picture and I wasn't even looking for jute, but there it was! can ya get it off in one piece? she did. Enough to do the job. I coated it with contact cement and let it dry overnight, to keep it from being loose. the next day I glued the vinyl to it.


-
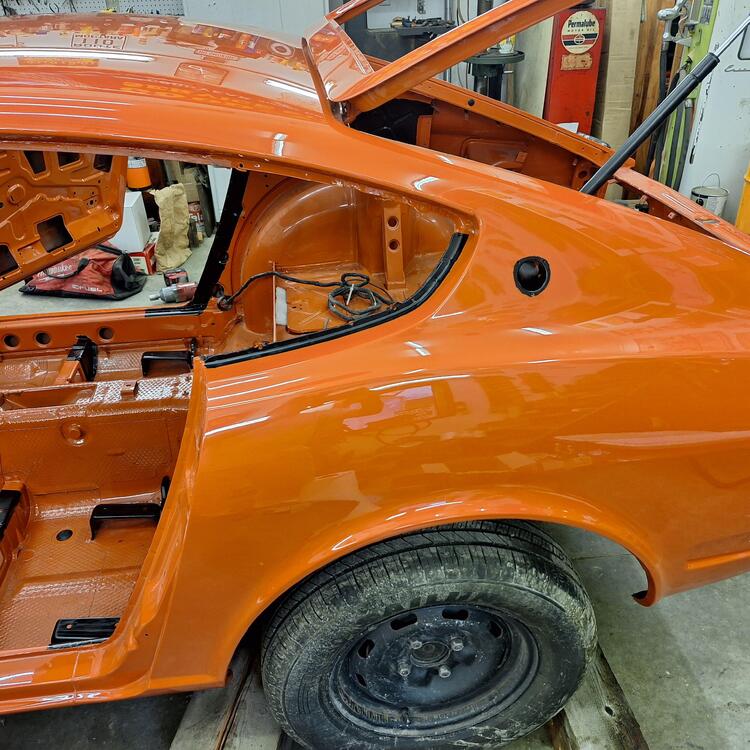
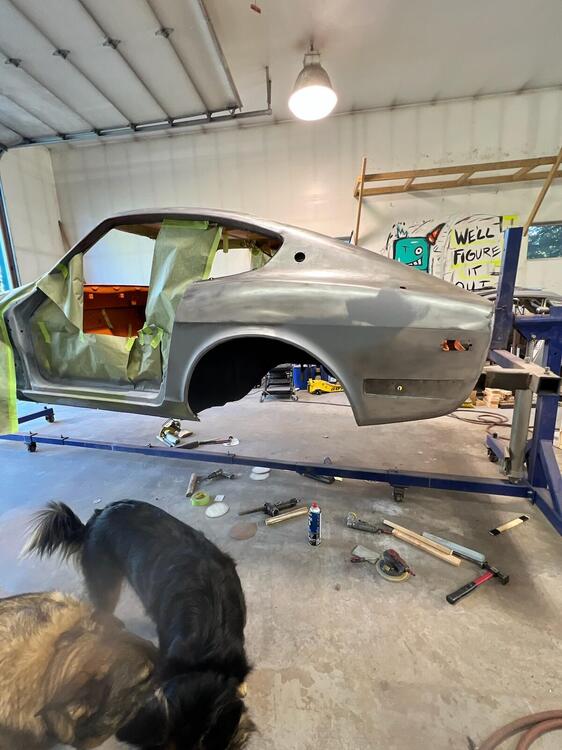
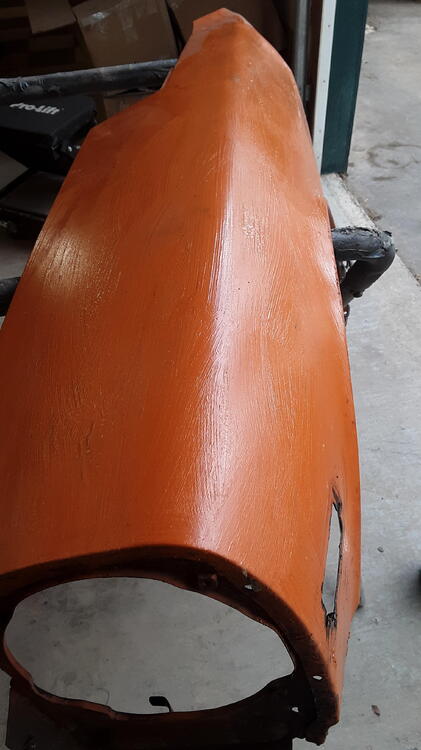
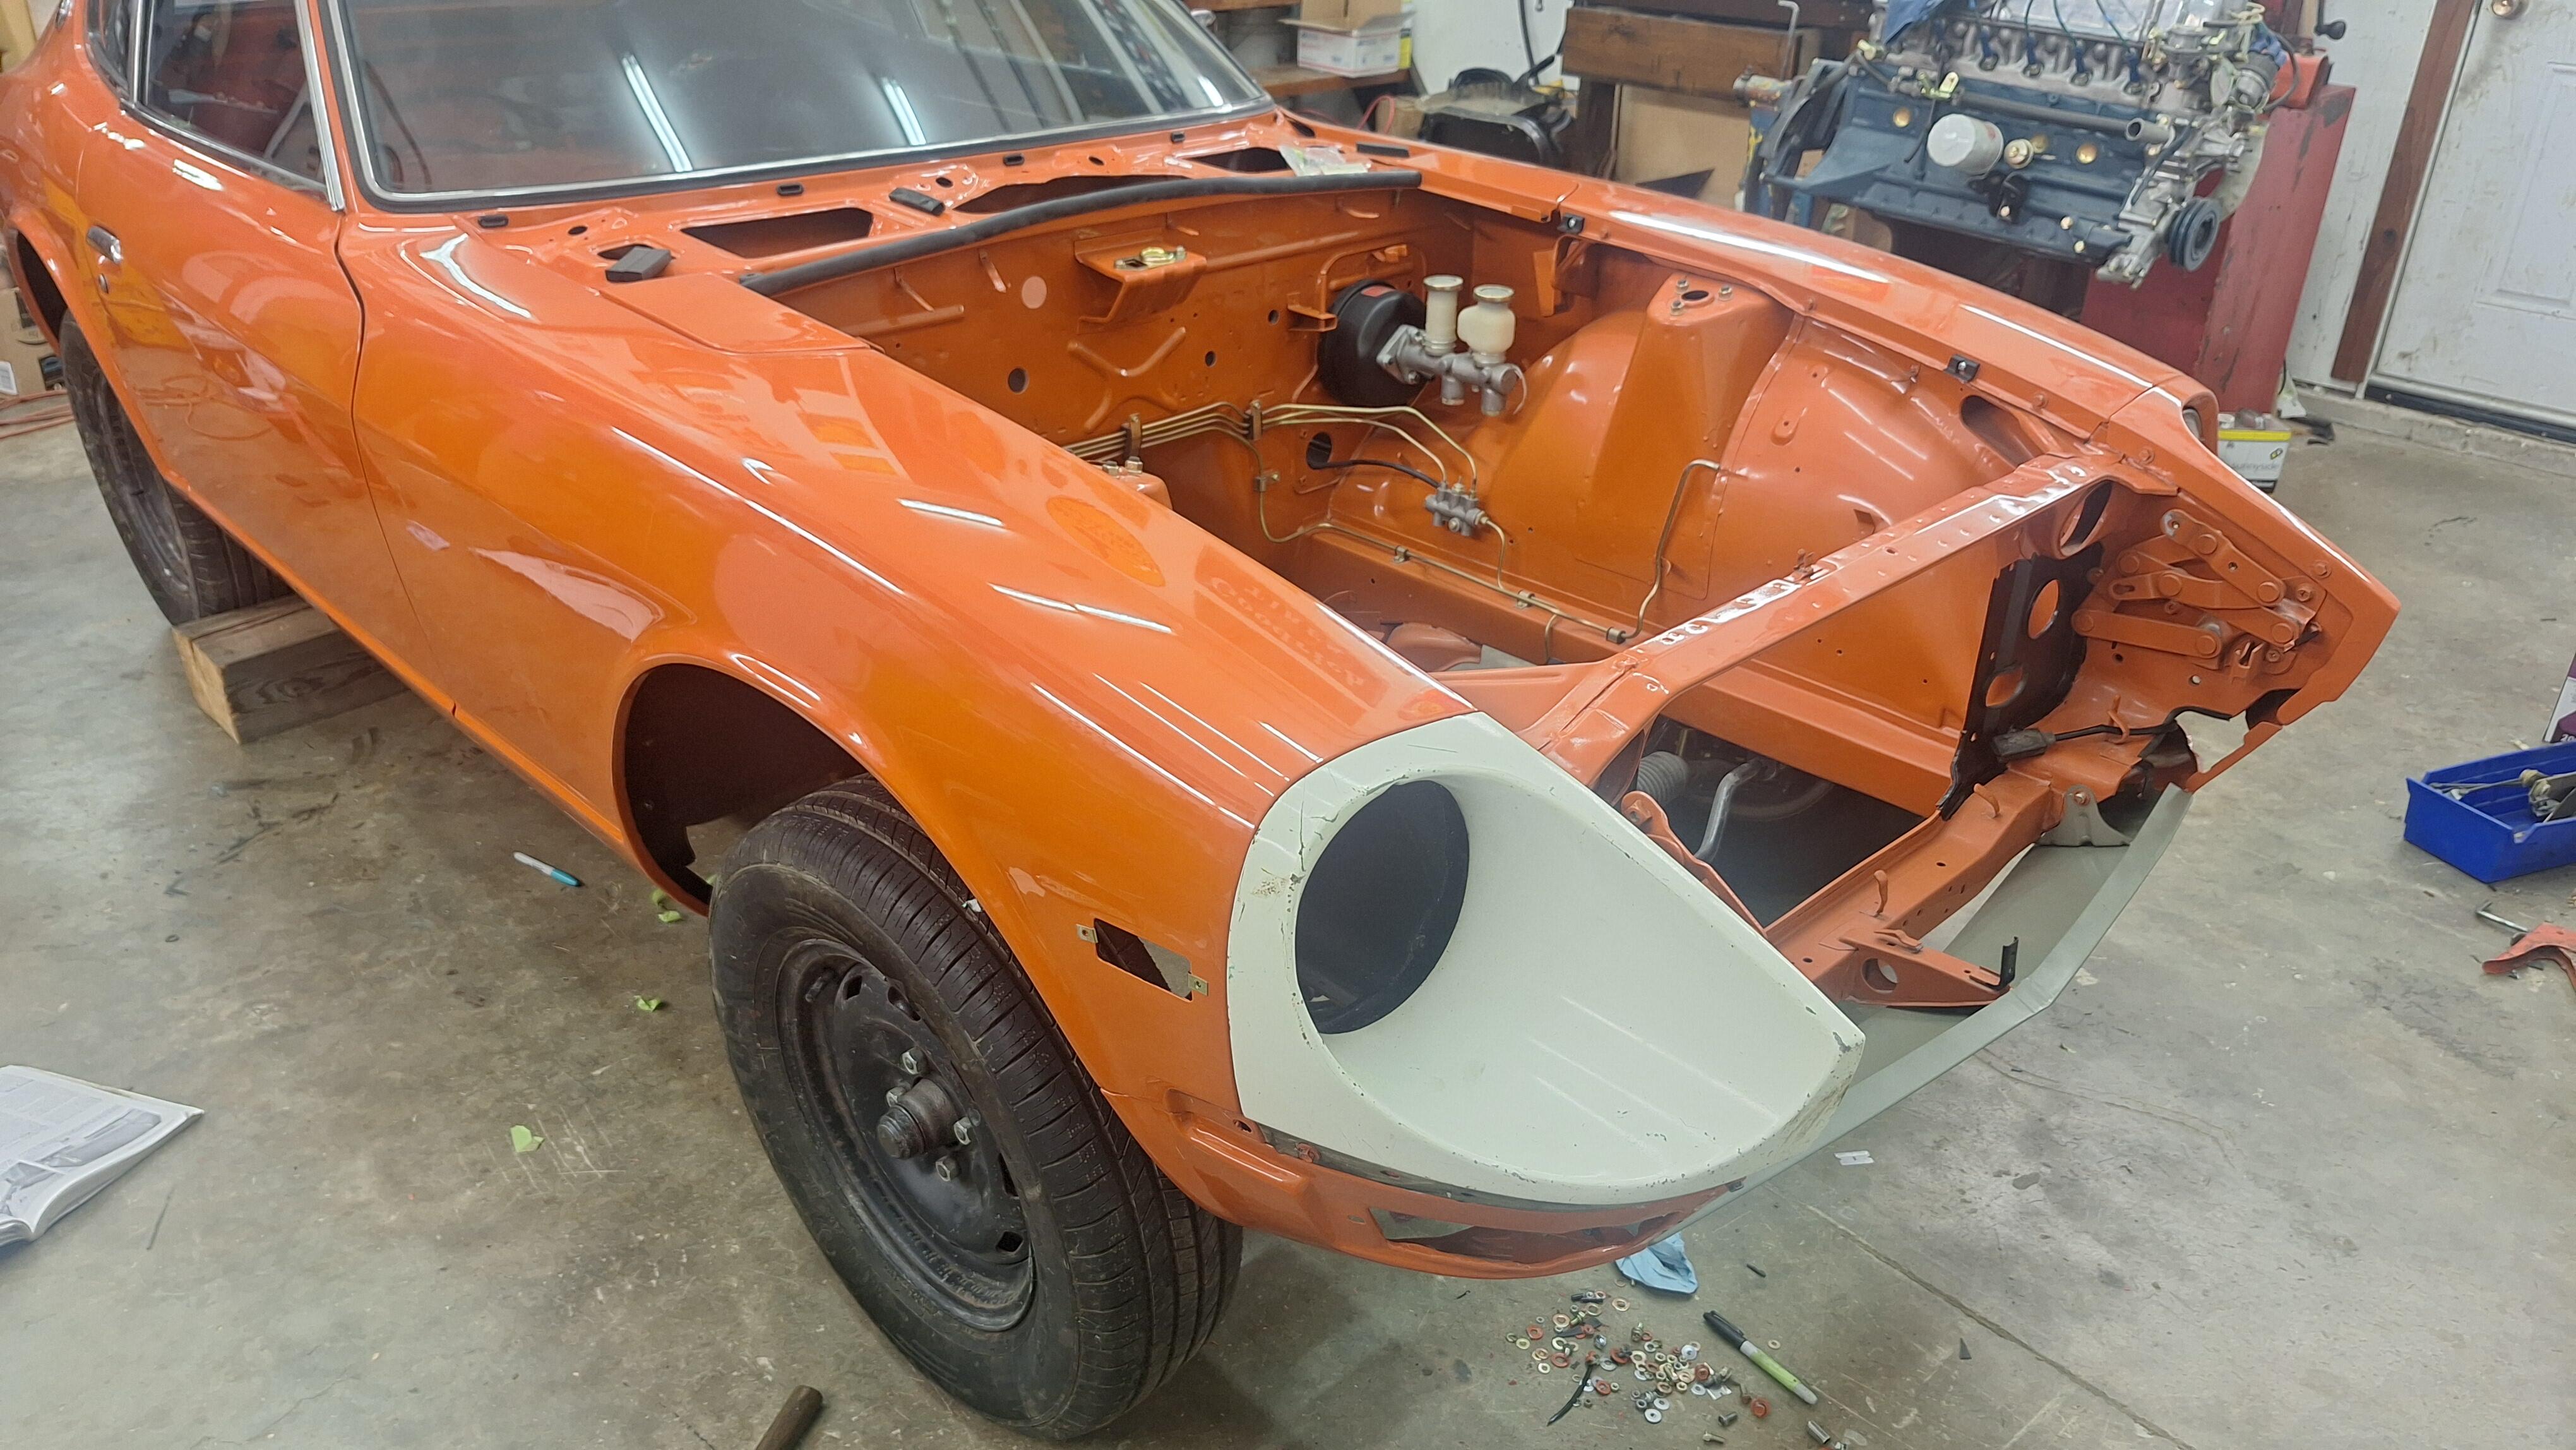
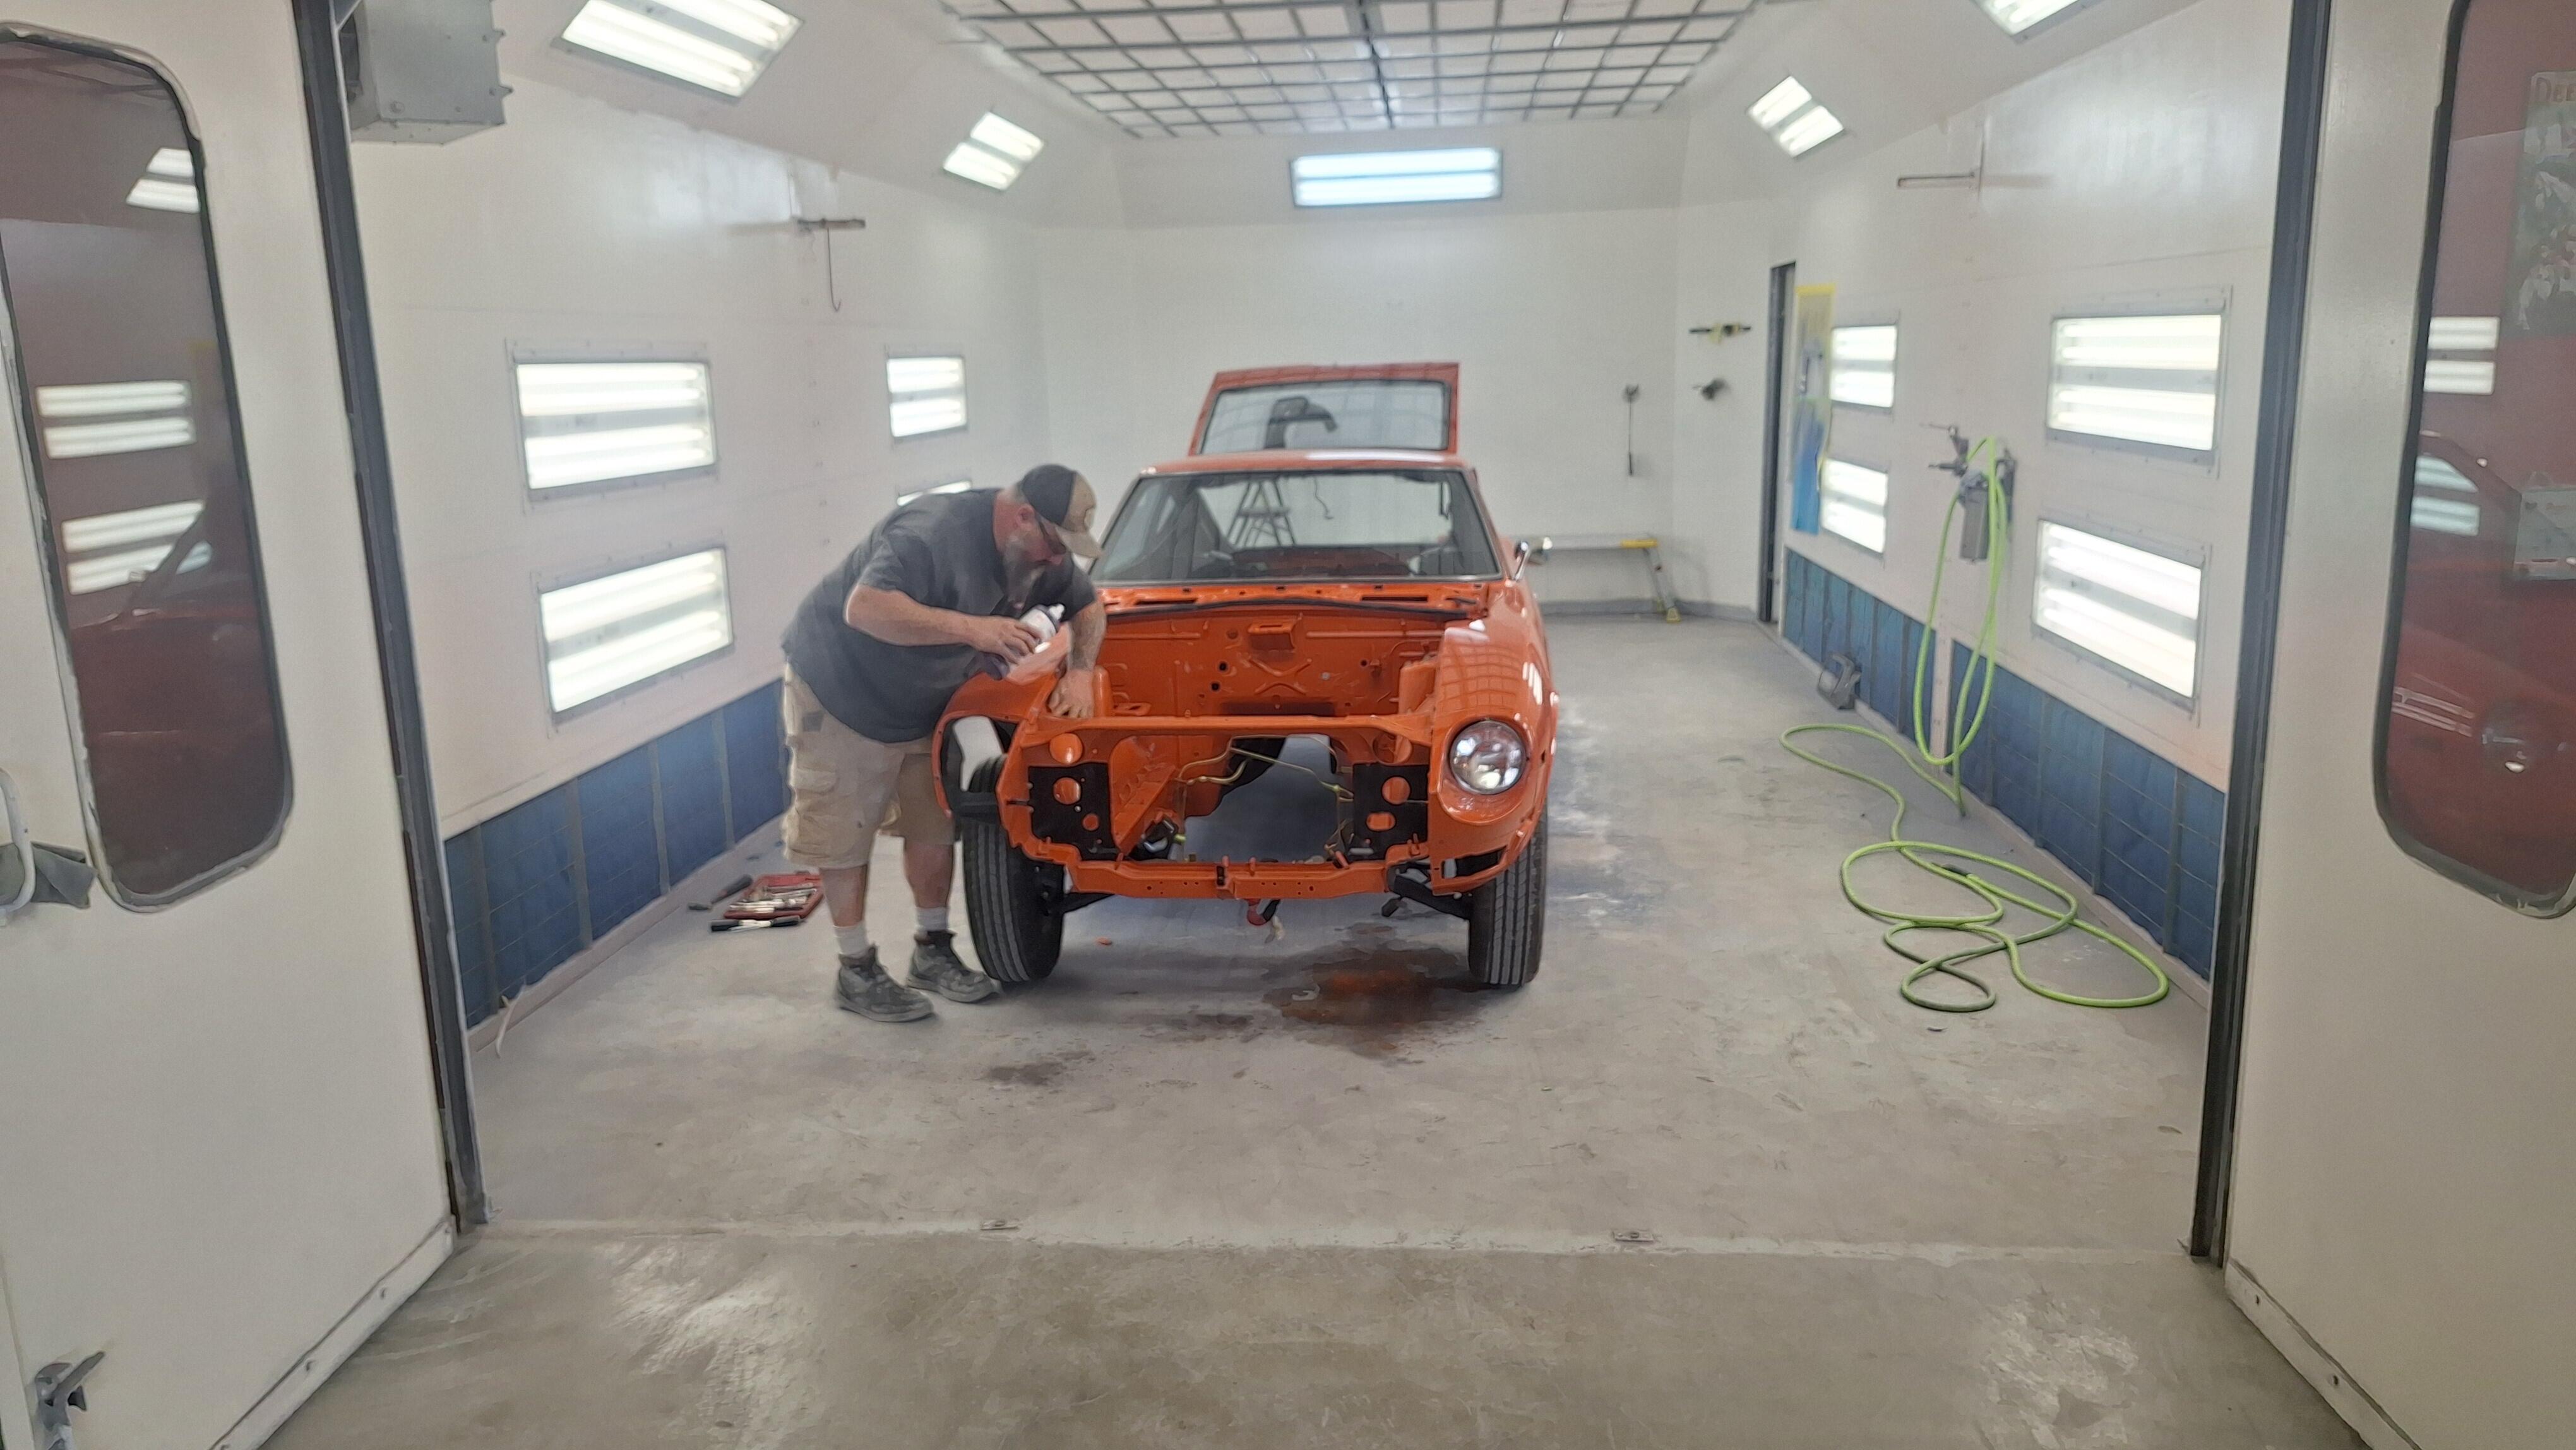
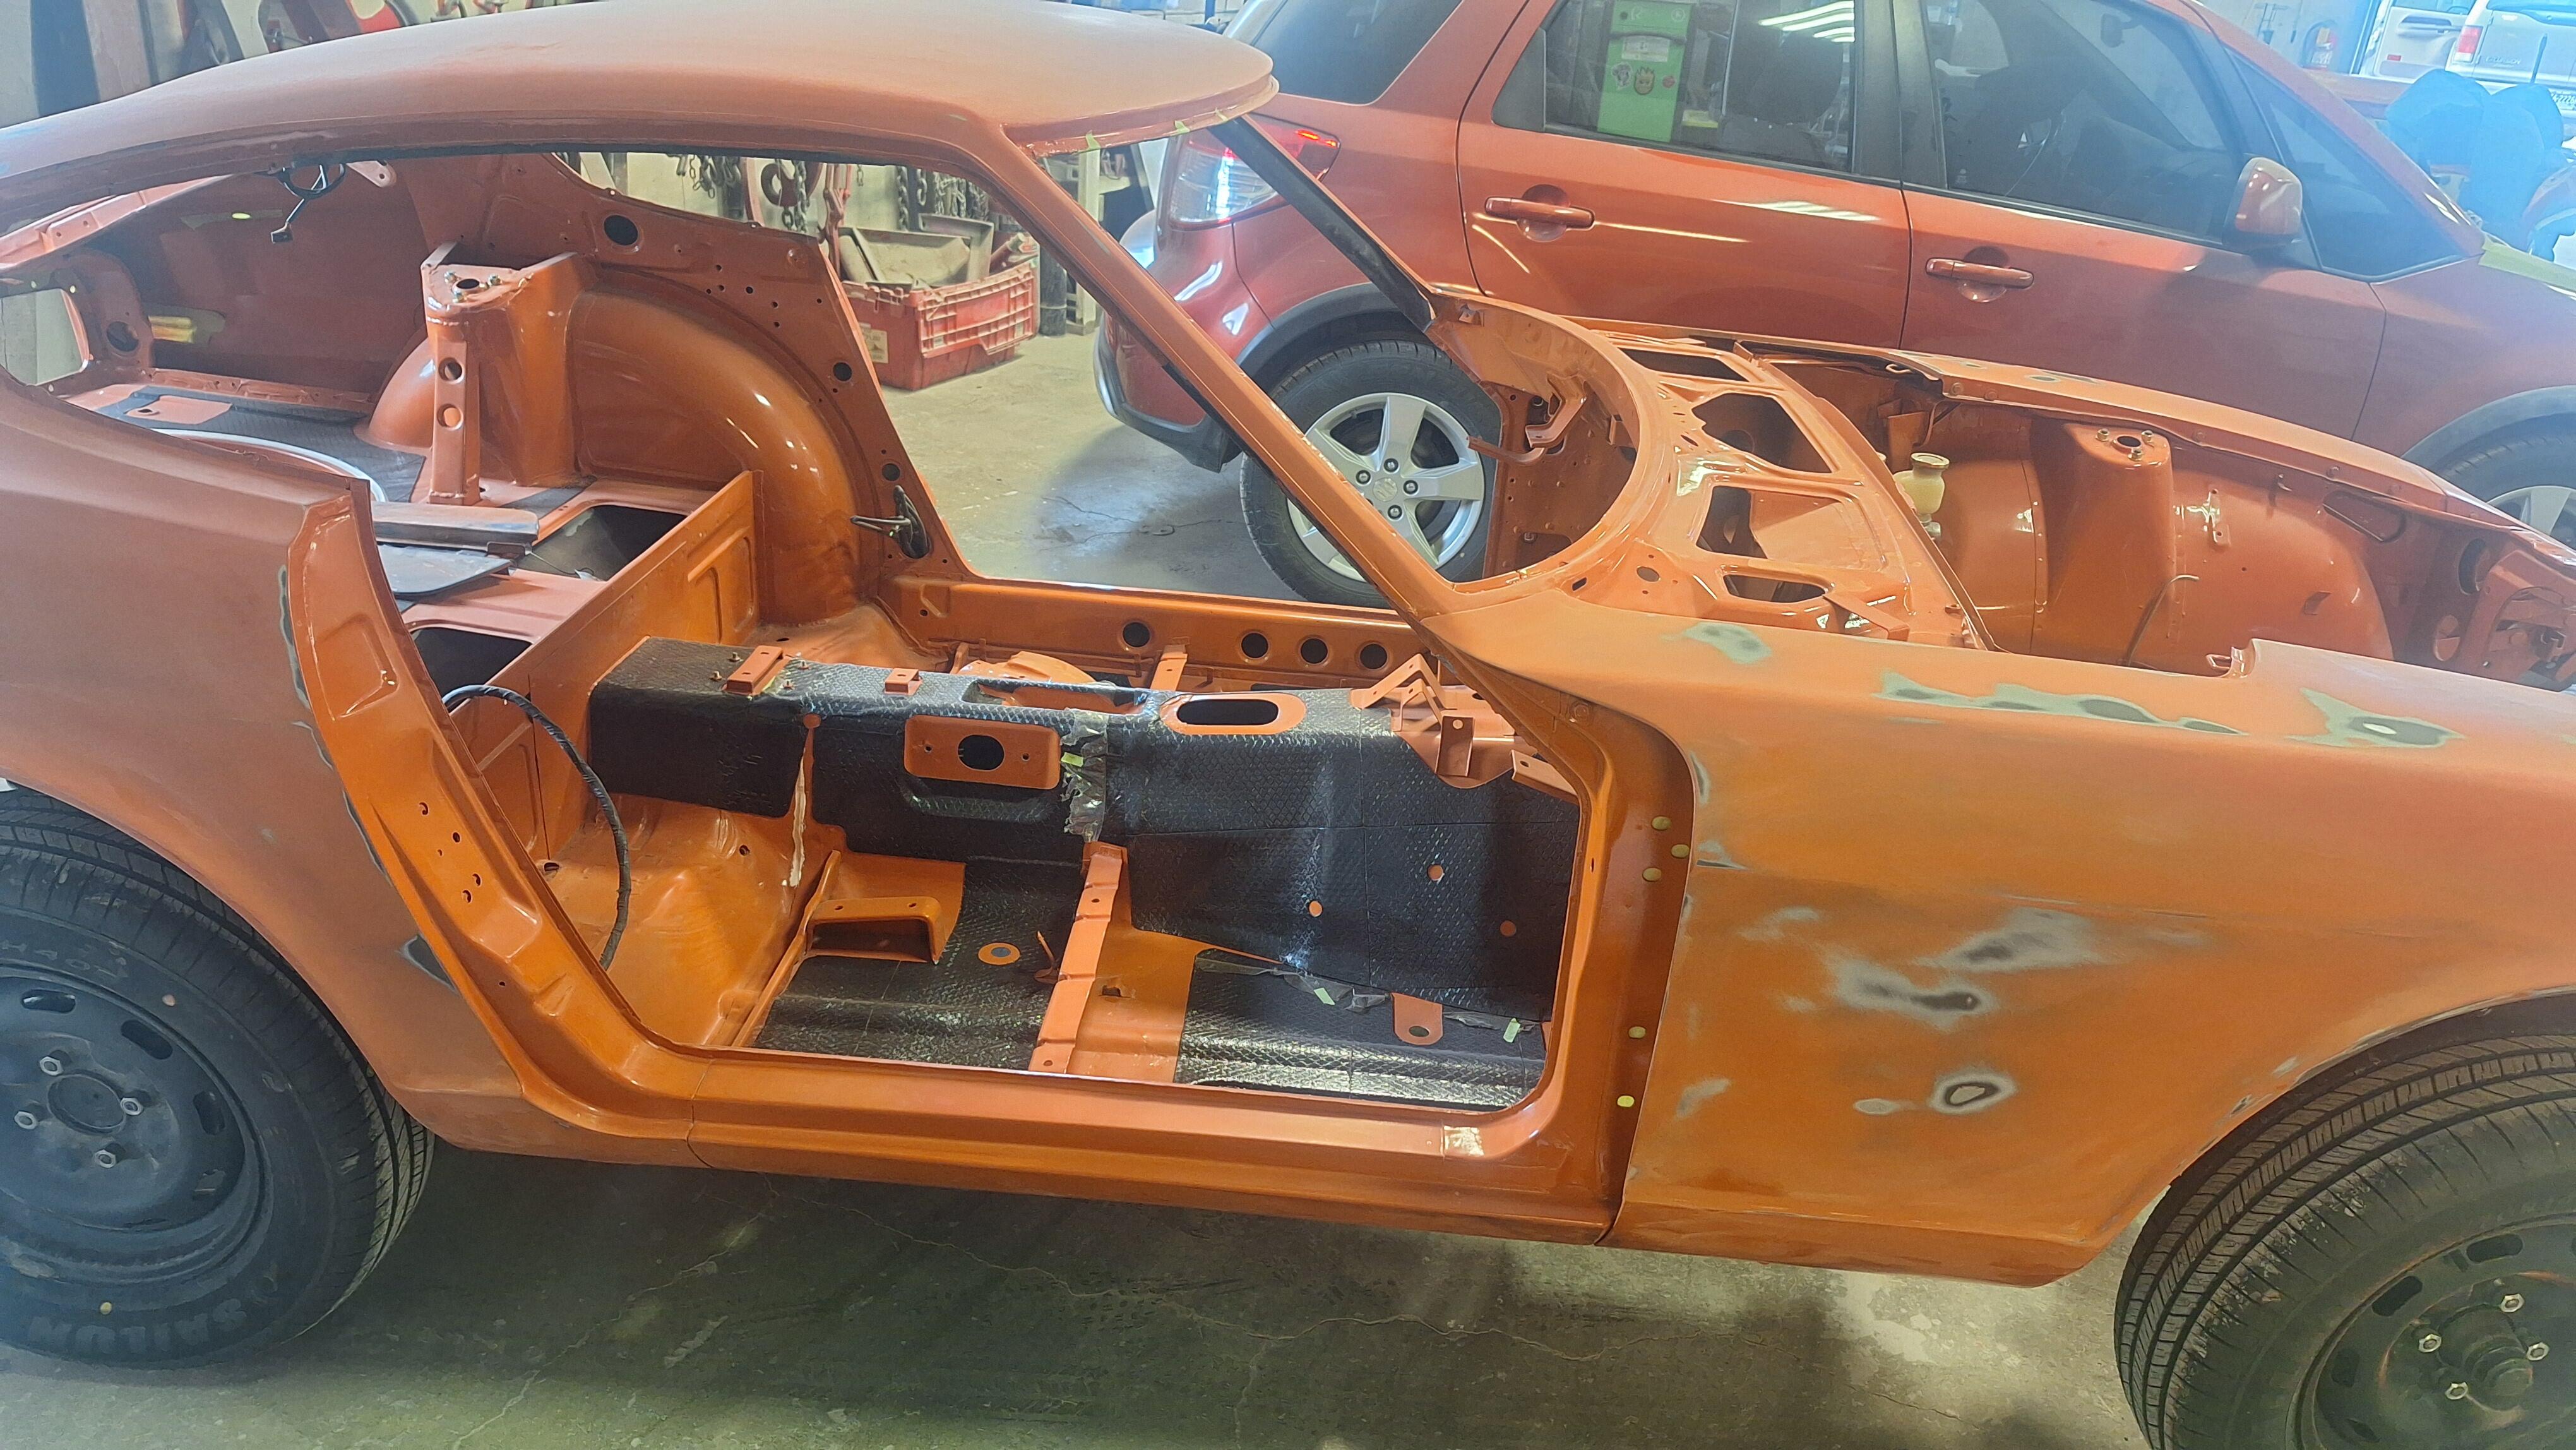
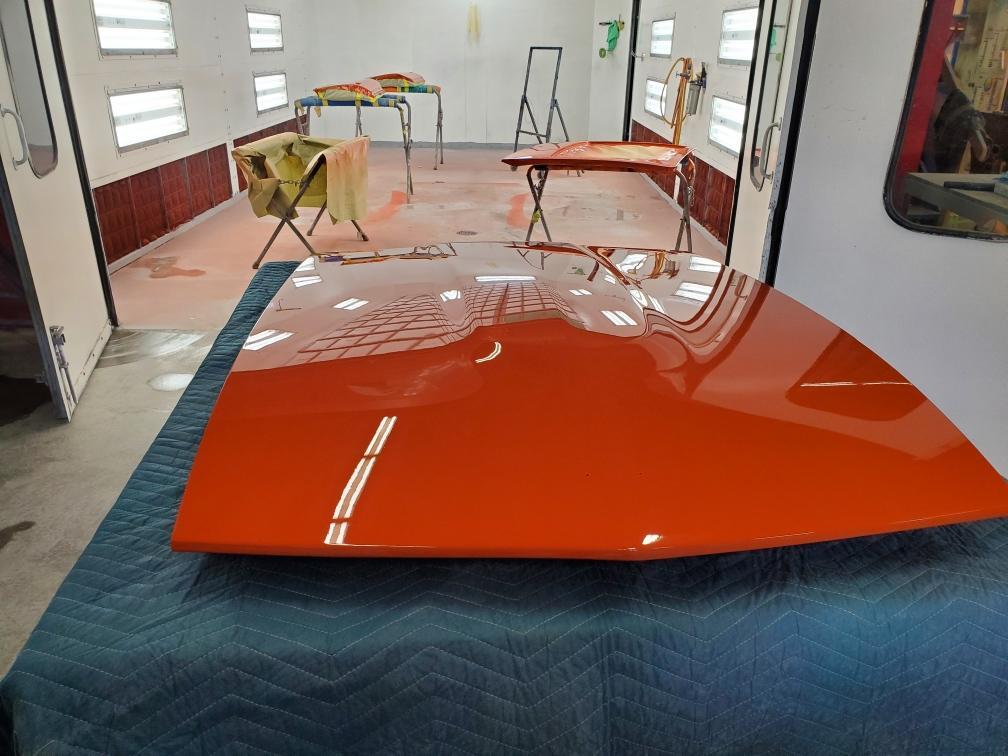
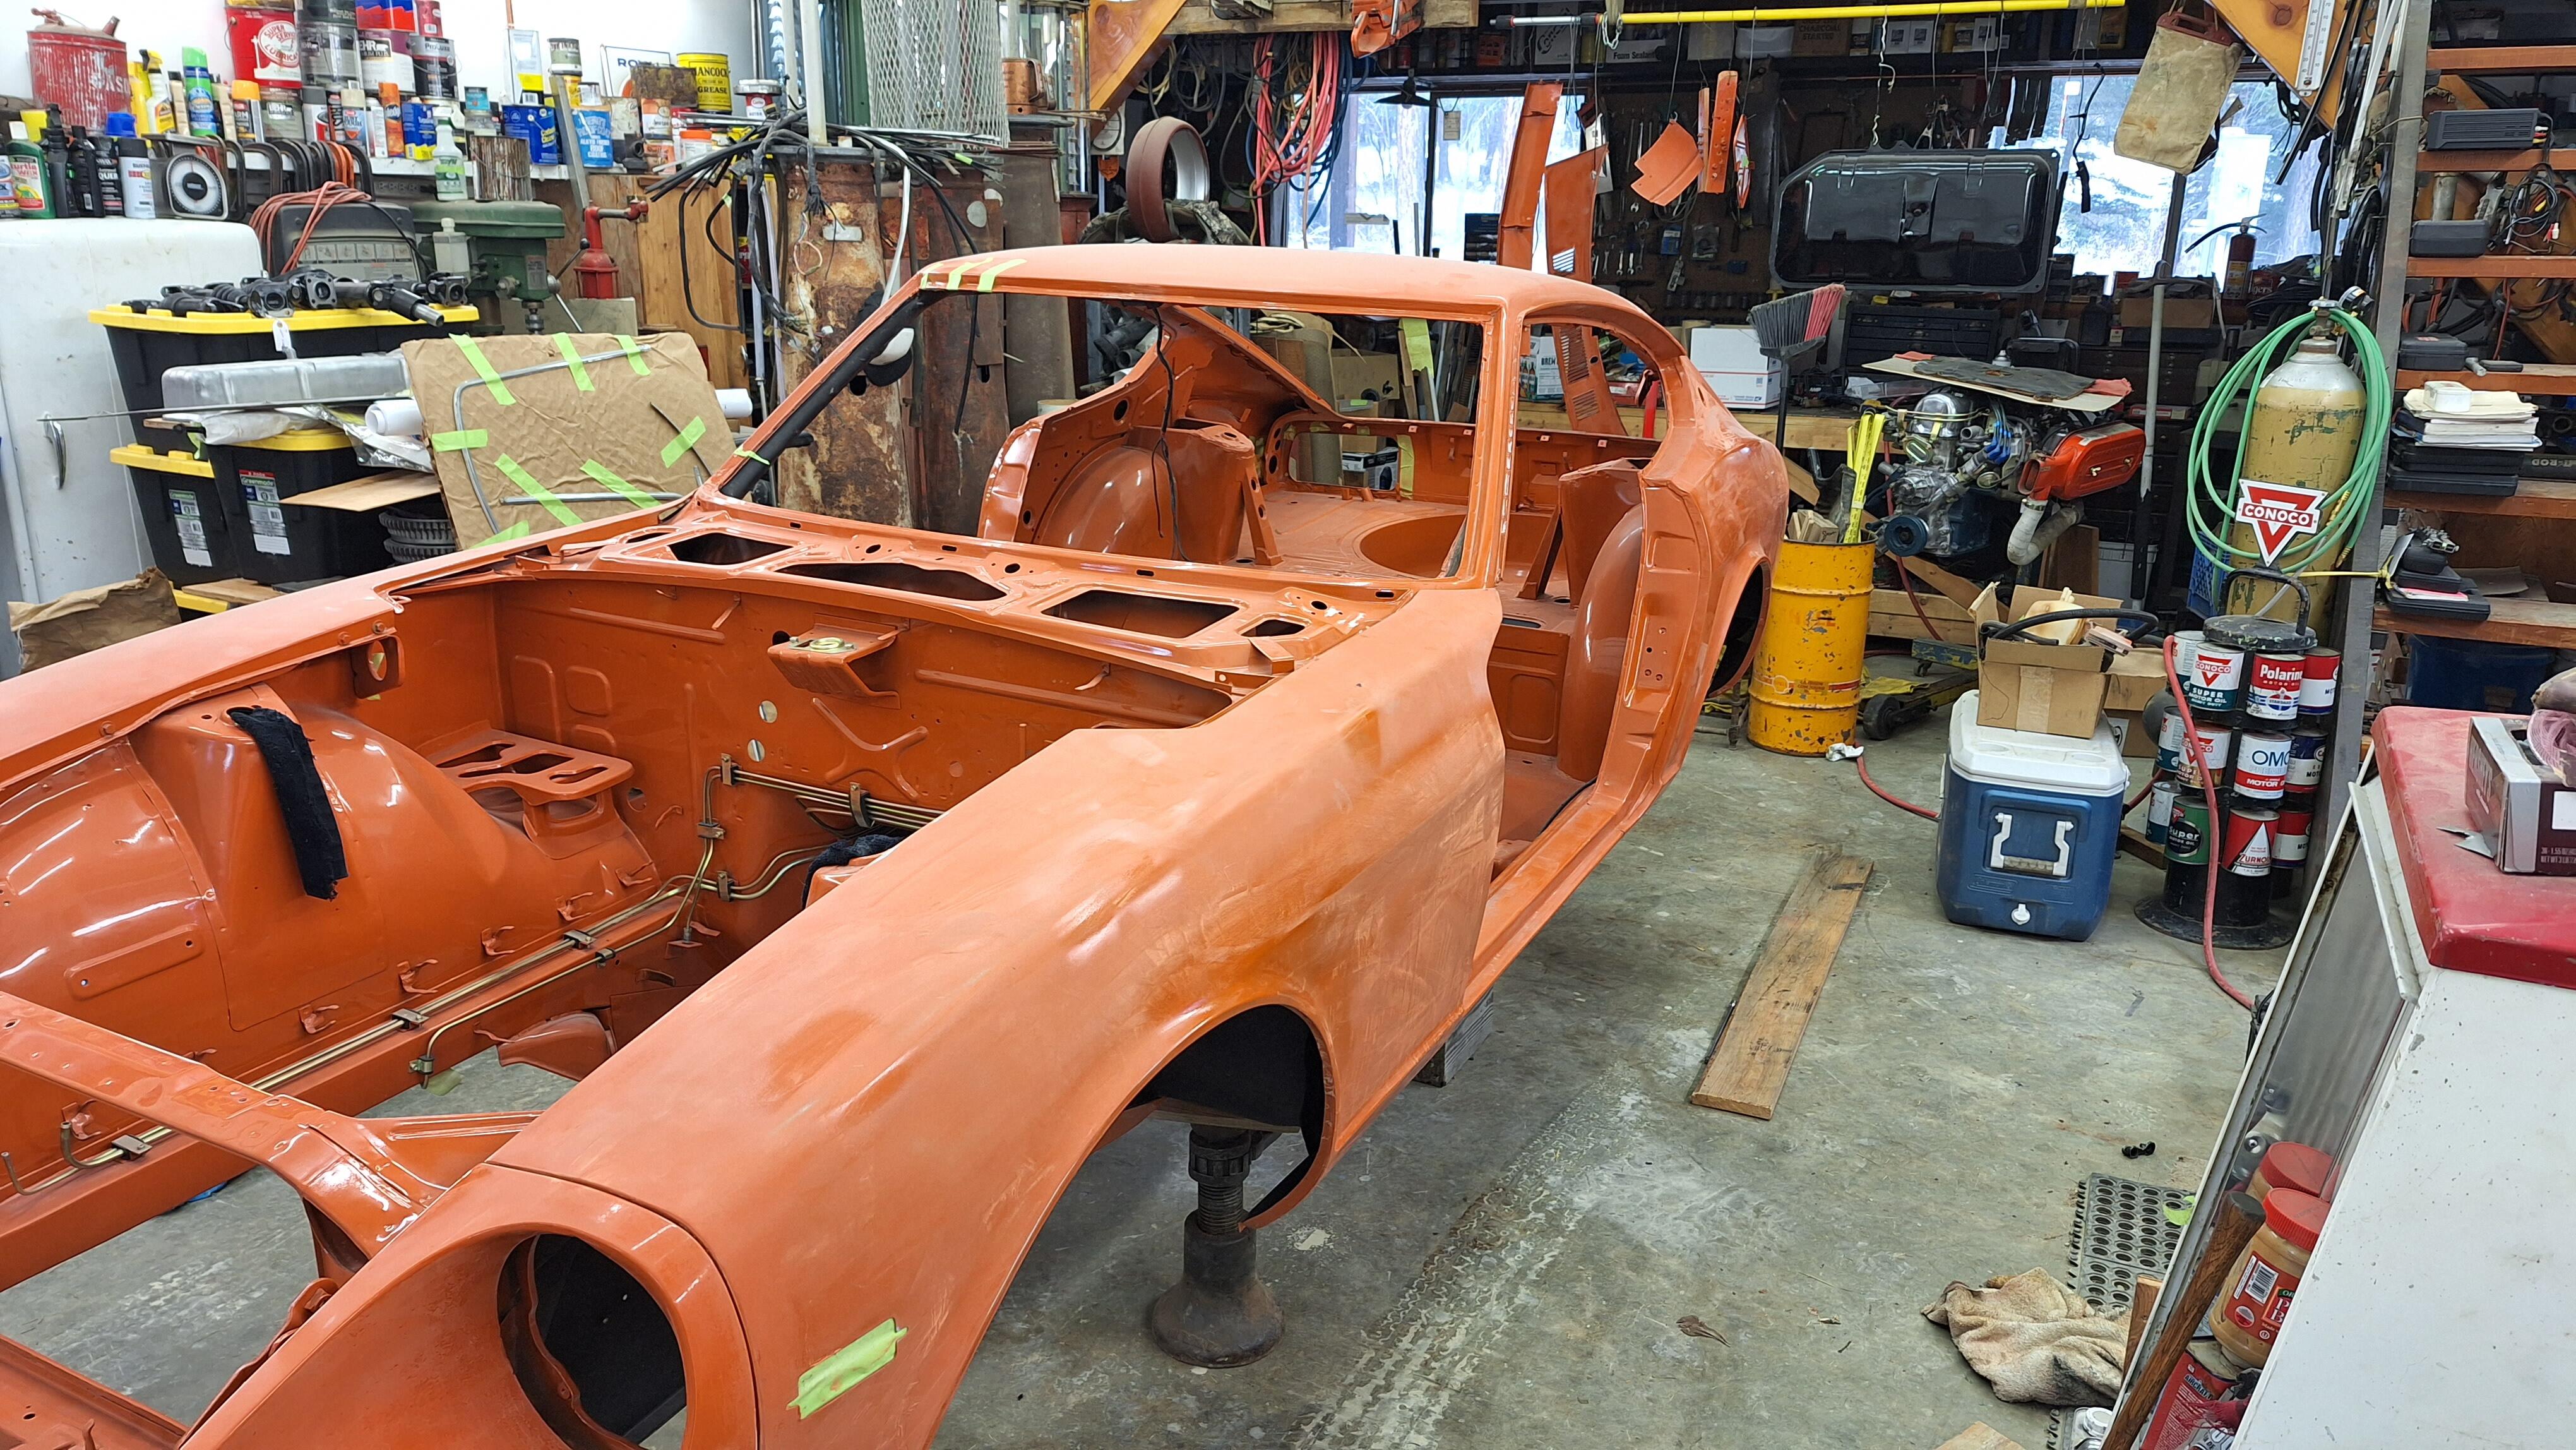
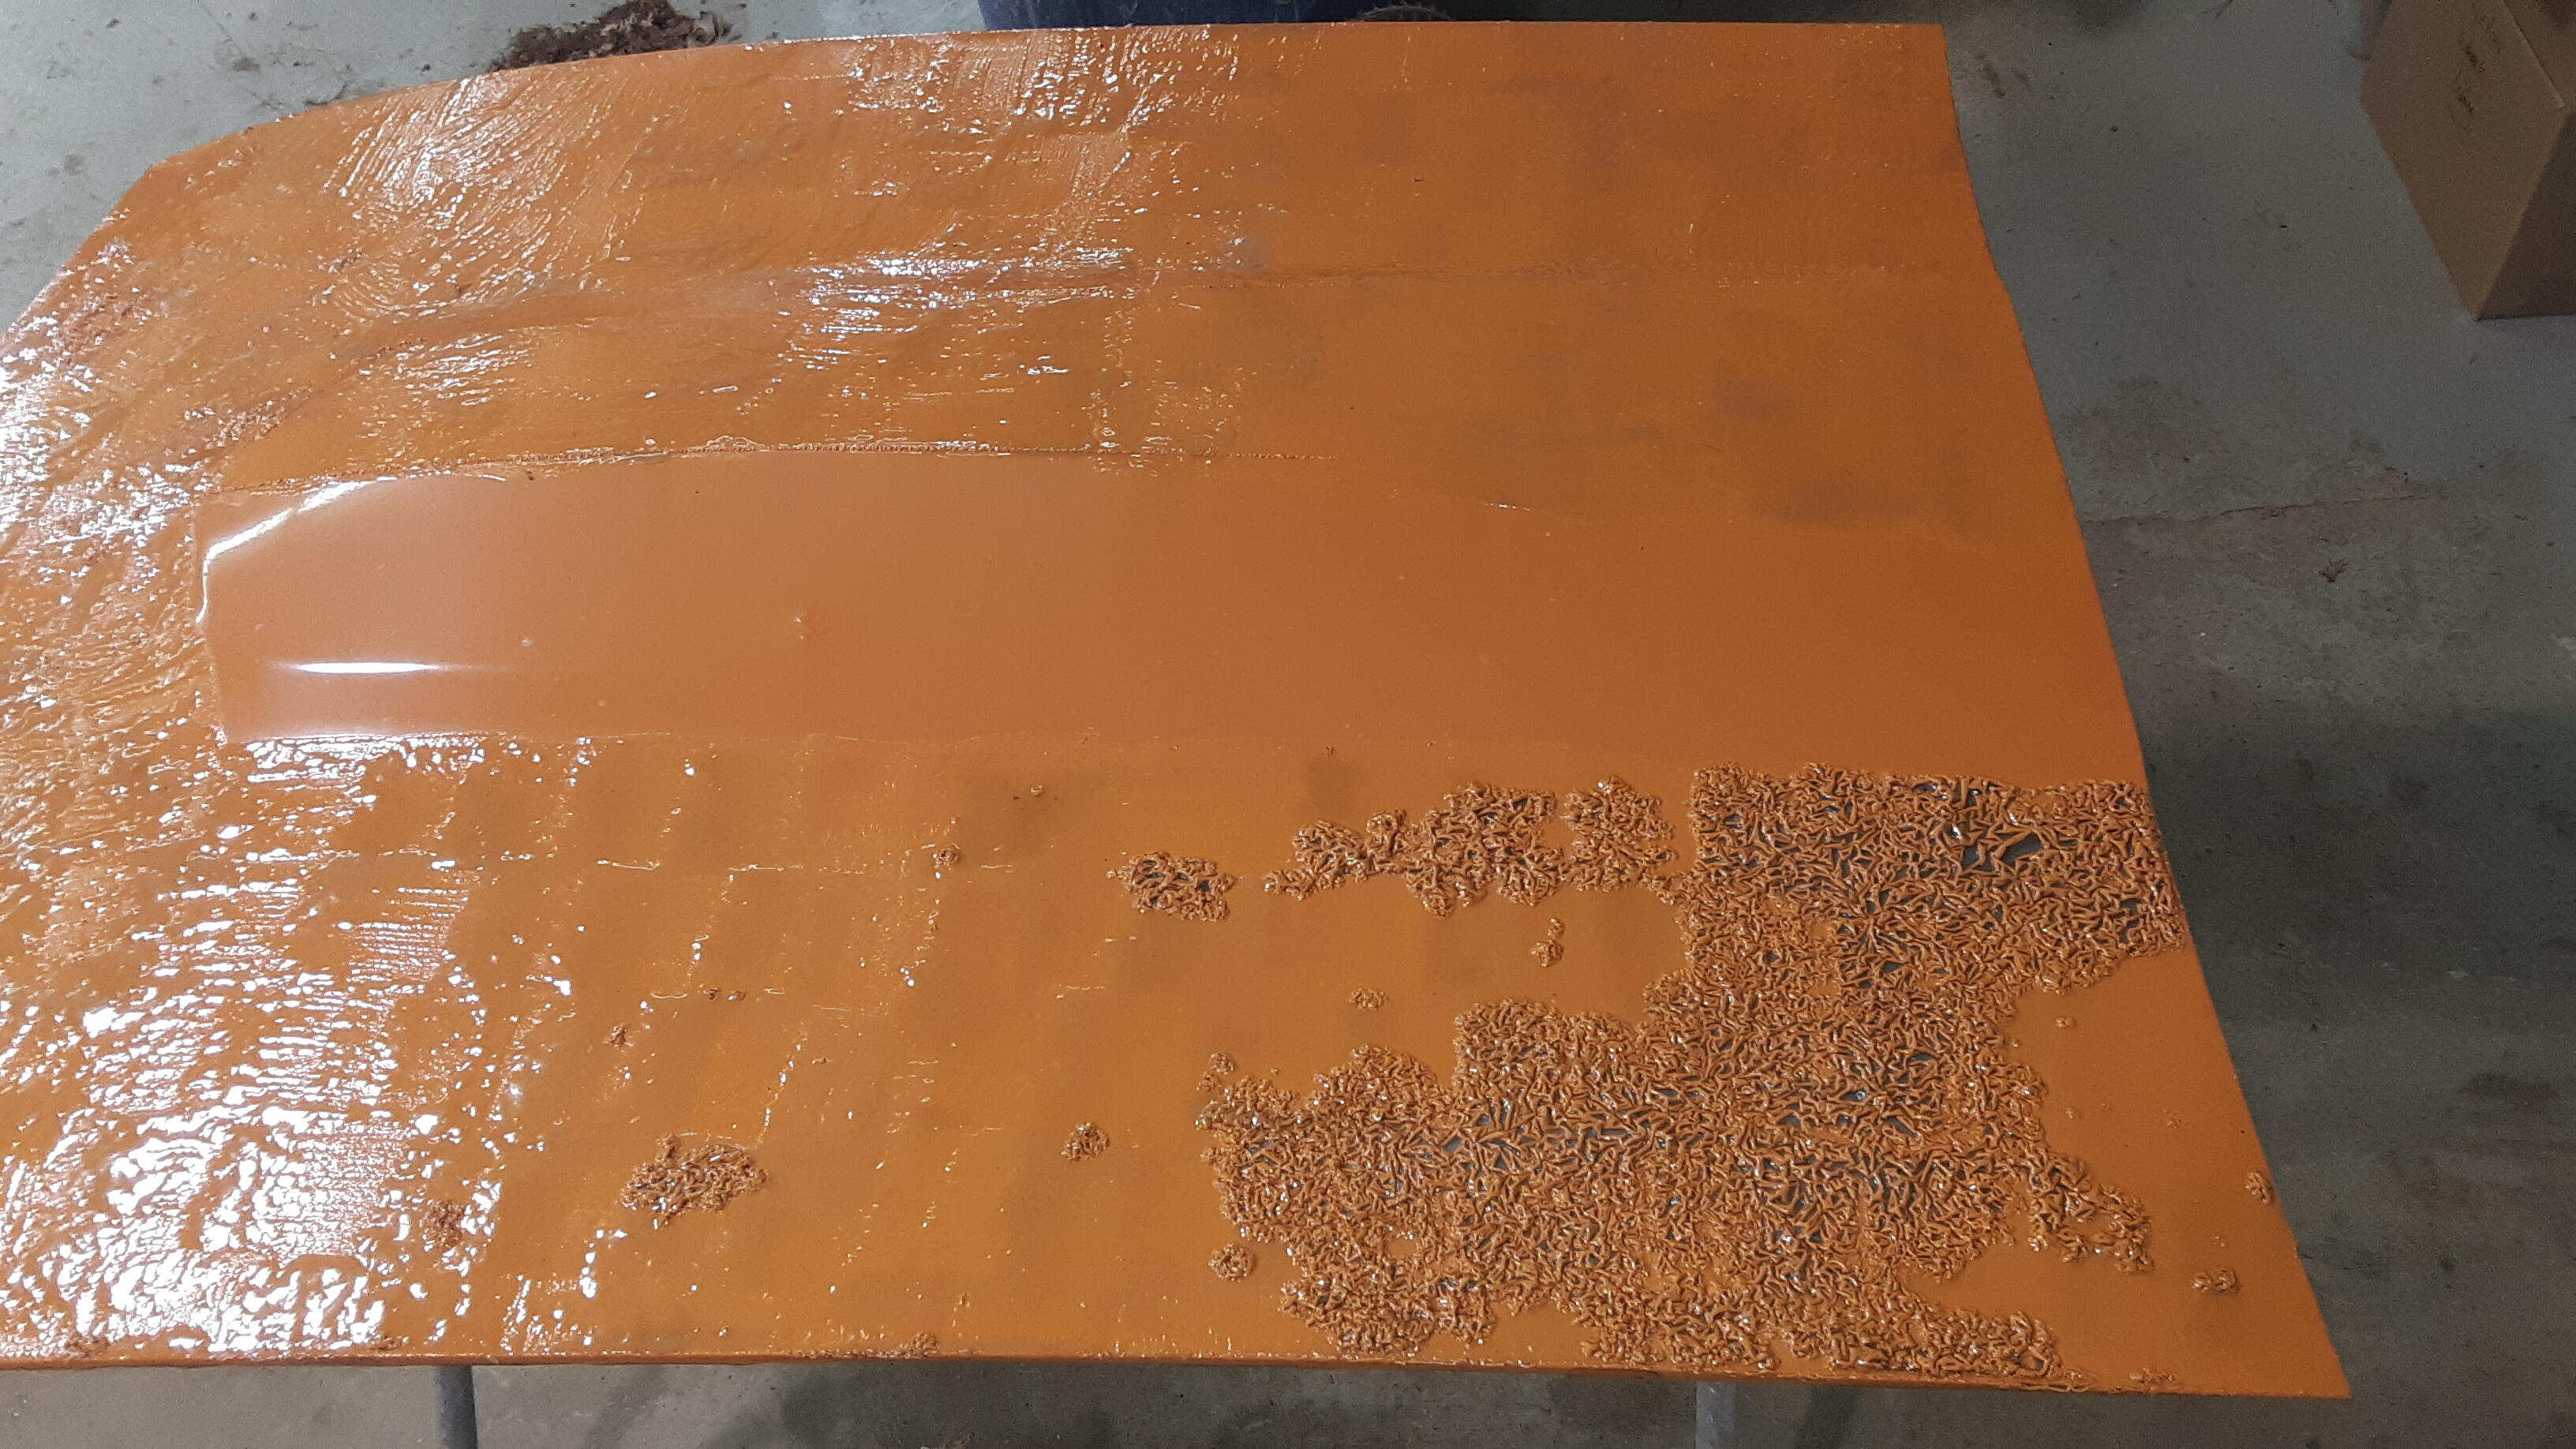
By Springtime of 2024, a local bodyshop had changed hands. I knew the guy. I asked if he could get me in! I was the first one in the new clean paint booth. He said, I'm gonna do it my way! Okay, do it! Another 6 grand later......oh well, I past the point of no return awhile ago. Looks red from the lighting, but it's really 918 orange Damn!


-
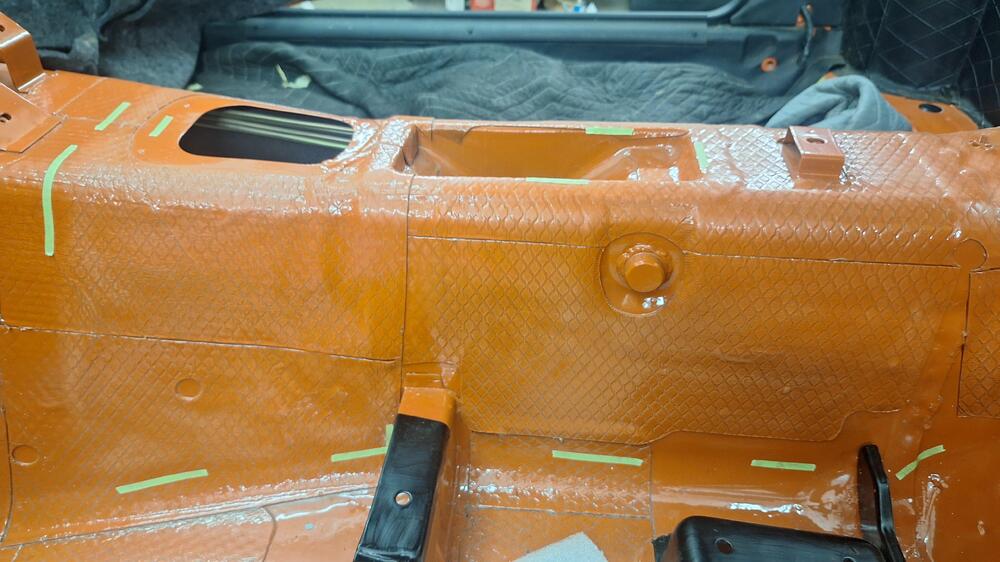
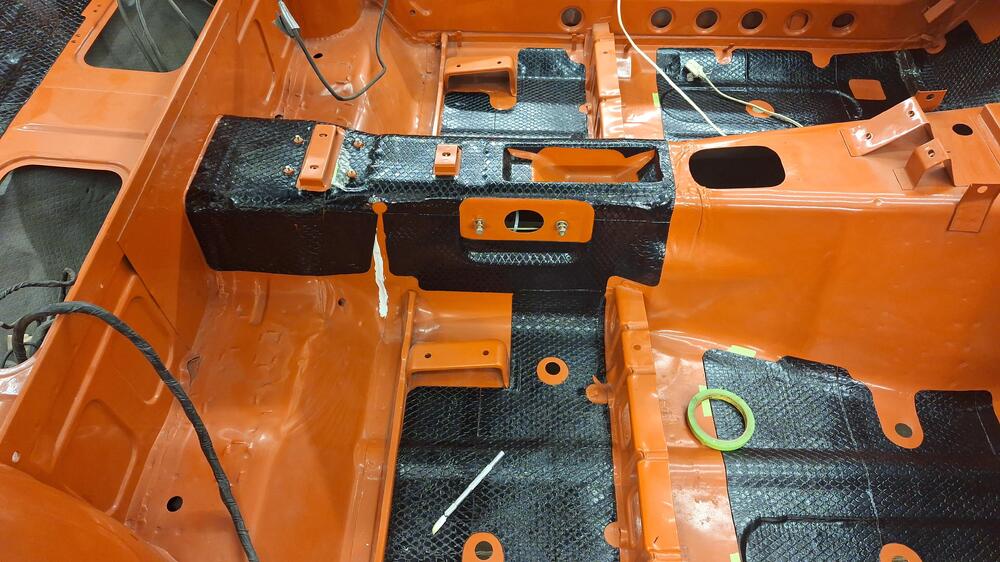
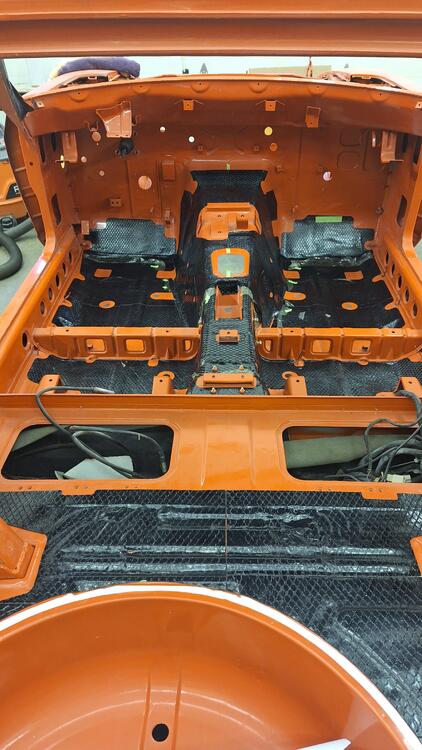
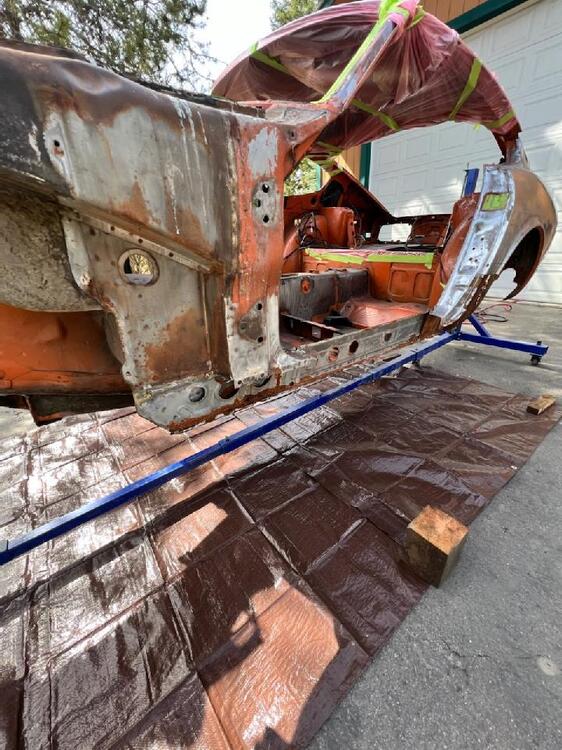
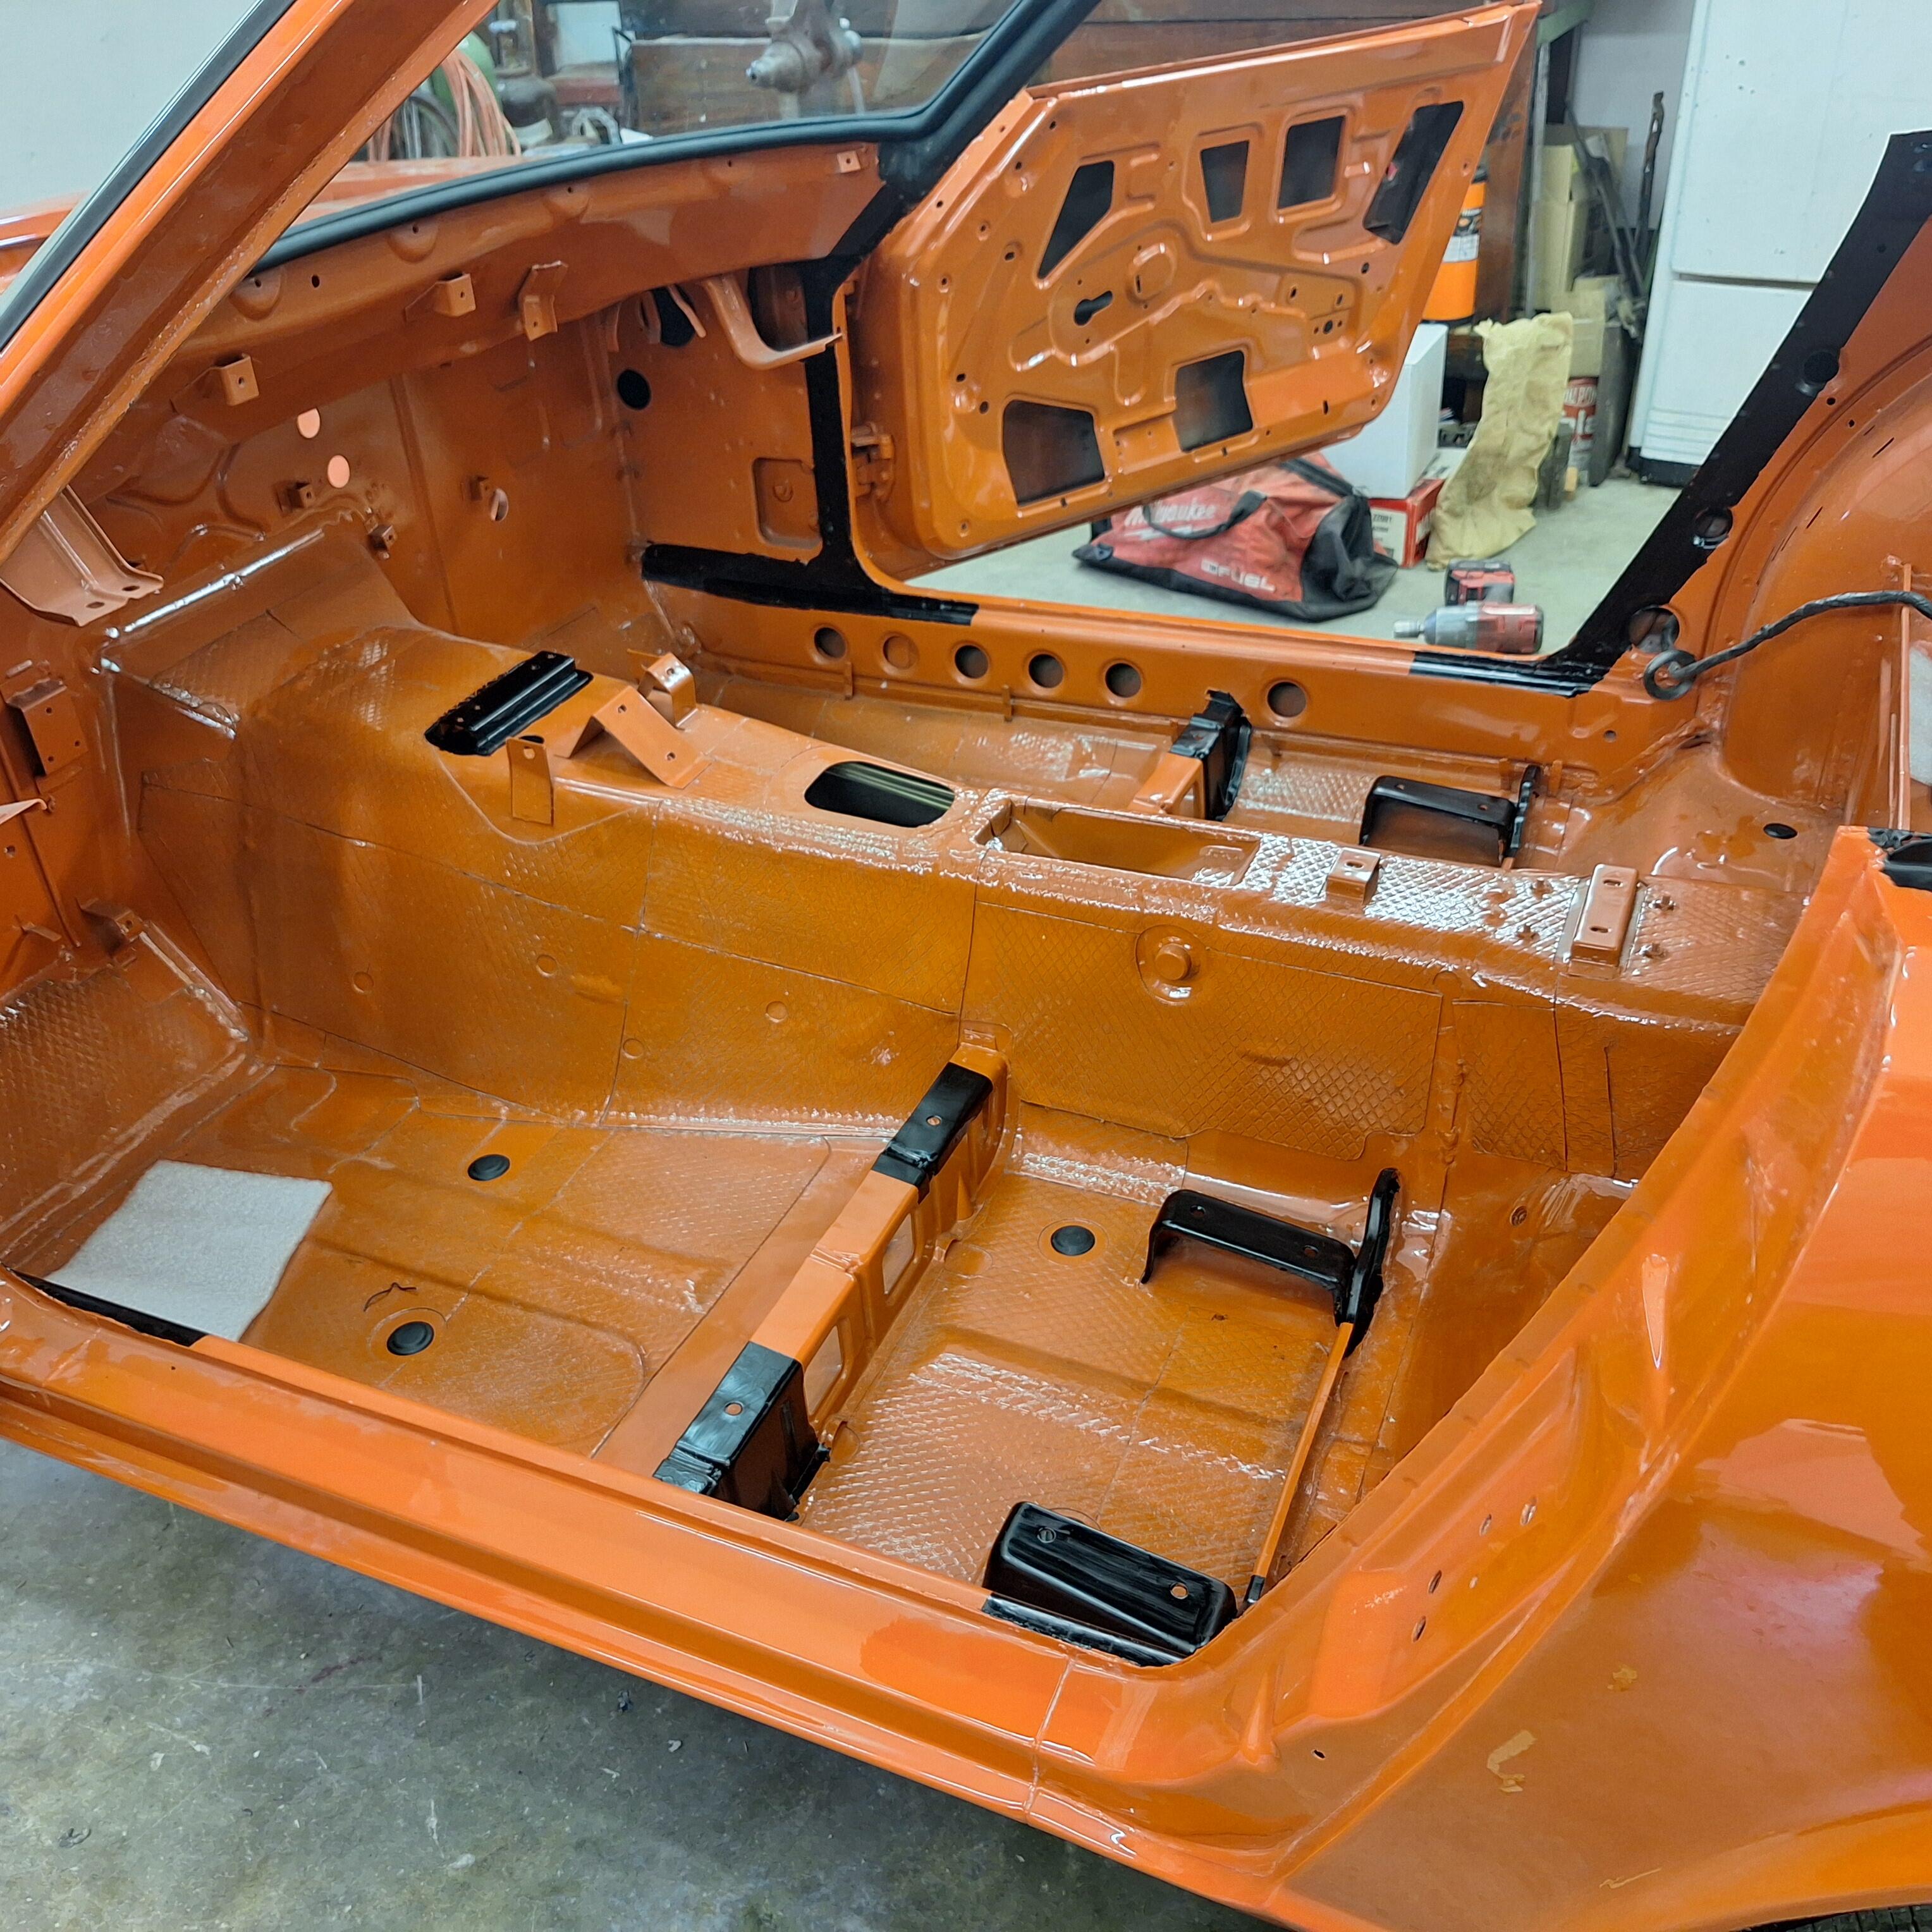
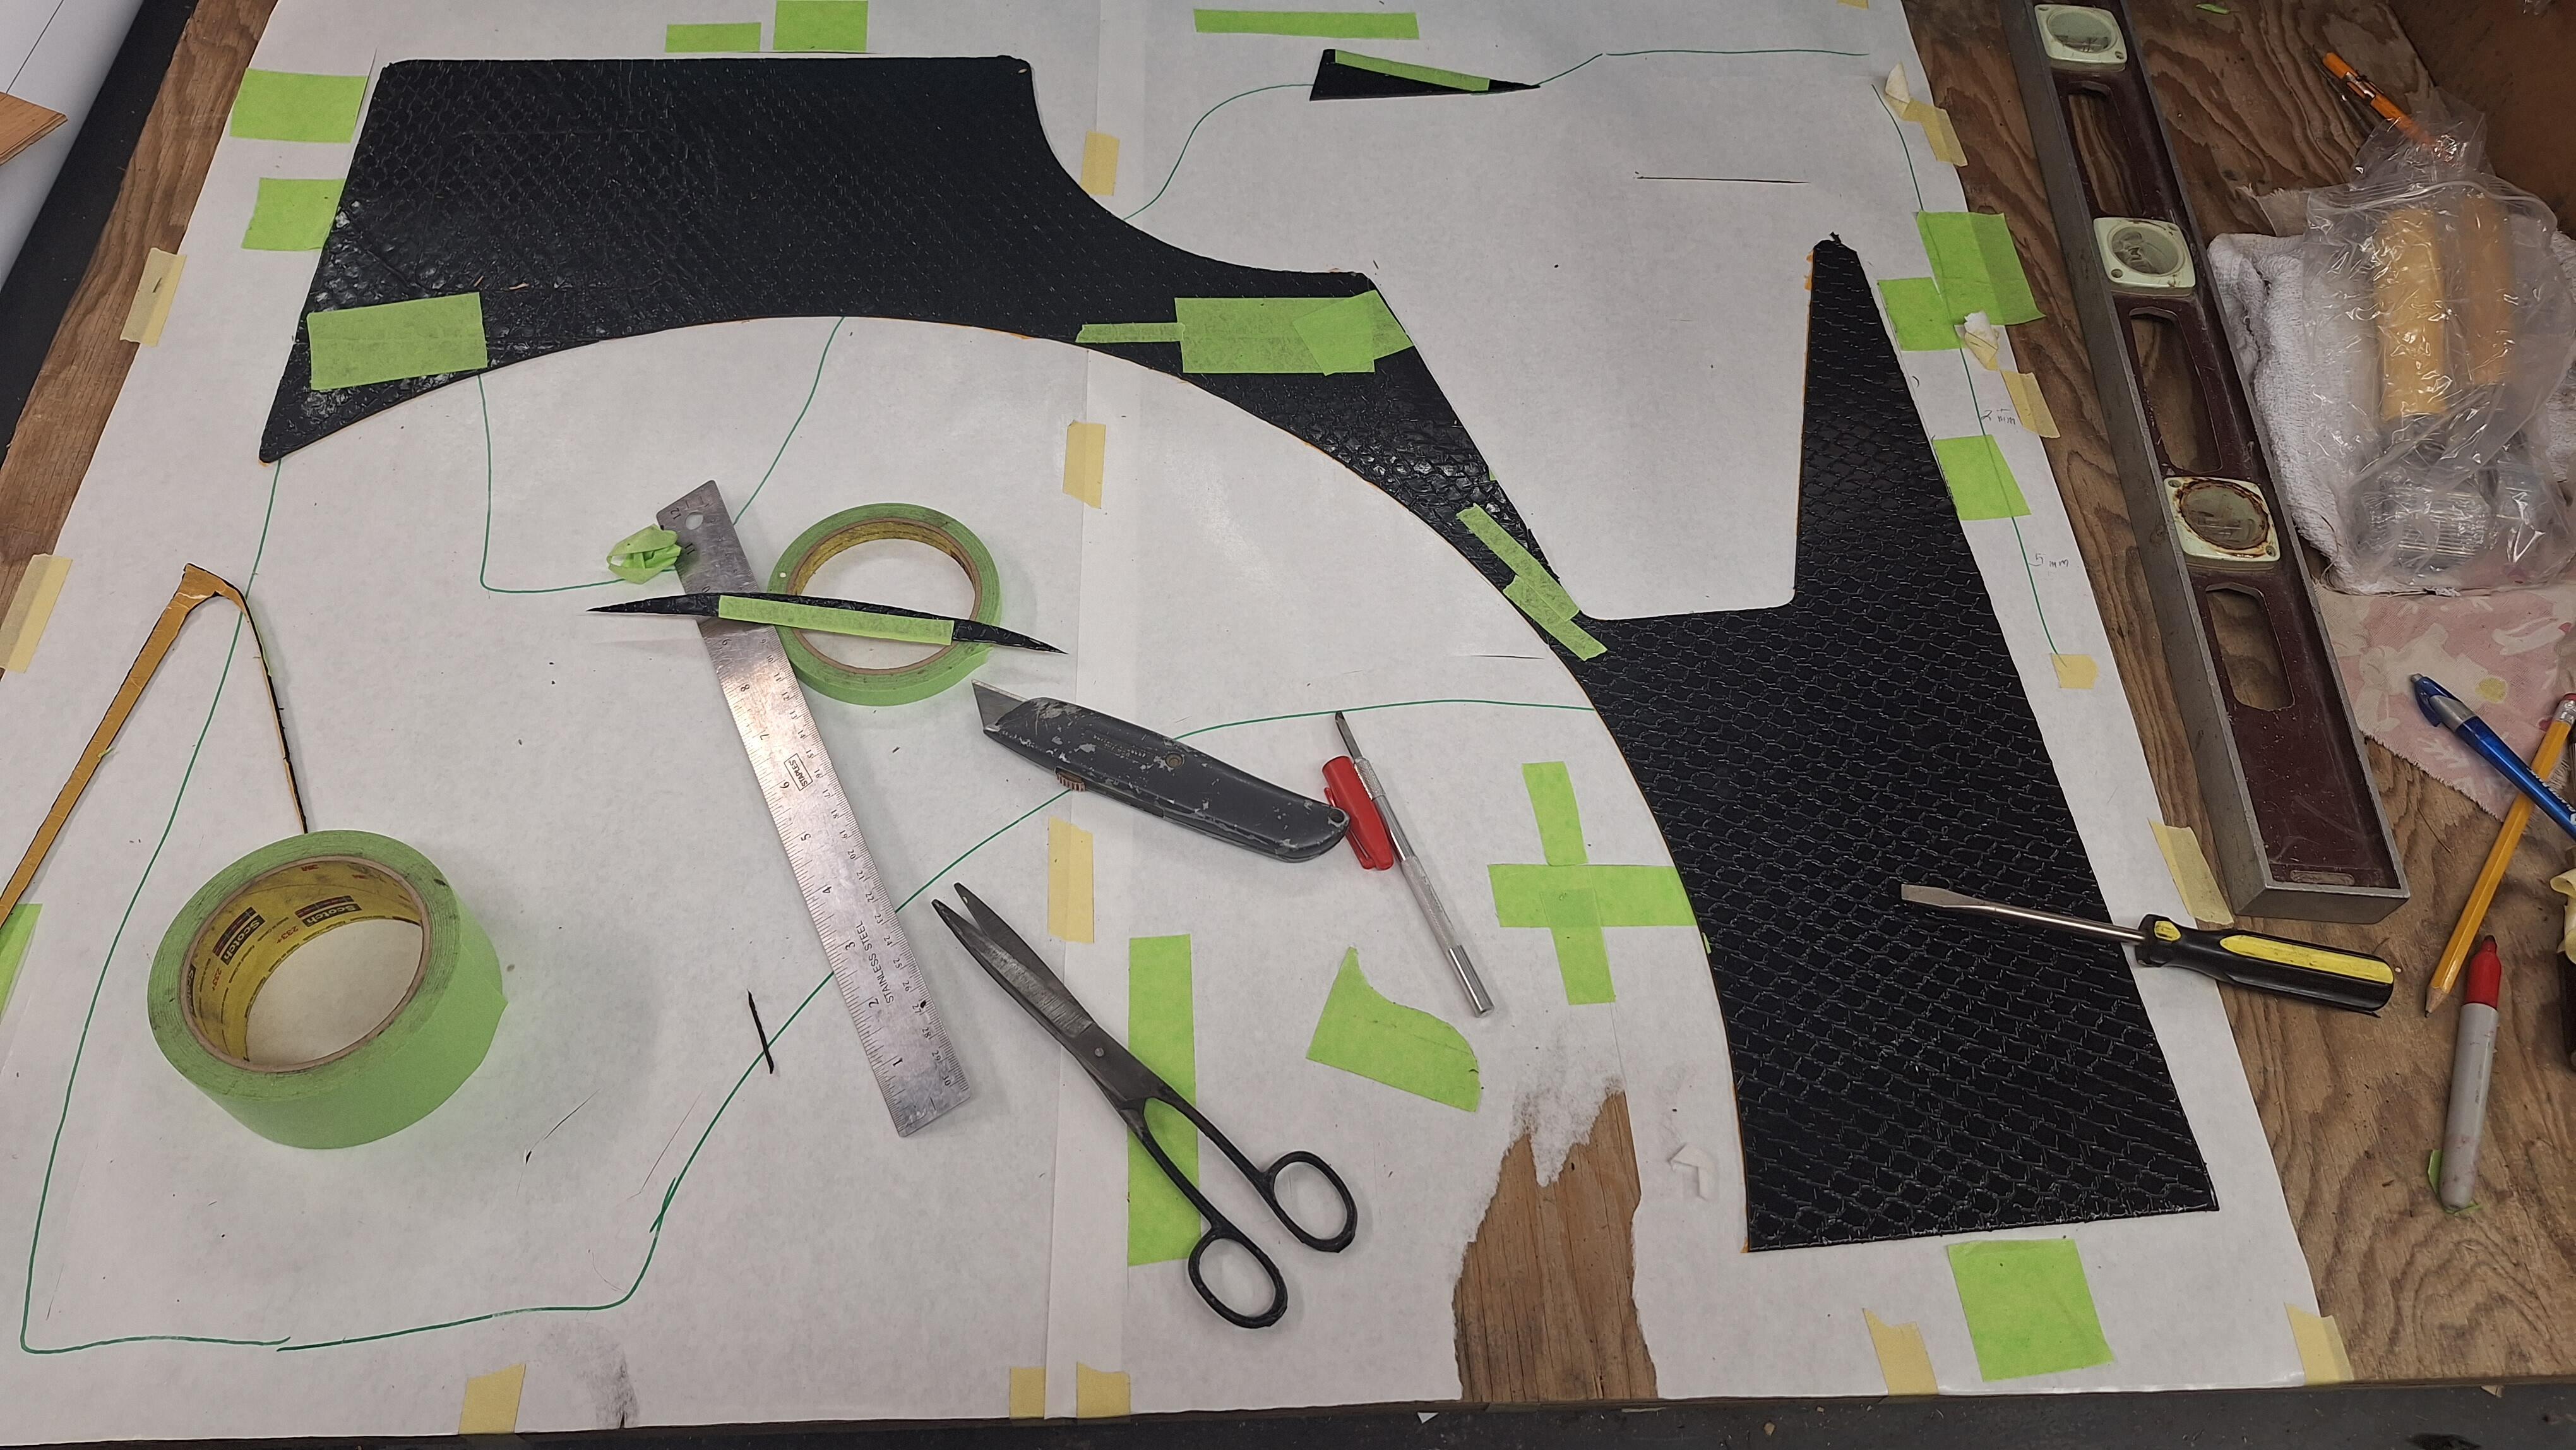
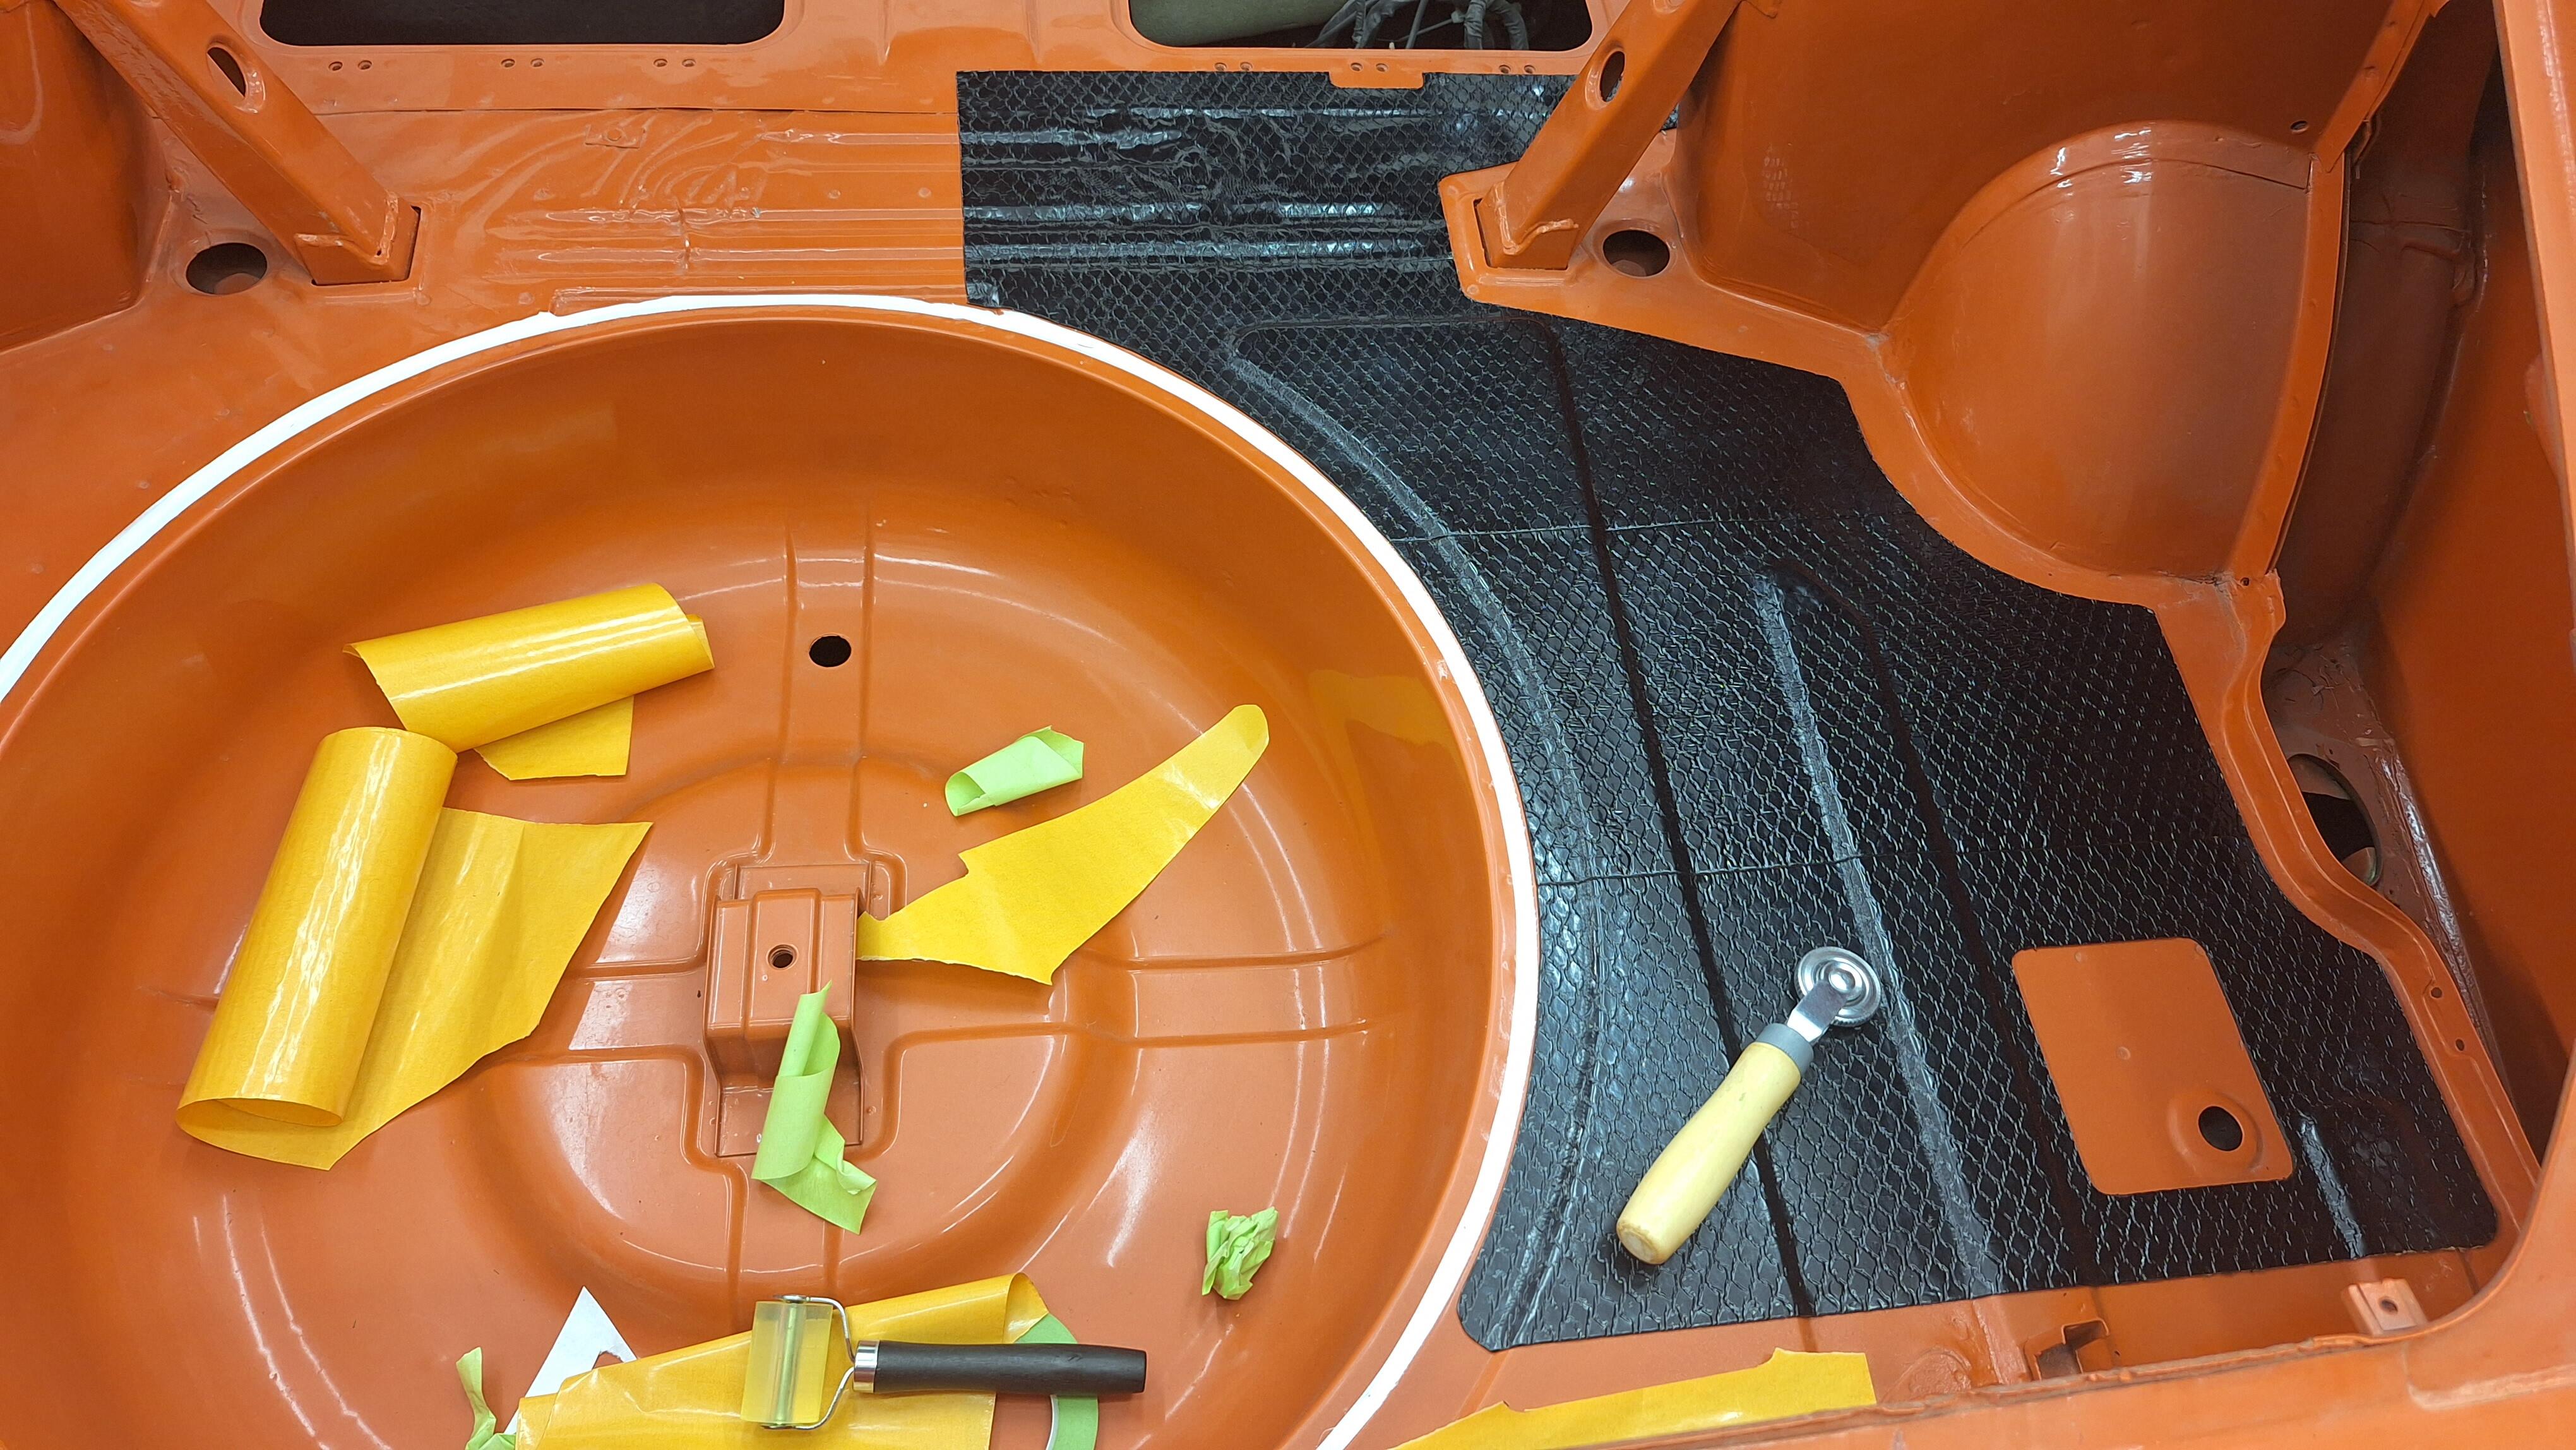
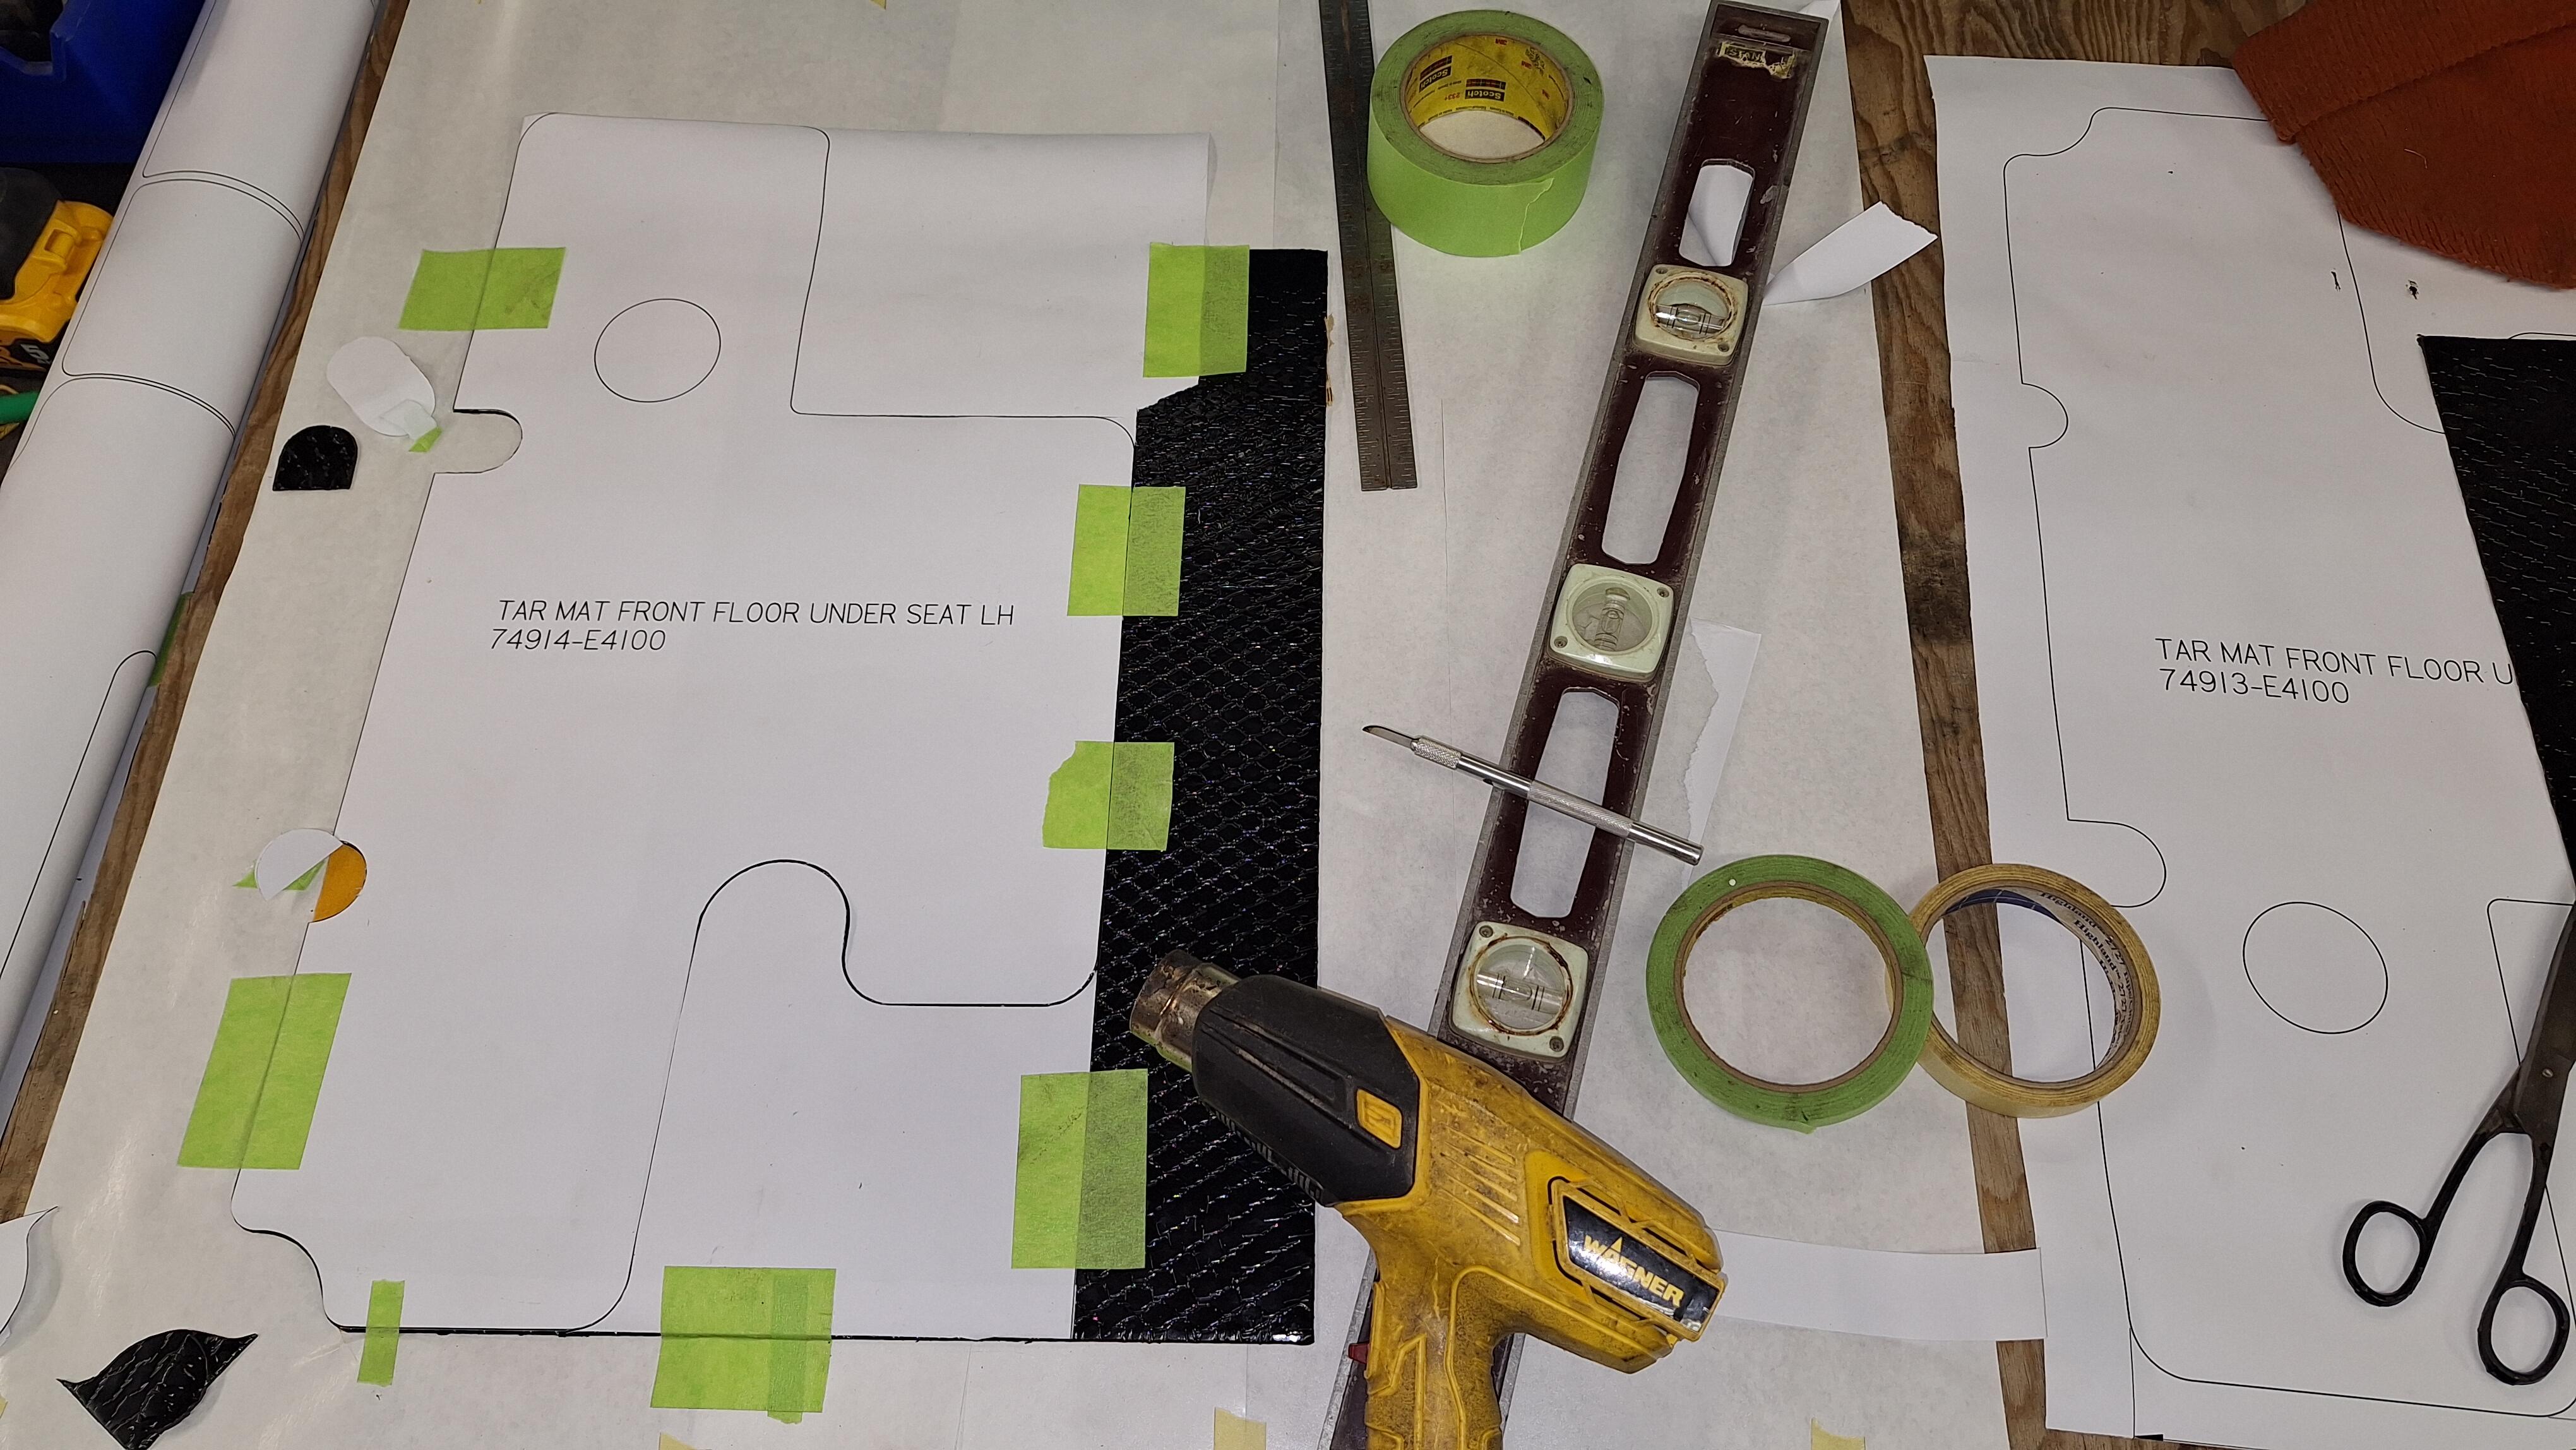
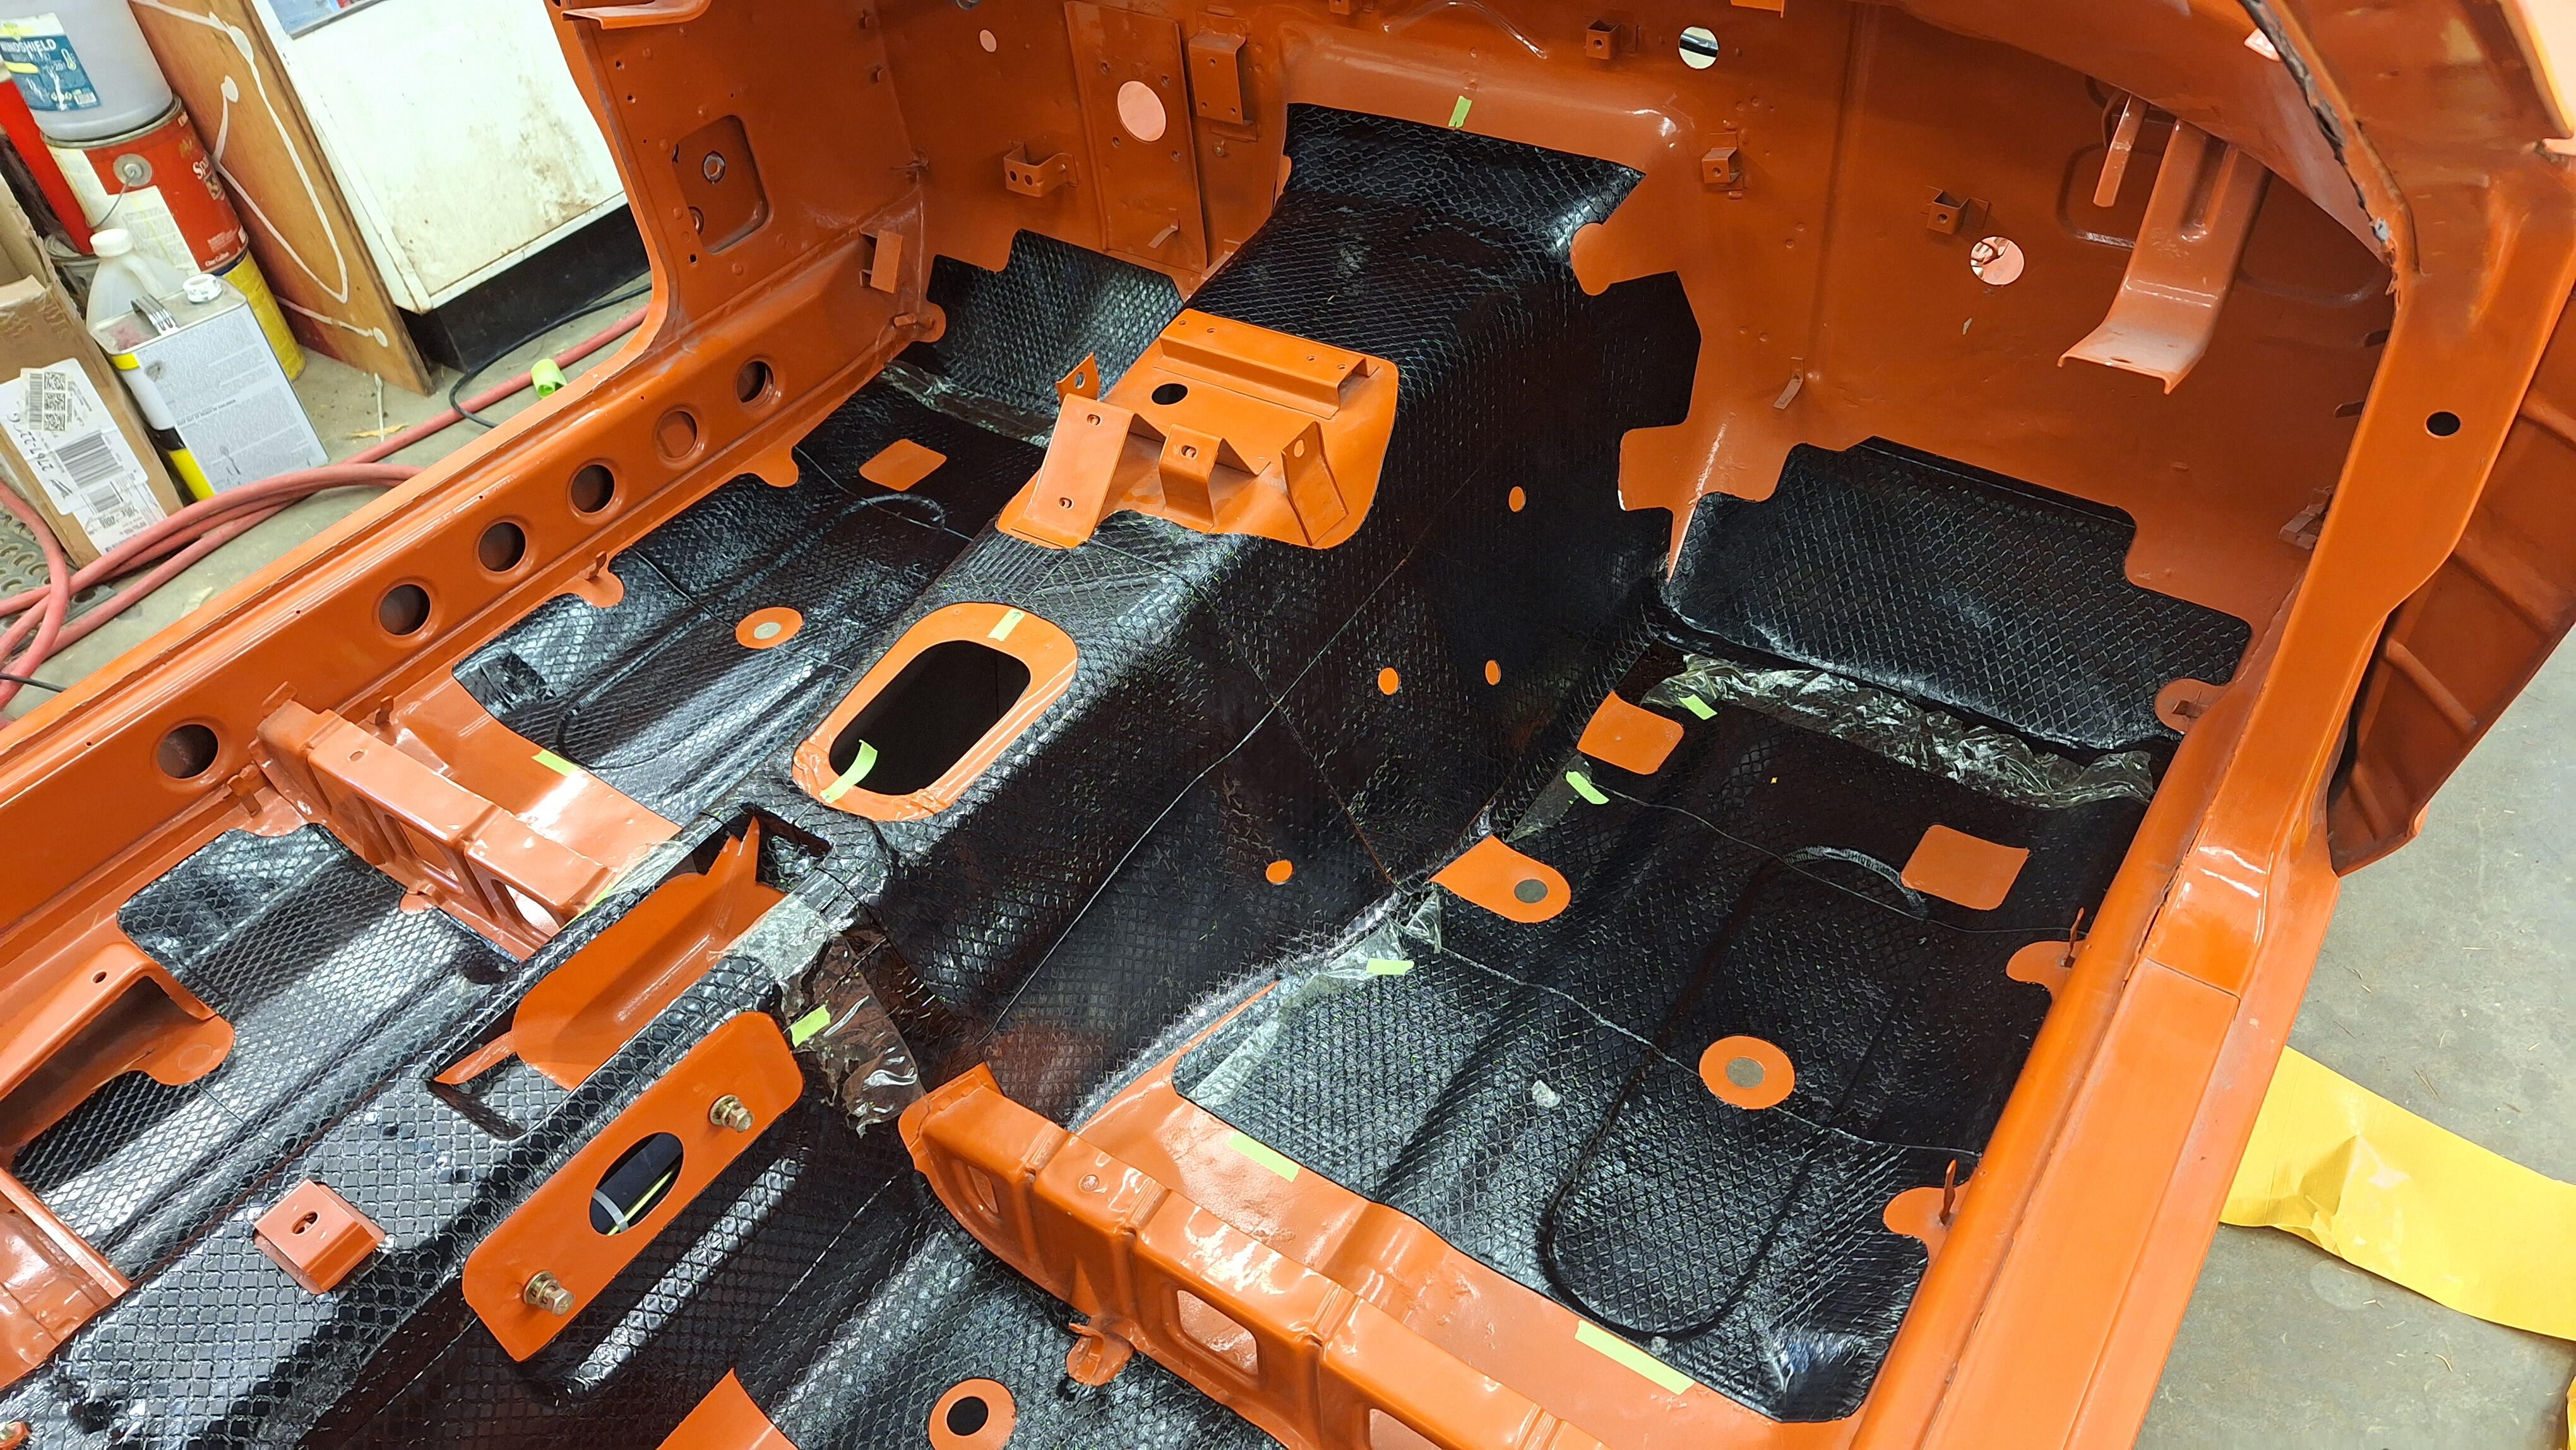
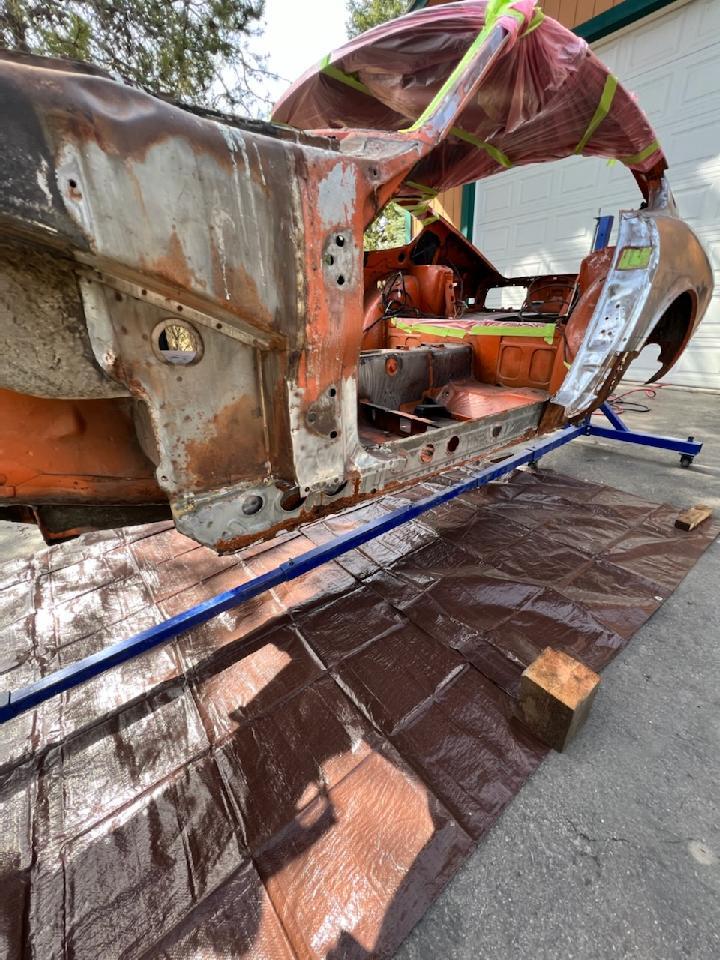
It's time for the tarmat! There's a clear plastic film over this tarmat. It keeps it clean until it gets painted. Yup, Why didn't Nissan do it this way.


-
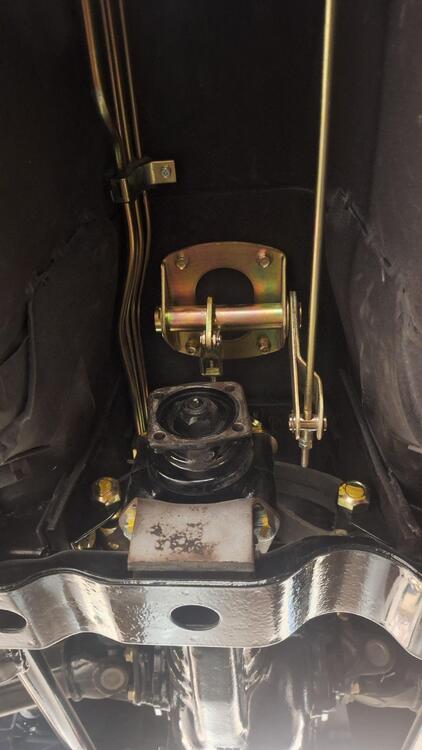
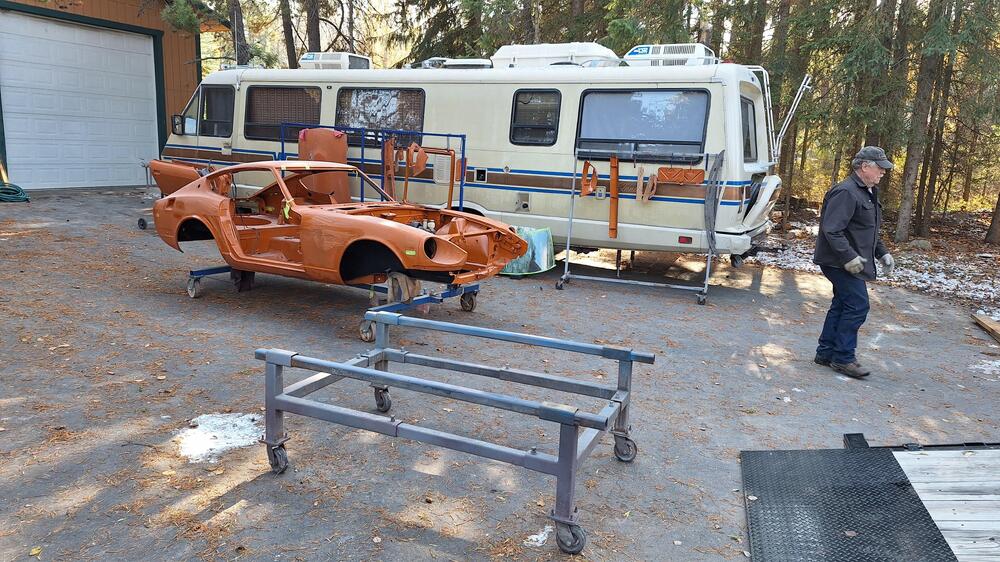
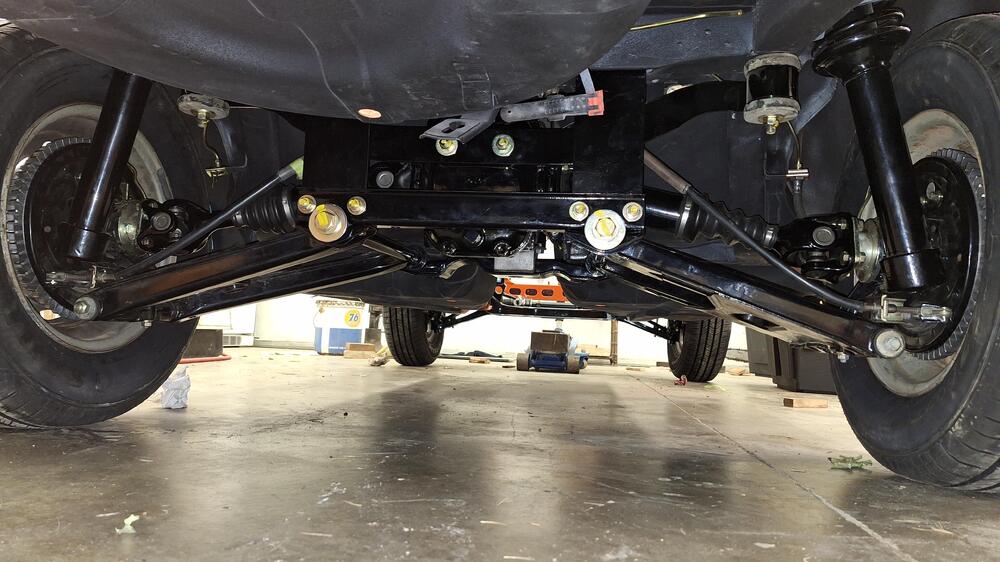
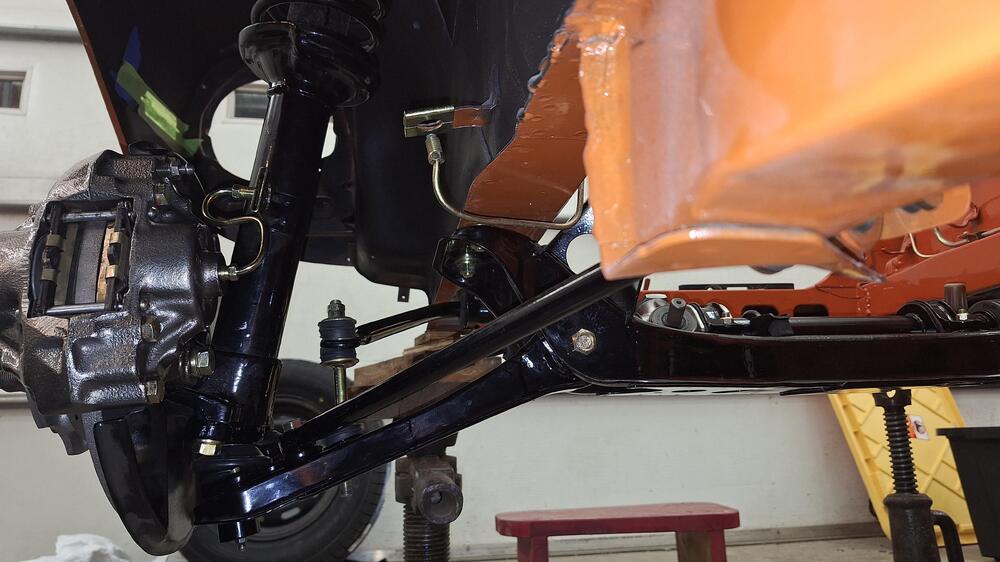
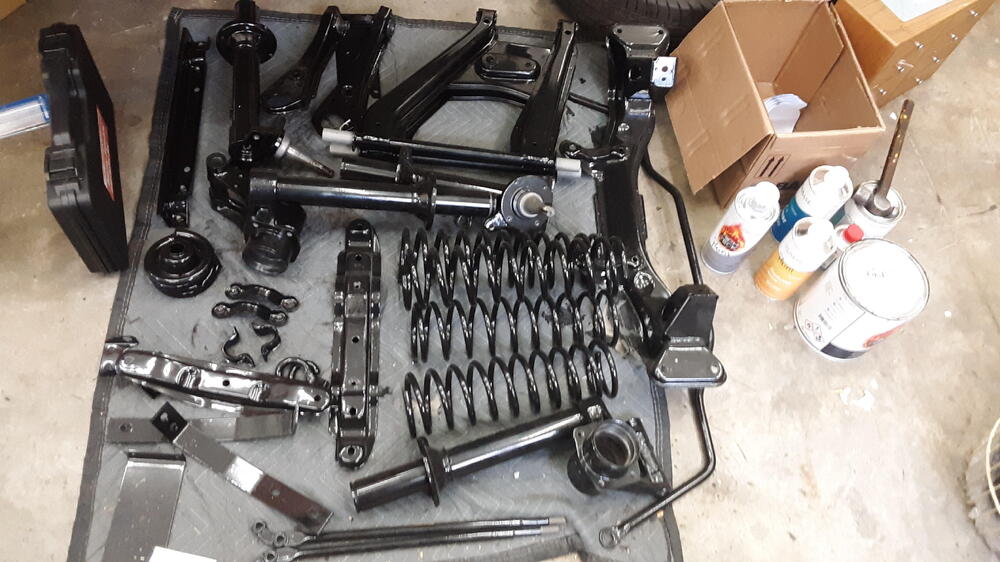
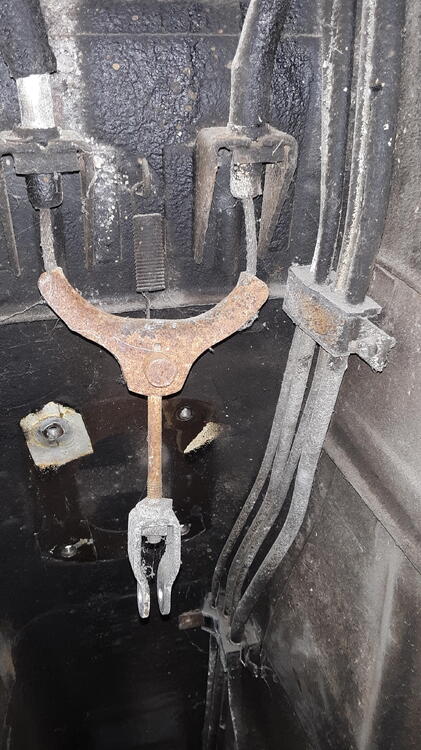
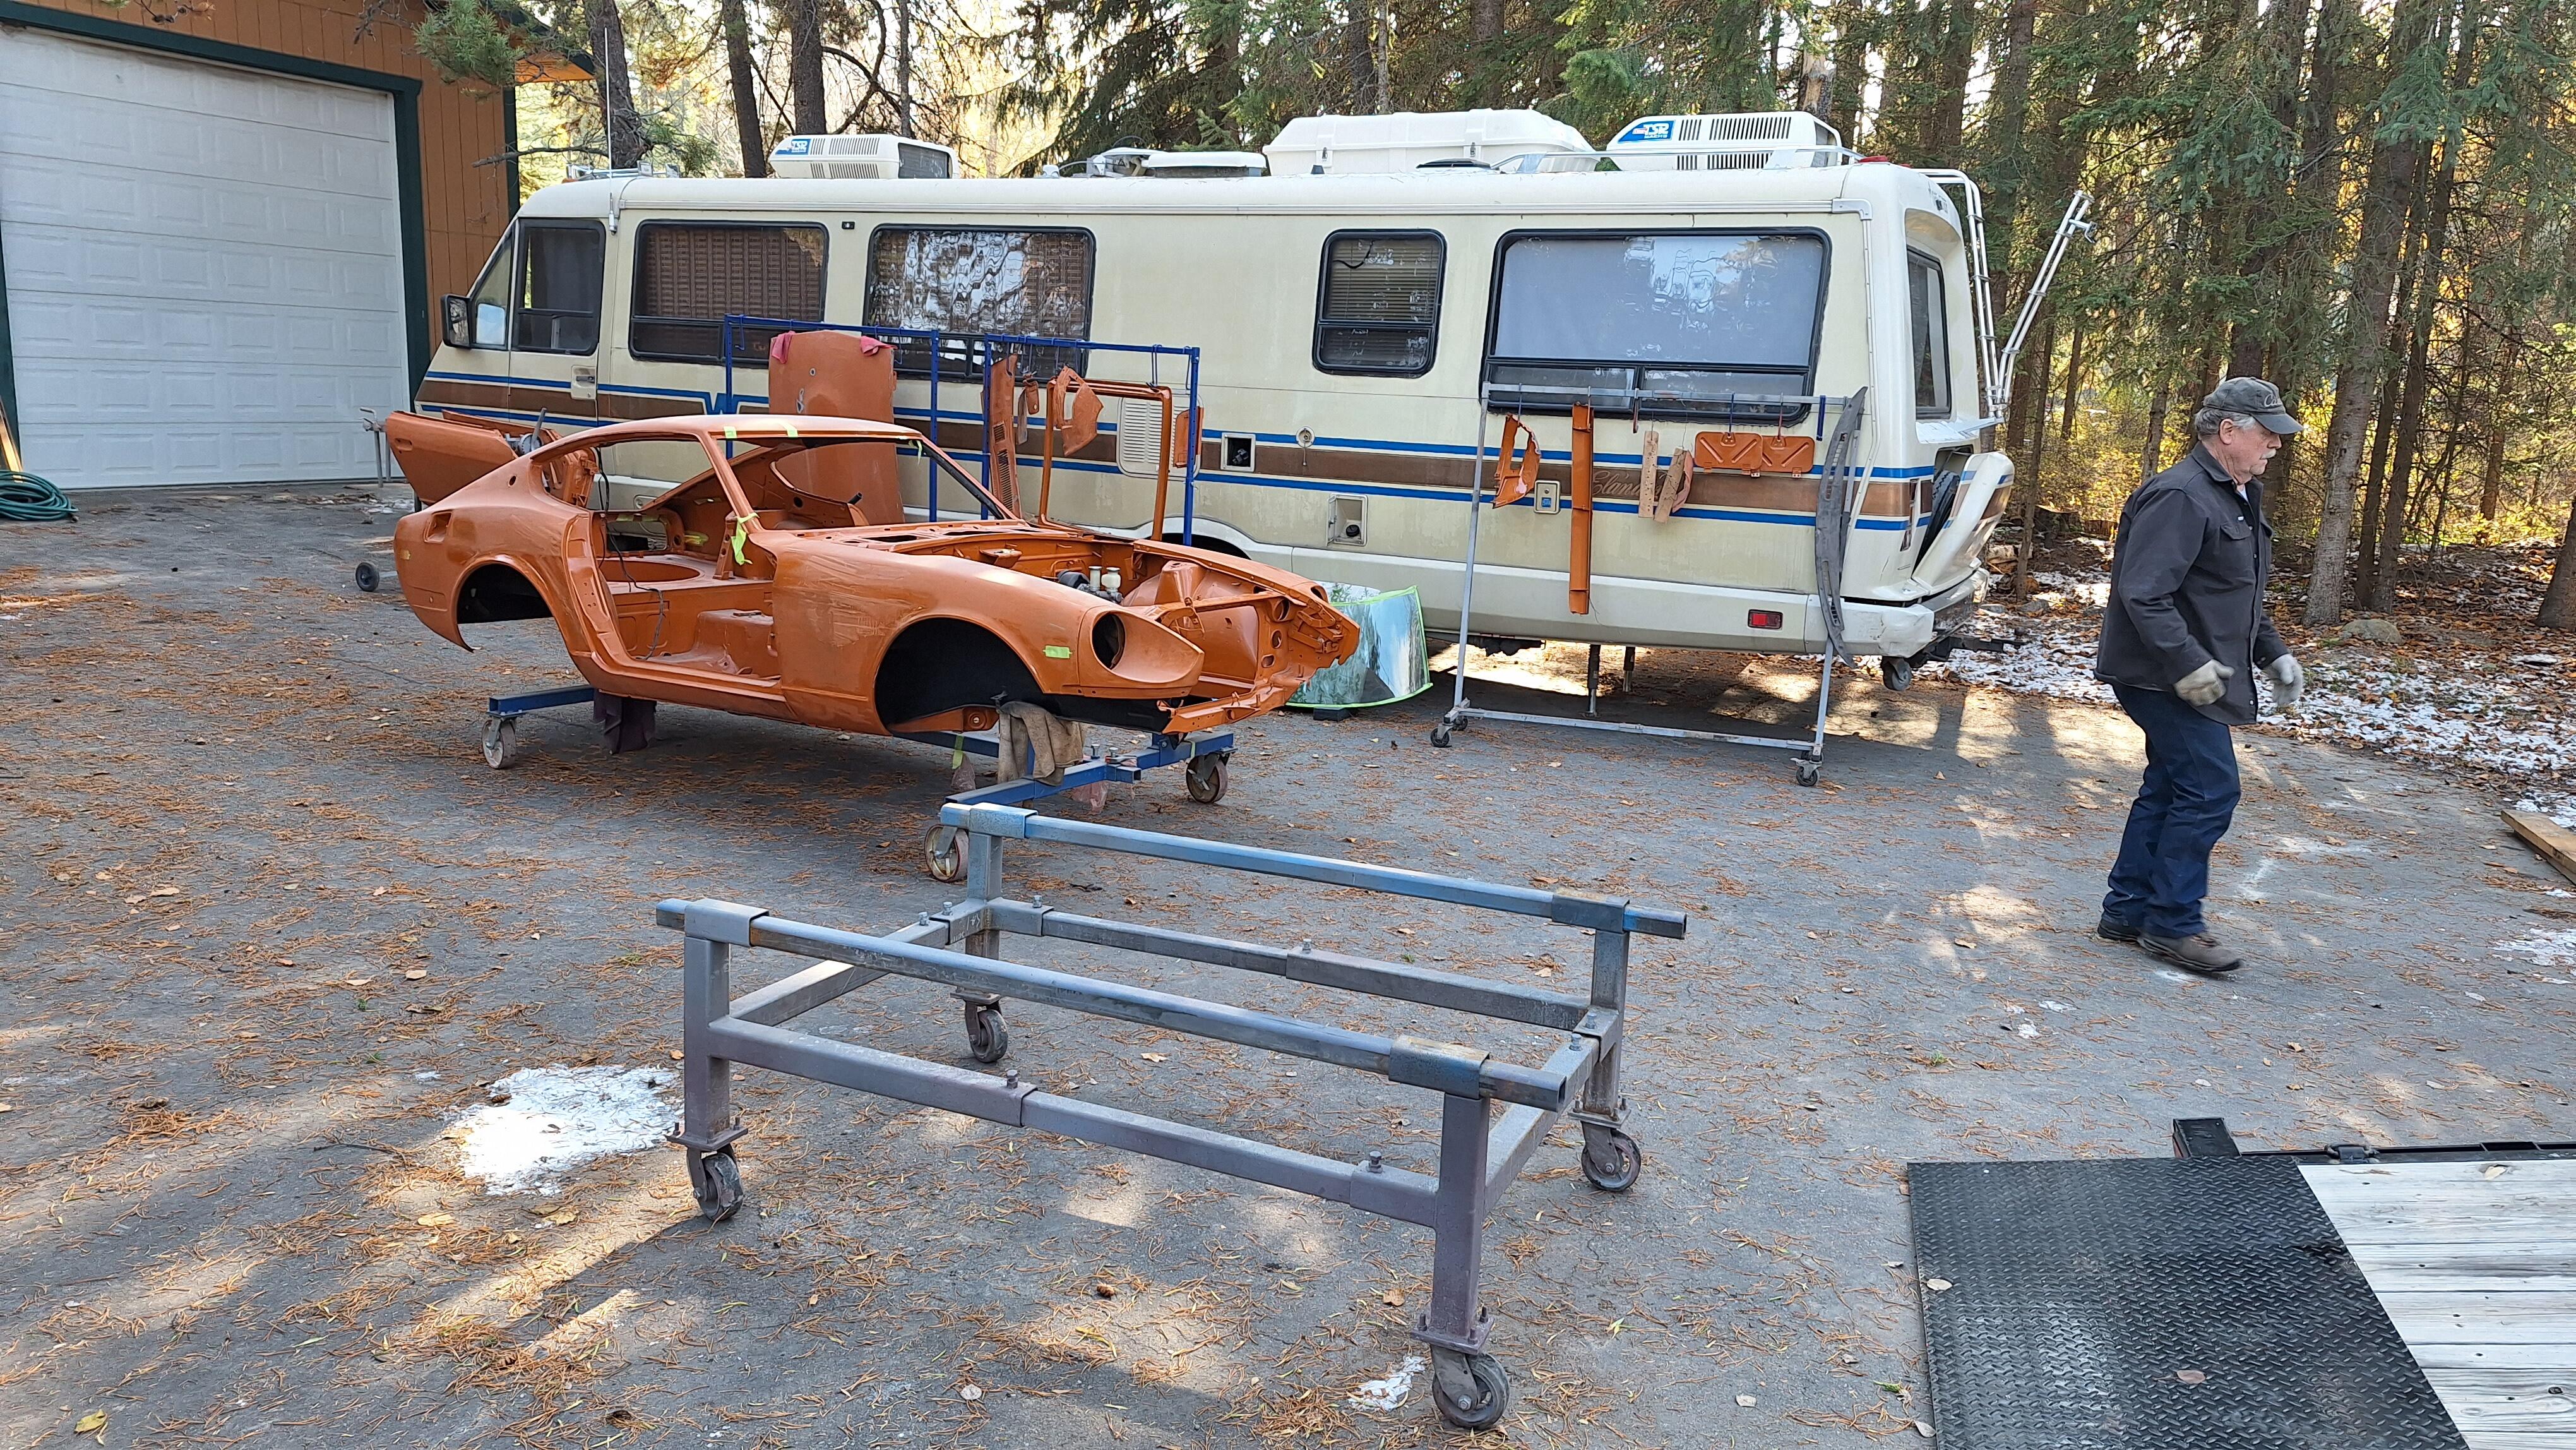
I had enough waiting, went and got the car and pieces as is. Time to go home. I spent the winter of 23-24 assembling the suspension, and installing the tar mat. I don't remember who put the templates on here, but I really thank them. I had them printed at the print shop. I bought the porsche wurth tarmat that was also suggested on here. It was fun assembling this. The only clear coat on the whole car. Now I have a roller!


-
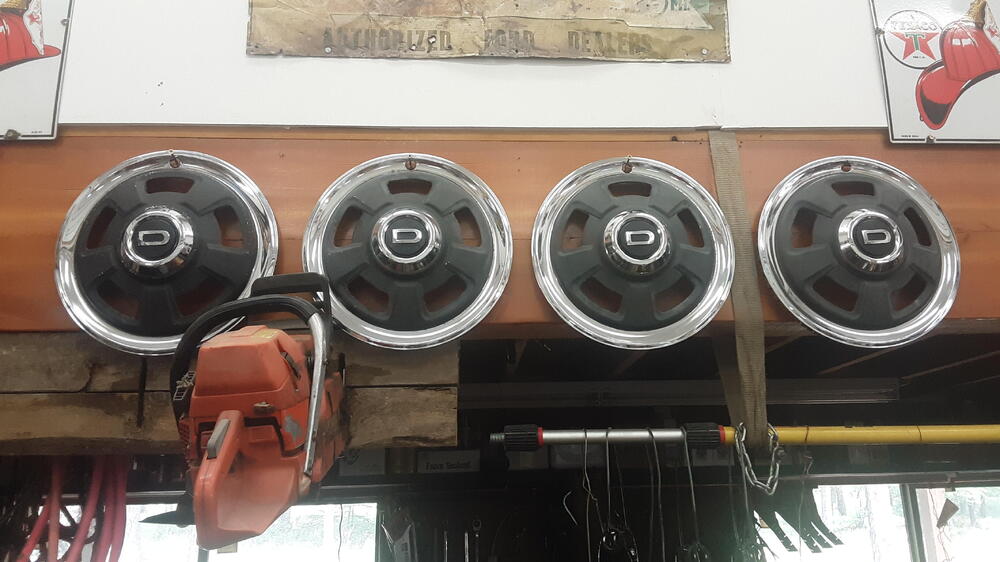
Meanwhile........I had found my missing pieces, 4 wheels and d-hubcaps found by a guy cleaning an attic in California. one year later............my hubcaps are speaking to me....... Well, We're waiting............

-
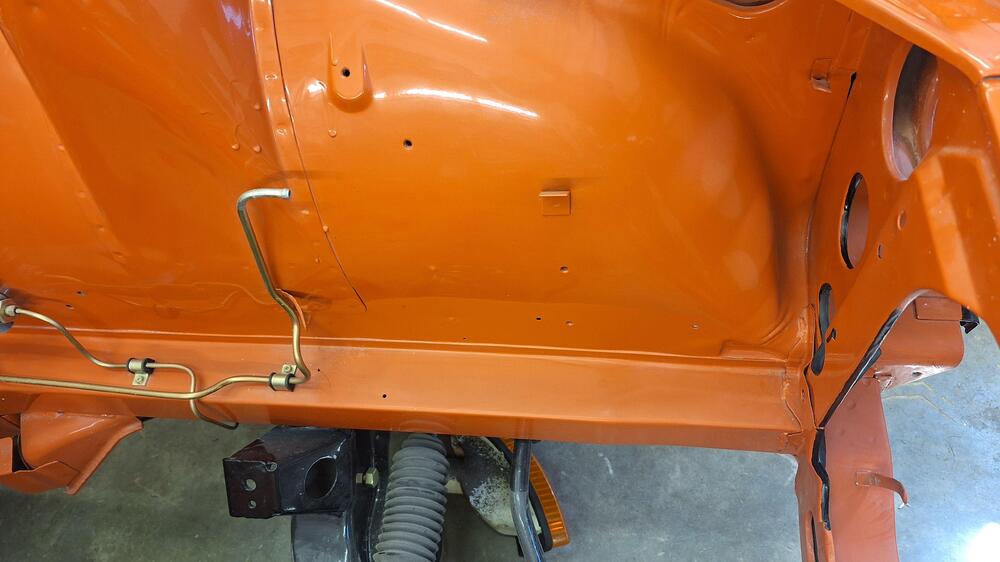
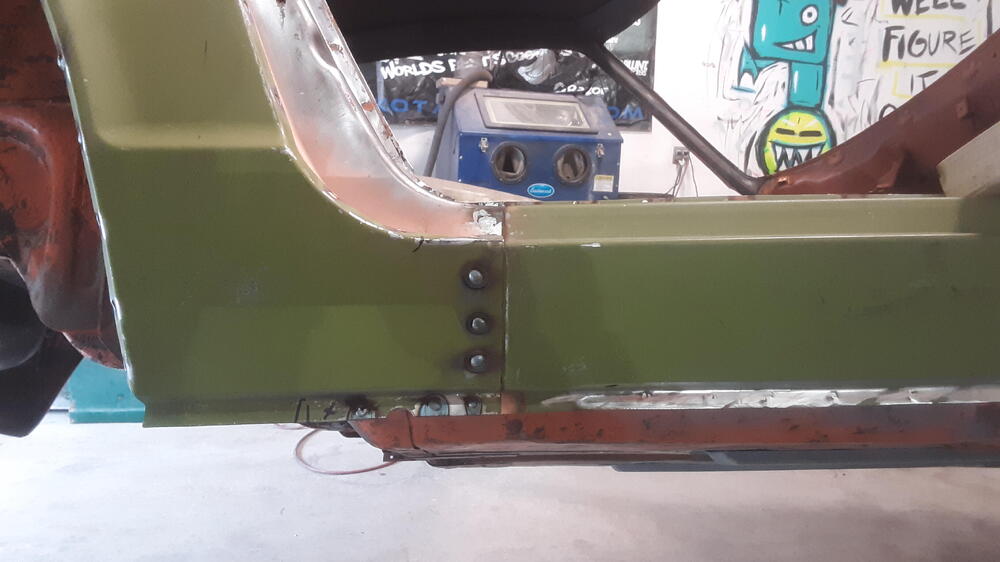
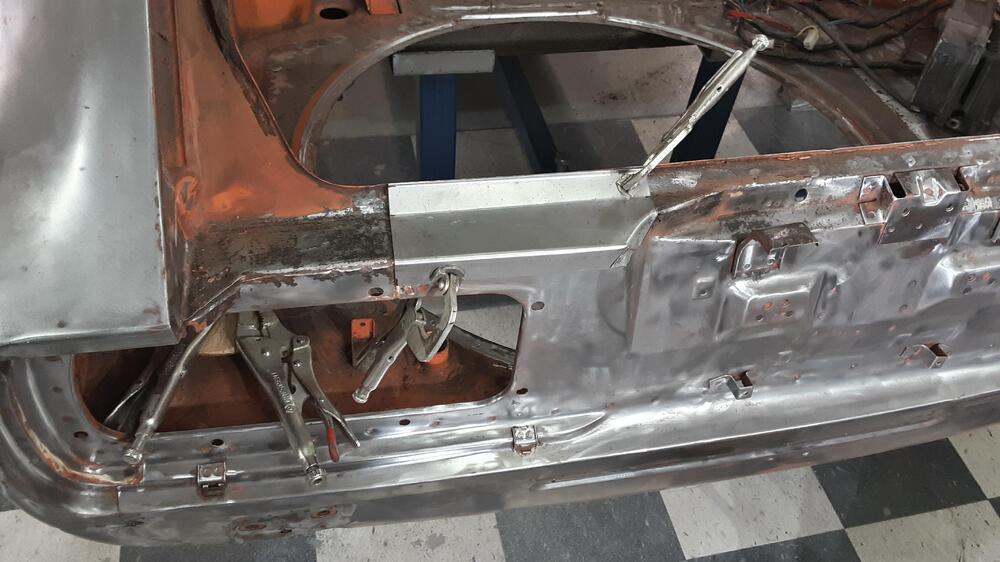
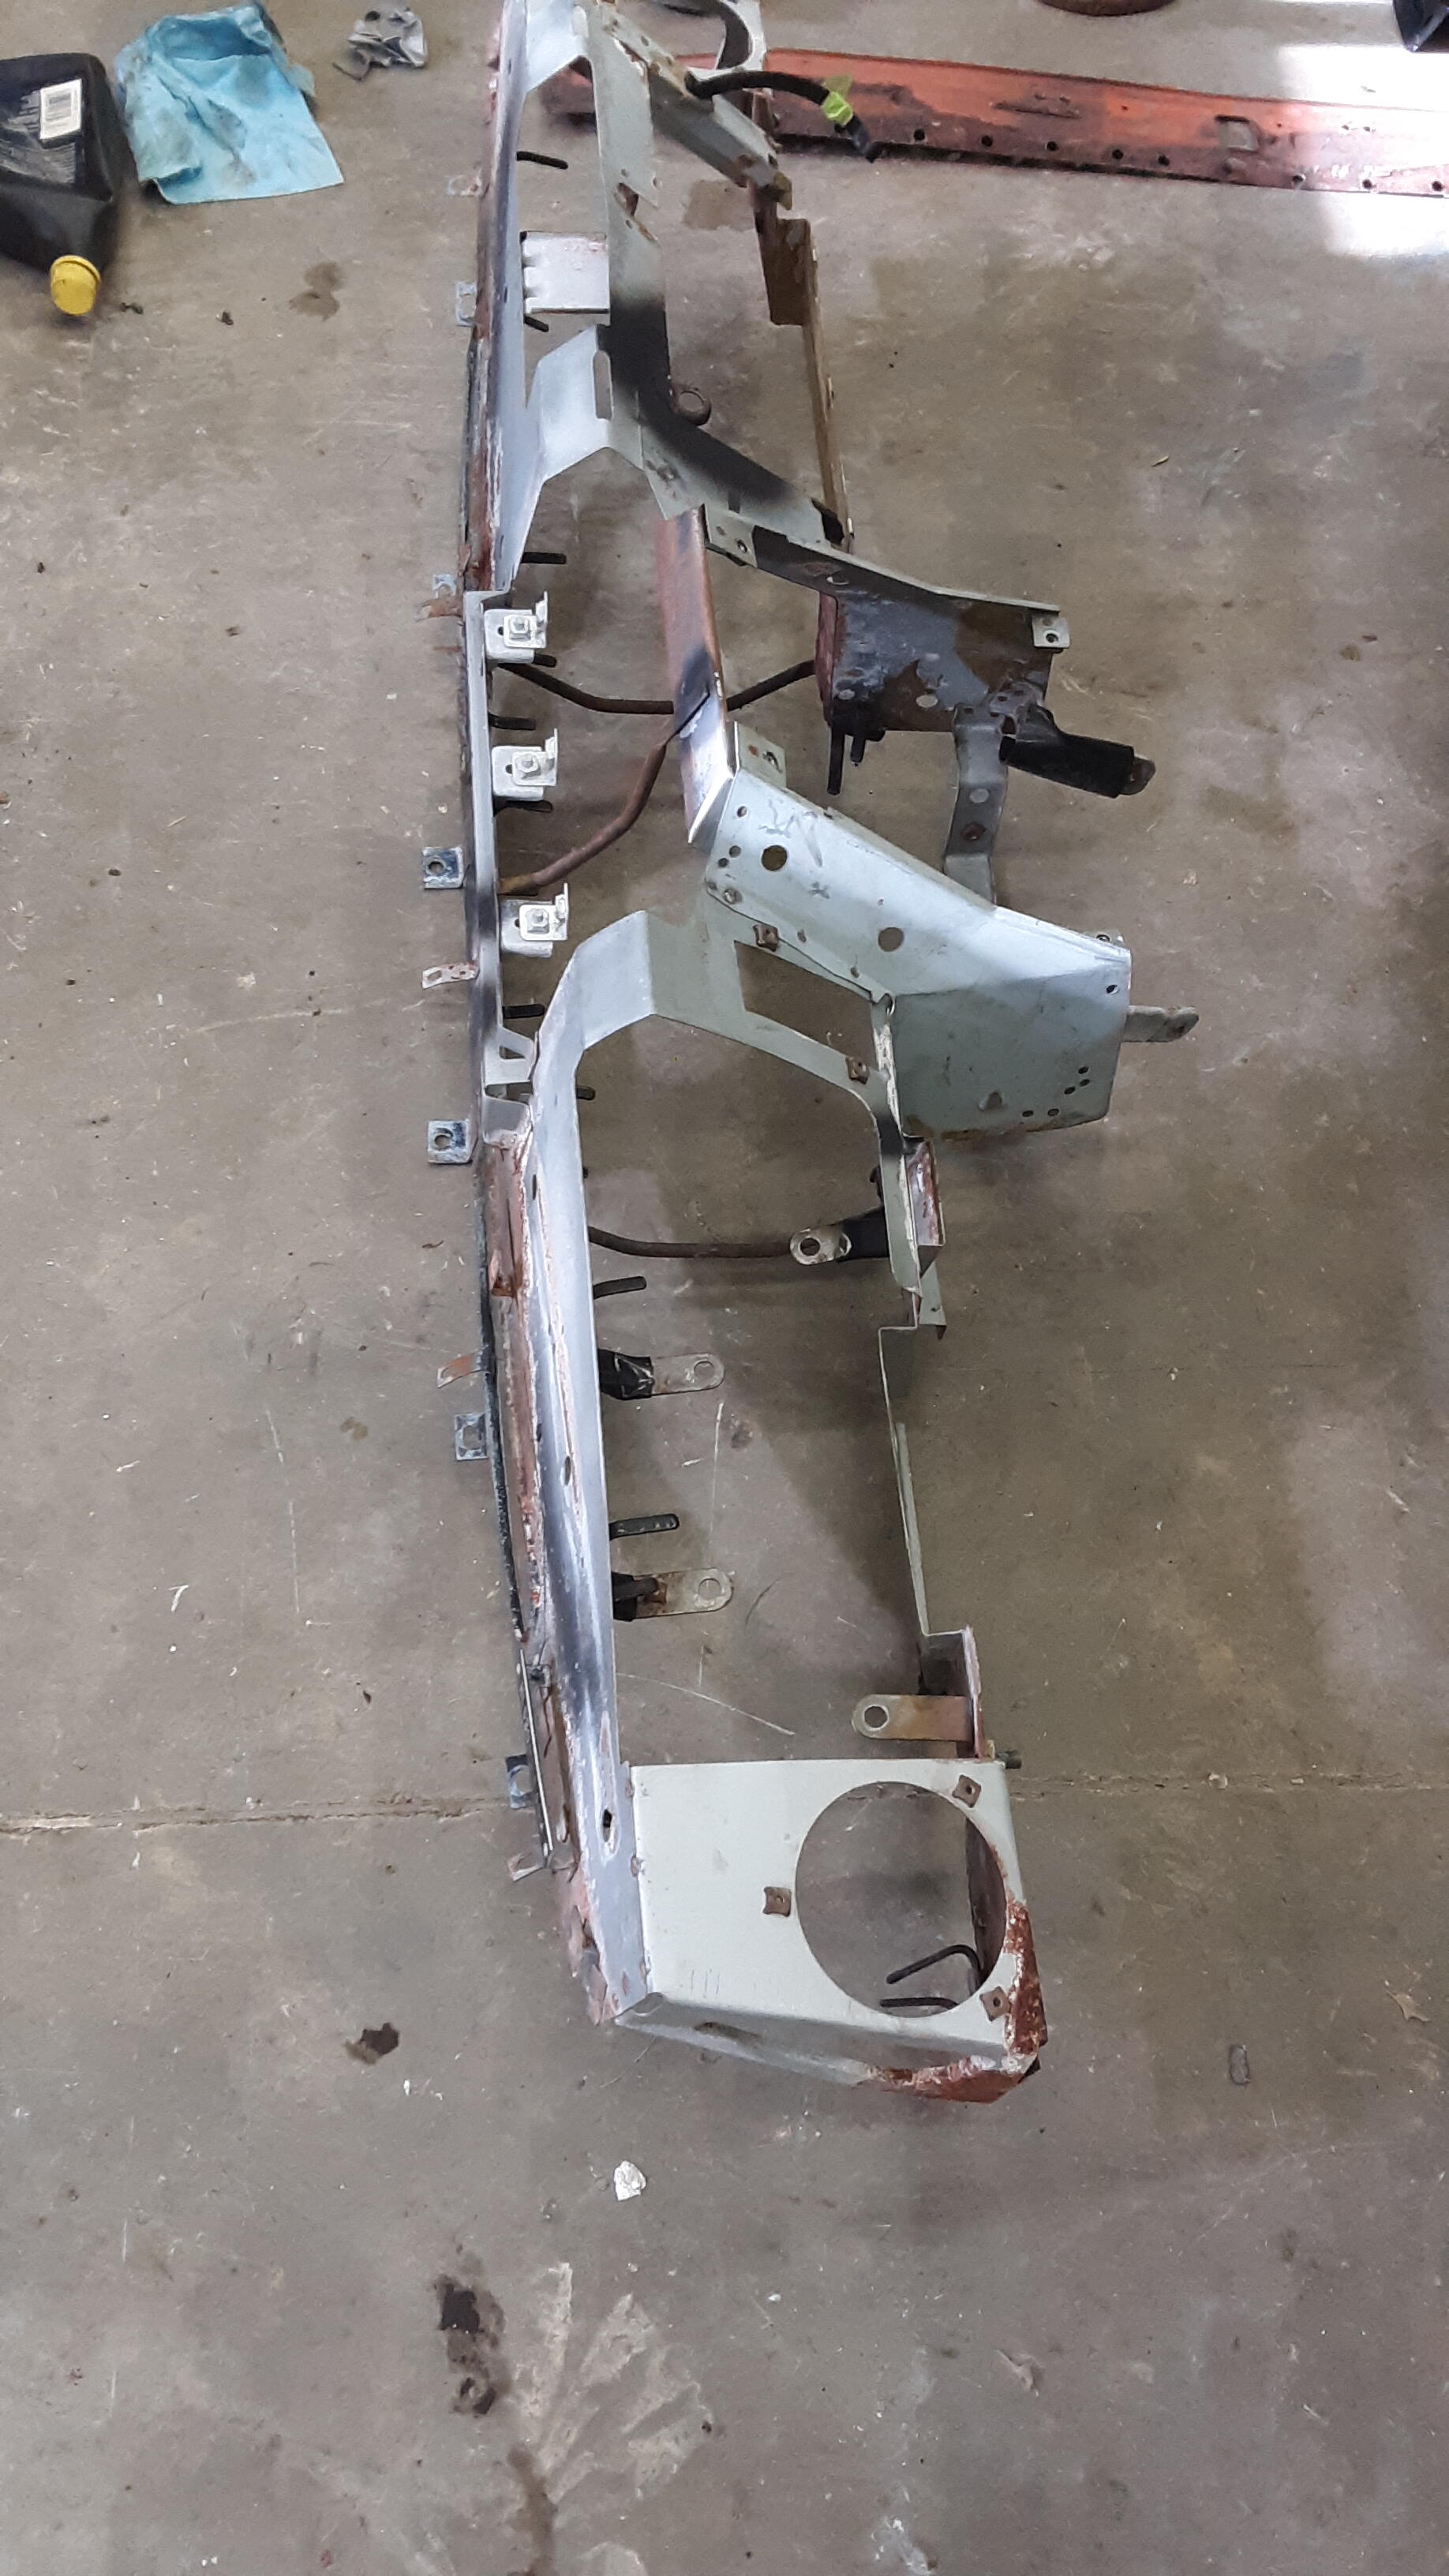
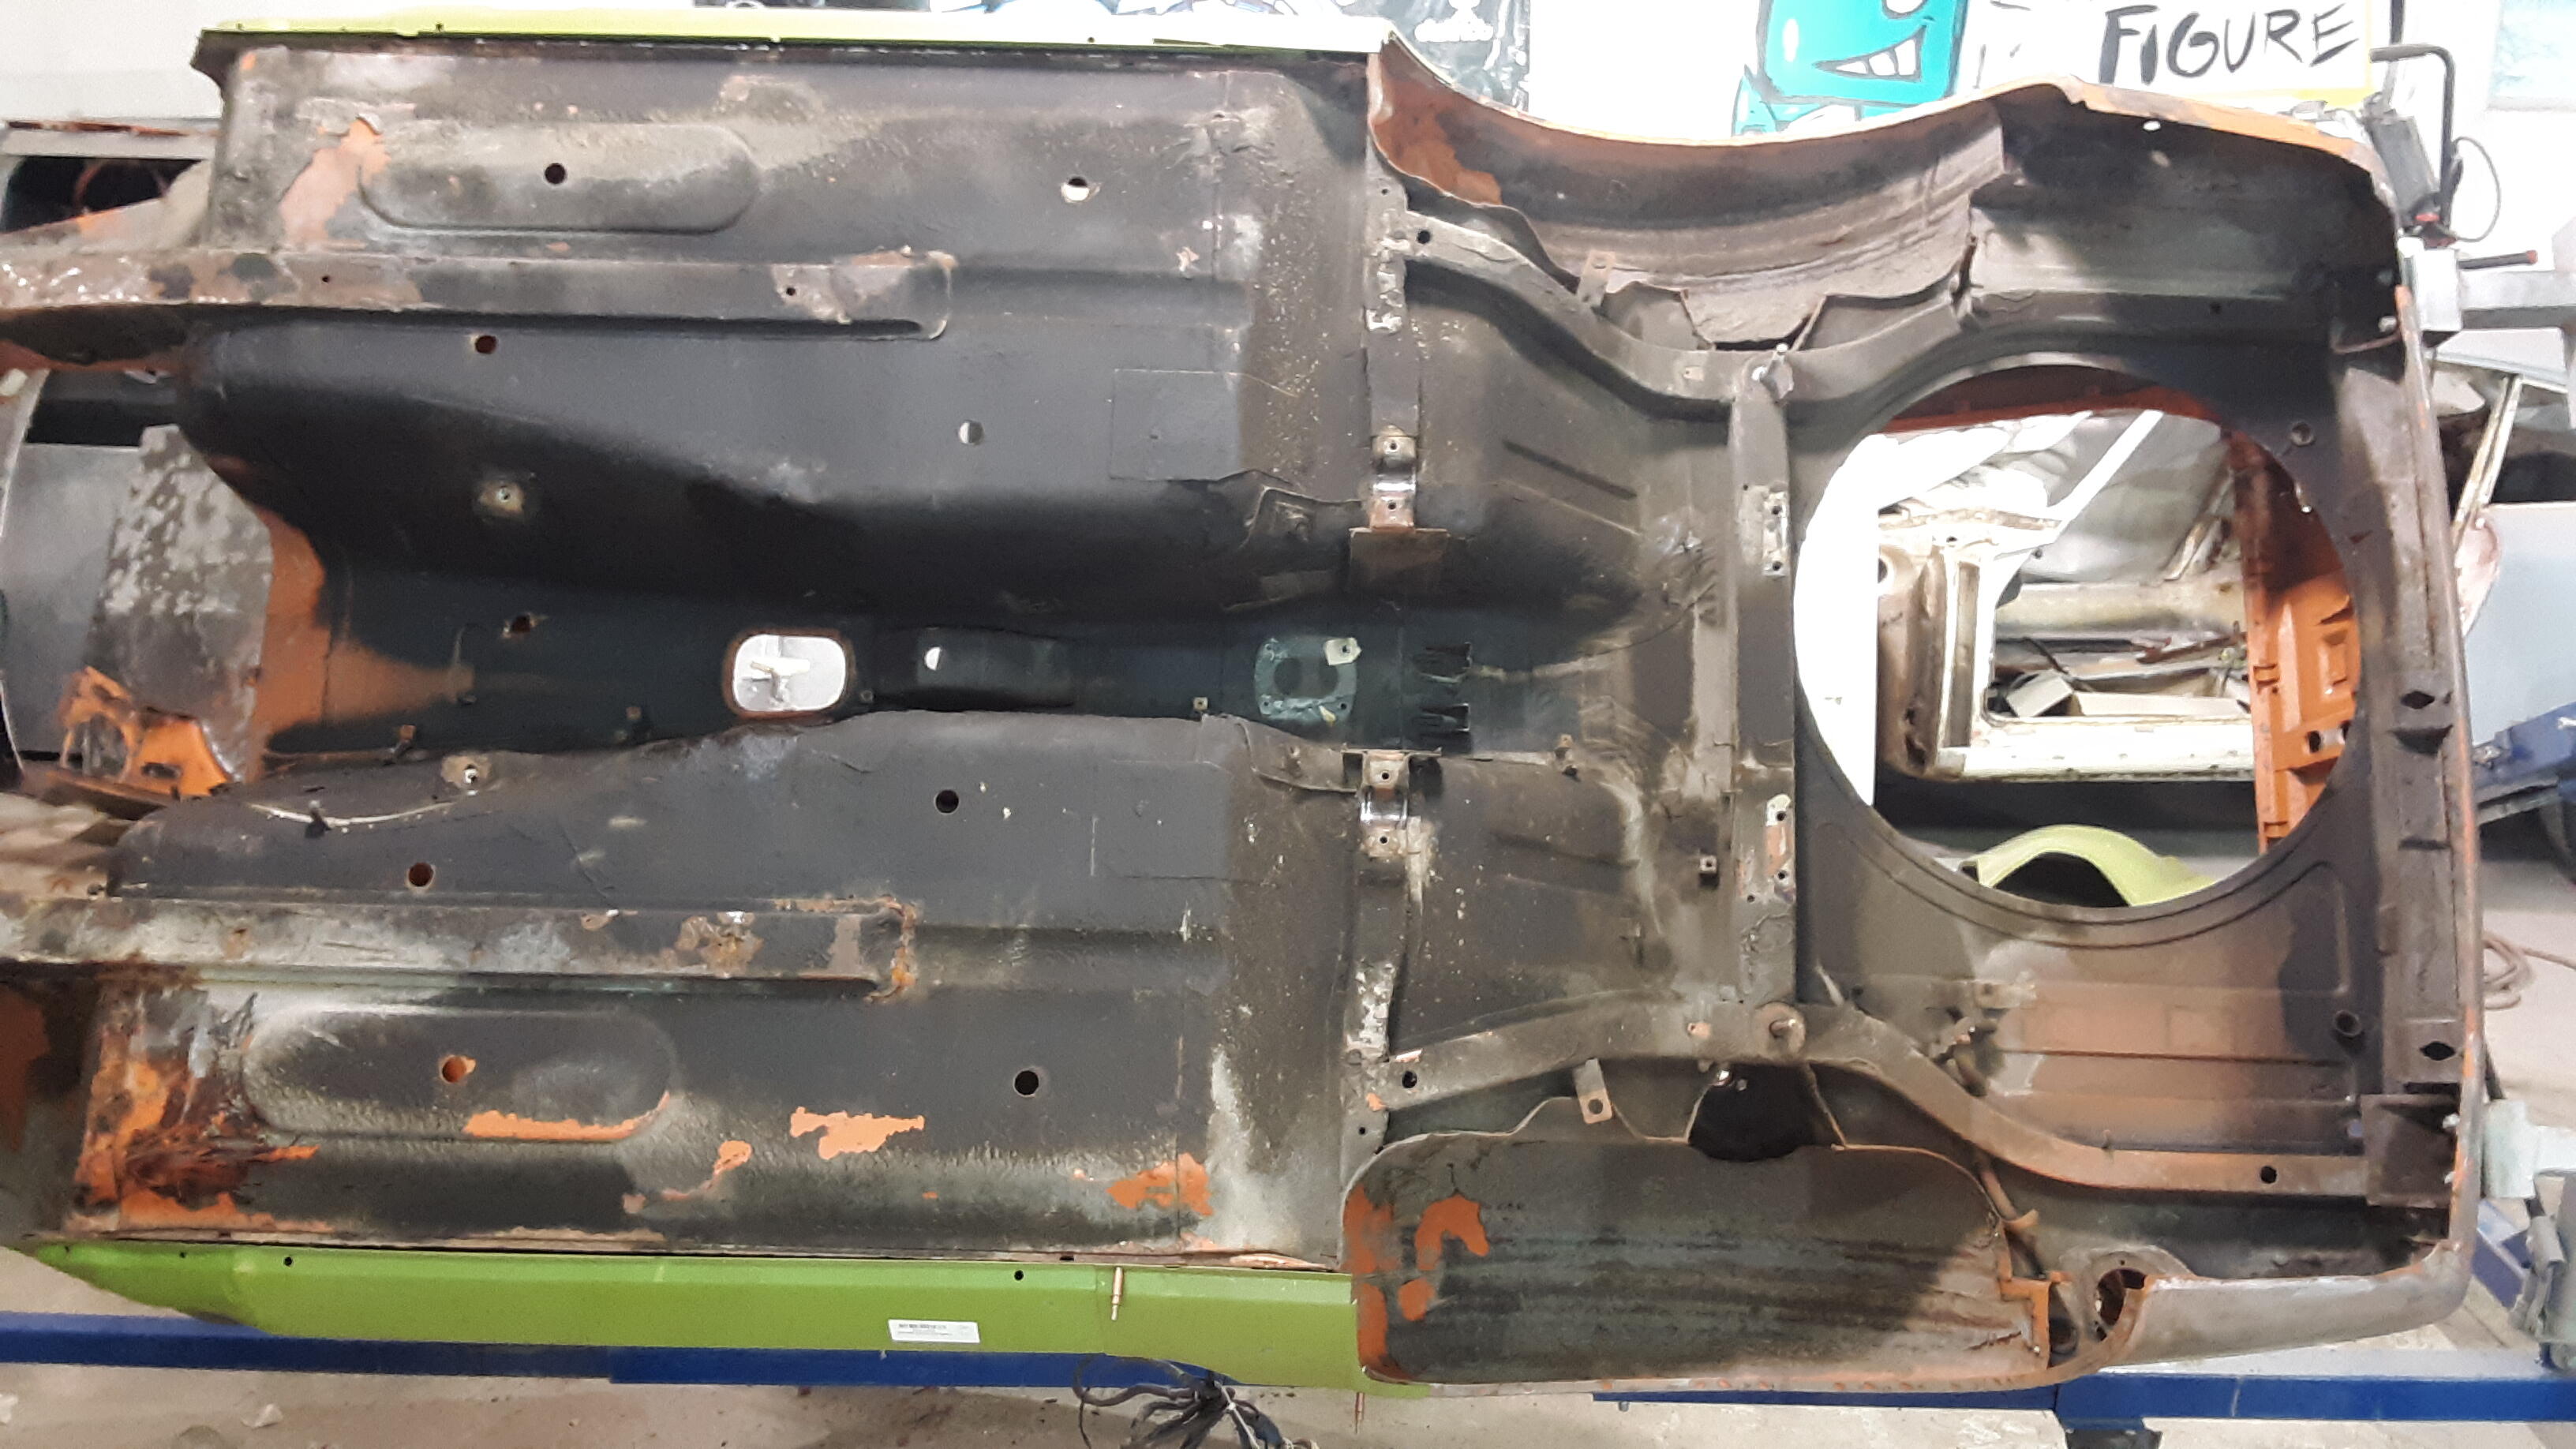
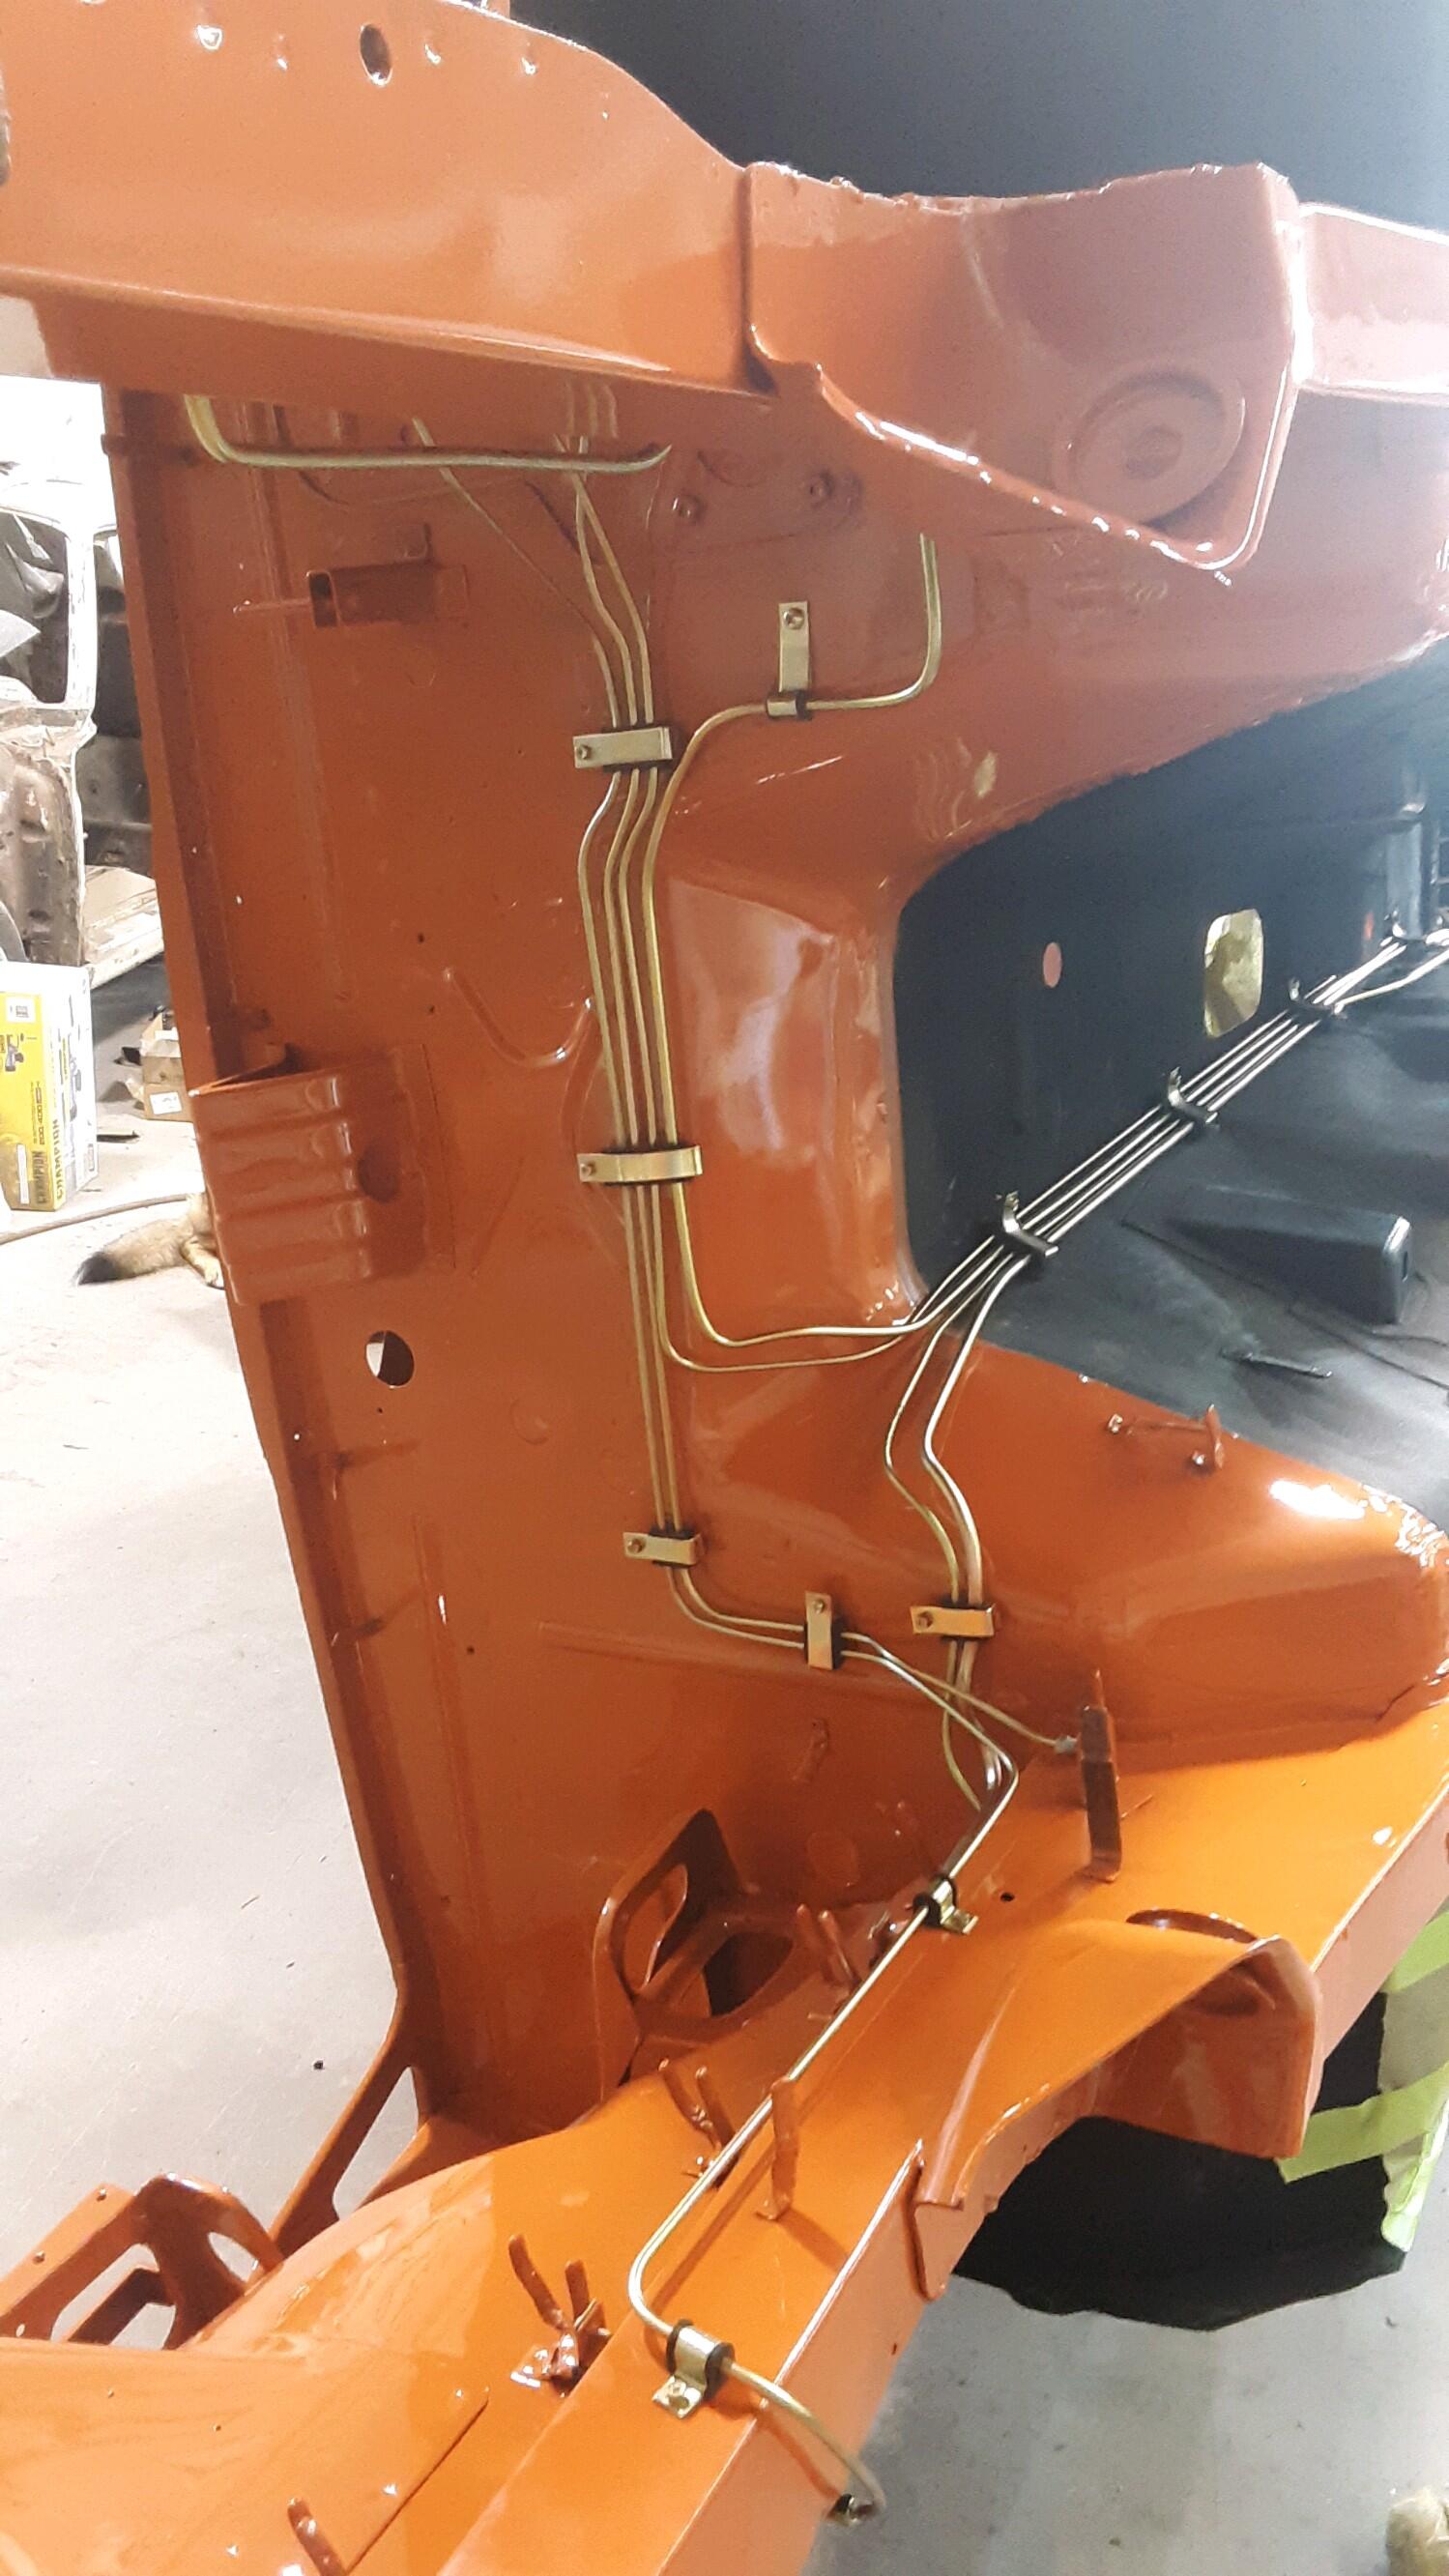
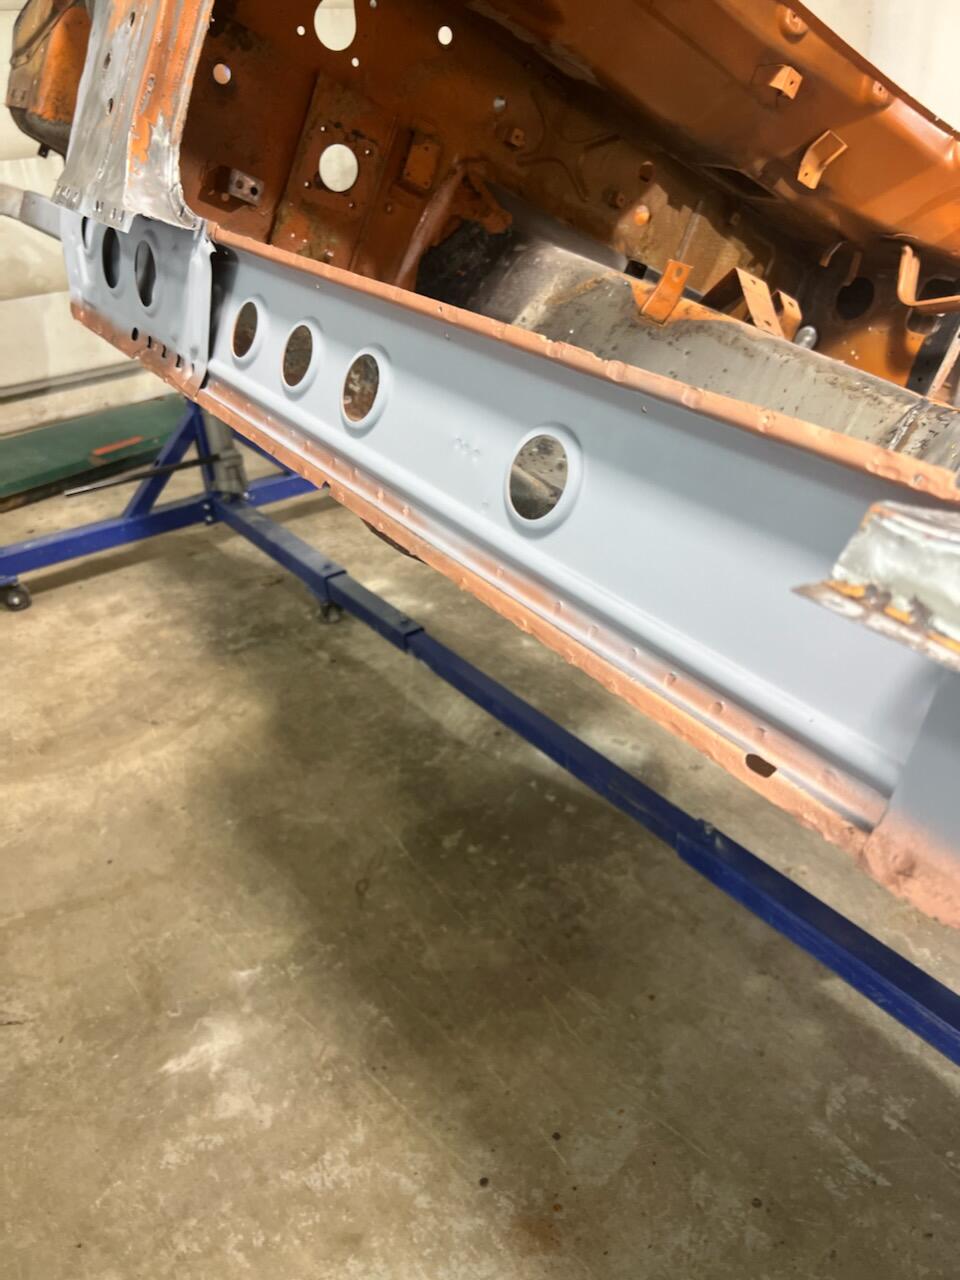
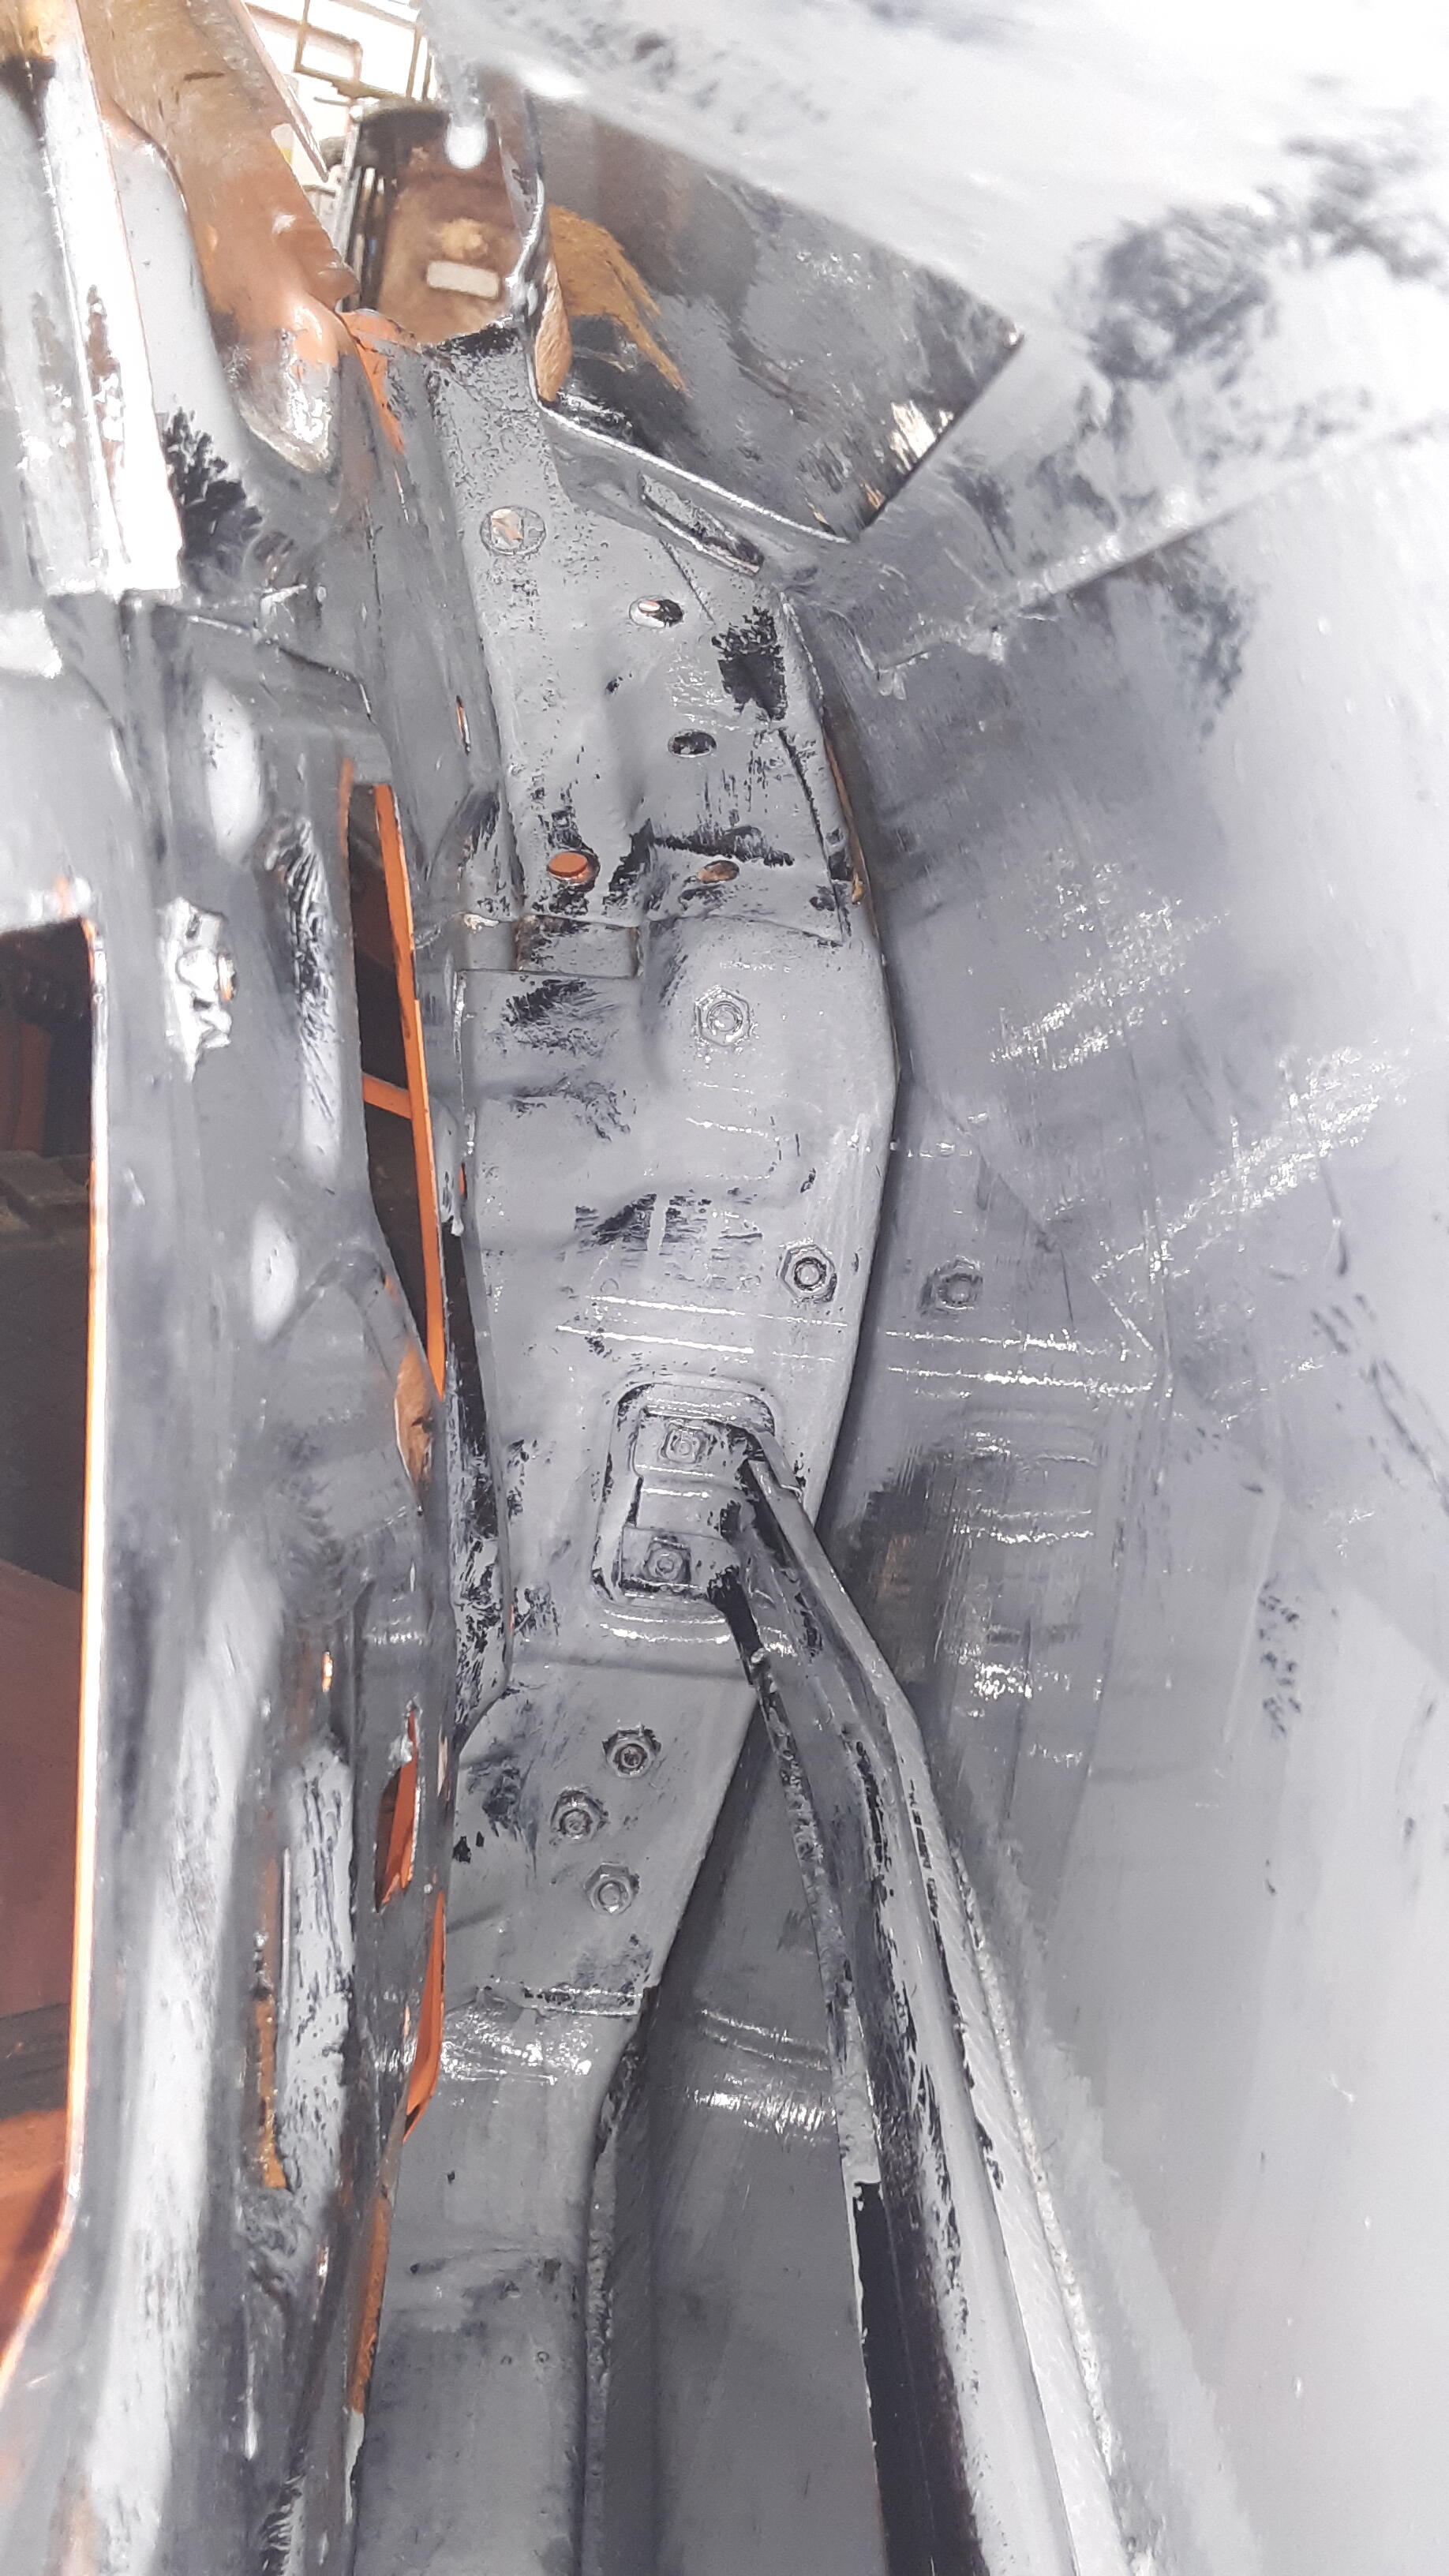
In a couple months, I had welded in all the repair panels myself. It was easy to blow right through some areas, like the toe boards. The rotisserie made it nice, just go to the other side, attack it from both sides. I replaced both frame rails, the tub, both outer rockers after cleaning inside them, doglegs, and fender bottoms, and hatch slam. It was time for me to go build roads and go logging. Spring break was up. The inside was painted, the engine bay, and bottom undercoated. Sometime that summer, I brought the lines down and installed them before the car was taken off the rotisserie.


-
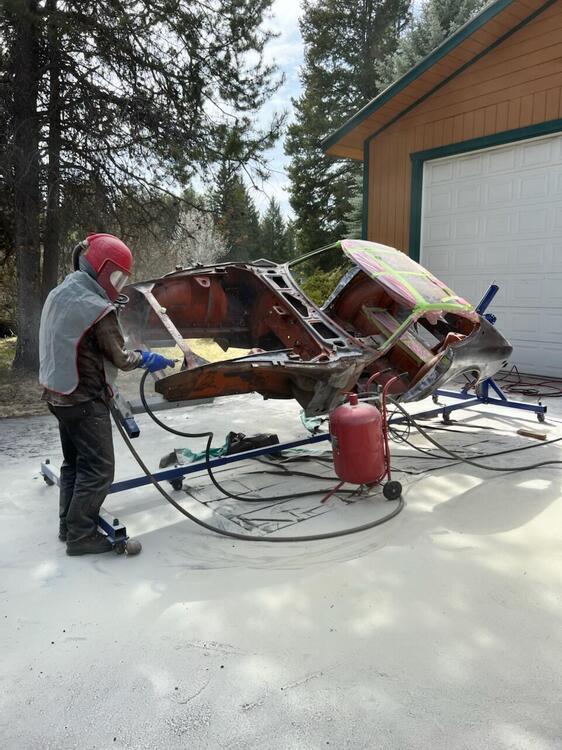
The paint job was his responsibility, I wasn't interested in that part. I would pay him separate for that. stripping the car with aircraft stripper. There's me, gettin the rust out! Gotta love it.


-
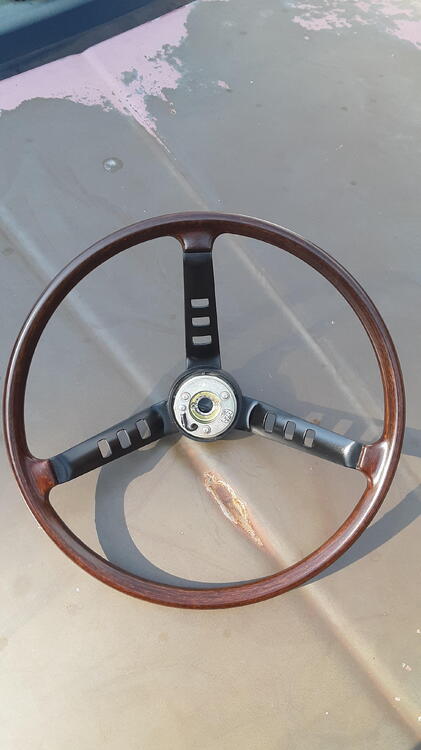
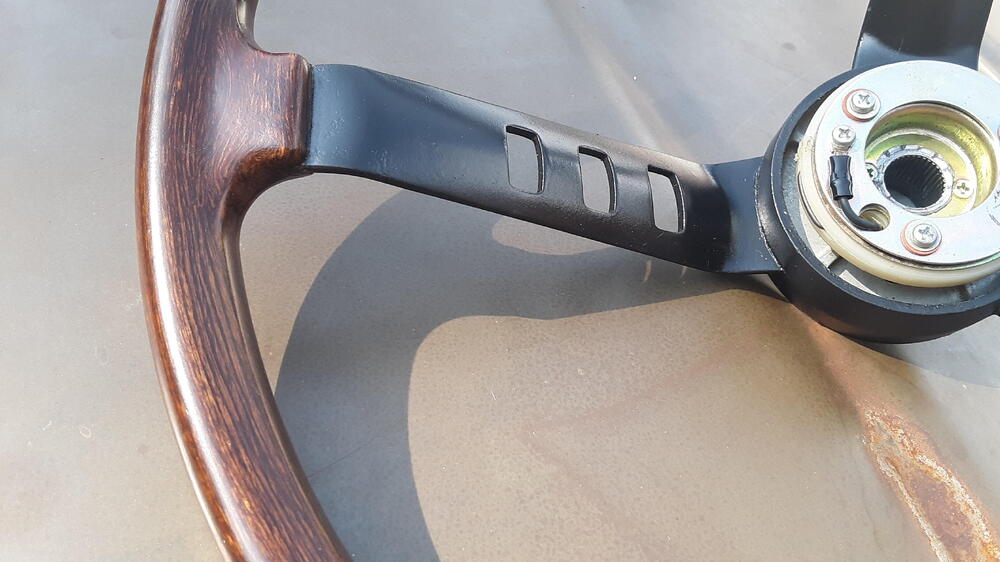
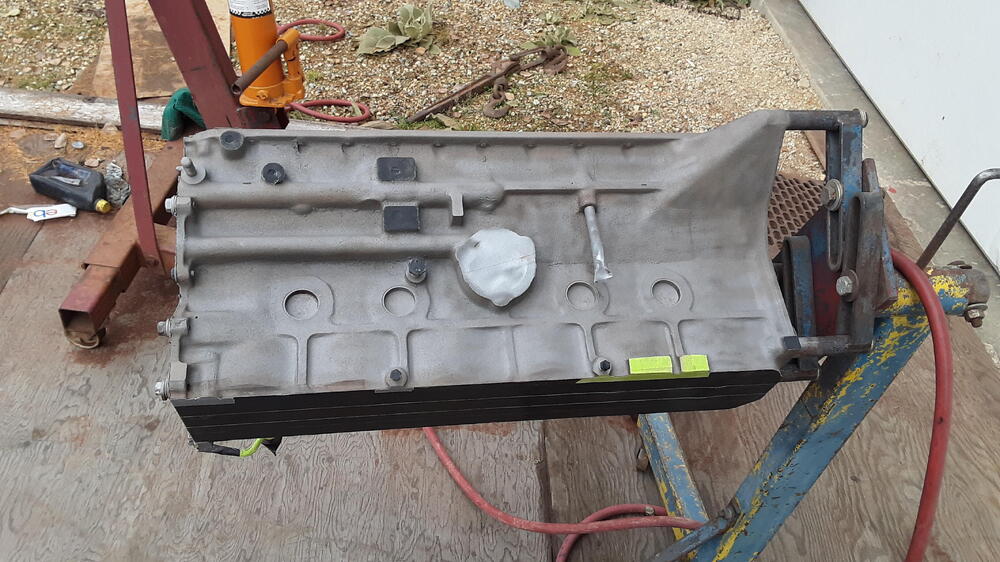
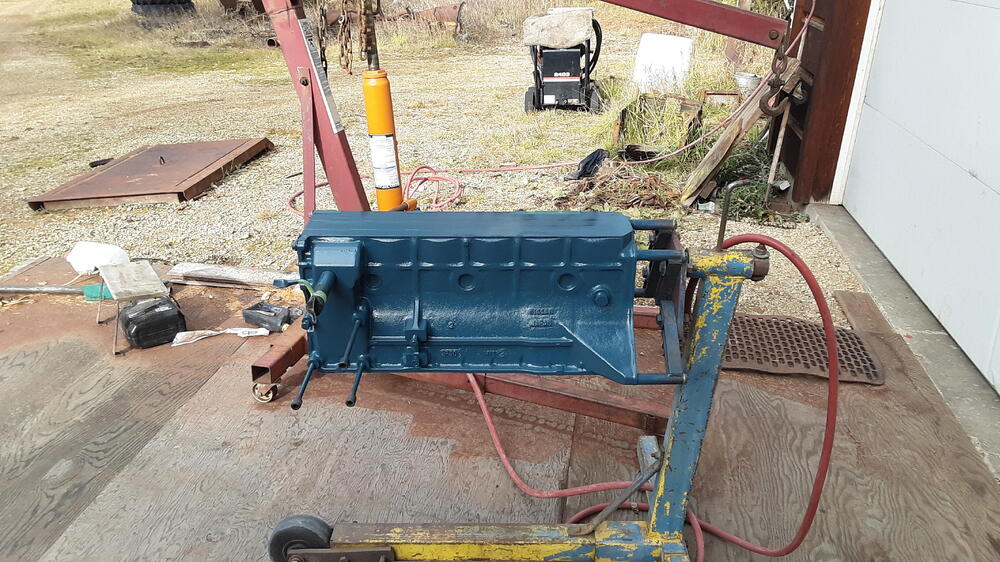
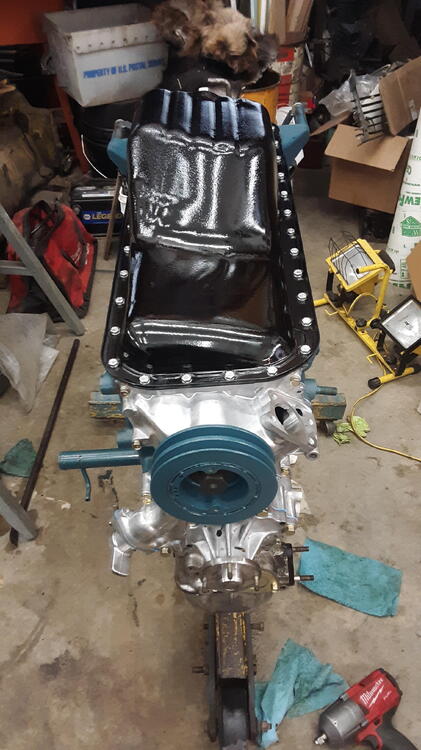
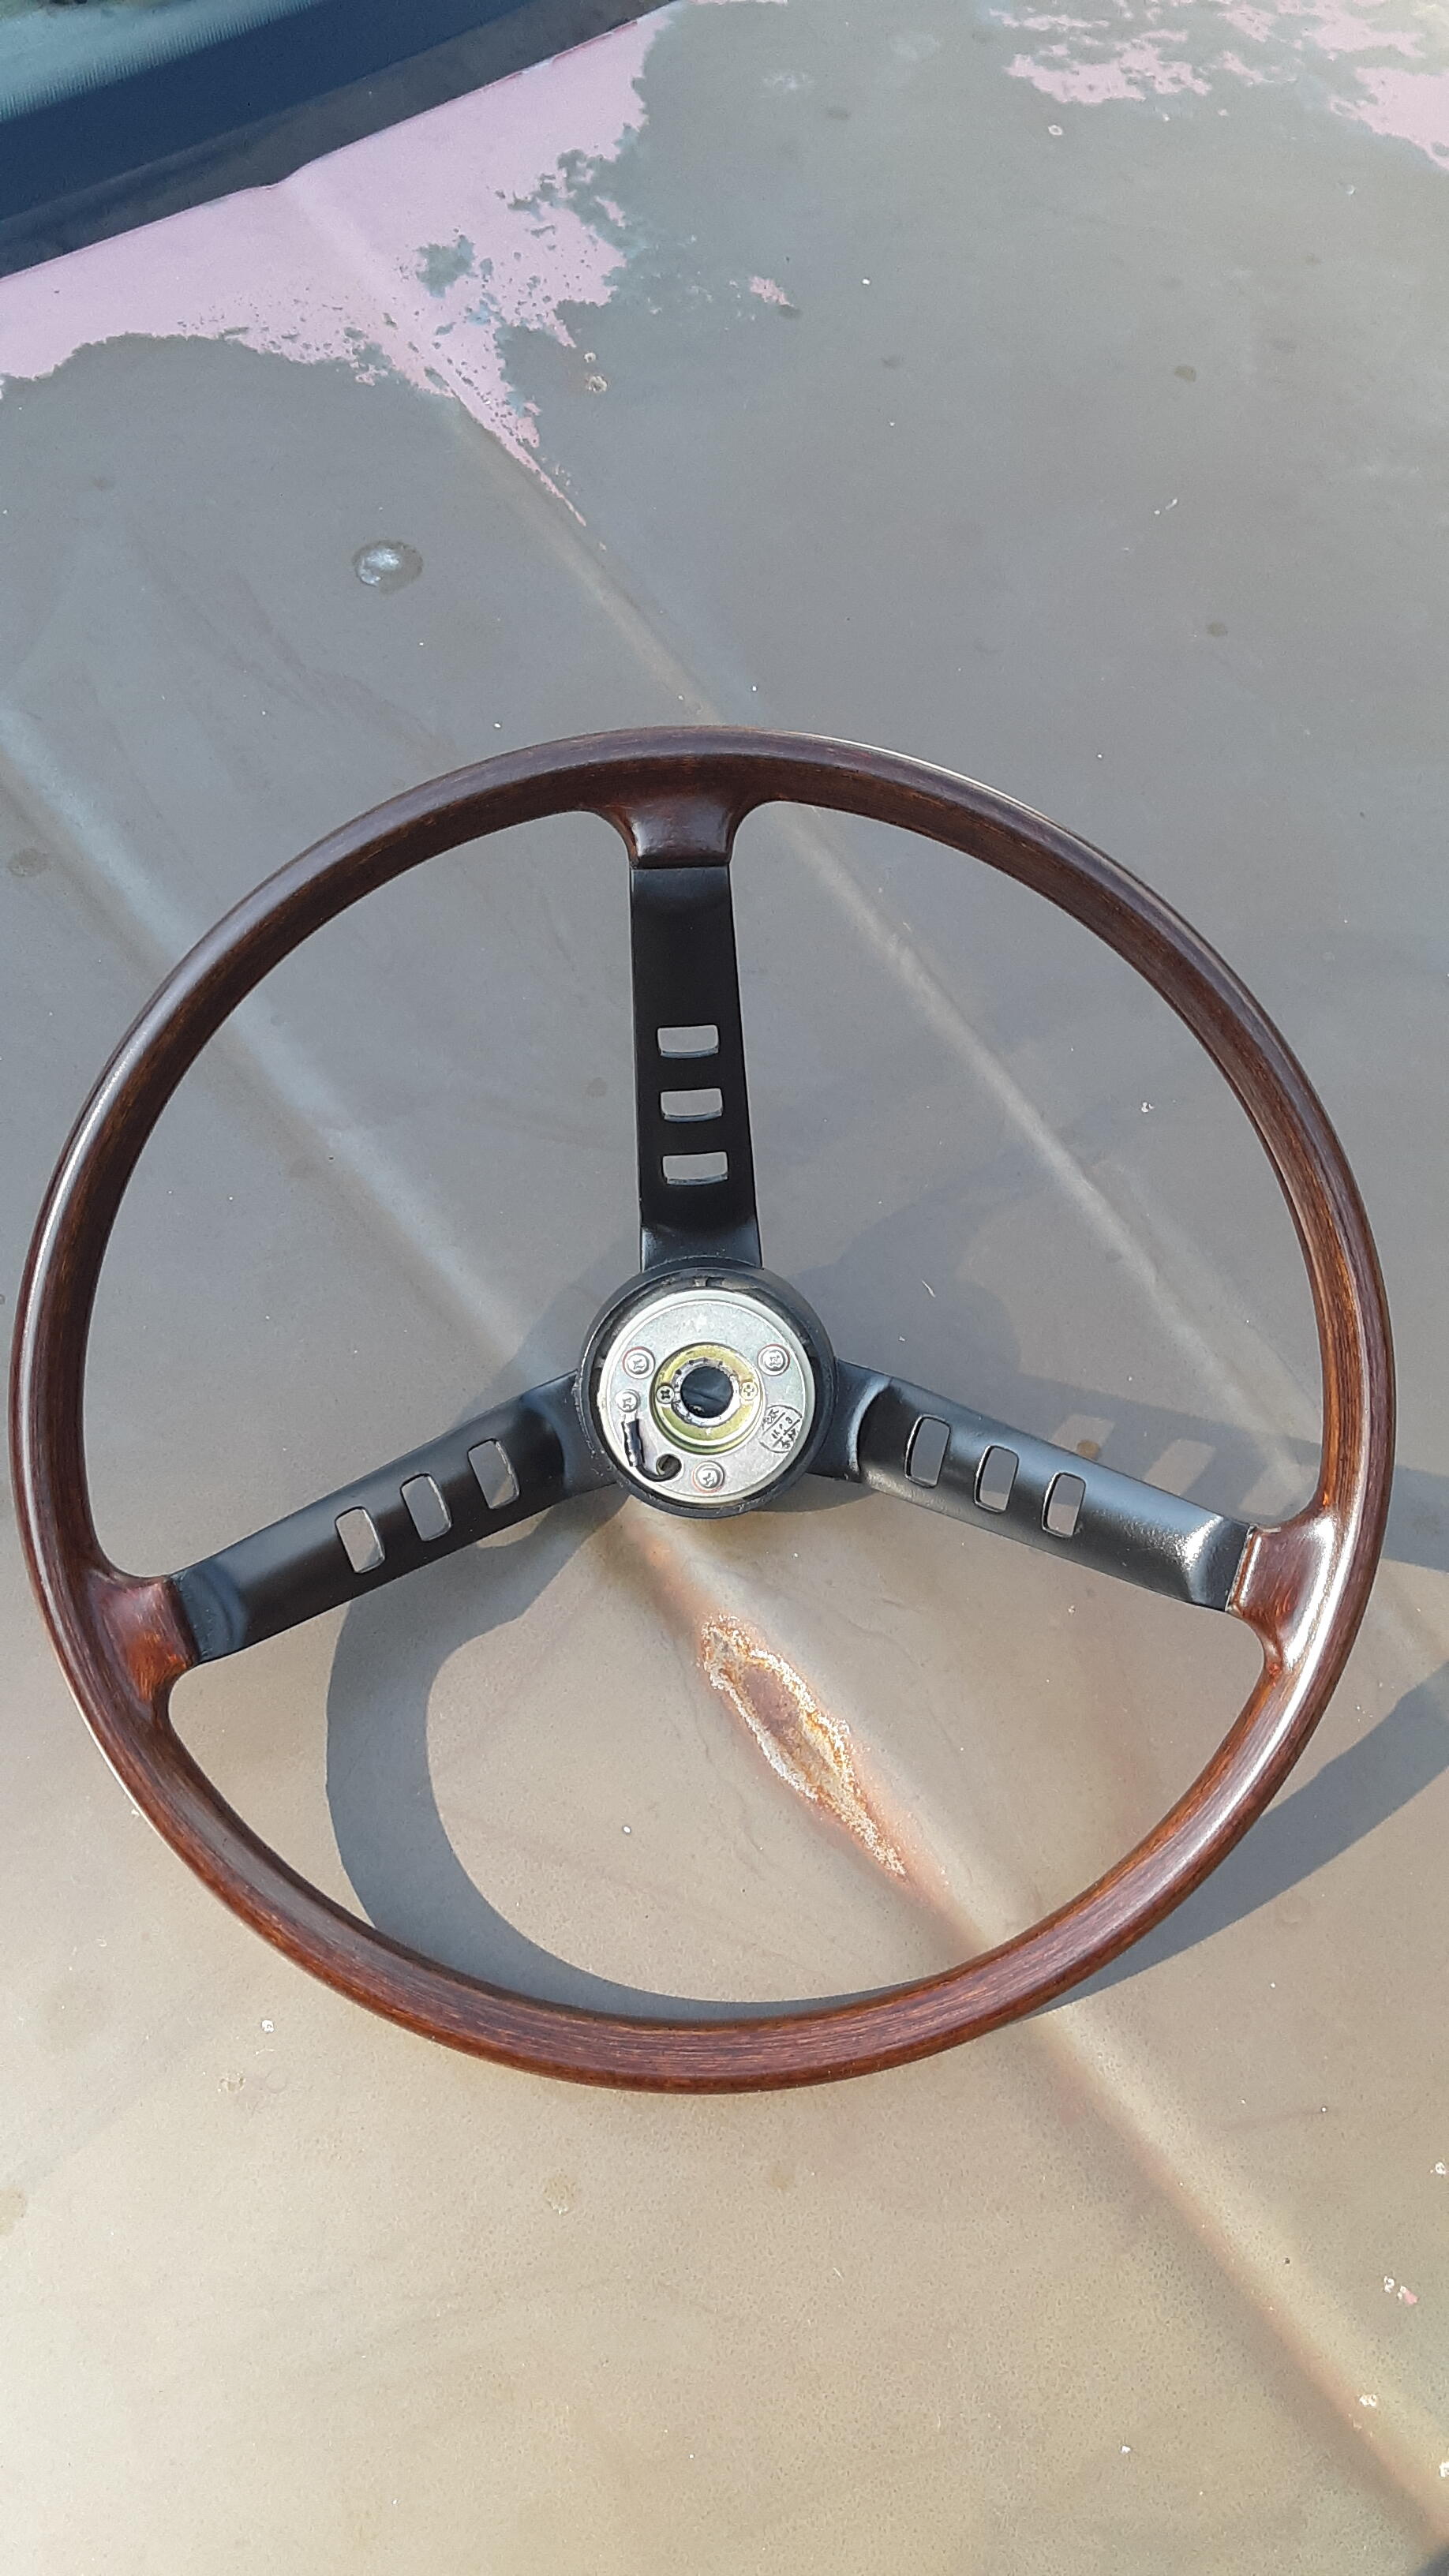
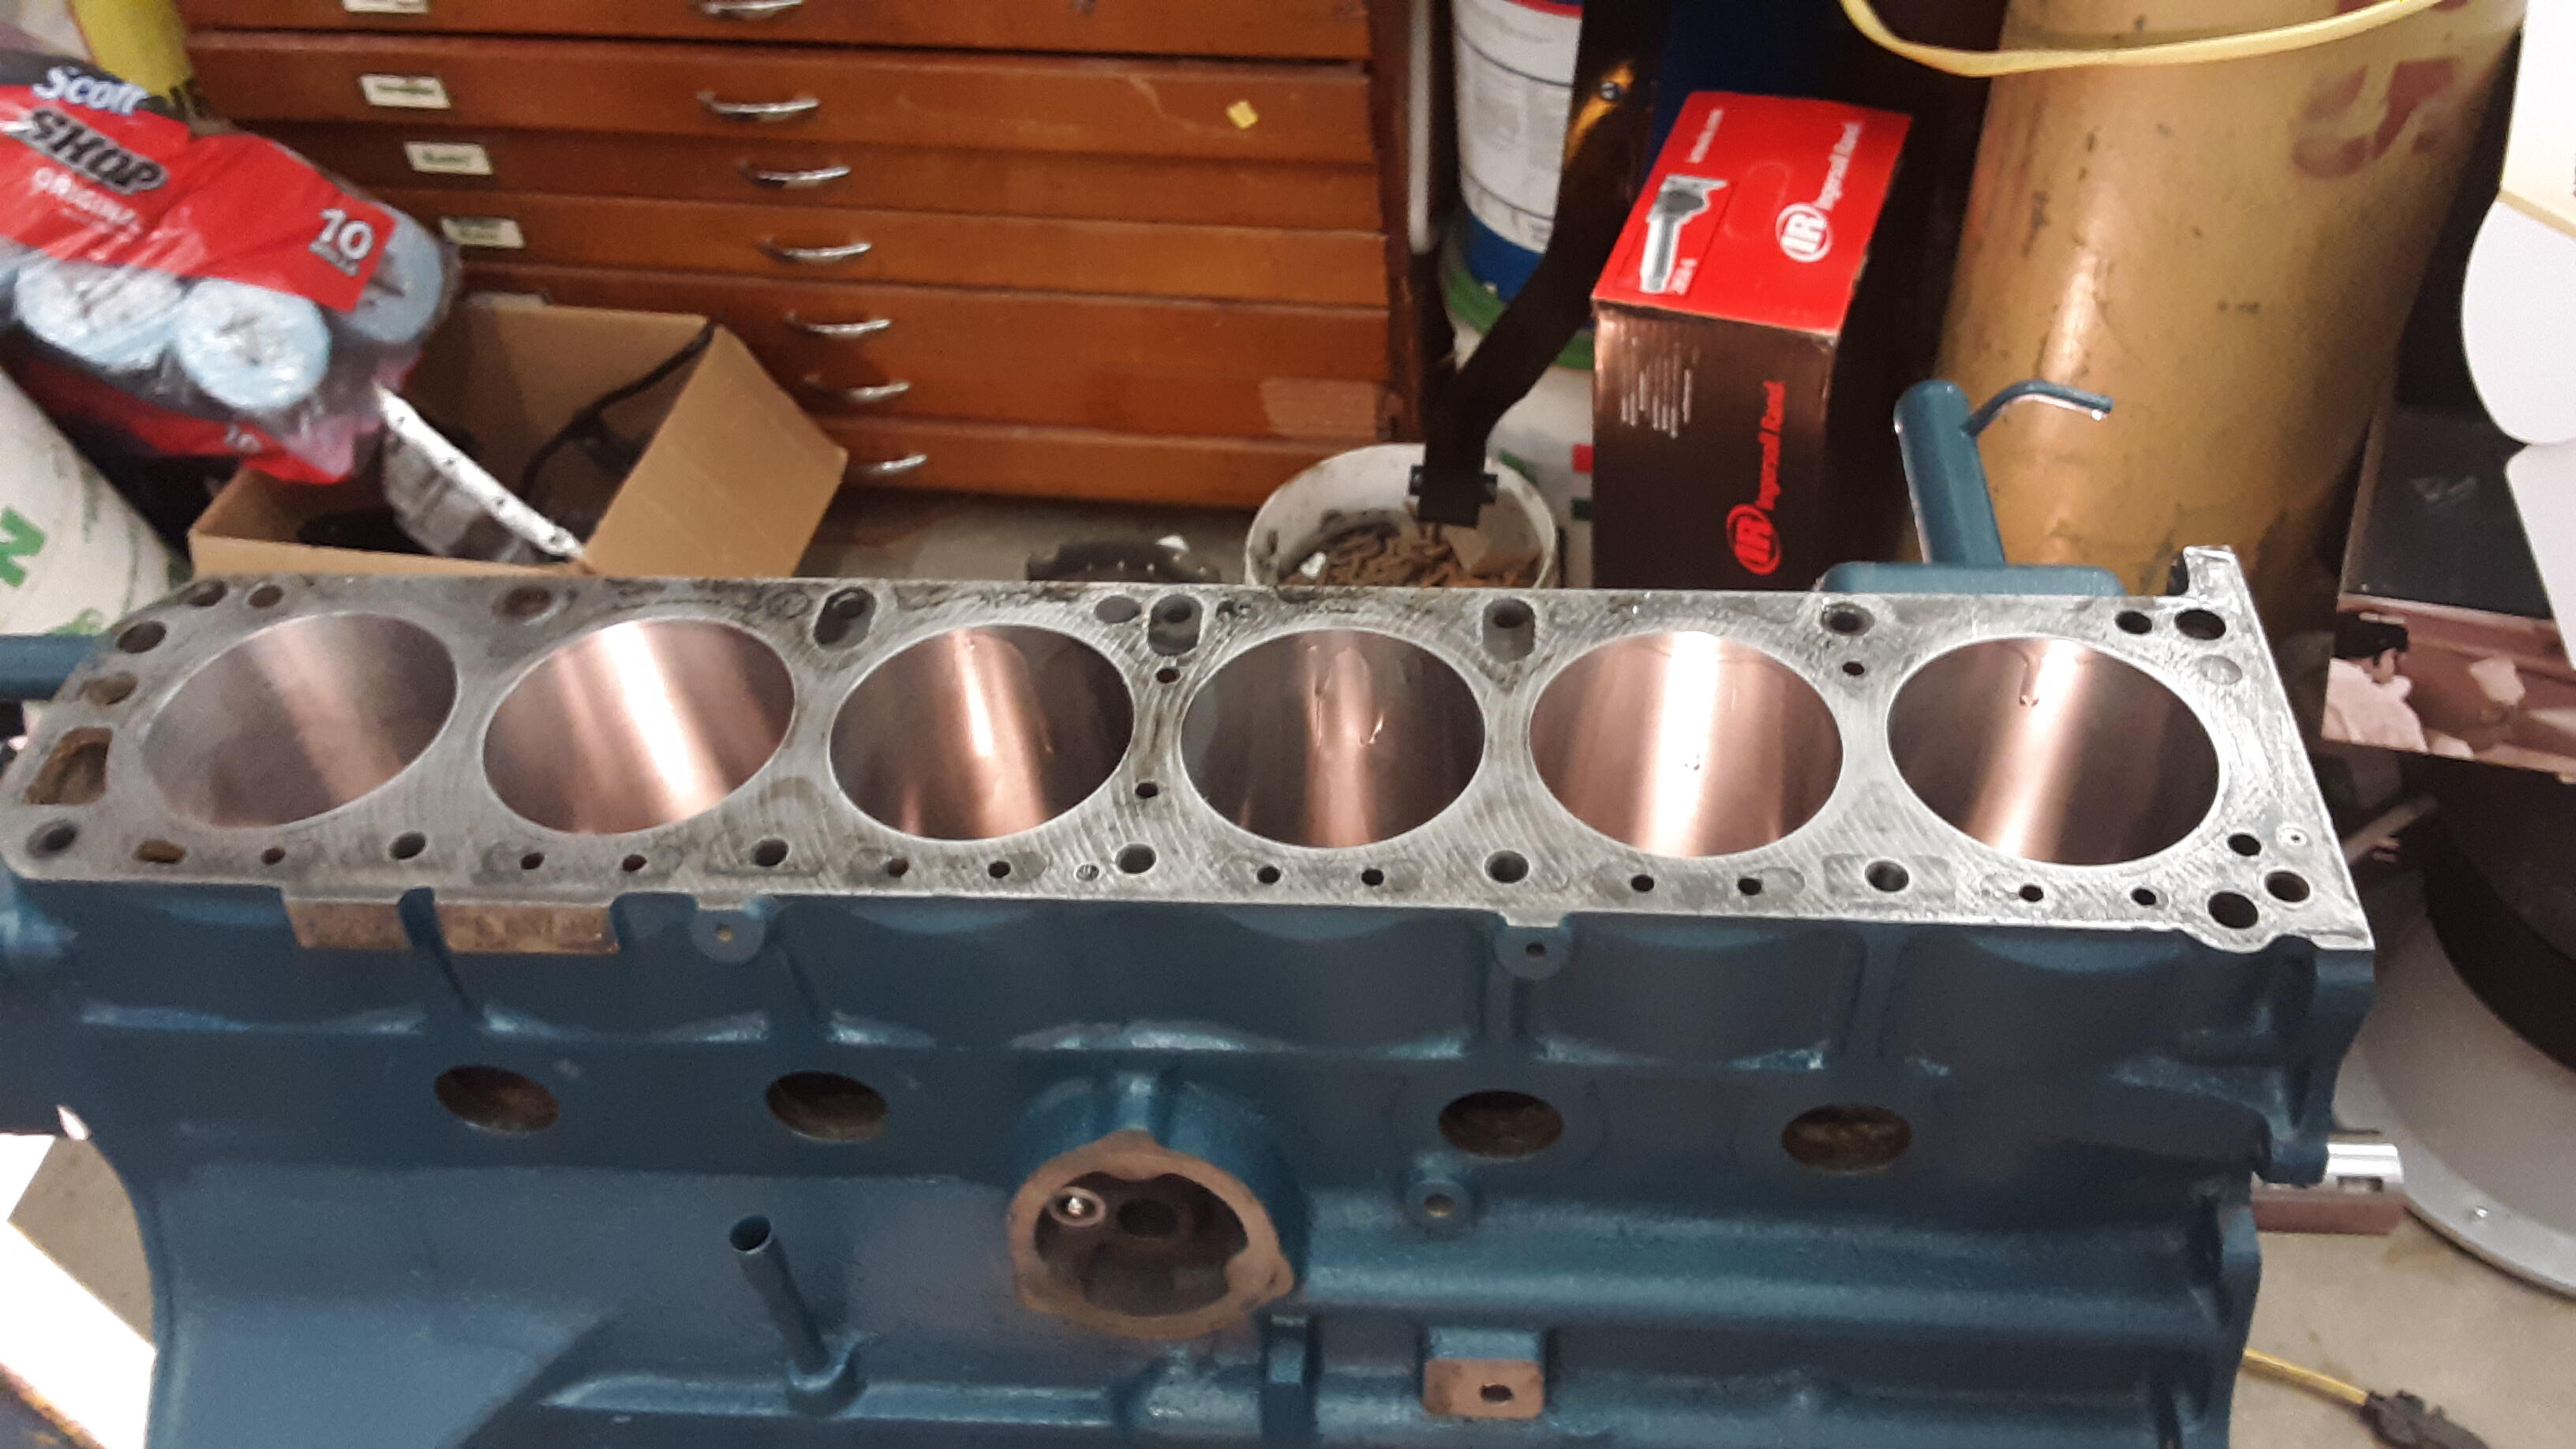
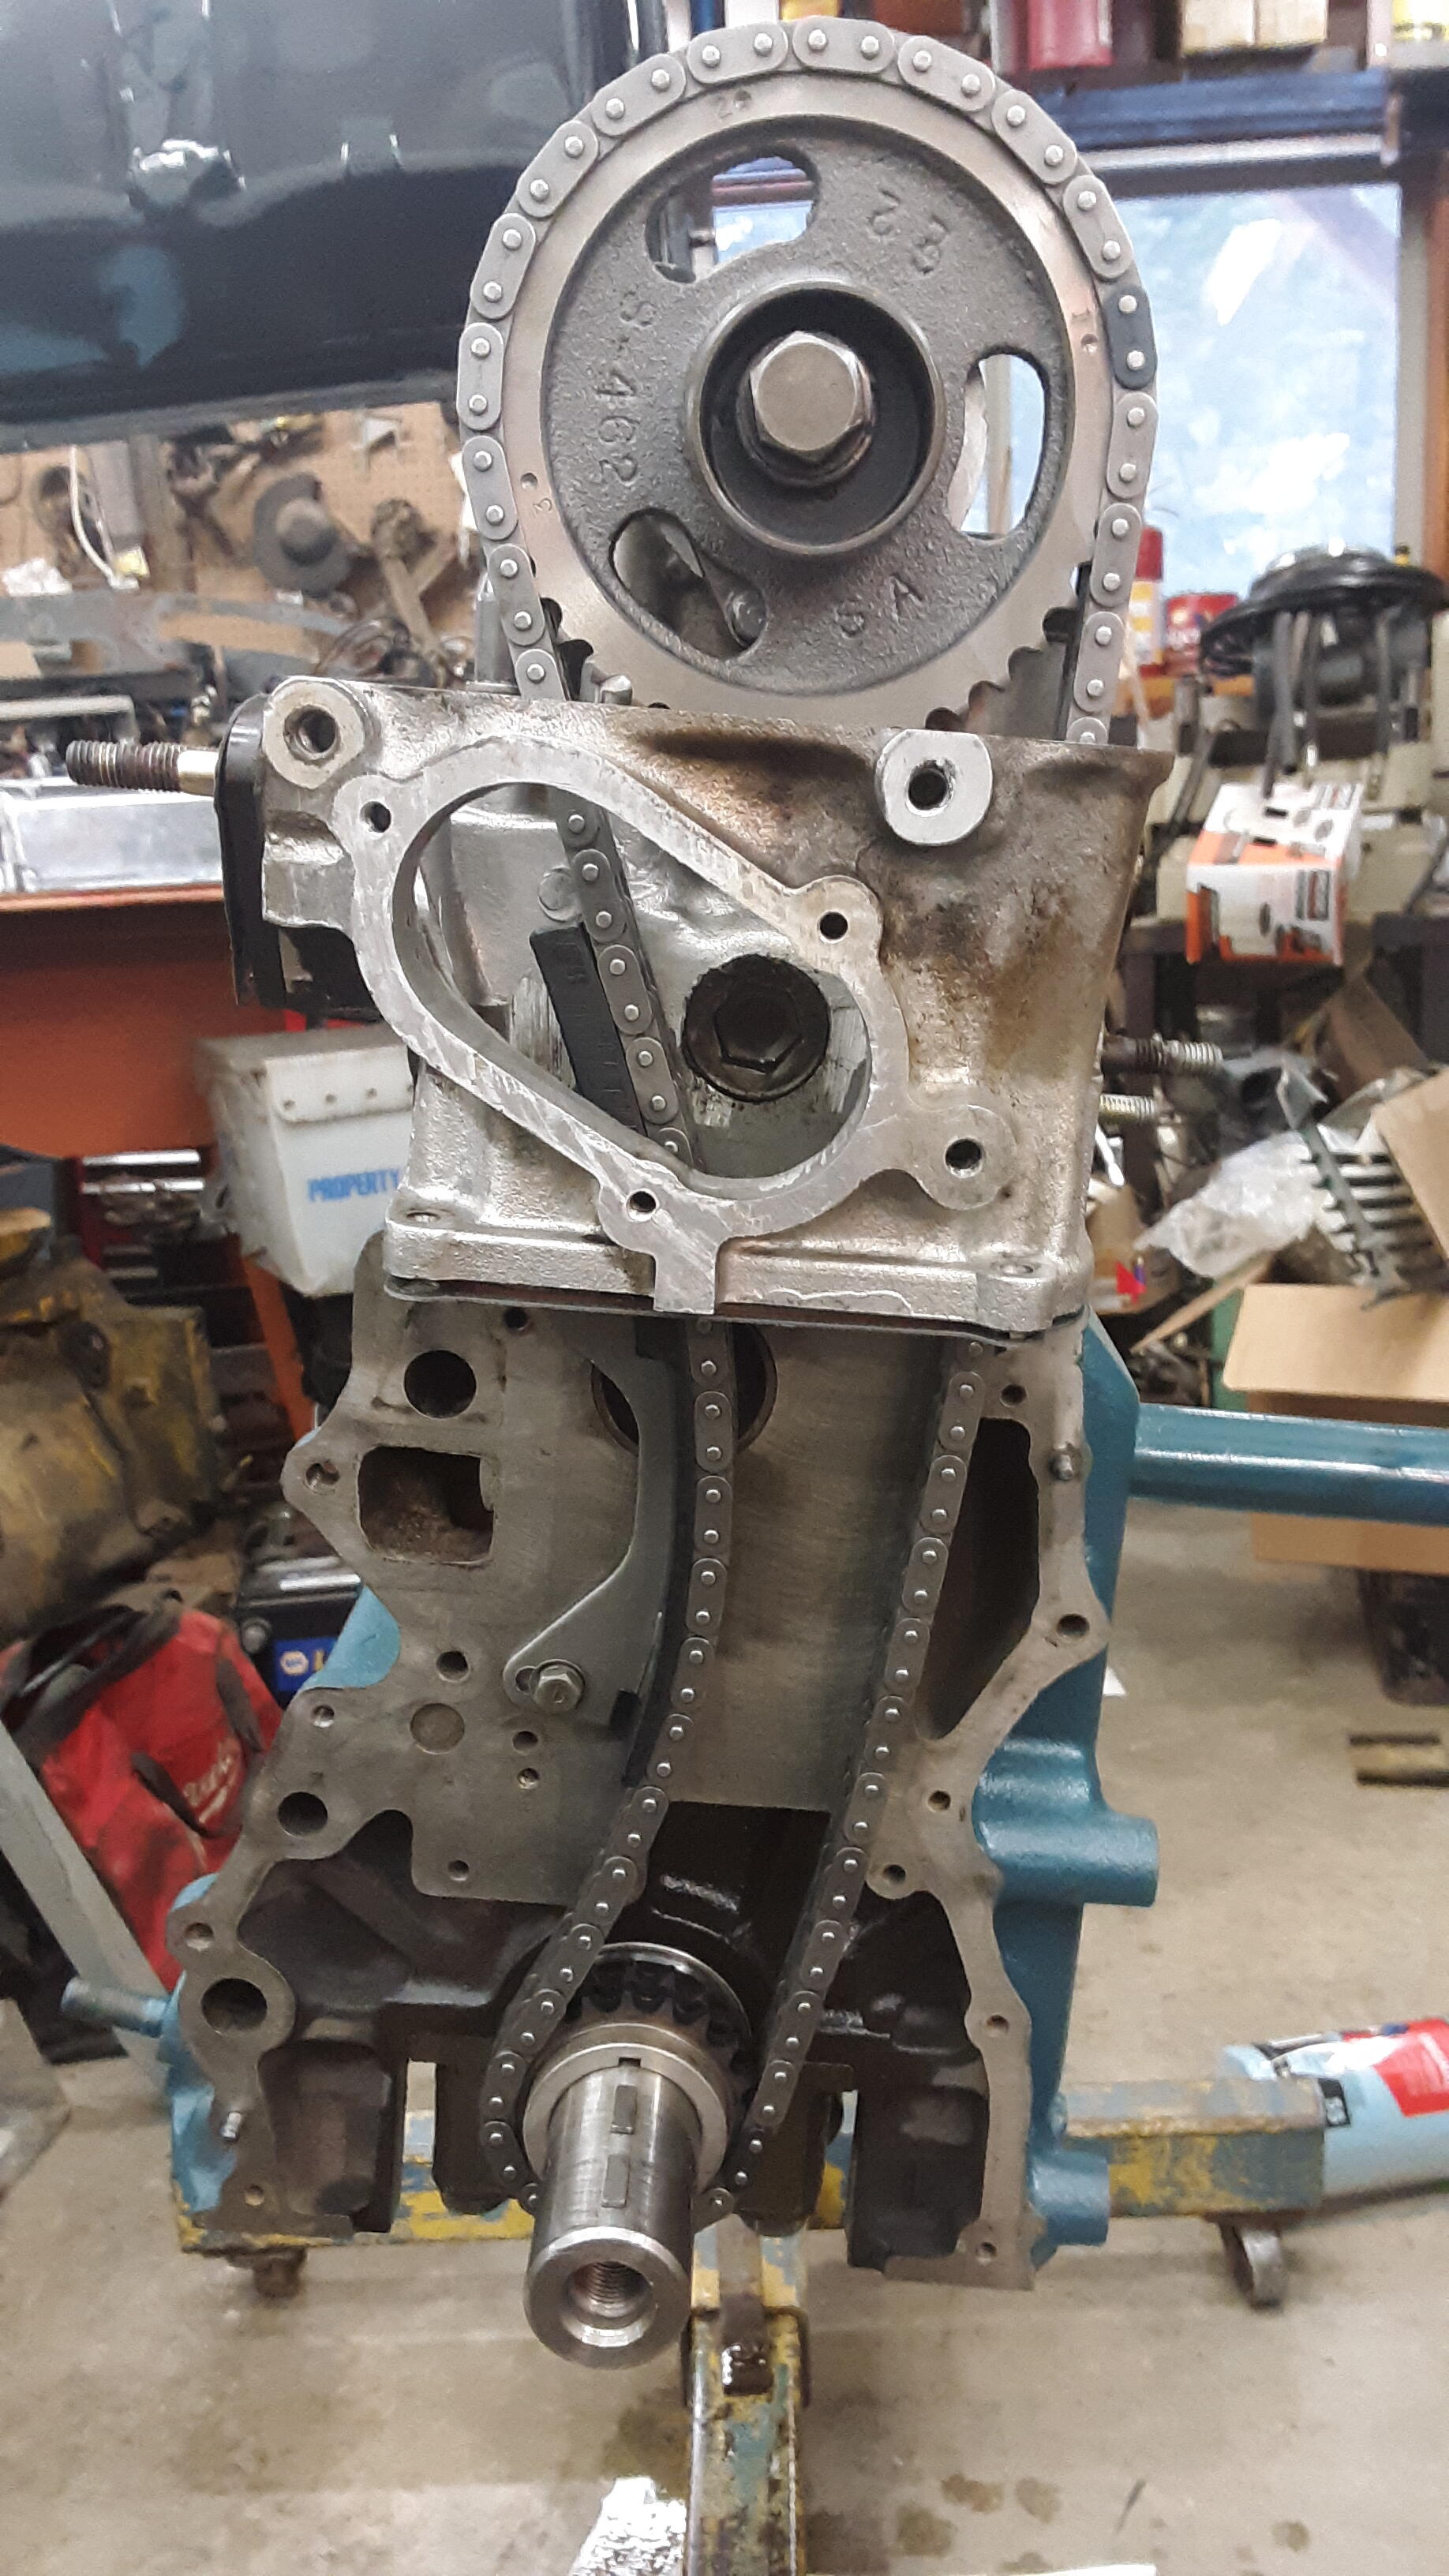
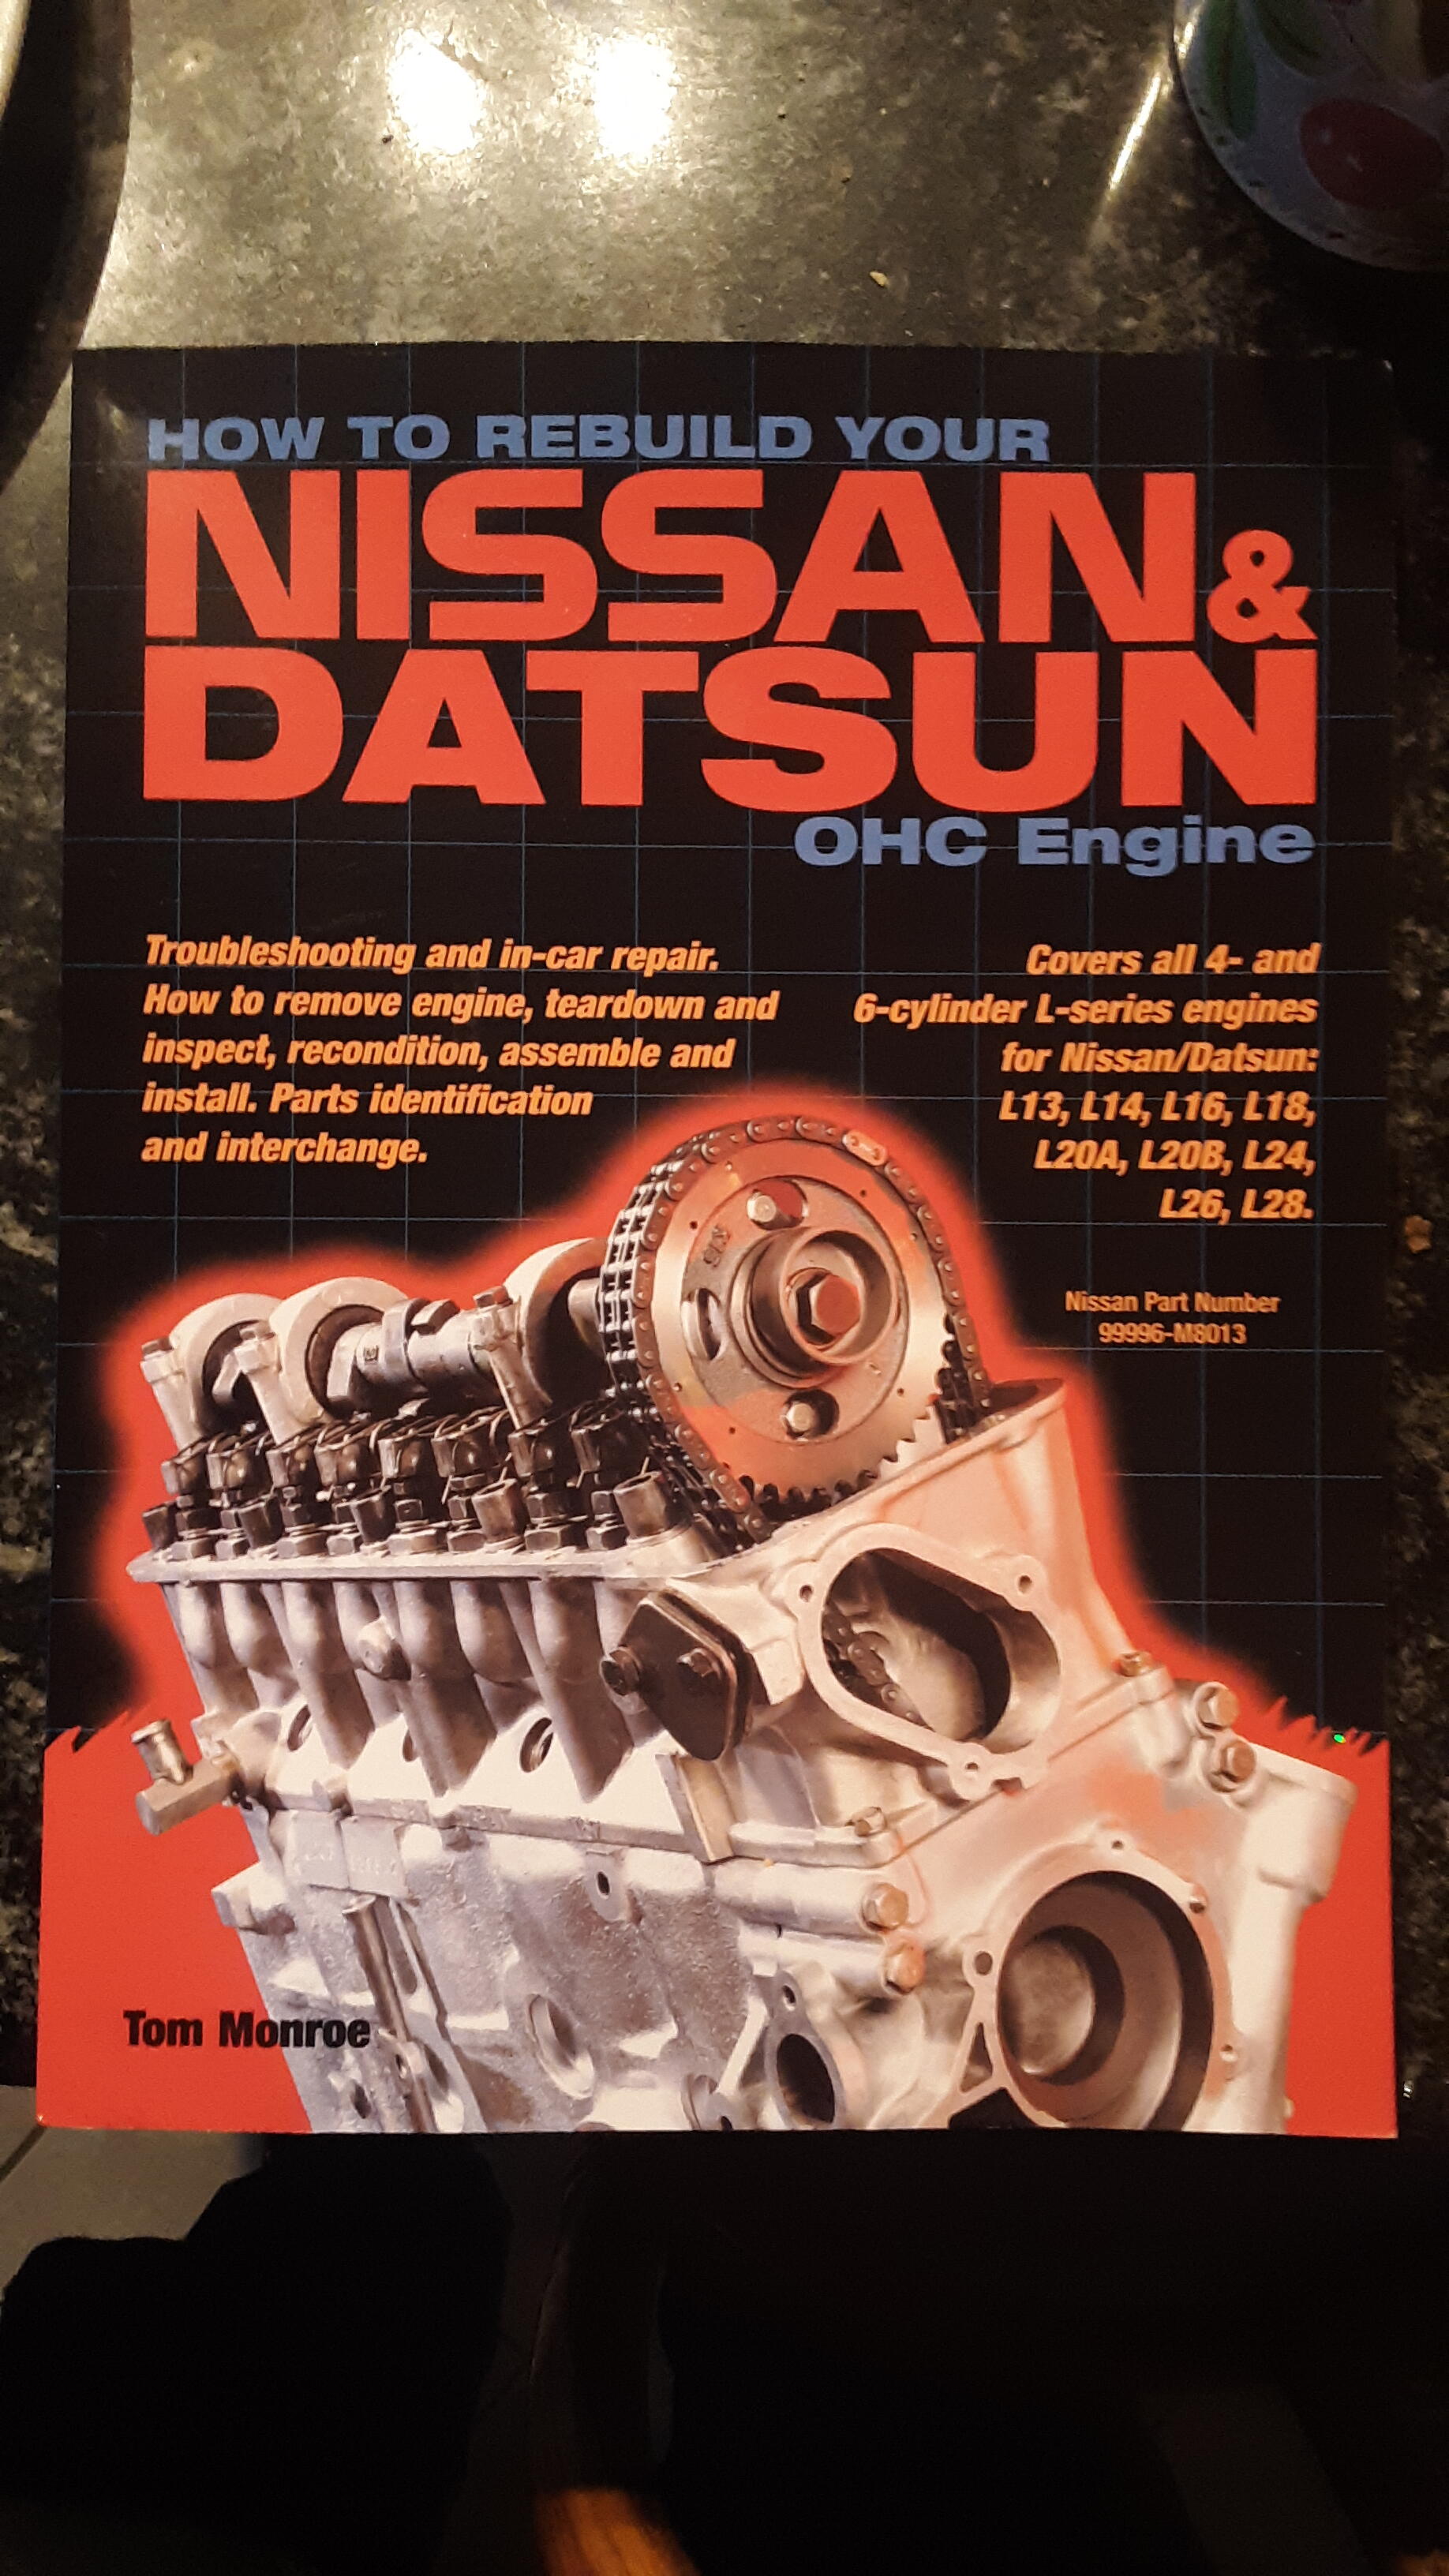
I refinished the steering wheel meanwhile, I had dismantled the engine and found some rust in the cylinder closest to the firewall, damn! So off to the machinist it went. I bought this book, a must and ordered a master rebuild kit, but they were no longer available. I scrambled to find parts but by January of 2022, I had the engine done. I found out that a water pump failure had scored the timing cover water channel. I found a brand new cover assembly, front for the cost of a used one from NENGUN CO. LTD Fukuoka-shi, Japan. I didn't mess with the cylinder head since it had been rebuilt right before the car was forgotten. so, by spring of 2022, I had done everything I could. I needed help. My Nephew works at Napa in Kalispell, and said, "hey Rich! this guy just came in and all he does is restore 240-Z's. He's from California, just moved here. I said that's the guy I'm looking for. So, he came up with a cart and we discussed the car. I would pay him for the body work. He would teach me how to do it, and we would put it on a rotisserie. I tried to buy a rotisserie at this time, but covid had messed everything up. I had already ordered the repair panels from KlassicFab in Columbia or somewhere. I could get a part shipped from them in less time than it took from Colorado. So, here we go. Also not seen here is the hatch slam and the rockers.


-
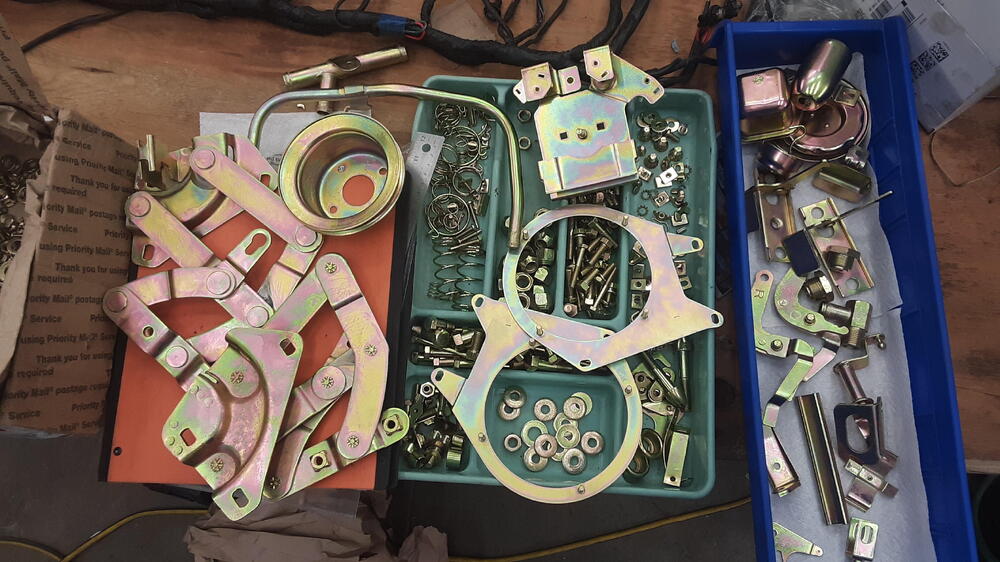
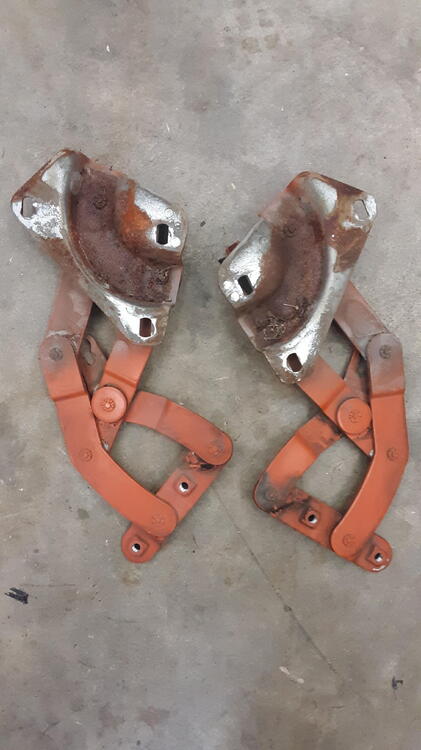
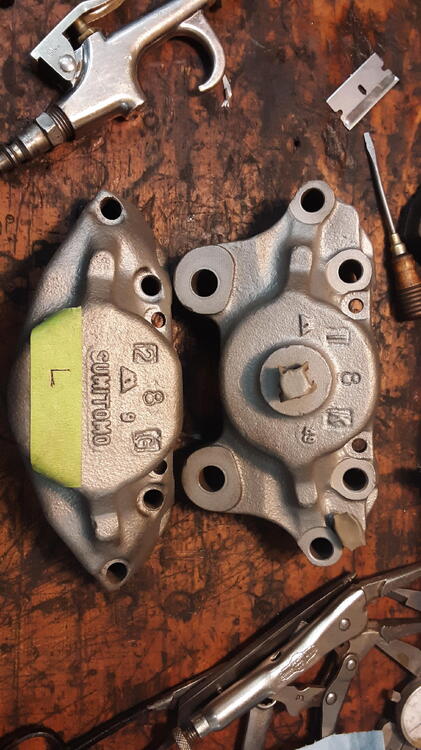
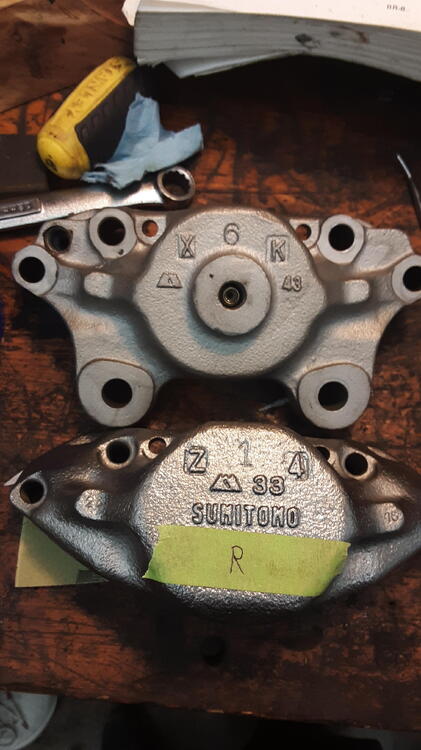
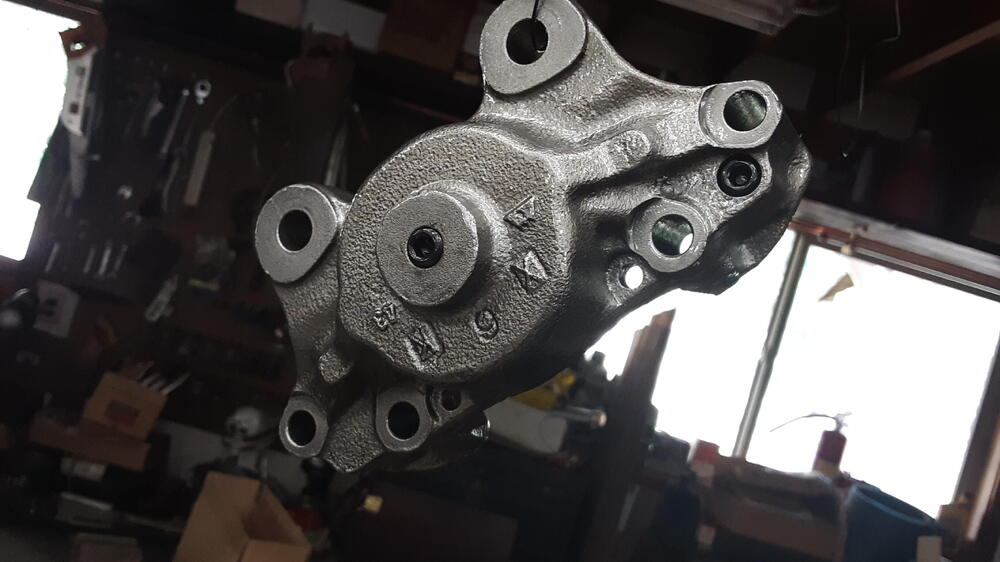
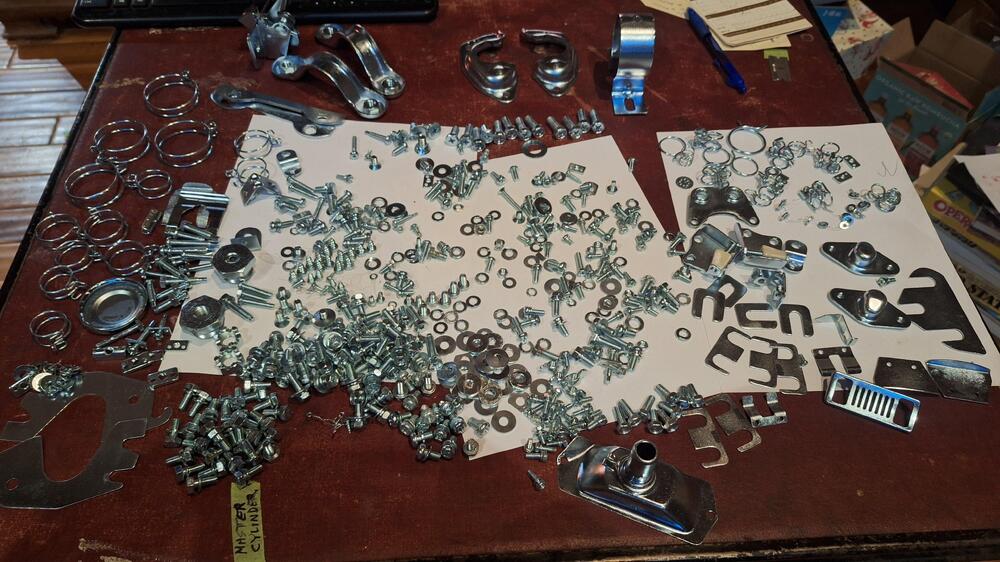
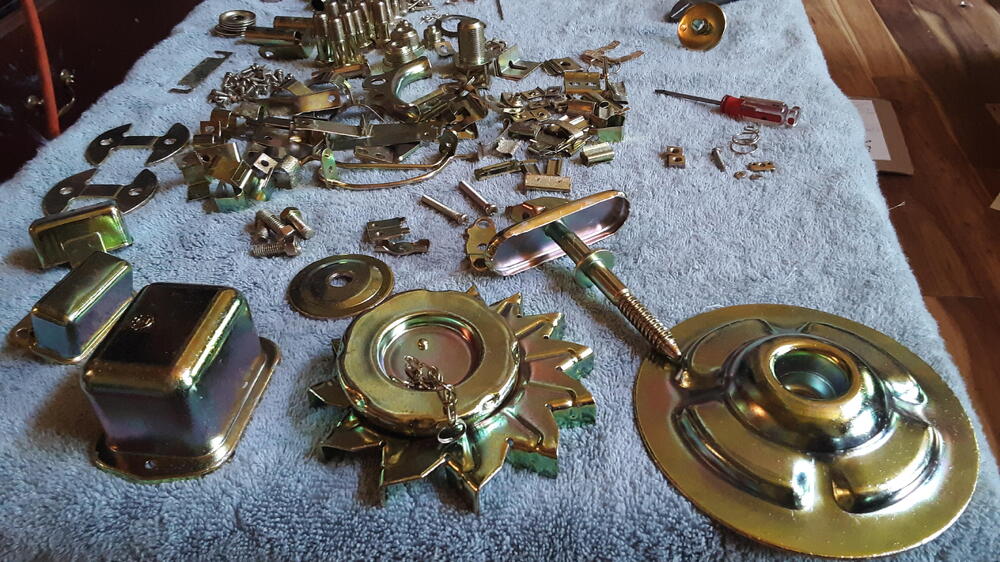
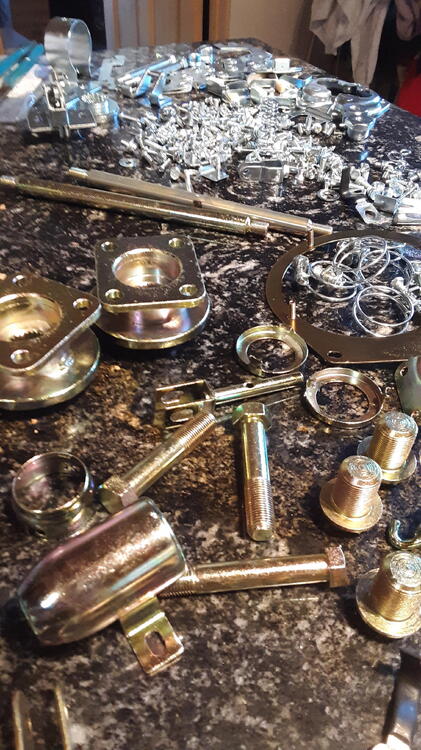
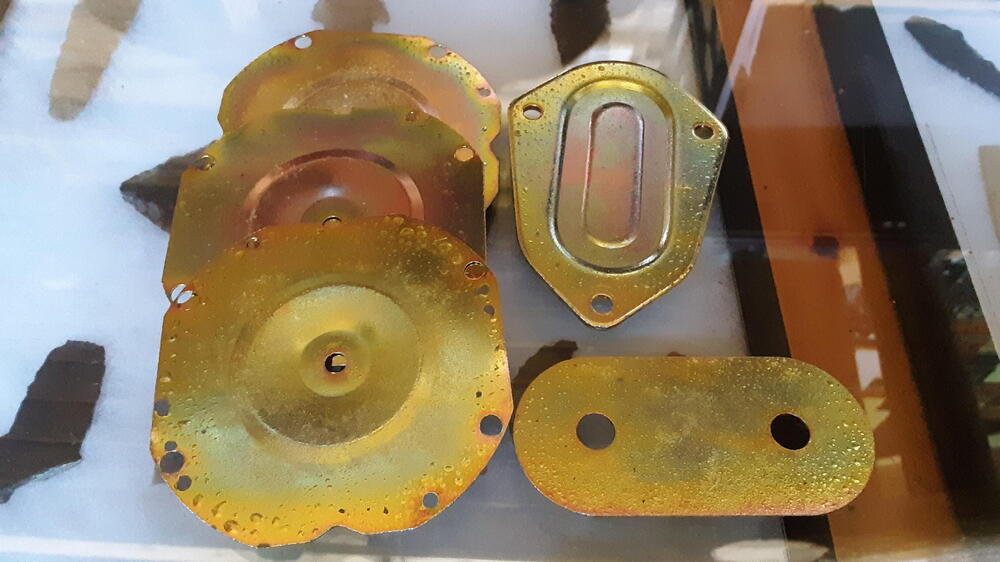
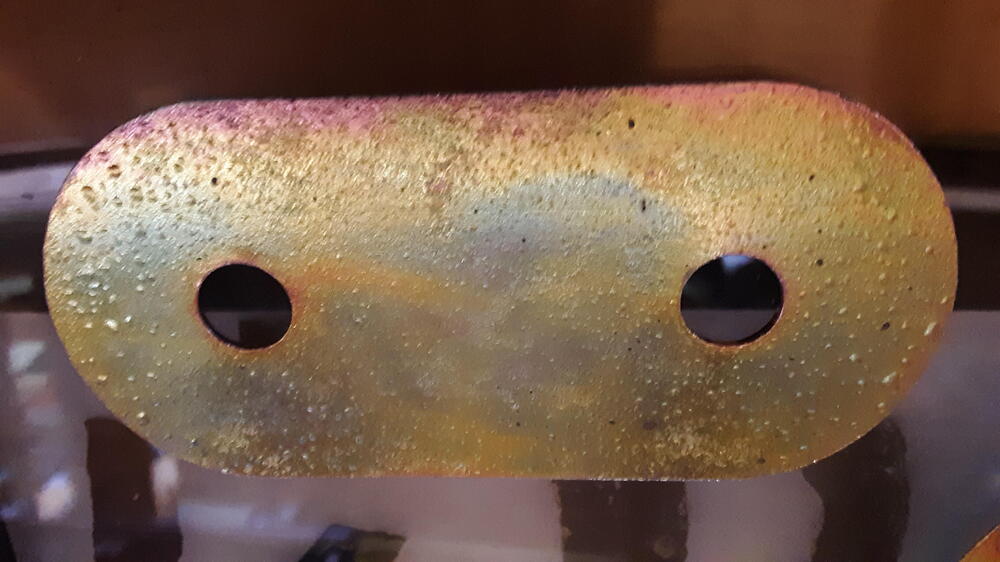
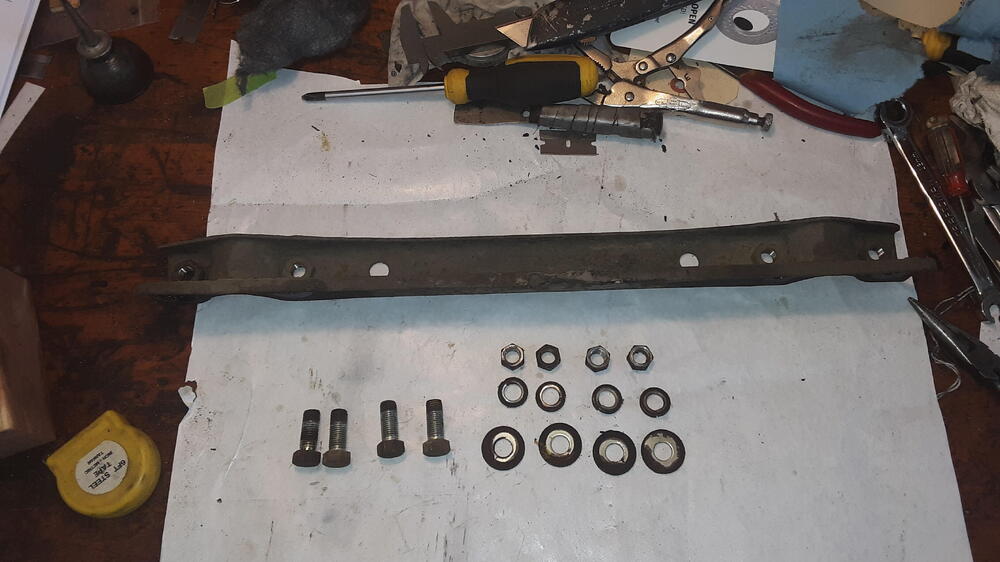
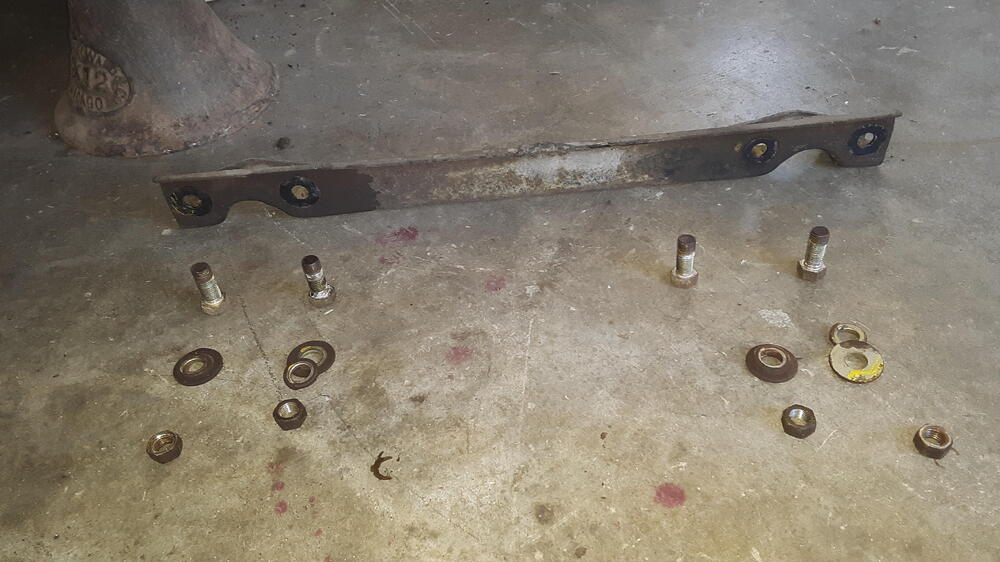
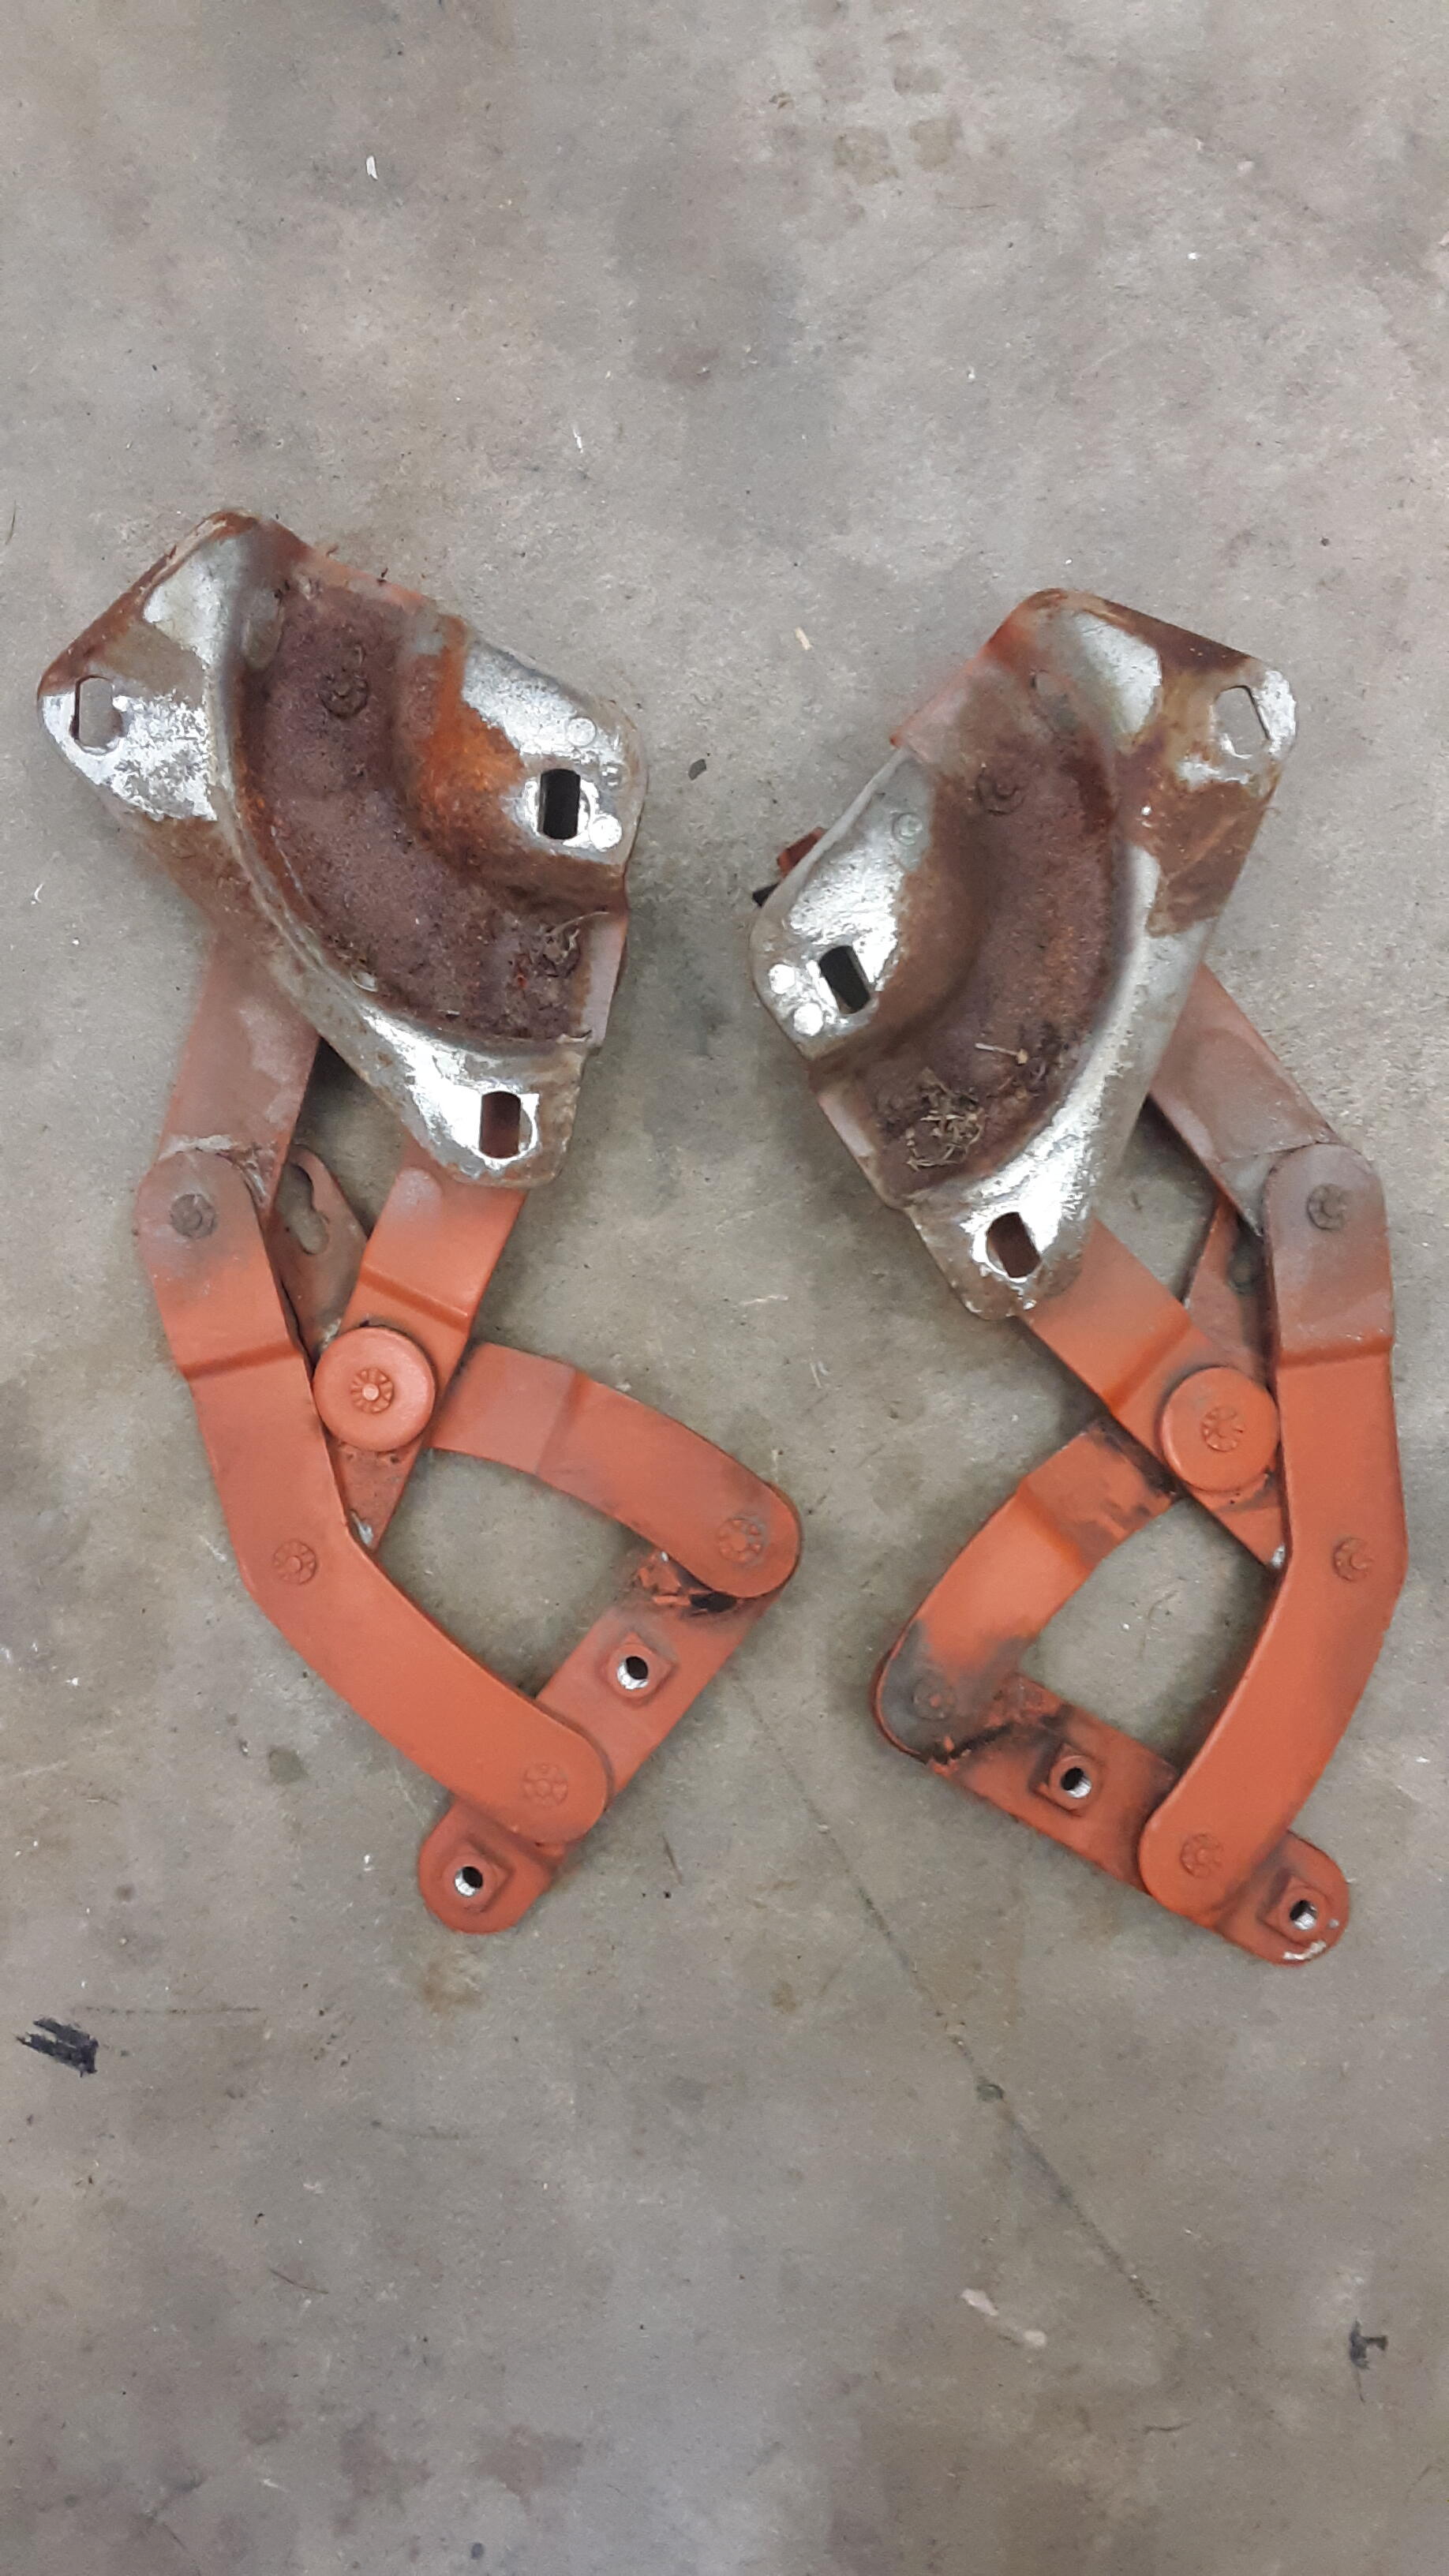
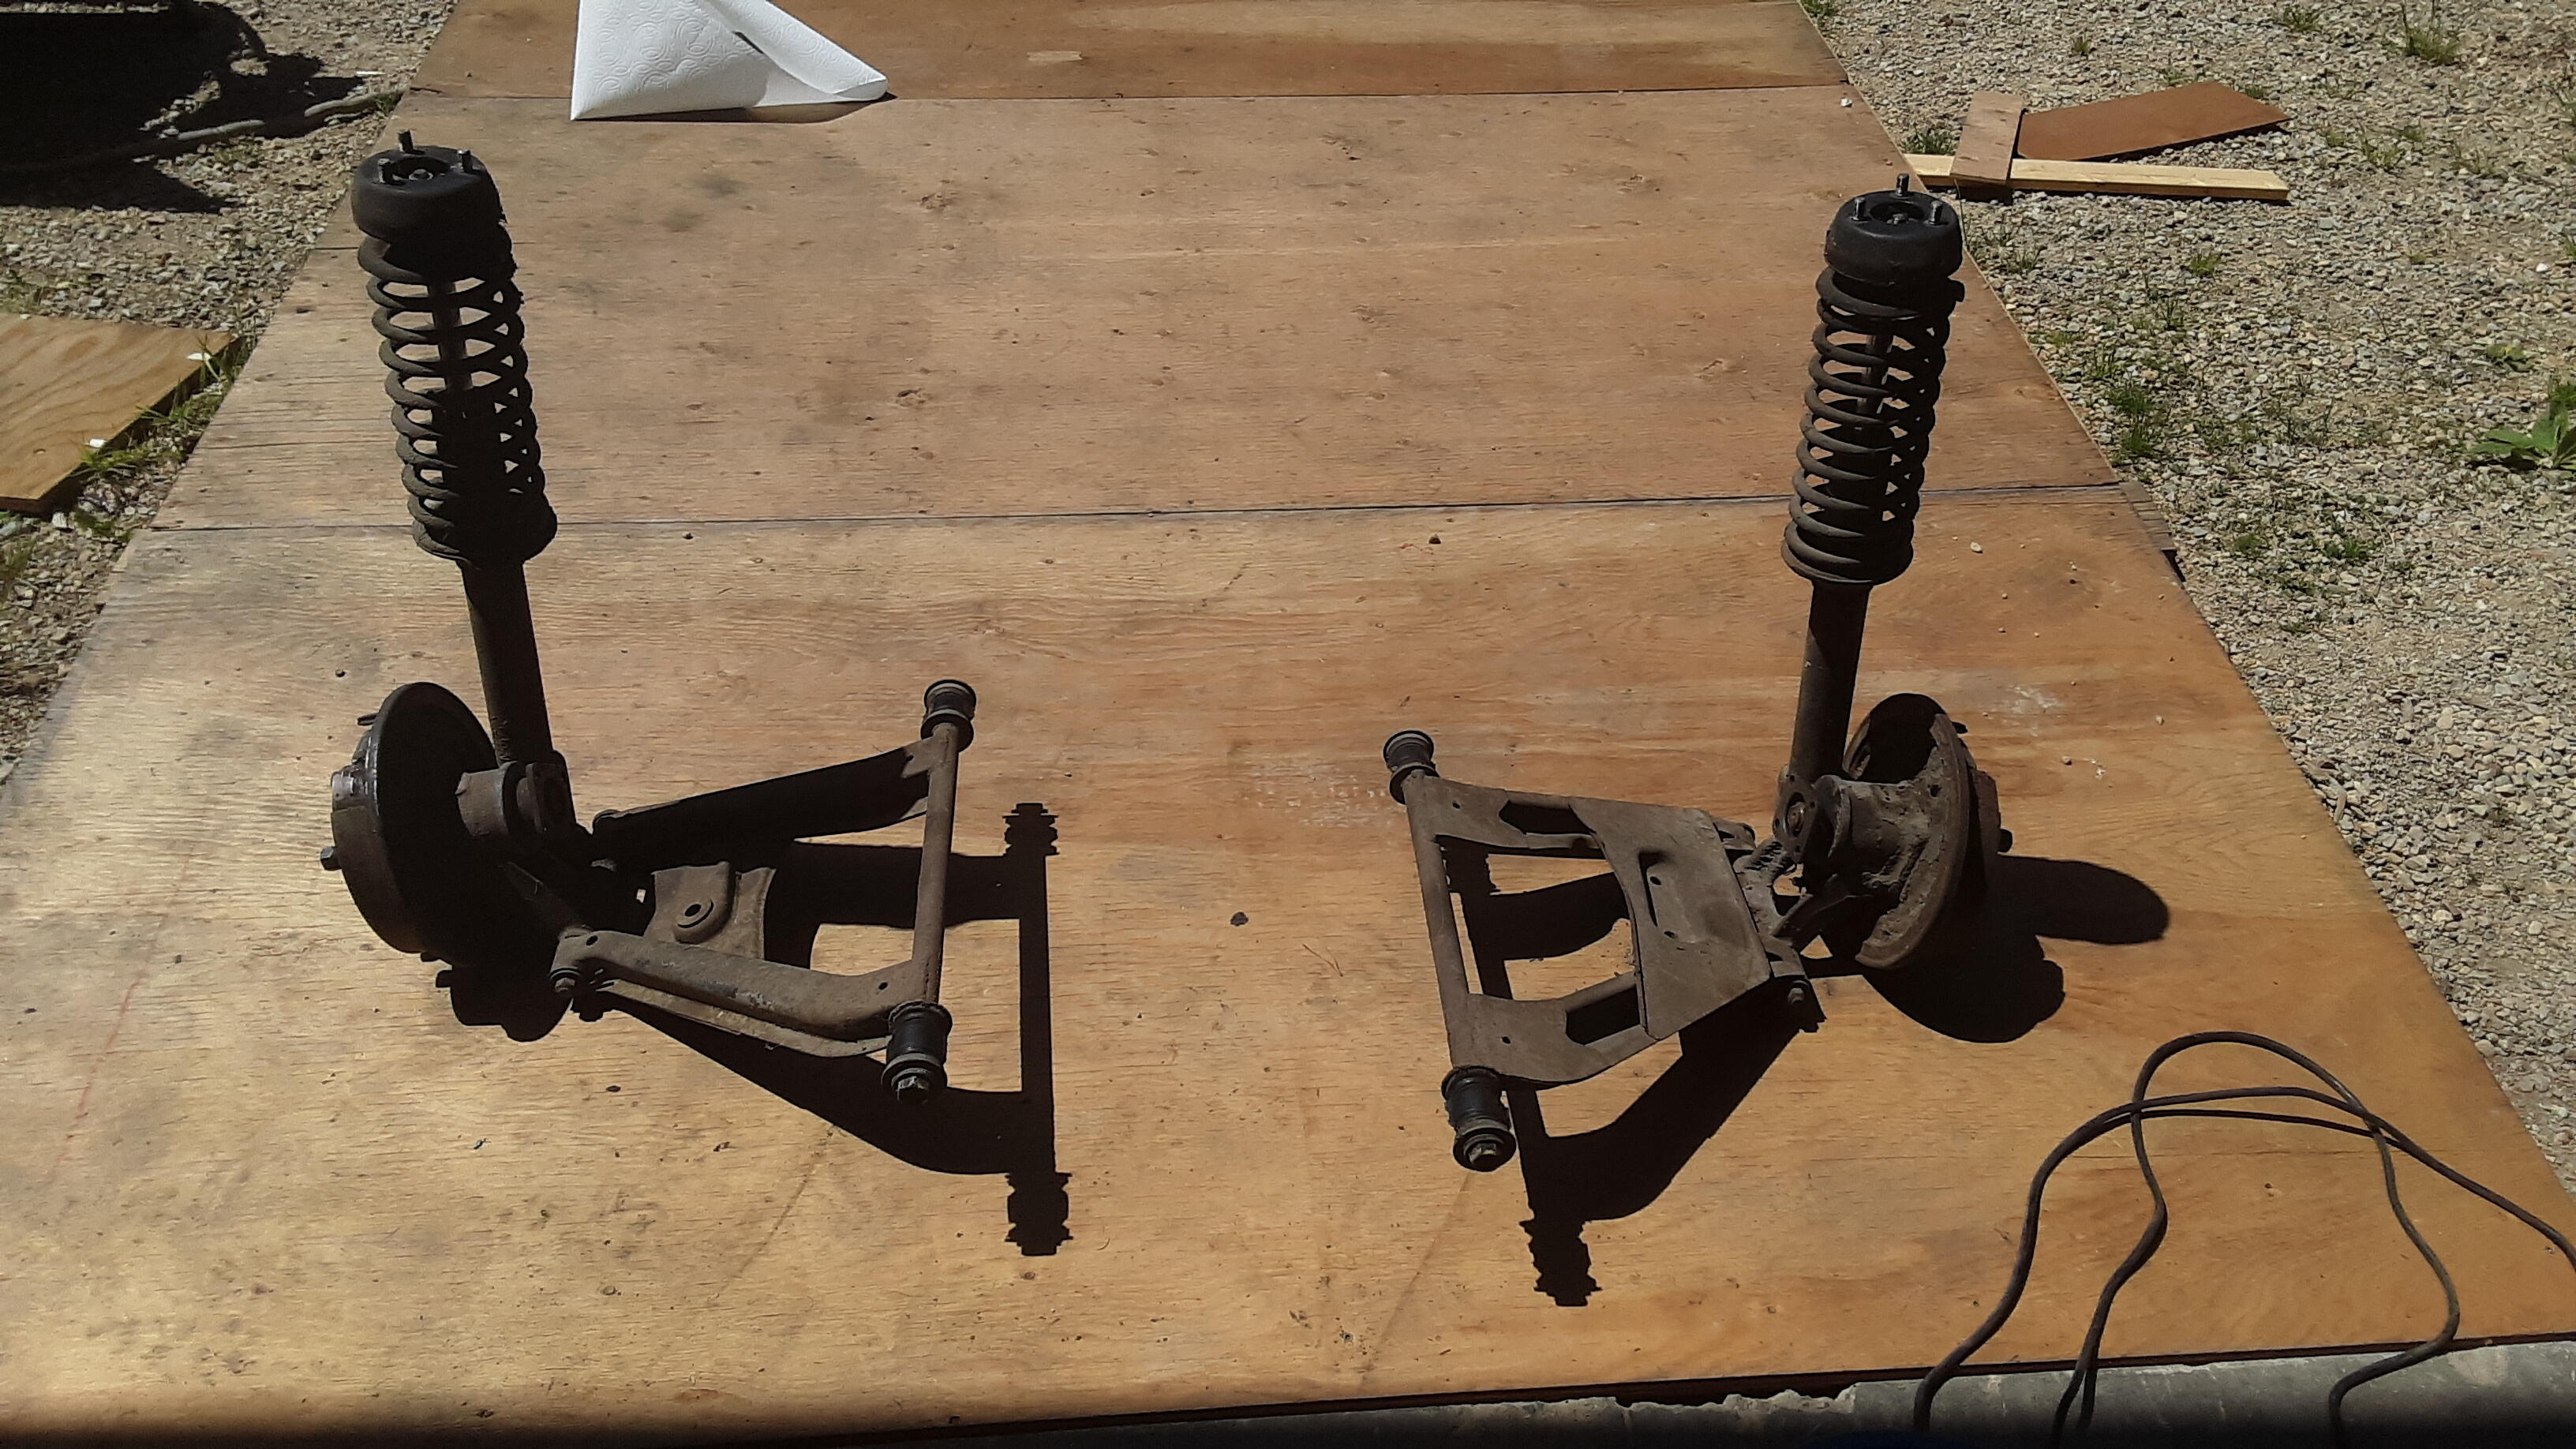
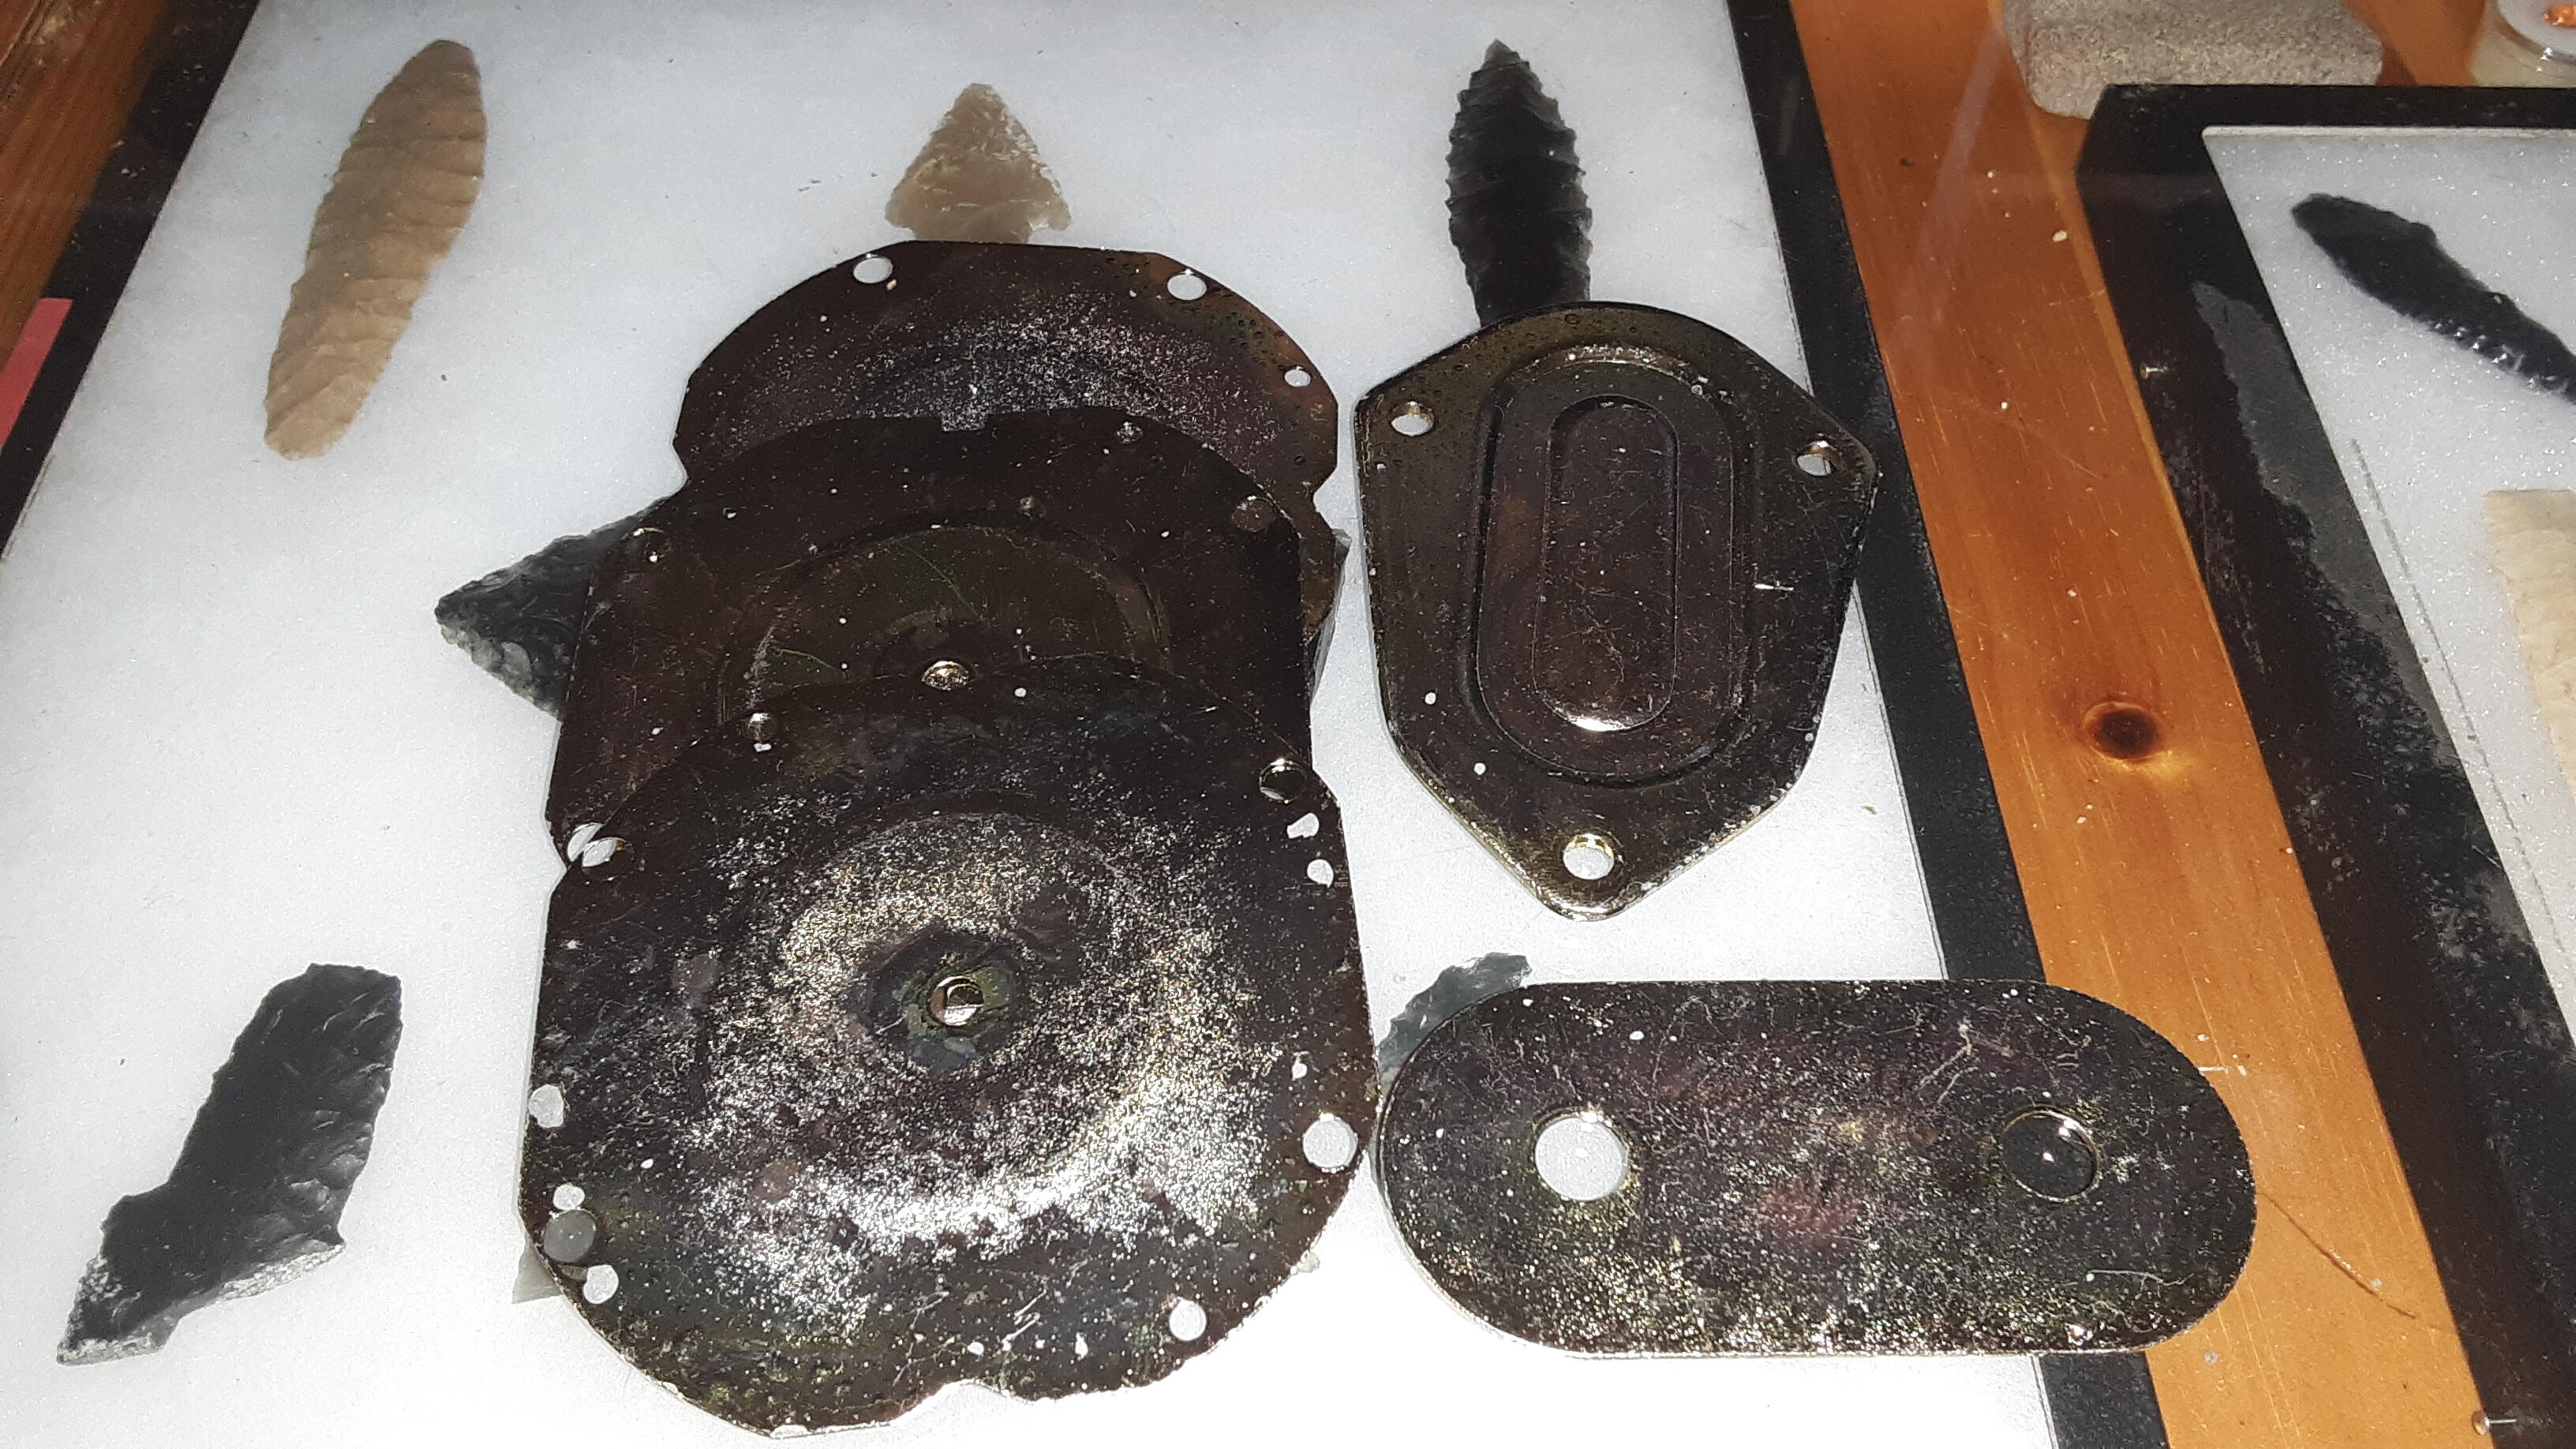
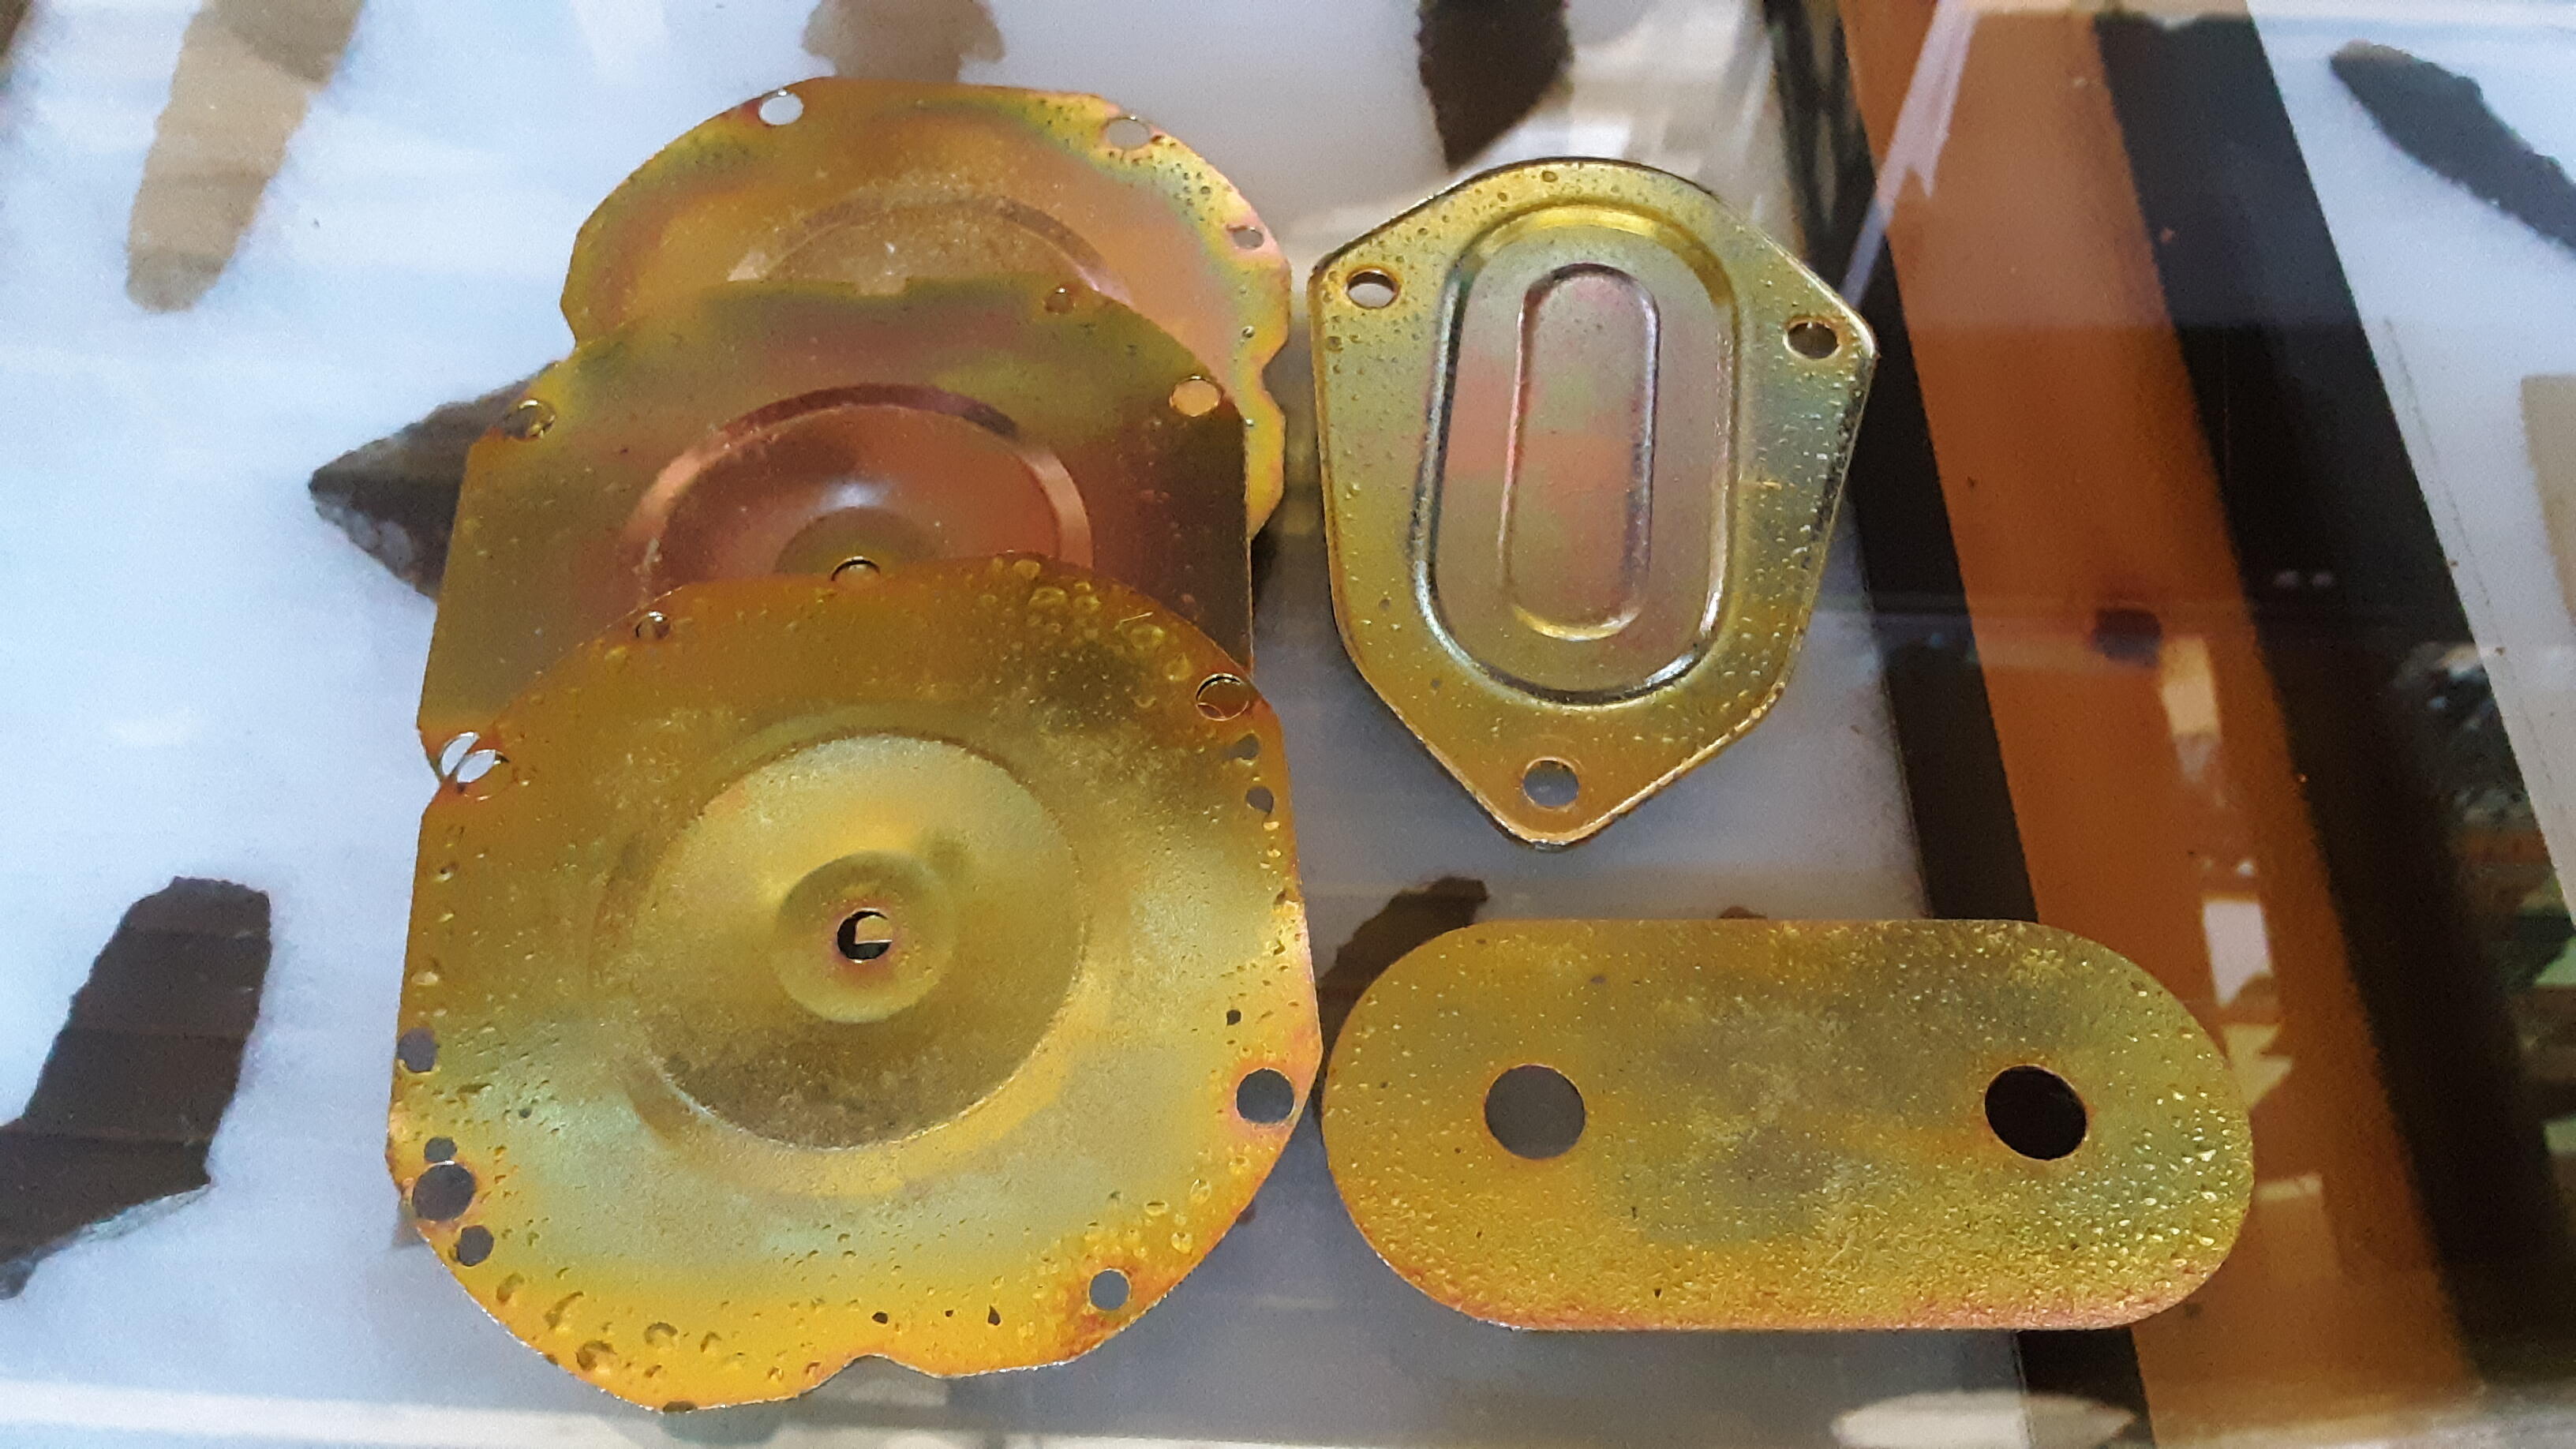
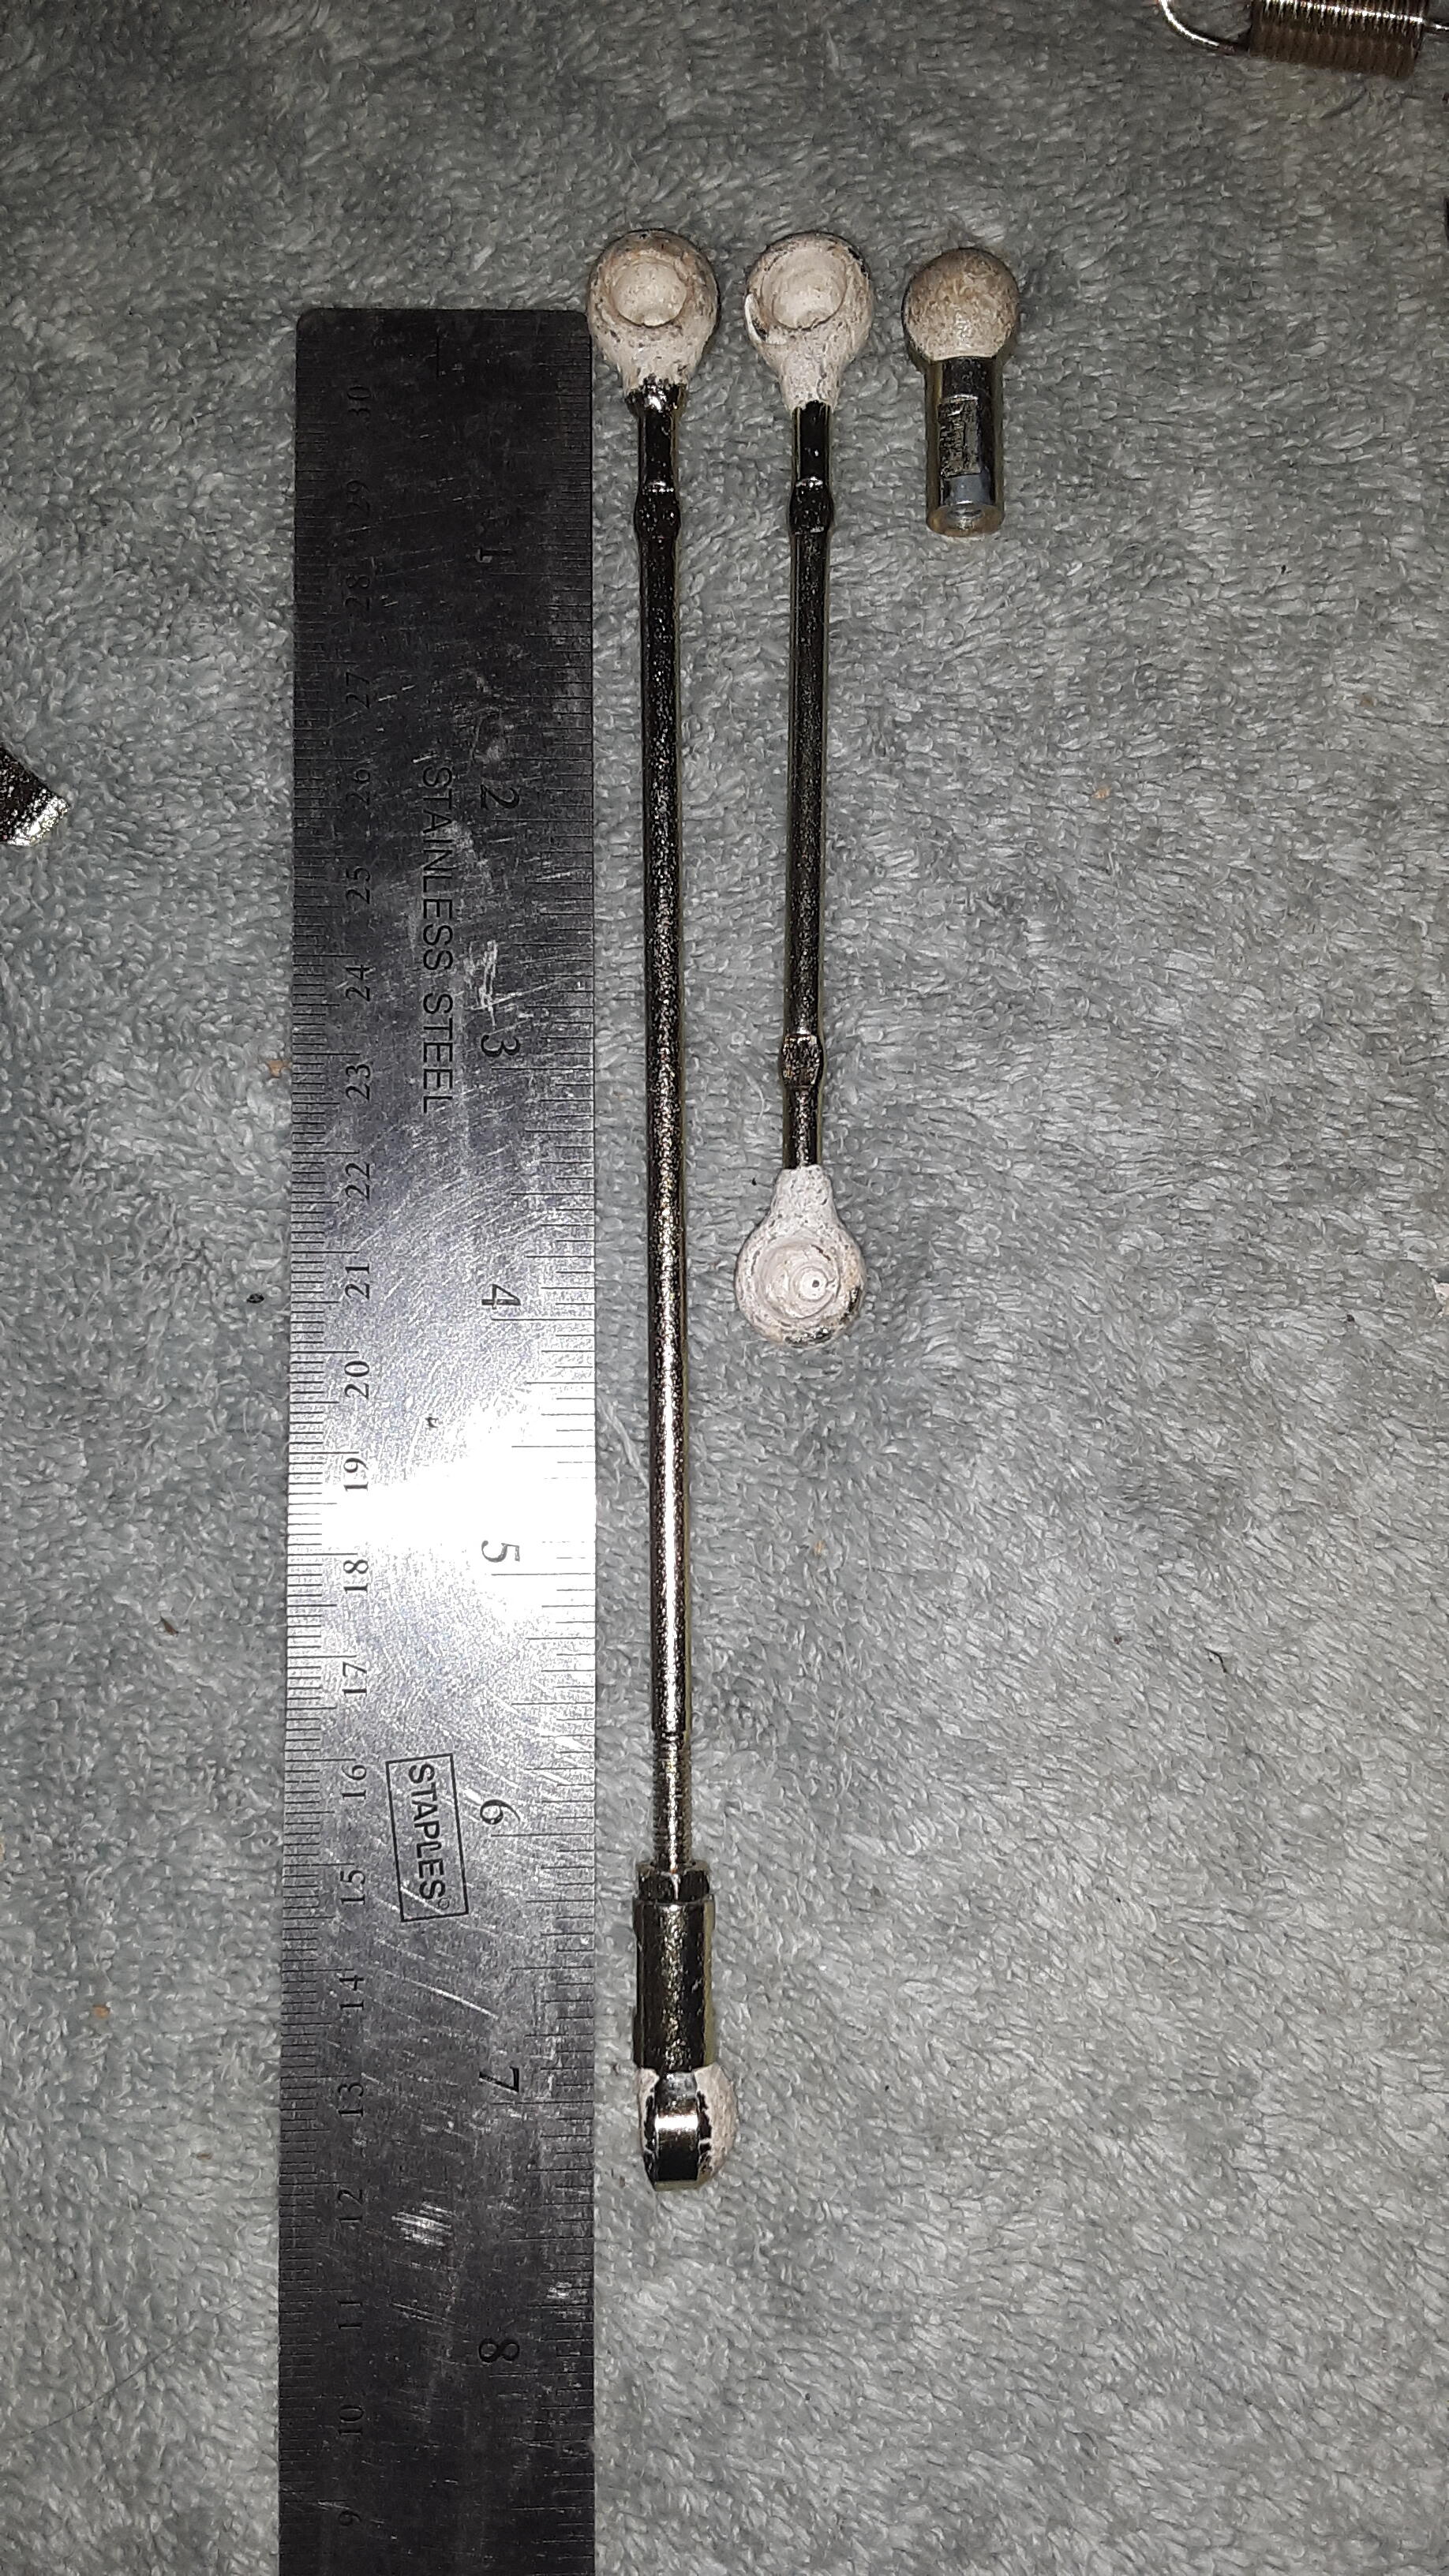
Reading through the restorations on this site, I decided what would get powder coated, and in less than a week it was done. the price was $250 and I didn't have to clean them, but I did plug all the threaded holes with threaded plugs I made. I showed them what to tape off as far as bearing surfaces etc. They did a great job. I later added the brake backing plates, I liked the fact that brake fluid would not hurt them. First batch back from the platers. It was like jewelry! Now I'm getting excited. But some of the larger pieces were blistered. More plating damage seen on these throttle linkages, if I had to do it over, I wouldn't send those in. I sent those back and they re-plated them. I believe they were with the smaller parts and didn't quite work out. I also folded the long fuel, vent or brake lines like I read here, and made them fit into a 6' long box. Shipping was very expensive for those.


-
As far as repairing rusty panels on the car, I was lost. So I continued what I could, disassembly, and refinishing.


-
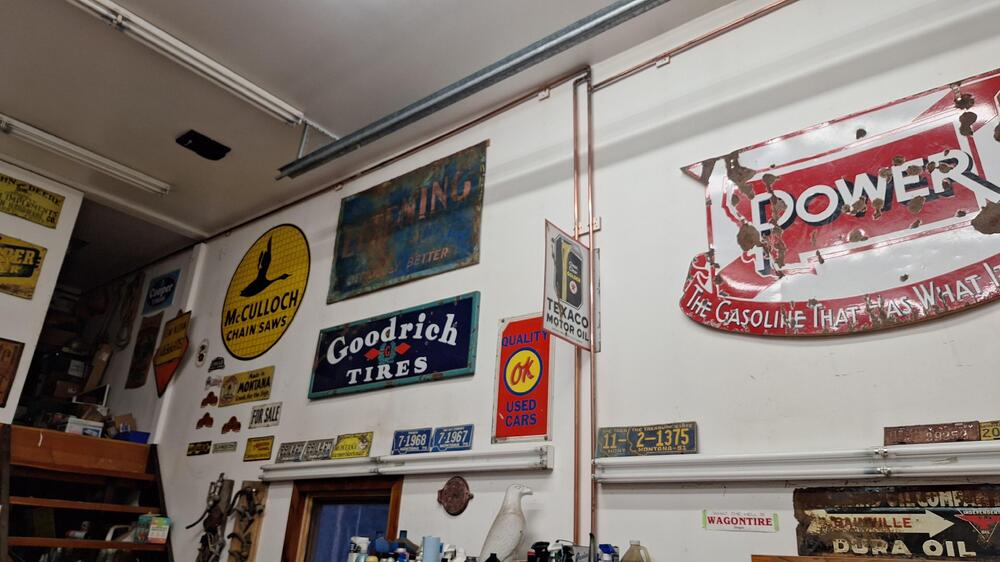
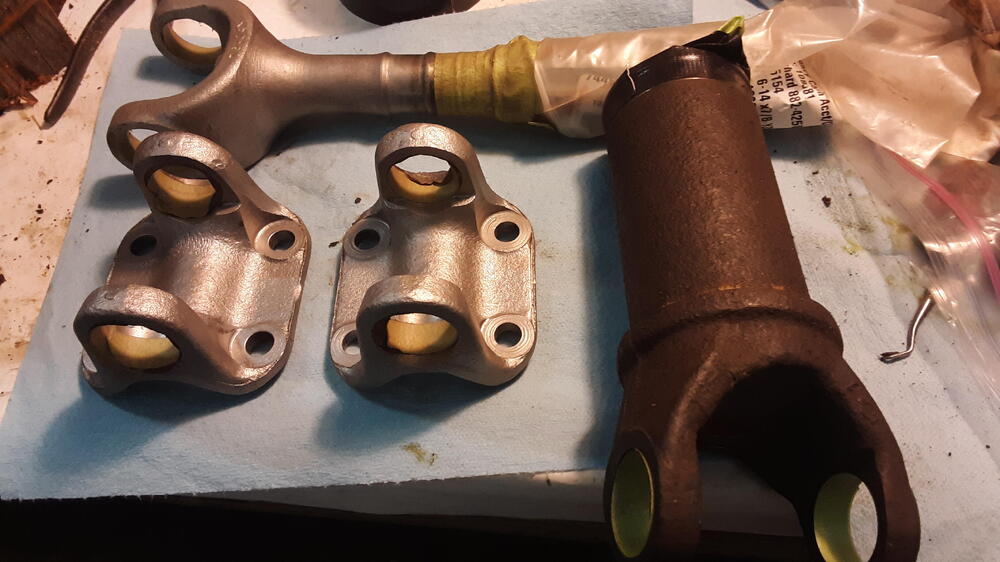
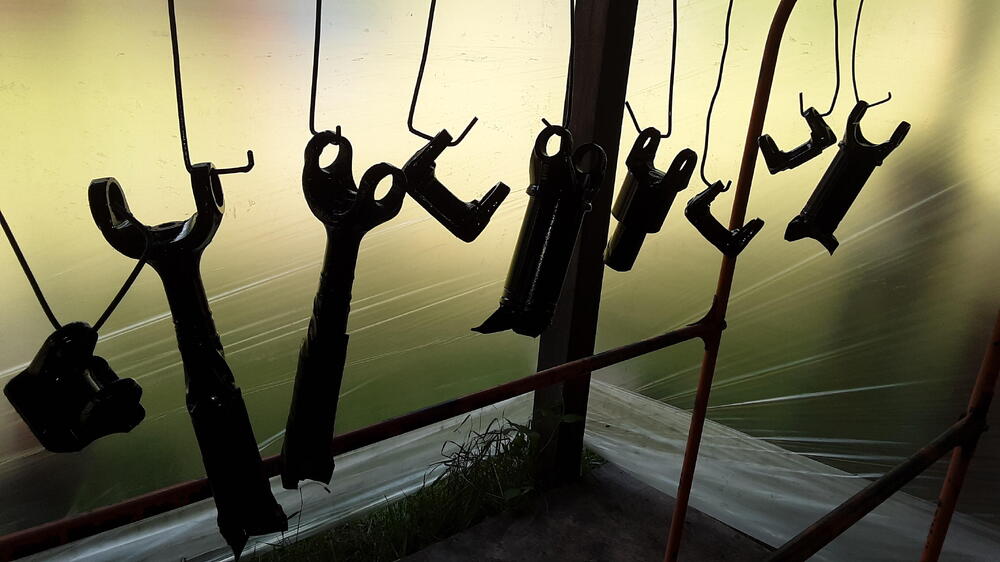
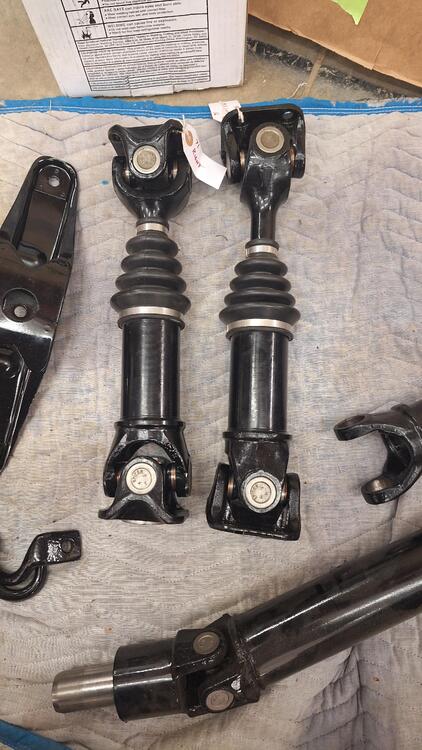
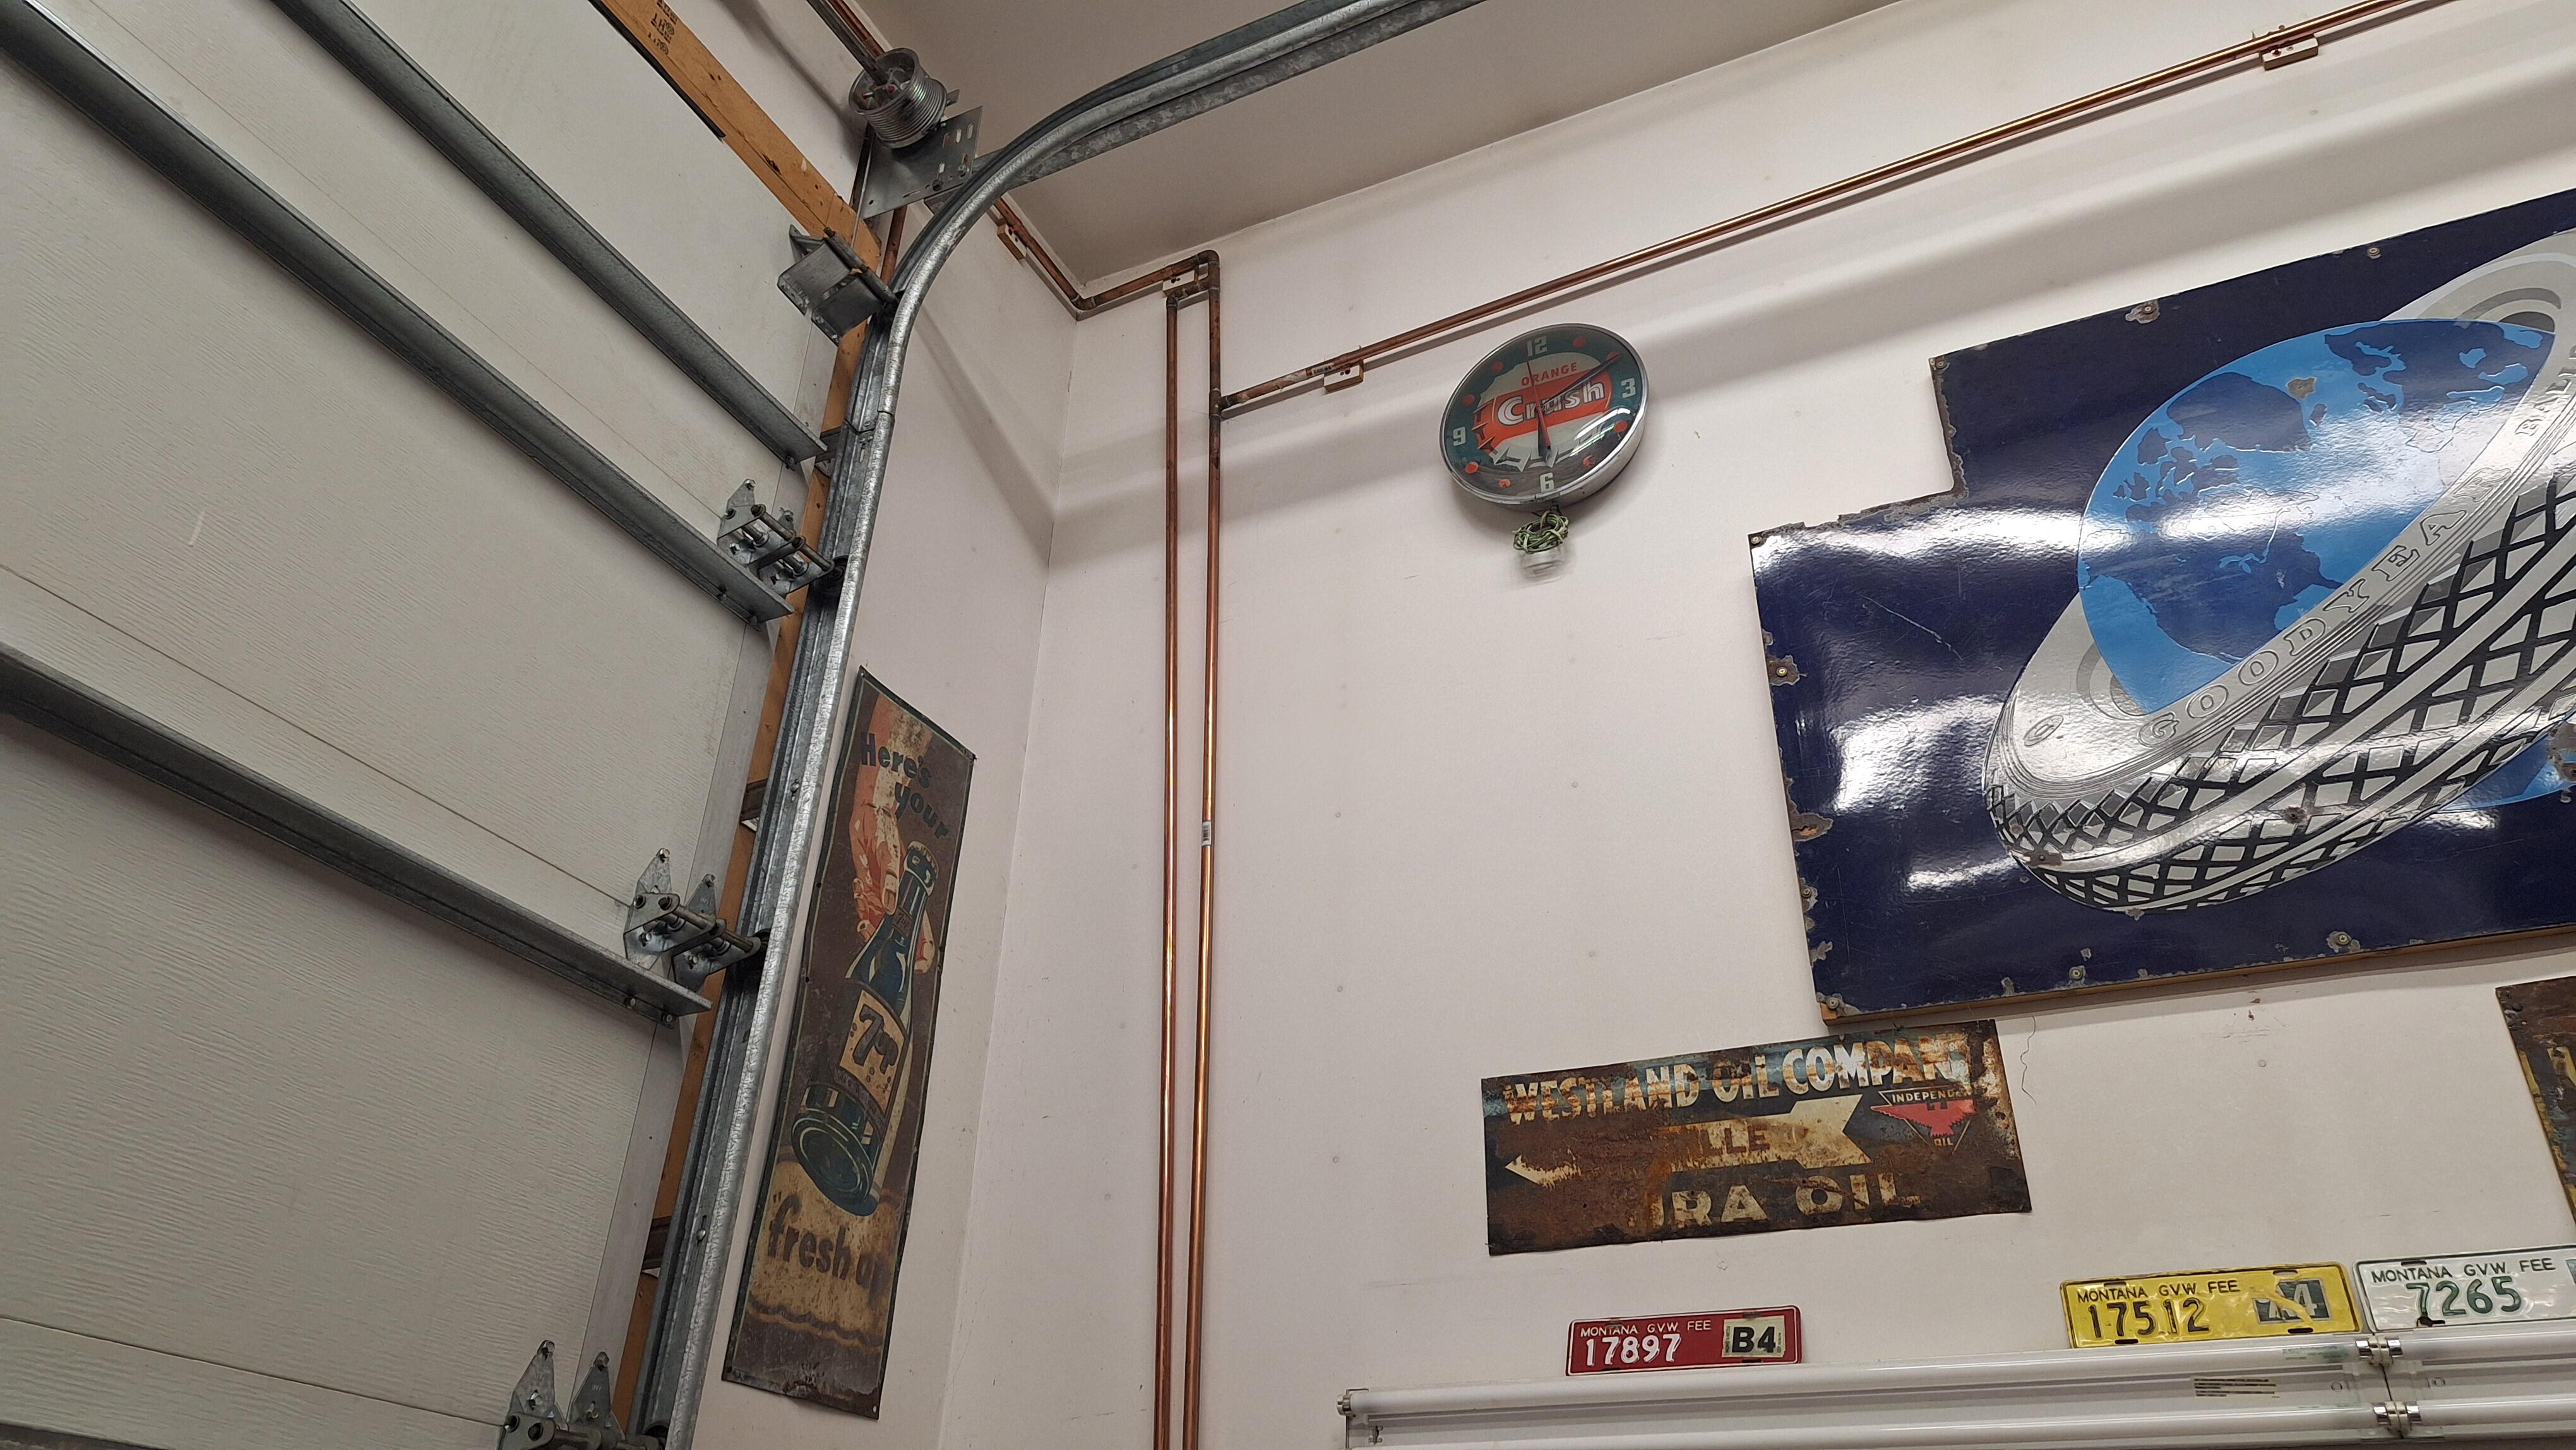
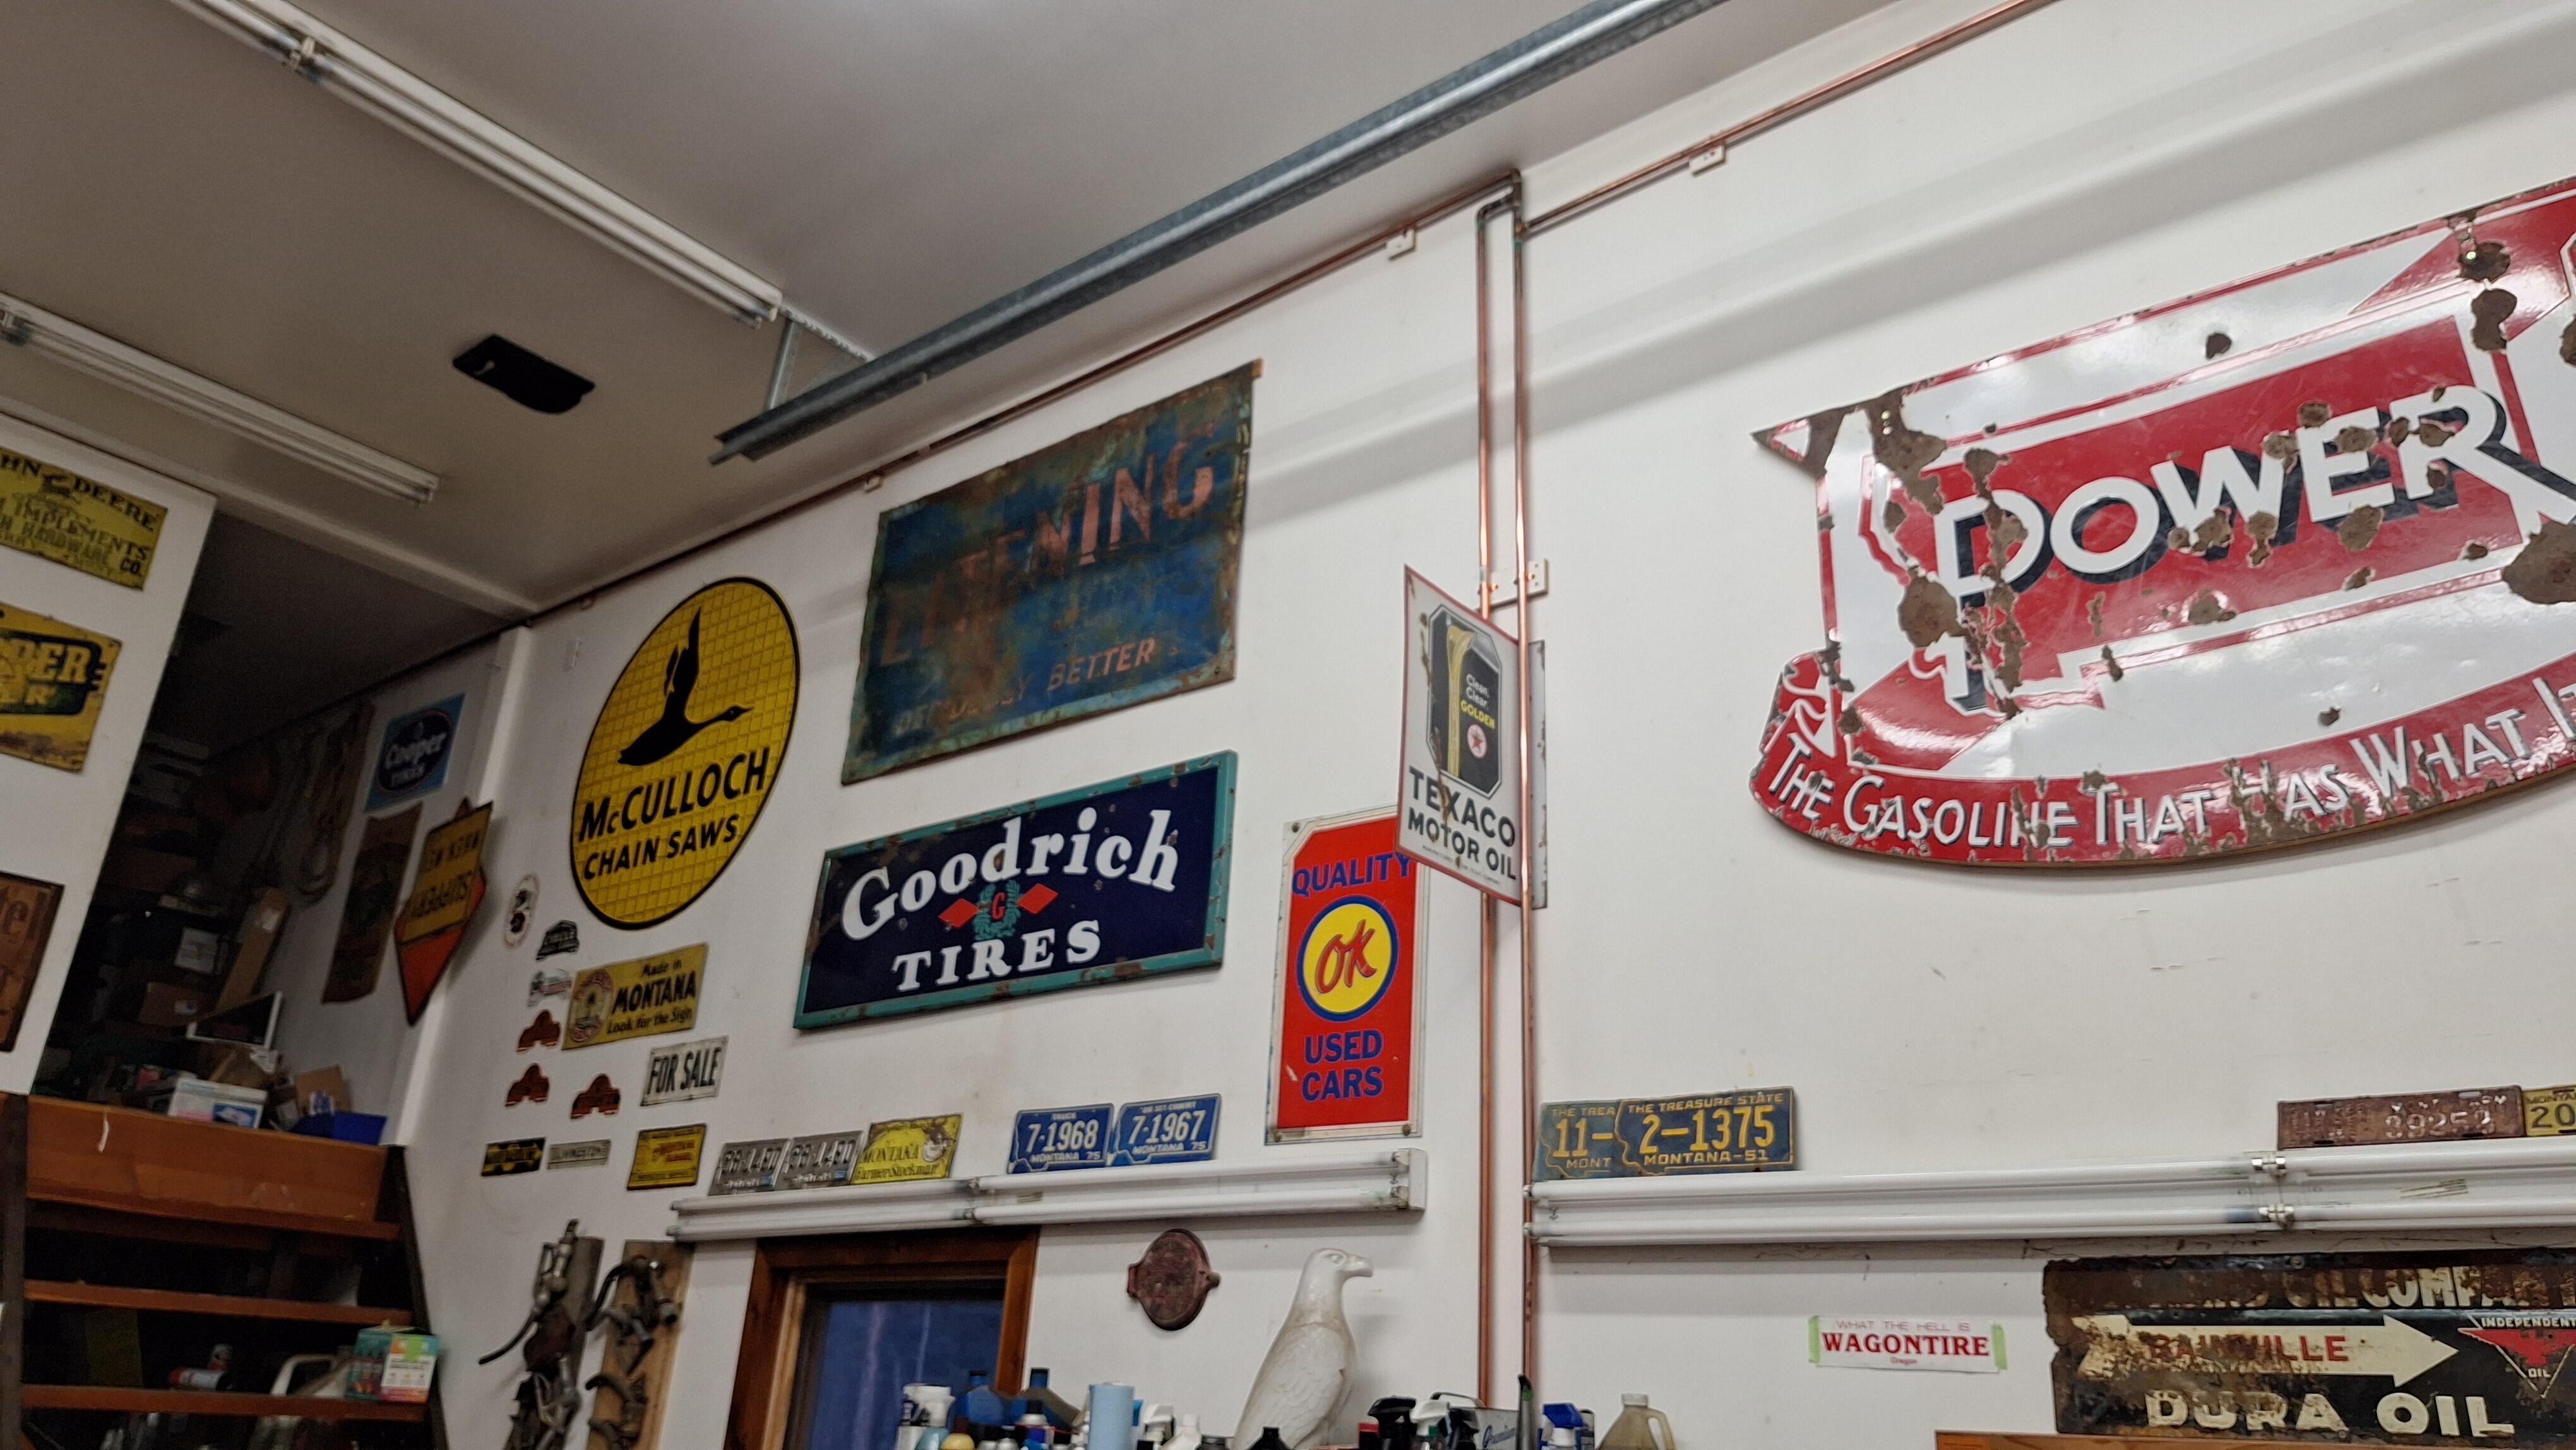
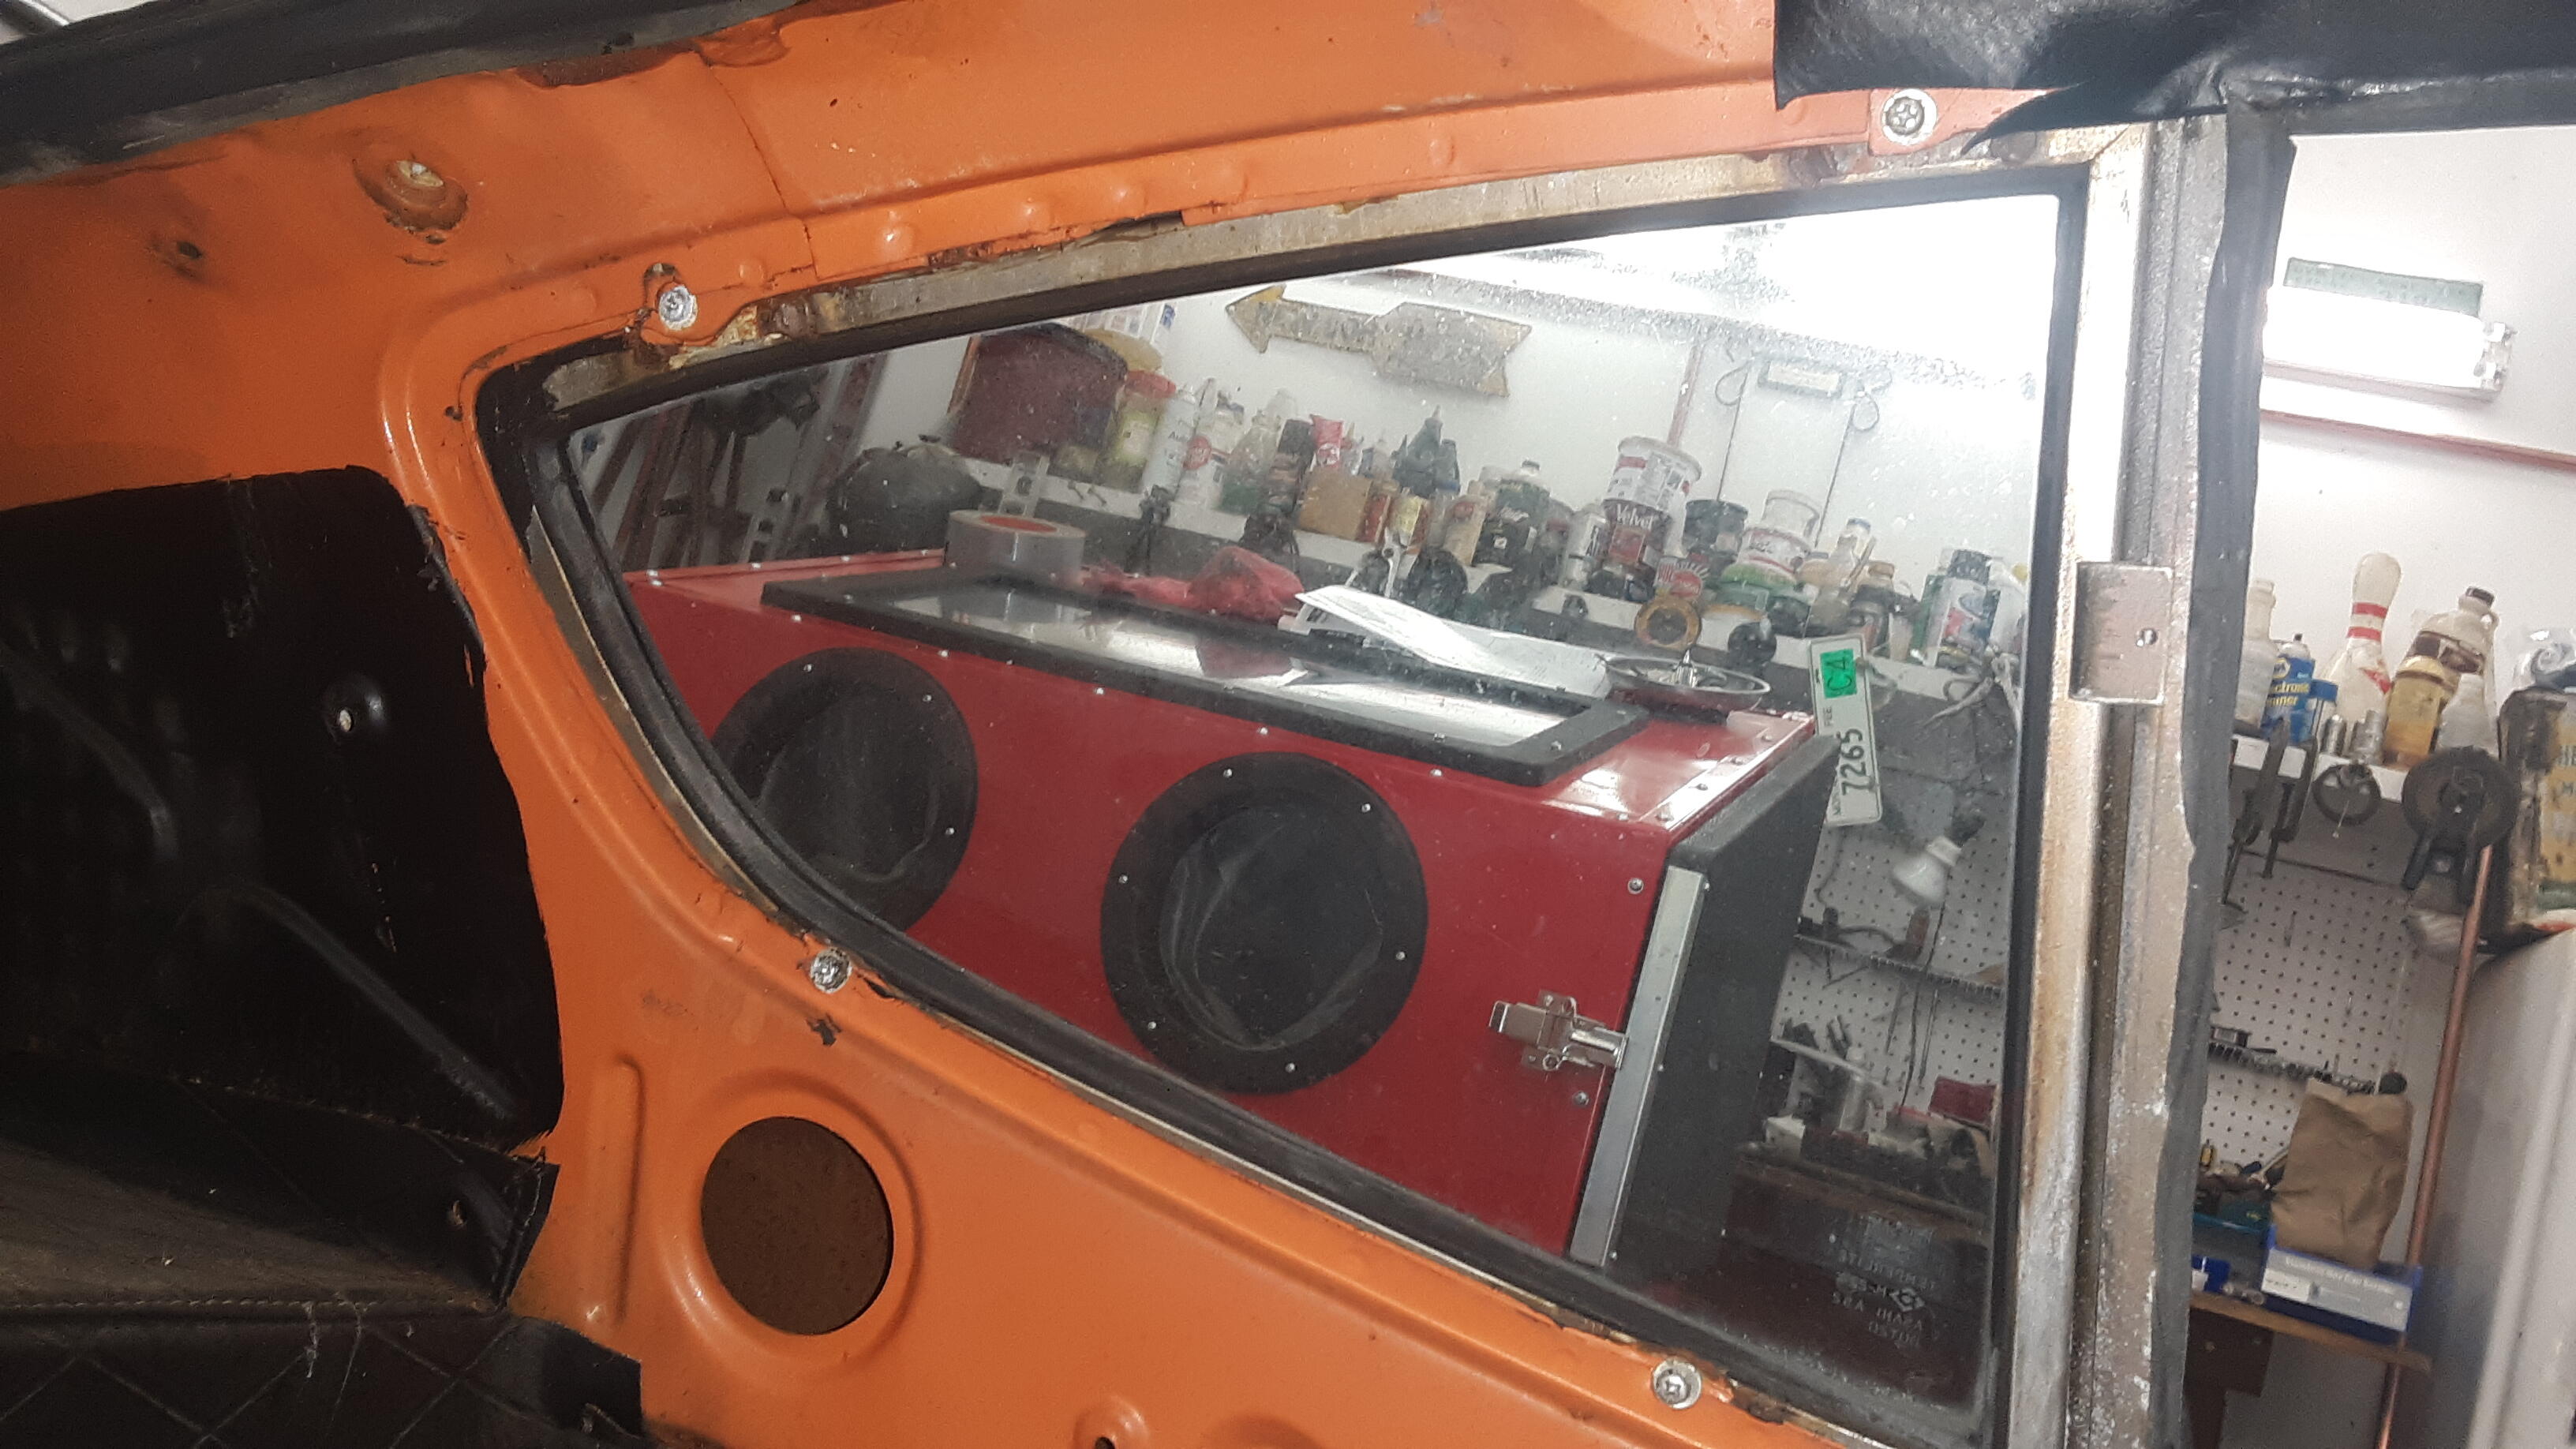
All right, where were we back in 2021........I started removing more parts, pulled the engine, dismantled as much as I could to get a batch ready for plating. I bead blasted the pieces, really nice for getting into the crevices on phillips head screws, bolts etc. It was a long tedious process, but I liked it. Then I wire wheeled each piece to give it smoothness and shine. It worked amazing. I bought a nice small paint gun, good automotive primer, activator, reducer and 2 gallons of high quality black paint, one was a gloss black, and one was flat. I could mix the 2 and get the desired sheen. Fortunately I had plumbed my shop correctly for eliminating moisture out of the air lines. My compressor is in the loft, the copper air line 15' off the floor slopes gradually down with drops that have valves for releasing water. Then the air line goes up, then drops to an outlet. It goes all the way around the shop this way, with water drop lines, then tees off for air. In the upper right corner of this phot, you see the air line leaving the loft above that Conoco Germ sign. The first tee down is a water drop. the second tee down is the air drop, which runs under the wall lights. and it continues above the door and same principle on the next one. It actually goes back into the loft and drops again, this is the one I used for painting. Never had an issue with water in the line. I built a small paint booth under the eave of my shop and proceeded to refinish parts that were not going to get powder coated. Such as the steering column, pedal assembly box, fan and heater box, any part that I could not find replacement original style bushings for. Here's the half shafts getting sprayed. The blast cabinet made it easy to clean parts.


-
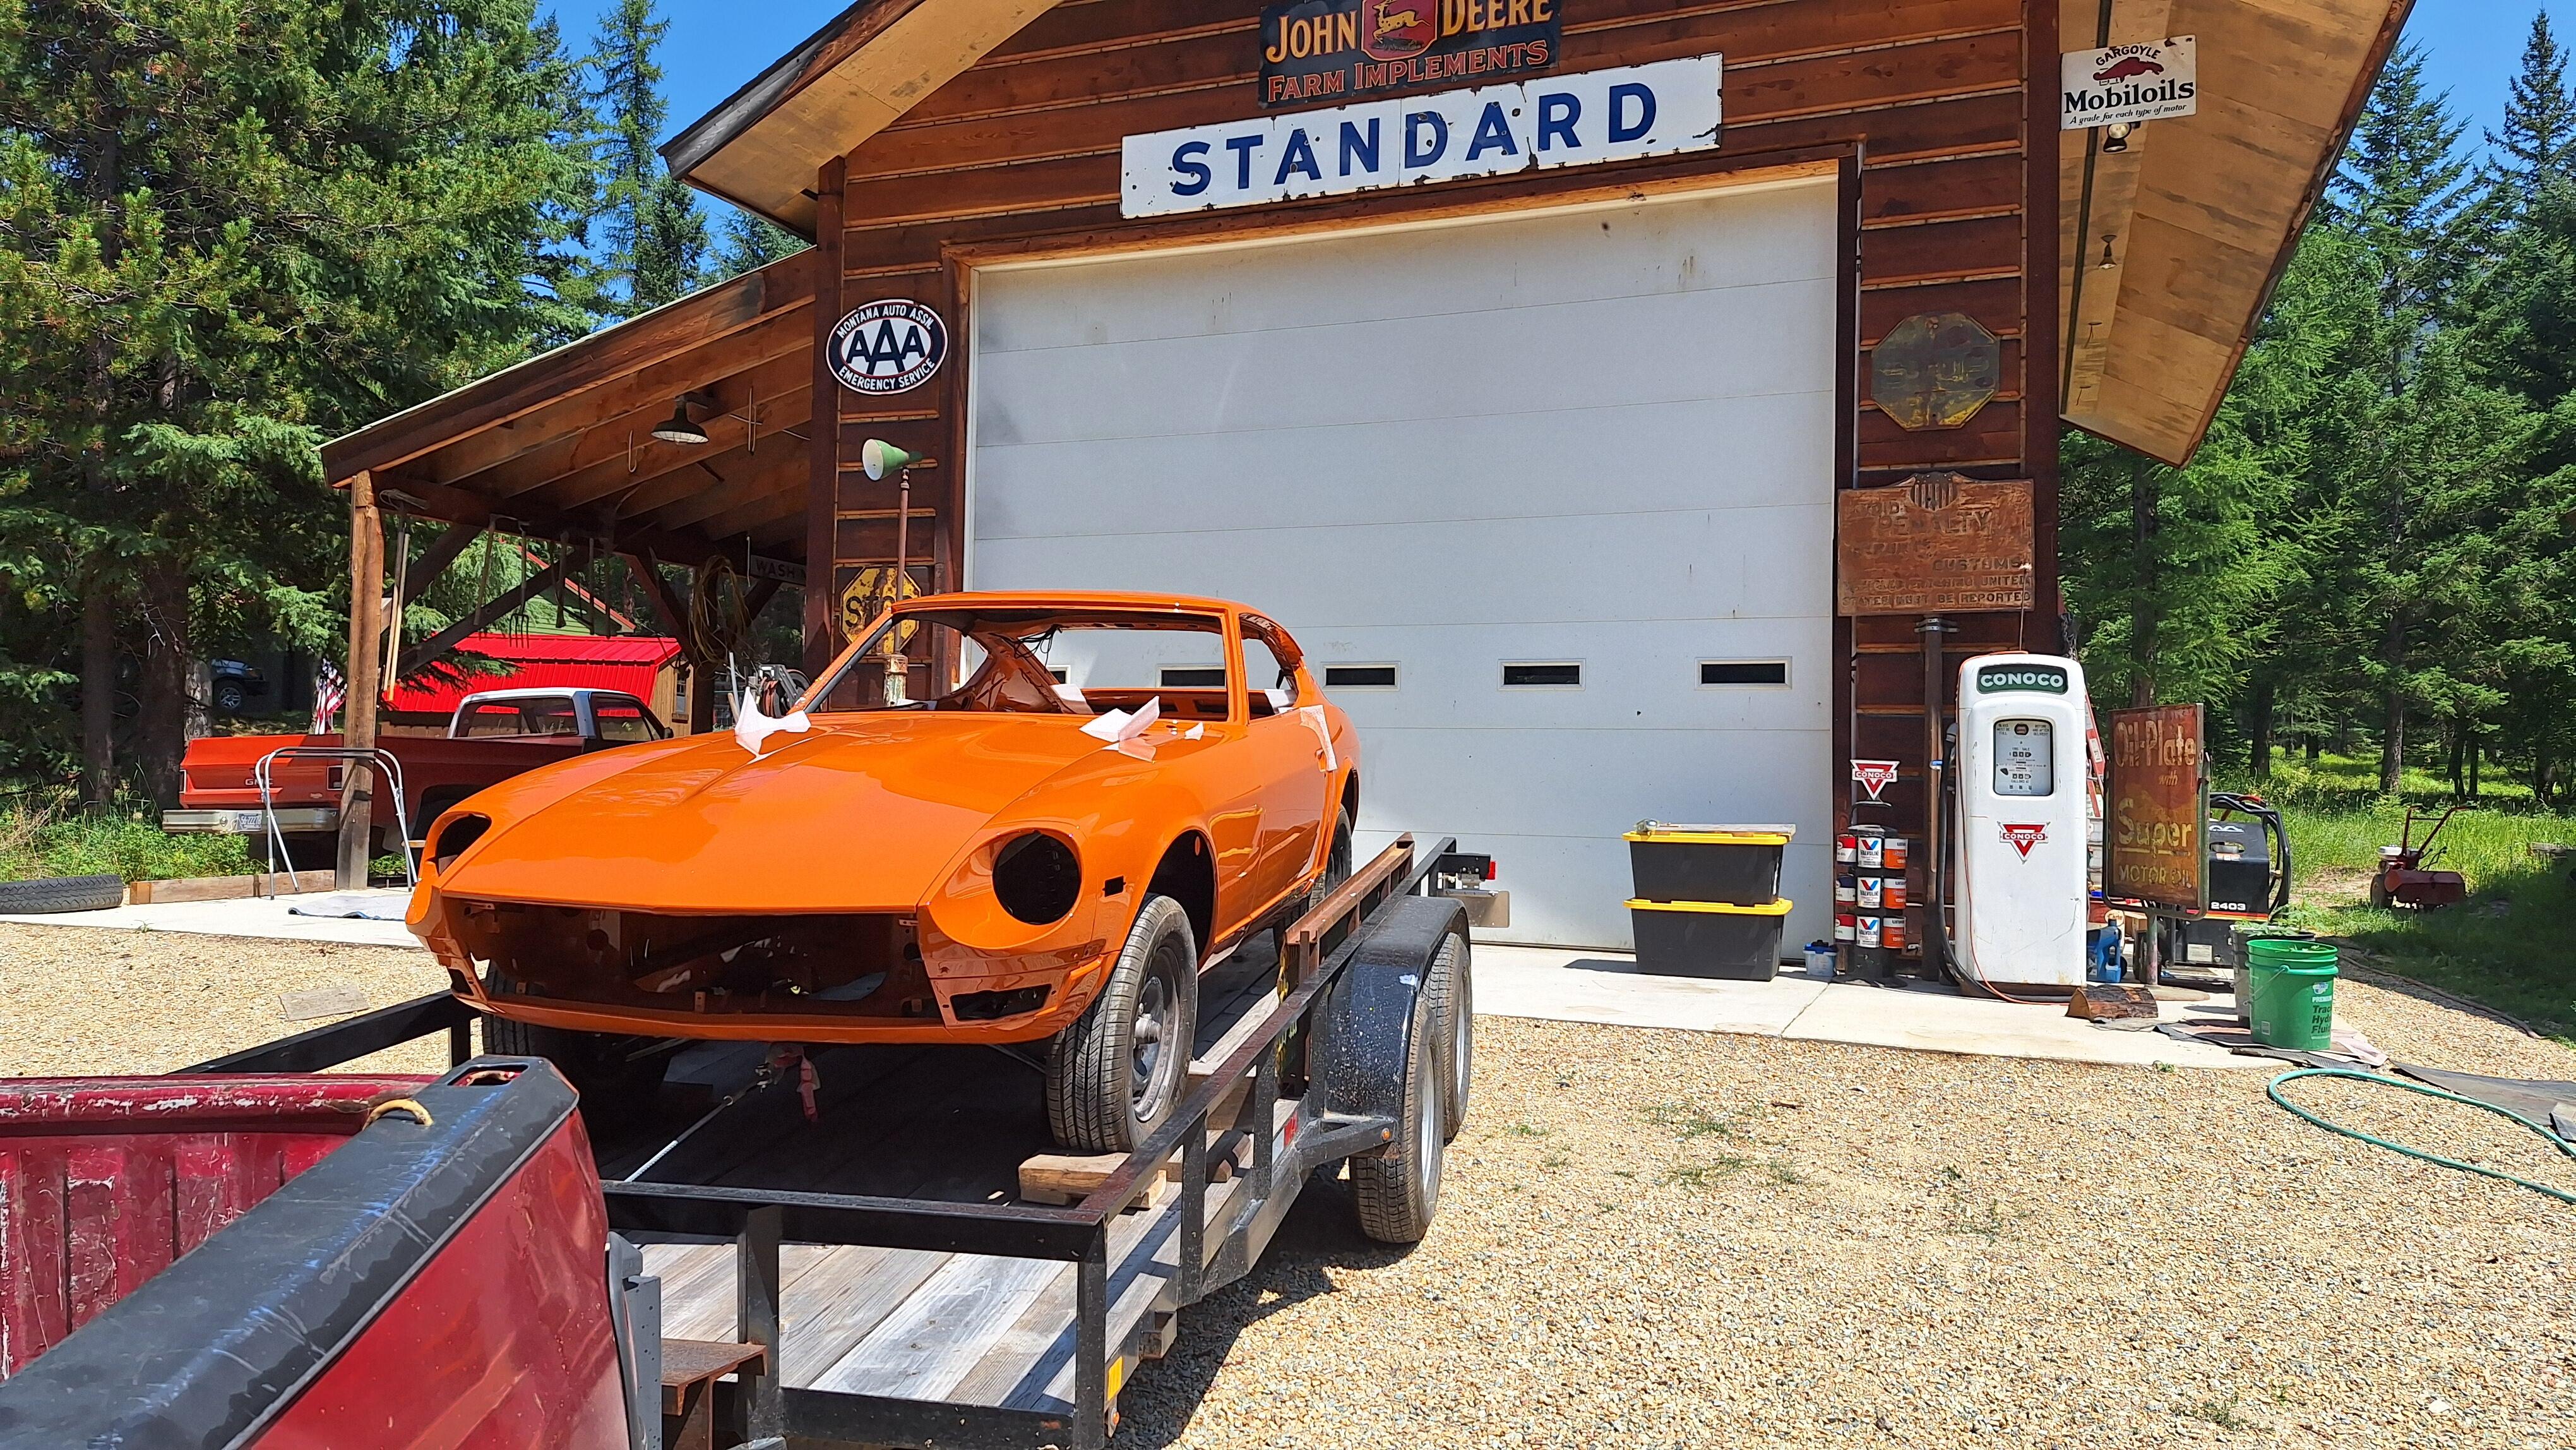
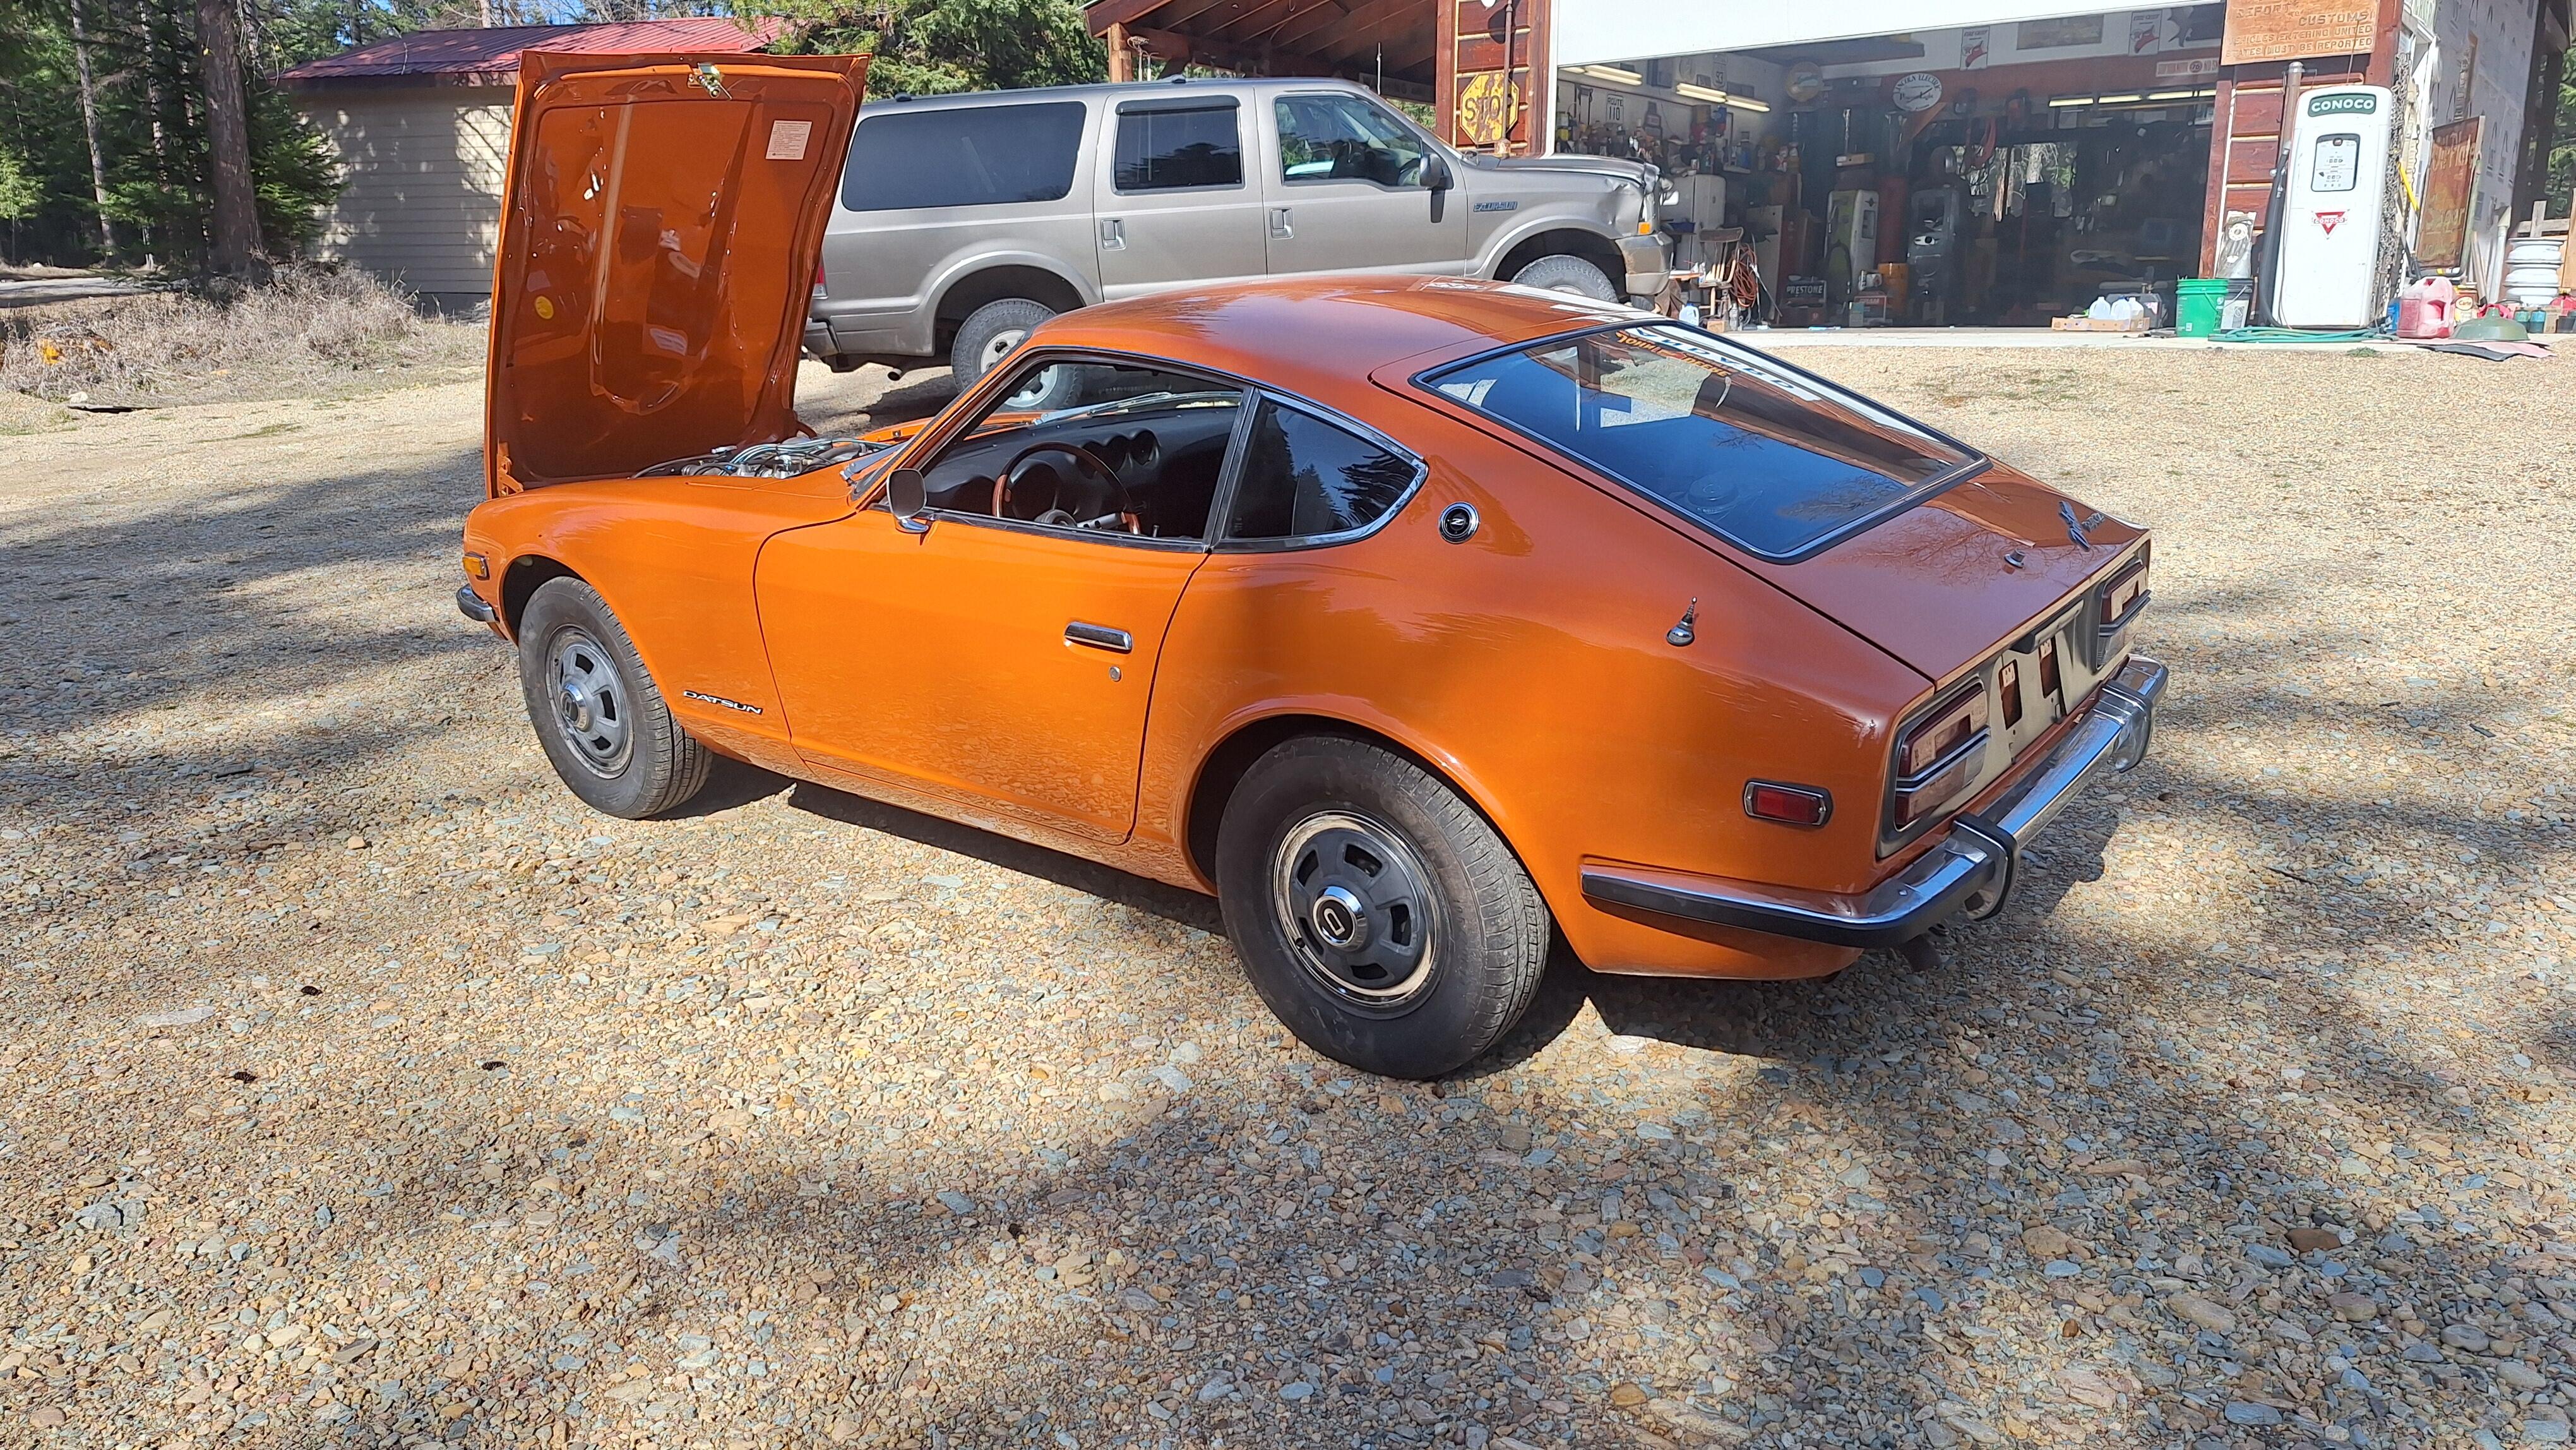
That's correct, I started working on the car when I first got it, January of 2021. I took photos along the way, but never planned on doing what I did. I've restored a few gas pumps, but never anything like this. One thing led to another, then Covid hit. I had it in a body shop which took my money, but never finished the paint. It languished there for almost 18 months, and the car was held ransom for bogus "Storage Fees". It's called "body shop prison". I hope none of you ever go through it. Made me sick. Got the car back home fall of 2023. Time flies. Found another shop to finish it, and the restoration continued. I'll continue the progression with photos, but yes, the car is done. Here's a sneak peek.

-
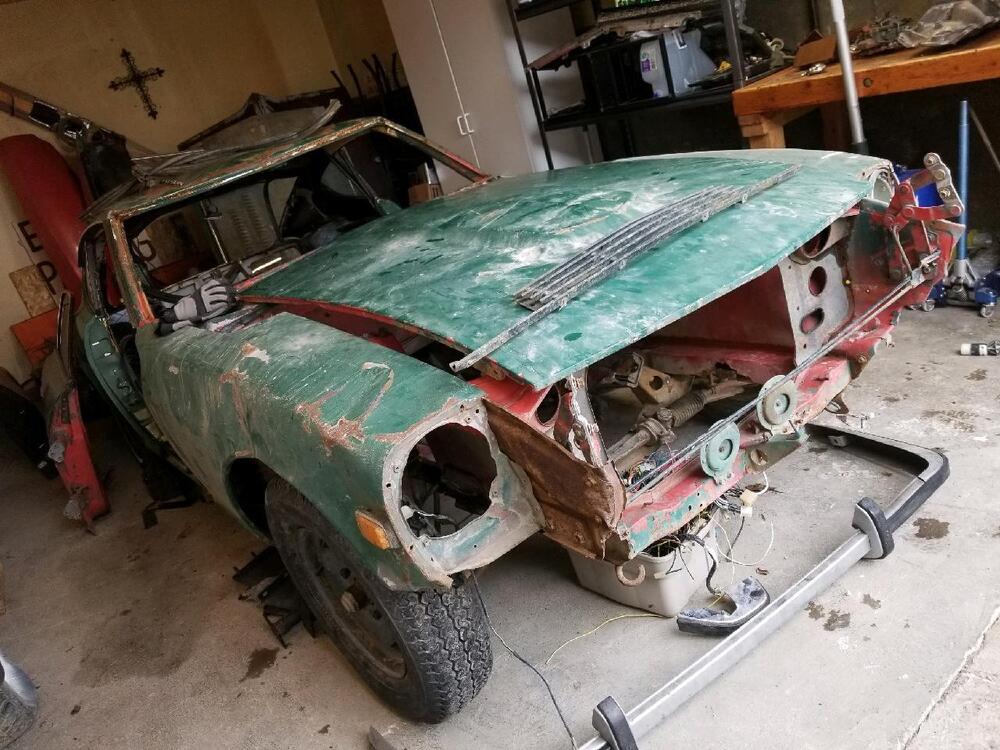
The story goes a doctor had this green car, he wrecked it, then someone welded the back half of another car to it. he wrecked it again, then decided to make an electric Z. took most of the interior out of this one, and stuck it in his barn. Meanwhile the electric Z caught fire in his garage and burned his garage down. Along side this green car was this 65 Datsun pickup. I thought why not, Merry Christmas to me

-
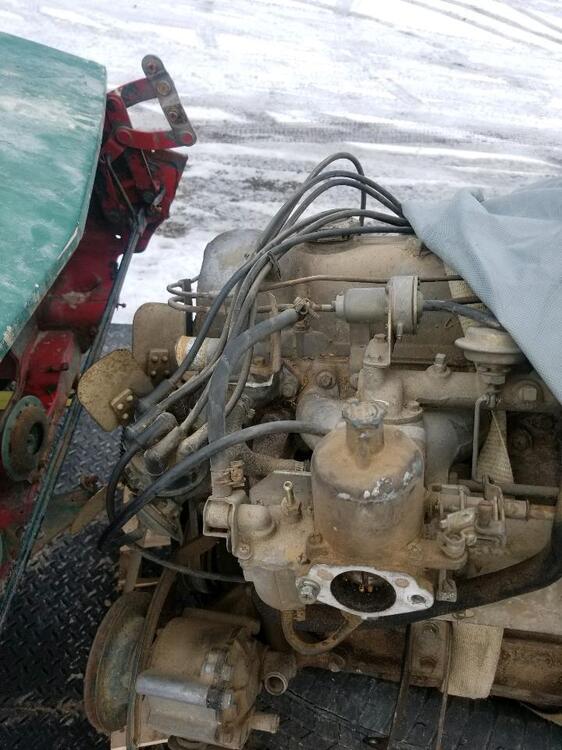
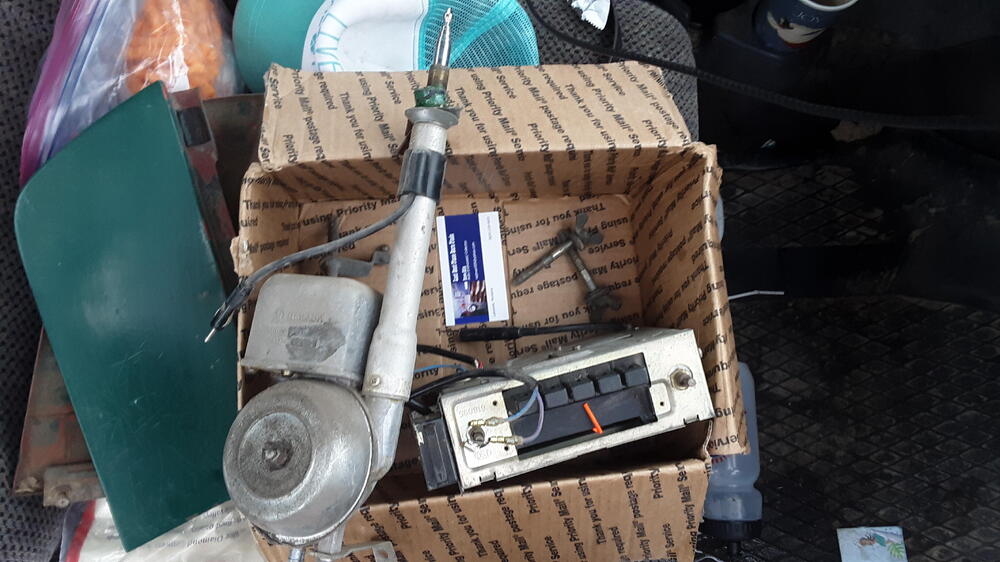
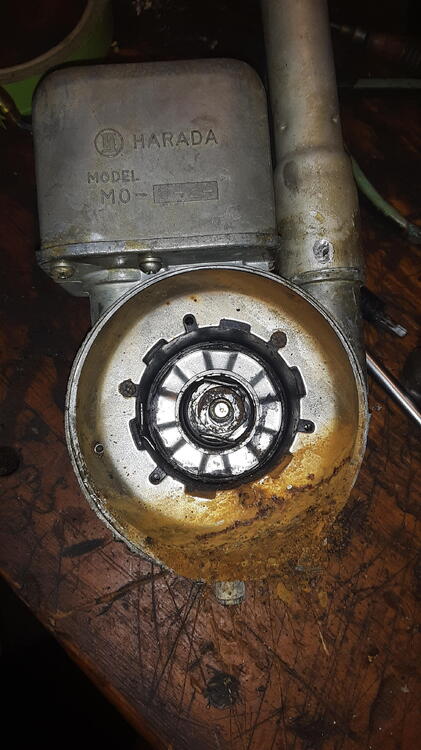
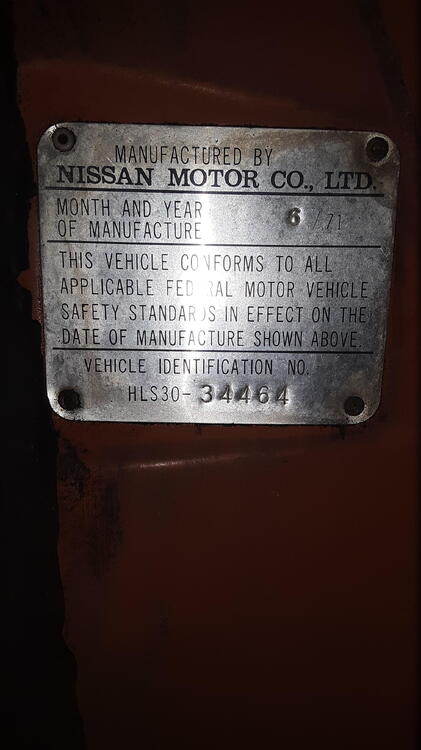
meanwhile, while studying up on these cars, I realized most of this car was here! Except the 2 things that most of them are missing, the wheels and hubcaps and radio. About that time I get on Craigslist, "I never get on Craigslist" and did a local search for 240z. what? here's one for sale near Kalispell. Funny but sad story attached to it. So I notice it's a 1/70 car wrecked and wrecked again but it had topy wheels. I ask if there's a radio somewhere, he sends me a picture of a box of parts with a radio, I said I'll be right down. 60 miles later, this thing is actually 2 cars welded together, the front of a 1/70 and the rear of an 11/71 judging by the unused spare. But, a couple rims were dated 12/69 and 2 were 5/70 and it had a nice bullet tip antenna. I bought it for the radio. Got my money back selling the rims and got a complete engine too and many other parts. Now I think all I'm missing are the correct dated rims and D hubcaps.

-
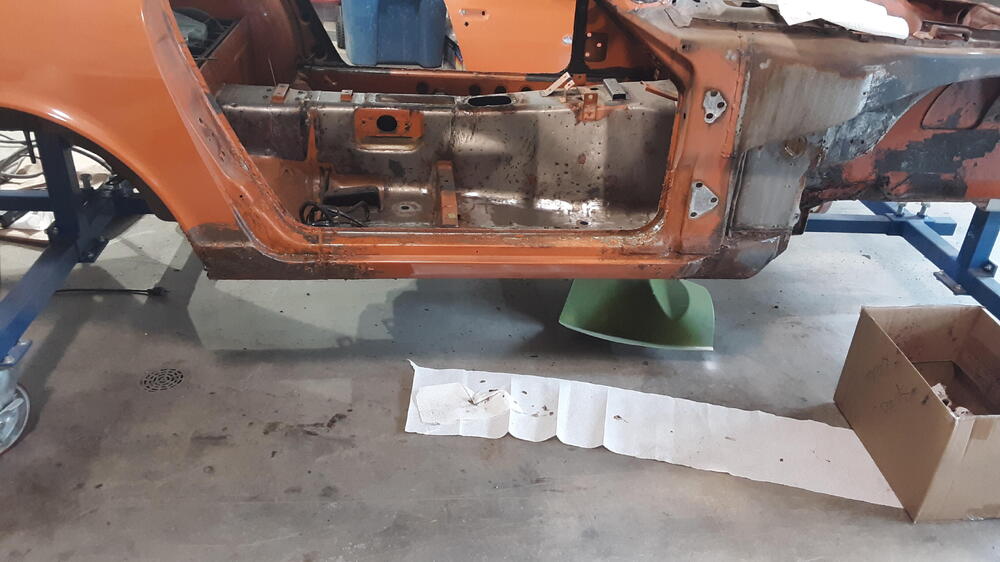
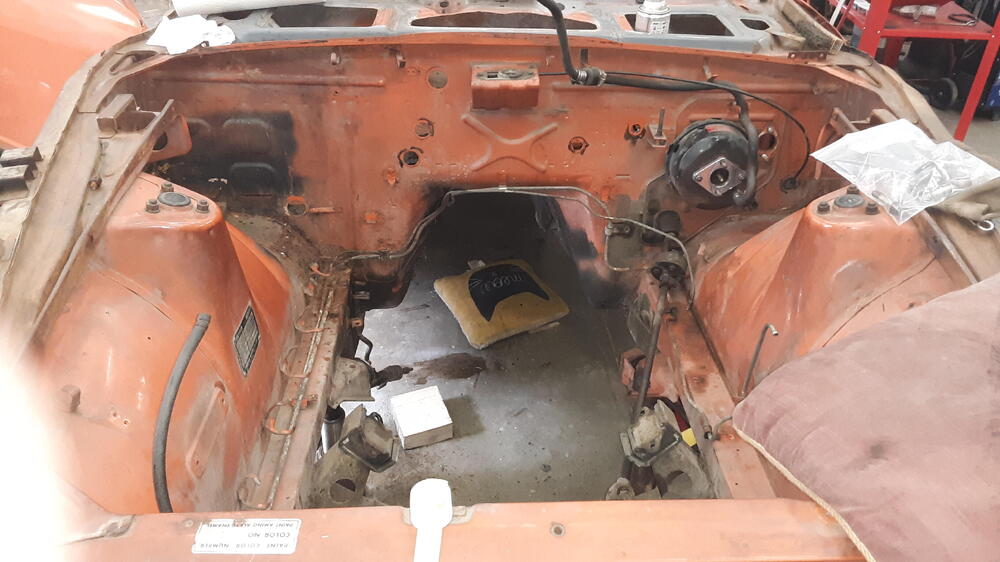
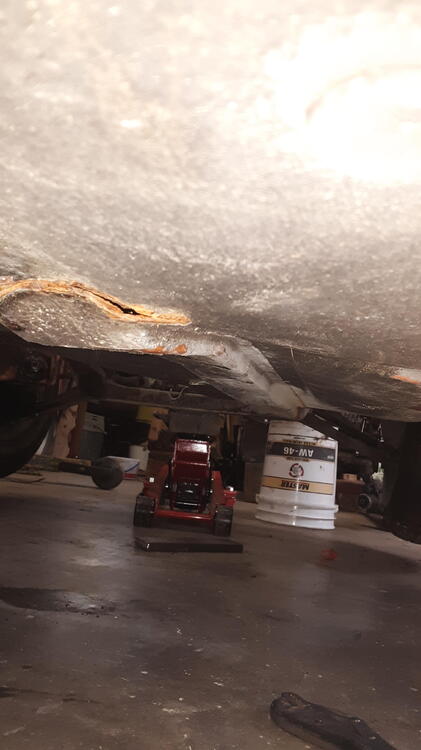
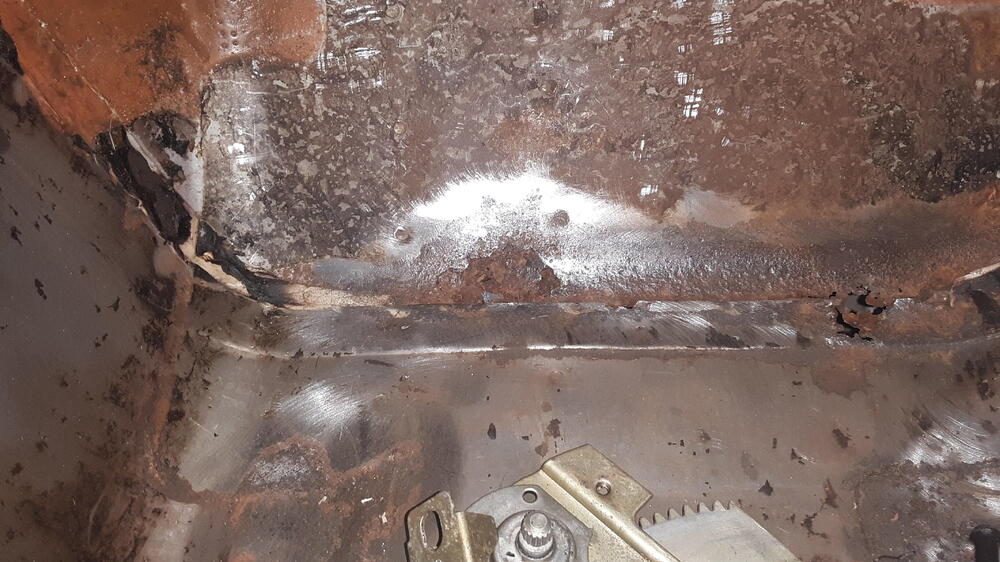
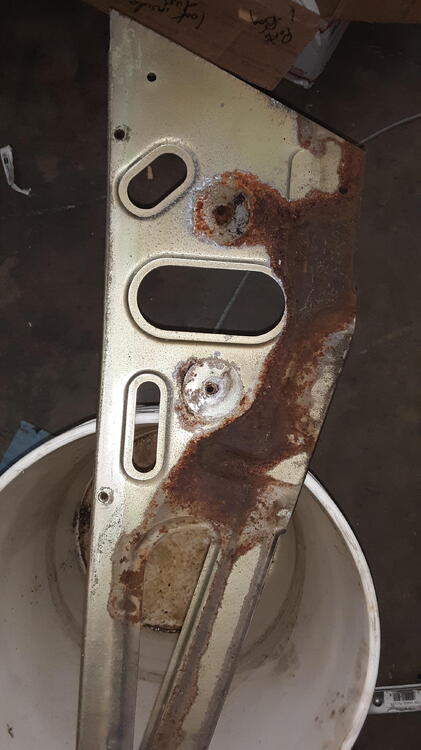
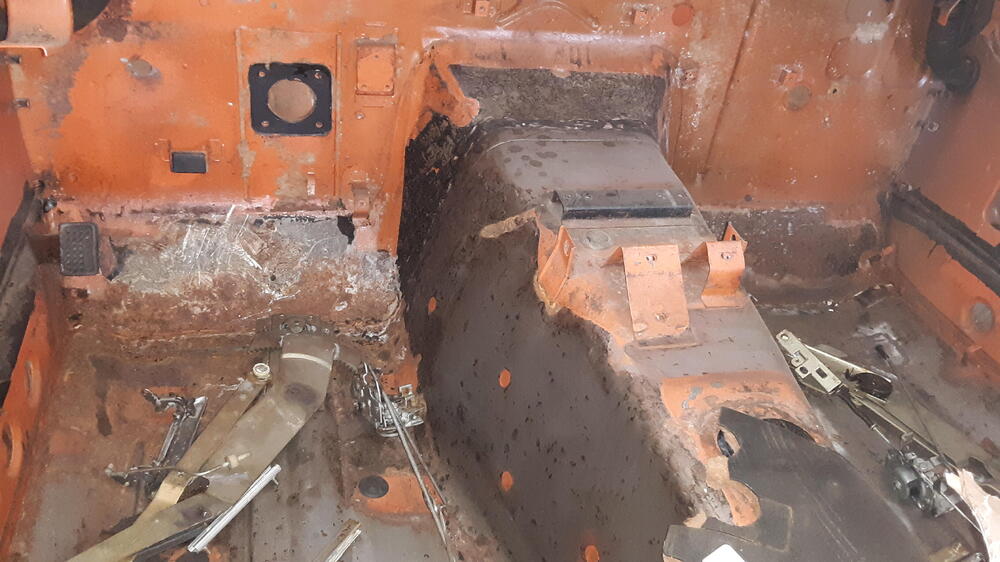
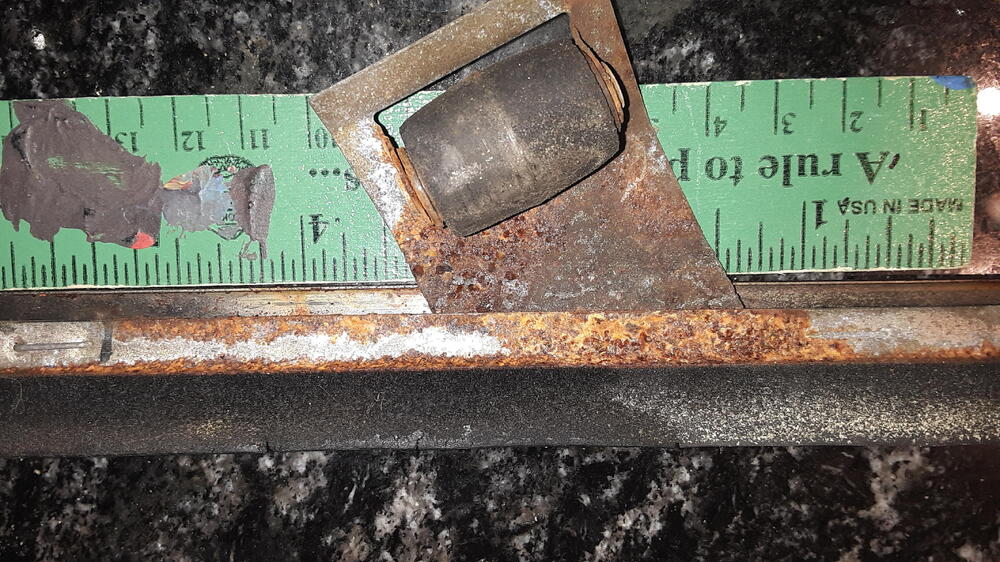
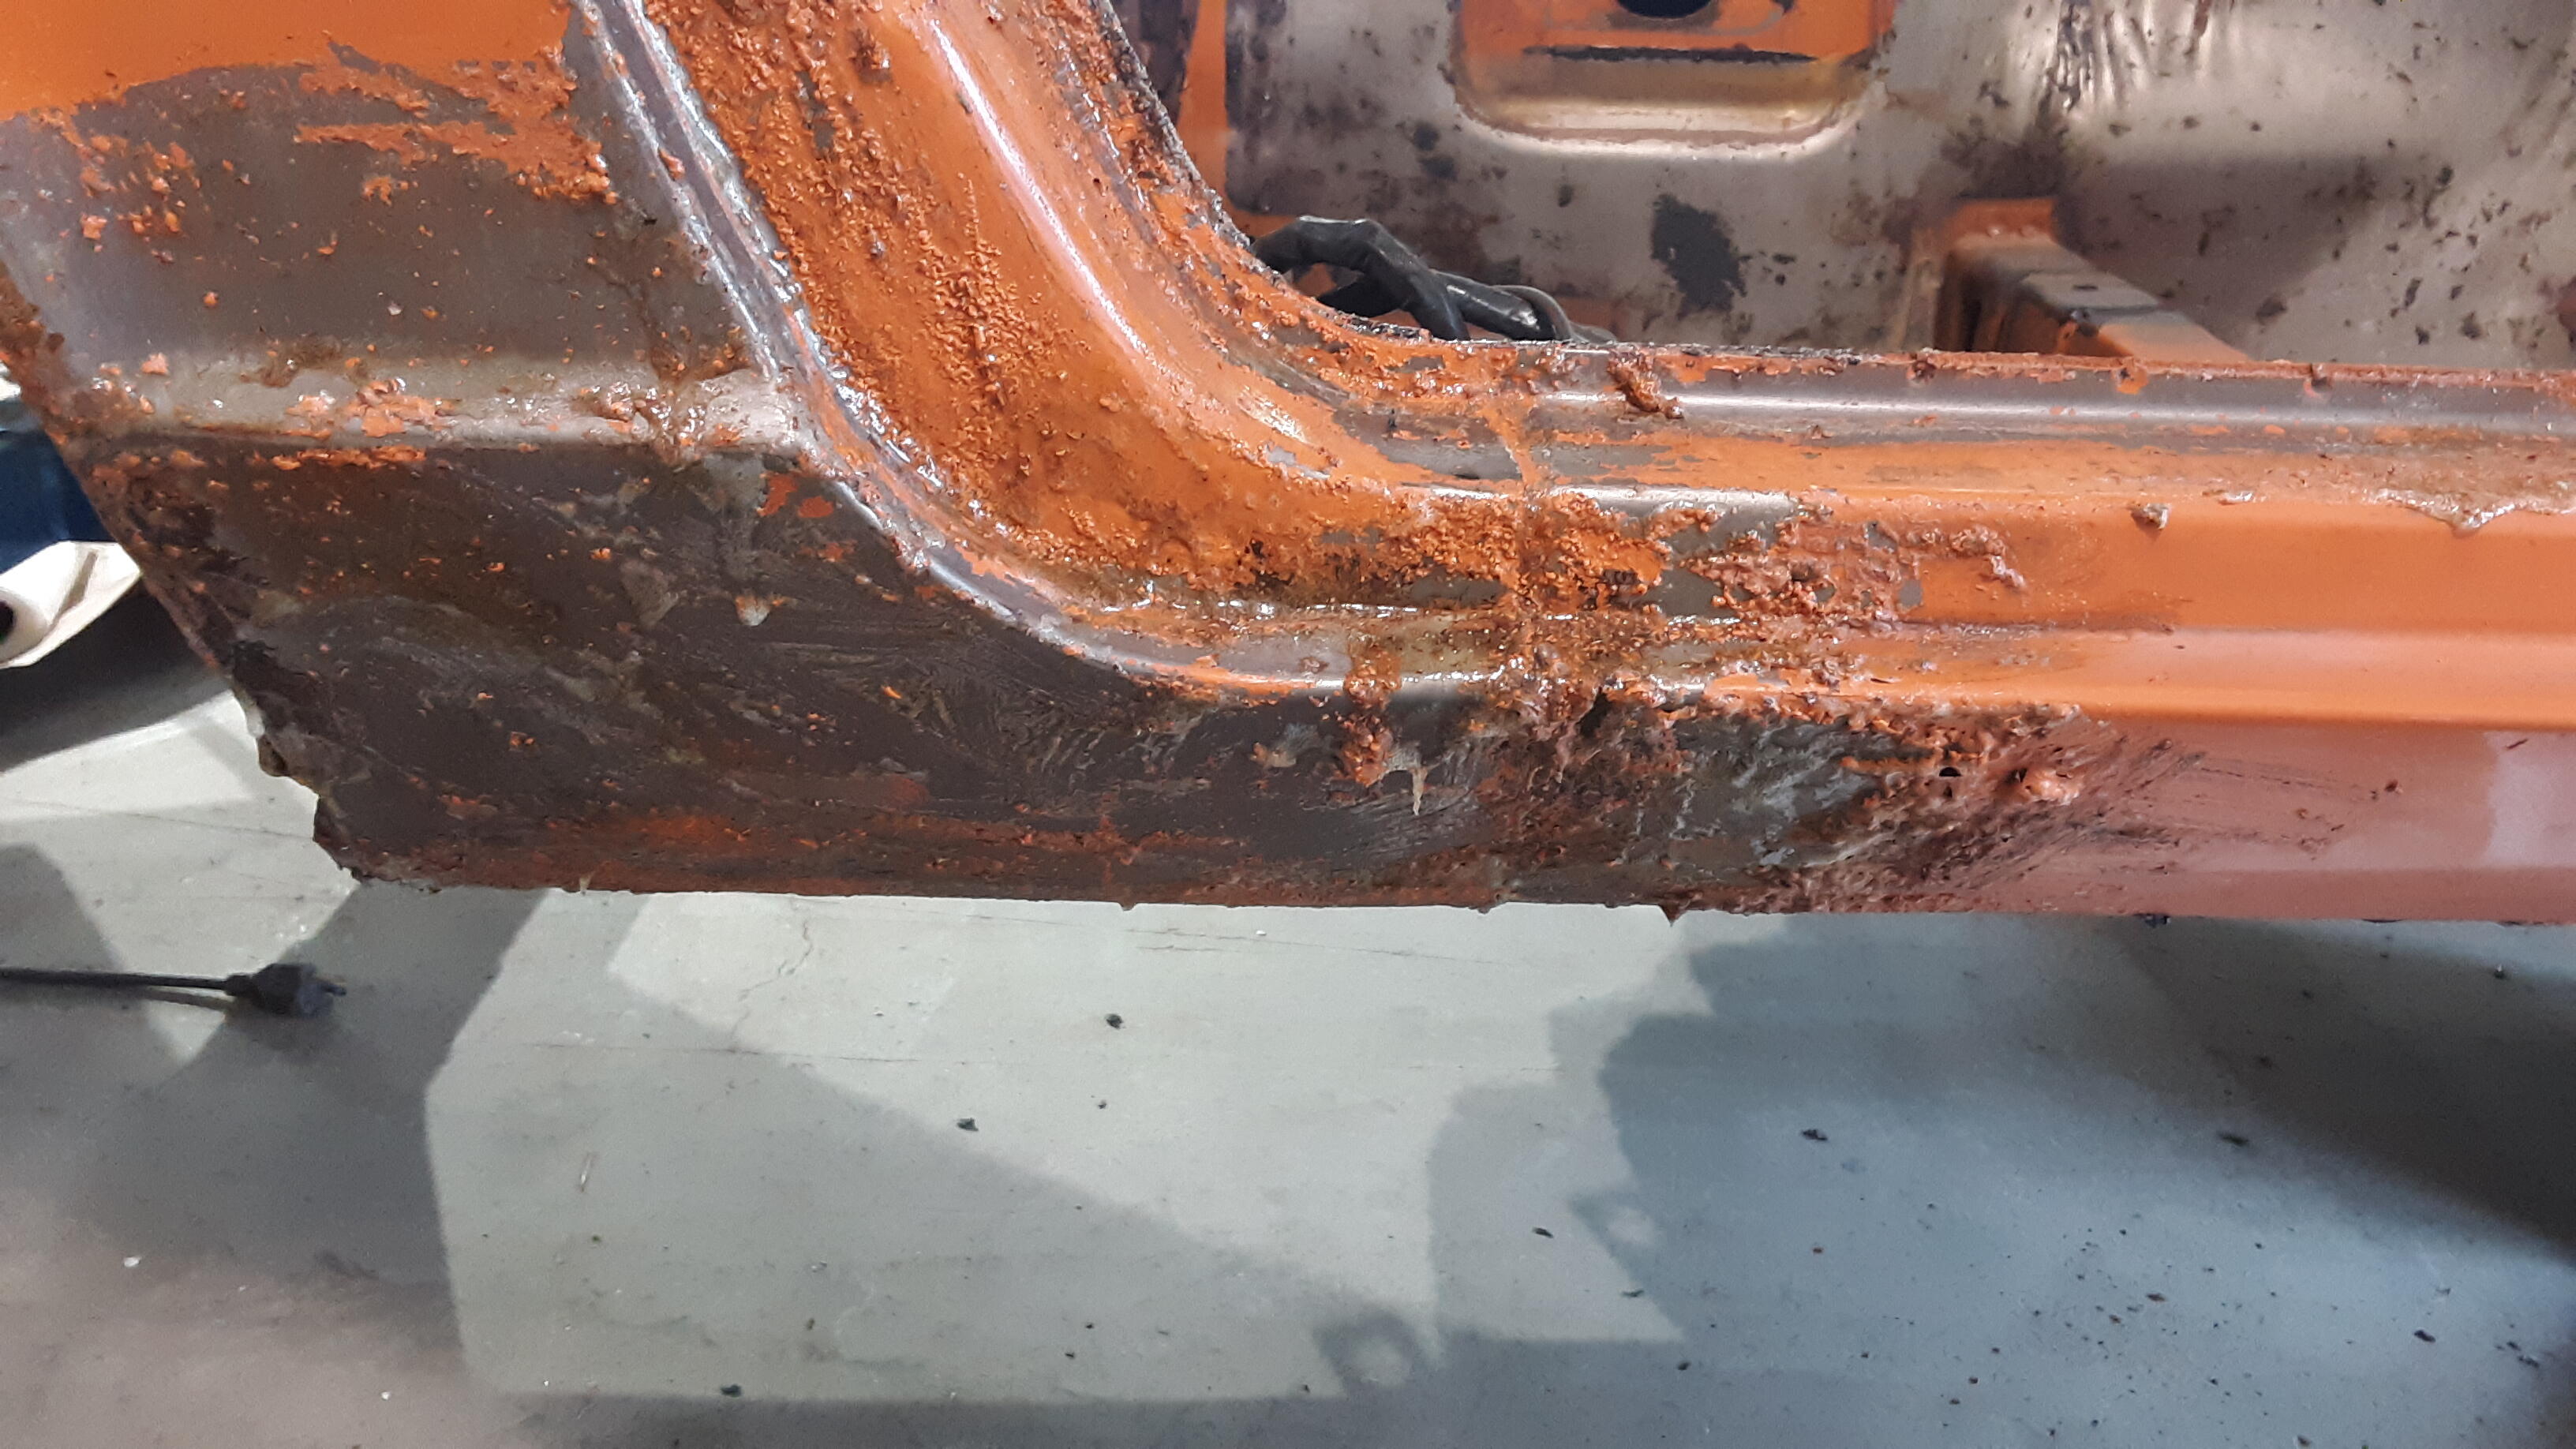
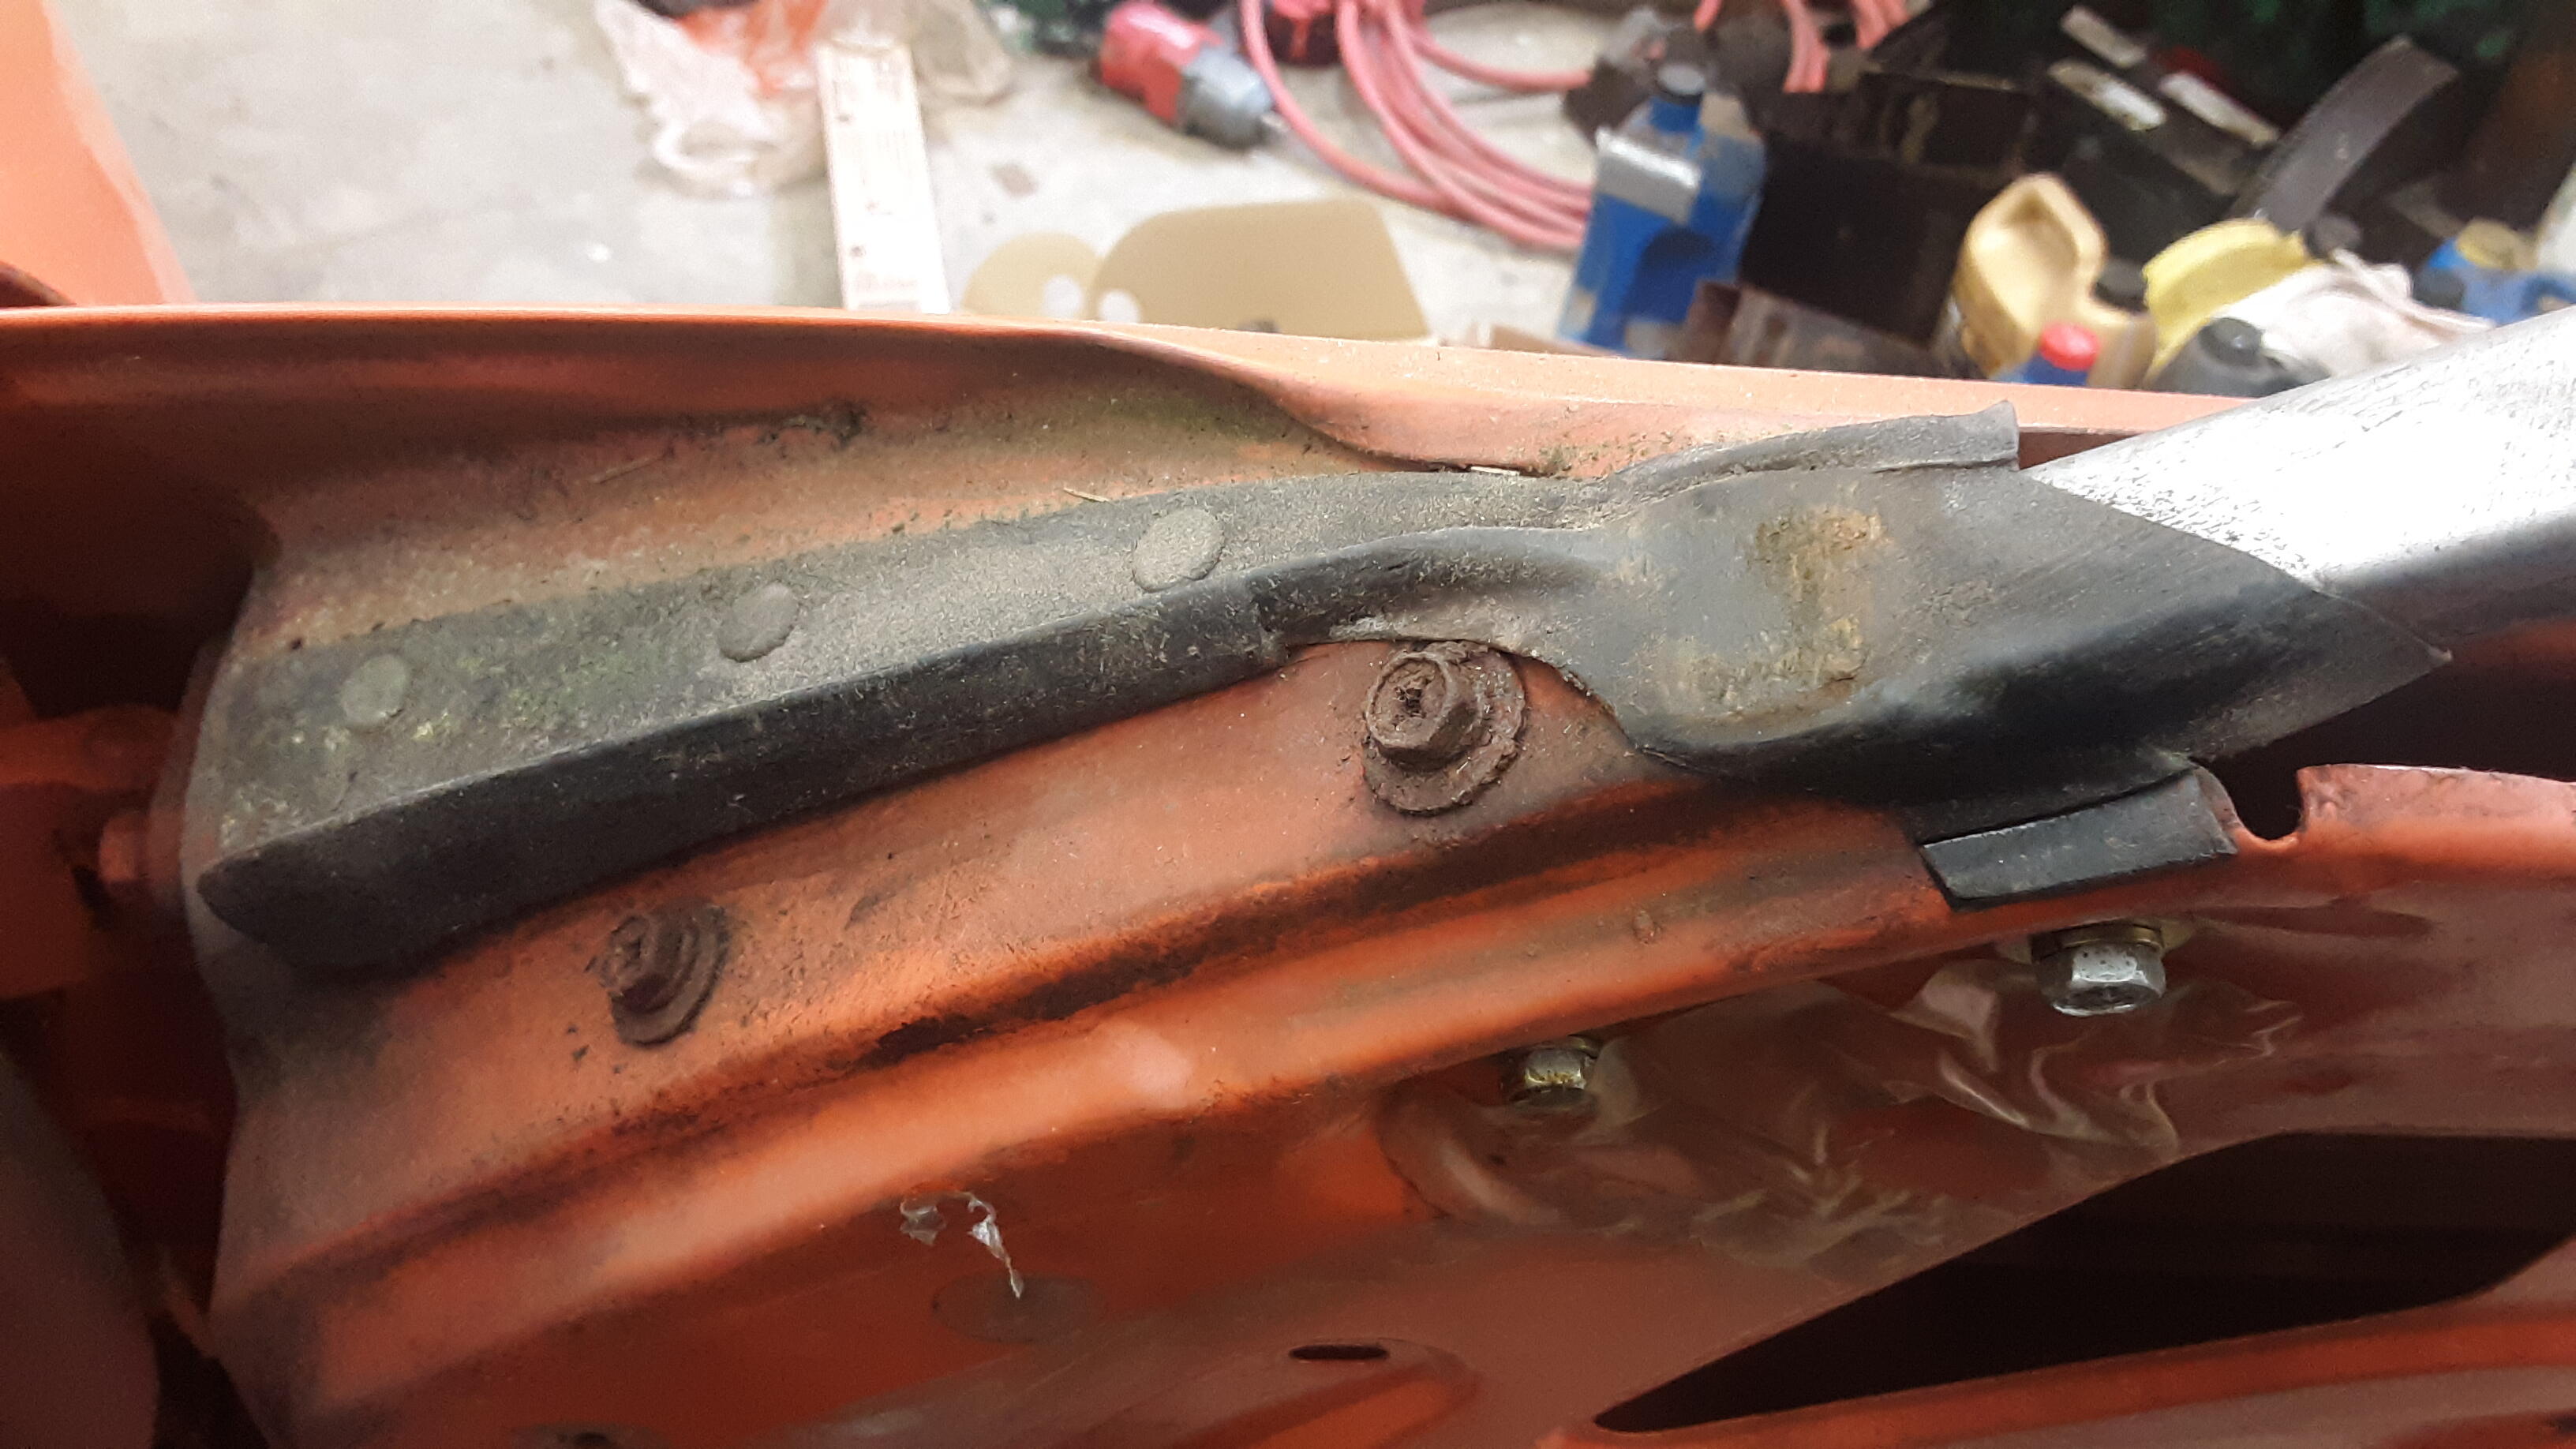
Close up of passenger side floor I guess I gotta keep going.... Did you notice? Junkyard Jenny said it's wearing a 72 bumper. also 1 rear finisher clip is broken.


-
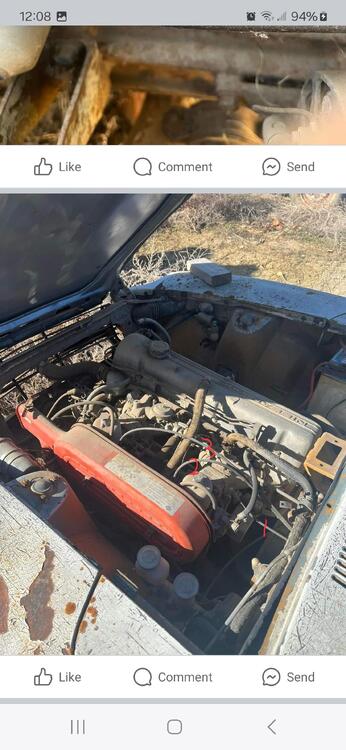
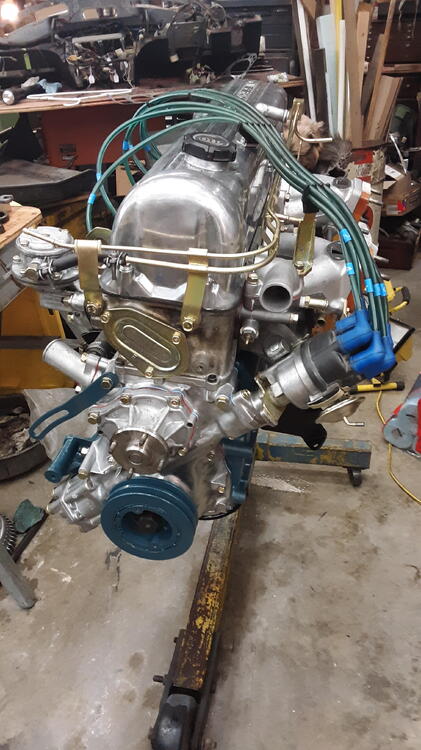
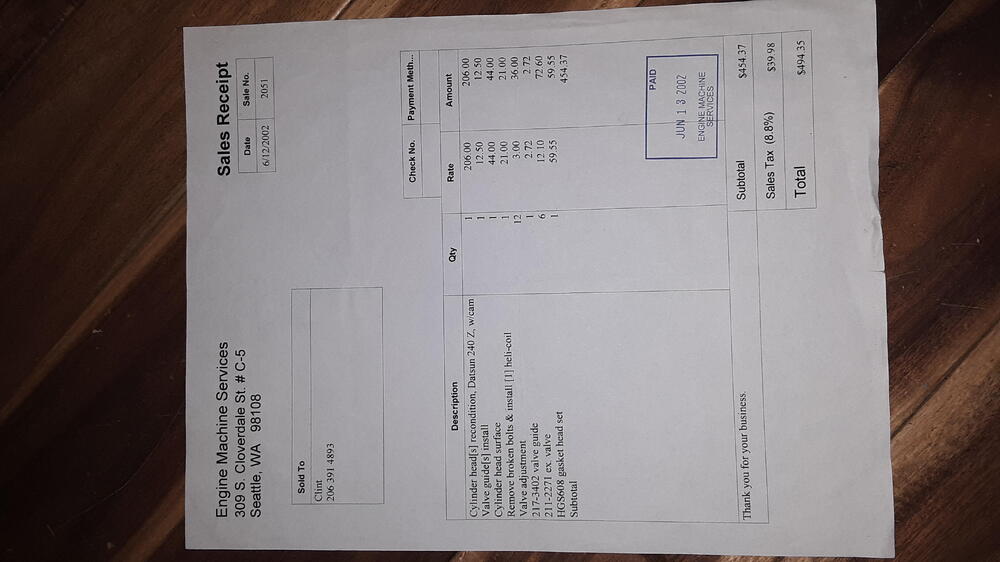
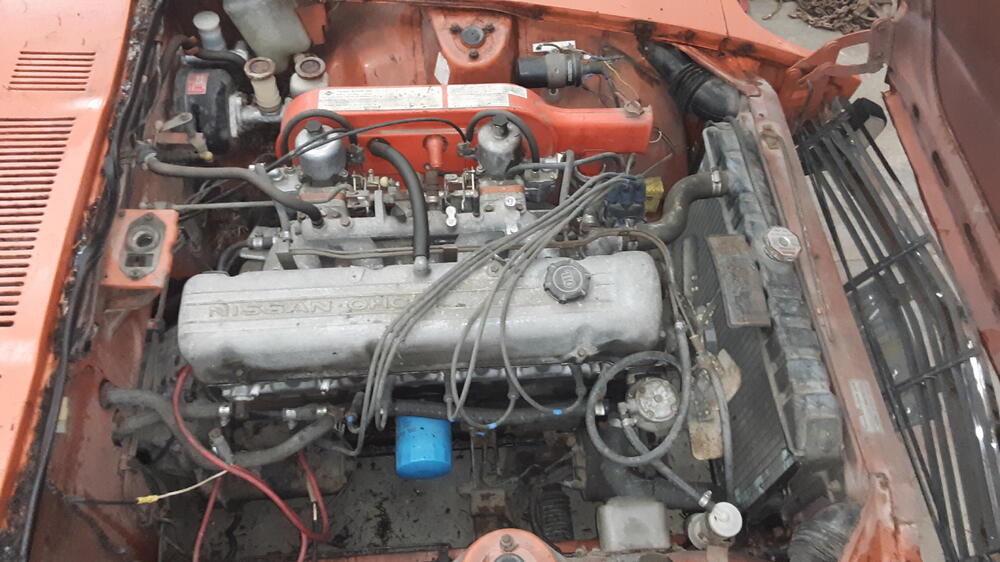
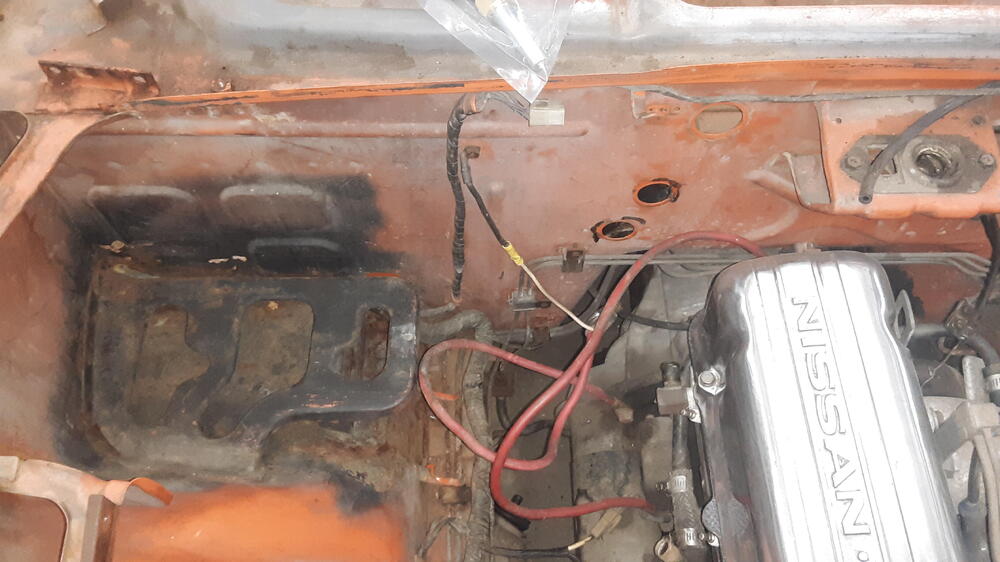
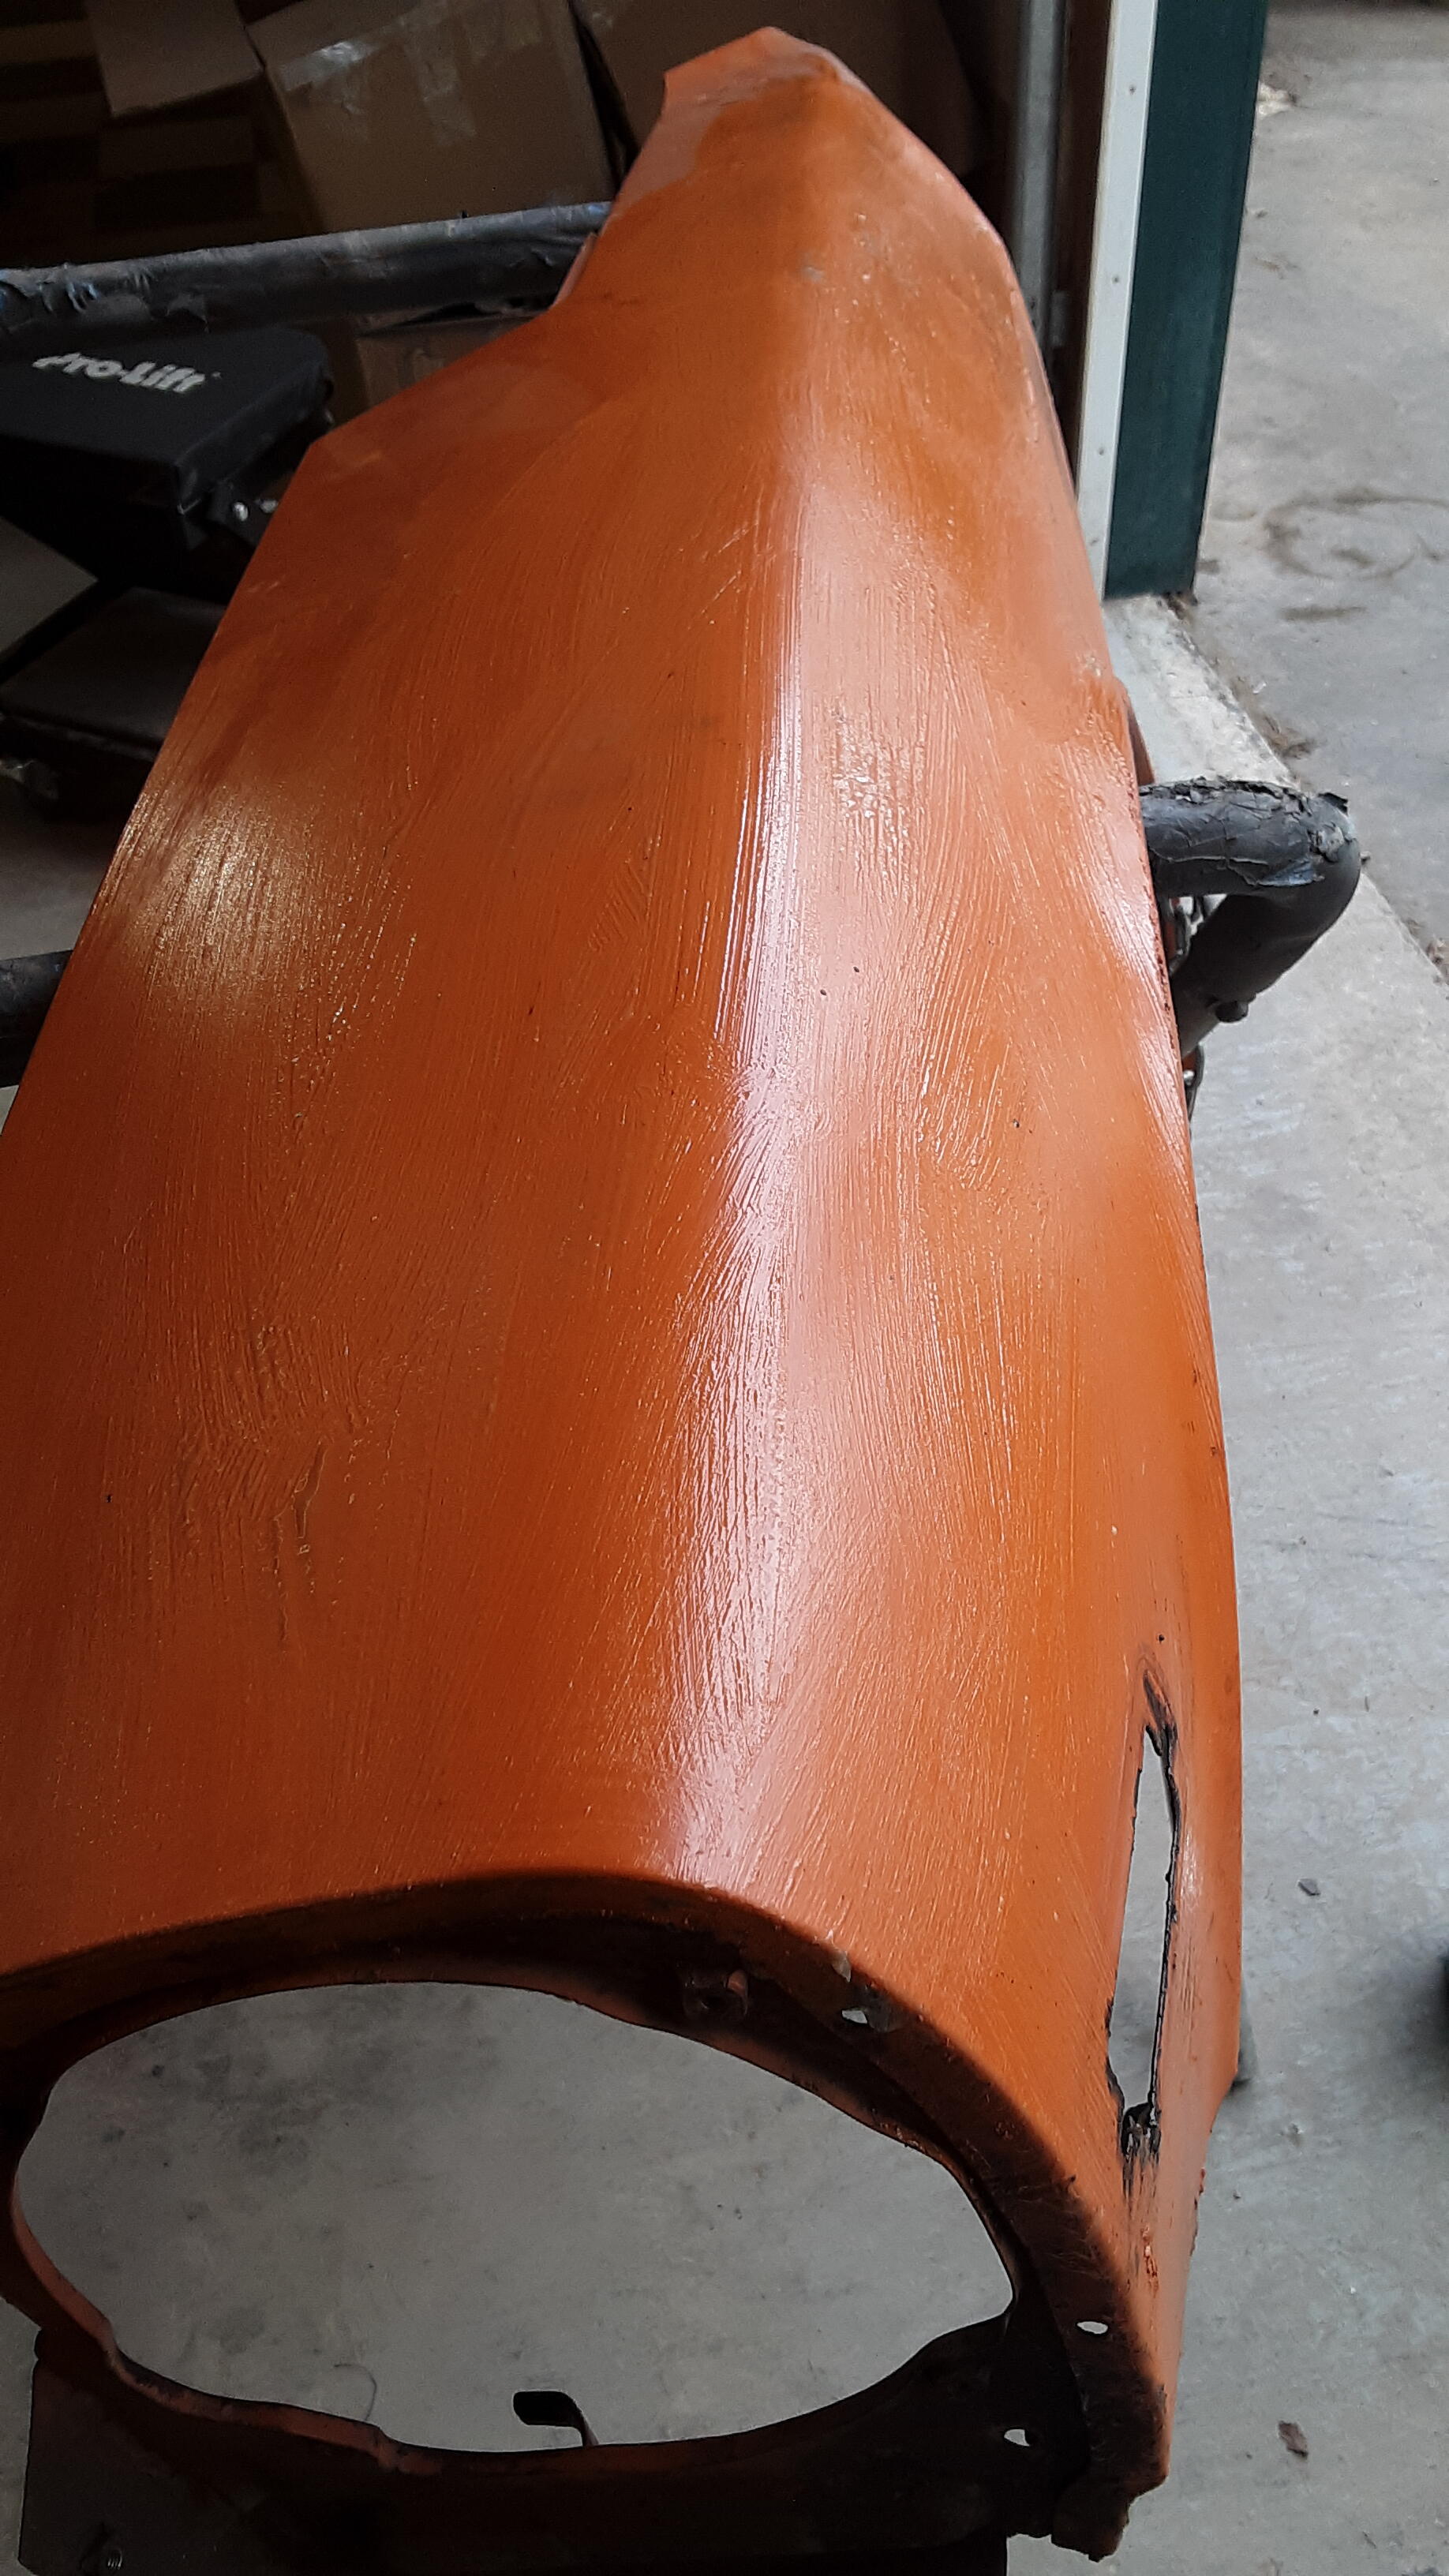
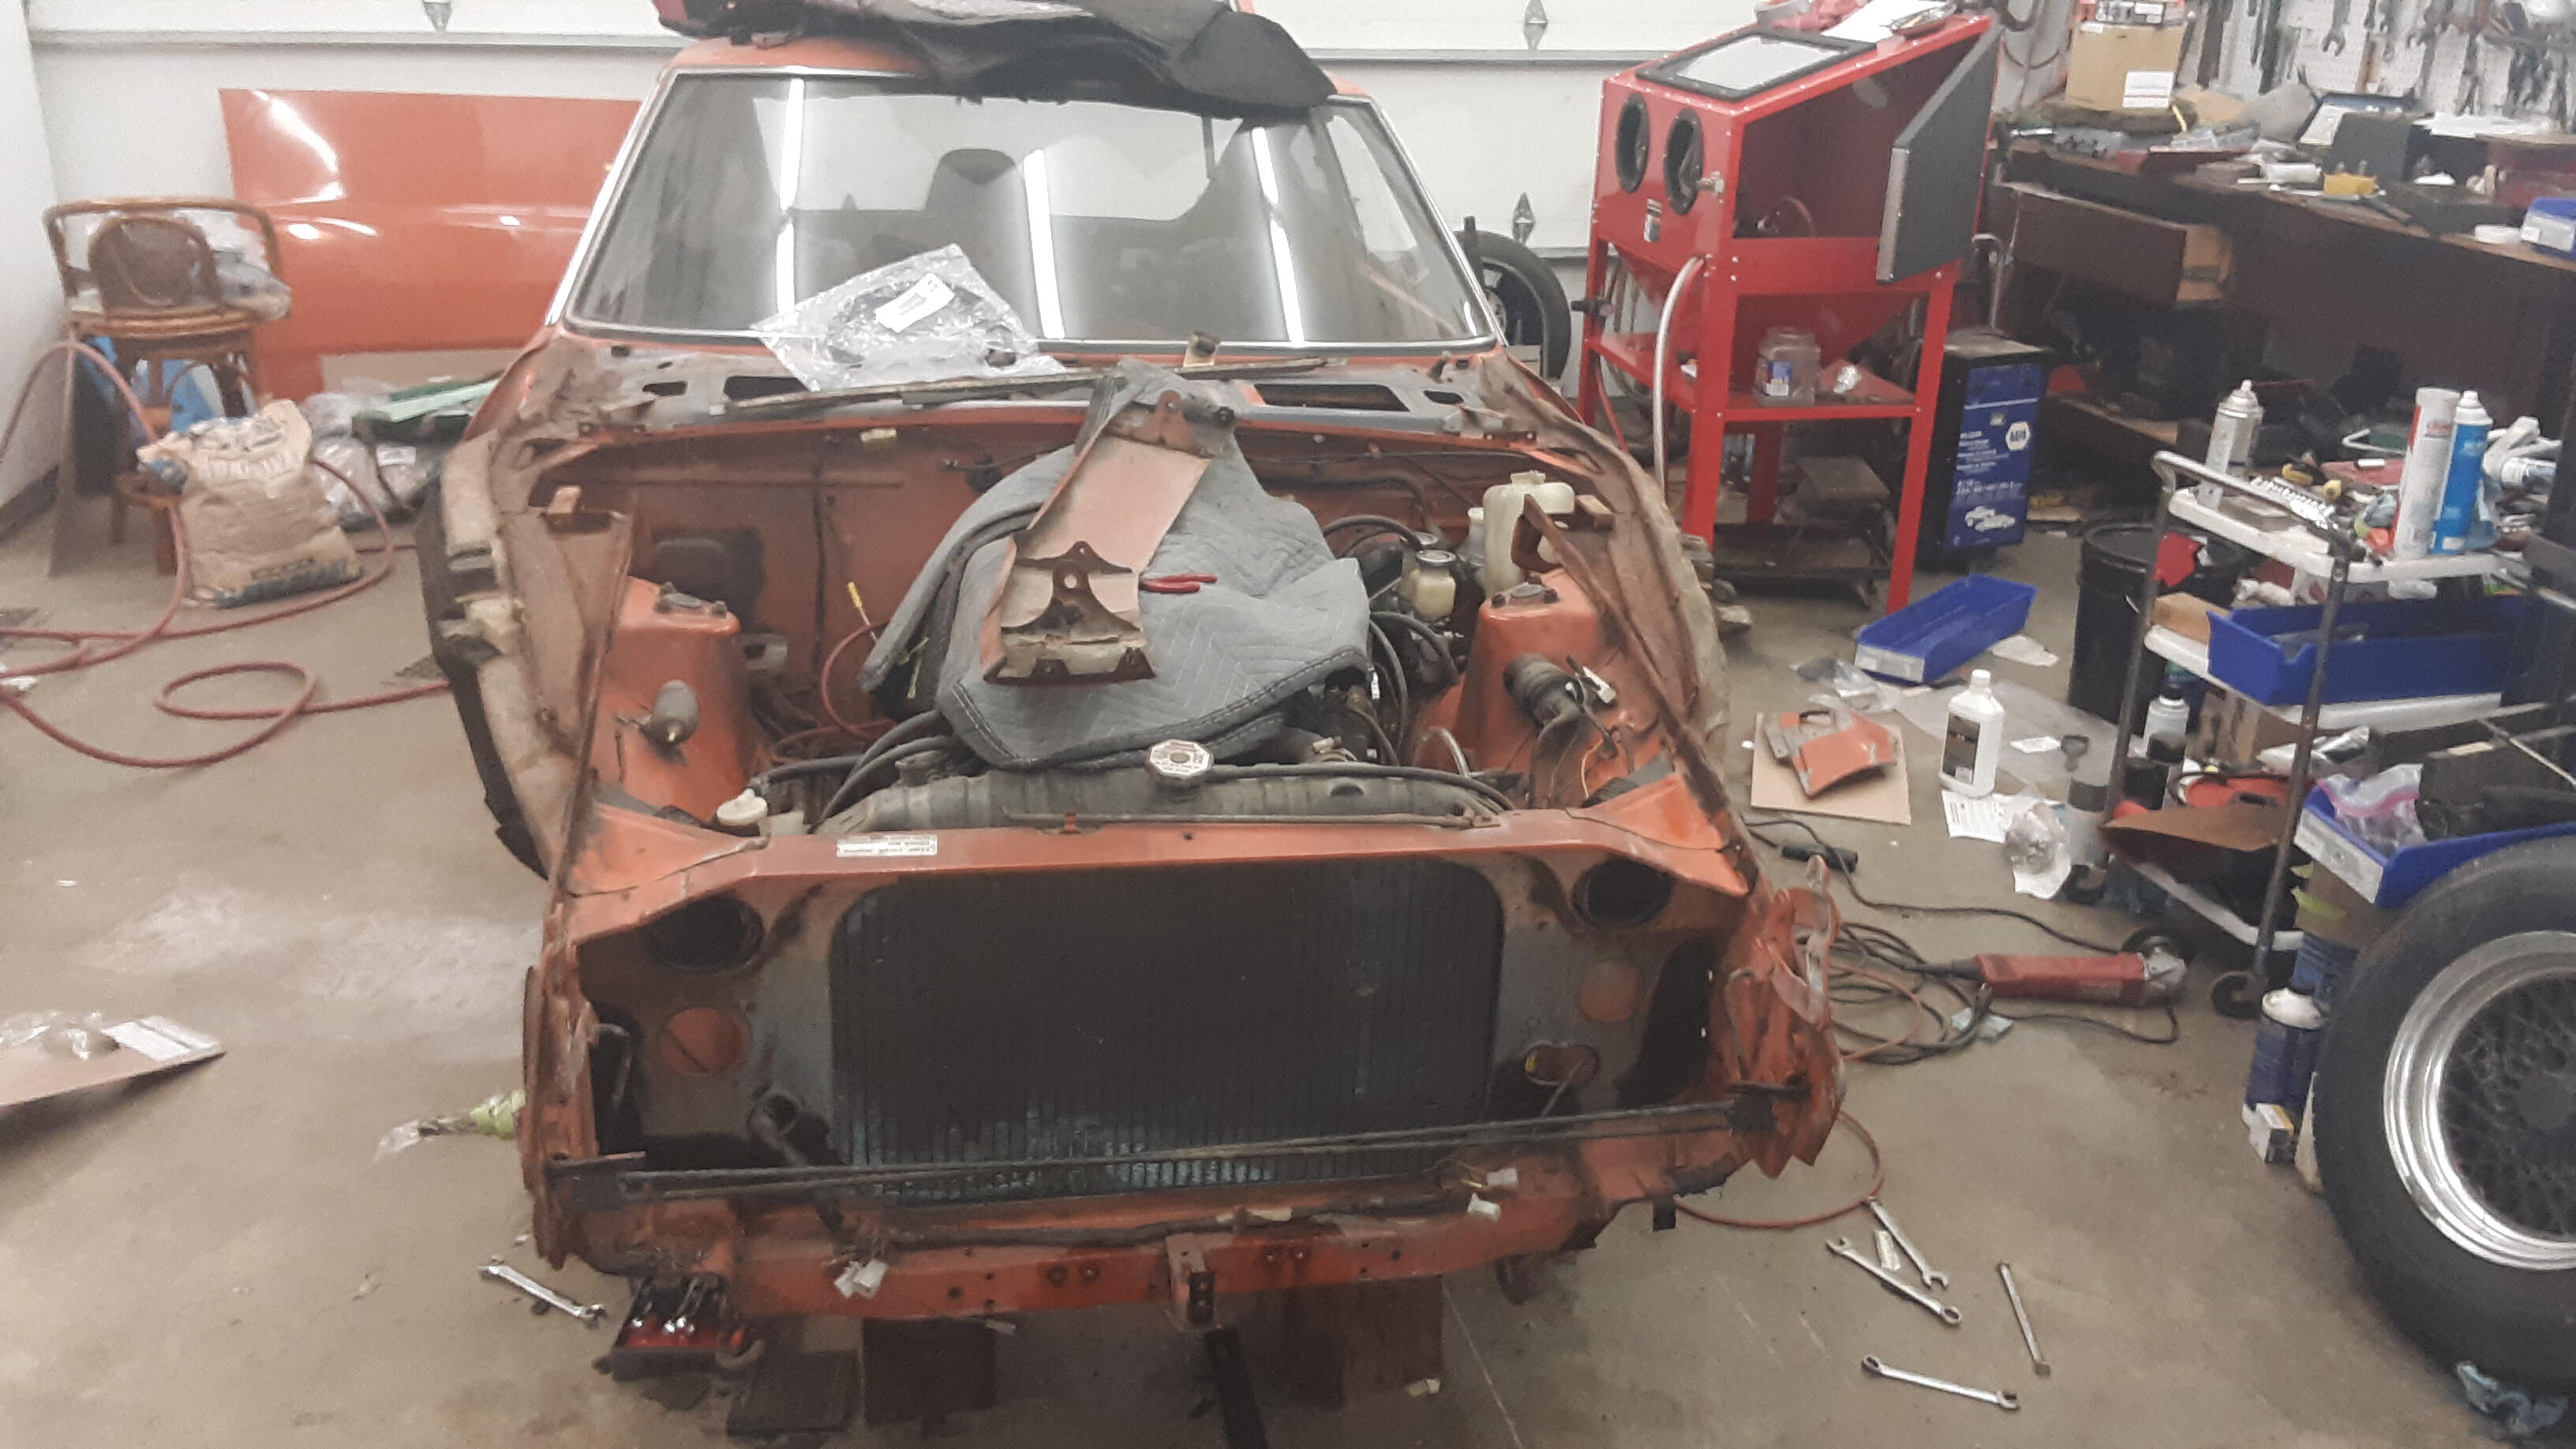
Engine bay: Carbs were done by Ztherapy in 8/2000 and cylinder head was done in 2002 The inside of the doors were a bit under the weather, the belt moulding rubber was toast, all the rubber on this car was past it's prime. I decided to treat the doors with POR.


-
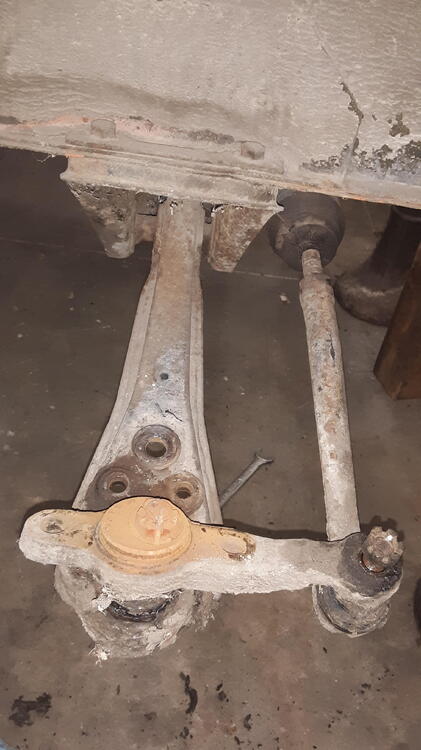
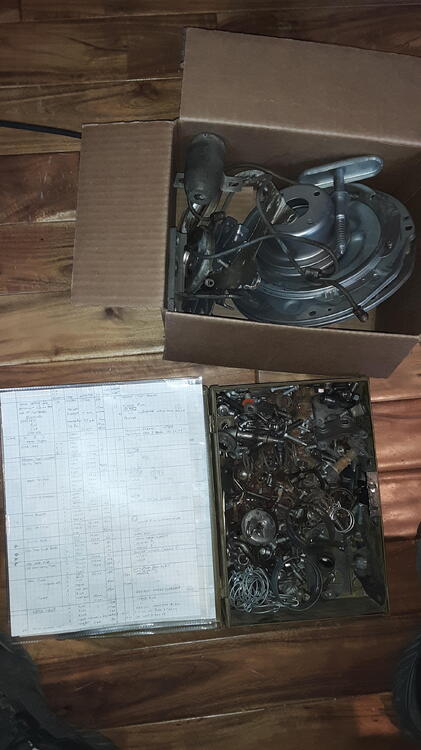
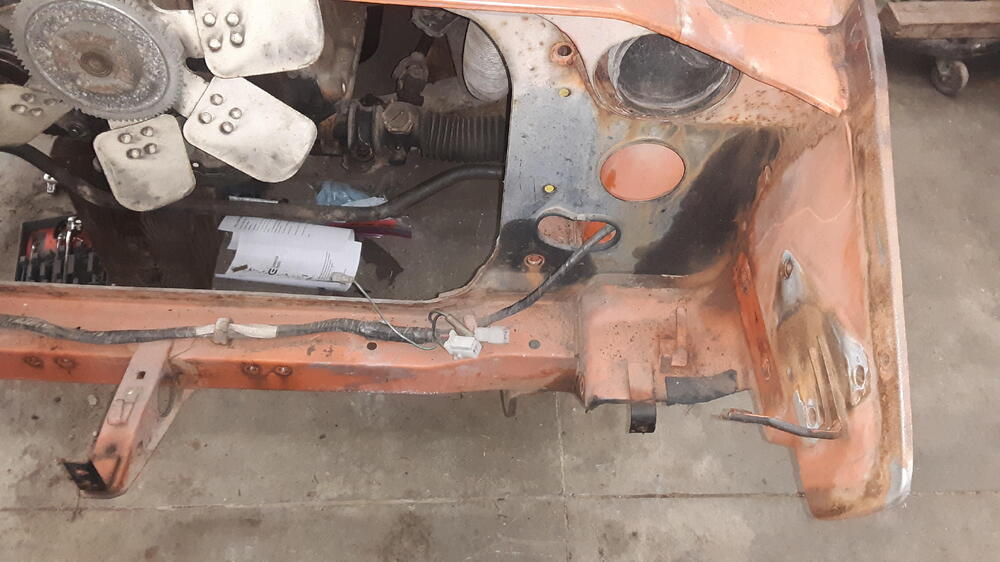
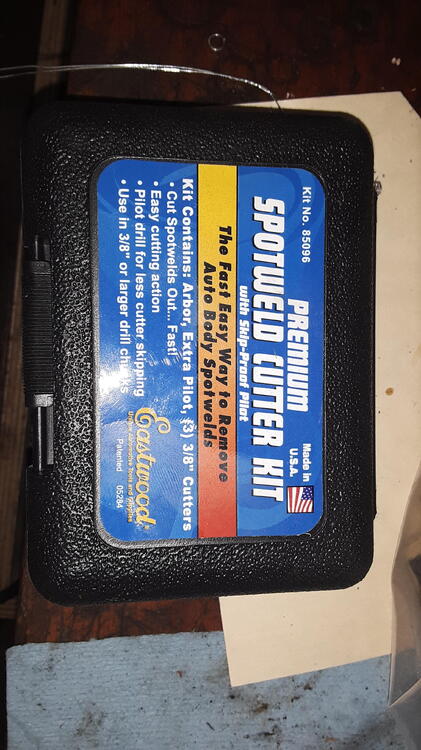
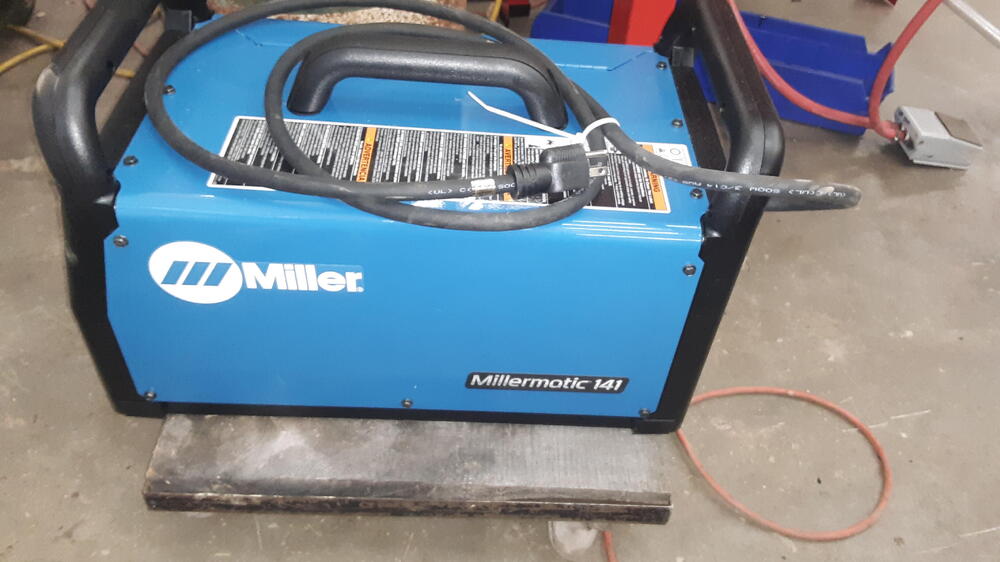
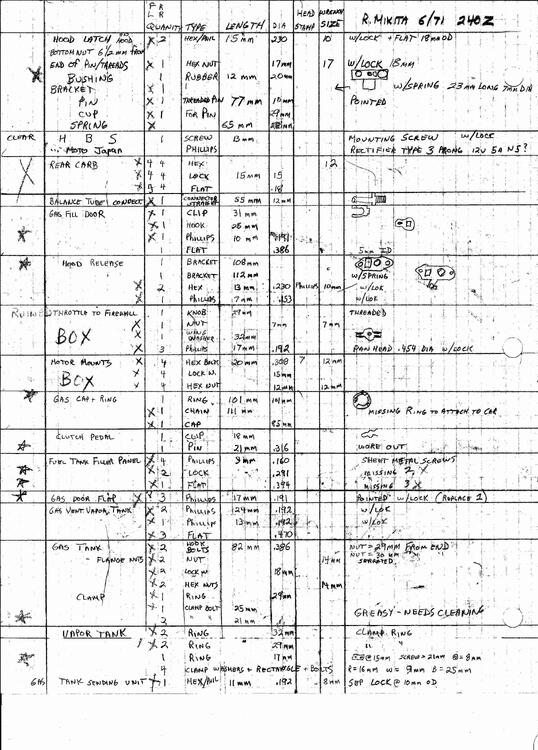
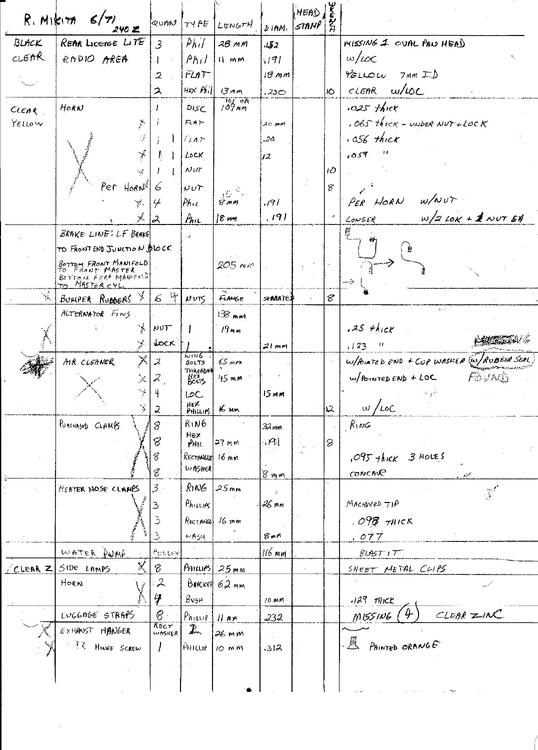
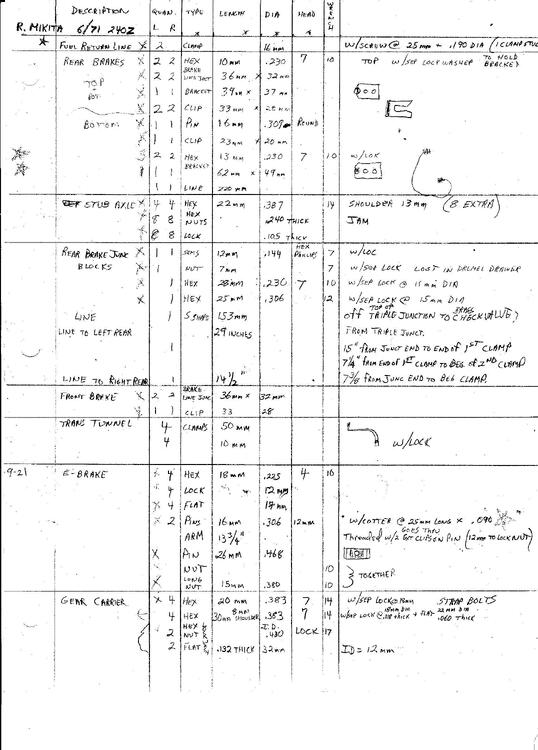
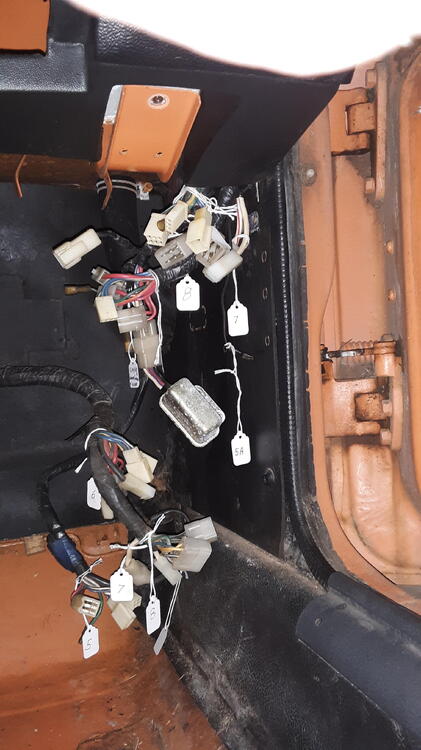
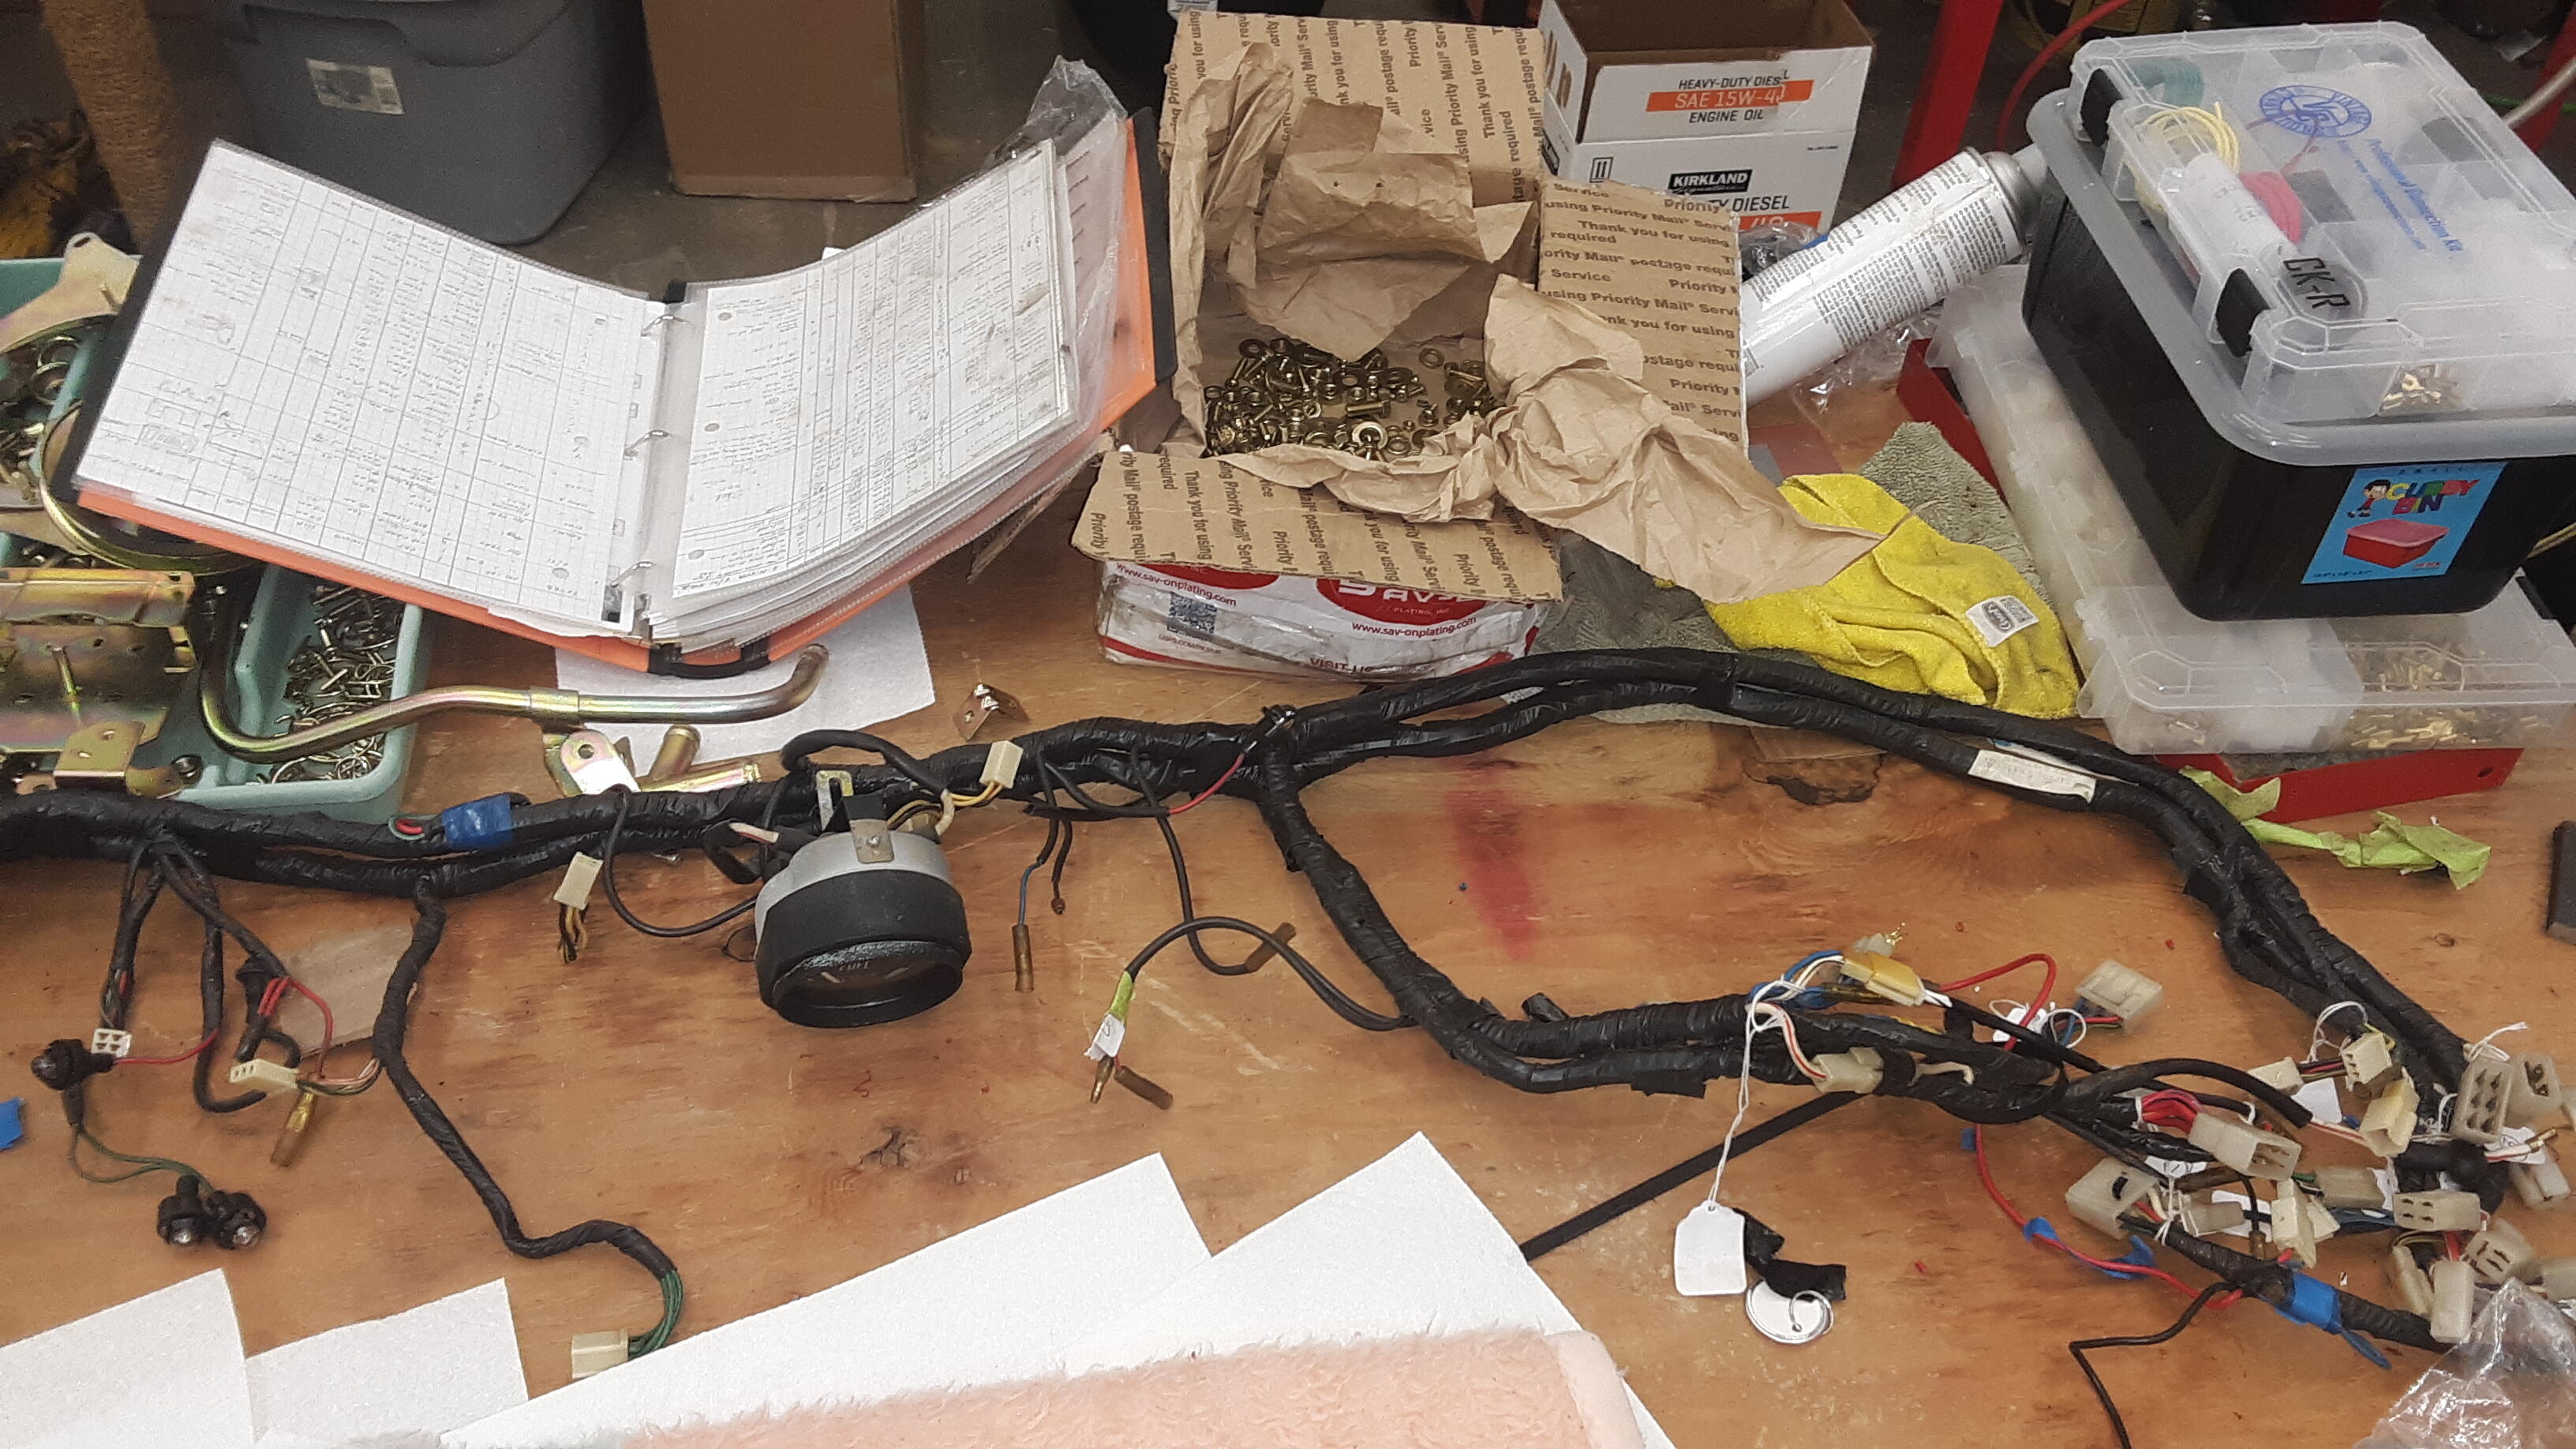
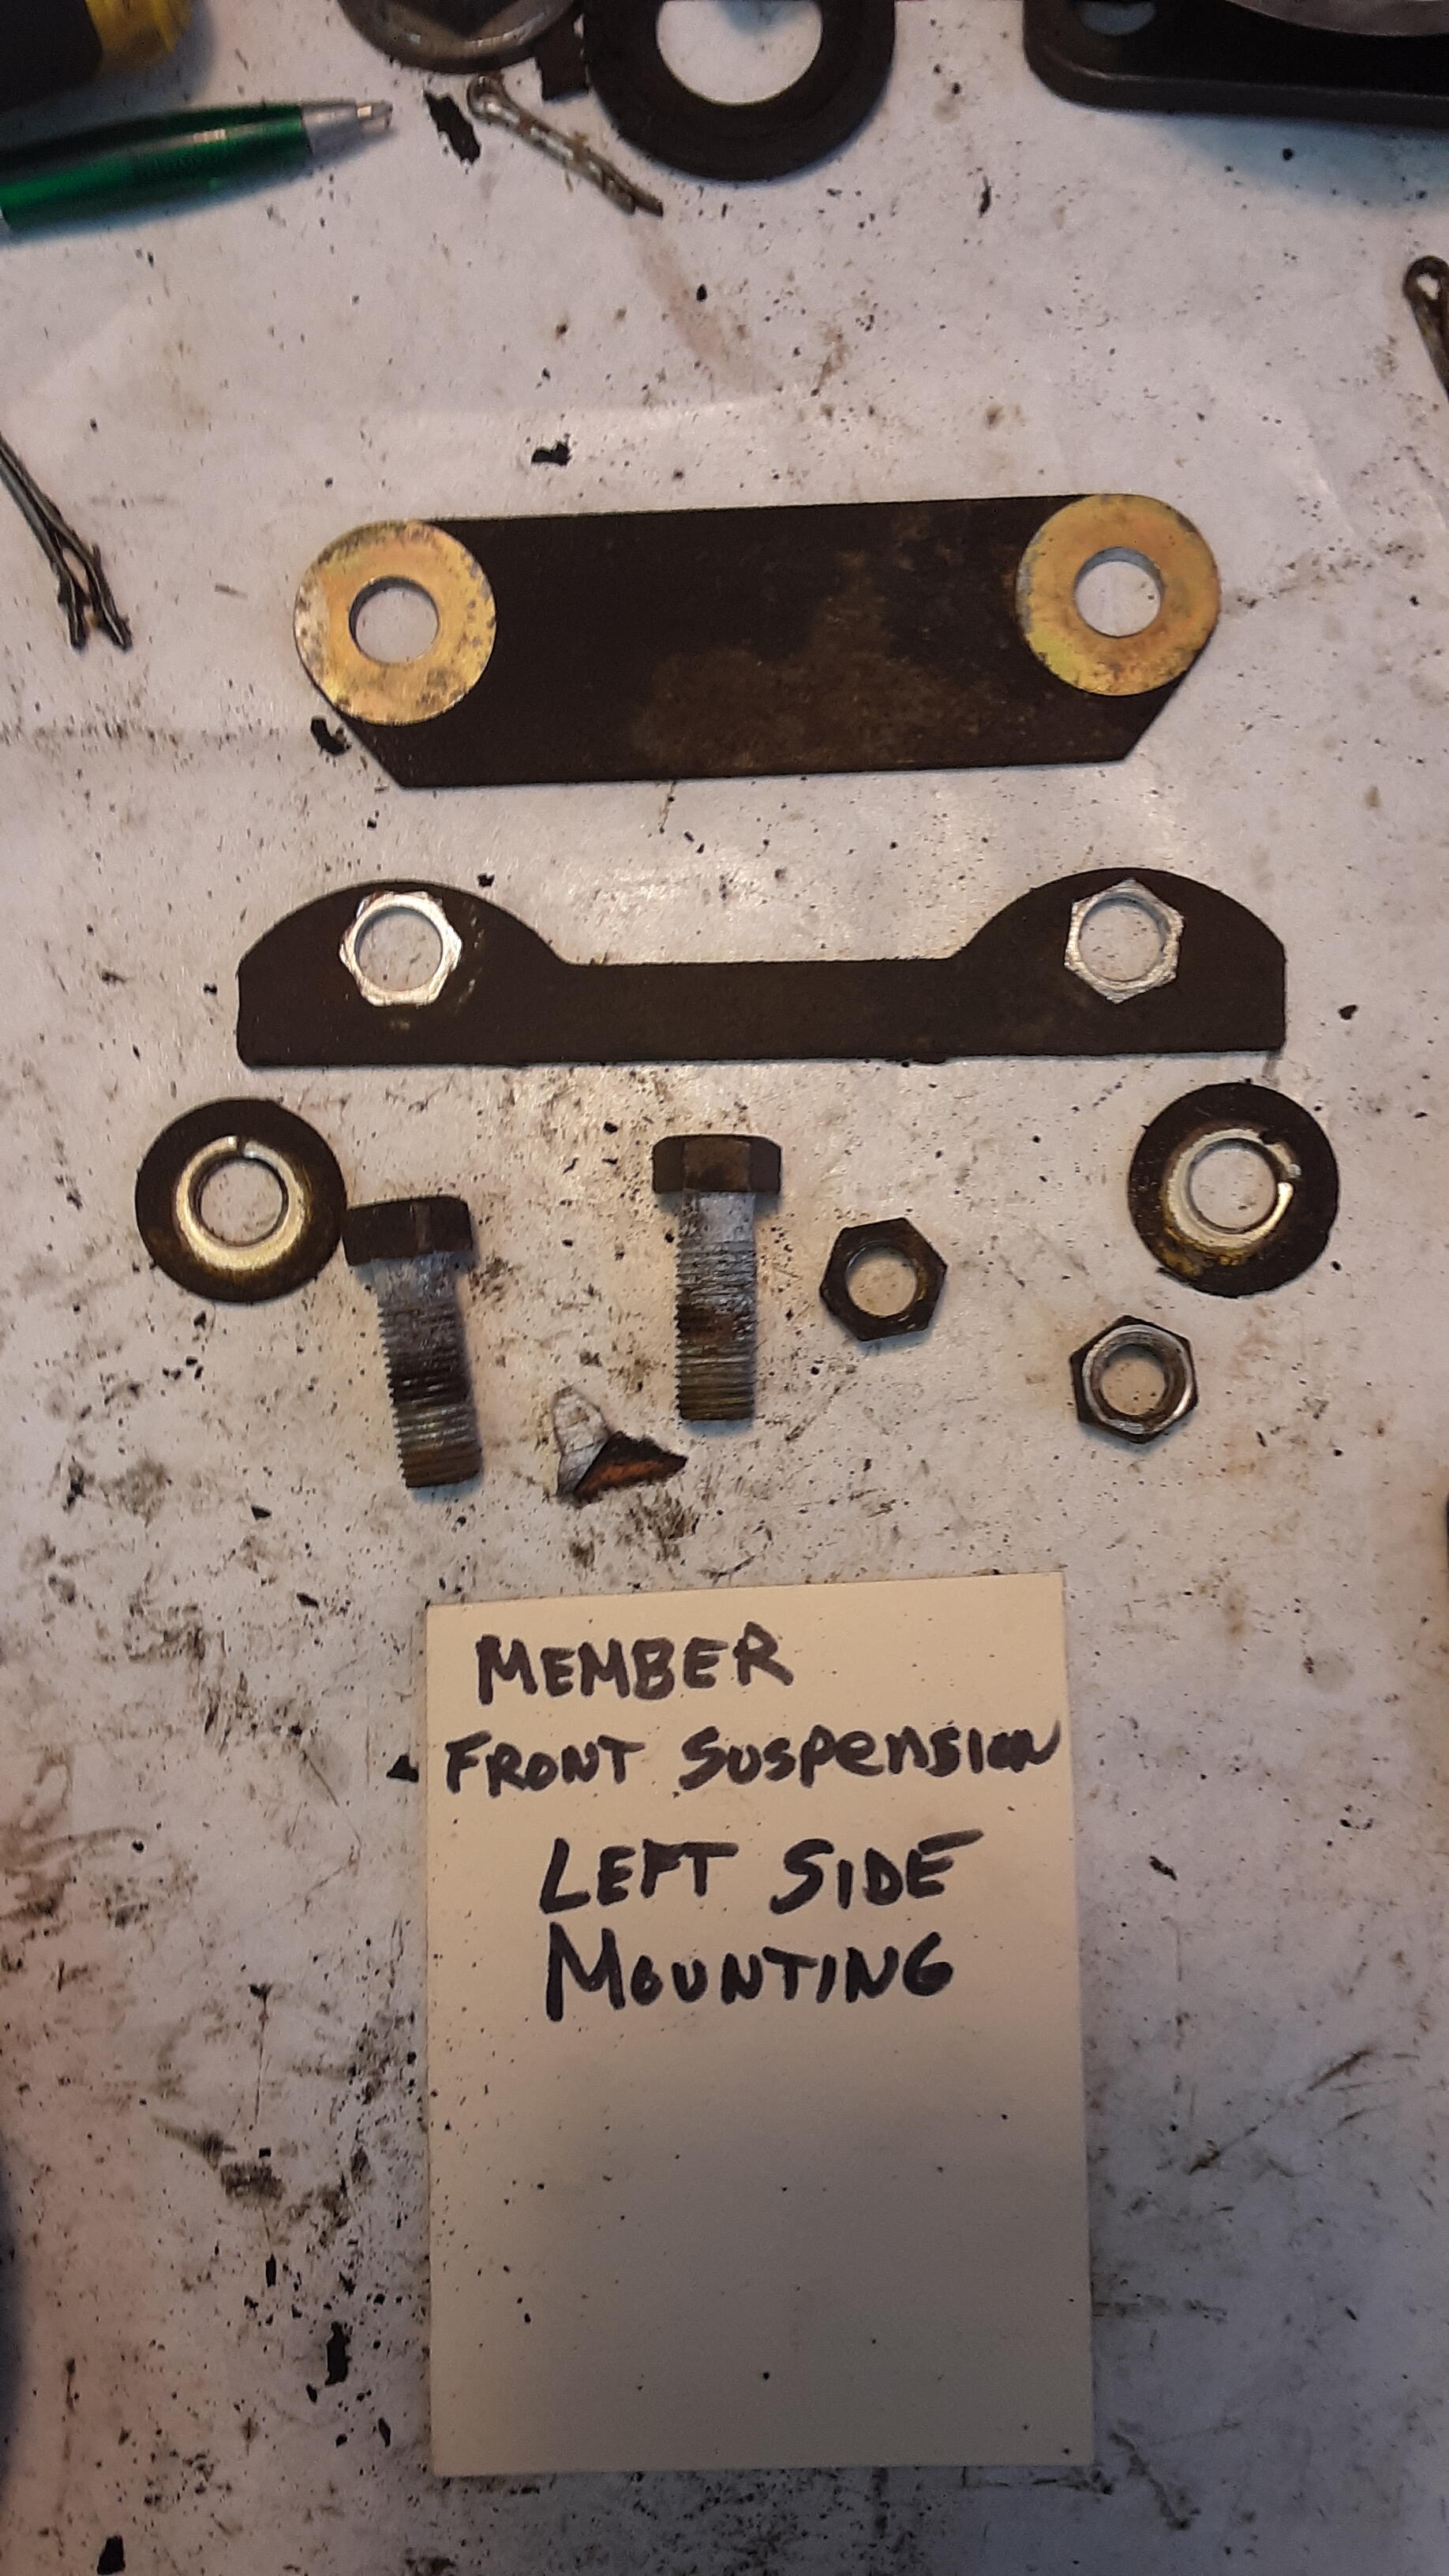
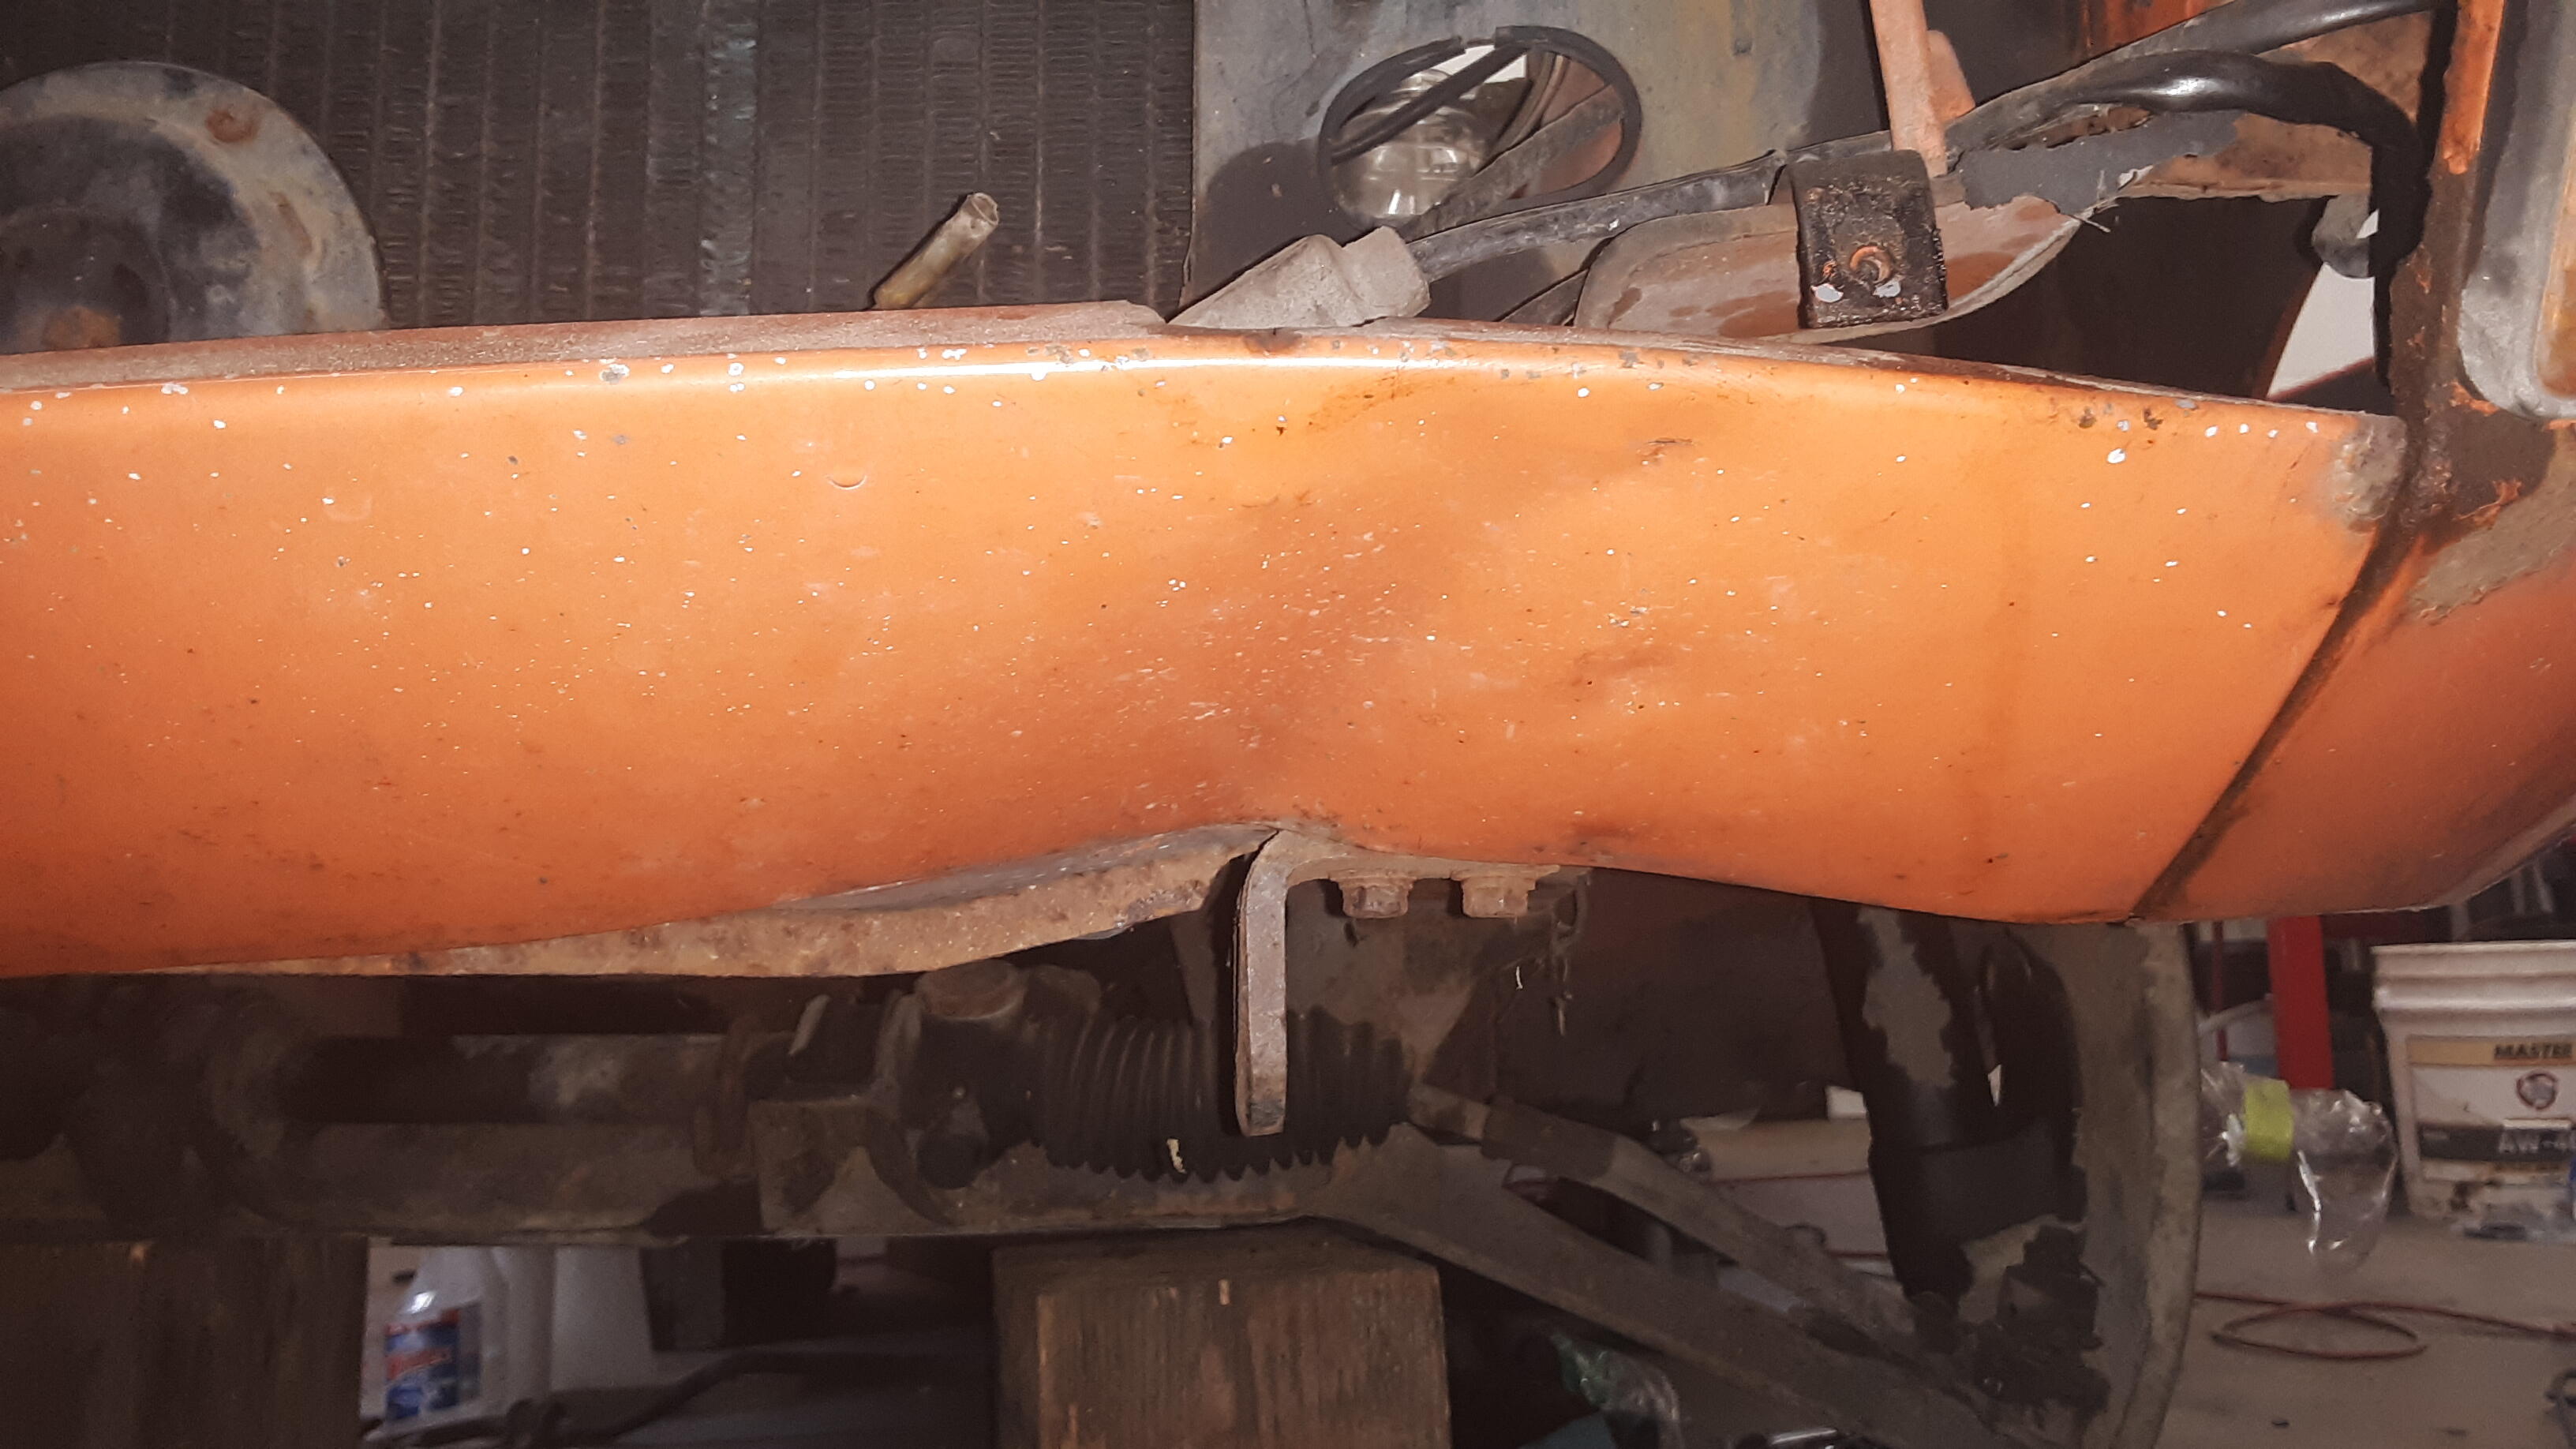
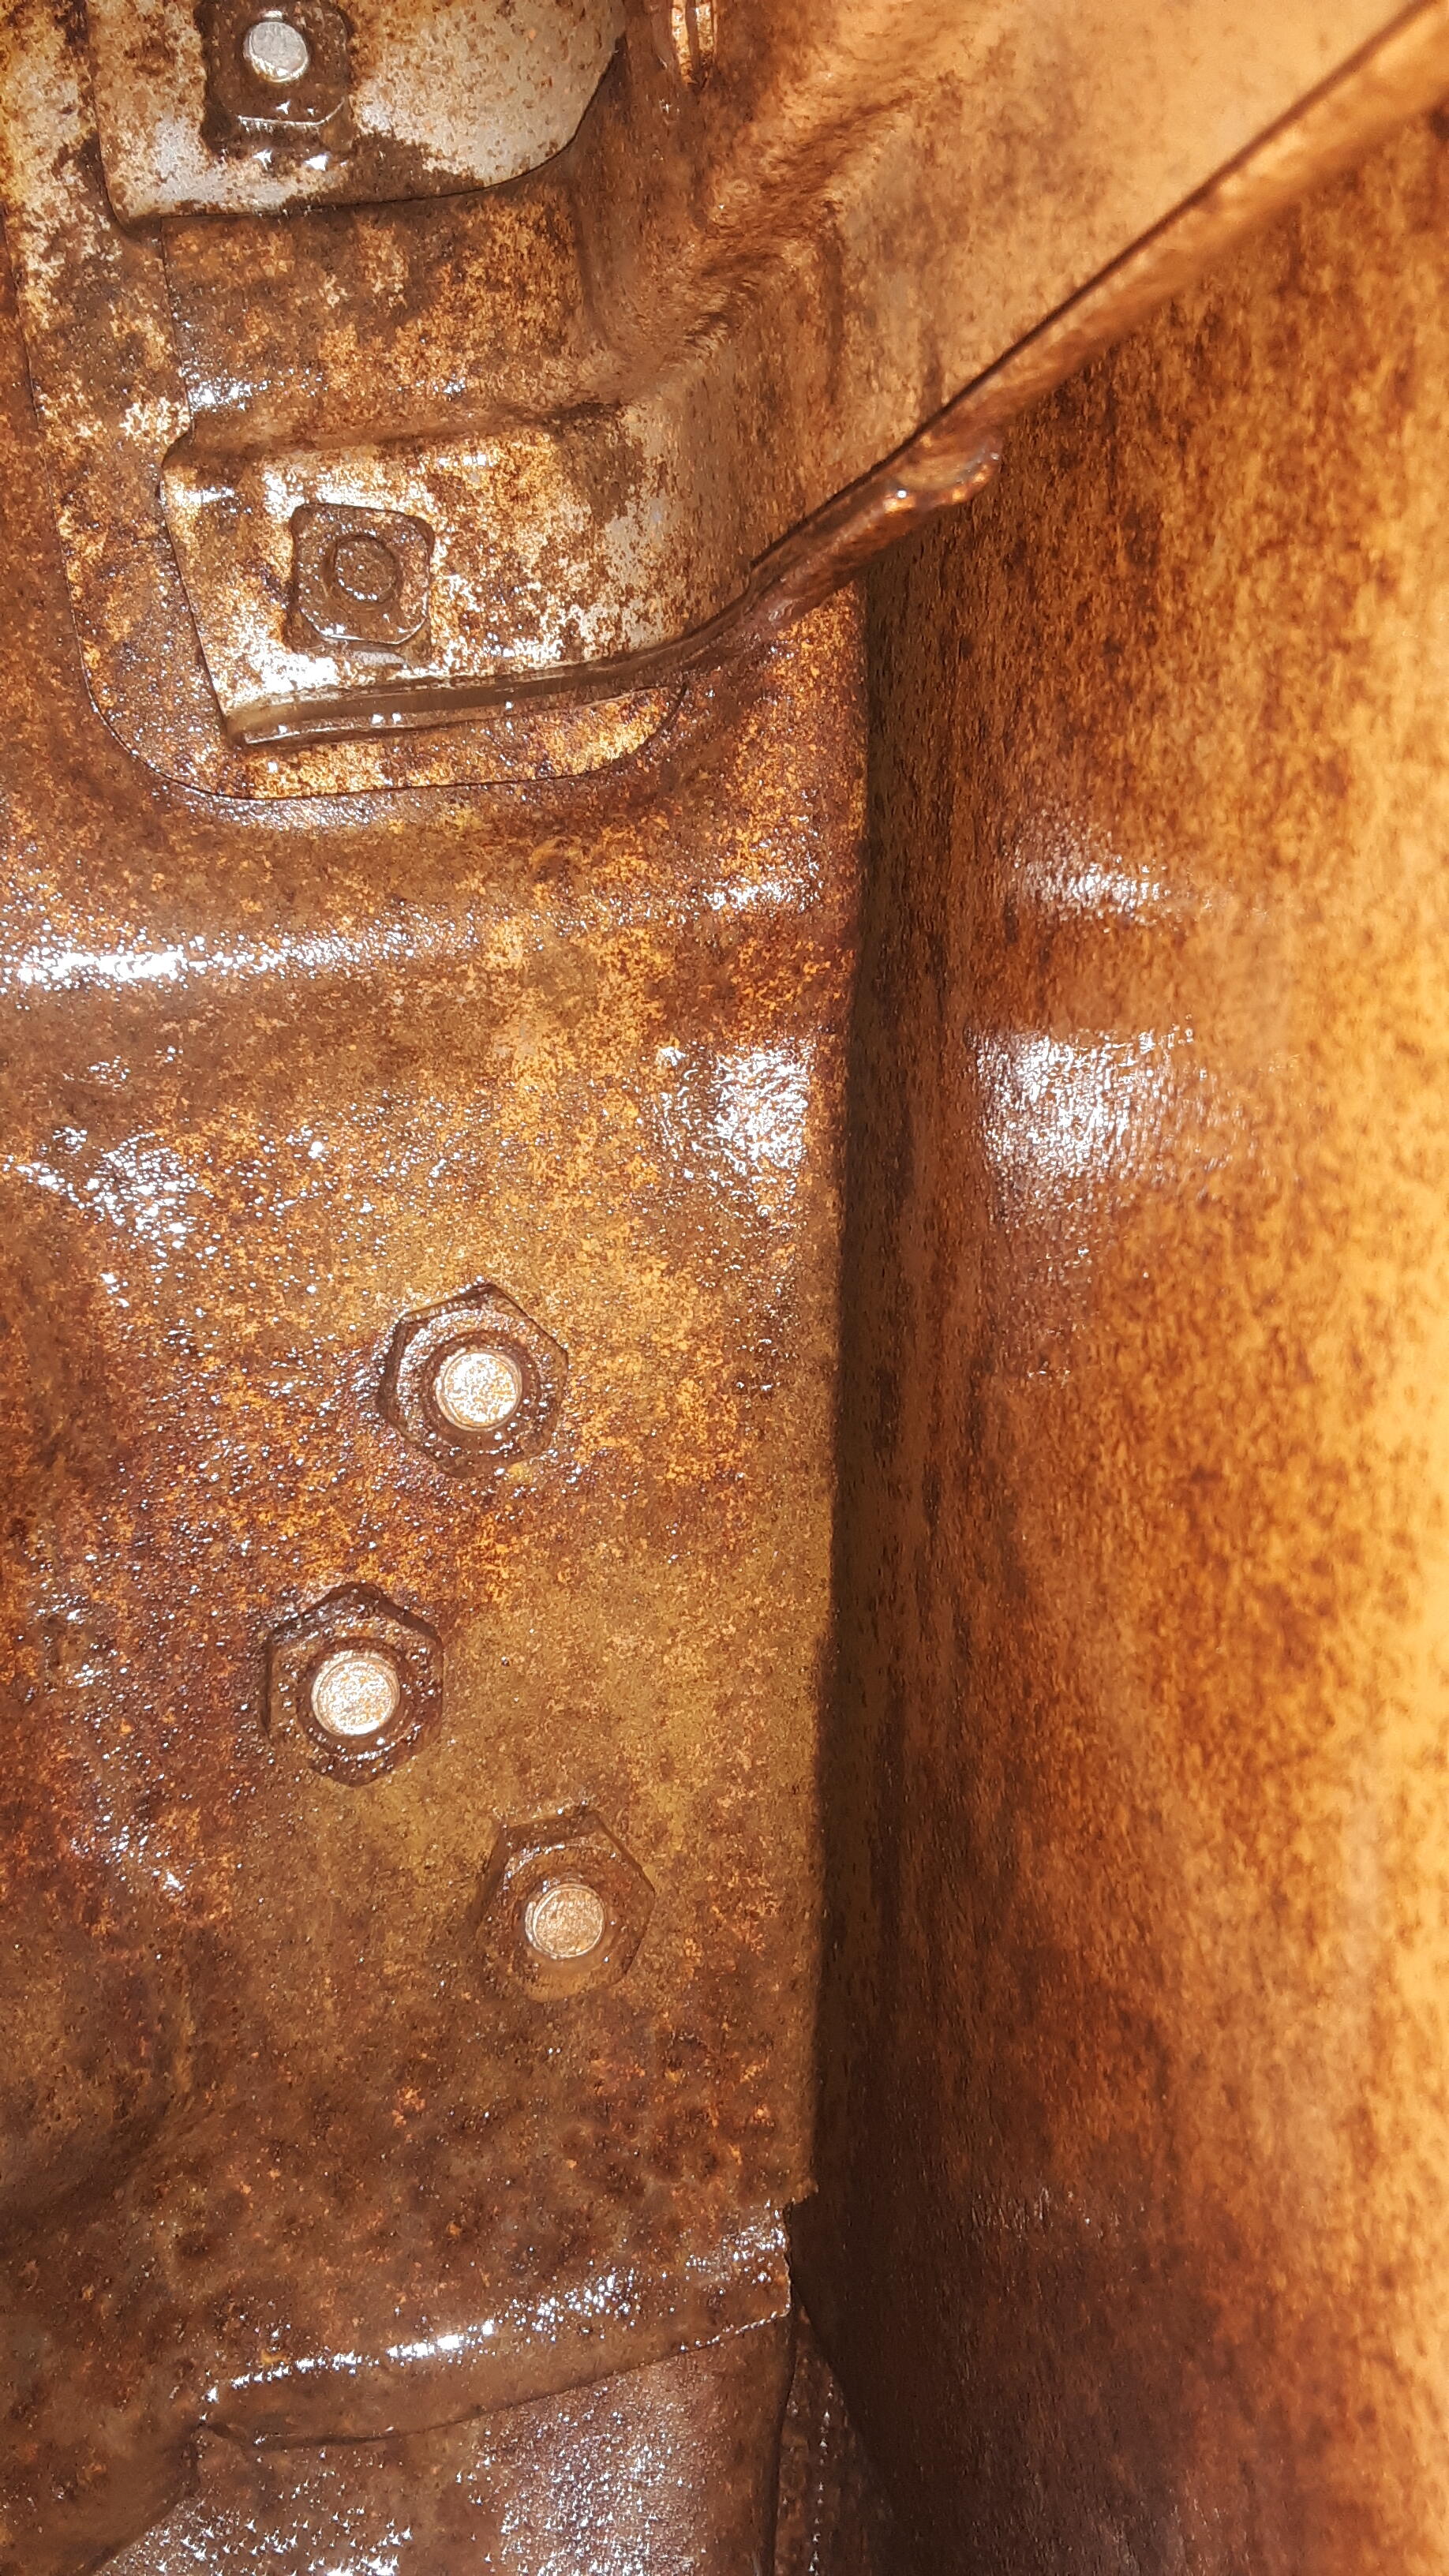
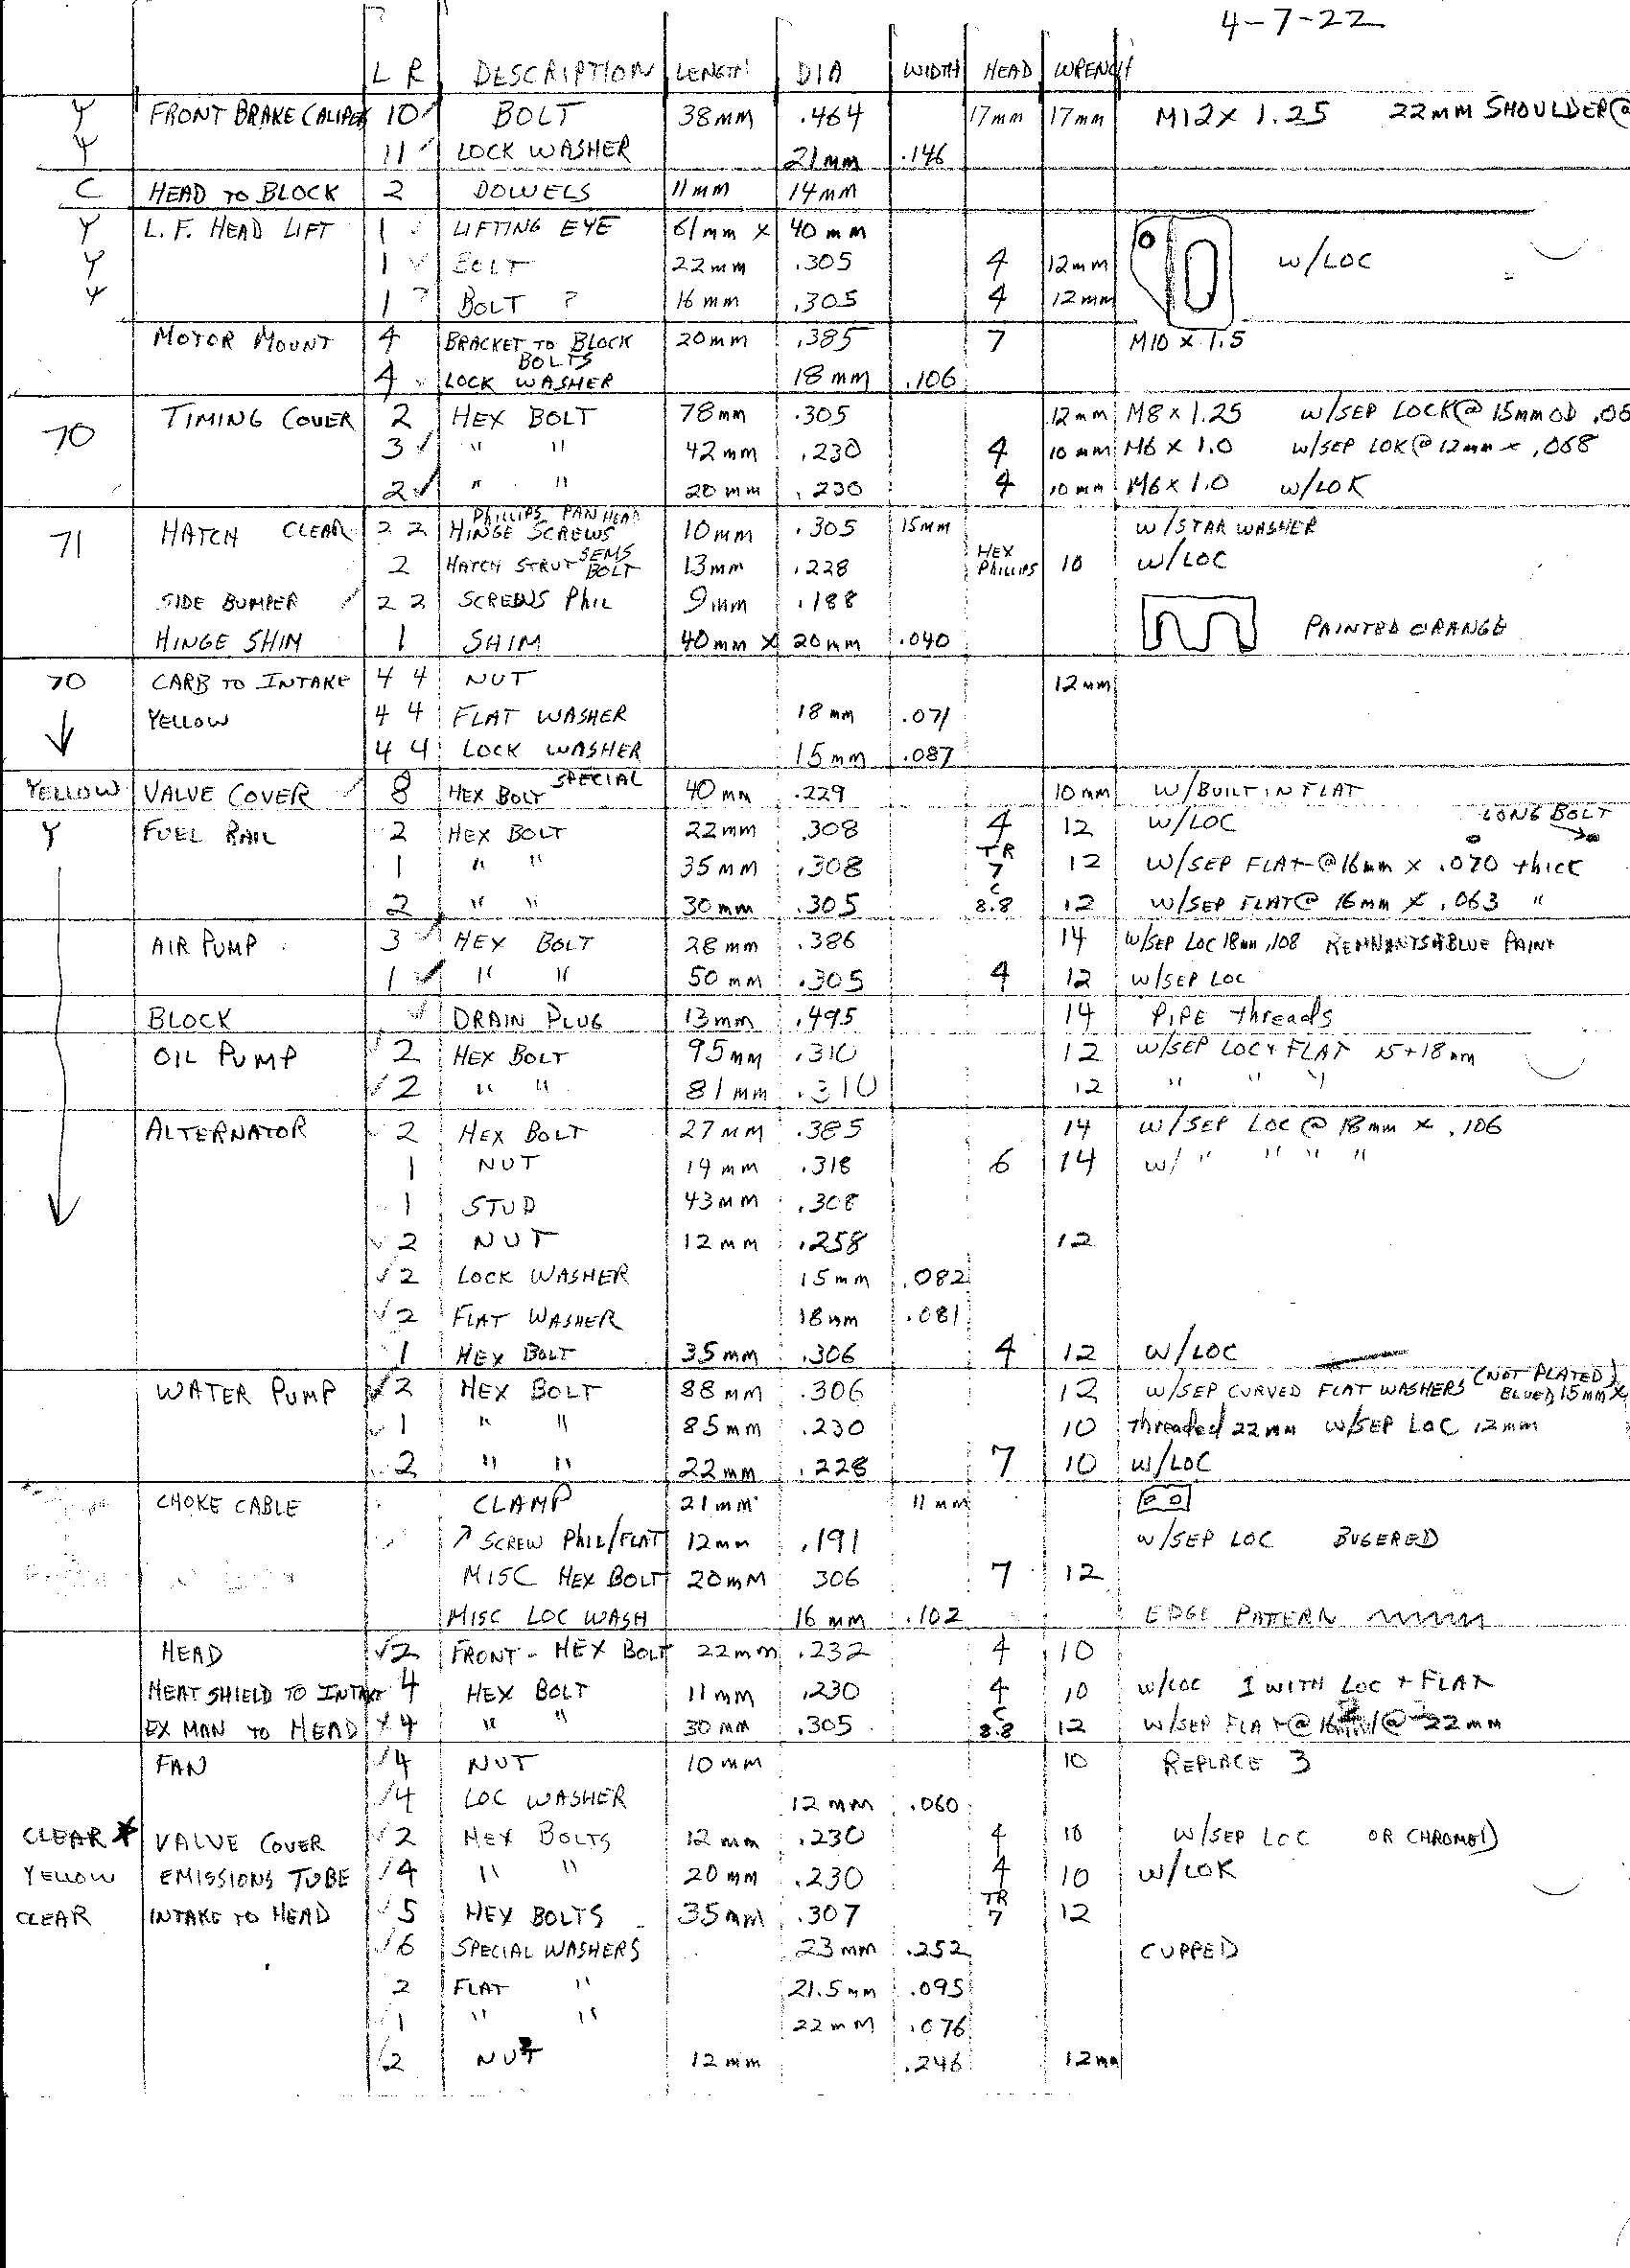
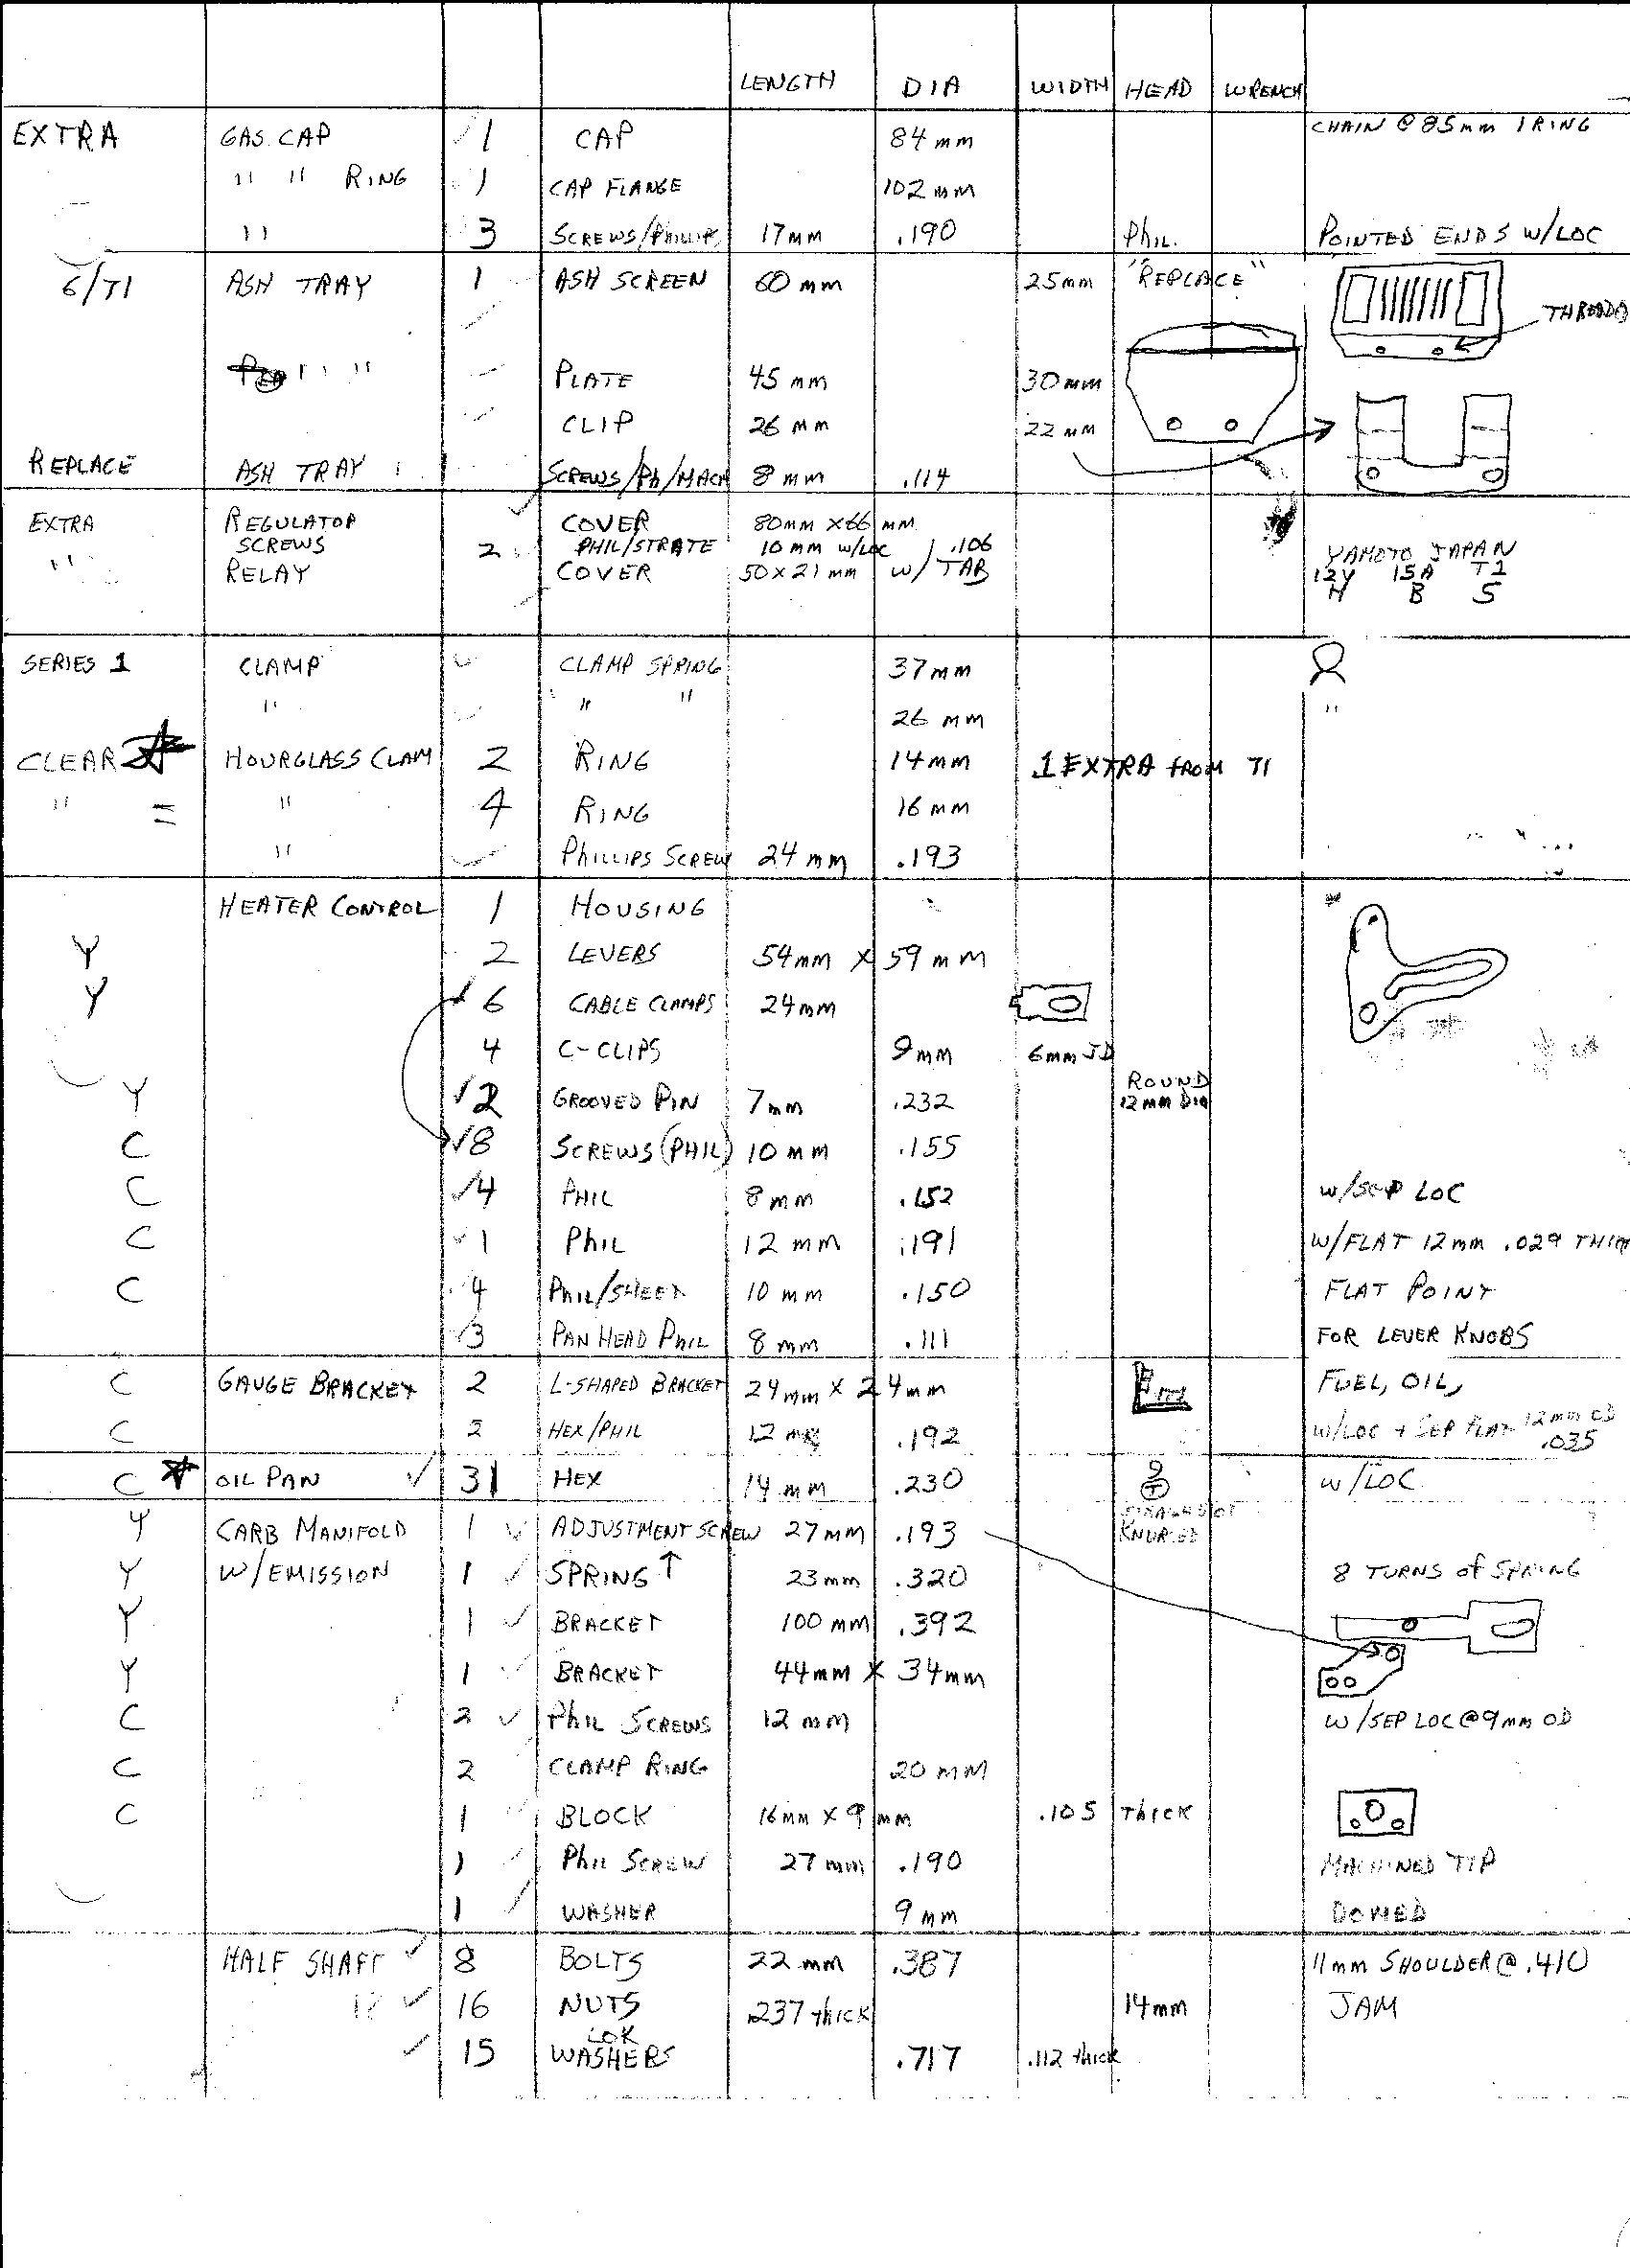
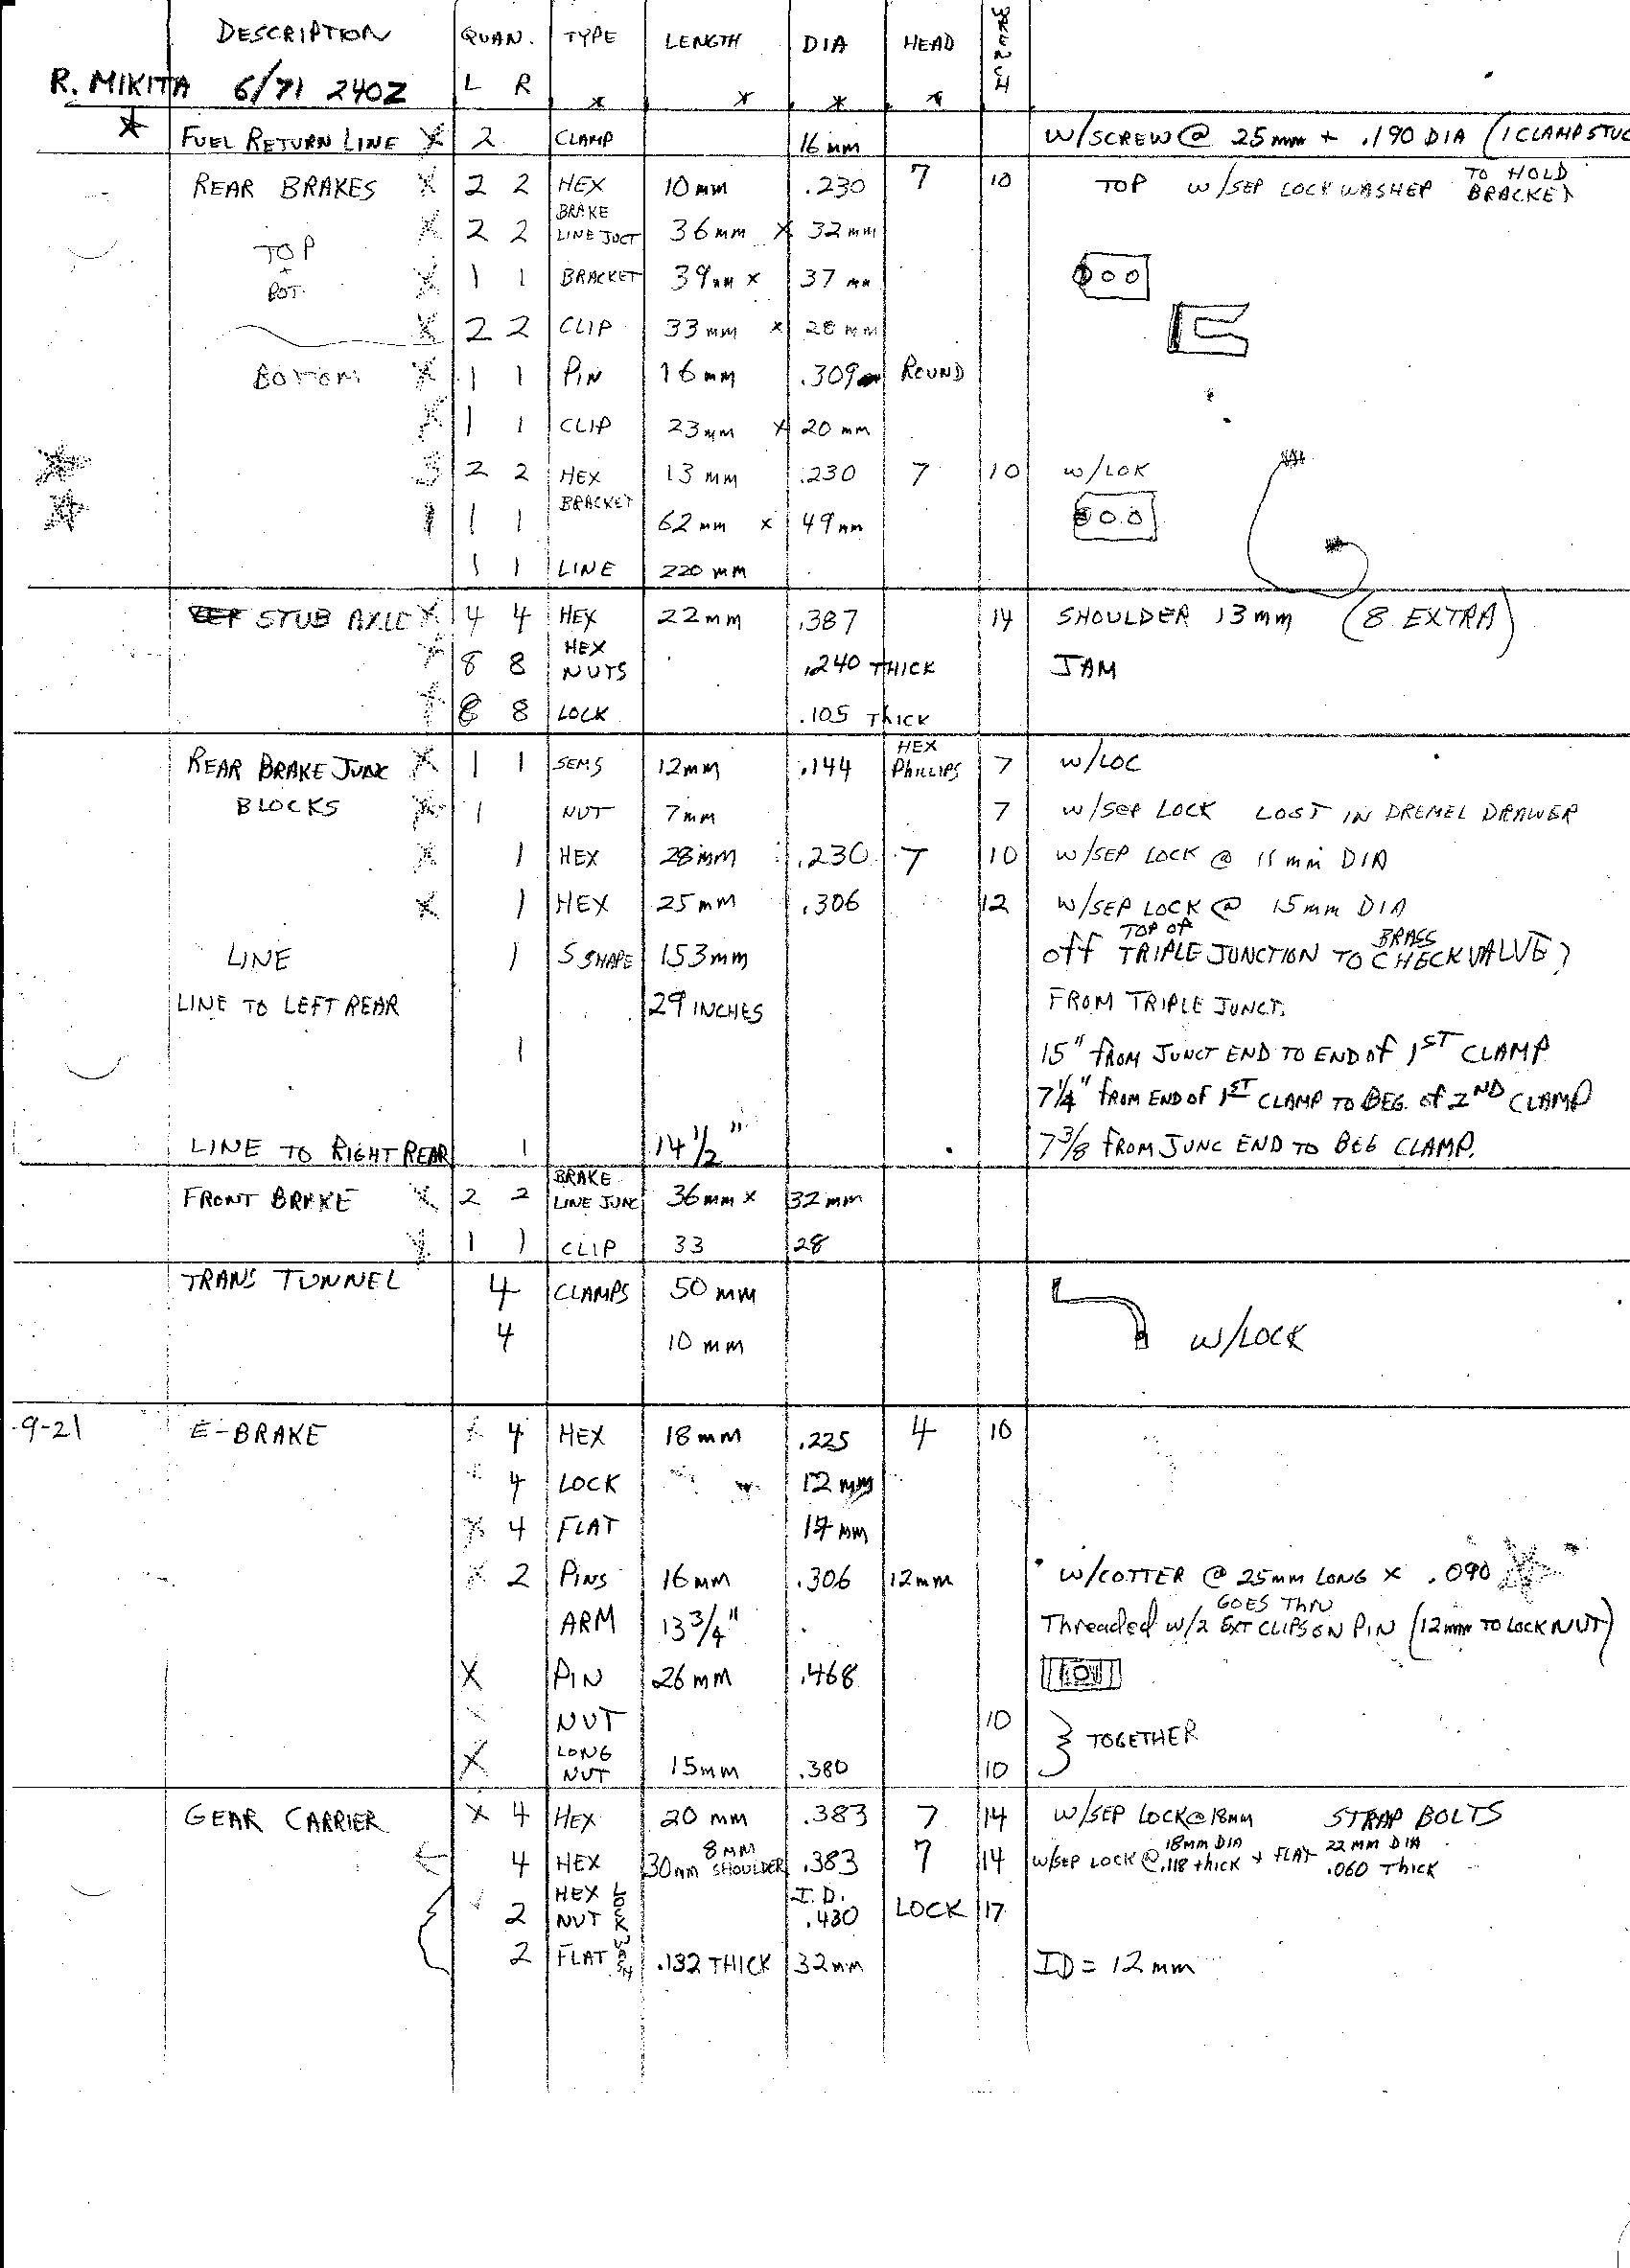
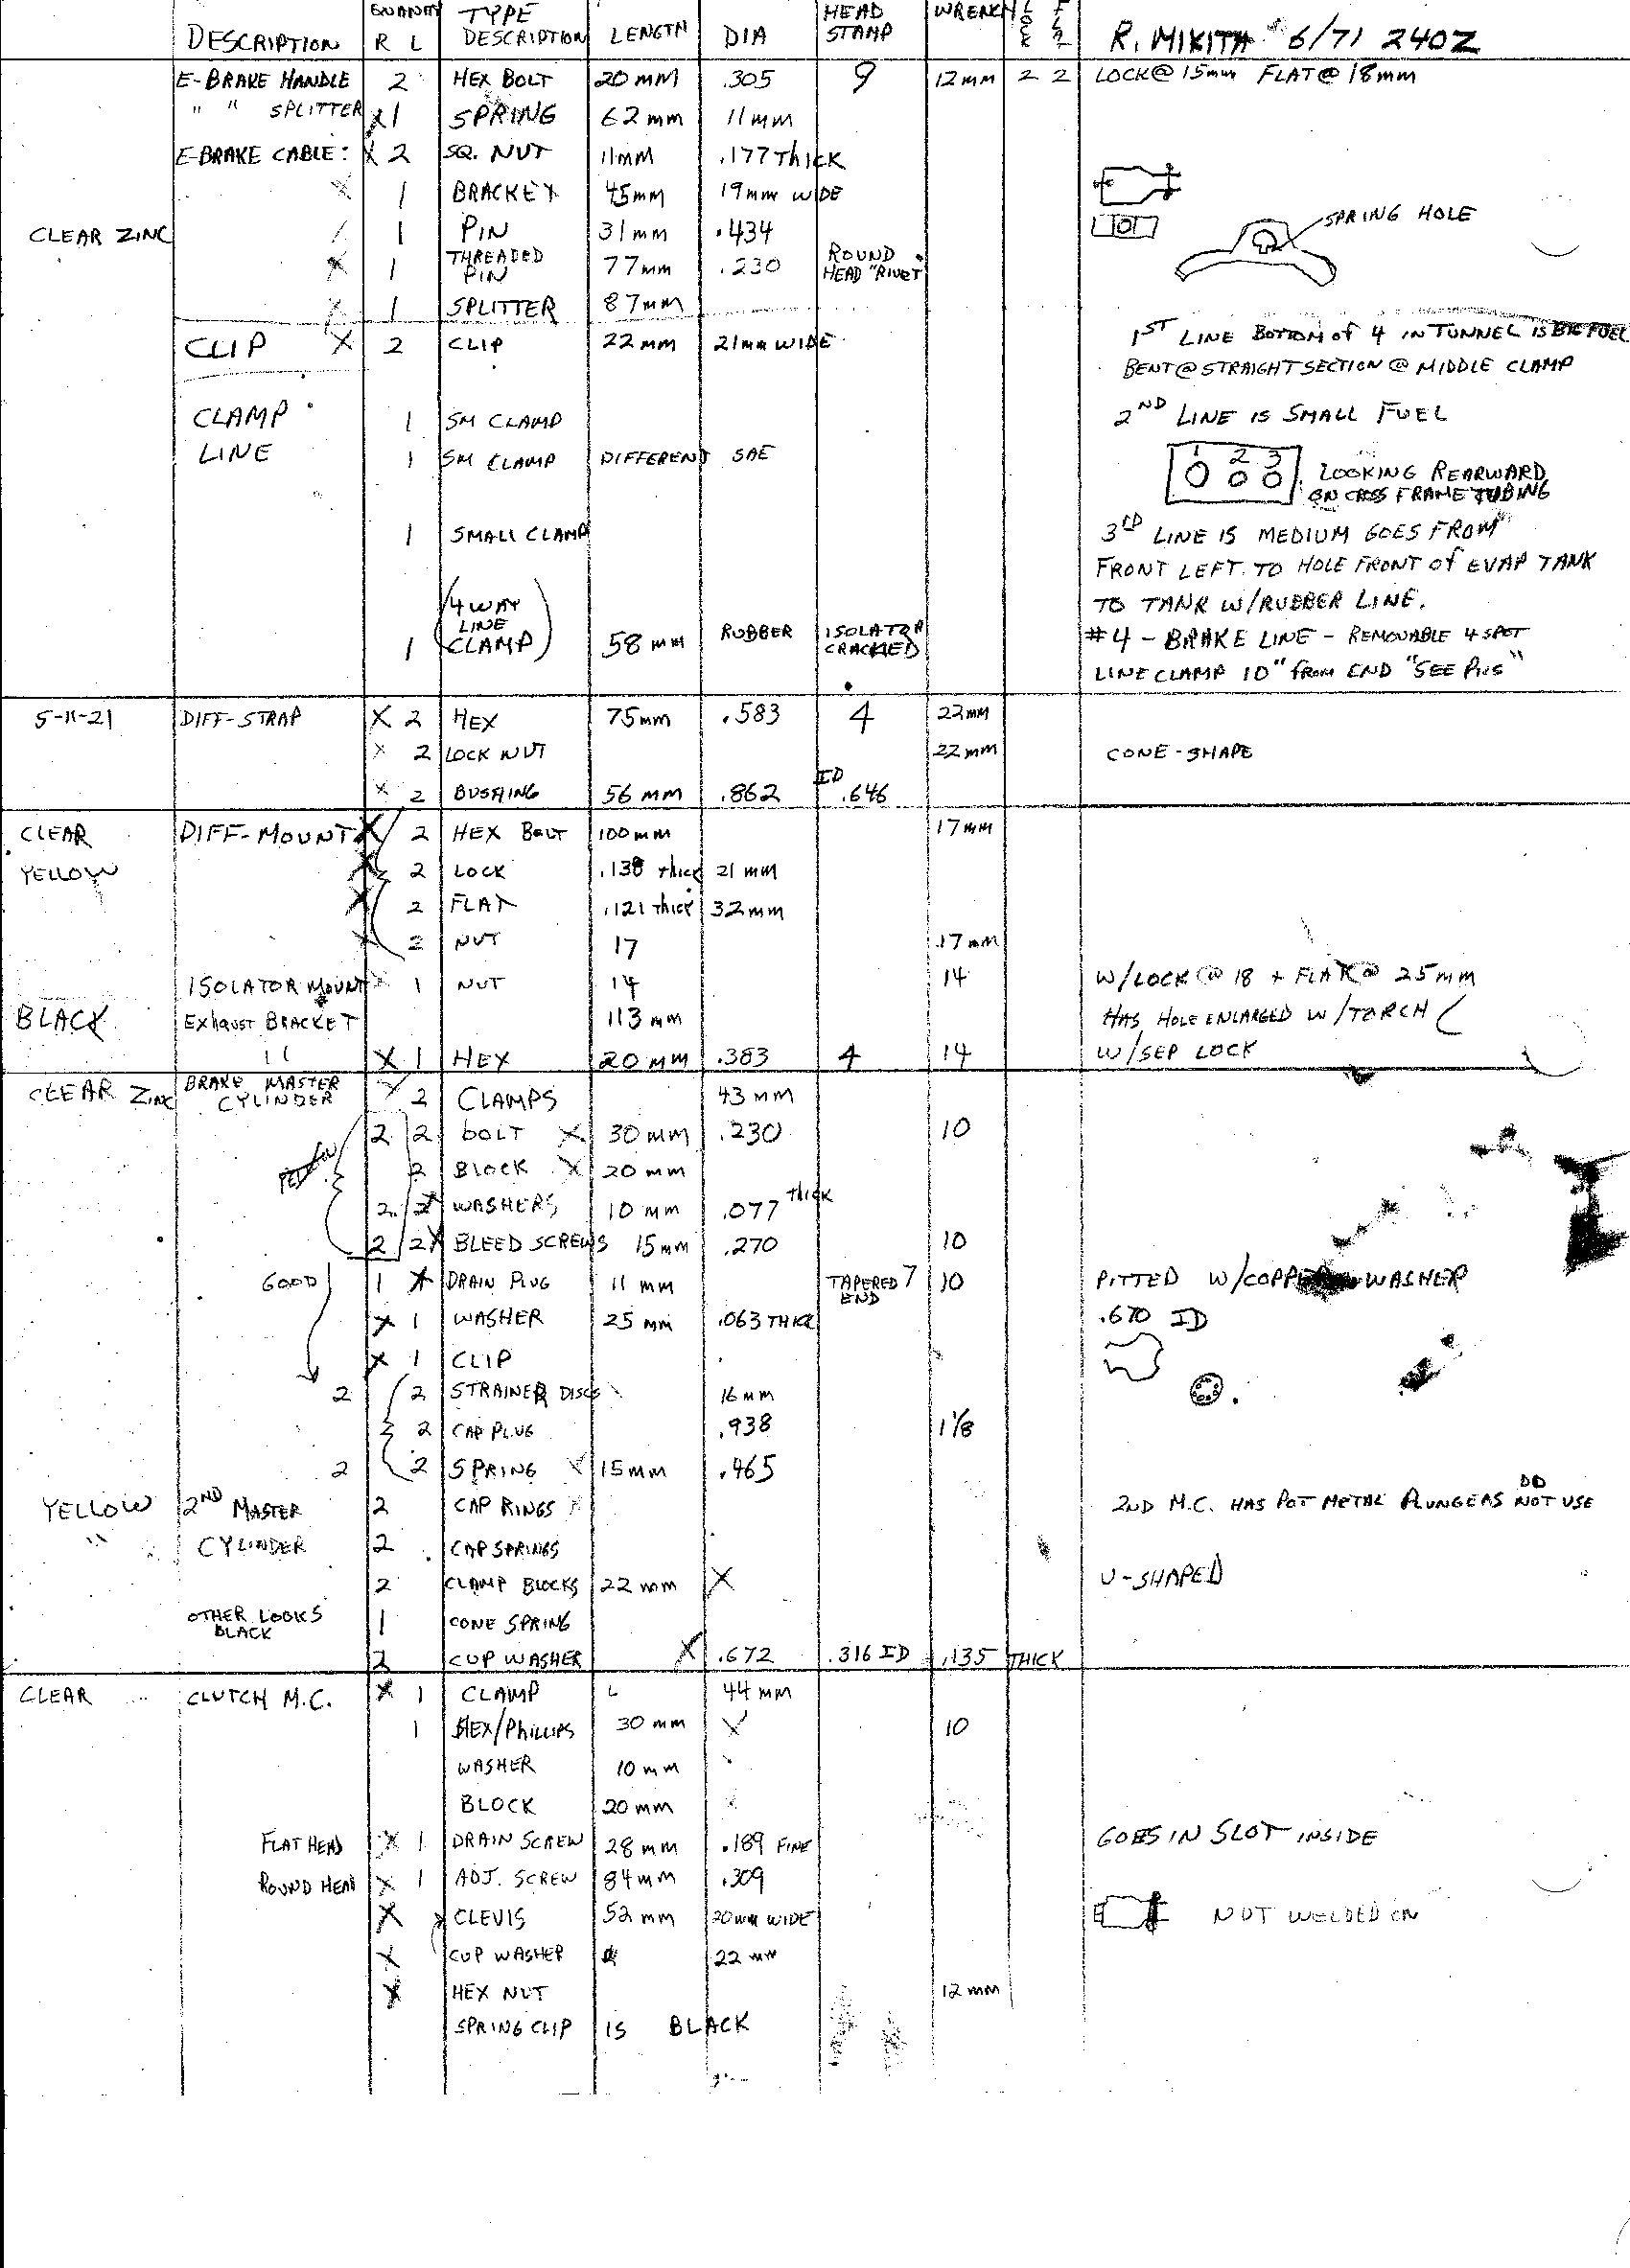
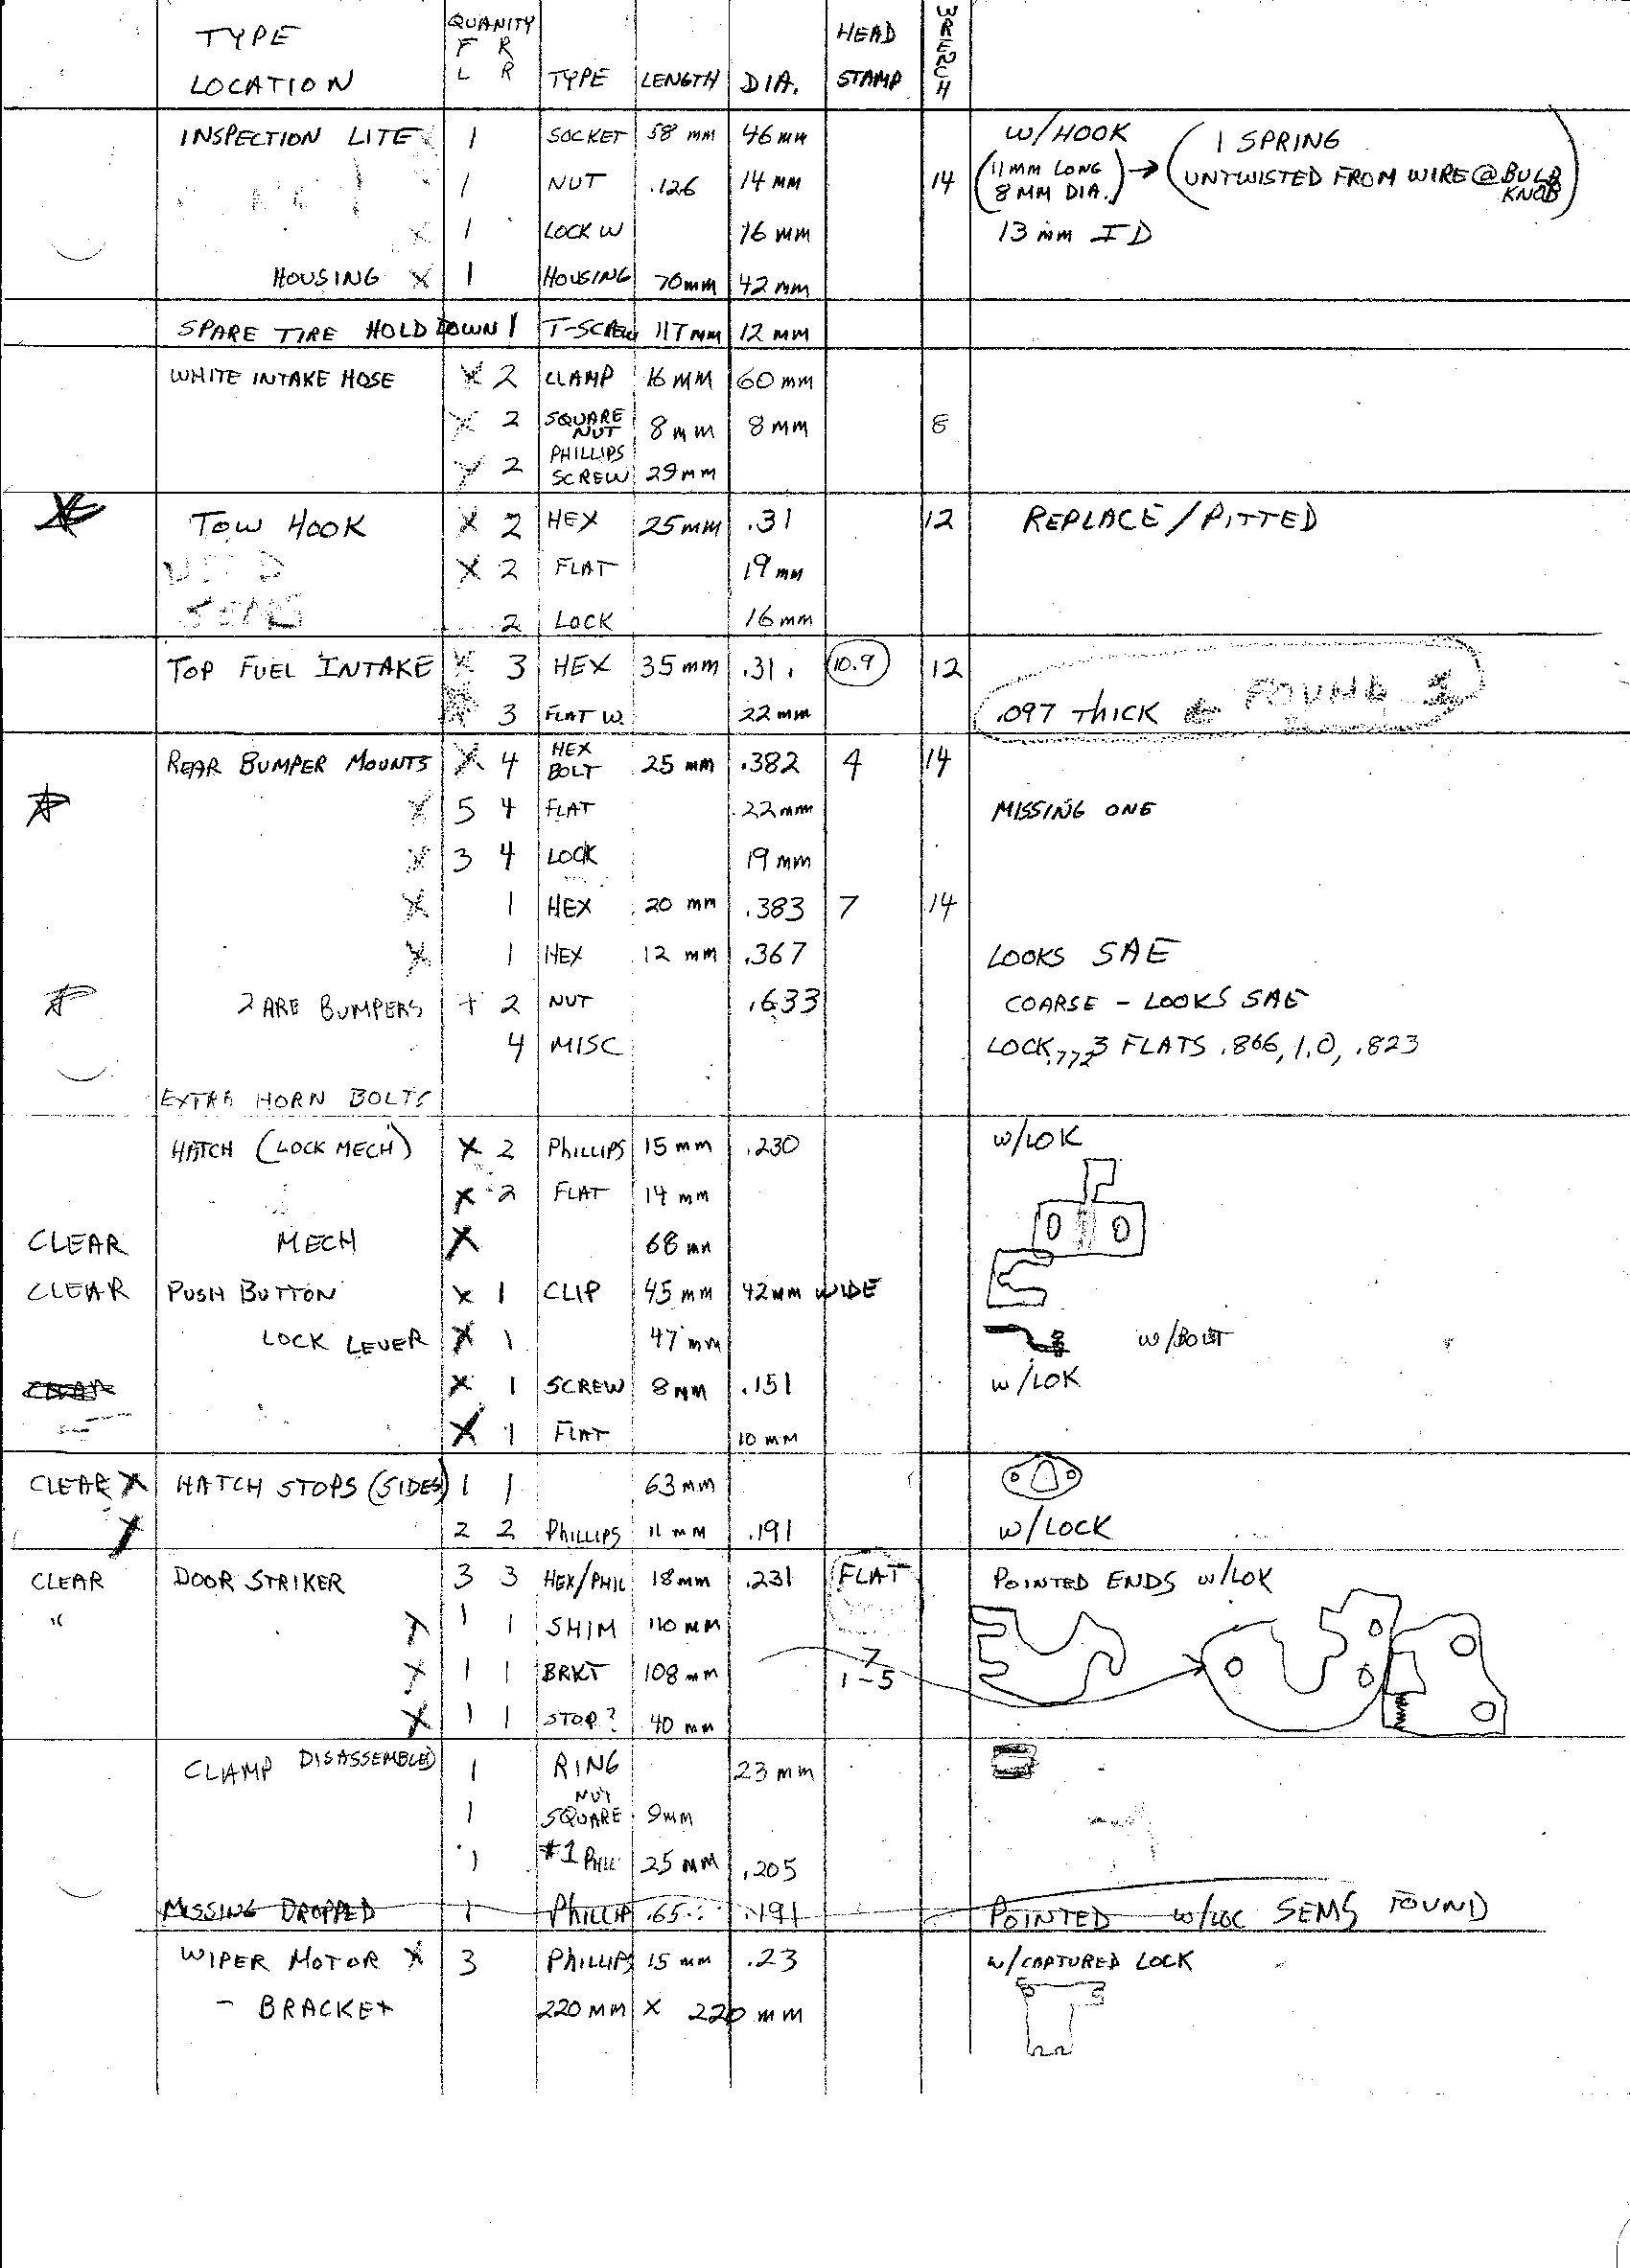
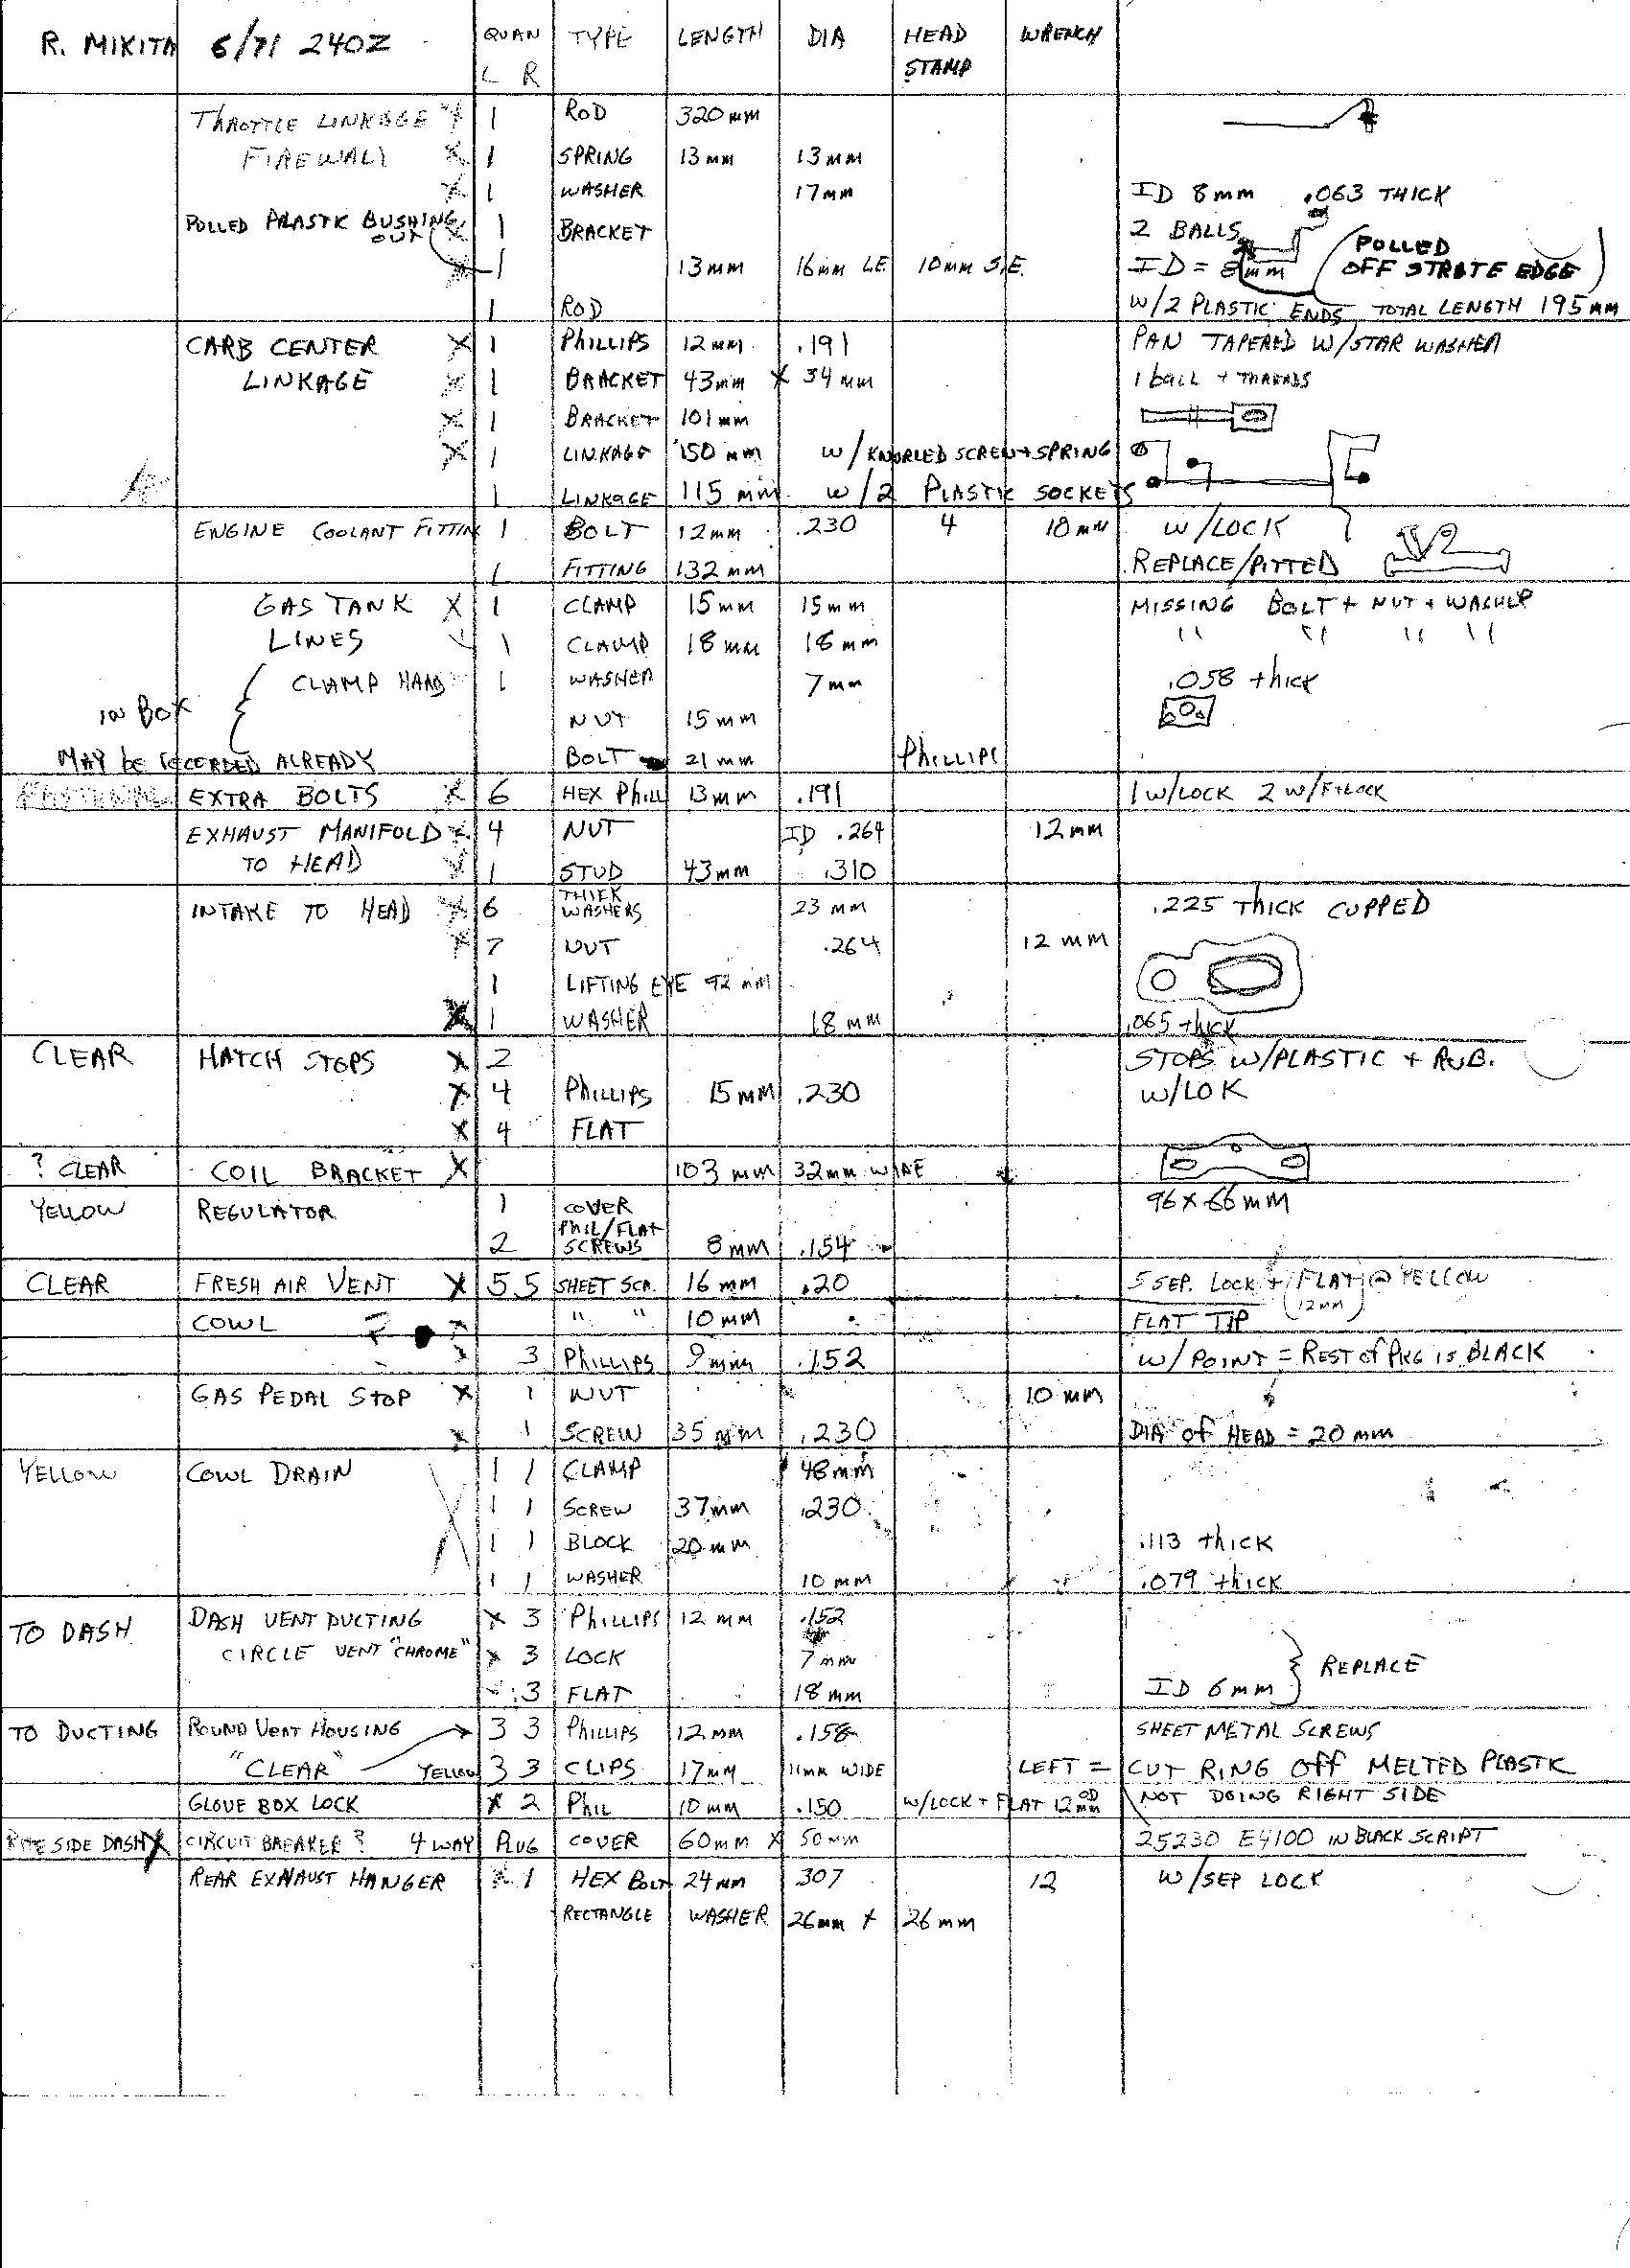
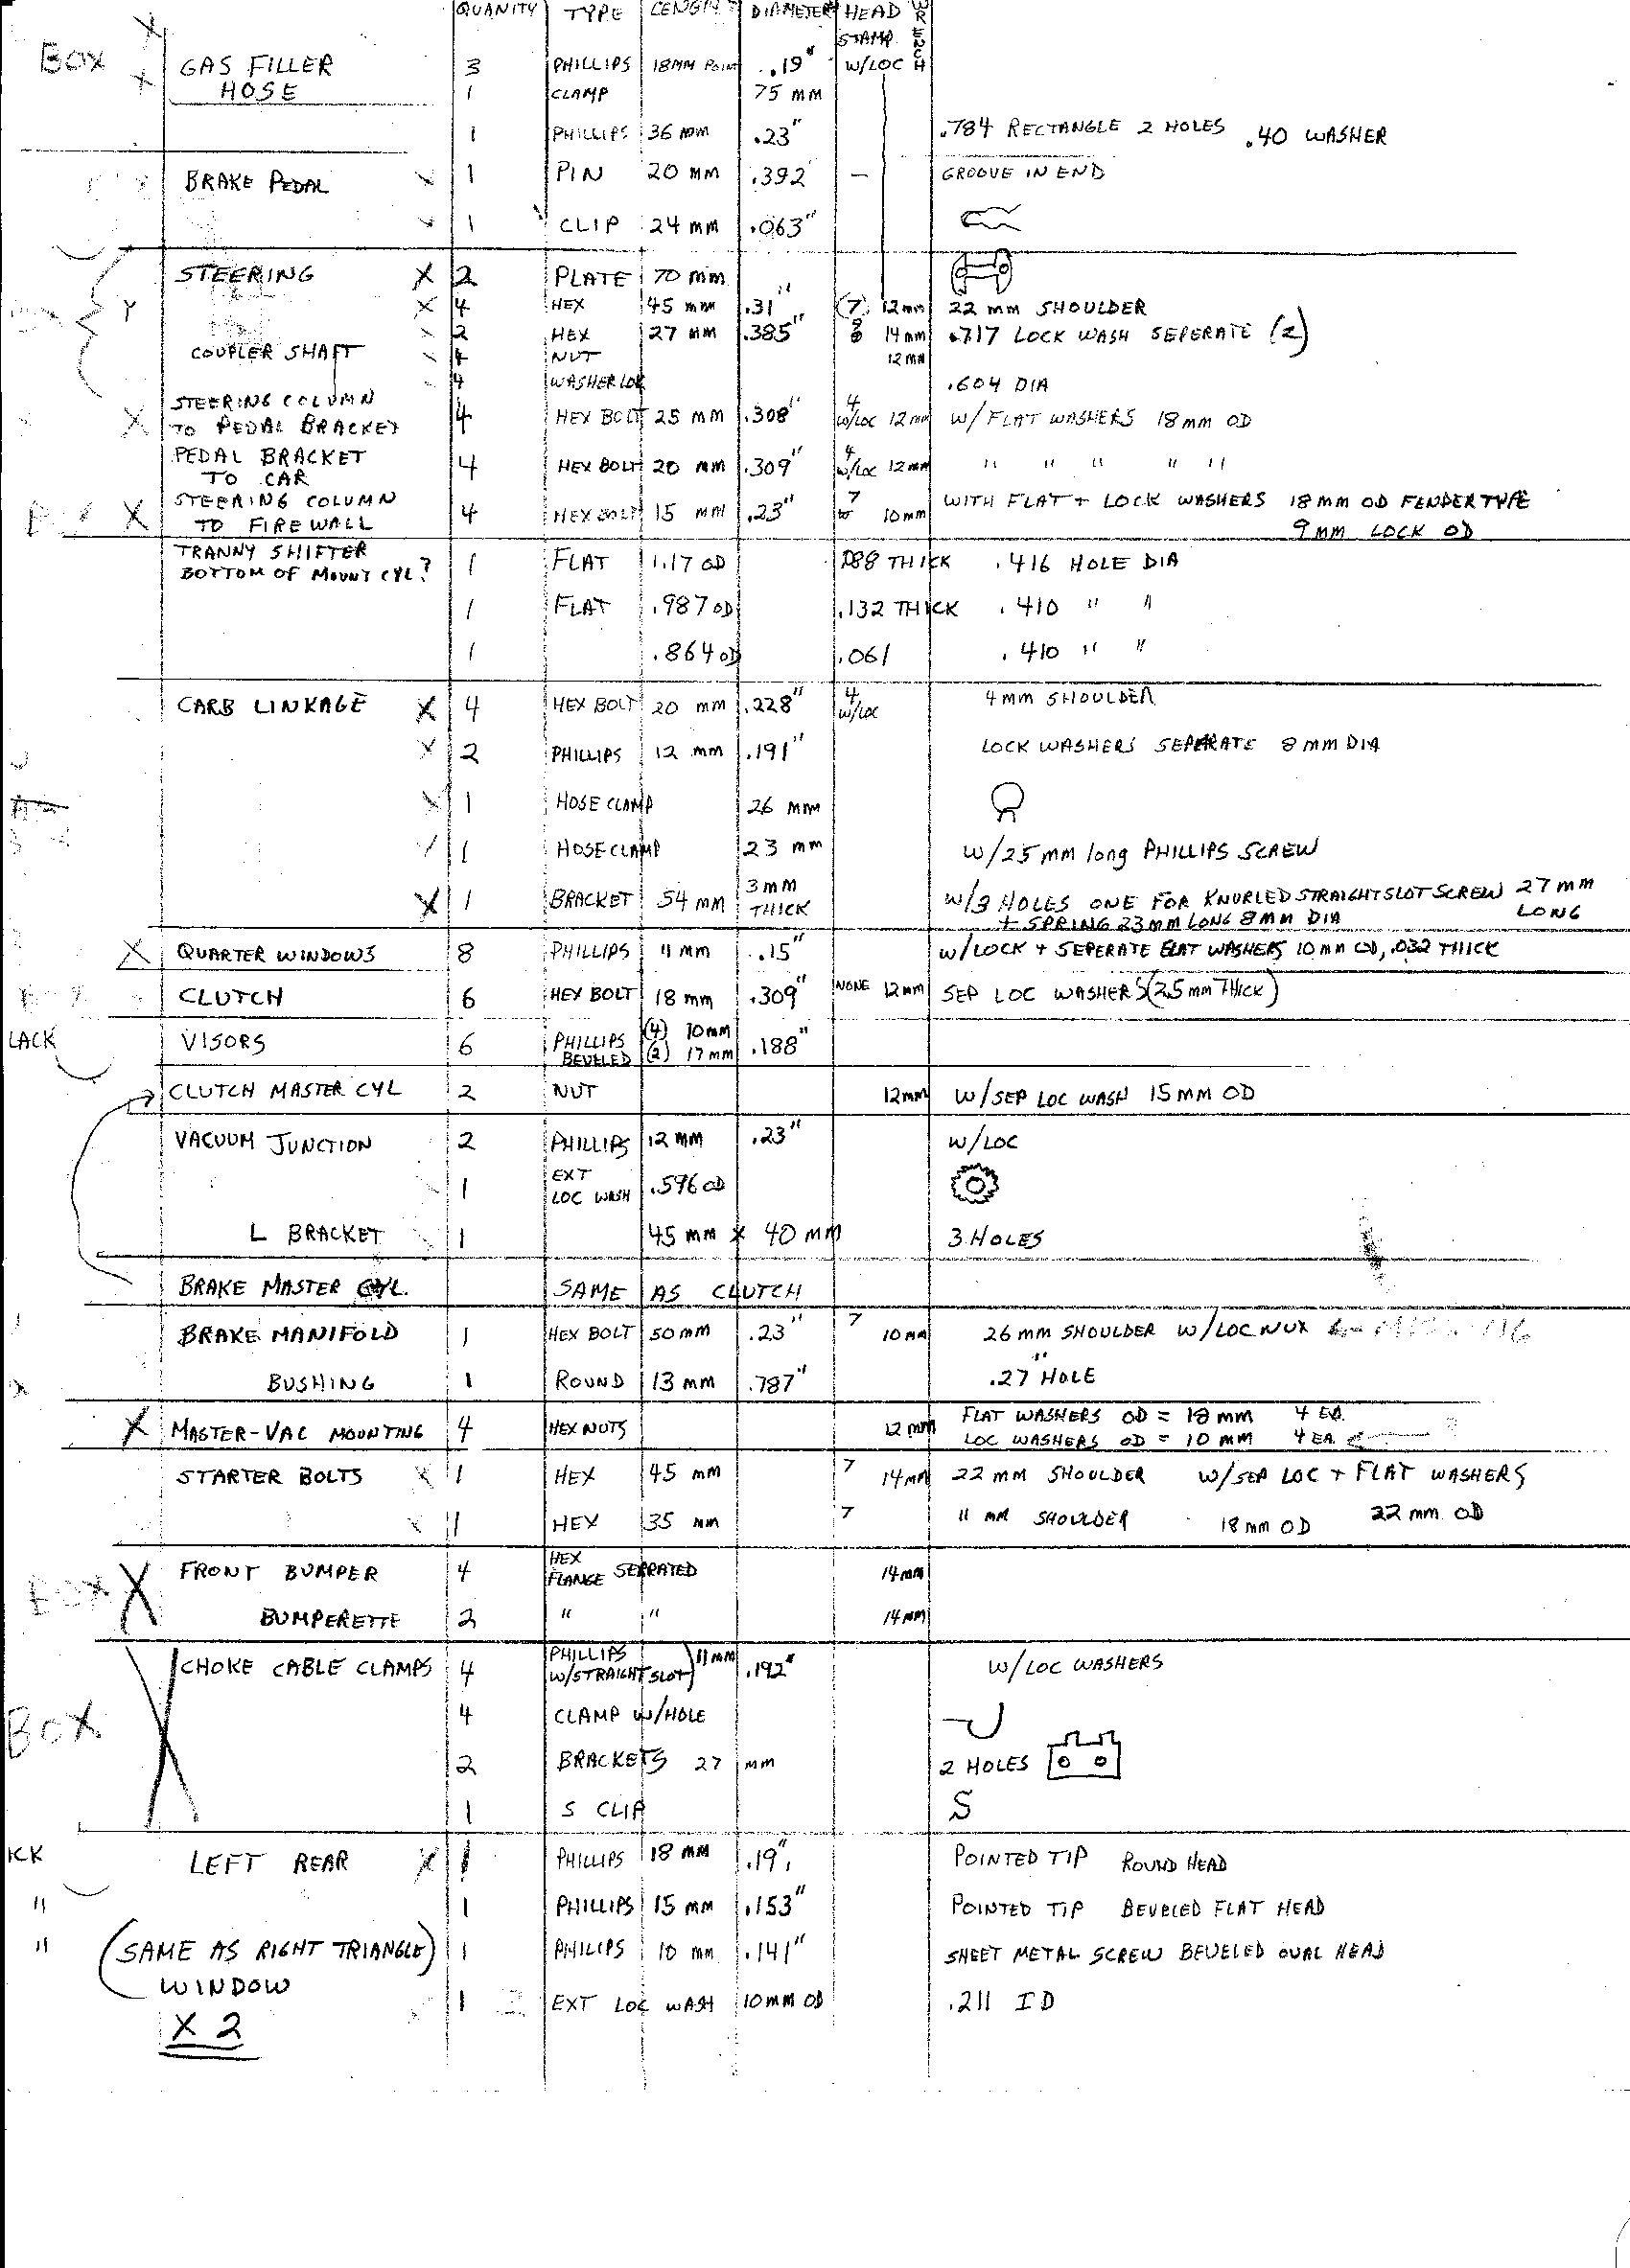
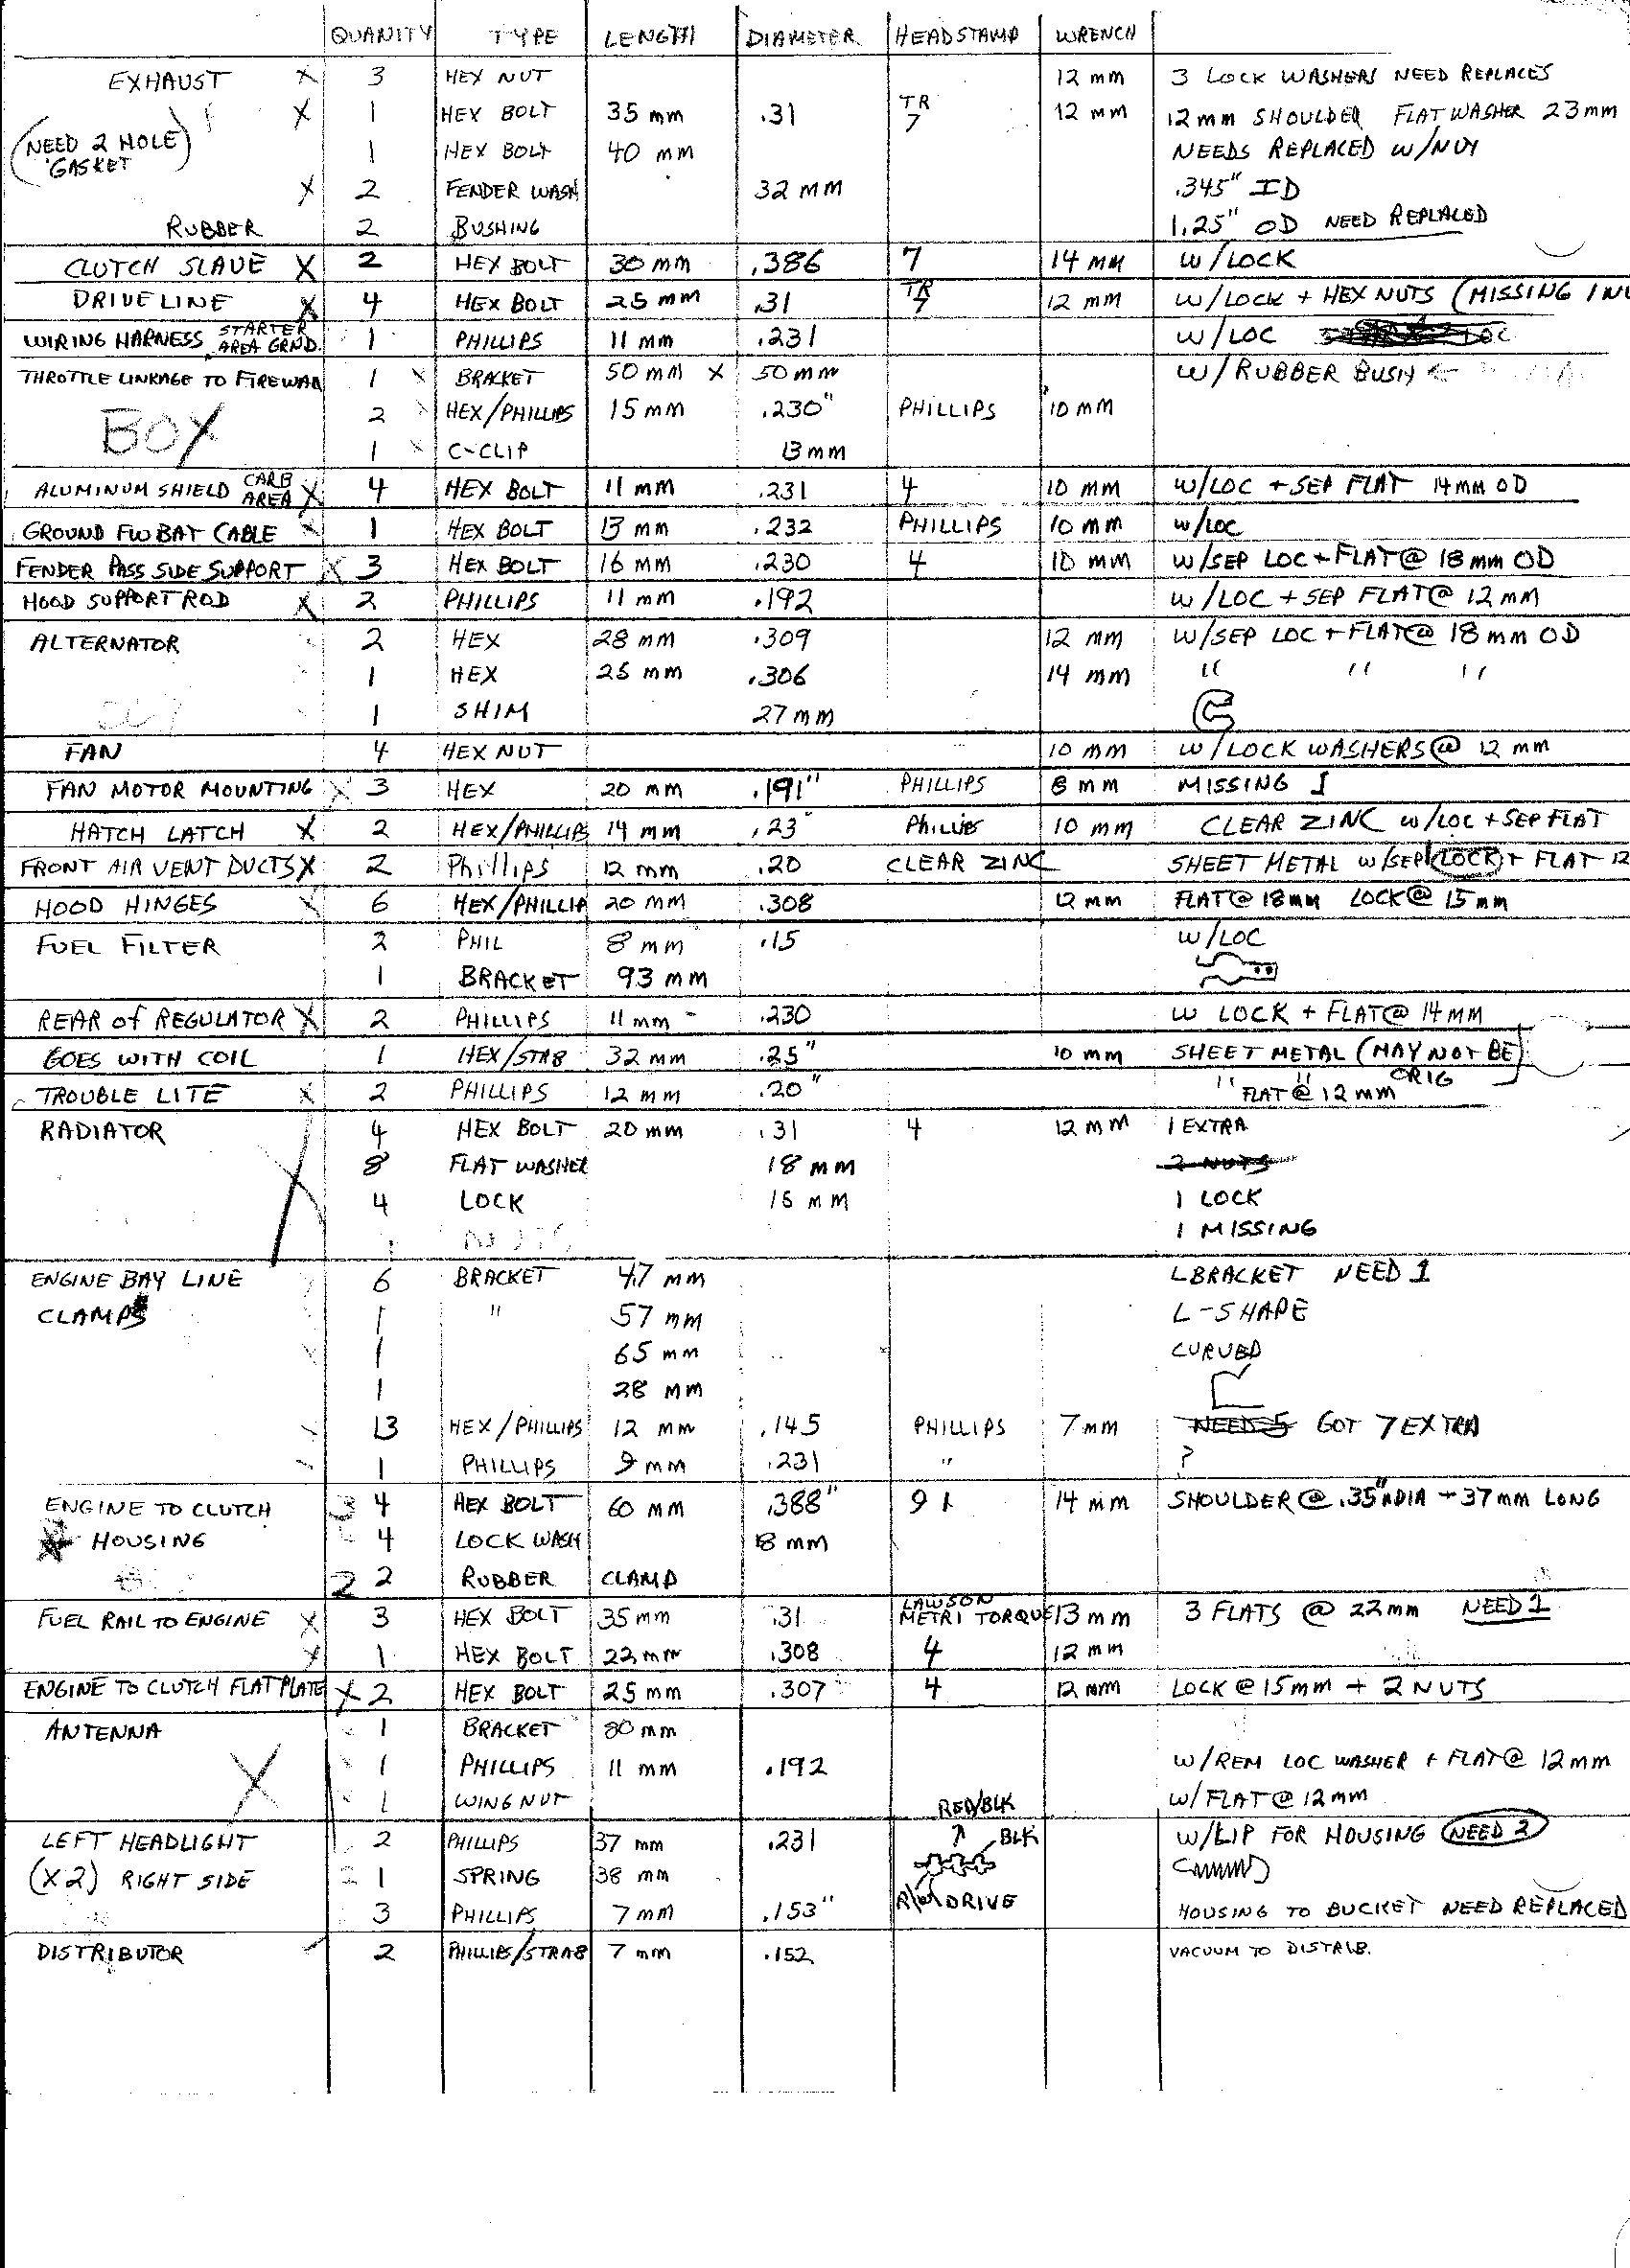
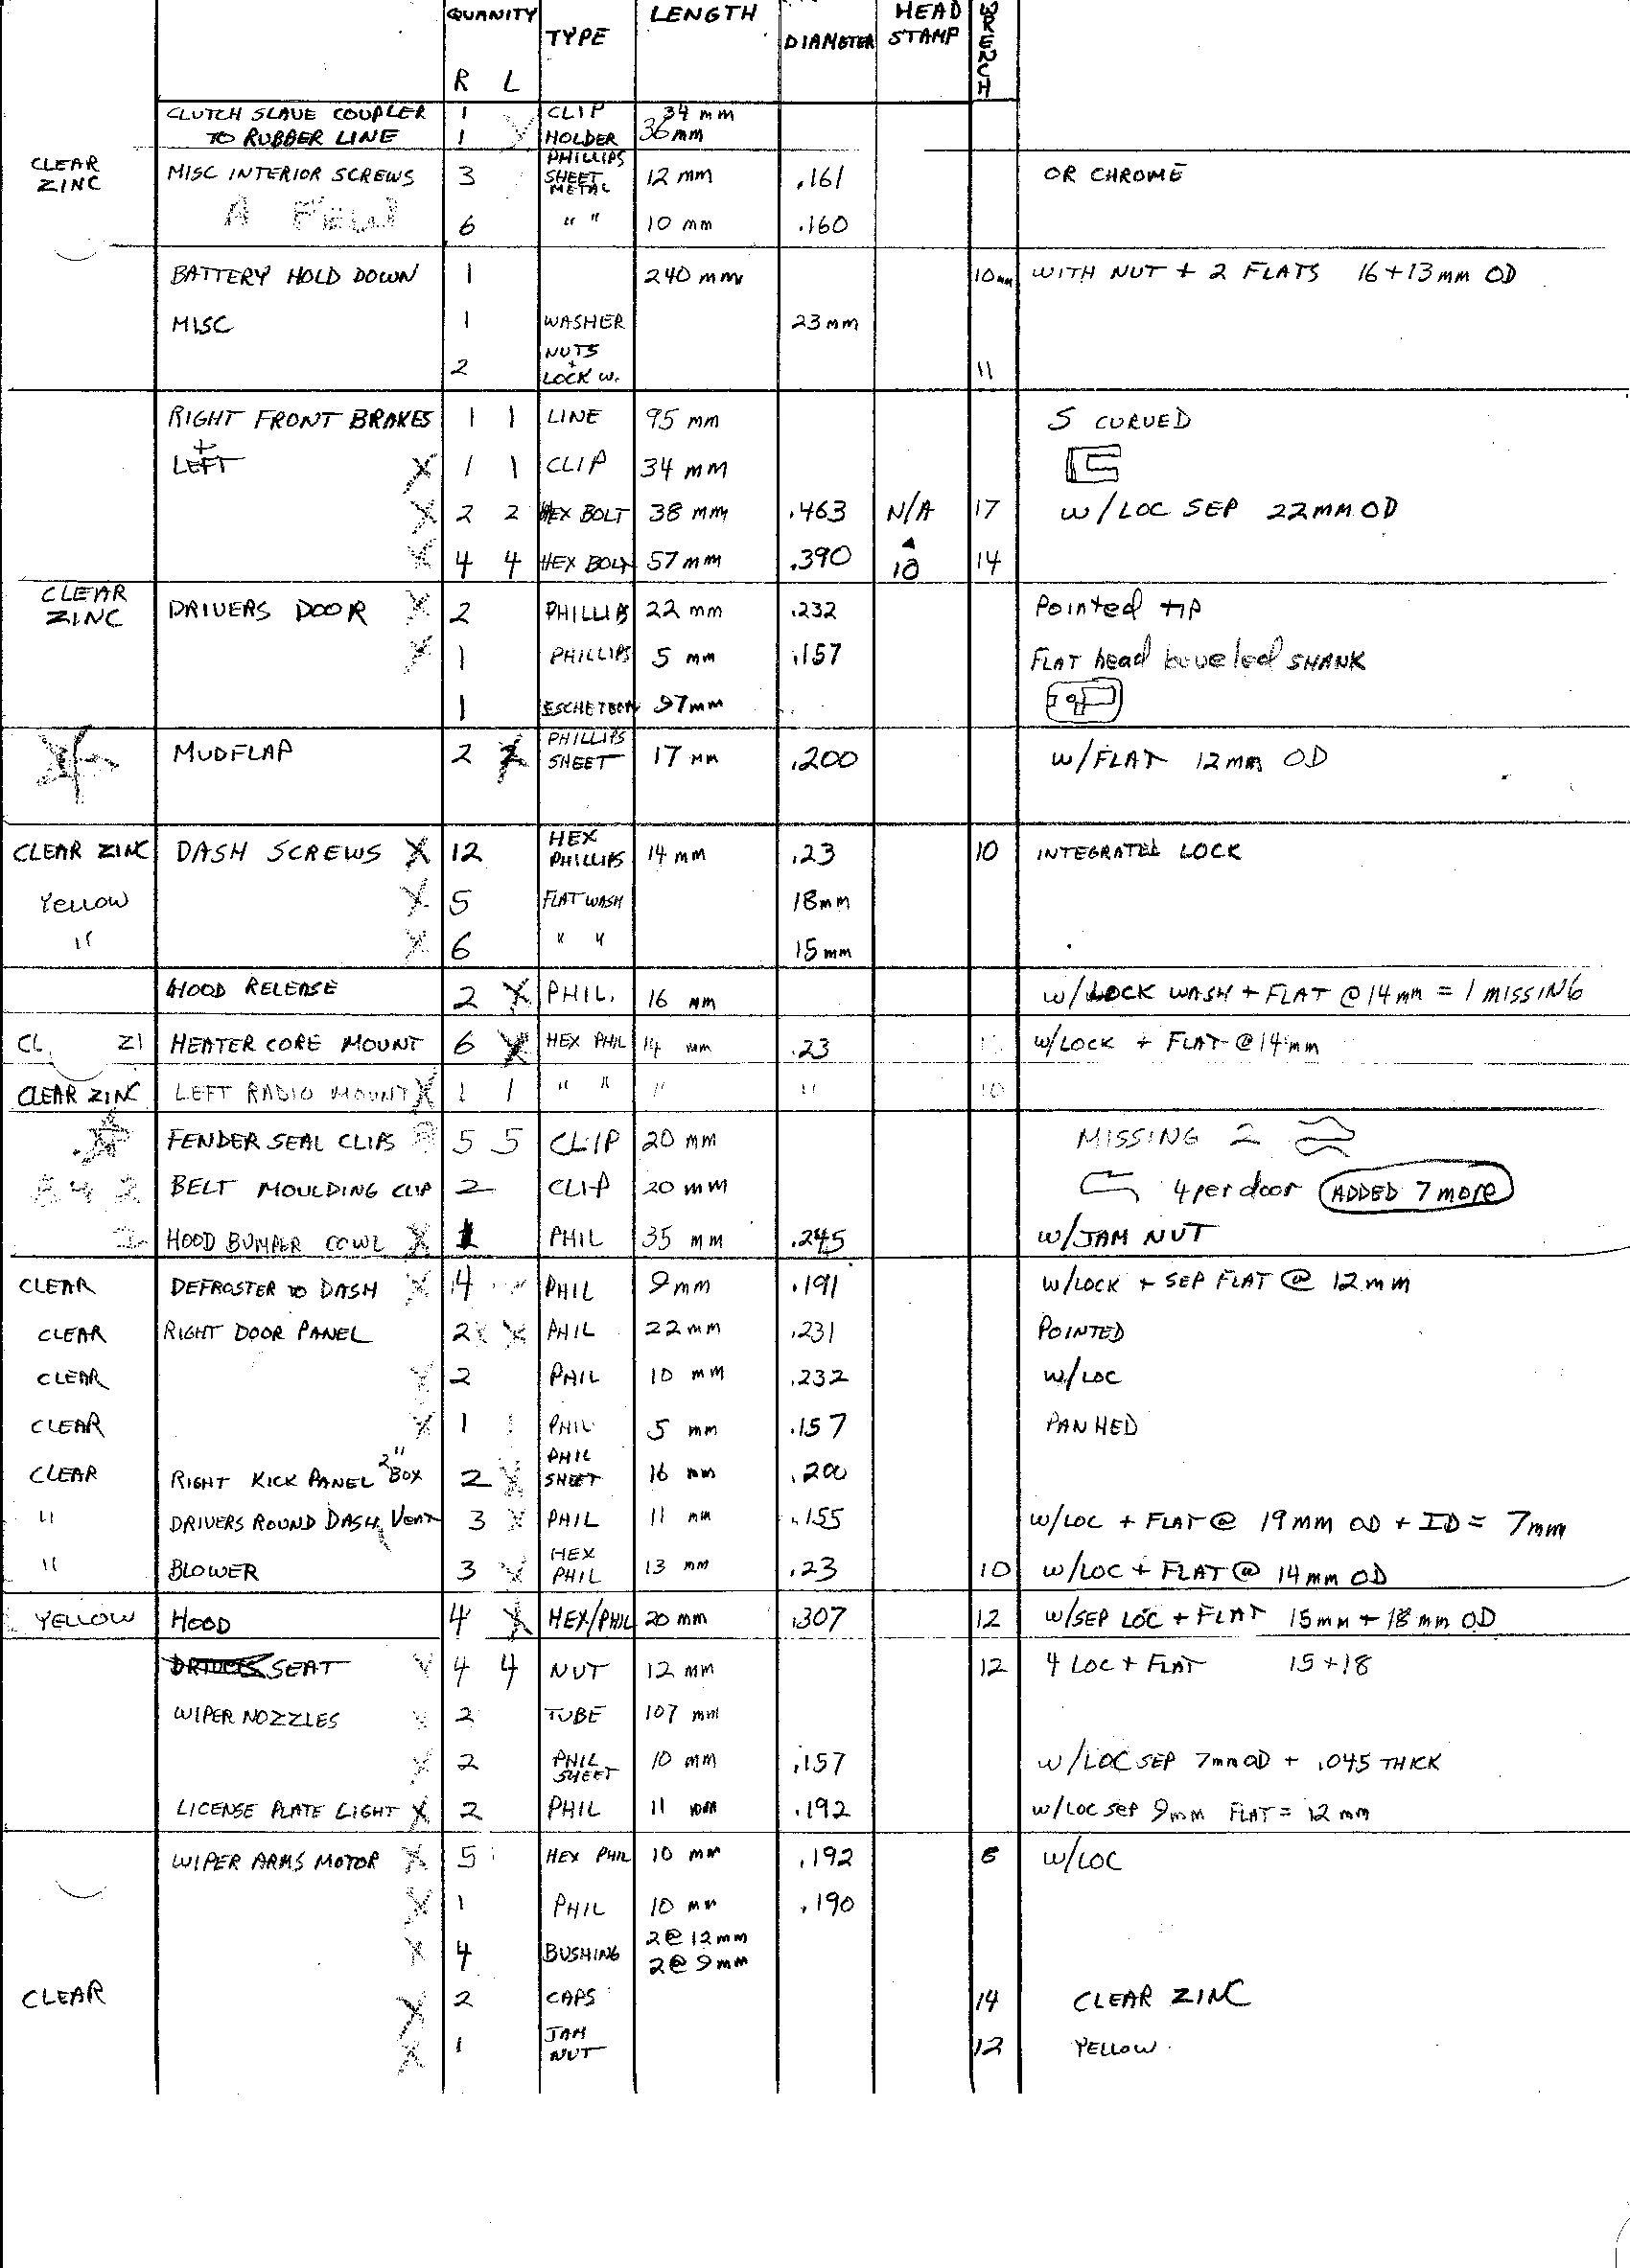
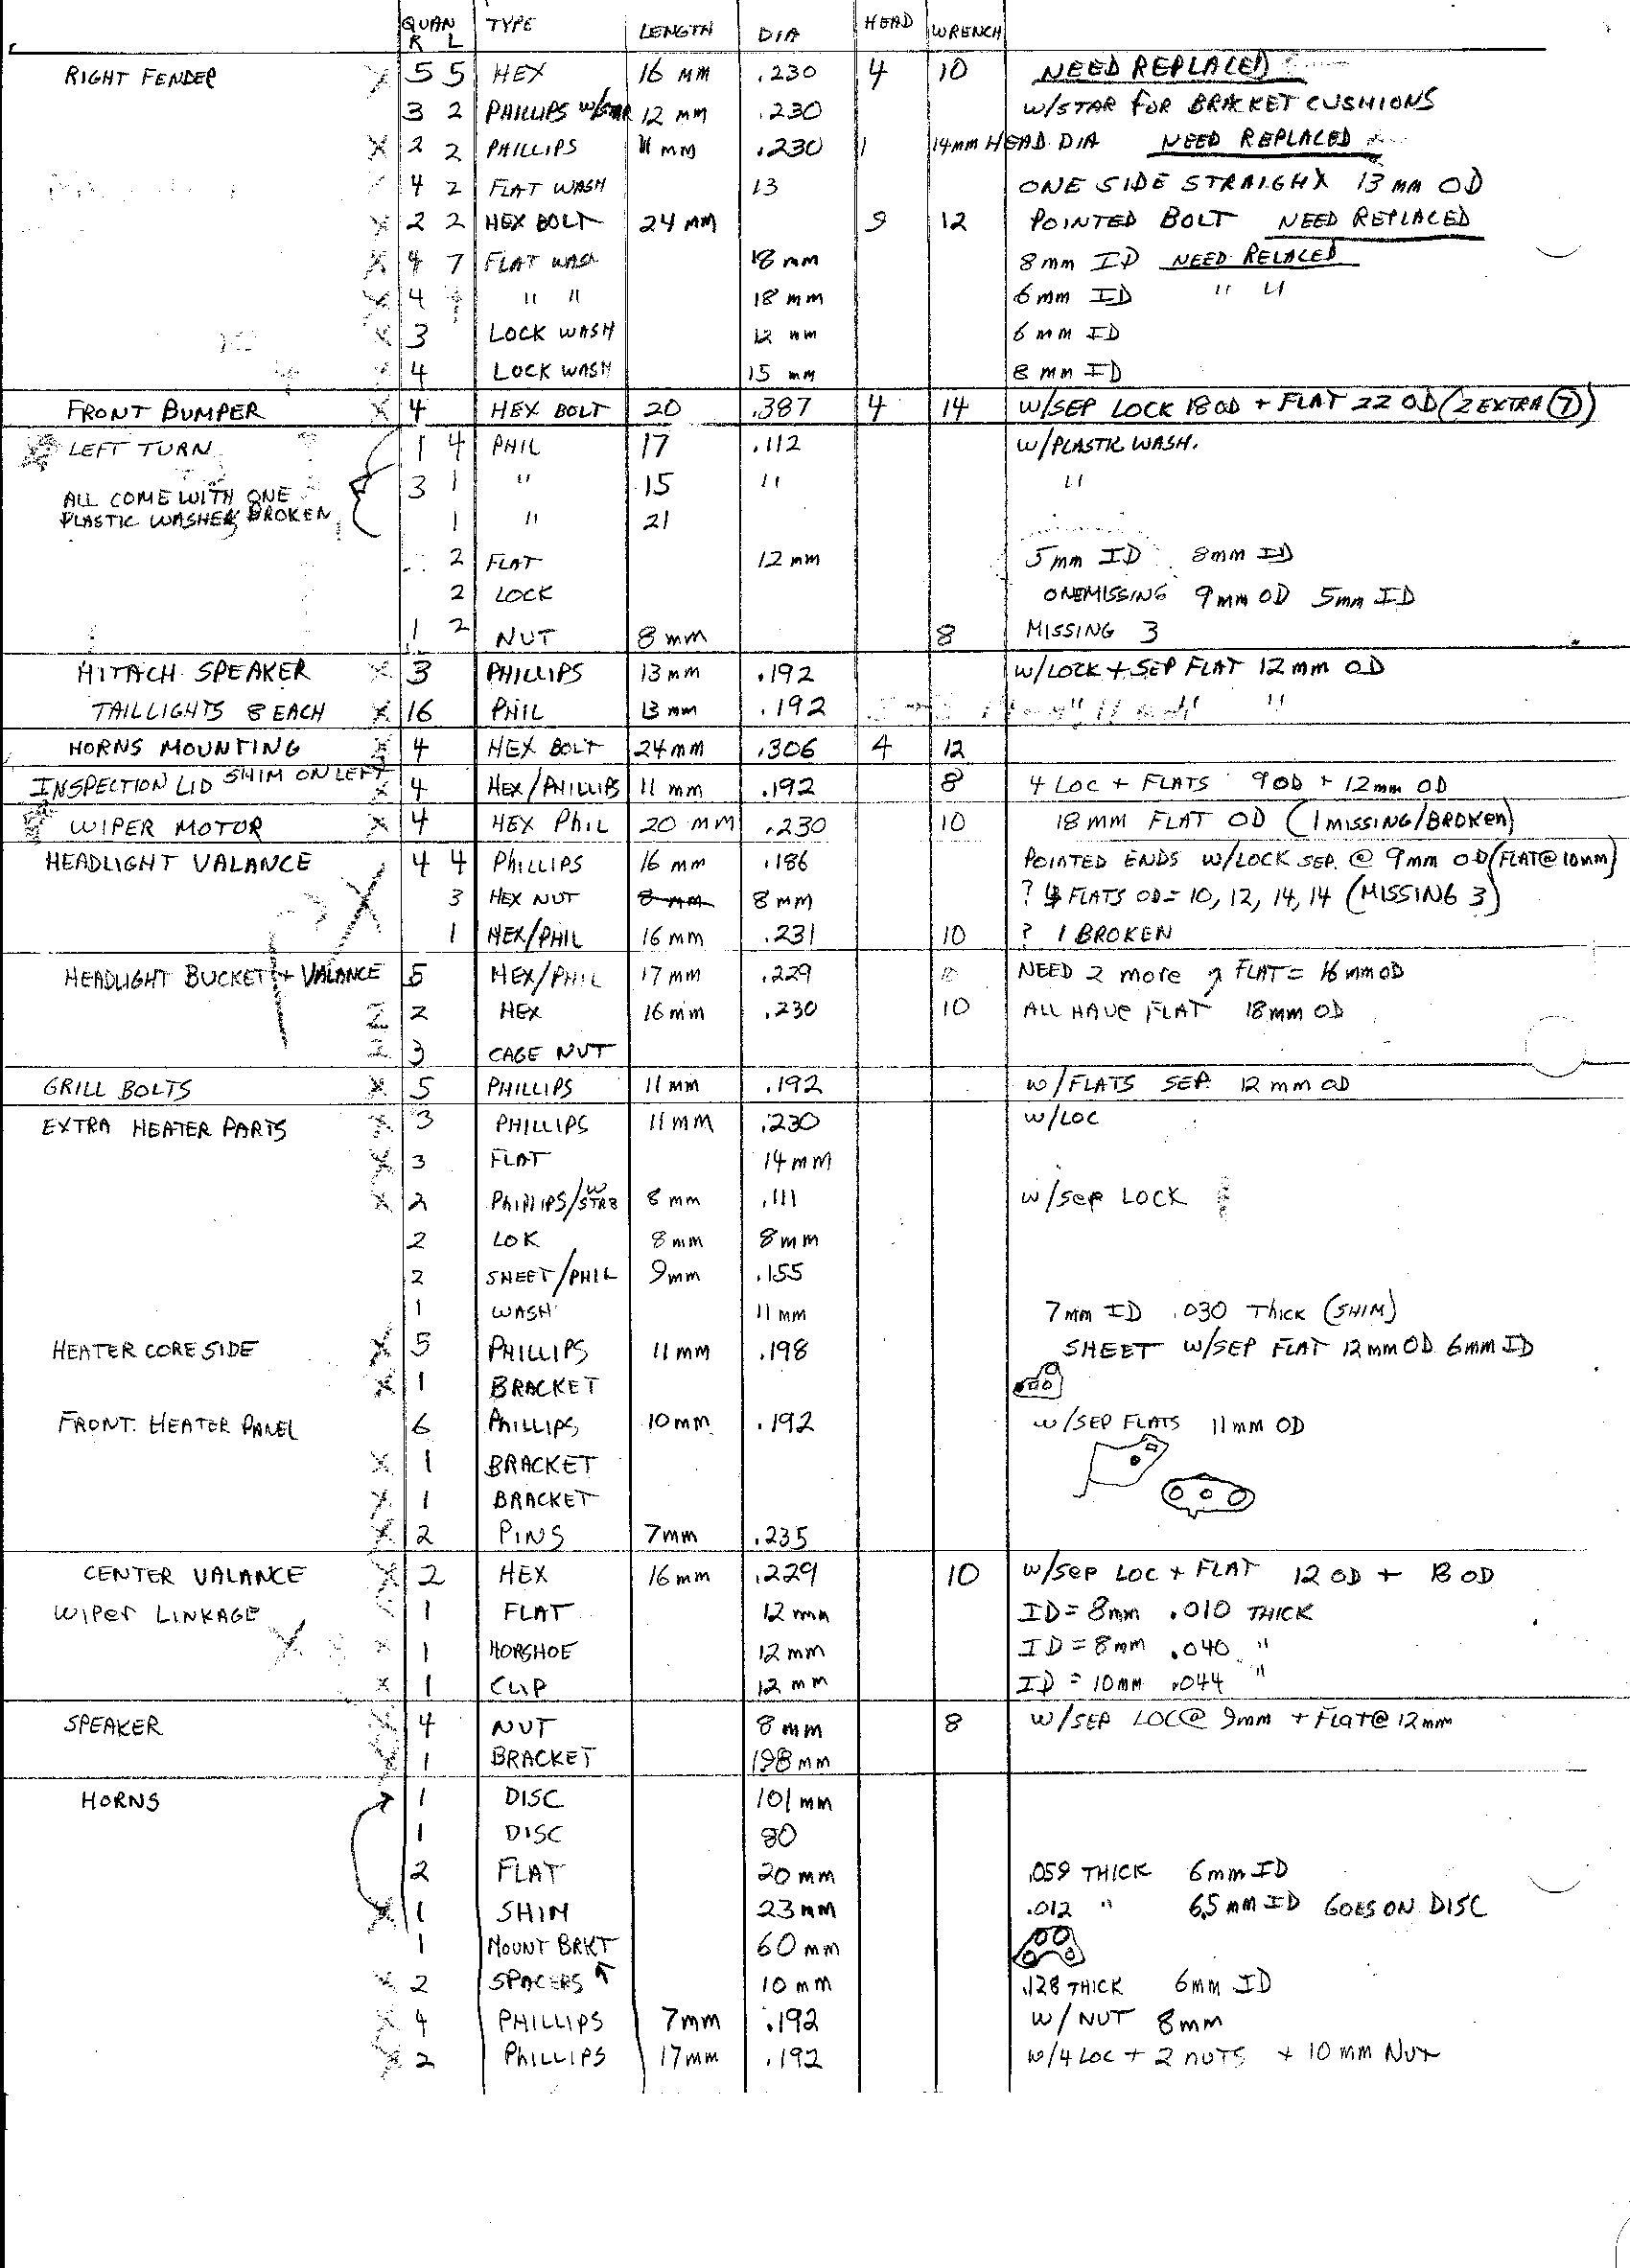
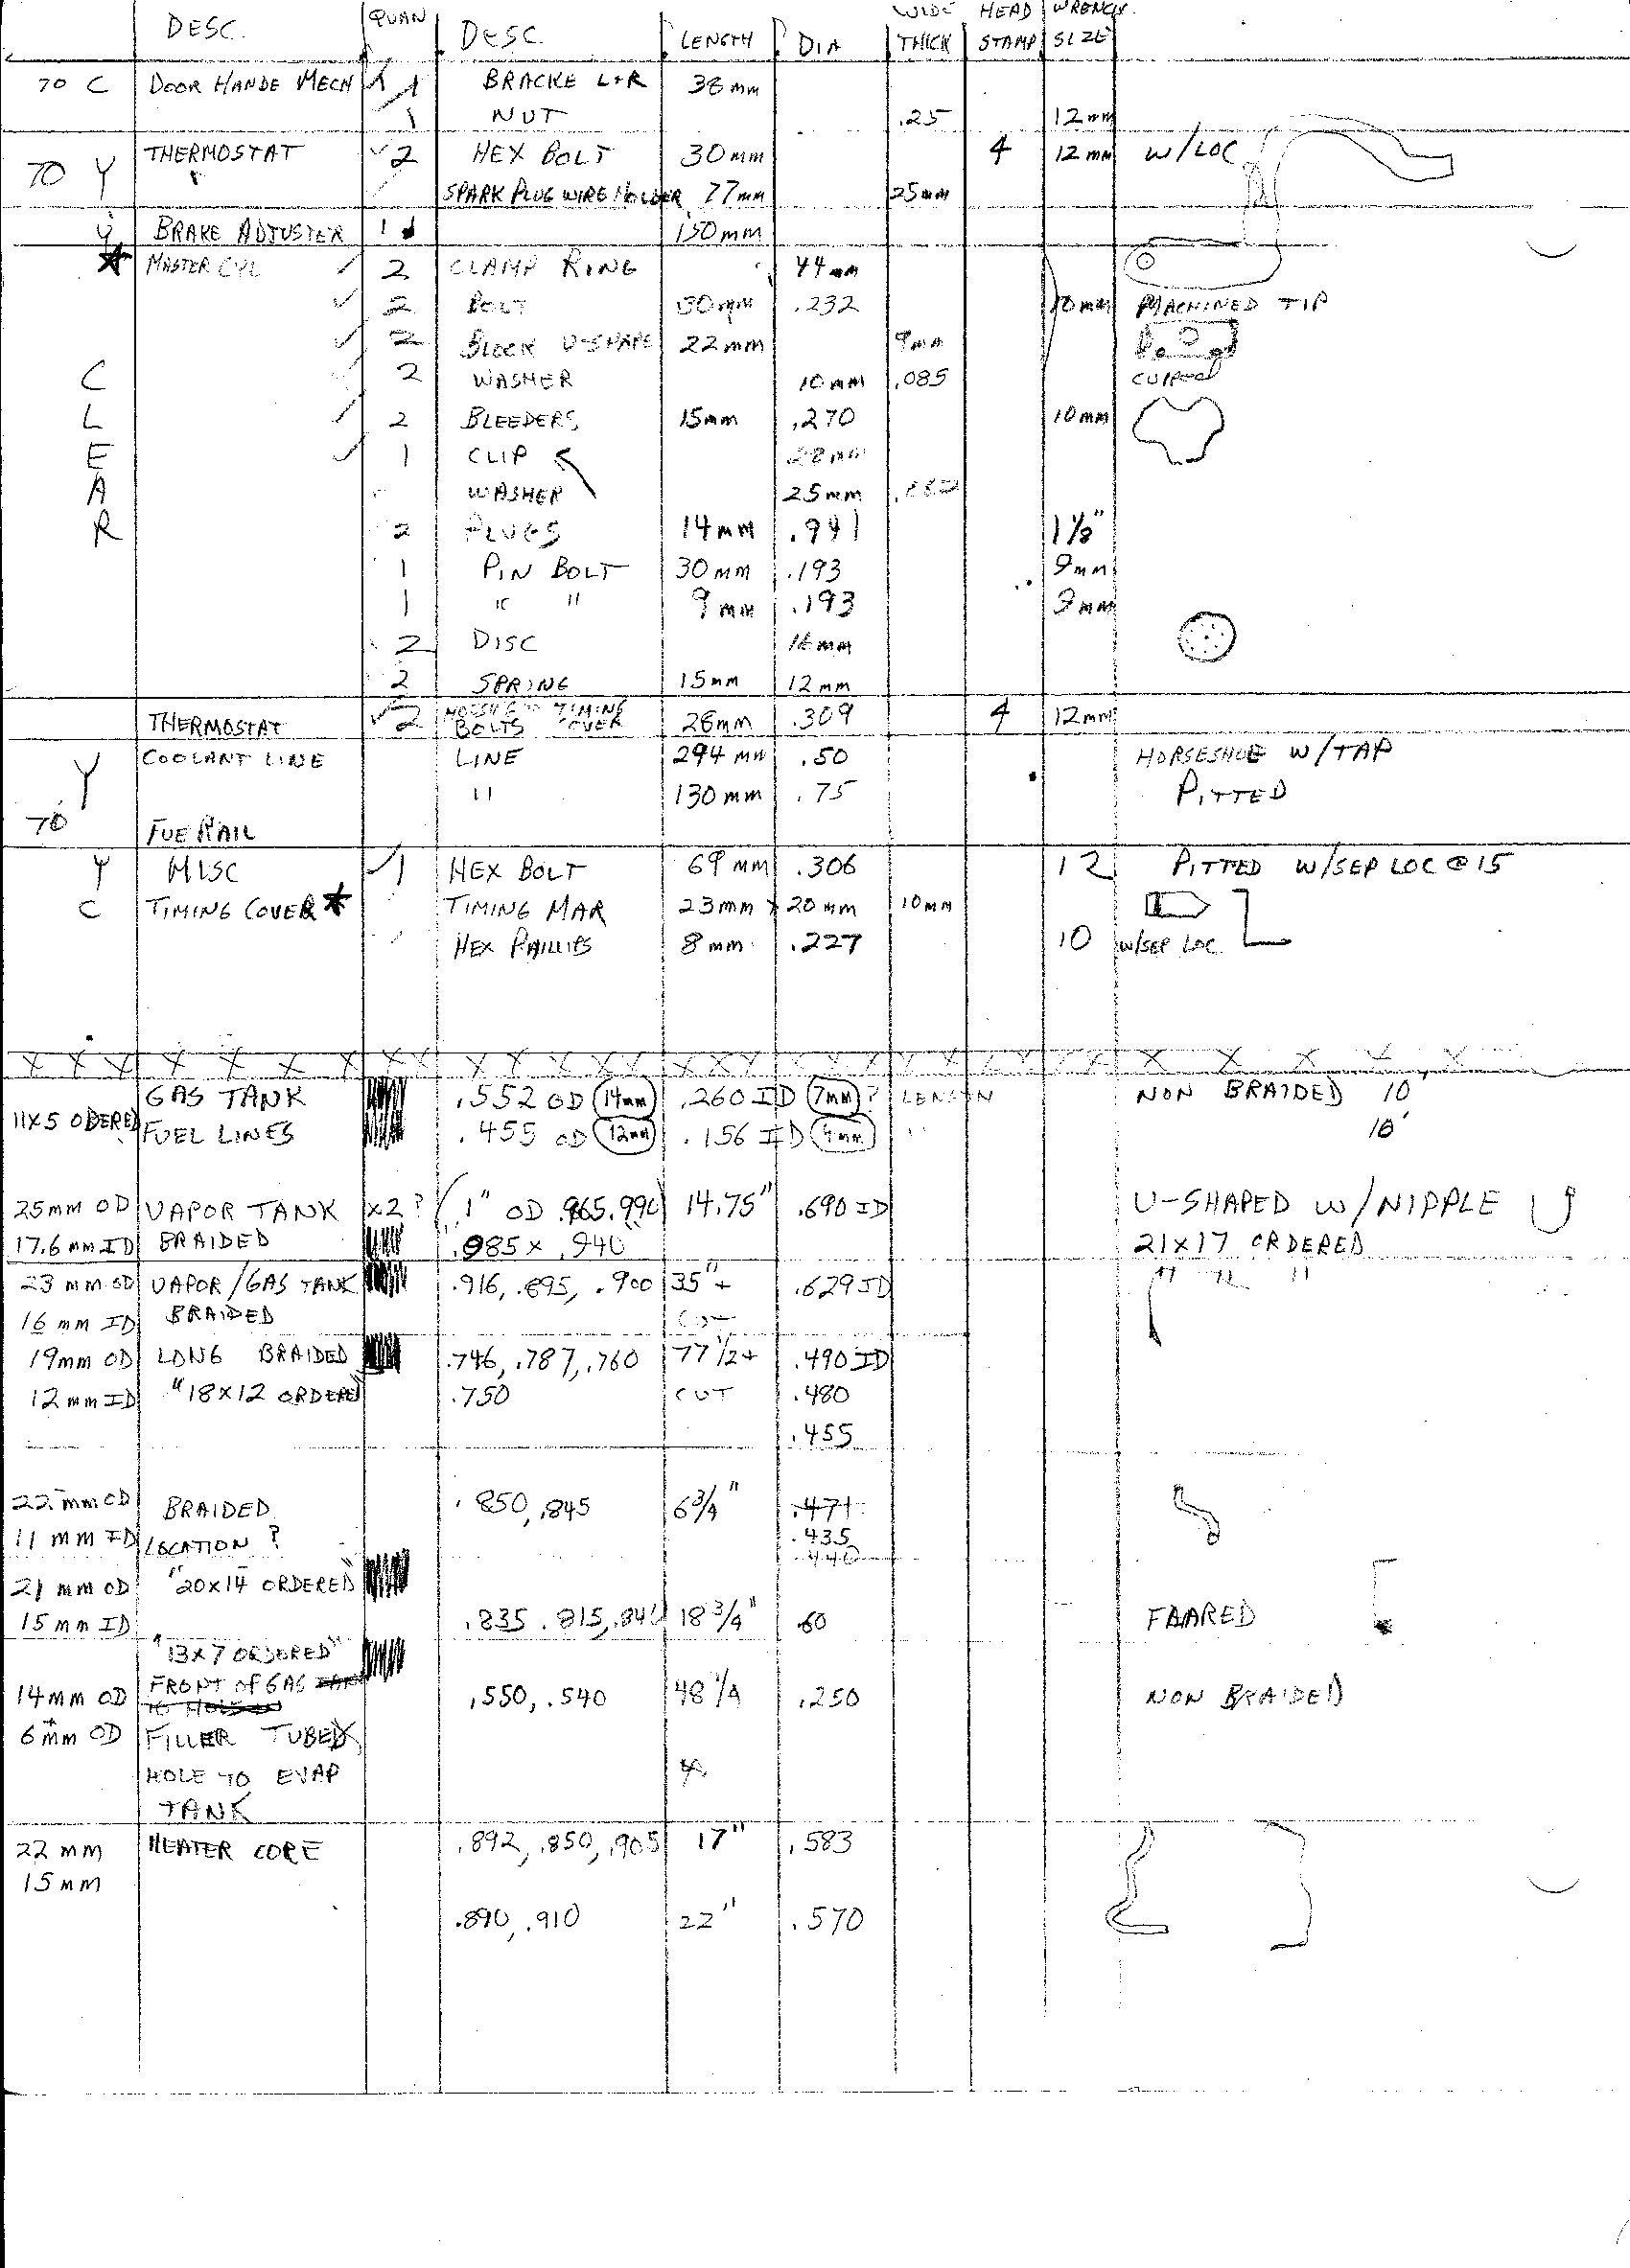
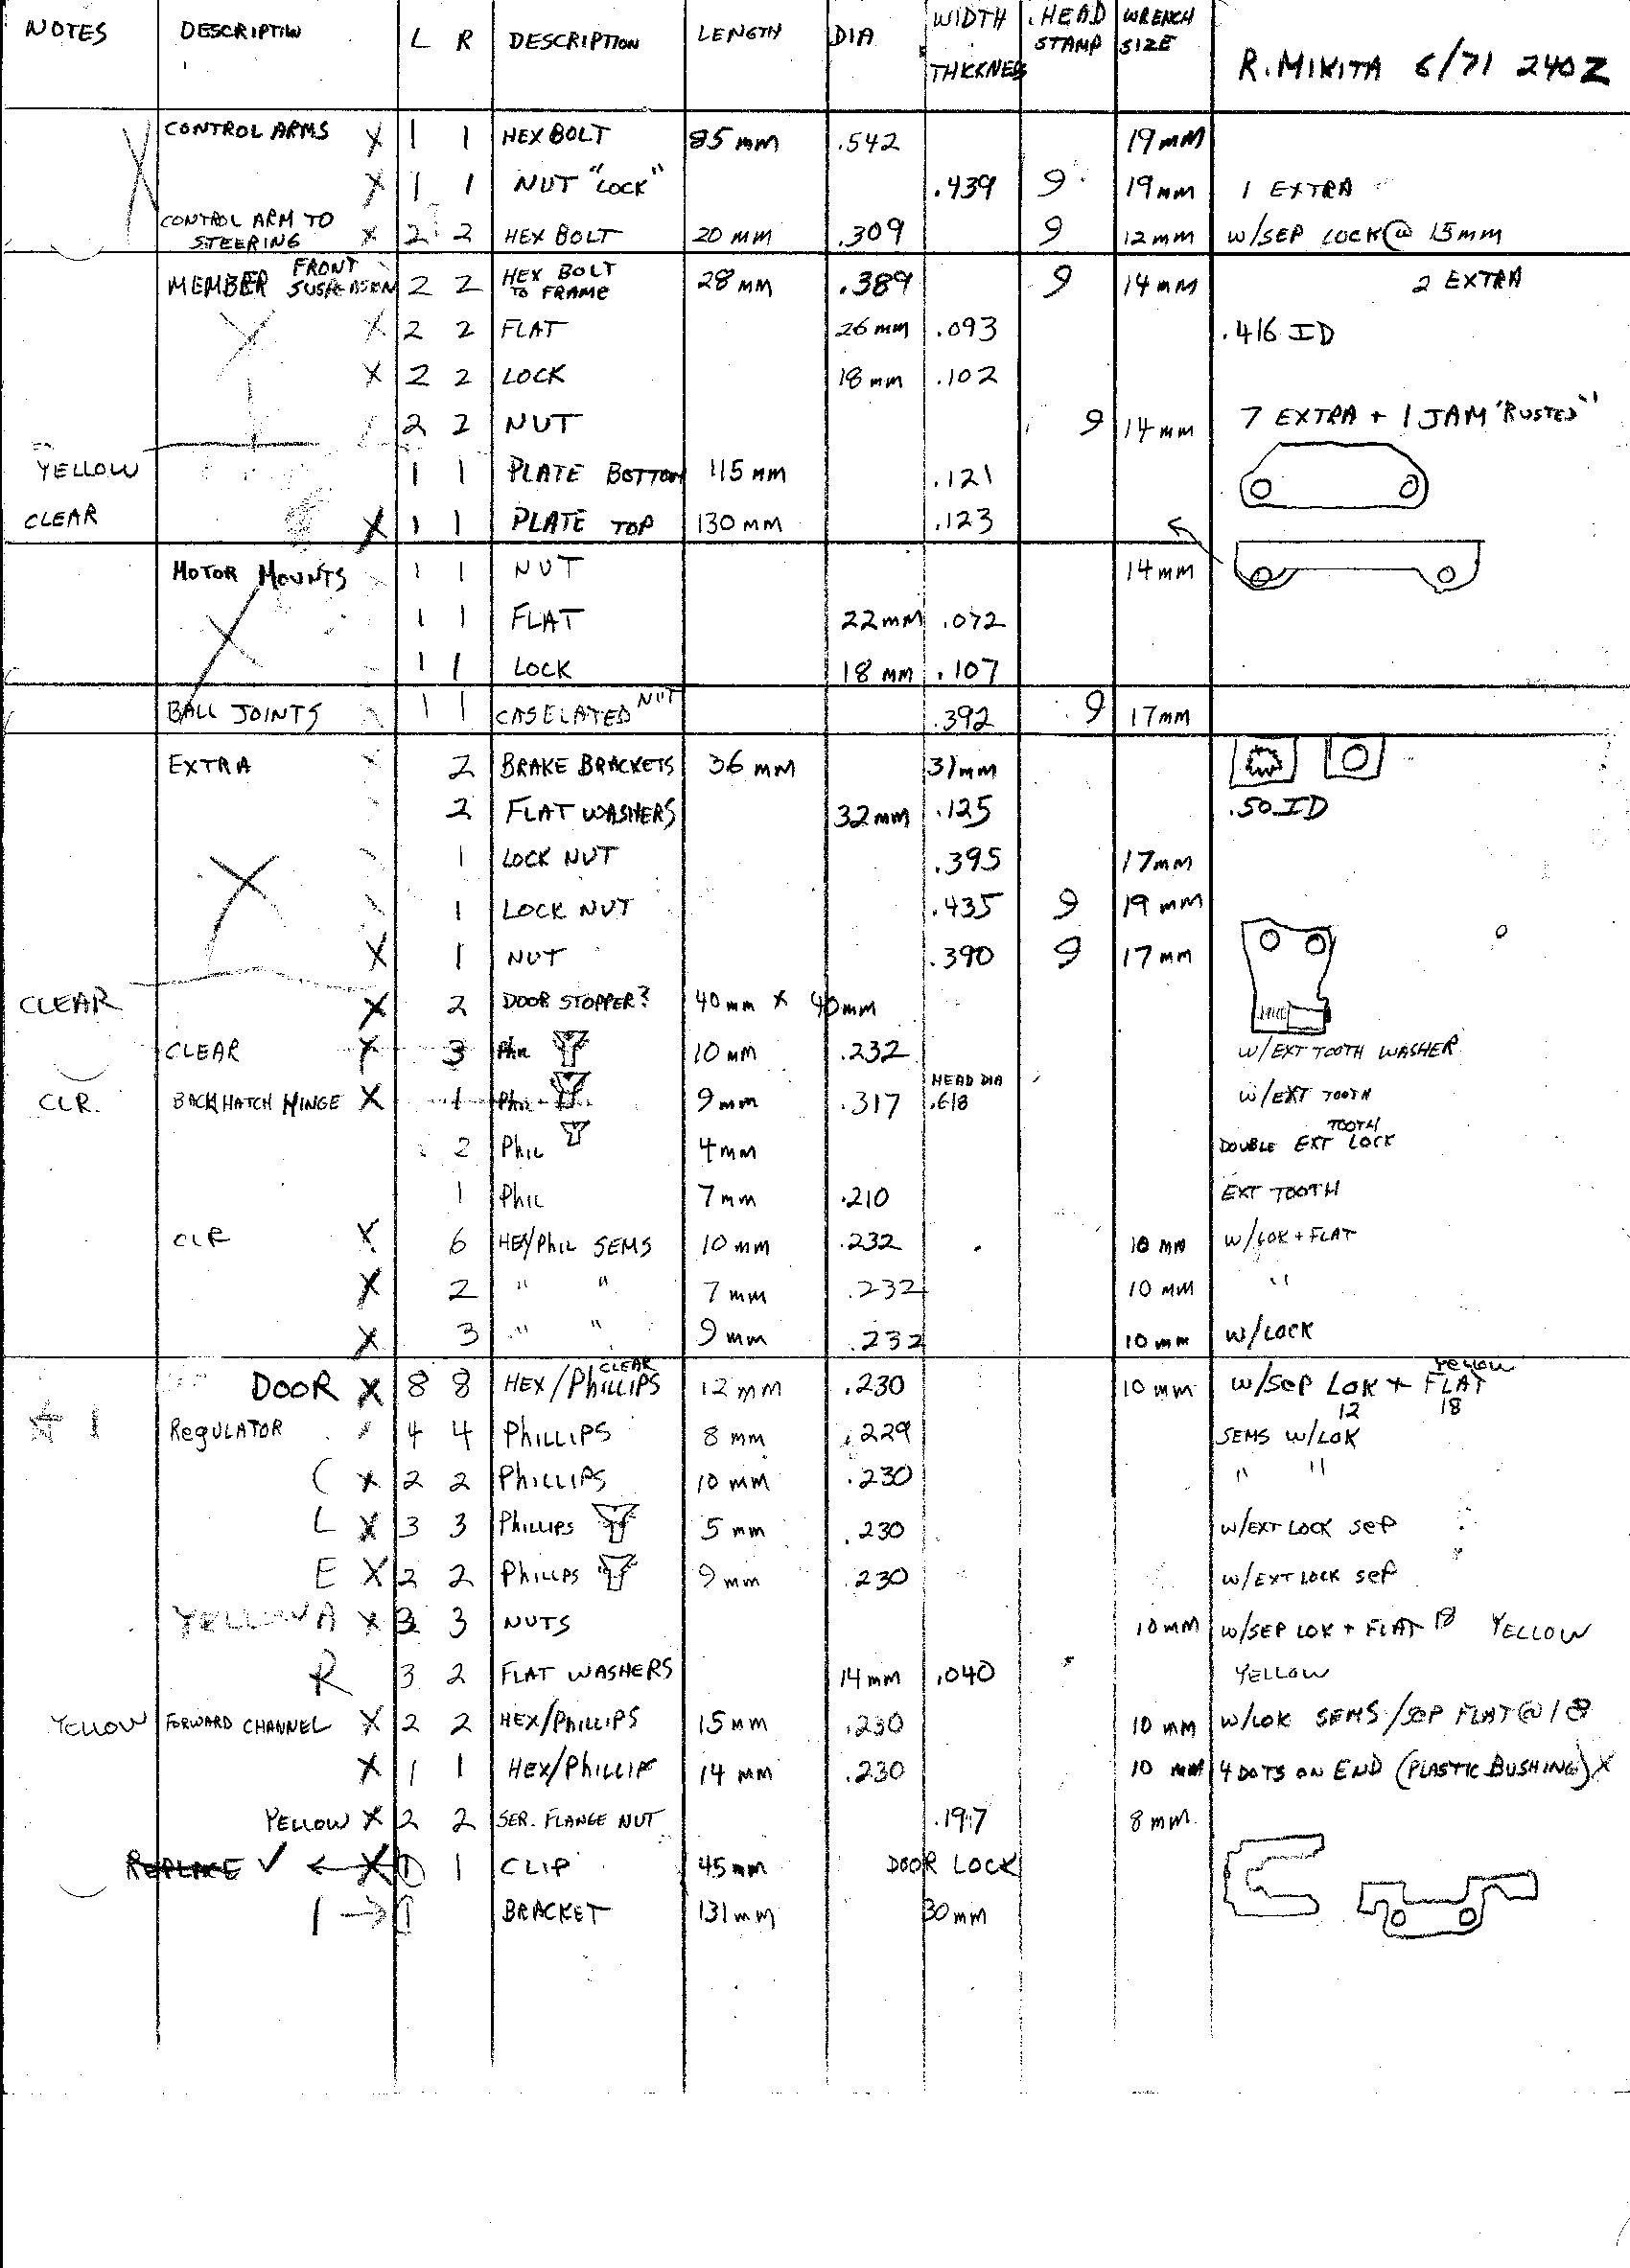
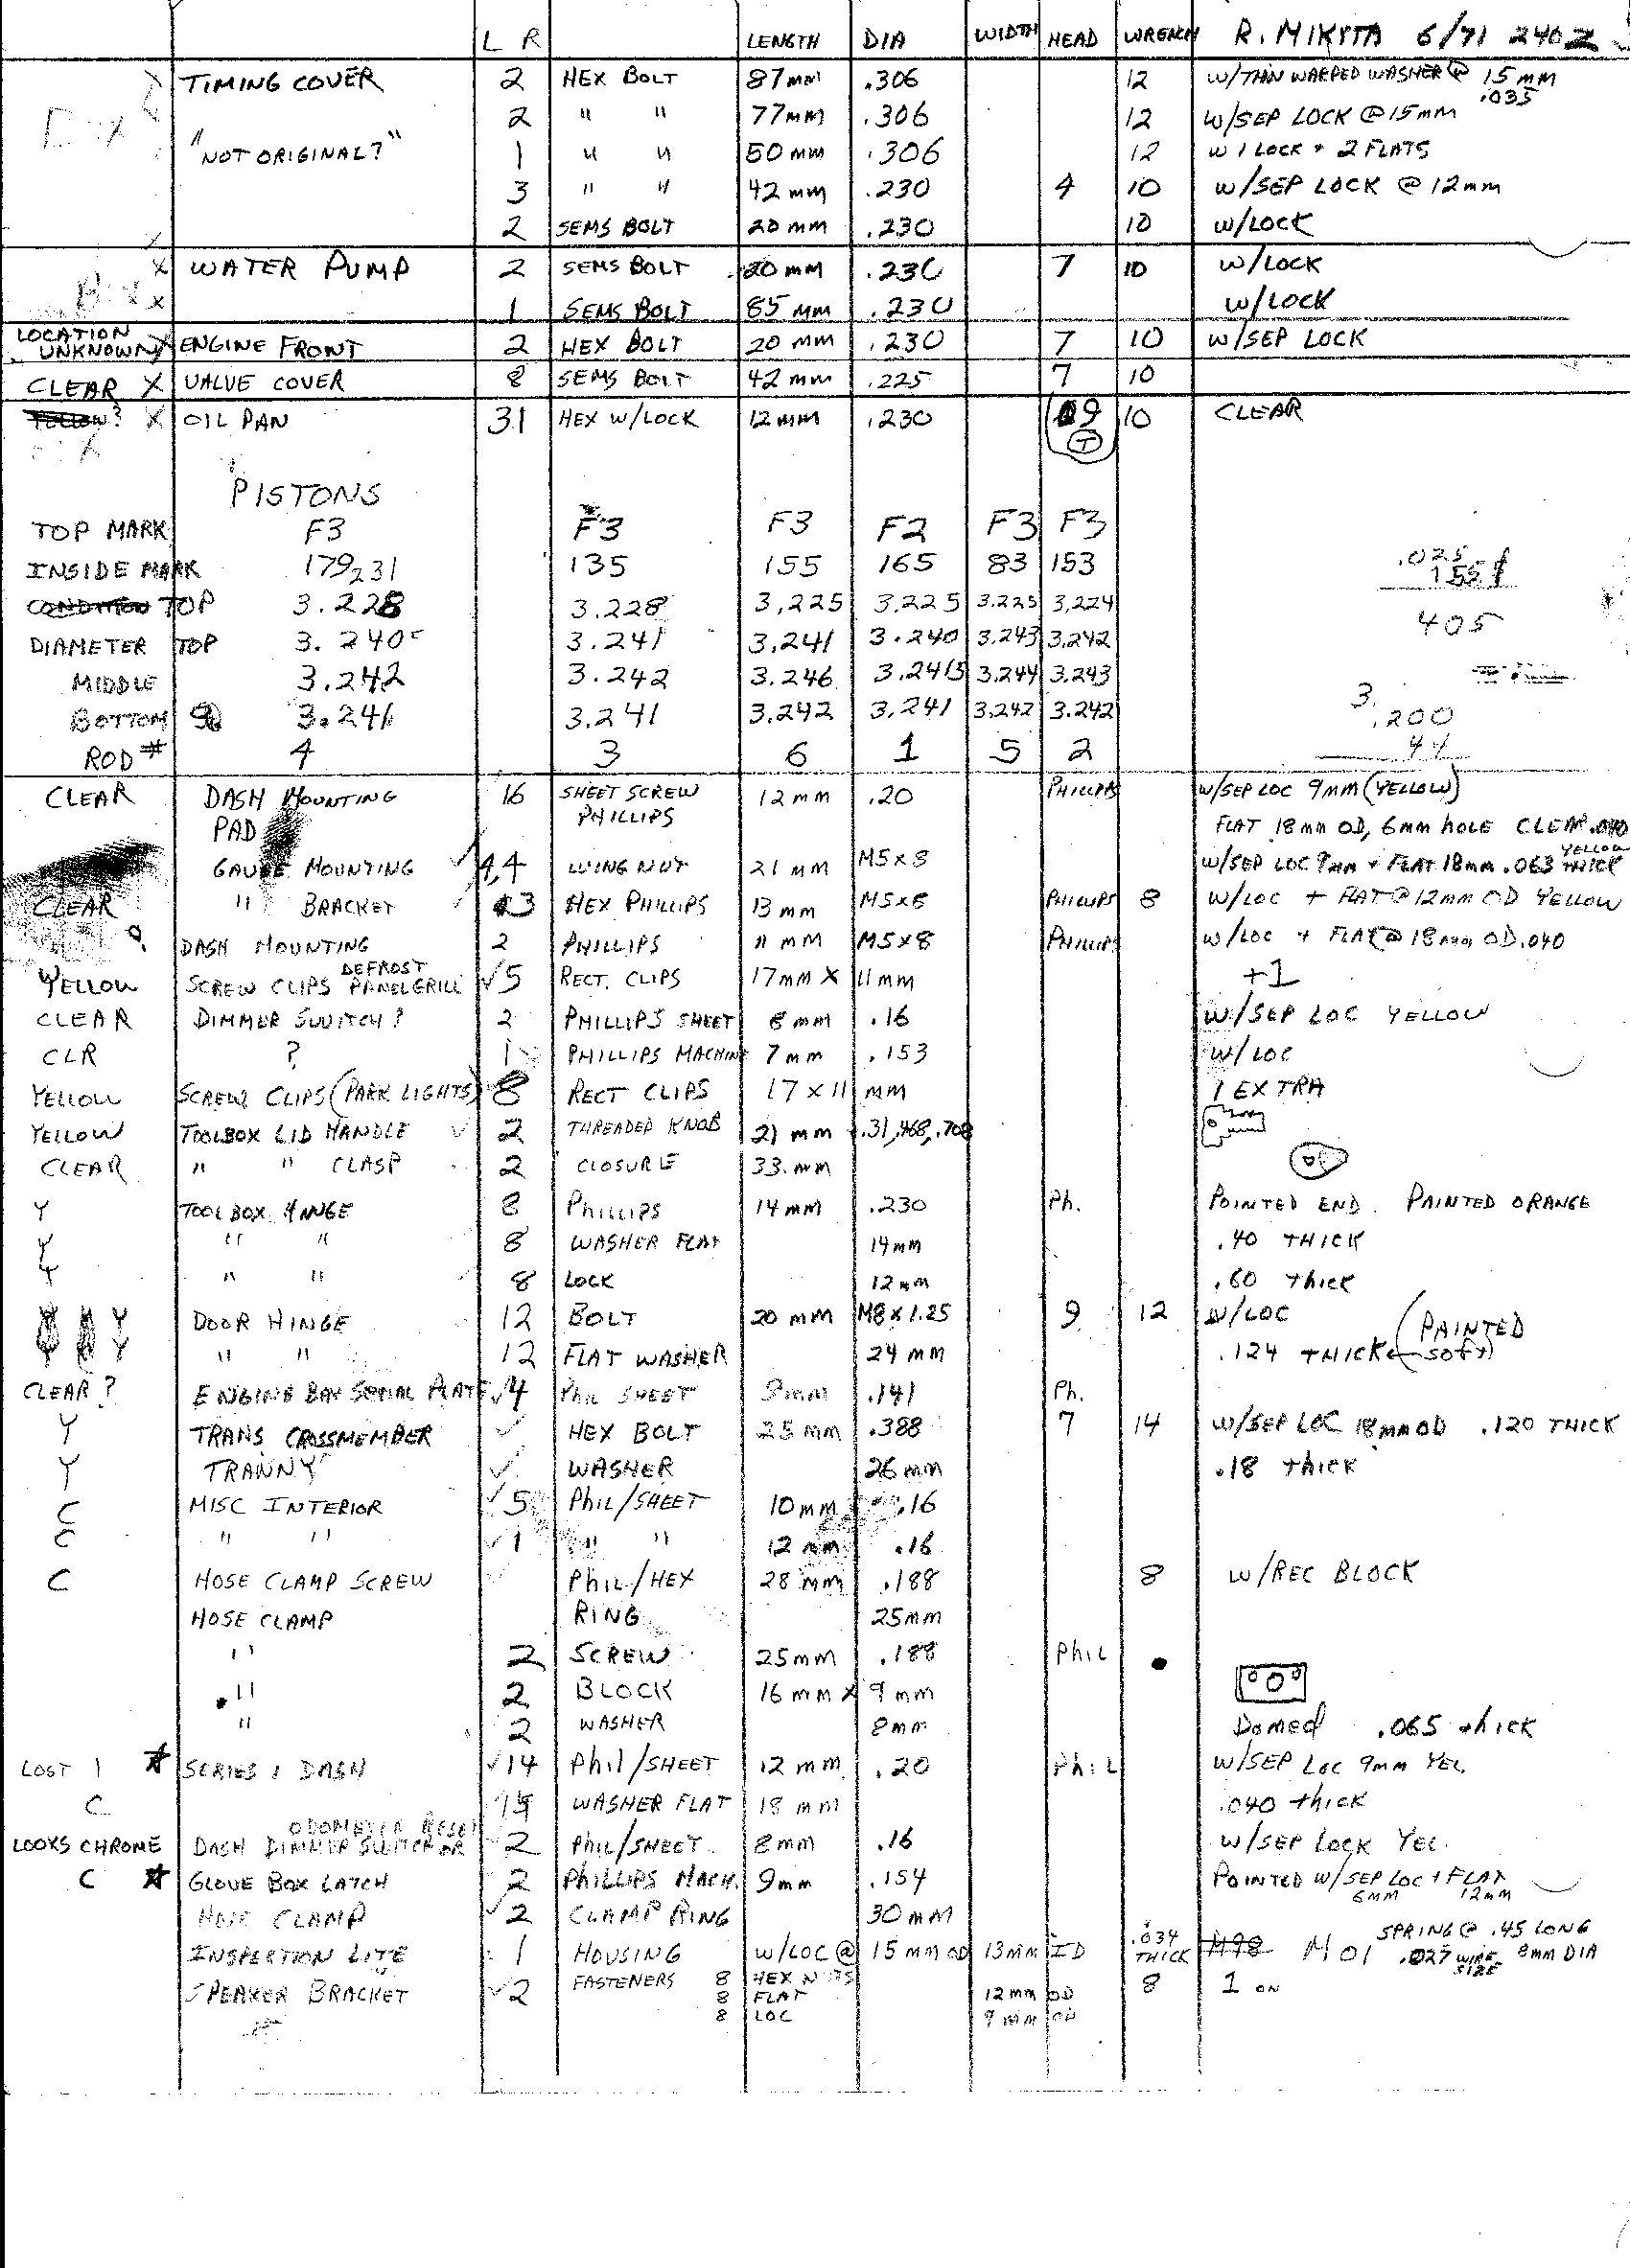
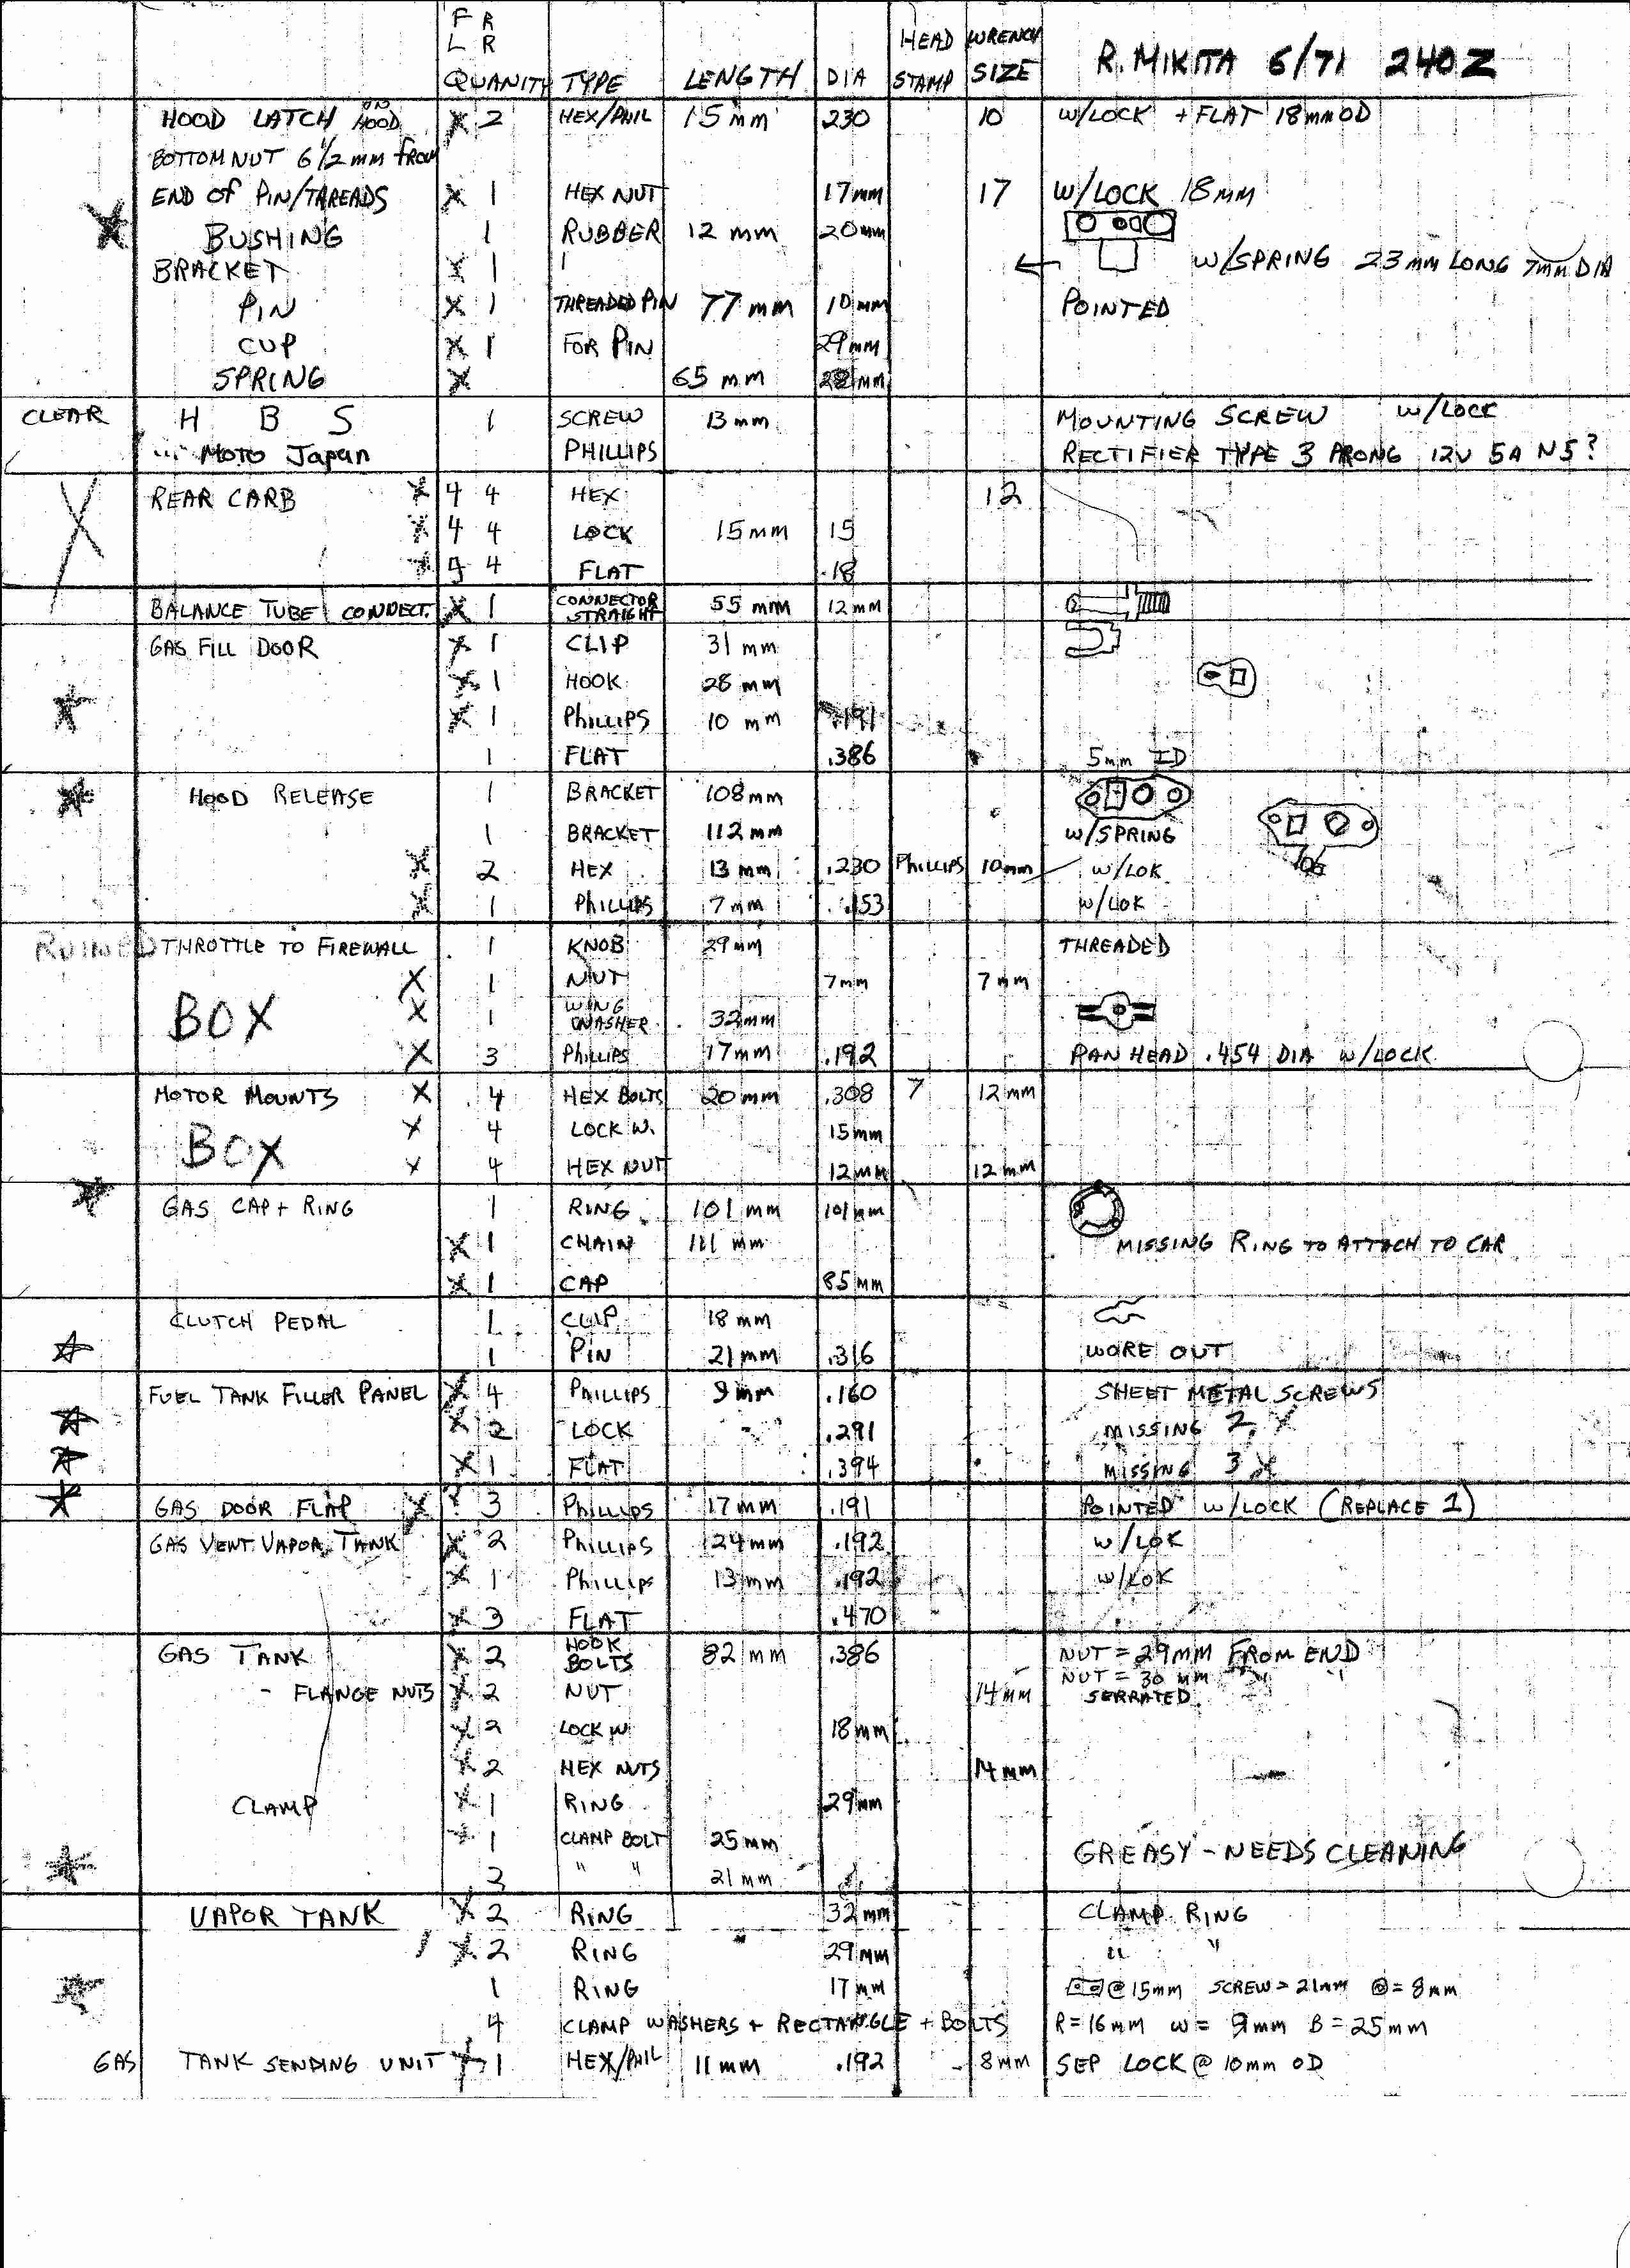
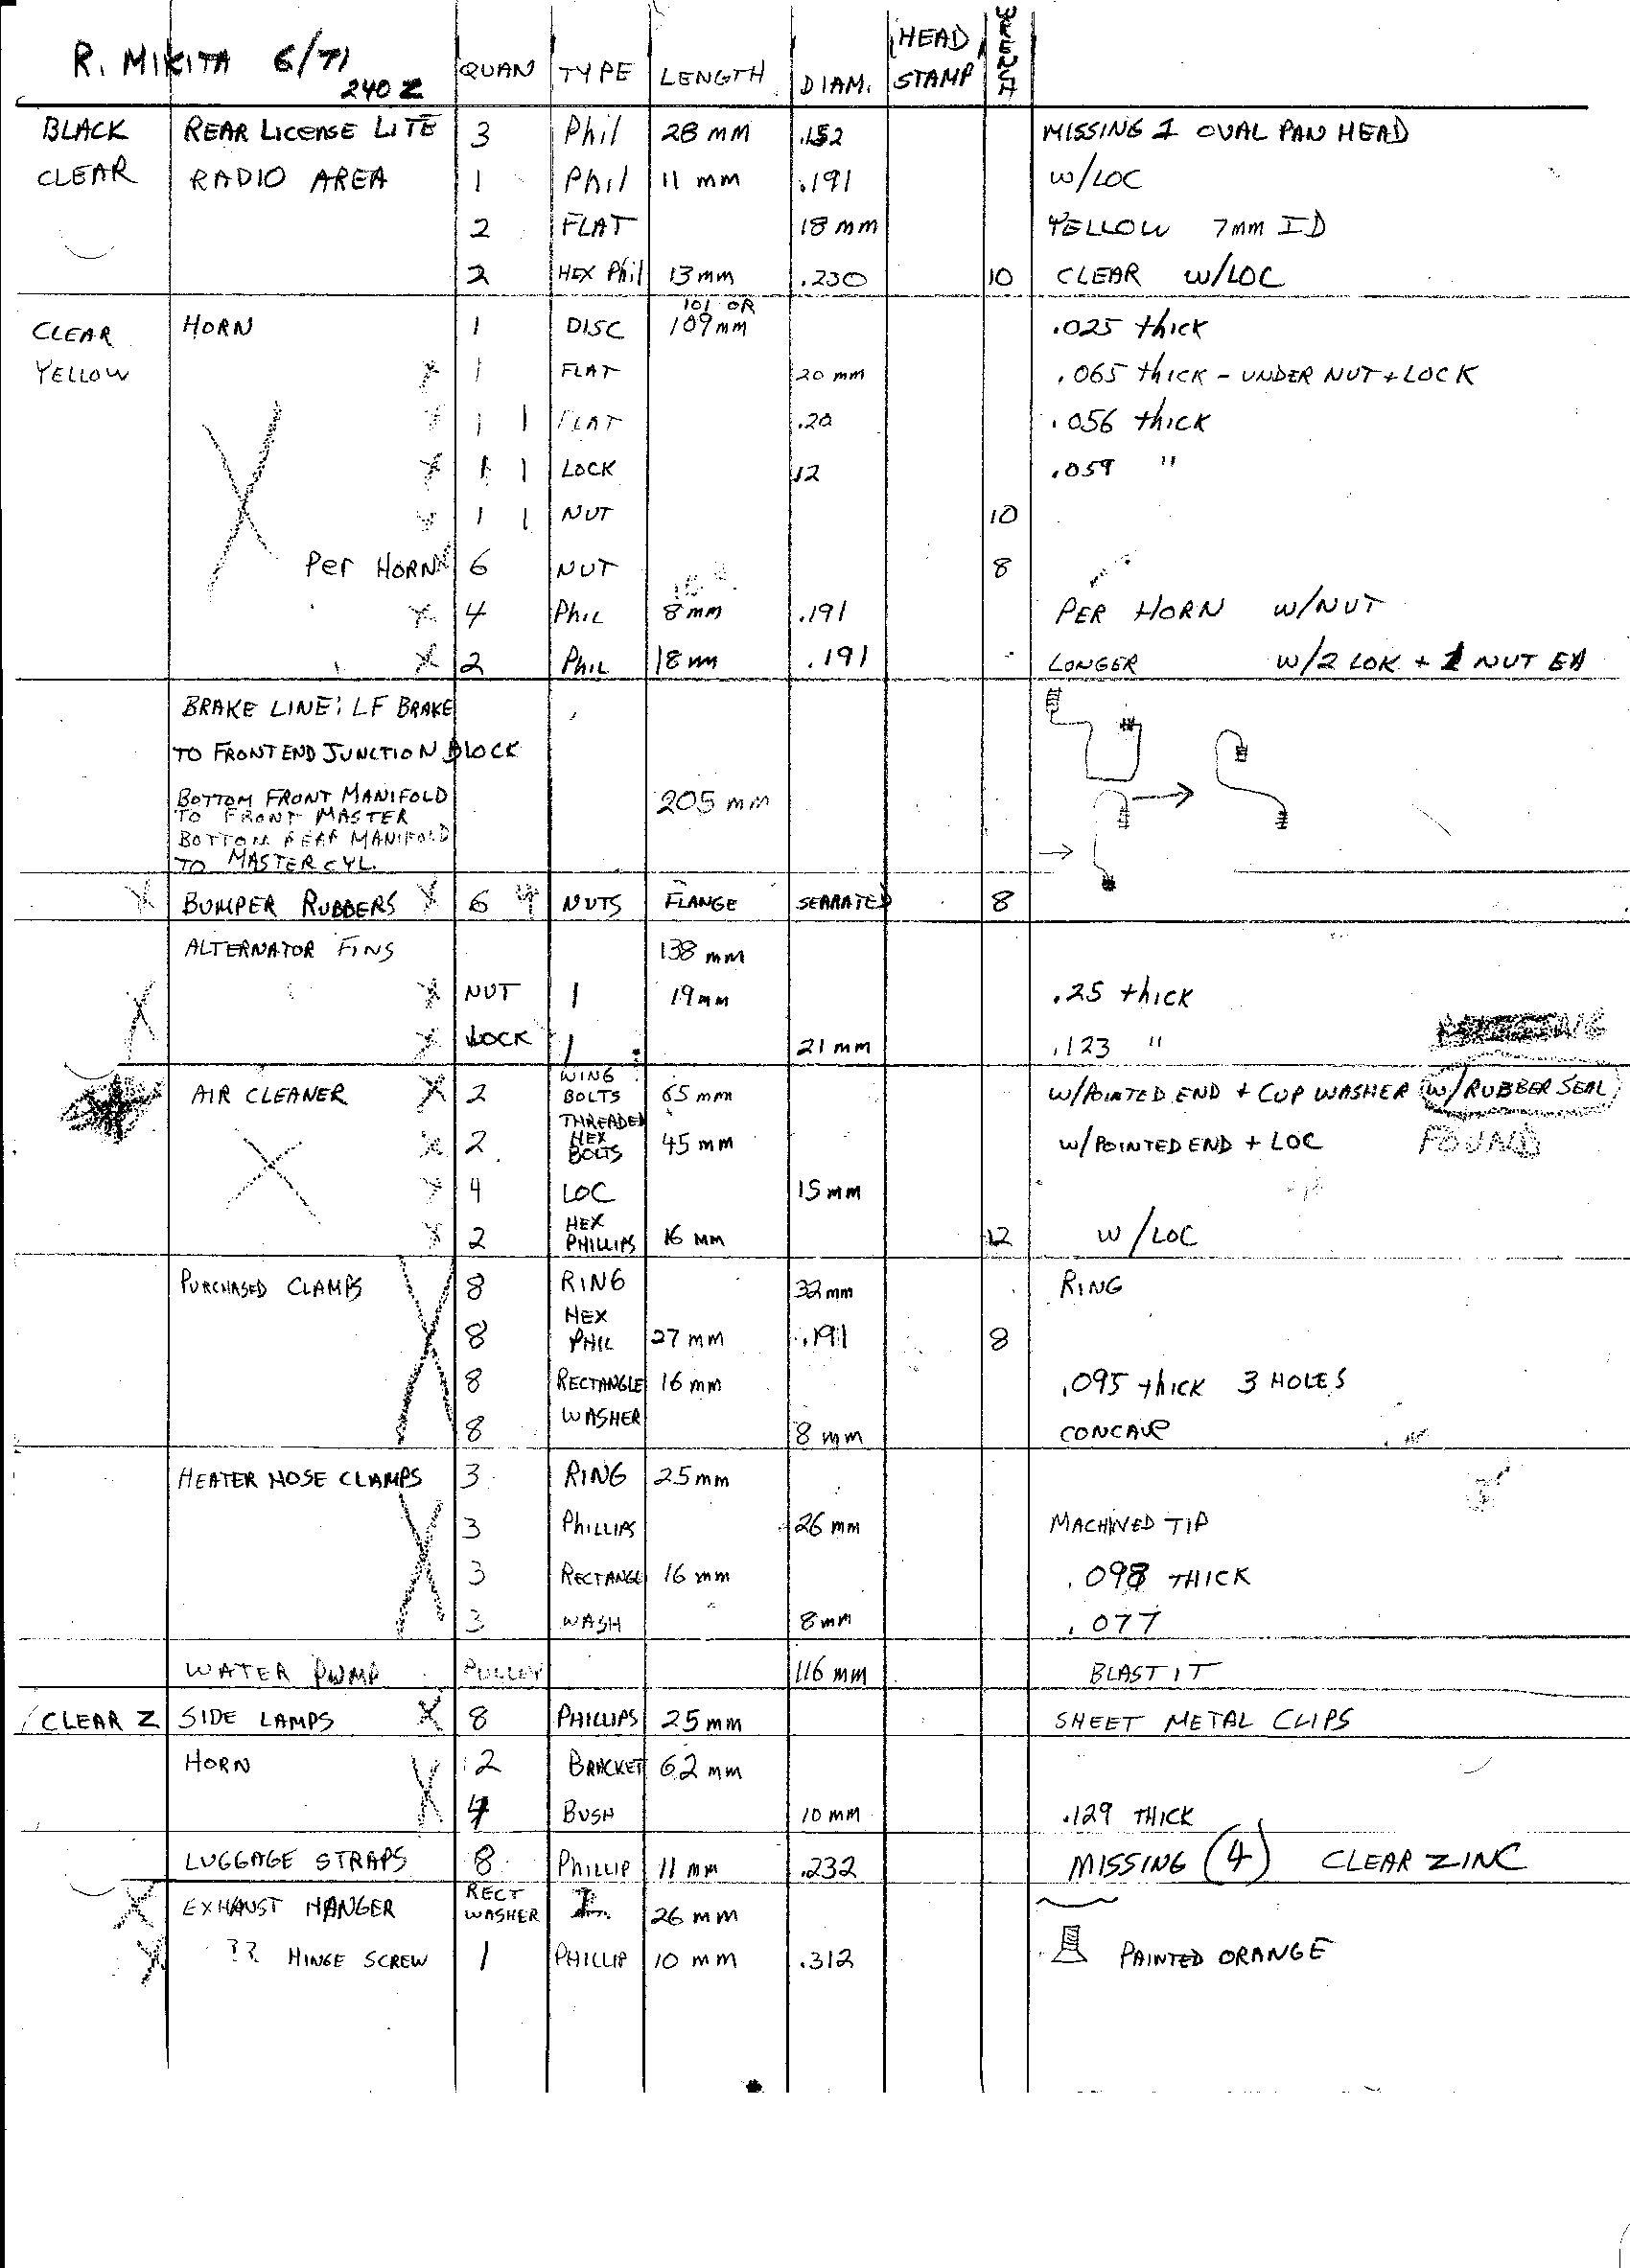
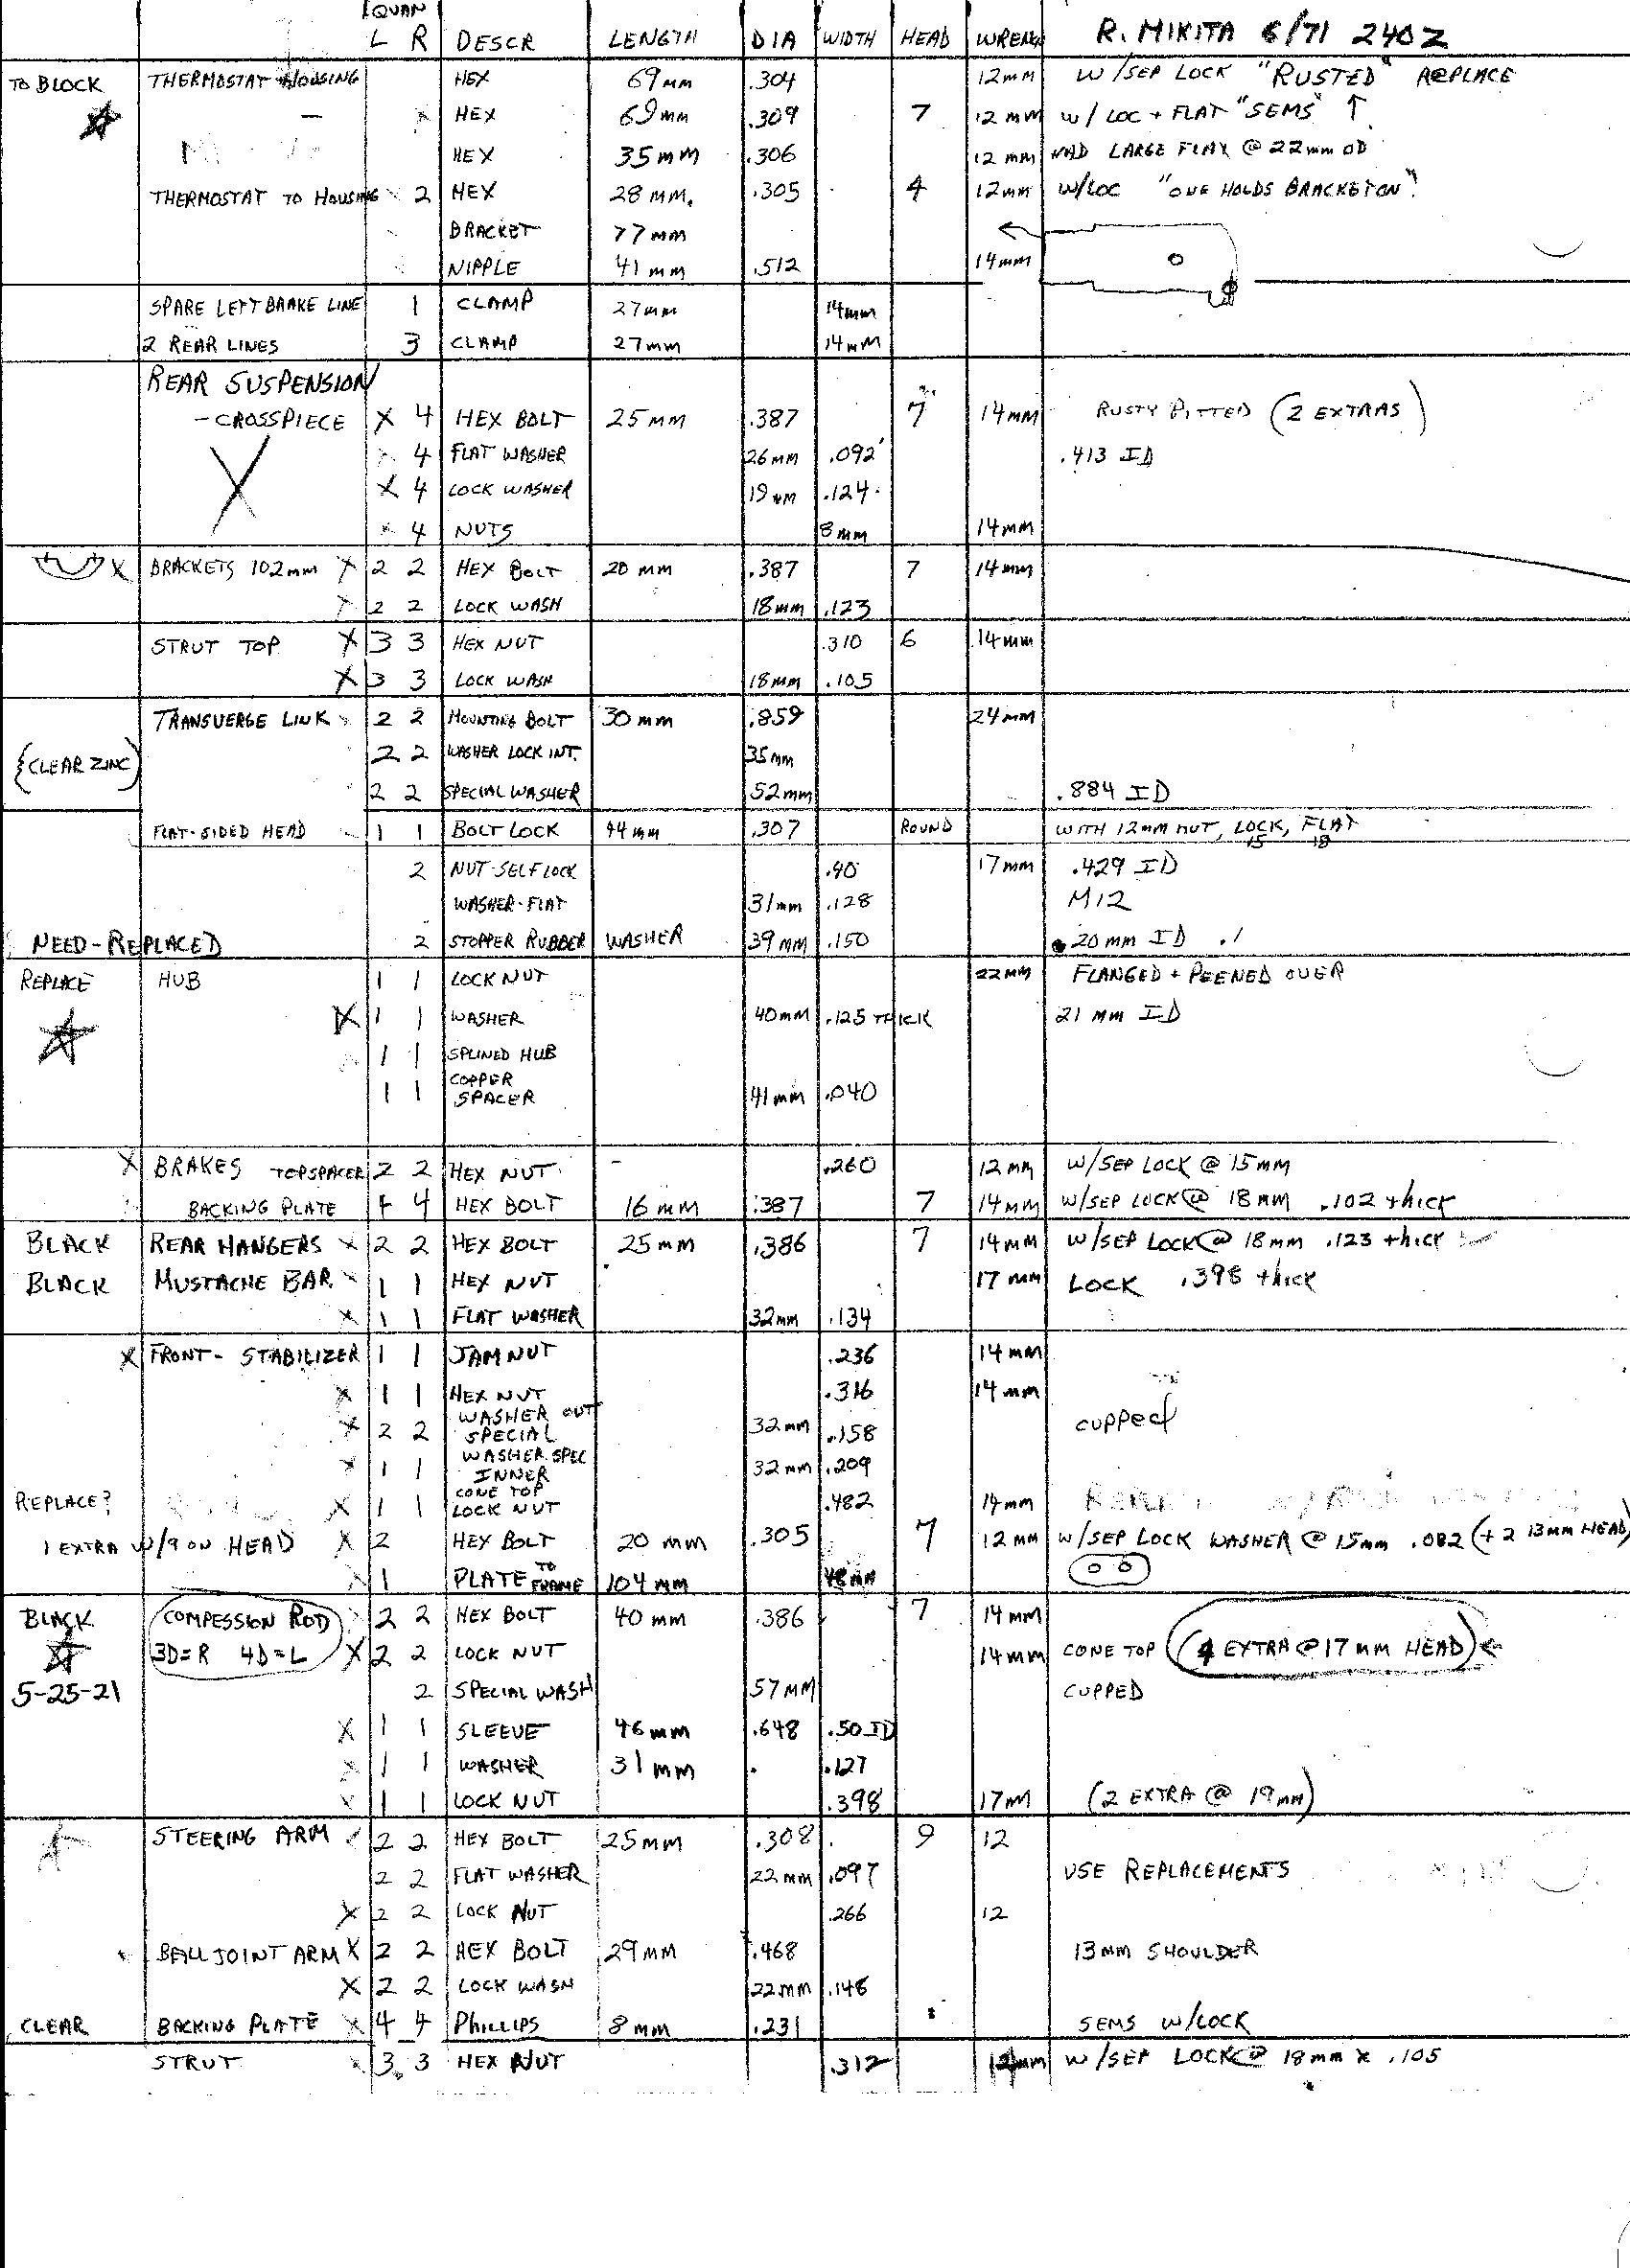
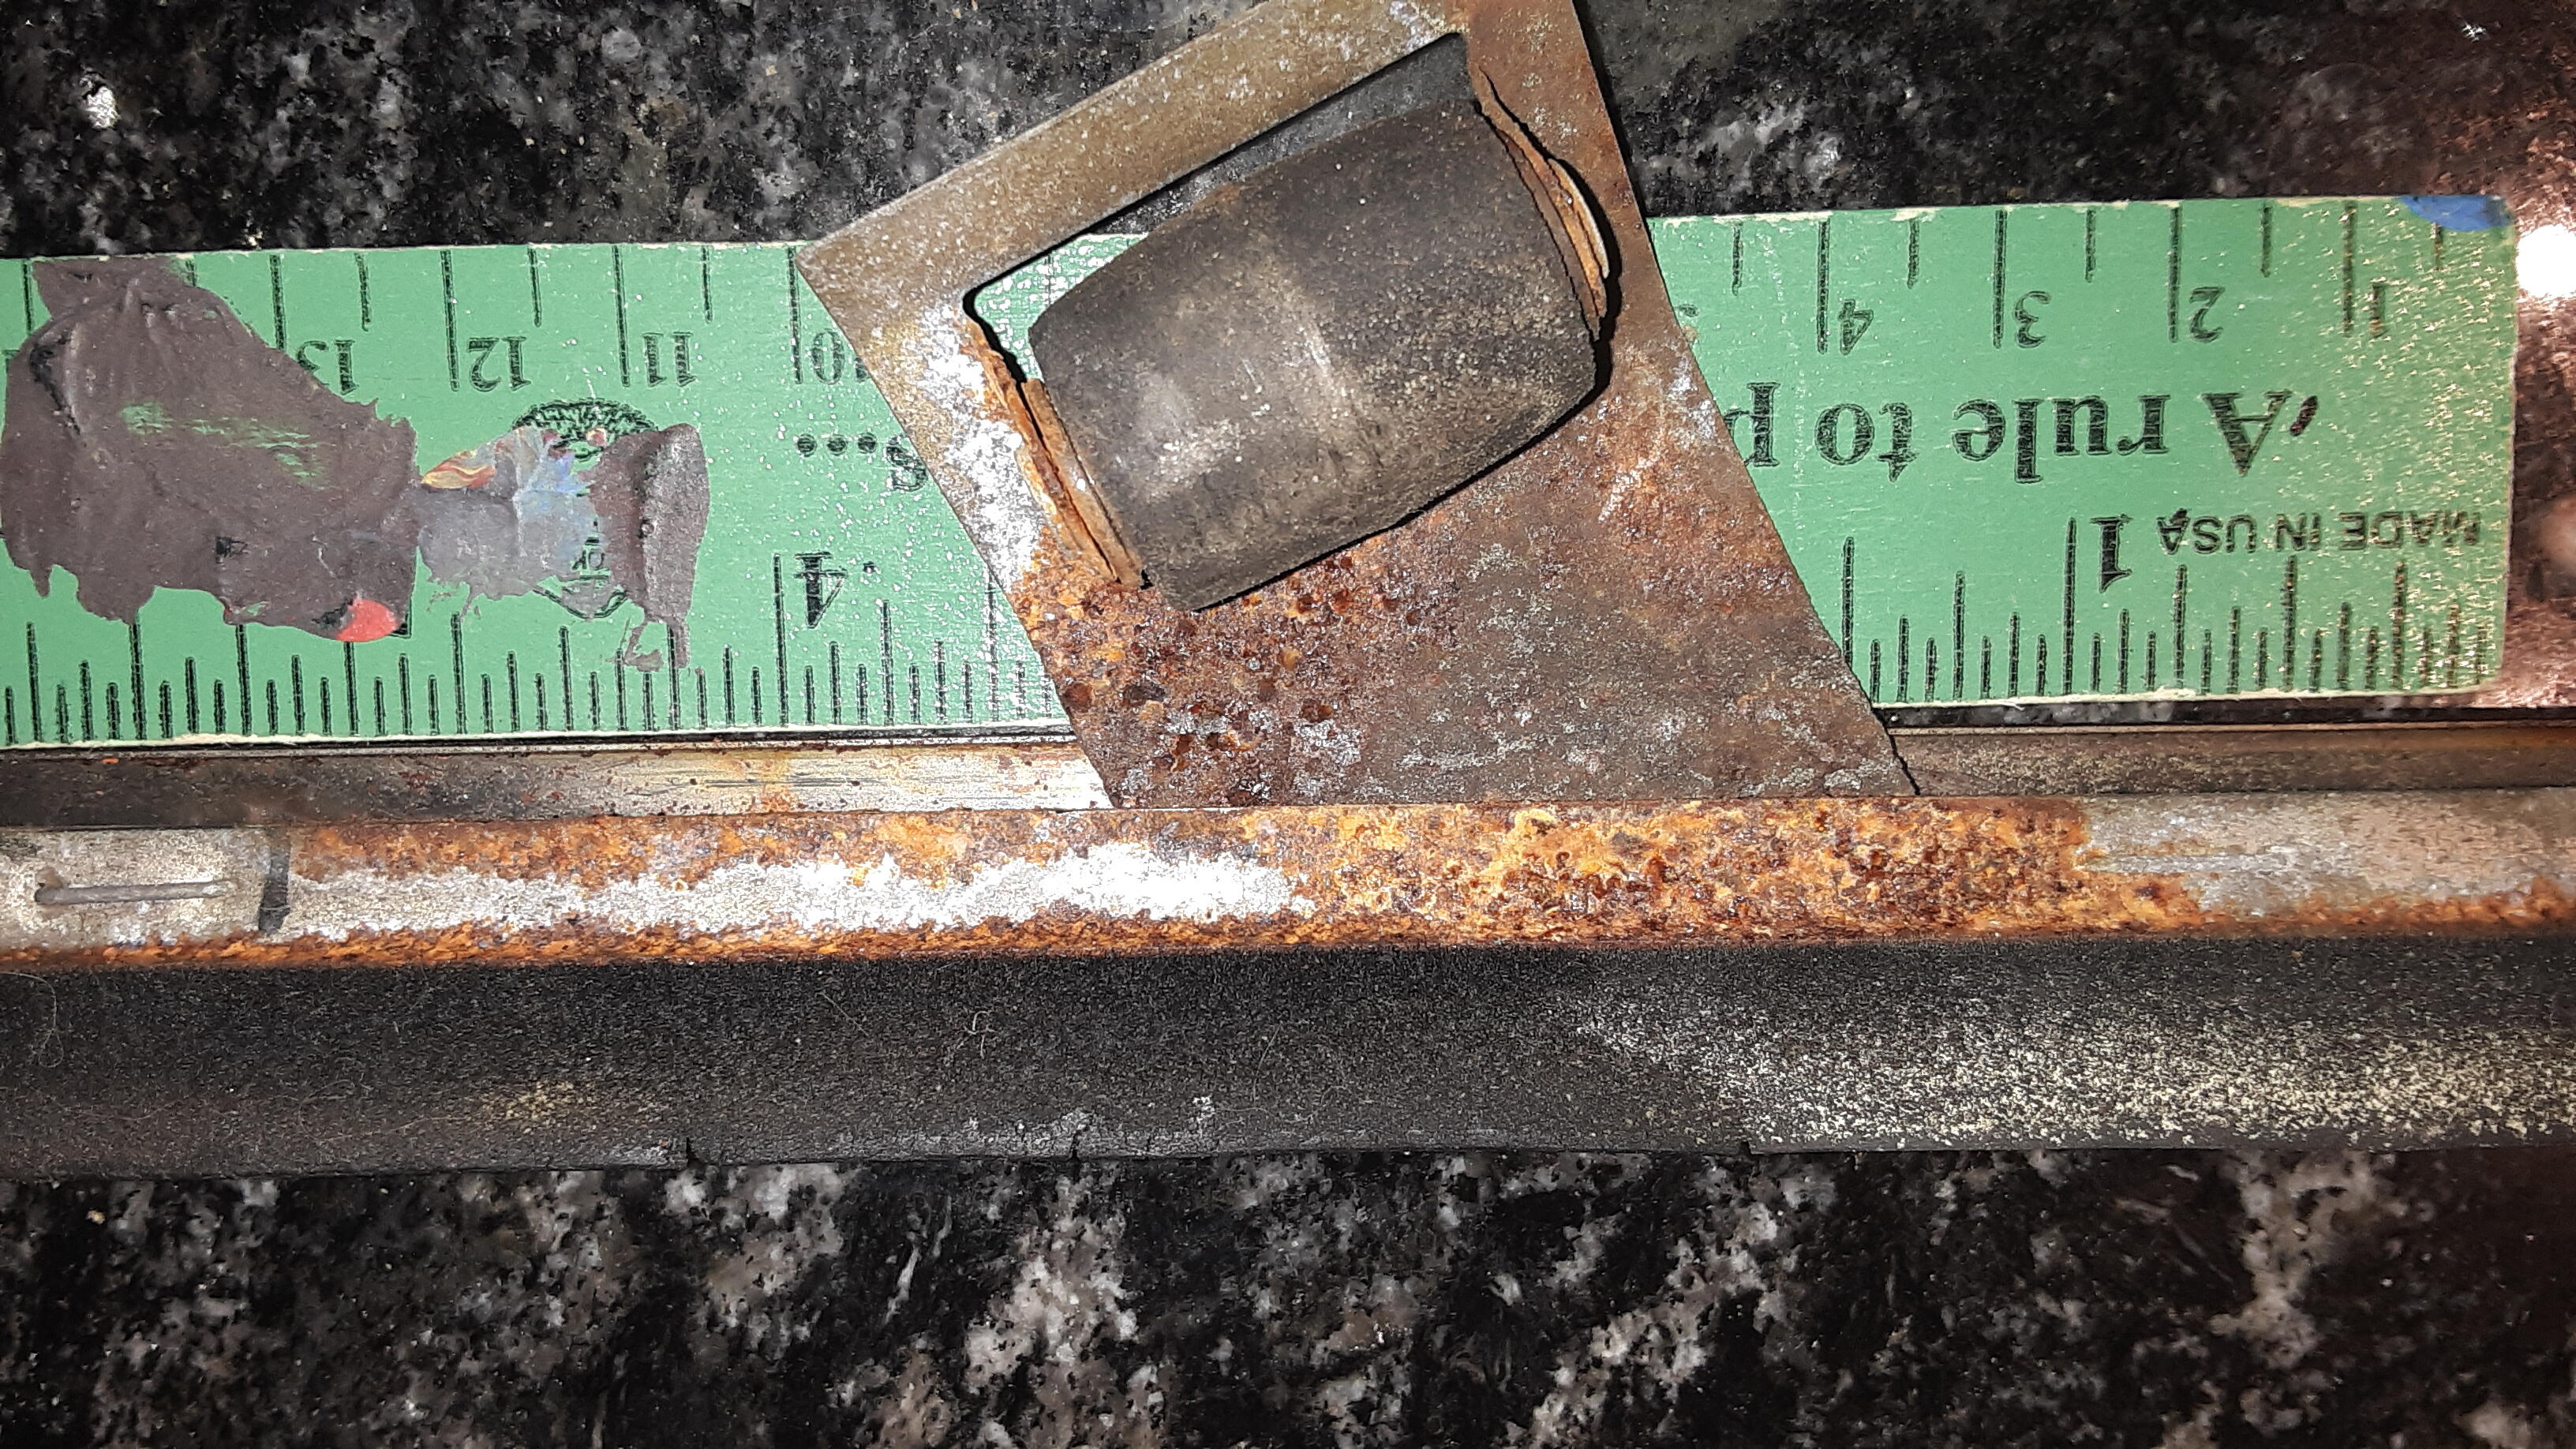
This car had some moisture, condensation from sitting in the weather all these years. Hot summers, cold winters, all kinds of weather. It was at this time I got one of my favorite tools, a harbor freight blast cabinet which I upgraded to a foot pedal etc. More tools included a spot weld cutter bit, a welded for welding thin metal. I have welders, but they're for heavy logging equipment, not this. As I took the car apart, I carefully bagged up the parts in separate labeled bags. About this time, I started reading Motorman's "the Orange" and "Deja vu" threads. It really inspired me to think "hey, I can do that!" But then realized to get parts plated, I needed to throw everything into a box together. Now my memory isn't that good, and getting worse every year, so, I decided to measure and record everything. It took days. The thickness and diameters I measured with a micrometer, lengths in millimeters. I wasn't to familiar with metric....so if these can help anyone, here they are. I had a couple shipments to Sav-On plating and parts of another car in these. As far as clear zinc or yellow, in some cases I may have gotten it wrong as these things were powdery/rusty color. I think this car was pretty much unmolested. datsun invent 6 001.bmp


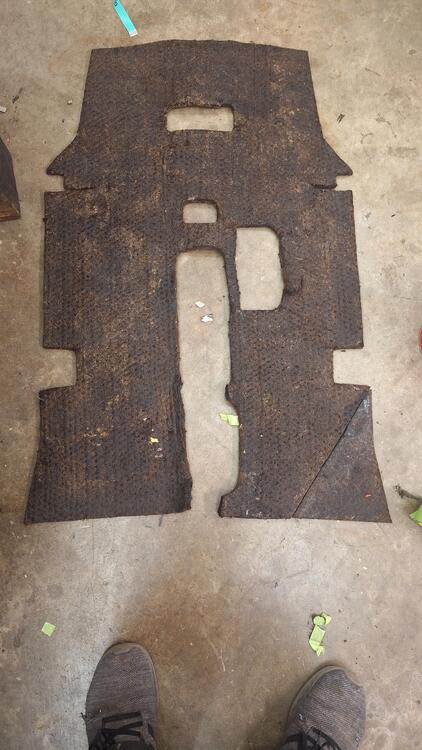
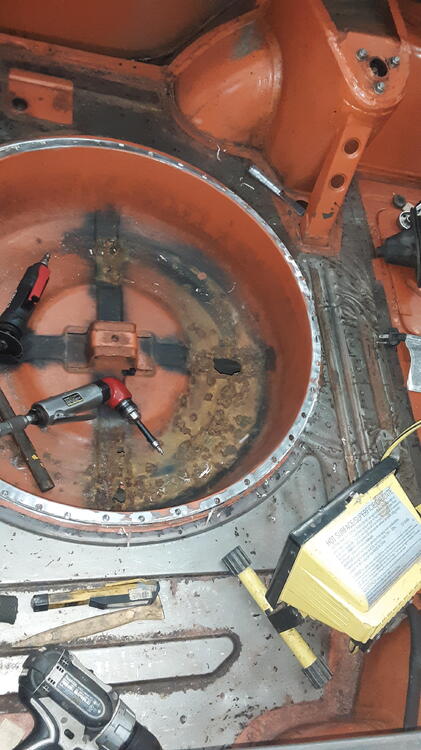
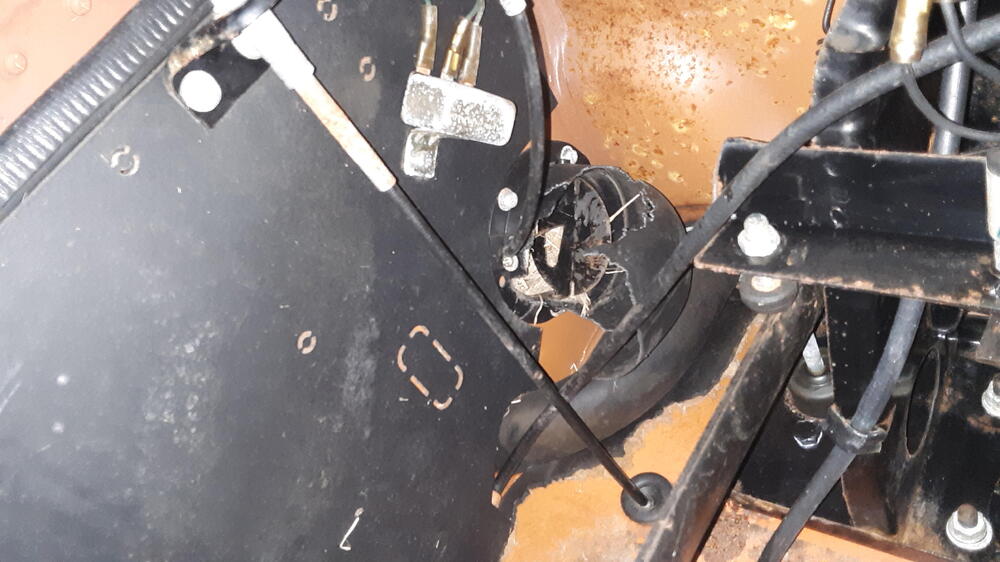
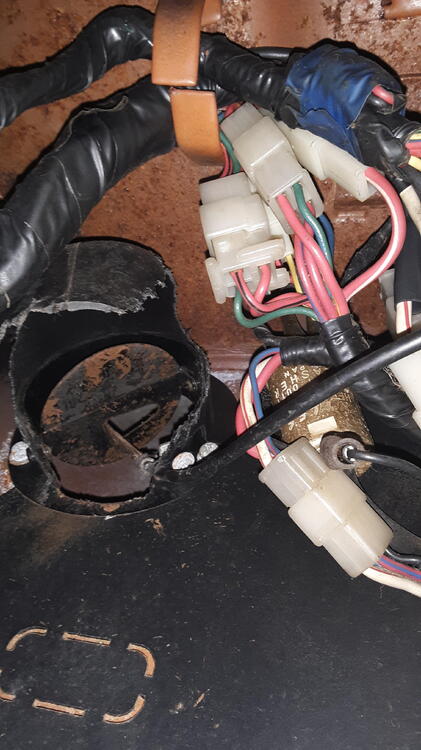
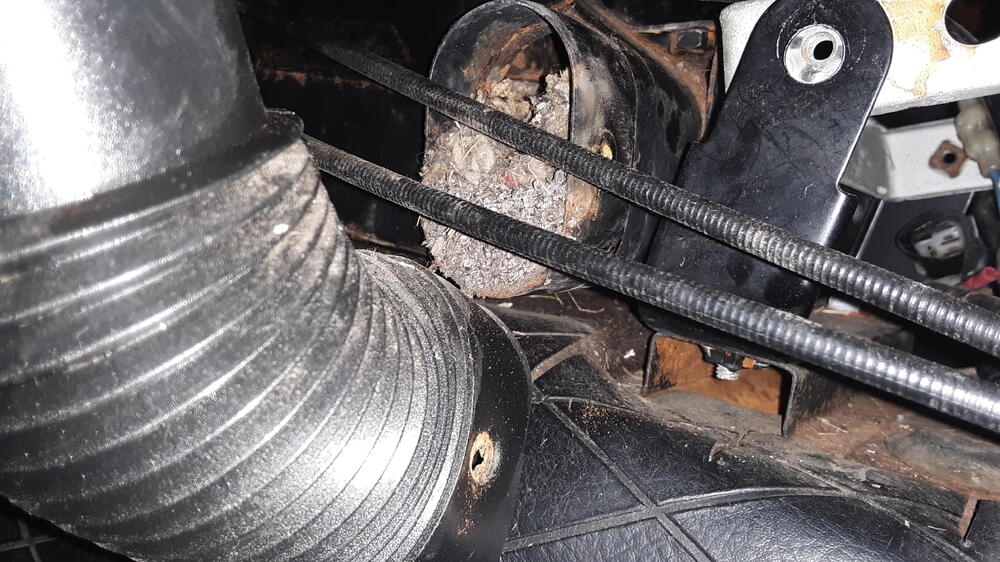
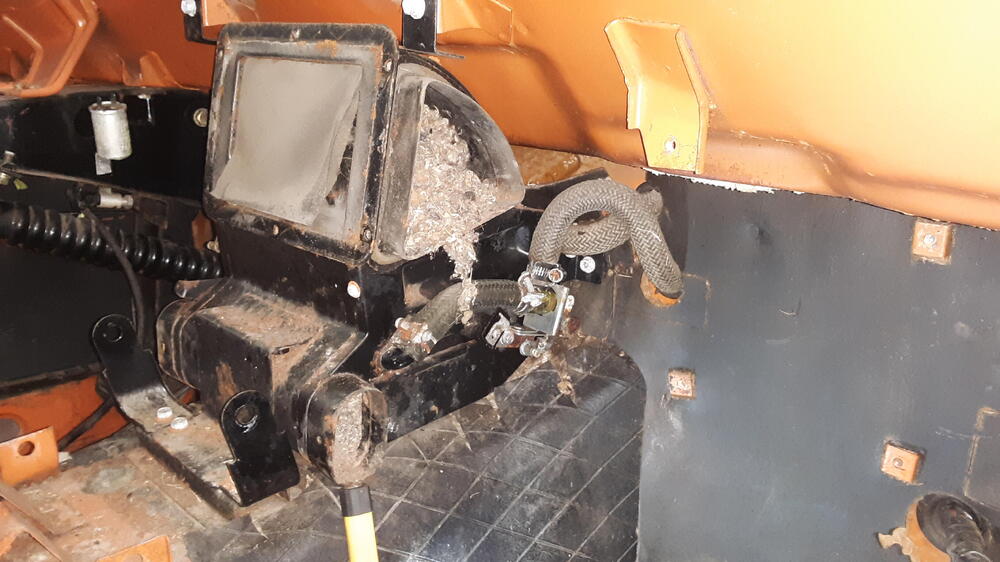
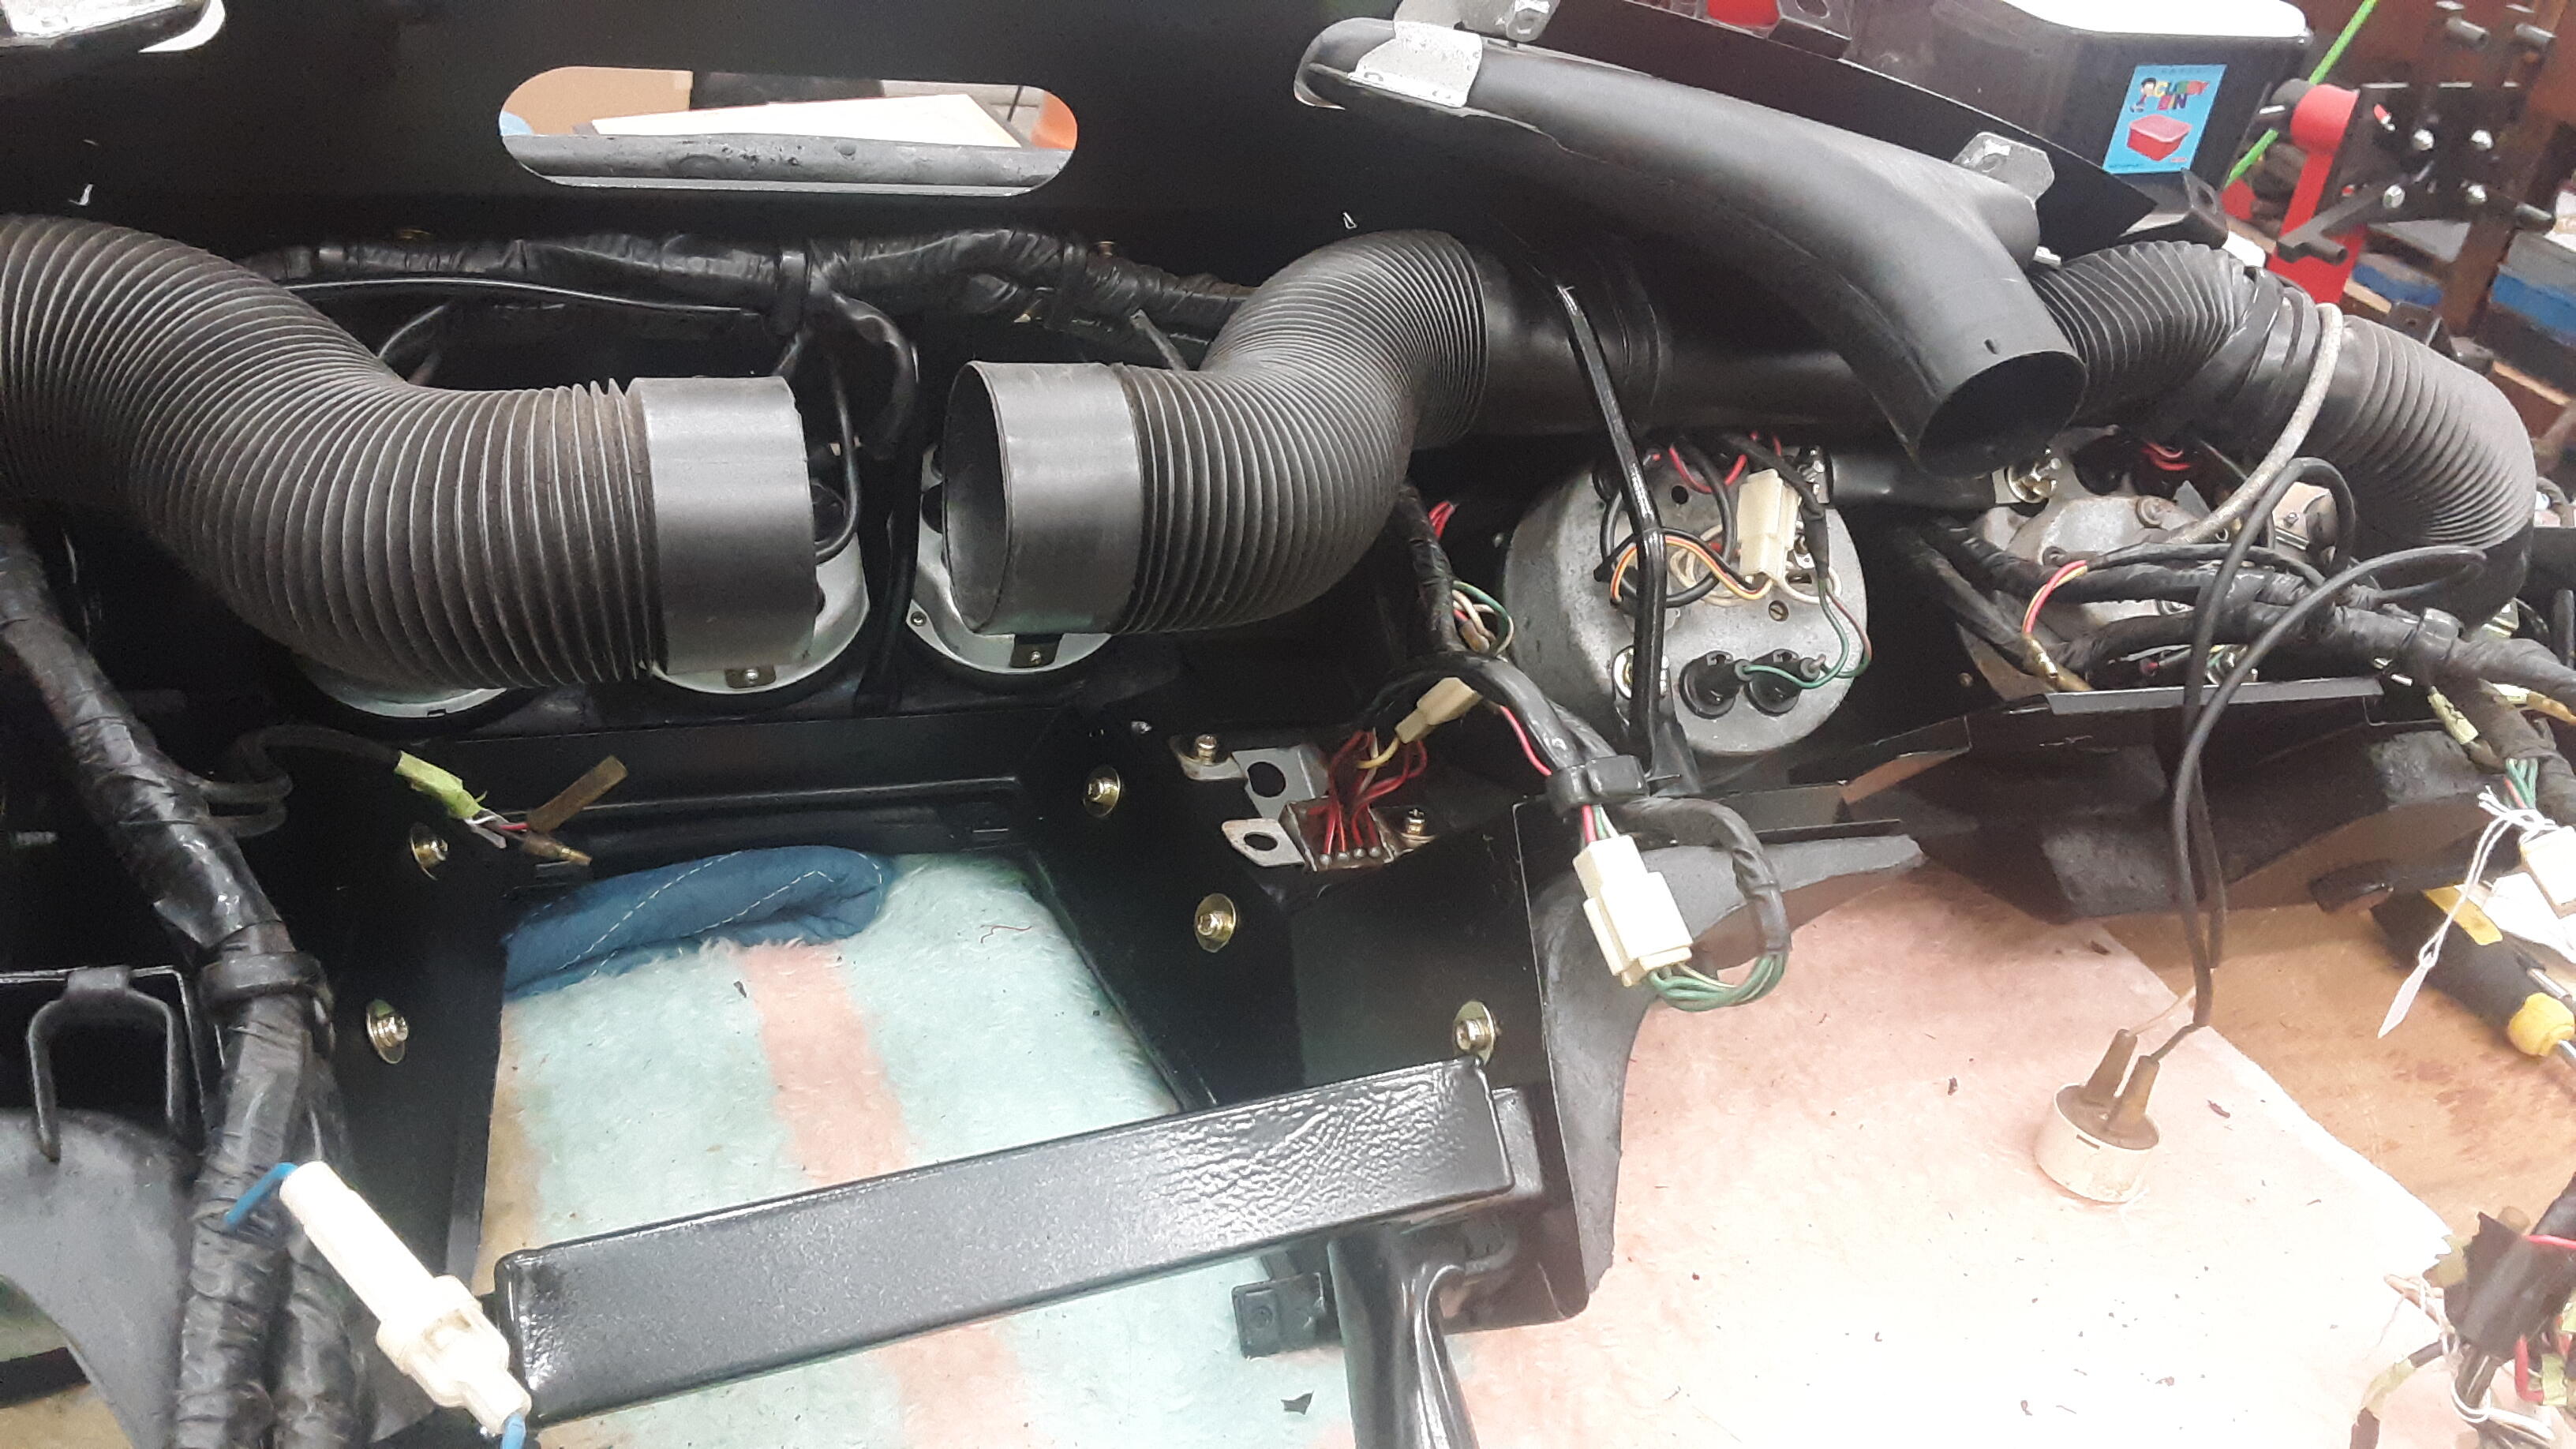
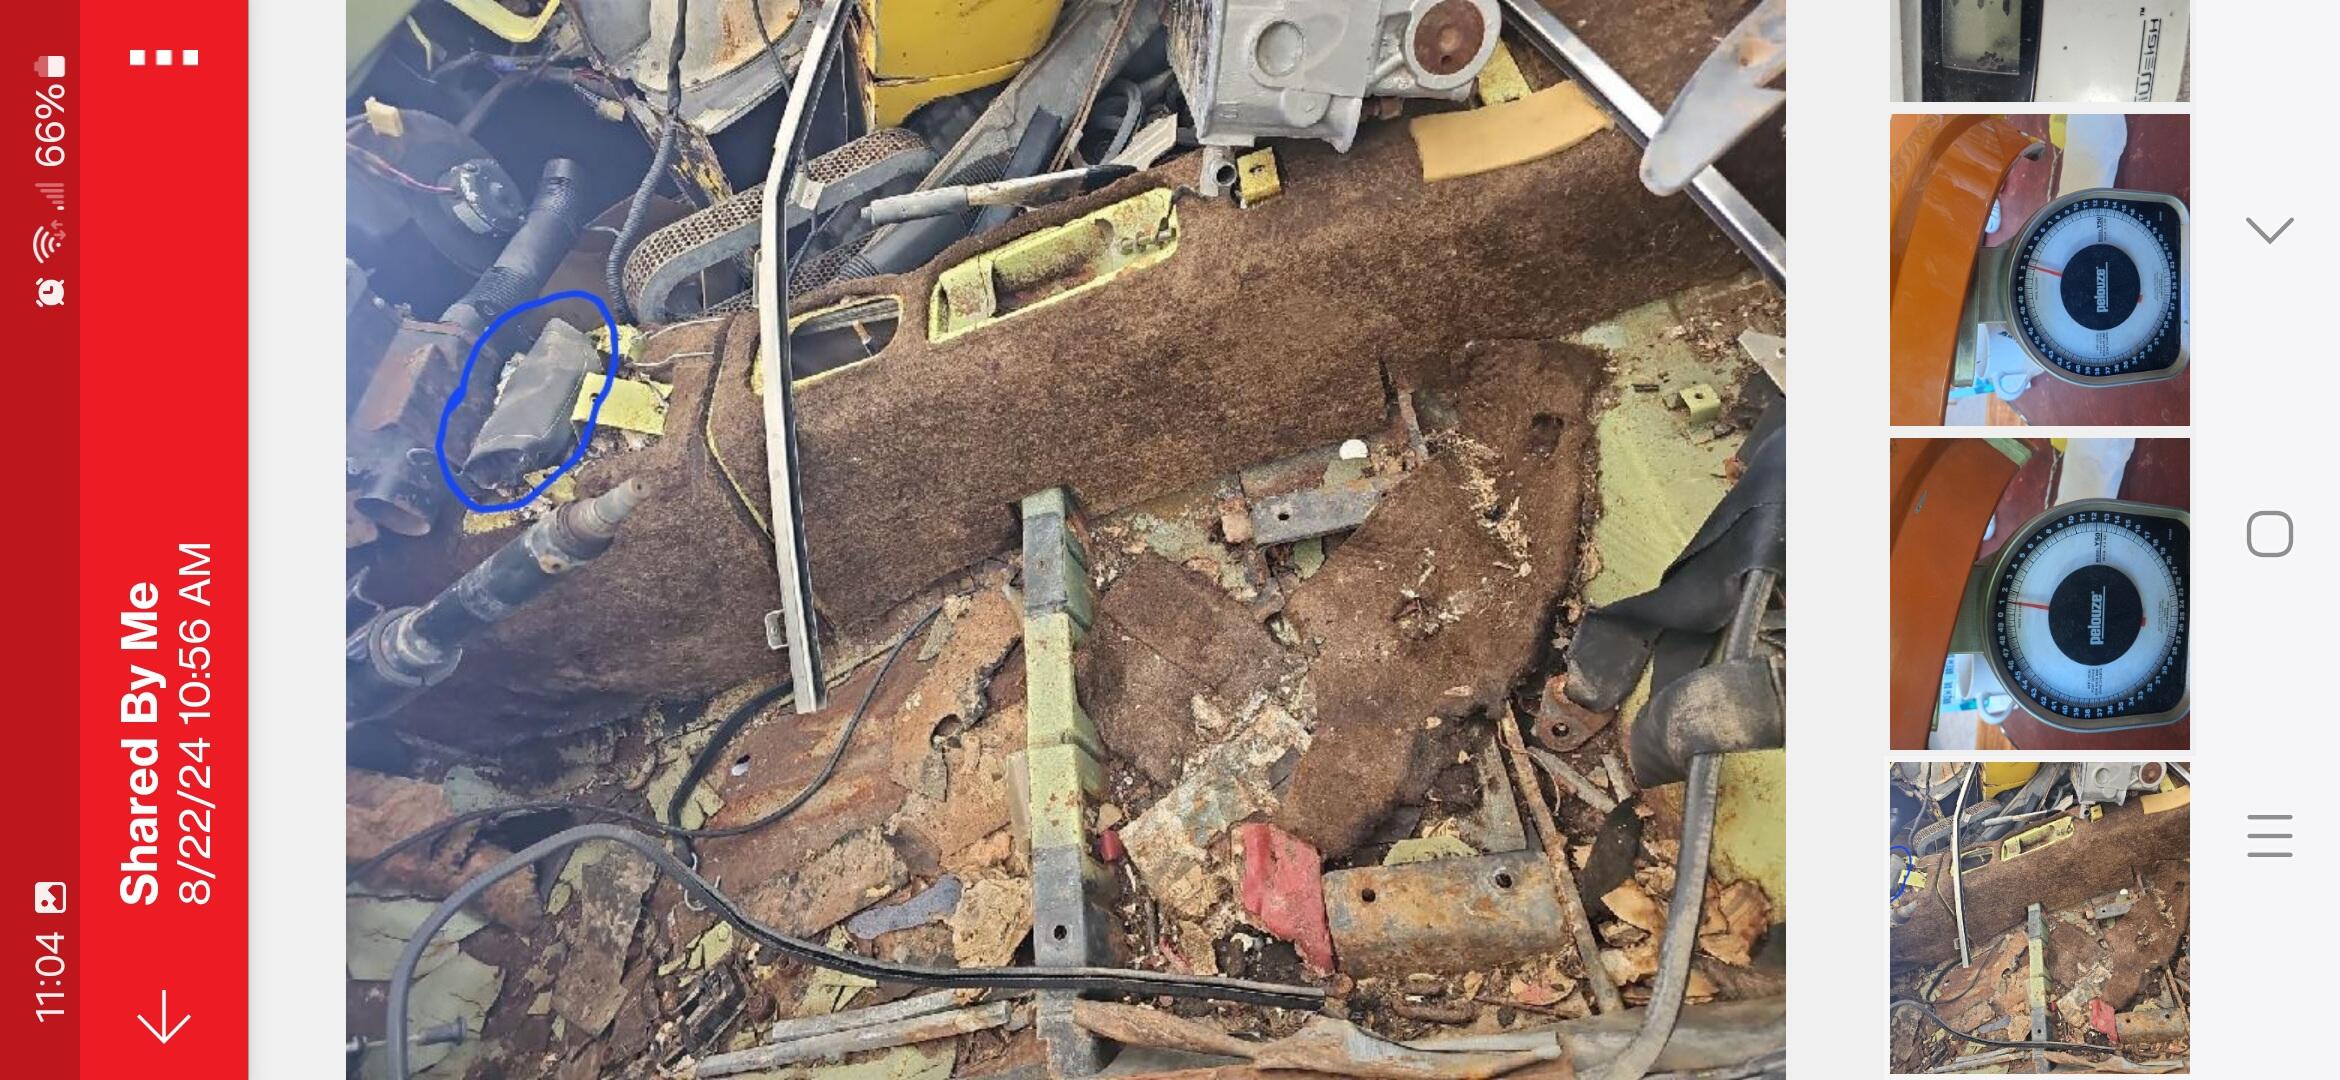
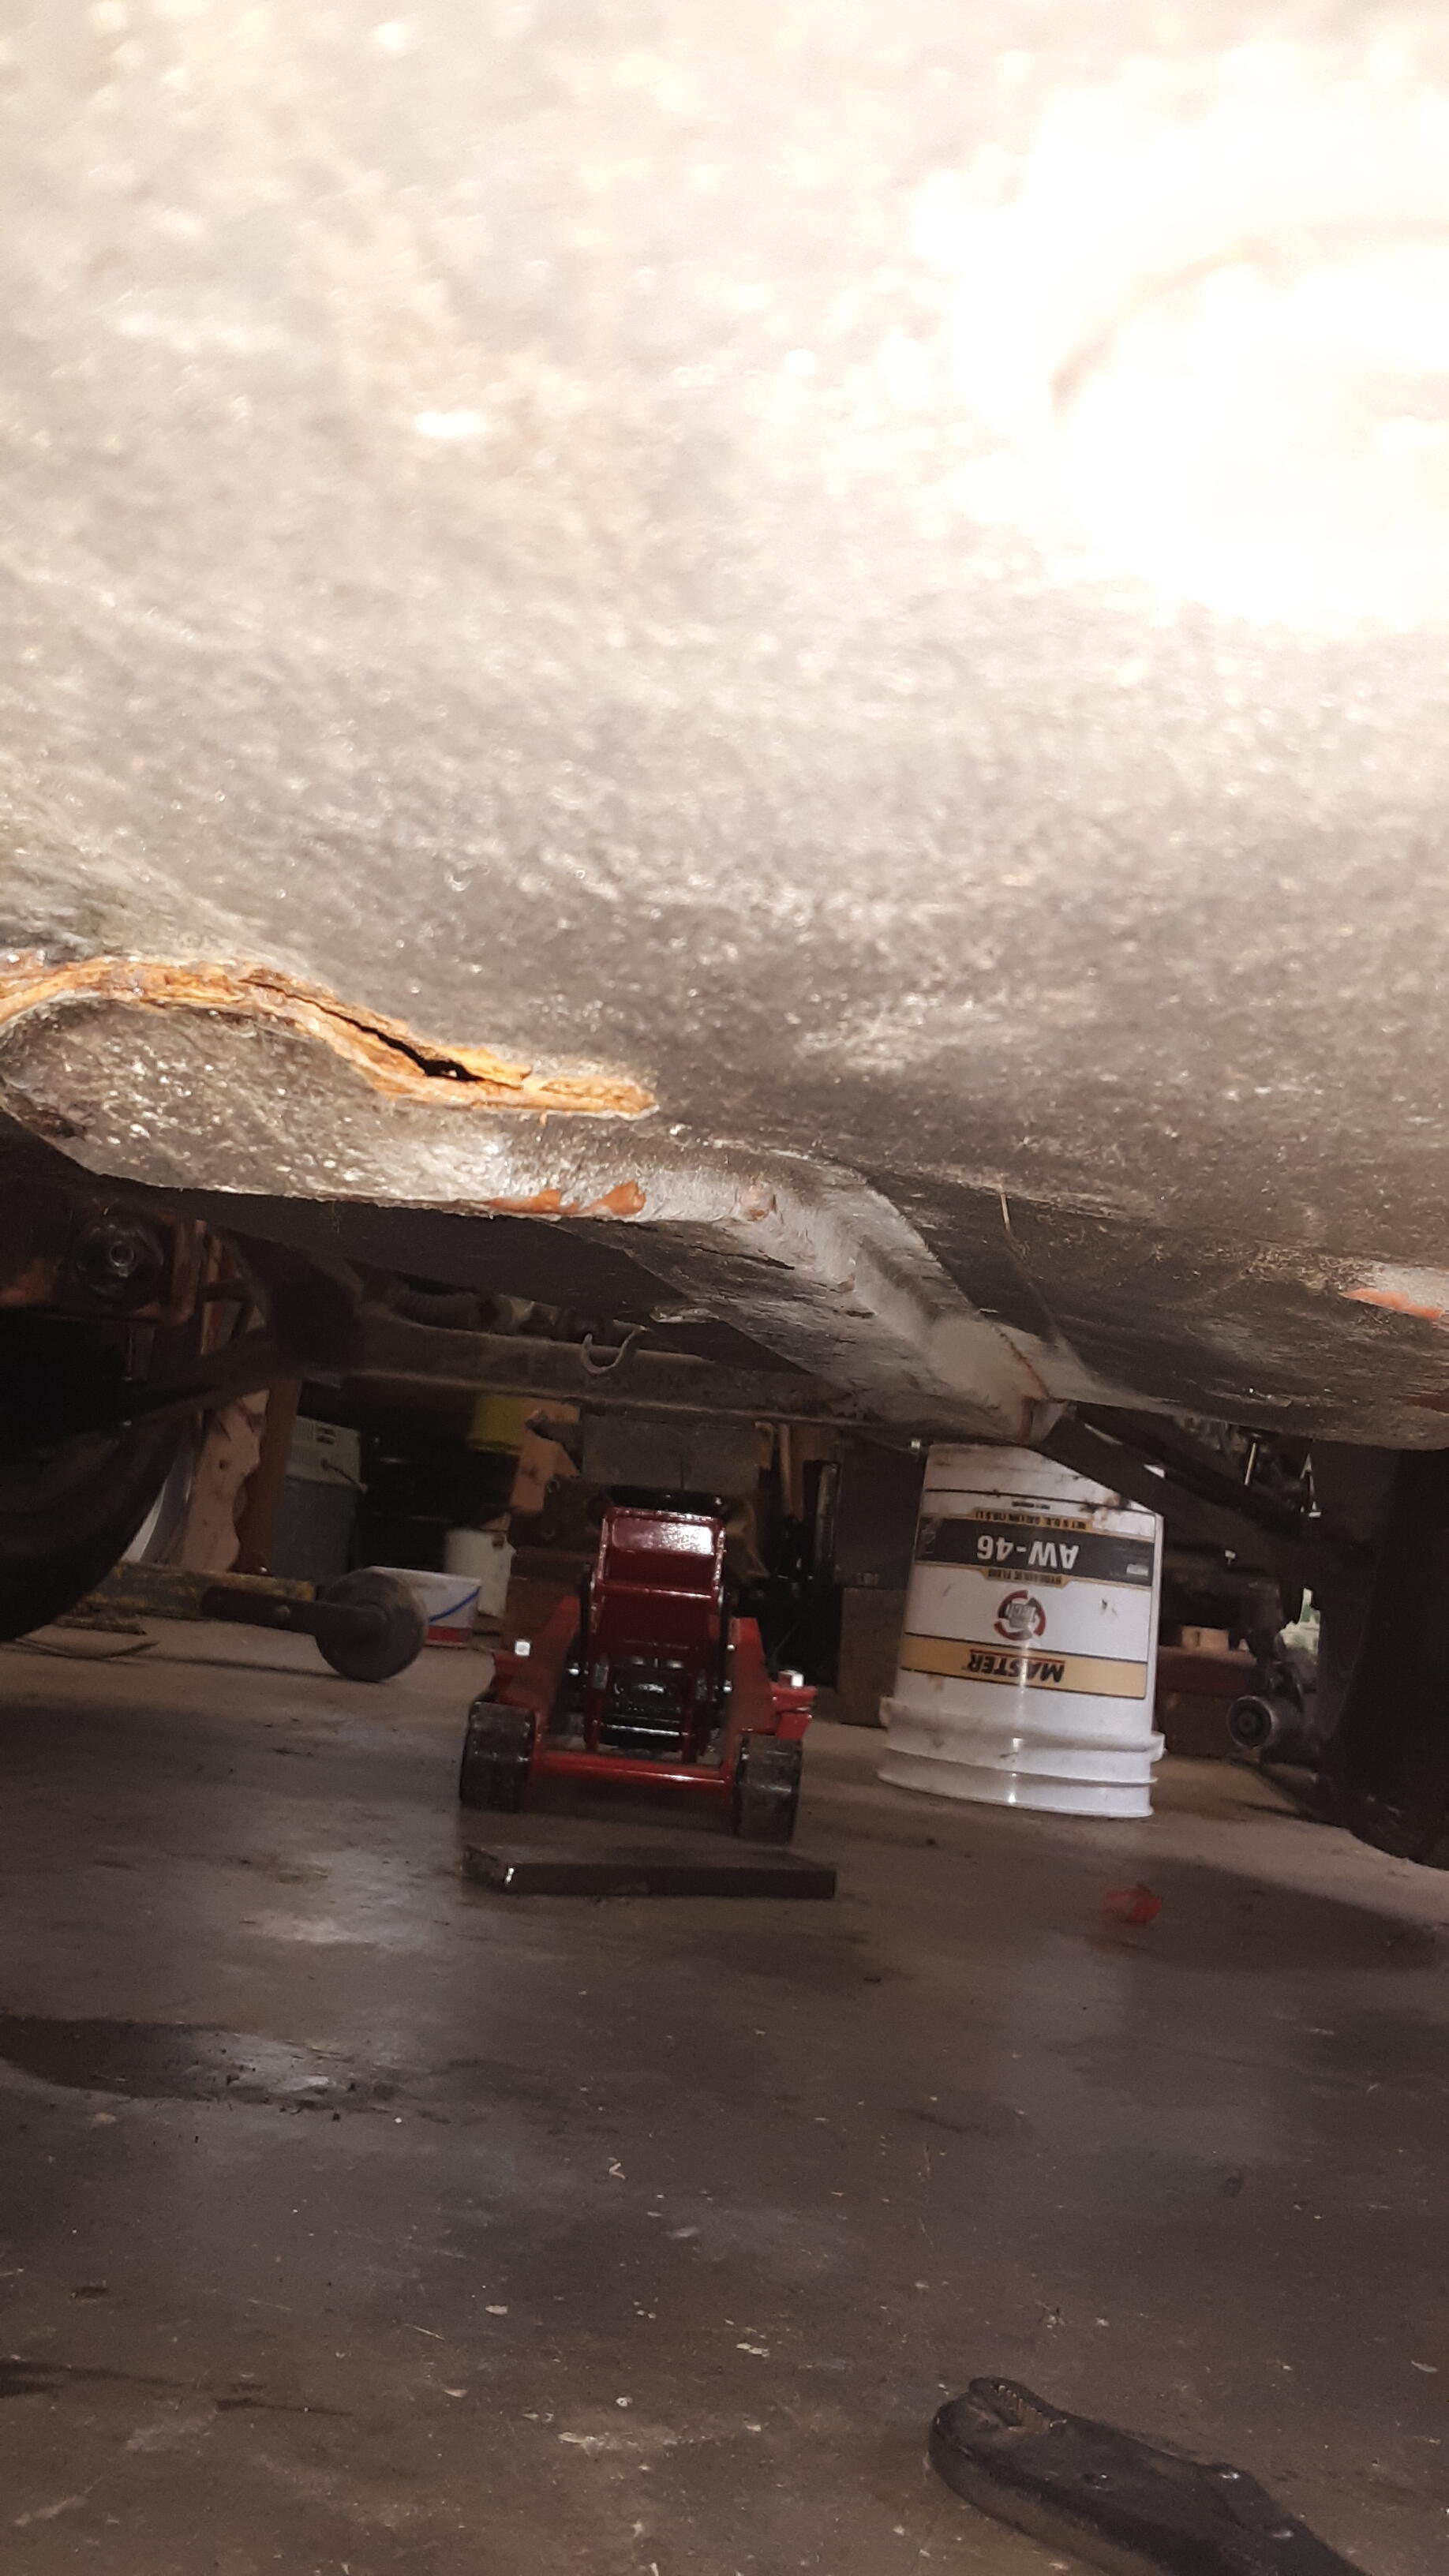
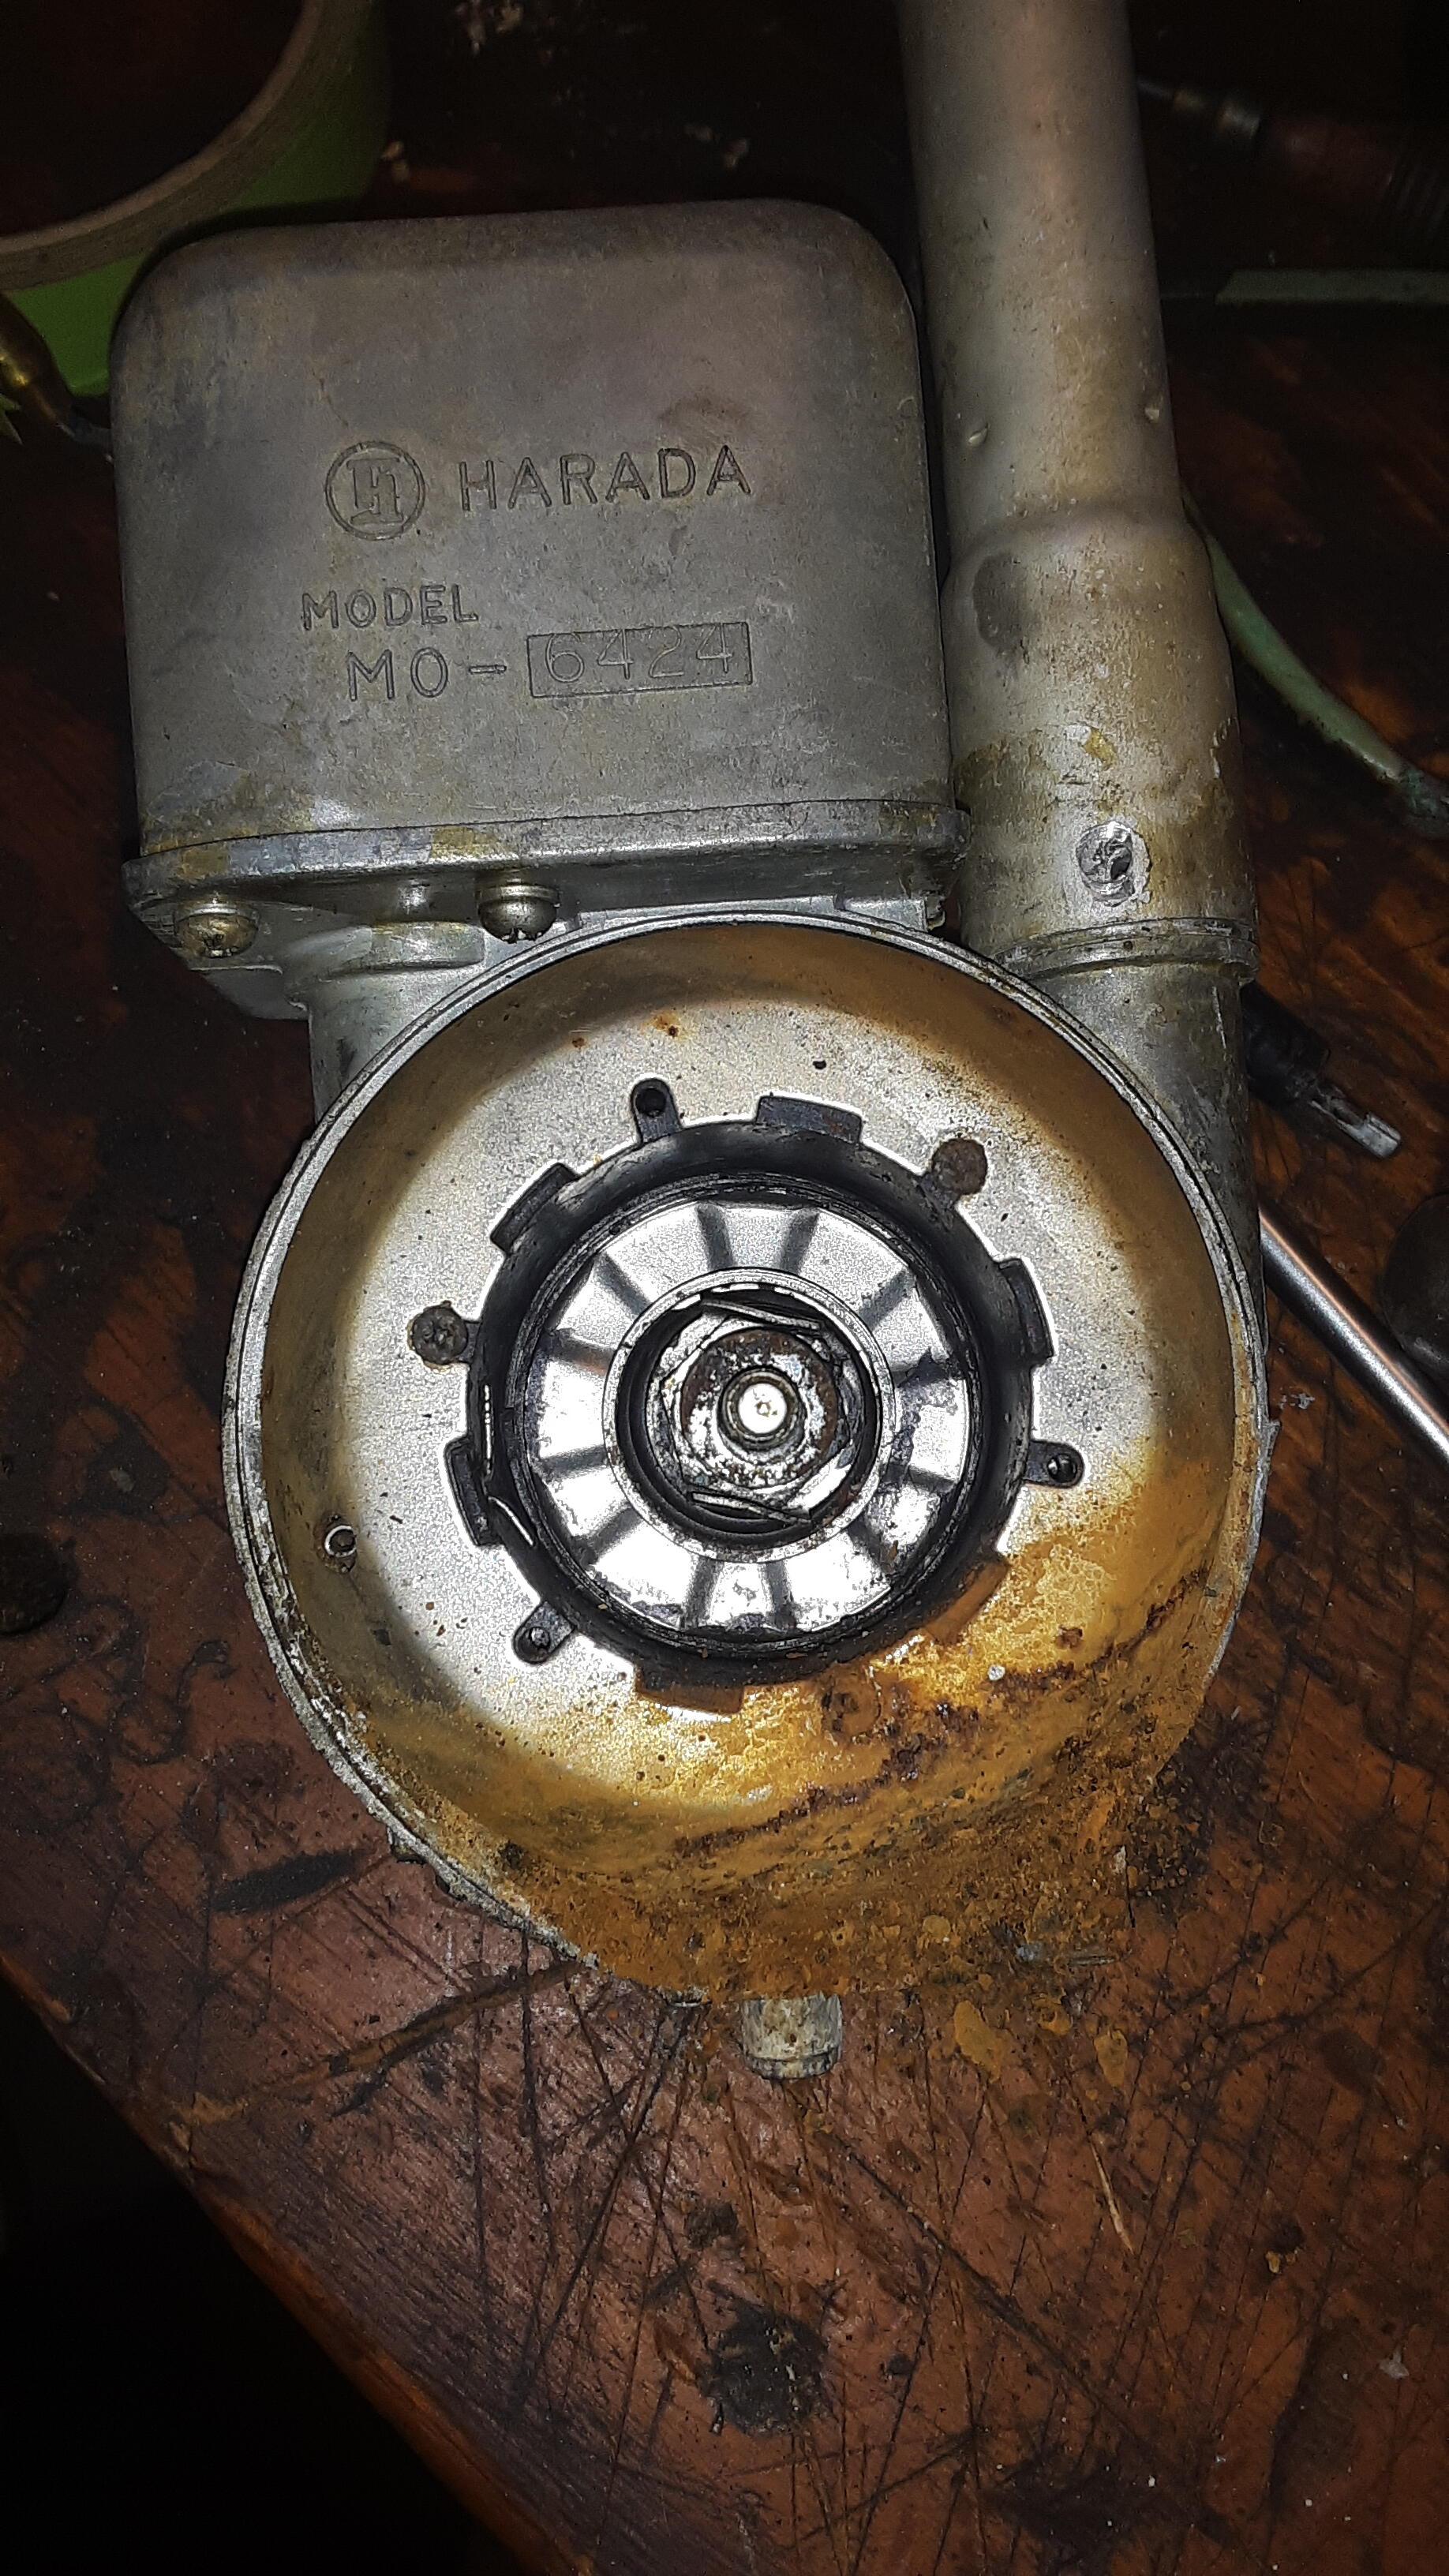
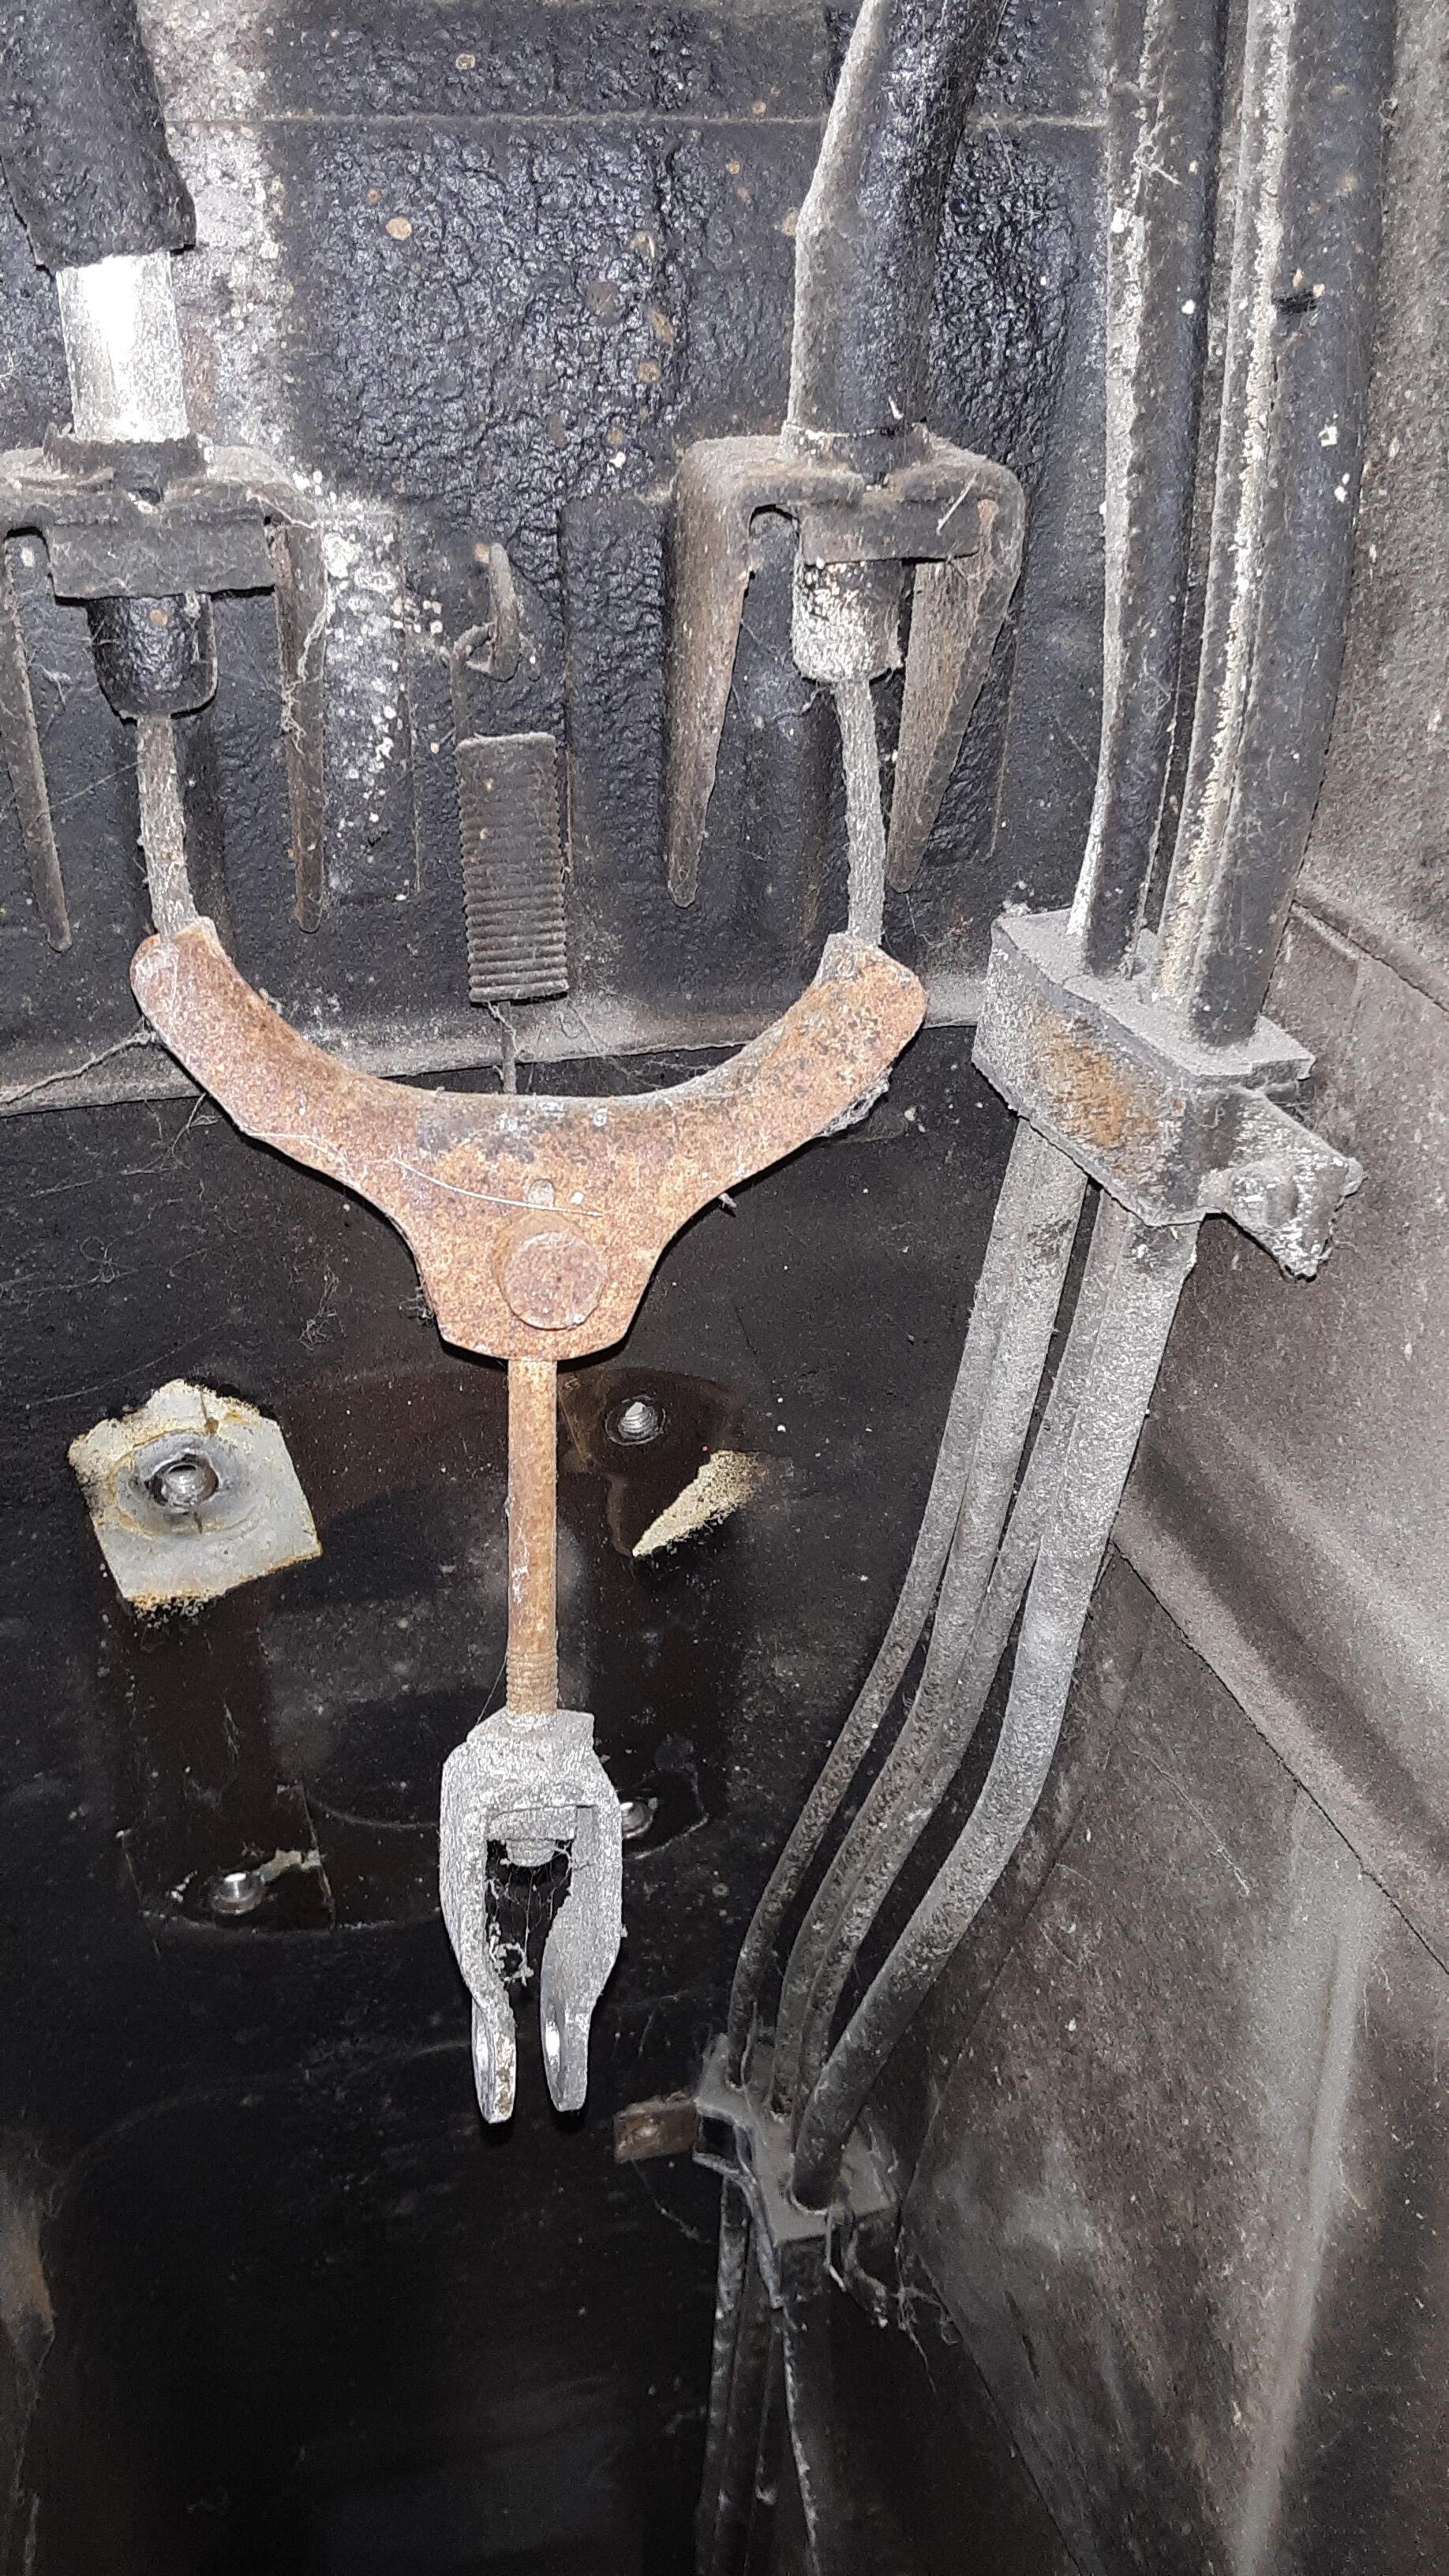
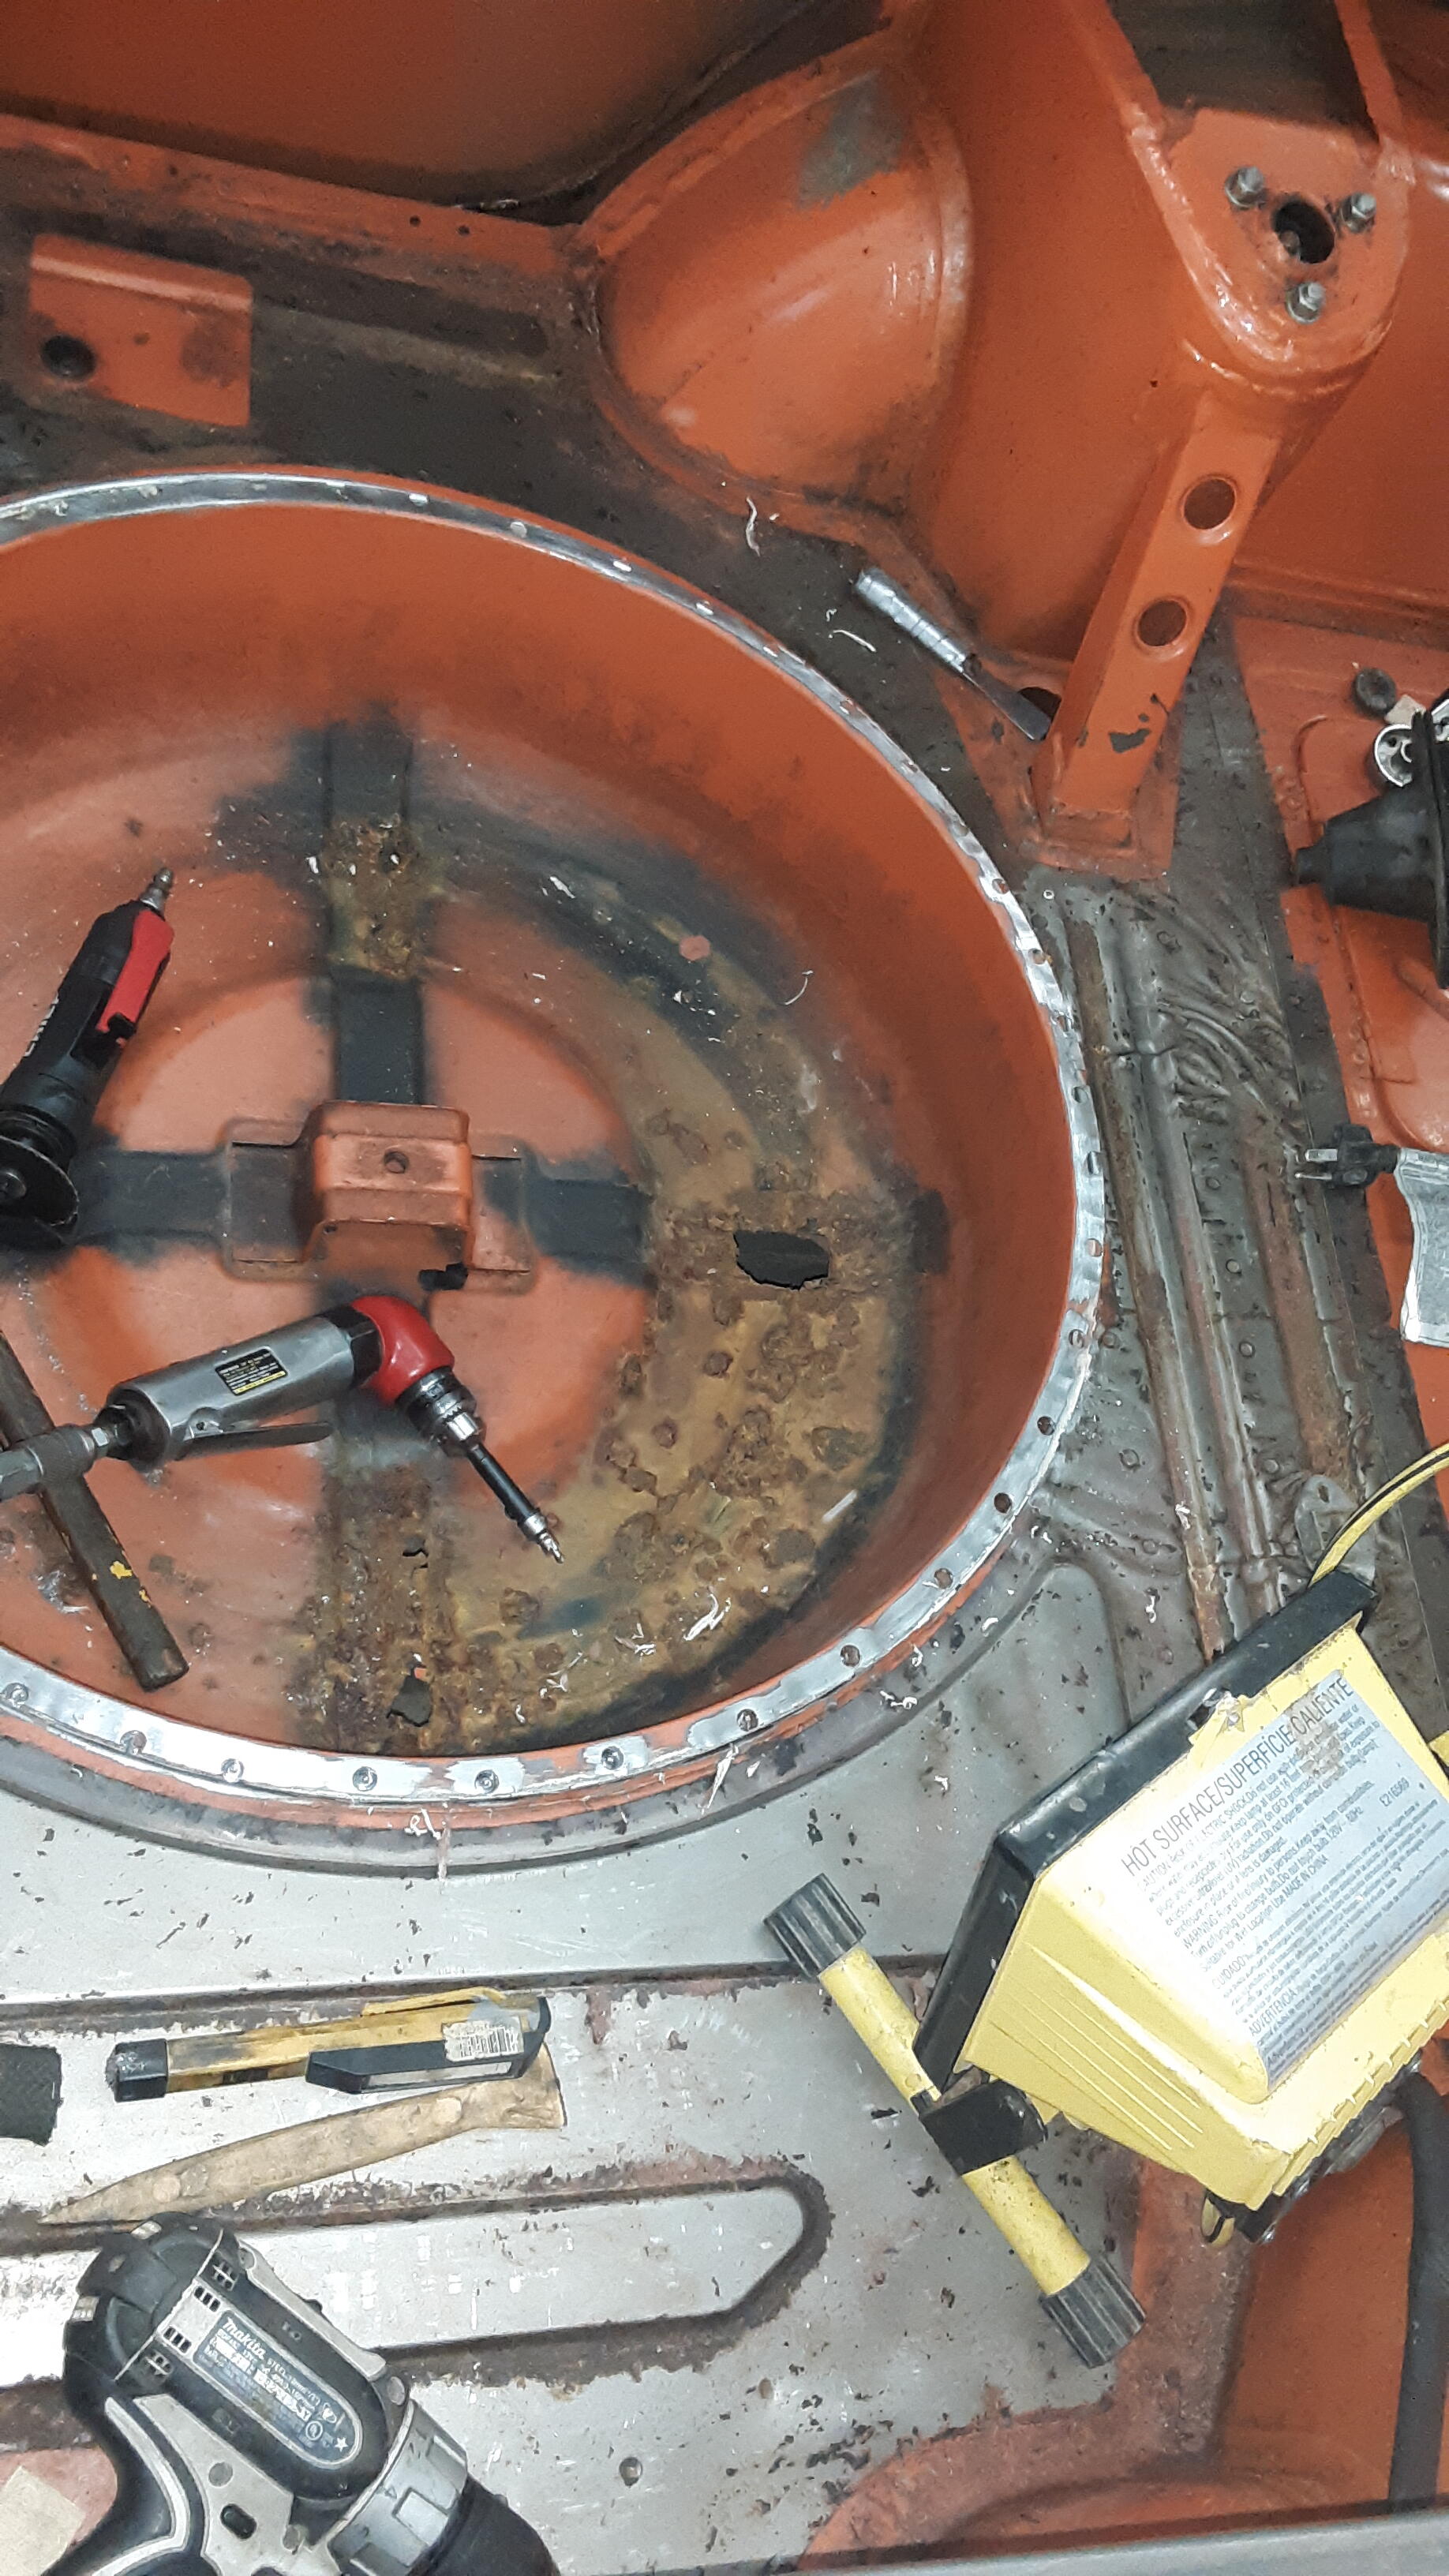
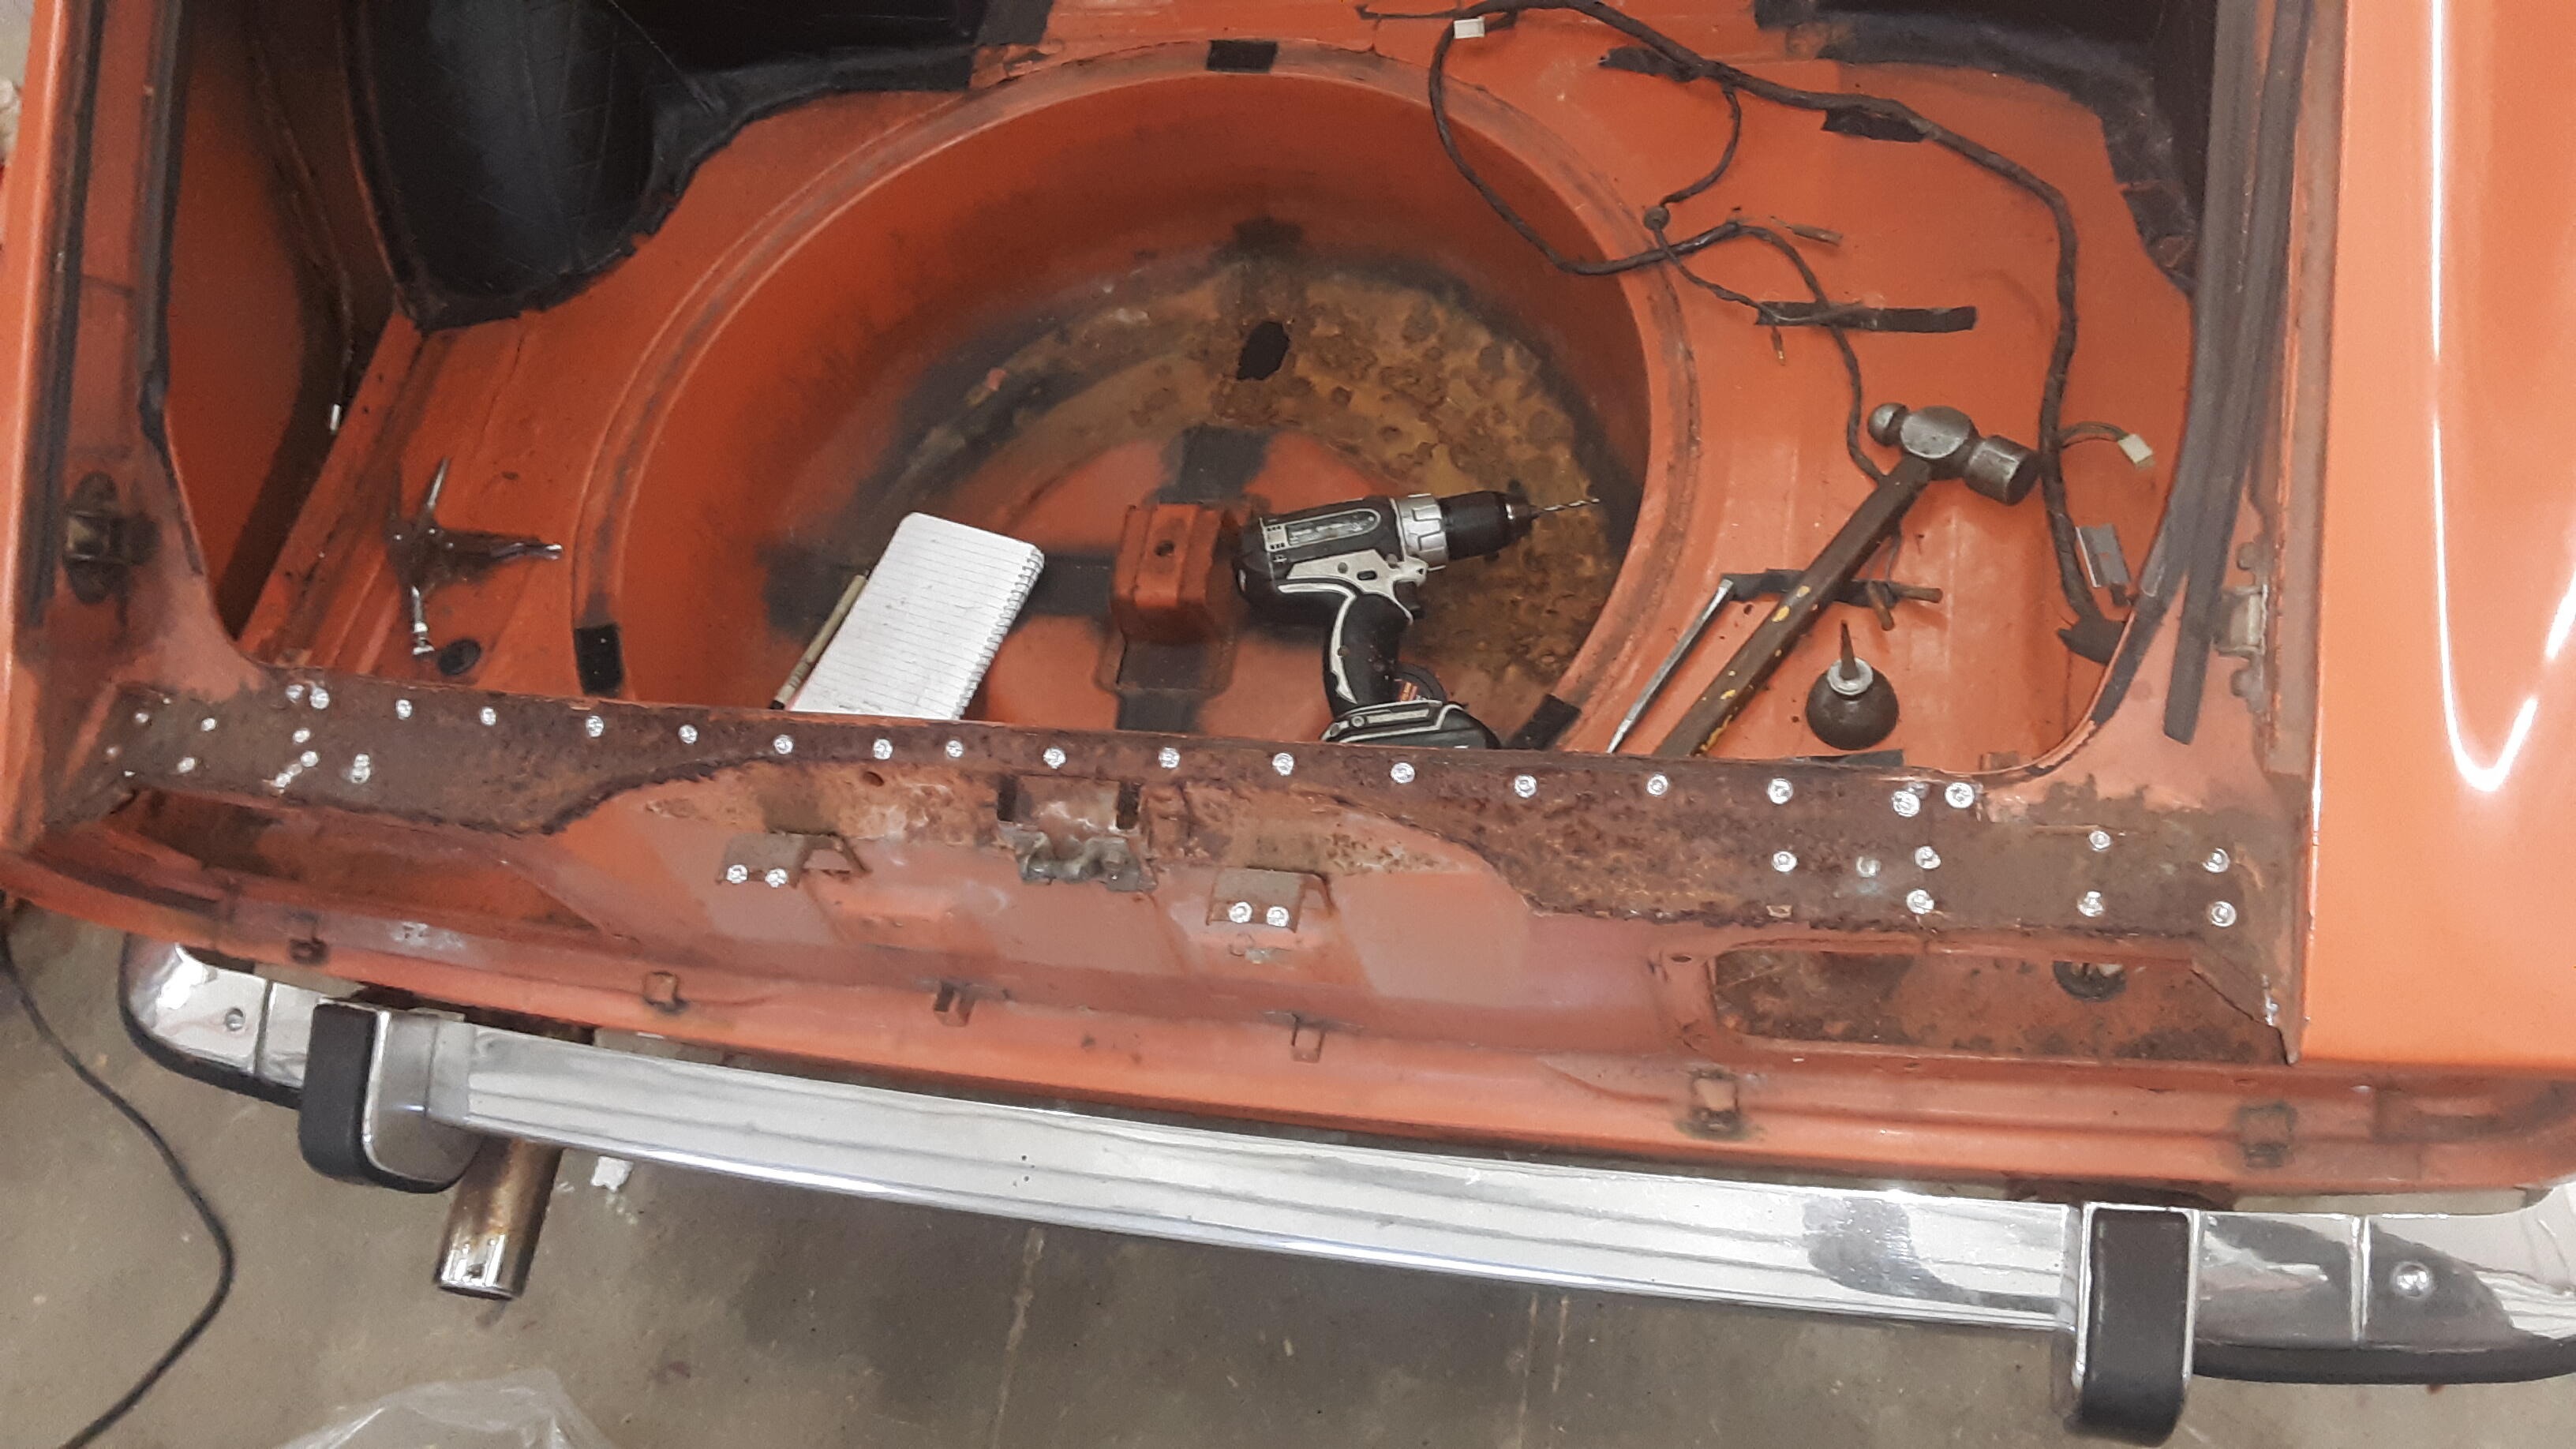
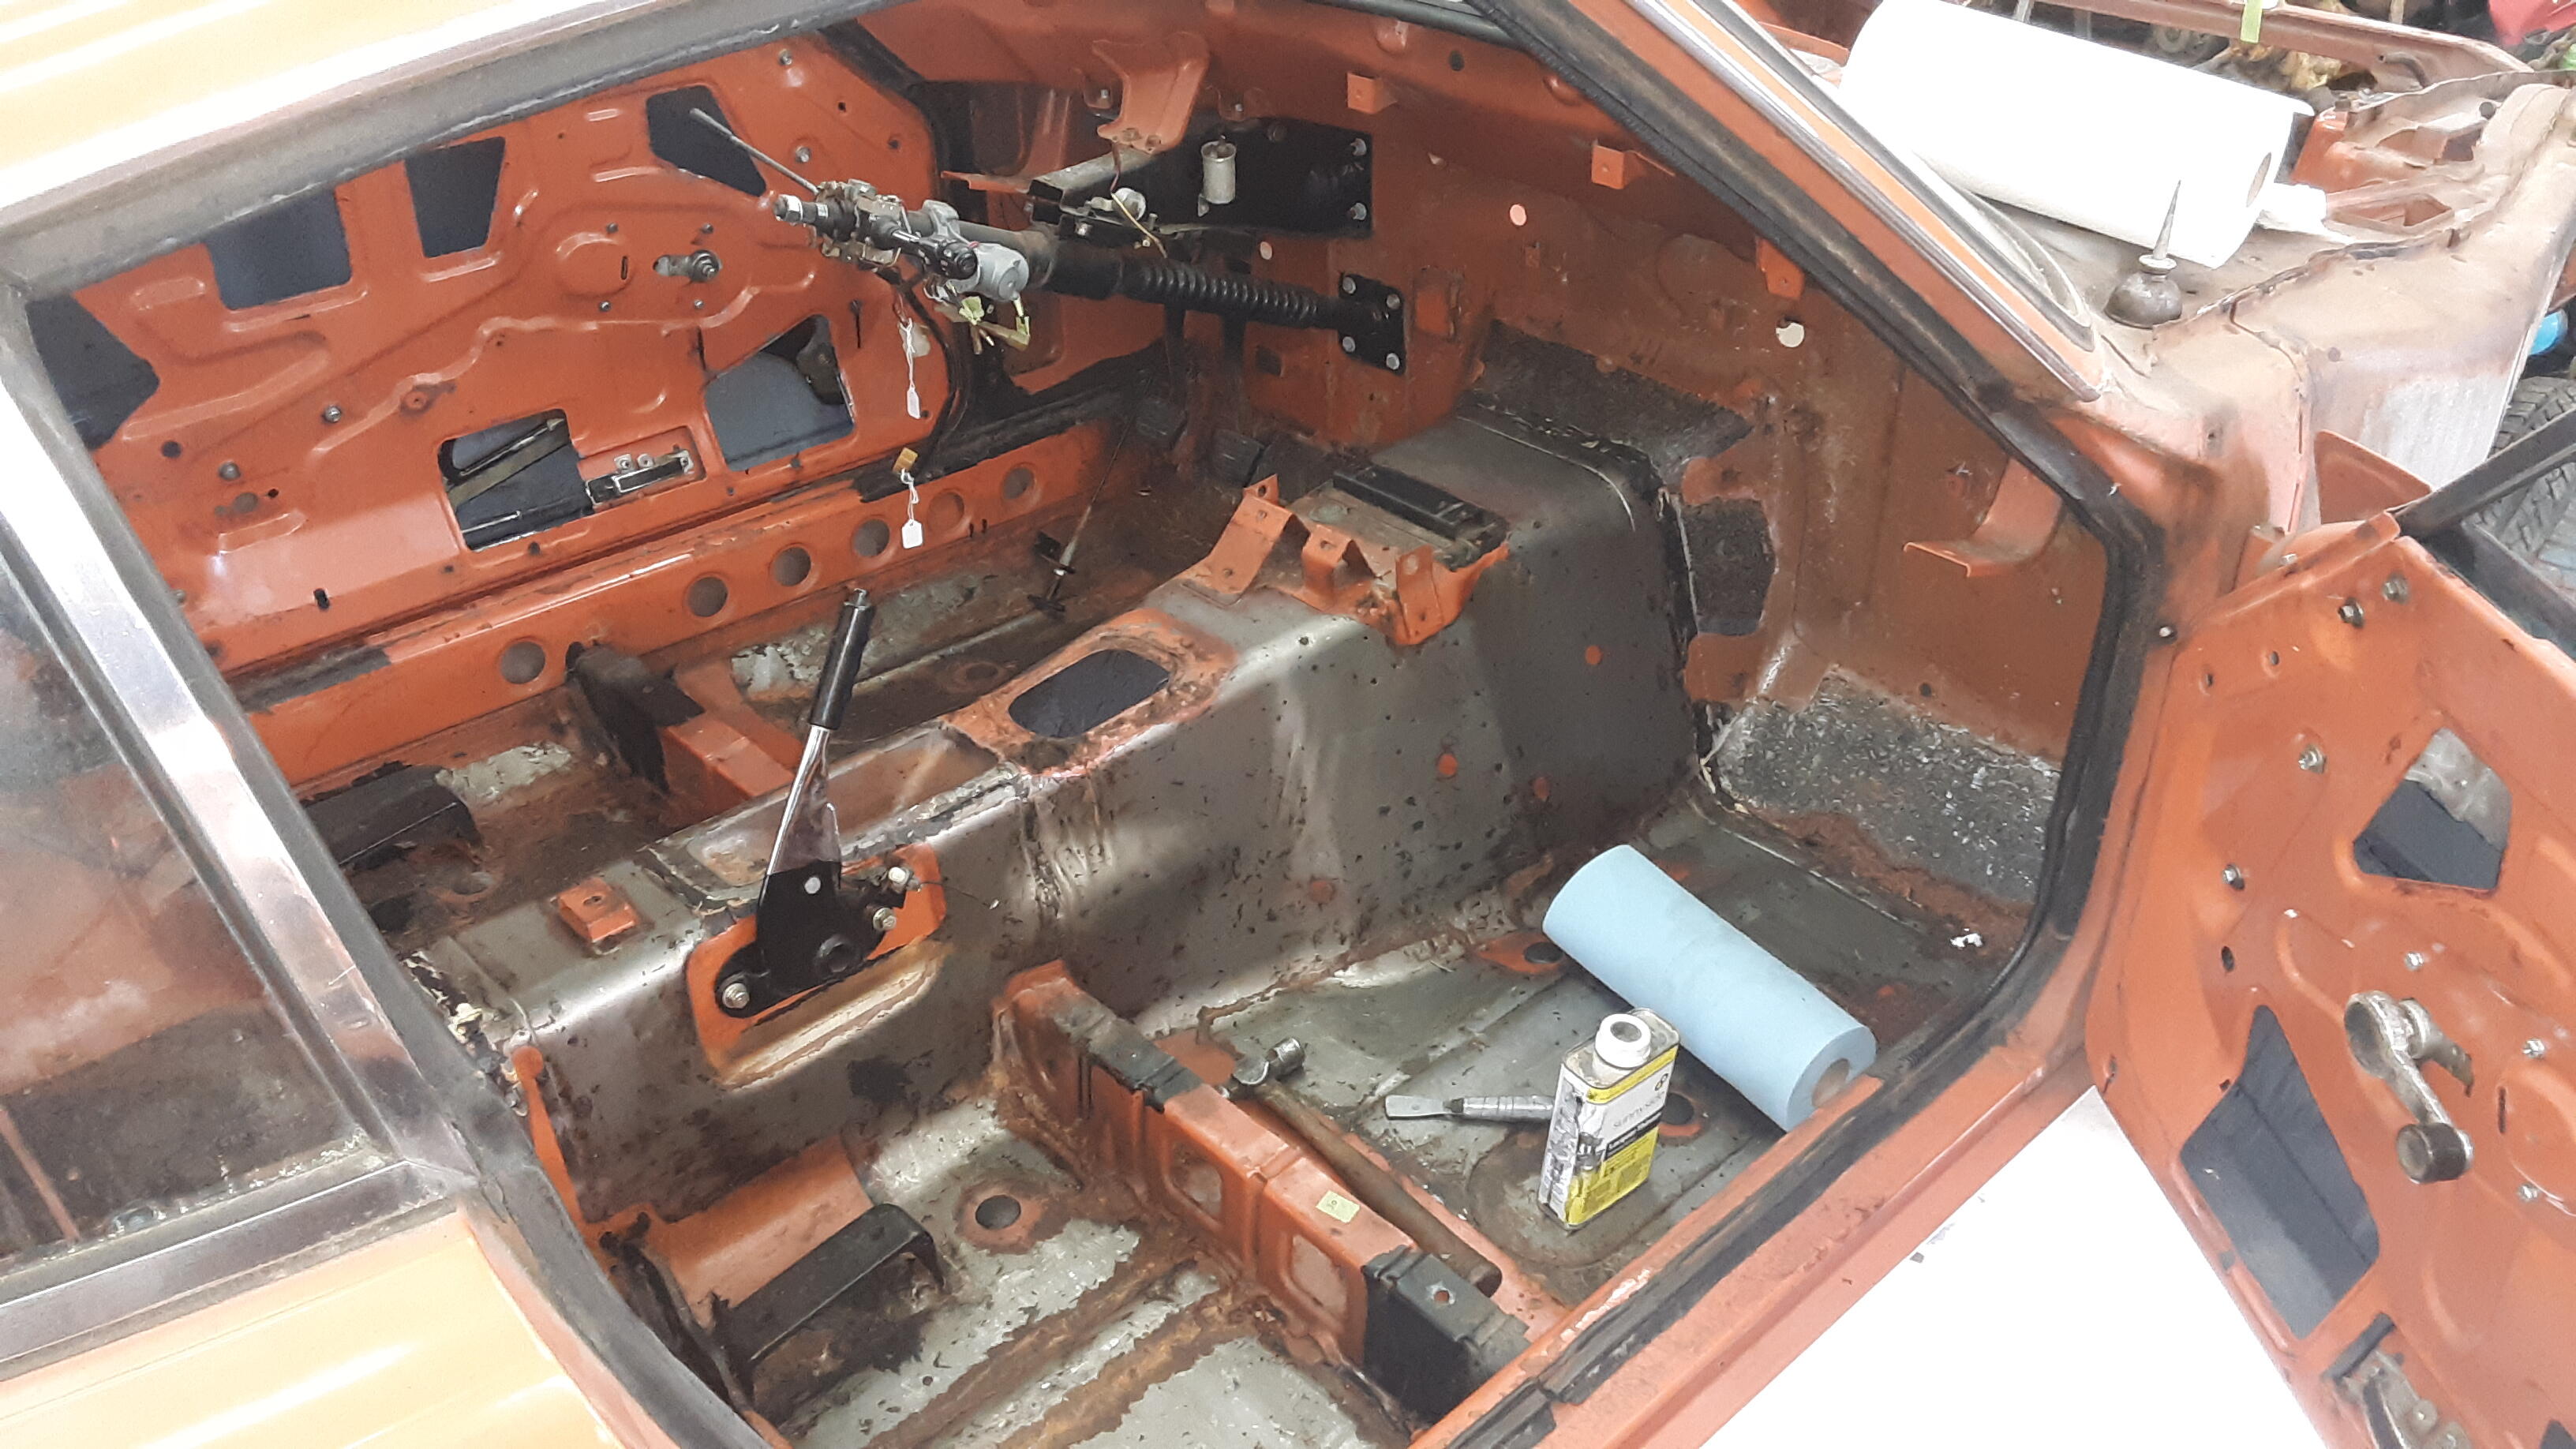
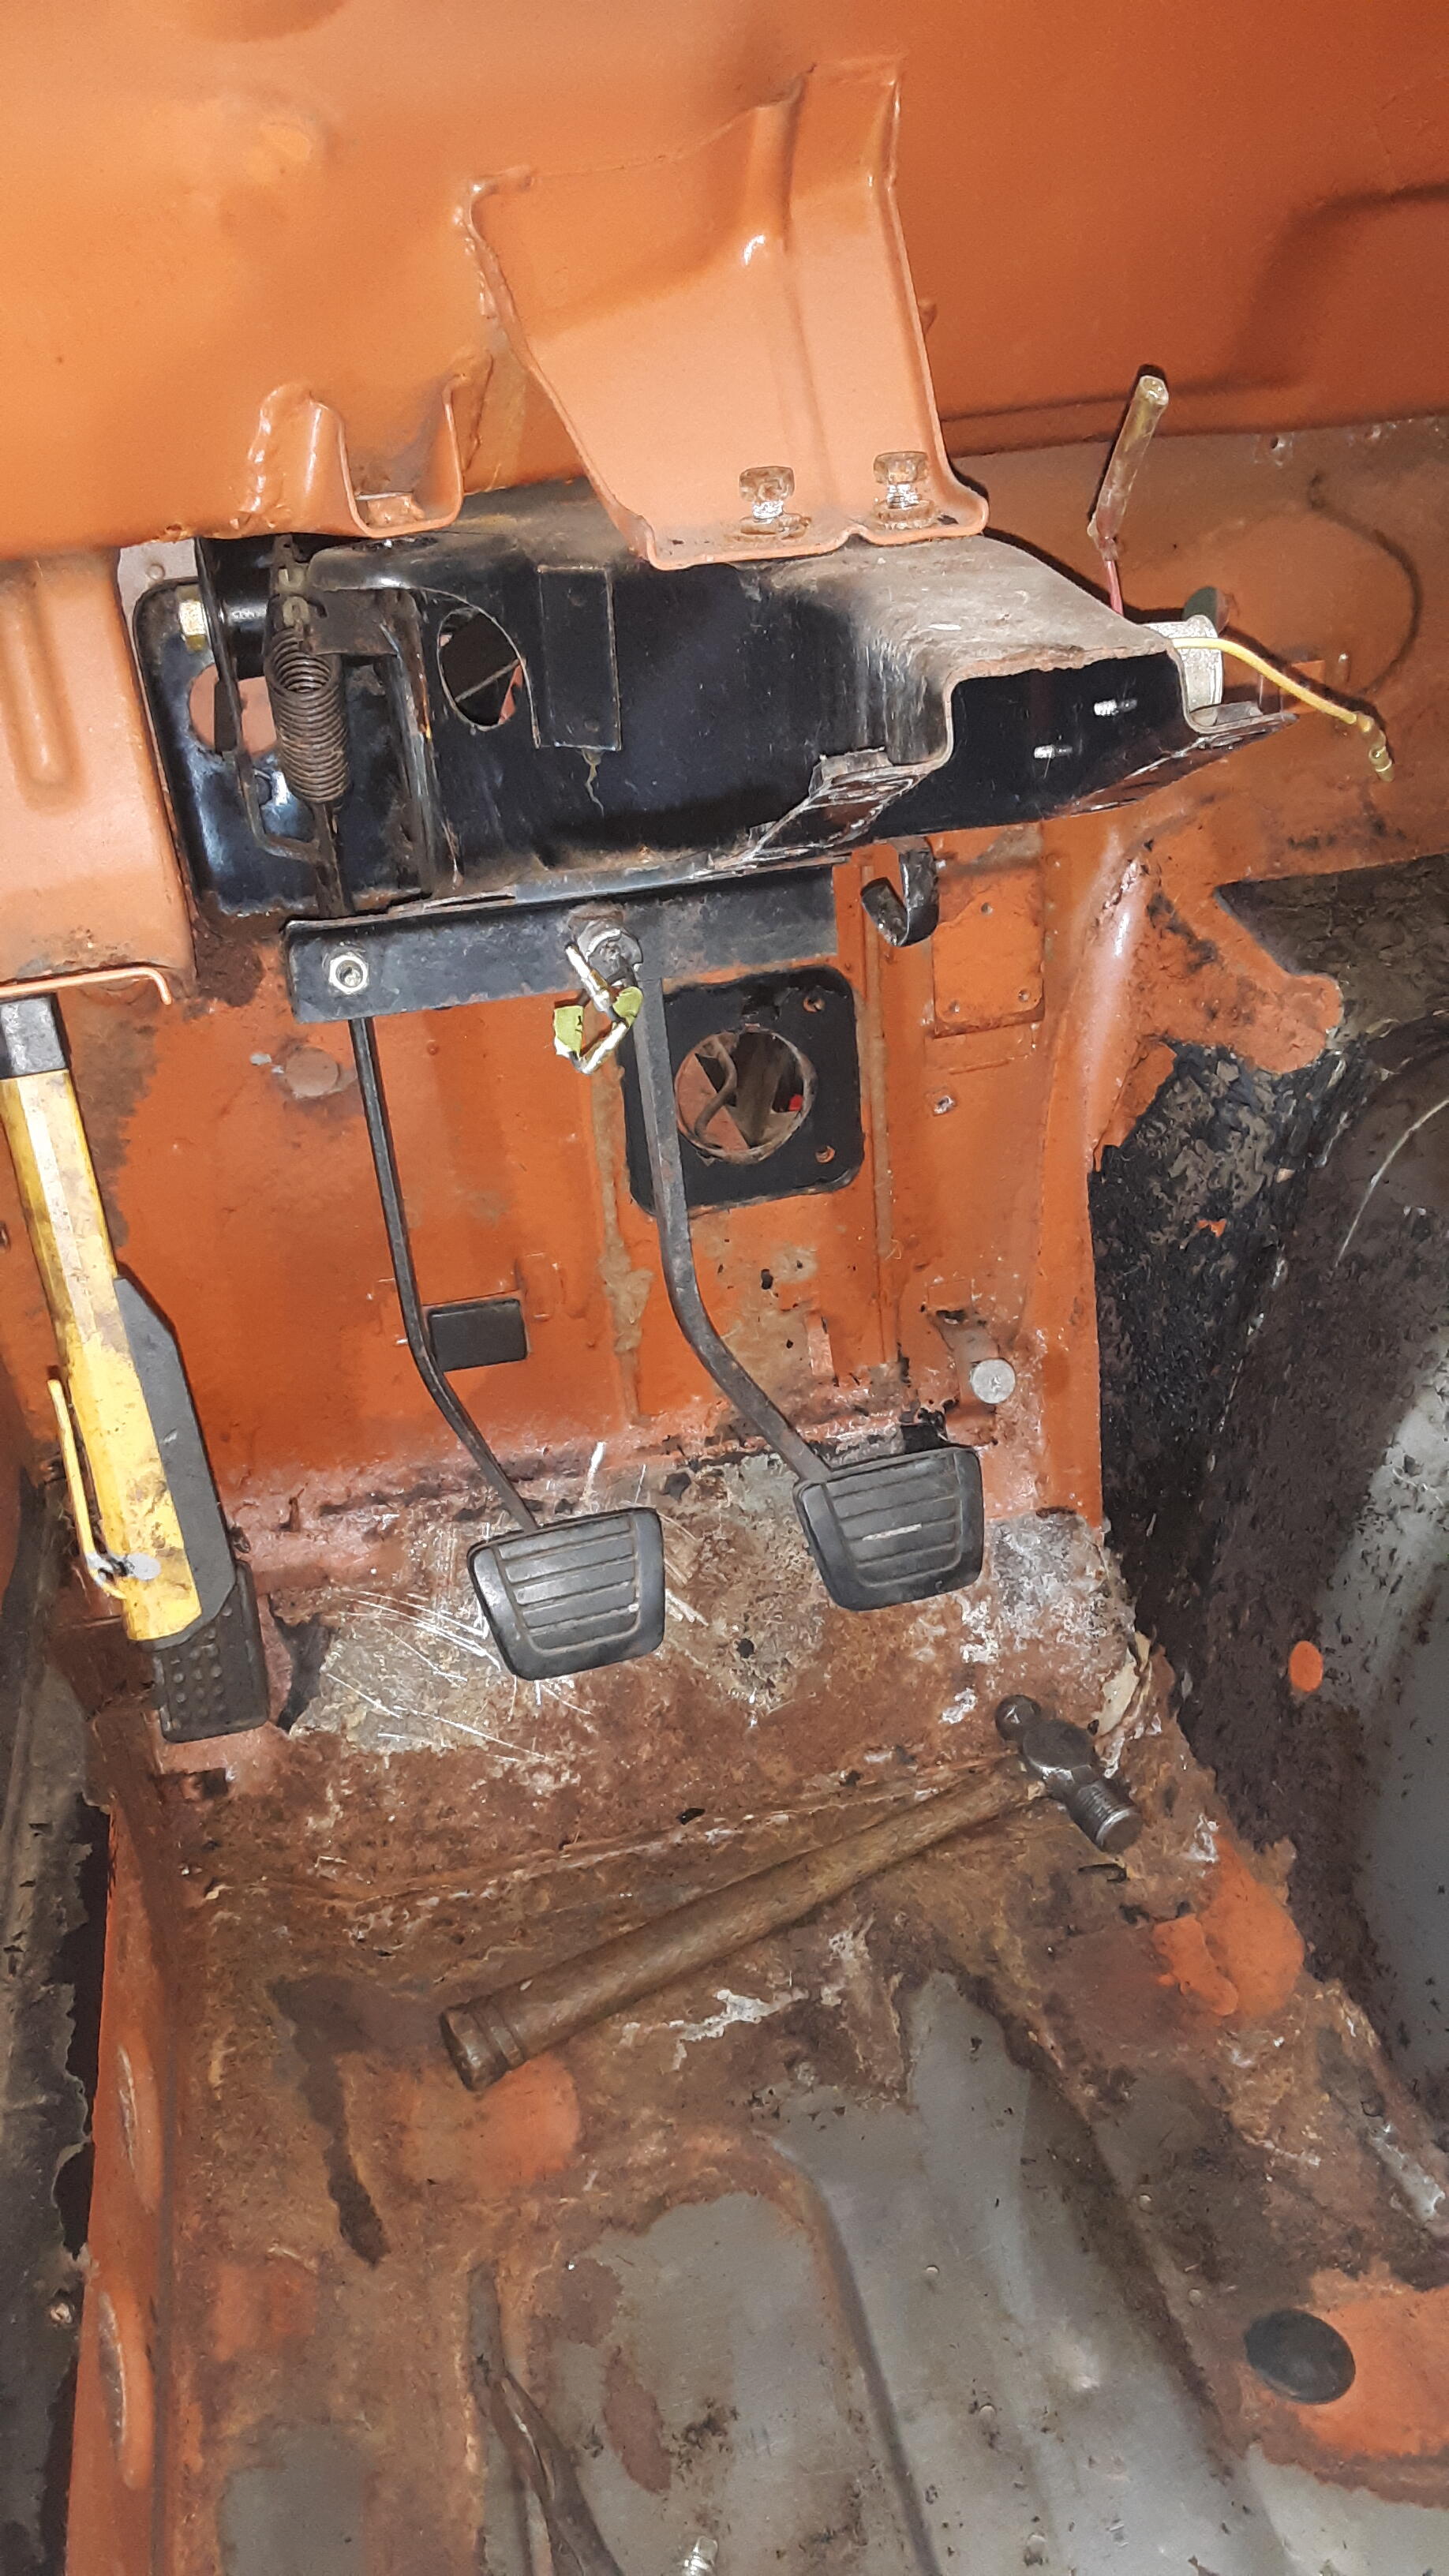
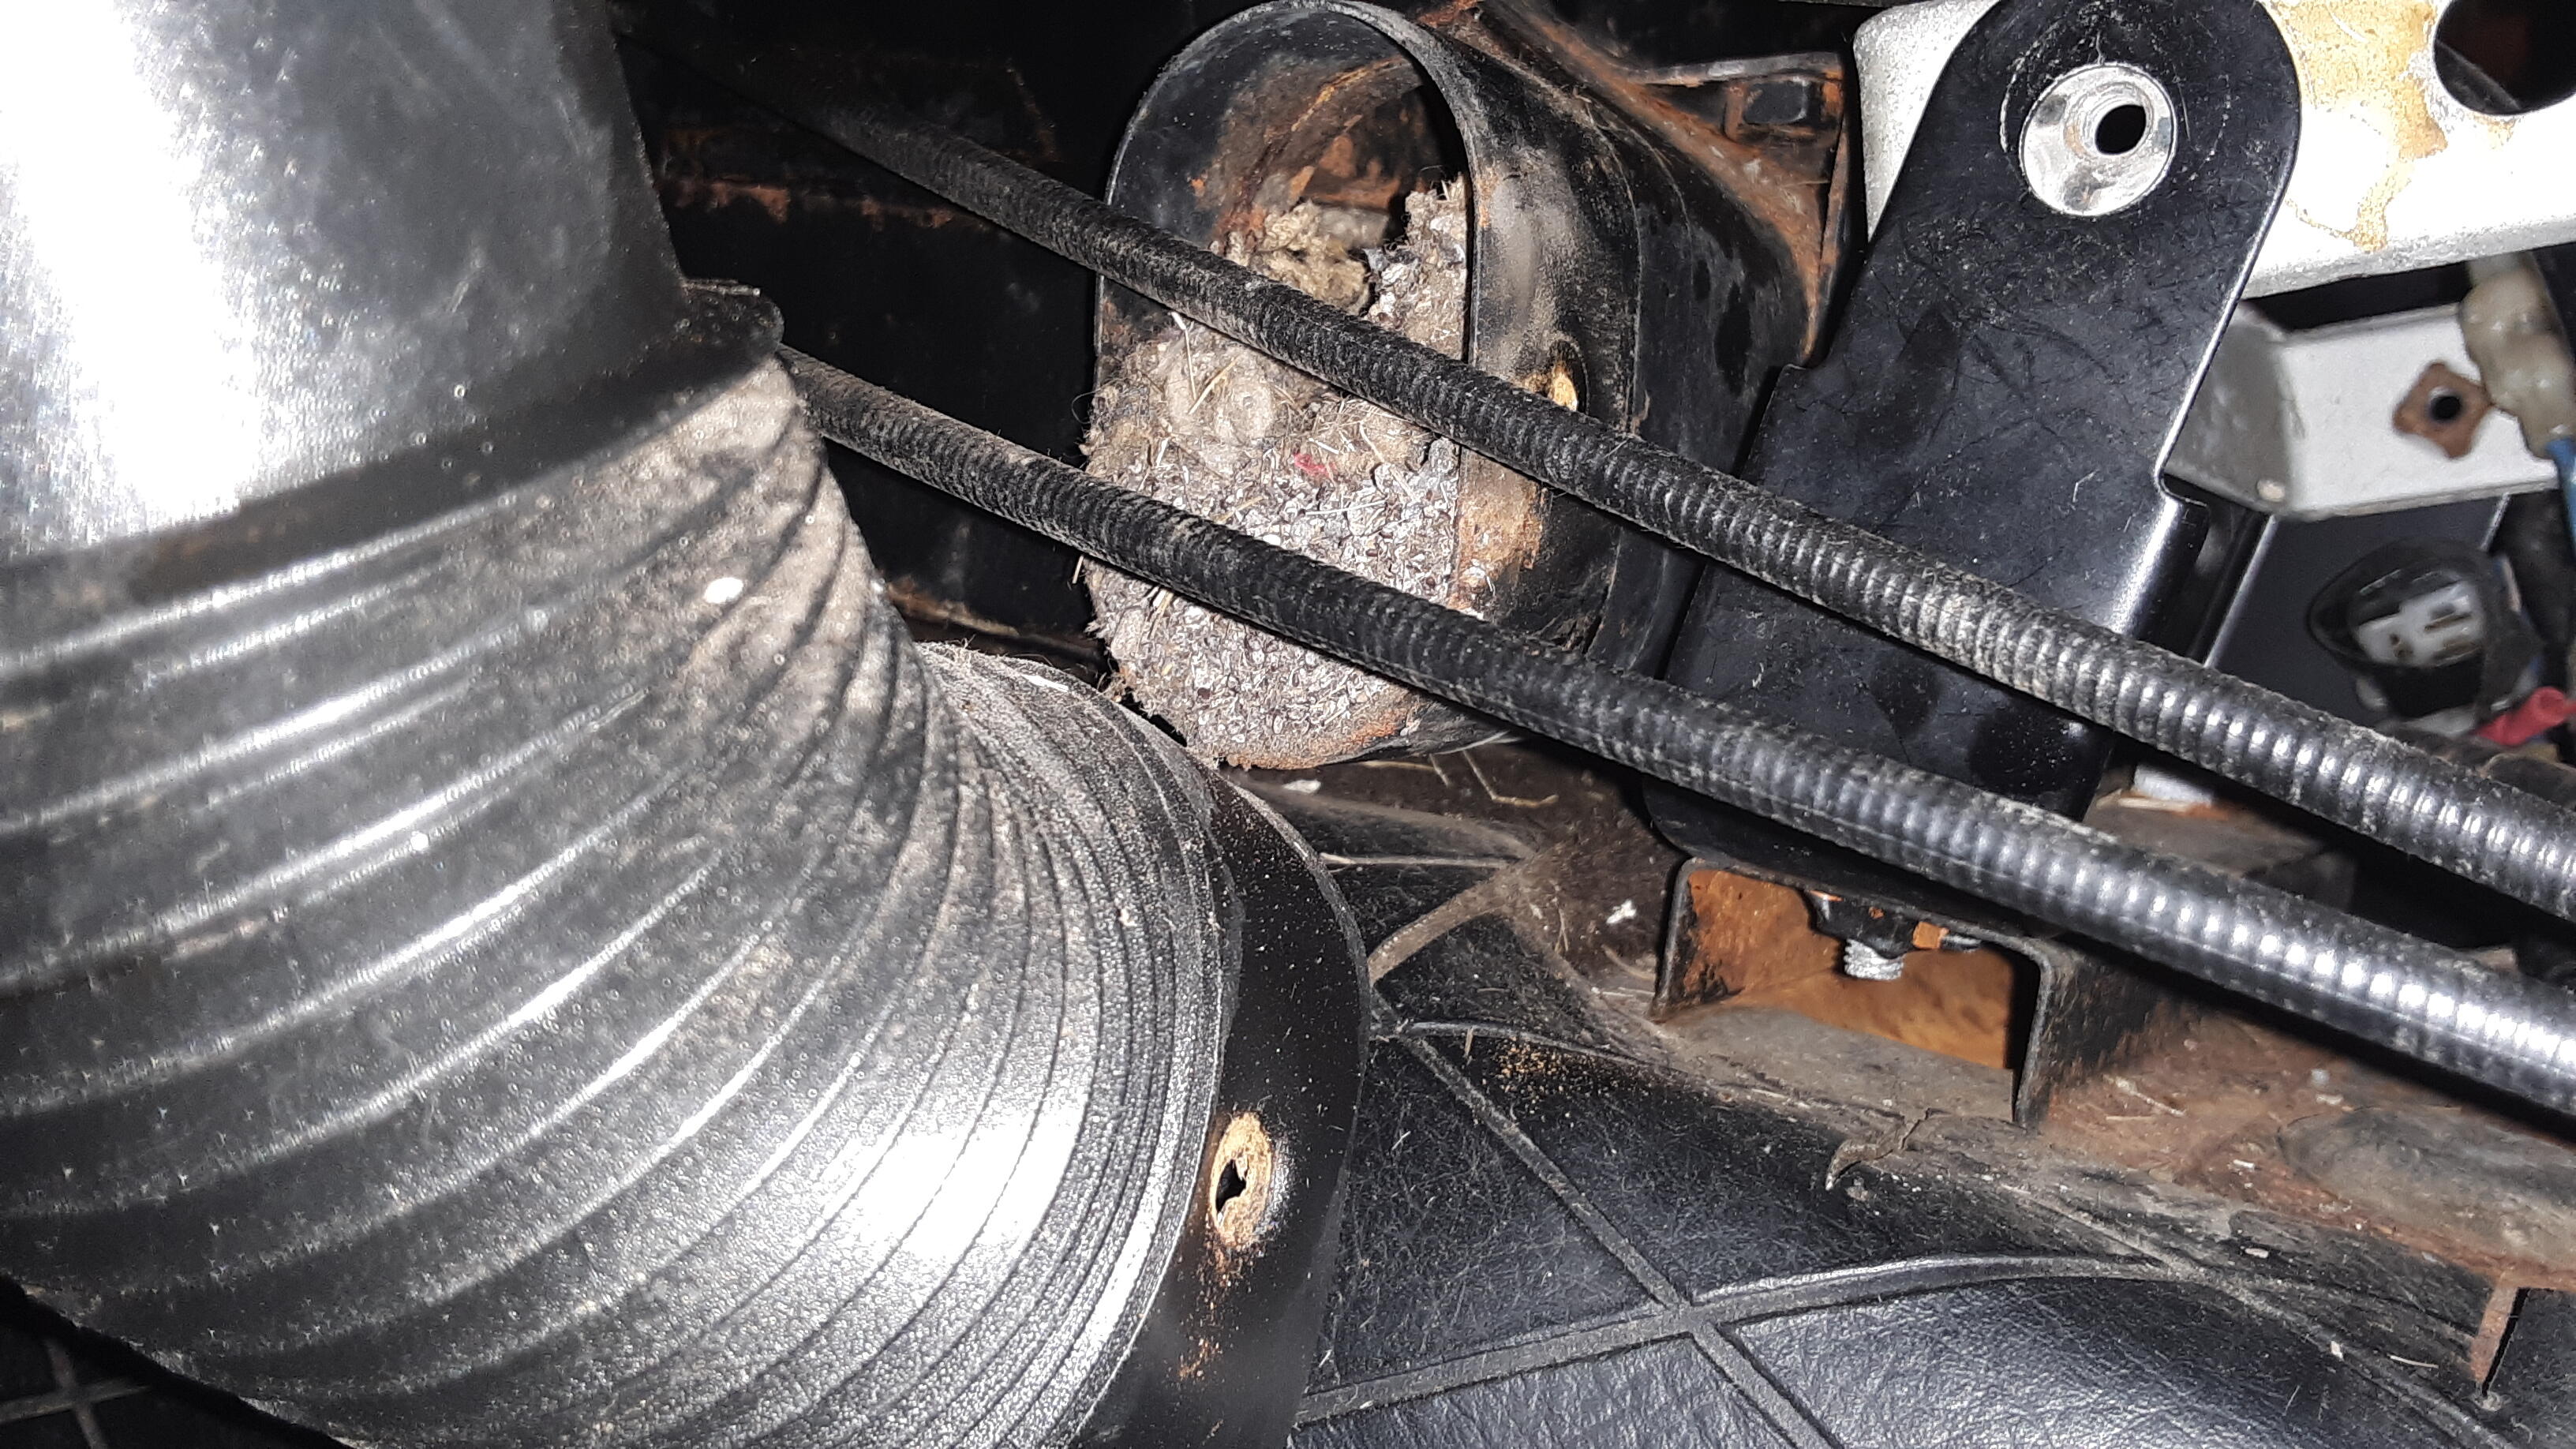
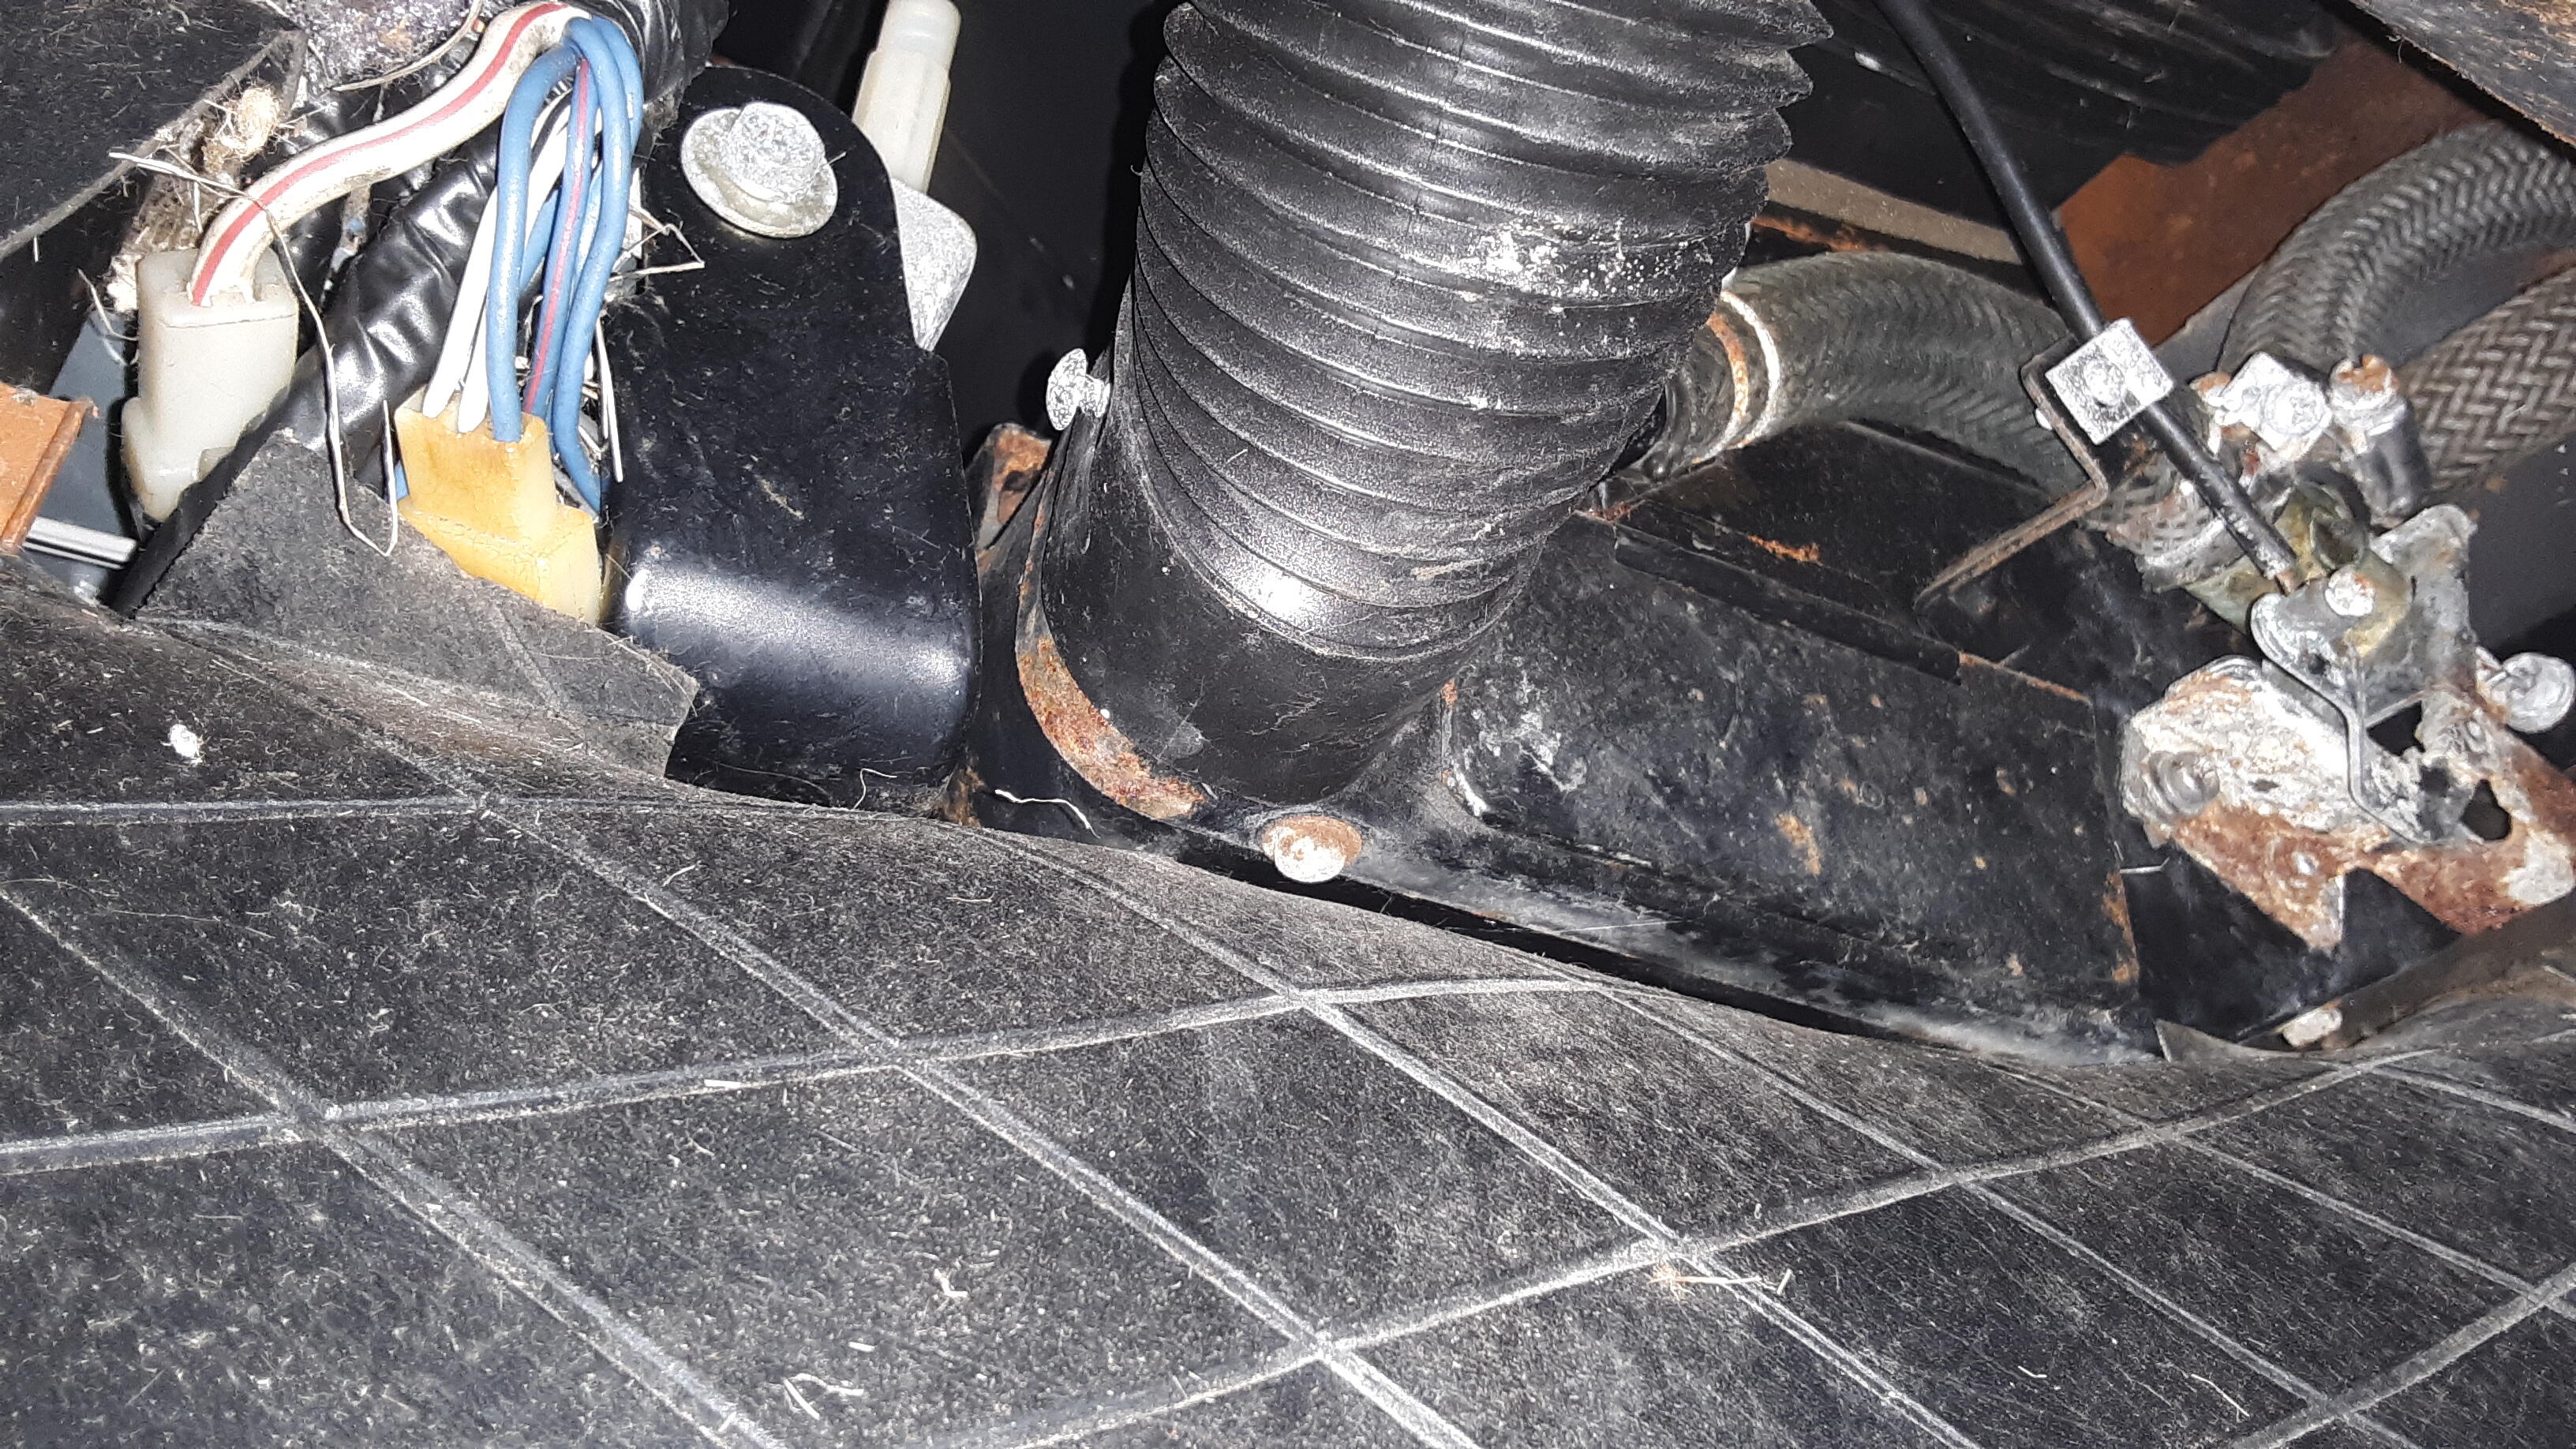
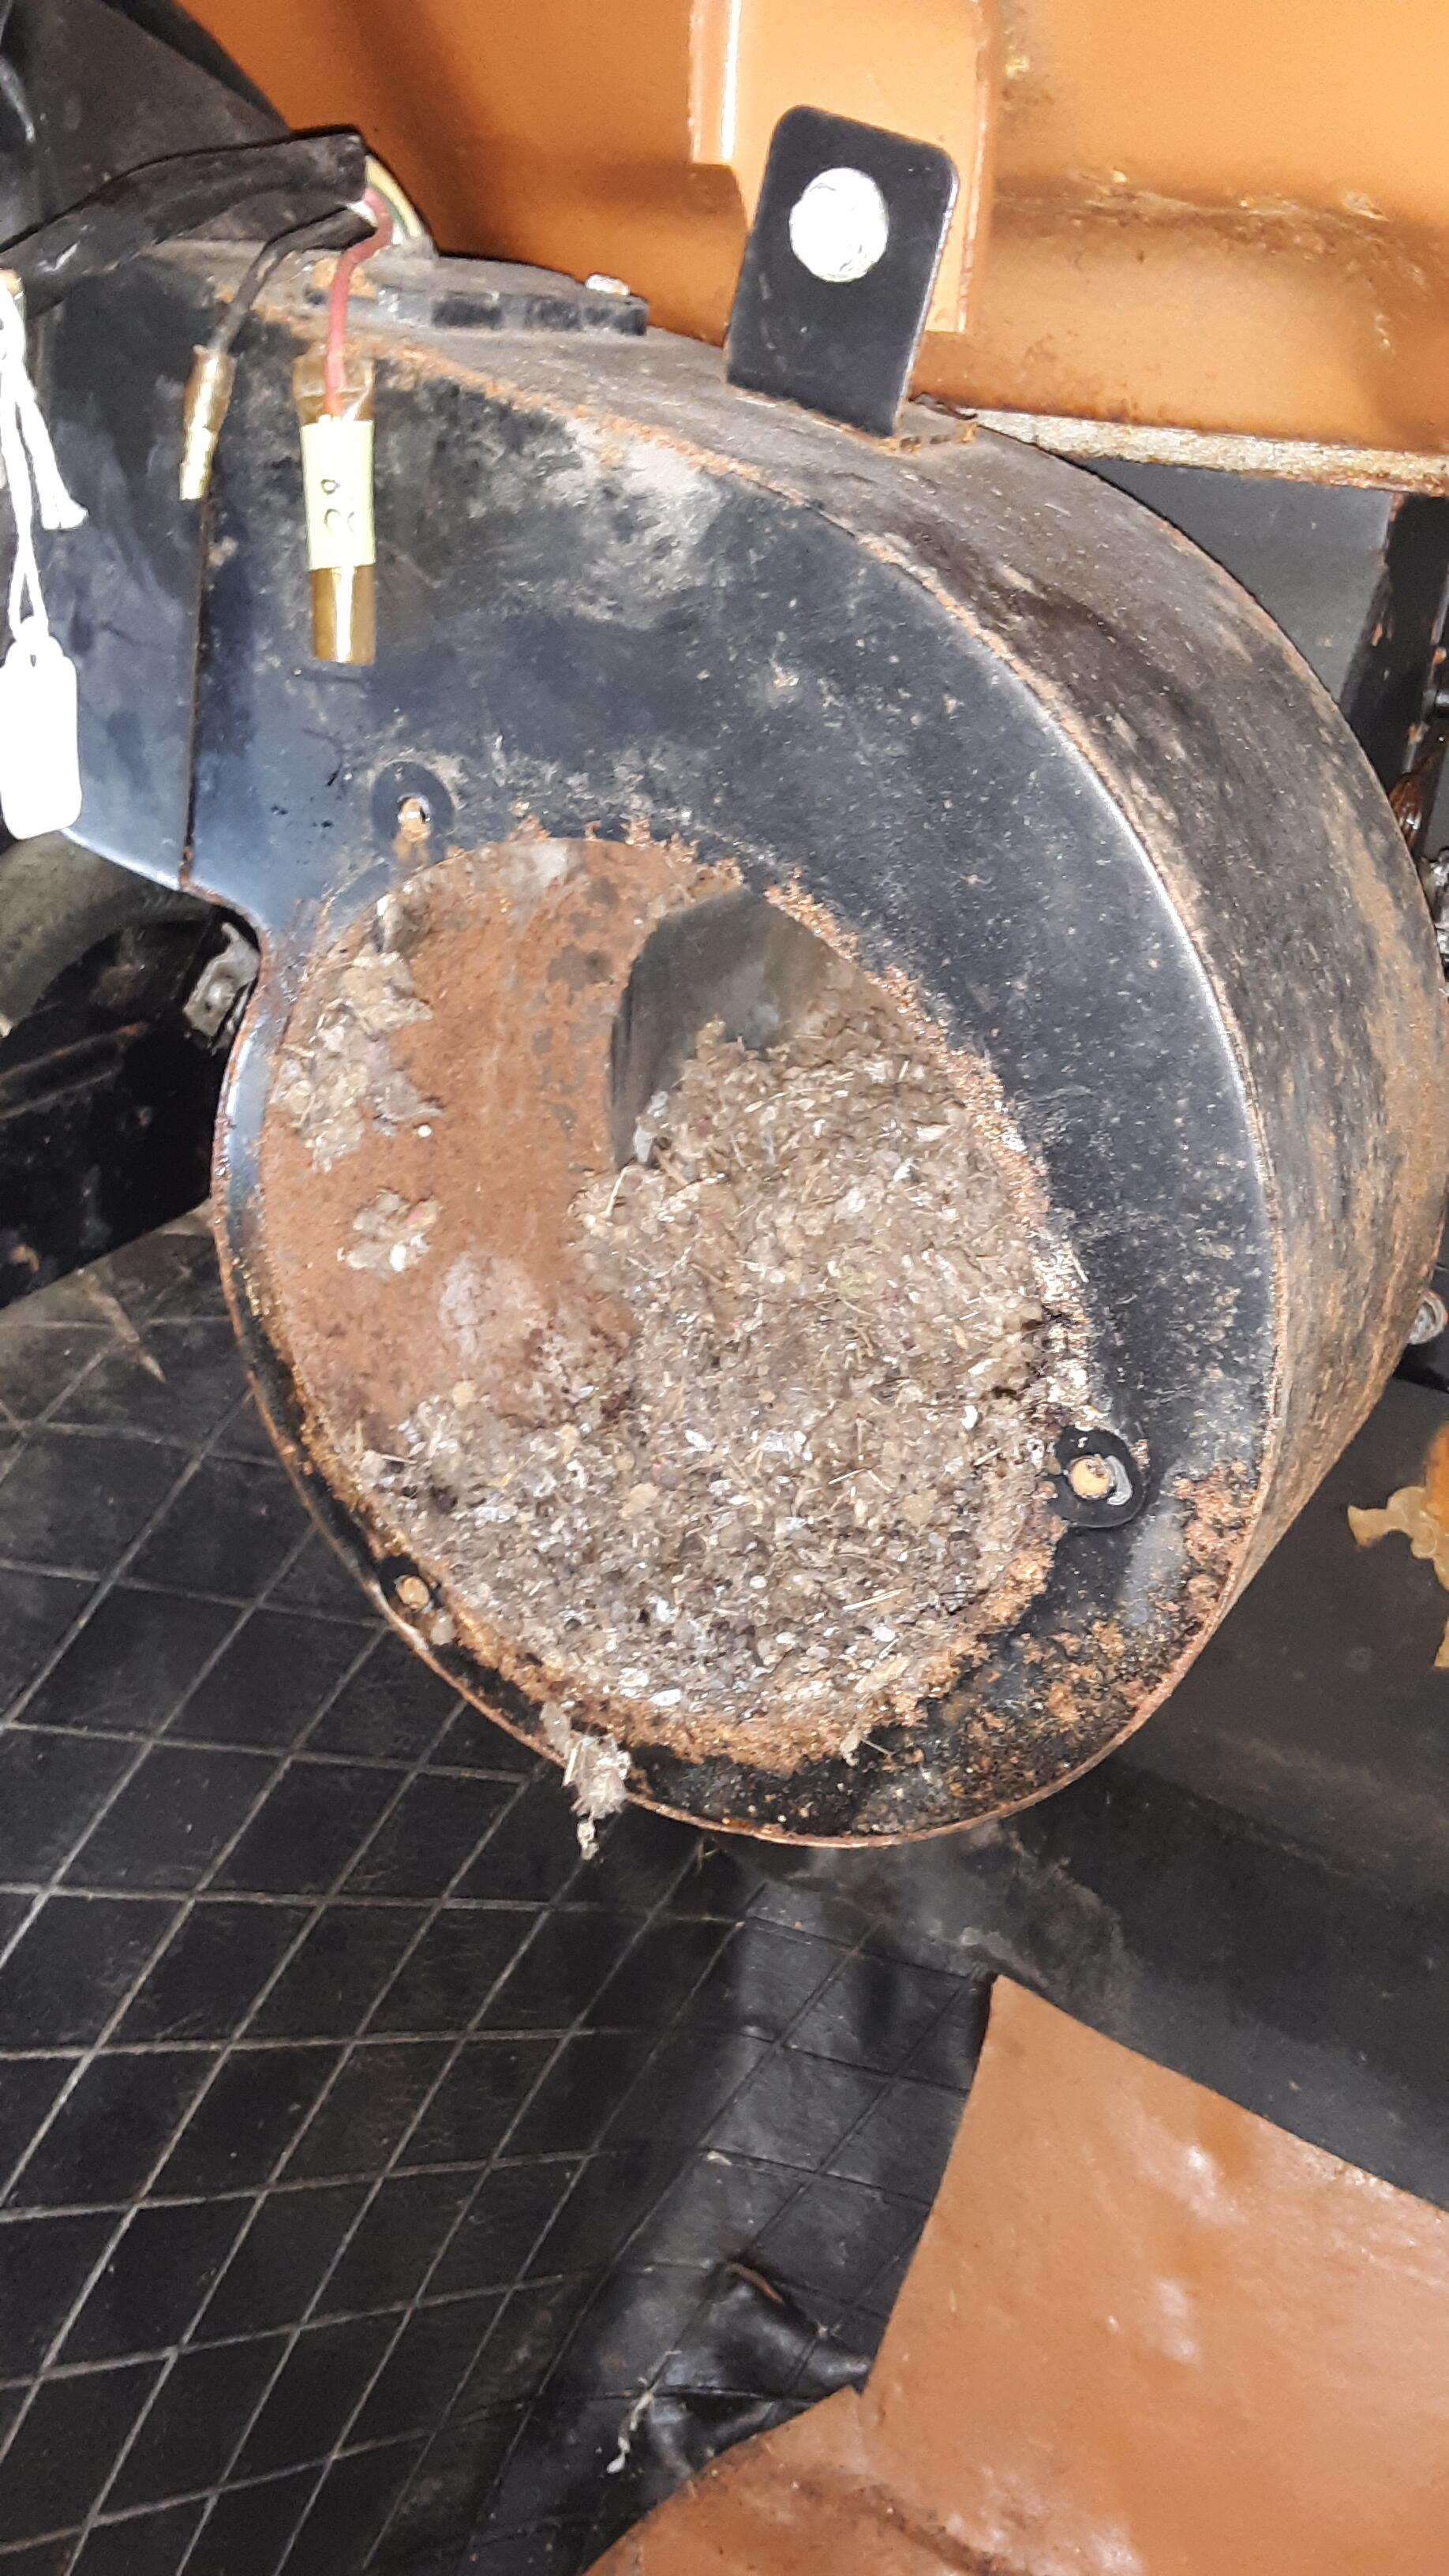
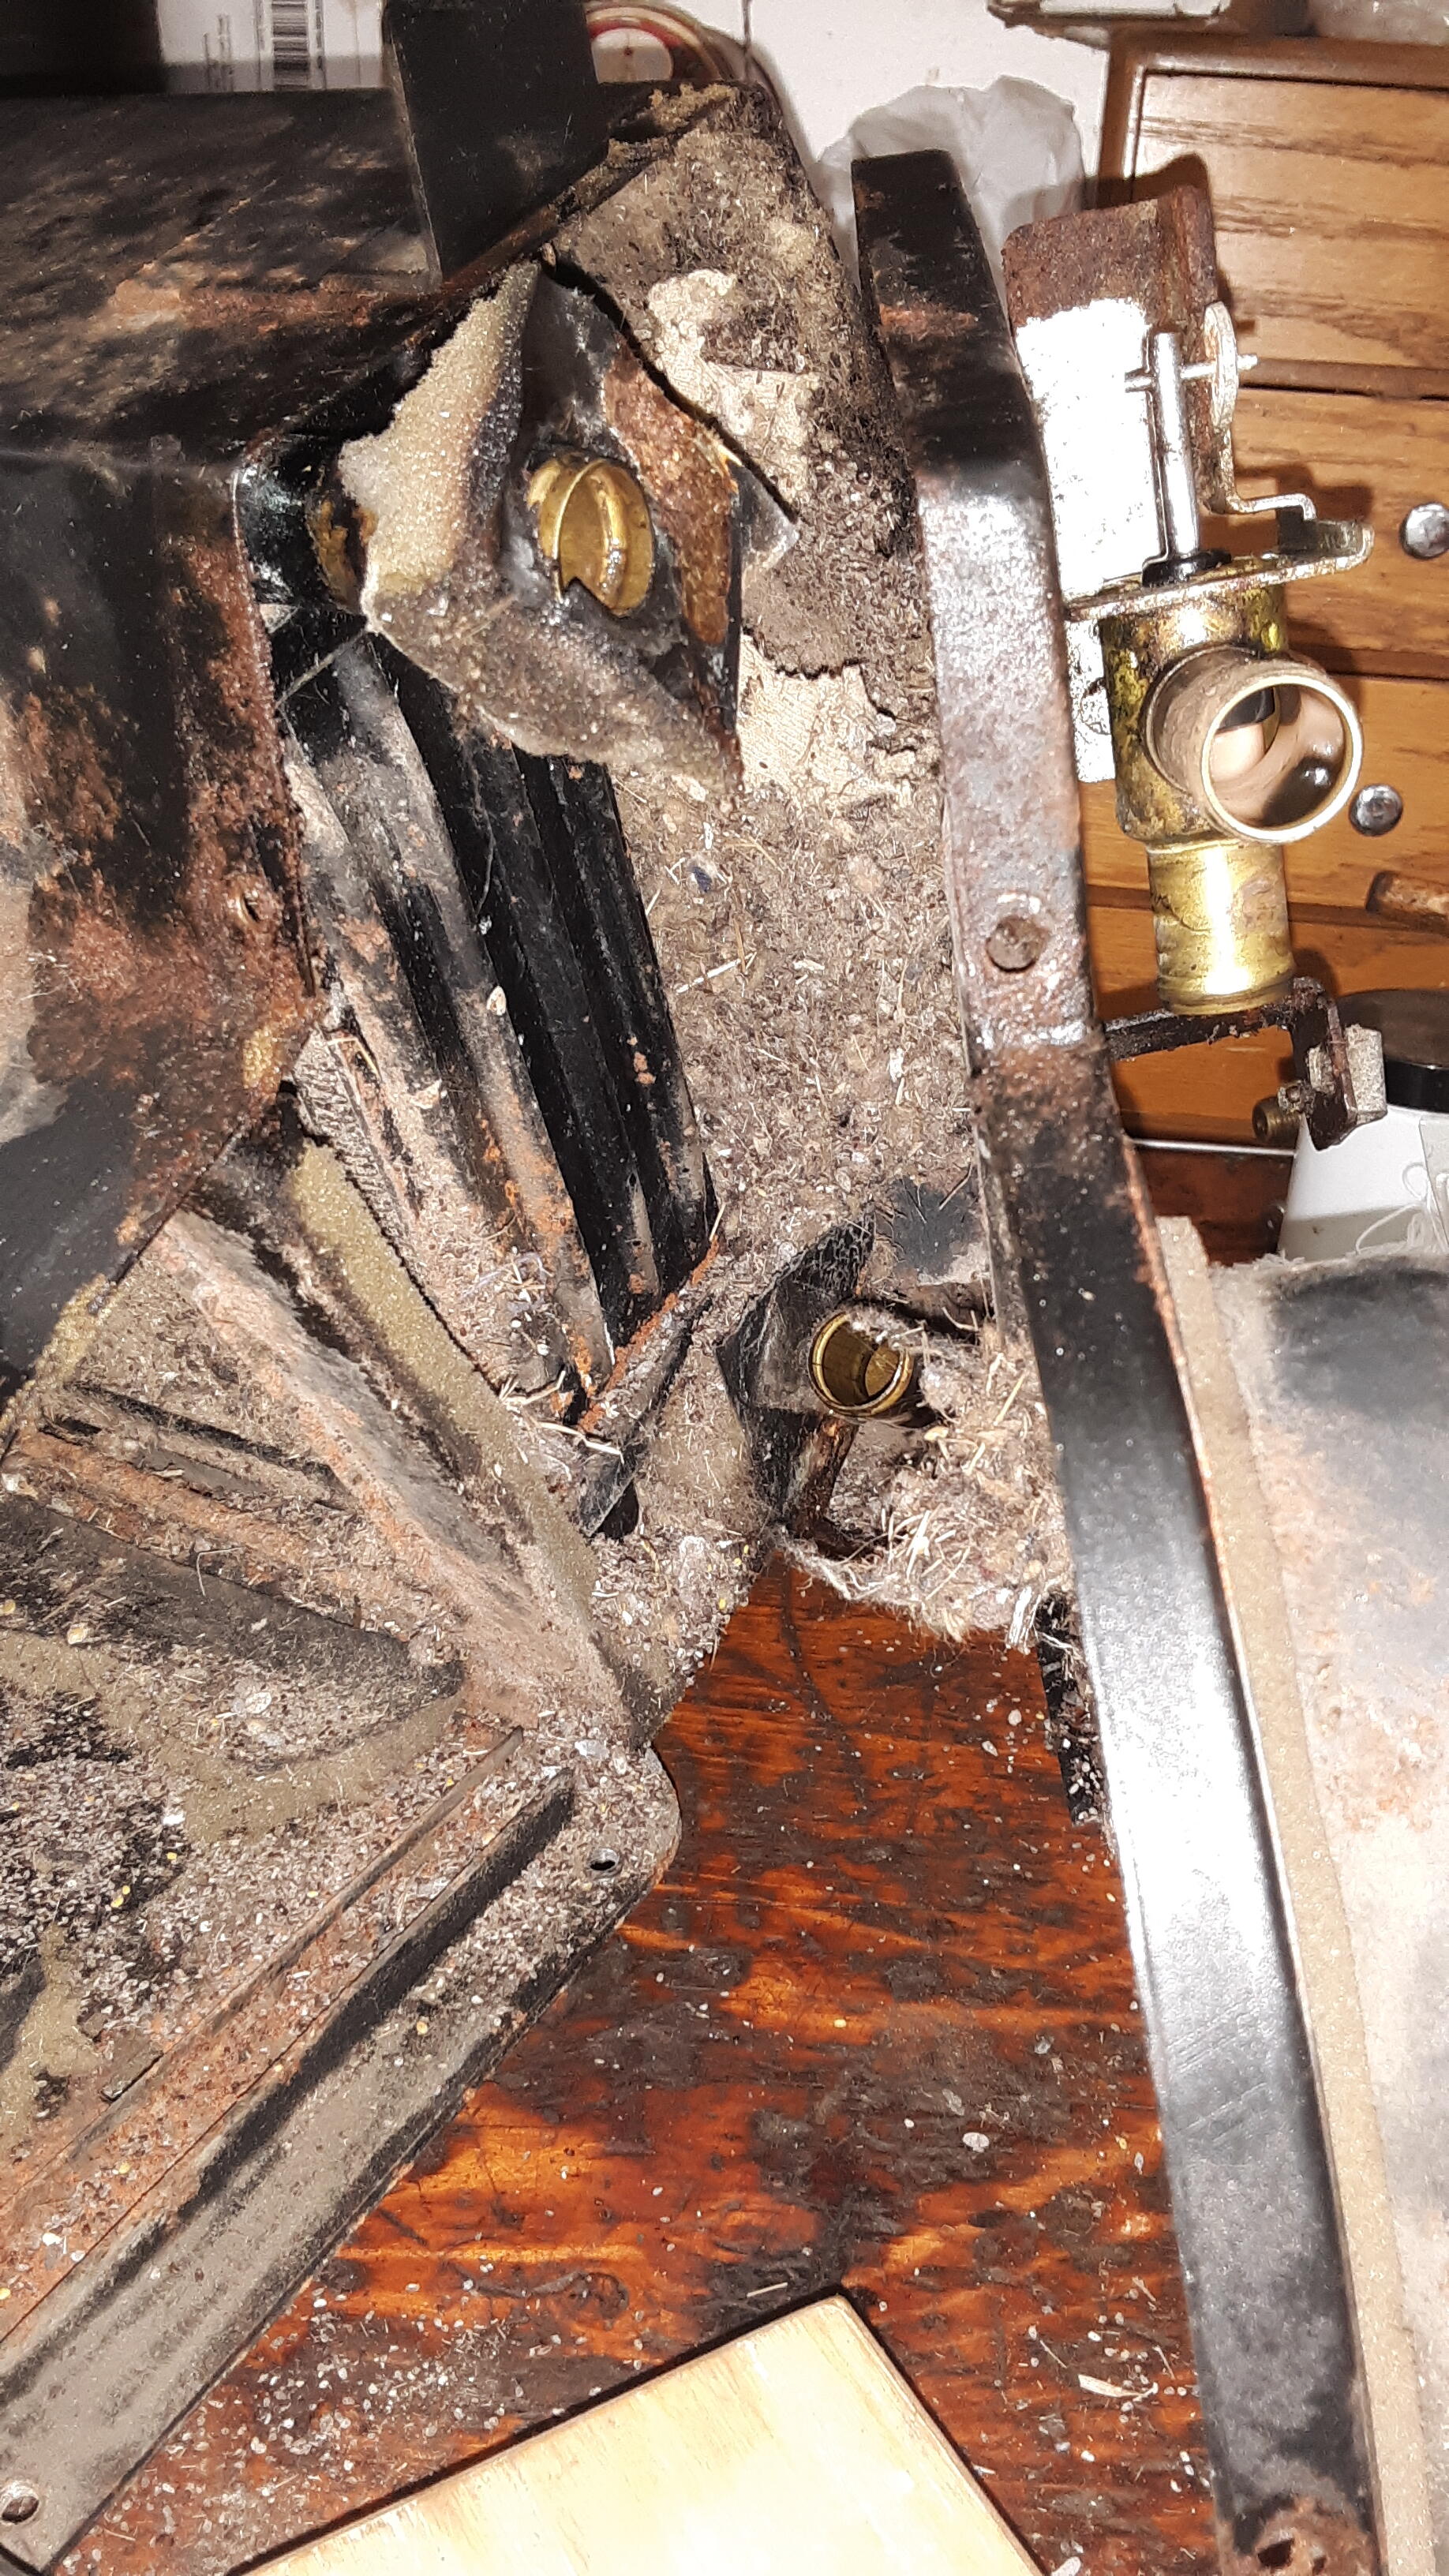
 Fortunately, no wires were chewed under the dash or in that vicinity. They preferred the firewall pad, glove box liner, vents, jute, they had enough to nibble on....This is when I found Junkyard Jenny used parts, send me a heater box, fan, etc. About now was when I realized I'm looking at tarmat on the floor, not the floor....Went to town, got some dry ice, what a pain it was. Took 2 days to remove it. It wasn't too bad, the worst being passenger side footwell, which turned out to be much larger than I first saw. It's close proximity to the battery tray area.
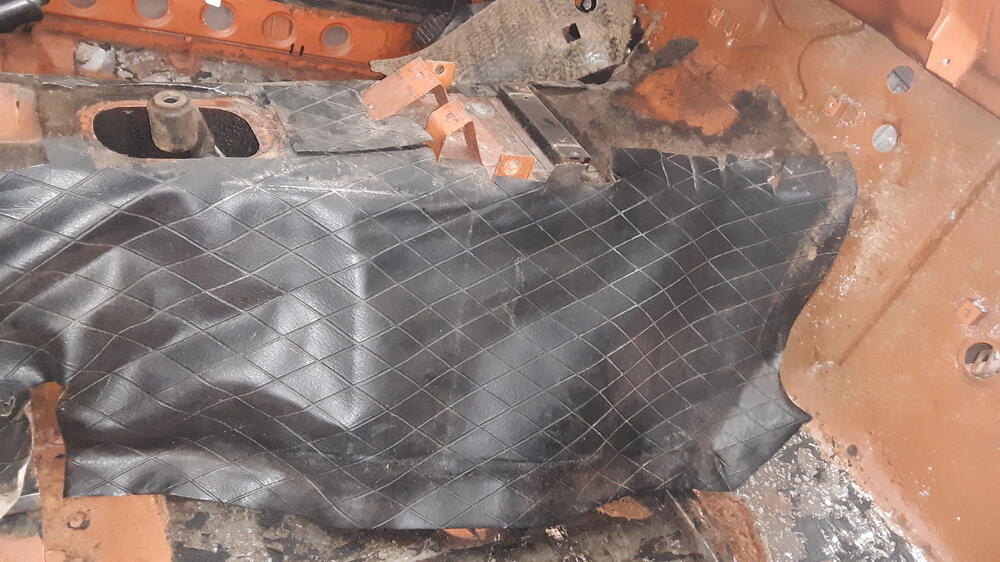

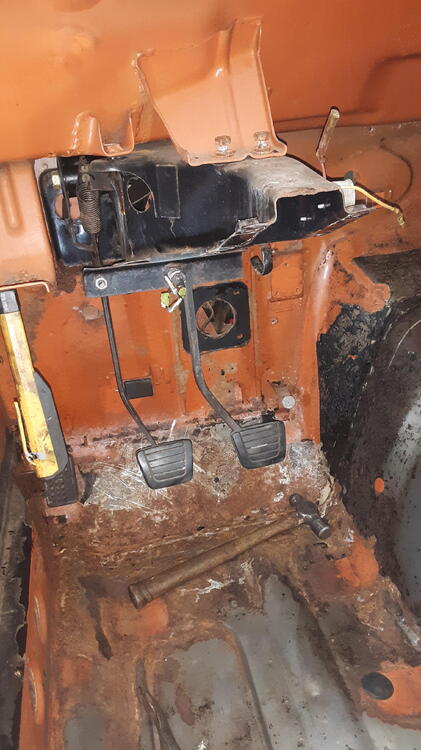
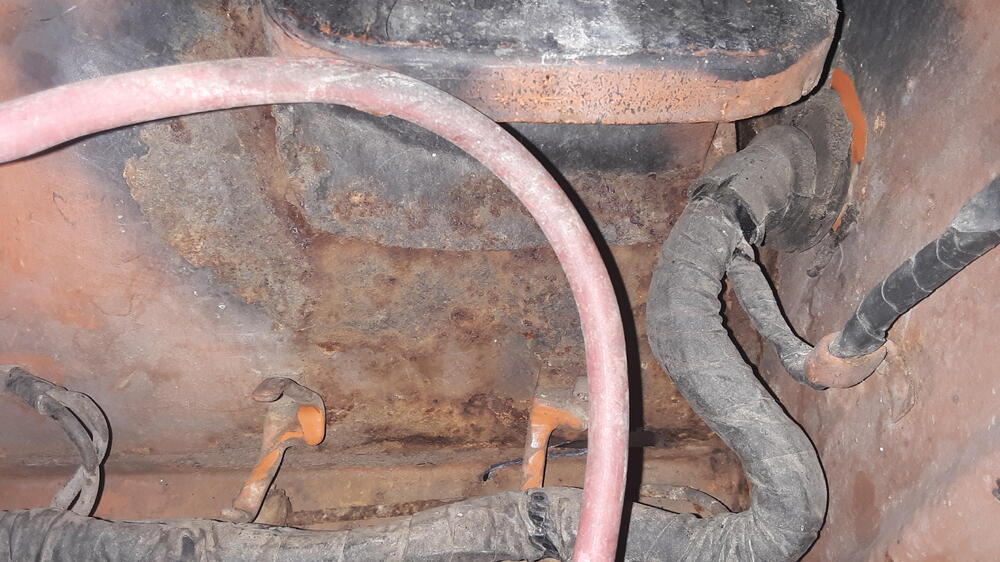
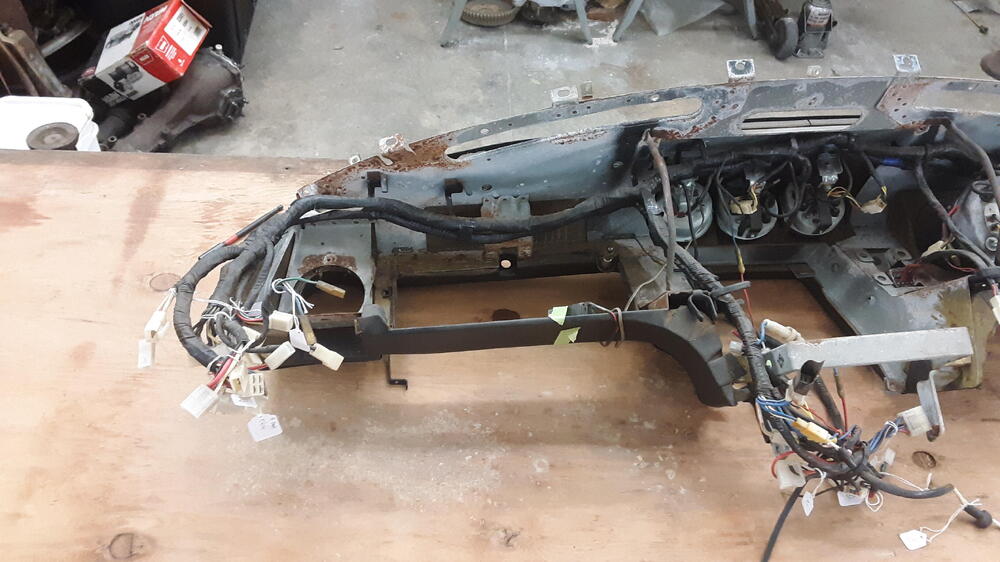
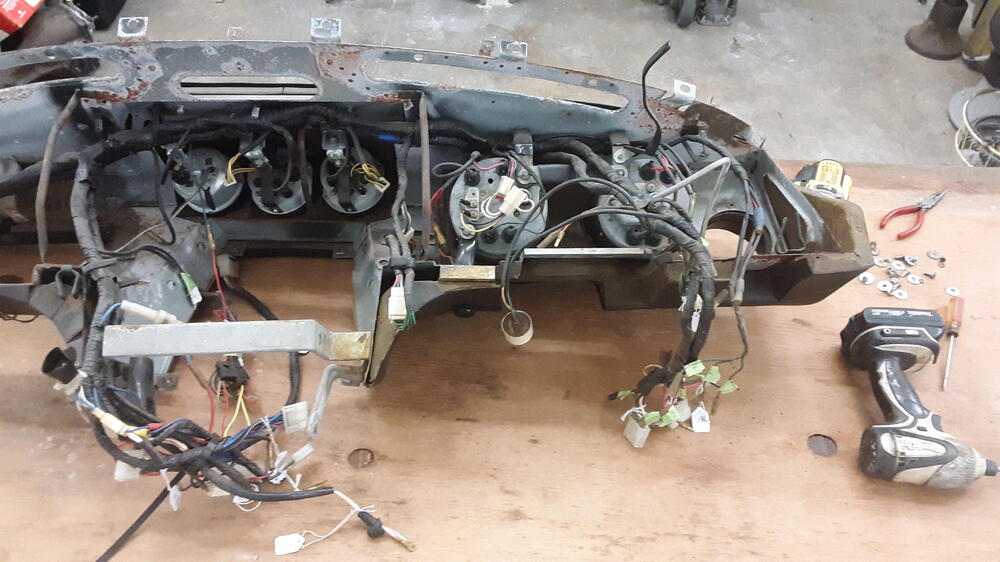
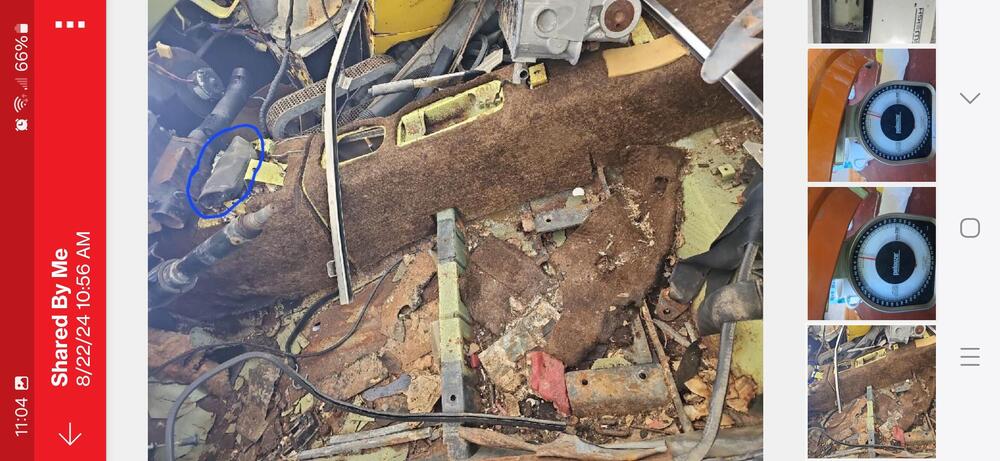
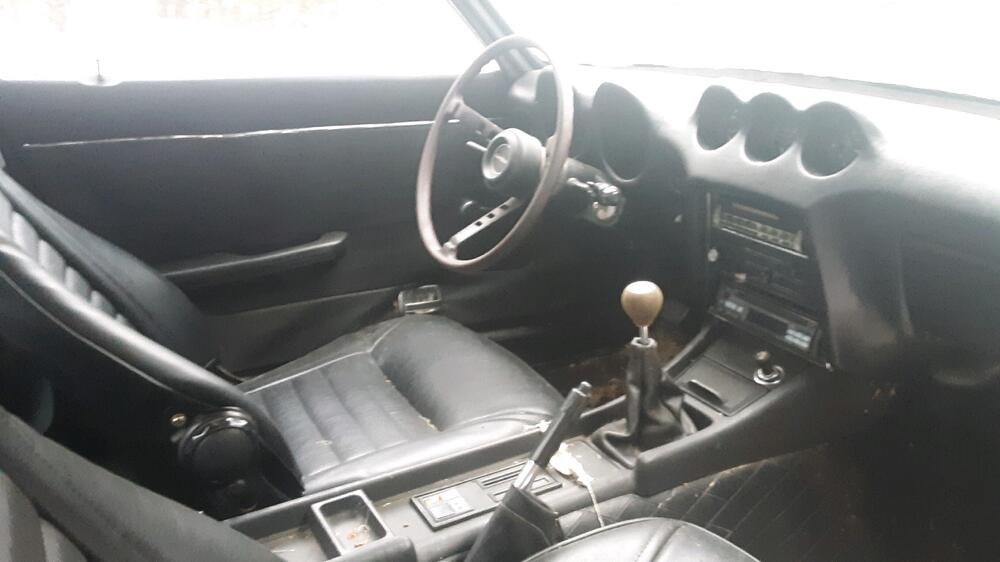
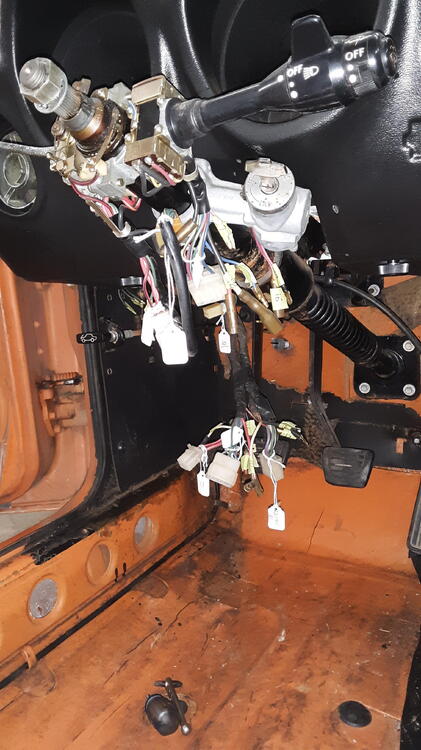
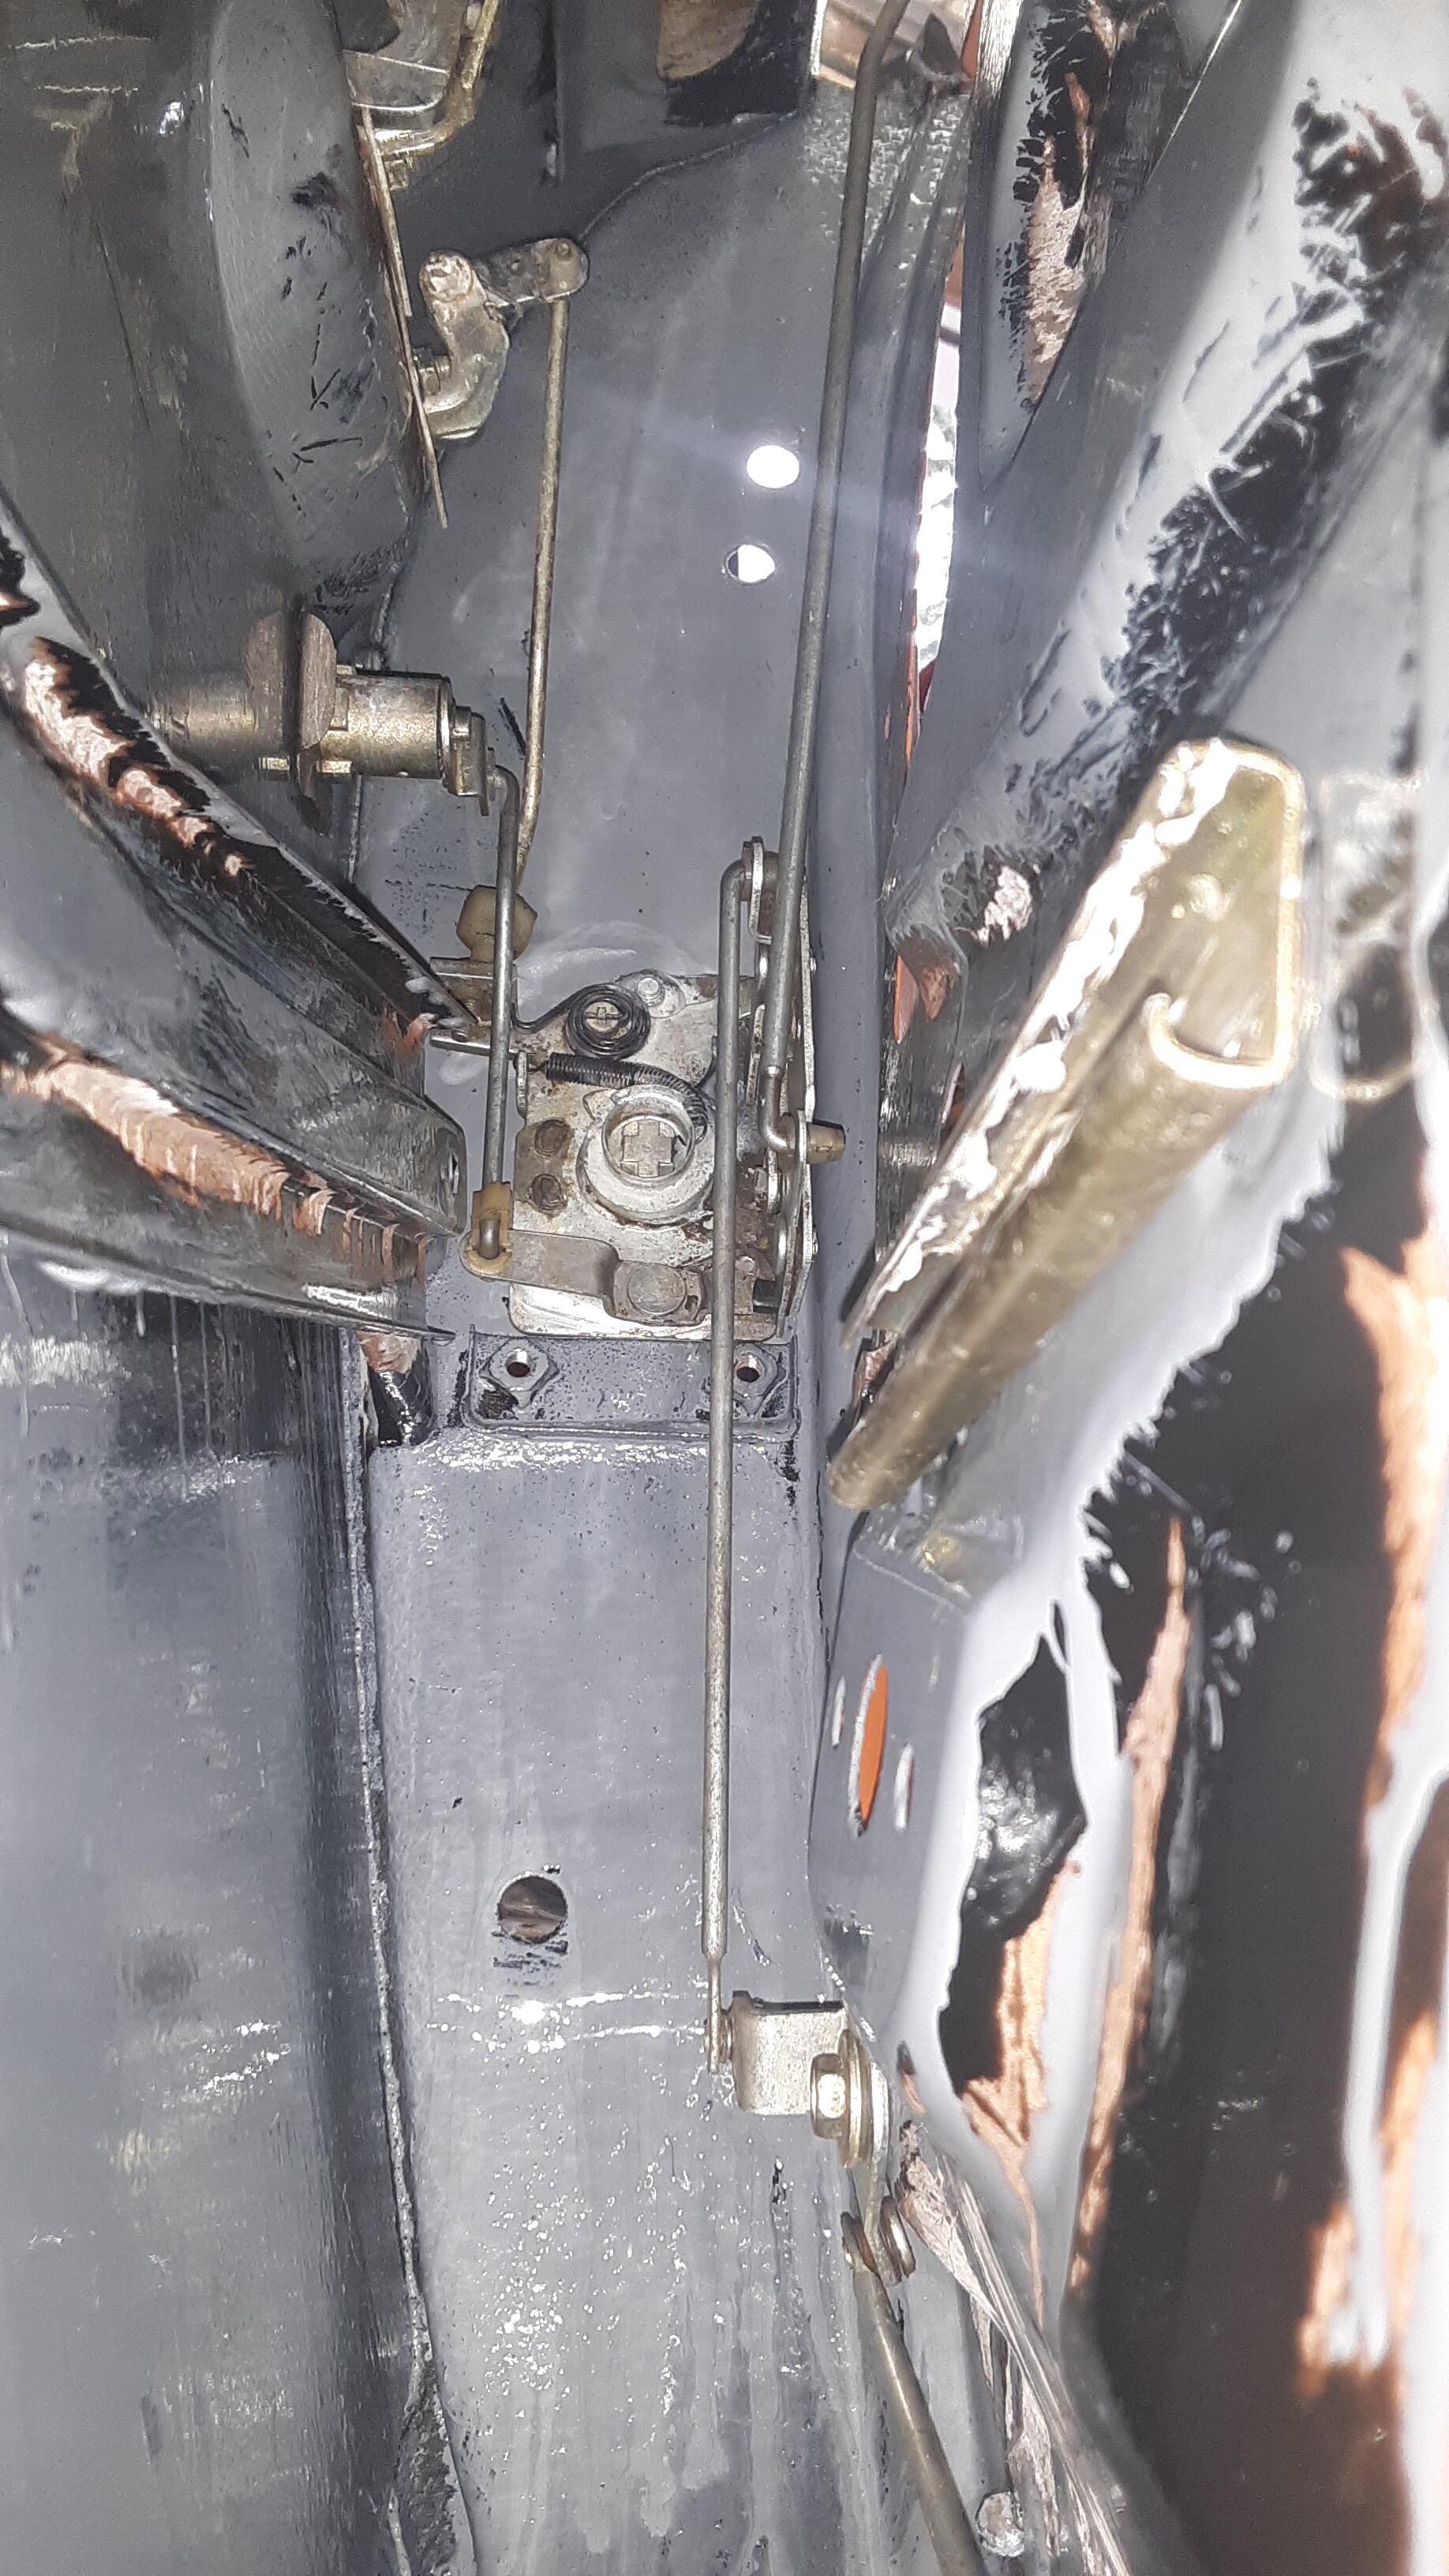
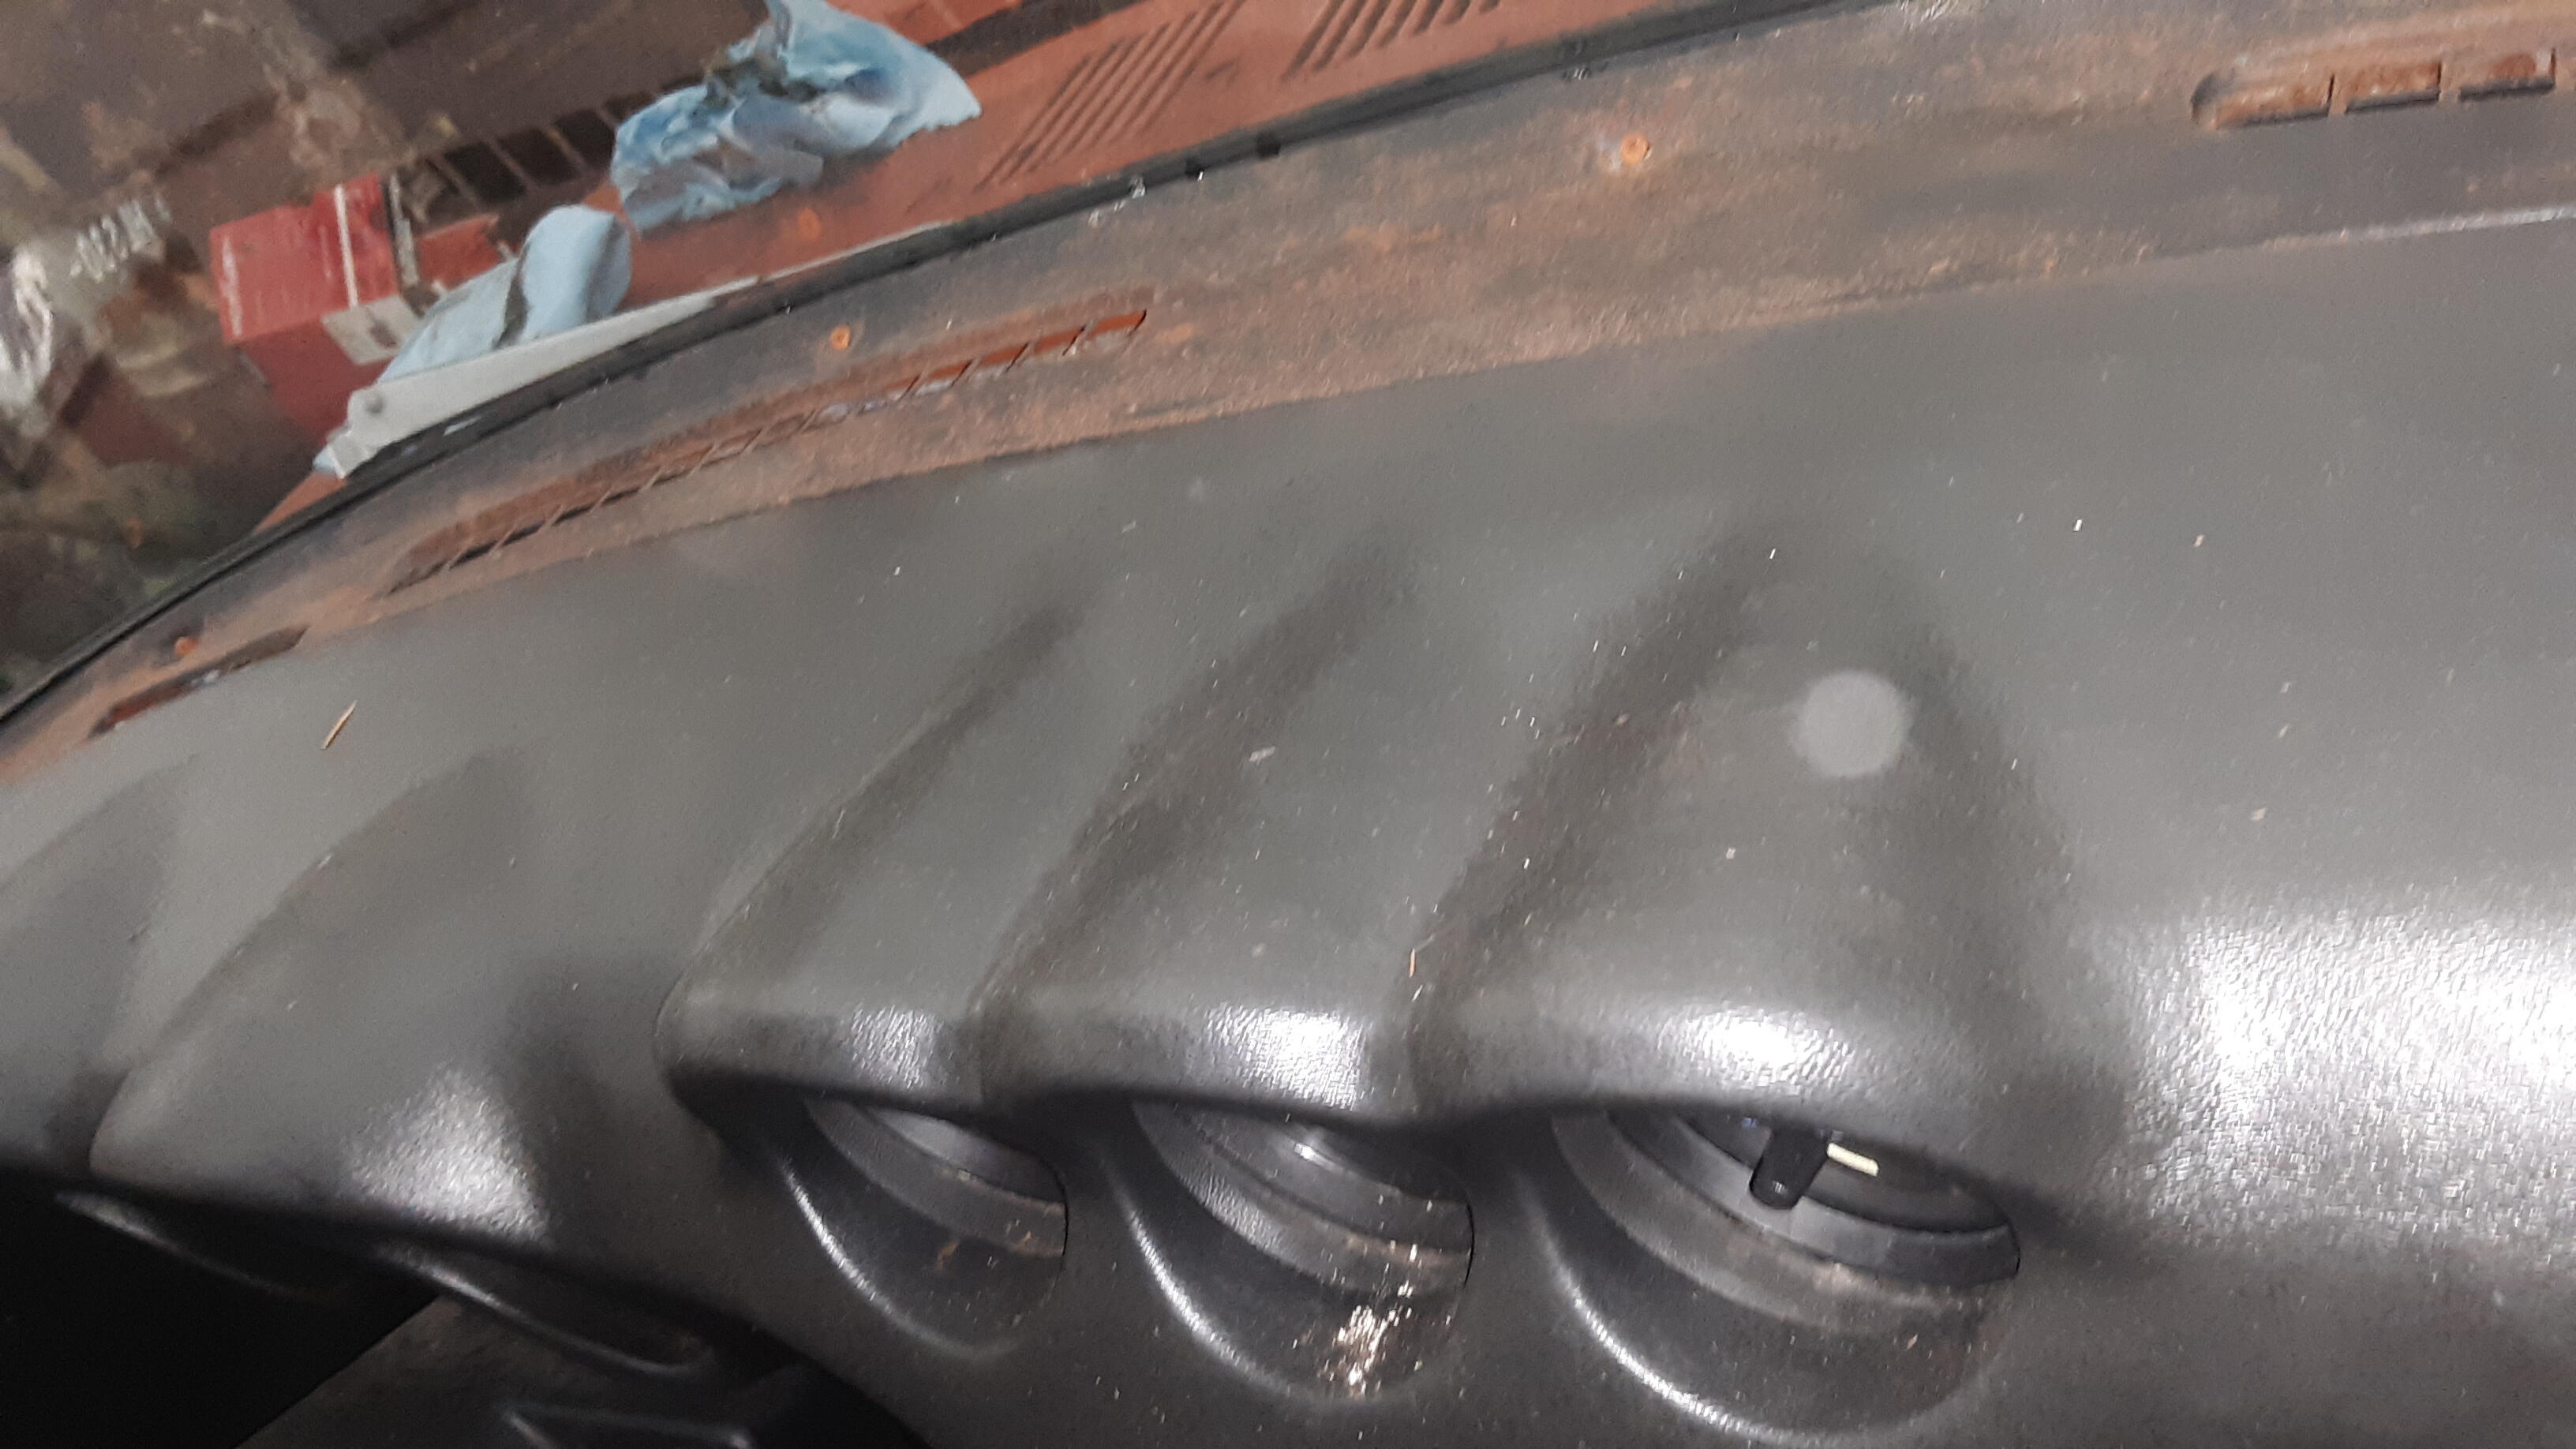
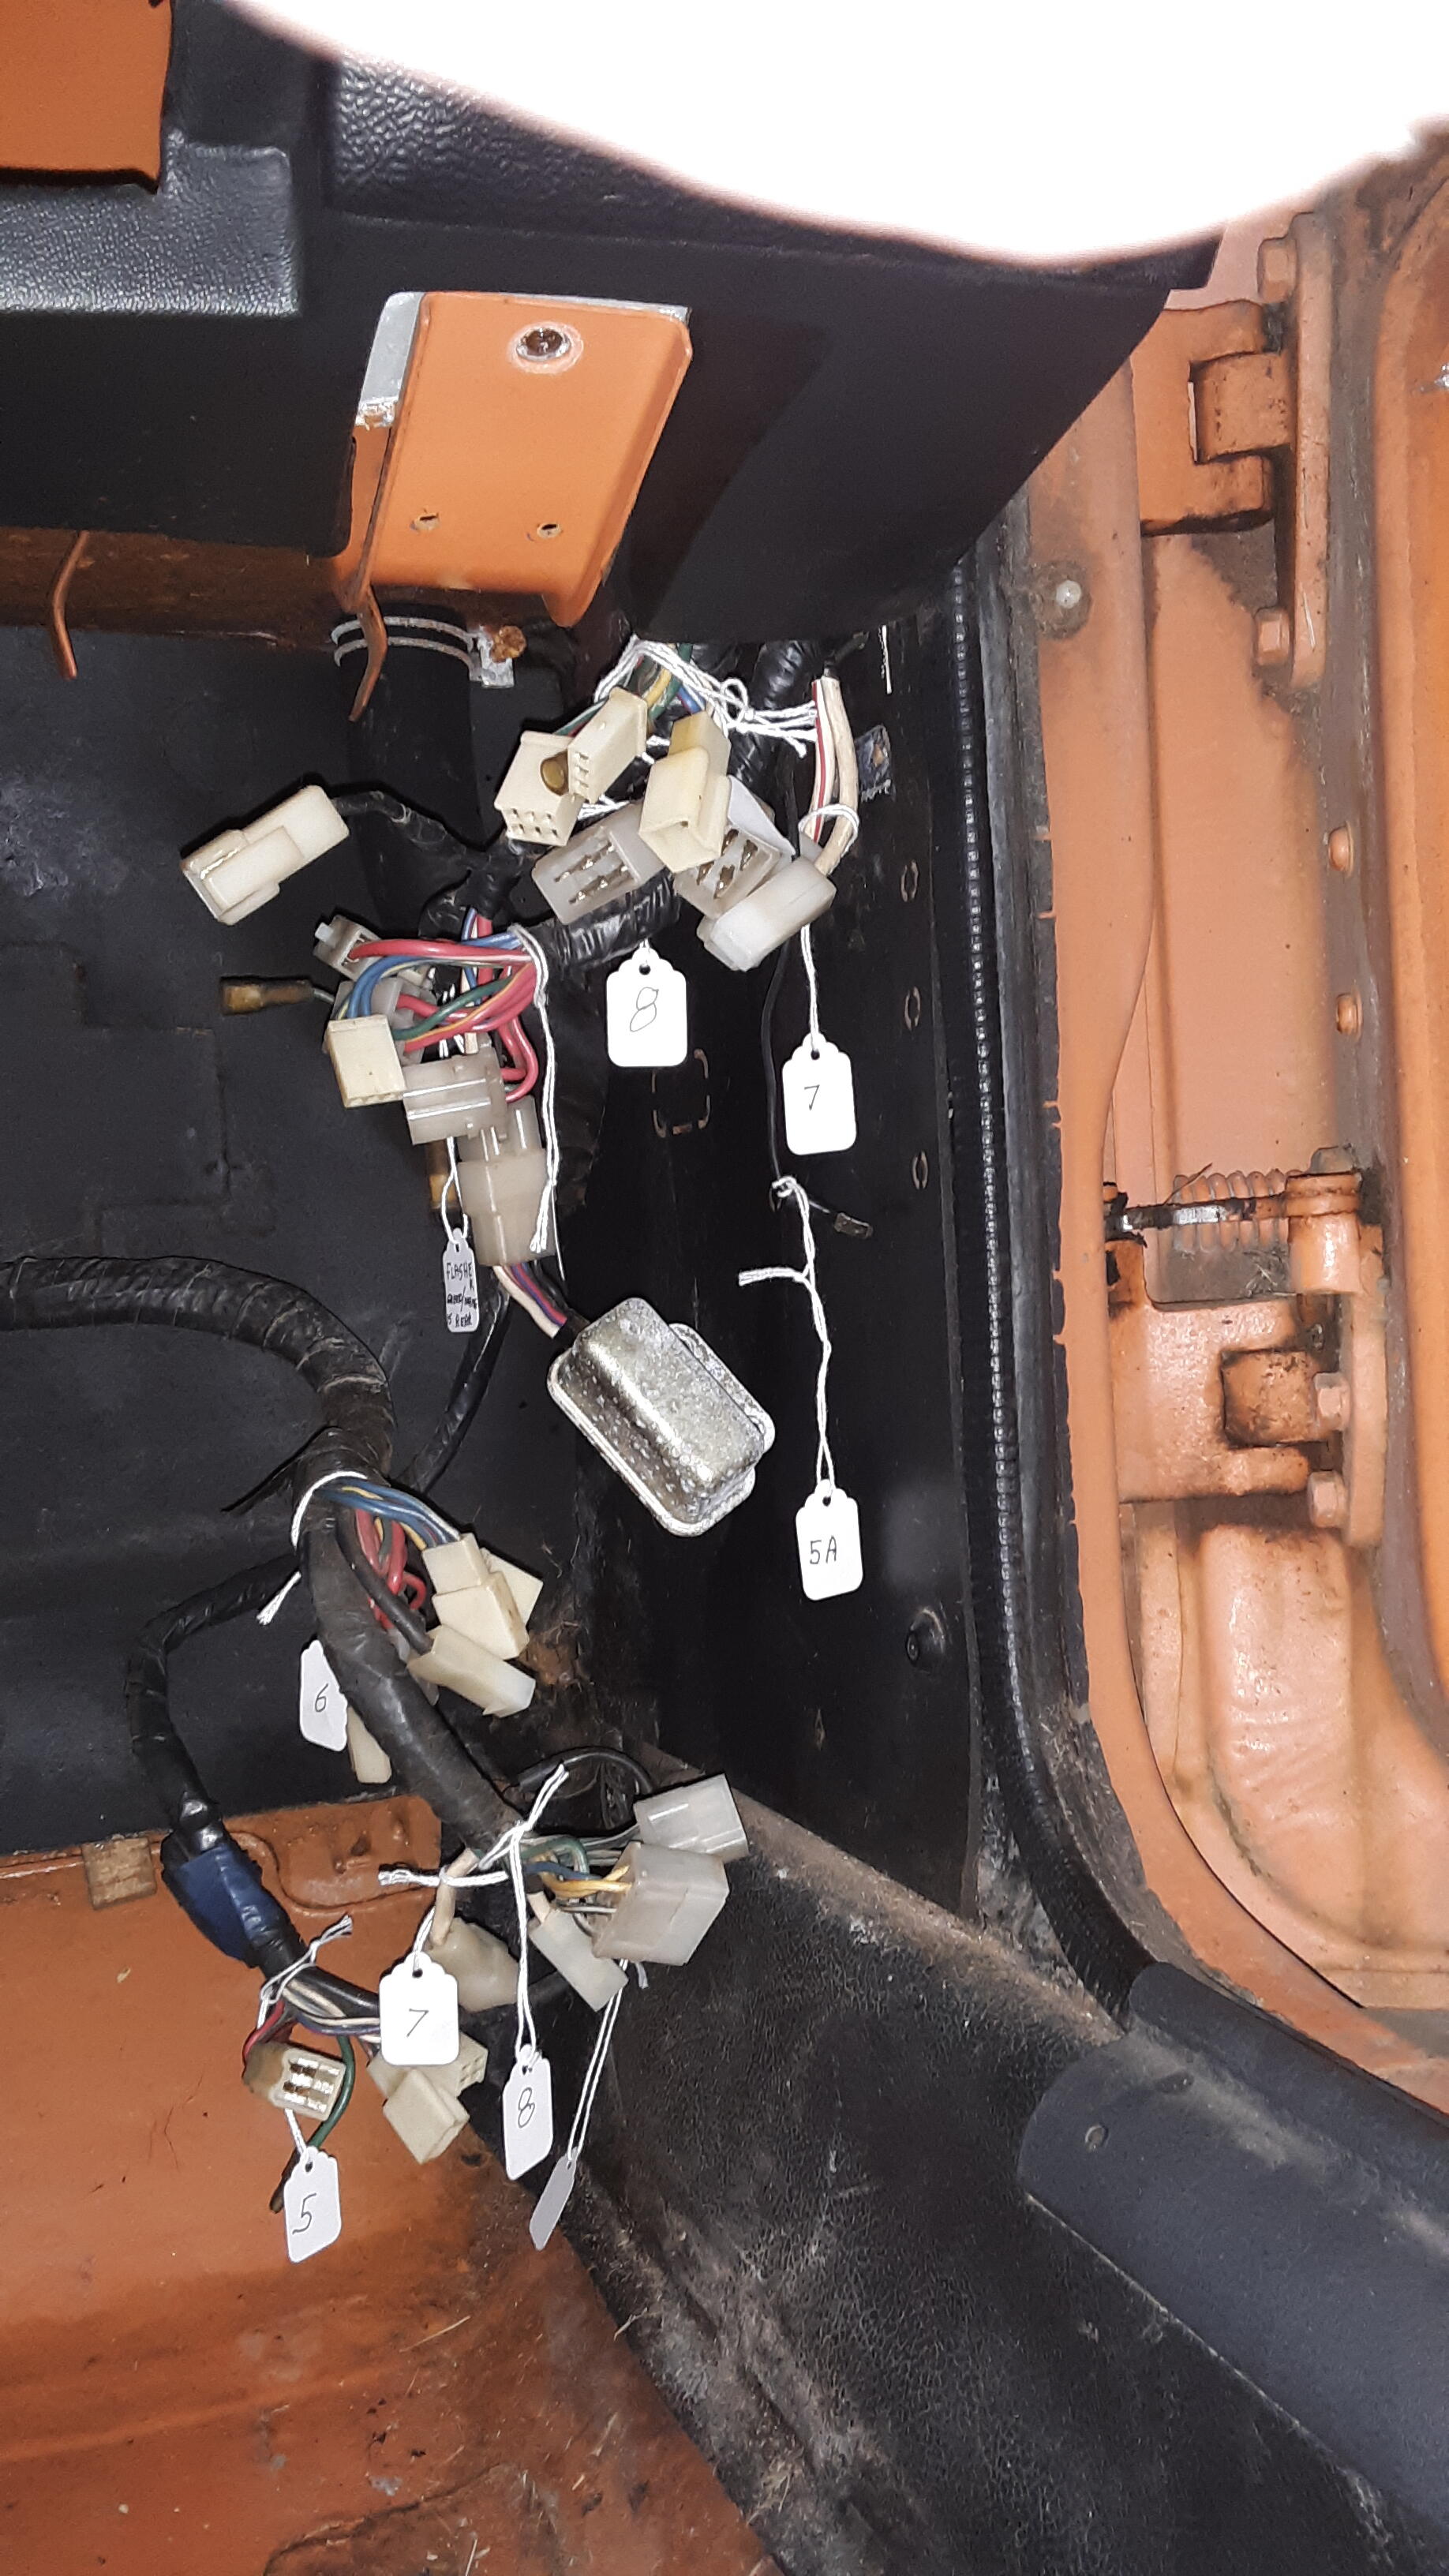
 Time to attack the interior a little more.......Okay Wow, the dash isn't even cracked! 🙄 Look at the sweat on the dash finisher. Time to remove the dash. Went to town and bought a bunch of labels for marking wires, as per suggestions on this site. oh, here's the interior as I found it. more evidence of mice Glad I pulled the dash, look at this! He wasn't kidding about the mice. I believe they got in through the fresh air vents, because later I found it stuffed with pine cones.
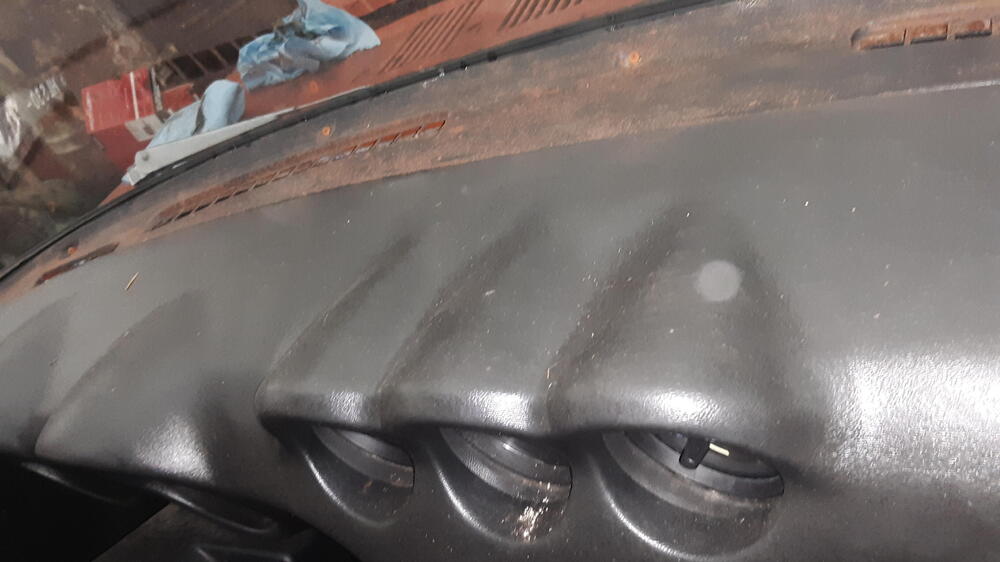


Important Information
By using this site, you agree to our Privacy Policy and Guidelines. We have placed cookies on your device to help make this website better. You can adjust your cookie settings, otherwise we'll assume you're okay to continue.