Barefootdan
Free Member
-
Joined
-
Last visited
Everything posted by Barefootdan
-
 That’s a good point. I think we’re definitely looking at fuel issue as opposed to timing (since it was running smooth before it died). I had a mini fuel filter (lawn mower style) in before the pump but took it out when I cleaned up my lines. I did notice small sediments in there. The pump is a cheap eBay special and always took about 5-10 seconds to get to full pressure. Perhaps this is just added fuel to the fire. I’ll flush the lines and tank tomorrow when I get new gas. I’ll probably disconnect the line after the fuel filter in the engine bay. I can’t imagine anything substantial getting by two filters and blocking an injector. But I also jinxed myself earlier today 😄. engine was off when testing the water temp sensor. Thanks again! Thinking out-loud and typing my thoughts helps me gather more details than just thinking in my head.
 -
Back from another fire up. I was able to finish the 20 minute break in. So I feel much more comfortable letting the car down below 2K rpm. This time, the car smoked way less, I definitely think the water temp sensor helped. Unfortunately, this time when the car got to temp, I started to bring the idle down to 800, but it was not running smooth. It sounded okay but the engine was definitely not timed correctly or not firing on all 6. I turned it off and inspected my plugs. Dark, presumably from the previous day of running very rich, but nothing seemed wet. From here, I was not able to get the car started again. Fuel pressure was still 30-36 although I noticed a few times it was down to 20. Could low fuel be my next issue? I only recall placing about 3 gallons in since day 1 😮 I dont think the small amount of run time could go through this all, but perhaps it is intermittently grabbing air in there? I'll need to grab some starter fluid and more gas to rule this out. I then checked my dizzy timing and oil pump shaft. I took the pump off and reinstalled about 3 times to ensure I was getting correct timing. Once I had about a "10:30" adjustment which seemed to far left. I settled on closer to the "11:30" per the handbook. Placing the dizzy back on just seems like it is not lining up with my #1 spark plug though? If it is rotating counter clockwise, it looks like it already passed #1. The other issue could be vapor issues with the fuel? Running no heatshield in 100 degree temps, sitting at 2K rpm in the driveway, surely is getting hot in those lines. Lastly, I checked the water temp switch resistance. At this point the car was cooling down but the resistance was acting wild. Bouncing from 450 to 550 every second or so. The resistance itself seemed correct for the rough estimate of the water temp, but should it be fluctuating like this? I am at a bit of a loss right now. The car runs excellent from a cold start, gets to temp, dies, wont turn over. My best guesses are, in order: Low fuel - Car ran great, started to stumble, died. Seems like an obvious case for a low fuel symptom. But I still have pressure if I open my AFM flap long enough to build. Previously, when the car was flooding, I was able to disconnect the injectors to clear out the fuel. The car would run for a couple second a die. This time, there was no perceivable difference from injectors connected vs disconnected. Water Temp Sensor going bad - Resistance is fluctuating ~100ohms every second. Seems odd. Fuel Vapor - It was hot ambient and sitting at 2K rpm while not moving gets temps up fast. Dizzy timing is off - Visually looks off, but I could be wrong.
-
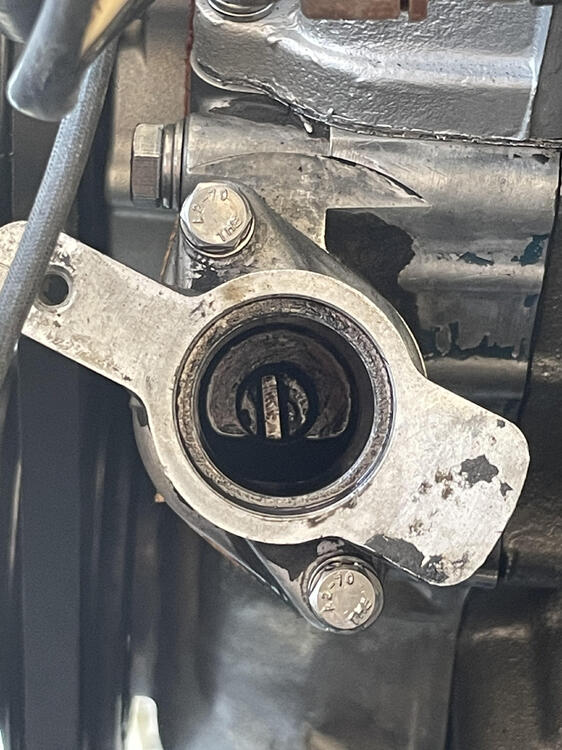
I swear I must have jinxed myself...Why would the orange connector go to the grey sensor?! Anyways...30 seconds at the ecu terminal lead me to no readings for the water temp sensor. I saw I chose the wrong connector 😅 Now we have accurate resistance for ambient temp! This is likely my issue but I'll need to wait a couple hours before I fire her up as I am waiting for a gasket to dry. While out there I saw your comment @Zed Head and popped open the TPS cover. I do get contact at idle with the right pin and giving slight throttle moves to the middle. Tested at the ecu terminal to be sure as well. Thanks for the tip!
-
Thanks for that. In my previous post I was referring to the wrong sensor. Water Temperature Sensor (which you referenced) is on the bottom right of the front housing, and controls fuel amount. I was looking at the Water Temperature Switch which is timing advance/retarded related. Lastly, the Thermotime Switch drive the Cold Start Valve. Now that I am all cleared up (thank you Datsun for the naming conventions 😄)... What I have in my car, hooked up, is the Water Temperature Sensor. I do not have a Thermotime or Water Temperature Switch. I dont have a cold start valve, so scrap the termotime, and my car never came with the Water Temperature Switch. I'll look into sourcing one later, but this is unrelated to my fuel issues for now. I'll first make sure my plug is correct as I know it is common to mix up the thermotime and water temp sensor plugs. I dont think this is my issue has the thermotime plug matches the housing color of the sensor on my bench. But I will do a lead test to the ecu to be sure. From there I will test resistance of the sensor at ambient temp. If both of these check out, I will maybe start the car again and measure resistance as it warms up. Maybe it is going bad? I have a new sensor on order already...but it'd be nice to know what is going wrong. I'll report back on what I find. Also, as a reference, fuel pressure is good (gauge before the fuel rail), new injectors, new lines, but old injector connectors.
-
That seems like the logical case. Ran fine until it warmed up and then it caused issues. I’ll wait to continue the remaining break in until I get that sensor plugged in 🙂 now I know there’s two temp coolant sensors. One is for the cold start valve, the other is for the fuel mixture (or length of time the injector is open). Are we both referring to the same one, the latter? I think it is on the driver side of the thermostat housing, as opposed to the front of the housing.
-
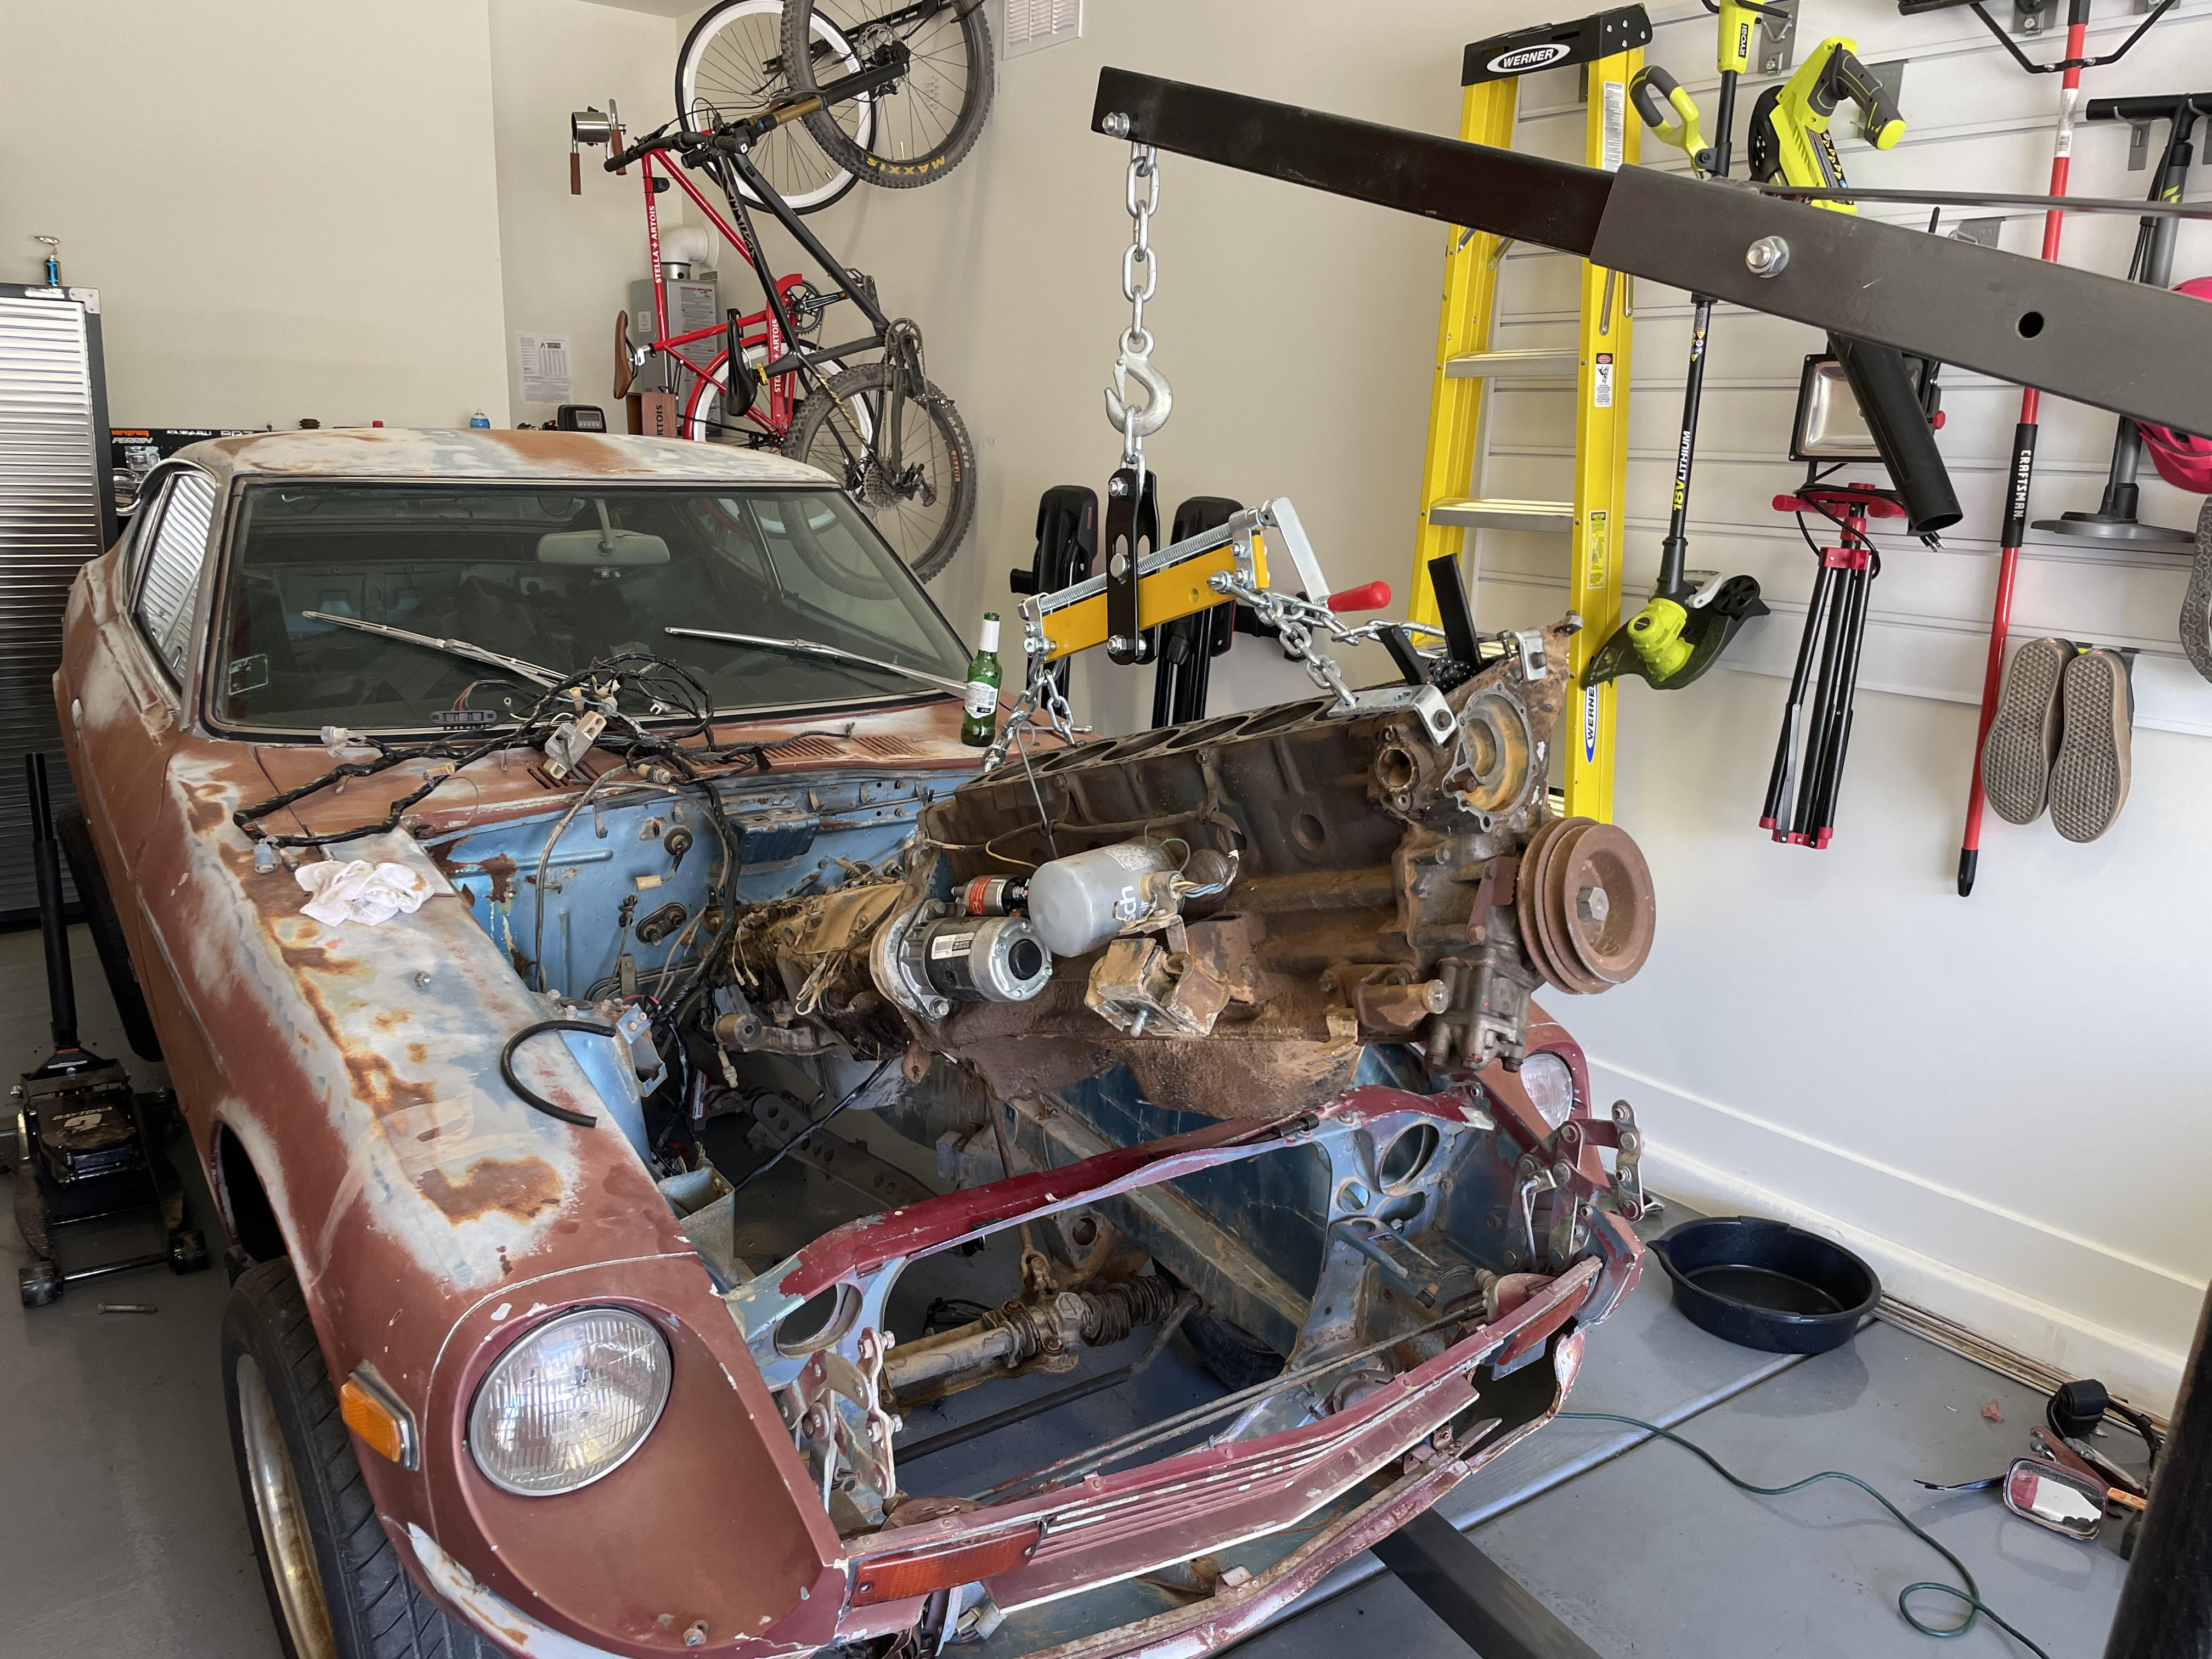
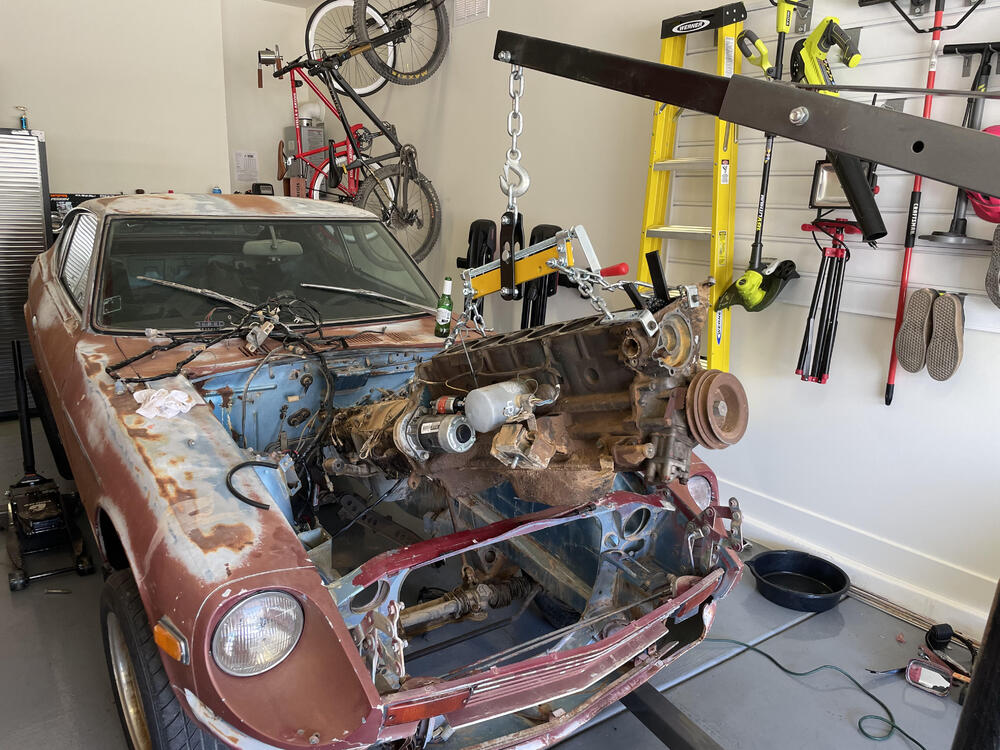
Pulled out the Z today to break in the motor! Started right up and brought her right above 2000 rpm. She lasted about 8 minutes before I realized I didn’t hook up my radiator fans. So I turn it off and hooked those bad boys up just temporarily. Started again and continued to break in. Temp was holding in the middle of the gauge nicely! I had a vacuum leak still so keeping the idle steady was a handful. It ultimately died as I was checking timing. It looks to be running very rich as the only way to get it back up and running was to unplug injectors to clear out the fuel. Once started again, it lasted a few seconds before dying again. I pulled it back into the garage as I still have about 5-6 minutes left of break in to do. I’ll plug up my vacuum leaks in the meantime. I’m sure my idle is going to be way off this next start. I’ll need to check the FSM to get a baseline setting. My only question so far is could the vacuum leak, or wild adjustments to get it to idle, cause the rich mixture? I don’t have the cold start valve, bccd, or egr hooked up for reference. I also don’t have the water temp switch hooked up because my car never came with it. I know this goes to the computer to adjust fuel as the car warms up, and this was my initial thought as the cause. I’ll order one up in the mean time. Just seems odd it is running rich enough to flood the car. edit: looking up the temperature switch it looks hard to find. I see some options for modifying a different year. But also “Basically, if you disconnect it - circuit open - the car will run on its normal timing both when warmed up and cold. The switch is normally closed, to run off of the other, advanced 6 degrees, magnetic pickup coil (variable reluctor) when cold. I am guessing it's to increase the idle speed up a little while cold. Mine stopped working so I just disconnected it and set the timing where it should be when warm.” which leads me to believe that this isn’t my issue as the car was warmed up when I had the rich issue.
-
You read my mind for my next question of “what happens if max advance isn’t enough” 😂
-
That’s great thank you @siteunseen I’ll aim for the cold and warm values to start. Do I need to unplug my vacuum advance to get an accurate reading? another thought I had while rewatching the video. Any particular reason why it sounds so lopey? Not that I don’t like it, but I want to make sure all is okay! Possibly due to the vacuum leaks? I’ll check spark for each cylinder just to be safe as well. I can’t imagine my ignition timing being within spec either as is.
-
Ordered! Thank you
-
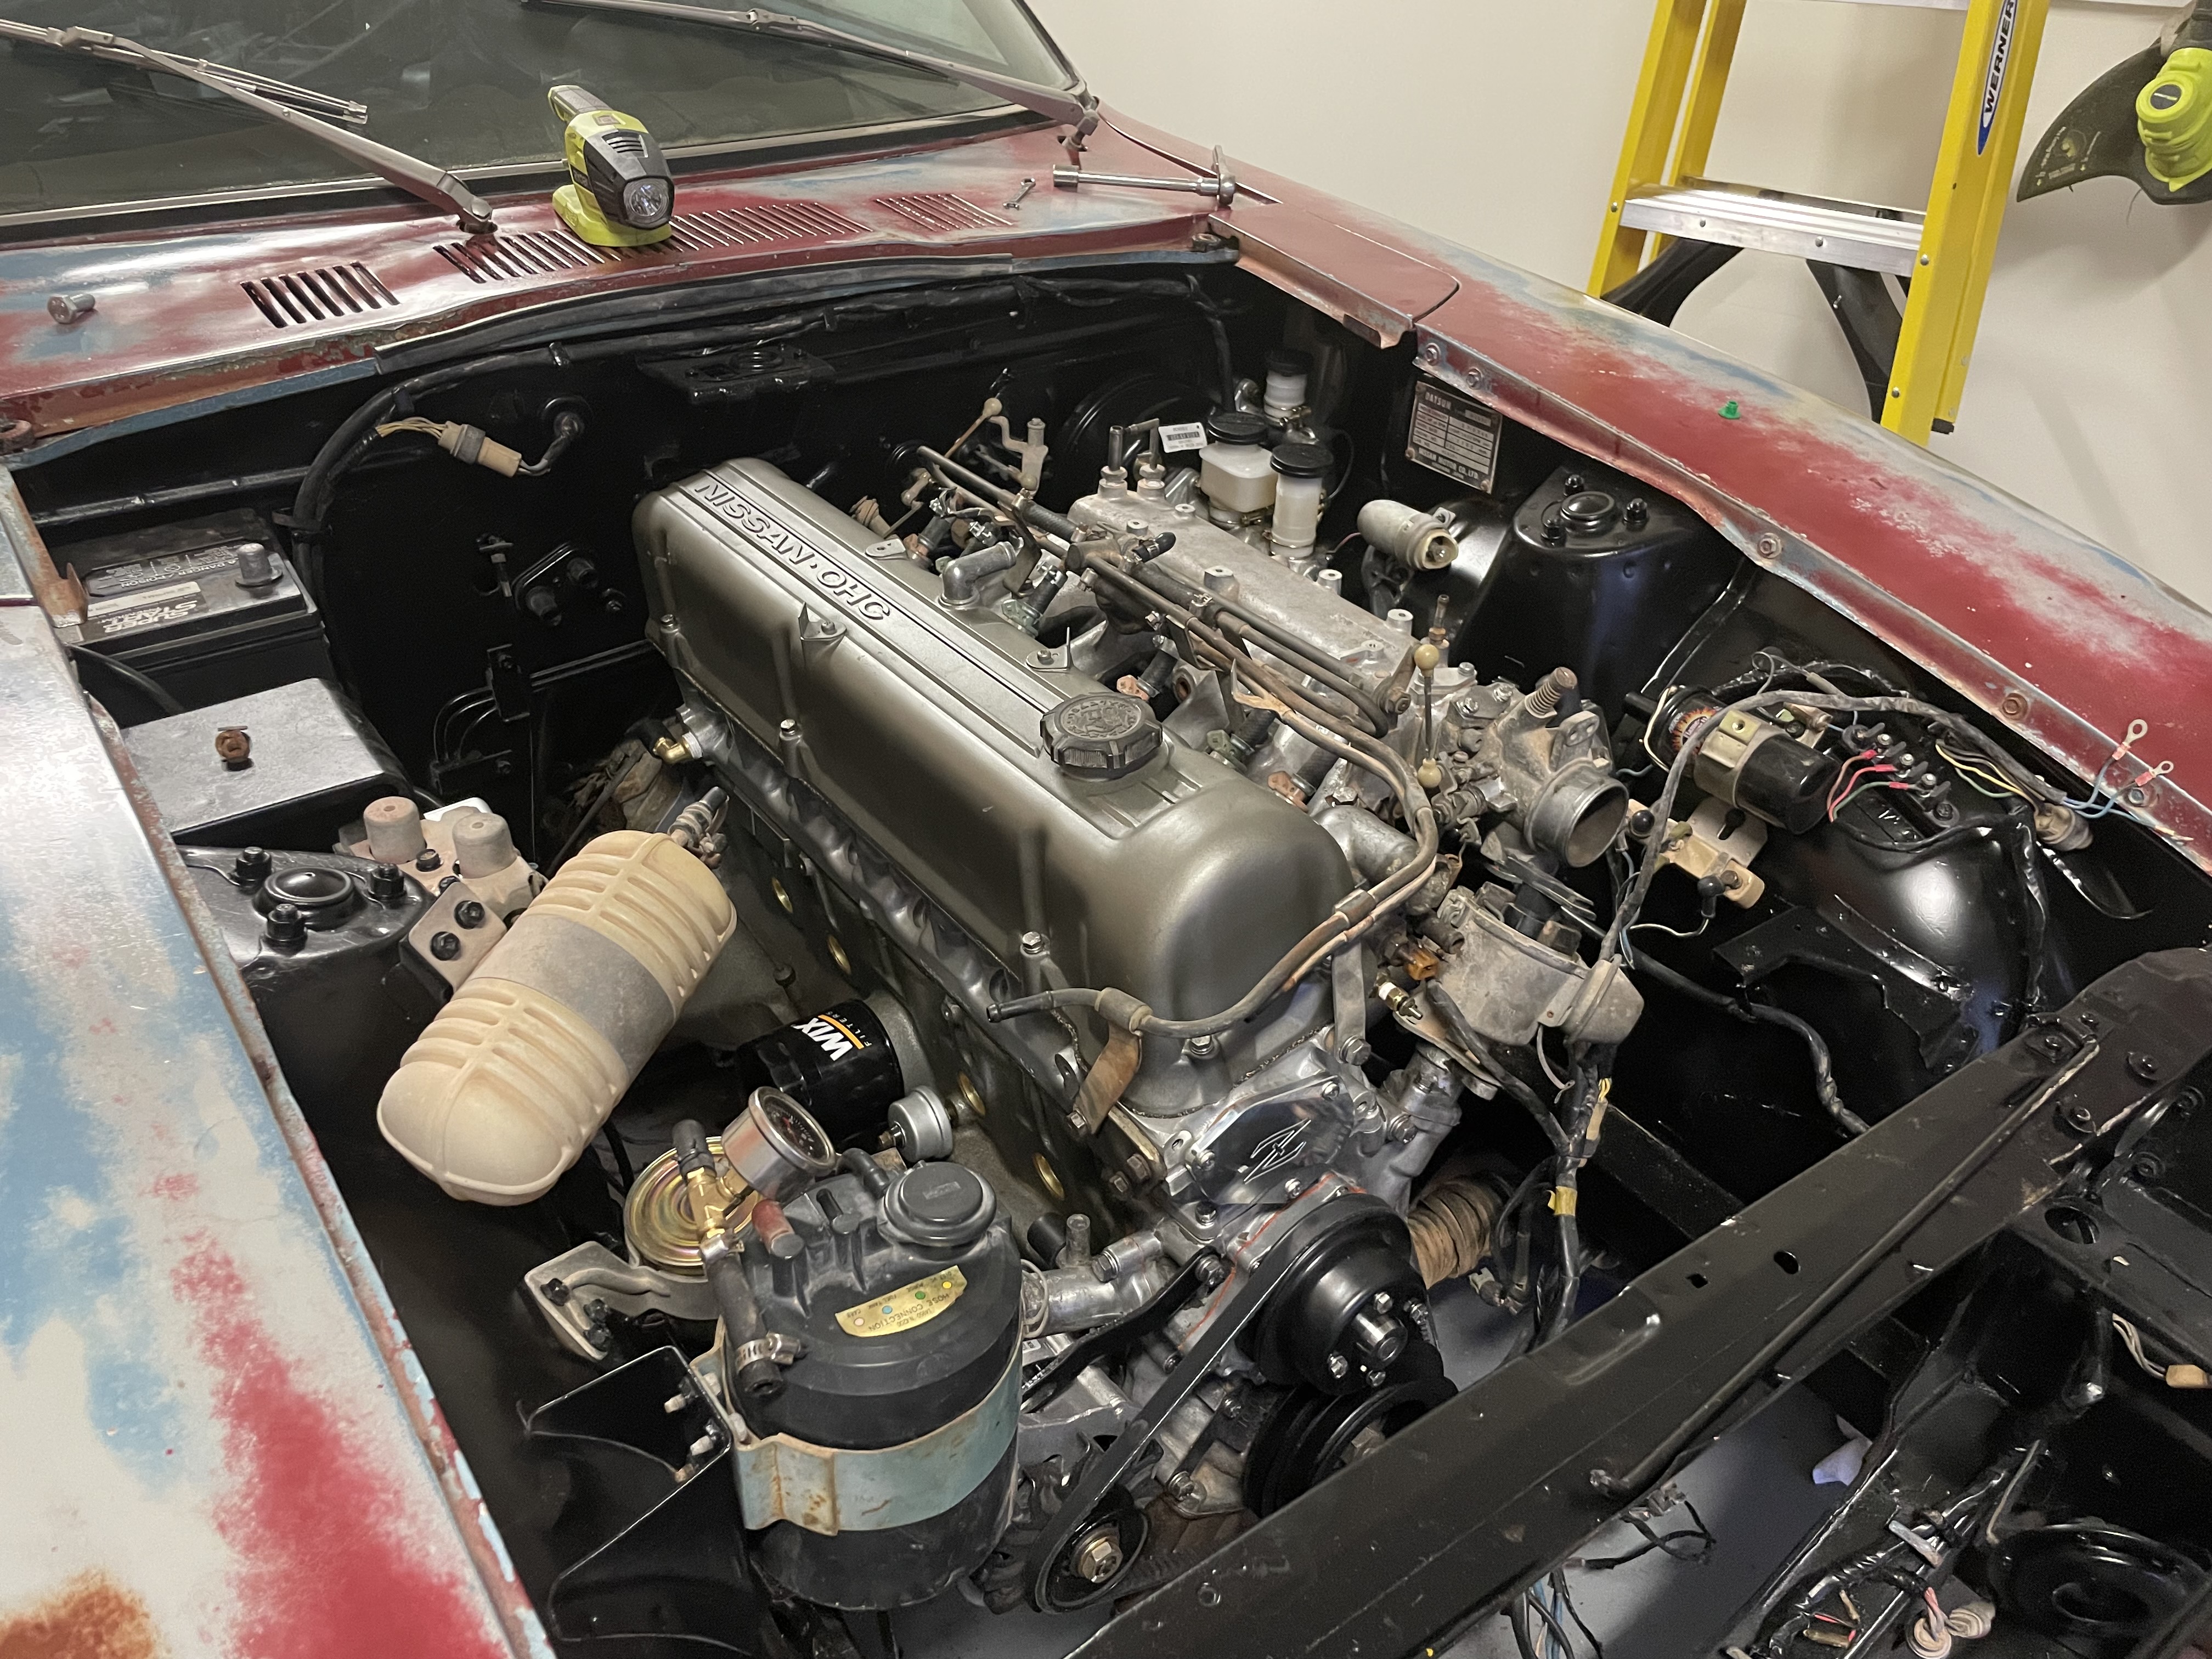
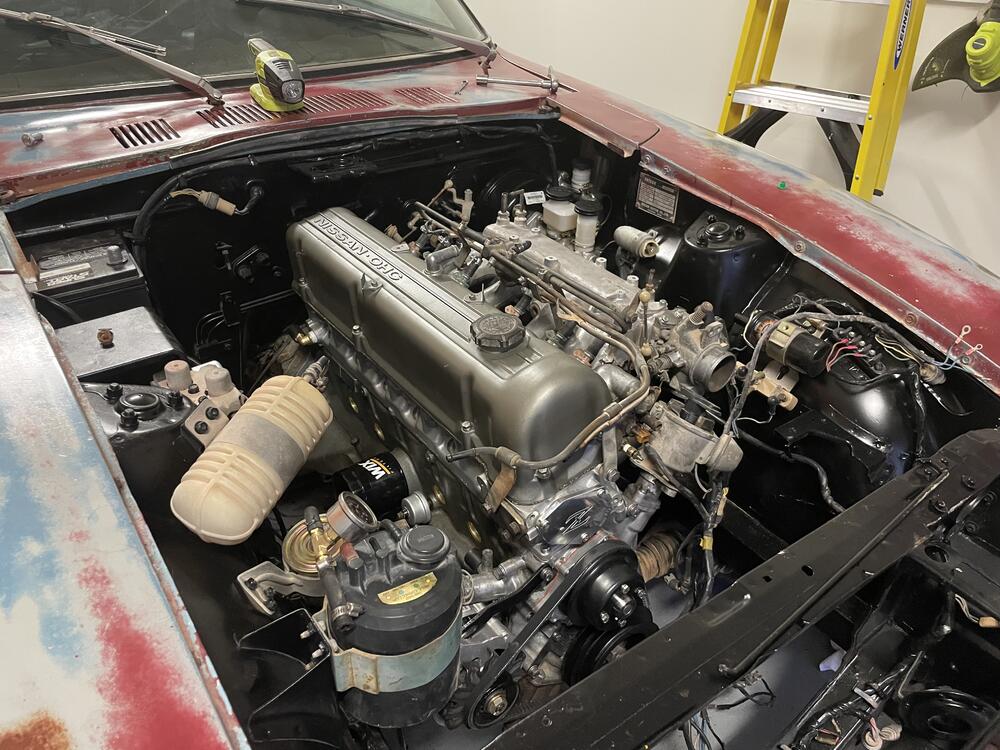
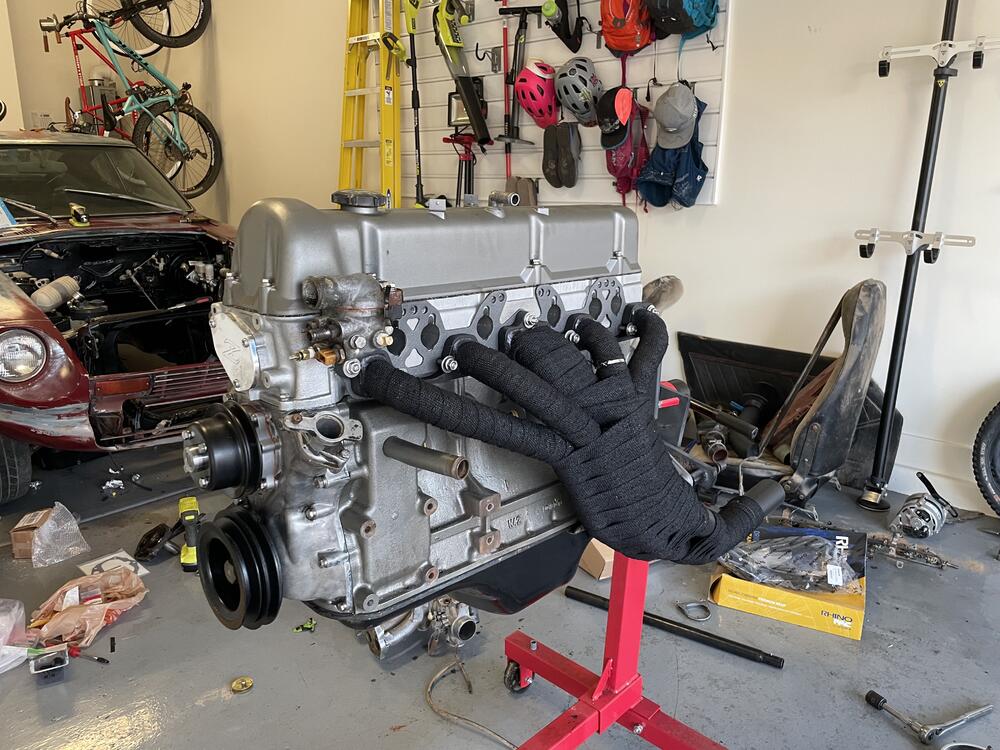
It’s Alive!!!! so excited to hear it run again. This was only the second time starting (I didn’t even think it would start on the first crank so I didn’t record it!) a couple things to note, I need to check the oil pressure gauge is function or if I have 0 pressure. I need to rent a timing light to adjust timing. And there are a couple open vacuum ports still on the manifold for the high idle. BUT ITS RUNNING!
-
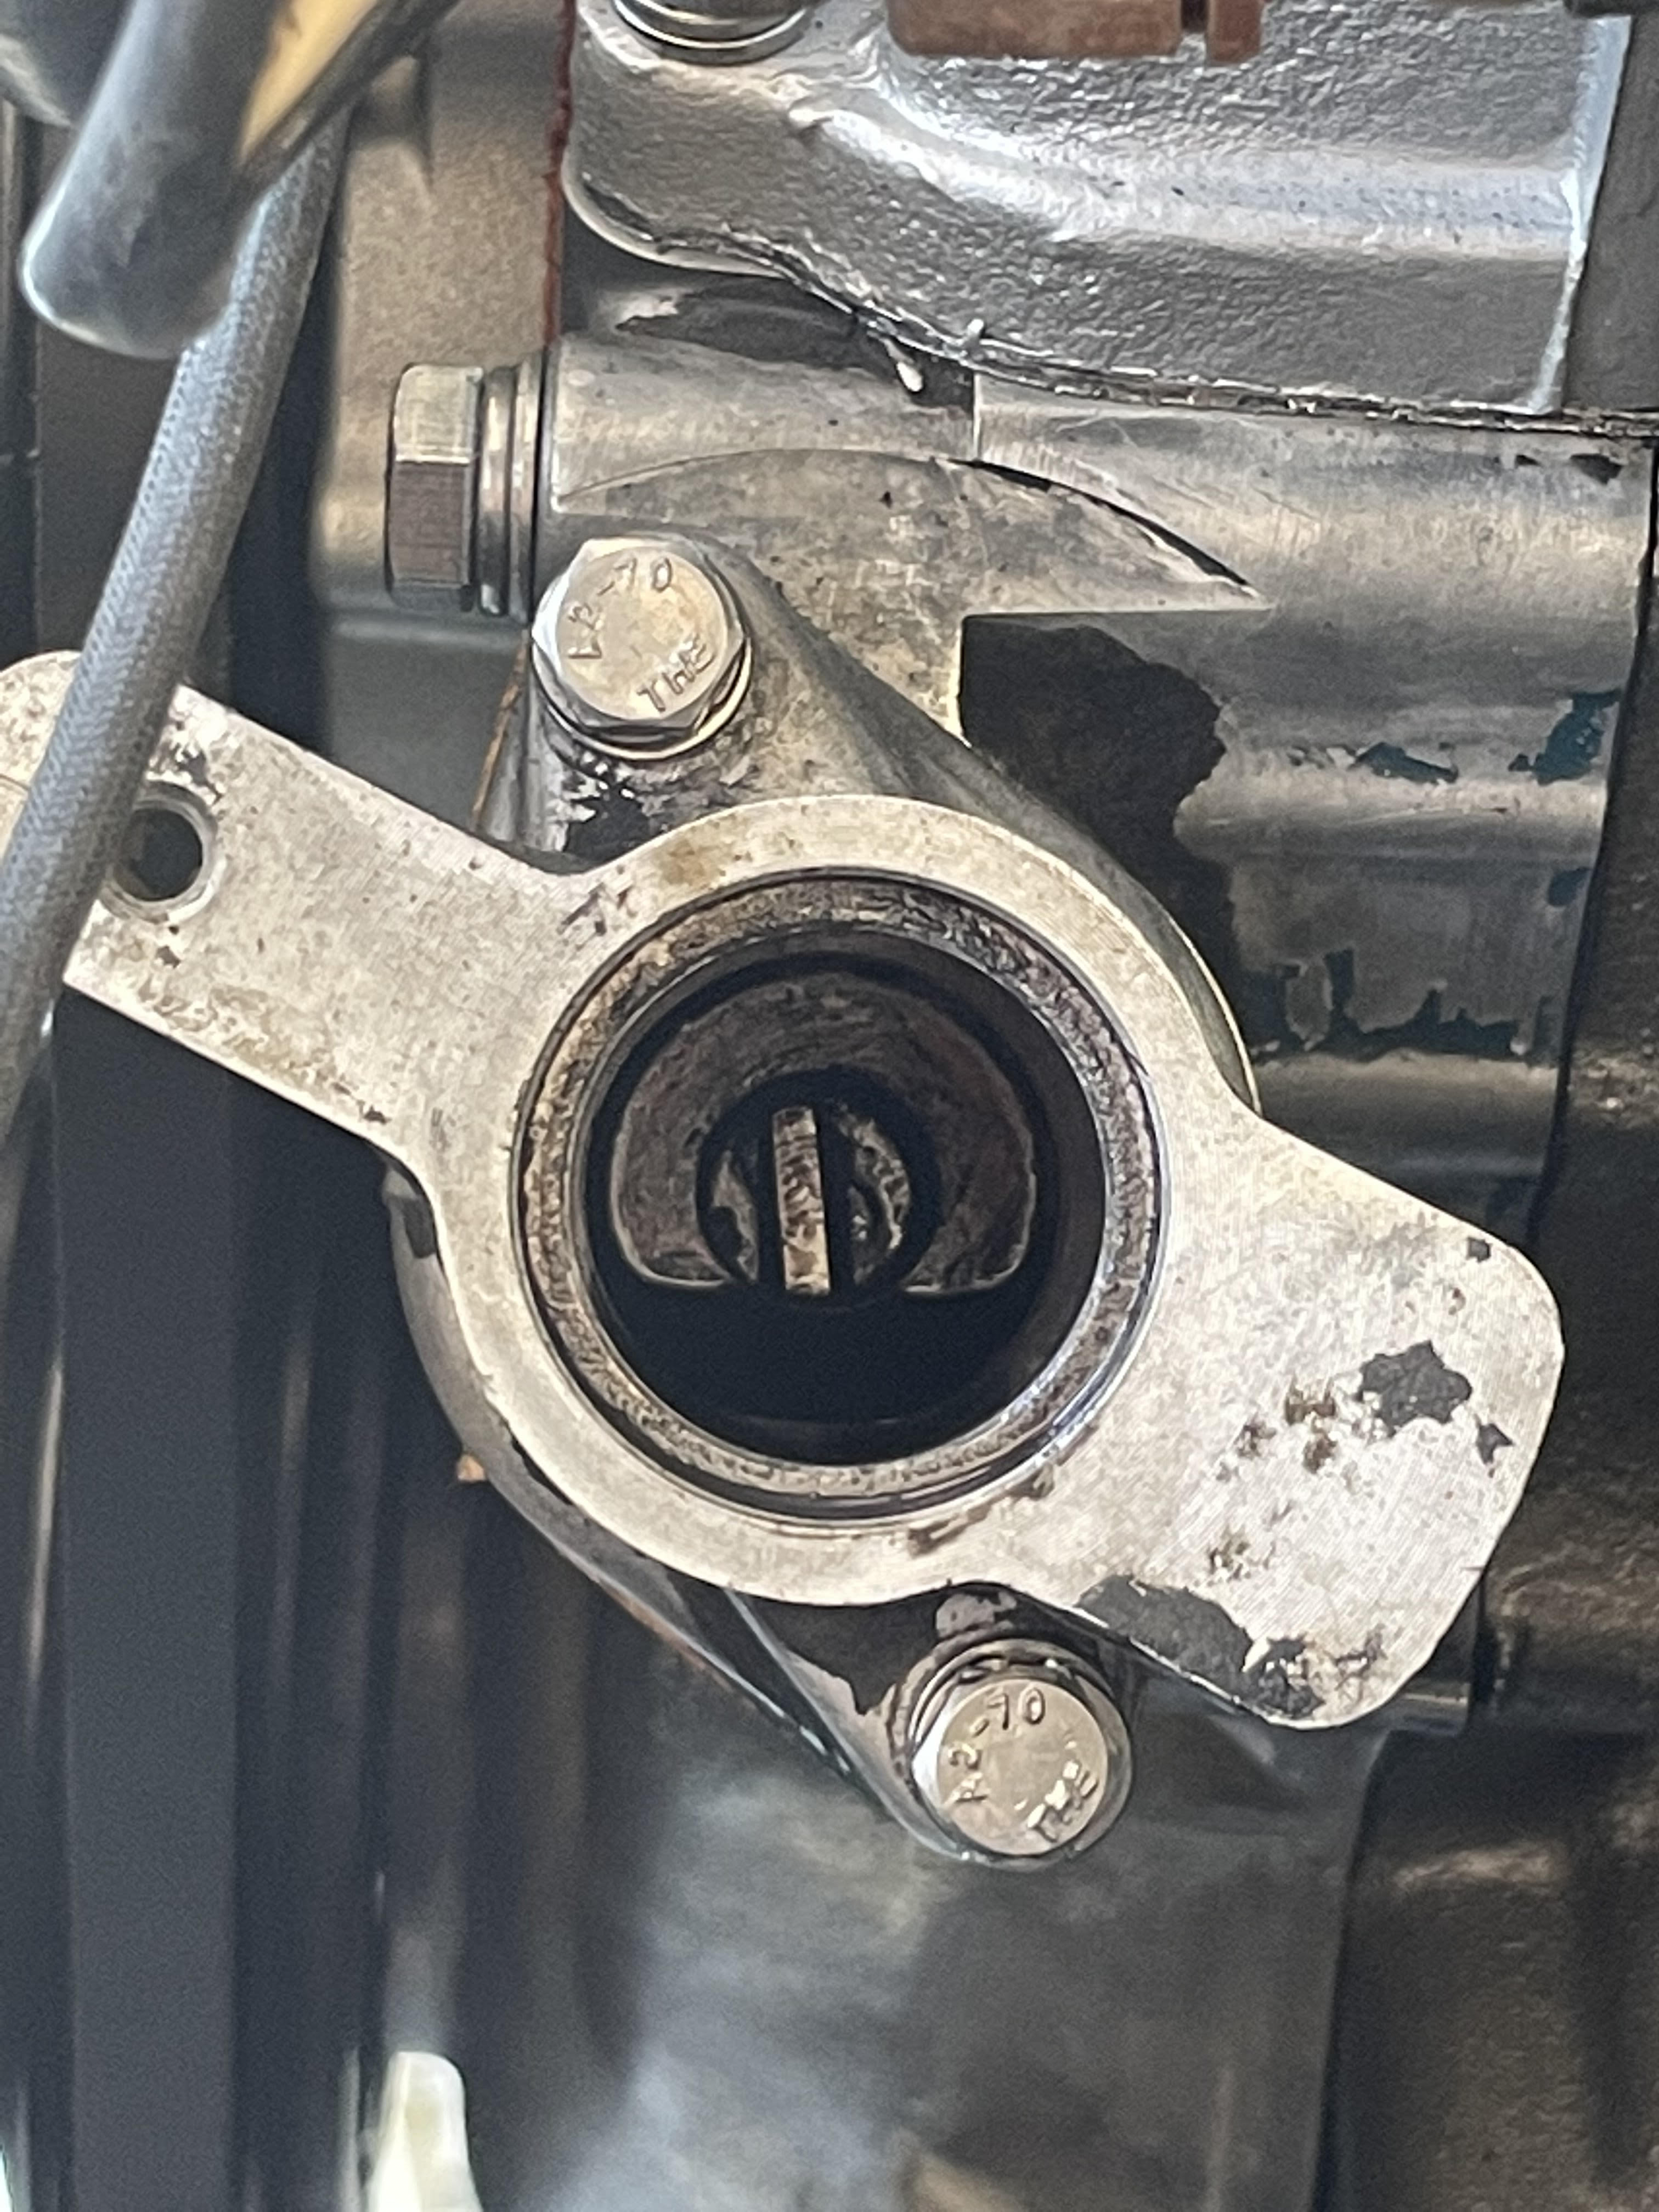
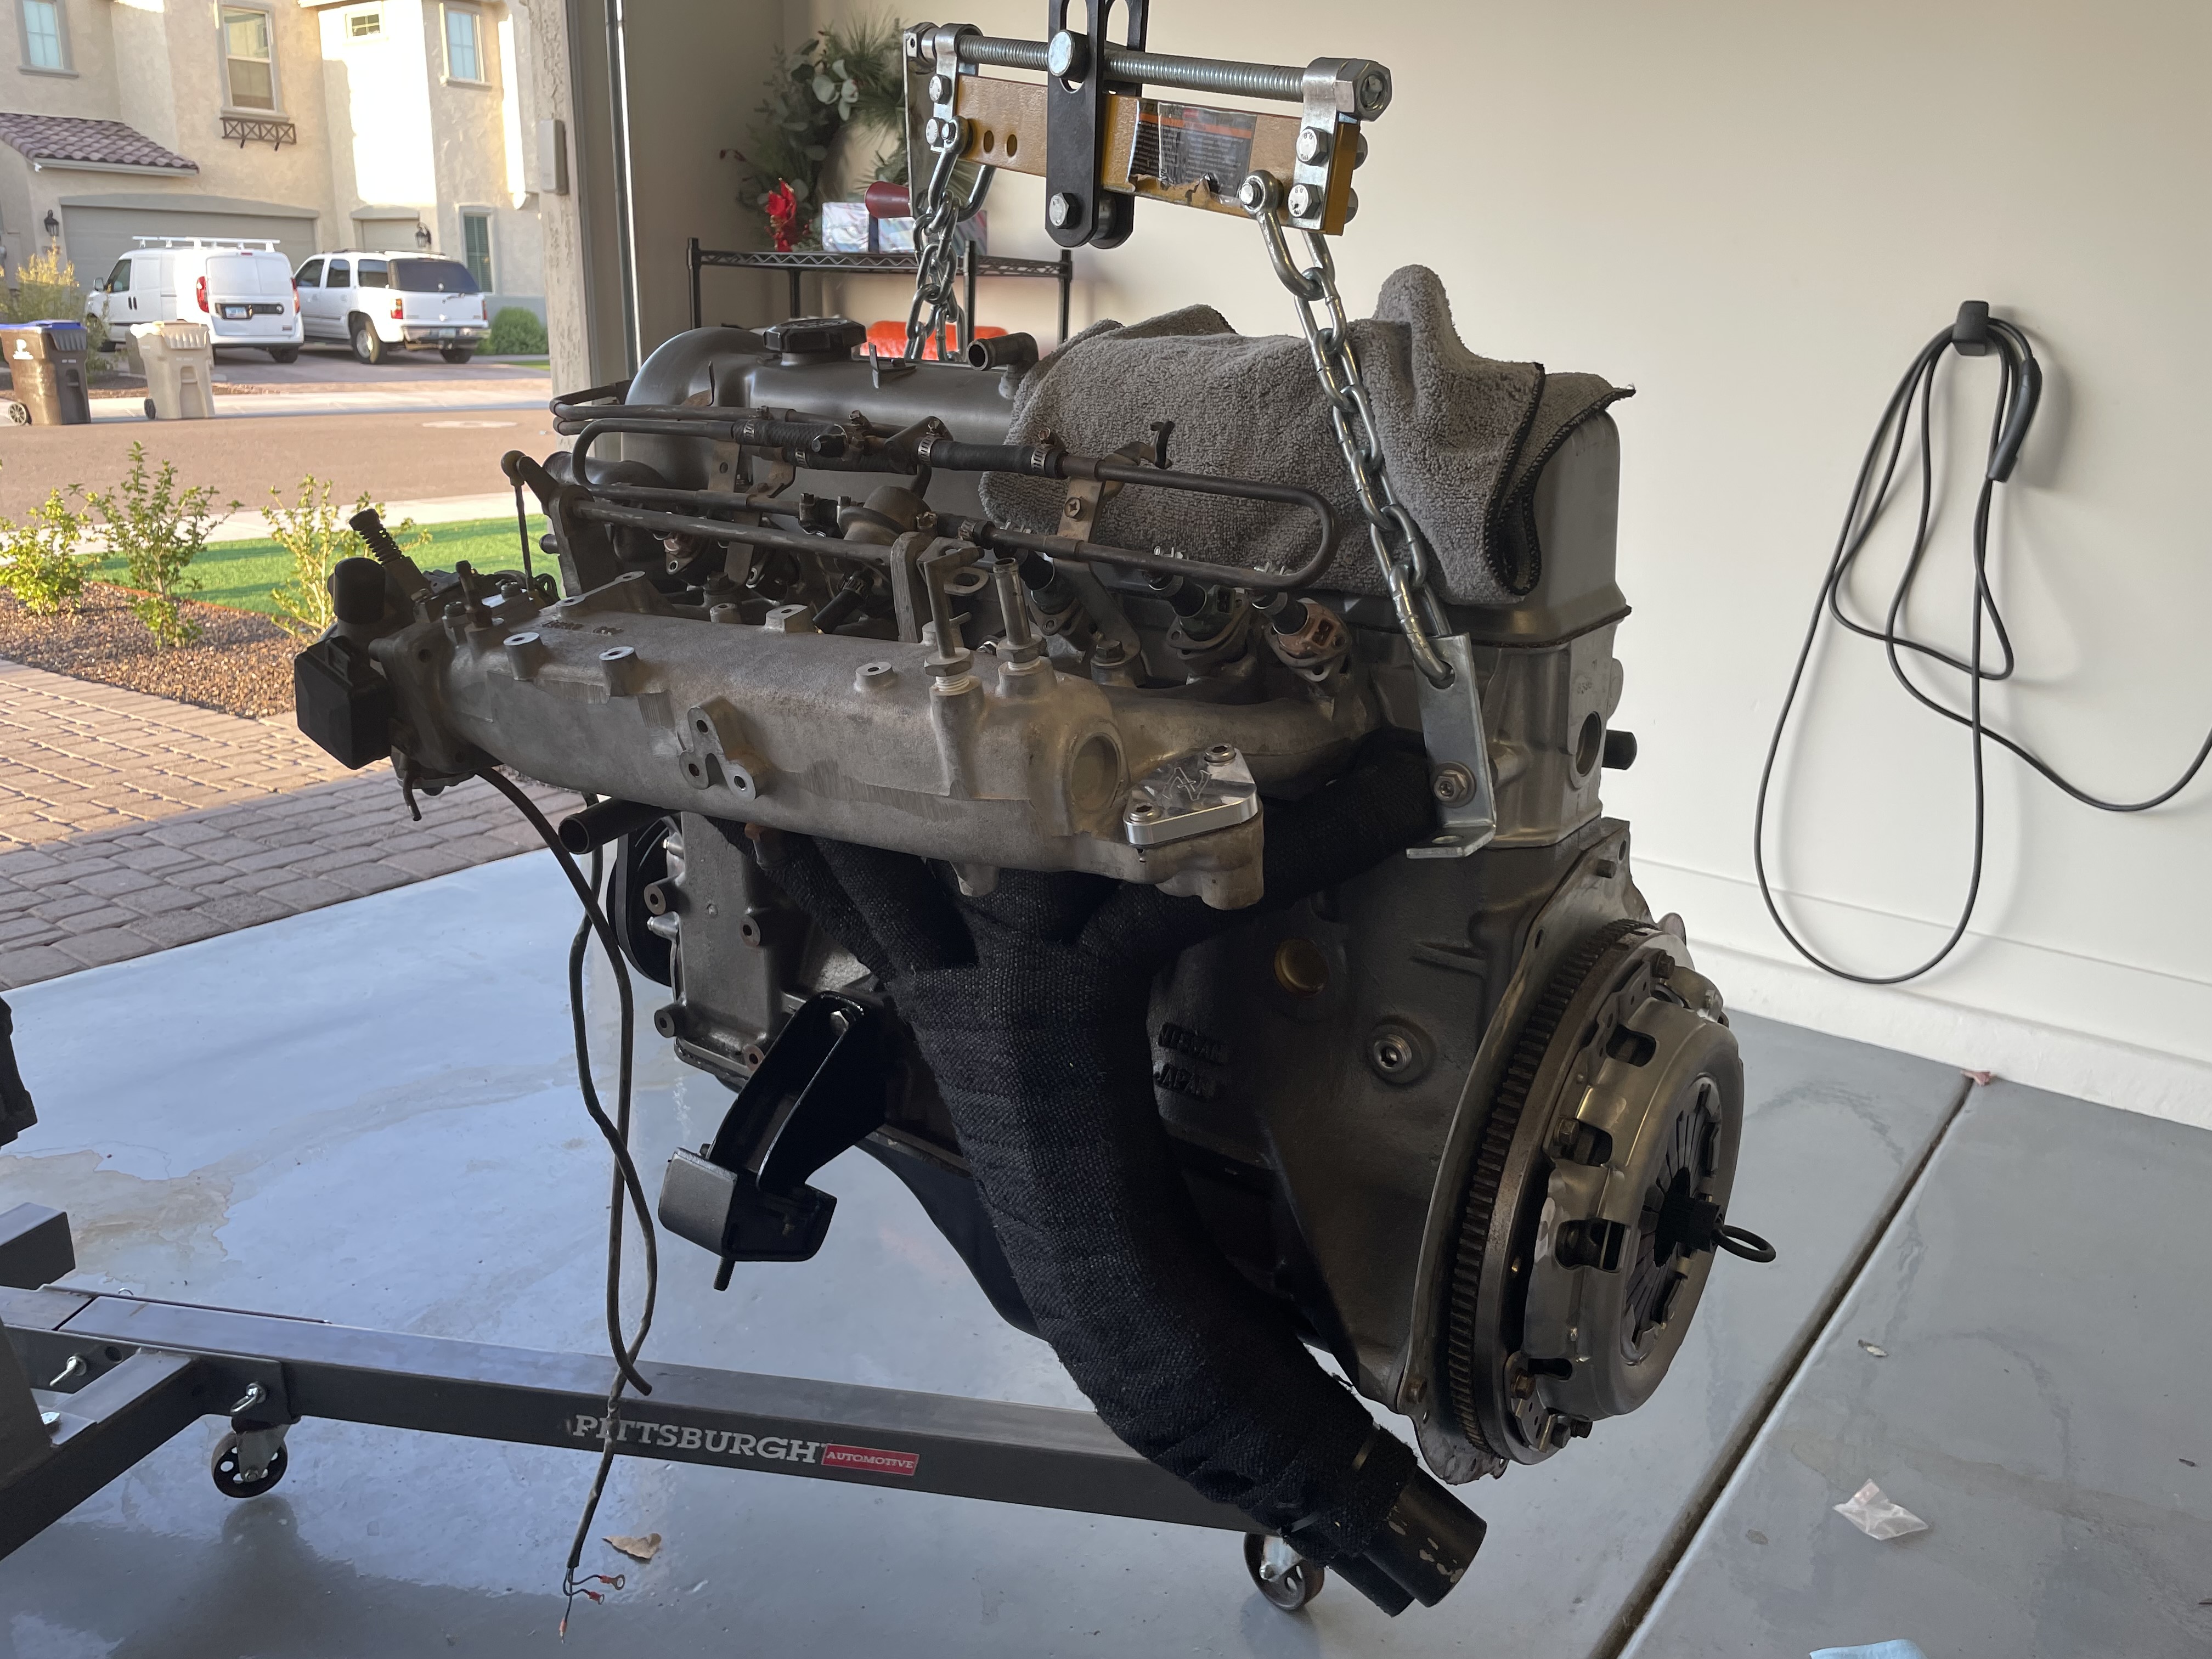
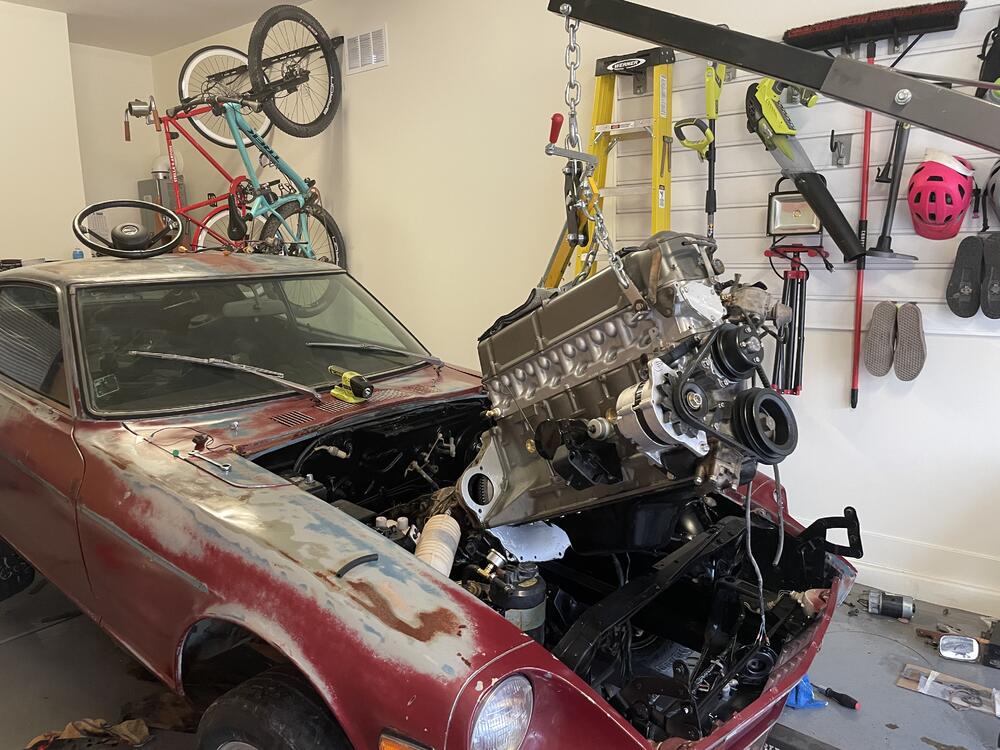
I went with no RTV. I inspected the original gasket fairly closely and did not see any signs of RTV. Fingers crossed theres no leaks! I started by getting the engine off the stand so I can work on the rear. I was able to torque the flywheel bolts fairly easy with the use of a pry bar on the dowel and flywheel teeth. Unfortuneatly I realized that I forgot to install the back plate! 😤 Well, off with the flywheel again! I think this was actually a blessing in disguise as I noticed I didnt swap the manual transmission specific pilot bushing. I made quick work of the old one with a hammer and chisel. The new one went in nice and smooth. Flywheel goes back and followed by the new clutch and pressure plate. Things are looking good!! I tossed the transmission up on my floor jack for easy alignment. Took probably 4-5 times of fiddling until the shaft lined up nicely. From there it was all excitement! Doing this solo wasnt as hard as I was anticipating. Alot of back and forth to make sure nothing was binding or jammed. Lower an inch, walk around, tilt a few degrees, walk around, etc. Now that I'm looking at this picture...why didnt I put my starter on while it was so easy to access?! I left all the mounts loose and was able to get the driver side in nice and quick. The shape of the mounts is a bit wide spread so trying to finagle the passenger side was a bit of a headache. I ended up removing the mount from the block, placing it in the frame mount, then lining back up to the block. This worked so much better. And with that...shes finally home again! I can't wait to get back out there and hook up the remaining lines, wires, and driveshaft.
-
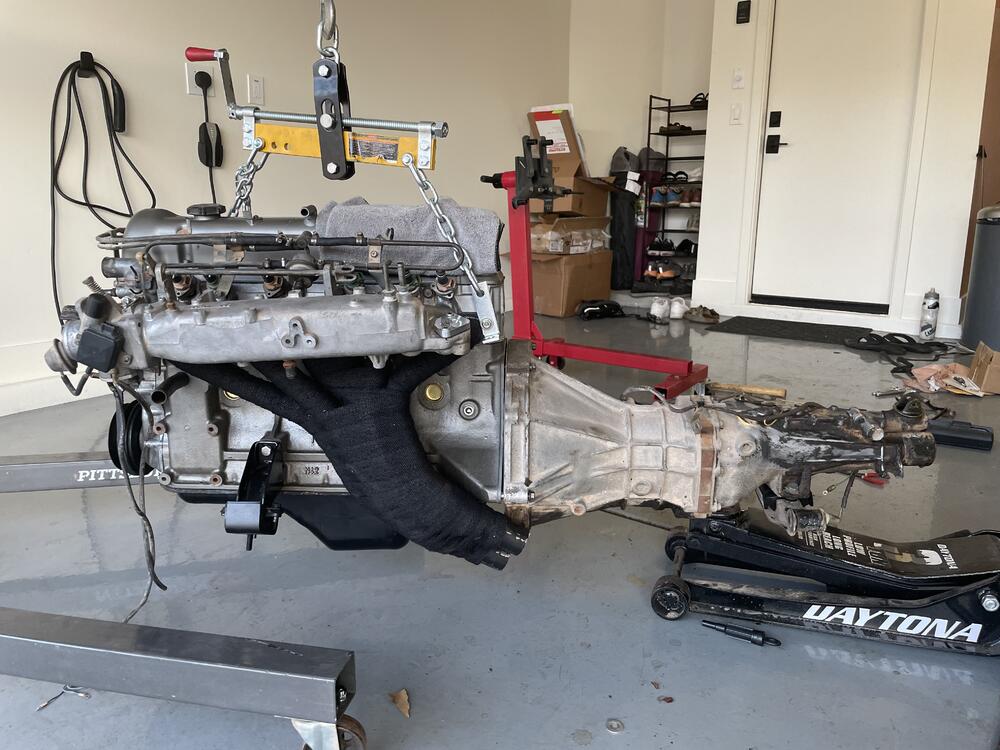
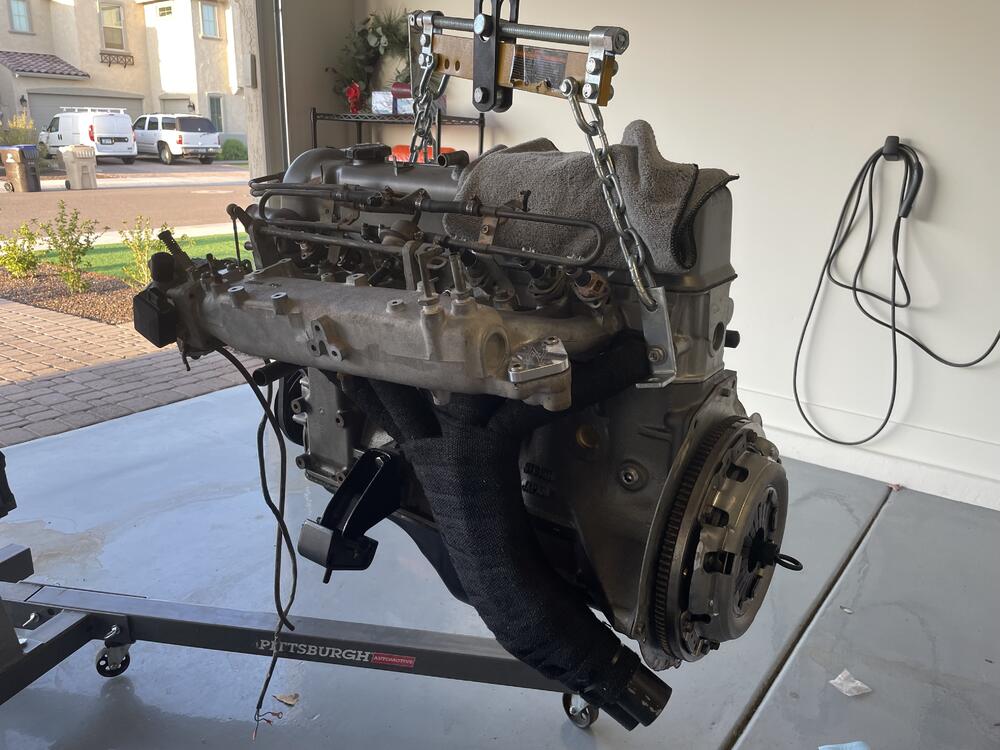
I will be getting the last of my gaskets and seals today for the transmission. I am doing the two front input shaft seals to be safe while it is out. Do I need any RTV on the gasket for the cover on this? I found little information online so far with my searching.
-
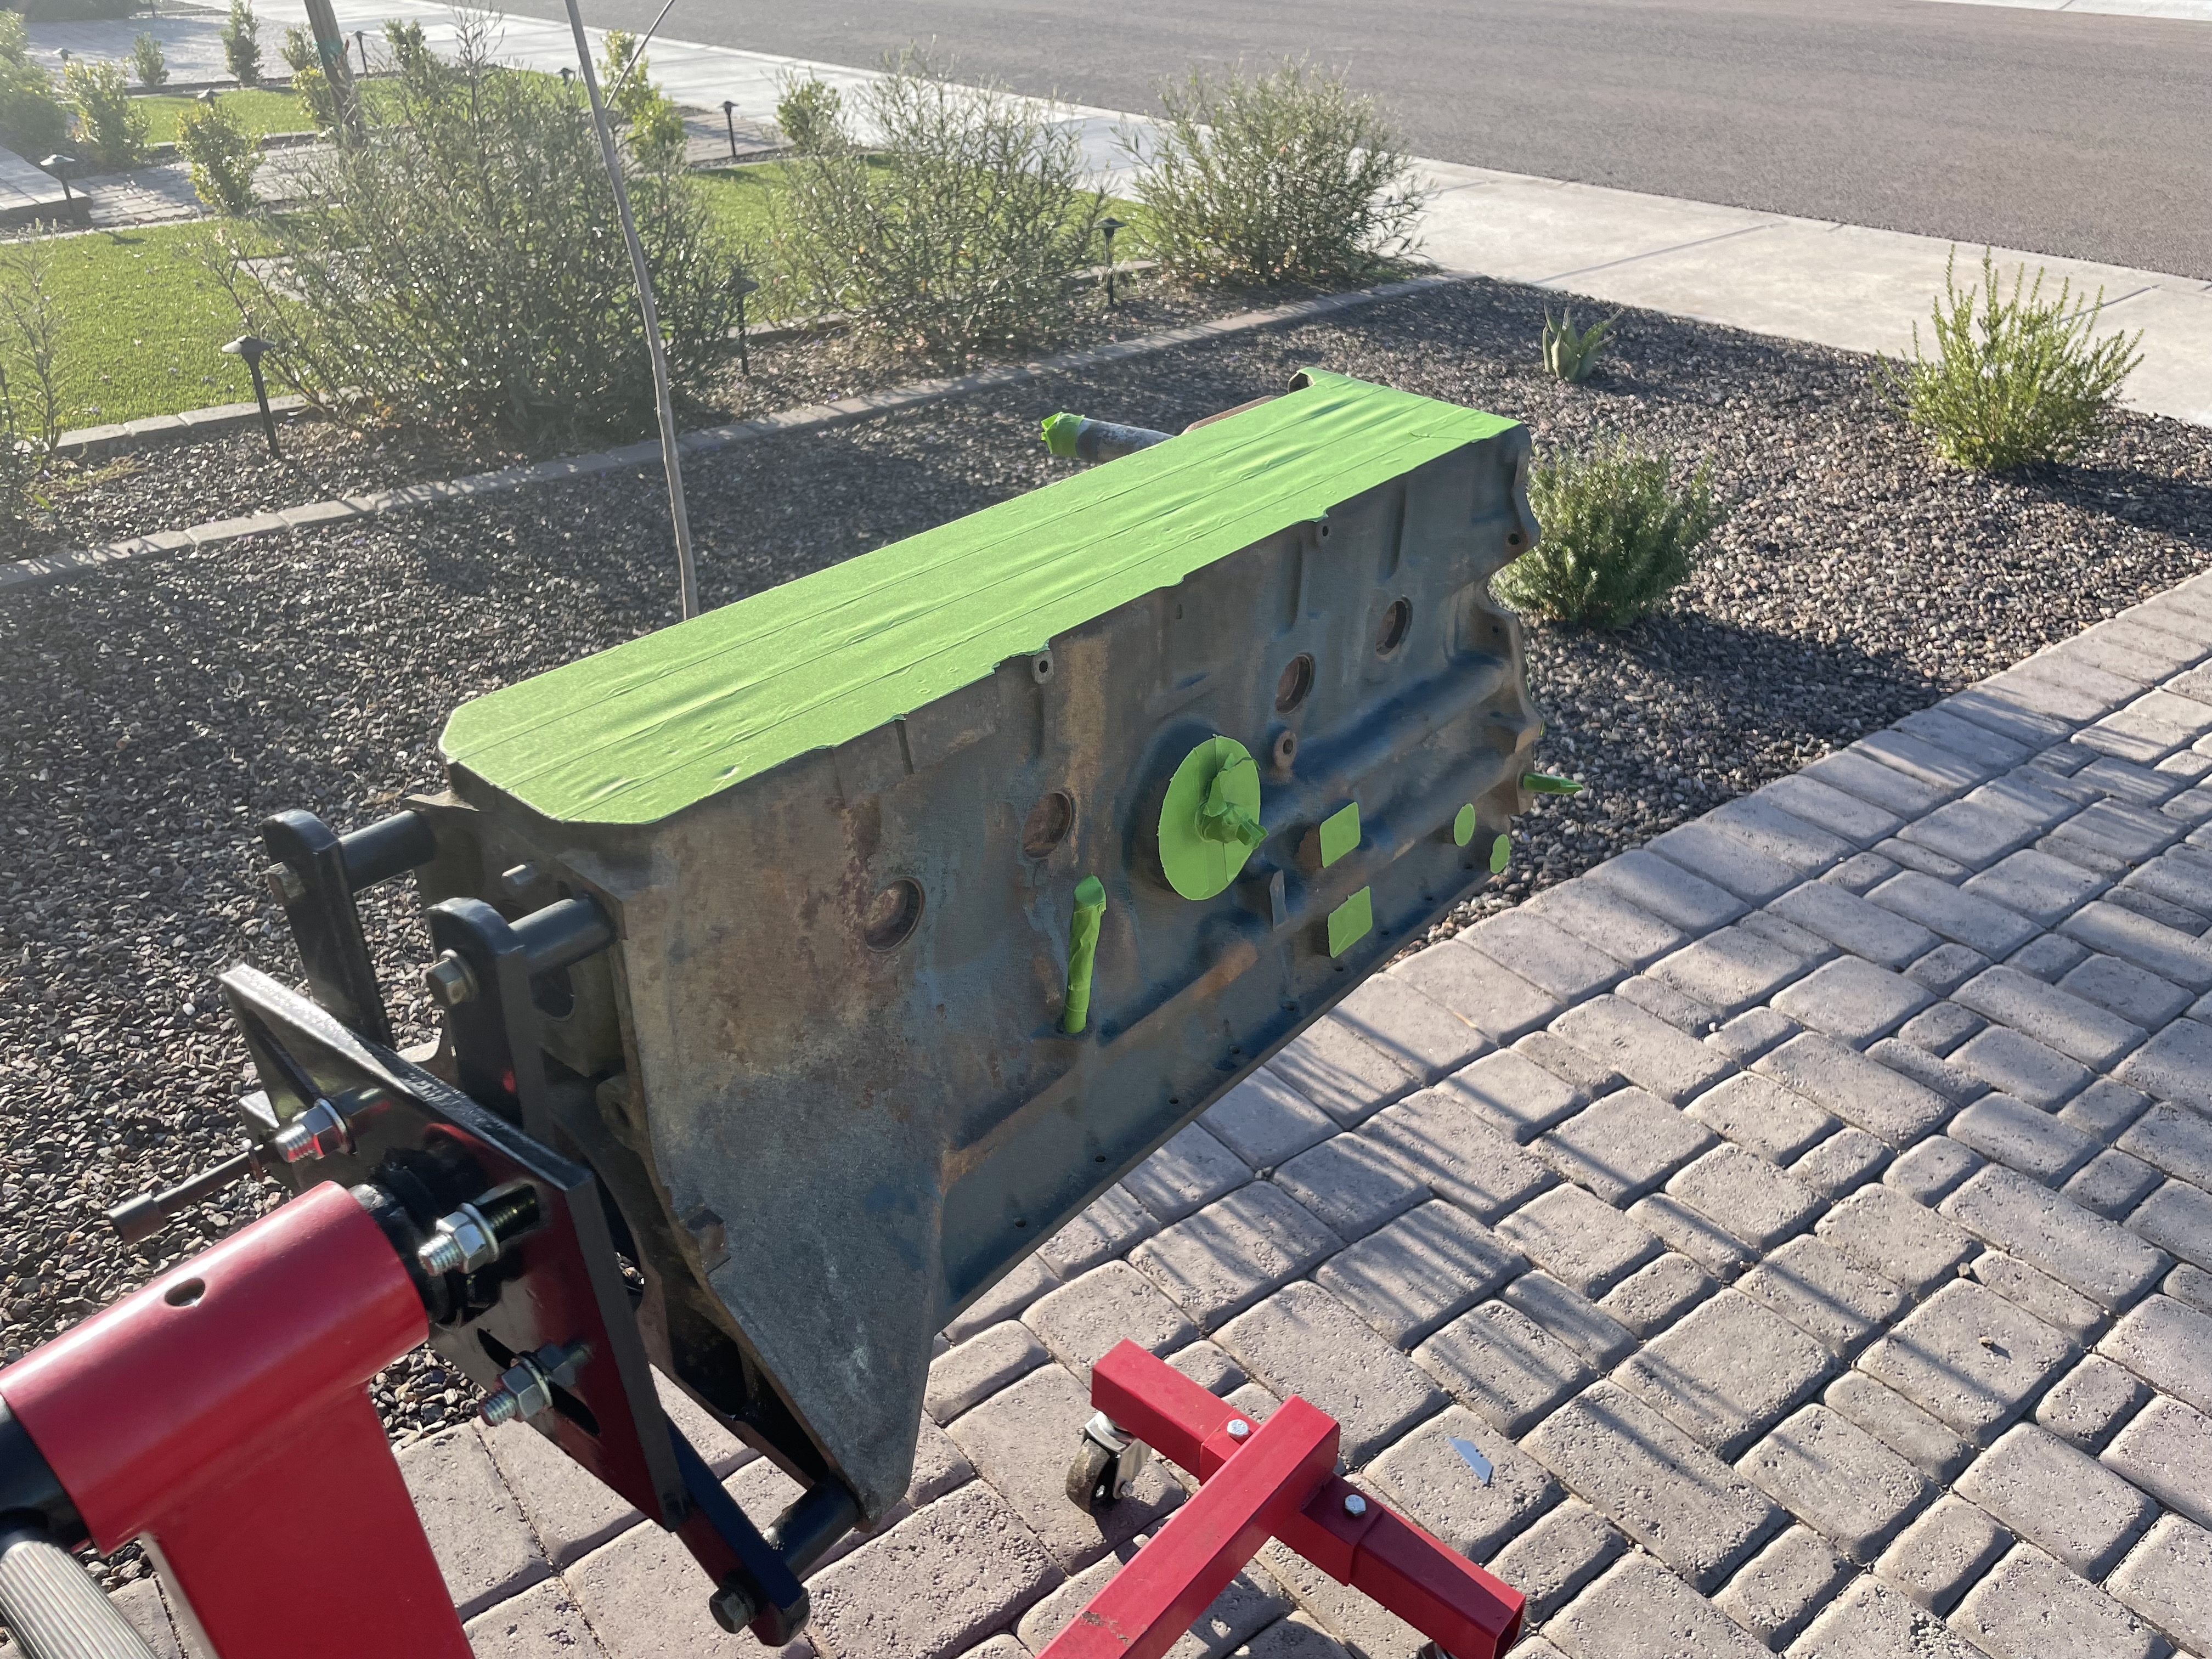
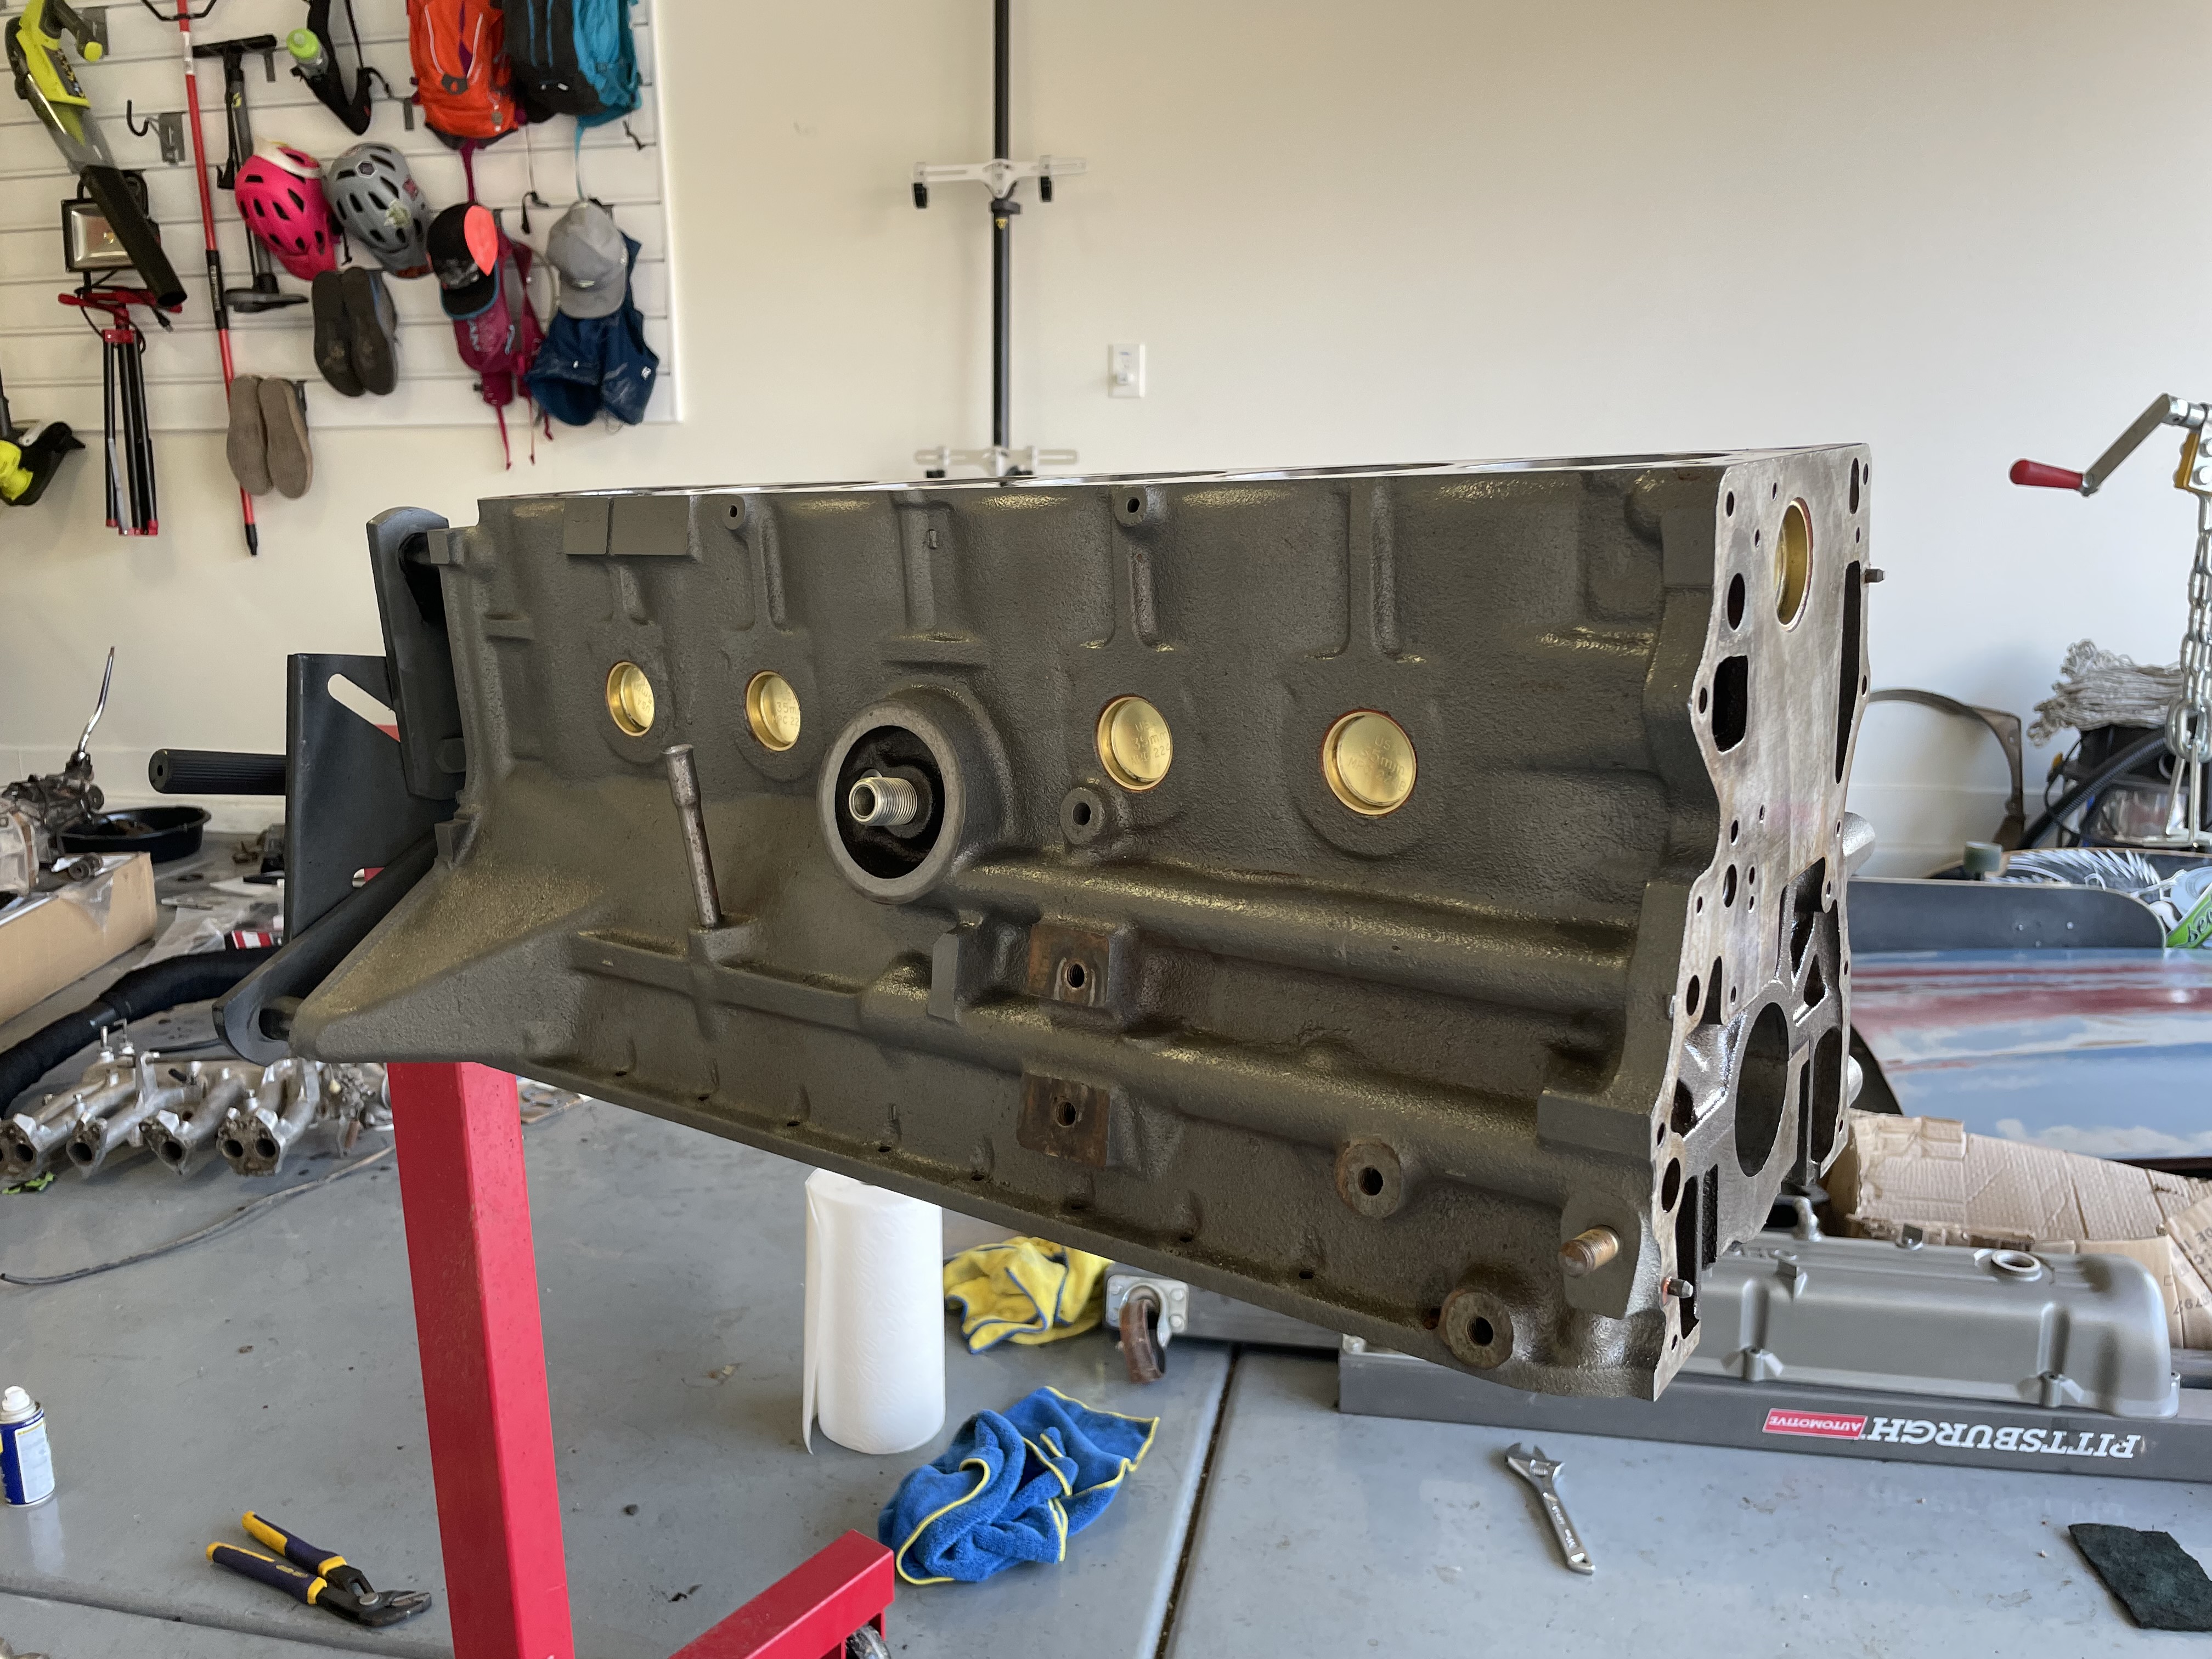
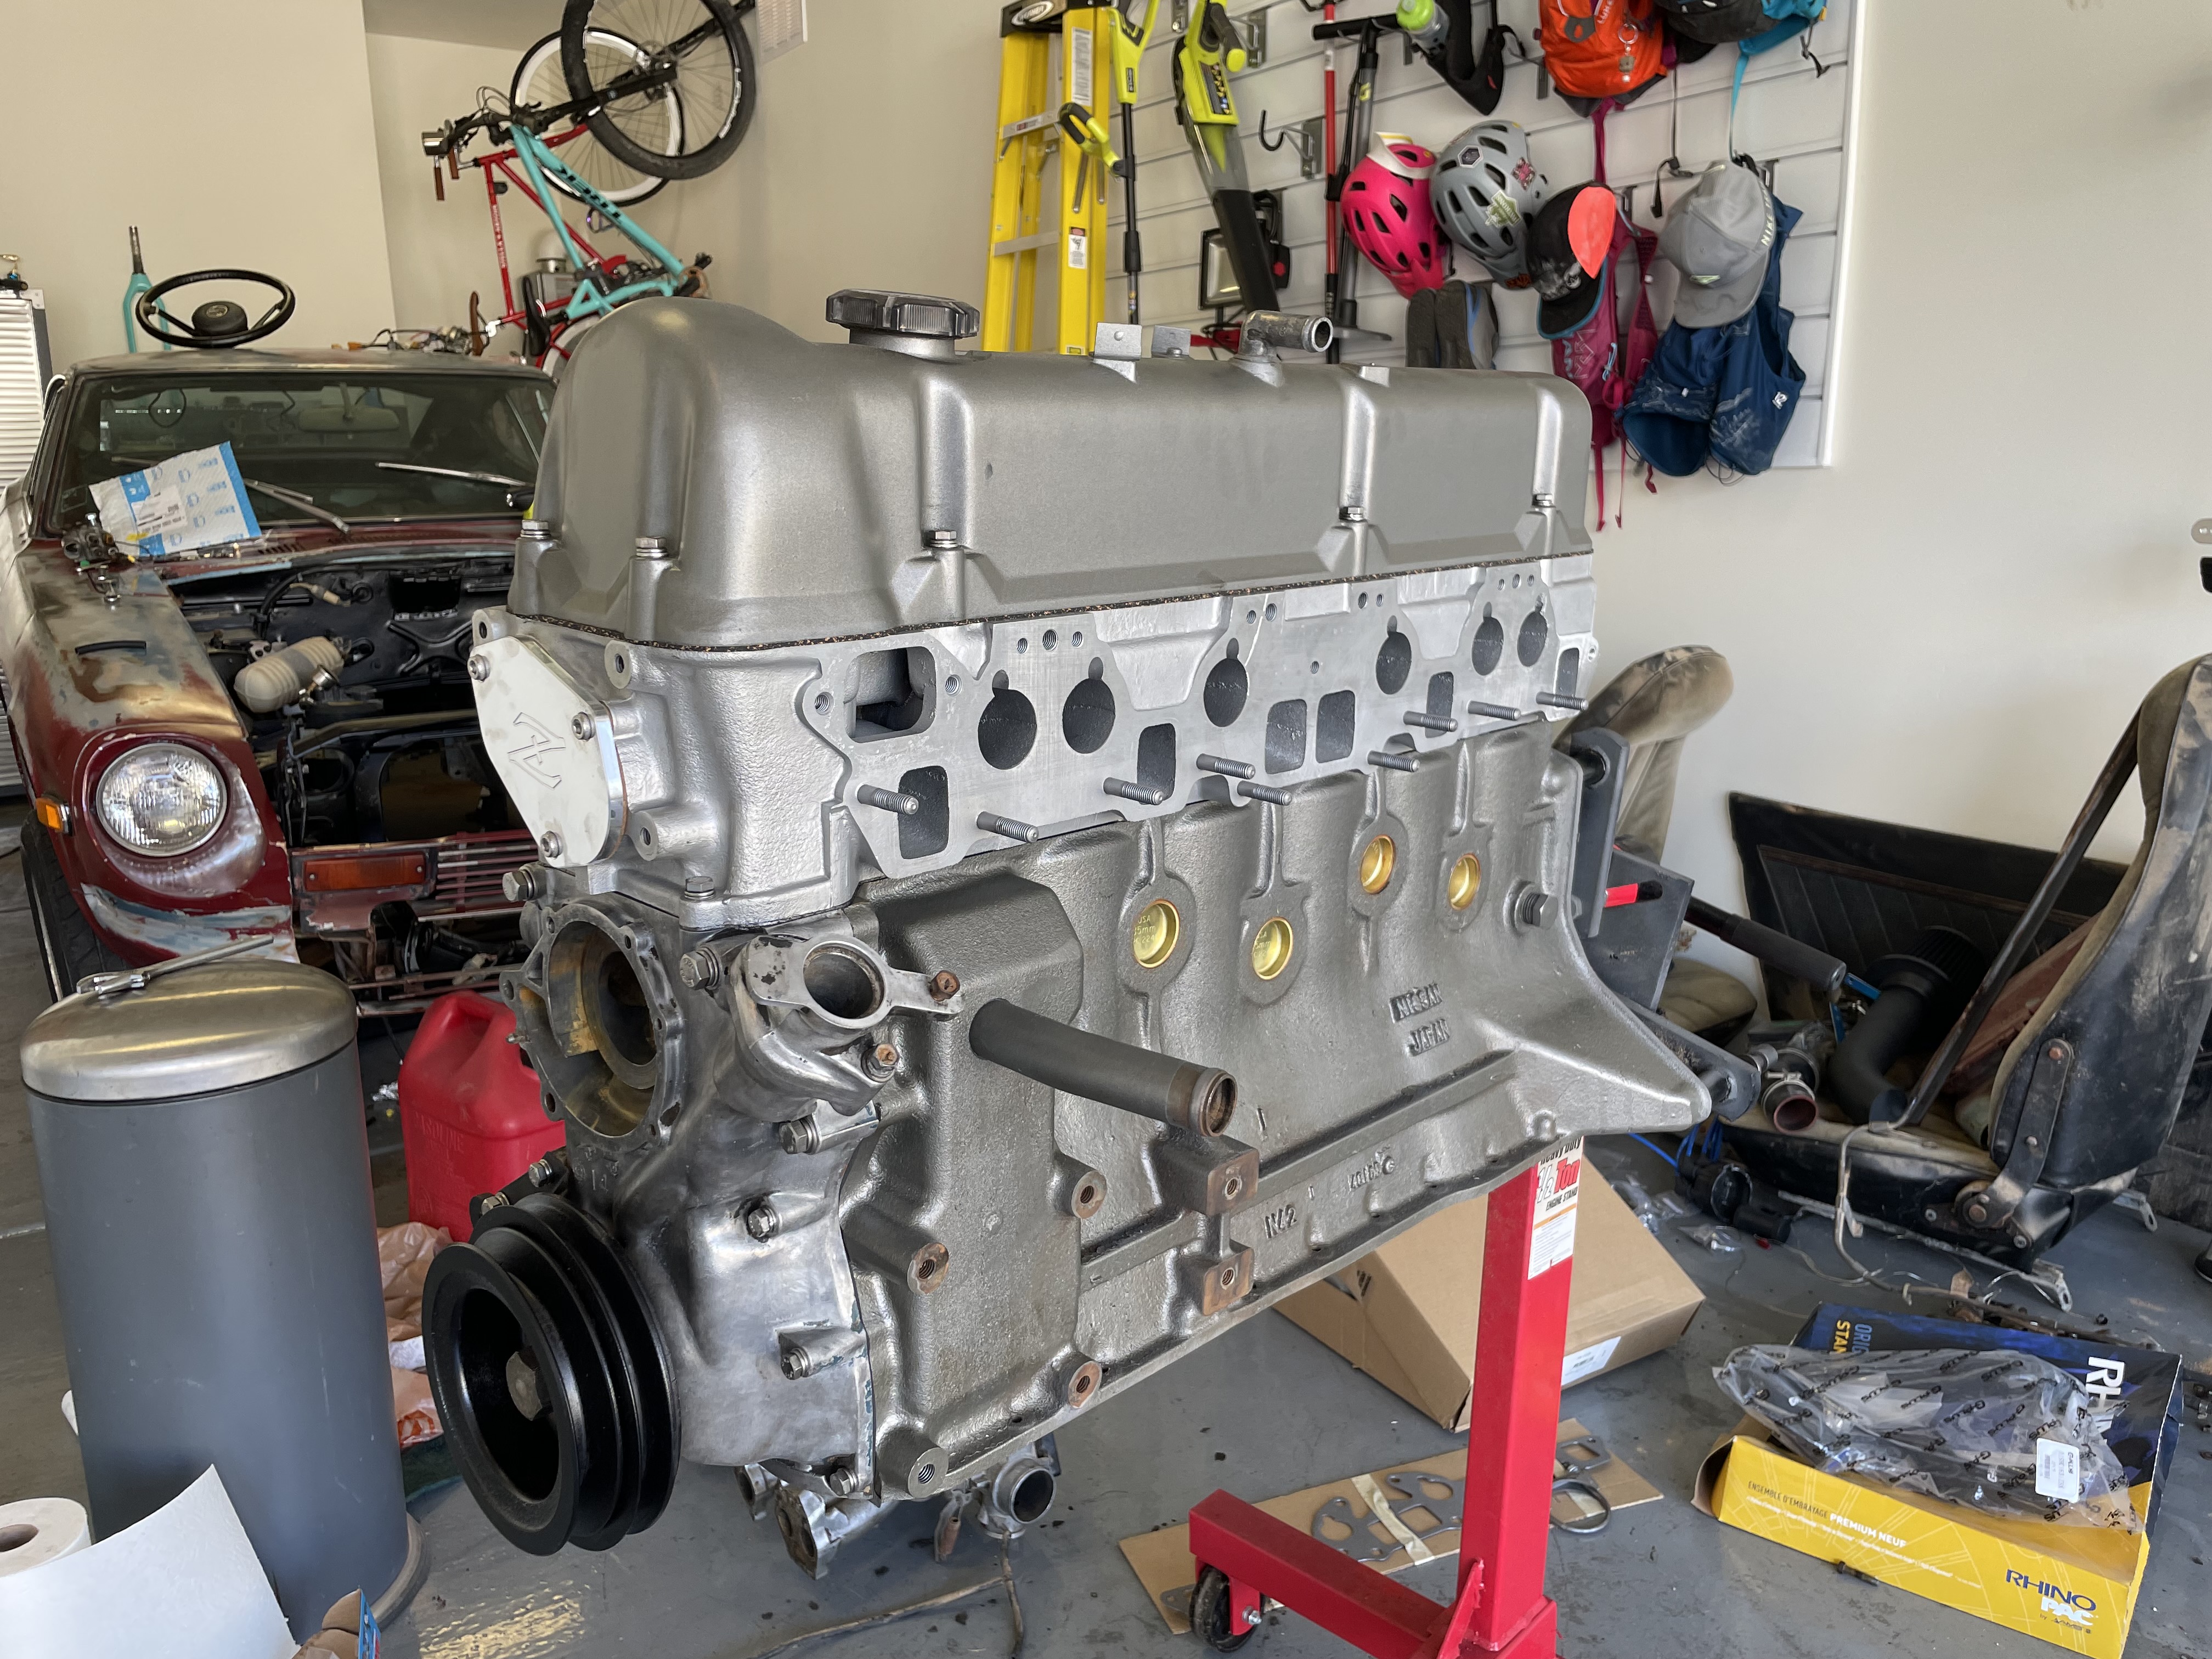
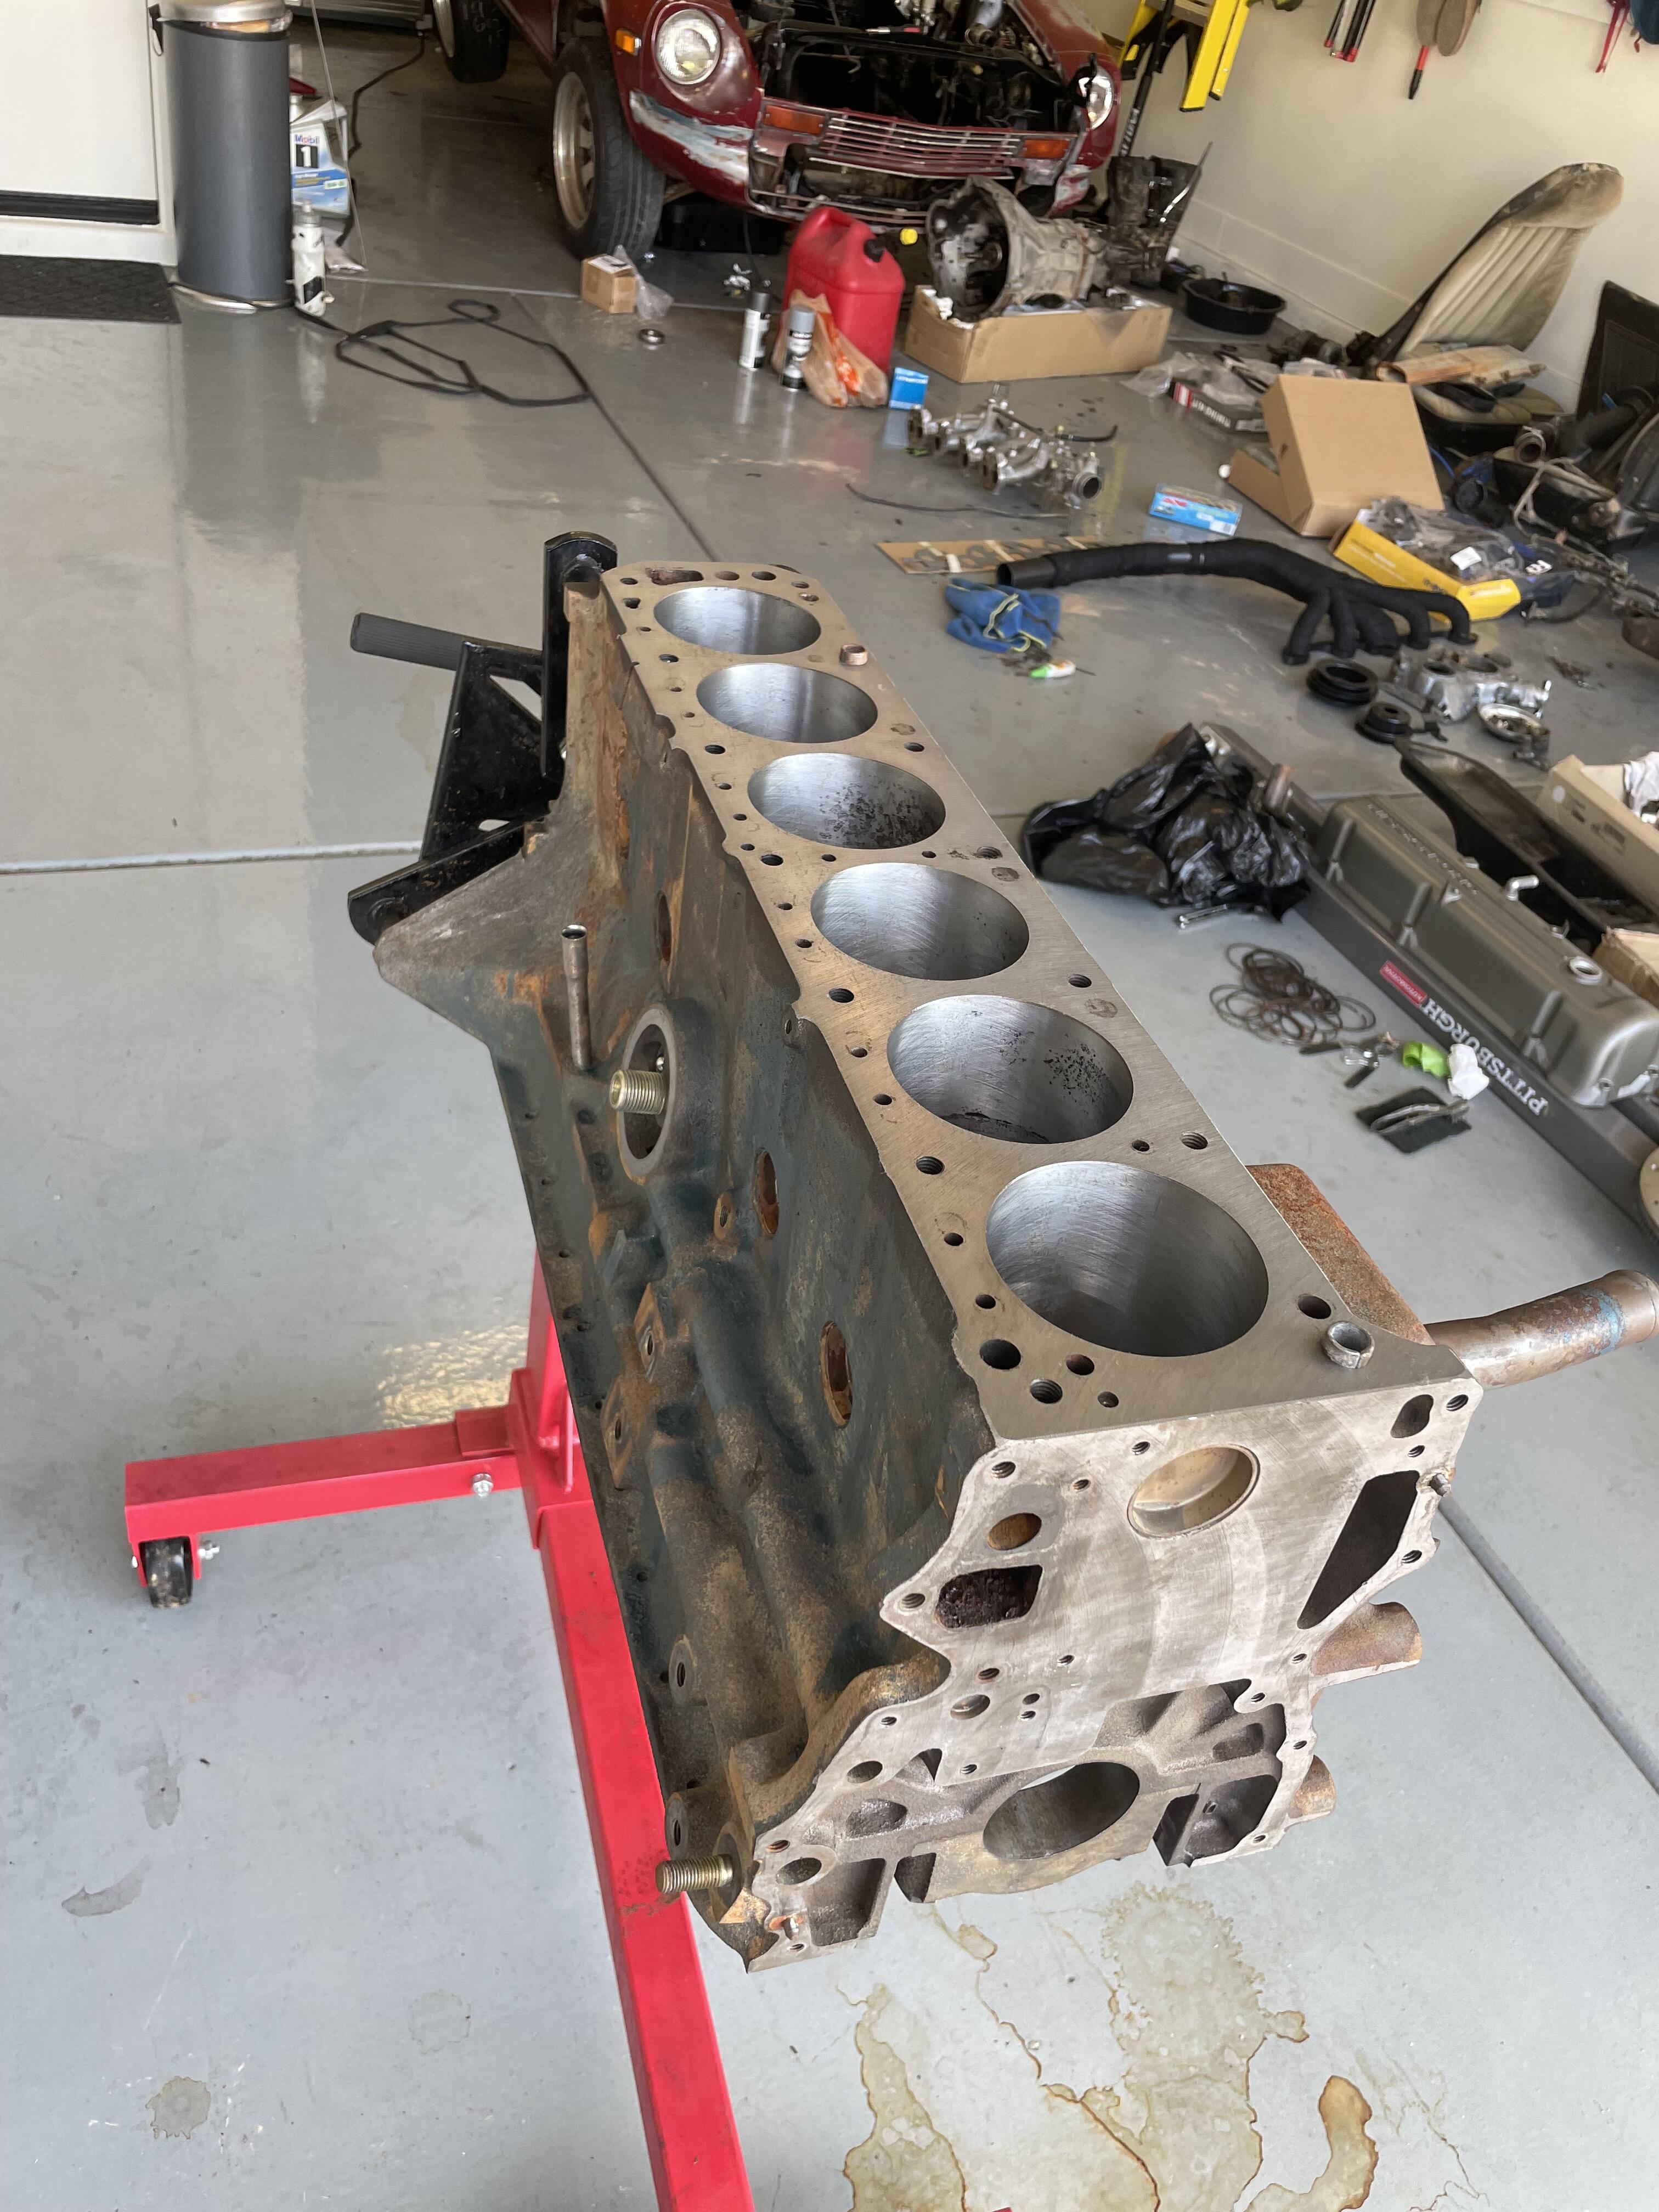
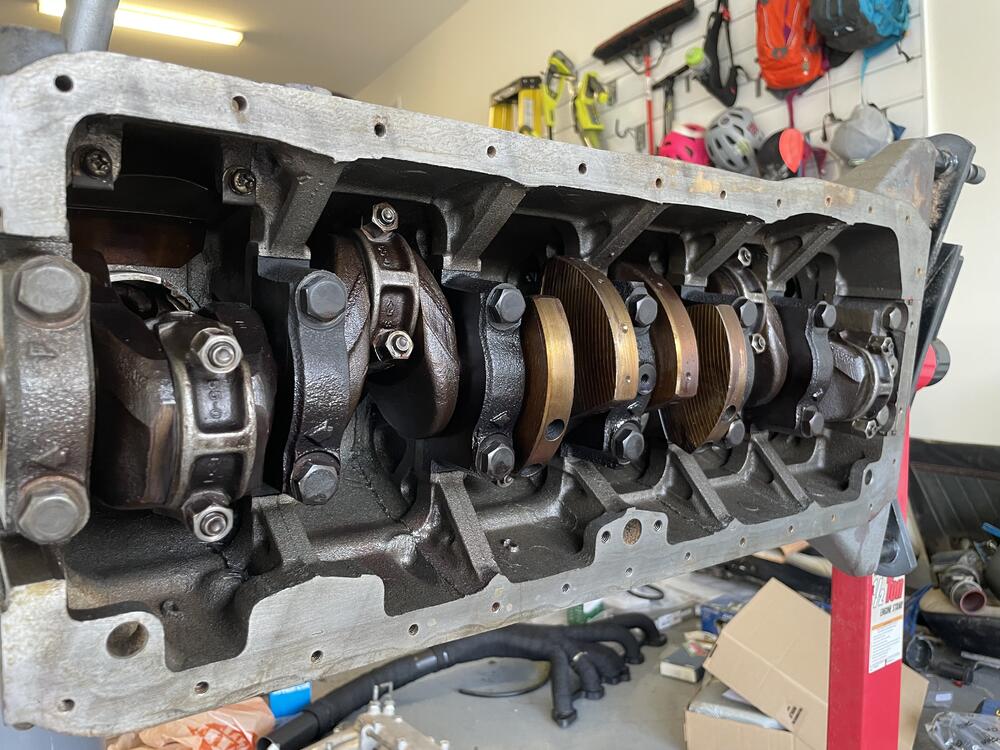
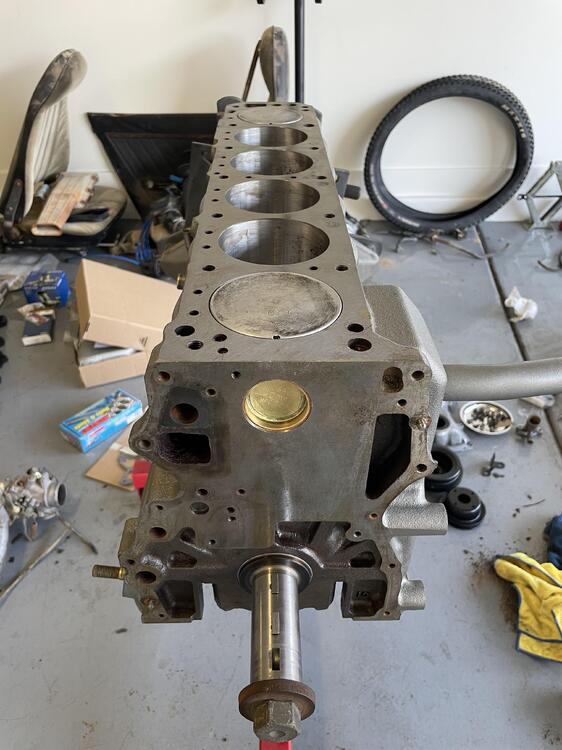
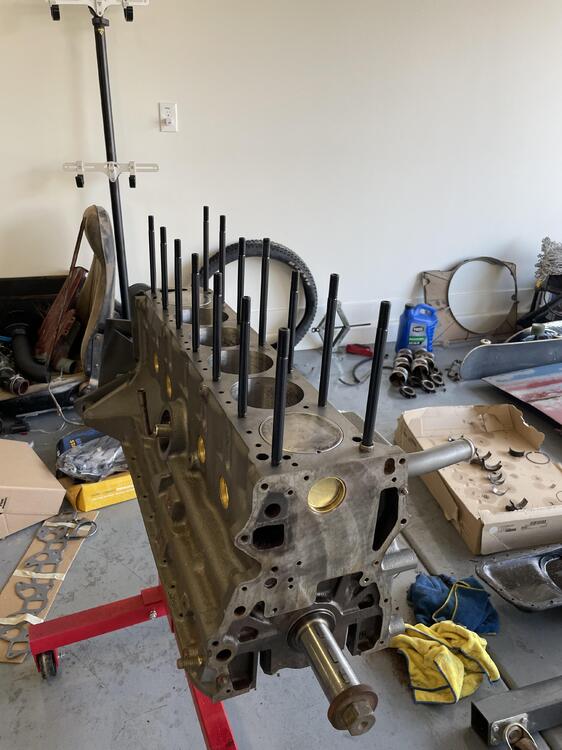
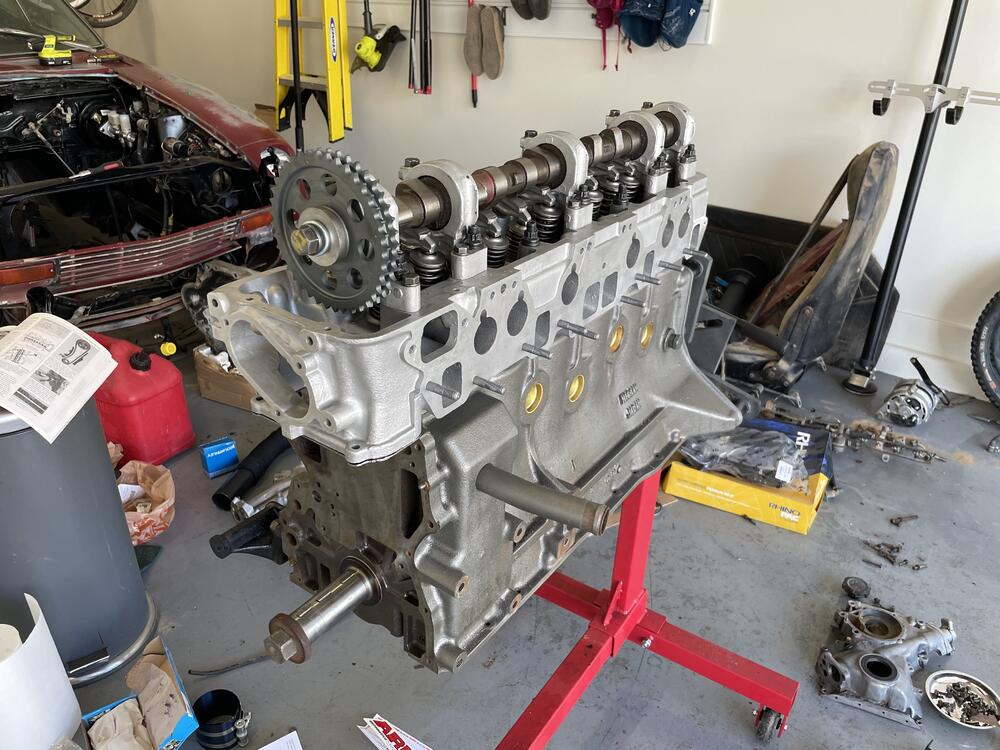
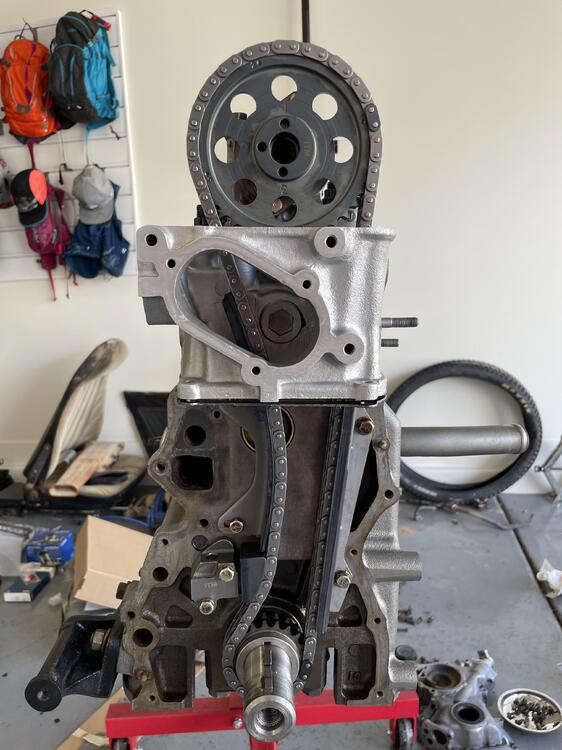
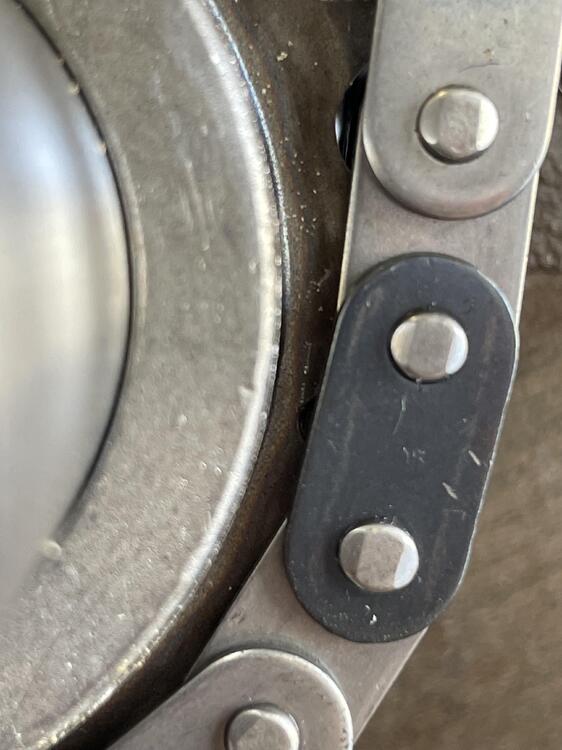
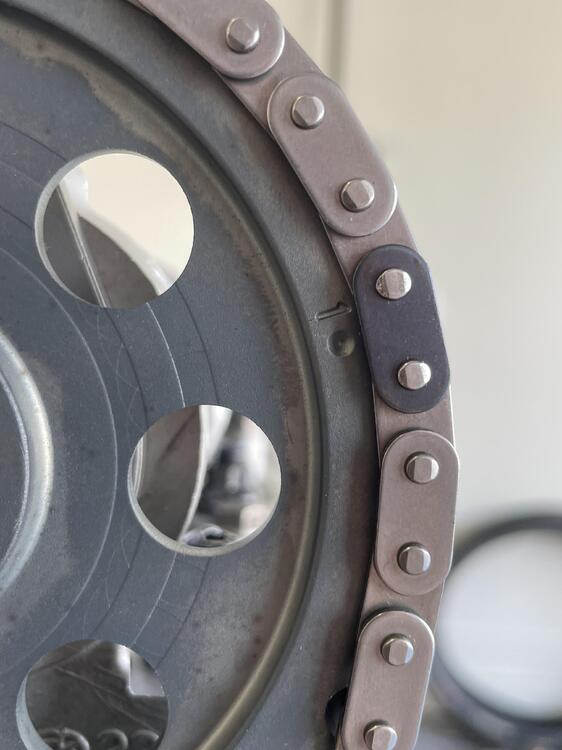
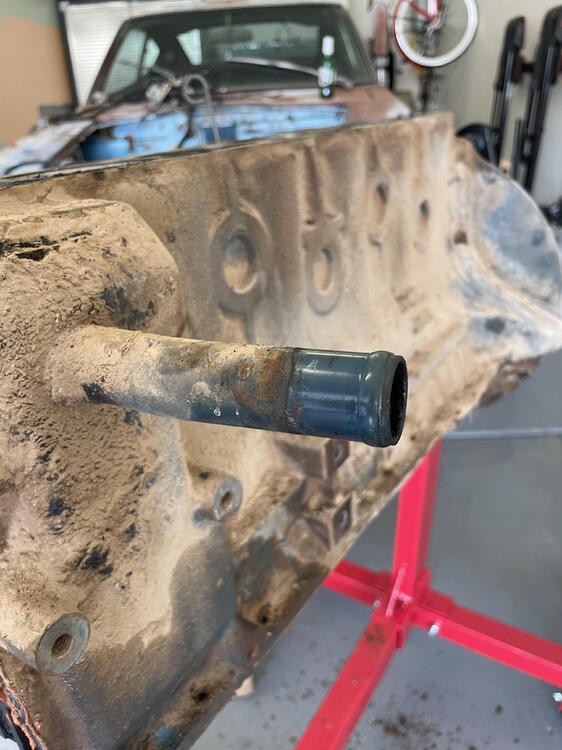
Ah, engine build day is finally here! All these months of preparation and cleaning all come down to this. The block was hot tanked, honed, and decked. I first started with a cleaning and removing the original expansion plugs. There was a heavy amount of rust within the coolant passages and some left over crud from their cleaning. I let the water run through these until no more particles were coming out. I ran a bristle brush back through to loosen anything up and another wash. I'm sure I missed the deepest corners and crevasses but I will just plan on an early coolant flush. All taped up and ready for paint! I had back and forth's on which color I wanted to go. Blue, black, silver, iron, or something wild like an orange. Ultimately I went with Iron to keep things simple. Sorry purists! After a few coats of primer and paint, things are looking much better. New expansion plugs really look good 😍 My kit from Rockauto was 2 plugs too short. So I had to swing by and get 2 extra 35mm plugs. Up next was bearings, crank, rings, and pistons. I did this late at night and realized I didnt even take photos until everything was in! Anyways, it went extremely smooth and the only hiccup was my dummy head rushing into it. I put the wrong sized main bearing onto the rear cap. Not until I got to the last two caps did I realize my mistake. Luckily I found this mistake and was able to correct it. Everything is turning smoothly and feels great. Ah, the sounds of fresh rings is the best. The friction of the fresh rings is perfect. Up next was the ARP head studs. Its so odd that they are hand tight for the studs themselves. I get how the clamping force works...but it feels so wrong! Slapped on the fresh head. So glad to get this thing off my workbench! I ran into my first roadblock here as I needed a deep 12mm 12 point socket. So that was all for day 2. Day 3 started with a quick trip to grab a new socket and get those head bolts torqued. Installed a new timing set. Seems almost too easy to time compared to DOHC cars Im used to! This photo was taken right after placing all the guides, but I didn't notice until placing my gaskets that my slack side was a bit off. So I repositioned it for a smoother transition. Covers were next on the agenda. Things are moving fast now! Lastly was the oil pan, oil pump, water pump and pulley, thermostat house (ITS SO GROSS 🤢) and the manifolds. I had to take a shot of just the exhaust as it looked so good! Installing the oil pan gasket was a a pain. Im not sure if the kit I ordered was wrong, but the gasket looked small. It was flexible so I thought that maybe it just need stretch to fit. I had 3 corners locked in place but could not get it stretch enough for the fourth. Not sure what the deal was but it ended up tearing. I picked up a Fel Pro gasket and it fit much better. I feel way better about it now. Not picture is that I also had the intake manifold installed. I am still needing a few misc plugs and I need to create a block off plate for my cold start valve. That thermostat housing...just needs replacing. I hate it. Tomorrow I will move my attention to the transmission. I am waiting on the input seal to arrive so I am at a standstill until then. The anticipation is growing!!! Let just take a moment to remember where we started with this crusty piece 🙂


-
Mods, delete if not allowed. I have starting piling up parts I know I wont need in the future. Feel free to make me an offer on these. I would keep them but I dont have the room to hold them inside the garage and they will ultimately rot outside. Classified
-
View Advert 1975 280z Part Out My 1975 280z has some extra parts I dont need. Open to offers on everything! Fan Shroud - has one crack but not missing any material 2 Air Boxes Heat Shields Headlight Covers - Micro cracks and some scratching Front and rear bumbers Rear Louvers - Some rivets will need redone Misc head block off plates Not Pictured: OEM Head bolts Brake Booster - unknown working condition. I pulled it off before the car ran OEM header OEM dished pistons and connecting rods - close ups can be found on my build page OEM Fusible link holder OEM Muffler Advertiser Barefootdan Date 09/09/2021 Price Category Parts for Sale
-
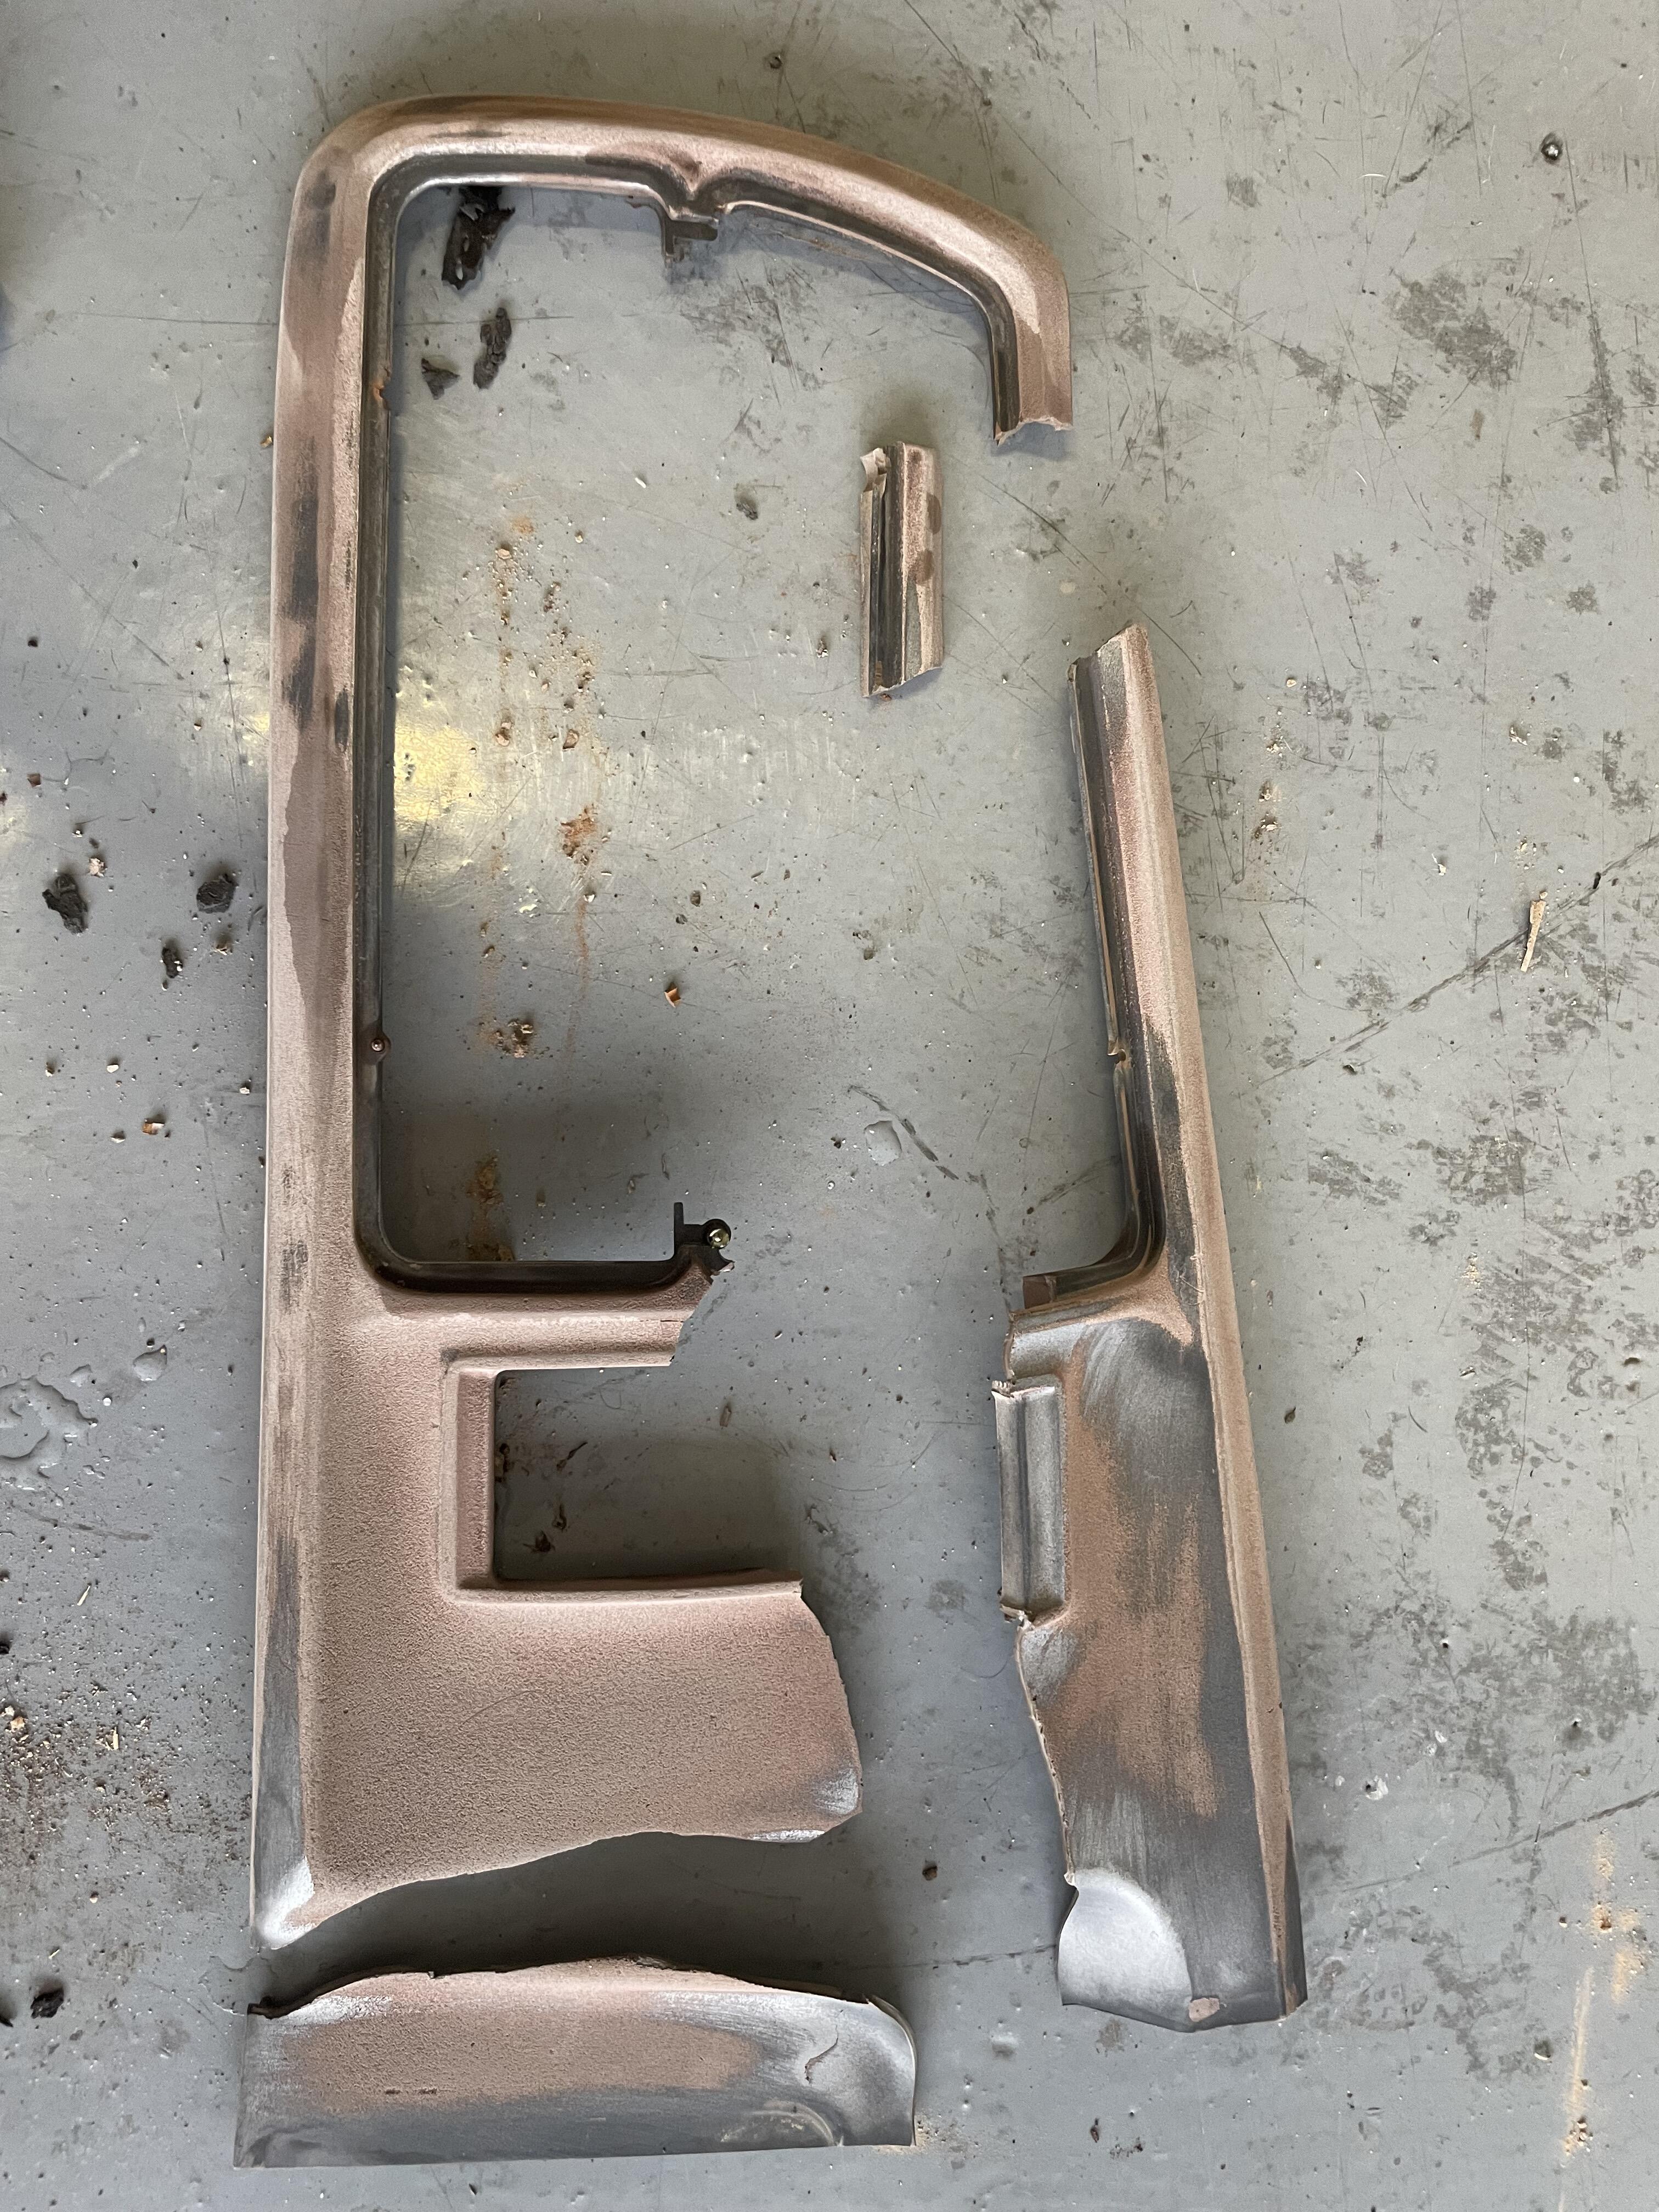
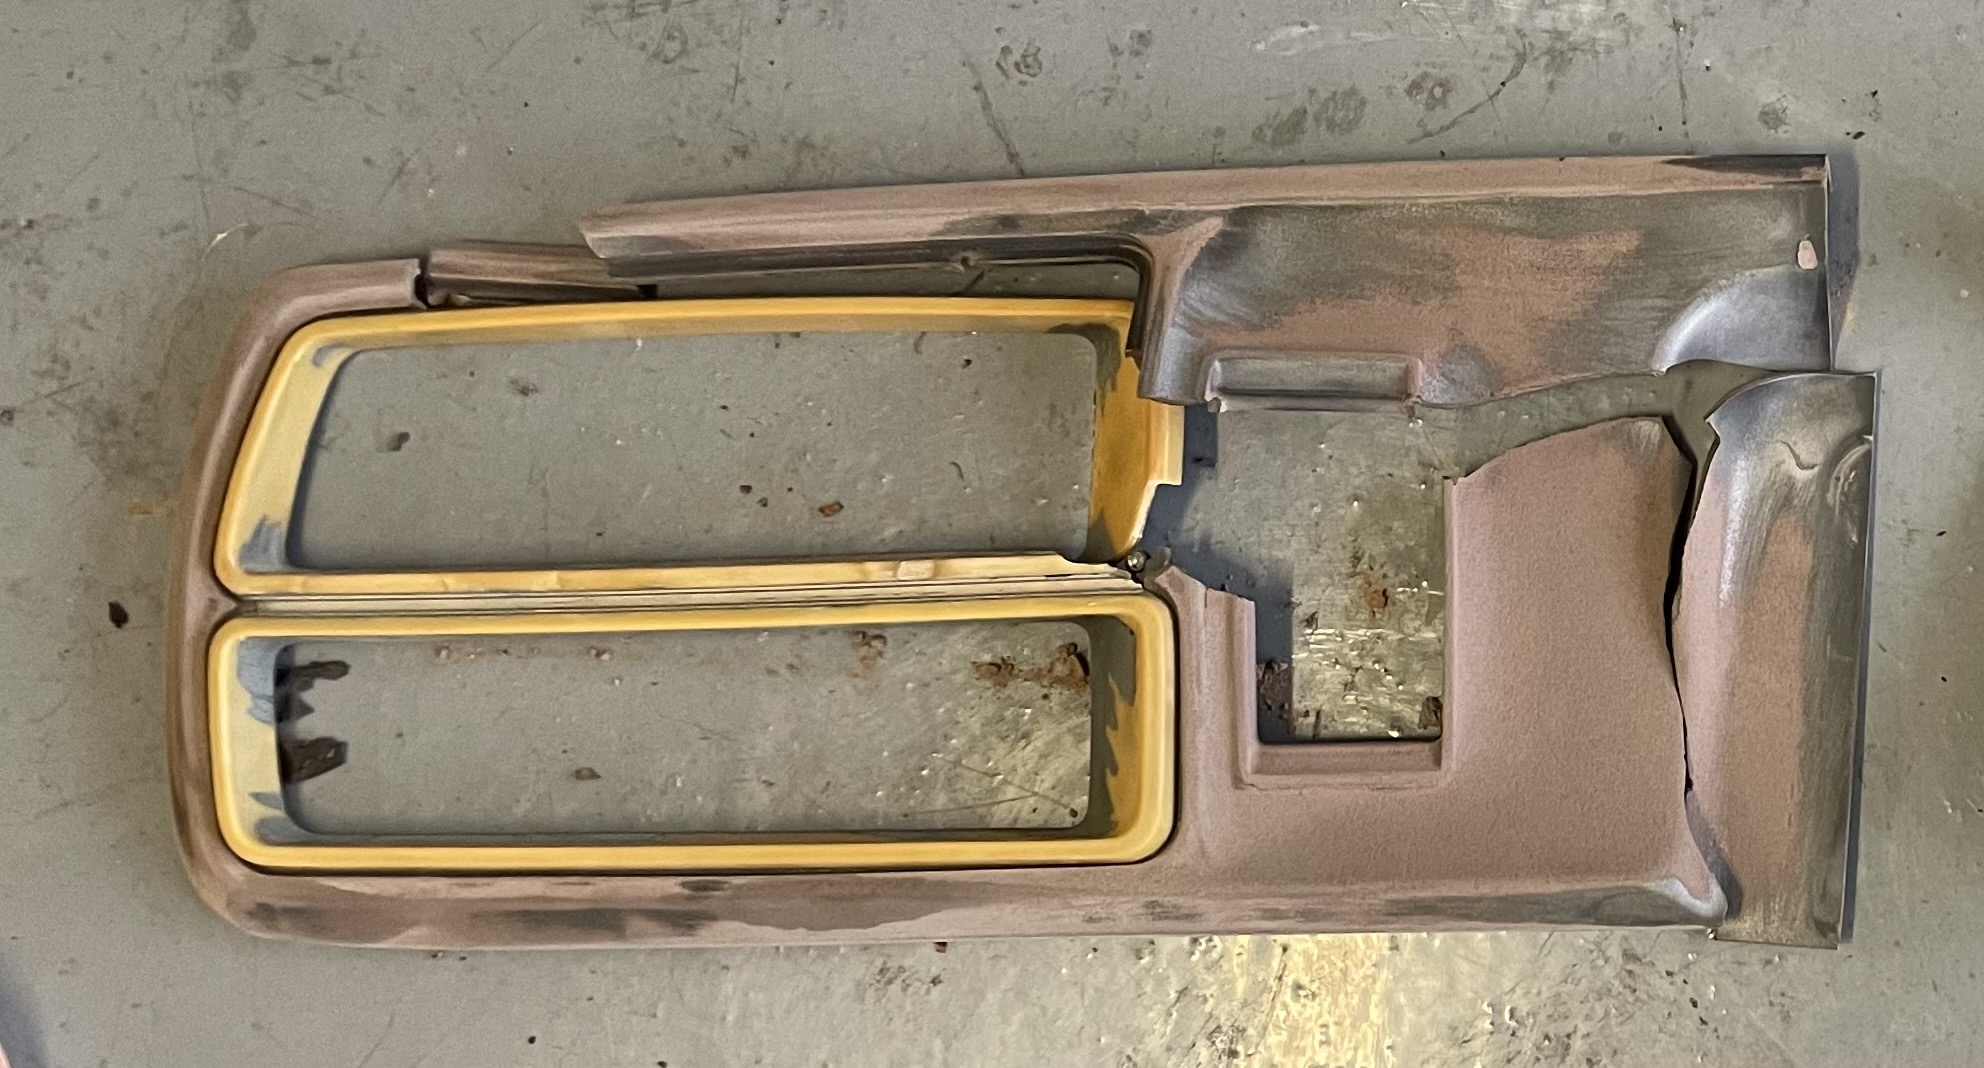
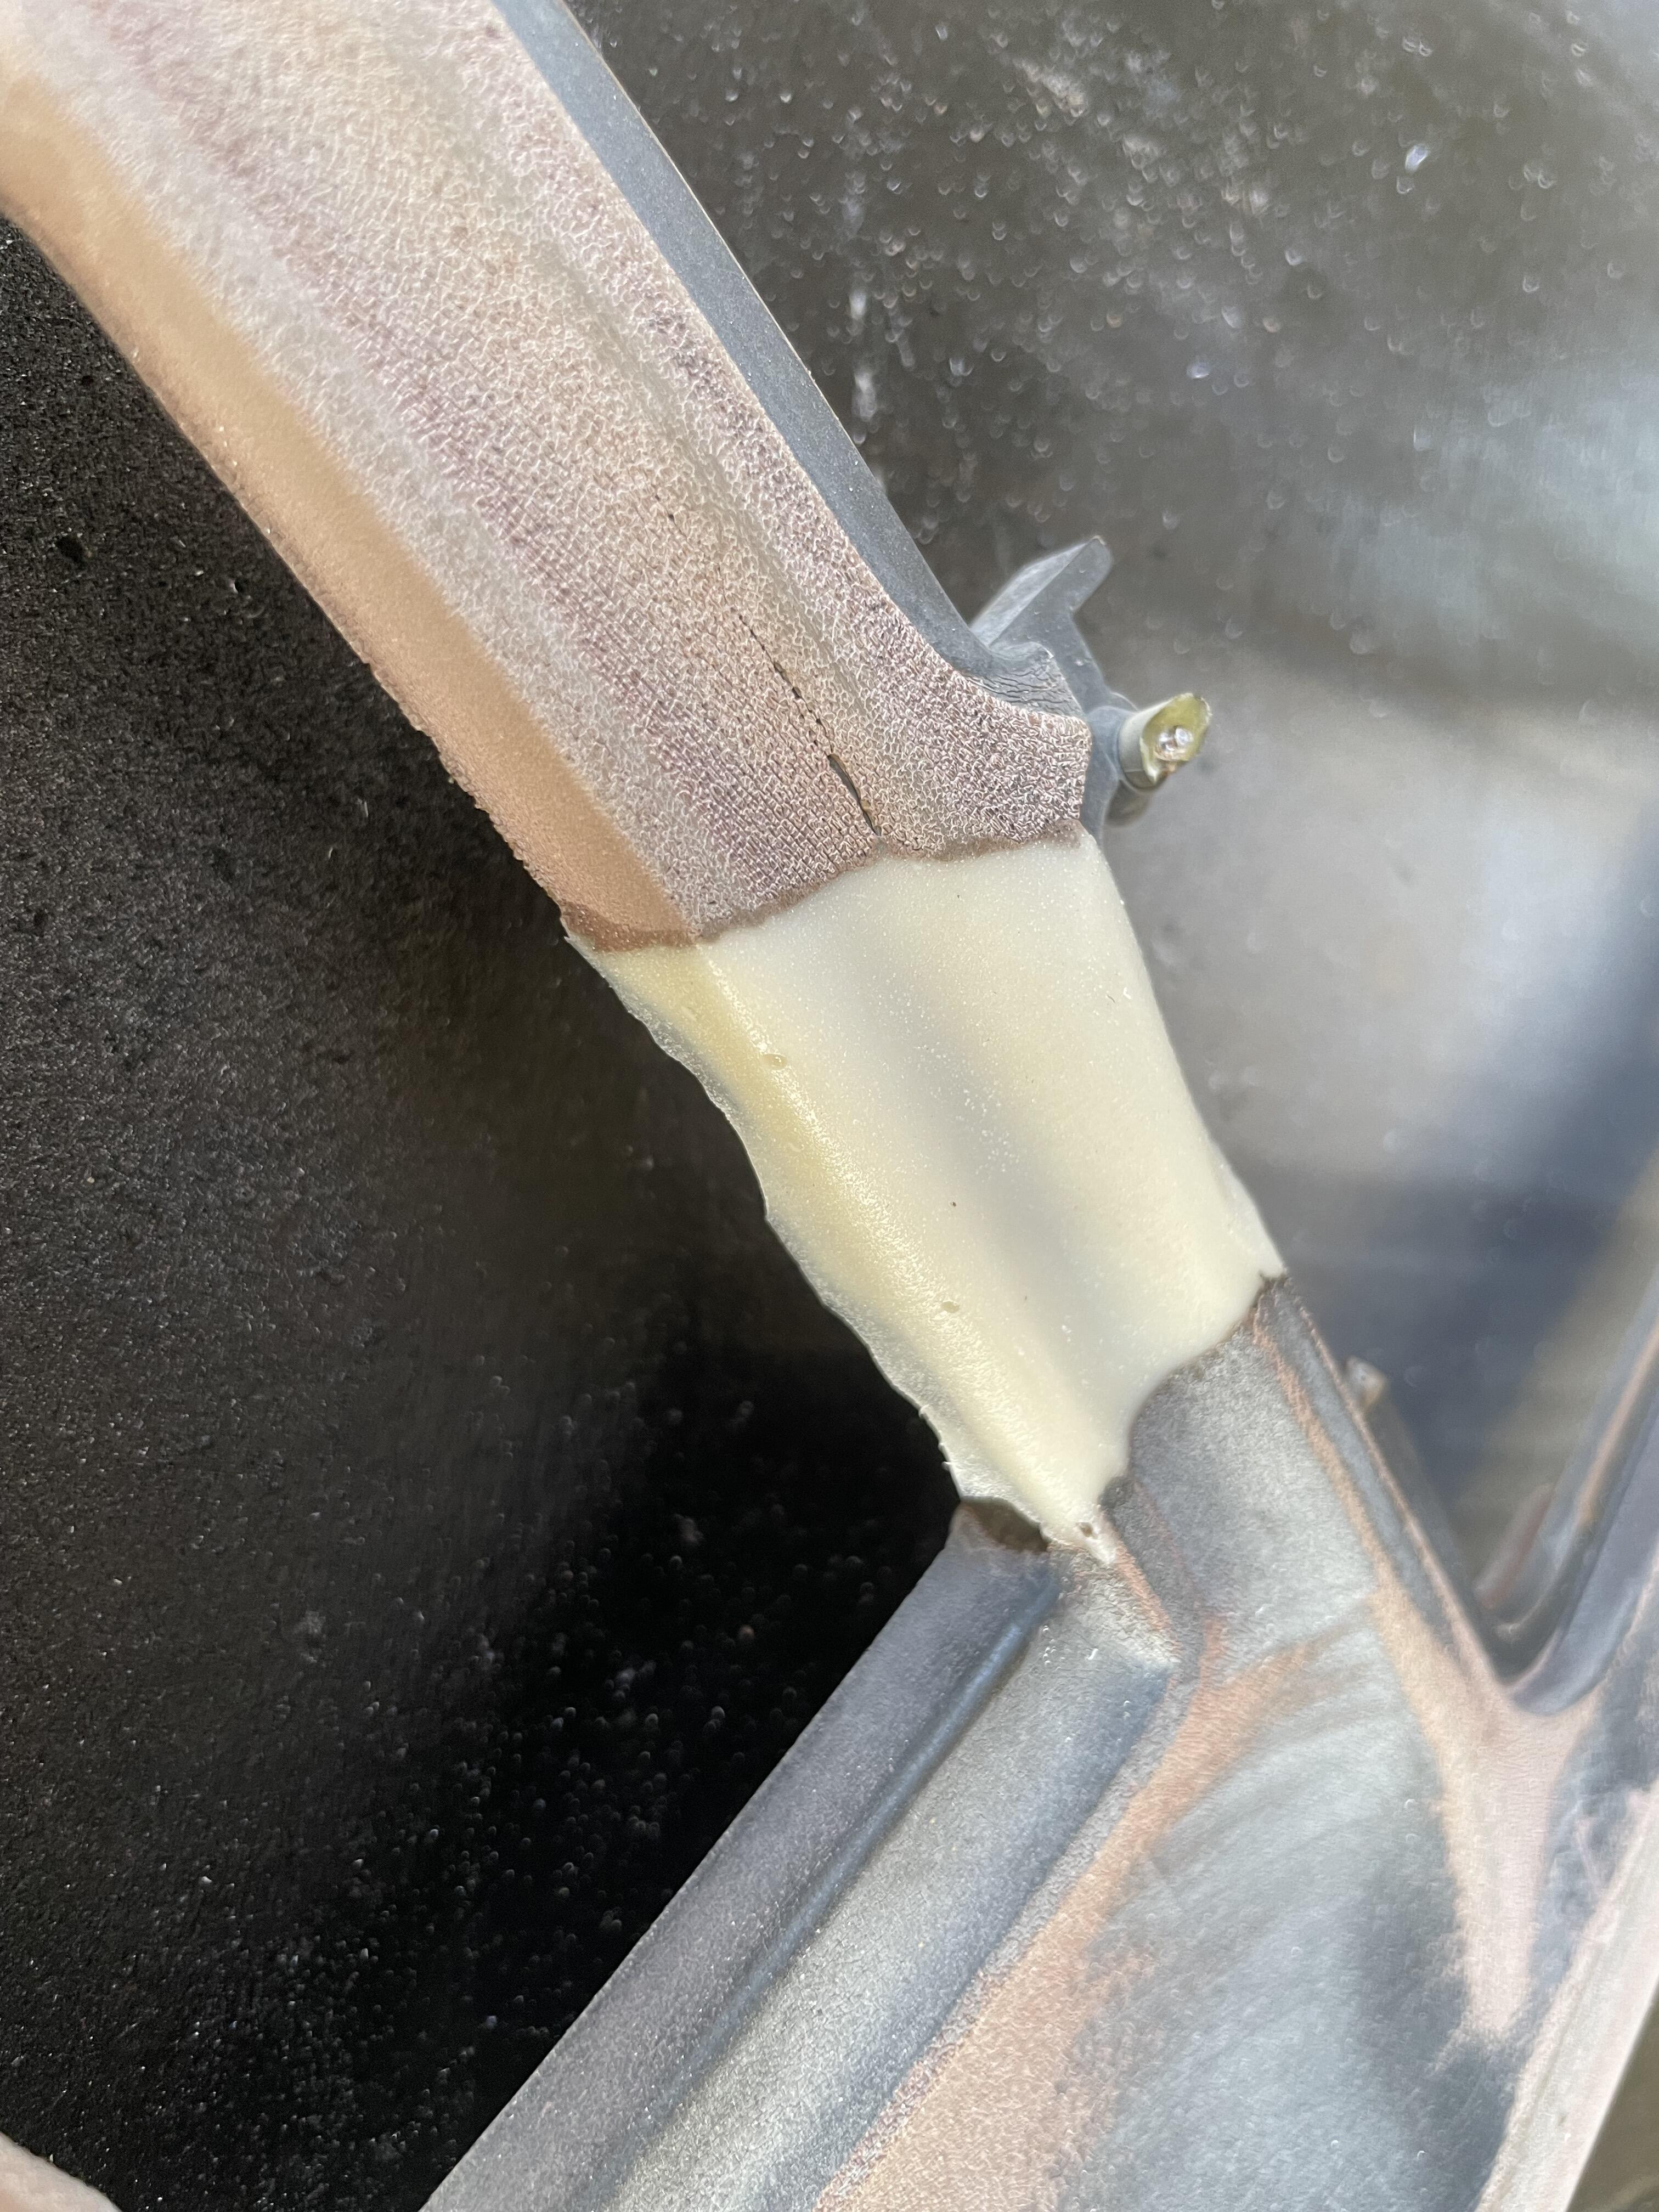
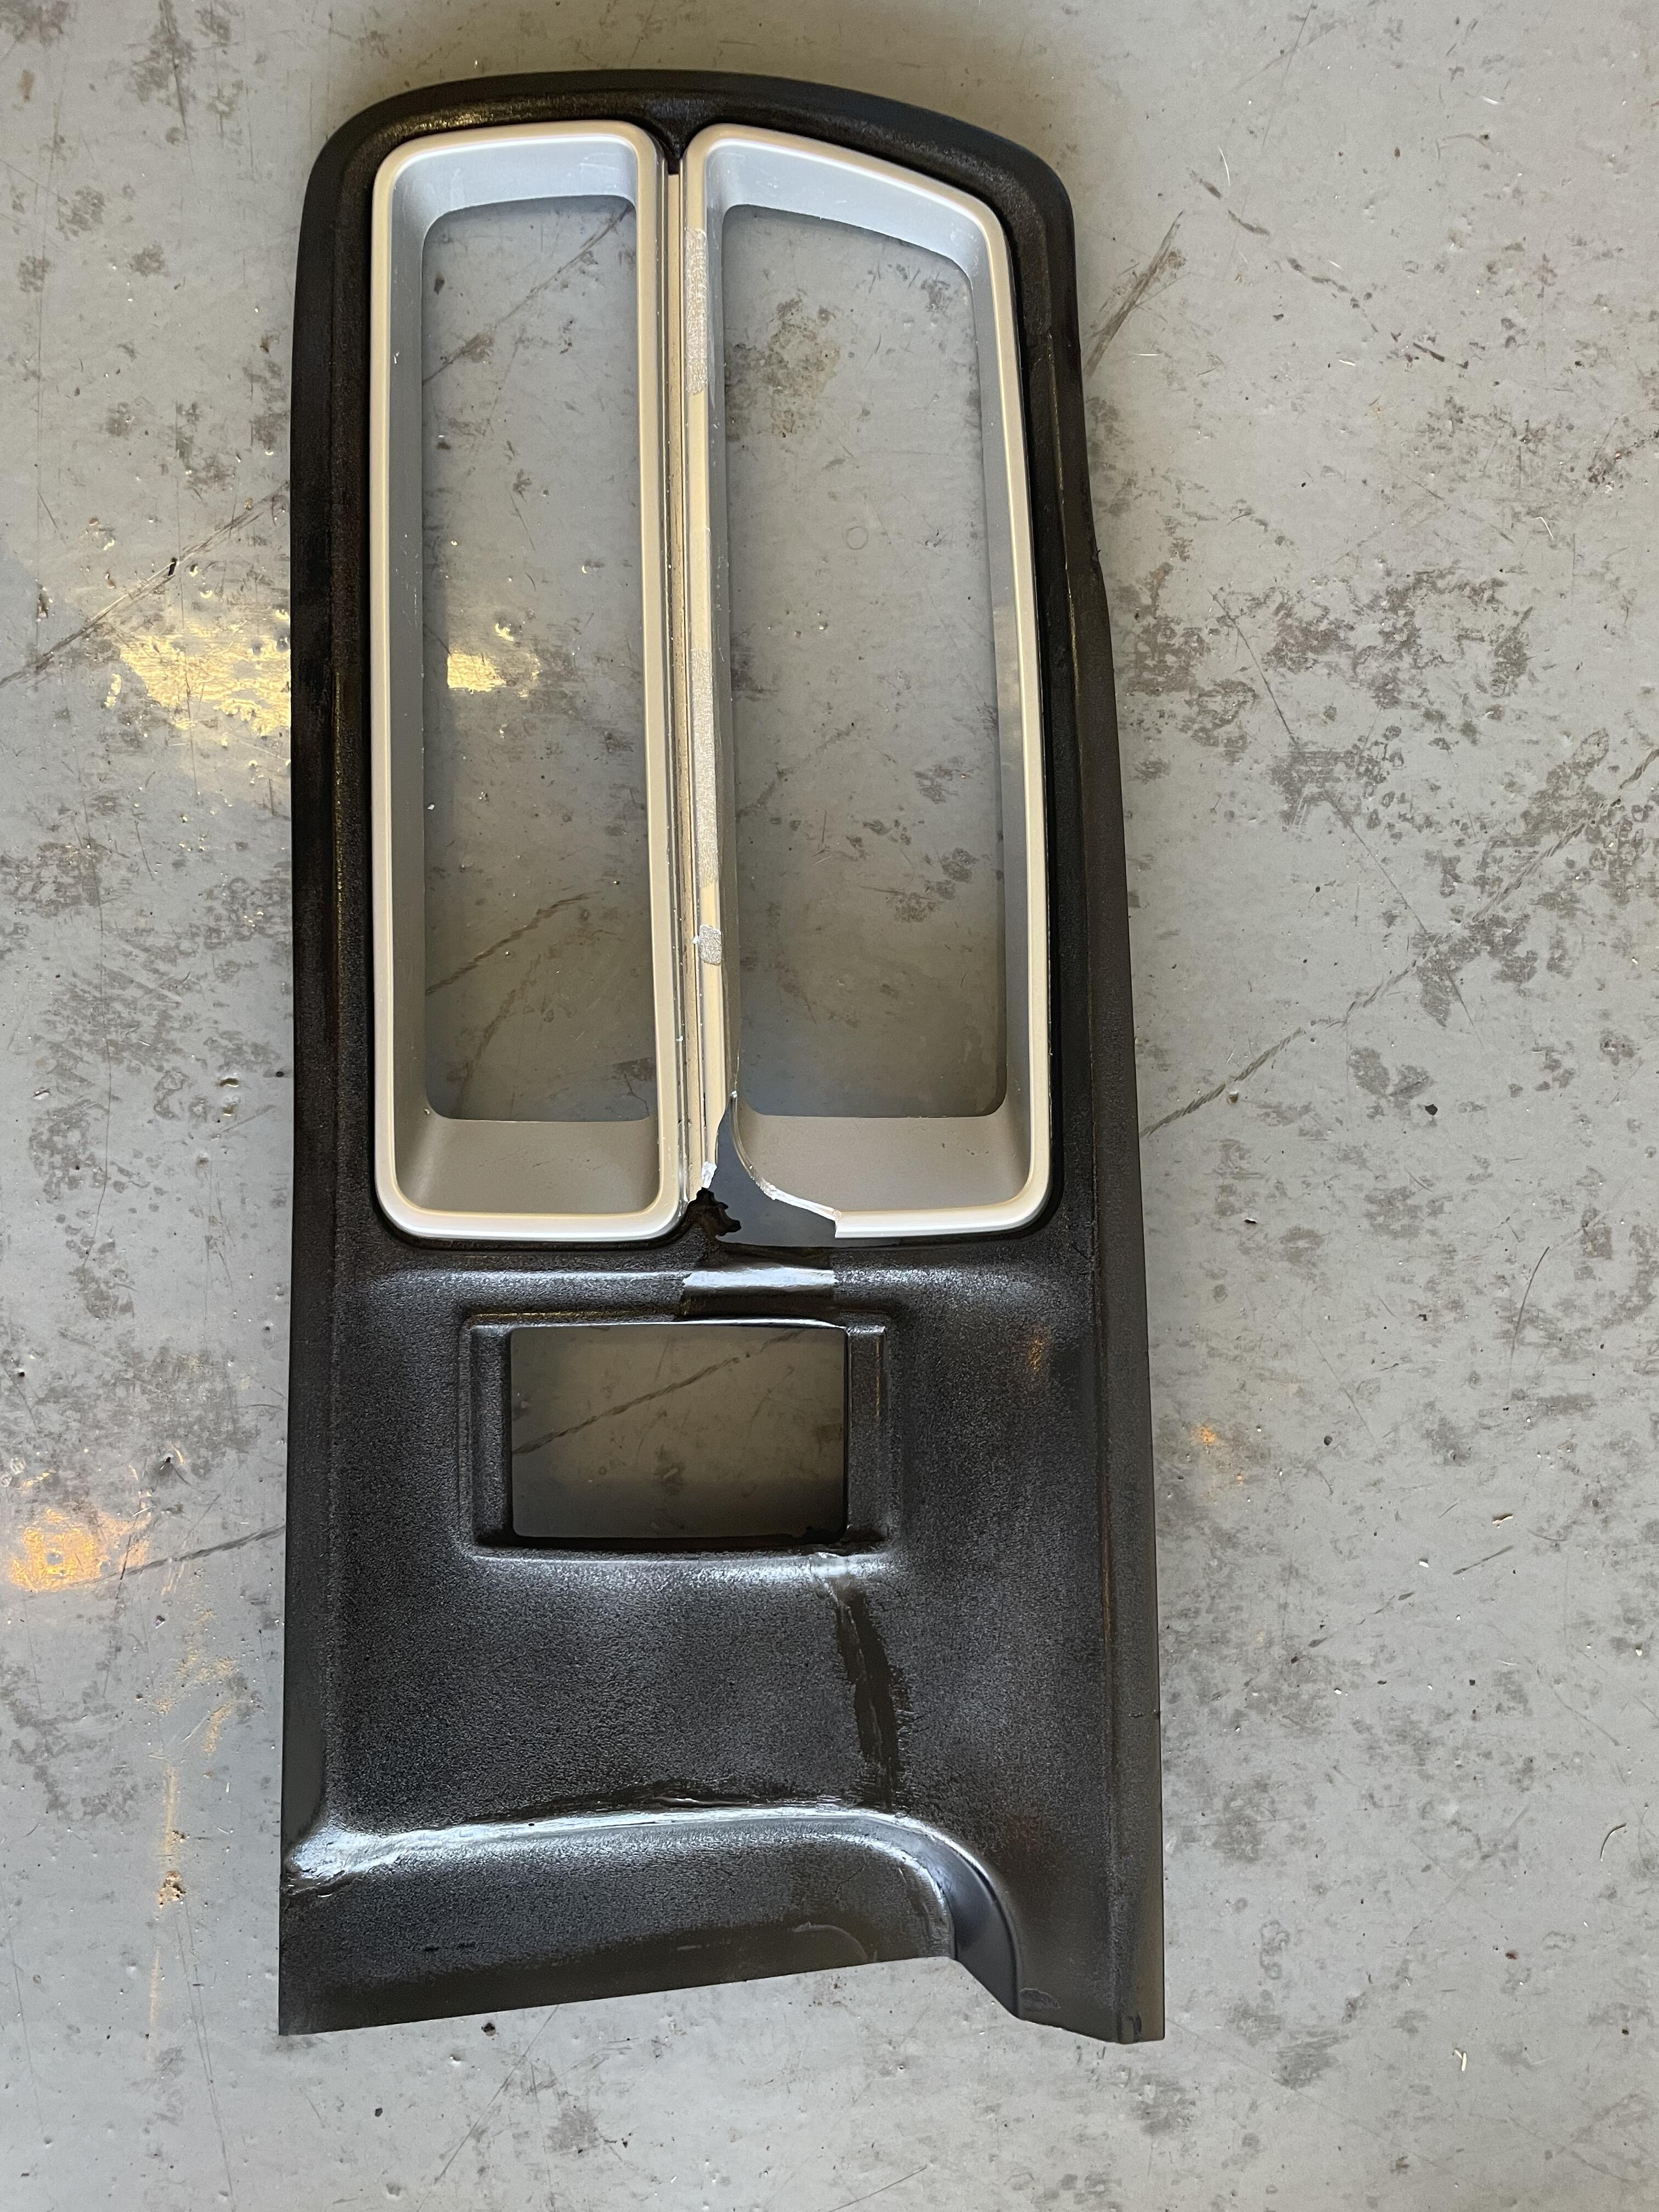
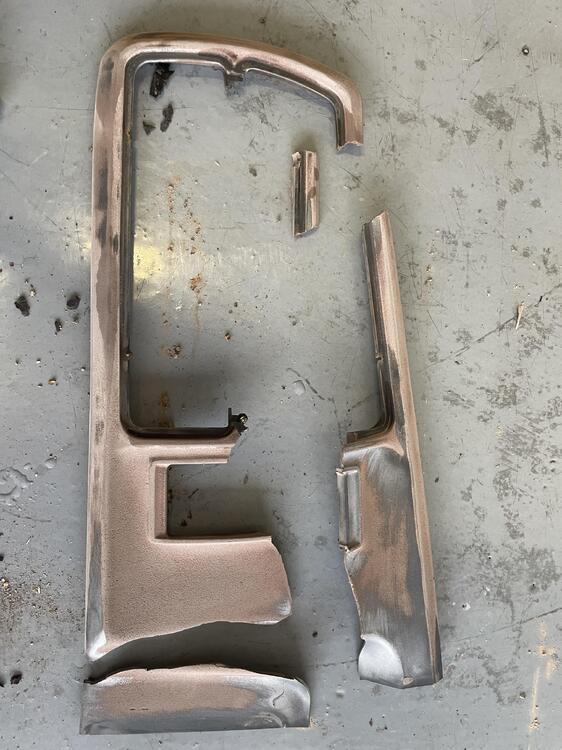
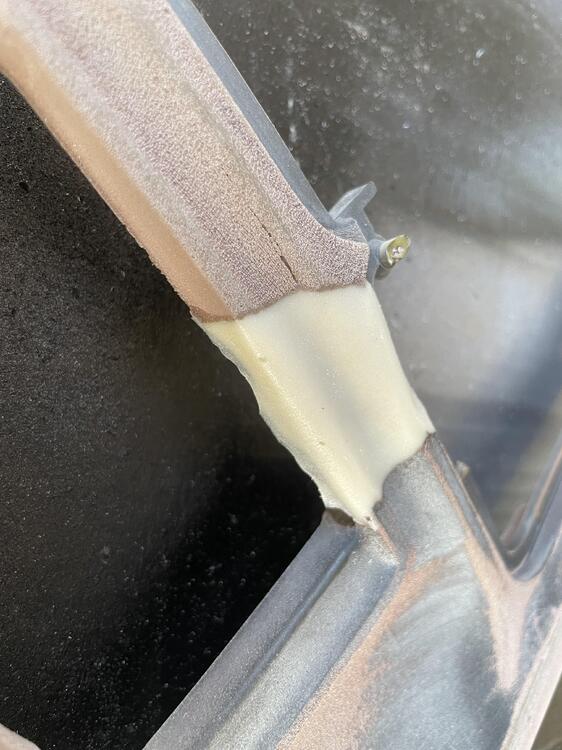
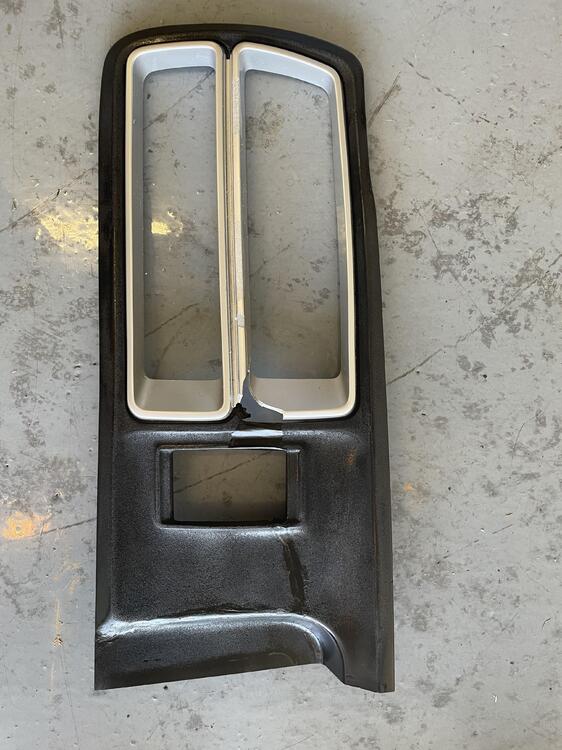
I know, I know, I should not be working on cosmetics again! But the broken tail light surround just bugged me every time I grabbed a wrench from my tool box... The right side was in one piece, albeit chipped. The left side though, 4 pieces and missing a good chunk in places! I have never tried plastic repair and well, this probably isnt the best piece to learn on. It practically crumbles when I look at it. But I took a whack at it and I'm content with the results for now...I mean don't forget what the rest of this car looks like 😄 I started off by piecing all what I had together then using masking tape to sort of "bridge" my gaps. There were 2 good chunks missing and then a 3rd that was almost 2" long. I used a plastic bonder/filler material and let it cure over night. I was surprised on how well my bridge worked. From there I sanded down and refilled where needed. Trying my best to match the lines of the original piece. A quick coat of paint and it is looking 100x better. Unfortunately, the silver surround also has a good chunk missing but I'll leave it for now. You can clearly see in the reflections where I bonded the two pieces together. I am planning on doing another sand, using a primer, then recoating...but that is for another day. Because this beauty finally came home today 🙂 Yes there's some pitting in cylinders 2 and 4. But its not too deep and I don't mind 😄 I am just glad it is back and we can start this build!


-
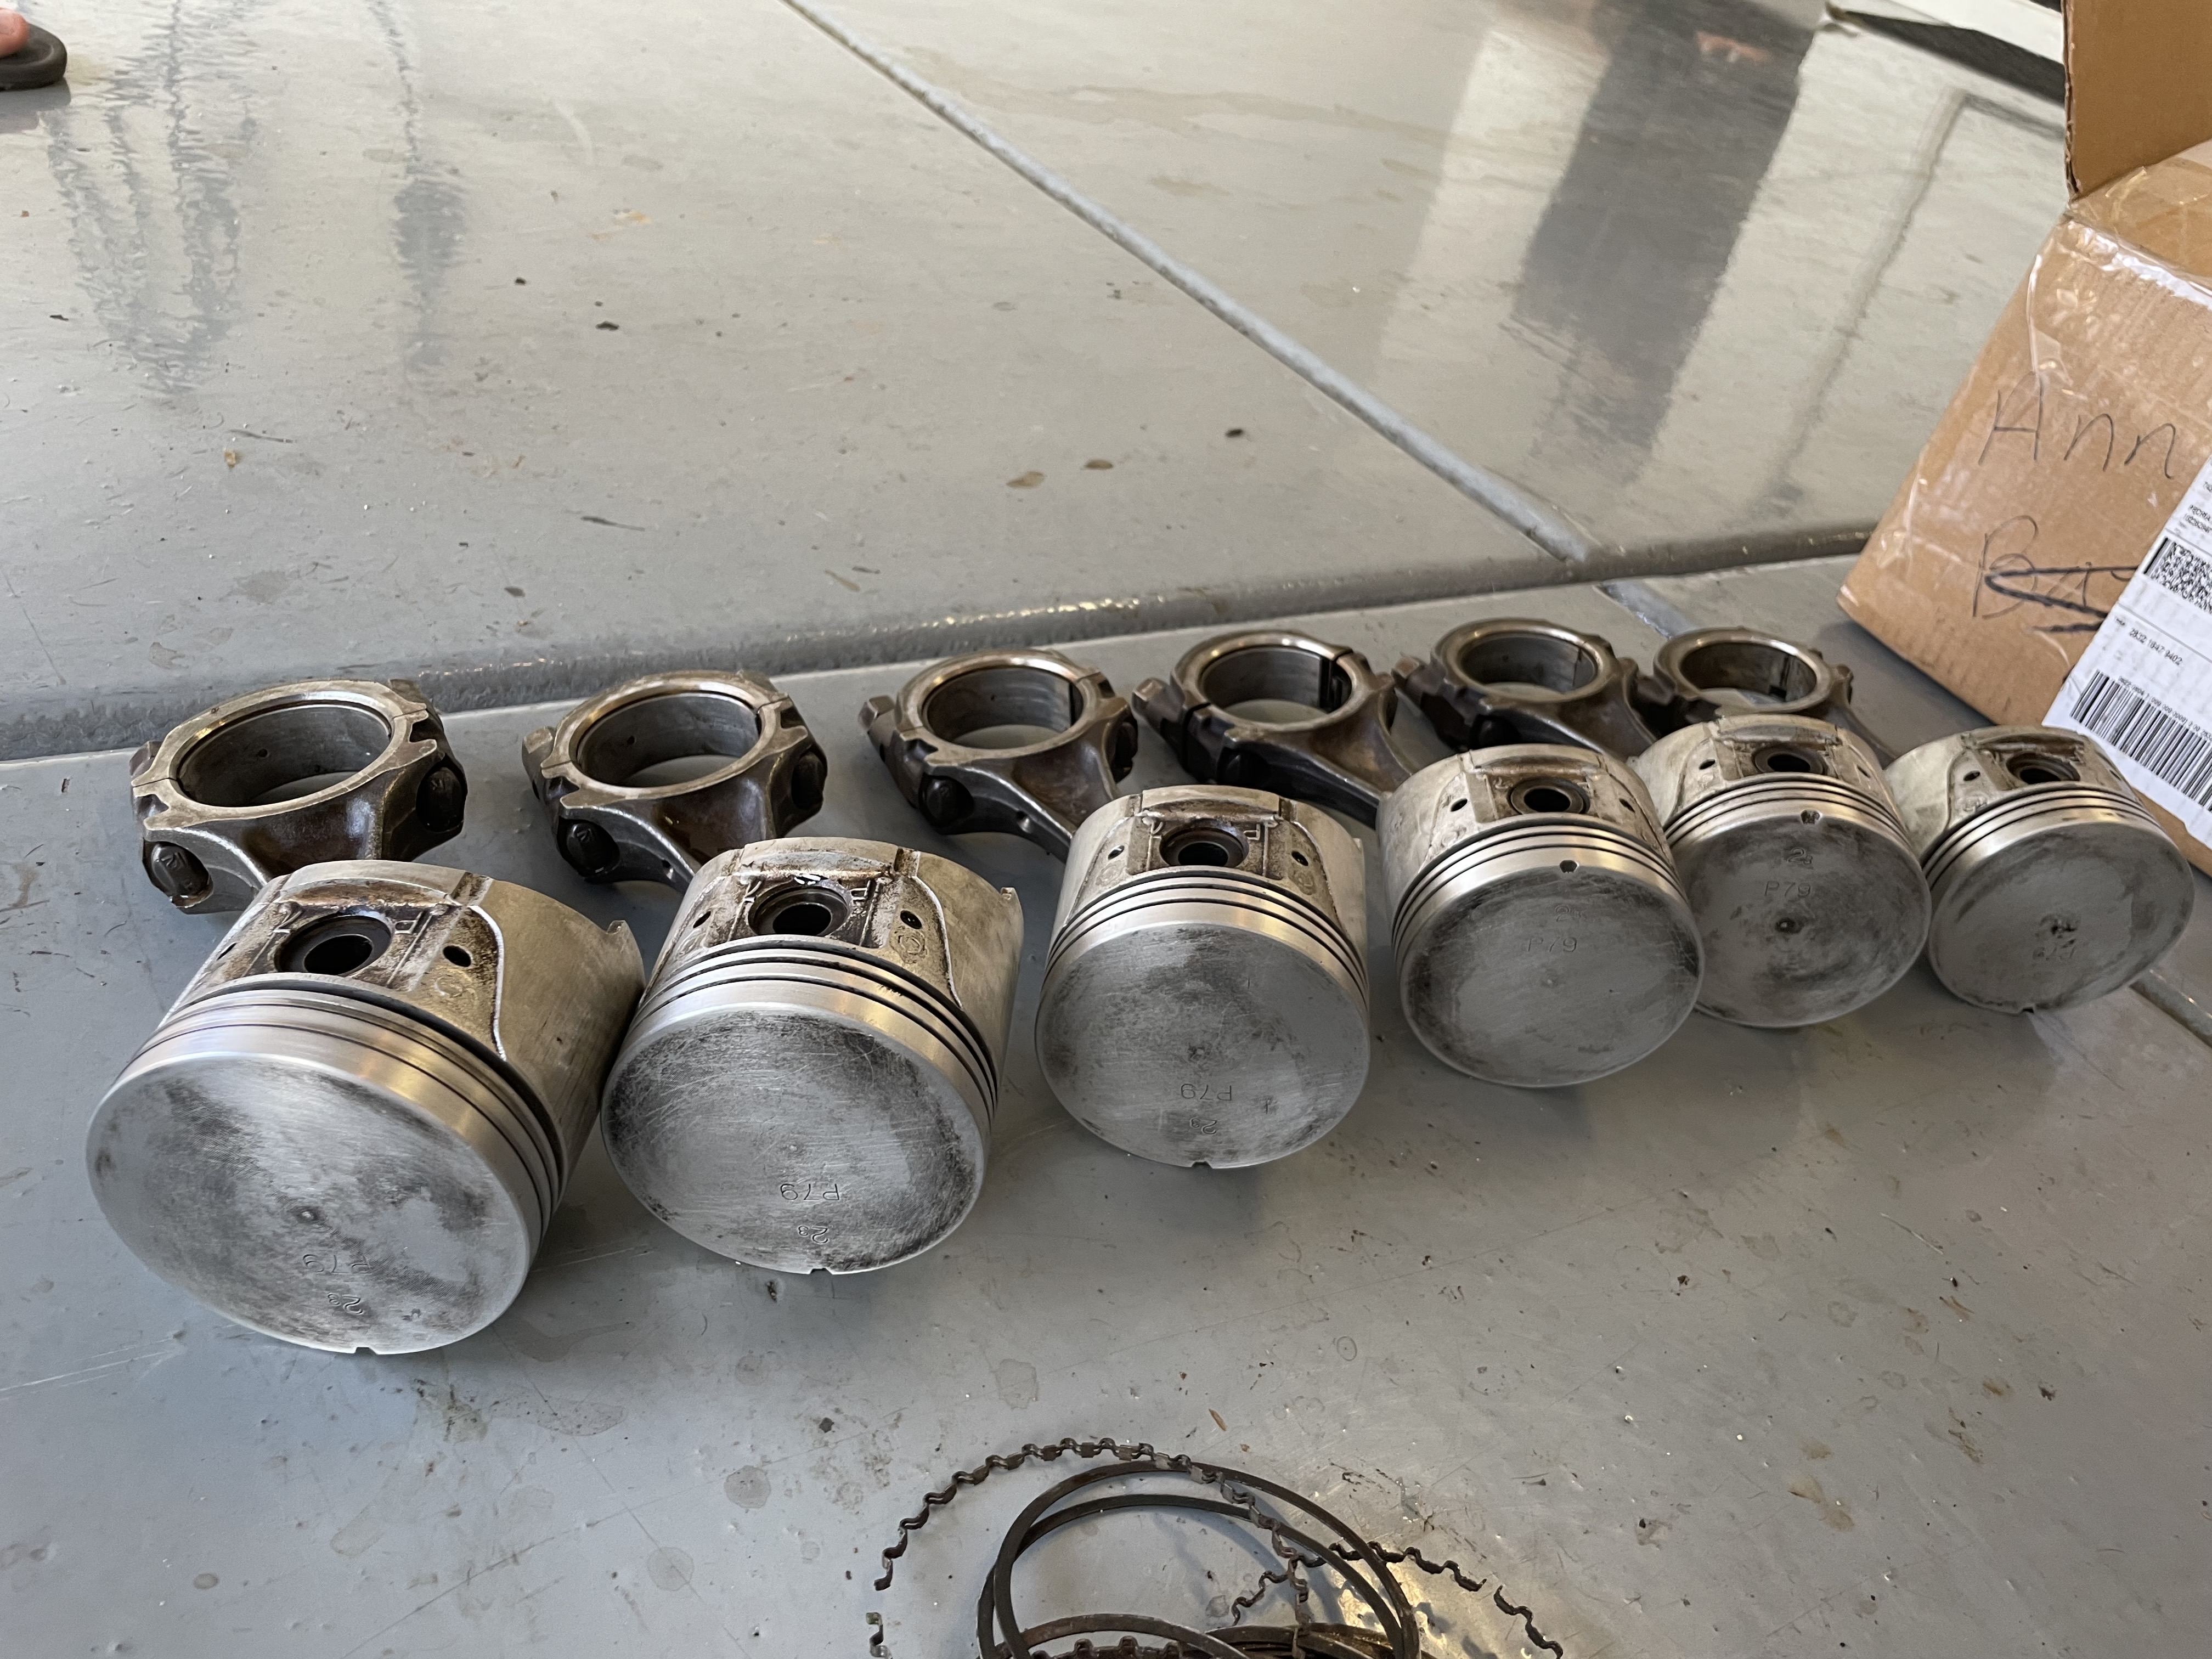
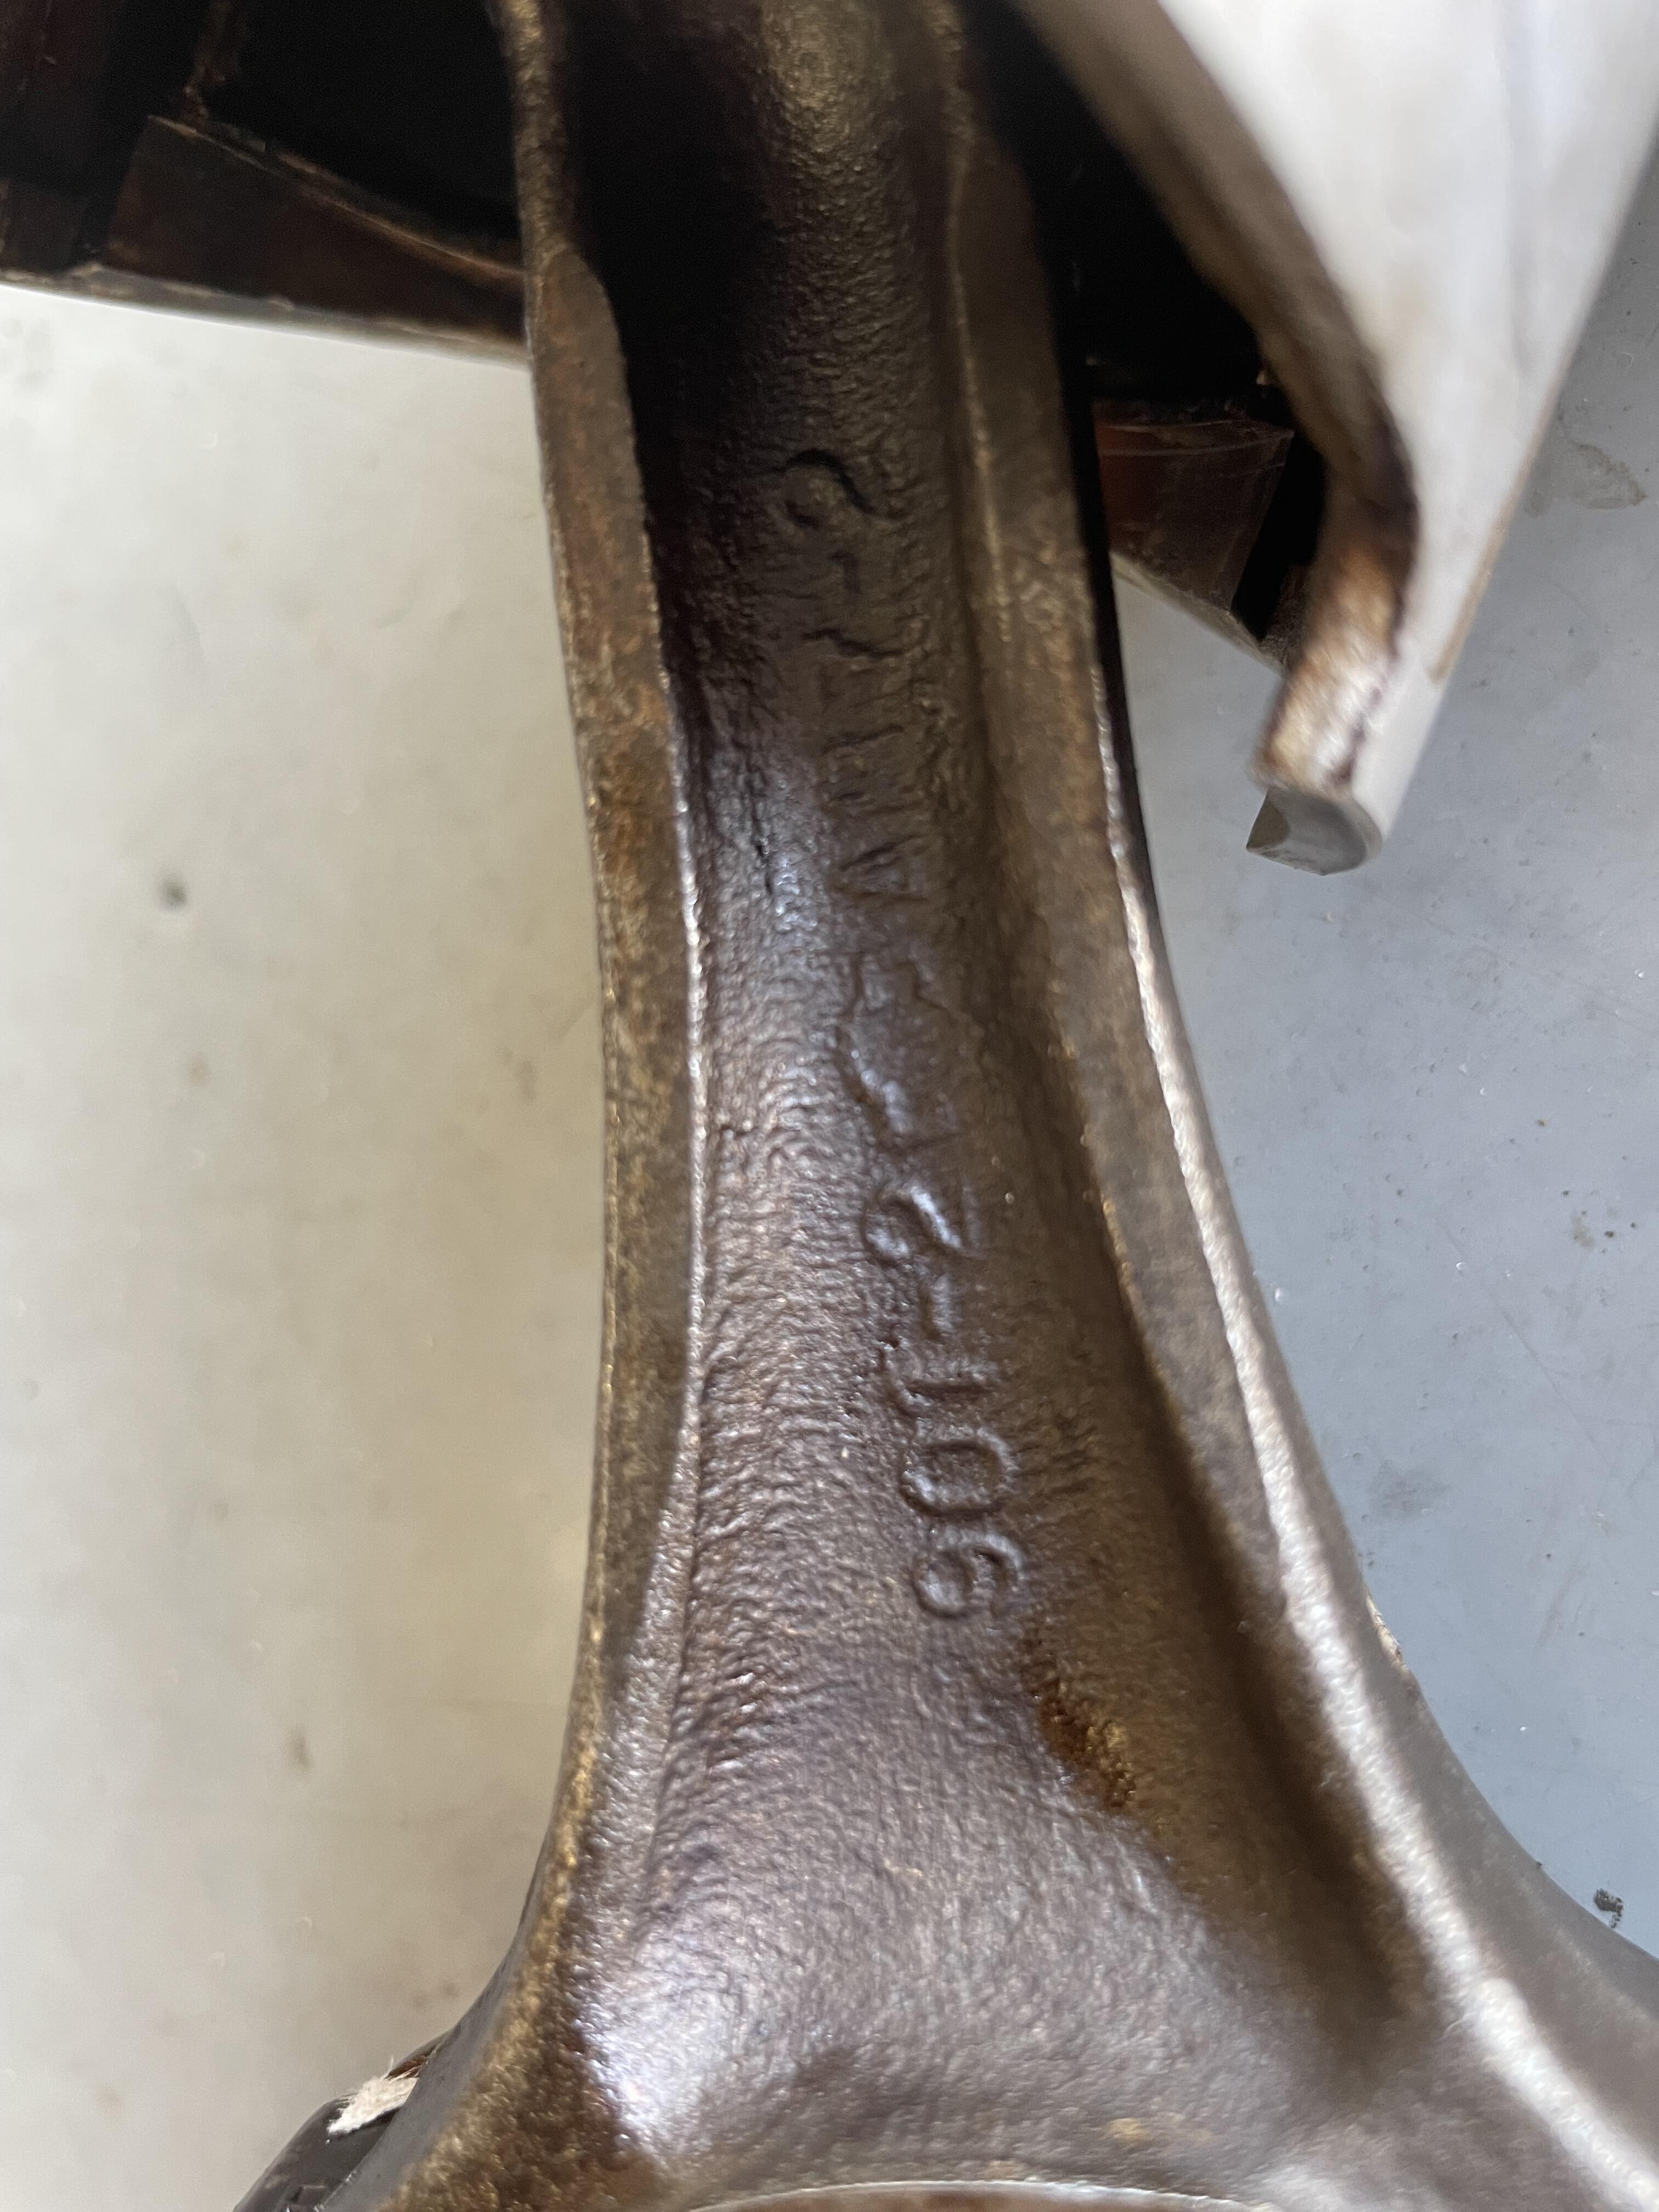
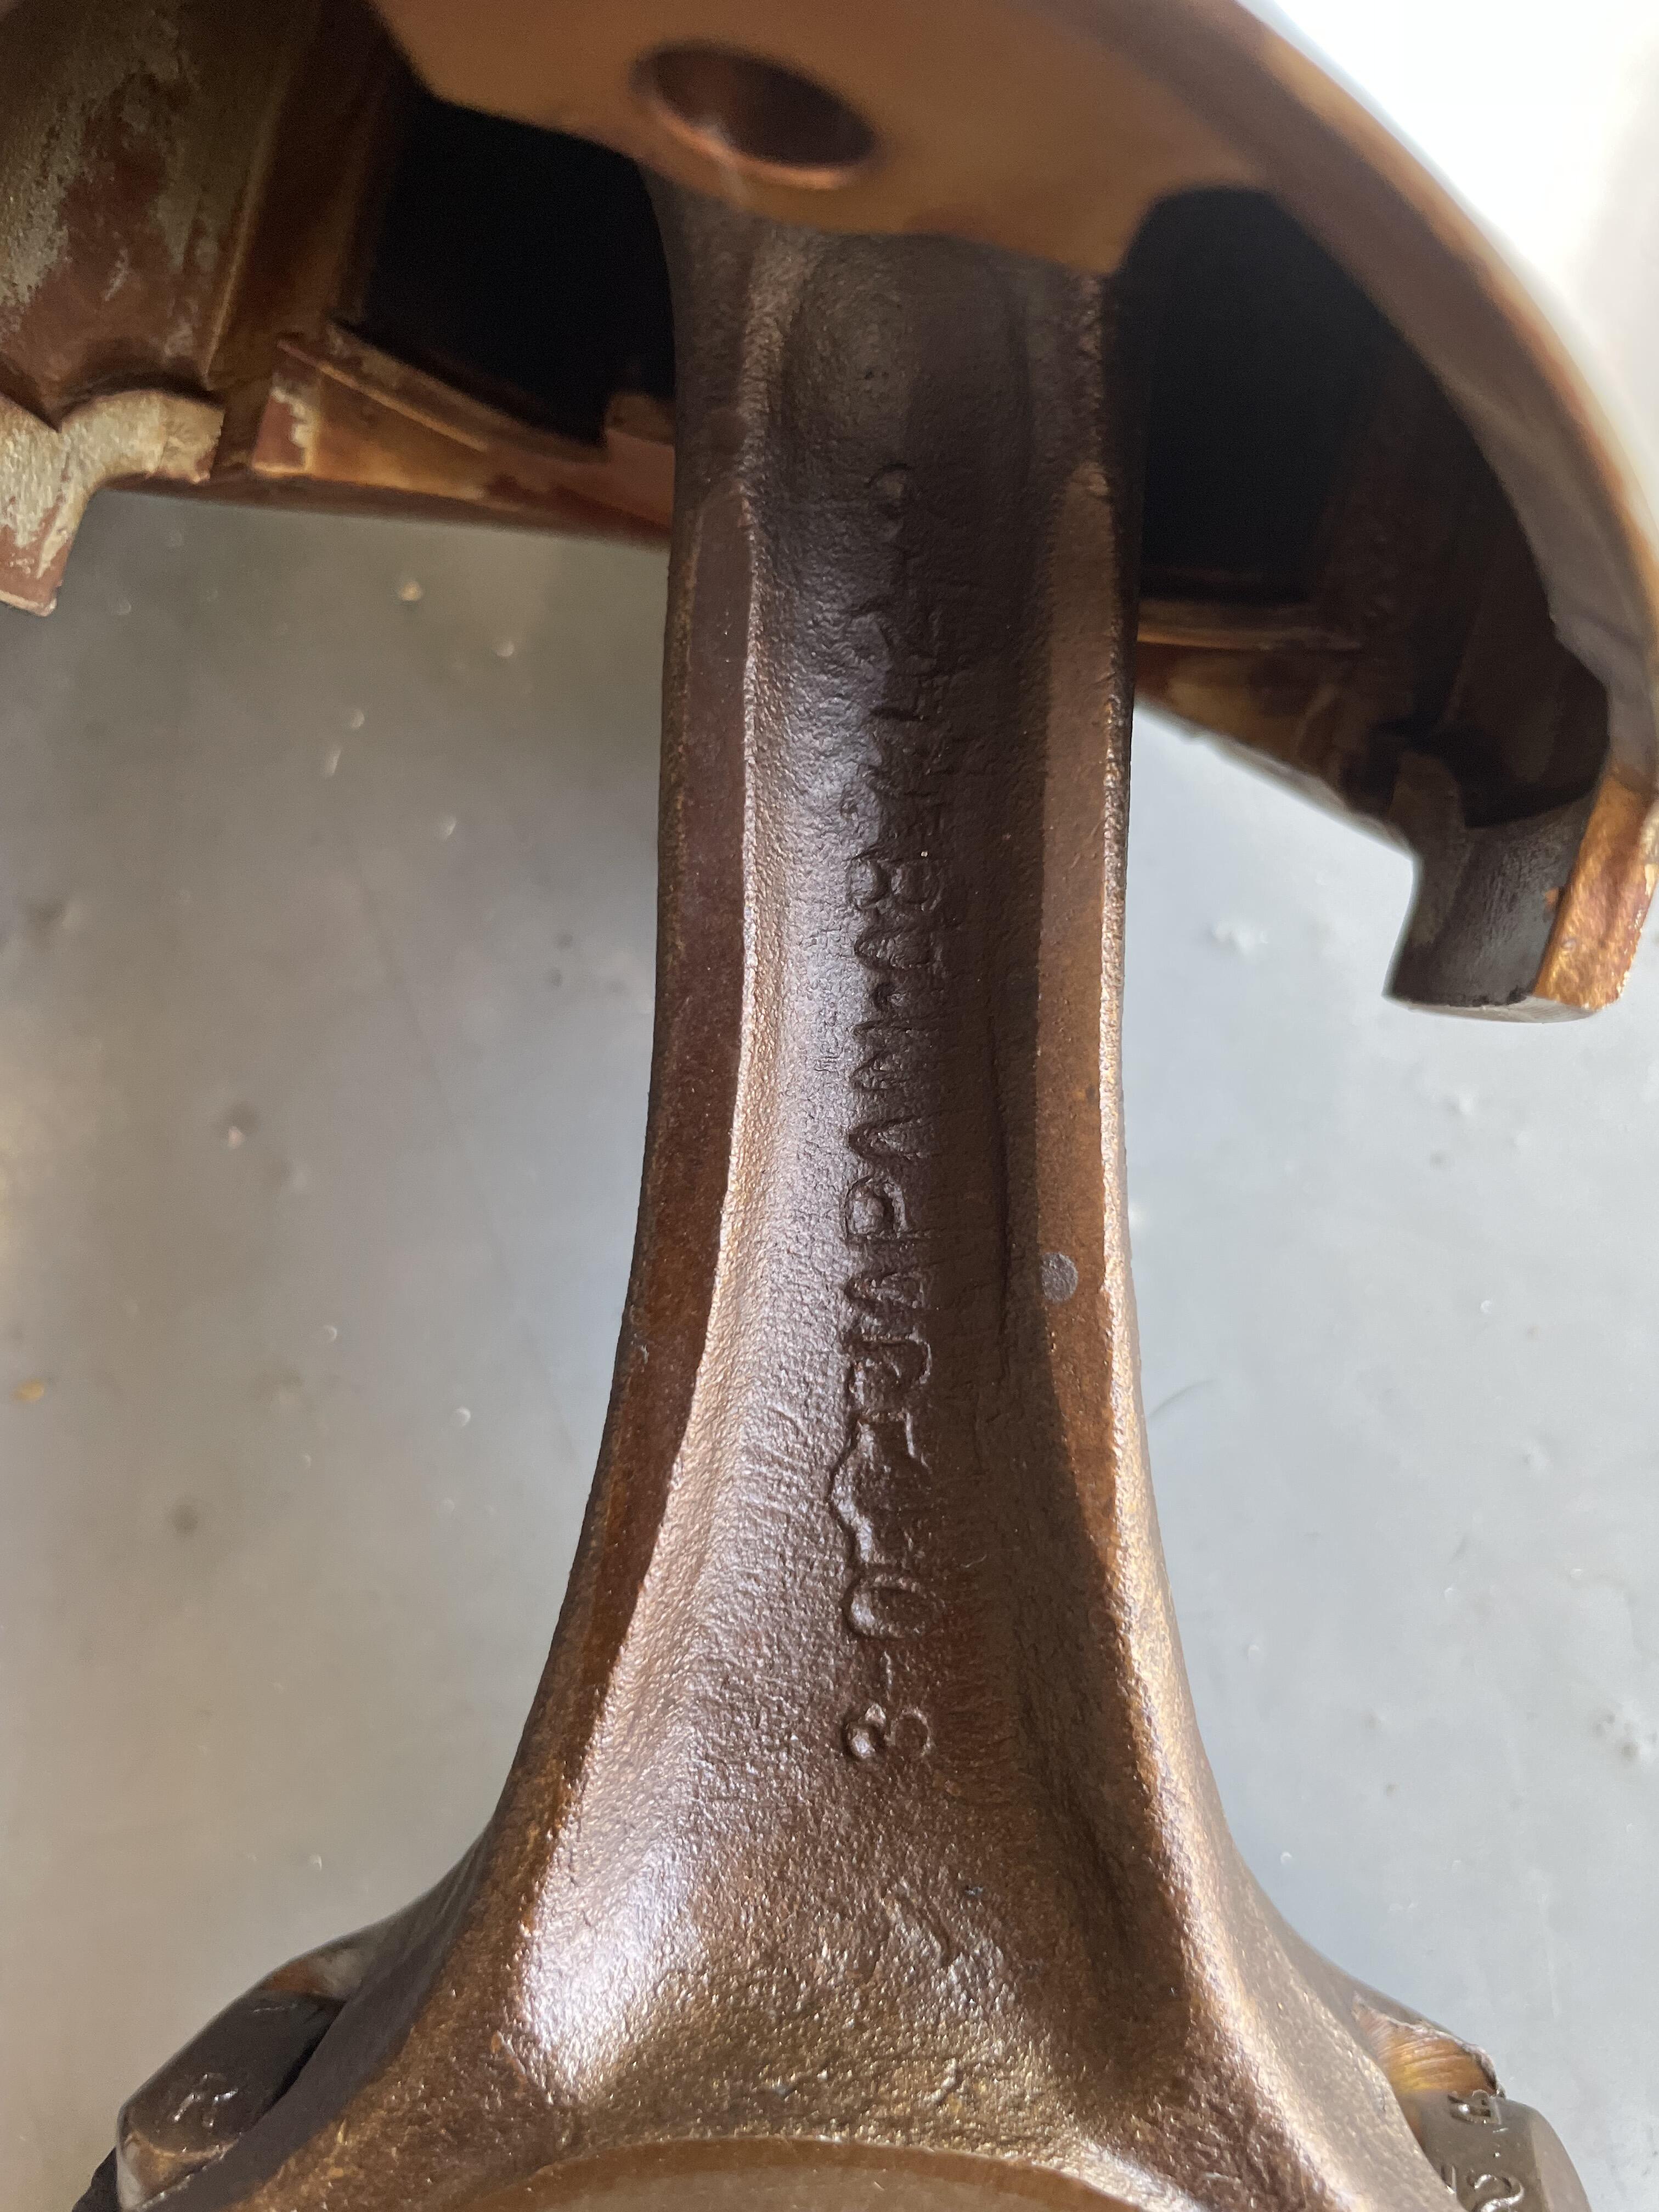
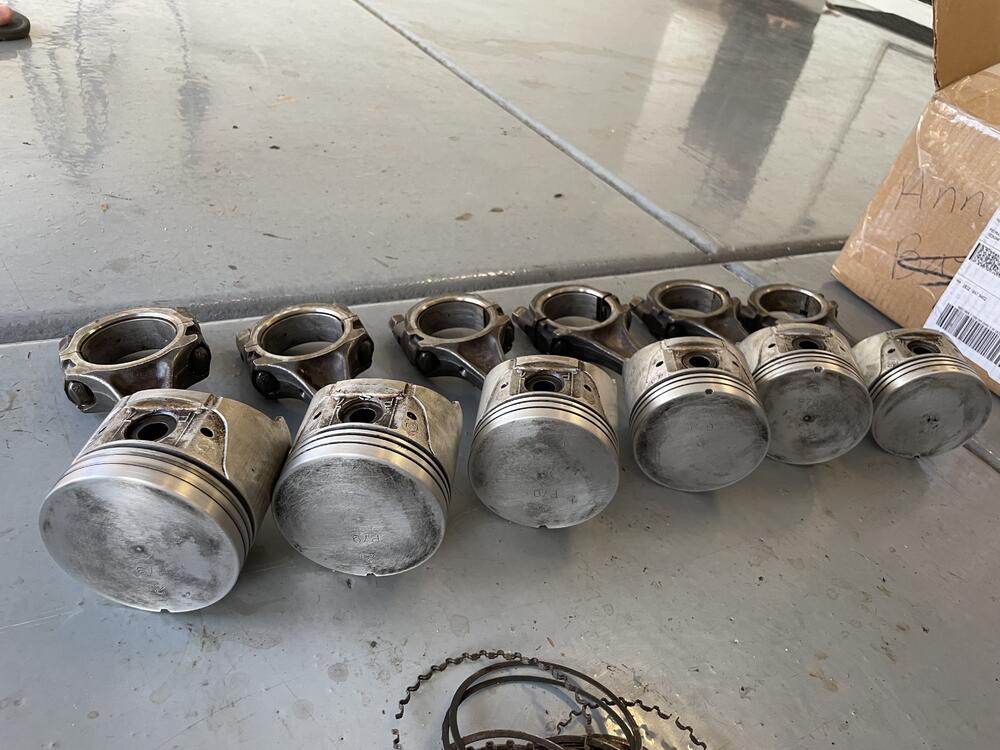
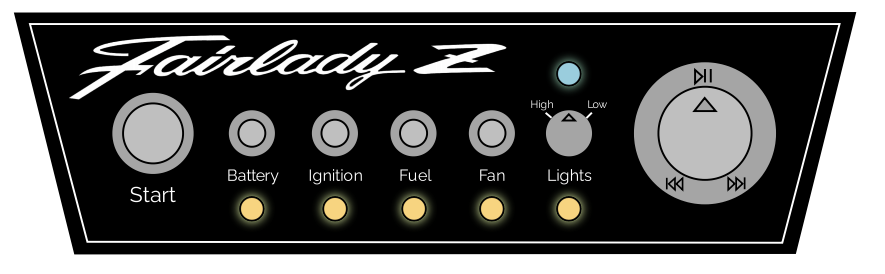
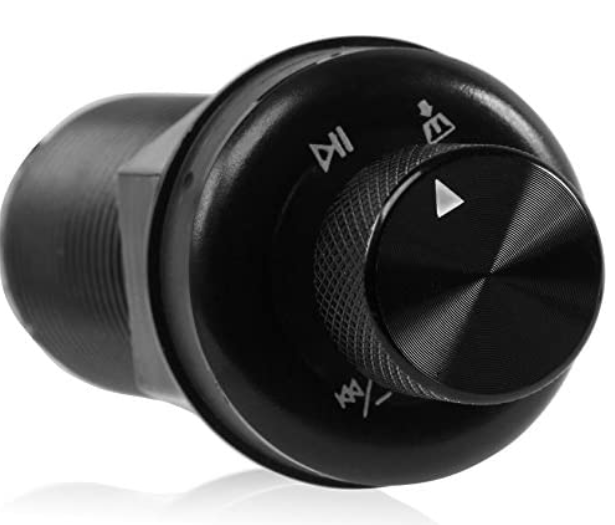
As some of you have seen, I made the splurge to get flat top pistons. One too many margs and a quick look on eBay had a full set with con rods for $150. I'll take that! They showed up yesterday and look great compared to what is coming out of this car. No pitting at all and way cleaner. I dont think they were hot tanked either since I was able to get a nice amount of crud out from the ringlands. I cleaned up with a scotch pad to get most of the carbon deposit off. Side by side of the Flat Top (Left) vs the Dished (Right). I noticed there are different markings on the con rods. Is one better than the other? I did some reading and see they are interchangeable but no real confirmation on strength. I'll probably just use the flat top rods as the wrist pins feel smoother and less work 😄 Other updates include fixing my wiring diagram for the relays and switches to run a power switch and then starting my designs for the switch panel. My first draft below would be could out of aluminum, powder coated black, then either laser cut or decals for the lettering and design. I am not too sure on if I want toggle switches or push button switches yet. The start button will definitely be a momentary push button. Then the battery, I will likely use a locking toggle (if I go with all toggles). I dont want to accidentally hit this while changing my radio 😄 a push button wont have that high of a risk of an accidental press. Ign, Fuel, and Fans can all easily be a toggle or push. Lights will be a dual pole ON-OFF-ON toggle with the other option being a rotary selector that is also ON-OFF-ON depending if you turn left or right. Lastly, the radio is a bluetooth controller. No screen because I will always use my phone (sorry analog music listeners!). It allows for everything I need, volume, next, back, play, pause, and an audio jack if I want. It does not have a built in amp so I will go with a small unit behind the dash or seats to provide power. Simple and I think it will blend in better than a modern day head unit. I'll order up a handful of toggles and push button switches in various sizes. I mocked this up to scale, but it is always different seeing it in person. My main worry with toggles is the 'toggle' piece might get too cumbersome in the tight area. We'll see...


-
I was about to complain that doing a head gasket would need me to retime the engine and all that jazz. But I just realized the cam gear comes off regardless!
-
Fair enough…it’ll be the @Captain Obvious relay, because obviously I should be using one! It’s not like it’s hard to add another relay when there’s already 5 or 6 new ones going in. I’ve been reading up on your posts for the heater core swap and added that to my list. I guarantee mine is either leaky or old. I don’t even want to test running coolant through it initially when the engine goes in. I’ll do a block off for the time being. Debating swapping the whole unit for the vintage air setup. That huge arse vacuum bottle in the engine bay haunts me everyday
-
I'll be sure to check them out! Thanks for the tip. My question for this is, doesnt it defeat the purpose of running this high compression combo to use a thicker head gasket? If running a larger cam down the line that is... I'll take a look thanks! Better never sell that head now 😉
-
Welcome to AZ @Jeff G 78! Hopefully we'll start to see some cooler weather. All of the rain is nice this year. I dont have A/C in mine, so it wont see the crazy summer temps...unless I go crazy and want a sauna day 😄
-
Totally. Some of the forum posts were 2000-2002 era. I didnt see many recent posts about it. I think I'll play it safe on the timing and worry about making a fine tuned timing table in the megasquirt software when i convert. I didnt want to miss out on adding this now when the engine is out. Cam is easy down the line 🙂
-
I searched for a bit last night on flat top pistons in combination with the N42 head on my L28, but came up with some conflicting information. Some say this will detonate due to the increased compression and design of the n42 head. You can remedy this by running a larger cam and having your dynamic compression ratio reduce this. The other side of the story is that they run this combination with excellent results. Perhaps these folks dont run their cars nearly as hard or dont notice the detonation? I will unfortunately be running a stock cam until I go aftermarket efi (leaning mircosquirt). I do plan to run premium fuel (well...Arizona 91oct) to help offset detonation. My head has been machined 8 thousands and I do have a set of MSA headers. Will I be able to get by with this combination for the time being? @Captain Obviouscame to conclusion that the compression ratio with flat tops and N42 will yield 10.25, but I have seen estimates as low as high 9s and as high as mid 10s. This all started because I scored a set of standard size flatops with con rods last night for $150!
-
That’s perfect information. Thank you @Captain Obvious I’ll be sure to grab a switch rated to at least 10amp.
-
The 12 pin connector for the rear sub harness will be inside the cabin, I just grouped these into a sub harness as it will be the only wires headed to the hatch area. The fuel pump and sender is the 4 pin connector which is what will exit the cabin. The gauge next to the pump is actually the sending unit that gives the signal to the gauge. I will rename 🙂