Richie G
Free Member
-
Joined
-
Last visited
Everything posted by Richie G
-
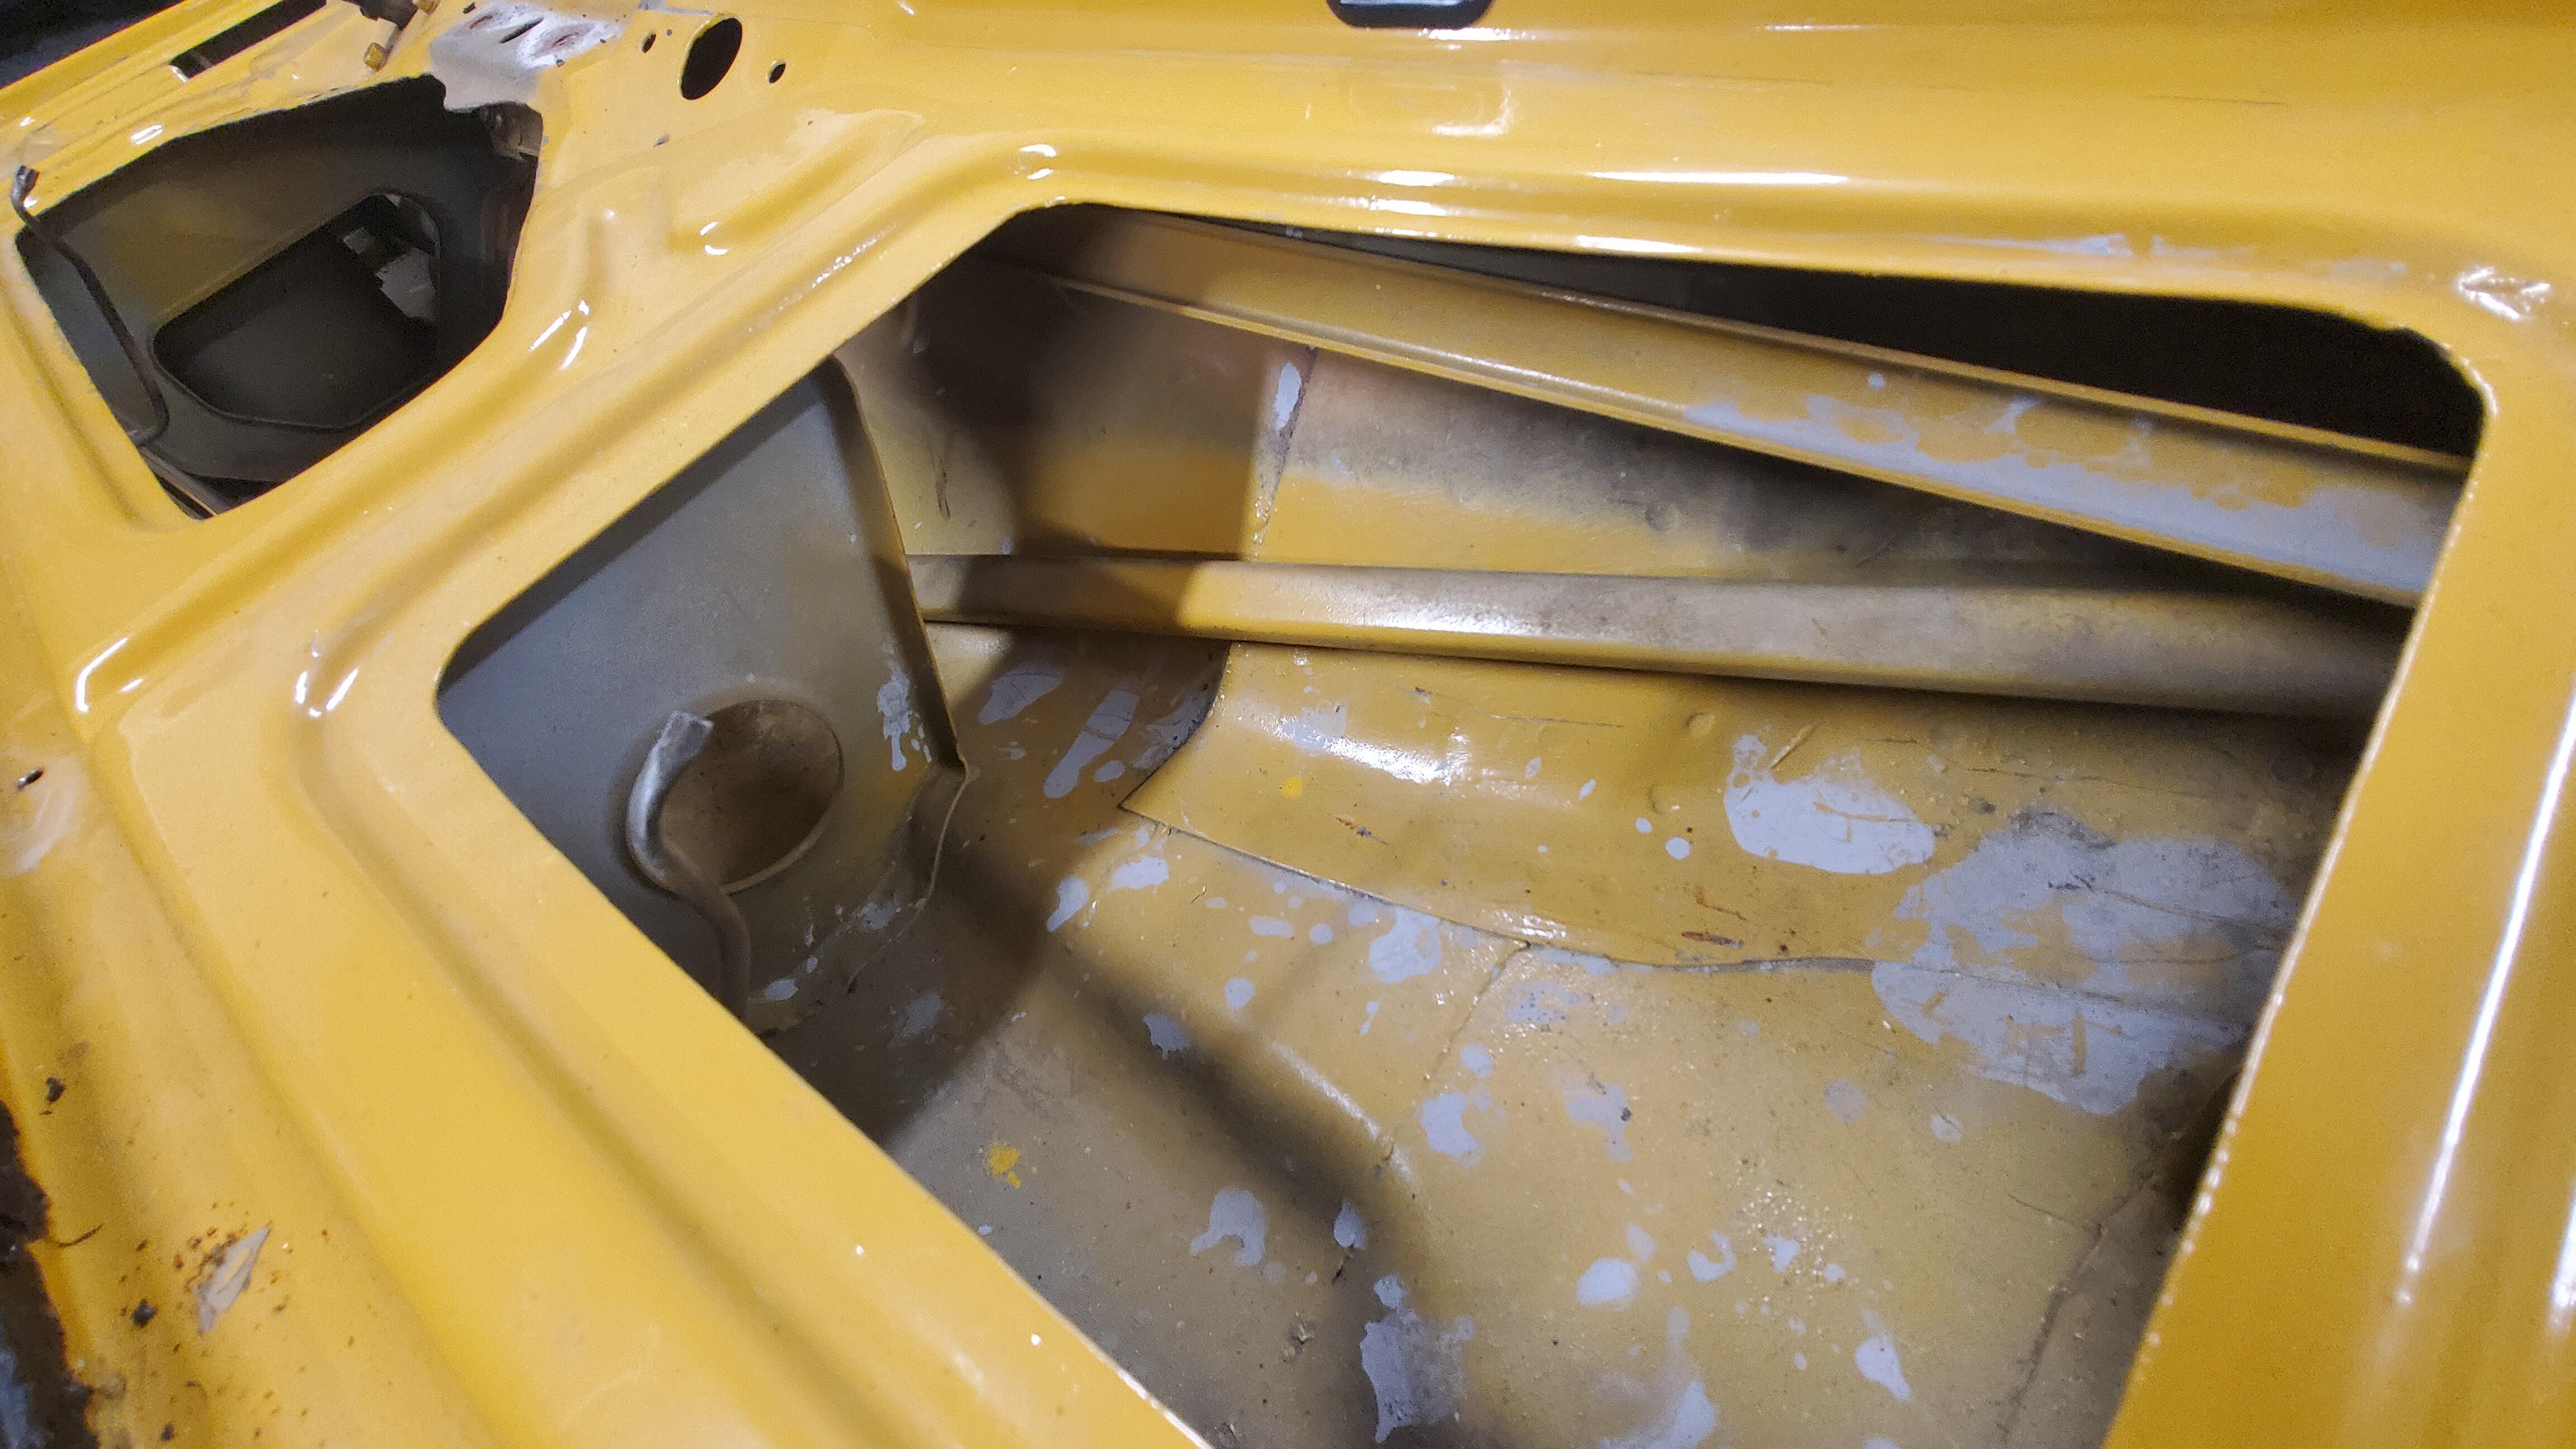
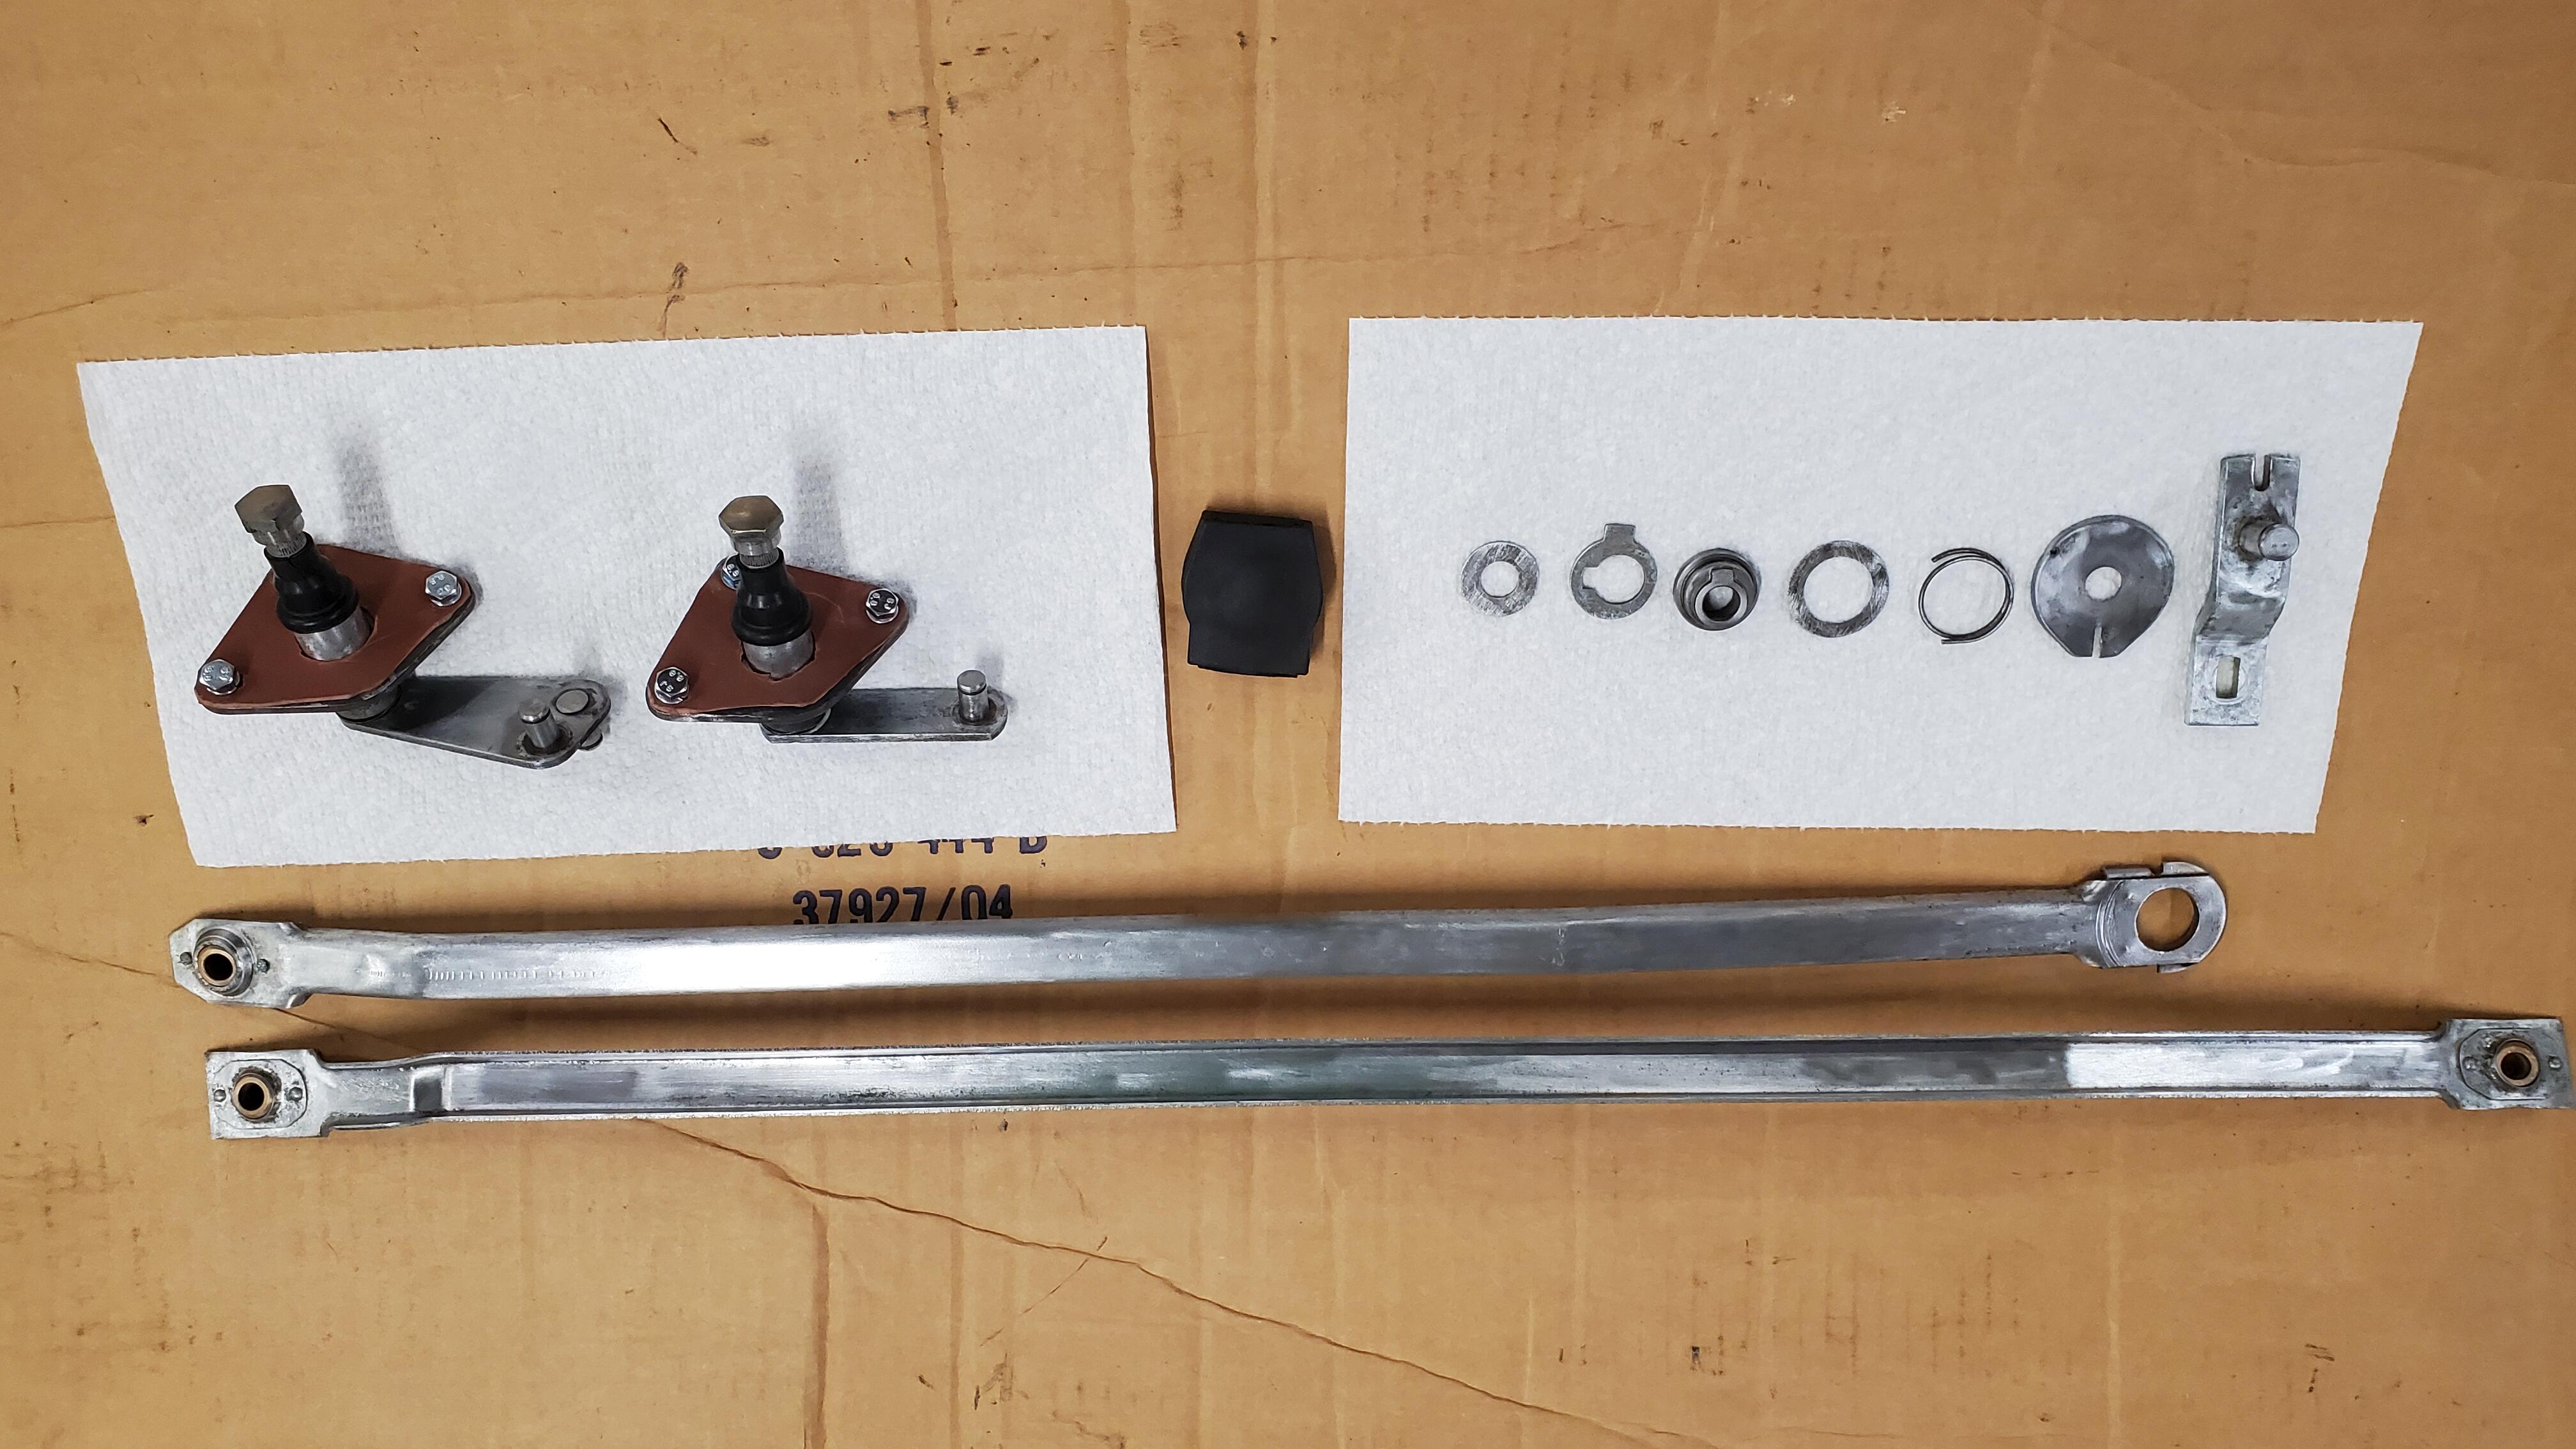
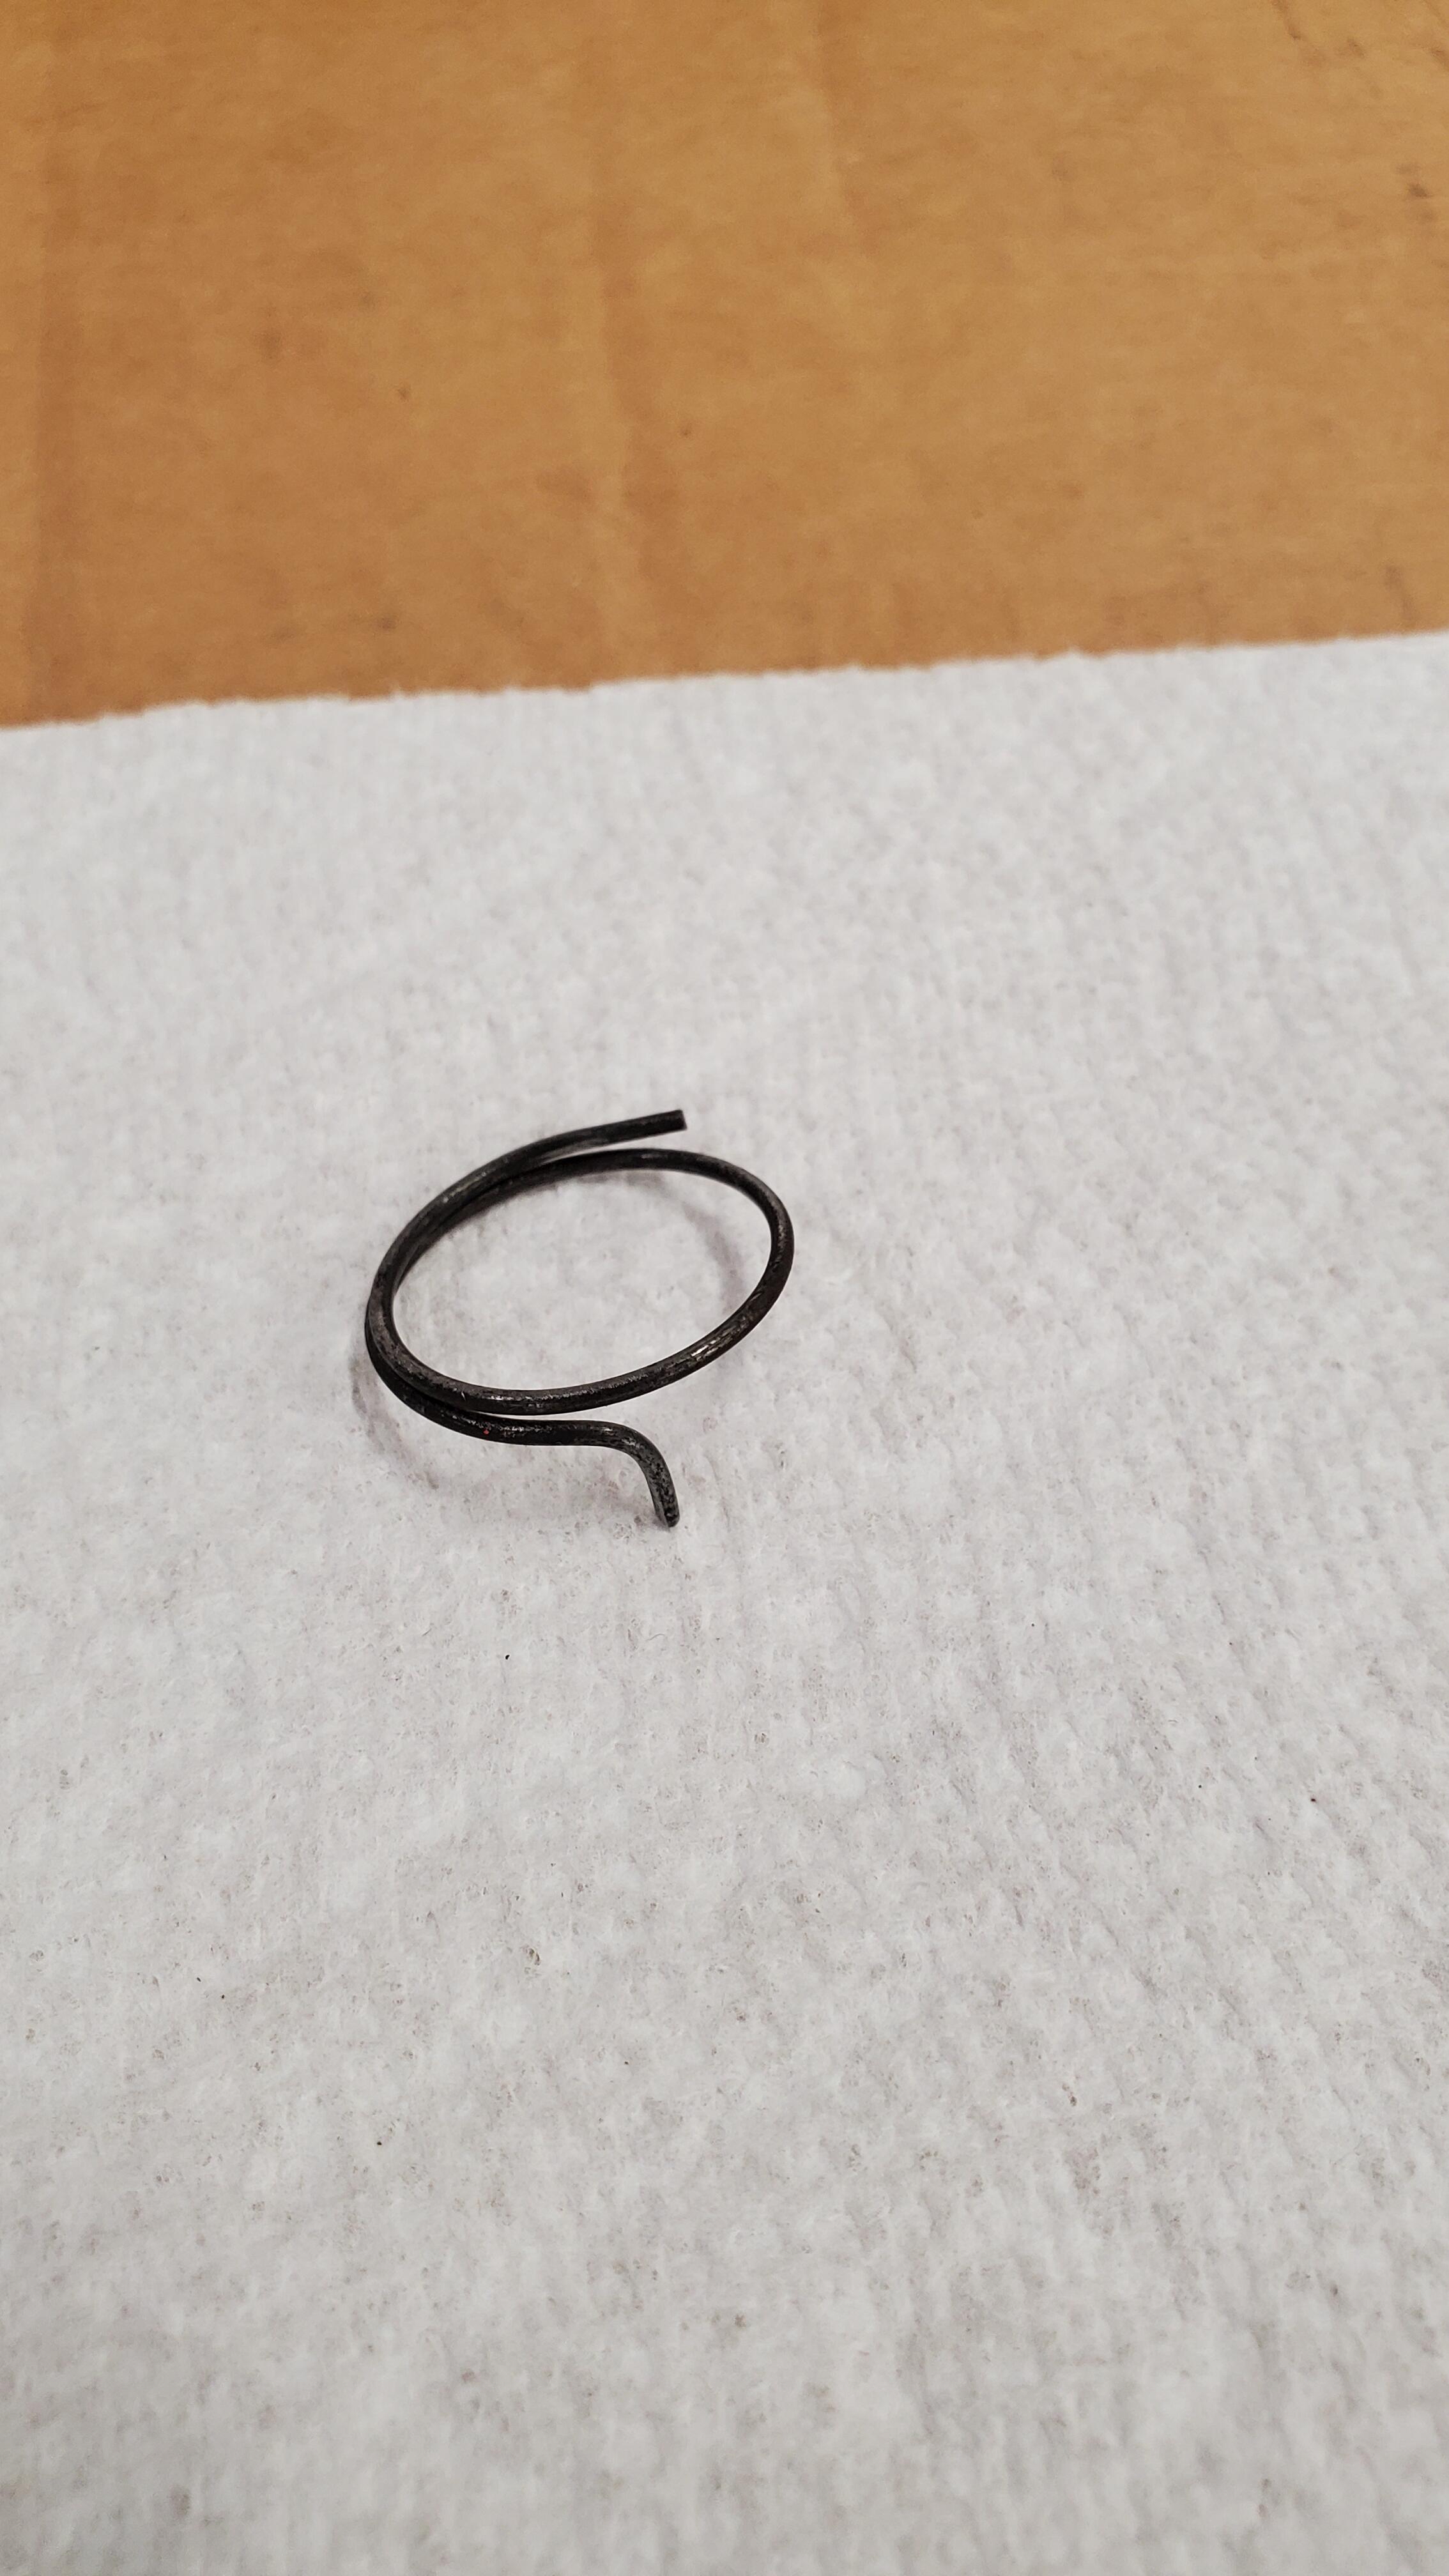
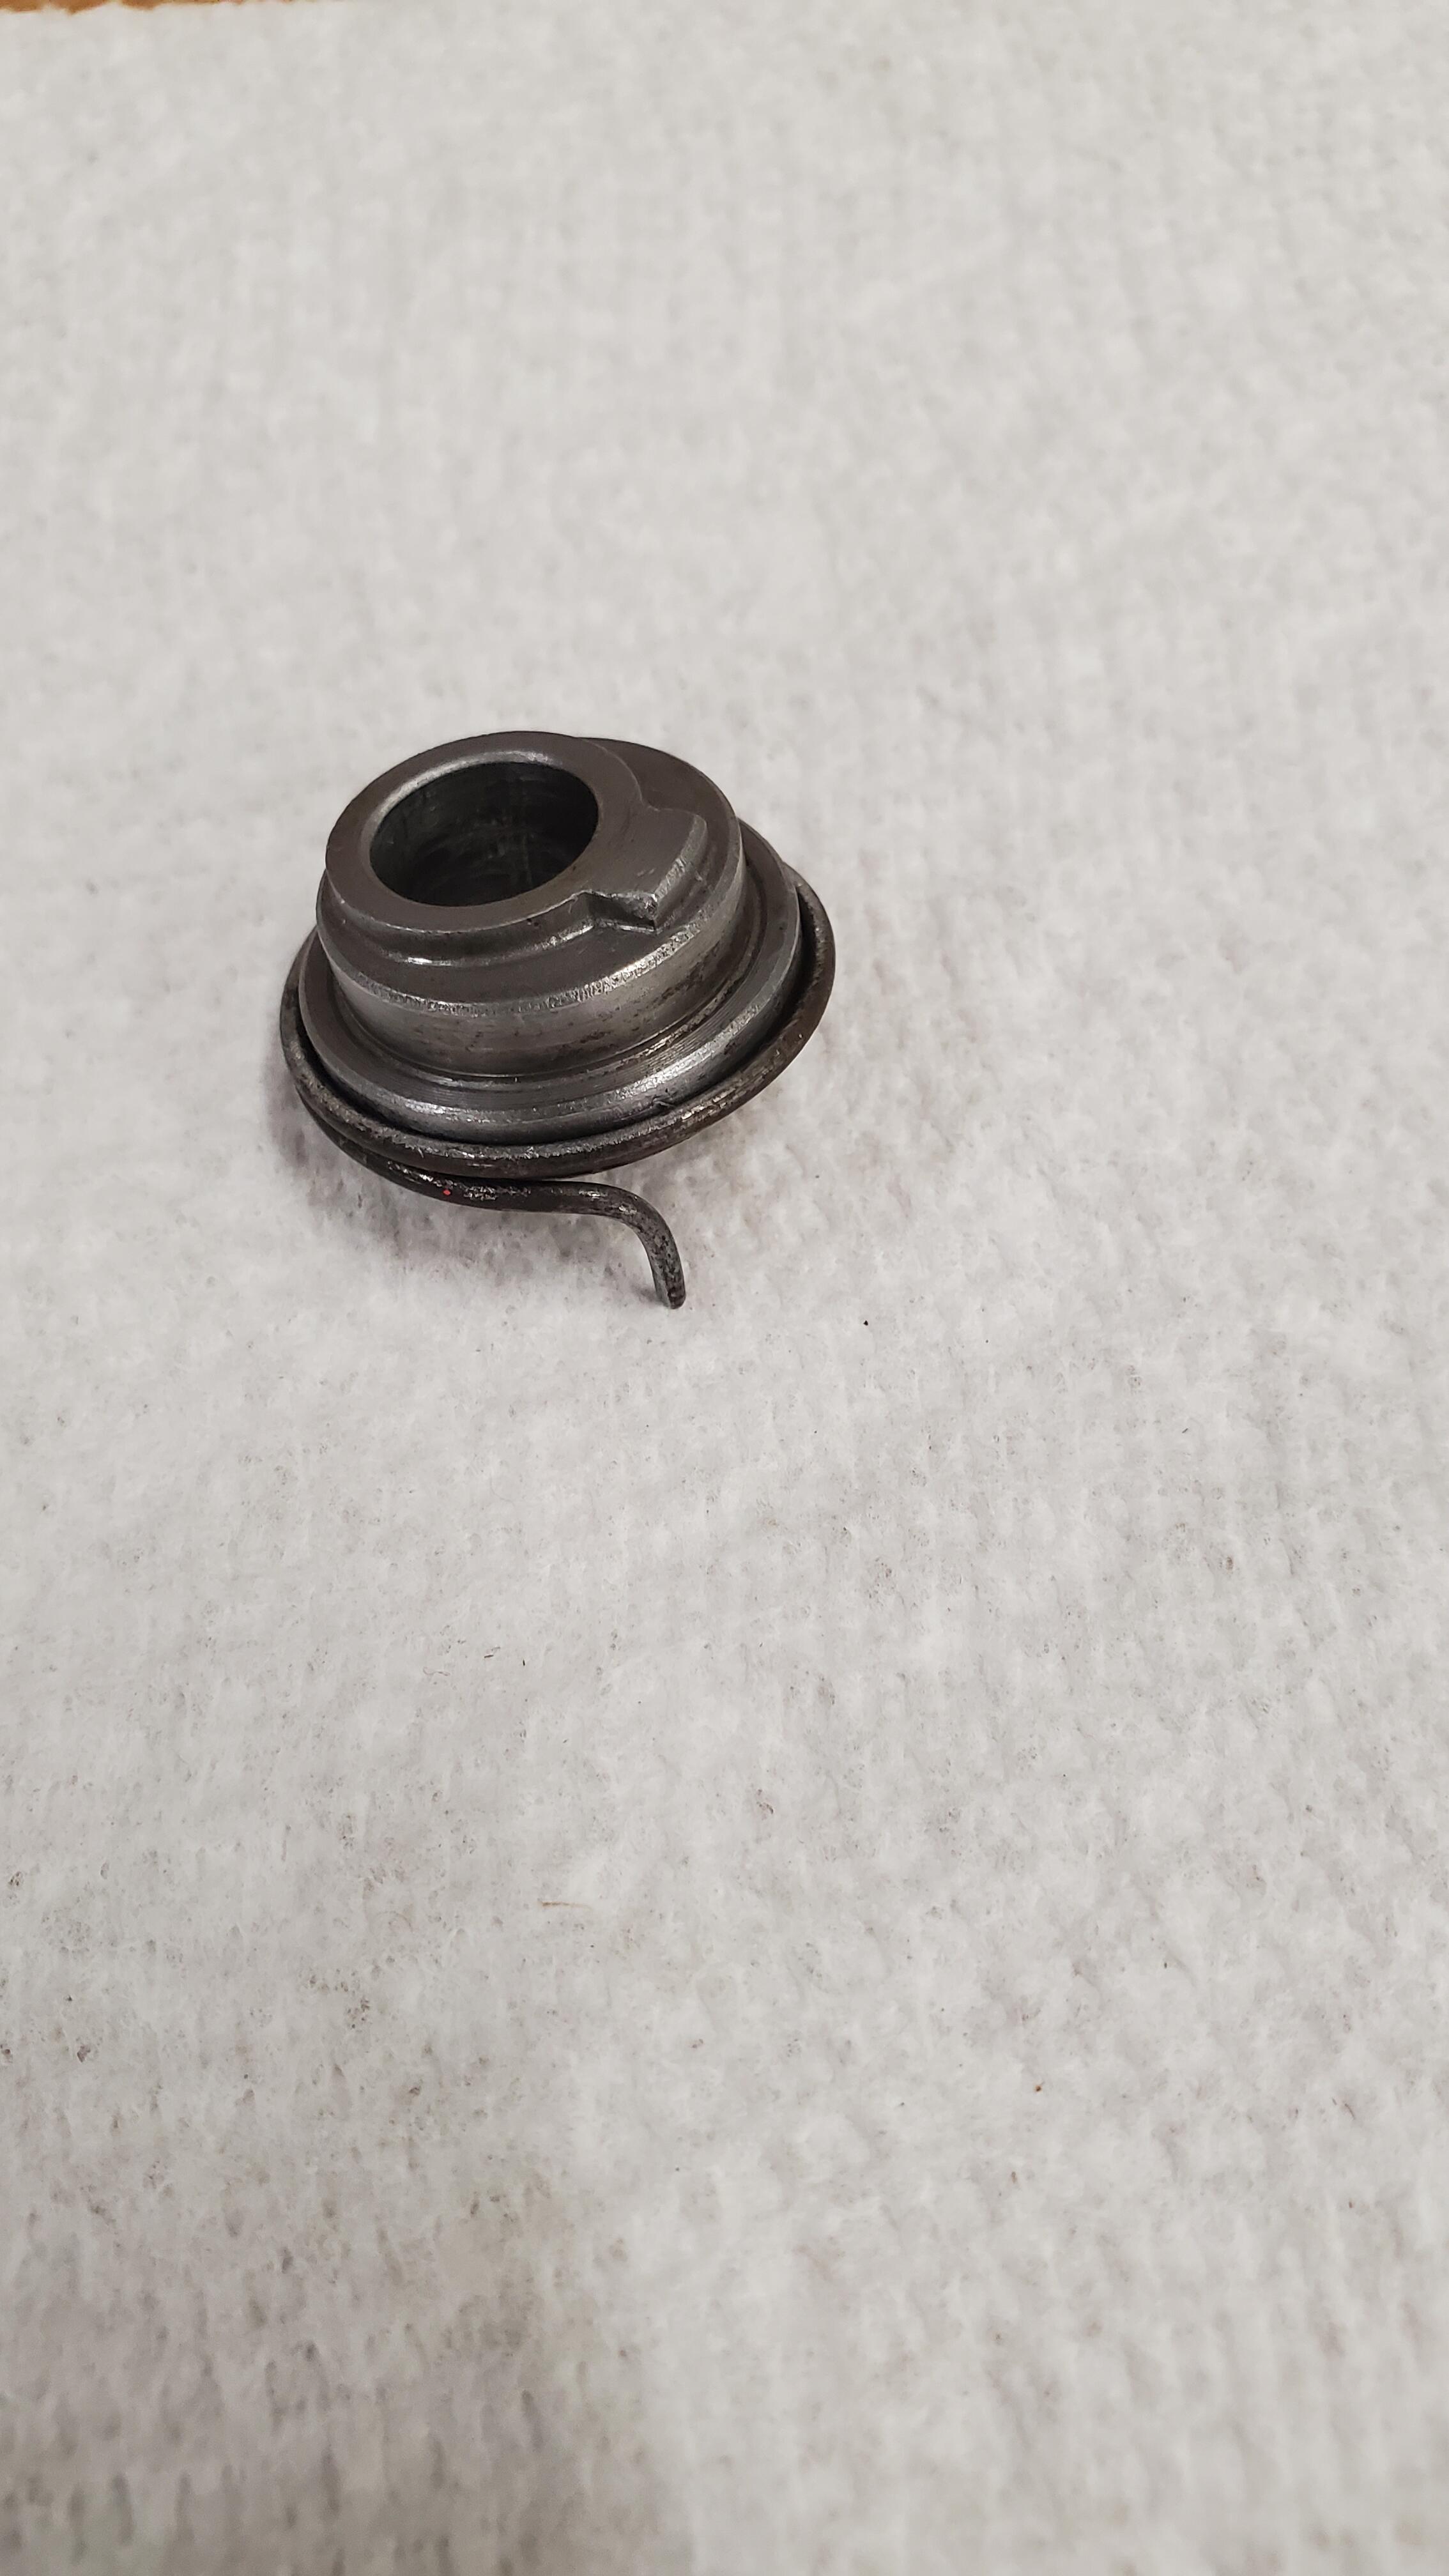
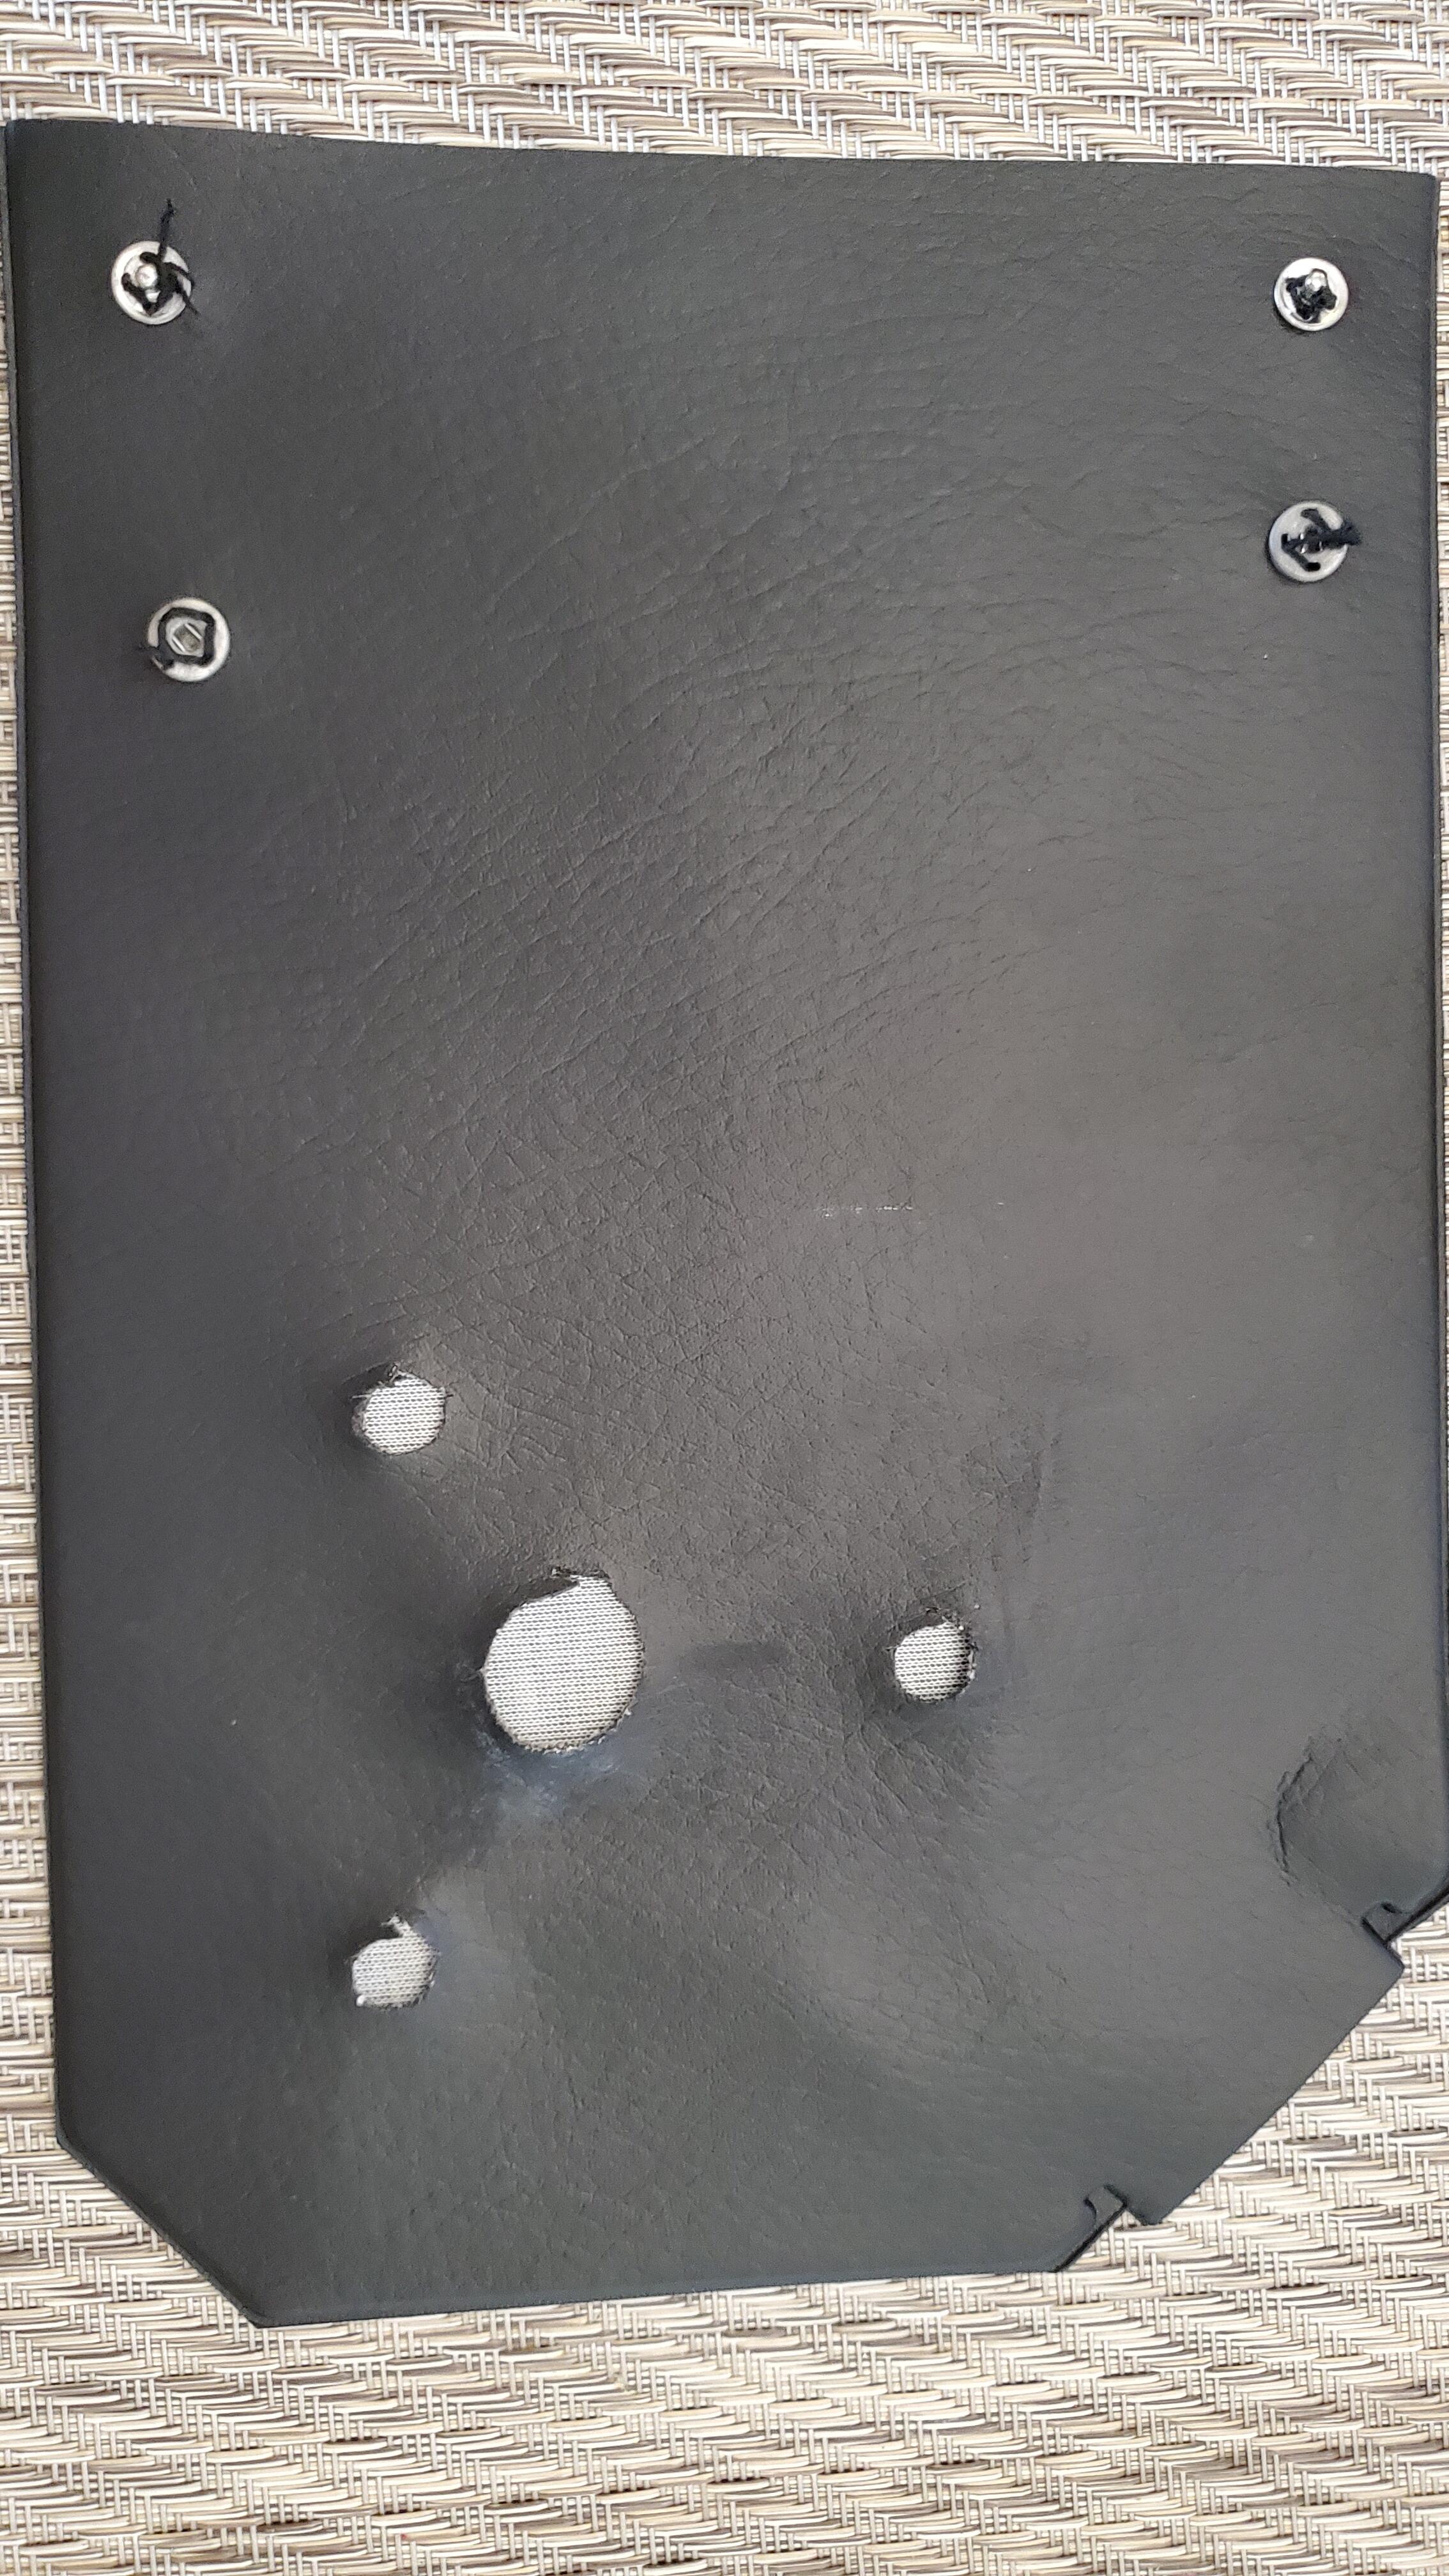
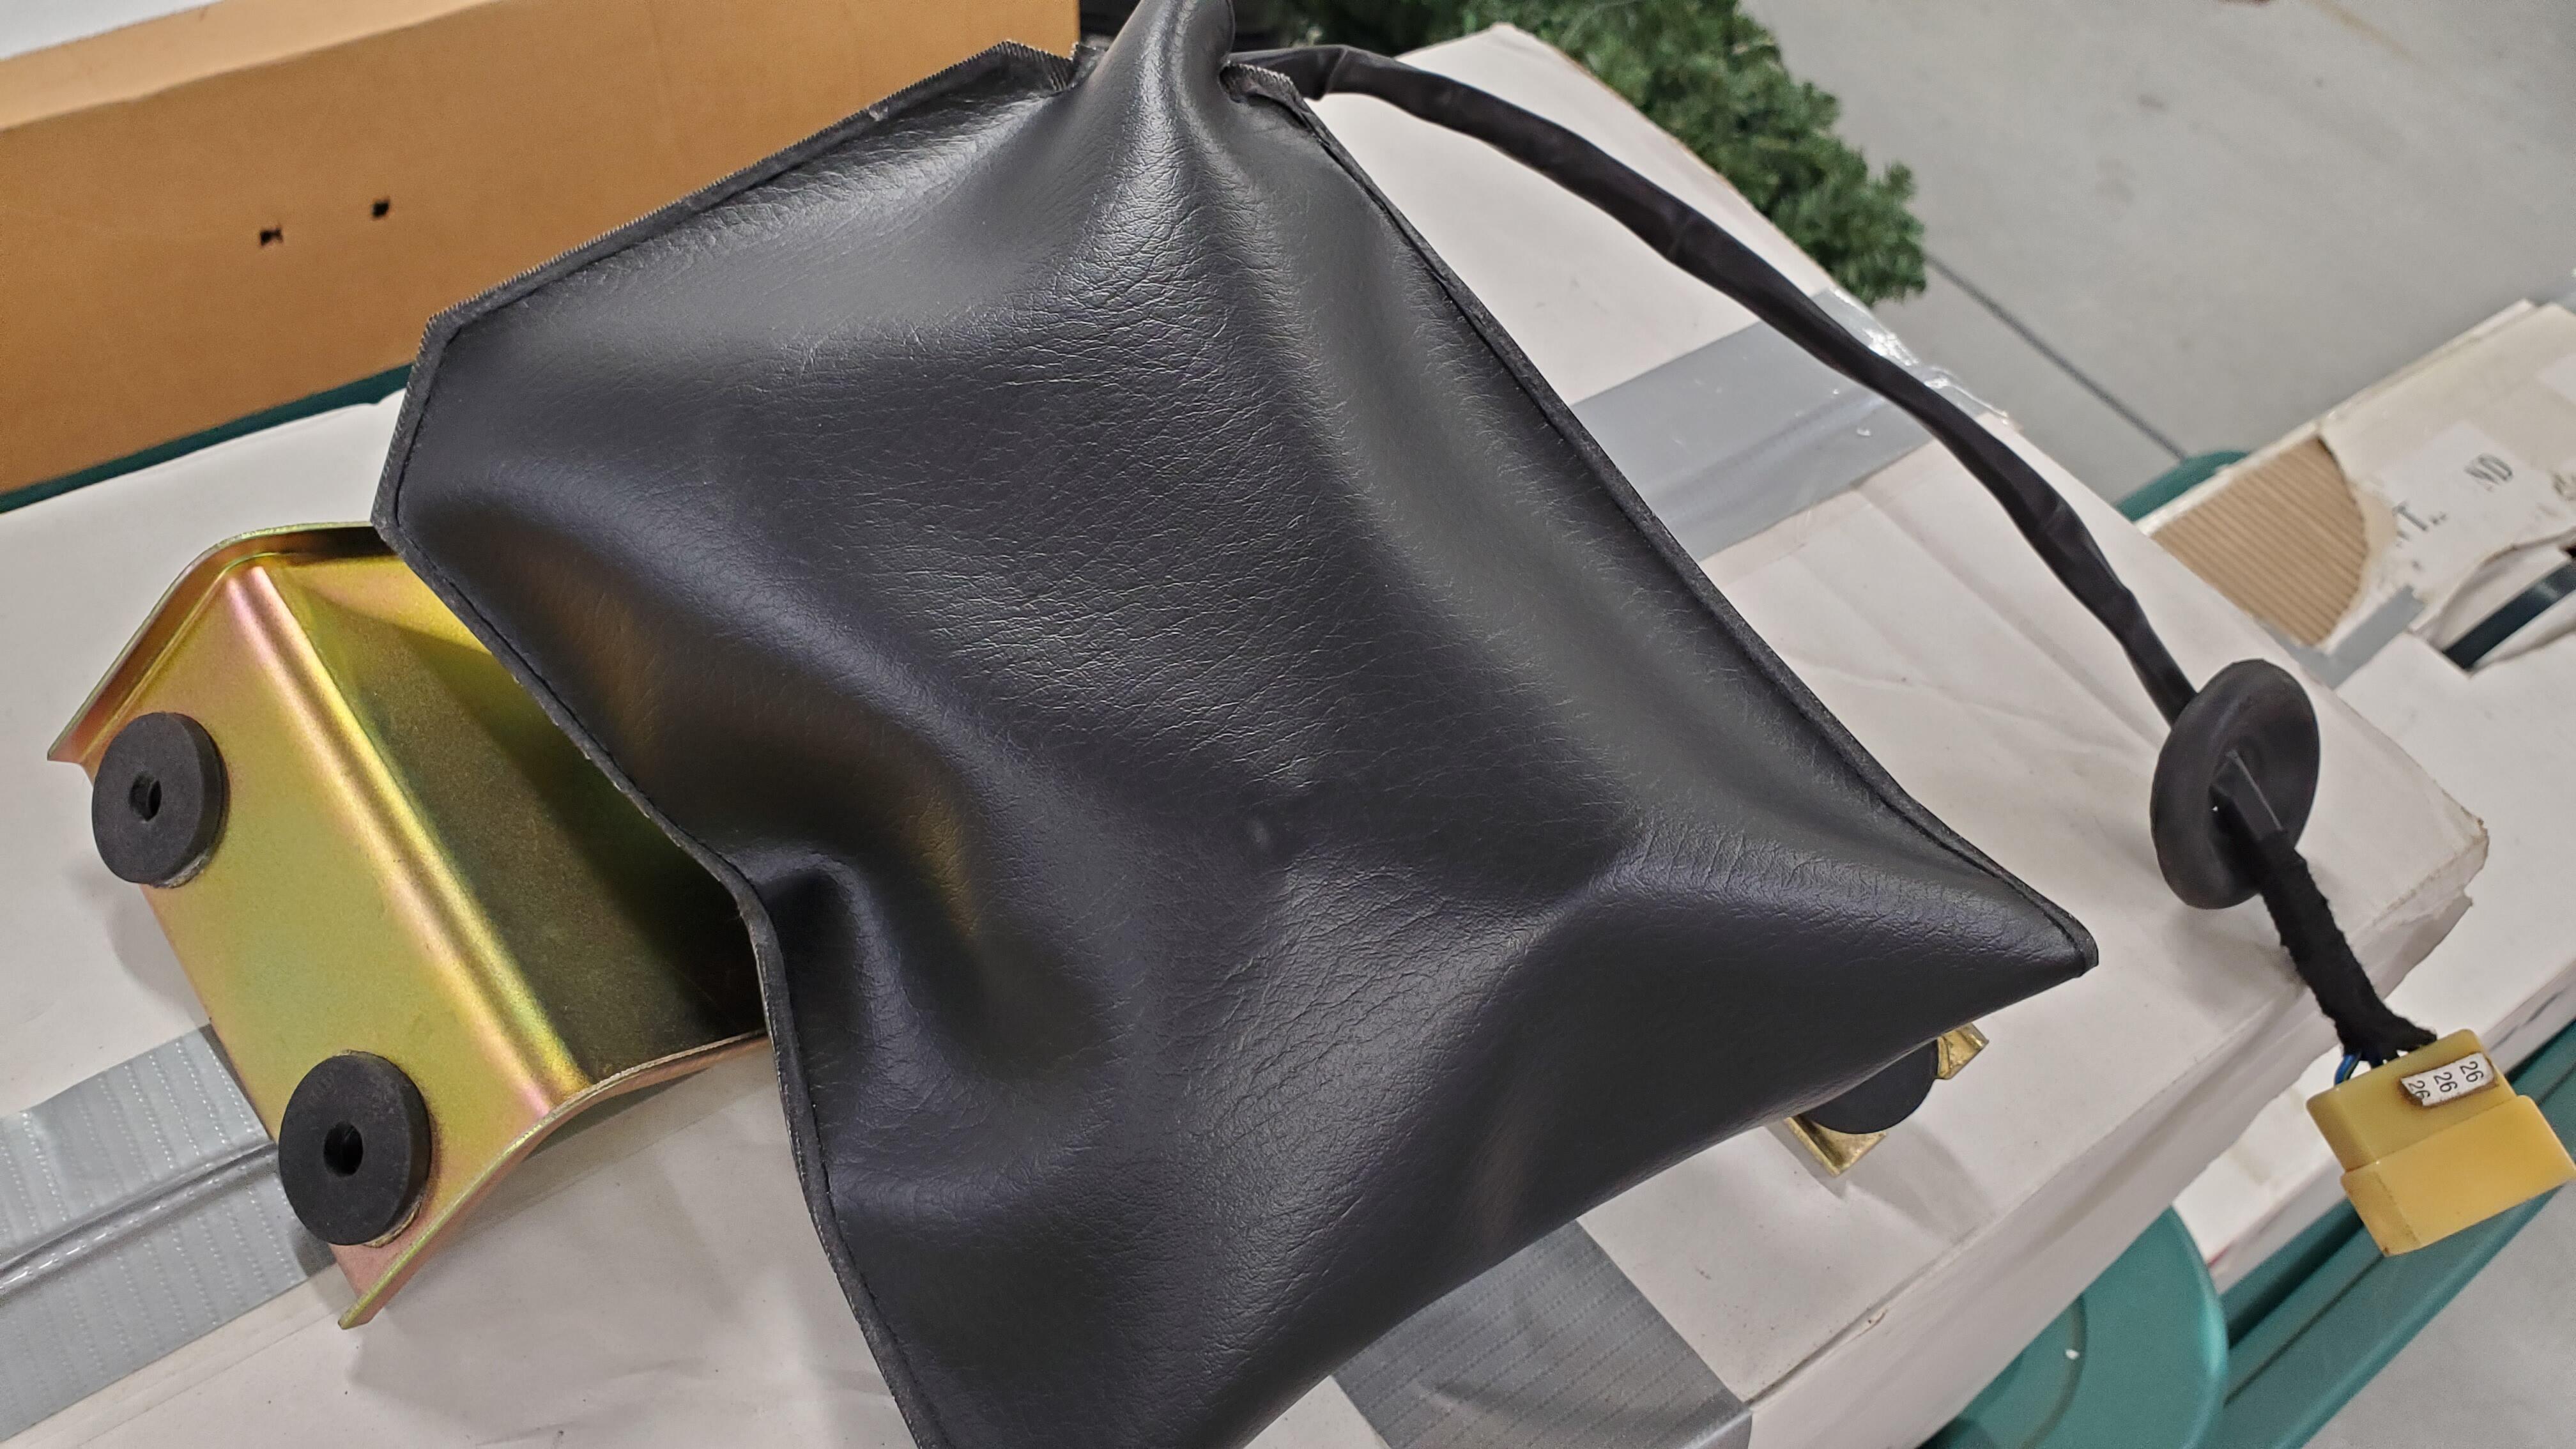
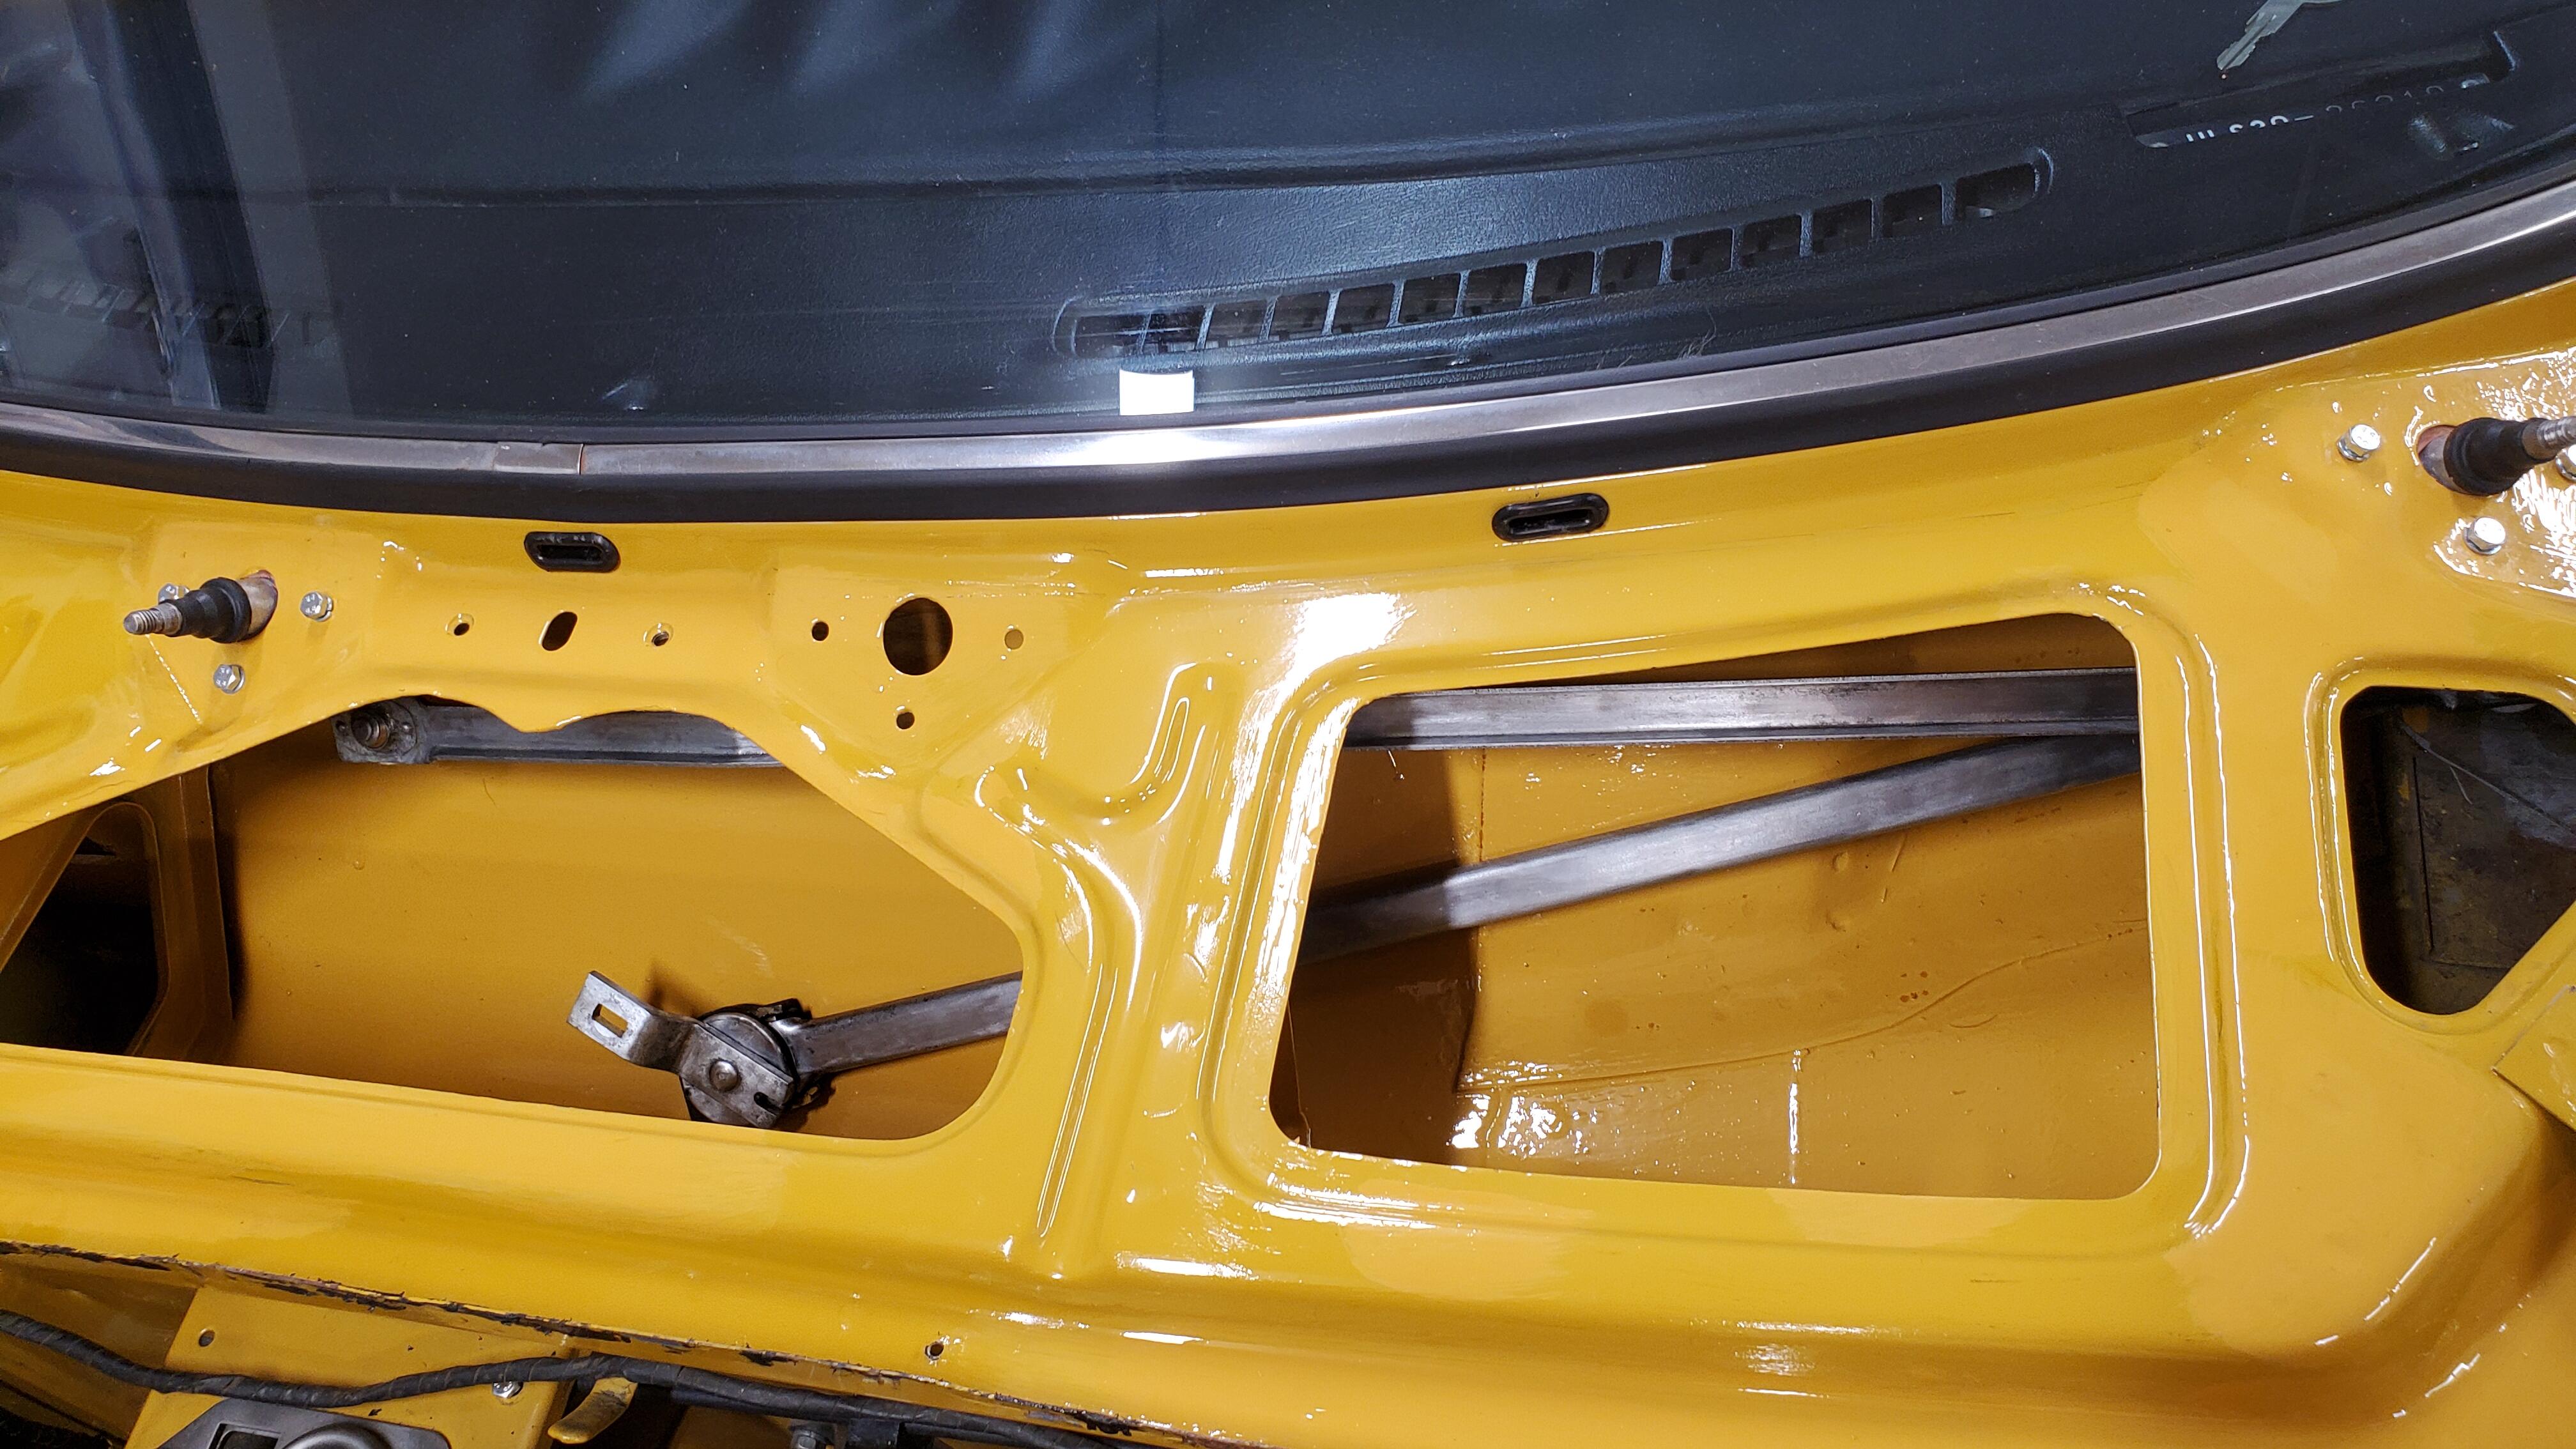
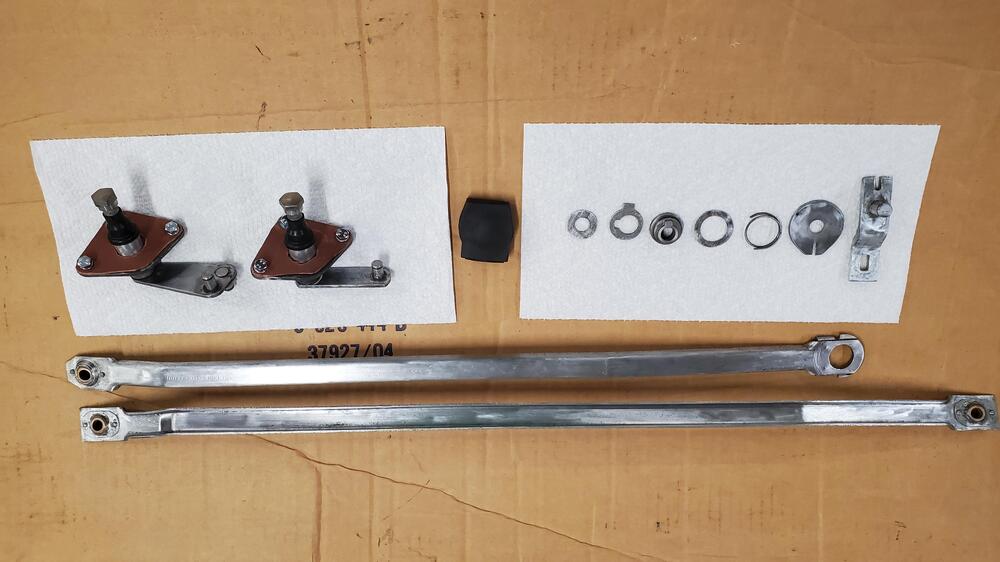
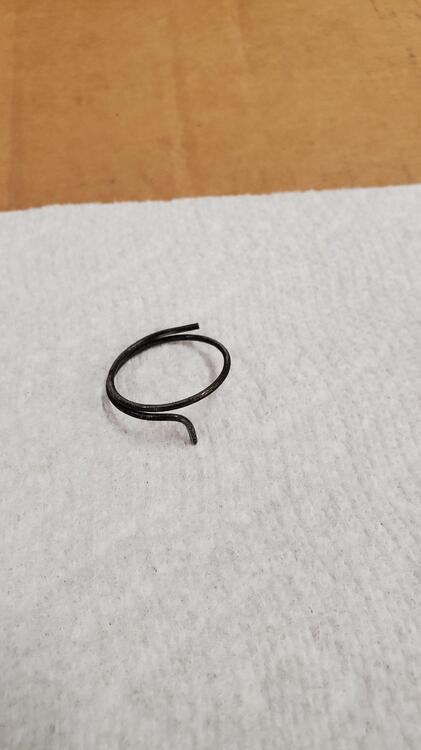
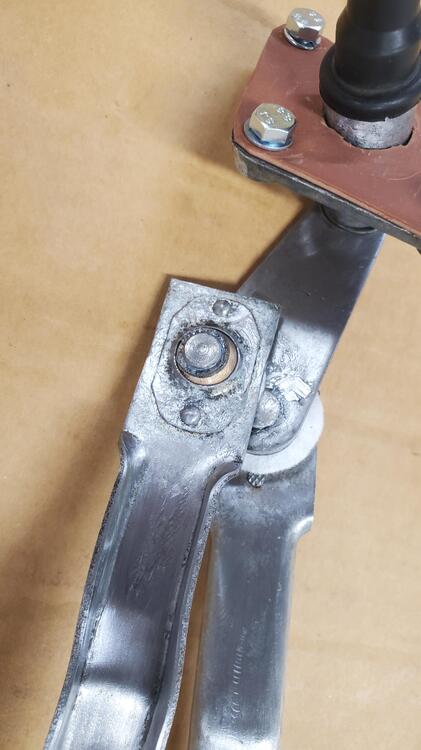
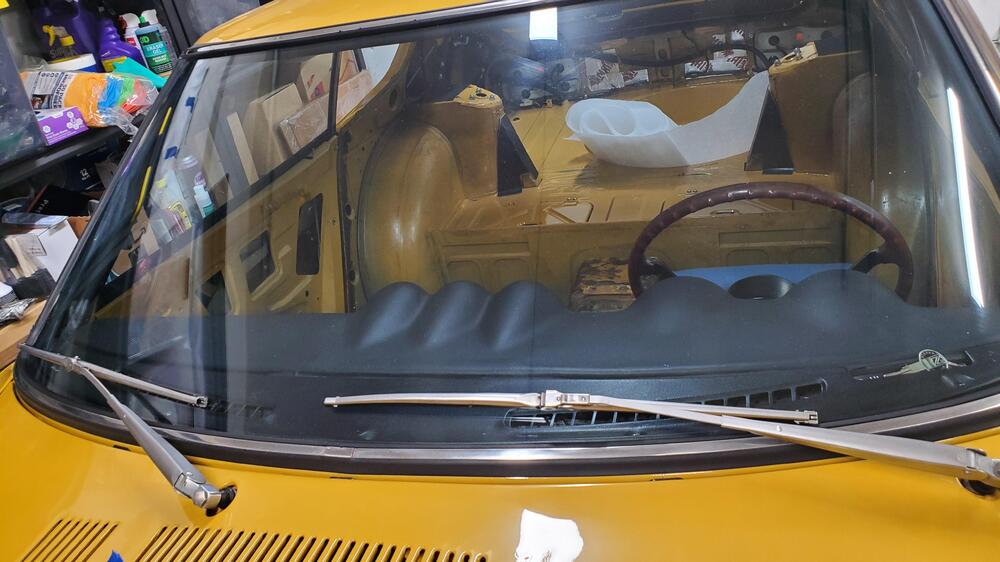
Wanted to come back and close this one out with what i found and then all the work it "inspired" me to do 🙂 @SteveJ I want to really thank you for all the extra effort you put in to guide me through this. What i ended up finding out was that the continuity was good on all wires from switch to firewall adapter so i looked into the motor itself. Had an opportunity to pickup a refurb original at a decent cost and that did the trick. So this started with removing the cowl and man what a mess in there. the PO in their attempt to paint must have just painted this car with the cowl in place because as you can see here he painted over the arms and the motor and bag (no pic). So lazy! So i went about tearing it all down, degreasing and striping the rust and paint, and ended up like this I had to make those rubber gaskets and sourced some new bolts but everything else came out real nice. You can see the original spring is still there but it was broken like pretty much every other one in the world. I found some pics from hybridZ i think that showed what it was supposed to look like and thought I might find a replacement at home depot to fiddle with. Well that didn't work out so well because if you look at one of these the wind is reversed from pretty much any generic compression or torsion spring i could have sourced. So i ended up recompressing it and bending the tip up and it came out pretty nice you'll notice its a little less than half a turn shy of complete but in the end it works great. The new vinyl bag finally arrived from Banzai (Distinctive Industries) but I noticed there was no way to really close the end of it unless you glued it or maybe sewn it over the motor. Didn't want to do that so i sewed on some simple buttons that can snap it shut to keep the bag nice and tucked under the motor Oh and one other thing I replaced was those felt washers. I have no idea their purpose but i put some back anyway lol I ended up repainting as best i could the interior of the cowl and addressed any surface rust that was present around the cowl frame and reinstalled the arms, what a freaking difference! Final product also took some time to address the cruddy old washer jets by soaking them in degreaser, then carefully threading some thin gauge wire through them to loosen the 50 years of rust, gunk and who knows what else. i now have a working hi/low set of wipers with actual washer spray hitting the windows! This refurb motor even parks perfectly but not sure if that's being aided by the spring i repaired or just getting lucky with it returning to the position it started. It does reverse the motor and end up dropping the wipers into their correct starting location no matter when you turn them off so that's what i would expect them to do. I am still waiting on replacement rubbers I've discussed in that wiper woe thread so will report back what model blade worked to add to a useable list for the next guy. again thanks to all that aided me along the way. As an aside, i did see the vast number of recommendations on the honda motor replacement but honestly for me now that the work was put in to degrease and clean up the arms, spindles, etc it works really well in both speeds. maybe some others aren't going to the extent I did and just grabbing the honda motor but in my opinion if you do it right you really don't need the upgrade unless maybe you want intermittent. This isn't a daily for me and I don't really plan on ever driving it in the rain so probably not a big deal for me as much as it might be for others.


-
Im in the same boat and just took a shot on these for a 6/71. So many of the suggestions are un-obtanium right now https://www.ebay.com/itm/296003032811 I should have mine in a few days to see if they work.
-
Thank you all for the suggestions last night I tried a little white vinegar just to see if that trick would work no go I tried a lower abrasion cleaner no go either it's like 50 years worth of hard water stain buildups or something I'll pick up some of these products over the weekend or similar to them and give it another go. It looks very similar to hard water stains you might see on a clear shower door that just never come out. I might try and find CLR or one of those type of products as well.
-
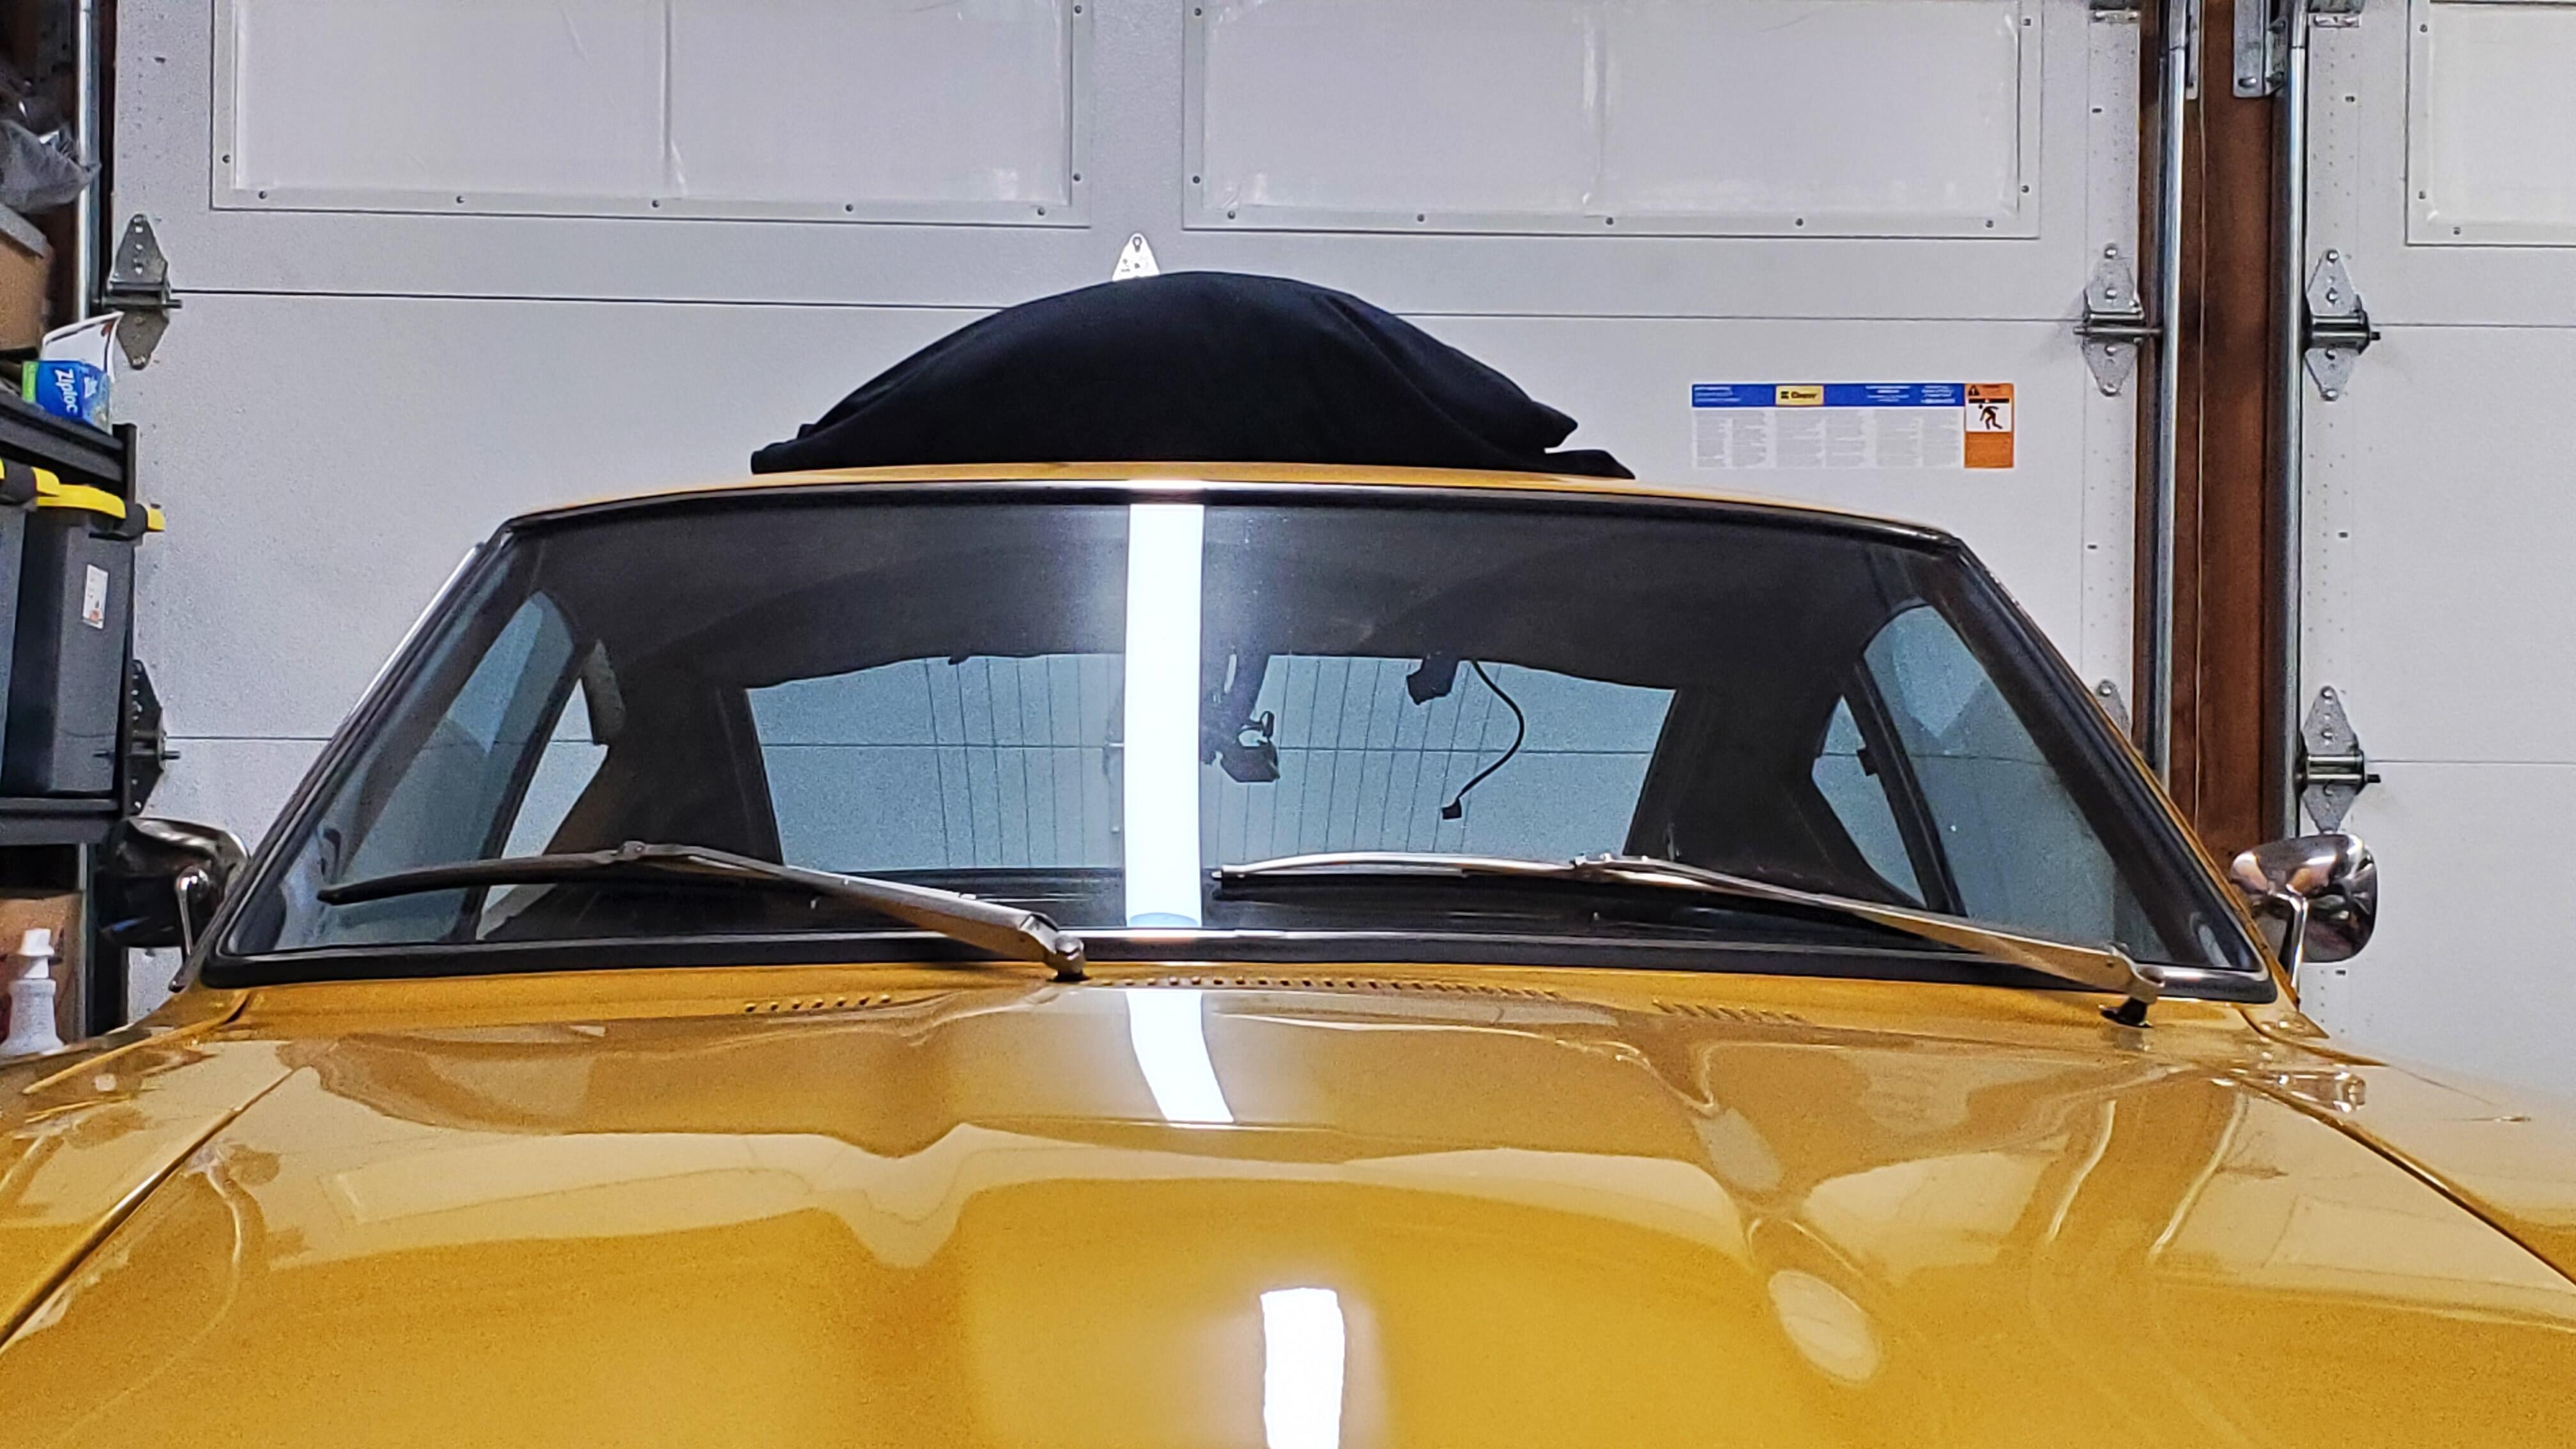
Just checked and a couple of them yes 😞 They are so slight maybe one of those mirror polish products can help fill in the scratch. The scratches I can live with, they really aren't noticeable but that streak and now I just noticed these weird like water spots I'll call them are there. Its like you let water dry on the glass but no matter how much glass cleaner and elbow grease i use they are still there. If i can't find a product to clear this its a project for another day, one of those when I get around to it not that big a deal one i guess.
-
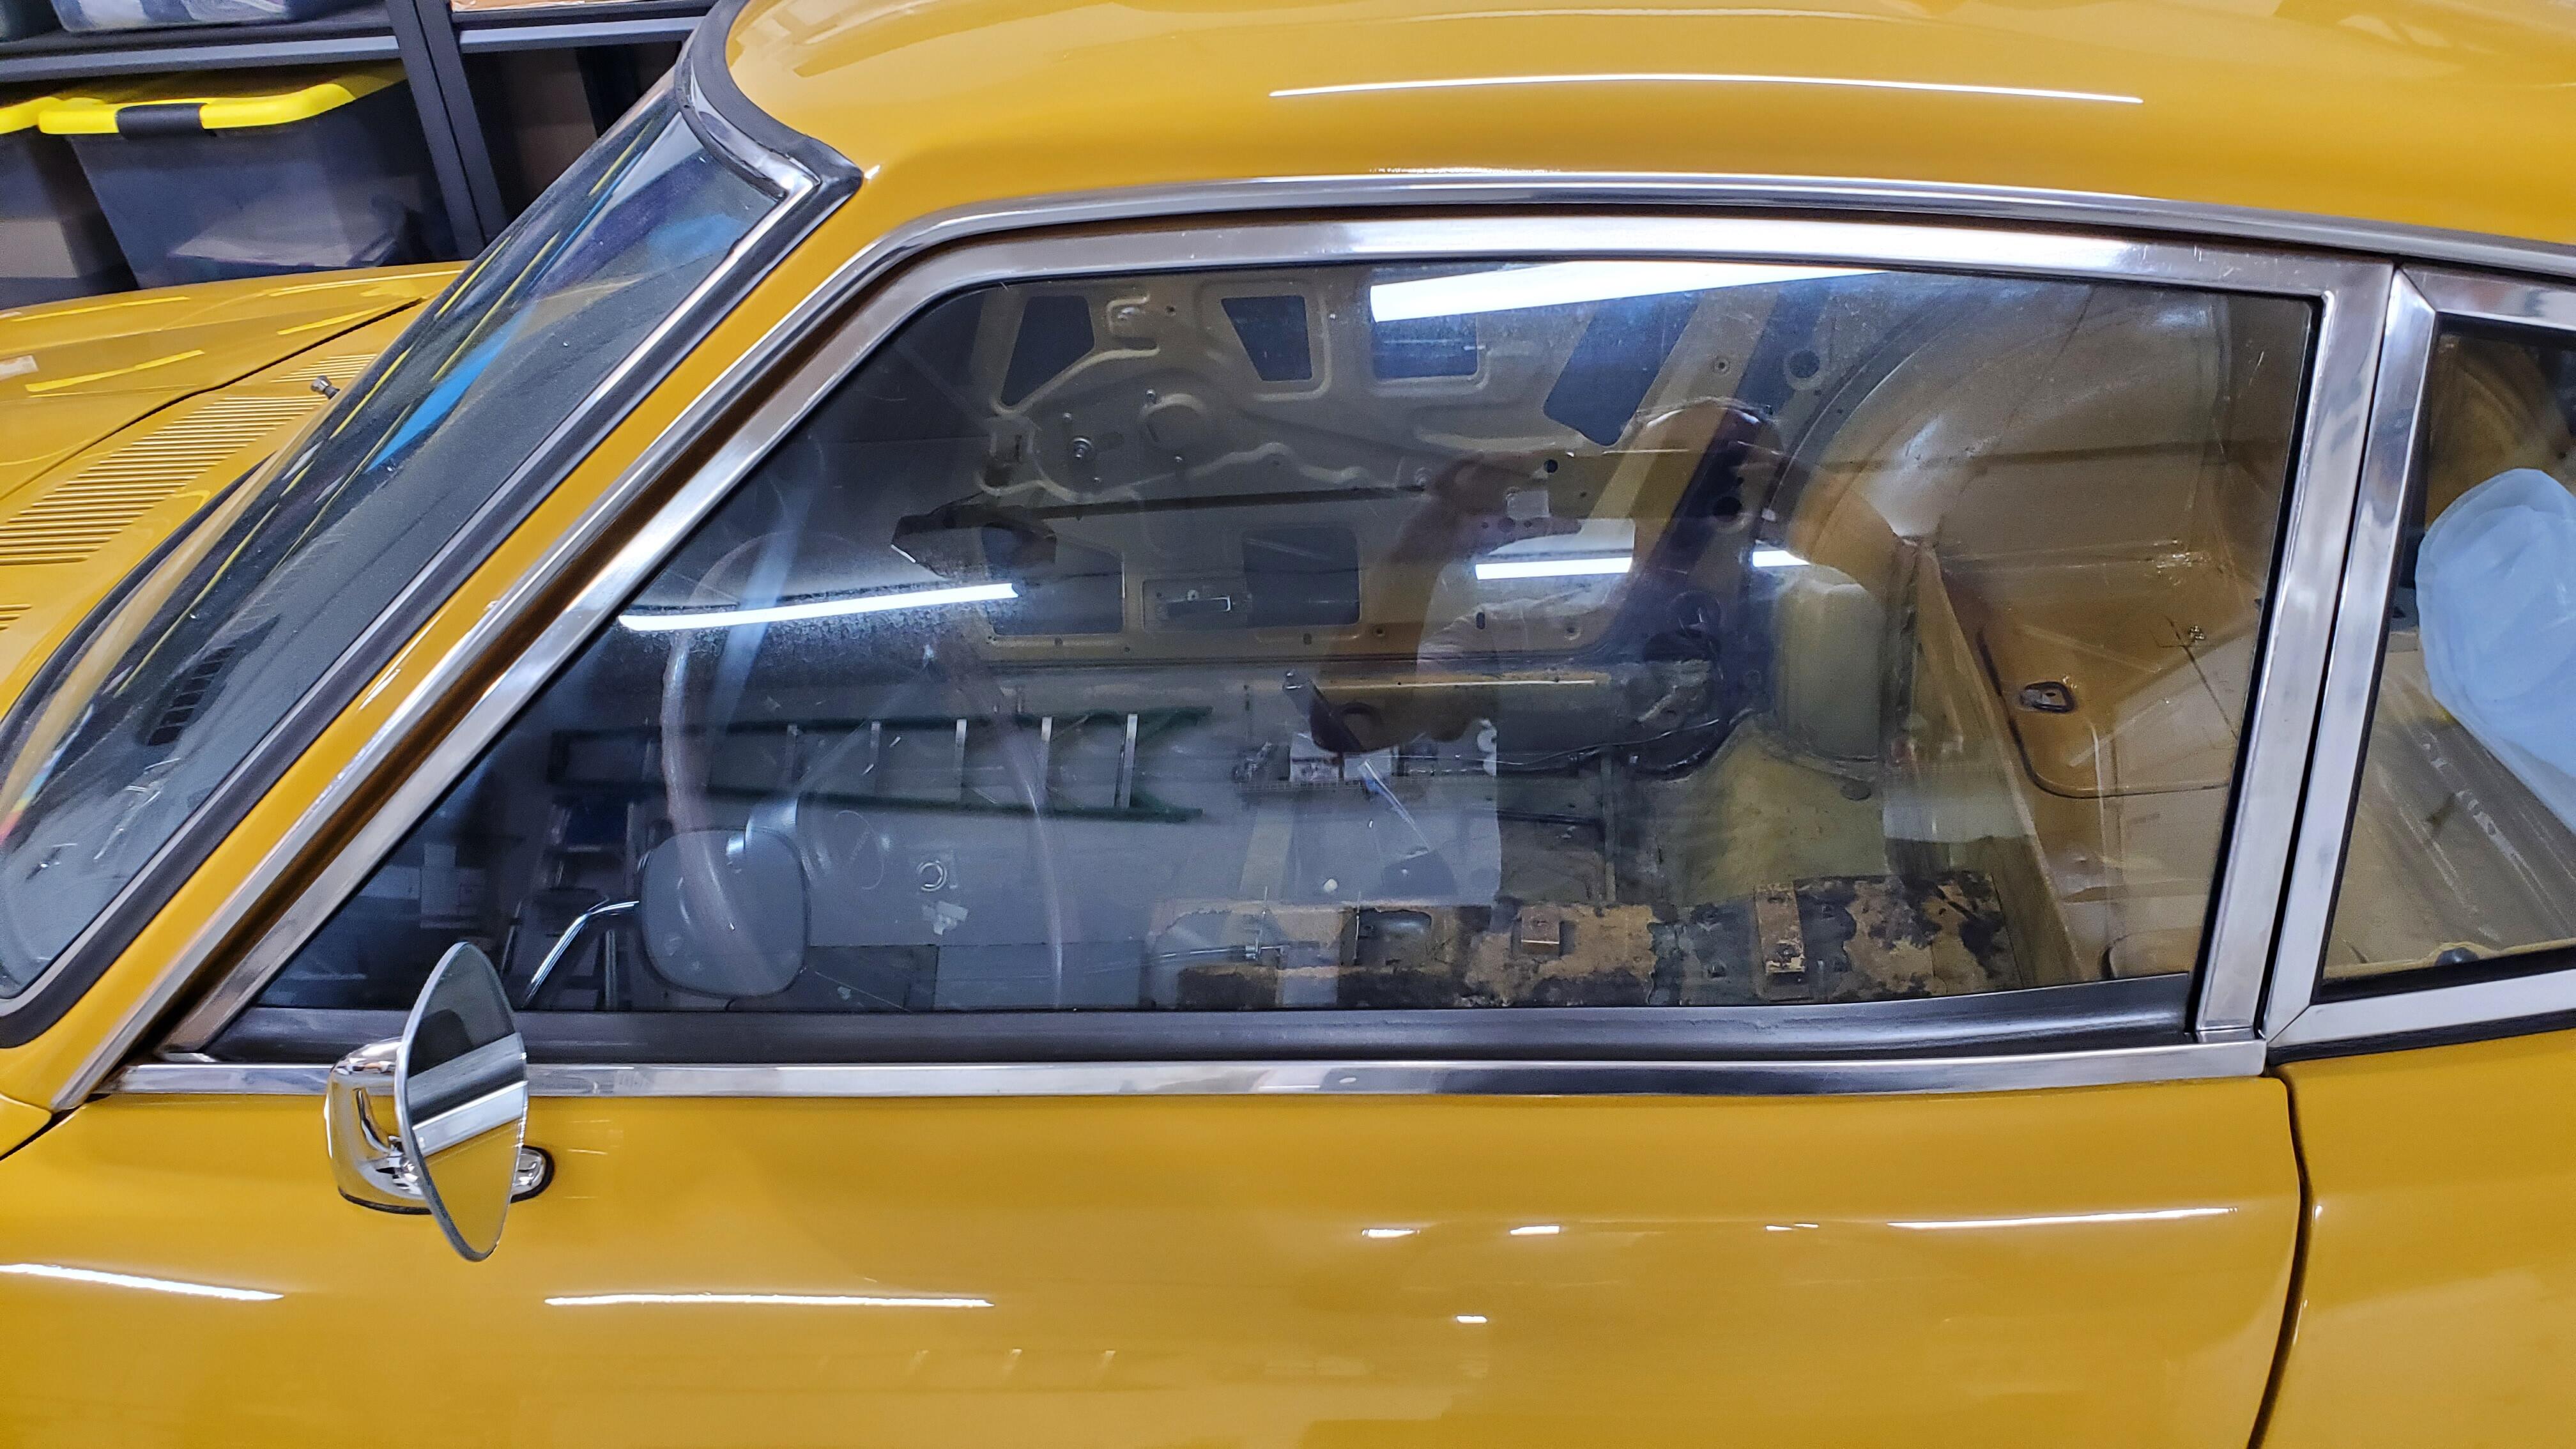
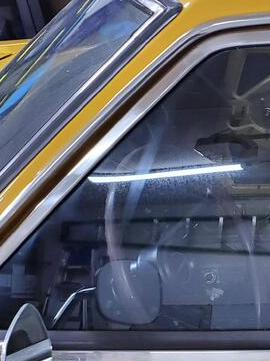
One thing i didn't ask now that i have it back together. Any recommendations on how to "polish' out the tiny scratches in the window? I also have this streak you can see here which is probably from the original roller that used to be installed in the front position. I'm guessing it was too tight and that's from the rubber pressing against the glass. I've tried some non abrasive glass cleaner but nothing i seem to do will get that streak out.
-
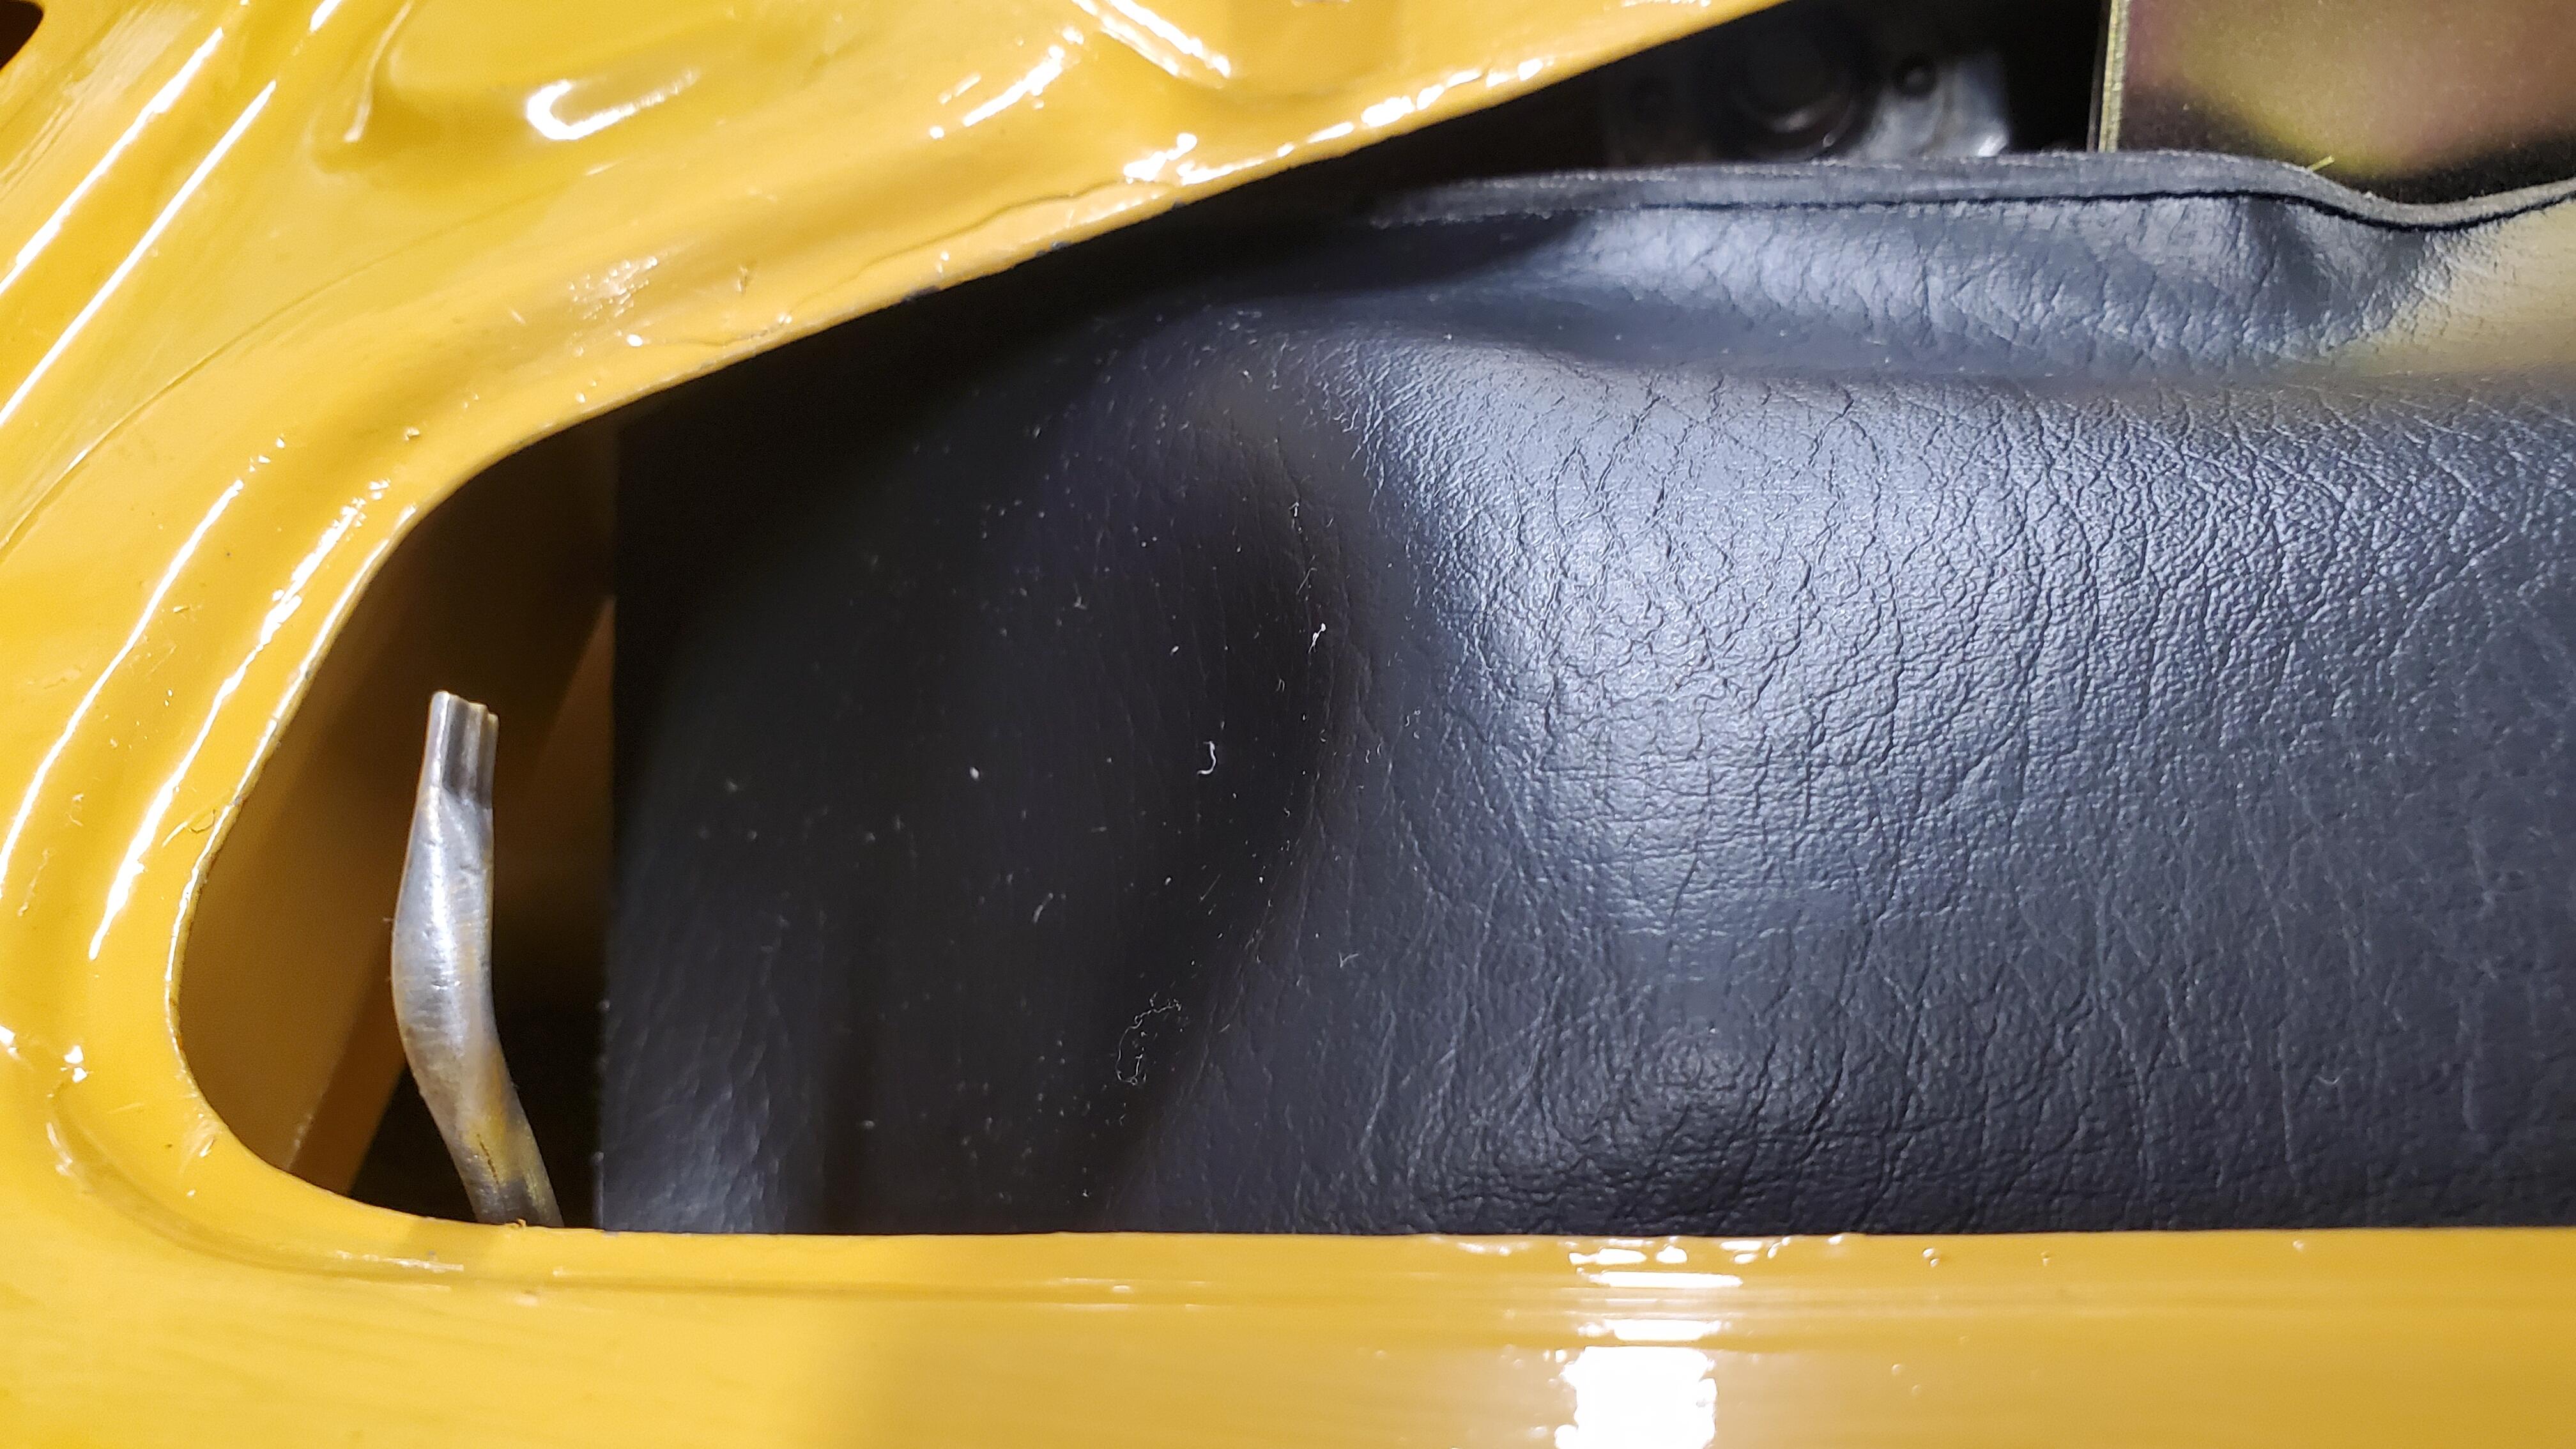
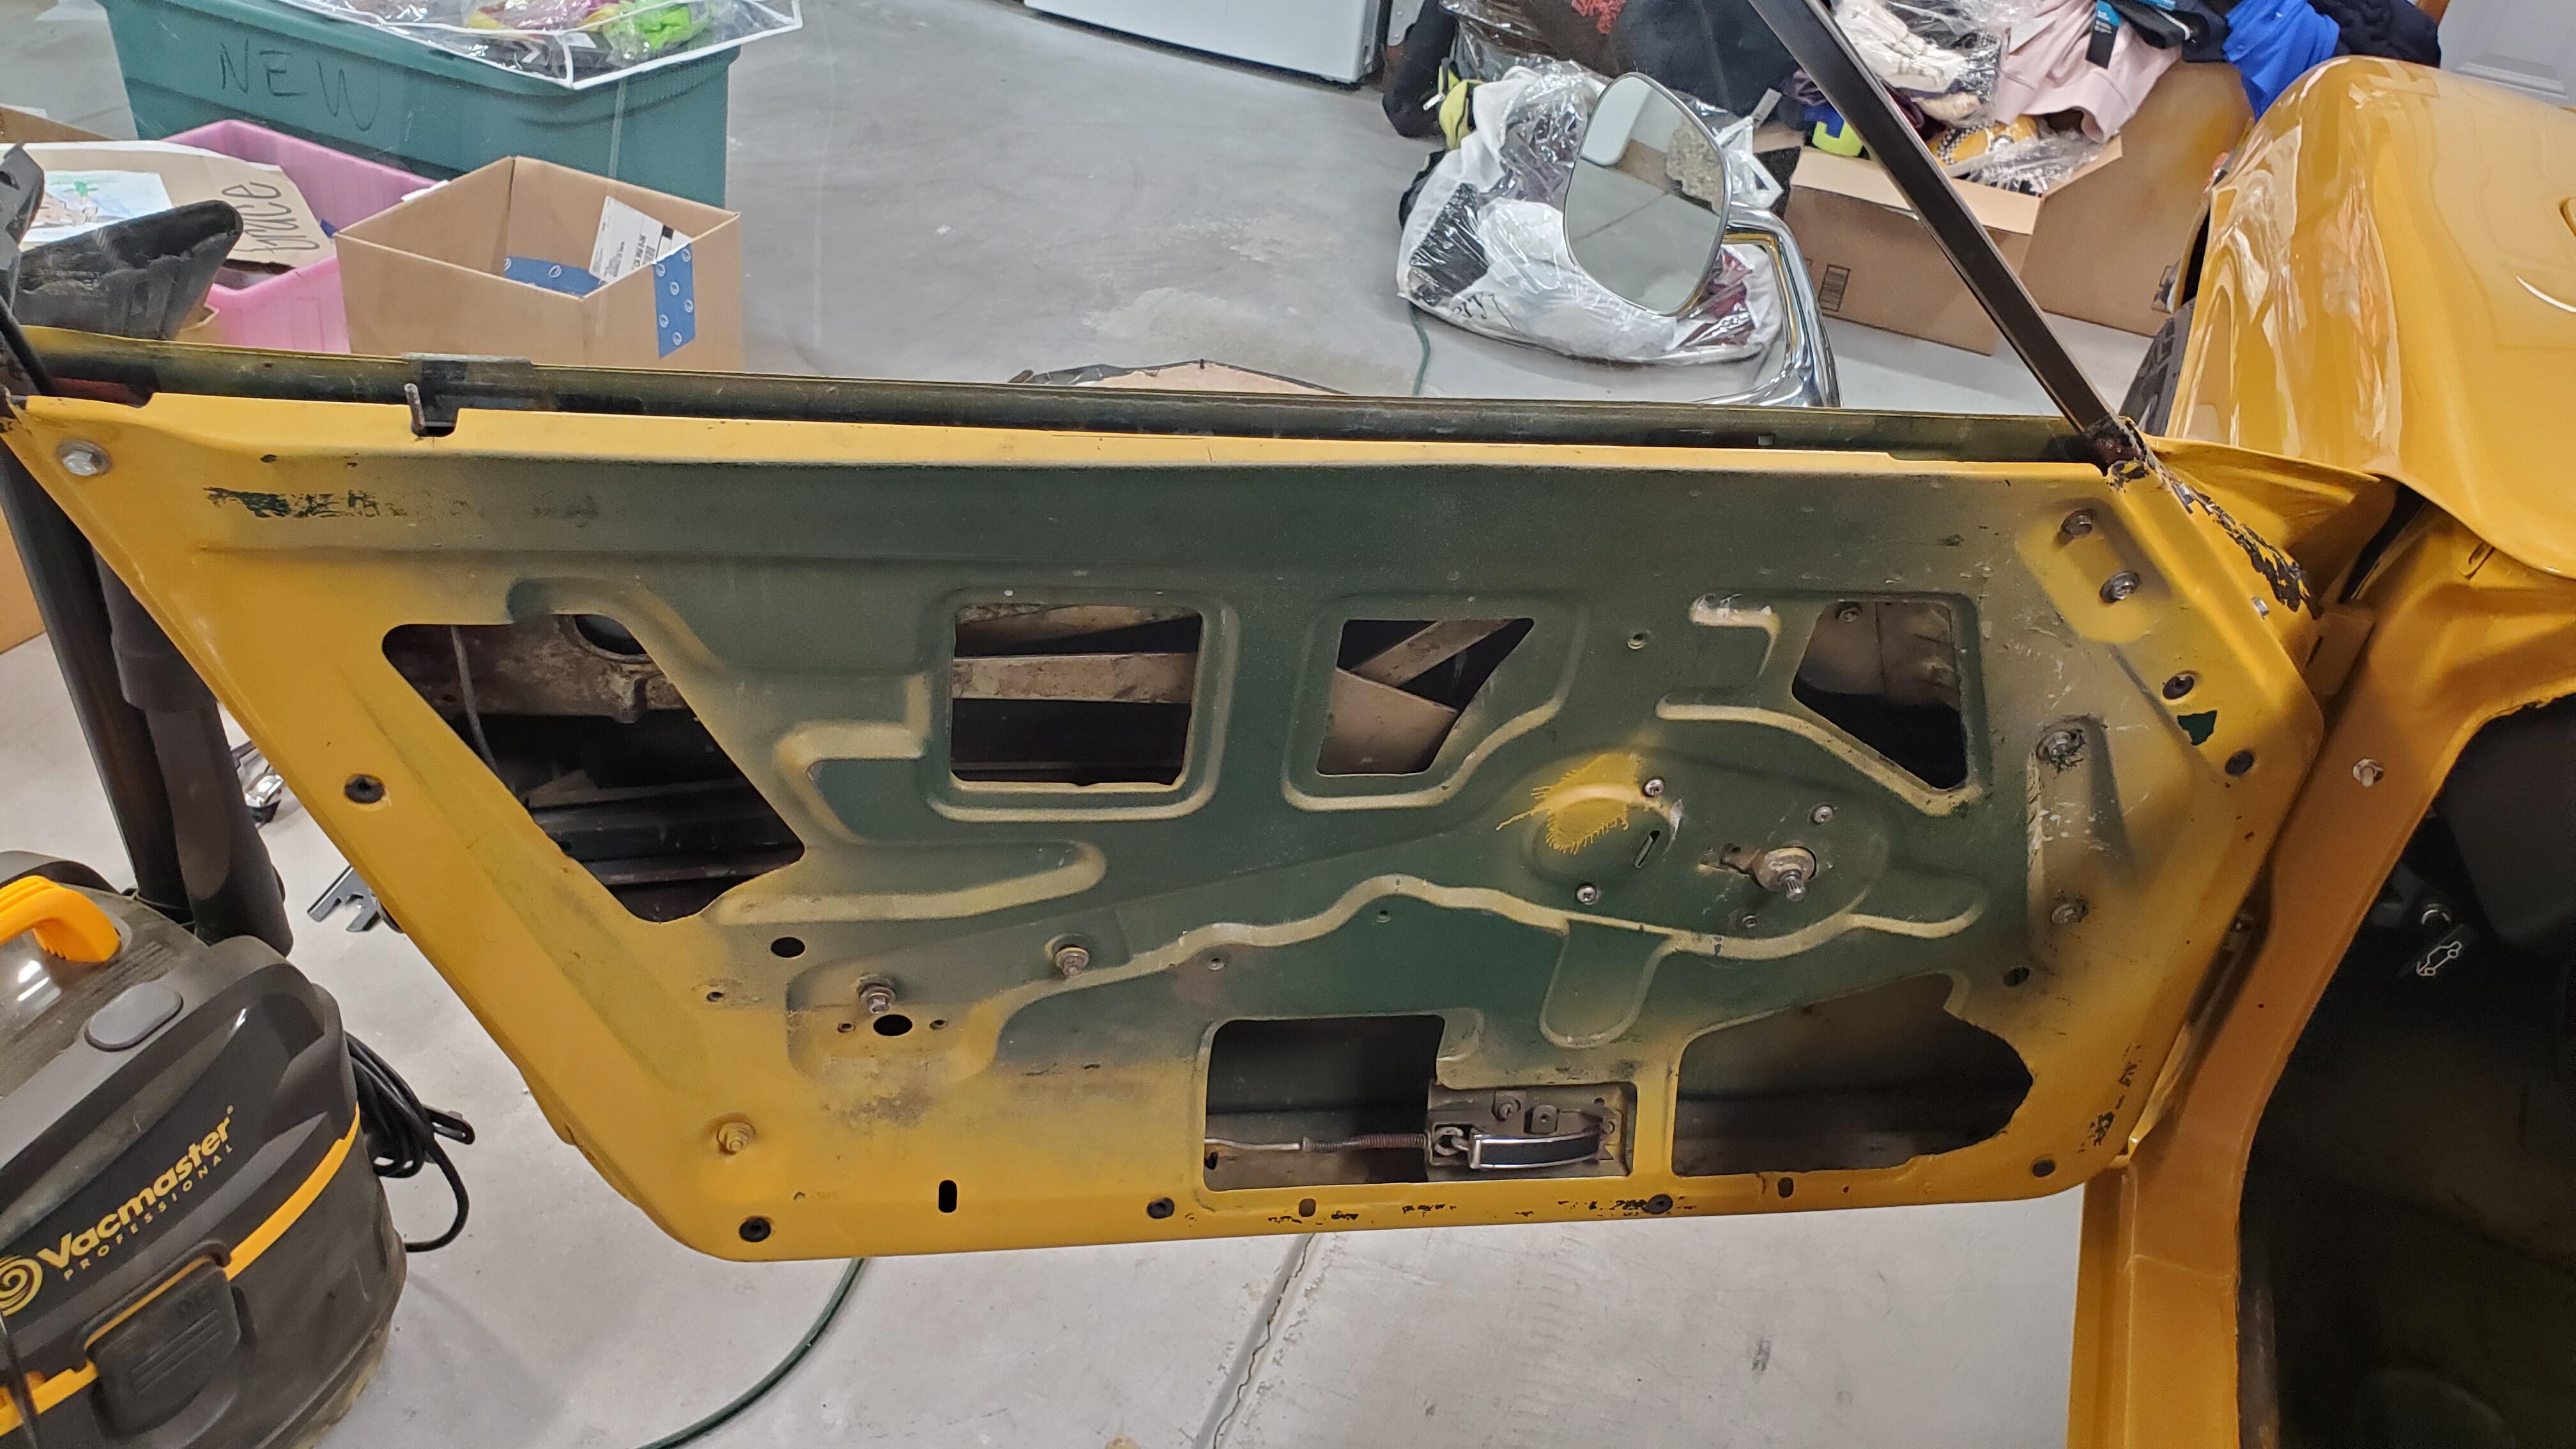
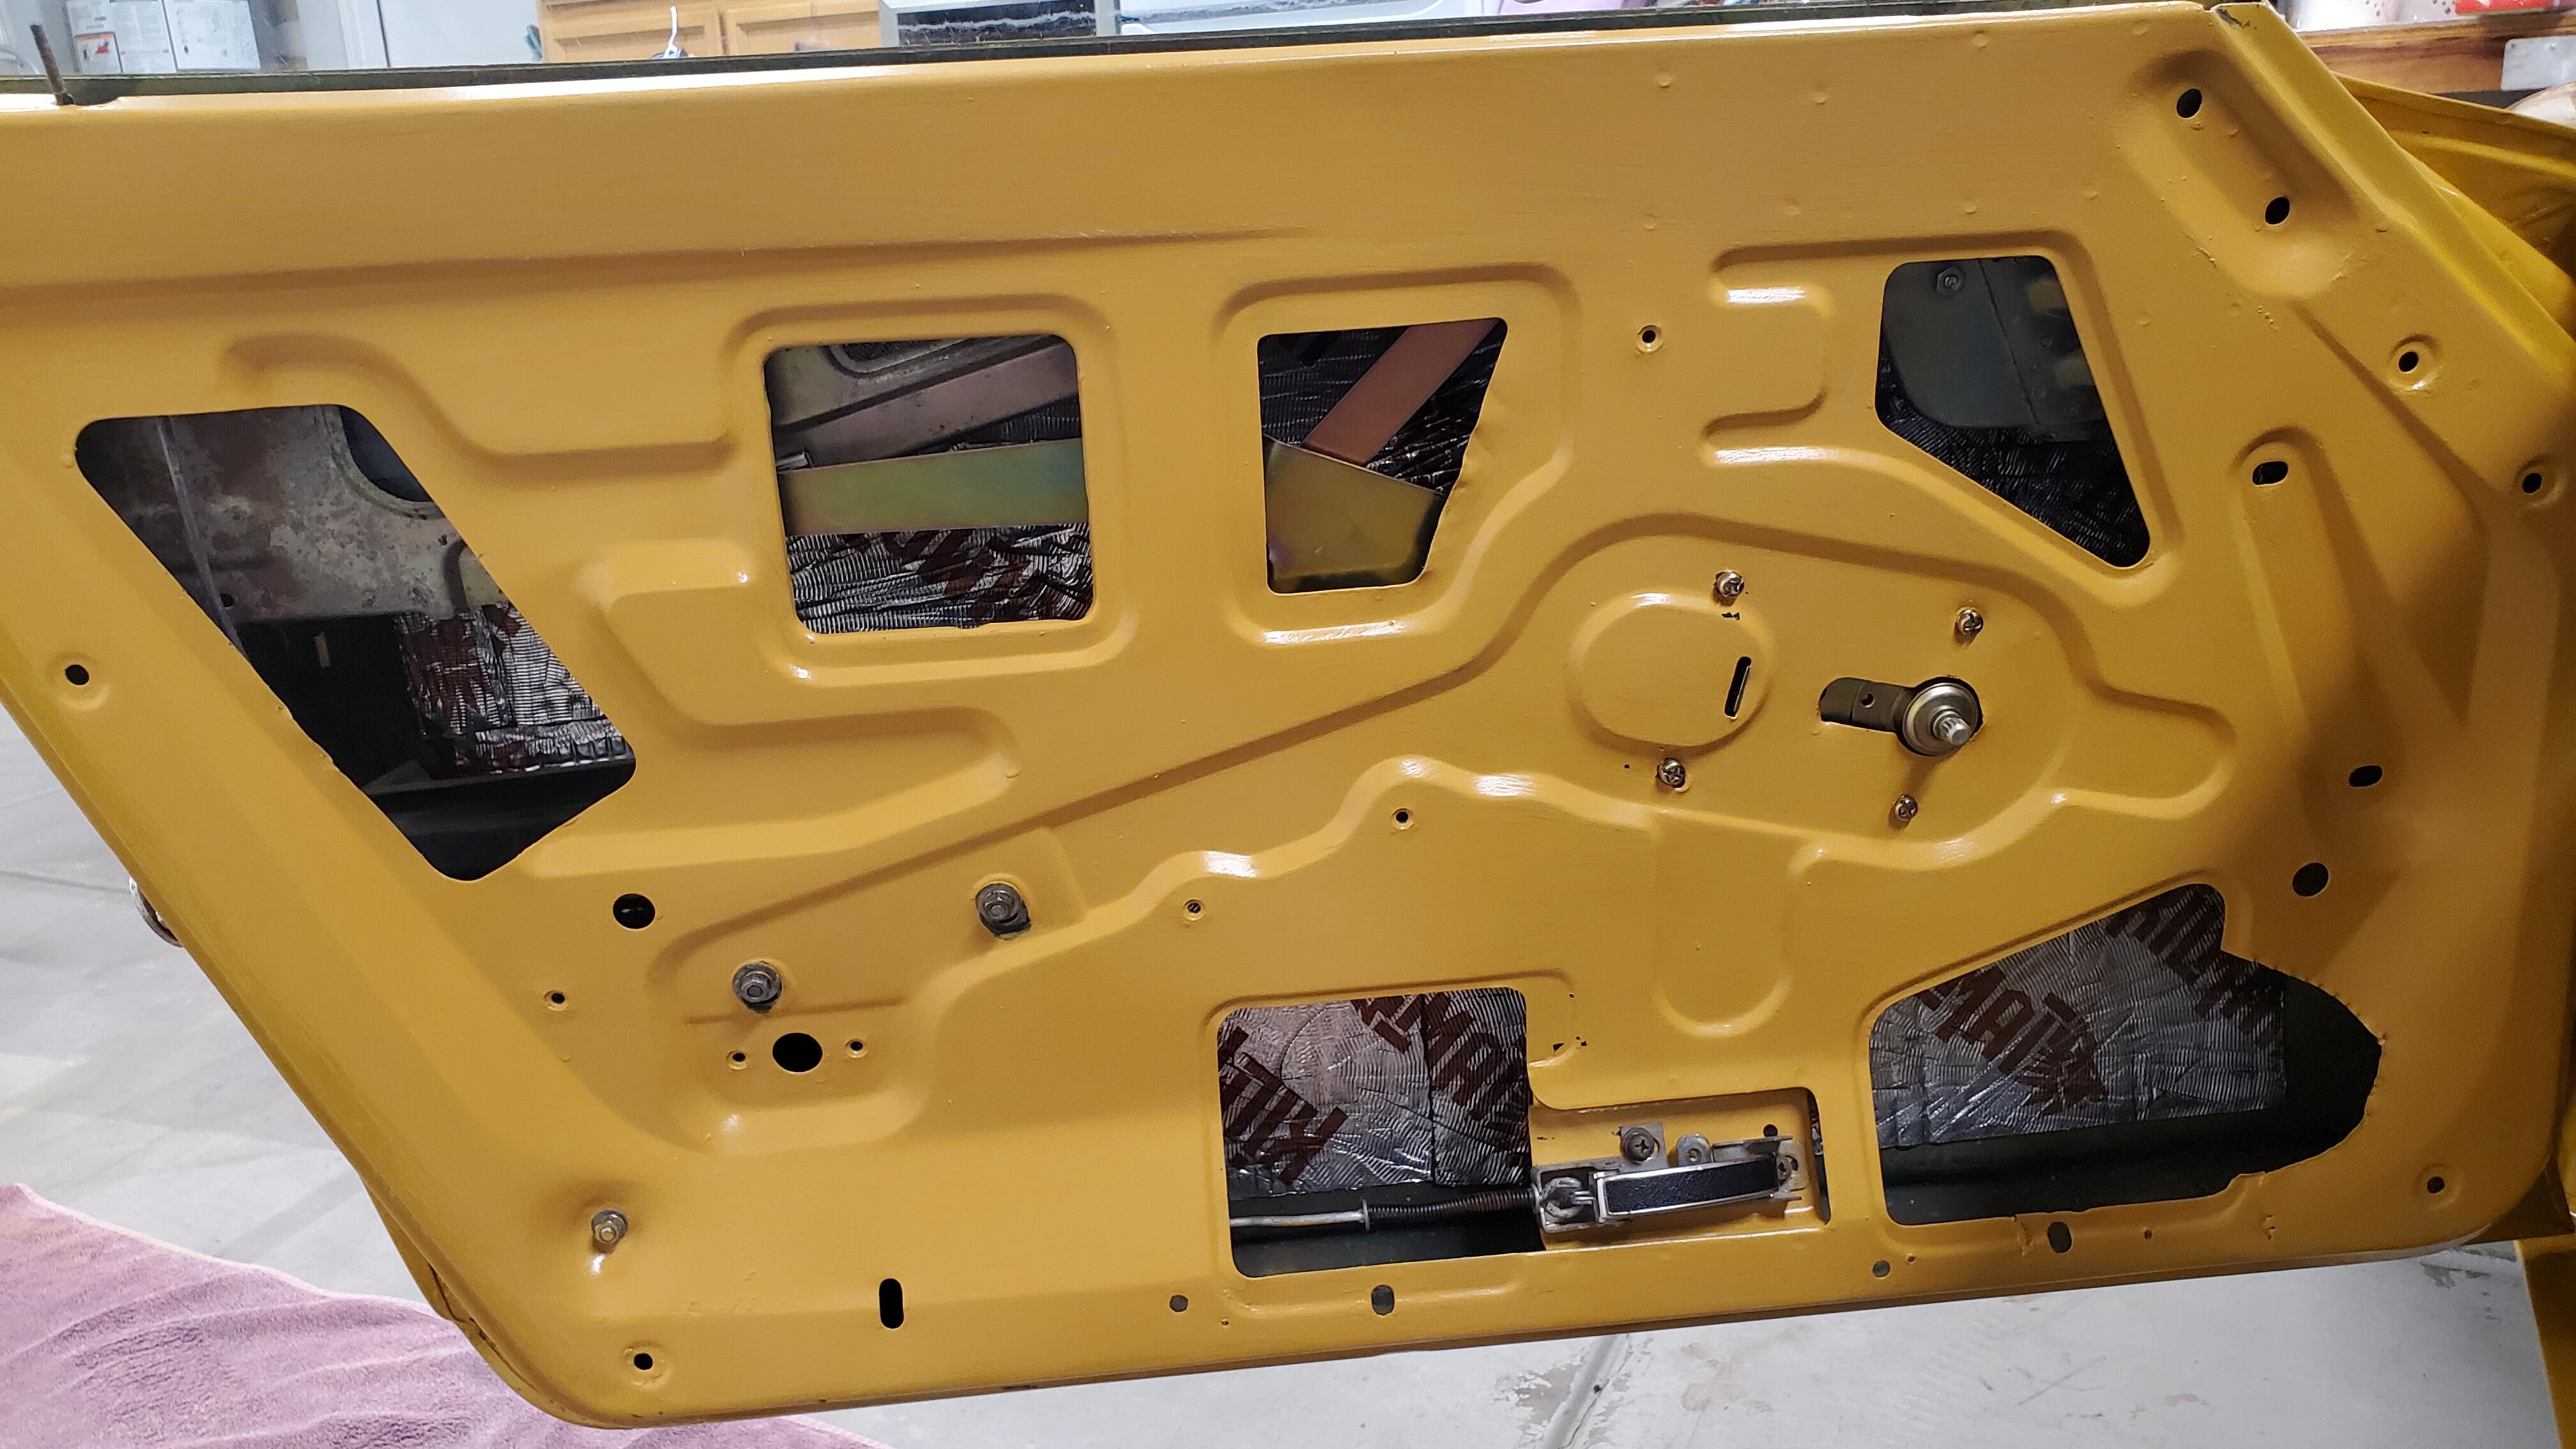
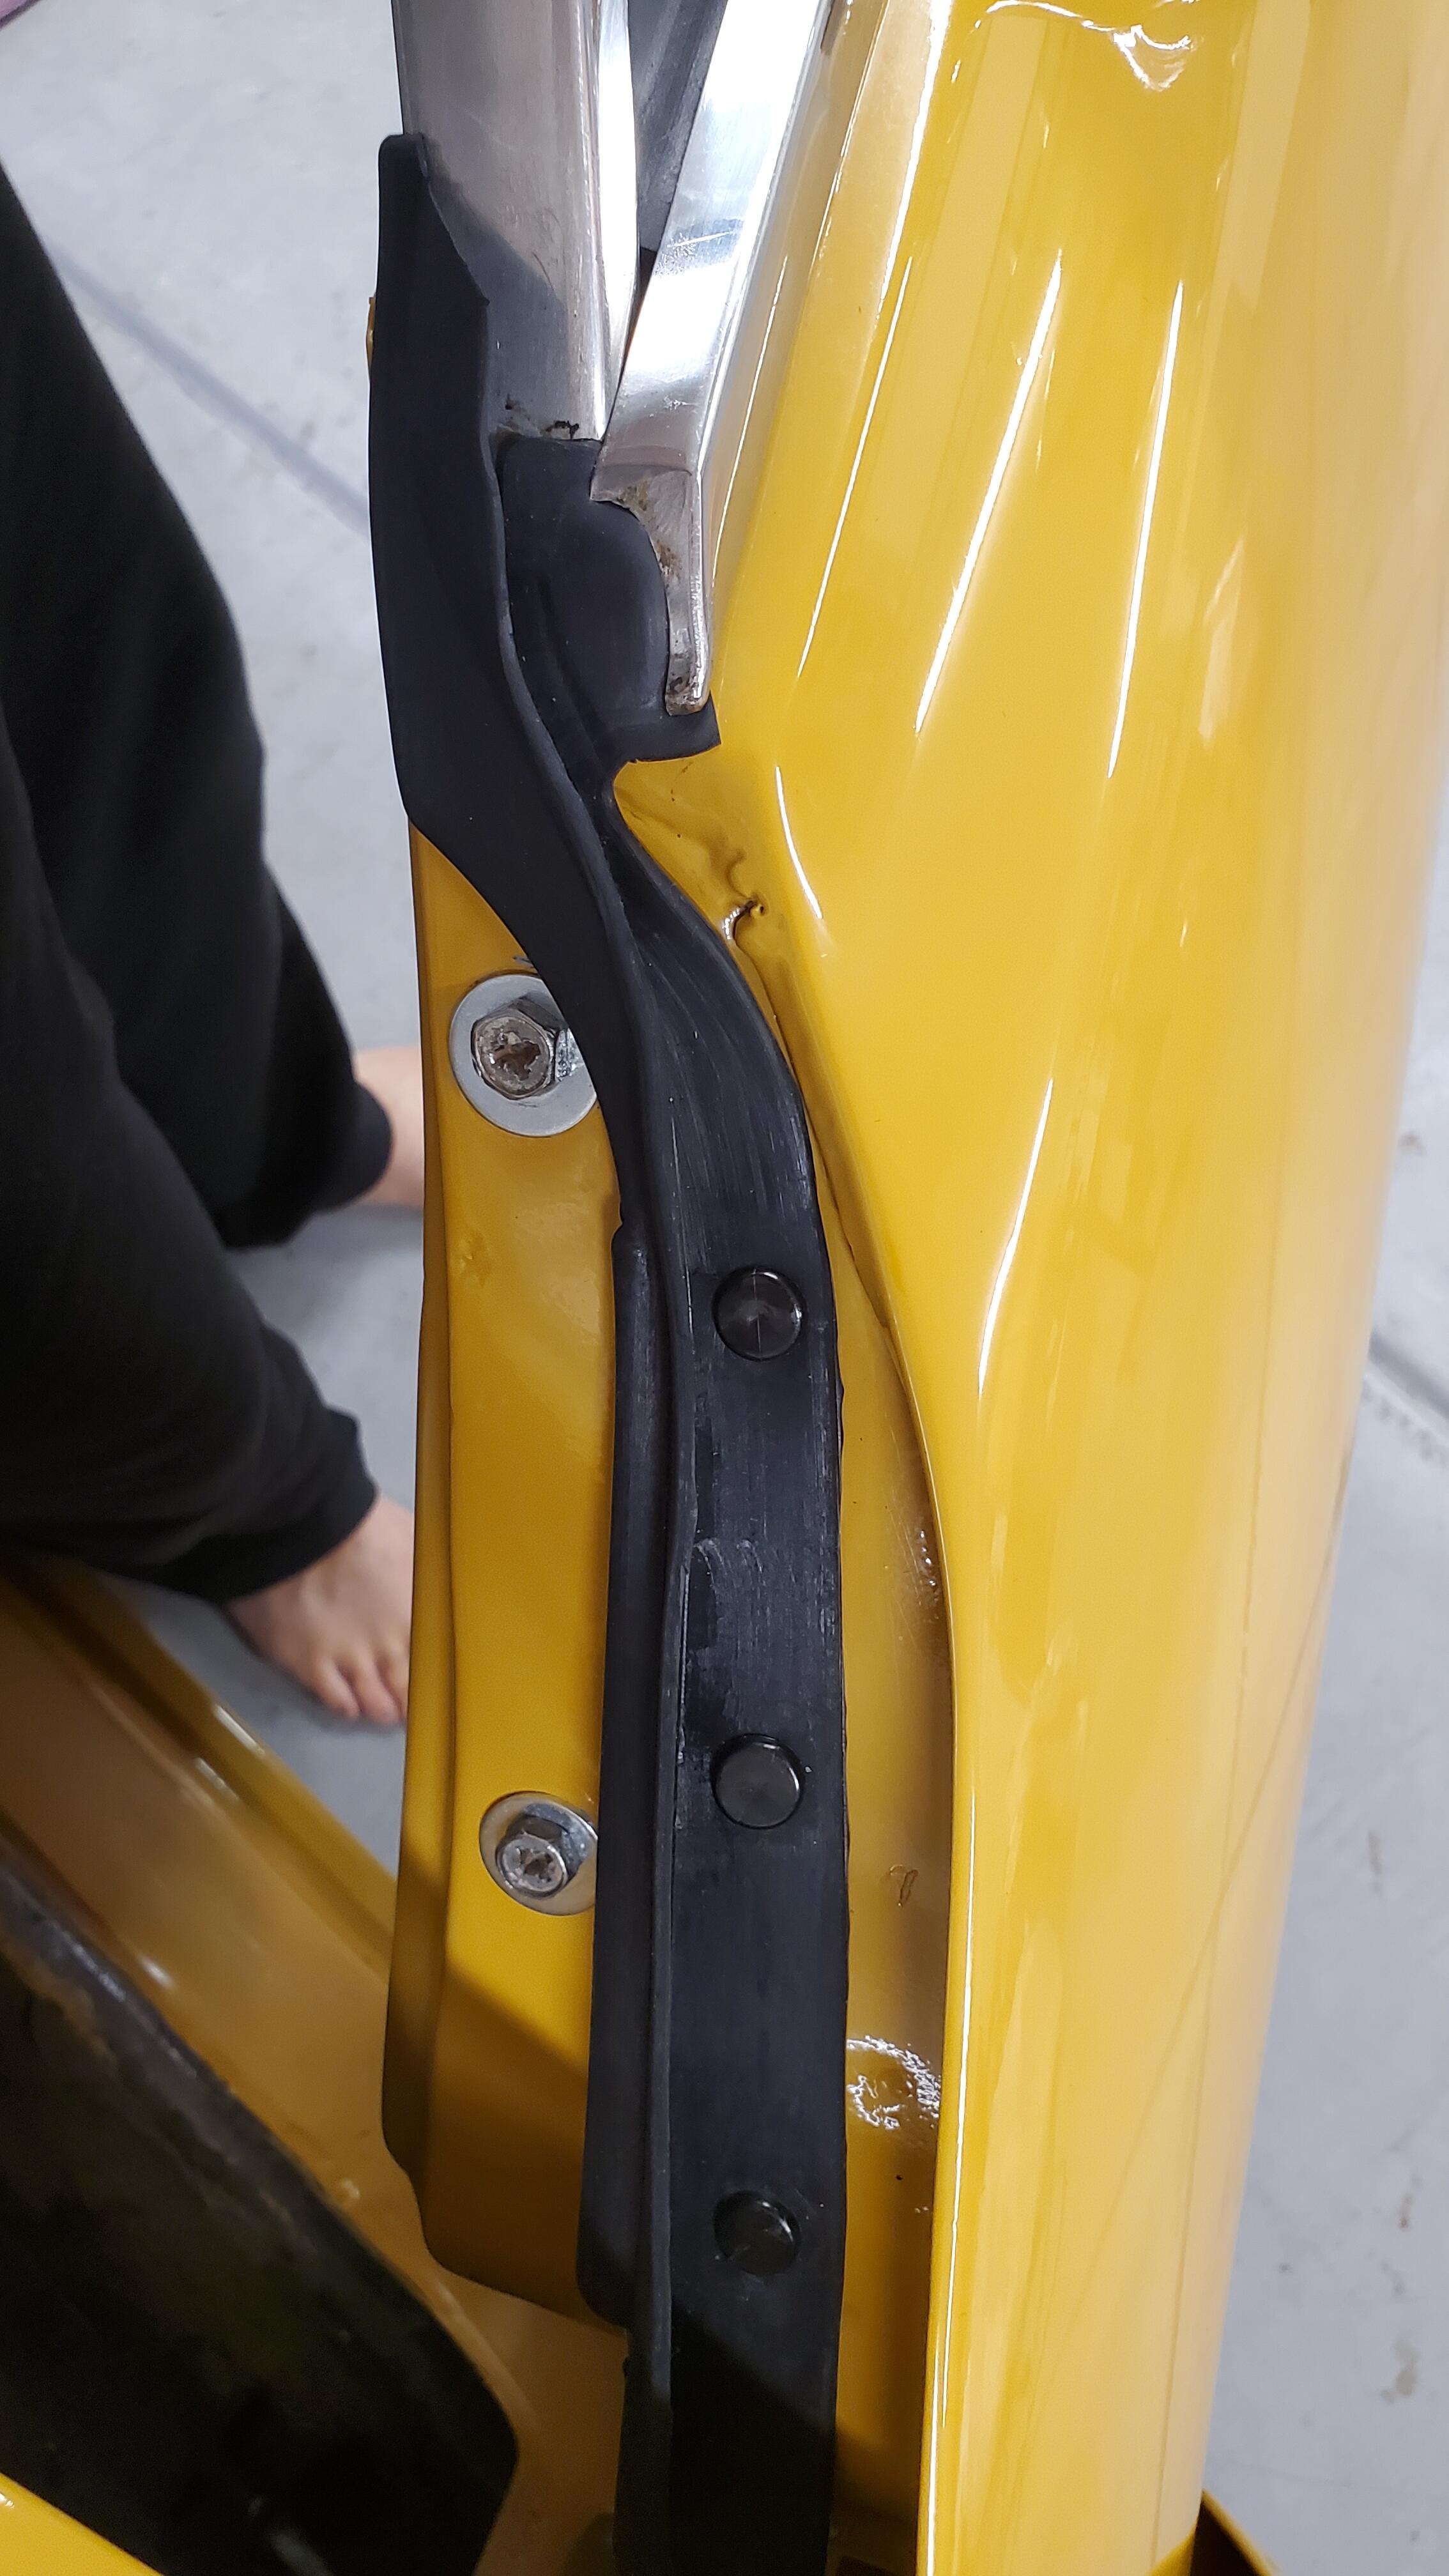
Fiddle completed with excellent results. Turns out I had a bunch of problems in there so decided to do the whole thing from scratch the right way. Tore the door down to the shell by removing the skin, lock mechanism, glass, frame, and regulator. My window problem turned out to be a combination of things. The regulator still had a pretty decent spring tension and crank, but the "pivot point" I'll call it where the two arm meet was pretty much shot. not sure if the prior owner bent it during install or just never bothered addressing it during his decent but not perfect restoration attempt. I also had a problem with the glide that's attached to the front of the glass mount. It was missing a screw so even though the glide was within the front window channel it would pivot about half way up as the weight of the glass rose. That pivot caused the glass to tilt forward when being rolled up and never close properly into the frame. Oh and the glass roller was broken and missing. So I decided to fork over some money for a new regulator, roller, the bumper at the bottom, the two weather strip pieces, and new felt for the frame. the lock mechanism and all the rods were in really good shape but did need degreasing and a thorough cleaning. While the door was empty i even did the whole outer side with killmat and now the door is quiet as a church mouse. 🙂 Couple of things I learned. First, I'm getting better at this. I was really intimated by removing the glass for some reason. All the videos I watched and the stuff I read made it seem easy but for some reason I was worried about breaking glass or just not getting it back in properly. It wasn't hard at all and everything I did worked on first attempt. Second, unfortunately this isn't the original door for some reason . When I pulled the skin it was green! I also noticed the PO probably had a speaker in there since there's a chunk of door missing in that first cutout lol. Couple of things that might help the next guy. Waiting to install the front channel until after the regulator and glass are in and working was key. You do that, roll the window down mostly to the bottom, then can slide the channel over the glide in the window and easily attach the bolts. Keep everything hand tight then adjust front, back channels and the four screws around the regulator to your liking. I also found that the roller I put in worked better in the back notch near the pull knob for the lock rather than the notch up front near the mirror. No matter how I adjusted the roller angle, tension, or location when in the front just didn't keep enough pressure on the glass to keep it from coming out of the frame. i was happy with the frame and smoothness of the window so i really didn't want to adjust anything. Moving it to the rear solved everything without starting over. I also notice now that i have new weatherstrip between the door and body the door takes a bit more force to close. Not a slam really, but I need to keep my hand on the door all the way to the fully closed position (rather than just a decent push). I assume the strip needs to compress a bit but I'll wait to adjust any latch or lock location until after i also install the new weatherstrip around the body opening (need to do some floor board work first). Heres my after, no more green door! This project came out so good I'm gonna strip the other door too in a few weeks. I don't think I'll need to invest as much though, probably just need weatherstrip and felt since everything seems to work fine.


-
Thanks Steve. I'll get to that probably in a few weeks I need to leave out of town for a bit and may not even be back until after TG. I'll be sure to follow up with what I find. Have a great rest of your day.
-
@HusseinHolland Looks great. this is what I did with similar brittle mounting points on my tail lights. Worked unbelievably better than I expected 🙂
-
Thanks. Took another look and I'm guessing this is the right connector pair, at least for my car. The second pic that had some of the yellow wires in it is the only connector coming from the combo switch and those wires are directly connected to the switch we were testing. The first pic is the only corresponding 6 pin connector under there to match up with and everything works on both sides of the column other than the high speed motor. Now granted I have no idea what the PO did as for custom wiring, but it "should" be the right set of wires if not the right type of connector. Maybe he combined wires from smaller connectors not sure. there's a few single wires left over coming from combo switch in either bullet or flat type connector that all line up with the ones from the harness.
-
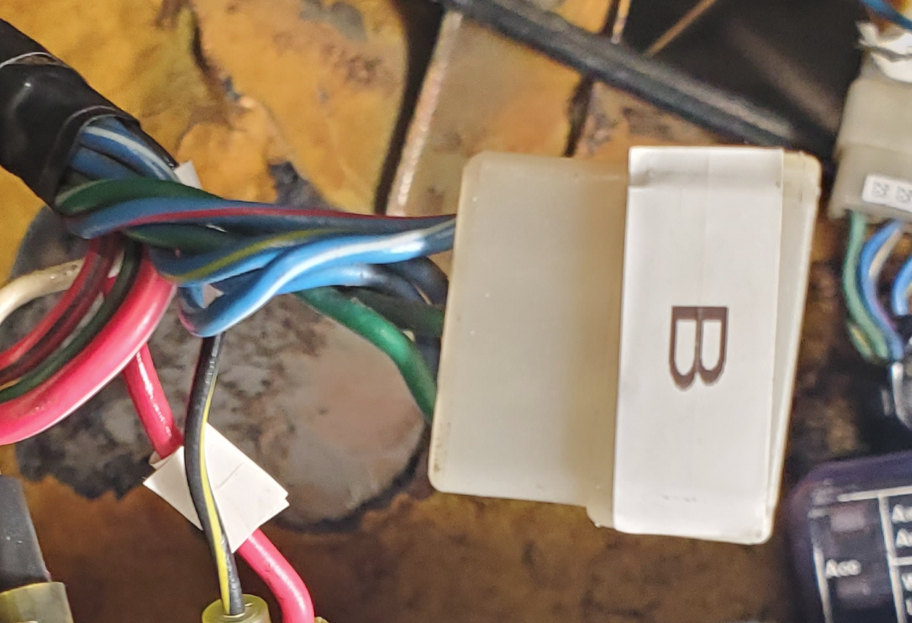
Took the clam apart, looked at B connector here is what I got. Notch on top Top Row G-L, G-W, L-W Bottom Row L, L-Y, L-R Switch Side Notch on Top Top Row Y-G, G-L, G-W Bottom Row L-R, Y-B, R-L And remember, Low works and going to off will park it. I can't tell if the low setting is actually low or high though, all i can say is it moves and man its slow so must be low lol. BTW, I really appreciate all the help. I'm trying my best to keep up 🙂
-
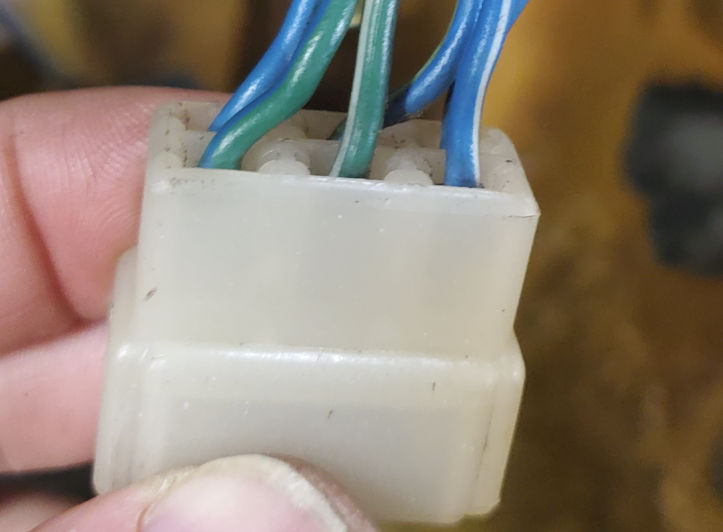
I do have a 6/71 so i am late model series 2. If I understand this right, the engine bay connector to the wiper motor harness is the same for early and late and that's exactly how my engine side is setup. Now I have to get under the passenger dash area to see which of the two type connectors I have? Once I know, am I doing a continuity test from the passenger side to steering column connector B for the 3 blue wires? I took that pic a while ago so i'll have to go back open clam and see what B looks like. If this pic is still accurate then i can see there are for sure 4 blue wires some striped and twogreen. theres no black from this pic and seems all 6 are occupied. I'll report back. Oh and if this matters, I think the PO used a 72 dash harness becasue I think when i was fiddling around in the console area something made me realize or assume that. i think it was the length of maybe the fuse box connector. Maybe if the PO did use a 72 that's why my B connector is different?
-
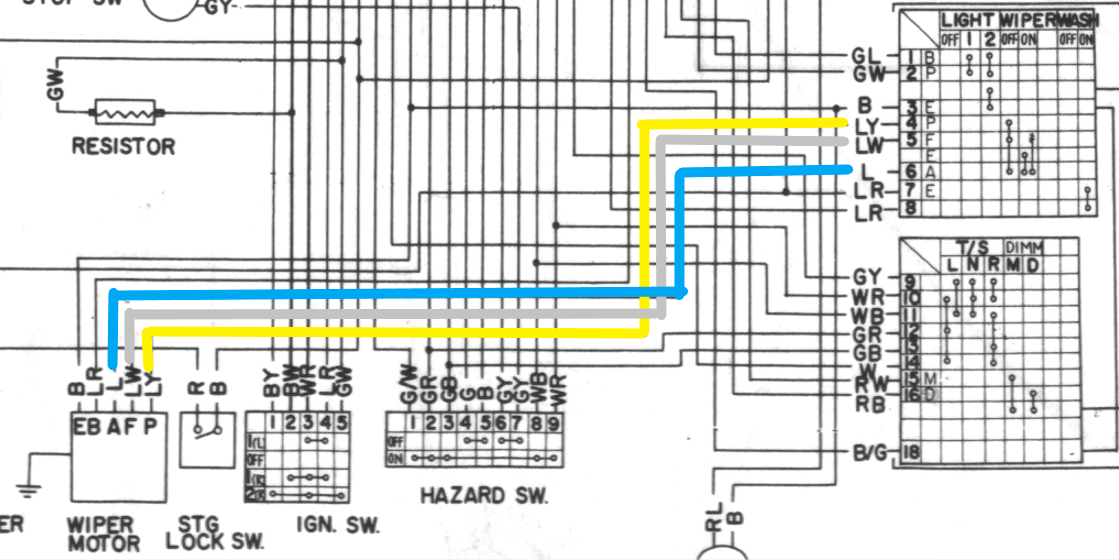
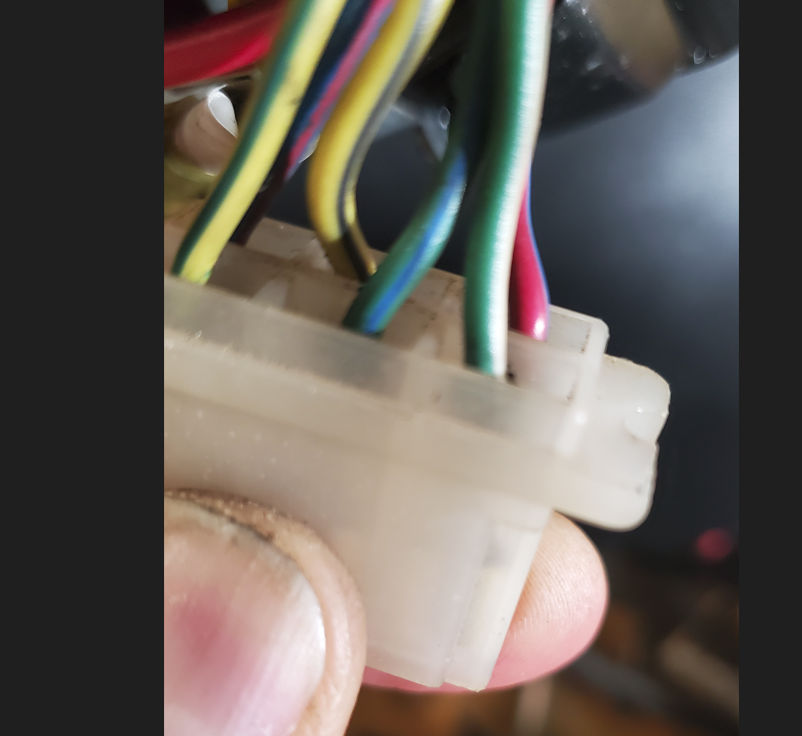
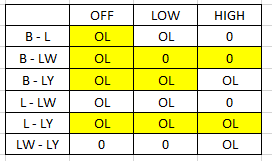
OK not so great results. About half match as indicated in yellow. The white cells were the opposite of yours. After a bit i was going cross eyed trying to see everything and keep the colors straight but double checked the results. I'm sensing there is a pattern here, maybe one of more of the blue wires are in the wrong spot or crossed? Thinking back to under the clam shell I'm thinking I saw a repaired connector or two, maybe PO pinned them wrong? I took this pic of under the clam shell. Look at B harness. It looks to me that the L-LW and L-LR might be in the swapped position assuming this is the harness running to the wiper motor. If those were swapped then the "top row" of the B connector would match the "top row" of the harness in the bay having L, L-Y, L-W in sequence and then on the bottom row L-R would be in the bottom right position. I guess the Greens are the washer? Or maybe the pair of greens and the L, L-W need to be swapped?
-
Great. Then at least I can put it all back together unless your next testing steps anticipate needing access to it again?
-
No worries. One thing to make sure is that you take out all the little rubber pieces and grommets those will get destroyed if you let the dry ice freeze them
-
Thanks. So loss of connectivity between yellow wires in high position not an issue?
-
@SteveJ OK, embarrassing brain fart alert now that i have it pulled from the car. Ashamed to say it but i retested and realized as I was doing it that the first time I tested i was actually moving the headlight from off to low/high and not the wiper twist! 😞 With correcting that dumb mistake my results exactly matched your projections (ones in yellow). I also tested the YG - YB connection when switch engaged which i don't think you mentioned and see how the high is different from the low. maybe in high YG - YB should also have continuity? Could that be my issue?

-
@SteveJ Thanks for all the help. I'm going to go back and test again with it completely out to avoid anything weird. Something must be working for the switch to get them going in low, or I'm incredibly lucky that what's broke broke in a good way 🙂
-
@SteveJ My first attempt was to actually disconnect everything and test (but I did leave it connected to the stalk. Testing the switch from the sodder points gave me 0L readings in all scenarios across all wires except the initial YG - YB which had a .0000 OHM reading for continuity in the off position. When i saw that I thought i was doing it wrong so then connected it again to retest with above results. I'm not an electrician, but wouldn't that be expected if the harness is open and disconnected? I would think I should be checking from the harness side so there is a completed circuit when testing in various conditions. Also, since I know the switch works in low, when I was getting all those 0L readings in the low setting when unplugged I really thought I was doing it wrong.
-
@SteveJ here is what i got. a lot different than described. the switch looks exactly the same and i believe i followed instructions except i just realized i disconnected the positive terminal rather than the negative. you think that's making a difference? disconnected positive left switch mounted and connected on all wires the only thing i notice when twisting the switch is that the ohms drop from 47.5 to 47.3 as indicated in low and high. reminder, when all connected the switch when put in low position does cause the wipers to function correctly and high position halts them dead in their tracks. off returns them to the starting position. Should i go back and also disconnect the negative and start over?

-
@KenFirch Great work. Would love to see what you come up with and maybe do the same if my skills can keep up with your glasswork.
-
@KenFirch sorry to hear that. Just be warned if you put the 301 mirror on the passenger side of the car the angle of the stalk really causes a problem to the Viewpoint even though it can be adjusted more than the right hand mirror.
-
@SteveJ these are excellent instructions. thanks so much for such thorough guidance and so quickly. You're right, this wiring config is probably the most confusing I've come across in my limited time with these cars. i should be able to get to this in the next day or two will report back.
-
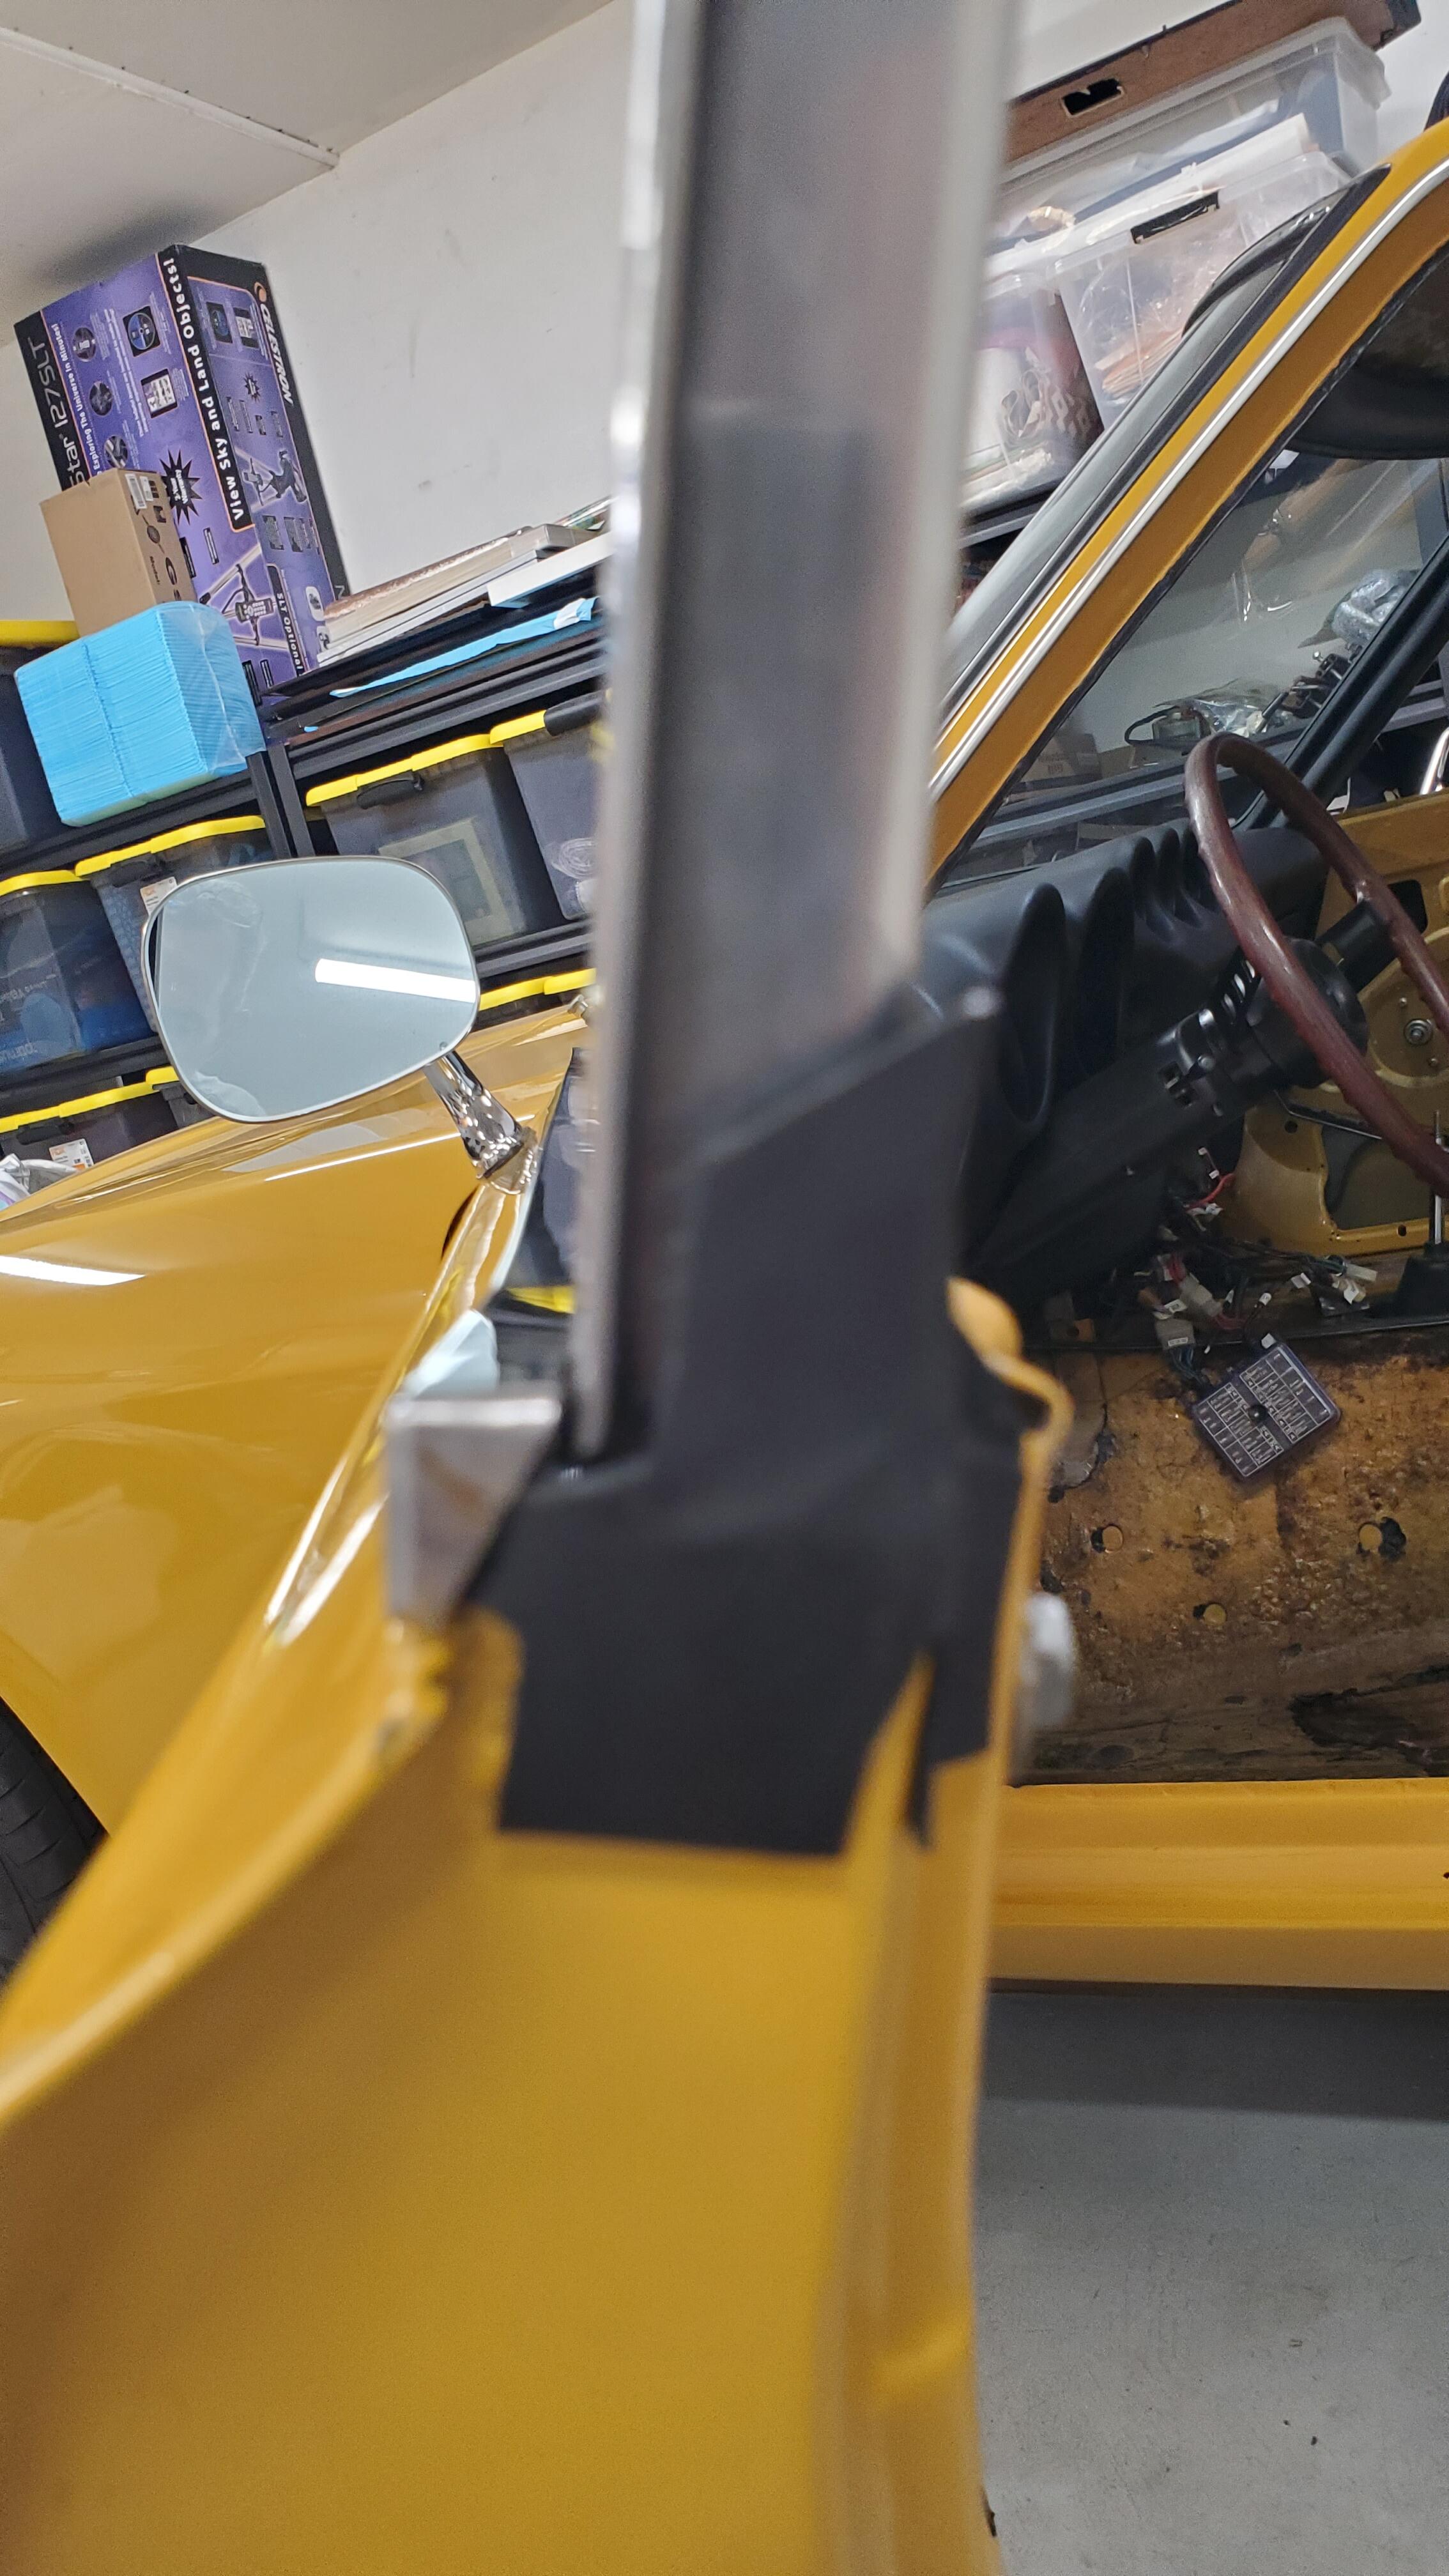
OK so i mounted the mirror today and am very pleased with the results. Symmetry is perfect, not a great pic because of limited space but best I could do: Now for sight lines, not "perfect" but certainly usable. I don't have seats in yet so I had a couple of cushions in there and I tried to simulate where I would be. To fully see a normal viewing angle you do have to lean in towards the console a bit but not like you're falling out of your seat. A stretch of the neck basically gets you there. I'm only 5'9" so I tend to sit a little forward and what if seems like is if you are a taller fellow you'll be in a much better position the further your seat is back away from the steering wheel. It will be a long time till i get true seats in so I'll remember to check back in with some shots from the normal seating position and report back in. Overall I give it a 9 out of 10. @Patcon yes i think if you swapped out the glass it goes from a 9 to a true 10. It looks to me like you can get the glass out by uncrimping the metal shell around it and then i assume the glass is glued to the back plate? I won't be trying that any time soon becasue my luck the glass cracks, the ball breaks and I'm back to square 1.

-
Tried following the wiring diagram to get a jump on this and I'm confused. There's two columns for wiper on off with some switch connections it seems. Off I assume is all three of the Blue, Blue/White, Blue/Yellow should be tied together? And I'm not sure which speed is high or low but I assume one speed is Blue tied to blue/white and the other is blue only? Maybe low speed drops out of the three the Blue / yellow and then another click to high drops out the blue/white also only leaving blue?

-
@SteveJ Closing this out, yup was the switch on the stalk. Luckily I had another from an old stalk laying around. Swapped and all good. As i was testing all this I noticed everything on the stalk and the wiper switch works except the high speed on the wipers. Well i didn't try to washer spray so i guess not everything was tested yet. When i turn wipers on they do work at low speed but high speed is basically another off switch. Back to off turns them off correctly. I ran out of time to pull it back apart but quick glance it did not seem as easy of a swap out of this is a switch issue again. Any advice before i tear things up?