dar5052
Member
-
Joined
-
Last visited
Everything posted by dar5052
-
Thank you @Zed Head your wiring diagram is much better than i have in my Haynes.... Now just need to get the other one sorted and I can install my carpets.
-
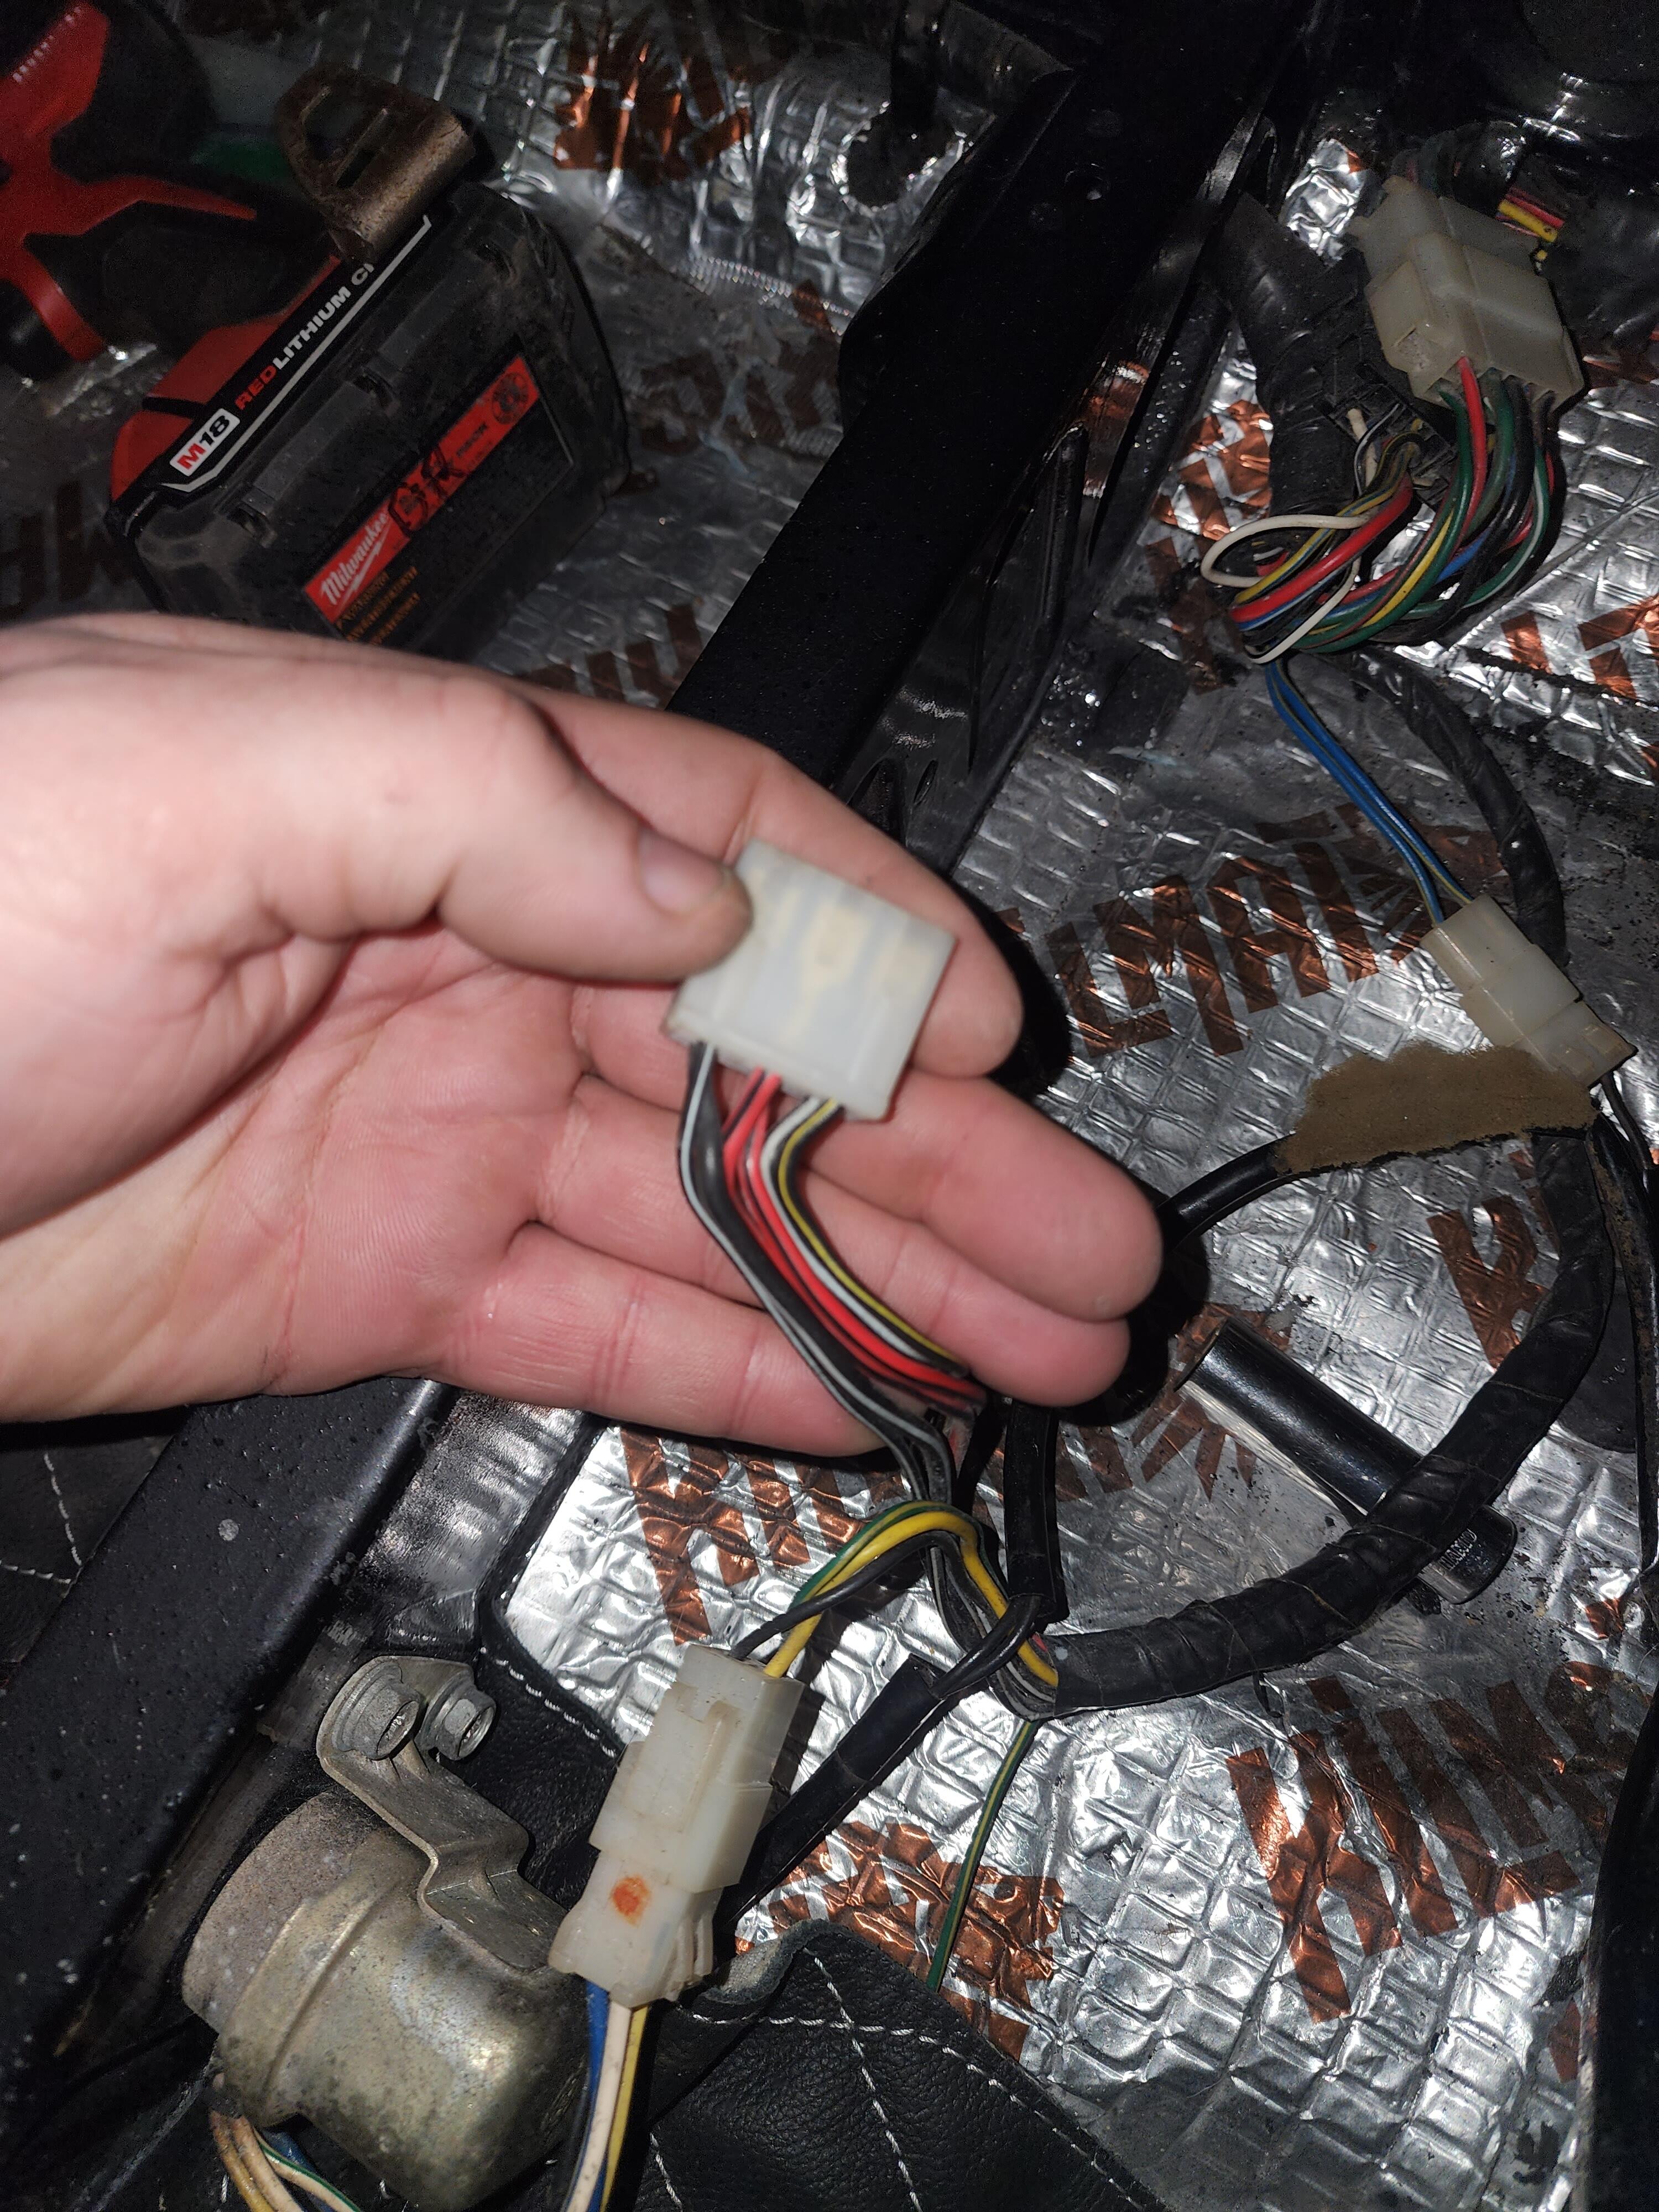
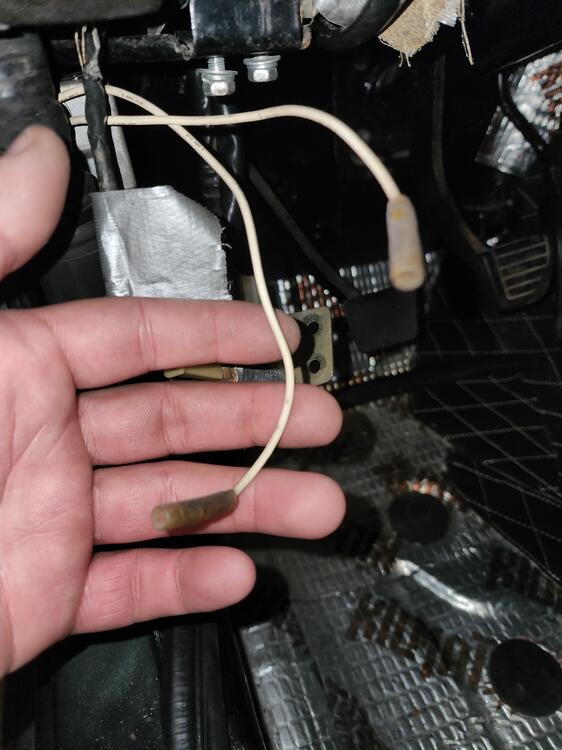
Can someone help in telling me where these connectors are supposed to go? The two white wires come off the ecu. The other connector is under the passenger seat. Thanks in advance.

-
Does anyone have any suggestions for the front and rear glass molding? I have the original molding that I can install but given that it’s so thick/bulky, I am looking at other options. I am thinking to just put the glass down on urethane and have a rubber molding to trim out the edge. I think I have enough contact between the glass and seam to get a decent bead of urethane down but I’ll have my glass guy confirm. My question is more around the molding and if anyone has done this and can comment on the results. My glass guy gave me a sample of what he has…. Pic below. He would make relief cuts at the corners but I think it could work…

-
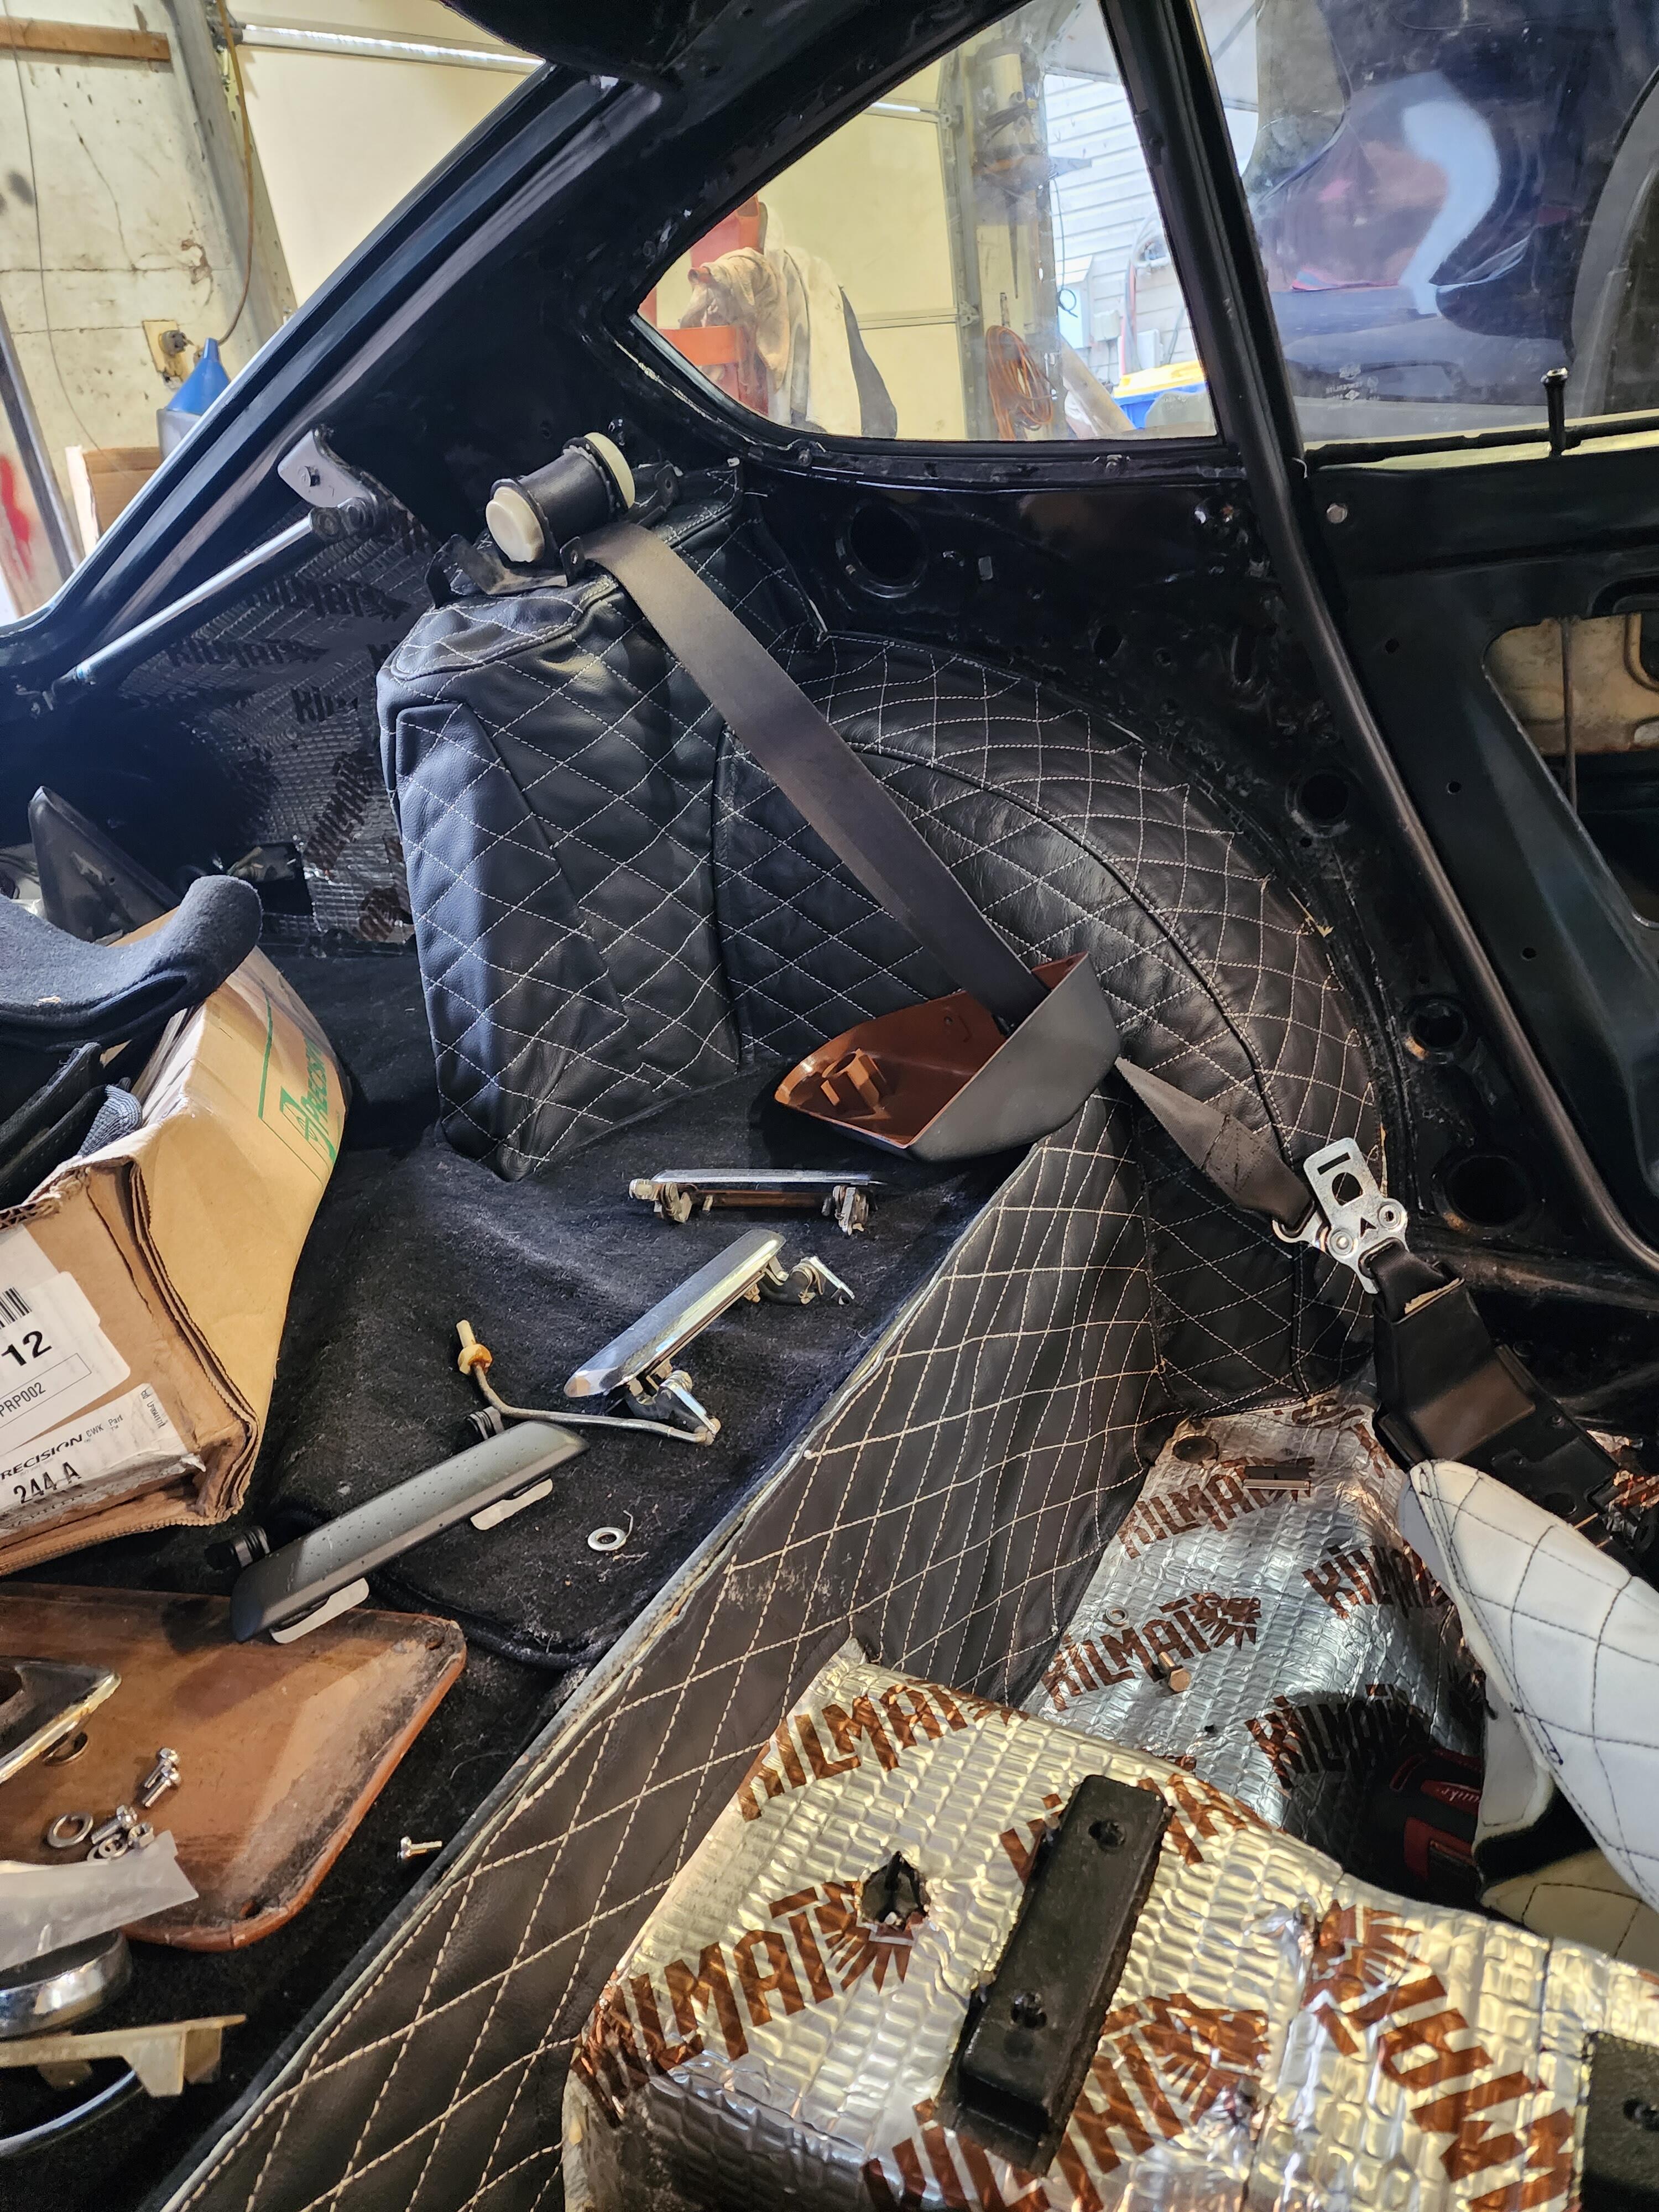
Perhaps a couple… first is the order. I did shock tower, wheel wells, and lastly that back panel. Turned out well because each section covers the pervious. When I first test fit them I thought I was screwed but once you actually glue them down, they take shape. I used 3M spray on adhesive. That worked well. Spray both surfaces, let them tack up and install. For the shocks, start at the top and line up the lip that goes around the rounded section and then just pull the rest down and try to stretch the material as much as it will go without creating creases. I had to make some relief cuts at the bottom but they won’t be seen since they will be under the carpet. You may need relief cuts on the wheel wells too. I have some but they won’t be visible. Make sure to line everything up and you’re happy with the figment before making any cuts. I found it useful to have my seatbelts and seatbelt covers close by since they mount onto my shock tower. This gave me a good visual to compare from side to side as far as equal alignment on the shock tower. Lastly, the glue isn’t permanent so don’t be worried about pulling a panel off after it’s installed… I did my passenger shock tower about 3 times until I was happy with it. And I might redo my driver too. Hope that helps…
-
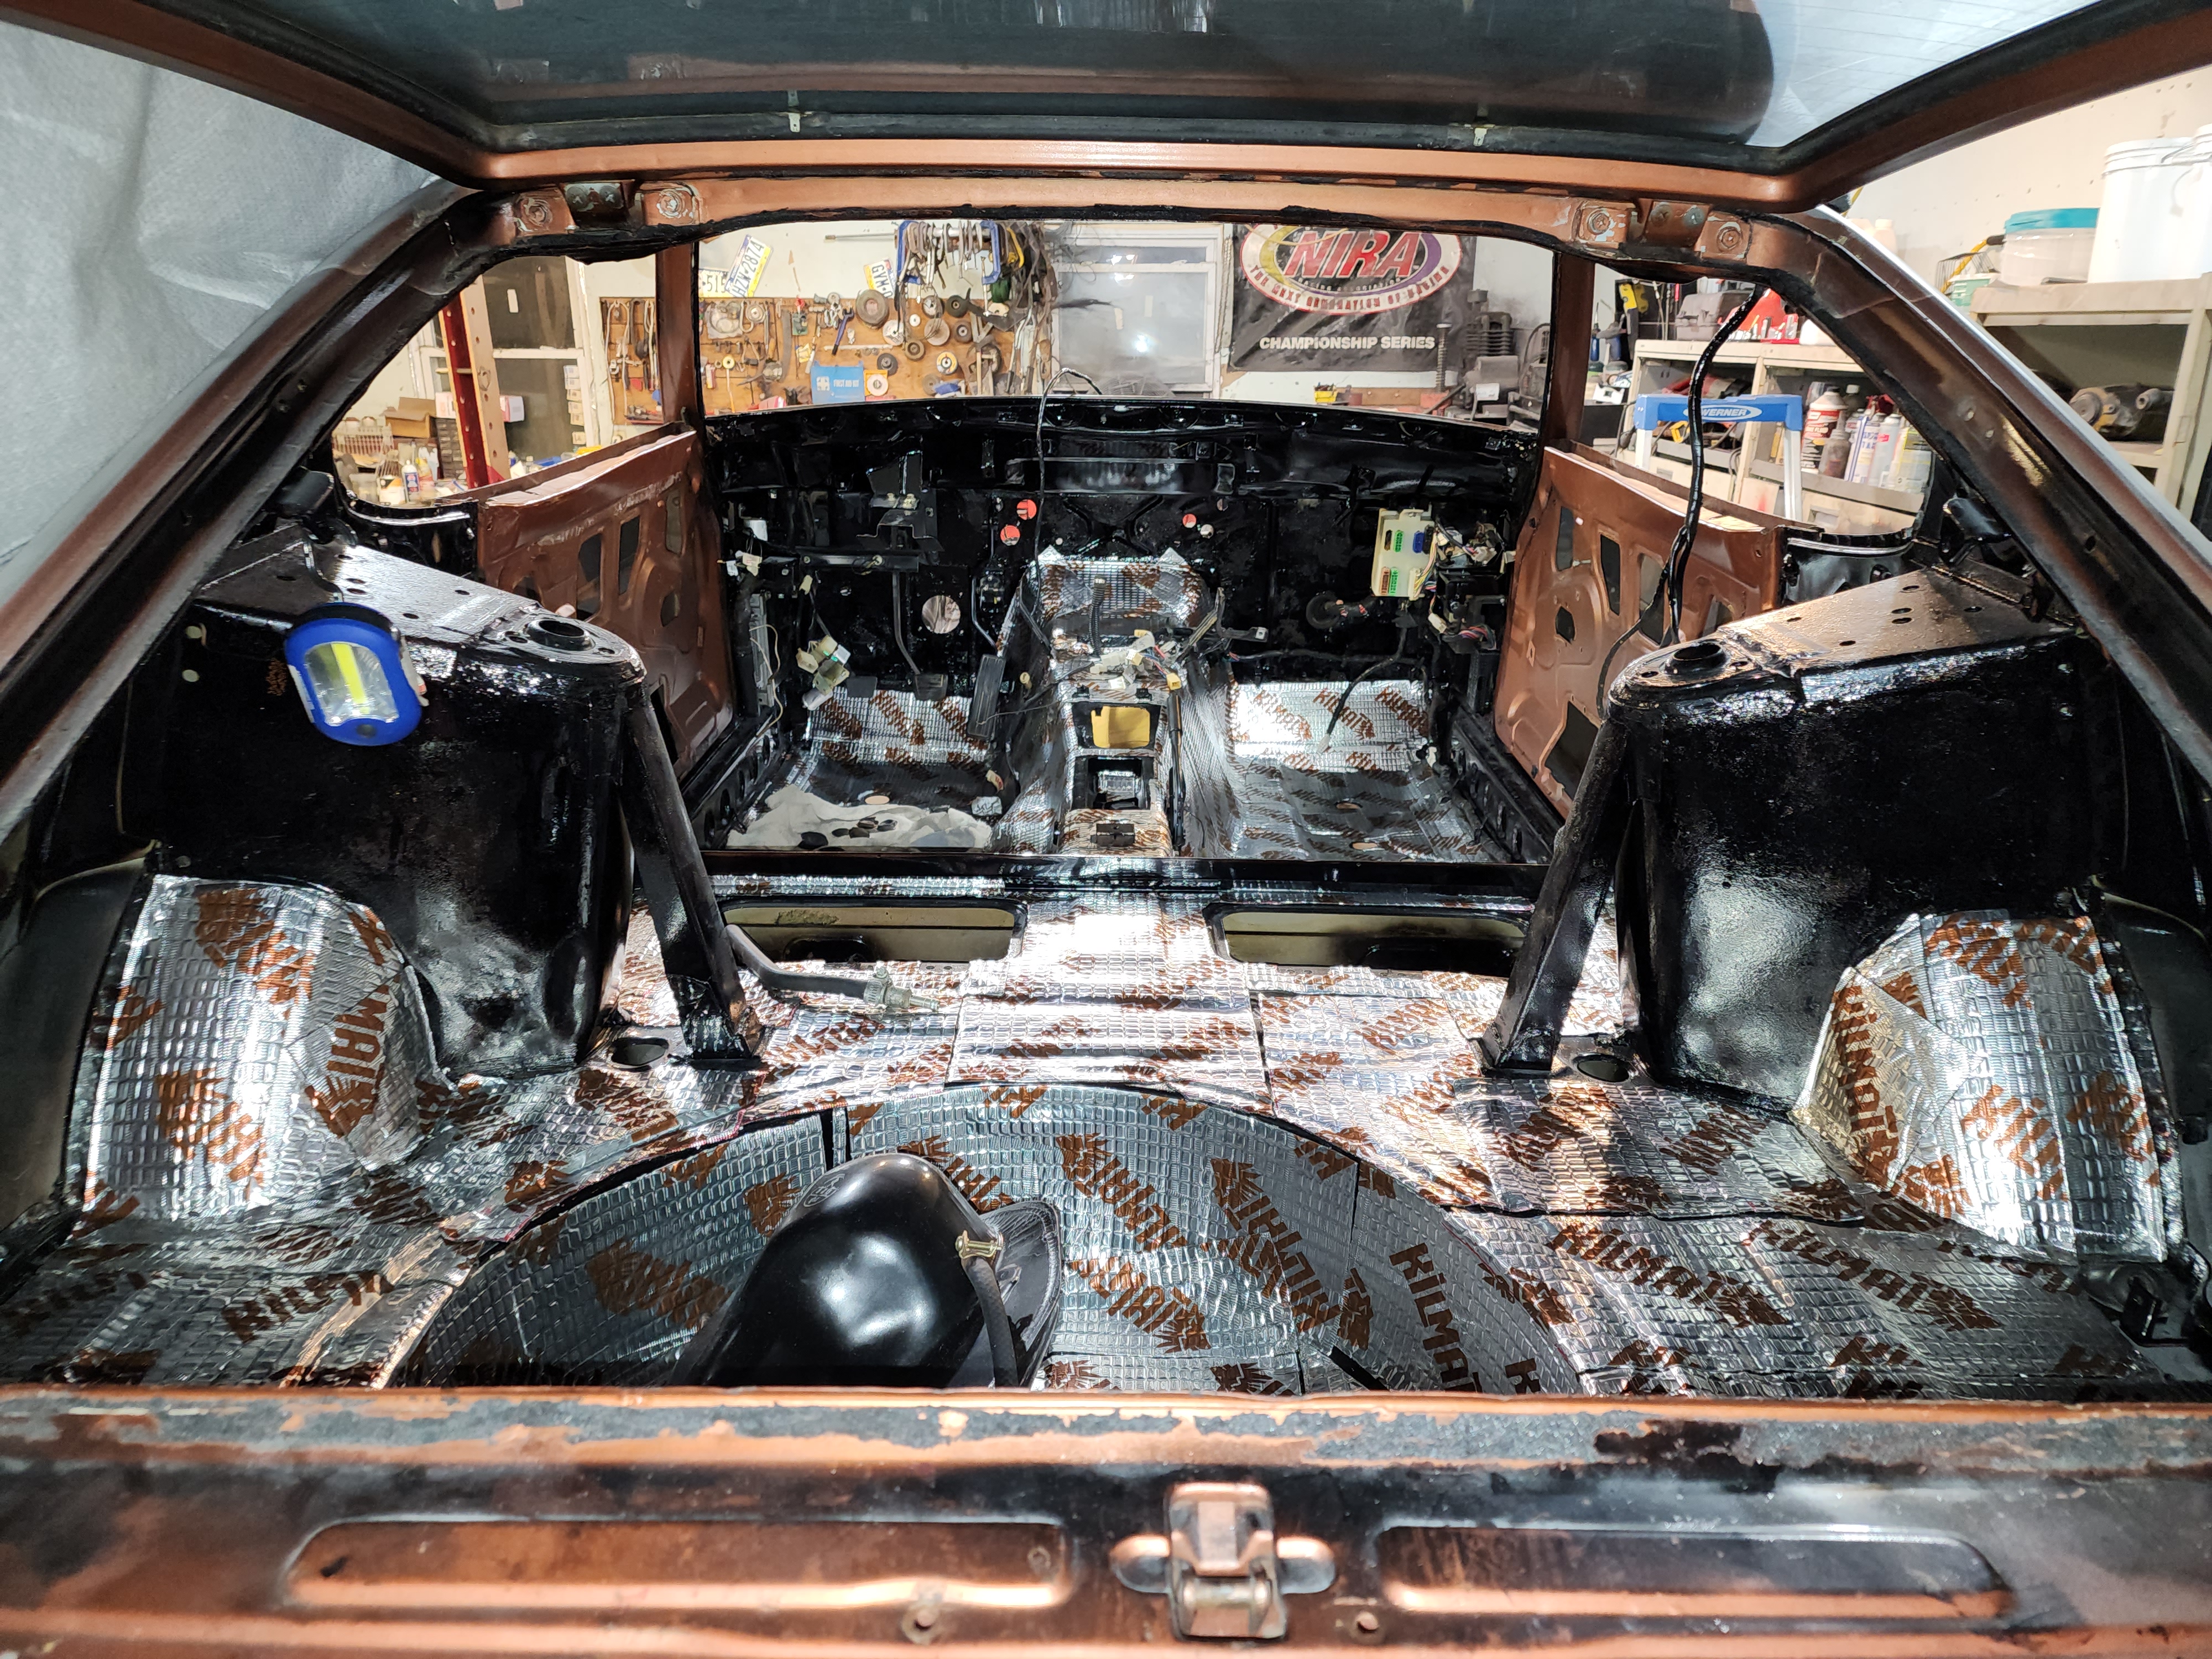
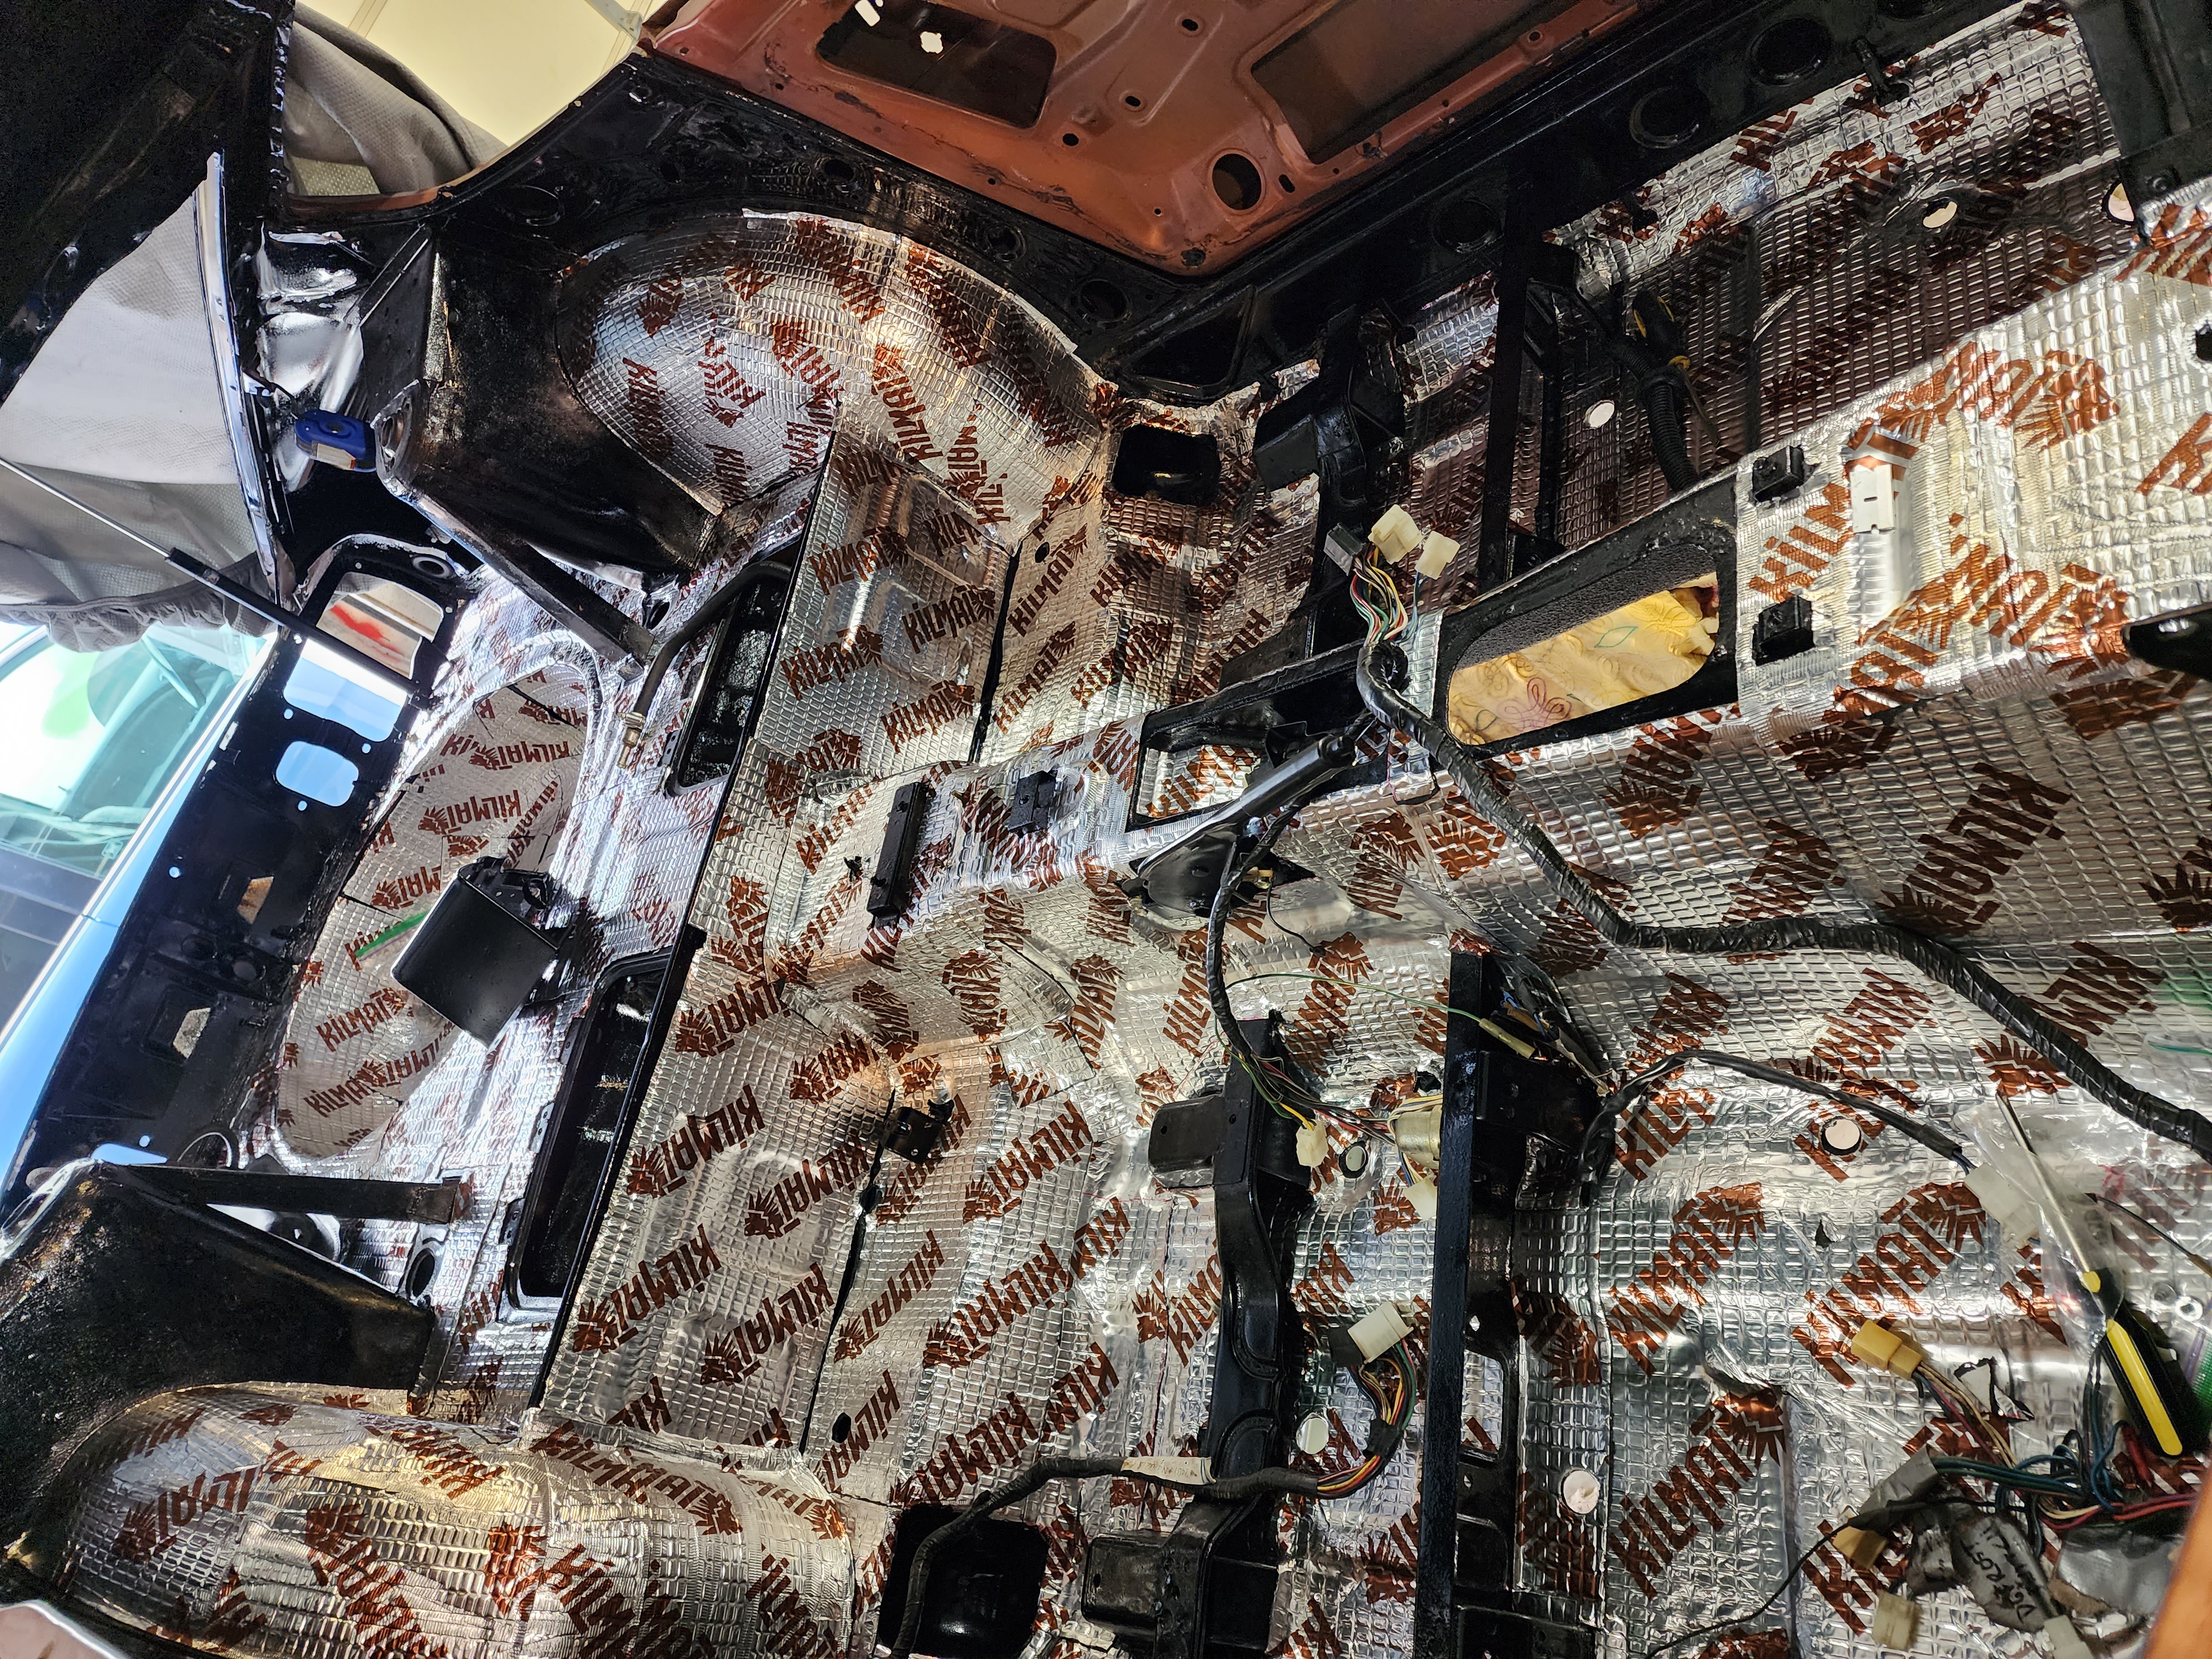
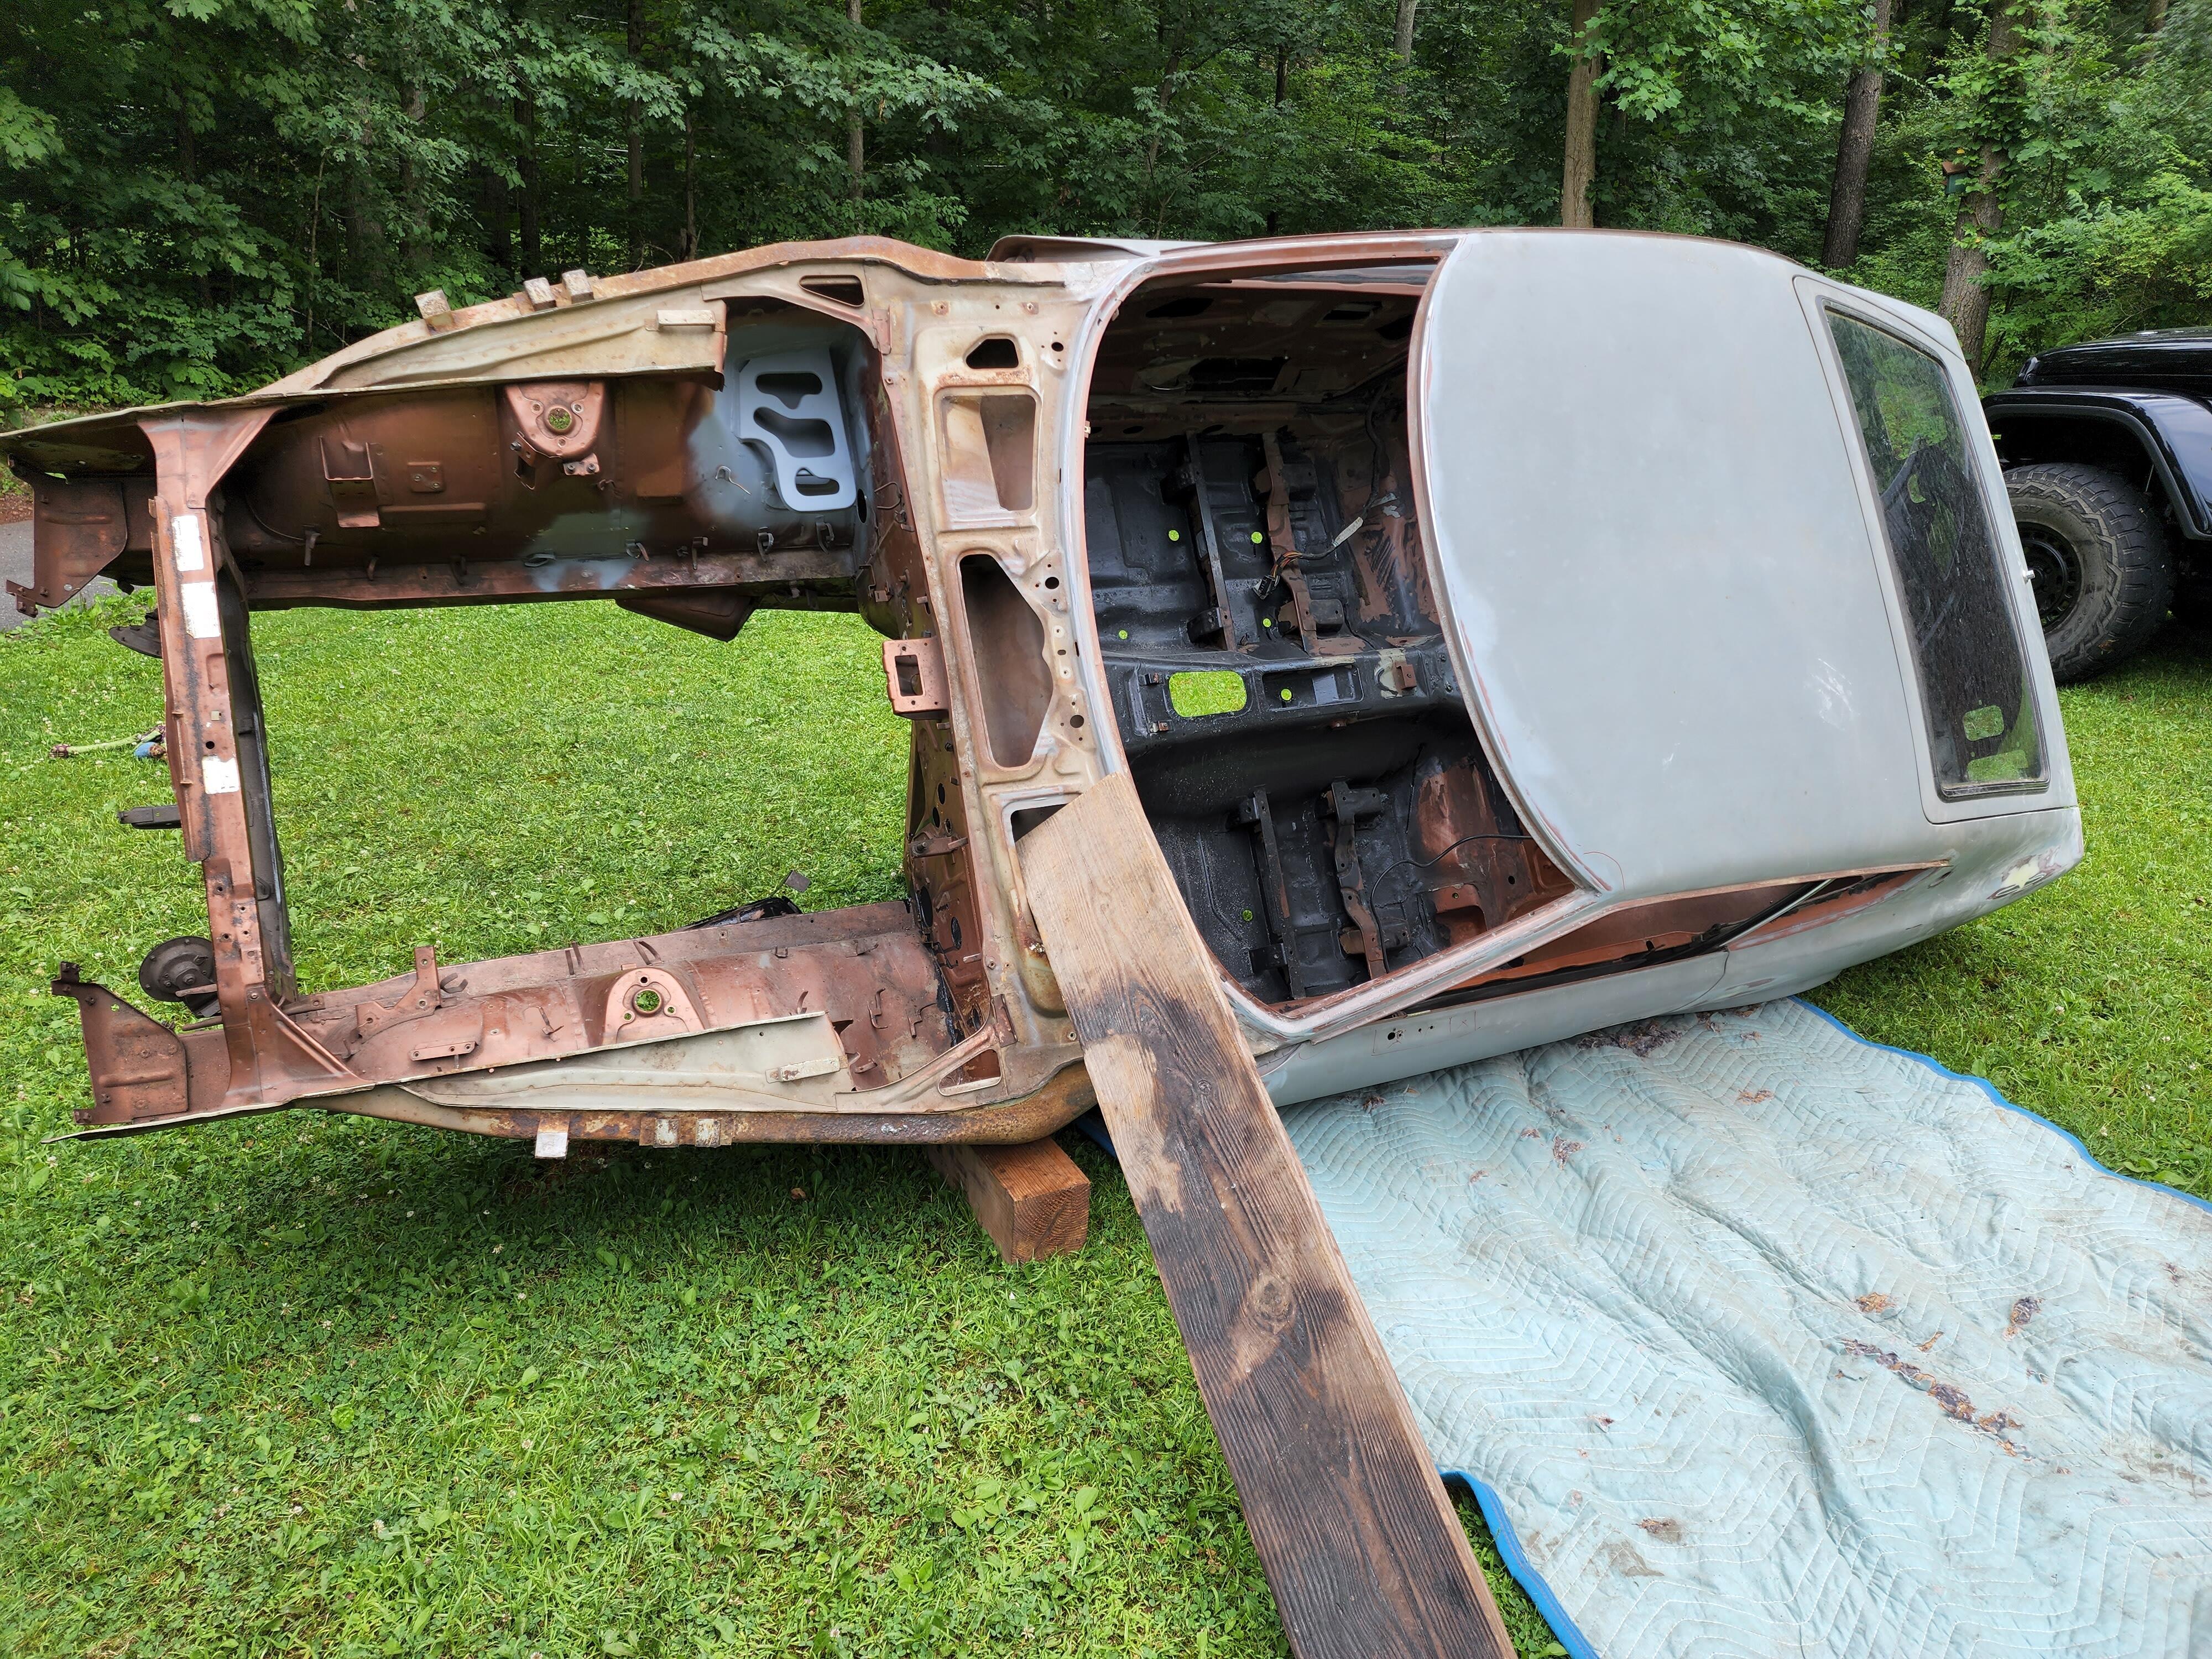
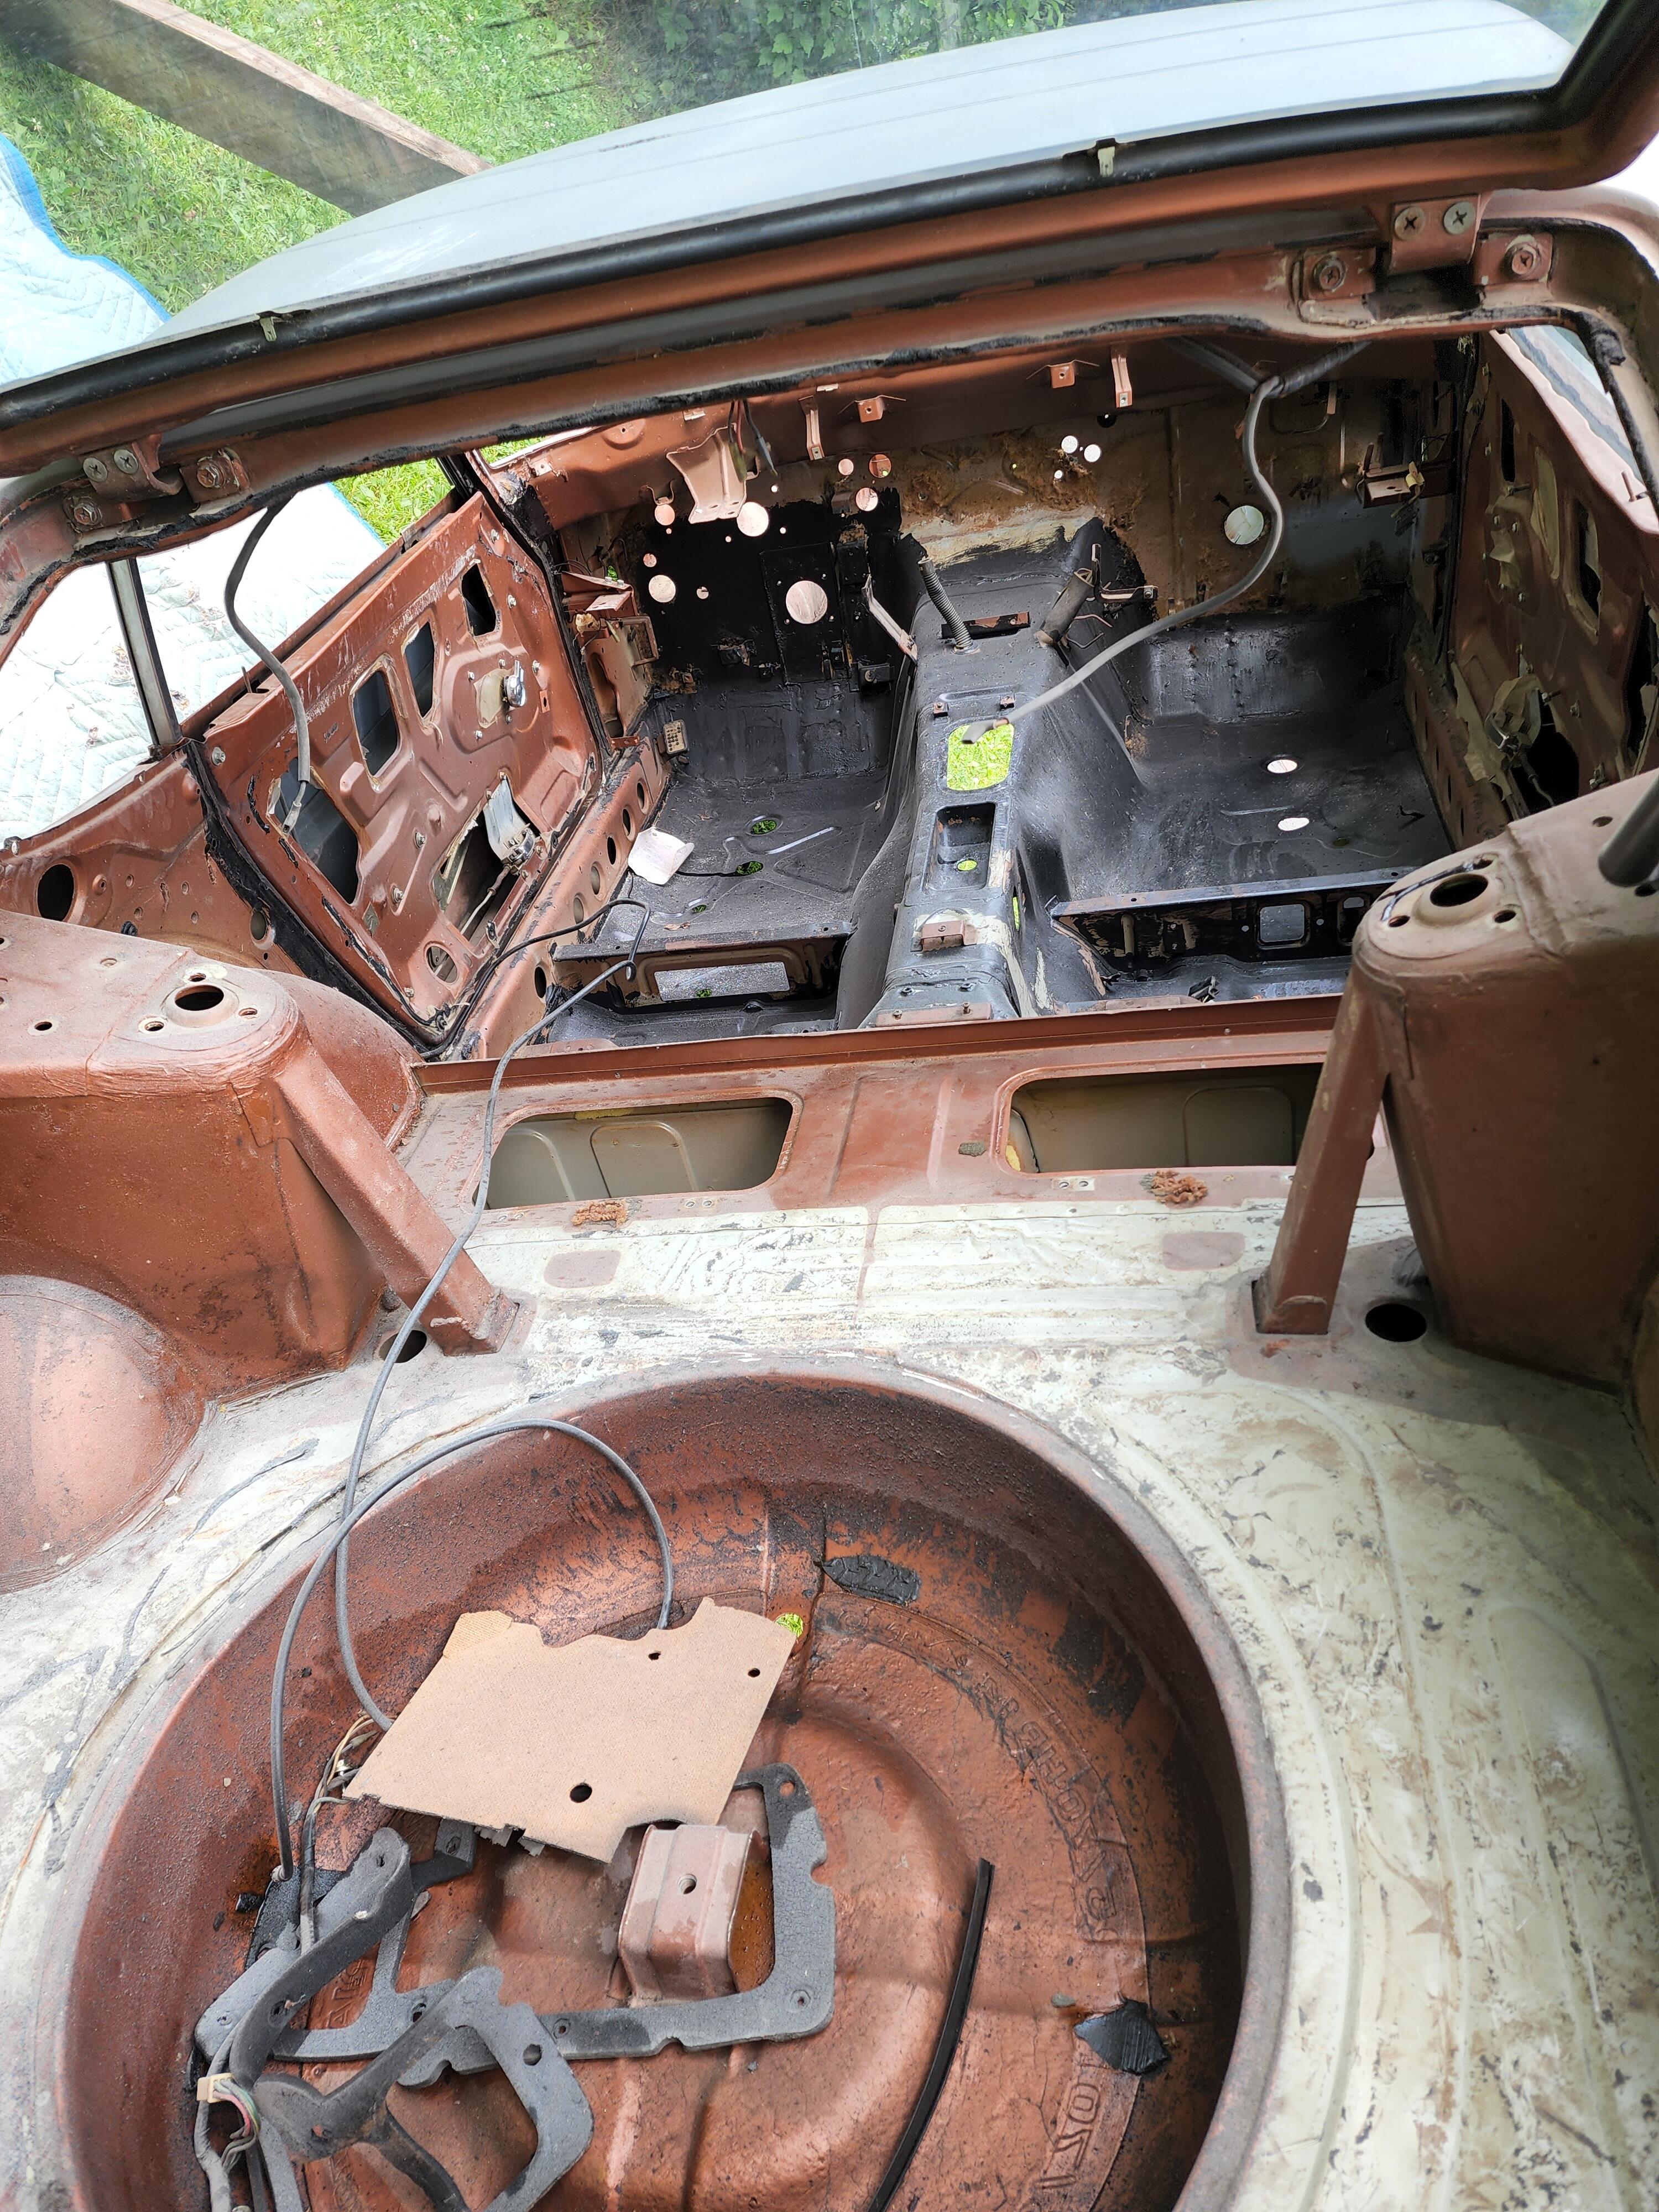
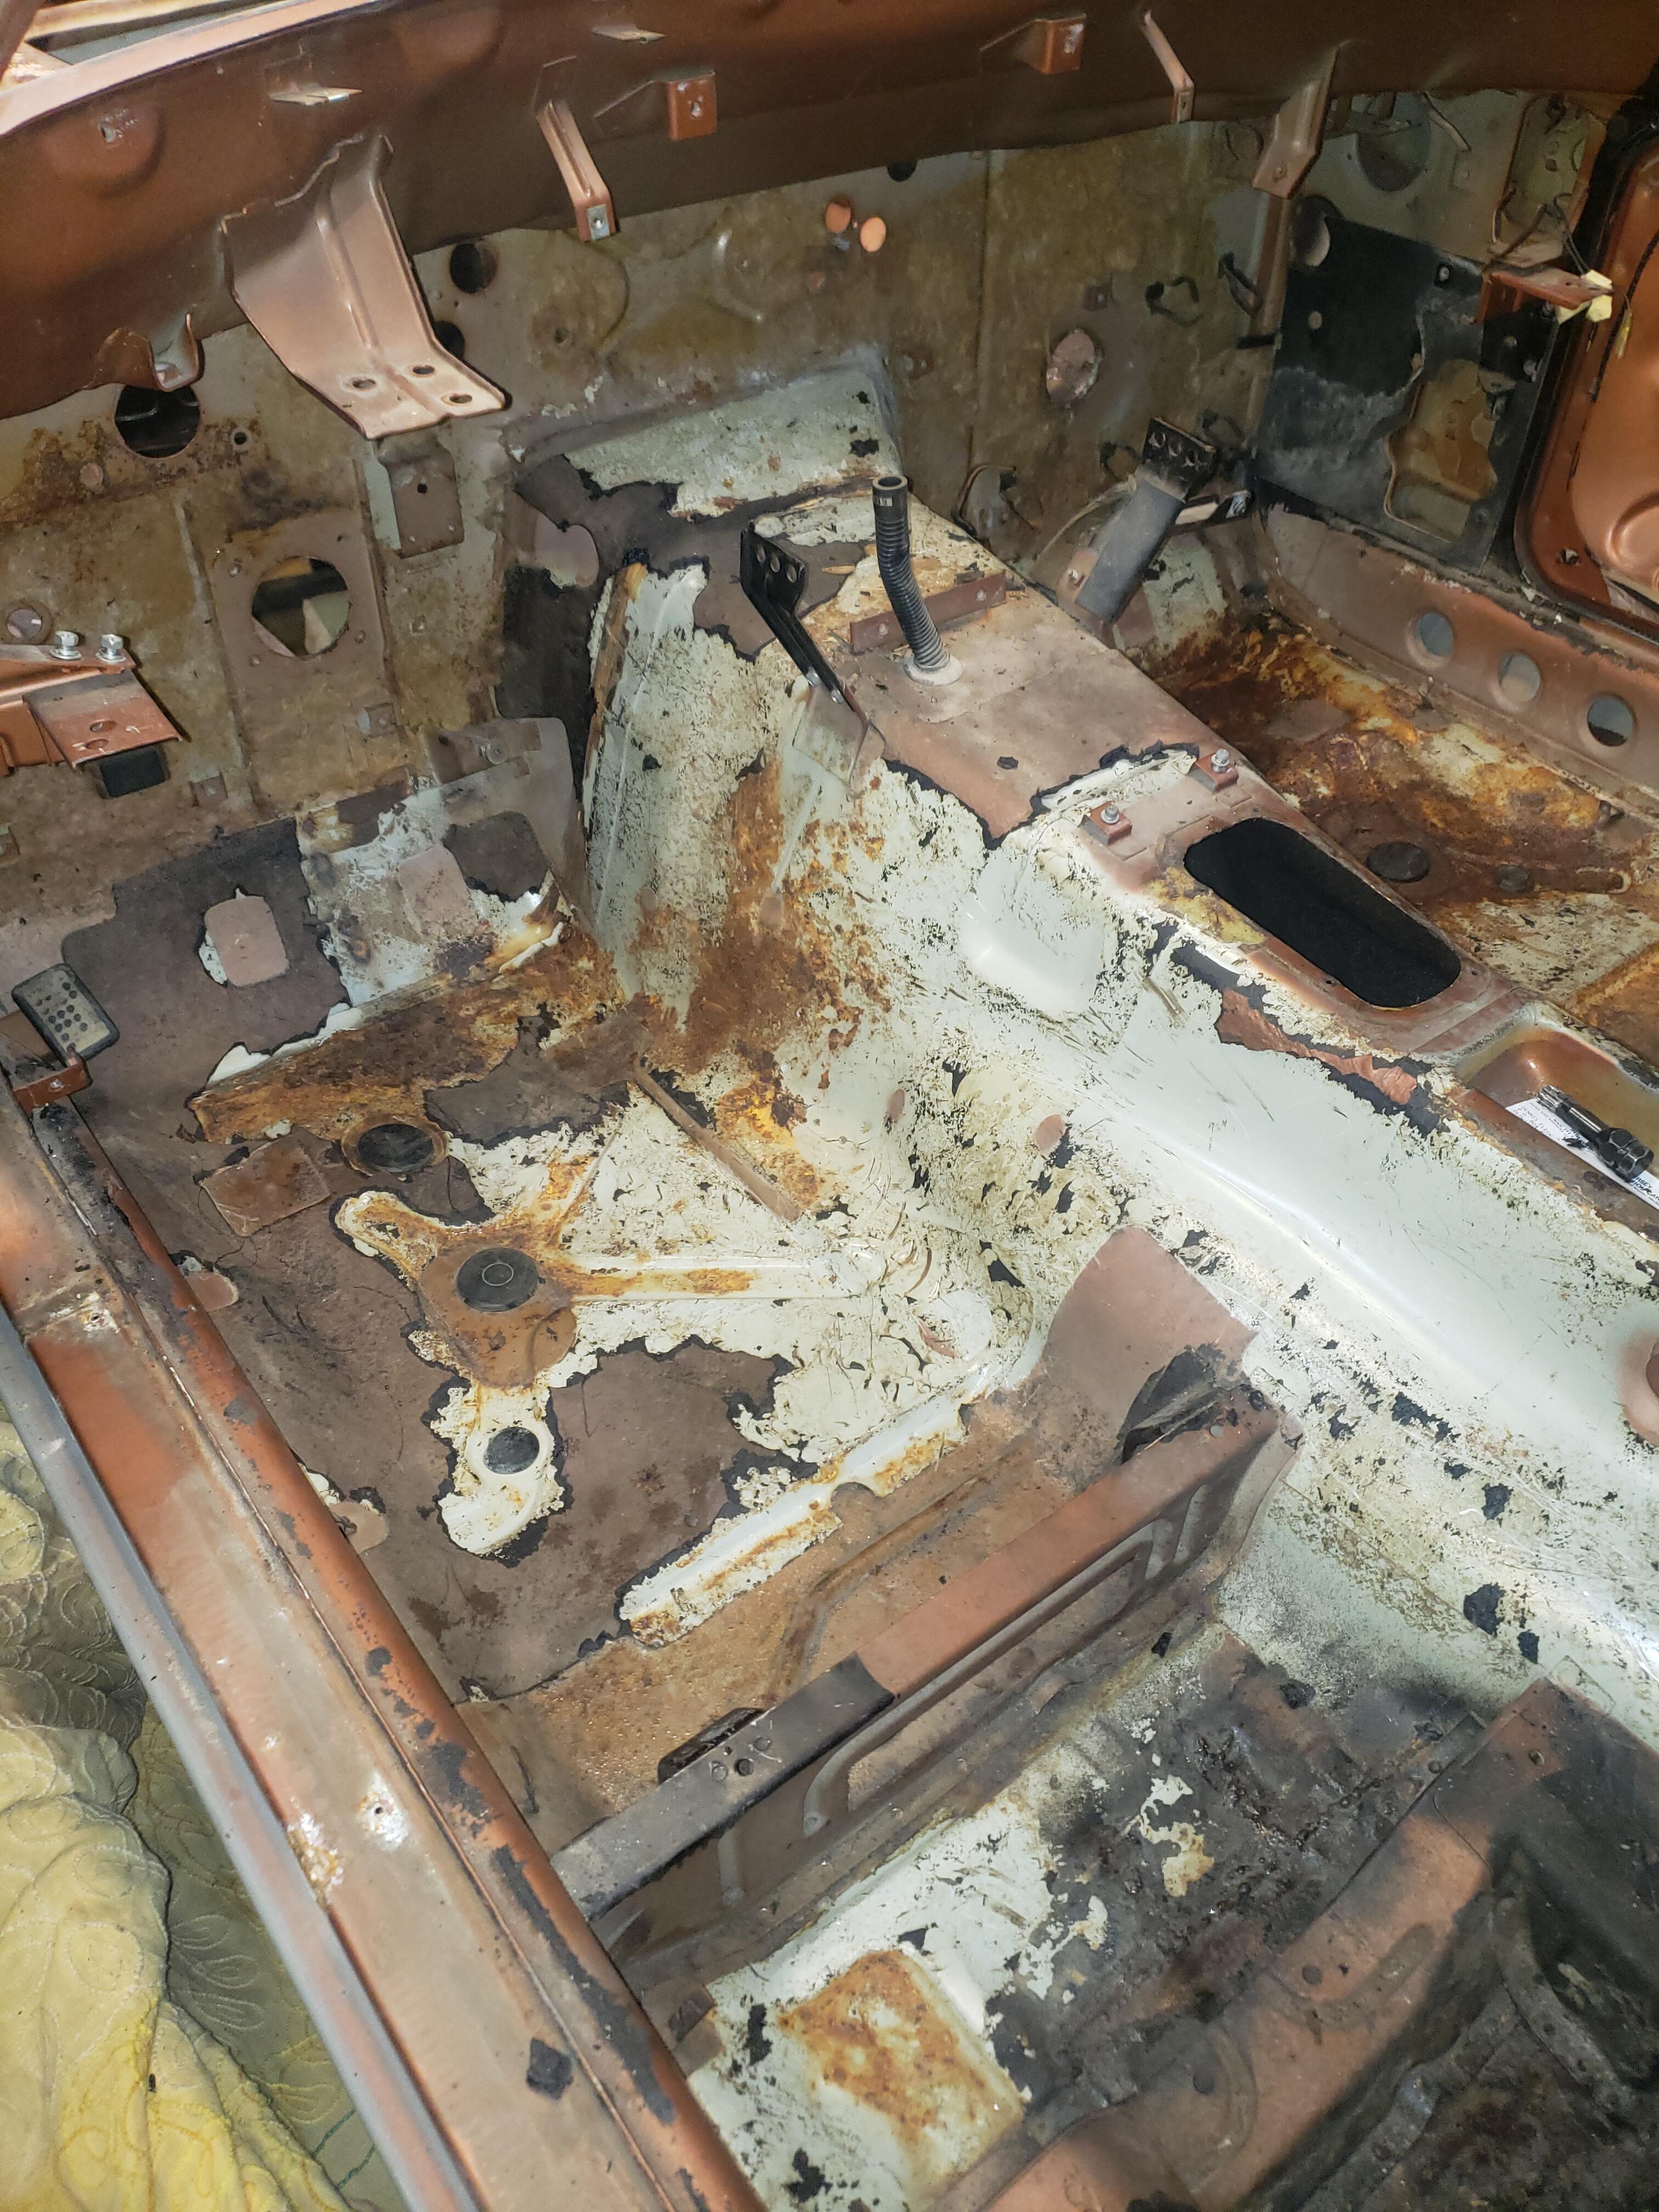
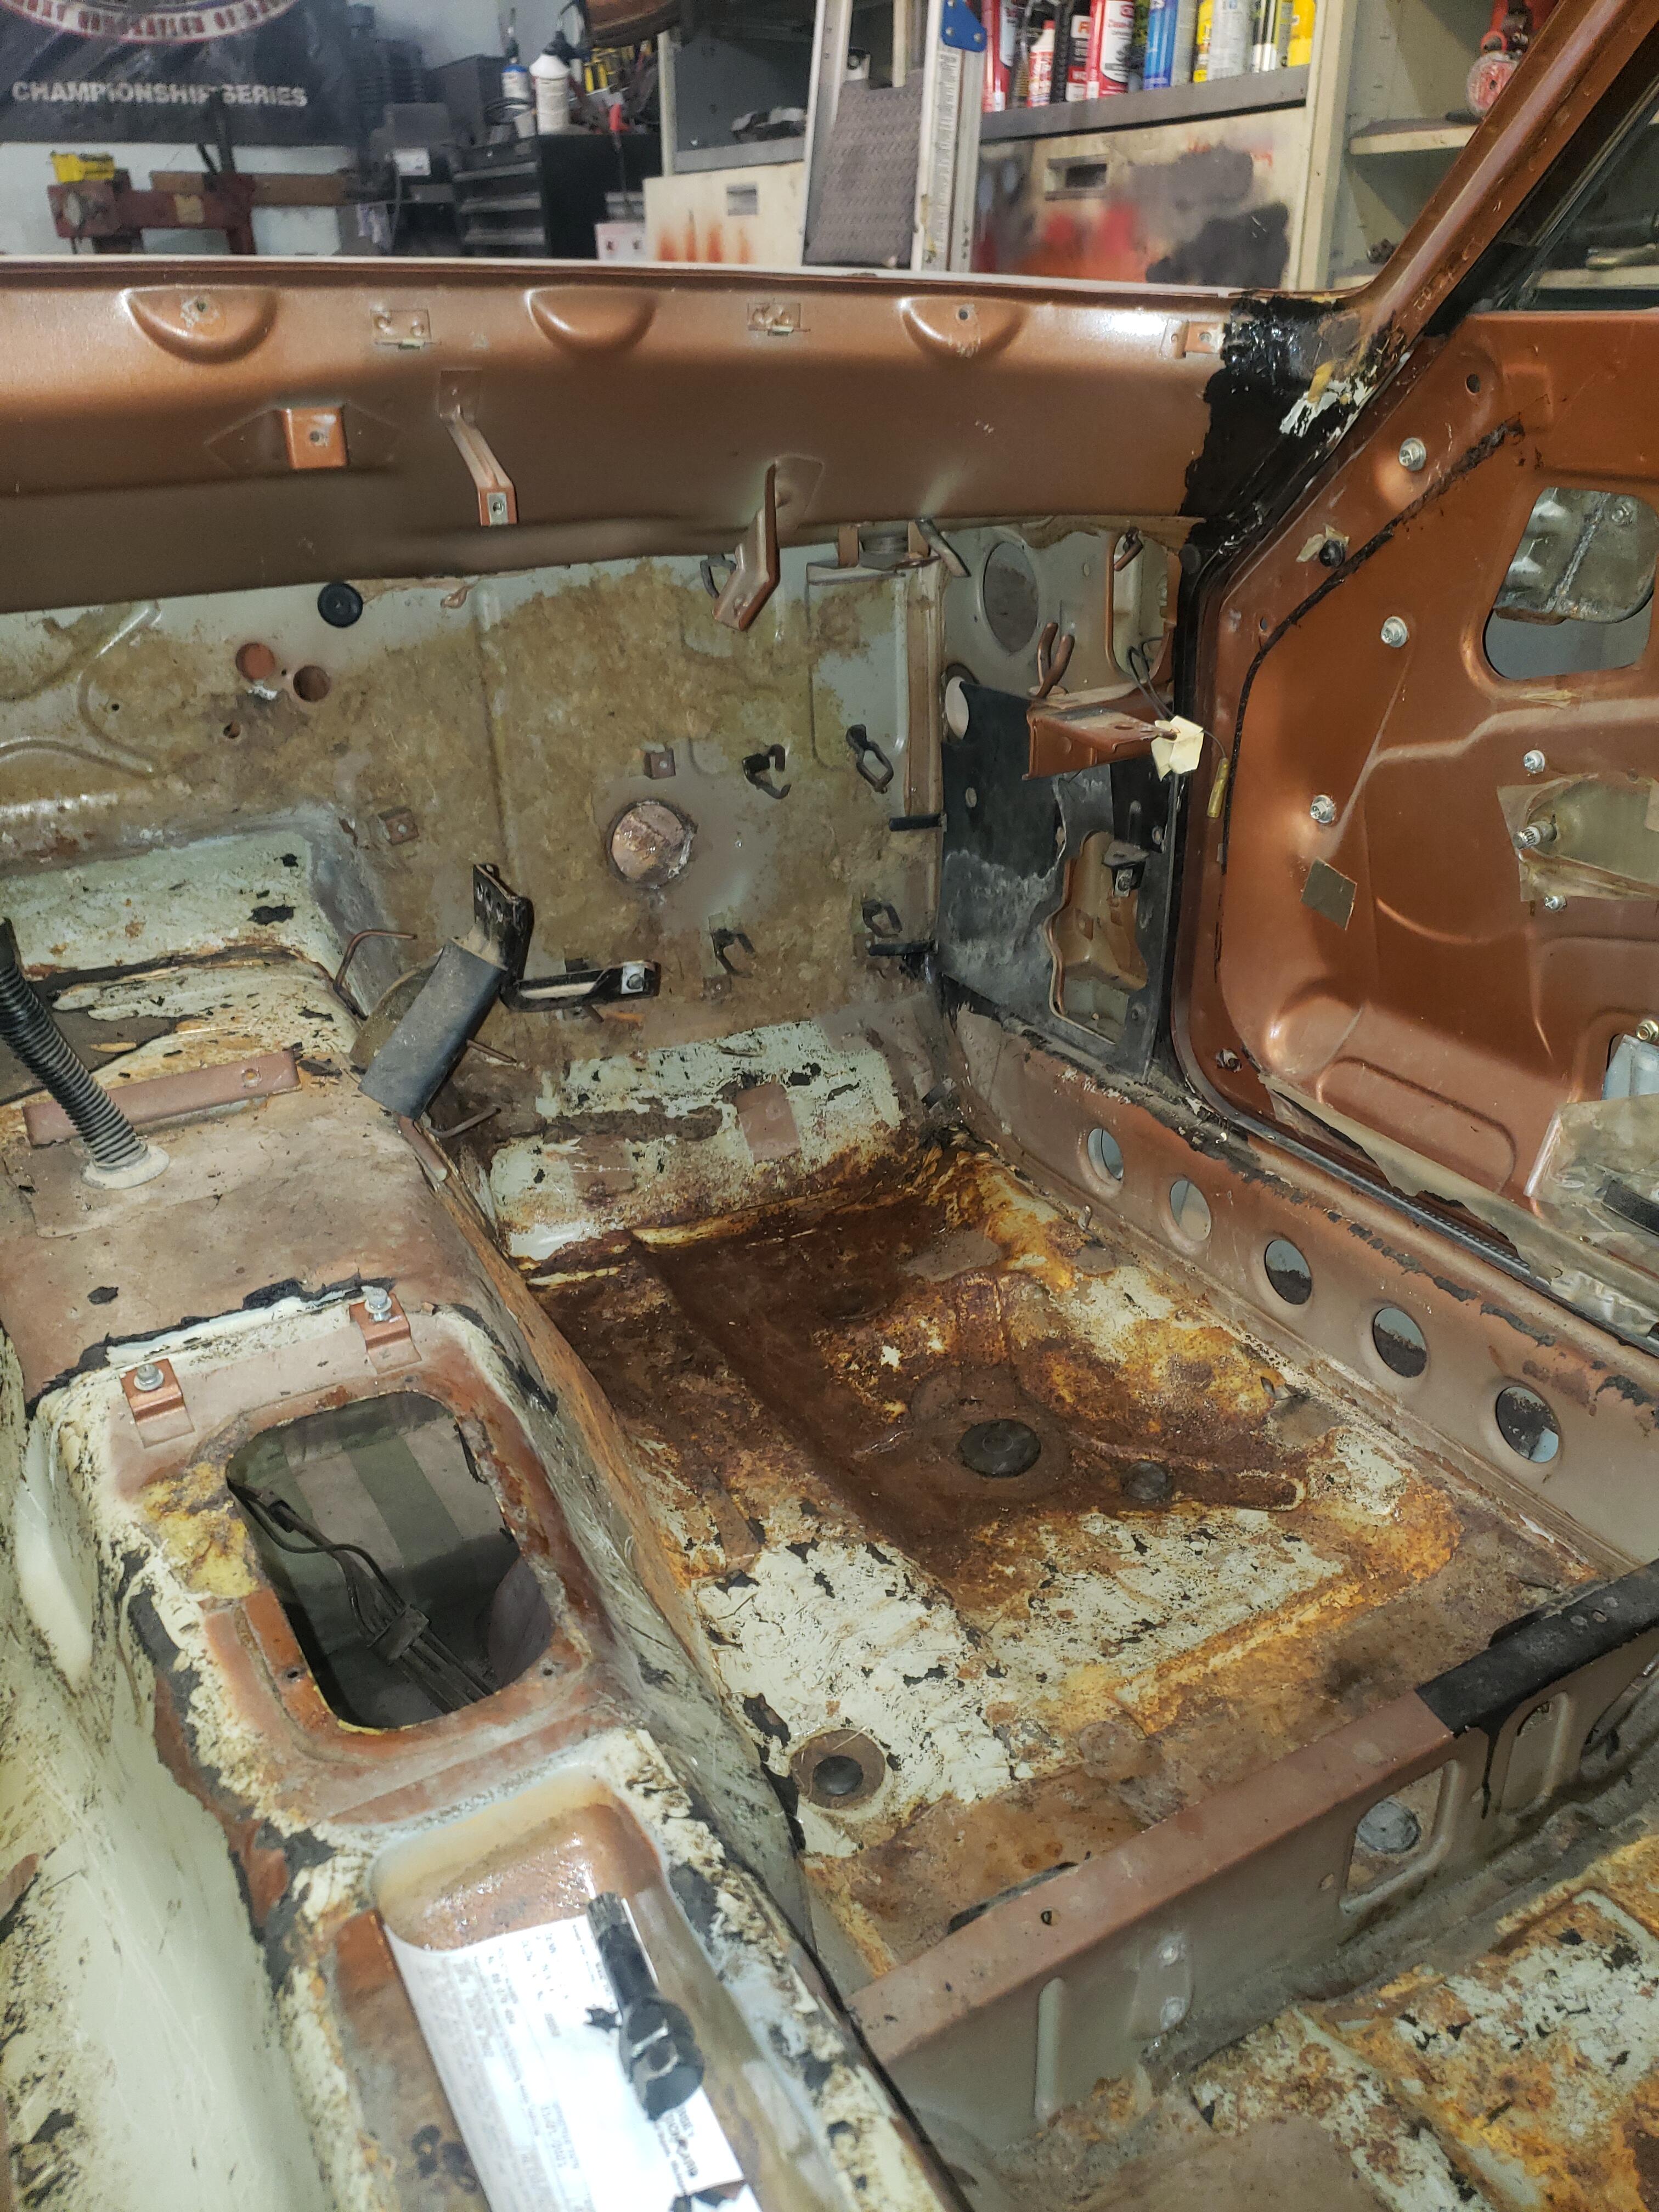
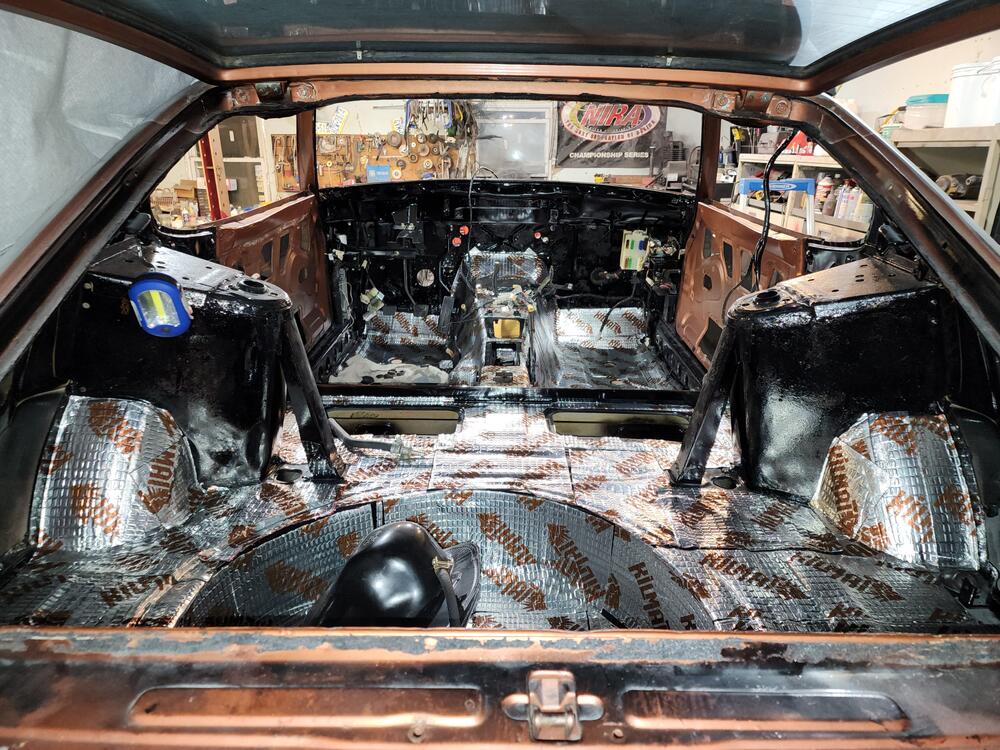
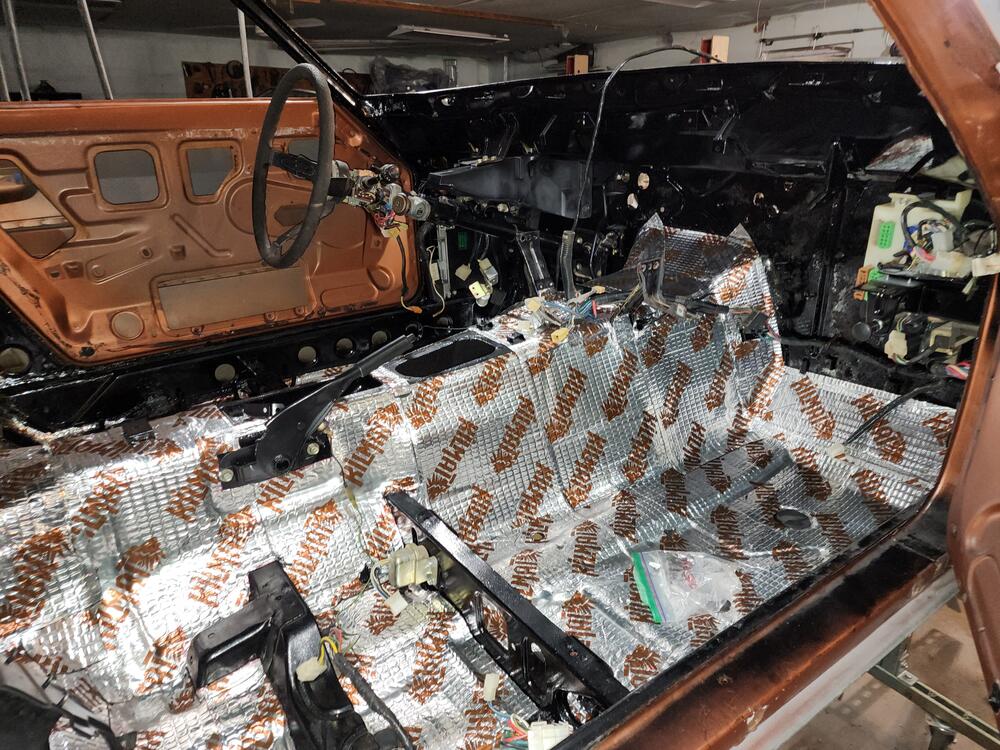
I’ve spent more time than I wanted in India so progress has been slow. I decided to work on the interior and happy with the results so far… you don’t realize how much you took apart until you start putting it back together… the widow frames/mechanisms were a PITA. they still don’t seem right but I’ll save that for another day.


-
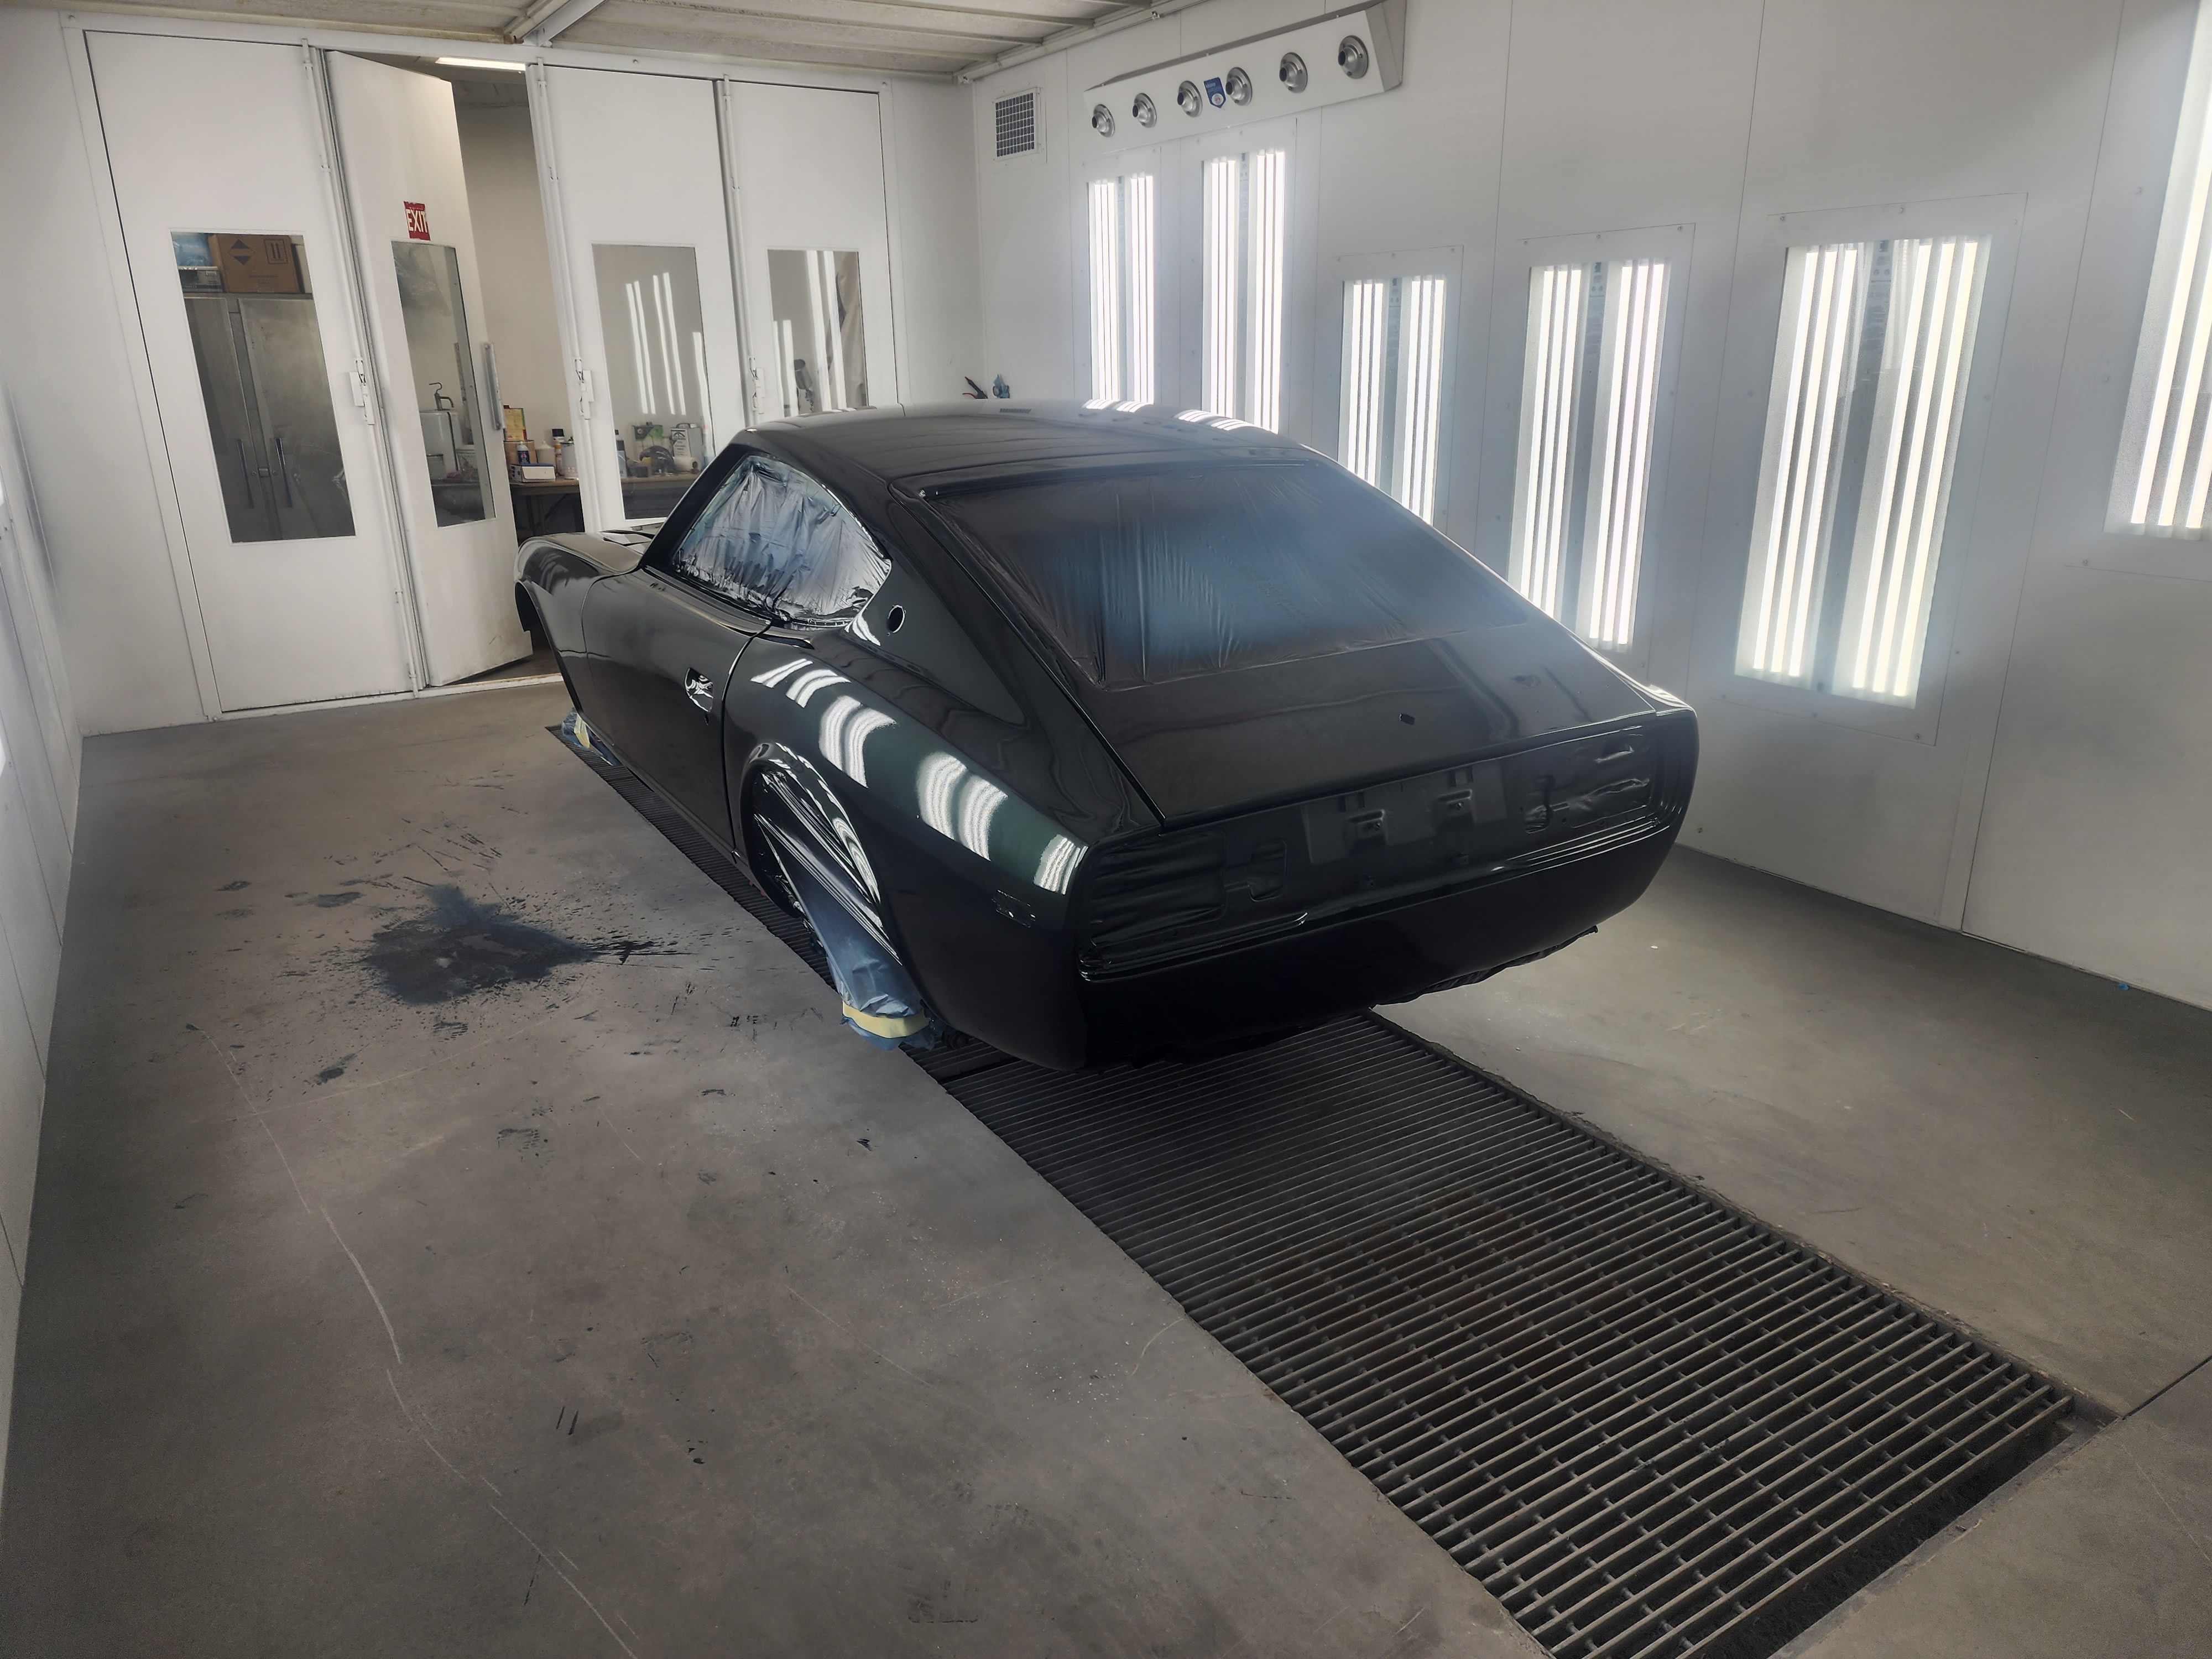
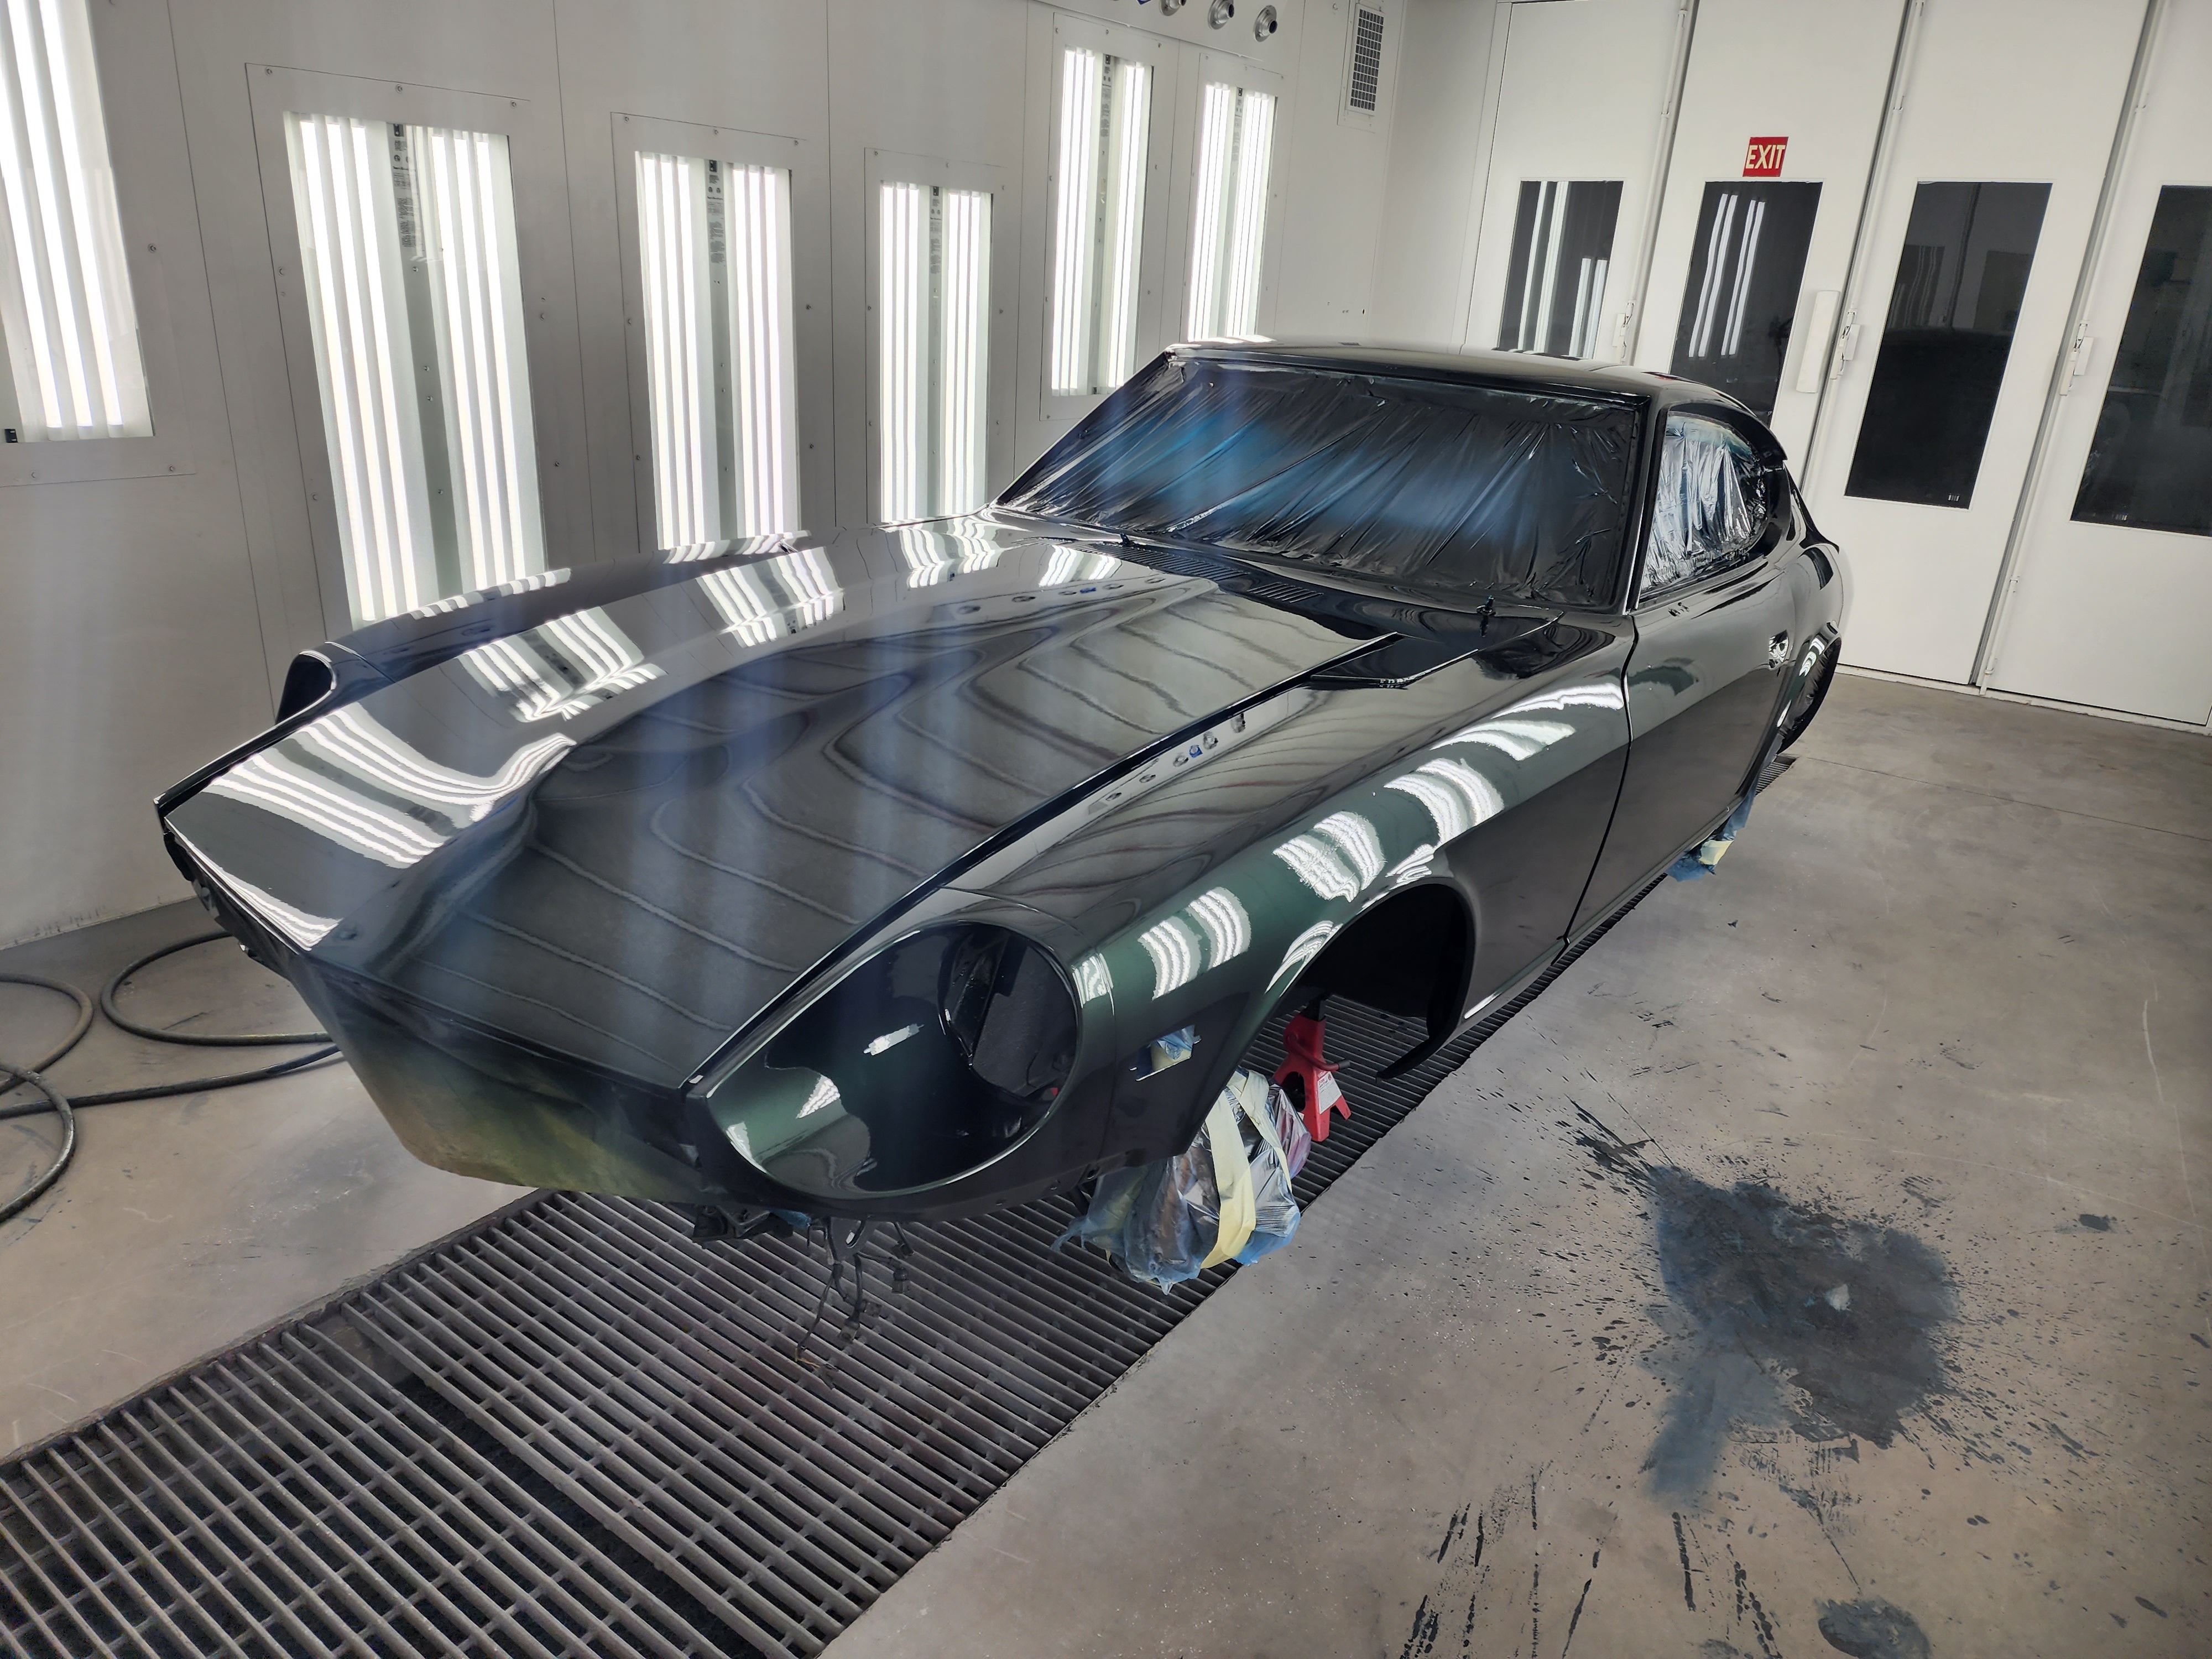
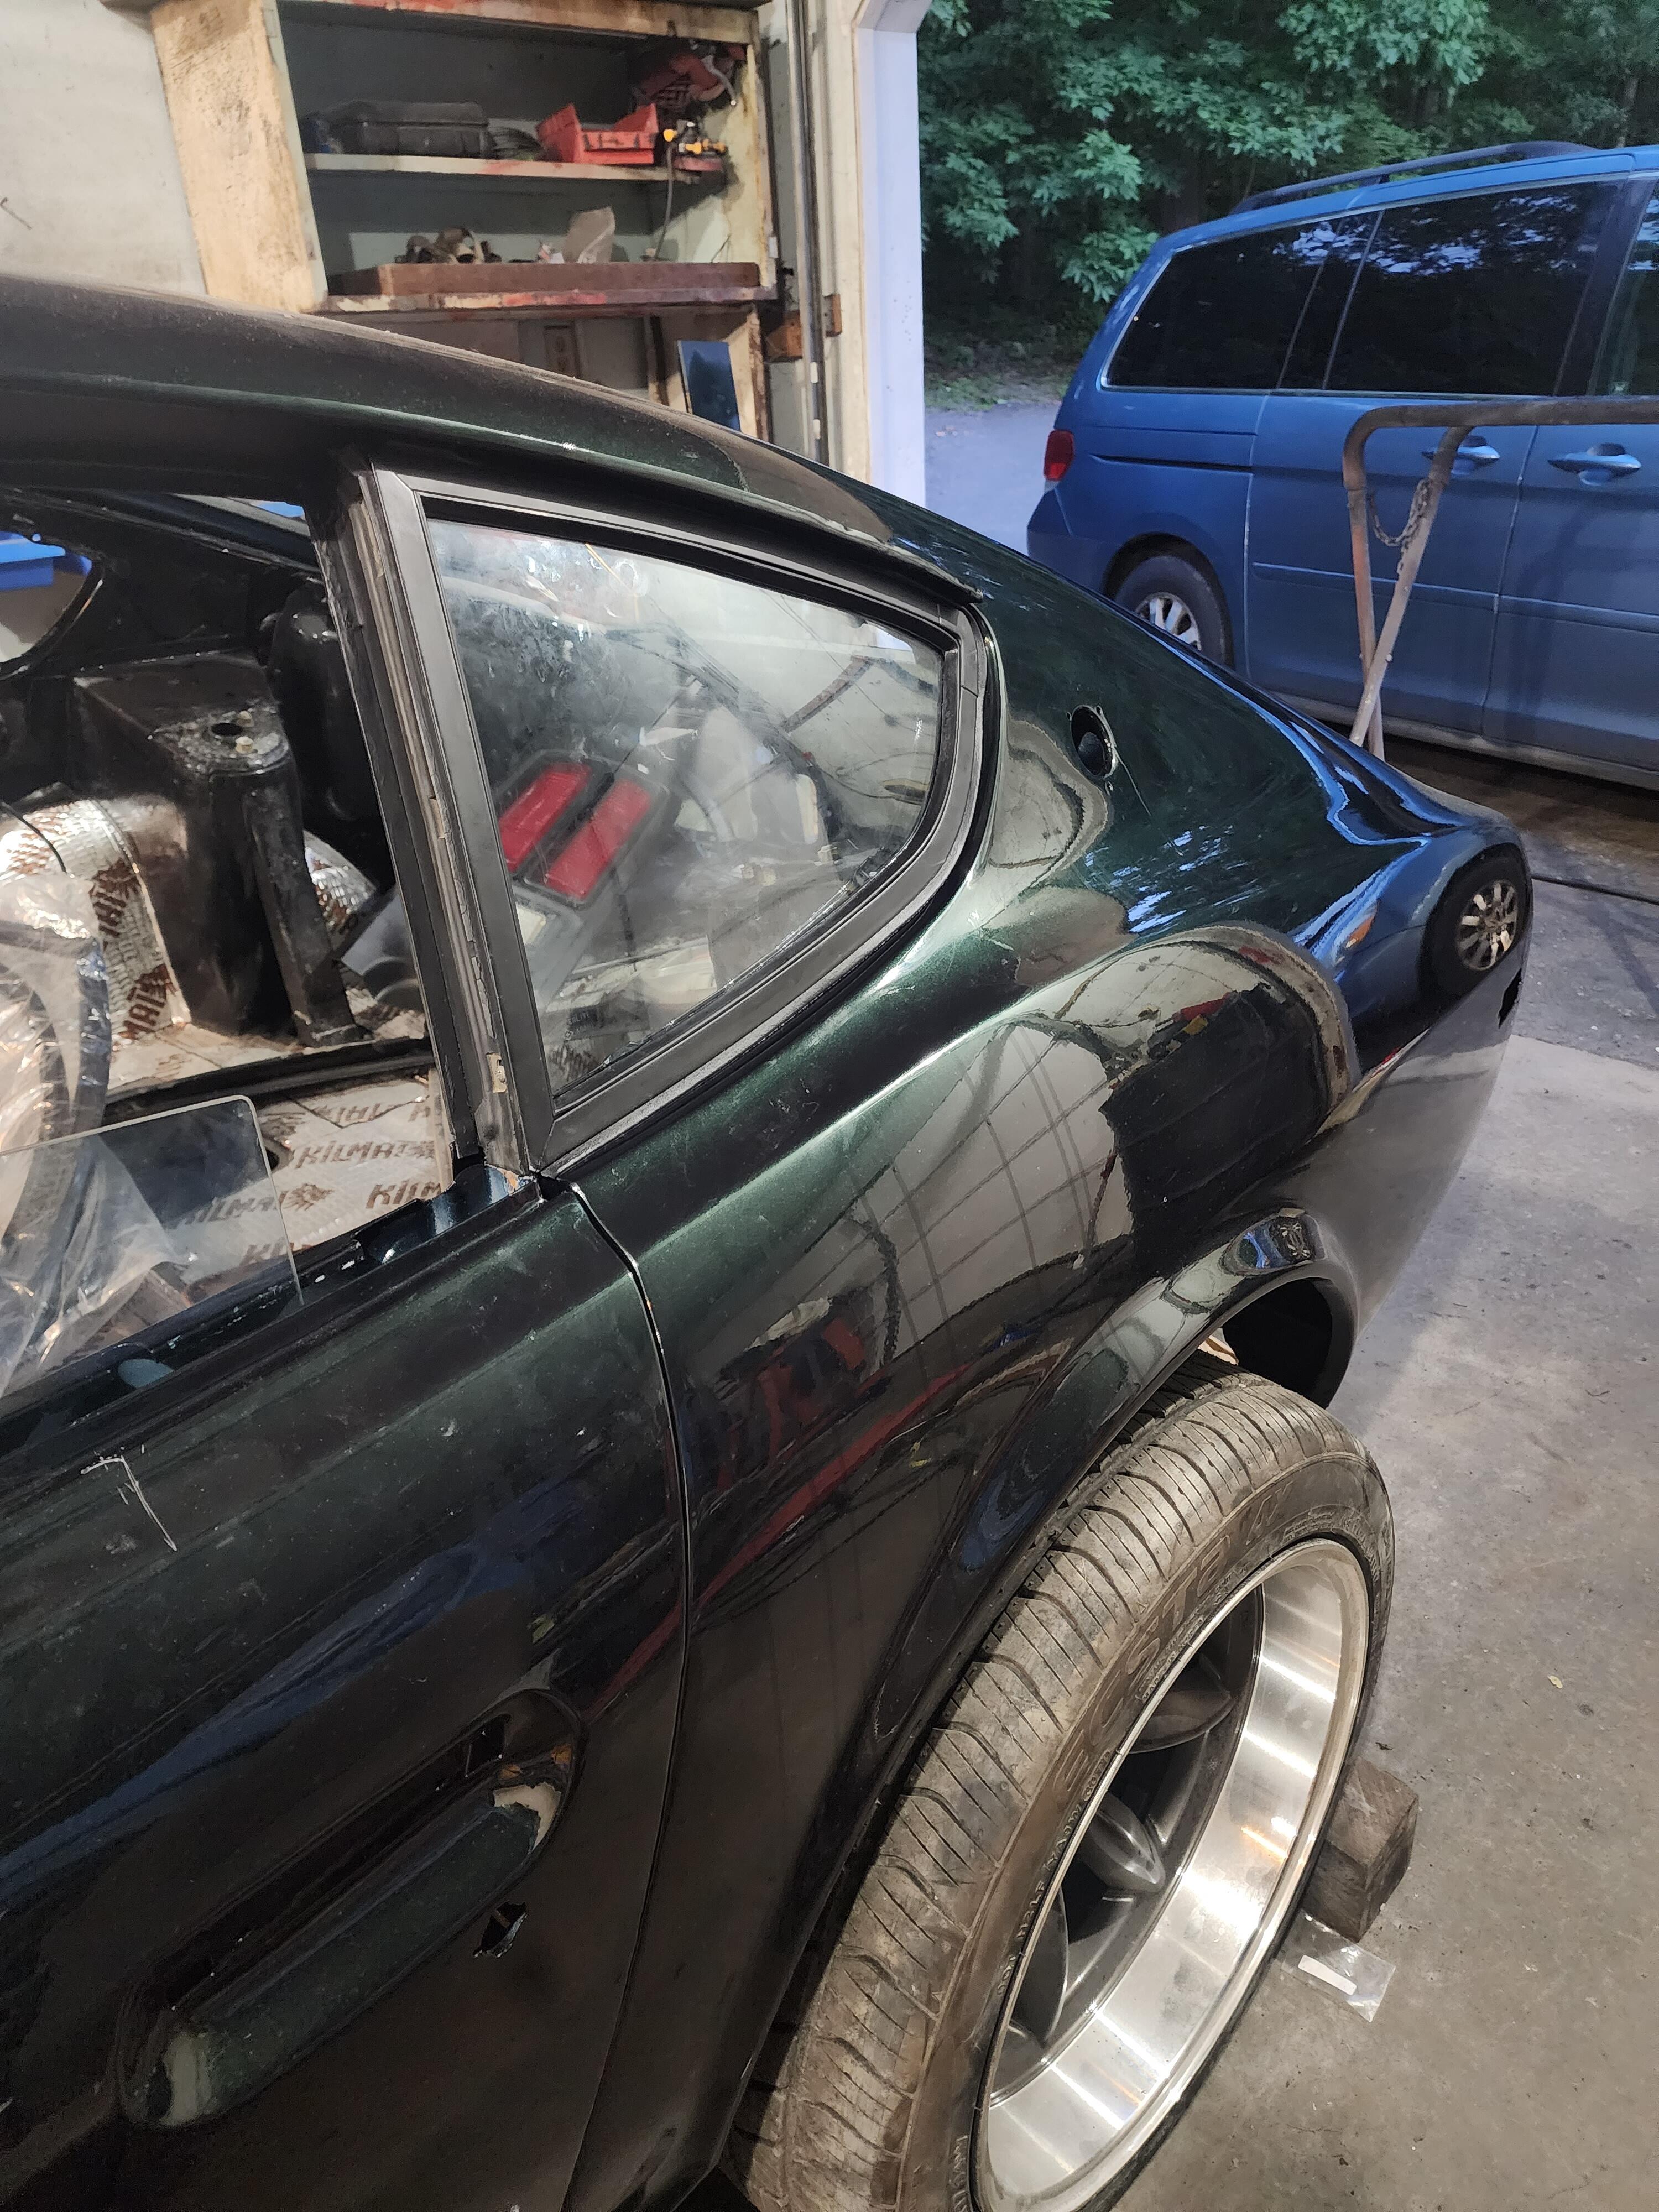
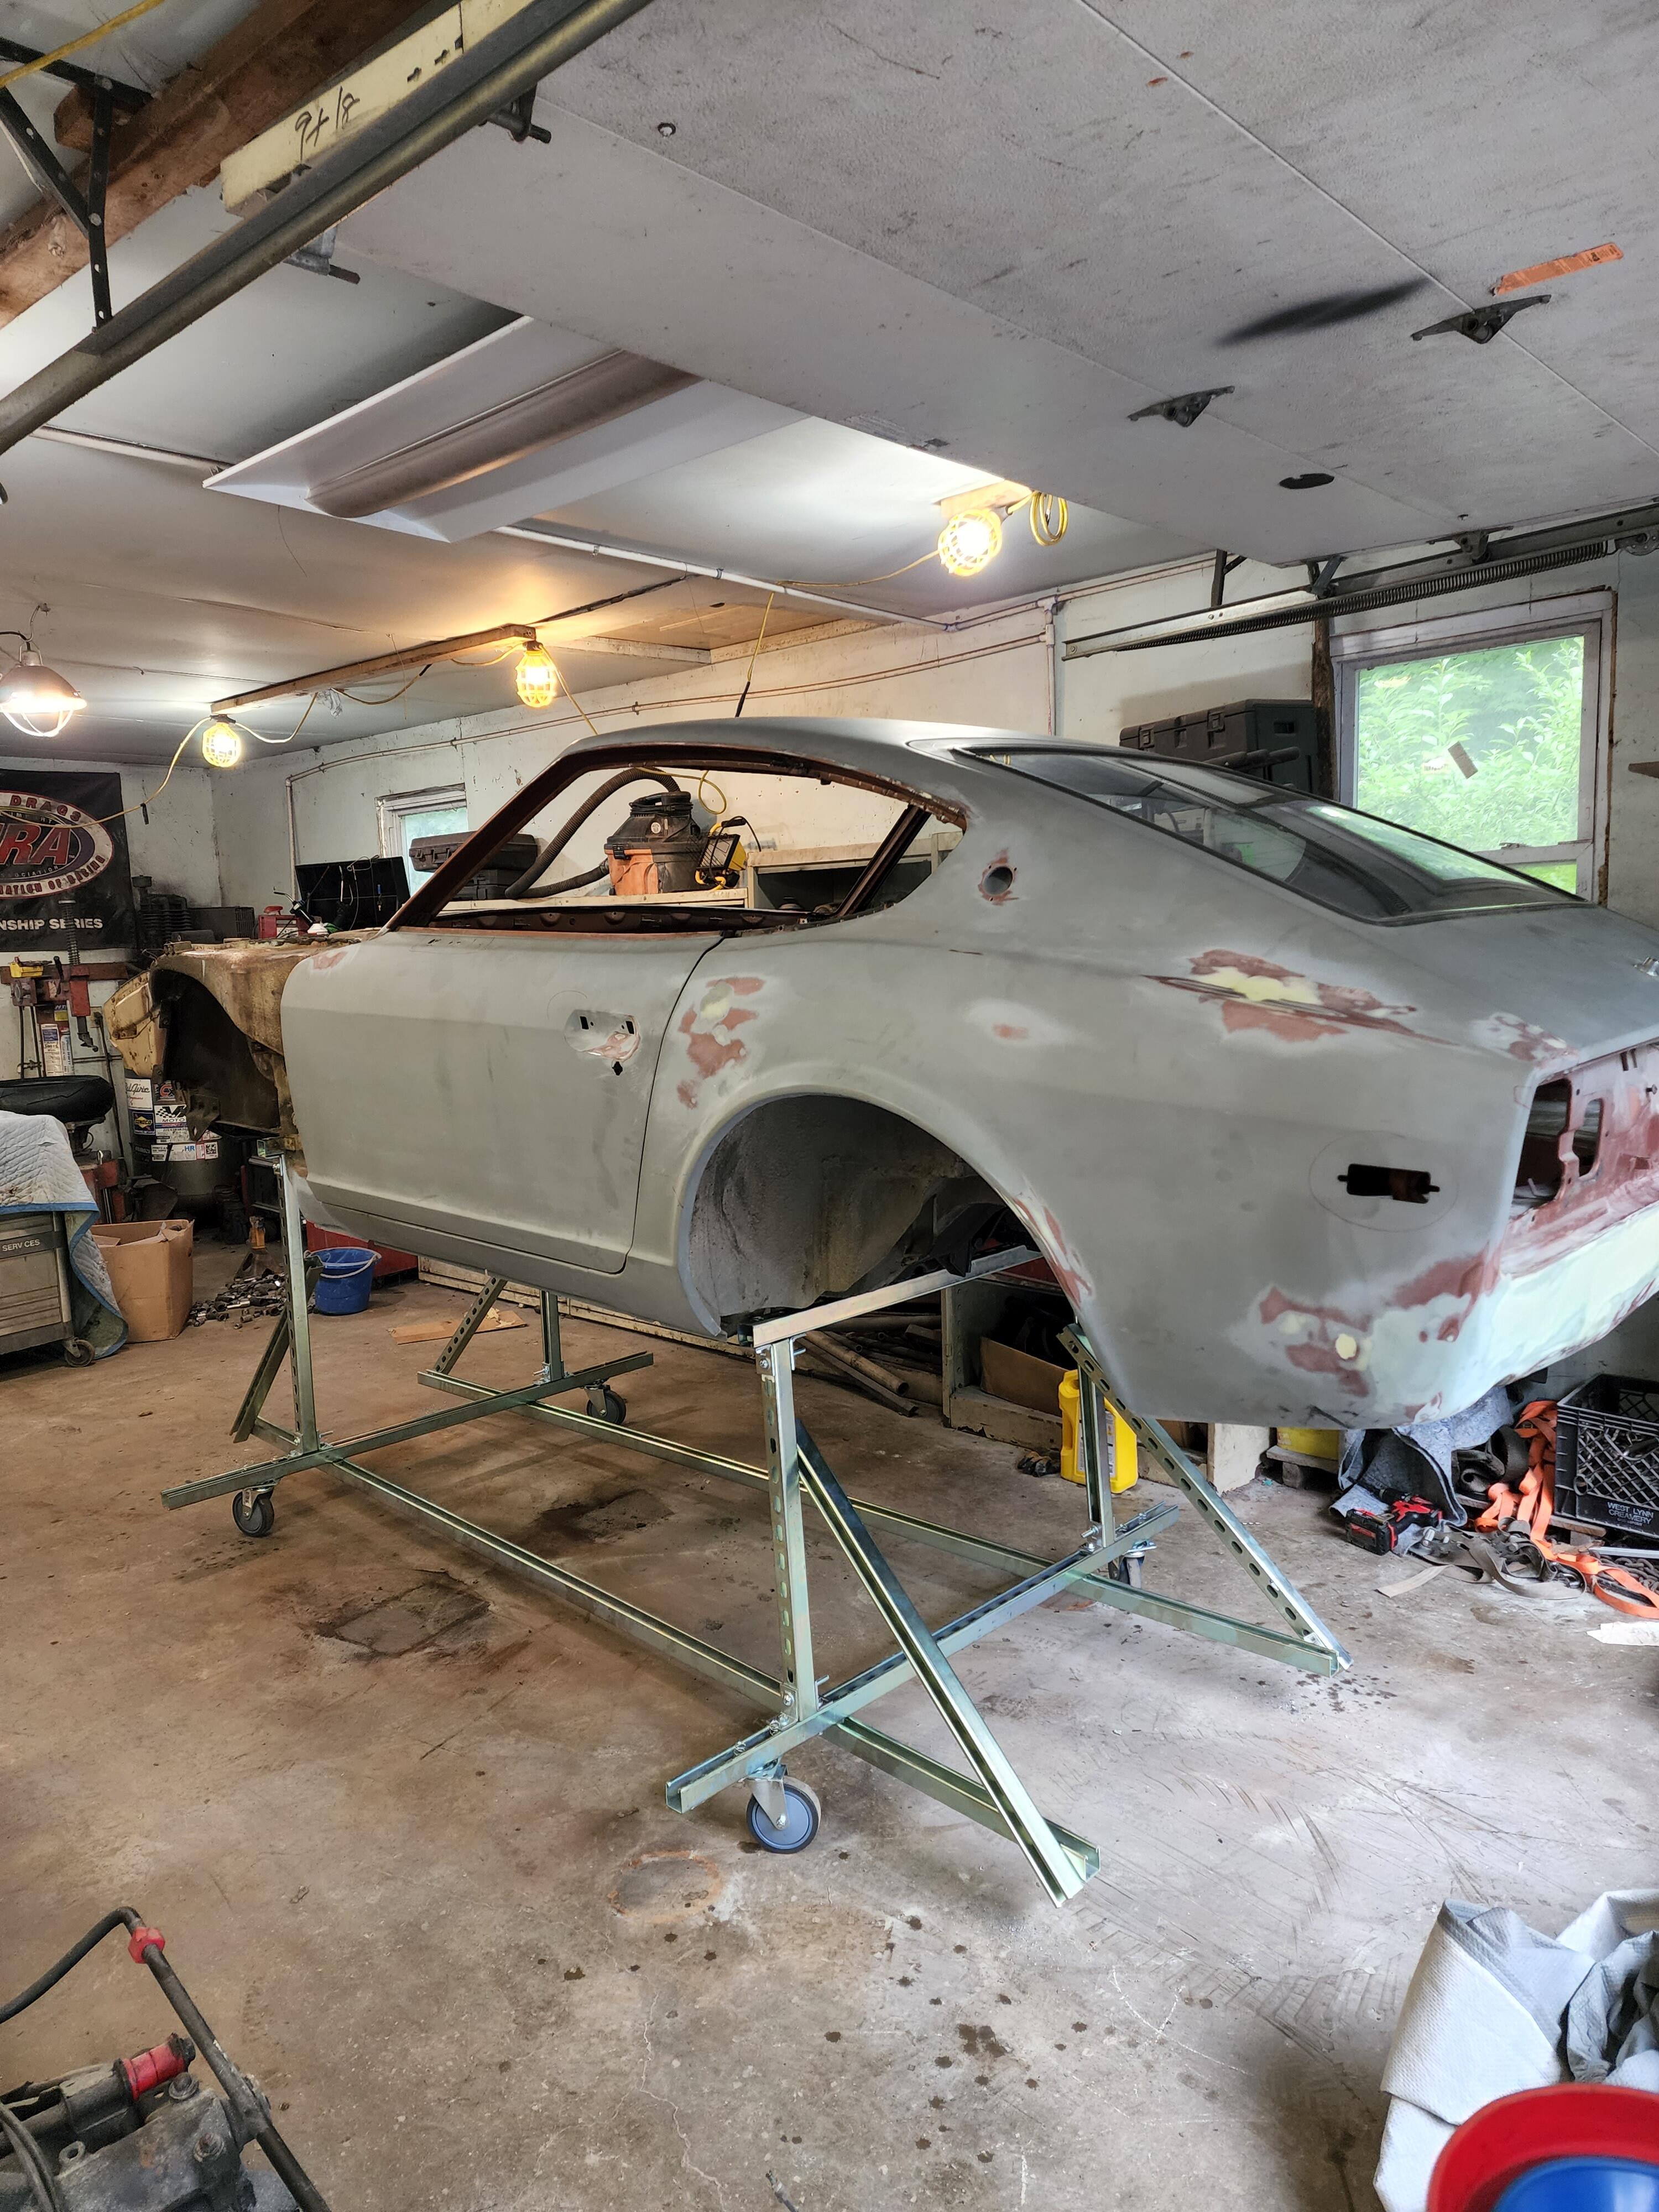
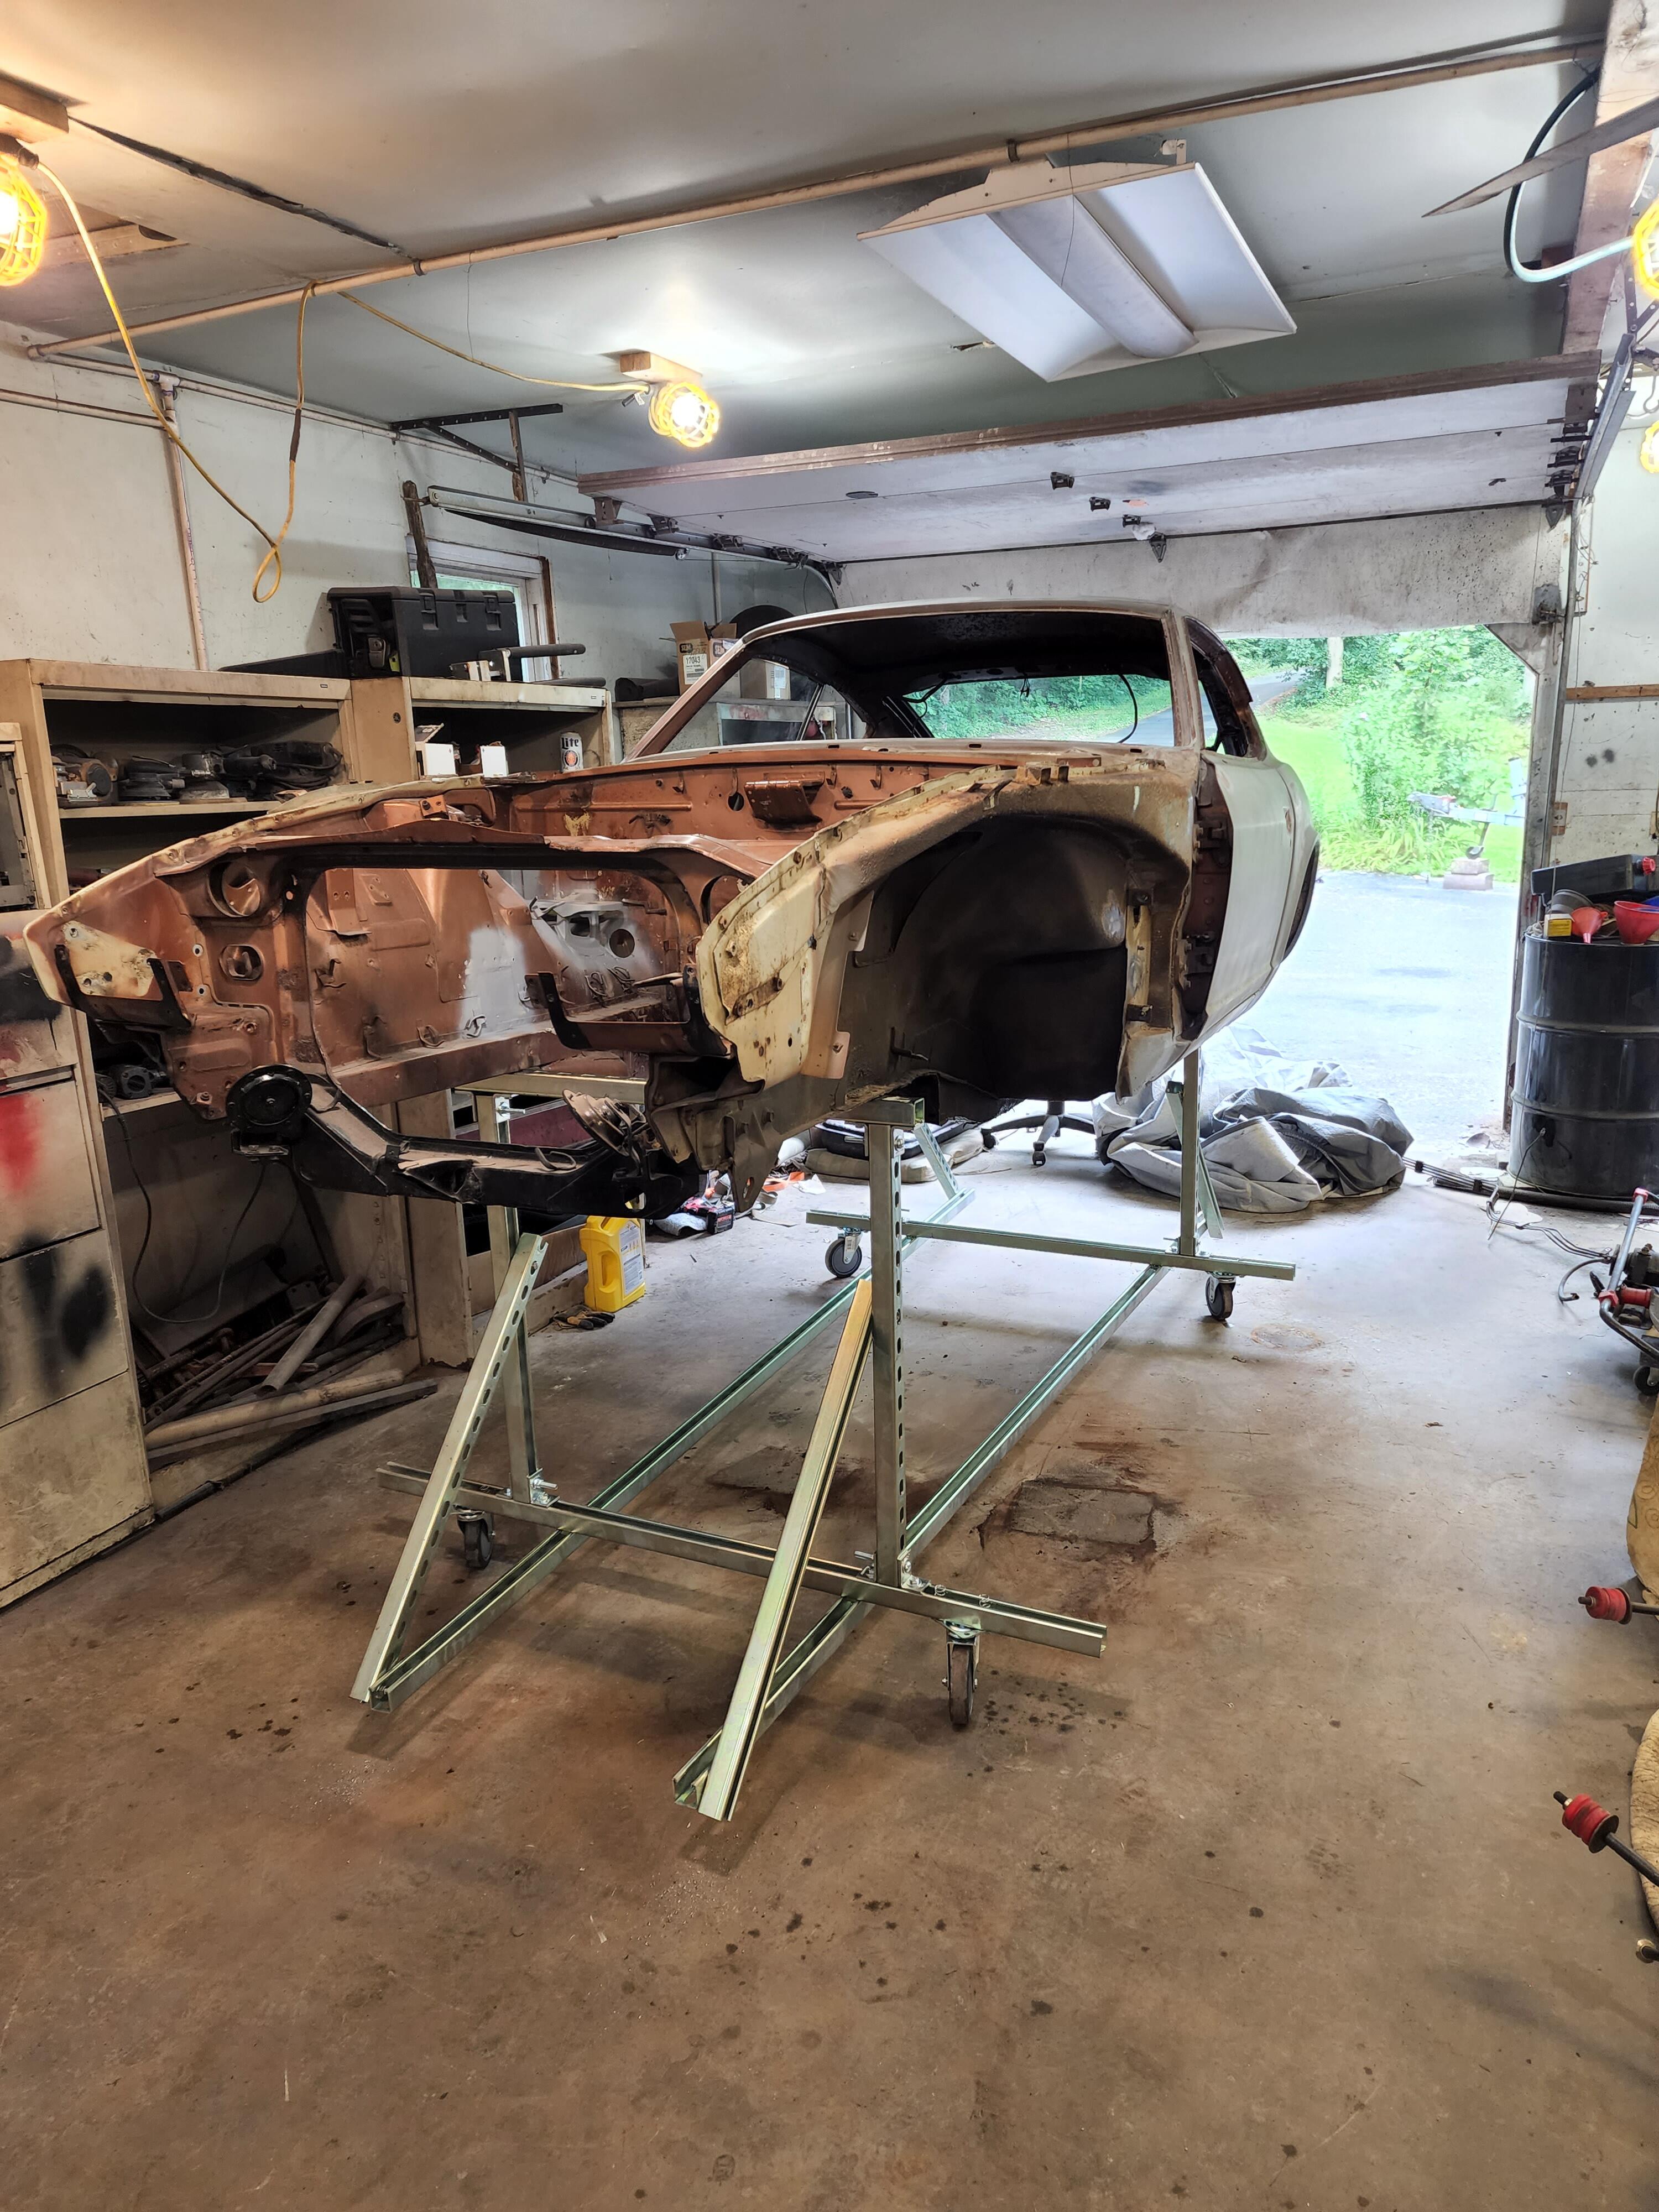
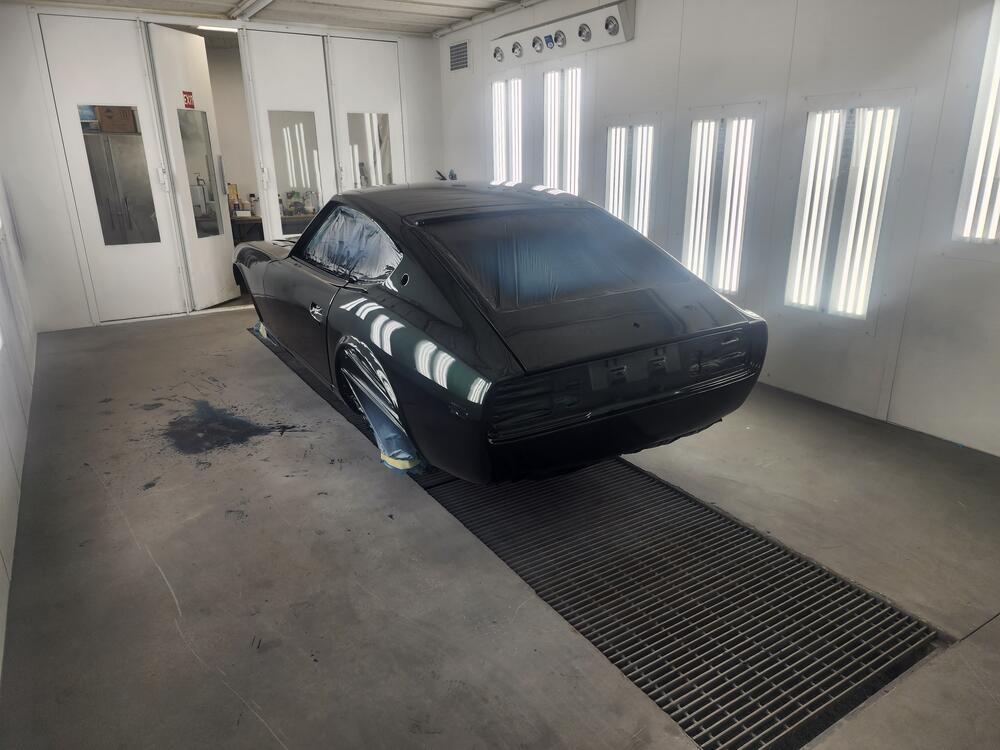
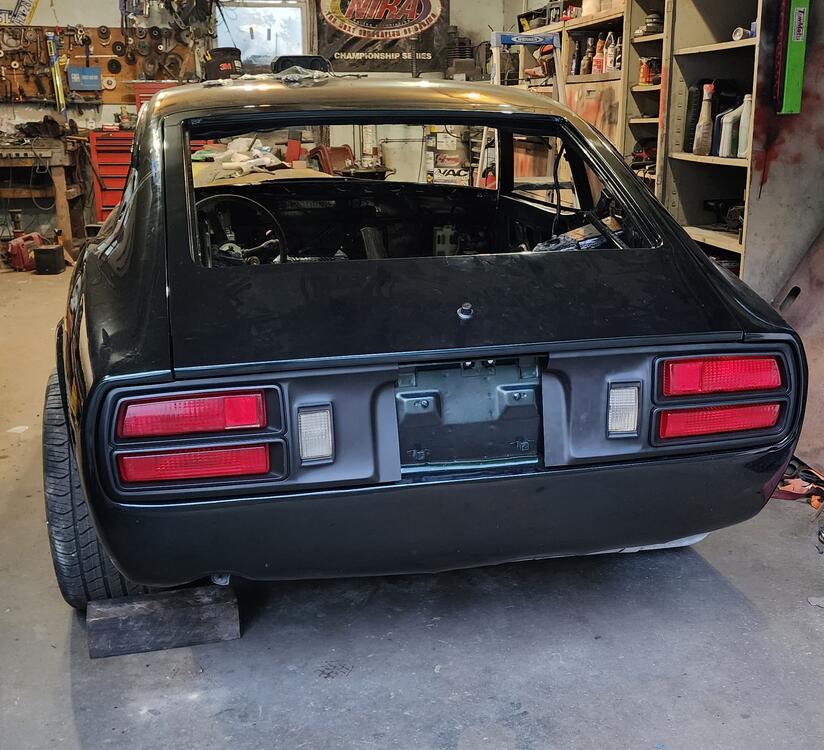
Haven't updated much but good progress on the car. Took a new job a couple months back so that's been hindering the progress. But at least body work is done and I can focus on assembly.

-
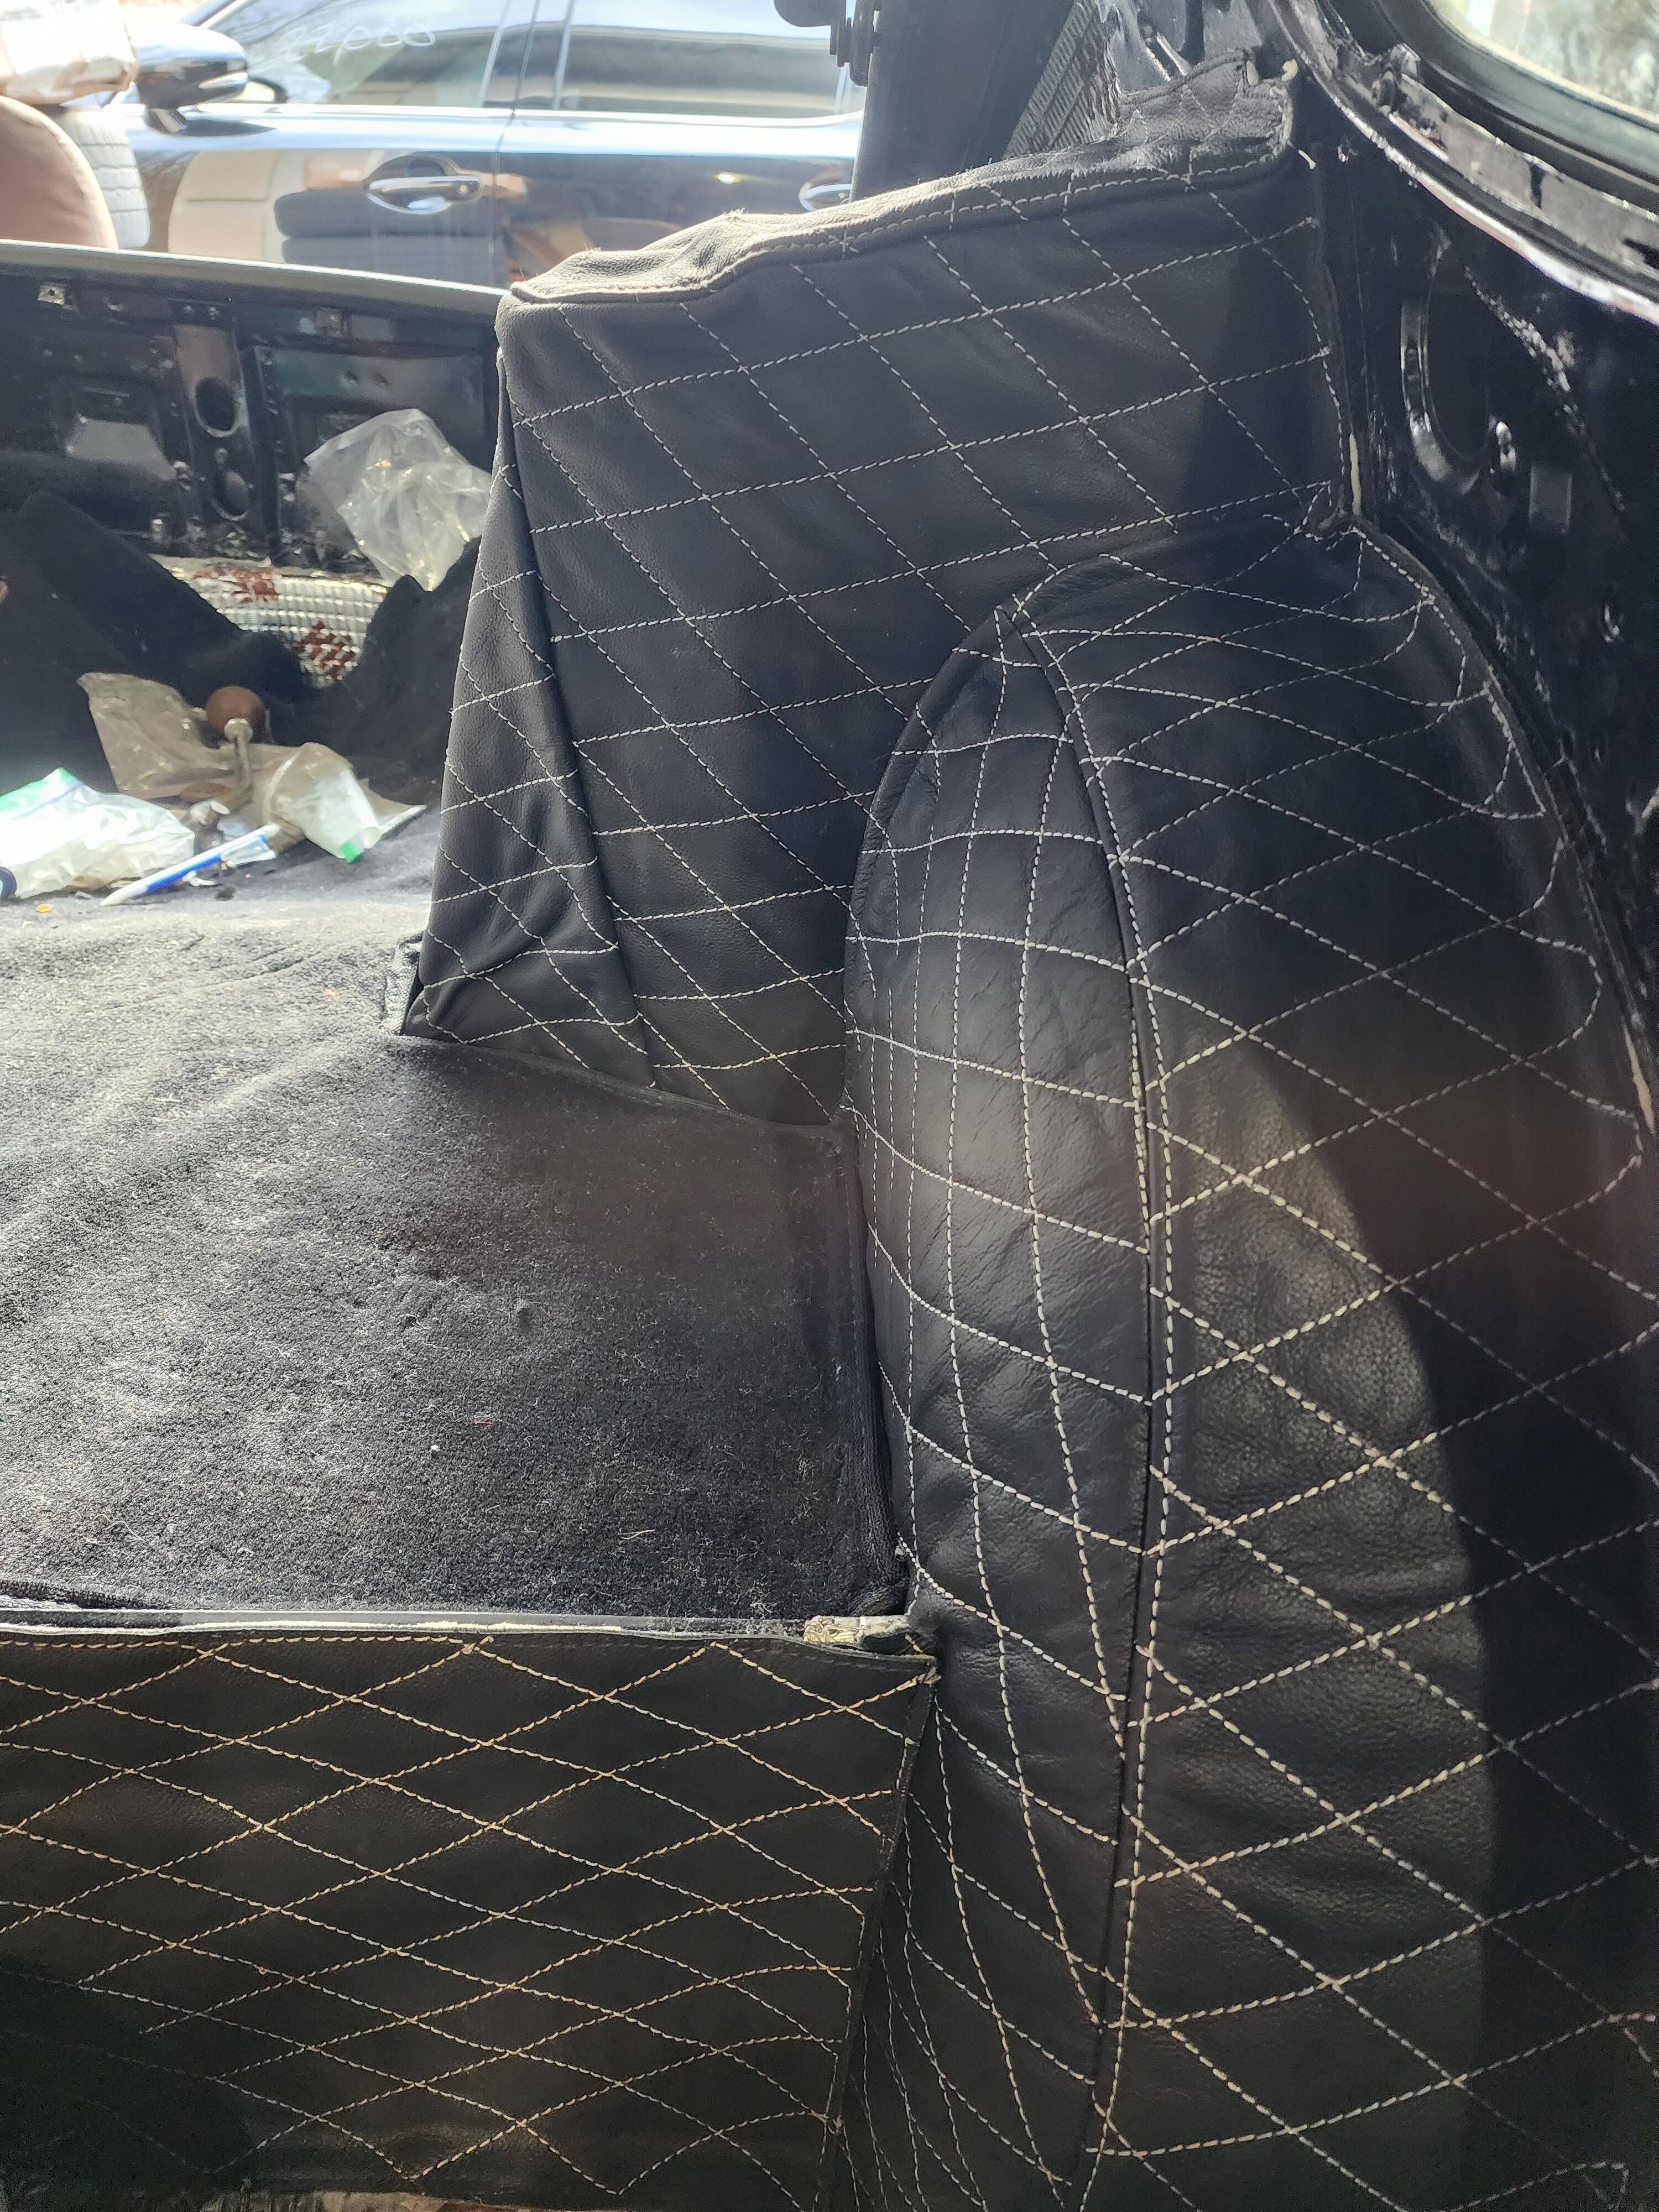
Quick question, I am wanting to cover my rear shock towers and the tunnel section in diamond stitched leather. What floor carpet do I need to order to match up to this? Or do I just order regular 280z carpet and hem the edges?
-
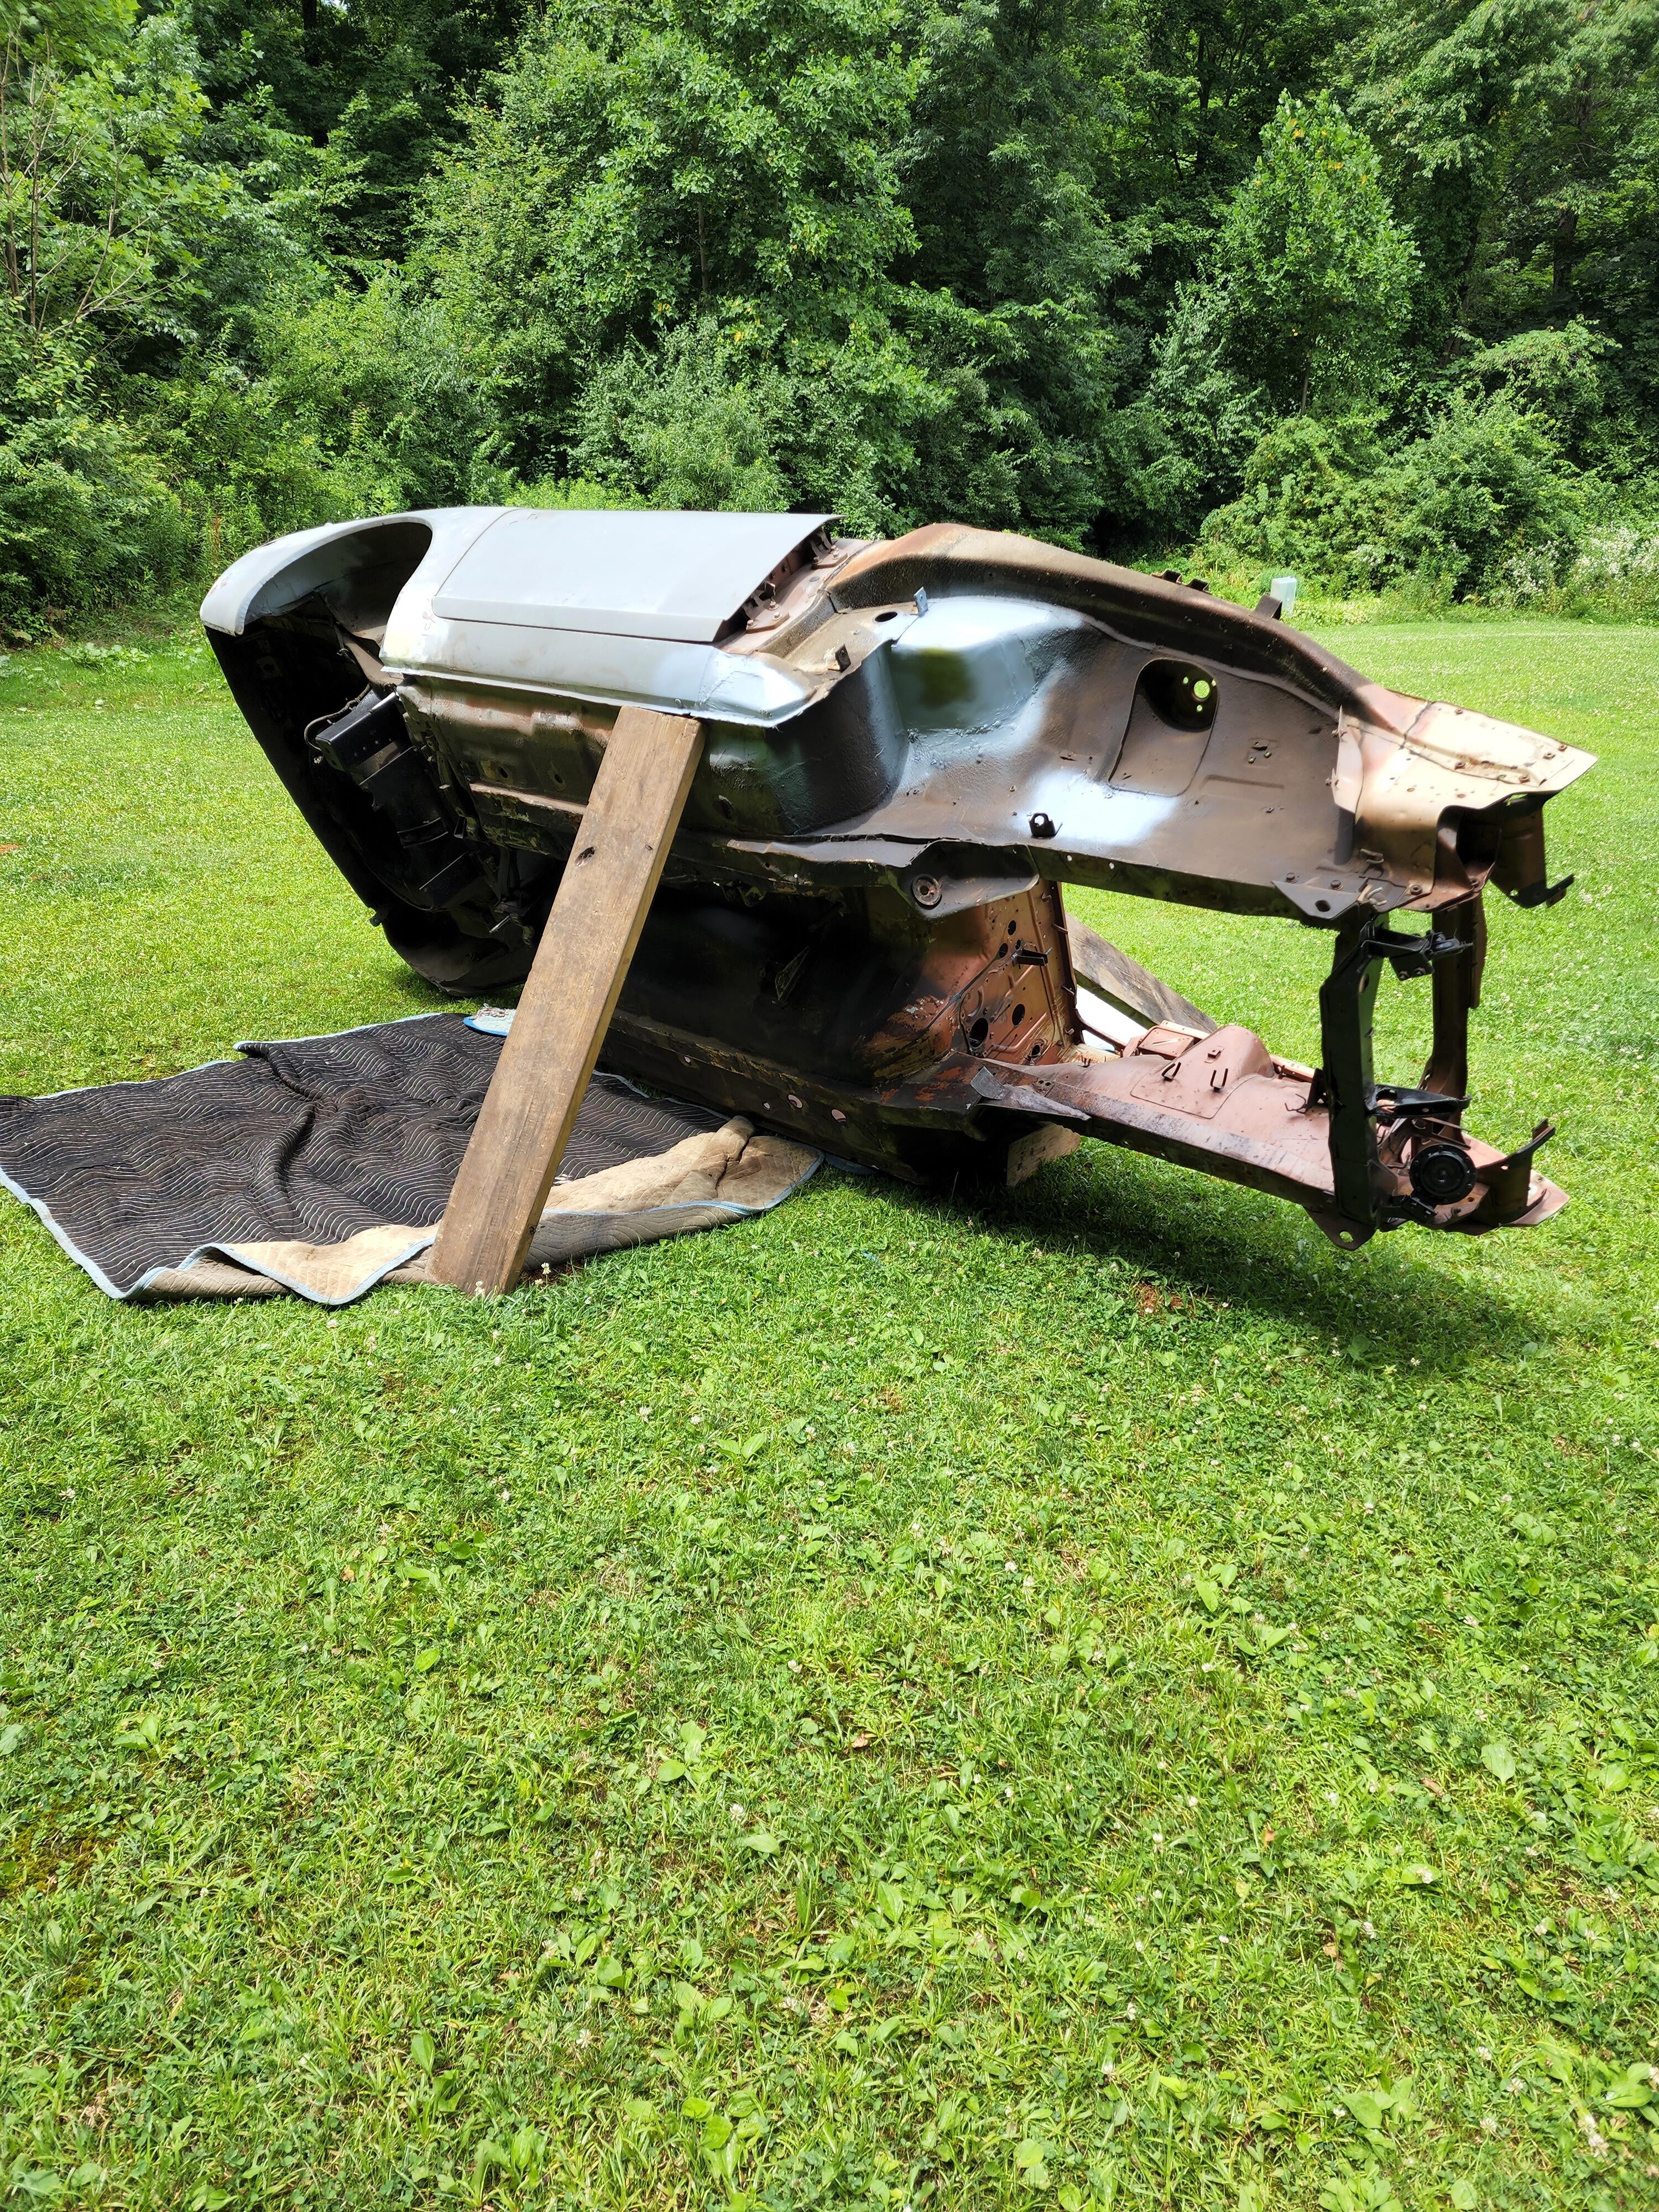
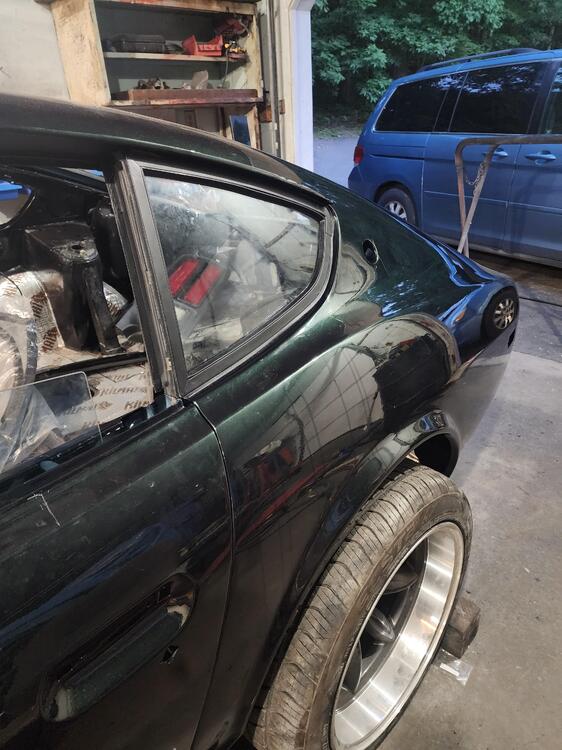
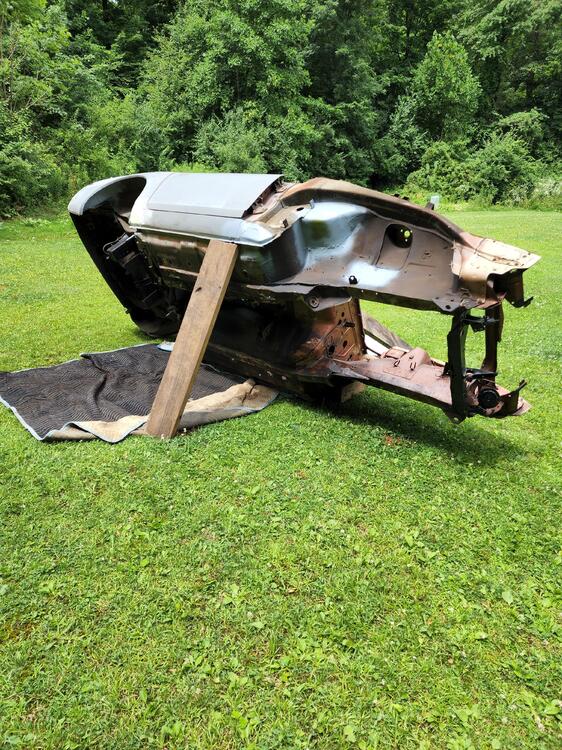
Haven’t posted much progress but I thought this looked cool. It’s finally coming back together… once I have the car back on the ground, I’ll pull off the doors and trunk lid and start the body work.

-
Thanks for the advice @SteveJ. I’ll look into those options.
-
I am in the process of restoring my brake and fuel lines and was wondering if there is an option to replace the rubber piggyback hoses to a braided SS line. I’m mainly wondering about the connection between the actual lines. Only thing I can think of is using a AN connector but that would mean I need to braze on AN connectors on every line… anyone have another idea? The lines actually turned out very nice. I sanded them all down and coated them black, I’ll have to take a finished pic when they are installed.

-
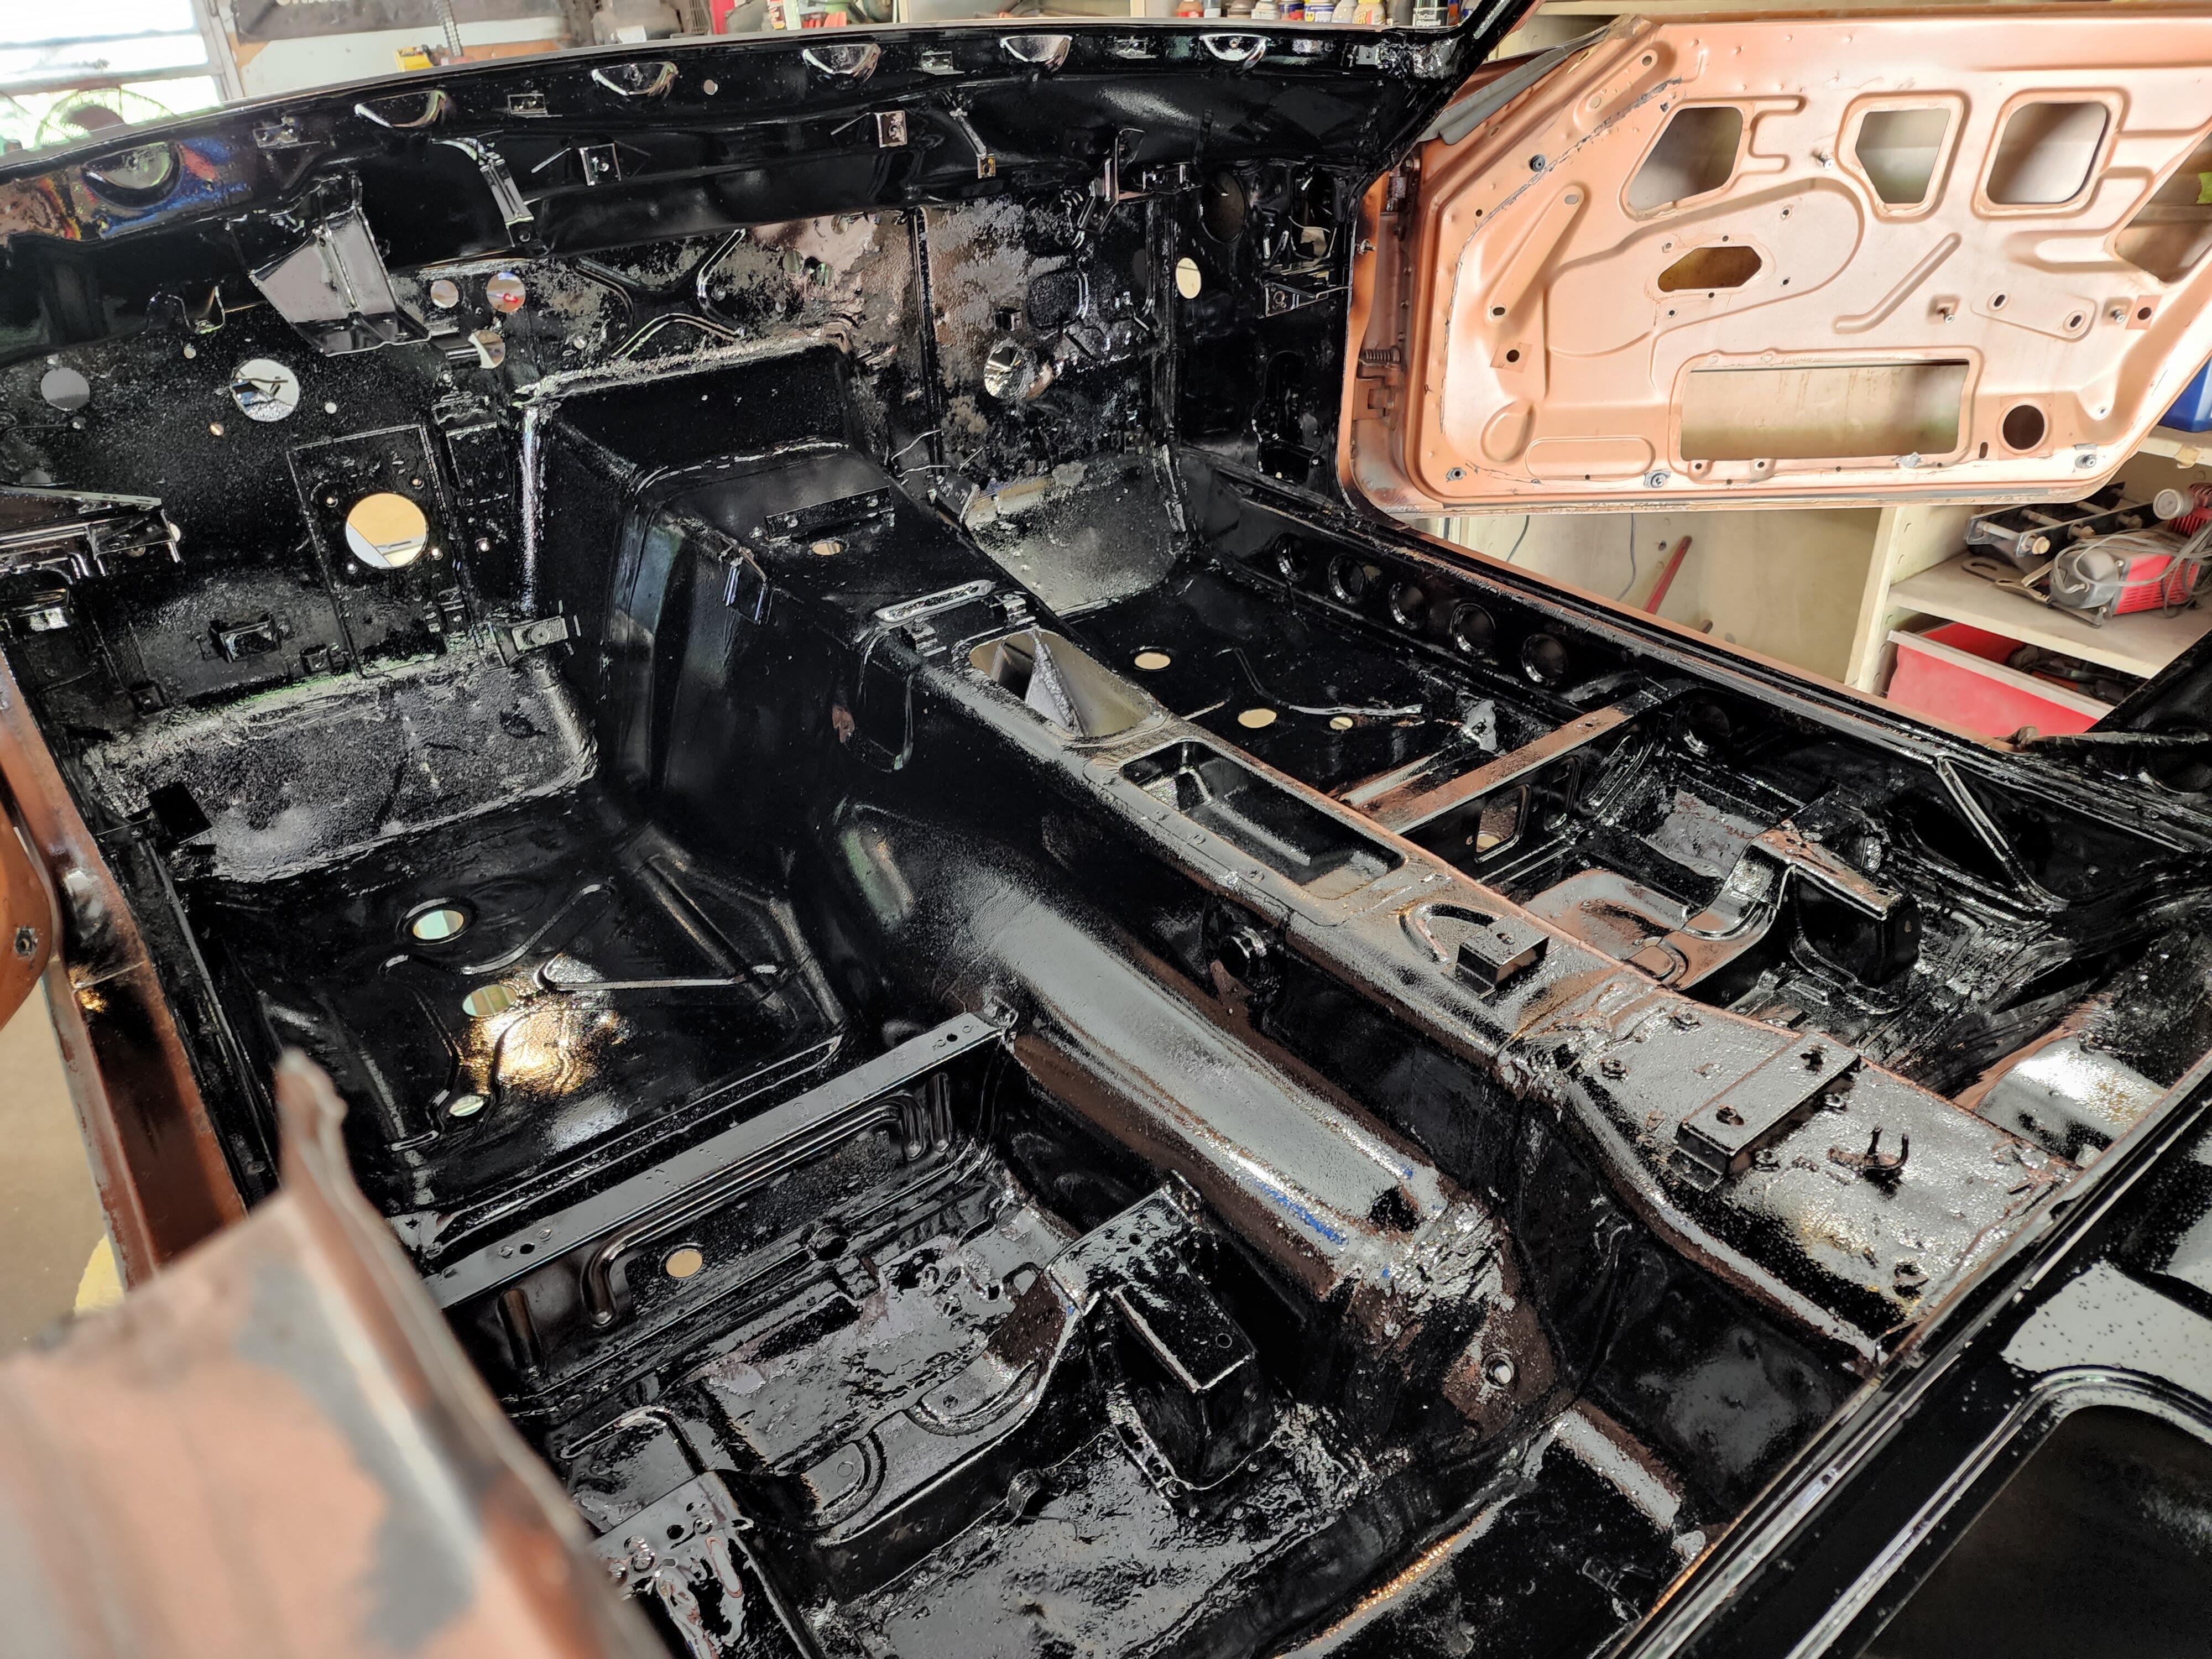
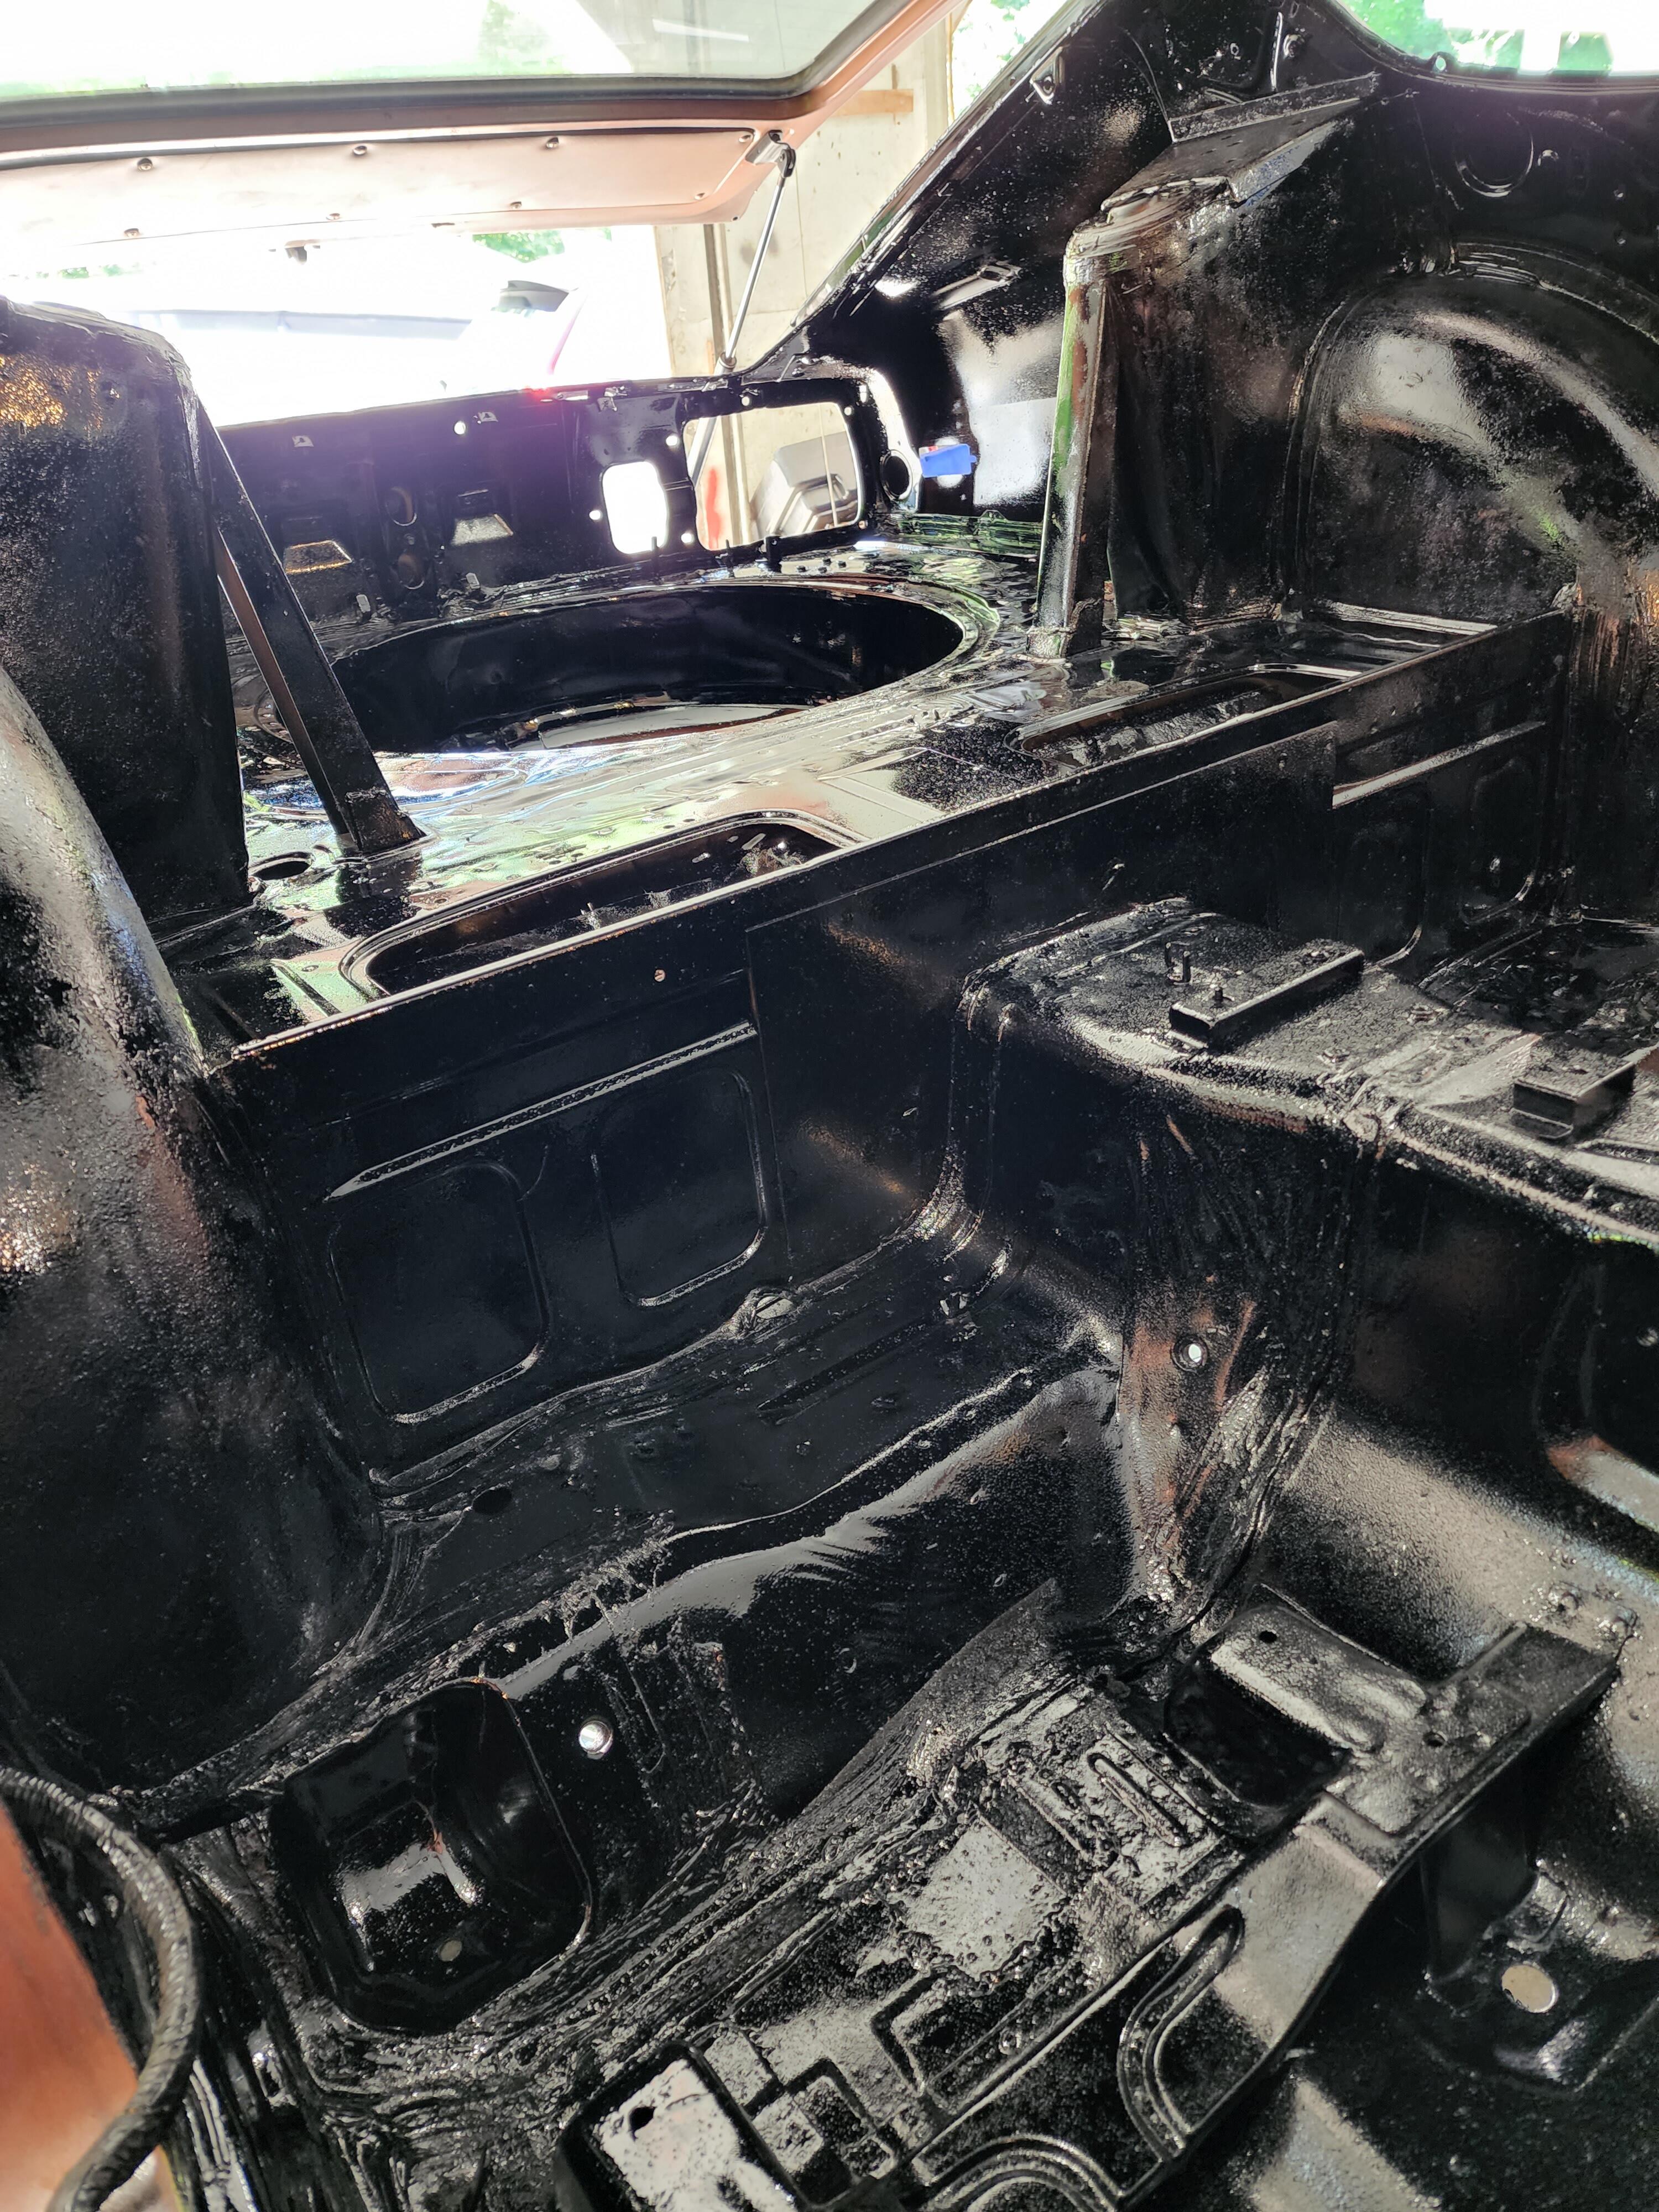
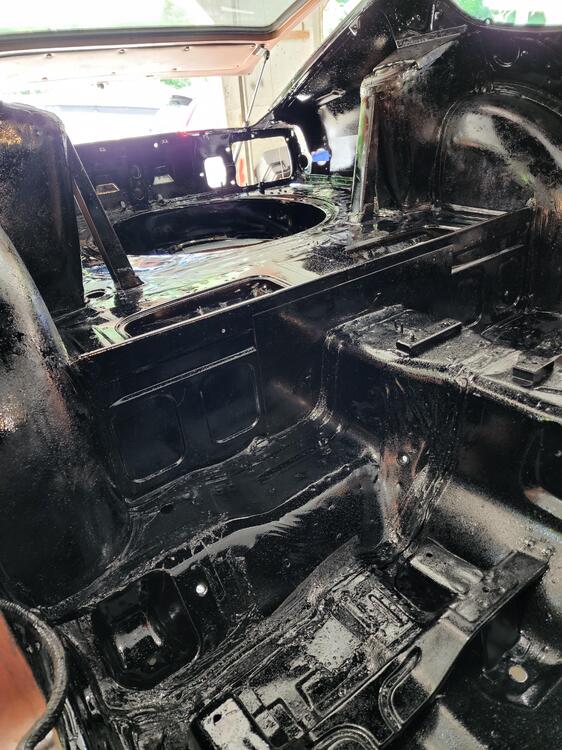
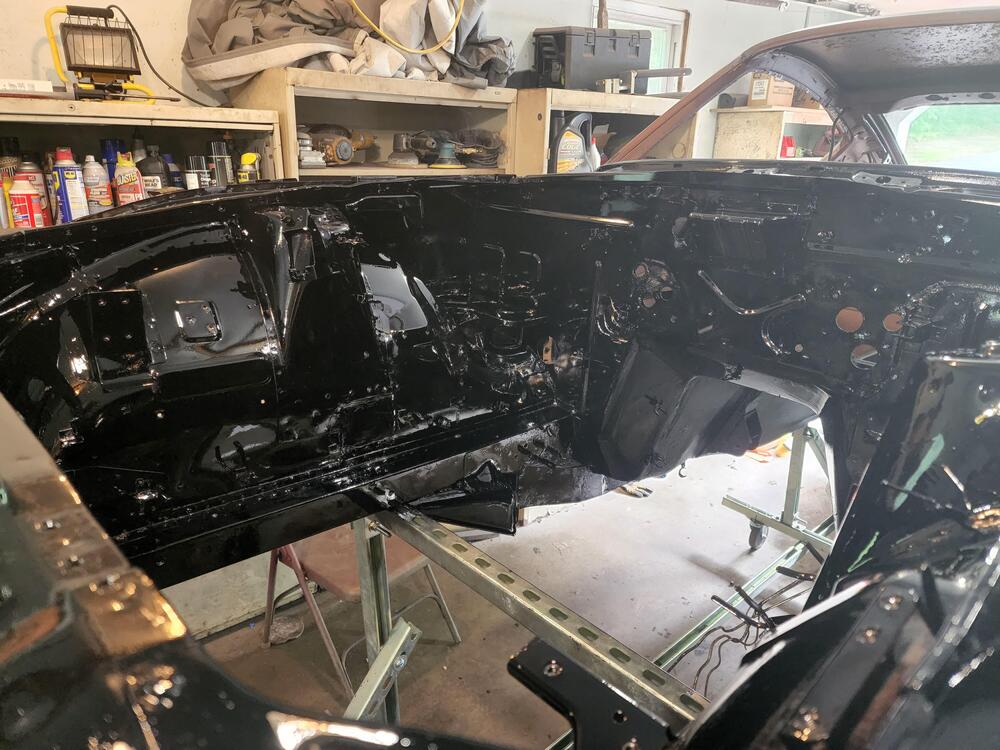
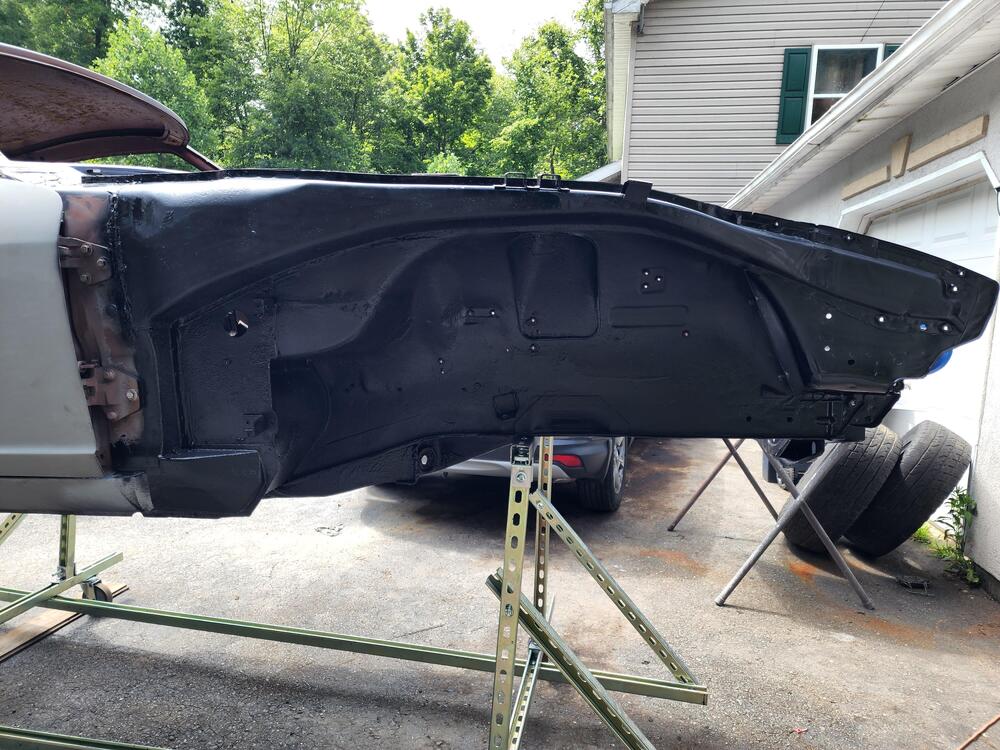
Not thrilled with the interior paint but oh well. It will be covered up anyway. The paint and the POR15 seemed to have a reaction where the paint has a bunch of orange peel.

-
Painted the engine bay today. Hopefully onto the interior tomorrow.... using a single stage nissan jet black. Easier than doing a base coat clear coat, particularly since its esentially areas that wont be seen much.

-
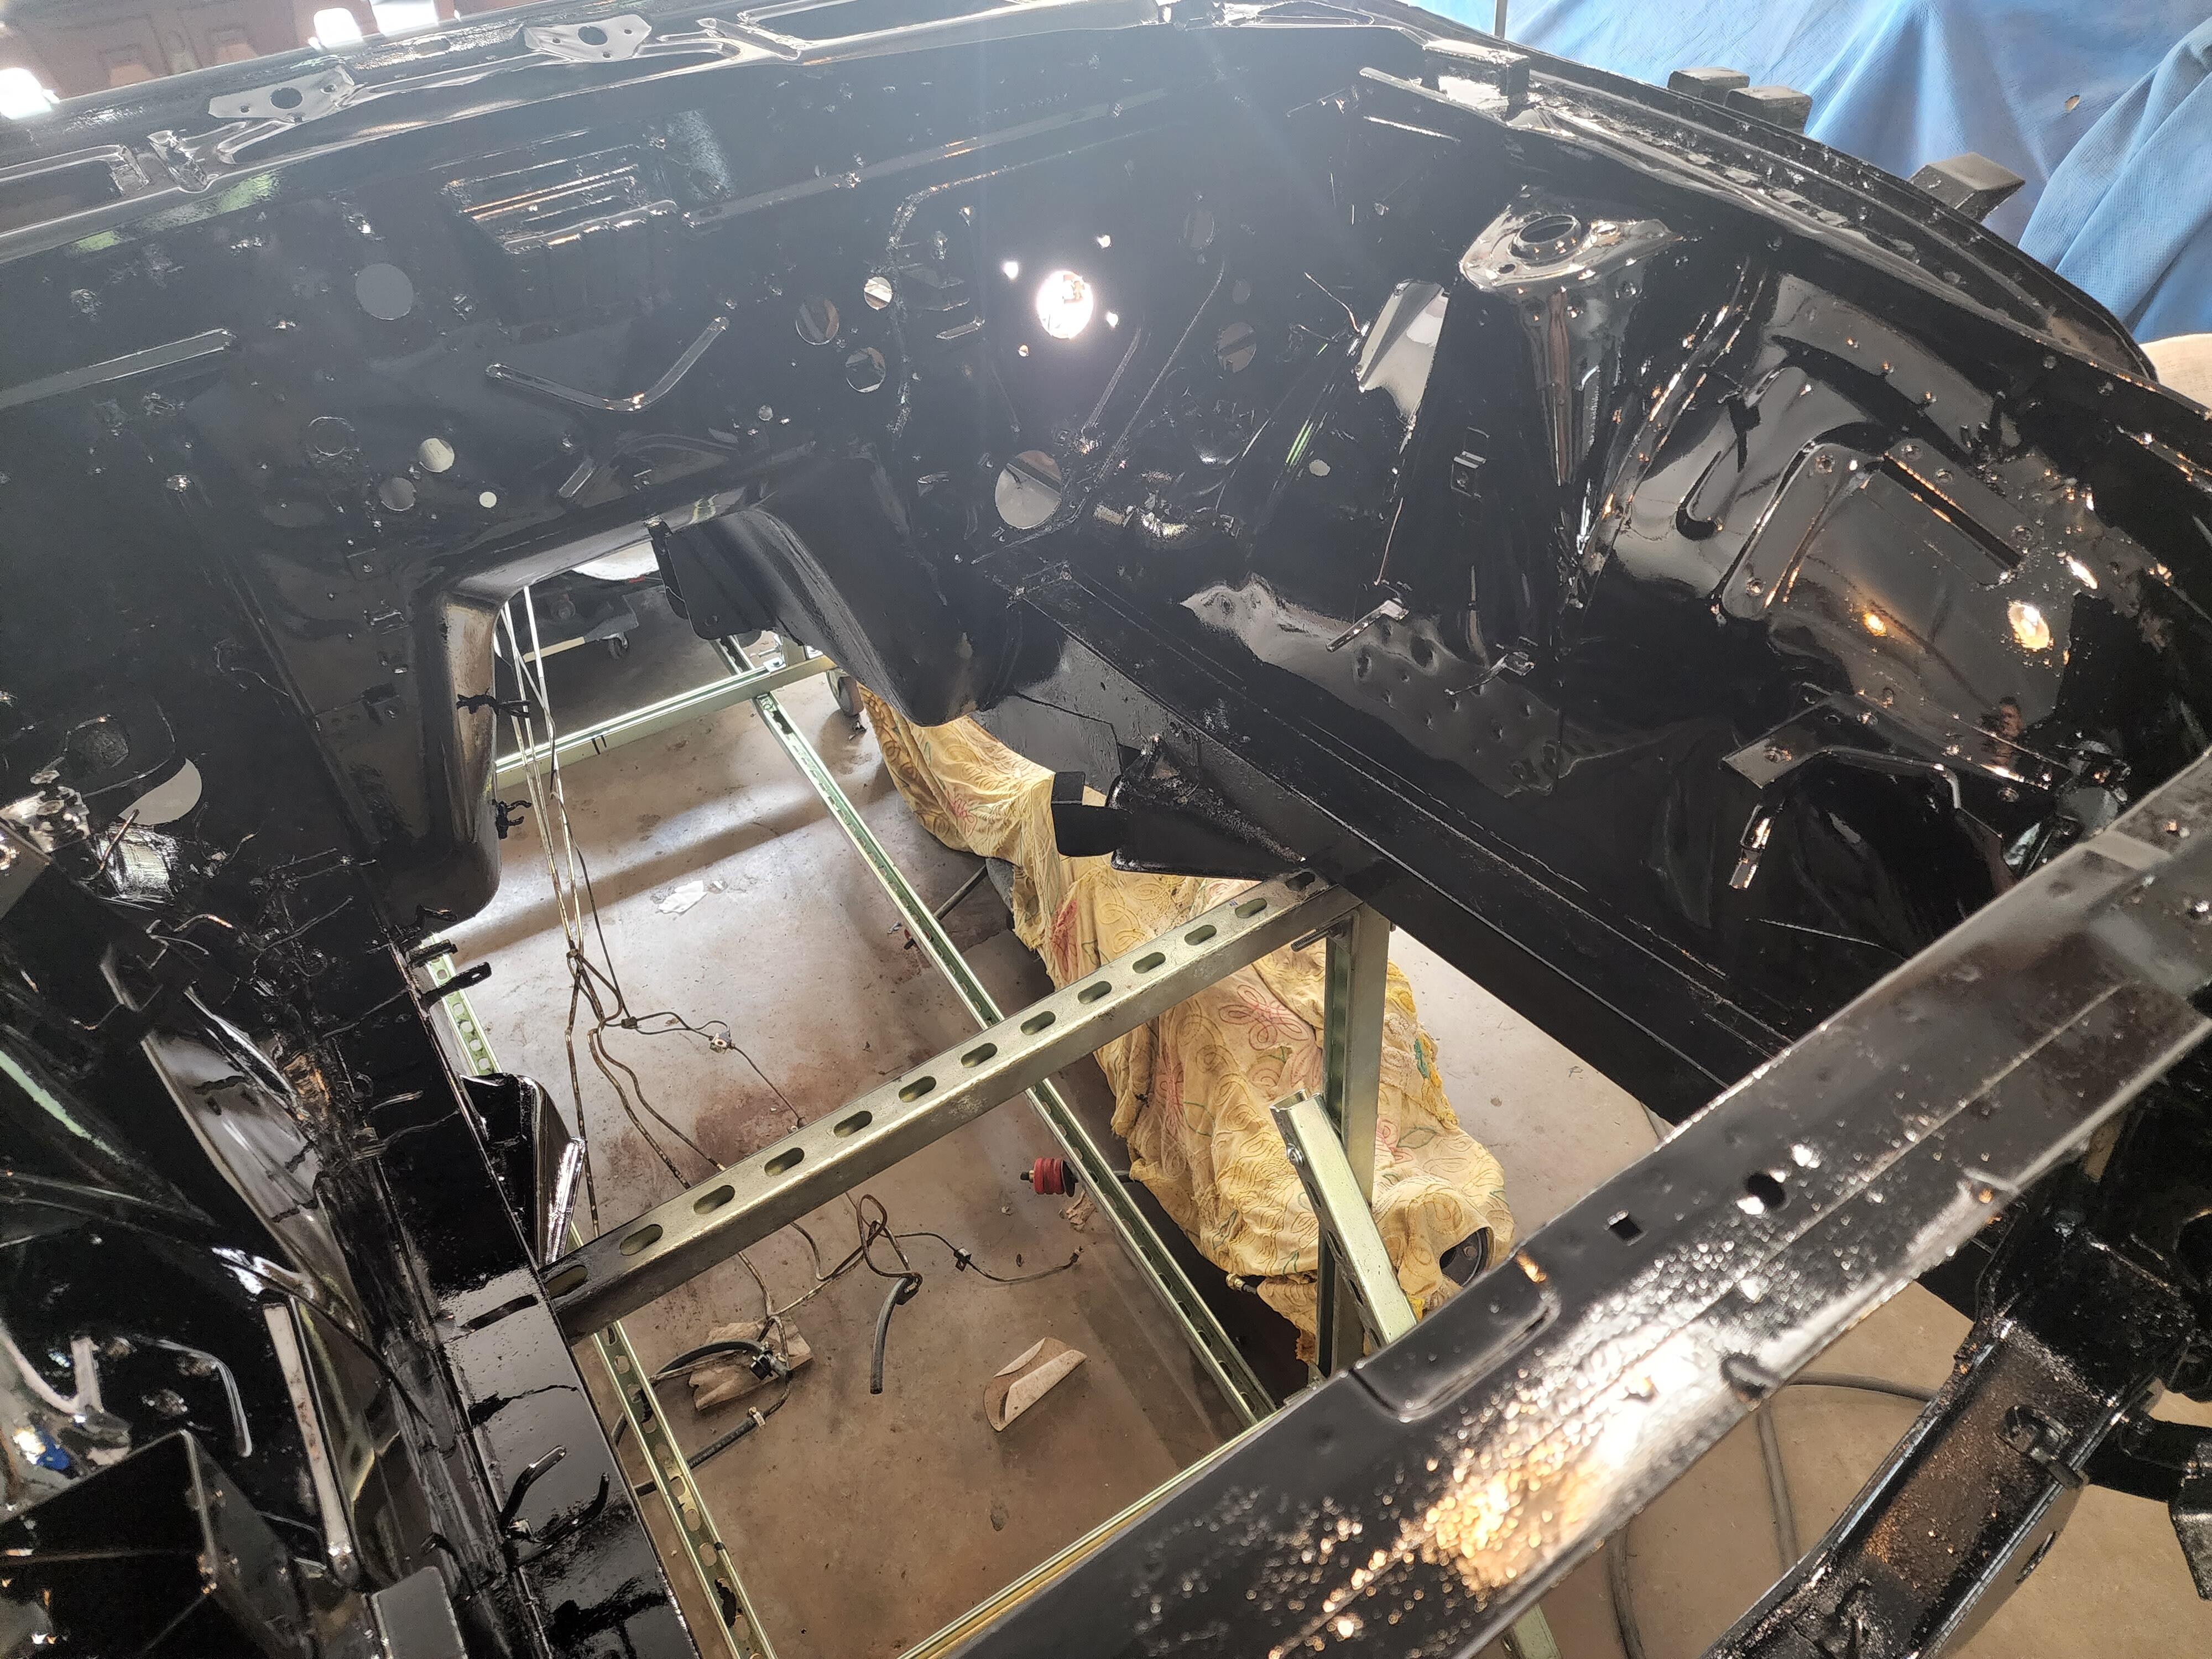
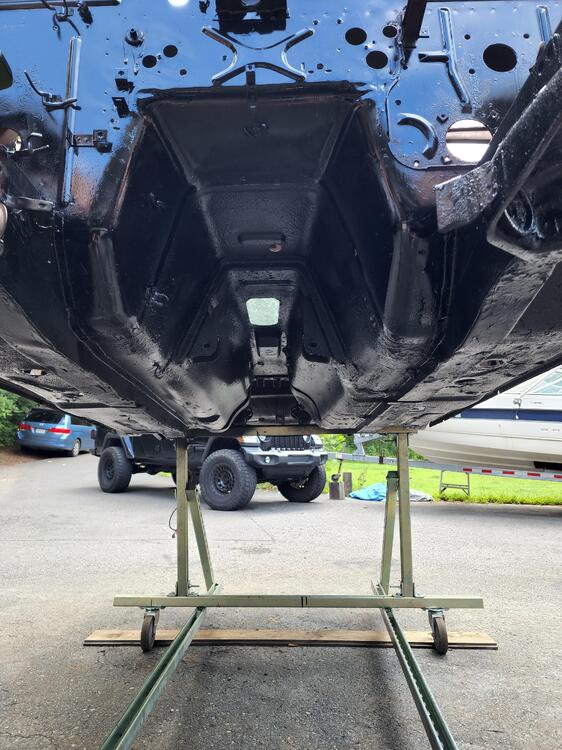
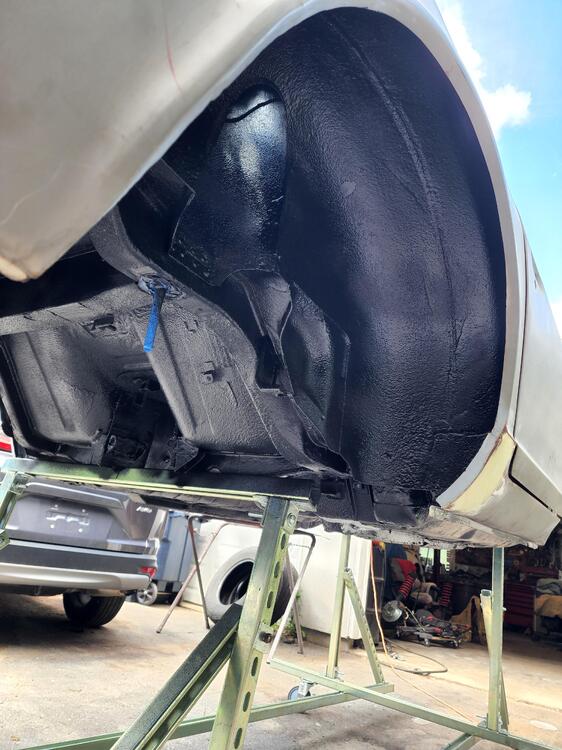
Progress… underside is basically done. Now on to the inside/engine bay… started prepping the brake and fuel lines today. Once I have the engine bay and interior painted, I can start much more reassembly. Seriously looking forward to it… I’m tired of looking at shell. I want a rolling chassis again.
-
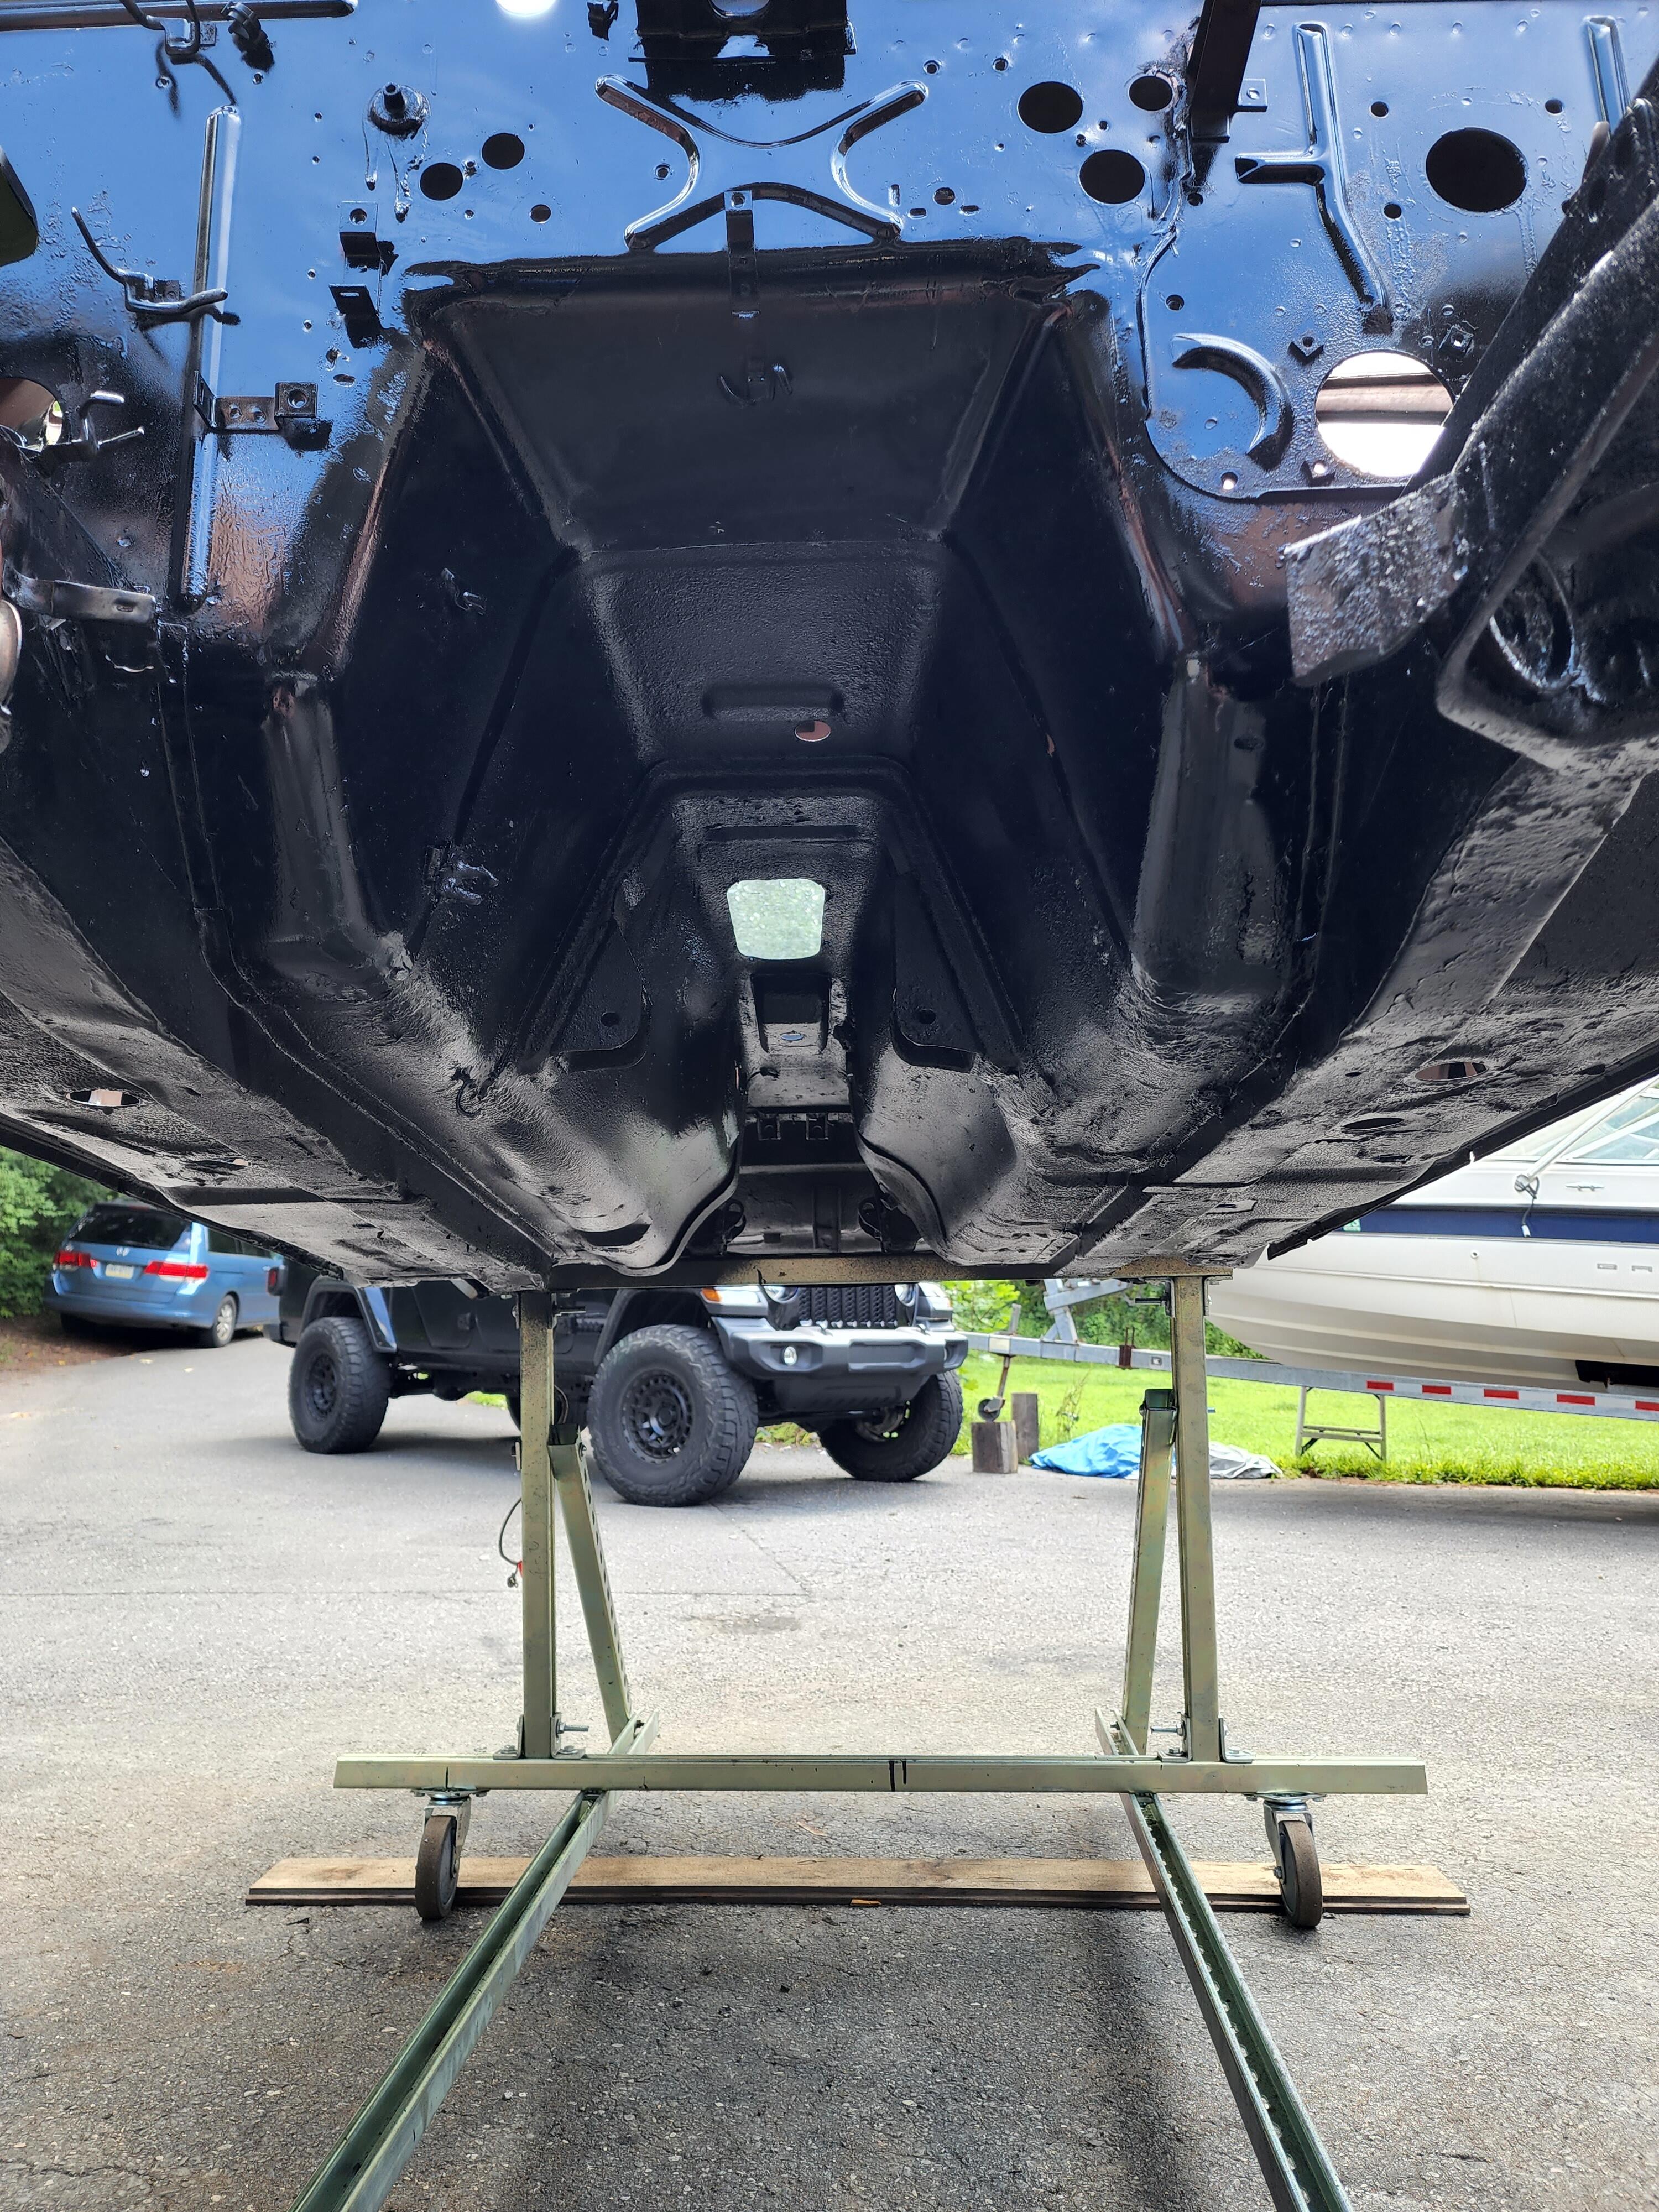
Decided to go a safer route based on the content of another user on the forum, thanks for the inspiration… this gives me quite a bit of room to get under the car with a roller board. Definitely money well worth spent. I’ll be able to pressure wash and then put on my undercoat outside of the garage.


-
@Patcon yes I was surprised how heavy it actually was. When it was on the stands it felt pretty Light but when 4 of us lifted it, it was a struggle.
-
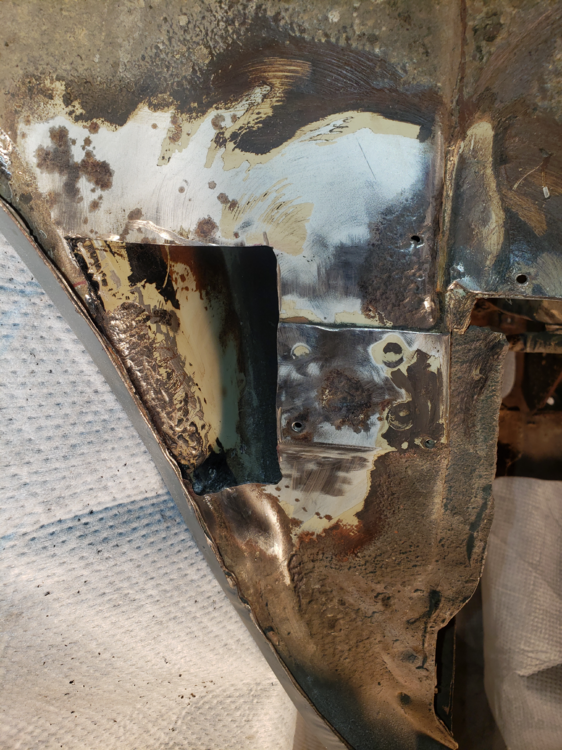
Been a while since I updated this post but nothing fun has been happening and with work so busy with a lot of travel, I haven’t had much time to work on the z. I finished repairing and areas with rot and welded all new patches in. Applied POR15 where required. I’m now focusing on the underside to get it ready for undercoating. Should be finishing that up in the next two weeks. I’ll then be able to throw the suspension back on and have a roller… and yes, that is some fine engineering since I don’t have a rotisserie.


-
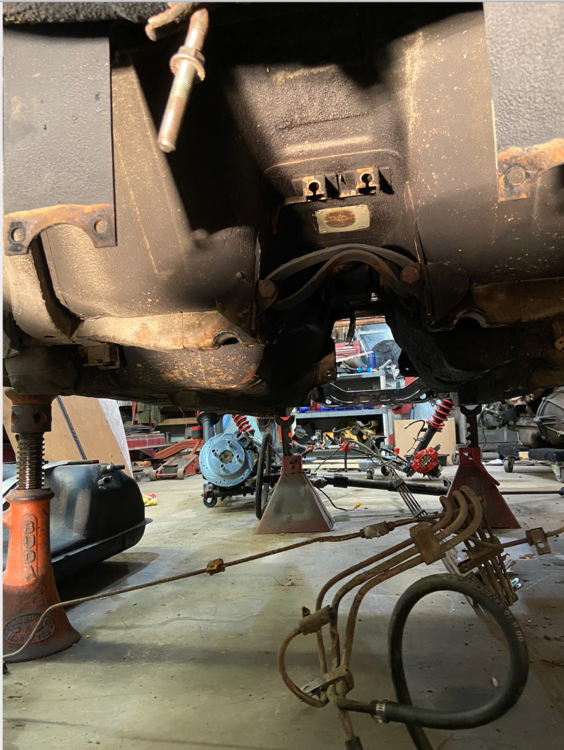
that's a pic of the under side fwiw...
-
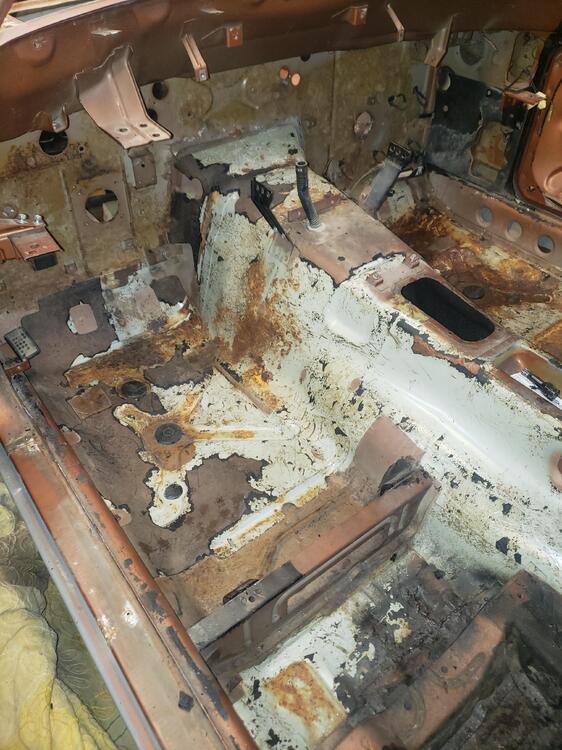
@Patcon gotta use what I got lol.... After a few beers on new years day I decided to tear up the old soundproofing.... figured it was best to address any issues while the interior is apart. I am glad I did because I found surface rust under the passenger side that would likely have created issues later on. Driver side isn't bad but I'll need some dry ice to remove the remnants of the sound proofing. overall it seems fairly clean... and surface rust. I'll next turn my focus on the underside of the car.... still not sure if I want to media blast it... I go back and forth daily. while I would like to, I am not sure if I want to awake sleeping dragons although I like the look of the underside of a car when its clean and rust free. I currently have a good layer of undercoating. What have some of y'all done? did you blast the bottom and not put undercoating and just primer and paint? or put undercoating regardless? Just trying to figure what's best for this build... I know its up to me in the end, but would love to hear some opinions/experiences. any help or advice is appreciated.

-
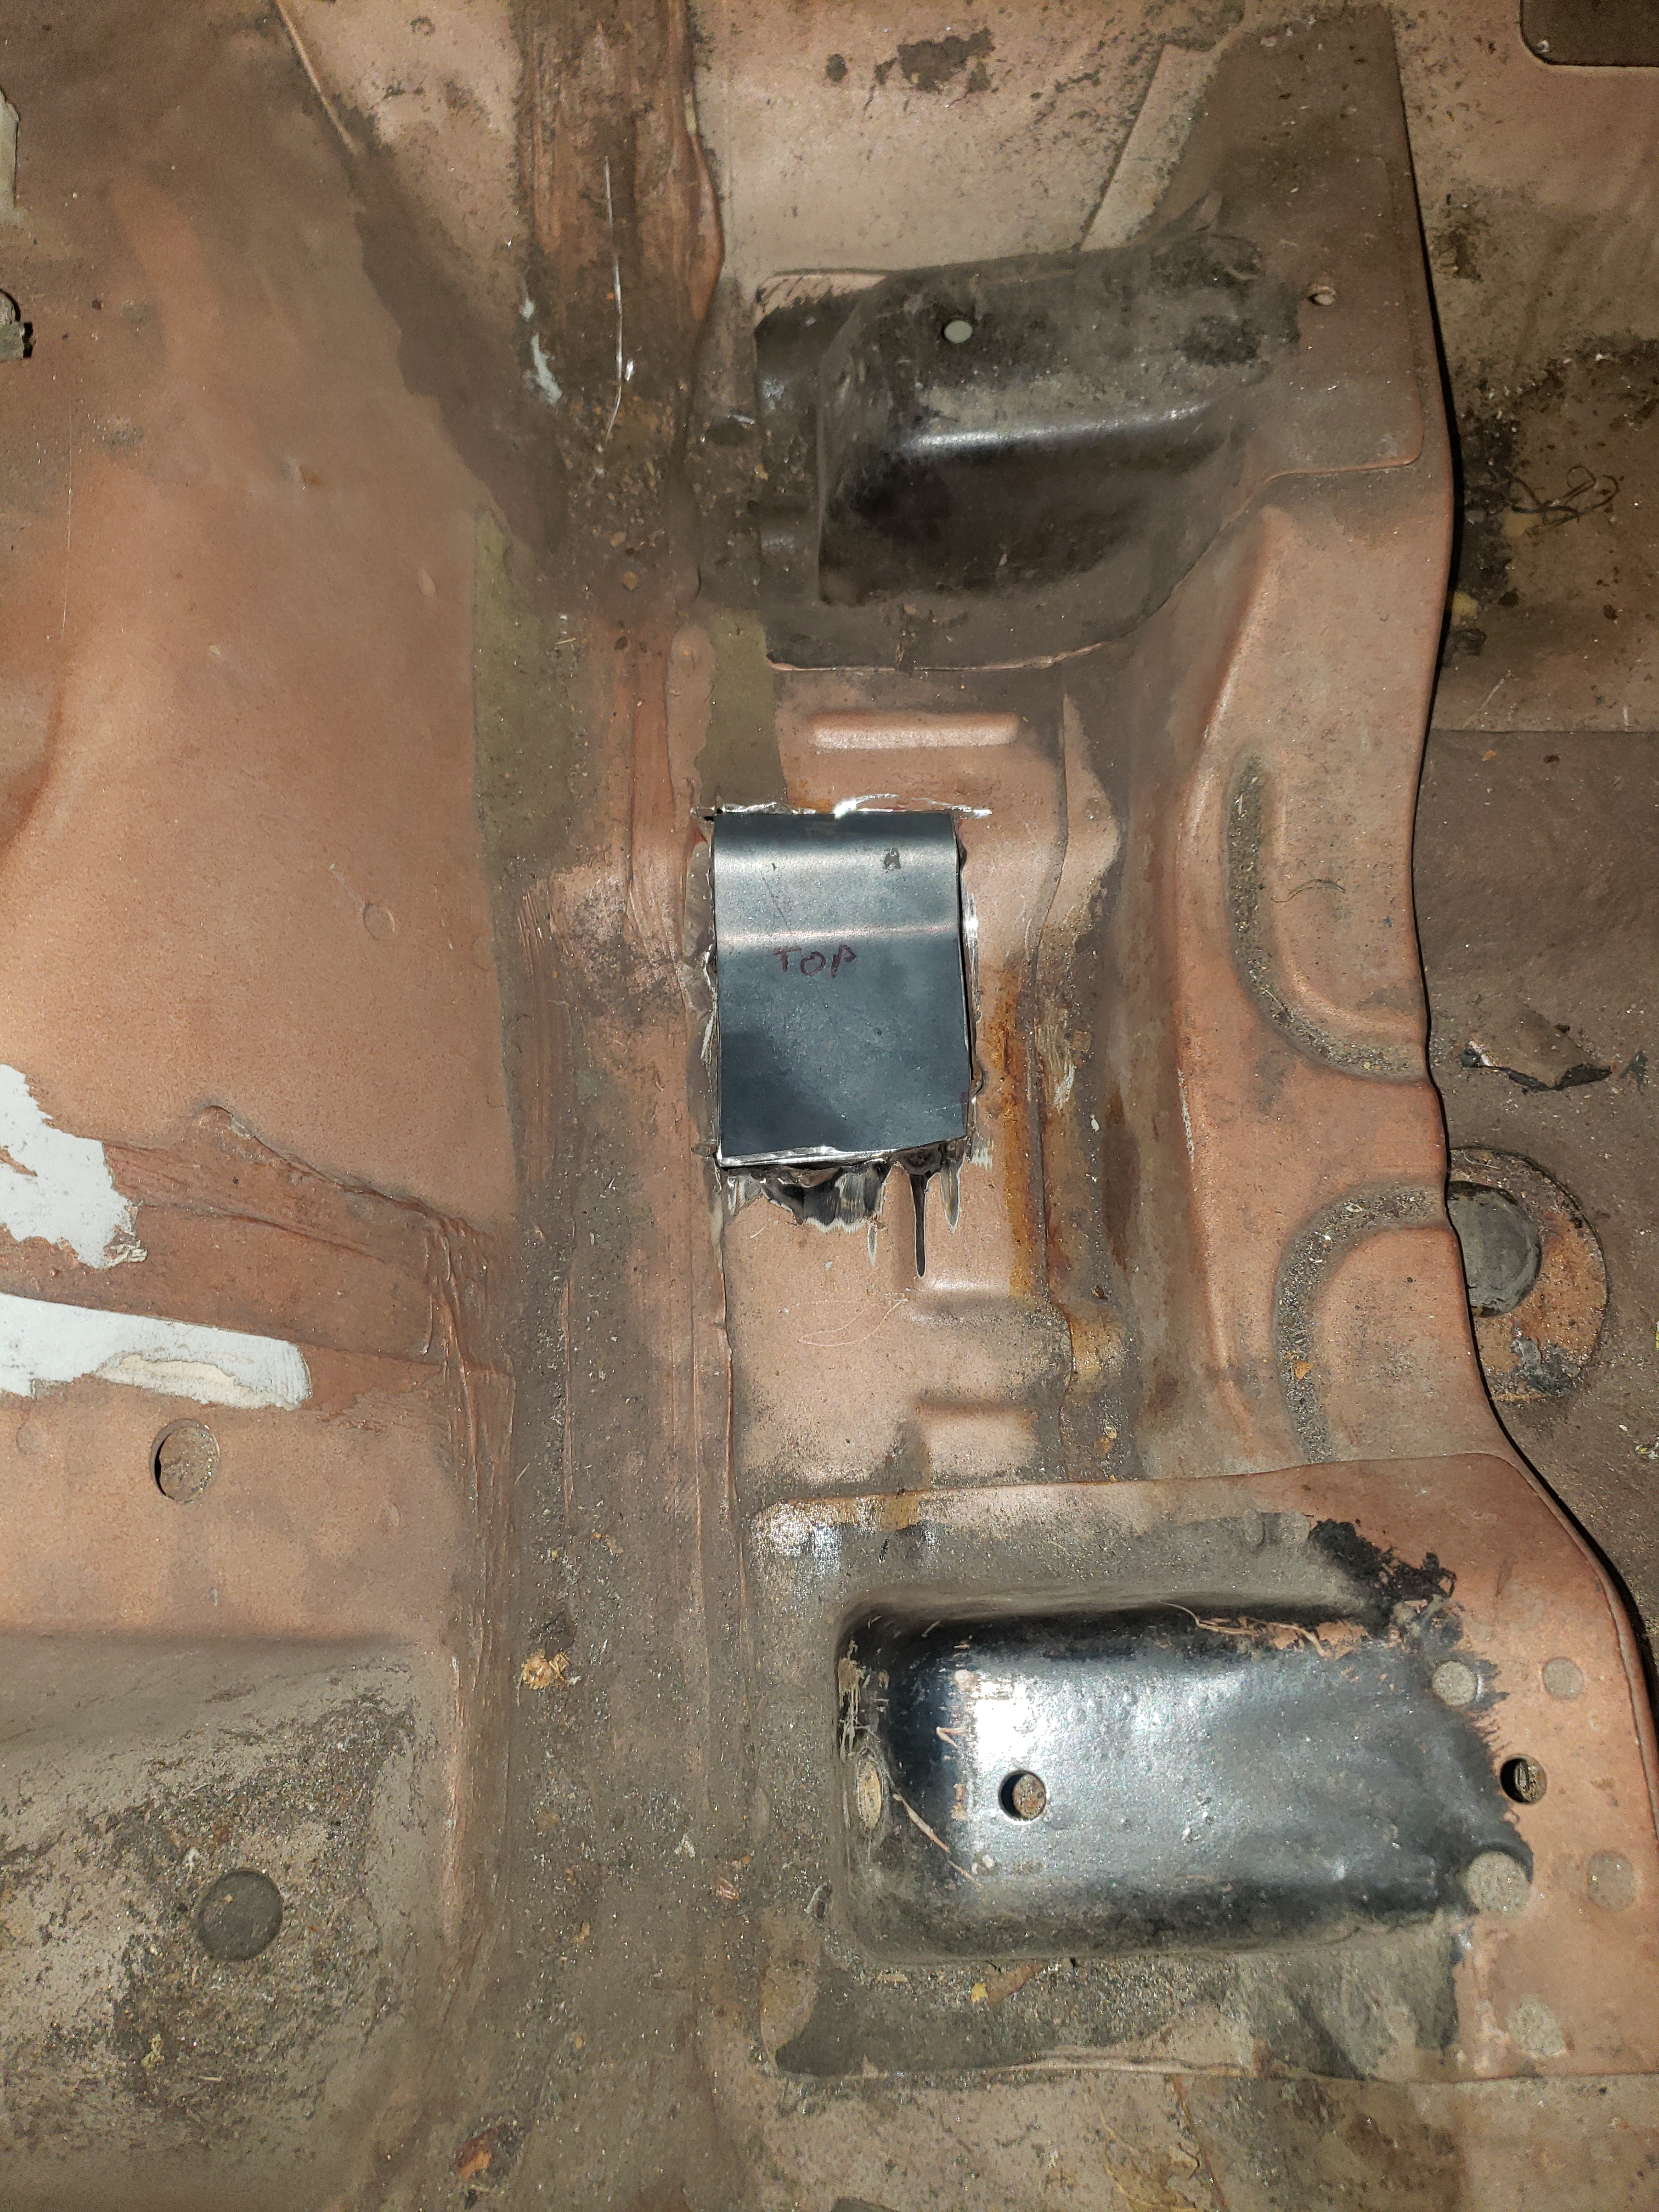
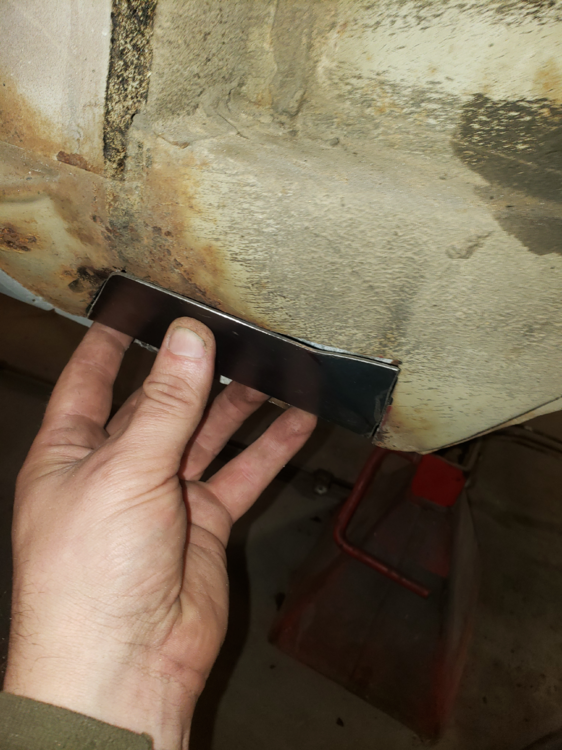
under battery tray is on order, I'll cut that out when I get the new piece.
-
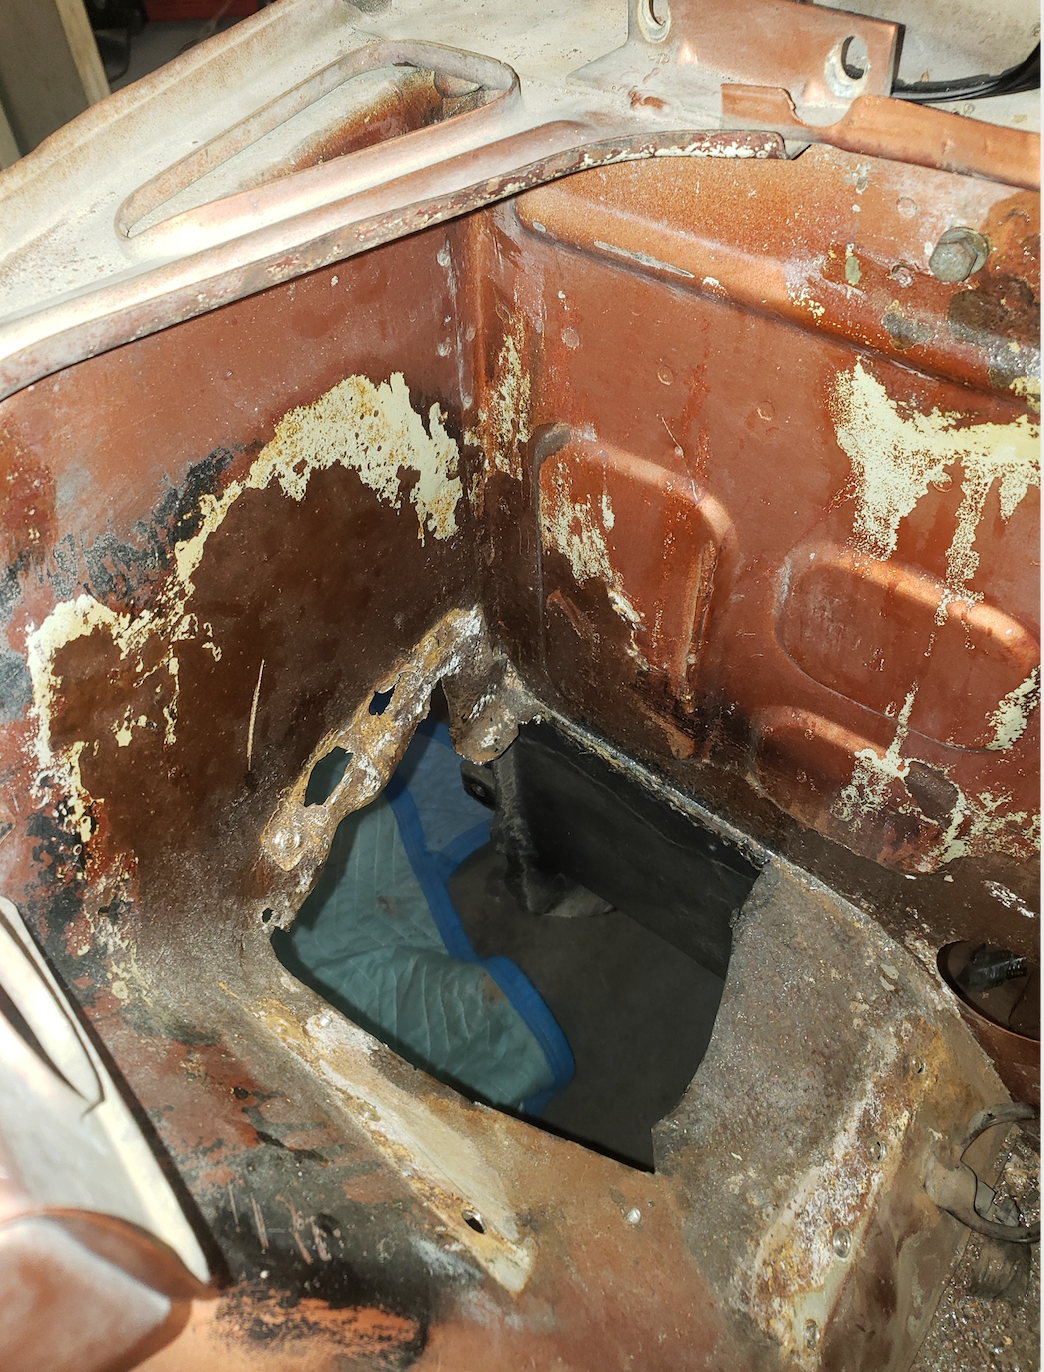
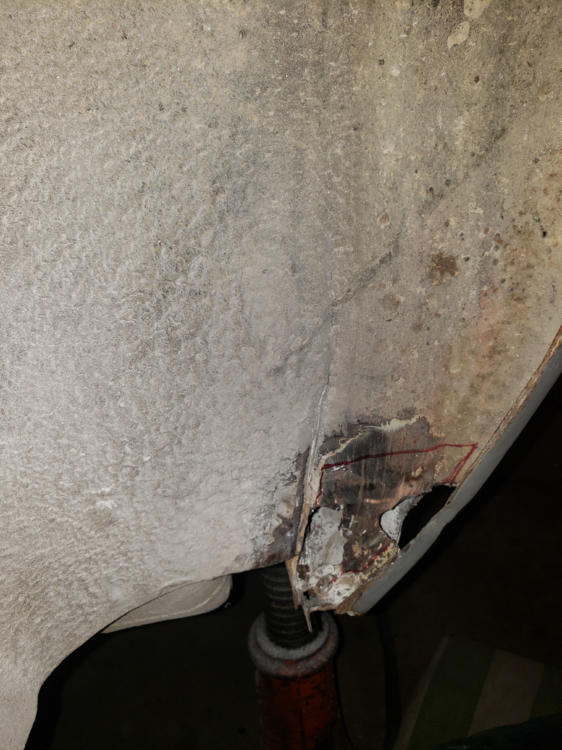
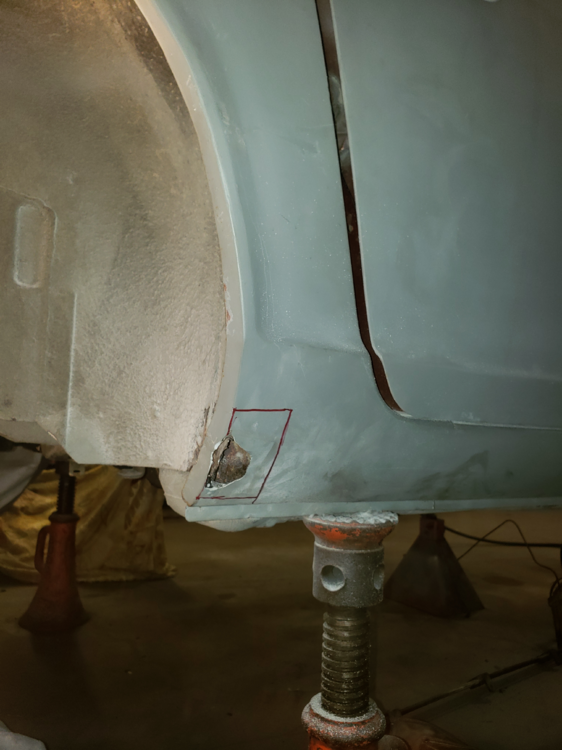
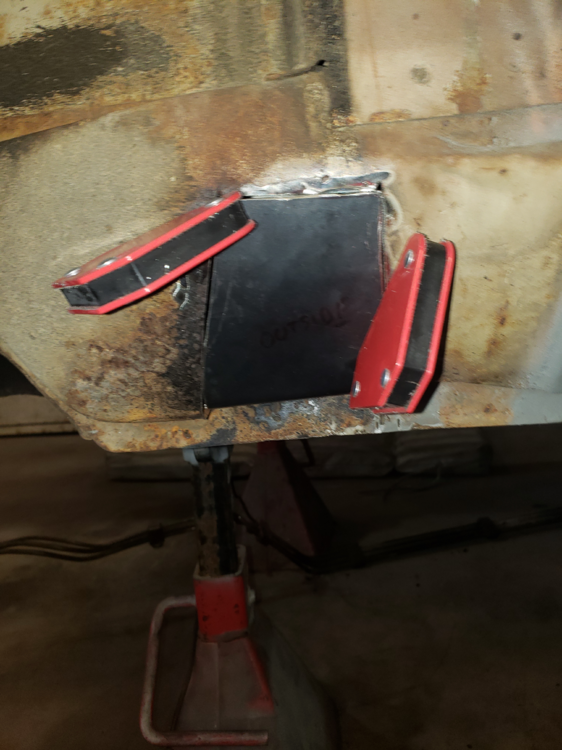
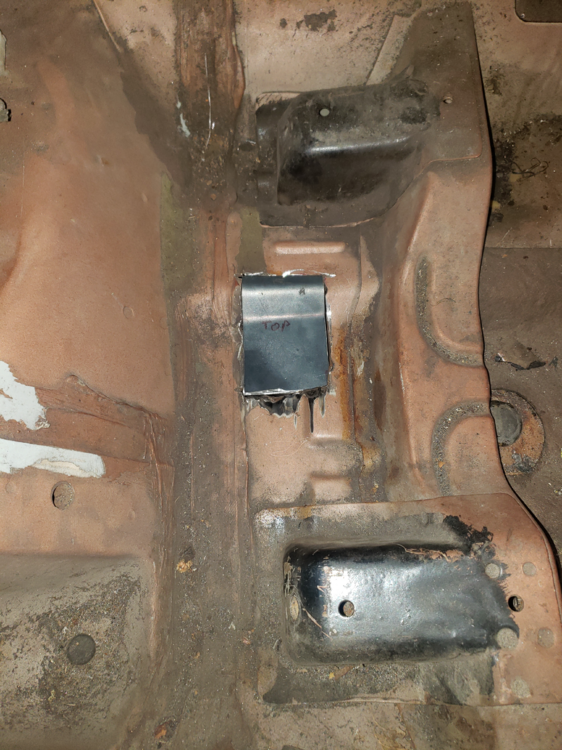
Patch work of rotted out areas has started... There are a few that I've found during disassembly, notably on the rockers under the front fenders, under the battery tray, under the passenger seat, and on the front and backside of the passenger side rear wheel well. All in all, not too bad but there was bondo on the front part of the rear passenger wheel well and as I grinded it out, it went right through to the lower portion of the quarter panel... oh well.. Luckily its a small and simple patch. Front of rear wheel well: Grinded out to metal on the passenger quarter: Rear of passenger rear wheel well: Driver side front rocker panel: Passenger side front rocker: Under passenger side seat:
-
Thanks @zKars. Found what I'm looking for. Don't know how I missed it the first time around.
-
anyone know where I can get a molded section for under the battery tray? Ive seen some on the common sites but they don't seem to have the compound bends.... trying to fix some of the wrongs from the PO...

-
Now that you mention it, I do remember taking the front wheels off and lowering the car to get more clearance.
-
Your current setup is the same way I removed mine but I think I used a short chain instead of a strap. It worked well. I had to get the motor up pretty high to clear the oilpan over the radiator support.
-
the best decision I have made thus far is to buy the $14 harbor freight moving dollies.... its so much easier working in a smaller space (three car garage) with moveable, heavy components.