Zs-ondabrain
Free Member
-
Joined
-
Last visited
Everything posted by Zs-ondabrain
-
 Almost all the auto parts stores carry the correct Electronic Flashers, now-a-days. If you have regular bulbs, non-LED, then just grab a standard 2 prong Electronic Flasher. I think I installed a "Blazer" HD Elec. Flasher (3-bulb) in the 72' Green Z as it was all stock lighting. Only cost about $9. If you have LED's in front and rear, then you'll need to get an LED specific Electronic Flasher. They typically have 3 pins and the 3rd pin needs to be Grounded. Dave
 -
Mitchell, oh no. They are still available, it just depends on the mood of the Boss. Sarah, That's just VA's way of saying "stay off the roads, too many idiots out here, your Z is safer at home" Jan, I just cracked open MY bottle of Glenfiddich (12 yr old) last night. My dad was looking for something to sooth his sore throat. He prefered some Bourbon but got a real shock when he took a sip of my 12 year old Scotch. I think his throat is Still numb, or at least soothed for the moment, 24 hours later Mark, OUR moons were in alignment last night, thank god the kids didn't see them......... My gift was a direct result of her gift, care of Adam and Eve.com hahaha KJP, I'm sure she meant well. You got tools, fix the tool box. It wouldn't be a first, for some of us. Dave
-
The wife decided she'd heard enough of me complaining about my Ryobi Batterries always dying midway thru drilling, grinding or what have you when working on the 260Z project car. So I got..... The new 1 hour green Lithium Charger 2) new 18 volt Lithium Ion Batteries. And a hummer but I don't think that's car related... LOL So what did YOU get......? Dave
-
Ya, you're right Arne. I totally forgot about that. I was thinking Latch assembly. Mally002, Perhaps a dremmel to make it fit right without damage? Just a thought, Dave
-
Either Way, I'm glad to help and happy that both of your guy's switches are working properly. Dave
-
280Z locks are pretty different. I think, or if I recall correctly, the lock assemblies should be the same from 70 to early /mid 74' I could be wrong though, Dave
-
So was it the black cross-over wire to the Turn signal? Glad to help, Happy Holidays, Dave
-
Funny enough, there's a Beautiful Green Z on the front page. I showed my wife and in Uniscene, we both said "I kinda miss the green Z" Guess ya had to be there, it was good for a chuckle or 2 but I had a blast working on it and preparing it for a new owner. I'm not the kinda guy who turns and burns a Z car for profit but didn't have a big choice at the time. Got it for free, into it for about $1800 and sold it for $3800. Glad you enjoyed the process. Let us know how the gear oil change goes for ya. By the way. Does the car sit outside on in a non heated garage? Dave
-
Large black to Large Black 6-pin to 6-pin Red on switch to red white with red stripe to white/red Blue/white to black/yellow (sometimes) And here's the fun part....... There should be a smaller Black wire that needs to connect to the Wiper switch. That wire is the headlight ground wire that the turn signal switch controls Hi and low beam with... Most people forget to connect the 2 switches together. Click this link and the second picture on the first post should show you the wire I'm talking about. The turn signal wire can be either black or red.... http://www.classiczcars.com/forums/showthread.php?t=30640 Dave
-
My first guess, by only reading the first post, would be cold and thick lube in the tranny. I used to experience the identical issue with my 5-speed and the 4-speed in the Green 72'. I went with a thinner weight gear oil (was 90, went with a 75? I think) and that helped a lot. Even more after it warmed up. Seemed to be more of a winter issue than anything else. Dave
-
That's Awesome!. Hard to wipe the smile off your face after that one, huh? Dave
-
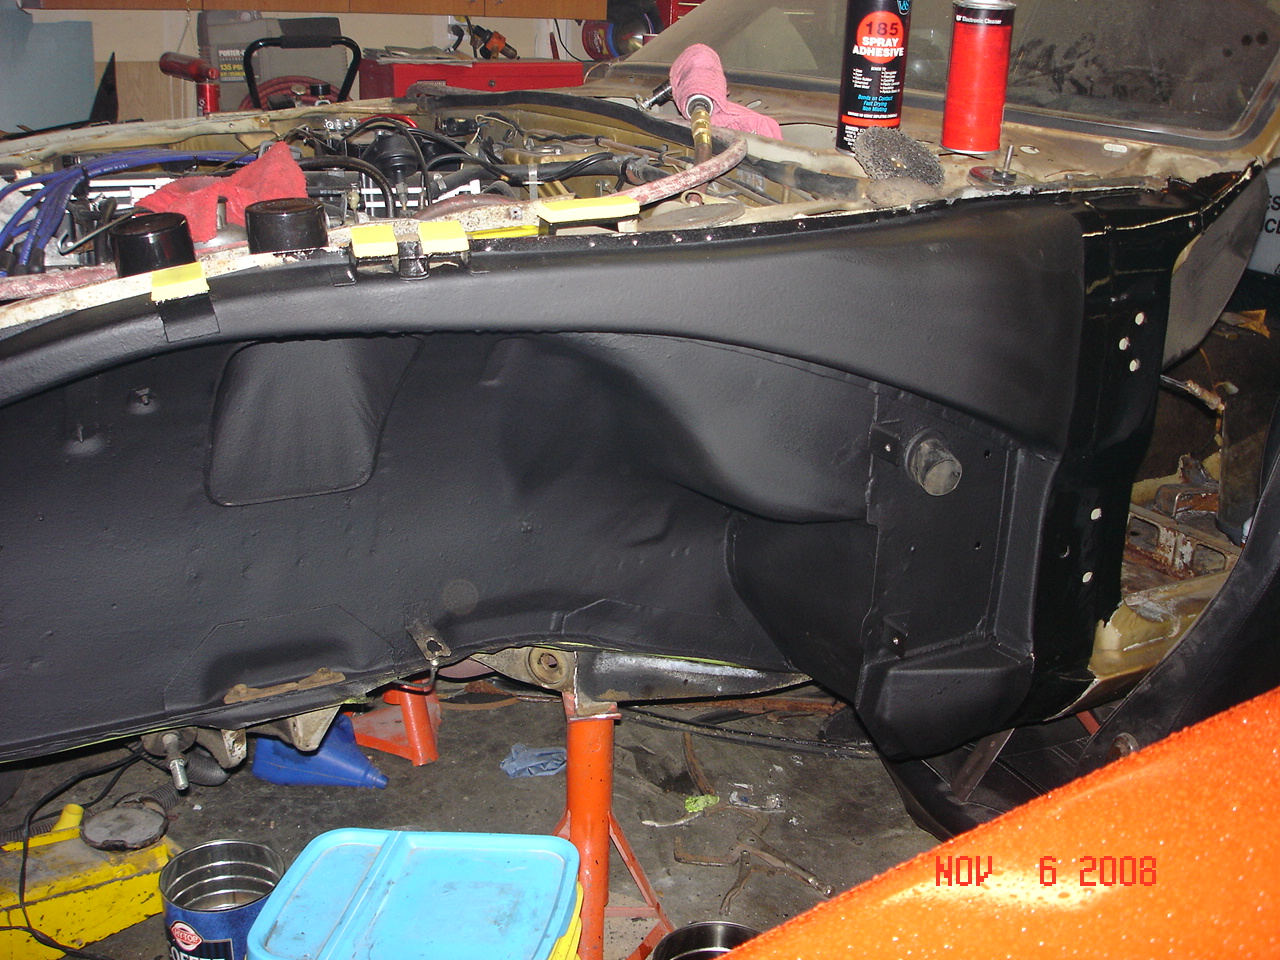
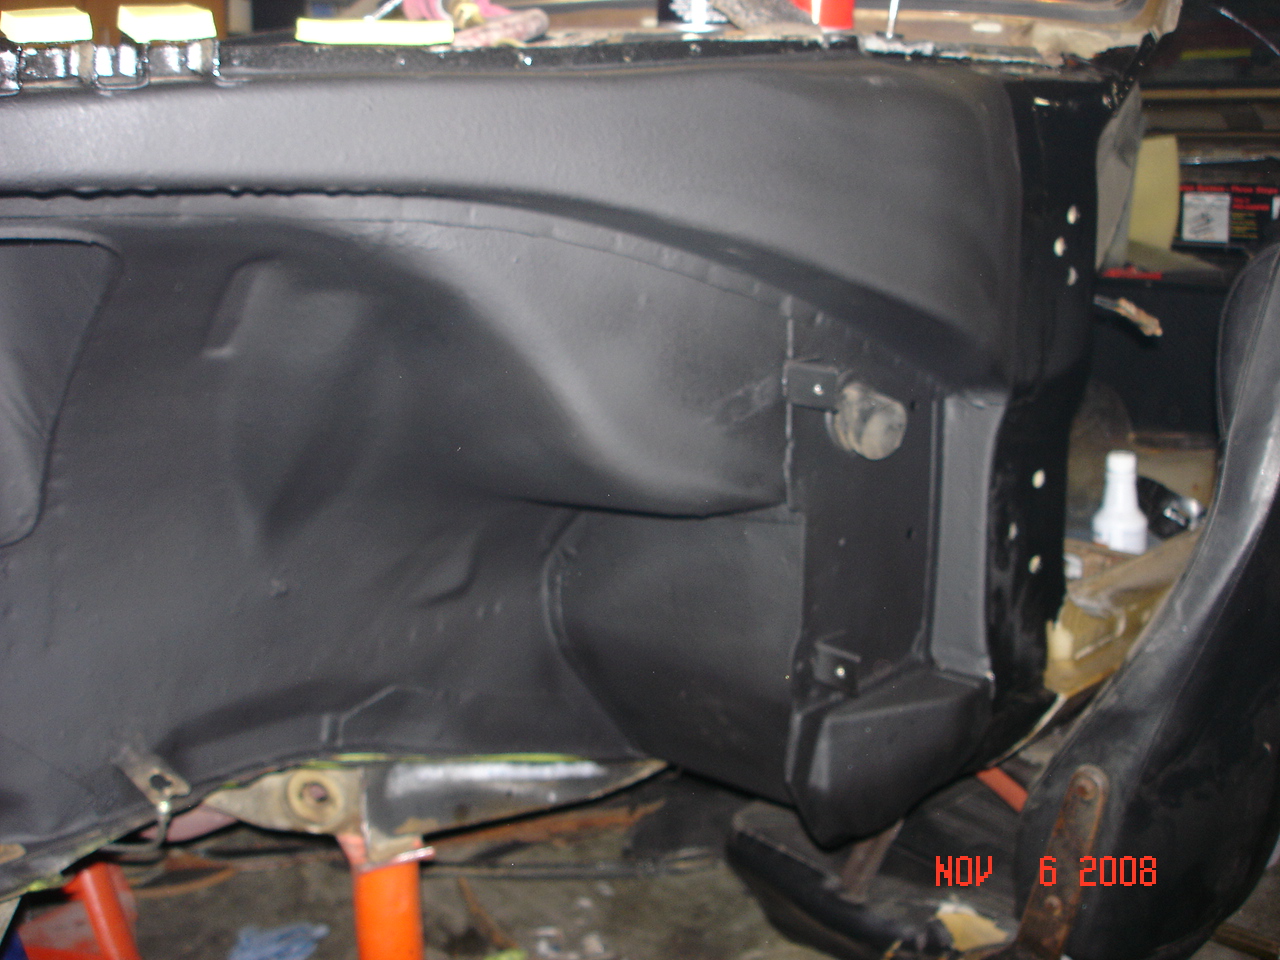
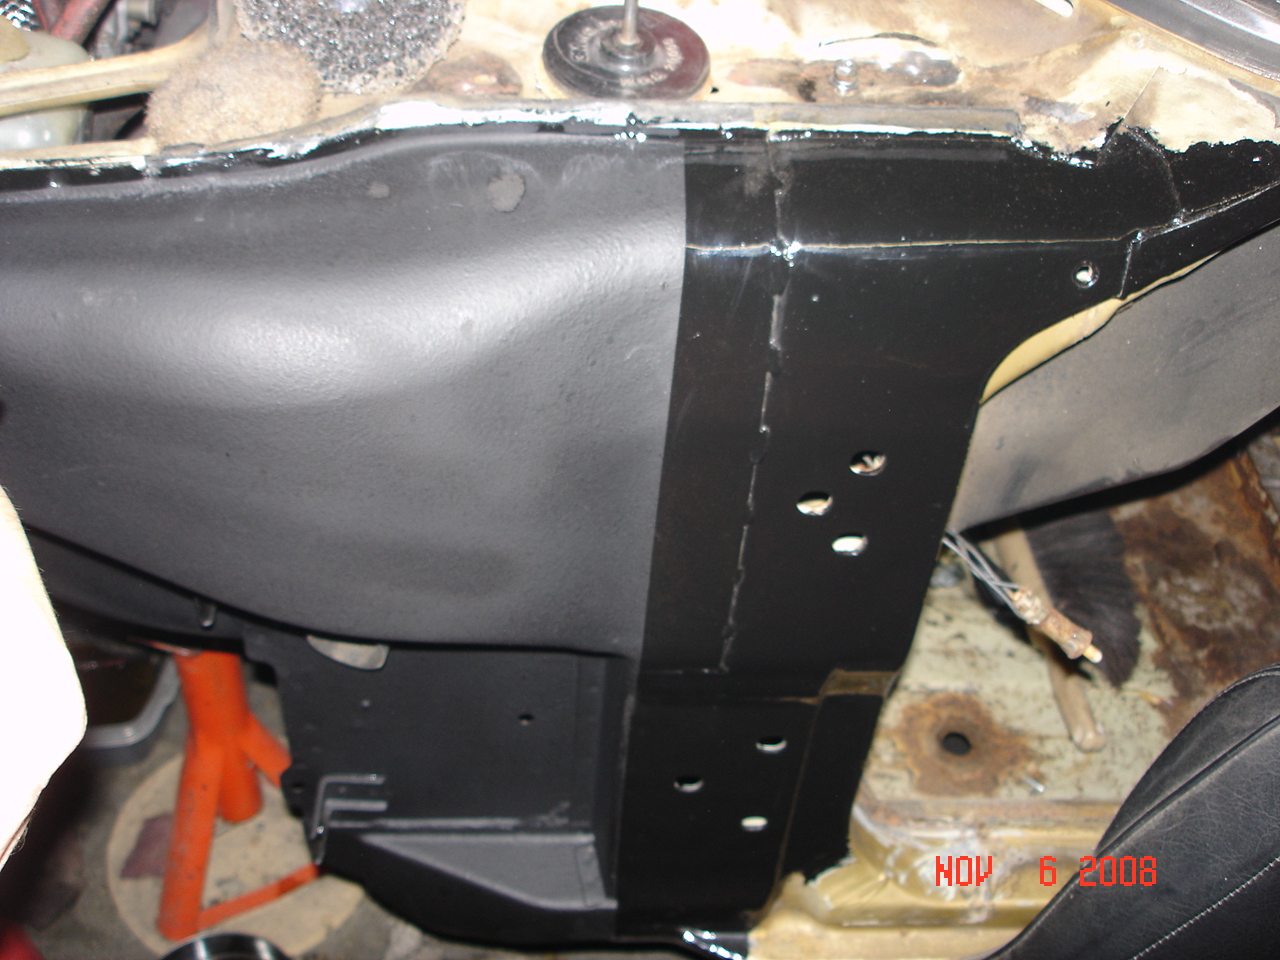
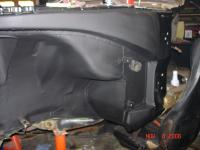
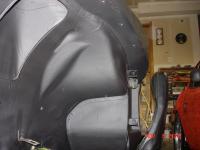
That's My 260Z Project (Pictured by Webdawg1) I was in the process of stripping the coatings off, removing rust from the door hinge area and getting ready to POR15 and New Undercoating. Hope the pics help. Dave


-
E = Earth as in a ground. If it looks like a tapped shell, then it's likely a ground. Unless it's on an actual terminal.
-
Kinda hard to believe that my daily driver, that is clean, runs great, etc, etc, will be an Antique in less than 5 years. By definition of coarse. Weird and interesting all at the same time. Dave
-
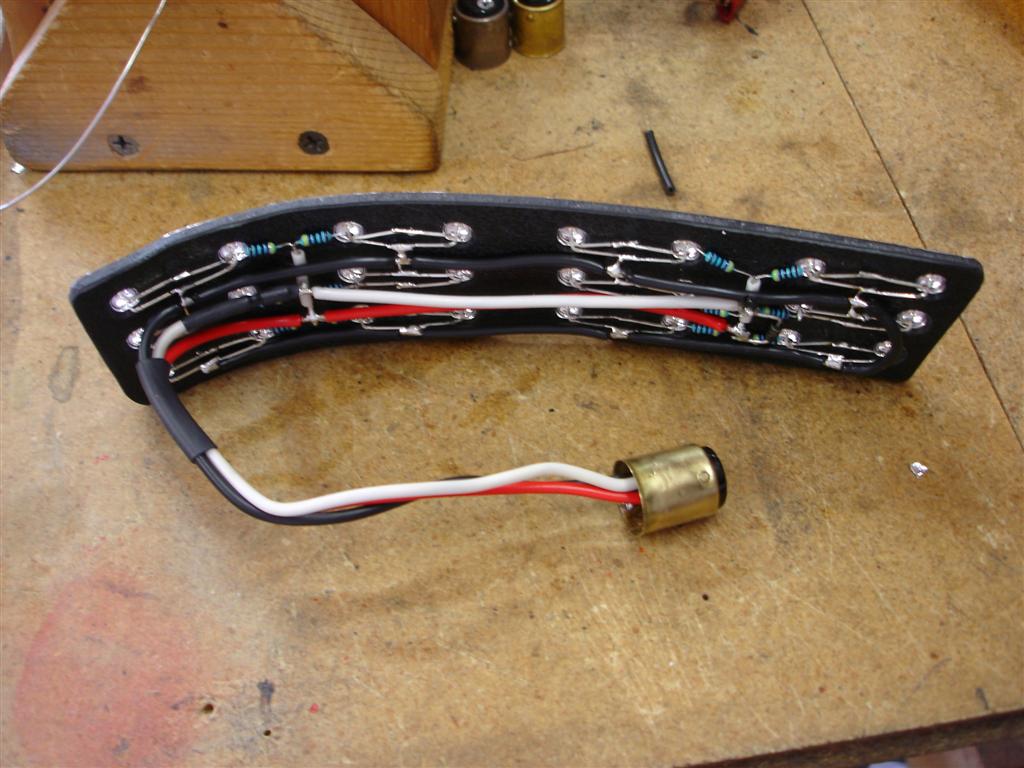
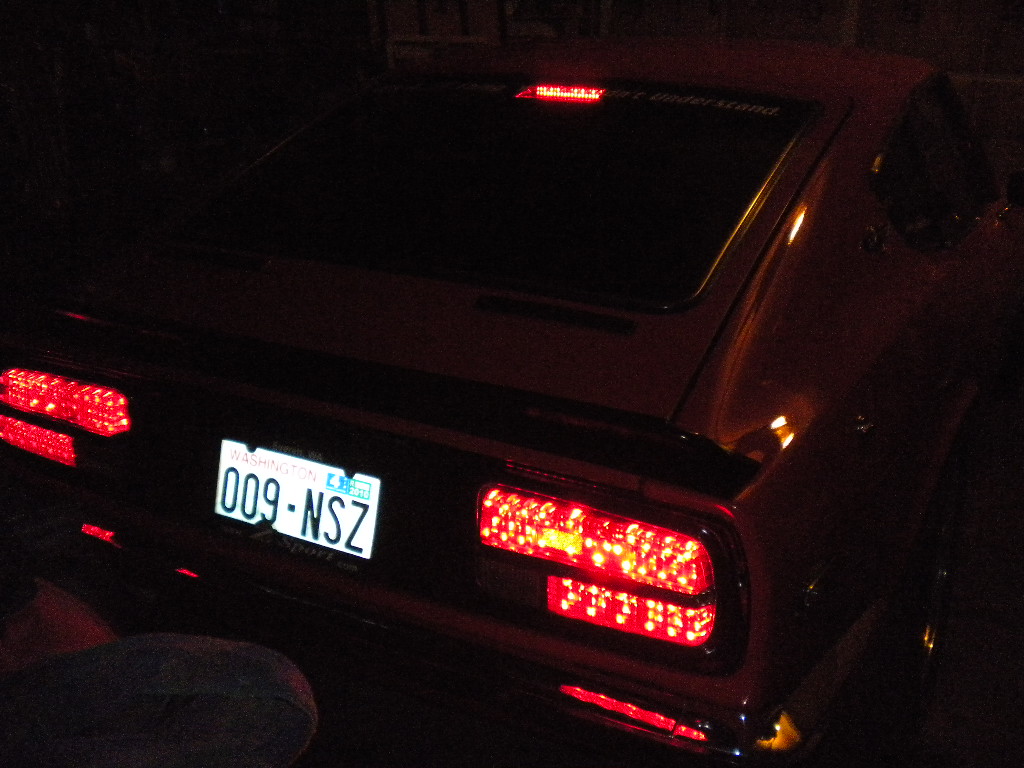
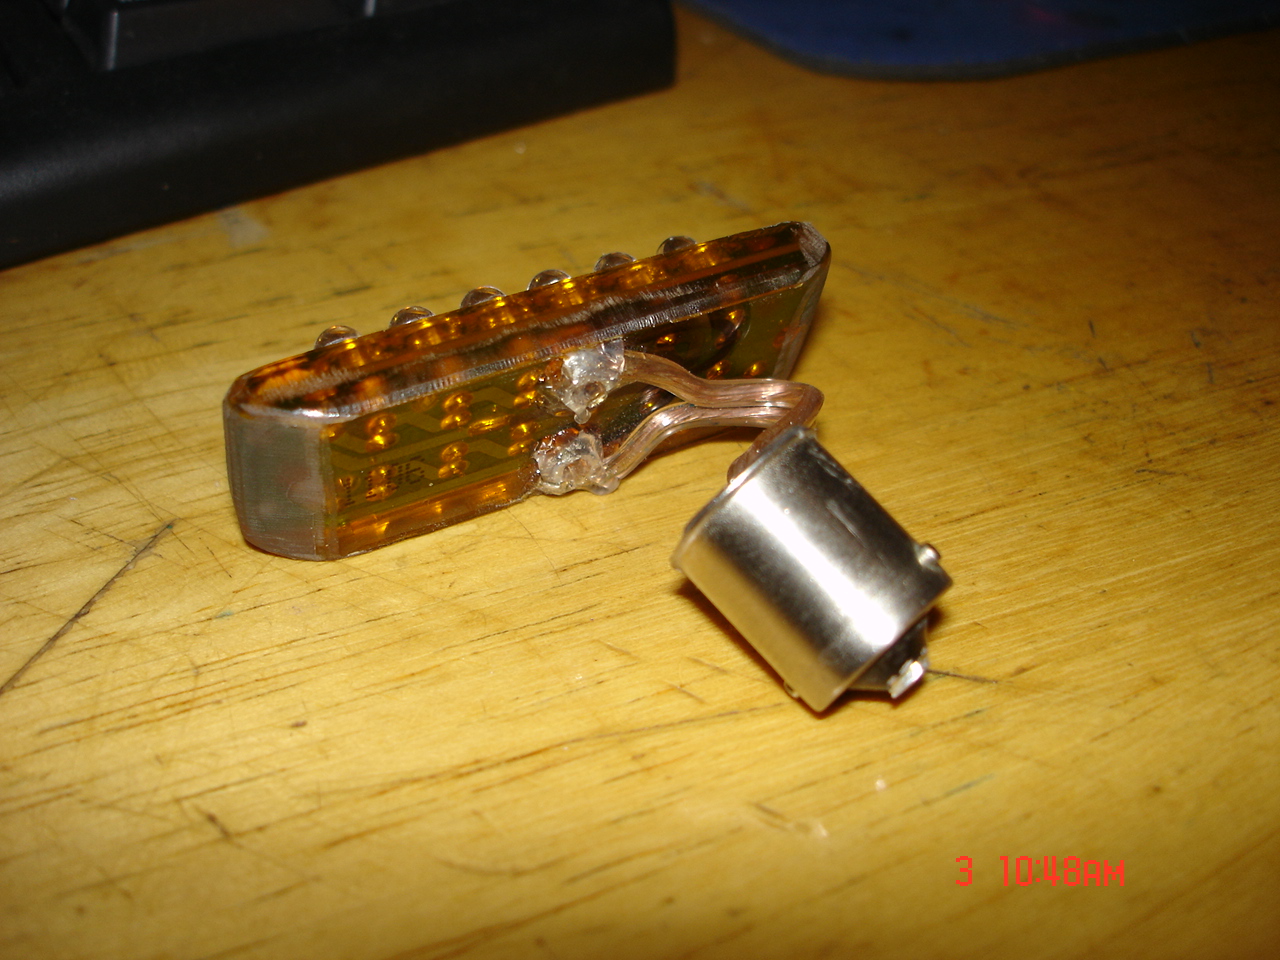
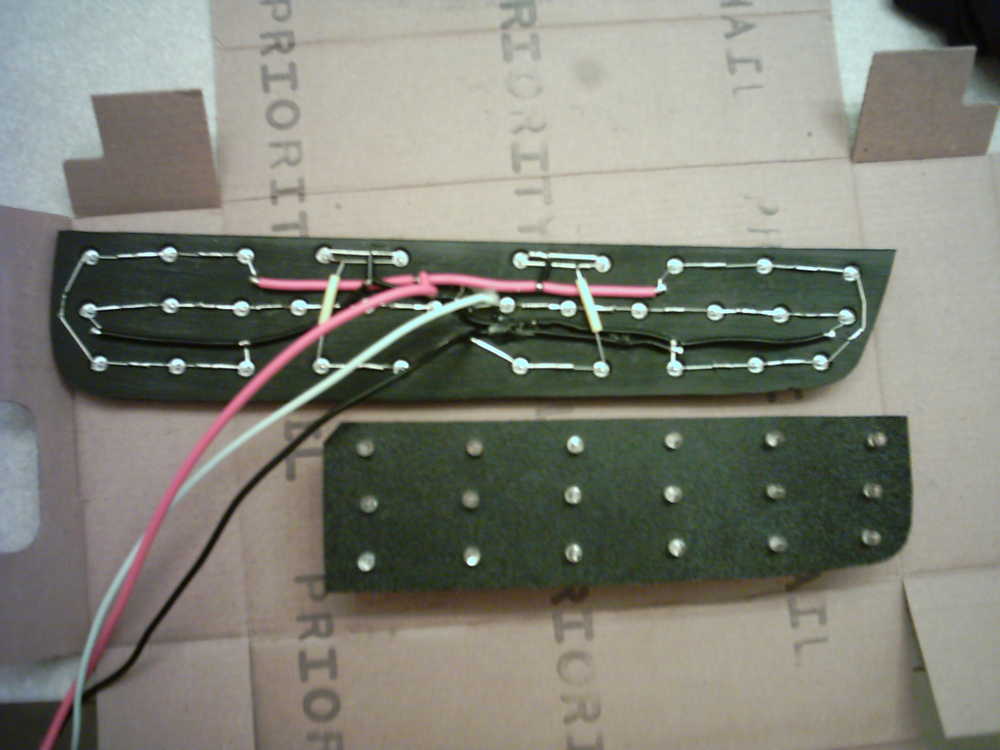
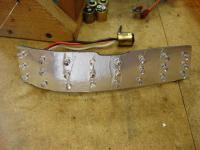
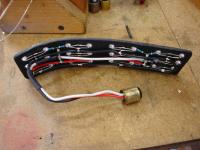
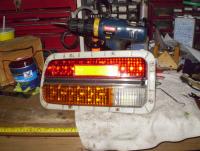
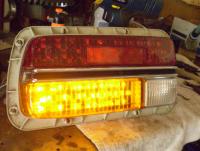
I use 1/8" Black ABS plastic. Then I use a counter sinking bit on my drill press at an exact depth to allow the LED's to squeeze thru the plate and sit further into the plate, which in turn allows more LED body to be pushed thru the opening. Then I sand the plate face smooth, spray glue the face and regular aluminum foil for a reflective surface, cut out each hole then load the LED's into the board. Bend the leads so the grounds all connect with each other then wire in the resistors (2 LED's per resistor). The larger plate has 2 mounting screw in the middle and the smaller board has 2 screws also, one on each outer edge. Then I take 2) 1157 bulbs and break the glass out of them, unsolder the leads and clean the inside out. Then I wire in the ground, brake and parking light wires and back fill with hot glue. Then all you have to do is plug them in like a regular bulb into the socket. I also repaint the center of the chrome strip, polish the lenses and reglue before reassembly. And it's basically the same thing in the front. The sidemarkers are more of a plug and play deal but also do the hollowed out bulb base so things can go back to stock if I (or the customer) ever decide otherwise. Yes, it takes a lot of labor and many hours of plate cutting, drilling, wiring, soldering, polishing and gluing and screwing, BUT it's all worth it in the end to have a STOCK looking taillight that lights up the road behind you and has a look like no other Z. I haven't had a customer complain about people not seeing their car yet. And better yet, other people CAN see the Z's better. No excuses of "I'm sorry Officer, I didn't see his brake lights" And with a 100,000+ hour lifespan, they'll be around long after I'm gone. Especially since they are typically underpowered due to the Z's bad wiring. Below, you can see the front markers on an angled plate, with the hollowed out bulb housings and aluminum foil. I have to glue in the front plates for lack of a good screwing surface. I also use one of the reflectors from the taillights, rebend and installed into the reverse light section for better light output from the 1156 bulb. (Customers Euro taillights) Dave
-
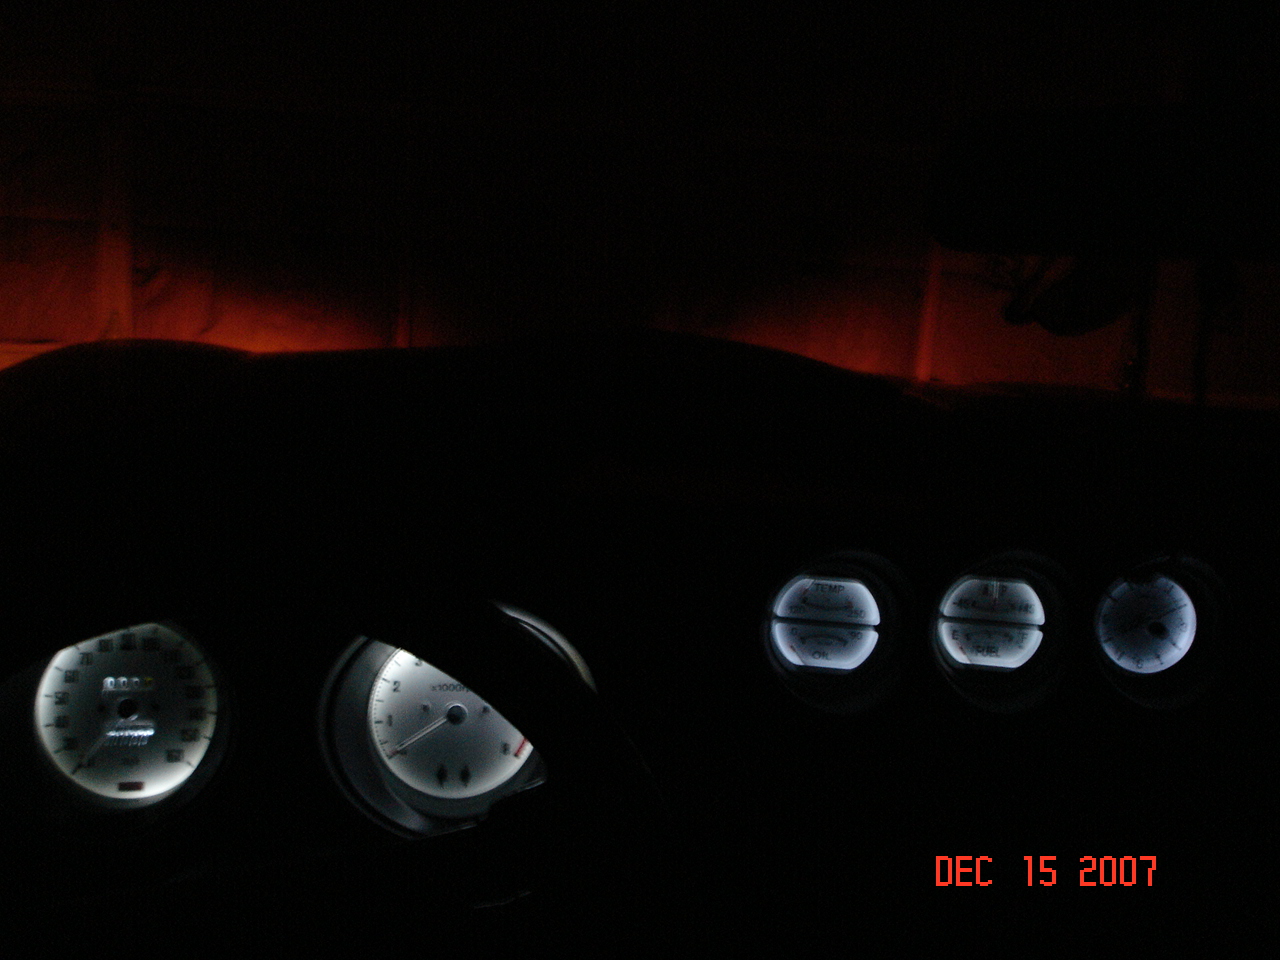
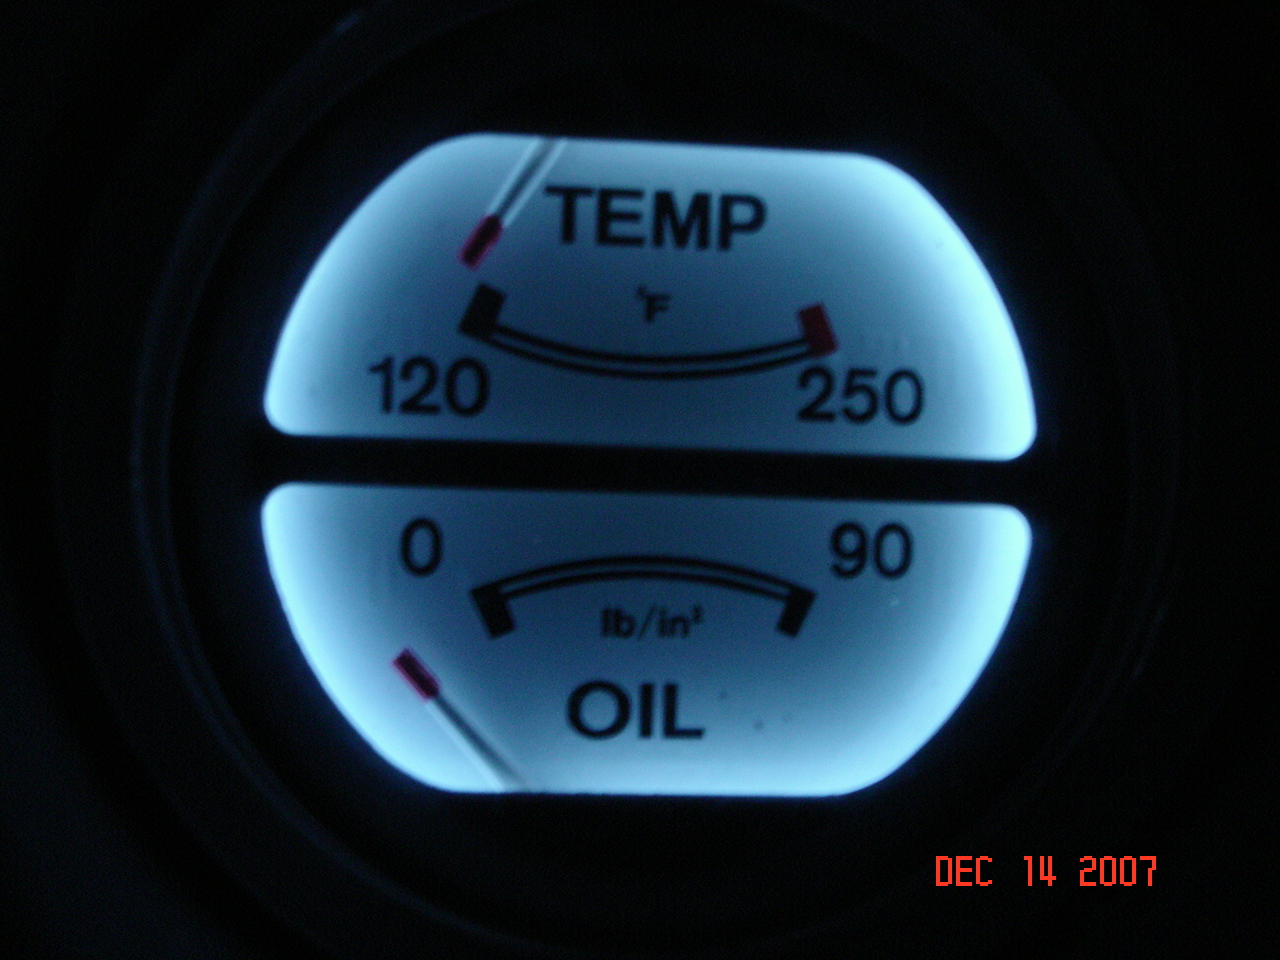
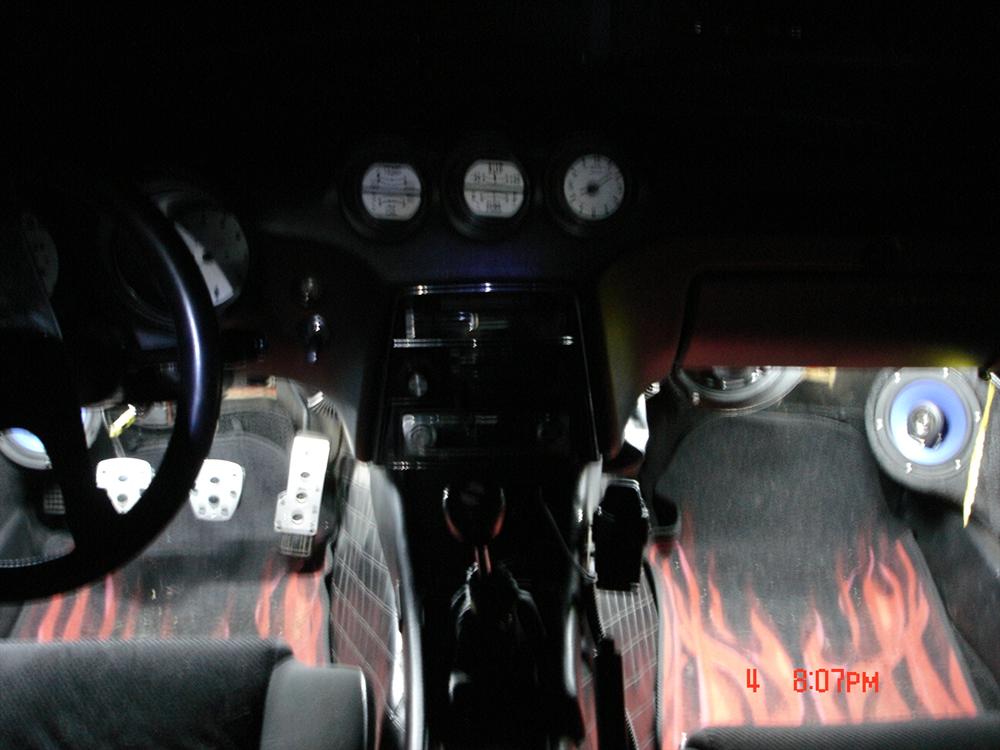
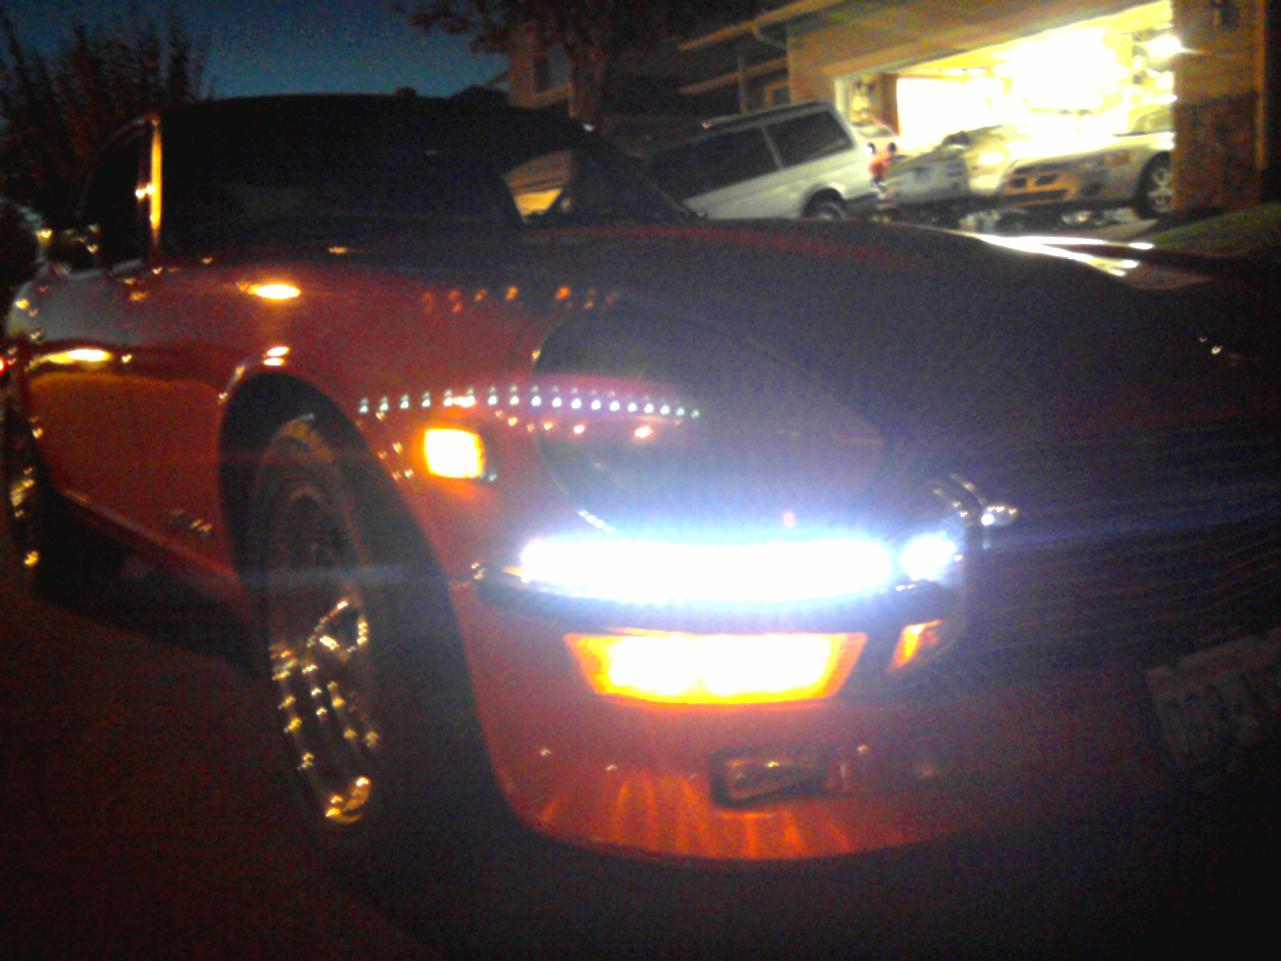
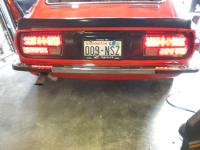
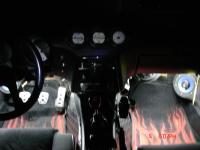
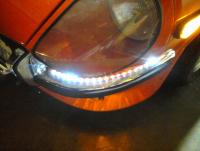
Sounds like you're becoming the resident LED expert. Guess this means I can take a break for a while... I decided to do the LED thing a few years back and have gone nuts on it all. The only 2 incandescent bulbs on the whole car are the license plate lights. I made my Map light LED array, my dome light circuit board, custom cut 4) 12 LED sidemarker lights from the Kenworth Shop, Custom made the LED plates on the Tail lights and front markers and tore the gauges apart to remove the green lenses and paint the insides silver before installing "SuperbriteLED's" and MSA white face gauge overlays. I used the the White Wide angle ba9's in the dash. 5mm super whites in the map and dome light boards 5mm 18K mcd Red LED's in the brake light boards 5mm 12K mcd Yellow LED's in the front marker boards\ Blazer 12 vdc 3 light (per side) LED electronic flasher 12" white Cold Cathode tube lights (4) underdash and domelight area Maxxima* 12 LED clearance lights 2) red 2) amber for the sidemarkers Alpena White Flexible LED strips just above the front bumpers for that Audi look. H4 6000K HID headlights in Autopal housings. Here's a couple shots but I really need to redo them now that I'm finally figuring out this new camera from last year.... Dave


-
SOLD!! Thanks guys. And you Dave. I really appreciate it. Dave
-
I'm with Lonny, after the white face overlays, I just nicely pressed the needles back on and they were snug and have never fallen off. I gave them a tug to be sure. Bob, My tach needle was also loose after reinstalling so I nicely pulled it back off and gave the shaft a small squeeze with my plyers, which ovaled and roughed up the shaft, the needle went back on more snug and worry free. JM2CW Dave
-
What I did was push the stop needle in to the face (the needle that stops the actual arm from going past zero) and allow the arm to come to a rest, marked the spot on the face and body of the gauge, then popped the arm off the gauge, applied the white vinyl face and reattached the arm a few times until it once again rested on the spot I marked previous to taking the arm off. After pushing the stop needle into the face and letting the arm come to a rest, wiggle the gauge or swing the arm a few times to make sure the arm rests in the same place each time, before marking it's final resting place. Dave
-
**CHRISTMAS SPECIAL** I have 3 R/T Mounts for SALE!! They are Raw steel (uncoated/painted) I normally sell them for $65? If I recall correctly. Since I am broke and would like to buy my children a few gifts, I will let them go for $50 each and that includes Free Shipping anywhere in the lower 48 States. Please contact me at wolfin32z@yahoo.com if you're interested. Cash, Check, Money Order or Paypal Merry Christmas. Dave
-
That's a Beautiful set ZZTom. Thanks Chris, Steve and Dave, Very Kind of all ya'll. Here I am, if he's interested he will click on my email below. I haves BOXES of spare part, switches and everything needed to either rebuild or replace his switch, if needed. Dave wolfin32z@yahoo.com
-
Not bad, I like the Blue LEDs on the silver paint.
-
when I titled this picture, I called it a "Hatch alignment stopper" Not sure why but it sounds right.... try this.... Hatch stopper google results Here's one more..... http://www.zcarsource.com/content/p/9/pid/55732/catid/7729_7759/Hatch_Hardware_Stopper_Side_Striker_70_78_new

-
What she said... Seriously!! Definately beef it up, minimize connections, eliminate old connctions and pathways, shorten them. Reinforce your grounds and increase your battery cable size from stock to at least 4 gauge. I may have missed it, but how old is the battery? and what size is it? The volt meter typically shows what the Battery is doing so my guess would be that the battery is barely doing it's job. You were in the right to move the grounds to a more stable area, such as directly to the battery but I would also back track the water temp connector in front of the motor and check all the associated connections under the dash where the engine harness comes thru the firewall. if these items are powered off the fusebox, this may be the place to start. consider all the connections, old connections, between the battery and the fusebox, then out and thru more connectors before the power gets to the item in question. I would suggest a good cleaning of all the power related connections using Deoxit. Or even manually cleaning the terminals using small files, wire brushes etc. I think you'll see an improvement in the regular operations after the cleaning and tightening of the terminals. Check the battery or replace it, check all power related connections in the engine compartment as well. Good luck, Dave
-
Not too bad for a "Peanut Gallory" huh?