Zs-ondabrain
Free Member
-
Joined
-
Last visited
Everything posted by Zs-ondabrain
-
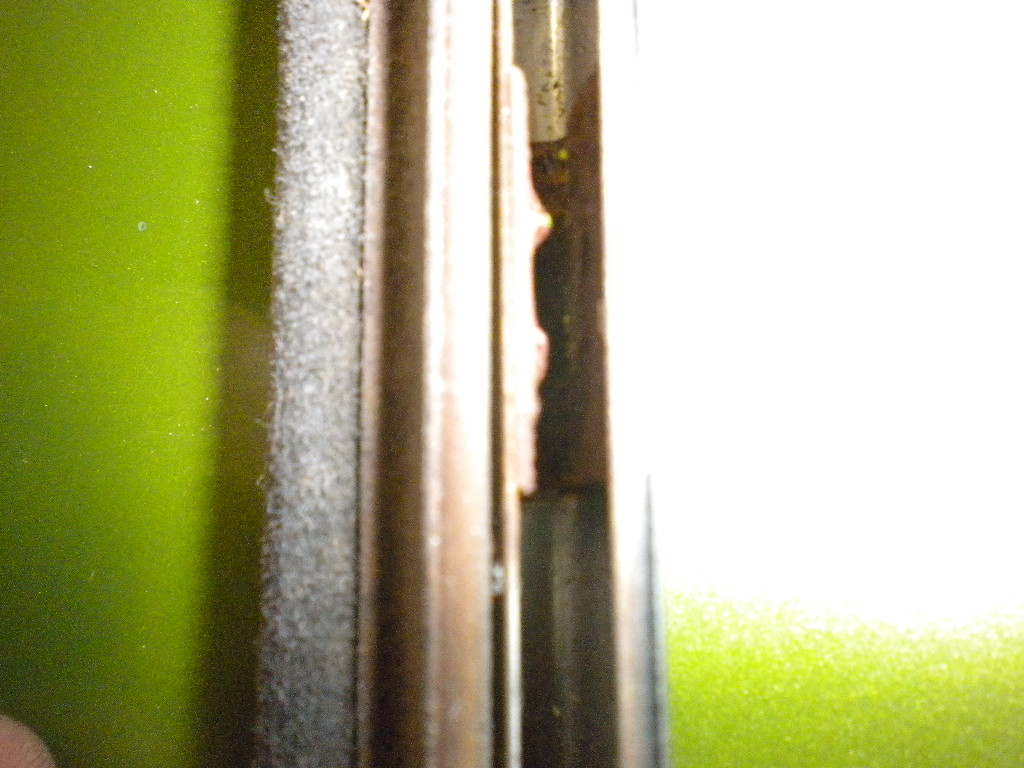
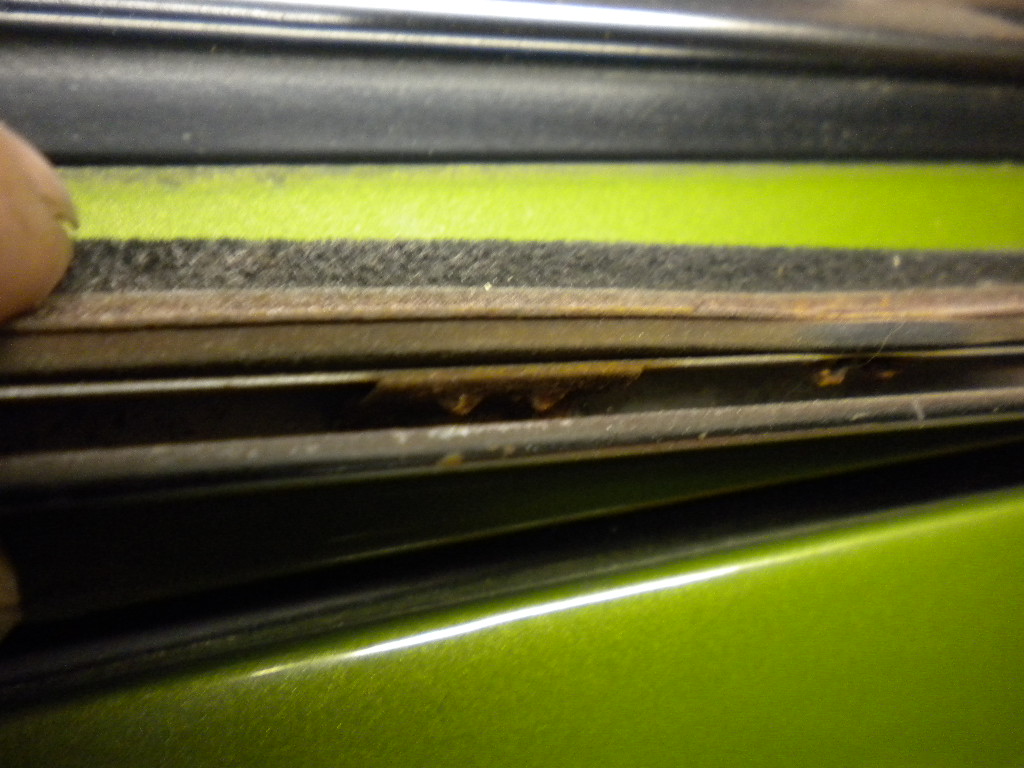
 I tried to get a few shots of the 2 teeth that are supposed to be in each of the 4 or 5 clips.

-
There should be some teeth grips inside the stainless strip. The kind that hold onto the steel lip of the door. Next time you have one off, inspect the inside and see if those teeth are there and facing toward each other. Never heard of them popping off, but definately heard of them NOT wanting to come off. Dave
-
I had mucho backfiring that loaded the K&N's with fuel, so one more back fire and she lit up like a dead Xmas tree near the fireplace. Beat the crap out of it with a towel, that didn't work. So I attempted to Start the car and that sucked the flames out of the carb and filter. NOT FUN DAMNIT!! And on a side note, Never saw my wife run that fast before!! She ran to a nearby office to look for a fire extinguisher.
-
Yup, they WERE!! You almost done with those remaining brake clamps and things? Just thought I'd ask, no big hurry. Art work huh, frank? Good idea. I got plenty to throw into a Collage of some sort. Dave
-
These gauges are slow to respond. But work better at mid to higher RPM's and when under a load. Just tapping the gas or revving it here and there, off idle, won't show much change. Pretty typical for electrical. If you want a fast responce, you'll need to change out the oil pressure gauge for a manual (Tube tapped into the oil pressure fitting, connected directly to an oil fed gauge. (the old style) By the way, Steve wasn't trying to be rude, just pointing out the obvious. You want info, we'll need as much detail as possible in your first post. The more guessing we have to do, the longer it'll take for you to get the answer you want. Hope that helps, Dave
-
Heare Ye brother, I'm all FOR free and cheap Z's. Got mine free, put in $1500 and it's a friggin blast. You're gonna have to come up this way one of these days. Car looks good. Dave
-
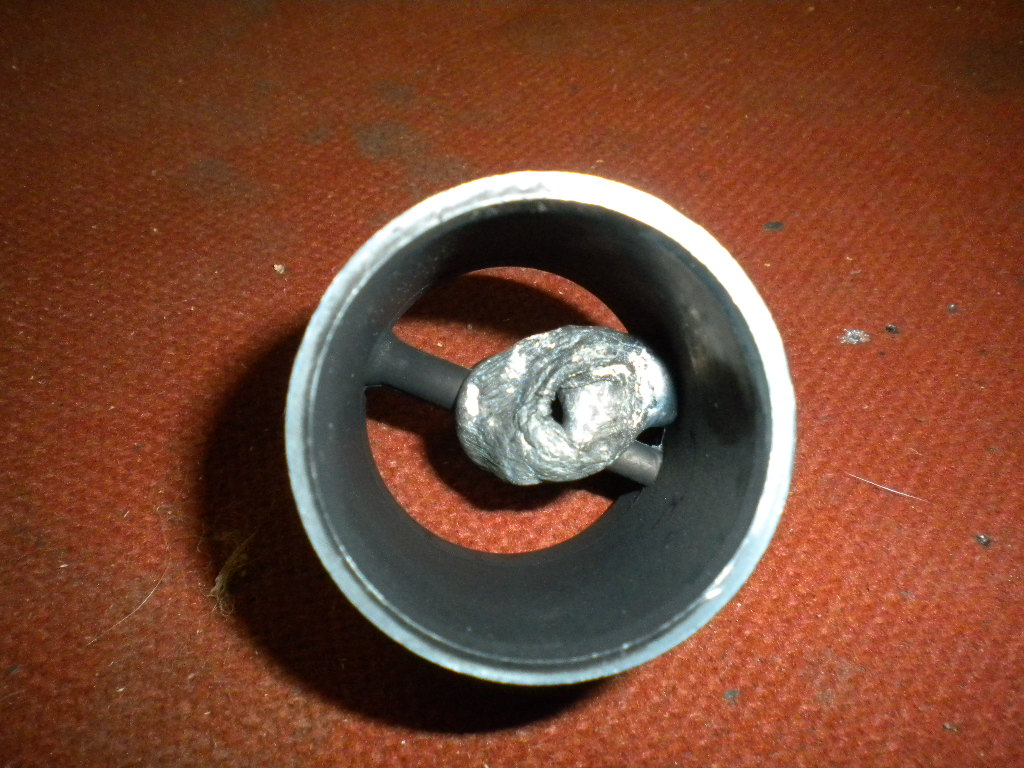
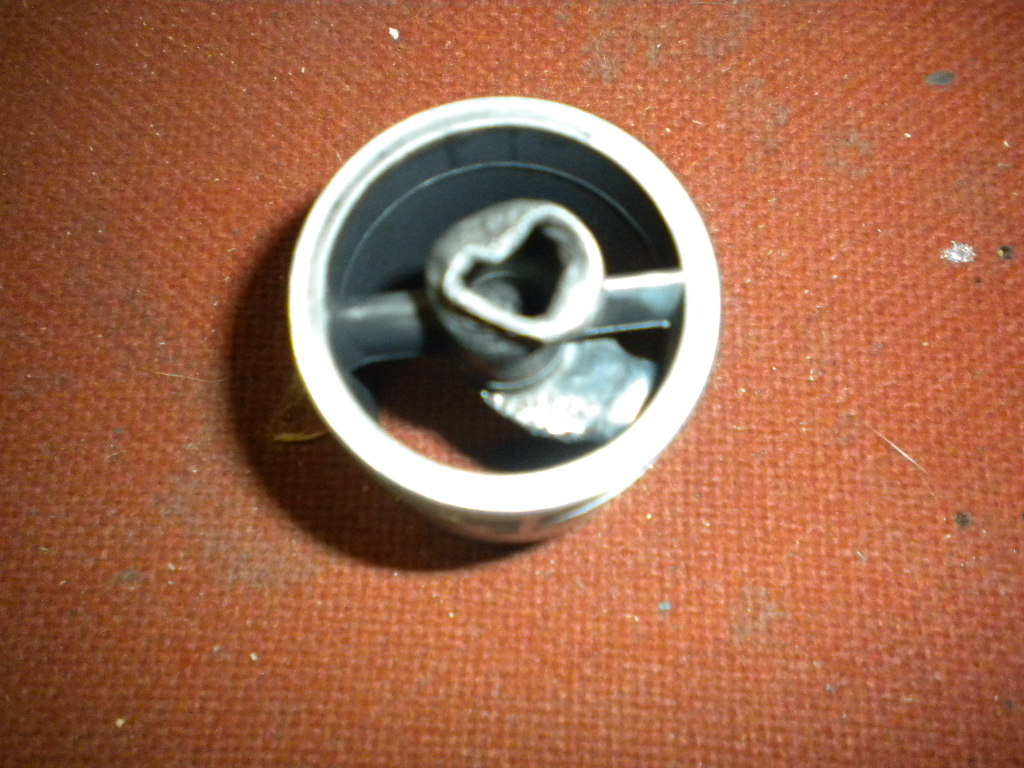
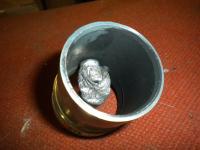
That pretty damn funny Bruce. New take on an old theory? Can't wait to see you guys at Canby. Should be fun, for more than one reason or 2. Wink wink. Is someone gonna be at the shop on Saturday evening (The 12th?) Dave Speaking of Webers and SU's. I decided to clean up my 40DCOE's to instal them on my Green 72' just for shites and giggles. While cleaning, I remembered that the last Weber, closest to the firewall, had caught on fire before I removed them from the red Z. So I did some cleaning and in the process, found this lovely peice of art...... So I ordered 2 more Auxilary Venturi's from Carbs Unlimited in Auburn, WA for 31.98 each. I'll pick them up on wednesday.


-
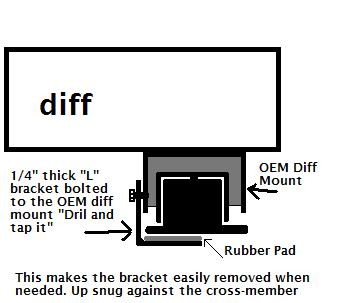
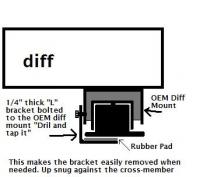
Your diff mount has failed. Nissan didn't build it with a "Failsafe" so when the rubber seperates from the metal on either side of the front diff mount, the diff lifts up and "Clunks" thediff strap or body, then also clunks on the way back down. There are a few options. 1) buy a new diff mount (I think they're still readily available) 2) Buy an R/T mount from Roostmonkey on Hybridz.org (About $65 I think, last I checked) 3) Bolt in a 1/4" thick L-bracket to the back side of the mount, so the other half of the "L" is face up with the bottom of the cross-member, place a rubber pad on it to keep it from Thumping the cross-member upon raising. I've attached a drawing (my own take on it) to help you visualize #3. I've been informed that it works very well and is obviously inexpensive. You just need to drill the stock diff mount and tap it for the decent size bolts you'll use. Use your imagination on that one, might even be a market for it if customers want to drill and tap their stock diff mounts. Dave
-
we were all new to SU's at one point or another. The DVD is a copy from the VHS but the needed info is there. Good investment. Dave
-
As much as I appreciate the "Plug" Those Doc's are seriously outdated. I wrote the last ones over 4 years ago. I've since change a few thing and perfected building runs, to use less Wire in some areas, less split loom and a better all around design. I really should rewrite that some day. Seems like every time I write a Doc or do a write-up, the design changes for the better, then I can't change the original post and every one misses it or asks why the next guys upgraded stuff is better. Or something like that. Anyways, Back on topic. I'll be installing an electric fuel pump on the green Z after I put the triples on there (Weber 40DCOE's on a long Cannon mani.) And I actually have The fused OEM connector to plug into the plug near the fusebox. Good thread though, informative so far. Dave
-
Is that a truck with the L6? Just guessing here. If it's a 240Z, push the center pin all the way thru on the small buttons on each panel. Pull the button, gently pull the panels, then retrieve the button pins from inside the body (behind the panel) Good luck.
-
See there, That totally makes sense. If I would have really thought about it, I might have come to that conclusion. Good show mate, Dave
-
It's an add on of some sort. Follow it. The Vinyl sleeved wire is stock, or looks that way, so I would follow the striped wire and see where it goes. Just me take on it. Dave
-
 Simple would have been nice. I had the wrong tools for working with aluminum but yes, I made the grill from scratch. 1/8" x 3/4" aluminum slats and aluminum C-channel. I also used Long bolts or Threaded rods with thin nuts to try and keep it close to the original design.
 -
Well yah, the fuseable link is on the main power bolt of the starter, but it sounded like he was describing a double prong connector on the solenoid, where the black/yellow connects. Mike, Is the black wire that's in question, on the same bolt as the battery cable, on the solenoid? If it is, then it's a fusable link. It runs from there to the fusebox and ignition.
-
Got me there. Never heard of a thick black on the same terminal for starting the car. Are ya feeling like a pin cushion yet? Everyones poking with "Dave Upgrades" As humbled as I am with all the great speeches on or about my upgrades, I totally understand where you're coming from. I too, am obviously a DIY'r. It started with my First Datsun (78' 510 2-door hatchback) from hell. Many electrical isues that just needed some TLC and a few relays. It got real bad when I got my first 240Z back in 02'. Because I order on a grand scale, I get my relays (SPDT) for less than $2.00 each and single relay sockets for less than $1.00. and I think my dual relay sockets are about $1.50 each. I use 2 relays on the headlight upgrade harness because almost every car in the world has Hi beam and Low beam. As for the parking lights, I highly suggest you relay them near the switch. Most 240Z's fuseboxs melt due to the 15 amps going thru there on a constand basis. The combo switches also like to fail for the same reason. Reducing the amperage from 15 amps, down to 0.30 amps significantly increases the life of the switch, fusebox, wires and connectors. I would suggest you follow that thick black on the starter solenoid and tell us what you find. Dave
-
I've NEVER had an NGK plug fail me. But on the other hand, I have actually had to push my datsun out of an intersection because I made the very dumb mistake of using Bosch plugs. Never again, in ANY of my vehicles. But to each his own. Dave
-
That's an easy explanation. Z-ZX, S30-S130, Round beauty-Square log, Just kiddin but you get the idea. I'll be in the garage later today so I'll look for the boots and see what I got. Dave
-
I don't know of any aftermarket struts that come with boots. So if you want some, you'll have to buy them, as you stated above. No experience with Rock auto, other than looking up parts there. Those boots should work. I think I have a spare set. You can have them if you want them. Came off Tylers 280Z or my 260Z. They're all the same, I think. Dave
-
Good man Steve. knew it had to be something simple. Dave
-
Good time to order the "Just SU's" DVD from www.Ztherapy.com
-
all depends on your build date. If it's a later 73', it'll likely match and fit.
-
Yes, the 9-pin PLH will work on all later 240Z with intermittent wiper, All 260Z's and 280Z's up to Jan 77' I think. As long as it's one of those and it has a 9-pin connector on the combo switch, you're good. I still offer the early 6-pin PLH as well. Same price for both. $50 Dave
-
And the secret is out. Damn corporate espienage. Any other secrets ya'll wanna give away. Guess I'll have to switch to Candy coated diodes from now on. They were Resistors by the way. I used to wire the LED's in series, (2 to 3 volt LED's in rows of 6 = 12 to 18 volt fluctuation) now I do the resistors so 12 volts is all that gets thru and this way is better for the voltage drop of old wires in the 240Z's. Whing-dings.... That cracks me up. LOL Dave
-
WOW!! I'd like to say I'm "Speechless" but most of you know me better than that. Especially when it comes to Z's. I really love this thread already. But I have all of you to thank. If it weren't for the Picky, Finicky, obsessive, compassionate, loving, caring member of this site, mainly, My work would not be what it is today. My obsession to produce a product that can not only do what it's meant to do, improve an already great car, blend in to the car, somewhat, as if it were meant to be there from the start, and make my customer want more, is most likely why I do what I do. I can't imagine doing anything else. And not to say that I'm "ANAL" but I would have to seriously think twice about passing the torch to another, without staring over their shoulder to make sure it was done right. I do my best to keep prices fair yet competitive. Even in harder times like these. So let's keep it going. If you have a story to share or would just like to thank me out loud, by all means. Don't let me stop ya. I need the push this week. Still got a pile of orders to get back to. And here's to all the other contributing members of this great site. Dave