Zs-ondabrain
Free Member
-
Joined
-
Last visited
Everything posted by Zs-ondabrain
-
 Glad to help, That's one of the reasons we're here. Dave.
 -
Most modern day stereo's use the yellow battery wire to power the internal amplifier. It's most likely sucking way too much power from that clock fuse. Either run a fused wire from the battery or find an empty spot on the fuseblock. I personally ran a new power wire from the battery to the yellow wire. Disconnect that wire from the clocks power and leave it that way, start the car and see if the fuse blows again. Or better yet, COMPLETELY disconnect the stereo, start the car, get the gauges to work, then reconnect the stereo, one wire at a time. When the gauges stop working, the wire you just hooked up is the culprit. Dave.
-
I don't believe the ZX motor is a direct bolt in and the reason most have chosen to use the 91' and up motor is because it's still 10 years younger than the ZX motor and with my relay set-up, will "Park" Dave.
-
Post number 50 states the correct pin number and it is #86 Click on the BMP image under the pictures in post #1, it shows the correct drawing and wiring. Here is the correct wiring as well 70' Datsun 240Z __________________ 91' Honda civic wiper motor blue/white-------pin 86 ________ Pin 87A-------blue/white blue-------------pin 87 ________ pin 30--------blue Blue/red-----------pin 85-------pin 85----------green/black Black----------------------to------------------black Blue/yellow----------------to-------------------blue/yellow Hope this ends all the confusion. Dave.
-
Start checking all your grounds. And check the connections at the switches, in the steering column area. The headlights and parking lights are 2 seperate systems so that tells me it's a supply or ground issue. Dave. One other thing, your post will be read. but it's not a good idea to ask the same question in multiple threads. Just FYI.
-
That was to be my next suggestion, as I've dealt with that scenario as well. The tube on the nut comes too far up and snags the metal lip, causing the latch to be "Super sensitive" and open prematurely. Just remember that is you are going to lube the latch assembly, try using some brake cleaner on it first, to remove the old grease. Put a towel under the assembly, (cause it's a bitch to pull the assembly and do this) Spray it with the brake cleaner, as dust, dirt and gunk collect on the existing grease. Spraying new grease over the old only clogs it up faster. So clean it then relube with a white lithium spray. If you want to eliminate some of the door slamming, Loosen the 3) 10mm bolts on the catch (on the body) and move it outward about 1/16" then retighten. It may not seem like much but that little bit should keep you from damaging the latch any farther, by slamming the door to make up for the extra thickness of the new door seal. Dave.
-
So what is it that you're not happy with? The ride itself? Cornering? rubbing? specifics are a must around here.
-
Once again, The yellow wire is part of the intermittent system. Ignore it. That wire is present on a lot of 72's and 73's even though the wiper may only be a 2 speed without int. wiper set-up. Dave.
-
Pull the door panel off and look over at the latch assembly. You'll find a white plastic adjuster nut with a sleeve on it that goes thru the latch assembly. Loosen it a few turns by turning it counter-clockwise. Or UP the rod, away from the metal tab that it goes thru. It sounds like there is too much tension there and the tweeking of the door under turns is popping the latch. Let me know if that is the case. Dave
-
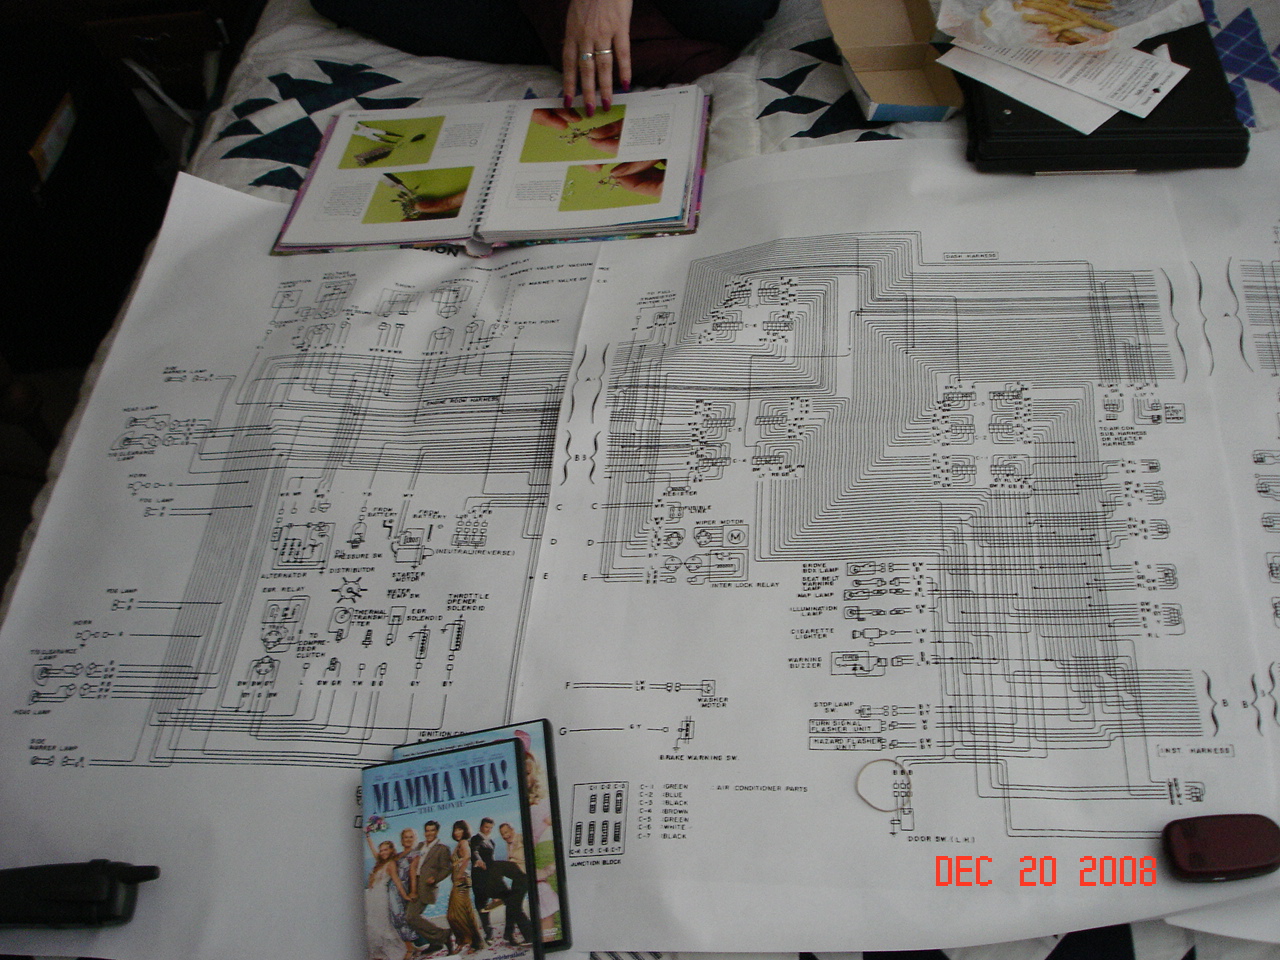
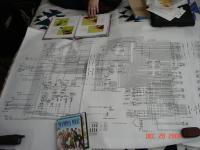
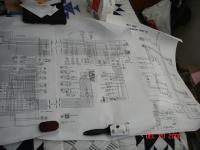
By the way, here's some crapy pics of the printed version, layed out on the bed. You can see the daily items to use for reference. Dave.
-
I Have a FULL Diagram for the 260Z GIF but it's way too big for me to post here. If you email me at wolfin32z@yahoo.com I'll send it directly to you. I got it from a guy a HybridZ. I went thru the entire thing and straightened every single line and item on the diagram. The first Original is 6913 X 2670 and the reworked diagram is Half that at 3456 X 1335. Way to big to post here. I took it to the local print shop and the gal there printed it into the four sections on 2 foot by 3 foot pages. So in total, the larger diagram prints out at 8 feet long by 3 feet tall. Once again, this is for a 260Z but most of it should work for an early 75' 280Z. But here's a PDF of a 75' 280Z that should get you going..... Dave. 75 280Z wiring diagram.pdf
-
You can, however, relocate to your own liking. I'm doing something similar to the 260Z during the rebuild this winter. I'm turning my heater controls back into 240Z styles to lose the white vaccum bottle, relocating the fusable binks to the firewall and using a gold plated solid brass fuseholder/distribution block in its place. The A/C is already out and the relay and associated parts are being removed and or bypassed. And the whole engine harness is being reworked to remove un-needed wires and connectors.
-
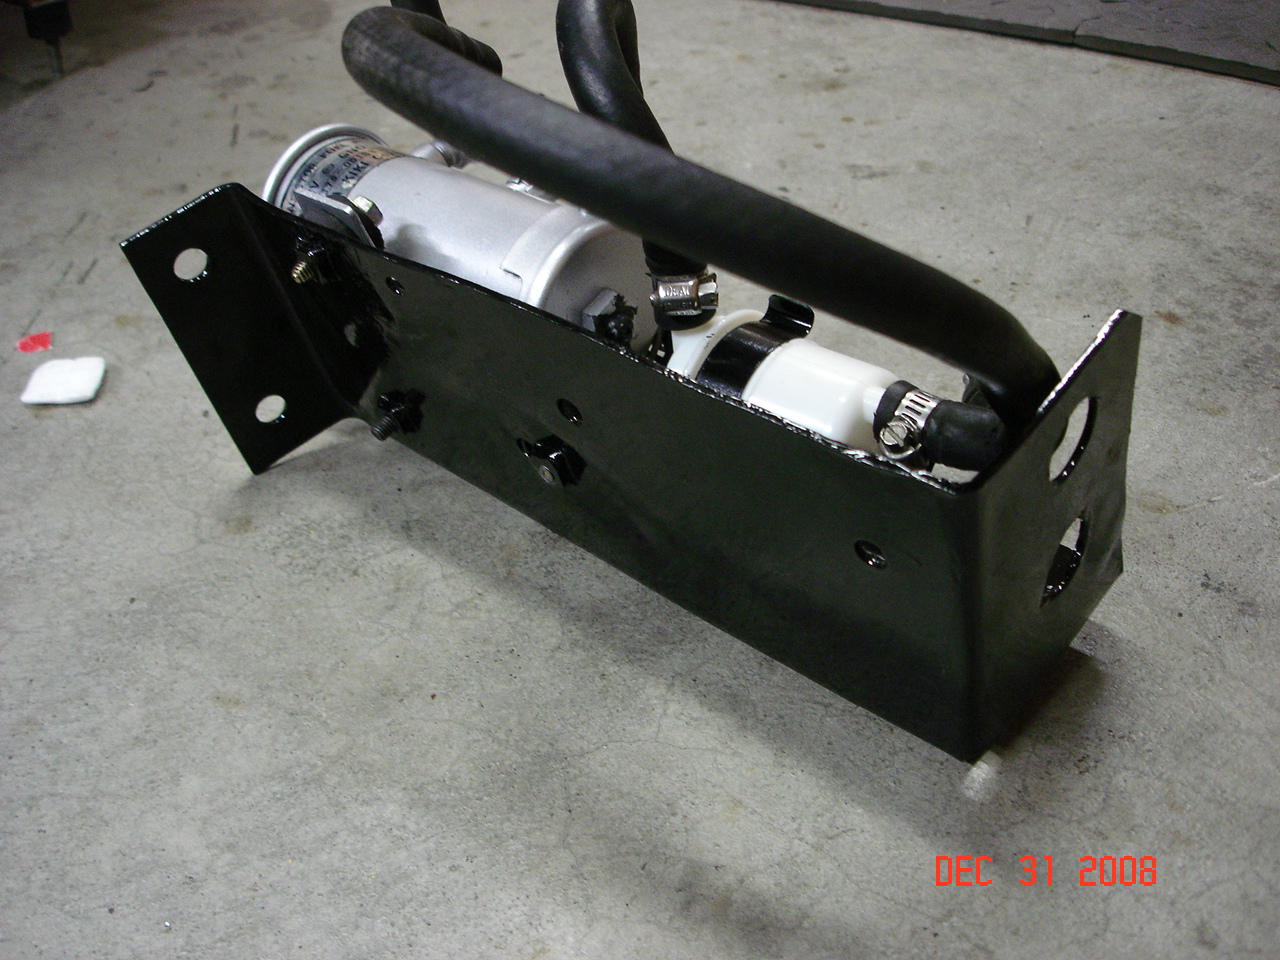
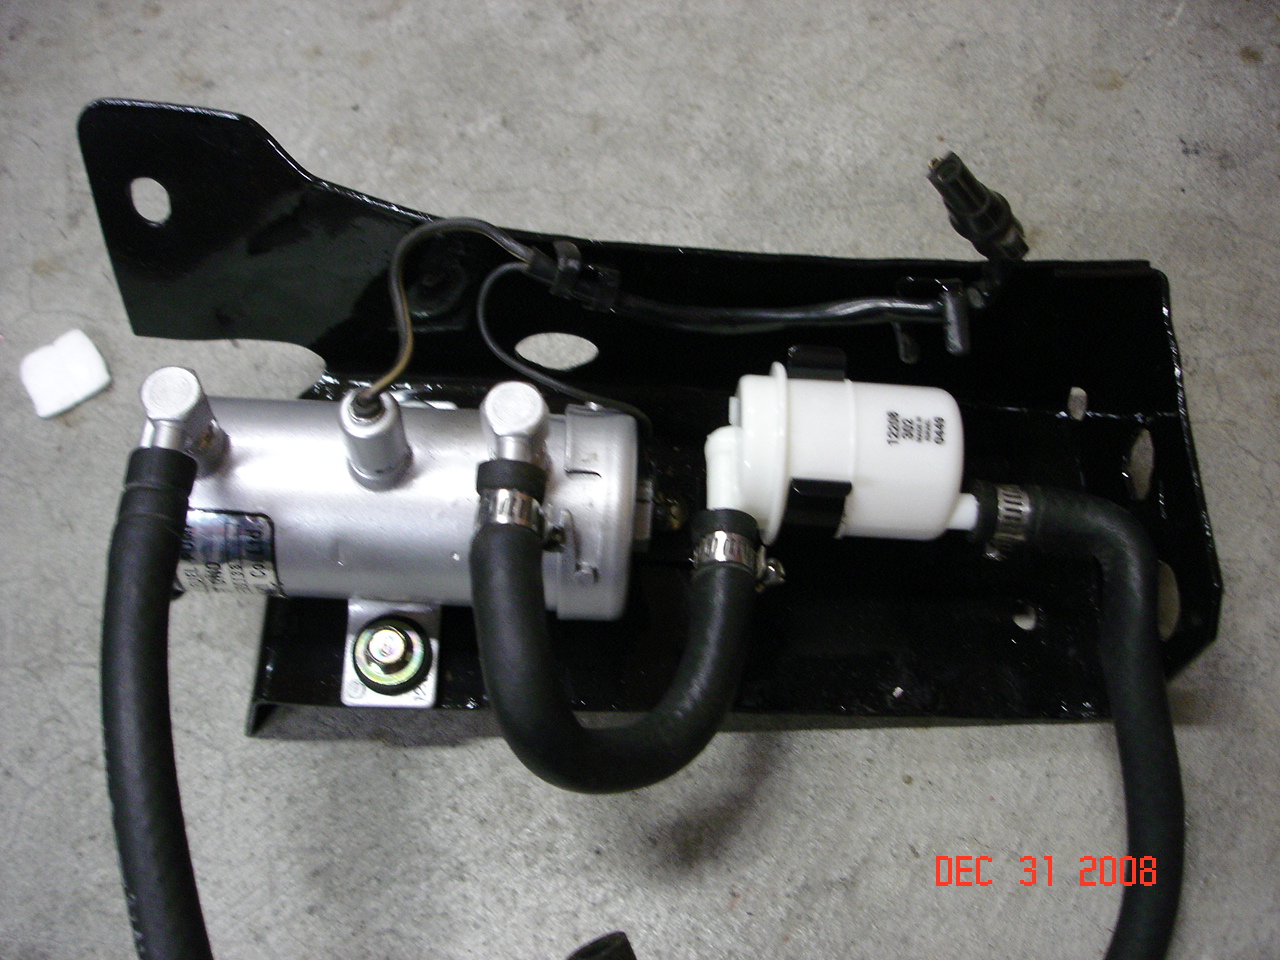
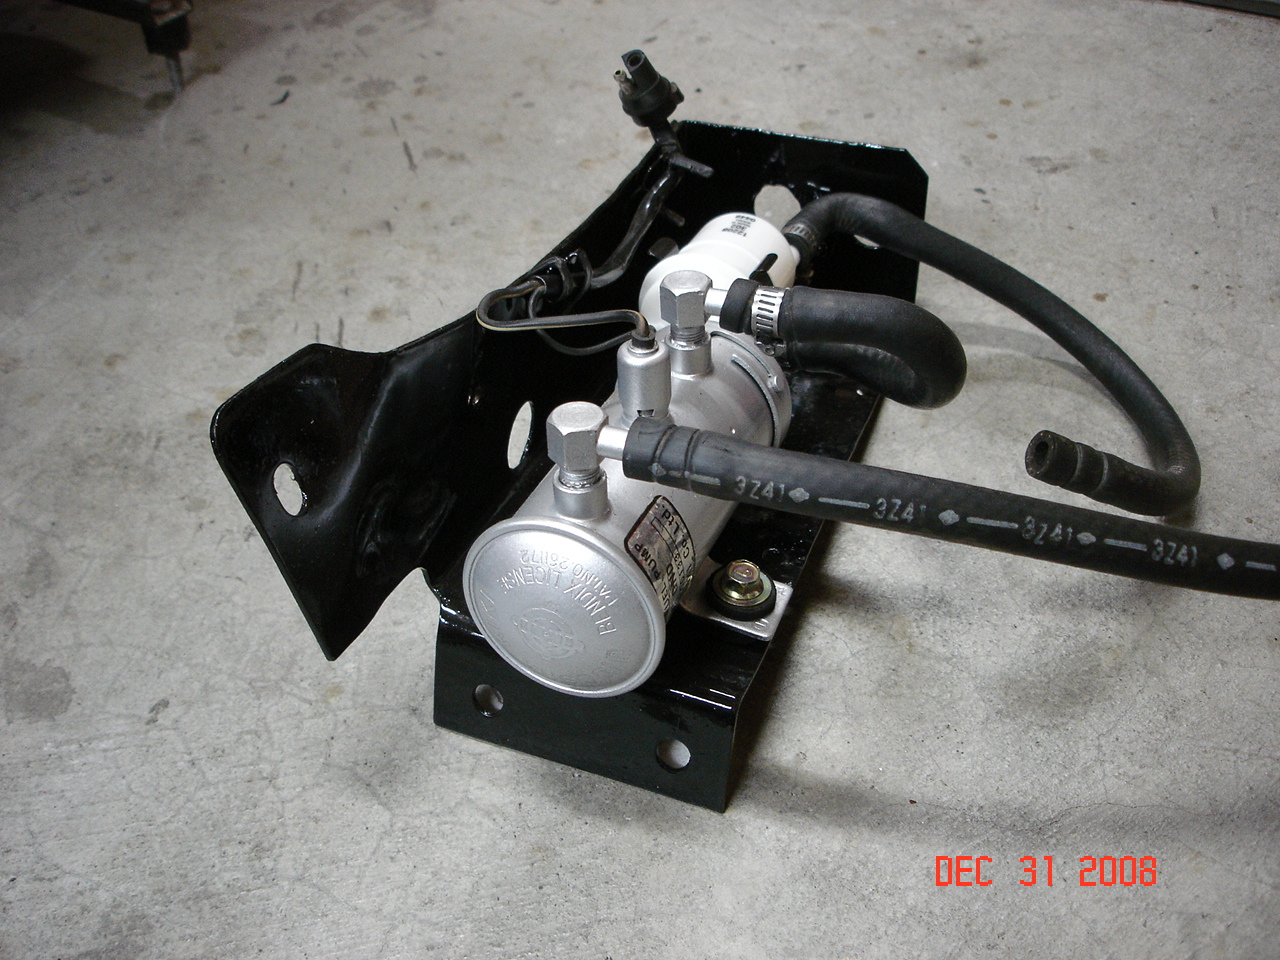
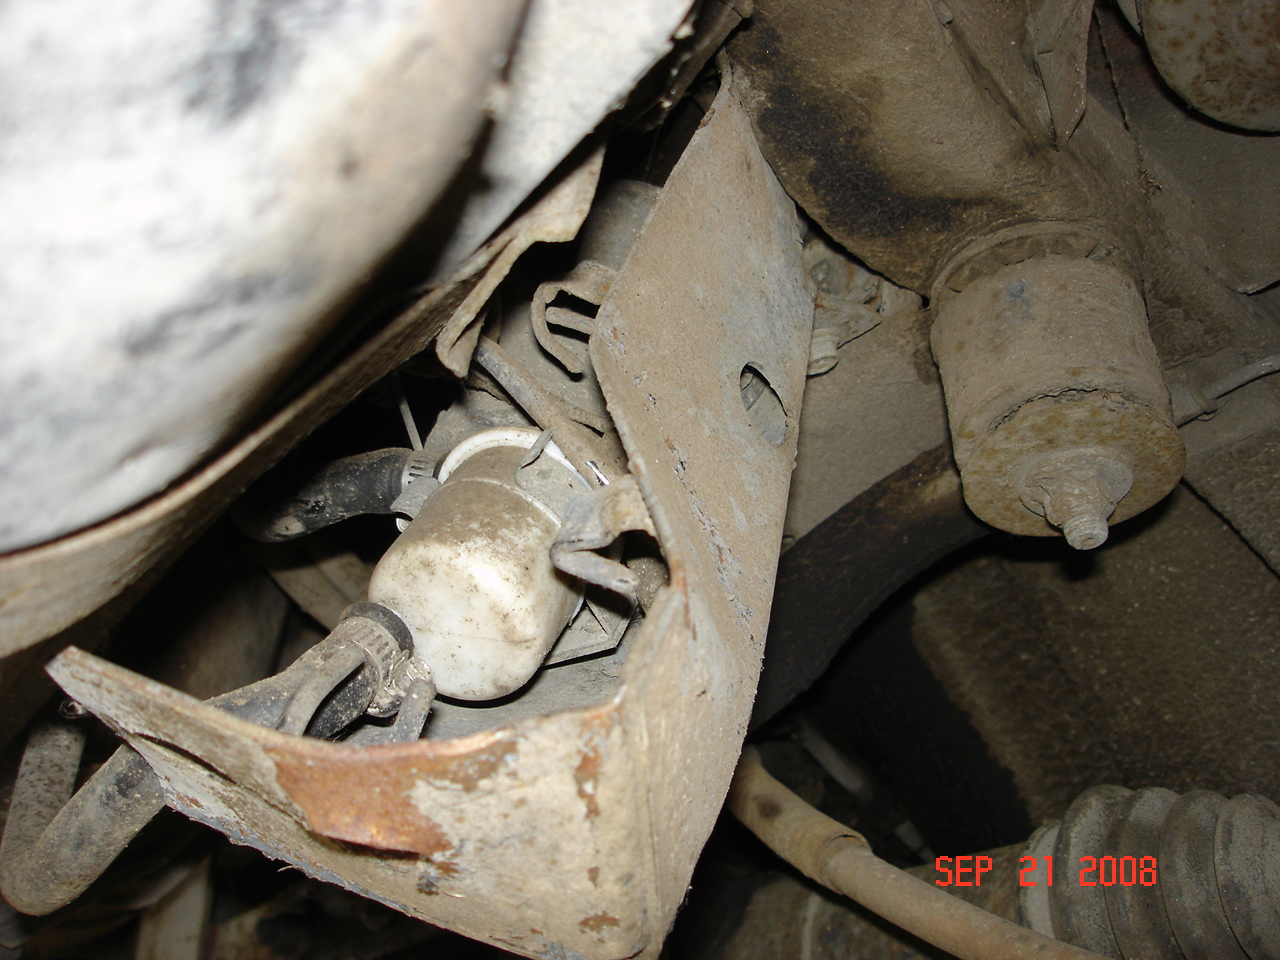
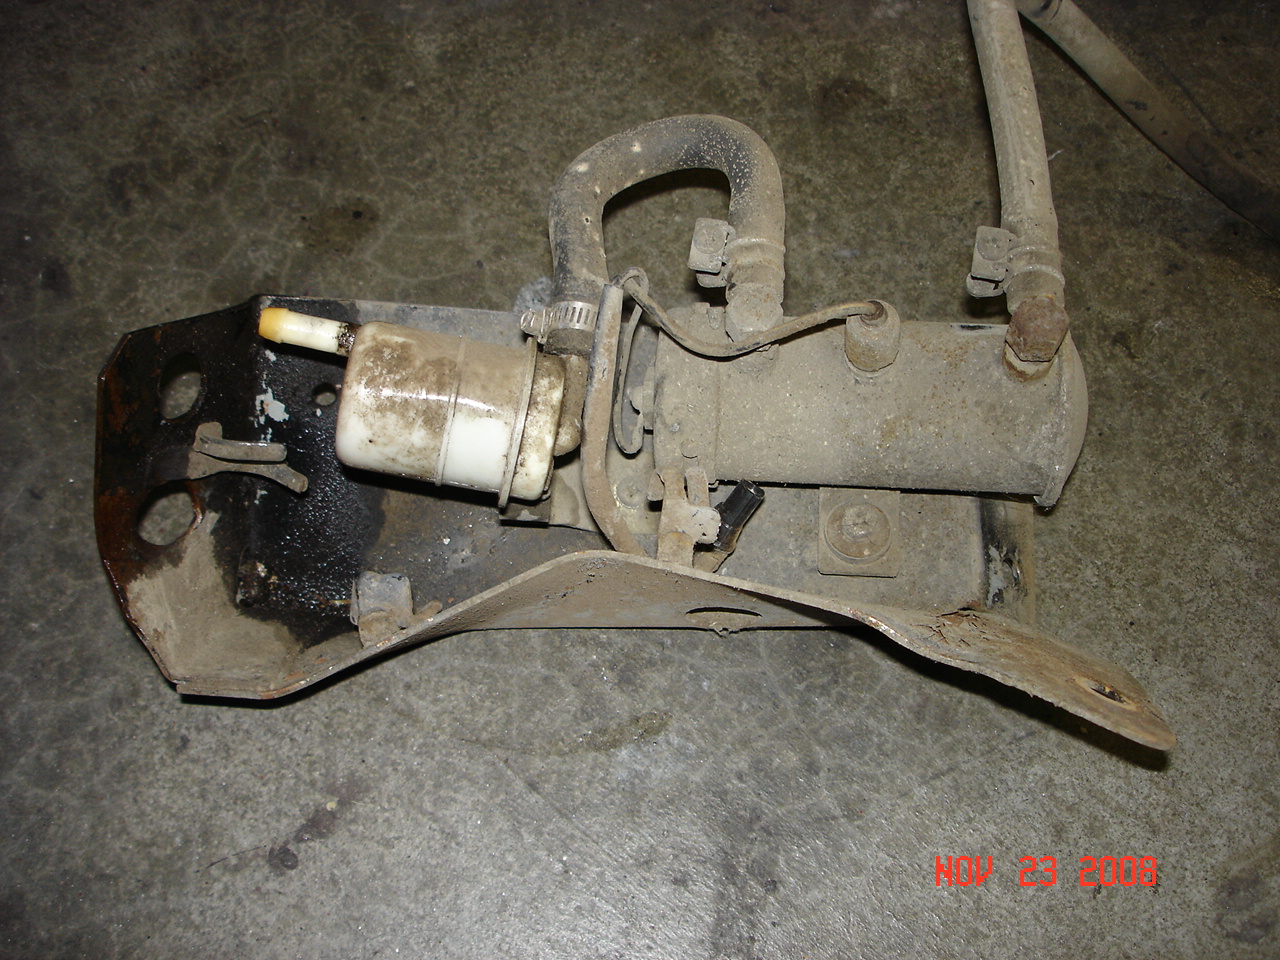
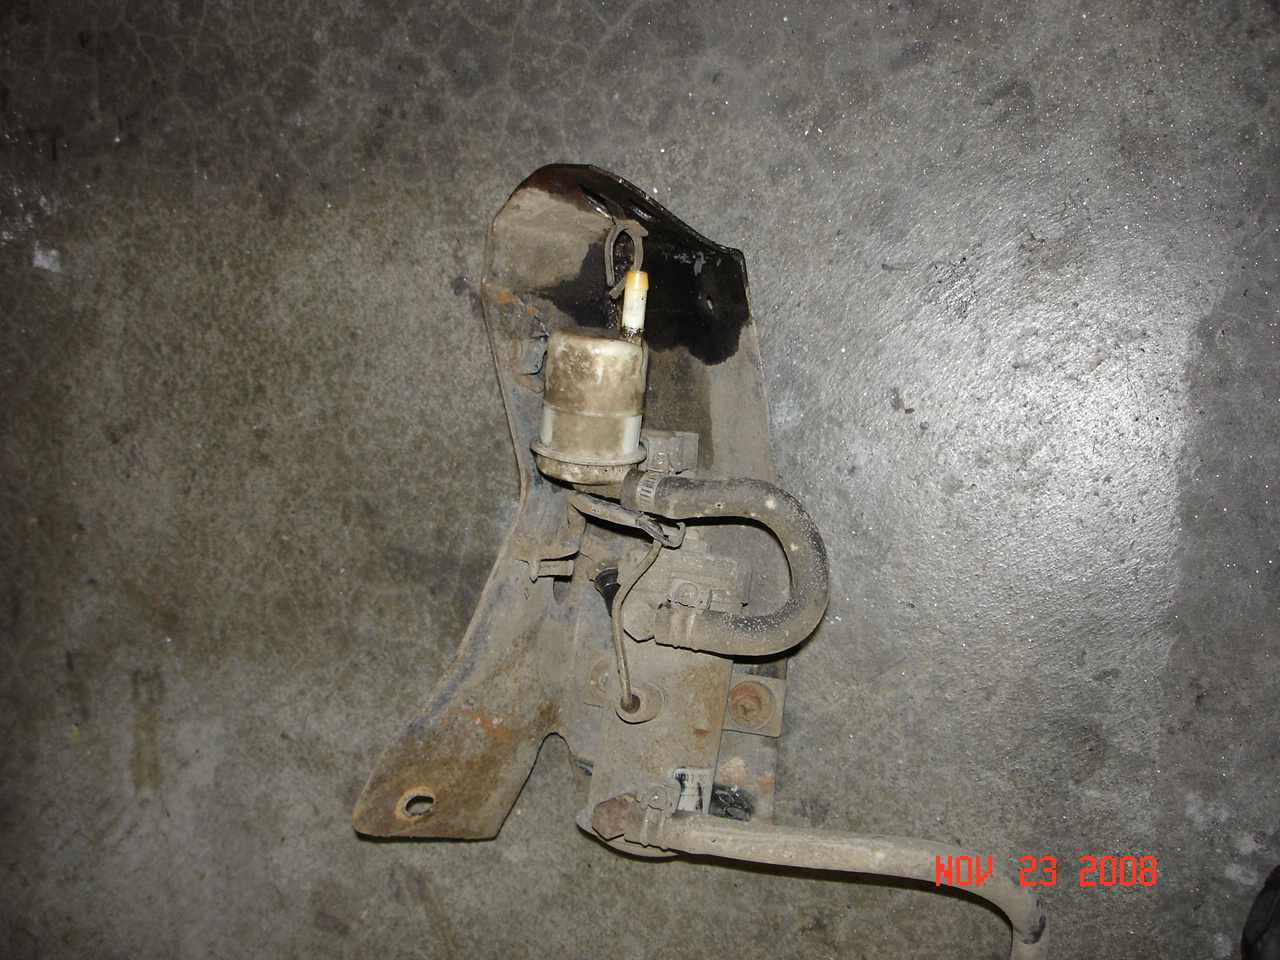
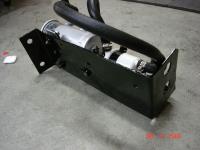
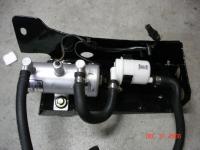
That's a stock set-up for the 260Z (early) The paper filter cartridge is still in the fuel pump but I guess that's Nissans way of PreFiltering before the pump, since most people don't even know there is a filter Inside the pump. The filters are basically the same price but easier to to replace the white plastic one. Go figure. Dave. http://www.rockauto.com/catalog/raframecatalog.php?carcode=1209181&parttype=6200&a=FRc1209181k479057
-
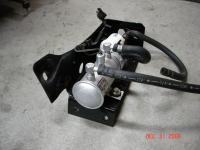
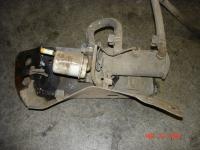
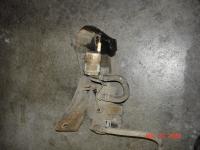
Yup, I just rebuilt and finished mine a few weeks ago. It was all tangled and bent (previous owner issue) The black color makes the picture blend but I hope these help. Dave. The last 3 pics are obviously the before pictures...
-
on a 240Z, you bypass the Ballast resistor. But if the tach is jumping around on a 240Z after that process, the tach is probably bad. If you have the 3 pole ballast resistor, run a jumper on the end bolts, not the middle one. if the tach still jumps around, you might need another one. FWIW, Dave.
-
Fender mirrors are great for that "JDM look" but I've never found them to be very usefull. Objects in the mirror are much smaller when it's so far from the viewer (you) As for grinding, you can use a hand held like you mentioned but a dremmel can also be used with better precision. You might be able to see a better idea of what I'm talking about. Start at the bottom and come out a little in a wedge shape as you tape upward. Dave. right side mirror grind.bmp
-
So is it to stay a mystery or are you gonna let us in on it. Is he making enough for sale or just one for himself? ????
-
They only made the left side mirror. But, I too purchased an extra left side and "Flipped" it. The only problem with it is you have to shave the upper part of the mounting foot to correct the angle on which it sits. The left side mirror has a slite (maybe 5 degree) angle, when you put it on the other side, that 5 degrees turns into 10 degress and the mirror sits outward, or away from the door. Use a peice of tape to mark your line with about 1/8" to be ground off the upper part. Degressing down to 0" at the bottom part. You'll basically shave a wedge shape off. Then Twist the mirror 180* while holding the neck of the mirror. You can see in the below pics that the angle looks the same on both sides after the shaving. Most people Never notice mine because they never think to look for a right side mirror, and they blend so well . Dave.
-
Hey Tom, Tom Selleck called, he wants his "Magnum P.I." outfit back. I like what they've done with the quarter windows but the headlight design leaves a little to be desired. I figure a couple more body changes and they'll have it right, or at least be more agreable with the classic society. Dave
-
Alicia, Washington isn't huge but where in the state are you?? There is a great body shop in Everett called "Special Interest Auto Body" on Evergreen way. They did the work to a friends 240Z, in the same spot of the car, like yours. They did an Awesome job. Just remember that you get what you pay for. It's Illegal to drive in Washington without insurance, so your buddies friend should put up the bill. He's totally at fault as HE hit a non-moving vehicle and should'nt have been on the roads if he doesn't know how to drive in such conditions. I live in Marysville, and if you've kept up with the weather reports, every thing North of Everett (Marysville, Arlington, etc) have been hit Very Hard. I guess I'm lucky to have my front wheel drive Van (Grand Voyager LE) as it kicks arse in the snow. http://www.specialinterestautobody.com/ Hope that helps, Dave
-
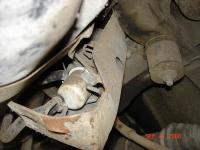
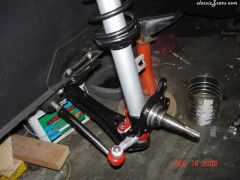
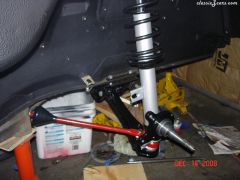 Got the front cross member swapped and was finally able to install the rebuilt front suspension
 -
 Got the front cross member swapped and was finally able to install the rebuilt front suspension
 -
I also found these for possible CZCC sales. I know I would buy at least one of each... Key fob "Mini licence plates" http://www.gppinc.com/details/1115_4.html Coffee mugs http://www.showyourlogo.com/custom-coffee-mug/custom-coffee-mug.htm?81,137 Hats and caps http://www.showyourlogo.com/custom-caps.htm
-
Never heat the filler plug up, Heat the casing around it. Heating causes expansion and you want the plug to be cold. Heat the casing around the plug then Spray the plug with a "Computer Duster Spray". If you hold the can upside down, you'll get a liguid nitrogen?? spray. Then immediately try and turn the plug out. See if that works, It did for me. Dave.