Zs-ondabrain
Free Member
-
Joined
-
Last visited
Everything posted by Zs-ondabrain
-
 Eastwood Makes or sells a Crystal Clearcoat that is specifically for hi temp polished aluminum applications. Just make sure that the surface is absolutely Clean of oil, wax and grease. one is called "ZOOP" http://www.eastwoodco.com/jump.jsp?itemID=5158&itemType=PRODUCT&path=1%2C2%2C607%2C1549%2C1560&KickerID=494&KICKER They also have other clearcoats or you can use what I used, Dupli-color Hi-Temp clear. Eastwood also sells the new reflective chrome Powdercoating. here's a picture of it on some familiar items.
 -
A 19mm rear bar will work wonders when coupled with the front sway bar. You might want to think about apgrading the front to a 23 or 25mm while you're at it. And Please use the Urethenae Bushings when you do the upgrade(s). You won't be sorry. Dave.
-
My 70' came to me with the Aftermarket kit already installed but it had rubber so I replaced them with Urethane and urethane end links. Just improving on the improvements. My Early 74' (2/74') came with what appears to be a Stock rear sway bar with the usual rubber equipment. Where do I get the front Urethane brackets for my 25mm upgrade for the 260Z?? Anyone? first are the 240Z and the second 2 are the 260Z


-
I'm also doing the Rear disk brake set-up on my 260Z. And from what I've read. You really need the extra fluid push of the 79' to 81' ZX Master Cylinder. I can't compare mine to yours as of yet because it won't be done till spring. I wil also have the Toyota 4-pistons on front and ZX calipers on the rear. ZX MC in front and the Willwood? adjuster in-line to the rear.
-
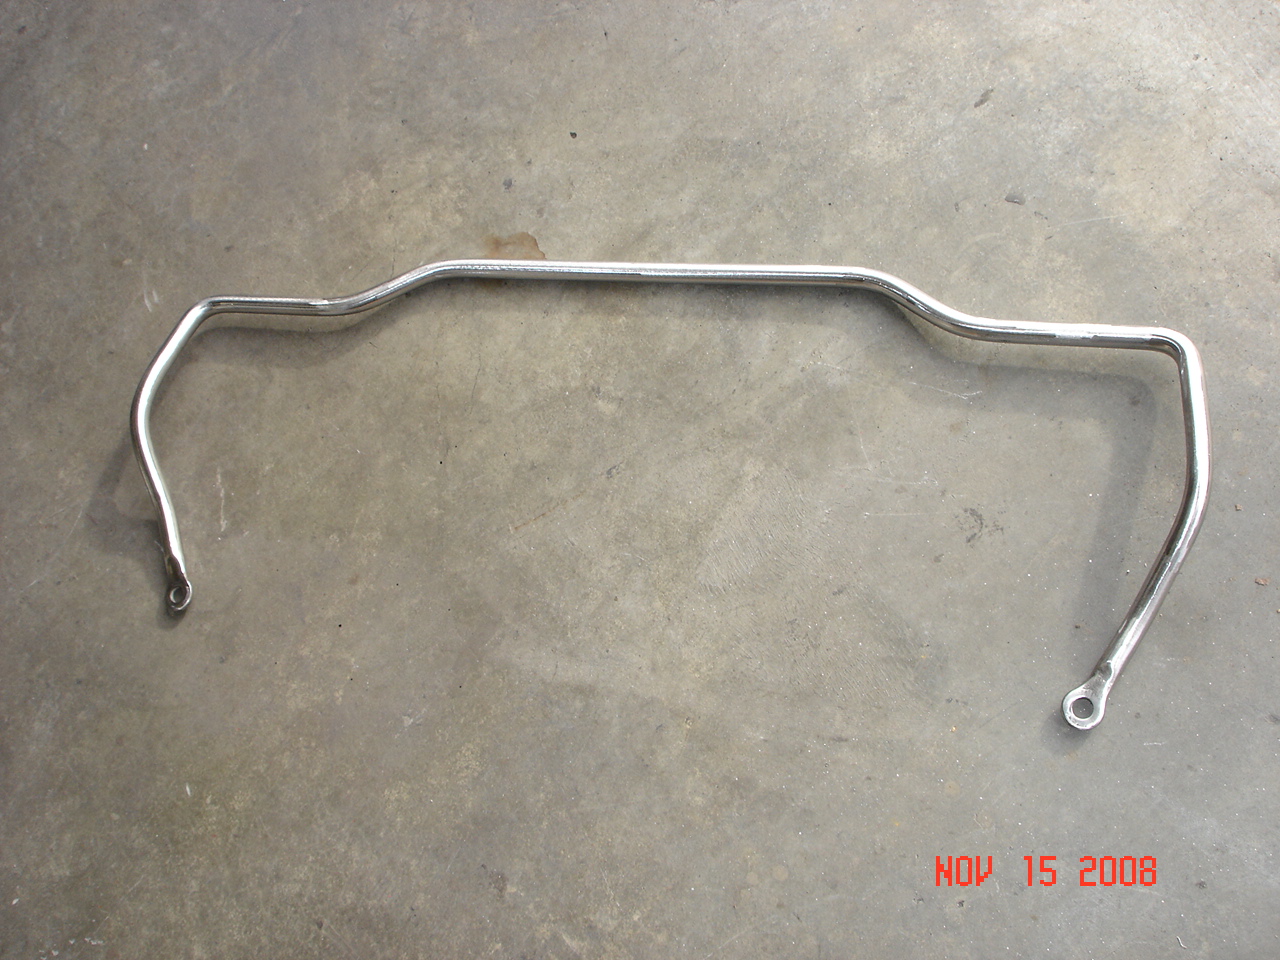
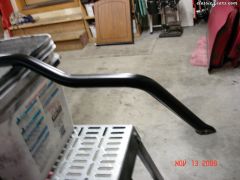 25mm replacement front swaybar primed and ready for Hot Rod Red paint.
 -
 25mm replacement front swaybar primed and ready for Hot Rod Red paint.
 -
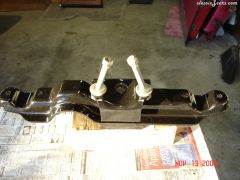 Front diff crossmember, diff mount and counterweight? painted and assembled. I cleaned the all the bolts using a 1 gallon container of "GUNK" Carb parts cleaner, it removes grease and paint beautifully.
 -
 Front diff crossmember, diff mount and counterweight? painted and assembled. I cleaned the all the bolts using a 1 gallon container of "GUNK" Carb parts cleaner, it removes grease and paint beautifully.
 -
 Painted "Ultra Silver" after POR15 coating
 -
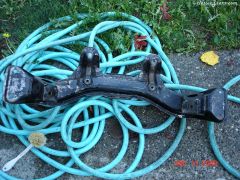 240Z crossmember before blasting and POR15 then it goes into the 260Z
 -
You'd have to desribe it better than "A 280" Cuae there was 3 or more styles of switches for the 280Z's between late 74 and late 78'. The early models had small 9-pin connectors, similar to the late 240z and all 260Z's. Then they changed to a 10-pin 9-wire connector around 76?ish. The Turn signal went from the 240Z/260Z style to a solid metal chassis. Value depends on the market. There are plenty of them out there and not a big demand for them (I know, I have tons and no interested parties as of yet) Price them according to what people offer and their shape (good/bad, dirty/clean etc/etc.... I sell my completely rebuilt ones for about $75, where as the 240Z switches start at about $100 and go up from there. Dave.
-
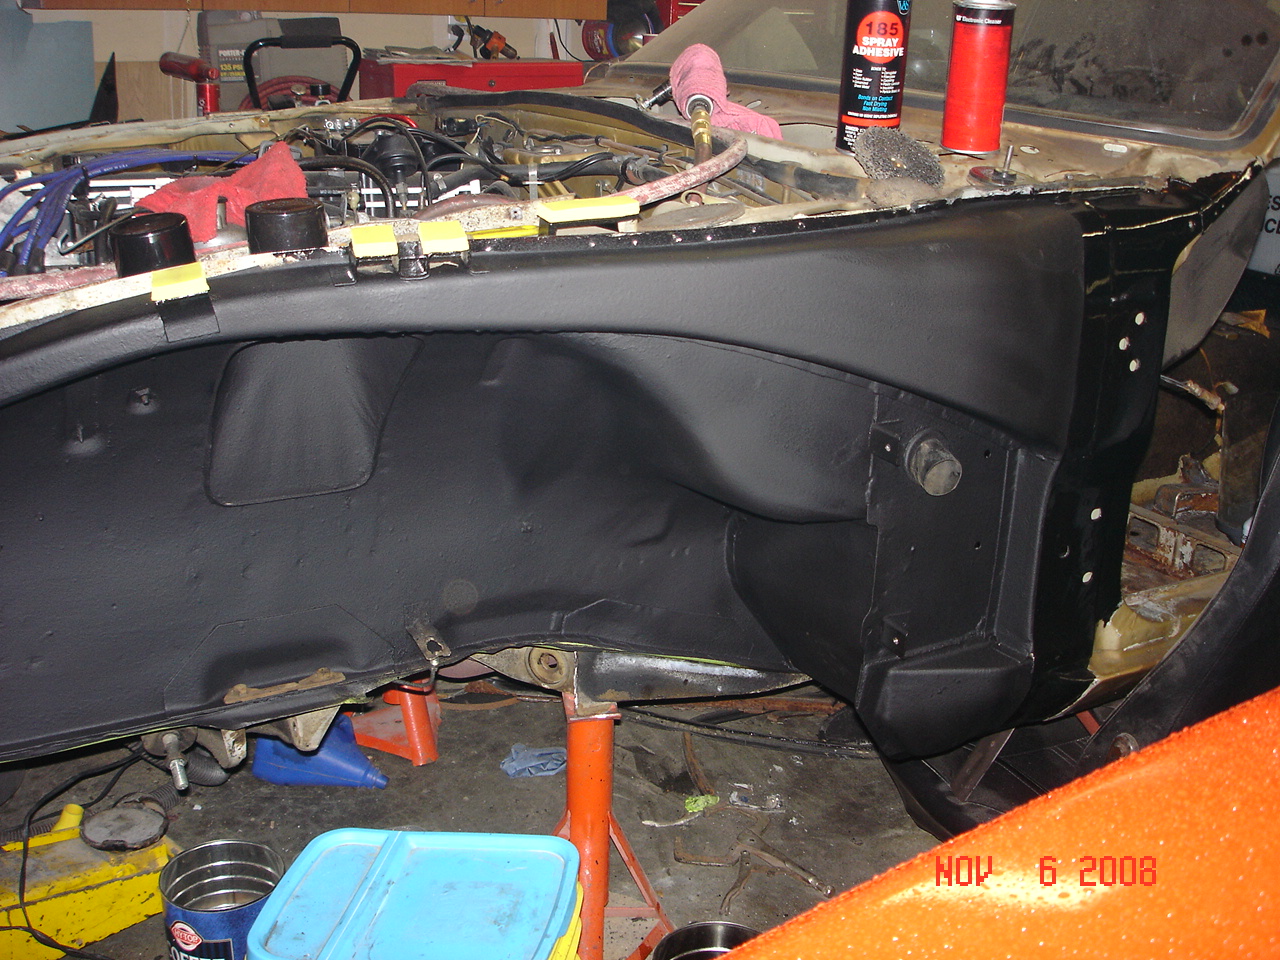
 Another shot of the front left door area, all POR15 with new undercoat over it. I taped off the area that will be painted the color of the car.
 -
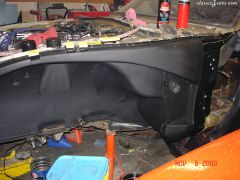 New undercoating over the POR15 on the 260Z. You'll notice the Gloss black POR15 near the door area
 -
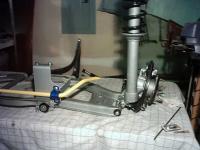
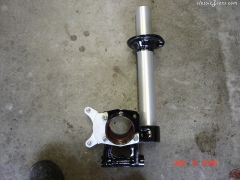
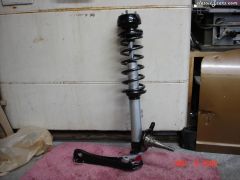 Front strut assembly all done and ready for install.
 -
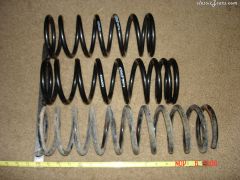 From top to bottom. Front Eibach PR lowering spring, rear Eibach PR lowering spring, Stock 260Z spring (front and rear are same length.)
 -
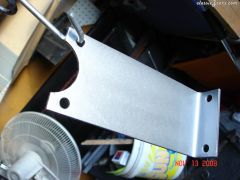
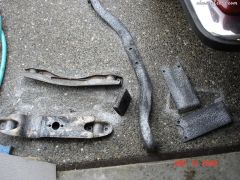
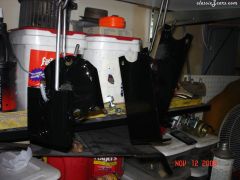 From left to right. Double plate hanger that bolts to the bottom of the diff X-member, Diff mount, control arm hangers. All POR15'd
 -
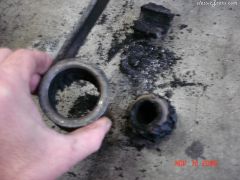 Rubber is gone, now I'll strip the paint, media blast and POR15.
 -
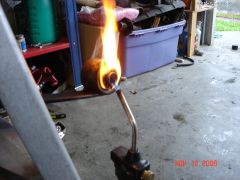 Heating up the steel tube in order to push it out before removing the rubber for the Urethane bushings.
 -
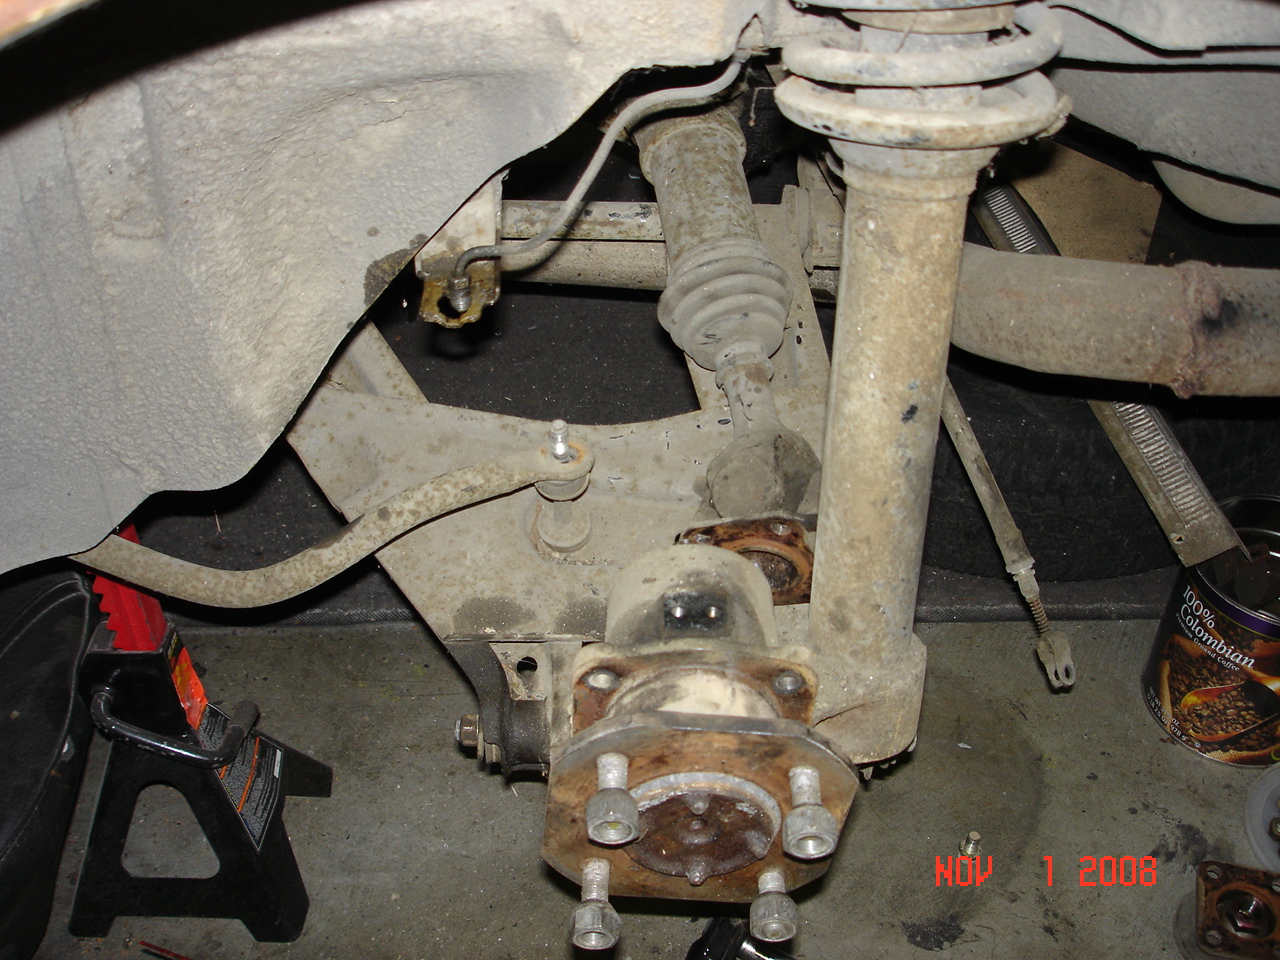
 The almost finished left rear strut assembly w/ ZX rear disk brake adaptor plate
 -
 Using Paint stripper before Mediablasting, then POR15.
 -
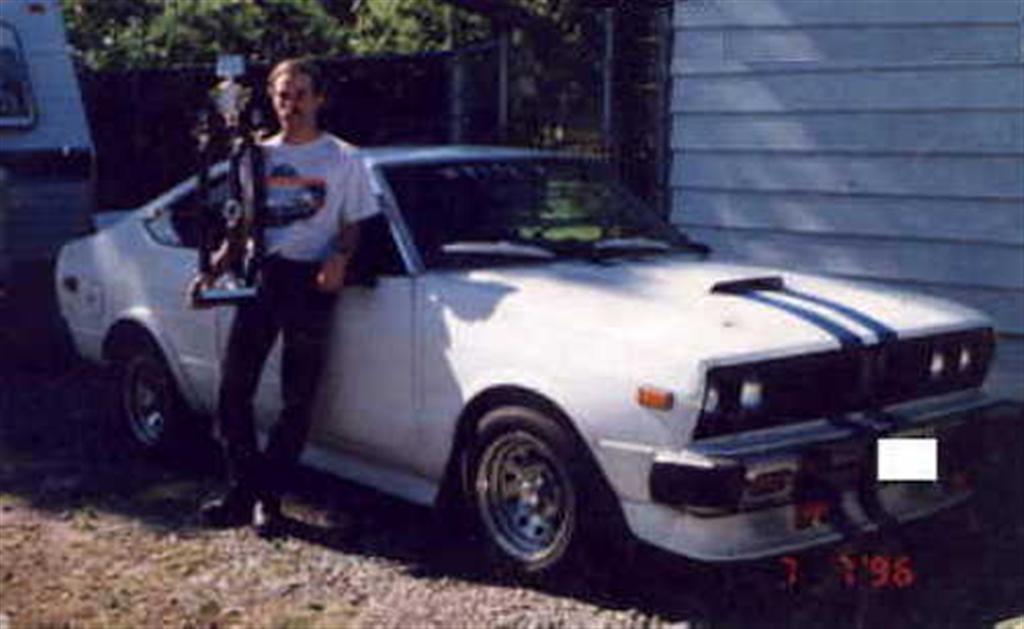
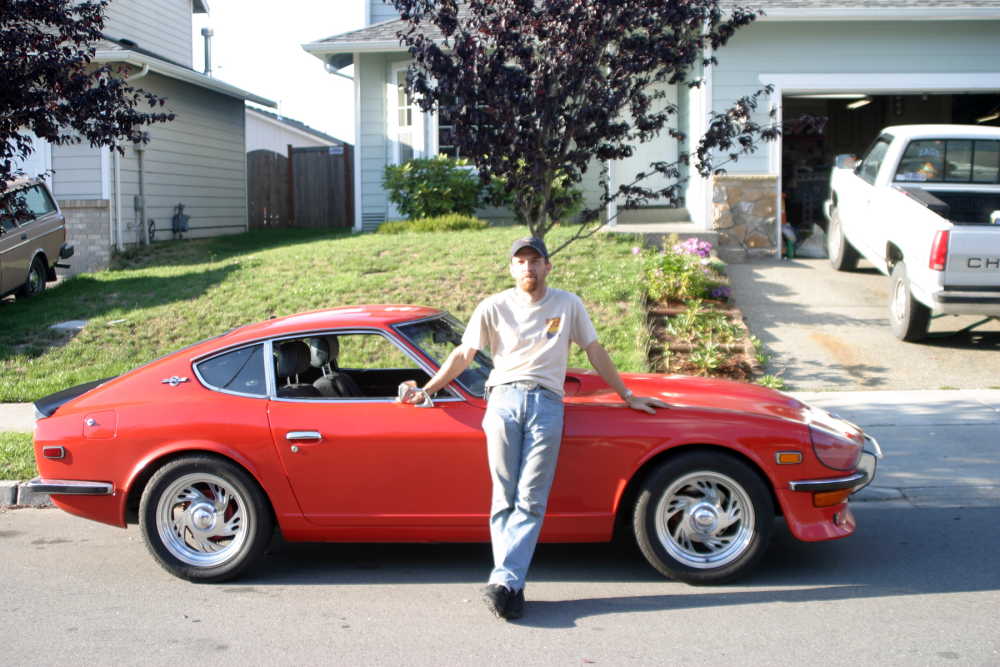
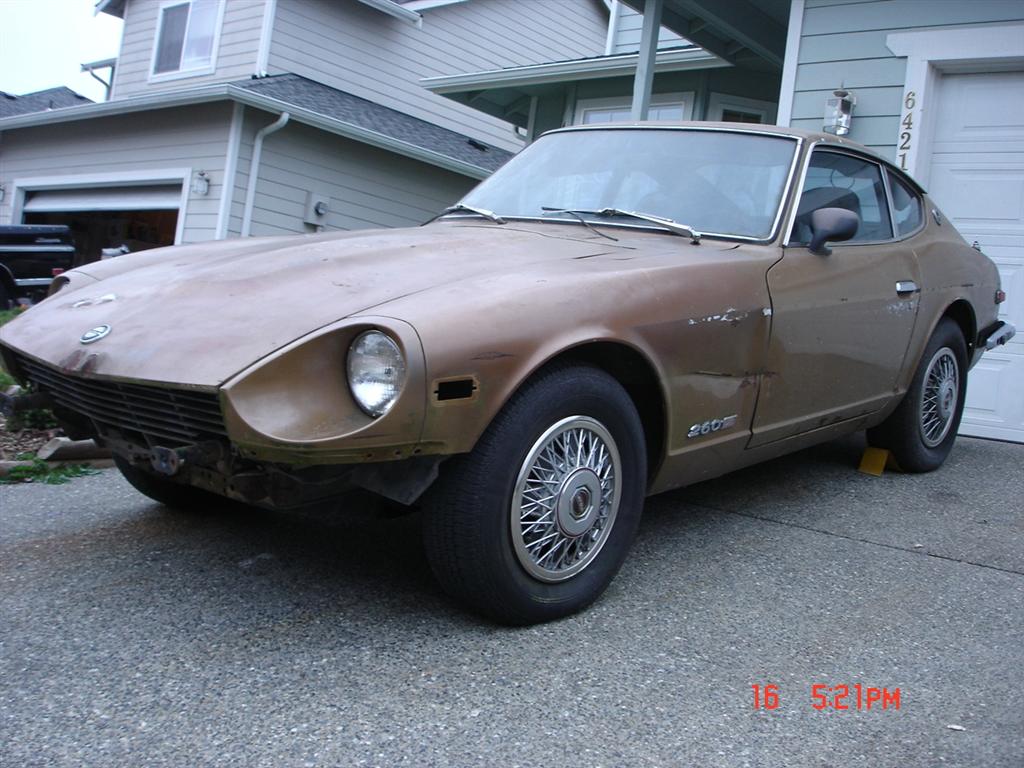
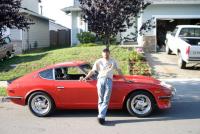
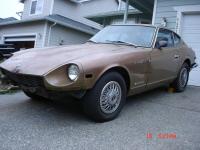
My first Datsun was a 1978 Datsun 510 (A10-510) (2-door hatchback) It had an L20B and 5-speed that kicked absolute A$$. Built it up from stock to a Cone dodger and pulled a first place ameture class trophy back in 94? Second was and is my 70 240Z. You all know the story behind that one. Third is my most recent purchase. A 1974 (2/74') 260Z. Rebuilt motor and trans (numbers matching) and undergoing a major facelift this winter. I would post more updated pics in my gallory but I can't seem to "UPLOAD" anything since the 1st of Nov. ANy one have this problem?? The next Datsun will be a 620 Bullet-side pick-up truck. Or a 69' 510 (PL-510) Dave. 1978 510---------1970 240Z------1974 260Z-----260Z's current state


-
Also, Some pro's make their suspension this way so that when they are seated in the car, the suspension ballances out. How much do you weigh?
-
I unscrewed the speedo Cable and got it out of the way. Makes things a little easeir. I also used my double nect "MAC Tools" 2" pivot mirror. Once you have an idea of where things are, it slows the "Where the hell is the bulb" issue. I have medium hands but a vivid imagination helps. As I feel around, I build a mental image of what is what. Do one at a time and have the replacement bulb in your mouth and ready for the swap. Just don't hick-up and swallow it. Dave
-
And I think my early 260Z (2/74') has the single exhaust hump. Is ther a difference between the 70' 240Z front cross-member and the early 260Z front cross-member? I ask because I too have plenty of parts that "some are clean and ready for paint and the other is still on the 260" I plan to swap but only if they're the same. Dave.
-
Black yellow is the starter wire on the ignition, ignore it. Do the parking lights come on when you hit the brakes?? Pay attension next time you hit 'em. If the parking lights come on with the brake lights, it's definately a short.