Zs-ondabrain
Free Member
-
Joined
-
Last visited
Everything posted by Zs-ondabrain
-
 Not trying to correct ya E, just trying to be very specific. In my line of work, I gotta know what every single wire is and where it goes. I did correct you but not intentionally or in a bad way. You were mostly right. Dave
 -
Hey, you forgot the visors..... haha. And here I am thinking "Oh Crap, he flipped his Z" and it turns out to ba parts car. Yup, ya got me. Dave
-
I thought is was only hot when the key is in those positions and the Fan switch was in one of the 3 speeds but no power if in the off position (fan speed switch) Please correct me if I'm wrong. Then the blue connects to the Dealer installed AC switch and out to the A/C wire on the left side, under the coil area. Right or wrong. going by memory here. Dave
-
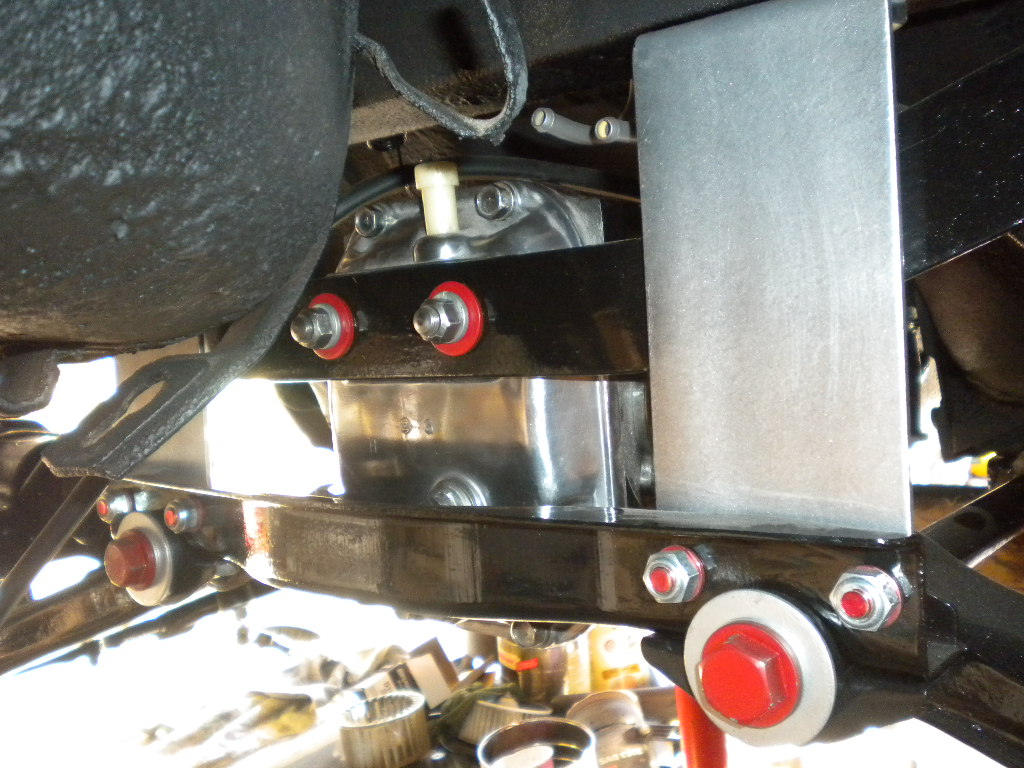
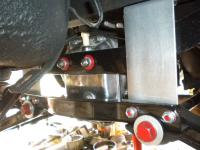
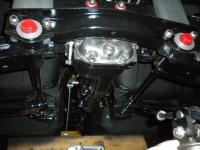
 Plenty of clearance to the springs and perches.
 -
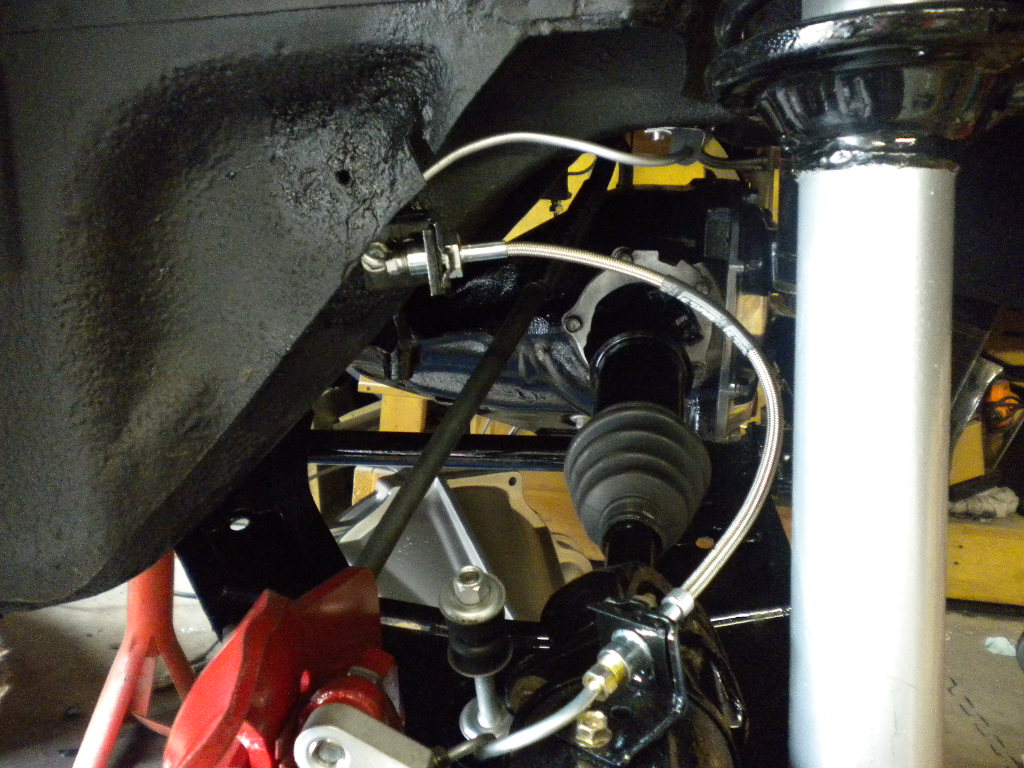
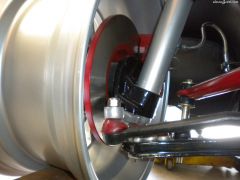 Enough room to run 14 rotors if I wanted too. There supposedly won't be any frame or body rubbing from steering lock to lock.
 -
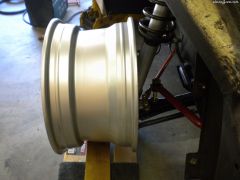
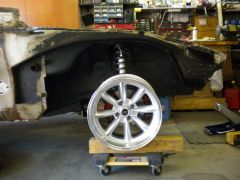 No motor, trans, hood, fenders or other weight to show the real stance. Guess I'll have to wait to see what they really look like when it's all done. Tires this week.
 -
Just run a good 4 gauge ground wire from the Neg post on the battery to the top starter bolt. And make sure it has a good lead wire on it to be bolted to the firewall near the battery. THEN run another wire (8 gauge) from the top starter bolt (bolted to the tranny) over to the ground wires on the engine harness. That should do it. Dave
-
2 red with black stripe wires. Follow them from the lower firewall (the engine harness) back toward the tranny. They have open bullet connectors on them. The switch is on the passenger side of the tranny and around the middle.
-
If you pefer a better looking Battery top, Run an 8 gauge wire from the same bolt as your ground wire mounting point, and connect the other end to the same point that your Engine harness is grounded. It's kinda like bolting your engine harness to the battery, but you get a cleaner look from the tranny bolt to the frame rail and along the harness to an existing ground bolt. And just like Bart said, Fresh Grounded metal, dielectric grease and BOLT it down good an tight. then place a little more grease on the outer surface to protect it any further. What most folks don't realize is that when you bolt your battery ground to the tranny, the engine is mounted to the frame with Rubber!!! The only real ground from the battery is the little wire from the battery clamp to the firewall, AND, that alternator ground to the engine harness and body at that one little point. Dave
-
And I guess it IS internally powered. So you can hook up regular speakers, or use an amp. I-pod ready etc, etc. Great for keeping that "Stock" look.
-
Hot rodders do it all the time. It's called something like "Hidden Audio"... The tuner is mounted under the dash or seat, the remote or Controller is is either wired or infra-red and controls everything. The amps connect to the main unit. Amps must be used with it as it is only signals, and no internal amps like a regular radio. This makes it smaller and eaier to find a place to hide it. here's one for ya. http://www.dreamershotrods.com/customautosoundsecretaudiossthiddenradio.aspx
-
So once you've got it all figured out and set, are you gonna offer them for sale? How much clearance is there for the Clutch pedal? I ask becasue I had an issue with the 260Z over the 240Z. I think it was the 260Z's clutch pedal that was an issue. It was a thicker steel and formed more toward the left, and went further down before cutting to the right, which made it hit the pod and the speaker. So some test fitting will be needed to see what they fit and don't fit in. Looks great though. Dave
-
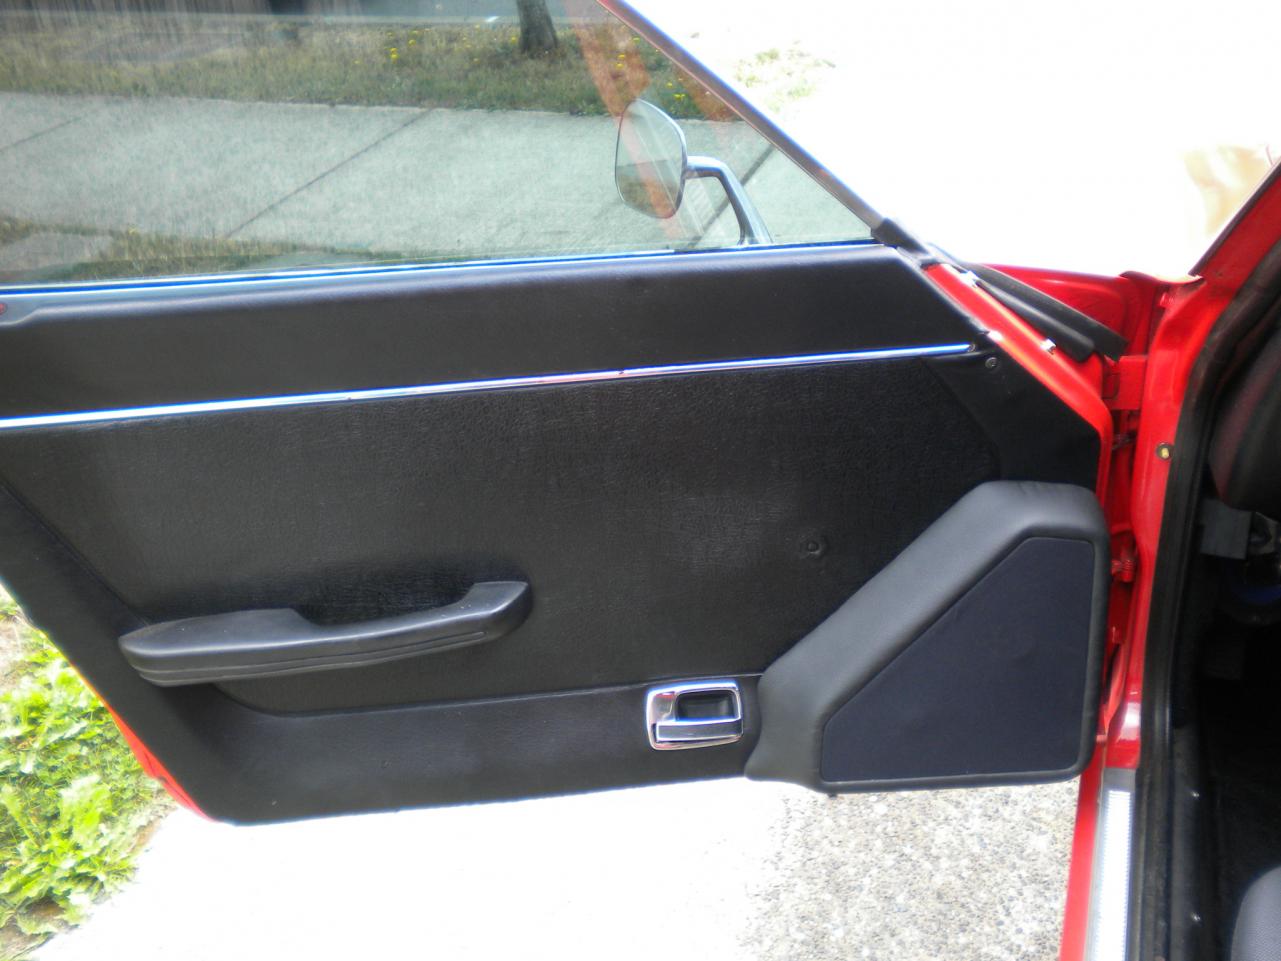
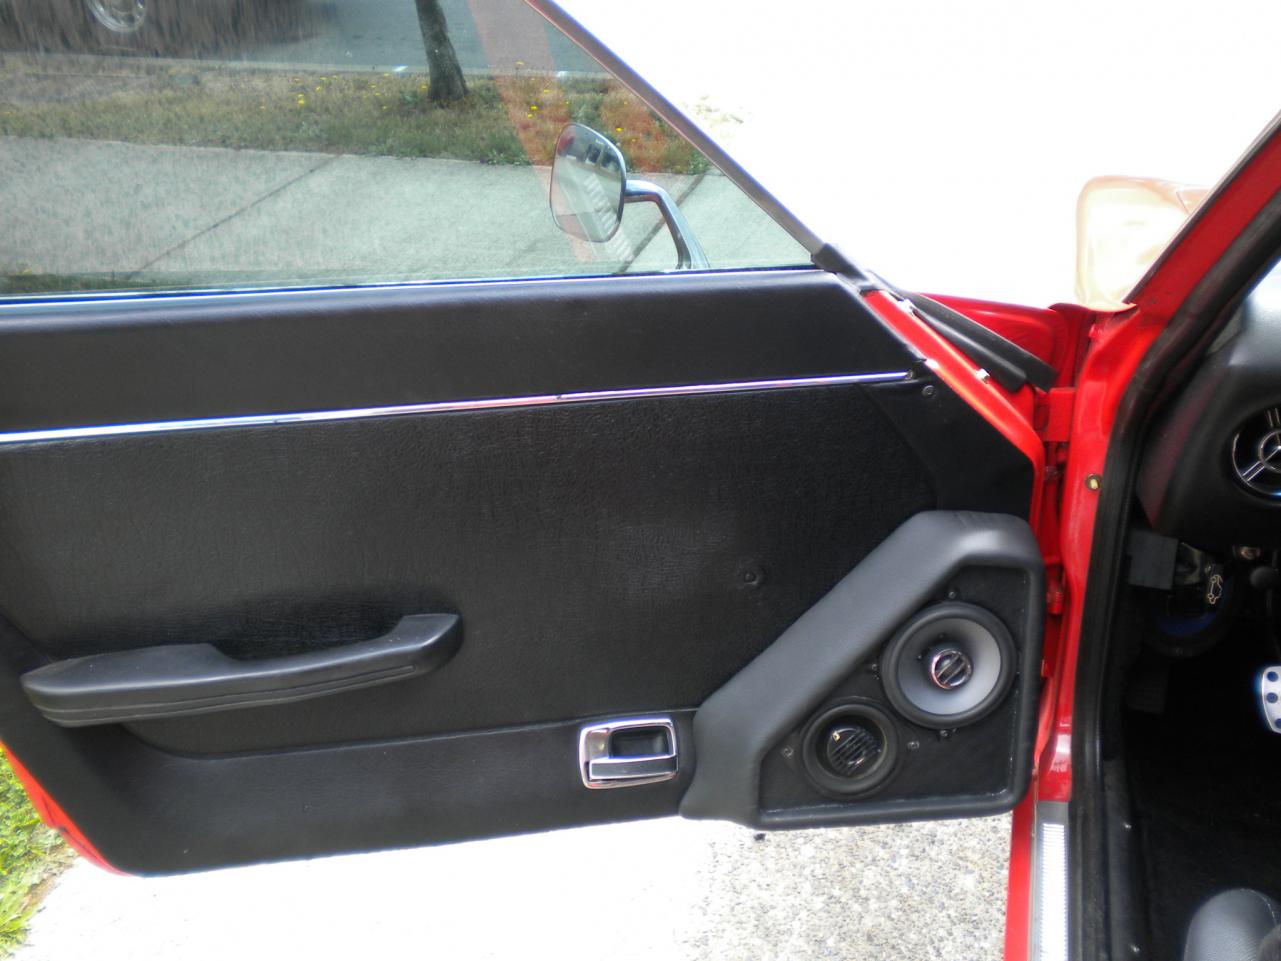
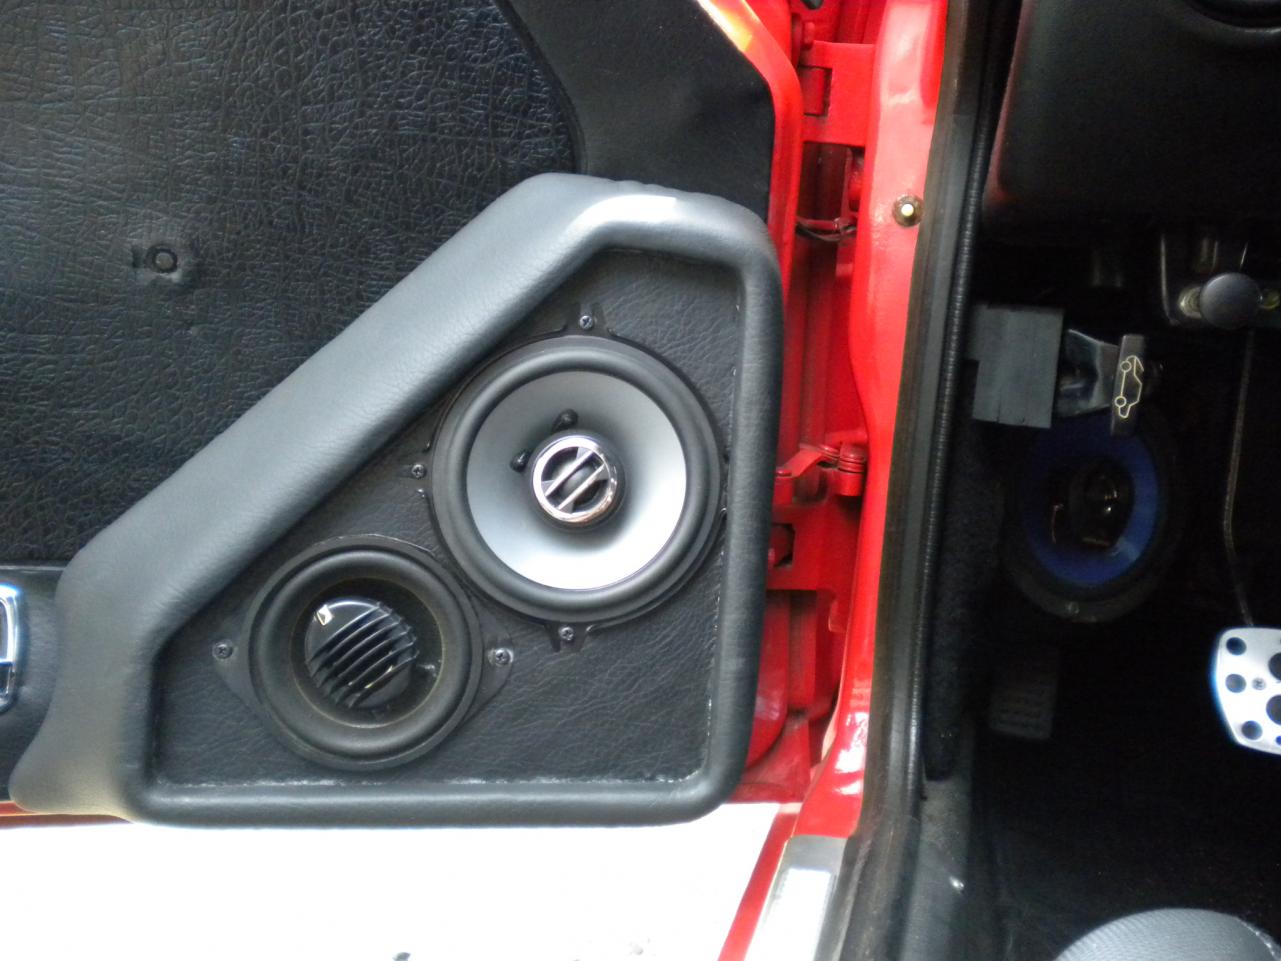
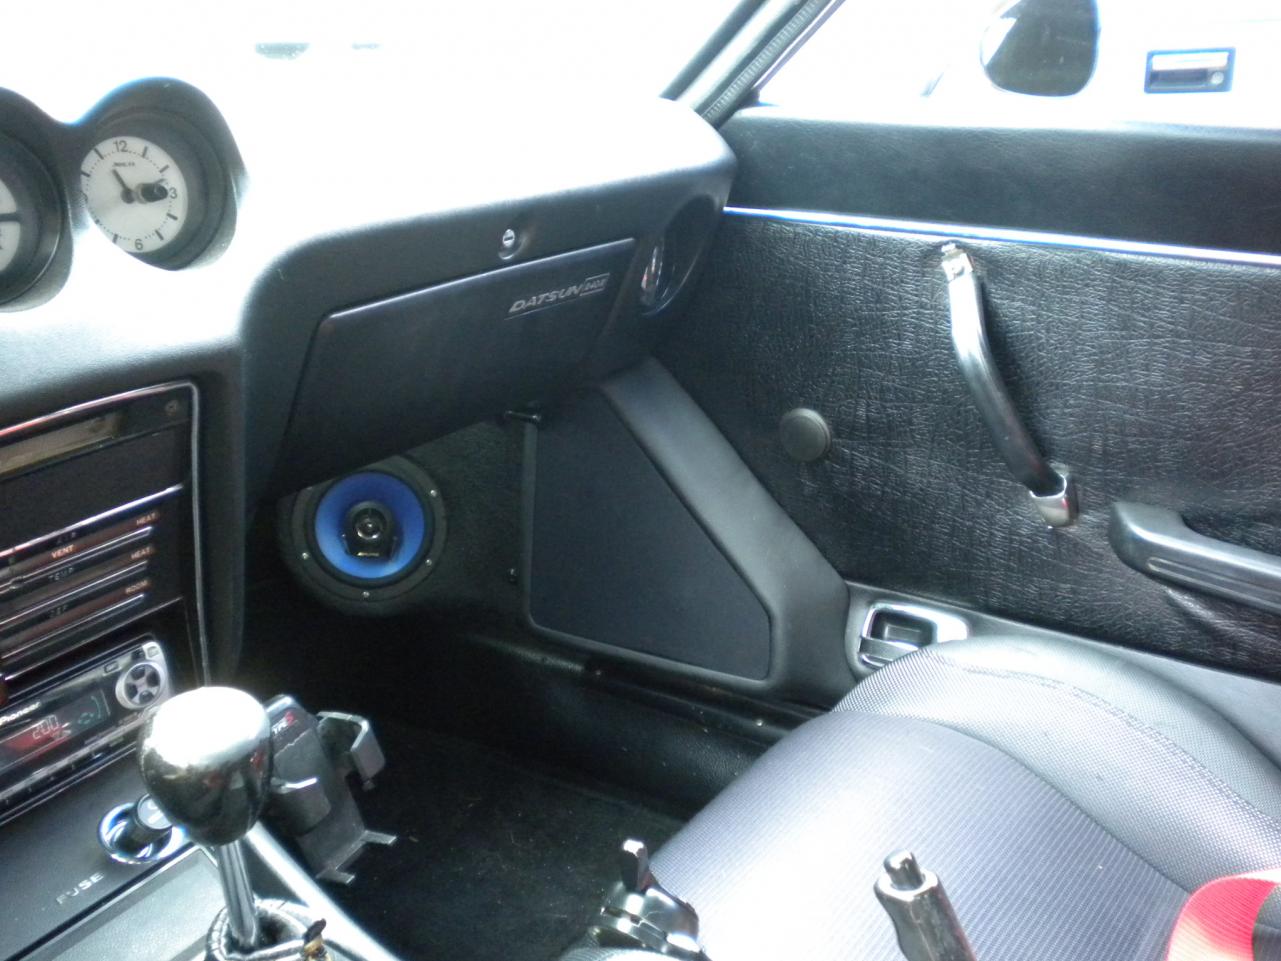
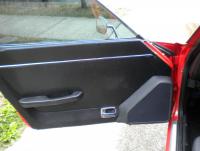
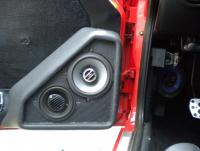
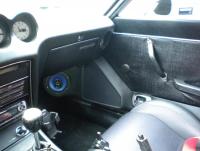
So I finally added some Door pods for the Multiplying speakers in the 70'. There are 2) Apline SPS-500 5-1/4" 2-ways and 2) Kicker 400 4" 2-ways. One of each in each pod. The fit snug on the doors and under the dsh when the door closes. The sounds is incredible. And as big as they look, they don't interfere with any thing, legs, room, whatever. So these, and the 2) Apline 6-1/2" 2-ways in the kick panel pods make 6 speakers up front and 2 in the rear make for 8 speakers, along with the 2) 10" subs in the rear.

-
Well, at this point, I would just order or find another stock diff mount, toss the GM poly mount, bolt up the bump stop and go from there. These are all bolt in items so there is no modifying things to make it fit correctly, other than the shaving of 3/4" from the bump stop. The GM mount drops the diff a little so this is likely causing the issue's you're seeing. I apologize for the inconveniances you've dealt with thus far. Urethane is GOING TO transfer more sound than rubber, it's just a fact of life. And not every application is the same. the differences between 240's, 260's and 280's, coupled with the differences in diffs give multiple options, lengths, depths problems, etc etc. So you've obviously found an option or 2 that does not work. Elongating the mounting holes of the R/T is an option but raising it can also interfere with the E-Brake assembly, that sits just above the R/T. So it looks like the Bump stop may be the only real option at this time. But on the bright side, you now know how to R&R a Diff better than most.... Dave
-
Sounds like you probably knocked your fusable link loose. That's the power wire that goes from the starter, to the engine harness. it connects to a While wire with a black vinyl cover over it. check the connections all around the starter.
-
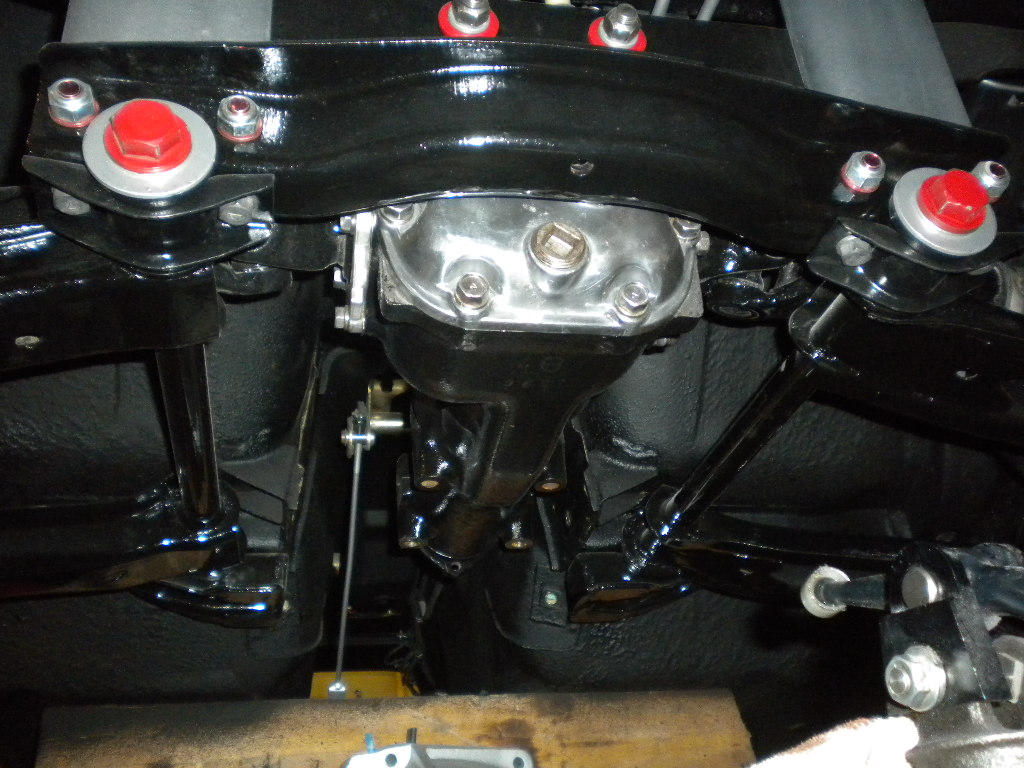
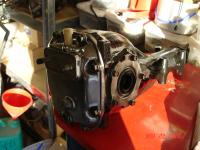
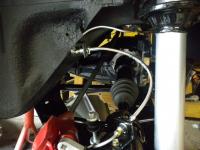
See what ya get for stealing? but seriously, you're talking Potatoes and Potautoes. Your later 280Z with an R200 and my 74' 260Z with an R180. My diff is shorter and has the mustache on the inside. yours is longer and sits on the outside of the hangers. In the pictures below, you'll see my R180 and almost perfectly aligned half shafts. (aligned with the stub axles, almost dead on 90 degrees) Is your driveline touching or hitting the front diff crossmember? When you use the R/T with the GM poly mount, it lowers the diff a little in the front. It may have put your into the crossmember. At this point, if you still have the stock diff mount? Go buy a bump stop, reinstall the stock diff mount, install the bump stop. This should minimize some vibration and help Sandwich the diff between rubber and urethane. Just a suggestion. Dave
-
it's a 280ZX Walter. The headlights and ignition are 2 different links. The ignition is not getting power but the headlights are. pretty simple. So like I said. Use a meter and follow everything from the battery, to the starter, the links, etc, etc. I just worked on one the other day with the SAME problem. Link was good but the connection was corroded. Had a couple loose fuses as well. Dave
-
Start with the fusable links. Use a meter and follow the power from the battery all the way to the fusebox. You'll likely find a bad fusable link, fuse or bad wire in there somewhere. I wish my daughter was old enough to care about buying a car. IT WILL BE A Z!! or older Datsun of some sort. Dave
-
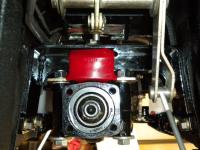
Most of the studs in the rear diff covers are just that, Studs. And can be replaced with longer ones. You can do that and instal a 1/8" rubber pad between the diff and mustache bar. Should dampen a little noise. Just a thought. another thing to do is shave the inner steel tube that is in the center of the mustache bar sides. This might, Might allow the compression of more Urethane than steel to steel. Just thoughts, nothing tried and true. Dave
-
Hey MEZZZ, Those pics look pretty damn familiar .... You know that's a 260Z right? Not sure of any differences between the 77's and 74's but just so you know, those are 260Z pics. I don't honestly think there is rom for a rubber insert, and it won't likely reduce the noise by much, if any. The tube insert and urethan will be bolted up pretty good so the transfer is likely there for good. Dave
-
Perfect. That's what I wanna know. I wanna get them, bolt them on and not worry that I got the offset wrong or some crap like that. Just scratch up the chrome first. But you already knew that.. Dave
-
I'm SURE someone will argue with me at some point but here's my take.... How well do you wann protect it? I ask becasue you have a few choices here. #1, a much more involved procces would be to use a spot-weld cutter and completely remove the Battery tray. This out of the way will allow you to completely treat the area and the tray seperately. #2 would be to get in there with small wire brushes and scrapers to remove as much scale (anything other than smooth) surface rust. With that done and many bloody knuckles, then you can start treating the affected areas. Either way, tape off any areas that you don't want treated or affected by the Por15 or the Cleaners and degreaser. Follow the instructions as usual, wear gloves, keep the Por15 in an AIR TIGHT jar after opening and Don't get any on the lip or threads of the jar. (I use a pickle jar, poored mine in last wintr and it's STILL usable today) Give it 24 hours to dry then Paint according to taste or preference. Now that they make better battery's that don't sweat like older units, you'll be safer and know that the problem is Less likely to occur again. Dave
-
Exactly what part of "(cylinders 5 and 6 run about 20 degrees hotter)" didn't you get? Not trying to Flame the thread but seriously, why are we arguing about this? You do it your way, we'll do it ours. It's that simple. Just leave it. Cause obviously Nothing you say is going to change his or our mind about a great product that goes the extra mile. If you saw the pictures of my new Radiator, fans and other goodies, it plain to see that my system works awesome. Sure, I may not need all that Flashy aluminum but "It's My thing" so Potato / Potauto. So if you don't like WW, Great!! If you do, Great!! I'm actually at a loss as to why I'm Defending a great product. Band aid or not. And the Needle on my Temp Gauge sits half way between the far left line and the center line, it's very cool when driving, even in 100 degree weather!! Dave
-
Thank you, And THAT's why I use it religiously. I think my Thermostat is a 175, which allows it to open sooner than a 185, thus letting that hotter coolant out and away from #5 and 6. There's absolutely NOTHING wrong with using WW, so arguing against it is pointless. Yes, a properly working system will not need it but at the same time, it won't hurt and it's there in case it gets hot outside without preparation for such weather. Dave
-
What's the Offset of your wheels in front and rear? I just wanna make sure I get it right when I order. Love the Car, Looks mean. Is the Paint a Gunmetal color or just a dark silver? Dave