Zs-ondabrain
Free Member
-
Joined
-
Last visited
Everything posted by Zs-ondabrain
-
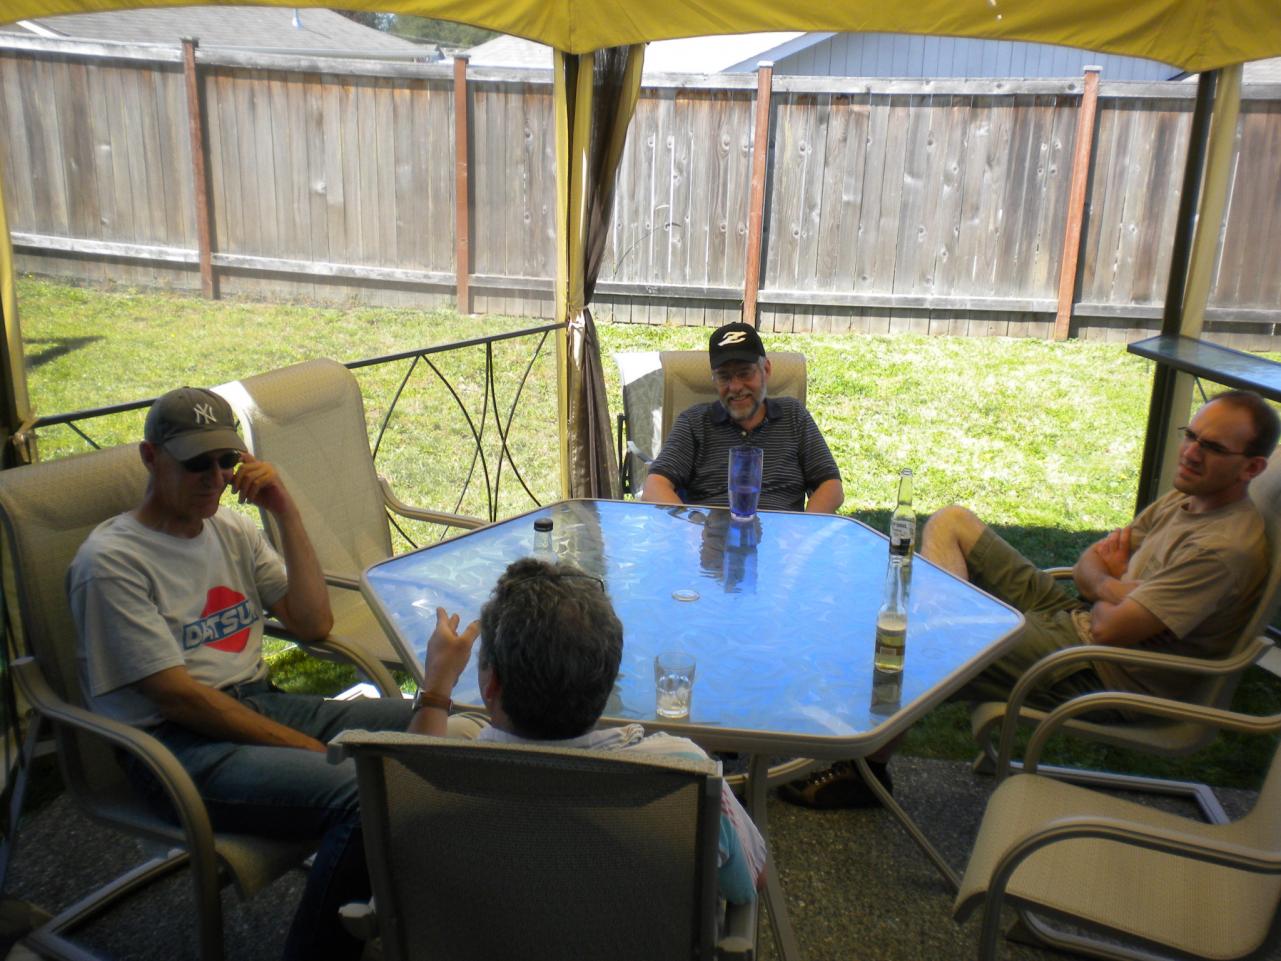
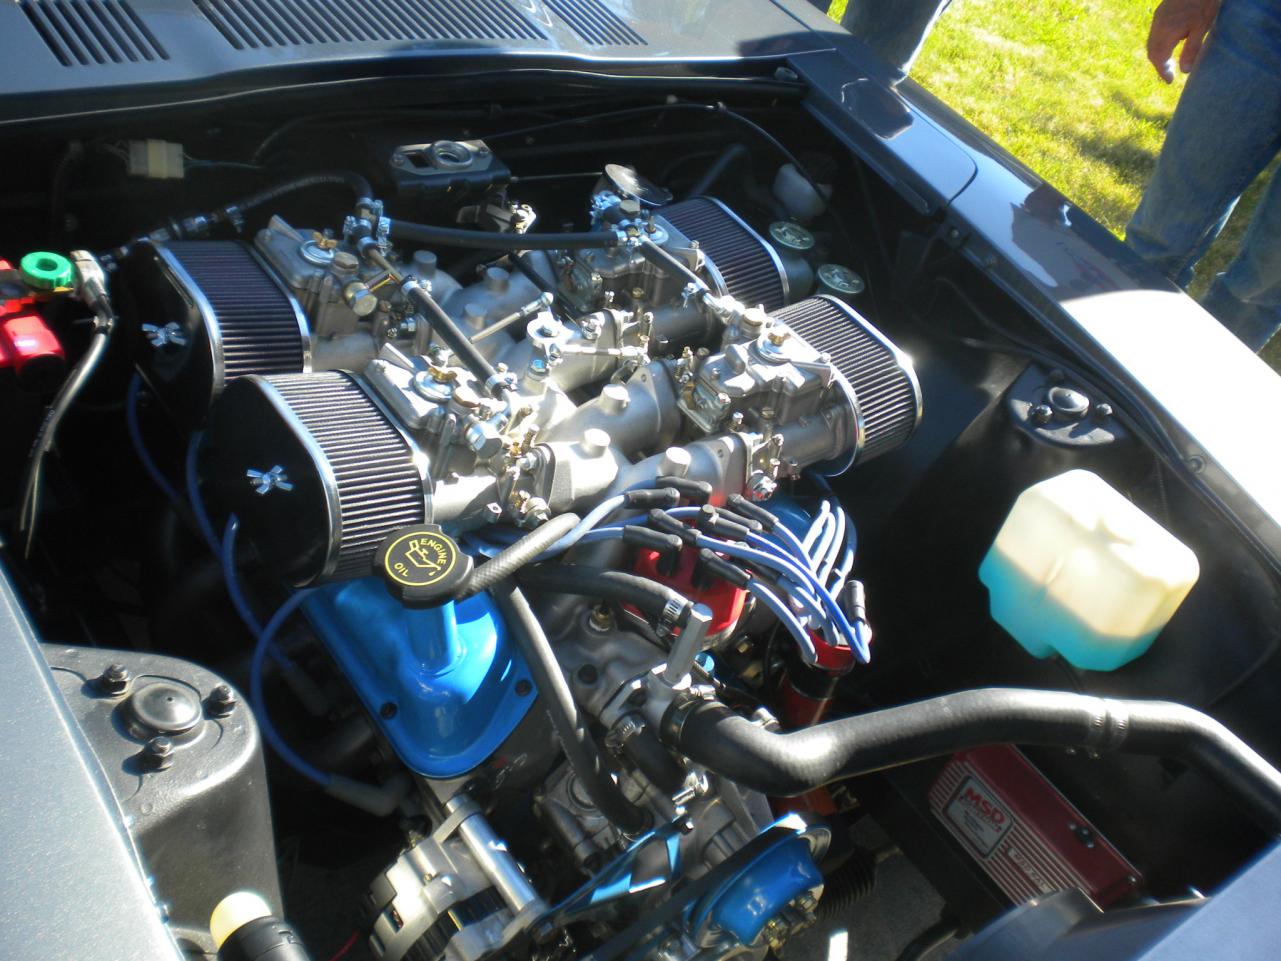
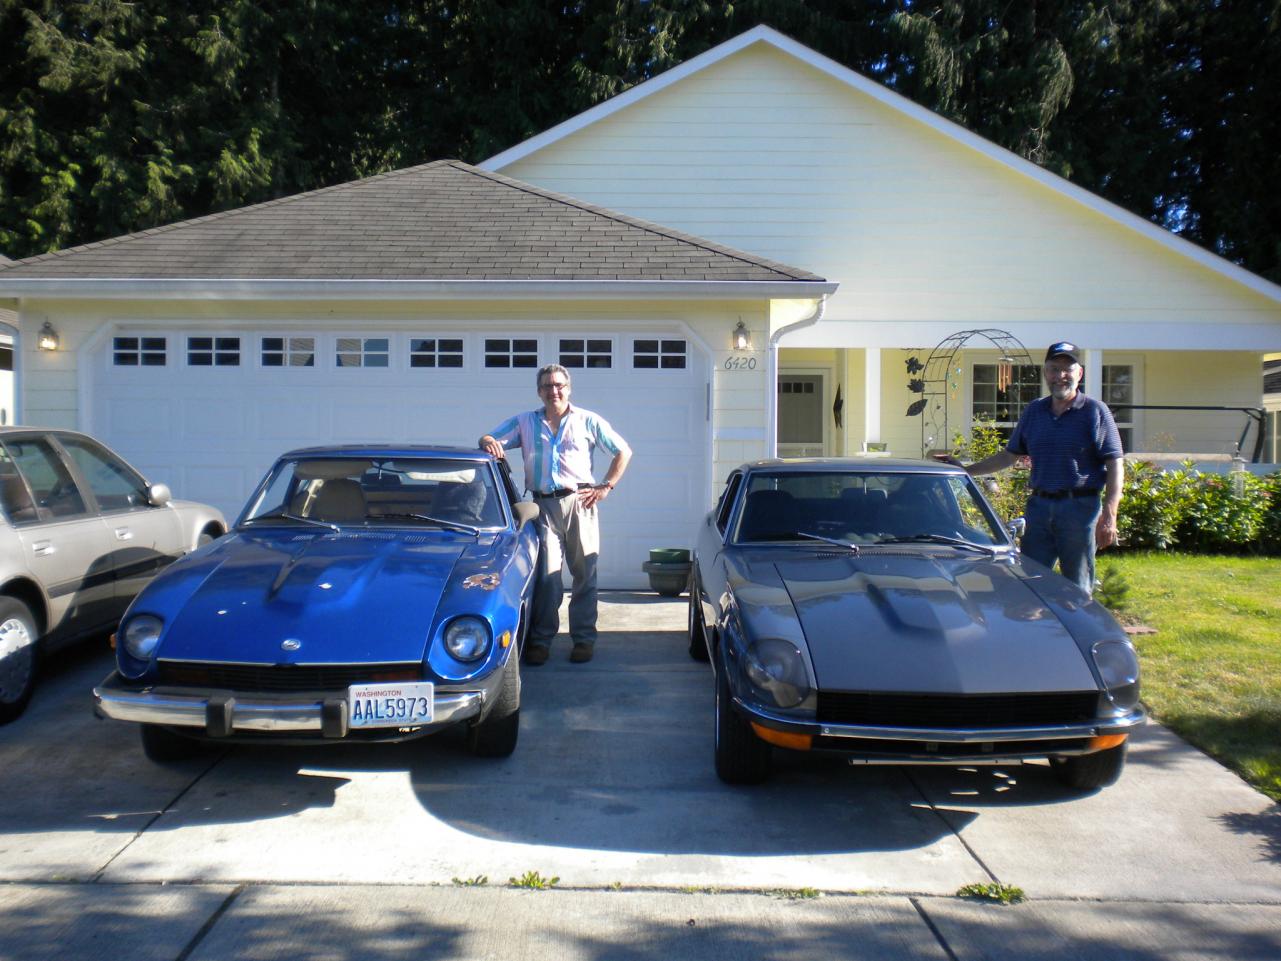
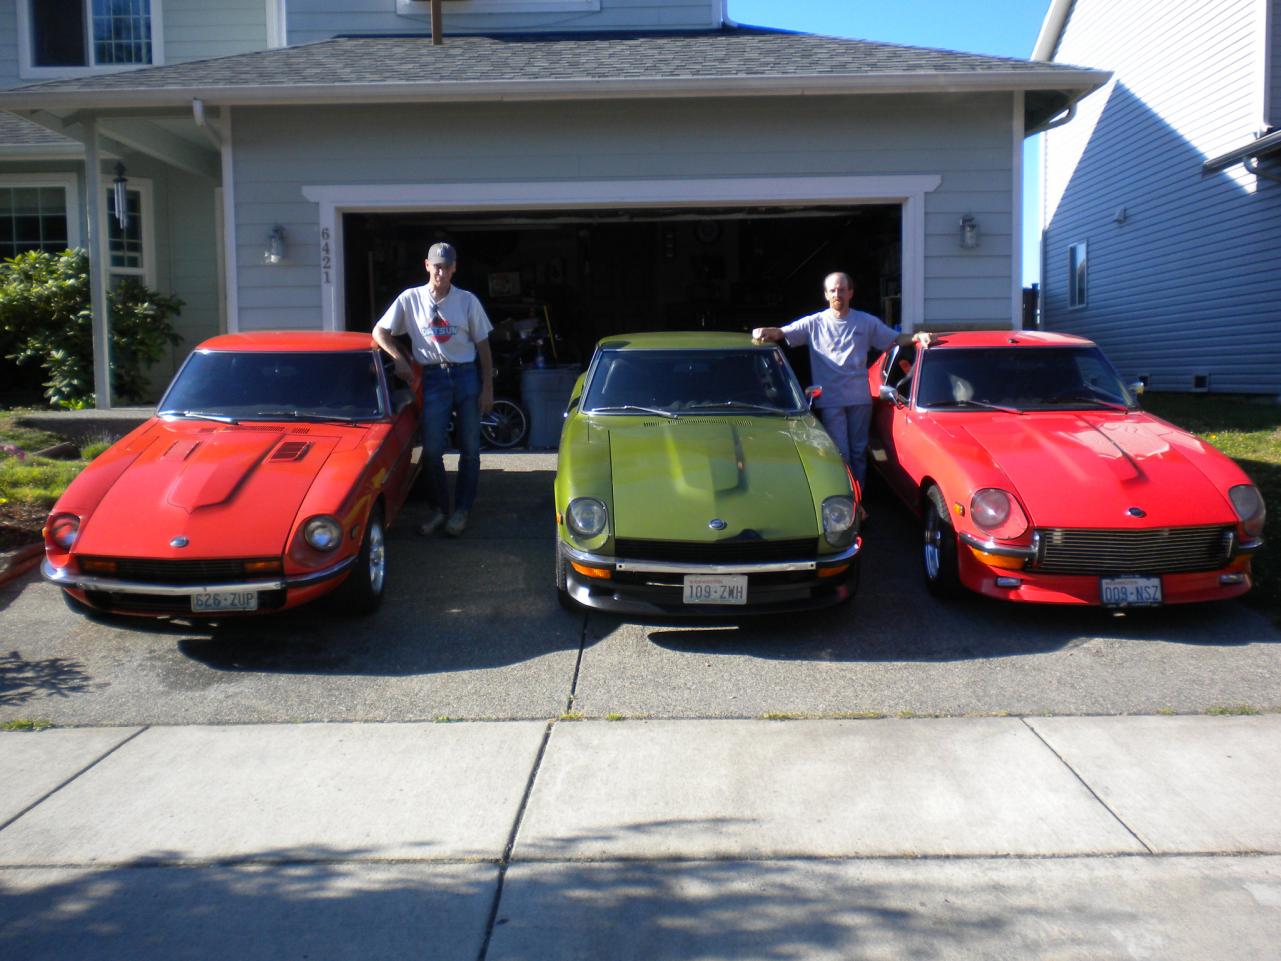
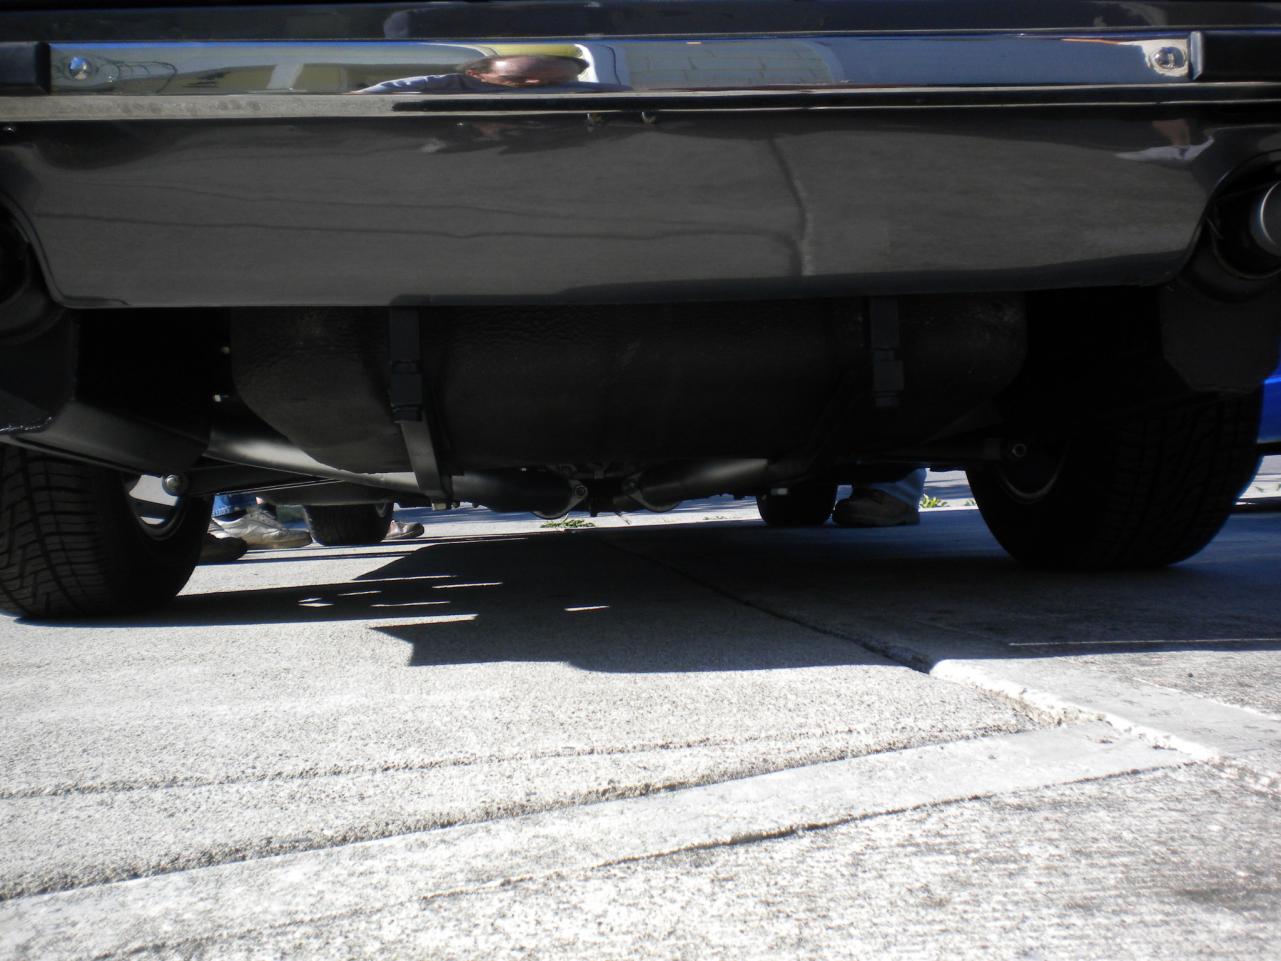
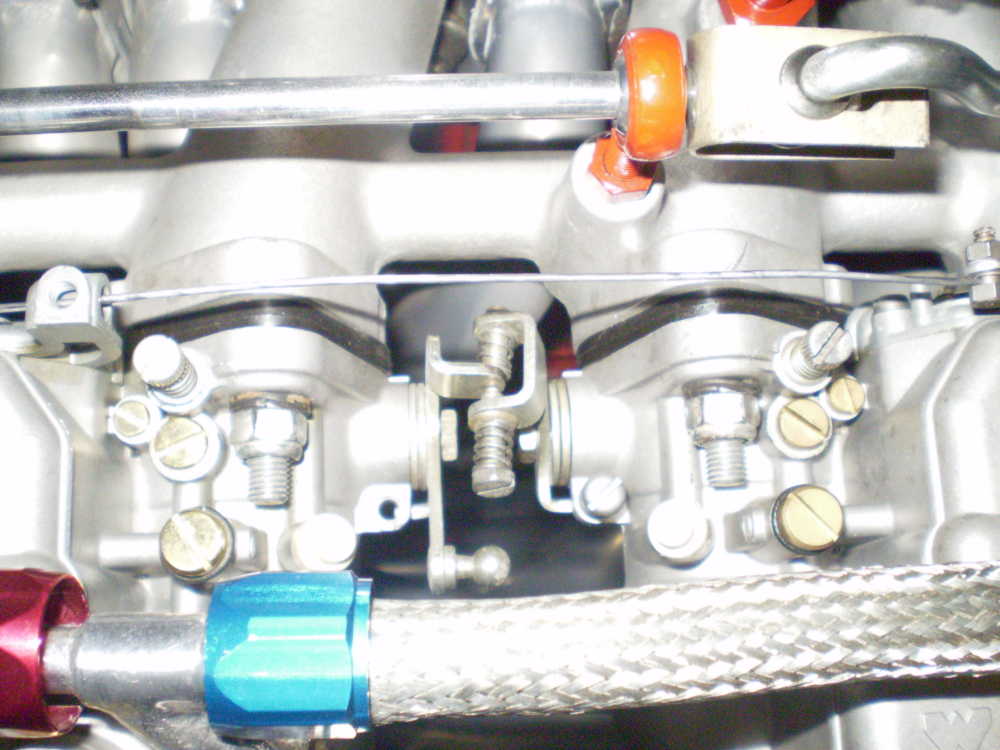
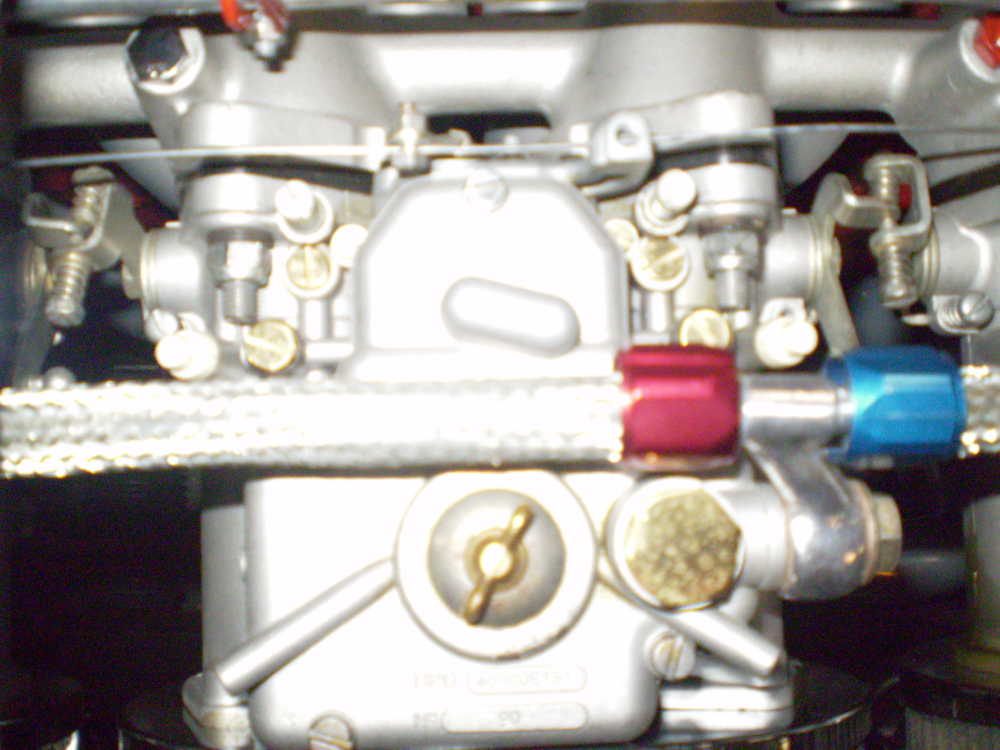
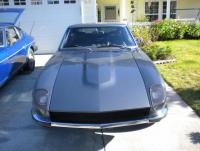
 Well, I can only say one of these were done today but the rest were done withoin the last 3 days and didn't have time to post about it. Pulled the R200 diff and took it to JMortenson to have him Properly instal my LSD. Came home in 95 degree weather and the green Z held up pretty good in the heat. Installed the rebuilt R200 with CV's into the Red Z only to find that my driveline's Ujoint was shot. I was in a hurry so I left it in there and fixed that today, swapped it with the early, 1" longer driveline, which I needed in anyways. Saturday, I held the 2nd anual summer Zcar BBQ at my place. I wanted to thank Michael O'Conner, Brian Laine and his son Ben and James (S30Driver) for showing up. I had a great time BS'n with everybody and food wasn't half bad either. Thanks for actually showing up guys, let's do it again next year...! Dave That's Brian's "Z8" Series 1 240Z. Ford 331 Stroker with 4) 45DCOE's, Tremec 5-speed, R200LSD, fuel Cell and Dual exhaust. SWEEEET Ride. Michael O'Conner (Australian Bloke) and his 77'? 280Z (under Construction) James S30Driver and his 77' 280Z with 17" Rota RB's And Me with my 2 Z's (green Z is SOLD, to a guy in Canada)


-
Congrats!!! Now get to work. You gotta lot of work in front of ya. Just remember, most panels are replacable and remove as much rust as possible on the ones you're keeping, treat the rust with a Rust Mort or some sort of Phosphoric Acid to stop the rust. Coat it with a POR15 to seal and stop it completely. have fun with it. Dave
-
If you're gonna do it yourself, cut open the engine harness between the Voltage regulator and the Radiator support wall. Plenty of room in that area to work. Leave the switch alone unless you're gonna pull it apart to clean the contacts. The MSA Harness is MY harness and MSA is a Site Supporter so have at it. The harness is totally Plug and play for all 240Z's and completely reversable, as compared to you hacking up your engine harness to do it yourself. Stock wiring is fine if you're using it for a signal to the new relays. Dave
-
This is true. You did bring it back. And if you wanna throw your name on the list, you can have an R/T in your lap for measurements and reference. Just a thought. Dave
-
That peice is rarely ever seen. if you paint it, it'll be for your your own personal viewing. It's plastic, so trying to protect it would be pointless. I did the same with mine, brake cleaner, new bolts and some tire dressing to make it look all pretty and such. Dave
-
$60, Same as before, IF I can get enough orders. If I can only get about 30 orders then the price will be $65, as I get a price break on 50 as compared to a 30 order. So the more who know about it, the better. So spread the word. Dave (me) 1 S30Driver 1 Chuck496 1 ? Maybe? Brian Laine Z8 10?? Maybe 10 or more? we'll see. Gary in NJ 1 mlc240Z 1 Tbone028 1 NorthernZ 1 Yetterben 1 suzook86 1 So that's either 10 or 20, depending on my silent partner's final decision. Waiting to hear from him before i put a number by his name (something other than a Maybe) Dave __________________
-
So it's only a matter of time before we'll have to move this to another thread, but until then........ Here's what we got. Spread the word. Dave (me) 1 S30Driver 1 Chuck496 1 ? Maybe? Brian Laine Z8 10?? Maybe 10 or more? we'll see. Gary in NJ 1
-
Now I remember, it's JB WELD. used to repair Blocks, exhaust, metal parts, etc. It's made for tough environments, like heat, fuel, oil, water, etc. By the way, if you replace the front cover, Be carefull when removing the front cover. Pull the oil pan bolts, 2) 10mm on the front head lip and all the others. Razor blade the head gasket away from the front cover so as to not damage it. I Use Ultra Black gasket /seal maker. use a little extra on the upper inner corner where the head, block, and front cover meet. Dave
-
But a decent fix would be that Metal 2-part Epoxy (can't remember the name) pushed thru the hole and formed up to the level surface. also smeared around the hole to keep it from coming out either way, like a sandwich effect. Dave
-
Dave (me) 1 S30Driver 1 Chuck496 1 ? Maybe? Brian Laine Z8 1 Maybe?
-
Try Roostmonkey on www.hybridz.org or save your money and get one of mine when I do the next run................ OK folks, Who wants one? I keep getting requests. So start filling in your name and the one above your post (not me silly) even though I do need 1. I will do a run of at least 25 or 30 if there are enough requests. Dave
-
Nice try James, but my adaptor plug only works on 240Z's
-
If that tag isn't there, then what's your VIN?
-
*pseudo* nice try though
-
What he said, or I said, yah something like that
-
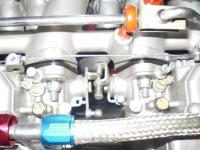
It looks like a basic cable throttle with finger linkage between the carbs. They connect to each other just like mine did on My 40 DCOE's. (same as his) You only need to connect that cable to the front carb via top or bottom bracket and you're good to go. Very clean set-up. Wish mine was that nice.

-
Typically we don't respond well to the whole "Wanna Race" question. But Me and Tyler will be there on the 18th for the NOS event. Where in WA. are you? Dave
-
Super Machine needle Simple Modded needle Simply Machined needle Special Metal needle Suck My needle Stupid Muchacho (Sorry, running out quick here) Hell, I can never remember what SU stand for either. Dave
-
The Yellow 240Z is 1/18th scale and the 300ZX is 1/24th scale. Definately gonna keep my eye out for those at the local Wal-Mart. At $12 each, I'm in for 3. I'll repaint one to model after my 70'. Then do the Bright Orange to model it after the 260Z build that I hope to finish this year (if the green Z sells) then one to keep "As Is". Dave
-
When rebuilding switches for people, I run into this issue more often than not. I don't know why it's mainly the Right side and more often the rear than the front. Use only a dab of Dielectric grease on the area that the ball bearing slides on. If you use a different lube, it'll likely heat up and move onto the contacts, causing them to fail or smoke the grease. The dielectric grease will allow it to continue to work without issues. Glad it worked for ya. Be careful when bending tabs on the switch box, as they don't like to be bent too much or too often. They Will break after repeated bending and then I'll have to sell you another box. Dave
-
Sounds like you did it exactly as it should be done. It's always a good selling point, knowing "How the Rust was Taken care of". You removed it, killed it, covered it to prevent future rust. Perfect. Sorry bout the $0.10 cent thing. It was the wrong subject in the wrong thread. Threw ya for a loop though huh? Occasionally, I like to toss a Hand-grenade in the Preverbial Jello.
-
I Believe that is correct. It appears to mount the same, and have the same Ebrake bracket and bleeder. So as far as I can tell, the hard line nneds to either be replaced with the correct one, from a later than 6/72 Z or possibly be rebent to accomadate the new cylinder. If I had a later unit, I would be possitive in my info. But just looking tells me it's possible. Dave
-
Over heating can be an issue with these cars but most are easily fixed. Flush the cooling system Put in a 180* thermostat Check the Waterpump for flow. I like to use REDLINE Water Wetter during the summer. I can reduce the heat by up to 15 degrees. I also like to park uphill to allow the air in the system to make it's way to the top of the radiator and fill accordingly. This eliminates Hot spots and gives you a solid liquid system. Welcome to the club and good luck with all those cars. Dave
-
I had that issue with a different car. We used that "Protective Plastic" that you peel and stick to the front part of a hood and front area. It's clear, adhesive backed and when cut in the 6" or so diameter and stuck to the door panel, it don't look half bad. And it protects the vinyl. Just a thought. Dave
-
The cheaper unit will need different hard lines from the top of the back plate to the cylinder, as they mount differently (one is almost straight in 90* and the early unit is at a 25*? or at least a severe angle in comparison.) Inner drum parts are interchangable ;ie adjuster, rotory wheel, piston, etc. At least to the best of my knowledge it is. You can use the cheaper, later version but you'll need additional parts. Dave