Zs-ondabrain
Free Member
-
Joined
-
Last visited
Everything posted by Zs-ondabrain
-
 Let me know if you need the instal instructions for those kits. I can email the files to ya.
 -
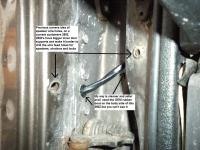
It's all there. pic 1 is the power wire to the Parking light upgrade harness (you'll need a 15 amp blue ATC fuse. Pic 2 is a complete HLH or headlight upgrade harness and the "False" plug is plugged into the the left HL plug, just pull it out. Pic 3 is or looks like a 9-pin PLH kit (blurry pic) for the 73' 240Z with intermittent wipers (this can also be used on the 260Z and the 75' and 76' 280Z with a 9-pin combo switch. The 77' and 78' have a 10 pin combo switch. Pic 4 is the 12vdc relay that plugs into the 9-pin's relay socket in pic 3. Pic 5 is a ZXP alternator adapter plug for the 70 to 72' 240Z without stock electric fuel pump. using the ZXP on a 73' with stock electric fuel pump will cause the relays to stay on and drain the battery. Mind if I ask what you paid for the box of parts? (there's $190 USD value there) HLH is $125, PLH is $50 and the ZXP is $15 shipped in the US lower 48 states. obviously more for shipping to Canada.
-
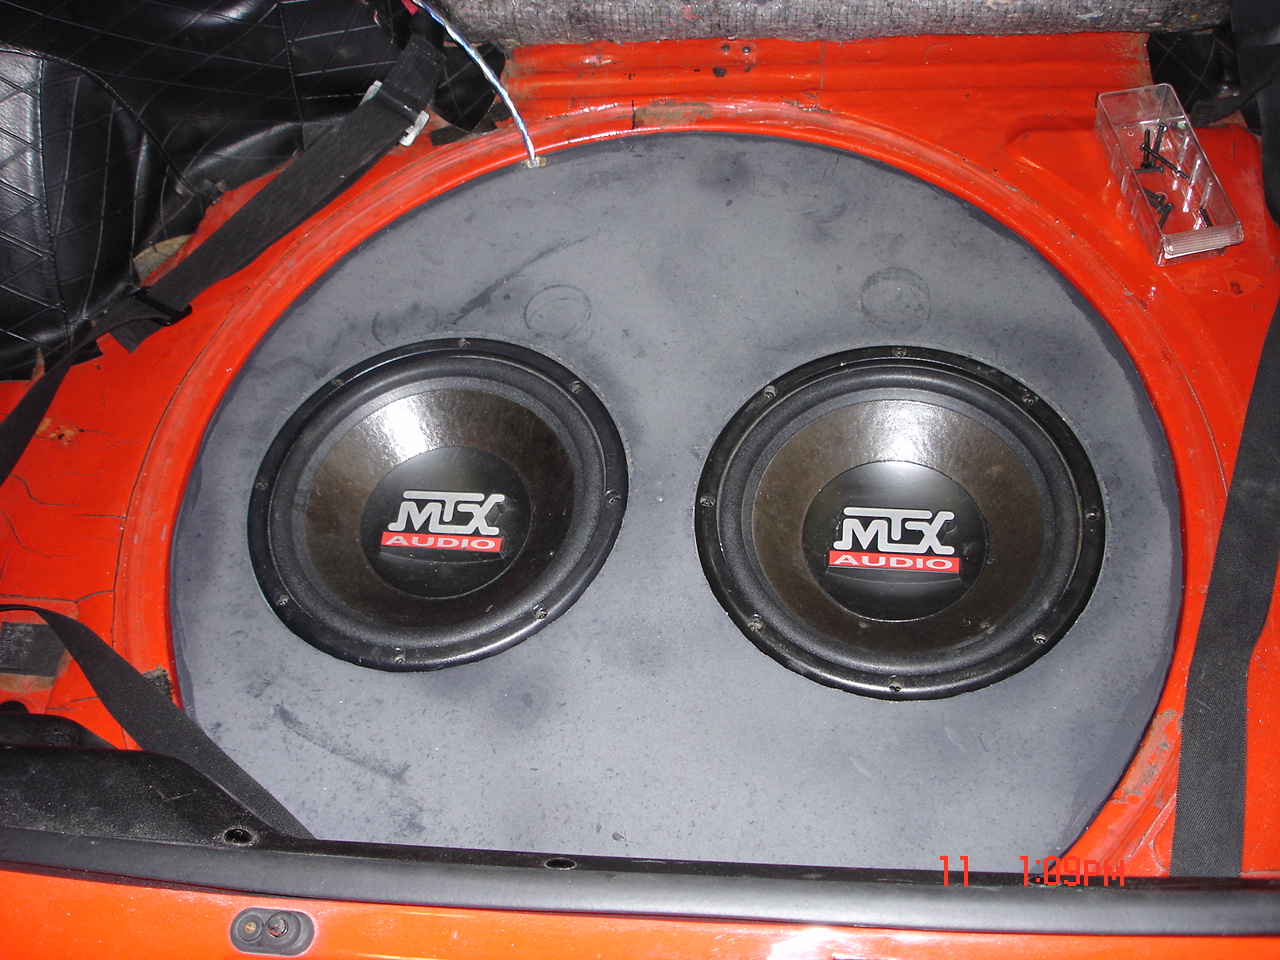
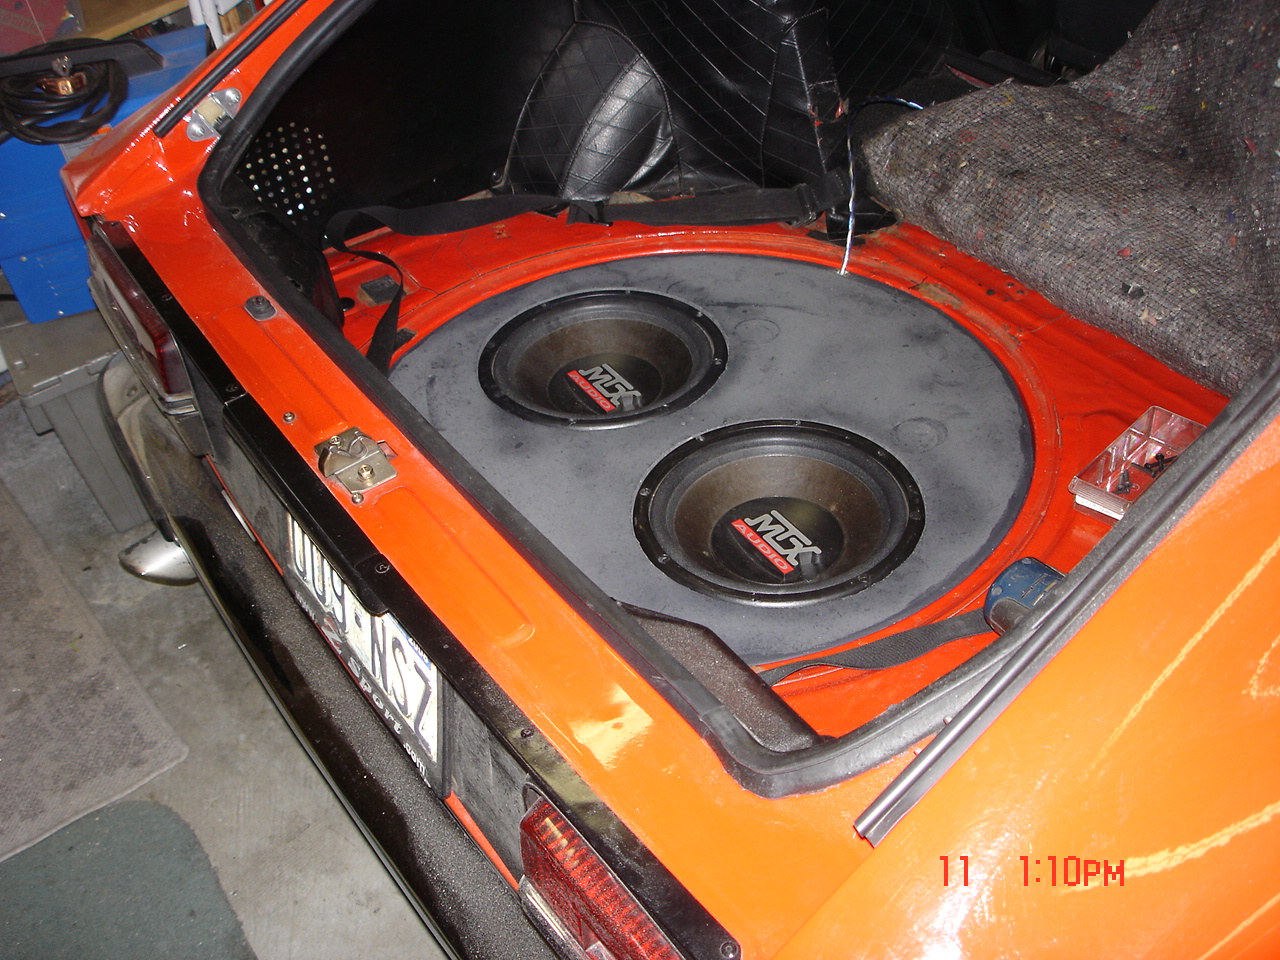
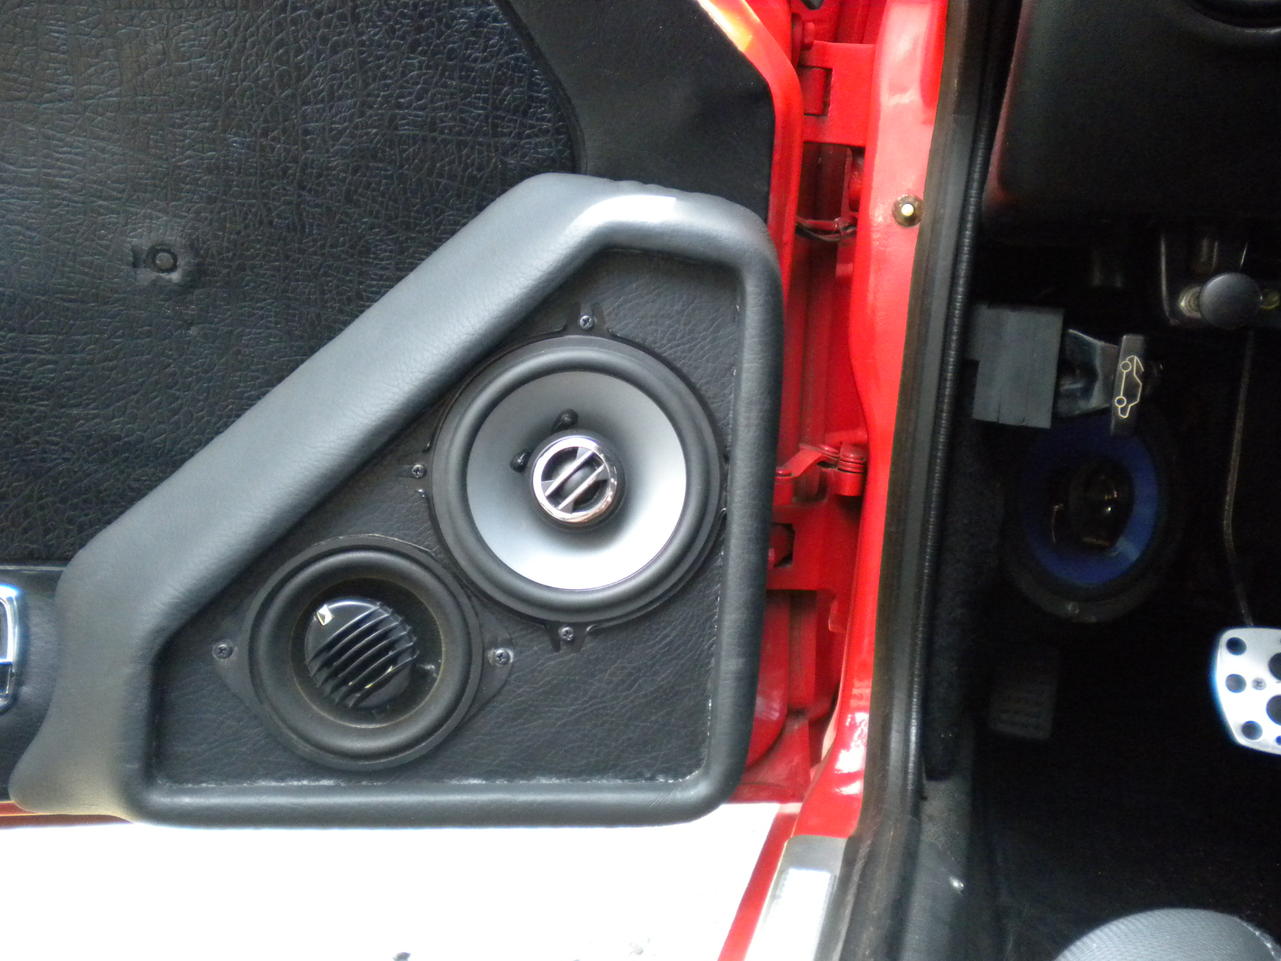
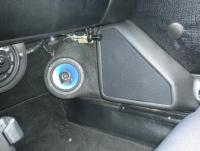
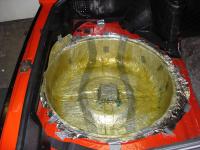
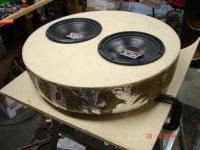
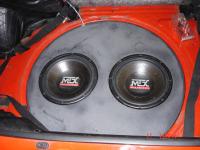
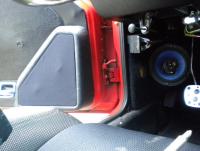
Not sure if I posted it or not but I redid the sub enclosure in the rear to 2) 10" MTX but I really wanna do 2) shallow mount 12" subs (Pioneer) as the require the exact same air space as the 2) 10's.


-
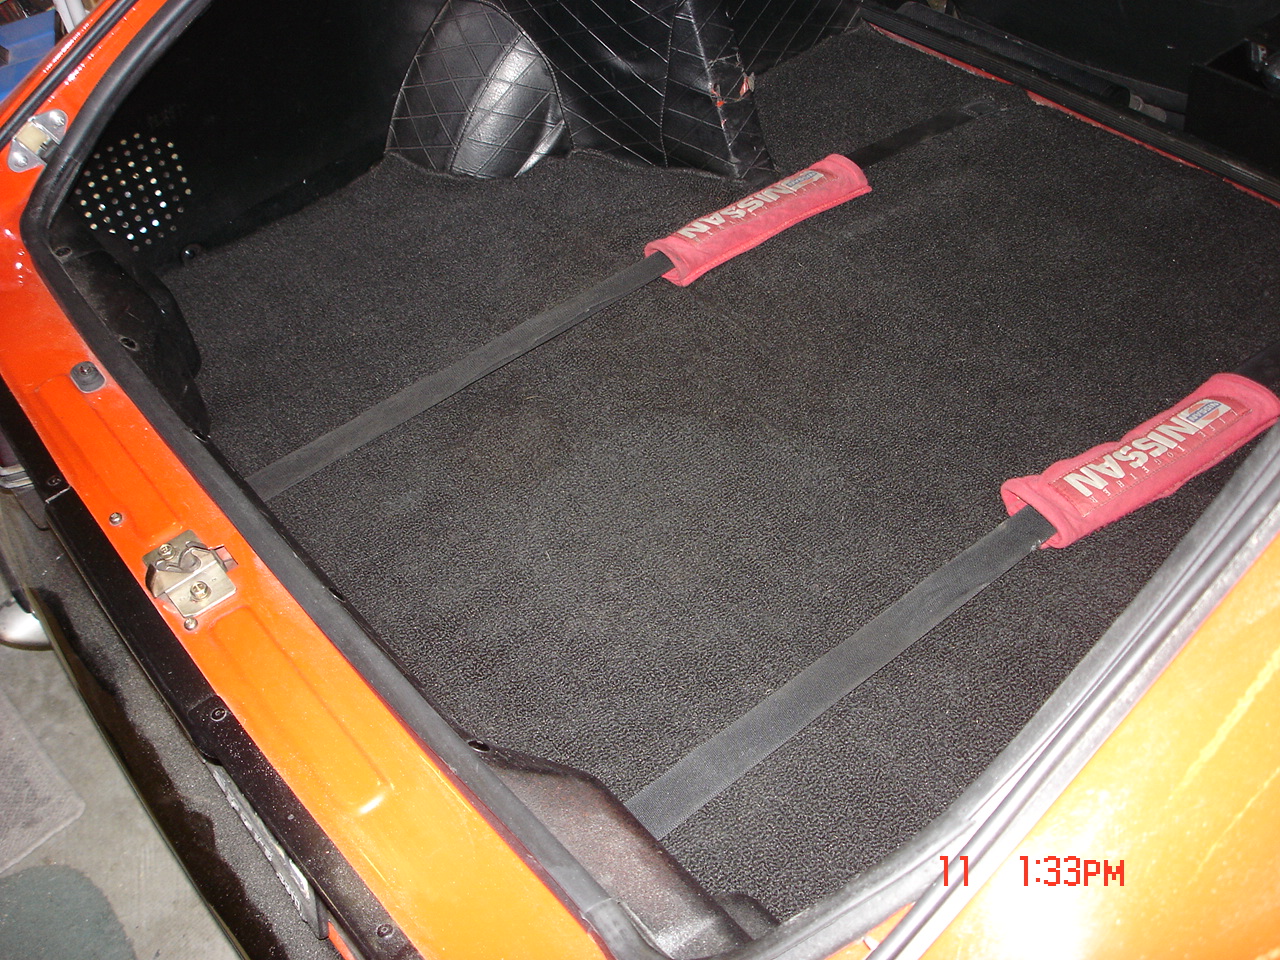
Bass travels right through the carpet and there's no audible vibration or noise. It moves up and down with the beat but you don't hear the carpet, just the bass.
-
You can view the page at http://www.classiczcars.com/forums/content.php?r=201-Honda-Wiper-Motor-Upgrade-for-the-240Z
-
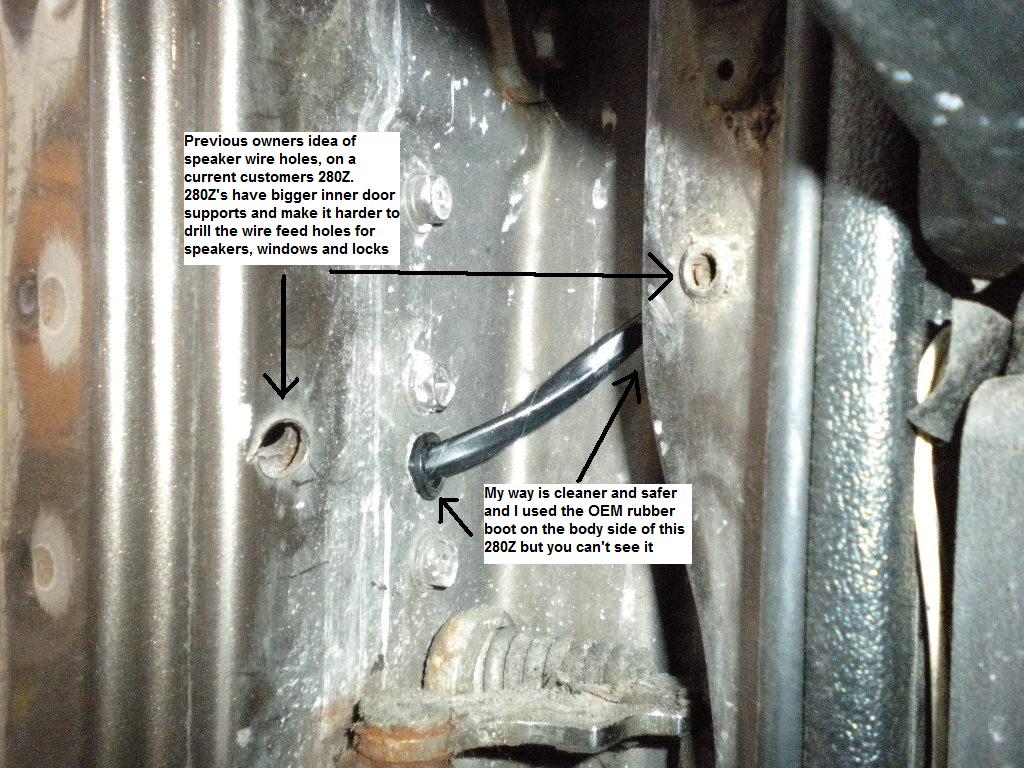
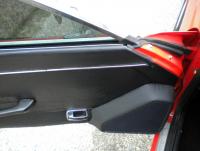
I use a small drill inside the door with a 3/8" bit or even a step bit up to 3/8" Then I use a 3/8" grommet. On the body side, I like to drill the 3/8" hole through the hole in the kick panel that the hinge bolts are in. And as close to being across from the hole you drill in the door. If you need to, drill through the sheet metal into the pocket then to the outer sheet metal. It's hard to describe without pictures. And as many times as I've done this to an S30, you'd think I'd have a bunch of pictures by now. Dave

-
you forgot to show the 70' like mine. https://www.hagerty.com/valuationtools/HVT/VehicleSearch/Report?vc=872367 My 70' is insured through Hagerty and covered for $25,000 replacement. The lady I spoke with when getting this insurance, told me I could easily do $30K after seeing the pictures and reading everything I had into it. I told her I'd keep it realistic at $25K and keep my yearly payment down at $330 annual renewal fee. I LOVE Hagerty. Dave
-
I met E many times at the Canby events over the years. His honest opinions and "Good Job Dave" followed with a pat on the back is what I remember most of him. He'd play it off like it was no big deal when my wife Leah would compliment him on his Z. I remember telling him "I really want those headlight covers" and him saying "I'll try and remember that when I update my will" Who'd have thought it would be read this soon? Certainly not me. He always seemed to be on my side when discussions would get heated with newbies on this site, and I loved that about him. Great man who I can honestly say, helped me to be where I am today when it comes to my upgrades and my car. Rest in Peace old friend. May the highways of heaven be clear and full of curves. Dave and Leah
-
I have exactly what you need, packaged up and ready to ship, but I need your address. You'll get a rebuilt switch box with a good PCB, wires attached, good sleeving and the 3 pin connector with the terminals cleaned. check your wildblue.net email and get back to me. Dave
-
Thanks Mike. I'm always here, just hiding in the shadows..... Greg, after shipping and all that, probably cheaper to buy direct. You'll want the SPAL Deluxe Kit (stronger and quieter) and you'll want the 2 switch kit and mount them in the center console of in that area. the 3 switch kit allows you to put the L and R door switches on your door and the 3rd switch goes on the pasenger side. but that's more wiring and cutting into your door panel. I'd go with the 2 switch kit.
-
-
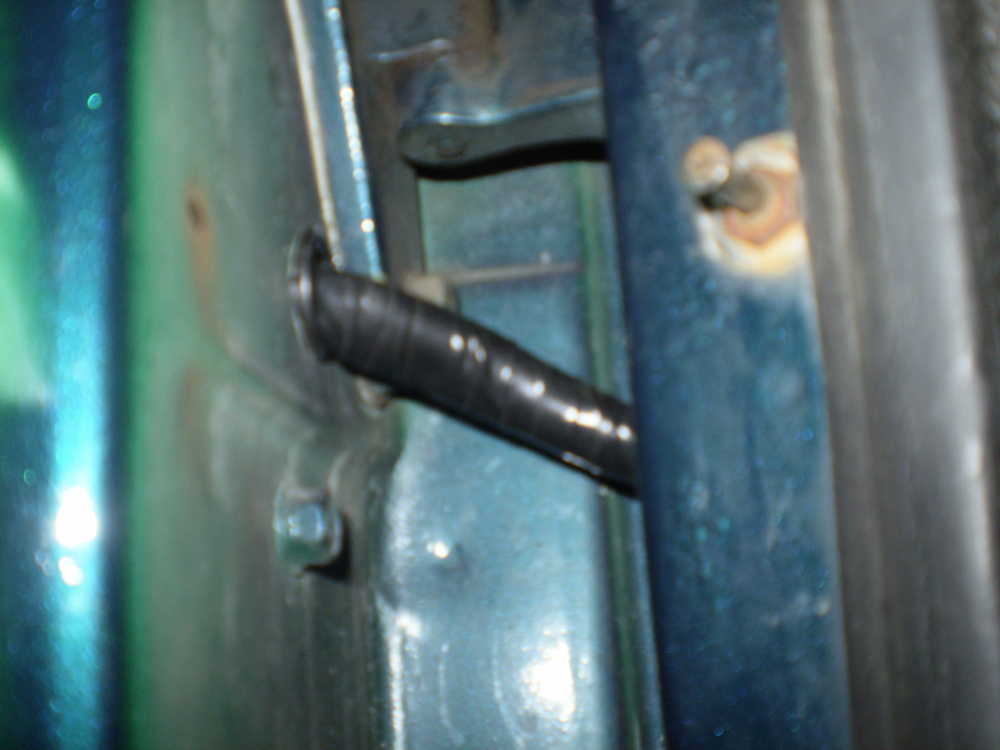
That inline fuse case usually melts from over use. It should be located between the switch and the motor, and like E said, should have a red and blue wire or both of one color. It's a white plastic fuse holder and probably melted to the point that the contacts can't touch the fuse ends. You're best bet is to cut it out and replace it with a newer fuse holder.
-
-
Tom, I peek in now and then. Jsnrjock, You're welcome. I did it twice. Almost had to smack myself for the second time. but I was in a hurry and ended up spending even more time due to having fixed my goof. DAve
-
you put the bracket onto the motor 180 out. so undo the bracket, turn it 180 degrees and rebolt it to the motor. done Bracket as in the peice the connects the wiper linkage to the motor shaft. so just turn it around.
-
And for Clarity...... L = Load (to the lights/turn signal/hazards) E / G / - = Earth / Ground / Negative B / + = Battery / Positive / Power In Thank you for this Pete (Thomas461) and any others who add to the thread. Dave
-
The correct Electronic flasher will flash at the same rat, no matter the mix of LED VS. filiment bulb.
-
You need to look for an LED specific Electronic Flasher module. I think I'm using a "Blazer" or "Tridon" EP35. I think it's a 3-4 light T/S or 6-8 Hazard. (works for both, so get 2 once you find the one that works best for your Application) Dave
-
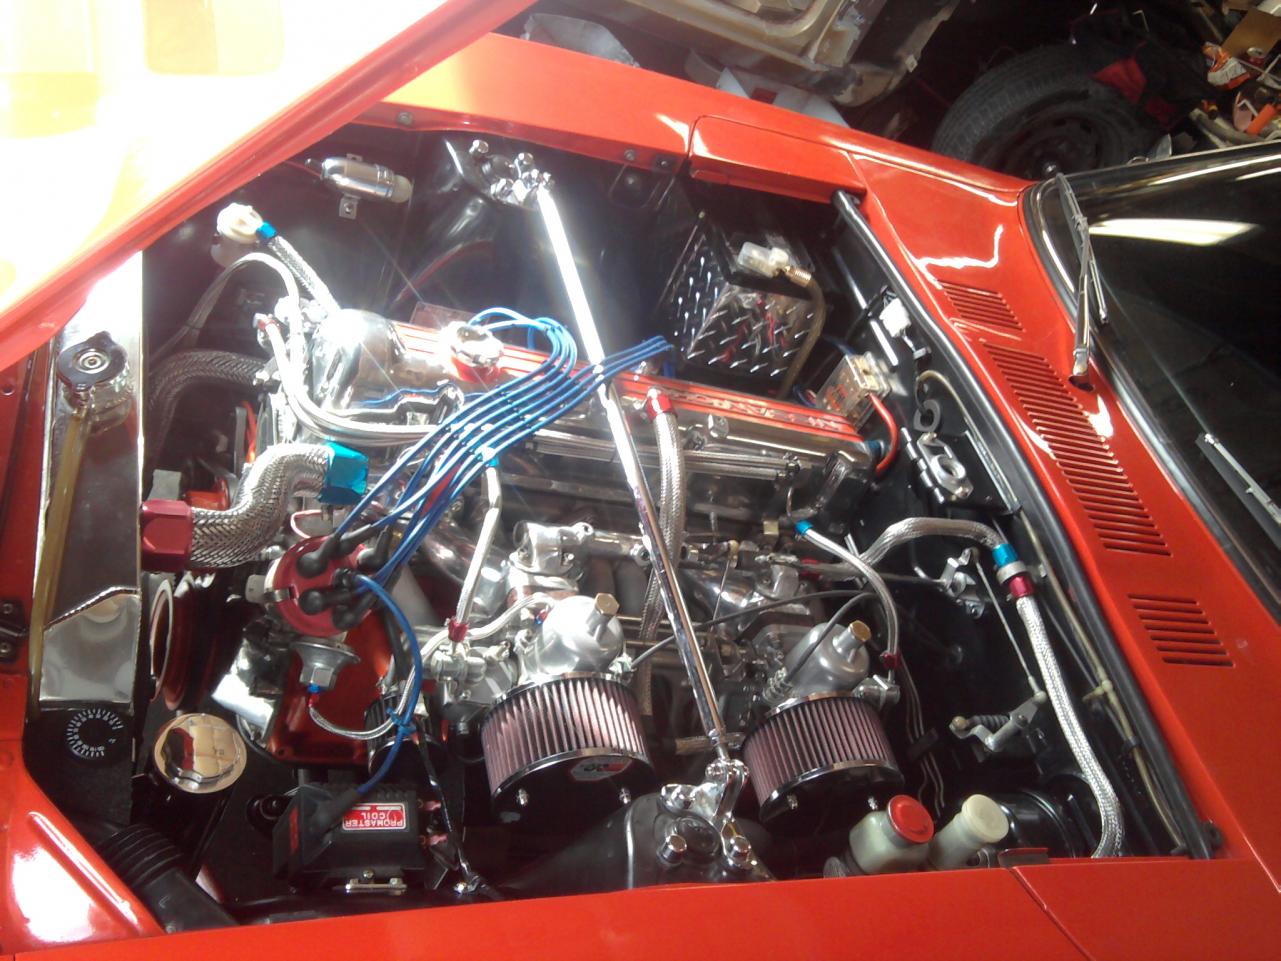
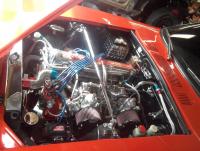
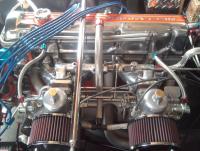
When you tear it apart, you'll see a pressed in ring that holds the rubber boot, that seperates the oil chamber from the air chamber. That rubber boot is the whole problem with 90% of the fuel pumps I've worked on. I found a rubber firewall bushing that is wide enough to fit in the hole but the inner hole of the bushing is just small enough to be snug against the diaphram piston. It's not perfect but it at least slows the oil flow from the lower chamber to the top. Ont the mating surfaces, I like to use 600 grit wetsand paper on a flush surface to make sure any warpage is gone and will seal perfectly. Then clean the diaphram with brake cleaner. I use "Ultra Black" gasket goop to make sure that part never leaks again. On Some of the pumps I've dealt with, the threads are stripped. I've gone as far as using longer screws to allow the use of a Nut on the bottom side to allow me to torque all 6 screws down without worrying about it stripping newly tapped threads. When your engine bay is as nice as mine, you'll do whatever you can to keep it that way but make it still look stock. Dave Use Teflon tape on the inlet and outlet nozzles.
-
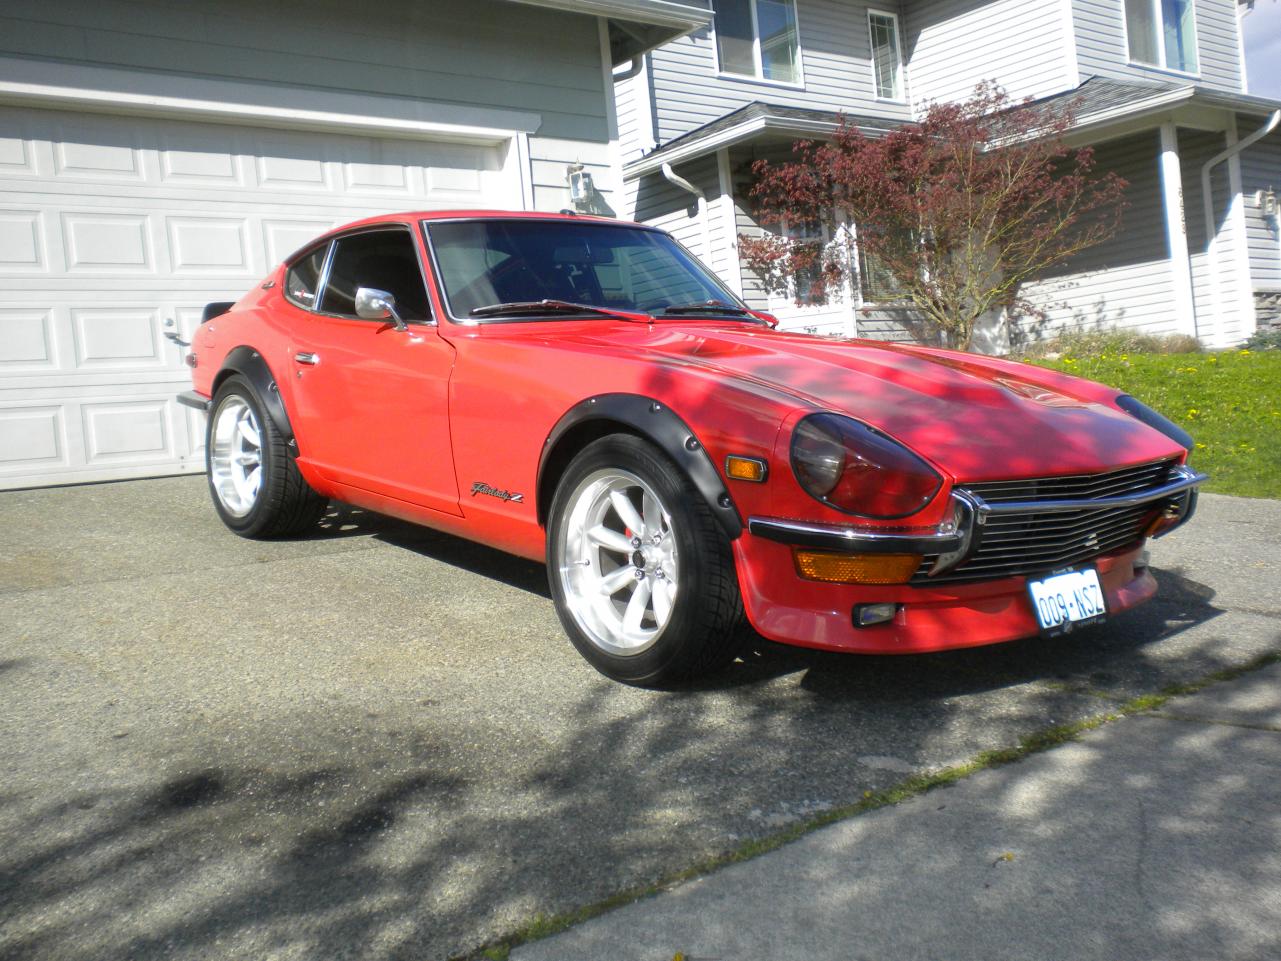
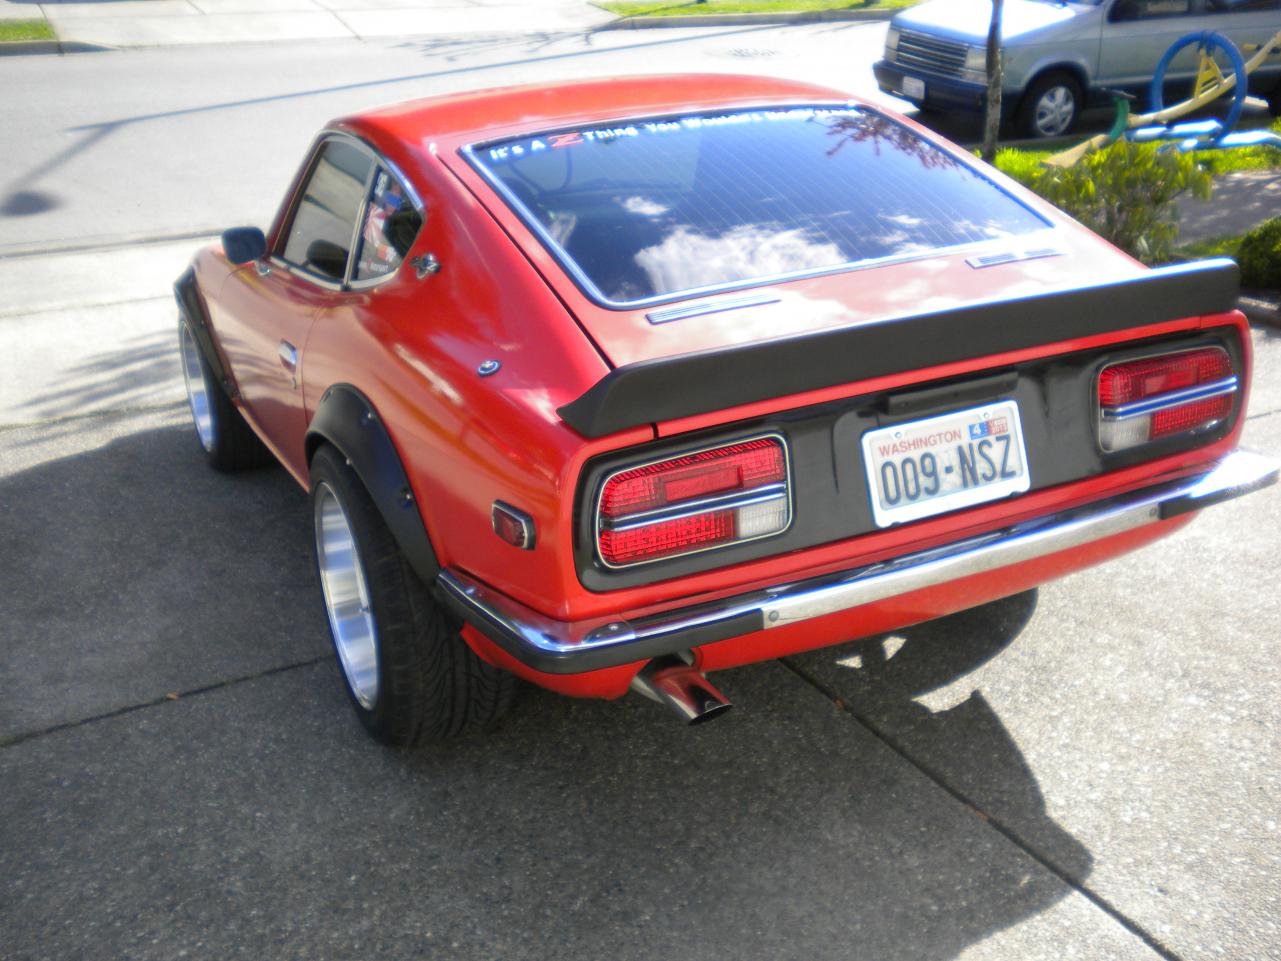
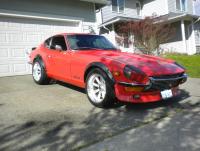
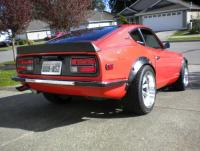
Been here and there. between Facebook, CZCC, working on my Z and orders, This guys a busy boy. I come back to see what's up now and then, check PM's, see if any new subjects of interest have been brought up, etc, etc. Me and Leah went to the MSA event. PLENTY of pics of my 240Z out on the web now. We were away from home for a week. Had a great time, met a LOT of people and put another 2400 miles on the Z. Man, does my butt hurt. These NISMO seats are NOT arse friendly for long trips. Dave Here's a few shots of the New ZG's, New BRE spoiler, the Rota RB's and I even tried to polish the paint a little before we left.

-
In it's current state. Taken Before we left for the MSA WCN.... Sorry for the Cell Phone pics, but there it is. Dave
-
Yesterday, I installd the MSA Stage 1 Rear disk brake conversion Kit. Just need to adjust the E-Brake and we're golden.
-
Thanks Bart, and it's conversations with customers like yourself that make it worth it sometimes. I really appreciate all the kind comments from everyone. like I said, it was a rash decision and one I hope to never make again. It was a bad day, let's just chalk it up to that. Thanks again guys. Dave
-
I WILL be at the MSA West Coast Nationals this year. I hope to meet as many of you as possible. Come on over, introduce yourself and shoot the ****e for a bit. Come meet my Beautiful Wife and give me a much needed "Atta Boy" on the work I've done on the car. I need that kinda thing to keep going. Plus it makes the 2400 mile round trip, worth it. Thanks again to All. I didn't really wanna leave but the devil on my shoulder was pretty convincing at the time. Dave
-
Hey guys. Many of you had read and were following the thread I wrote titled "9 1/2 year member saying Goodbye" I think I need to clear up a few things. I had a very bad week and was on edge for most of the week previous to the Saturday thread. Apparantly there were some glitches, both in the software at CZCC and in my brain. Best way to explain it was I was asked about being a Club Sponsor, then my thread had dissapeared. That, and the previous week sent me over the edge. Like I told mike, "I'm SO NOT That Guy" I'm calm, cool and collective, I keep my head in the worst of situations. So I have No idea where last weeks thred came from, it's just not what I normally do. Me and Mike discussed it in detail. Apologies were made on both sides. We agreed that me up and leaving wasn't very fair to anyone who I have or may help in the future. Yes, I've slowed down my frequency of visits lately. Mostly due to the lack of new threads with content that that hasn't already been covered. New members really need to learn the Search function, on this and every car related site. Most car sites have been up for years, which means tons of compiled info over the years. If you have an issue with your 240Z, IT"S Been Covered at least once. Mike says he's looking for a way to retreive the "SENT" box PM's that dissapeared do to Programming which automatically kills PM's when you're "WARNED" I was wrong to air the Preverbial Dirty Laundry in public, and I apologize for that. So I'll be sticking around for a while longer. If you guys don't mind, that is..... Dave