Zs-ondabrain
Free Member
-
Joined
-
Last visited
Everything posted by Zs-ondabrain
-
 These guys sell cheap and ship fast. Great price too. 100 squae feet of 50 mil FatMat. 2 rolls of 18"x 33 feet and the shipping weight is only 33 pounds and shipping is FREE!!! Just $129.95? total. You've seen my 260Z page and this is what I used. http://cgi.ebay.com/100-FatMat-Xtreme-Car-Sound-Deadener-Dynamat-Roller_W0QQitemZ180483067052QQcmdZViewItemQQptZCar_Amplifiers?hash=item2a05a10cac Real sticky, easily forms and easily cut to form. Wipe down everything with alcohol or brake cleaner, let dry and go for it. 100 sq. ft is more than enough.
 -
Yup. She'll have an Older brother (70') and a younger sister (74') to look up to and keep her company. I can't wait to park all 3 in the driveway at once and take the long awaited "Family Picture" Tomorrow is taking way too long to get here. ya know? Thanks for your support and kind words guys. Going to bed now, won't sleep but I'm going to bed. I'll repost tomorrow, after I give her the bath and take pictures. Dave
-
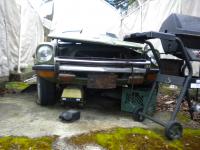
right now it's got that "High Boy" look with no motor or tranny in the front. Lucky is damn right. Lucky to have great friend who keep me in mind and thought. Lucky to have a wife who doesn't own a gun. And who loves me no matter what. And especially lucky to be a member of the greatest Z site on the planet, hands down. Can't wait to just get it home and give her the first bath/cleaning in 15 fricken years. Dave
-
When I'm done with this one, I'll be in it for about $13K to $15K And that includes New wheels, tires, complete tear down and rebuild of every part, replacement of what needs replacing, Paint, custom interior, seats, motor refurb, struts and springs, urethane everything, etc, etc. http://www.cardomain.com/ride/3195135 Dave
-
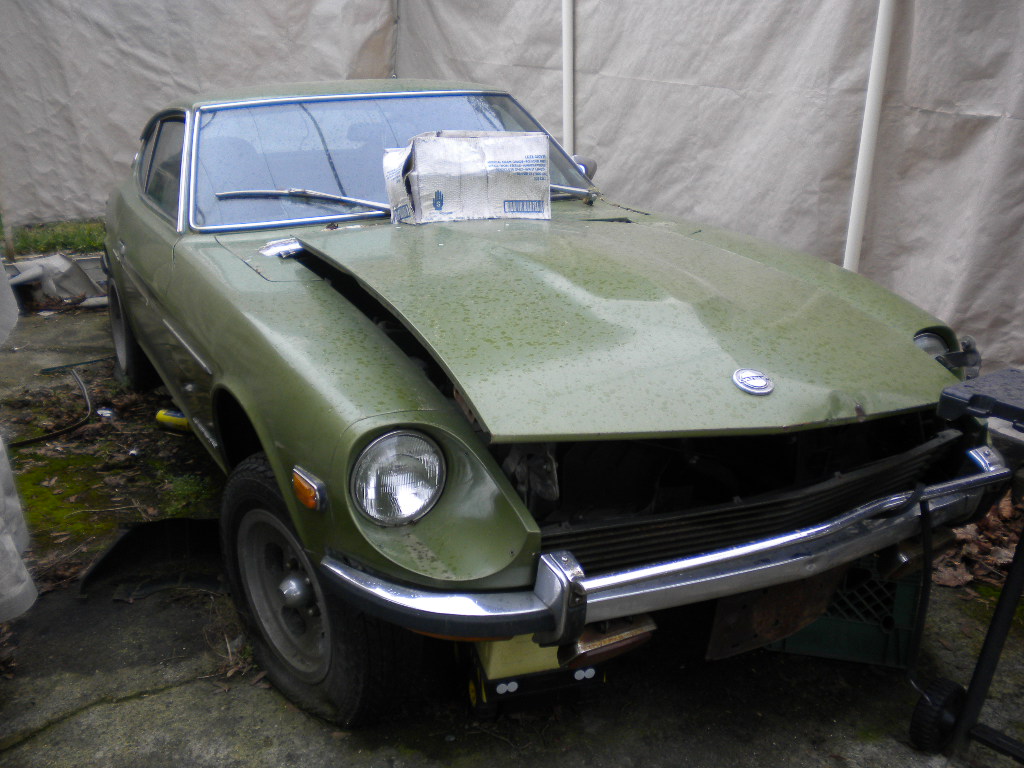
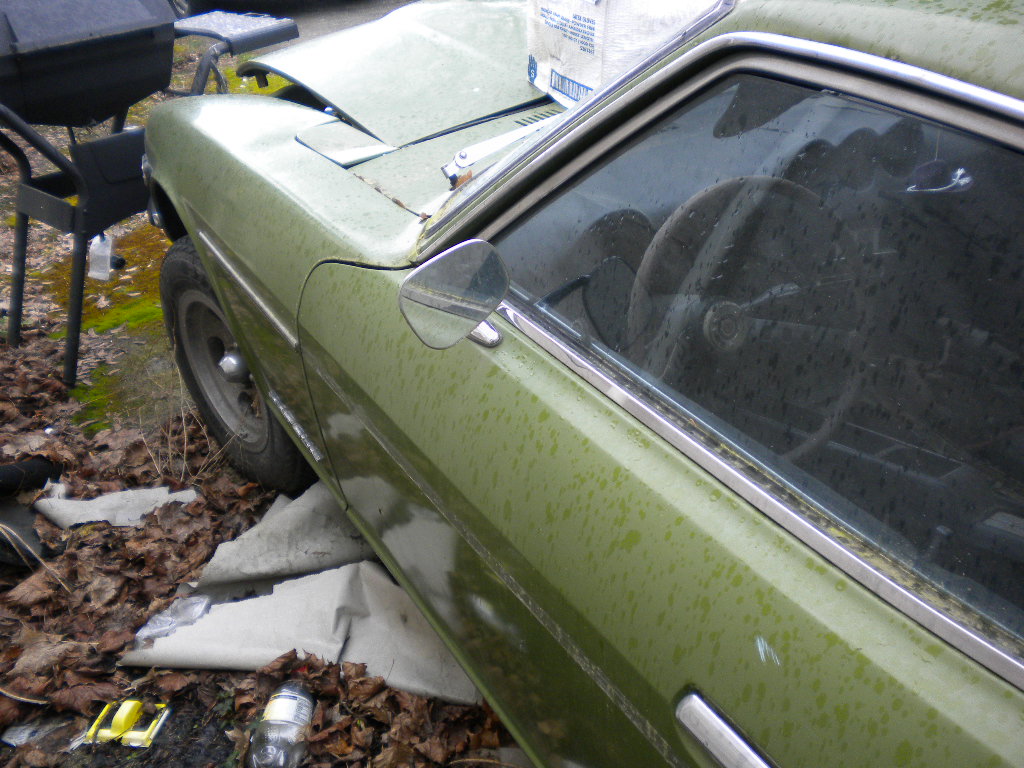
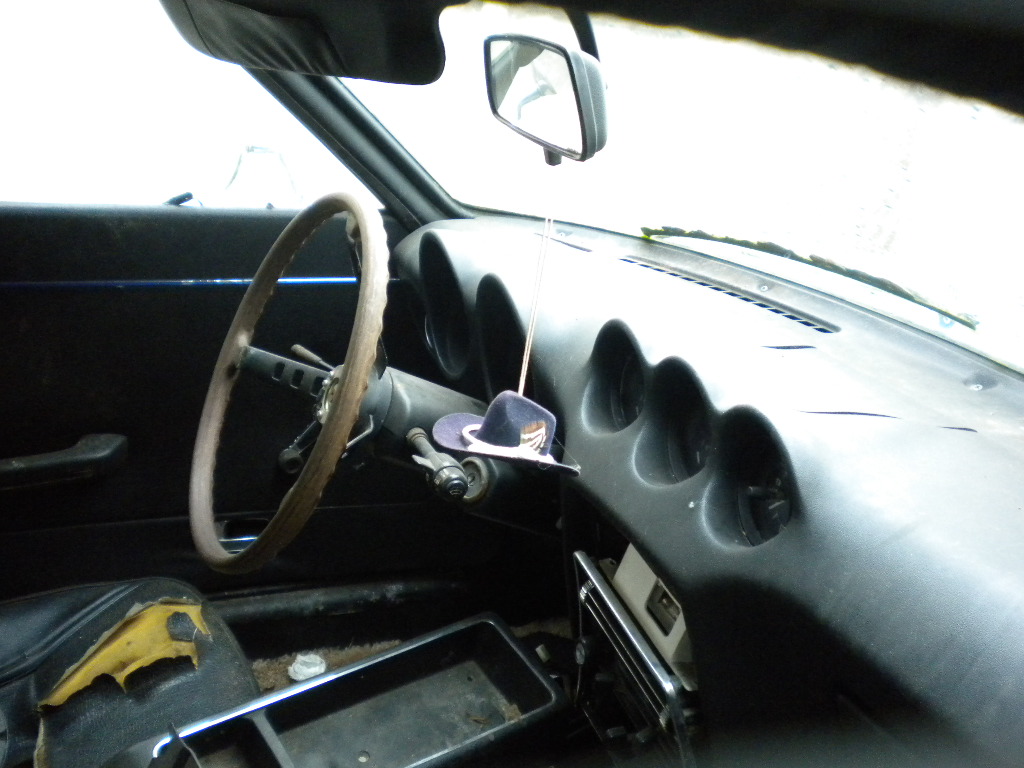
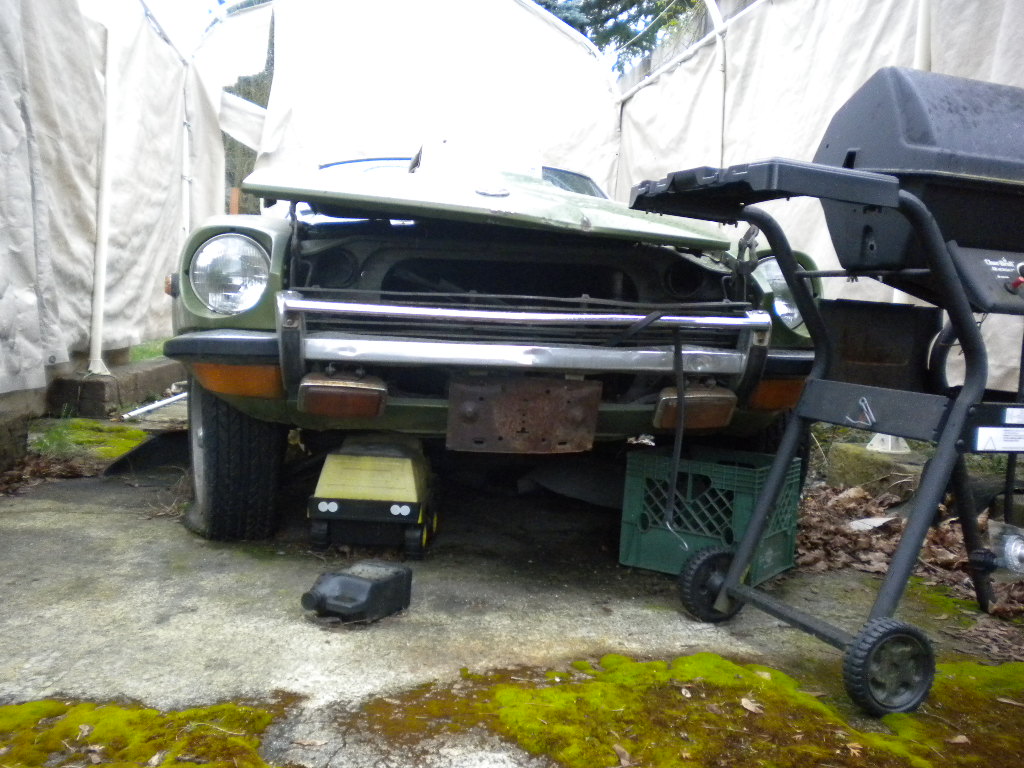
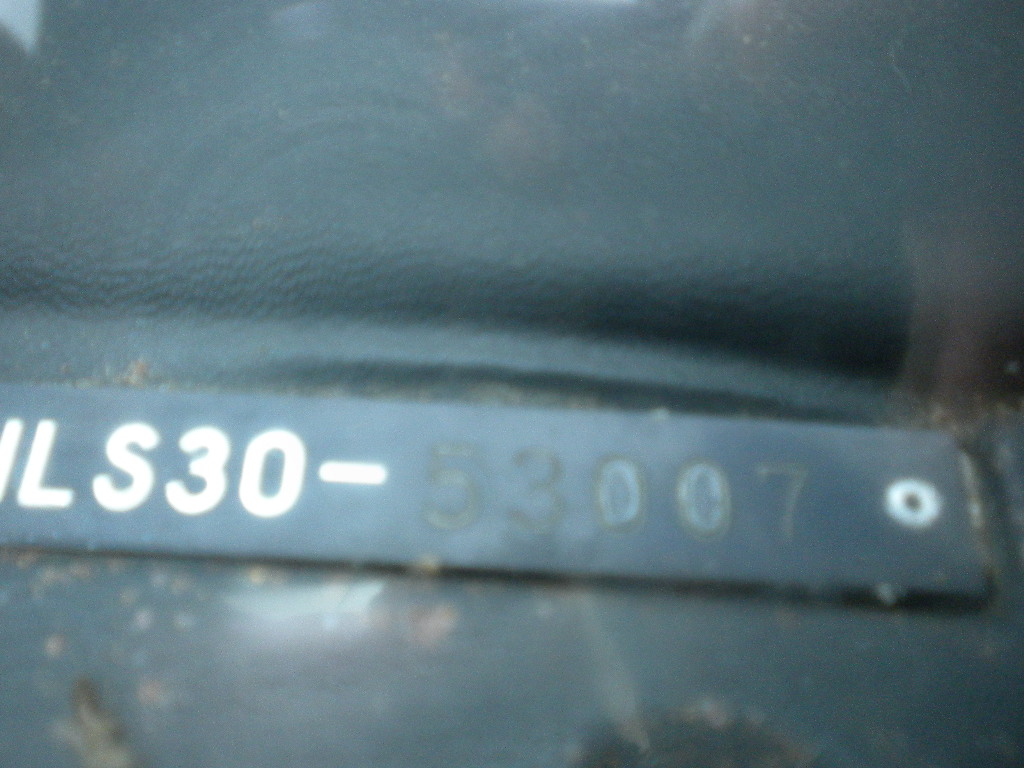
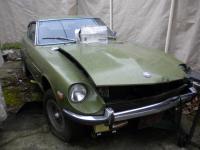
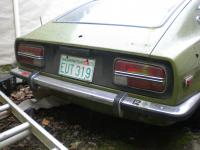
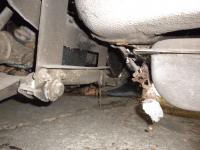
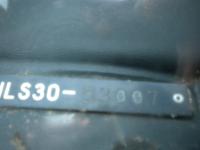
If she (the Wife) lets me live till next week, it'll be a Miracle..... So an old friend wrote me from Iraq this week, telling me that he would finally finish his tour and be home by the 26th of March. But his 240Z needs to find a new home as the military is moving him and he can't afford to move it where he's going and there won't be any room anyways. He tells me to find someone who needs a 240Z as a fixer upper. So here's the details.... 72' 240Z. 11/71' HLS30-53007, Factory paint is 113 green, all 4 tires are flat and need replacing. The car has sat since 1995 (or at least that's what the tabs say. July 95) So when I checked it out yesterday, here's what I found... 4 flat tires, hood is unbolted and has a front dent, engine is out and on an engine stand, exhaust manifold, carbs and intake on the front seat, seats are not looking good, dash has 2 long cracks in the typical area above the gauges, center console is there but backwards and just sitting there, Transmission in the rear hatch, Has both 240Z bumpers, rear is in great shape, front has a few dents that can be pounded out. Roof has many small dents but might be managable or I'll have to pull an Arne on this Z as well. Now the good news......... NO major or even small dents on any panels but the roof. NO visible exterior rust and the frame rails look awesome!! There is the usual Battery area rust. There's a small dent on the almost rust free floor boards from an idiot trying to jack it up wrong but that's easy to fix. Everything seems to be there!!! And did I mention that it's FREE!!!!! That's right, completely free........ So I head over again today with 2 spare tires and throw them on and take the 3 decent looking wheels to the gas station and air them up. Holy crap!! They hold air!!! Remember, this car has not moved for 15 years and the tires have flat spots and cracks from sitting so long. By the way, the tires are Pirelli P77 all season tires that look to have 90% tread on them. Too bad they sat for so long, they're damn good looking tires. And all 4) 5 slot aluminum wheels are there and just need a good scrubbing. My neighbor is gonna borrow his brothers flat bed trailer and Tyler and my neighbor will help me push it on the flatbed and get her home, all of 4 miles away. So I'm super excited at this point. Gonna clean it up, give her a bath and a good spit shine, polish the wheels and get new uncracked tires, etc, etc. Not sure of the real plans yet but she's gonna be a beautiful car in no time. More to come tomorrow, after I get her home. If Leah don't kill me, Dave


-
I'm on my way out the door to go put inflated tires on my NEWLY aquired 72' 240Z..... It has 4 flat tires and the only way to get it home is to put 4 good tires on it and roll it onto a flatbed. Gotta also bolt down the hood and clear a runway to get it on the flatbed. I'll do a thread/writeup later on.. Super excited to get my 5th Z car. That's 3 at home now. Dave
-
So while installing Tylers carpet kit yesterday, I popped open the AFM cover to inspect the meter because it was seriously back-firing when a little throttle was pushed. AND I MEAN SERIOUS SPUTTERING AND BACKFIRING!! So I've never adjusted one before, nor have I even looked at the FSM to figure it out. BUT I took a whack at it and loosened the small screw and pushed the black notched wheel forward by about 1/8" and retightened the screw. The car is now responsive, smoother idle and most importantly, No more backfiring. Hopefully, this little screw has been the issue the whole damn time and it's been fixed, finally. Time will tell though. This car is slowly becoming a decent first Z for Tyler and you can see it in his eyes. He's happy. My job here is done, Dave
-
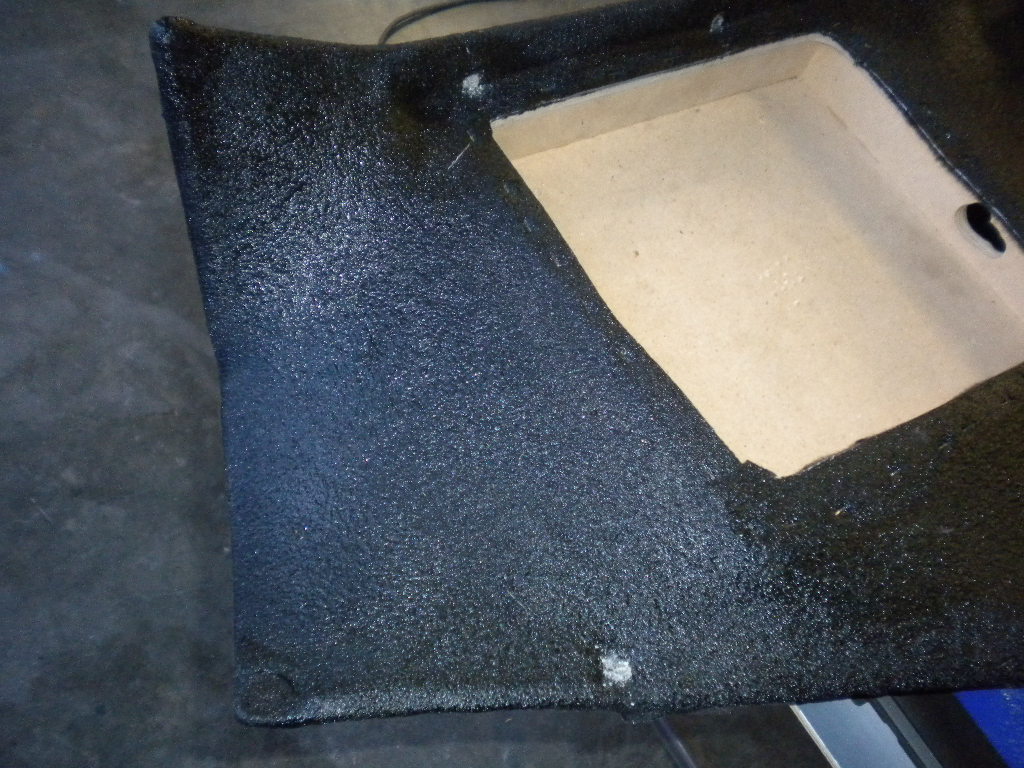
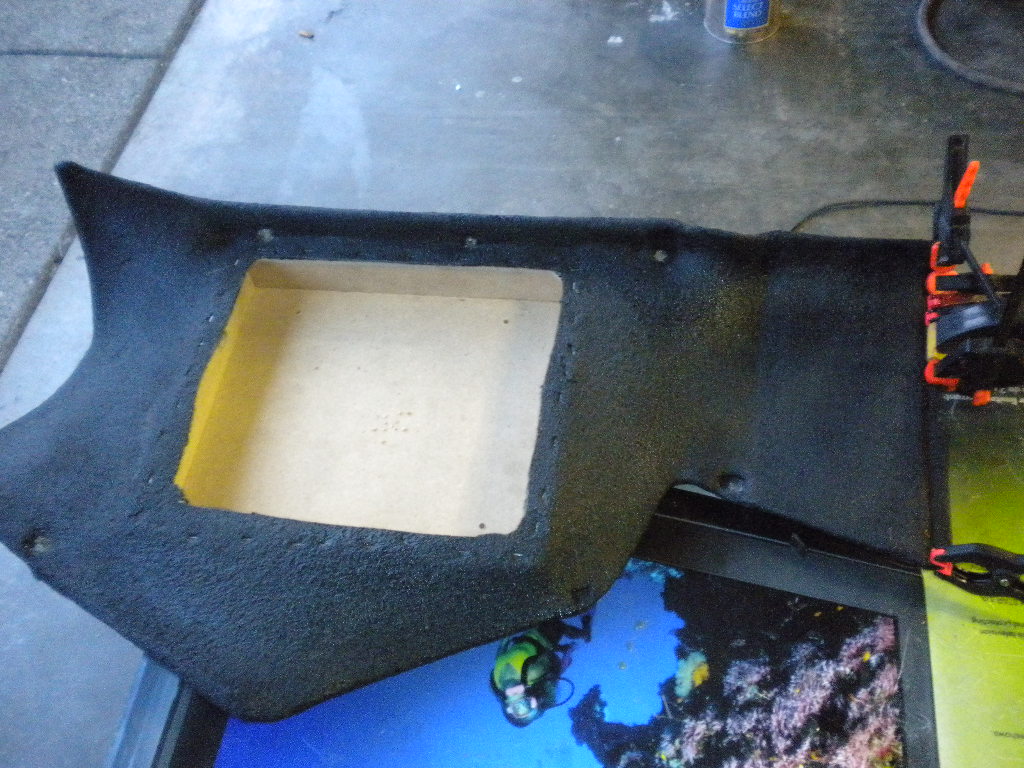
One of the 2 peices above was missing the cut-out hole for the seatbelt and the guy who sold Tyler the kit forgot to put in the Riser peice behind the seats. All in all, it's a good starter kit, to make the car look better but NOT a professional kit by any means. There are area's where the sewn on lip isn't even sewn to the carpet and no care was takin to push the pile under the sewn lip, so it looks like a serious case of bed head on some parts of the lip. I would have personally cut the carpet with a Hot knife to stop the fraying and give it a cleaner look. But that's just me..... But these are details that you have to look for and as long as Tyler's happy with the end results, I'm happy for him. Dave
-
So Tyler just left here a while ago. We figured out that the front section goes from the firewall 2/3's of the way back, to the front mount area of the seats. The 2 peices above continue from the front seat mount to the rear seatbel/wheel well area. So it's been figured out. I don't know where he got the kit but I wouldn't have paid that much for the kit. Sloppy work and poor craftsmanship. The short pile carpet frays very easily and the sewn on seam wrap looks as if you could just tear it right off. I'd say that Tyler is happy with the kit because he's never had an interior in the Z and this one makes the car look much less "Abandoned" as his dad put's it. Dave
-
was gonna work on it later today but apparently I didn't add enough hardener. it's still a little tacky, So back to the heatgun. if it's not totally cured, it'll gum up my sanding disc.
-
Do a search on starter relay upgrade. It's just a relay that will take your weak signal and turn it into a full battery strength signal. here's a quick wiring of a standard 20/30 automotive relay. Plug your starter wire (yellow'ish wire) into tab #85 connect a ground wire to tab #86 Connect a 14 gauge fused wire from the battery to tab #30 Connect a 14 Gauge wire from the #87 to the starter Solenoid. That's it. pretty simple. Your inline fuse should be a 15amp fuse. Dave
-
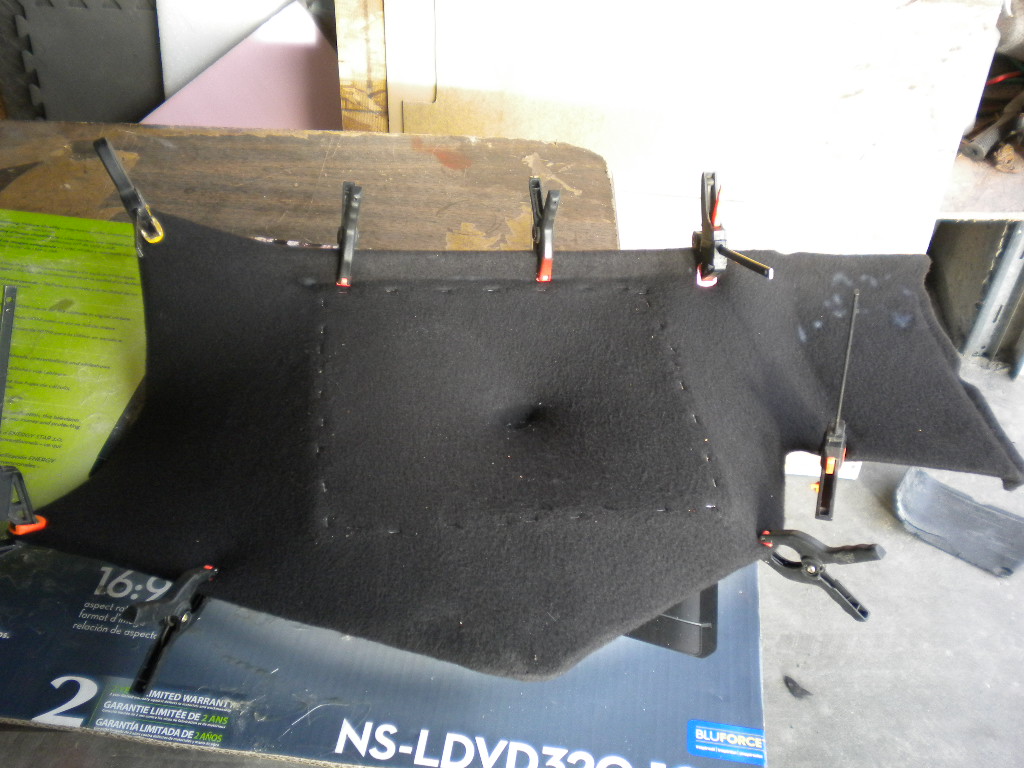
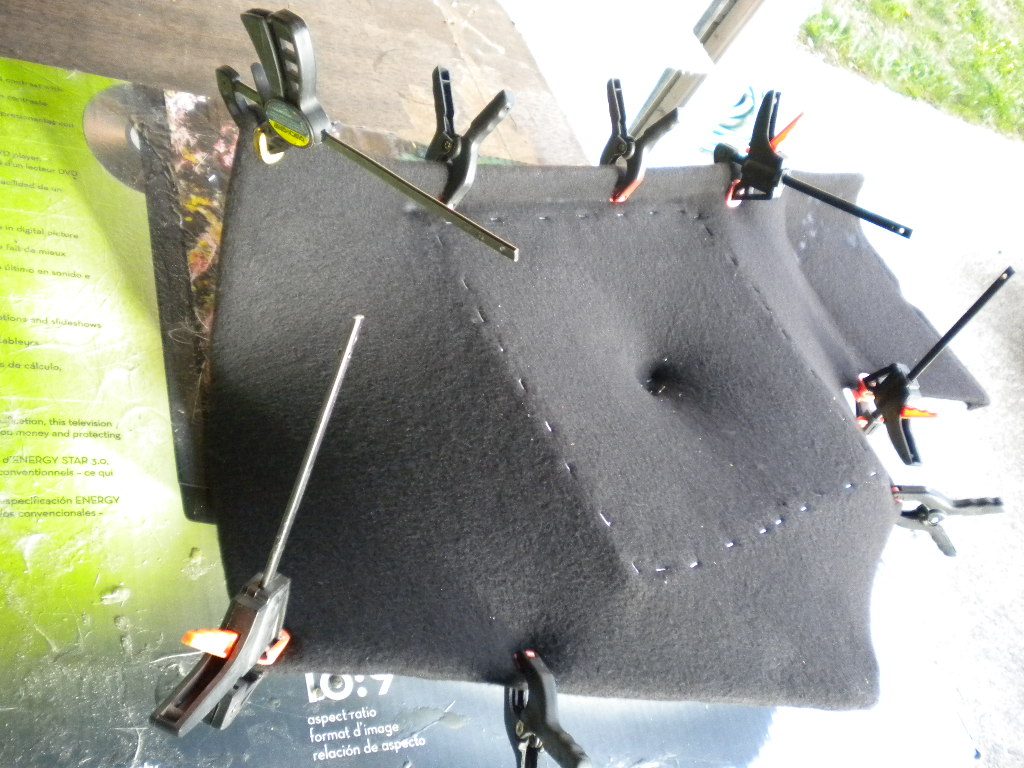
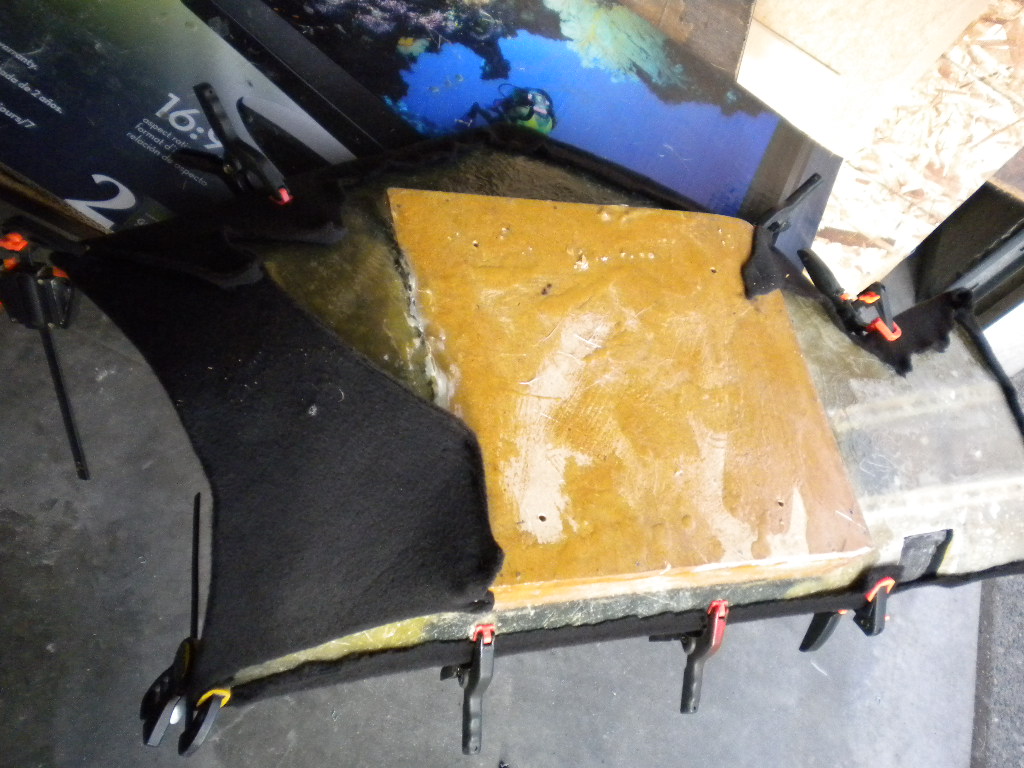
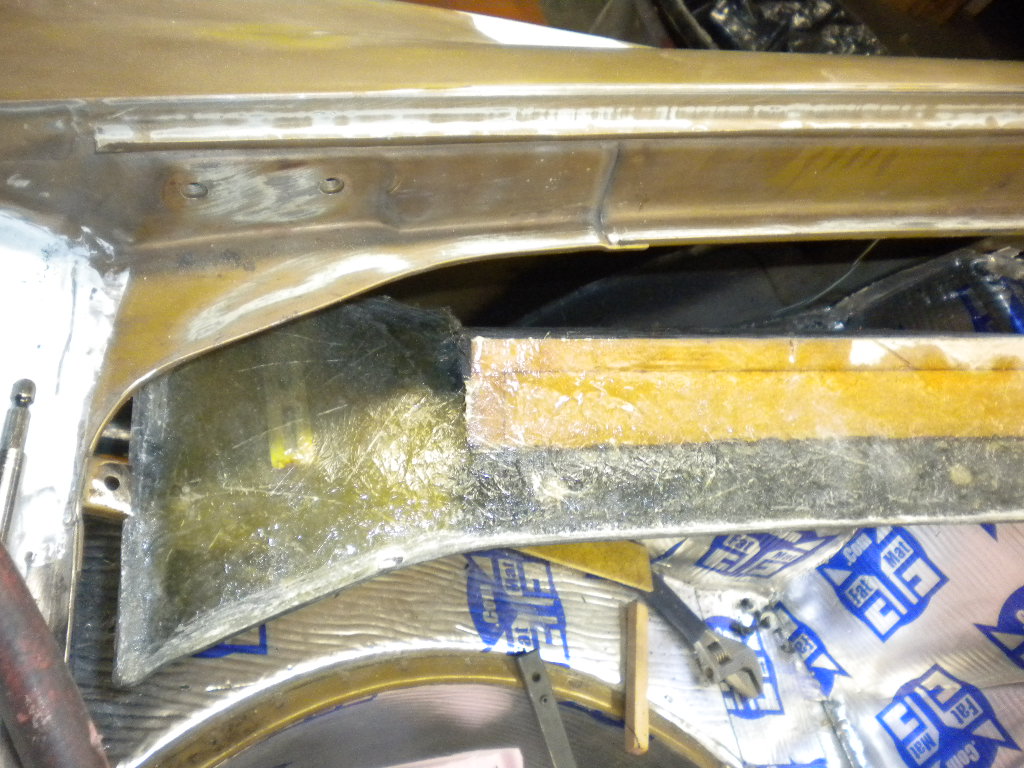
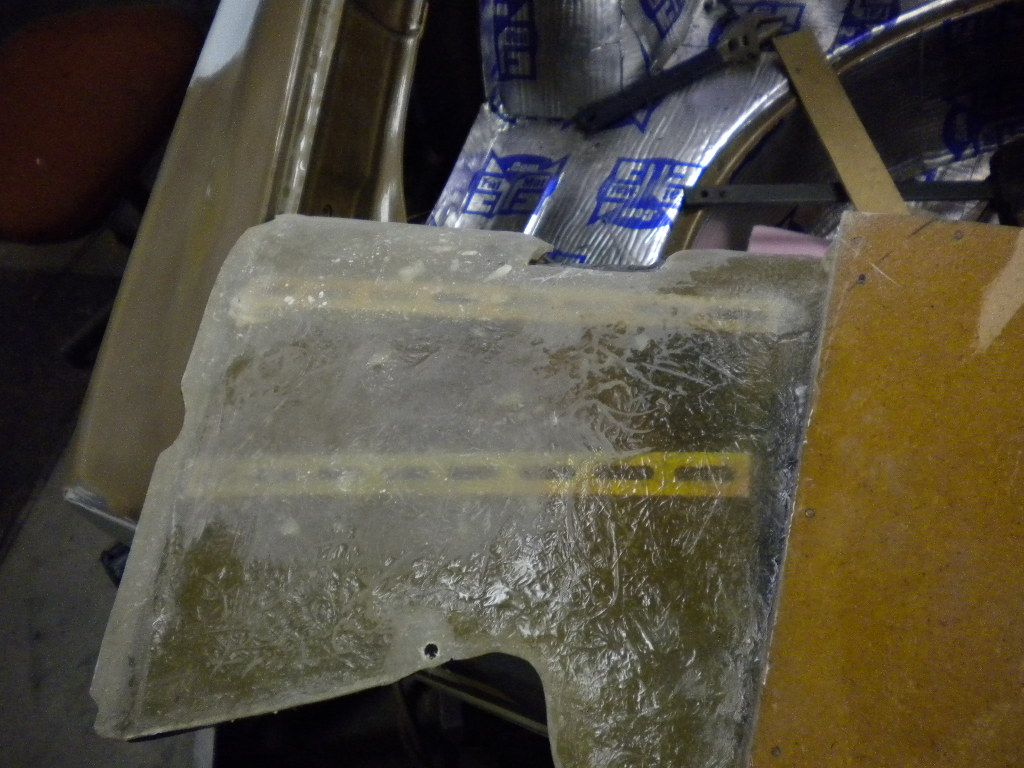
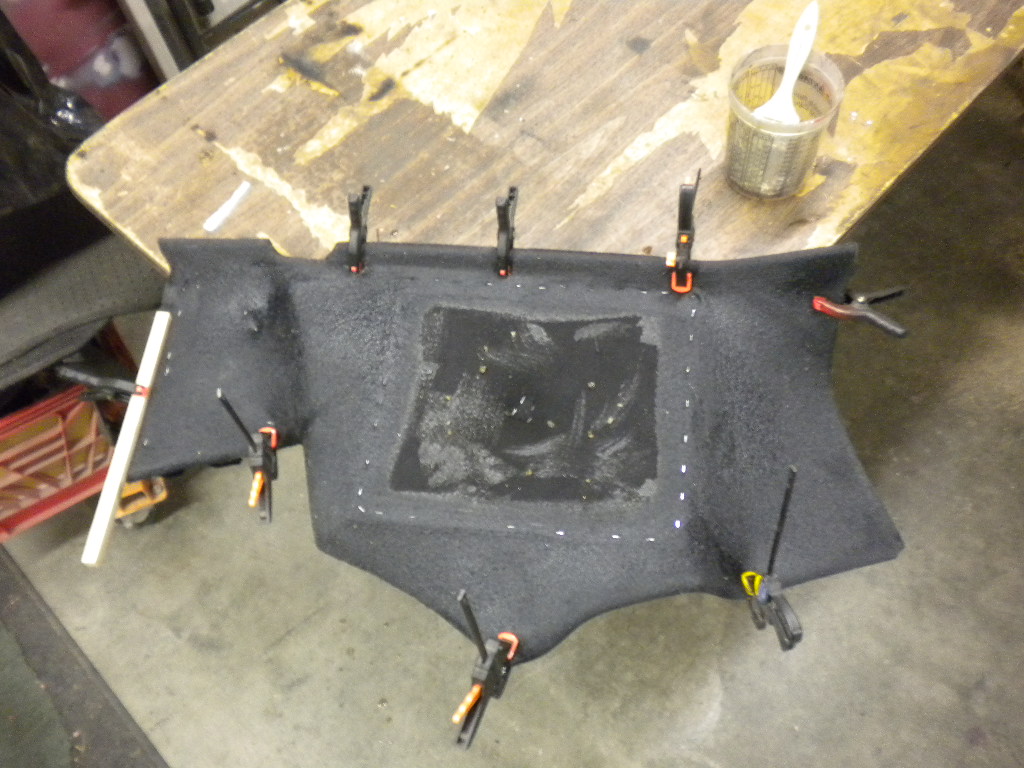
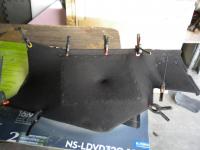
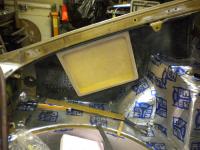
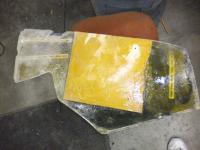
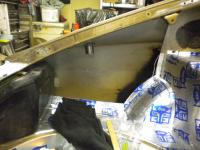
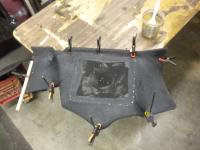
Sun came out today and I can only do so many upgrades before my hands give out and my eyes get blurry. The Reading glasses only help so much...... So after reinforcing the back, I started stapling the fleece to the wooden frame. But I went a different route this time, SUPER GLUE!!!! It's awesome for tight corners and tucking where staples and clamps just won't work. Only takes 5 seconds to get the glue to hold the fleece down as it absorbs the oils from your fingers, that have worked it's way into the fleece while I'm pushing the fleece into the panel with super glue on it. And that holds the material in place while I lightly brush and roll the resin into place. Being carefull to not break the fleece loose from the panel while brushing. The end result is a decent panel with curves that I couldn't manage to get before, unless the panel was a staplable wood product. Dave


-
I always loosen the 2) nuts above the window crank that hold the forward window track. In some cases, you'll find it easier to just unbolt it, slide the window in the reach inside and slide the track back on and rebolt it down. good luck, Dave
-
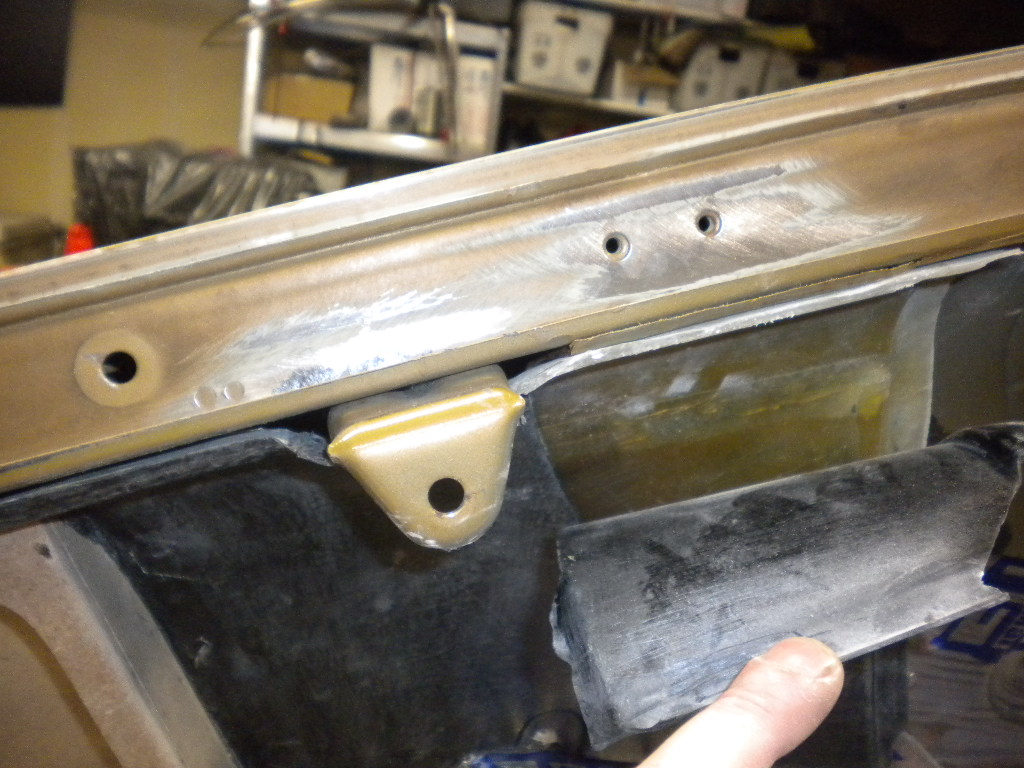
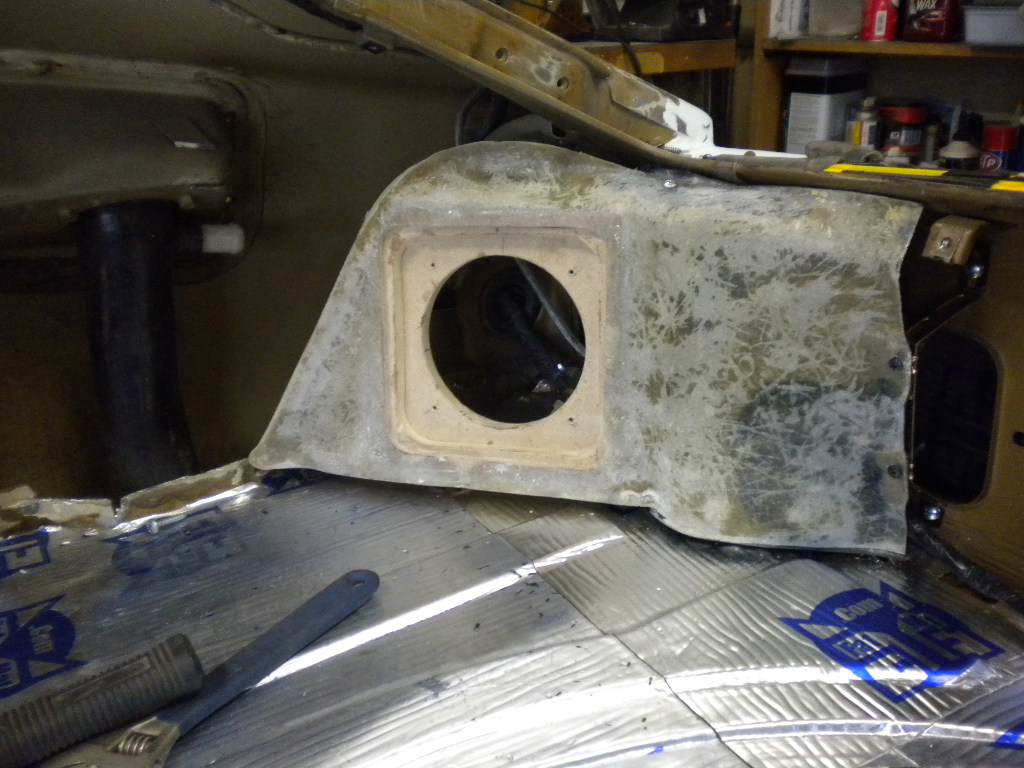
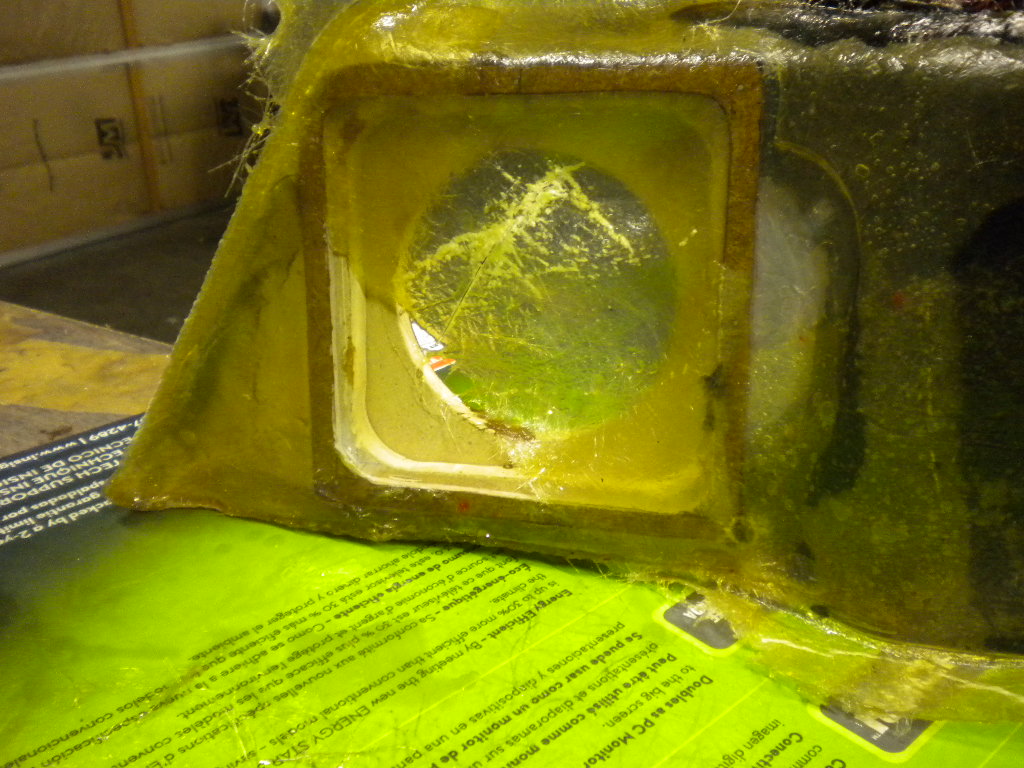
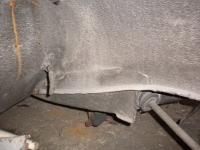
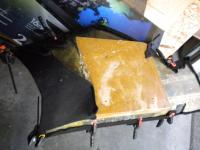
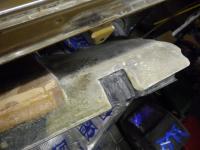
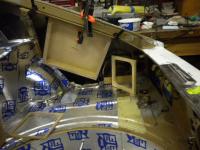
Had to get the hell away from the Upgrade building today, everybody needs a day off, now and then. So I got some fresh air in the garage, kinda..... I don't think suckin in fiberglass fumes and dust qualifies as fresh air. But at least I got some work done. so much for taking a break.... you'll notice the backstraps used to reinforce the panel. The original panels is flimsy as hell so I glassed the whole backside before I'll wrap it in fleece for resining the front side.


-
Me and Kirk spoke on the phone last night for over 2 hours, and the whole alarm issue was brought up. I like his direction and the whole thing IS removable. And I don't think he'll be selling this any time soon. Way too much to do to it first. Dave
-
No problem. Just cover fuel, supplies and a vacation home for me and the wife and we're there!!! Part of the fun of building things like this is showing it off and showing how others can do it easily and on a budget. Kinda like the hot-rod guys on SPIKE every Saturday and sunday. I"m actually watching "Trucks" on Spike right now, while I build Headlight and parking light harness's. Well, doing more listening than watching. Dave
-
copy cat or should I say you beat me to it.... http://www.classiczcars.com/forums/showthread.php?t=36414&page=5
-
How is a Red-Top Optima an Original Battery?
-
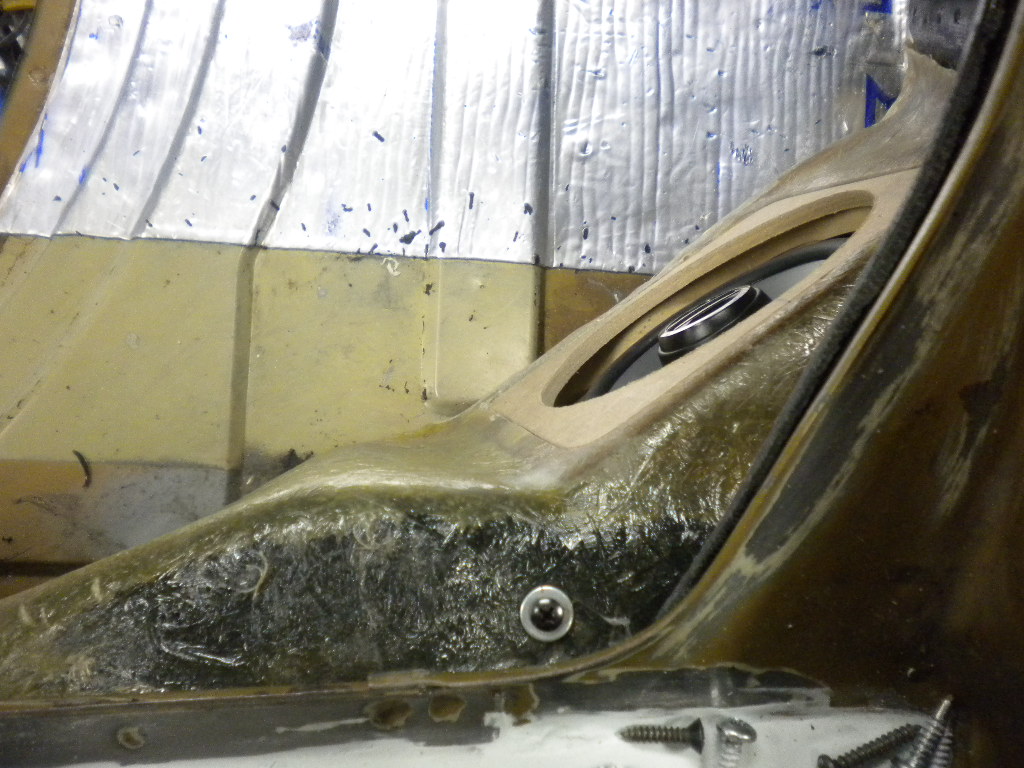
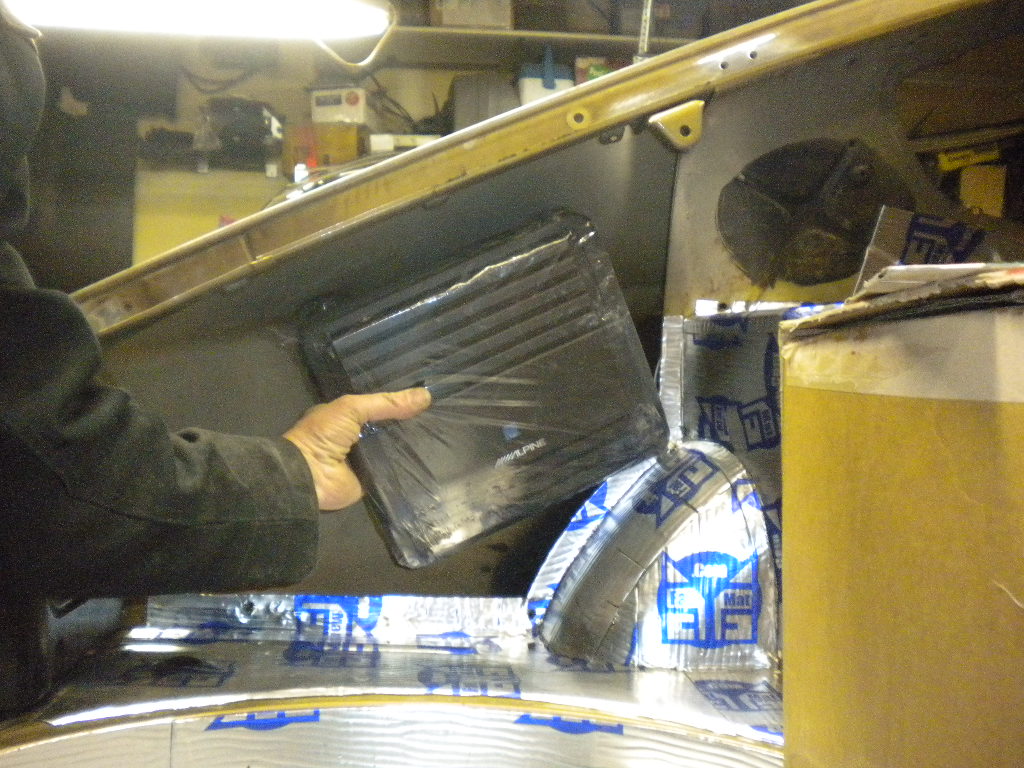
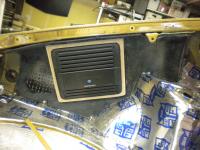
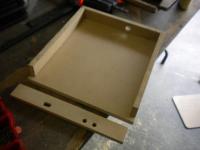
I actually expect Twice as much output from 2) 12" subs, as I would with only 1). I could use just one but the subs I'm getting require 0.65 cu.ft each and the wheel well with 1/4" sidewalls and 1" thick top and 1" divider with the subs .11 displacement comes to 1.3 divided by 2 = .65 each, perfect!! Resin is getting pricey. I paid $45 for a gallon of Polyester Resin from Schucks/O'Rielly. The front pods (kick panel) will be almost the same. 1) I'll copy the original panel out of 1/8" MDF cause it's stronger then the stock fiberboard. 2) Then I'll make a ring out of the 1/2" MDF (like the rear but round) with another 1/2" ring on top of that to allow the speaker to sit below the pod and be hidden by the 1/4" grill cloth covered panel. I'll do a full write up on it later. 3) then use radio backstraps to hold the ring out from the panel and at the correct angle. 4) I'll wrap the entire thing in Fleece and staple it to the back of the panel. The fleece is very stretchy and holds a lot of resin which makes for a thicker enclosure. 5) Staple the fleece to the ring as well. Then resin the whole thing, using a roller rake to work the resin into everything. After it's hard, cut the hole out and trim the excess from the back. I use a grinder and a double filter resporator, grinding the rough spots down so it sits flush against the wall that it'll be mounted to, test fit then clean up the rest. Paint it, wrap it or what-ever. My Z's get parked in the garage and have full alarms. I don't care how good of a thief you are, you won't get my Z's....... And yes, my windows are tinted with 20% tint. If you look again at the picture, you can see thru the front window and almost thru the drivers side window. If the house behind the car was better lit, you'd see it in the picture. By the way, I'll be using the Pioneer TS-SW301 shallow mount subs. Dave
-
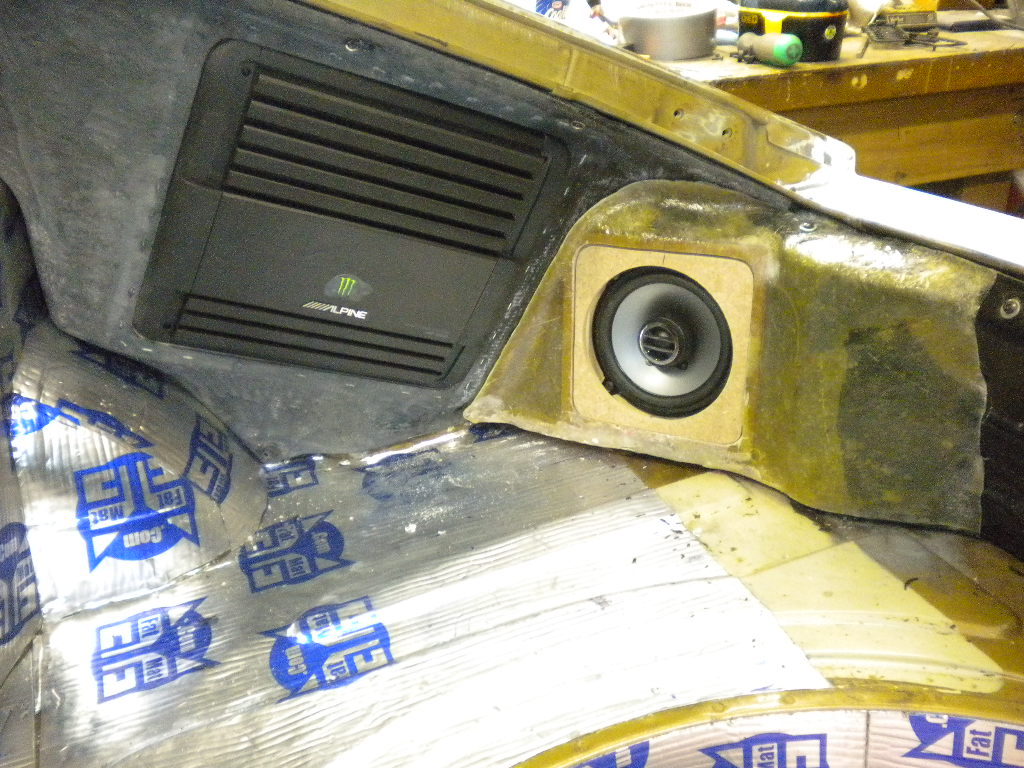
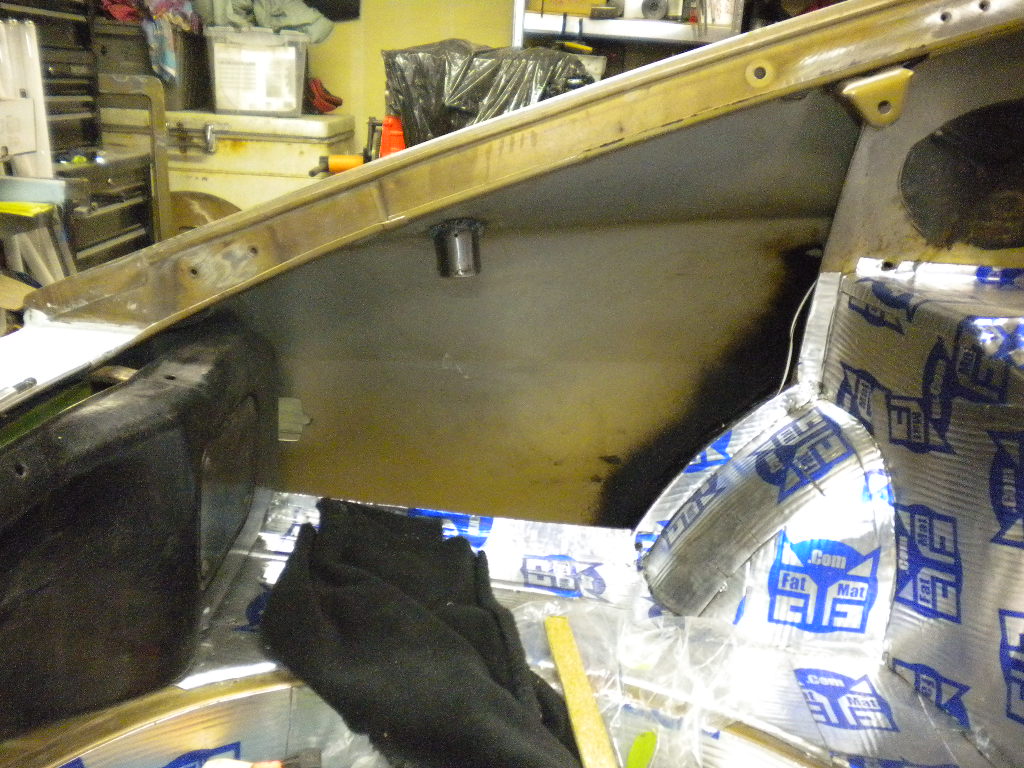
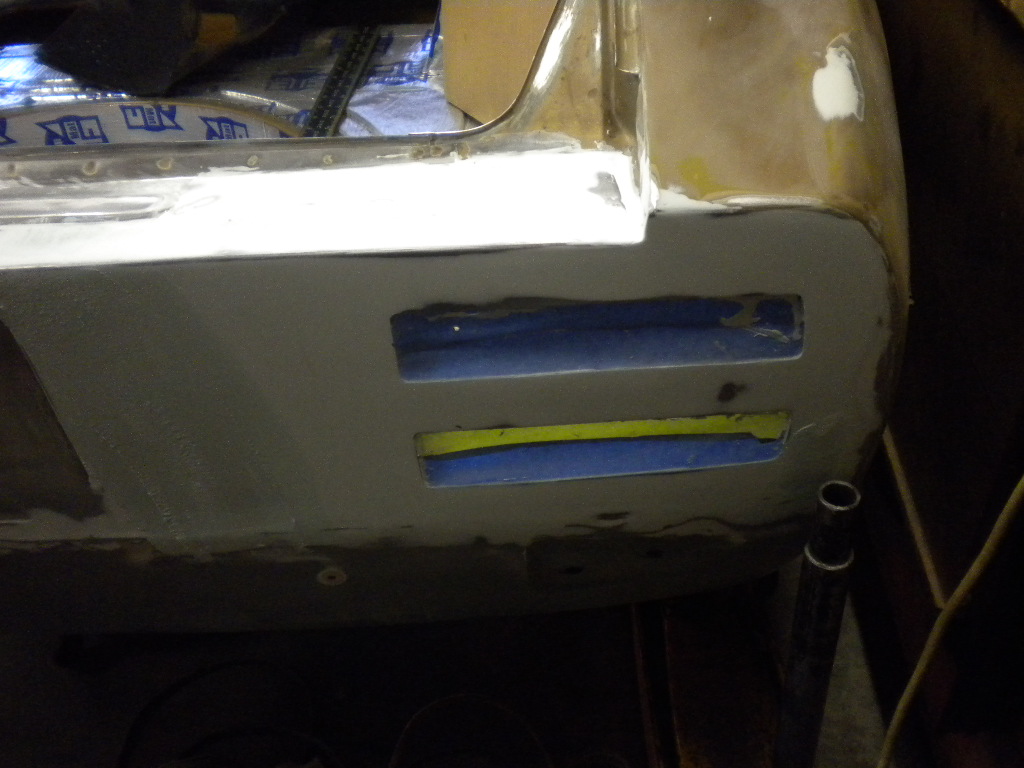
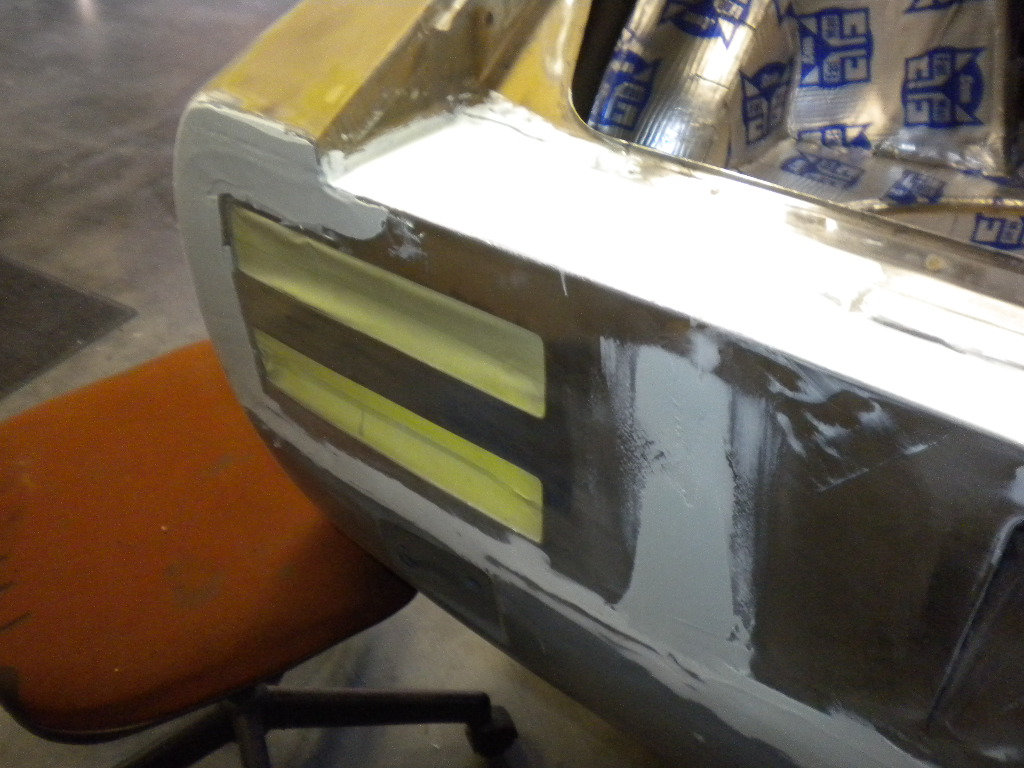
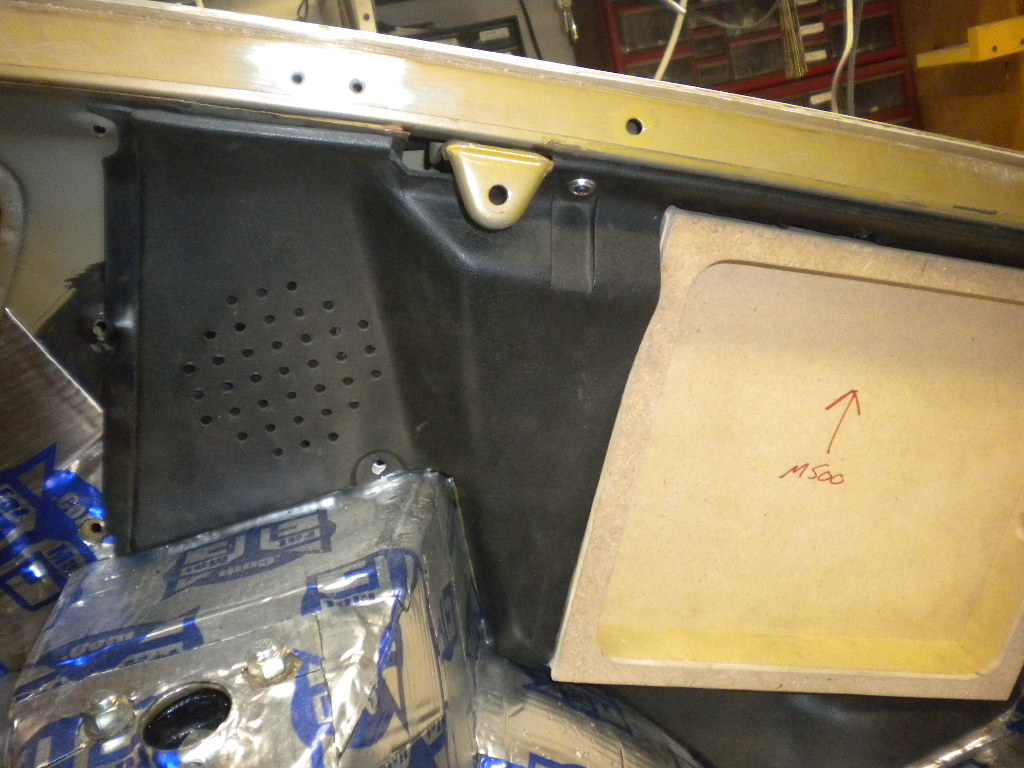
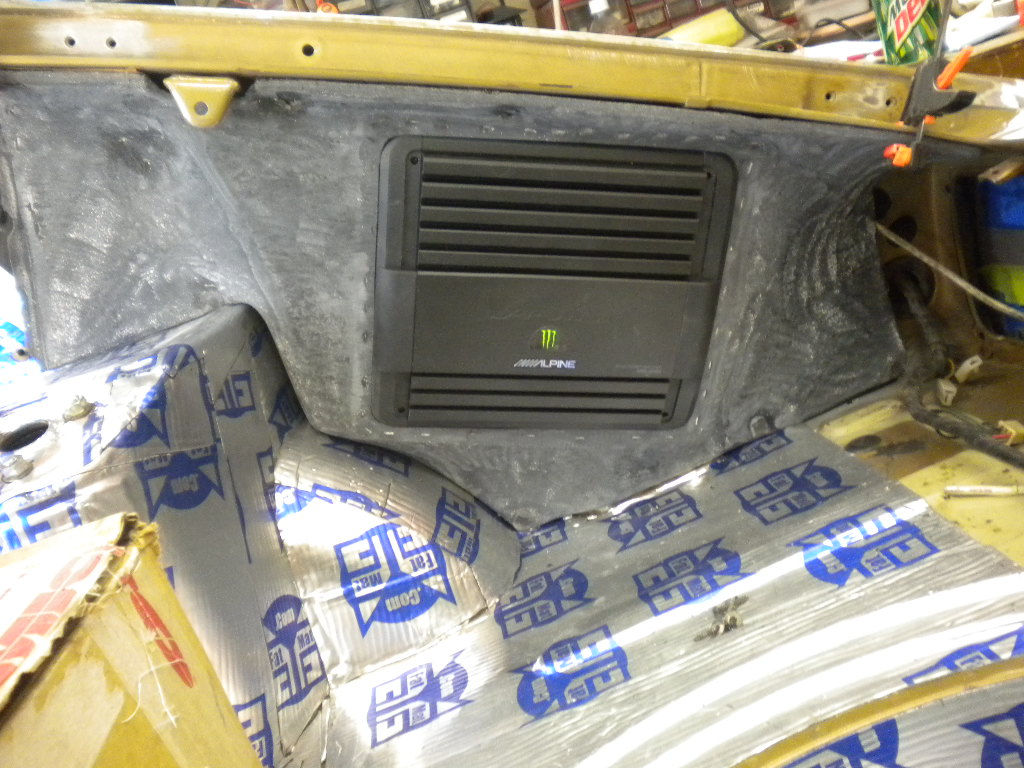
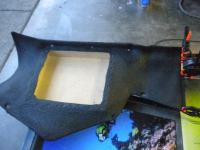
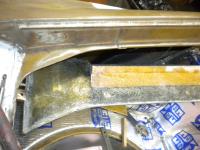
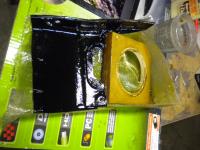
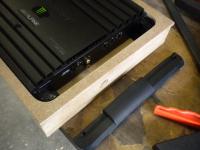
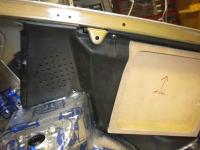
Thanks, The nice thing is the LACK of the EVAP and I'll build an almost identical amp panel on the other side as well. Took a little off the rear cover panel to make room for the new speaker pod but it was actually a cheap replacement cover, so no big loss. I can't wait to see it all in the same material, loaded with amps and speakers and see it all with the carpet in place. It should be real nice and flowing. There'll be 2) 12" subs in the spare well, 2) amps in the quarters, 2 speakers in the rear pods, 2) speakers in custom door panels with custom pods and another set of pods in the front kick panels. Got a lot of work to do. Anyone know where a guy like me can get a $7000 loan to finish this? Dave
-
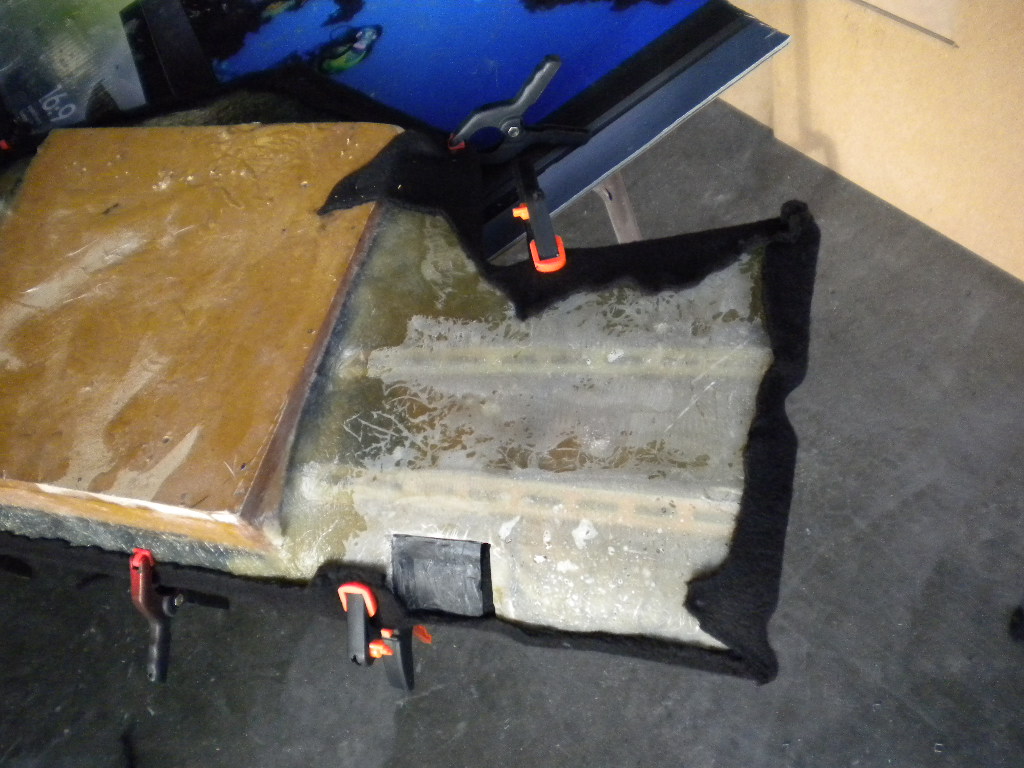
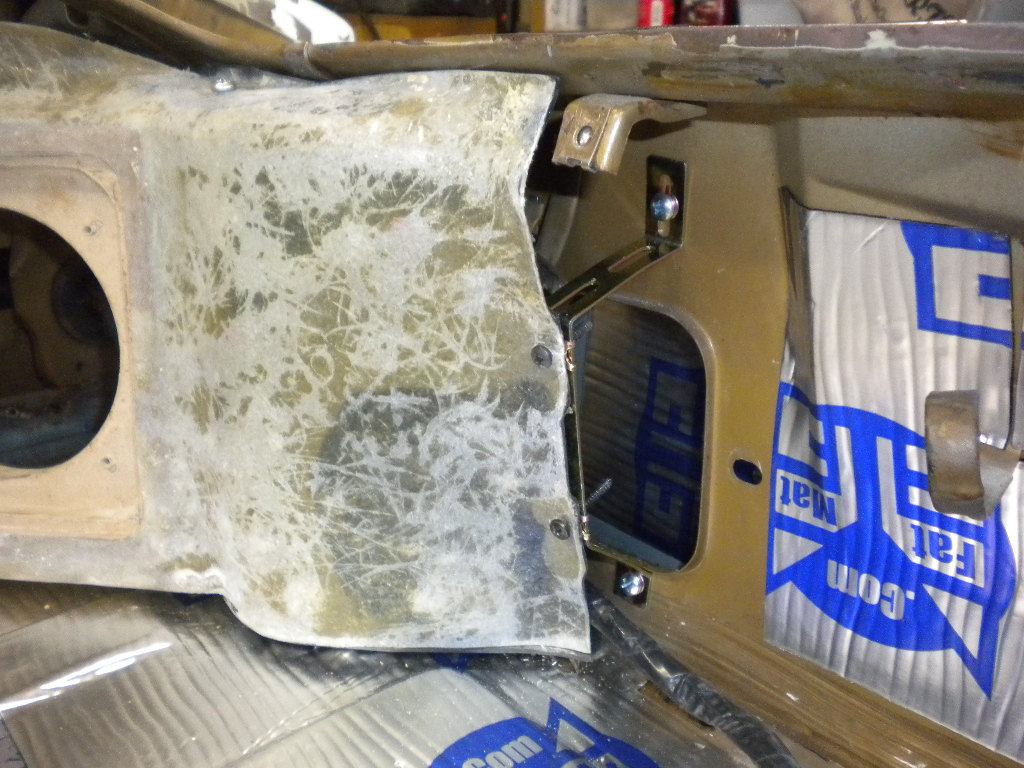
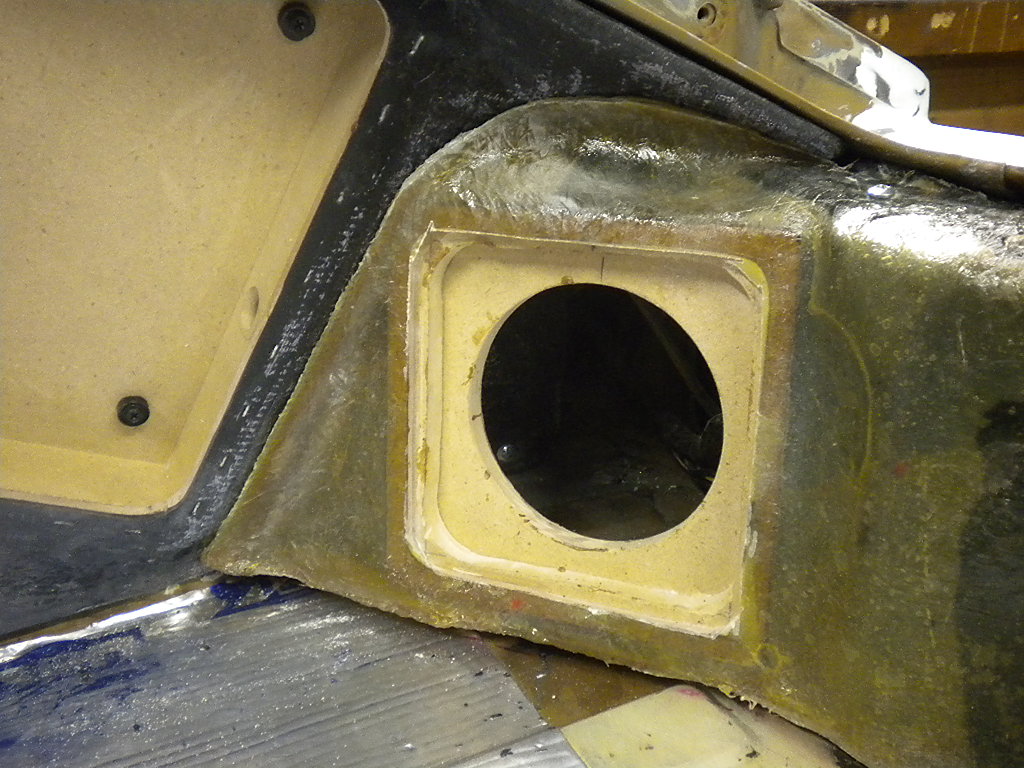
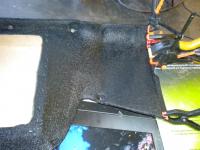
The corner speaker pod is just that, a Pod. You'll notice the screw on top and there are 2 more on the inside, screwing the pod to the amp panel. You can see the 2 screw holes in the first picture, on the right side of the picture. There are gaps between the panels but that'll be filled when the vinyl or Charcoal Grey Tweed is laid on and glued down. They'll be placed into the car in this order.... Quarter panel pods, then Left and Right speaker pods screwed into the quarter panels, then the center panel will cover the screws holding the speaker pods in place. Each pod or panel will overlap the previous and make everything appear to be one peice and only a few screws will be seen. You might even notice the lower gap between the speaker pods and the floor, to allow the carpet to slide into place without modifying the carpet. The question though, is Do ya like it so far? Dave


-
And here's the remaining pictures, I'm done for a few days. I gotta get this big order done. The last picture is the "Before" shot for the next set of pictures I'll upload next week?? Maybe. Dave


-
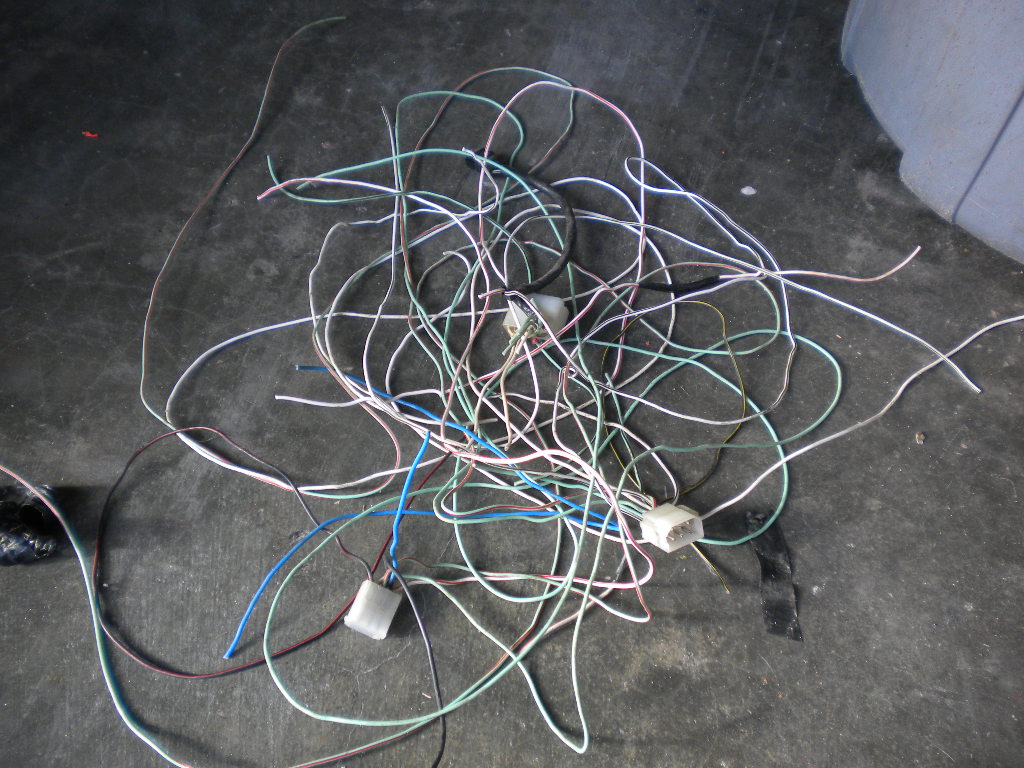
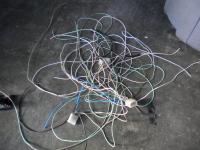
Did some more work while waiting on parts for a huge MSA order. here ya go, The 3rd picture is all the remaining "Interlock" wires torn out of the body harness. Dave


-
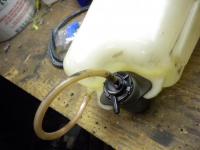
On my washer fluid bottle, I tested on an inconspicuas spot (bottom) but ended up cleaning the whole thing with brake cleaner spray. I sprayed it on a clean towel and was able to make it much cleaner. I didn't appeer to soften or hurt the plastic at all. Your results may differ but it worked on mine. If you're gonna paint it, I would suggest that Krylon Plastic Infusion paint. Less likely to peel later on. Tape off a veiwing strip and paint the rest in white or eggshell white. Dave The Resevoirs cleaned up nicely with brake cleaner and I tested the side of my bottle for the picture.
-
Well, with the price of copper shooting up 10% to 20%, The car will be worth even more in the near future. And if you think about it, I can run 1) 10ga wire and reduce ALL the other wires to the rear of the car, down to 20 or even 22 gauge over the 16 and 18 ga that normally runs back there. I can do this because of the LED!! Side markers, taillights, turn signals, license plate light, reverse light and Cold cathode tube lights. My Mustang Sequencers will be here on Monday and the 3) sets of Alpine SPS-5-1/4" speakers and Alpine MRP amps should also show on Monday. Then I can do a real video of the taillights working the way they should and start making the Amp rack/pods for the quarter panels. Dave