Zs-ondabrain
Free Member
-
Joined
-
Last visited
Everything posted by Zs-ondabrain
-
 I posted this pic in the Boobs section also.
-
Yup, been covered about 100 times. I don't seriously expect anyone to read all 26 pages but I promise, it's been mentioned to death. That commercial is about 2 or 3 years old. JFYI. Dave
-
were you breathing when you found it? Or are you one of those "I did'nt inhale" types? hehehe
-
Well, I don't know if congrats are in order or a simple good luck. Either way, I think you'll like the Great North West. I've lived just north of Seattle for almost all my Life, but have also lived all over Washington State. I also love visiting Oregon Every once in a while. There are TONS of Z owners down there and I think you'll feel right at home. In my opinion, Z (S30) Owners have turned out to be the kindest, most giving, considerate people I've ever met. I too try and return the favor whenever possible. That being said, if you're ever in the Everett/Marysville area, 30+ miles North of Seattle, Feel free to stop by anytime. We'll do lunch/dinner, whatever. Dave
-
So you're just gonna leave it hanging? What the hell does it mean?
-
speaking of 260Z stuff, click on my "My 2/74' 260Z. Needs your 5 star votes!! Watch the rebuild unfold" link in my signiture. You'll like it.
-
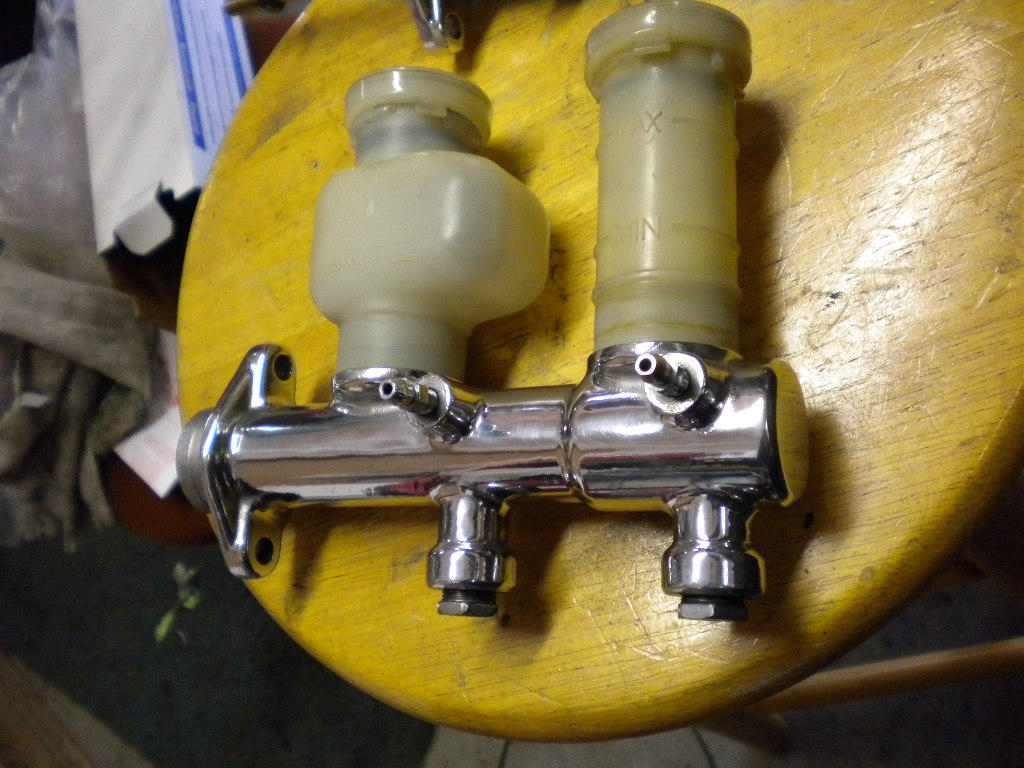
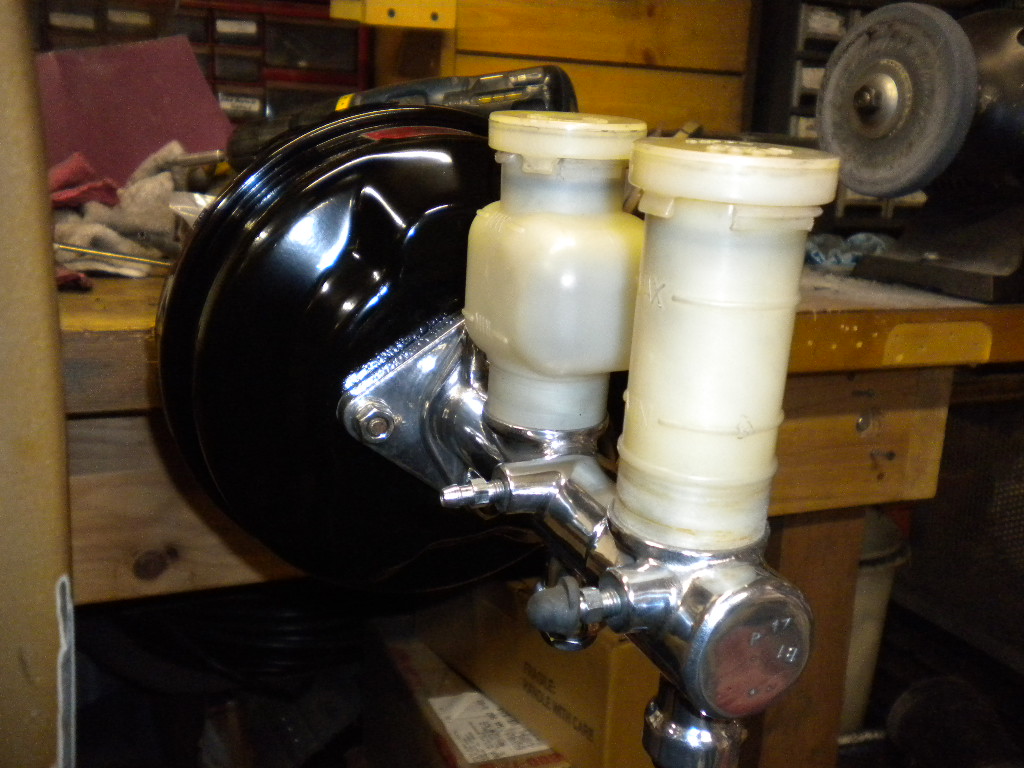
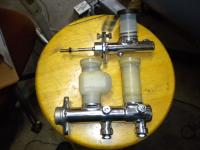
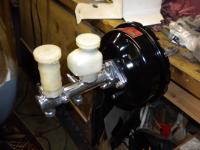
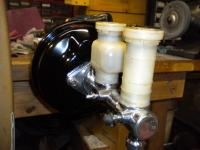
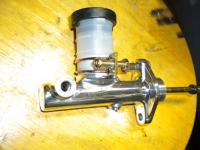
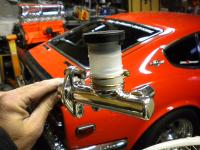
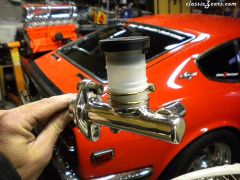
Sounds about right. Sometimes, doing the bleeding with the vehicle facing down a slight incline gets the job done better, as it forces the air up toward the plunger and then the plunger forces it upwards and outwards. Speaking of masters, I got my 15/16" ZX master cylinder today (for the 260Z's big brake set-up. And took it right to the buffer after sanding it down. I also sandblasted the Vac Booster and painted it. Dave.

-
When you say " I tried bleeding to no avail" did you do it yourself or with some one else in the car. One thing you can do is run some clear tubing from the bleeder on the slave, up to the resevoir on the master, then slowly pump it and watch for air bubbles and keep the fluid level up. I'll be doing something similar to mine when I get to that point. Dave
-
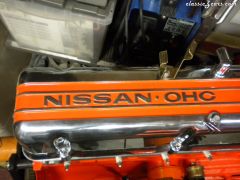
 If it's aluminum, and it's in my engine compartment, IT WILL BE SHINY!!! No excuse for ugly aluminum around here.
 -
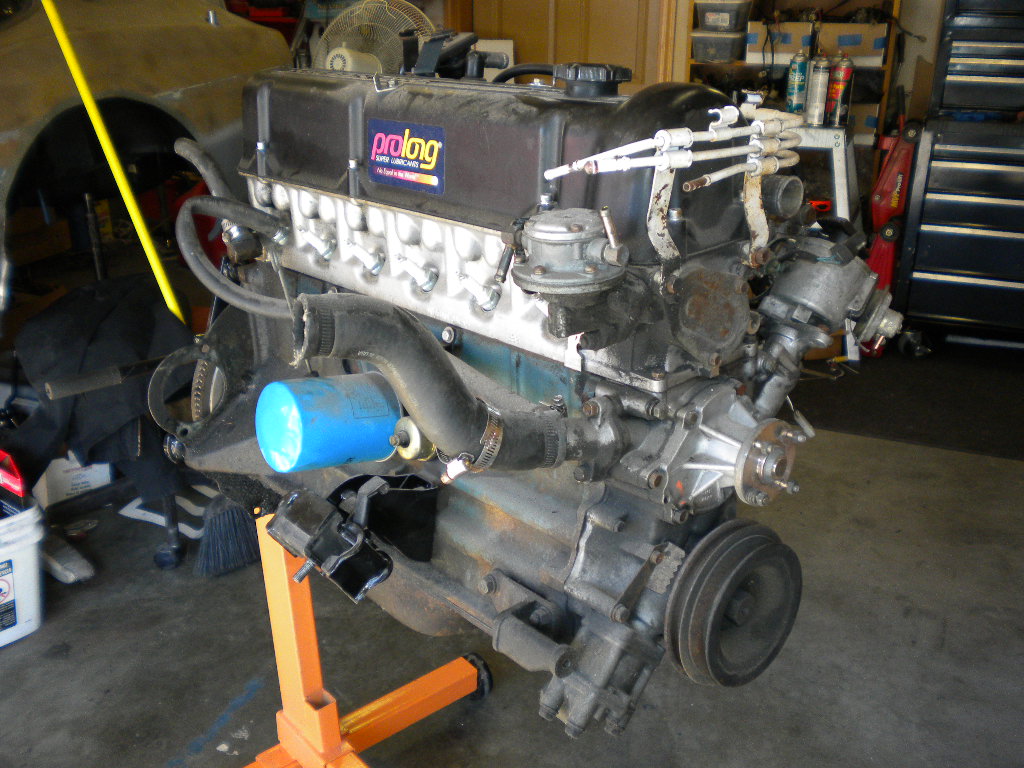
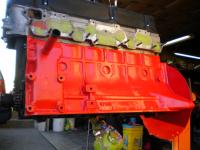
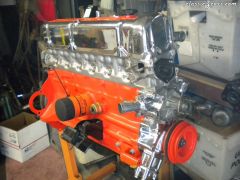 Kinda sucks that all I'm gonna do is throw a bag over it and stuff it in the corner till next spring or so. Chevy Orange paint on the Block, Every nut and bolt is being swapped for Stainless steel, where applicable. What do ya think
 -
 then I cleaned up with Acetone in light swiping motions to keep from screwing it up.
 -
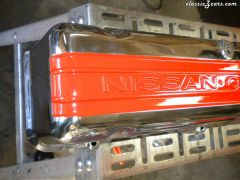 Had to wait a day before I could scrape the lettering and inner fins. It really sucked having to wait that long.
 -
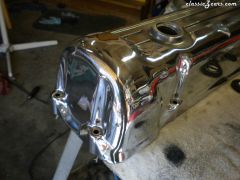 It was black 2 days before this picture. It took me about 8 hours to wetsand, use surfacing pads, buffing wheels (1 heavy duty and 1 spiral sewn) with Tripoli and white color blending compound.
 -
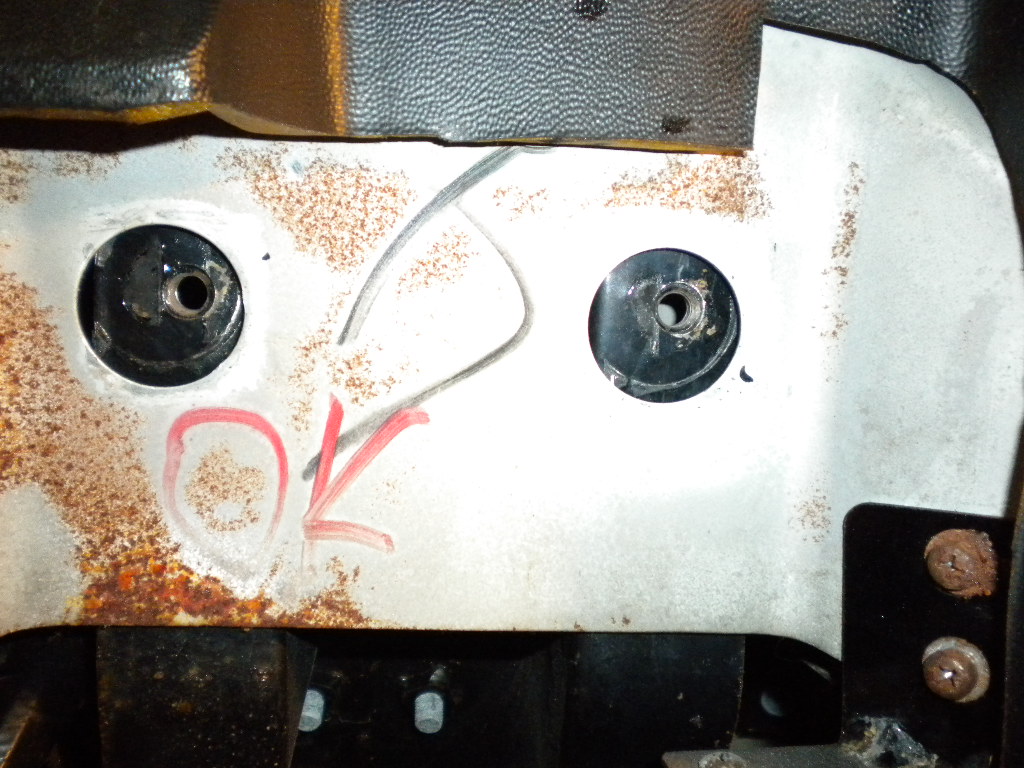
Finally tore out the steering column on the 260Z and found this.... According to HS30 it might mean 'Chikara' ( meaning 'power' ) and the "OK" so I guess it passed. Dave

-
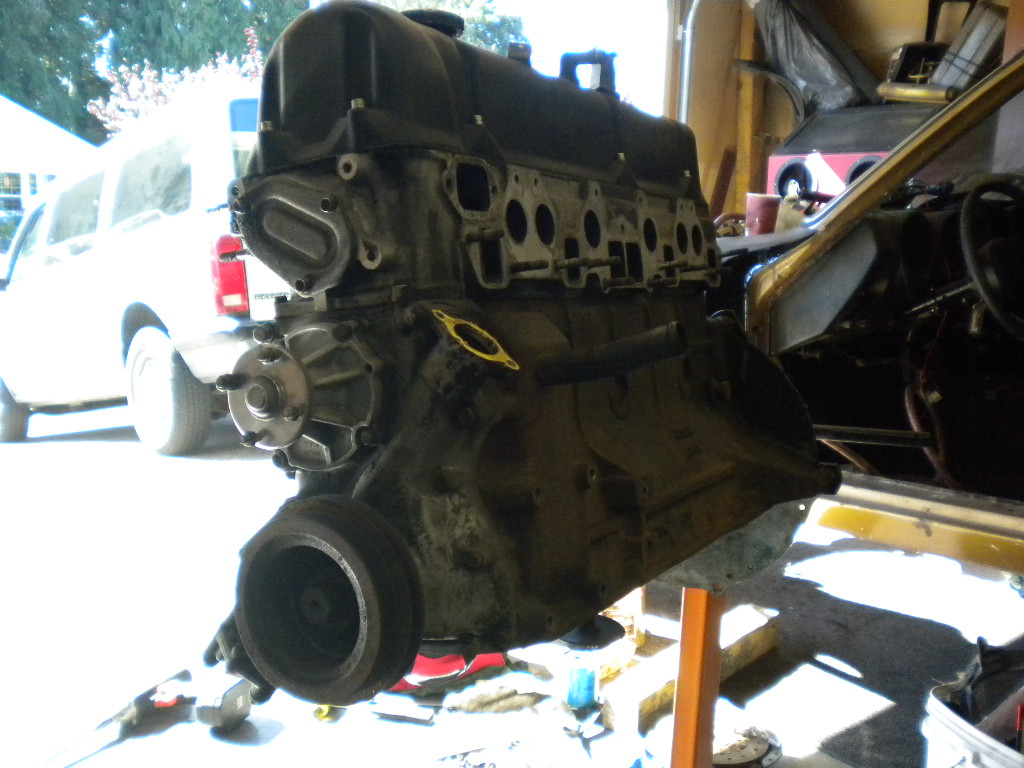
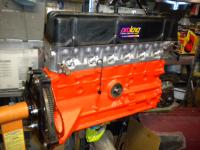
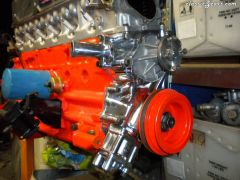 All the bolts have been replaced with Stainless steel bolts nuts and washers.
 -
 painted and polished everything. All this so I can put a bag over it and stuff it in a corner for now.
 -
painted and polished everything. All this so I can put a bag over it and stuff it in a corner for now.
-
-
-
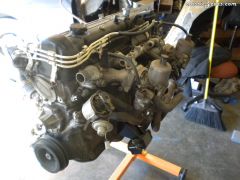
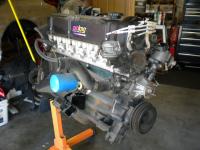
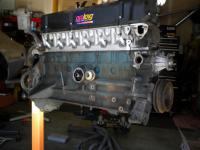
I bought the car when I went to look at the "Previously rebuilt motor and trans" after I found out the whole car with motor and trans was only $100 more. The trans had been rebuilt and a Short shifter was installed but the clutch is fried and needs to be replaced with a Stage 2 or better clutch. The motor had a simple rebuild already done. (Cleaned the head, new rings and honed, new gaskets etc.) I won't be putting any more money or effort into the motor other than paint and polishing because I have another motor being "BUILT" for it. (An F54 block w/ 50 over bore, new bigger flat tops and rings, ballance and lightened crank, lightened flywheel, rebuilt N42 head, stage 2 cam (480/280) Triple 40DCOE Webers, 3 into 2 Ceramic coated header with dual exhaust thru a dual in/out w/ internal X-over muffler center mounted under the driveline, C-notched fuel tank for true Dual exhaust. You can follow the hole rebuilt here..... http://www.cardomain.com/ride/3195135
-
Actually i think you're thinking of Farrah Faucet? who drove a 280Z in "Charlies Angels"
-
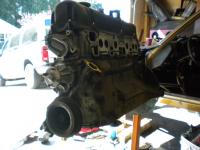
I finally tore the motor out of the 260Z so I could start tearing into it and get the engine bay cleaned up. Got a lot done and feeling better about the whole thing, thus far. Dave
-
Of coarse you do. Thanks guys, Feeling kinda "Giddy" about it but #1 is #1. Sorry, gloating again. Dave
-
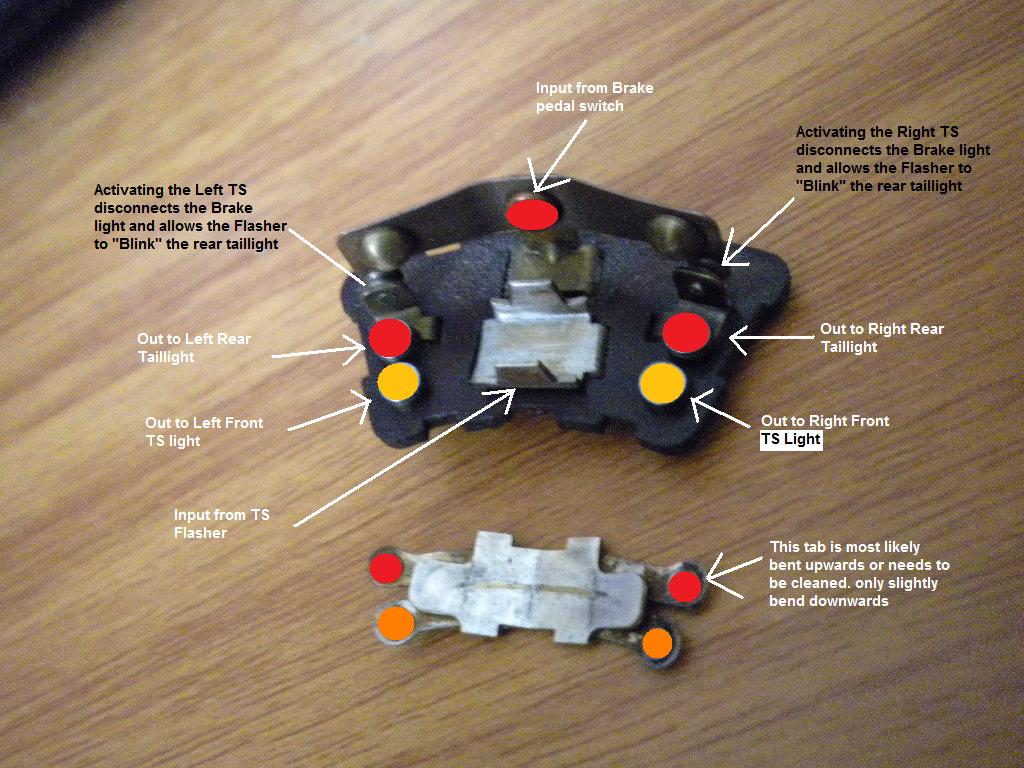
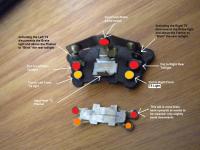
follow the brake wire to the Turn signal switch. Use an ohms meter to find out which one it is. The brake wire goes thru the Turn signal switch because the switch cancels the brake light that goes thru the blinker. If the wire is off or disconnected, the brakes won't work. Dave
-
http://www.cardomain.com/MakeModel/Datsun/240Z Just found out that I have the #1 ranked 240Z for all years on Cardomain.com Just had to post and felt the need to do my Happy Dance. It's actually kind of an honor when you consider there are 394 240Z's on the cardomain site, and "My Little Red Nightmare" has been ranked, by You guys, most likely. So I just want to Thank you and any others for voting for my 70' and your future votes to help keep me there. Maybe even a "Show Off of the week"??? Thanks again guys (and Gals) Dave. (DatsunDave07)