Zs-ondabrain
Free Member
-
Joined
-
Last visited
Everything posted by Zs-ondabrain
-
 Like I said, Don't be dumb and you won't be dead, or hurt the Z. That's an even bigger NO NO.
 -
Not real sure, I wouldn't suggest it though. Just support the body on the rear. I have CV's and have to pull the wheel outwards by unbolting the control arm near the diff. Then the CV clears the bolts enough to drop or instal. Just support it and be safe Henry. You gotta stay alive long enough to instal all the stuff I did for ya and drive the damn car. BTW, I'll have your SCP's ready to ship on Monday. Dave
-
I LOVE CAR SHOWS!!!!! BUT!!!!! I spend 85% of my time correcting myths, mistold stories, false statements and all around just informing people of what they need to know. So the next time they see another 240Z, they won't look like such an idiot to a possibly not so nice Z car owner. I've just about heard them all....... Keep in mind that my 240Z is a numbers matching 70' "I didn't know Toyota made a 240Z?" So I said "Yeah, they started making these after their TANK business went under, Kinda like what Lamborgini did with the whole farm equipment business."..... "DUDE!!! That would look Awesome with some 22"s on there!!" Yeah, maybe 22" bicycle tires.... "See Son, this is what happens when people have too much time and money on there hands, but KIT Cars are great" I just acted like I was admiring the car, then walk to the next one down the row. "Look Honey, a Mini 280ZX........." And YUP, she was very Blonde "These German cars are great little grocery getters"........ At least he got the grocery getter part right, it IS my daily driver. "I just saw a 4 door one of these last month, funny looking but kinda cool at the same time" I just said "Awesome, that WAS a rare one" And I'm sure we've all heard something close to ..... "Why'd you swap out the V8 for a slant 6?" Cause it has better torque? "Swapped the fuel injection for duel webers huh? I have stock S.U.'s "Aren't these the original S14's (240SX)" I guess they are in a way... "Where'd ya find Vynal to replace all the stock carpet?" HUH? And the lists go on.... Dave
-
It should compress enought to clear the diff.
-
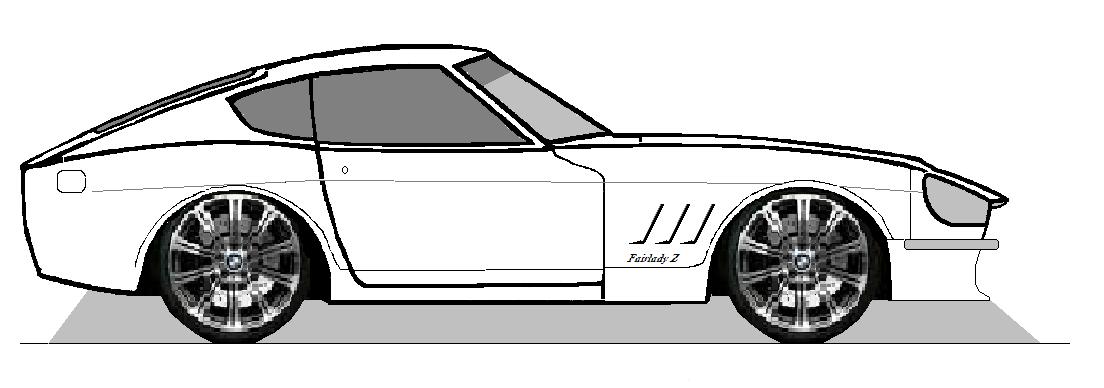
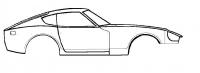
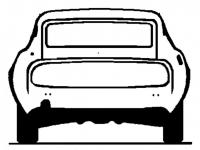
Hope these are what you're looking for. Dave Zcar frames b and w better 2 resized.BMP
-
Start reading............ http://forums.hybridz.org/showthread.php?t=104735
-
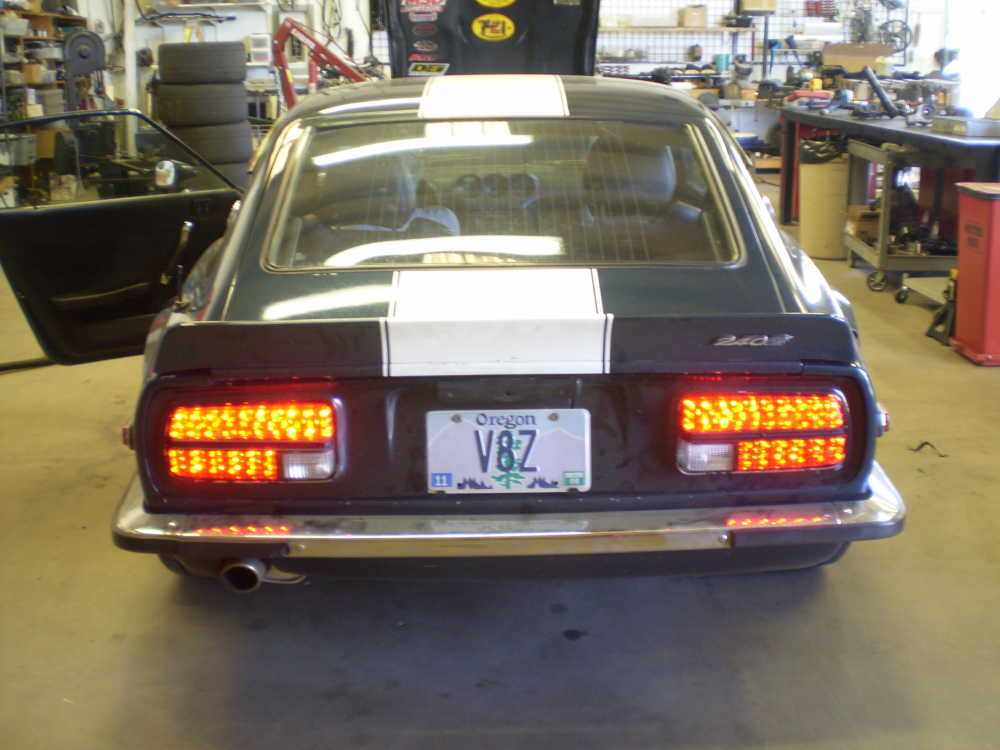
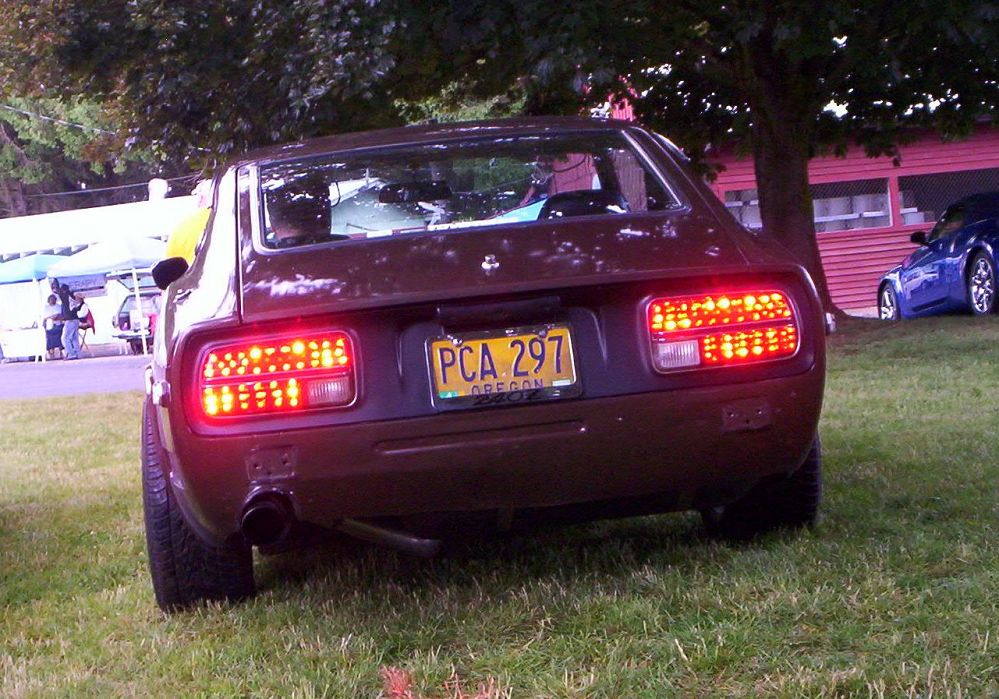
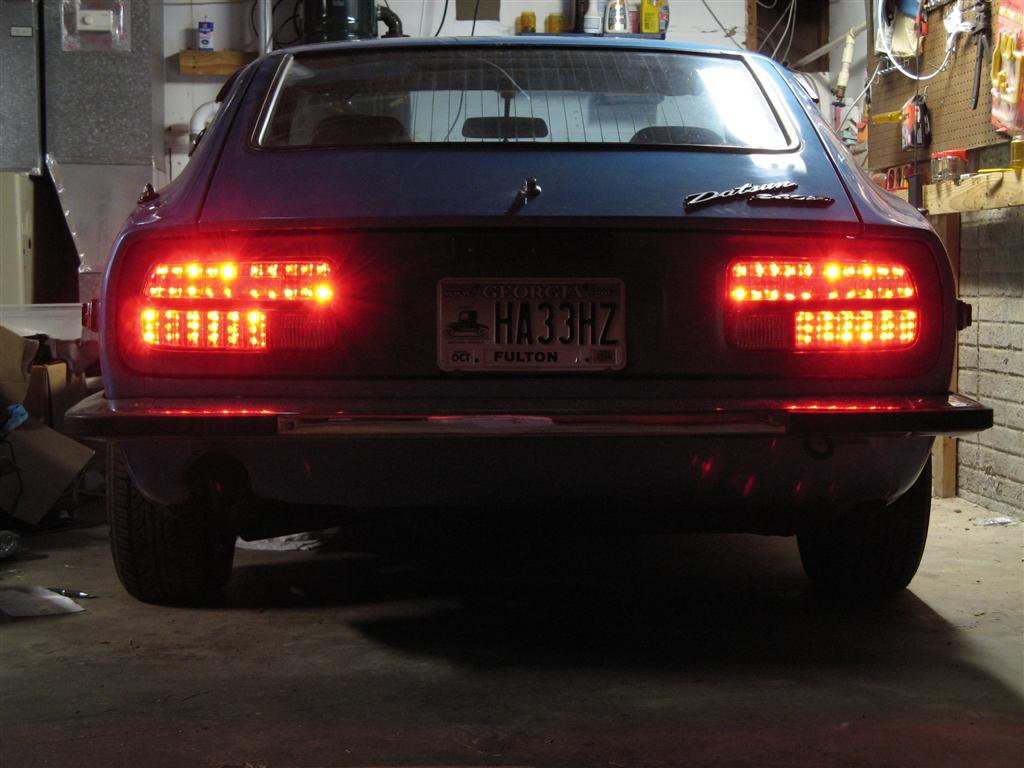
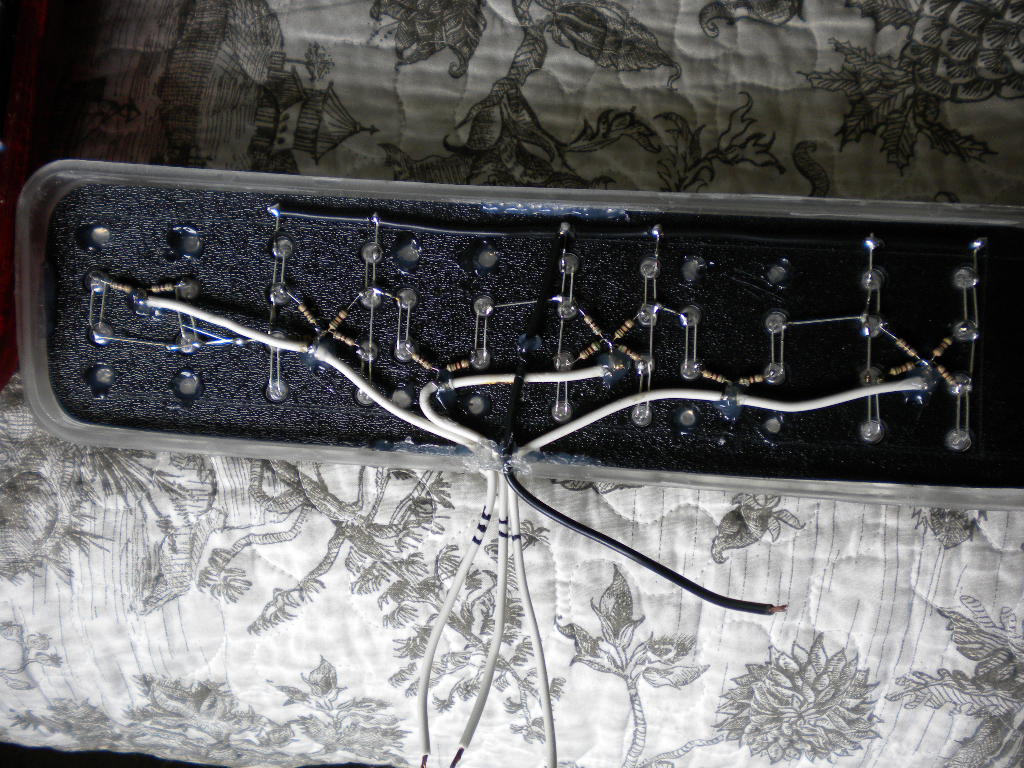
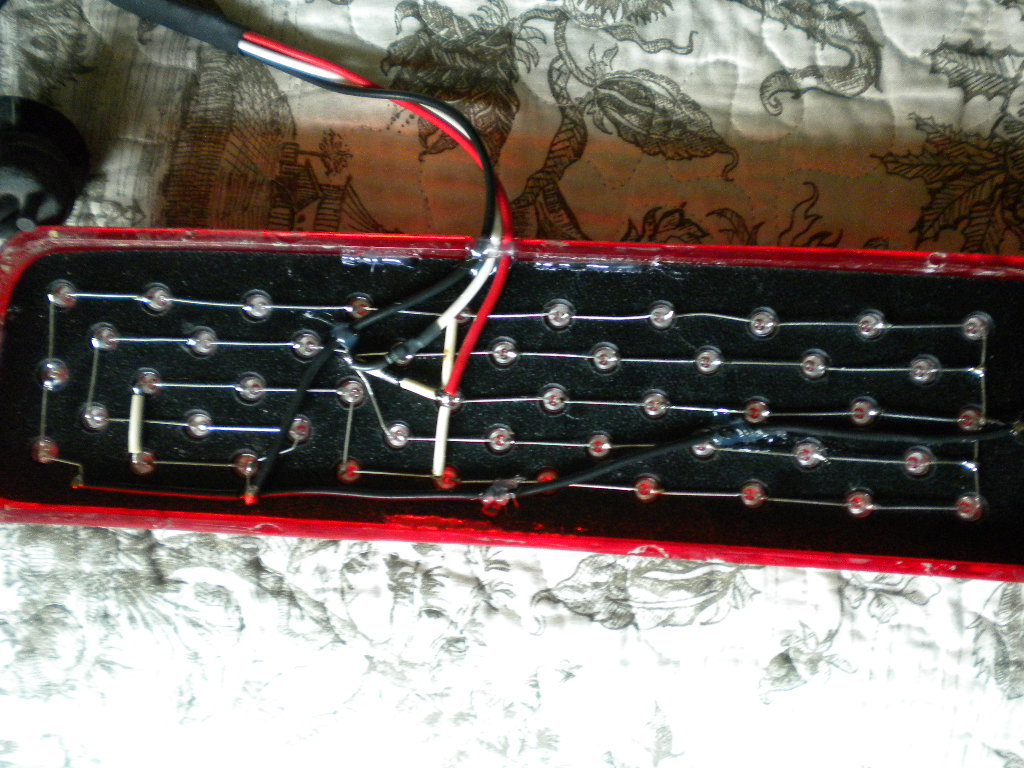
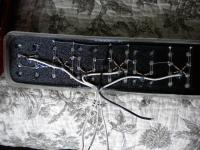
LED's are 100,000 hour life span. not 1 million. and 100,000 hours is about 11.415 years of being on constantly at the recommended voltage. And when you consider that you only have your parking lights on for maybe a fw hours a day and use your brake lights for way less than that, the LED's will likely oulast the car and Probably even you. So consider the safety factor of brighter, cleaner lights, never having to replace them, and the 3/4 less amperage draw on your system, the LED conversion is well worth the price. It takes me 2 full days to do the conversion on each set. I polish the lenses after removing them from the assembly, which is a job in itself. I make each plate by hand, including drilling every hole with a drill press. I hand load every LED, bend the leads, solder every one of them and wire them up. Each rear assembly is cleaned of exhaust stains, paint overspray, and look clean again. The LED plates are loaded and secured before reassembling everything, testing them again, bubble wrapping the hell out of them and shipping them back, using part of the money from the price. I don't believe in charging more on top of the price you already thought it was. Shipping is in the price of the conversion. MEZZZ, That sound more like a loose wire than anything else. Using a grounding kit is a great idea and all, but is the wires under the dash are bad or loose, then it kida defeats the purpose. Check the passenger side kick panel and also the combo switch connections. Your car is old and connections, nuts, bolts, clamps and everything else will eventually loosen up and make connections due to power strains and vibrations. Dave
-
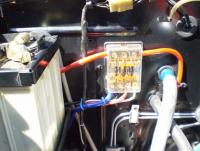
Same thing here, got tired of all the wires all over the place. I'll have to deal with this same thing on the 260Z. My caps are in good condition but ya'll know me, *UPGRADE* time. Dave
-
Yup, he's right, for almost any car. The blinkers go thru the hazard switch, remove it and you have open circuit. My hazard switch was freekin out on my and my blinkers were all screwed up till I twisted the knob a little and they worked great after that. go figure.
-
good one Mike, but mine involves actually driving it, and that's always more fun then ramps, unless you're really moving when you hit the ramp. hehehe;)
-
It's good for now. when you get the car back on the road, take it to any shop with a drive on lift, have them lift it while all it's weight is still on the wheels, loosen the nut and bolt and retighten on each side. Done. It'll take less then 5 minutes to drive on, lift it, loosen and retighten, lower the rack and drive off again. Dave
-
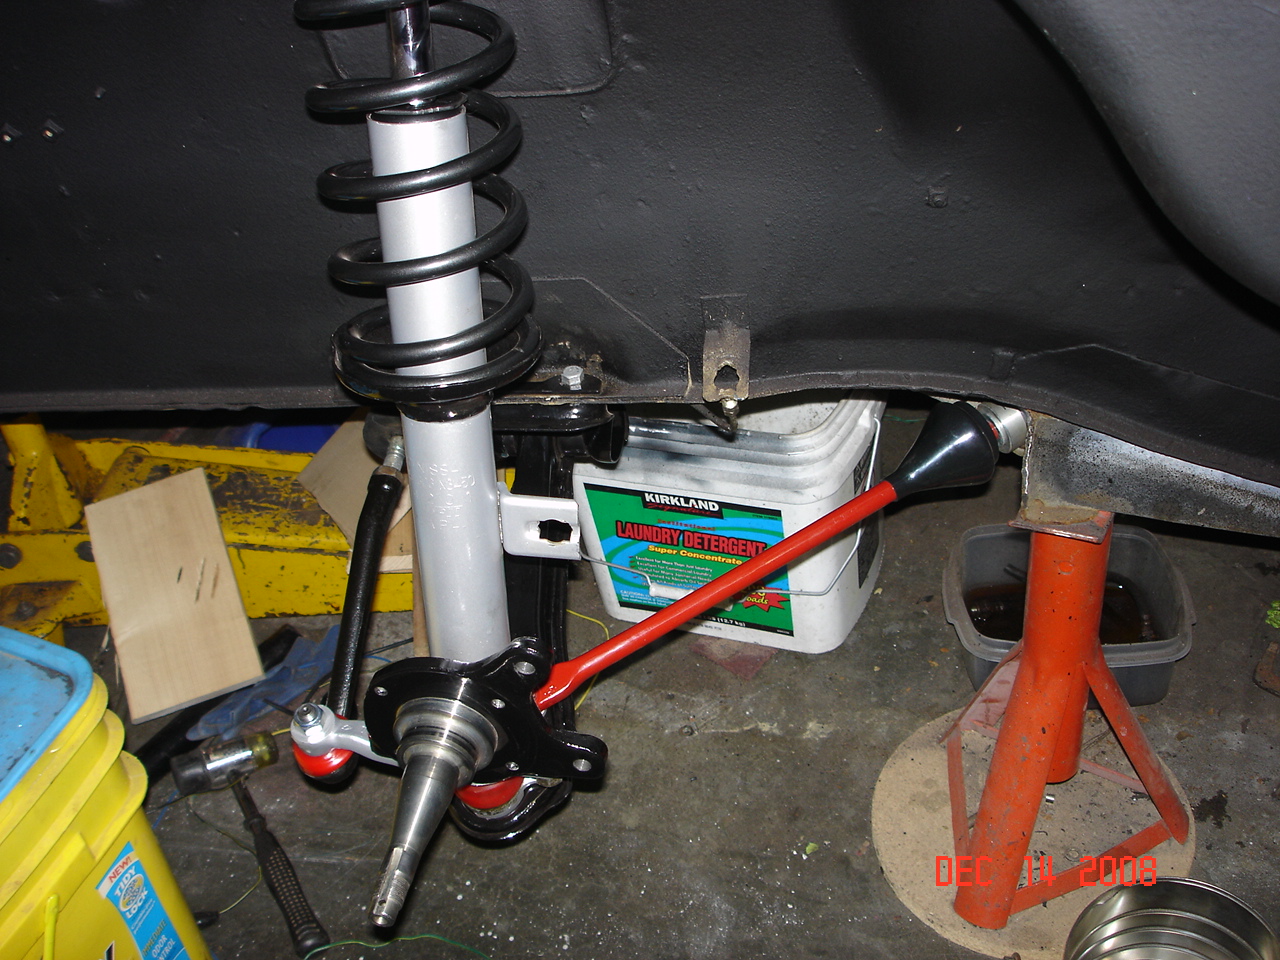
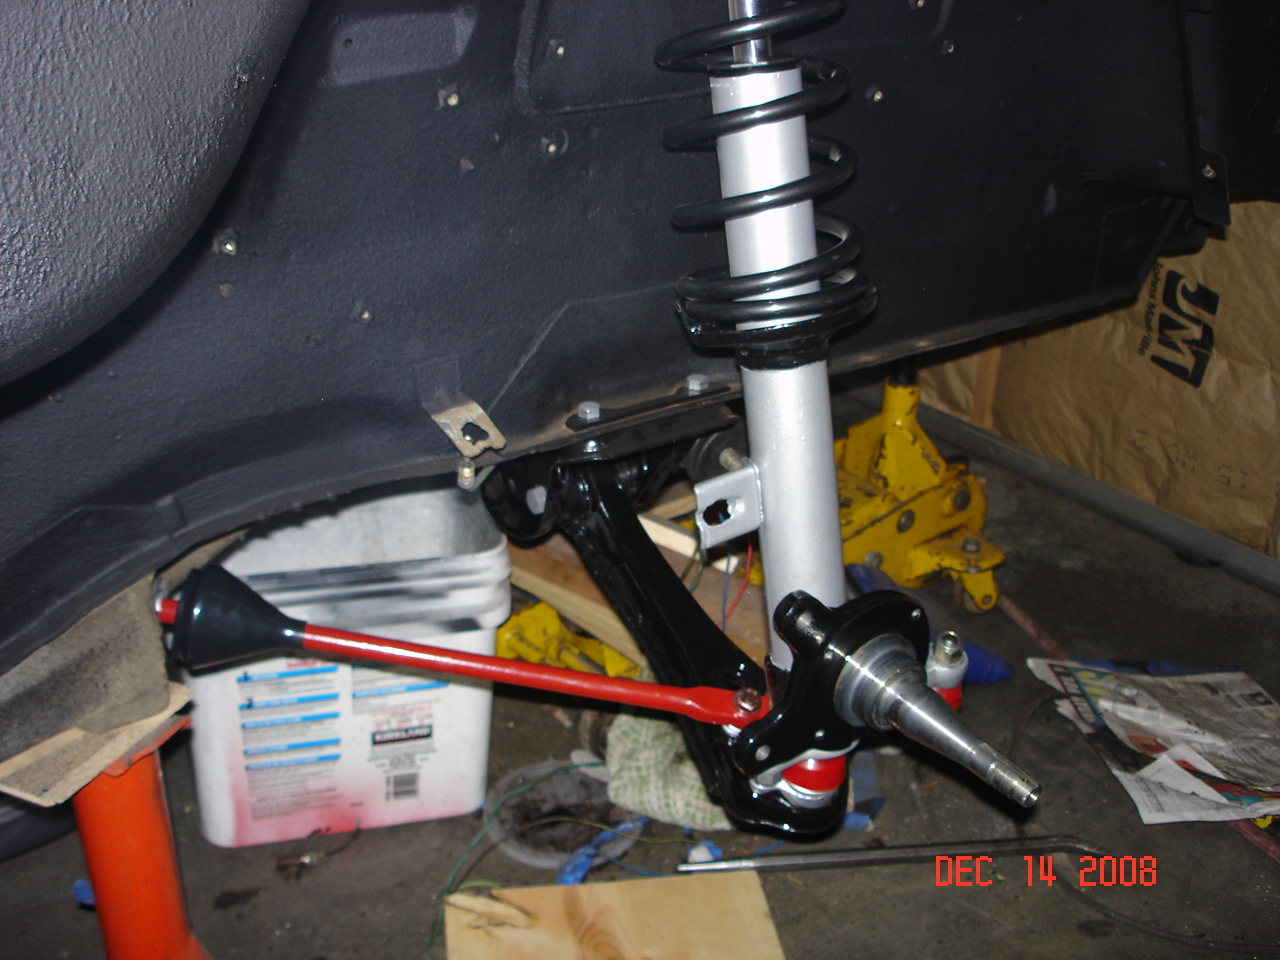
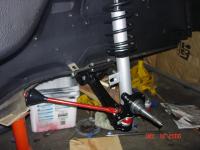
Thick in the rear and thin in the front. The one you have pictured is the left, drivers side control arm. Or I hope it is, or both of my cars are in trouble. Dave


-
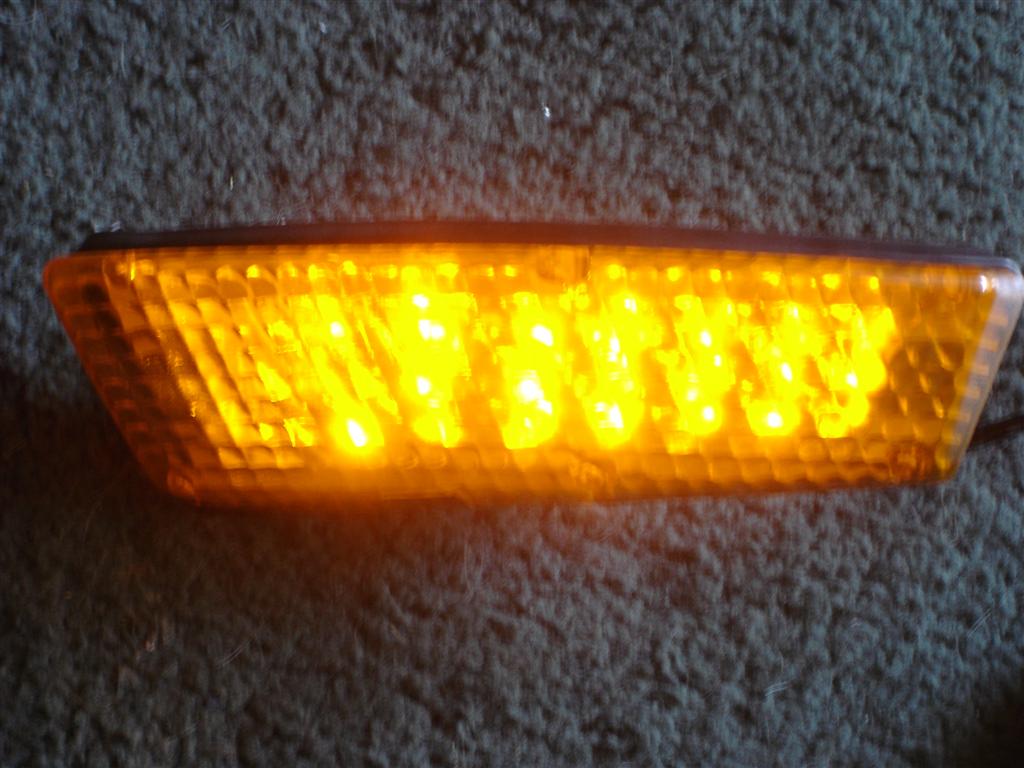
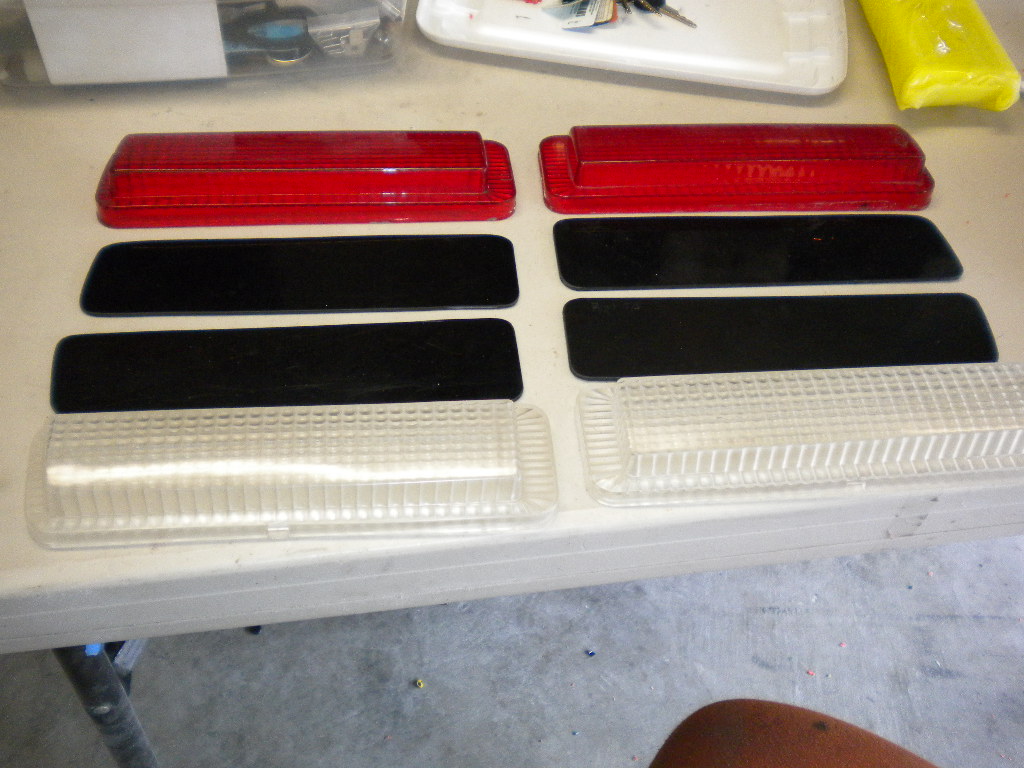
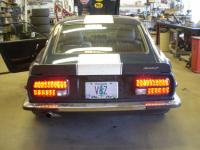
It was a bit steep but I had very few options. So I broke down and bought them. I wanted the clear for the Yellow LED's. I've been doing LED taillight conversions for the S30's for about 4 years now. Interested? Email me at wolfin32z@yahoo.com I charge $250 for the 240Z's and $300 for the 260Z and 280Z conversion. They use only 1/4 of the amperage than traditional bulbs and are brighter as well as stand out more for a safety factor. Using 1/4 amperage means less damage to the Brake switch, turn signal, wiring and other associated items. I'm not that happy with the taillights for what I paid. Looks like they pulled it from the mold before it was cool enough and they use a silacone in the mix or sprayed afterwards. Which means they need to be super clean before installing them. Or scrape then (sand paper and acetone) Dave


-
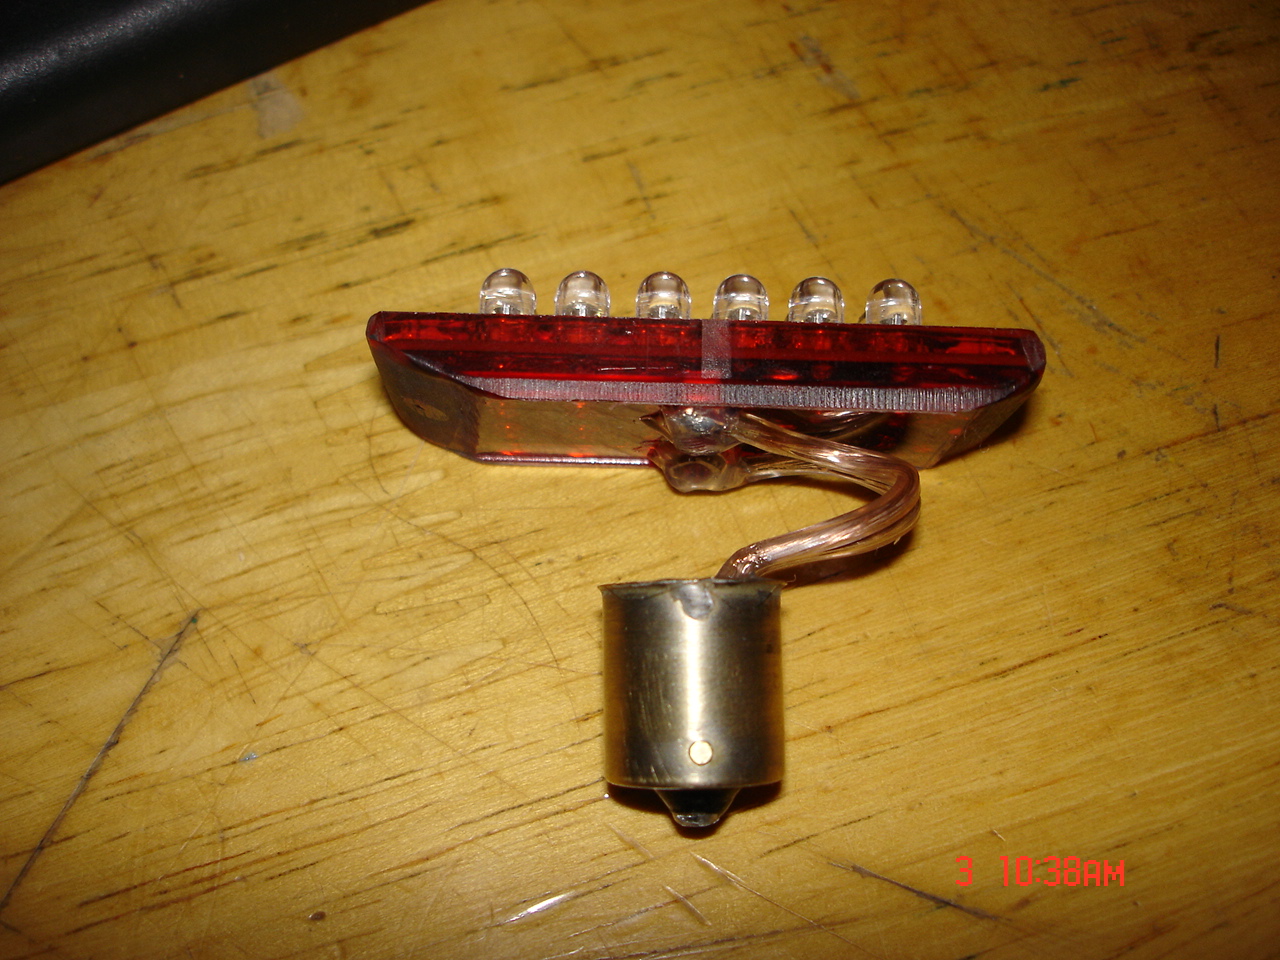
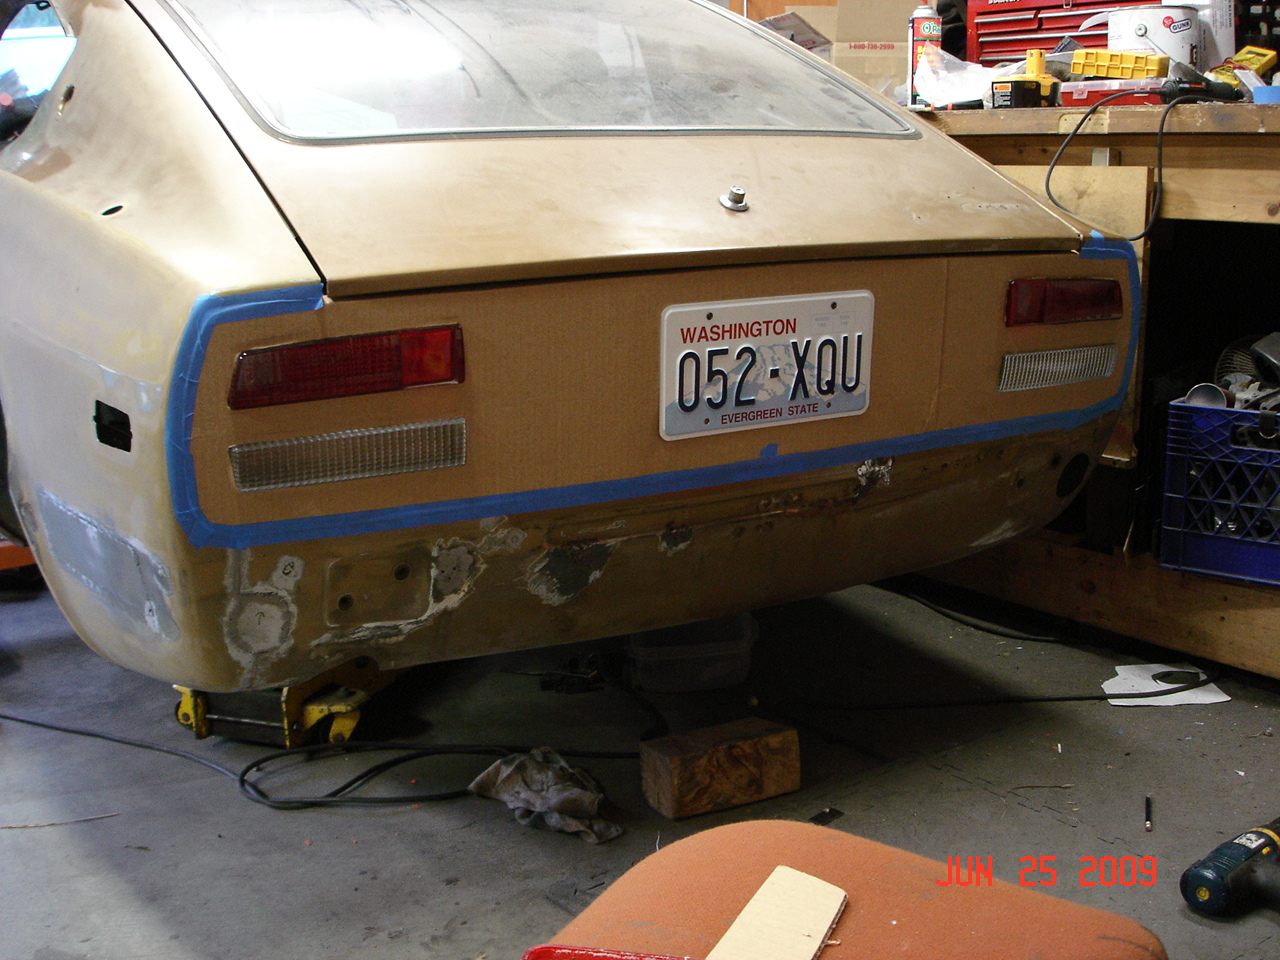
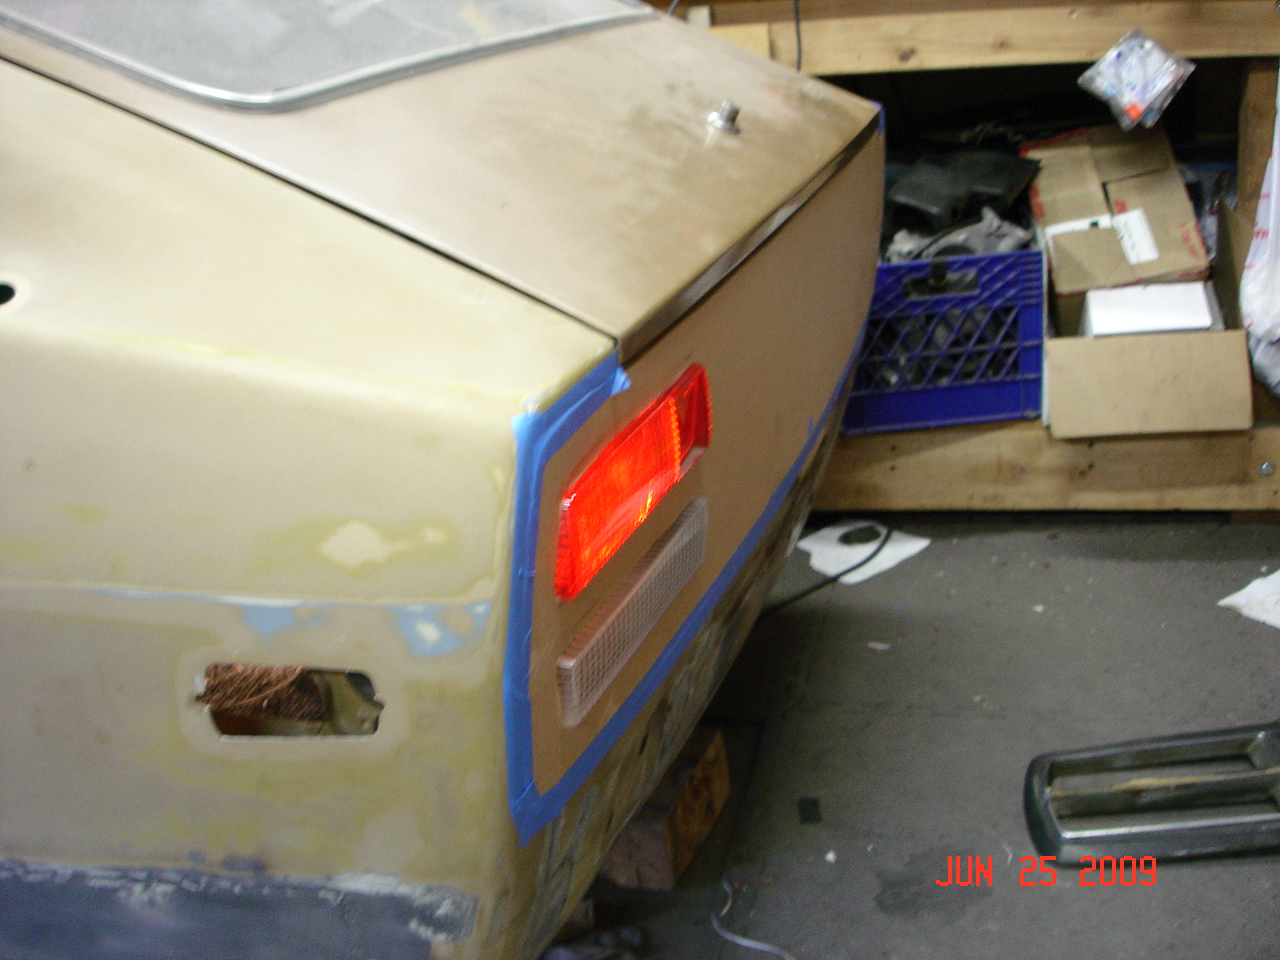
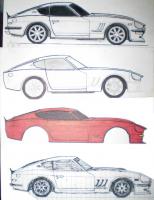
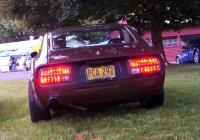
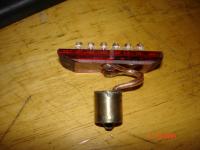
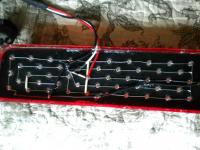
I'll be doing something similar on the 260Z. I have a metal shop cutting a panel for me per my specs and the posterboard pattern I gave them, Supposedly I'll have it this week end. It'll be flush mounted, Not inset like all the others you always see. Those are easy, I'm going the hard route for the best all-around look. The Stock 260Z taillights will, and have been UPGRADED to LED but a little different then you're used to seeing from me. http://video.cardomain.com/VideoPlayer.aspx?id=703536 <embed src="http://videos.streetfire.net/vidiac.swf?video=85843c92-cde2-4697-b31d-9c72001a9cc7" width="428" height="352" allowFullScreen="true" type="application/x-shockwave-flash" pluginspage="http://www.macromedia.com/go/getflashplayer"></embed> The right red turn signal is now the upper left side brake light and the left red turn signal is now the right side upper brake light. The turn signals have now been replaced with KlearZ clear taillights. I divided the LED plate into 3 parts and gave them a sort of "Pointing" shape. The license will be inset like stock but a small area. The reverse lights are not decided on yet. I'm thinking a lower placed strip light or 2 small brite white lights placed low in the lower panel. not real sure yet. Can't wait to finish this damn thing!!!! Picture #3 shows the lenses that WILL be used, the other red lenses in the 1st and 2nd will Not be used. I changed my mind later and stuck woth the NON-reflector lens. Dave


-
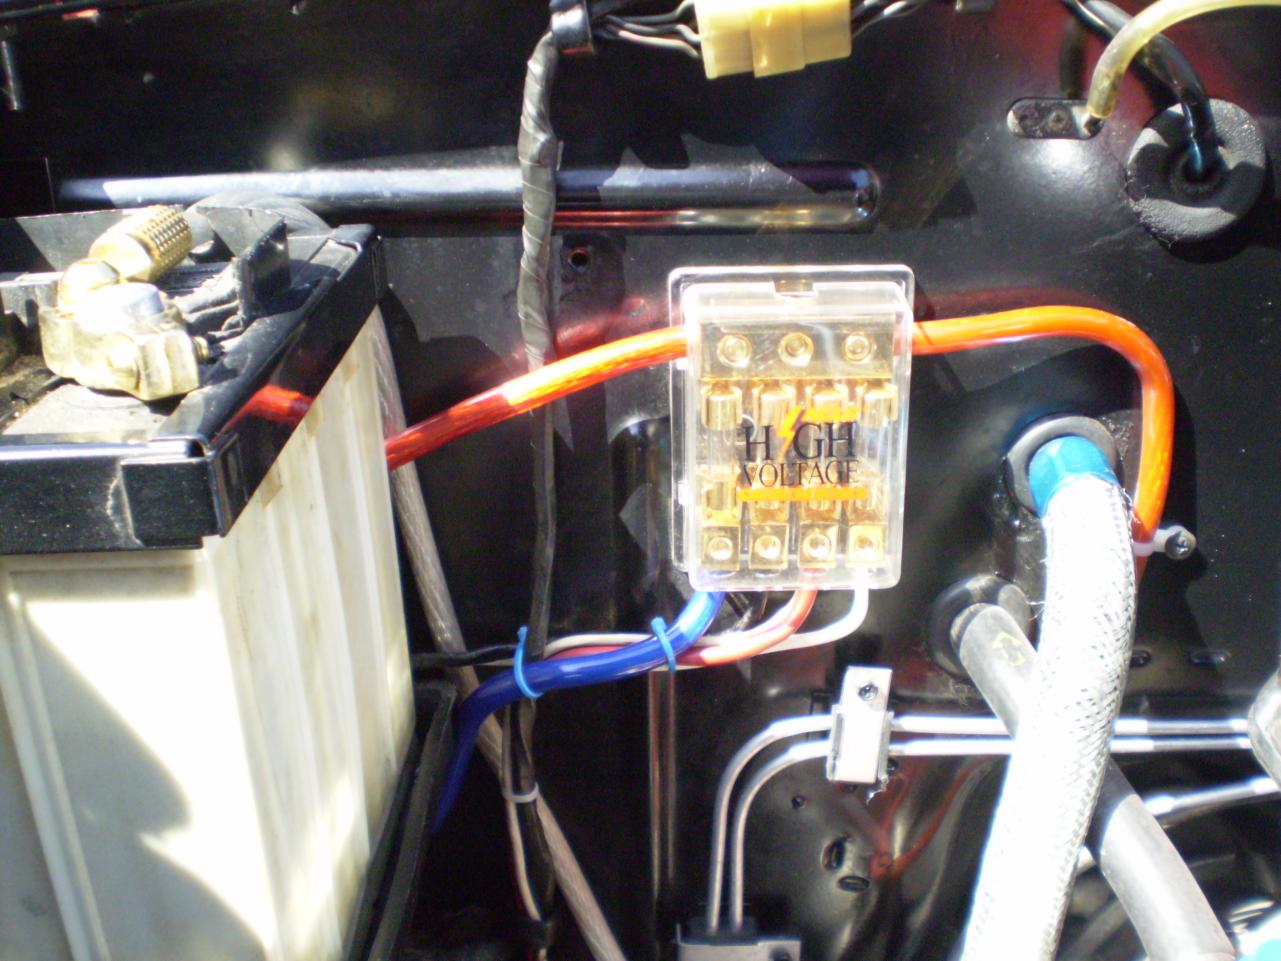
Not sure of the (Period correct) battery, but the right battery is a Top post battery, with the Positive post under the inspection lid. With the correct battery tray w/ drain and tube attached, hold down frame (installed correctly and screwed to the firewall) the battery should site about 1" below the lid and fender lip. Always make sure the battery cables are good and clean, corrosion free, clamped snug, and the ground (-) cable should be bolted to the upper starter bolt and the small black wire from the battery post (-) should also be bolted to the firewall. Make sure the Harness ground is well bolted to a clean surface. The harness ground sits above the frame, 2" above the engine harness, below the battery area. I think the battery should or is a 750 CCA
-
All 240Z's up to early 73' combo switches have interchangable parts (nternally) The headlight and wiper switches are all the same as well. The 240Z's with delayed (intermittent) wiper control have a different style wiper switch but the headlight switch (on top of the switch body) is the same as the early combo's. Those switches also have a square 9-pin connector, as compared to the 6-pin 69' to early 73' w/o wiper delay. So if you order one of my PLH upgrades, let me know which connector you have (6-pin or 9-pin) If you attemp a rebuild or repair, Use only a minimal amount of grease (white lithium) on moving parts but ONLY use di-electric grease on any parts that involve the contacts or the moving of contacts. Regluar grease will overheat and burn on the contacts and cause premature failure. Dave
-
You don't have a list for "DATSUN 240Z" Not available or too big?
-
Then it's likely the switch. They're farely easy to remove but be careful when dissasembling. clean the old grease out and only use a small amount of Di-electric grease for th plasic ball slide area on the contacts. I use a curved, fine-tooth file to clean the inner contact posts because it's easy and I don't have to open the fingers to remove the board and take a chance of breaking the fingers, like so many other people do. Use a little dielectric grease where the springs sit, this keeps them in place when reassebling the switch. And I like to clean the contacts with a little acetone and steel wool. The acetone cuts thru the years of burnt on grease and suet (black carbon build-up) If you need replacement parts, just send the bad parts to me and I'll replace them for cheap. Dave
-
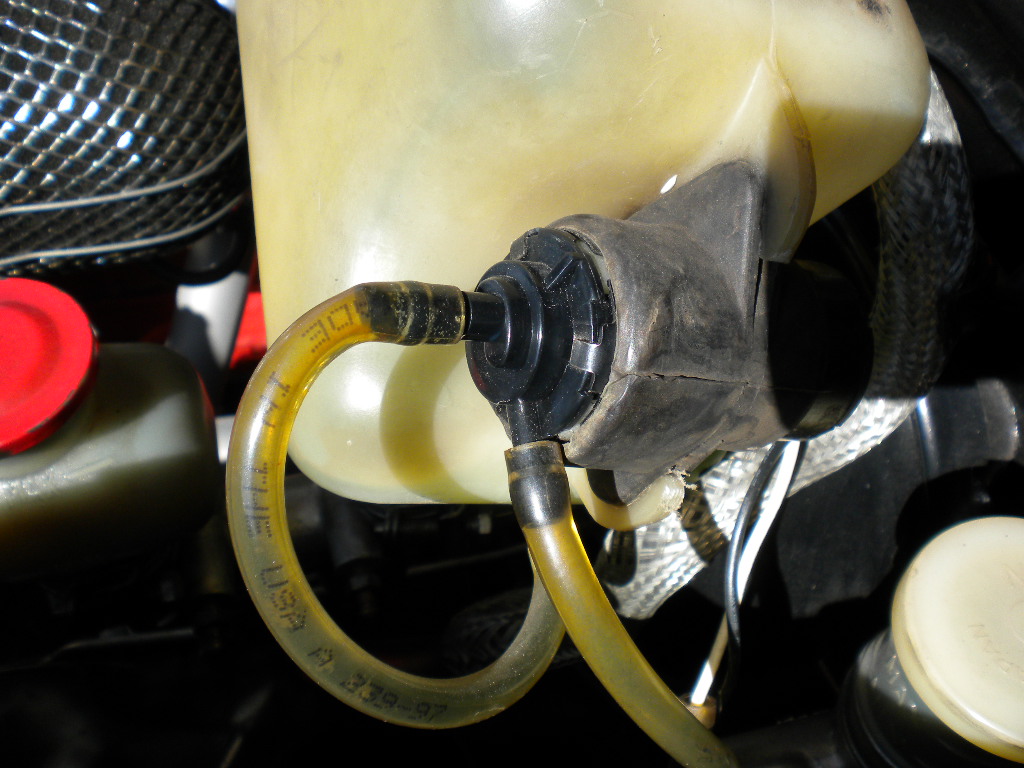
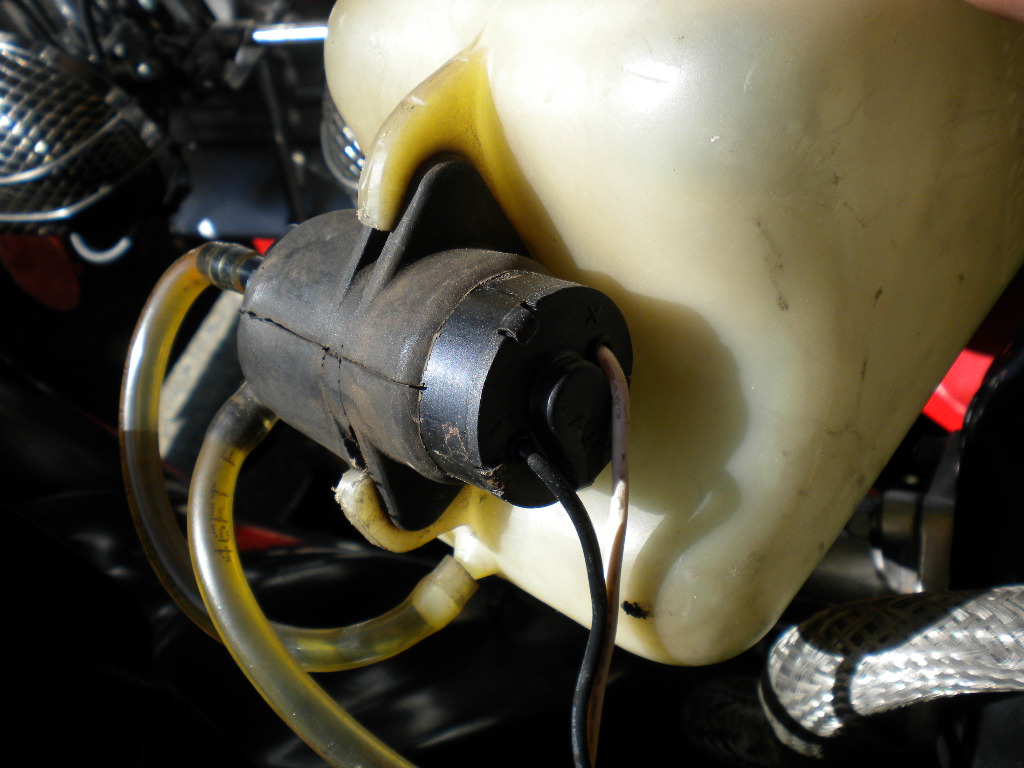
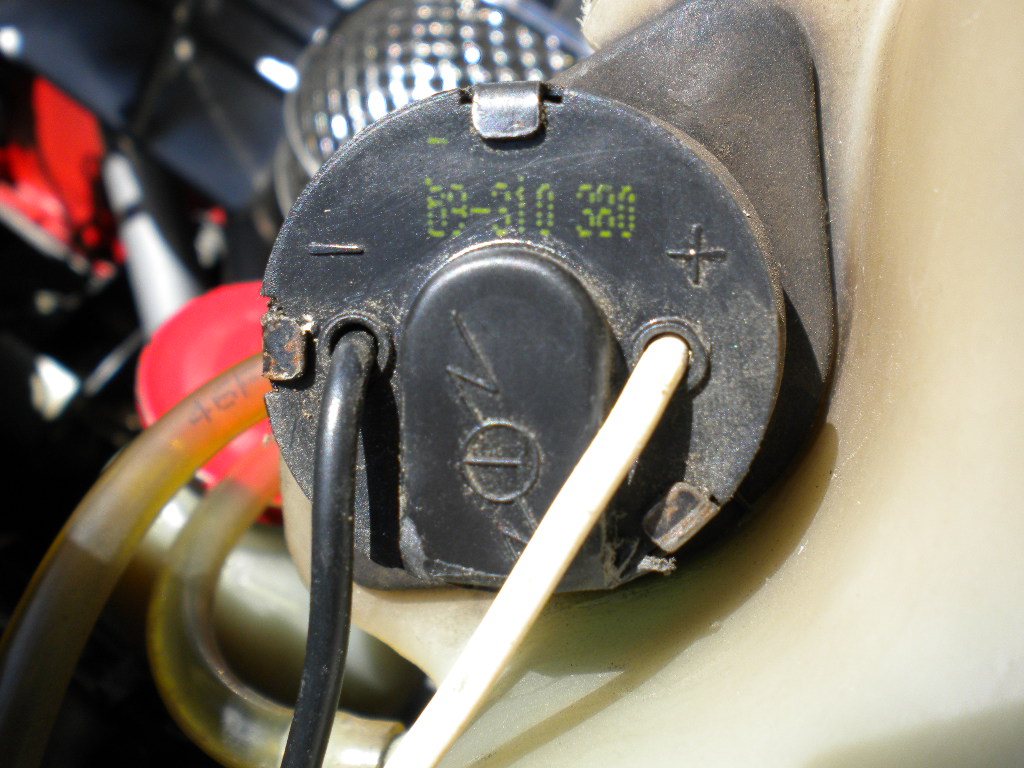
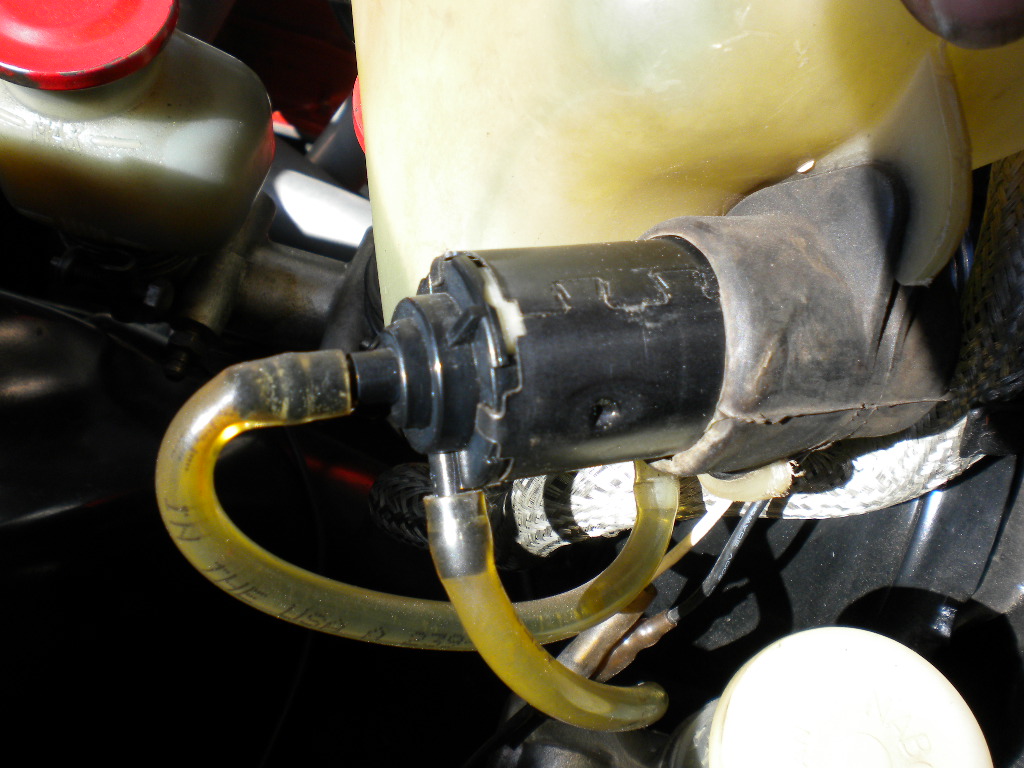
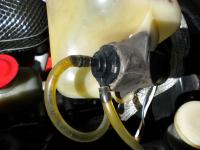
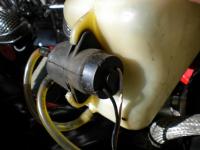
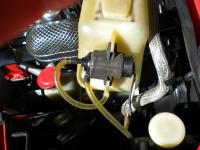
Just took pics for ya. Should help ya find the right one. Cost way less than an OEM or NOS part and works probably better for years longer. As you can see, a little sanding inside the rubber boot and it slides in perfect. The white wire of the pump goes to the black/yellow and the black pump wire to the black wire on the harness. 69-310-380 is the part number on the back, won't promise that it'll help but there it is. Dave


-
I had the same issue but mine was rust had eaten the tab insde the pump cap and then the motor fill with fluid. I took the old pump and the rubber boot that it sits in, to the local Auto parts store. I can't remember off hand what car it's for but I found a small pump with a black rotor cap that almost fit perfectly. I bought it, took it home and used my dremmel with a sanding drum on it to widen the inner diameter of the rubber boot to fit the new pump motor. Everyhting fits, lokks and works perfect. I'll take a picture later on to help you find the right motor from the auto parts store. (about $10 I think)
-
The alt's condensor eliminates spikes and engine noise in the radio, for the most part. Not totally needed. Not sure why the headlights stay on with the white/red off but like the doctor says "If it hurts when you do that, DON'T do that" Leave it connected. The ammeter that you have is for a 40 amp alternator, you now have a 60 amp alternator. So the meter will peg occasionally, no big deal. Headlights use more amperage than most other circuits in the Z. It will cause the power wires to heat up. no big deal. But I HIGHLY SUGGEST the HLH Headlight Upgrade harness that I sell. It will draw power from the battery, directly, for the headlights, instead of thru the fusebox and combo switch. Which is what makes your power wire heat up in the first place. Same thing with the Parking light circuit. (PLH-Hint Hint) The PLH is a Parking light upgrade ahrness to stop the fusebox from melting the 3rd fuse down on the right. And Ground that loose black ground wire. Email me at wolfin32z@yahoo.com if you're interested in the HLH or PLH Dave
-
The dual pump set-up helps with the occasional dreaded "Vapor lock" that the cars experienced every once in a while. Hot conditions were the main cause. Vapo lock pushed the fuel backwards with a standard mechanical pump. The electric pump prevents that from happening. If the pump works, with a new filter inserted and a new external filter, then use it. I have a 260Z as well. Check out the total rebuild with the link in my signiture below. There is a picture or 3 of the pump and filter set-up on pages 1, 4 and 5. Dave
-
Where's Bruce when ya need him? Check with www.ztherapy.com
-
A "Clip" is a section of a vehicle, kinda like a rear quarter clip, which would include the quarter panel, as far forward as the dogleg by the door, up near the roof where the hatch meets is and around the back corner. A front clip would be everything forward of the firewall or half of that (Left or right side) As for the battery tray, most 240Z's that need battery tray repair are best off cutting one out of a junker 280Z. Usually have less rust and are stronger due to better steel, folds and less age. I did this by cutting the spot welds with a spot weld drill bit. but a 3/8" bit works pretty good. Level the car then use a level on the tray when you tach it in place. By the way, Gary and Adam said basically the same thing I did. Cut out the rust and cut a matching patch from your used clip. Dave
-
I know Mikes a pretty busy guy (web site, new baby, Z car, etc, etc) but this could actually be a good money venture for the club. But it would take Mike saying "Go with it" before we could really do anything. Mike? Anyone? Dave