Zs-ondabrain
Free Member
-
Joined
-
Last visited
Everything posted by Zs-ondabrain
-
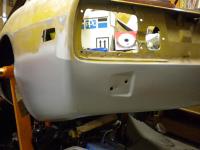
 I would personally cut a small "Patch" panel from the spare clip and weld that in instead. You'll keep the integrity of the original, use POR15 over the panel on the inner wheel well side of the sheet metal, and POR15 the battery area as well after you've ground it down to a clean finish. Lot less work, strong sheet metal and protected from further issues. Then Re-undercoat the inner wheel-well and paint the engine compartment. Know one will know but you, (and maybe me) ha-ha Dave
 -
I know this is an older thread but has anyone considered taking on a side project? I know I would personally buy a bunch of stuff. Anyone? Mike? someone?
-
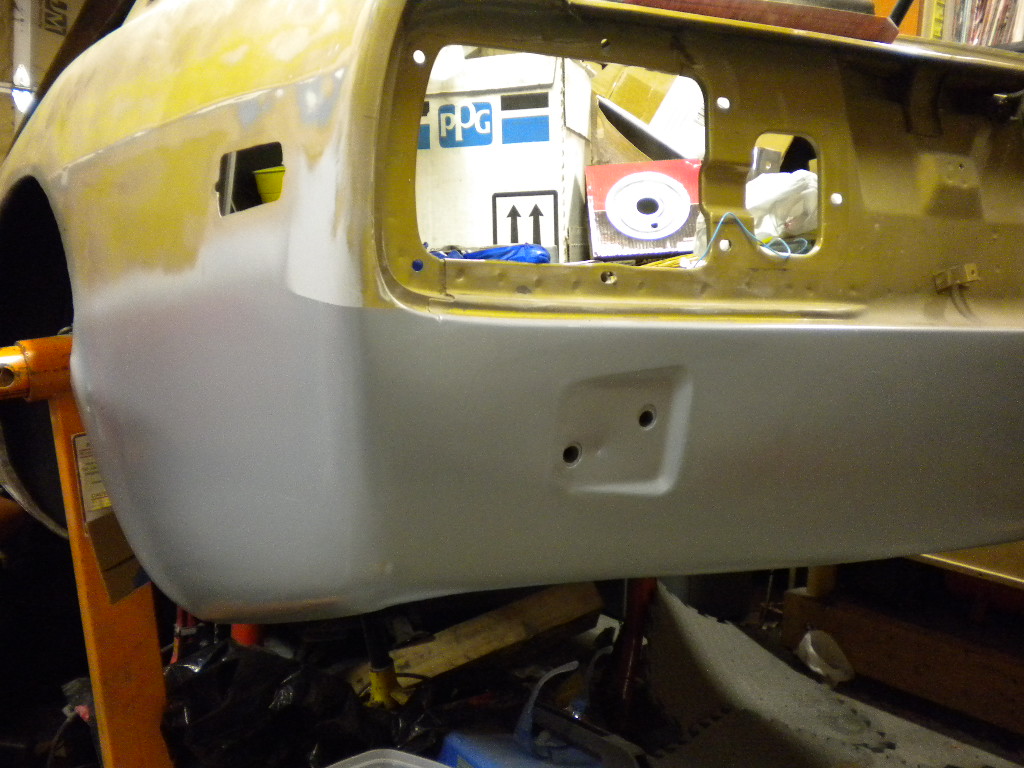
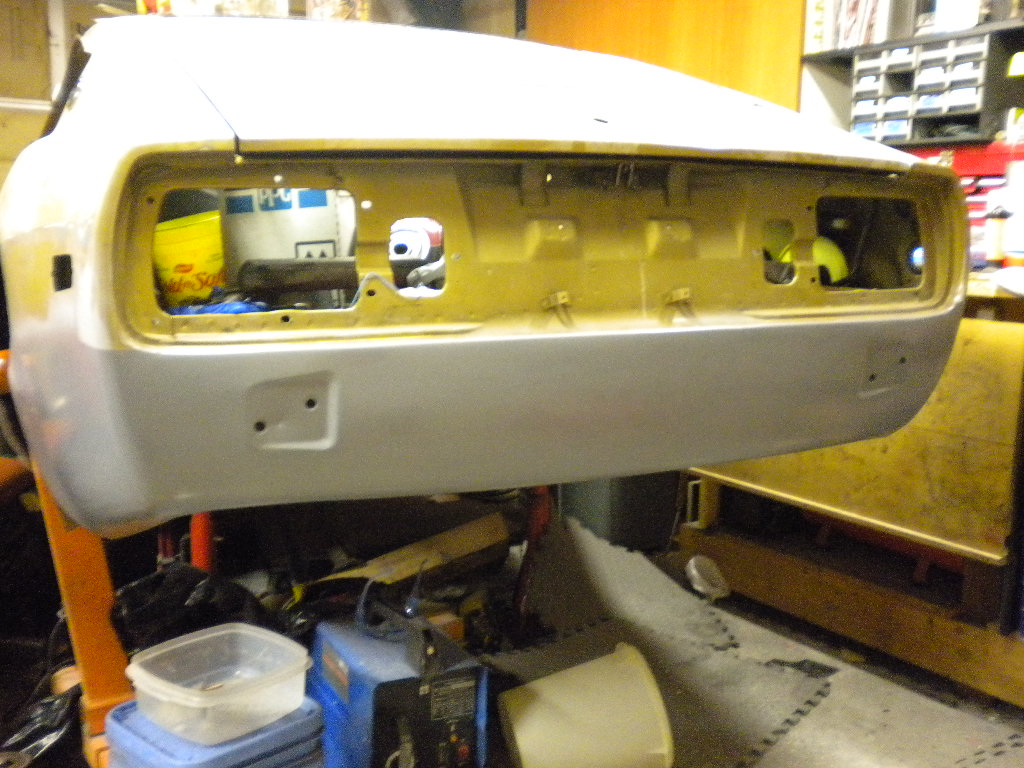
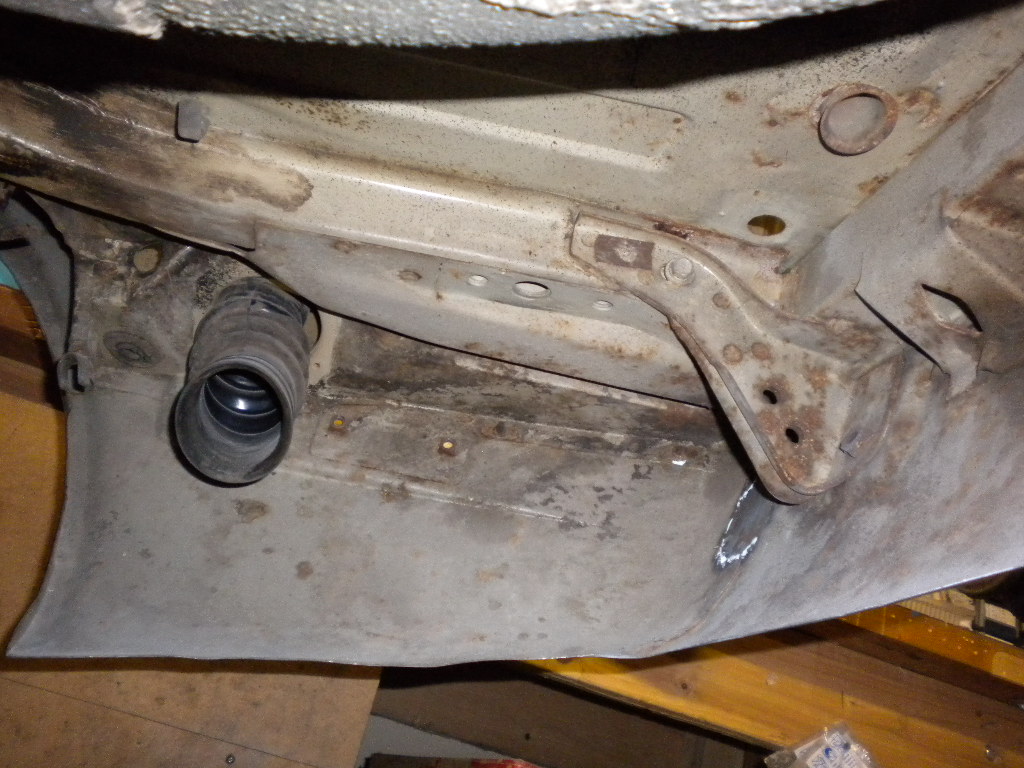
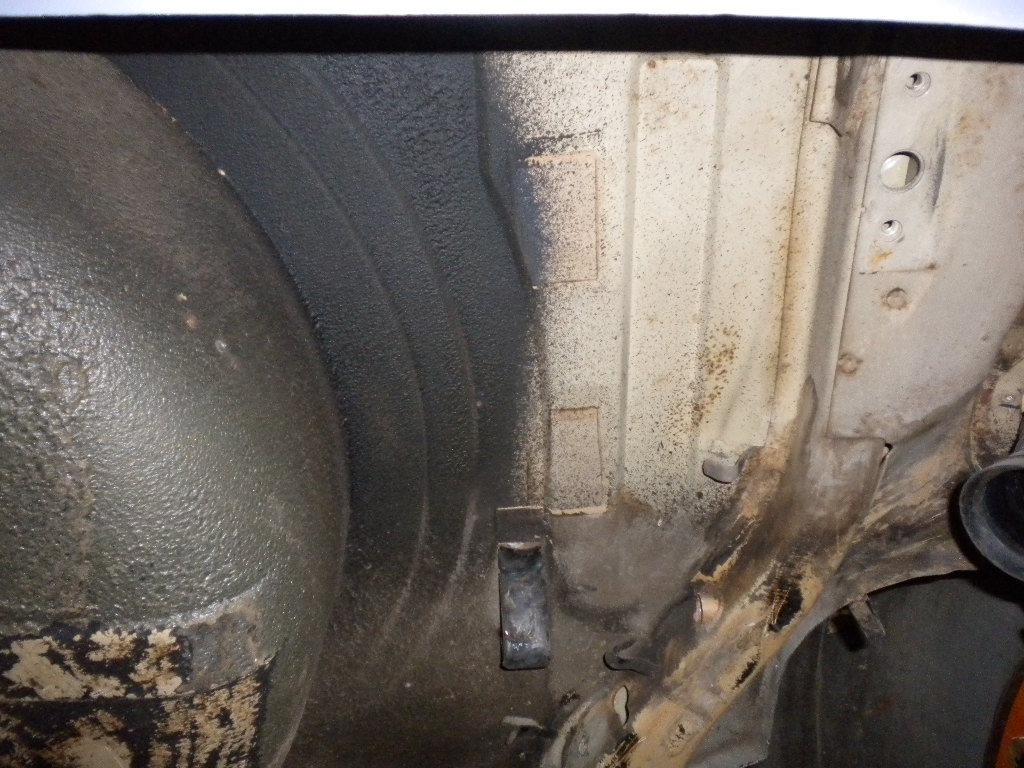
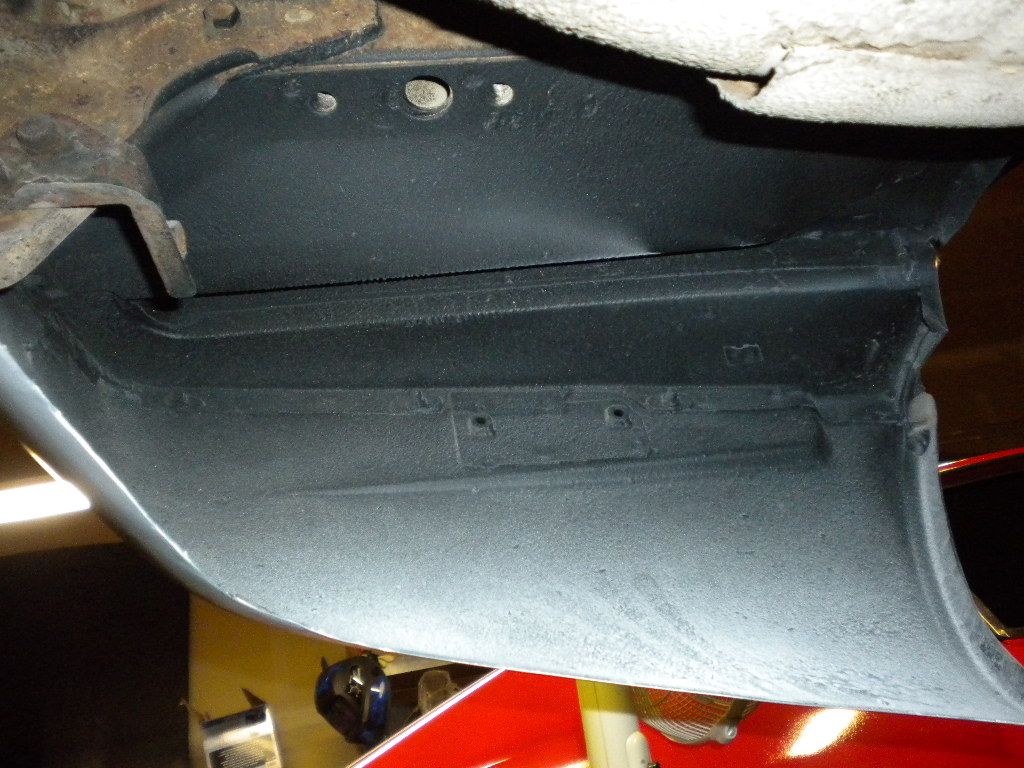
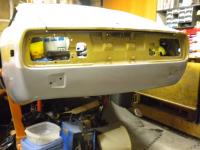
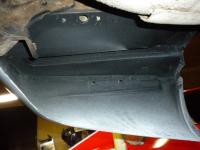
That's what I'm here for, sorry again. Dave The attached pictures show what I did with mine, and after pulling the tank, discovered the need for more undercoating where the tank sits. The last picture shows some of the new undercoating on the drivers side. But you can really see the need for that "Extra" care I'm gonna put into it. Been knocking off large scare rust then POR15'ing those spots and undercoating as I go. The flash on the last pic doesn't do the actual panel justice.


-
I already tore the bumper struts off the 260Z and ran into the same problem. The tank needs to come out, No way around it. Sorry!! And there's no easy way to slip it out of the way either. You have to remove (unstrap) the filler neck, the rear hose, the front 3 hoses, the drivers side hose and the tank straps. No time like the present to tear into is and clean everything up, replace hoses if needed and what ever else you wanna do. Dave
-
Not likely. Pull the drain plug on the bottom of the tank and inspect the fuel that comes out. Look for red fluid (rust), particles, water (it'll sink to the bottom of the inspection bowl, that you use) You can also pull the sending unit and visually inspect it that way. If you find that the tank is full of rust or similar issues, then pull it and use the search button here at CZCC to find many write ups on cleaning and repairing your existing tank. Or look around the classifieds (here, Craigslist, ebay) for another one. Disconnect all the fuel lines, wrap one end of each line with a shop rag and tape it off before you blow out the lines with a compressor. This will stop the fuel from flying all over and also allow you to see what was in the lines, before you decide what to do with them. These are small, effortless things that you can do that will likely save you more time and money in the future. Dave
-
After all this time, I'd say New Plugs, wires, cap, rotor and condensor. All easily replaced parts and won't blow the wallet up in the process. Dump the old oil and filter for new 10/30 weight and a decent FRAM oil filter? or what ever is common in the UK. Dump the old fuel and clear the fuel lines and clean out the float bowls then replace the fuel filter. Fill the tank only 1/2 way (about 6 gallons) with mid to super grade. THEN try and start her up. (Adding about 2 ounces of fuel to each float bowl will decrease the starting (cranking) time. If your spark and all is good. Check the Coil as well. Not sure of the history of the car thus far, but doing the above definately Won't hurt the car. Dave
-
I've always heard that the typical (Ideal) fuel pressure for the S.U.'s is about 3 lbs. I only ran 4 to 4.5 for my Triple 40DCOE Webers. if that tells you anything..... A decent regulator from Spectre? is about $20 or less. It's the dial top with 3/16" in/out's FWIW Dave
-
 Yup, it was the "Alternative" event for the MSA Z Nationals, at the end of April. It was awesome, you'll have to try for next year. Bring a girl this time, she'll love it.
 -
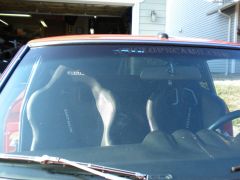
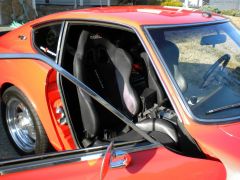
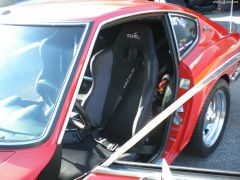 Thanks Man. I got my 4-point Camlock racing harness's in the other day. I'll post pics soon. Dave
 -
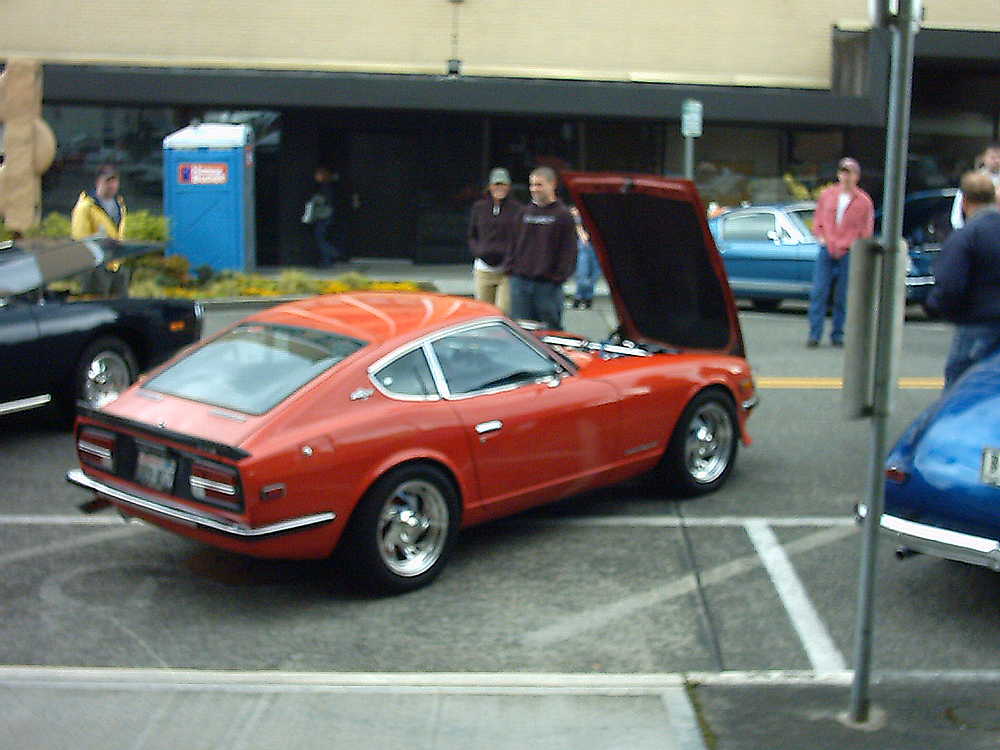
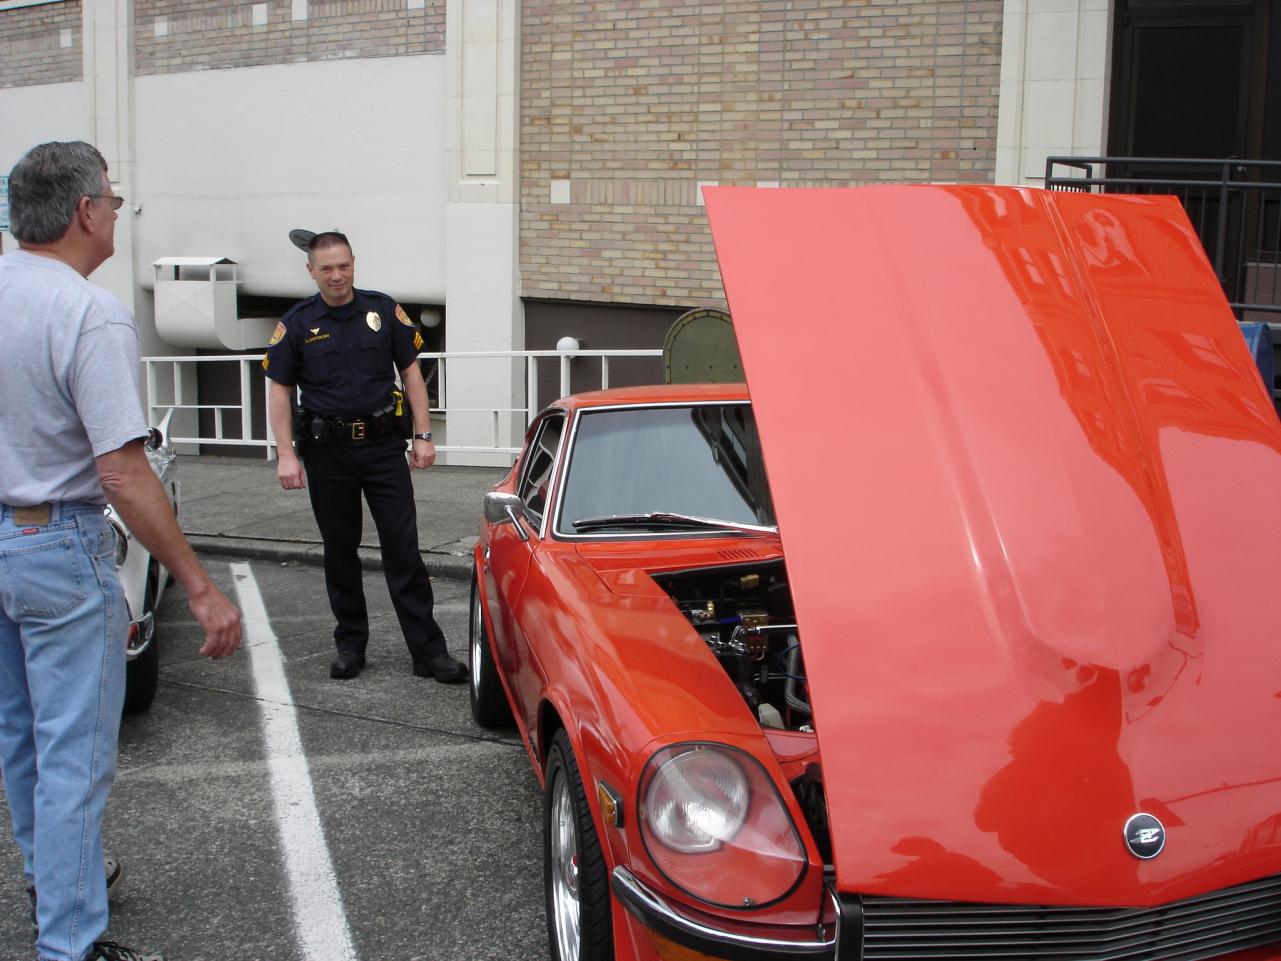
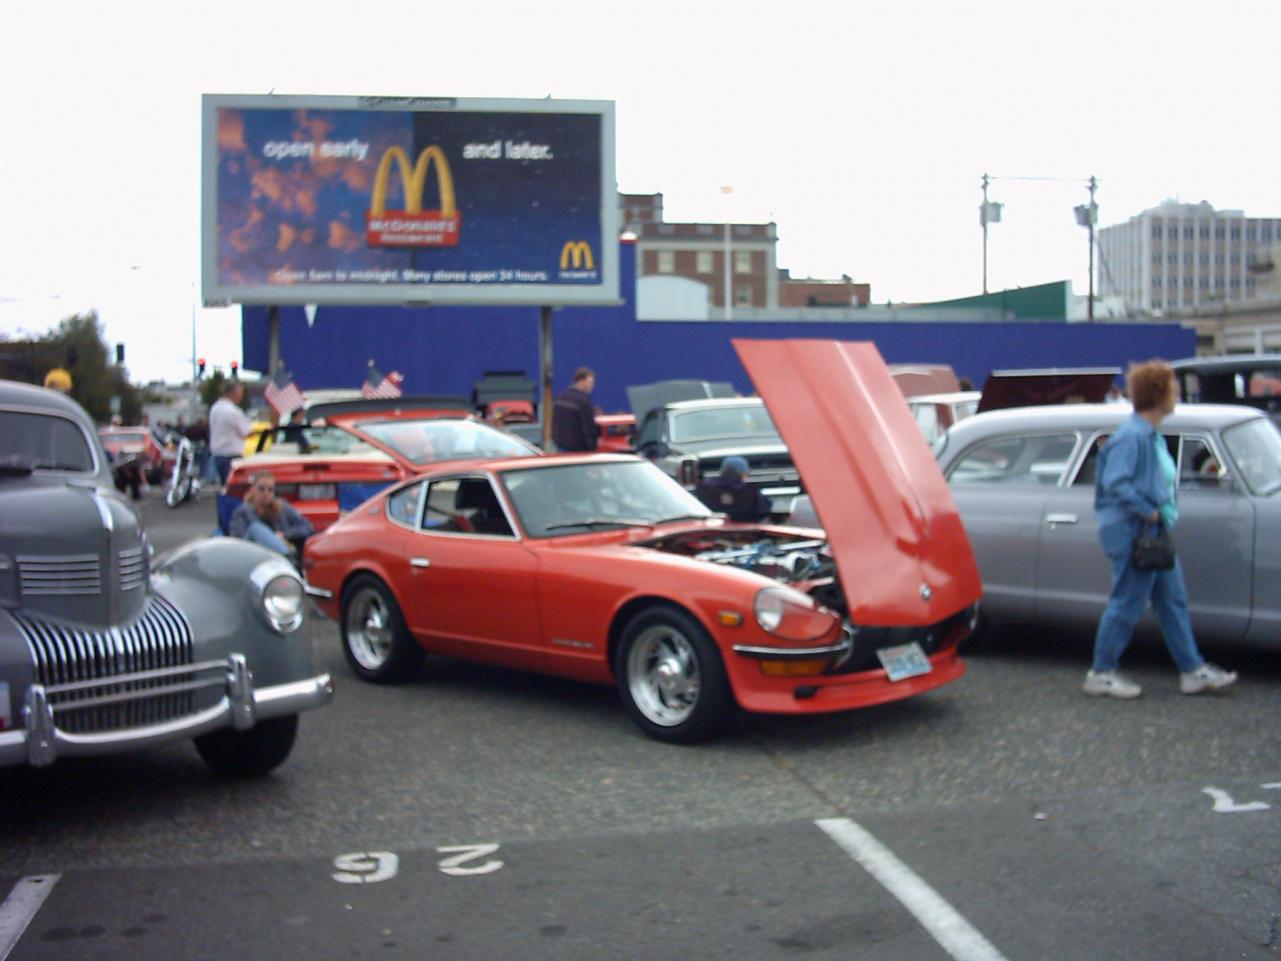
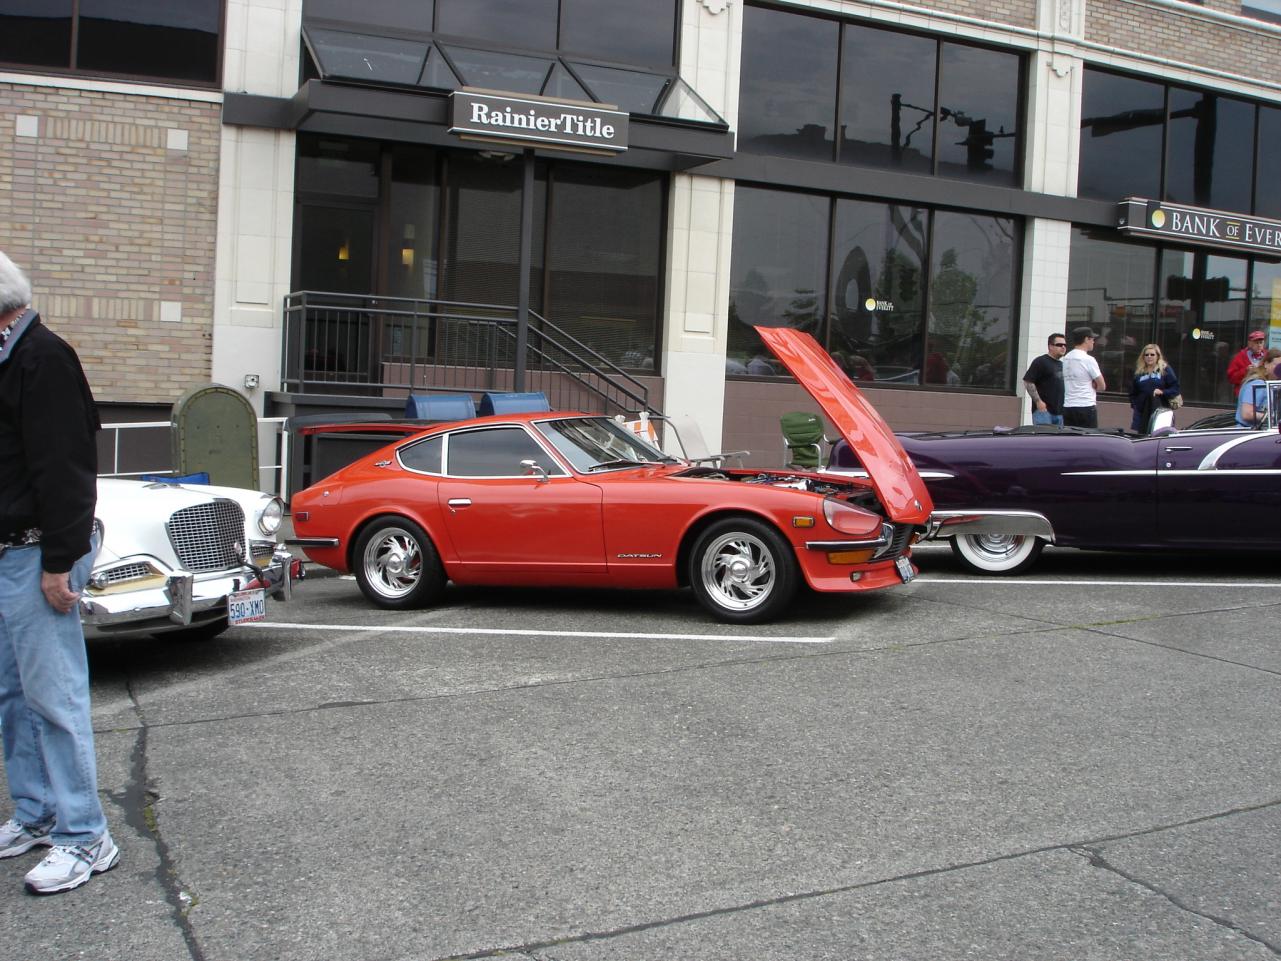
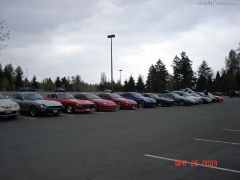
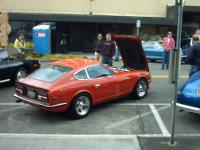
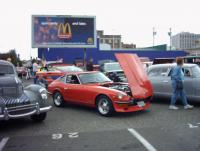
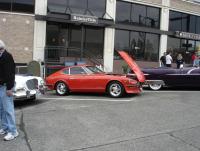
You're all preaching to the Choir. I go to local show all the time and I rarely see any other Z's, except 350Z's. But no other Classics. And Yup, it's pretty funny watching all the Classic Chevy and Ford owners getting ticked that everyone is googling over my JAPANESE Sports car. pics included....... Dave.

-
Actually, It's called the "Parking light Upgrade harness" As the sidemarkers, dash lights, front markers and rear taillights are ALL on the same circuit. The PLH is a very simple instal...... Just remove the fuse, mount the power wire to the battery's (+) post, run the power wire thru the firewall bood (engine harness boot) and over to the steering column. Remove the steering column cover, unplug the combo (headlight switch) run the "T" harness over the column and plug it into the open combo switch connectors. Then remove the relay from the socket, insert the power wire terminal into the relay socket's outermost hole until it clicks in place. Then remove the steering column bolt that sits closets to you, on the left hand side. Run that bolt thru the ring terminal on the ground wire then thru the relay tab. Mount the relay to the underside using the bolt, tighten down and you're done.. Replace the fuse into the fuse-holder at the battery and Test it out. The Upgrade will stop ALL the hi amperage that normally goes thru the Fusebox and combo switch. Enjoy!! And Yes, I'm the guy that makes all the upgrades on MSA's "New Technologies" page. Except the fusebox, that's not mine. Dave
-
I think the hazards have a fuse. Check the fusebox. My hazard switch has a temper as well, I have to wiggle it to make it work and when I shut it off, I have to wiggle it again to make my turn signals work correctly. Dave
-
MUCH BETTER Mike. Looks like ya just came in from the garage?? I'm guessing yes. Now ya gotta get the other one looking that good. (The Z you had at the car show 2 sundays ago....) Good to see you and the wife again. Dave And Leah
-
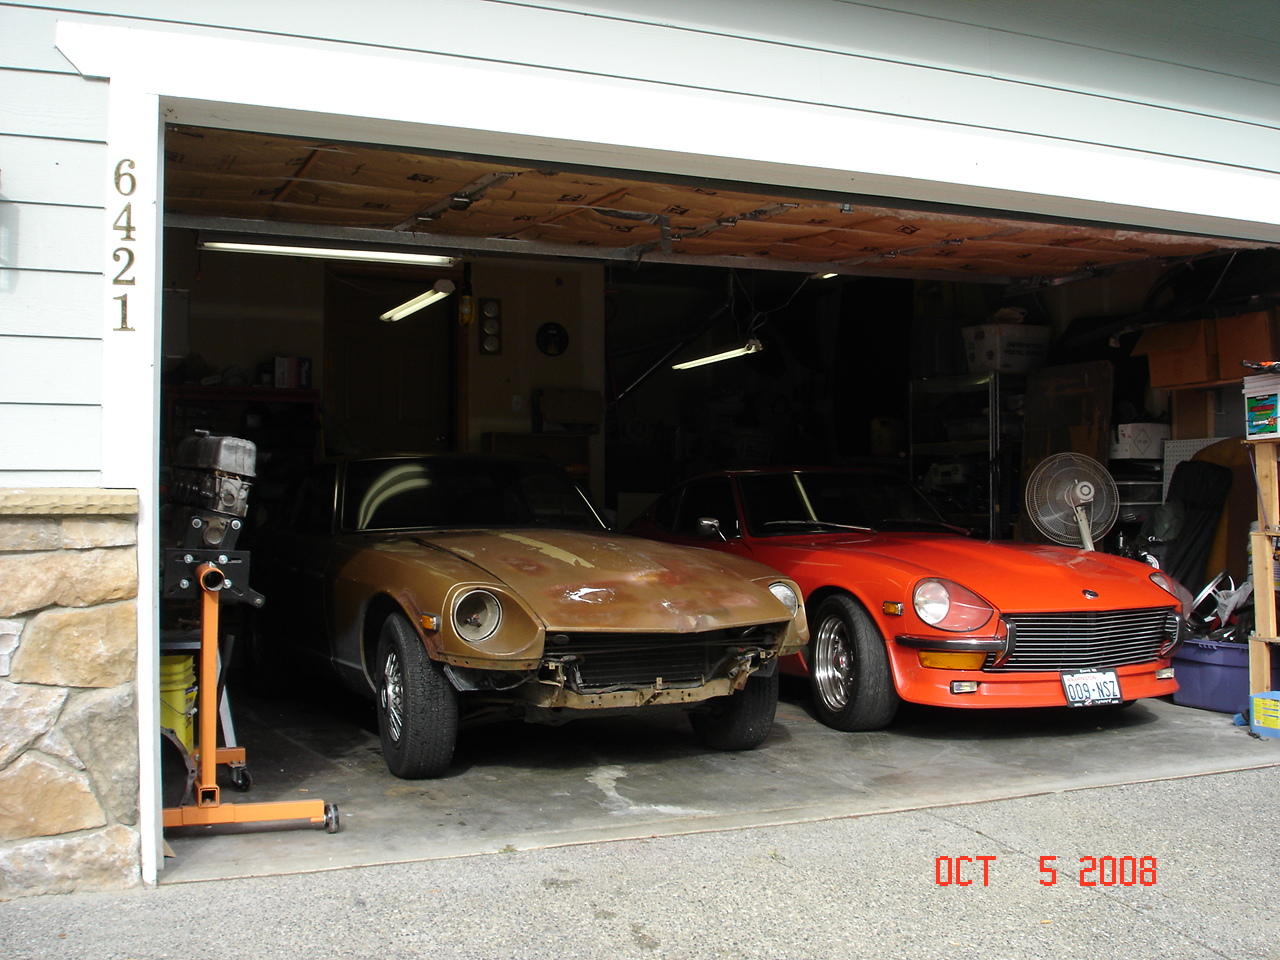
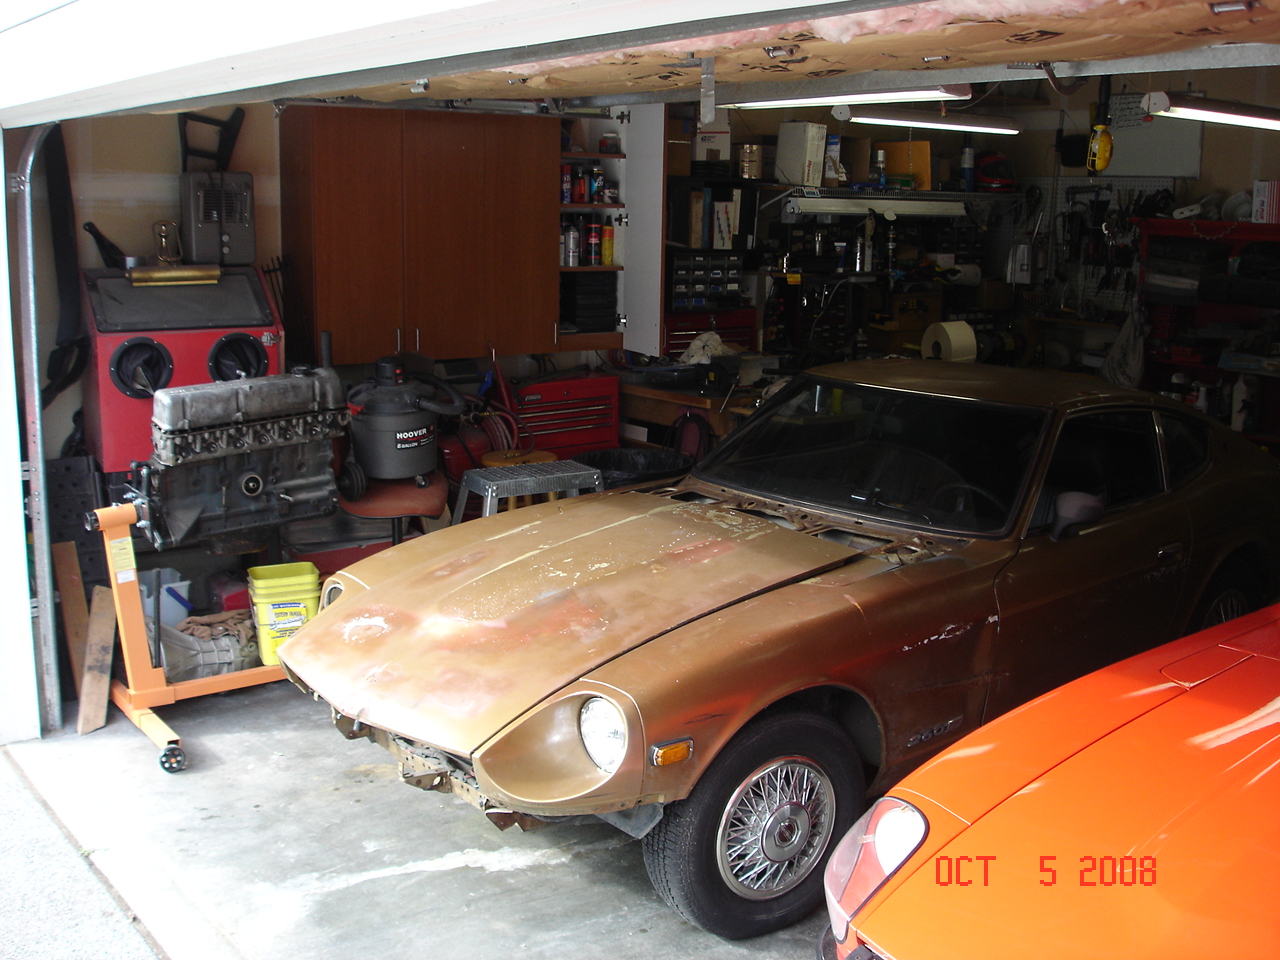
My picture isn't as pretty as yours but welcome to the "filled my garage with Z's" Club. Congrats on the new addition. I can't wait till both of mine are drivable. Dave


-
So what is the question? If you wait for someone to say they live in Minnesota, it could be a while before you get an answer. So let's have it. How can we help? Dave
-
Is that what that was? I thought it was more like one of those 'GOOD GAME" smacks on the arse from the coach. Or something like that. I was actually hoping it WOULD end there and "Nobody would say anything else. But we all know that would be wishfull thinking. I'm actually more interested in the car, the facts and the latest update. More than what HS30 has to ramble about. Apology accepted and not even the slightest bit upset. Have a great week-end everyone.. Dave
-
Here, Here brother, by the way, its HLS30-00013. Thought I'd throw that in there, just cause I can. Being the American chest Beating kinda guy that I am. Dave And by the way, It WAS "all about making money." After all, That's why 99% of business's are IN business. MONEY. Plain and simple. Hope to get some actual updates here soon.
-
I think what most of you "Questioners of the truth" are failing to realize is the Significance of the find. The find, being Zcar # HLS30-00013, as stated on many sites as well as Carls, is "THE FIRST 240Z SOLD TO THE GENERAL PUBLIC IN THE UNITED STATES"........ #1 thru 12 were used in testing, premiers and publications. They were NOT to be sold to the General public. 240Z #13 was to be the Very first unit, of the first Boat load, to be sold to John Q. Public. Period. This is what makes it such a Significant Find. We're not talking UK versions. We're not talking Europe, Asia, Australia or anywhere else in the friggin world. We're talking about the Very first, US Sold 240Z, to the public. Period. We're not saying we don't appreciate the UK finds or significance. We're talking United States of America. That's it, That's all. As for "What's it worth" that we'll hear for the next 20 friggin pages, it goes without saying that "Beauty is in the Eye of the Beholder"..... The car is worth what the highest price paid says it's worth, and that's completely up to the future buyer and the present owner. And there's NO in between. It does'nt take a Rocket Scientist to figure these things out. I was personally offered $18,000 for my 70' 240Z (HLS30-08077) which has no more historical significance than any other Z above the #500 vin mark. The fact was that the person who offered the $18K LOVED Everything that I had done to the car and wanted it as I HAD MADE IT!!! All the above will either be agreed with or Scoughed at. I don't care either way. As facts are facts and opinions are opinions, to each his own. Dave
-
That's great and all but what she fails to put into the equation is that your Z is older than hers and may have many more electrical issues than her later Z, that had a lot of the bugs worked out by then. The 240Z's were more of a Test unit. The electrical engineers needed to be taken out back and be smacked around. Their lack of of use of relays and better gauge wiring is and has been the downfall of way too many 240Z's. If you really care about your Z, do the whole voltage drop reading to comfirm what everyone else has already told you, that being to Upgrade your electrical. Your fusebox is melting, Just like I said, because of bad wiring, connections, old parts and just under 40 years of wear and tear. My Parking light upgrade harness will put the voltage back to your circuit and relieve the Combo switch, fusebox, wiring and connections BEFORE the actual ciruit, of all the amperage that has destroyed everything in the first place. The relay that is used in the PLH is acticated by only 0.30 amps, Not the 15 that the circuit normally sees. It's time to update your Z. A new alternator that will quickly recharge the system, the upgrades that I offer will put relays into the headlight and parking light circuit, and cleaning all of your grounds and updating your power wires is Exactly what your Z needs now. In 6 years of doing this, not one single customer has EVER told me anything other than "Thanks Dave, this is one of the best things I've ever done to my 240Z" And of over a thousand units sold, I've only had to replace 1, for free, because of a bad choice of wiring on my part. Keep in mind that I also rebuild combo and Turn Signal switches for only $60 a pair. I can also Build you a completely rebuilt, like almost new, switch if yours needs to be replaced, for only $100 per switch. NOT $175 to $300 for a non rebuilt or NOS unit like you see on Ebay and other places. So while you do your testing, clean every connection that you come across. There are products out there that clean corrosion off and make the connection as close to new as possible. FWIW, Dave
-
Typically, it would be a combonation of possible bad rings and definately bad valve guides/seals. Oil drips down the valves after the engine has been shut off, and the cam leaves the valves open for the oil to slide on to the pistons. Hense the wet look piston tops. Resolved by rebuilding the head with the valve seats reground and new guides. Maybe it's also time to have the block refreshed by rehoning the cylinders and installing new ring sets, and the usual rebuild with new gaskets, rod and crank bearings and the usual assortment of goodies. DAve
-
Bought them off Craigslist for $360 for the pair and I Love 'em. And better yet, The Wife loves them too. Should have my new 4-p[oint Camlock harness's on friday the 14th.
-
 Bought them off Craigslist for $360 for the pair and I Love 'em. And better yet, The Wife loves them too. Should have my new 4-p[oint Camlock harness's on friday the 14th.
 -
 Bought them off Craigslist for $360 for the pair and I Love 'em. And better yet, The Wife loves them too. Should have my new 4-p[oint Camlock harness's on friday the 14th.
 -
 Bought them off Craigslist for $360 for the pair and I Love 'em. And better yet, The Wife loves them too. Should have my new 4-p[oint Camlock harness's on friday the 14th.
 -
 Bought them off Craigslist for $360 for the pair and I Love 'em. And better yet, The Wife loves them too. Should have my new 4-p[oint Camlock harness's on friday the 14th.