matt90gt
Community Member
-
Joined
-
Last visited
-
The second vapor canister? no, I cut it open for my knowledge.
-
I believe I updated it all. Let me know if I missed something. FYI - opening the second unit I had (which was the original 1977 unit) all the internals were in fine shape. nothing wrong with the filter pads, charcoal or segregation grates (dont know technical term here)
-
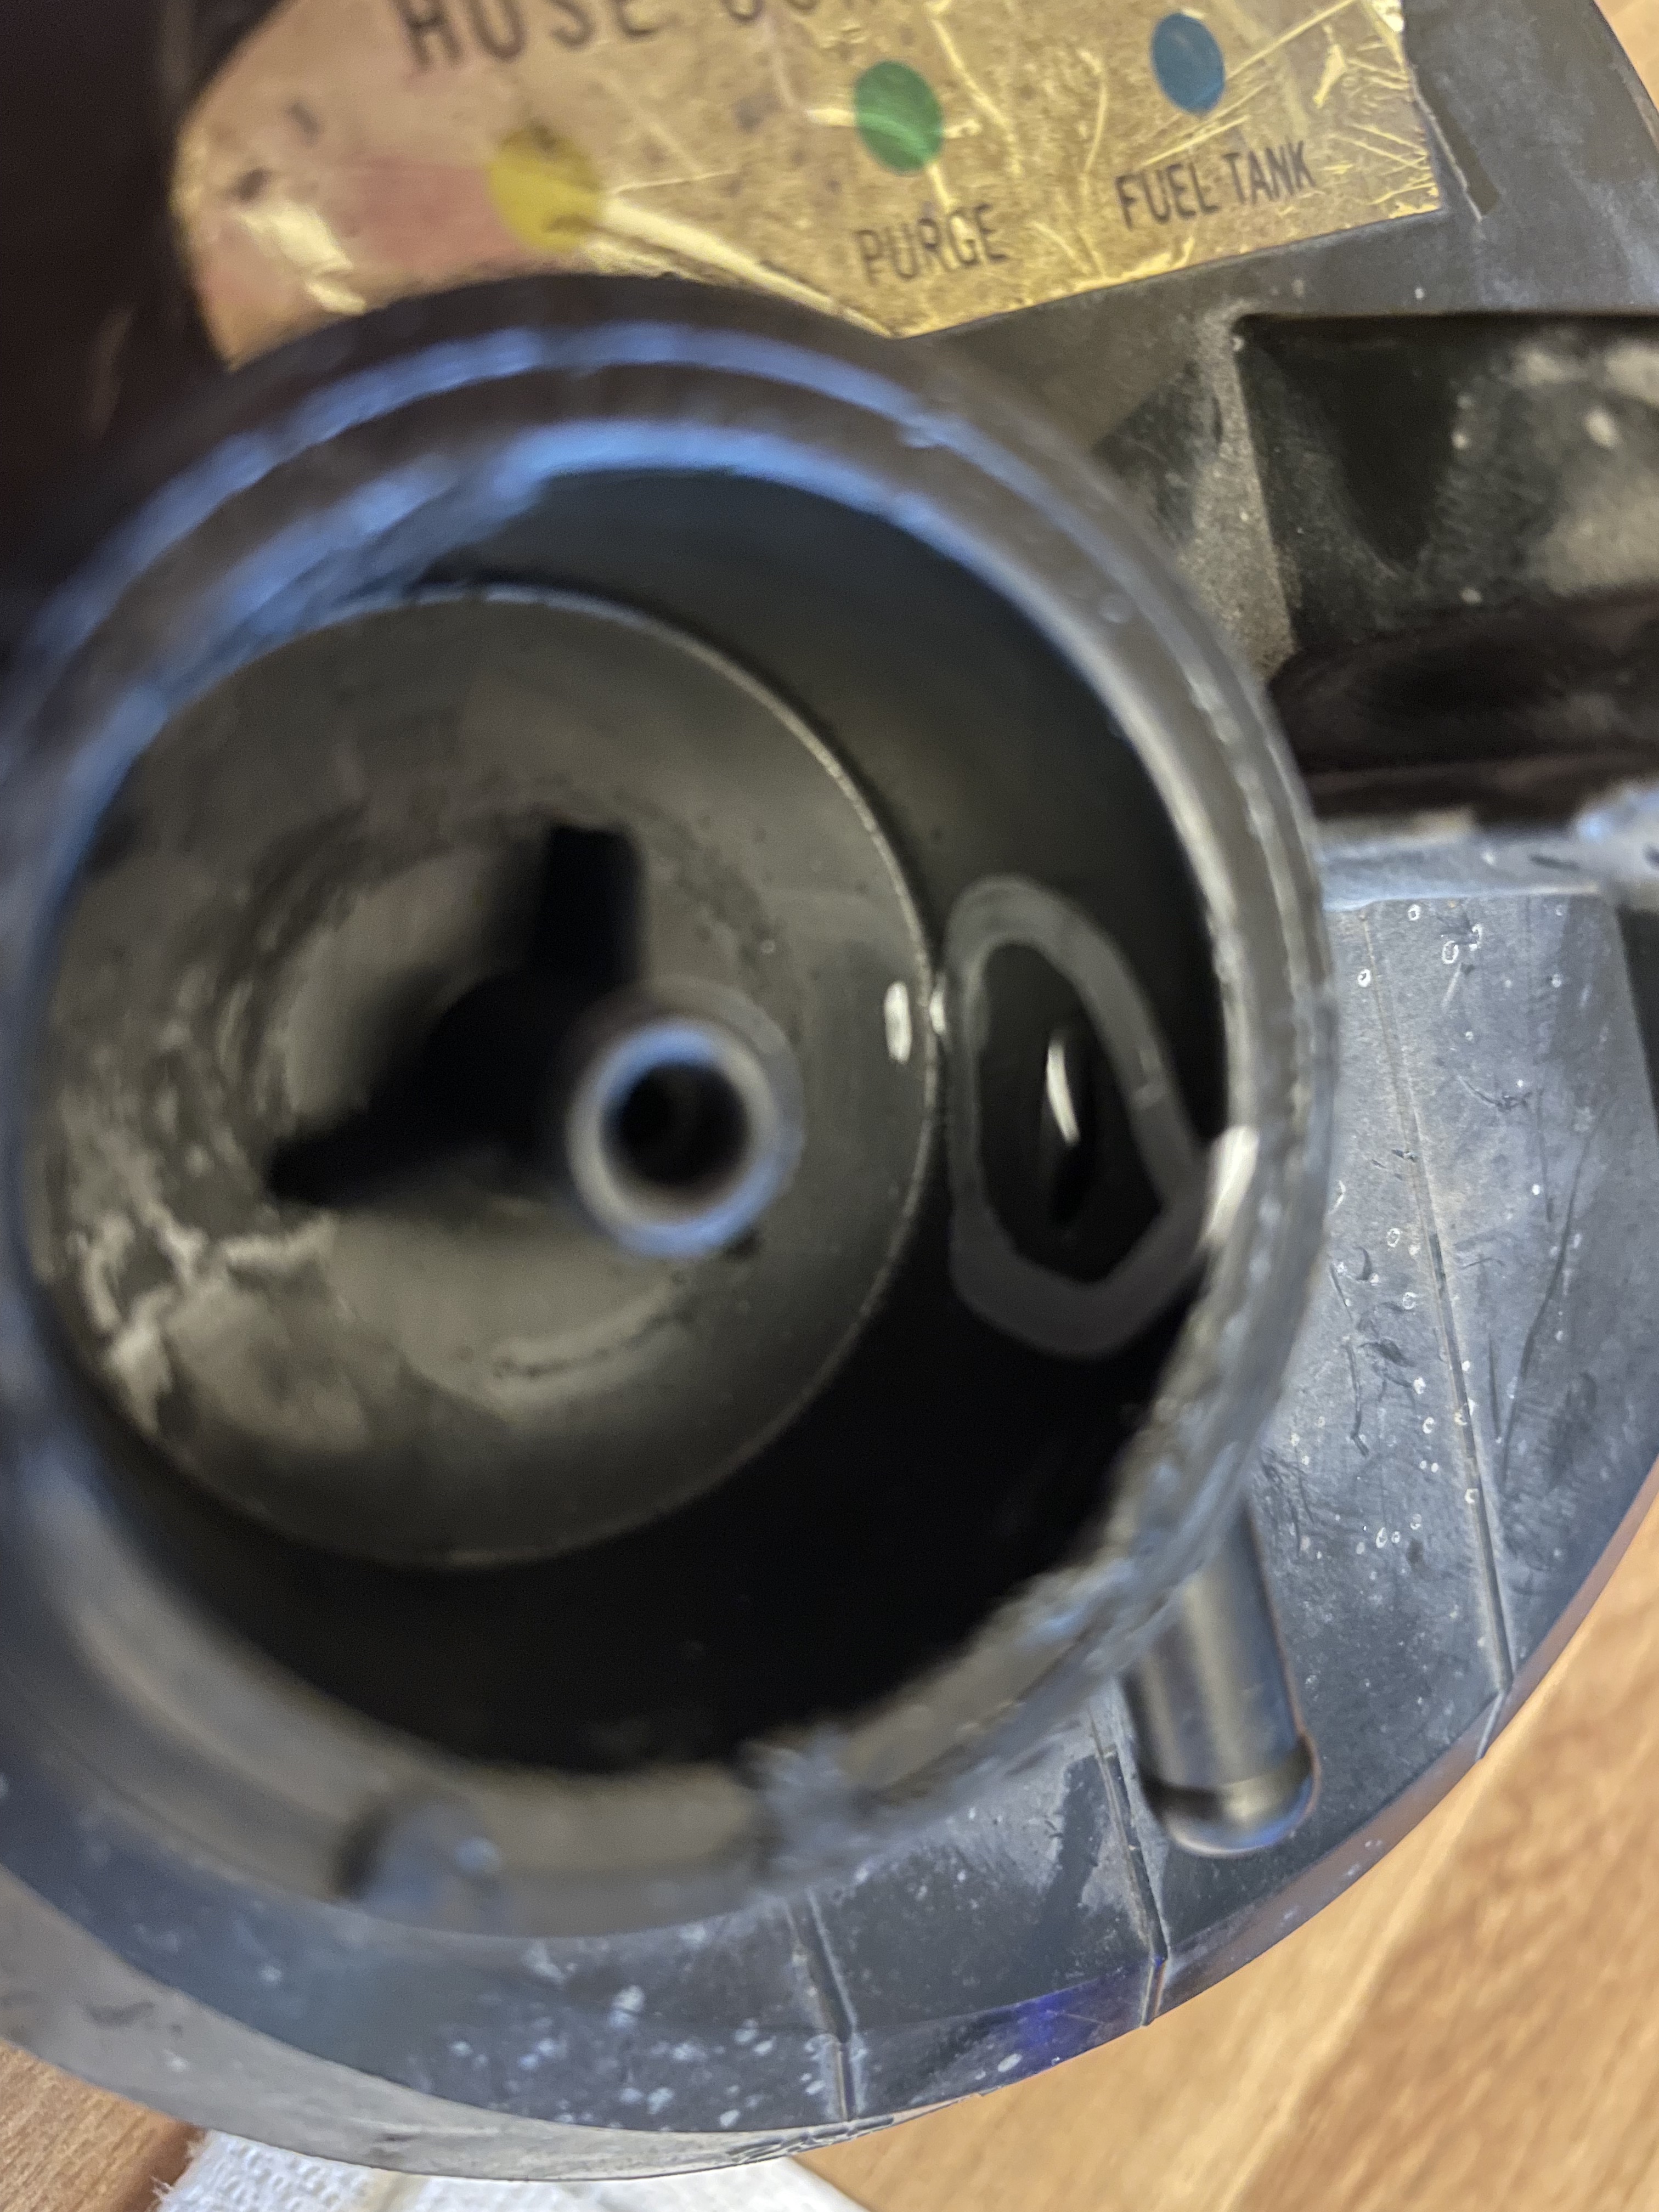
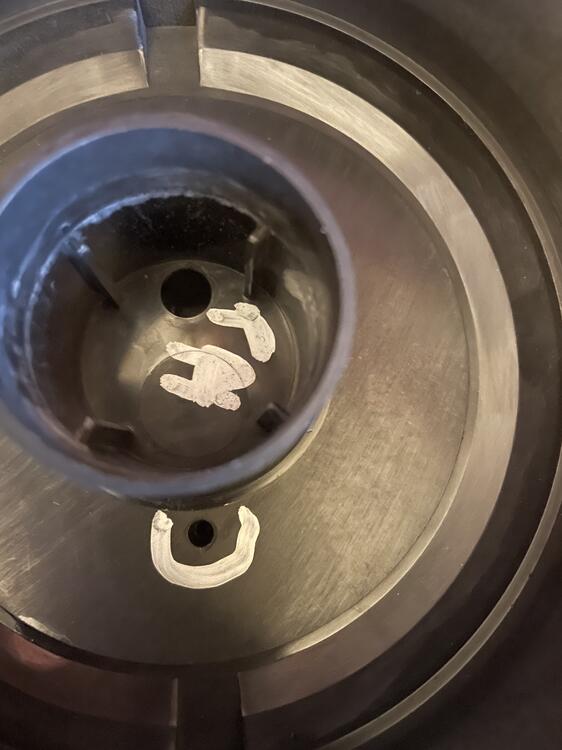
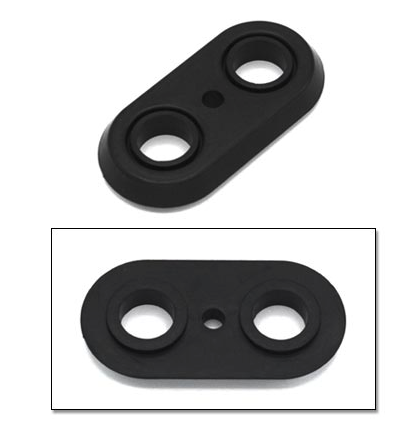
Following you now. I see why the screw as you said was wrong. The port is in the side of the chamber. Sealed the top on now . Thanks for that tip. I cut the 2nd one I had with same issue open: And from under the top for reference it is on the side , the tank vent is in the center:

-
Watch the video I posted. That will show you how the system is supposed to work. Should help explain the purge valve and function - or confirm your knowledge of how the vapor canister works. Why didnt I delete the unit? didnt want the smell of fuel vapors.
-
I assume you are talking the aftermarket unit? if so, it works like OEM where it is closed until vacuum is applied to the smaller line there. Maybe that is the confusion here. Again, works like stock. closed on the vent line until vacuum is applied. Since the stock unit is inoperable and leaving the vent line open all the time (causing the vacuum leak) I replaced it with an external unit for $22. Cheap fix to the OEM unit which is still doing its job filtering.
-
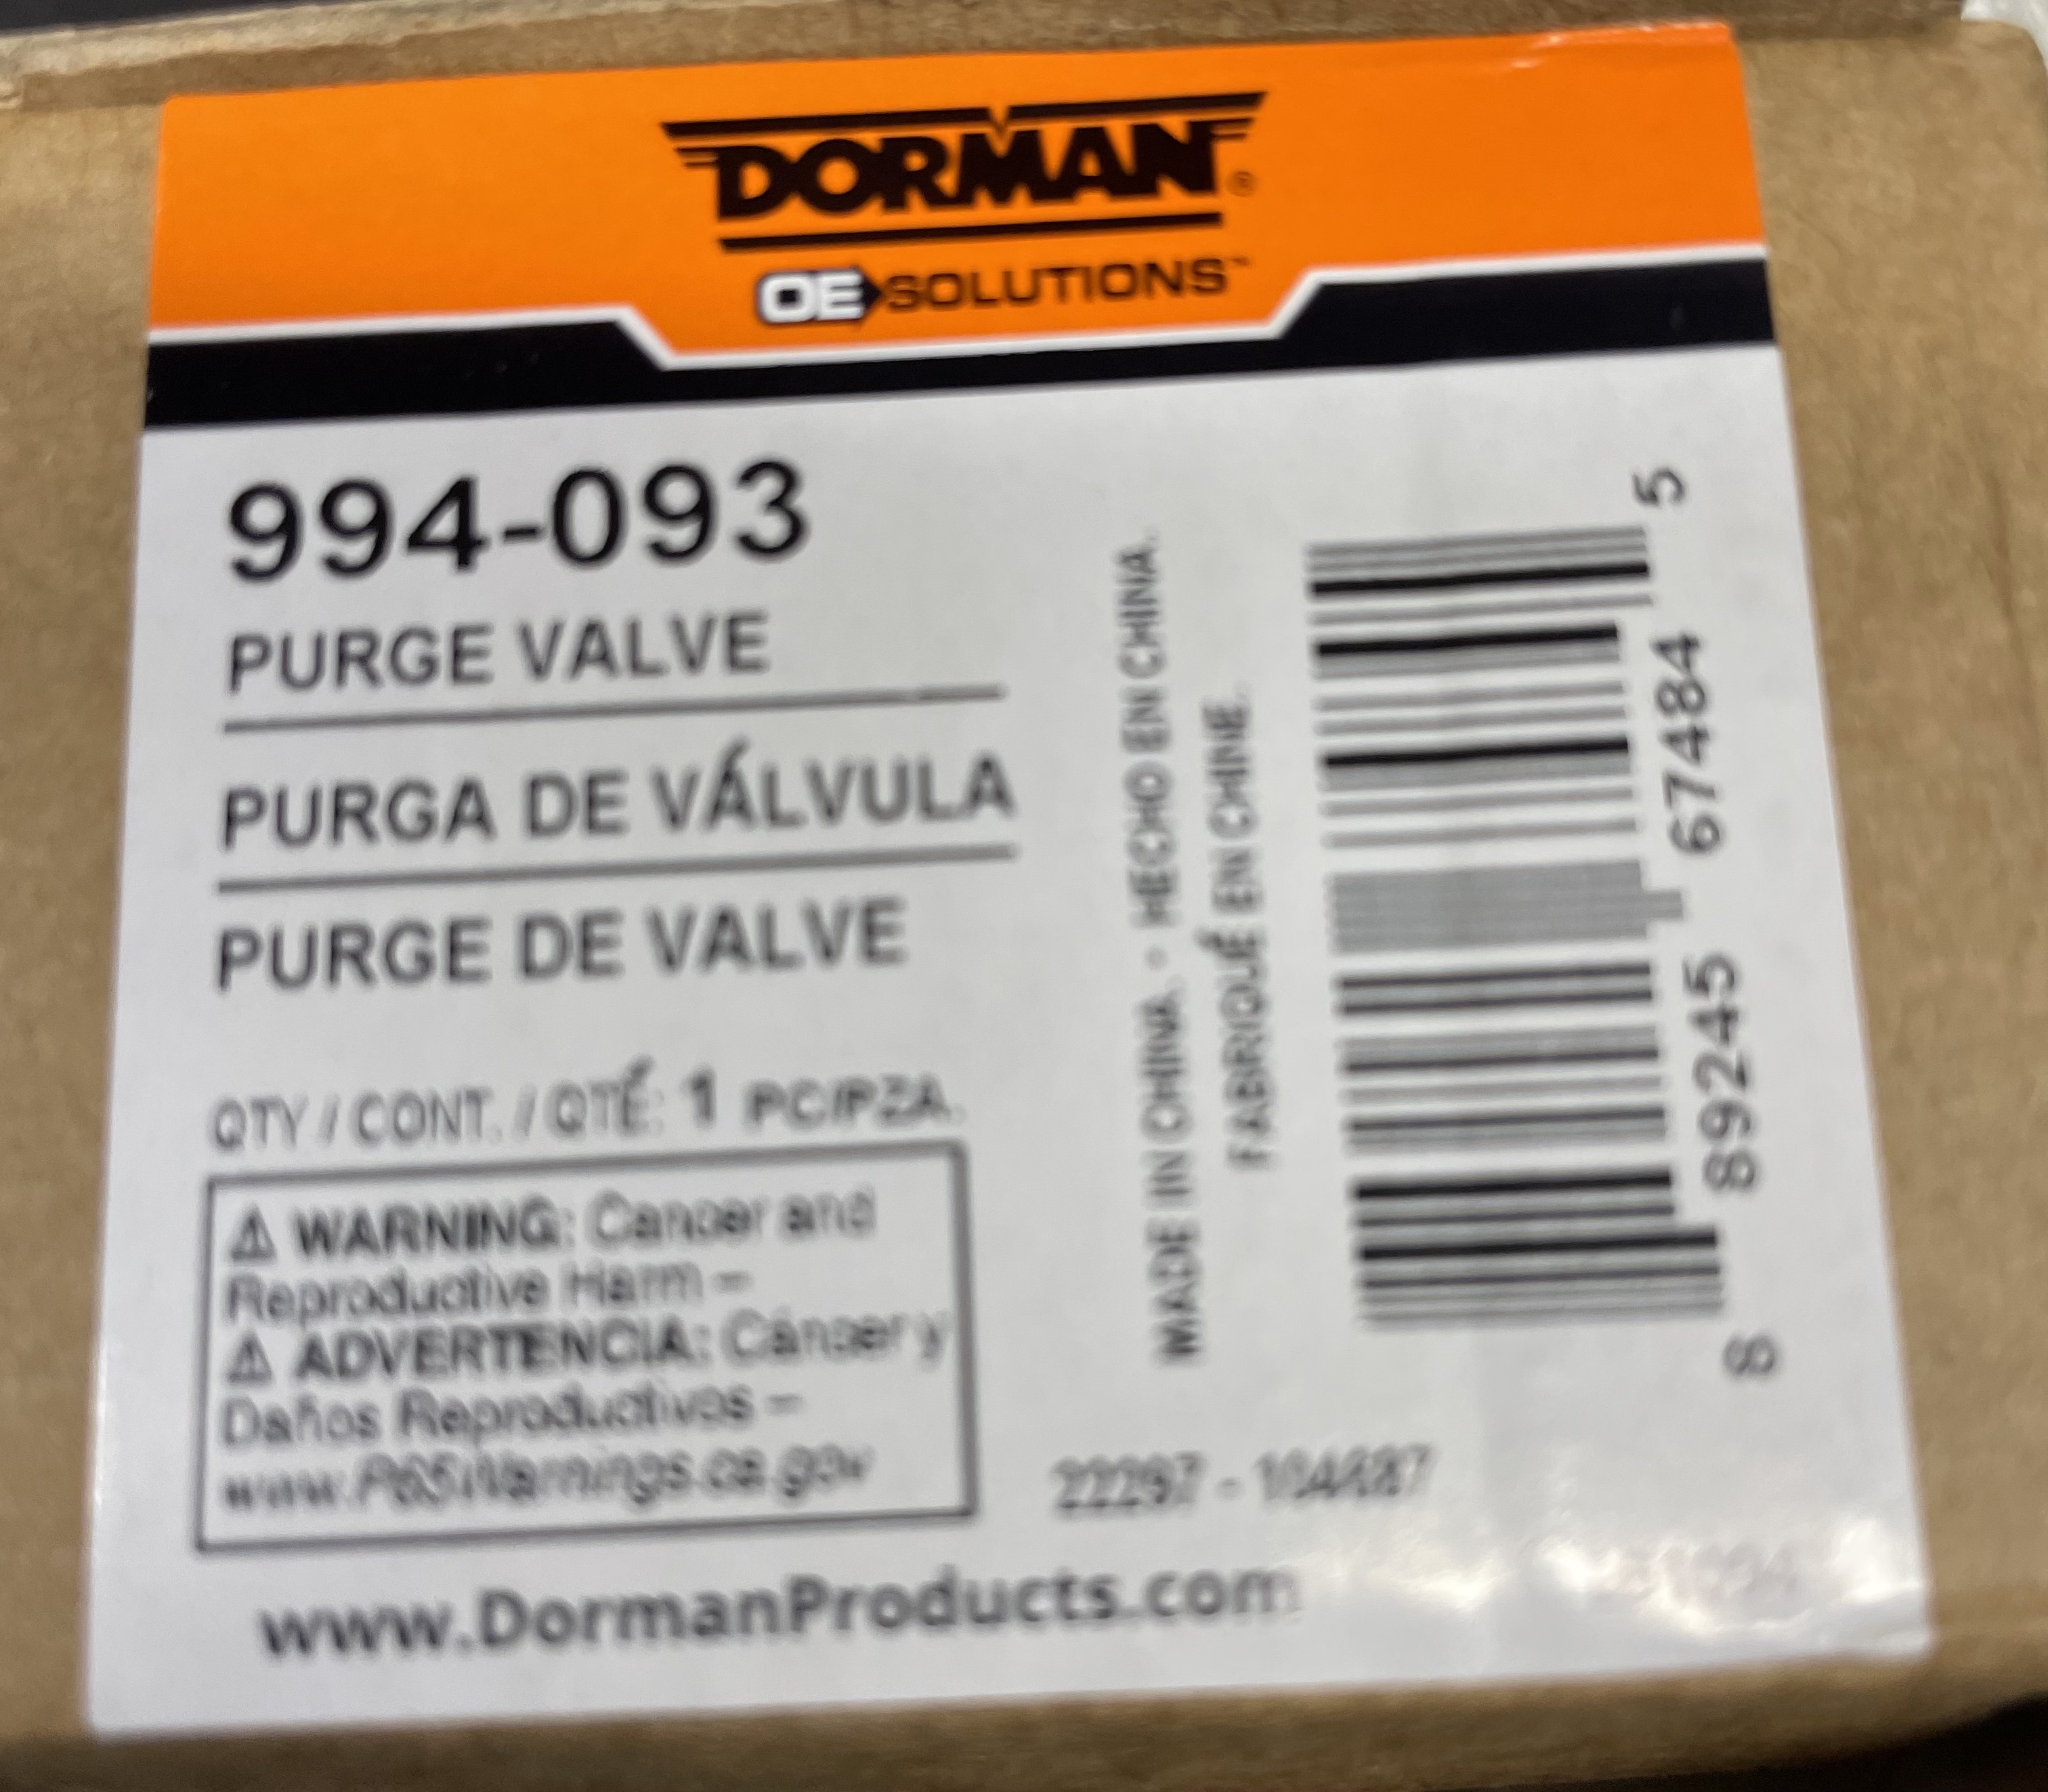
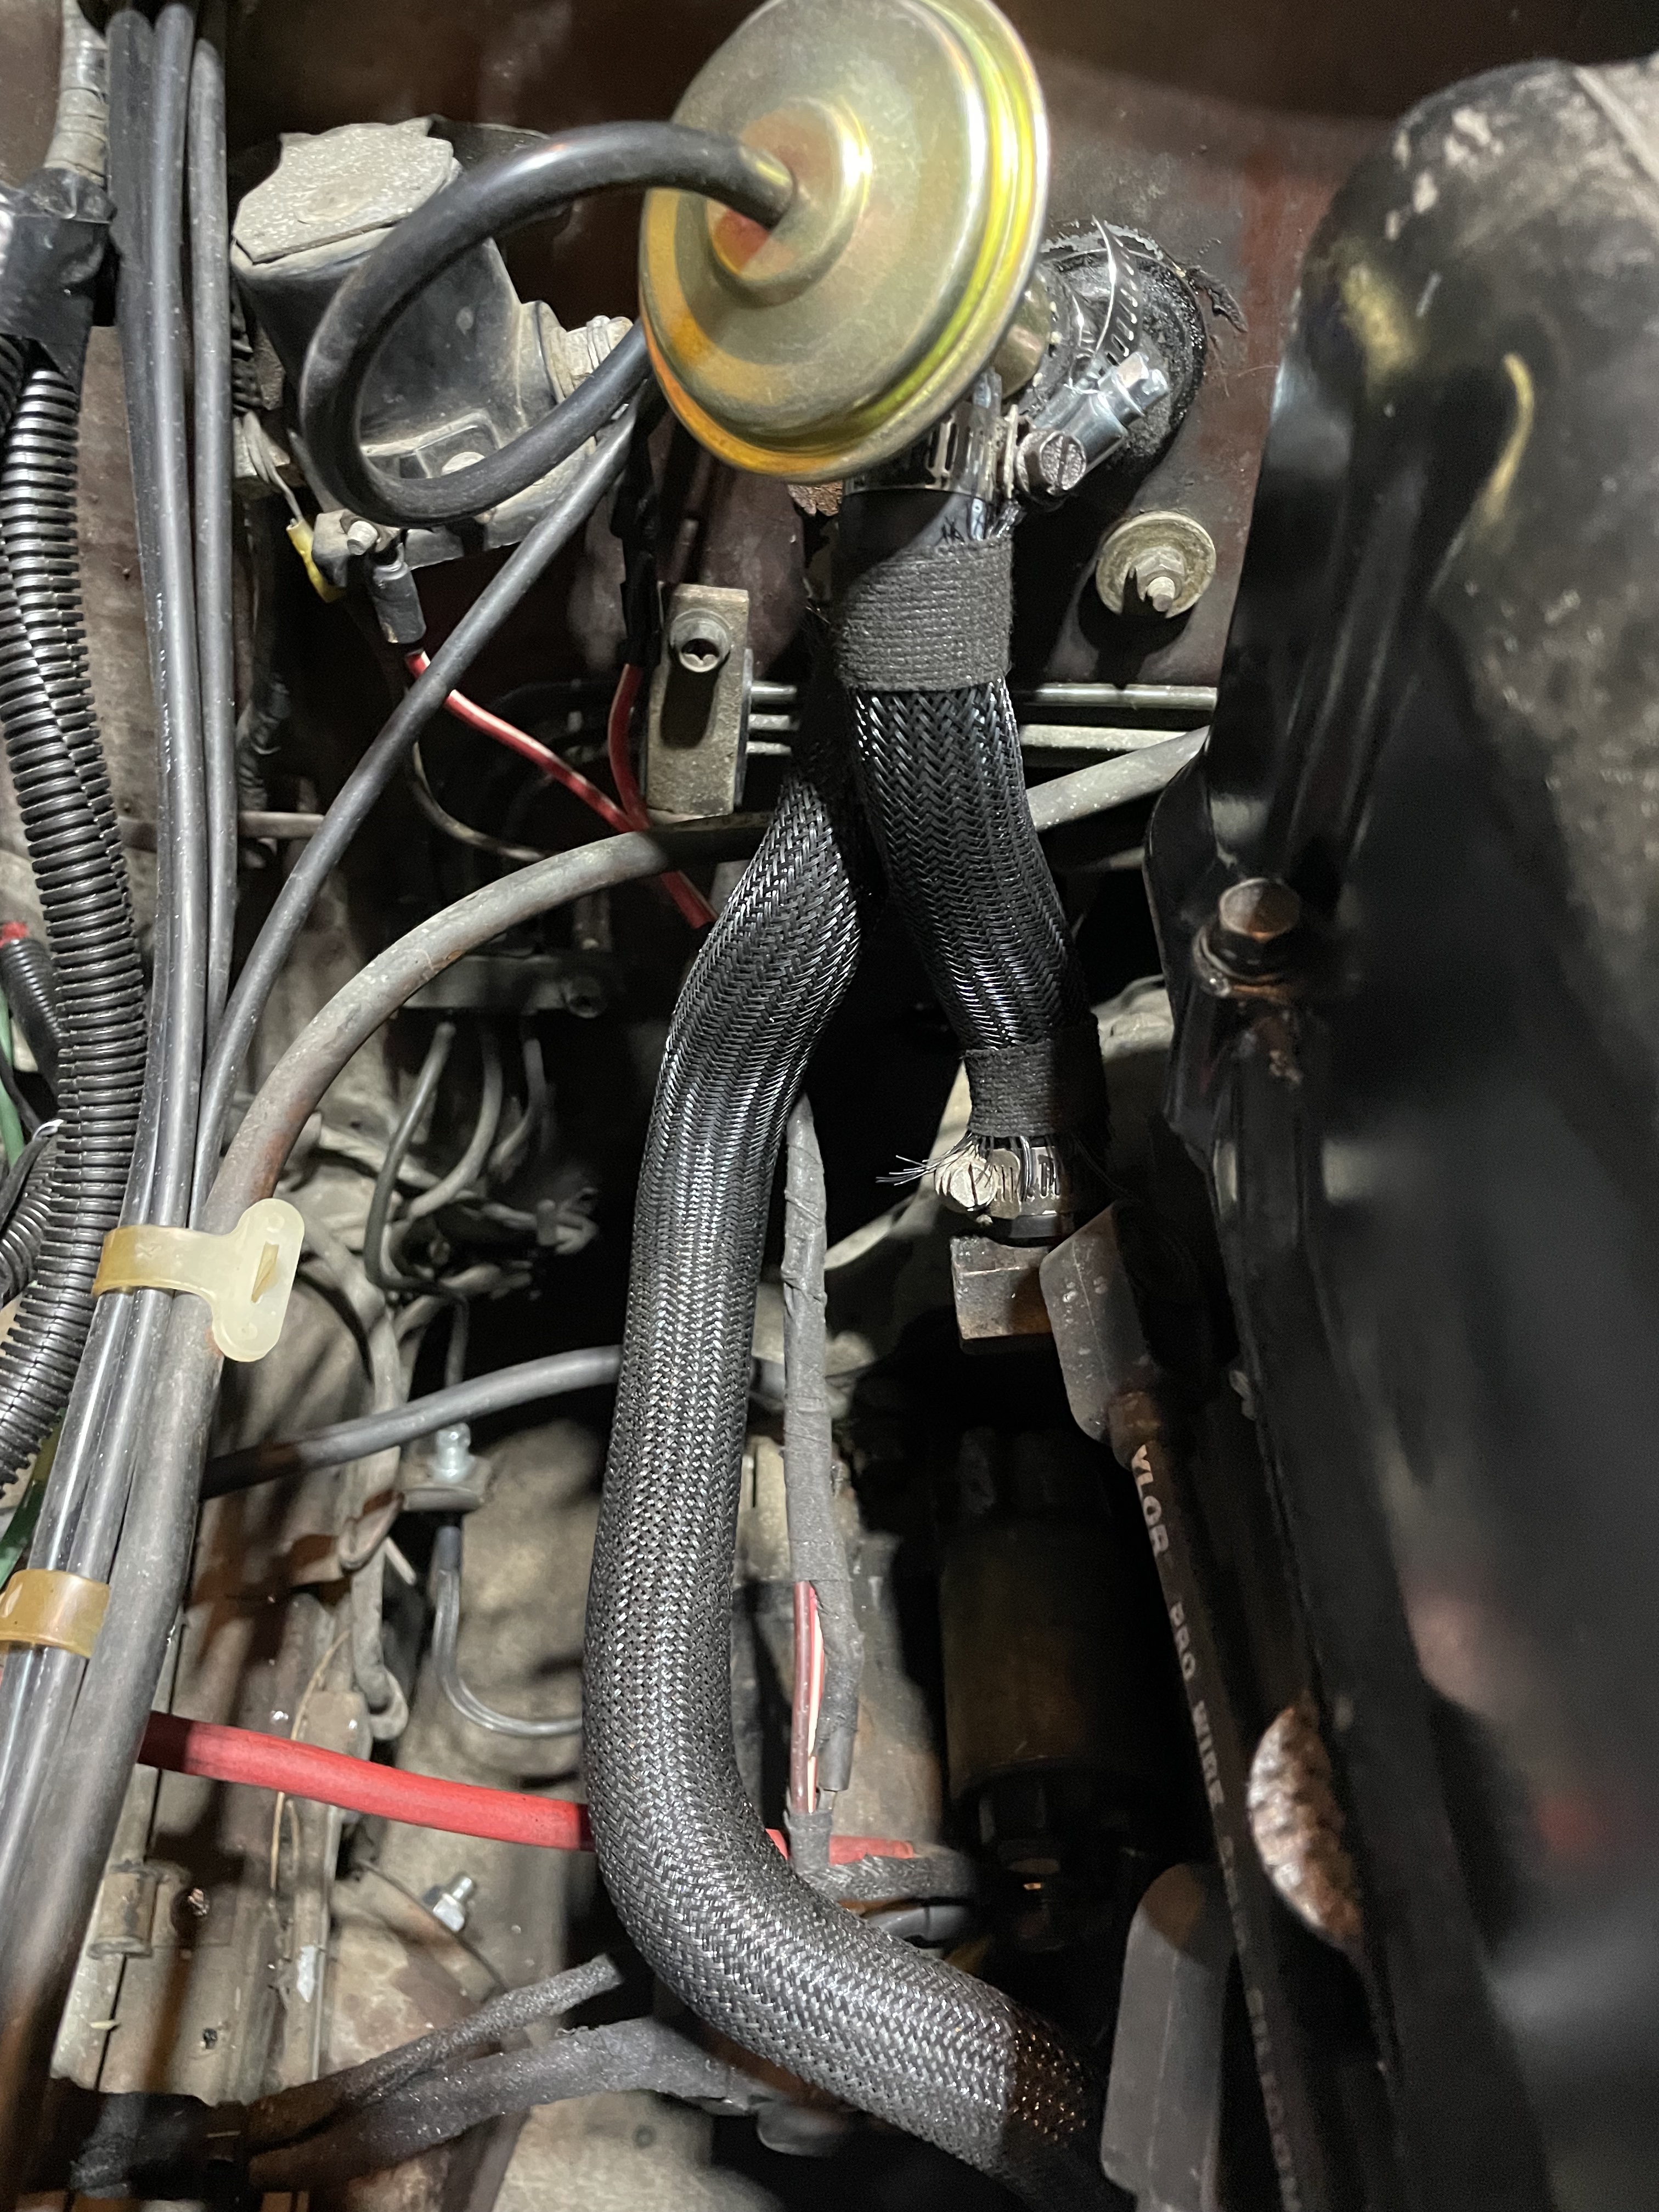
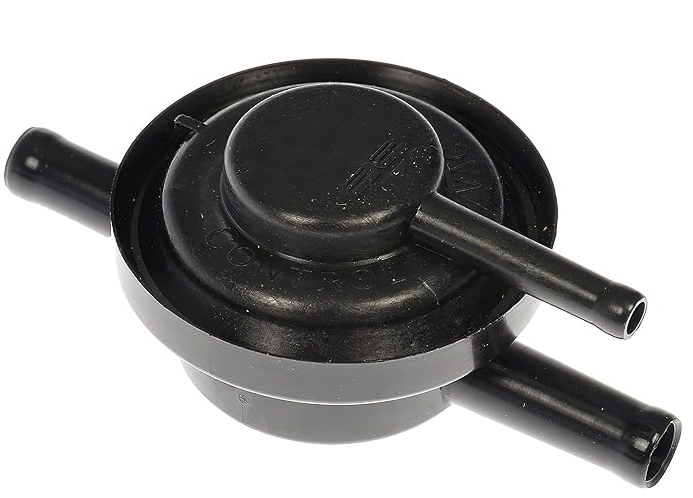
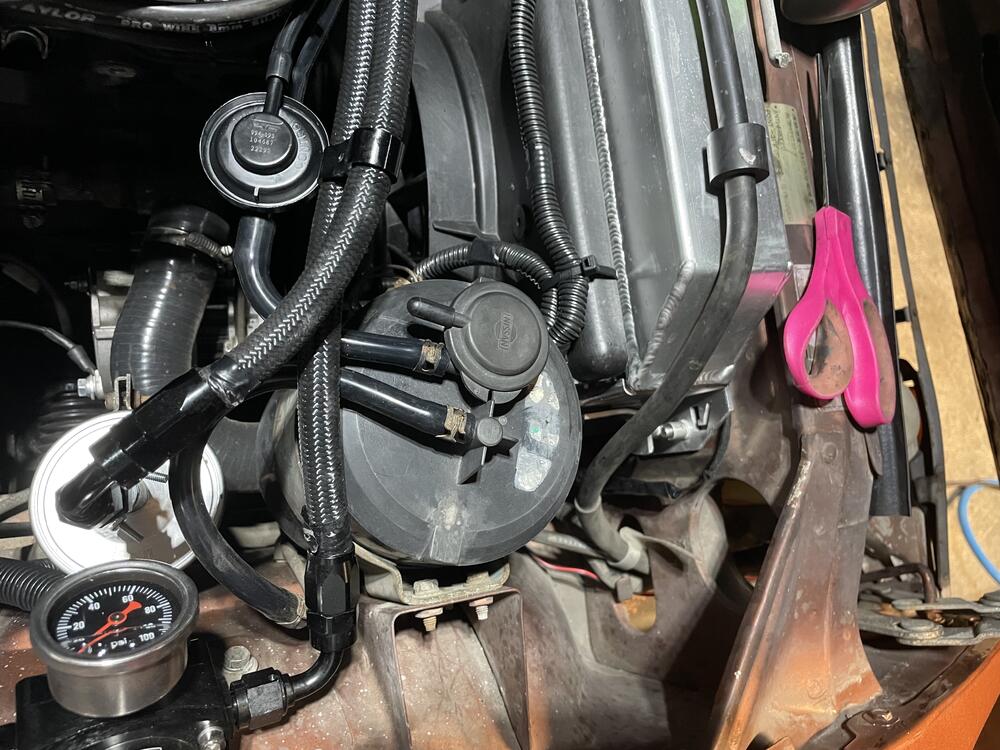
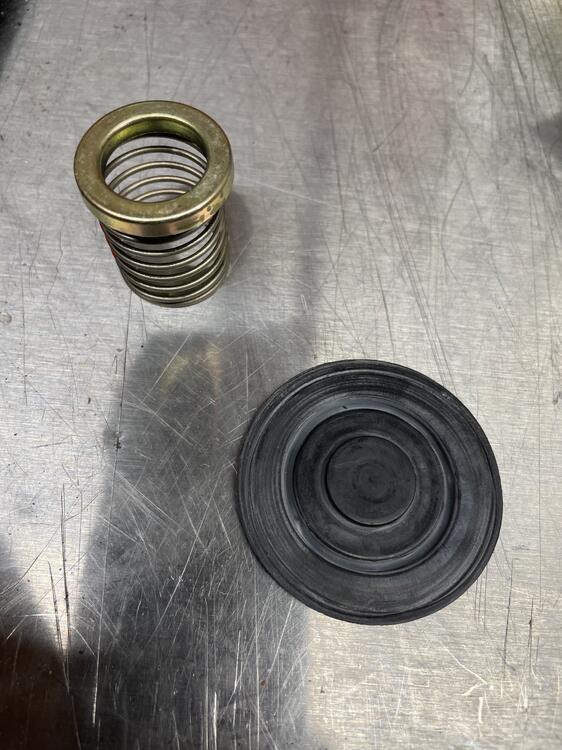
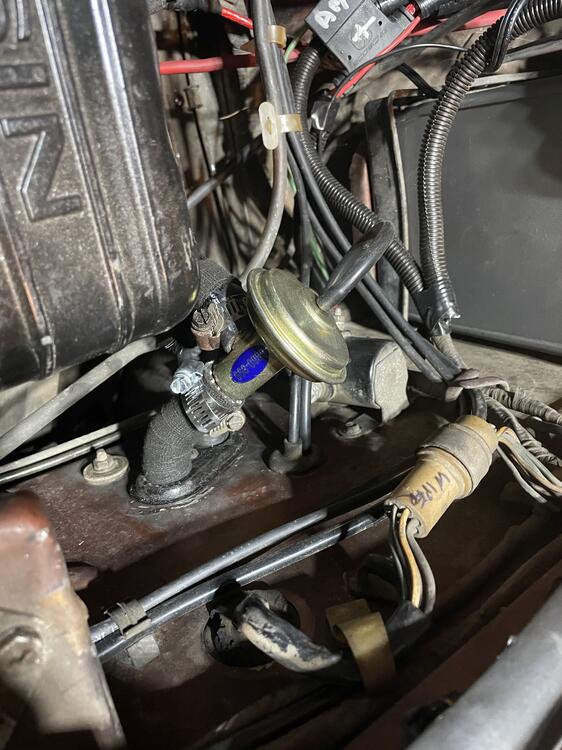
I have not seen a fix for the OEM vapor canister on the 280z posted. I found a way with new parts to still use the OEM one and have it functional. Back ground, I have a 77 and have been chasing running issues. I was focused on vacuum leaks due the a poor idle and erratic performance. I found the vapor canister as culprit because it never closed the purge line at idle and caused a large vacuum leak. I wanted to keep the canister to not have gas venting from the tank when sitting. Check out this video on the canister for knowledge and how to test: The vacuum leak was from the line labeled "purge" - since that goes into the intake and the stock purge valve did not work. The smaller line on the top labeled "dist vac" comes from a T in the front of the TB and T's also with the distributor vacuum advance (1977 model) - this only gets vacuum when the TB blade is open, which then will open the purge valve to allow the vacuum to purge the fumes accumulated in the canister. I actually had purchased another used canister and it still had the same vacuum leak issue. Instead of chasing used parts or retrofitting from another vehicle, I wanted something new and easily available. I found an external vent valve to use to solve the issue. This would take place of the original unit on top of the canister. This along some sealer/gasket maker is all you need (assuming your vacuum lines are in good shape): $22 on Amazon for the Dorman unit. This is closed by default until vacuum is applied to the top port (just like OEM) You add the Dorman unit between the engine and canister: Then for the top of the old purge valve, under the cap is a rubber diaphragm that seals or allows vacuum to pass (which was inoperative). Remove the internals, seal the top cap with sealer/gasket maker along the edge and use a vacuum cap for port. Internals under the cap for reference: Hope this helps others Summary Recap: 1) purchase external purge valve 2) install between canister and intake. + take dist vac line from the top of the canister purge valve and plug into new external valve 3) Remove top cap on the canister purge valve. Remove internals, seal the cap back down to the canister and plug the port with a vacuum cap

-
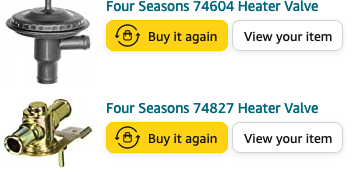
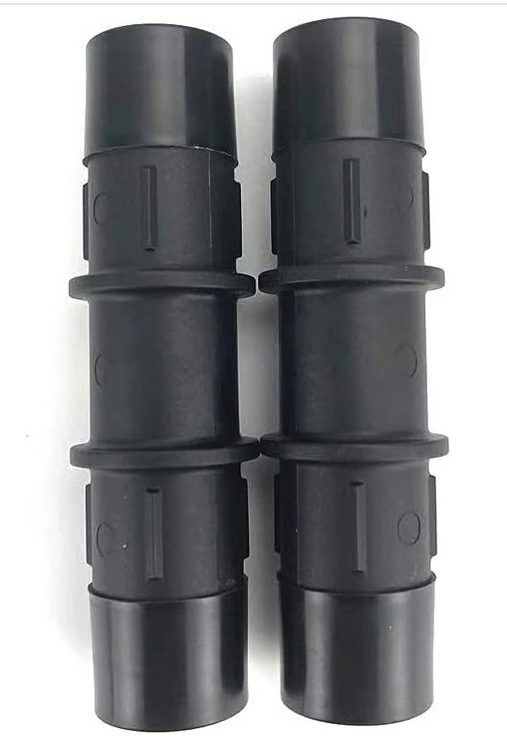
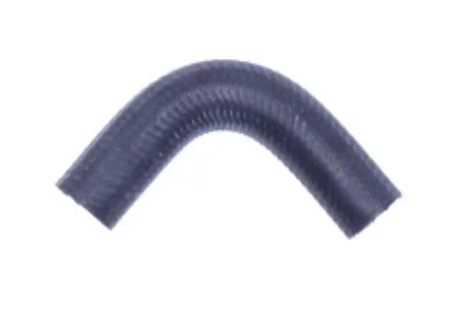
I wanted to add to this topic for reference. I recently tried to rebuild the OEM units without success. I learned the first time that I never wanted to do this job again, yet here I was. This is a factory AC car, so it is slightly different at the heater core than @mikev88 has setup. These are the parts I ordered: 4 seasons vacuum heater valve 74604 (1) 4seasons heater valve 74827 (1) Heater Hose Connector 5/8"X 5/8" Hose Barb Glass Filled Nylon PA66-GF33 Straight Fittings (1) Gates Hose 19402 (1) hose clamps vacuum hose barb , M-M (1) Vacuum hose I wanted to make this simple unlike the stock installation. First off was the 74604, I mounted that in the engine bay. For the vacuum line - you will have to make a new hole in the firewall grommet and push the vacuum hose through there. Then connect up with the hose barb to the stock line location under the dash (W for my 1977). For the plumbing into the valve, I was able to use the OEM hose off the block that went to the firewall. just rotated about 90 degrees to mount up the 74604 to it: Why this wasnt done at the factory, well thats a mystery! much cleaner and easier outside of the engine bay. For the factory grommet that seals the lines going through the firewall, you will have to enlarge 1 hole to fit the hose through it. I just cut where the lines were on it and it fit perfect: From the 74604, the Gates hose (19402) has a lot of bends. You just need a long J bend to go from the heater valve through the grommet and through the firewall. The other side will connect to the 74827 (under the dash): This is my installation before I rotated clockwise another 20-30 degrees : For the heater control wire, you will need to use some pliers and make a loop at the end of it. the new valve doesnt travel as far as the OEM one, so adjust where you want the lever to be on the dash. I lined everything up on full cold and tightened the wire holder down. Finish it off with a internal star washer to keep it from popping off. You will use the rest of the gates 19402 hose with the S bend to clear the outlet from the heater core to the new valve. For the outlet from the heater core, I used a stock hose: from the outlet, it went to that OEM hose, then to the 5.8" barb, through the firewall and through the grommet on the uncut side. Make sure to get the grommet pulled through to the middle of the barb. From there, connect to the stock hose. Everything fits and there is more room under the dash to work with. Reuse some of the OEM screws that came off the stock mounts to keep the side plastic onto the heater box. No issues with the setup and if there are future issues, it will be much easier to deal with. Hope this helps someone out there


-
Old topic, but just had issues with my gauge. Wanted to share. Pulled the gauge and, and heard a rattle. opened it up and one of the mounting tabs for the front plastic lens broke off and was wedged in mechanical assembly. Removed the piece and gauge is working like a champ again.