LorenB667
 Subscriber
-
Joined
-
Last visited
-
Turns out, it's threaded and it had gotten bottomed out on the threads. I'm putting this here just in case someone else comes up with this issue and can't figure it out.
-
So, since I'm between shows, I figured I'd get a little bit of tiny bits dealt with. I figured I'd do the combination switch. Everything was going fine, got all the plastic cleaned up and polished, cleaned up the contacts on the headlight/wipers/washer side, and then an issue popped up. The washer button is sitting too deep into the wiper section. I looked at the video I took while disassembling it (I figured I forget easily so I might as well) and I can't see anything that would cause such a thing. I thought I'd compare the rod for the washer button and the tube for the washer handle to see if there was a difference in length and it looks like the washer button sits fully on the washer handle tube and the start of the recessed section that the plastic retainer fits into comes flush to the base of the washer handle tube. Unfortunately, I have no idea if that's right because I didn't capture that bit on the video. I'm not moving on for this because there's really no point in that until I've got this solved. Does anyone have any ideas about what I'm missing?
-
That's the part I'm looking for. Hussein, thanks for the link!
-
I'm working on a minor project because I'm odd that way. I'm looking for the connector off of the stock ECU. I don't need the computer, just the connector that's on it. Anyone have any junk ECU's or have any ideas where I can find one?
-
I knew I'd forgotten something!
-
I think that's a great idea...
-
Brother-In-Law's is an Anycubic Kobra (I want to say the Max version).
-
My brother-in-law has a 3D printer (I used it for the fuse box I posted about). I might be able to finagle some use out of it. No guarantees on timeliness, though.
-
Part of what I'm planning is a fair amount of wiring adjustments to alleviate the heat from the parking lights and headlights. I think there's some discussion about relays and things. I've just got to spend a bit of time figuring out some of those things. Thankfully it's a long term project. I'll see what I can pull off for thermal testing.
-
I've got a design that covers it, it just didn't print worth a damn (too small length wise, dunno why that happened the model fits).
-
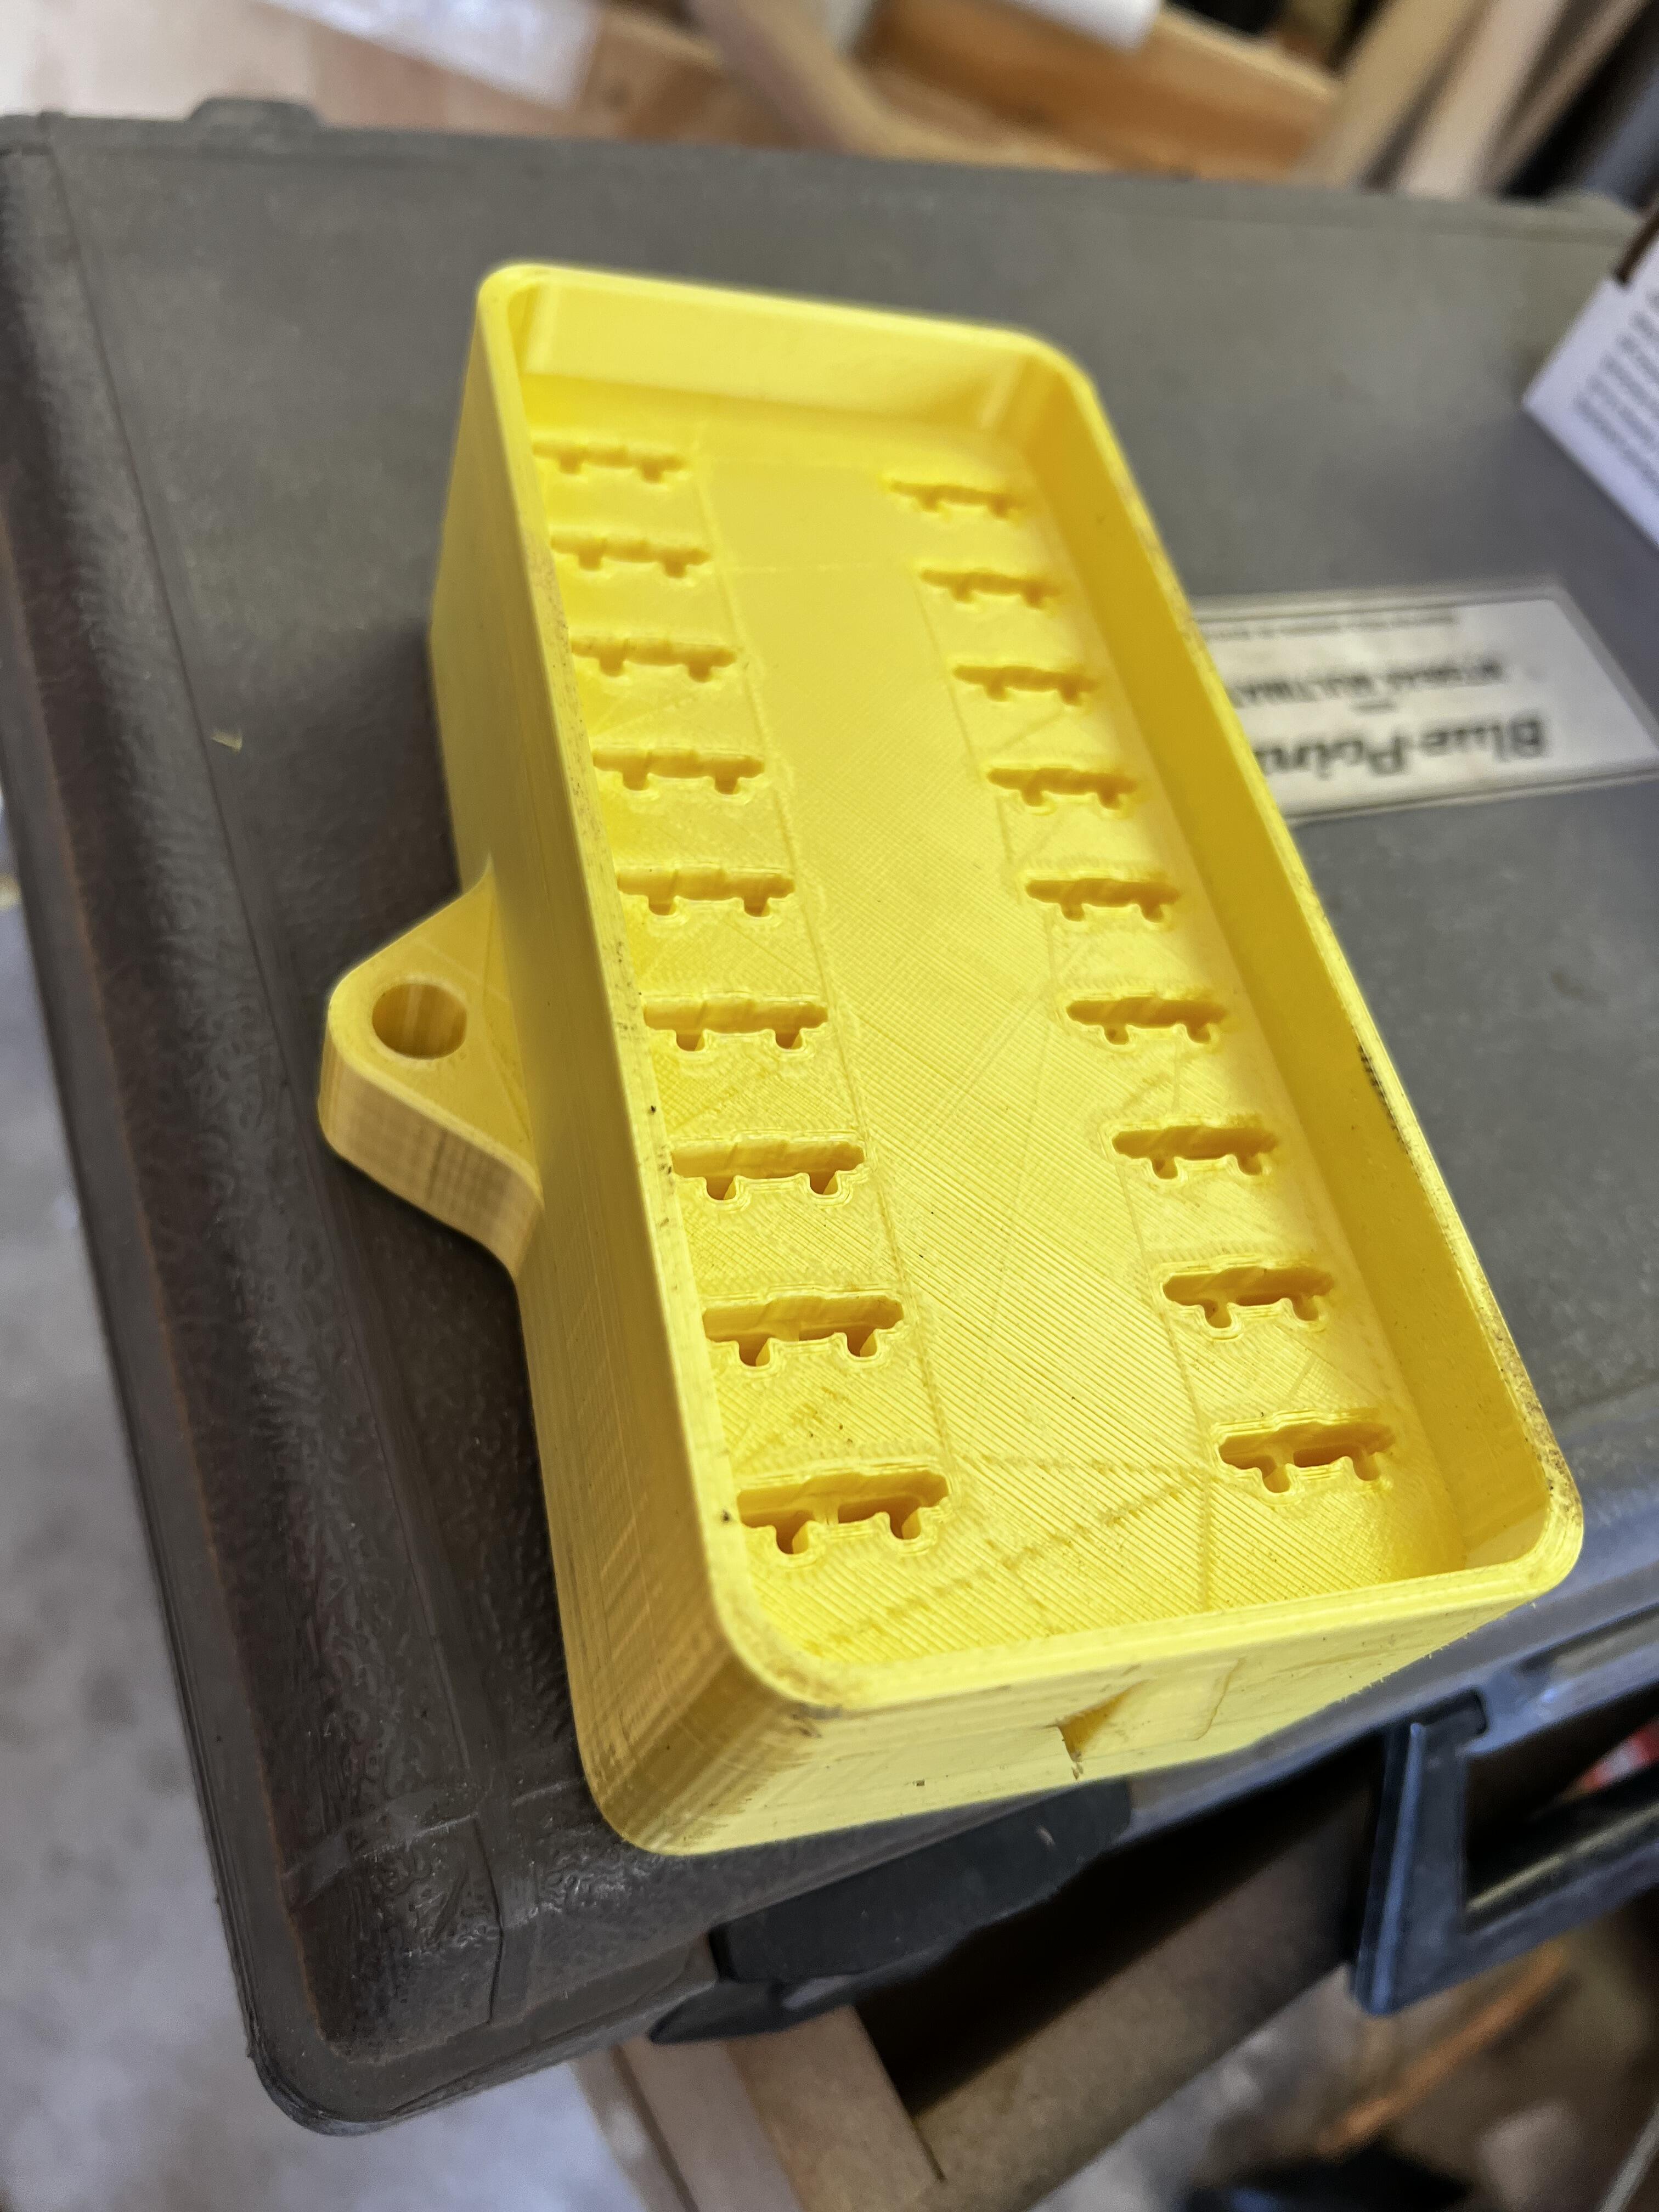
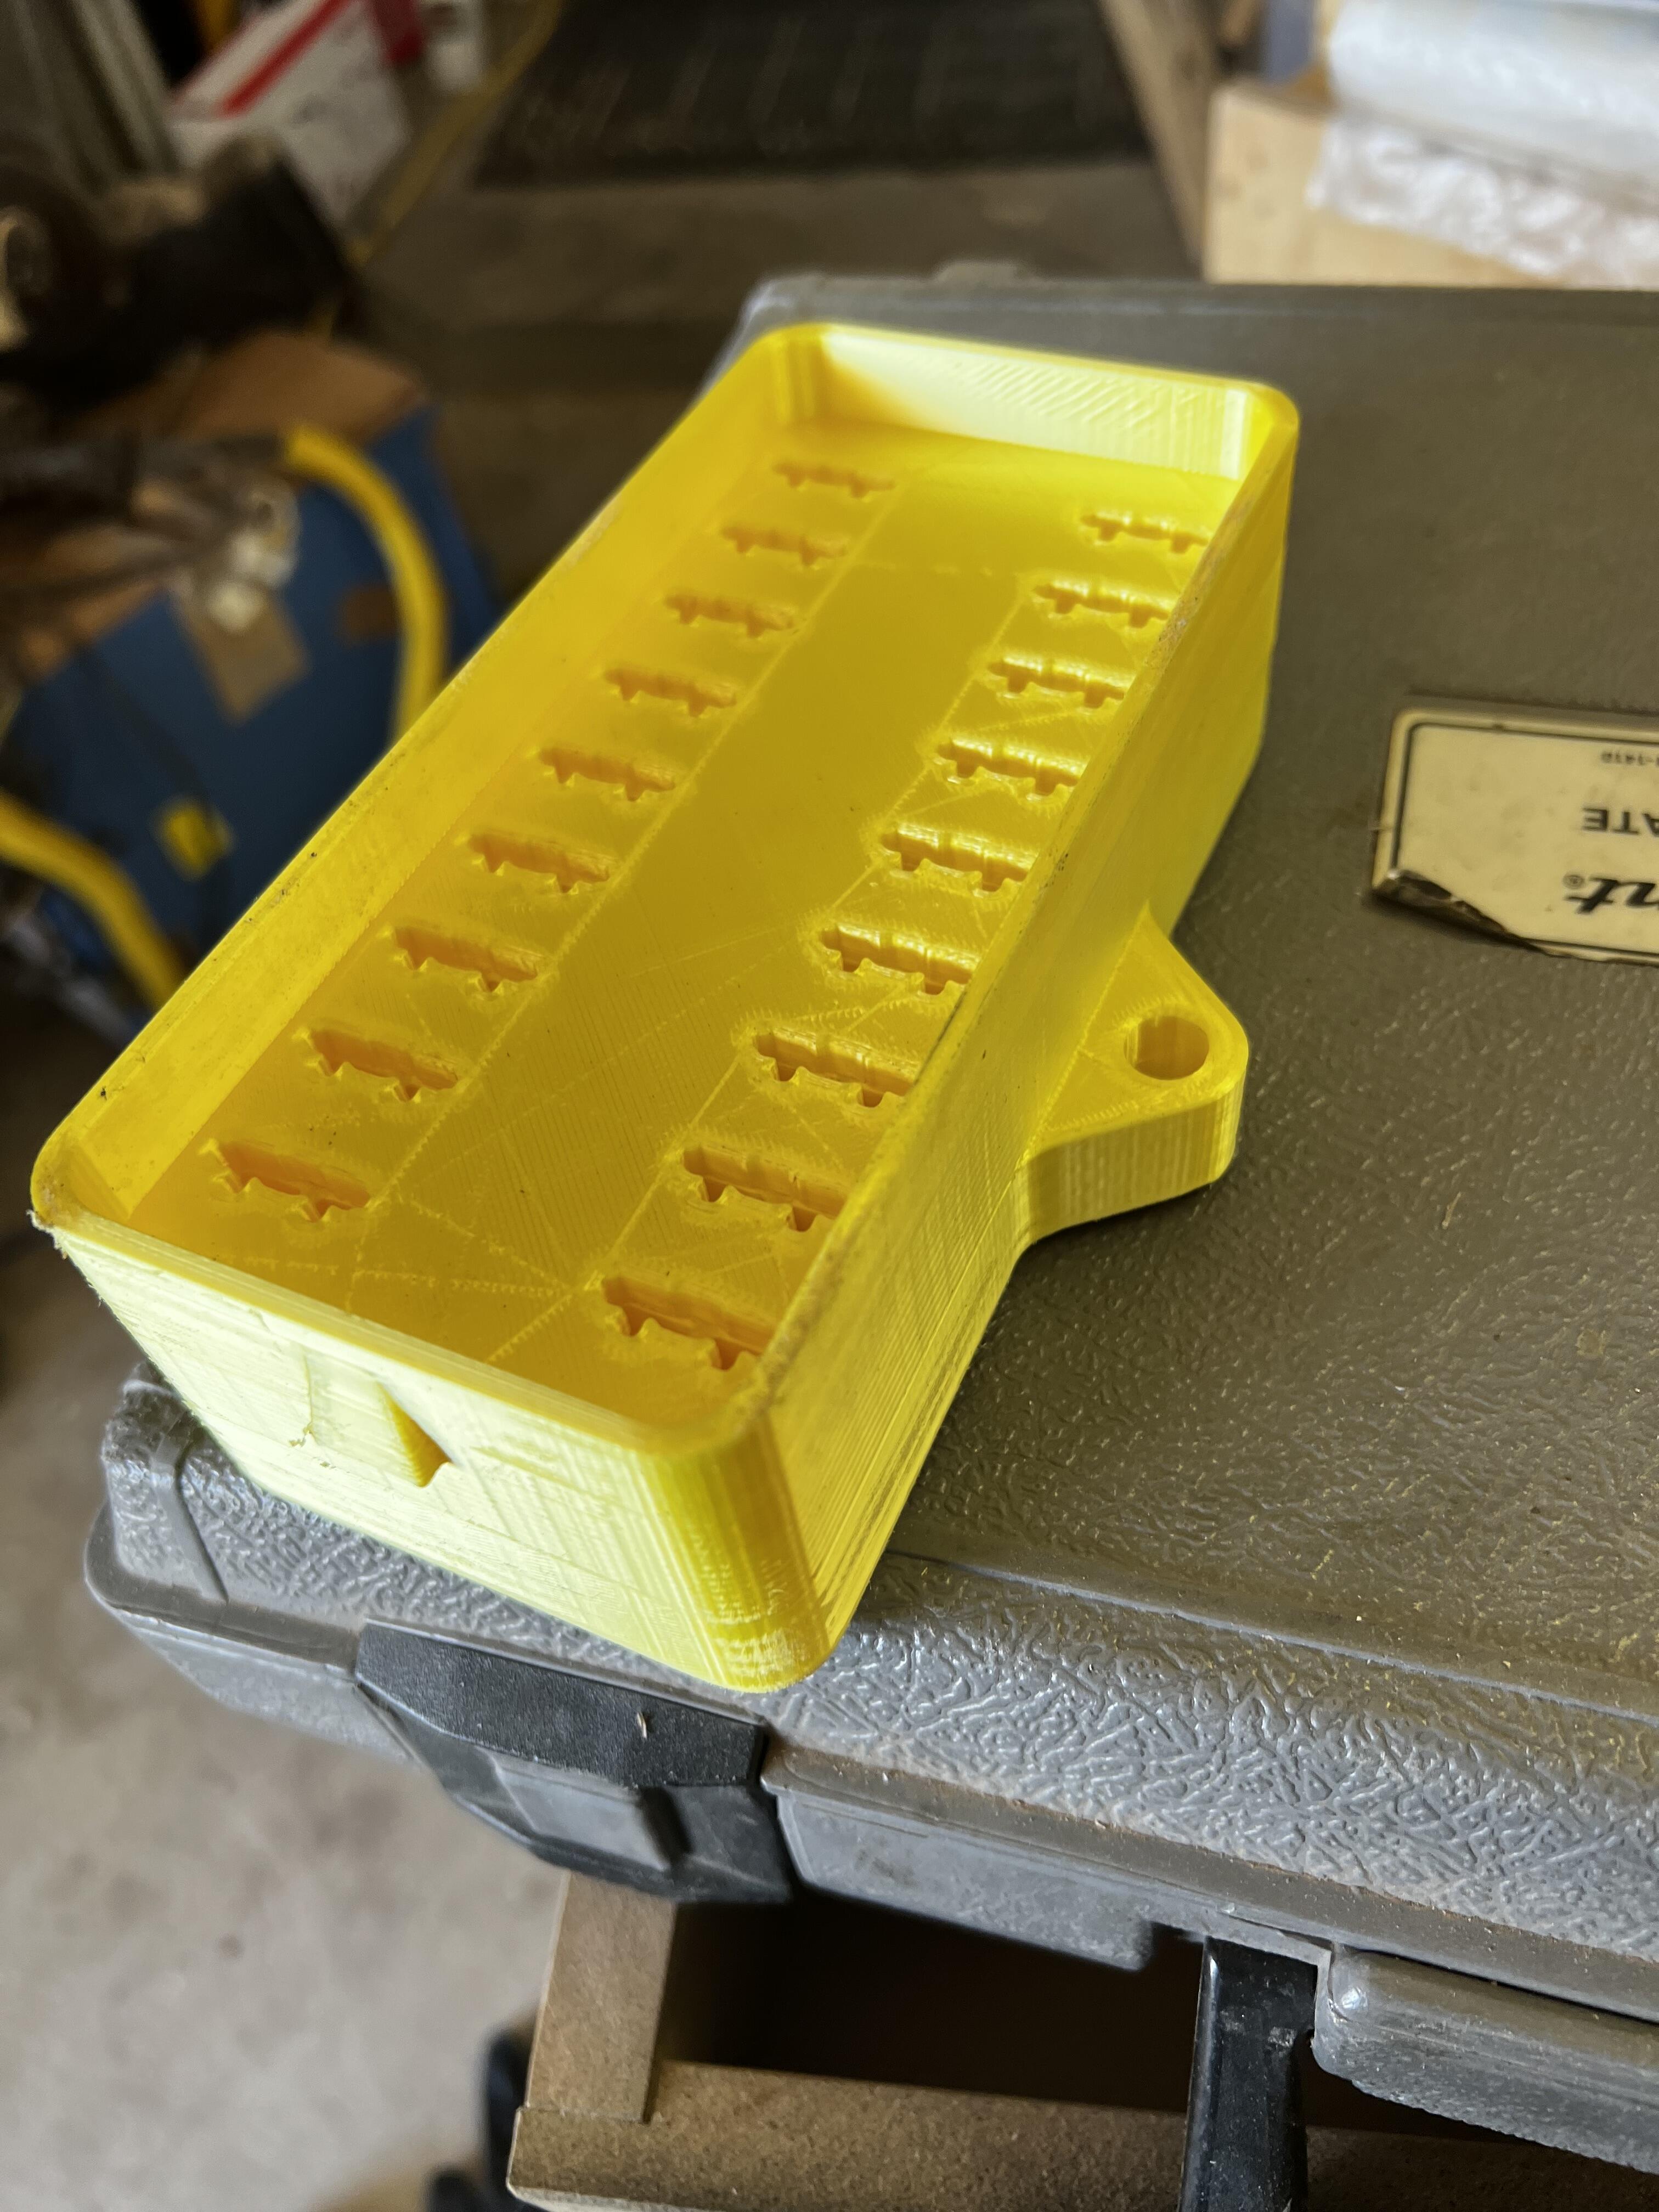
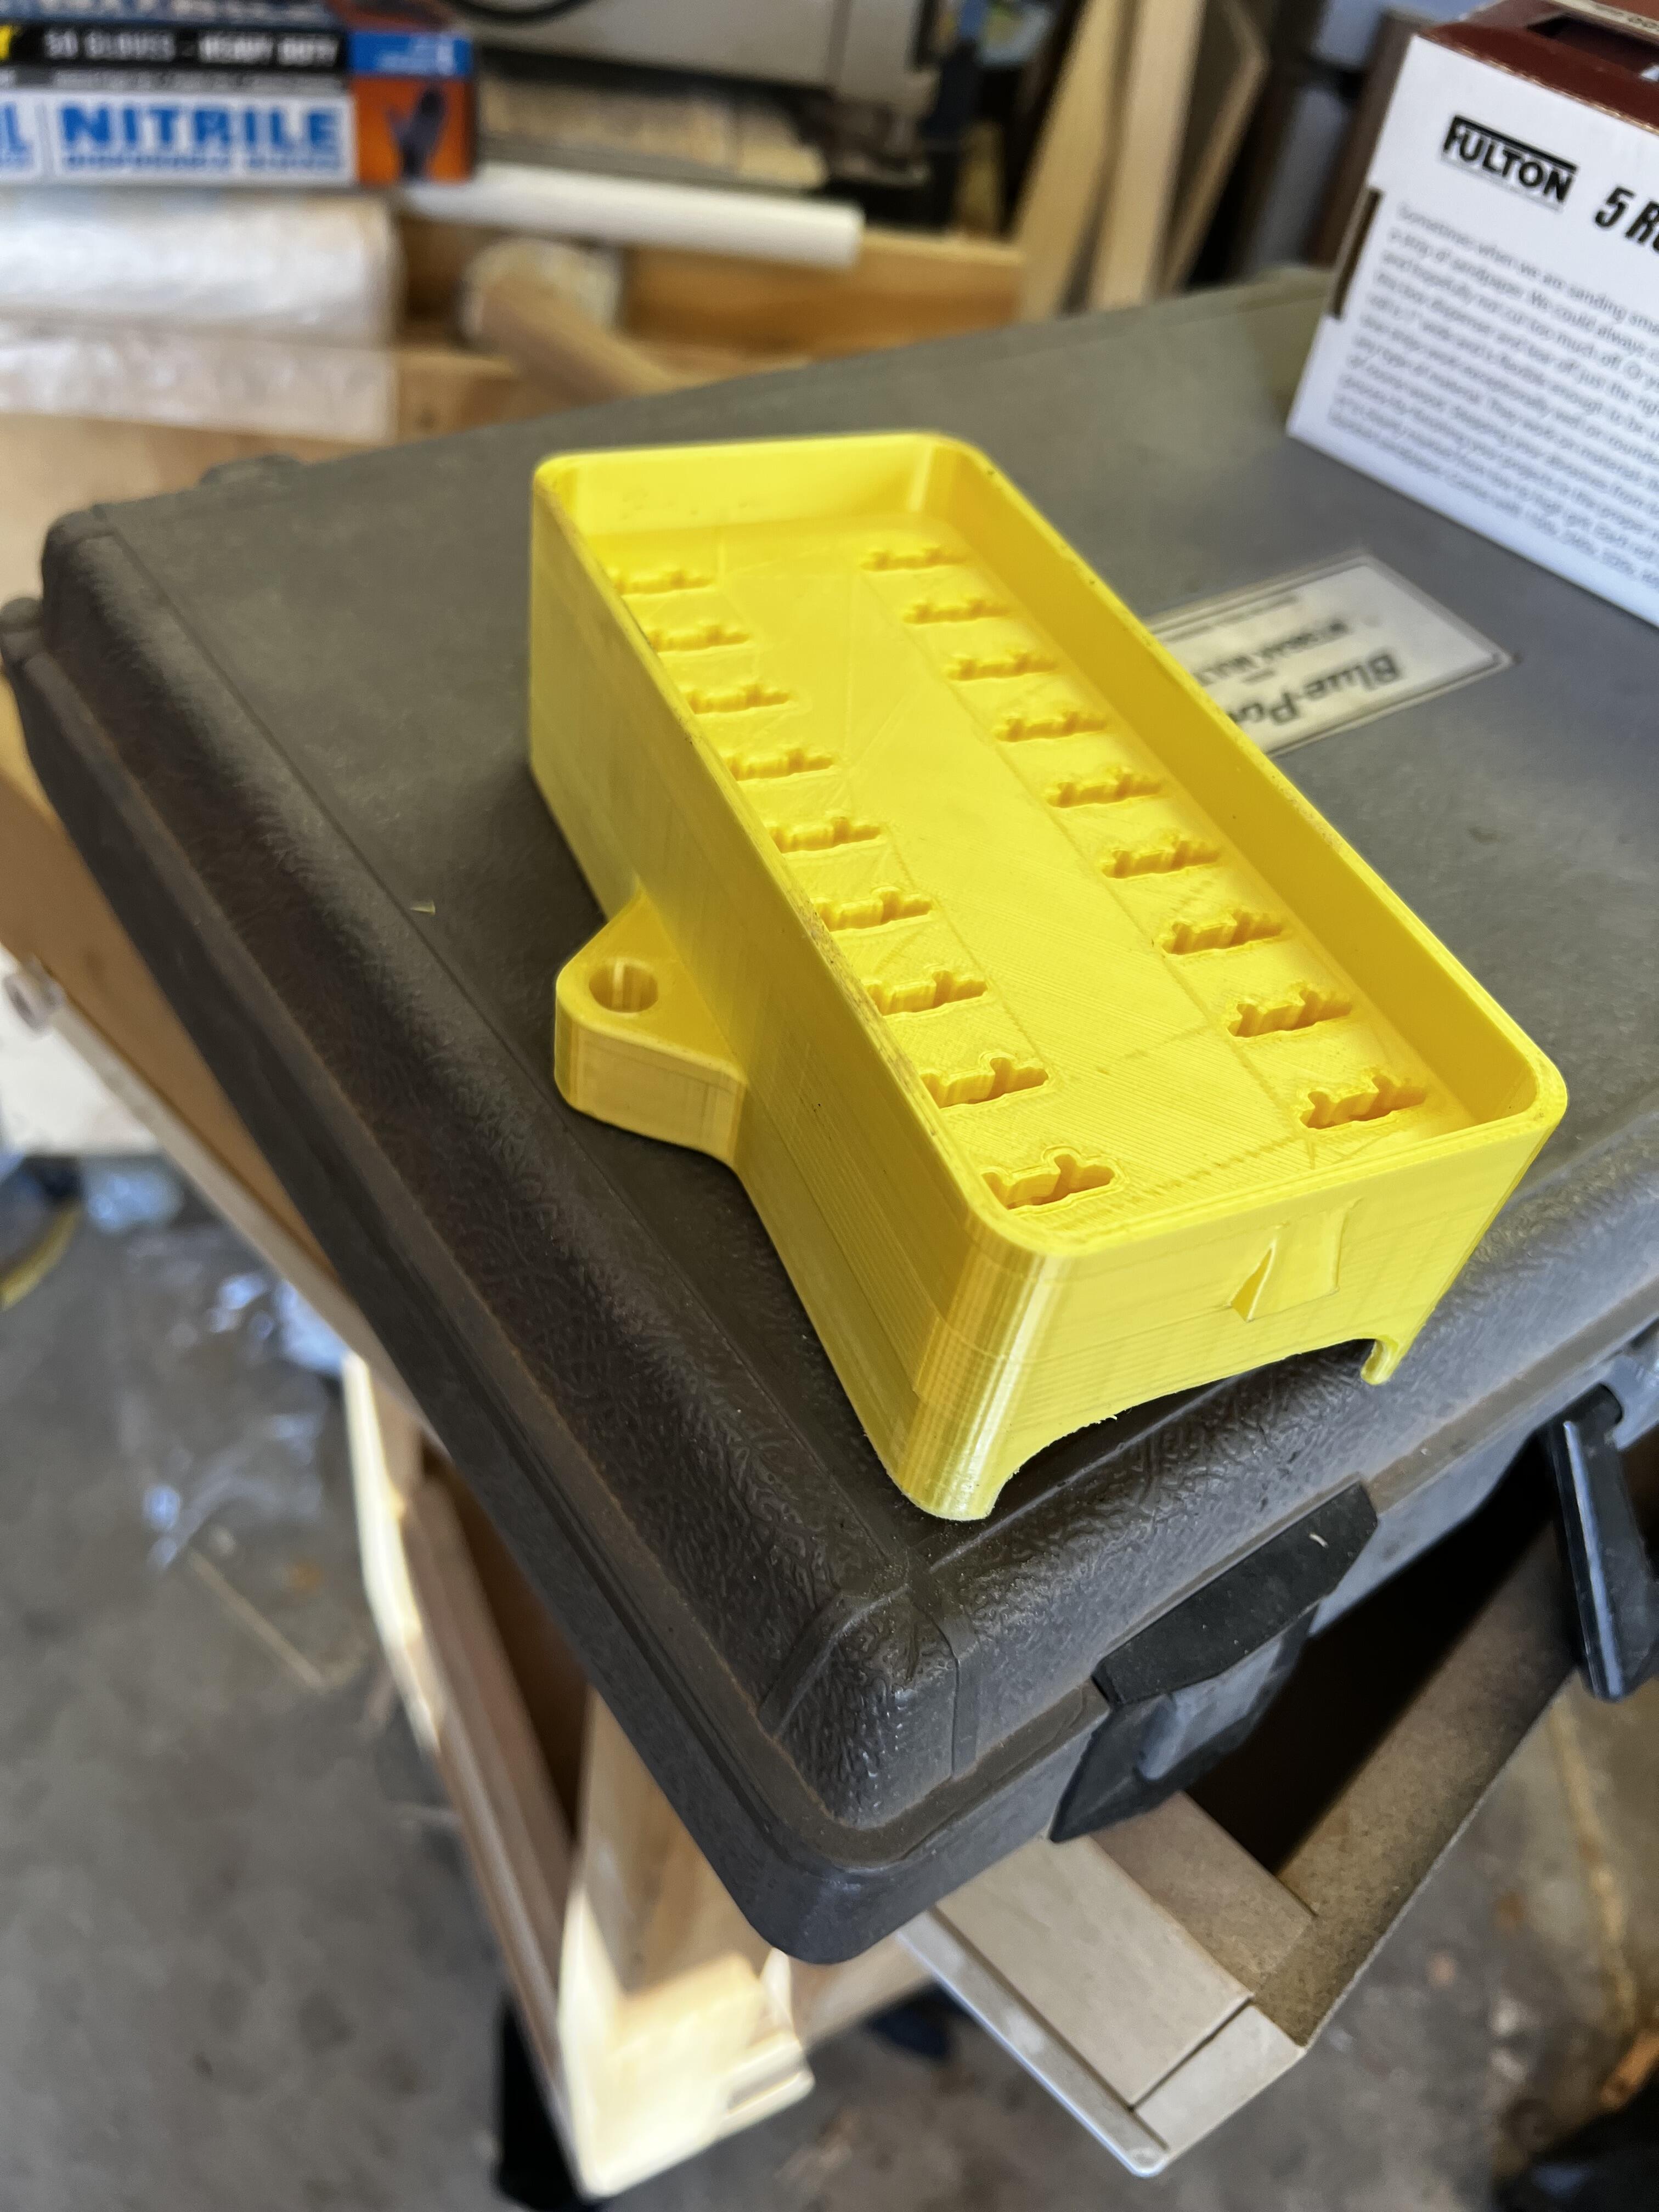
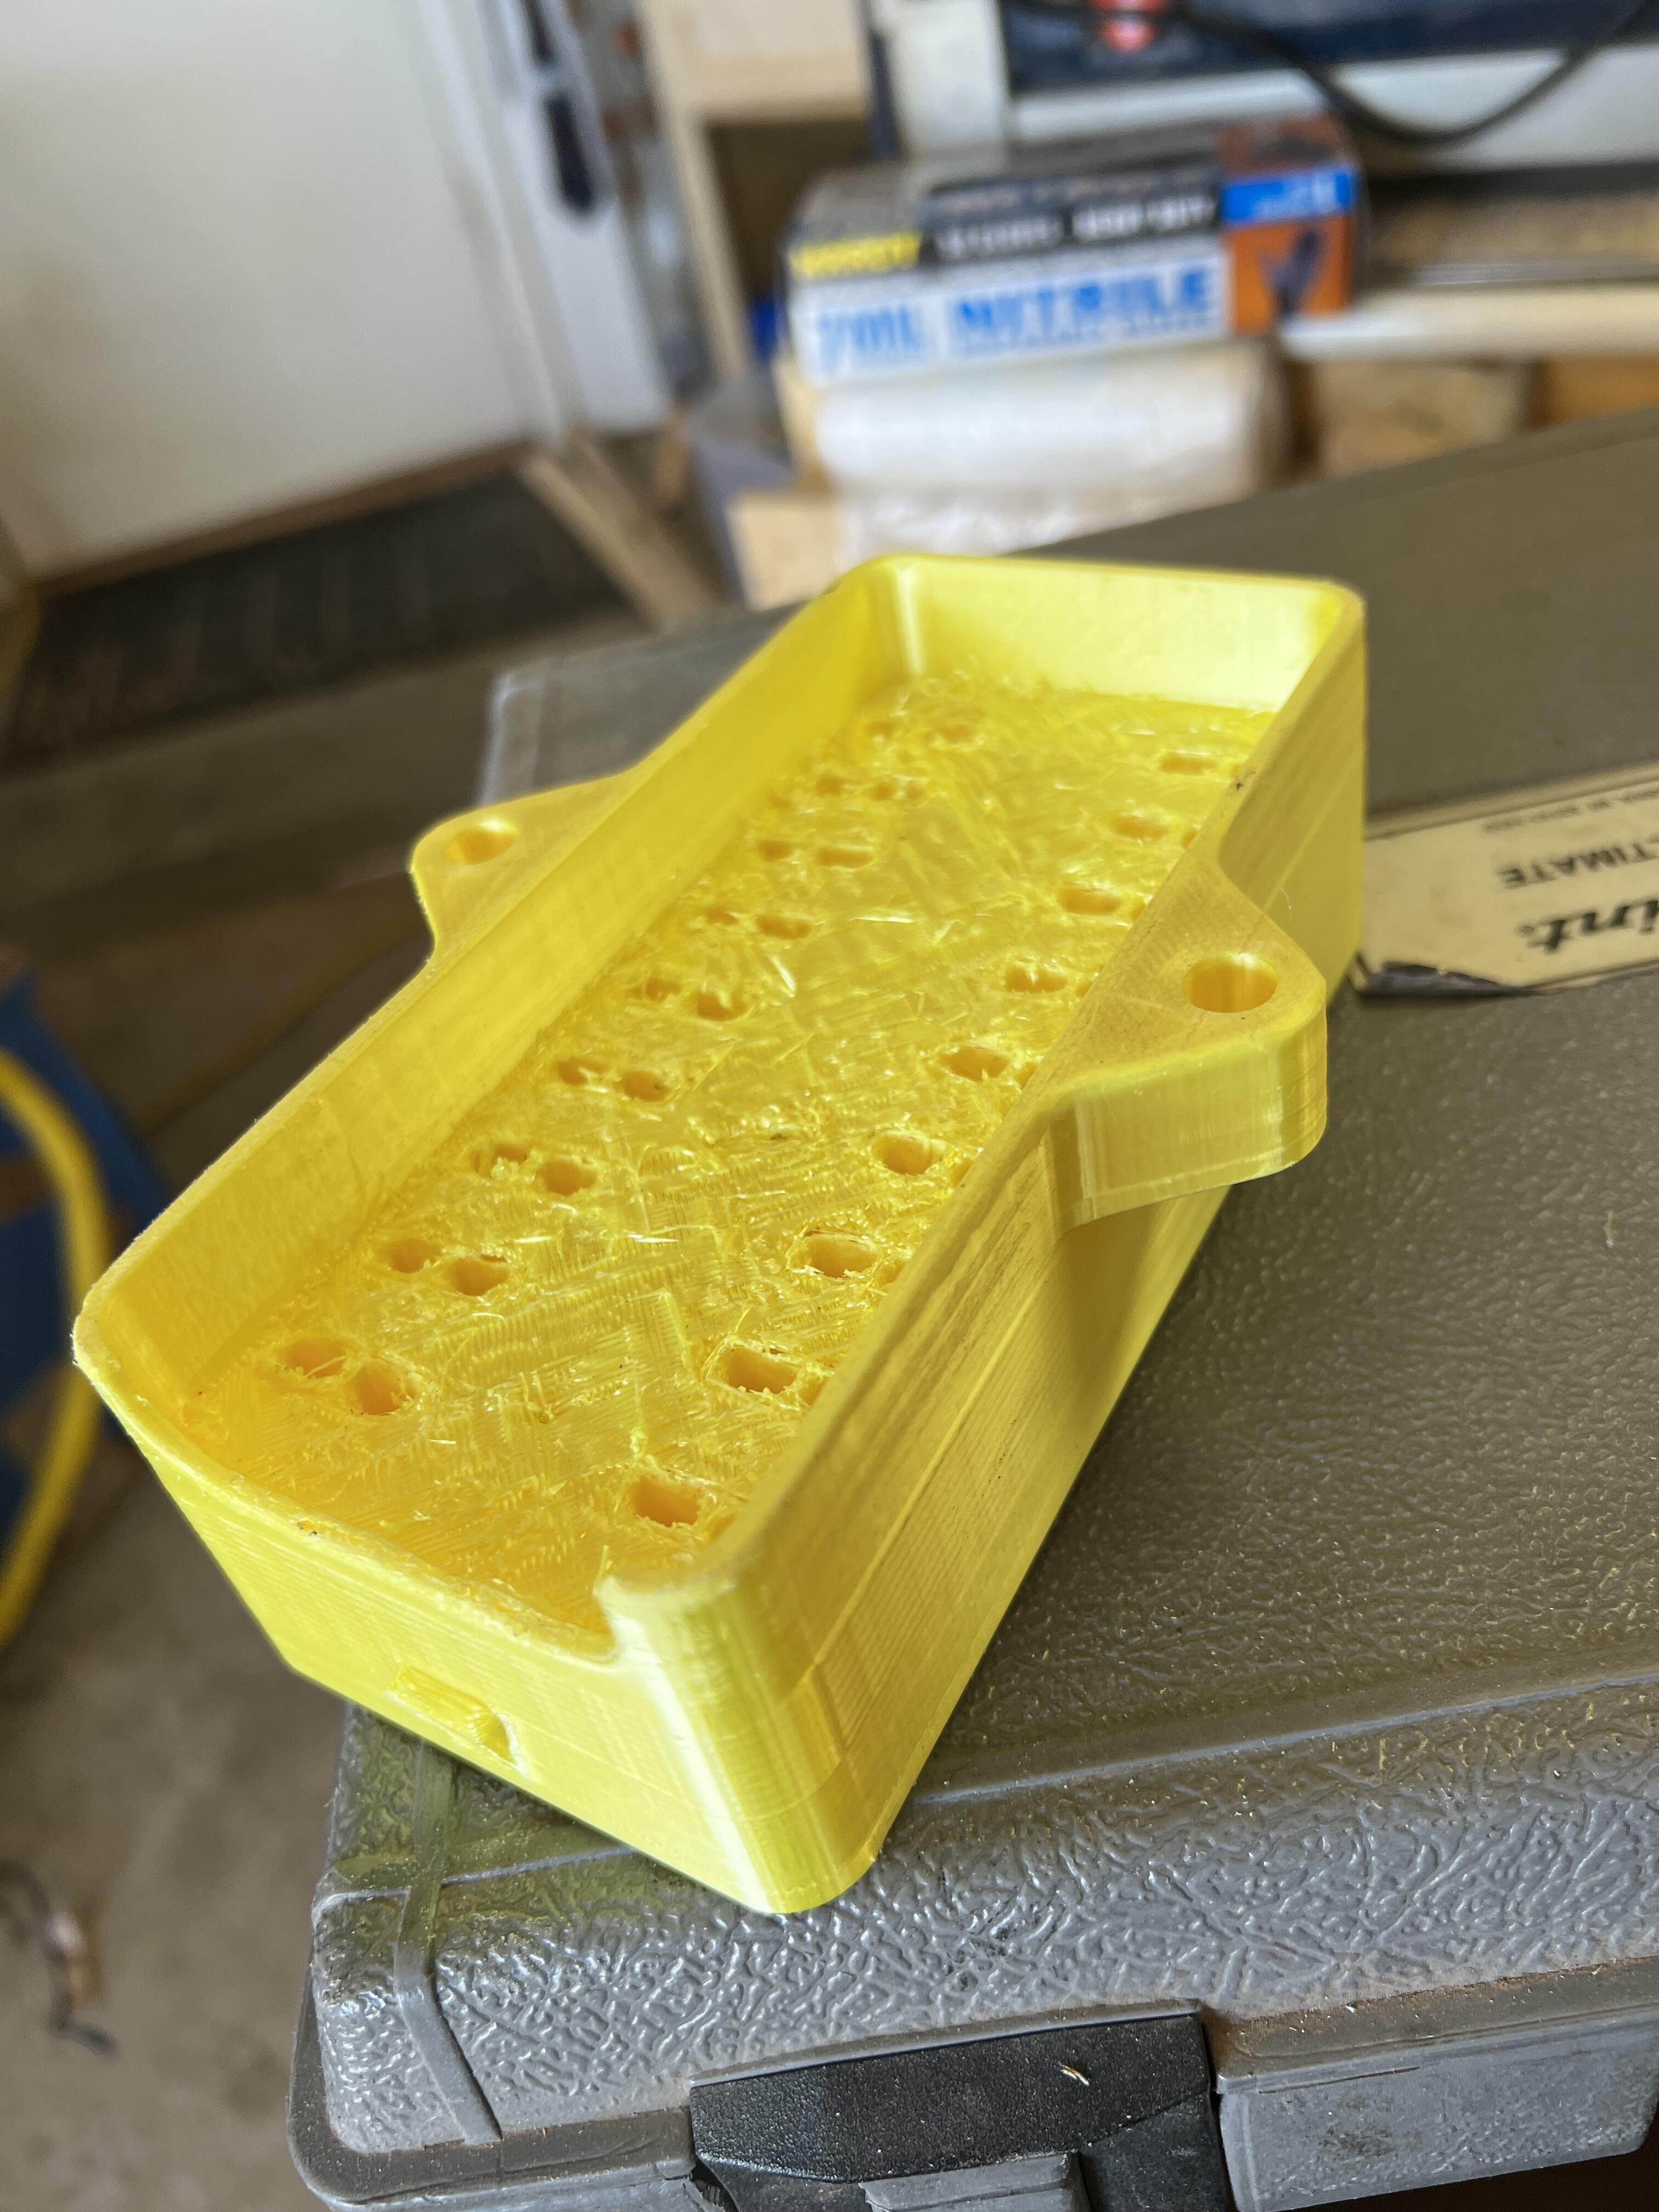
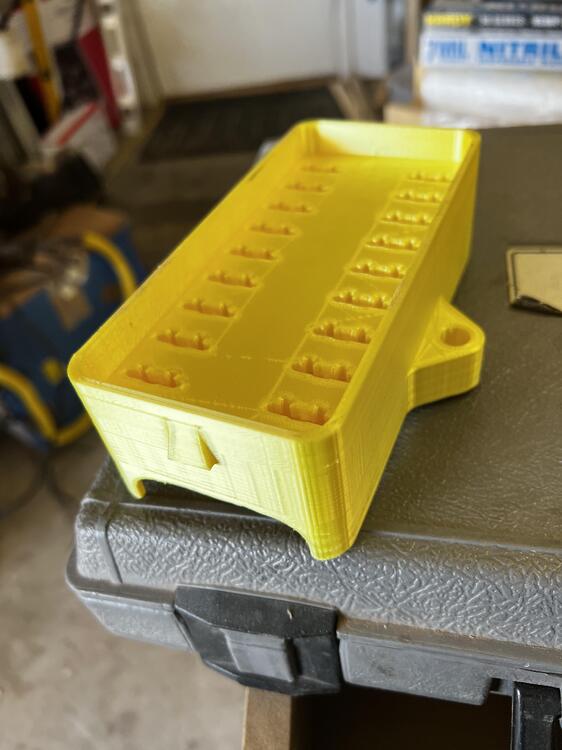
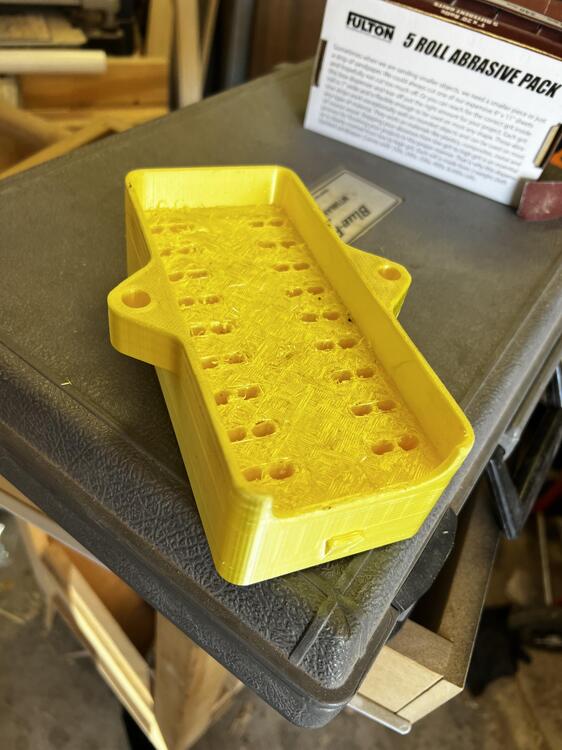
So, I decided I wanted to update the fuse box (it'll be one part of the electrical system plan), I designed one in Fusion360 and got it 3D printed by my brother in law (he's new to 3D printing and I haven't a clue about it). Here's what the result was. The back side didn't print real smooth, but I figure that's operator error. This is designed for full size blade fuses. I tested it with female spade connectors (snap-in) and a blade fuse. They fit and connect with a little tension. The mounting tabs/ears are spaced accordingly and are same general shape as the original (thickness might be a bit different.


-
So, I did a scan of this panel. I don't have a 3D printer, but I thought that if anyone wanted to make an attempt at it or needed the part, I'd post it. I'm not real good with this whole 3D printing thing, but I'm having a good time playing with scanning these various parts. Here's the file. If anyone uses it, please let me know the results. Adjusted - 280Z AC Vent Cover - 2.stl
-
I can scan them, but if you’ve got a spare cover…lol I’m trying to get as many of the plastic or rubber parts as I can modeled or made into STL files so they can be 3D printed for people who have that capability. After all, some of these parts are getting hard to get or are overly expensive (dome lights, strut tower caps, etc.) and 3D printing odds getting ubiquitous.
-
Any chance y'all are looking at reproducing the rubber bumper pieces for the 75-76 280Z (2+2 preferably, lol!)?
-
I'm looking for an STL file of the 76 (made 11/75) 280Z upper cover.