a7dz
Free Member
-
Joined
-
Last visited
-
 I started talking with Enrique in 2001. I was collecting parts to restore my series one. Enrique sent me a message telling me if I needed any help with the body work look him up. I did get with him and Bean Dip over the next couple of years. We traded parts and experience about early Z cars. Made the two hour trip down to see him several times. It was always worth the drive. Traded pictures of the rust repair on my car. One Friday Enrique and Bean dip drove up to check on the body work and Enrique sprayed the primer in the engine bay of my car. Like Arne I am just far enough away that getting together as often as we like was hard to do. Always looked forward to the Canby shows and the procession of Z cars in to the fairgrounds. I will truly miss our gatherings and friend ship.
 -
WOW congrats thirty seven years here
-
I have been running my 70 with out the spring for five years now with out a problem.
-
Sounds like it was contaminated some how. It took me three days to do my tank. It looked like glass inside. I poured the excess fluid out through the hole for the sending unit. There was some extra in the tank that I rotated to the top. I did not want to seal the drain plug permanently into place.
-
You can view the page at http://www.classiczcars.com/forums/content.php?143-Wheel-well-Frame-Repair
-
mine was also built in 6/70
-
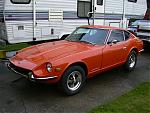
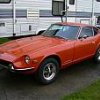
Added a few more miles in the sun.
-
Count me out this year. It is graduation week end here.
-
Suns up I am moving cars to get it right now. I am not worried about putting miles on mine just have to have the time.
-
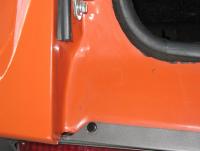
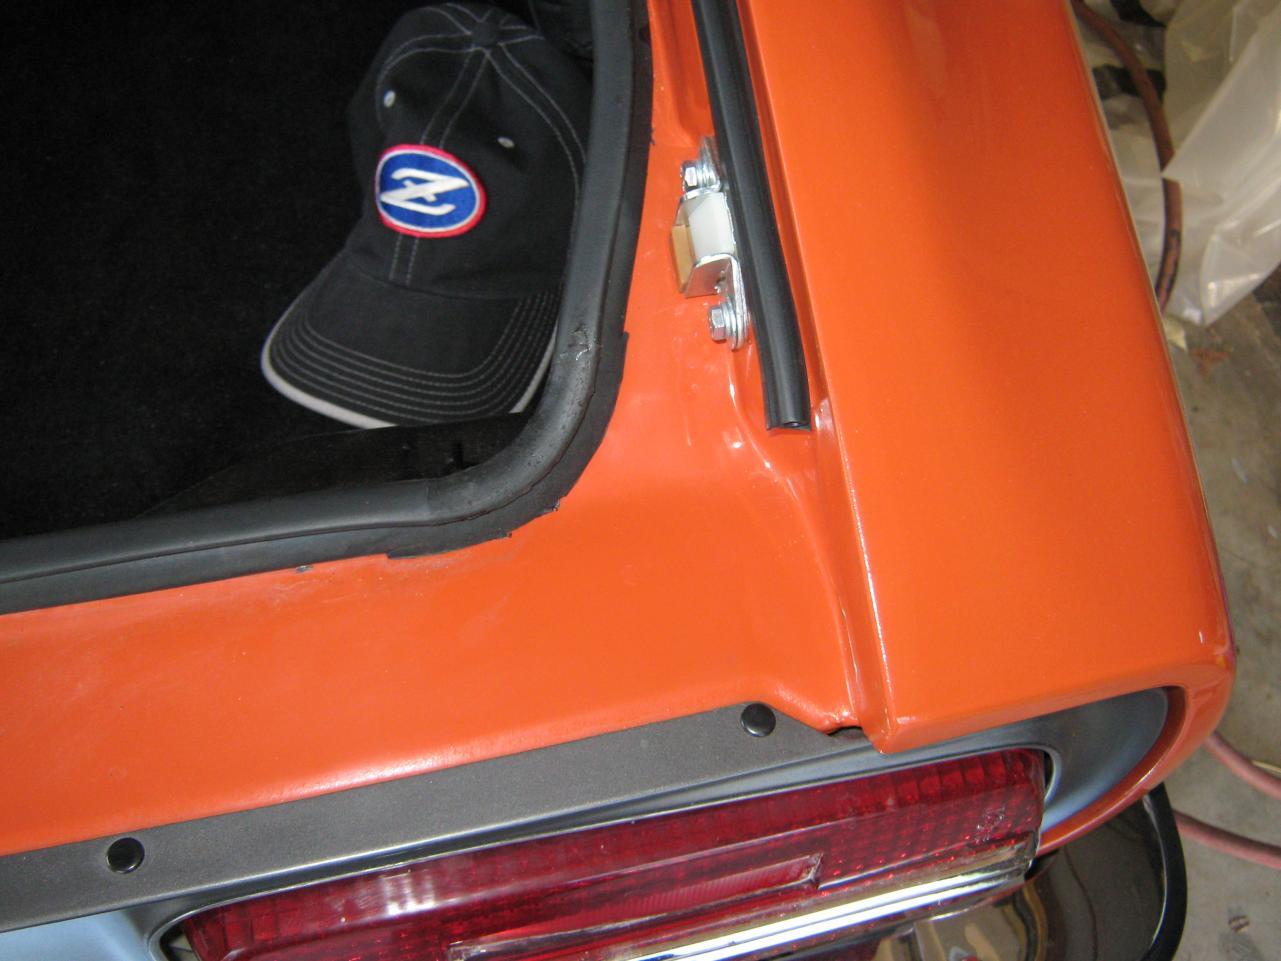
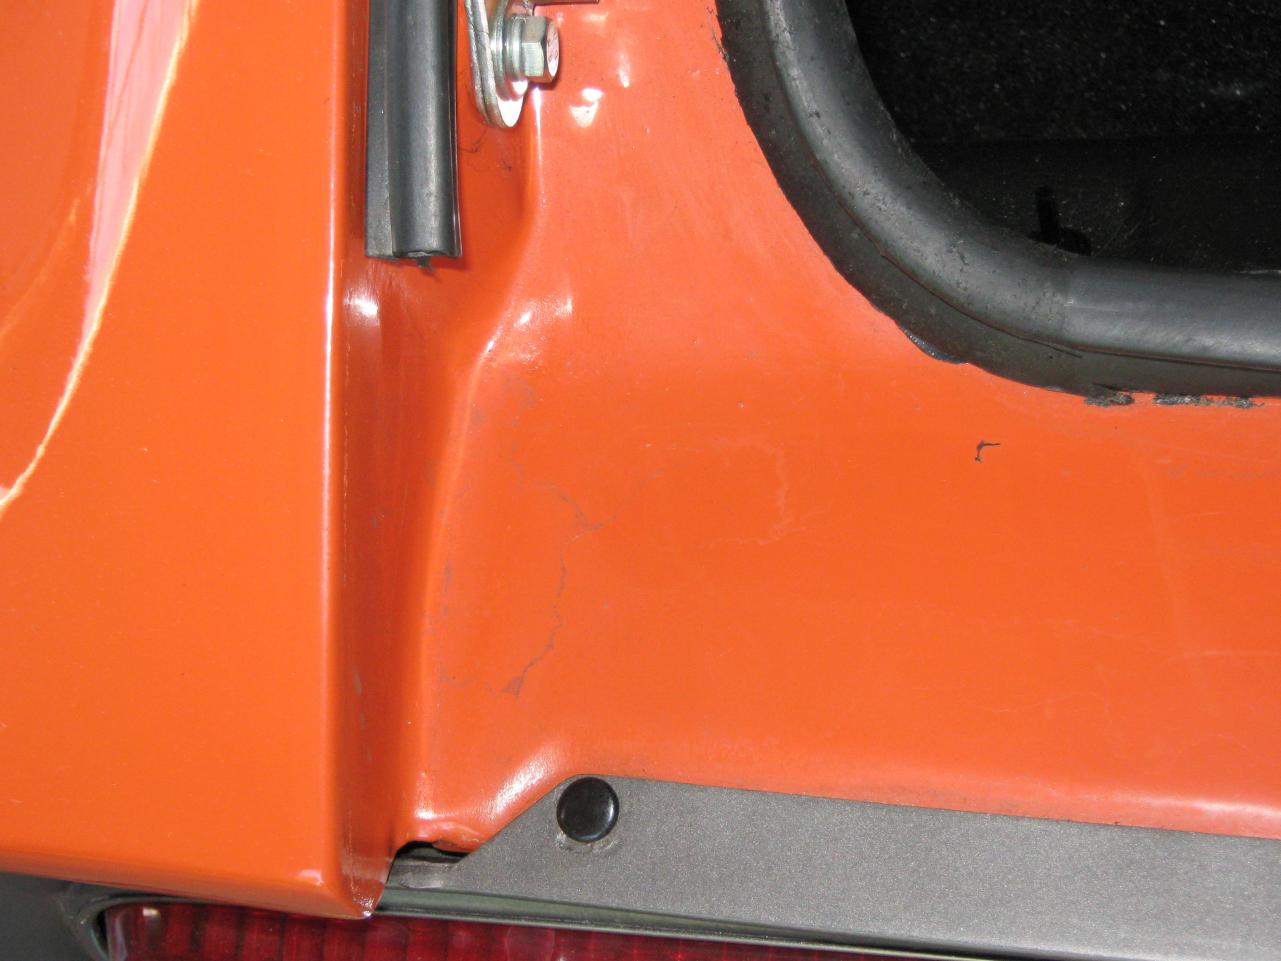
I drilled the broken bolts out and ground the head on new ones into a "T" shape and cast them back in place with fiberglass resin and fibers. Also built the edge up to match the fender contour with fiber glass. see my pictures for that work.
-
Not enough.
-
Looks like a bad ground.
-
I fought a problem like this for over a year and found the return fuel line was plugged. The small line on the right side.
-
welcome hope to get more involved this year with the Wa club
-
When I replaced the flat panel I welded it in solid. Built up the ends so water ran off the panel and molded all the seams so there is no path for water between the panels. This was done three years ago.