HusseinHolland
Free Member
-
Joined
-
Last visited
-
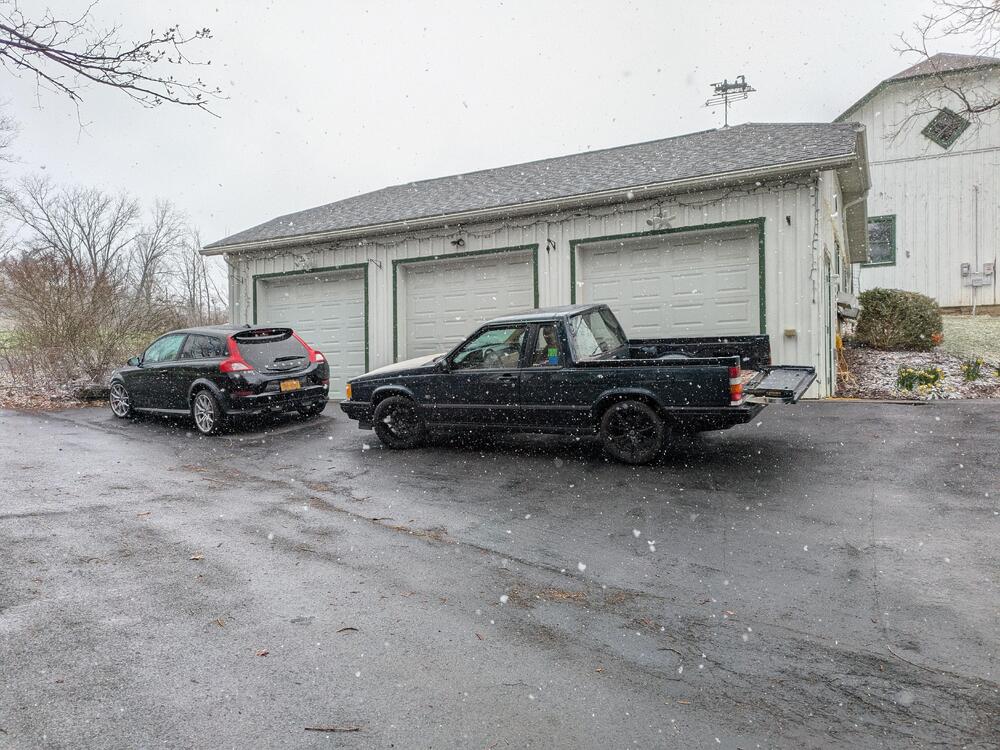
 Ah... no, that's my Volvo C30 🙂
 -
Where is there a Bimmer?
-
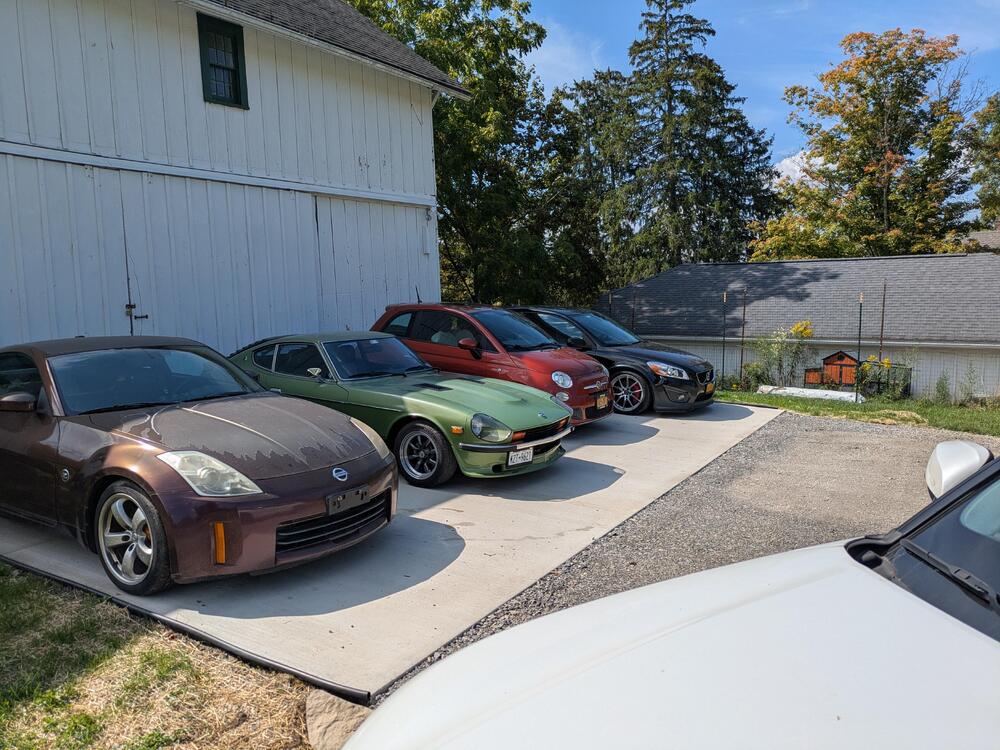
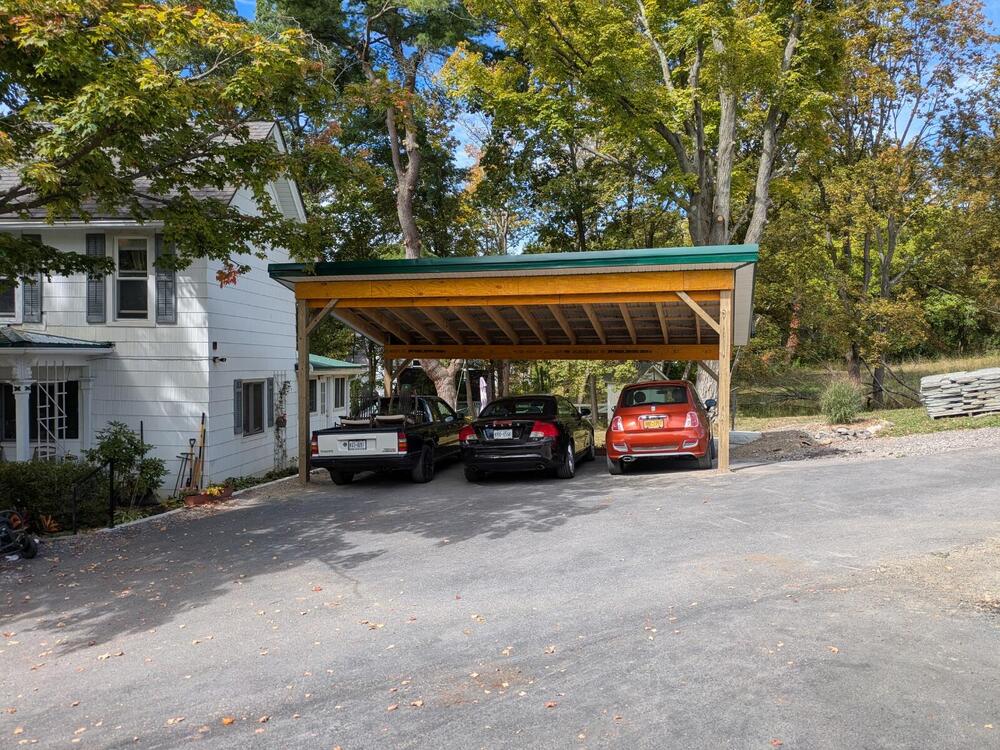
Pad in use. Nothing new in terms of any work on the Z. Had a carport built Weather still OK, so I've been driving her around as much as possible


-
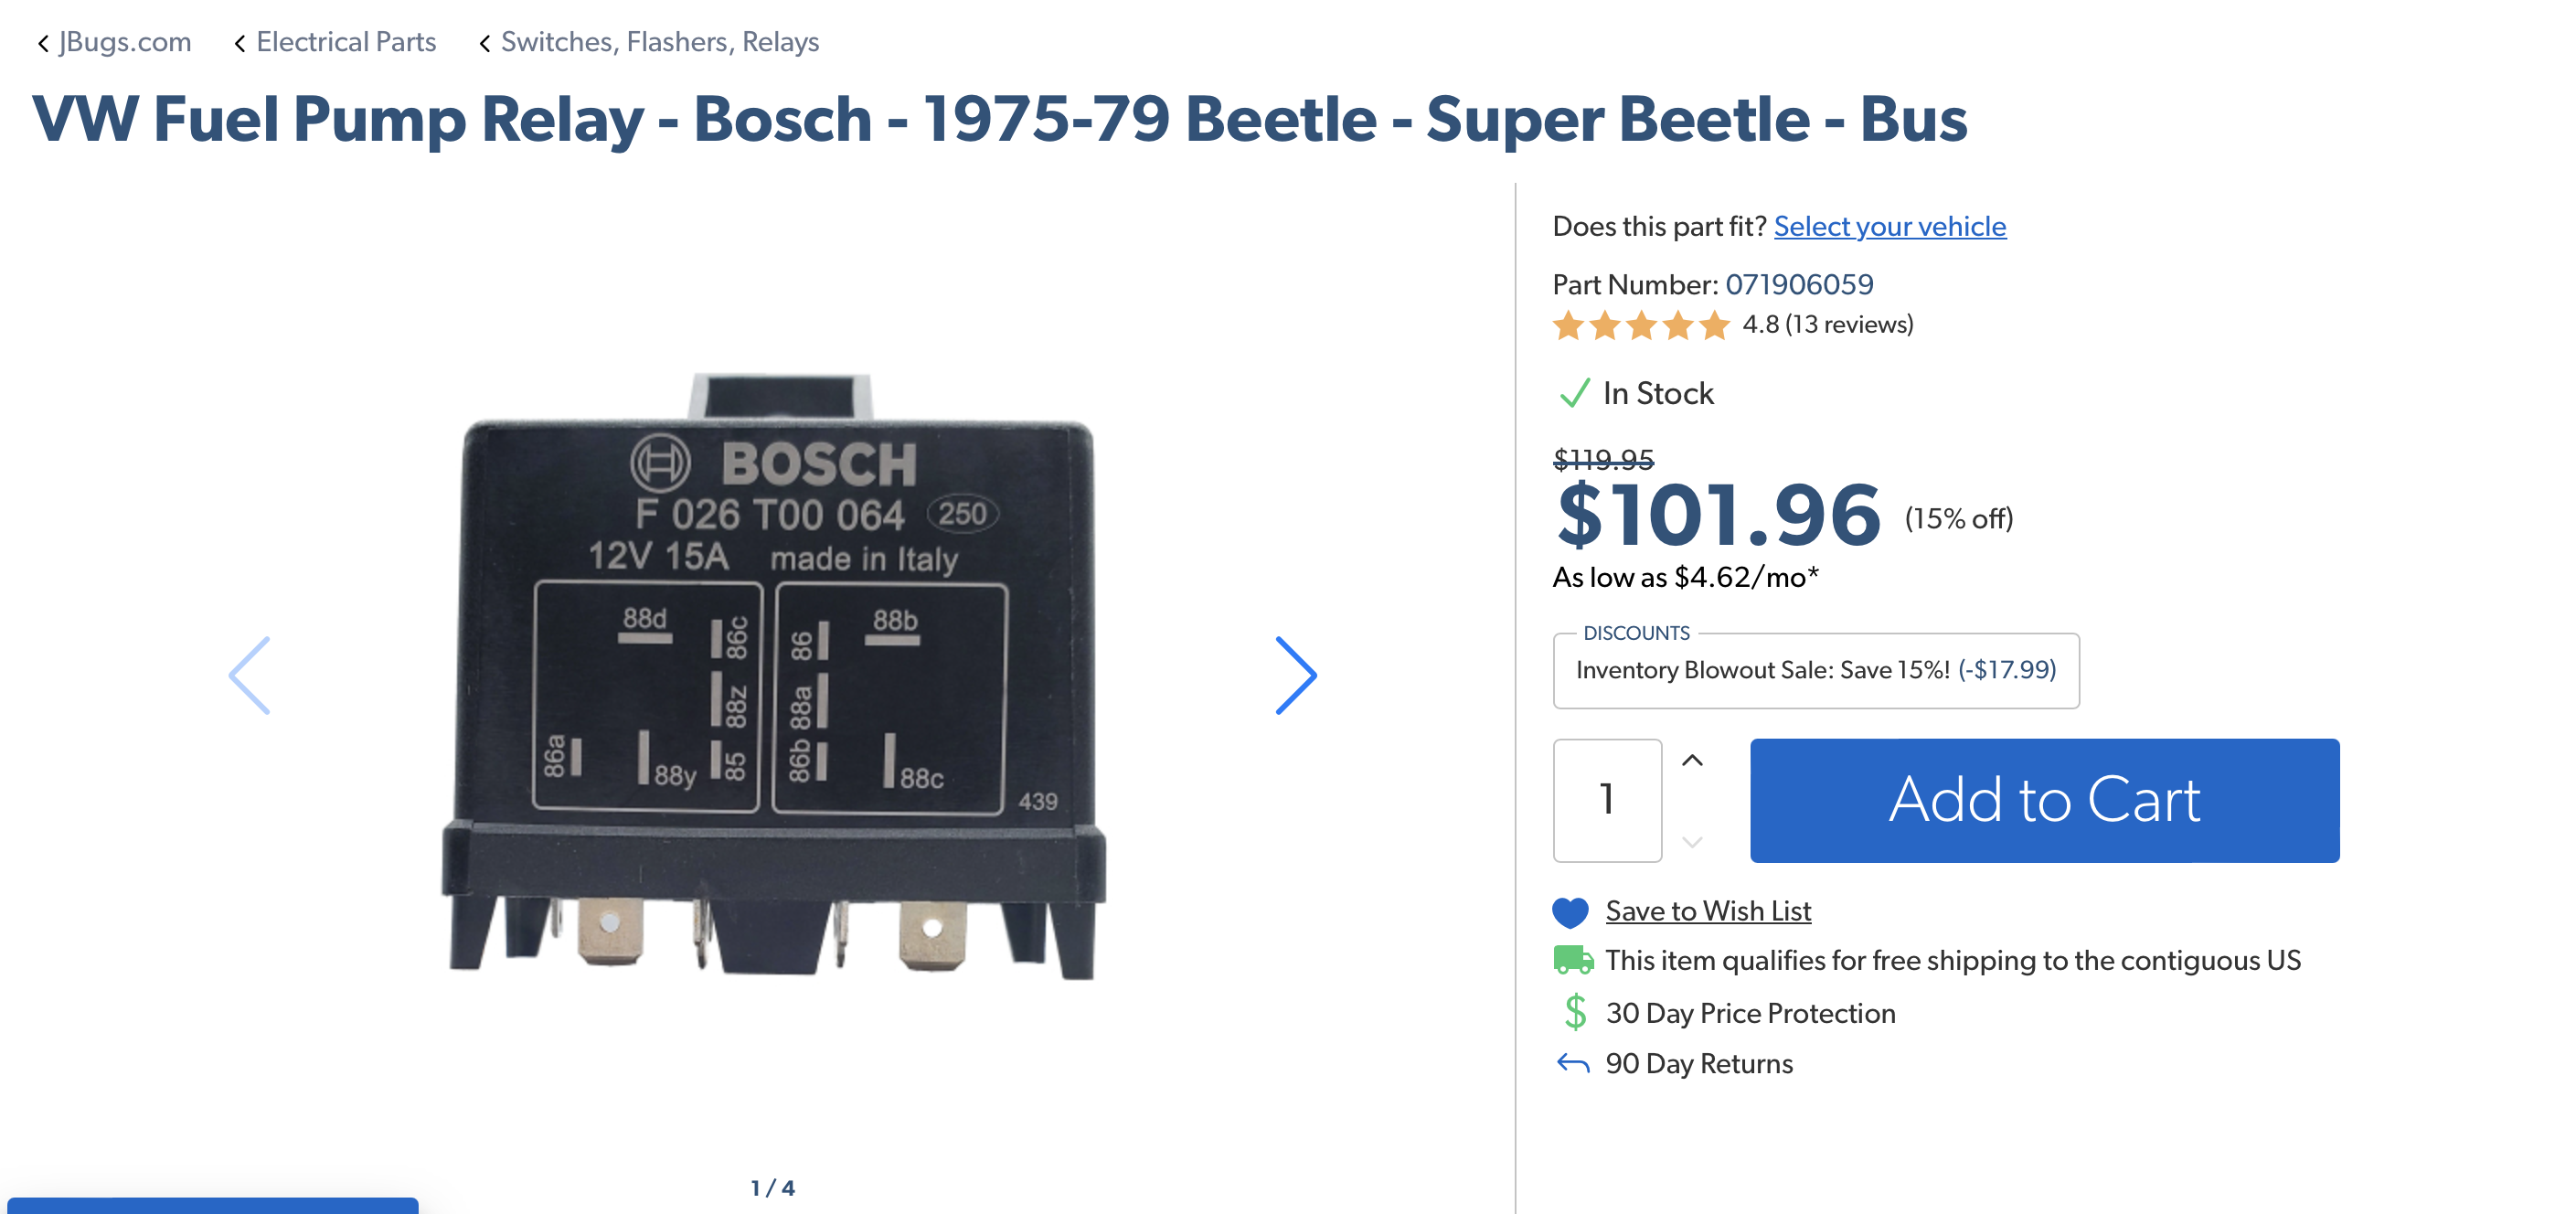
Nice! Adding a pic of the linked relay for posterity - never know when it will go dead

-
I have one of the one piece ones now, to install. Just have to find the thread where the Z member documents the best way to do the install
-
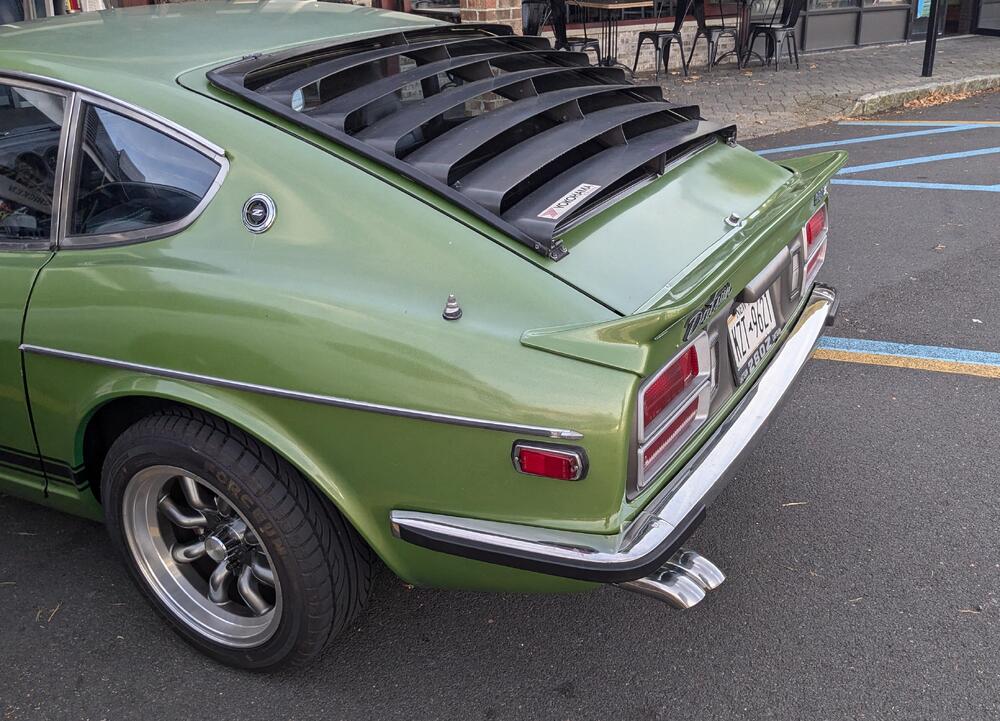
Thank you! The only thing I have to do on the Z soon, is the outer lip hatch seal - the 3 piece one I put on back when I did all the seals has peeled off along the top. I need to remove the hatch & redo it. If I recall correctly, the best way is the glue it with the 3M black snot & then tape it tight & let it harden in place for several days. I didn't wait with mine.
-
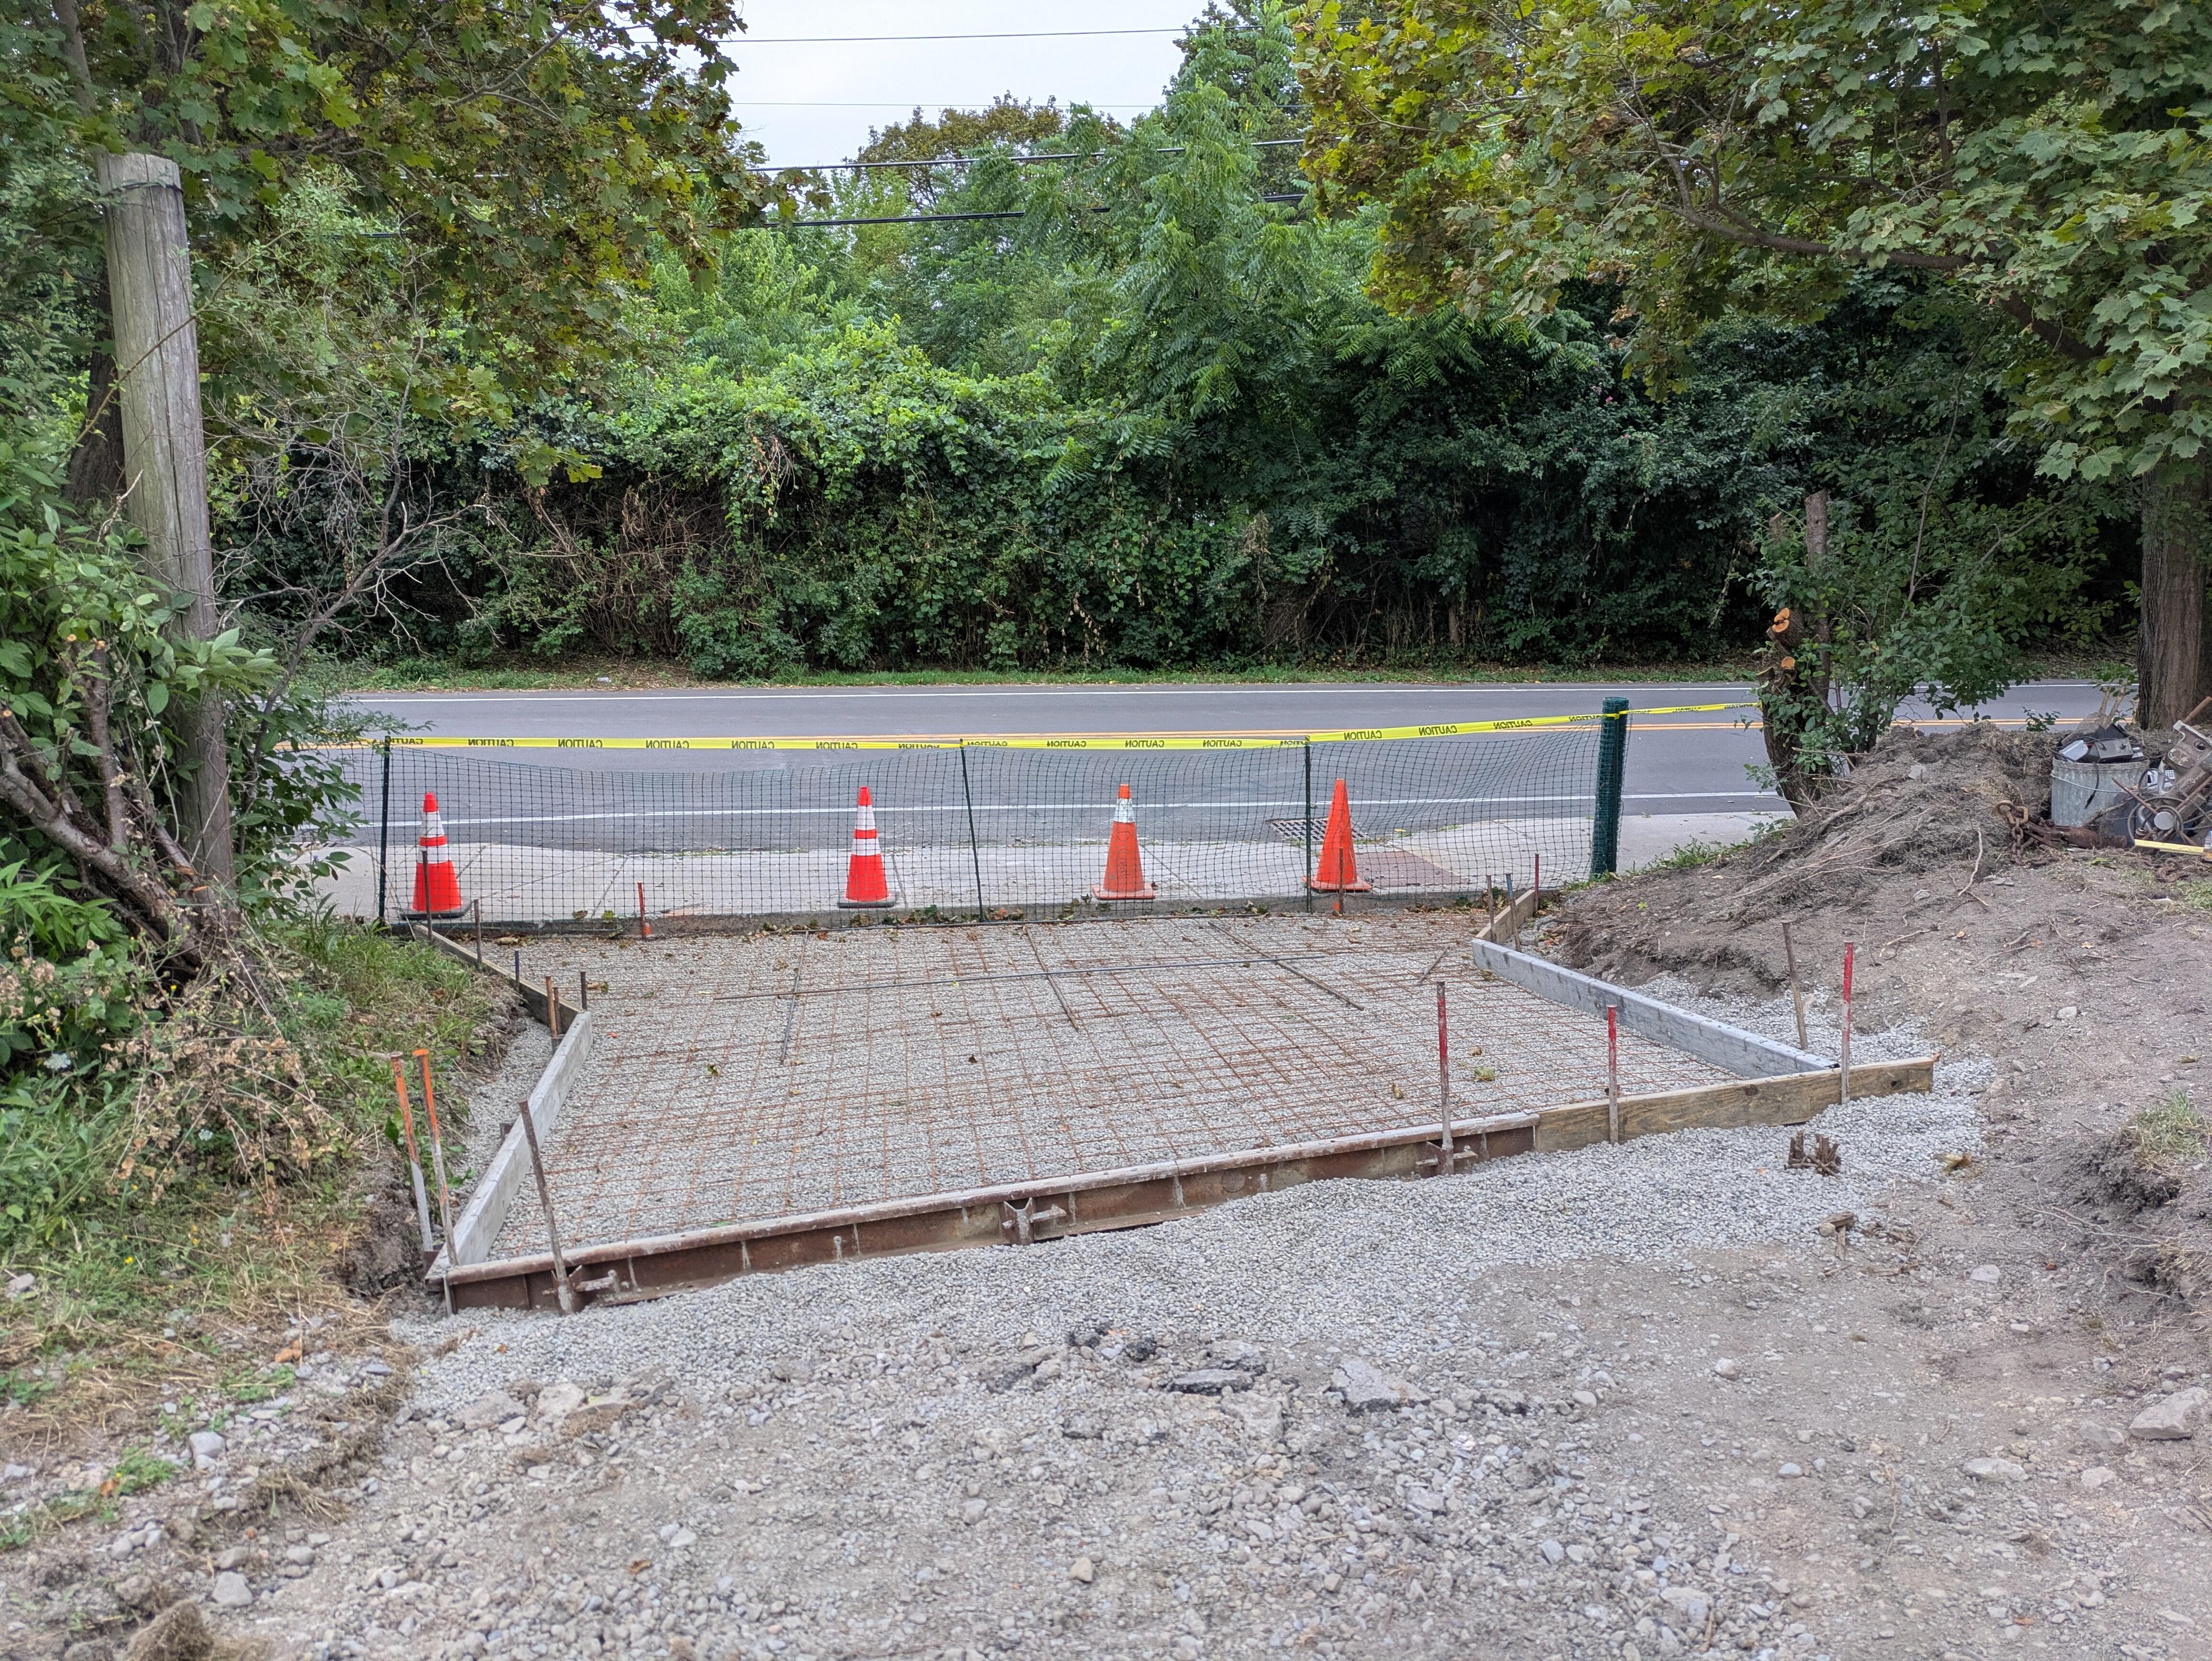
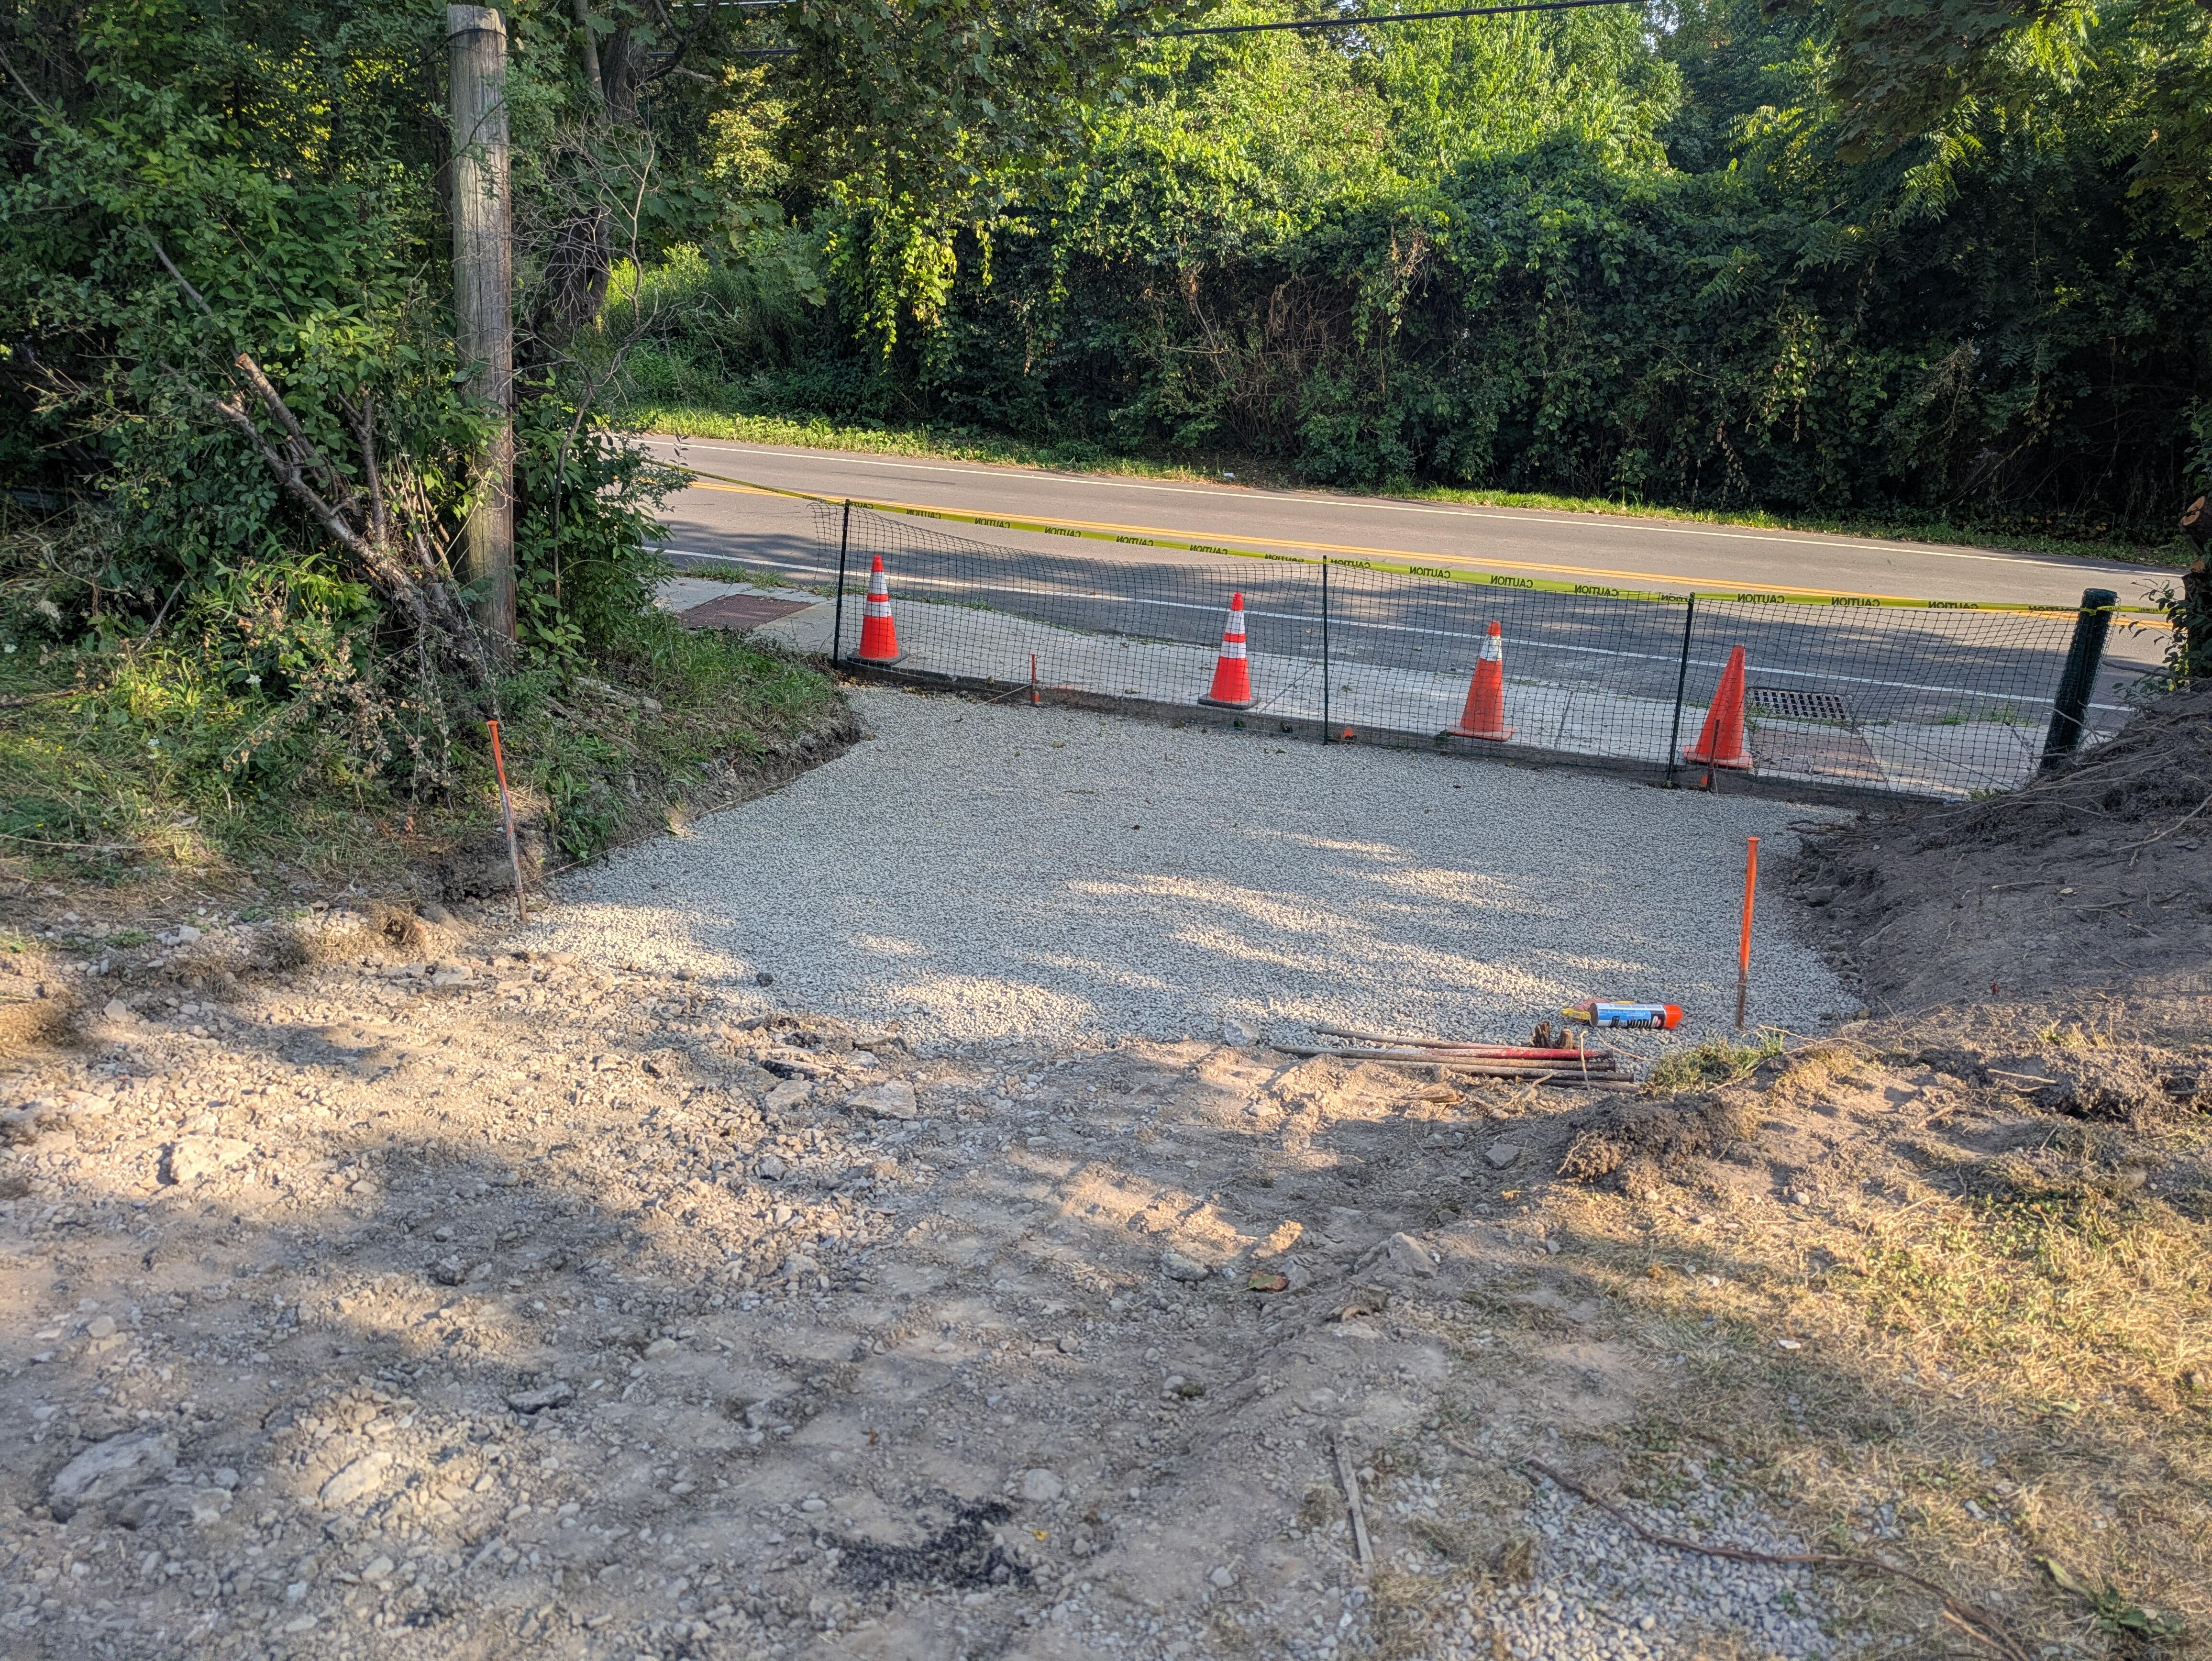
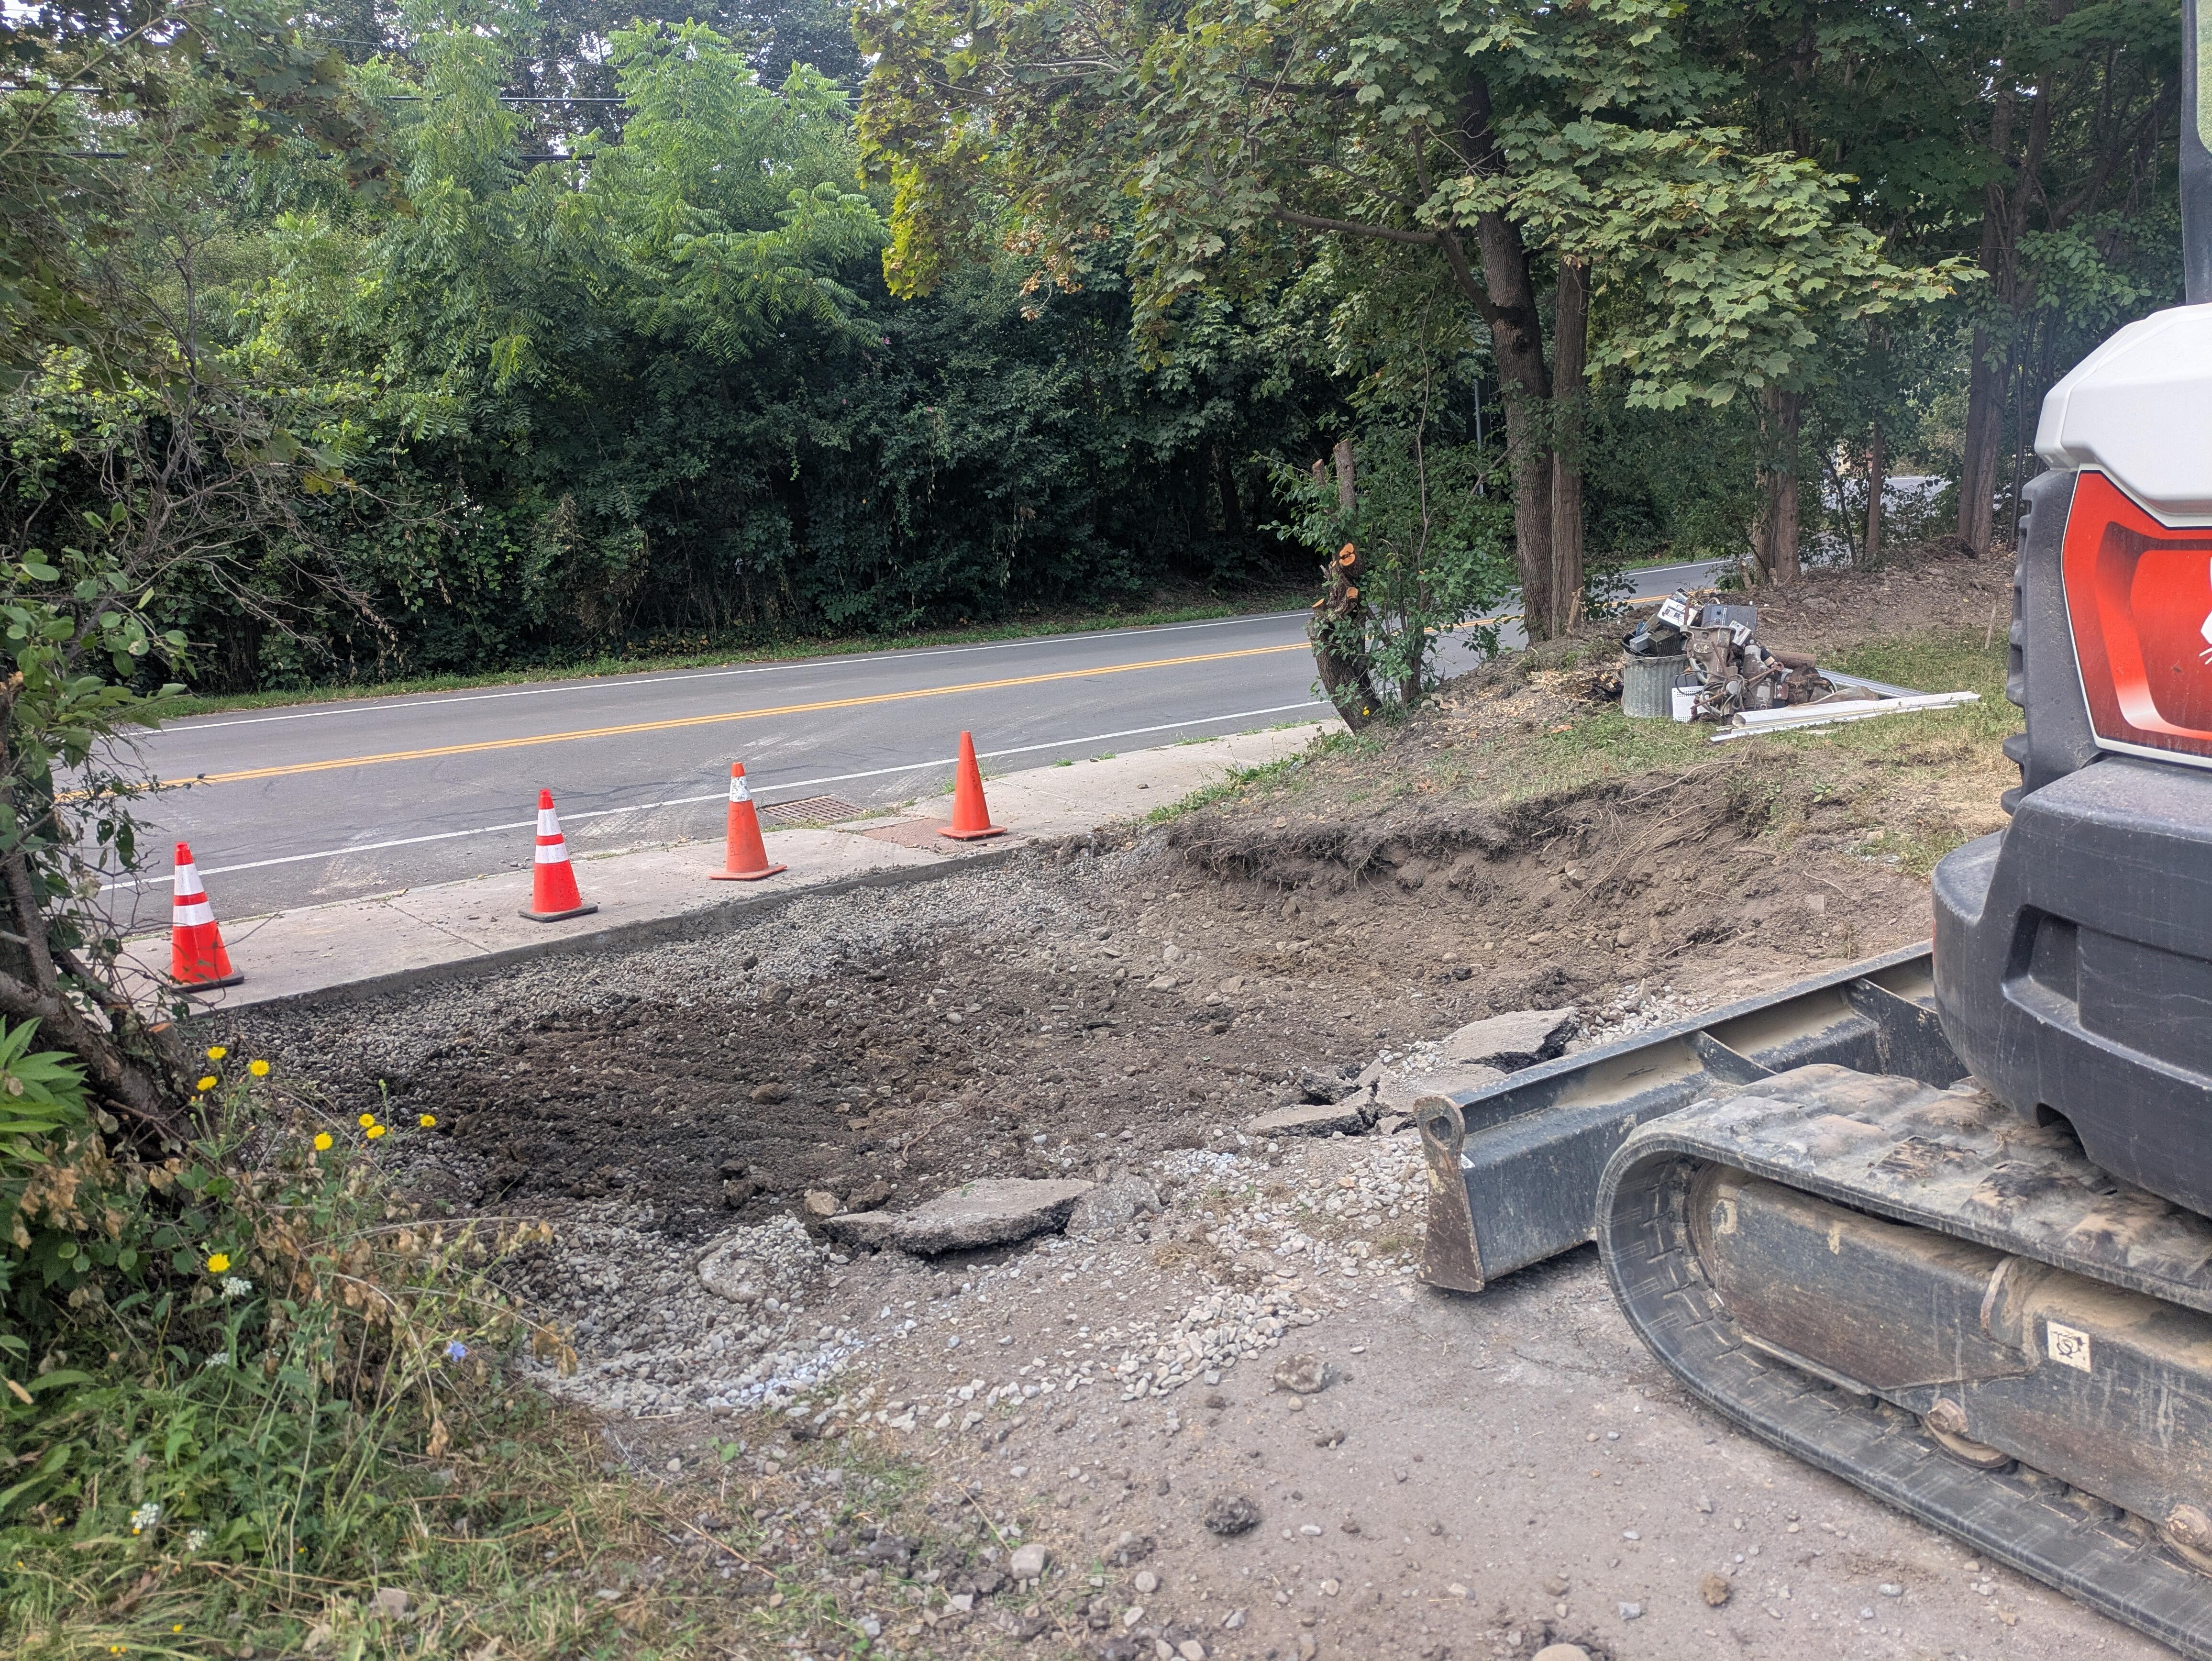
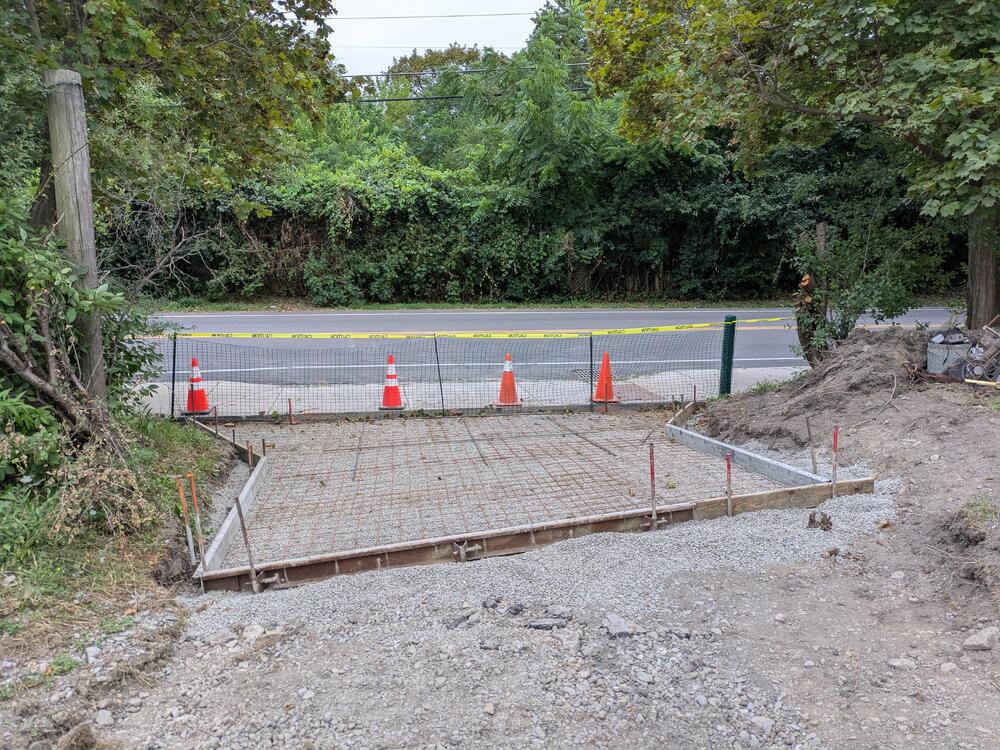
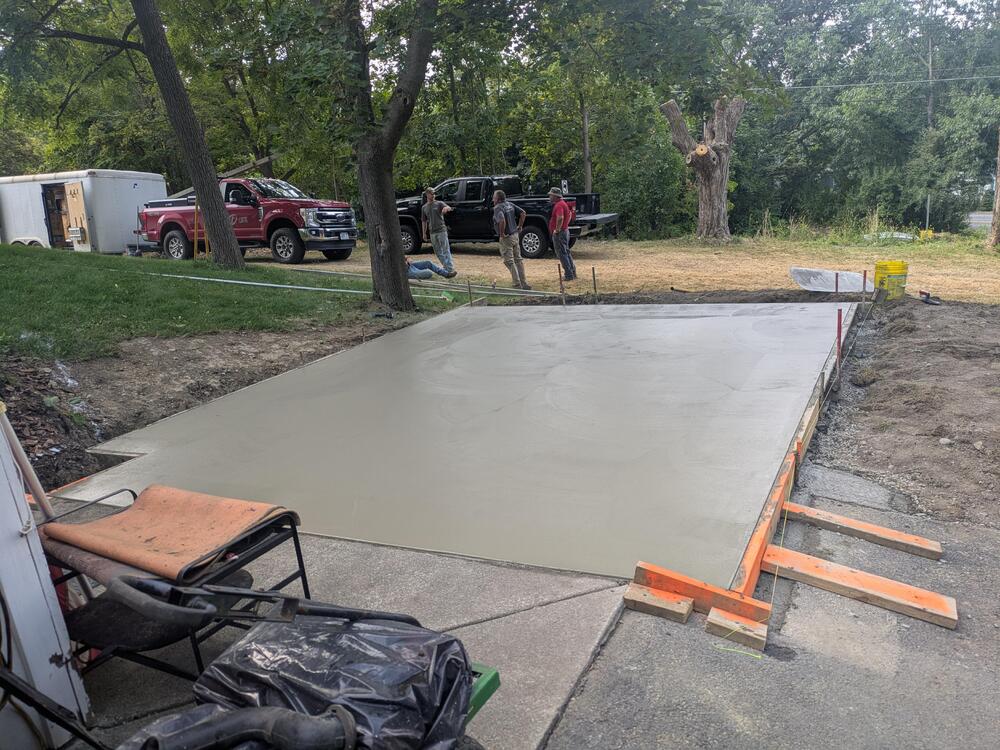
Indeed! We have almost an acre now, corner lot, with a driveway that loops around to the side road. That end I'm having concrete poured, it's been gravel over the beat up asphalt, and that keeps washing into the street, I've had enough of that in the short time we've been here. Concrete is scheduled to be poured tomorrow.


-
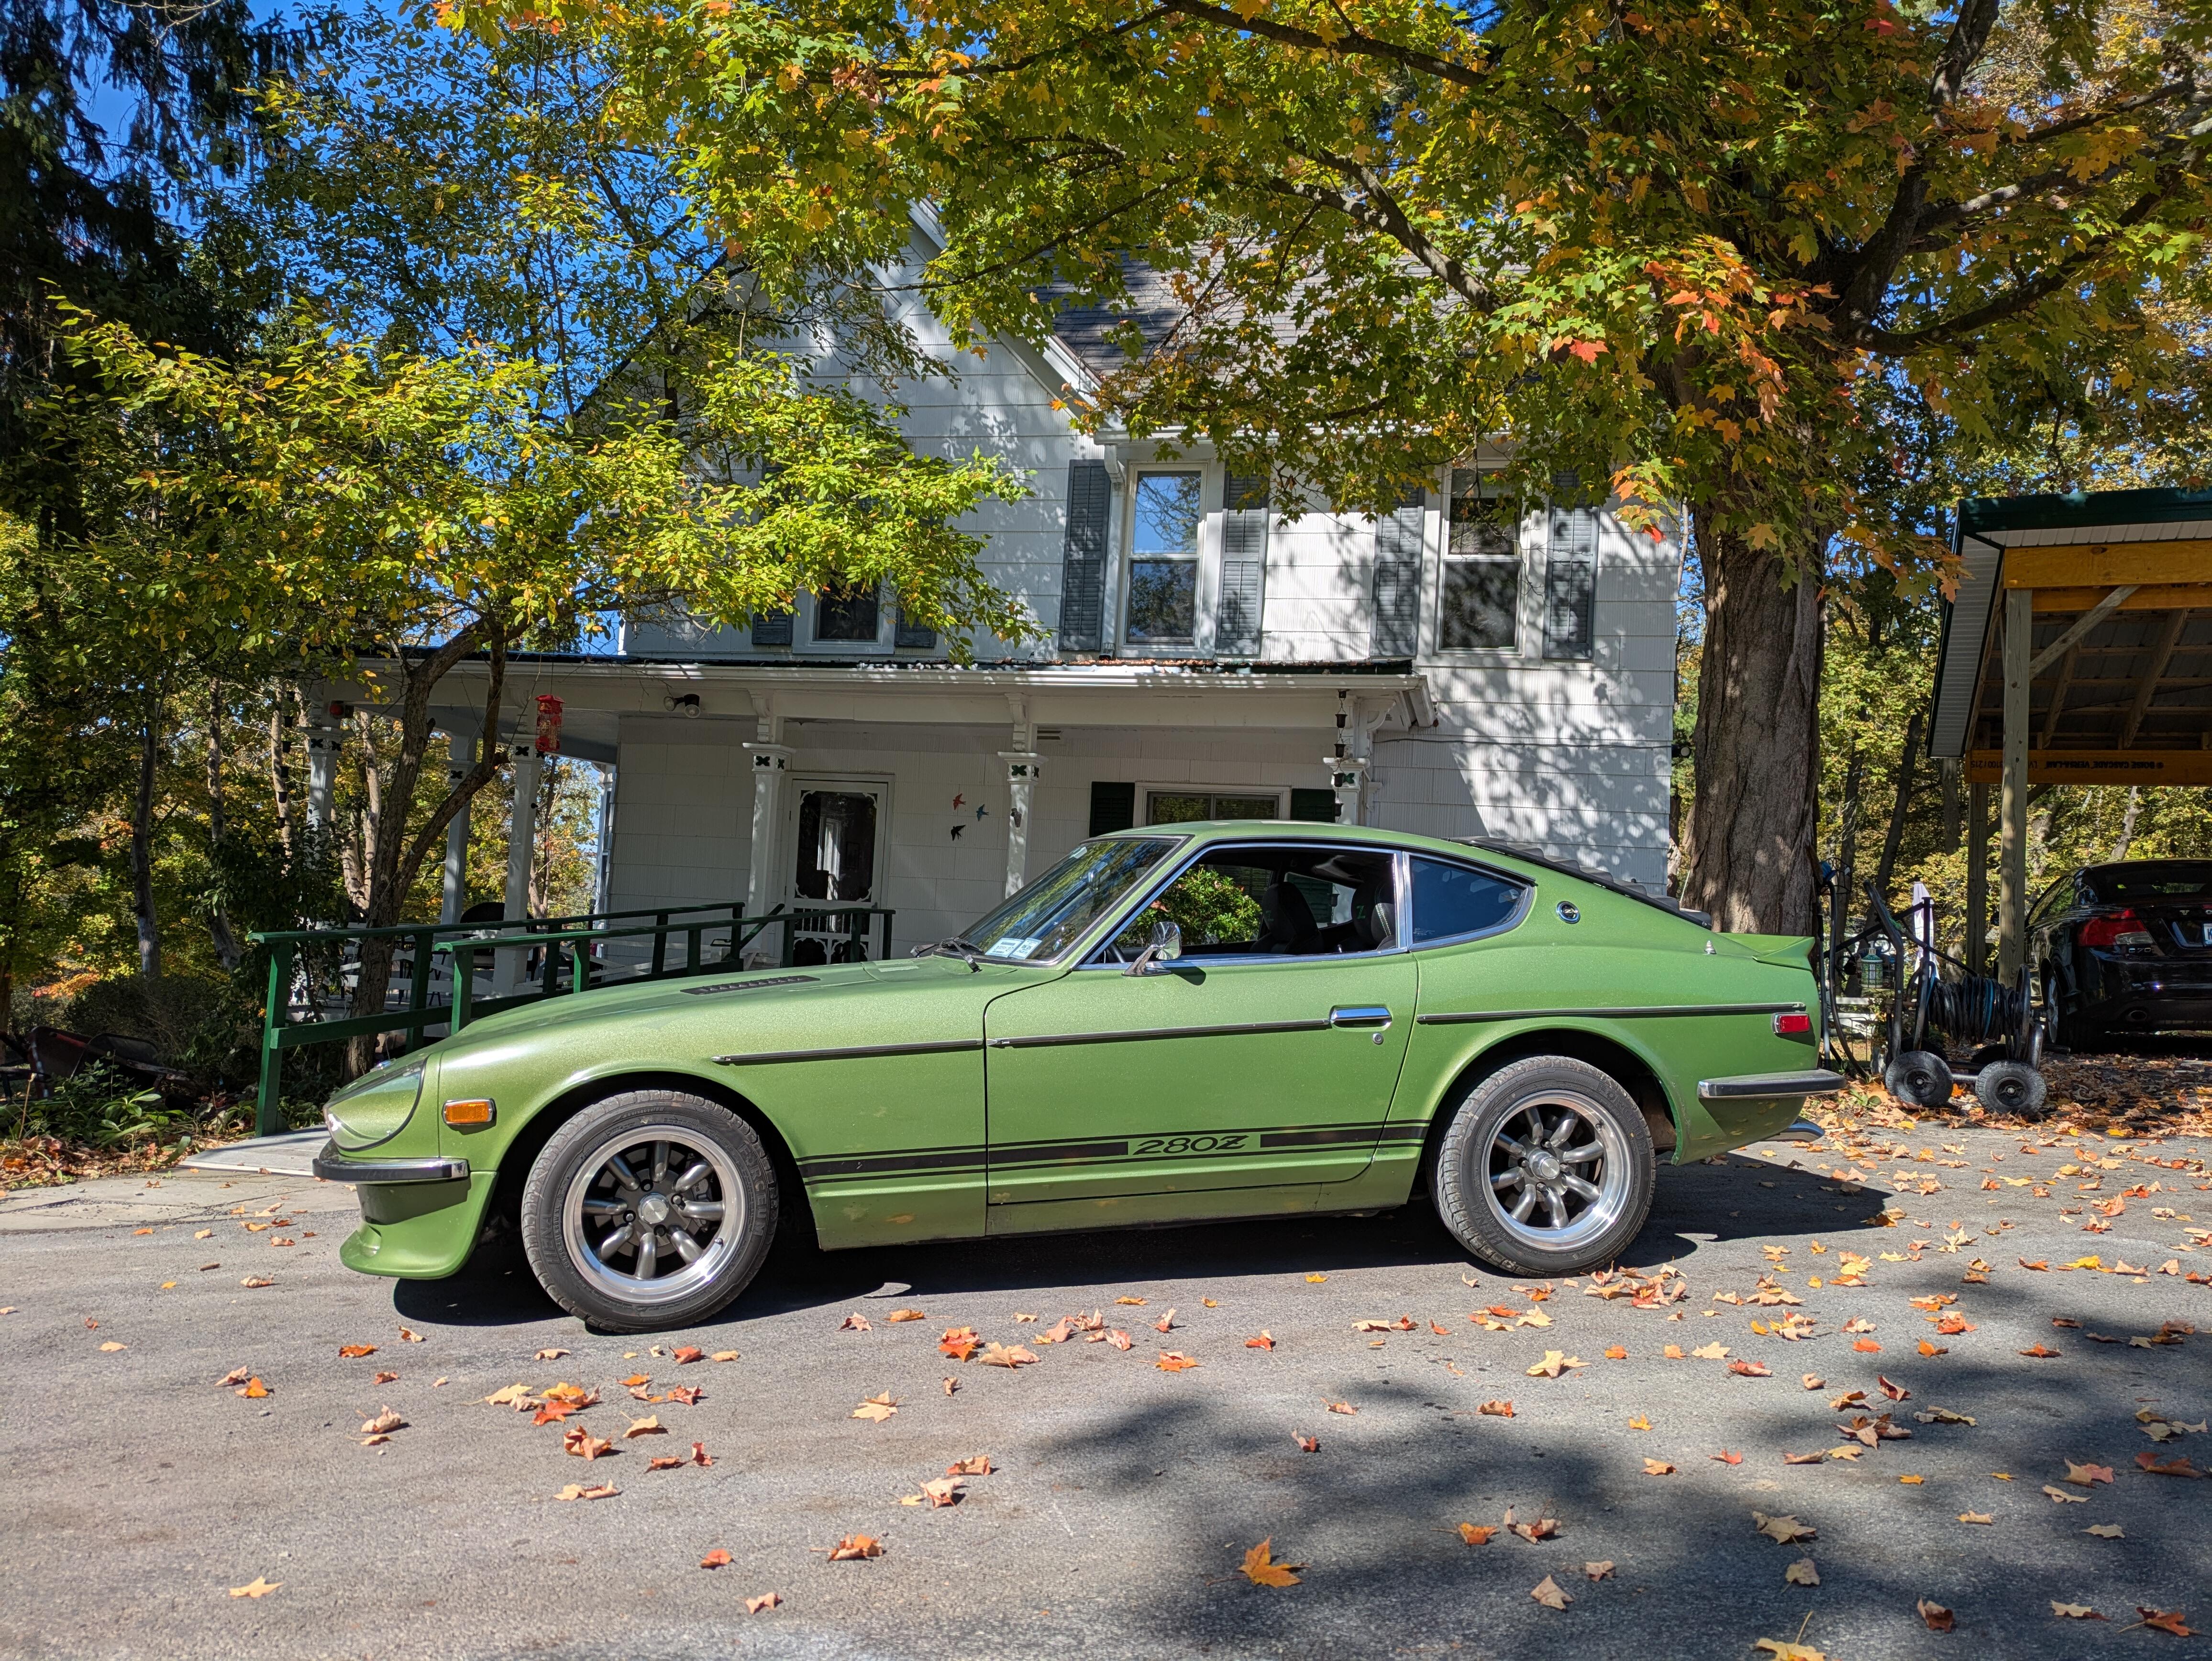
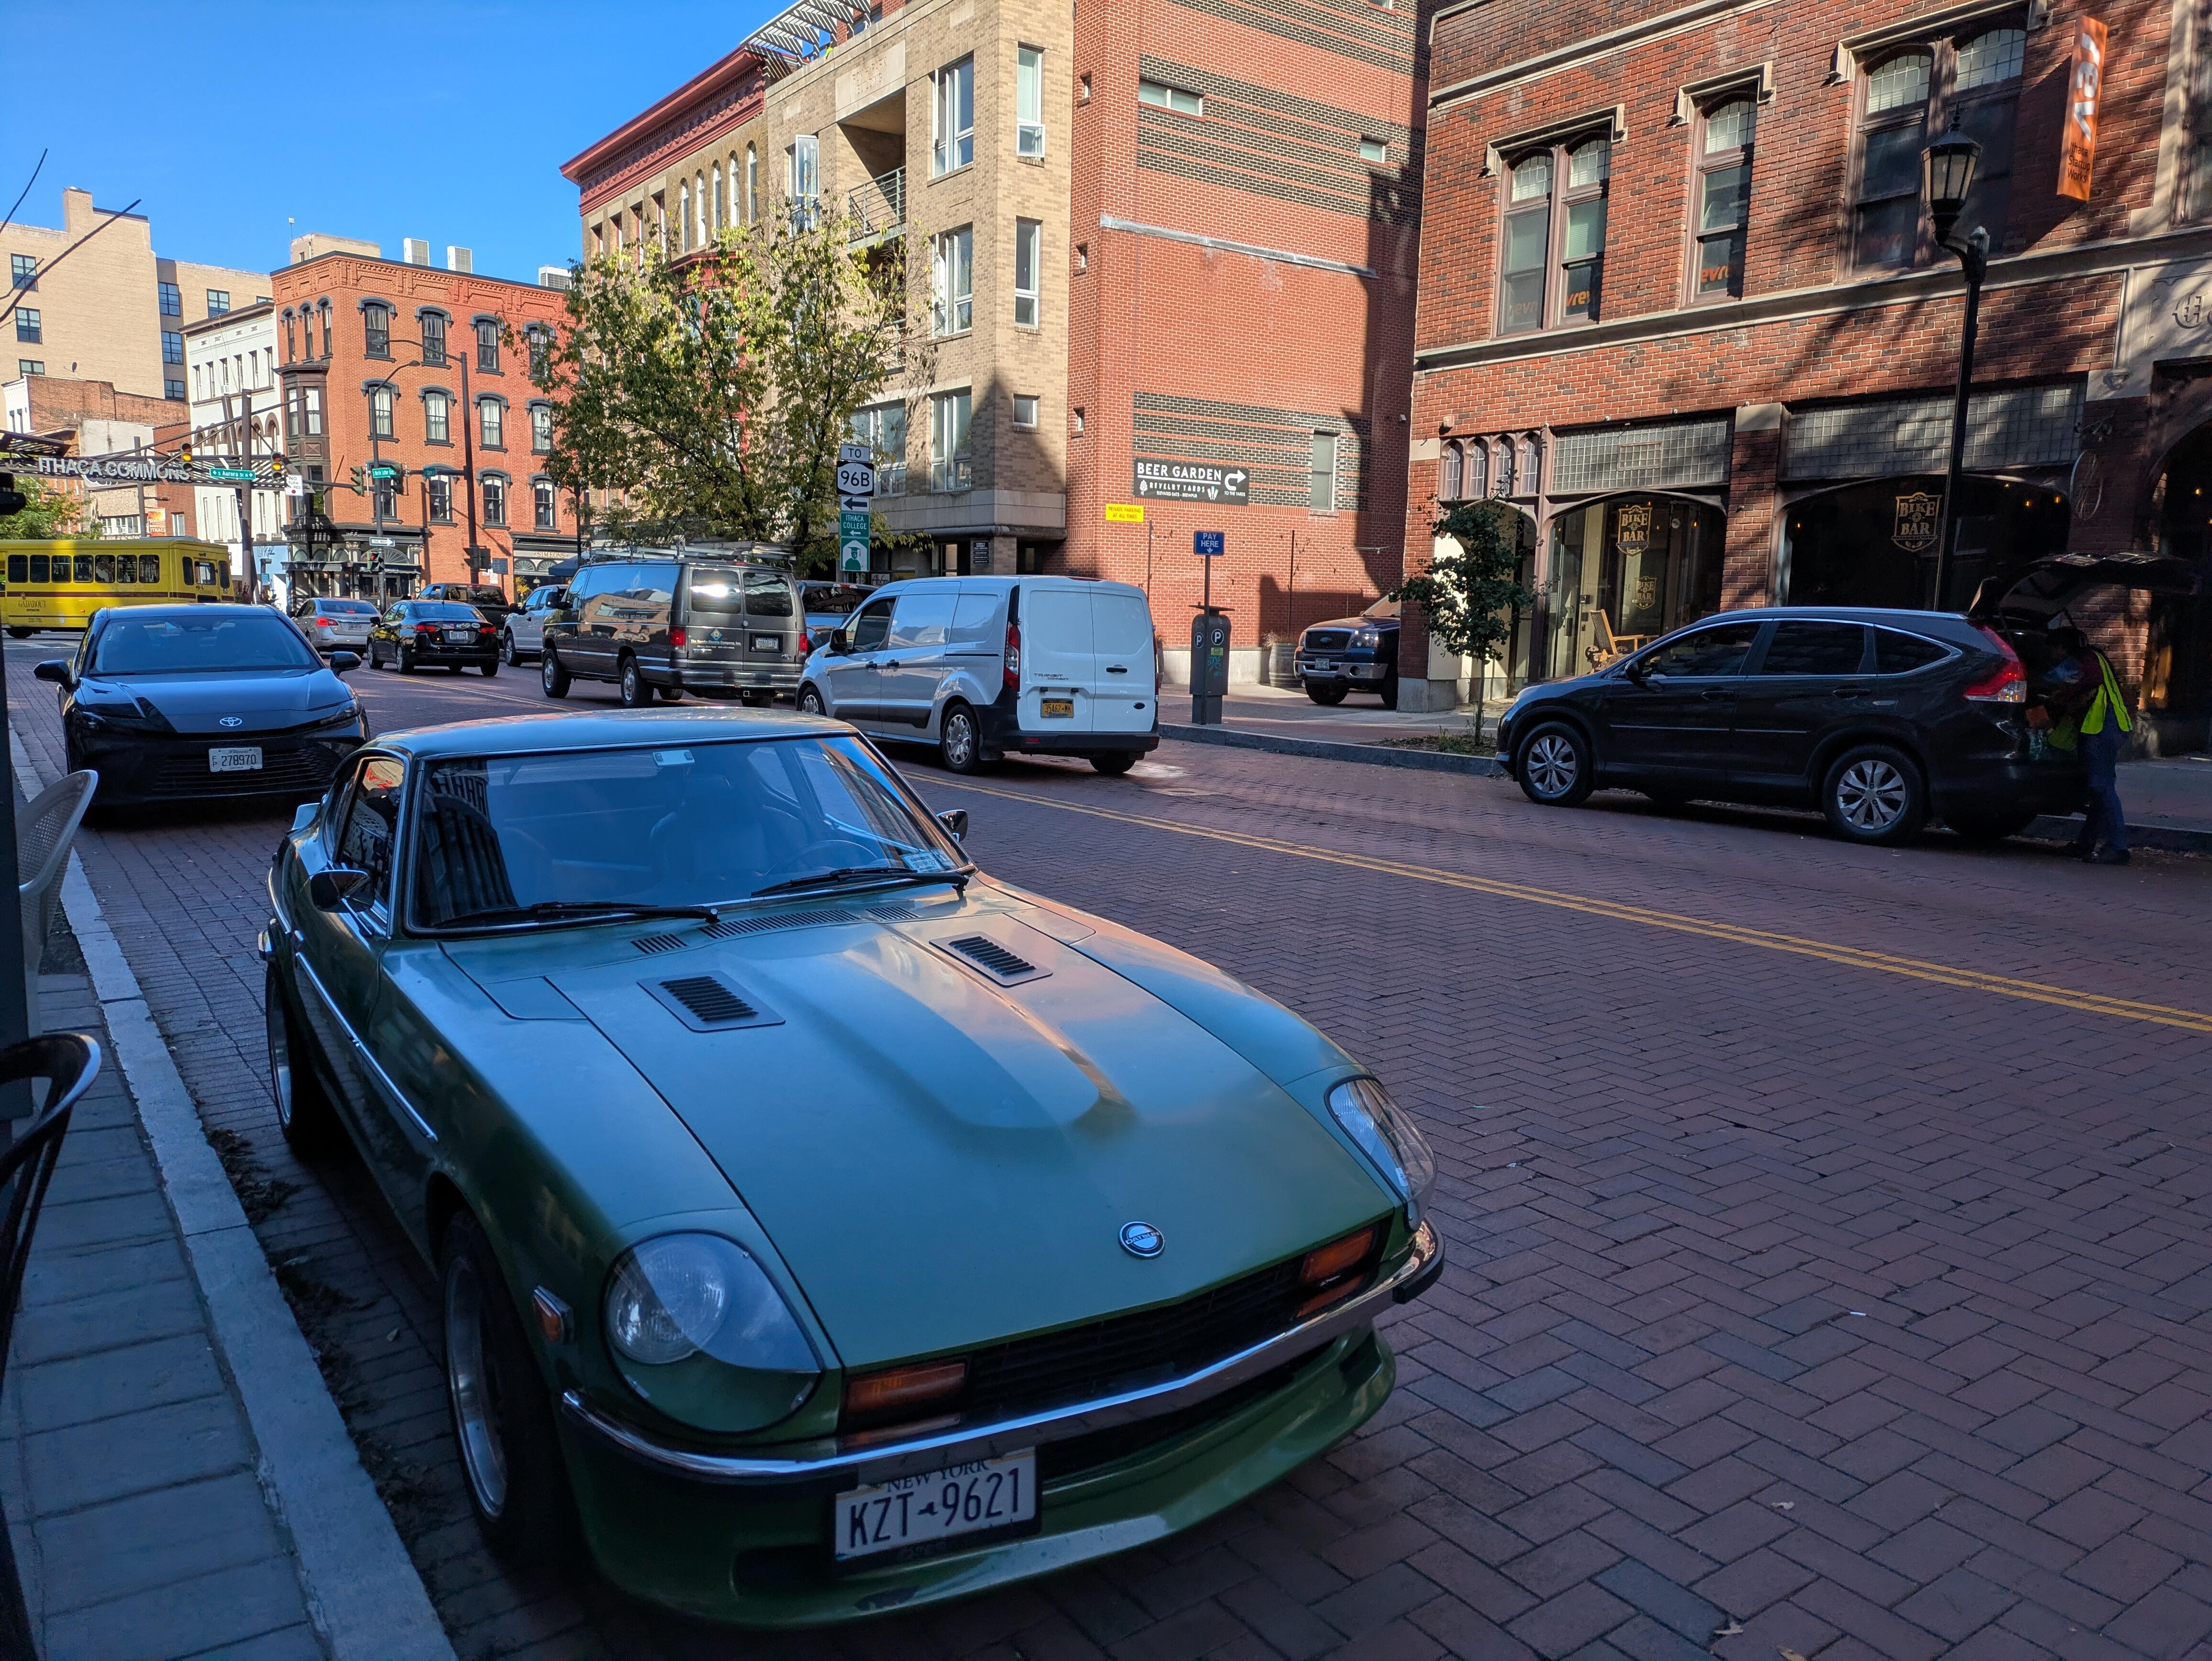
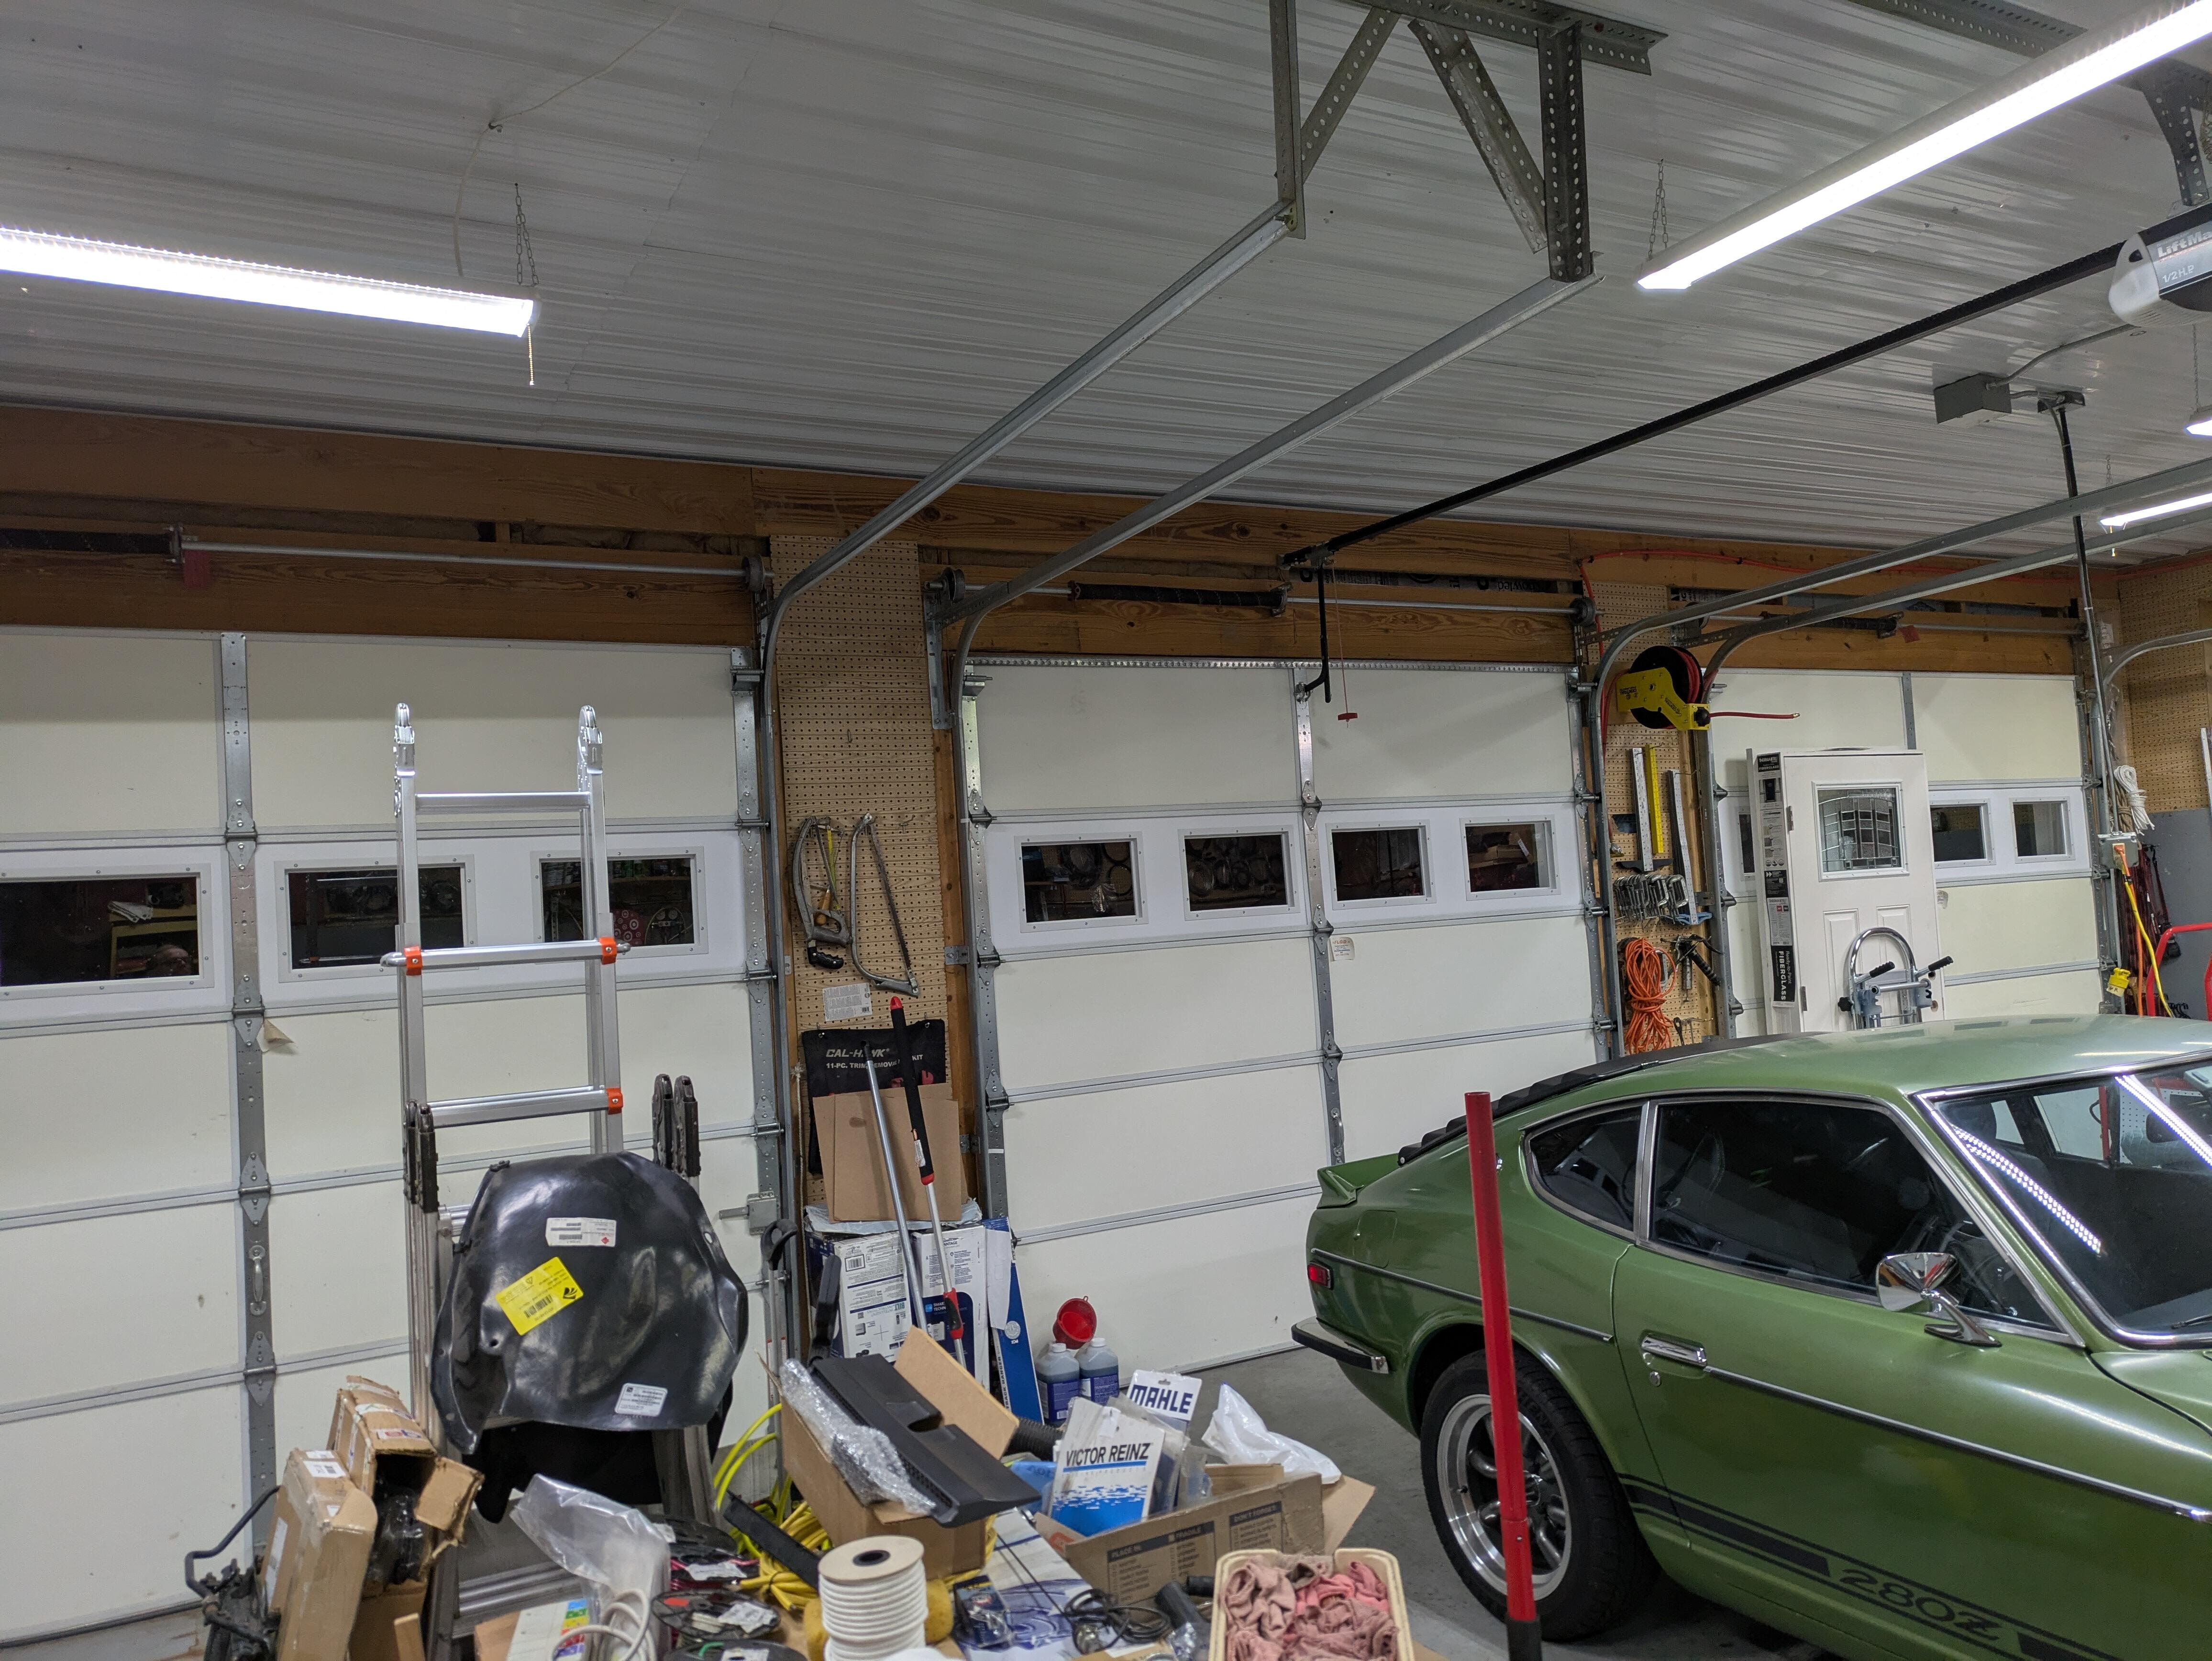
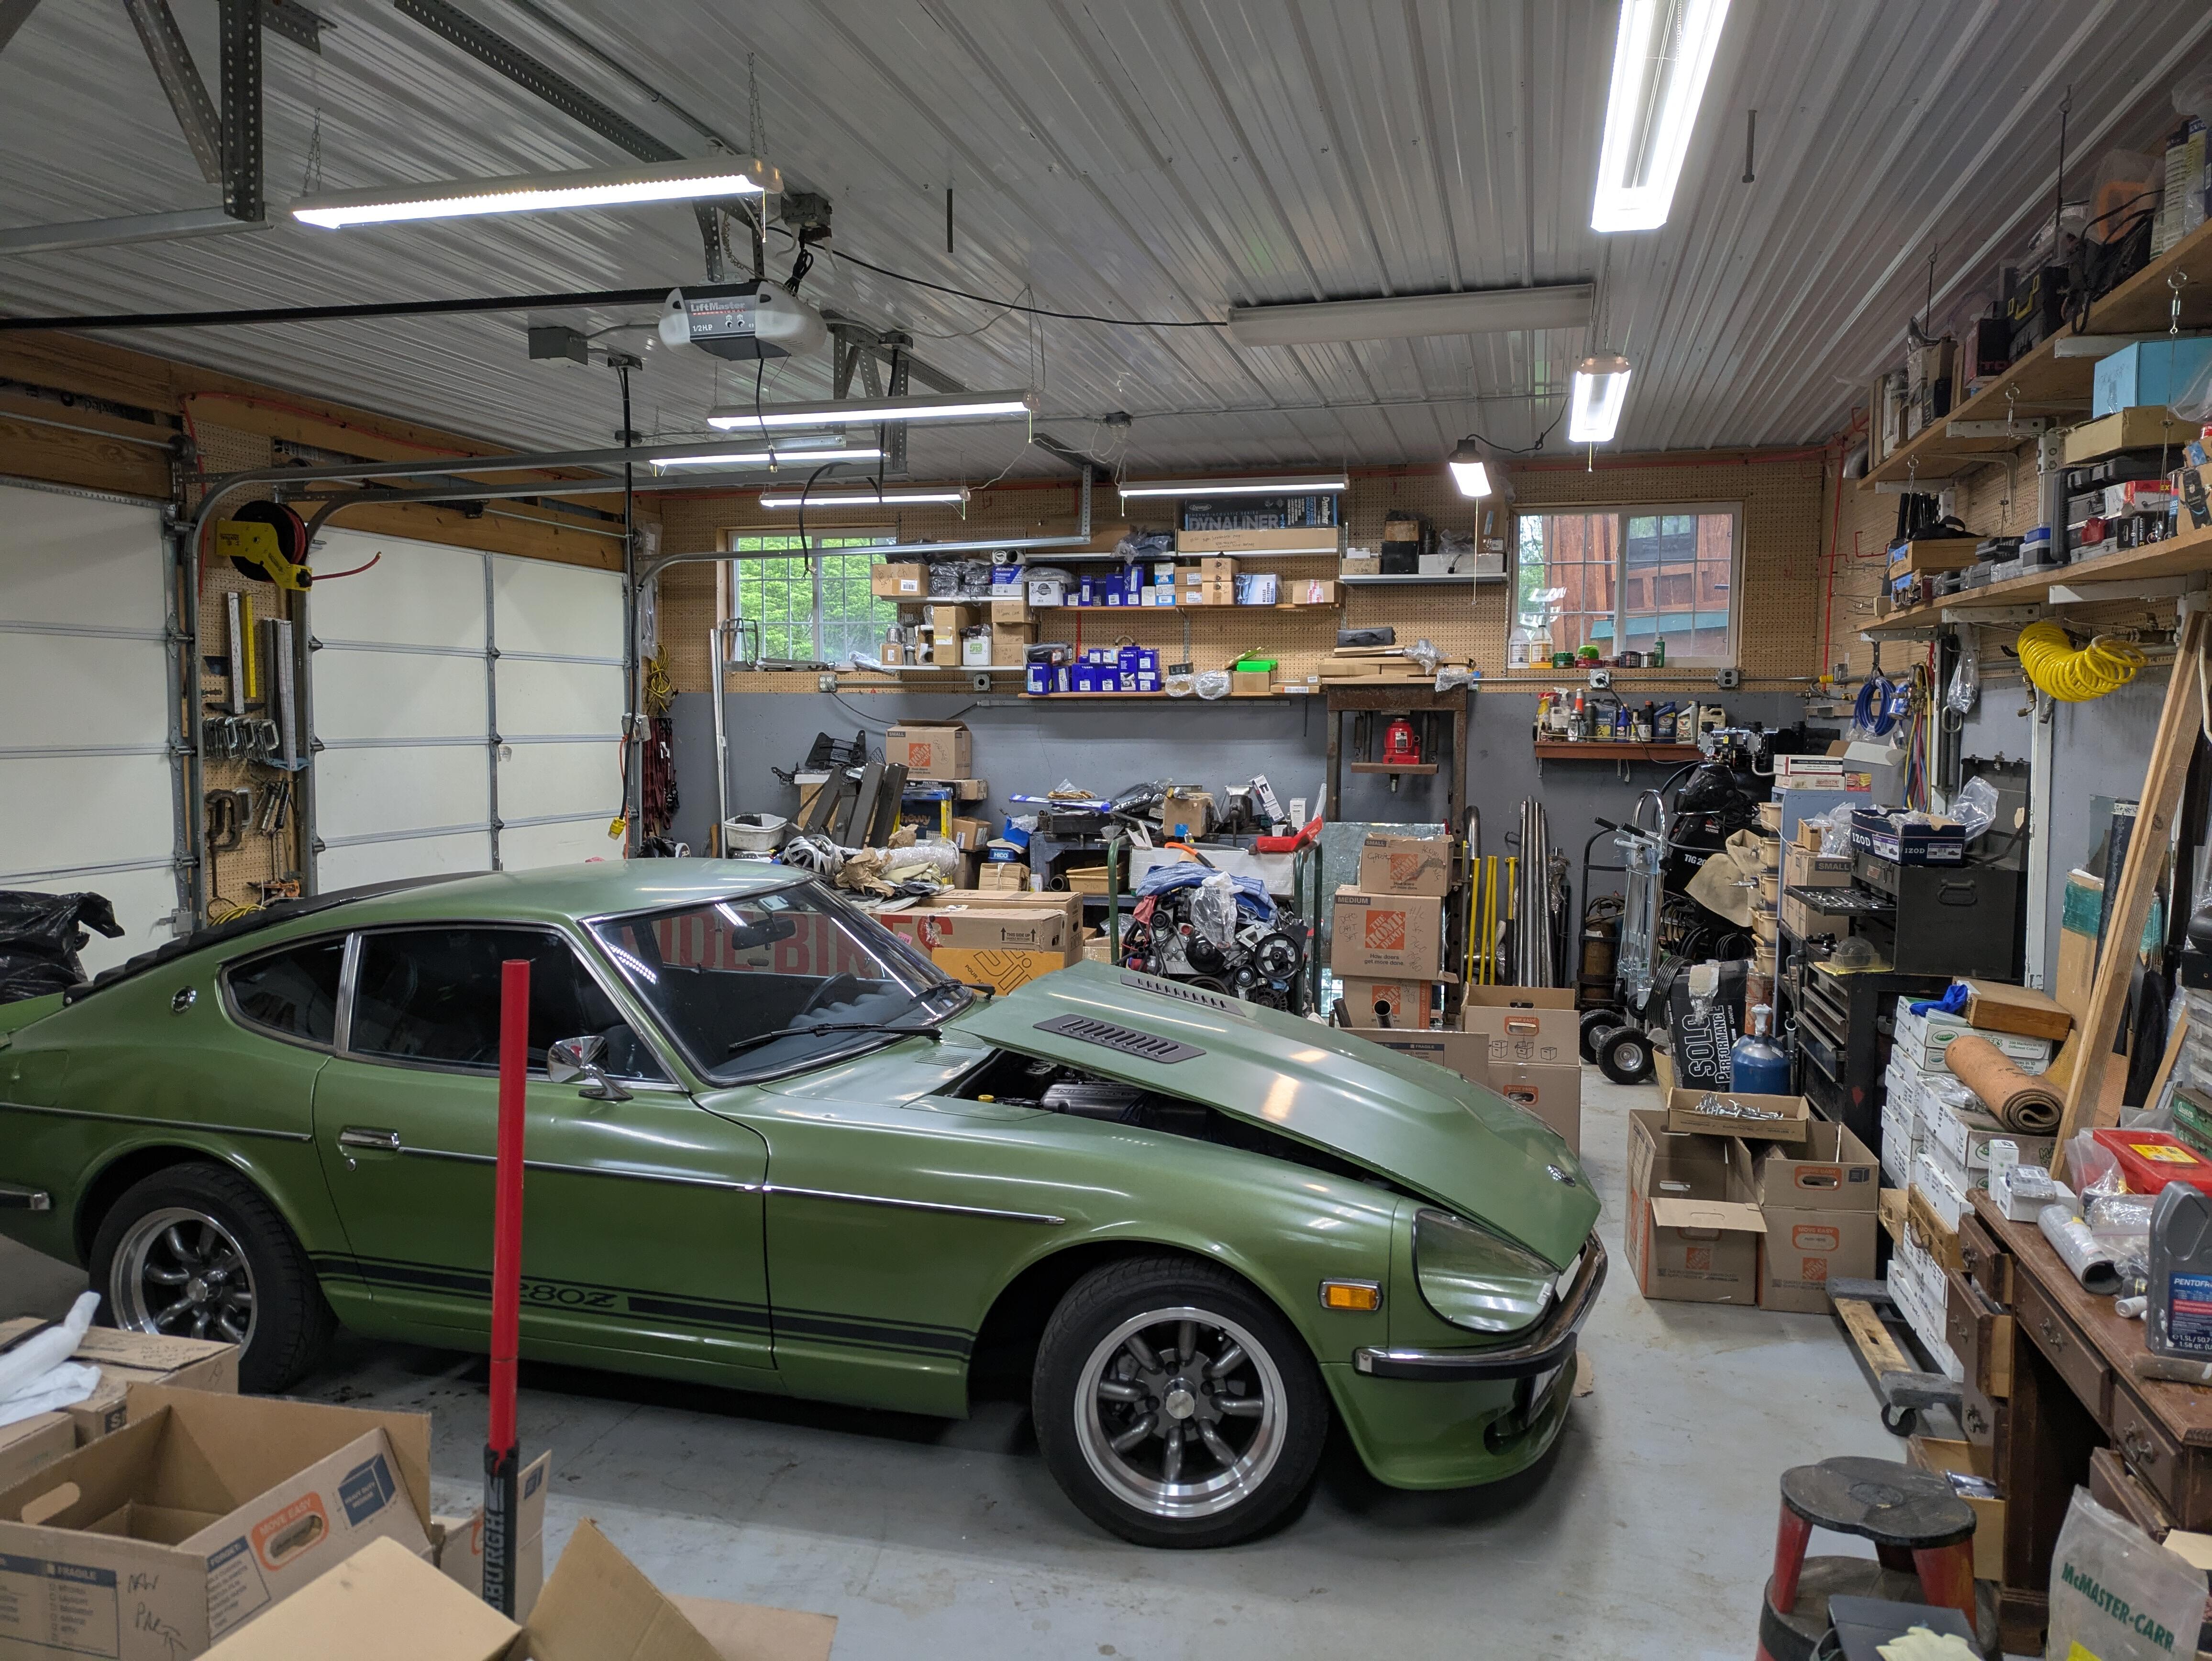
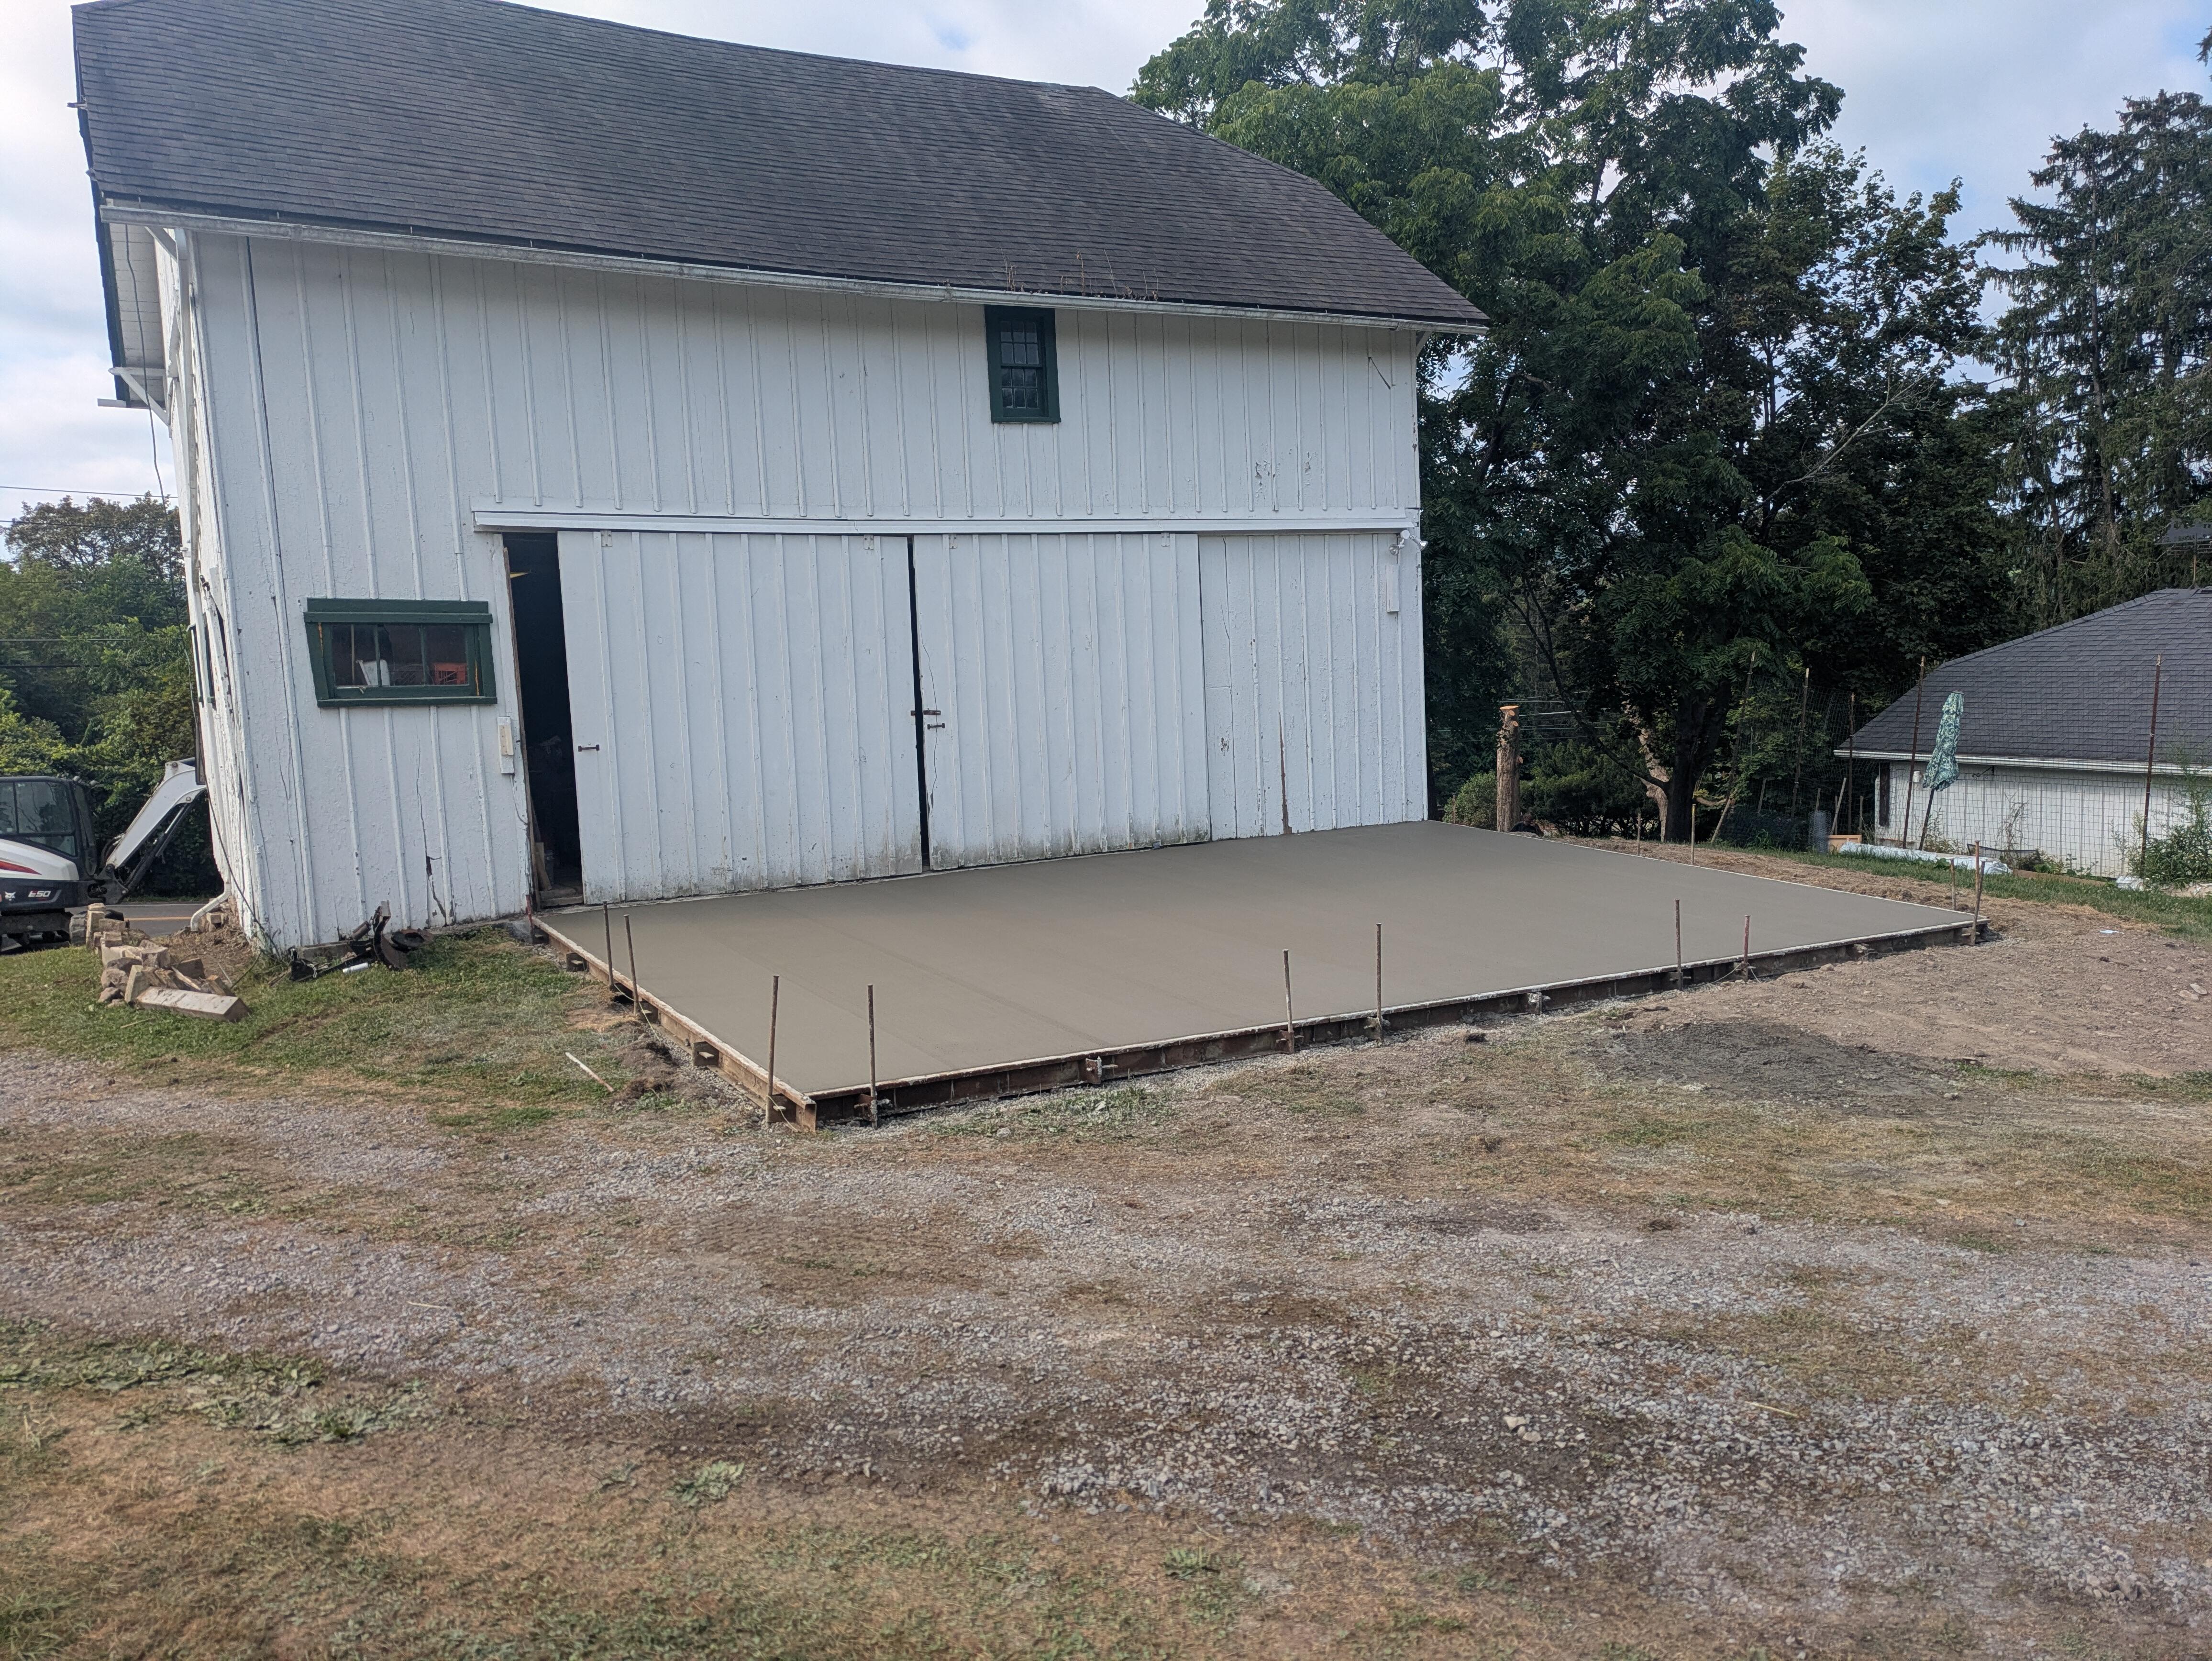
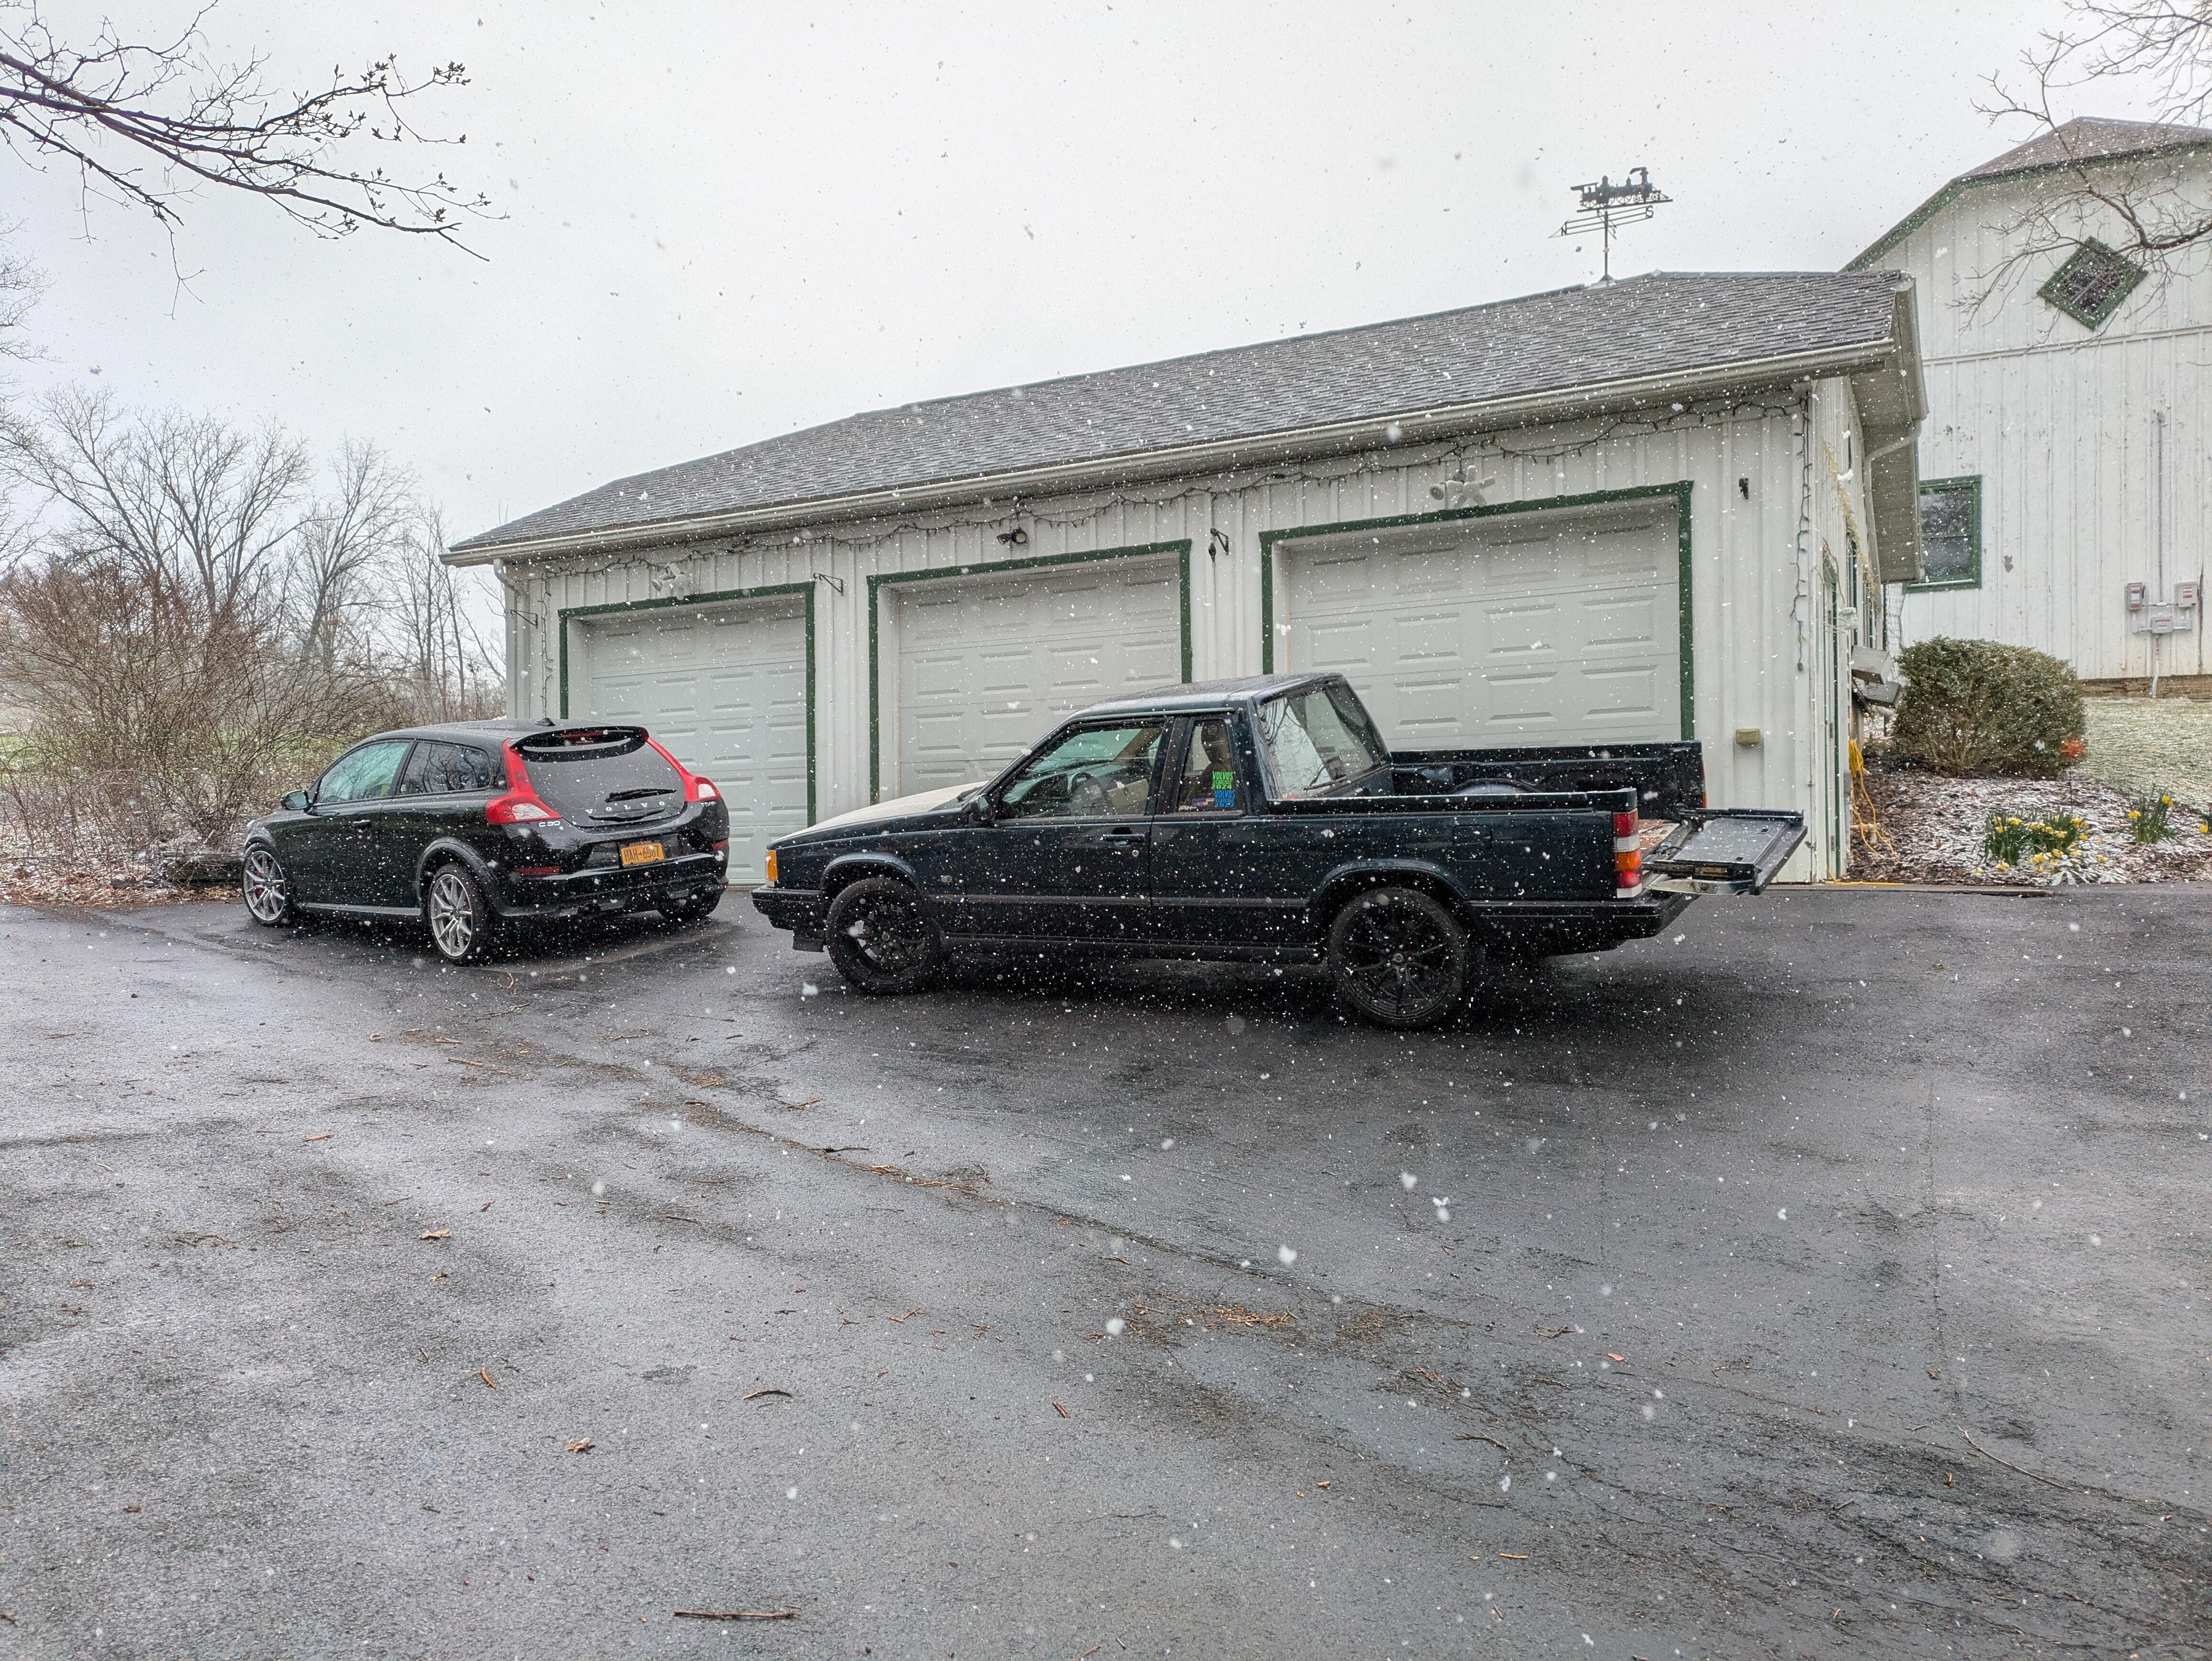
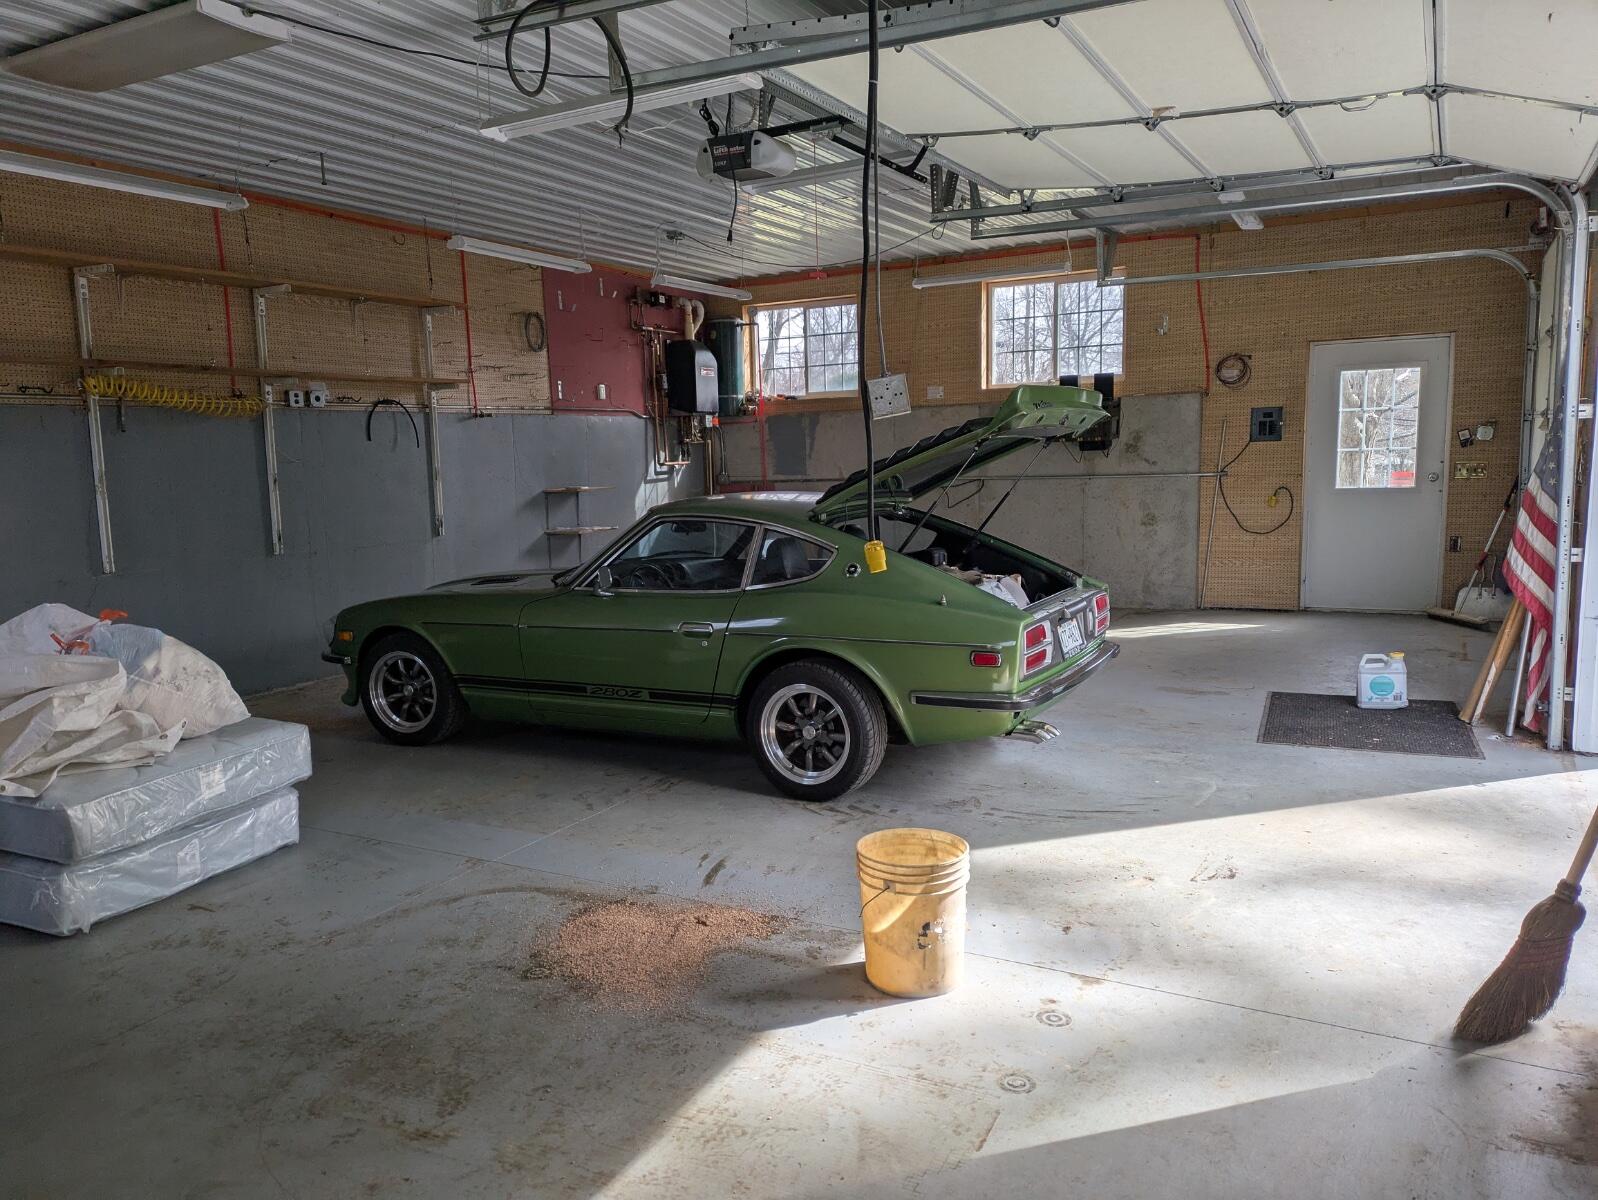
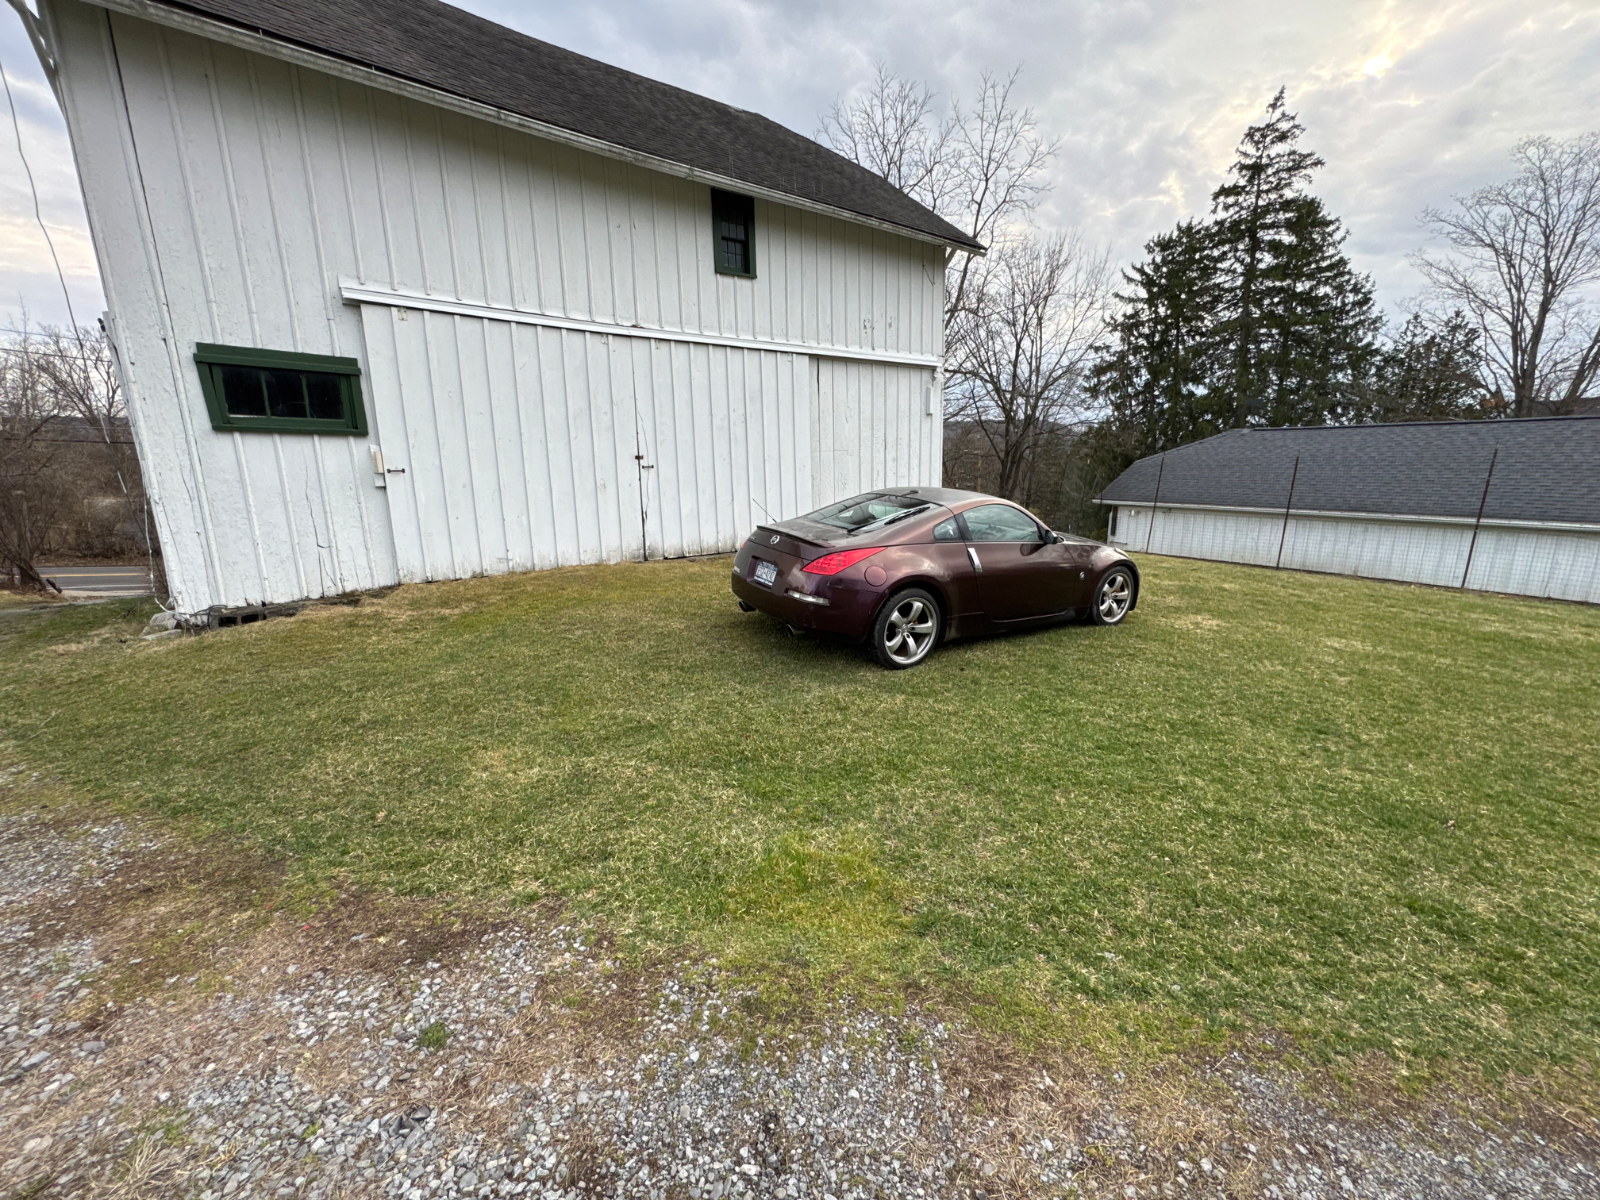
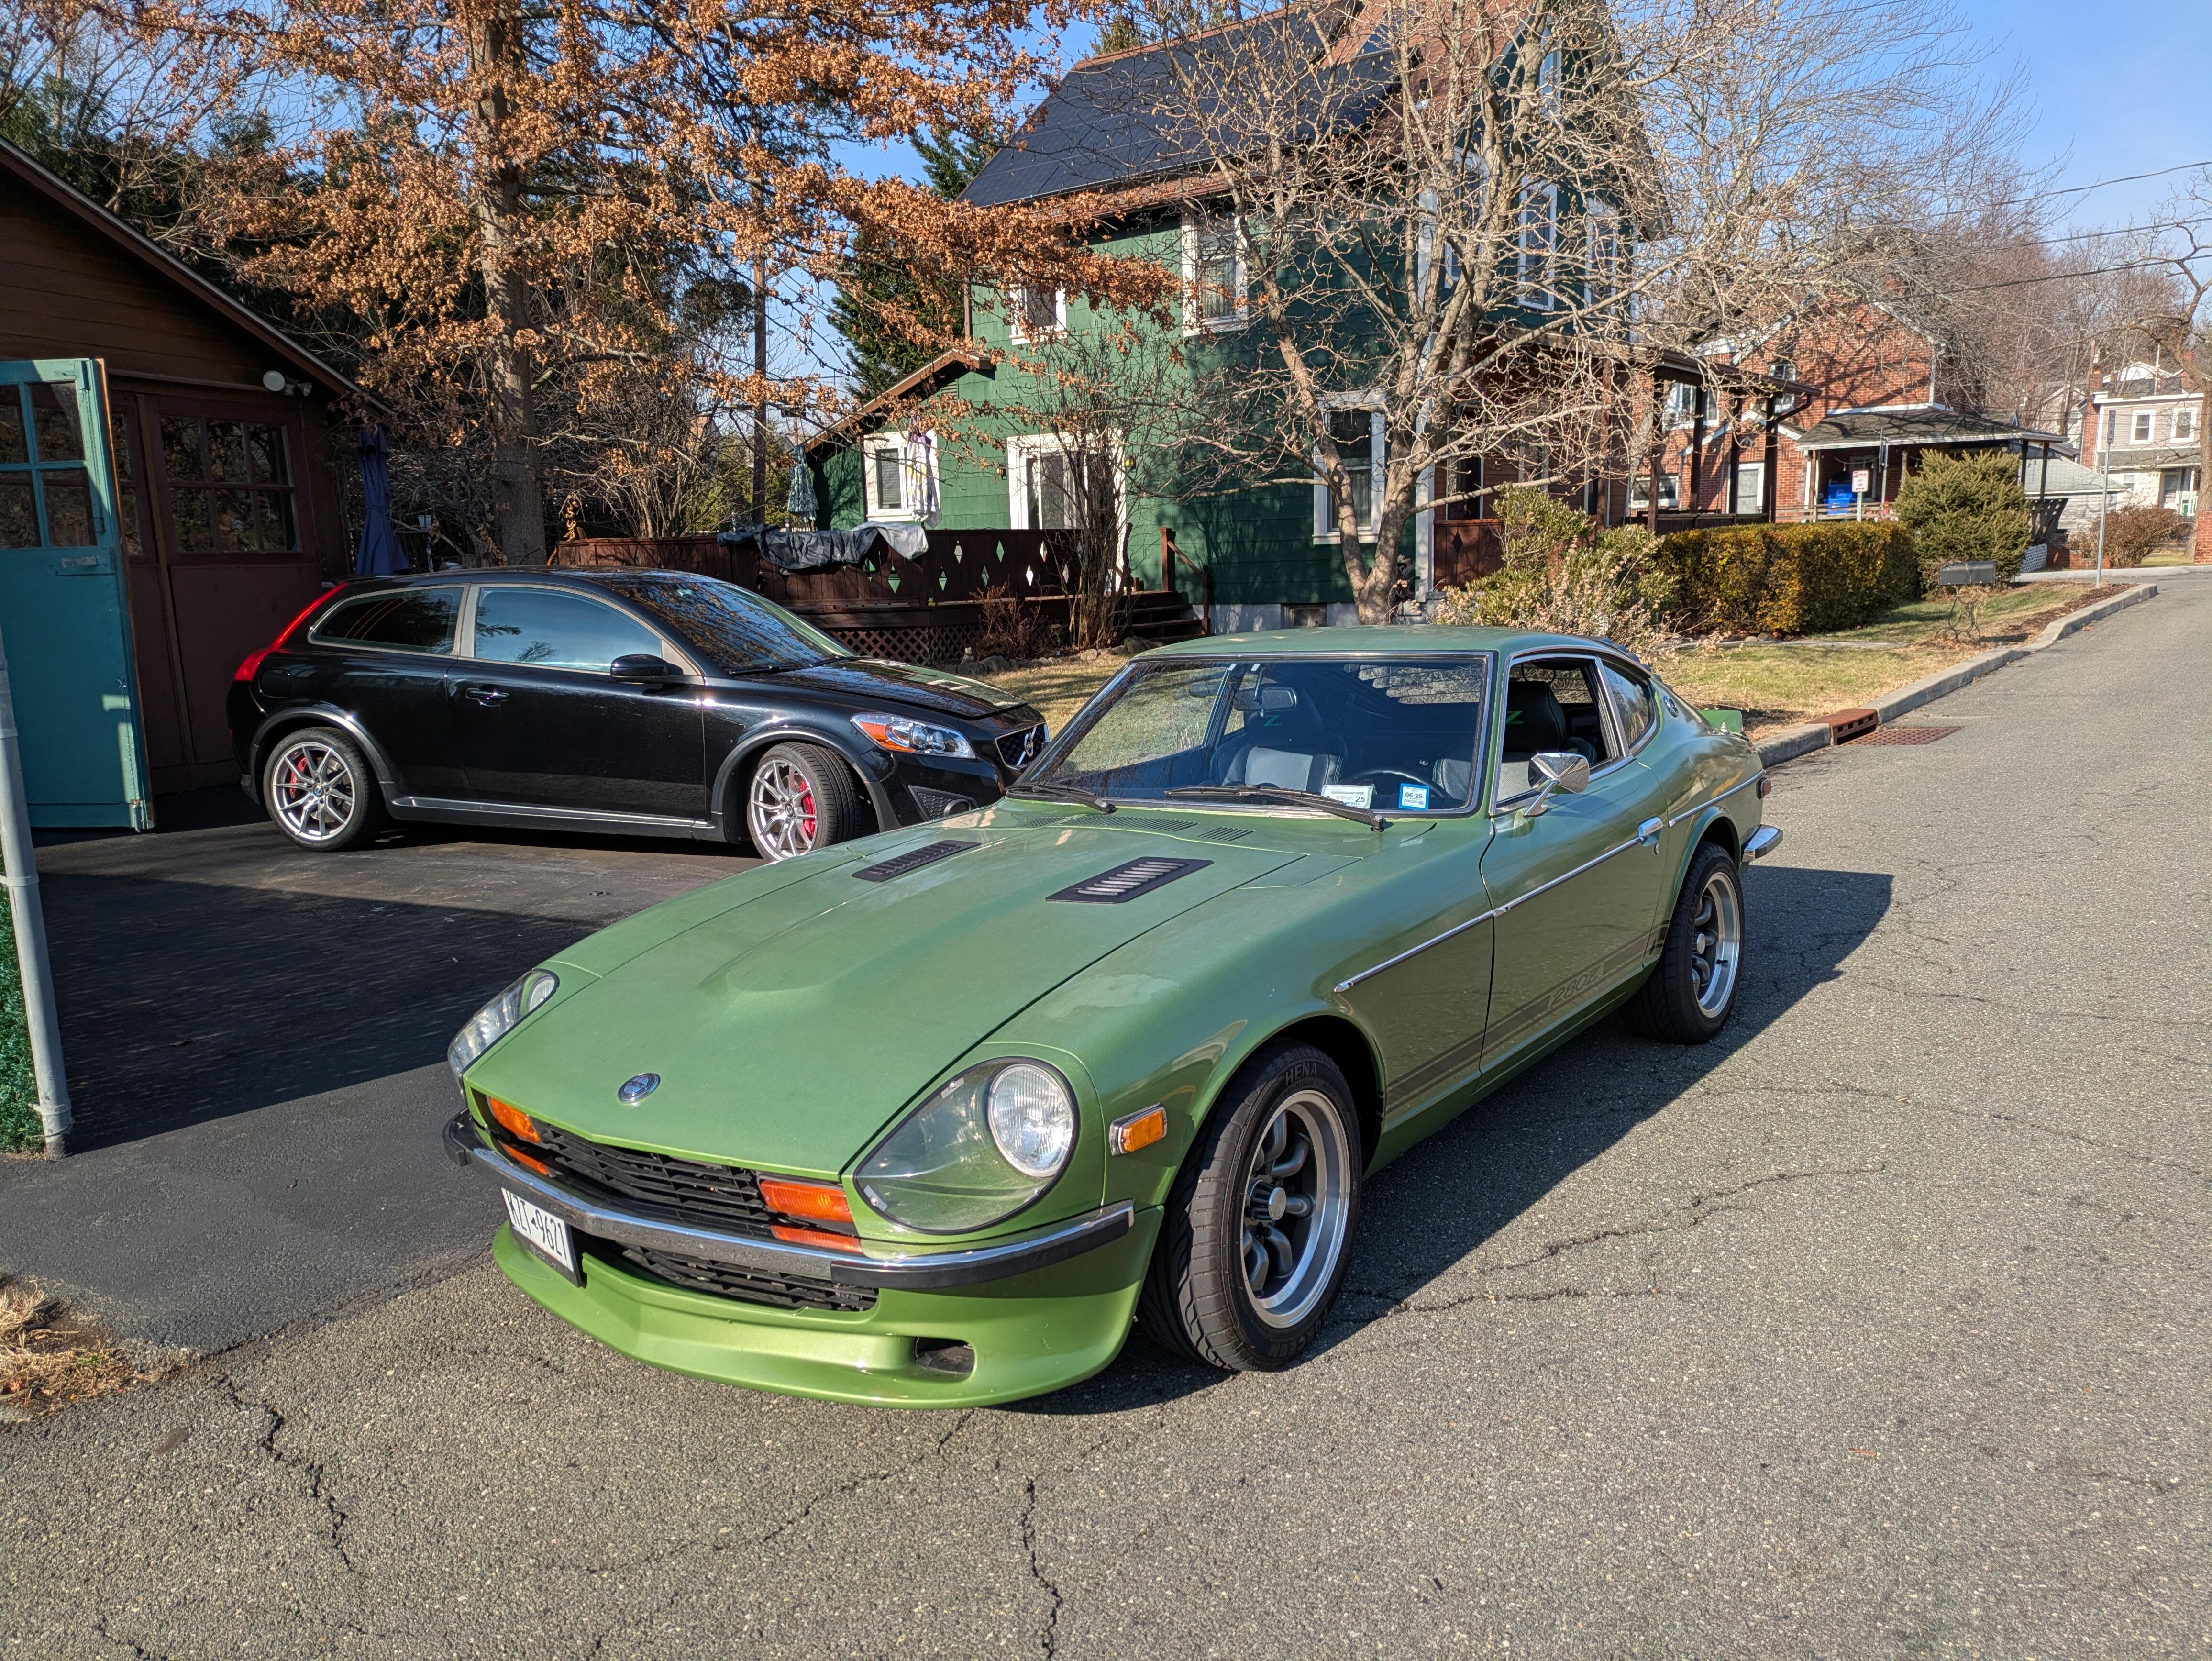
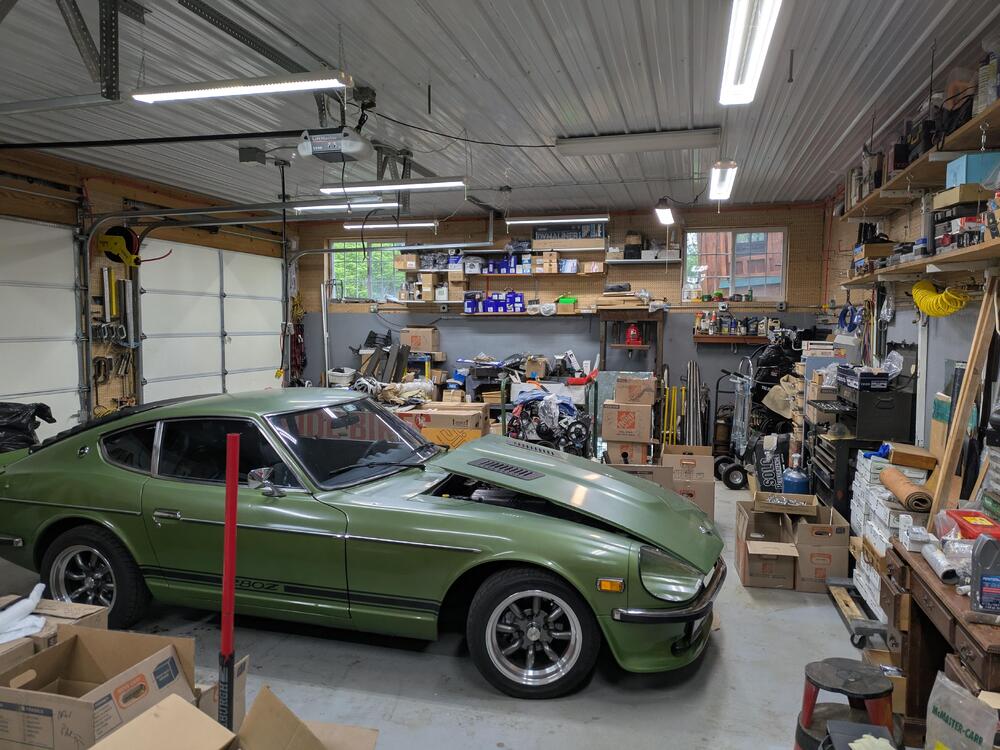
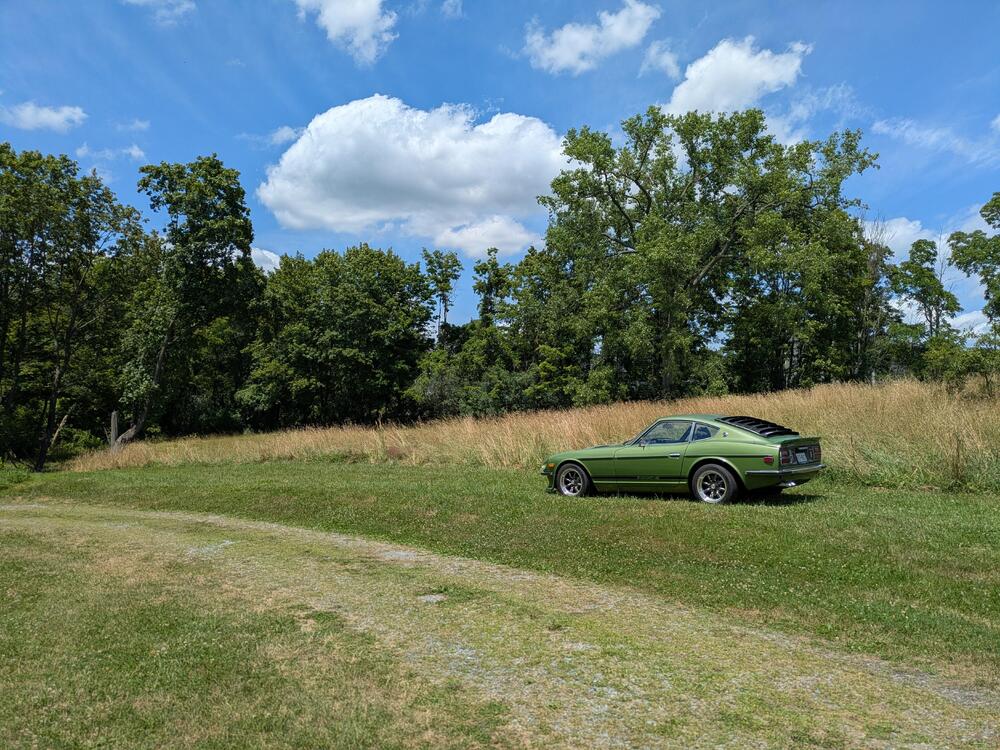
Moved upstate to Ithaca NY back in April. Had the 350Z shipped up ahead of us, then took the 280Z on. a clear day. Still no work on the cars yet, still setting up the grounds, garage & house Garage was used as. workshop, so it has a couple of 240 circuits, air compressor lines & ports, and radiant heat. Little more cluttered now, still working on setting it up Added glass panels to each door for more light Outside garage back in April: Better weather Adding slabs outside the barn & garage for me to work on - there are no flat/level/safe areas on the property outside of the garage


-
Don't forget to grind back the shifter base above the pivot (fore and aft), or it will hit the casing - at least my 75 shifter in the 280ZX 5 speed did

-
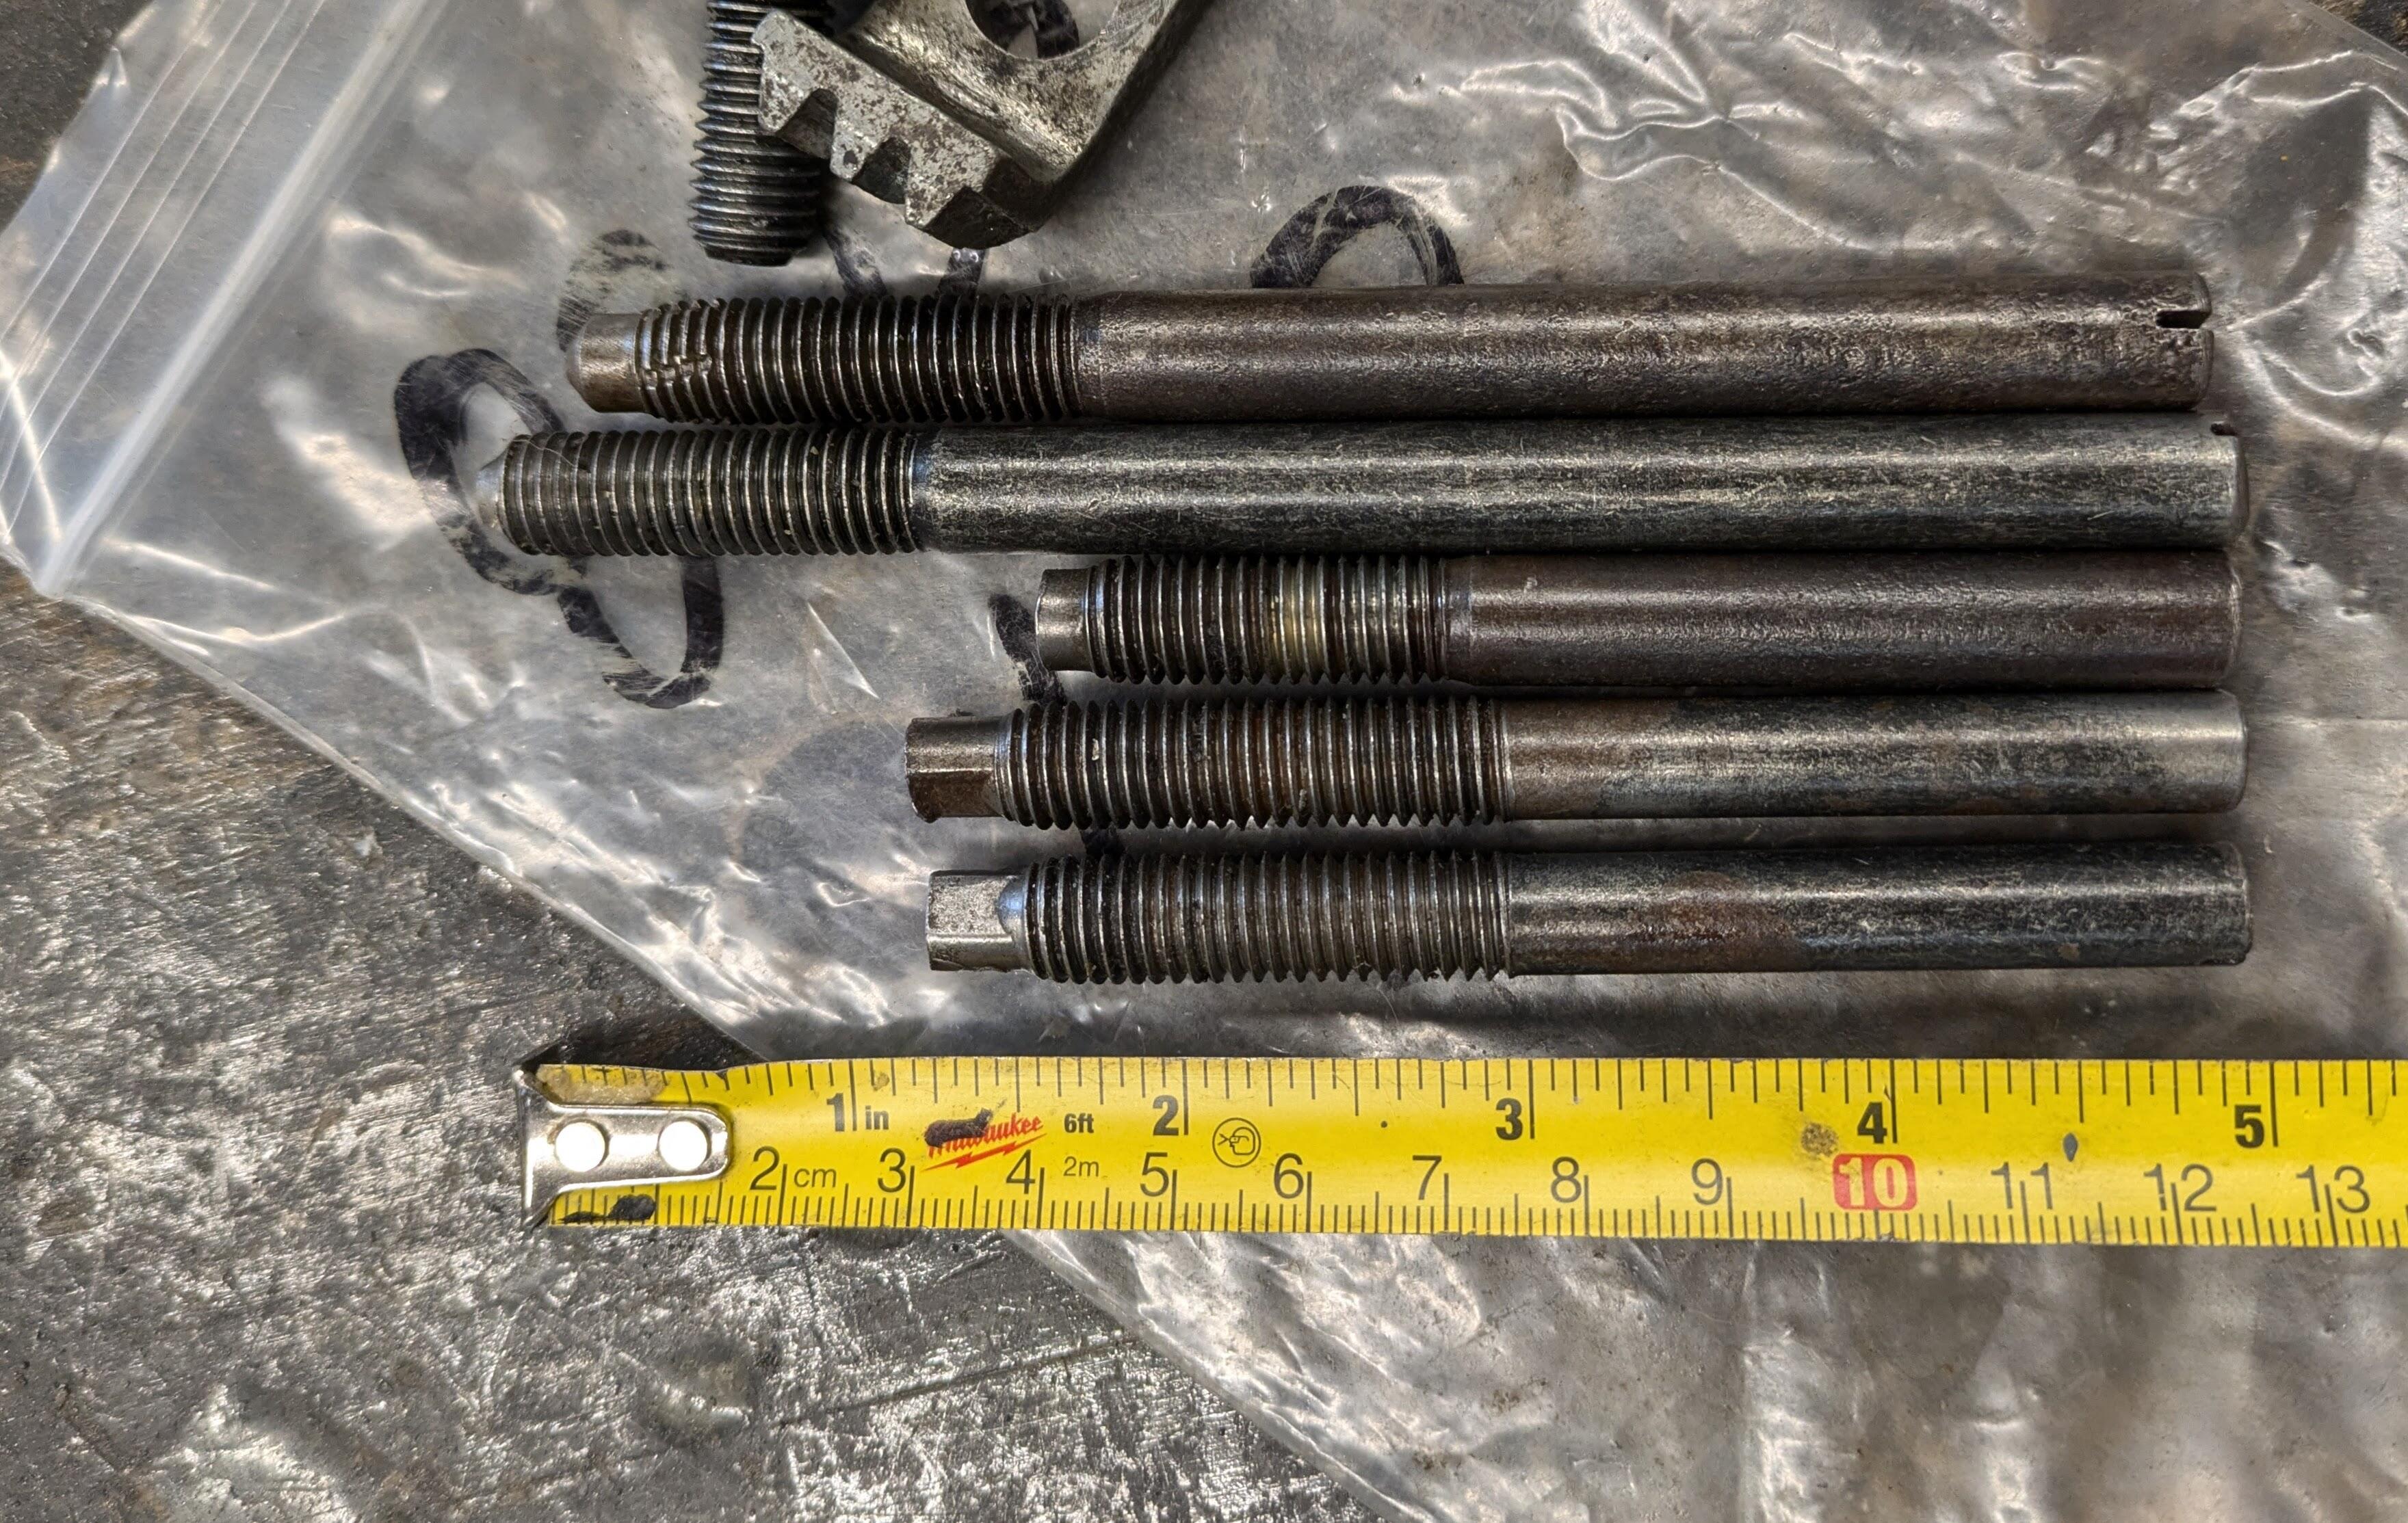
Sorry I wasn't clear - I used 2 short & two long - my pic had 5 - 3 short, but I only used 2 of those. 4 in total

-
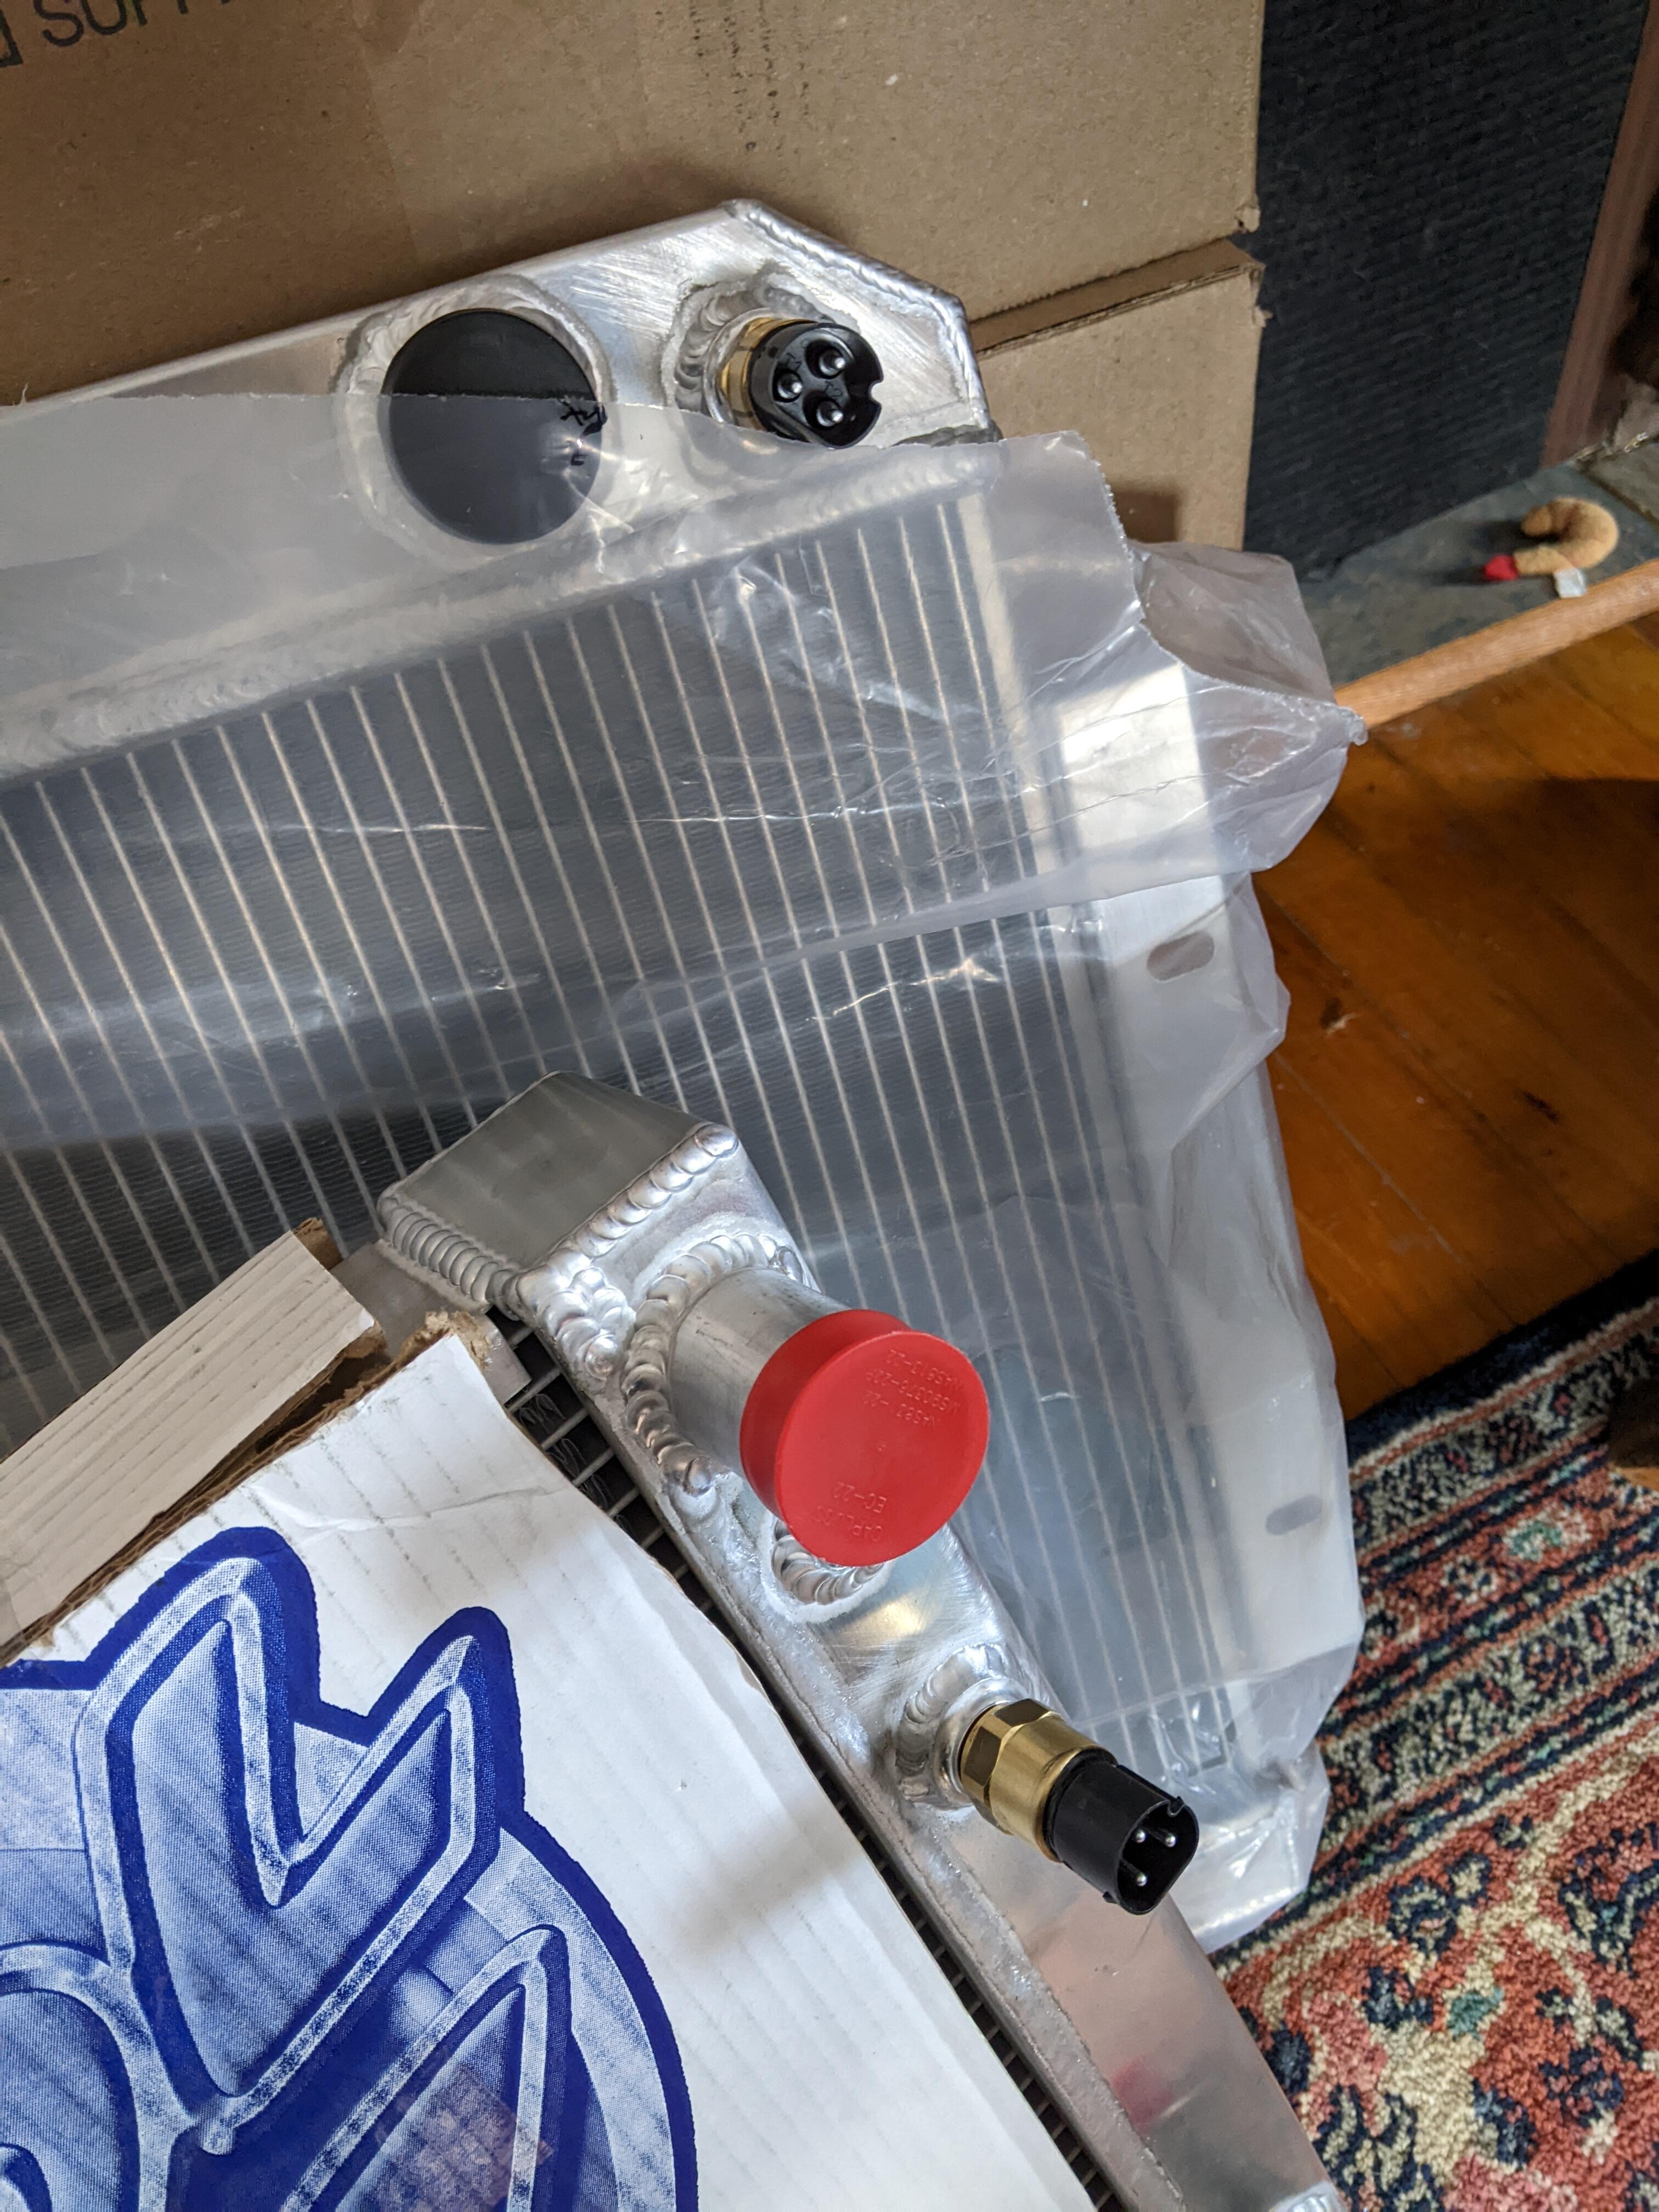
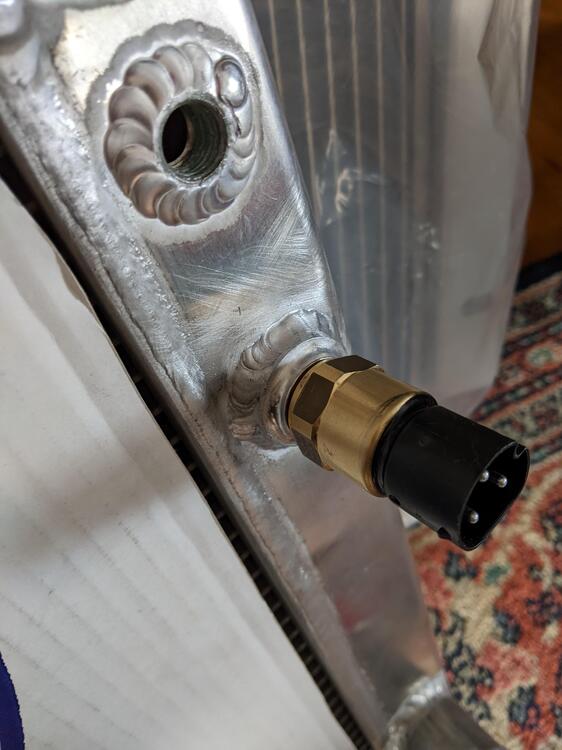
Got the 2 speed eFan sensor bungs welded into the 2 radiators intended for the V8 740, and the V6 280Z. Using the same BMW sensor I used on the X1/9 install. My aluminum welds are just not clean enough for this type of work.

-
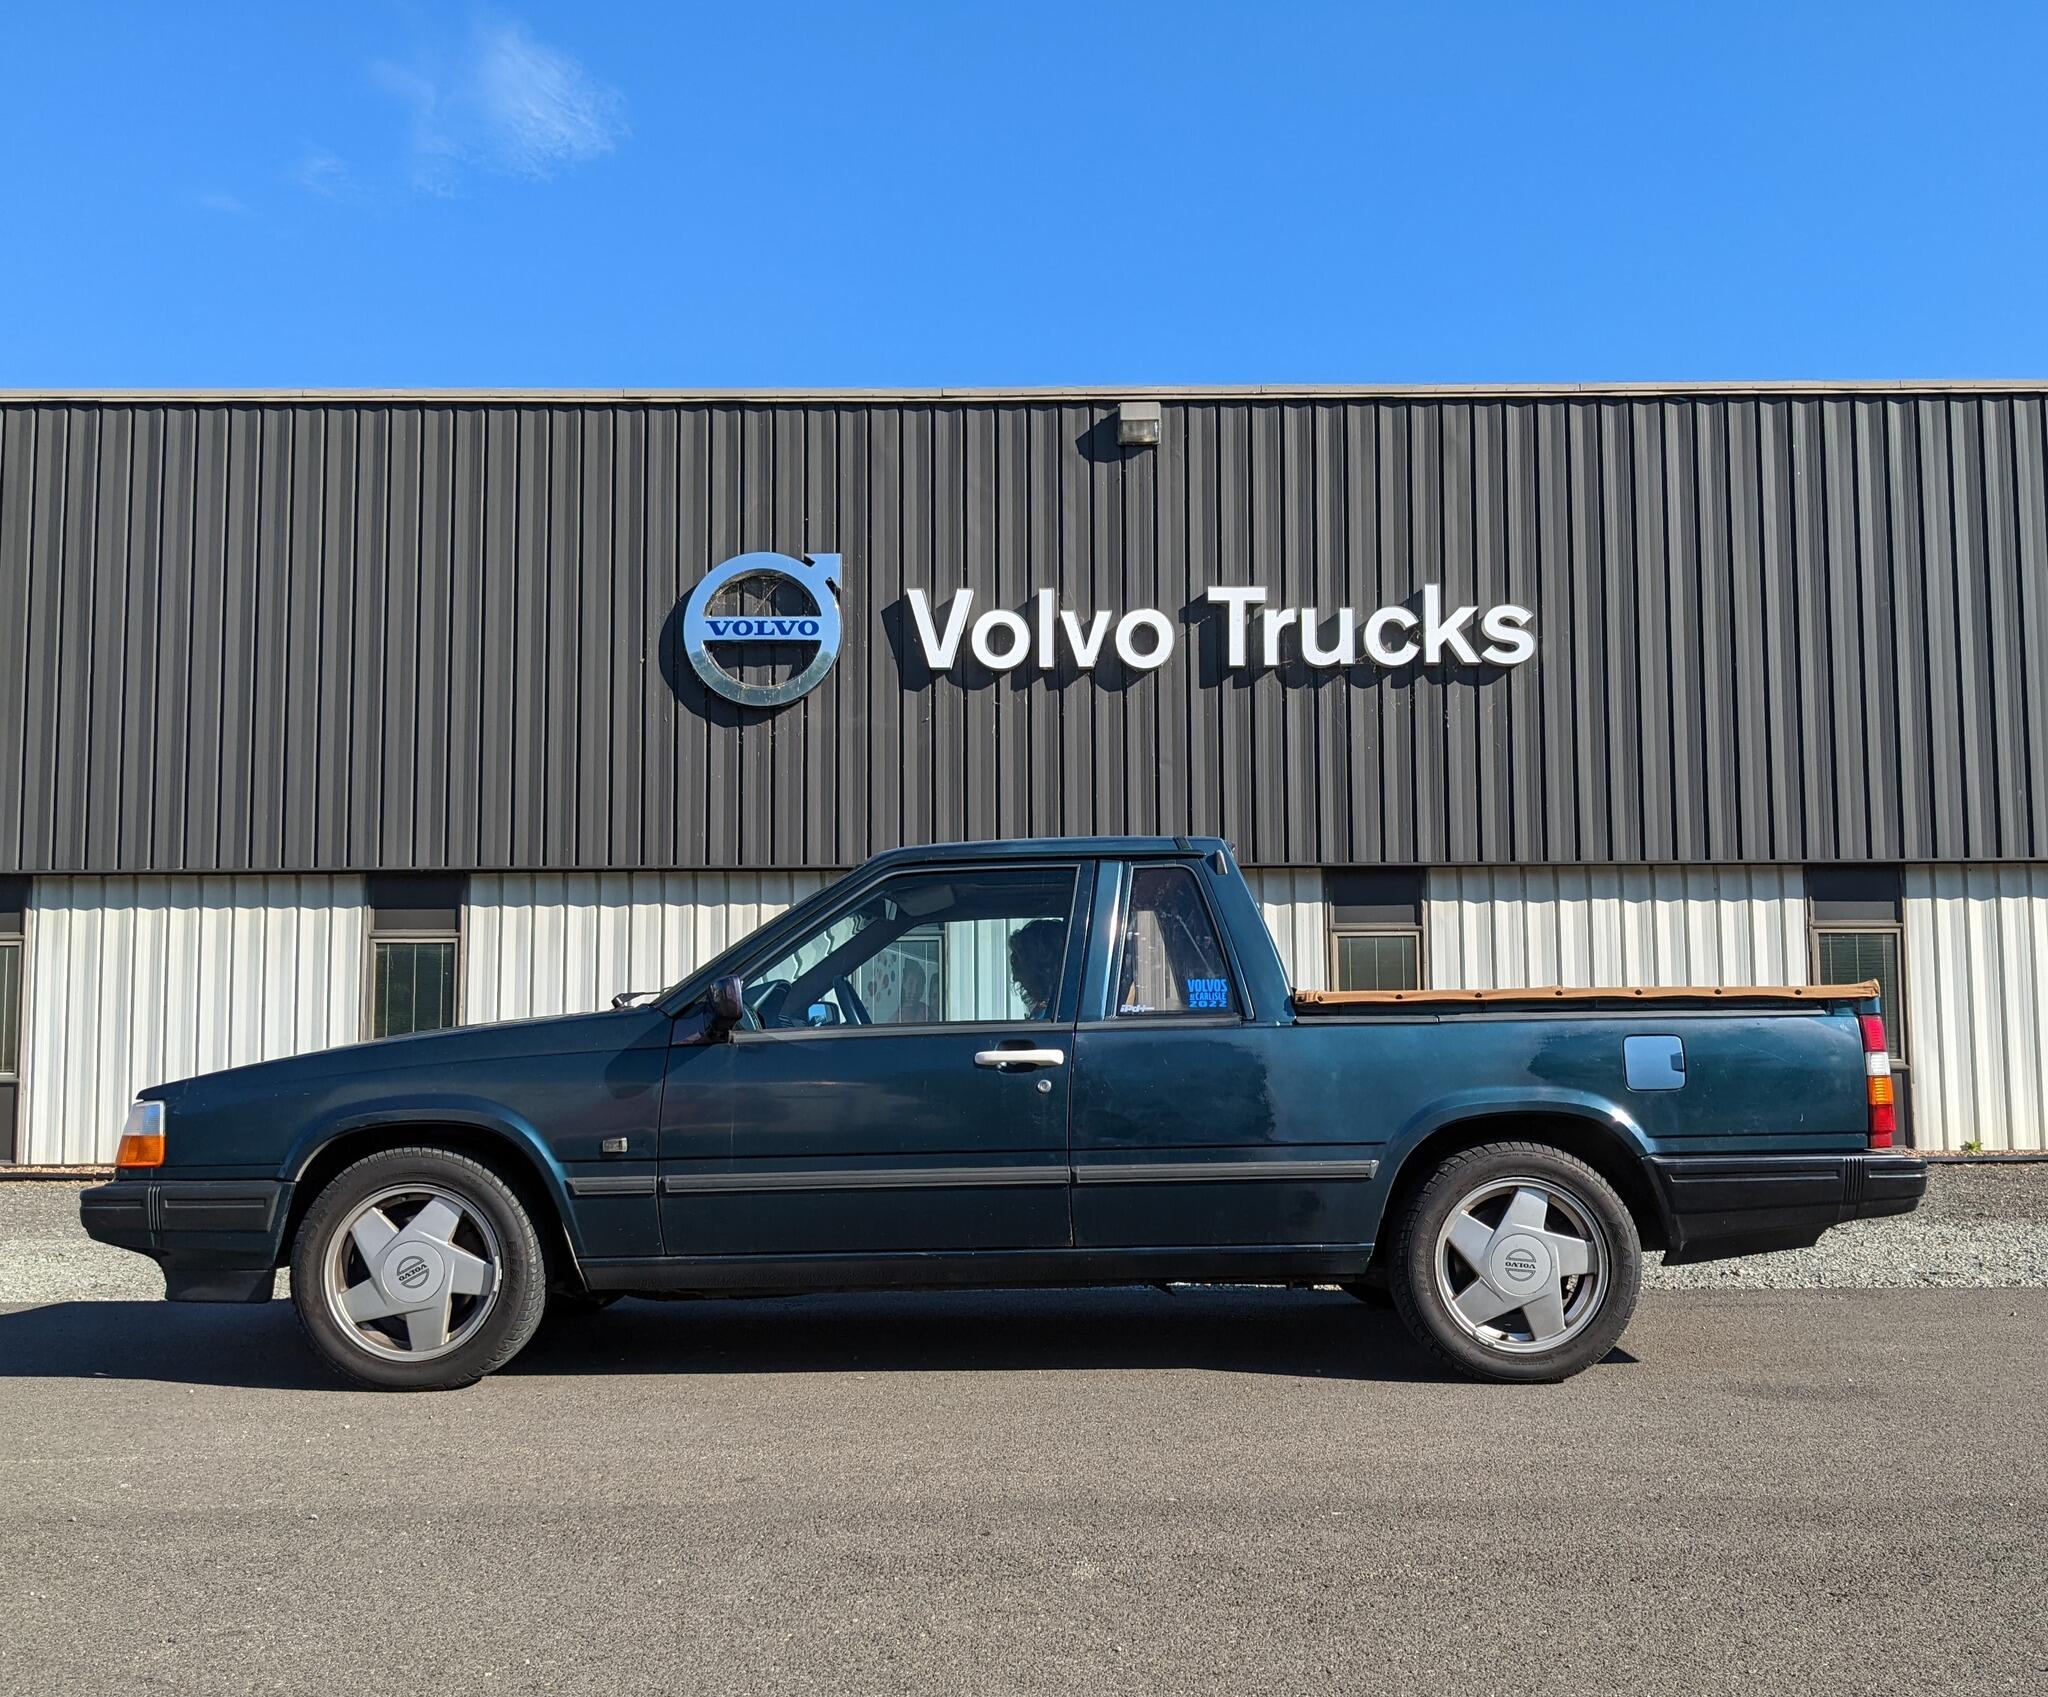
Been working on the LS-into-91 Volvo 740 Pickup. Prep work involved beefing up the rear subframe & engine crossmember. I decided to make a double-wall version of the rear subframe welded two together Then added cross bracing when that was all done Added outliers, so I also doubled the rear brace bushings After that was done, I worked on the front crossmember reinforcements Tie plates were added by Volvo for later models that had the whiteblock L6. The right side bracket was still available, so I bought that & used it to make the left side reinforced a bunch of unfinished seam welds added some additional bracing where they are known to crack on V8 installs additional boxing on the top side decent pan clearance, I added 1.125" mount spacers (intended for V8 into Datsun Z swaps) converting to 6AN lines for the PS rack to pump More work to go before I get to pull the stock drivetrain & start the test fitting.

-
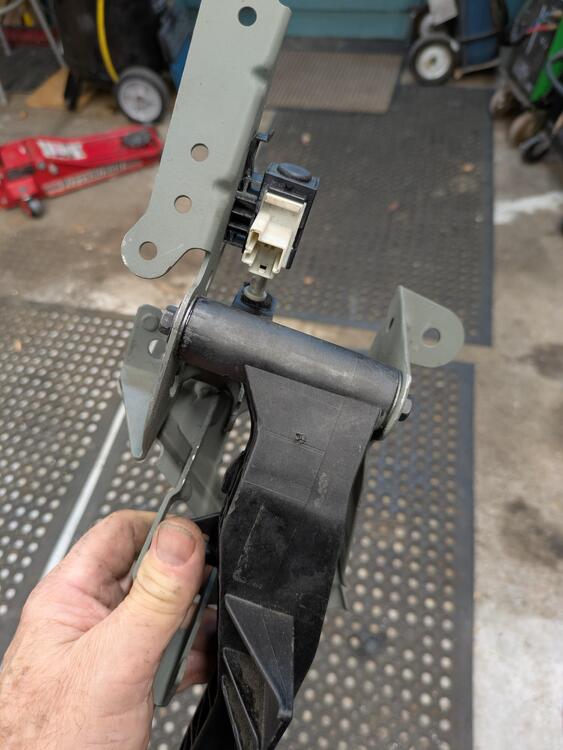
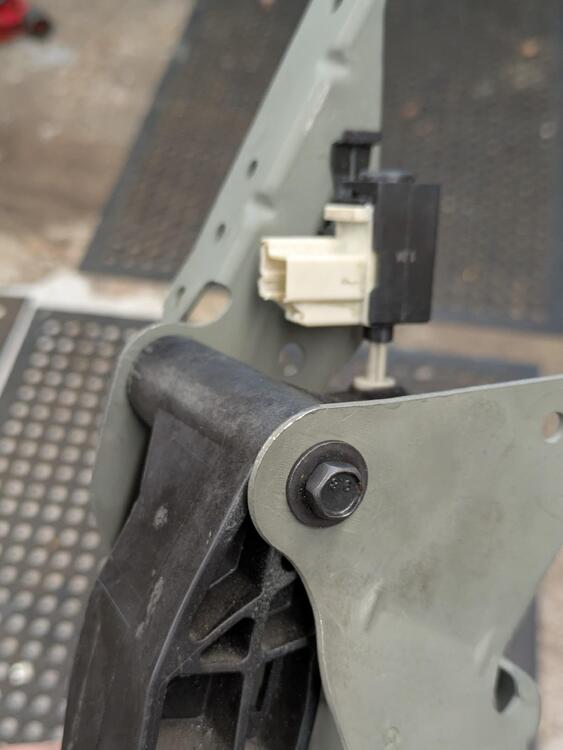
Back on the C30 - New clutch master arrived yesterday - normally only takes 2 days via USPS from CT, this one took over a week. Anyway, the weather has not been conducive to working outside, either way too cold or snowing. Today it was sunny & 34º, so I took advantage of that to put the car back together Sold under Sachs brand - unit is the same manufacturer as originally installed - FTE - just with metal rod instead of the plastic mine had test fit in painted bracket So, the bracket & MC cannot be installed as one, even without the pedal in play. I had to insert the MC in the firewall opening first, then position the pedal bracket, then set/lock the MC in the bracket. Left side mount points are tricky to access Pedal set in bracket Link rod bushing set into pedal With that located, I attached the hydraulic line, feed tube & switch connector Immobilizer switch harness routed Over-center mechanism in place - I used a tie wrap to hold the spring compressed, then set the mechanism & cut the tie wrap Then I bled the clutch - had to remove the airbox, and the rad hose/engine harness support bracket to access the bleeder With the bleeder valve open, I drop the tube into a container of brake fluid & stroke the pedal until there is resistance, checking the fluid level & topping it off after a few strokes. After that I re-installed the steering column & shroud, under dash panelling, instrument cluster, surround, steering wheel & airbag.Finally, I forgot to remove the set screw I used to locate the airbag contact reel spring, so I just cut it short. Not going to hurt anything as is.
-
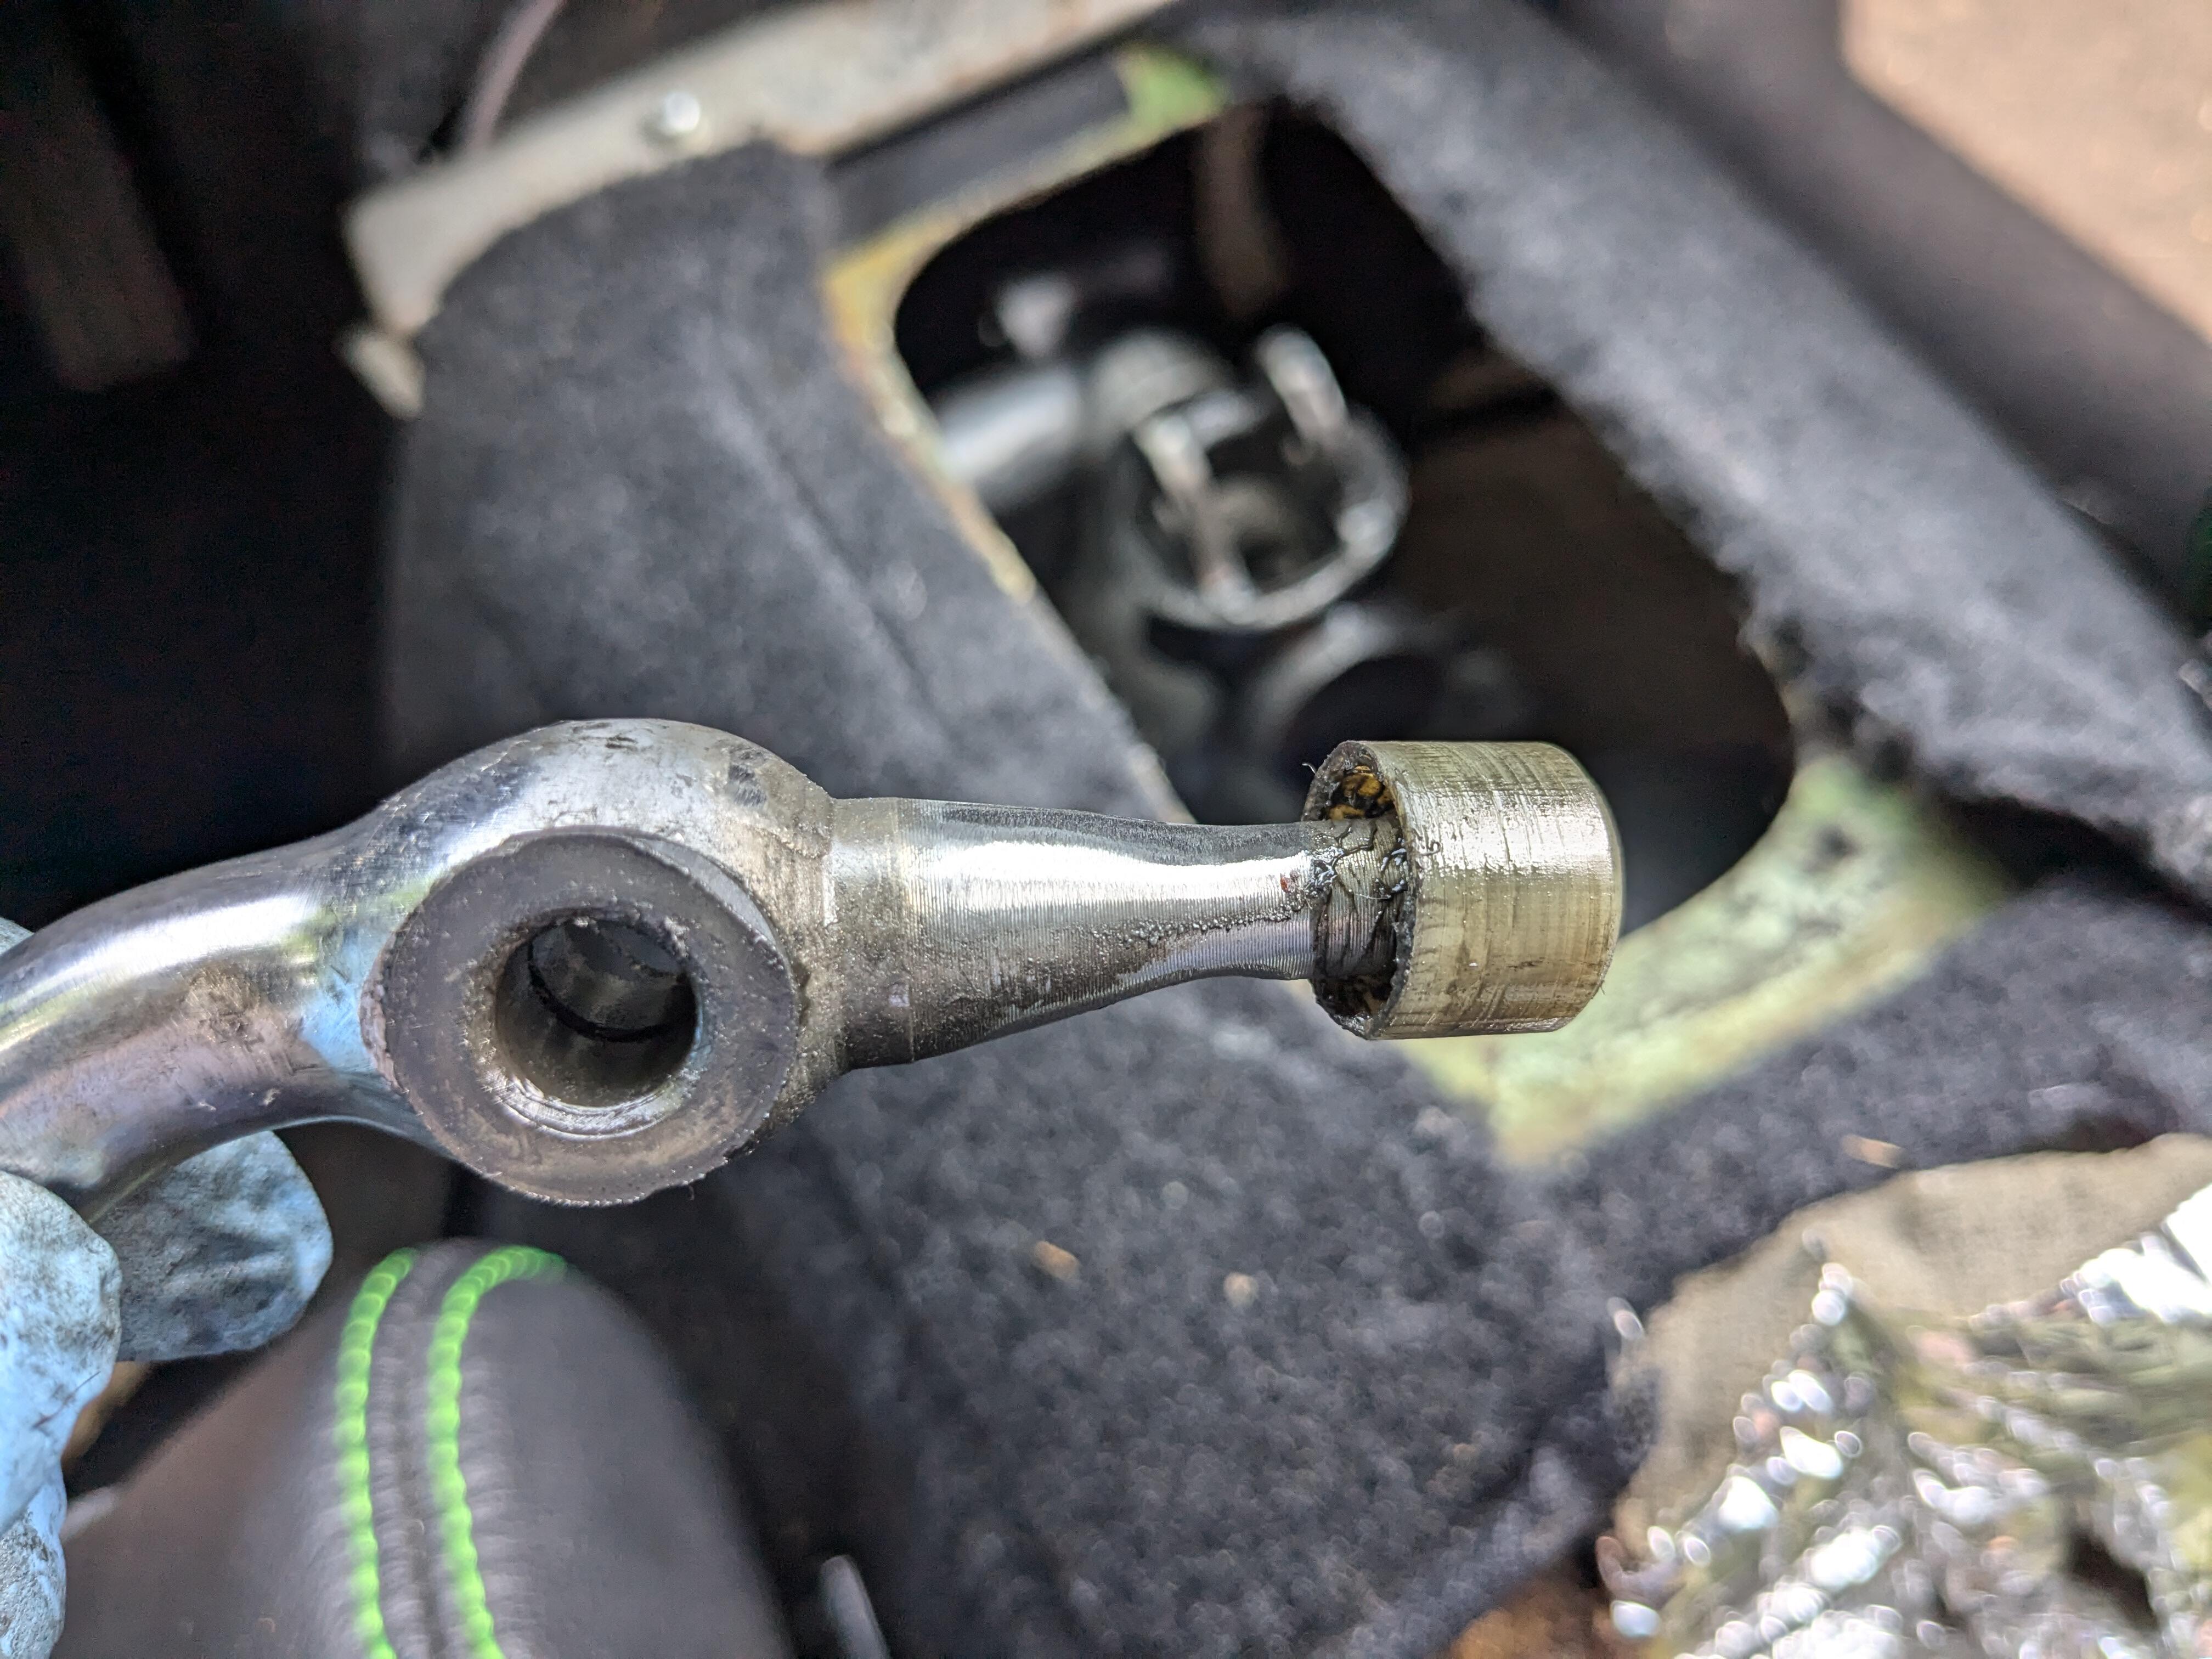
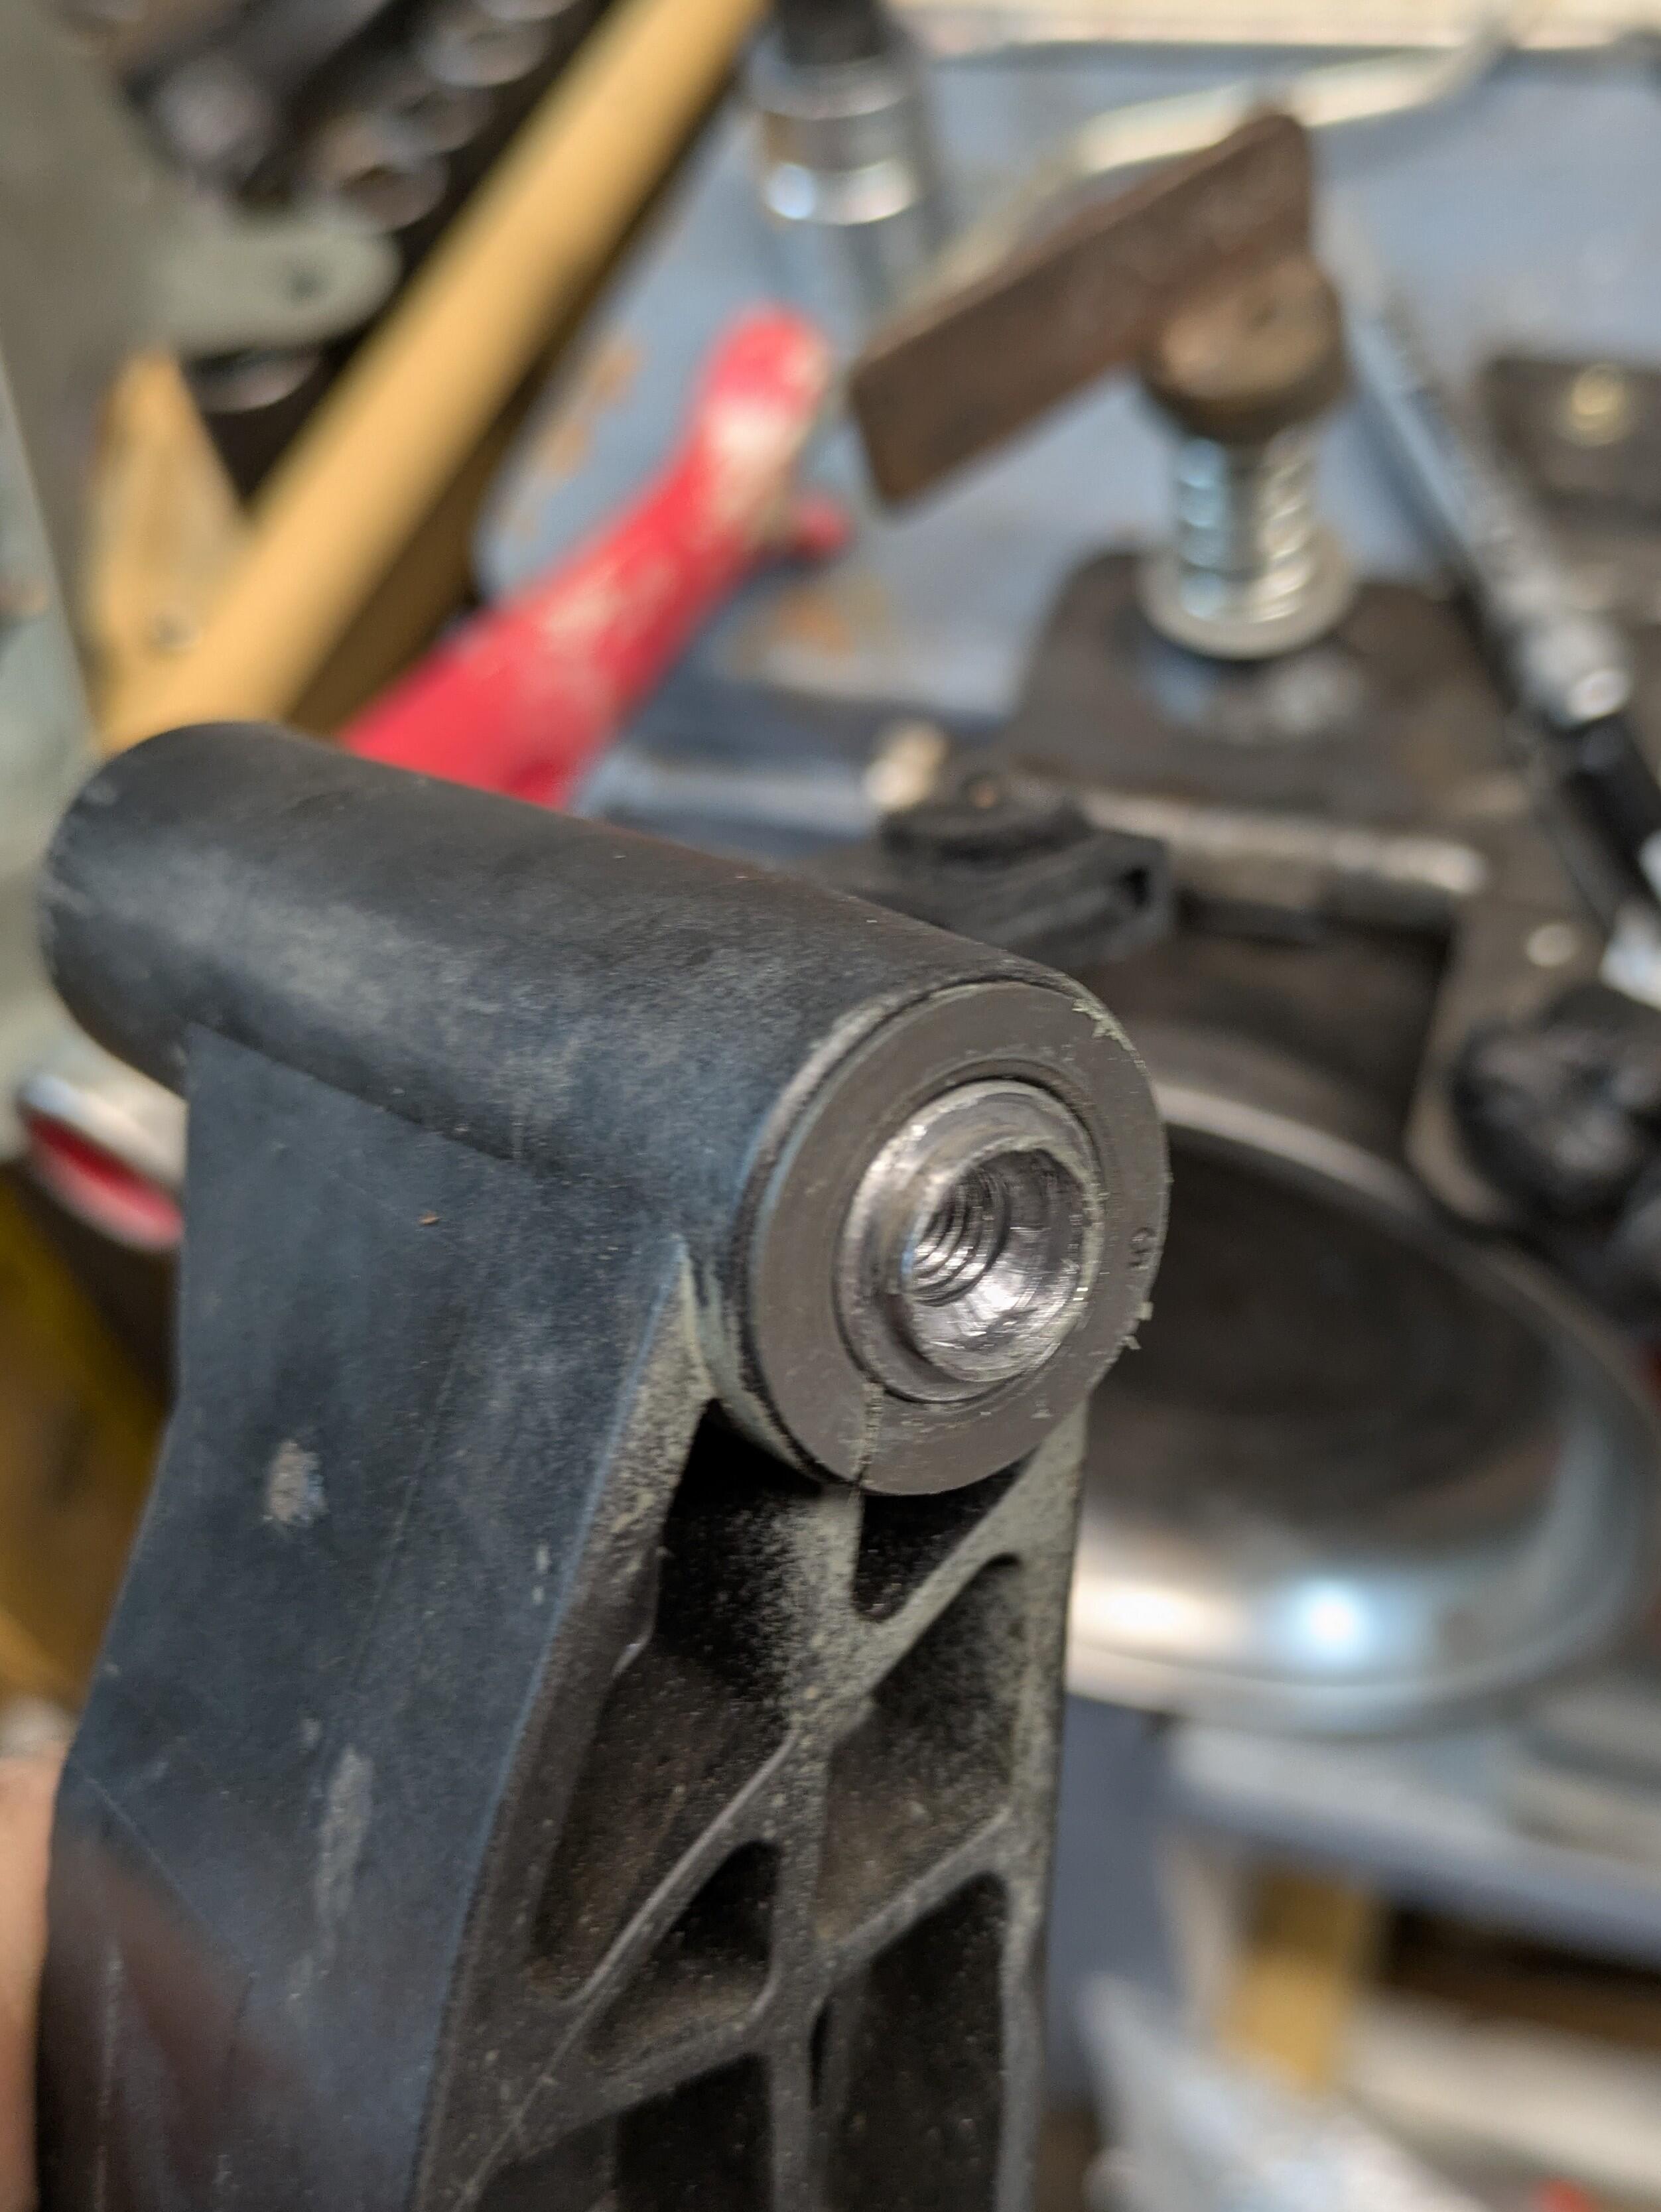
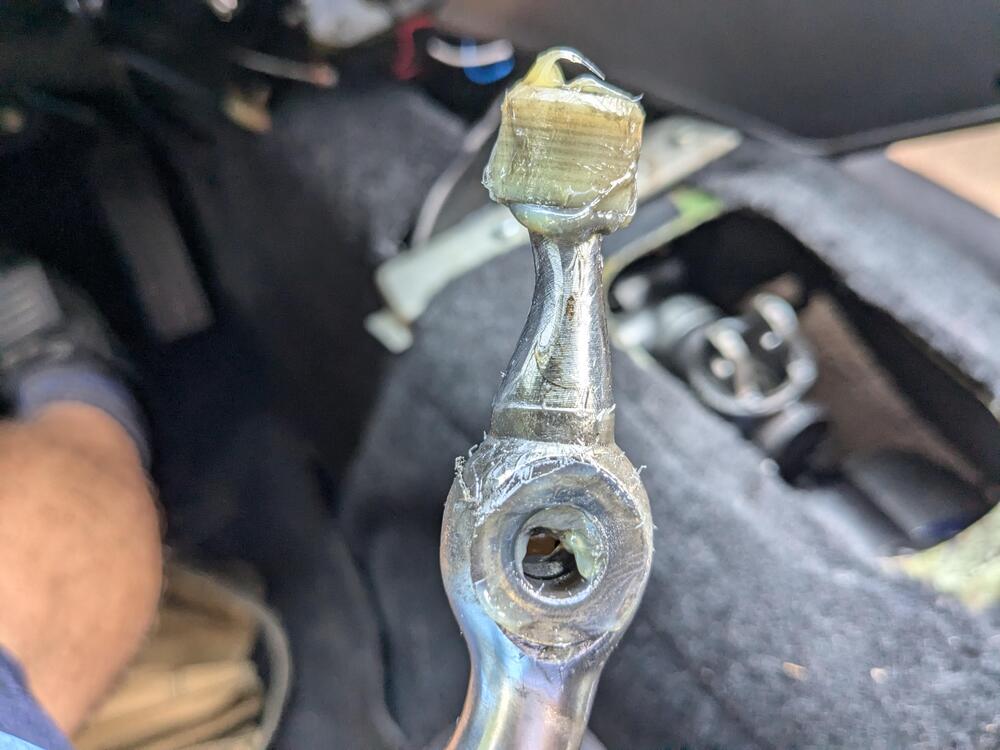
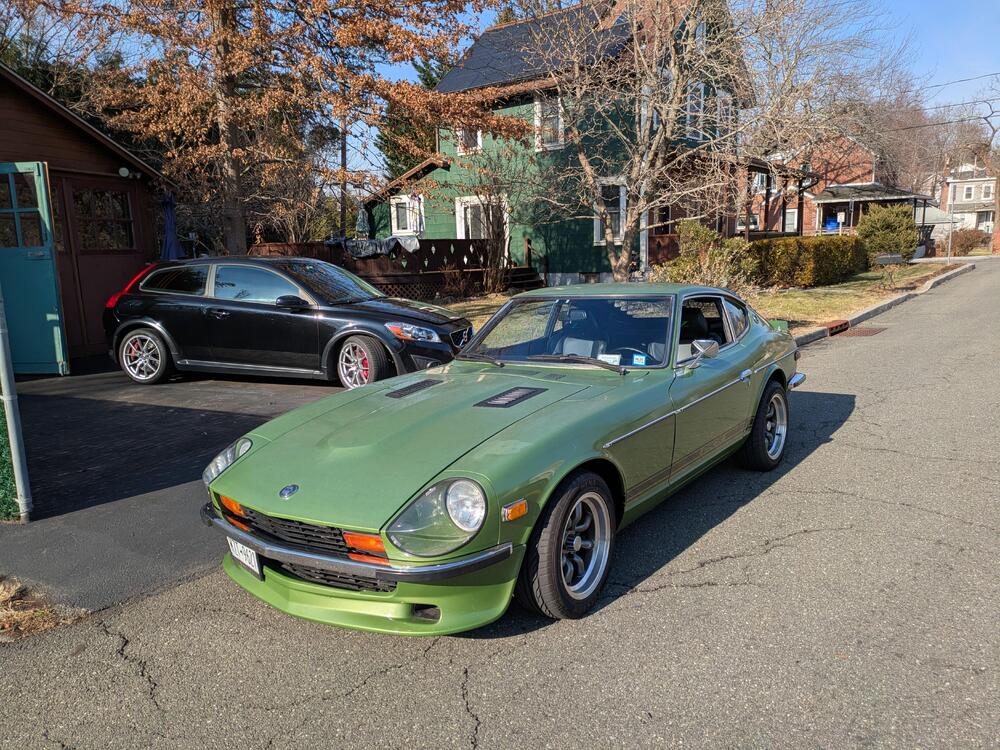
Took the Z out for a drive yesterday - it was warm enough, and no salt on the roads yet. C30 is out of commission with a broken clutch master cylinder link rod. Steering column, instrument cluster, all have to come out to access the pedal aassembly I have the pedal assembly out. I drilled out & tapped to M6x1 the fixed pedal pivot so it came be serviced without quite so much drama

-
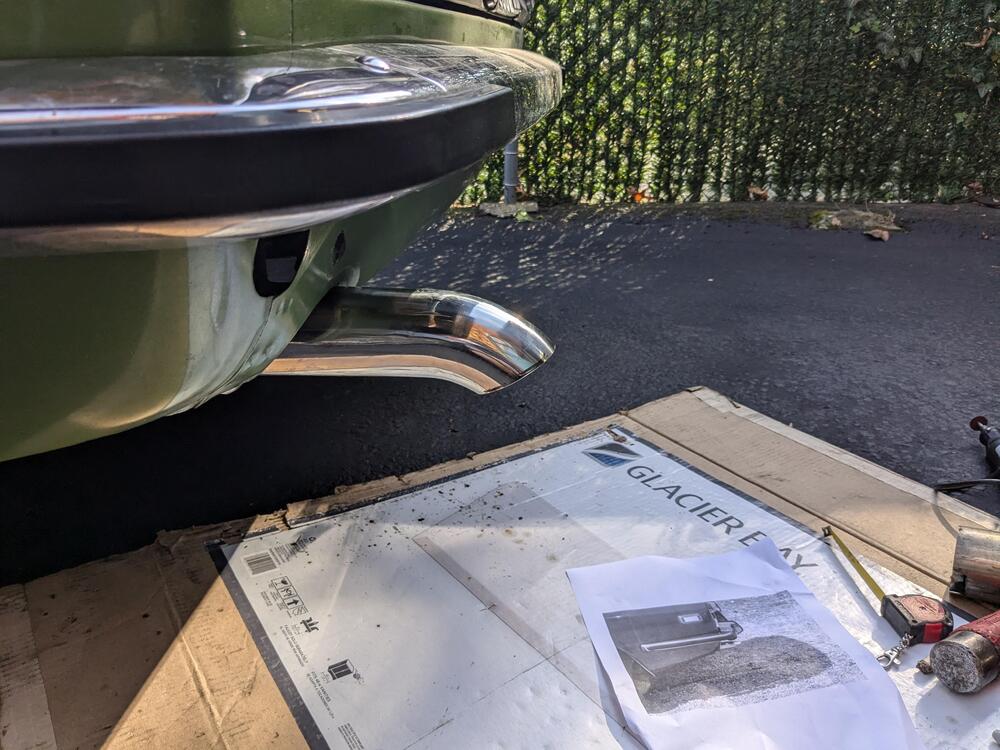
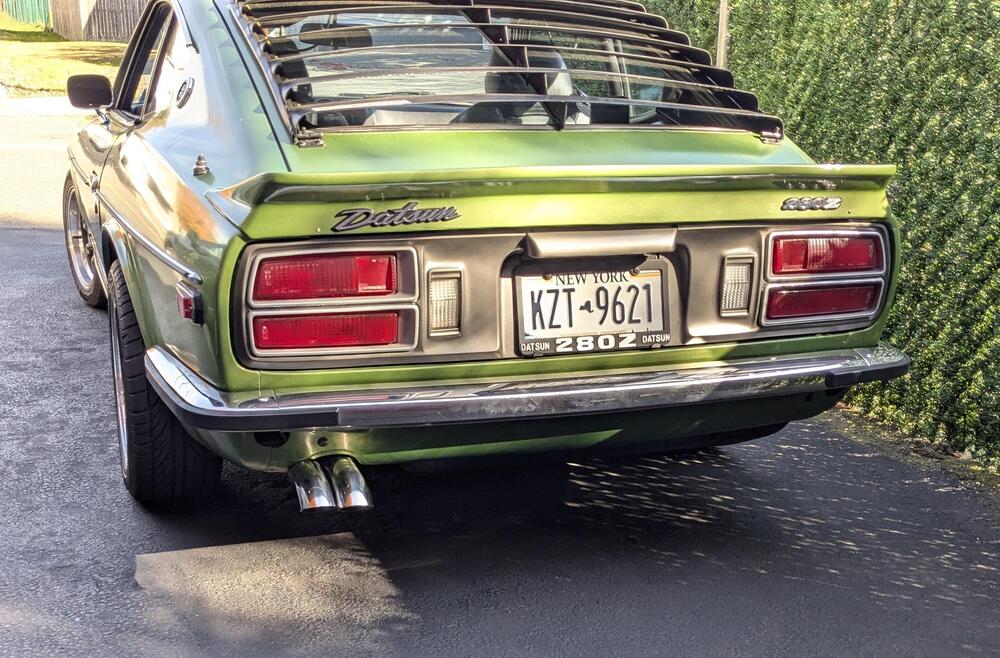
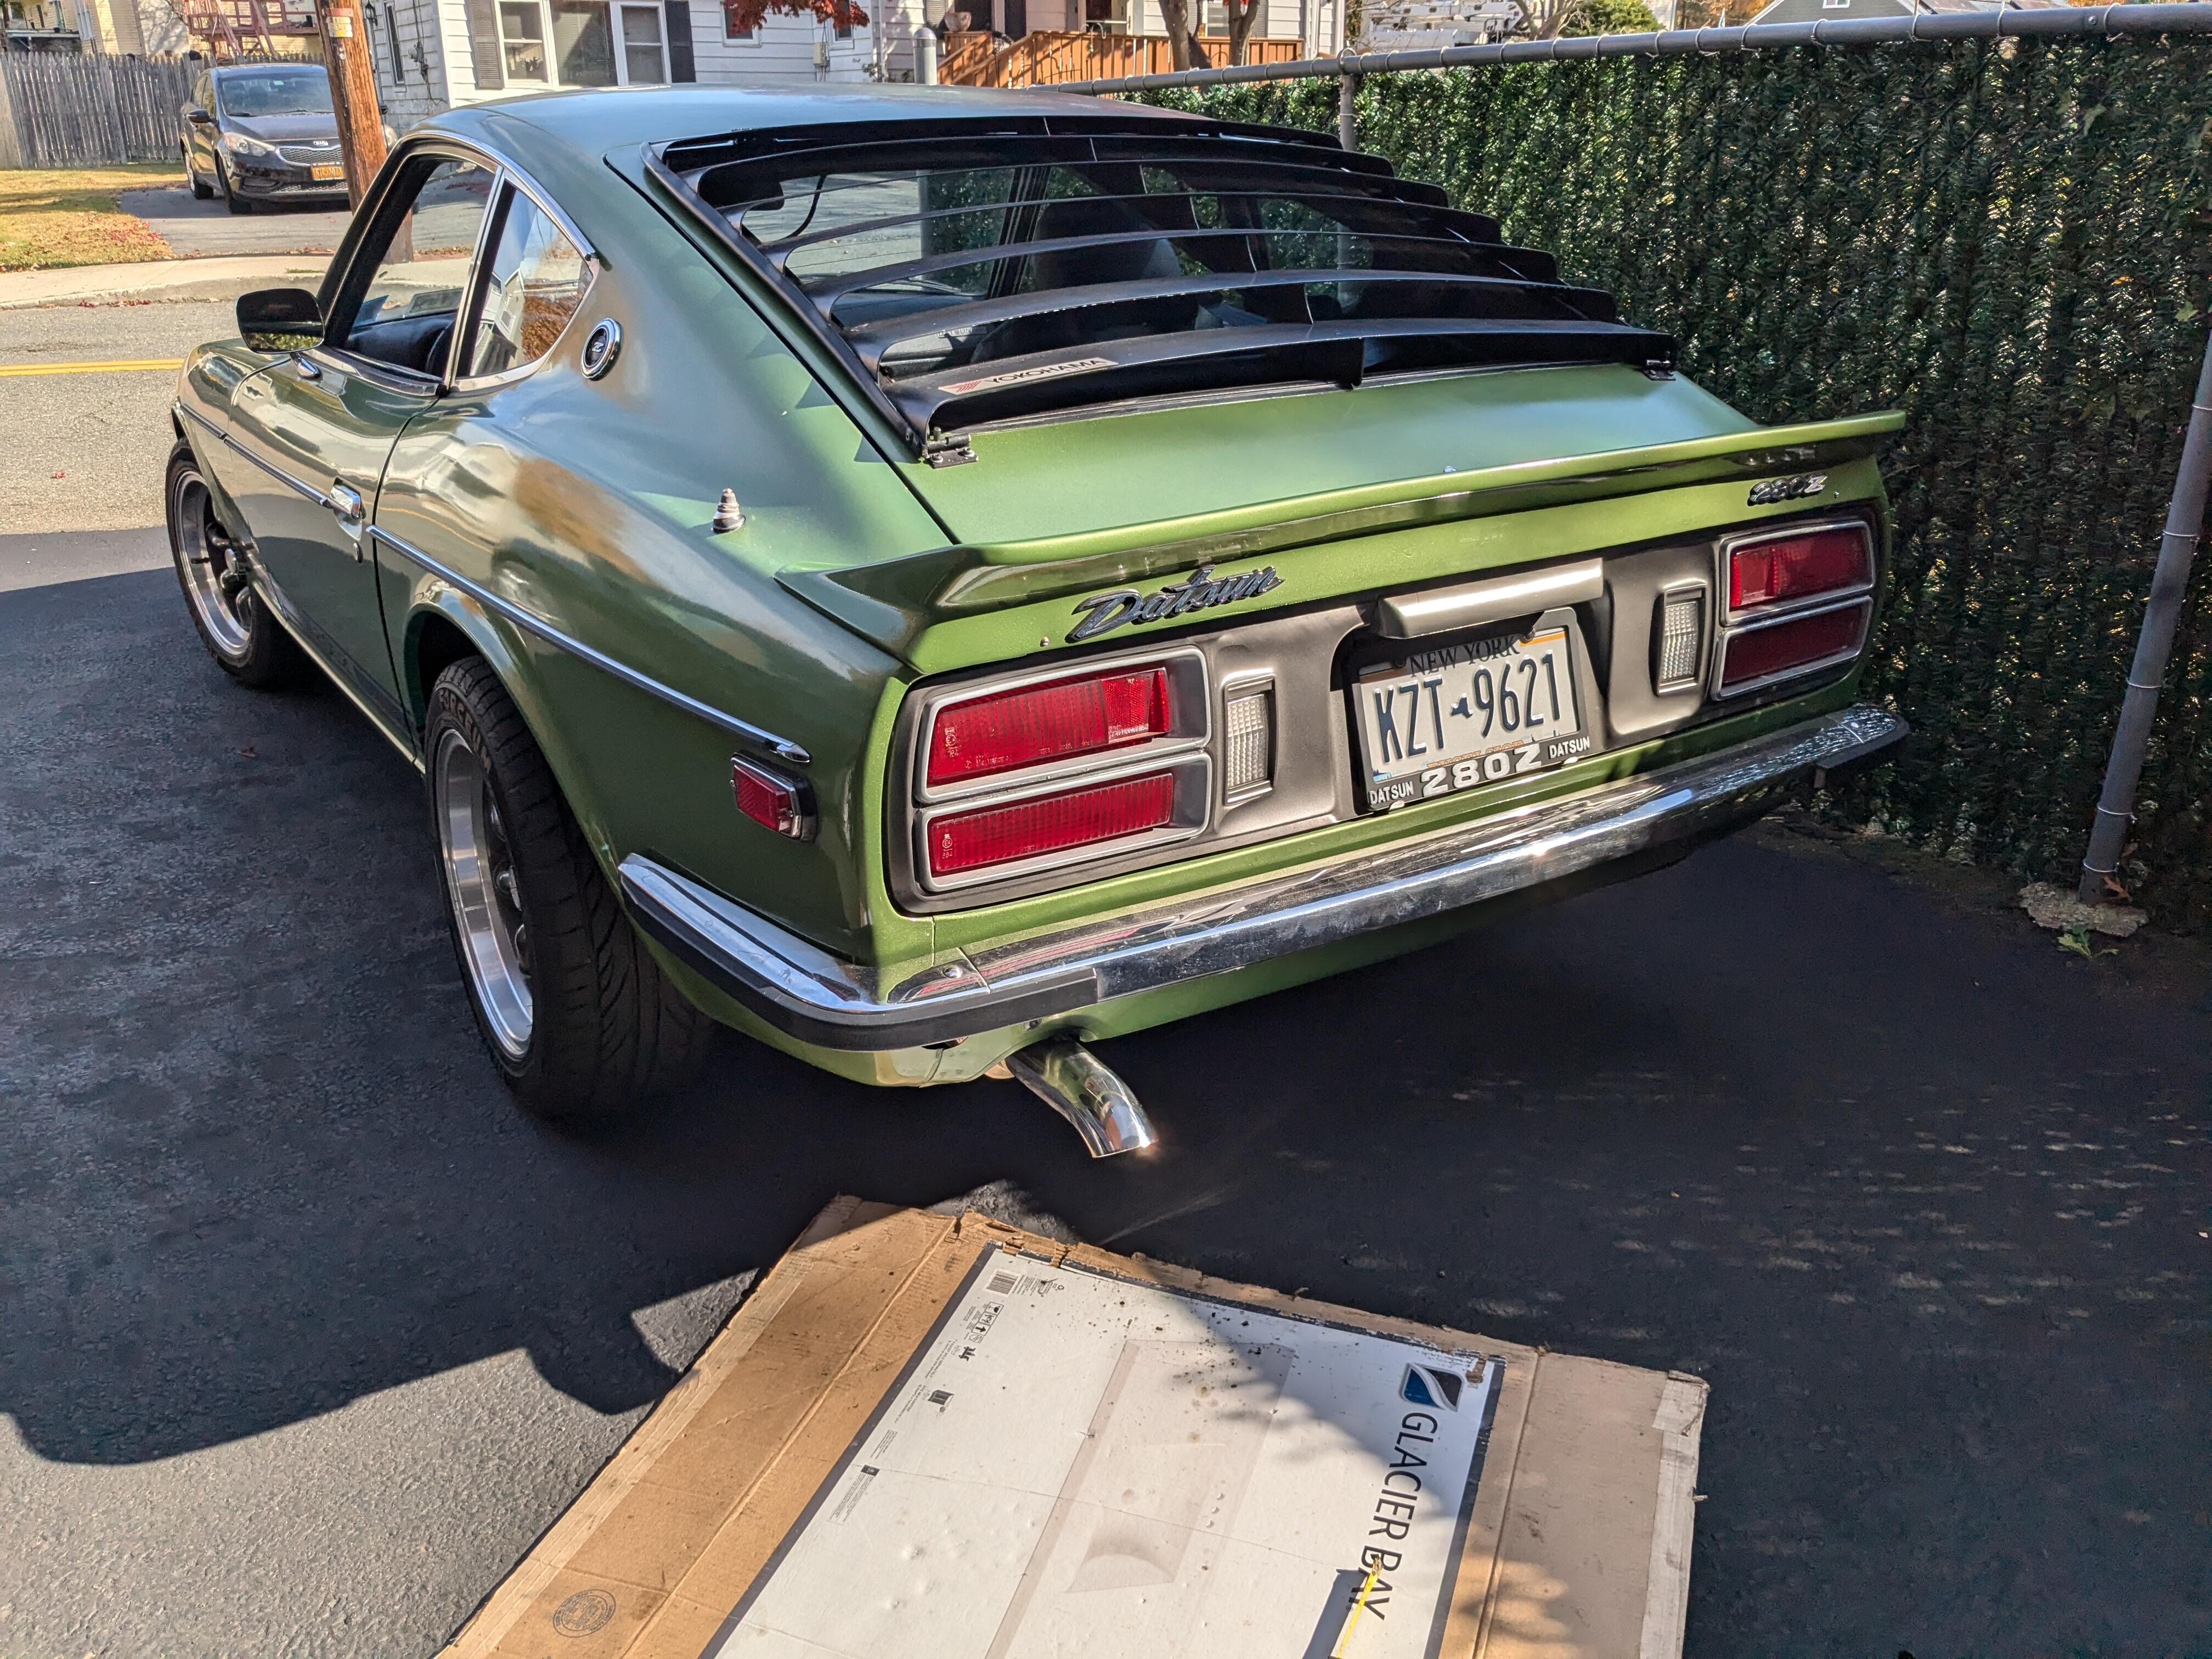
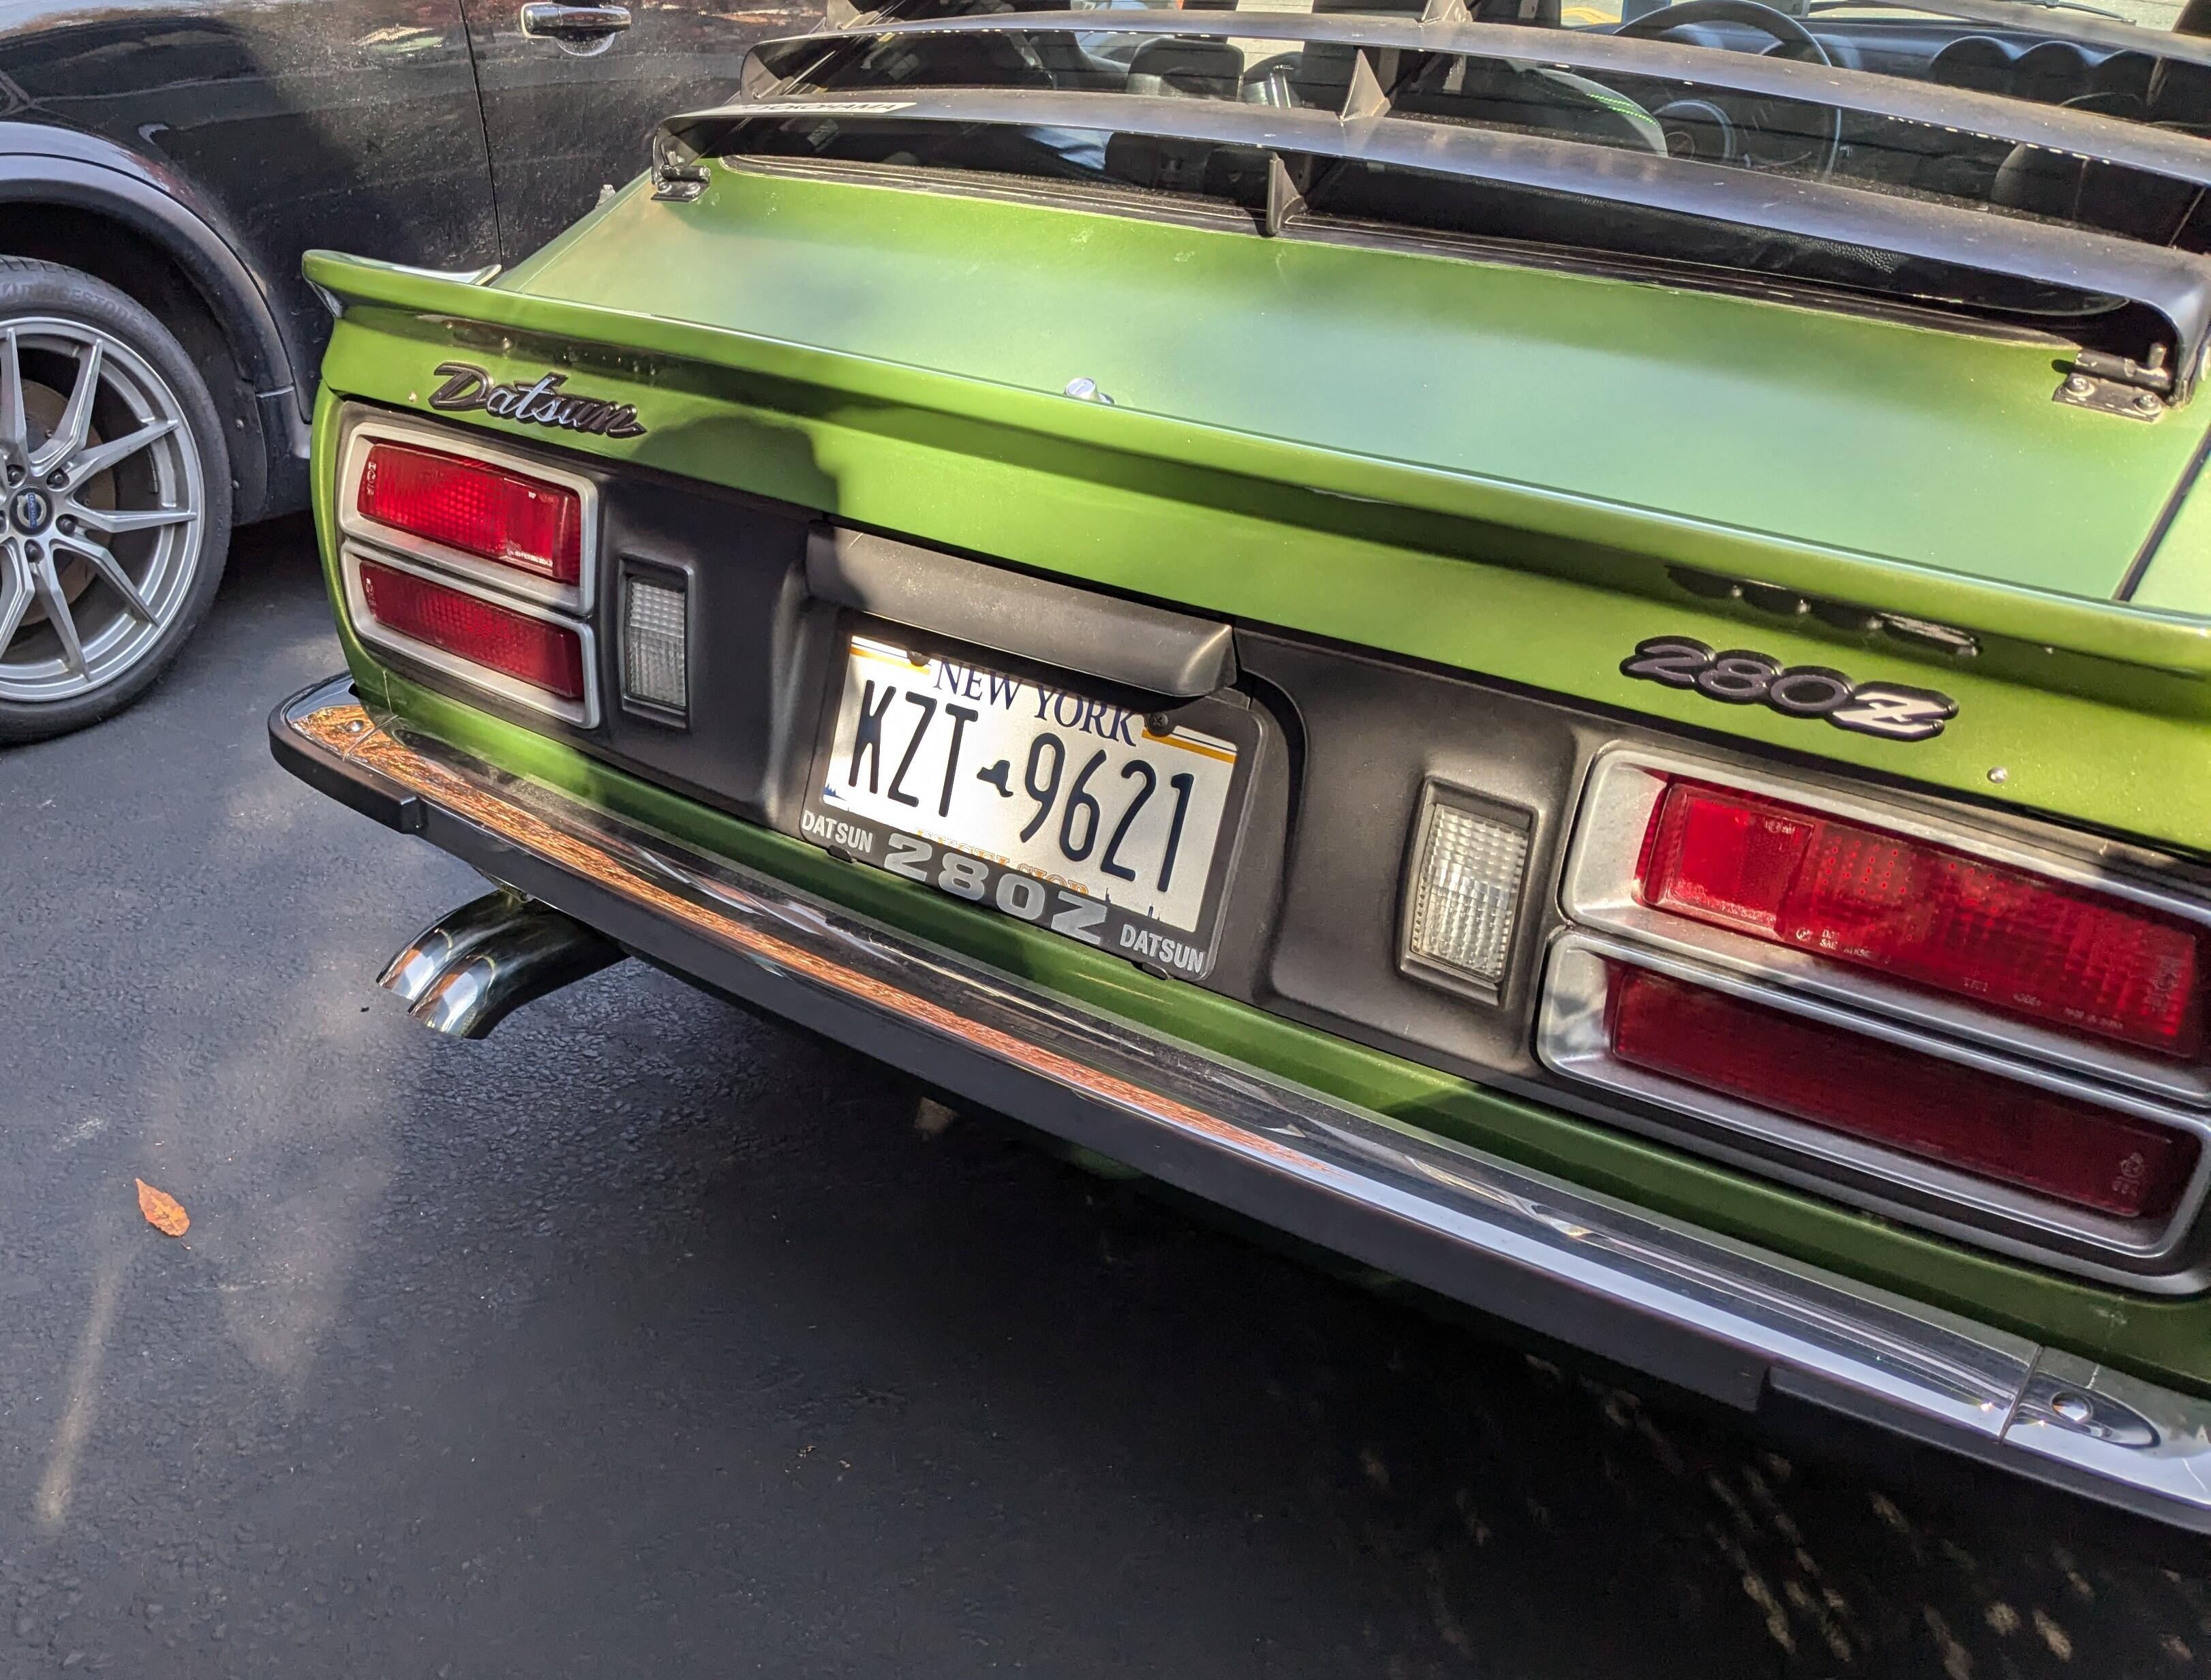
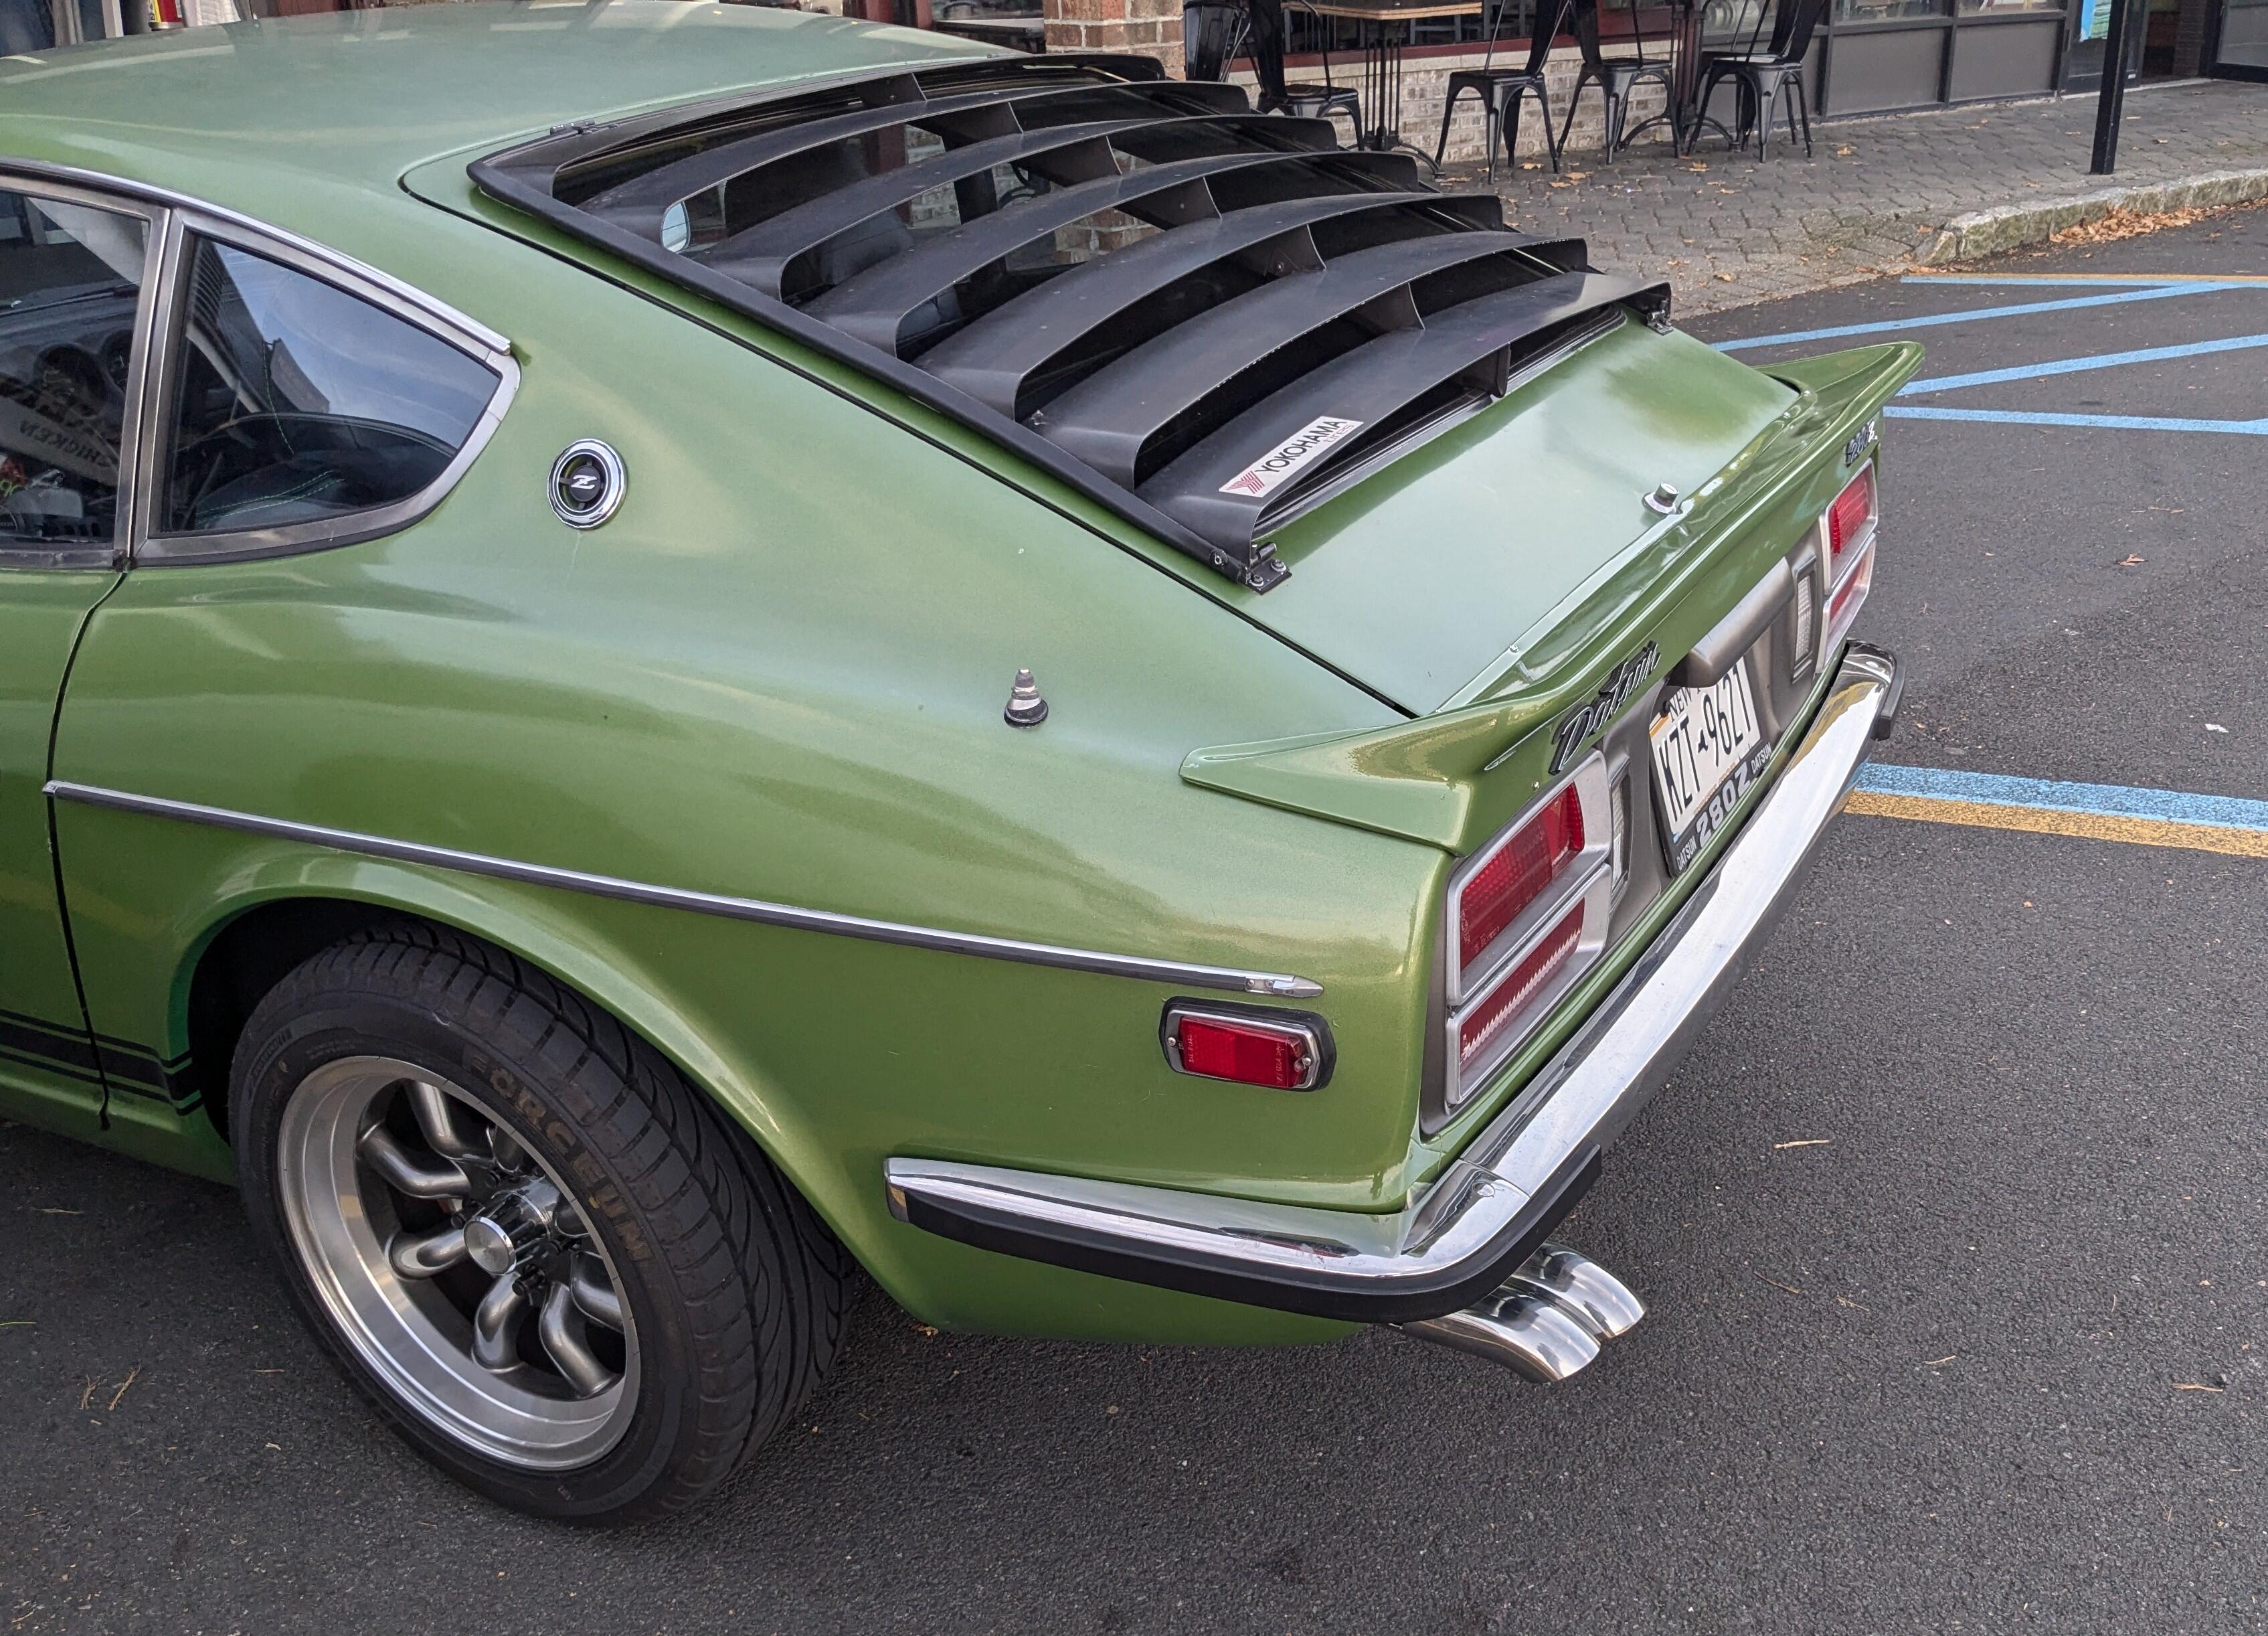
Finally resolved the exhaust fumes in car issue - I added the downturn tailpipe (2.5" SS ) I found either on here on another Z forum, I forget. Drove it around to determine if it worked - it did - so I tacked it in place Didn't care for the look of the single tip, so I added a fake next to it, staggered slightly Much happier driving around now, can have both windows open! 😀