HusseinHolland
Free Member
-
Joined
-
Last visited
Everything posted by HusseinHolland
-
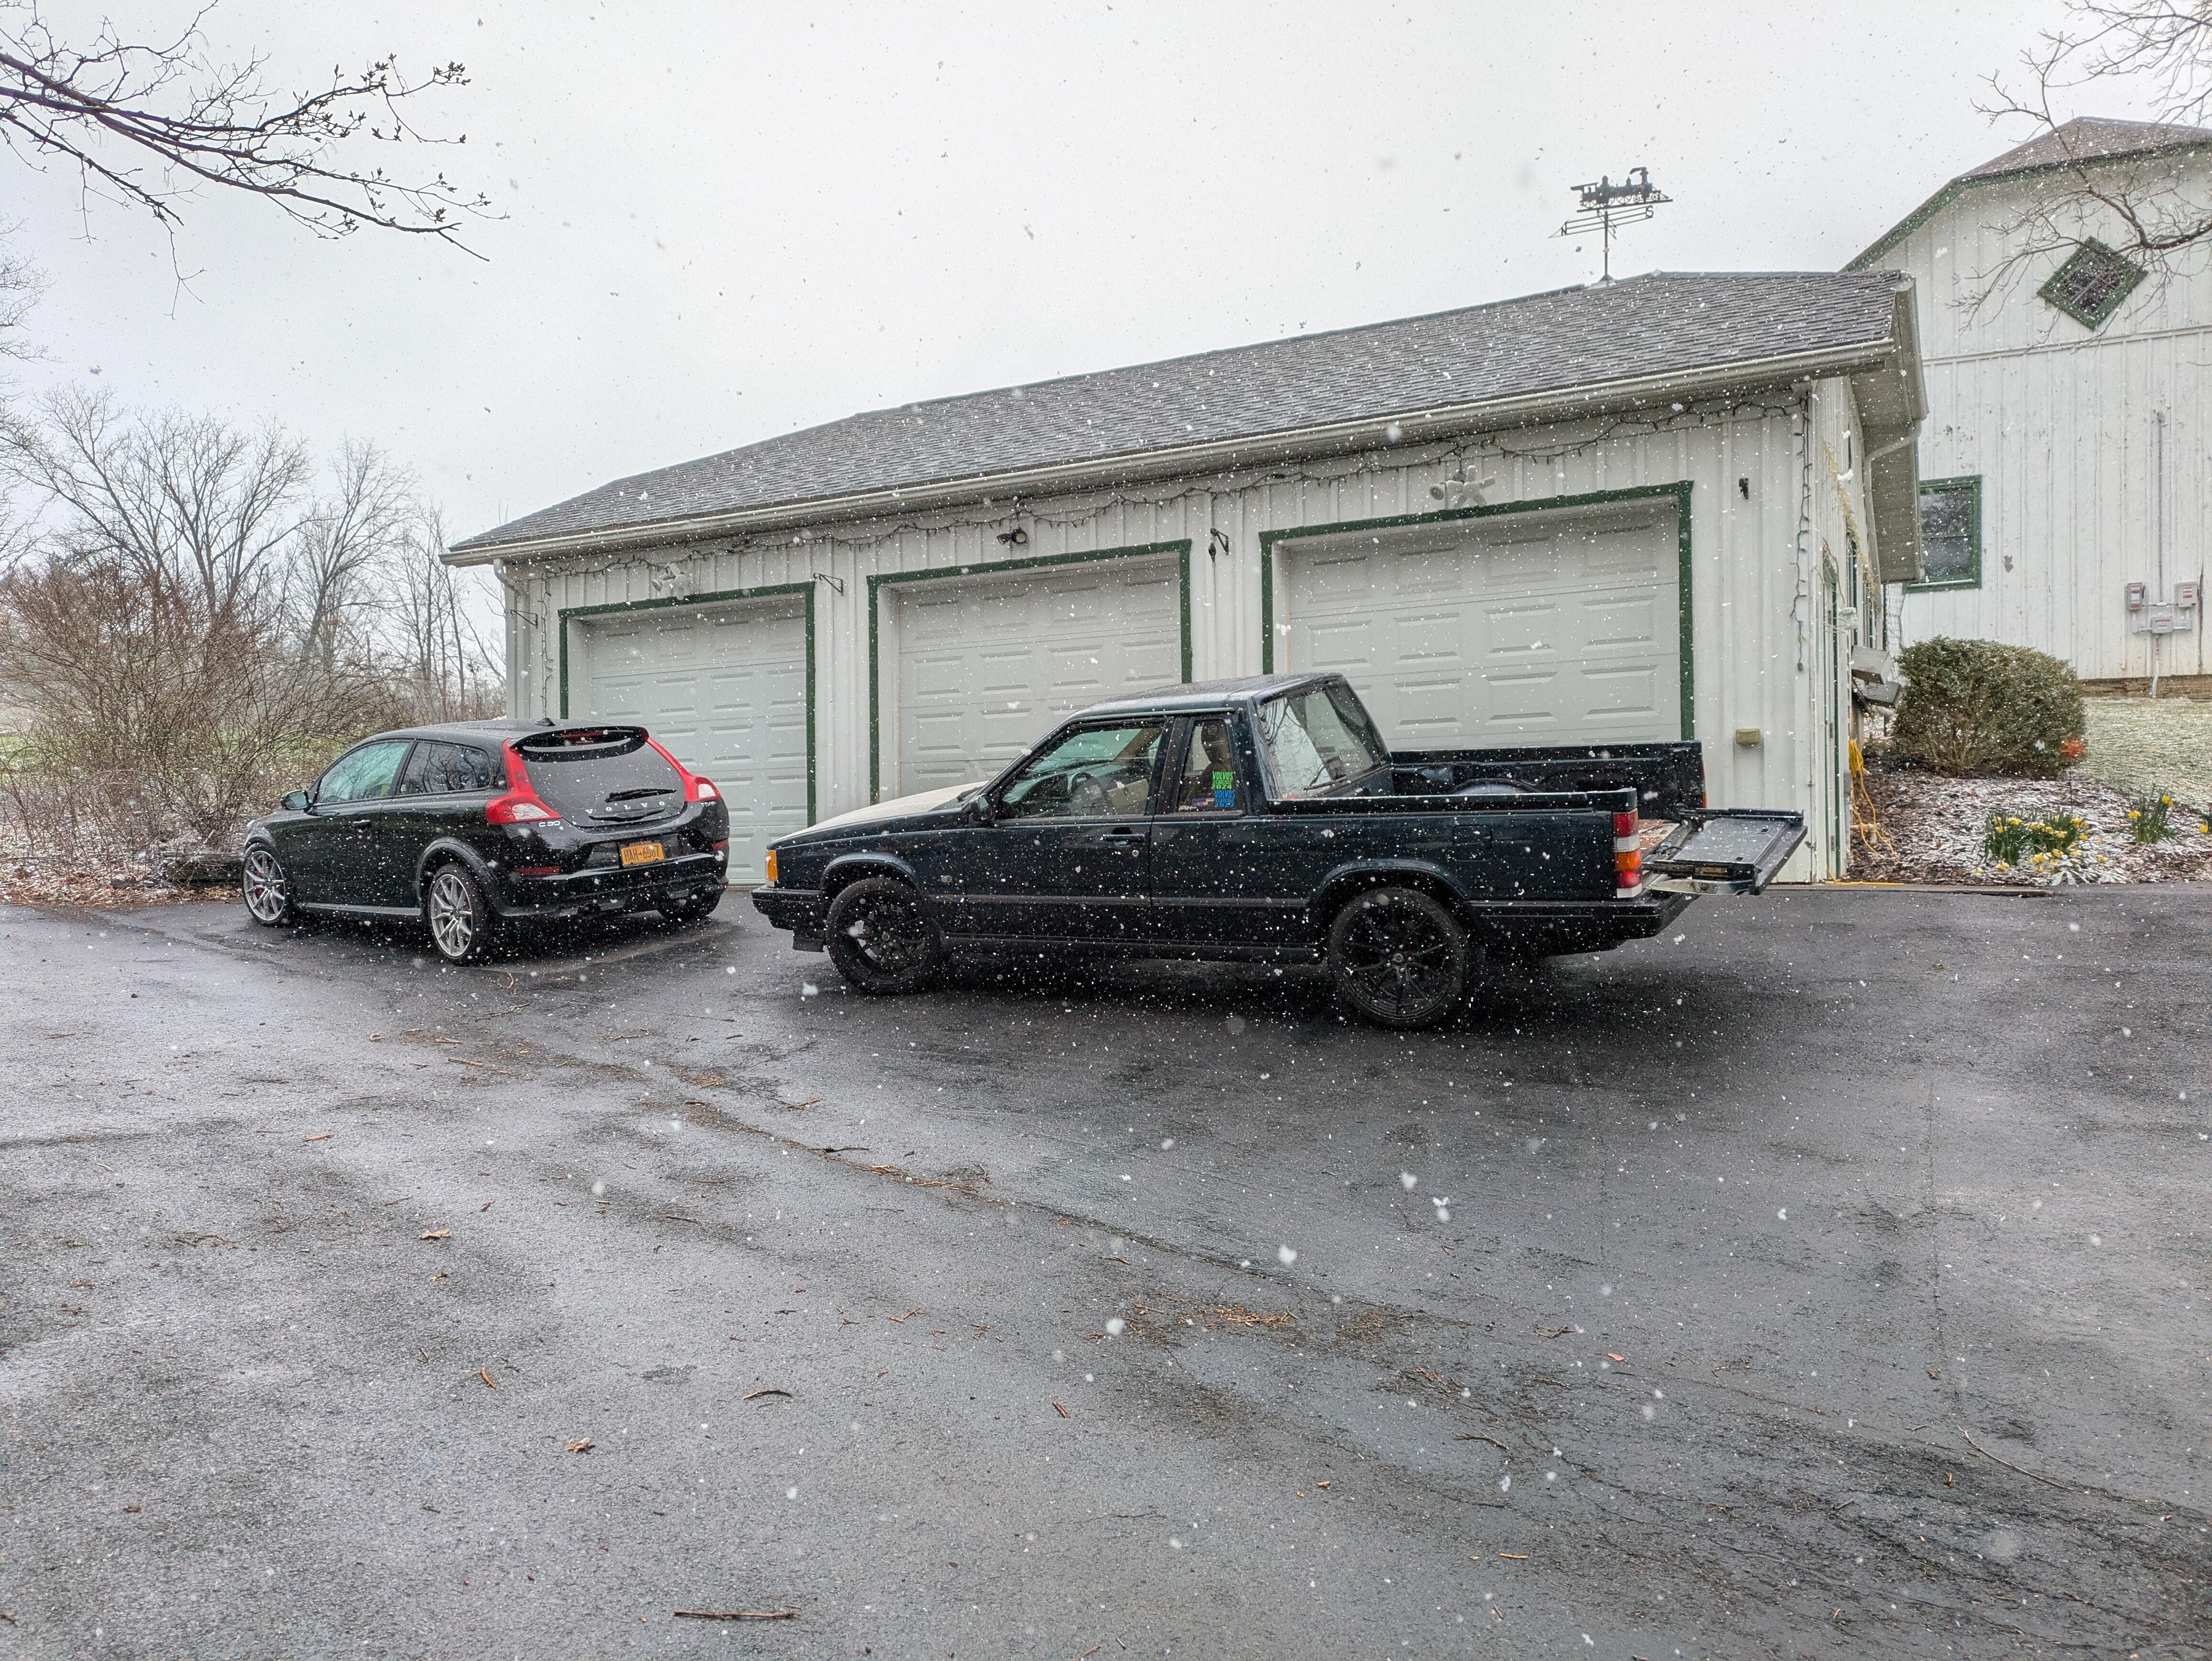
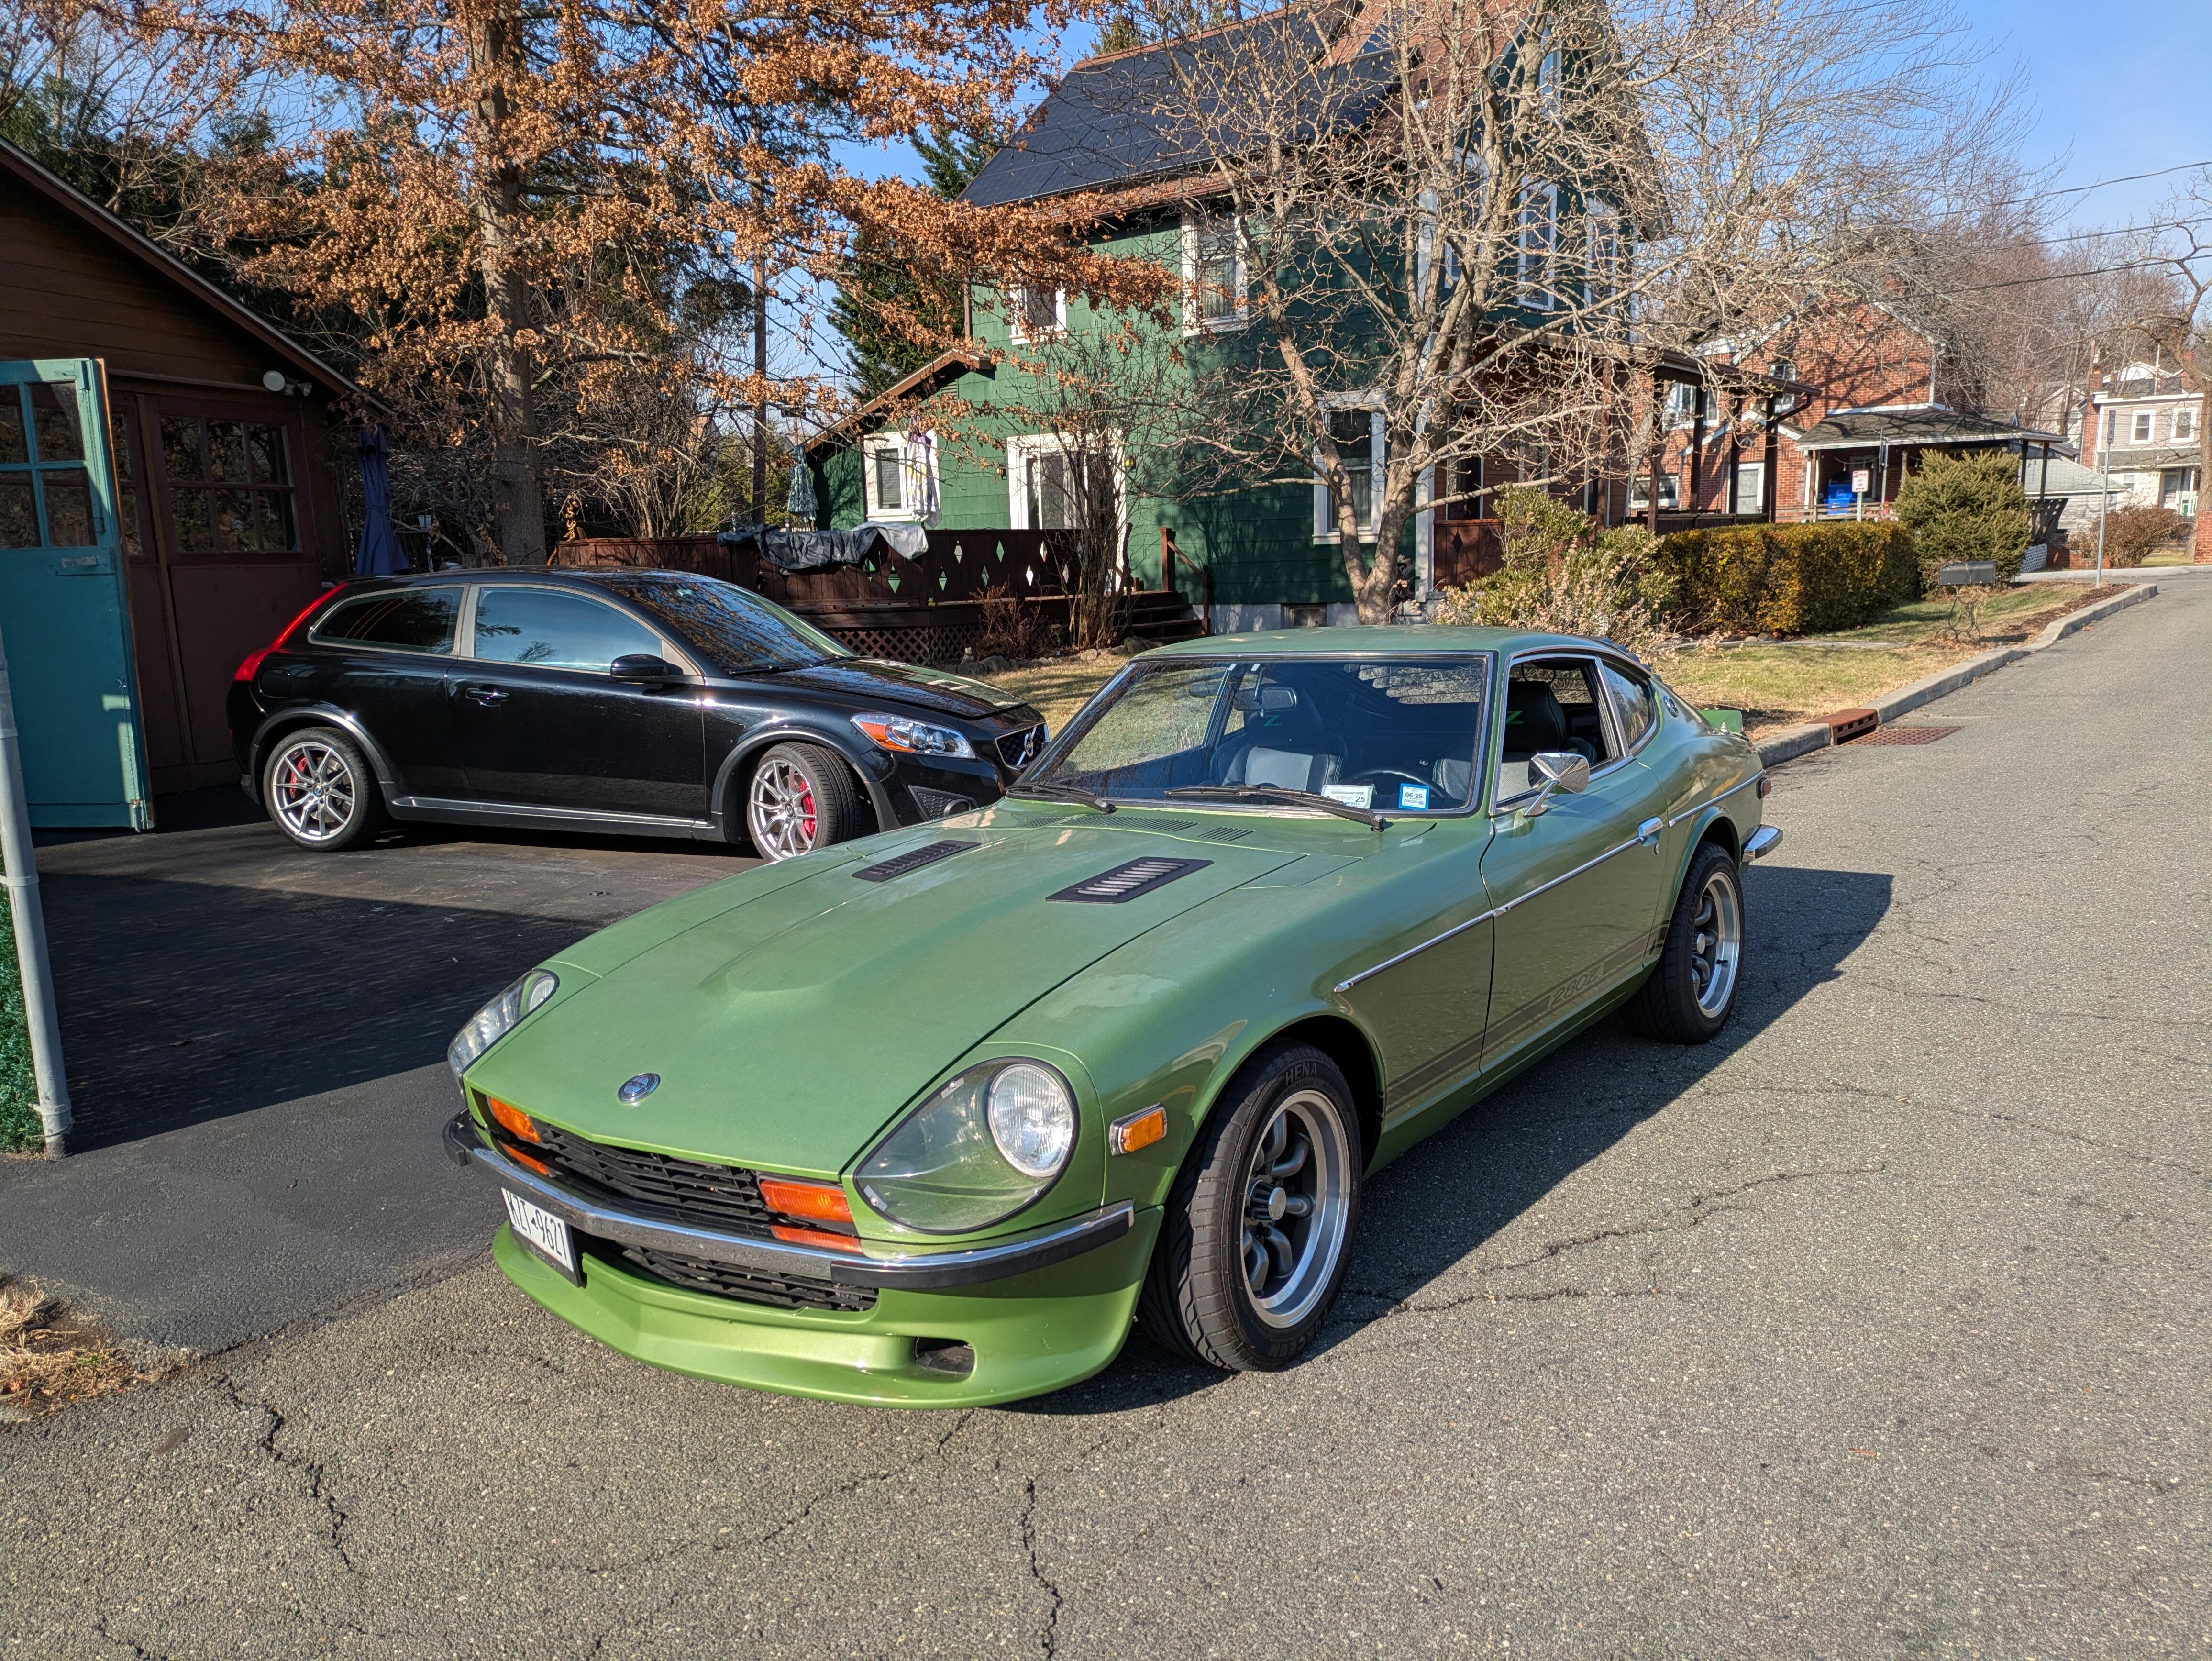
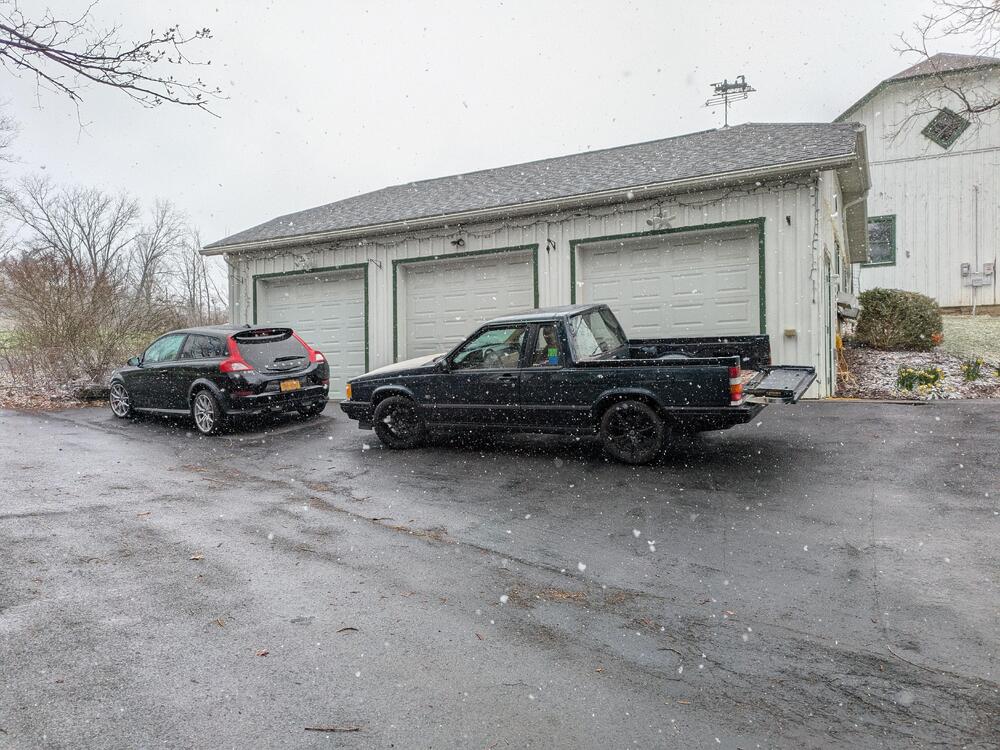
 Ah... no, that's my Volvo C30 🙂
 -
Where is there a Bimmer?
-
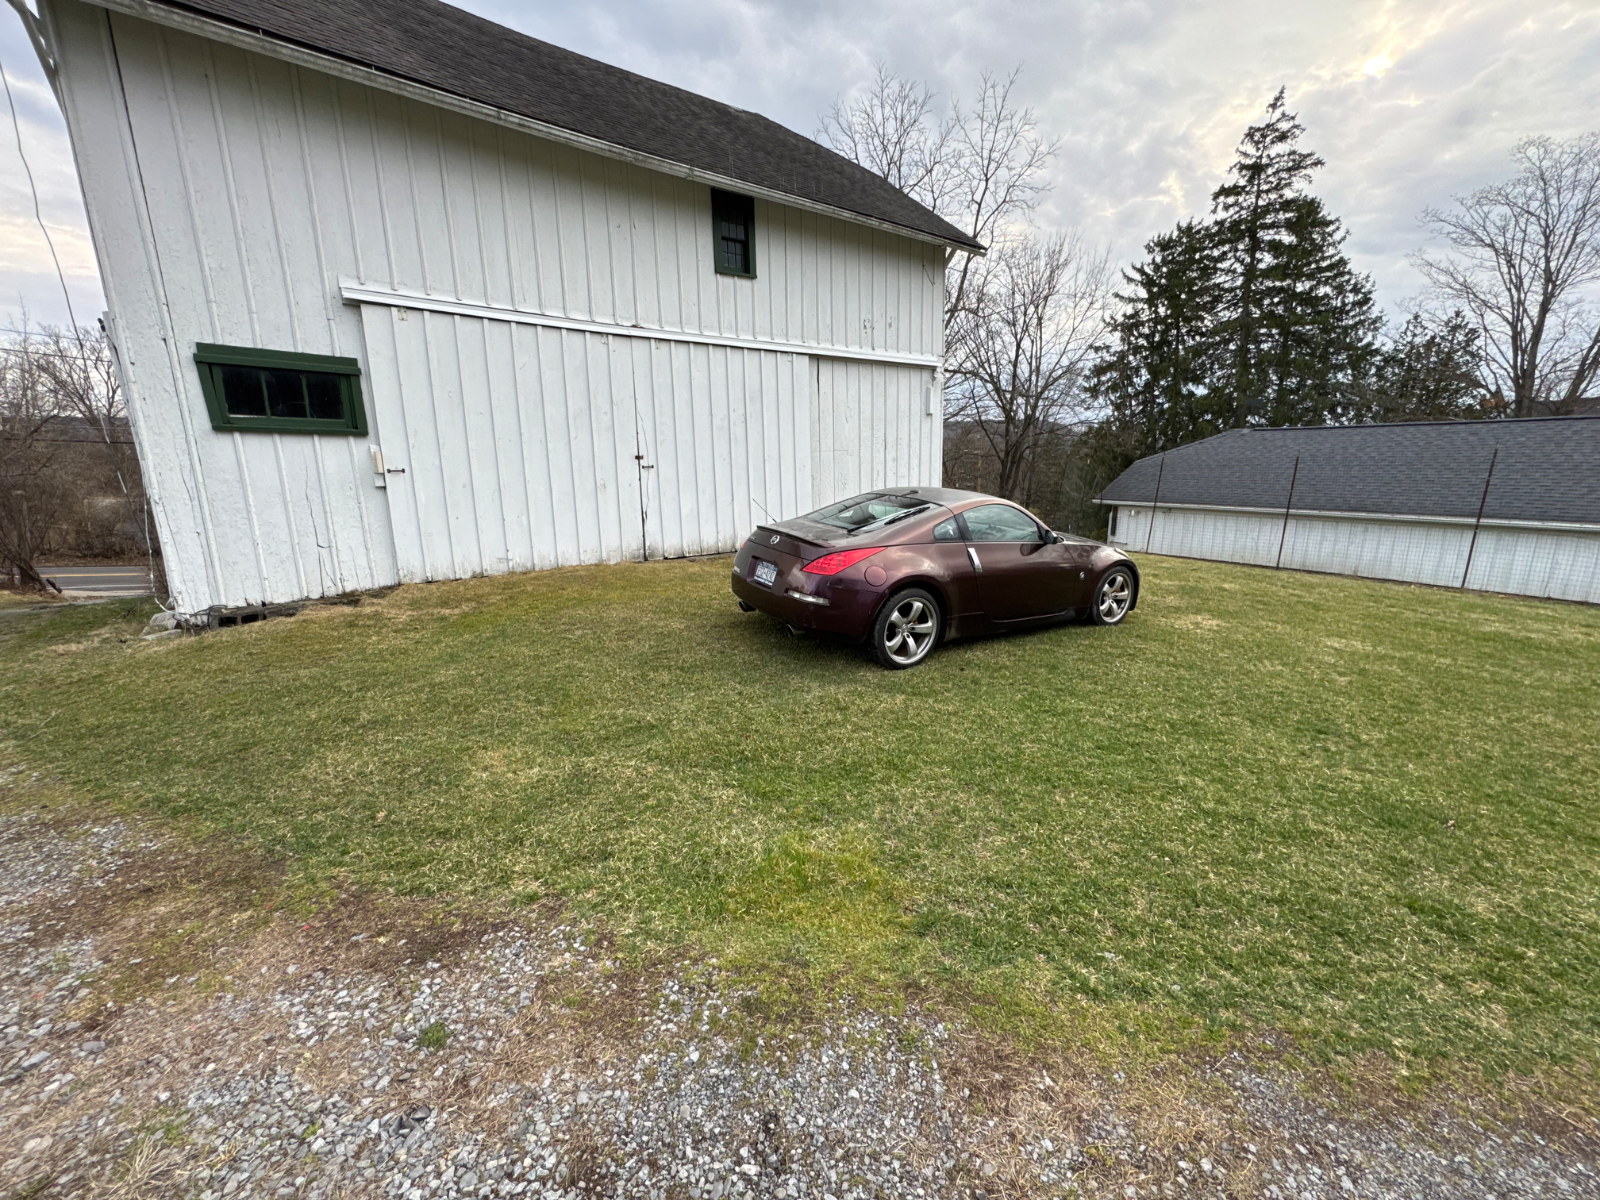
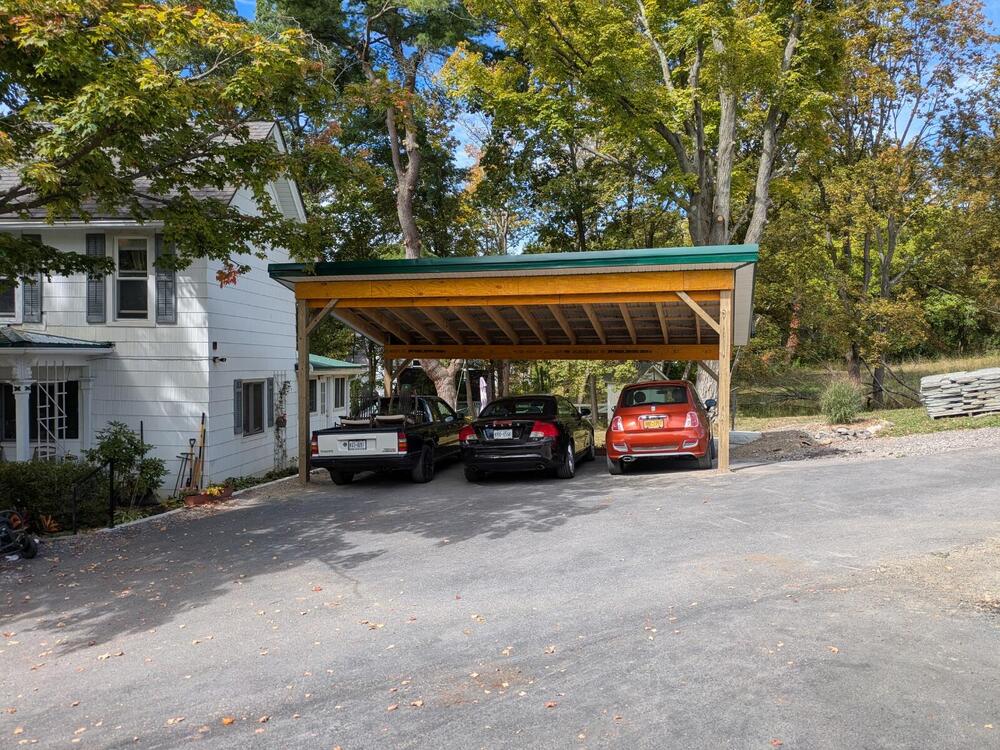
Pad in use. Nothing new in terms of any work on the Z. Had a carport built Weather still OK, so I've been driving her around as much as possible


-
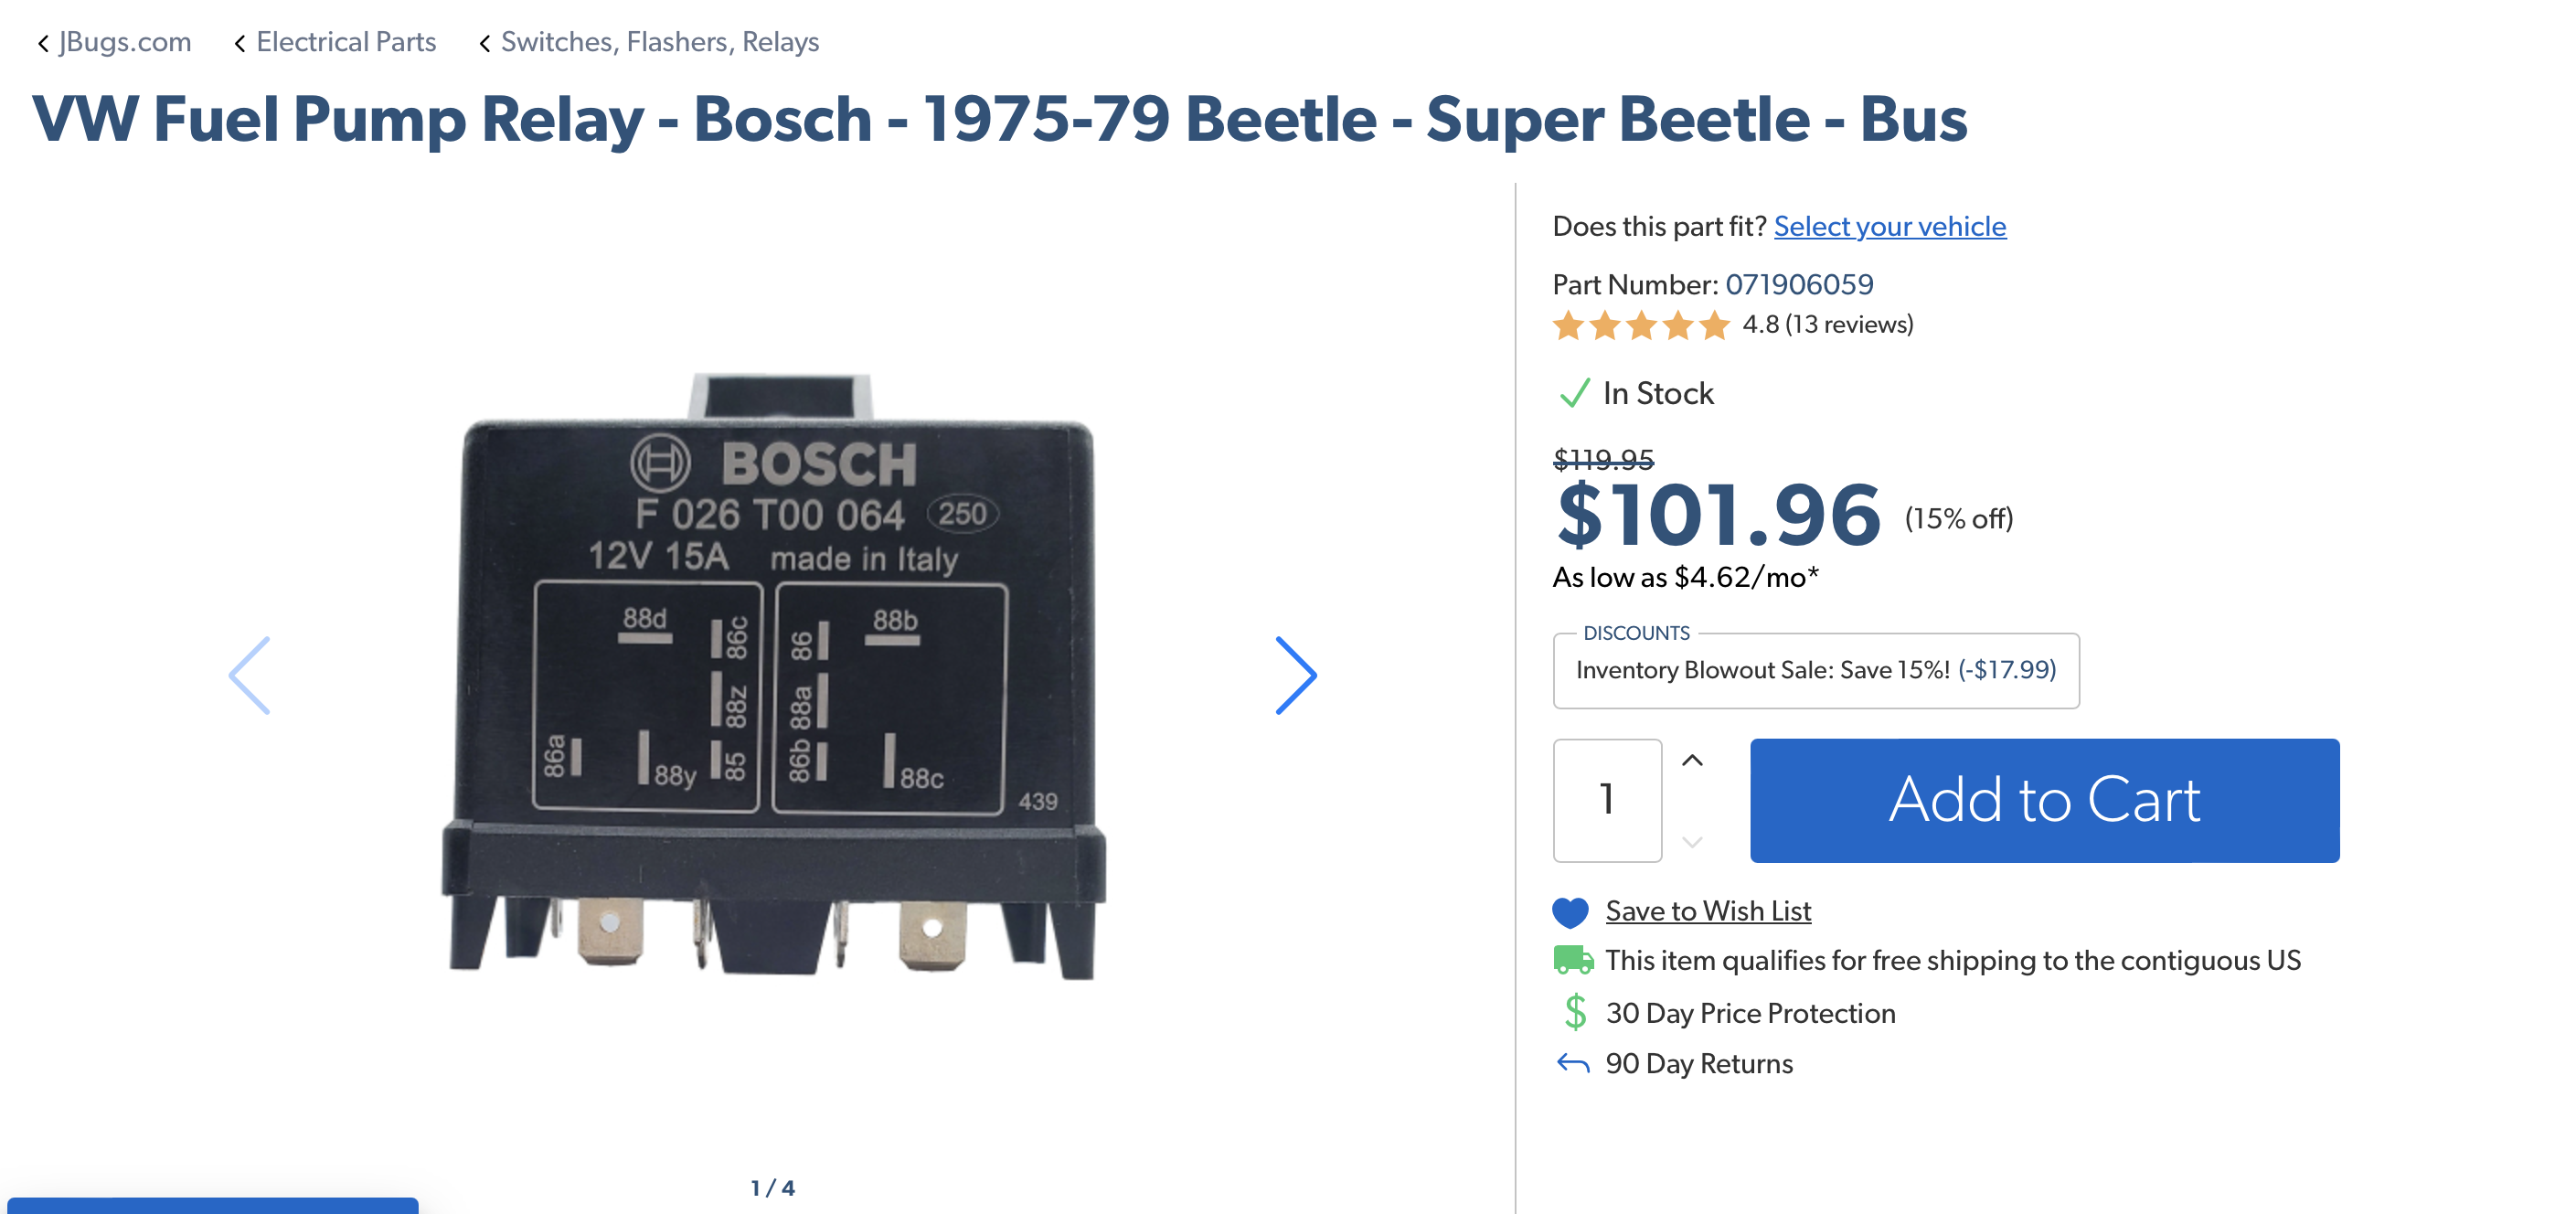
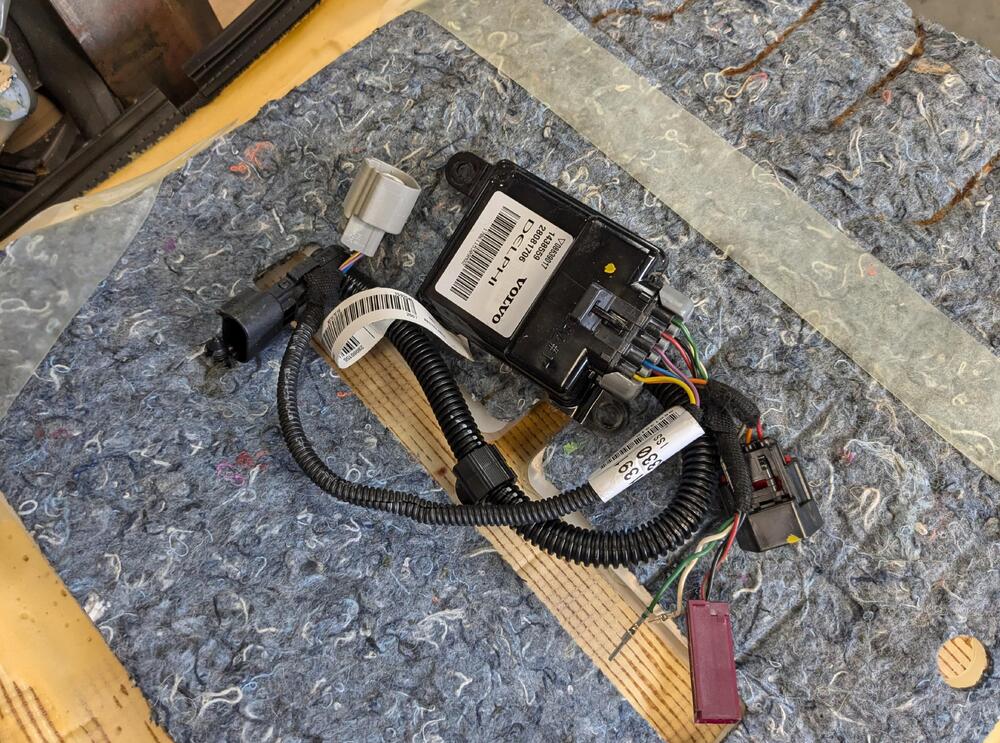
Nice! Adding a pic of the linked relay for posterity - never know when it will go dead

-
I have one of the one piece ones now, to install. Just have to find the thread where the Z member documents the best way to do the install
-
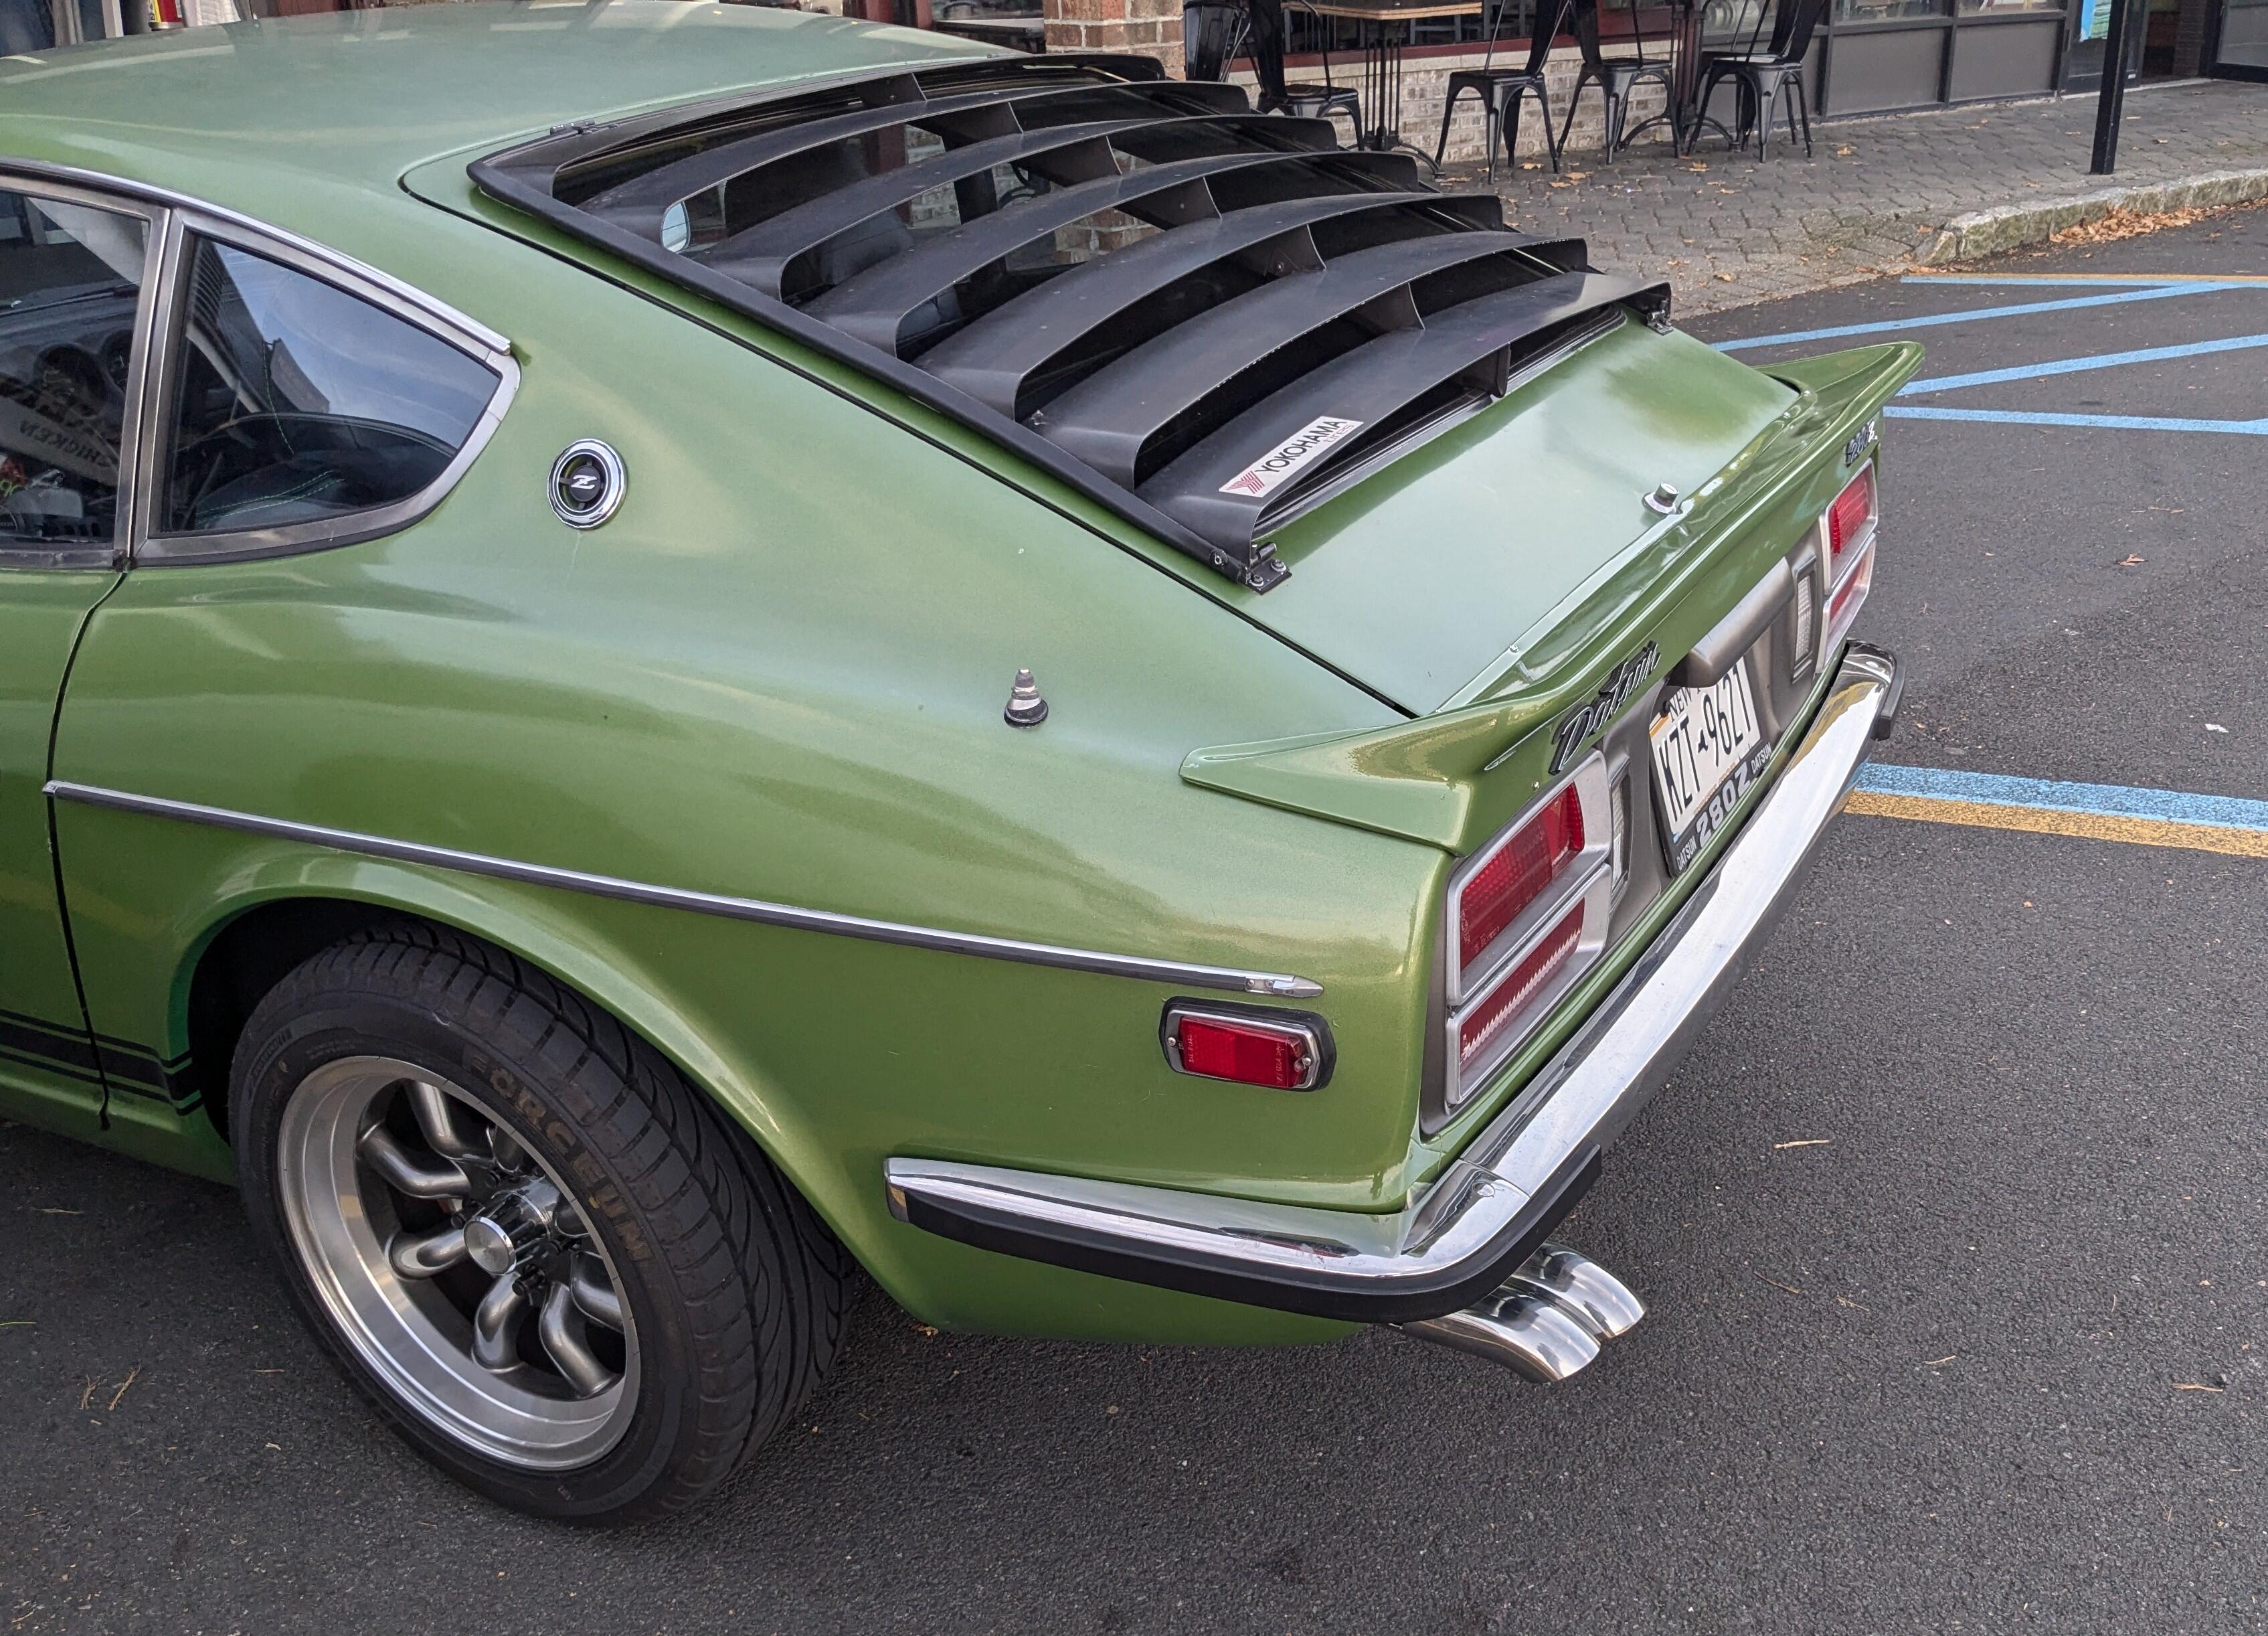
Thank you! The only thing I have to do on the Z soon, is the outer lip hatch seal - the 3 piece one I put on back when I did all the seals has peeled off along the top. I need to remove the hatch & redo it. If I recall correctly, the best way is the glue it with the 3M black snot & then tape it tight & let it harden in place for several days. I didn't wait with mine.
-
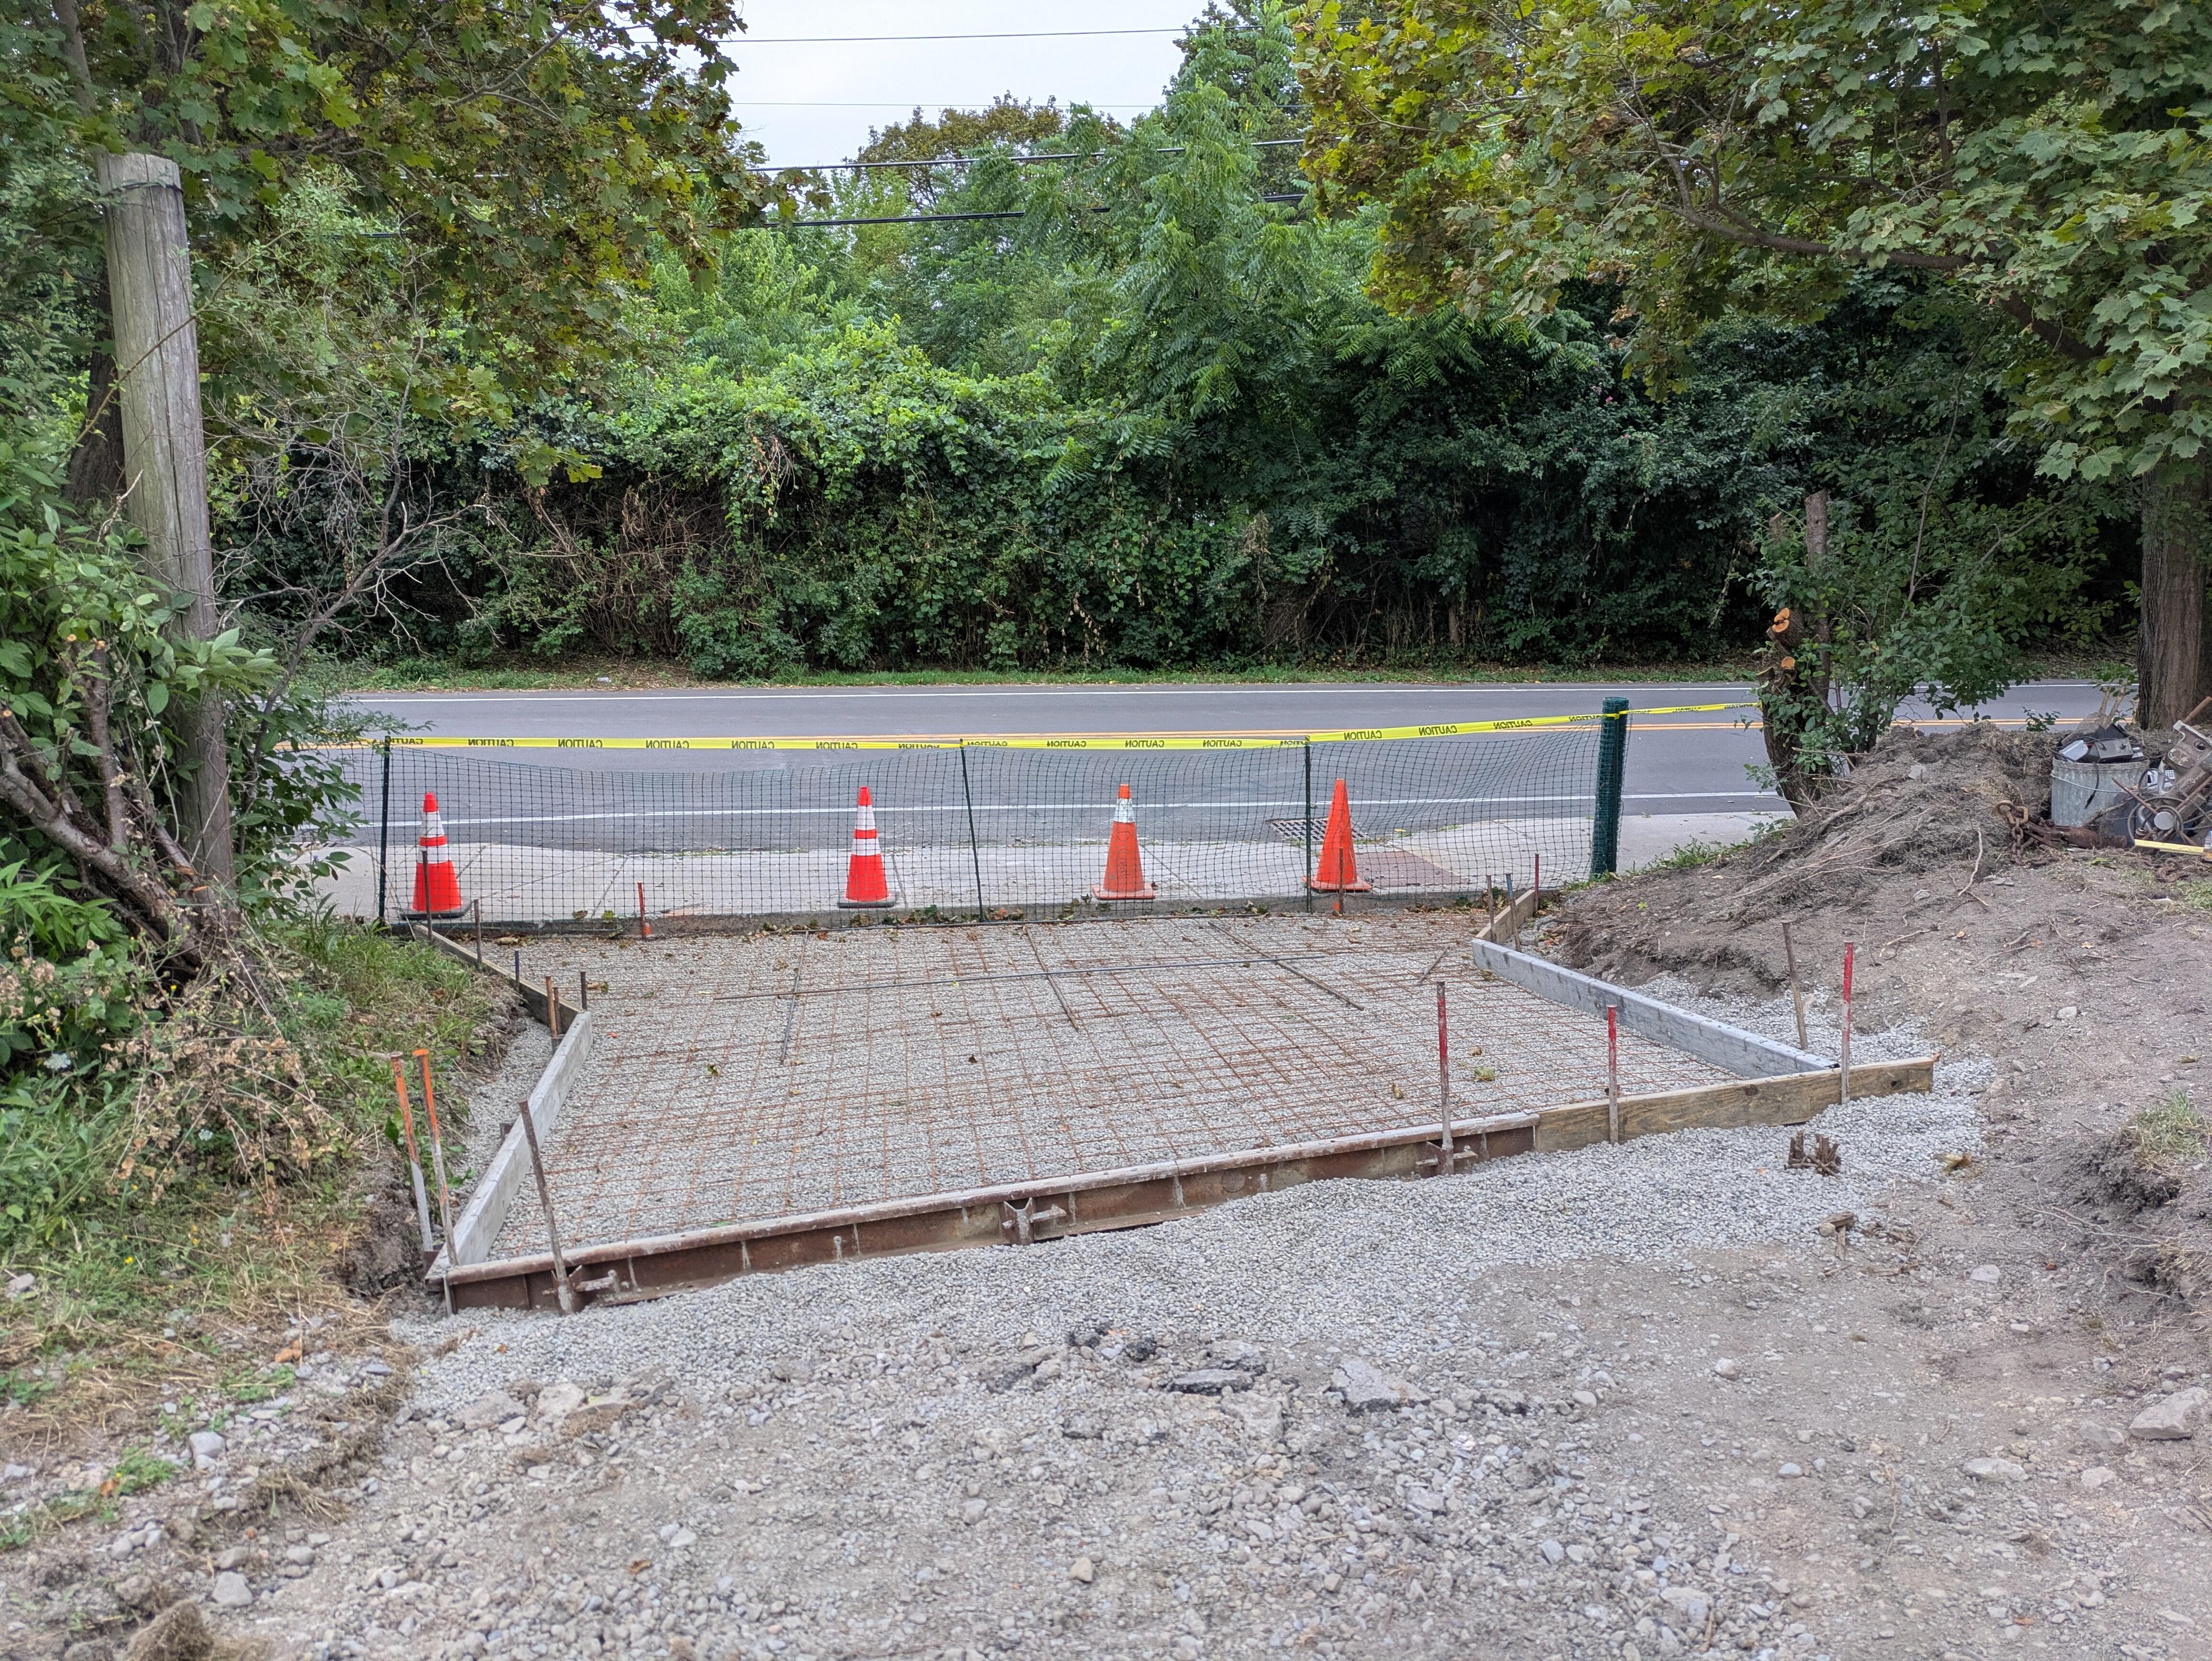
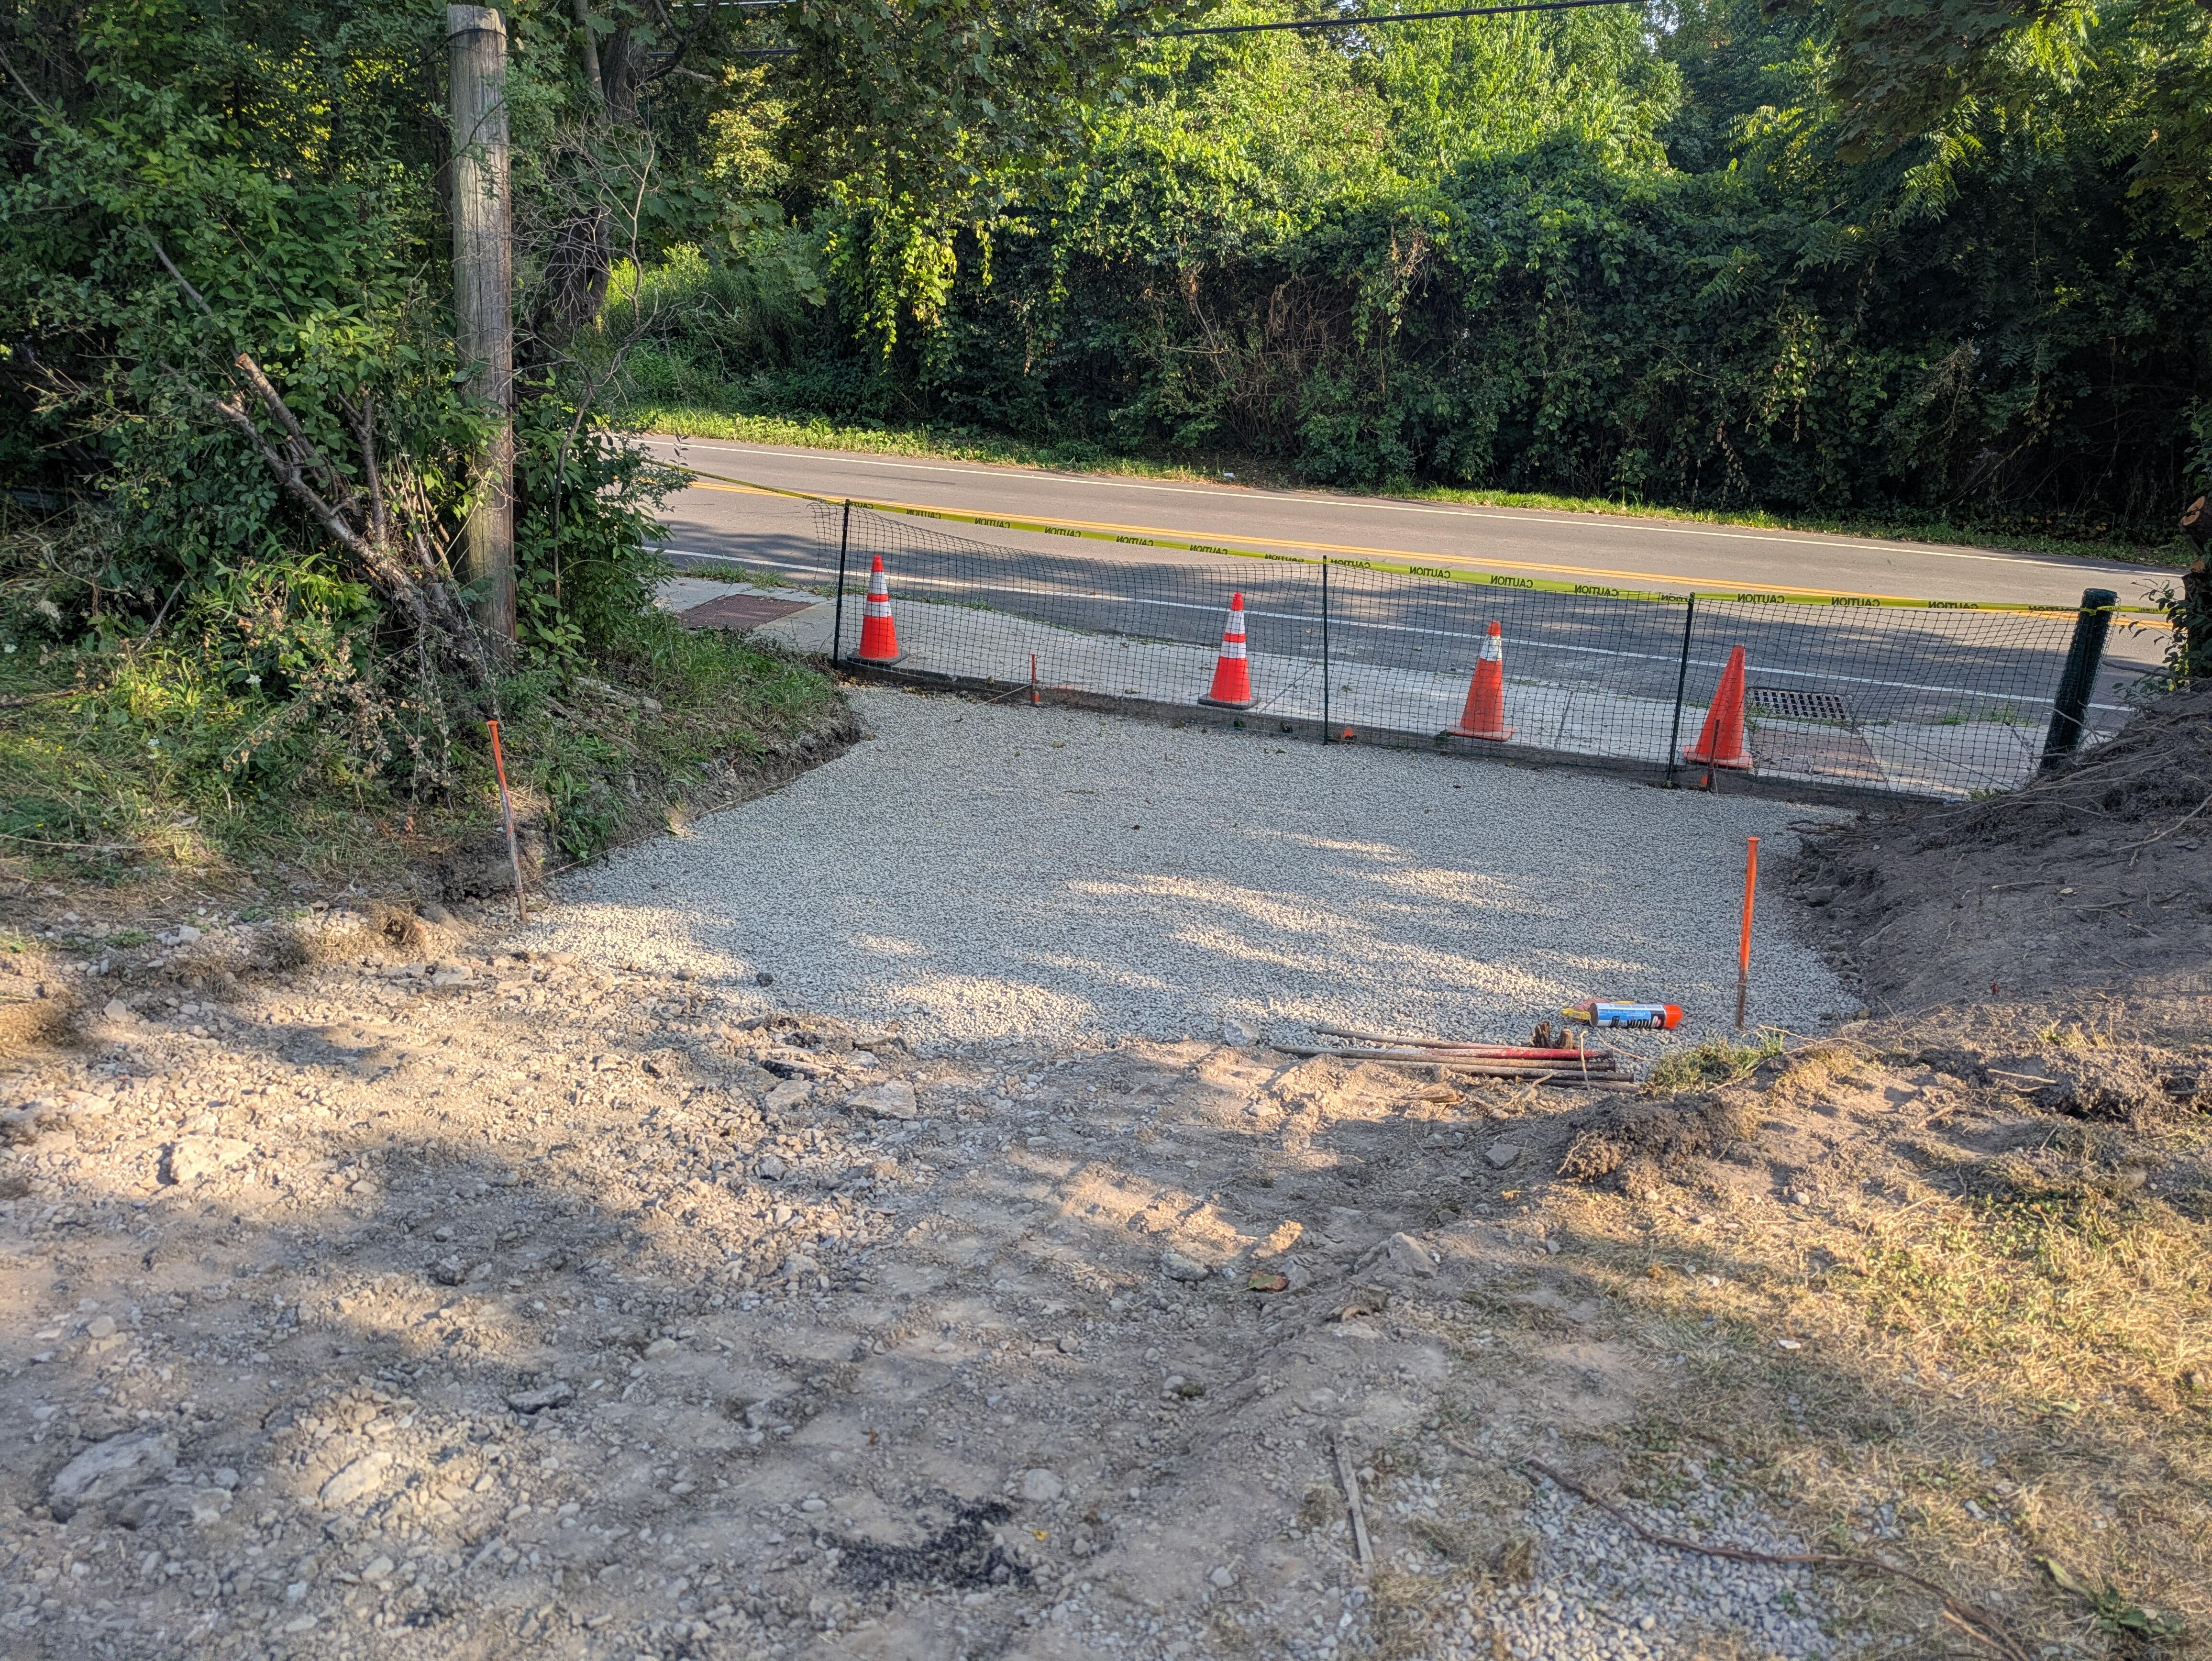
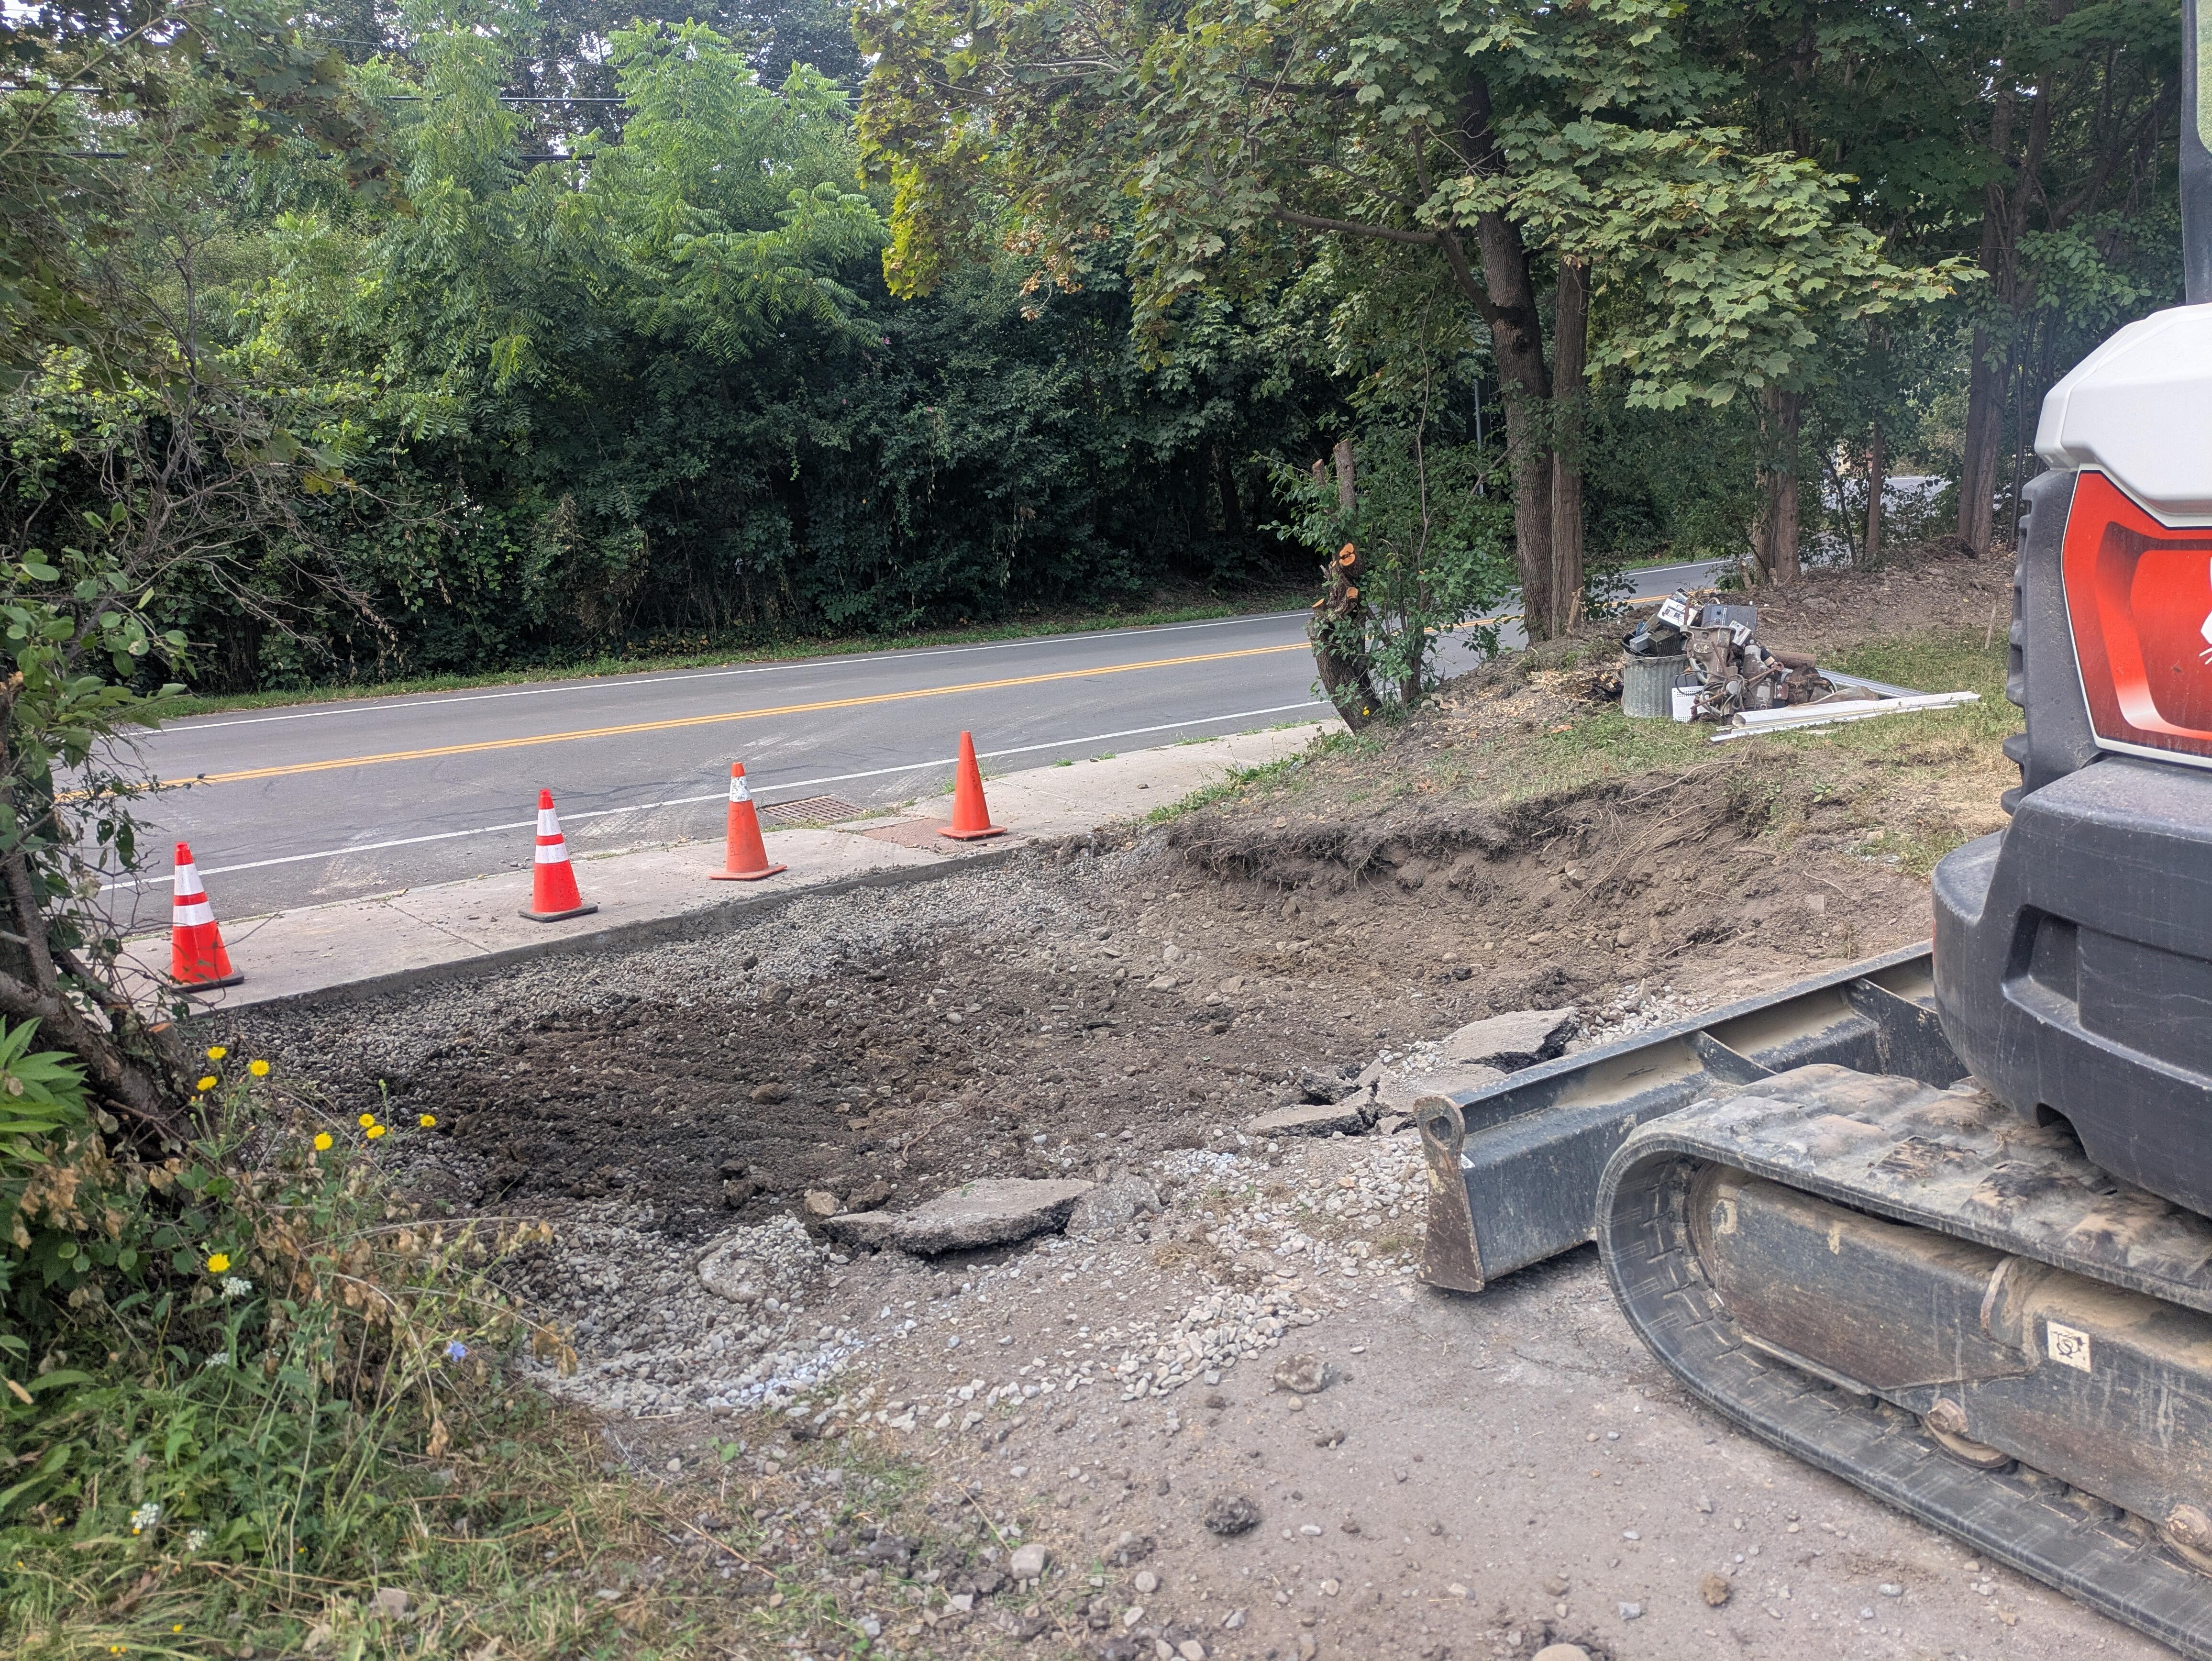
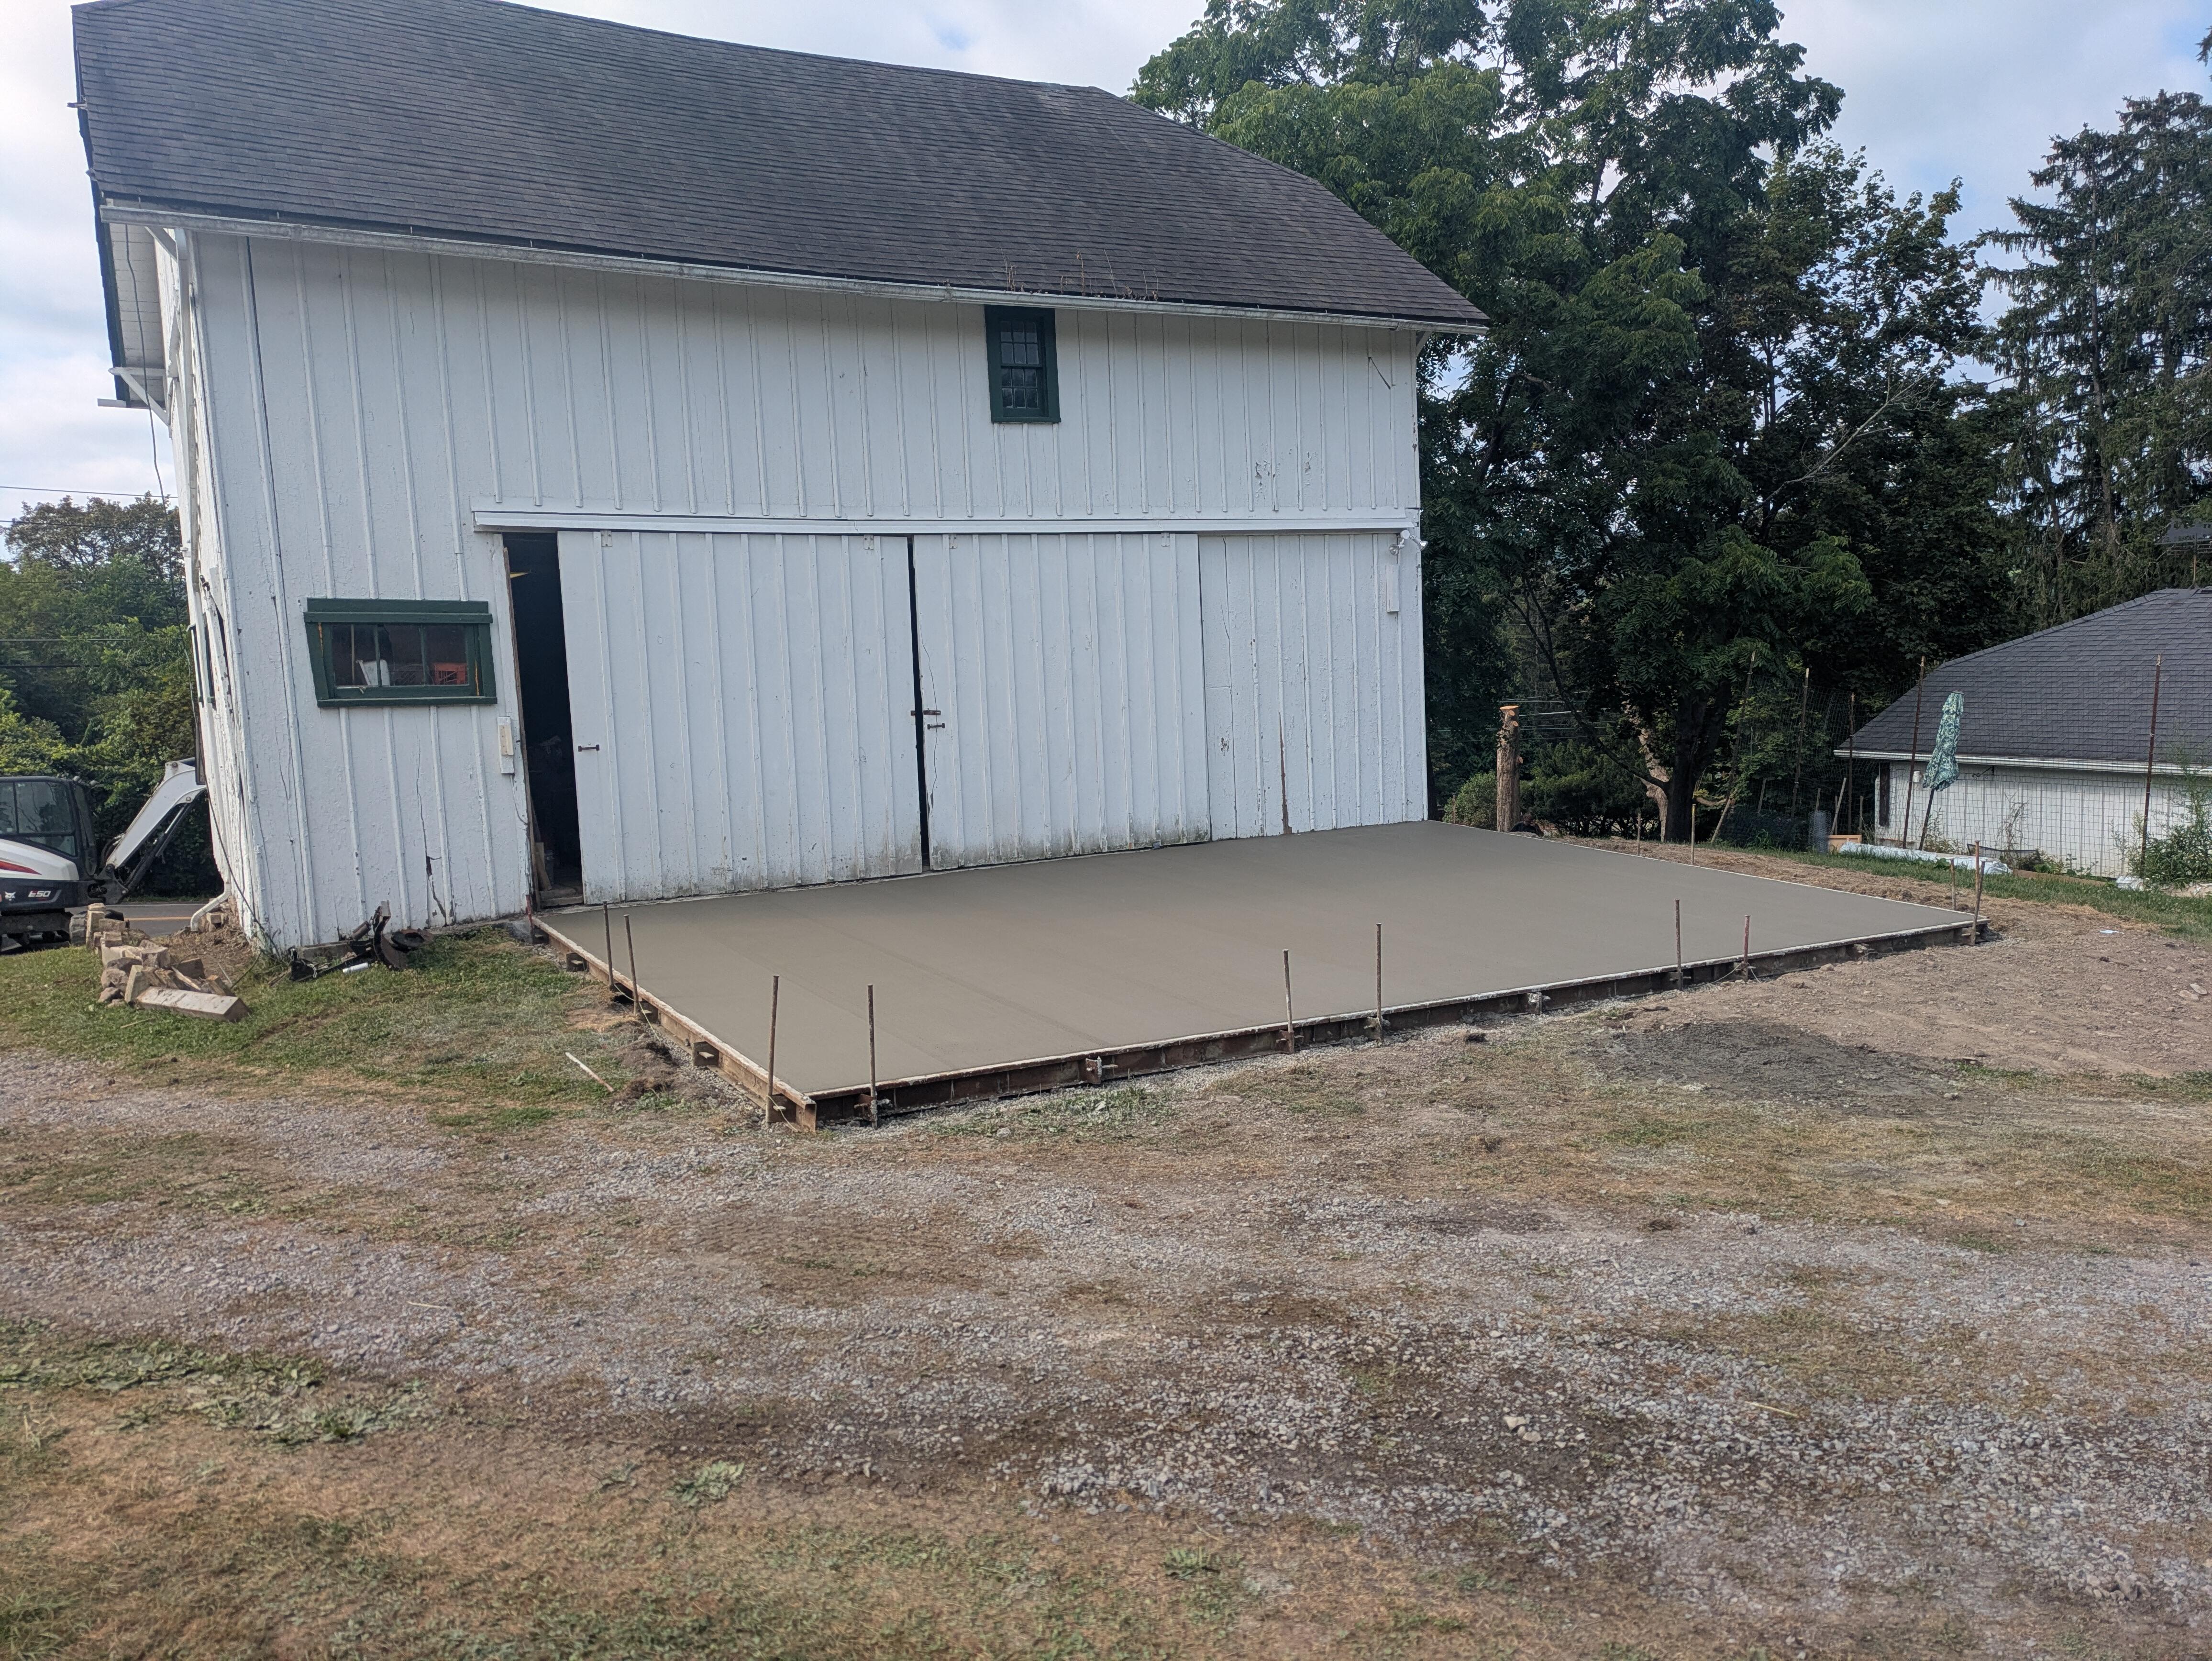
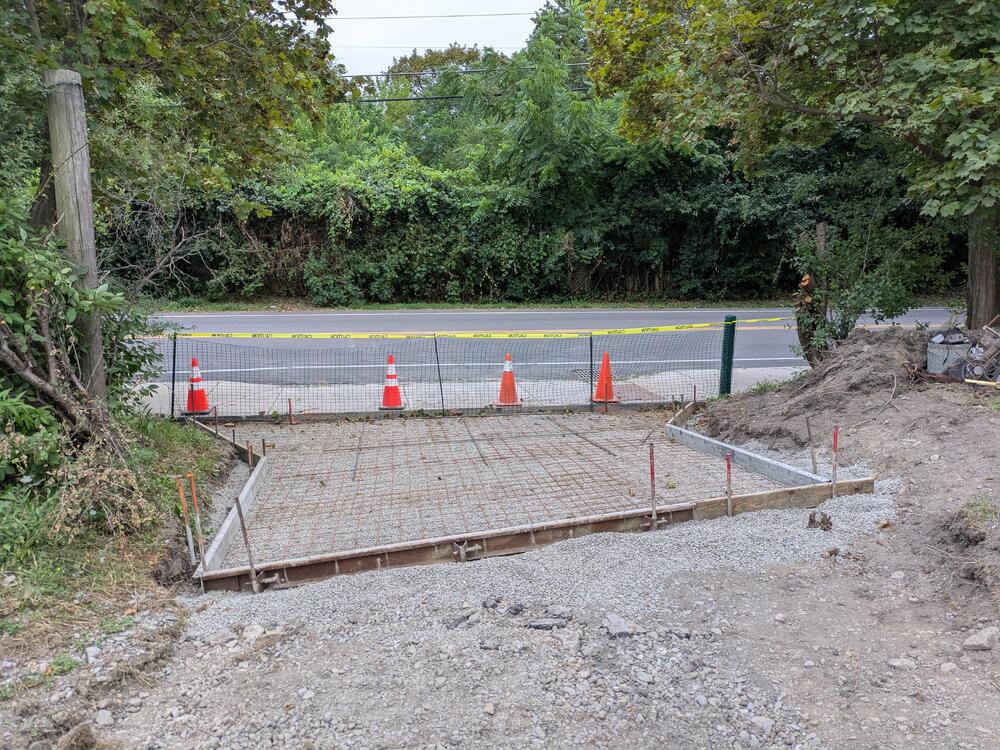
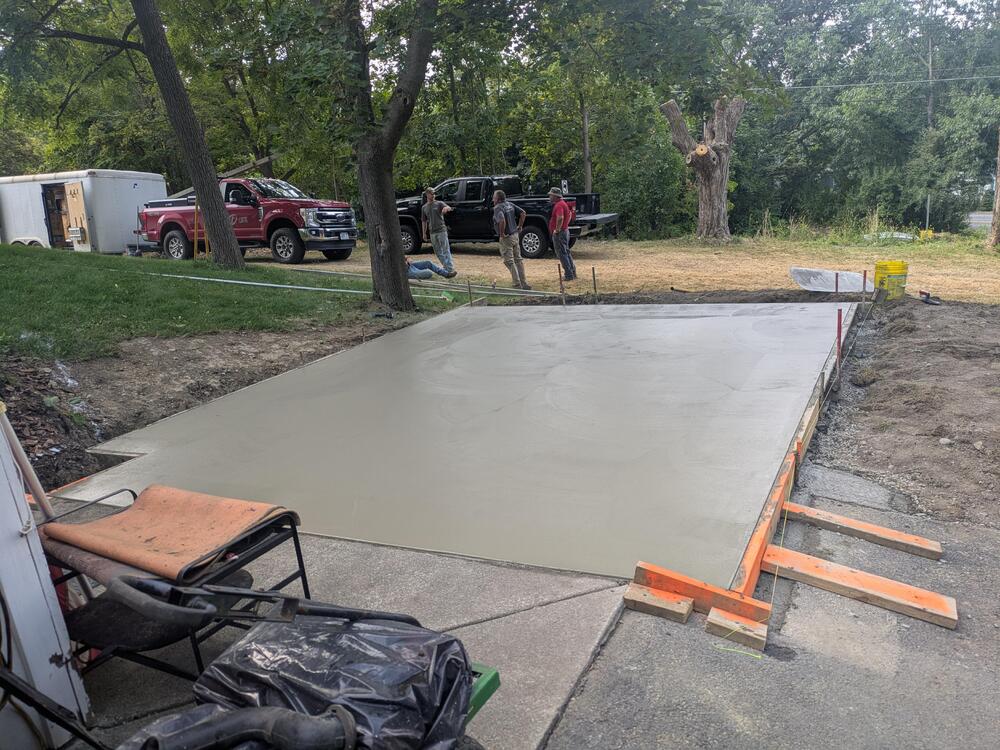
Indeed! We have almost an acre now, corner lot, with a driveway that loops around to the side road. That end I'm having concrete poured, it's been gravel over the beat up asphalt, and that keeps washing into the street, I've had enough of that in the short time we've been here. Concrete is scheduled to be poured tomorrow.


-
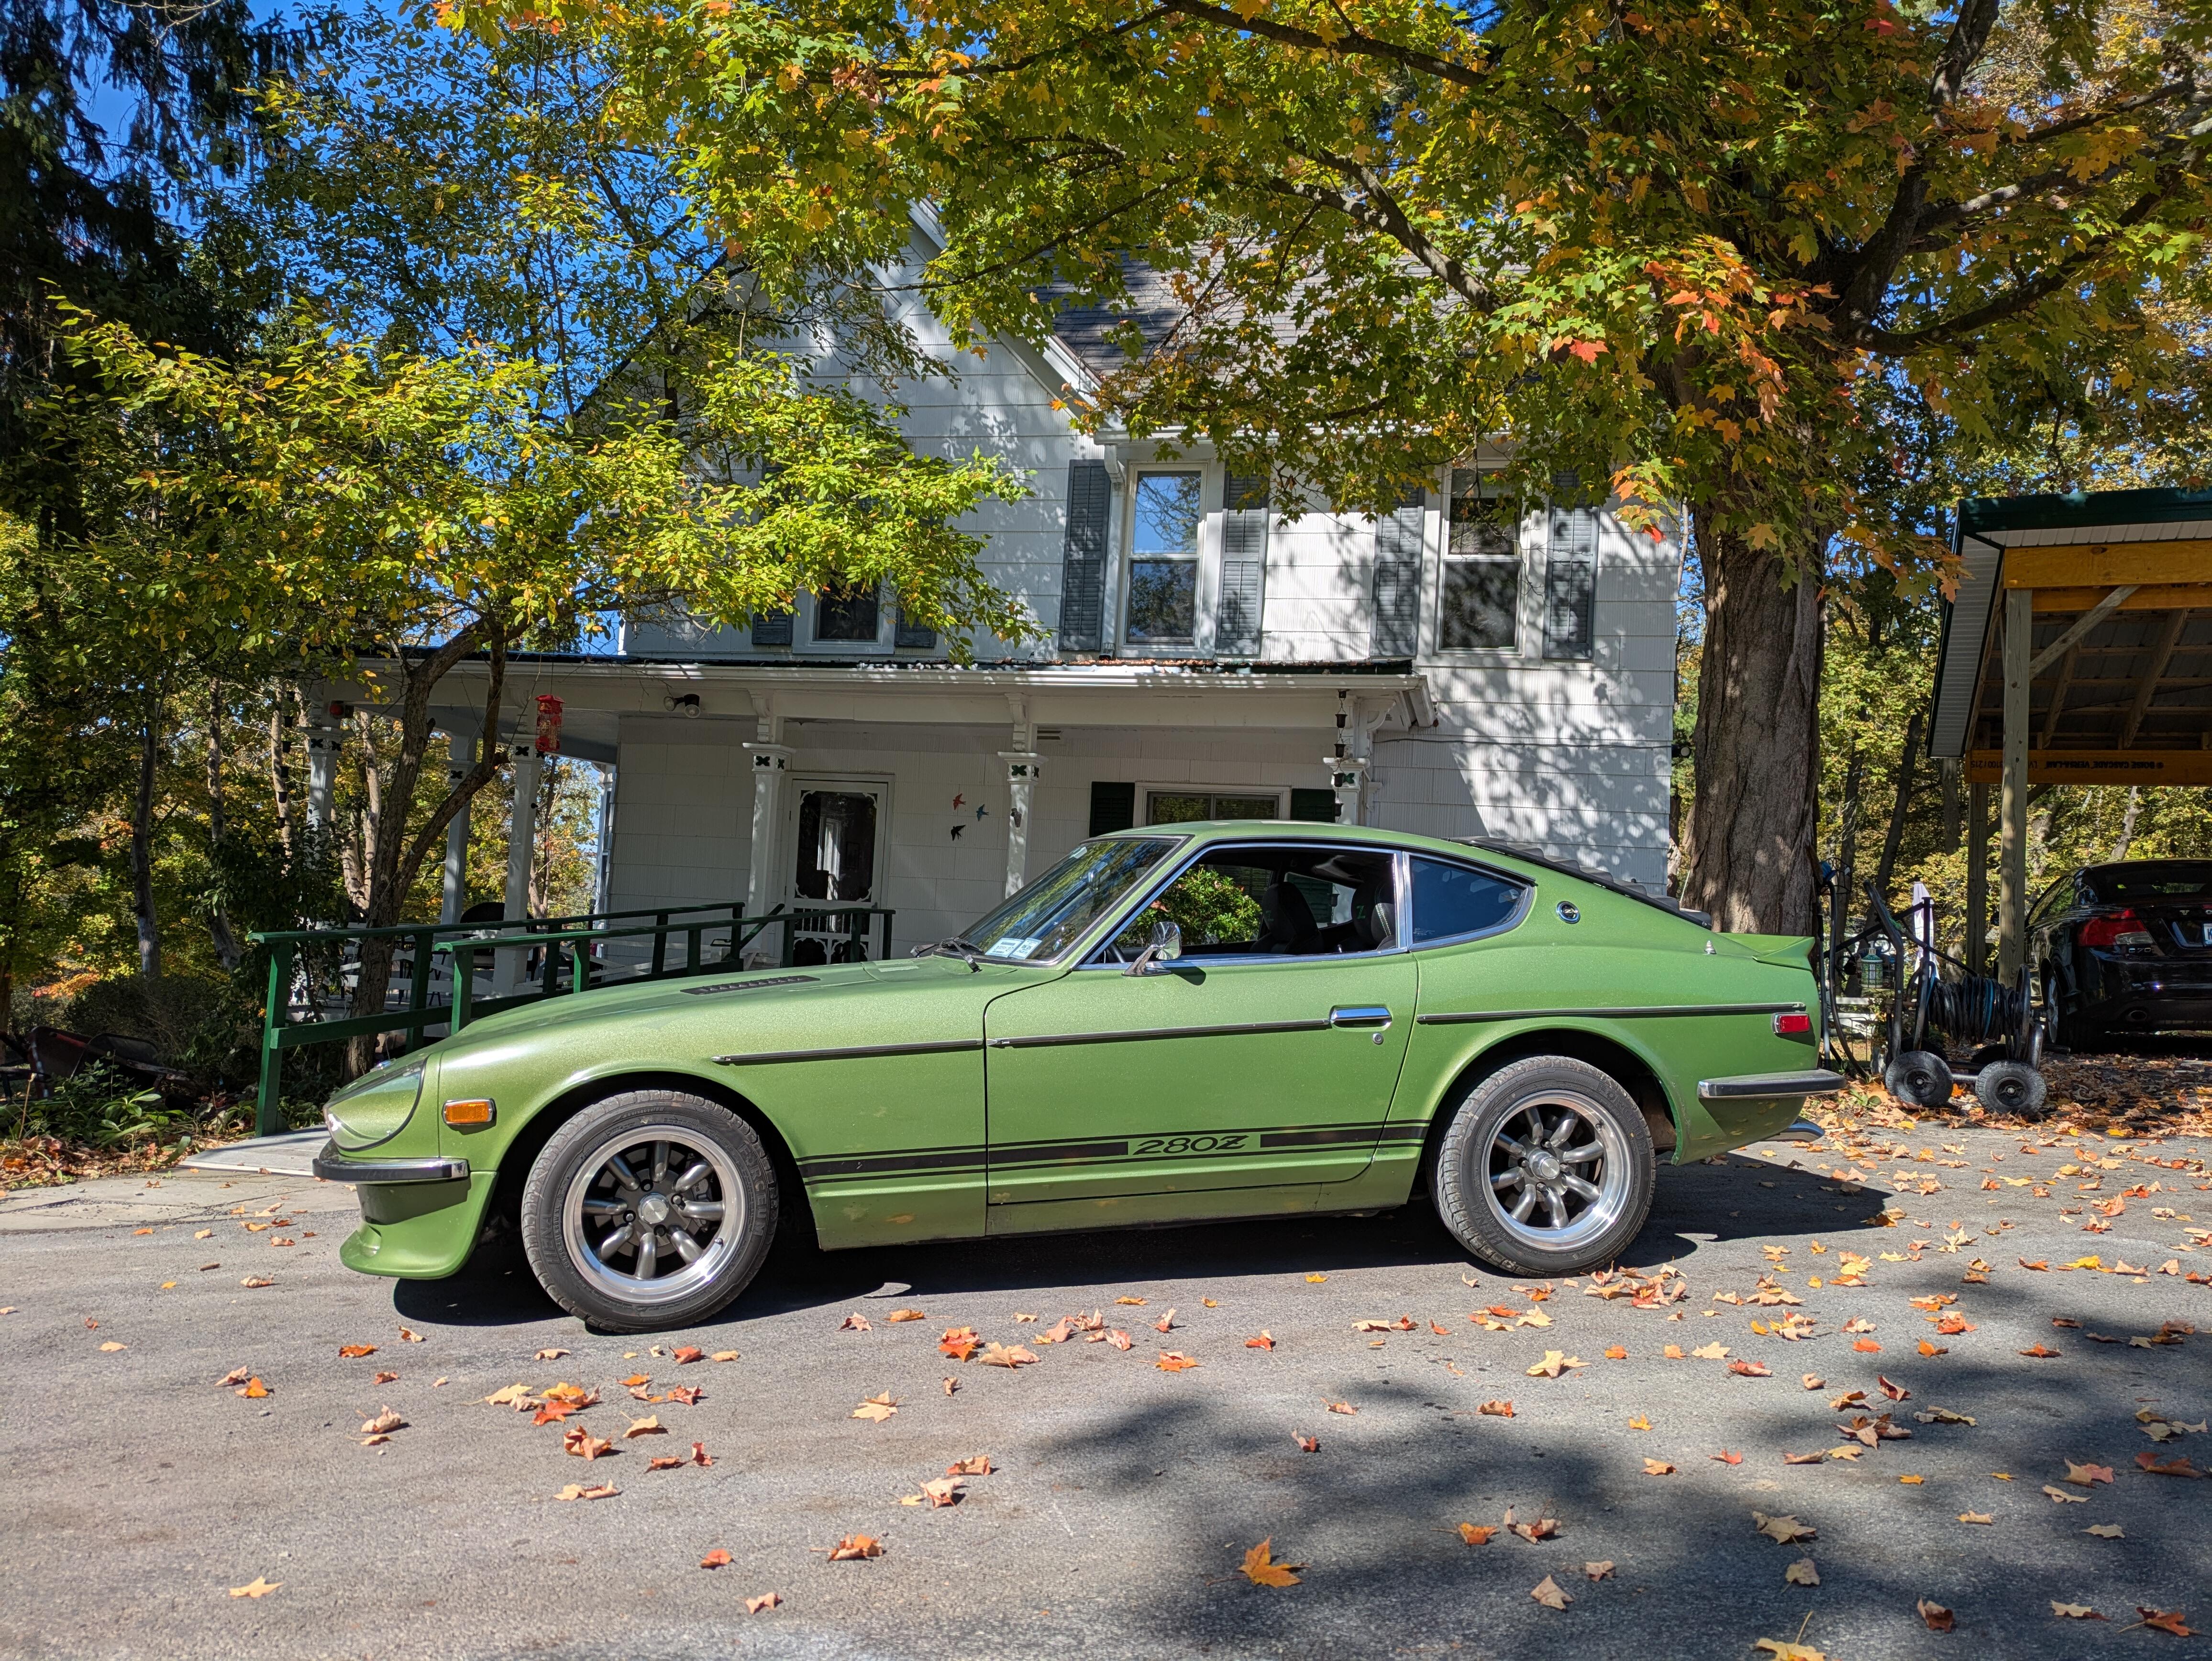
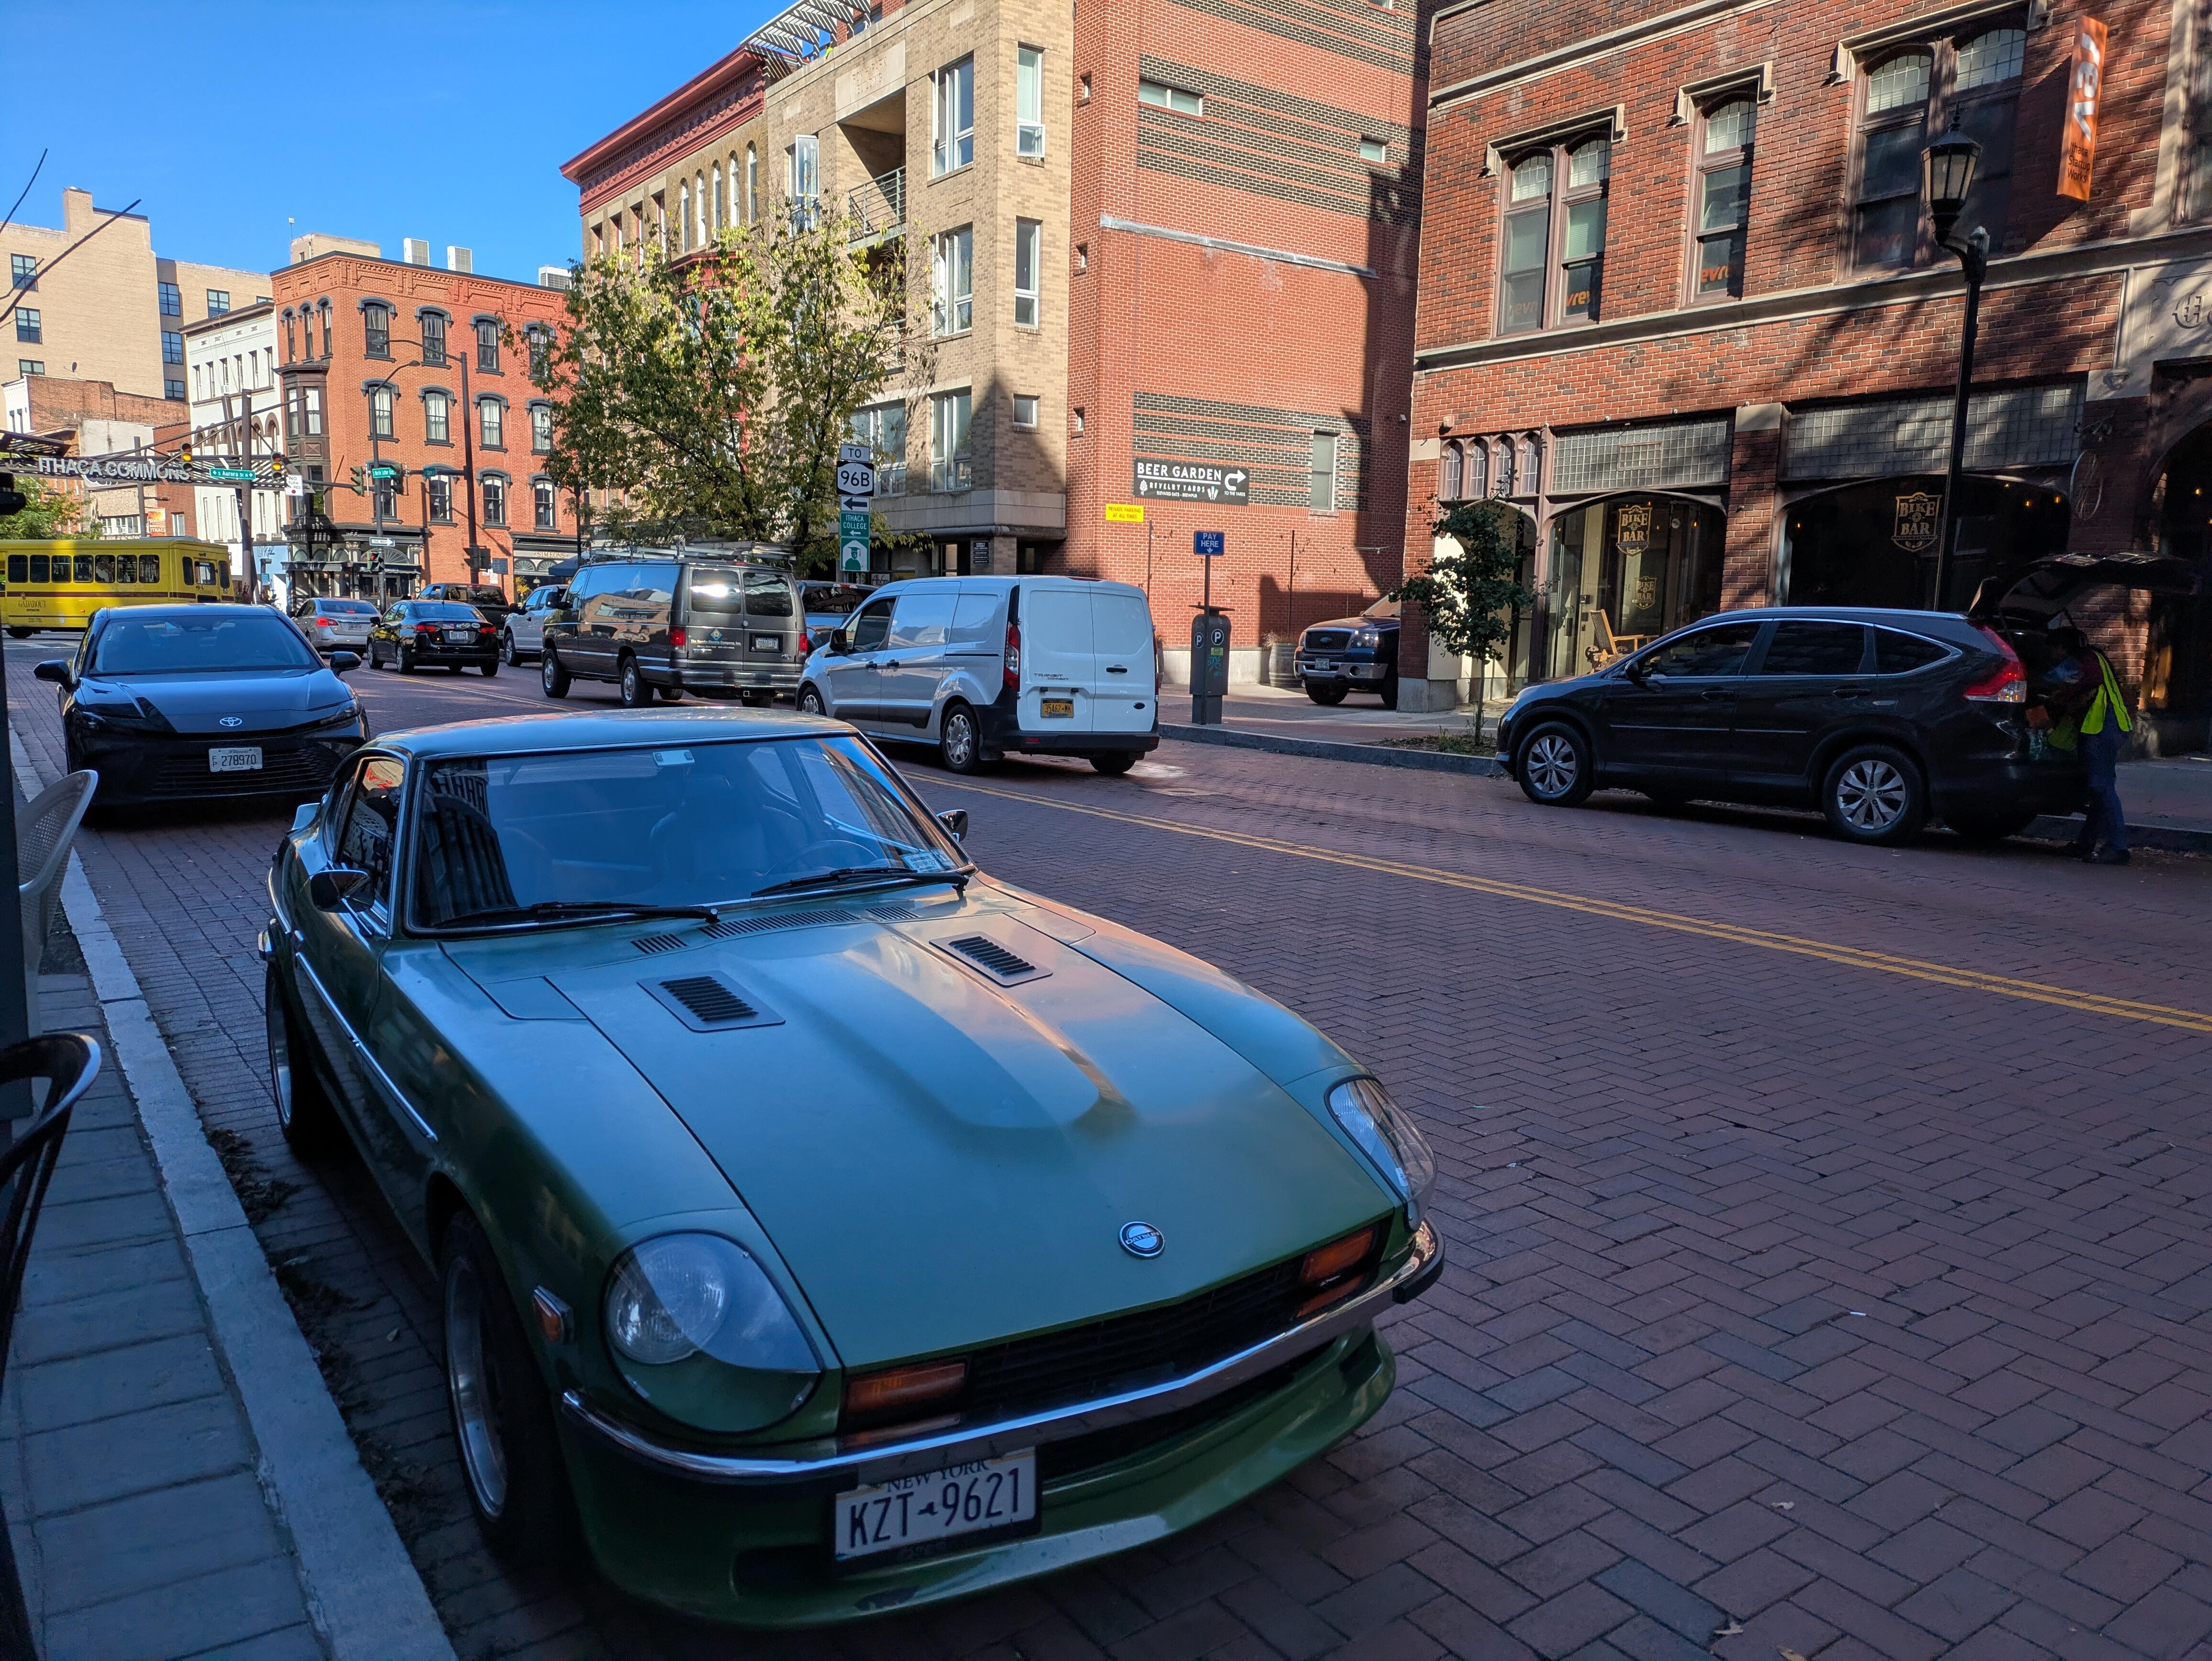
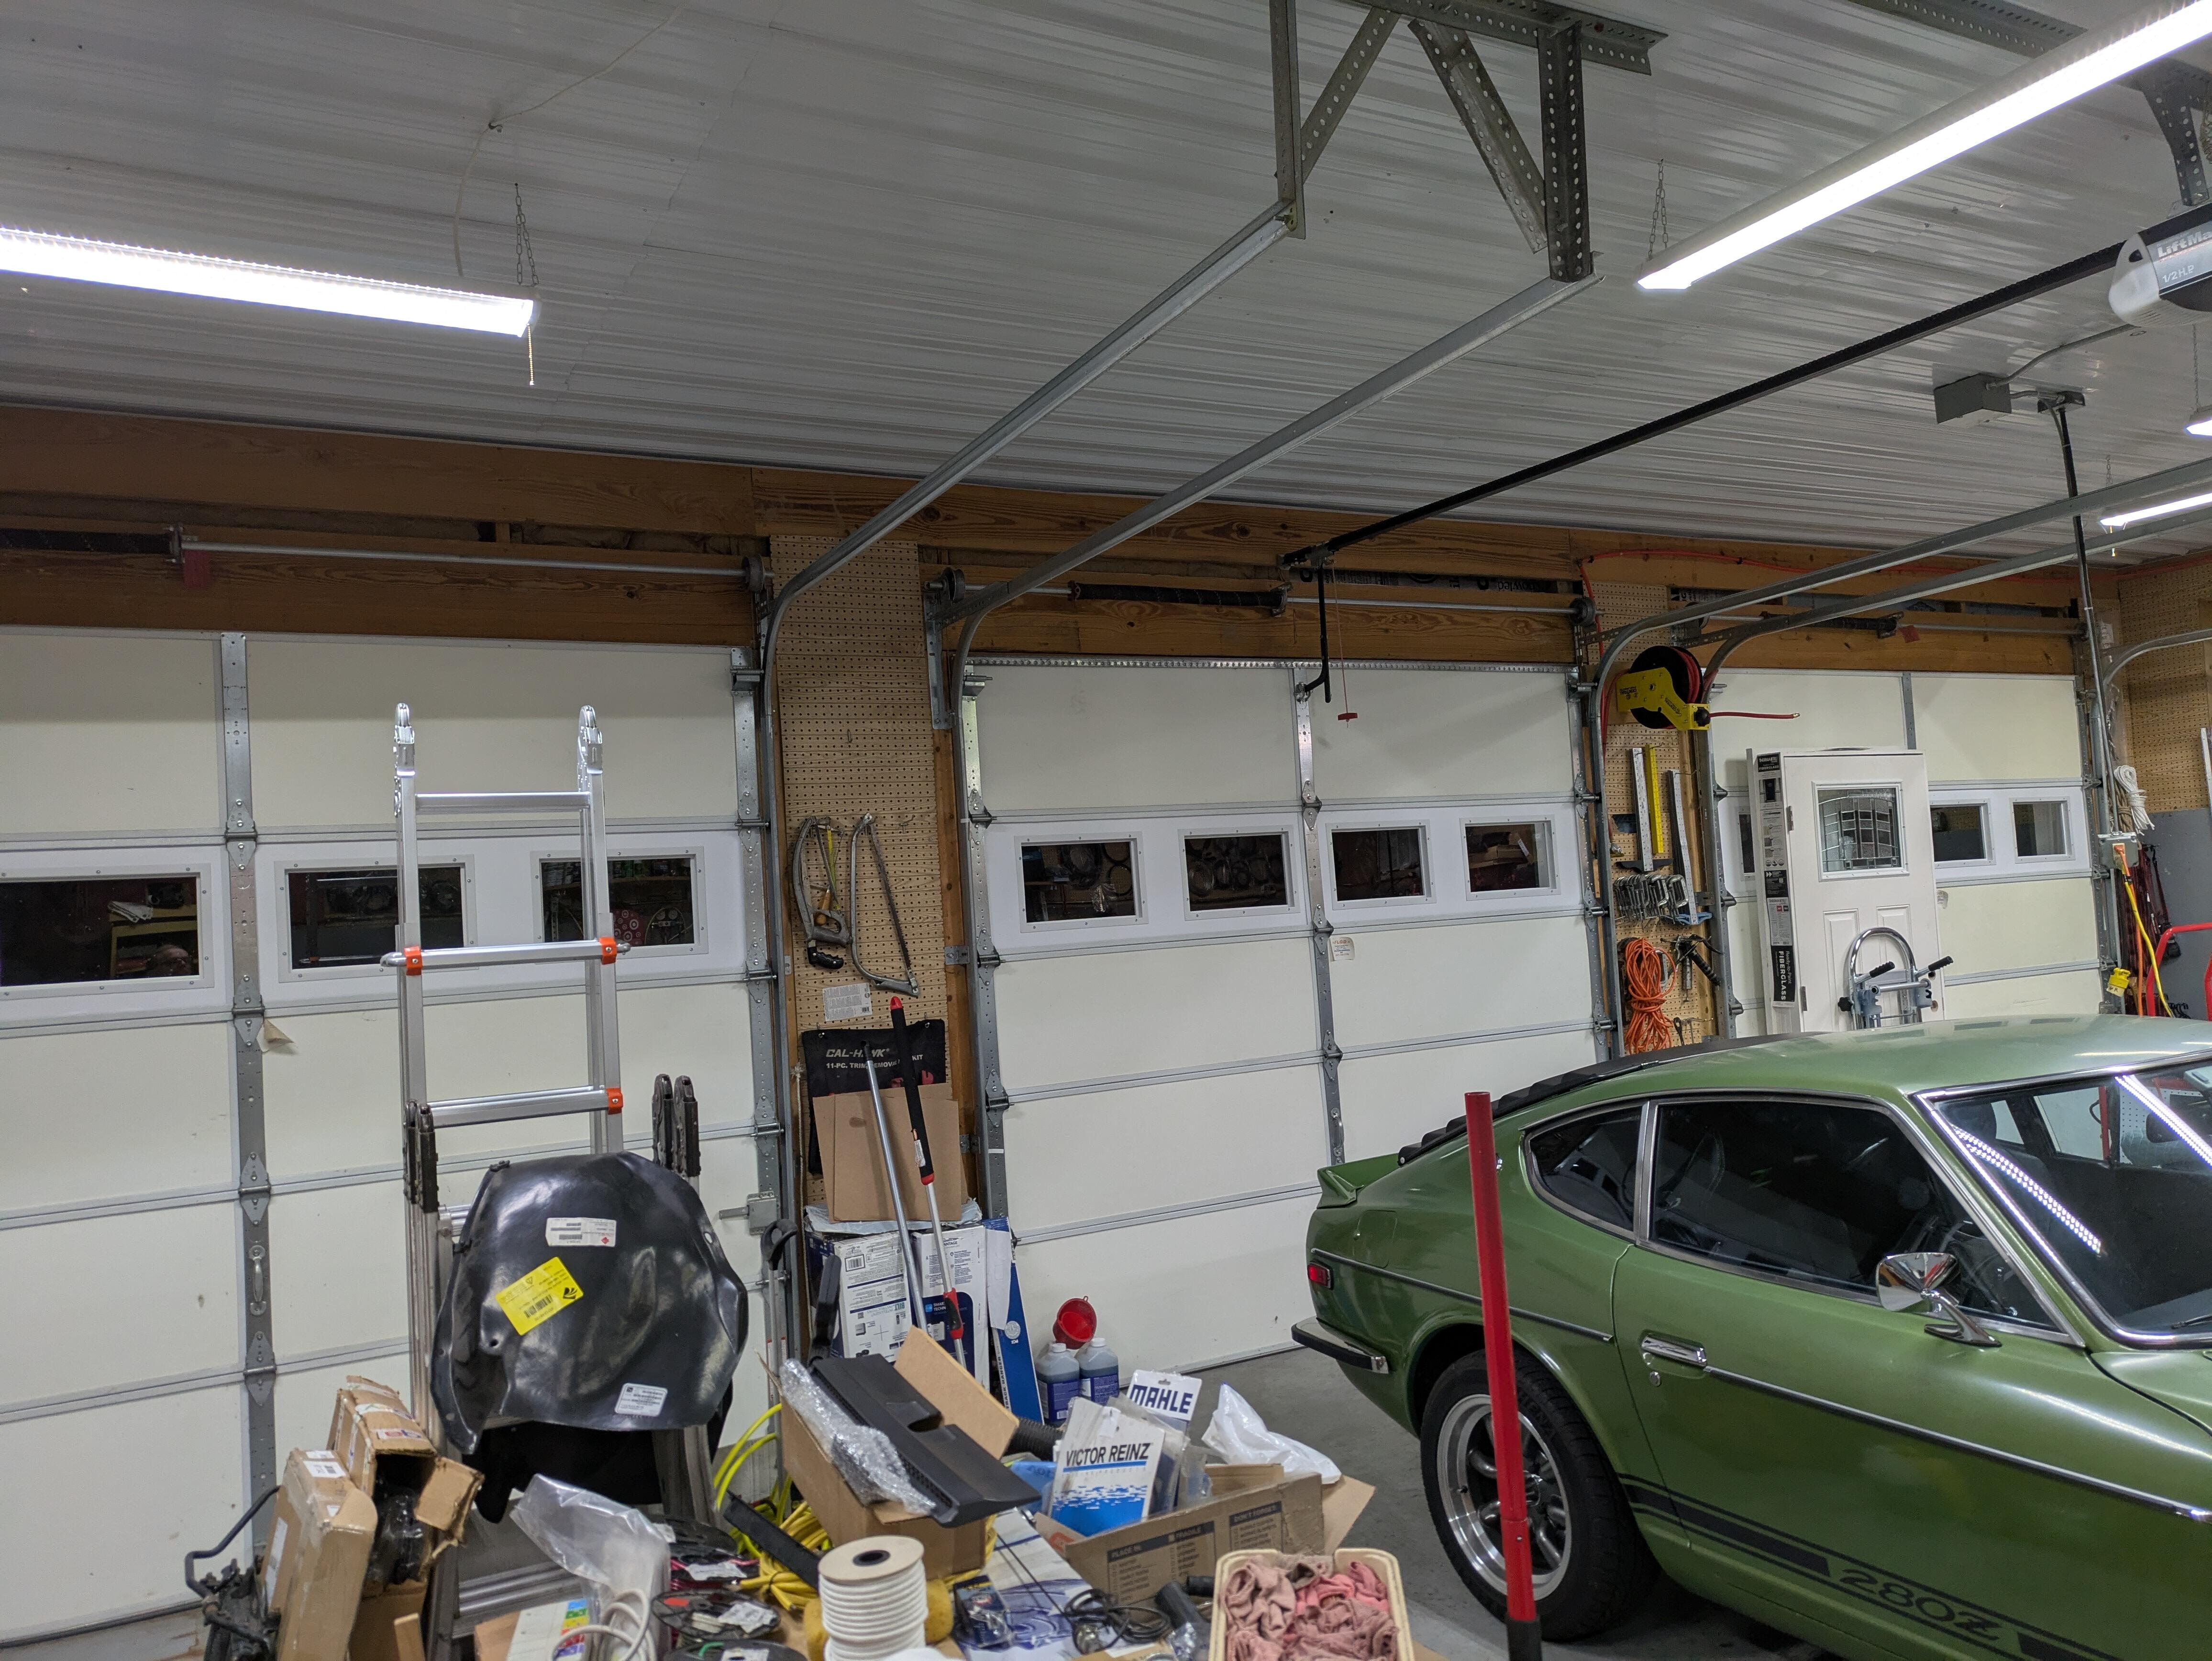
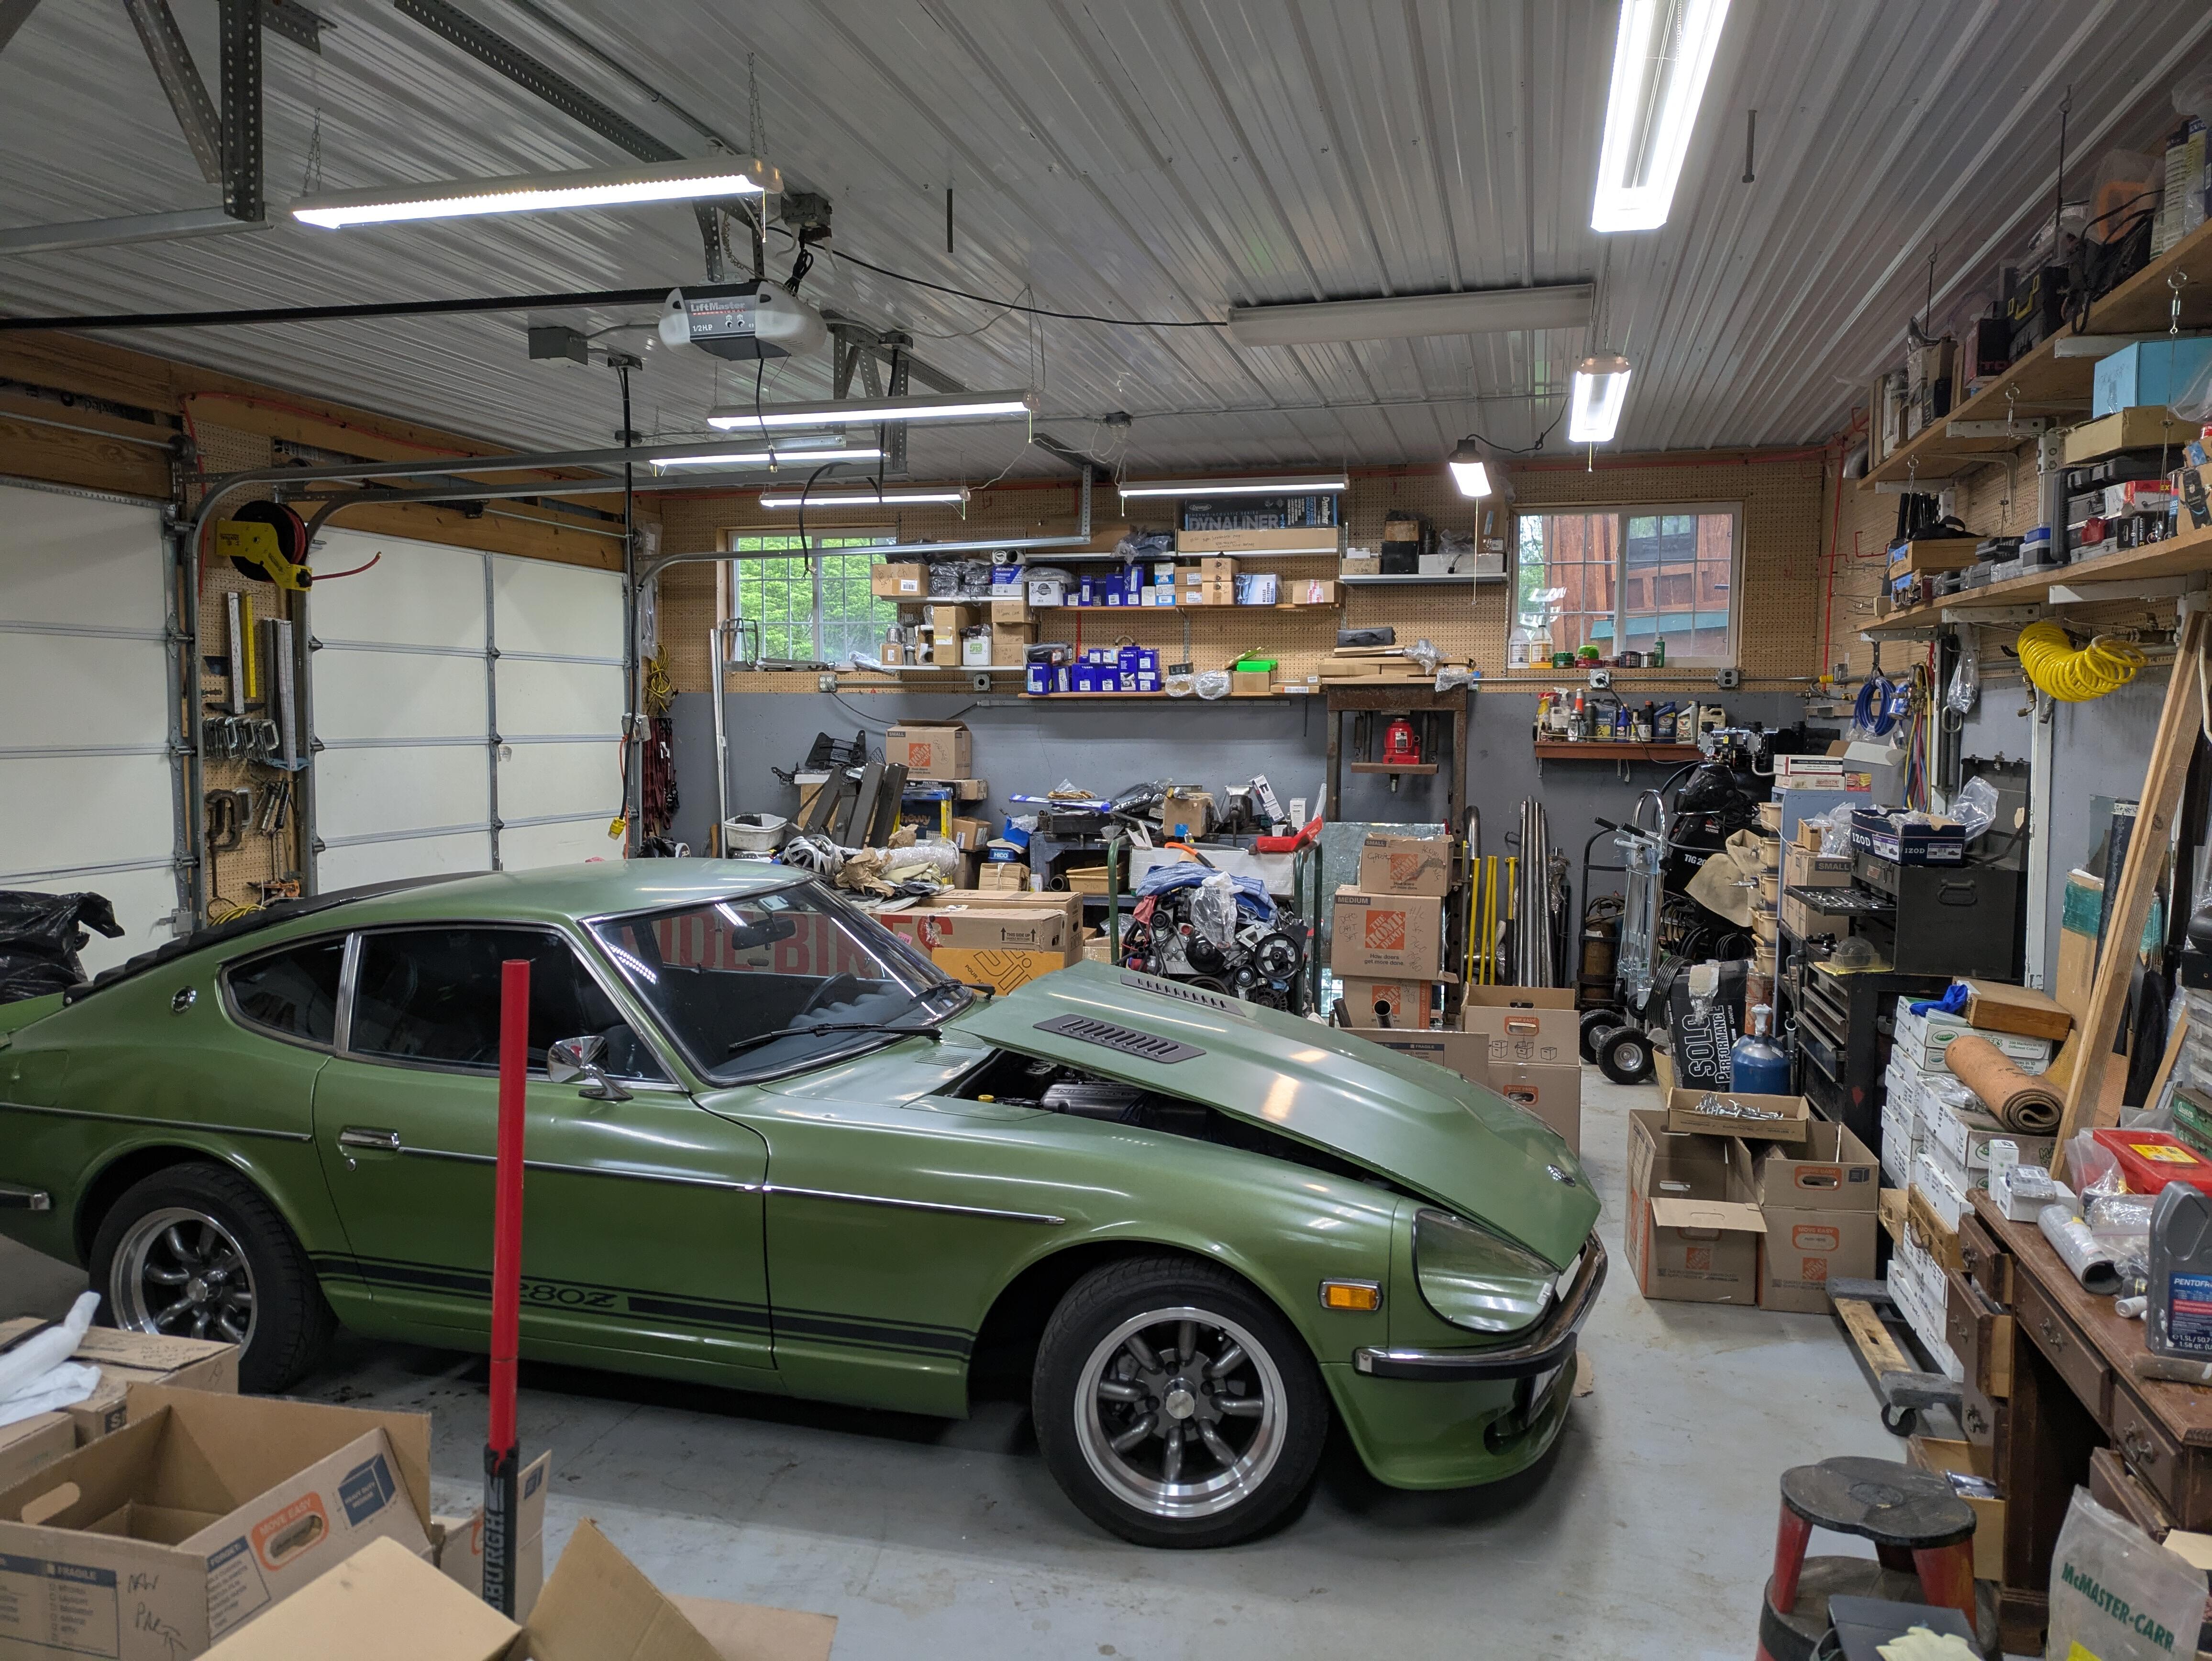
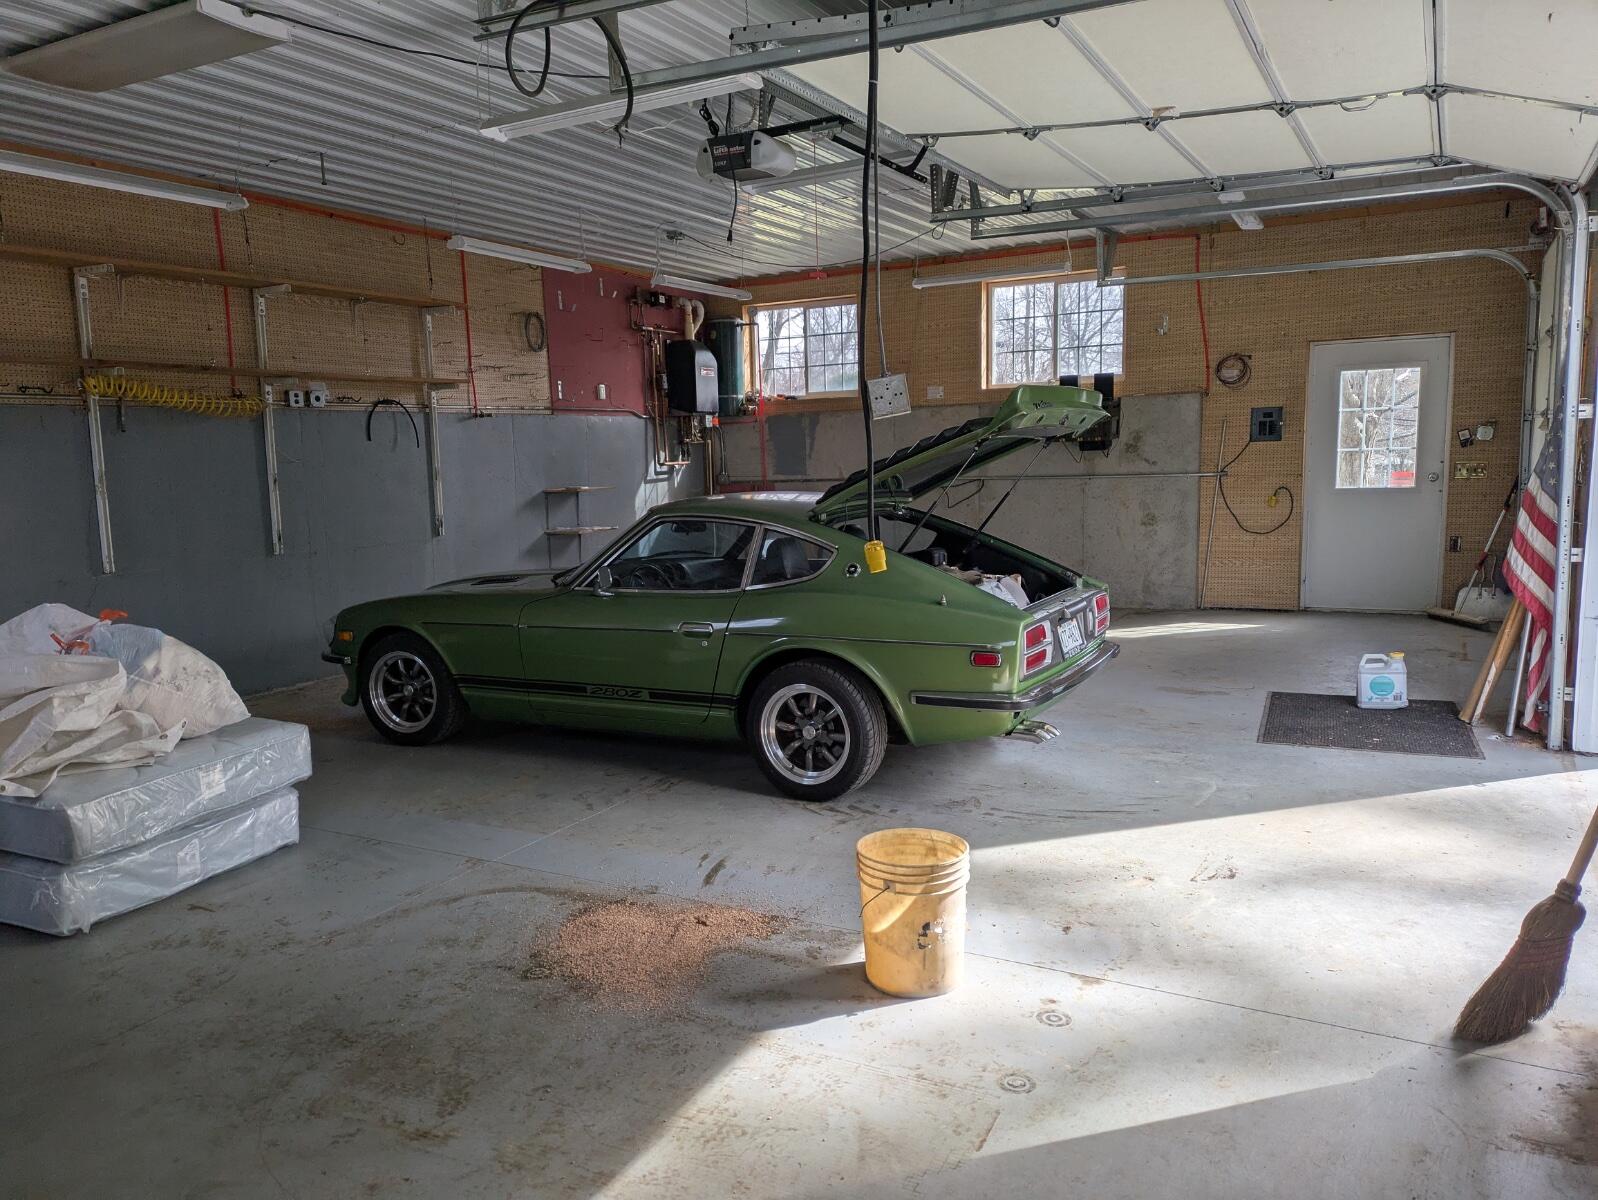
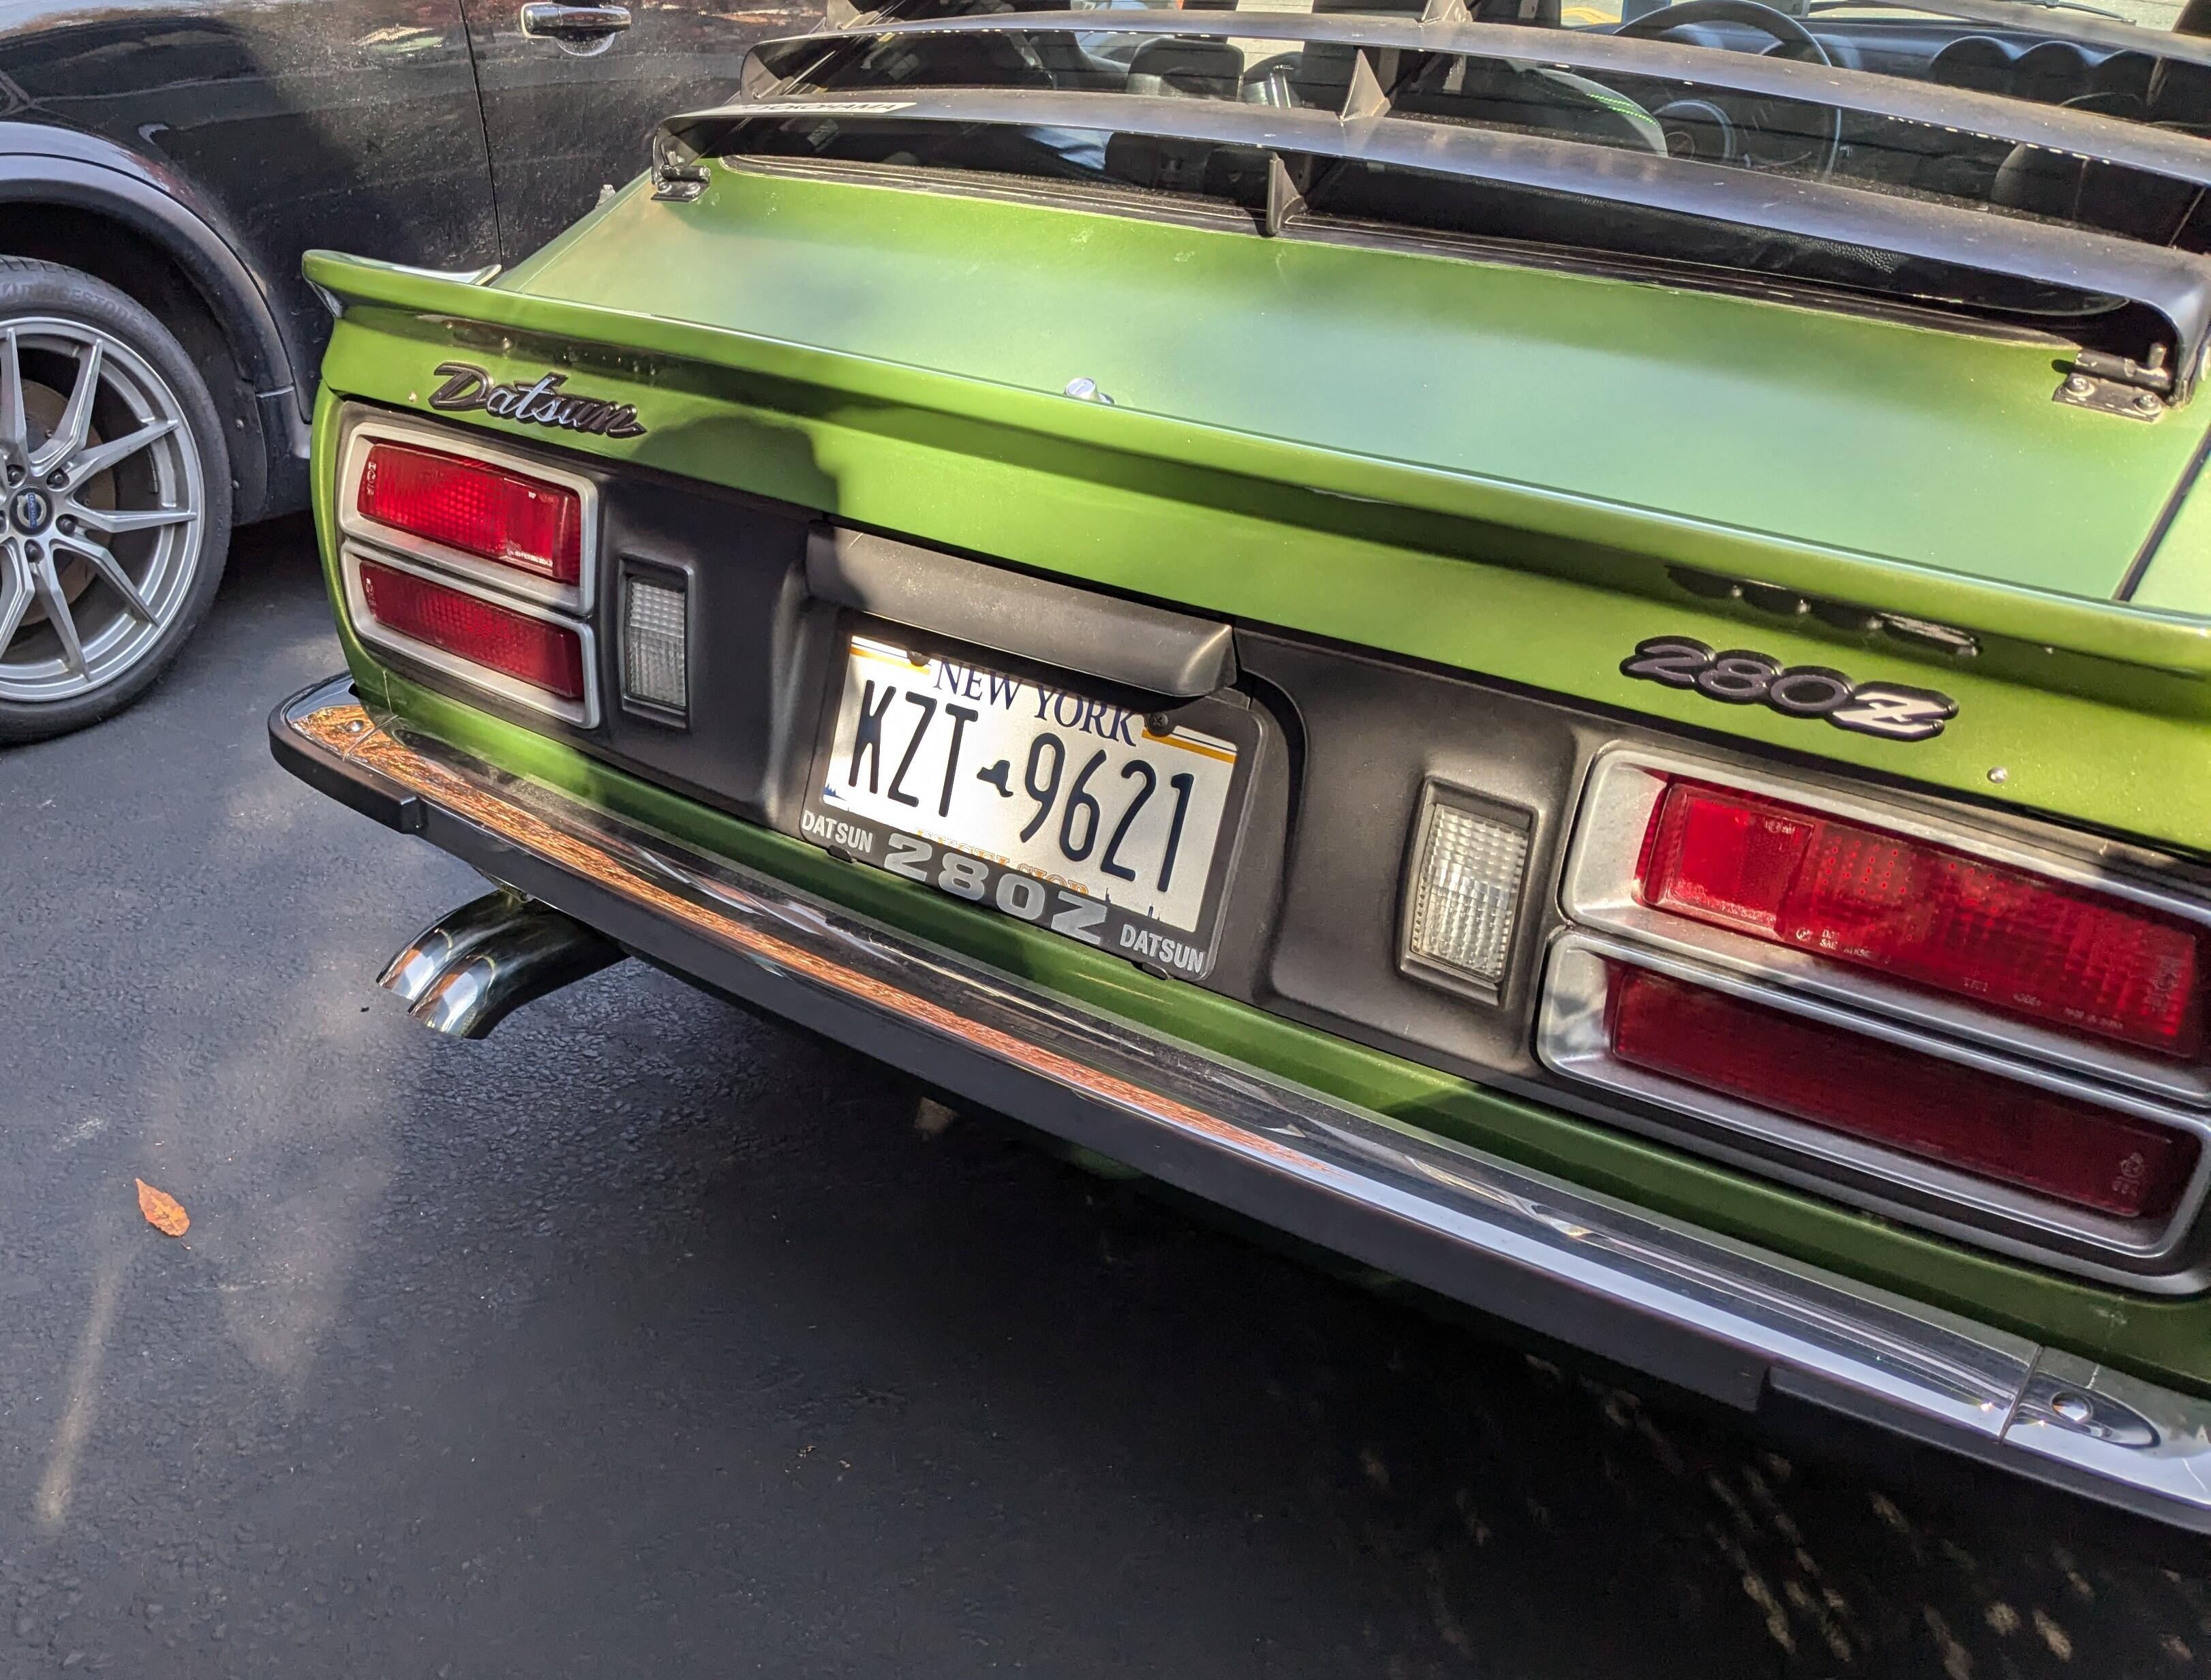
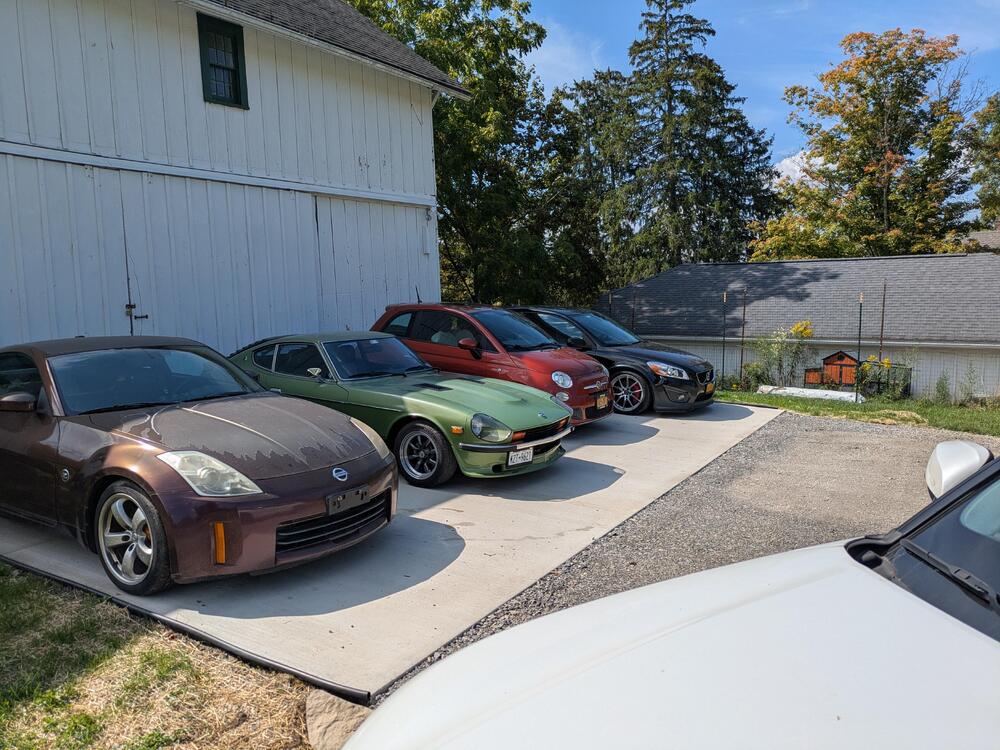
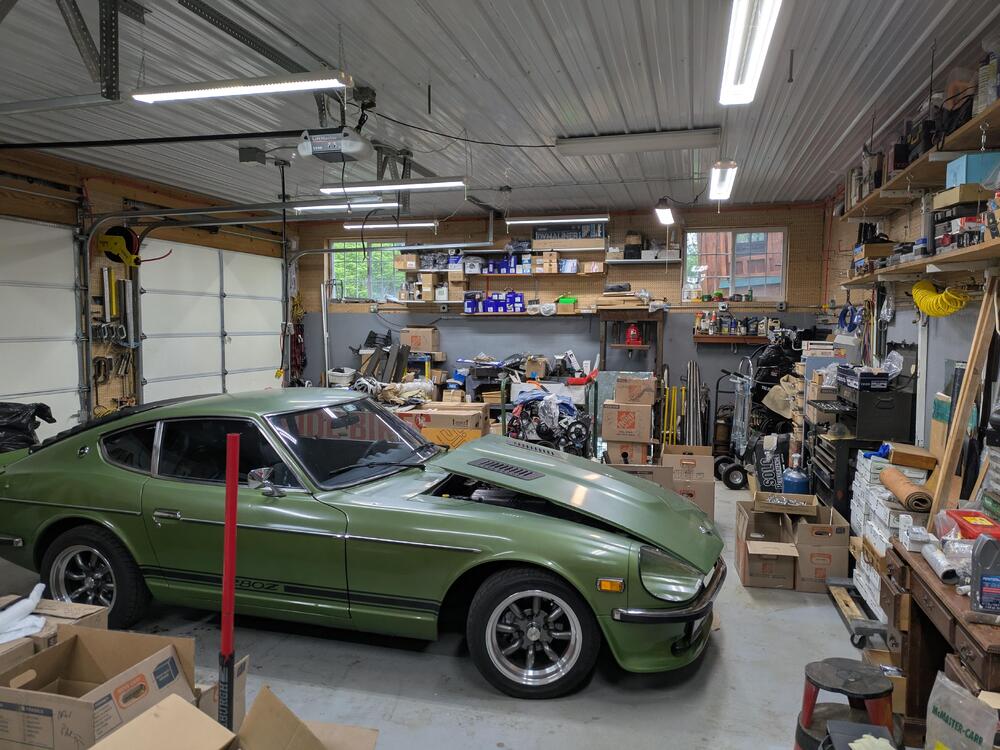
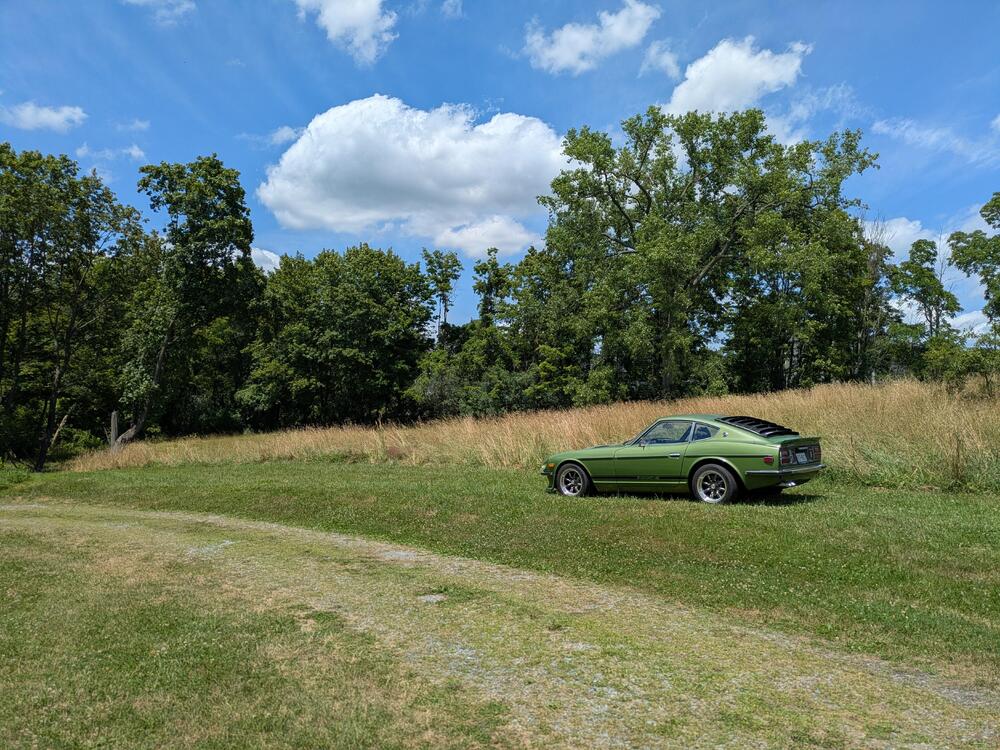
Moved upstate to Ithaca NY back in April. Had the 350Z shipped up ahead of us, then took the 280Z on. a clear day. Still no work on the cars yet, still setting up the grounds, garage & house Garage was used as. workshop, so it has a couple of 240 circuits, air compressor lines & ports, and radiant heat. Little more cluttered now, still working on setting it up Added glass panels to each door for more light Outside garage back in April: Better weather Adding slabs outside the barn & garage for me to work on - there are no flat/level/safe areas on the property outside of the garage


-
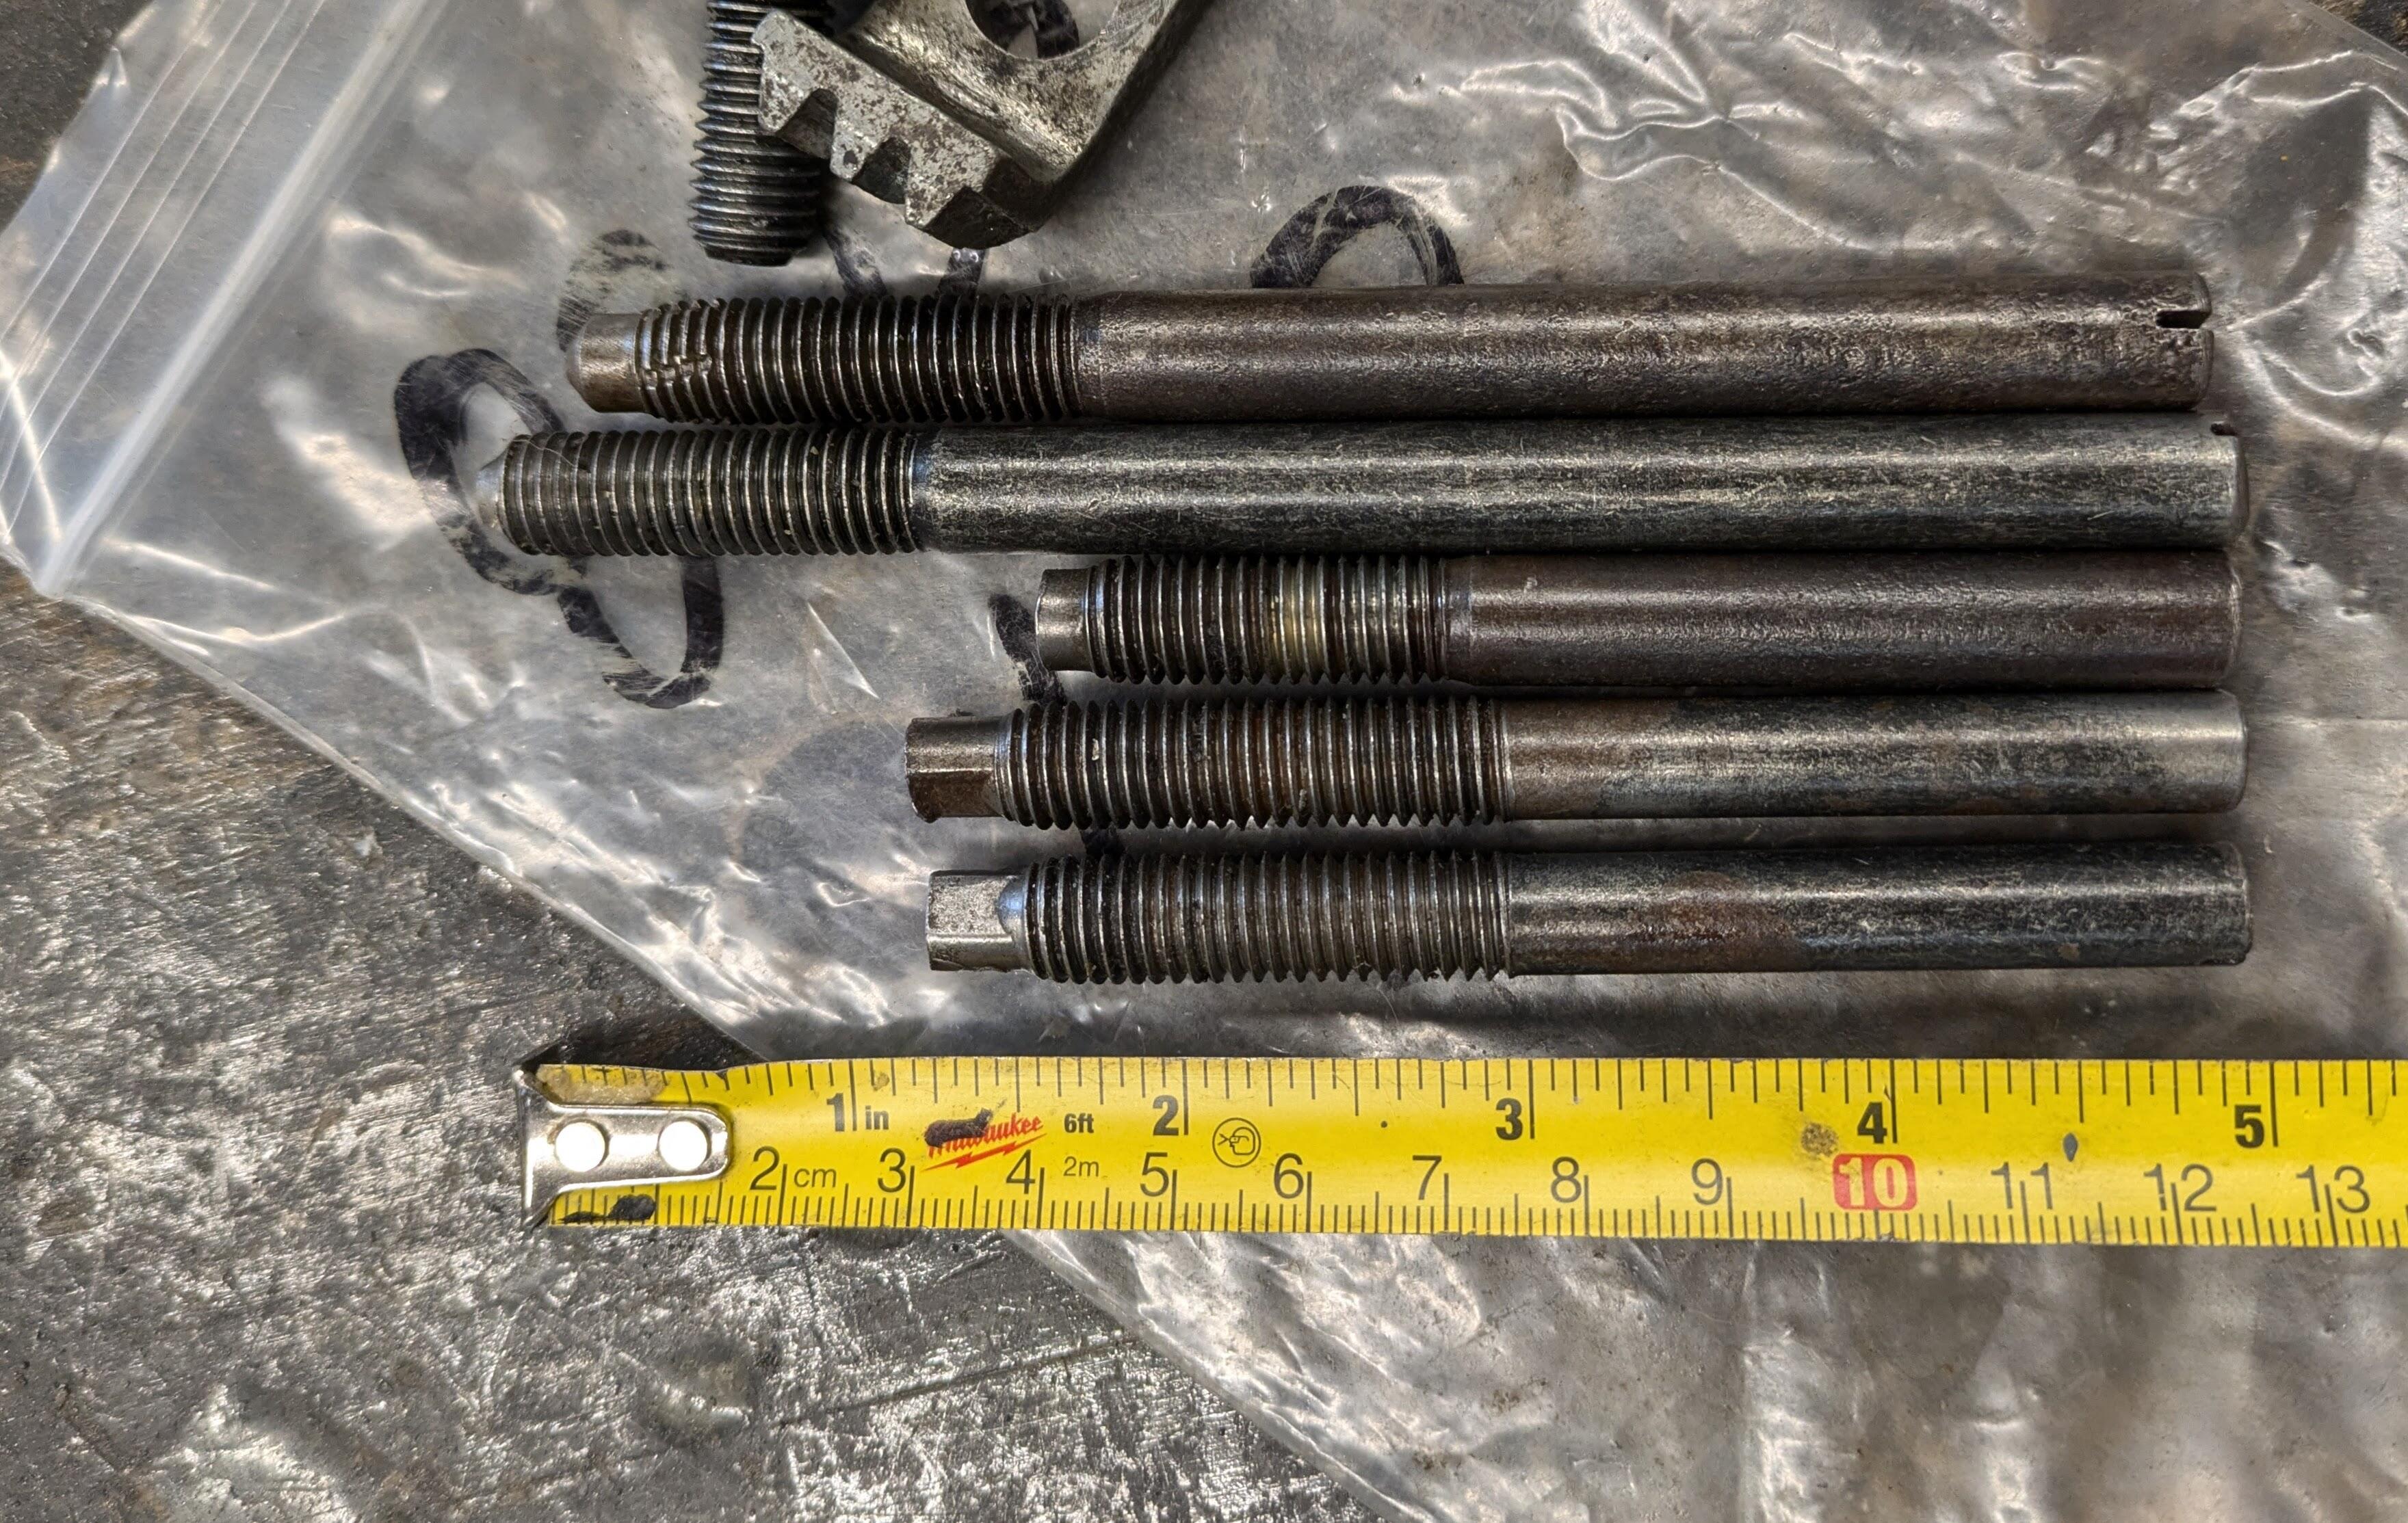
Don't forget to grind back the shifter base above the pivot (fore and aft), or it will hit the casing - at least my 75 shifter in the 280ZX 5 speed did

-
Sorry I wasn't clear - I used 2 short & two long - my pic had 5 - 3 short, but I only used 2 of those. 4 in total

-
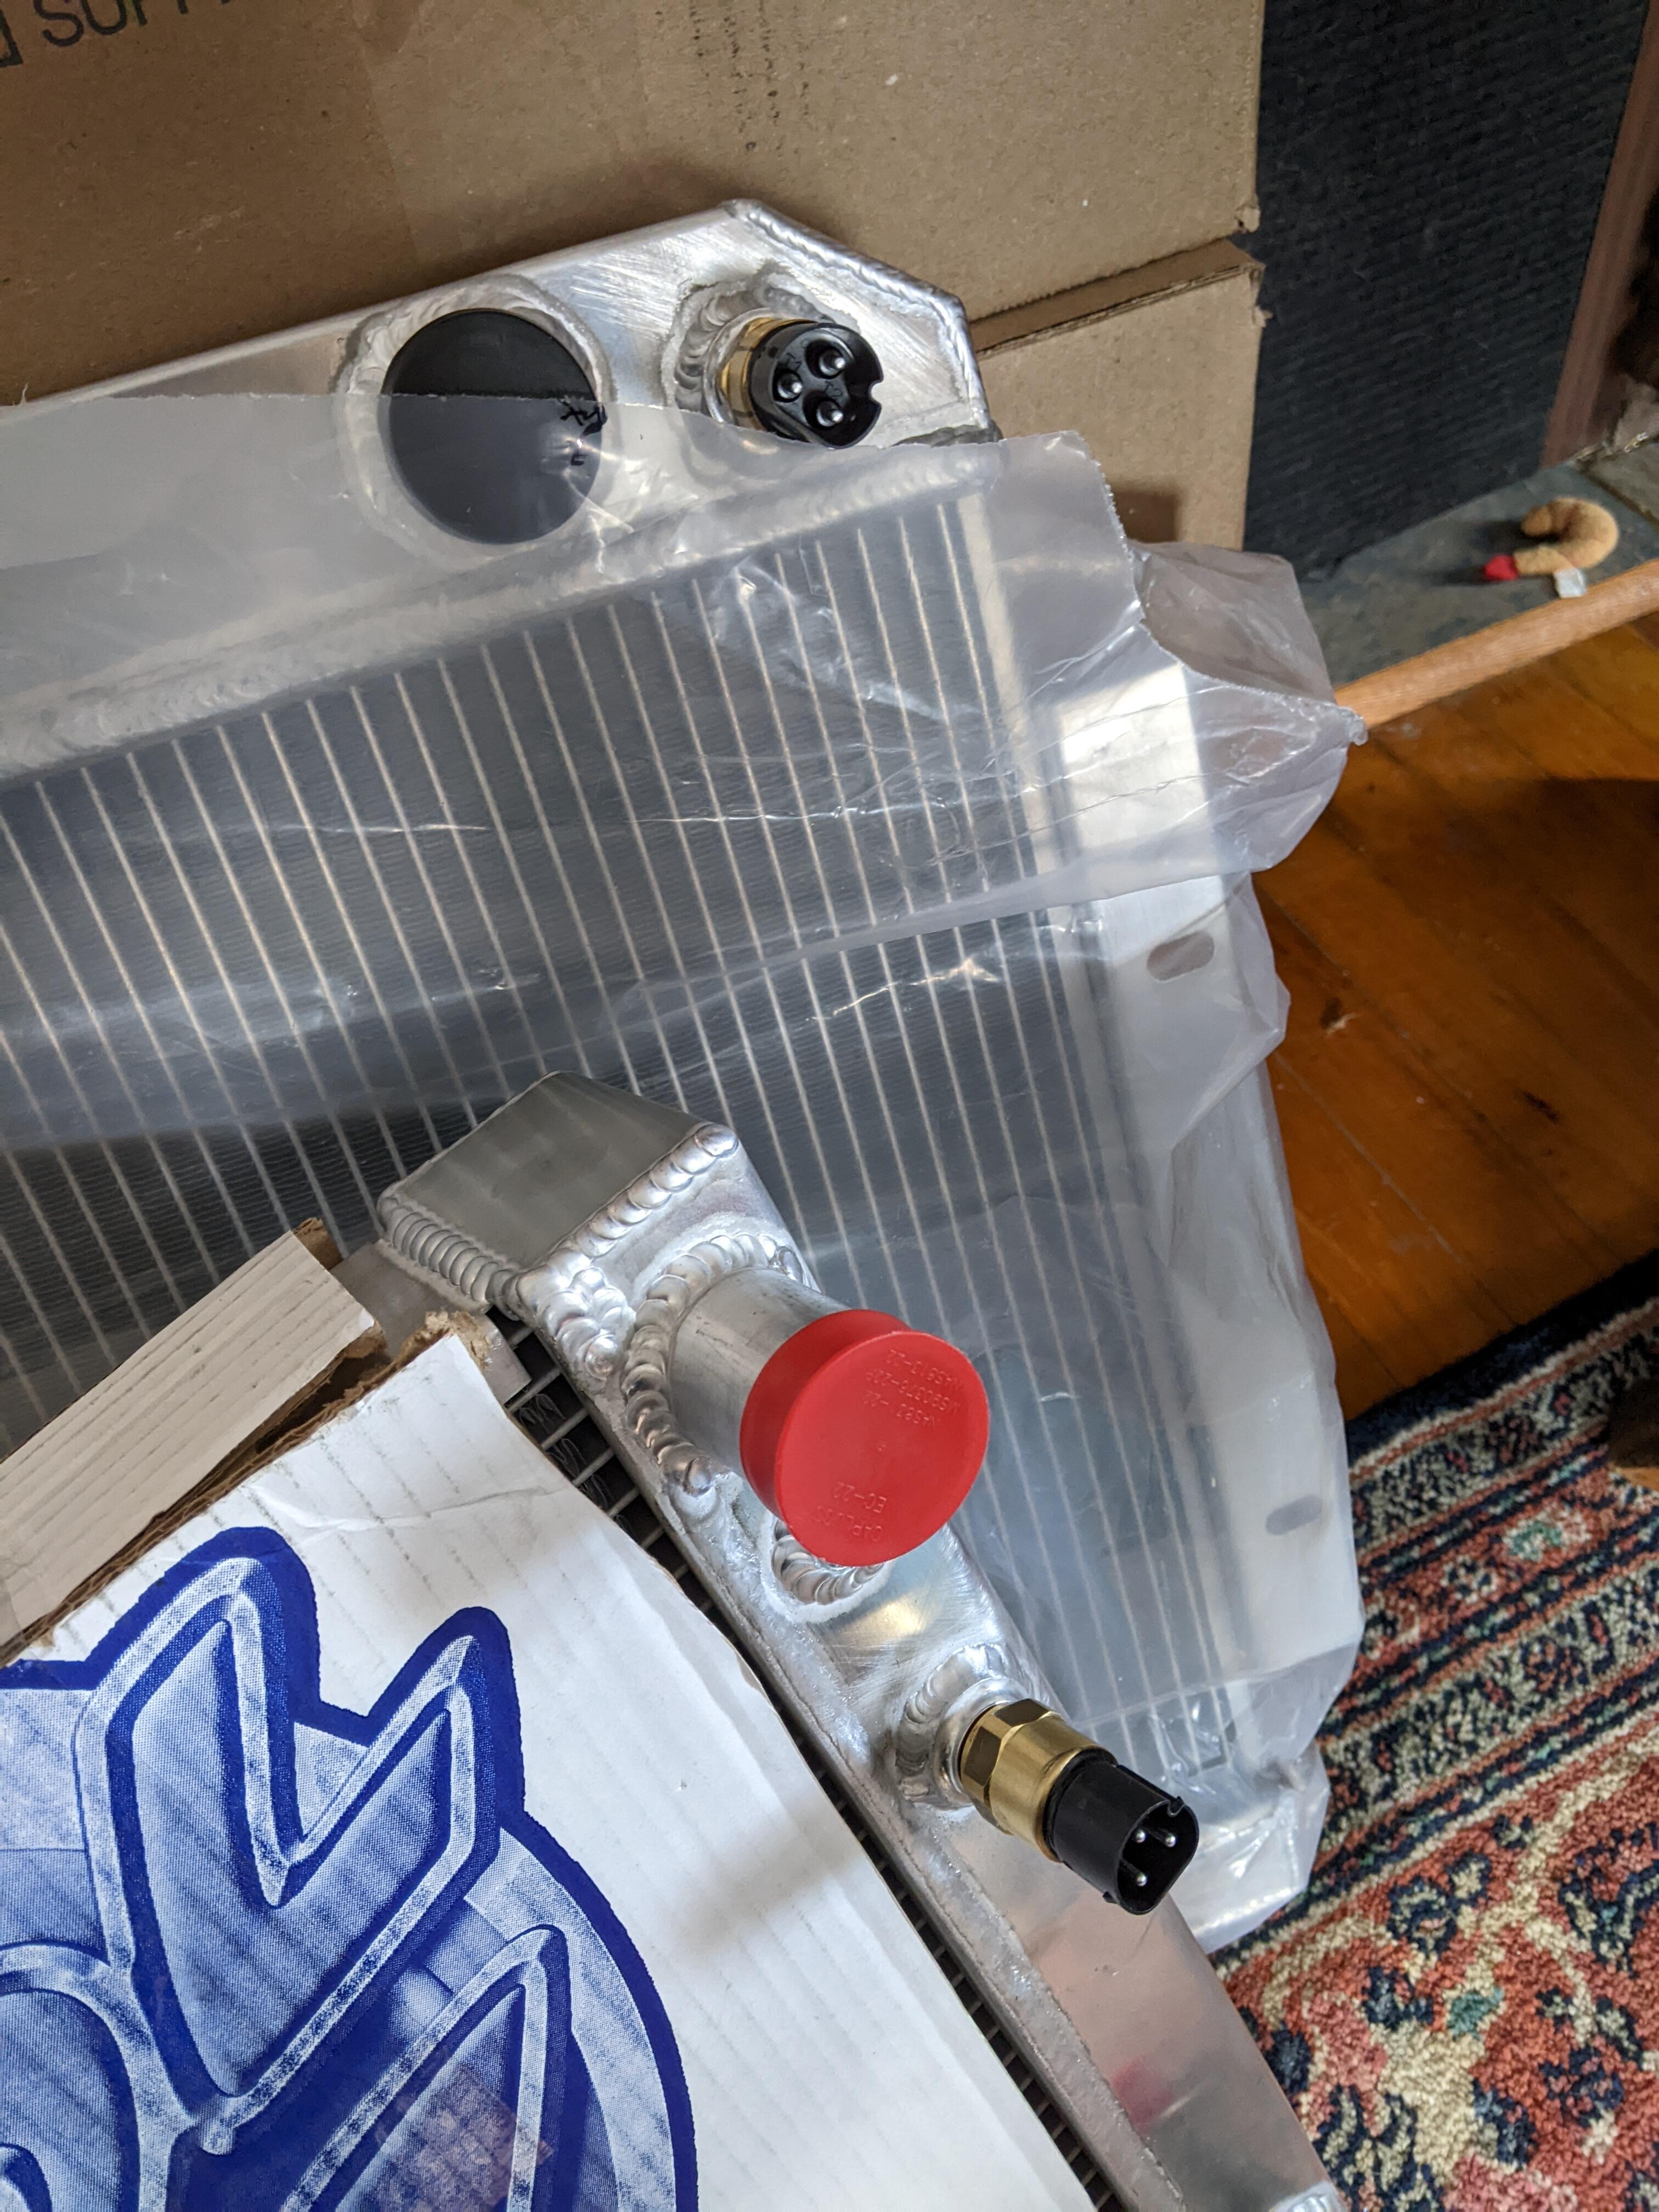
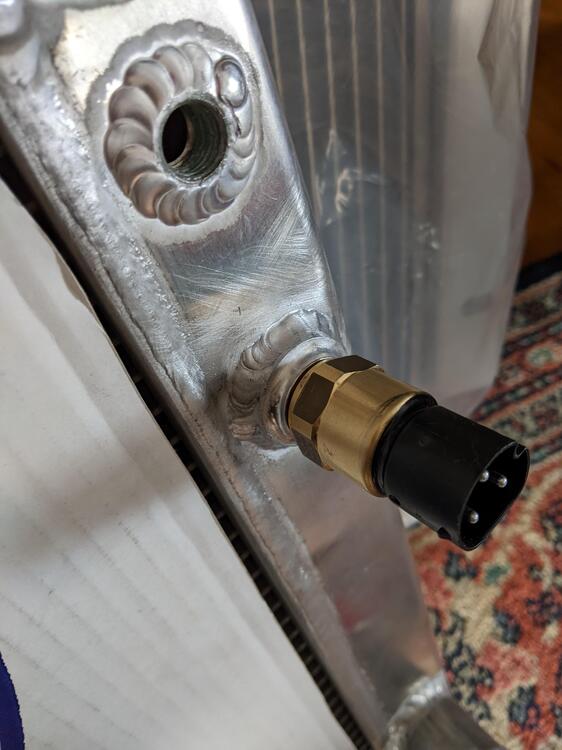
Got the 2 speed eFan sensor bungs welded into the 2 radiators intended for the V8 740, and the V6 280Z. Using the same BMW sensor I used on the X1/9 install. My aluminum welds are just not clean enough for this type of work.

-
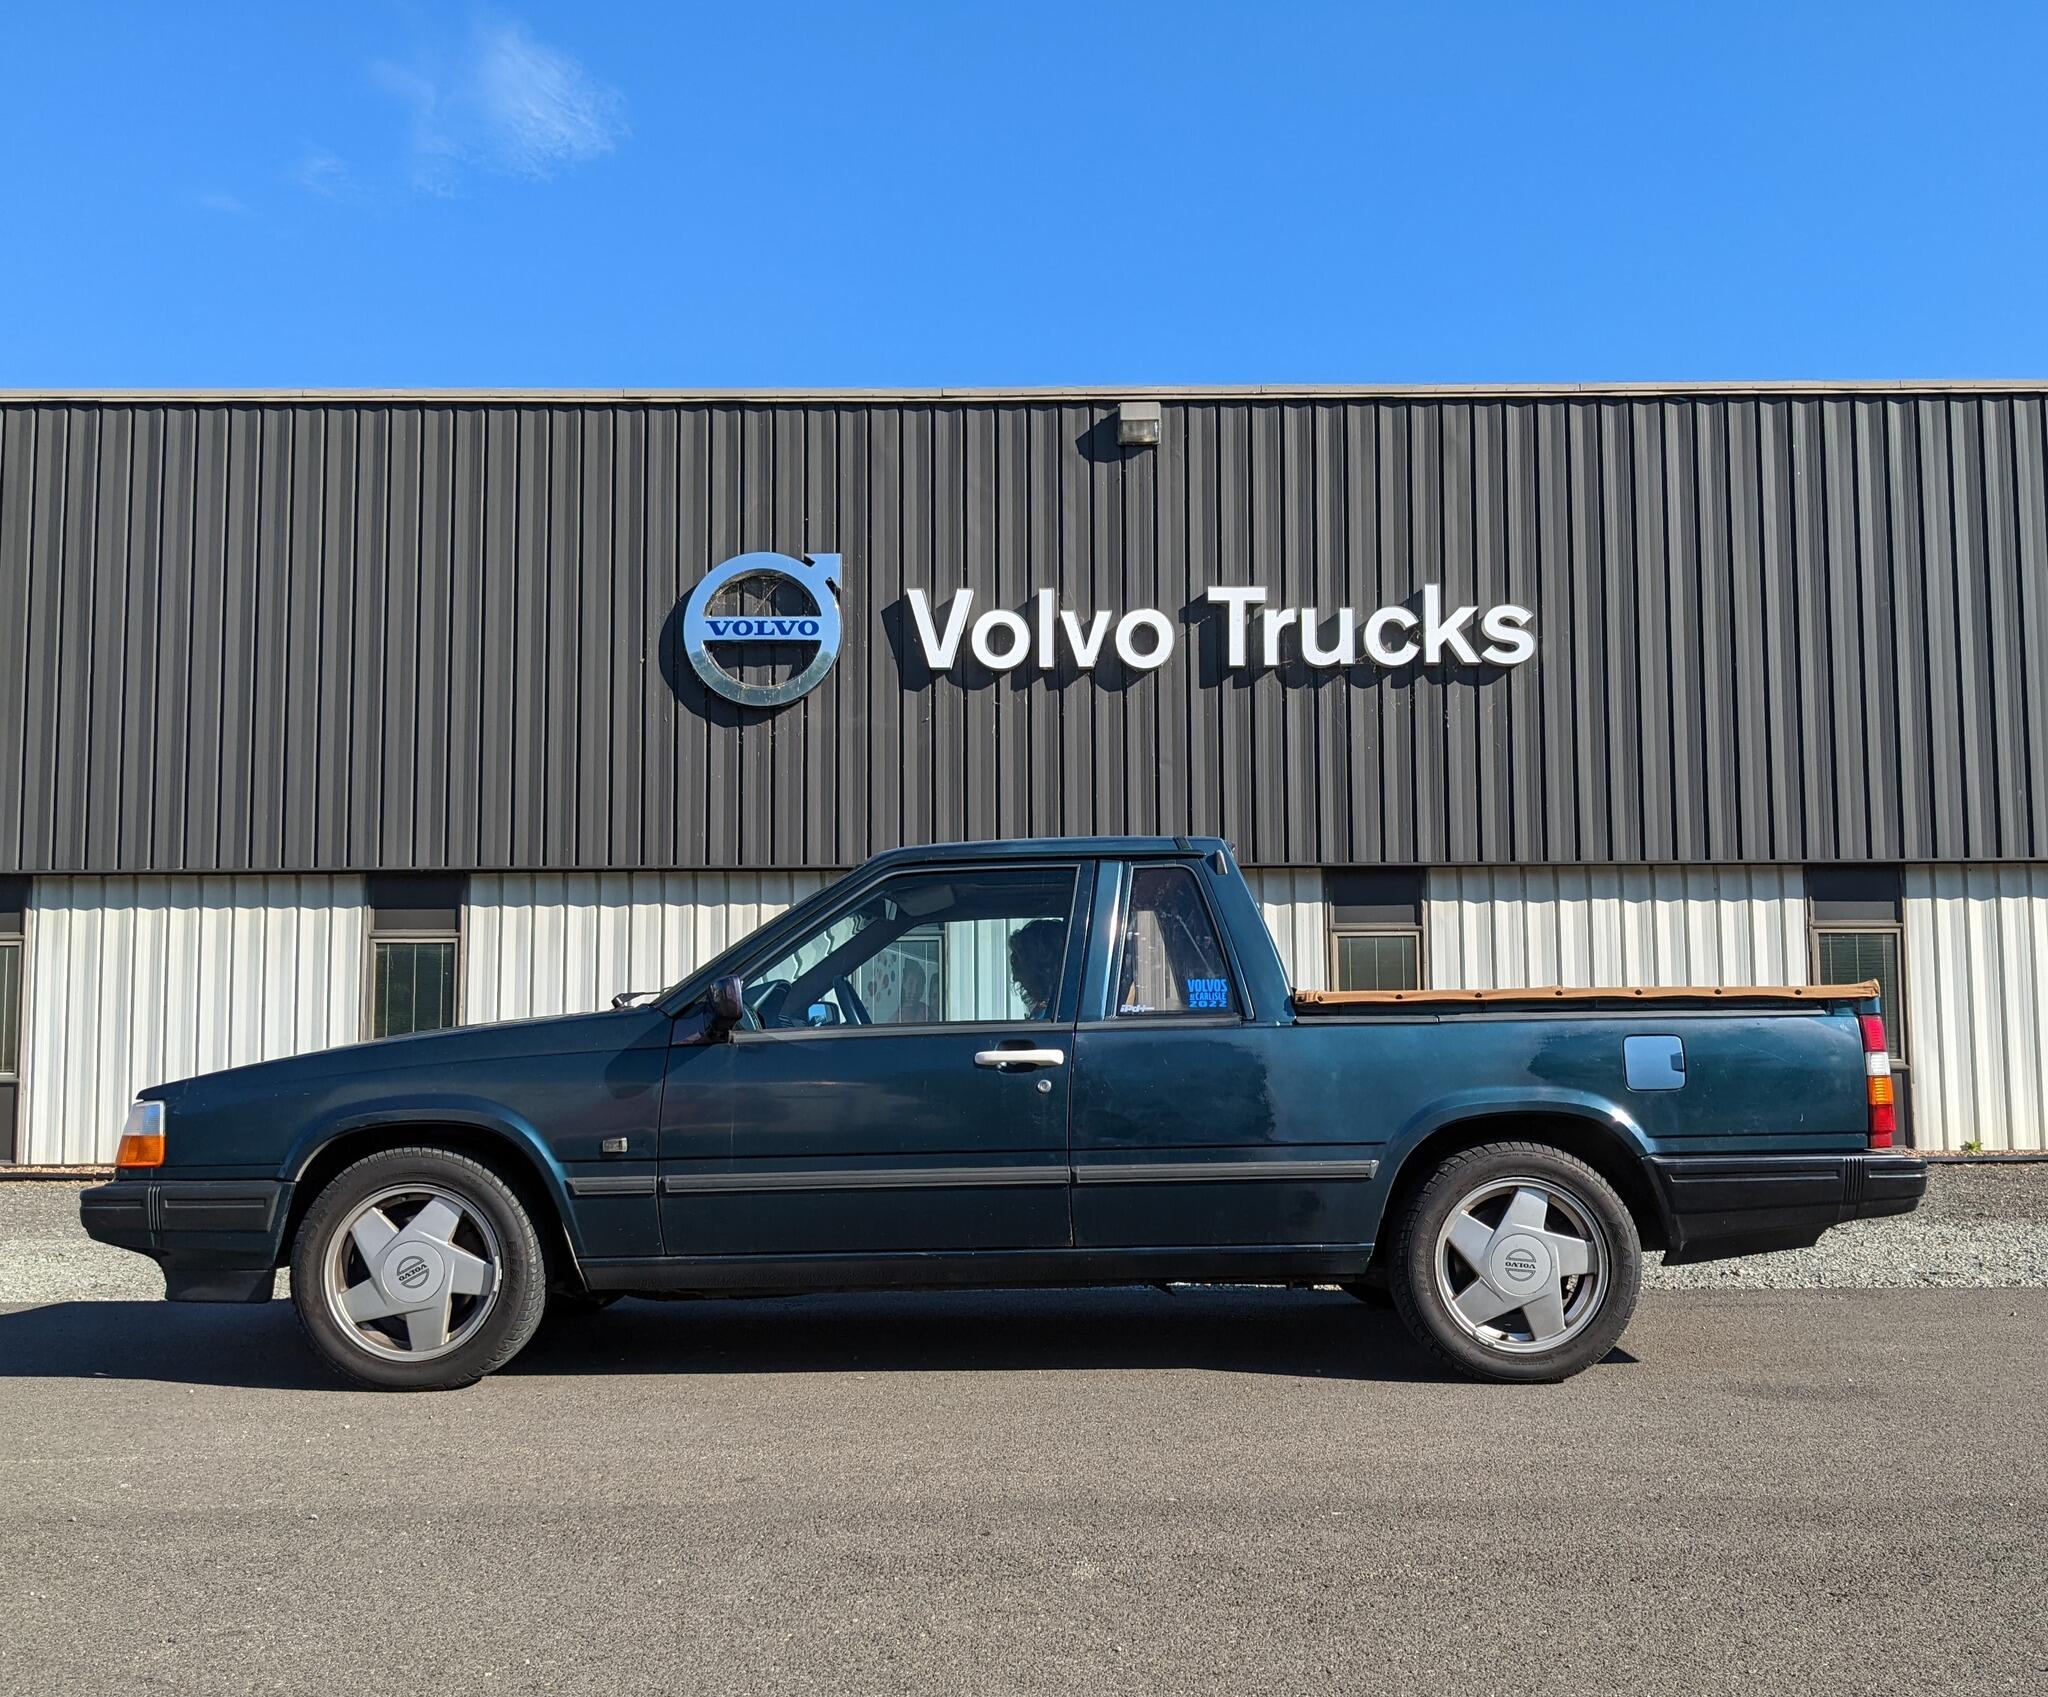
Been working on the LS-into-91 Volvo 740 Pickup. Prep work involved beefing up the rear subframe & engine crossmember. I decided to make a double-wall version of the rear subframe welded two together Then added cross bracing when that was all done Added outliers, so I also doubled the rear brace bushings After that was done, I worked on the front crossmember reinforcements Tie plates were added by Volvo for later models that had the whiteblock L6. The right side bracket was still available, so I bought that & used it to make the left side reinforced a bunch of unfinished seam welds added some additional bracing where they are known to crack on V8 installs additional boxing on the top side decent pan clearance, I added 1.125" mount spacers (intended for V8 into Datsun Z swaps) converting to 6AN lines for the PS rack to pump More work to go before I get to pull the stock drivetrain & start the test fitting.

-
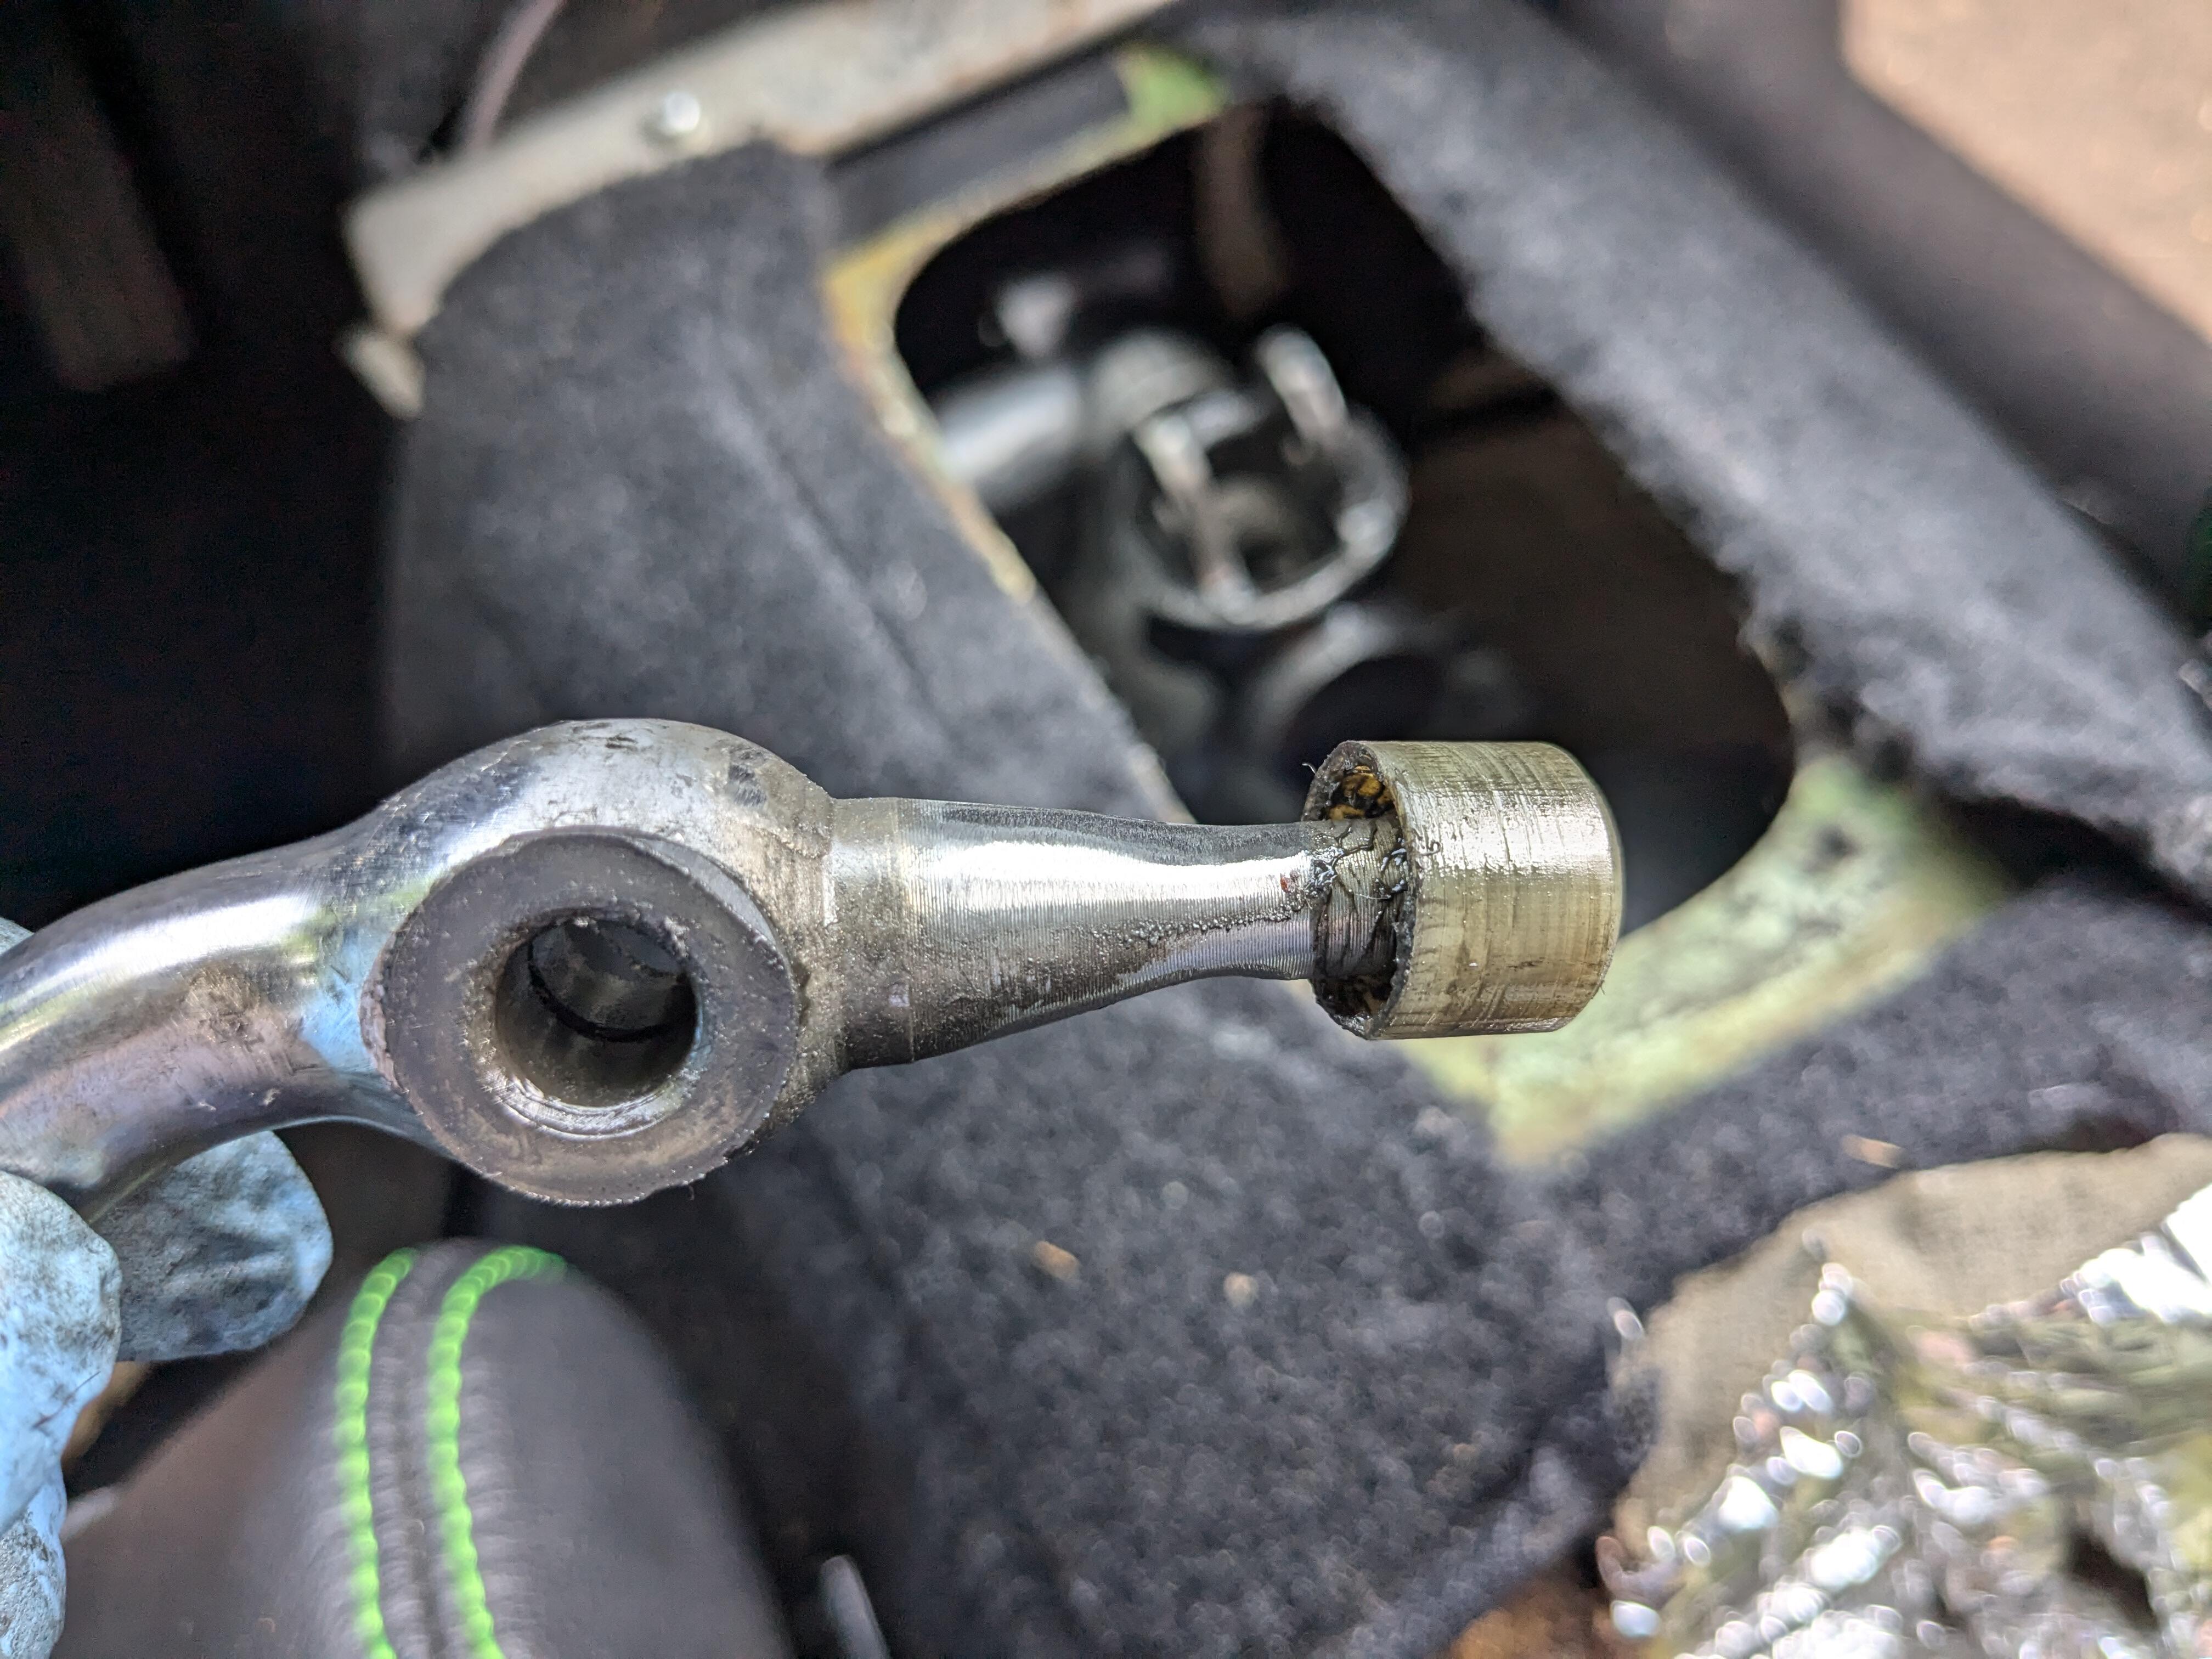
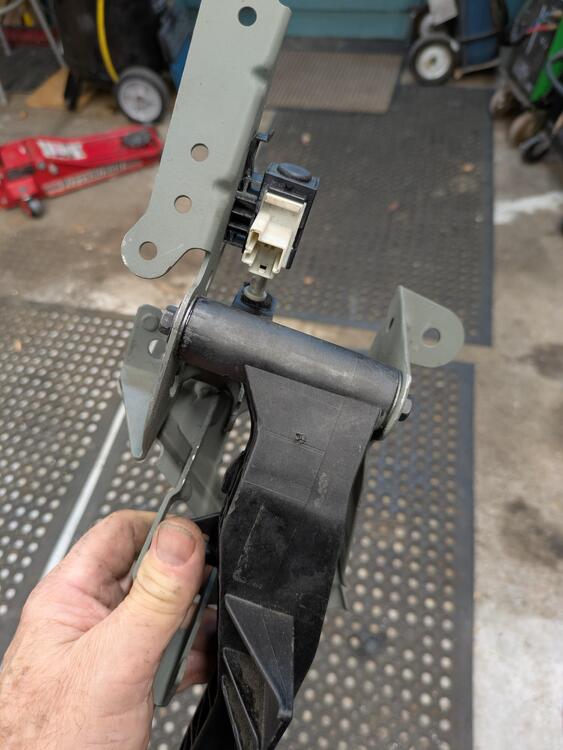
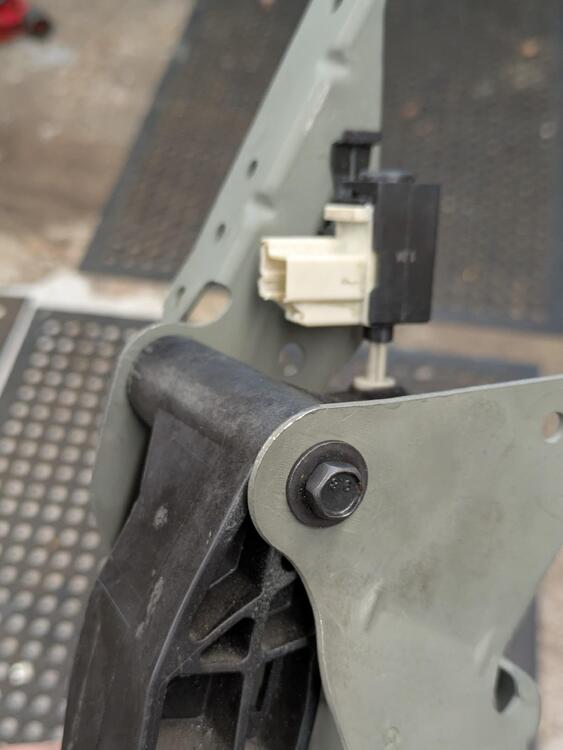
Back on the C30 - New clutch master arrived yesterday - normally only takes 2 days via USPS from CT, this one took over a week. Anyway, the weather has not been conducive to working outside, either way too cold or snowing. Today it was sunny & 34º, so I took advantage of that to put the car back together Sold under Sachs brand - unit is the same manufacturer as originally installed - FTE - just with metal rod instead of the plastic mine had test fit in painted bracket So, the bracket & MC cannot be installed as one, even without the pedal in play. I had to insert the MC in the firewall opening first, then position the pedal bracket, then set/lock the MC in the bracket. Left side mount points are tricky to access Pedal set in bracket Link rod bushing set into pedal With that located, I attached the hydraulic line, feed tube & switch connector Immobilizer switch harness routed Over-center mechanism in place - I used a tie wrap to hold the spring compressed, then set the mechanism & cut the tie wrap Then I bled the clutch - had to remove the airbox, and the rad hose/engine harness support bracket to access the bleeder With the bleeder valve open, I drop the tube into a container of brake fluid & stroke the pedal until there is resistance, checking the fluid level & topping it off after a few strokes. After that I re-installed the steering column & shroud, under dash panelling, instrument cluster, surround, steering wheel & airbag.Finally, I forgot to remove the set screw I used to locate the airbag contact reel spring, so I just cut it short. Not going to hurt anything as is.
-
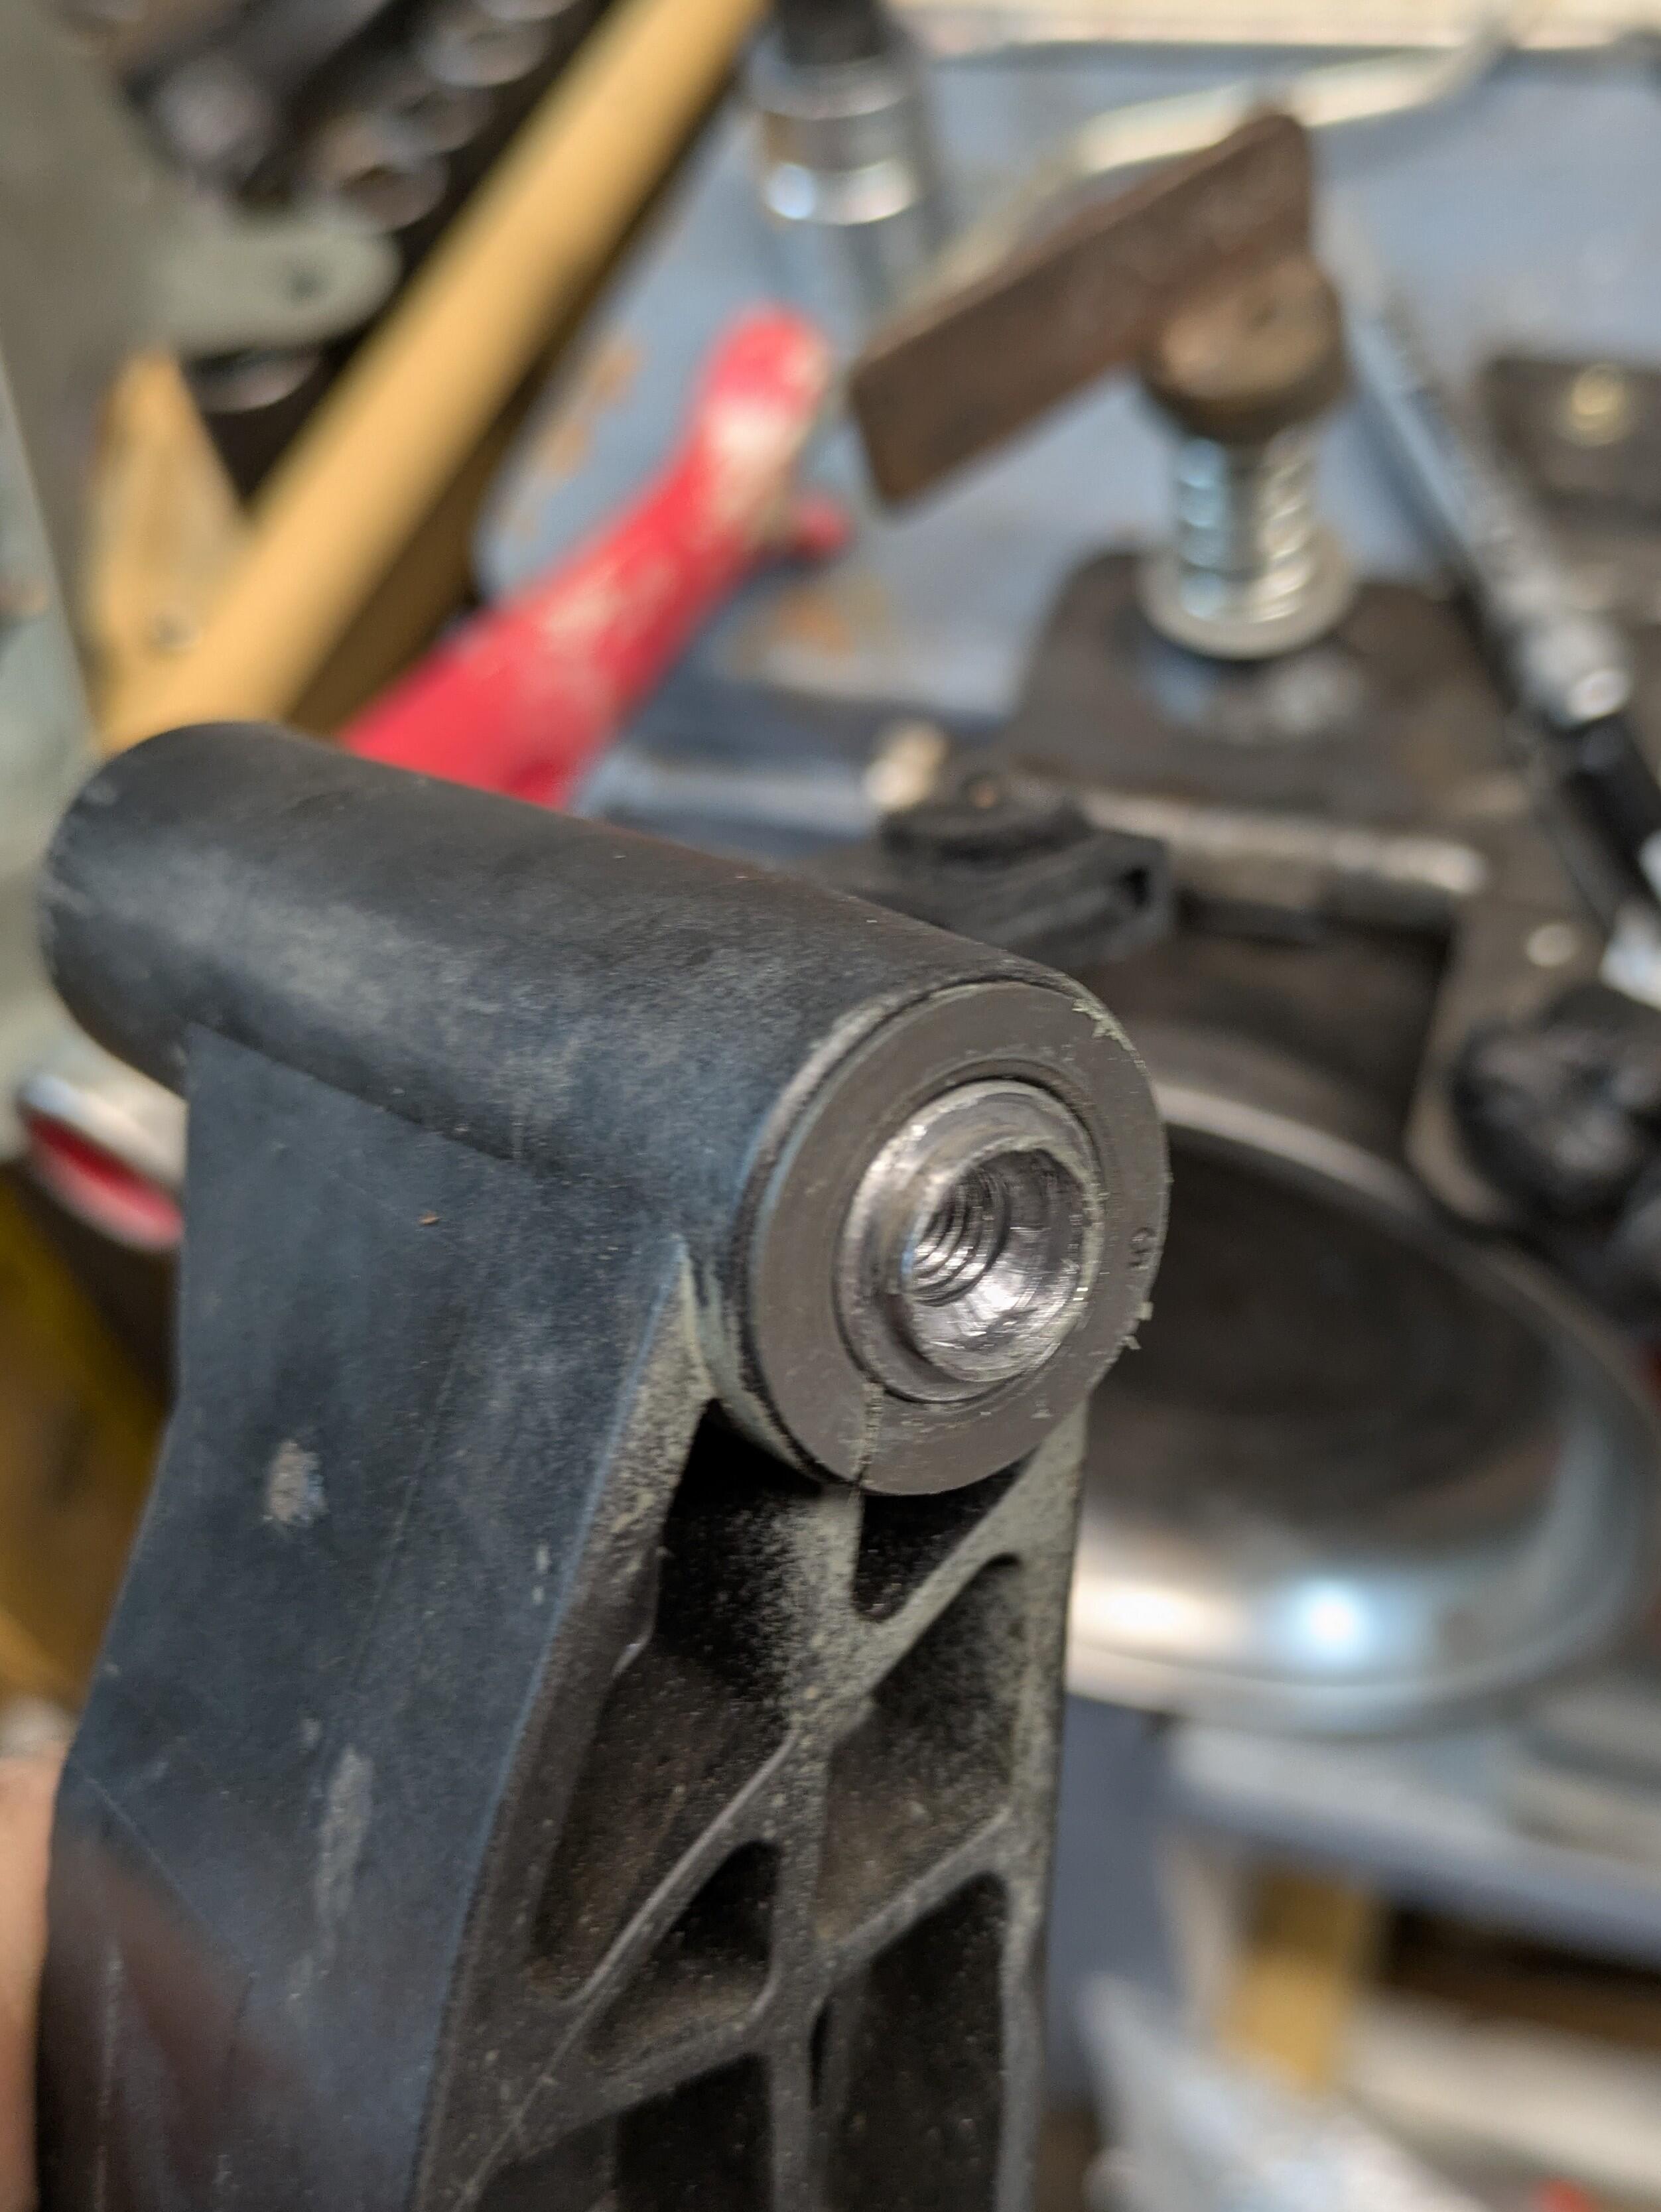
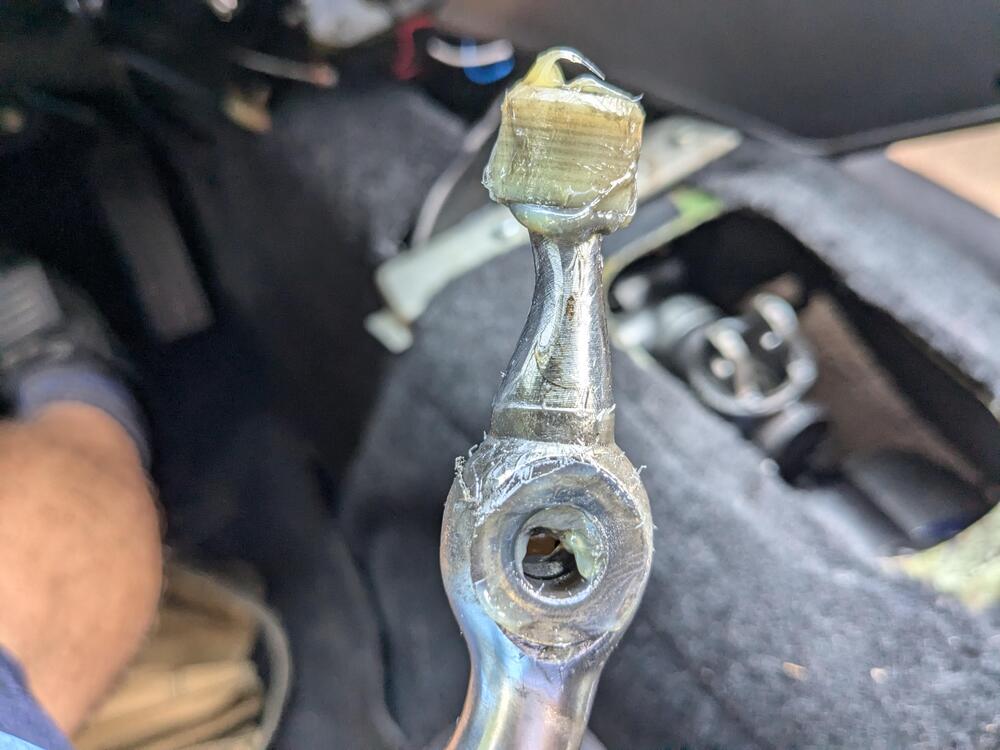
Took the Z out for a drive yesterday - it was warm enough, and no salt on the roads yet. C30 is out of commission with a broken clutch master cylinder link rod. Steering column, instrument cluster, all have to come out to access the pedal aassembly I have the pedal assembly out. I drilled out & tapped to M6x1 the fixed pedal pivot so it came be serviced without quite so much drama

-
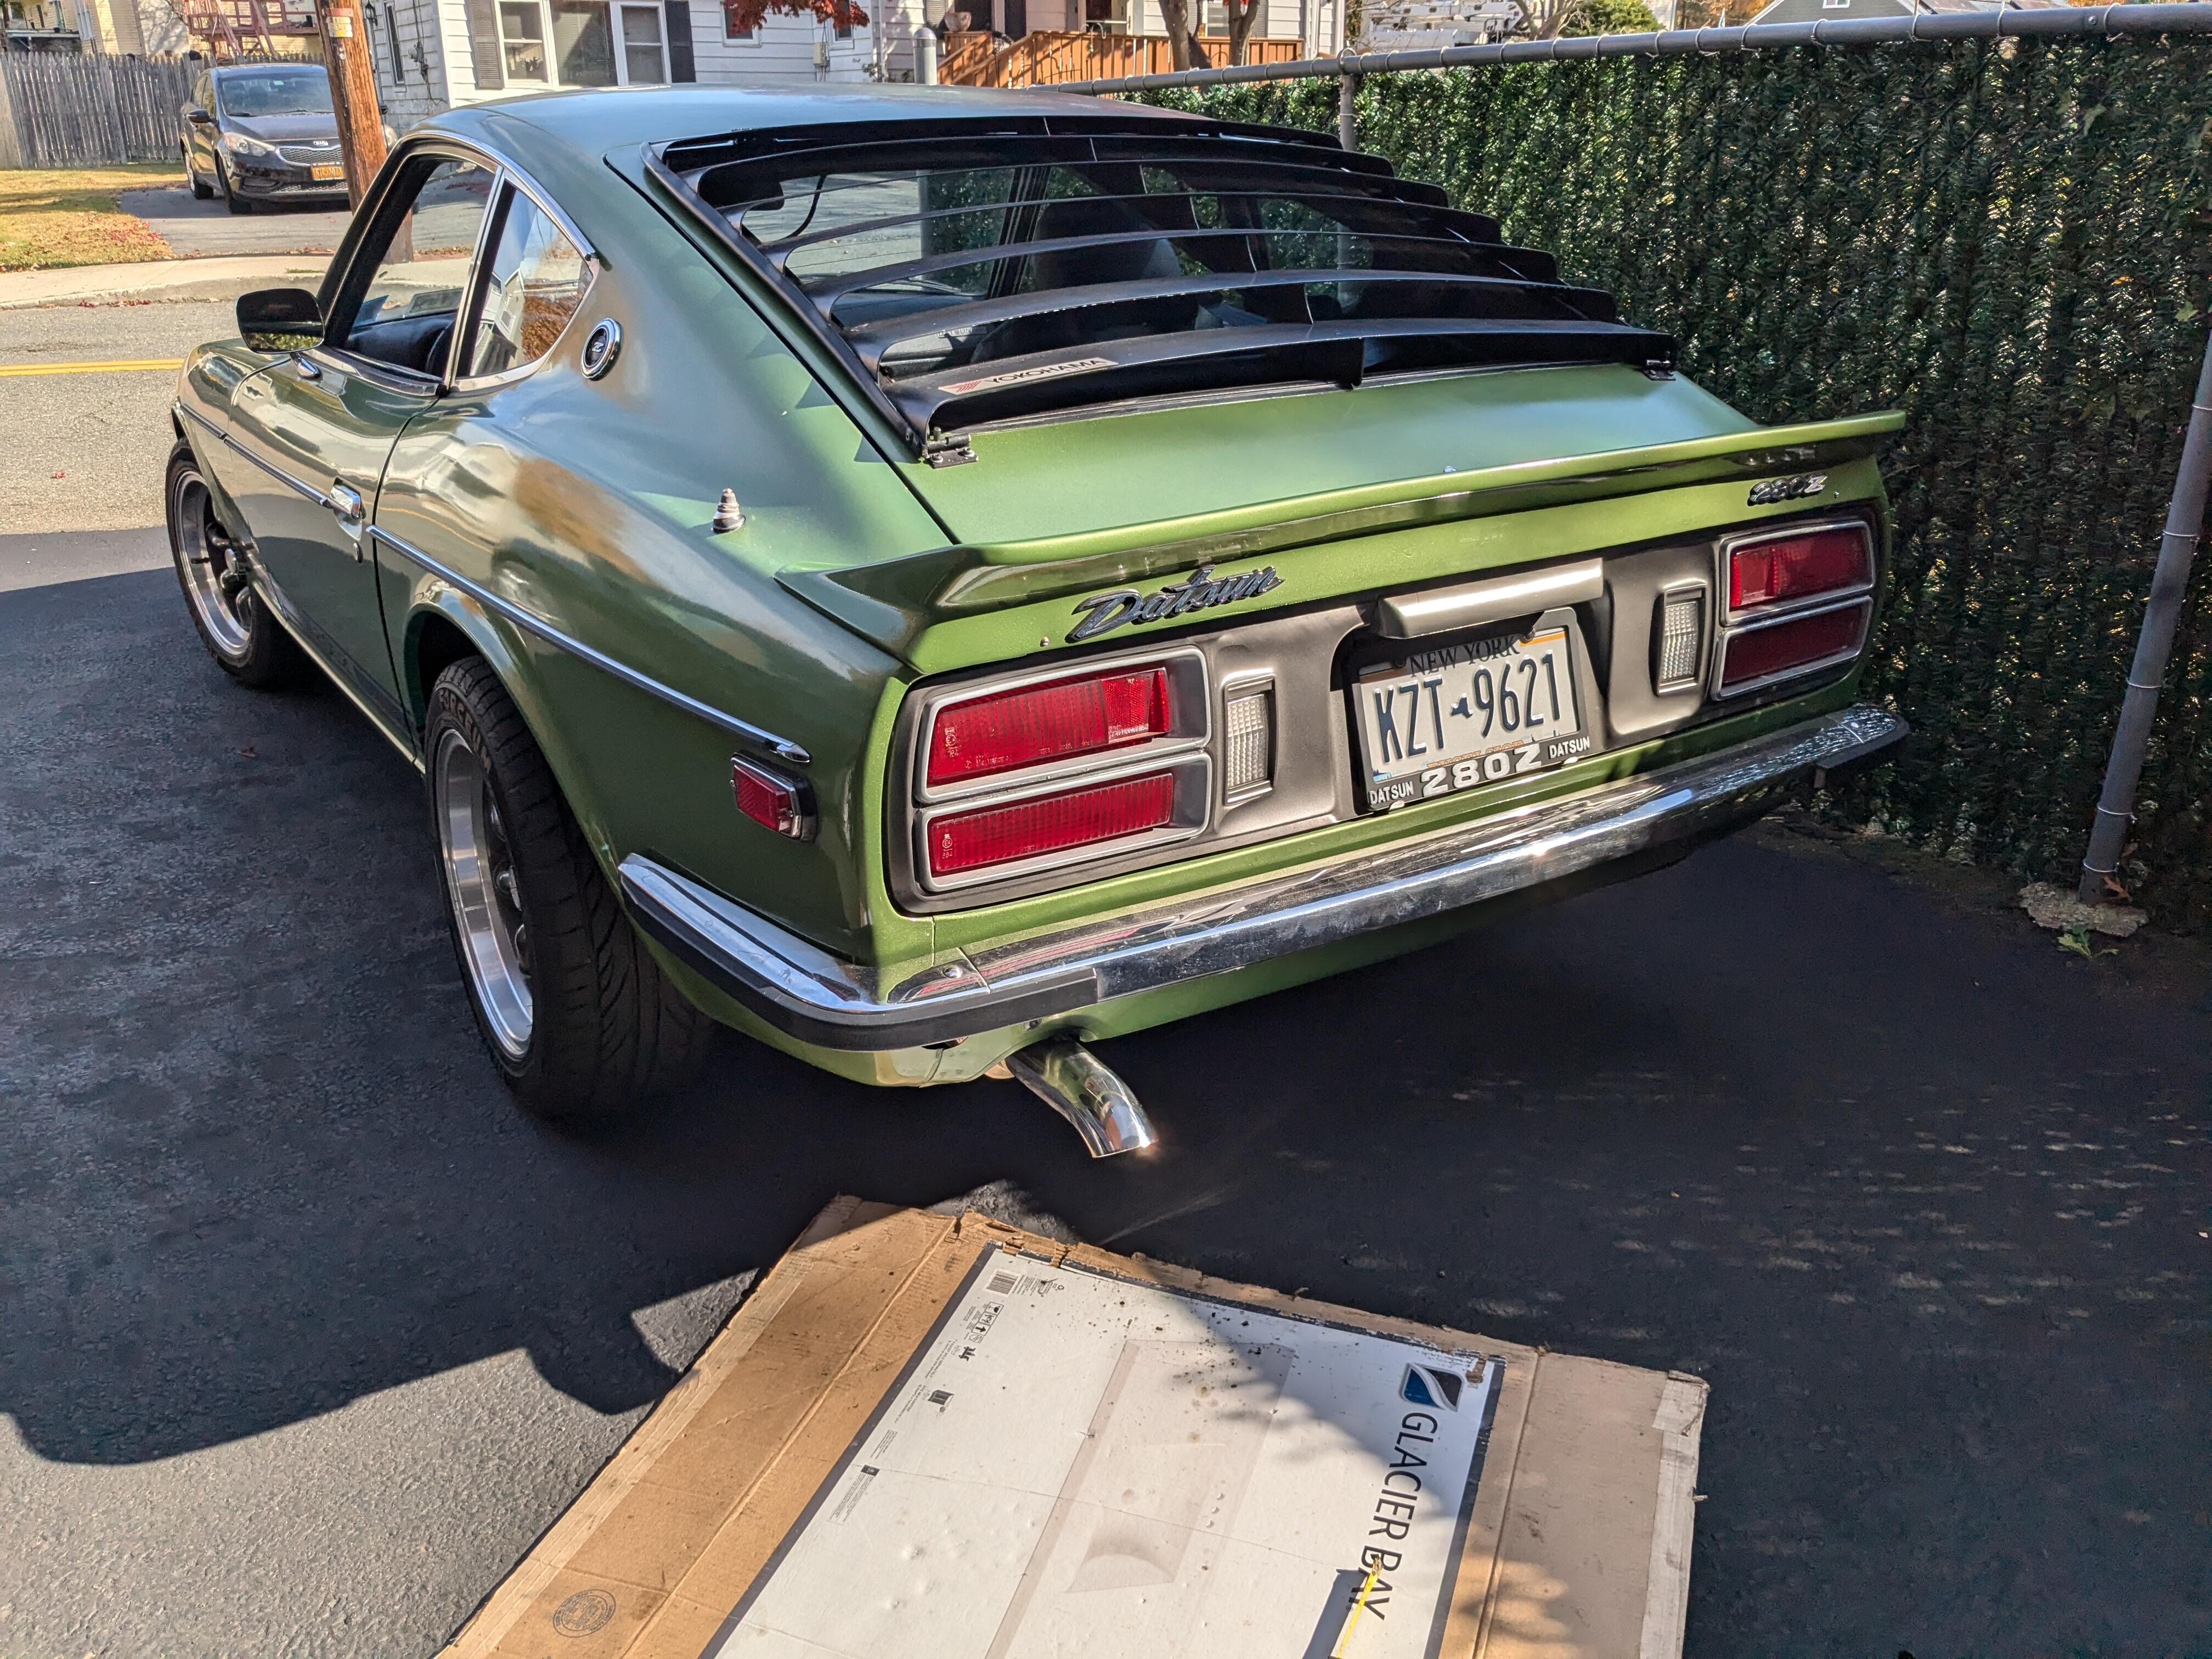
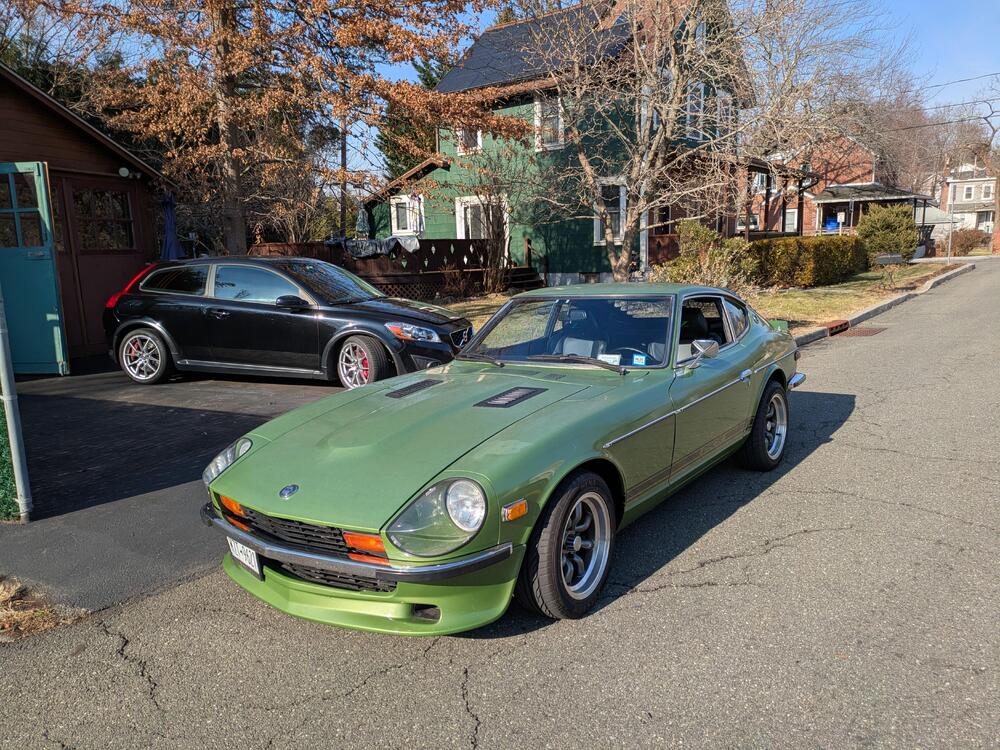
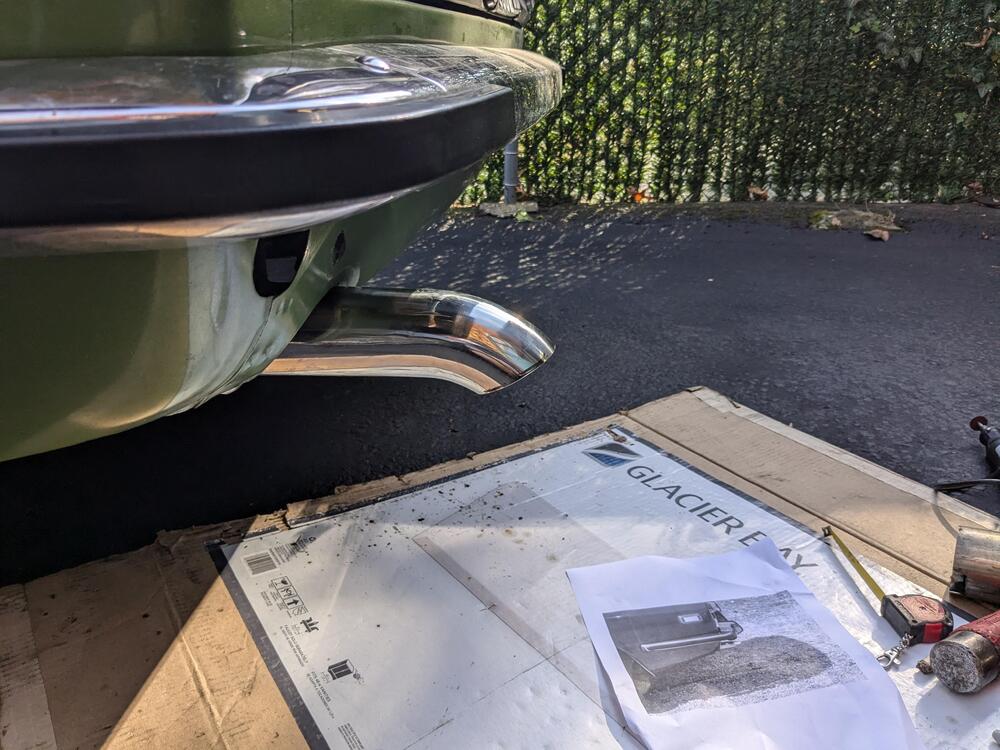
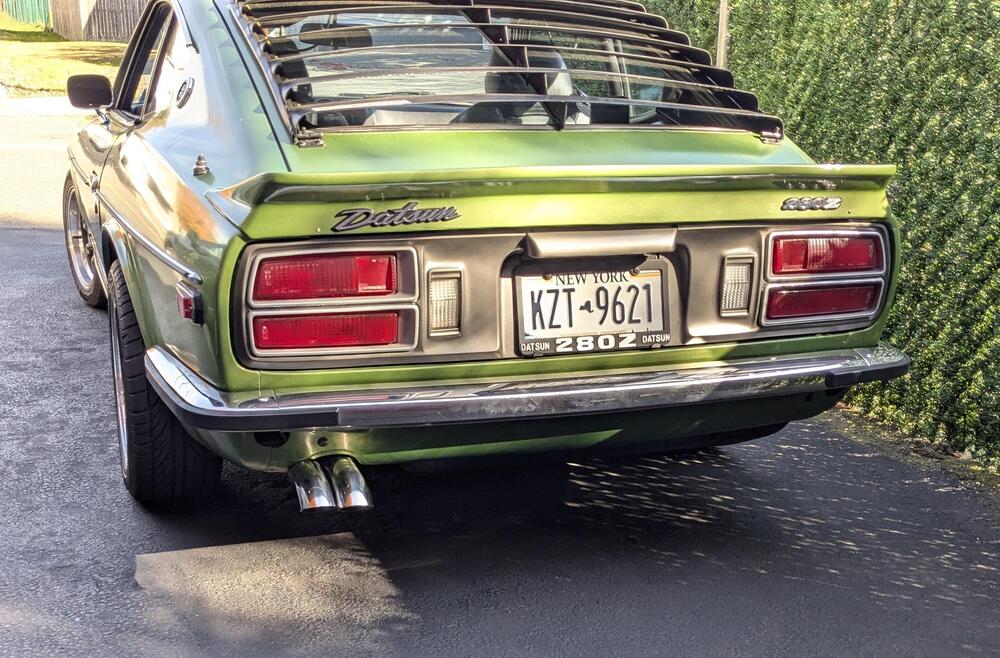
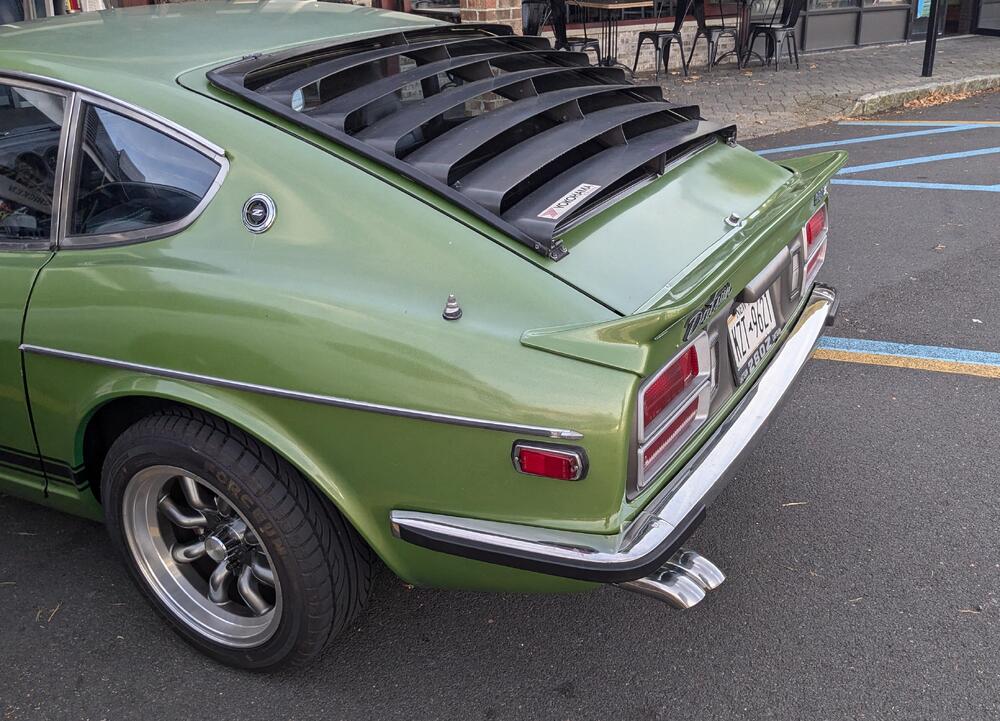
Finally resolved the exhaust fumes in car issue - I added the downturn tailpipe (2.5" SS ) I found either on here on another Z forum, I forget. Drove it around to determine if it worked - it did - so I tacked it in place Didn't care for the look of the single tip, so I added a fake next to it, staggered slightly Much happier driving around now, can have both windows open! 😀


-
Hmm... My hood latch & bumpers were set so that the hood was pulled tight & pressed against the (new ) bumpers - I didn't have any "give" that I could discern - and the vibration/buffeting doesn't arise until higher highway speeds. You're saying the buffeting is not attributable to underhood air pressure? I certainly expect them to help with heat soak!
-
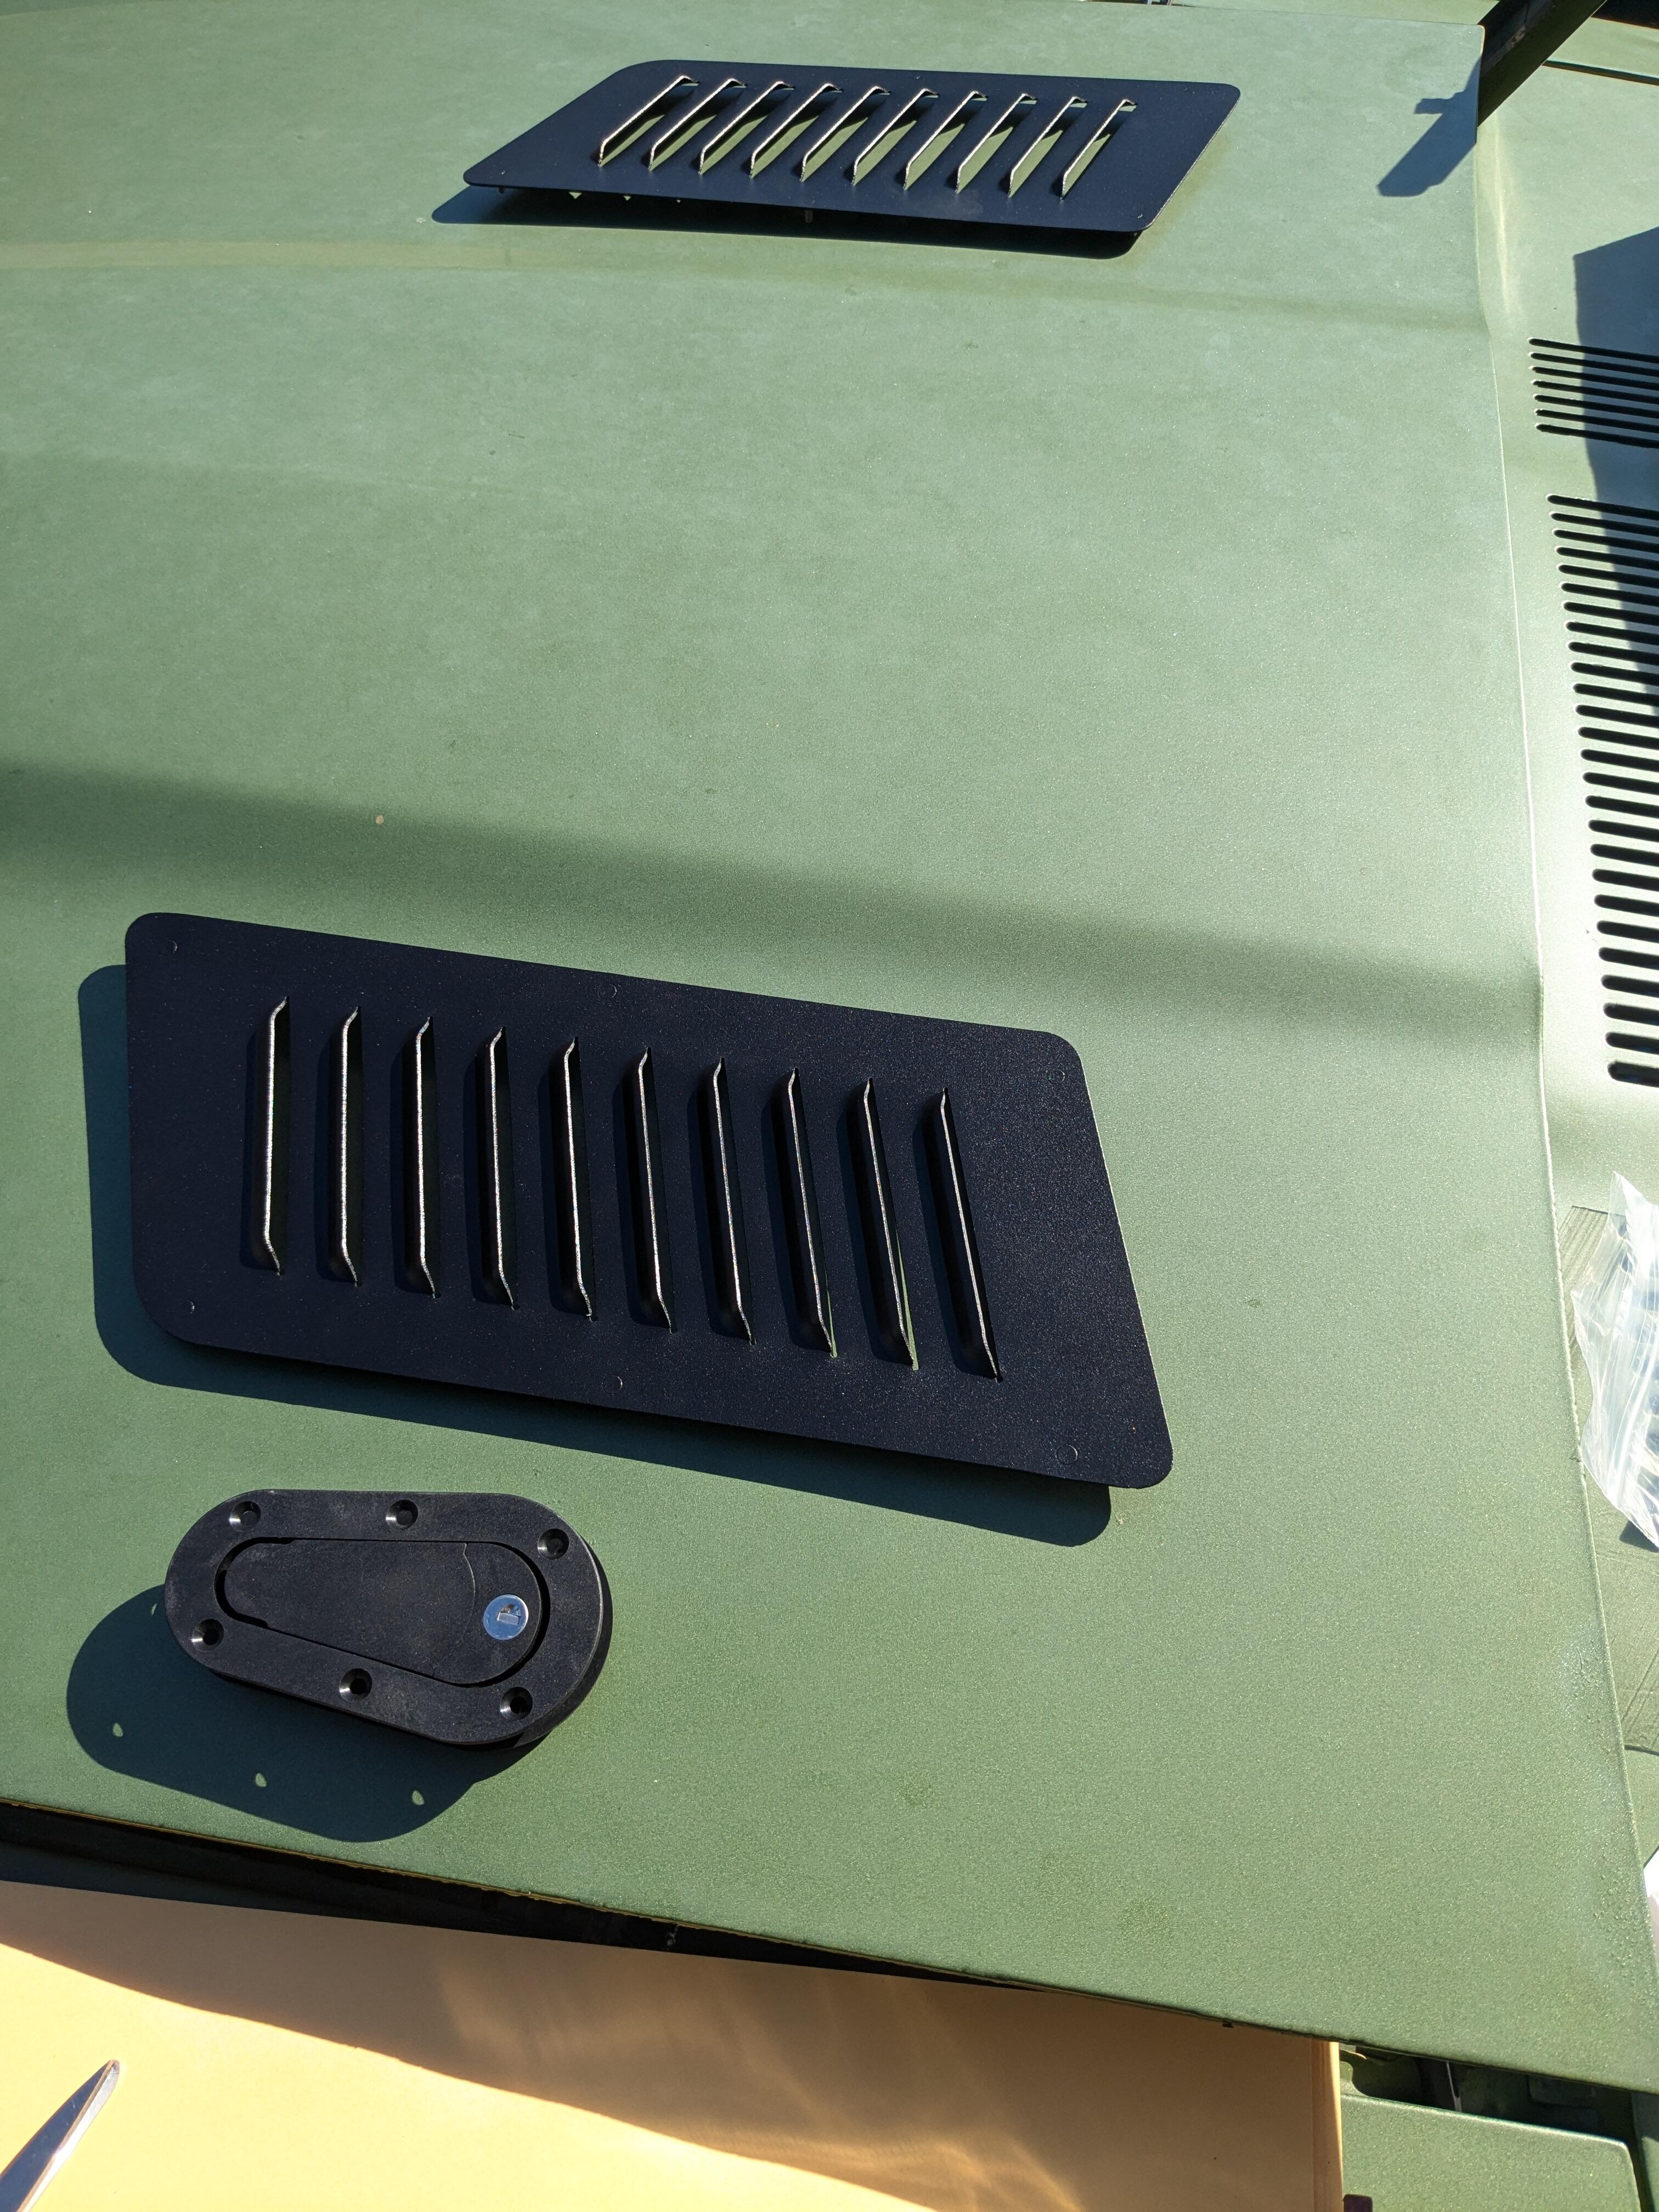
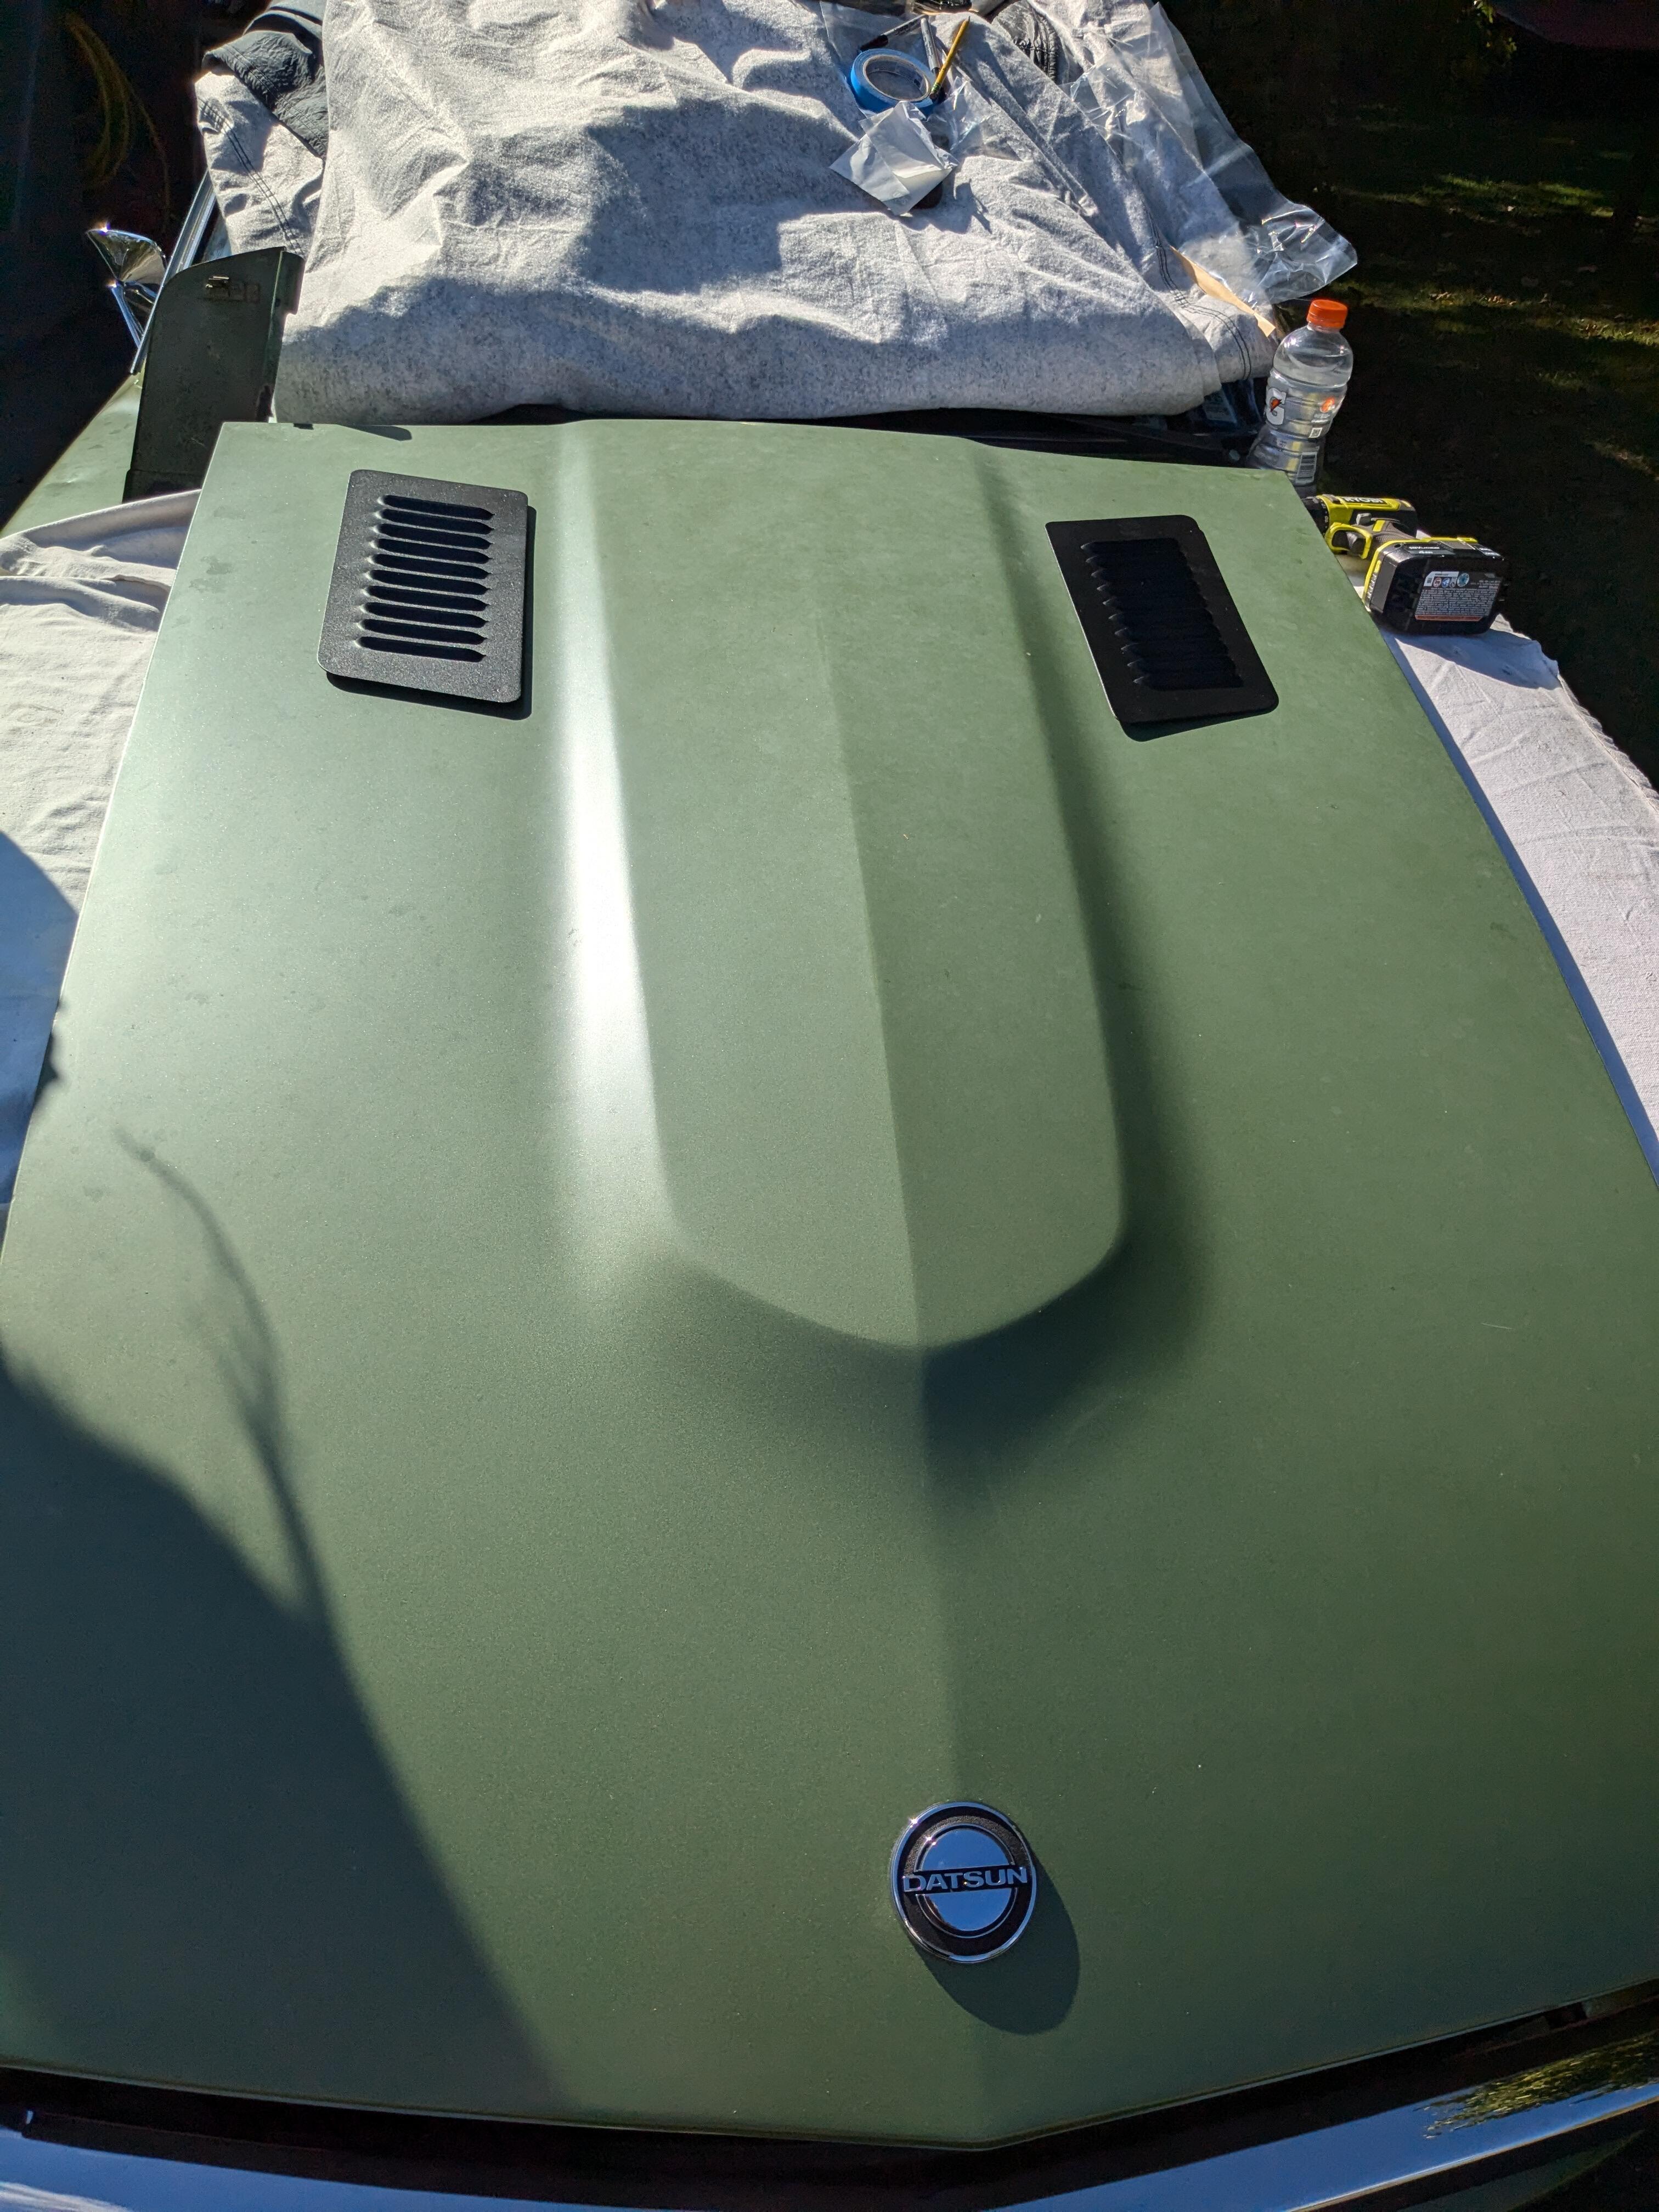
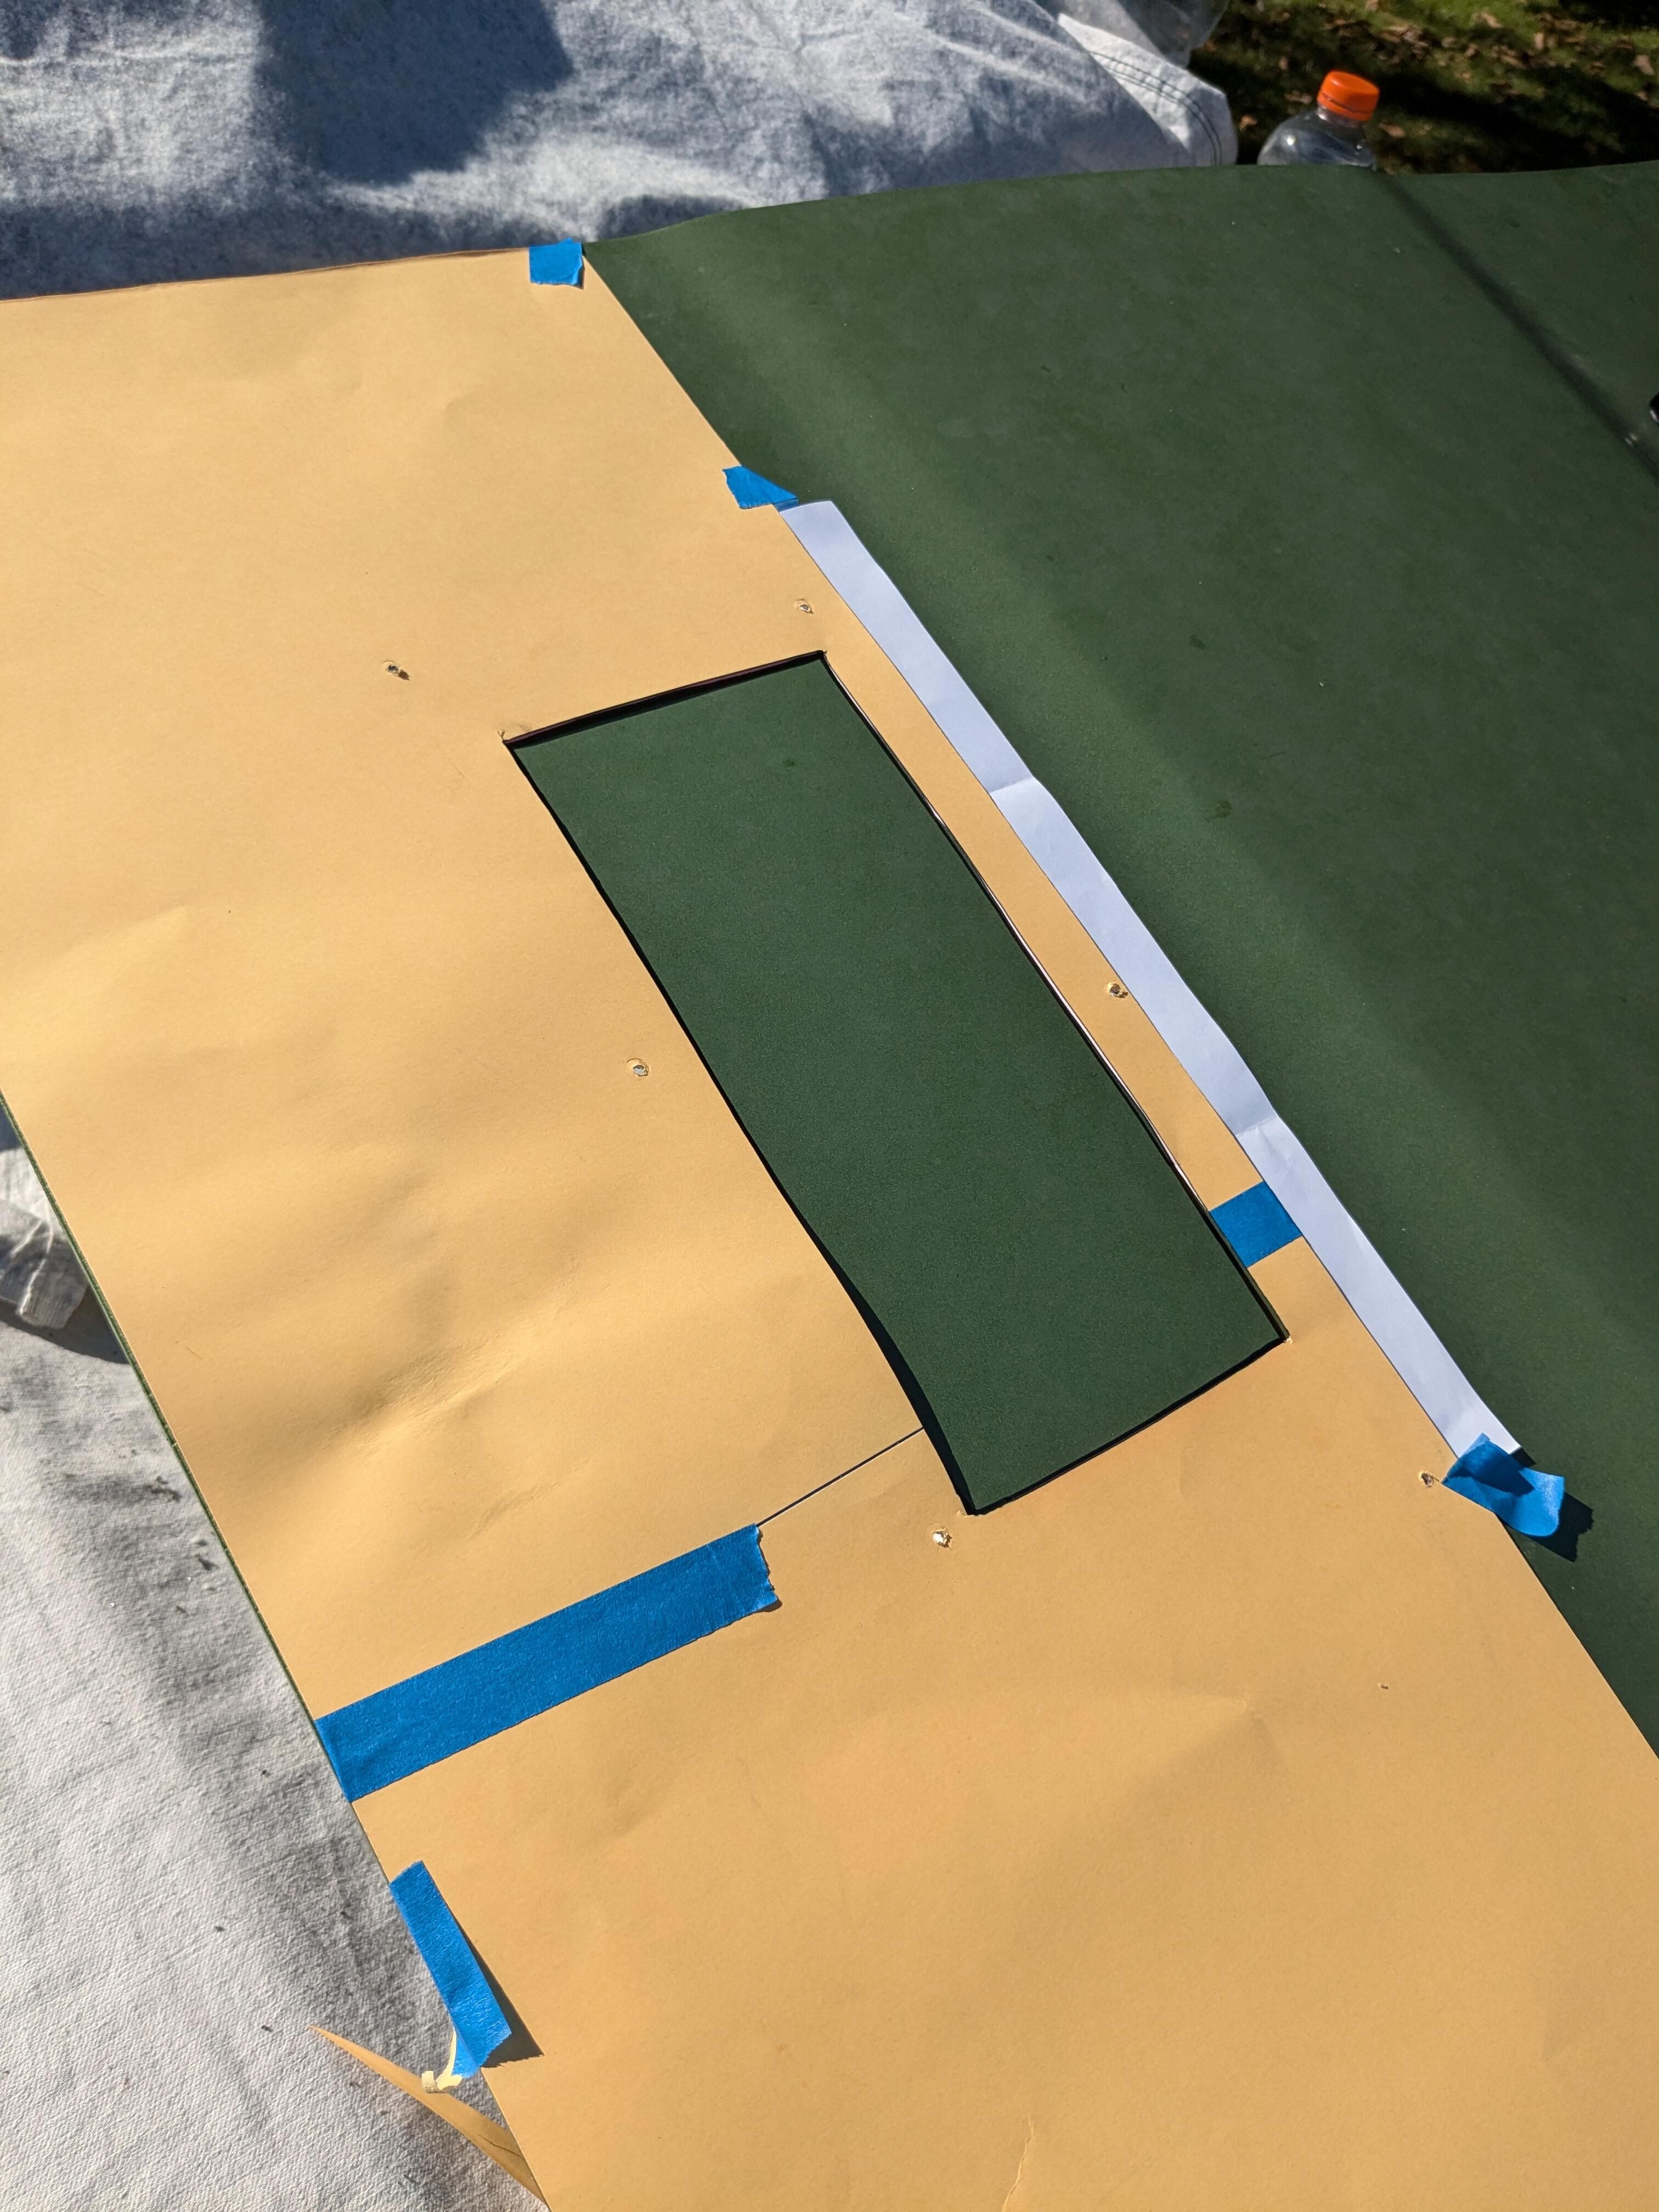
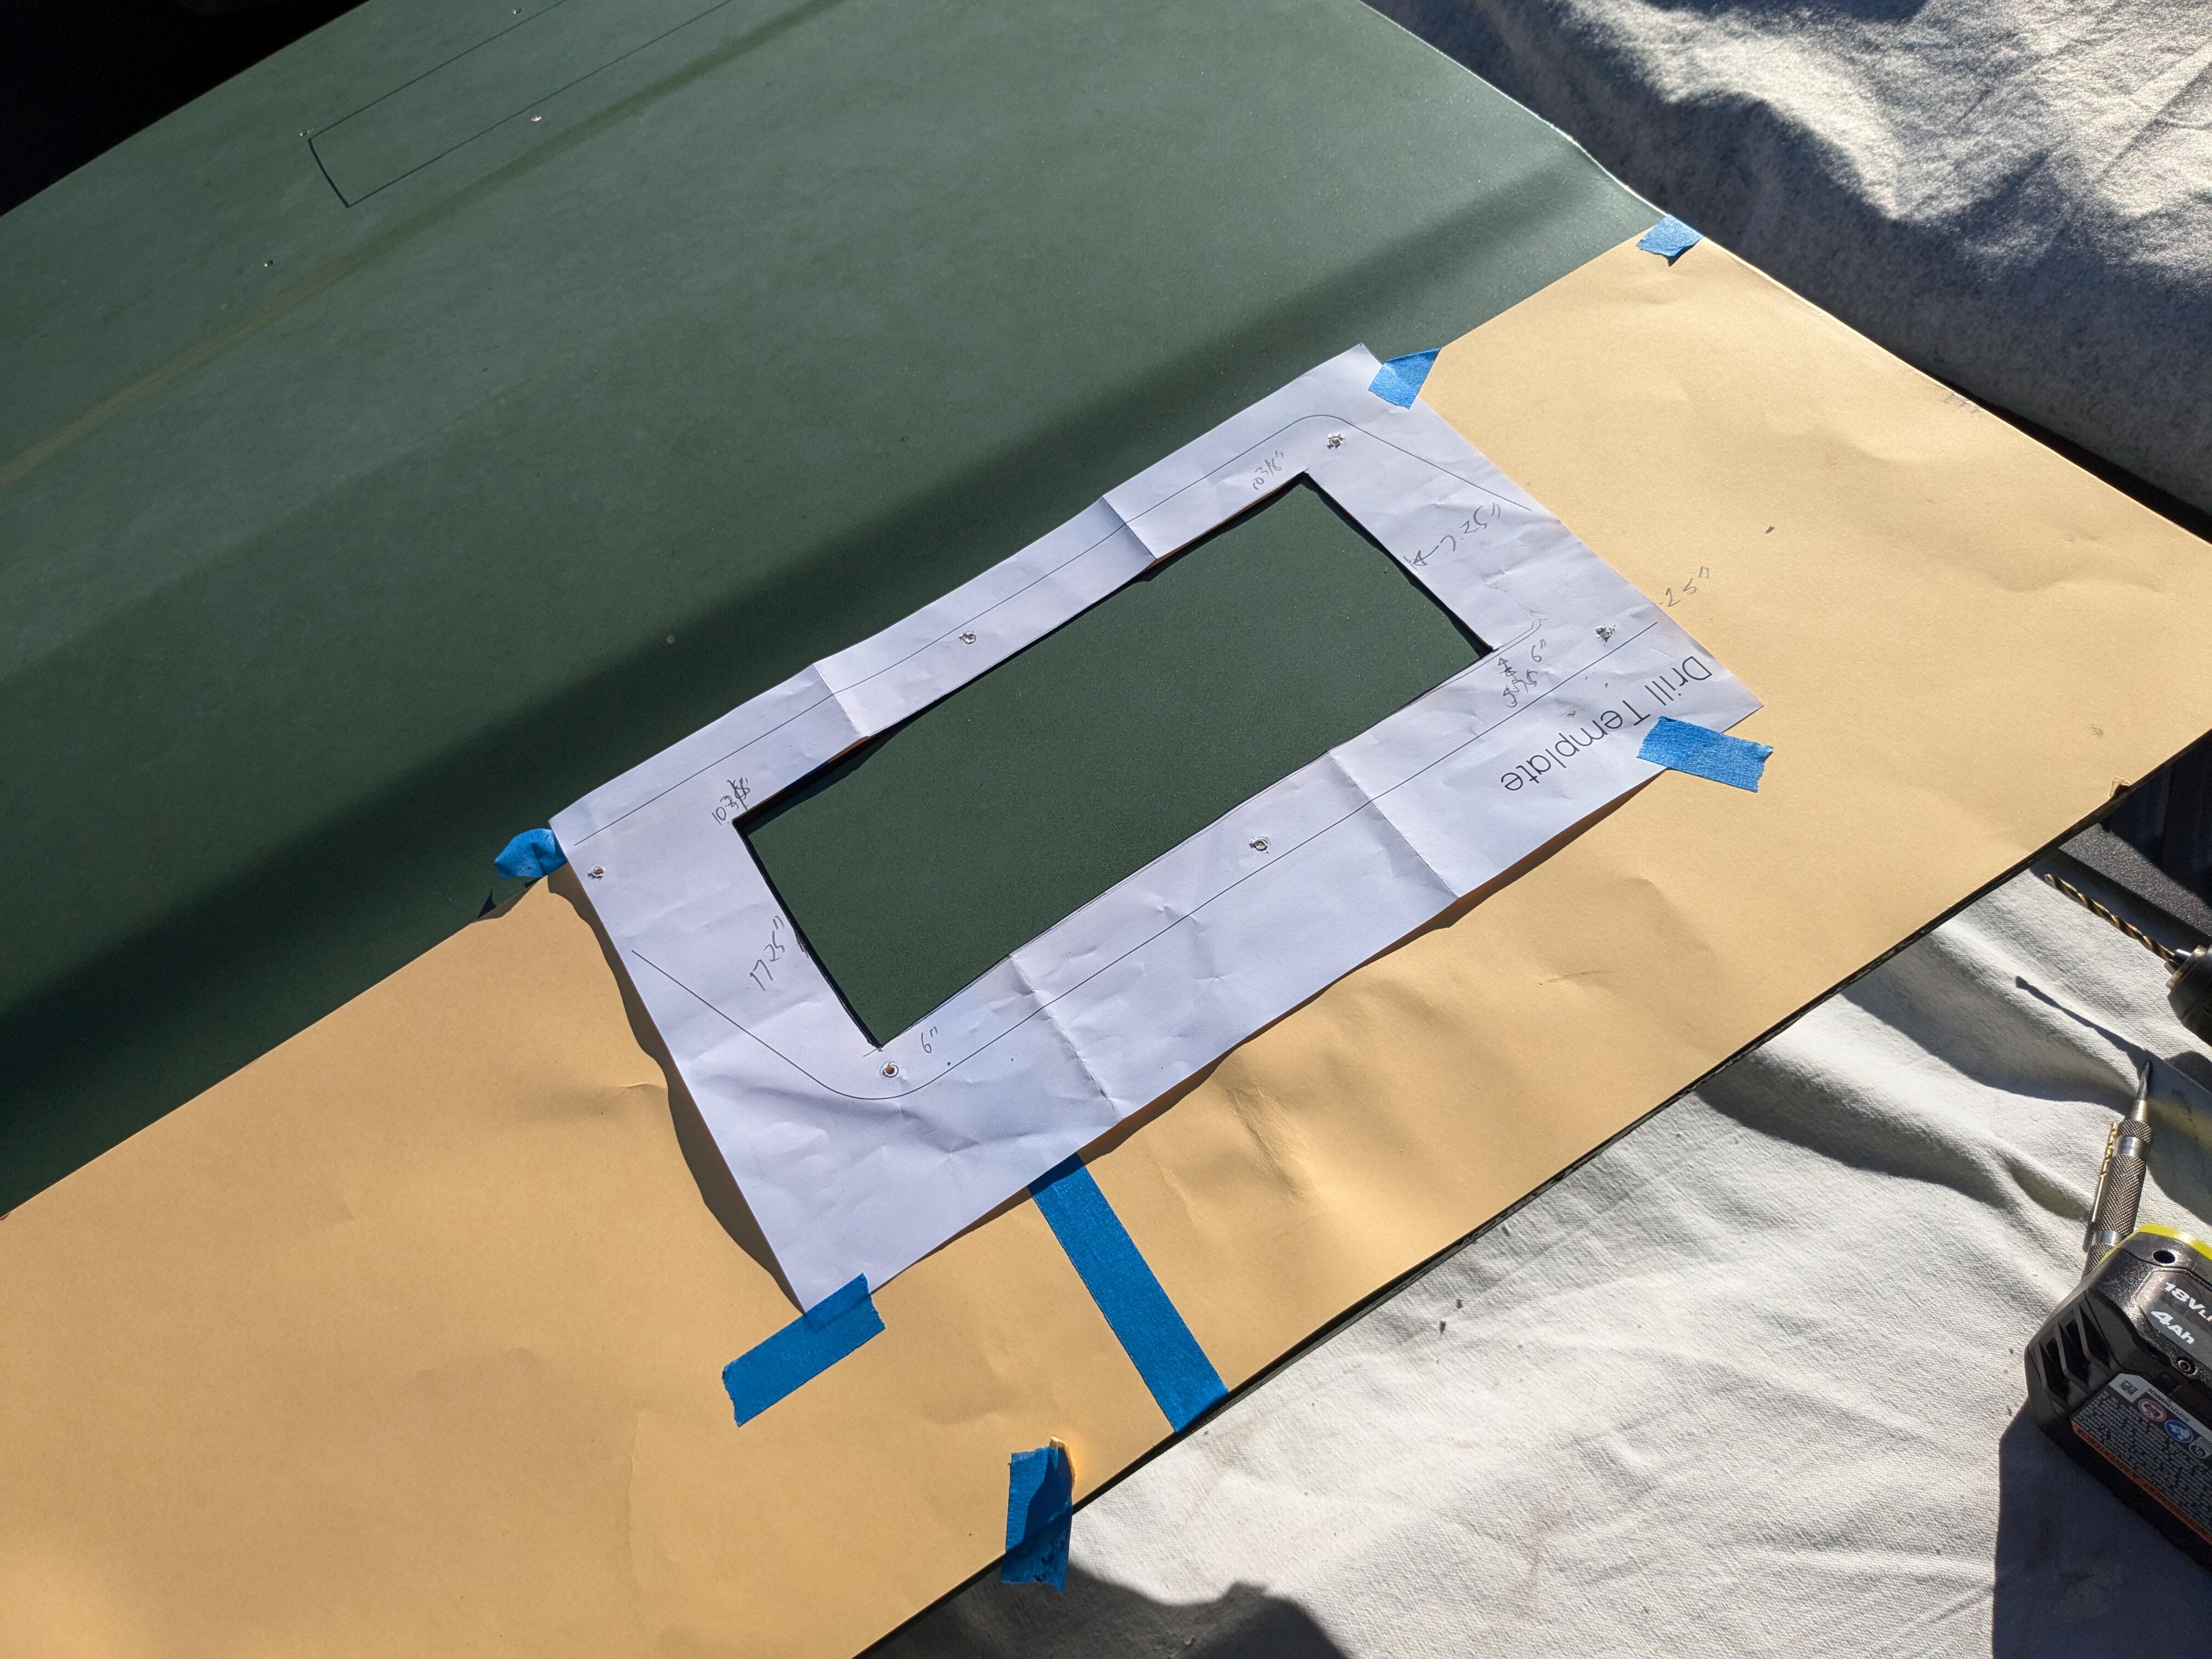
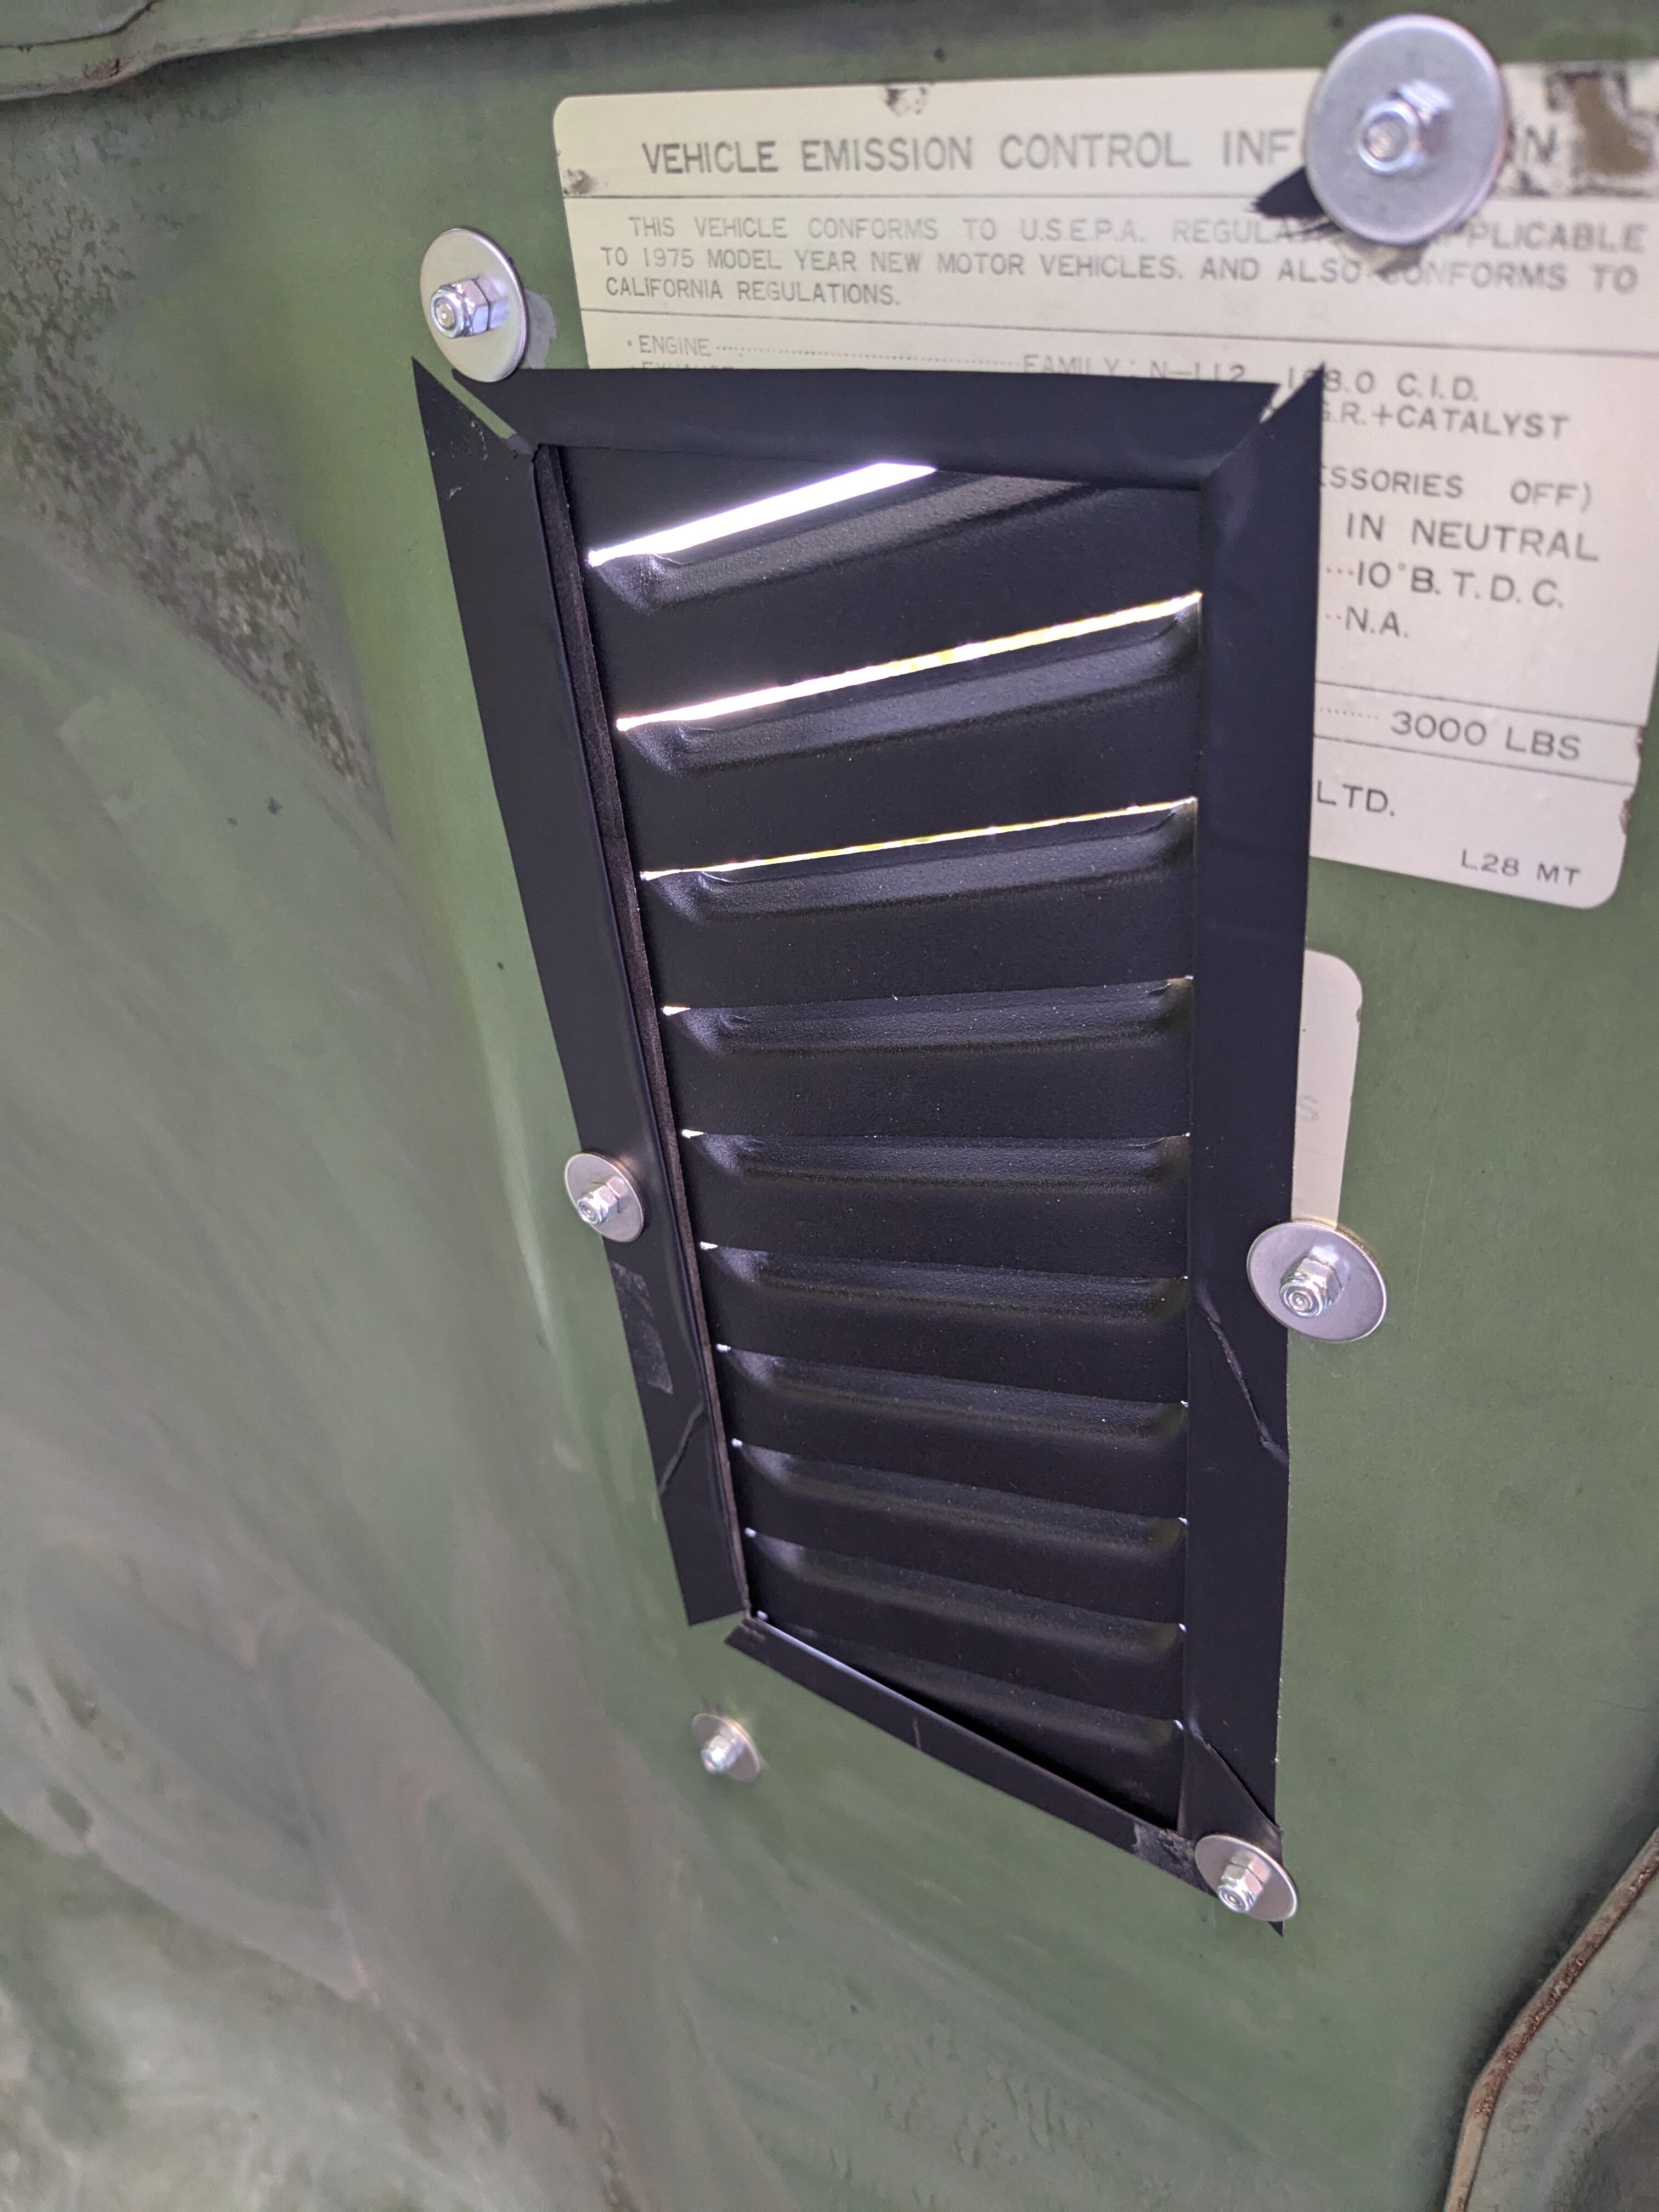
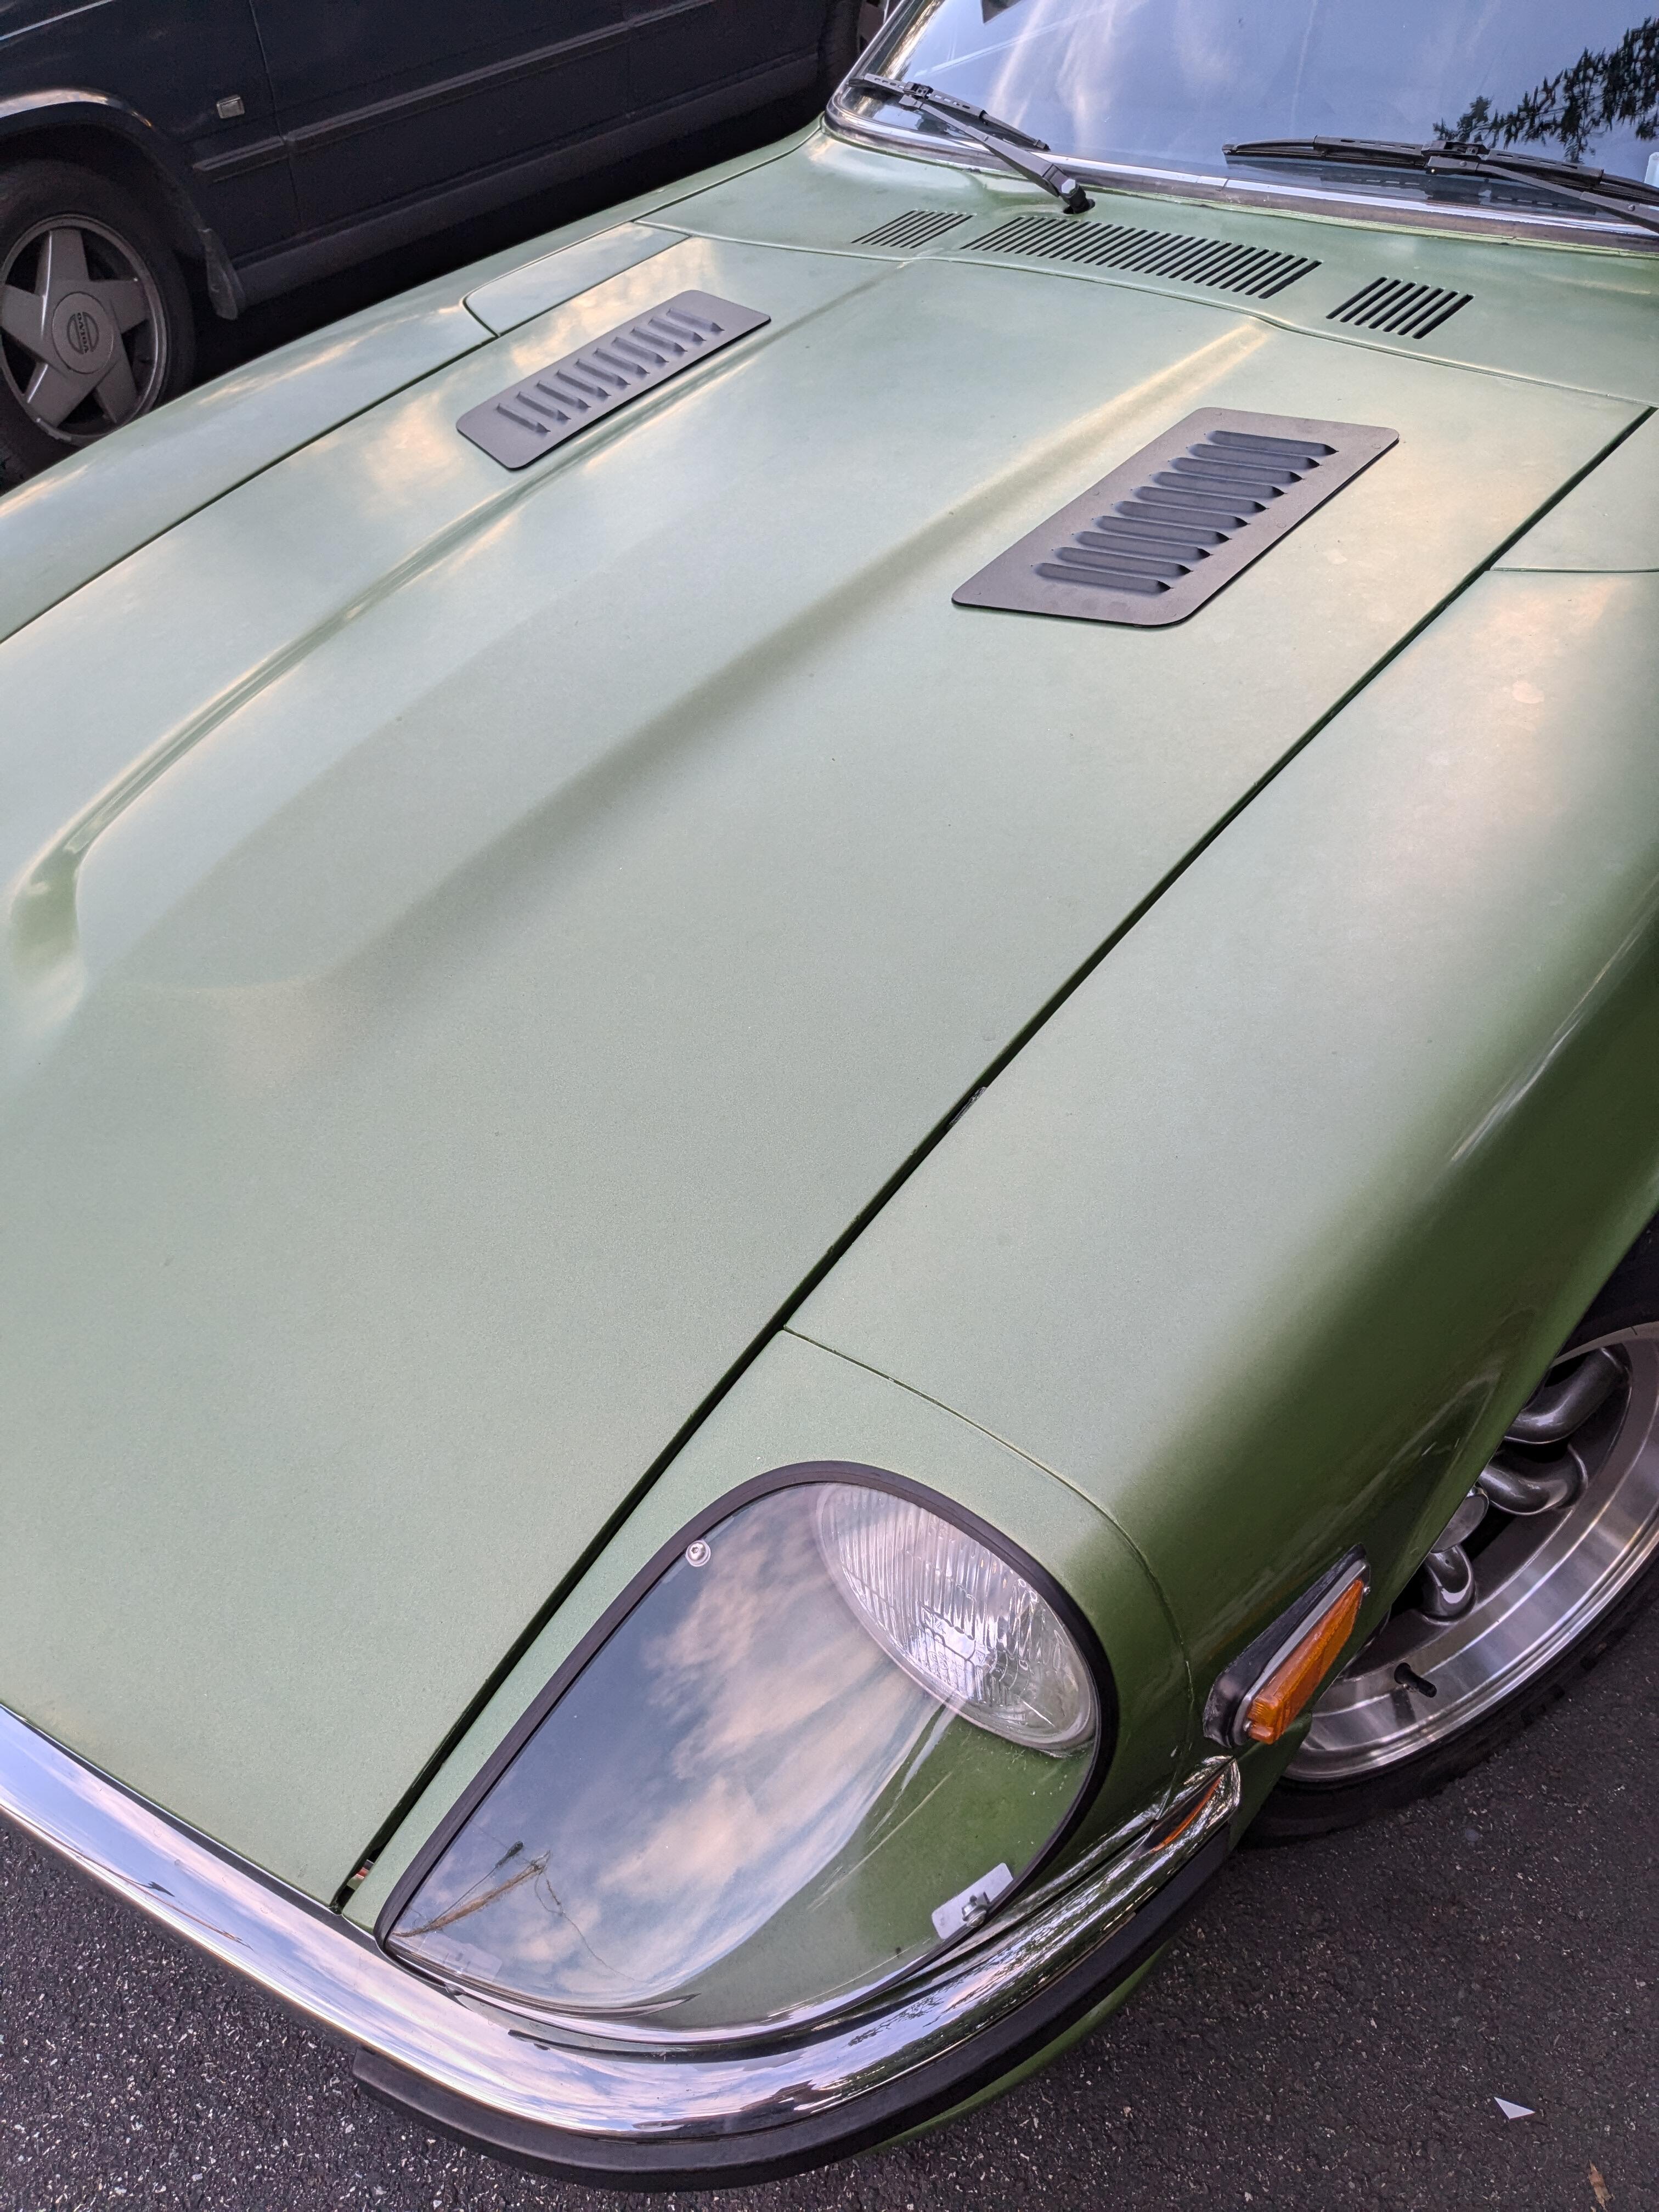
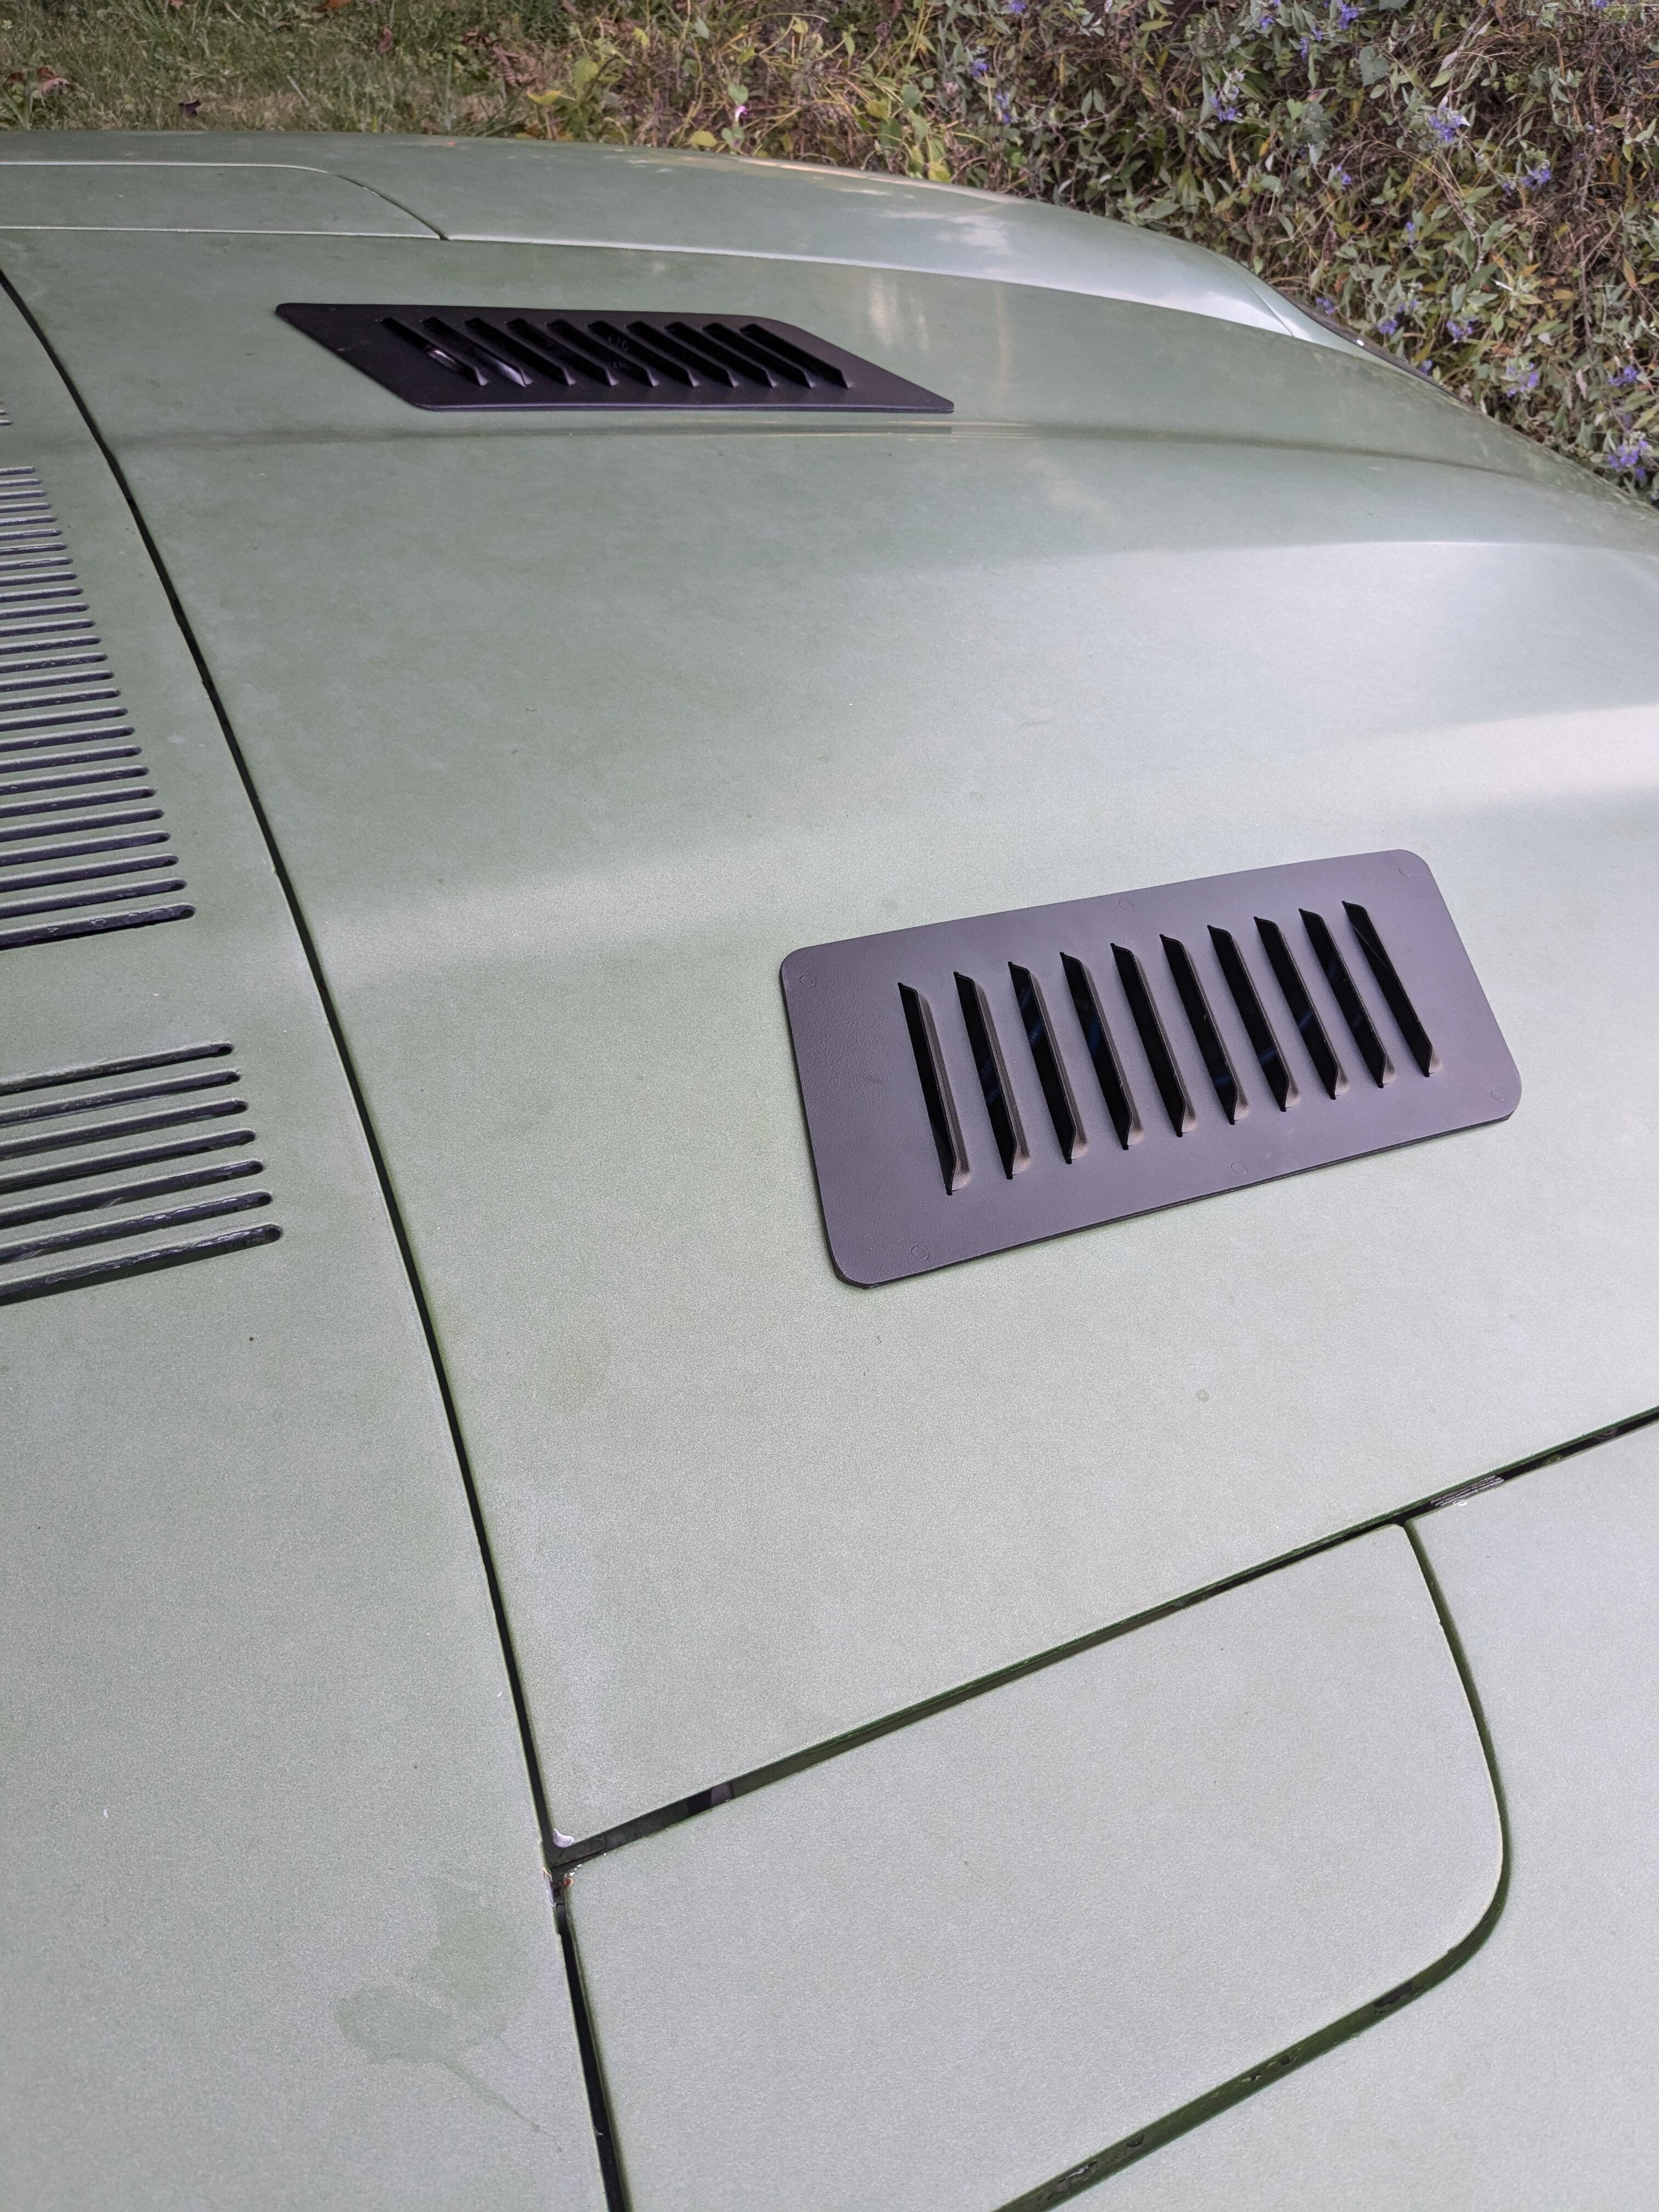
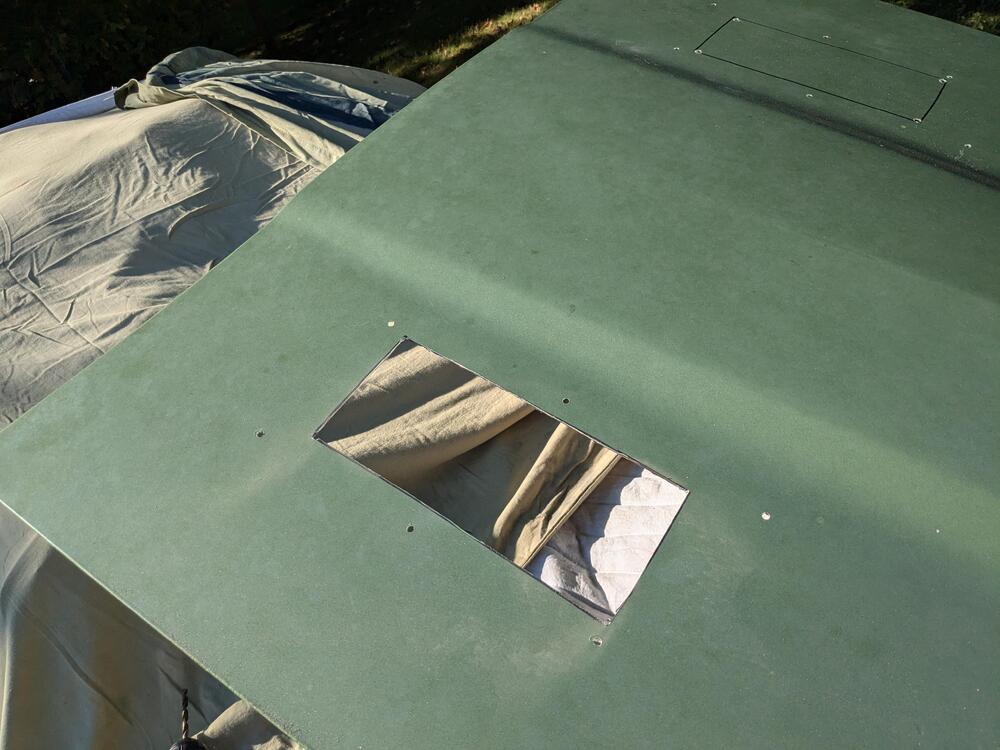
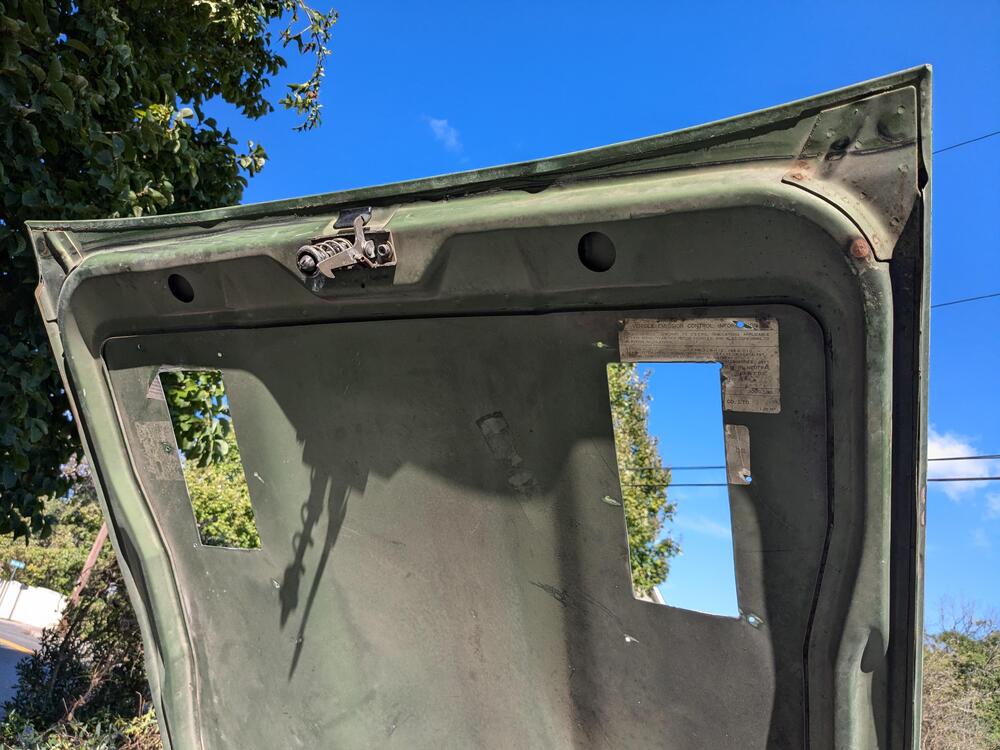
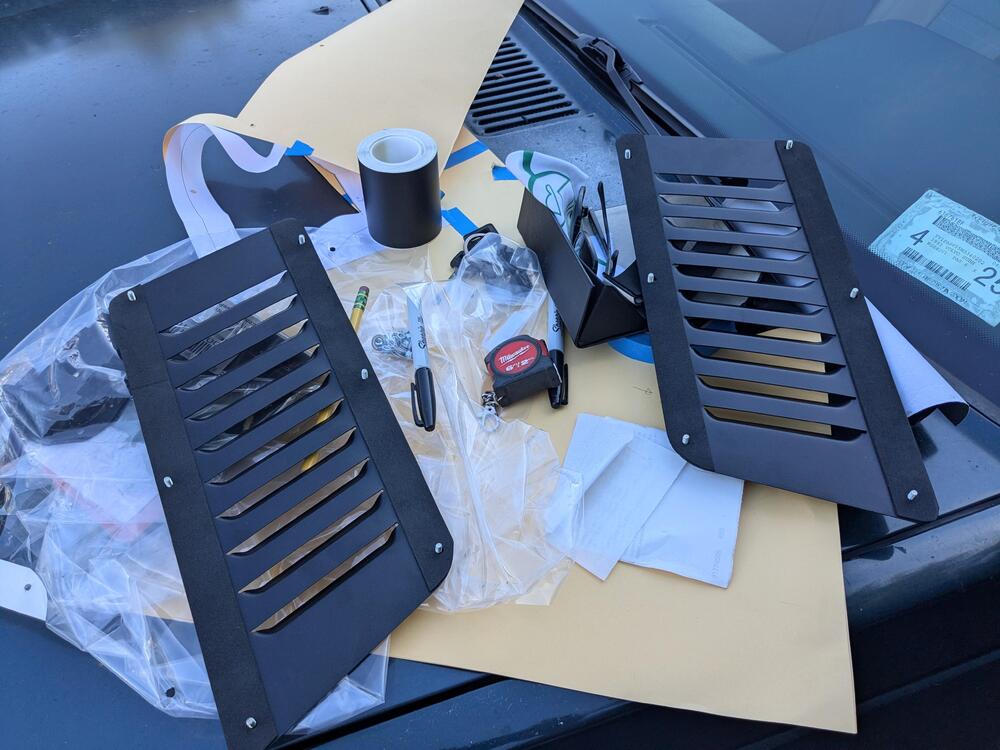
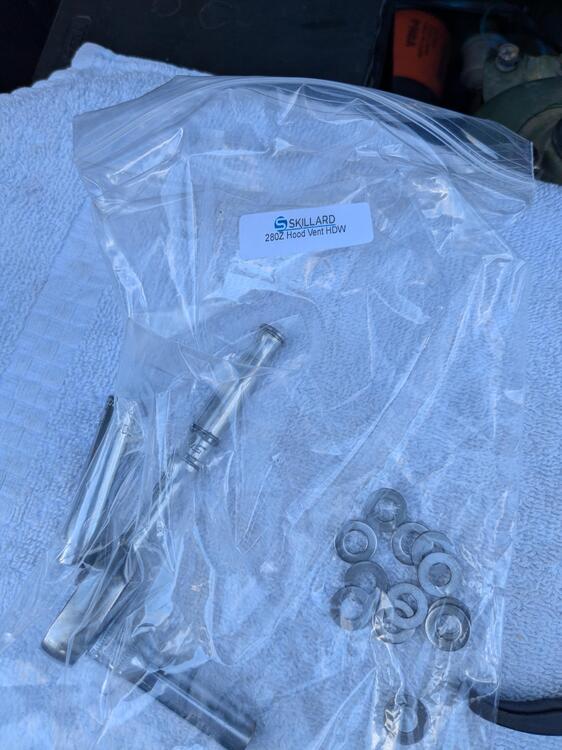
One thing I've been meaning to address for quite some time: YT vid of Hood Vibration Bought the Skillard "Racing" grilles. I looked around for factory 78 grilles, and besides the crazy prices, I realized they require a contoured recess that later hoods came with. Grilles have to be set inboard, as later on I will be adding AeroCatch latches required with the VQ35DE conversion. Setback from rear edge required to clear inner frame support. Figuring out placement, using Skillard's drill template. Rear outer mount hole is 5.5" inboard, 6.25" setback from hood rear edge Like so: opening in template to allow air passage drilled & cut Adding 1/16" closed cell foam as a gasket The washers they provide are not appropriately sized Fortunately I have a stash of stainless fender washers, with M6 ID All good. That will get rid of the hood vibration


-
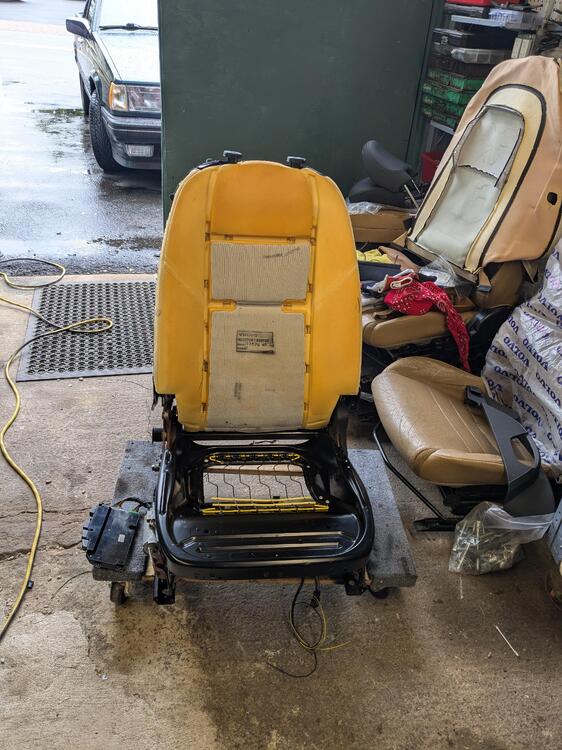
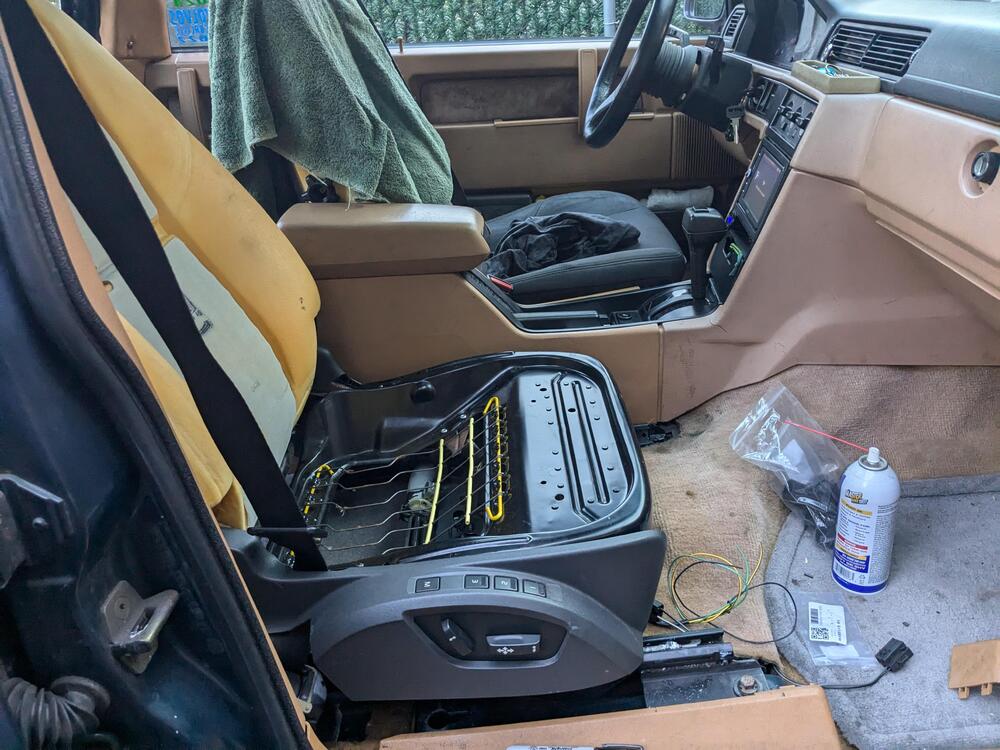
Passenger seat finished & installed yesterday. Still do have to heat & smooth the leather some more Put the drivers seat covers on today & installed the seat. Still have to futz with the seat module though, it doesn't stay operational like the pass. Side, I guess I didn't give it the full lobotomy
-
Not exactly identical, more comprehensive actually. The Z has dedicated threads on my Fiat and old Volvo forum. Those are easier for me to browse to review what I've done as in each instance all the work is in one thread, rather than in different forum categories as with ClassicZ. In both cases there are Z owners who are either Fiat and/or old Volvo owners. Those sites are ad-free, so easier to spend time & not have to dismiss pop-ups & ad banners on every page. I took the Z to a Volvo meet in PA and a Fiat meet in Ohio, they overlap in the real world, so no reason not to in the online realm. My Fiat had a thread on the Volvo forum, as I experimented with using Volvo EMS at one time, and then I had an ongoing thread for it on K20a.org , when I converted it to a Honda K24 drivetrain. My house work has a dedicated thread on the Fiat forum.
-
It's what I'm working on. The Z has some odds & ends to be addressed before the winter, so when I get back to that I'll post it. I'm used to going off on tangents on my Fiat & Volvo forum threads, so much the same is happening here.
-
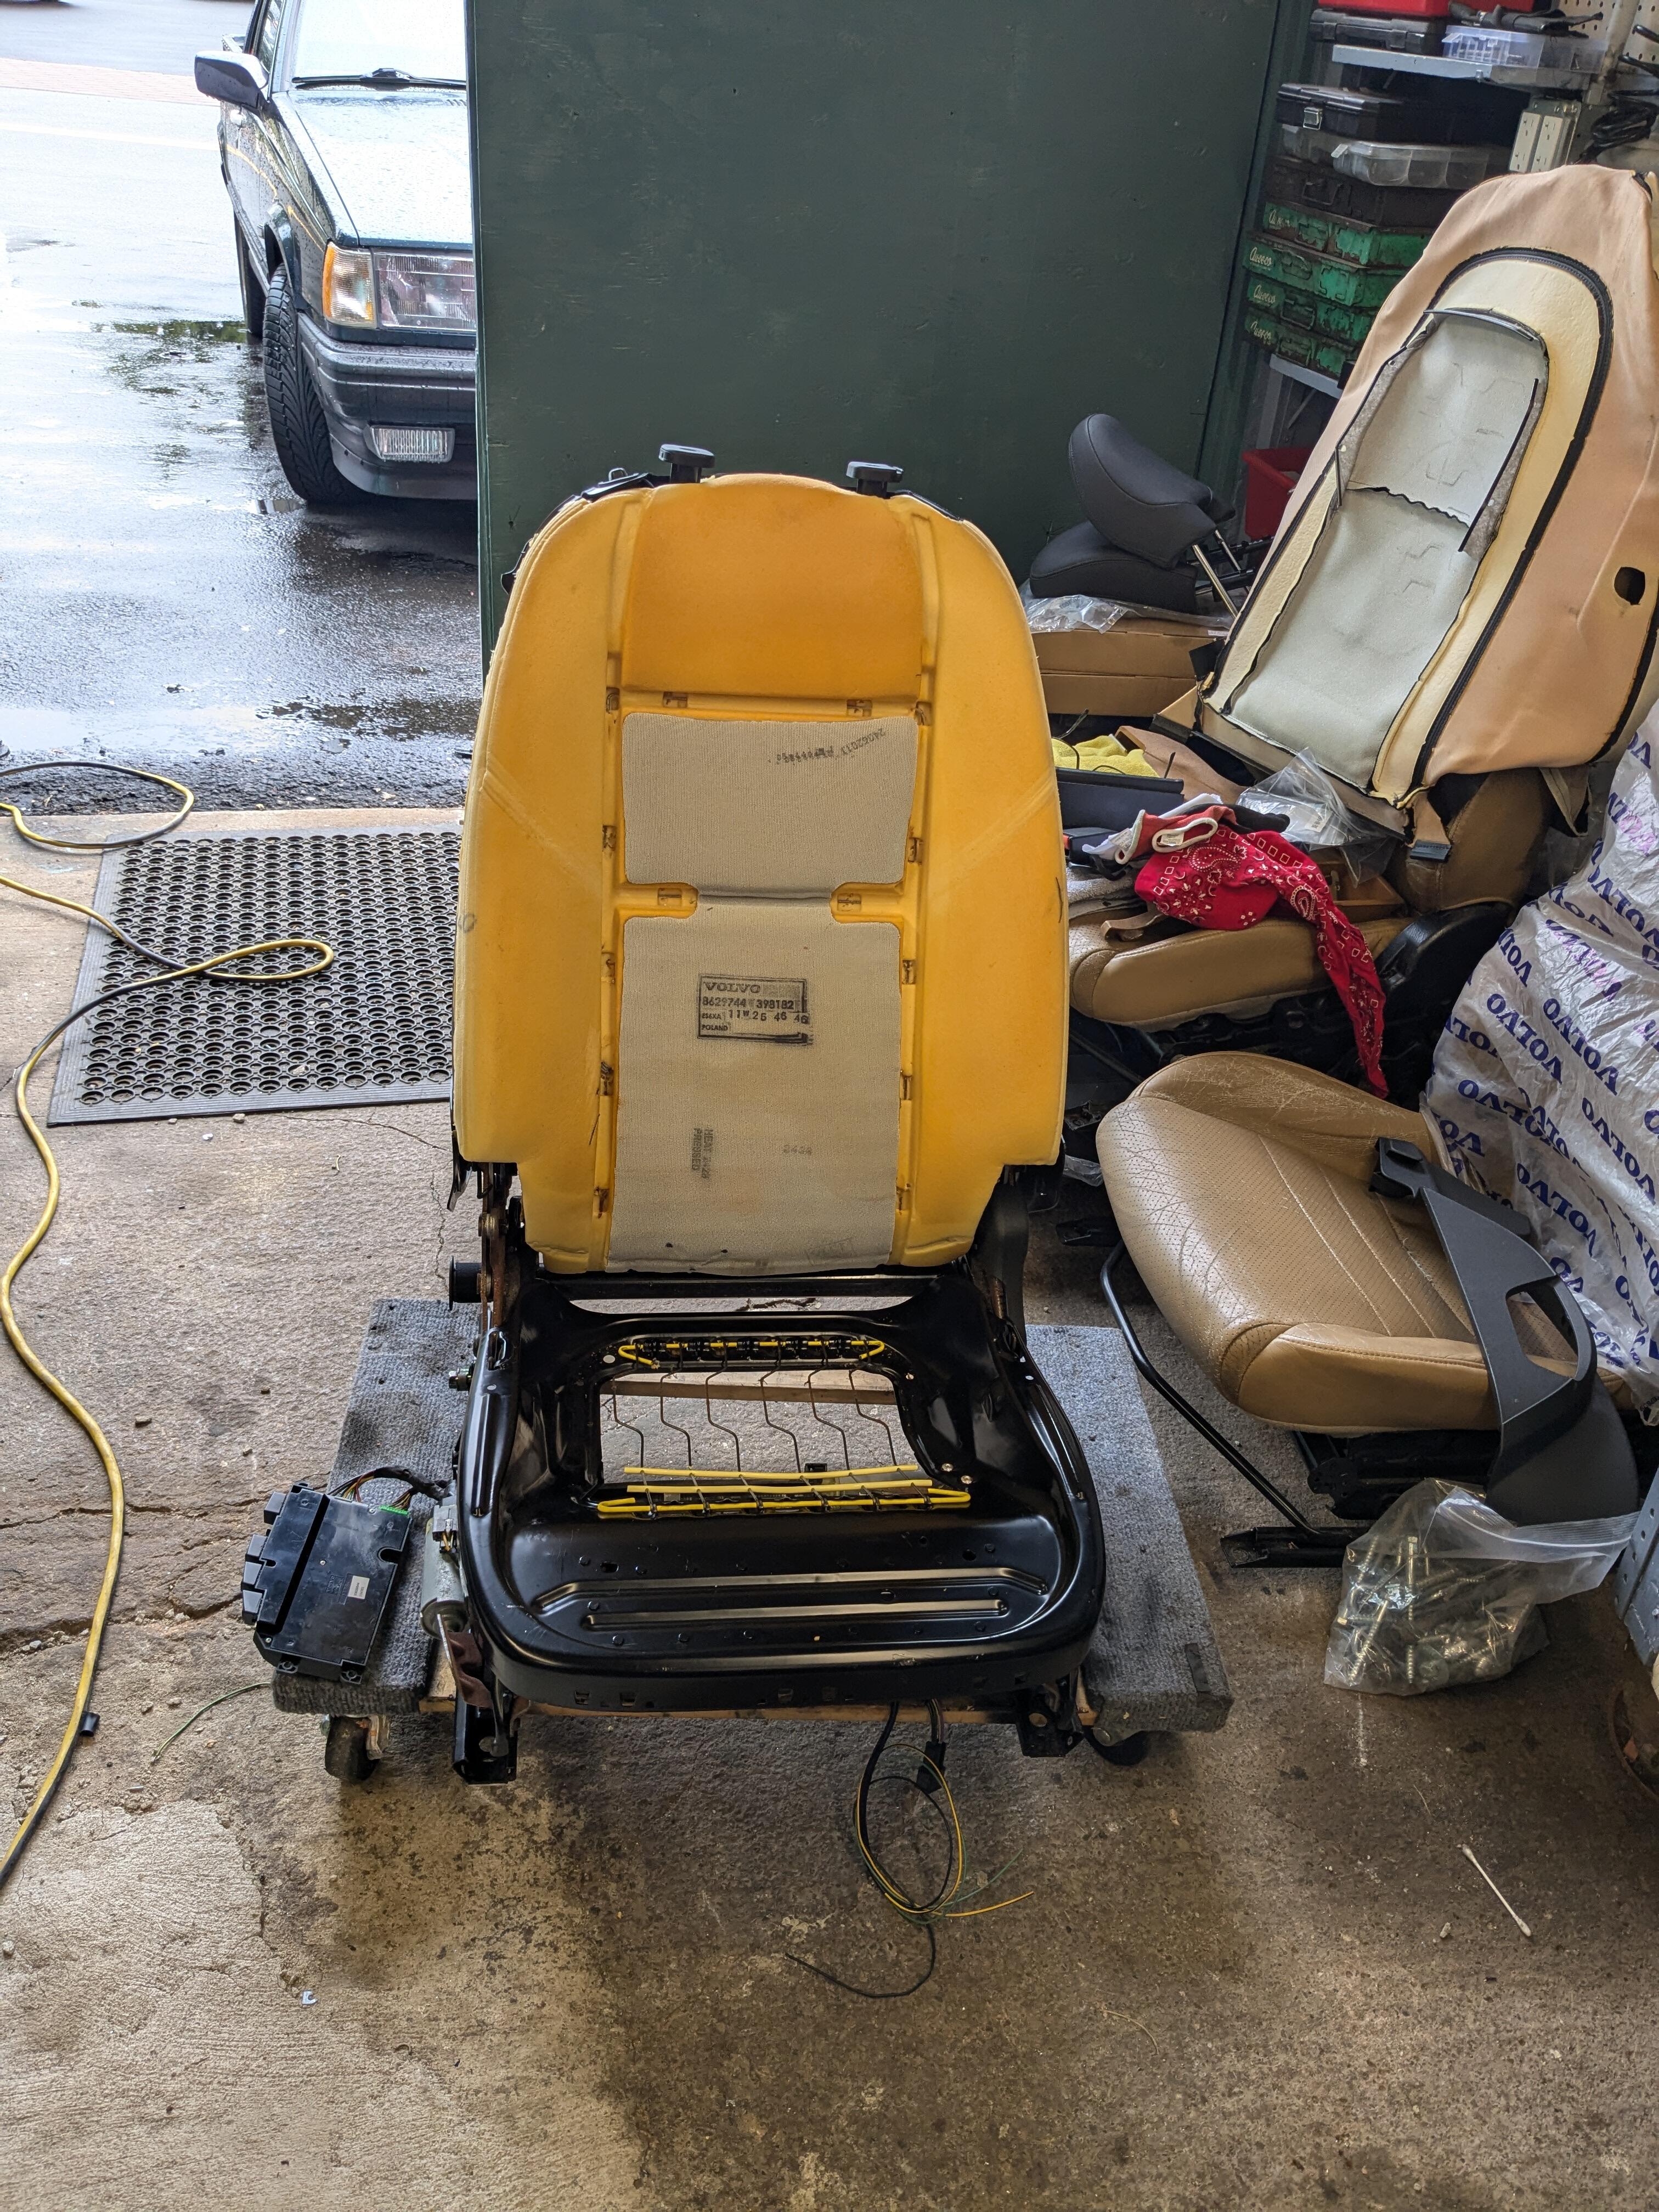
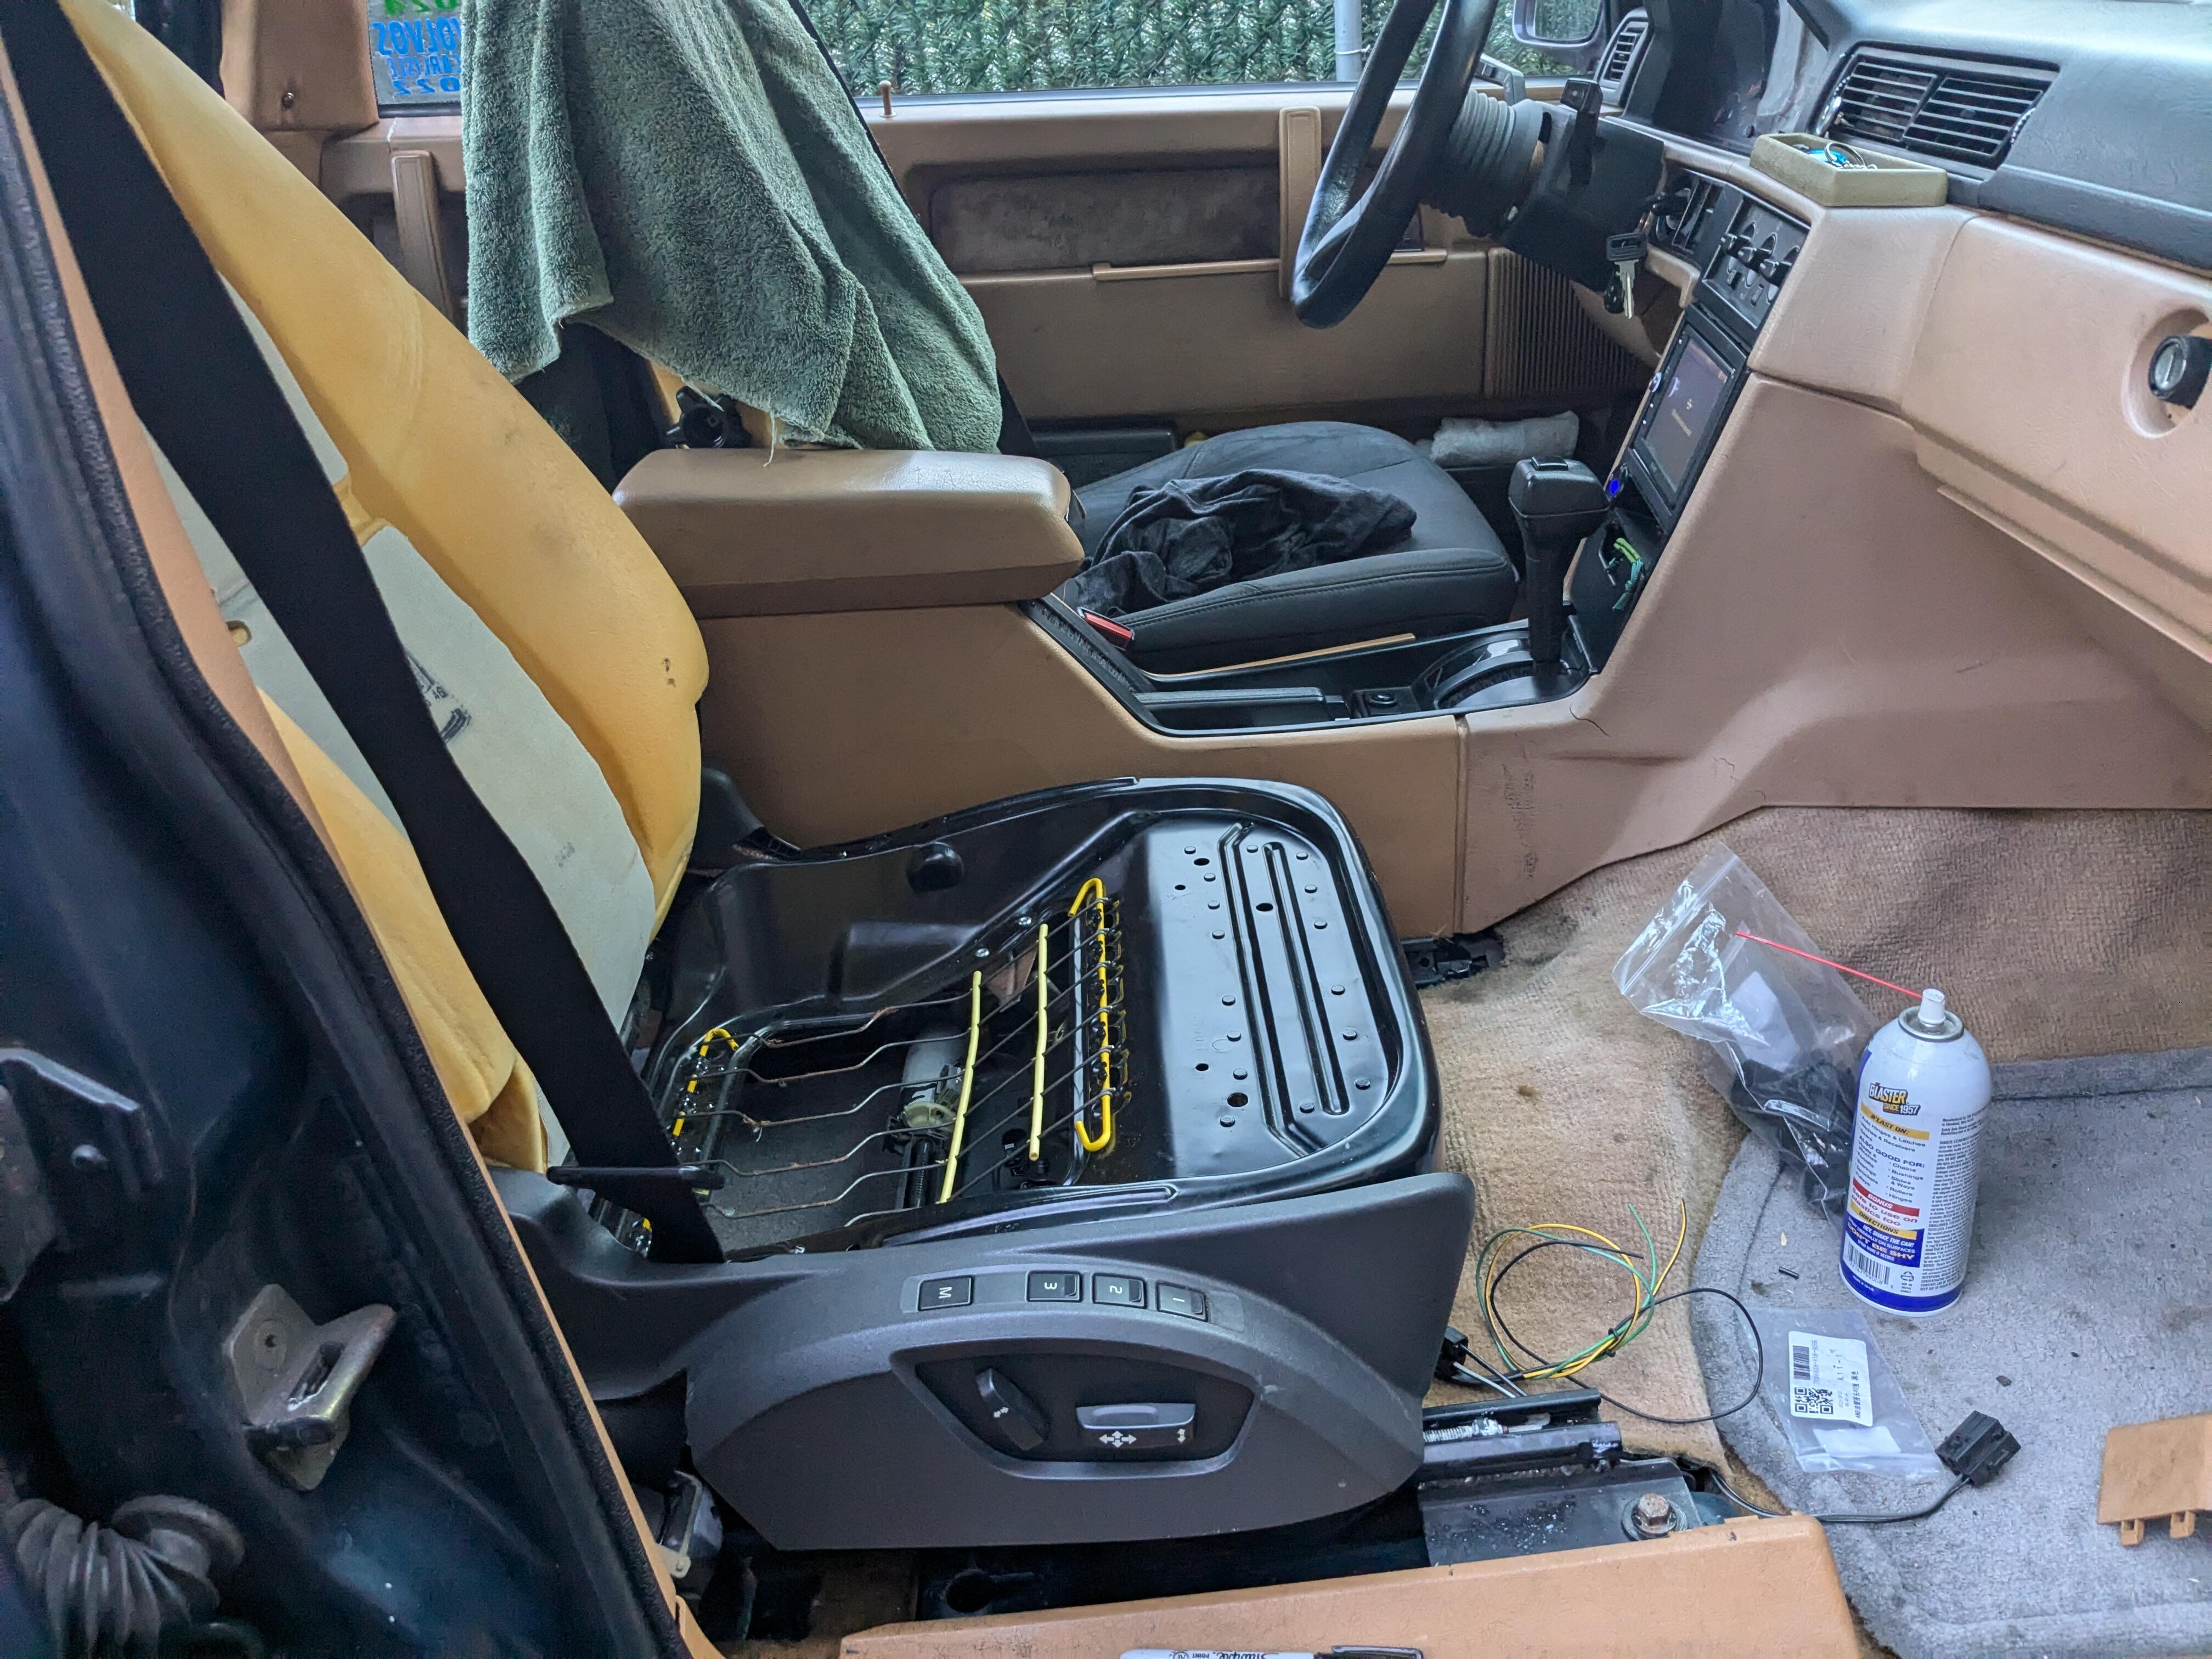
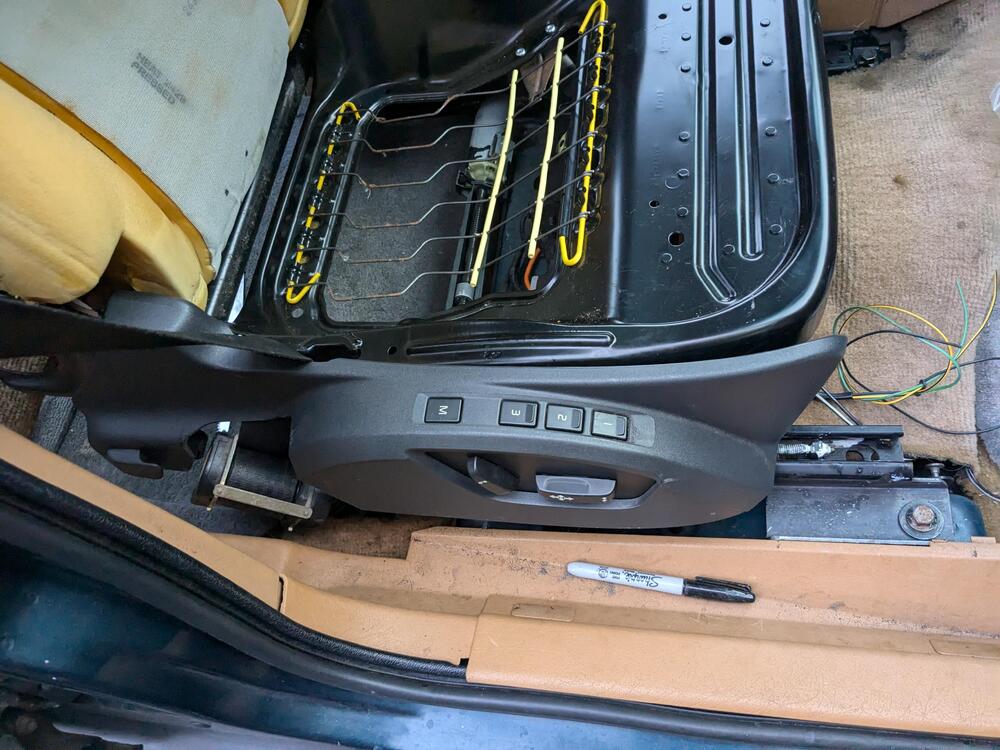
Tidying up the pass seat install - had to add spacers to lift the rails to allow the fore/aft drive to clear the floor seat tub. Started on the upholstery install - the seat cushion side retainer wasn't sewn properly, so I had to stitch that up with strong thread Fitted the seat back cover on the passenger seat back. The seat cushion is not installed here - just sitting on the frame. I went with light grey & oak, as I have grey elements in the interior, and will likely get more over time, the grey interiors were more popular than beige & hold up better.
-
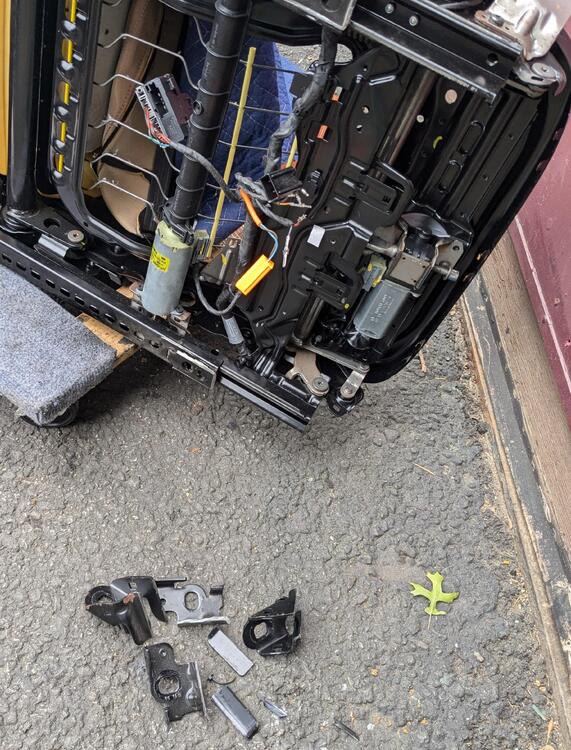
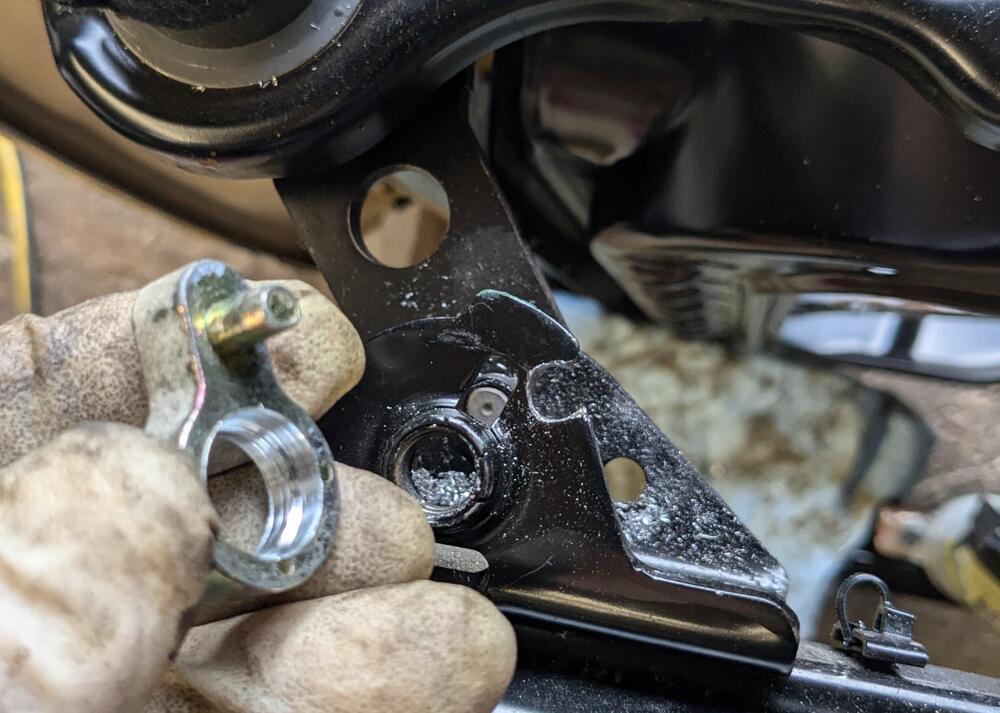
Worked on the passenger seat today. Cut off factory mount ears spacer for inner rear, to allow clearance for the fore/aft shaft hold down removed the occupant sensor & pad grid is reverse of drivers side With the module powered, I momentarily shorted the for/aft pin to the adjacent power pin & let the smoke out 🤪. I discovered that was all that was necessary - no bridge wire was needed on this one, all switches operate as they should. modding the seat belt reel mount locator stripped the old upholstery modded the outer cap/ switch retainer to clear the seat belt reel. Welded the three seat mount brackets I made in place to match DS layout

-
Wrapped this up (finally). I tried a number of ways to connect the center pins of SW4 to the fore/aft motor (A2), without much success. I found that spiking the center pin to the adjacent power pin would bring the circuit alive - but only long enough to move the motor briefly. I repeatedly spiked the connection, to see how long I could get it to hold function. Doing this ultimately killed whatever switches the power to the switch grid, which turned out to be what was needed, as with that I added a jumper from the switched power feed at the top of the card to the switch power grid & now all the switches work. I guess I basically lobotomized the board 🤪
-
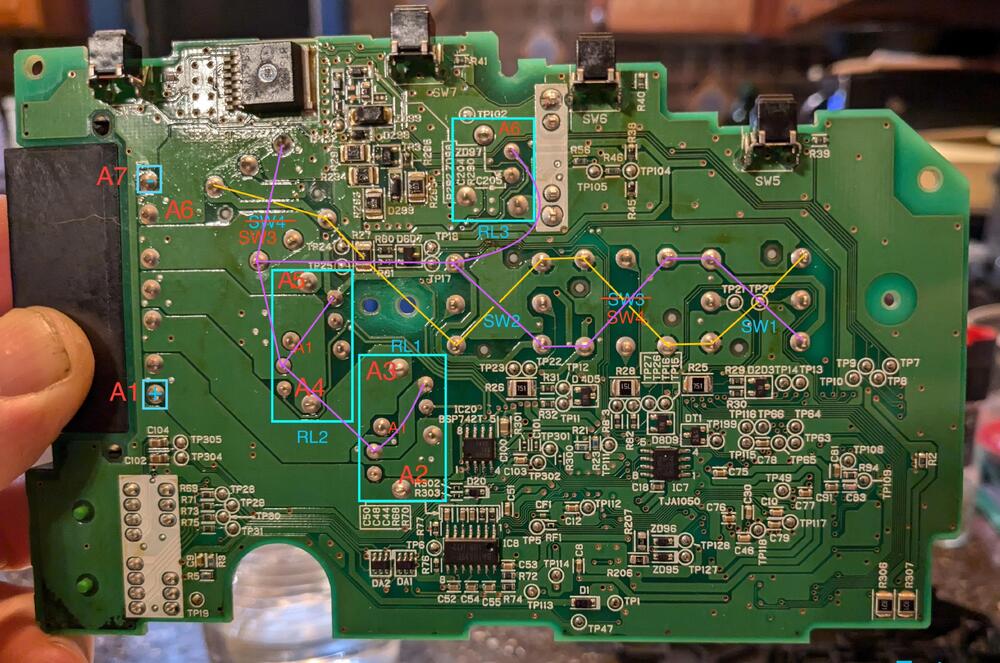
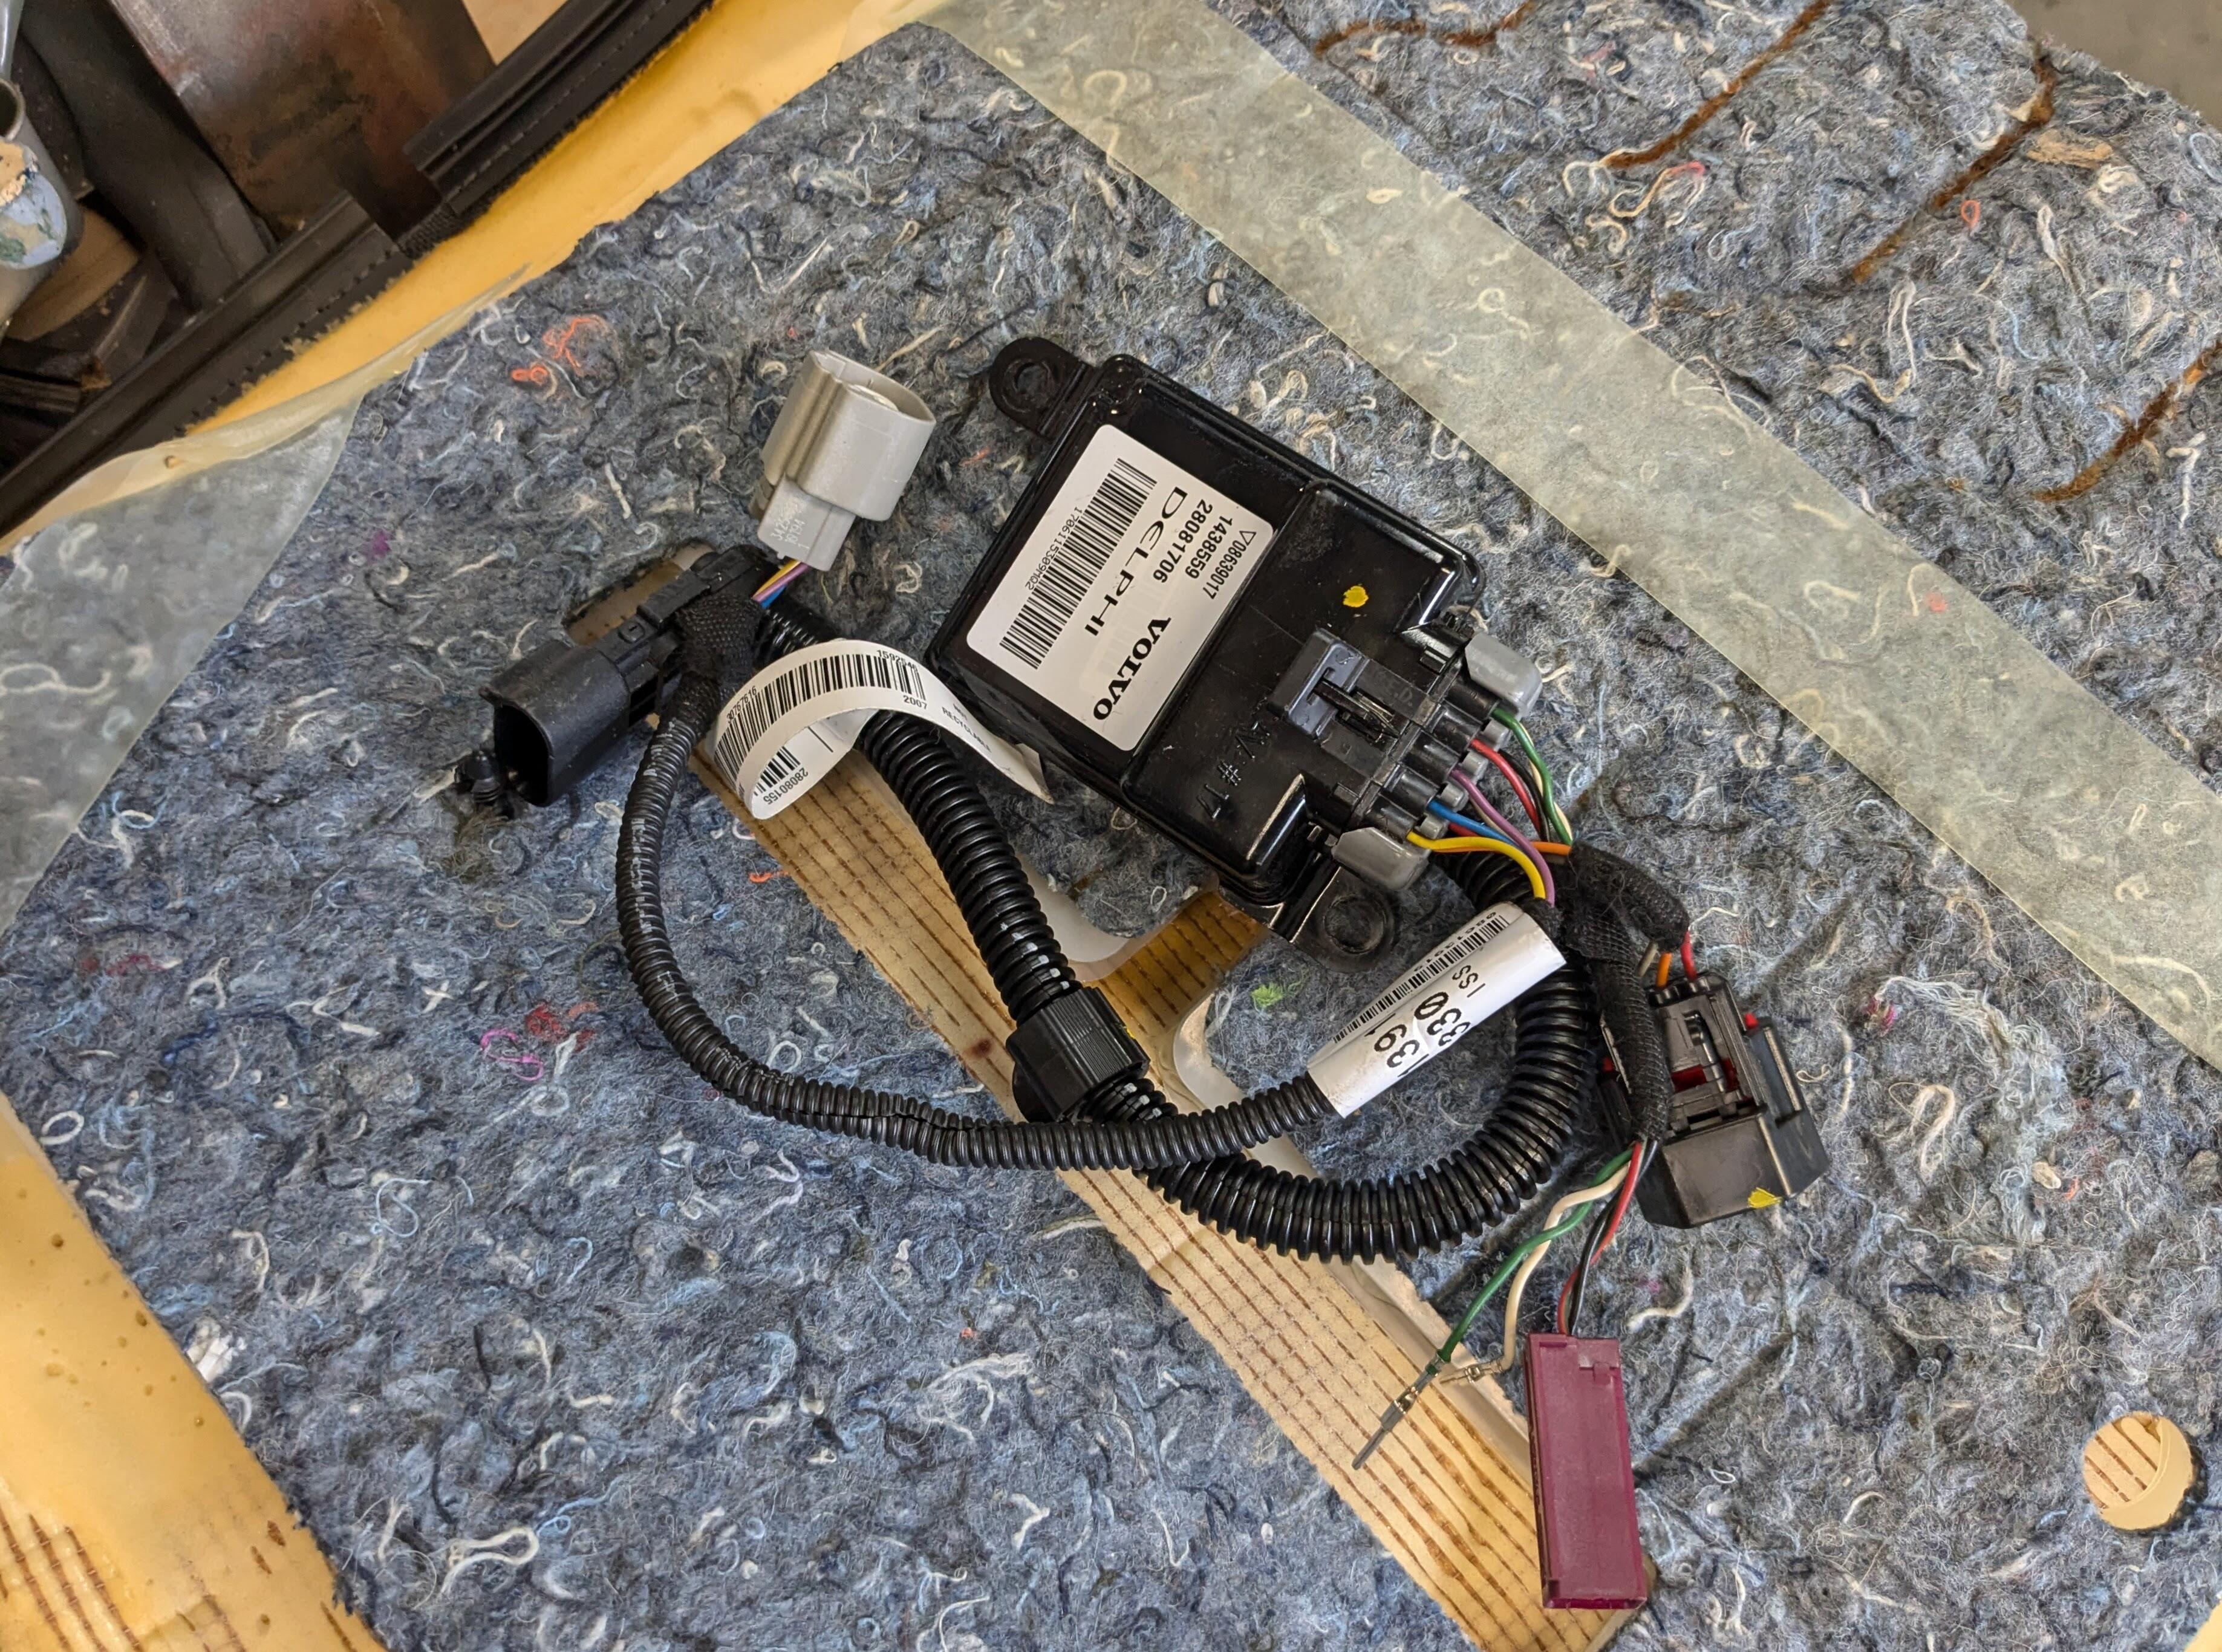
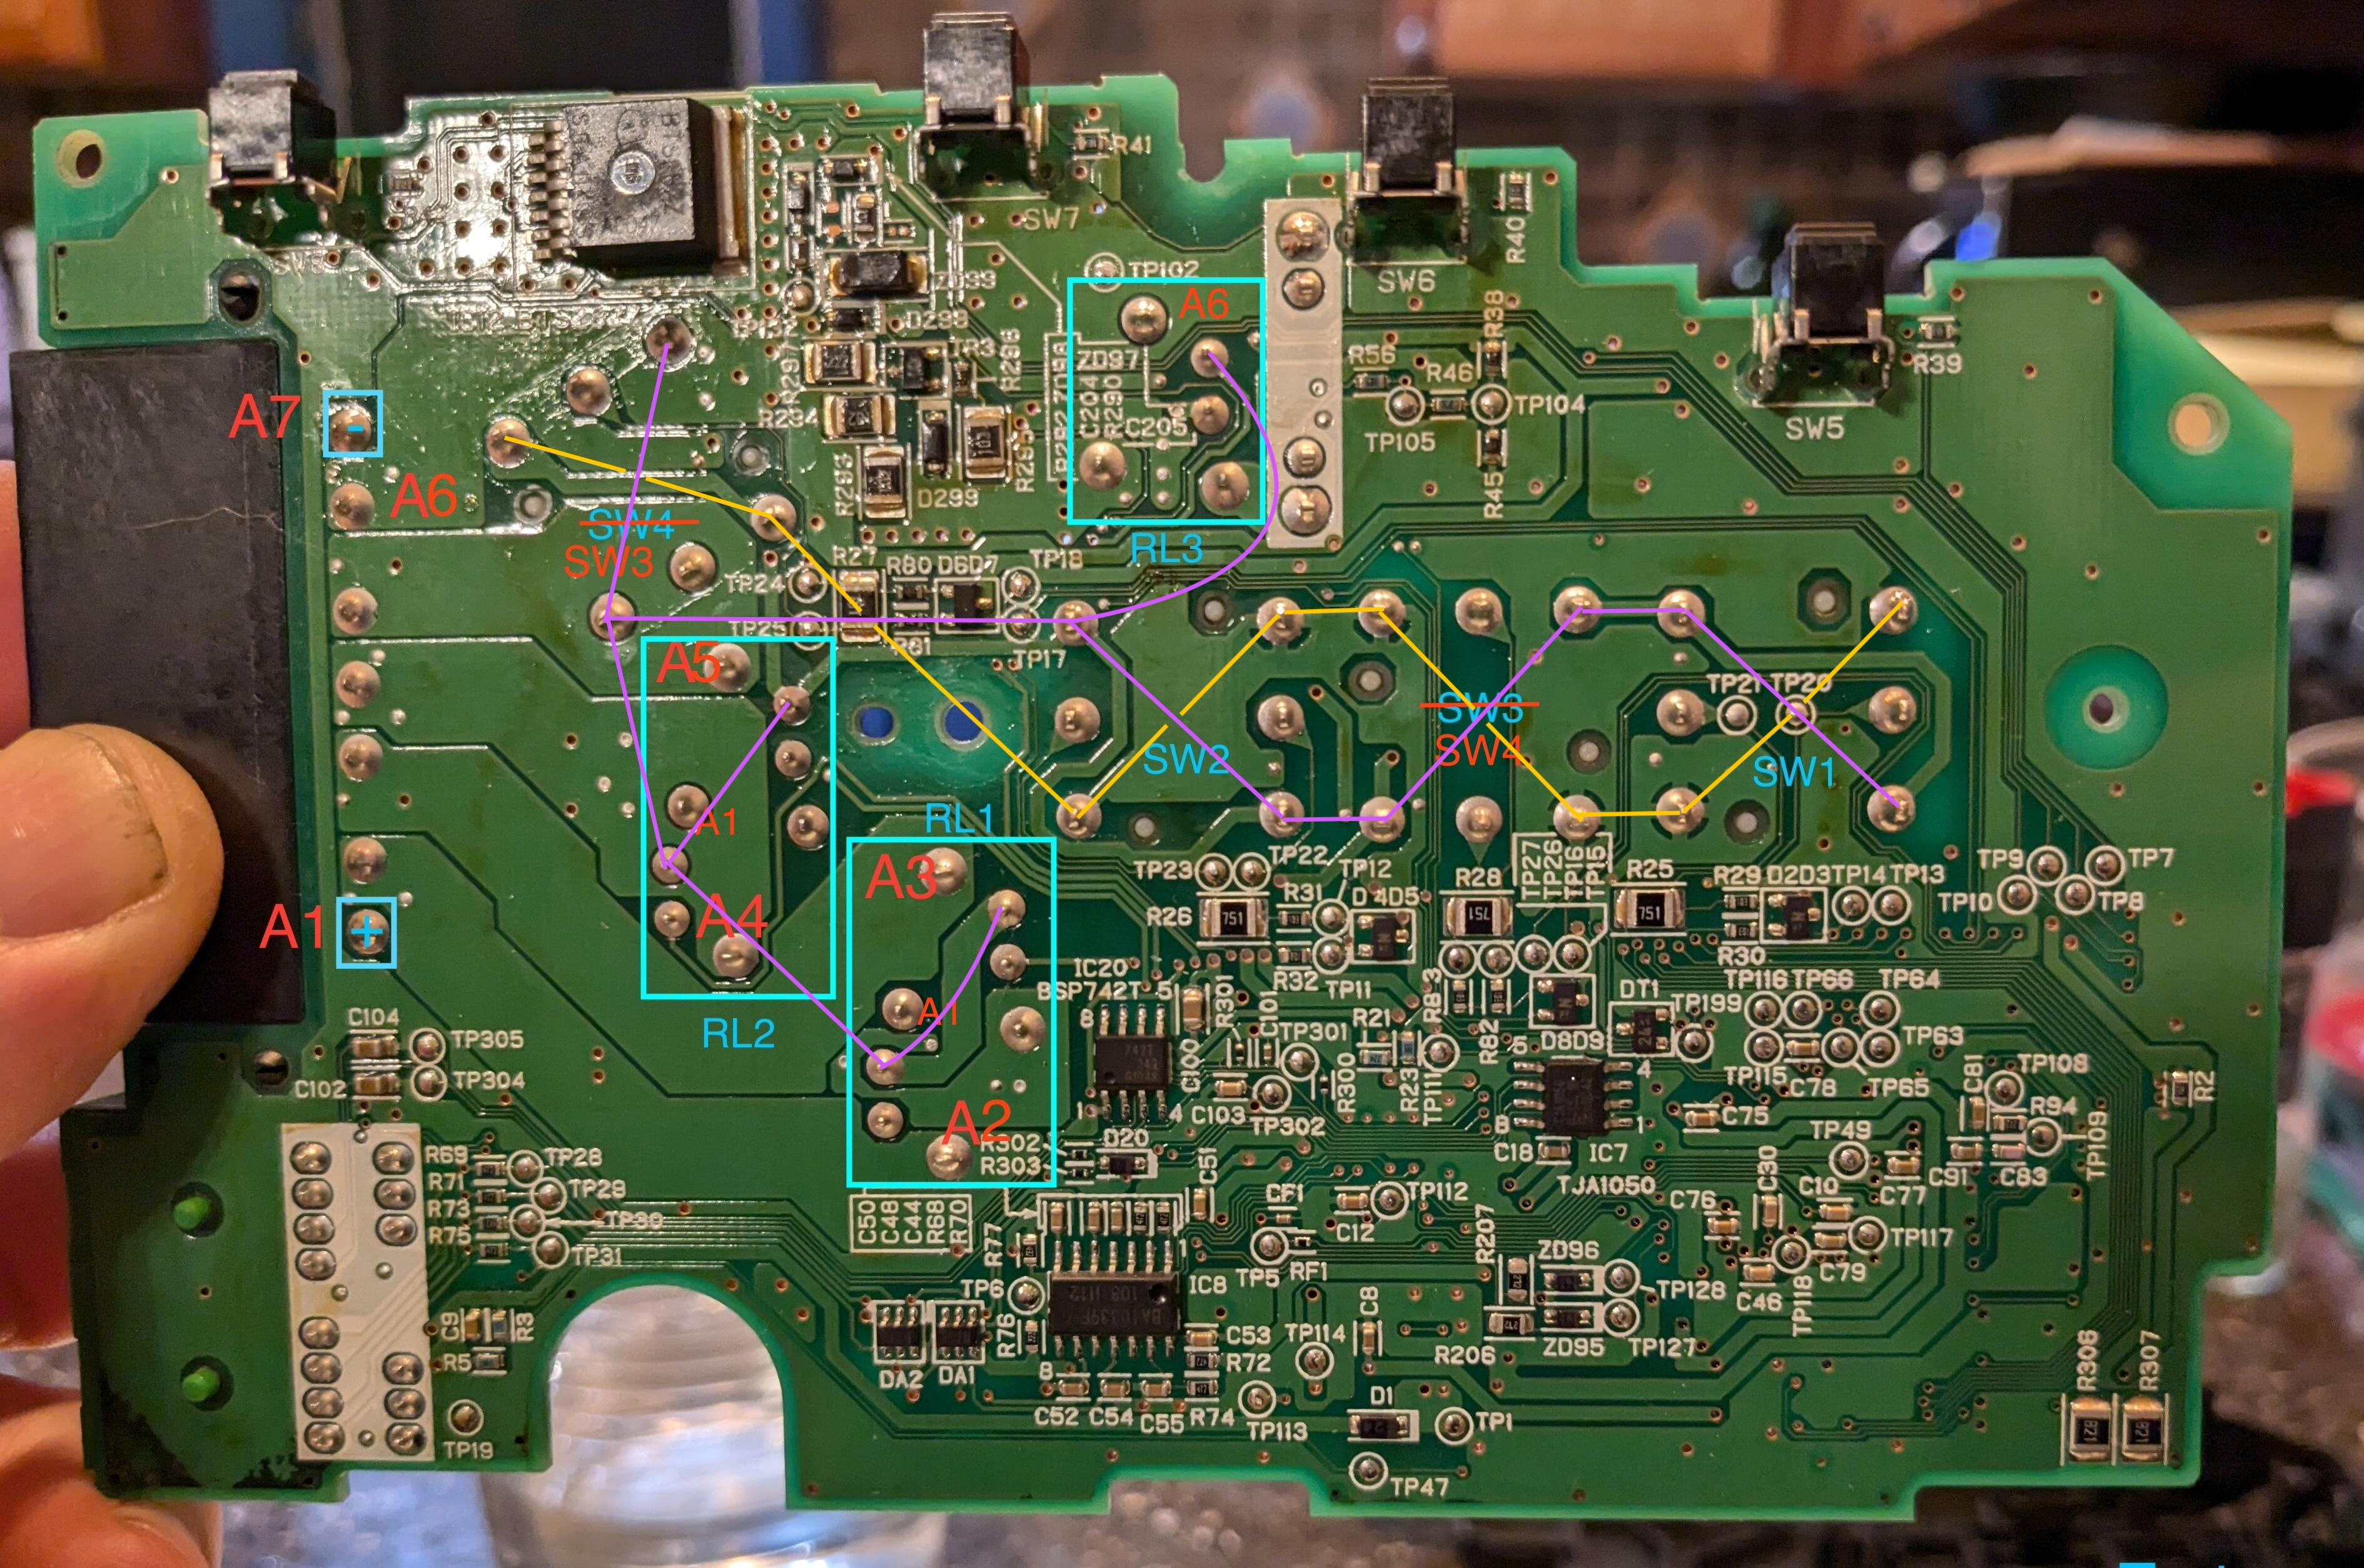
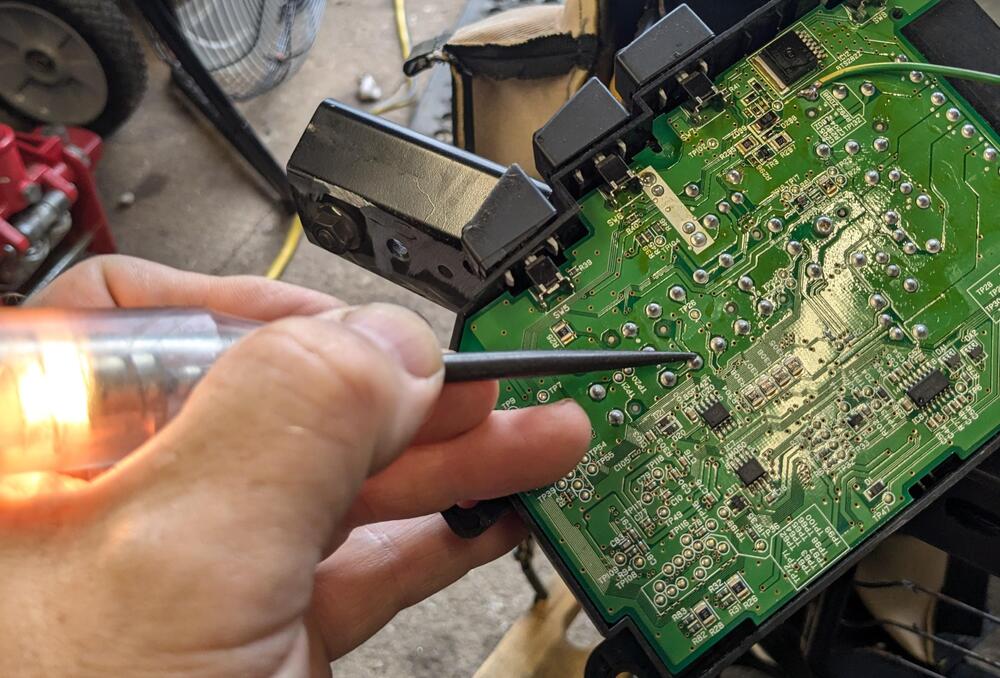
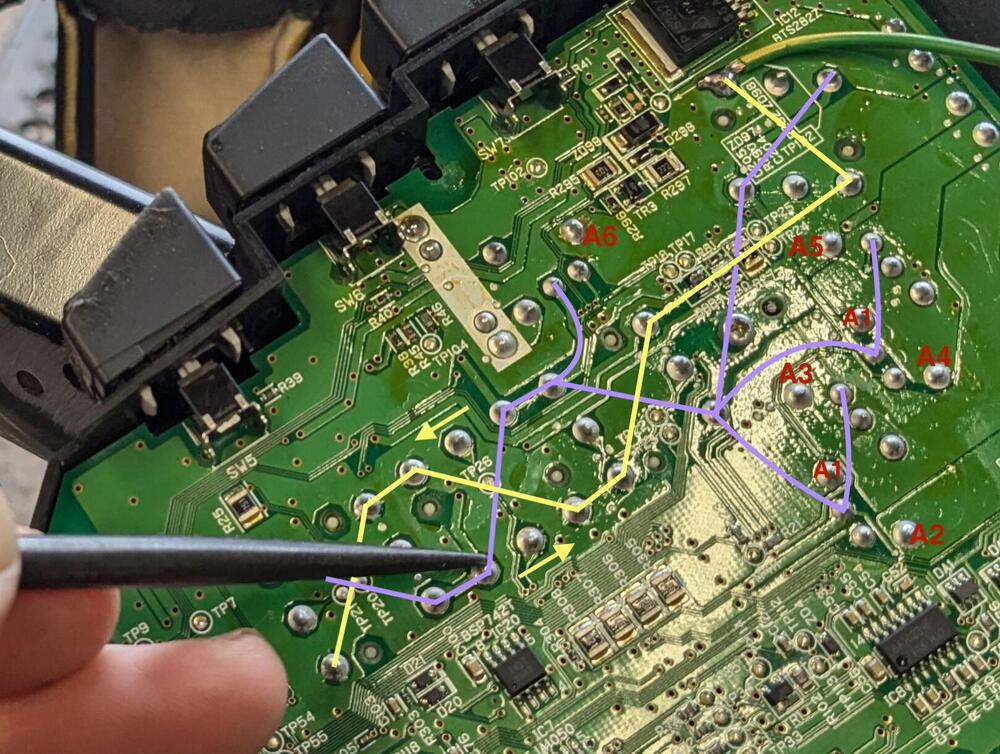
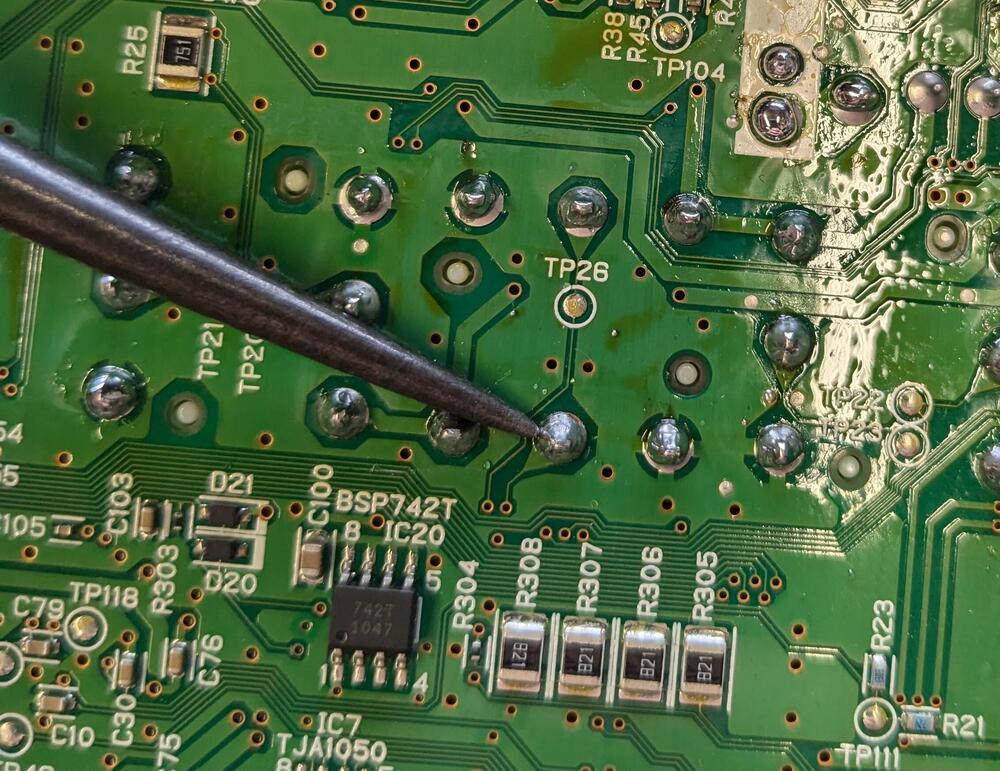
So, working on the switch today - I had it hooked up to the seat & powered. I figured out that the switch power & ground circuit is activated by the switched power on the secondary connector (B1) . Using a test light, I confirmed the (+) switching action (purple tracer). I tried activating the relay(s), nothing. I tried bridging the A6 terminal to the ground run of the switches (yellow tracer). I tried jumping the ground relay (3) and one leg of relay 1 or 2, and none of that activated the output to any of the 4 motors. I considered hooking up one of the older power seat switches I have from >MY2000 P80 & 7/960s. Problem with those is that the motors are each powered by 2 separate wires from the switch module - the newer motors share the ground leg at the switch module. I would have to rewire the ground legs of each motor to isolate them from each other. I went back to playing with the stock module. At some point in testing permutations, I bridged a circuit on the board that created a short - I heard the pop that let the smoke out of something on the board. After that, three of the 4 switches operate without issue. The fore/aft one does not. I wish I knew which chip I fried, I would do the same for the passenger switch. I'm going to try bridging the switch 4 contacts to A2 & A6, to see if that overrides the circuit that is inhibiting operation. B2 & B5 connect to the seatback release switch - allows you to move the seat forward when the setback is flipped forward. That works. I bridged what was formerly the heated seat switch supply, to provide power to the seat modules This was the seat end - I replaced the terminals/connector with terminals that can handle 25A
-
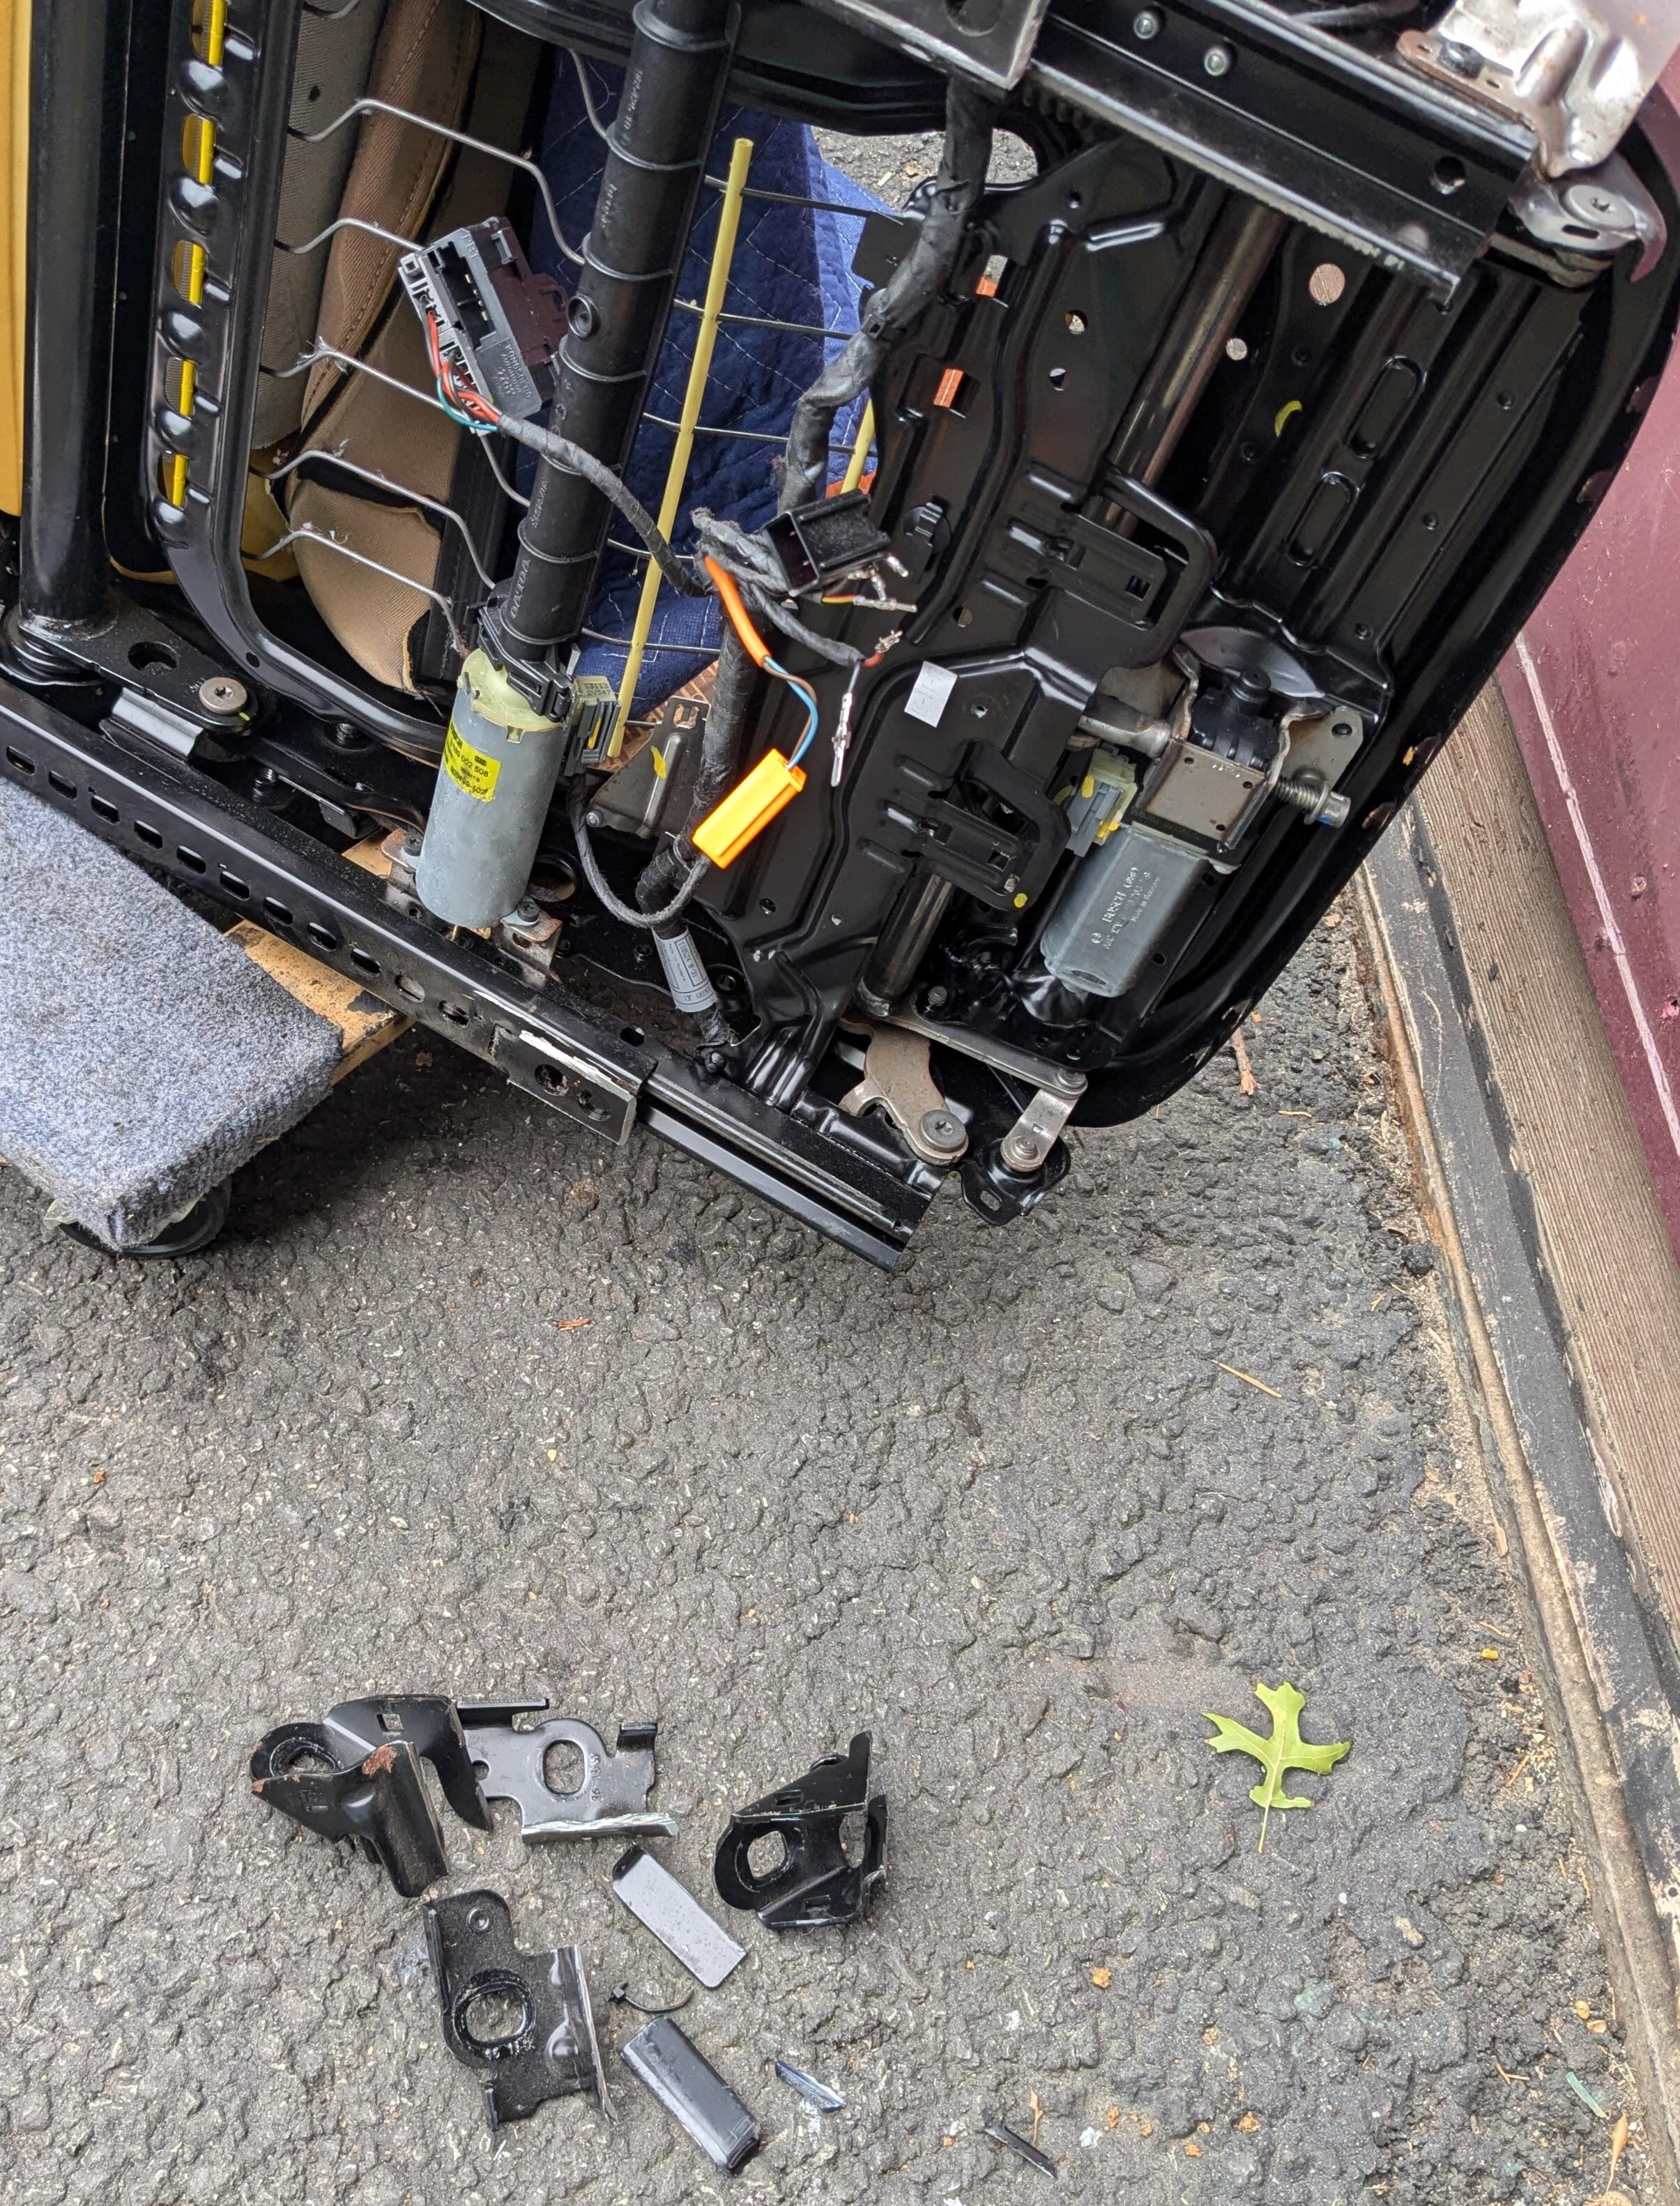
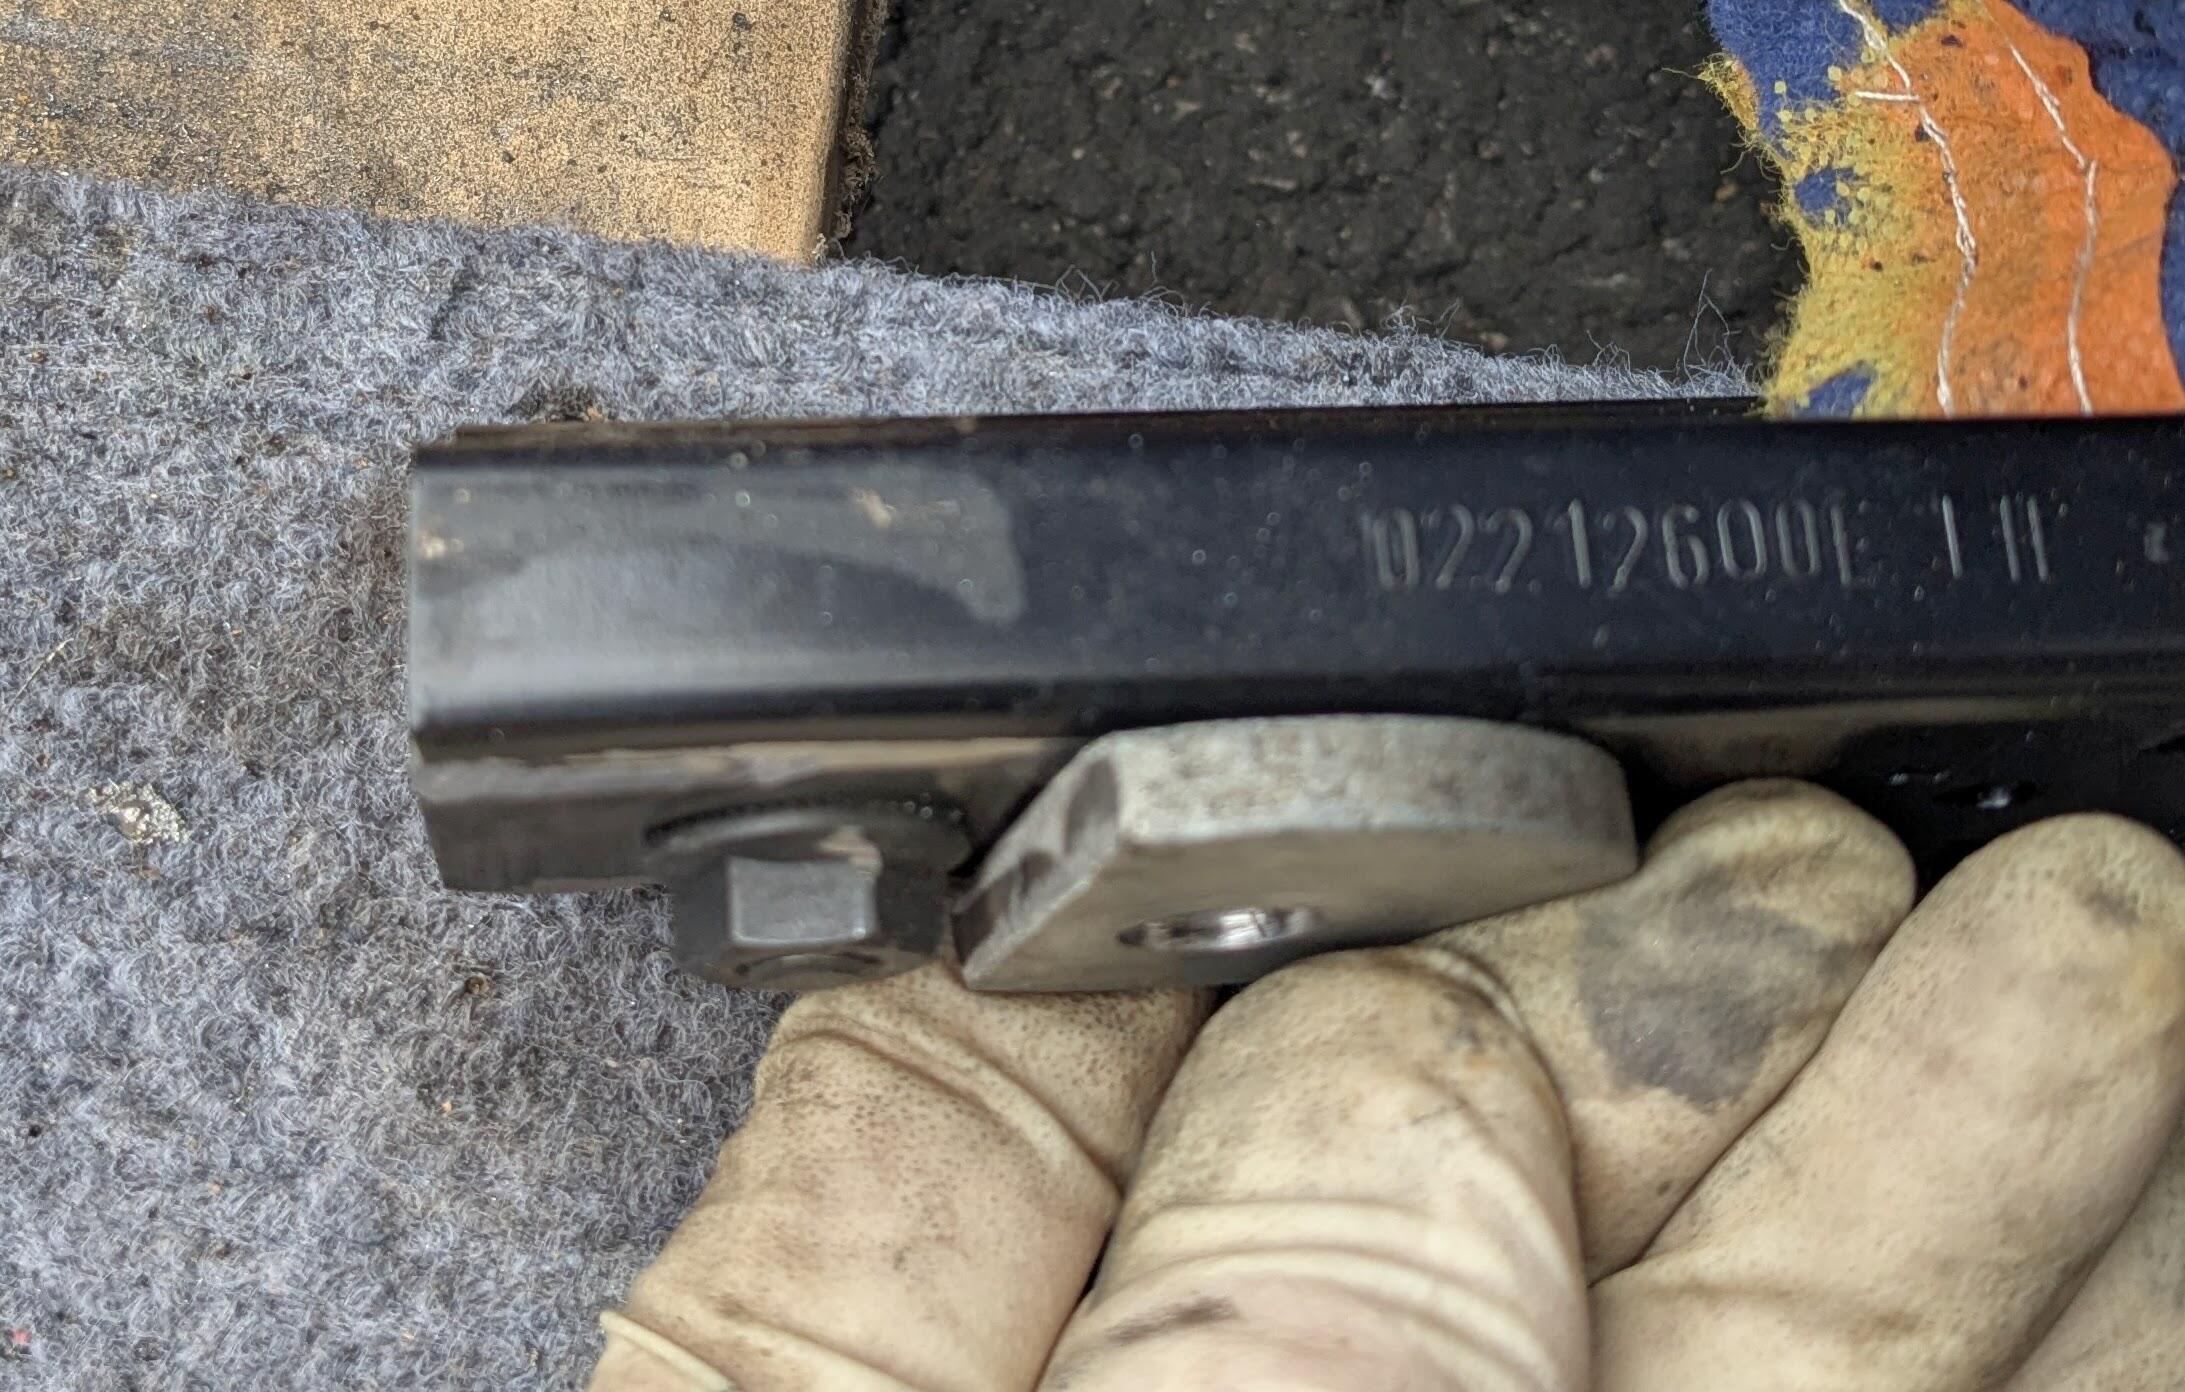
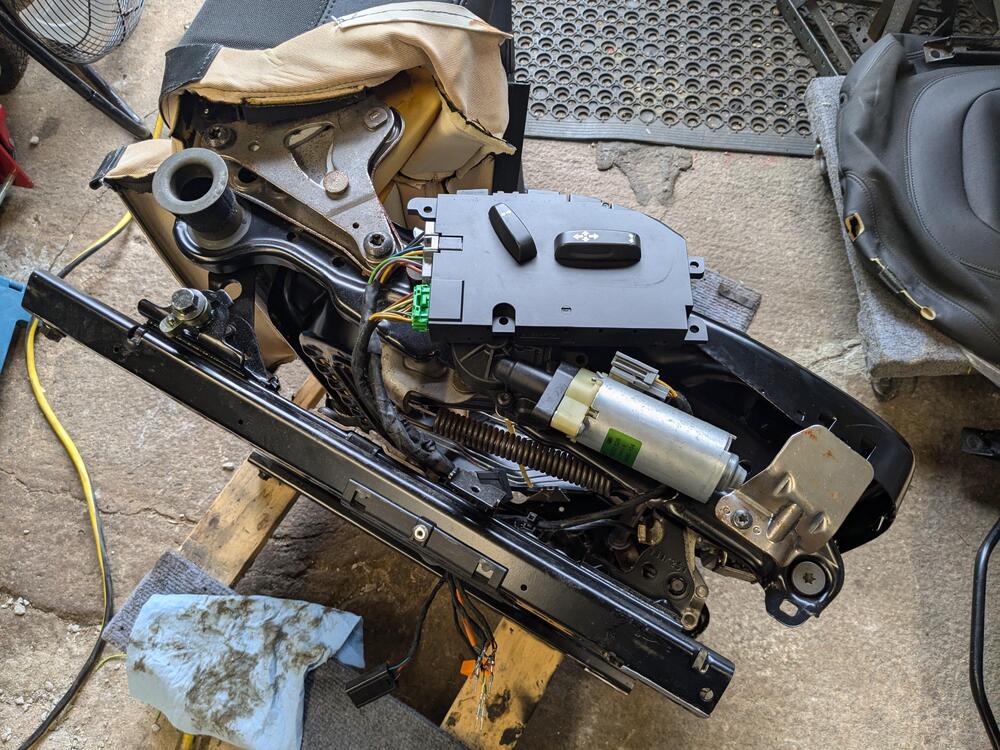
Working on installing Volvo C30 seats in the 740 pickup. The rails are about 2" narrower than the 740 rails. Not enough to be able to fit brackets on the outside of each rail, and be able to get bolts through. I set the seat position based on the inboard rail, drilled a mount hole through the rail to secure the inner rear corner. After that I was able to square & level the seat, fabricate mount ears for the other three corners, attach the seat belt reel, and get the DS seat bolted in. Tried to get the memory seat module to operate - it wants CAN I/O, which I can't provide So, I stripped the seat down & hardwired the fore/aft motor to allow me to set the mount points Rail offset to the inside allows me to fit mount brackets Spacing on the inside, clears console Using the 350Z seat rail mount remnants that I cut off when installing them in the 280Z C channel for the forward outer, wanted a reasonable overlap section onto the rail for welding Tab cut from the stock C30 rail mounts for the forward inner Belt reel fitted with minor mods Notch outer seat panel to clear belt reel So the tricky part of this install is going to be the wiring. I have to figure out how to bypass the CAN controller aspect & power the switches / relays so that the stock switches will operate the seat. I don't really care about not having the various memory options. Googling ways & means of either emulating(?) the CAN signals, or bypassing it all, I found this thread on Matthews Volvo Site. Pretty helpful, difference for me is the Seat module is more complex than that earlier one from an S60. Simply bypassing the ground relay is more complicated. I used Google Lens to look up the relays on the board - with that I drew out the relay schematic, and used my multimeter to determine the switch connections. I don't know which is (-) & which is (+) on the connected pathway illustrated at the bottom left Any suggestions welcomed!